Moon Photography Guide for Beginners (using an Entry-level Camera and Kit Lens)
by Gaurieie in Design > Photography
76449 Views, 664 Favorites, 0 Comments
Moon Photography Guide for Beginners (using an Entry-level Camera and Kit Lens)
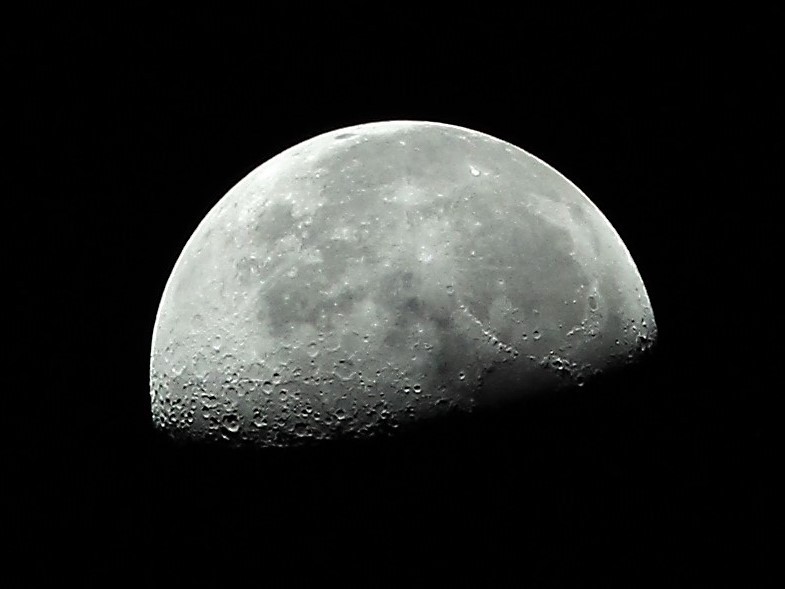
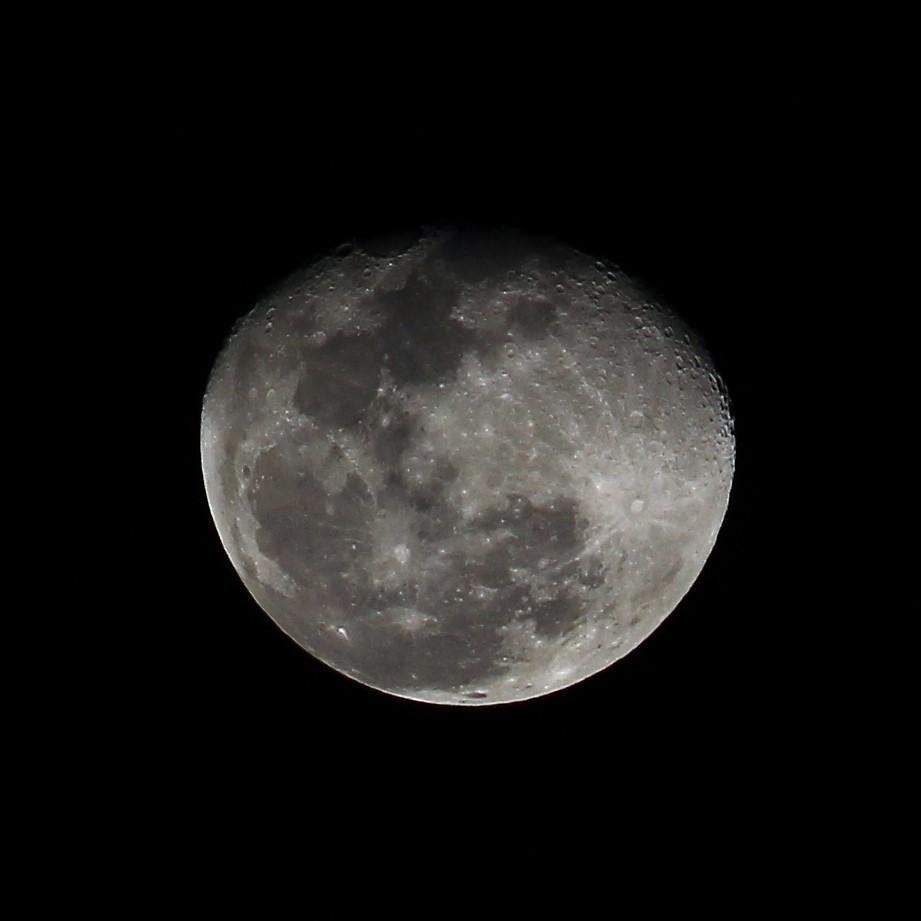
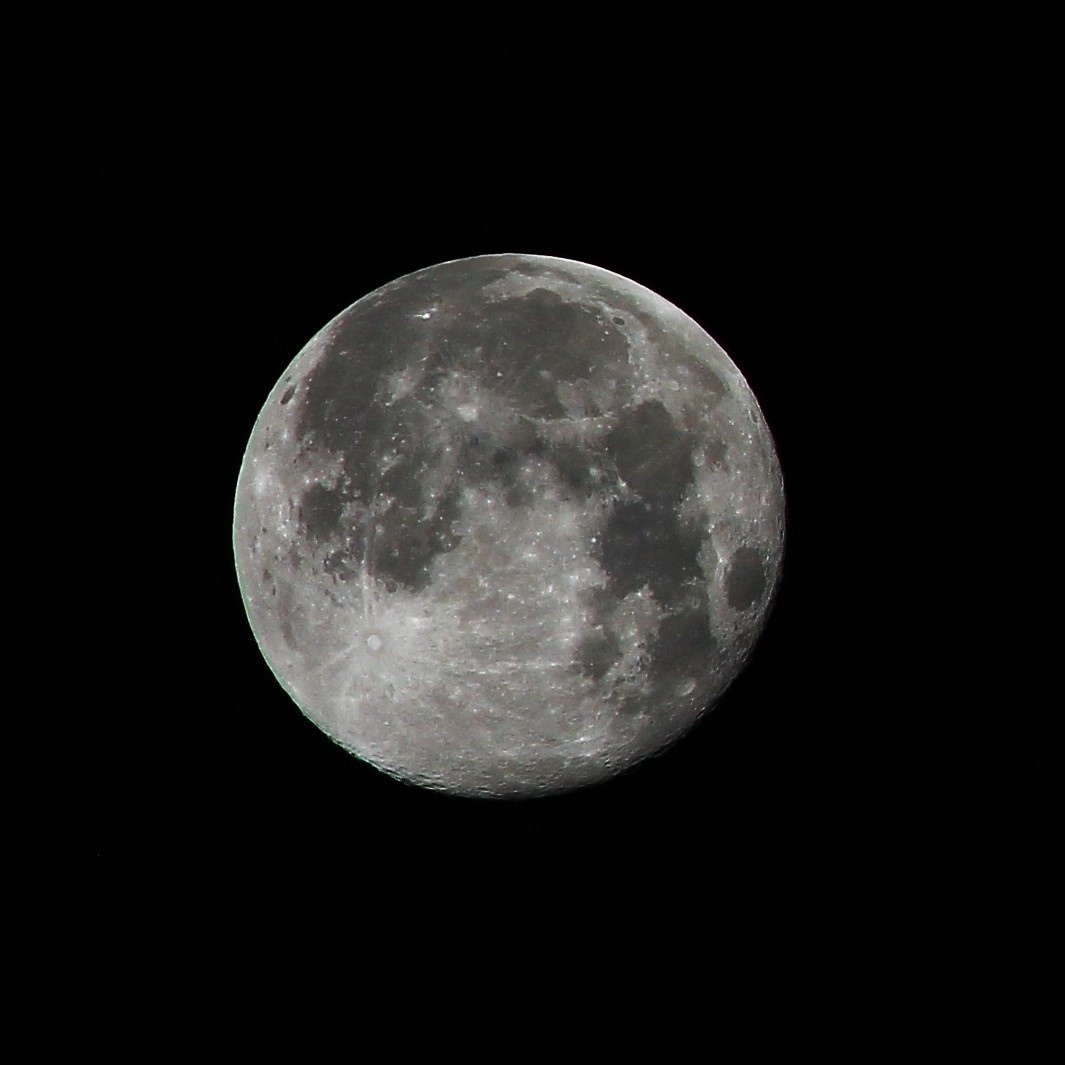
A silver lining to Covid-19's worldwide lock-down is that the atmospheric pollution has reduced greatly, and the skies are clearer that I've ever seen them. The moon literally shines like a bulb in the night sky now, and there's no better time than now to photograph this celestial beauty!
This is a simple guide to photographing the moon with a basic entry-level camera and it's kit lenses (No fancy expensive equipment needed), all while sitting right at home.
The above photo was shot at ISO 400, f/6.3 and 1/800 sec.
Gear and Equipment Needed
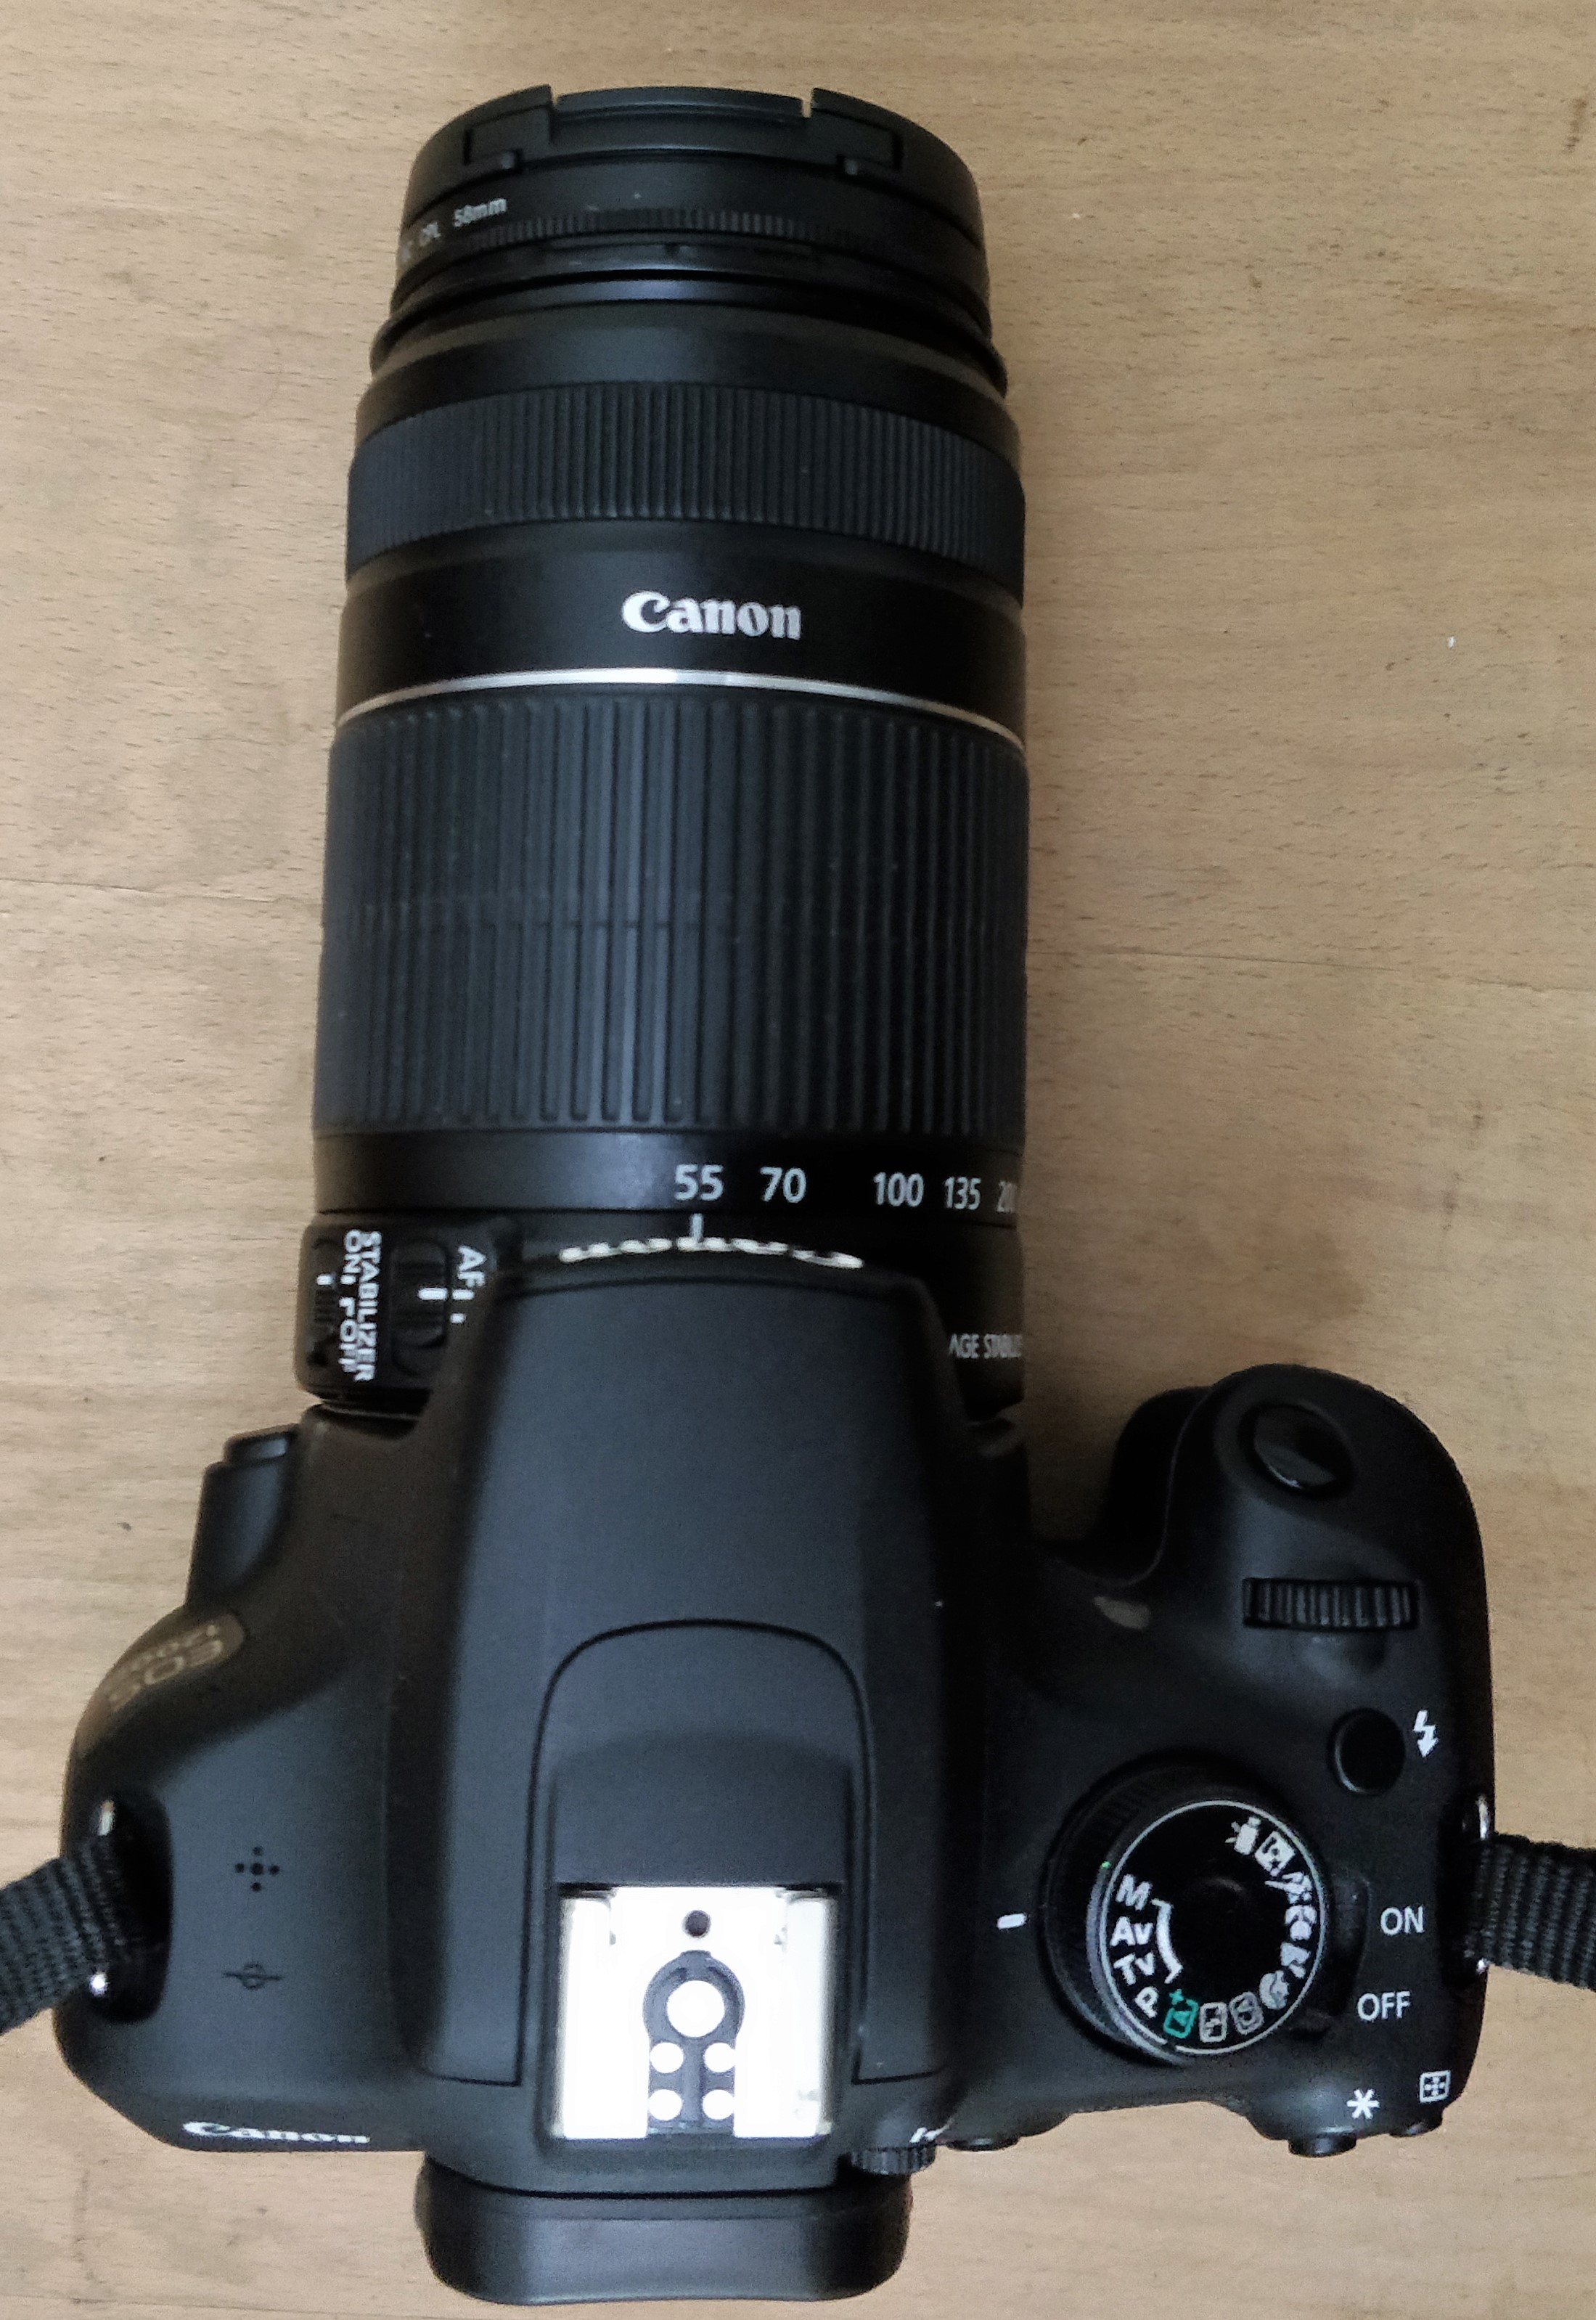
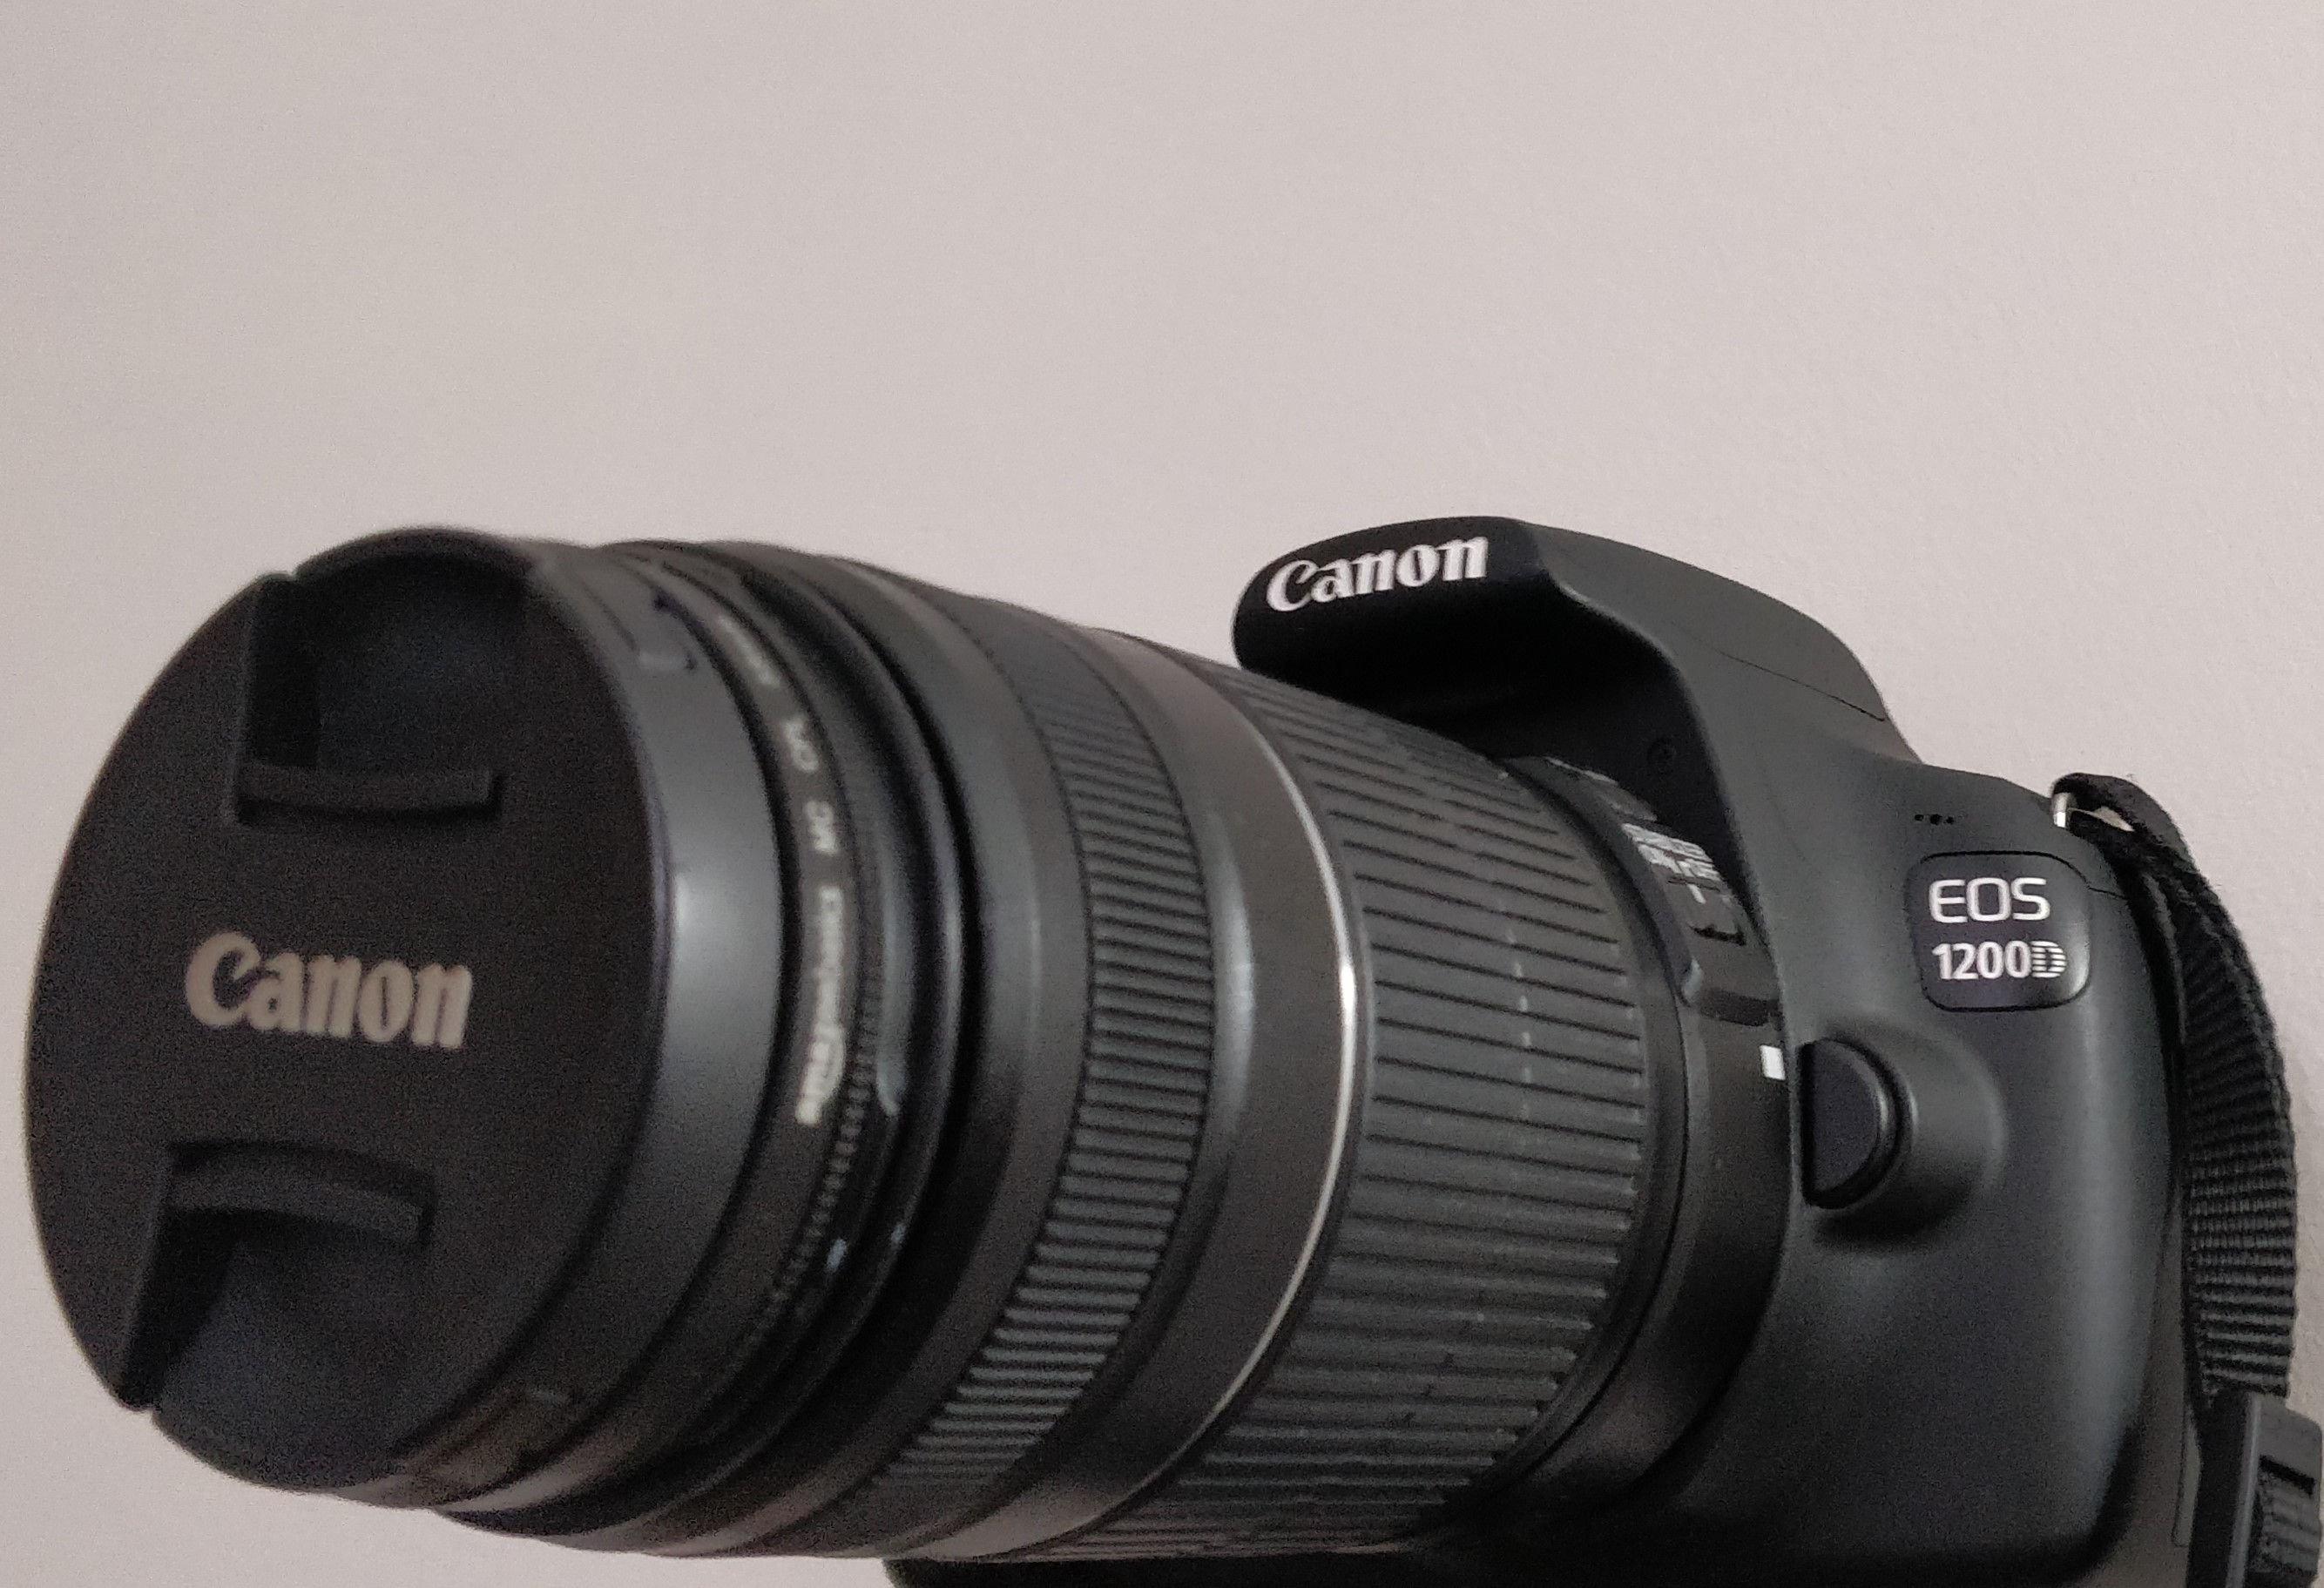
Essential Requirements-
- A DSLR camera body
- A zoom lens
My camera is a Canon 1200D (Rebel T5) which was Canon's most basic DSLR when it was bought.
It came with two kit lenses, an 18-55 mm lens and a 55-250 mm lens.
The larger zoom lens you have, the better clarity photos you'll get.
Optional (but helpful) Equipment-
- Tripod
- Shutter Release (remote trigger)
- Moon tracker app
- Super-zoom lens
- Star tracker attachment
- Telescope
Background Knowledge (Technical Talk)
The moon may be clearly seen by us with our naked eyes, yet it looks like a white light bulb when taken with our cameras (epecially mobile cameras). This is because of the wide dynamic range. This is also why it's difficult to compose a photo of the moon with foreground details. Here we're just going to focus on photographing the moon.
DSLRs vs Point-and-Shoot Cameras-
The reason photos come out better with a DSLR camera when compared to a point-and-shoot camera or mobile phone cameras, is because DSLRs usually have larger image sensors (10-20x larger), which means more light information is captured by them, resulting in a better photo.
Full frame vs Crop-sensor Cameras-
DSLRs commonly have two types of sensors, full-frame and crop-sensor.
Crop-sensor DSLRs (also called APS-C cameras) have a sensor that is only 3/4th the size of a full frame sensor. This results in an image that gets cropped to about 1.6 times what it otherwise would've been. A crop sensor may be undesirable in certain situations (such as shooting landscapes), however, while photographing the moon it is actually beneficial as our lens gets an extra zoom factor (1.6x). This means that our 250 mm kit lens essentially functions as a 400 mm lens (yay!).
Planning, Location and Phase of the Moon
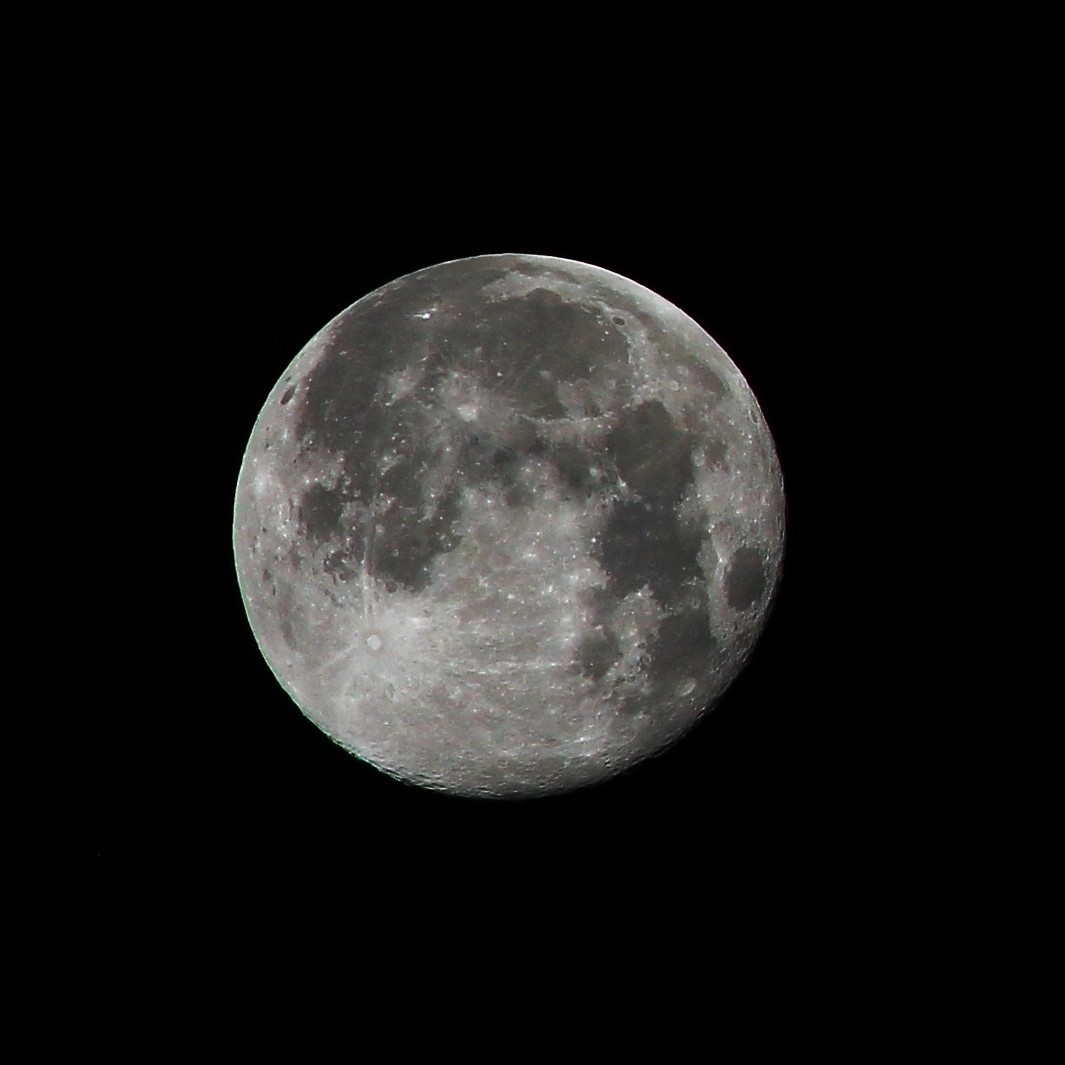
Planning-
The moon has an elliptical orbit around the Earth, which means at certain times it's closer to us resulting in a Supermoon! This is one of the best time to practice. Also, check the weather. You'll need a clear sky for good photos.
Atmosphere and Horizon-
The moon also appears bigger when it's just over the horizon, and tends to look smaller as it rises up in the sky.
Photographing the moon over the horizon will be easier for beginners, but won't be as crisp due to the thick atmospheric layer through which you'll be focusing on the moon. To get crisper photos, focus on the moon when its risen up.
Location-
While it is definitely desirable to photograph the moon from a place that is high in the mountains and devoid of any light and air pollution, this is not always possible. All my photos were clicked right from my house in the middle of a city.
Phase of the Moon-
Before getting ready to photograph the moon, always cross-check the day's moon phase, moonrise time and moonset time either in your local newspaper or online.
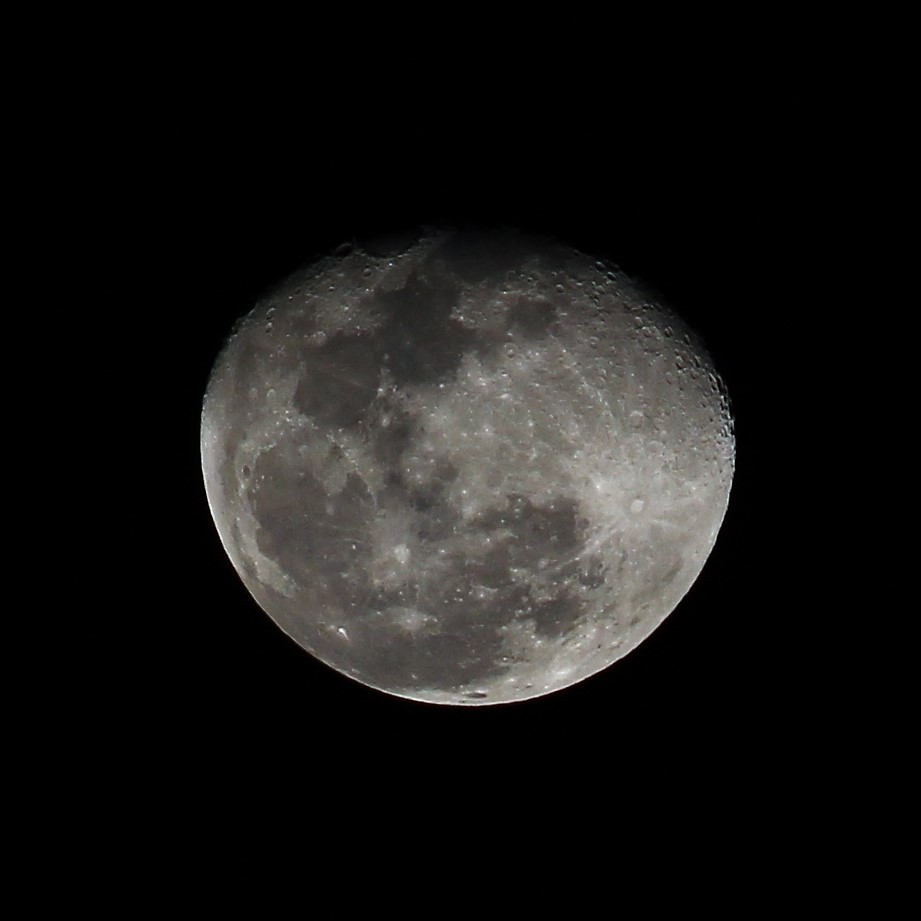
For someone who's photographing the moon for the first time, It's best to practice when there's a full moon, this will help you learn to meter your light and adjust your settings. But keep in mind that on a full moon the crater definition won't be much pronounced. Once you've tried photographing the full moon, then you can try photographing various phases of waxing and waning of the moon for better crater definition.
The Triad: ISO, Aperture, Exposure and Camera Settings
Before beginning the photographing, set your camera to these settings for best results-
MODE-
Manual Mode (represented by a 'M' symbol)
This mode gives us maximum control over all aspects.
ISO-
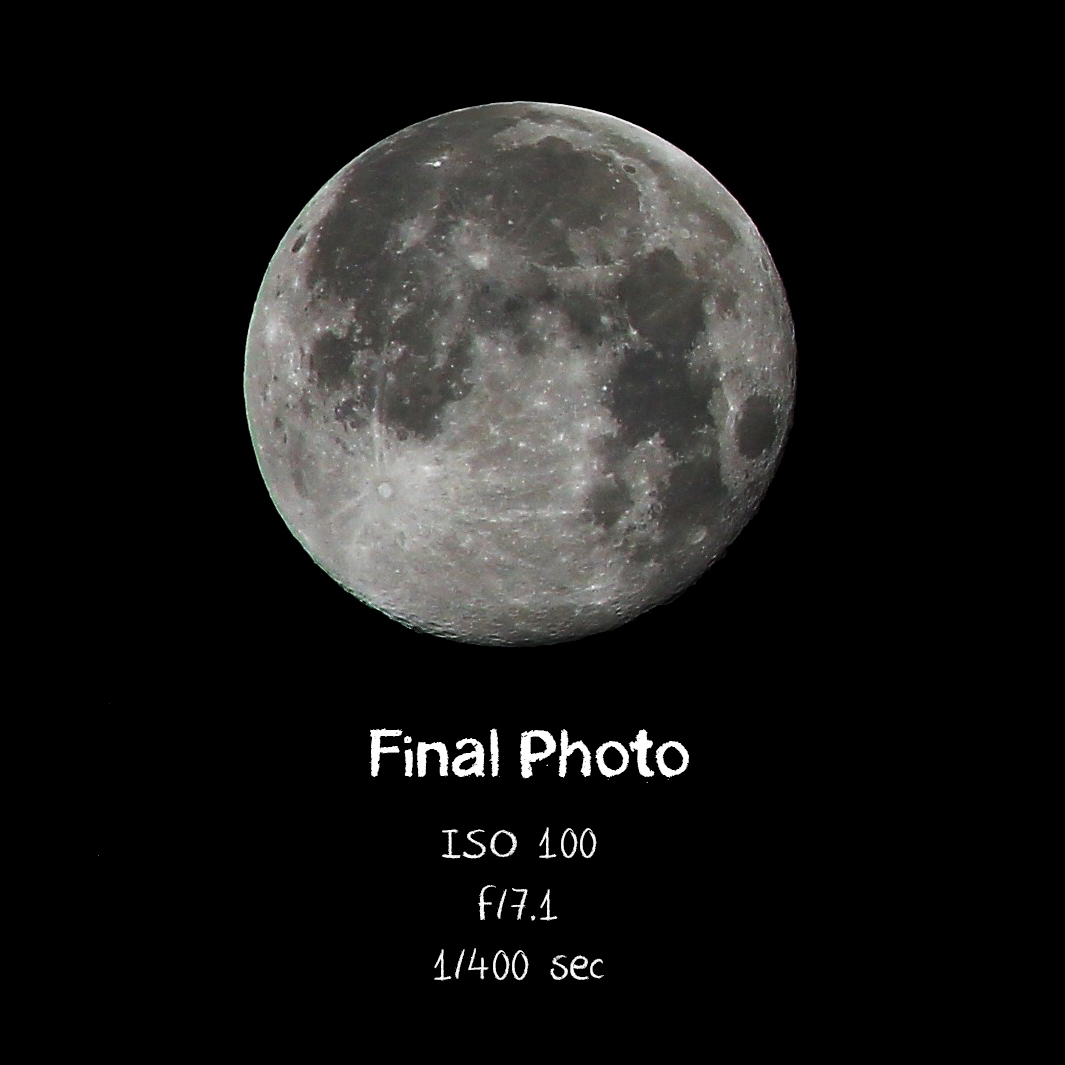
Moon photography usually doesn't require a high ISO. A full moon will photograph beautifully at ISO 100.
For other waxing and waning phases of the moon, experiment with ISO from ISO 100 to ISO 400 and see which gives the best results.
Aperture-
The ideal aperture for a full moon is f/8.
For other phases, try a higher aperture (low f-stop number).
Exposure-
Contrary to popular belief, you don't need a slow shutter speed to allow more light to enter the camera. There's enough light coming as is. Since the moon actually moves pretty fast in the sky (2,288 m/h or 3,683 km/h), we need a fast shutter speed. This can be between 1/125 to 1/800 depending on the moon phase.
I usually also underexpose the photos by a few stops to get better clarity.
Metering-
We need the camera to only focus on the light from the moon and not the whole scenery, hence always use 'Spot Metering' to expose your image correctly. This setting exposes the image based on light data from that one specific spot and not the whole scenery.
Also, shoot photos in RAW format, so that we'll be able to extract more information from them while editing.
Let the Photography Begin!
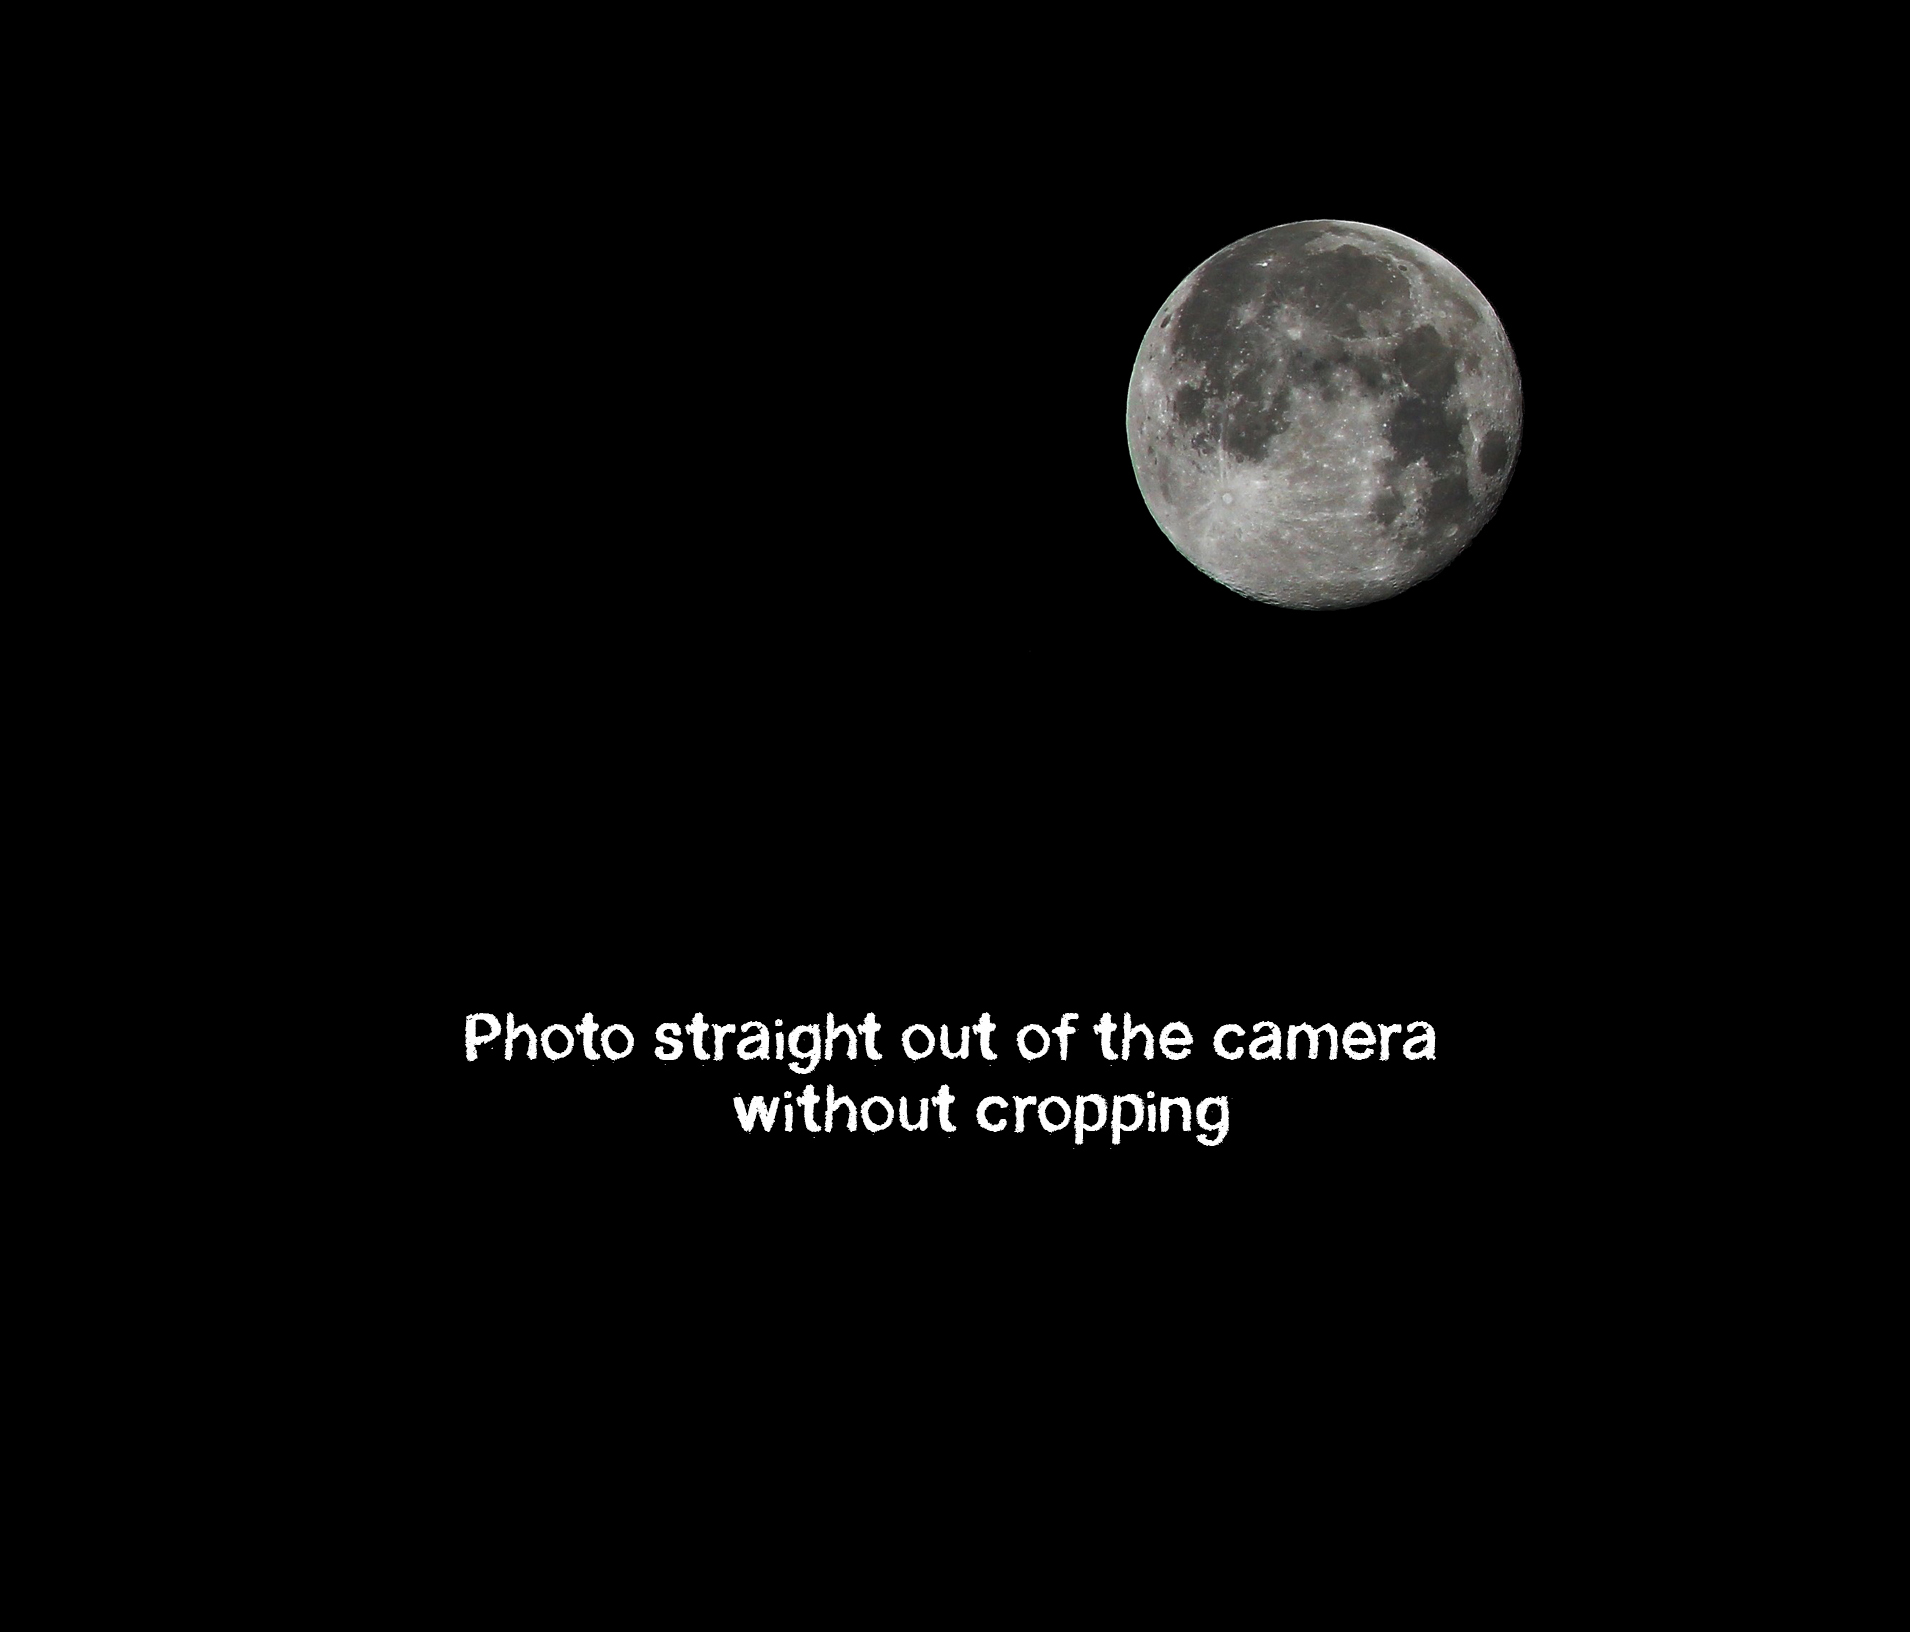
If you have a tripod, attach your camera to it and focus on the moon.
FOCUSING on the Moon-
It's best to switch on the 'Live View' Mode on your display screen to get the best framing.
Zoom in as much as possible on the moon.Then using the digital zoom feature (magnifying glass button), zoom in 5x or 10x on the moon and half-press your trigger button to auto-focus on the moon.
If you want crisper photos and better results, switch off the AF (auto-focus) on your lens and manually focus on the moon. Once you've got clear focus, use a remote trigger OR switch on the self timer to 5/10 secs to remove any camera shake and start taking photos!
I also sometimes switch-off the 'Image Stabilisation' setting on my lens to get a slightly crisper photo.
Best settings for handheld shooting-
ISO 200
Aperture f/8
Exposure 1/640
You'll get beautiful photos even when handheld, a tripod is not at all essential.
Keep playing with the settings till you get your desired photo!
Don't worry if a photo doesn't look so good in the camera, we'll be cropping and editing it to get the best results.
Editing and Compositing a Moon Photo
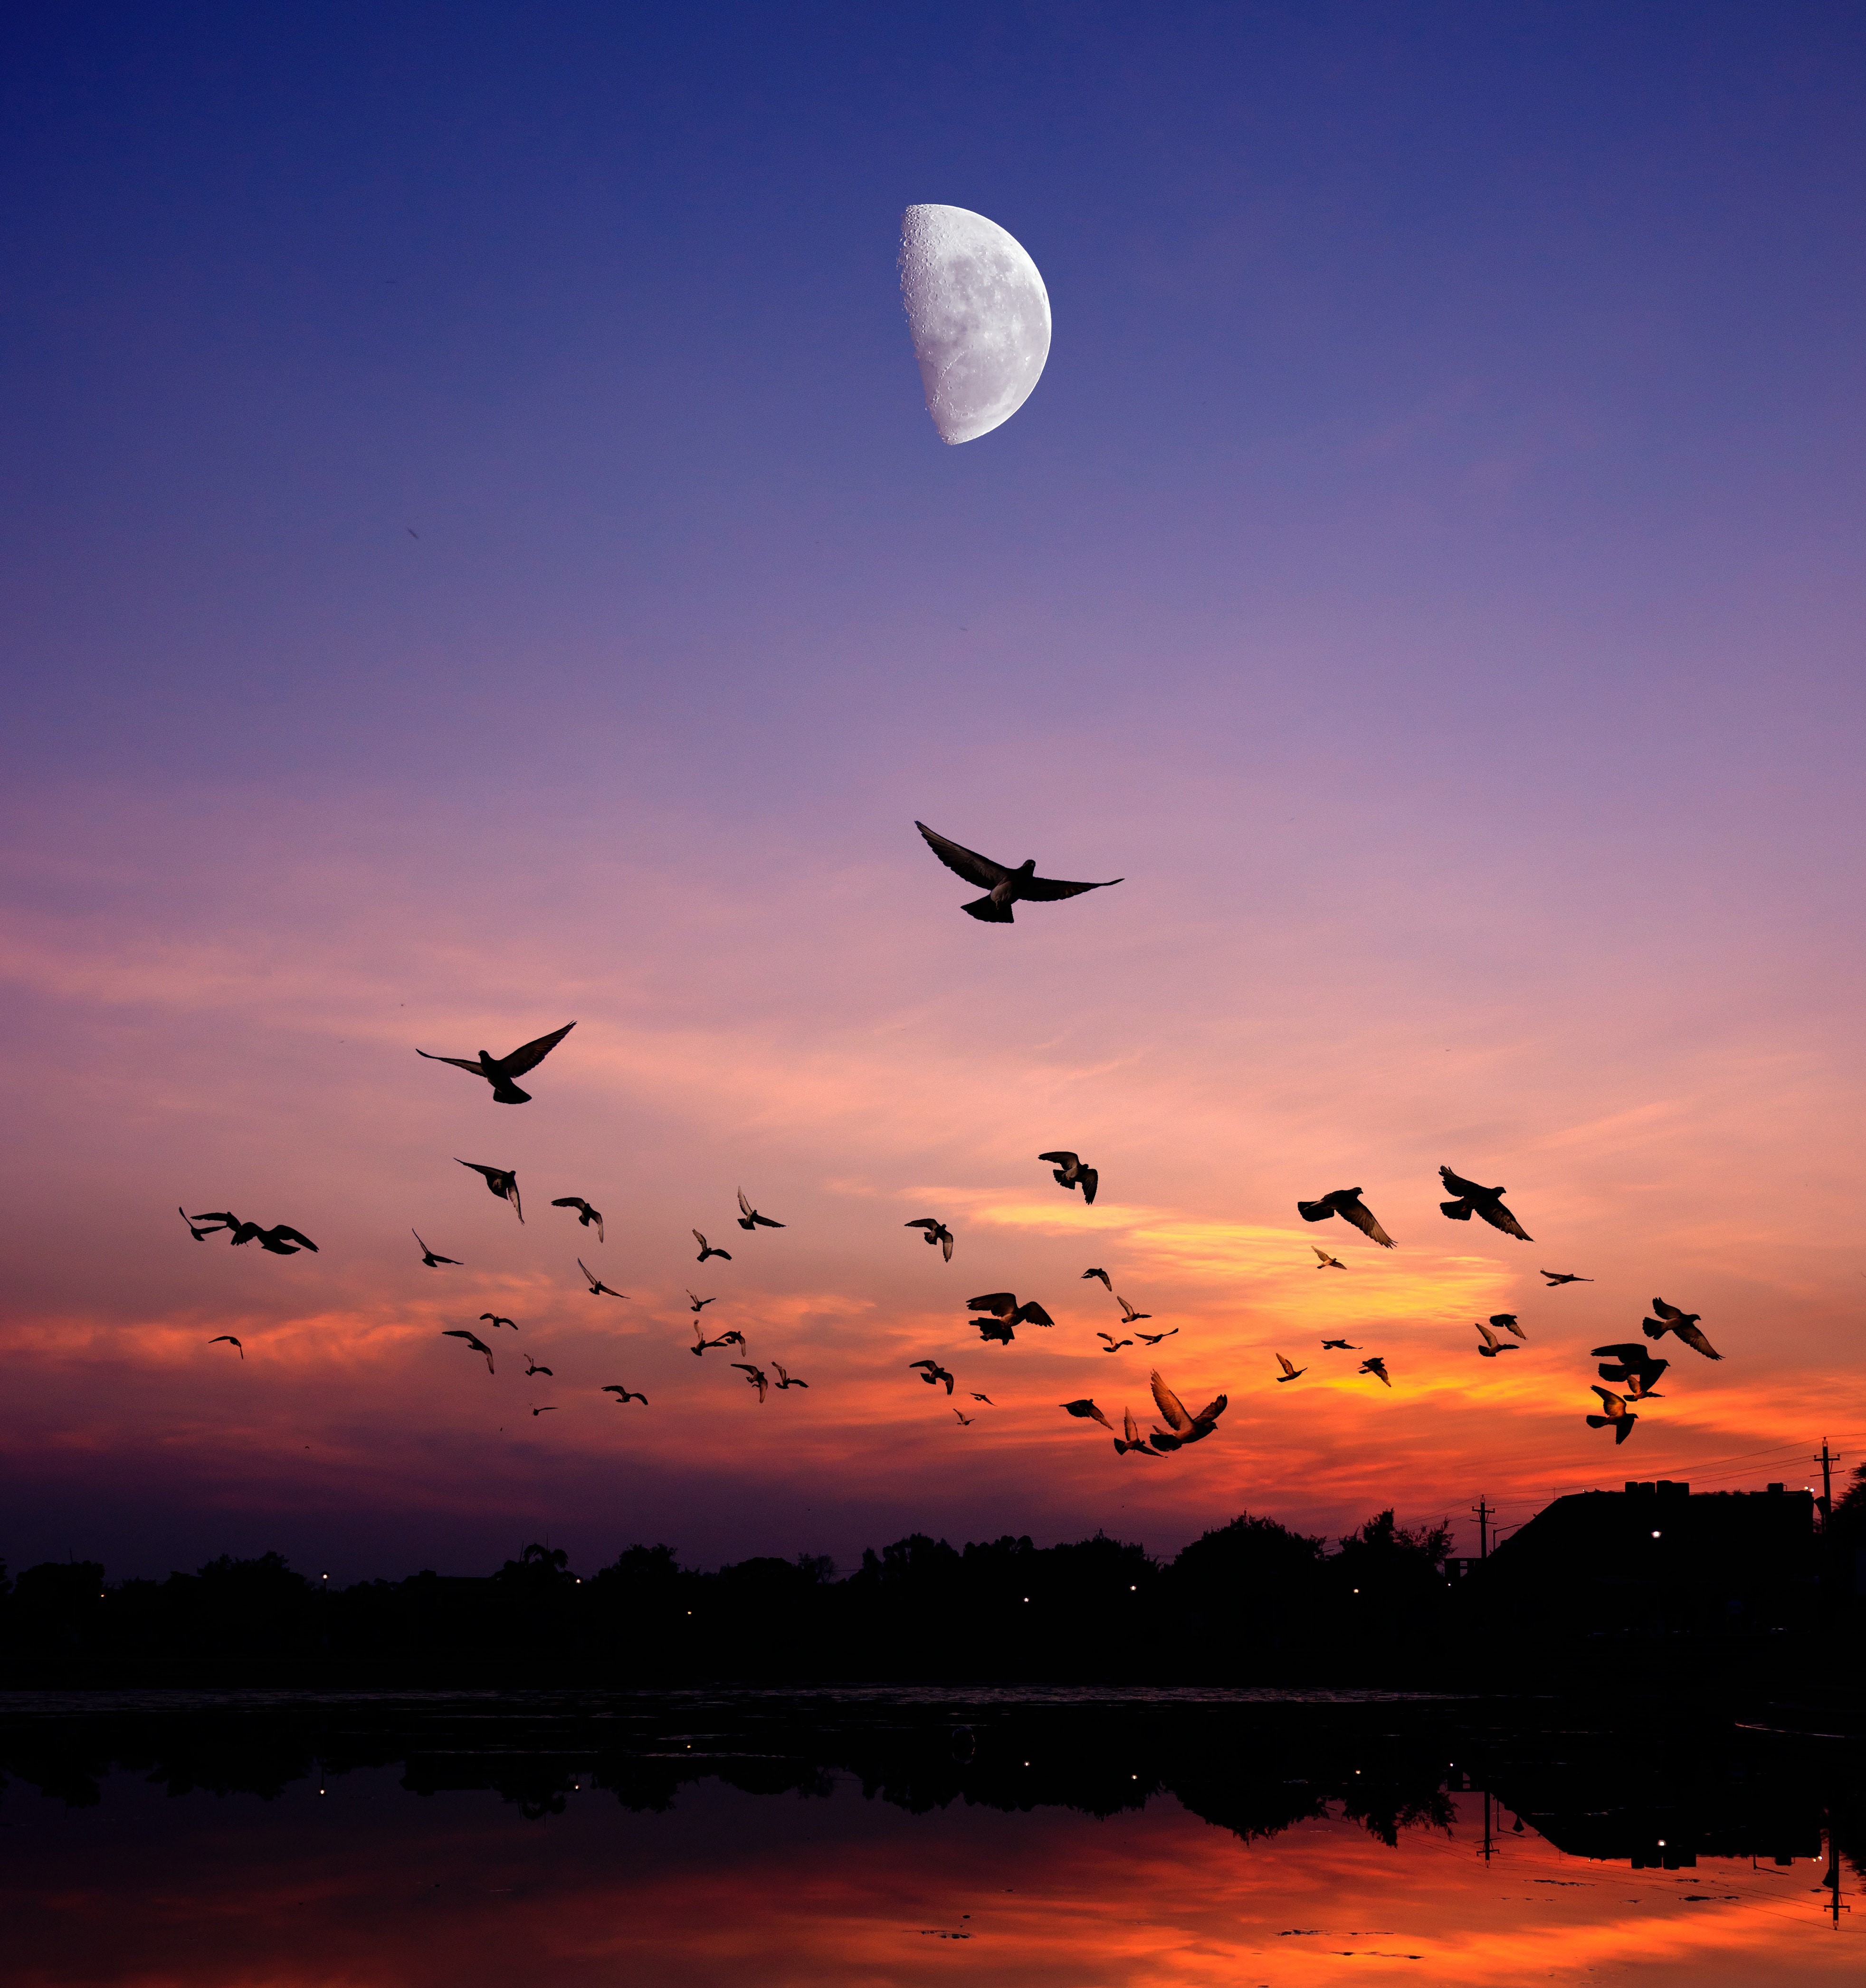.jpg)
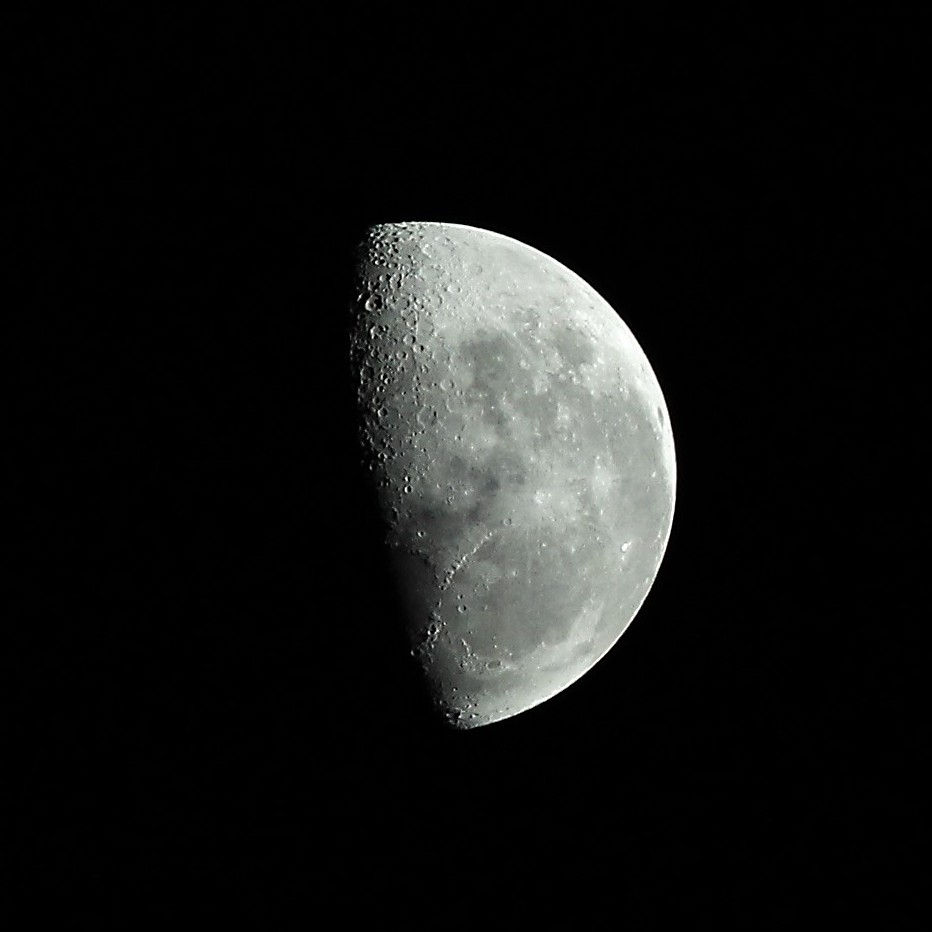
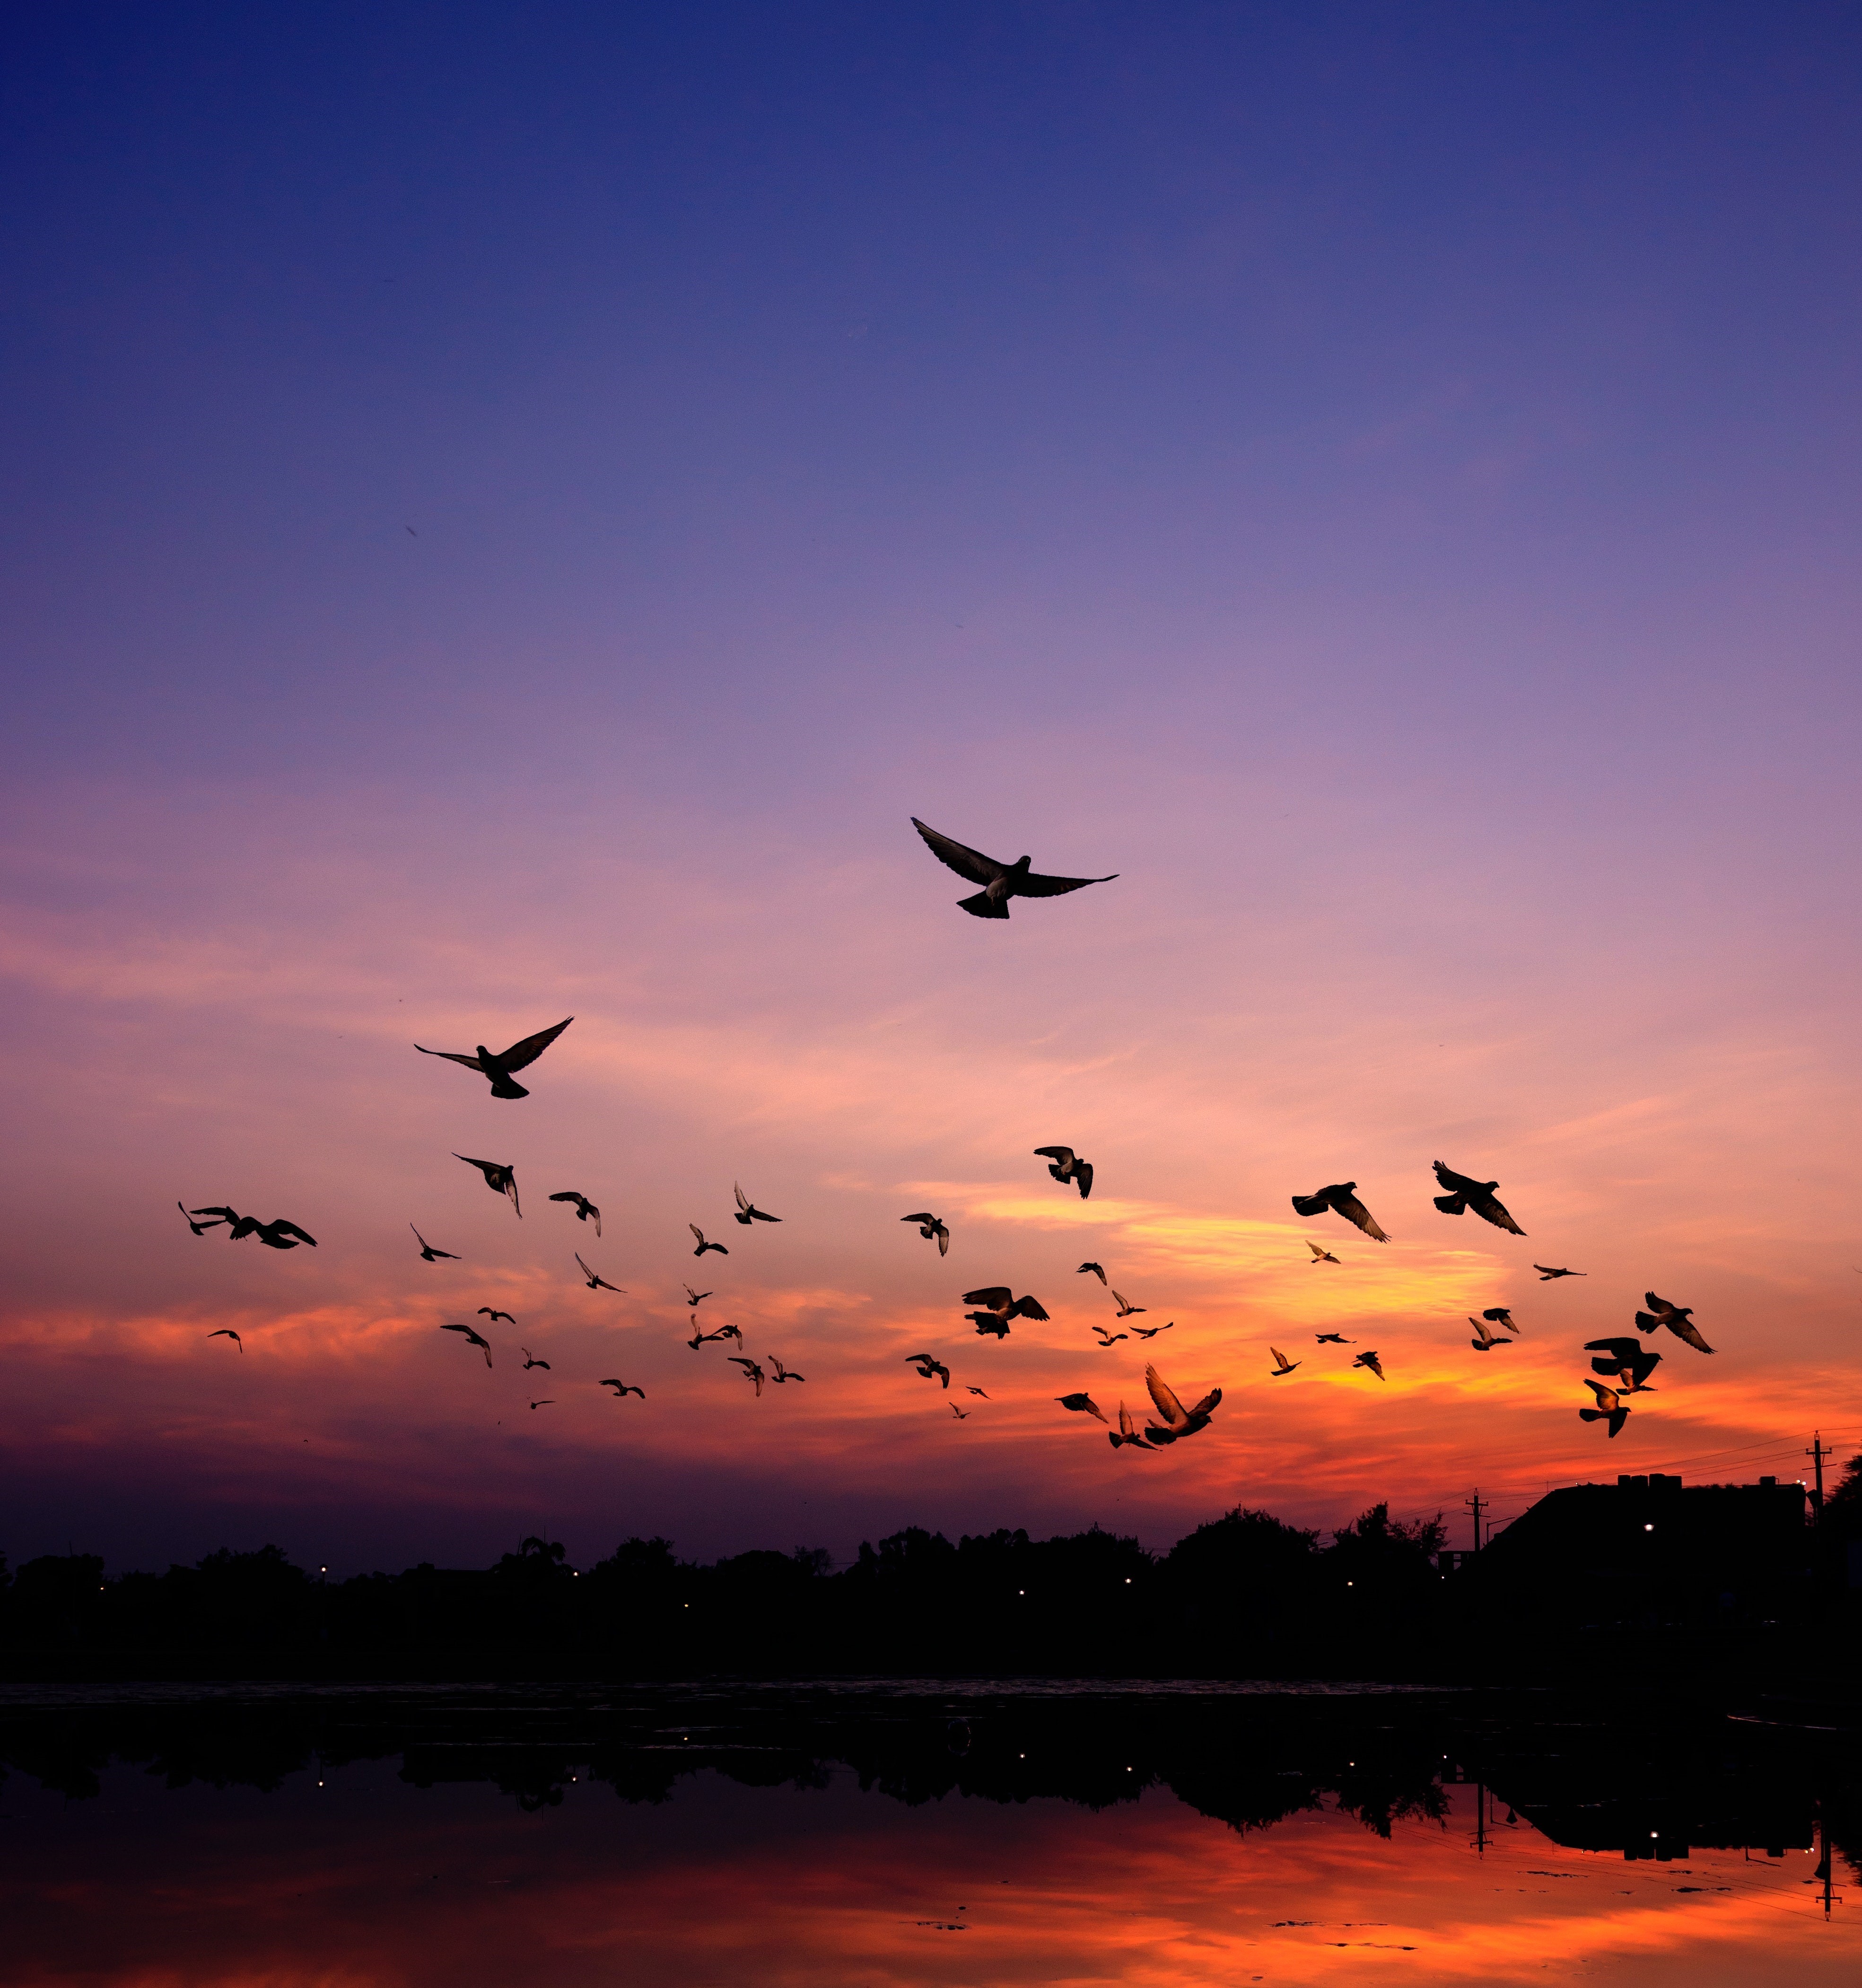.jpg)
After transferring the photos to my computer, the first step I do is crop the photos to get the moon at the centre to show off all it's glory! At this point most photos are beautiful enough and can be saved. However, I like to edit them a little bit.
My usual minimal editing workflow -
- fix lens distortion of the photo by ticking the 'enable lens correction' box
- Adjust exposure slider to preferred level
- Increase the contrast and sharpness
Now your photo is ready and can be published everywhere!
HOW TO MAKE A SIMPLE COMPOSITE MOON PHOTO-
As we discussed earlier, due to the wide dynamic range it isn't possible for us to take a crystal clear photograph of the moon and the entire landscape in the foreground too. To get such a photo, we'll have to cheat a little bit and make a composite photo out of two different photos; one of the moon and one of the landscape.
(I've attached 2 files for you all to practice compositing. A landscape photo by Kunal Baroth from Pexels and a moon photograph I took. These are sample images, just for practising easy compositing.).
I use Adobe Photoshop but you can use any photo editing software. (eg. GIMP- free and amazing)
BASIC STEPS-
- Open the photo editing tool and open the moon in the dark sky image. Using the lasso tool or the magic wand tool select the moon and copy it to the clipboard.
- Next, open the landscape photo and paste the moon there and move it into your preferred position.
- Next, change the blend mode to 'Lighten' to remove any remaining black sky. If it's a waxing/ waning moon, use the magic wand tool to remove any contiguous black sky, then instead of 'Lighten', change the blend mode to 'Screen' and reduce the opacity of the layer by a little bit.
- There are more advanced steps like adding a colour overlay and selectively making more adjustments, but honestly, most of them are not needed routinely.
This is my first ever instructable, and if you liked this simple guide on photographing the moon, please do vote for it in the 'Space Challenge'.
And please do share your moon photos here after you've clicked em!