Monogrammed Cheeseboard
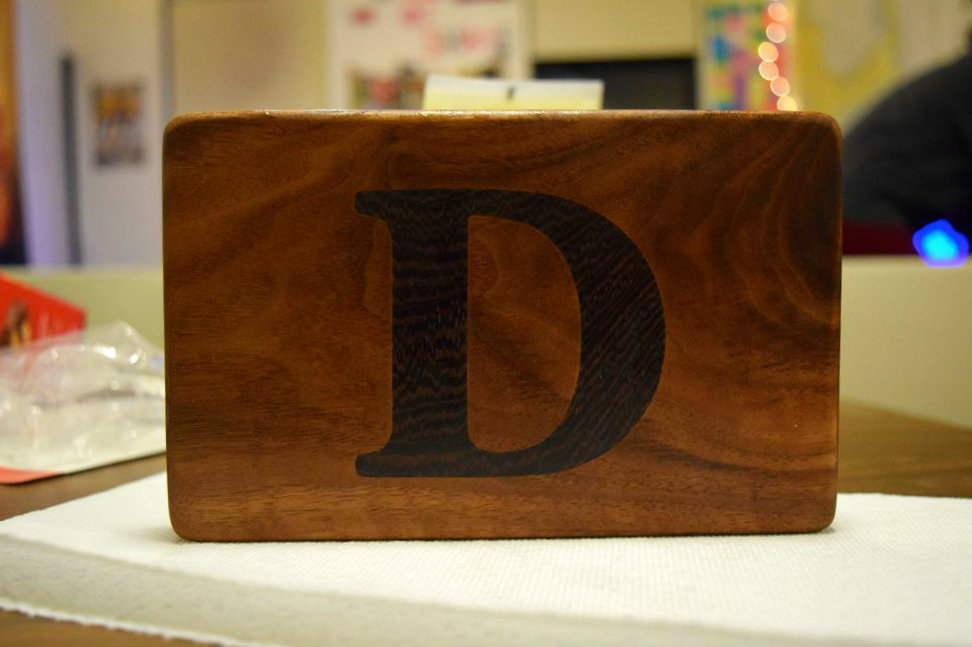
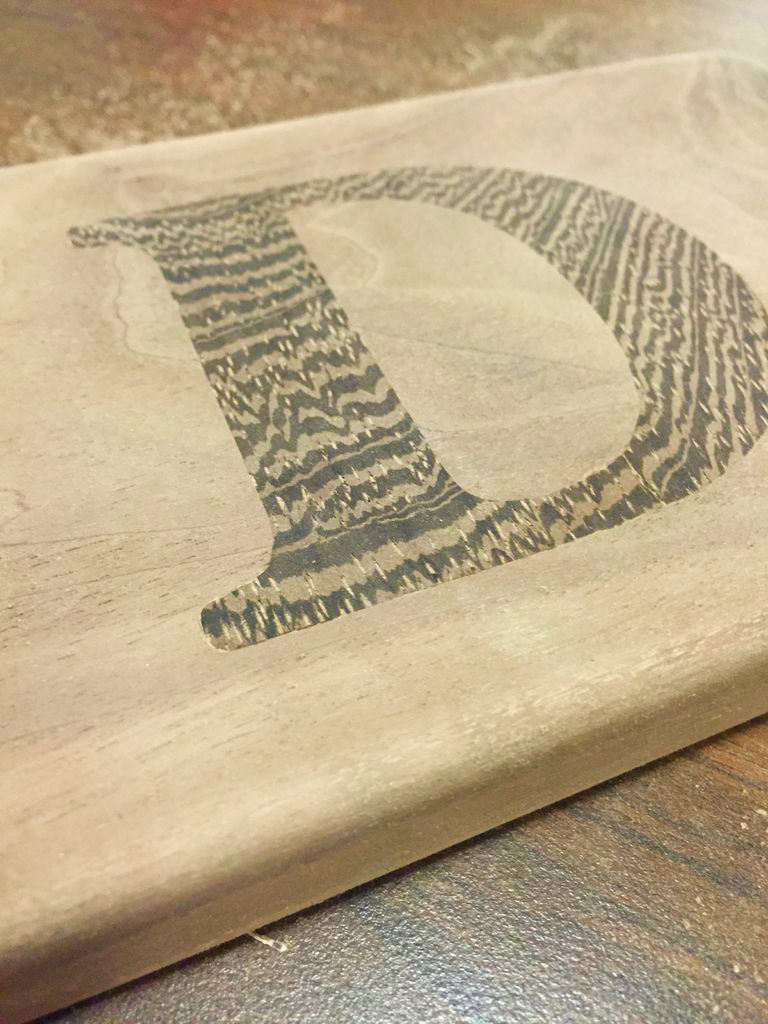
For a long time I have wanted to work more with inlays. An inlay is a decorative process in which you insert a material of contrasting color into another material to create a design. Chances are you see this decoration all around you in guitar necks, chessboards, artwork, and maybe even the floor of your house!
About five years ago I was introduced to this method when constructing a ukulele. My grandpa and I decorated the fretboard, and outlined the sound hole with mother-of-pearl. It turned out beautifully! I've been drawn to this method ever since.
In this instructable you will:
- learn how to approach an inlay project
- design an inlay
- learn to use a CNC mill as an aid
- use woodworking skills
- have fun!
Materials
The Materials you will need to complete this project include:
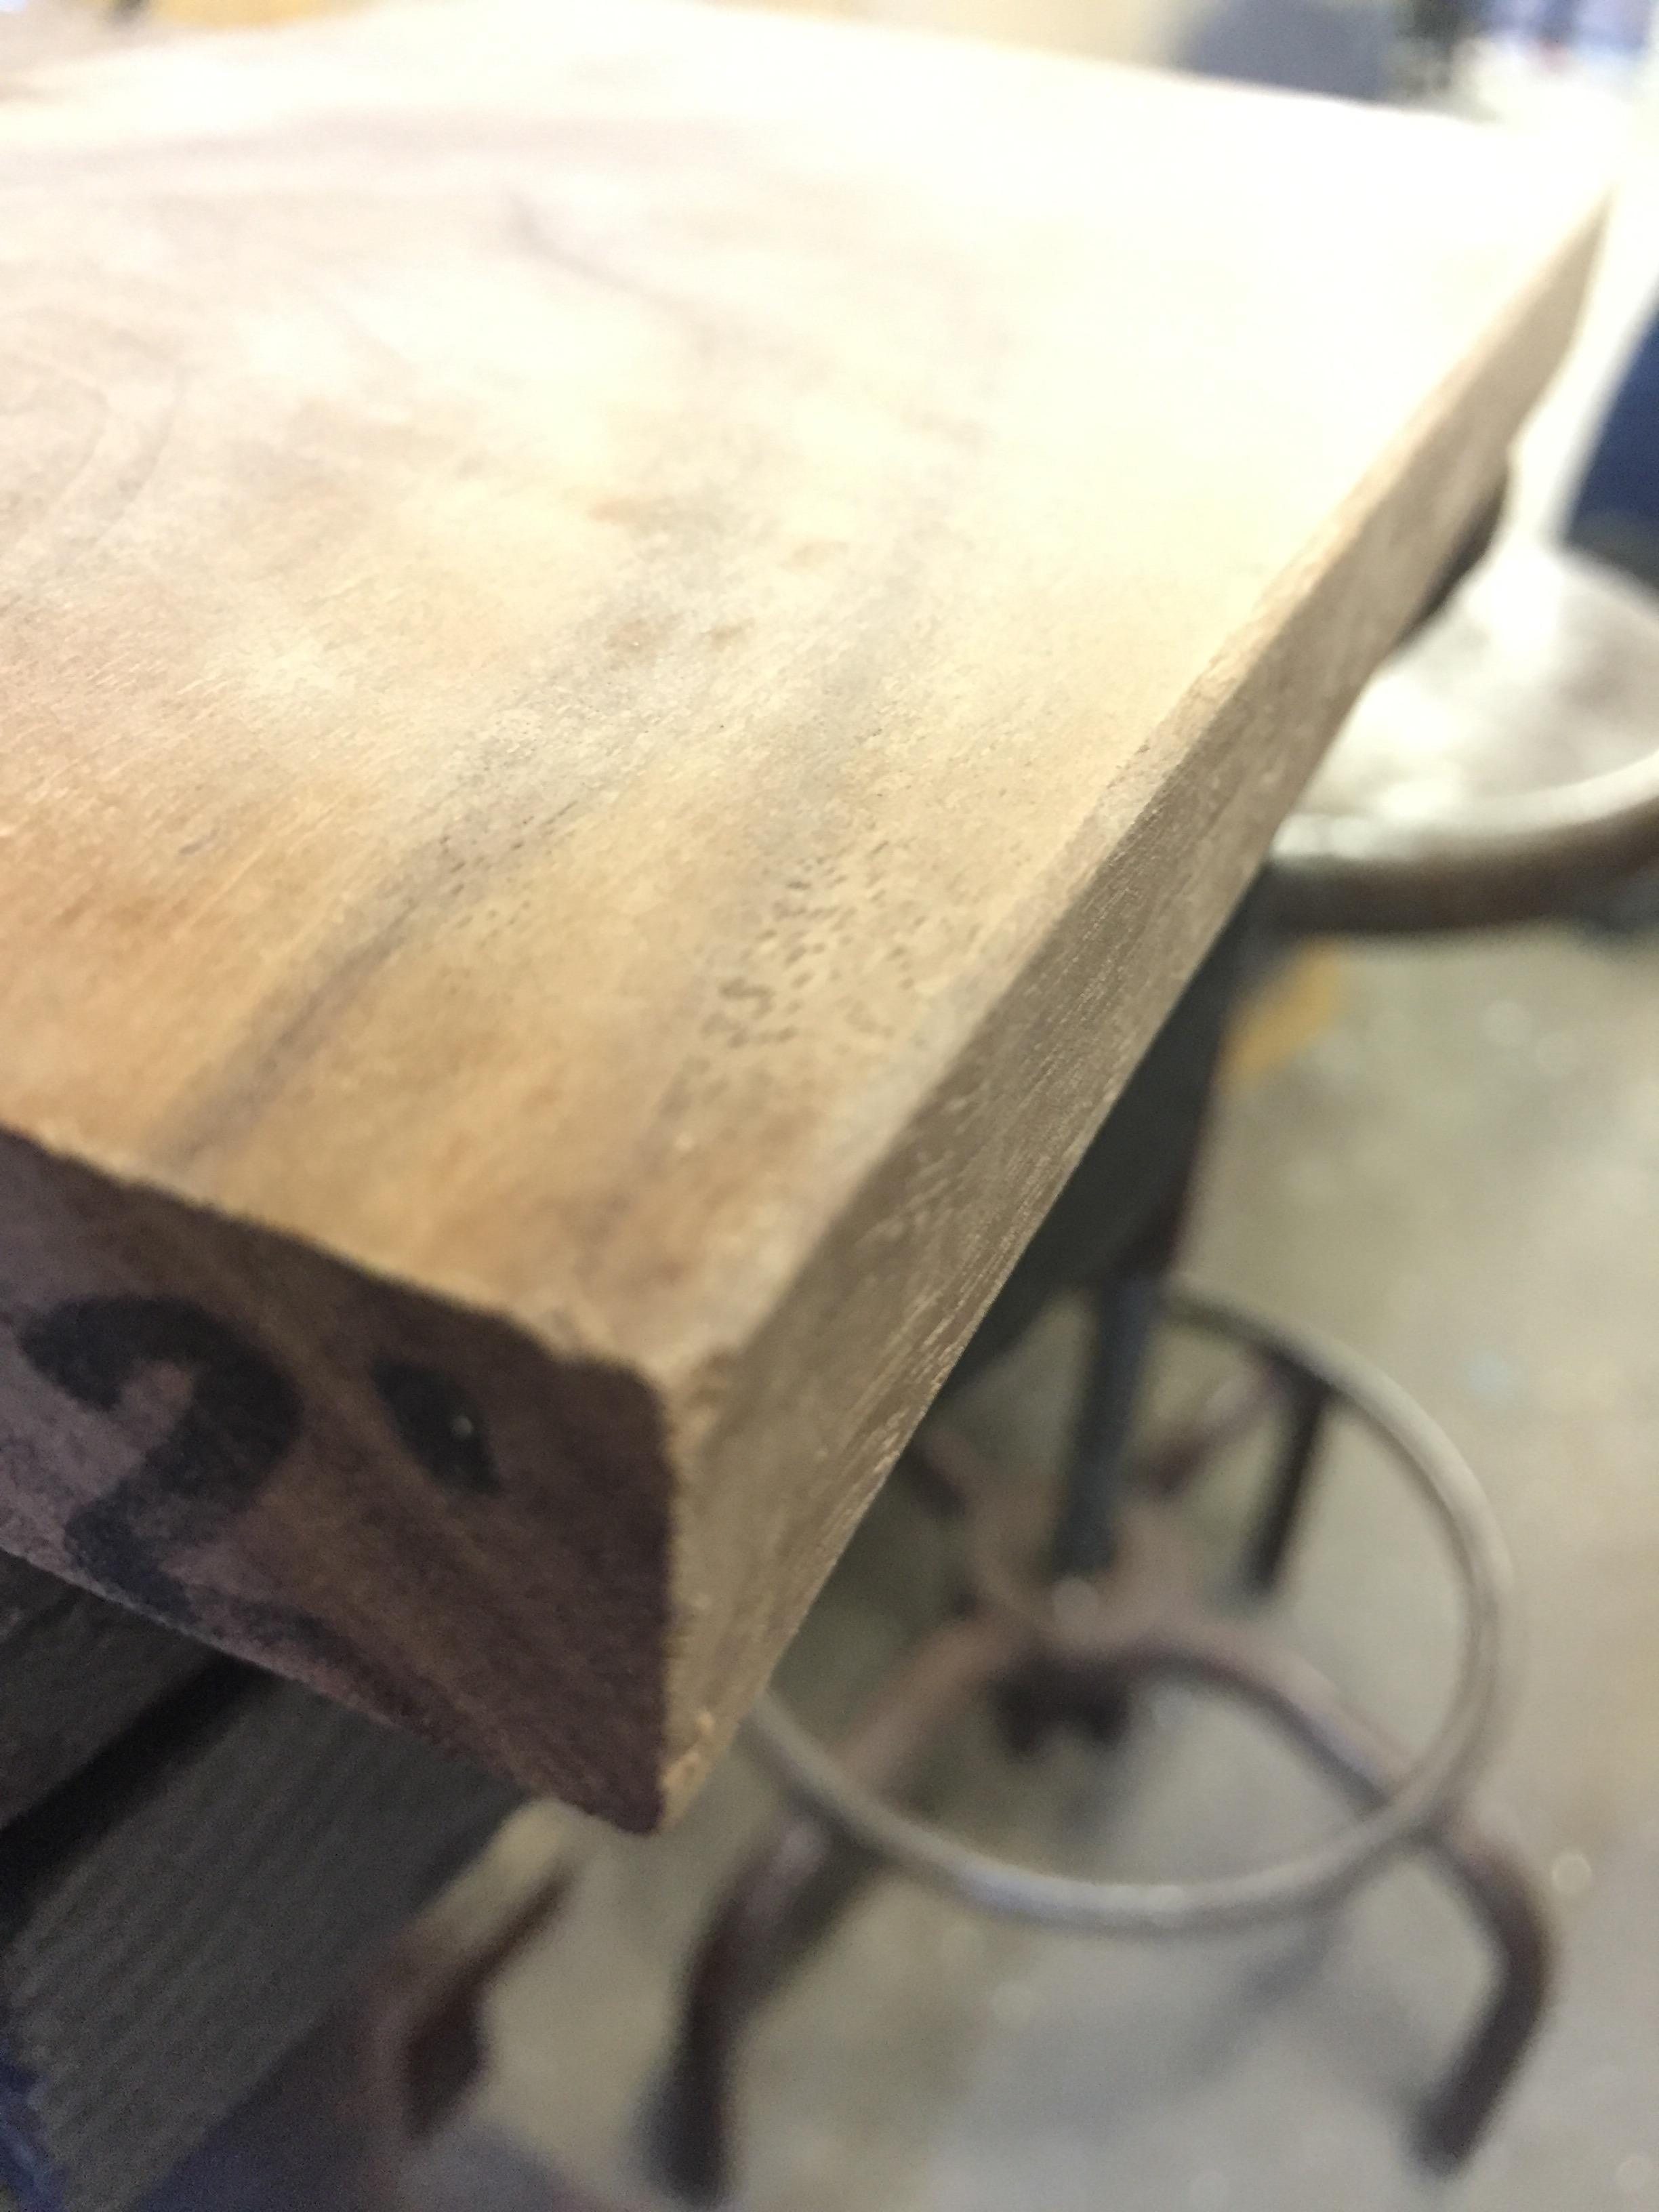
- a blank of wood for the main body of the board (I used a piece of walnut that was 7" x 4.5" x .75"). This is a really good opportunity to use up some of those scraps you've been stockpiling, or use some reclaimed wood as long as the grain is tight.
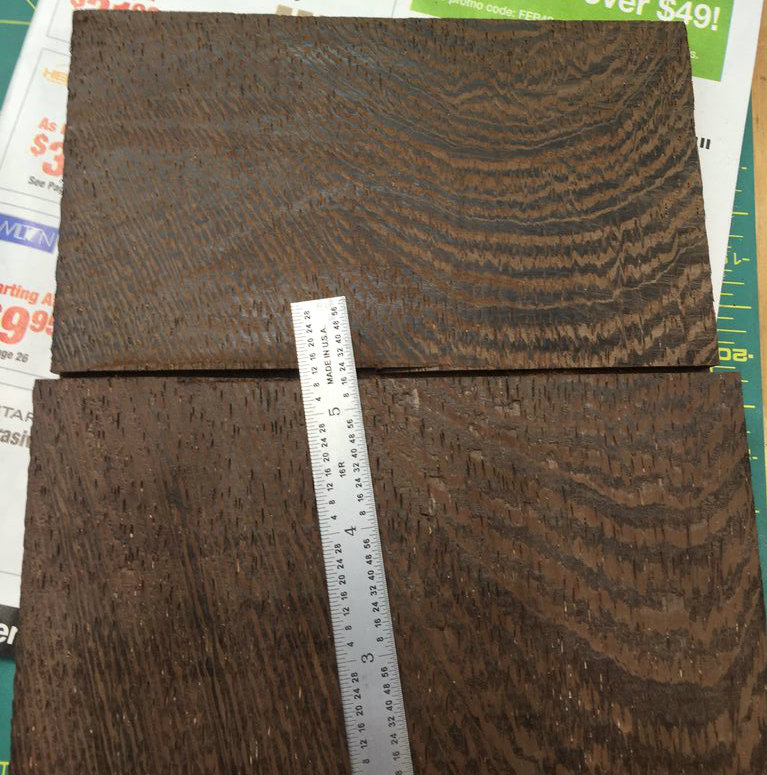
- A thin (1/16" - 1/8") piece of contrasting wood
- Wood glue
- Something to finish your board with. It's common to use mineral oil, or a cutting board wax. Just make sure that you remember that this project is aimed towards food, so anything you put on the board needs to be safe in that respect. I used John Boos Butcher Block Board Cream and was very happy with the results.
Tools:
The only required tools are something to route with (such as a dremel), and a saw. I happen to know someone who has a CNC mill and they were nice enough to let me come into their shop to use it. However if you don't have access to this equipment, don't fret! Any sort of router will do, it just means slower, more delicate work. We can talk about how to adjust this step in the process later to fit the tools that you have on hand. With this in mind, here are the tools it took me to complete this project
Tools:
- CNC Mill (or routing tool)
- Saw
- Palm Sander
Choosing Your Wood
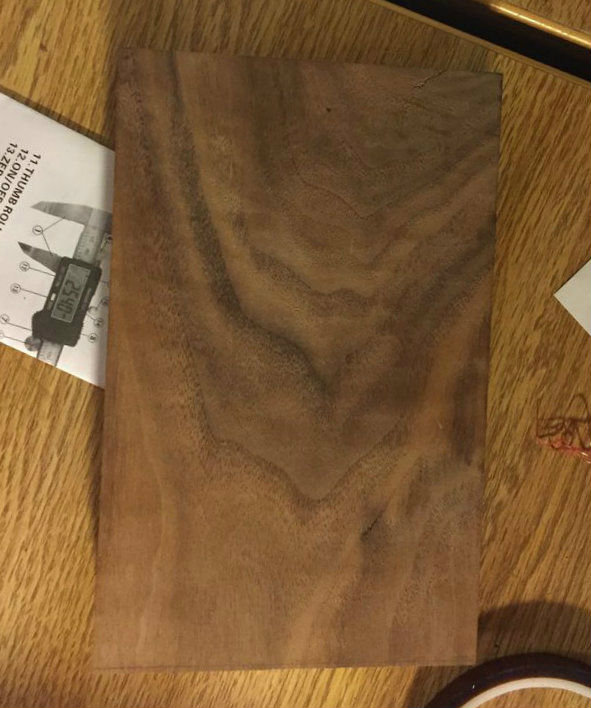
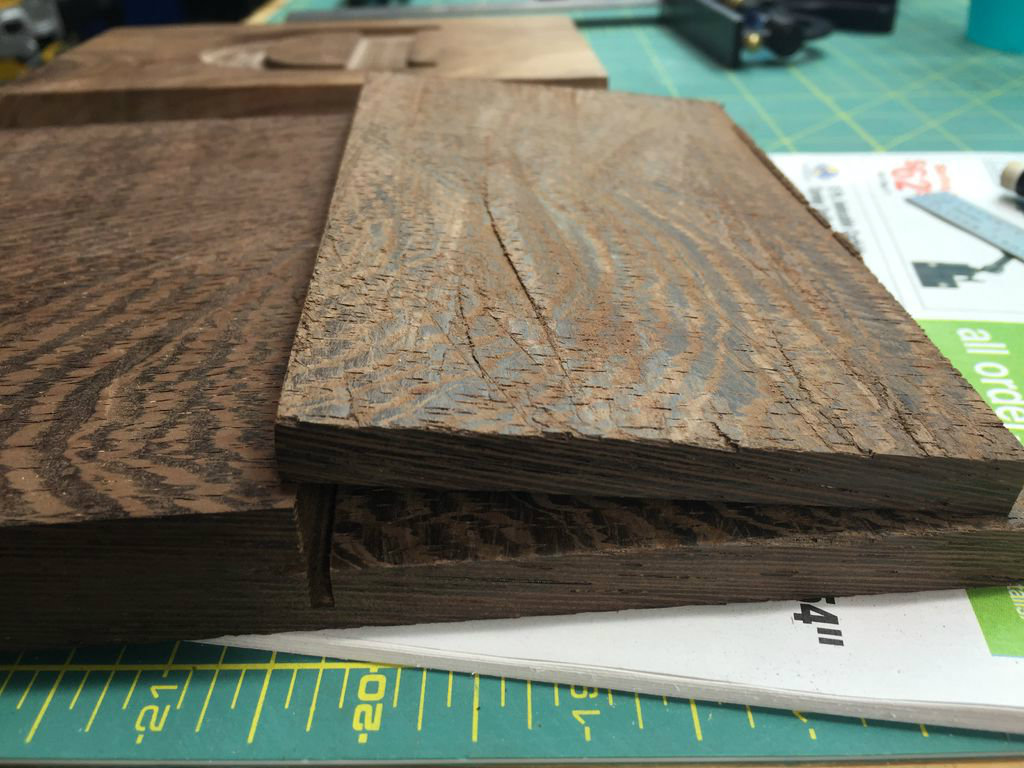
When making regular cutting boards there is an art to choosing wood. You'll hear the words "end grain butcher blocks" thrown a lot around the internet, and this is why:
When you use the end grain of a piece of wood (the fibers are at the surface of the board), it allows the wood to open up and accept the knife better. You wouldn't think this would be good, however it lets the wood form back together and heal. This is also better for you knife! This is a more time-consuming process, involving cutting the board into small strips and gluing them side to side to reveal the end grain on the top and bottom.
When you use the edge grain of a piece of wood (the fibers run along the surface of the board), it means that you are actually cutting the wood, and it isn't able to heal as well because the grain has been severed. This also means that not only are you cutting the food, you are also cutting the board. These boards don't last as long, but are much faster to make and usually are more cost efficient.
Because I am making a small cheeseboard with minimal cutting in mind, I decided to go with the edge grain cutting board. This way I can also show off the beautiful grain of the Walnut.
When you are choosing the type of wood that you want to make your cutting board out of, I would first suggest reading this page!
http://www.cuttingboard.com/blog/why-some-woods-ar...
The author nicely outlines the best types of wood to use in a cutting board, but I will summarize the main things you need to keep in mind
- Hardness
- Tightness of grain
- Toxicity/allergies
Keeping these three things in mind, select your wood! I first looked for scrap wood that I could get for free or cheap, and happened upon a great piece of walnut! I then went about finding the wood that I wanted to be the monogrammed letter. I knew that I wanted something dark that would show up well, and looked a lot of places to find the right wood. I ended up going to a nearby lumber store where they had a wide variety of exotic woods. I talked to one of the workers there and they directed me towards wenge, a very dark and hard wood with a distinct grain. Also, because I only needed a very small piece, they let me have it for free!
Now that I had my wood, I began the design process.
Let's Begin
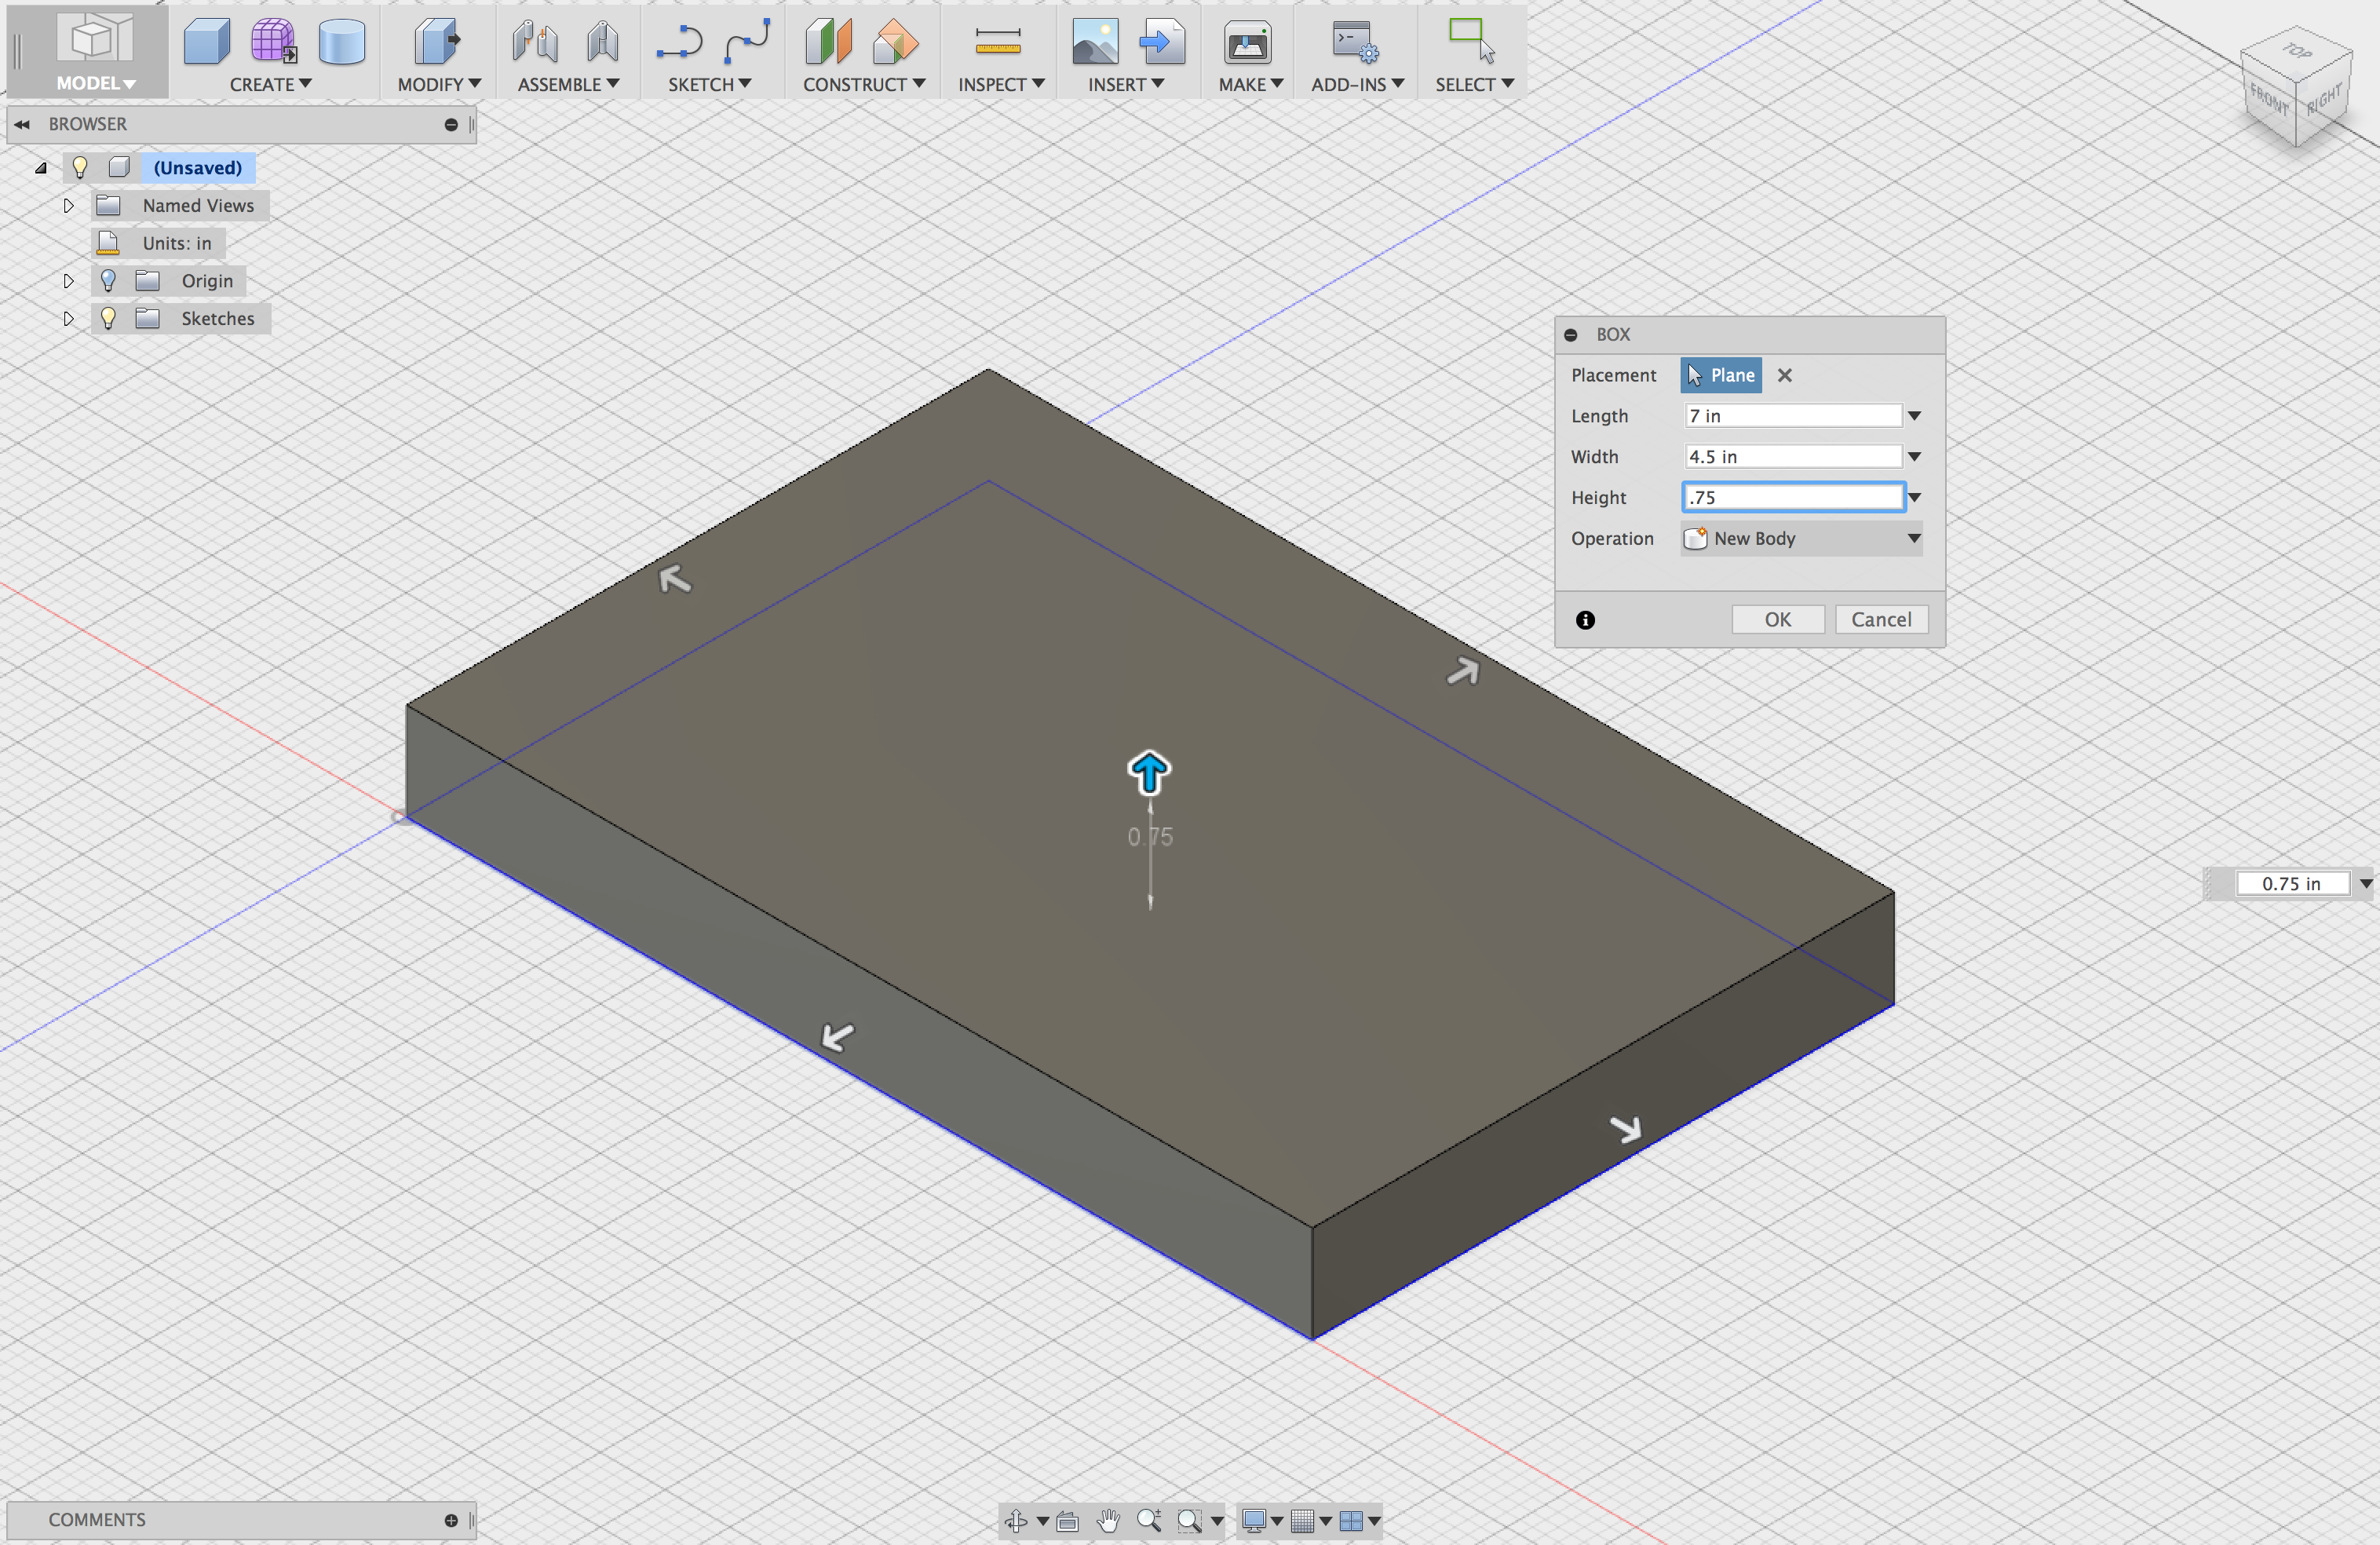
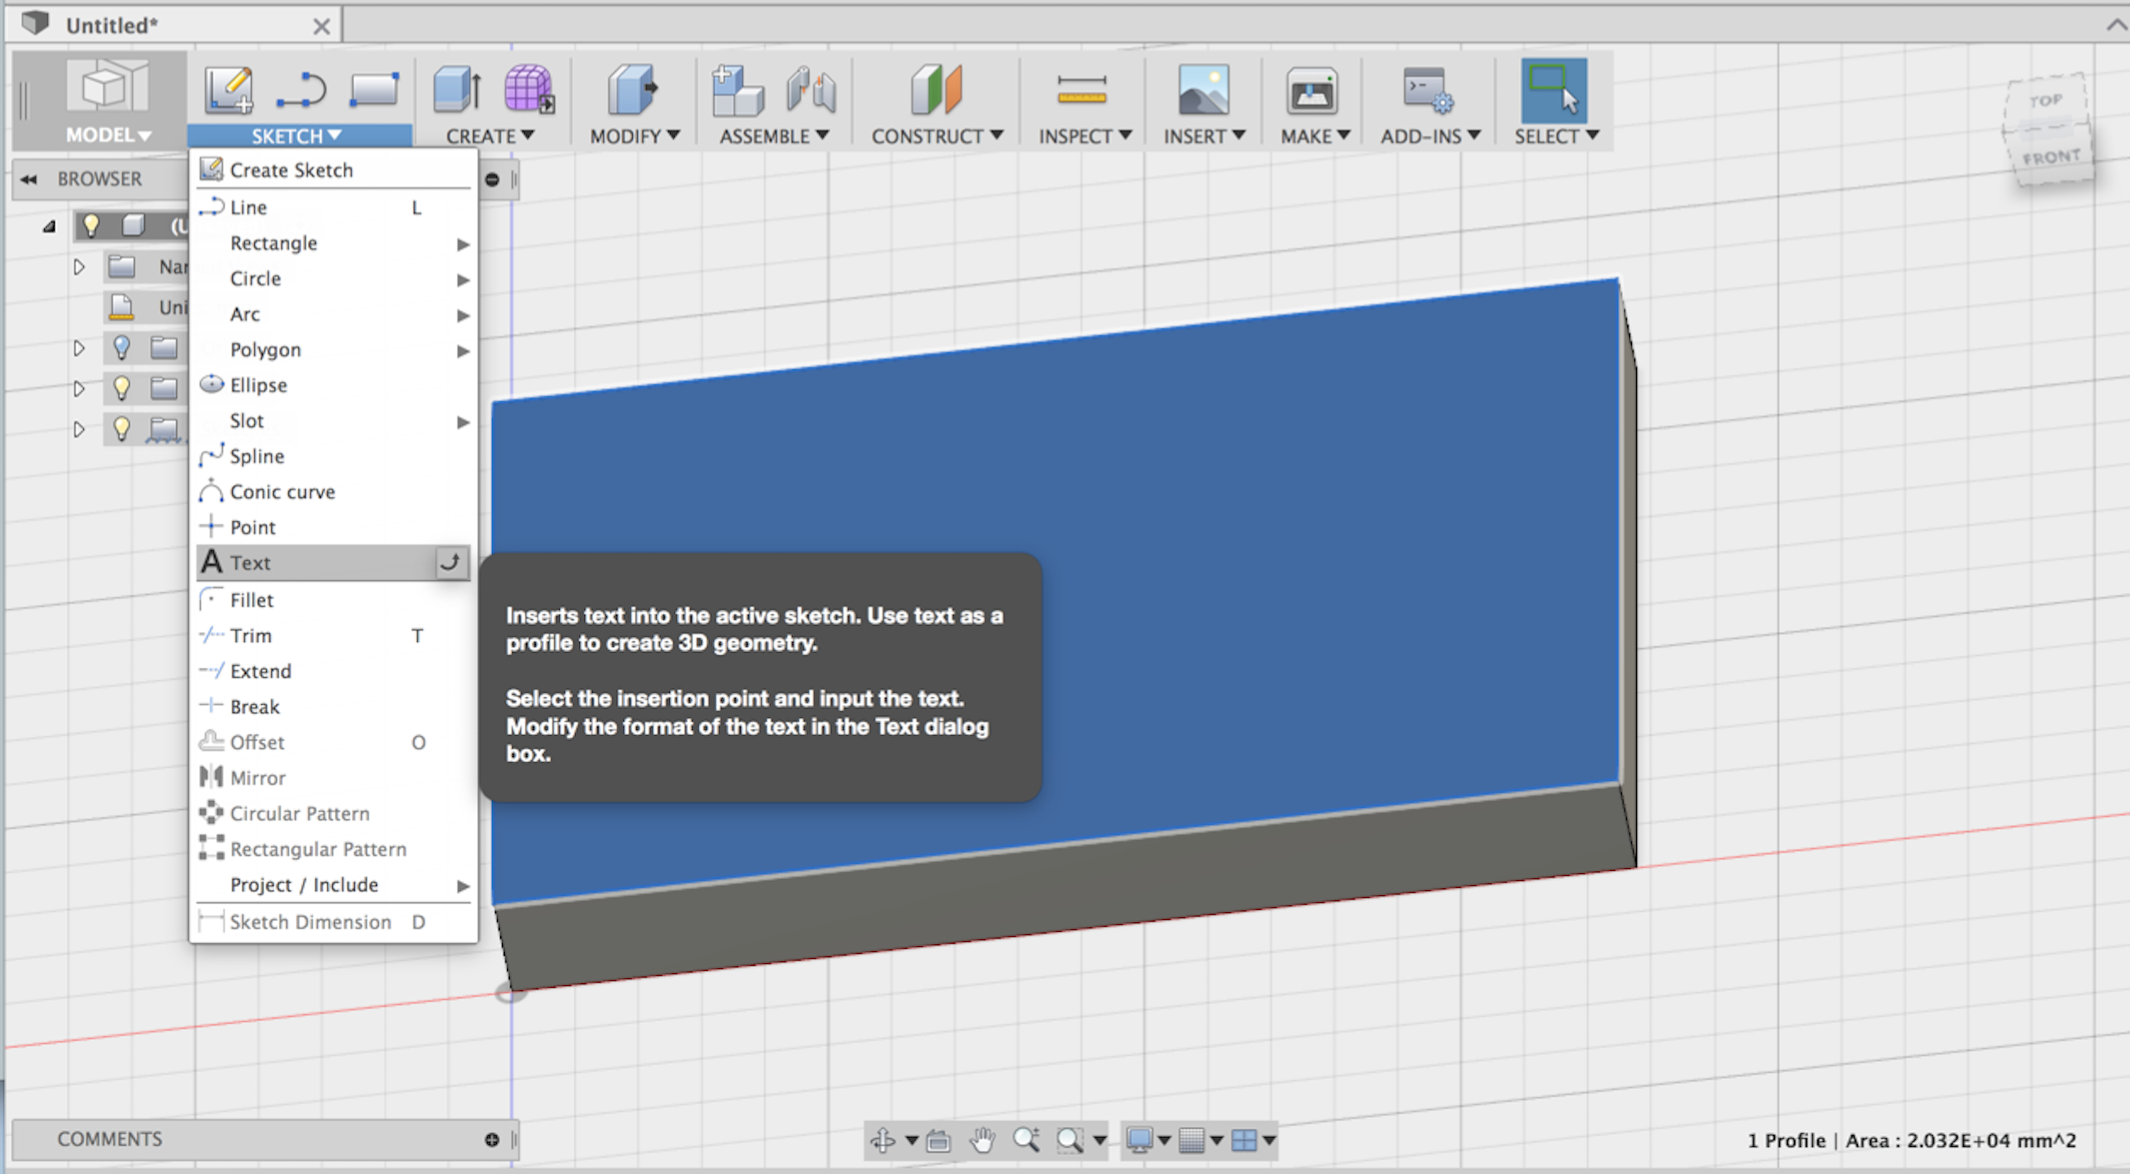
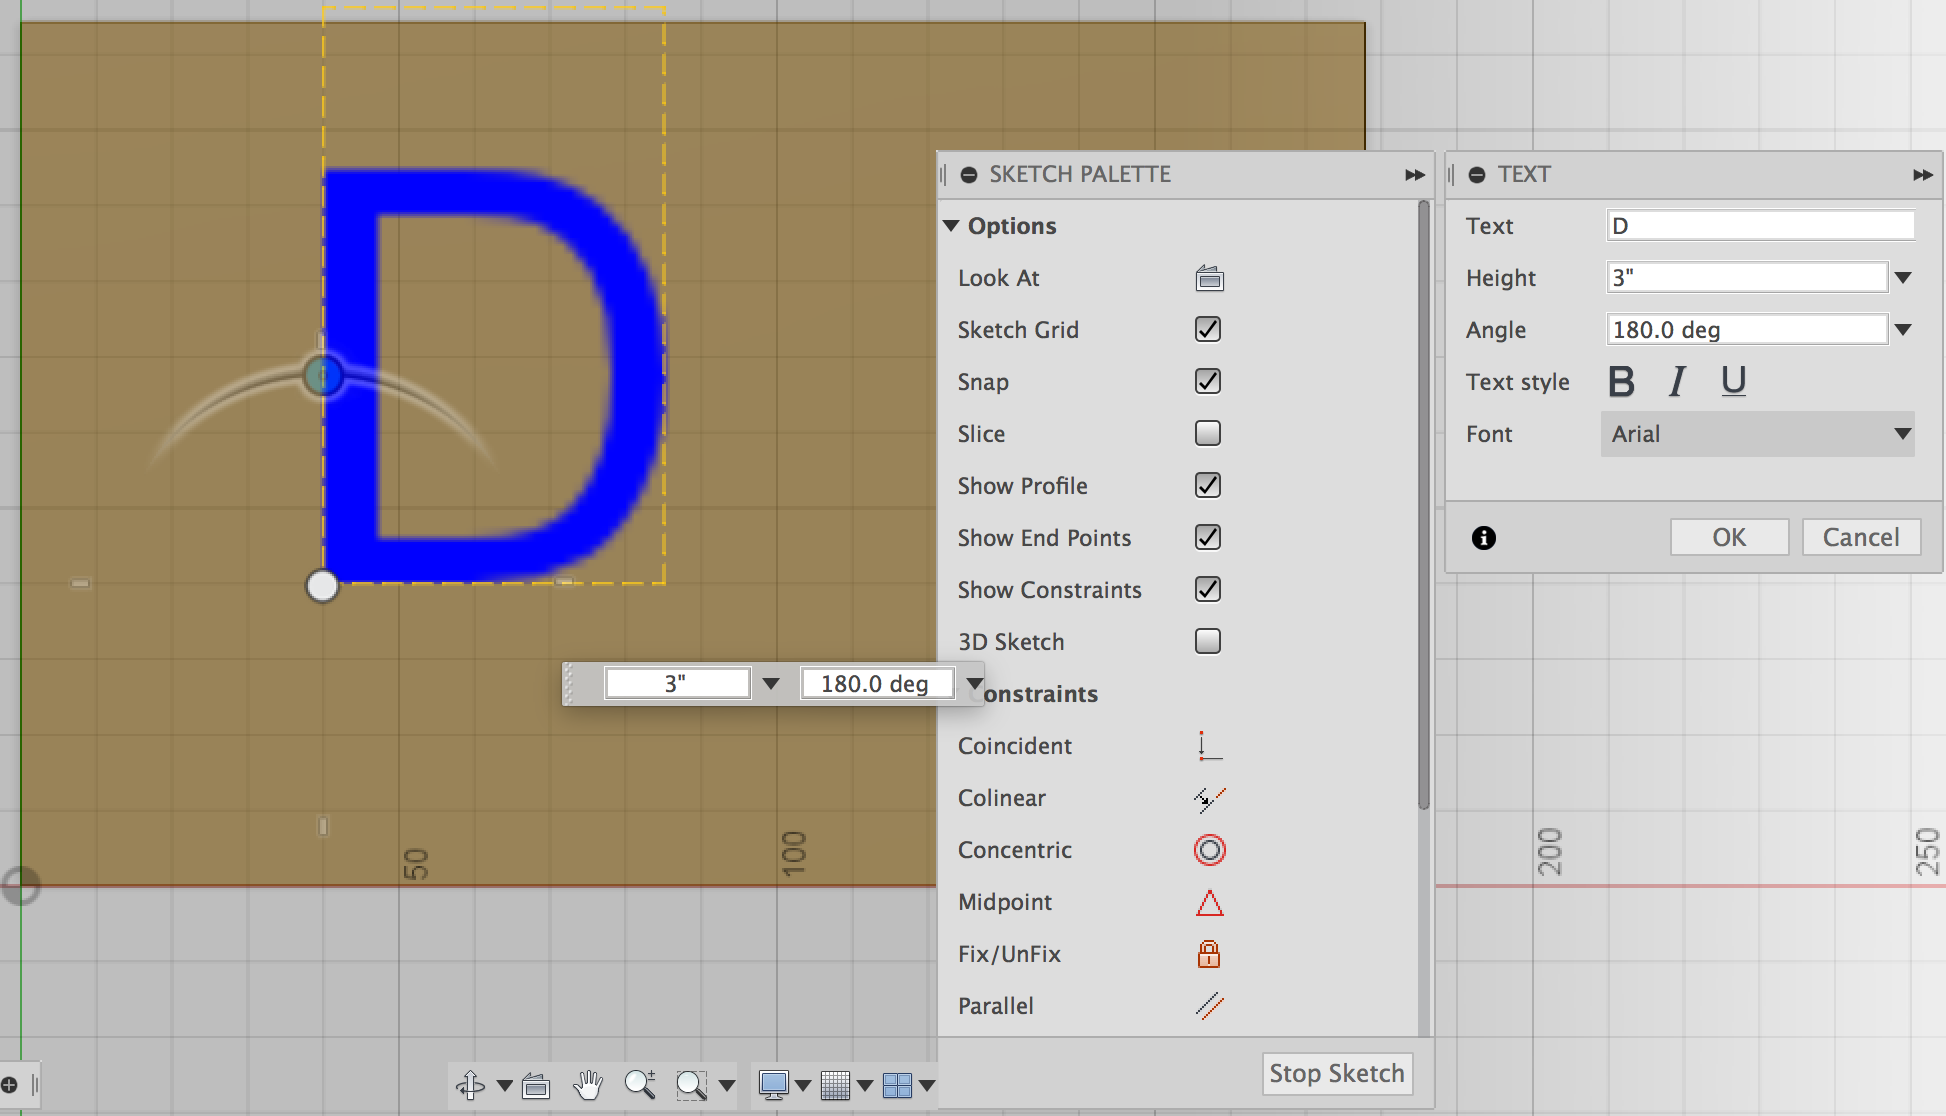
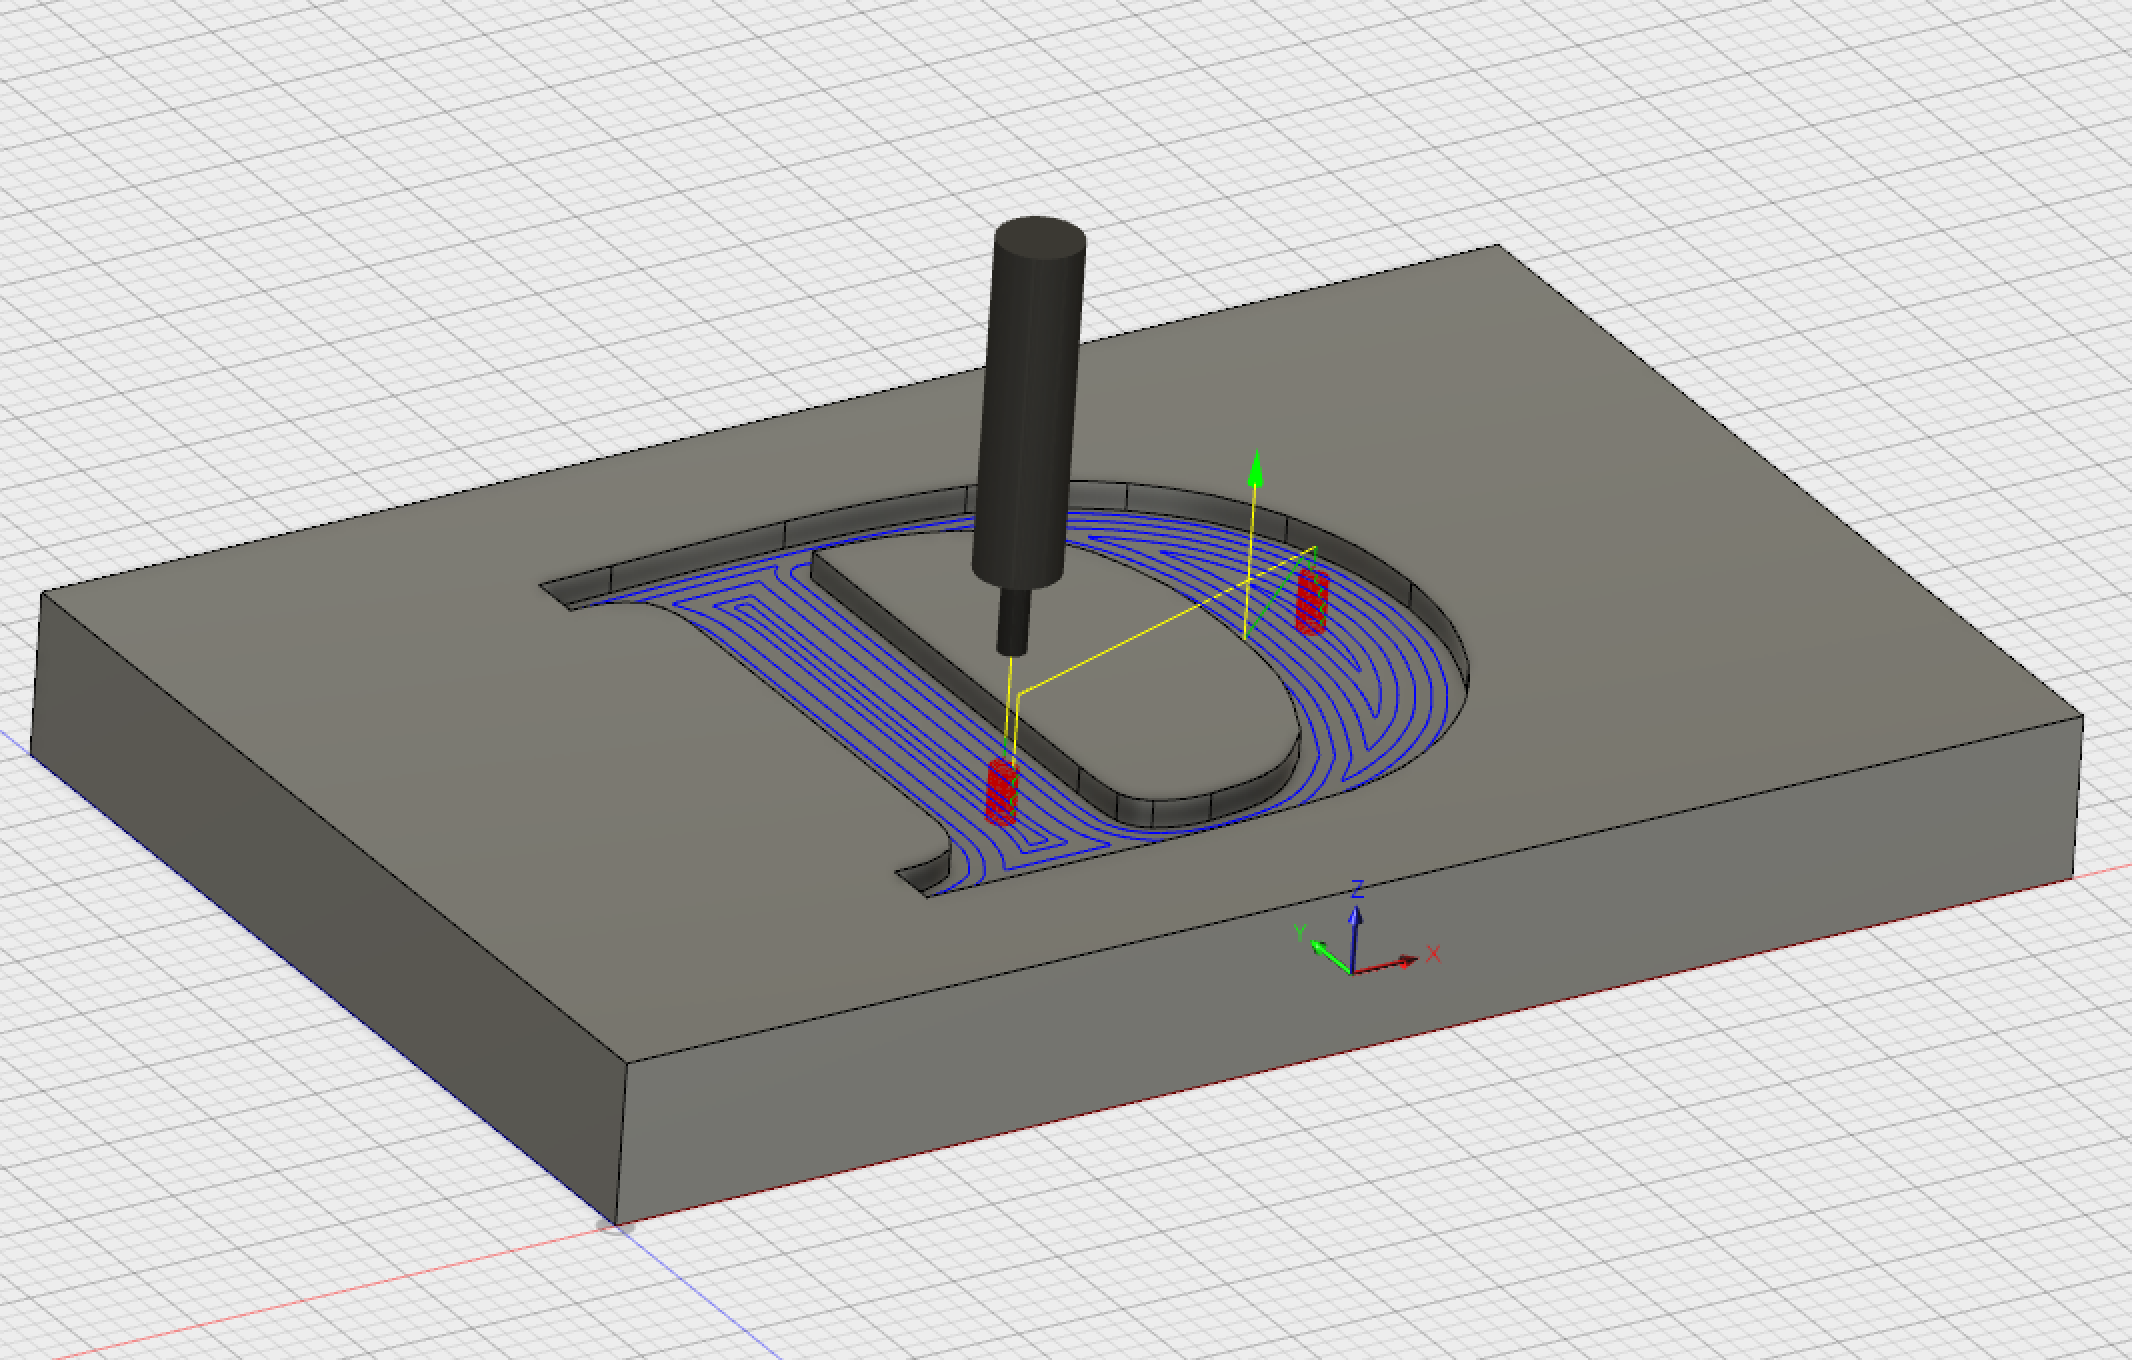
I started out this project by first designing it in a modeling software.
This may seem like overkill, but I knew that I was going to be using a CNC machine so I had to really plan everything out beforehand.
I drew everything up using Autodesk Fusion 360 (it's free!). Here's a step by step in case you are going to be using a CNC as well (or if you want more modeling practice!)
- Make a rectangle the size that you want your block to be. I wanted a small cheeseboard, so I went with 7" x 4.5" x .75"
- Add your design to the top.
- click on the top of the rectangle to establish a sketching surface
- click on Sketch > Text
- use your cursor to select the placement of your text (this can be easily modified, so don't worry about this too much)
- in the "Text" pop up box type in your text (I used the letter "D"), the height of your text, the angle, and the font.
- I played around this quite a bit to find what looked best to me.
- This is the point where you want to make sure that the design is centered to your liking
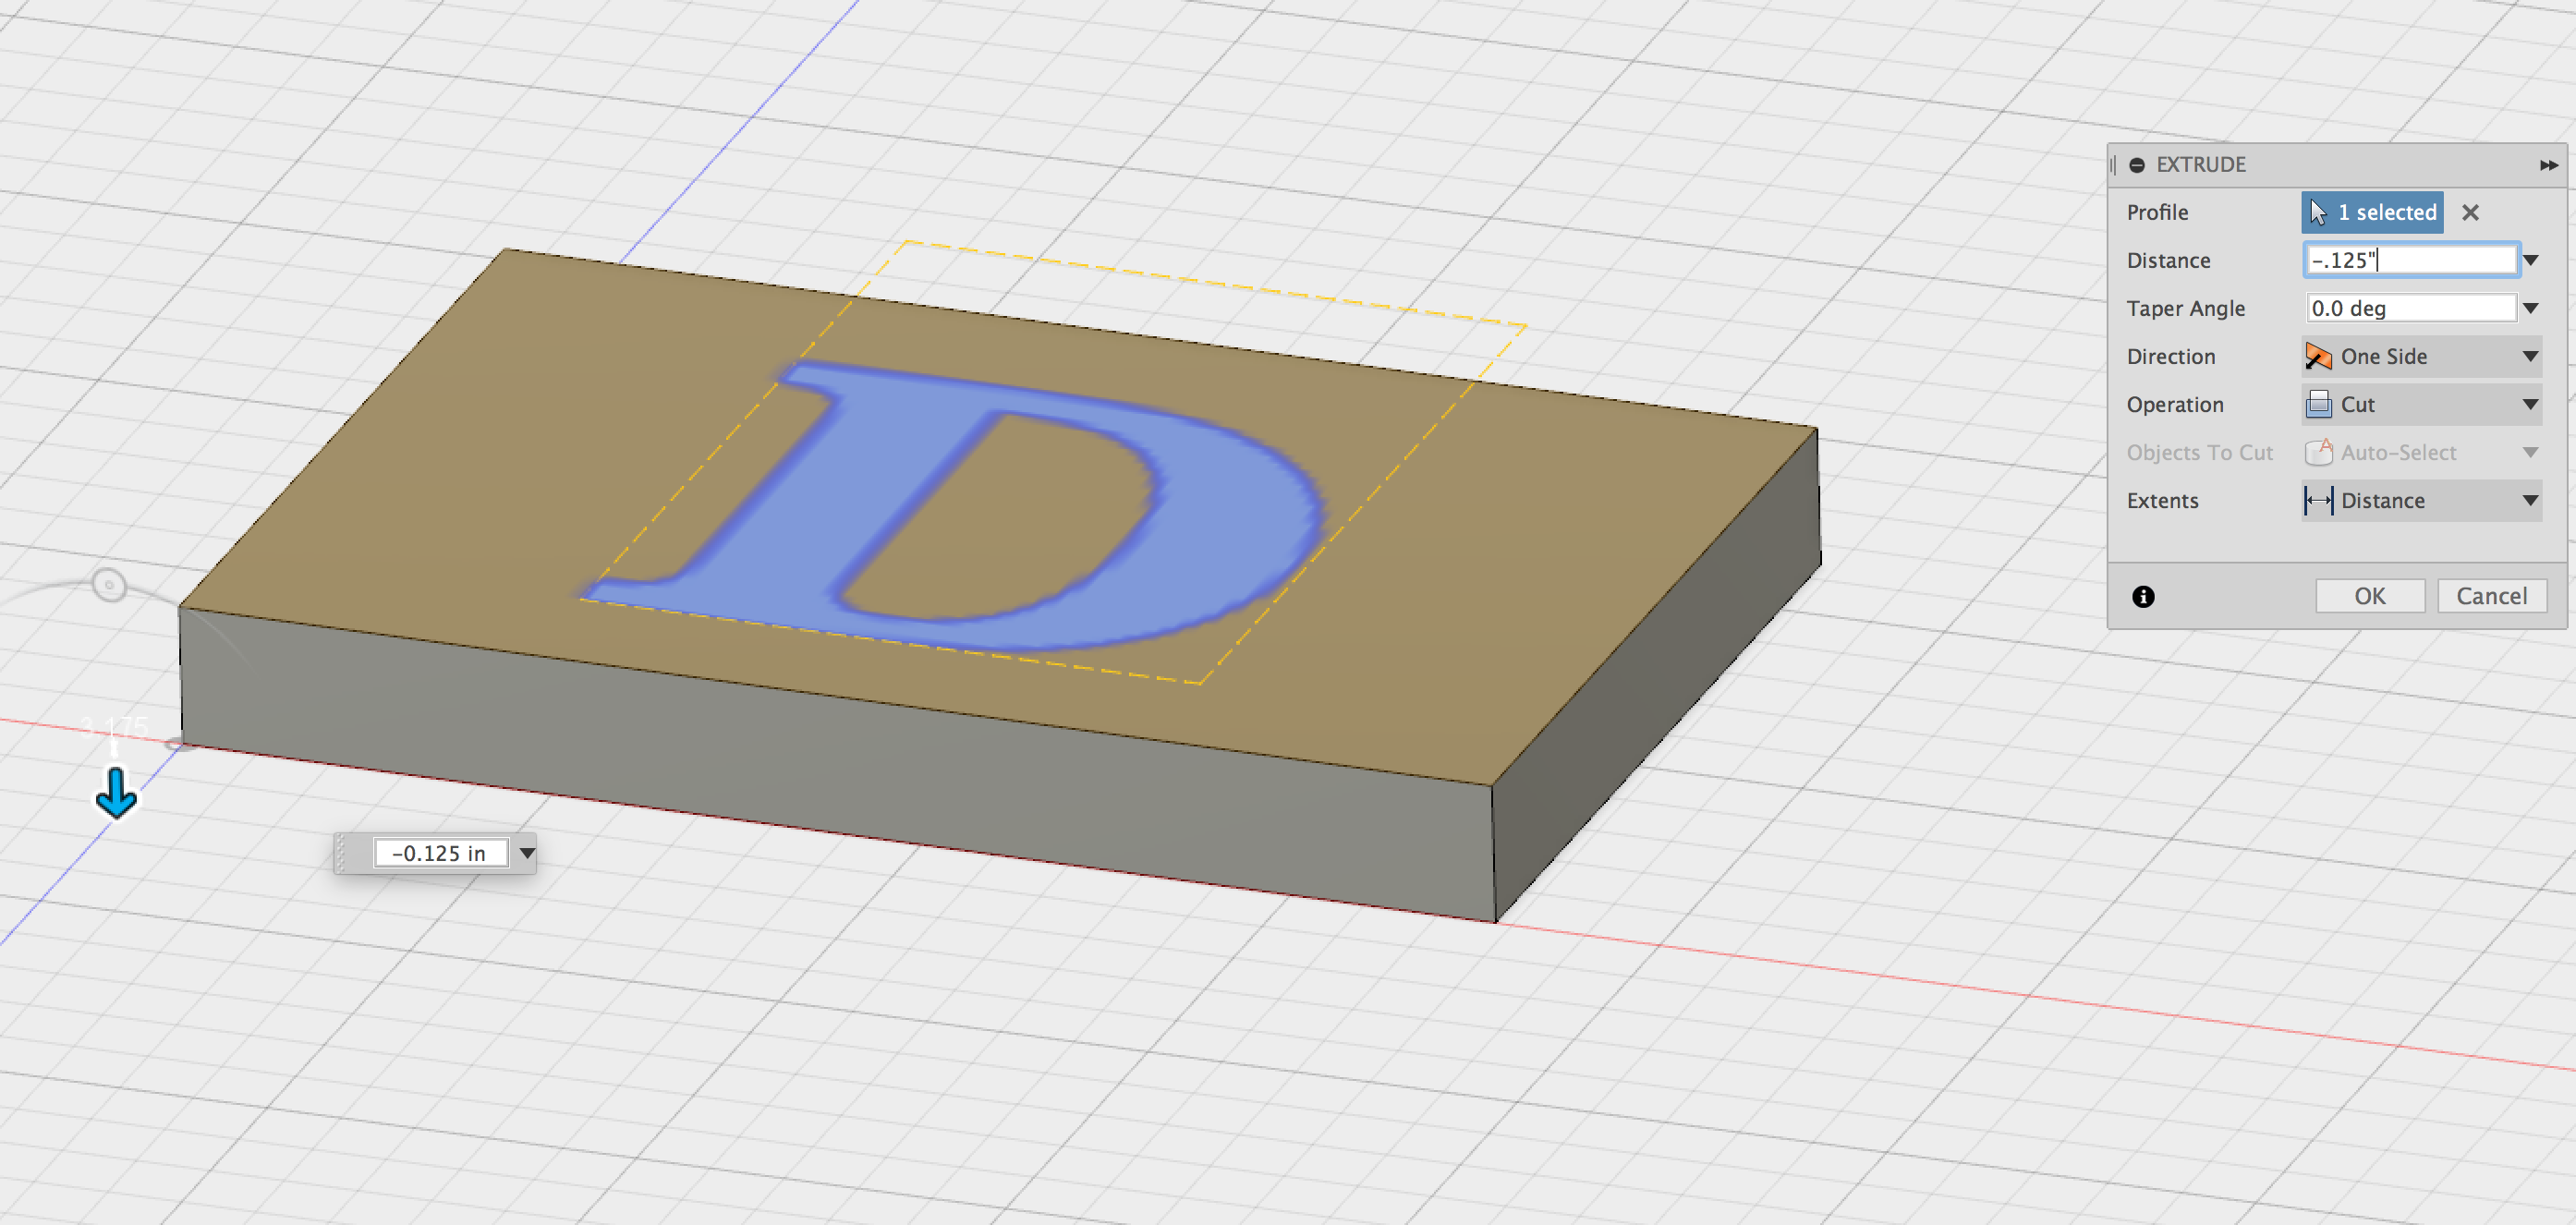
- Select Modify > Press Pull (or use the shortcut "Q") and then select your sketch from step 4
- in "Distance" insert the thickness of the piece you want to inlay. I used 1/8" (.125)
- note that you have to use a negative distance so that the extrusion is cut from the block rather than added.
At this point the "design phase" is complete. Pretty simple, huh?
Now you can export your design as an STL, or SMT (whatever your CAD program uses) by going File > Export and then saving your design as you like.
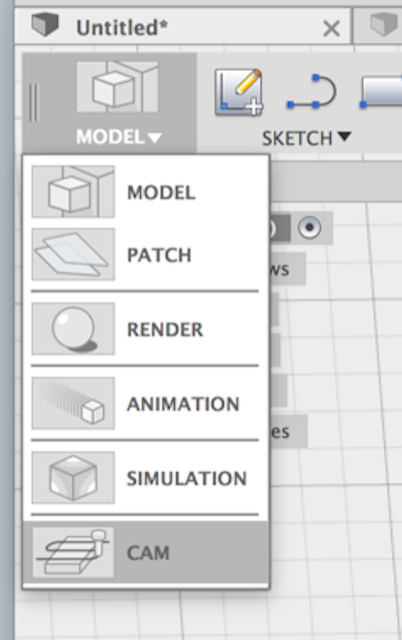
If you are using a CNC mill this is where you might want to use the CAM function of the program:
- Navigate the "Model" Dropdown menu and select "CAM"
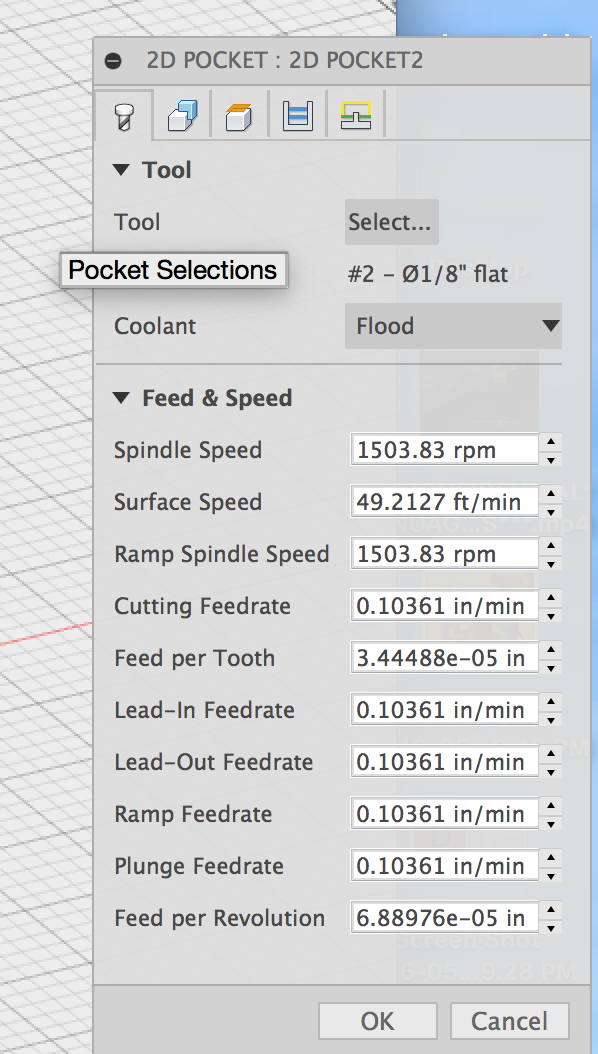
- Because you are doing a basic pocket, select 2D > 2D Pocket
- In the 2D Pocket menu, Select the tool you will be using (you might be able to do this in your Mill's software settings, but I selected a 1/8" flat endmill anyways.
- Navigate to the "Geometry" tab and click on the pocket that you created to generate a toolpath.
- Click OK and then select Actions > Simulate to watch a cool simulation of the generated toolpath!
- If something doesn't look exactly right take a look at these couple of things:
- The orientation of the tool (click on "Tool Orientation" part of the 2D pocket menu and play around with these settings)
- The height of the toolpath (make sure that the software knows you are taking material away
Start Your Board
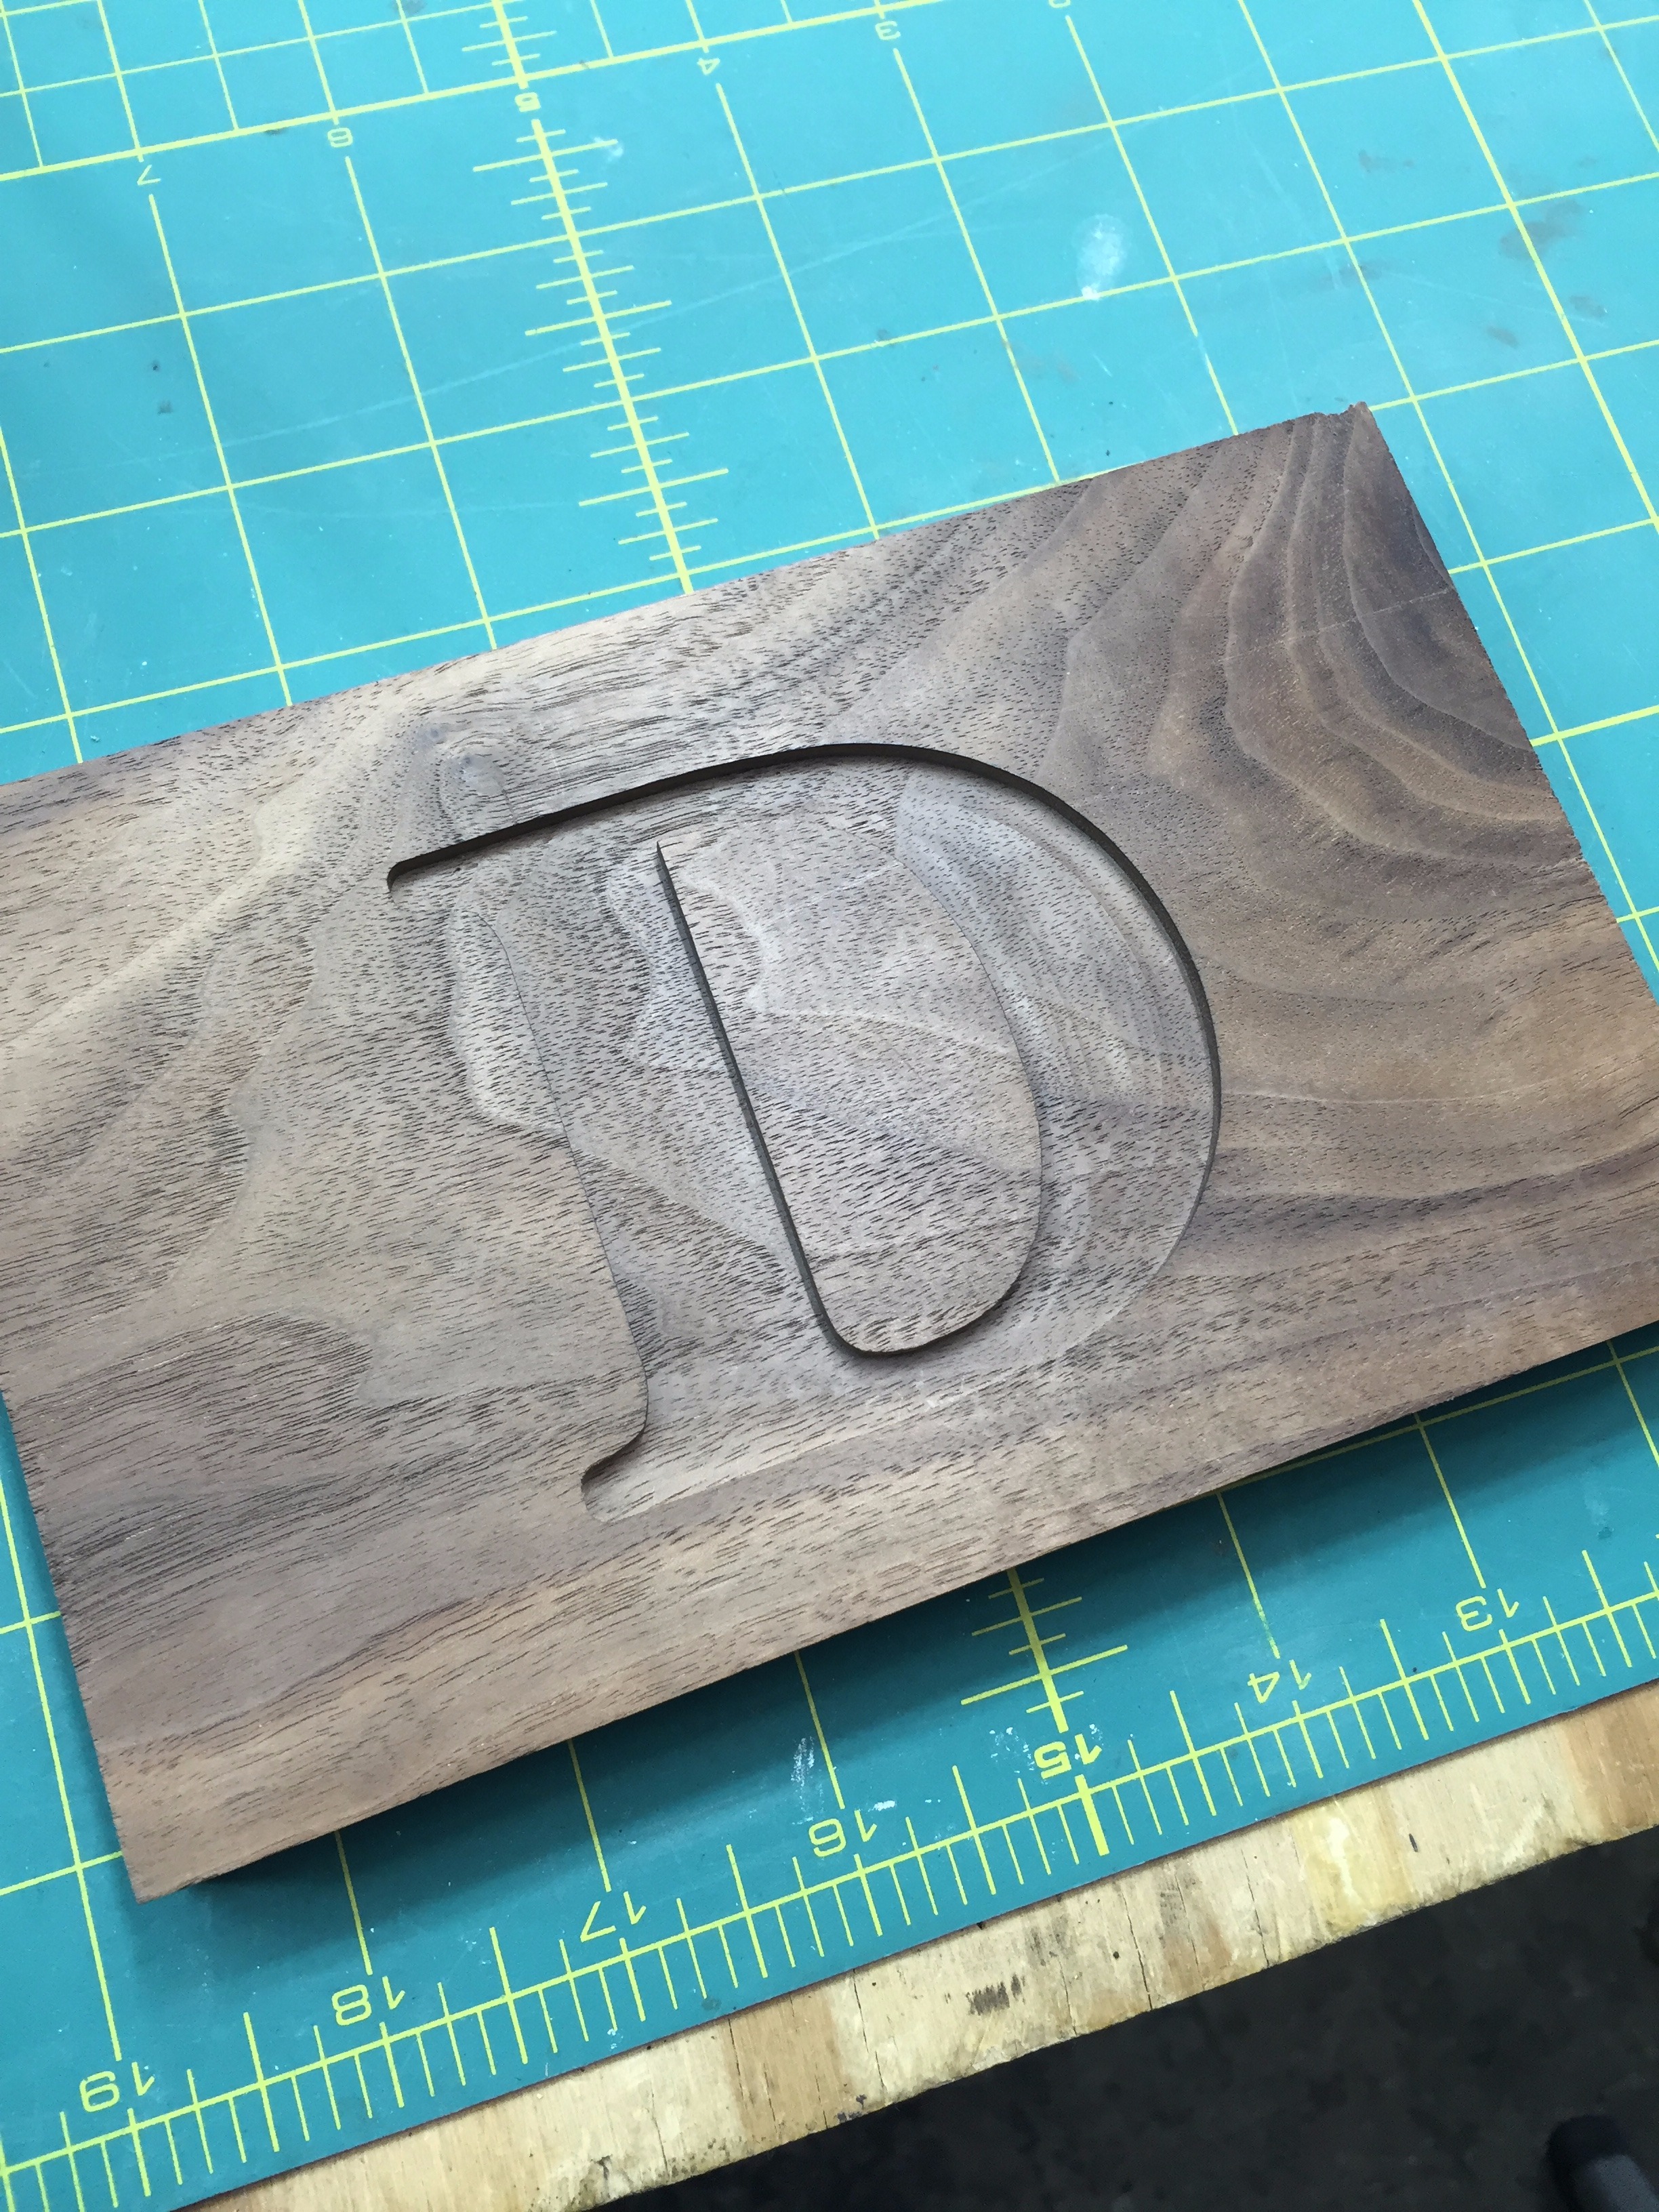
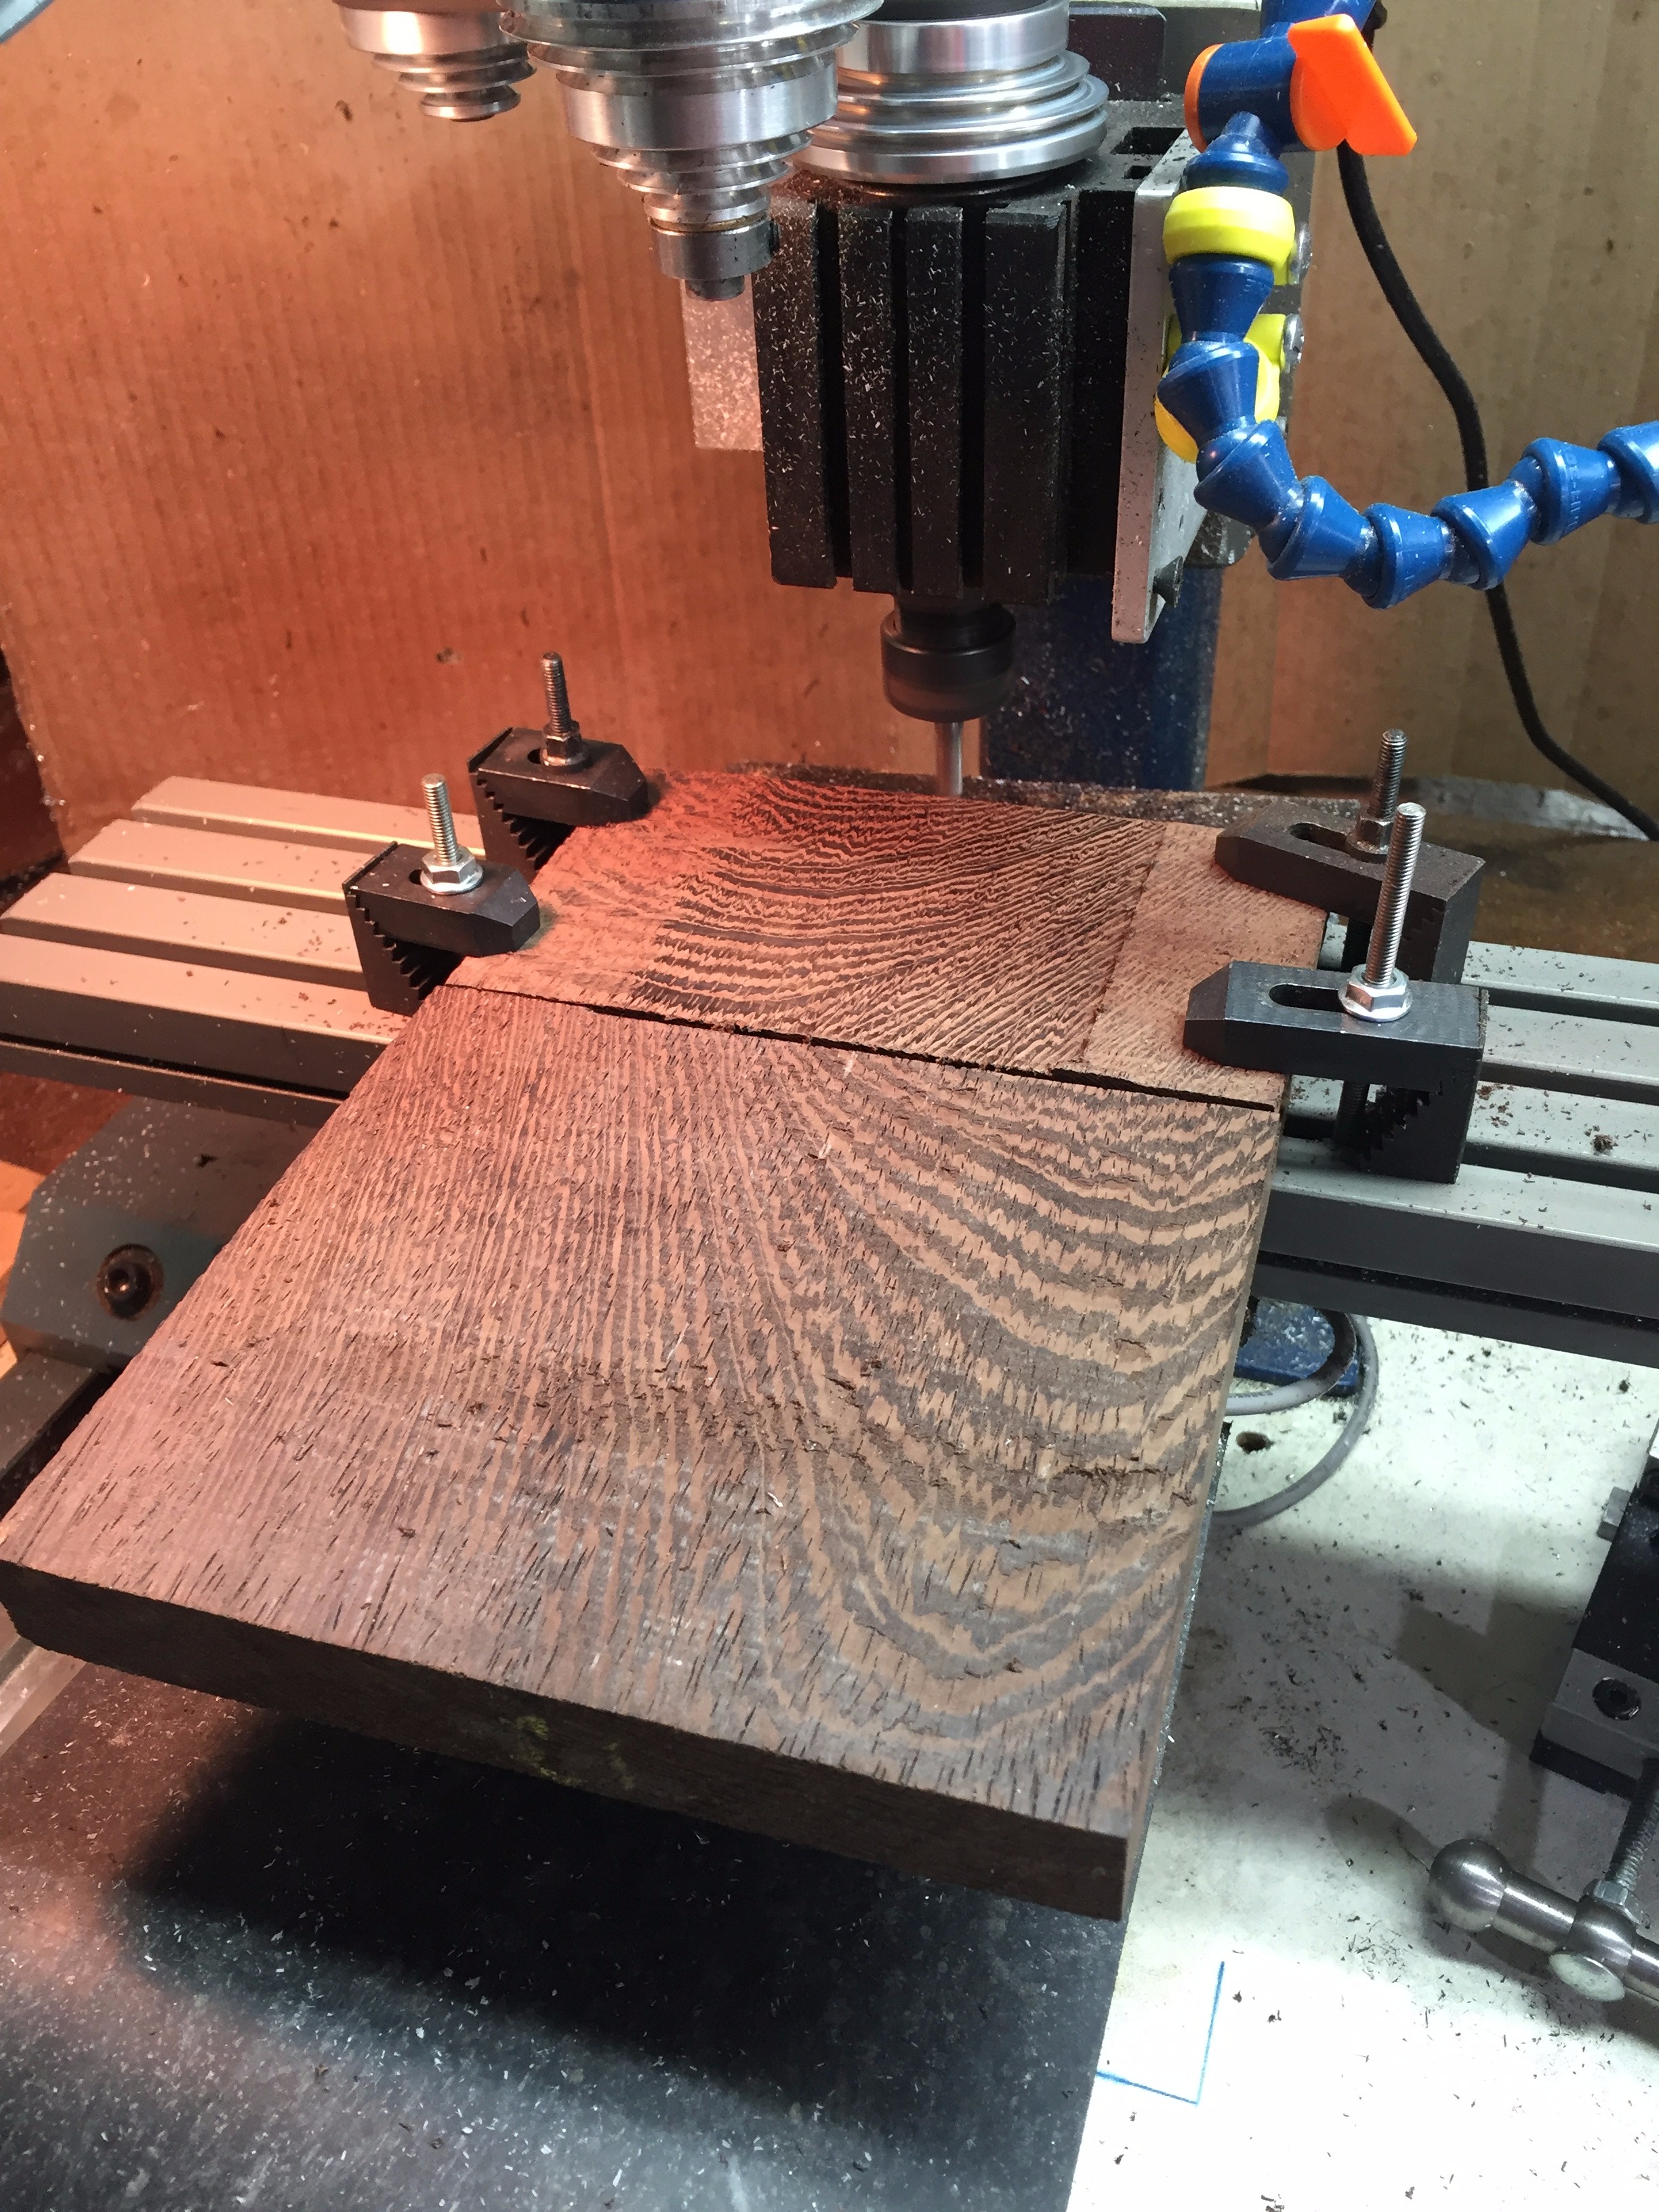
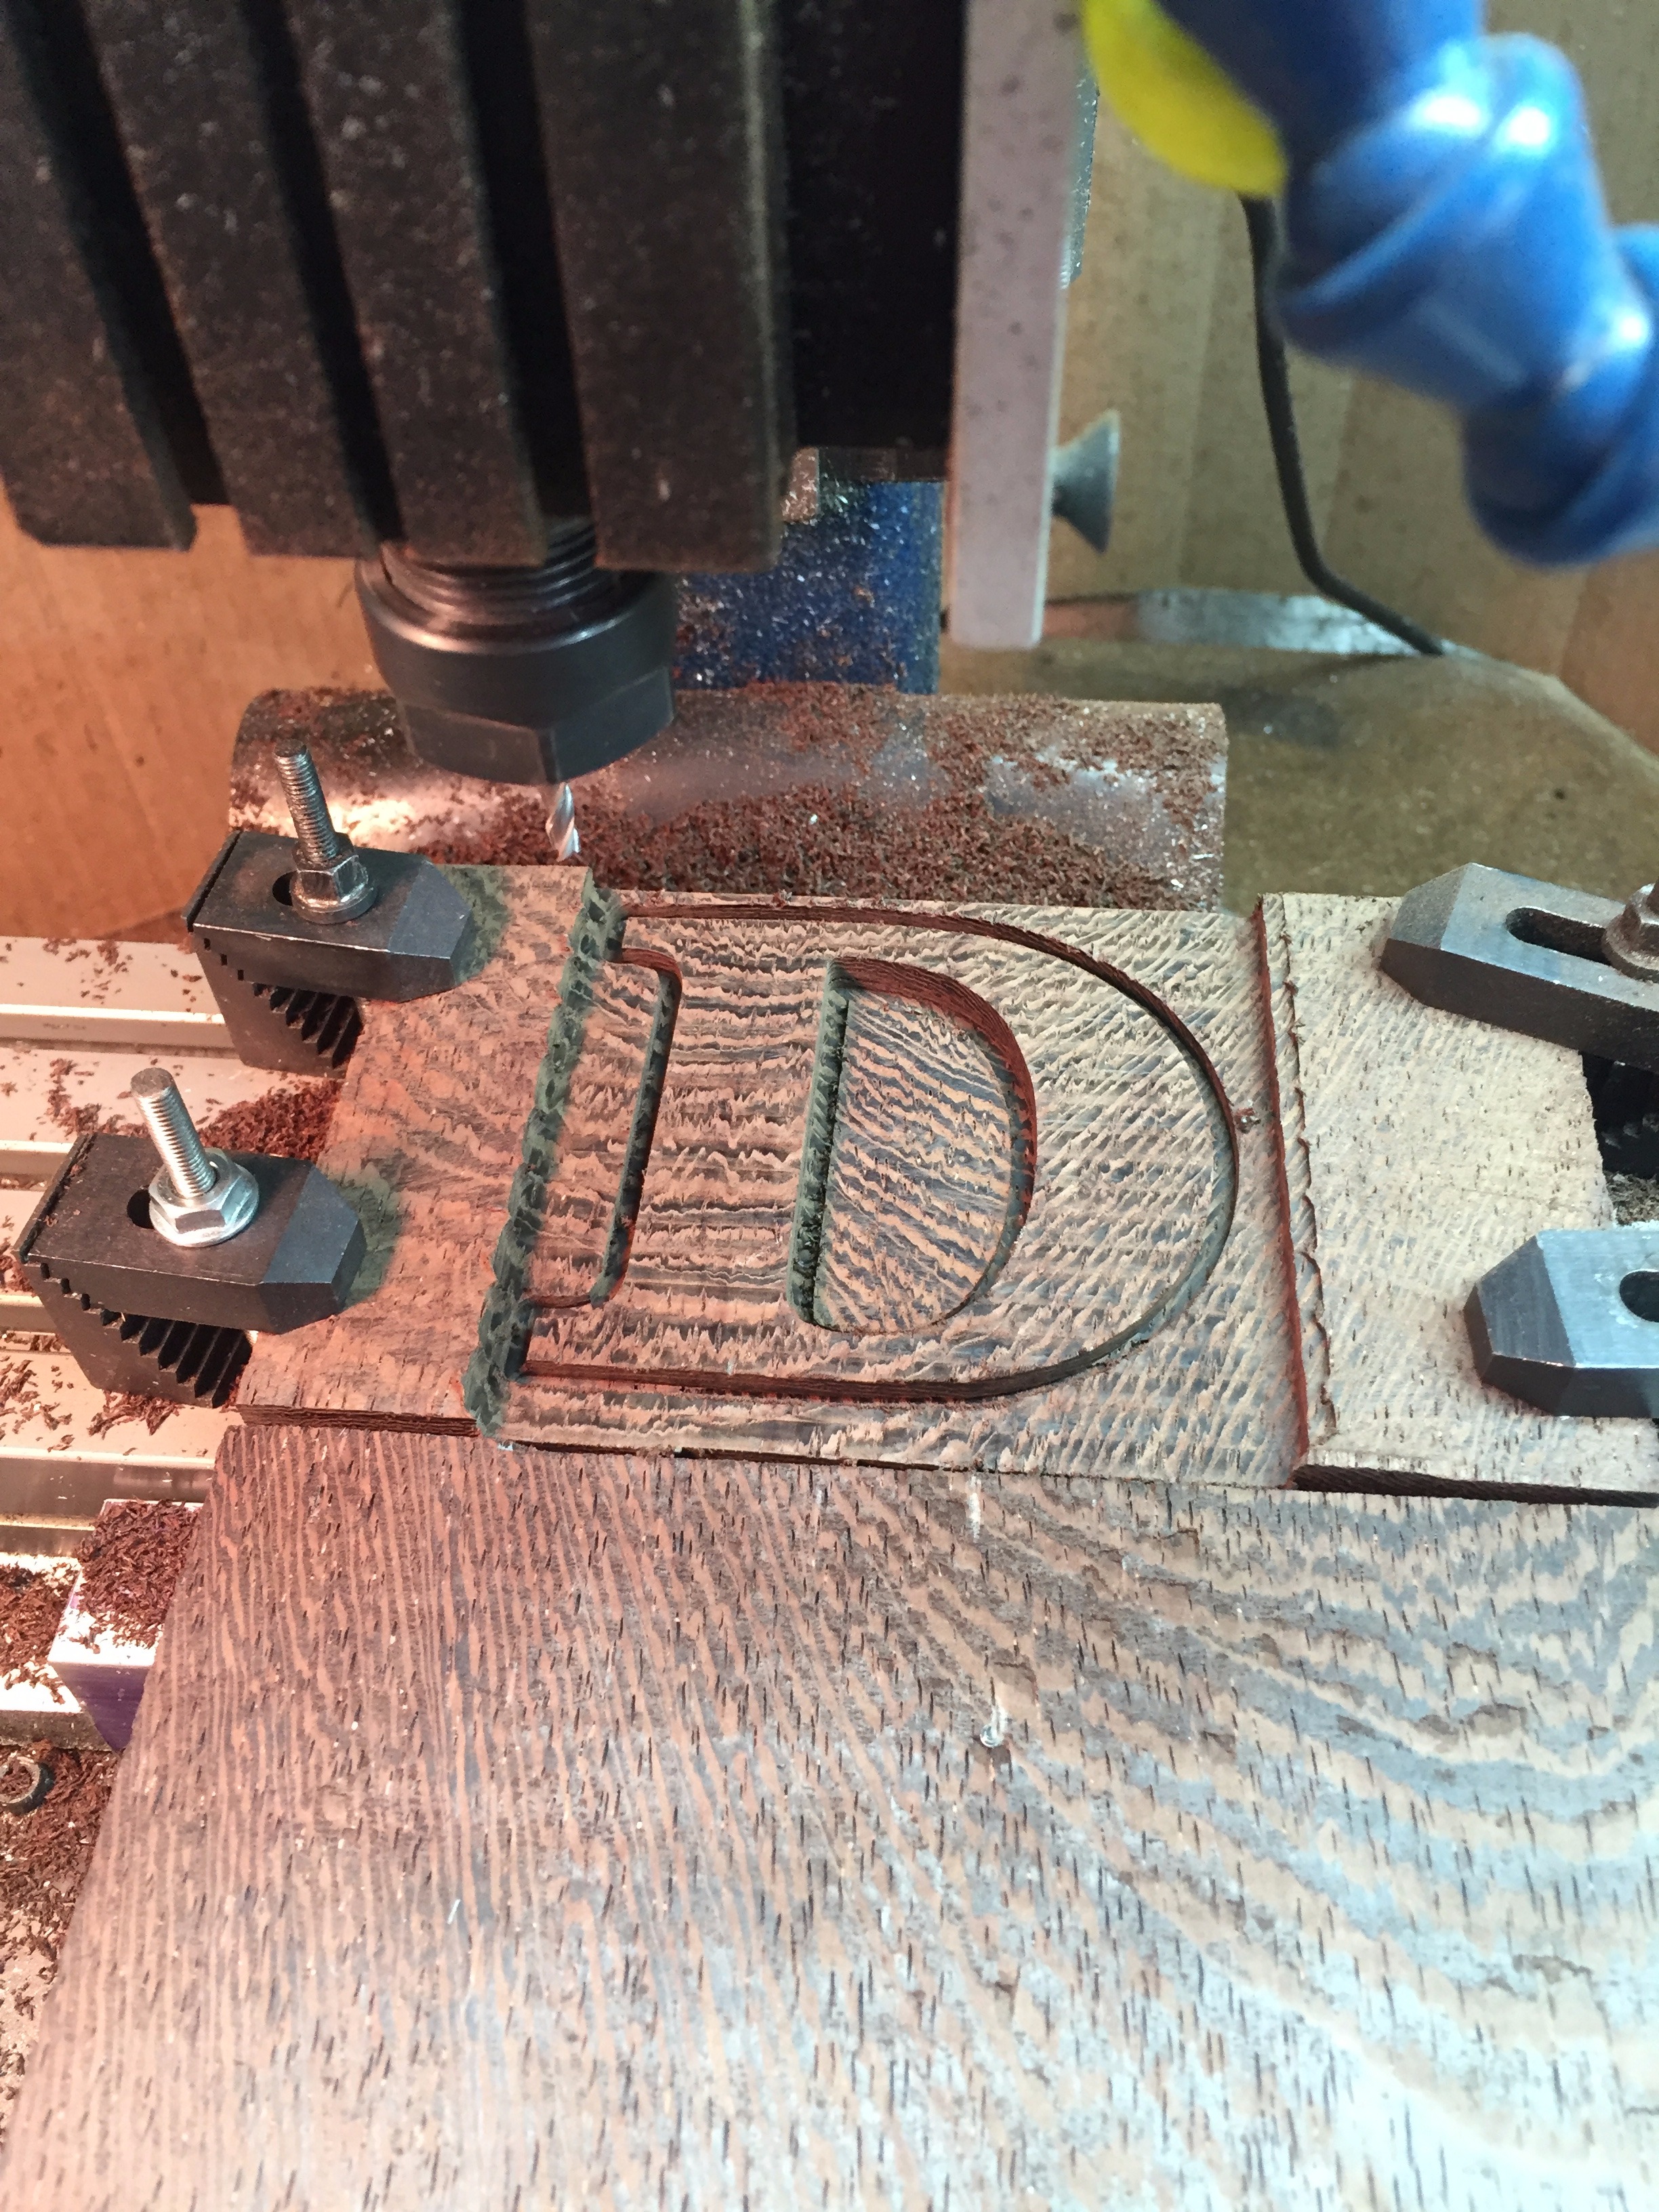
This is when you actually get to start building! Always remember that safety is very important when you in a shop using any sort of tools, so wear your safety glasses, tie up your hair, and wear ear protection if you are working with noisy machines. If you don't know how to use a tool please ask somebody. Now that you're all suited up, carefully cut the piece for your board to the same specs that you set in the previous step. I made sure that my ends were as square as possible.
I gave the edges a quick sand so that handling would be nicer, and clamped the board onto the bed of the mill. I zeroed out the X, Y, and Z axes, inserted a 1/8" end mill, and started it up! I used a depth of 1/8", but you can make this whatever the height of your inlay wood is. Keep in mind that these two measurements should not be exactly the same, and there should be some wood coming out of the surface. You will be sanding this down. I'm not going to go into too many specifics about the setup process, because every mill will be different. Be sure to clear away the wood chips periodically so that you get a really clean cut.
If you don't have a mill to spare, the next best step would be to use a routing tool! Print out the design you made in the previous step, and gently trace it out onto the wood. Use a routing attachment to keep your cuts at an even height, and carefully route out the pattern 1/8" deep. Be sure to clamp down the wood when you do this! Honestly nothing is scarier than having the wood catch on the milling bit and start spinning around like crazy. Go slowly, and listen to the wood to let you know if you are going too fast or slow. Same as above, clear away your wood chips every now and then and wear eye and ear protection!
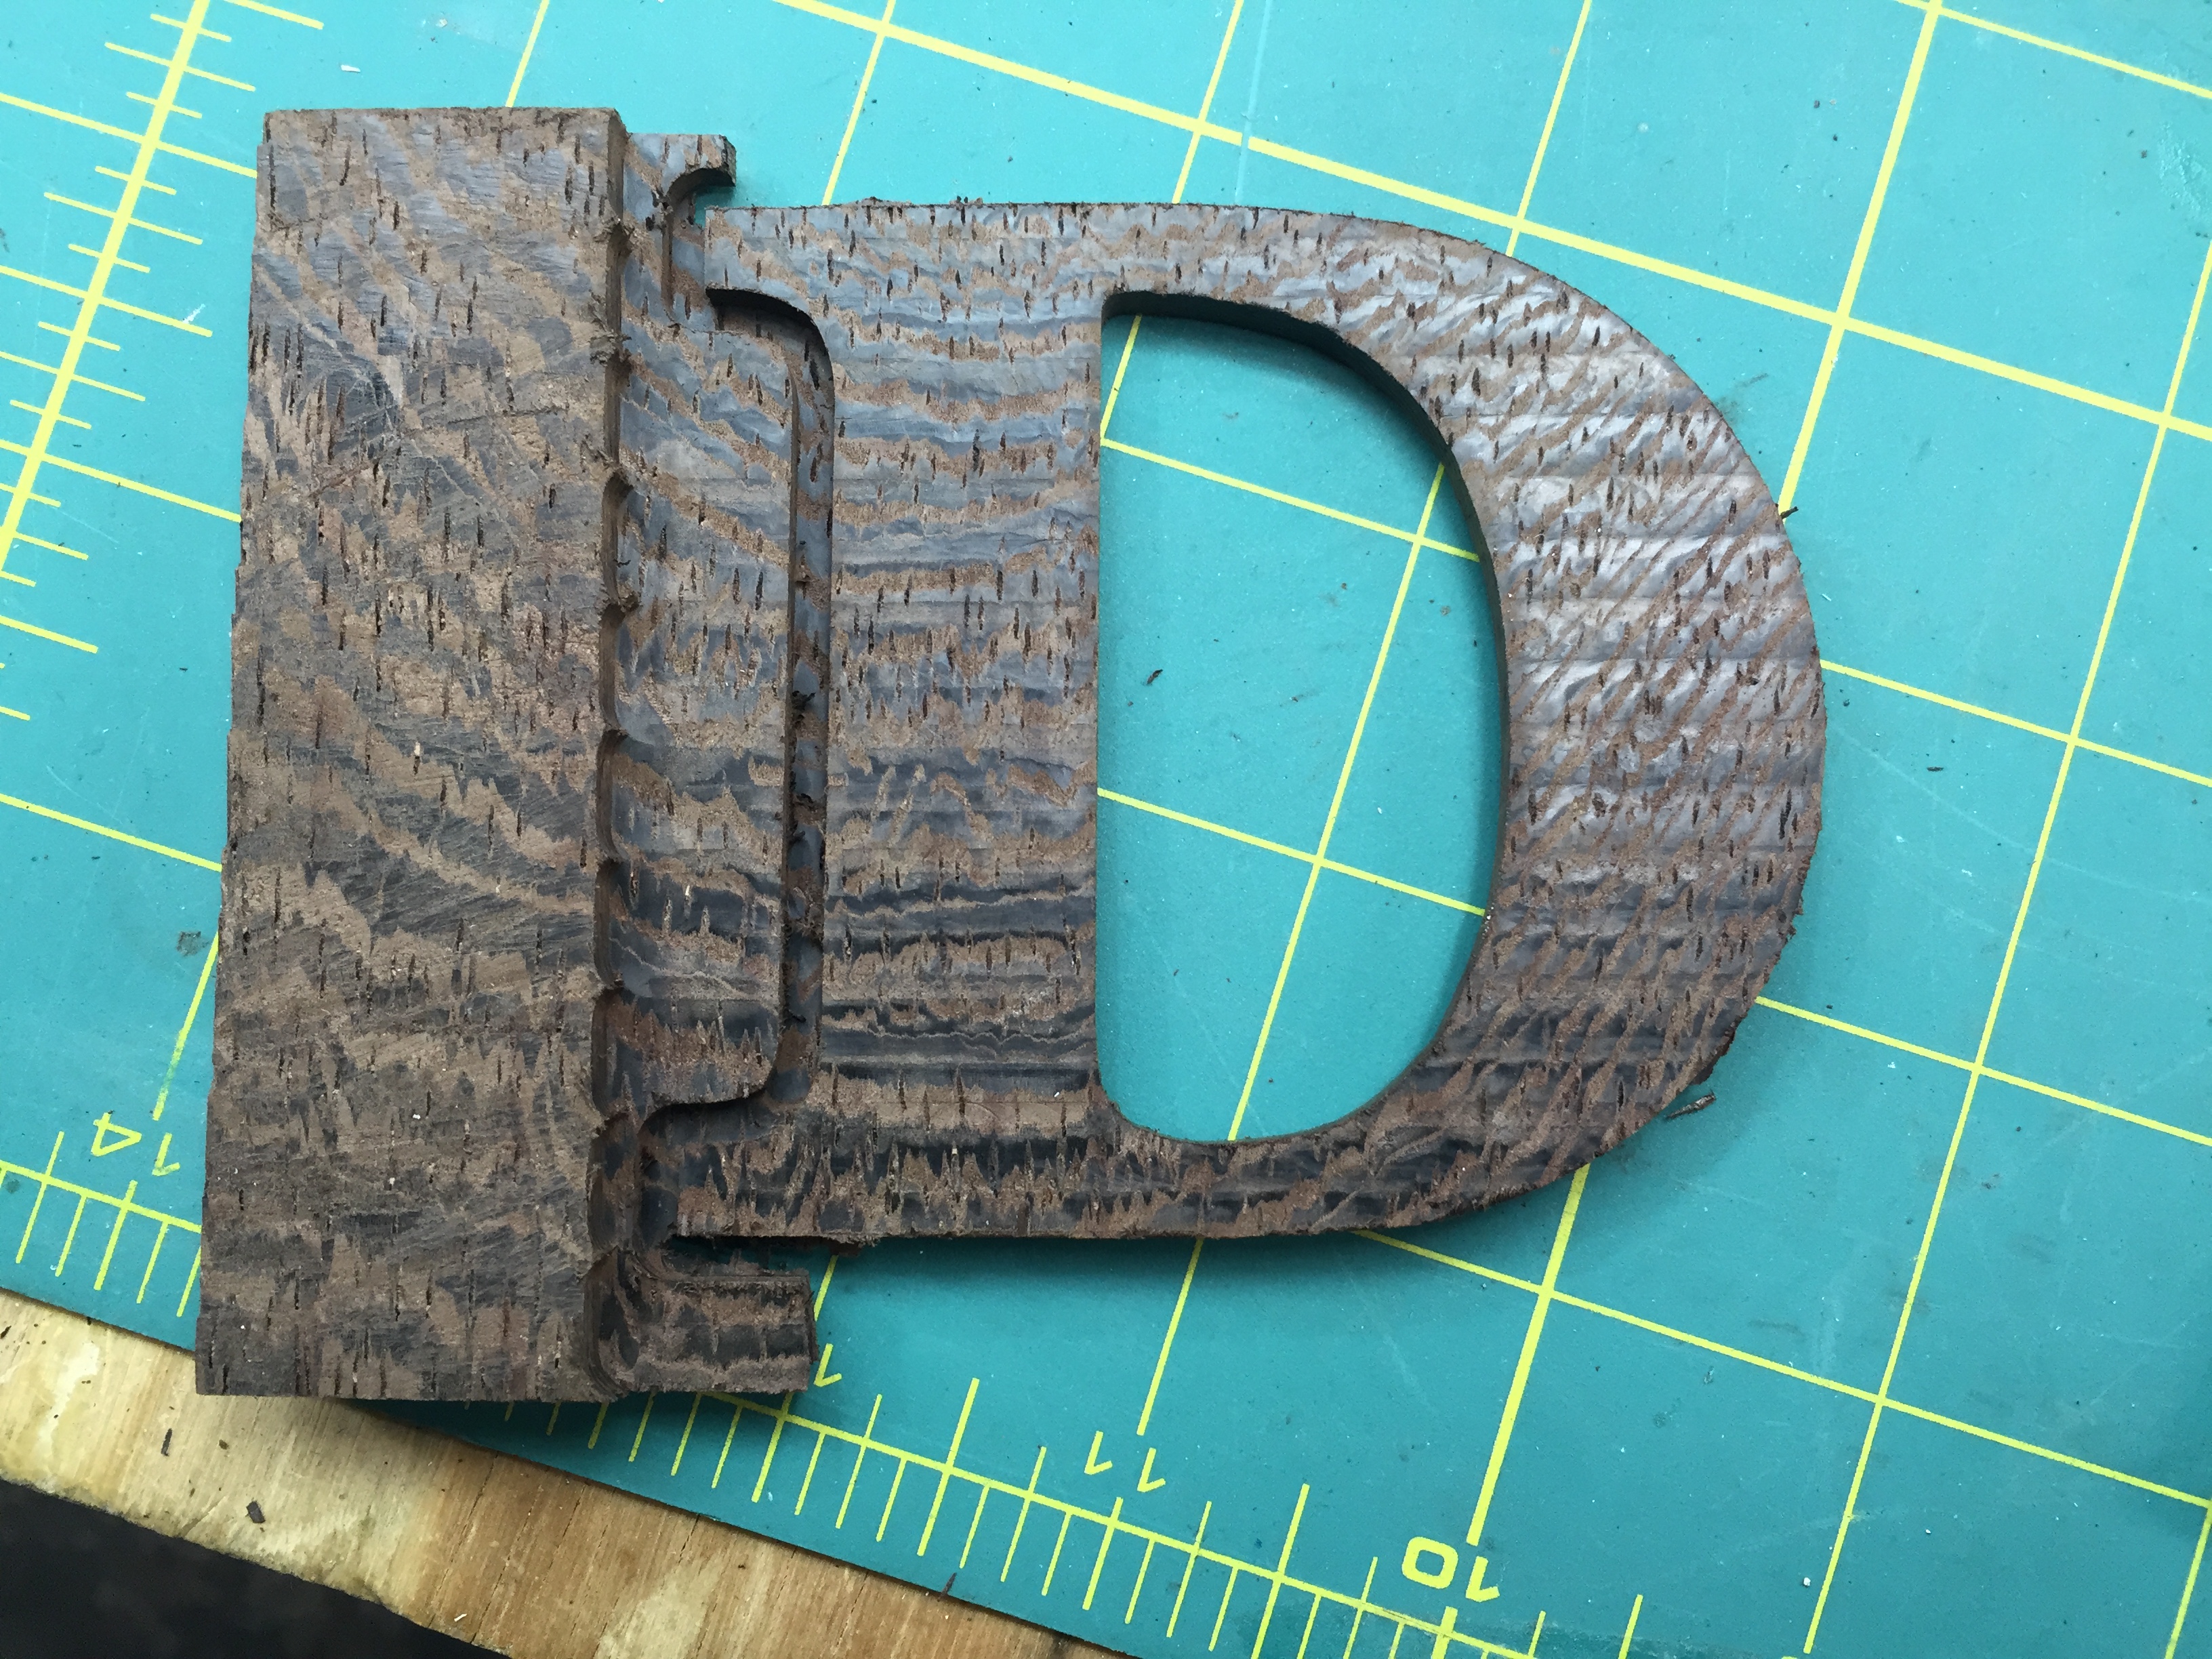
Next, prepare the wood for the inlay. Use the same process as above to clamp it into the CNC mill and mill the outline. Since I got my wood for free at a lumber yard, it wasn't as thin as I needed. I ended up using a handsaw to saw it in half so that it was half the thickness (I would not recommend this unless you enjoy having very tired arms), and then milled the top of the piece until it was flat. It should be a little bit thicker than whatever depth you milled out your main board so that it sticks up a little bit.
Put this wood in the mill and use the pattern to mill away the outline of the design! Alternatively, trace the design on the wood and outline it with your routing tool. I stopped a bit early and used a saw to cut the wood away so that it wouldn't be damaged by the mill if it fell away early.
At this point, you are done routing!
Finish the Puzzle
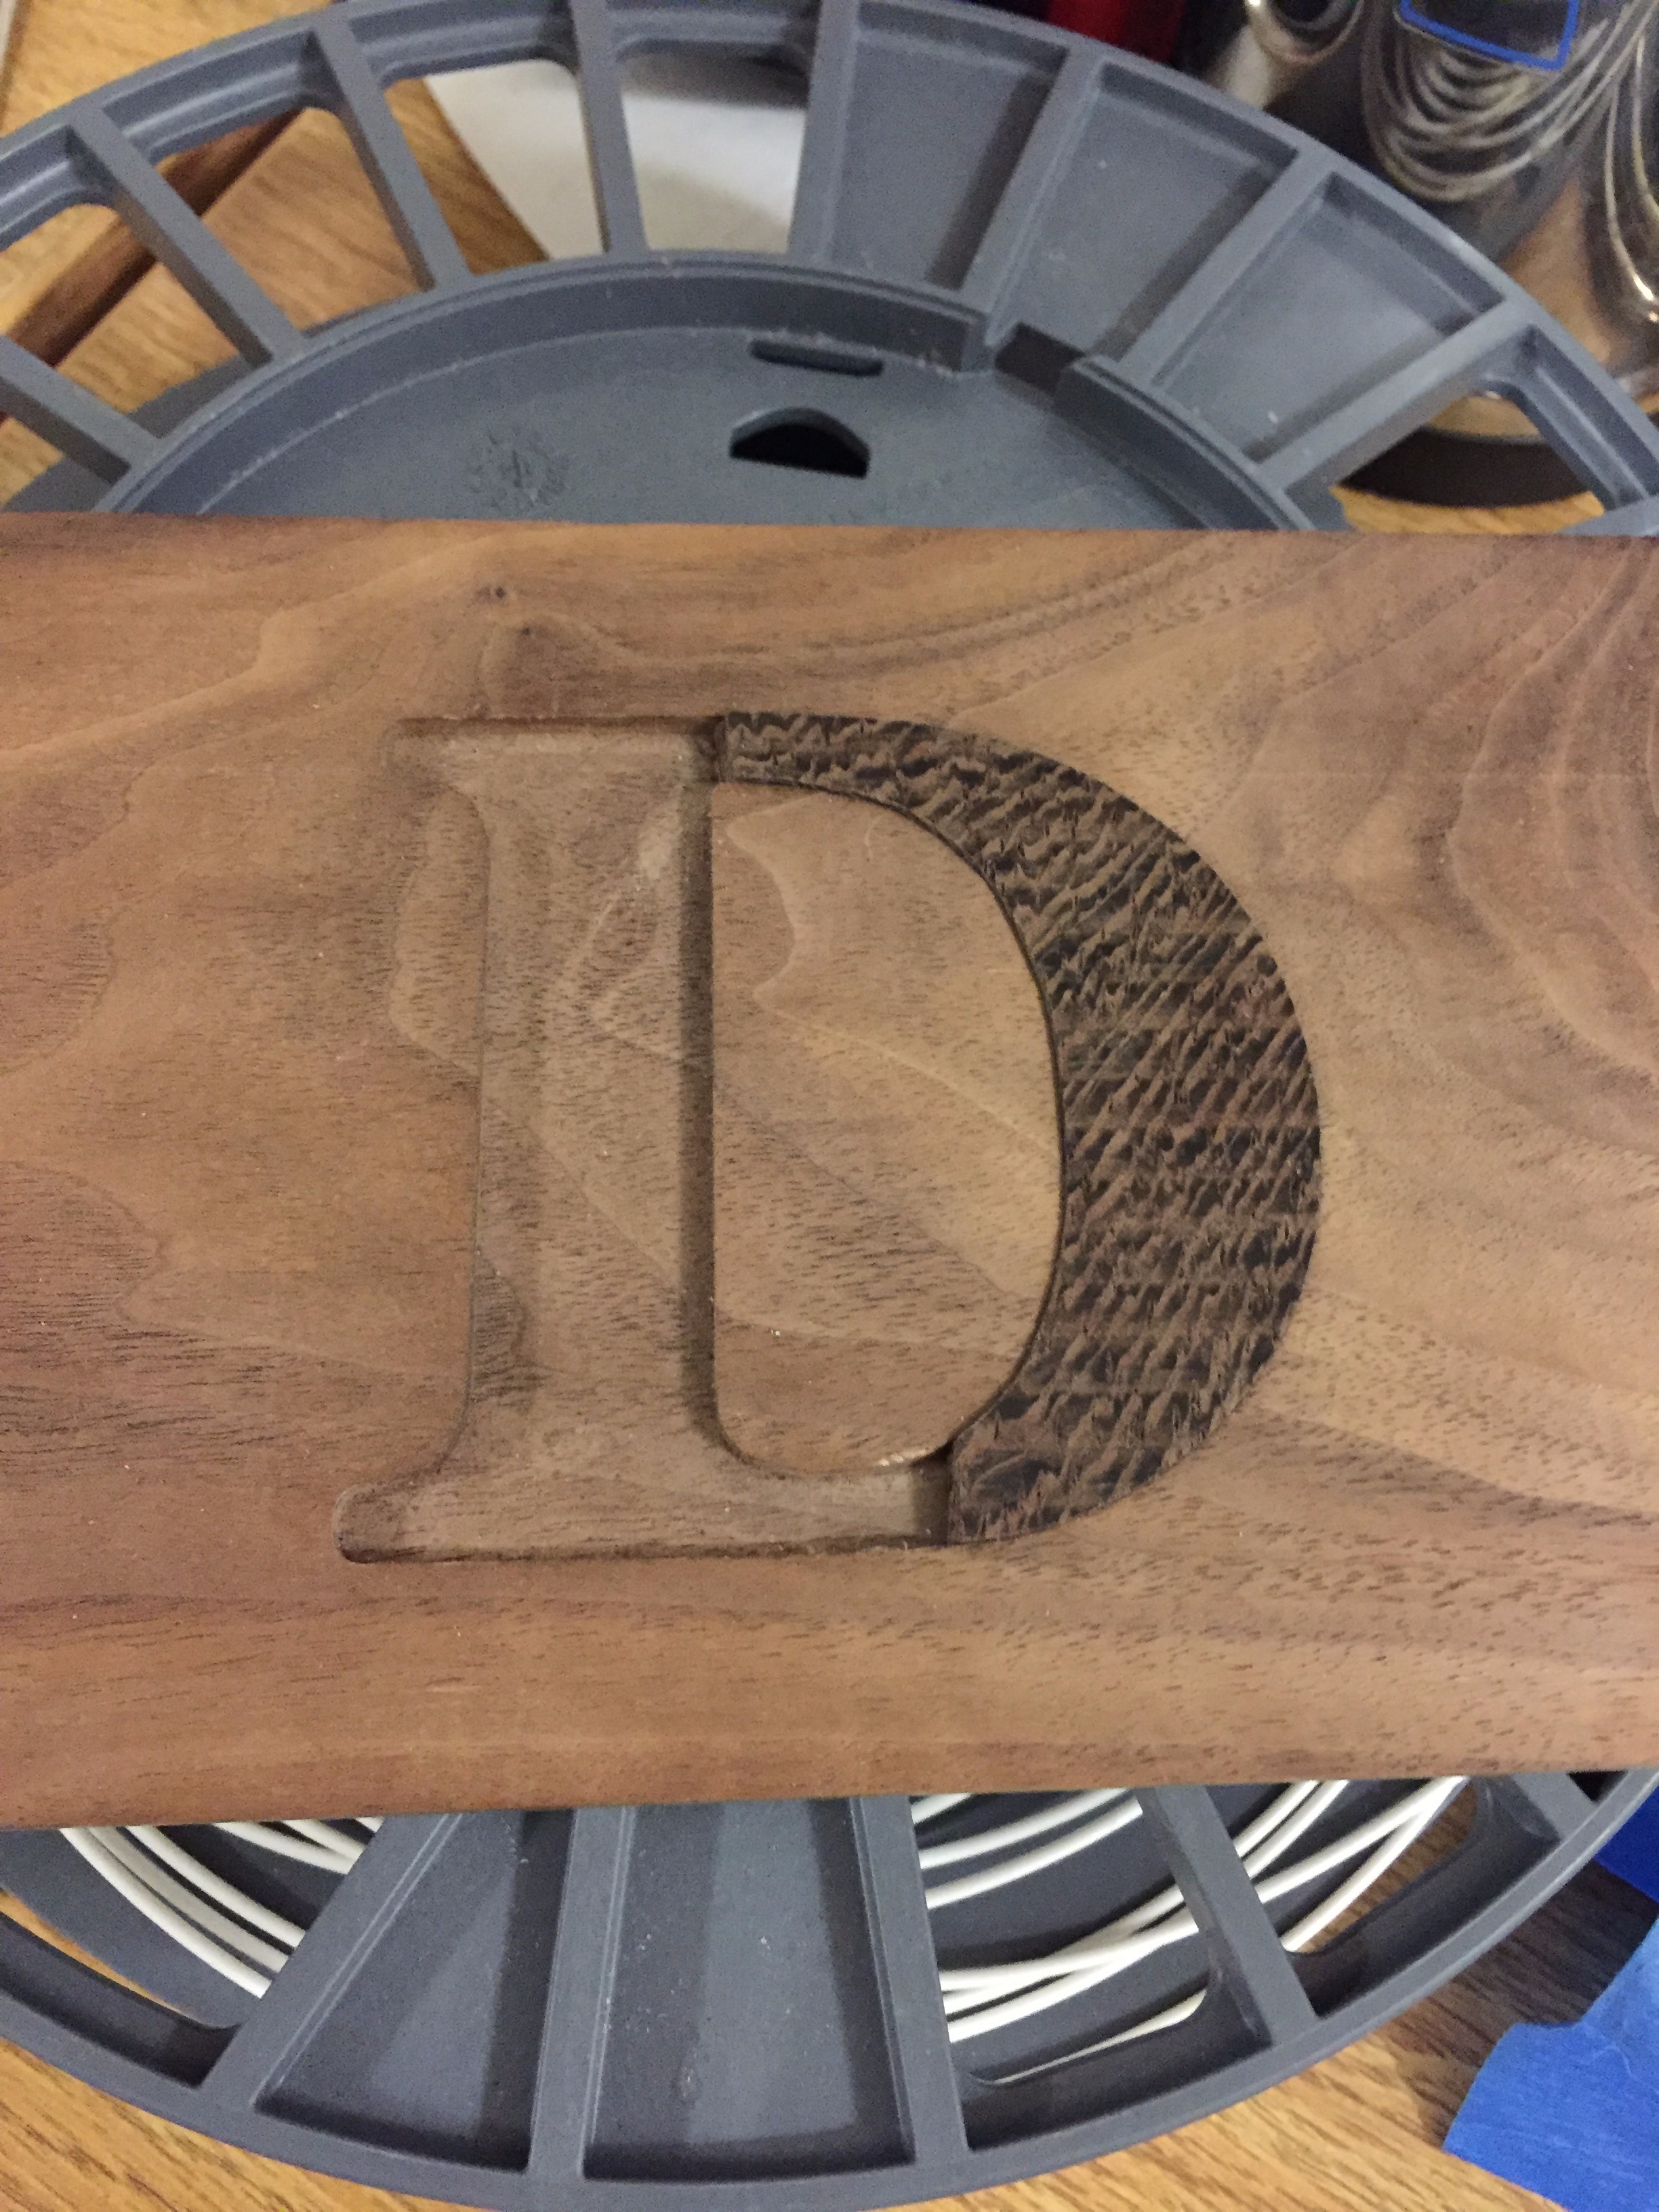
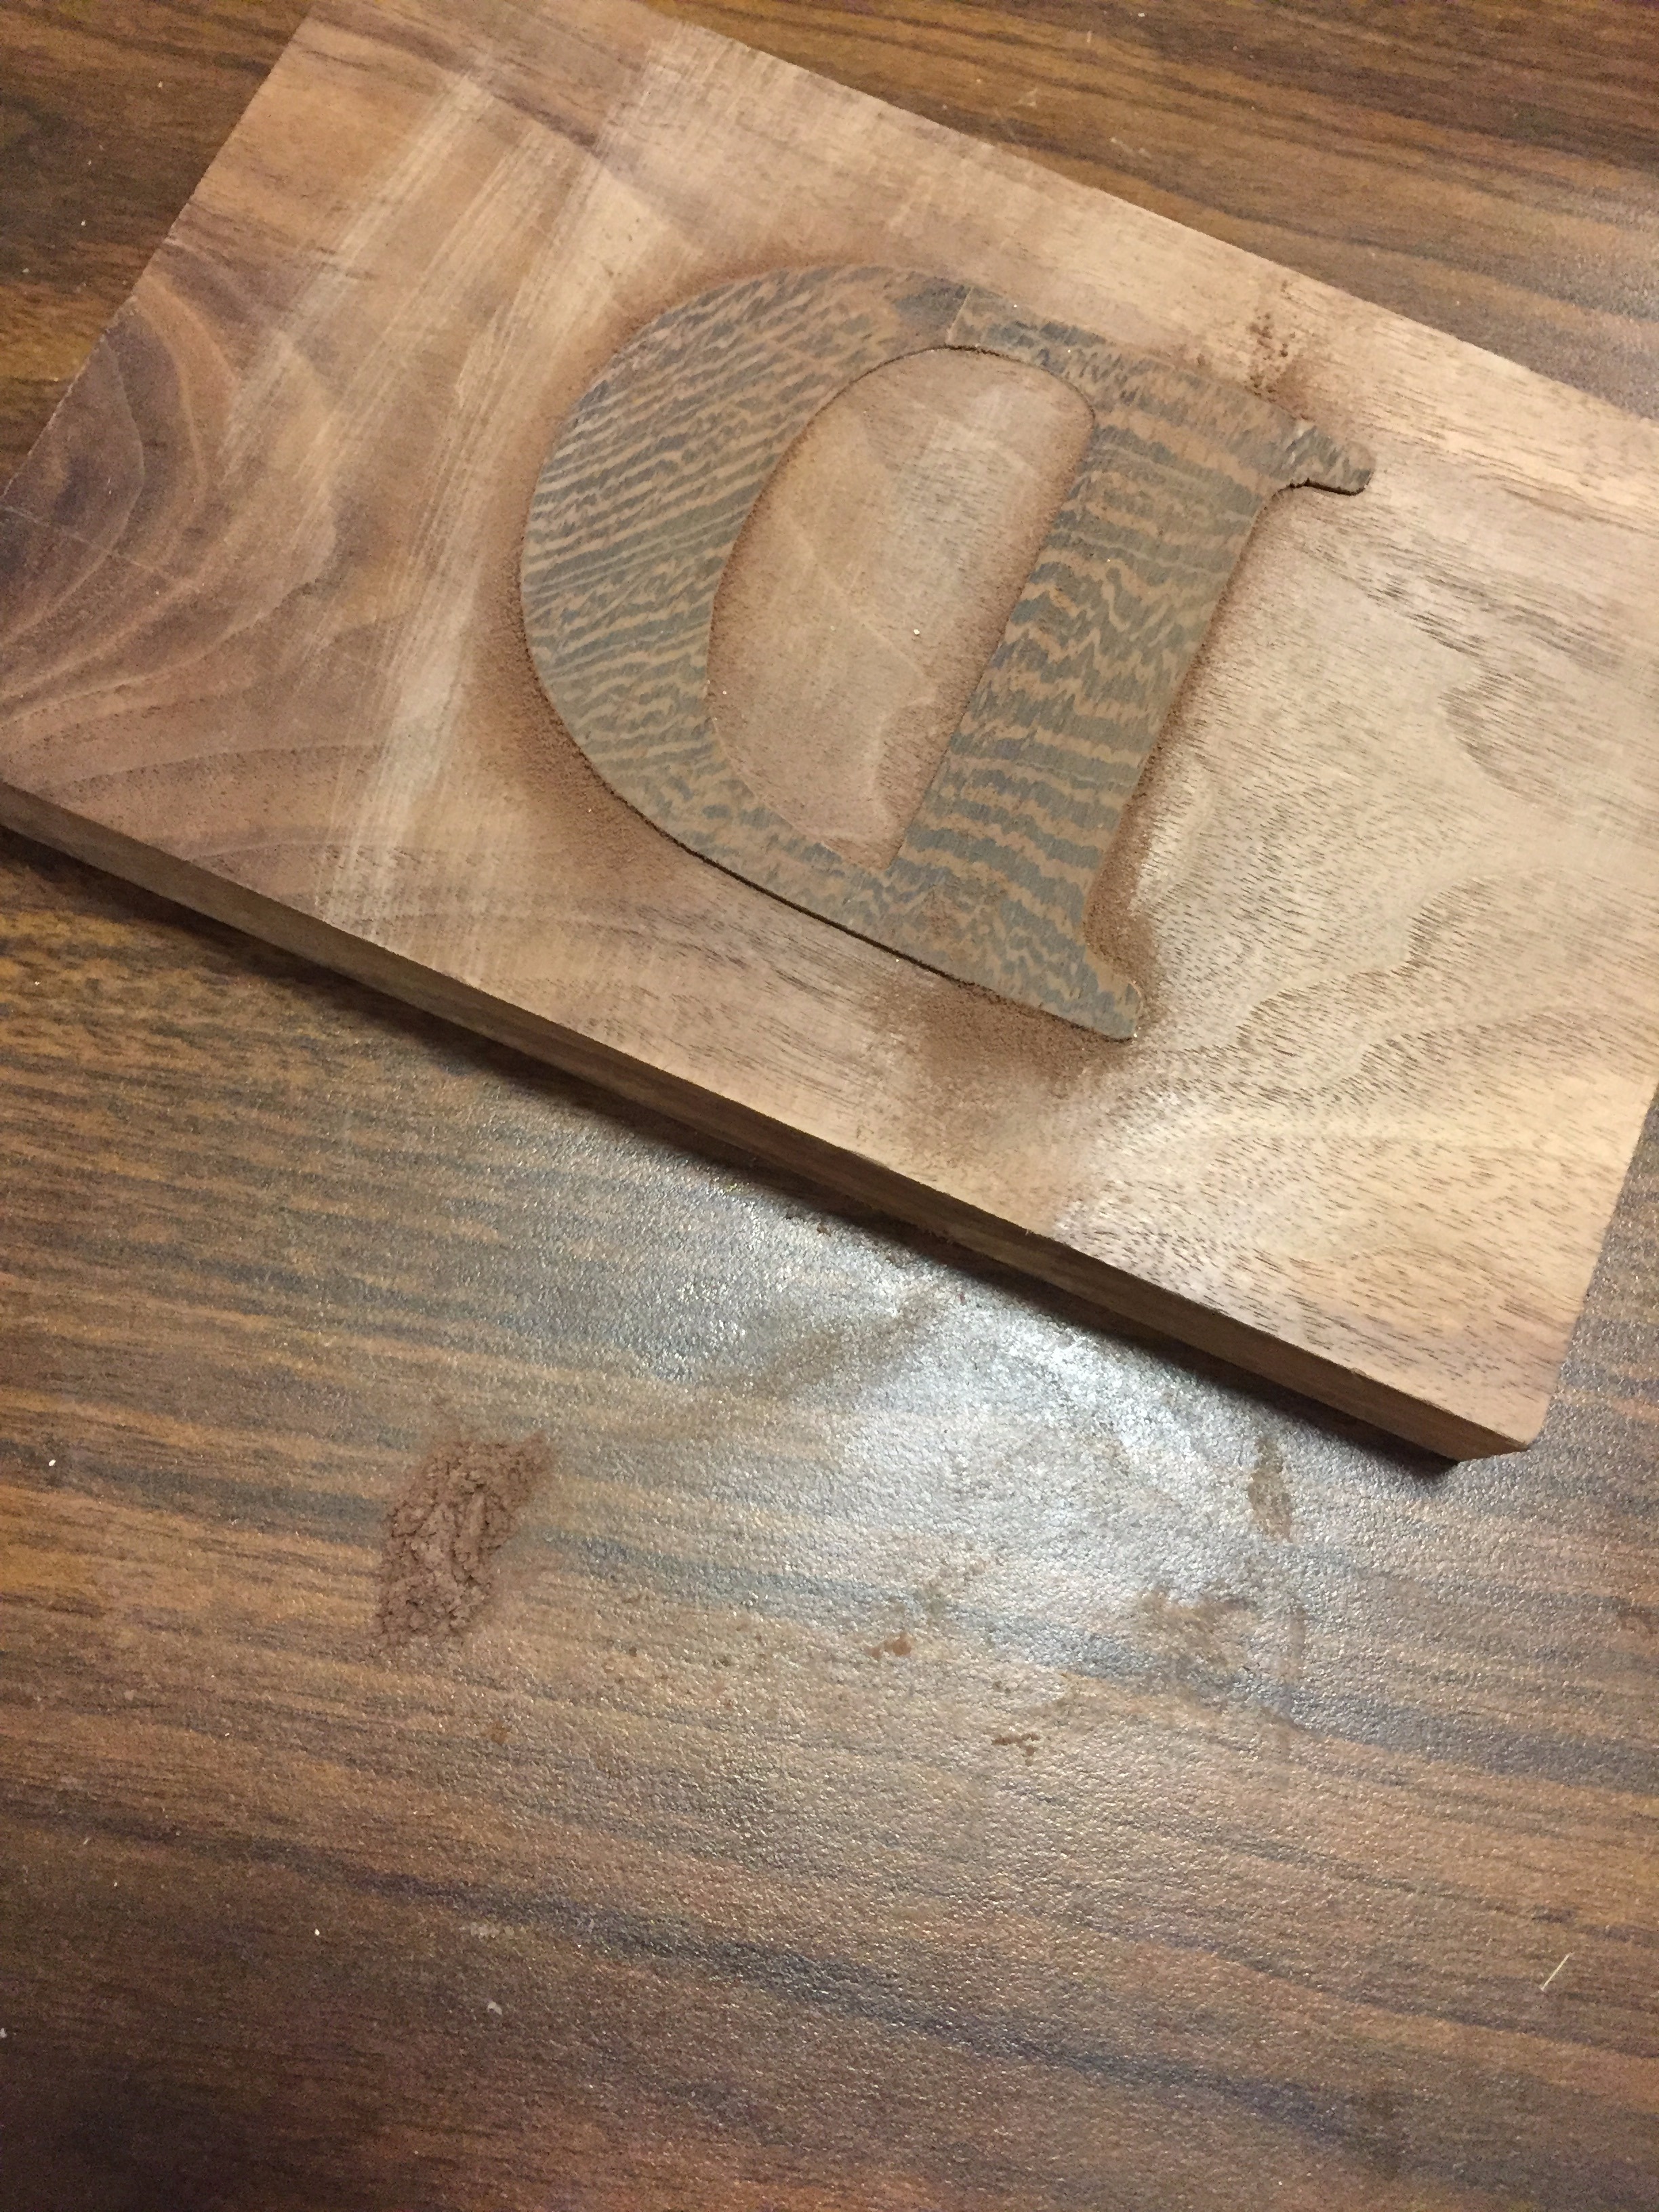
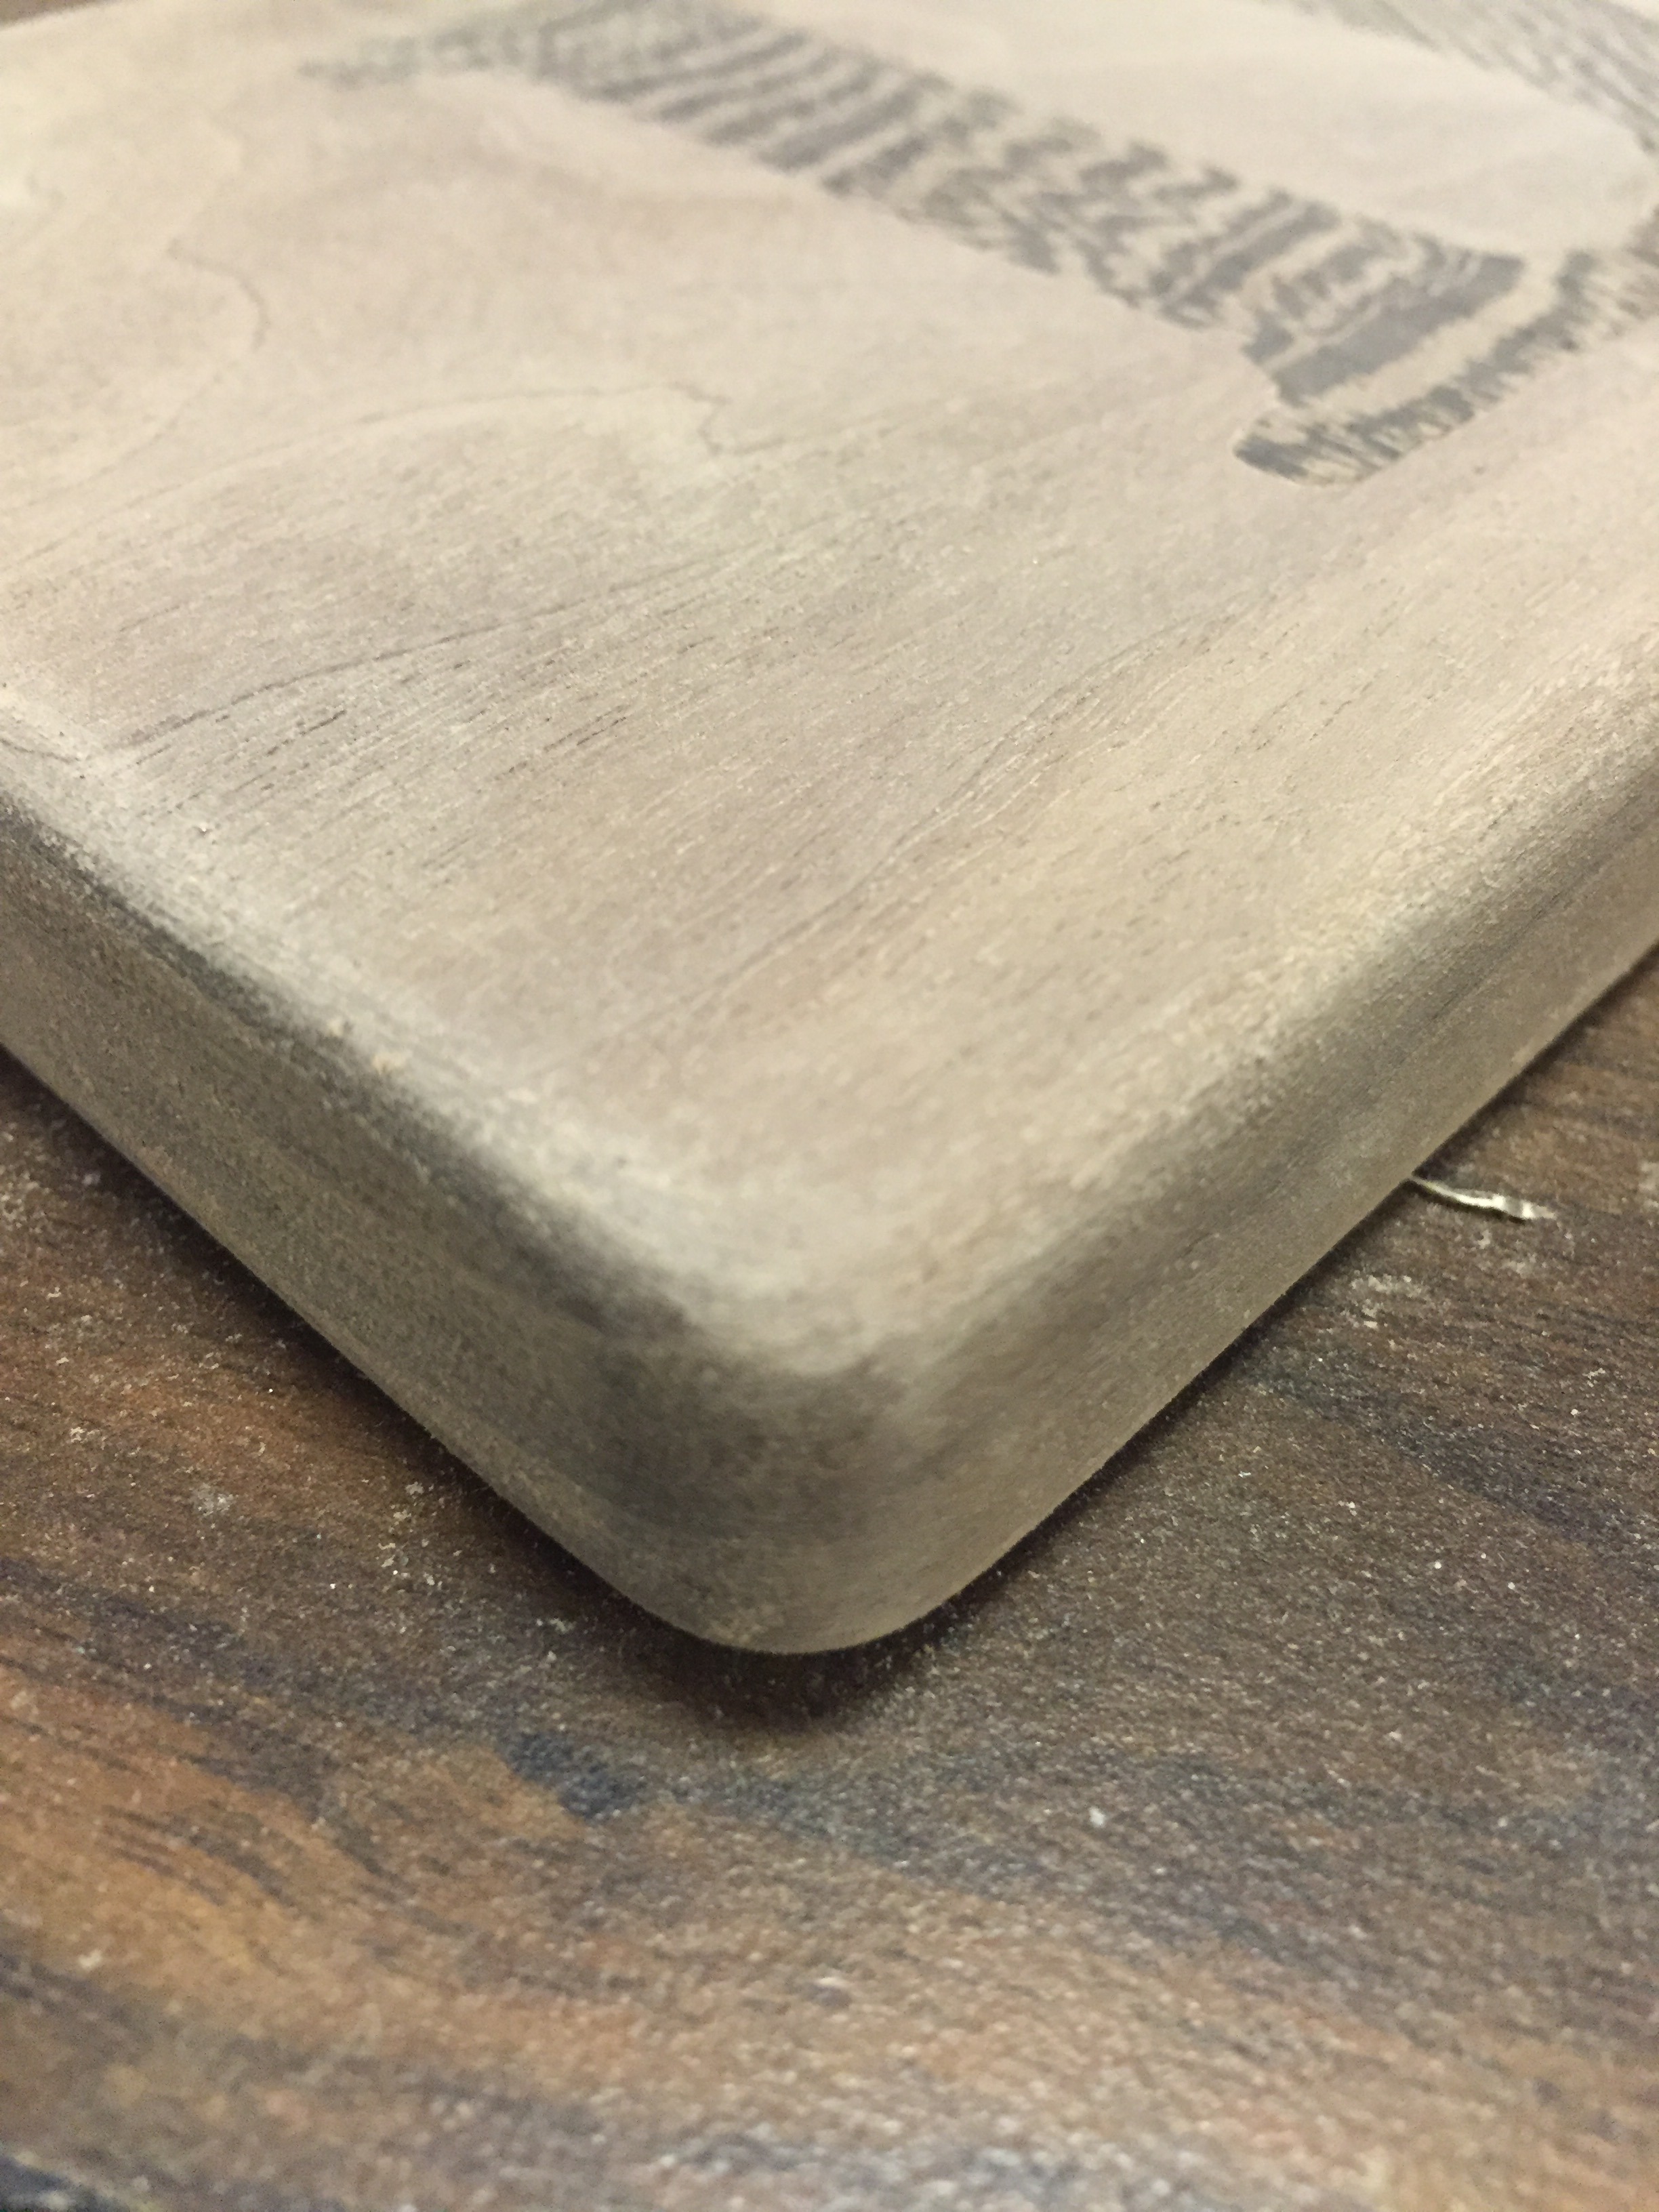
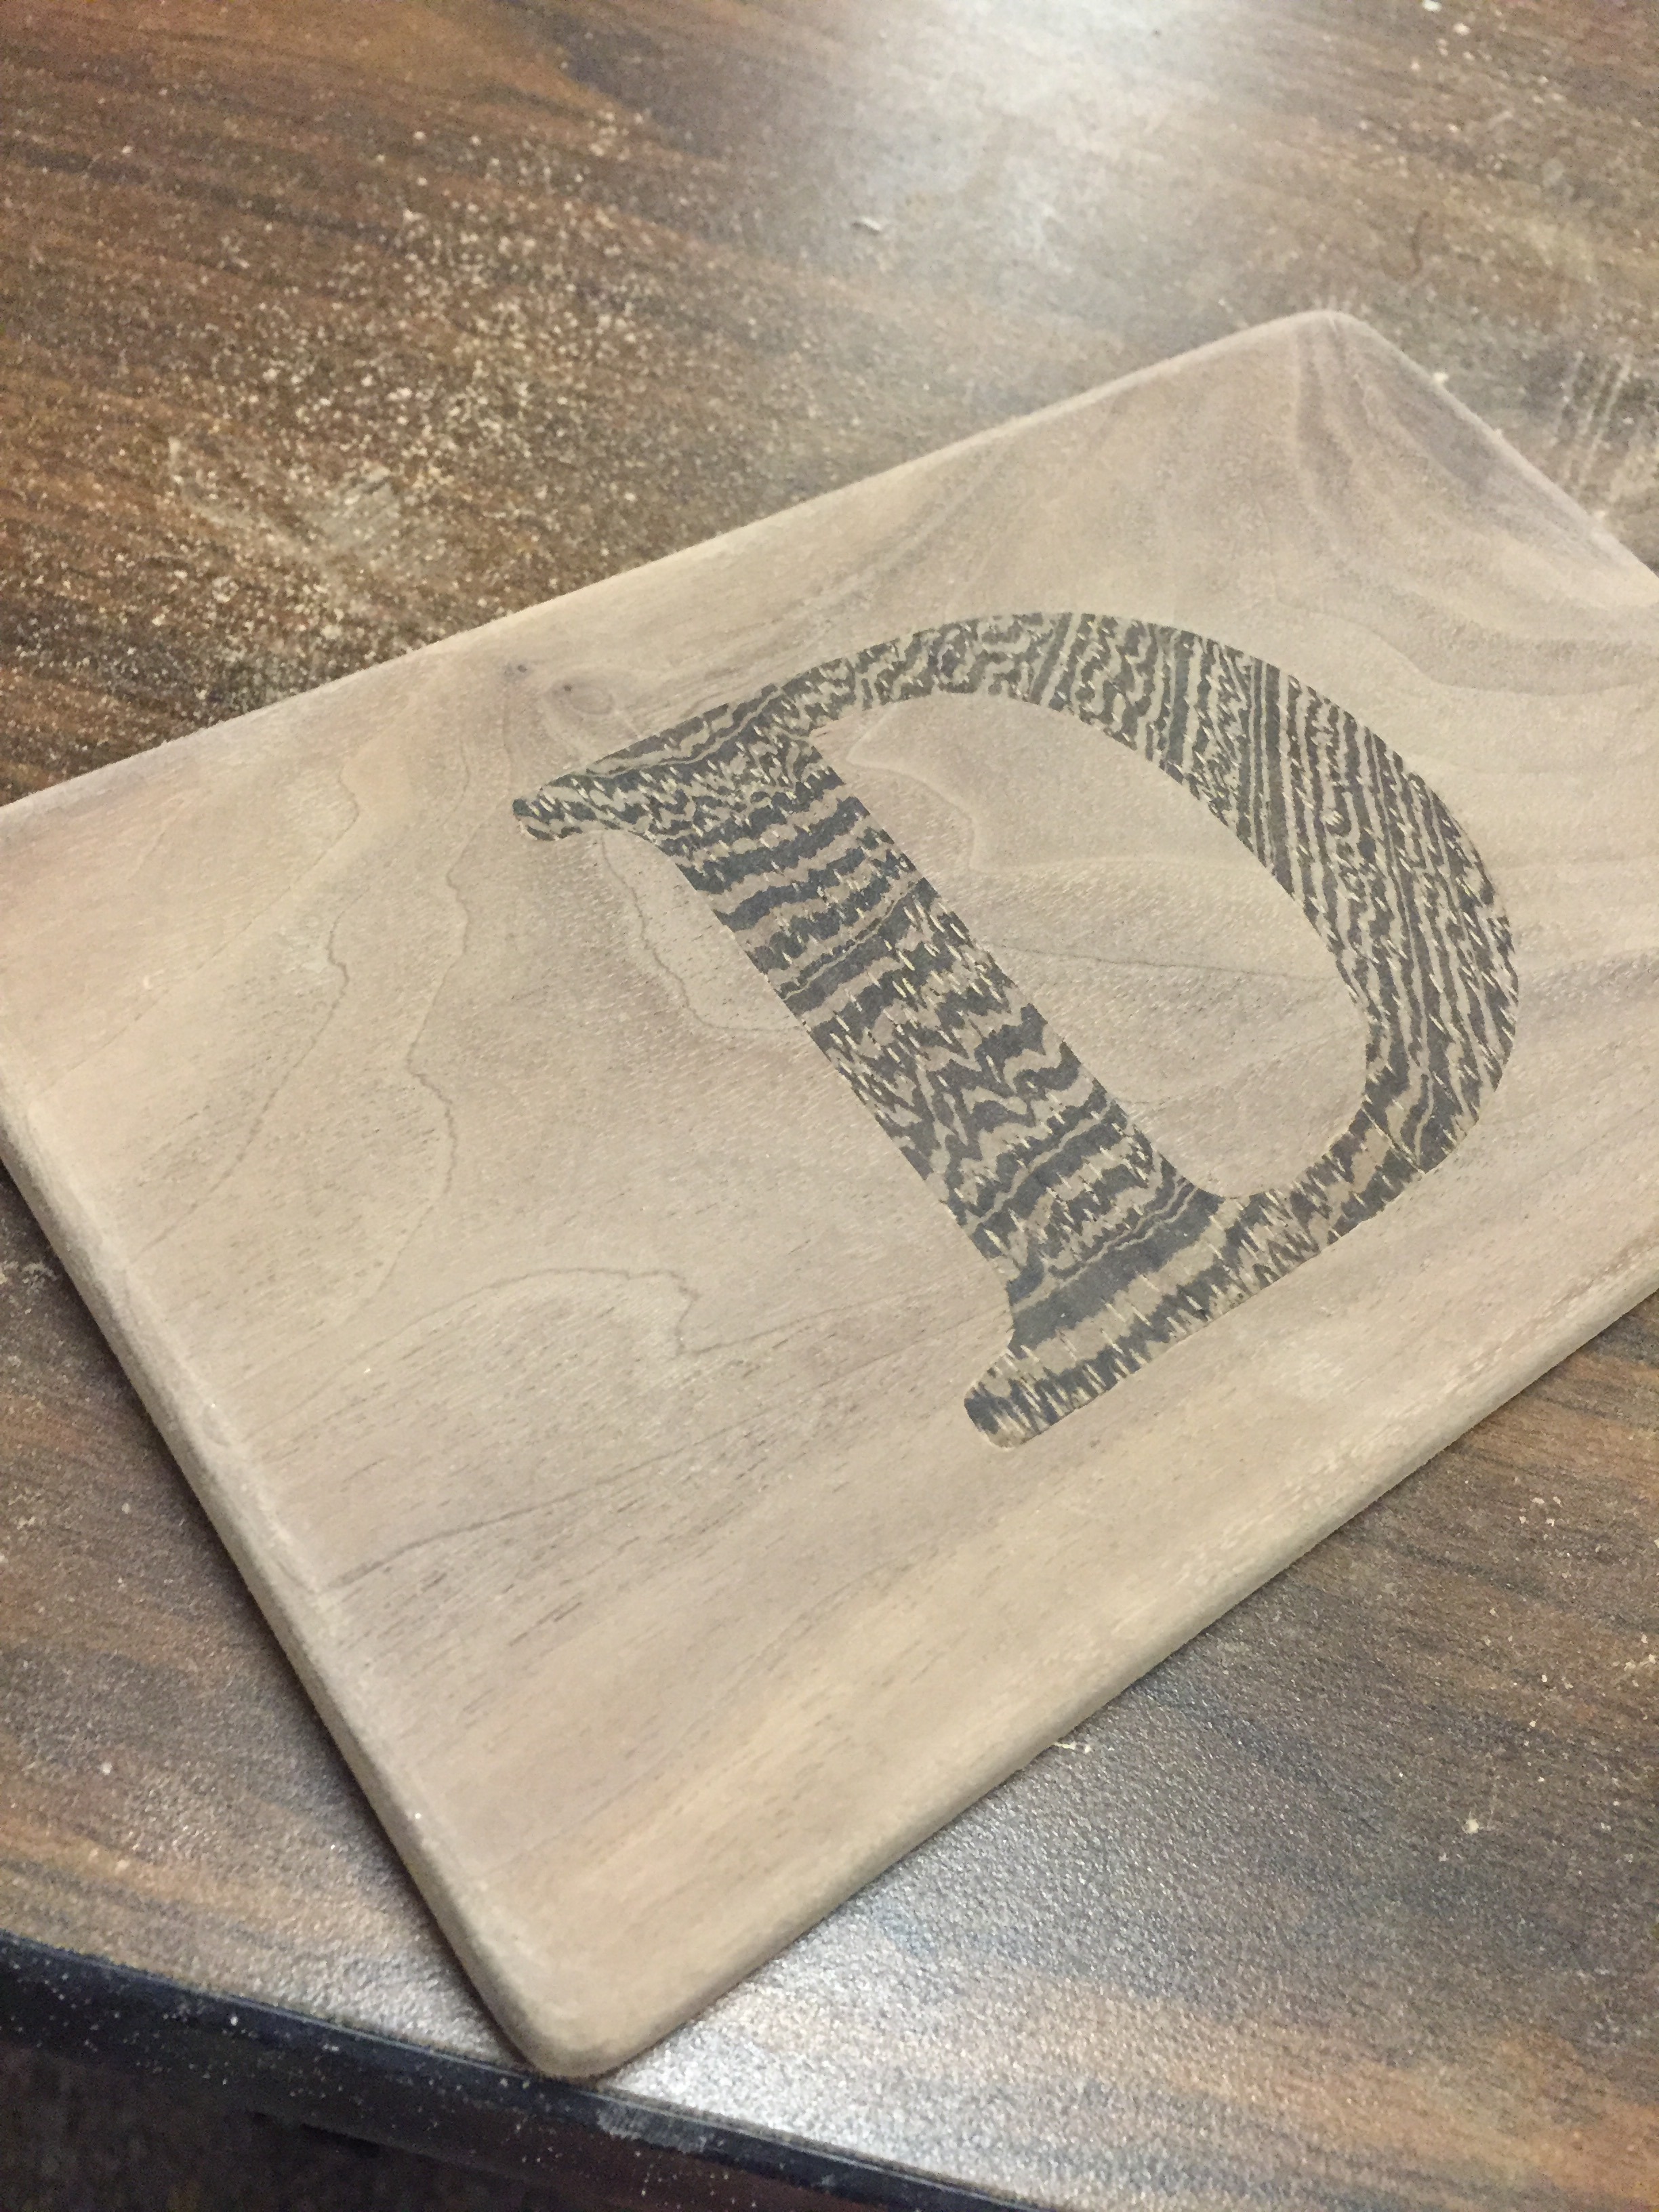
Once you have both the board and the inlay ready it is tempting to try and force the inlay into the routed board. If it doesn't fit right away, identify which sides are catching, and carefully sand it down and re-try. This takes many, many iterations. A good trick is to save any sawdust from the inlay so that if you sand down too much, you can mix the dust with wood glue to fill any holes.
Unfortunately I didn't listen to my own advice and tried to force the inlay into place, and realized after that one of the sides wasn't going to fit. Upon trying to gently pry out the inlay it snapped and part of the design was stuck in the wood. Oops! I was much more careful after this, and took my time sanding to make sure the fit was good before applying a layer of wood glue to the inside of the design and inserting the inlay.
Apply even pressure on top of the inlay until the wood glue is dry (generally a couple of hours, but it can sometimes take a full day to cure).
Using a palm sander, I then sanded the inlay flush with the surface of the cutting board. I then clamped the board down to a table and sanded down all of the edges until they were nicely rounded. Whenever I am sanding I make sure to take my time. It is extremely easy to take off too much and not realize it until much later. So pause a lot, and just feel the work that you are doing. You'd be surprised how much detail you can pick up by taking your time. The hardest part of this step is knowing when to stop, so don't be afraid to just put down the sandpaper.
Finishing
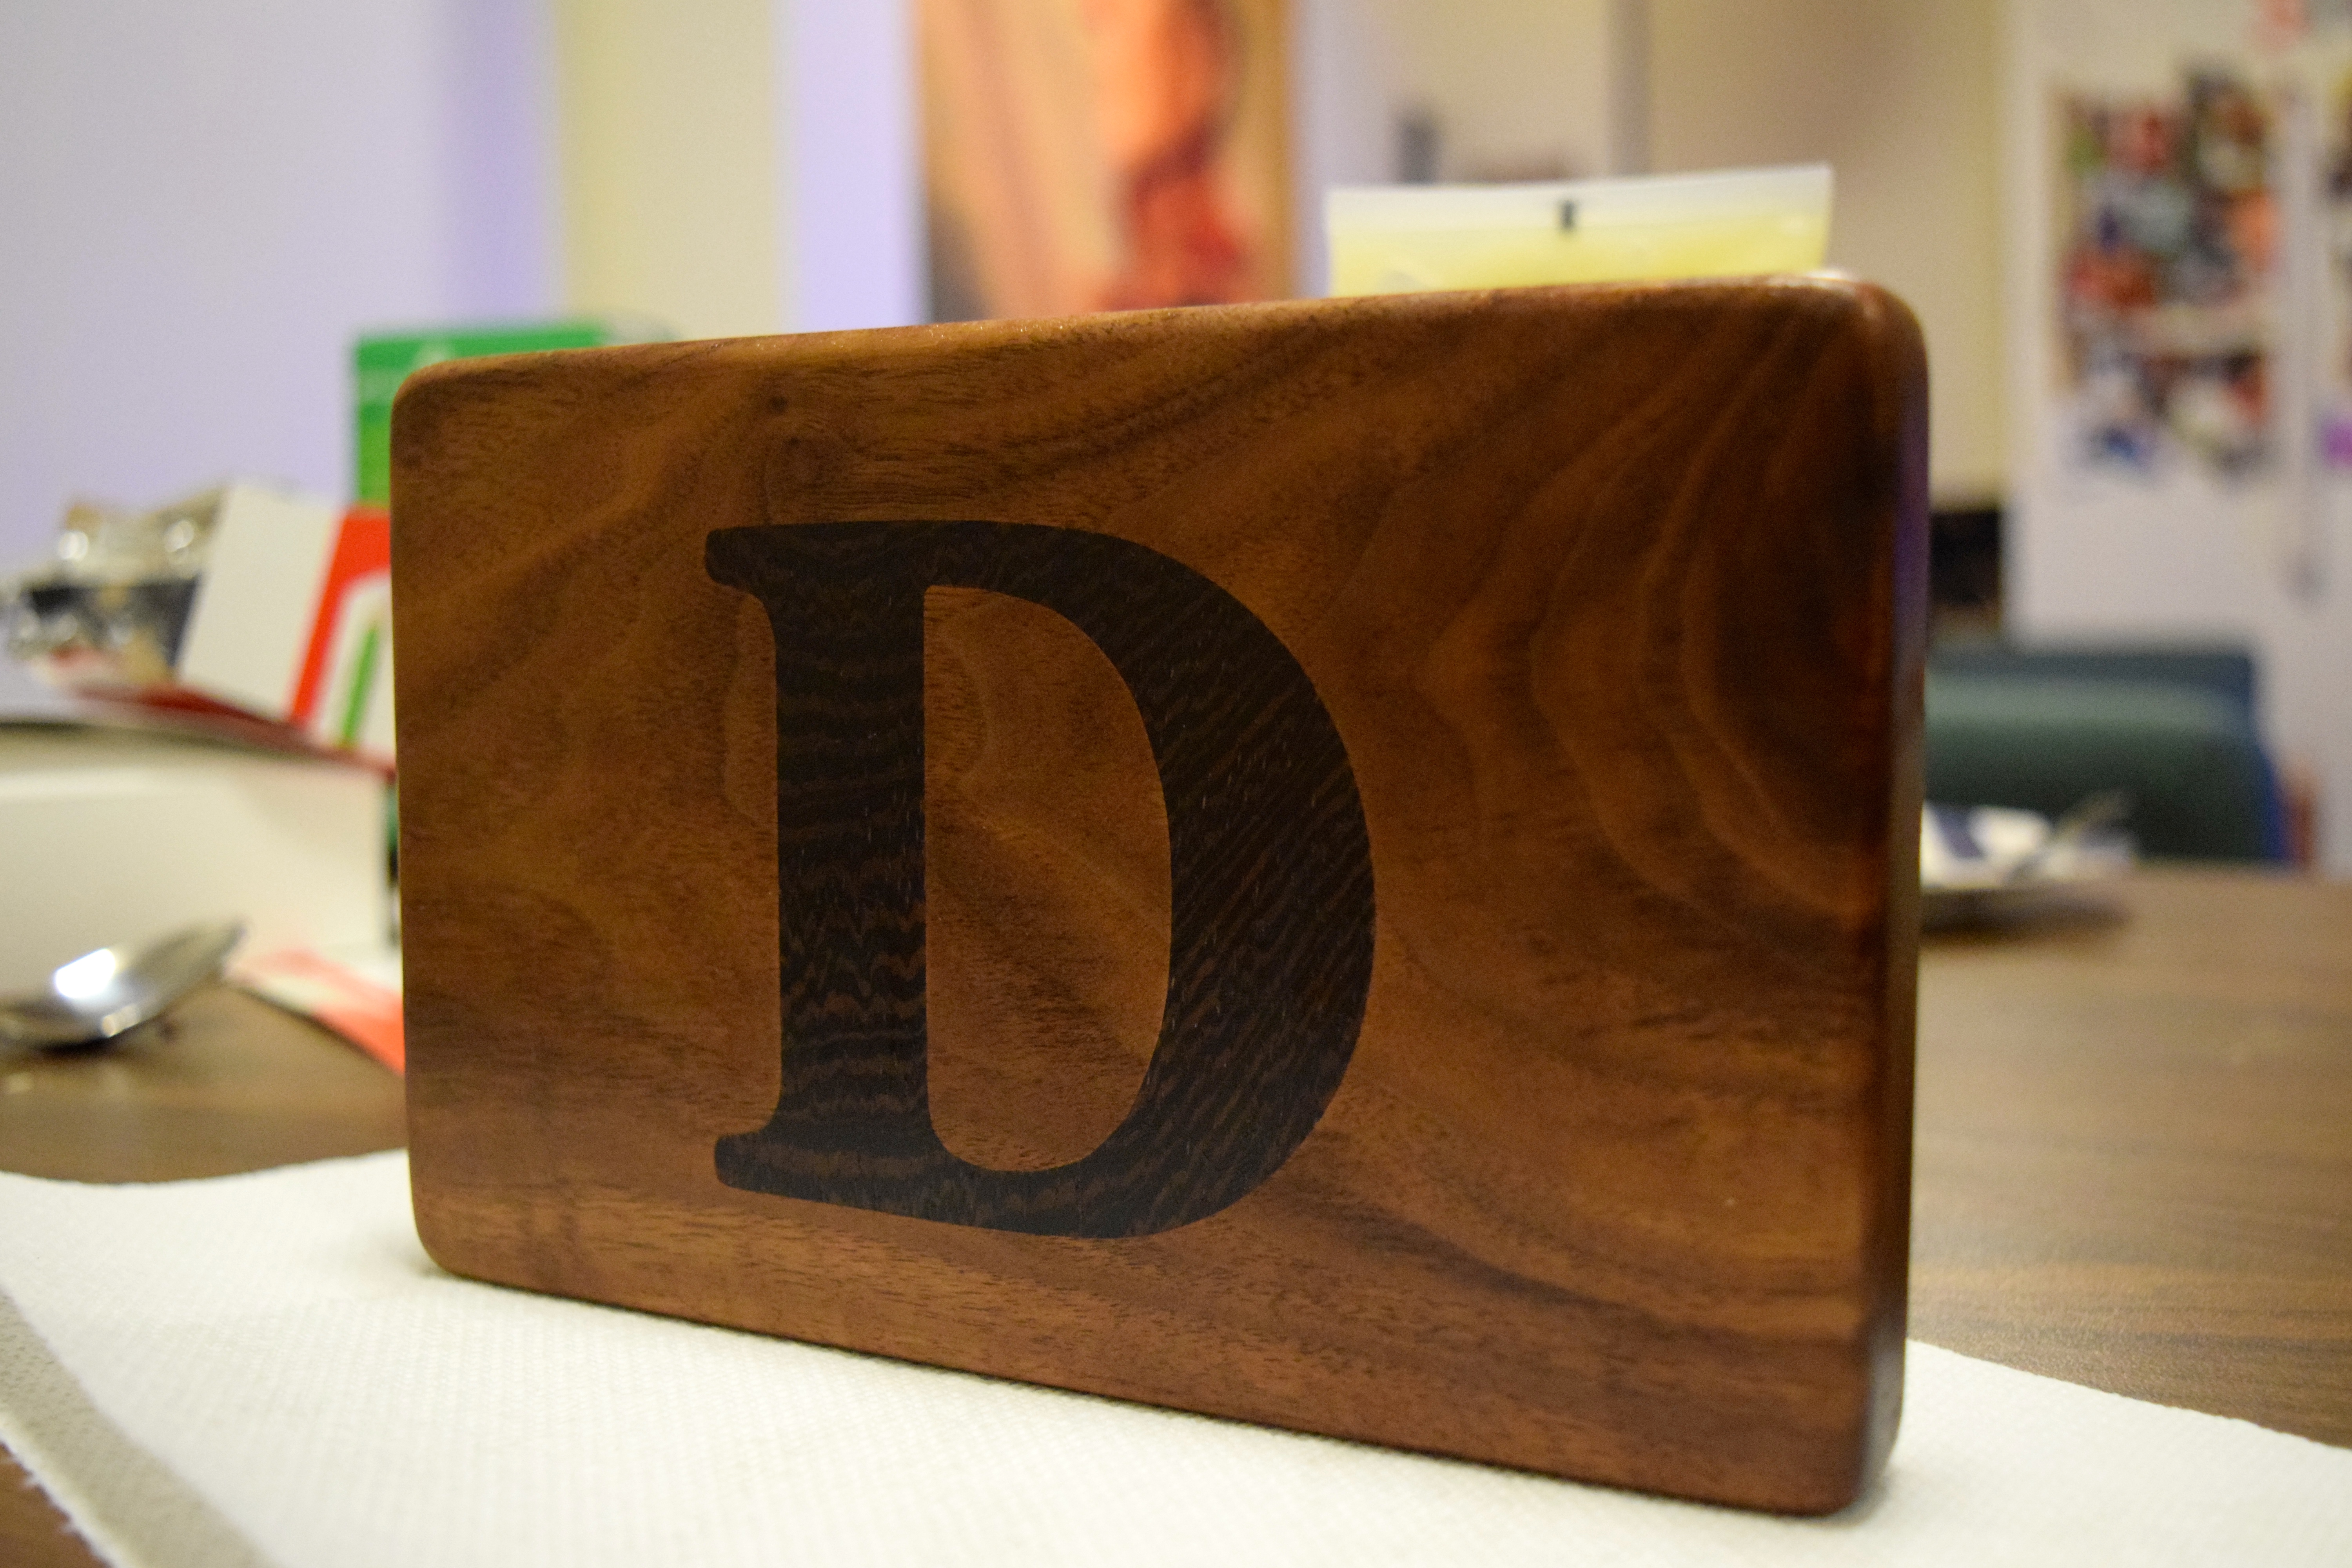
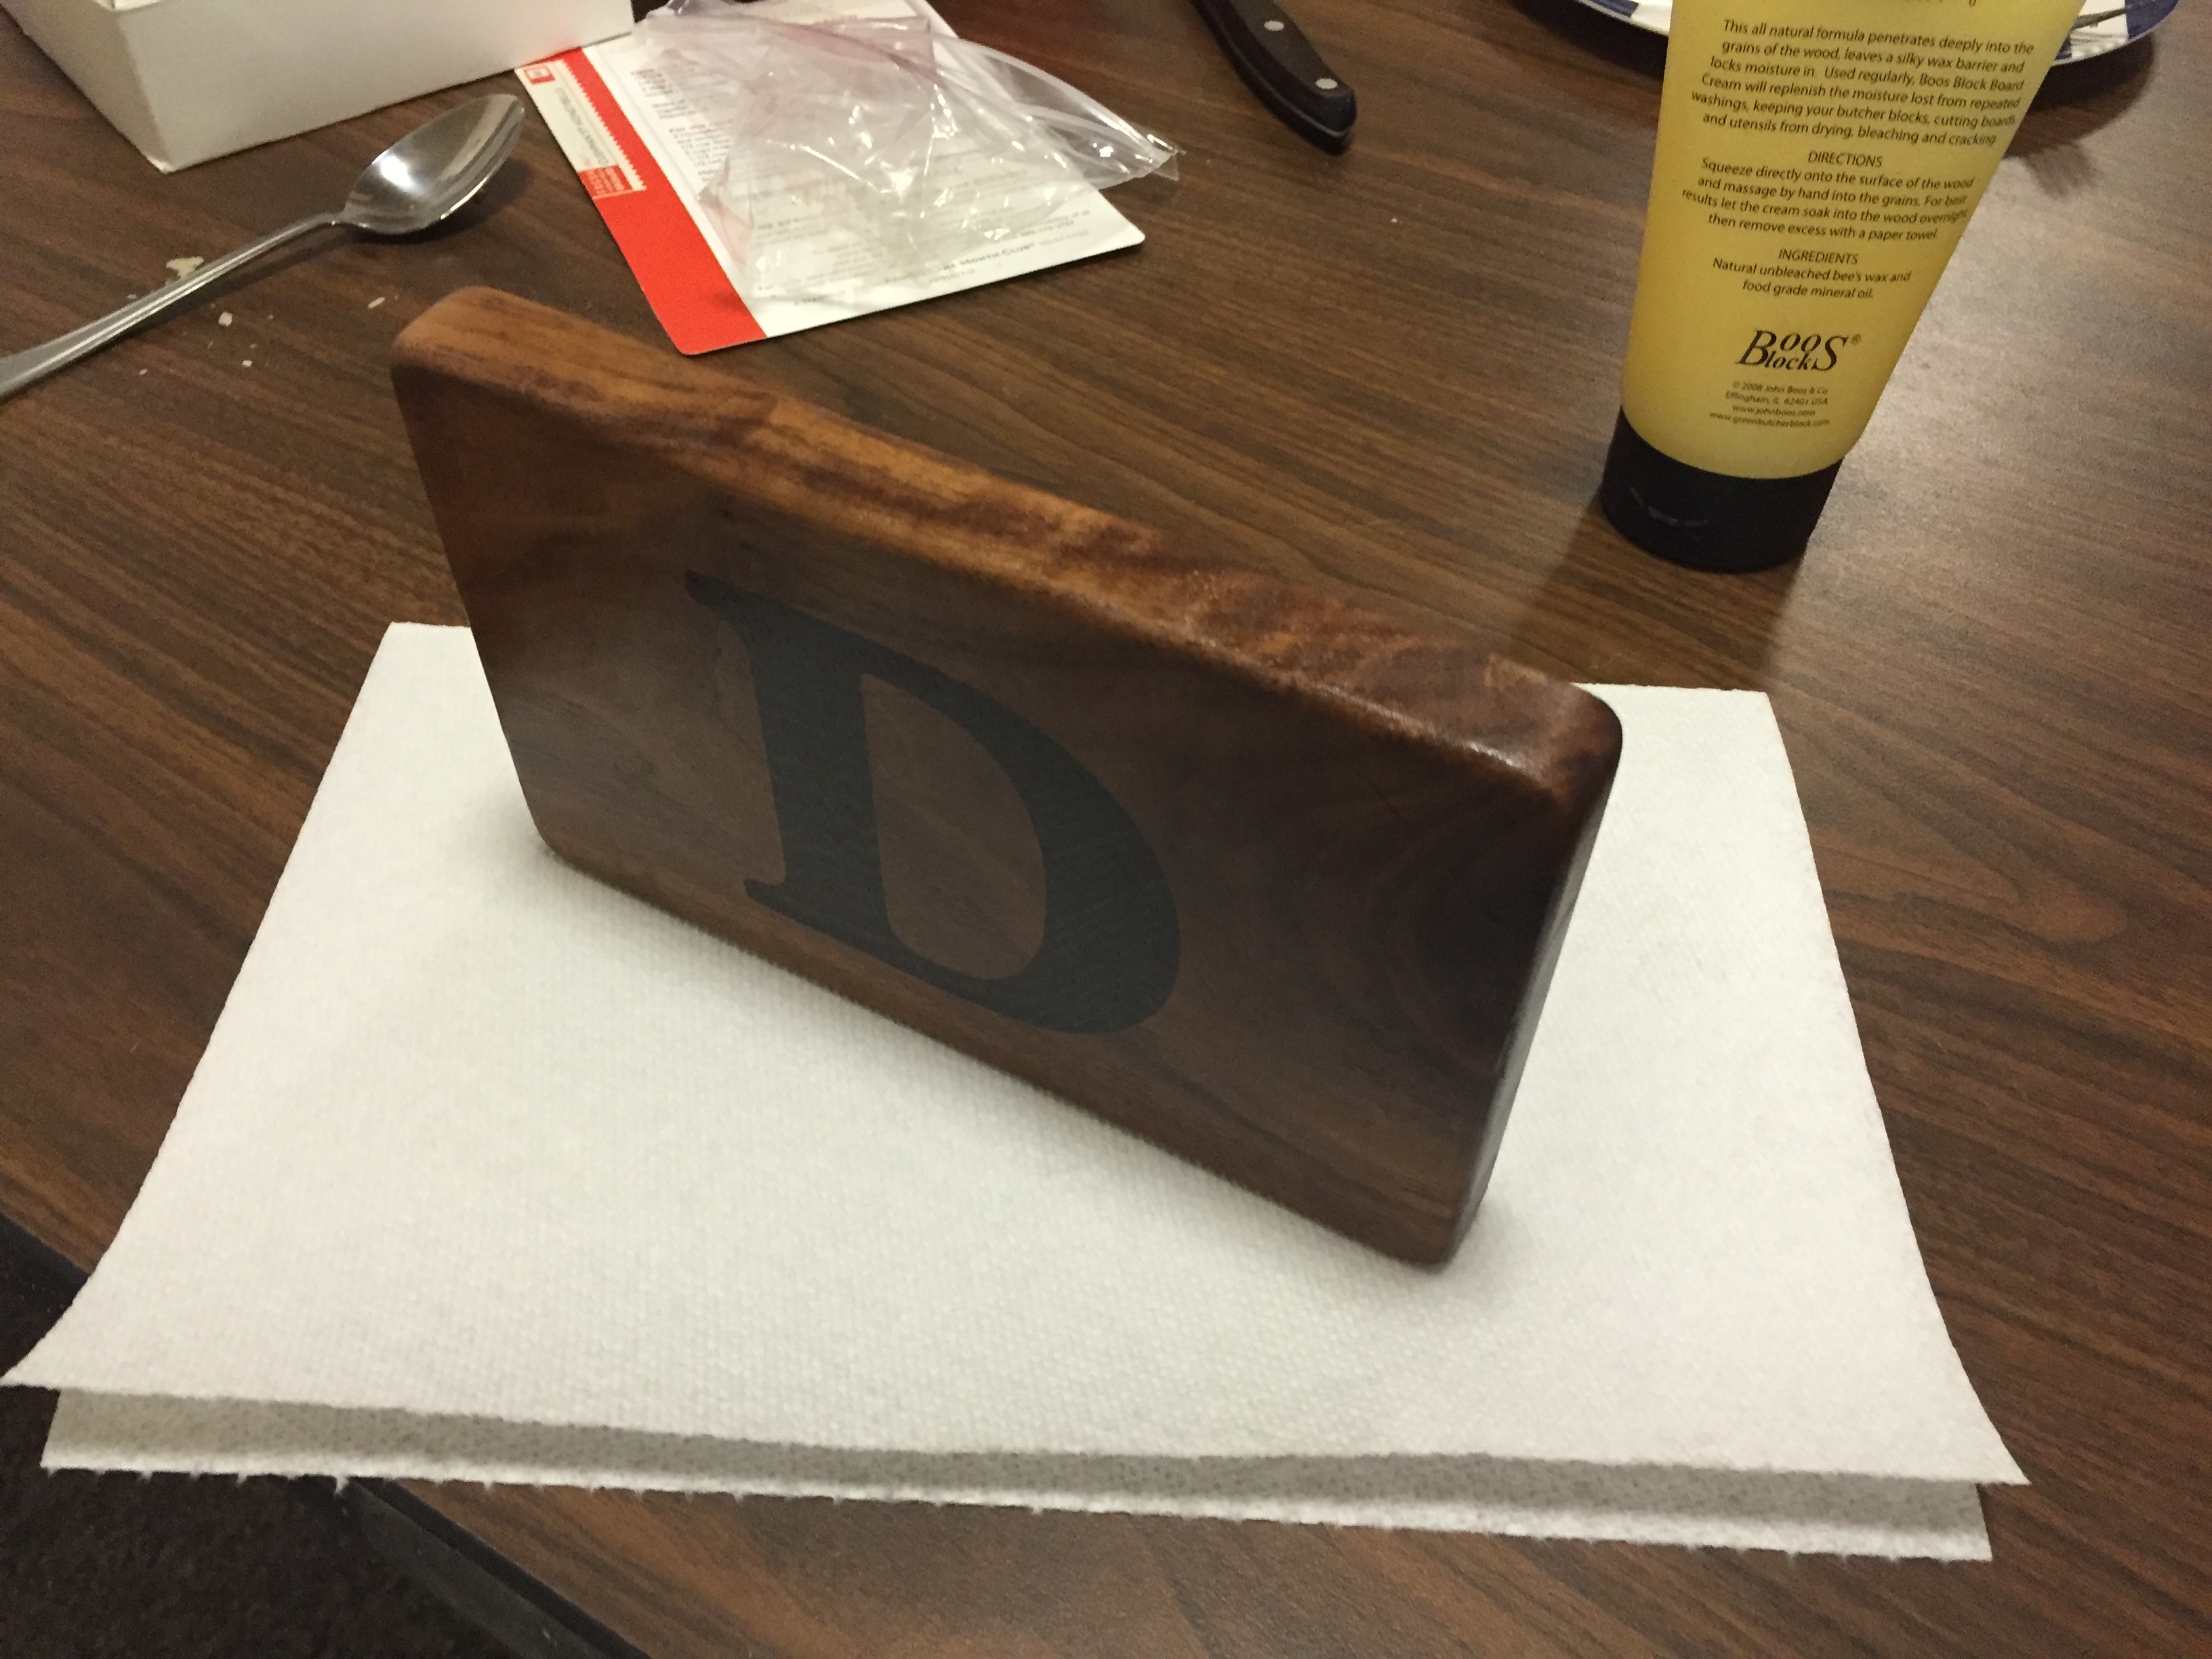
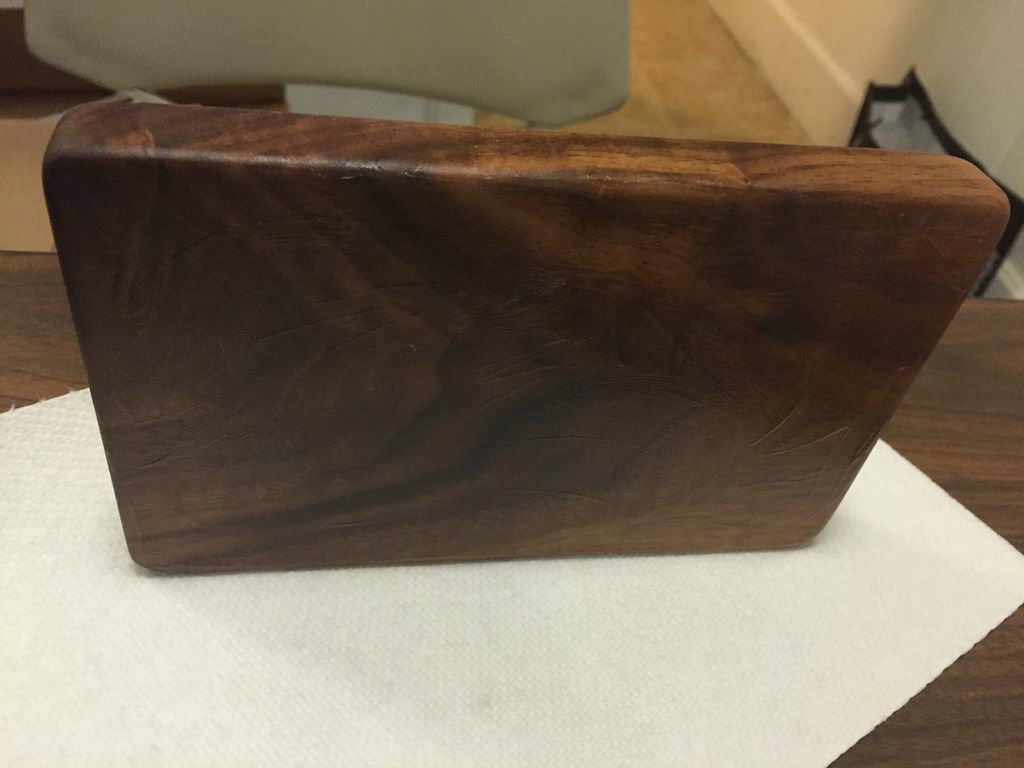
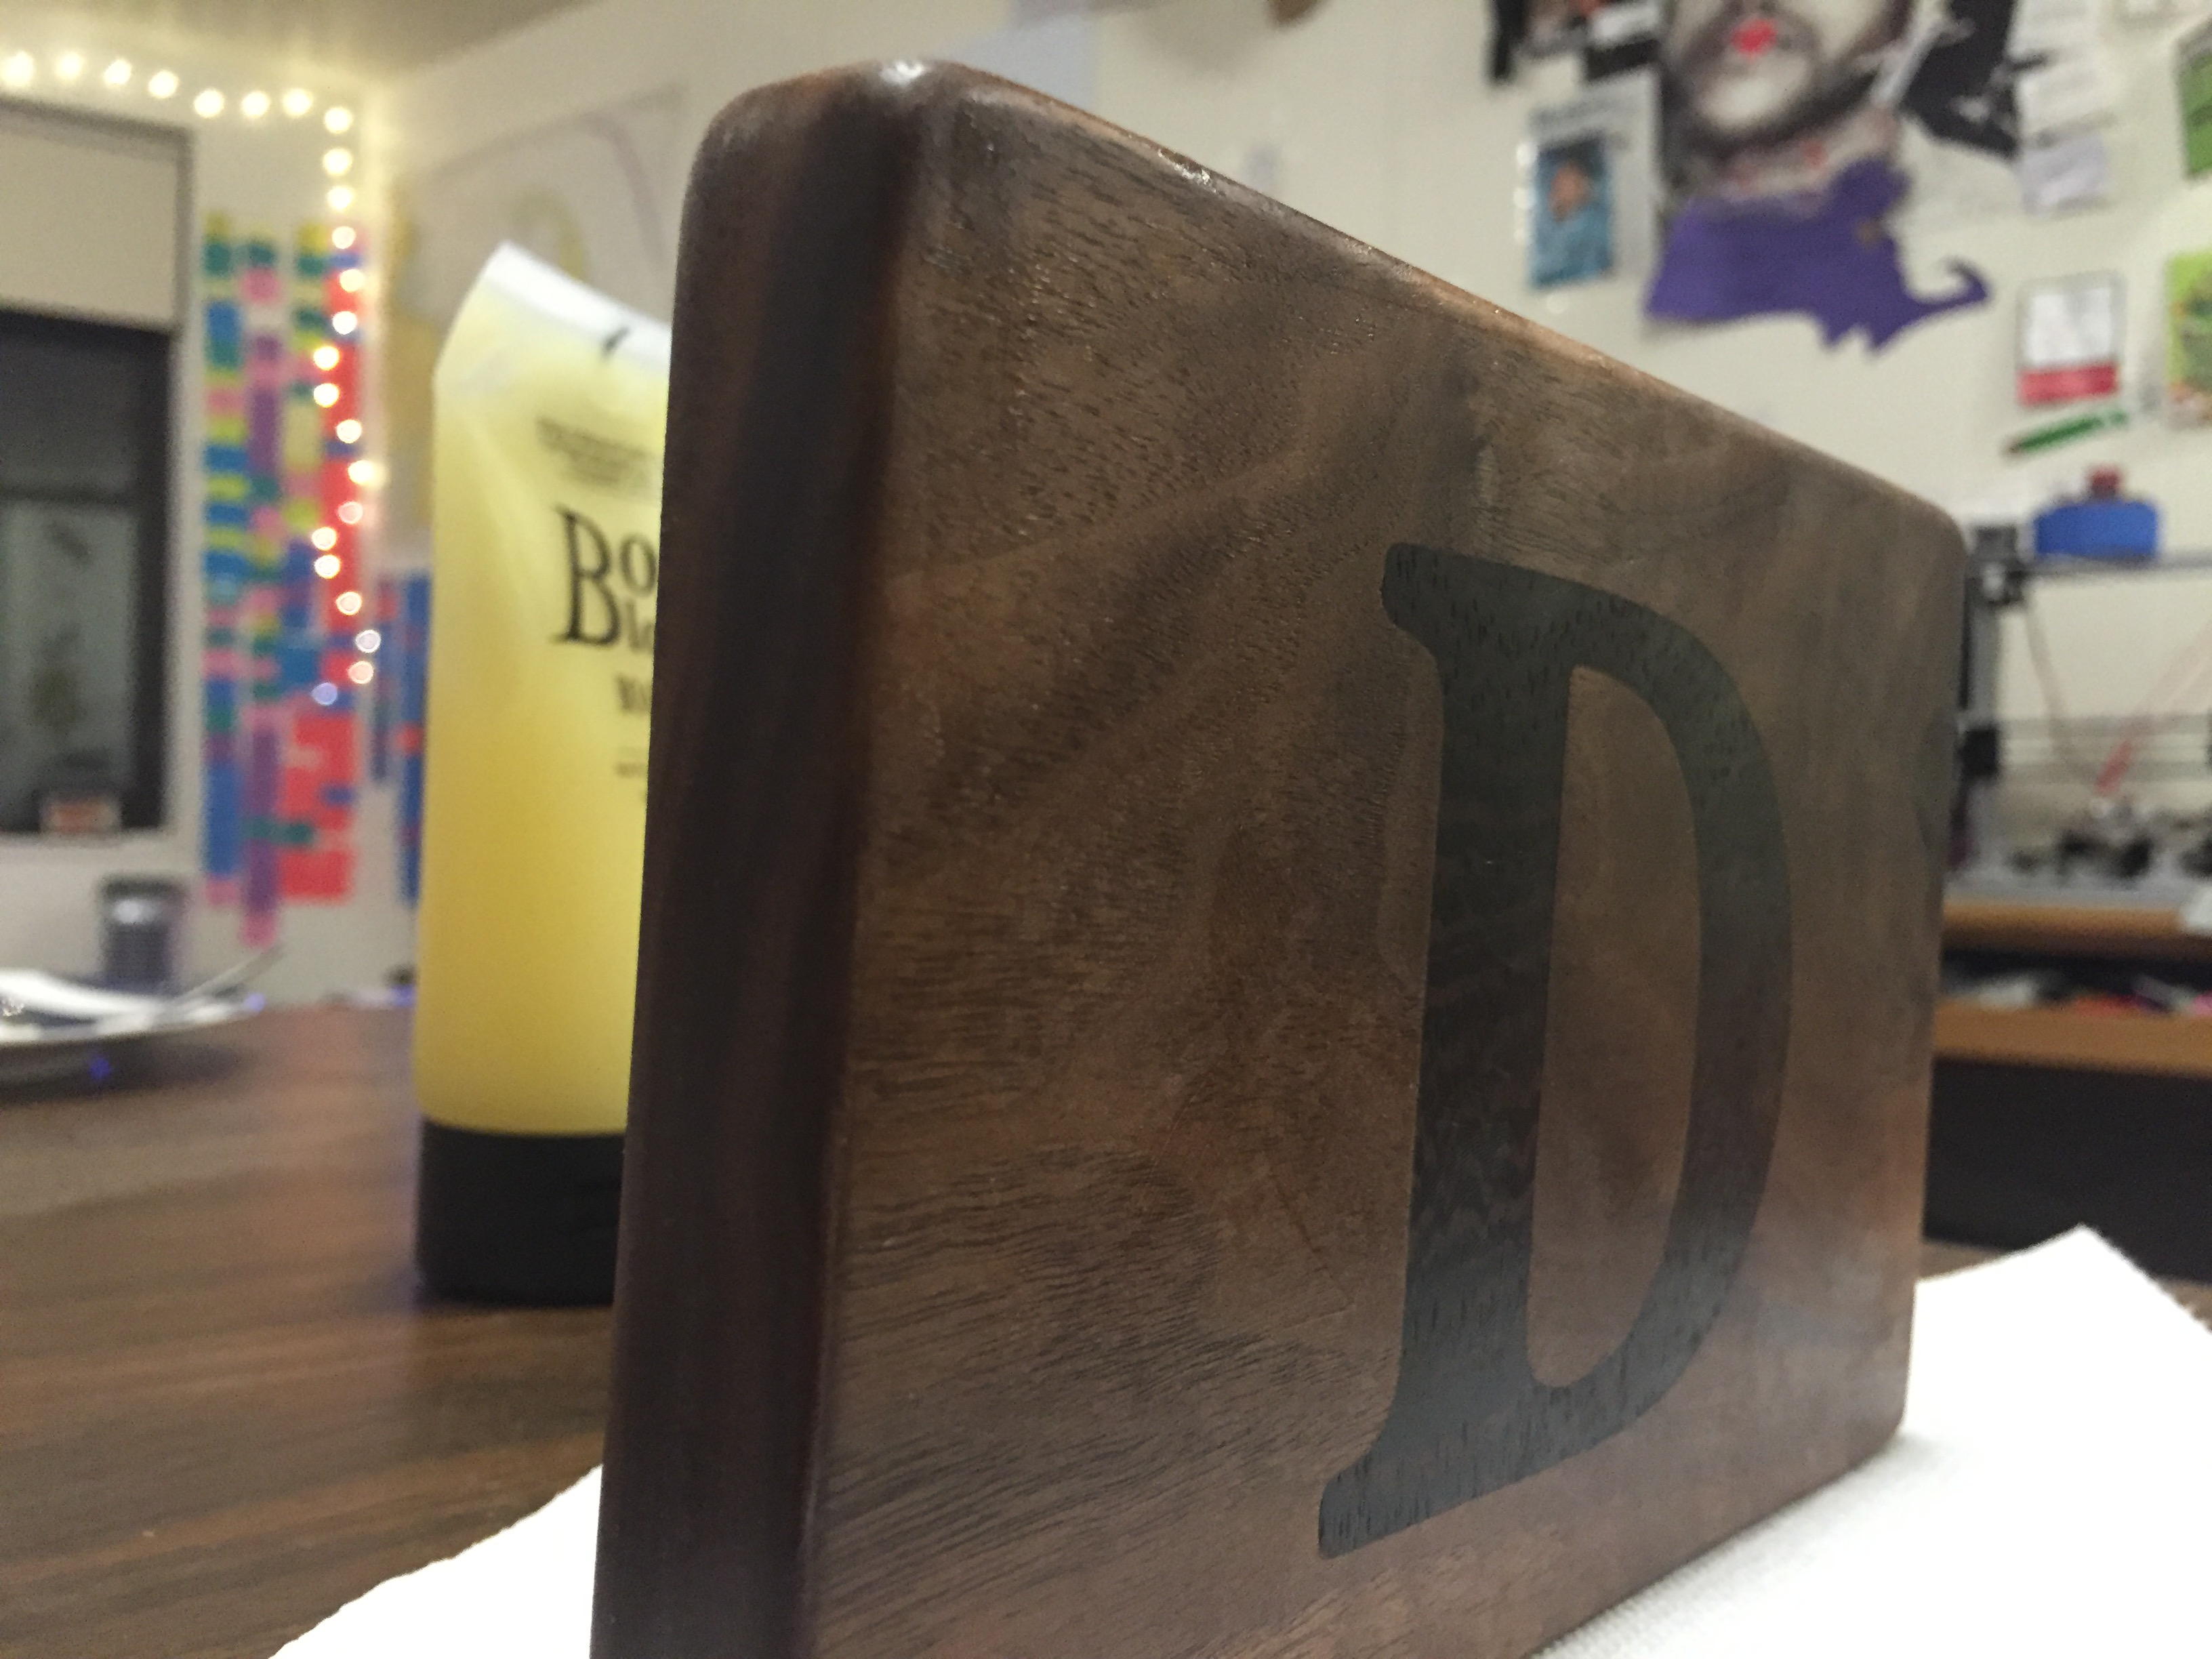
Once your board is sanded and has a shape that you like it's time to put on your finishing (ba dum tss) touch.
Start off by brushing off any excess sawdust. Once you get off as much as possible, wet a paper towel and wipe it down to get off more. Let the board dry off and keep wiping it down until you have gotten off as much sawdust and debris as possible.
I chose to use Boos Board Cream to finish my board. If you want, you can also apply mineral oil before the board cream. Whatever you choose, make sure that it is food safe! If you apply mineral oil, use a paper towel to spread a thin layer of the oil on top of the board and let it soak in. Keep applying it in this way until the board doesn't accept anymore of the oil. Wipe off the excess, flip the board over, and apply the mineral oil using the same process.
When you apply the board cream, apply a general blob on top of the wood, and work in in with your hands. You can do it one side at a time if you want, but I just covered the entire board and let it dry standing up. Once again, let it soak in and then keep applying more until the wood cannot accept any more. At this point, wash off your board (otherwise it is very slippery and oily) and let it dry.
Done!
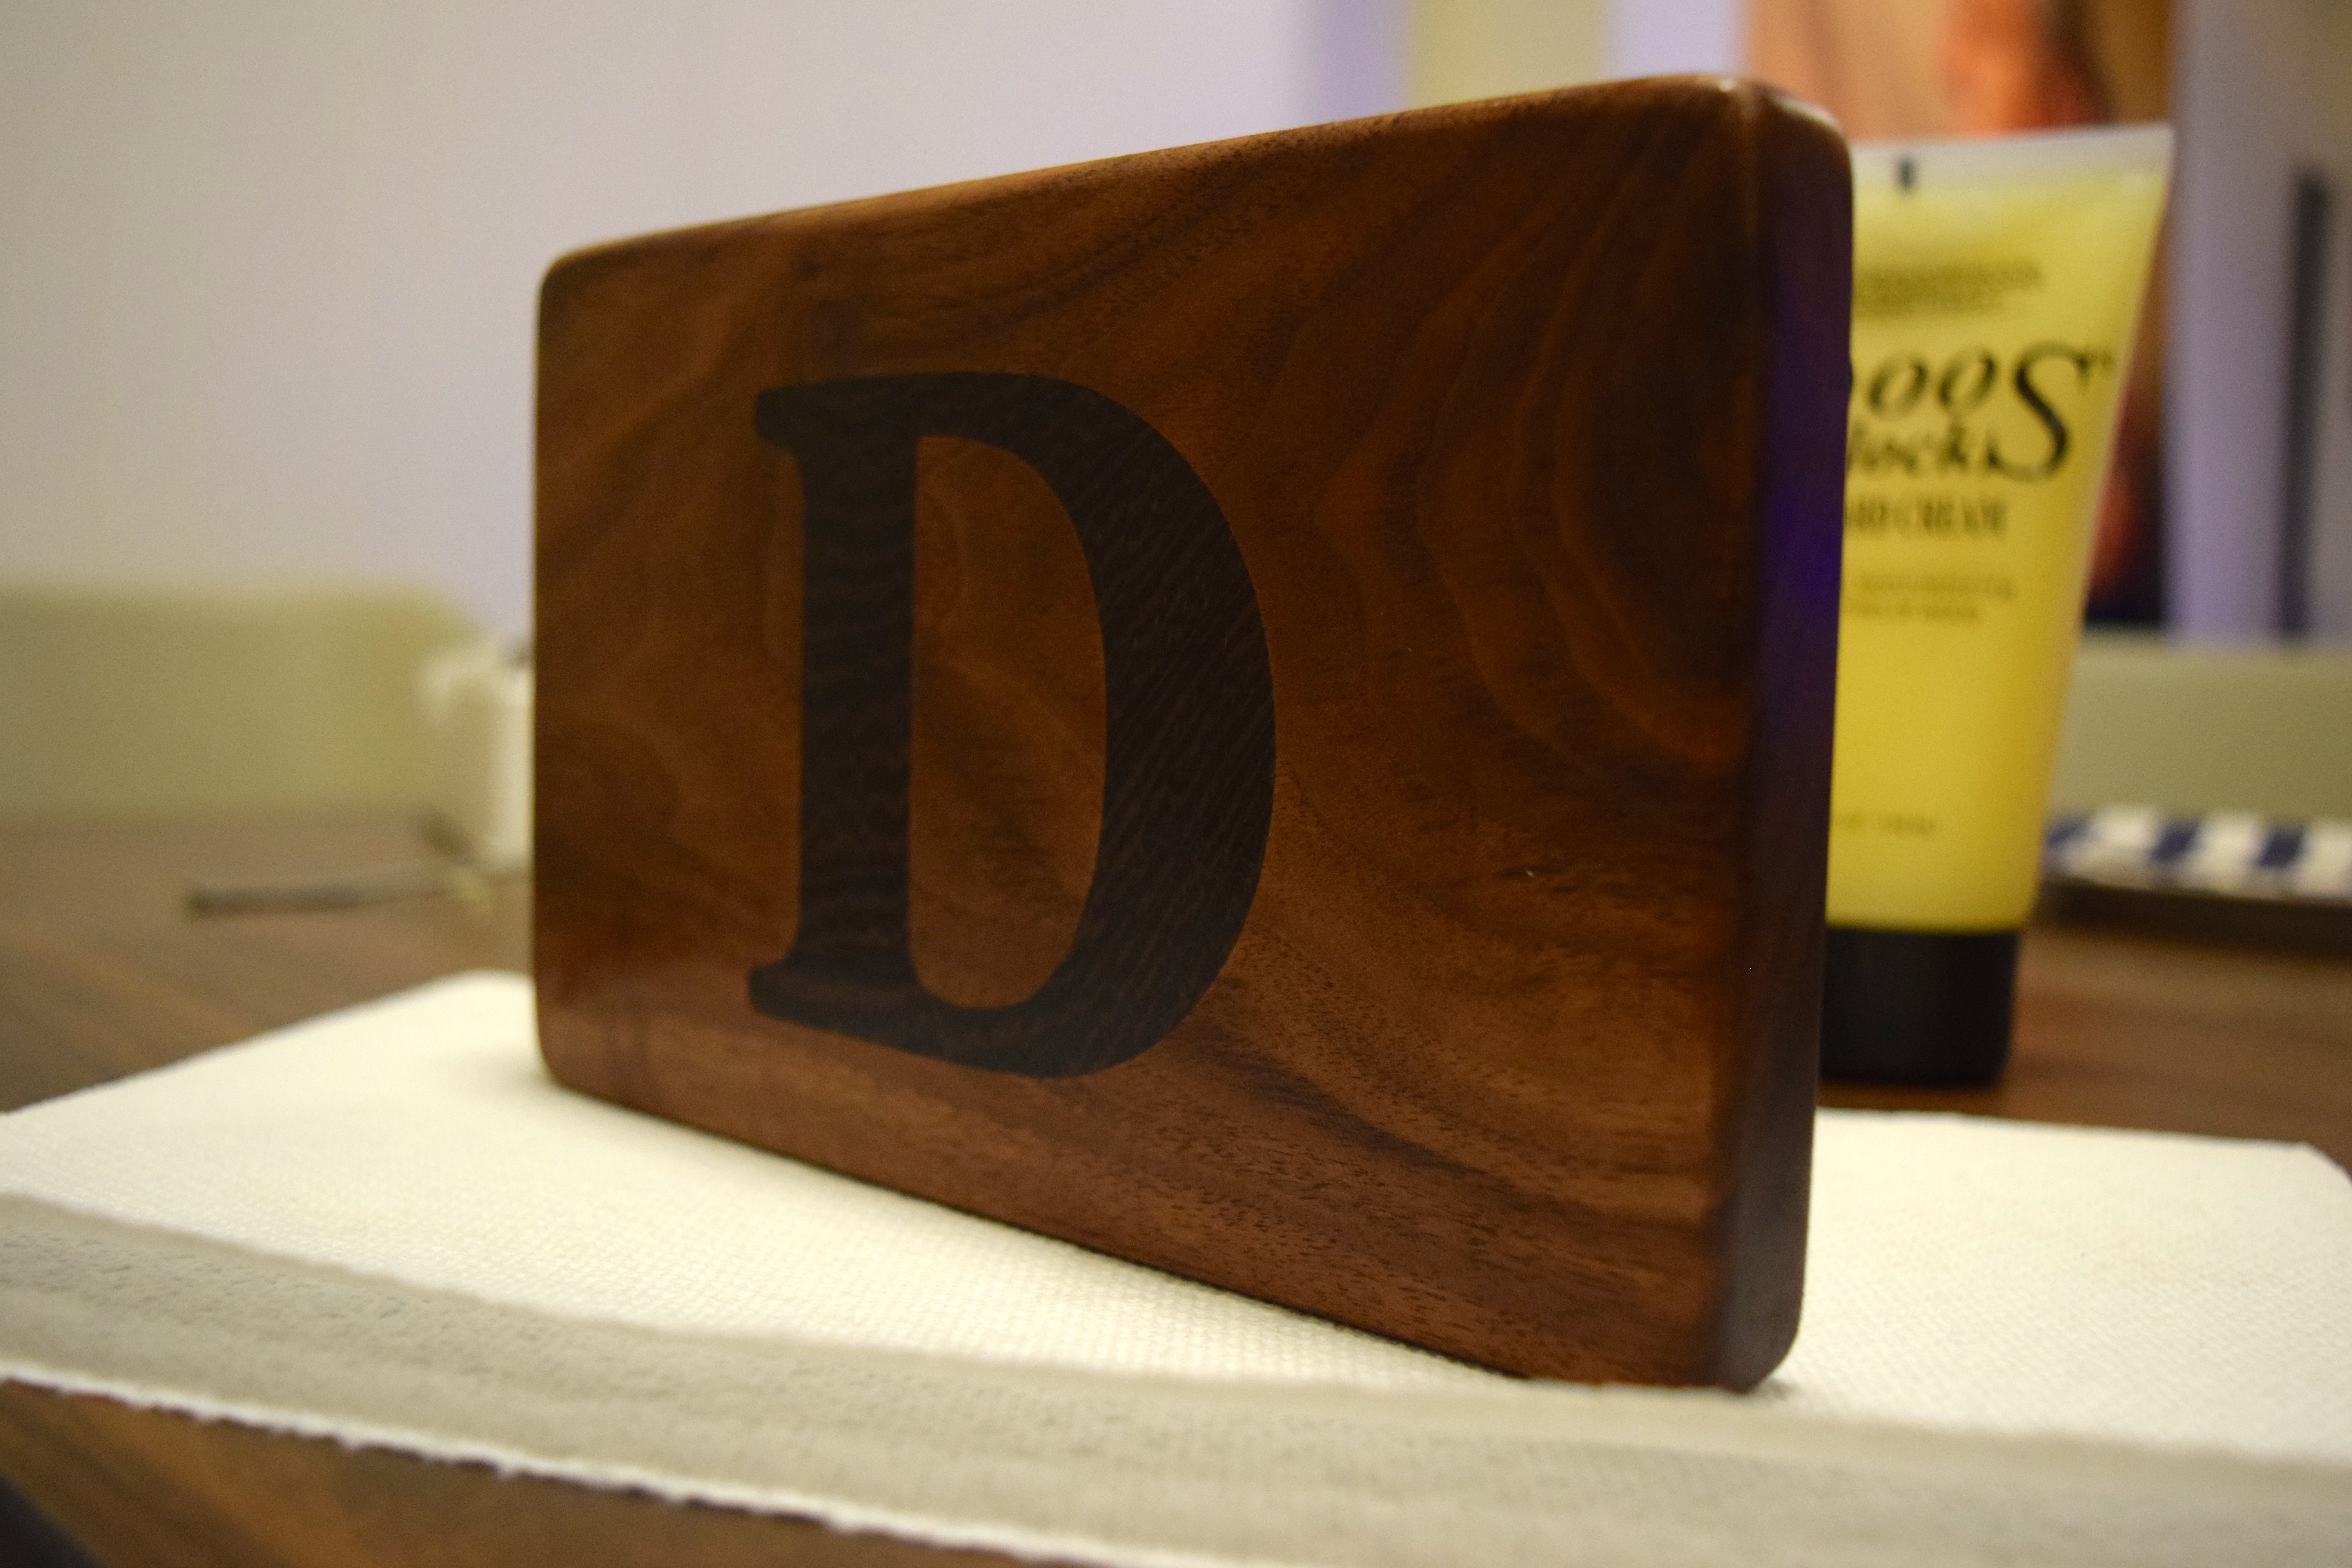
That's it! This is a fun project that makes a great personalized gift. You can wrap it up and give it to someone along with nice cheeses (I've learned that food also makes a great gift) and they will be very happy and impressed.
This project is a good way to understand and appreciate the inlay process more. Try adding multiple types of wood next time, designing a more intricate pattern, or using a material other than wood! I talked to the local granite shop after the fact to see if they could inlay granite into wood, and the owner thought it was a great idea.
When you clean your board be sure to hand wash with a mild detergent. Do not put it in the dishwasher. If your board has seen better days, just re-apply the mineral oil and board cream to give it some life.