DIY Monitor ScreenBar WiFi RGB LED
by RP HOBBYIST in Circuits > Electronics
10016 Views, 34 Favorites, 0 Comments
DIY Monitor ScreenBar WiFi RGB LED


Monitor ScreenBar Wi-Fi RGB LED Light will Levels up the gaming experience and RGB Hue Light adds a nice look and texture to your Desk and makes it stand out instantly. Upgrade immersion and creates a comfortable gaming environment while playing with lights off - complements with backlight/RGB setups. Enhance your Monitor experience with your choice colours and animation effects configurations. It helps while working in the darkroom on the Monitor and Enhance Reading experience. It reduces the eye stress from monitor light, give more Hue adjustment adjustable colour temperature to provide focus and comfort, choose your colours for relaxing cool light for work efficiency. Space-saving breakthrough design mounts on top of the monitor saving valuable space on your desk.
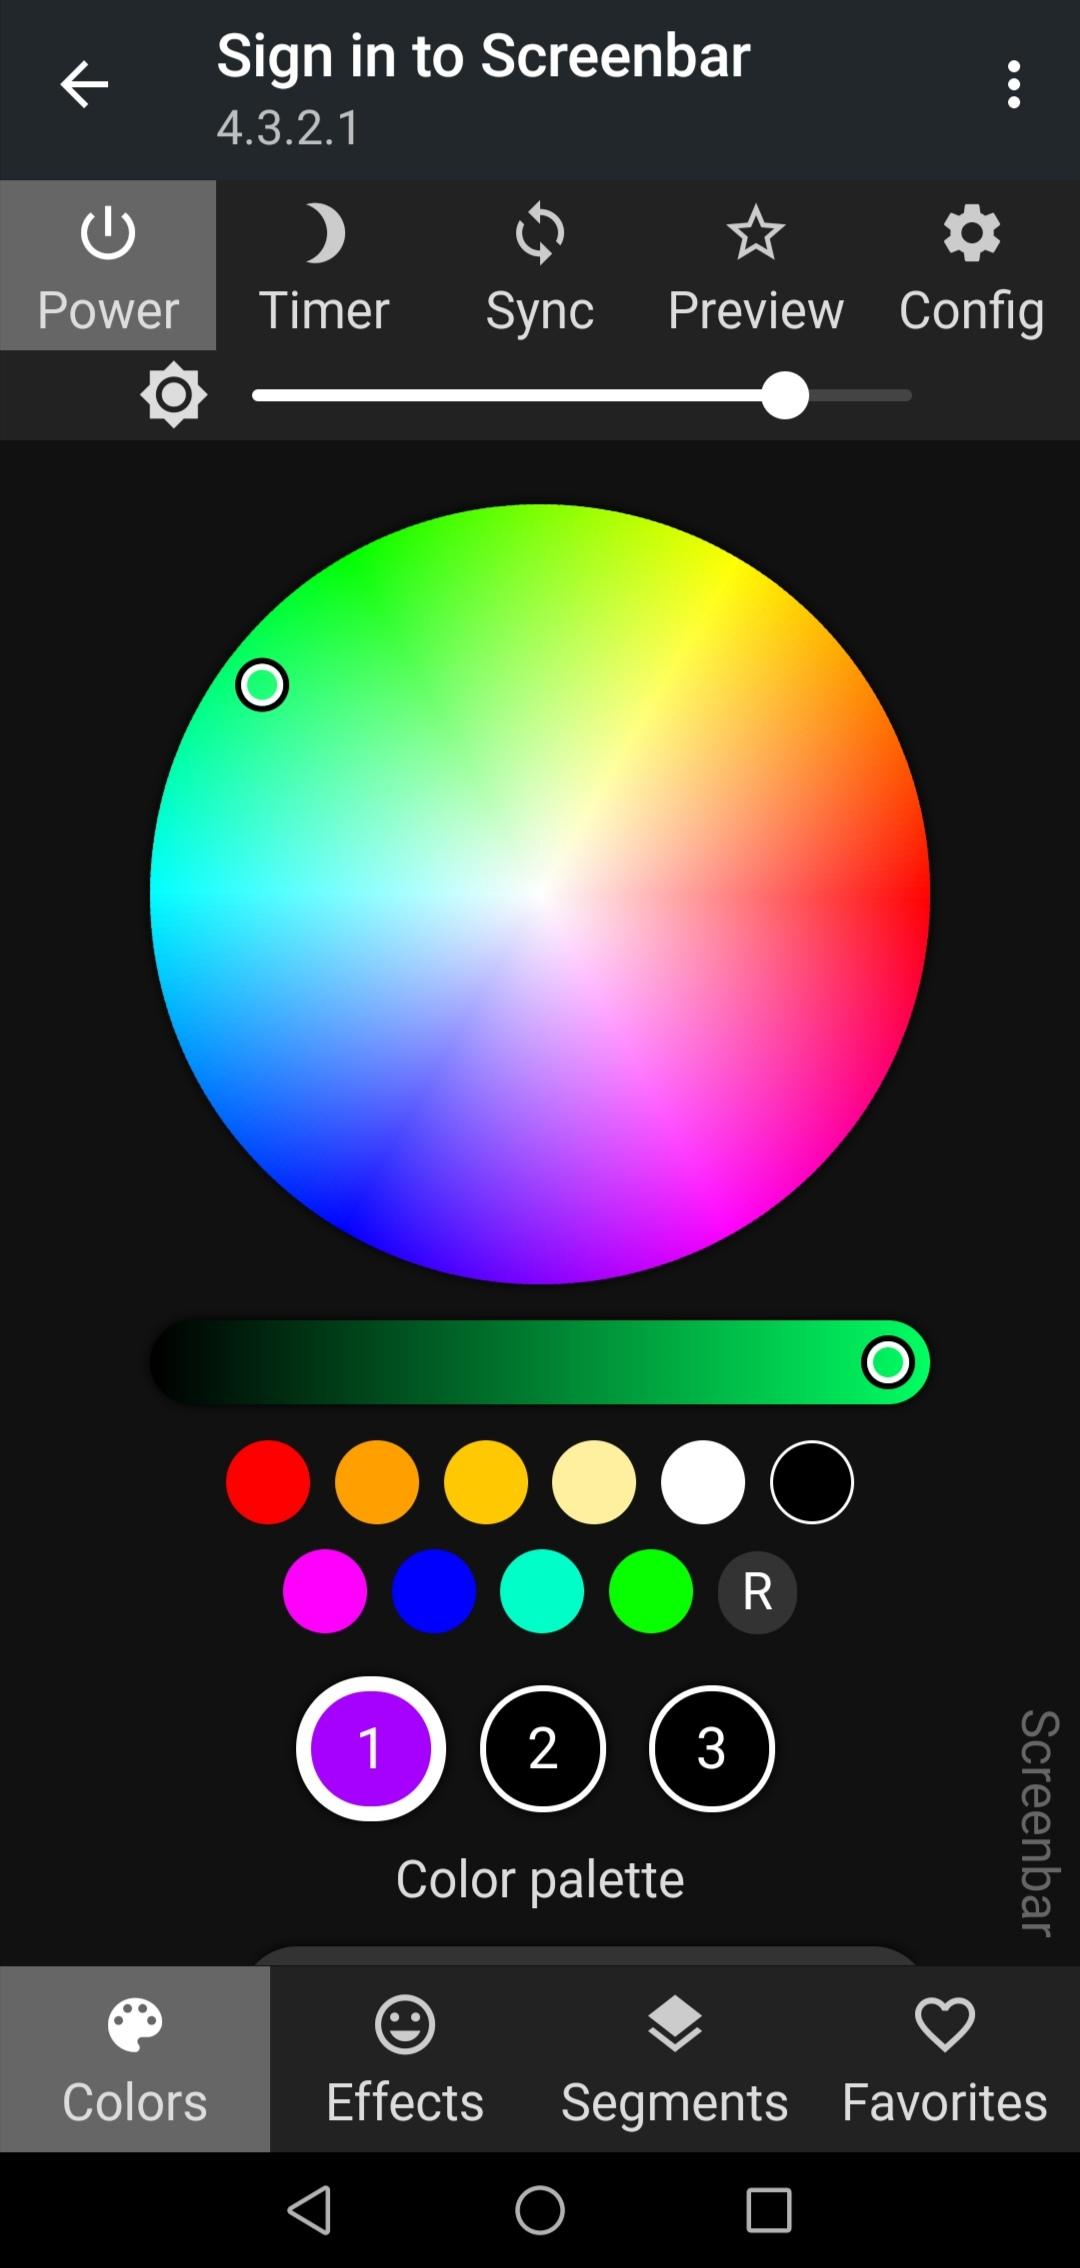
The Monitor ScreenBar Wi-Fi RGB LED Light brings forth a revolution when it comes to interactivity with lights are concerned for Desktop Setup. This Monitor ScreenBar Wi-Fi RGB LED Light is Wi-Fi enabled thus making it wirelessly accessible and one of the better choices for a grand piece on your Desk. This Monitor ScreenBar Wi-Fi RGB LED Light adds a nice look and texture to your Desk and makes it stand out instantly. Too lazy to turn on or turn on your light? This Monitor ScreenBar Wi-Fi RGB LED Light has got your back. It is equipped with innovative features such as Wi-Fi Compatibility, Colour Tones and Animations effects for every mood so that you get to enjoy life king-size. With the Wi-Fi compatibility, you can connect this Monitor ScreenBar Wi-Fi RGB LED Light to your Wi-Fi network to enjoy controlling the lighting through the dedicated App and Web IP on your smartphone or tablet. By downloading the WLED App, you can change the colour on the available colour palette.
Supplies
I) ESP8266 Circuit Board - 1
II) USB cable - 1
III) 3D Printed Parts
IV) Super Glue
V) WS2812B~ 5volt LED Strip - 1 Meter
VI) 3 colour Wire
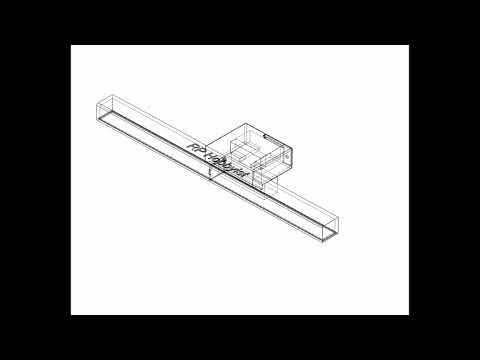
3D Print the STL File

Noted:
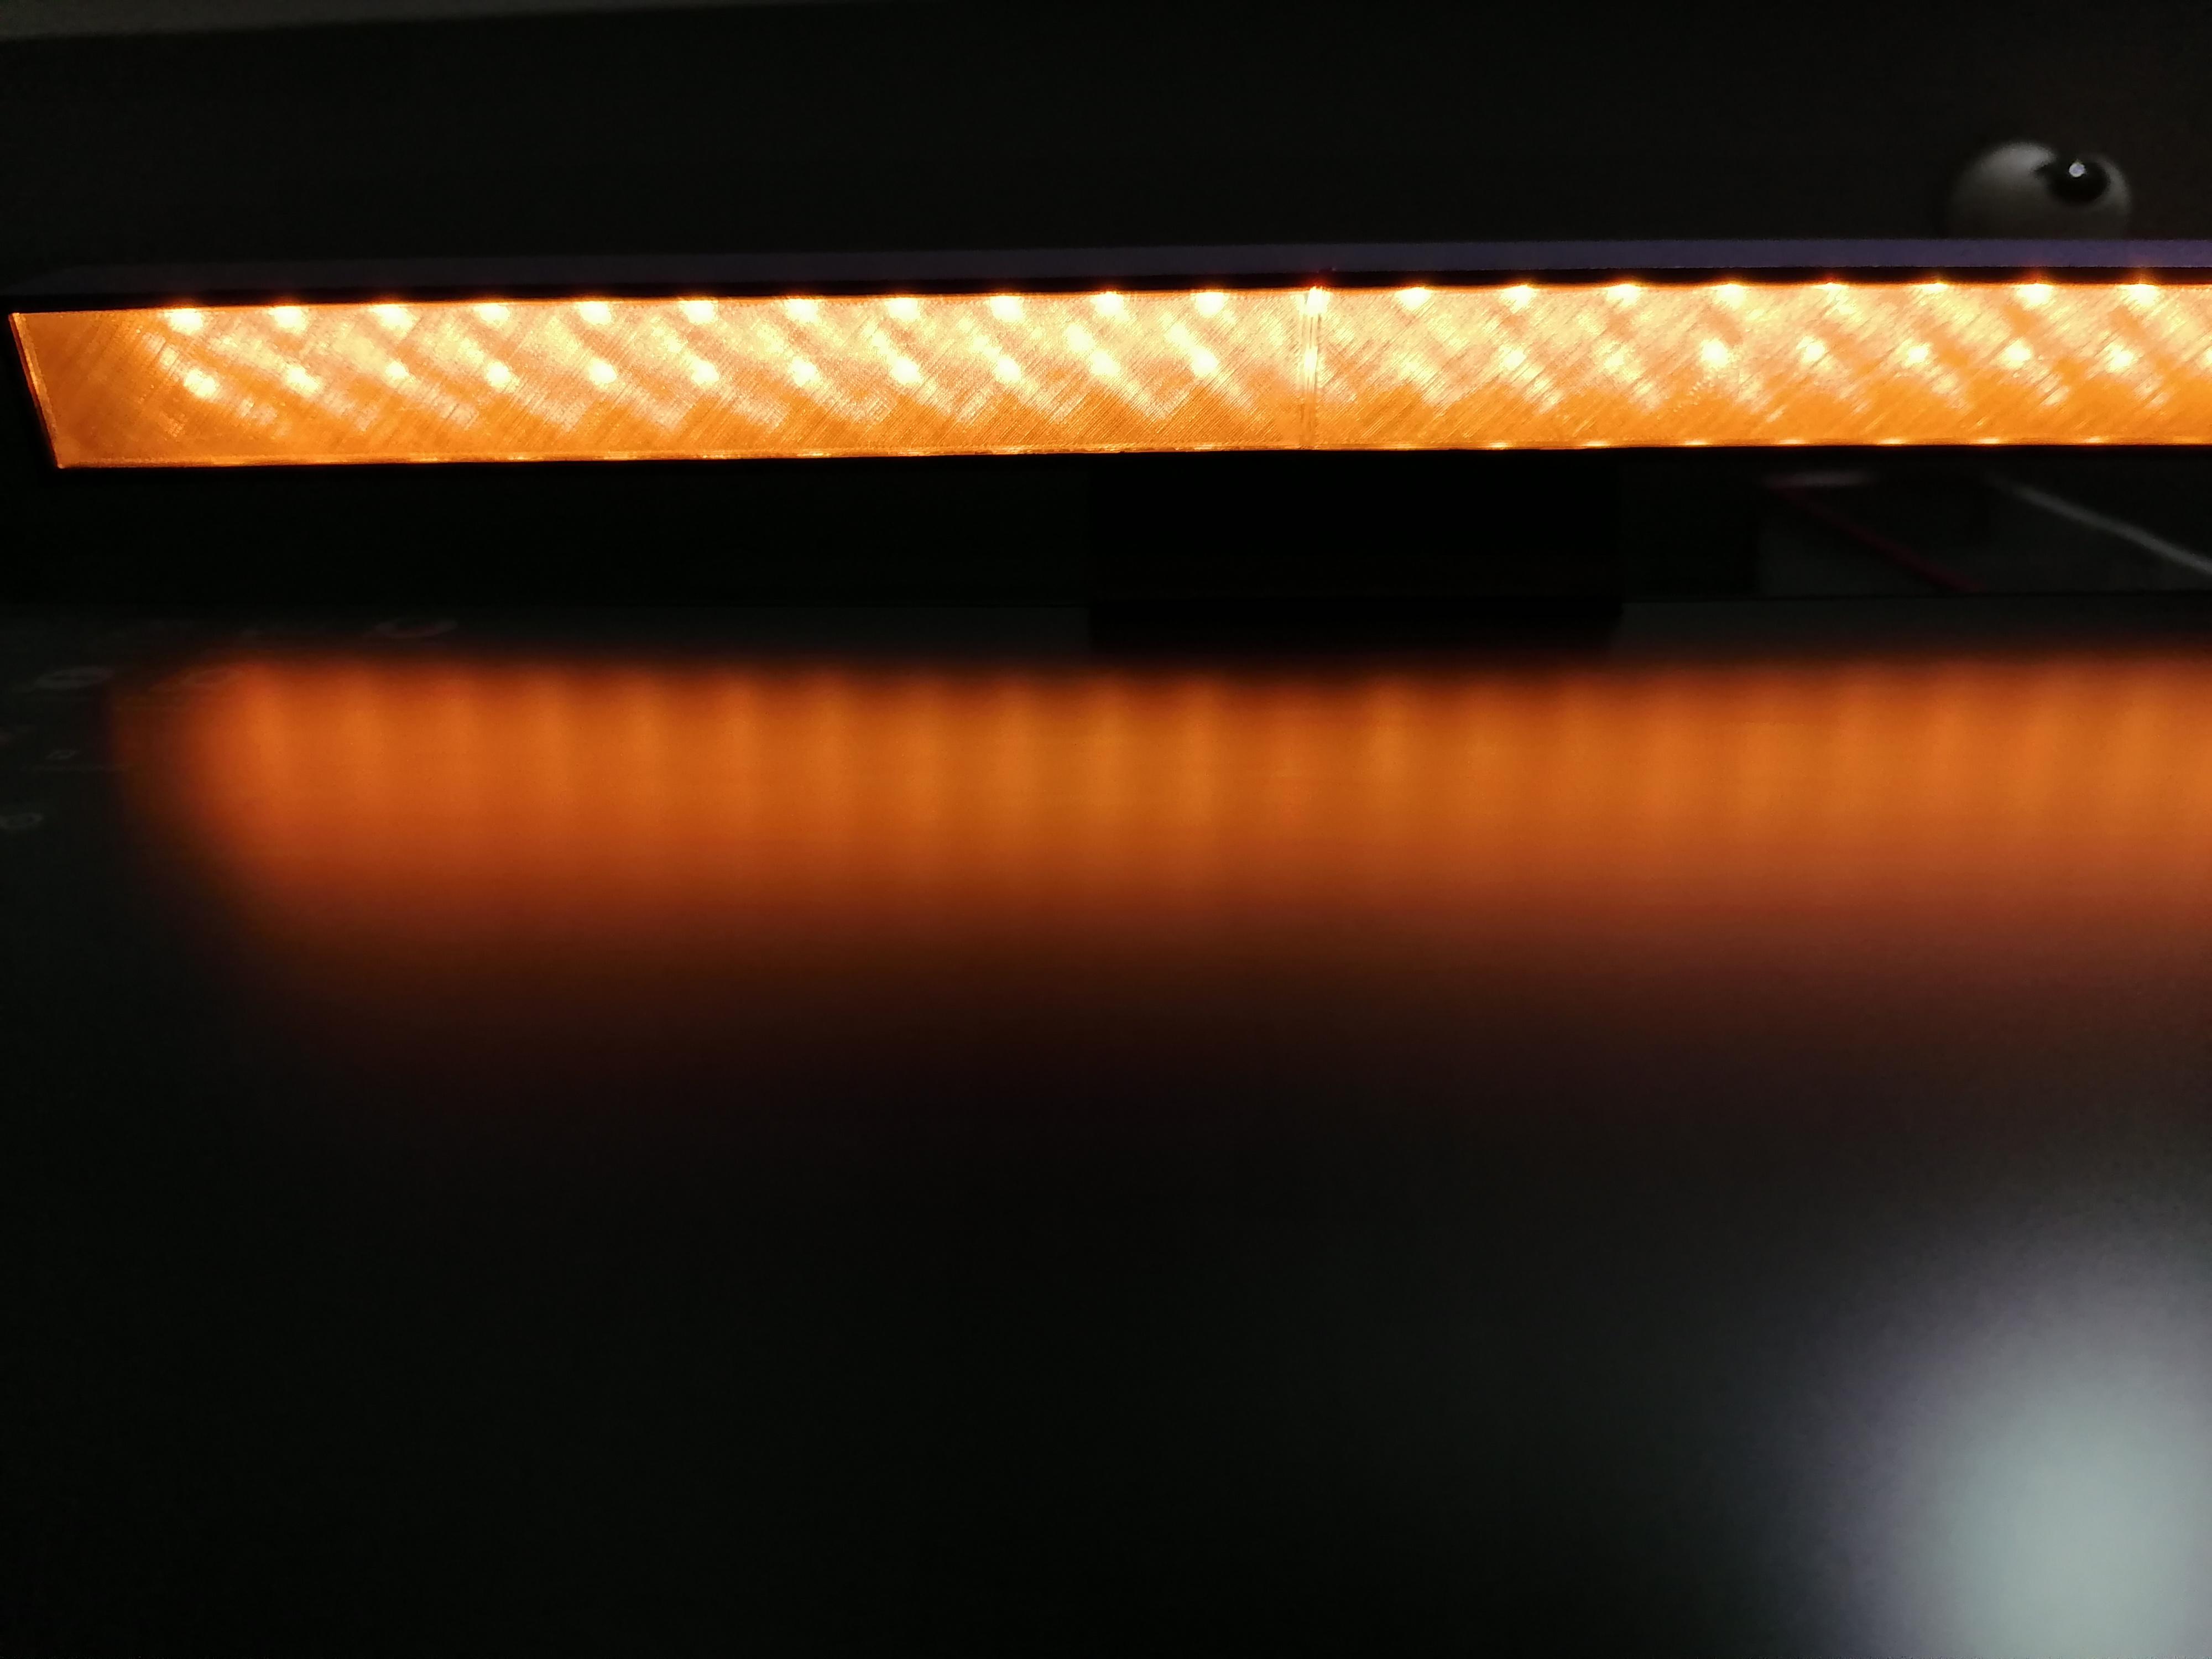
1) The "Transparent Lid" part should be print with clear PLA Filament with 5% infill.
2) Mount and Slider must be print with 100% infill.
3) Reaming parts with your choice color PLA Filament with 10% infill.
I used White PLA Filament then I painted it. It is your choice.
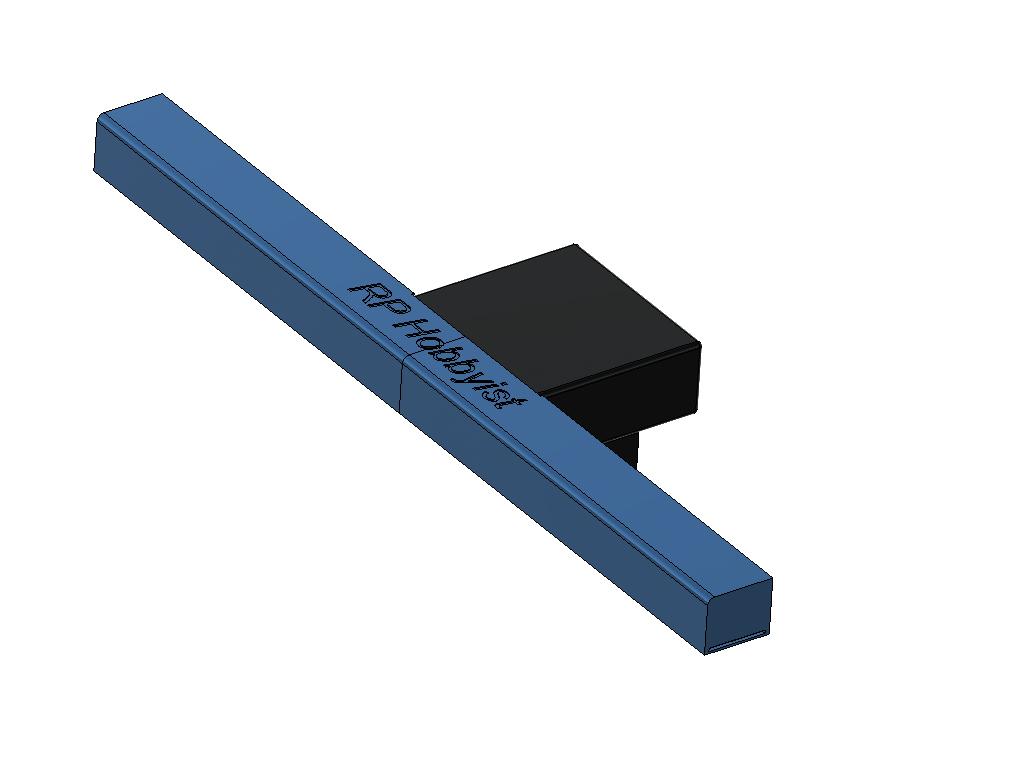
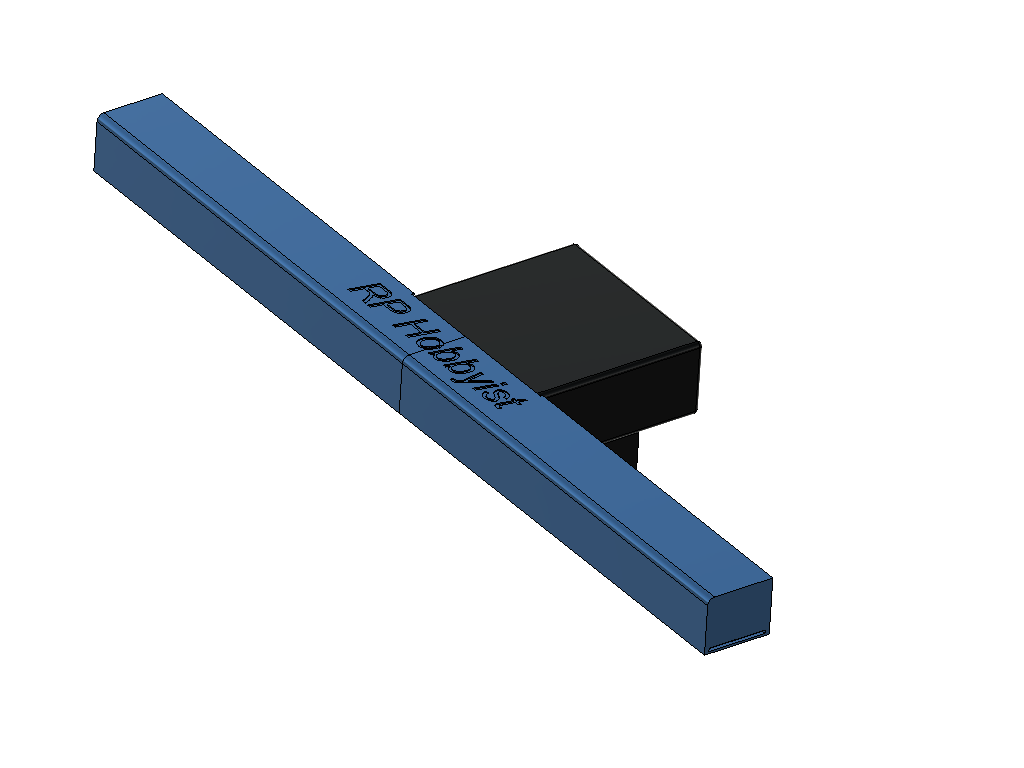
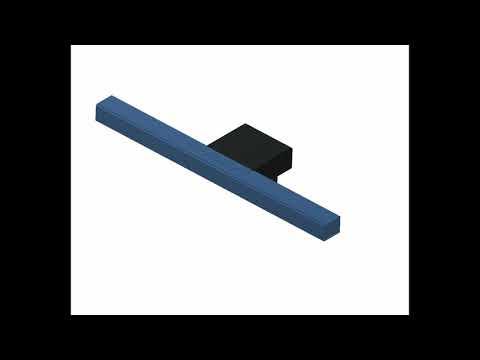
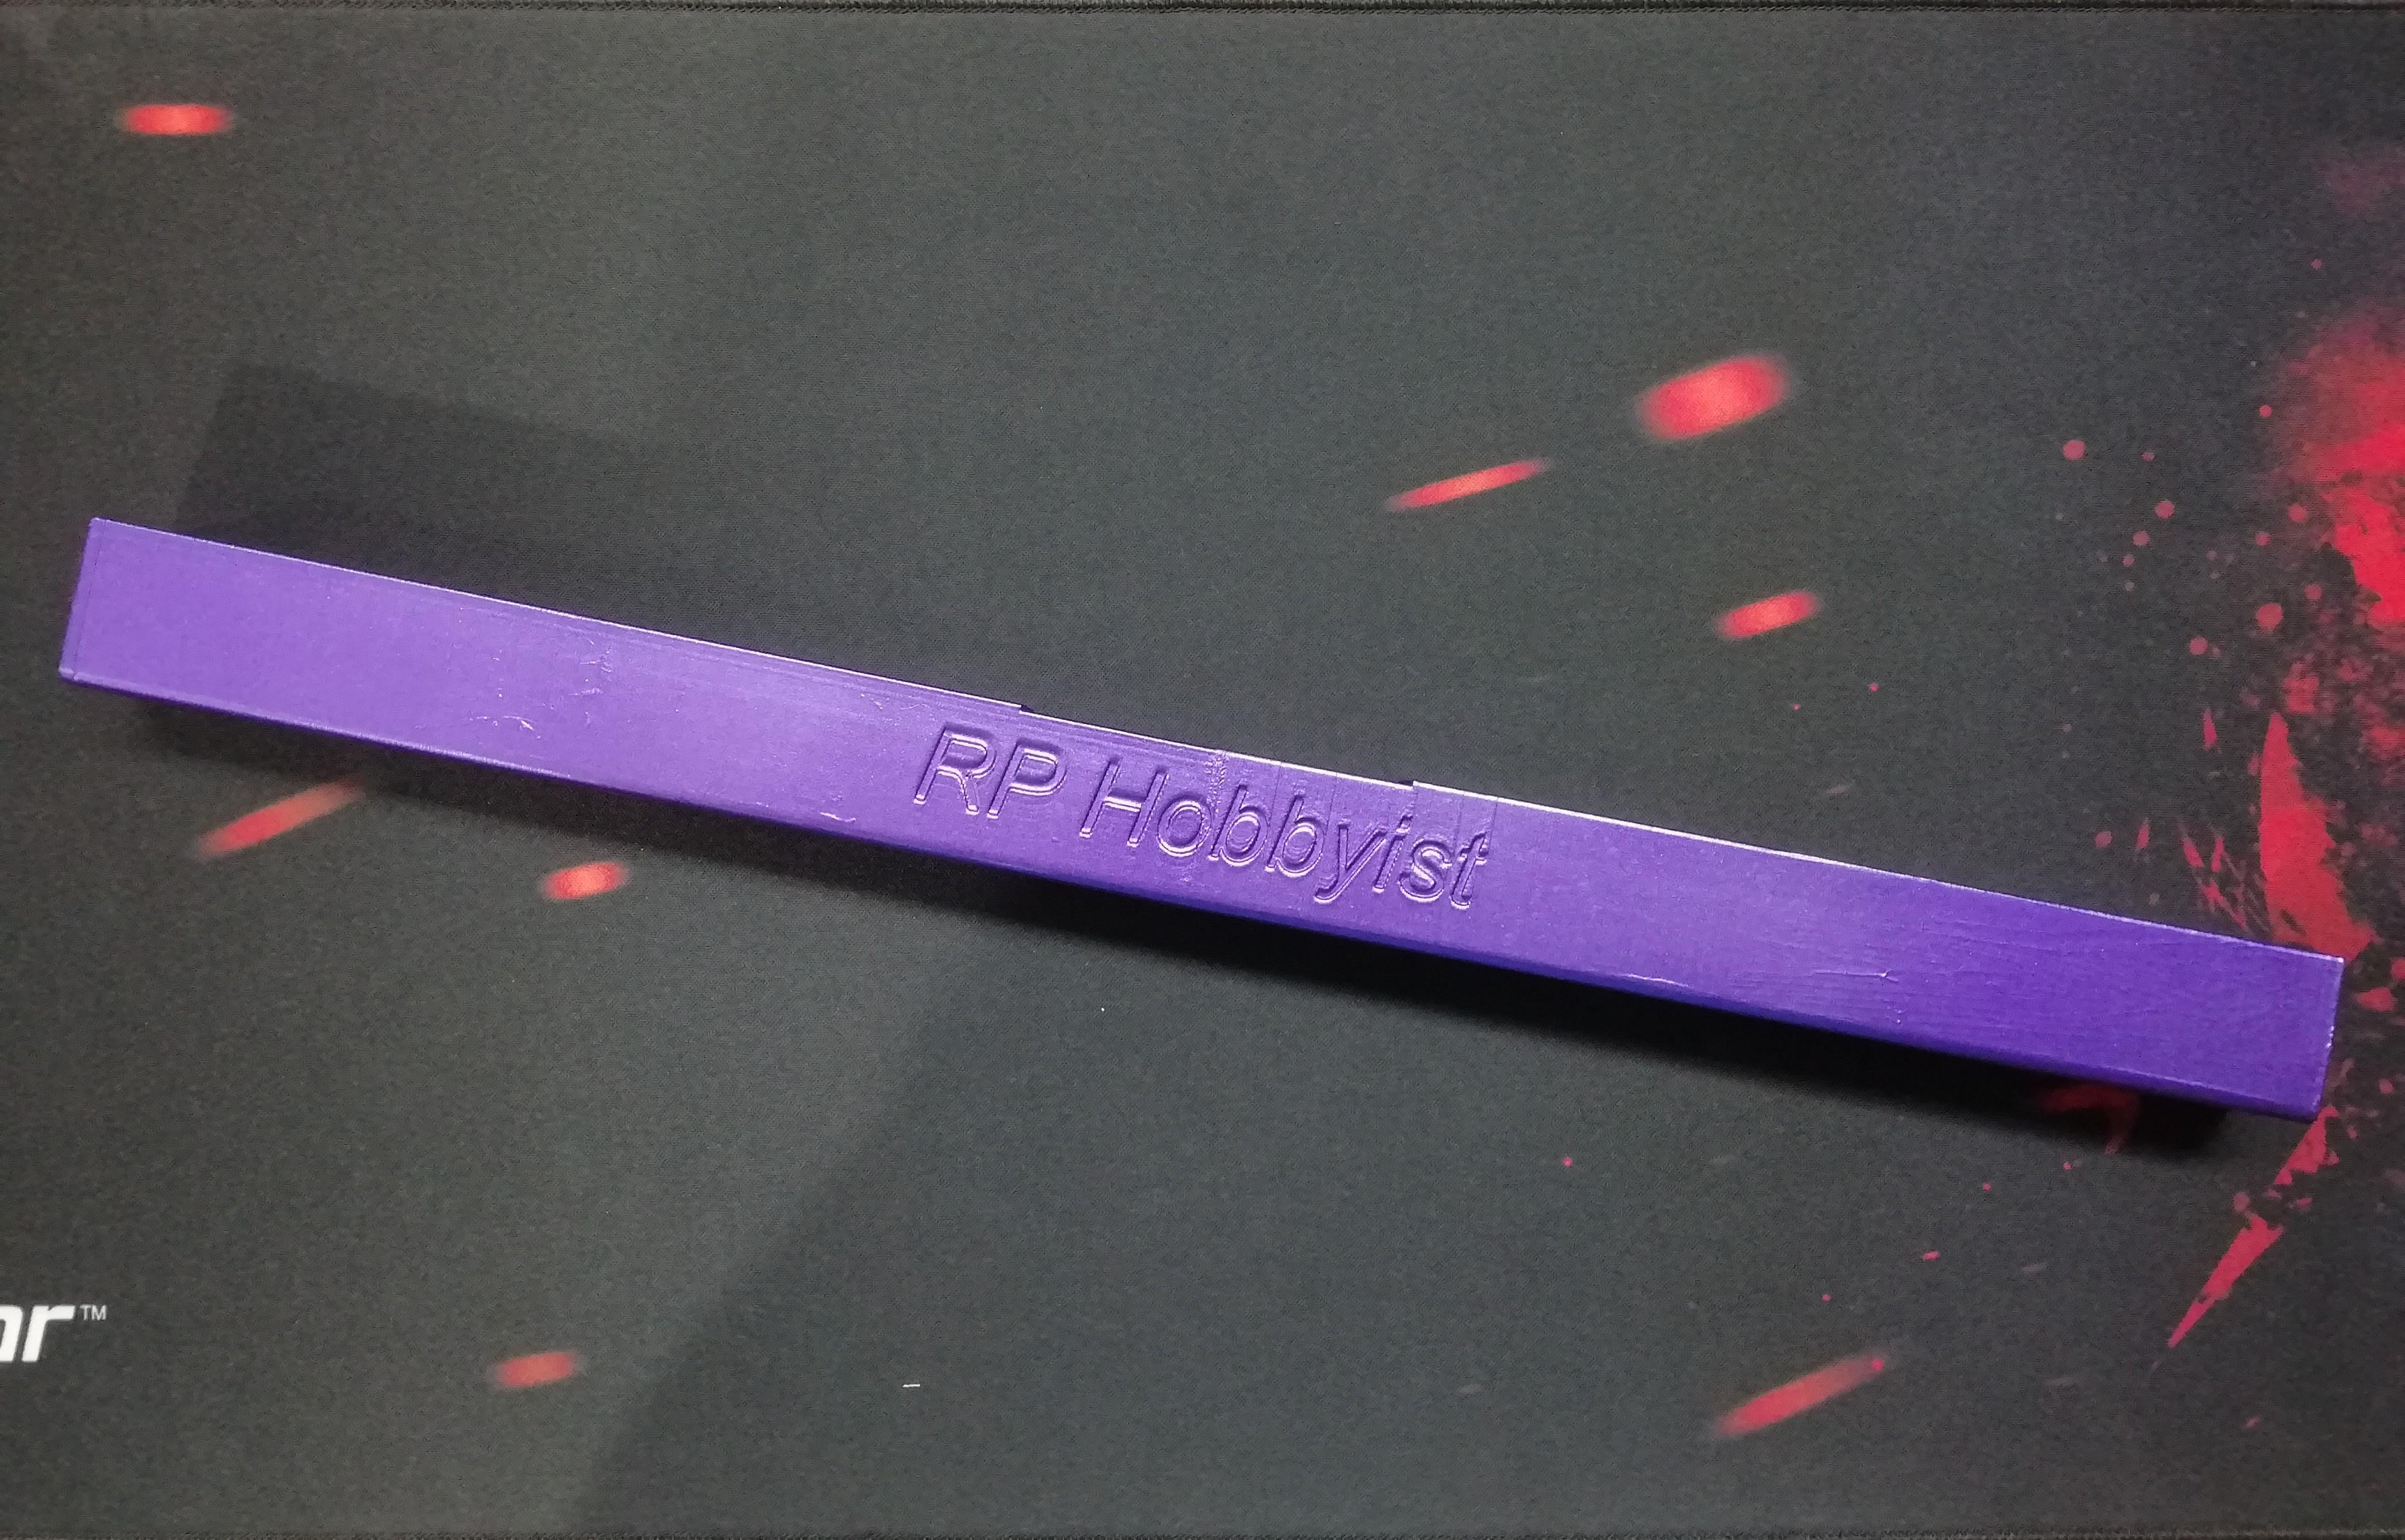
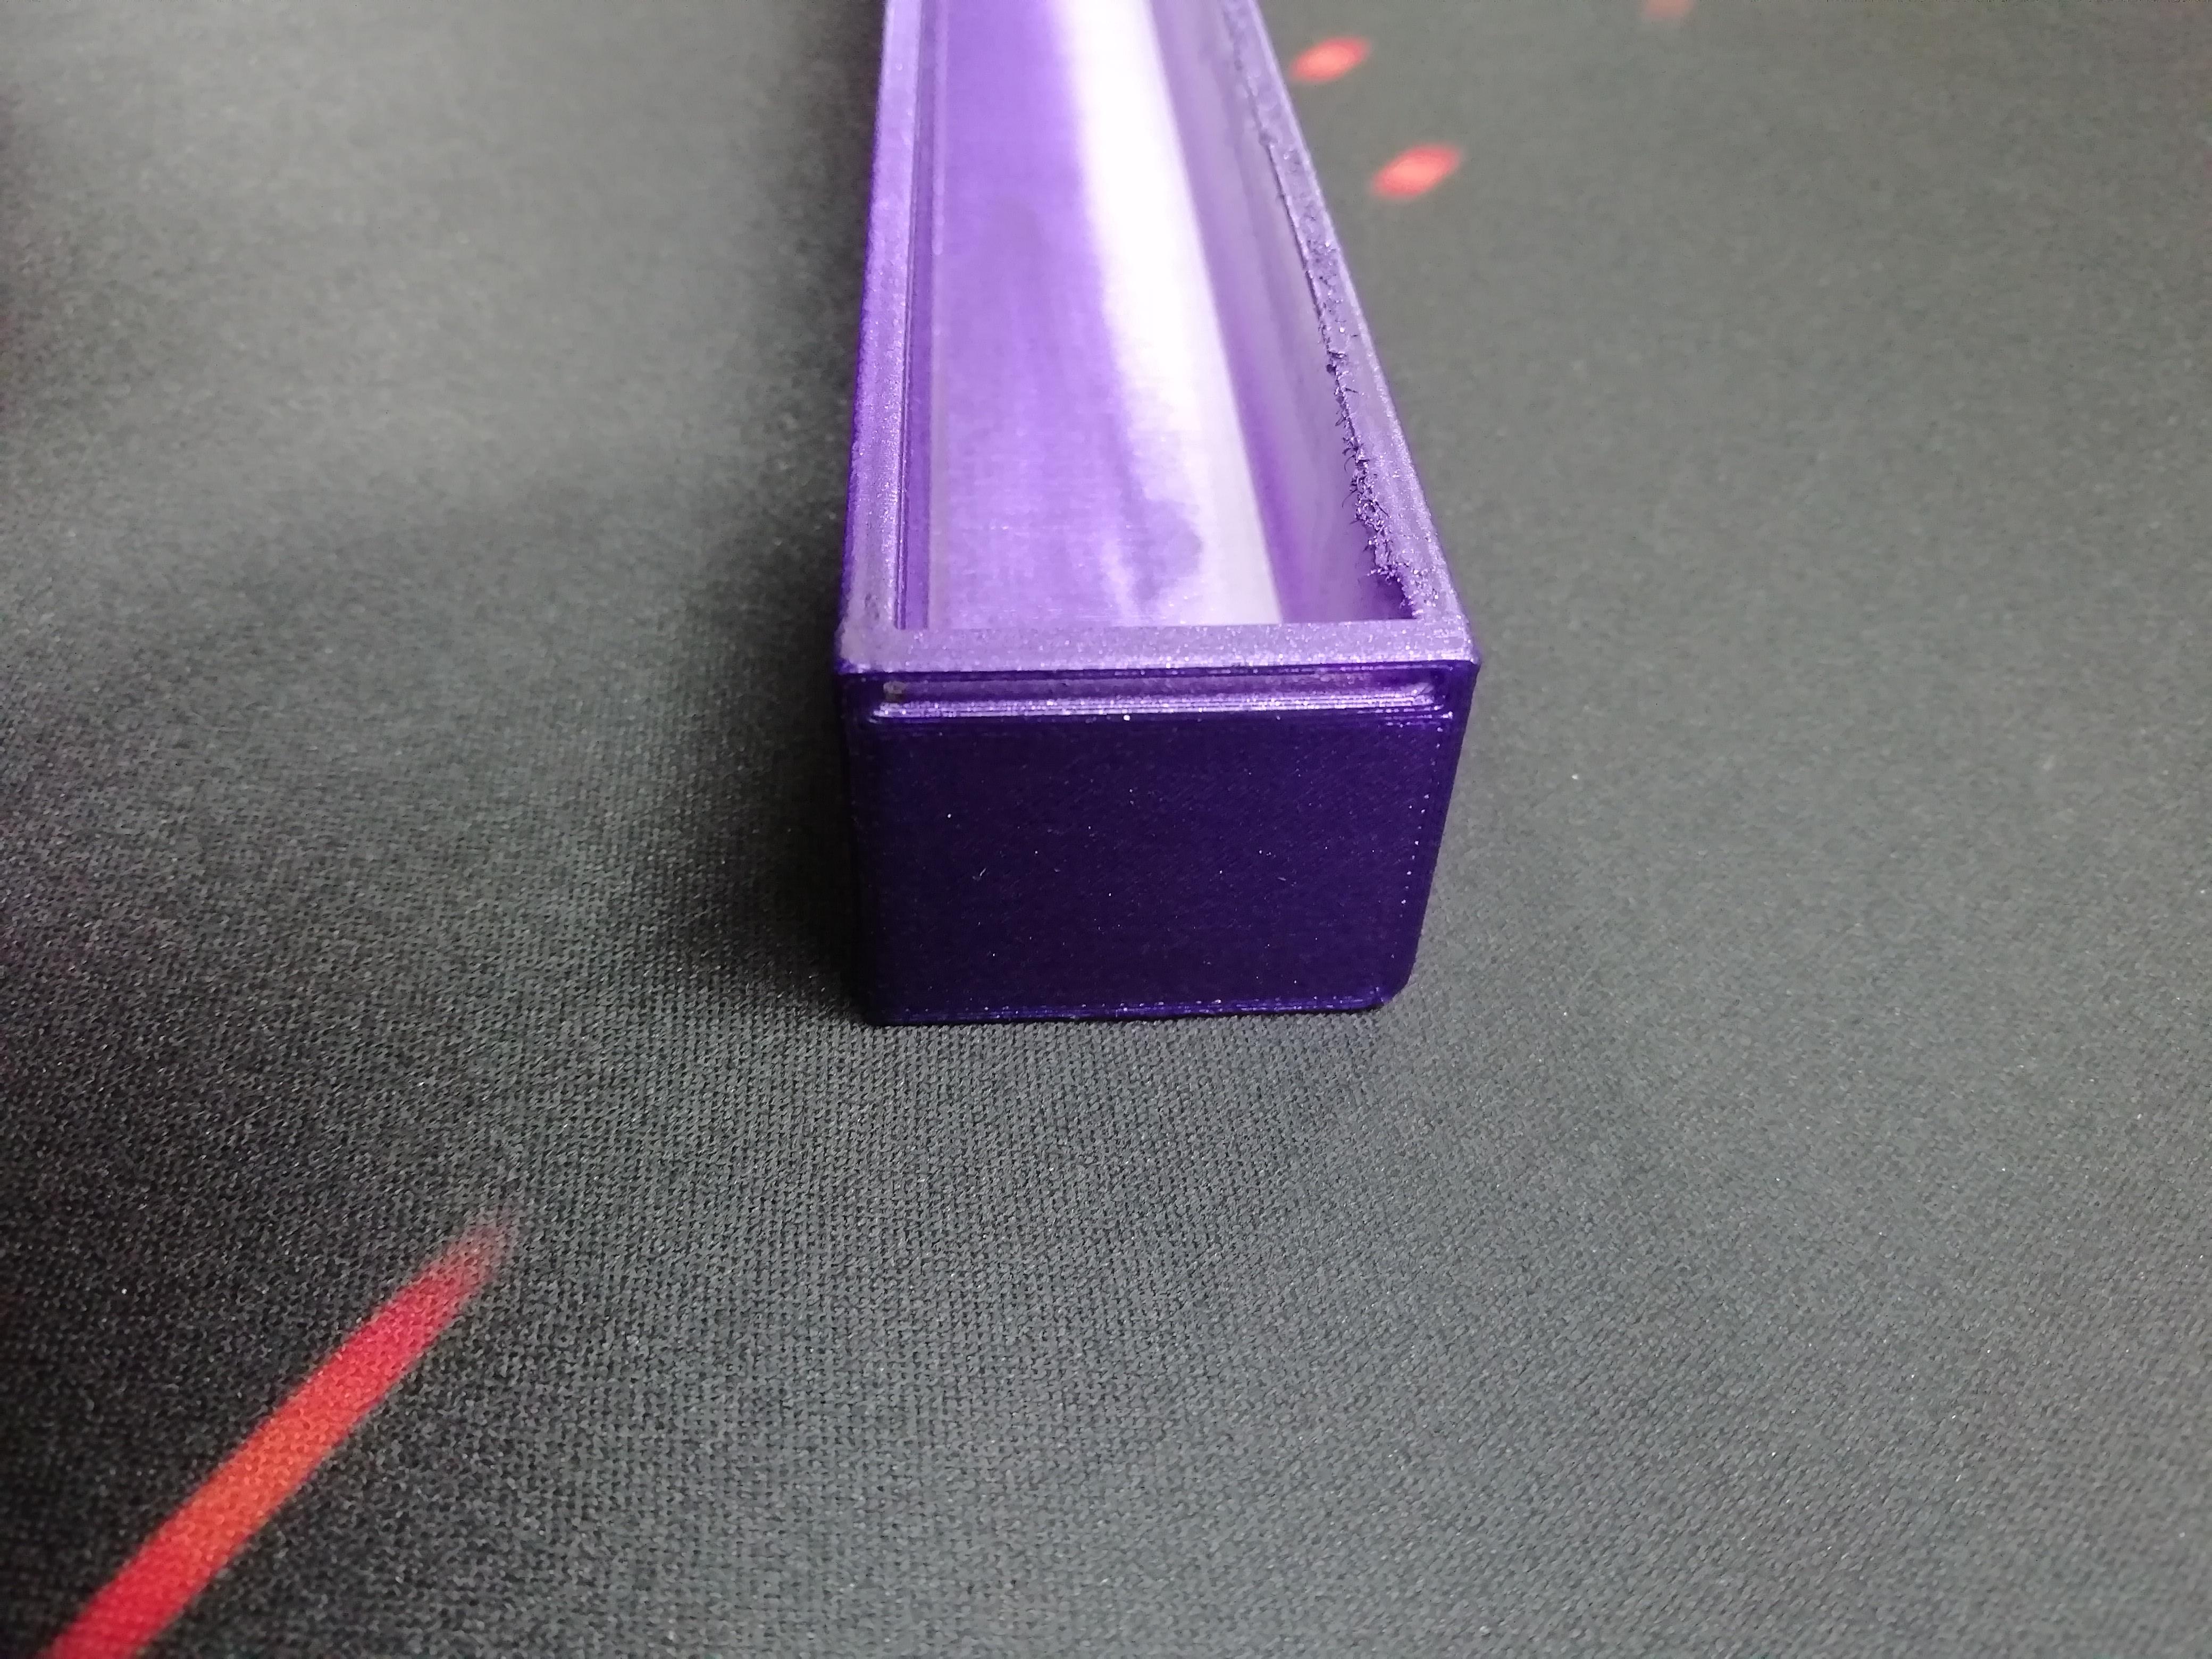
Assmble of 3D Printed Part


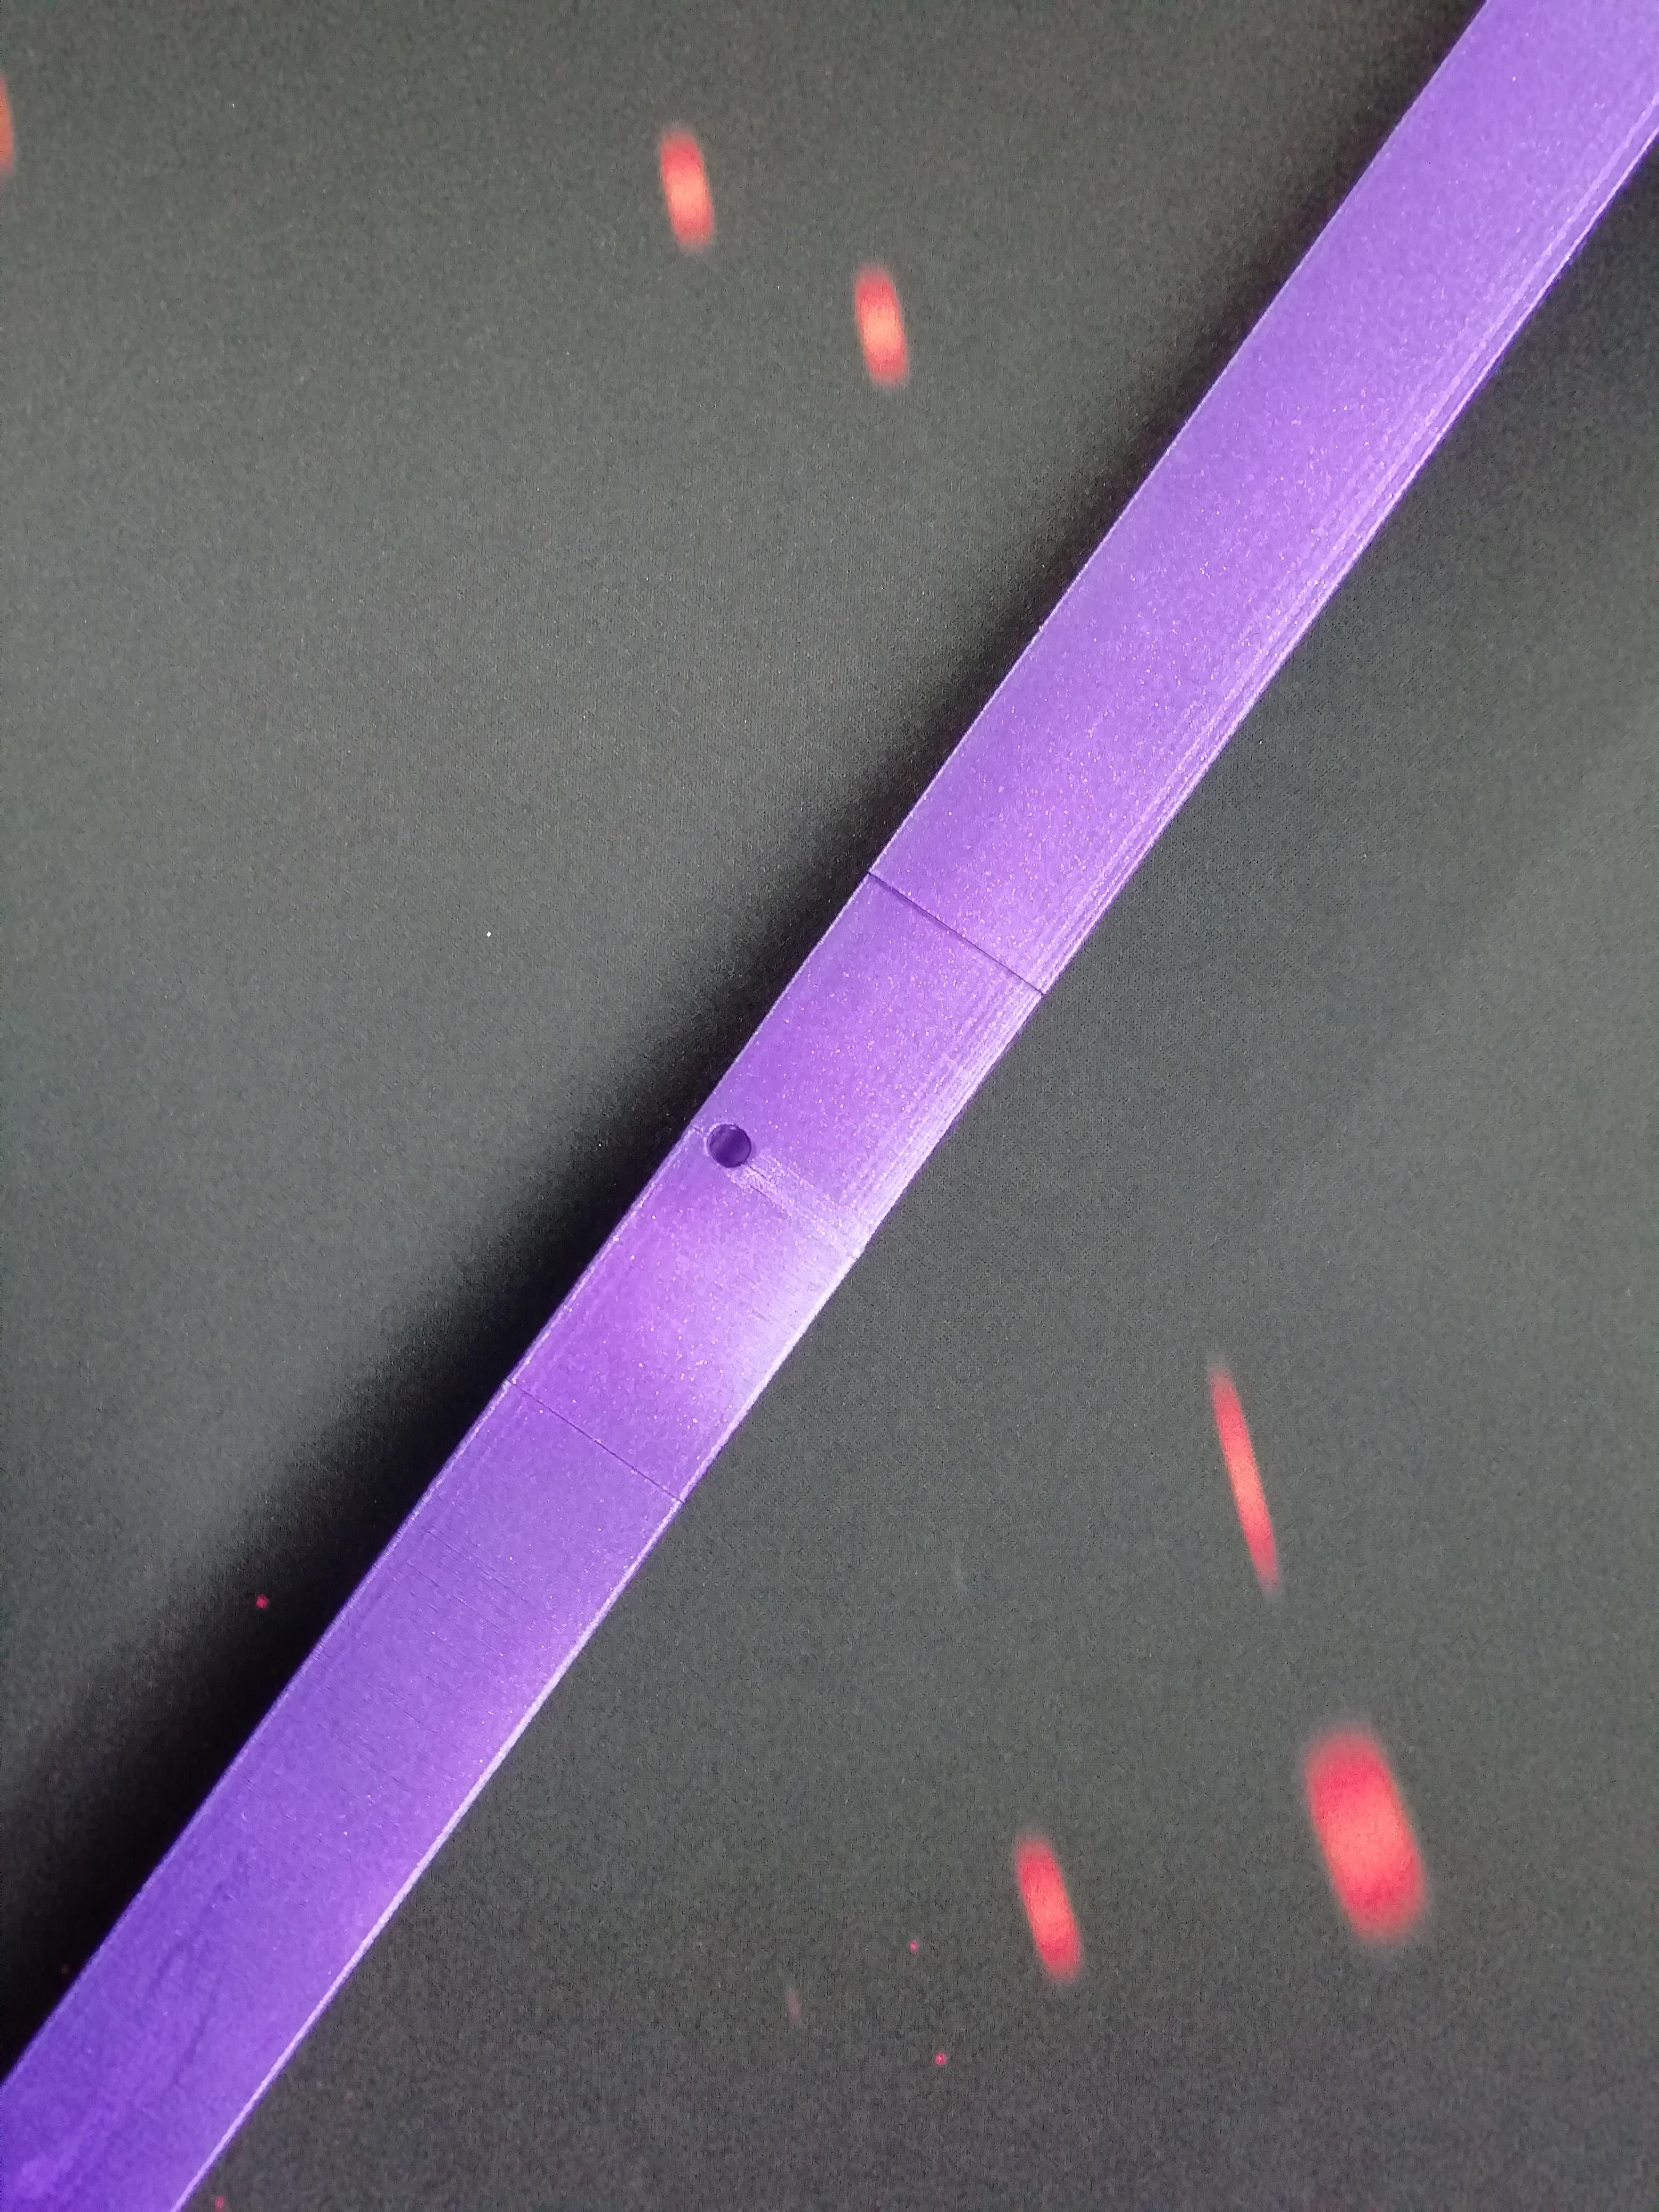
.jpg)
Use Superglue to join the 3D Printed part as shown in pictures.
1) Join the ScreenBar Main Bodies.
2) Join the Transparent Lids.
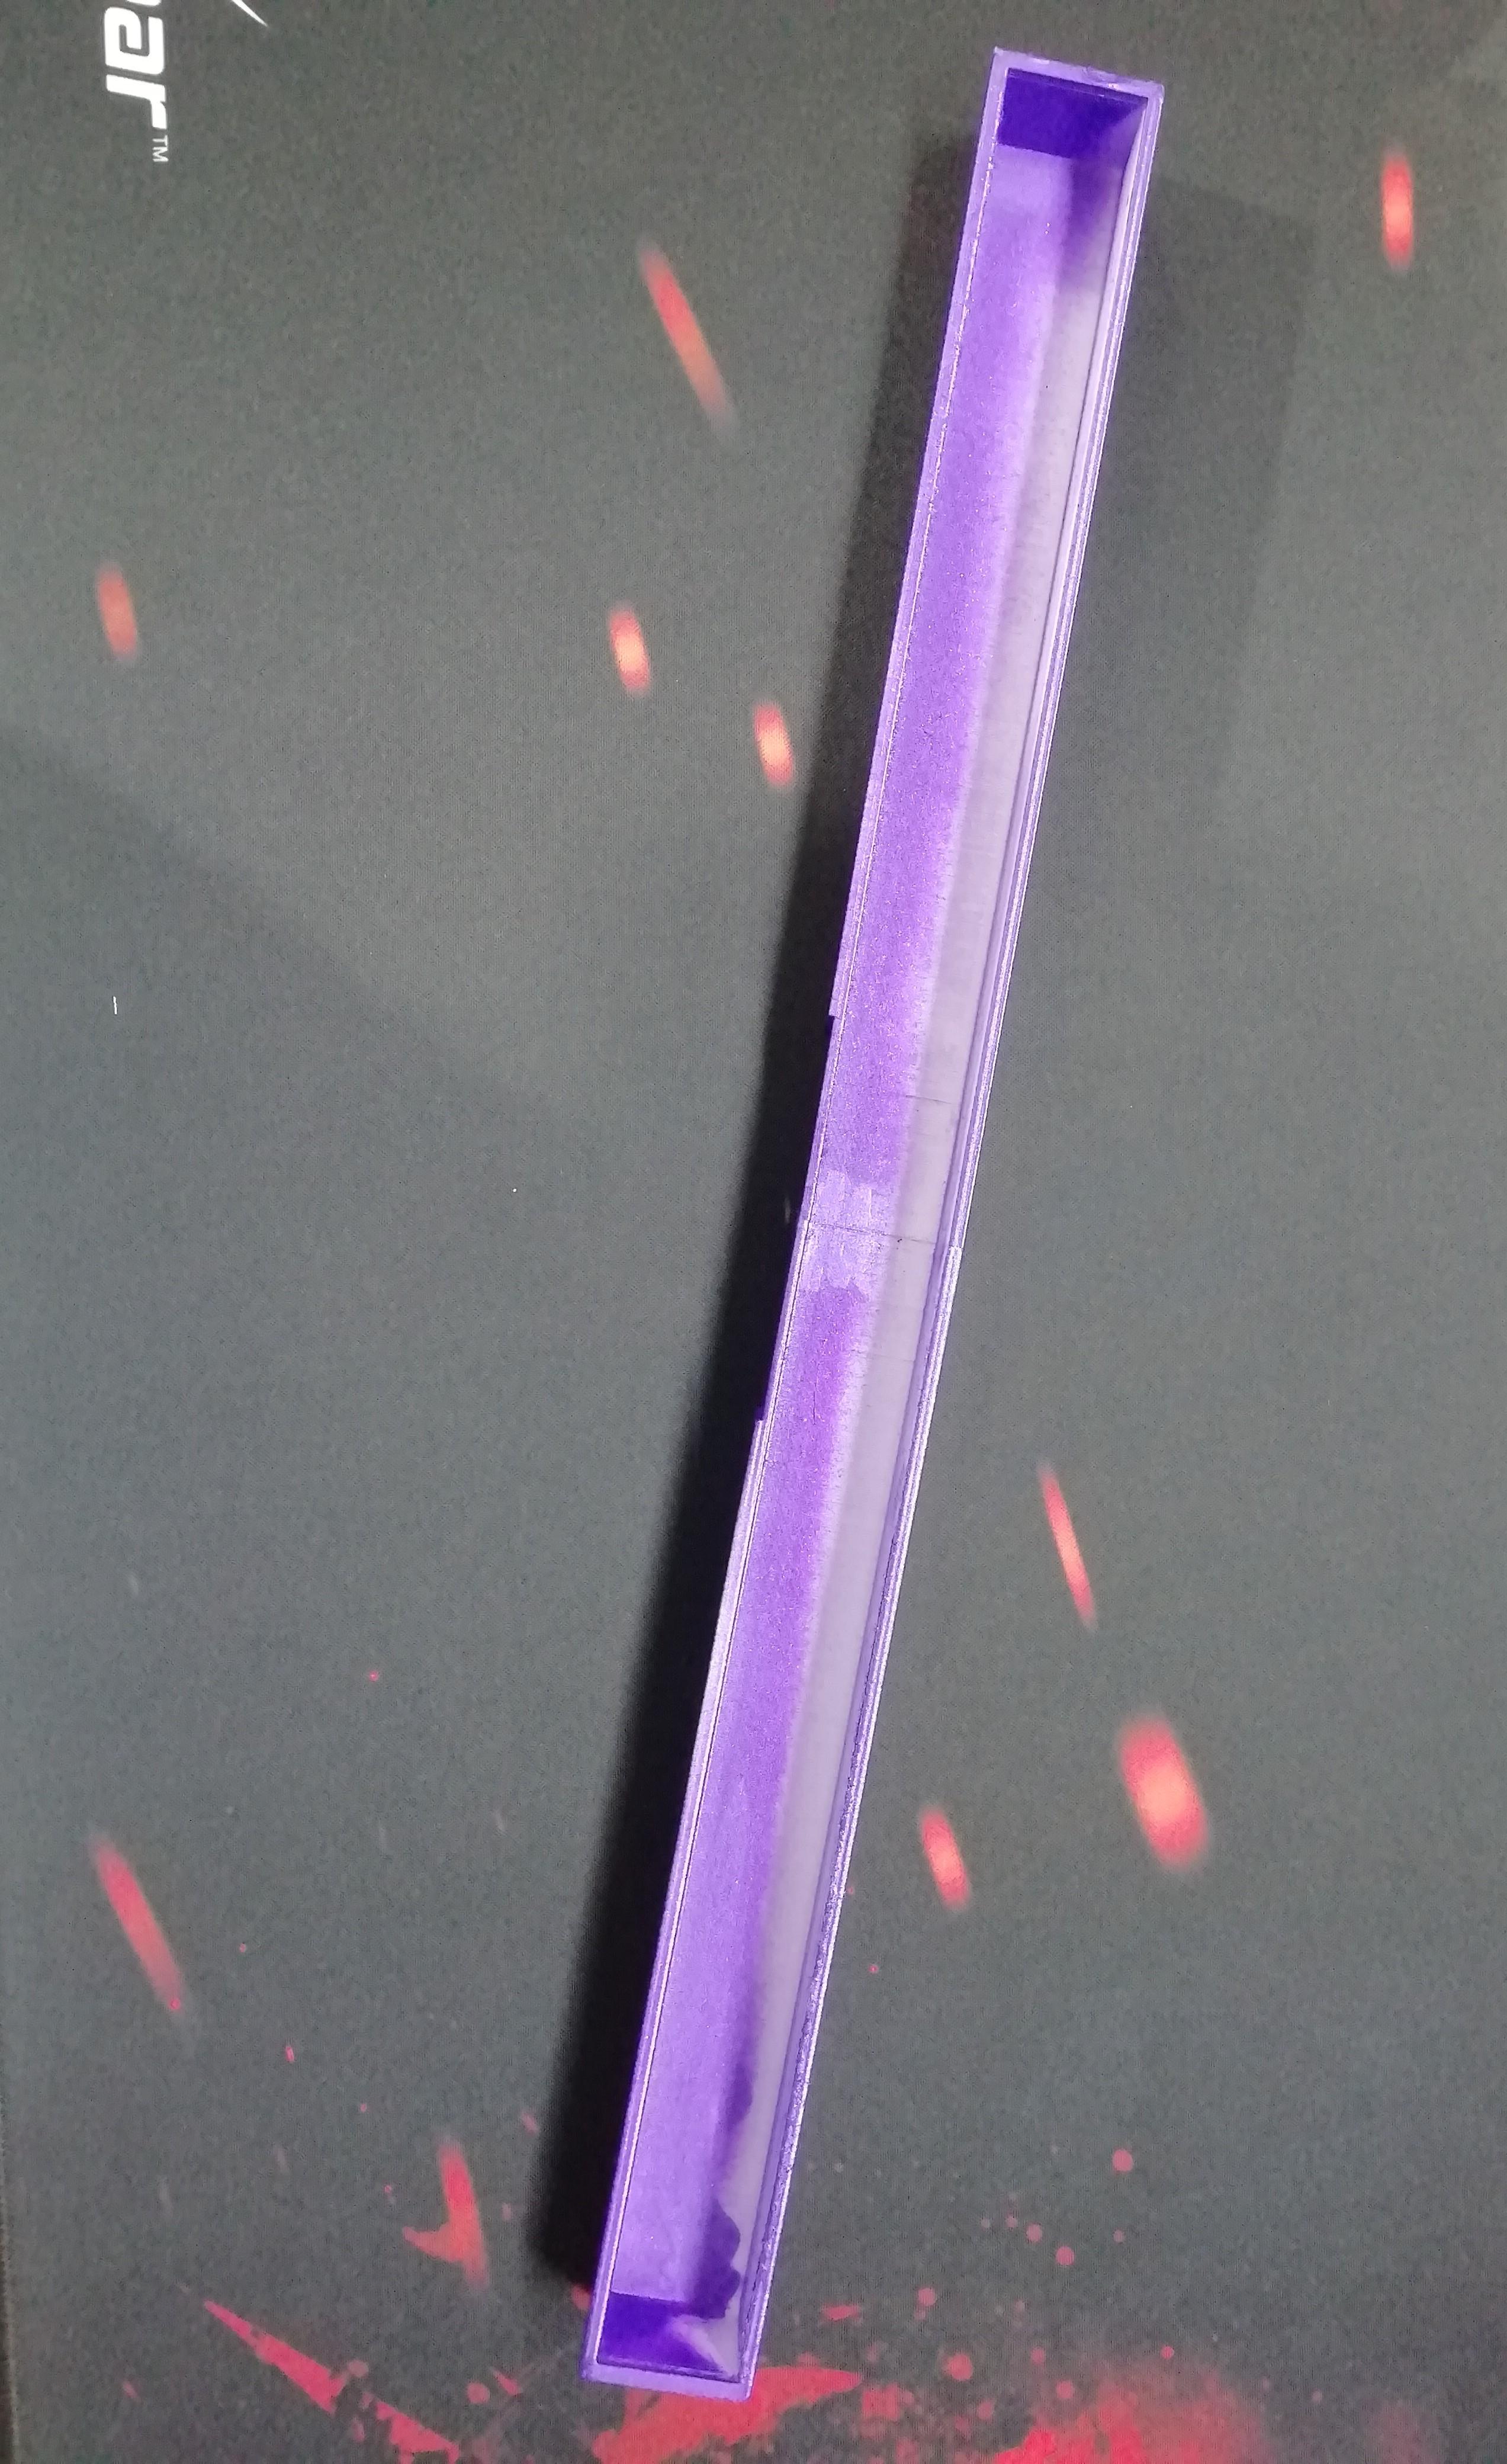
Stick LED Strip and Solder the Wires
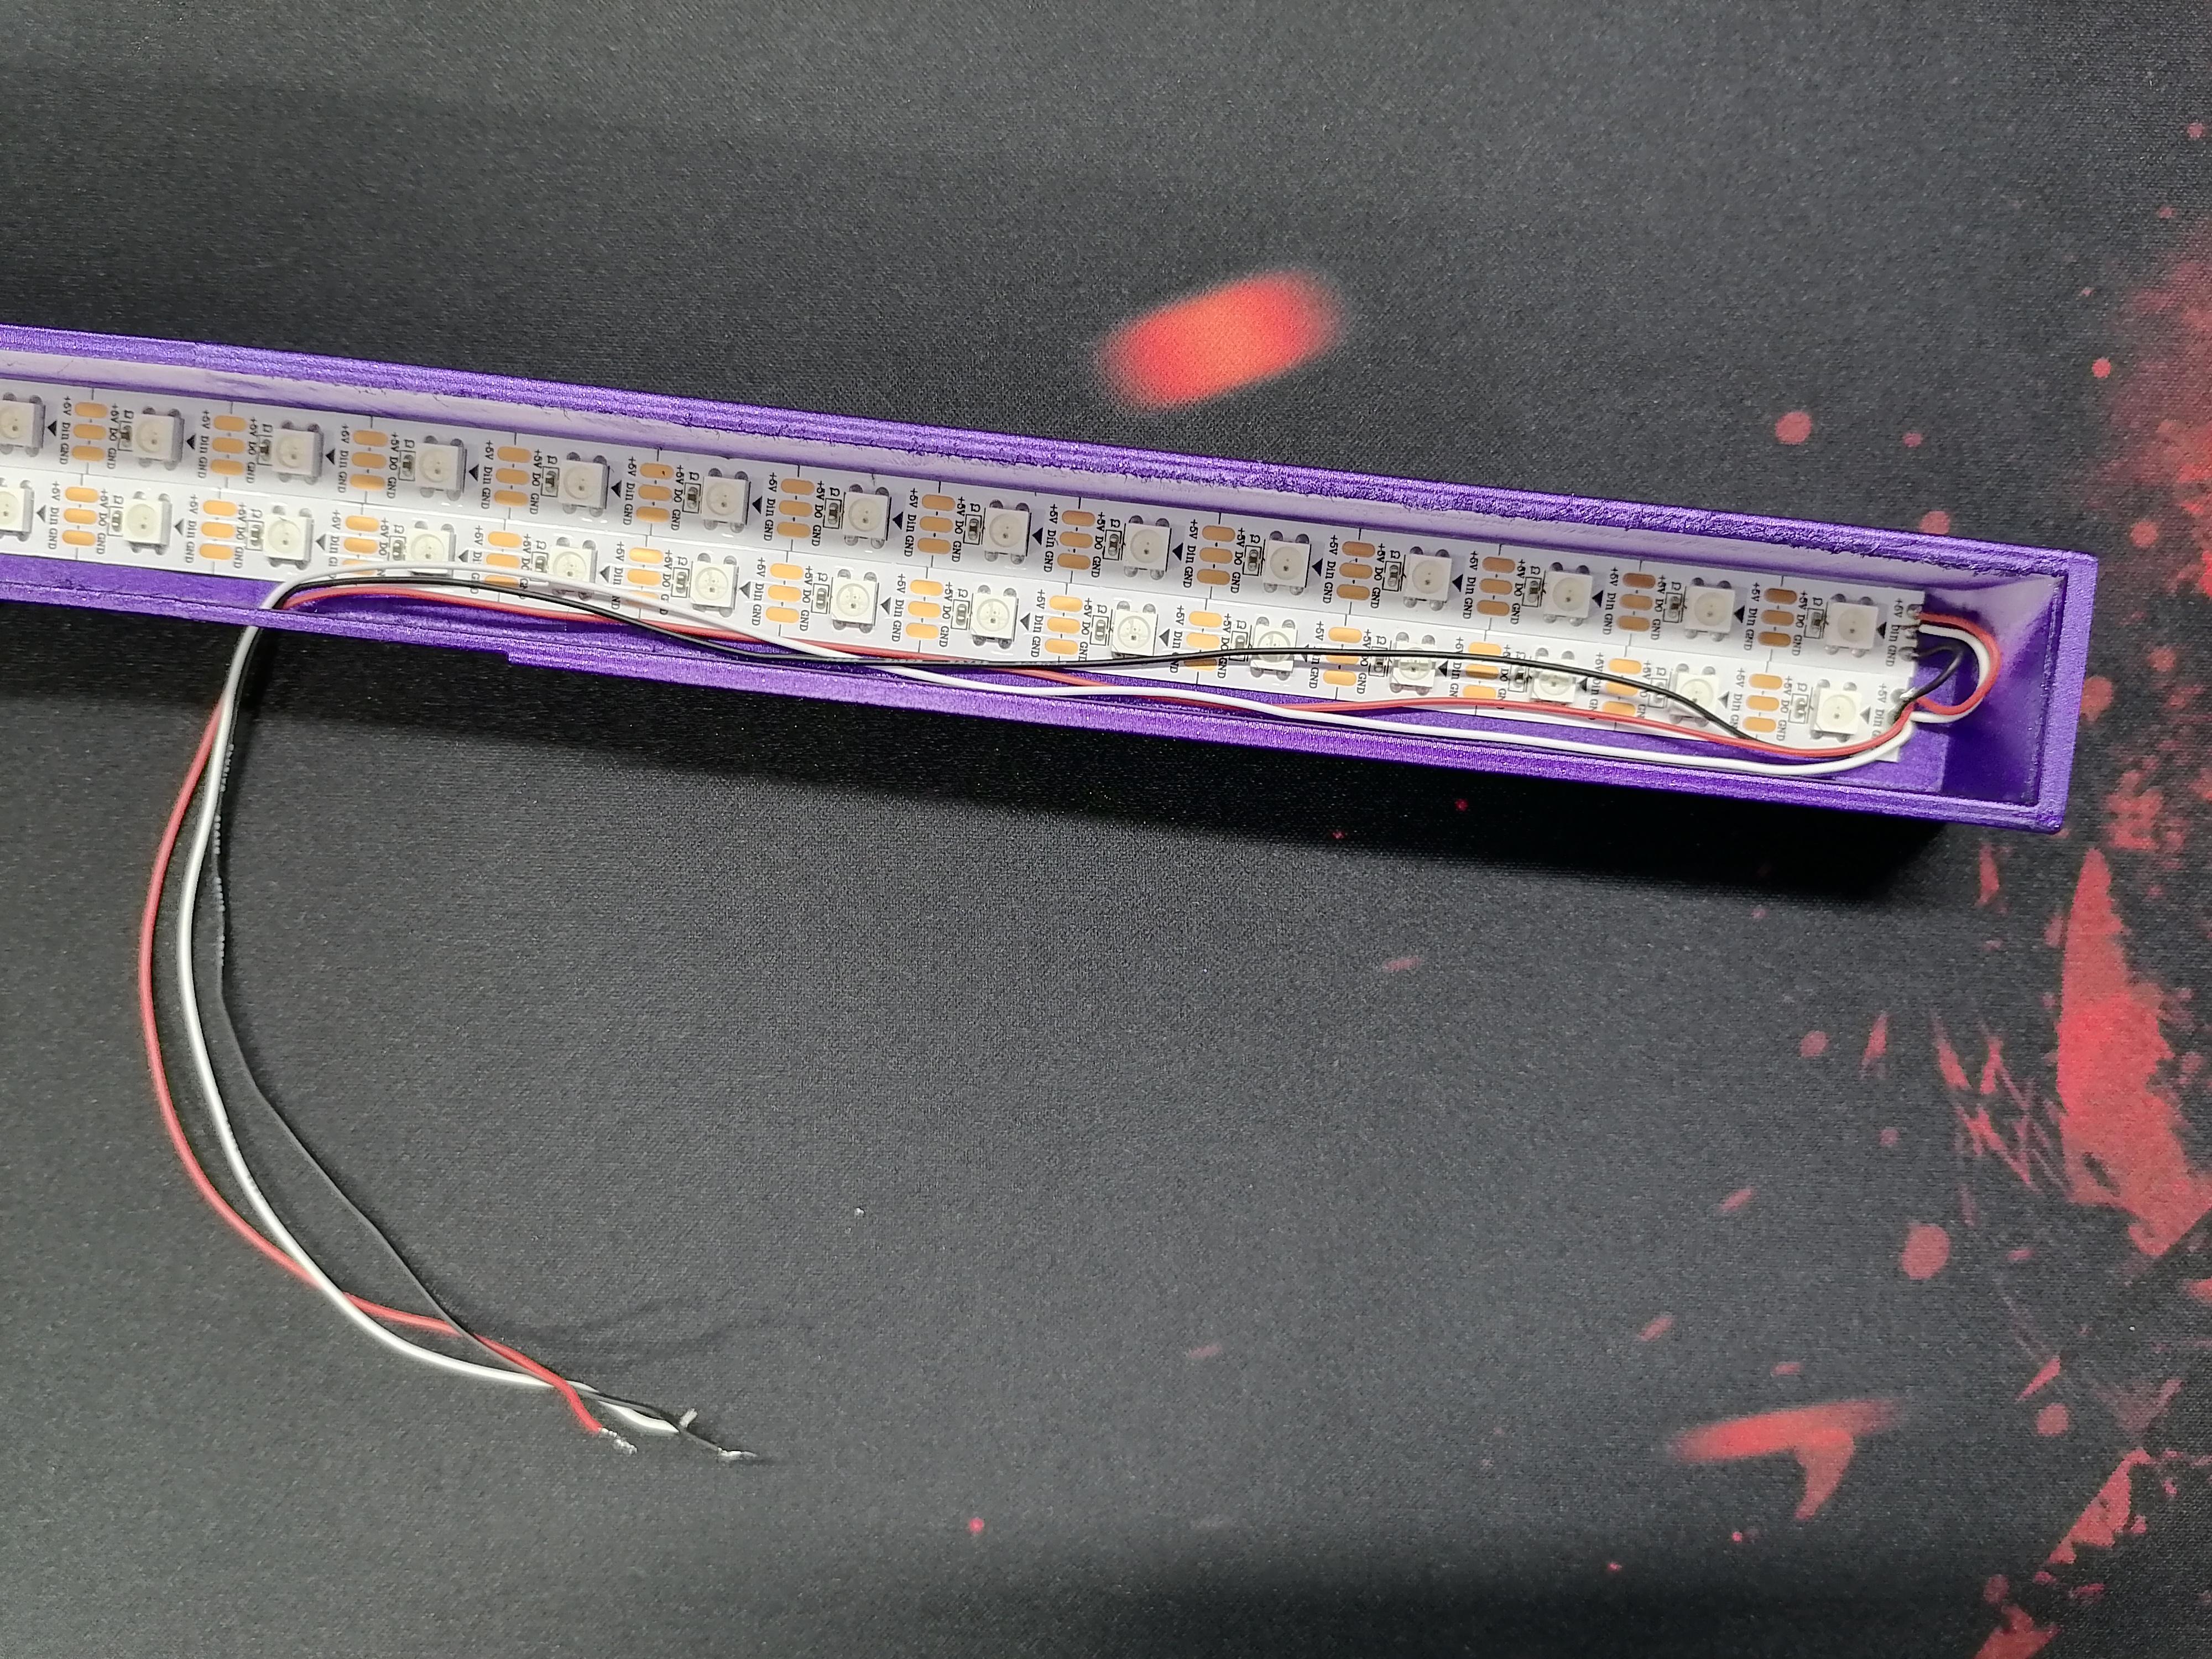
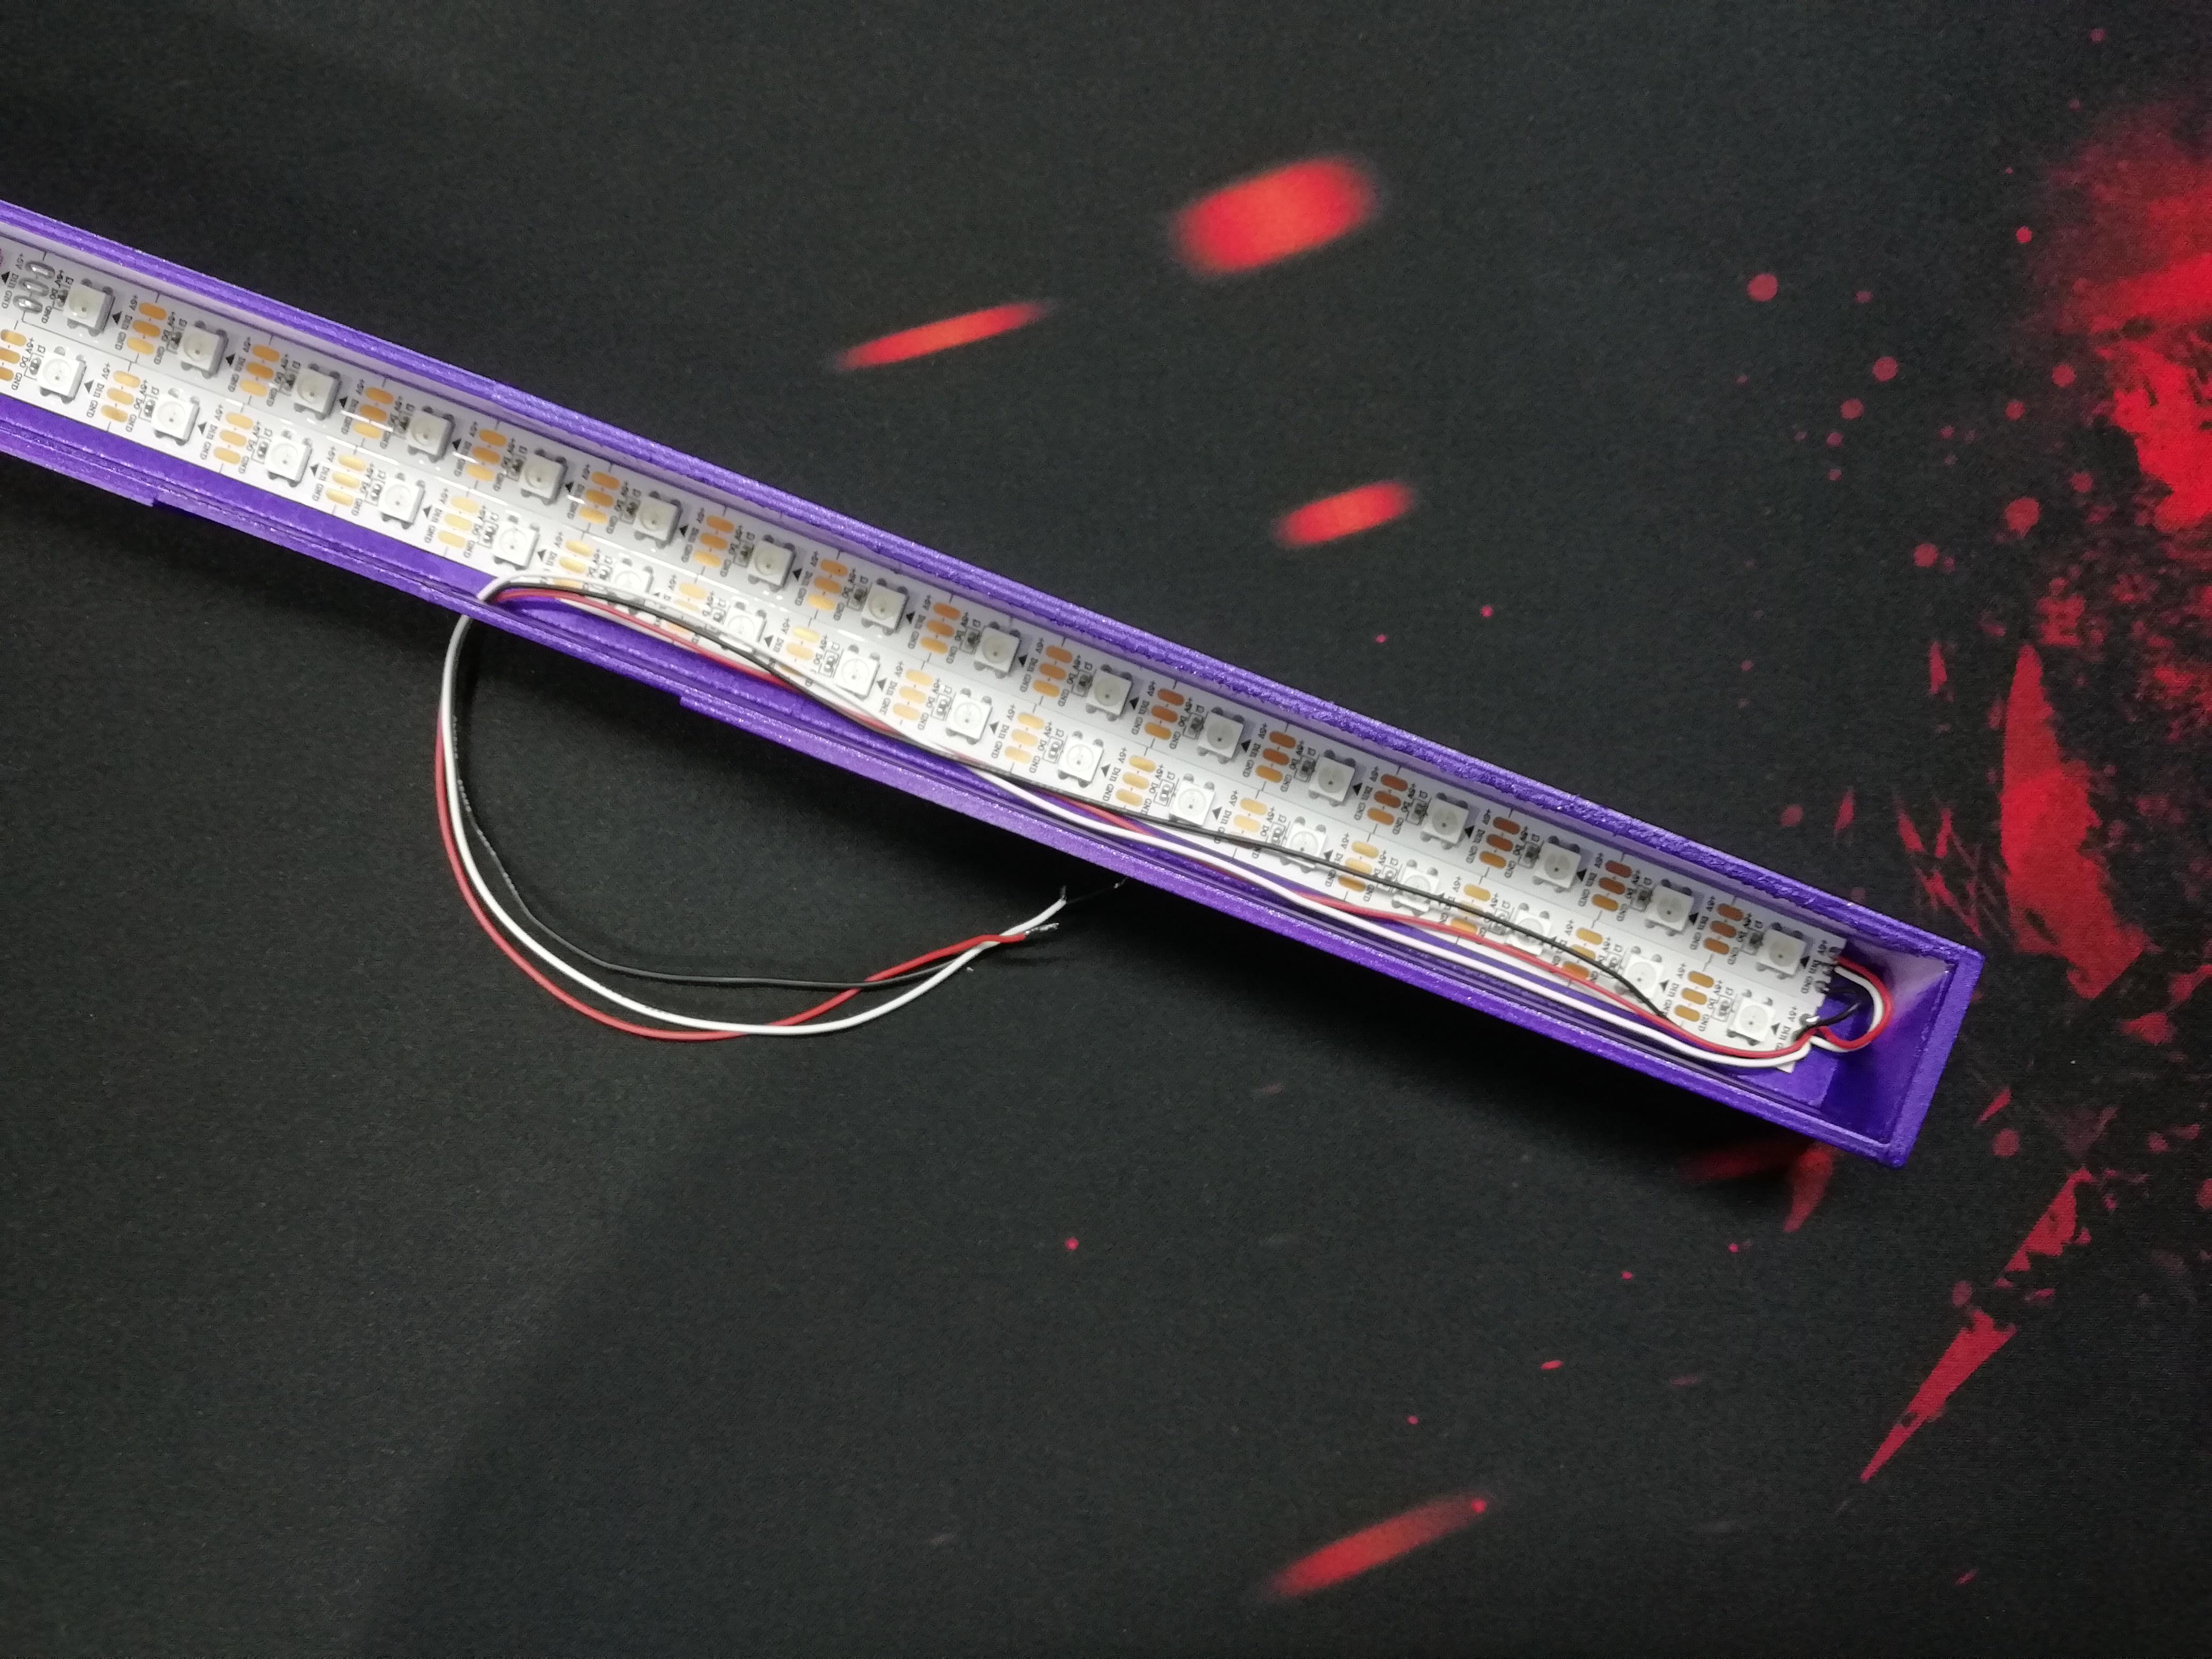
Stick the 23 LED Strip on inside case of Monitor ScreenBar and solder 3 wire to led strip (30cm length).
Refer Circuit Diagram Below.
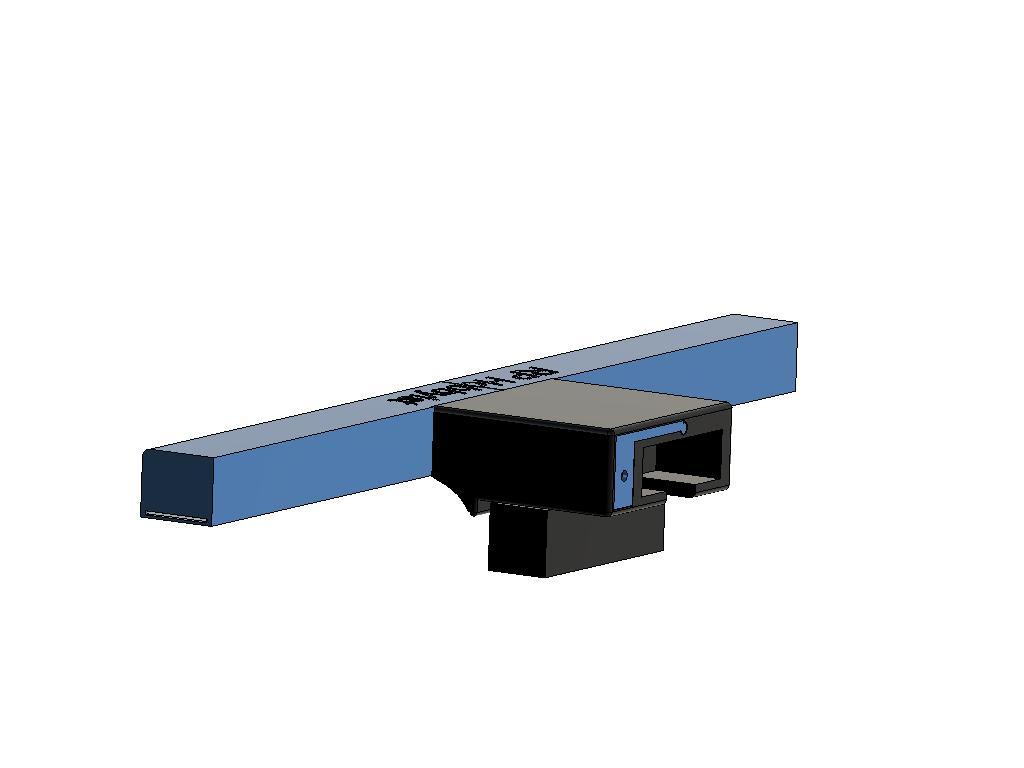
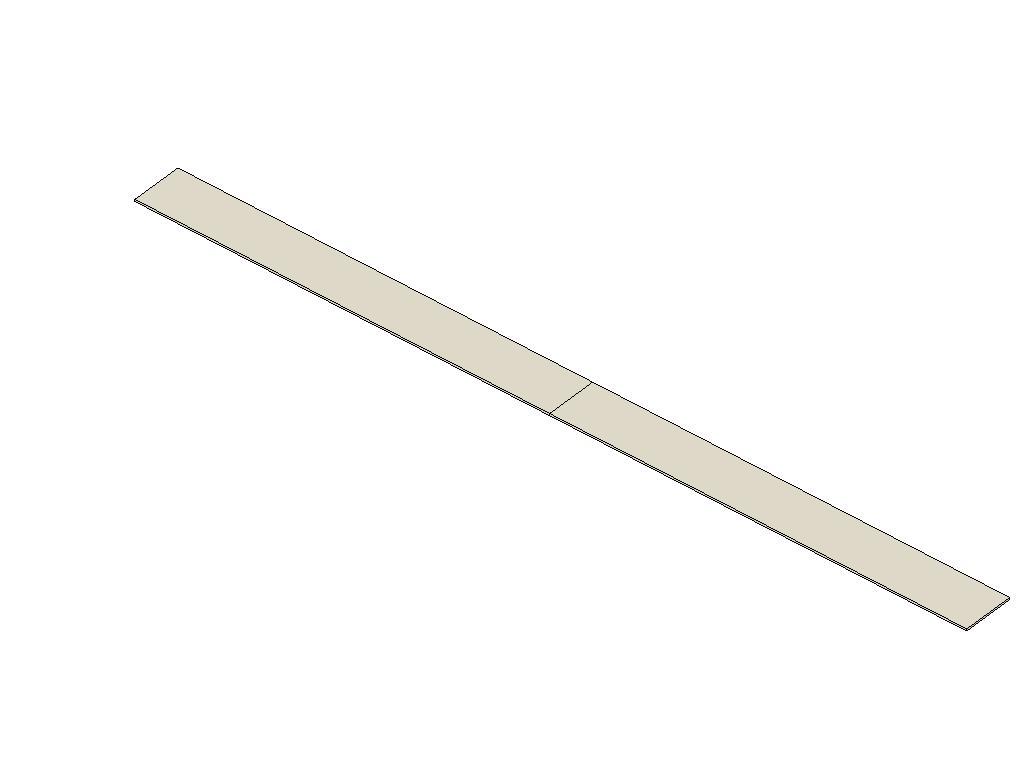
Slide Transparent Lid in Given Space in the Main Body of ScreenBar
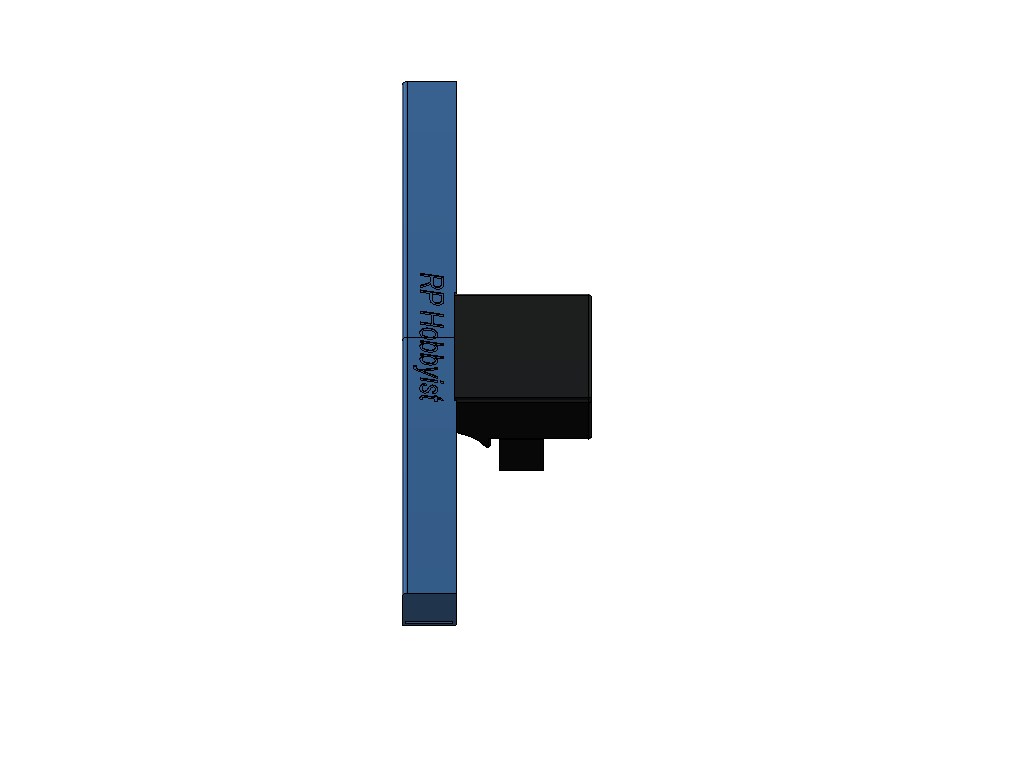
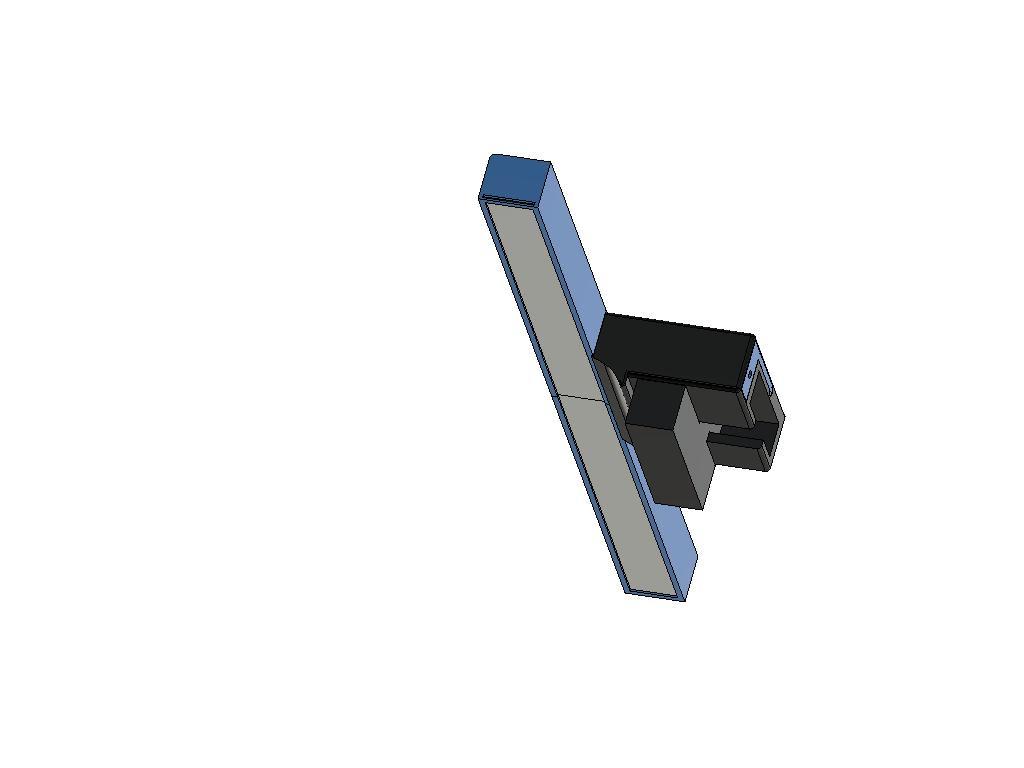
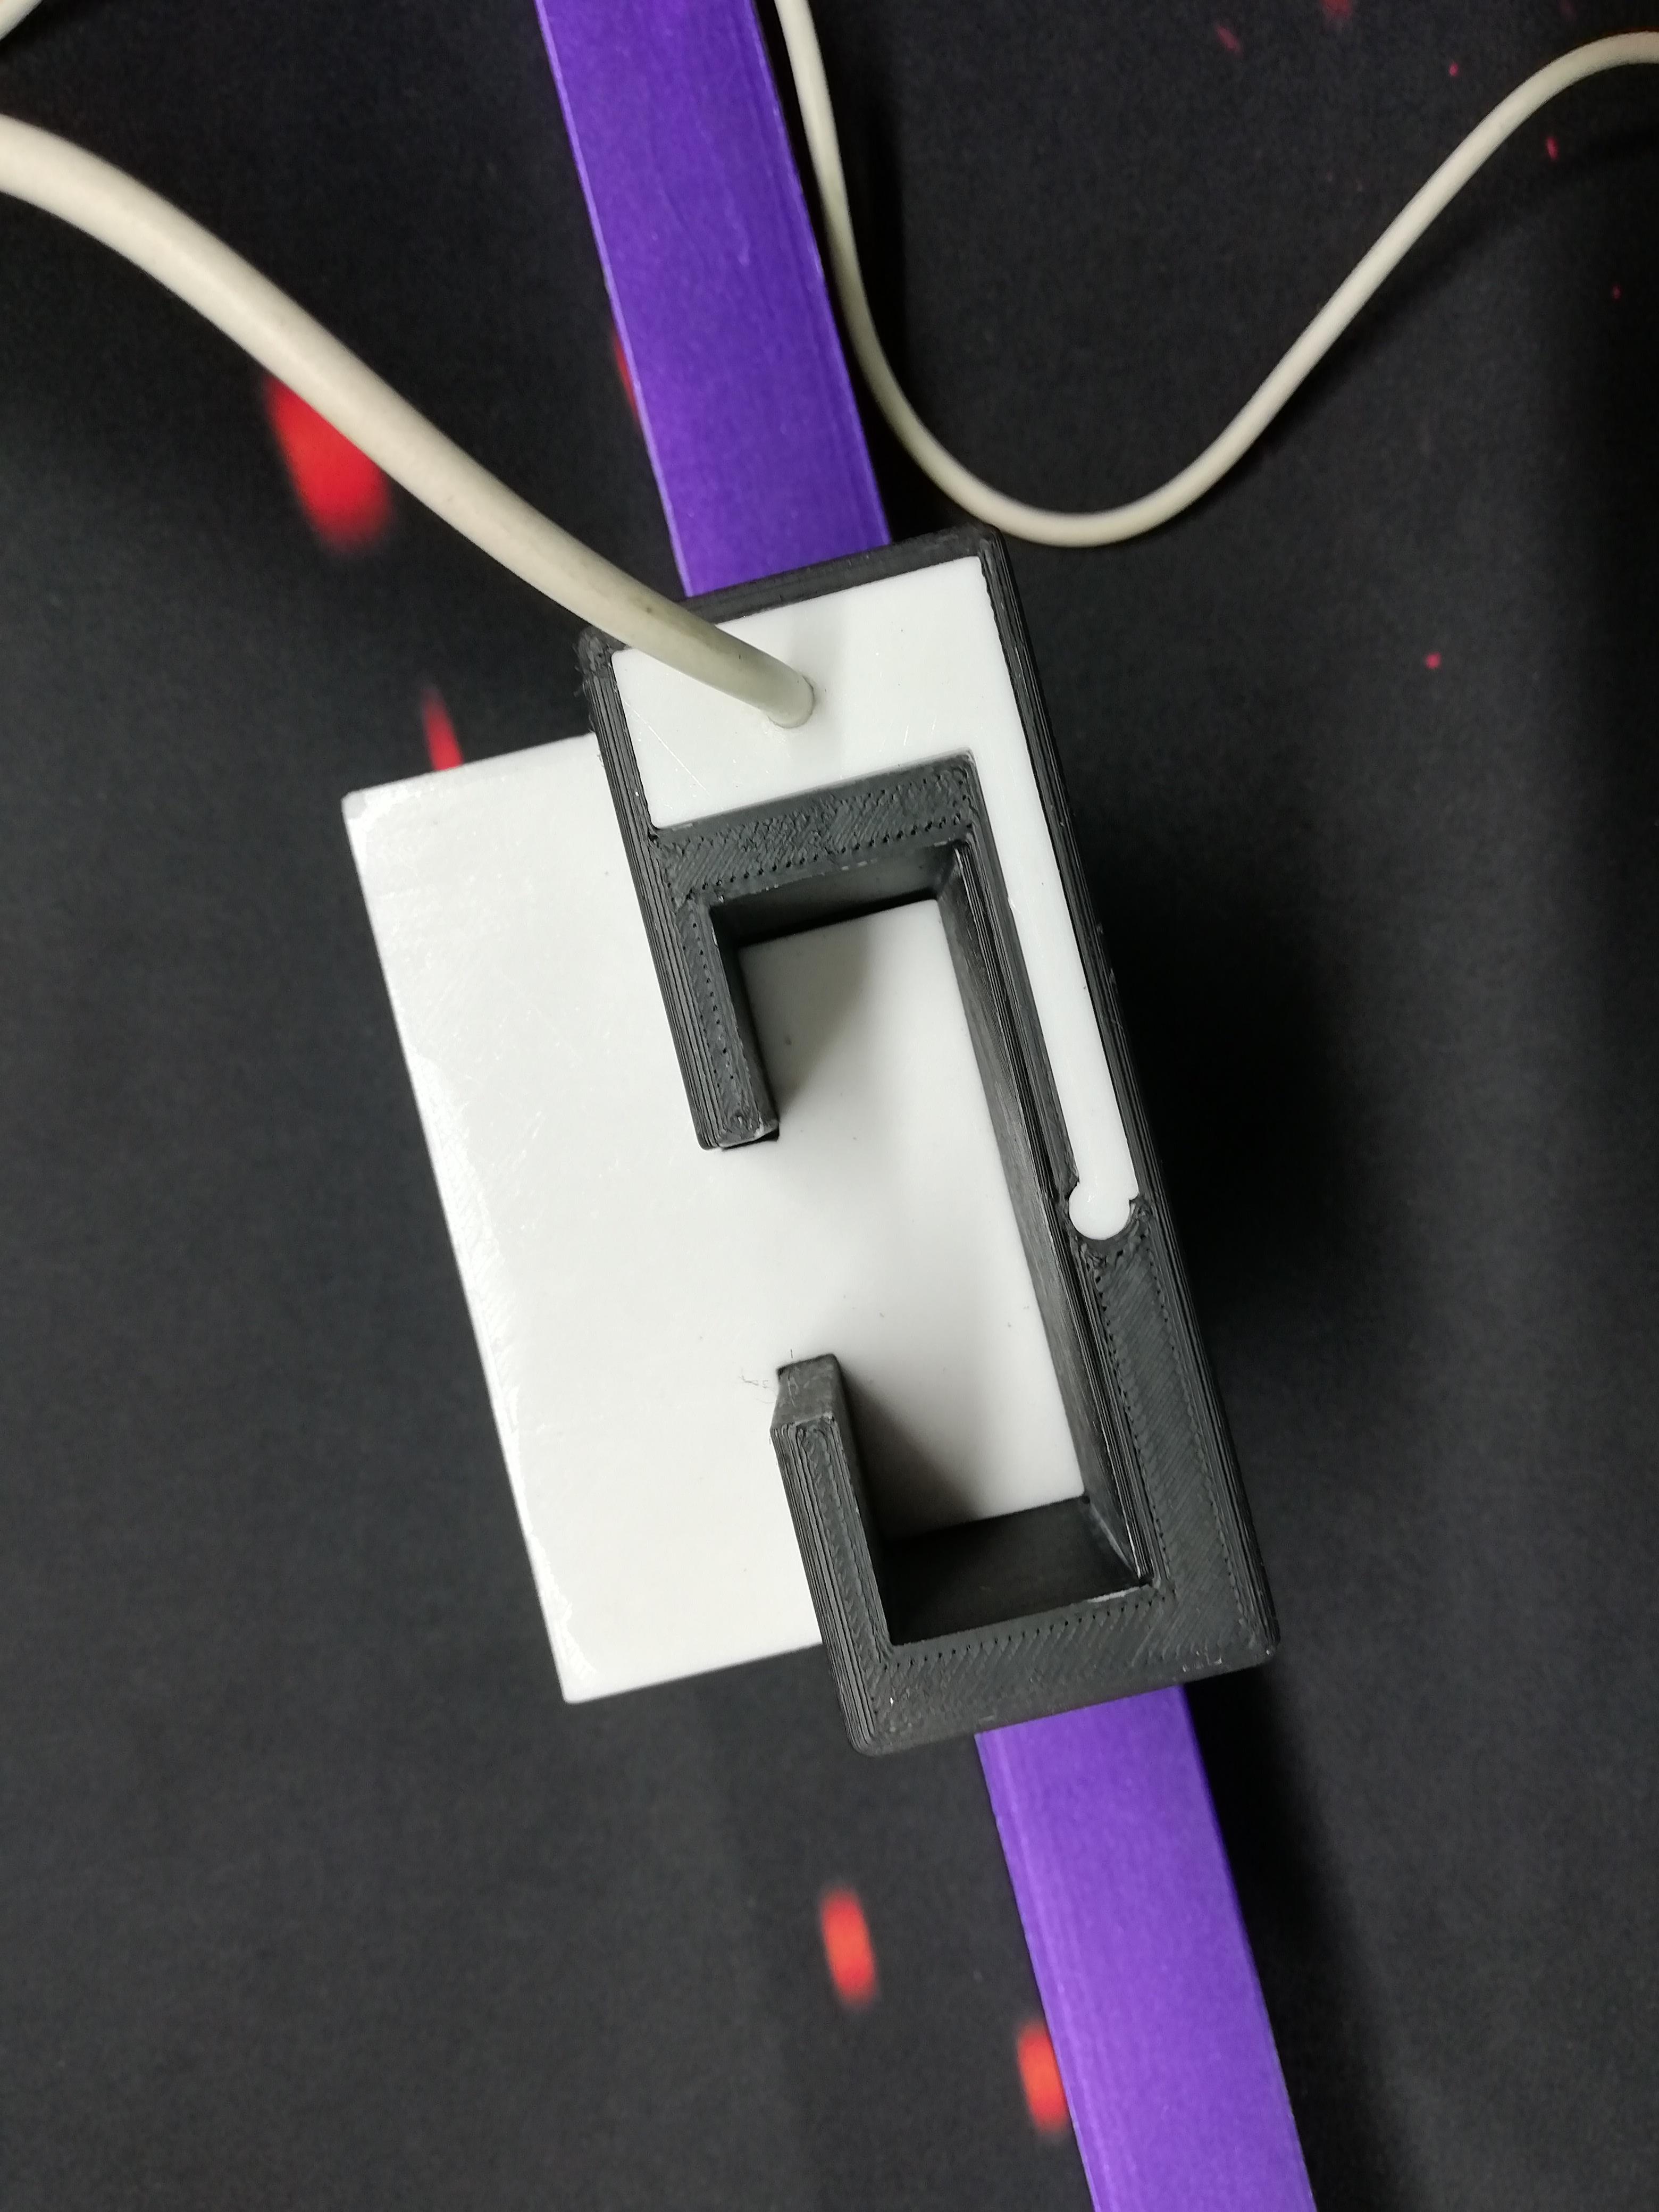
Join Mount Body to ScreenBar Main Body


Kindly first pass all LEDs wires from giving holes then join both Mount and ScreenBar bodies. Holes from both Mount and ScreenBar should match then pass all wire in it.
Download WLED Firmware
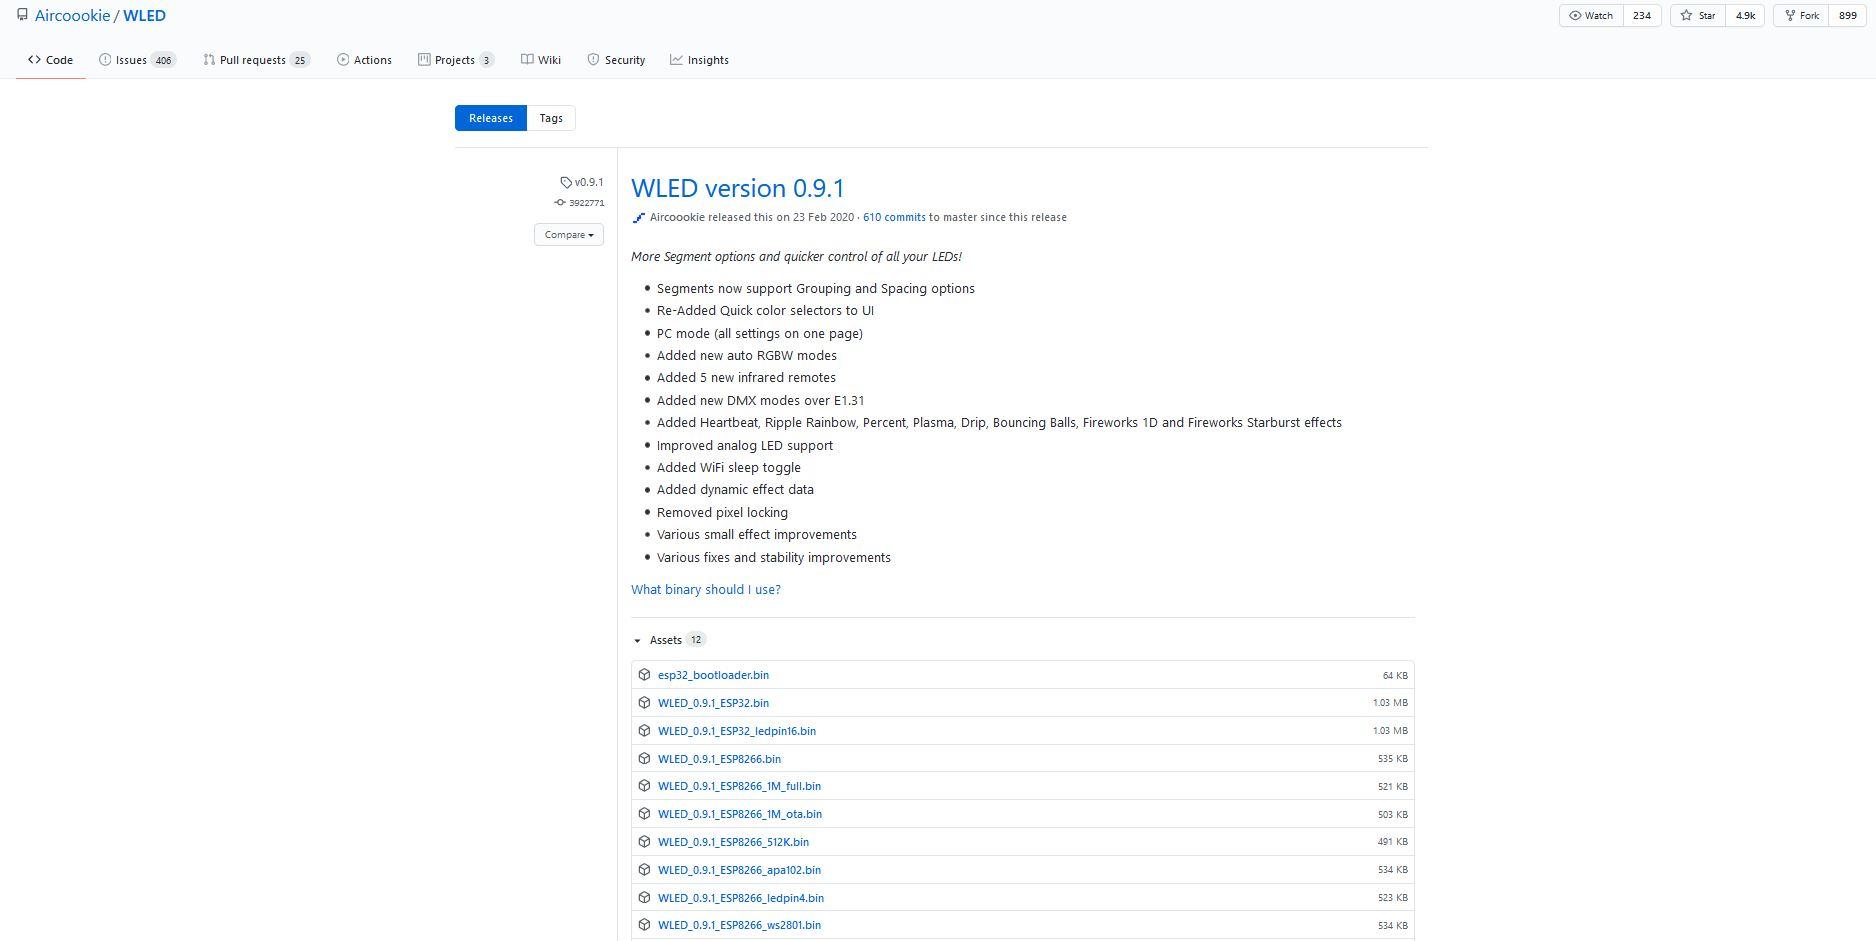
Download Link:
https://github.com/Aircoookie/WLED/releases/download/v0.9.1/WLED_0.9.1_ESP8266.bin
Download ESP Home Flasher Tool
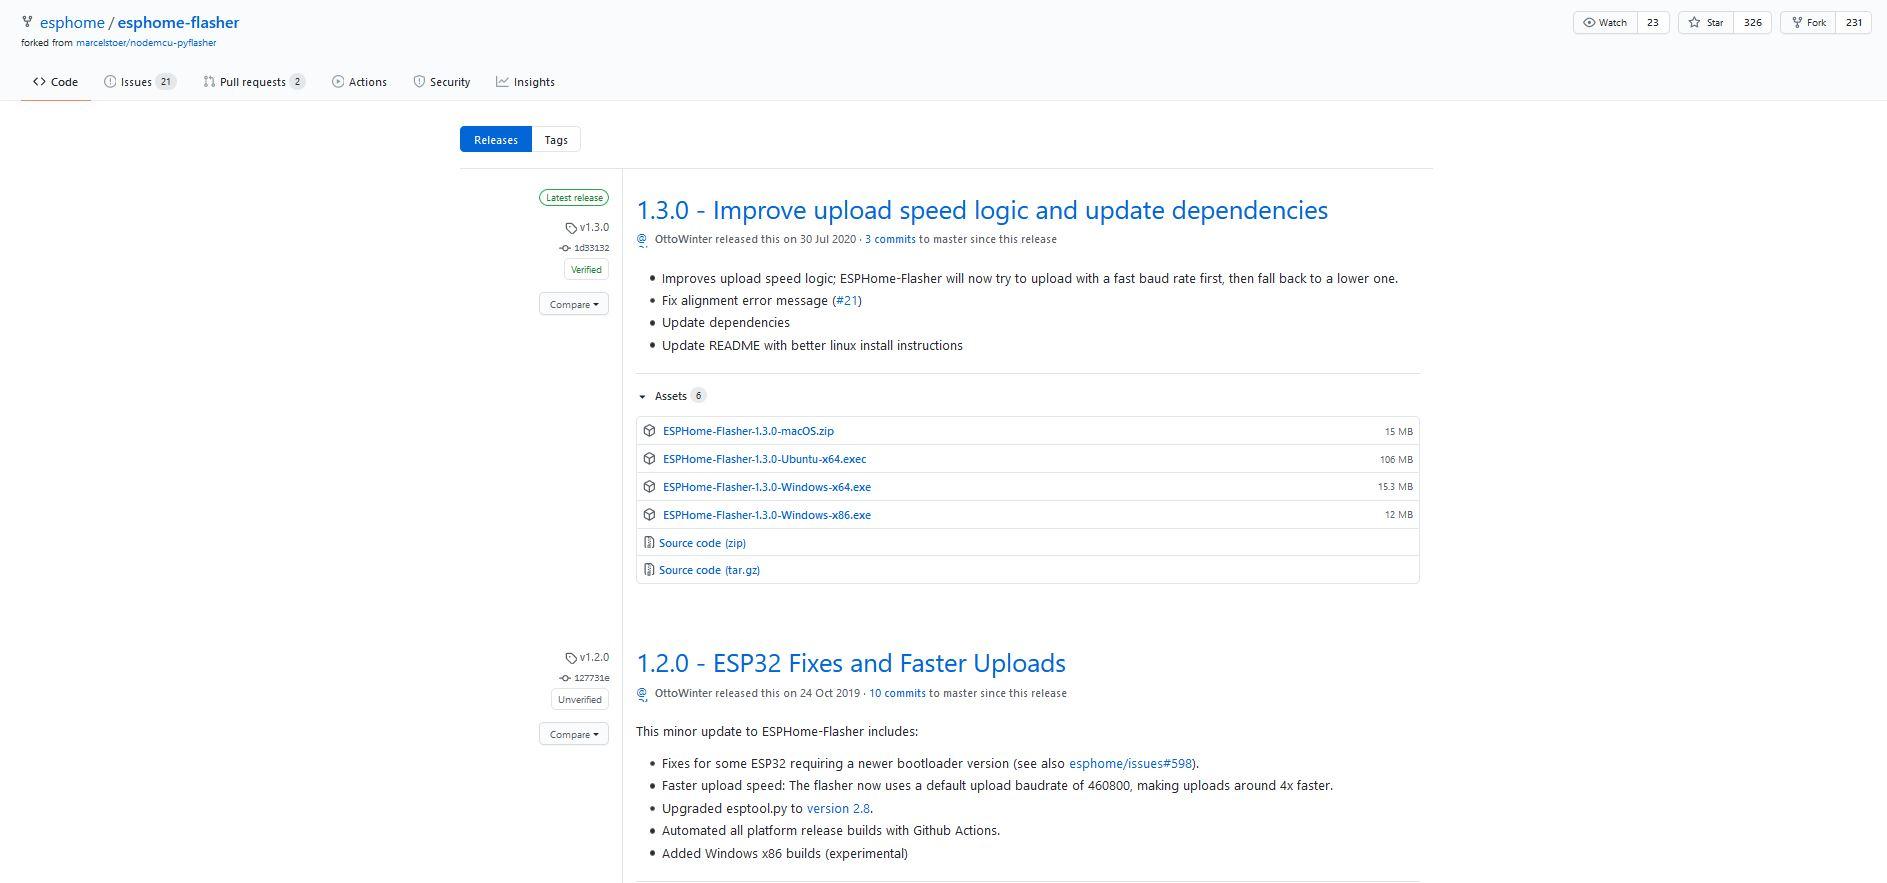
Download Link:
https://github.com/esphome/esphome-flasher/releases/download/v1.3.0/ESPHome-Flasher-1.3.0-Windows-x64.exe WiFi RGB
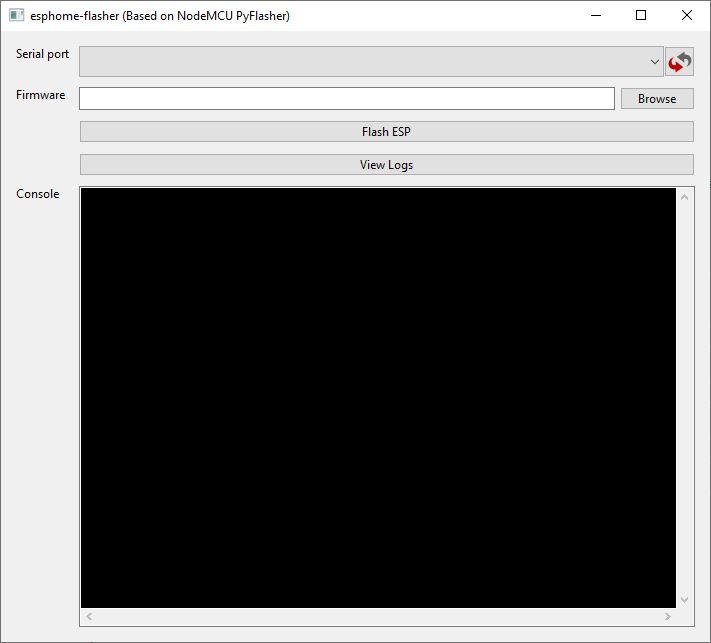
Open ESP Home Flasher
.JPG)
1) Connect your ESP8266 to your computer.
2) Select the correct port of ESP8266 to which it is connected.
3) Select the "WLED_0.9.1_ESP8266.bin" file that you have downloaded.
4) Click the Flash ESP Button.
5) Wait for some time until you seen WLED WiFi in your phone.
Wiring of Circuit
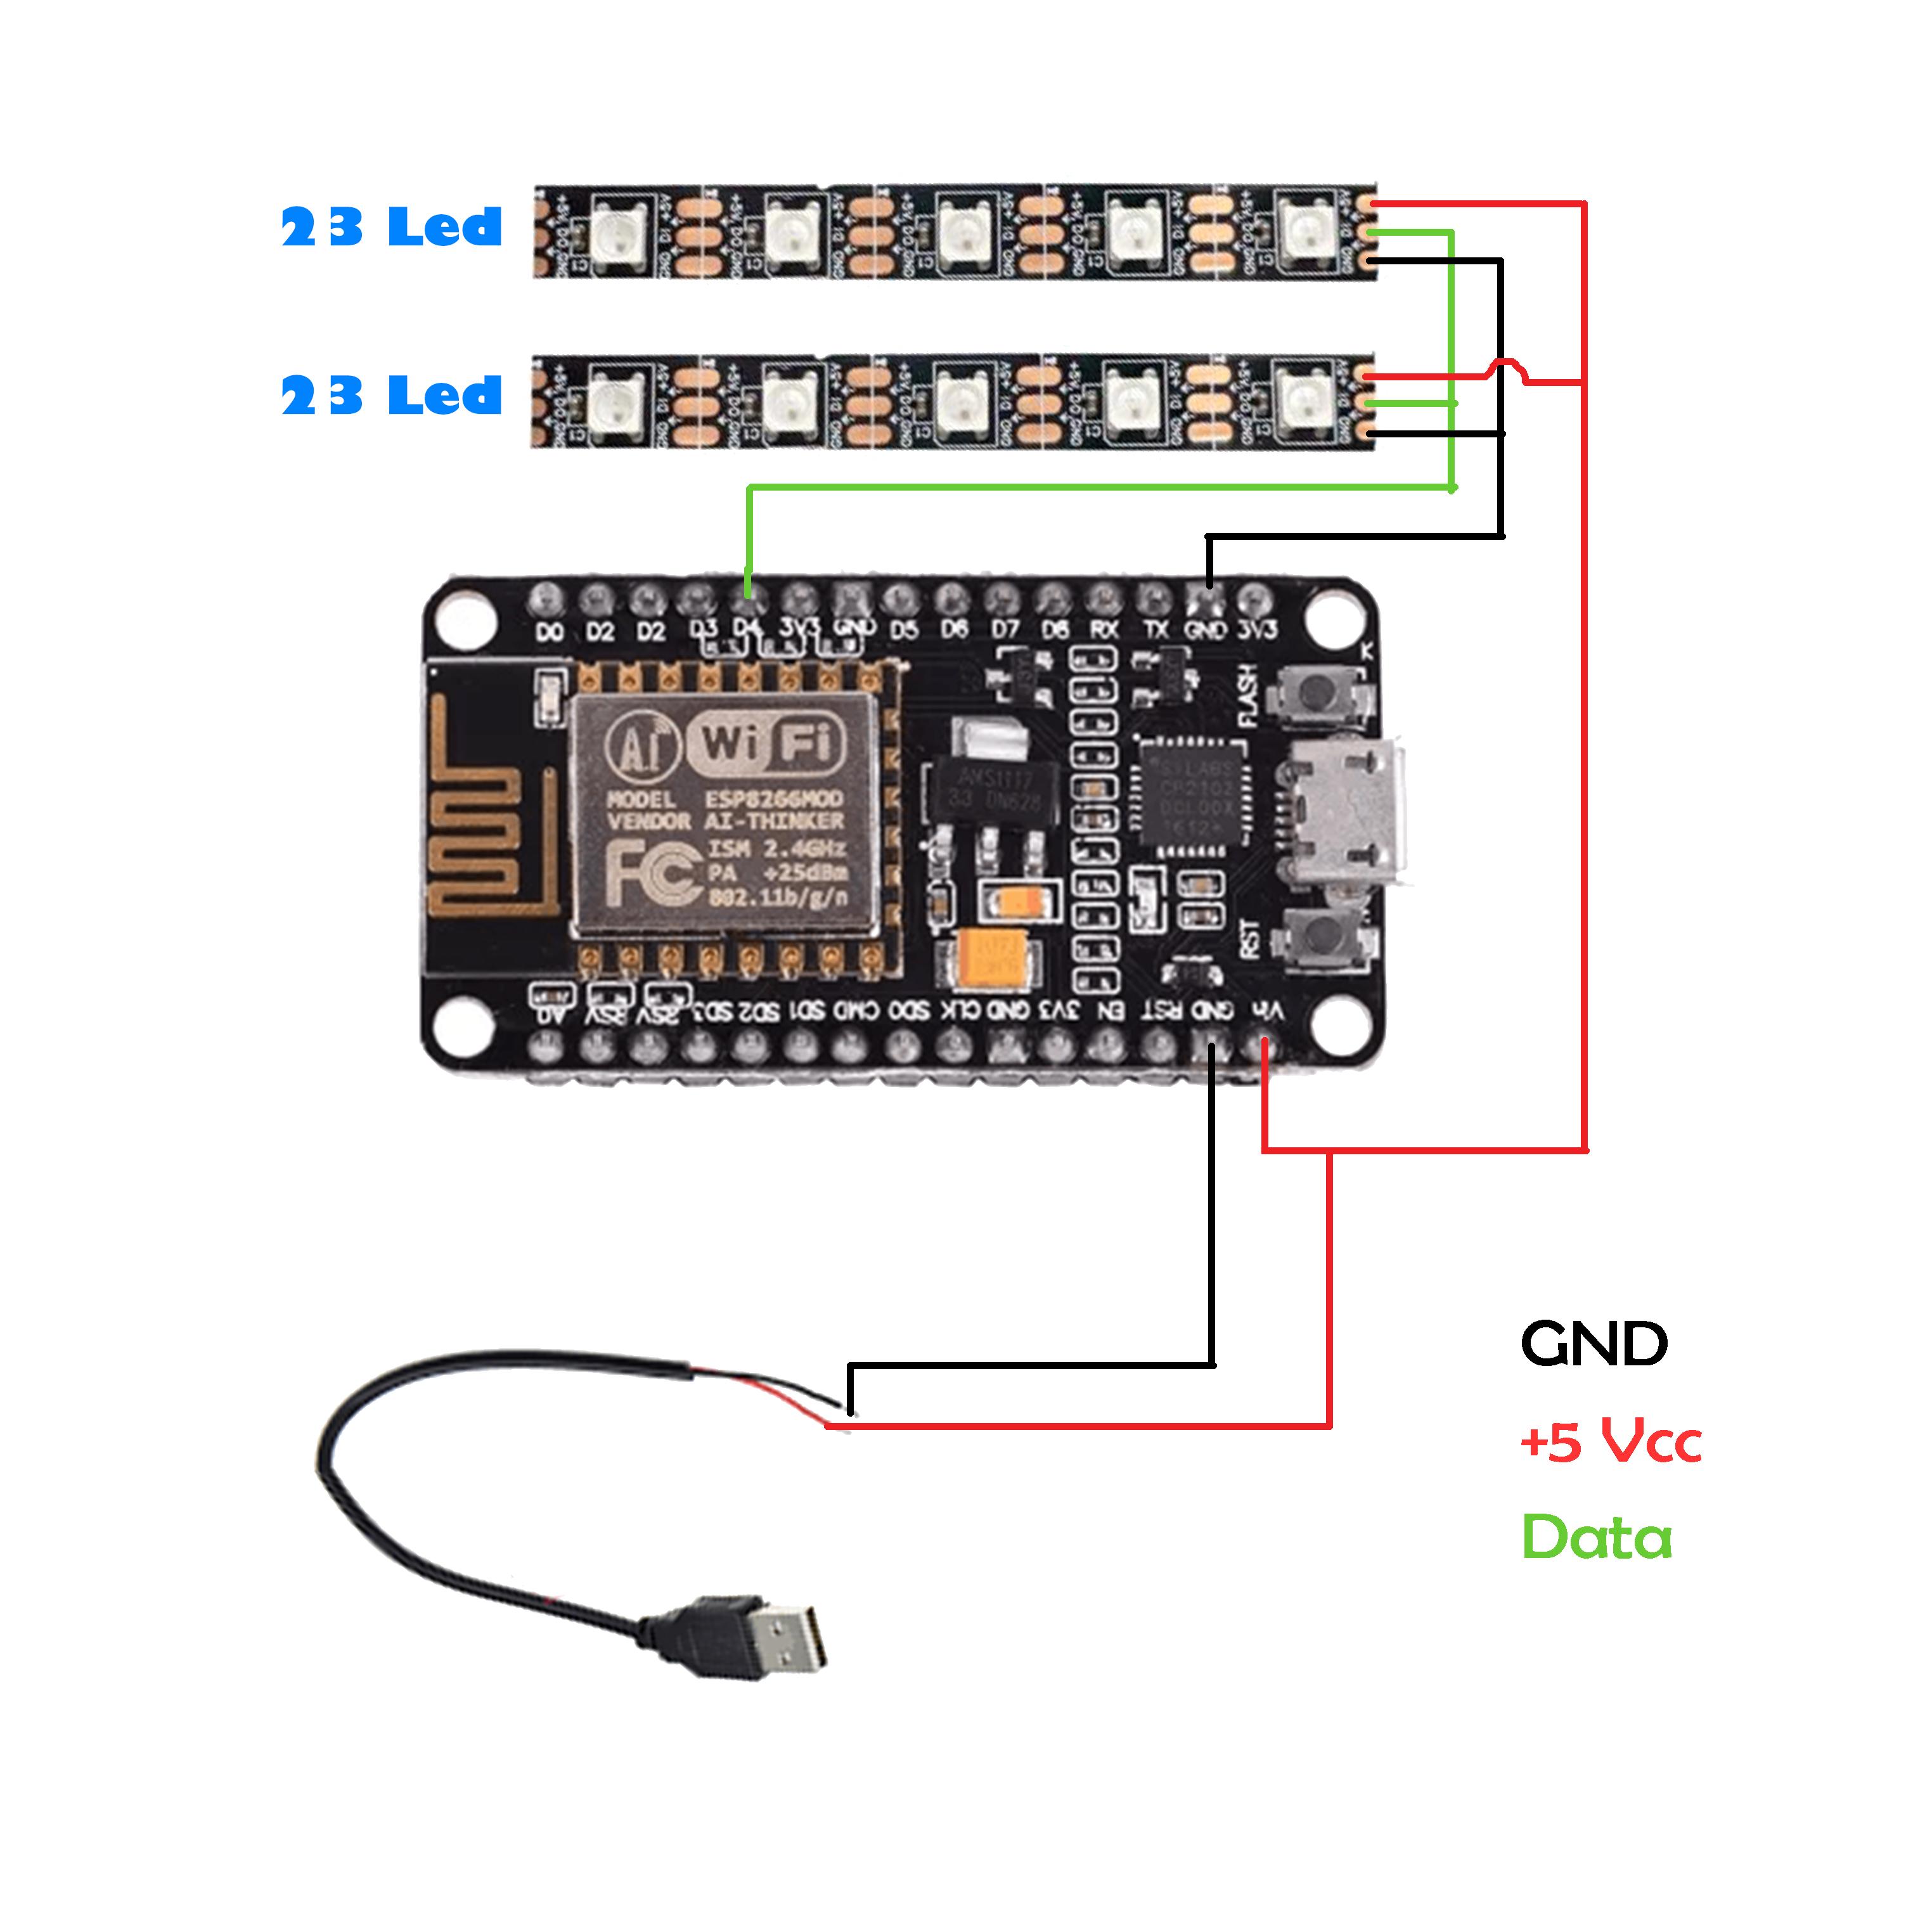
#LED Strip to ESP826
LED Strip --------> ESP8266
(+5v) ------> (Vin)
(GND) ------> (GND)
(Data) ------> (D4)*
#USB Cable to ESP826
(+5v) -----> (Vin)
(GND) ------> (GND)
## Insert USB cable to your computer or to 5volt wall adapter.
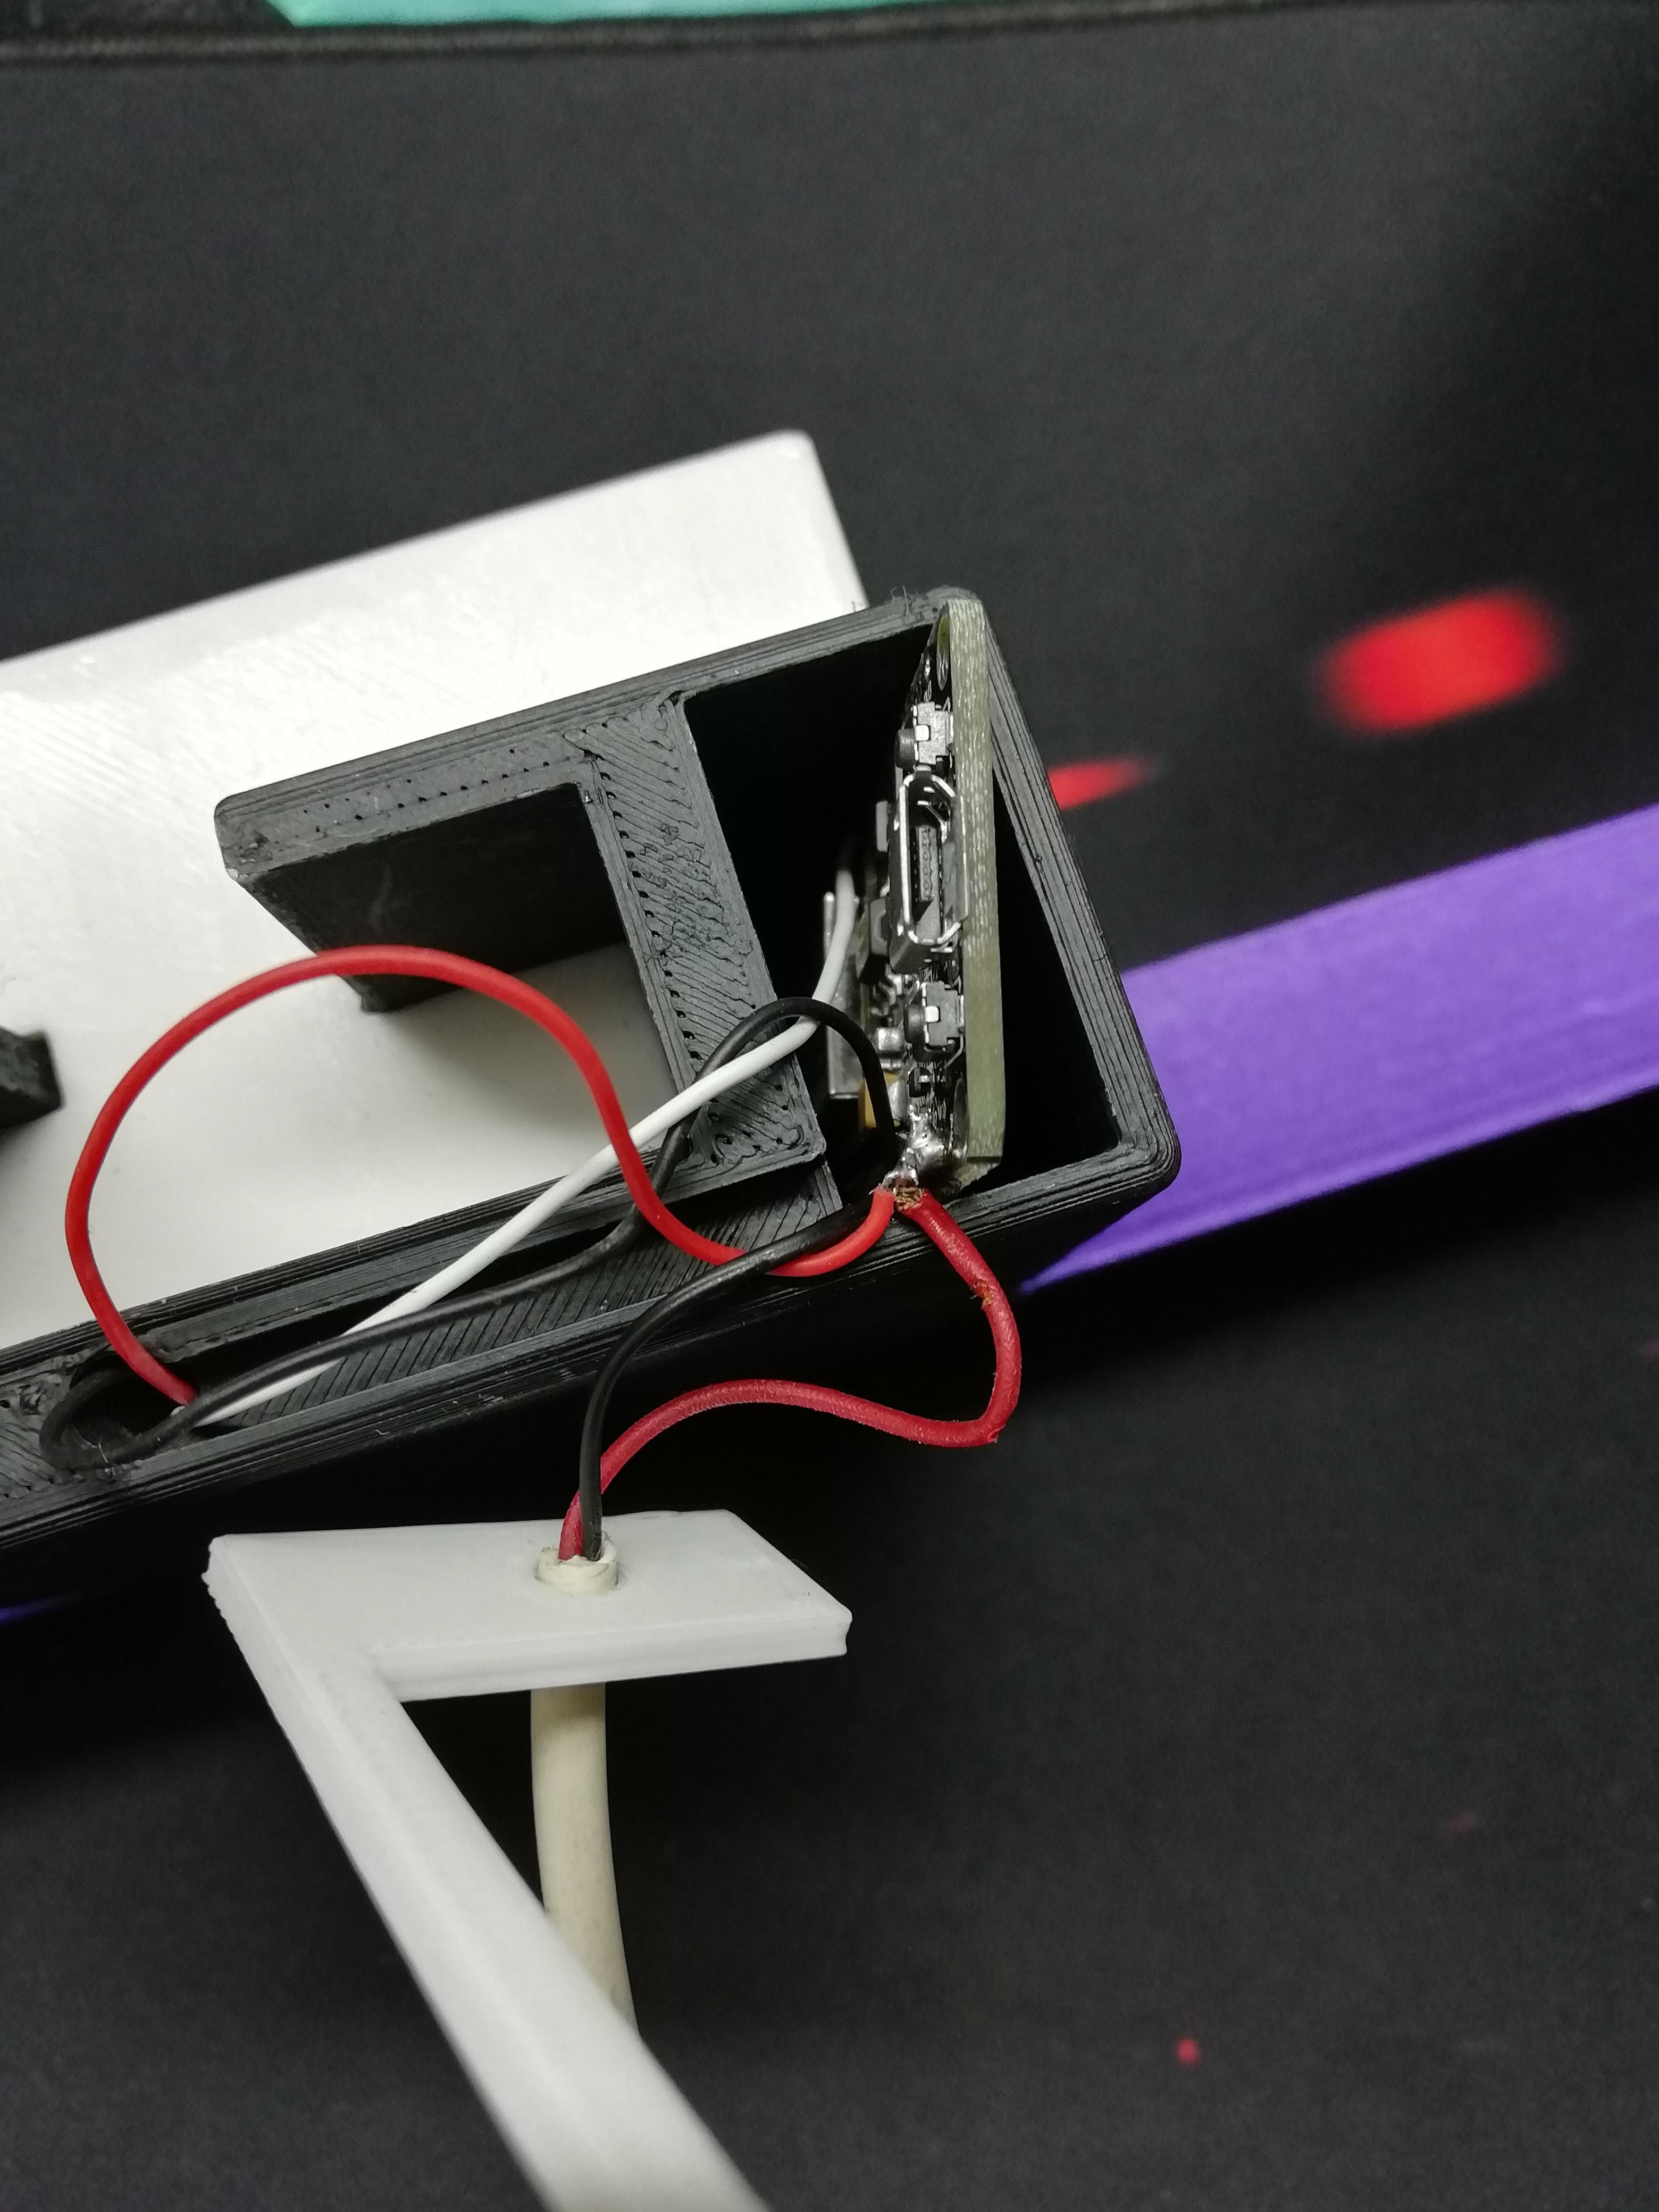
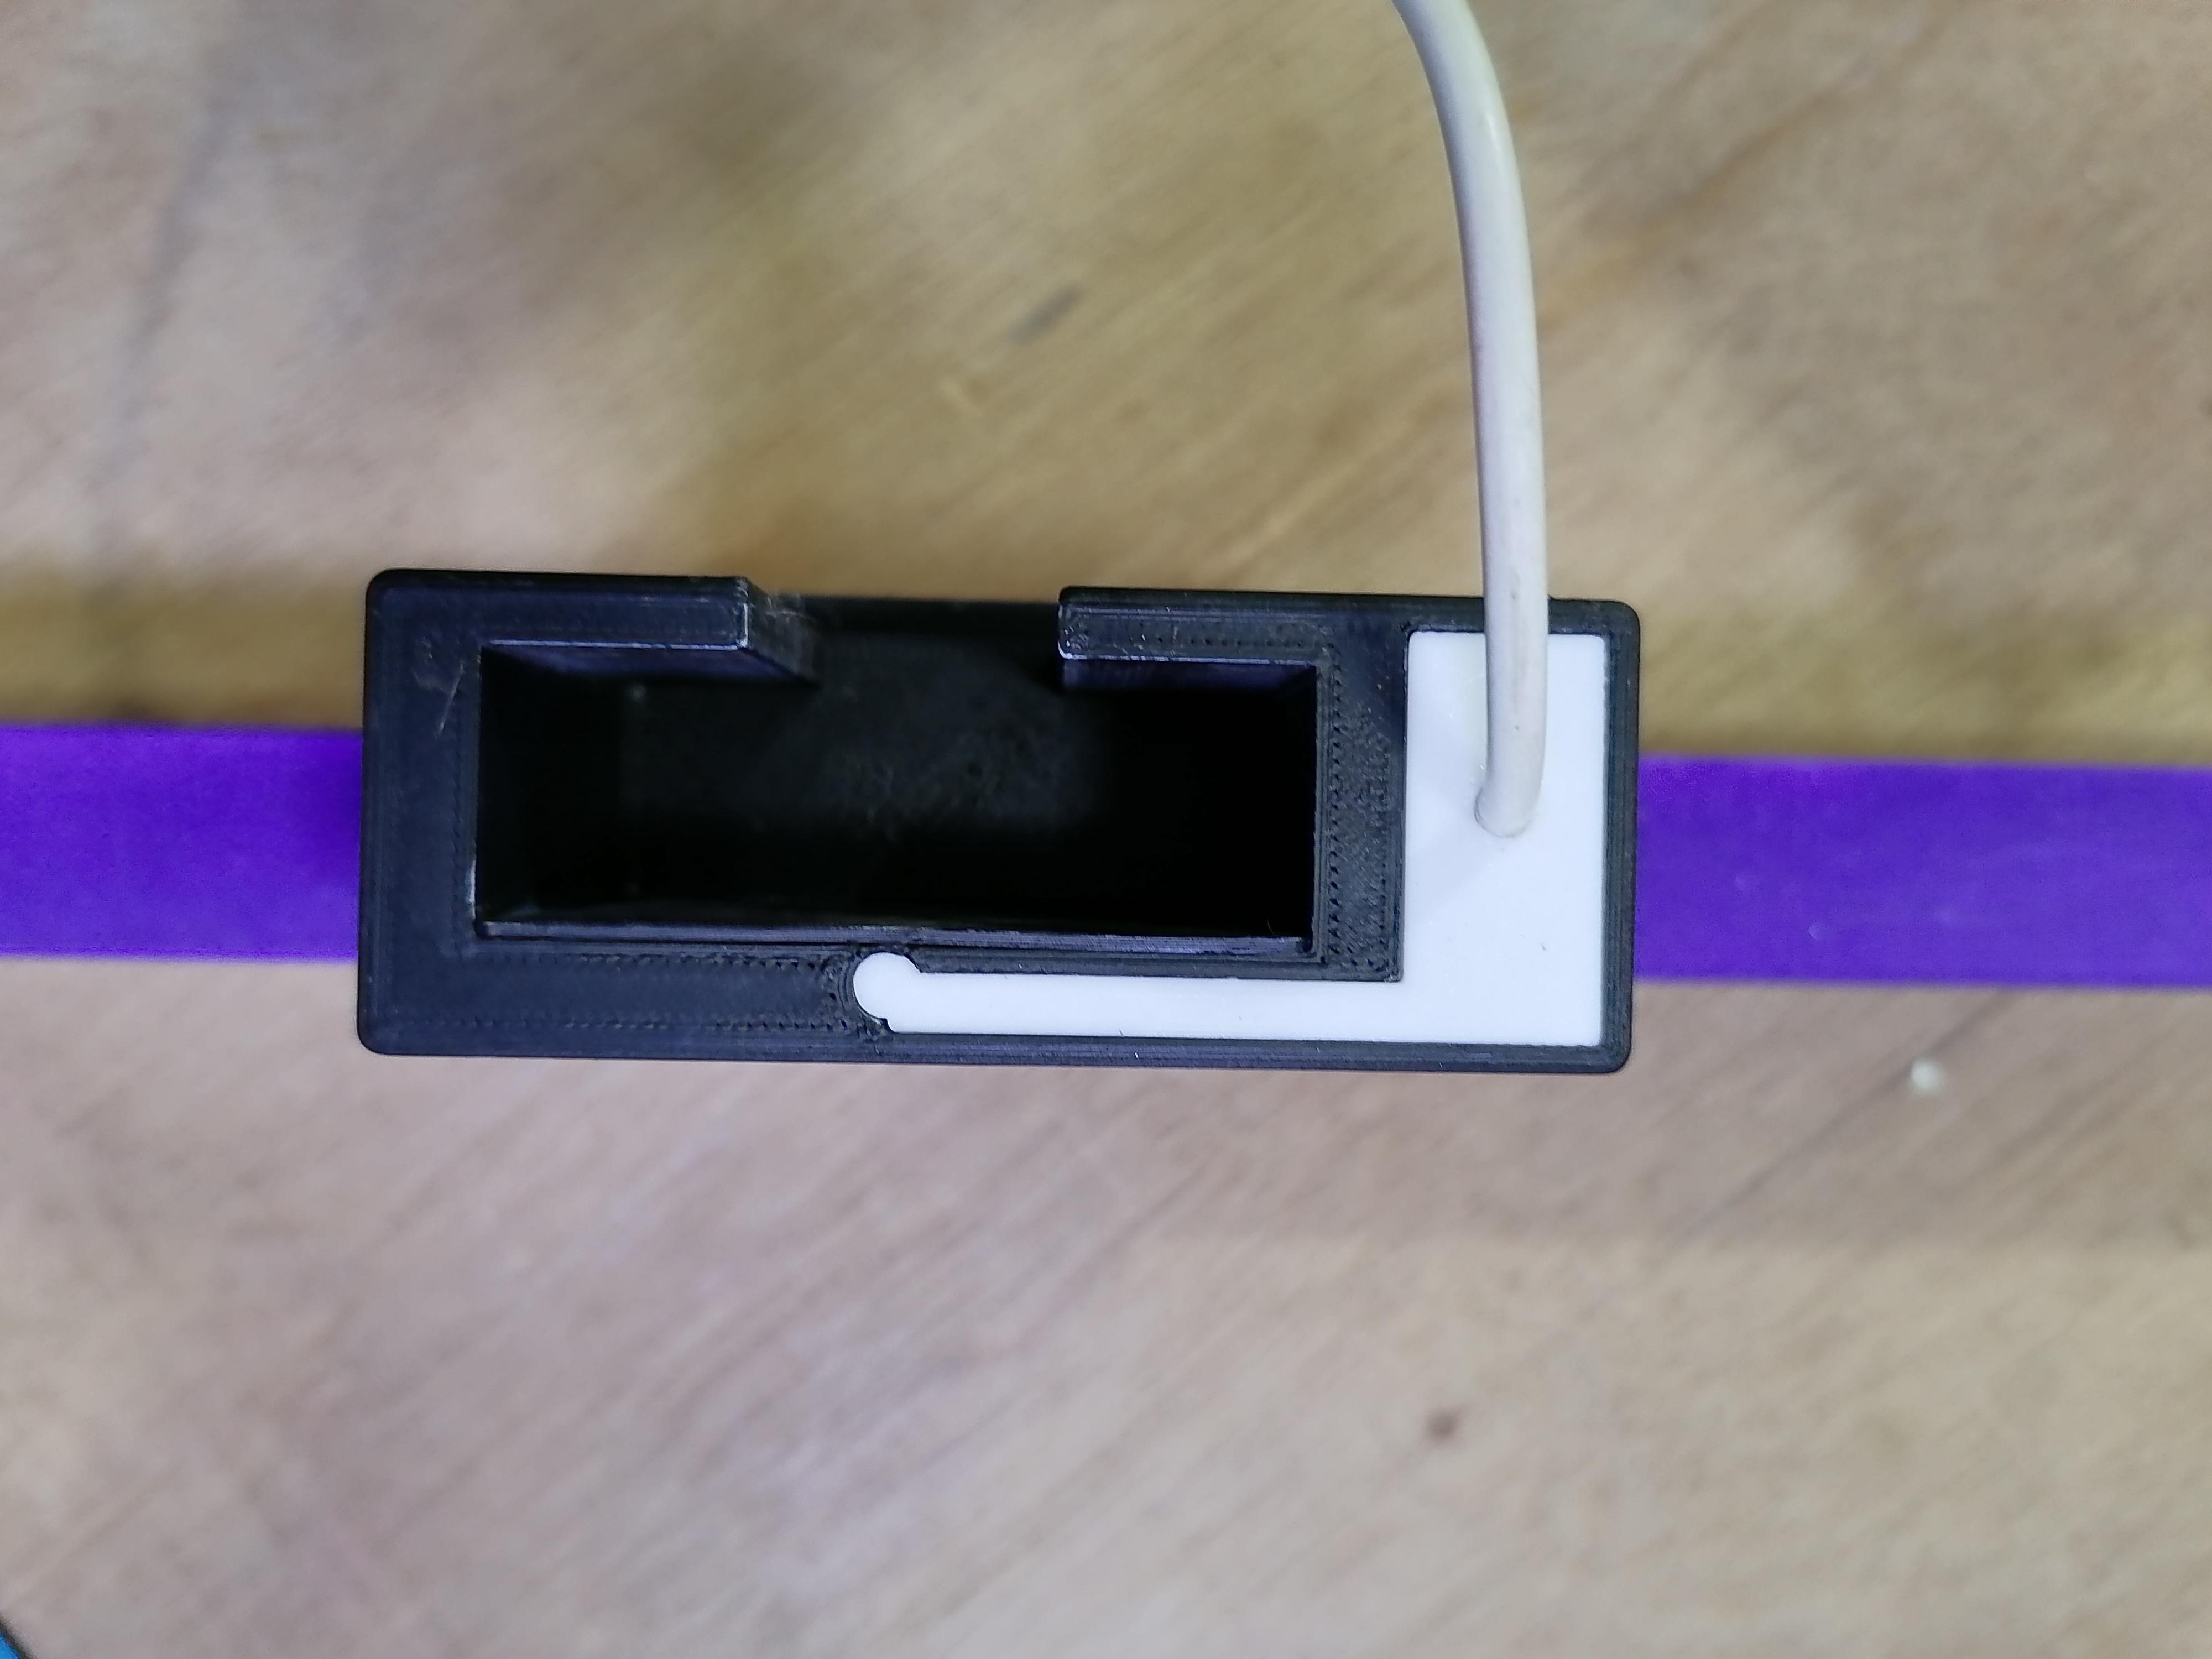
Solder Wires and Insert Usb Cable End First in Cable Lid

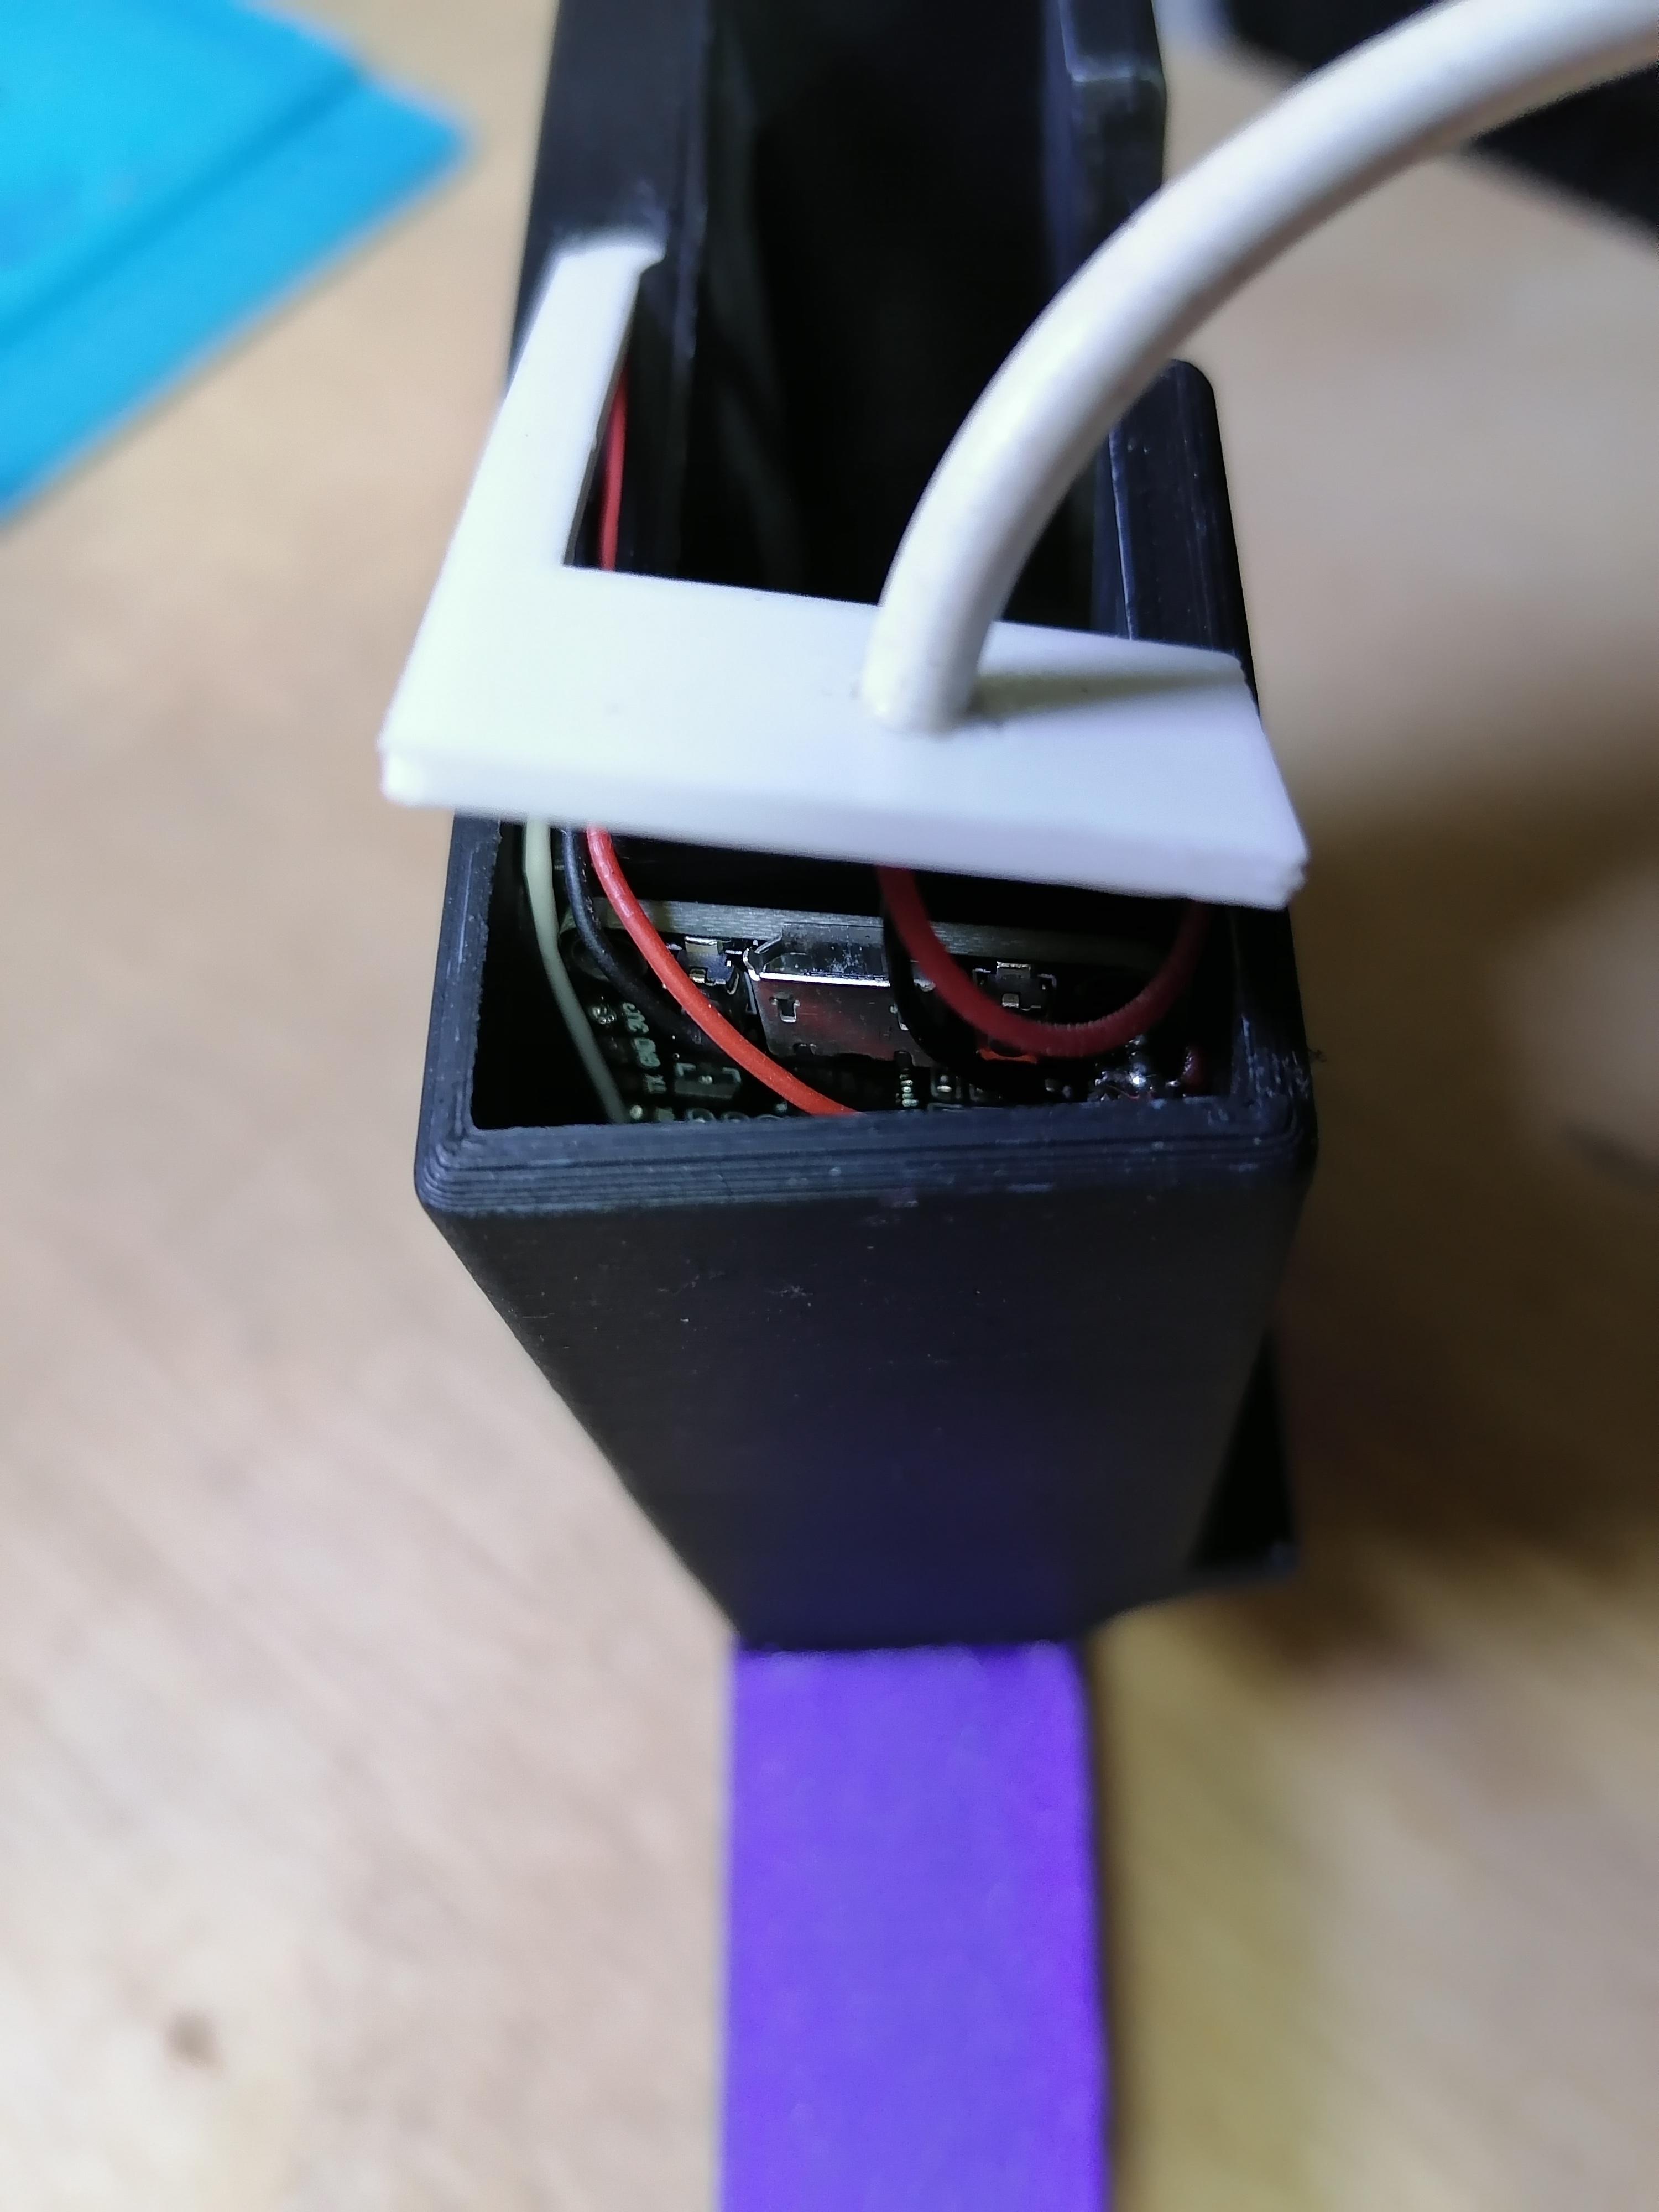
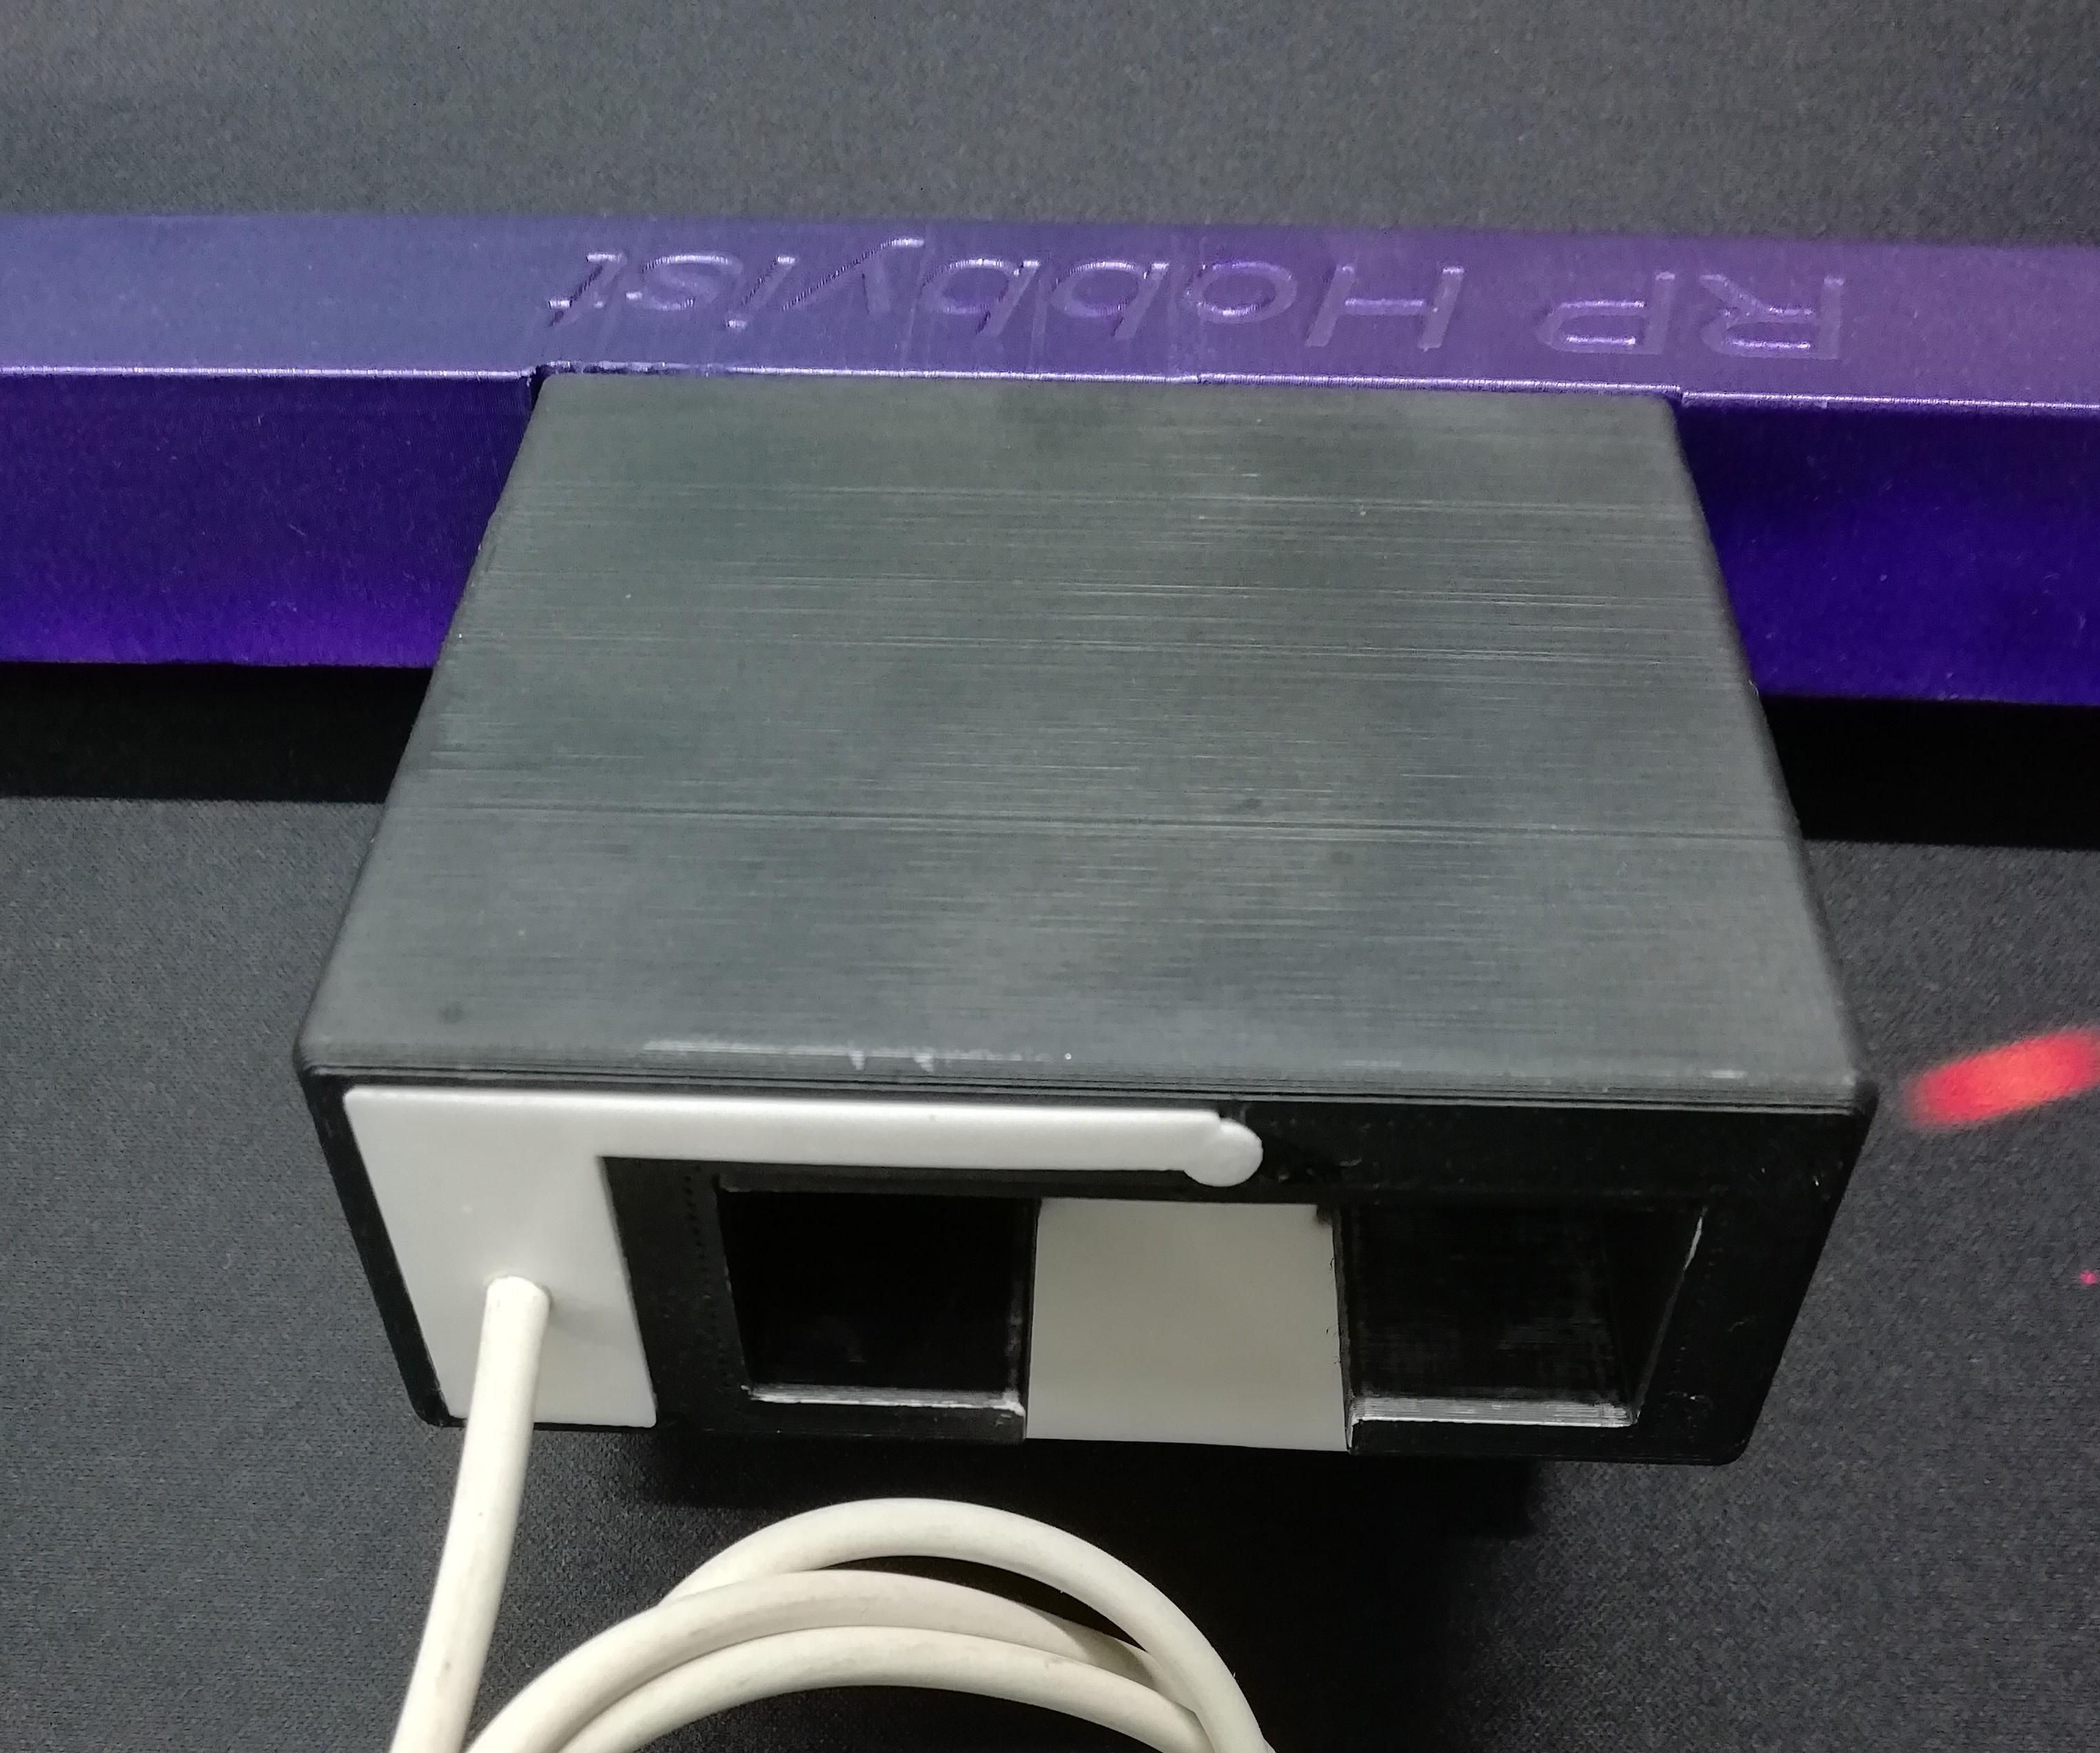
After the soldering put ESP8266 board in given space of mount body as shown in image.
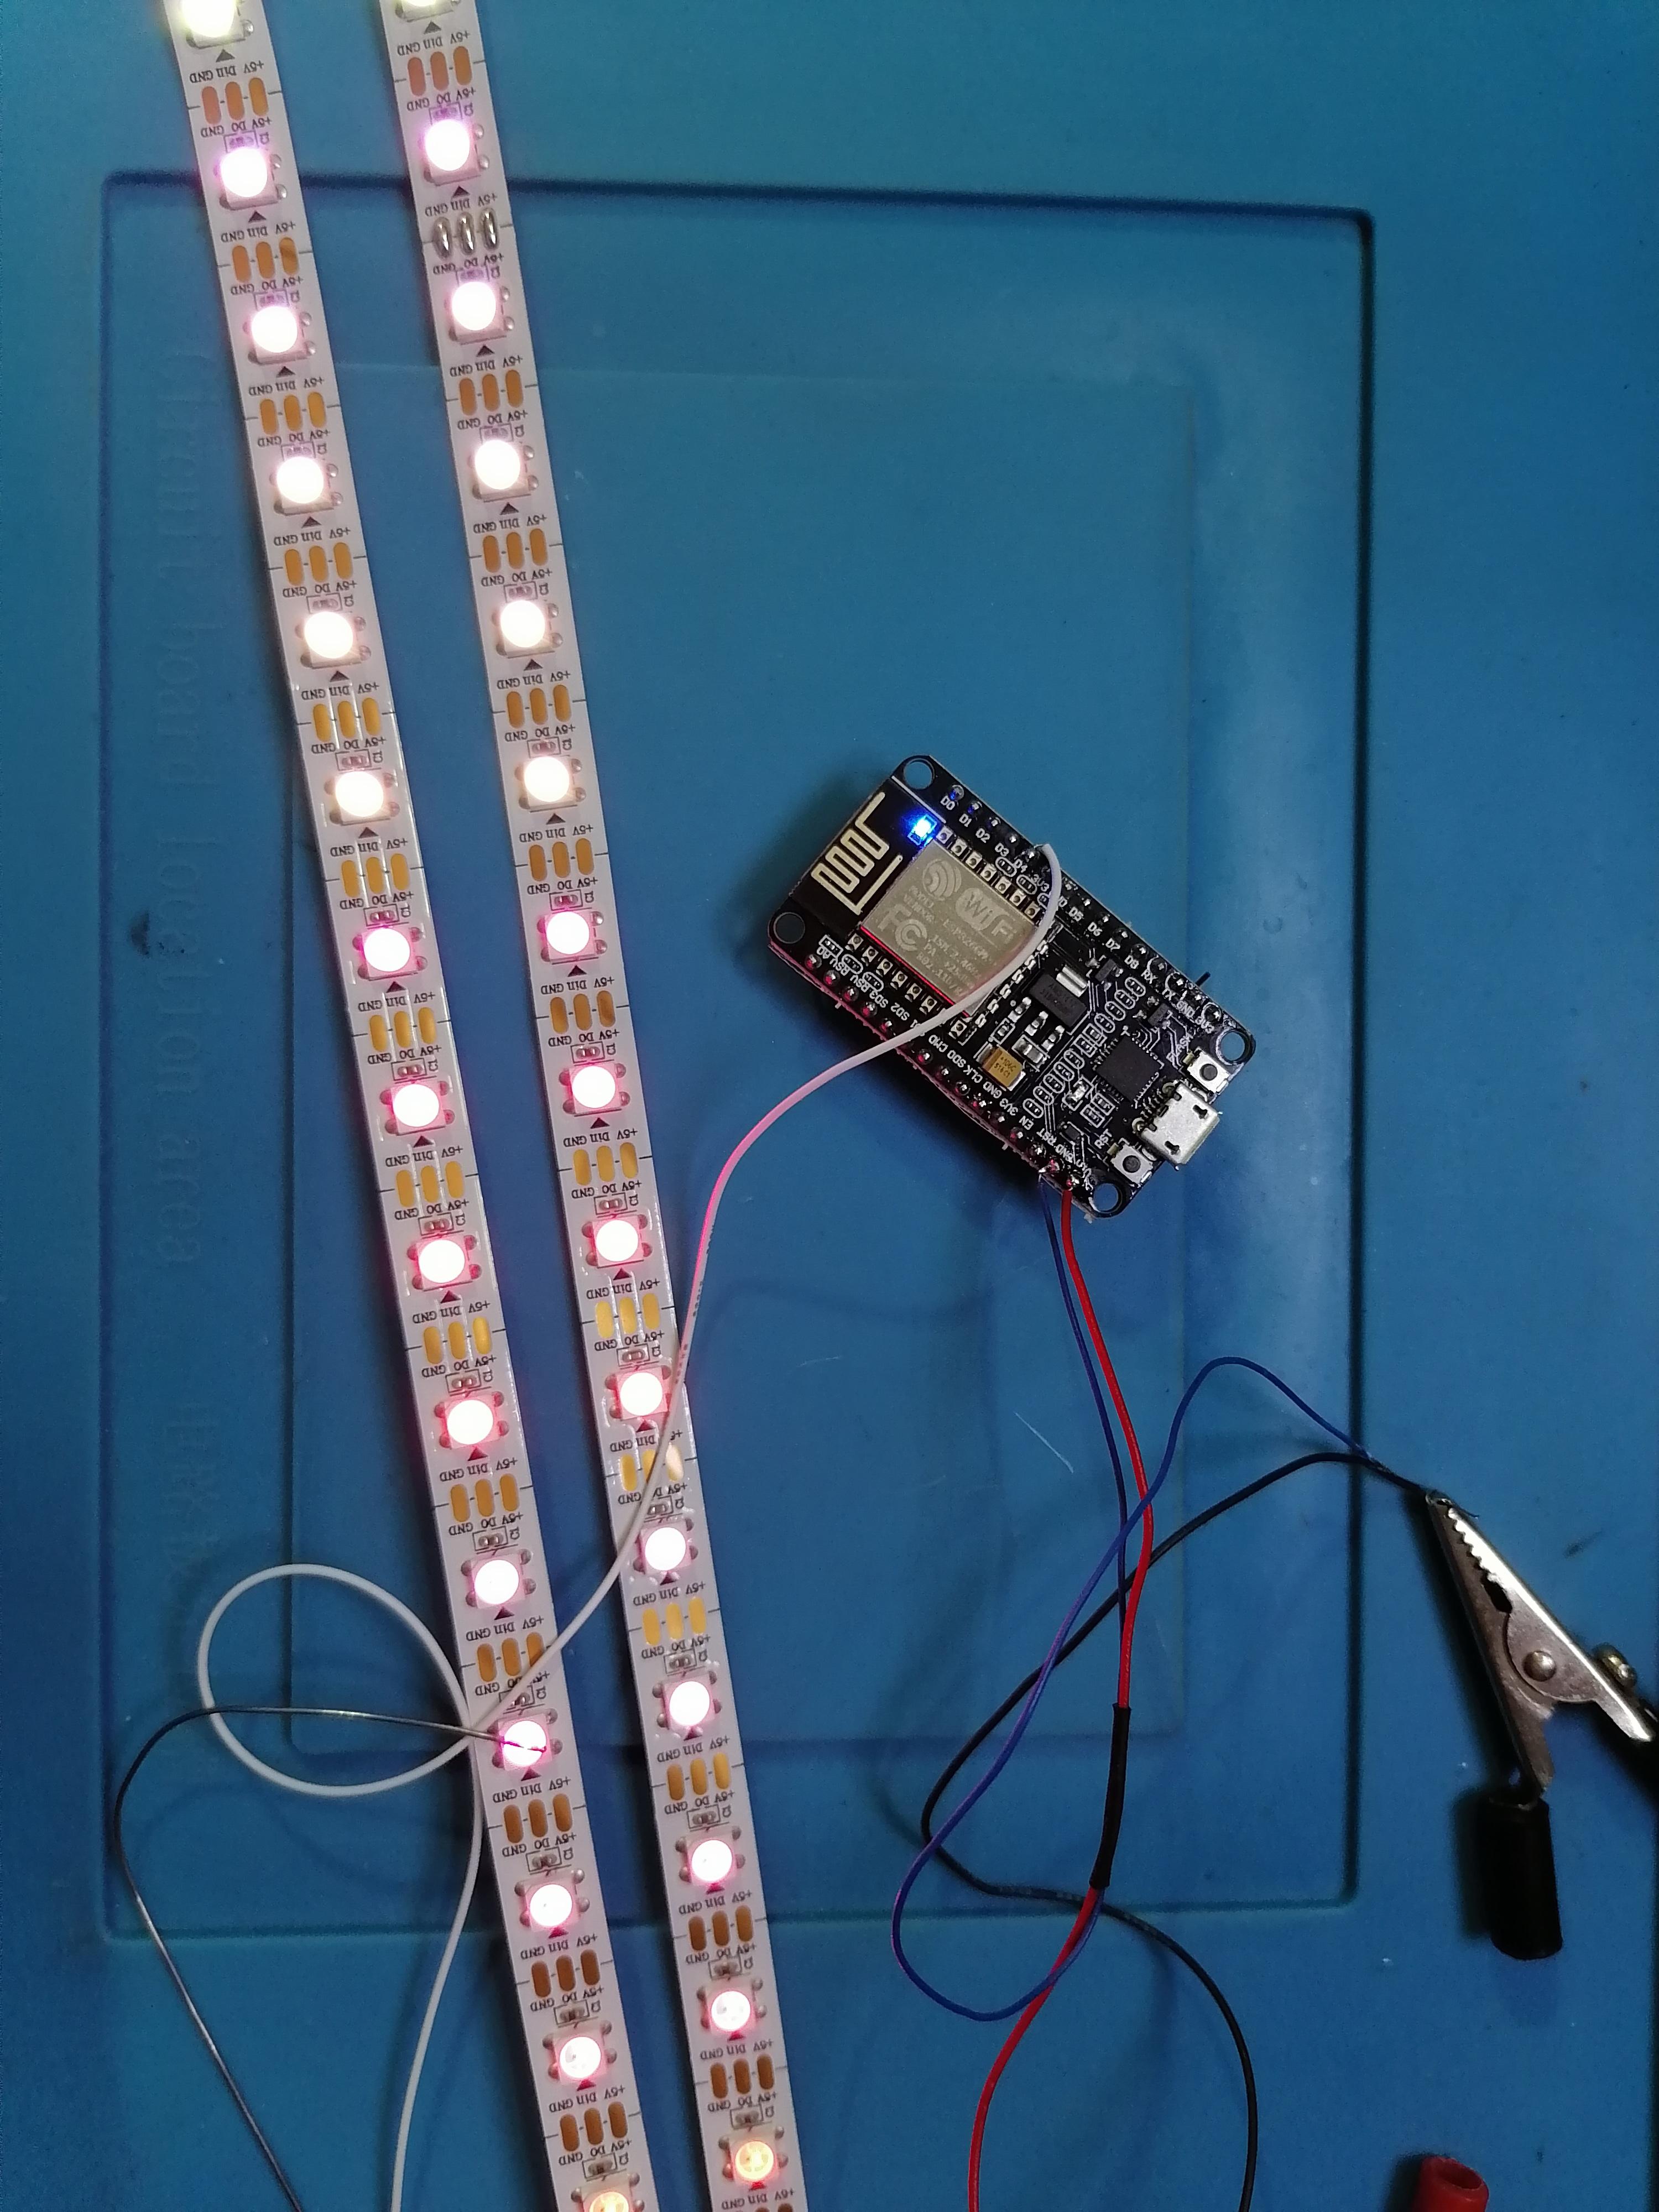
Test the Monitor ScreenBar Led Is Working Before Gluing the Cable Lid
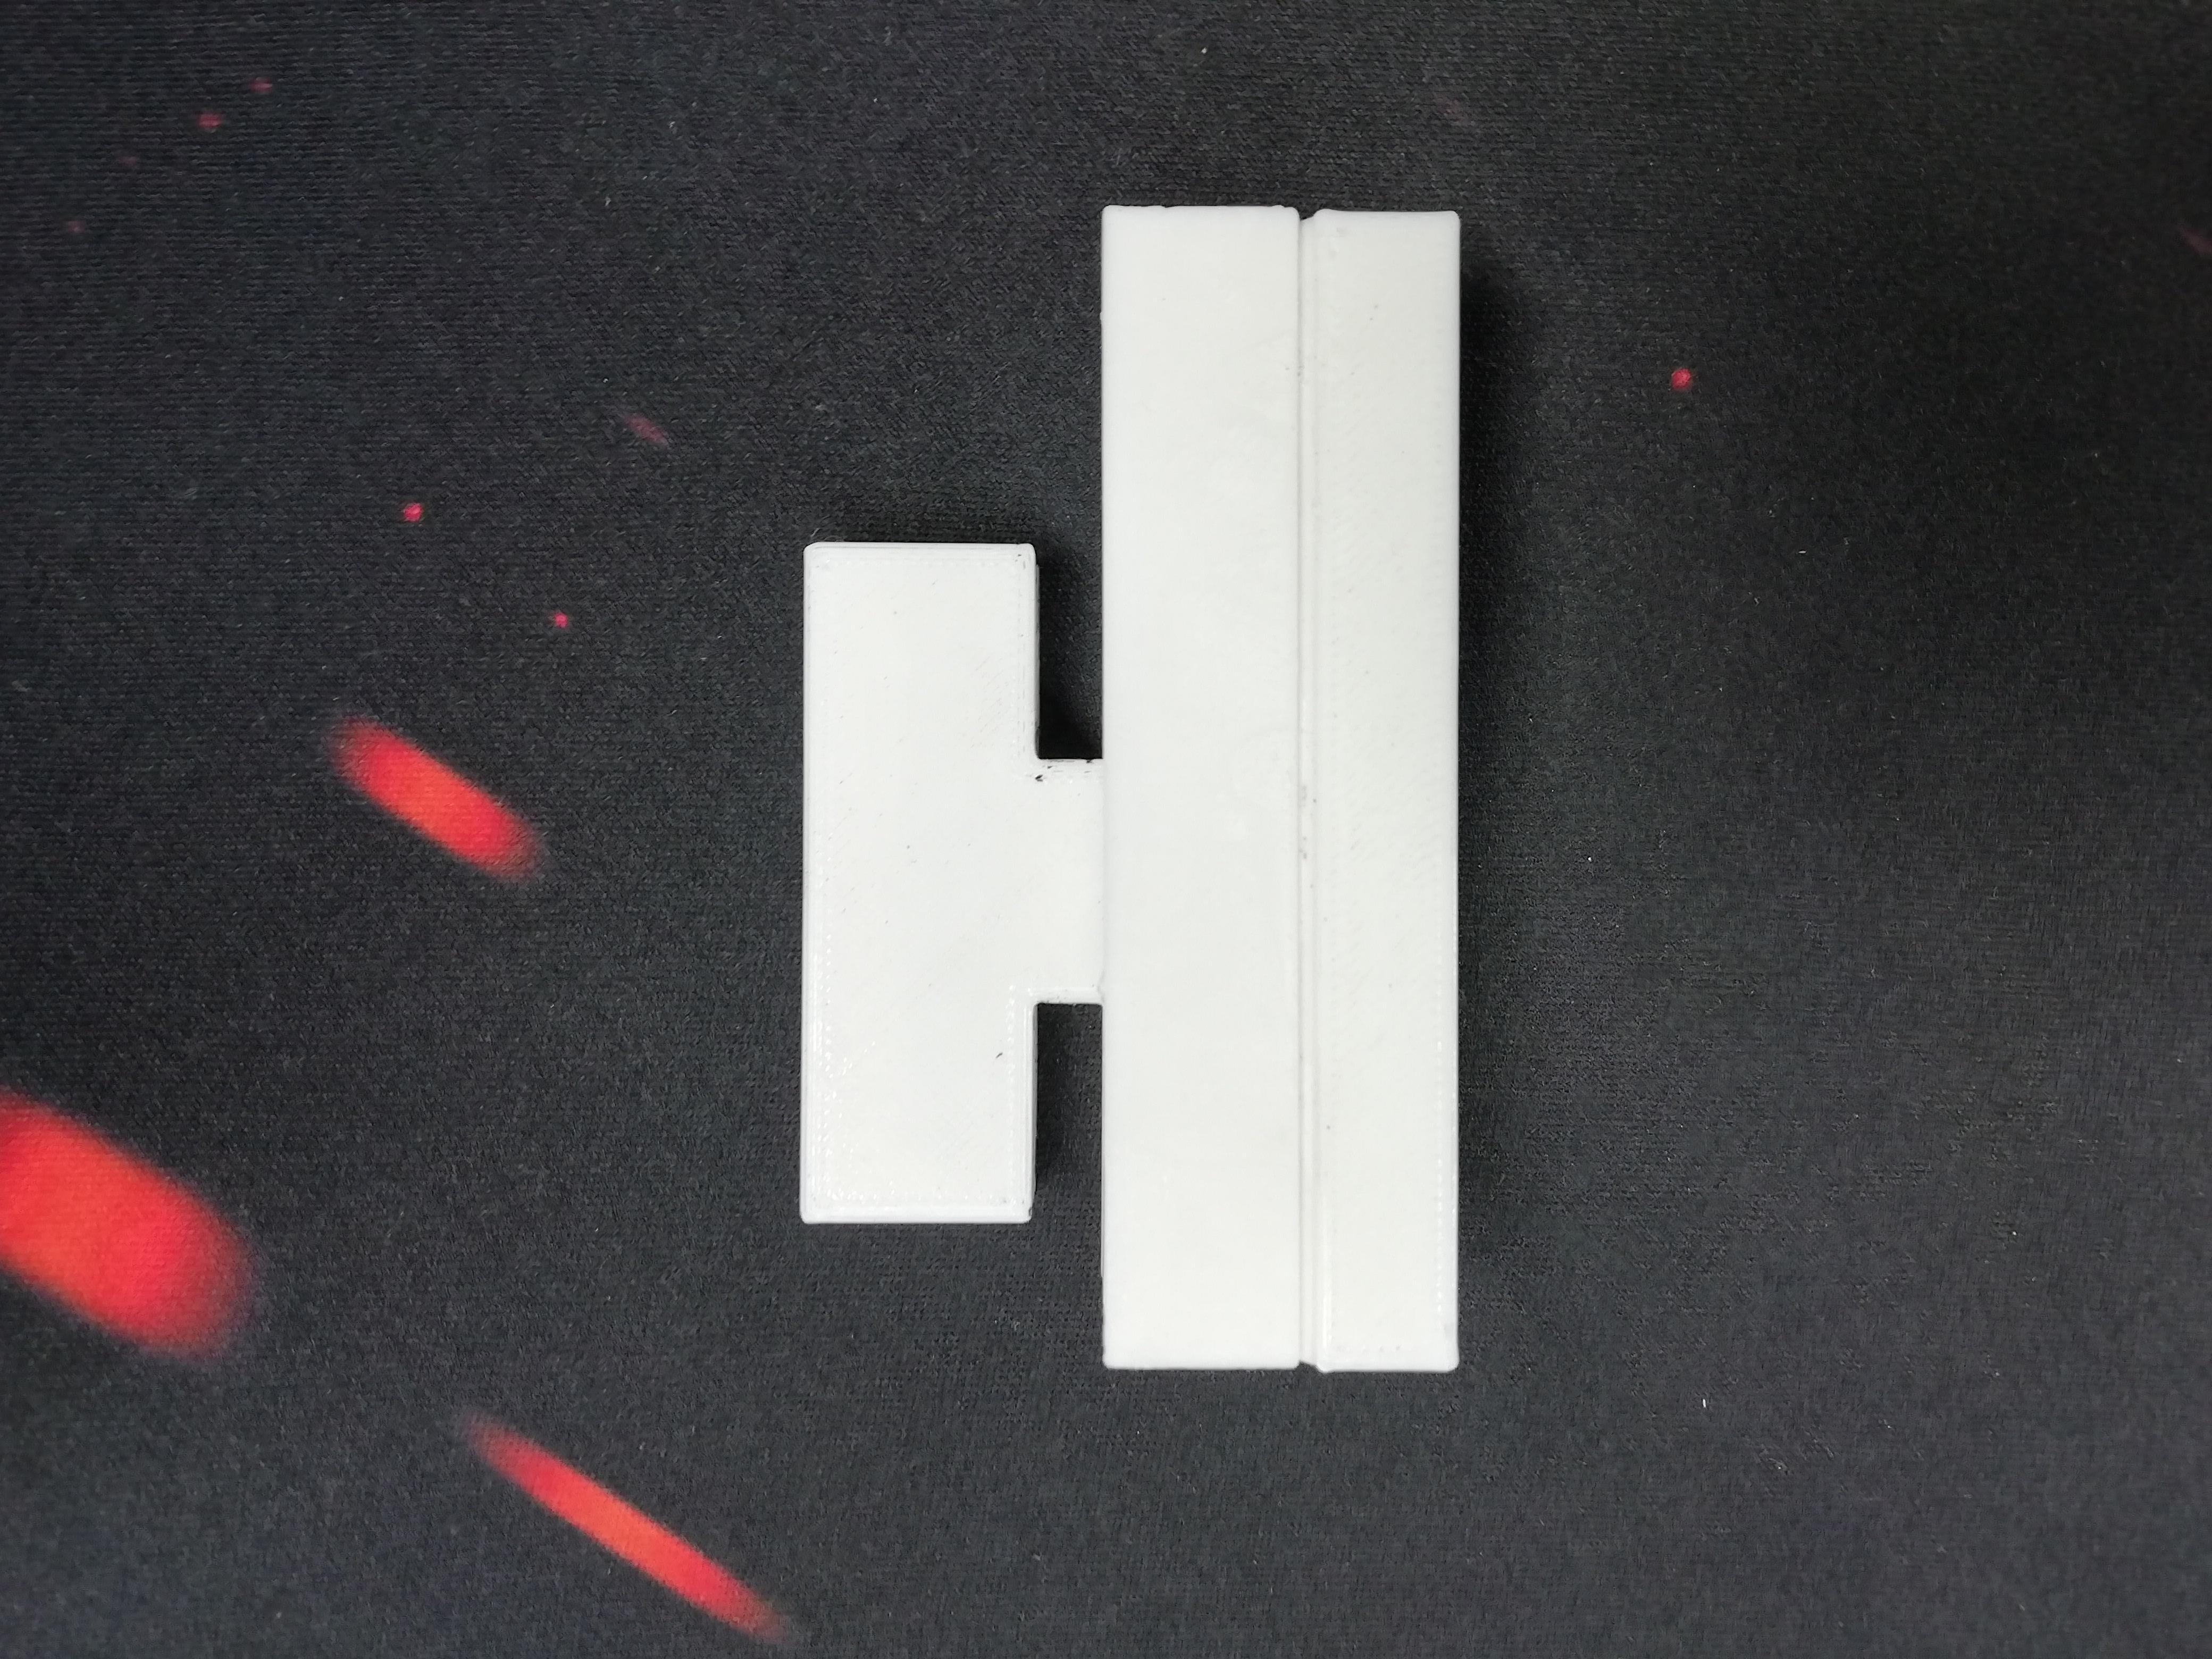
Insert the Slider in Mount Body

Connect to WLED Wifi in Your Phone
The Password of WLED WiFi is "wled1234"
After Connecting to WLED Wifi You Will See This Screen
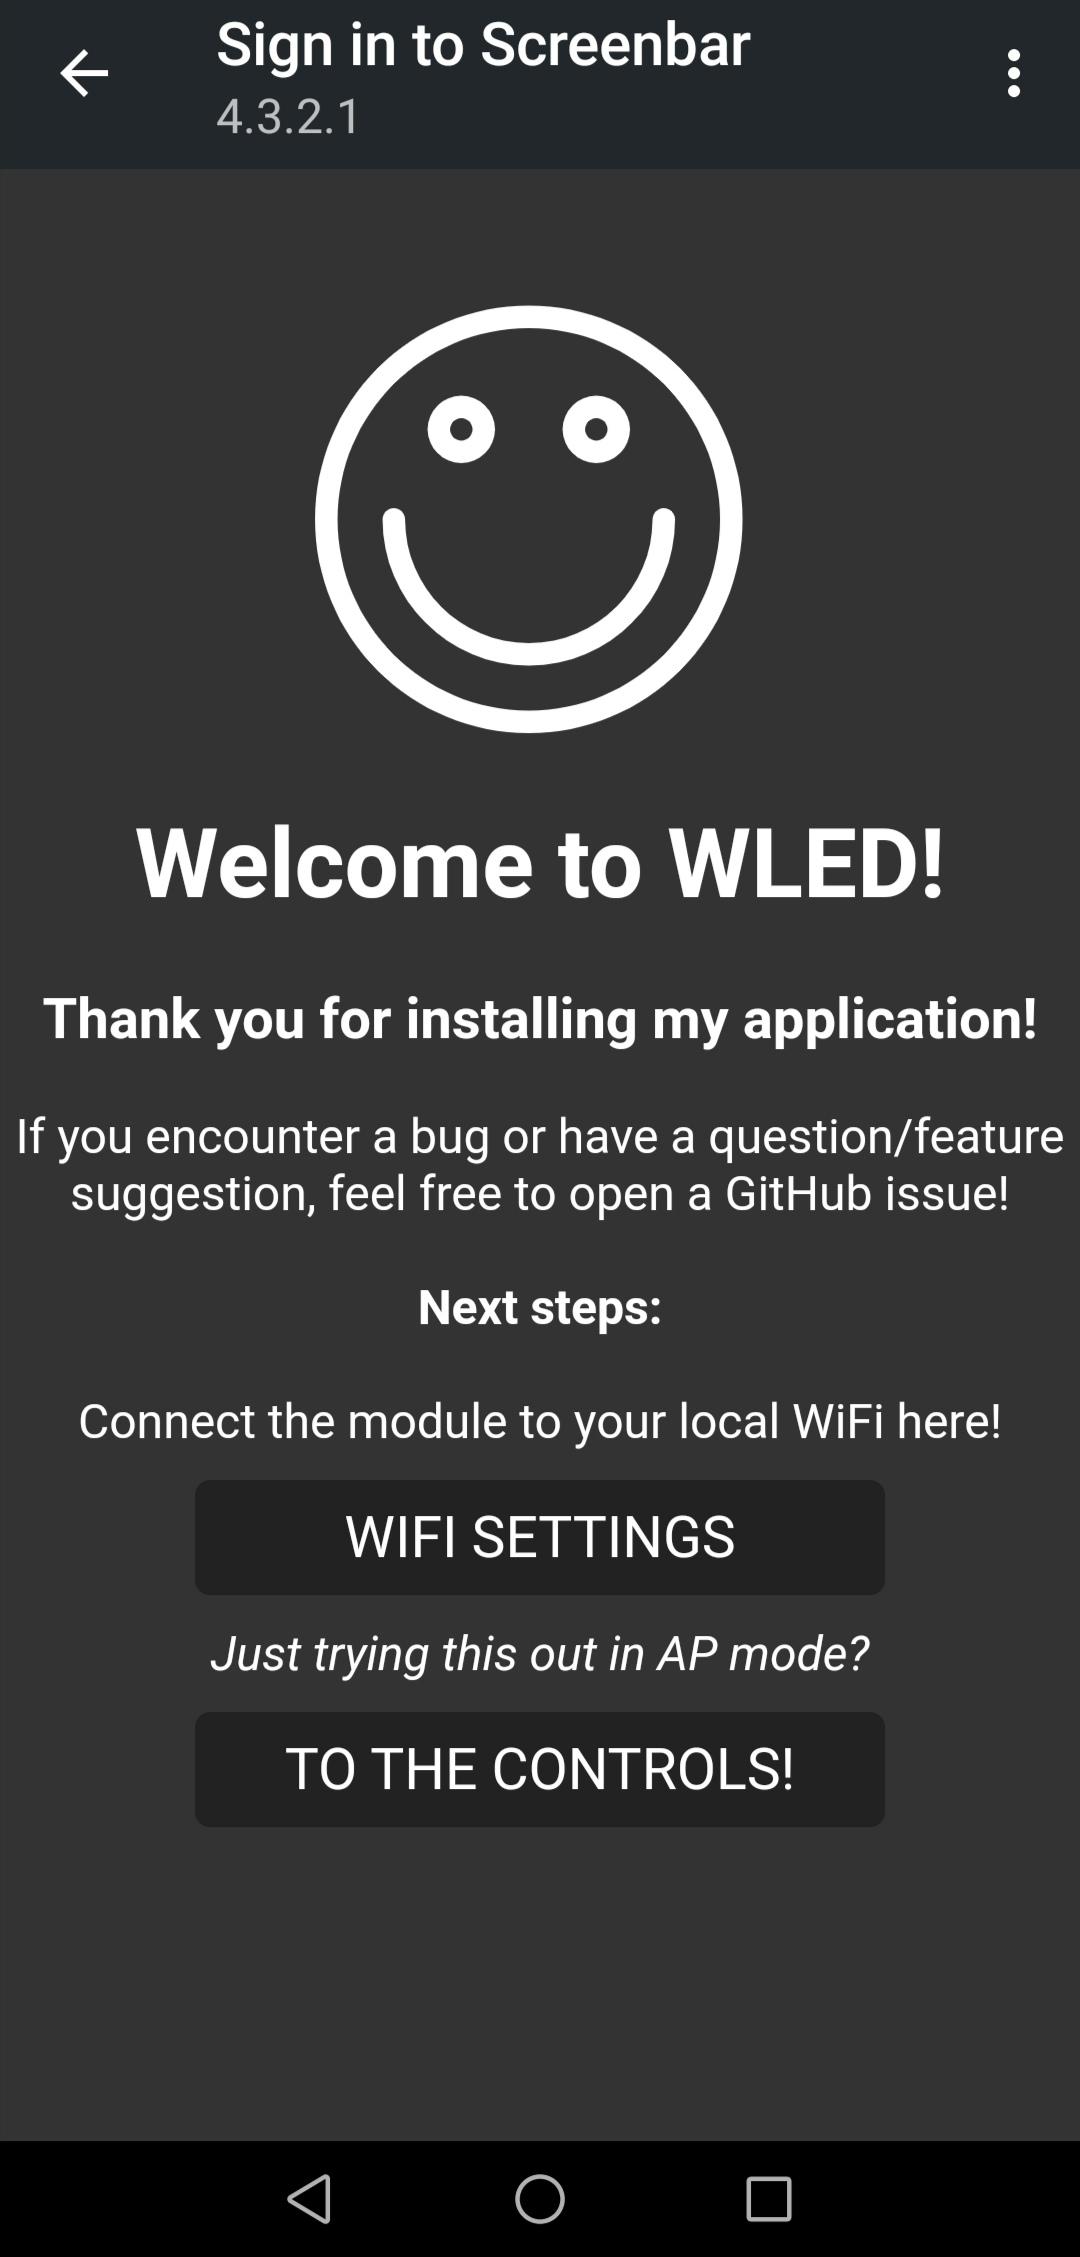
1) If you like to connect WLED to work over your home internet WiFi then click to "WIFI SETTINGS".
2) Otherwise to control locally then click on "TO THE CONTROLS!".
Click on " Config" for Configuration of LED and WiFi Setting

Click on WiFi Setup
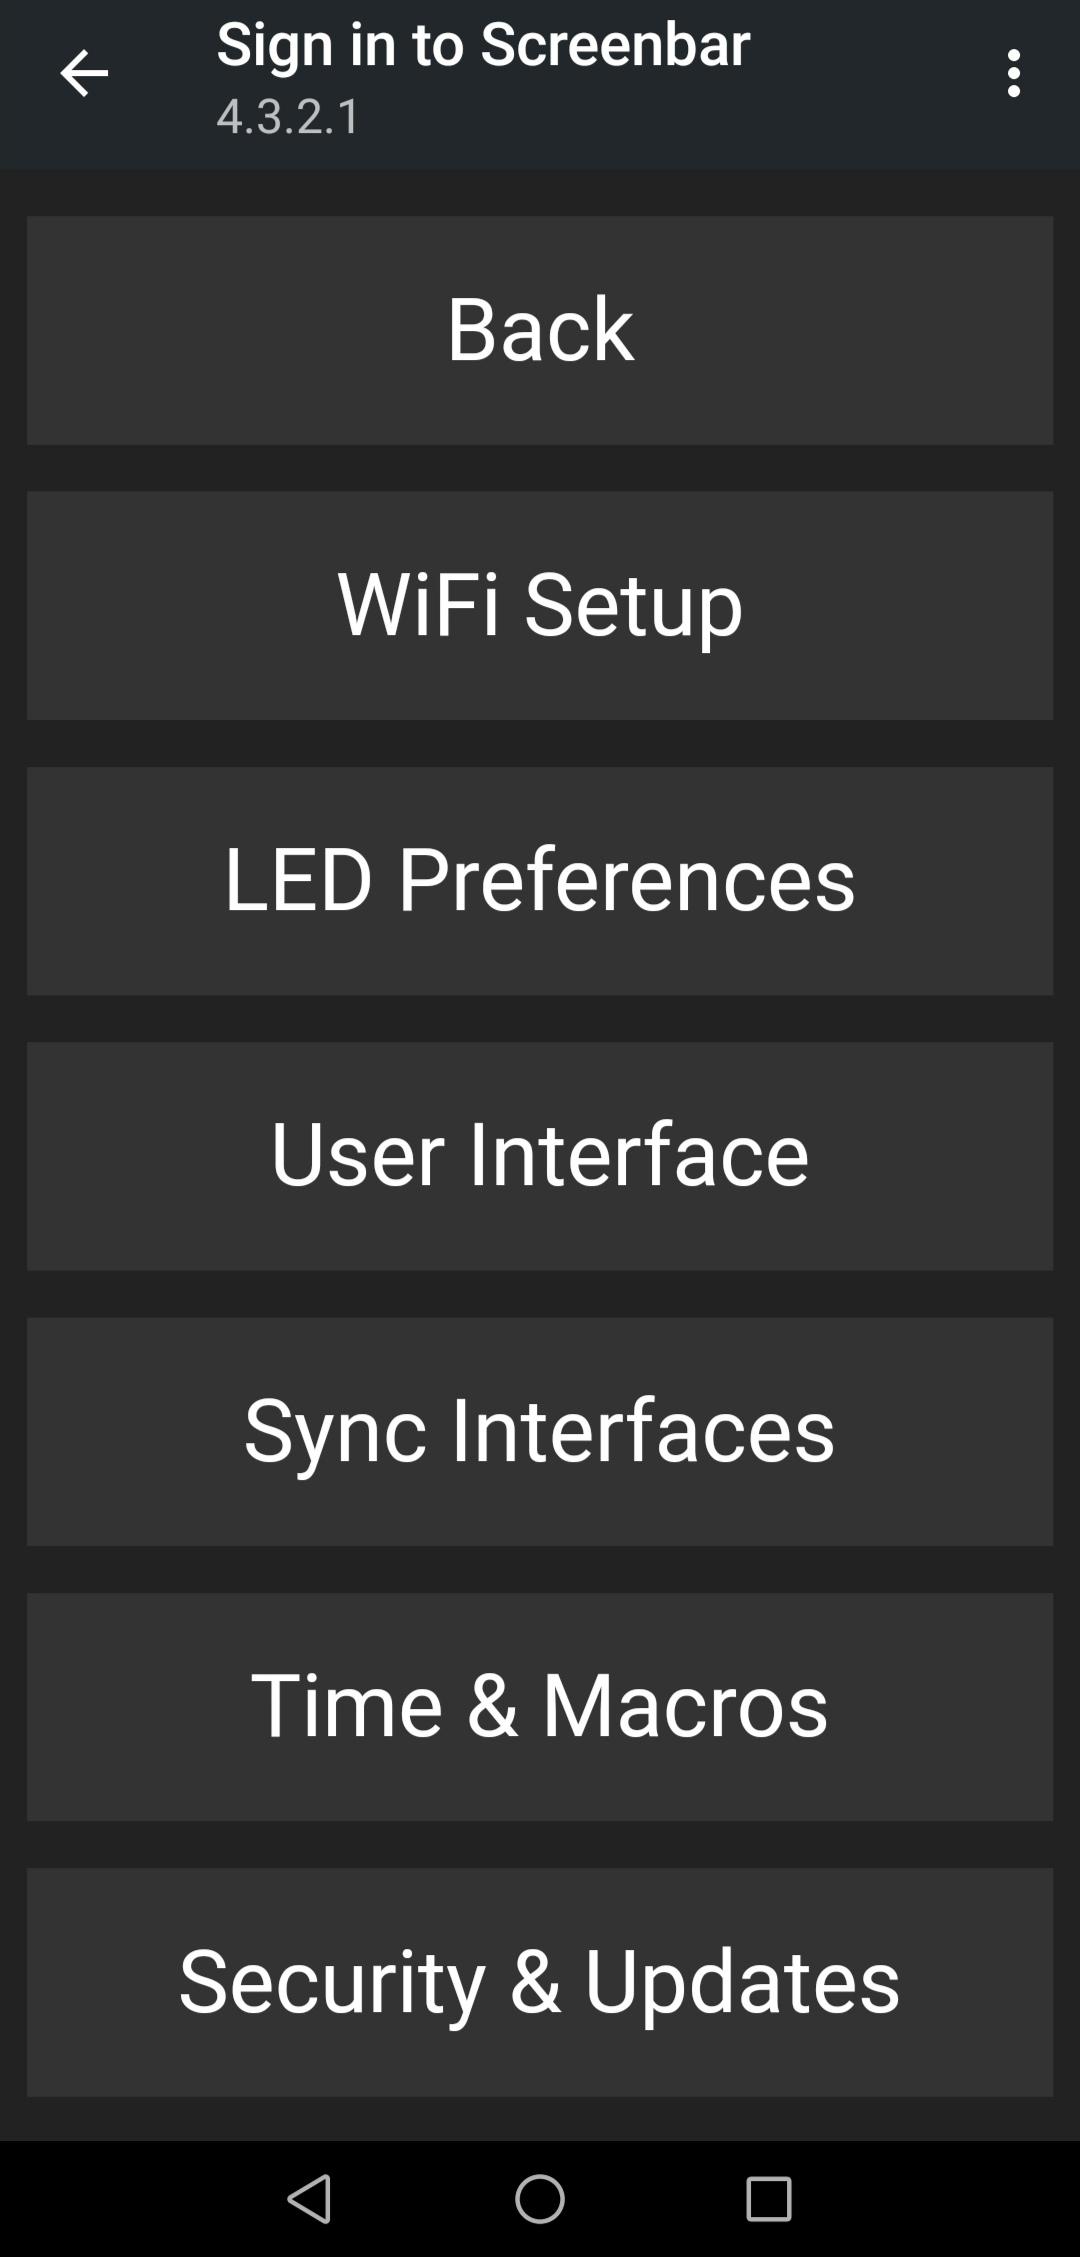

You can connect WLED to your home network or use local WiFi of ESP8266.
Change AP Name and password according to you.
Write How Many LED You Are Using
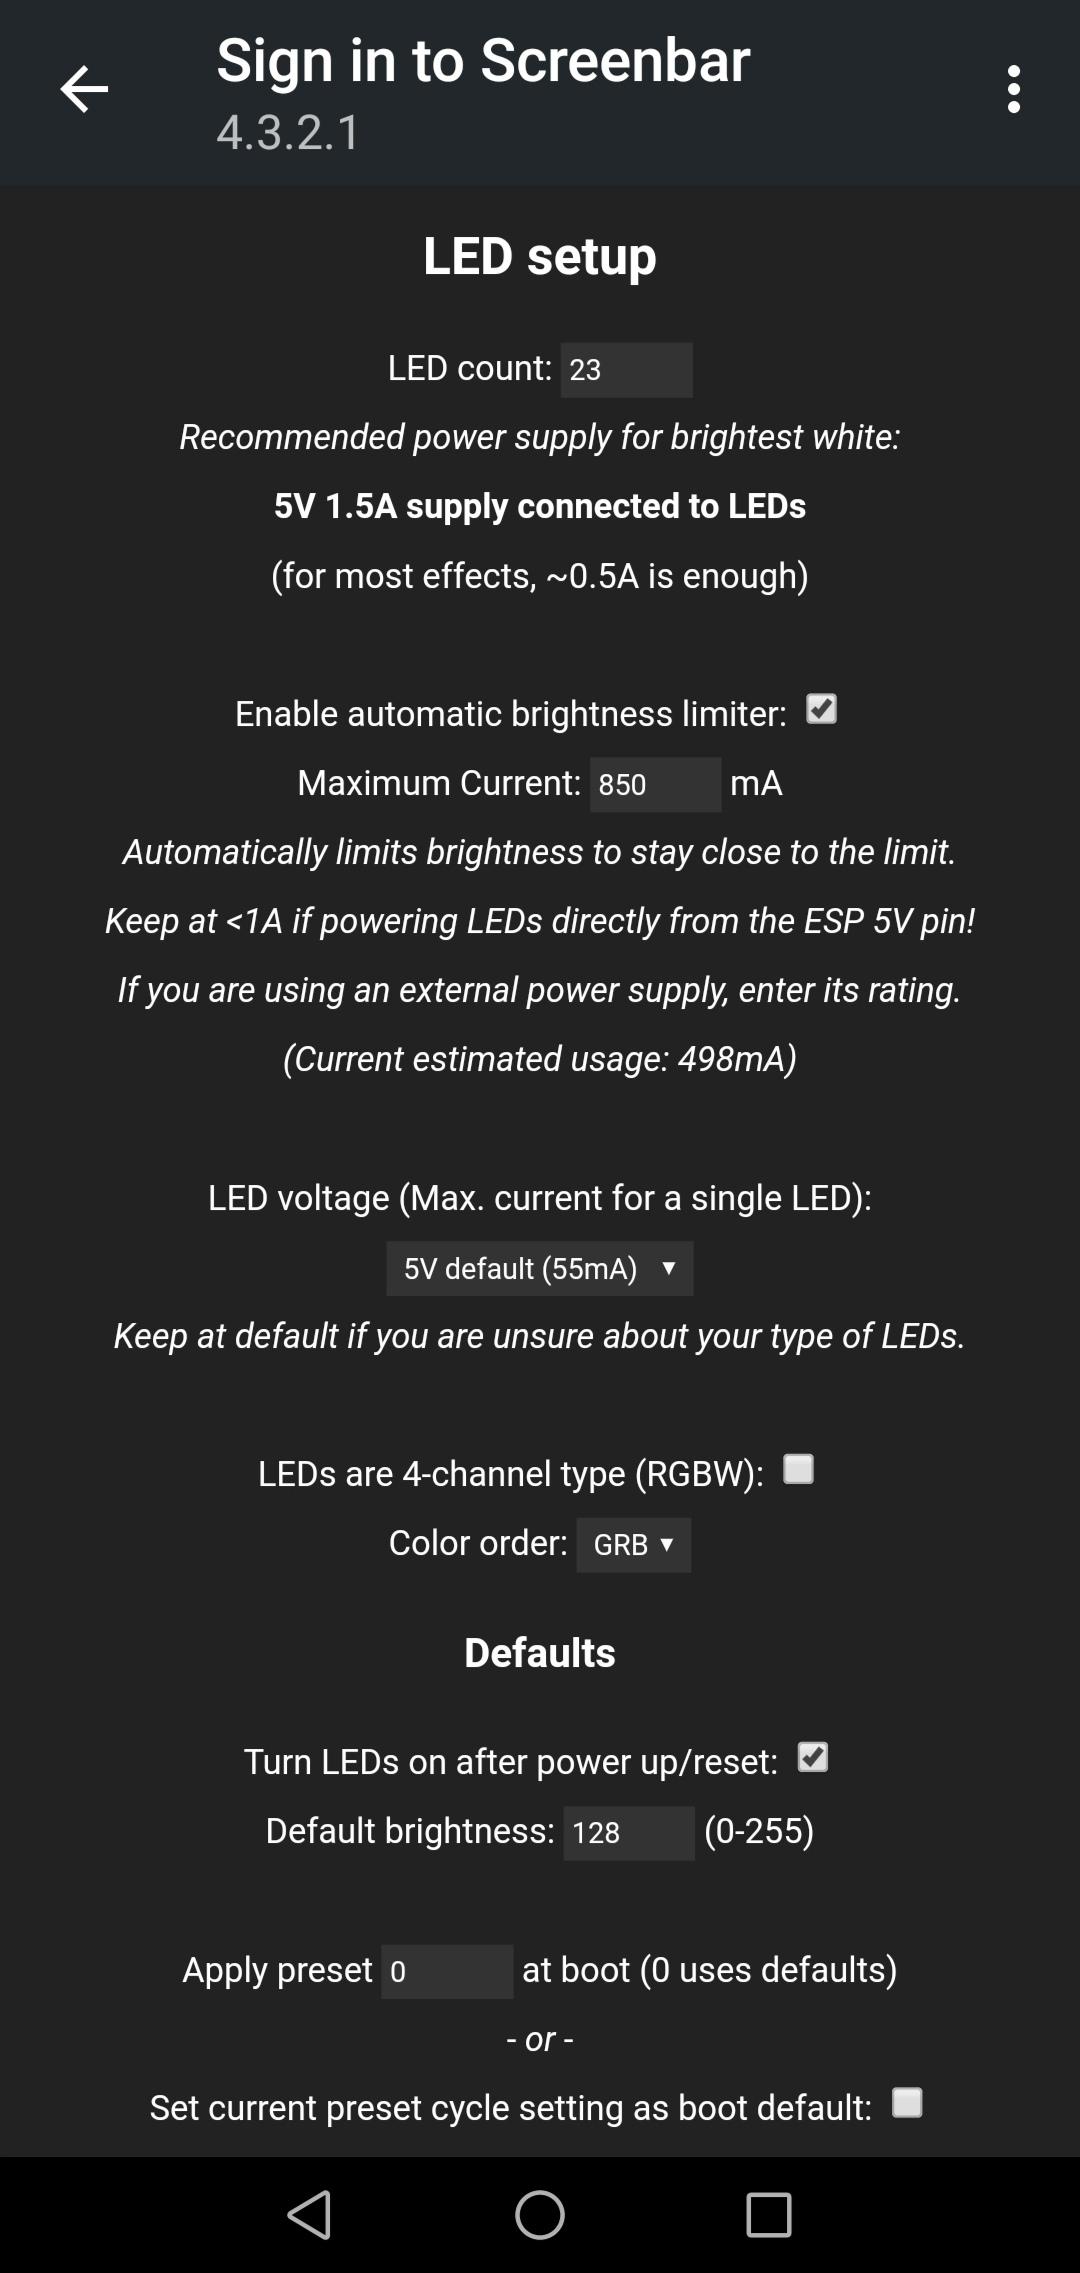
Here I am using 23 LEDs.
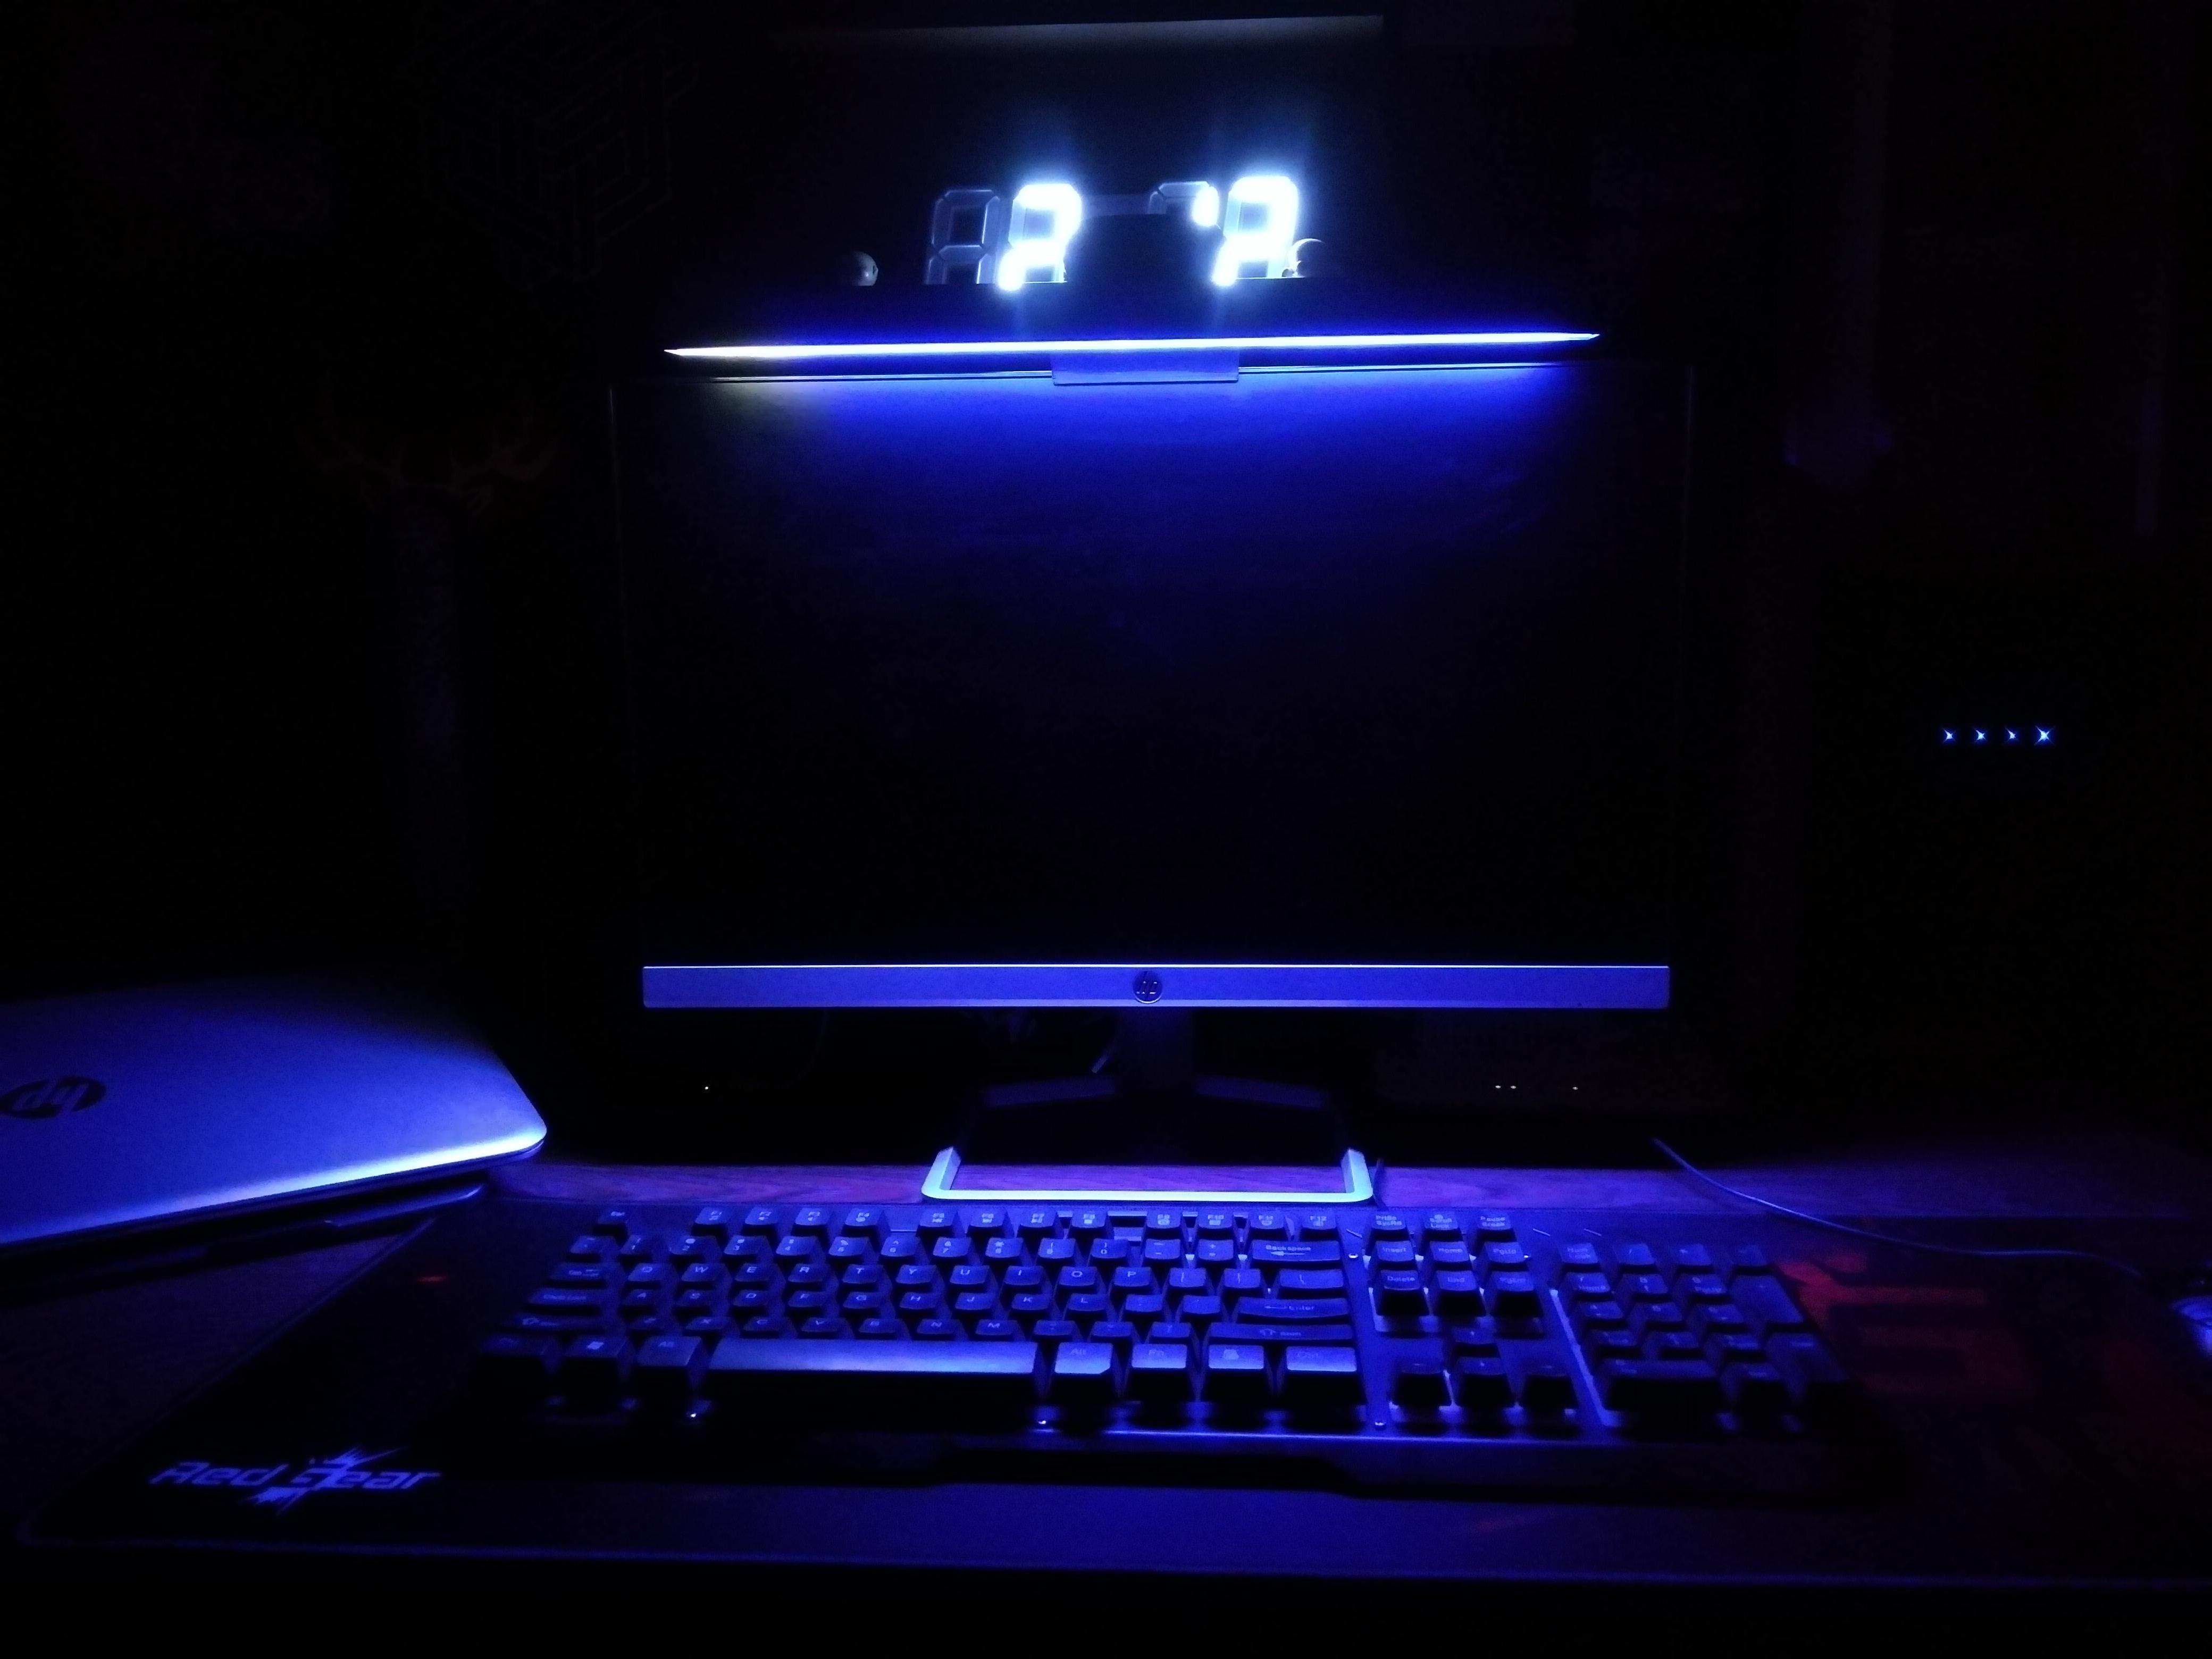
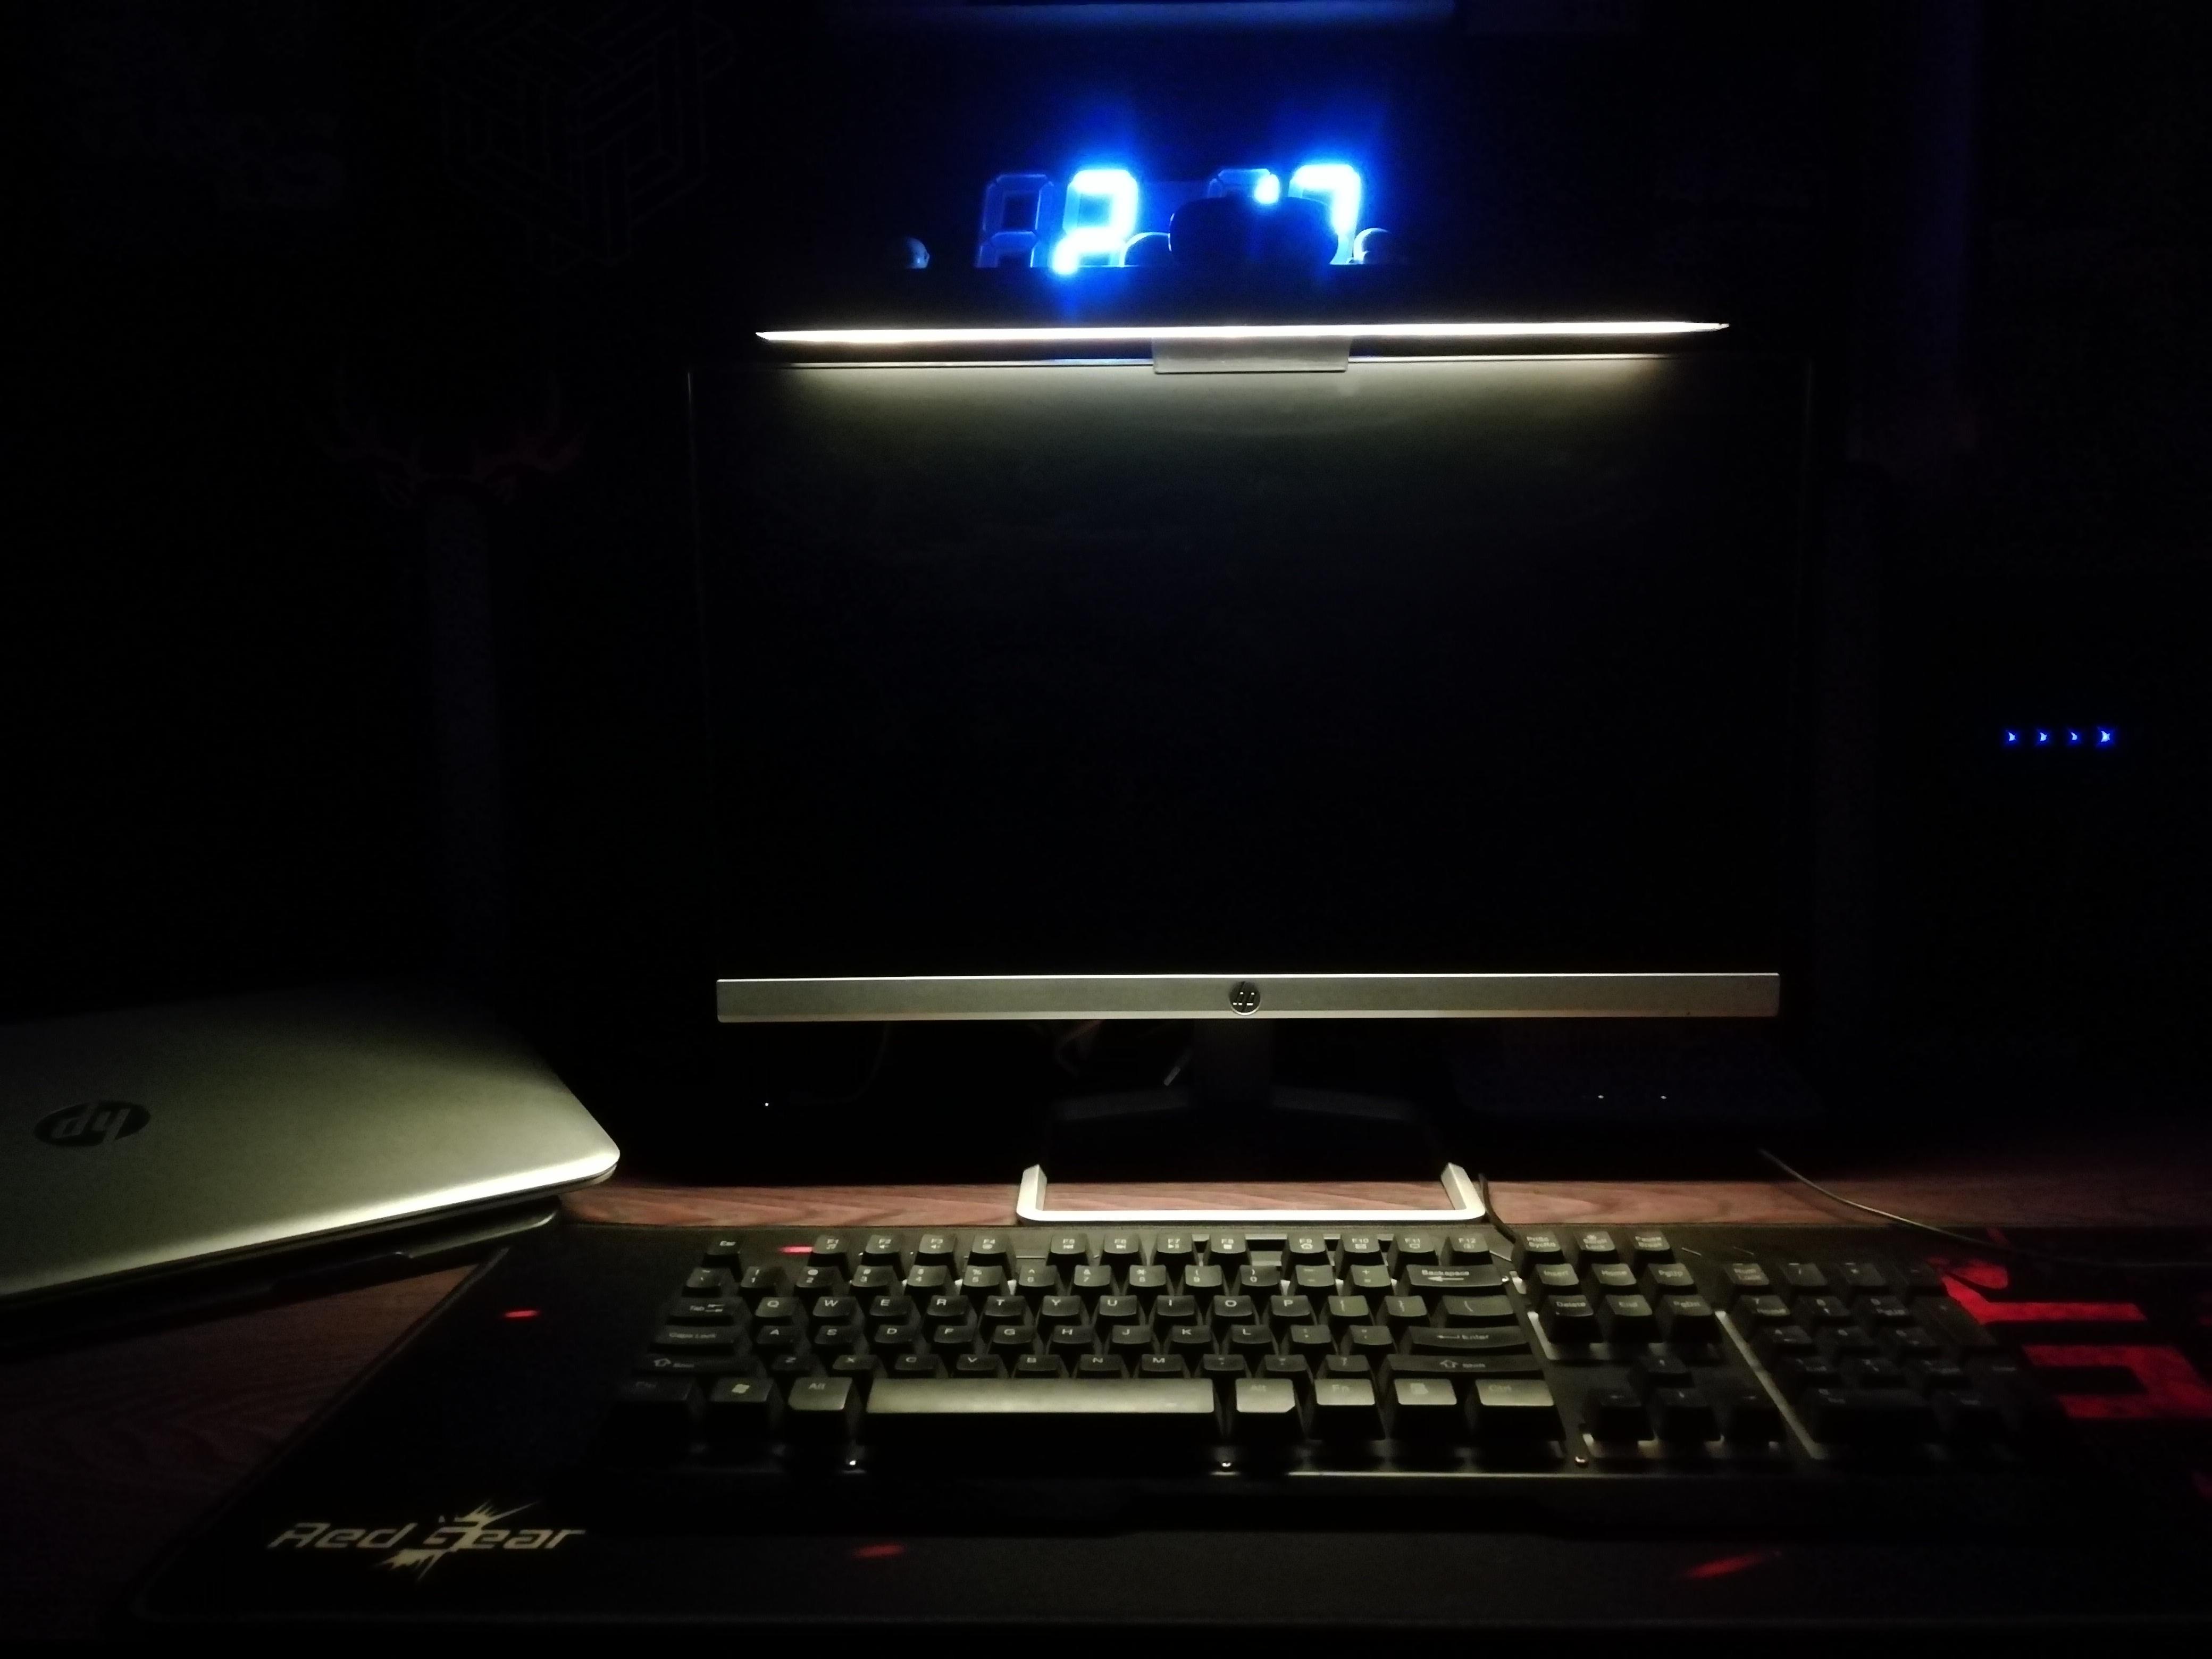
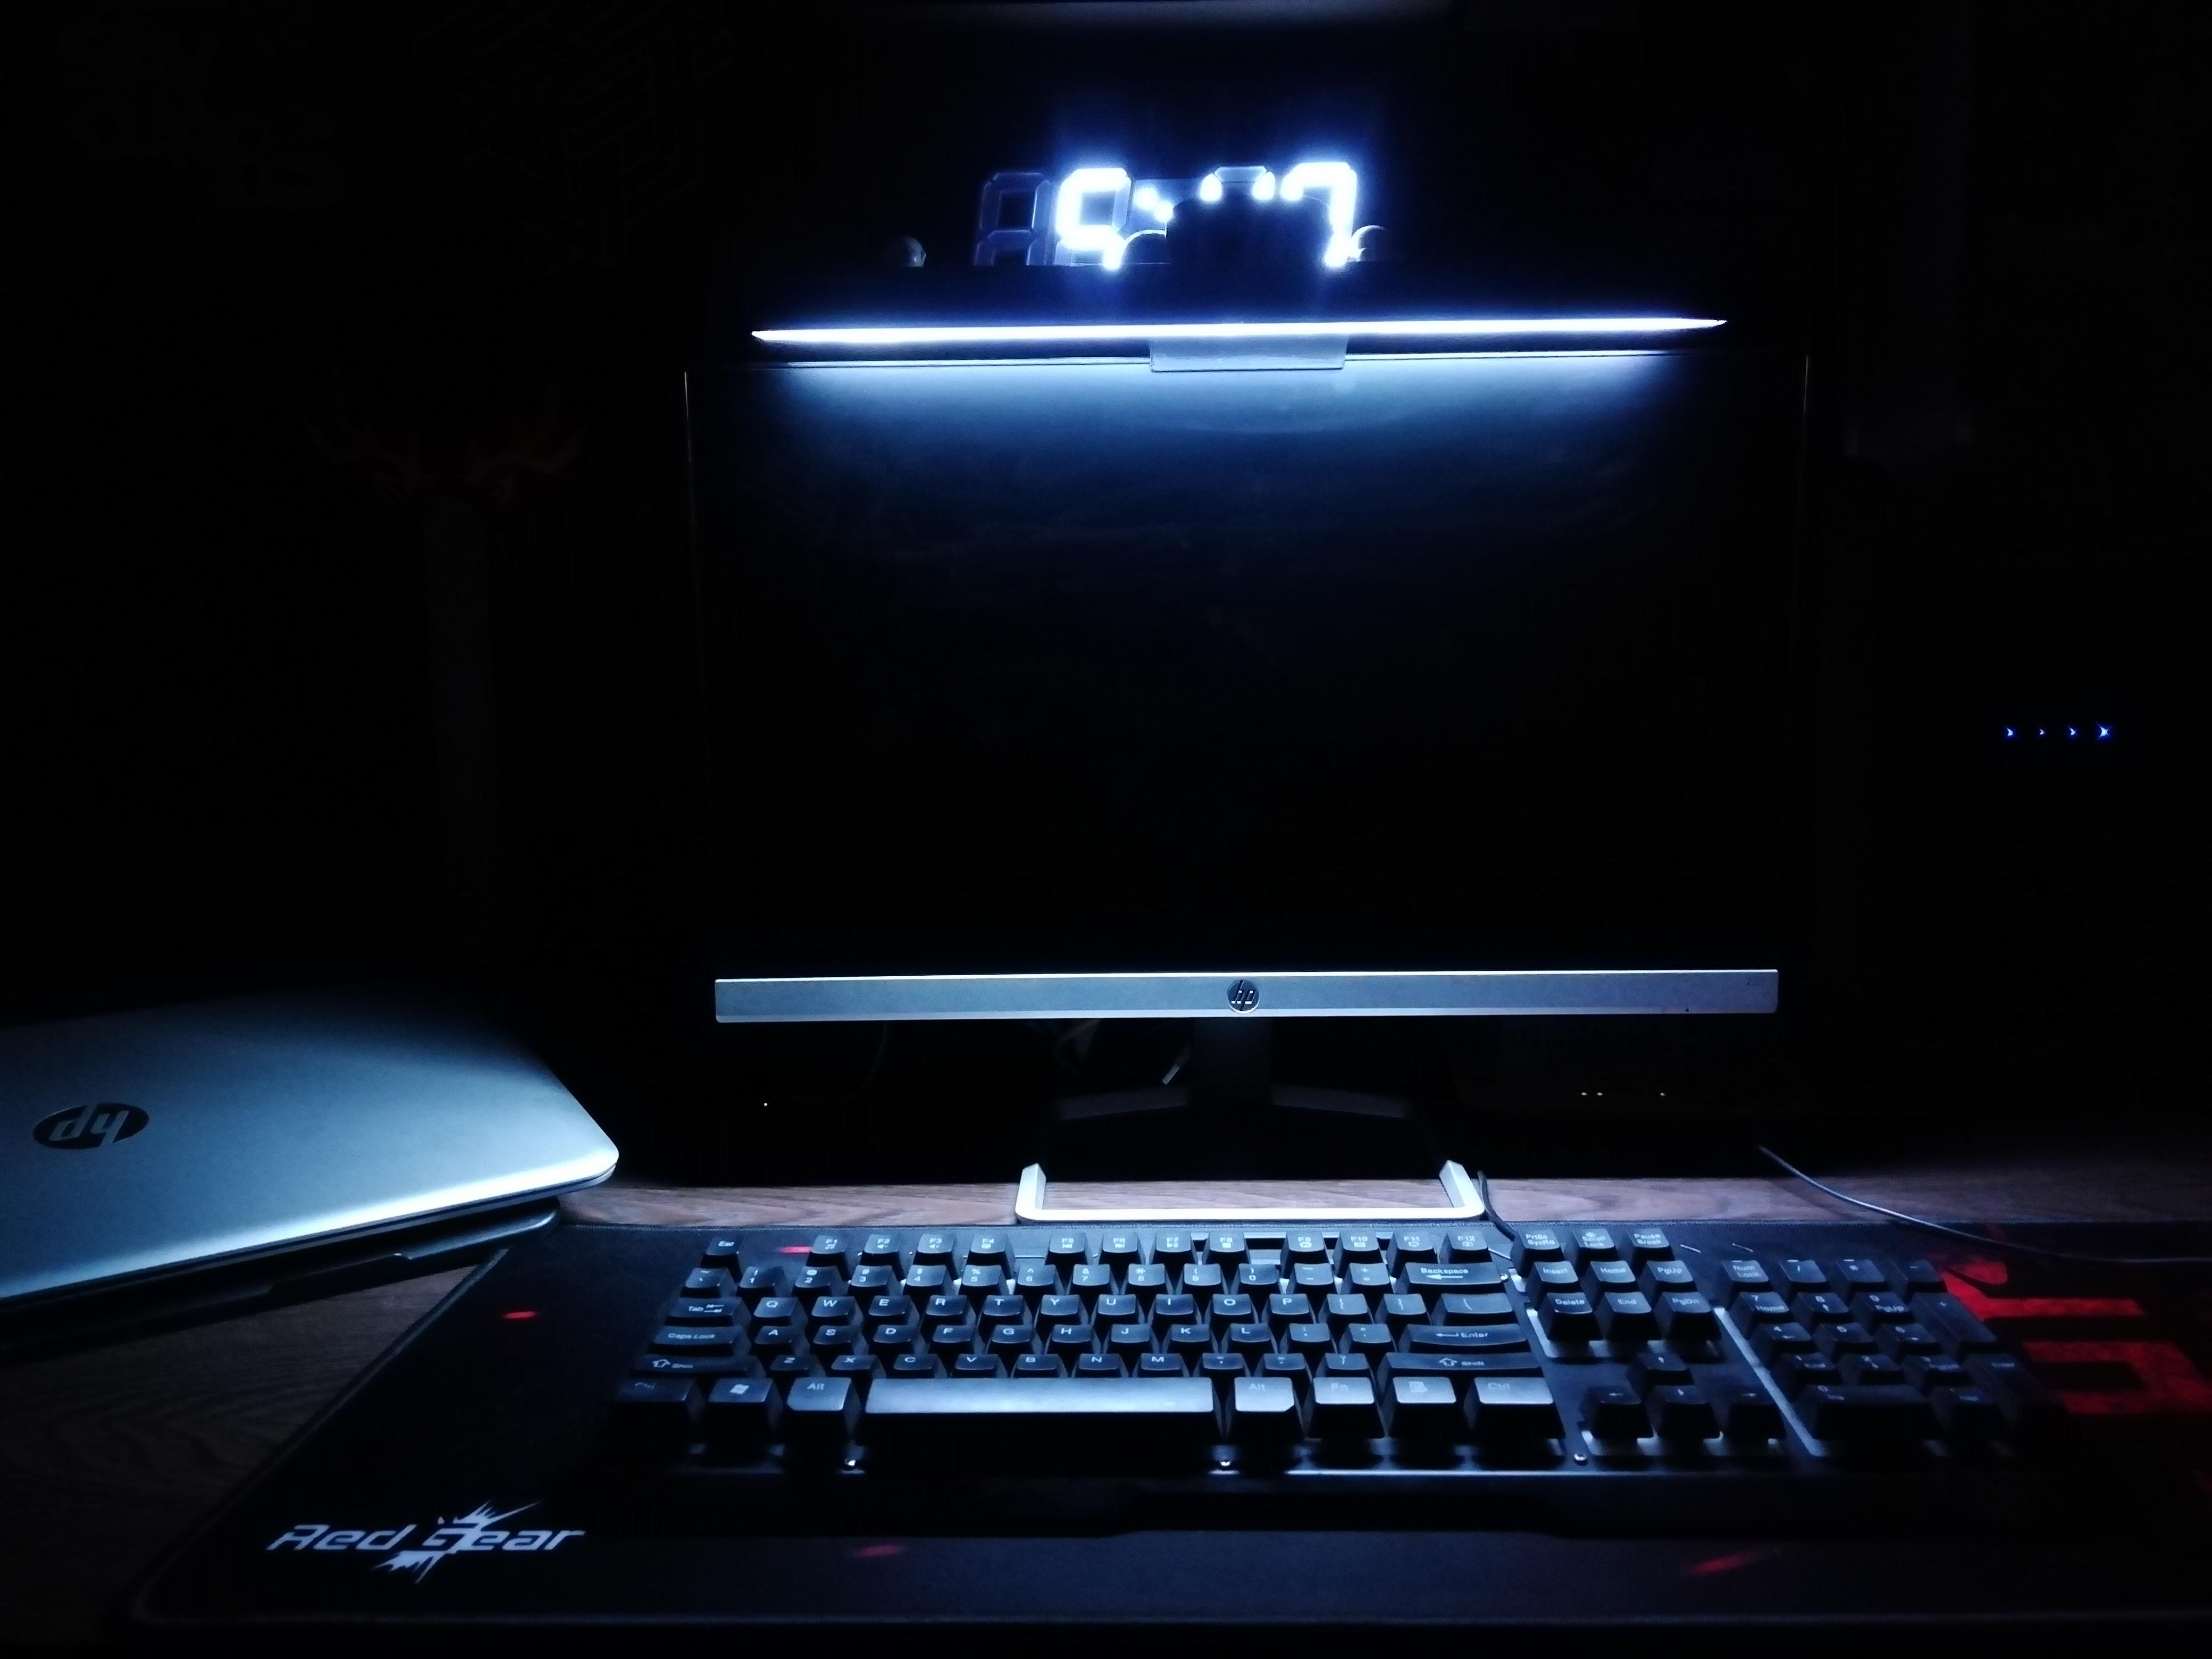
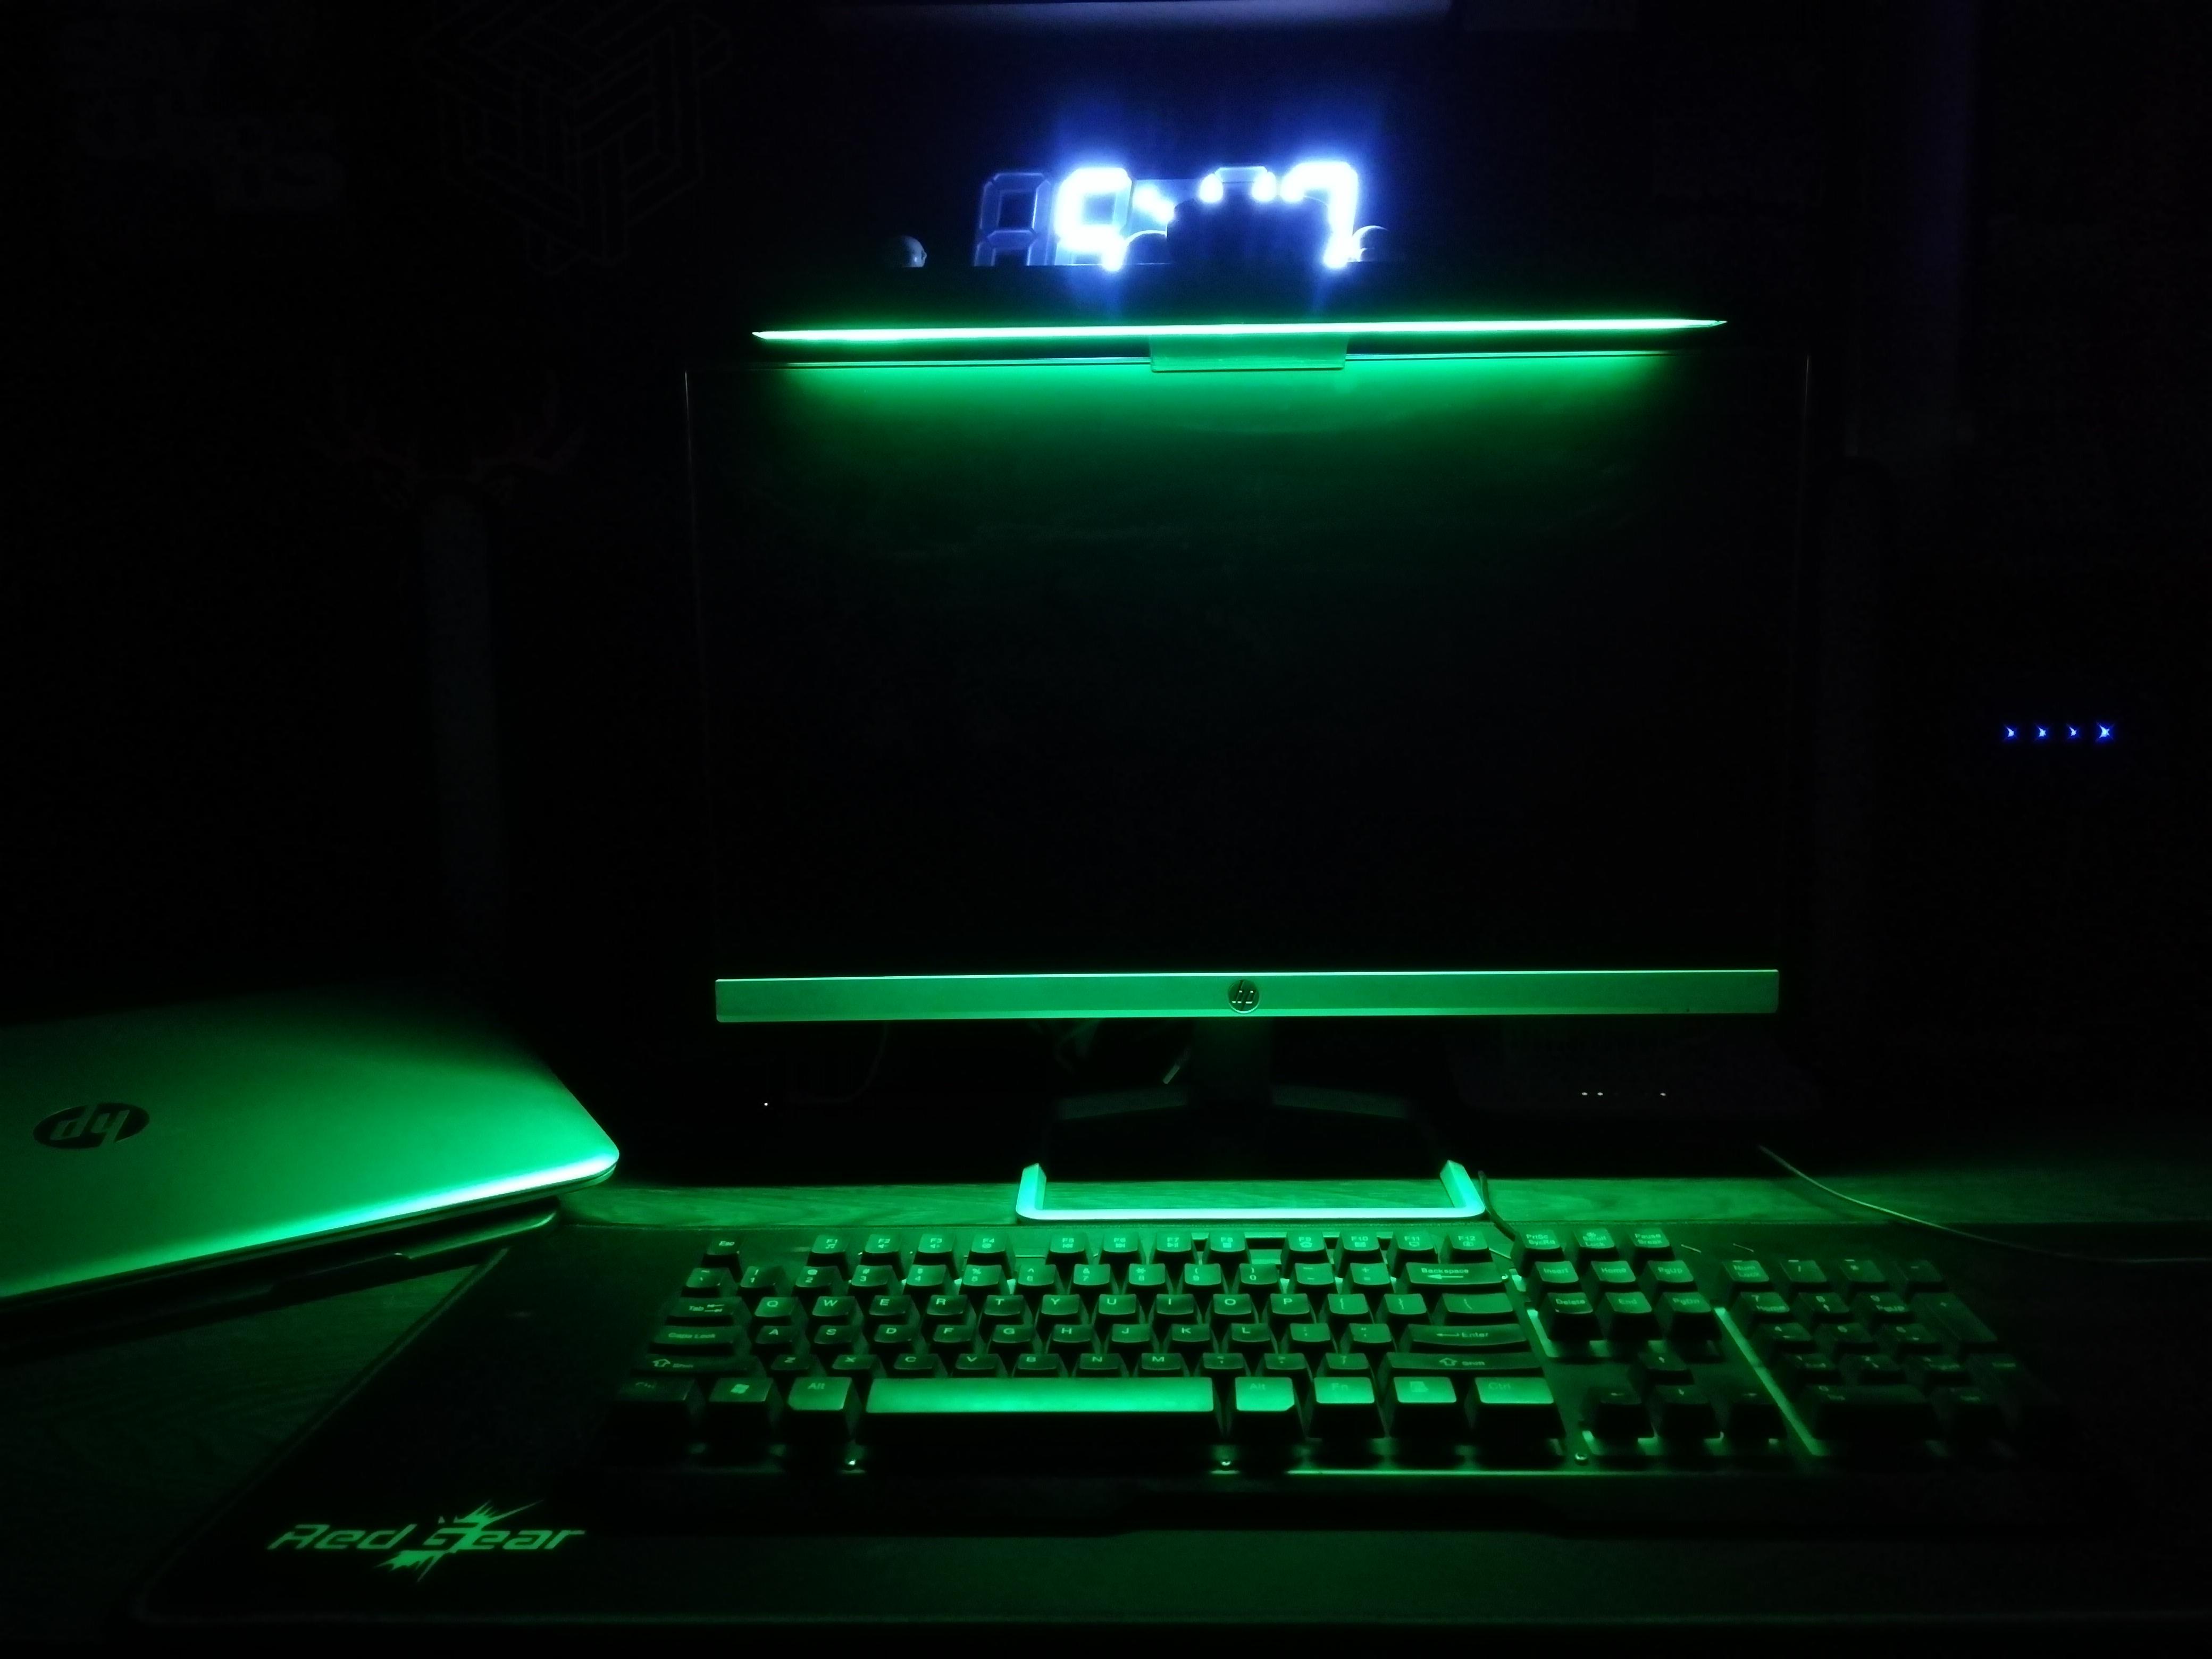
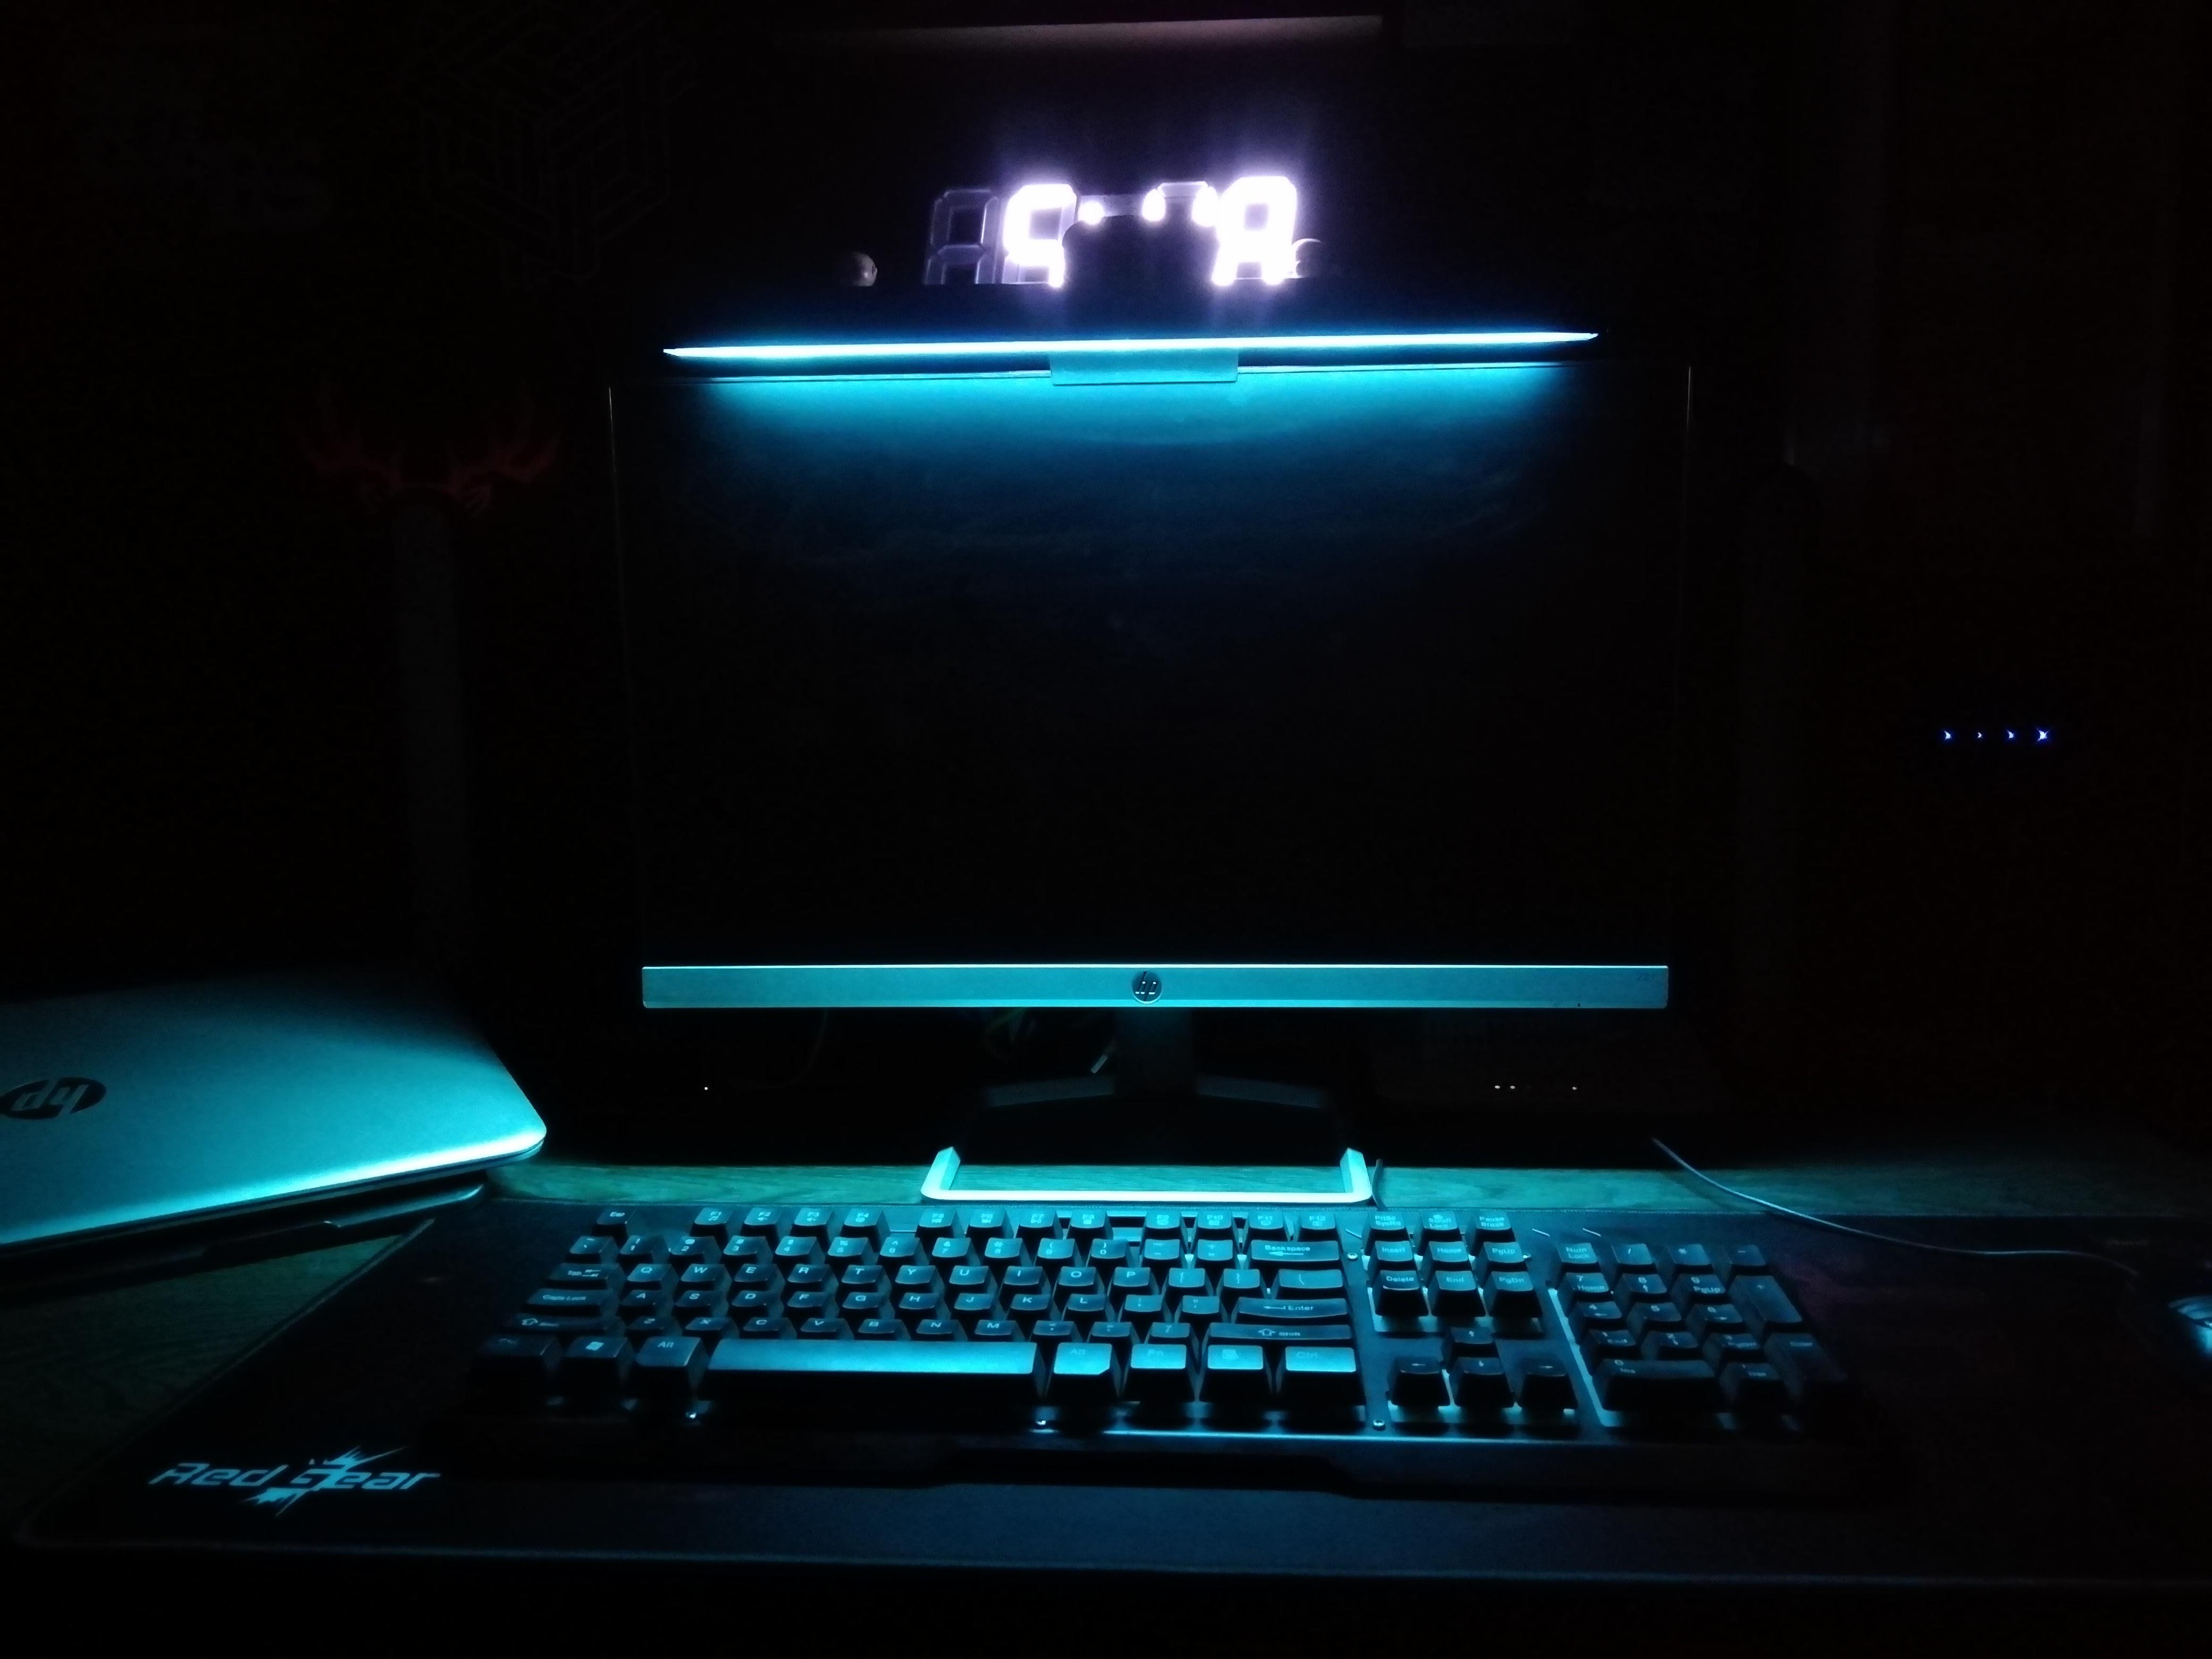
Enjoy Your Colour and Effects
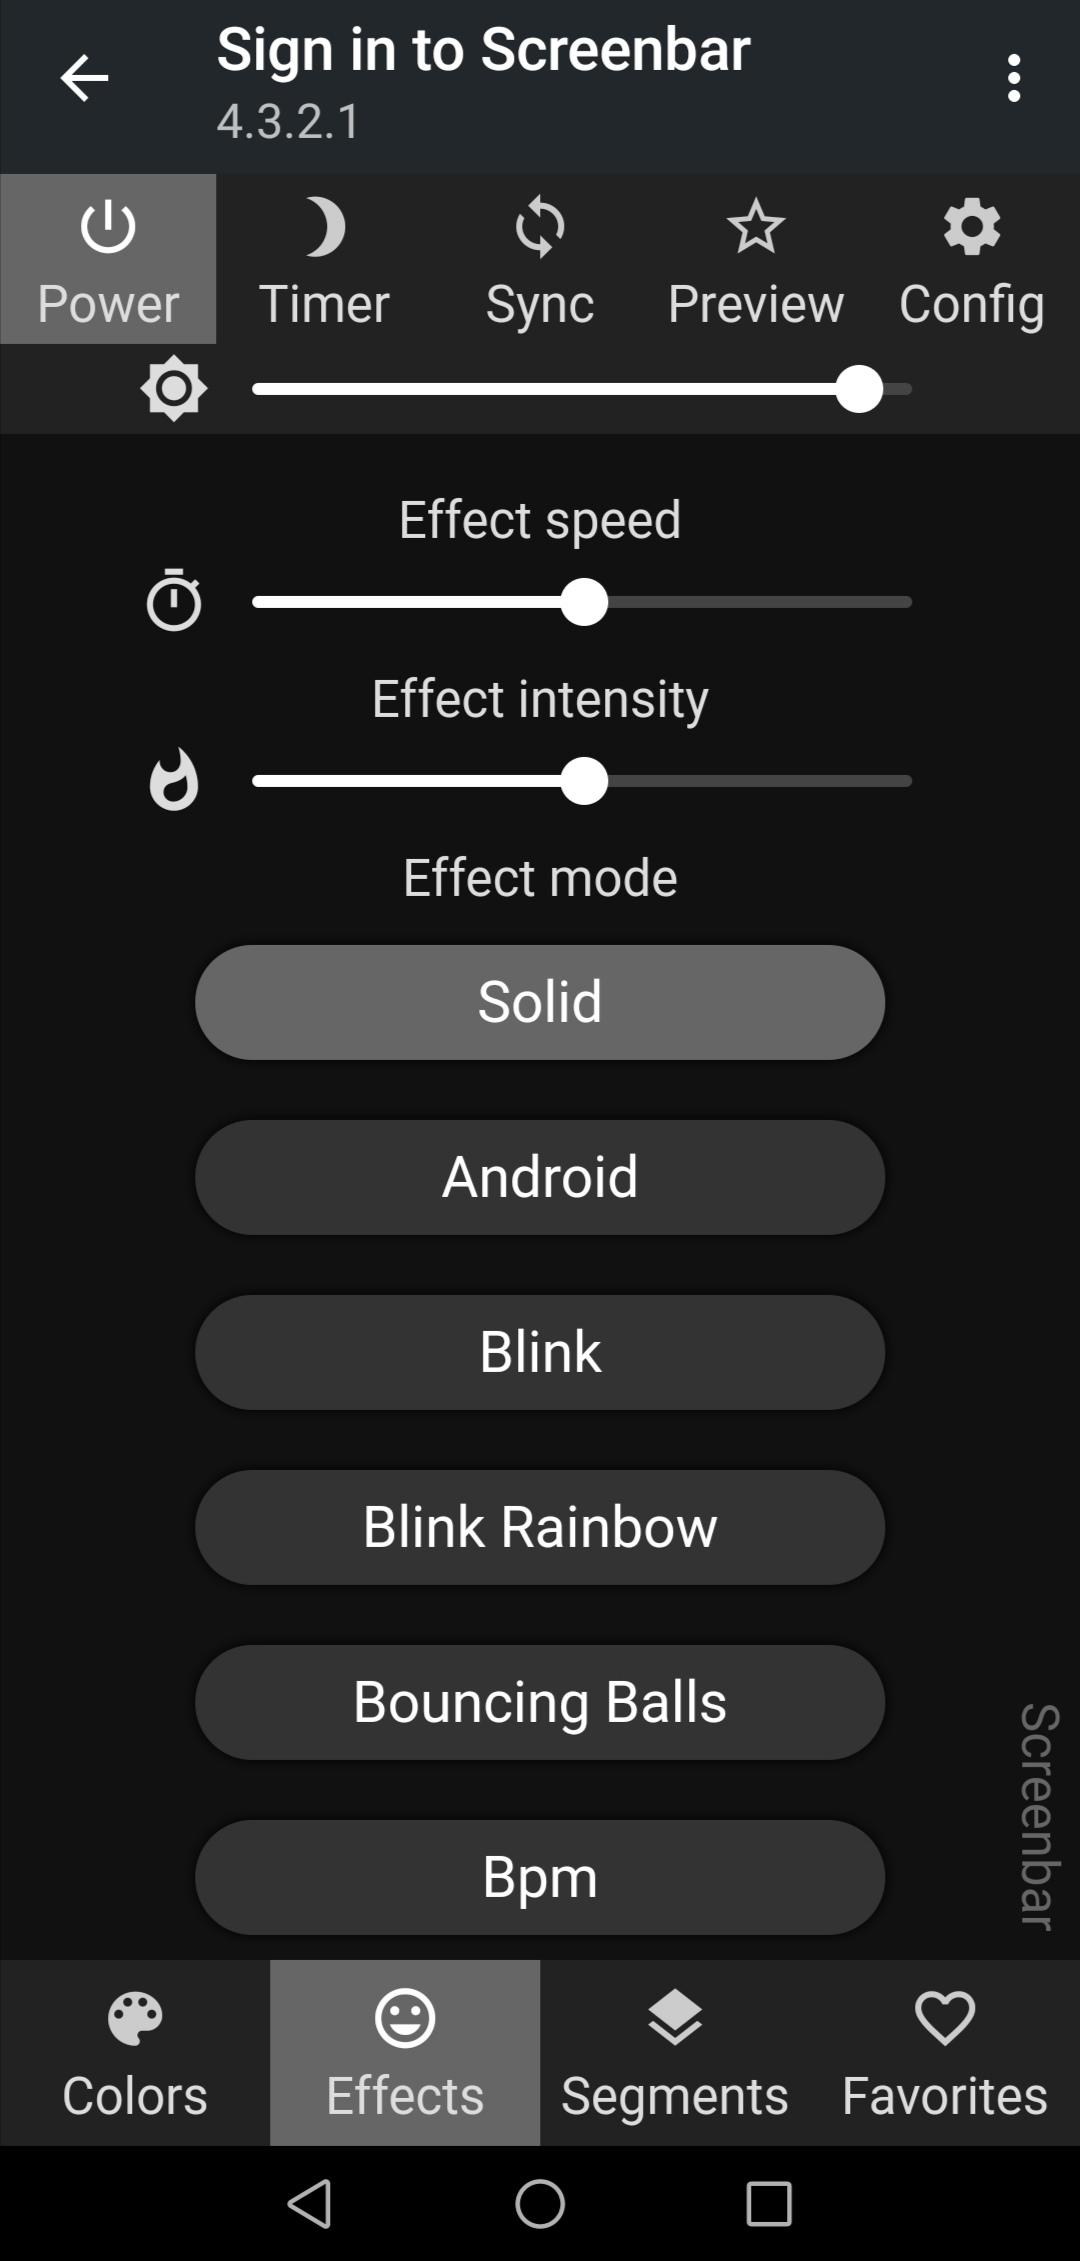
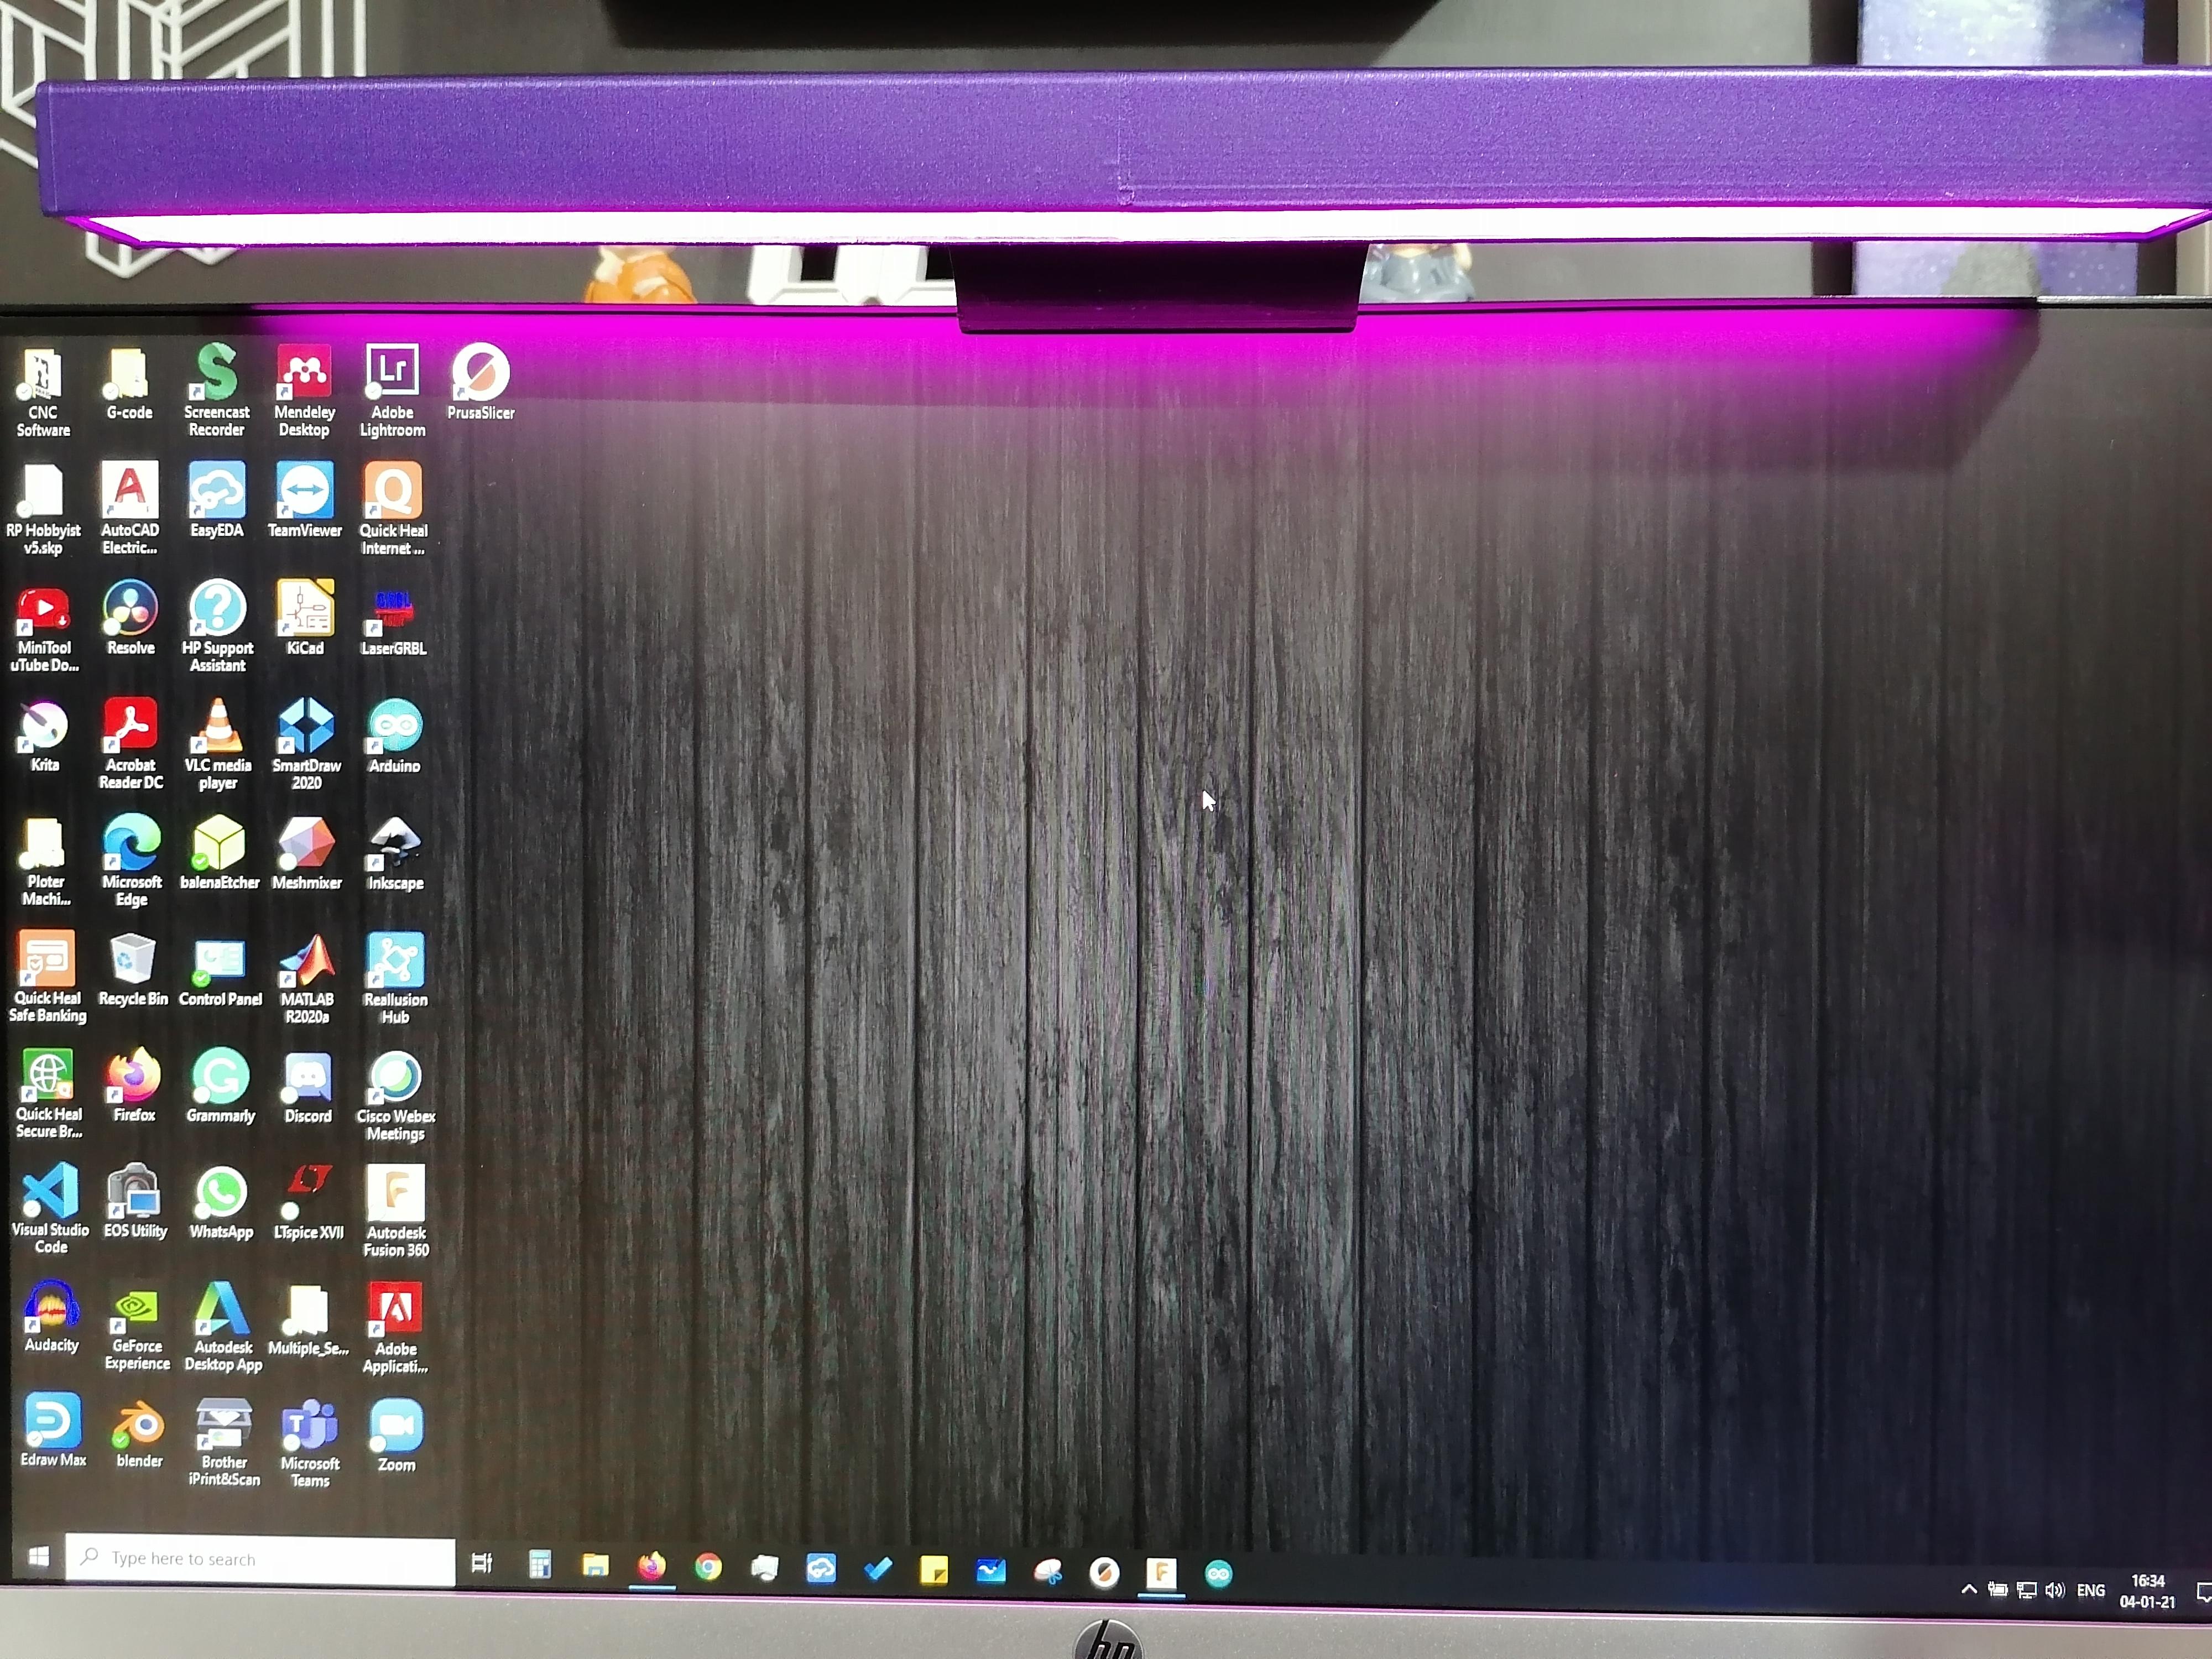
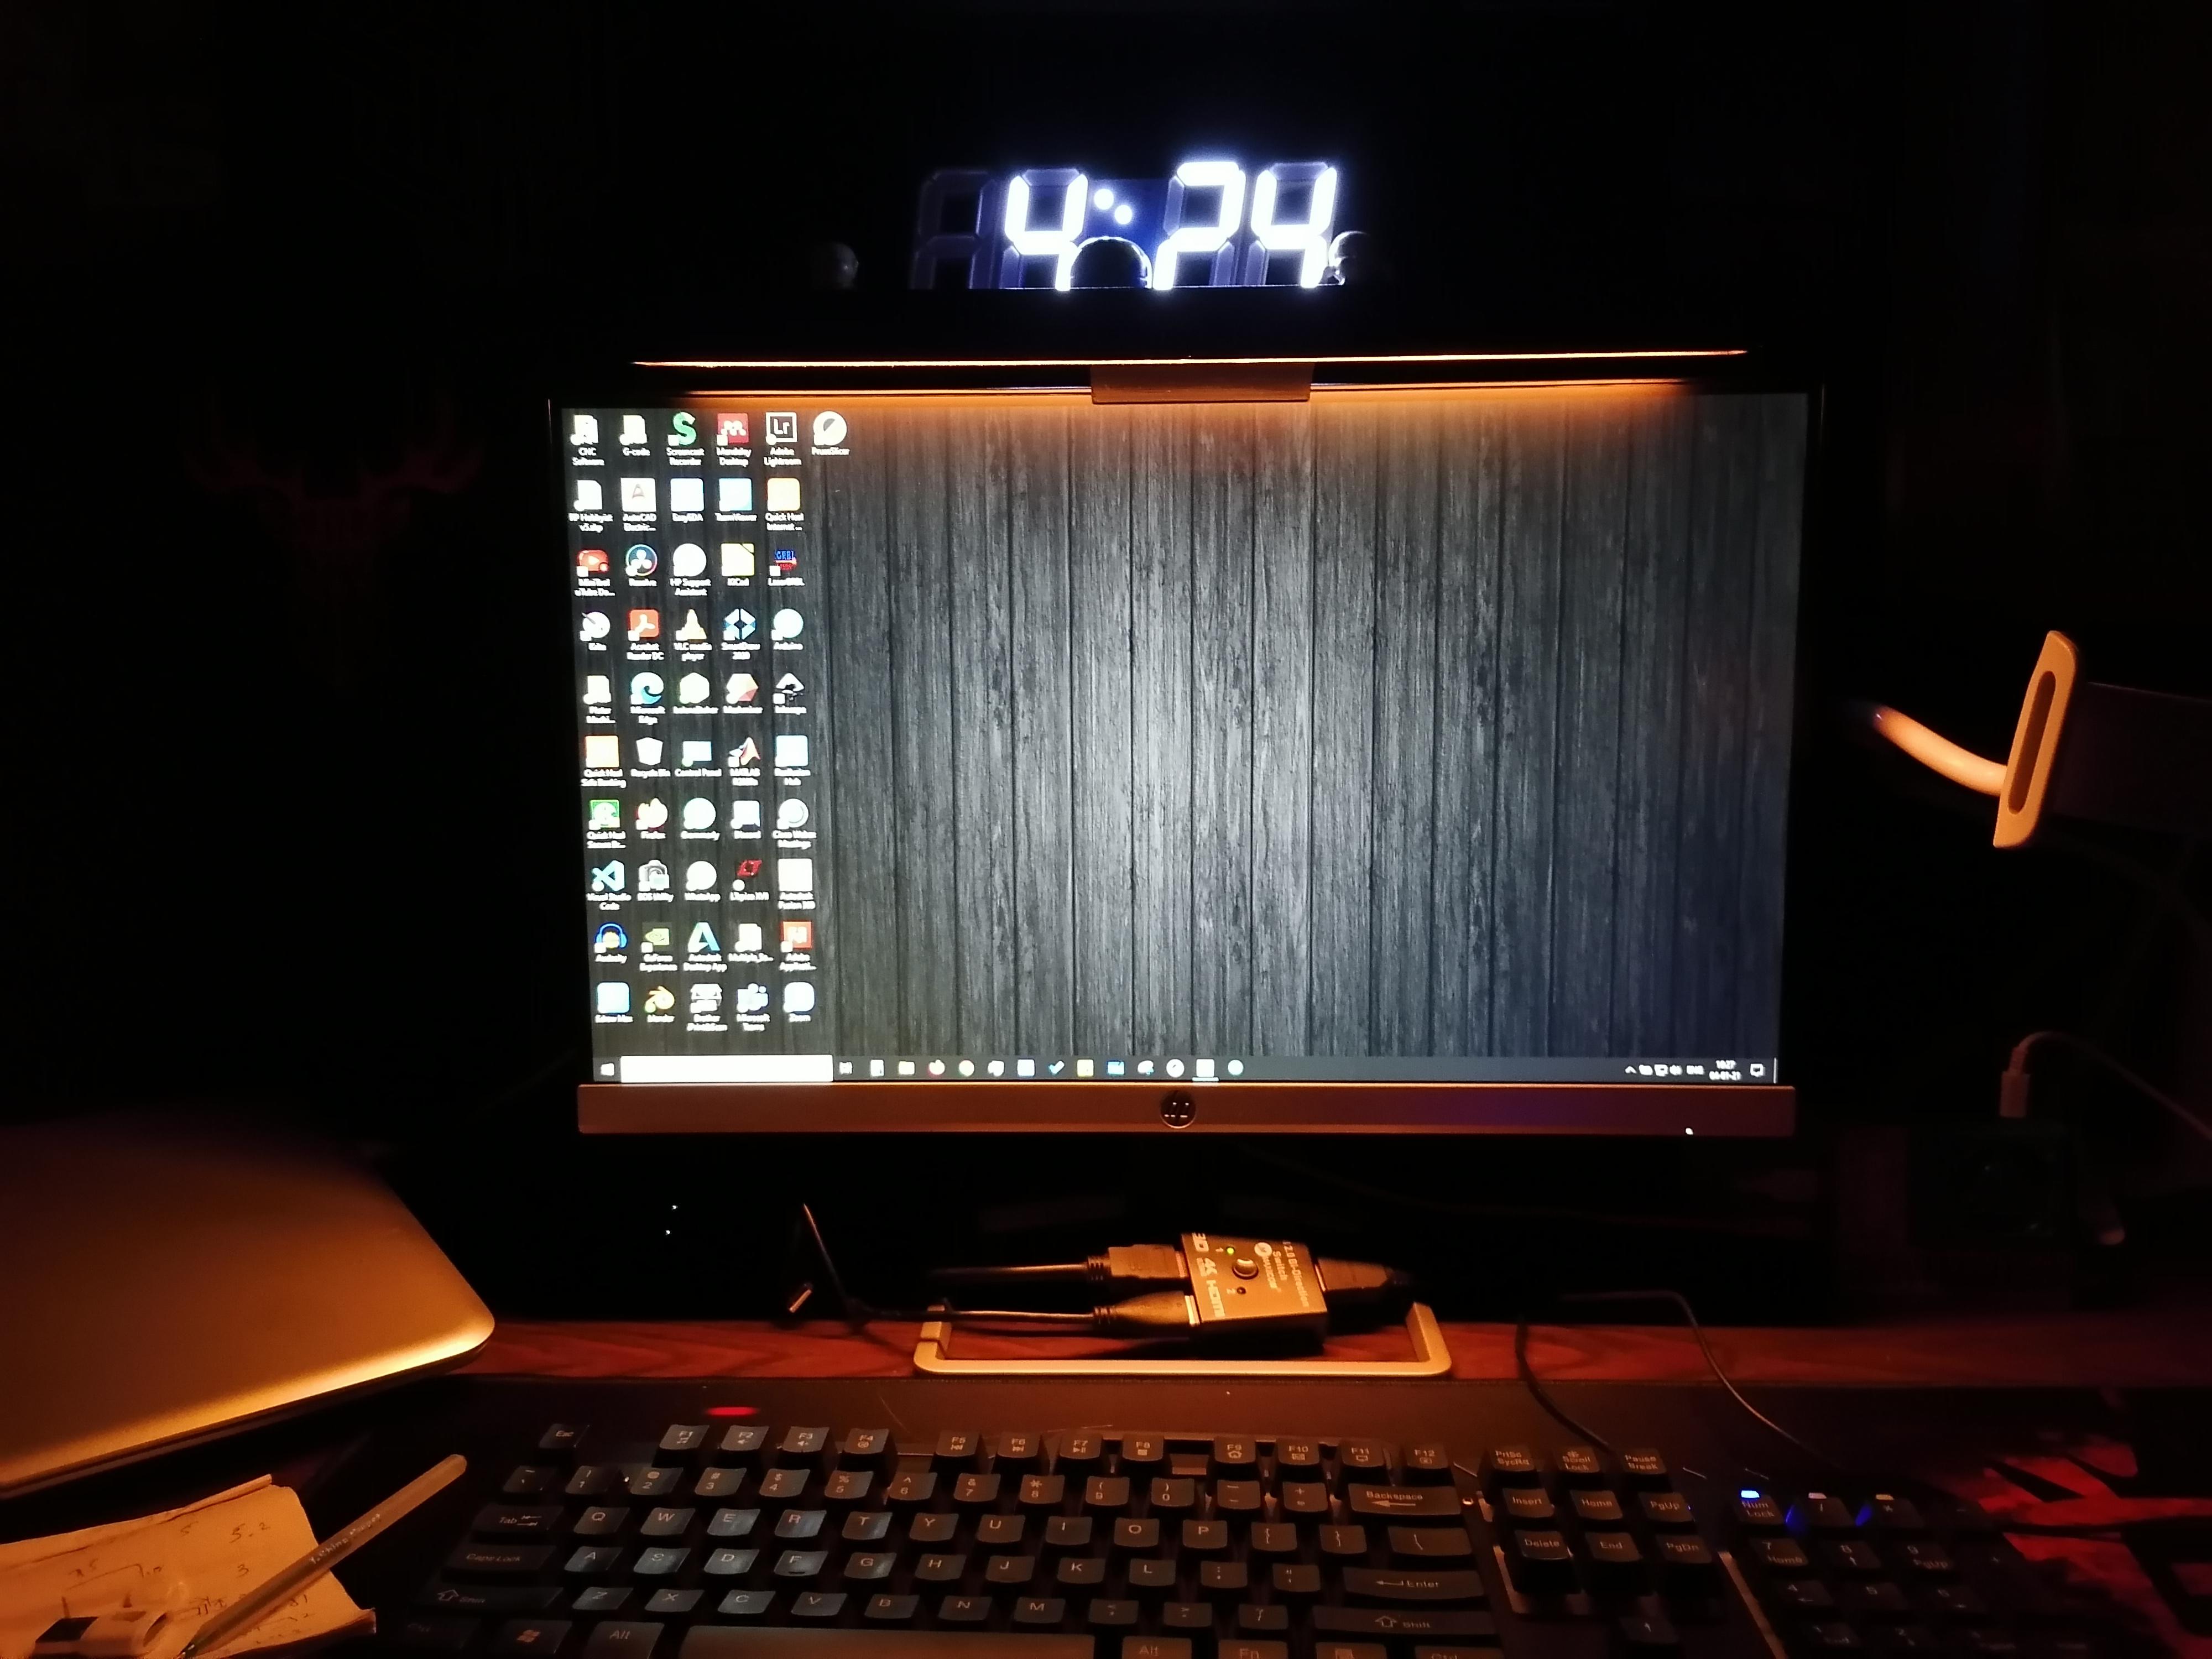
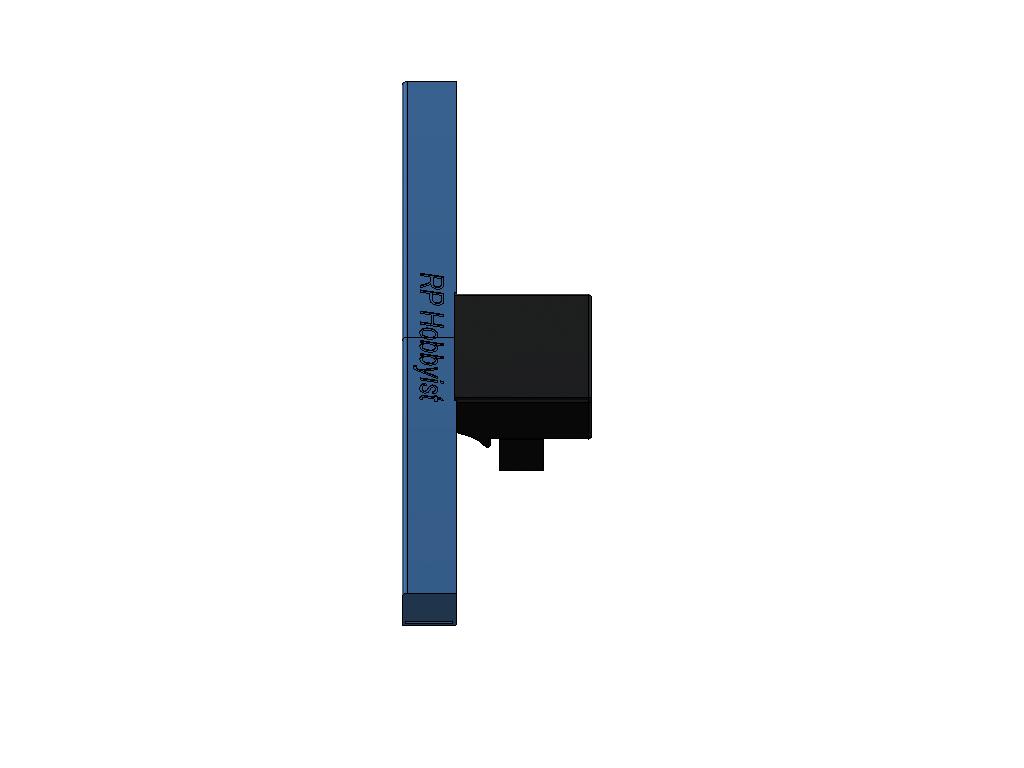
Done!! Ready to Mount on Mointor
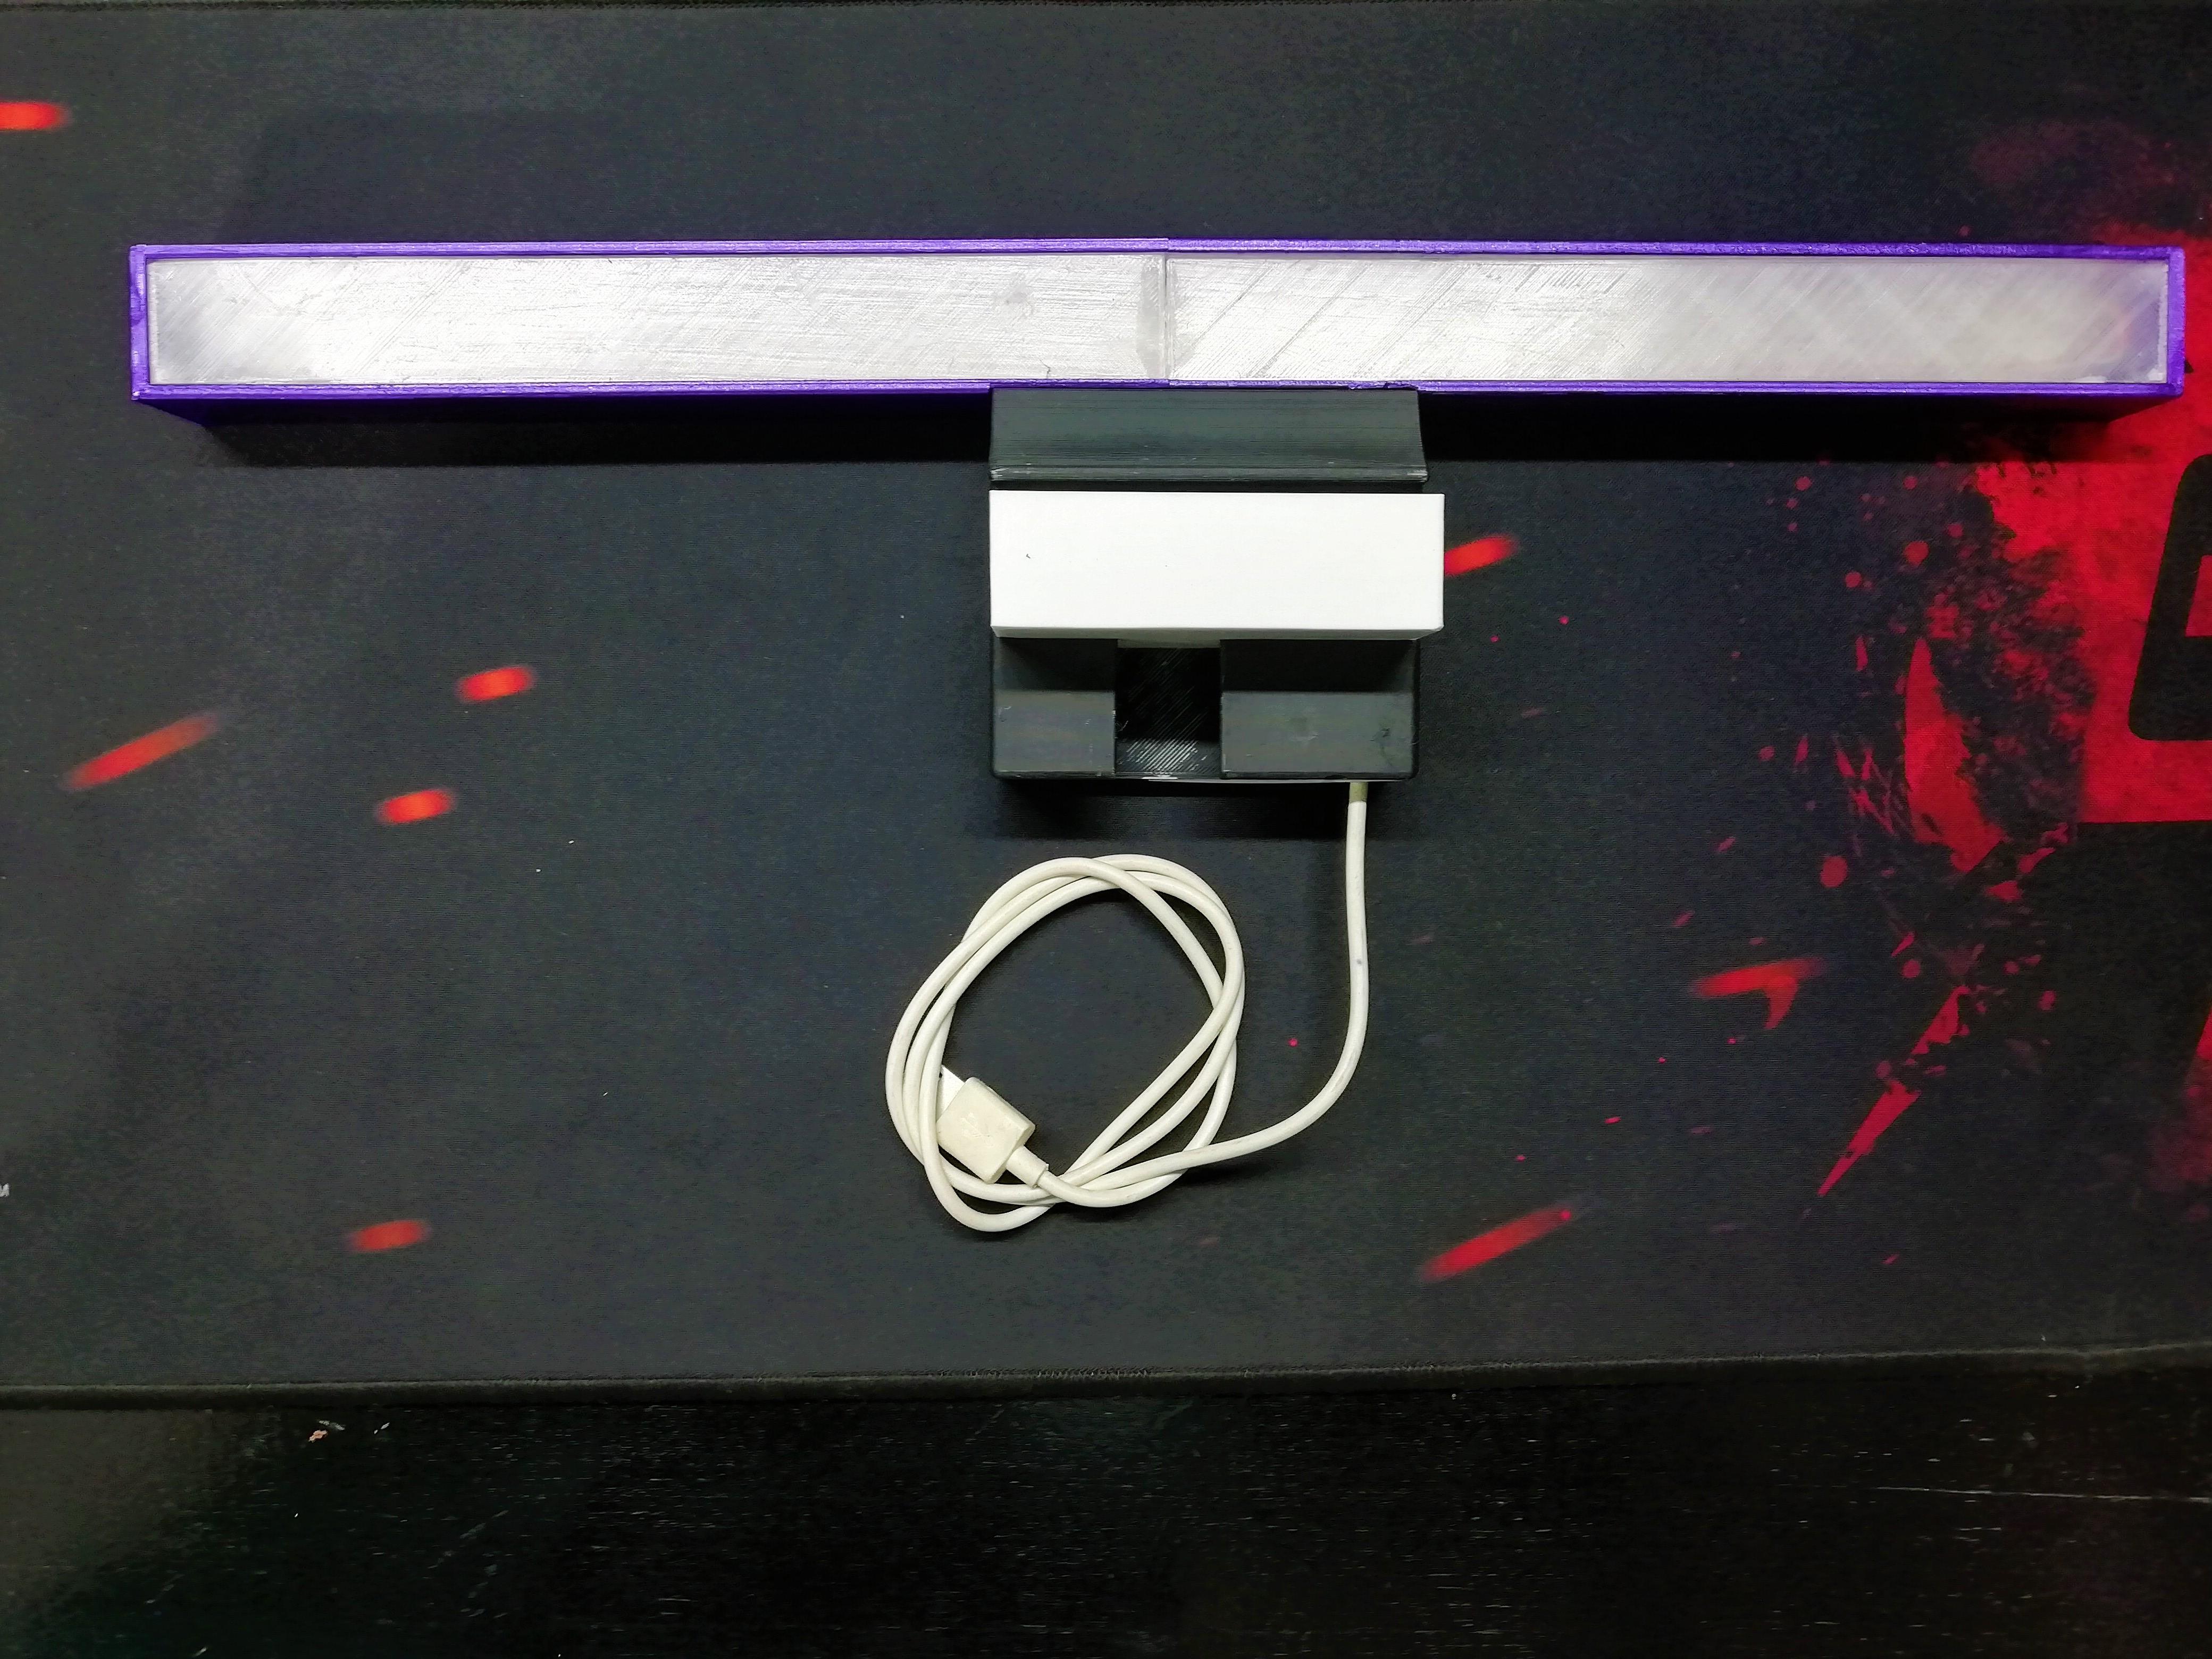
Result!!