Molecular Shape Desktop Lamp
by TecnoProfesor in Circuits > LEDs
1744 Views, 15 Favorites, 0 Comments
Molecular Shape Desktop Lamp
I present you a desktop LED lamp we can use to visualize some molecular geometries or simply to use as a led lamp with differents color effects controlled by an infrared (IR) remote control.
I hope you like.
Supplies
- Arduino NANO or compatible microcontroller
- Adjustable DC to DC step-up voltage boost converter
- An old movil battery 3,7 V 1020 mAh
- Micro USB charger for battery
- 6 ping pong balls
- 1 plastic big ball
- 7 Leds
- 1 hollow metal tube
- Wires
- Soldering kit
- Cardboard
- Wood
- Wooden square rods
- Plywood
- Insulated tape
- Black drinking straw
-
Black flexible putty
Build a Wooden Box

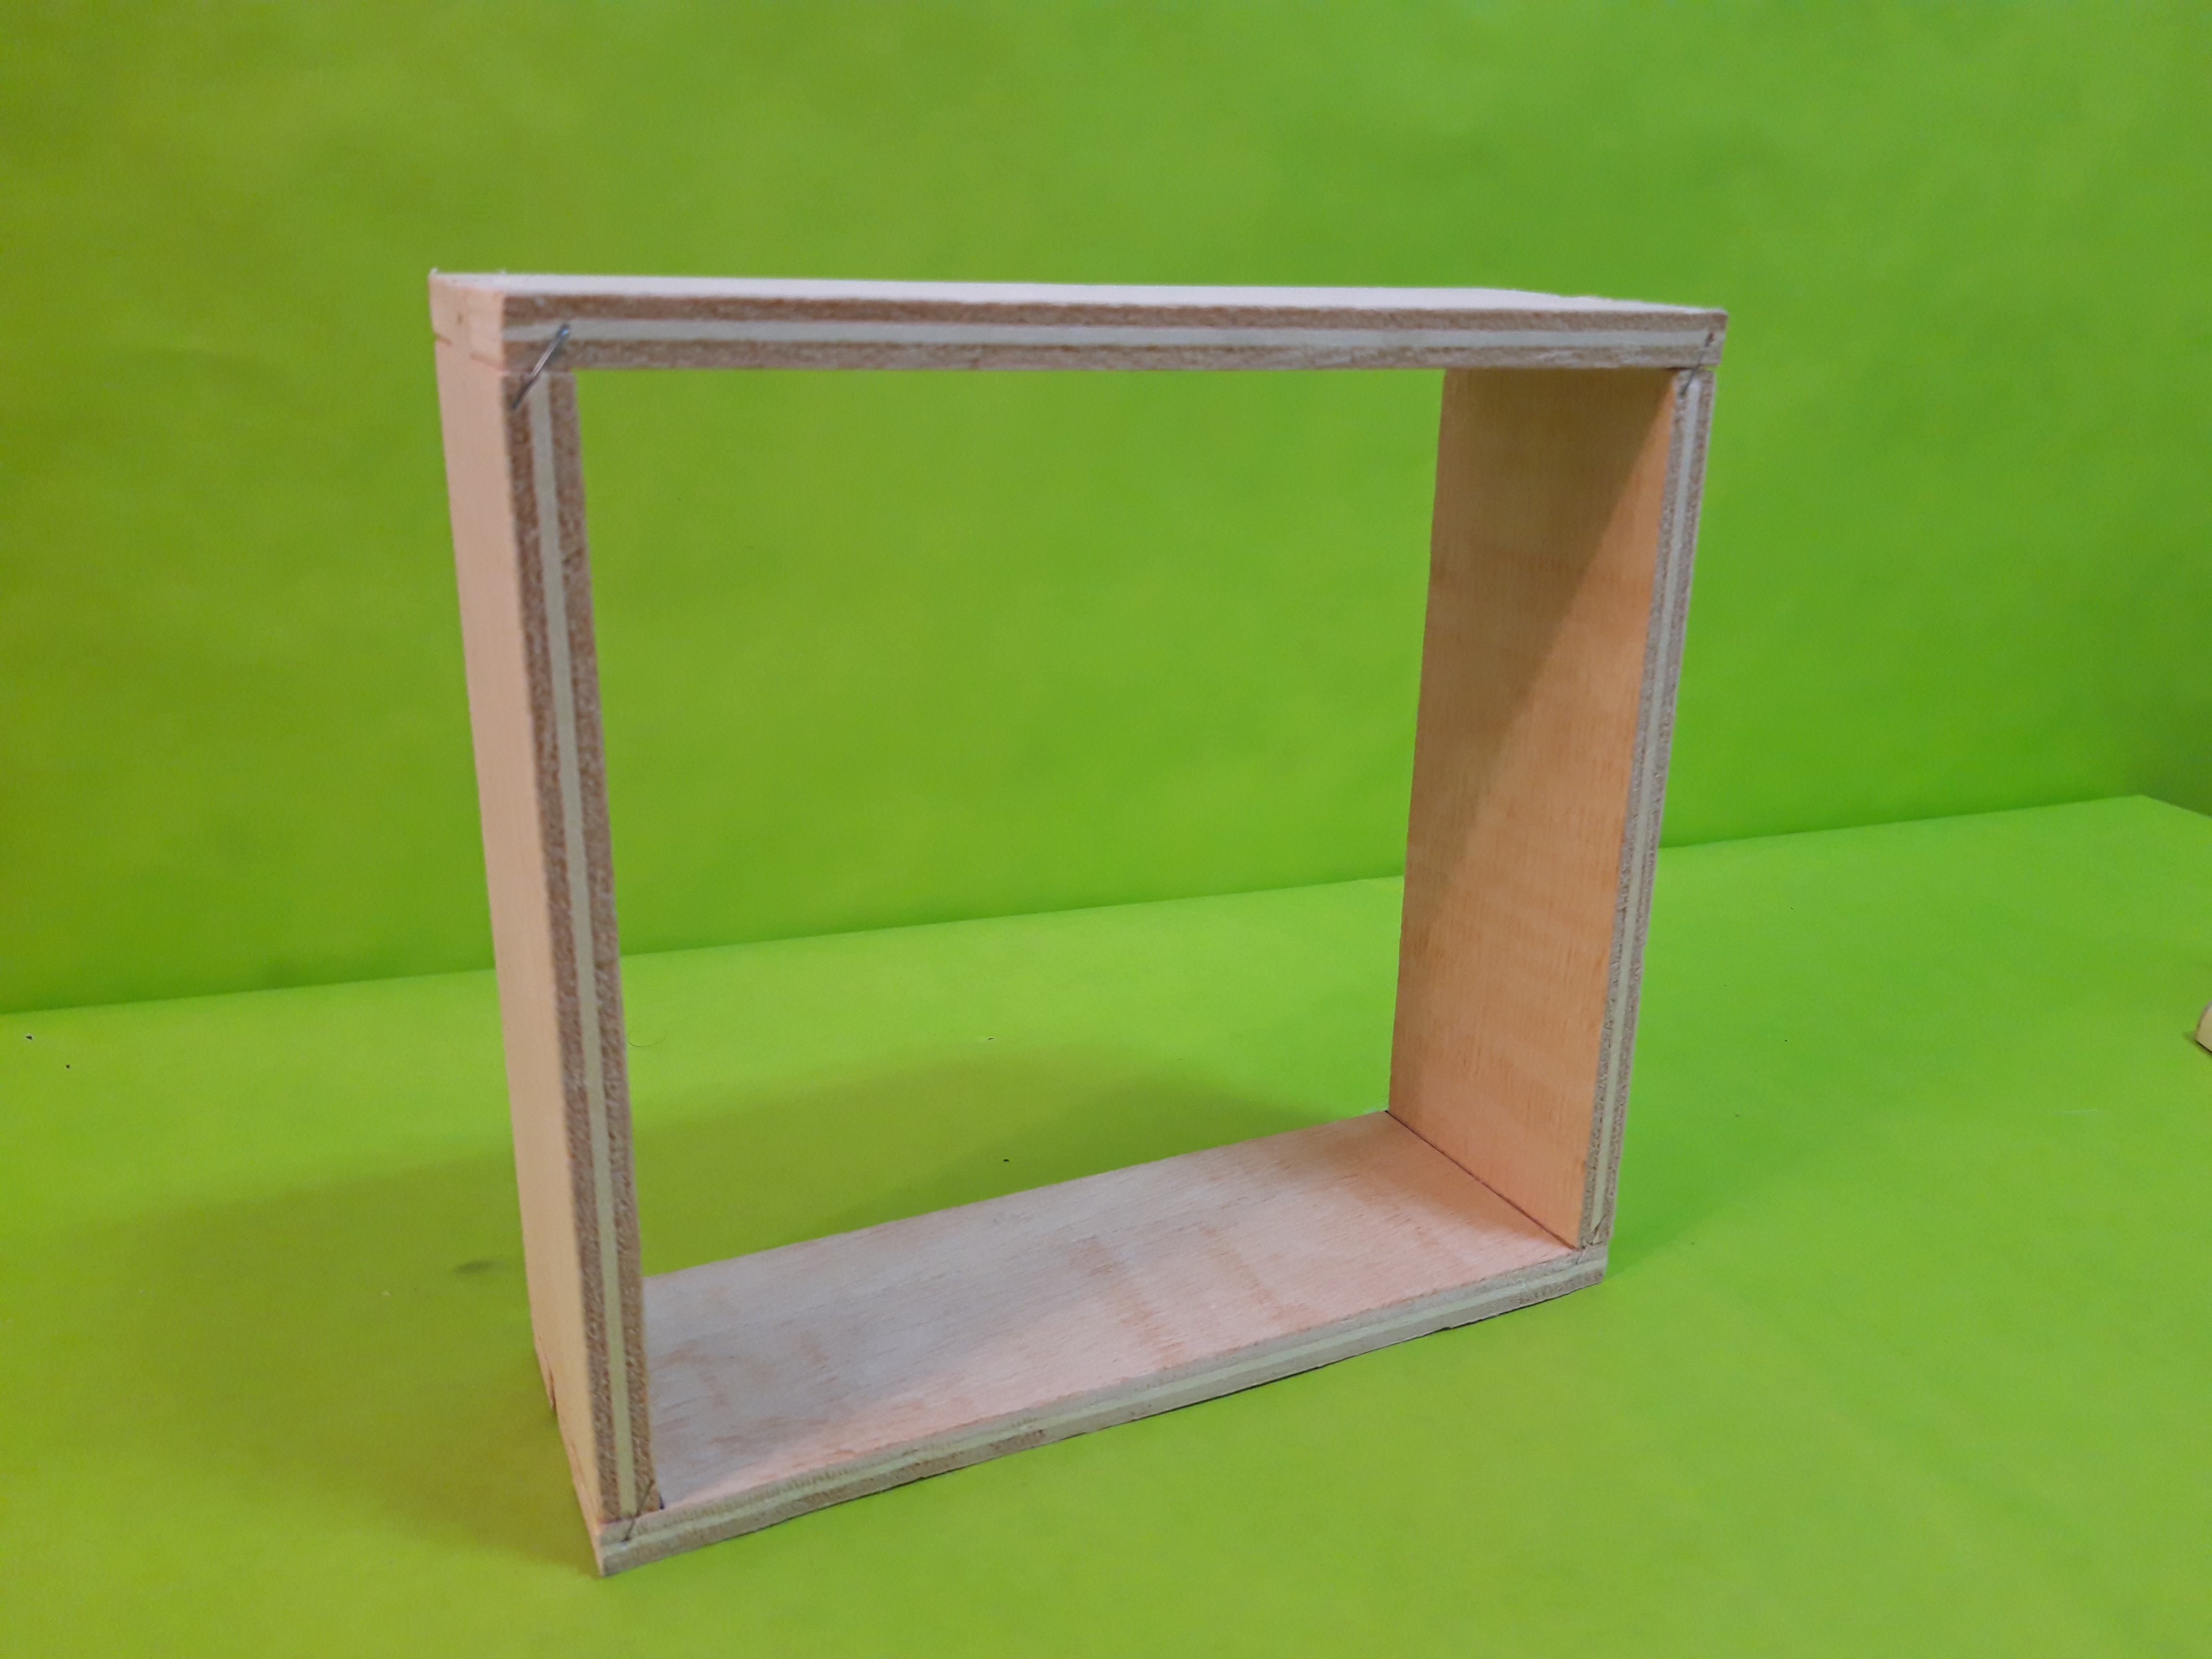
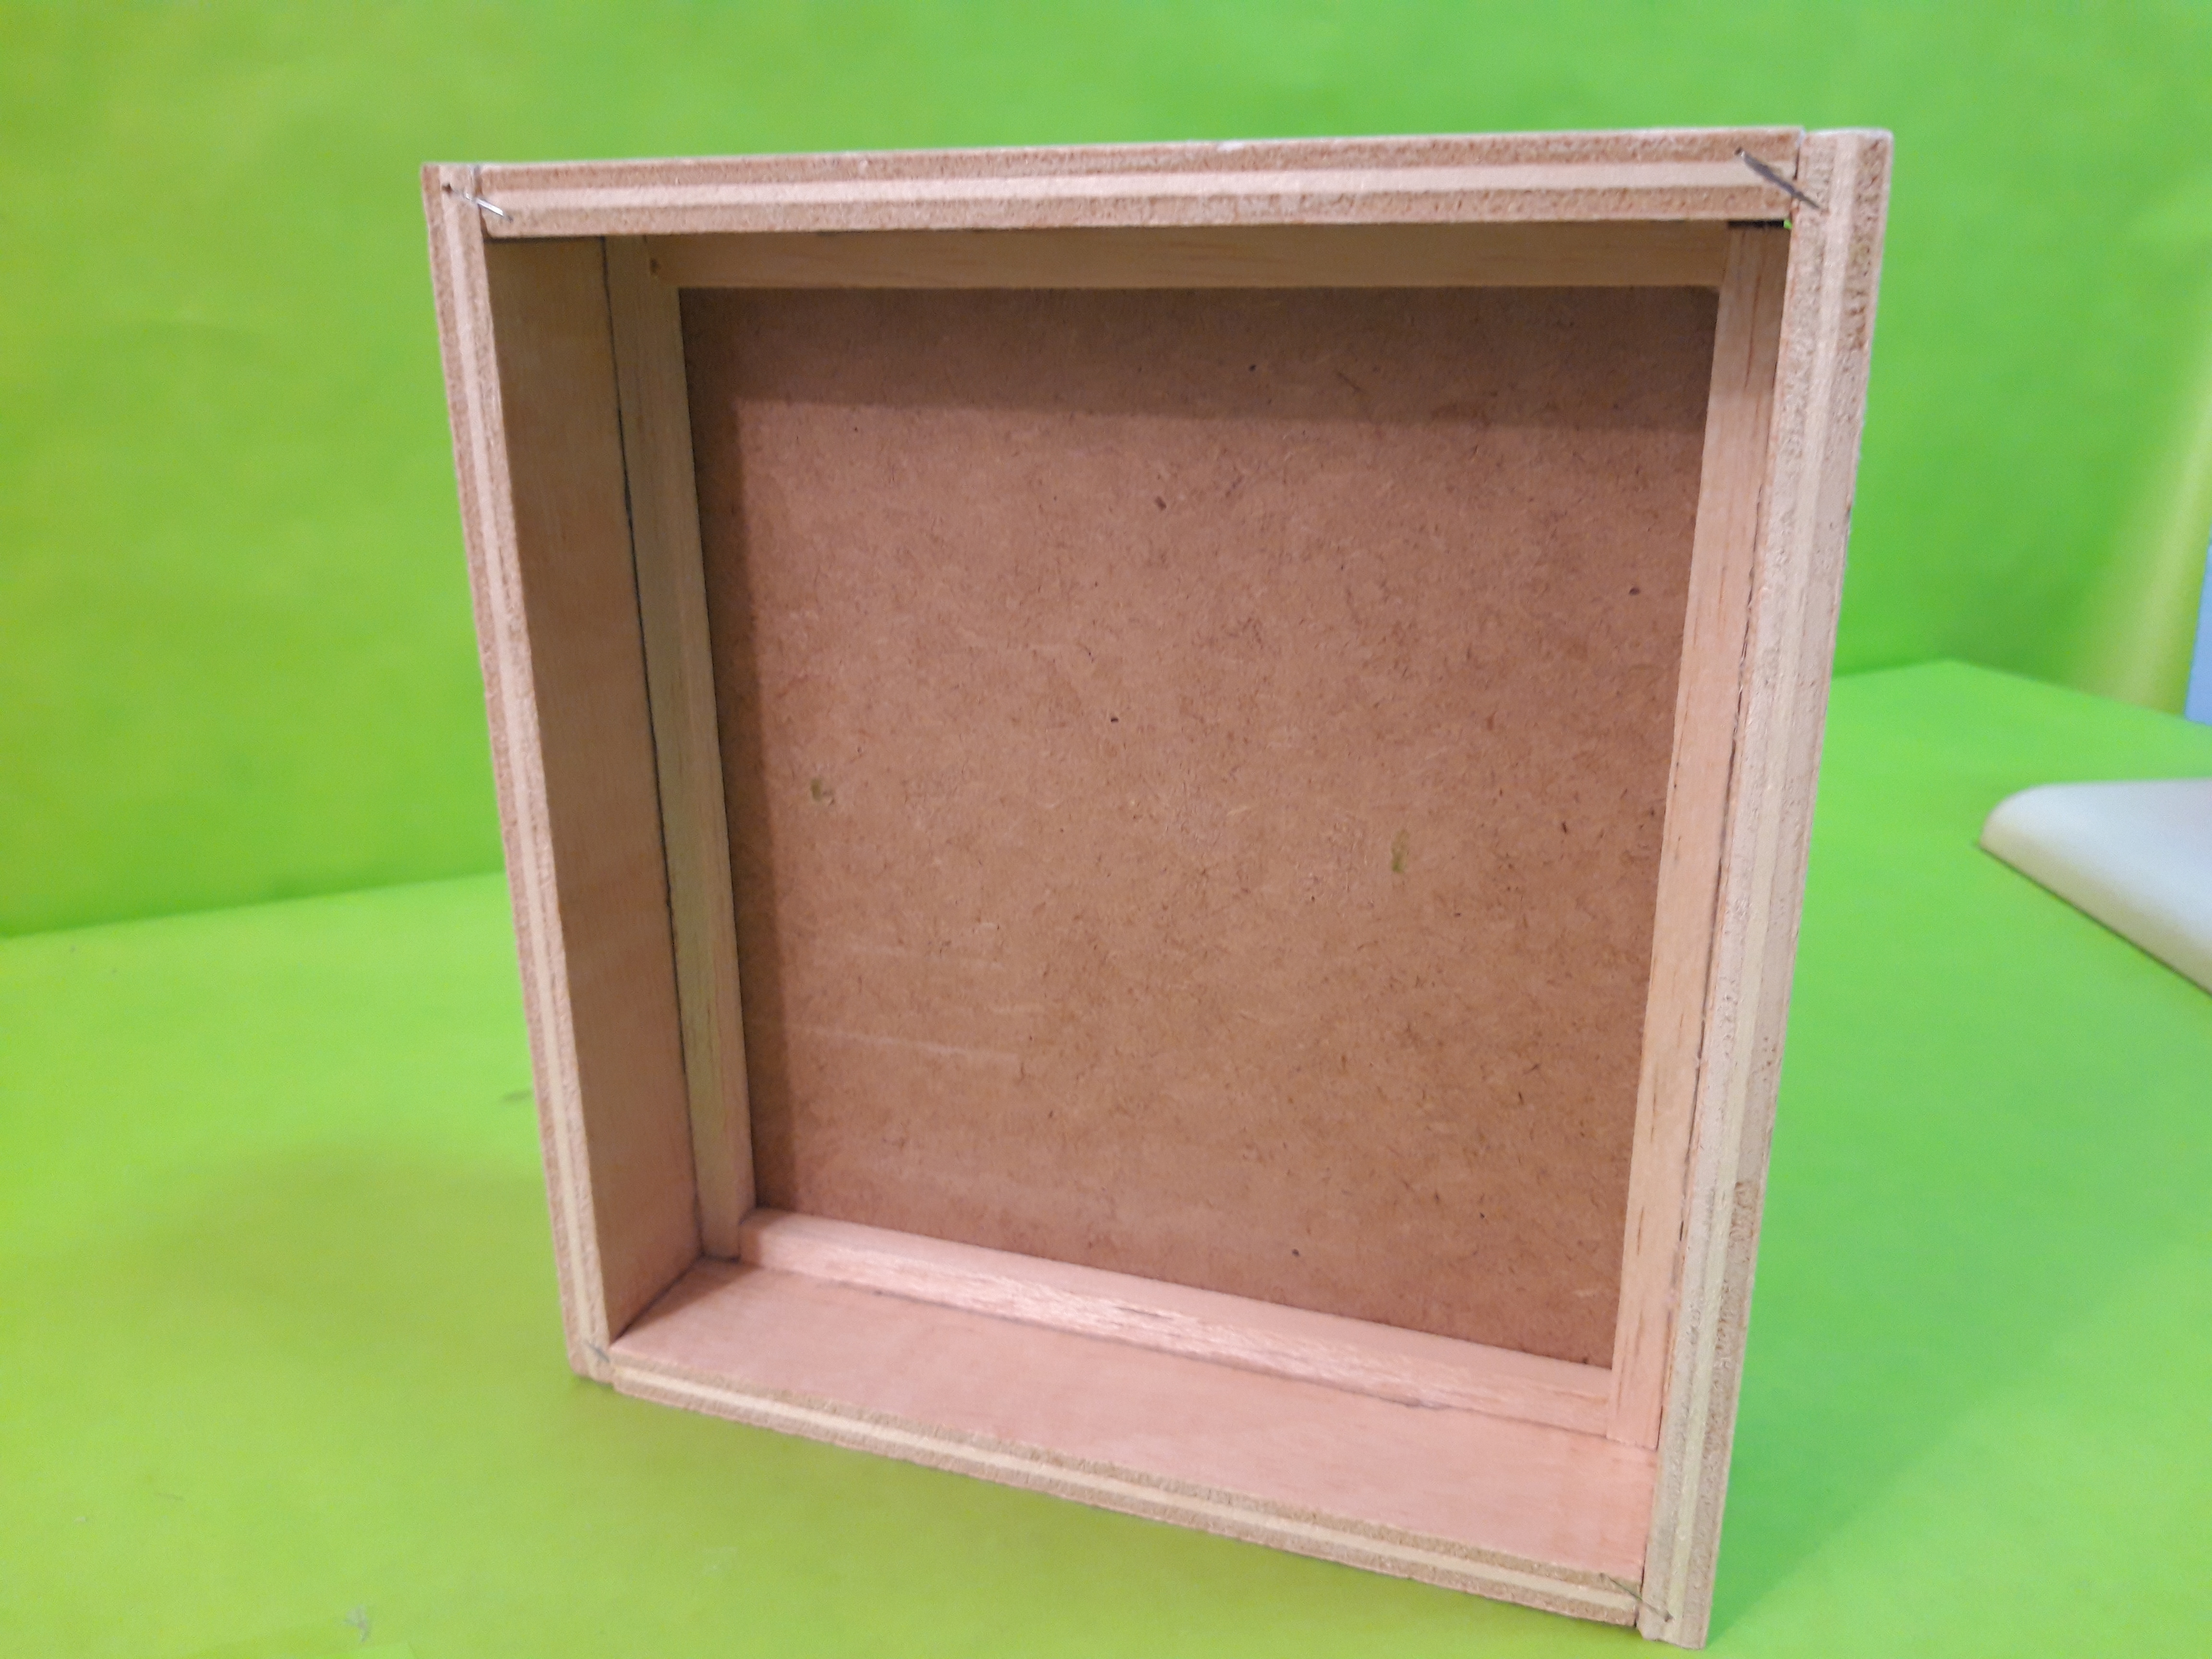
- Cut four wooden pieces as you can see in the drawing
- Glue all the pieces to mount the box
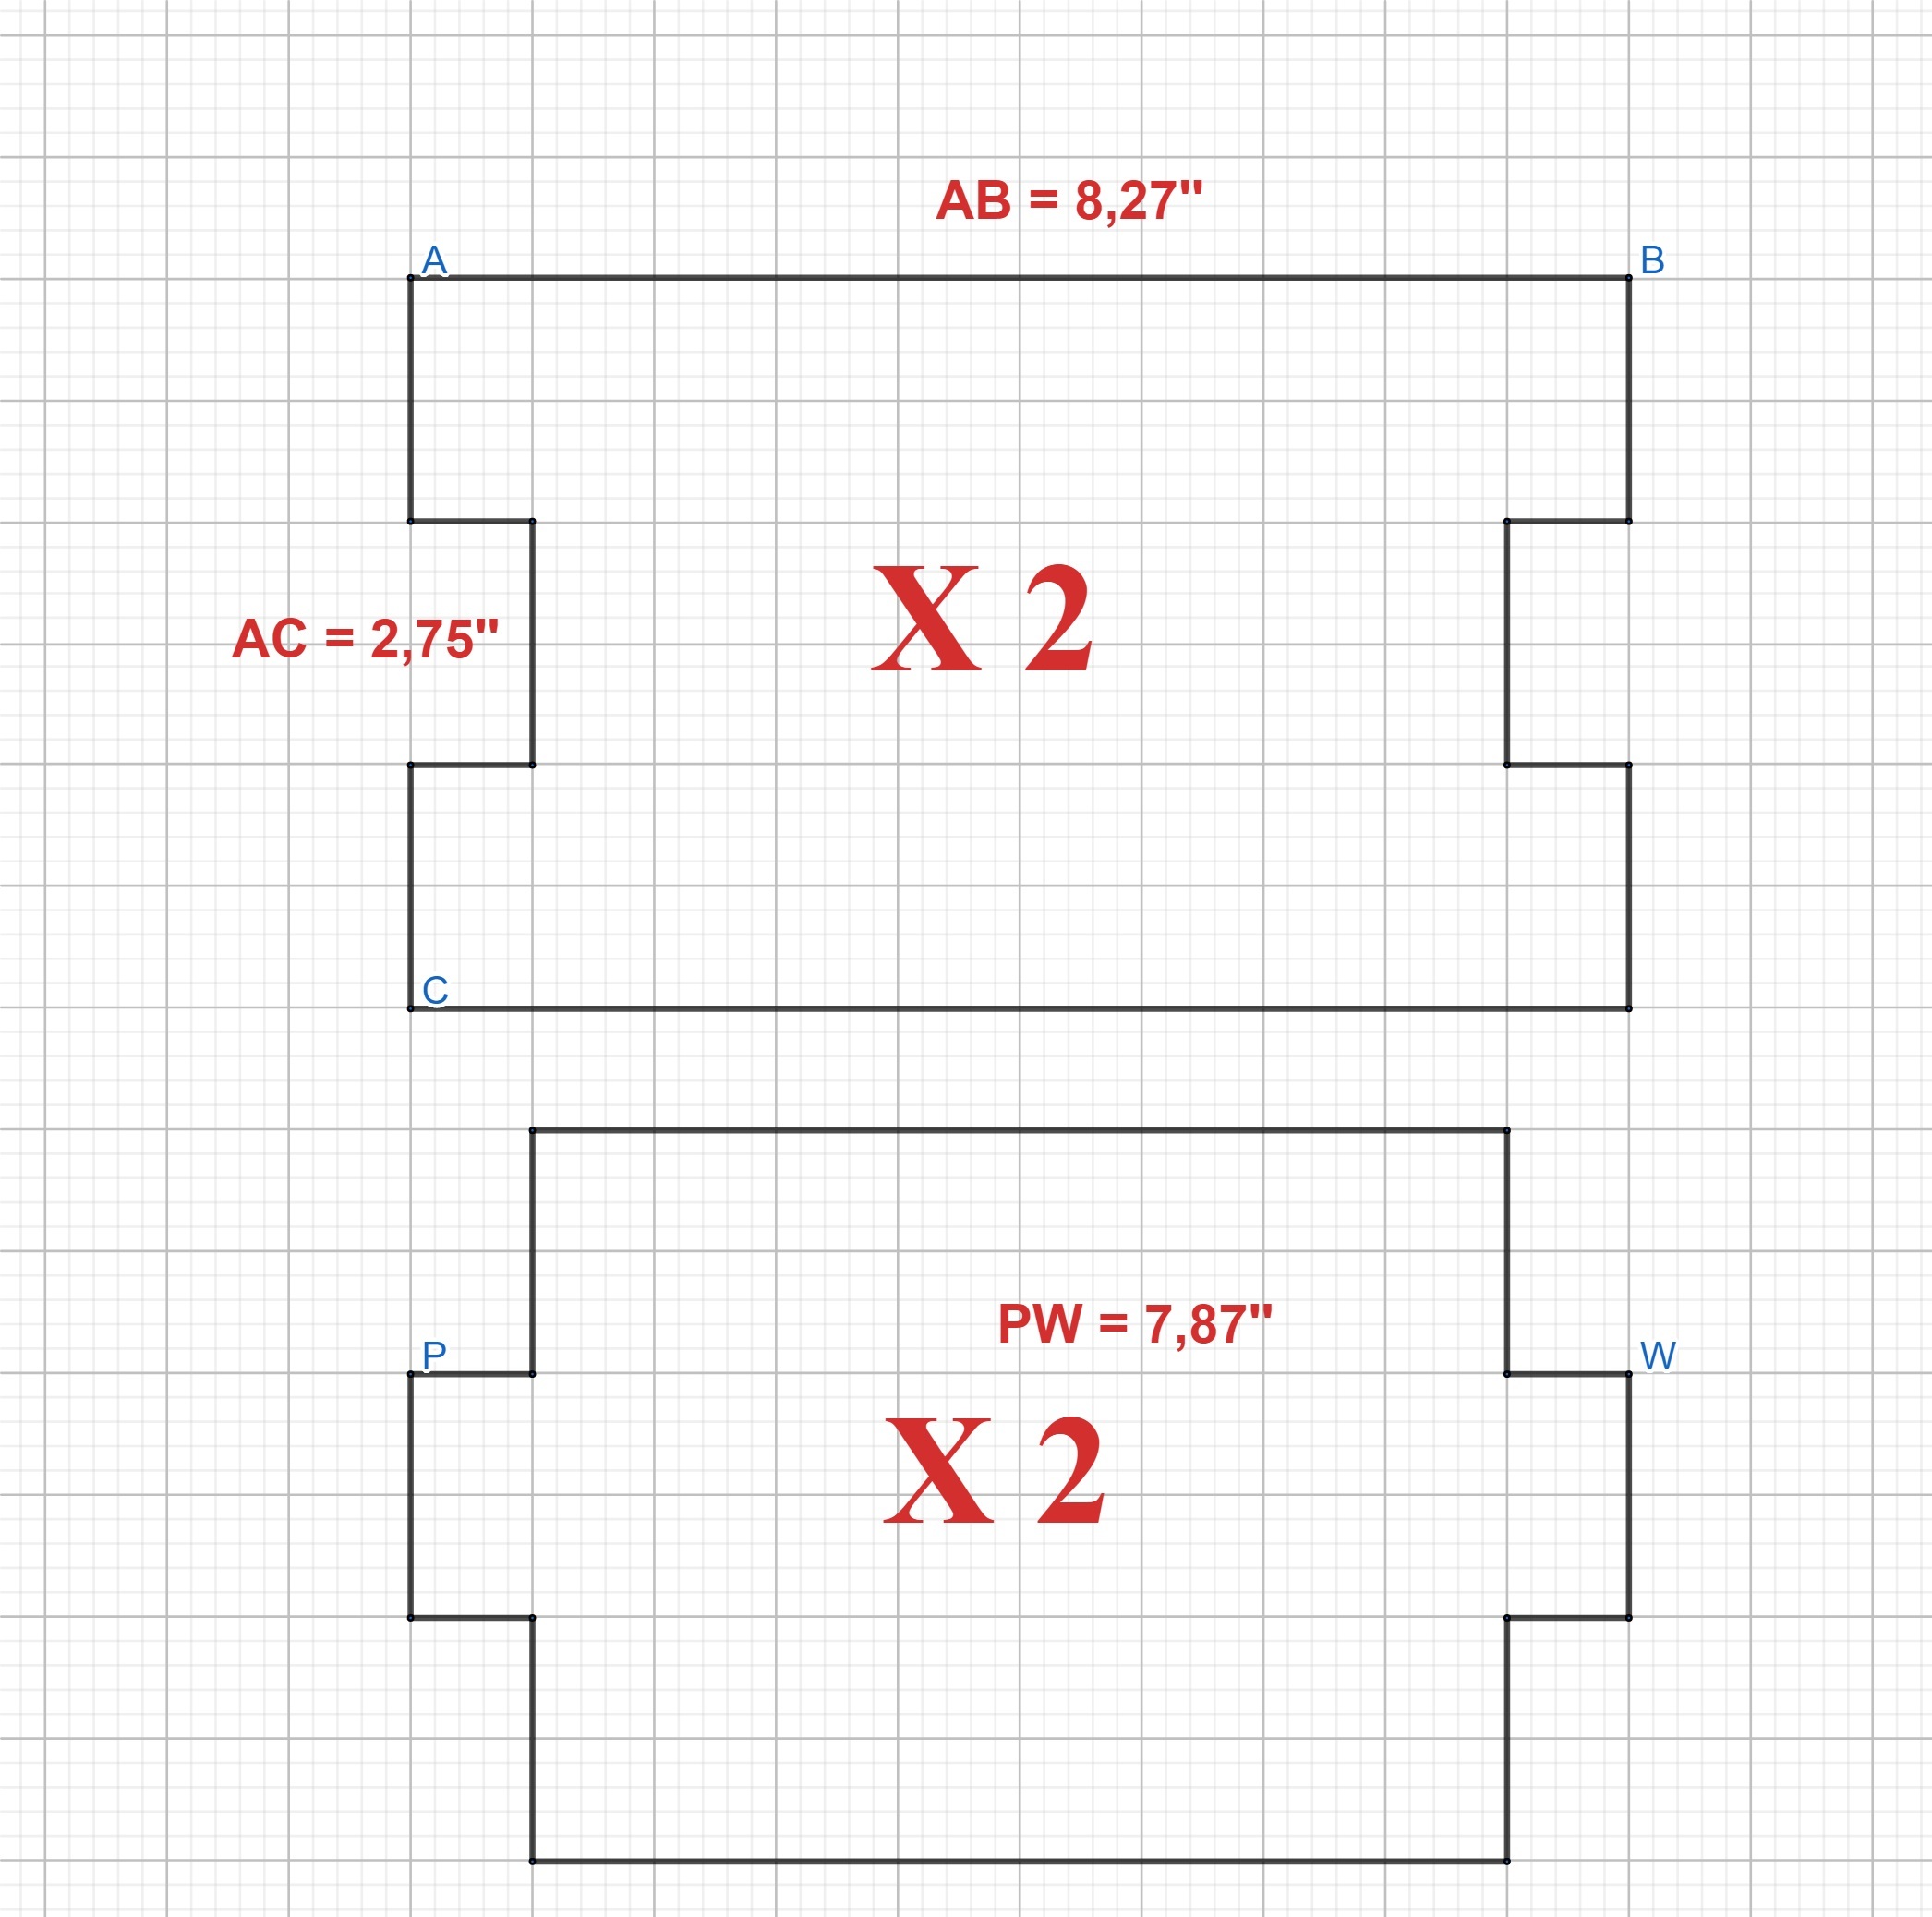
- Cut a piece of plywood (8,27'' x 7,87'') and glue to the box using wooden square rods
- Decorate the box as you like
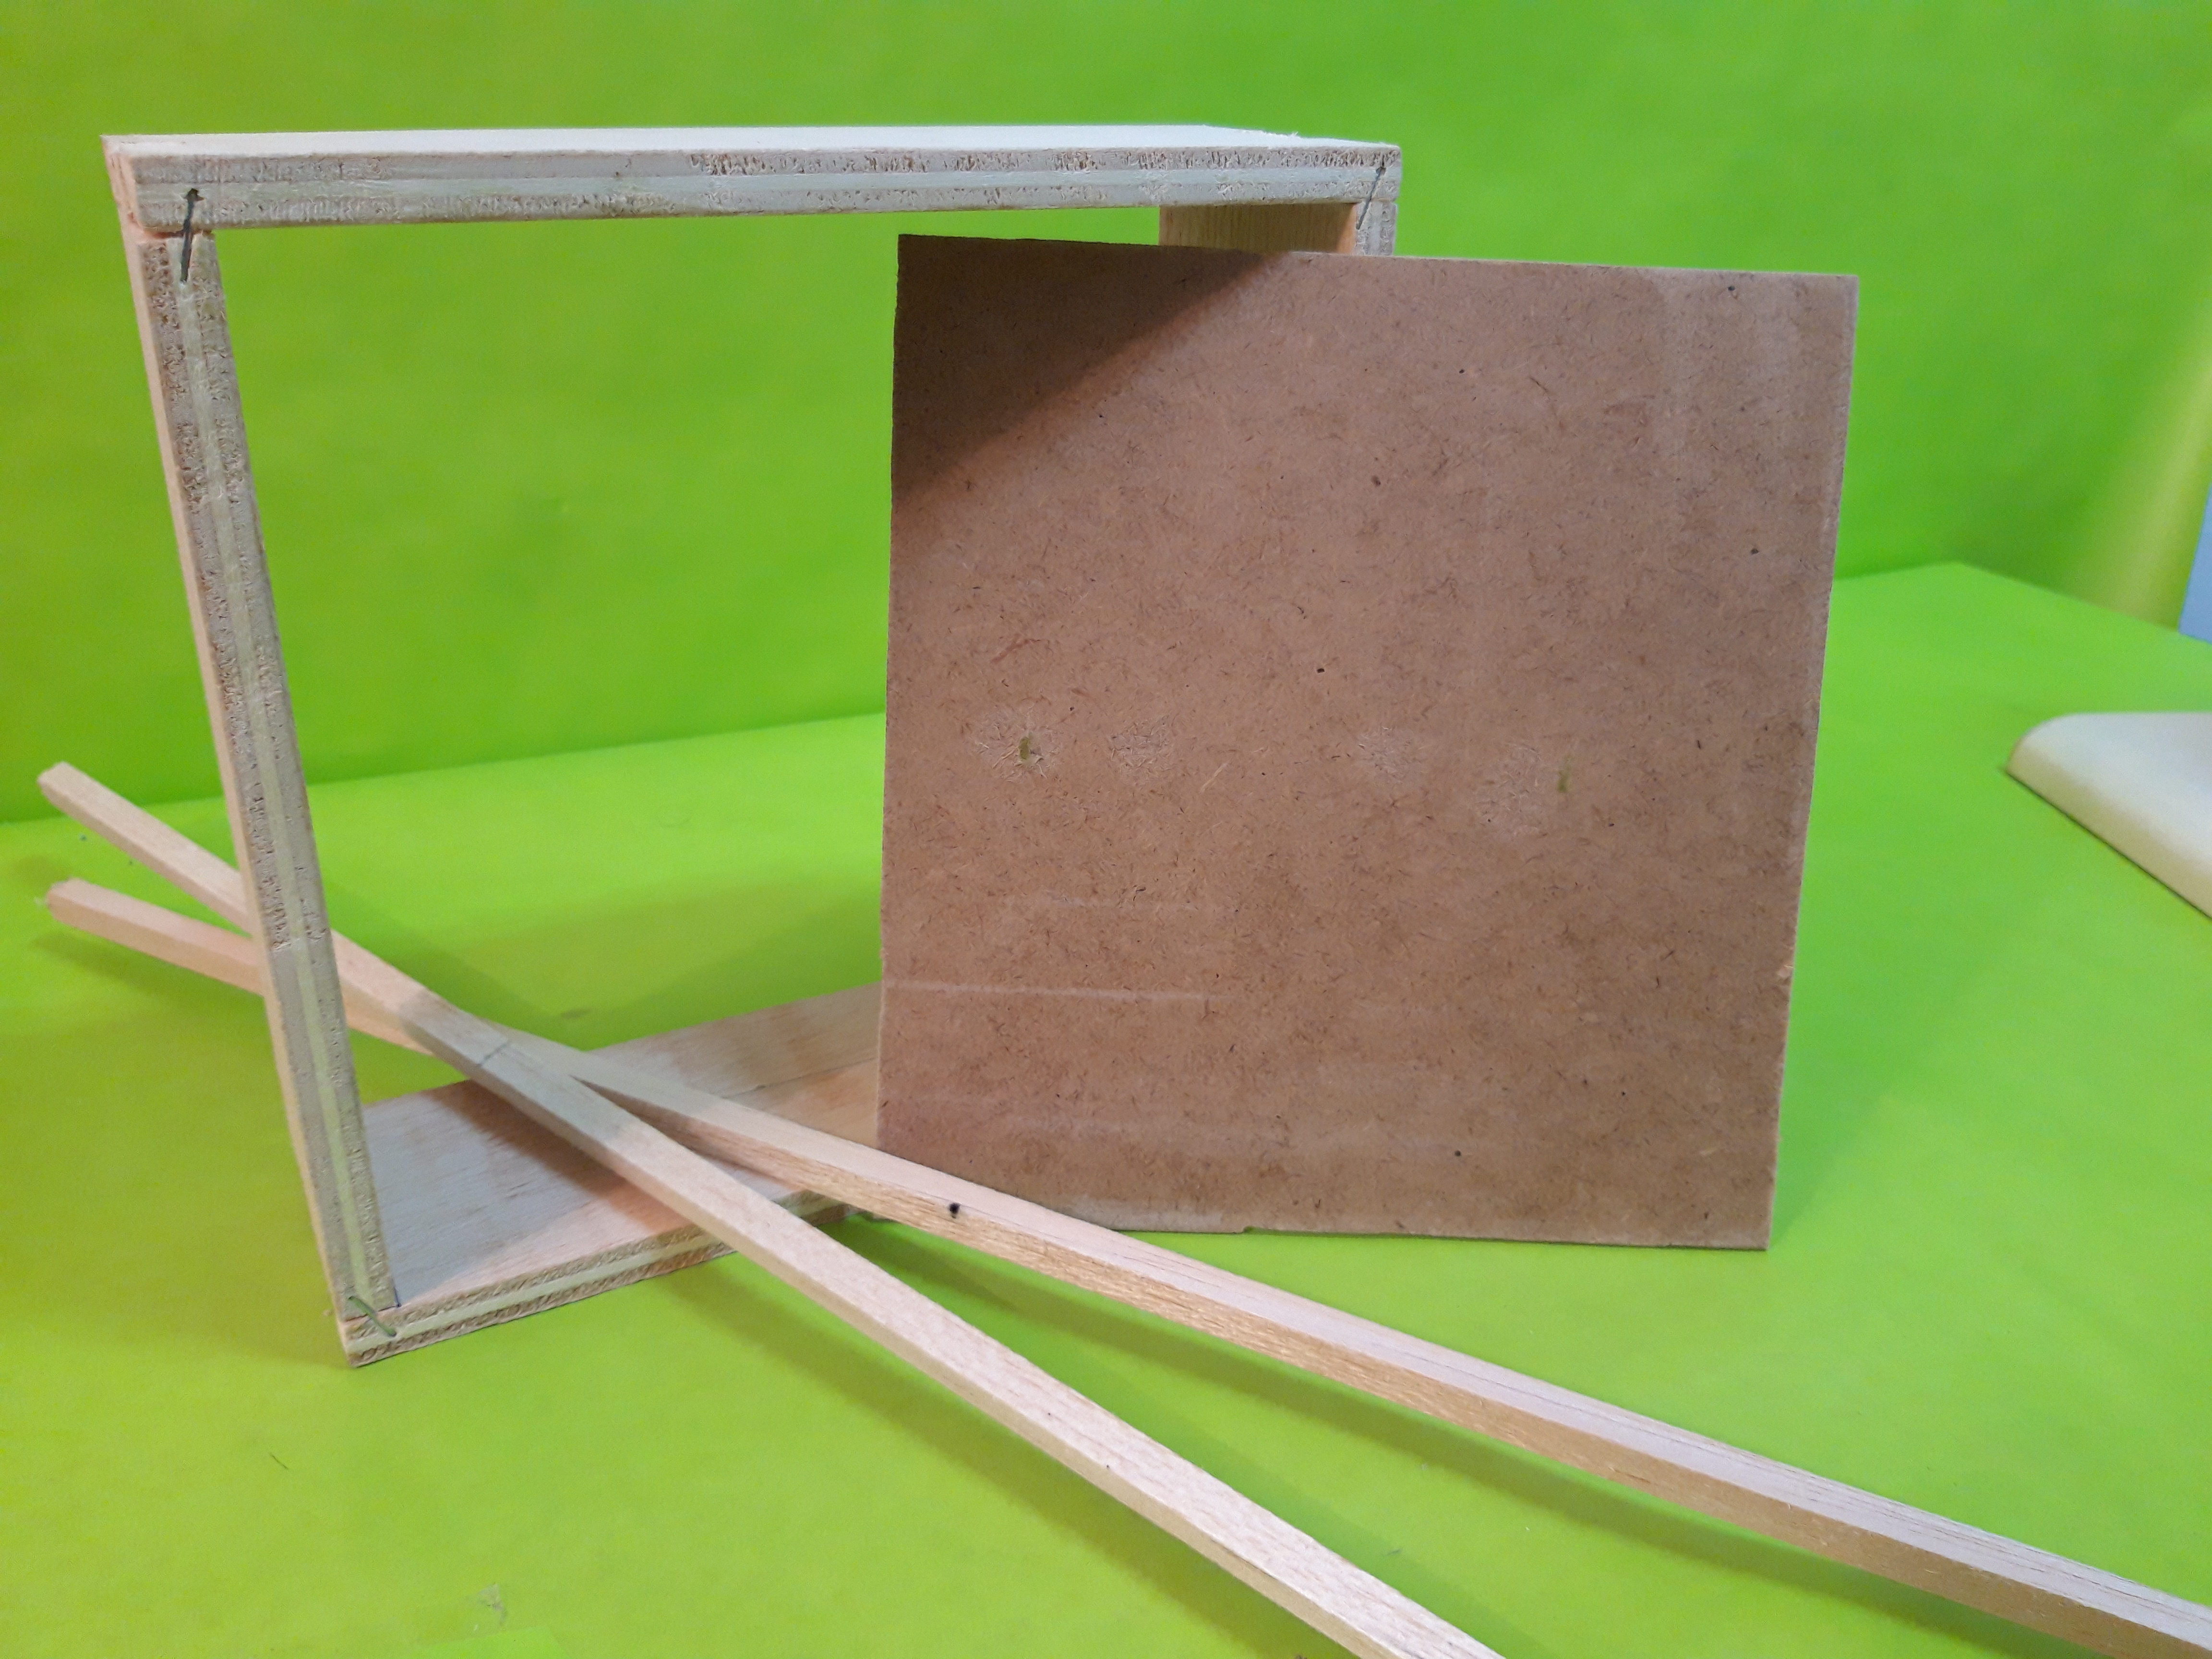
Install a Hollow Metal Tube
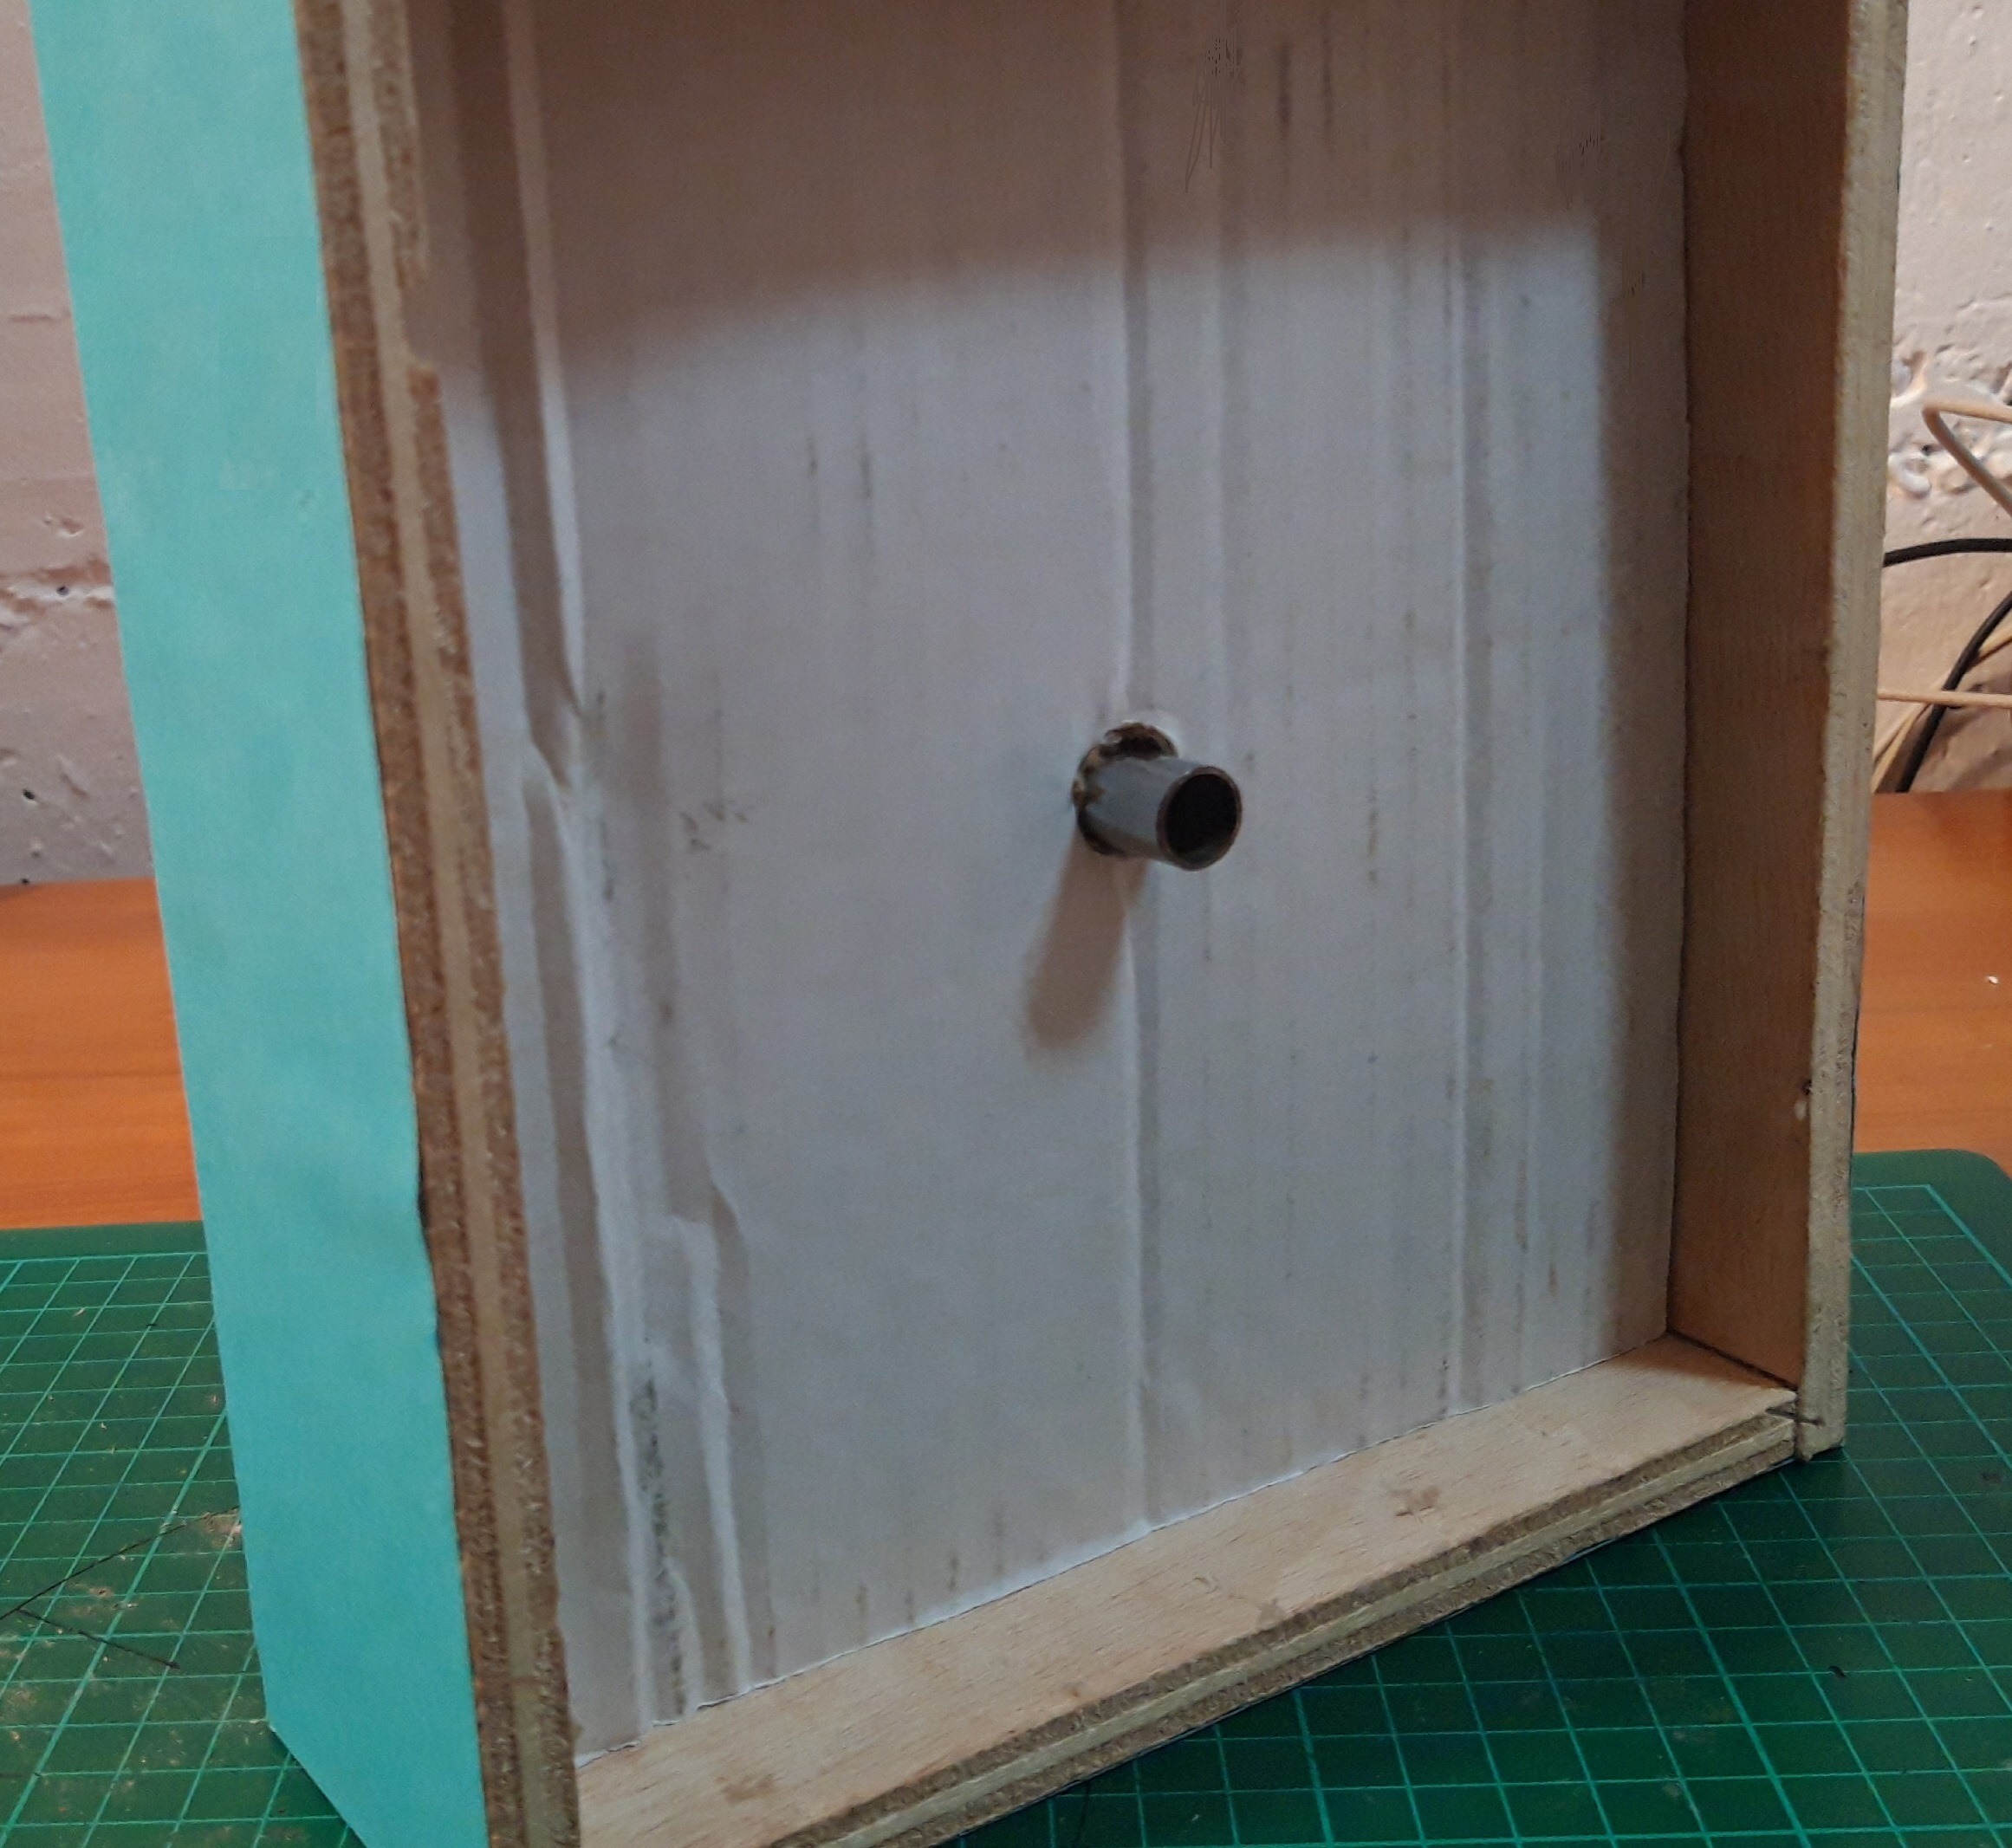

- Cut and glue a piece of carboard as you can see in the first image
- Open two holes above and below the box as you can see in the first and the second image
- Pass through the holes a hollow metal tube (21 centimeters = 8,26")
Install the Strip Led for the Big Ball
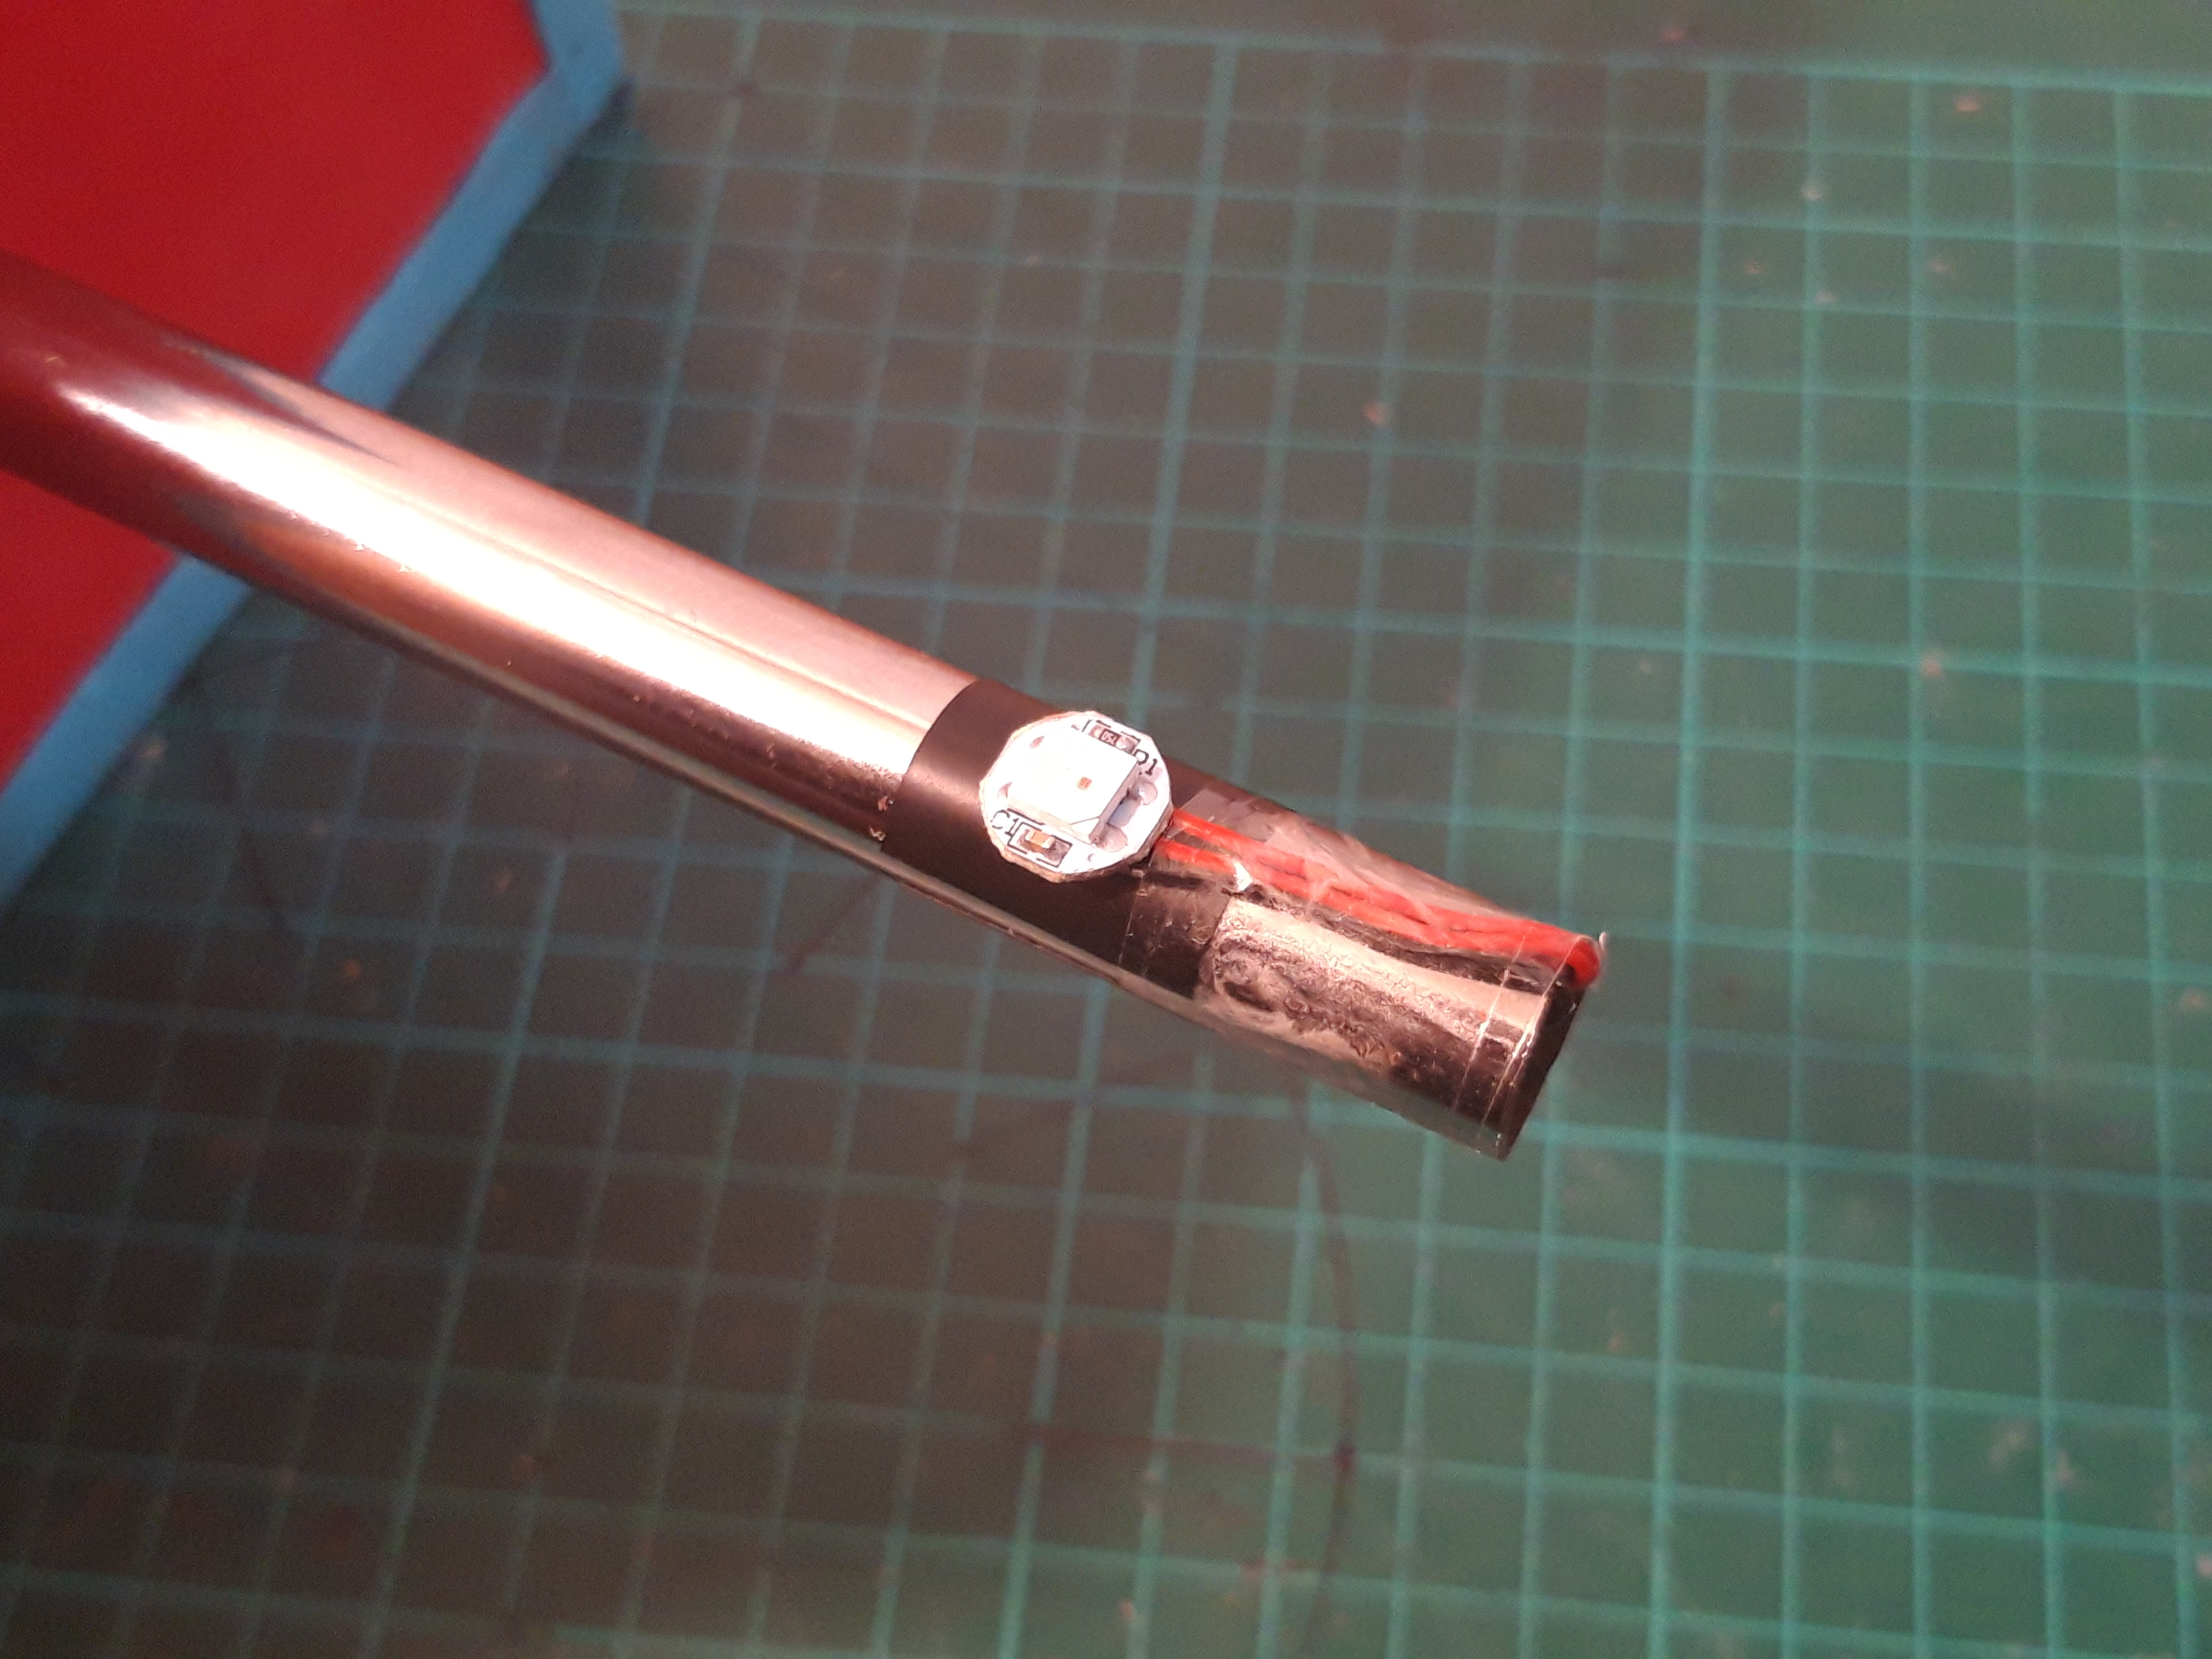
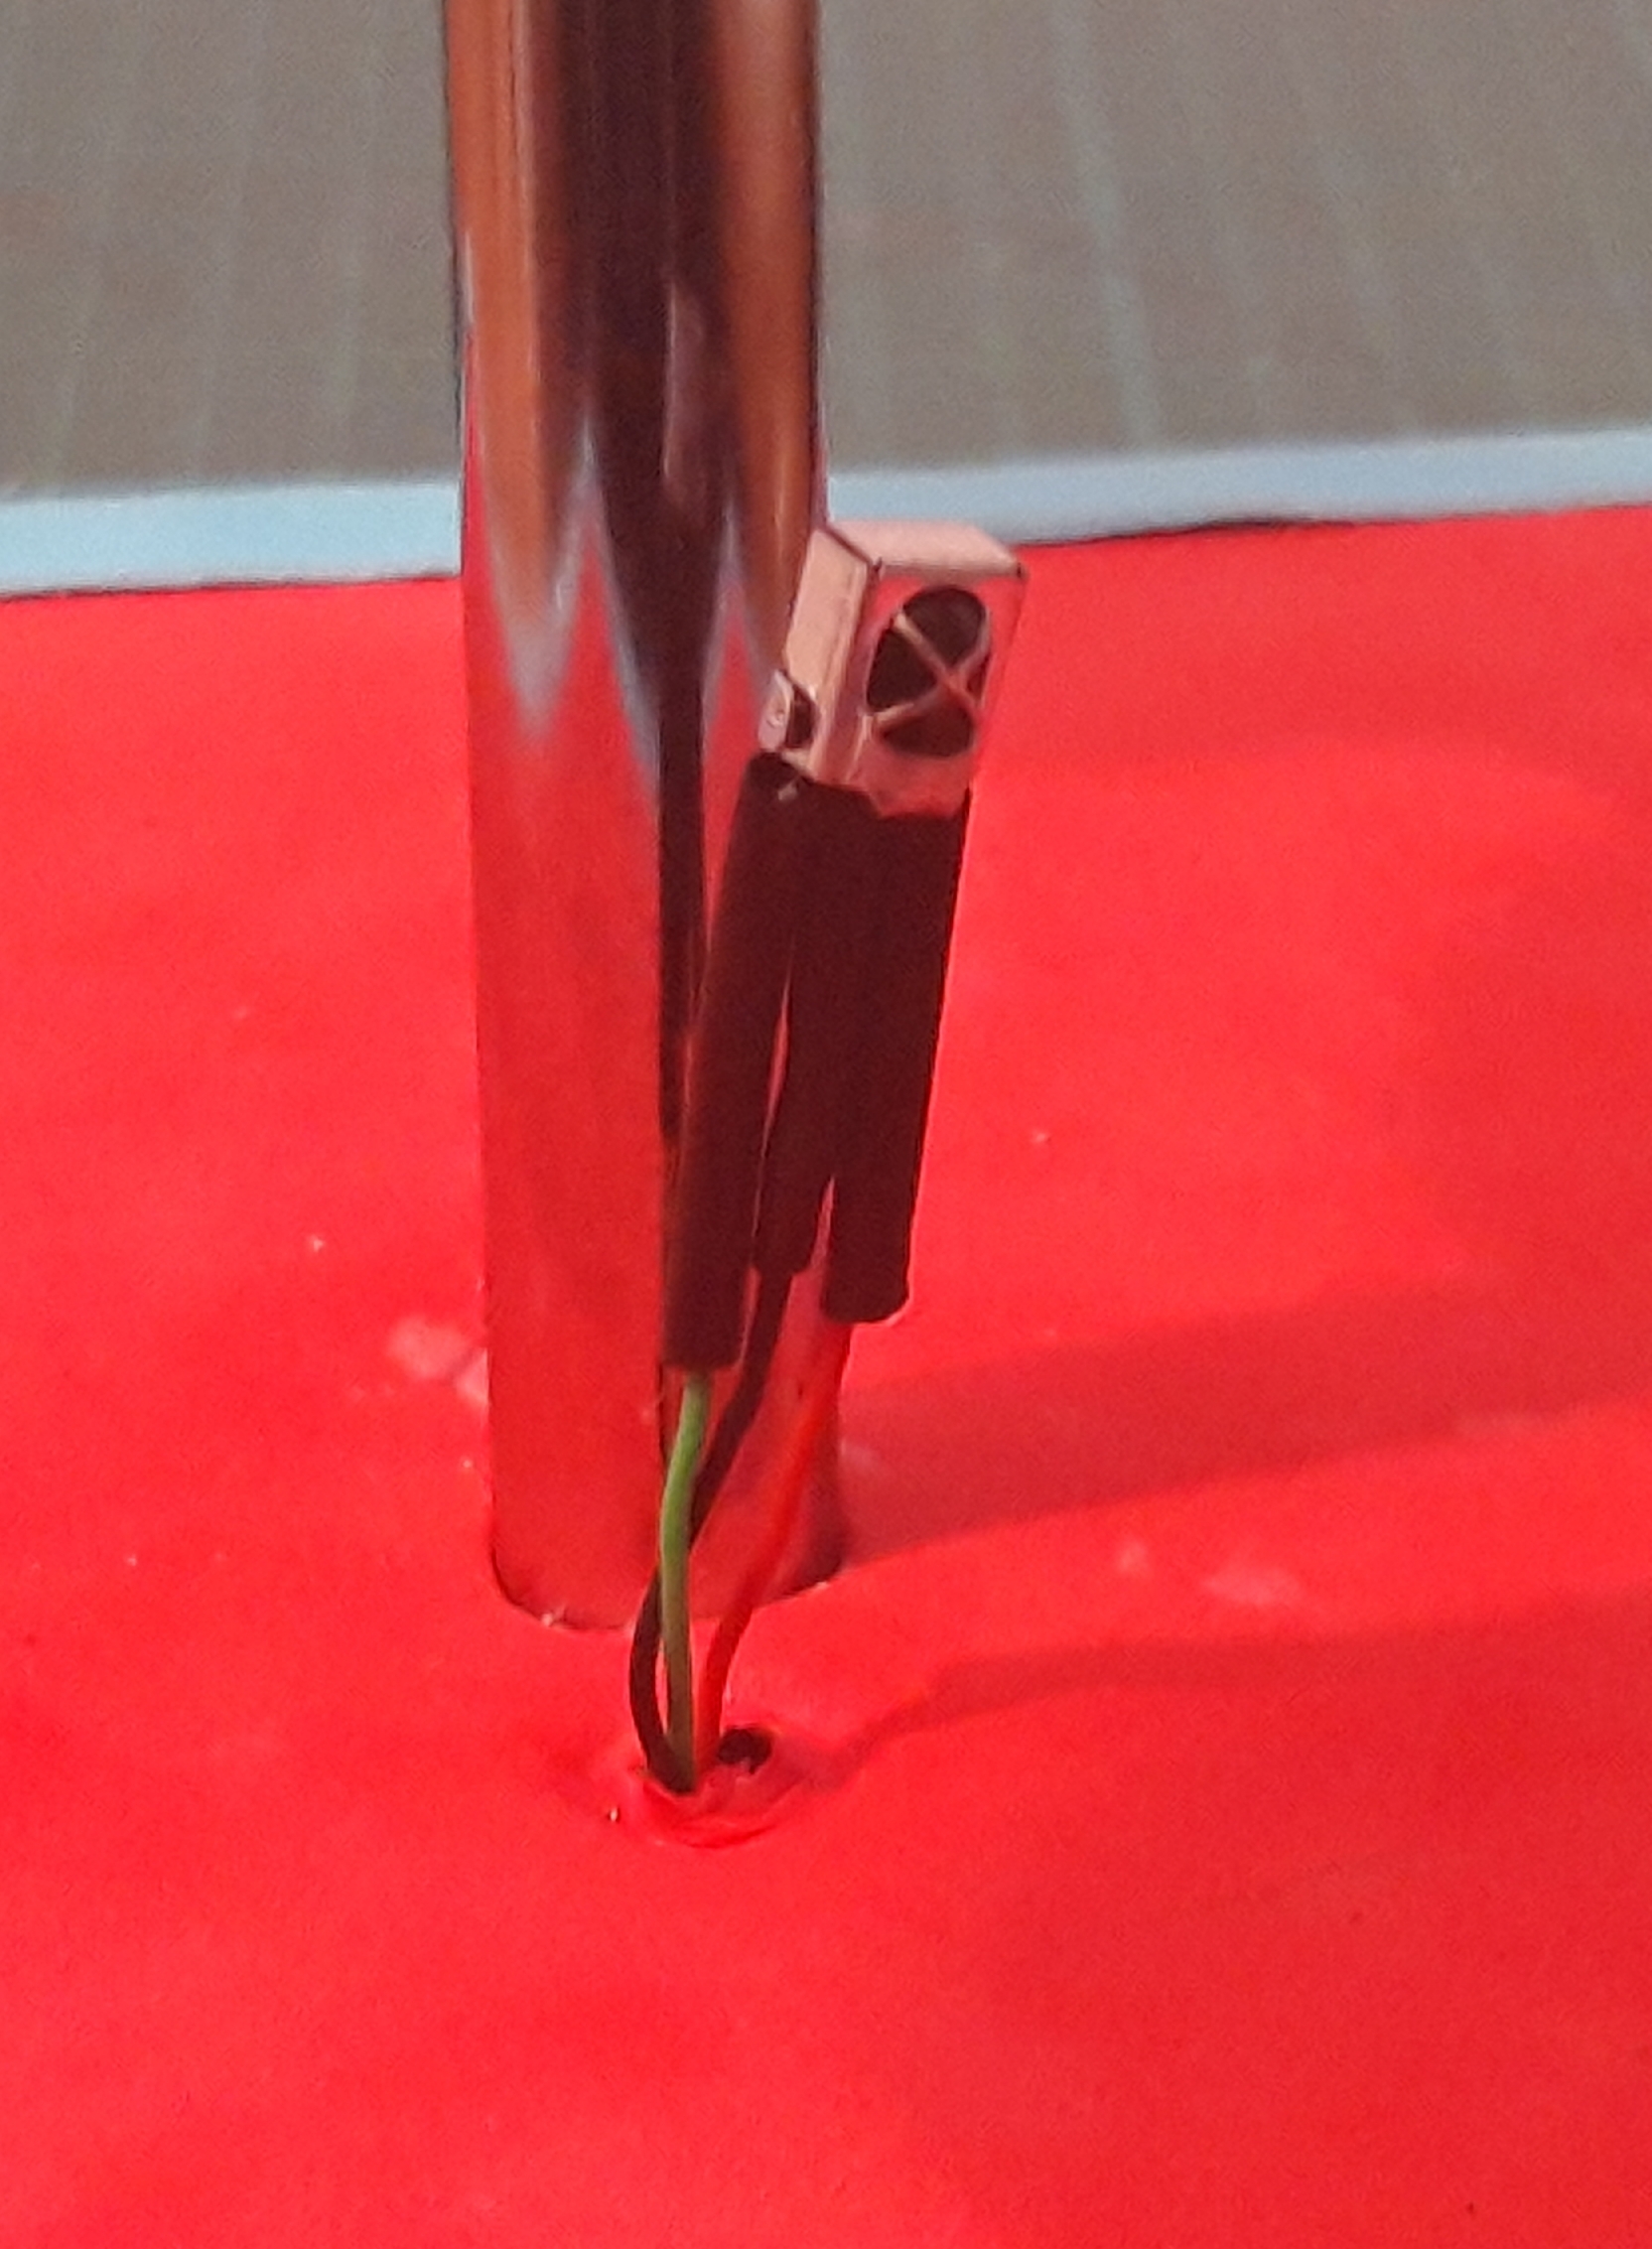
The first strip led in the big ball is the first one we have to mount.
In the image you can see the three cables inside the metal tube and the strip led fixed using insulating tape.
All the strip leds used in this project only have one led.
Pass Through the Metal Tube All the Wires
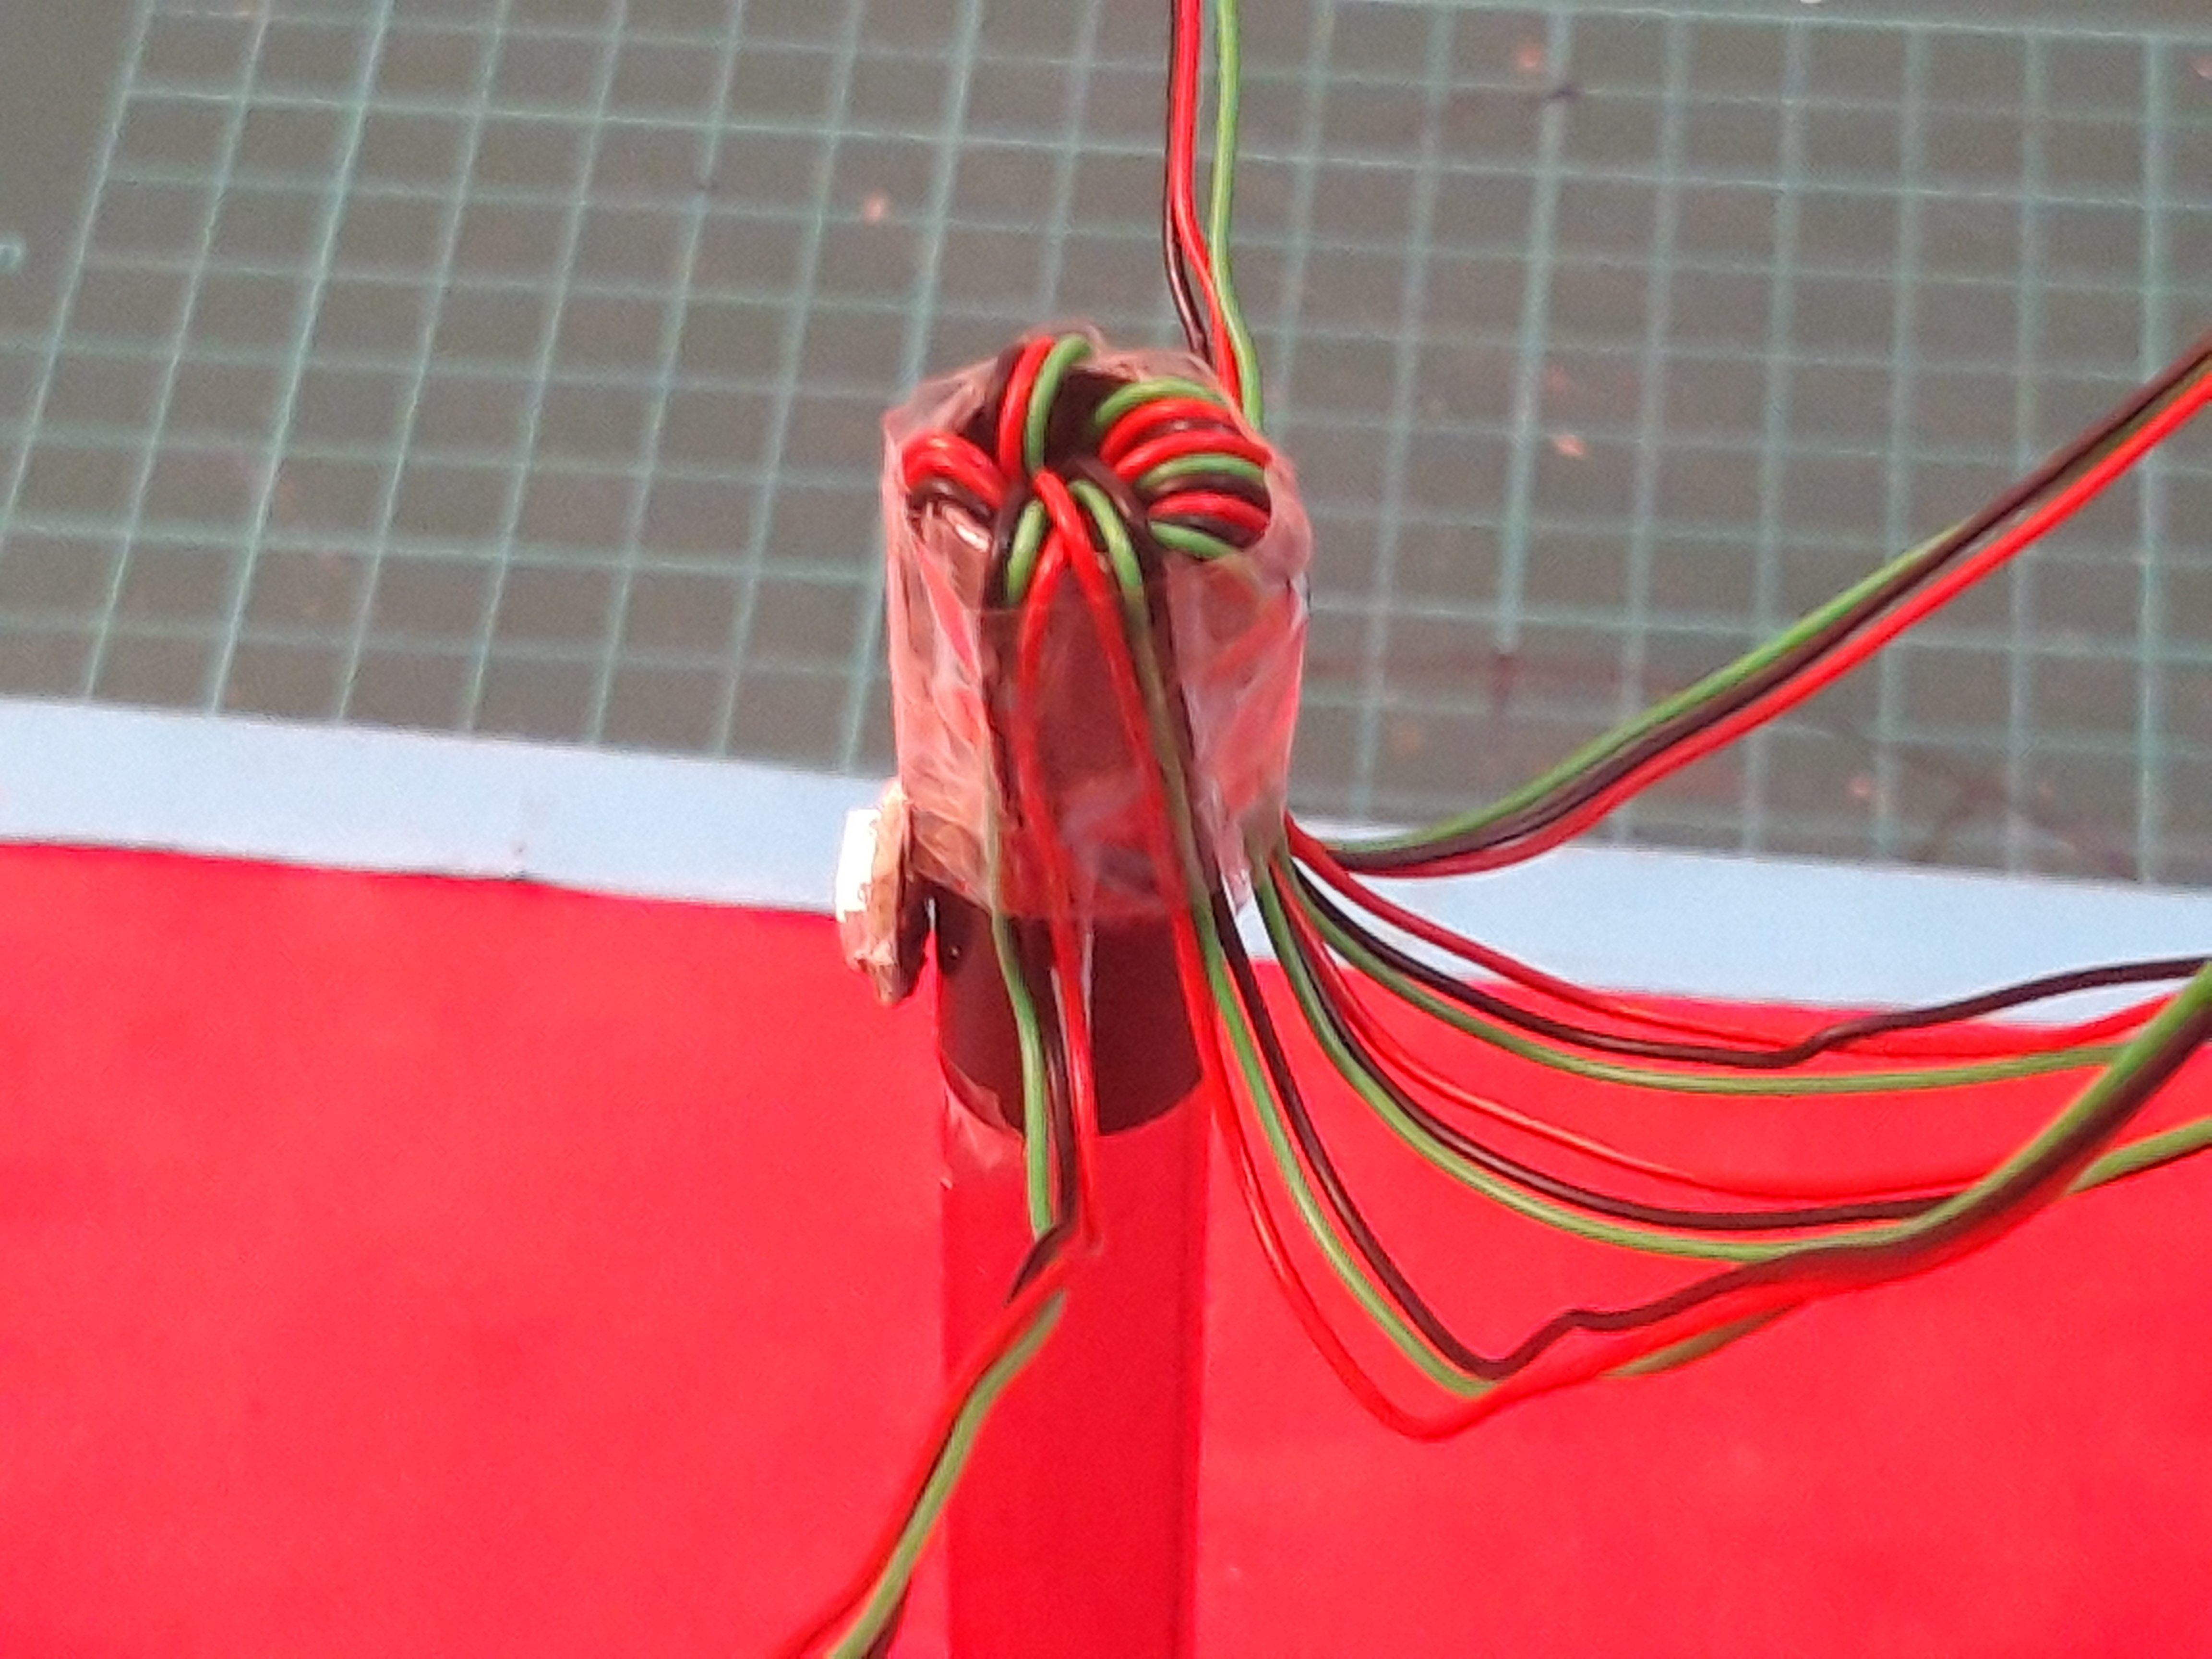
At this moment we have to decide how many ping pong balls we are going to mount in our molecular shape lamp because we have to use one strip led for each ball.
For each strip led we have to use three wires: 5V (red), ground (black) and data wires (green).
Each strip led has only one led.
Open Holes on the Big Ball
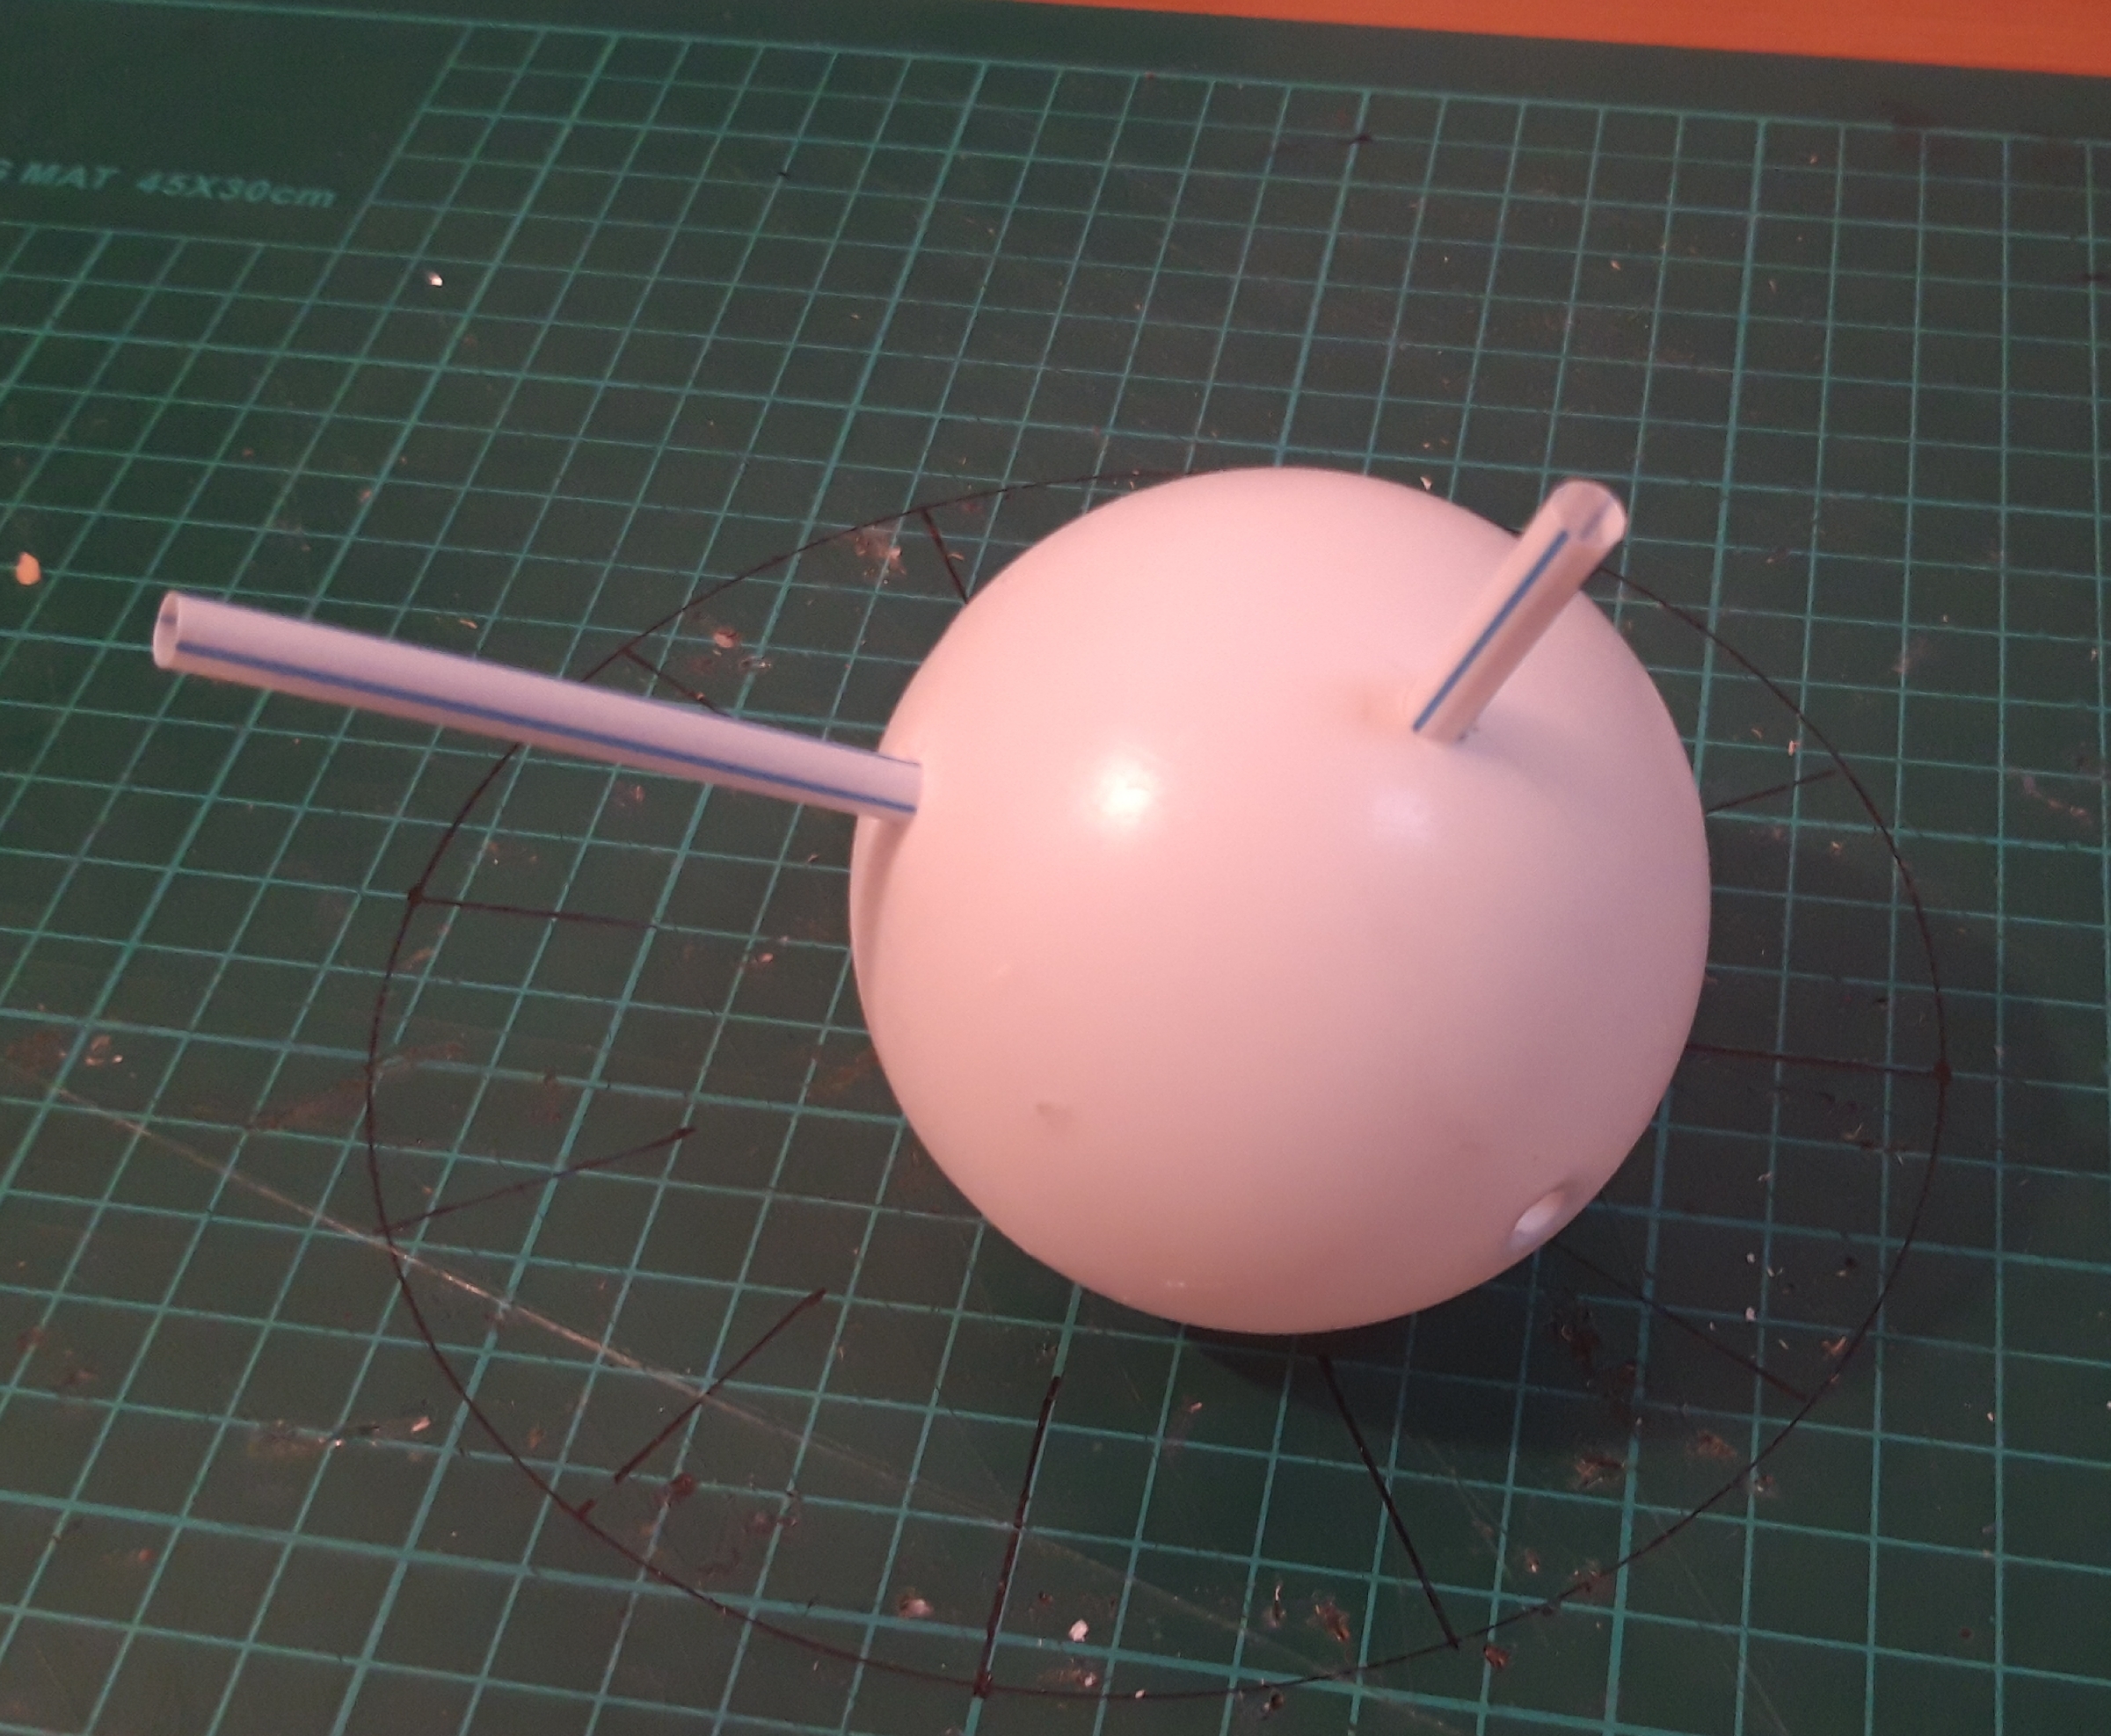
Once you have decide how many ping pong balls you are going to mount, you have to open several holes on the big ball from where the balls will be connected to the lamp.
The diameter of each holes is equal to a drinking straw diameter.
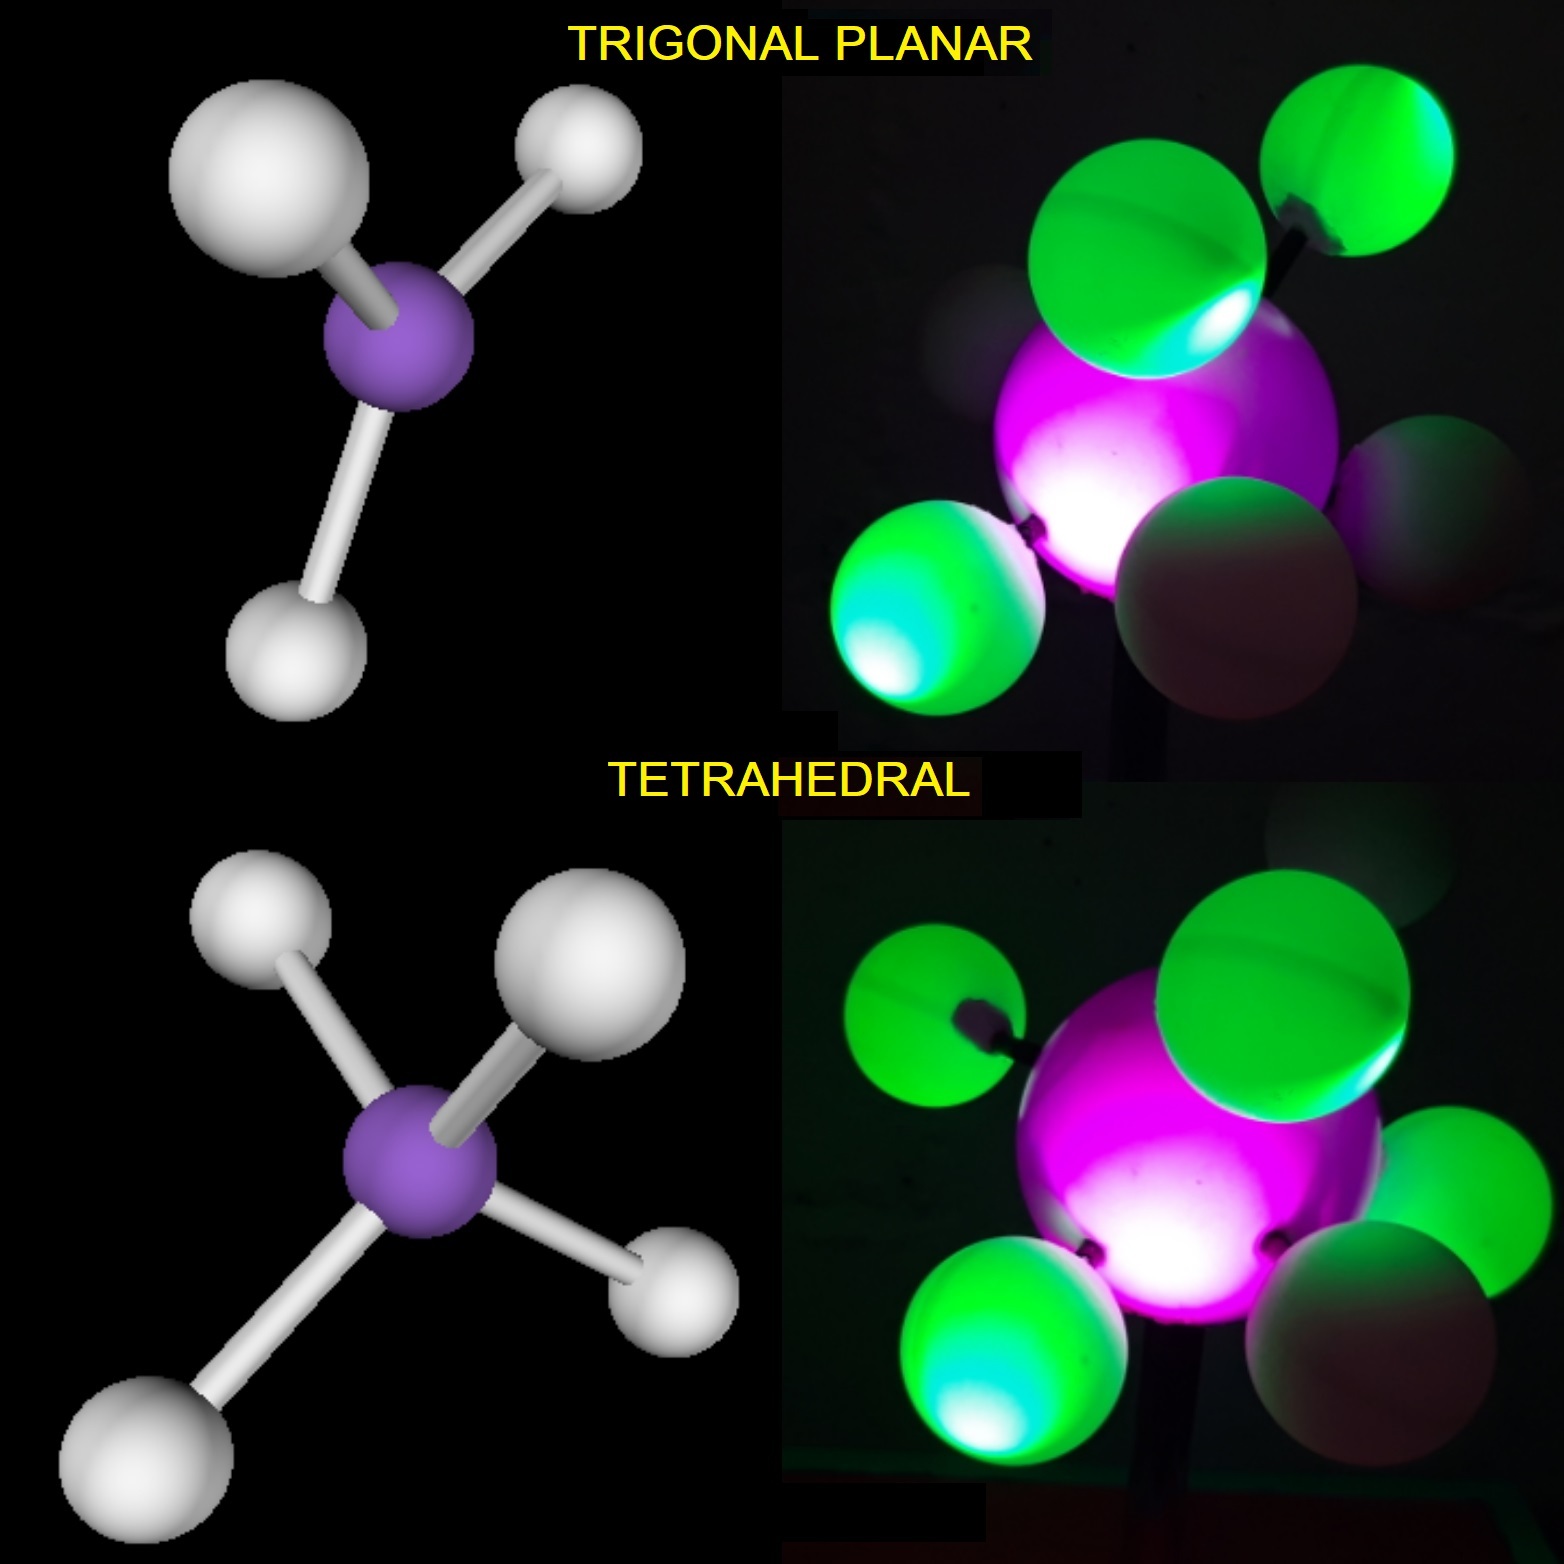
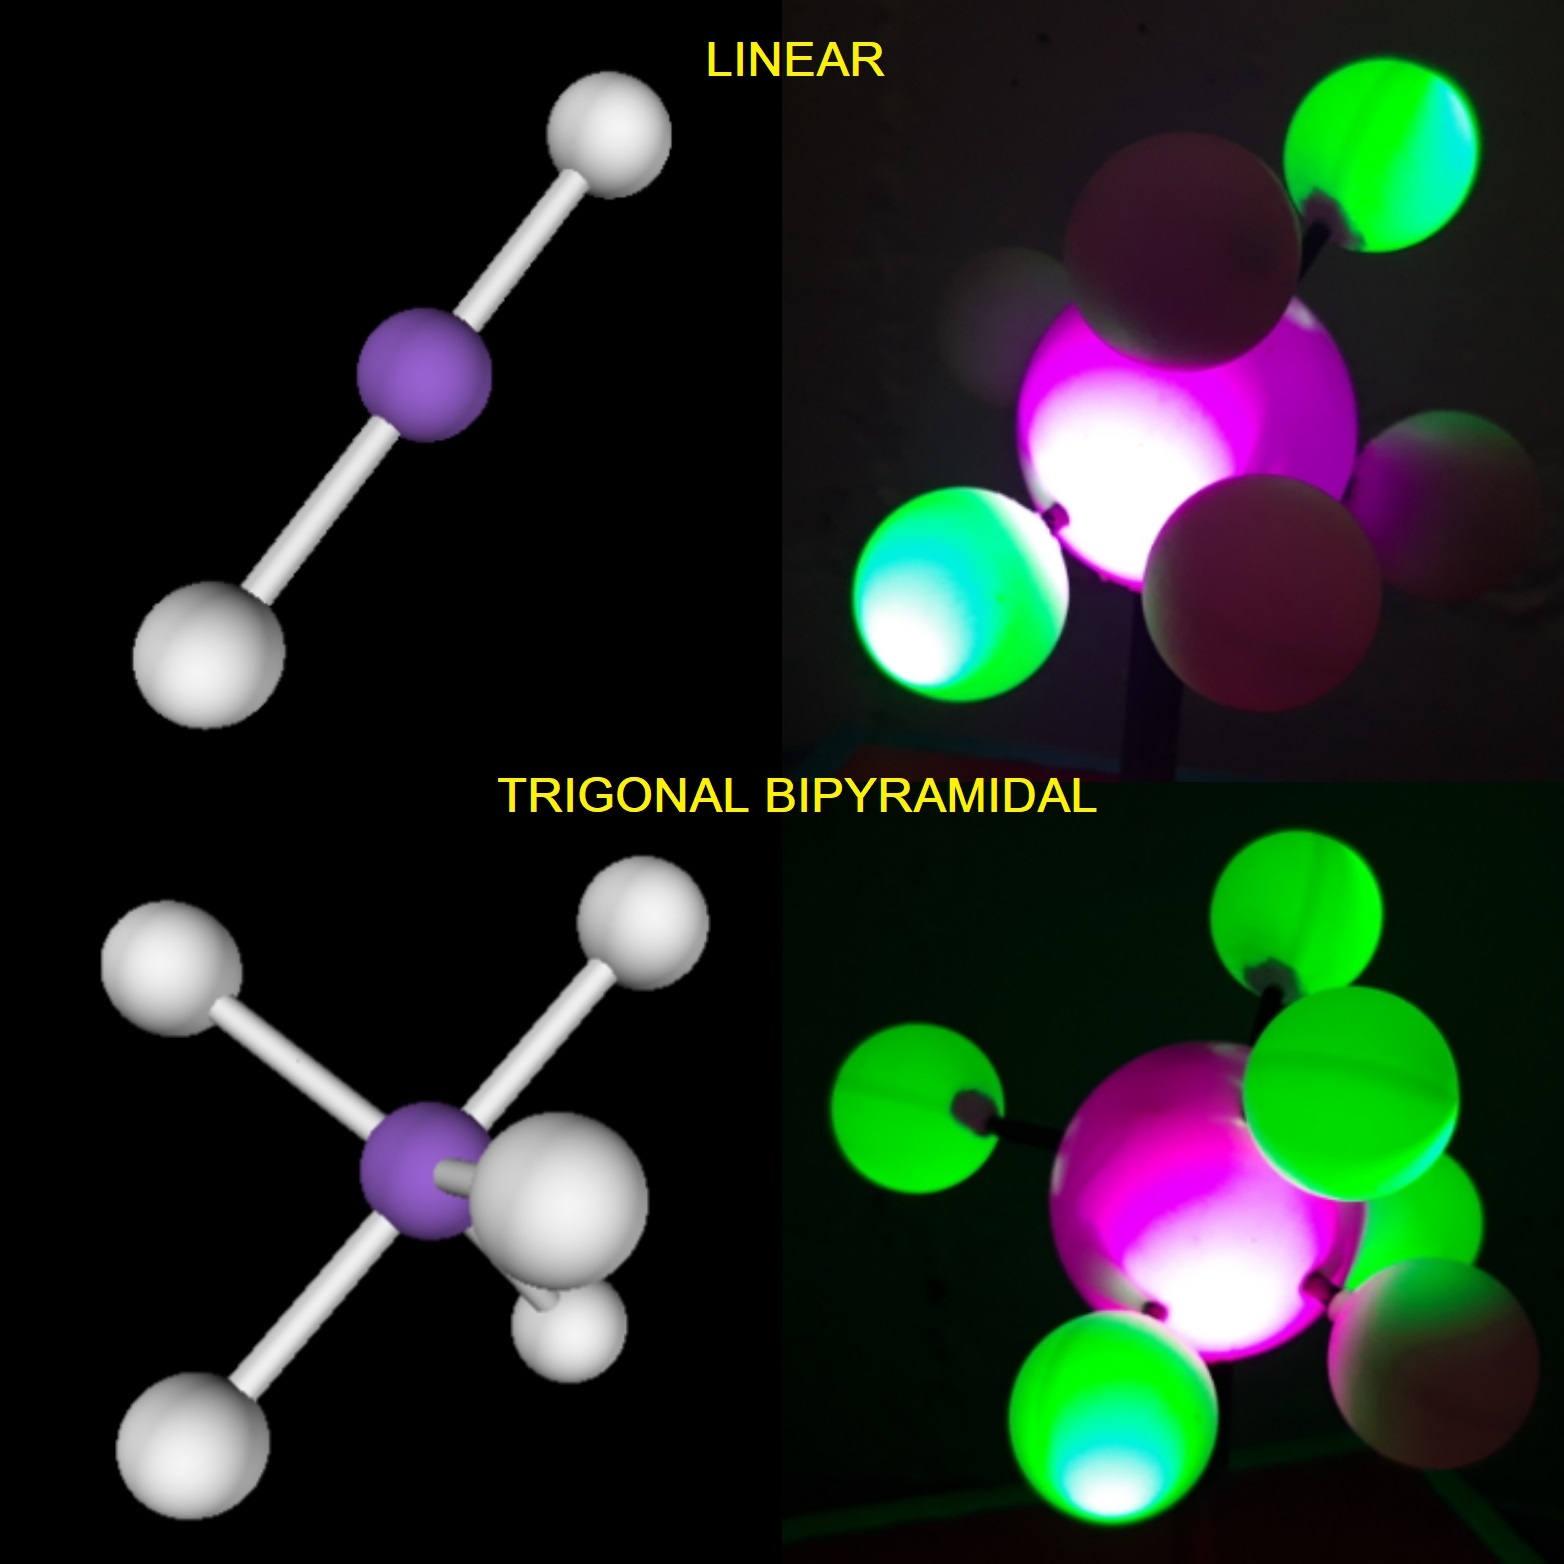
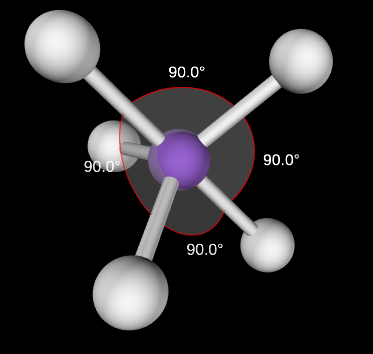
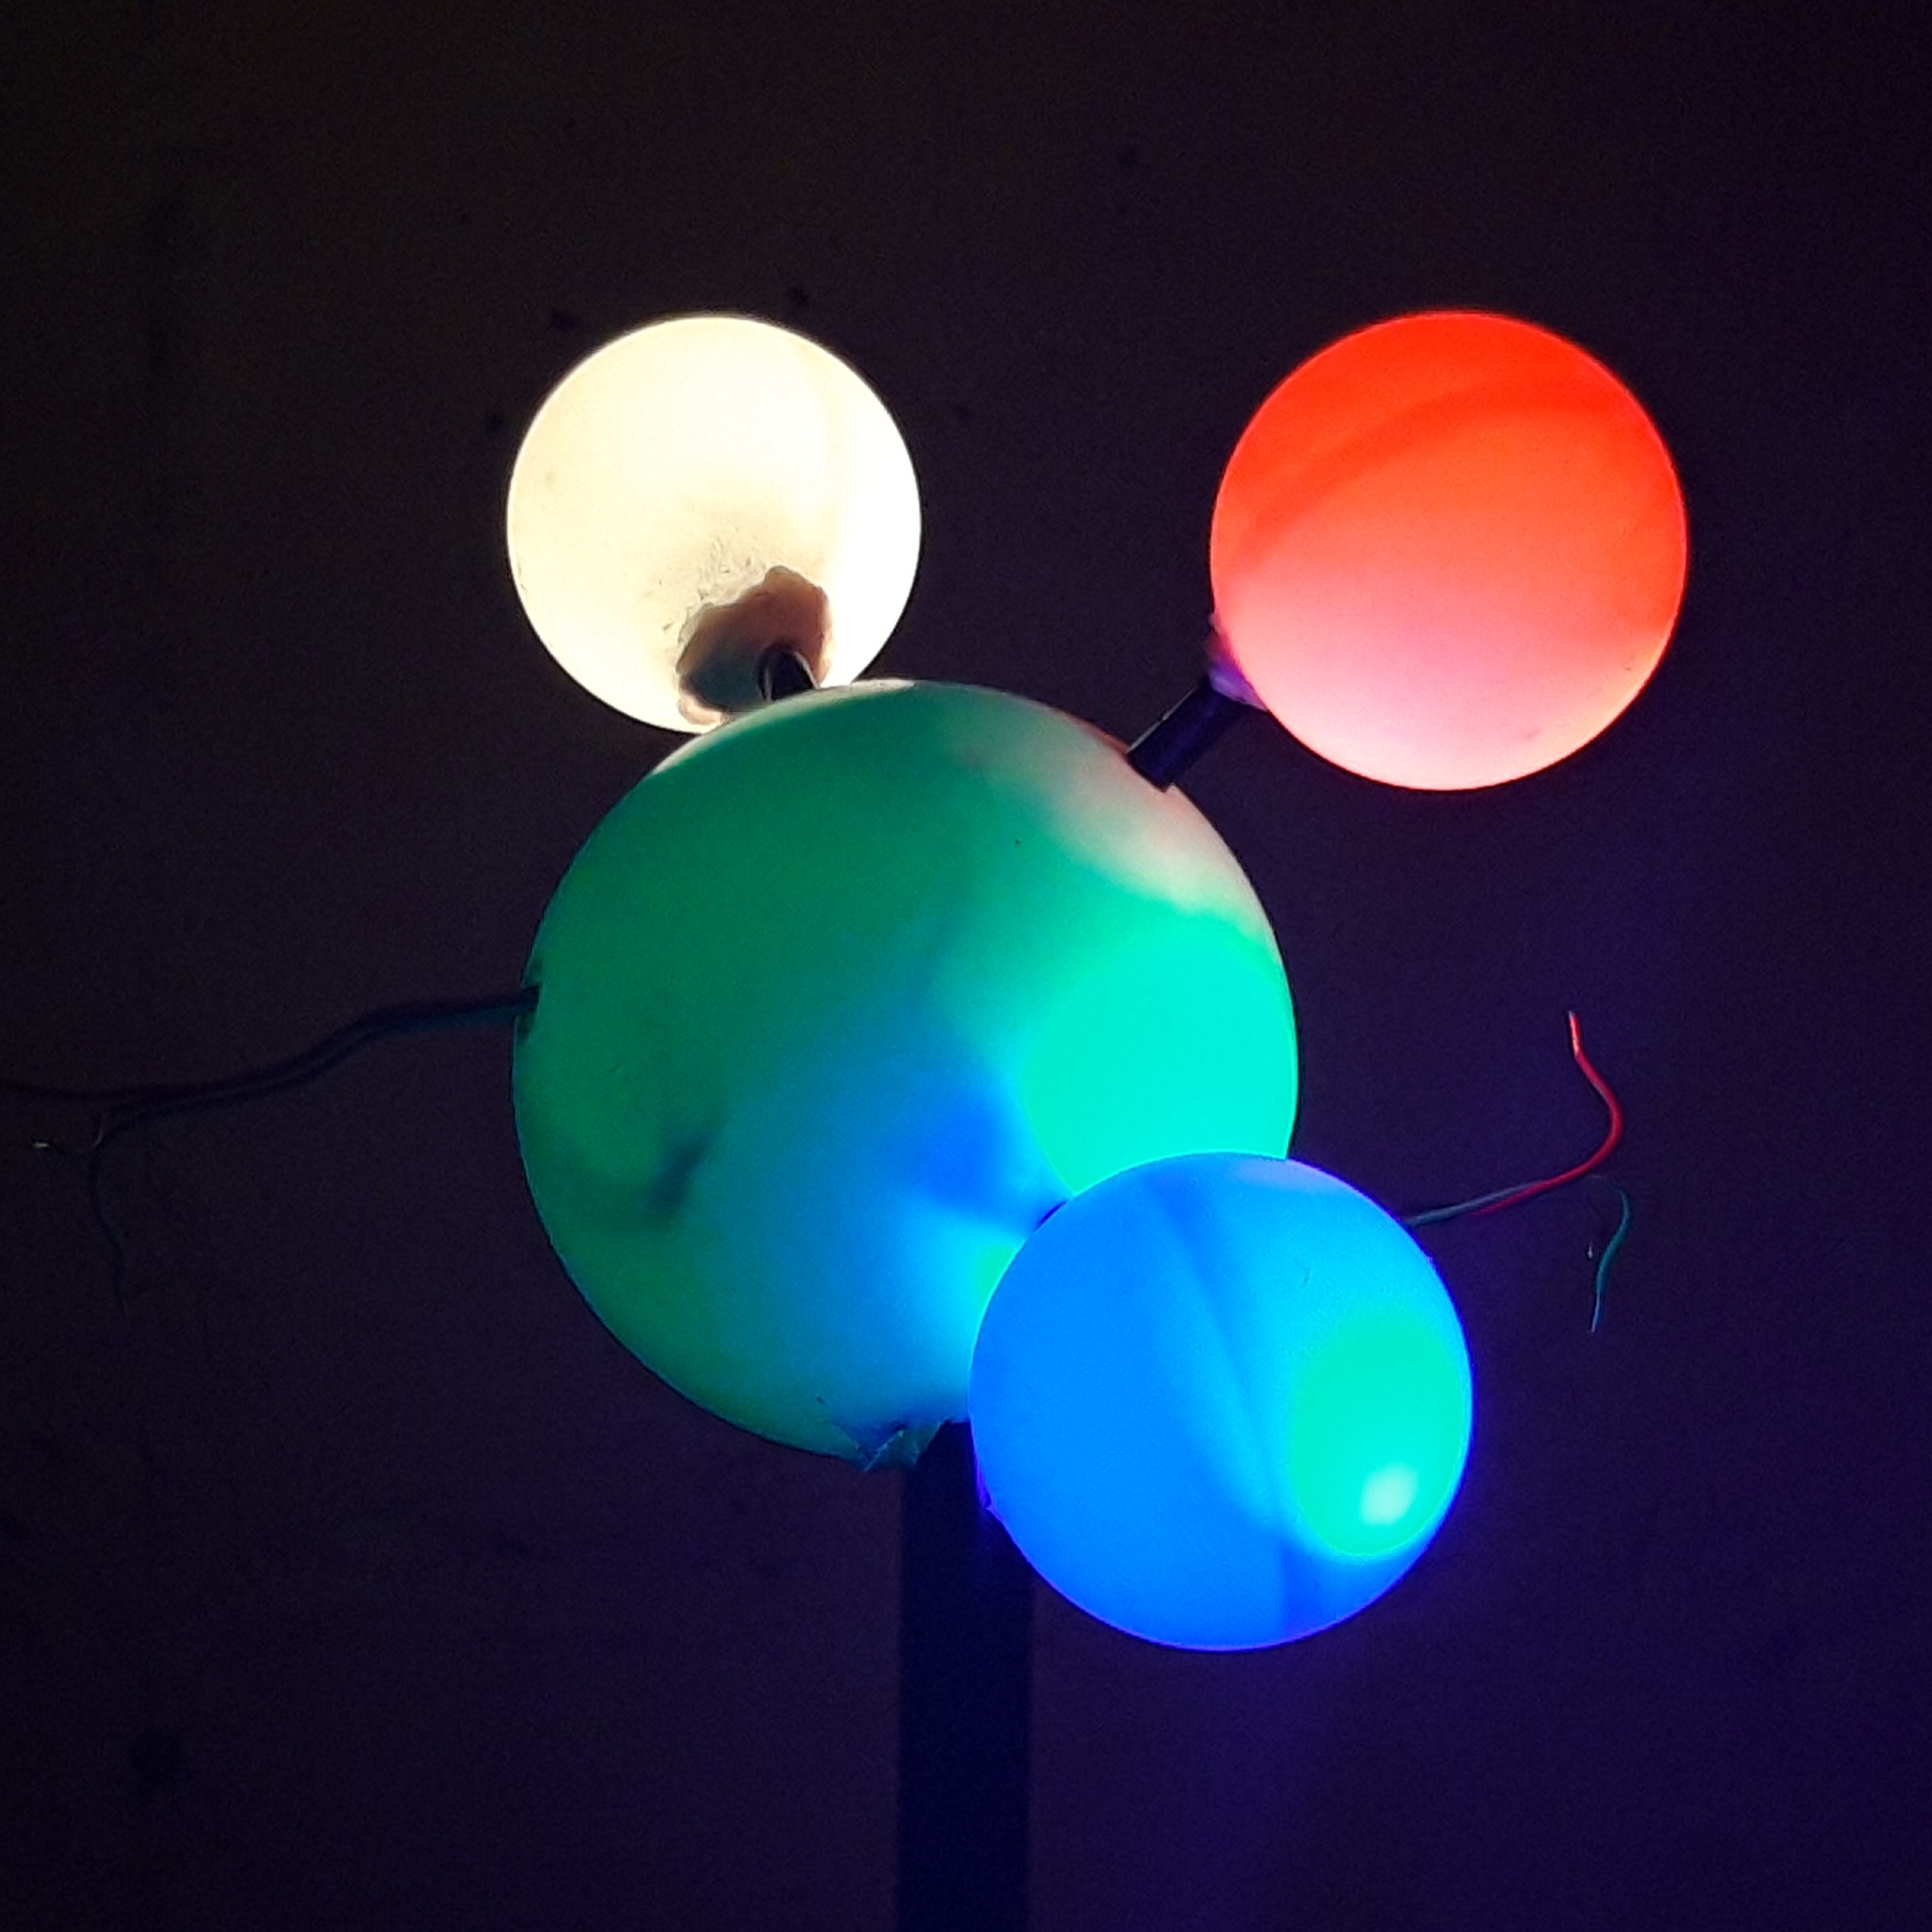
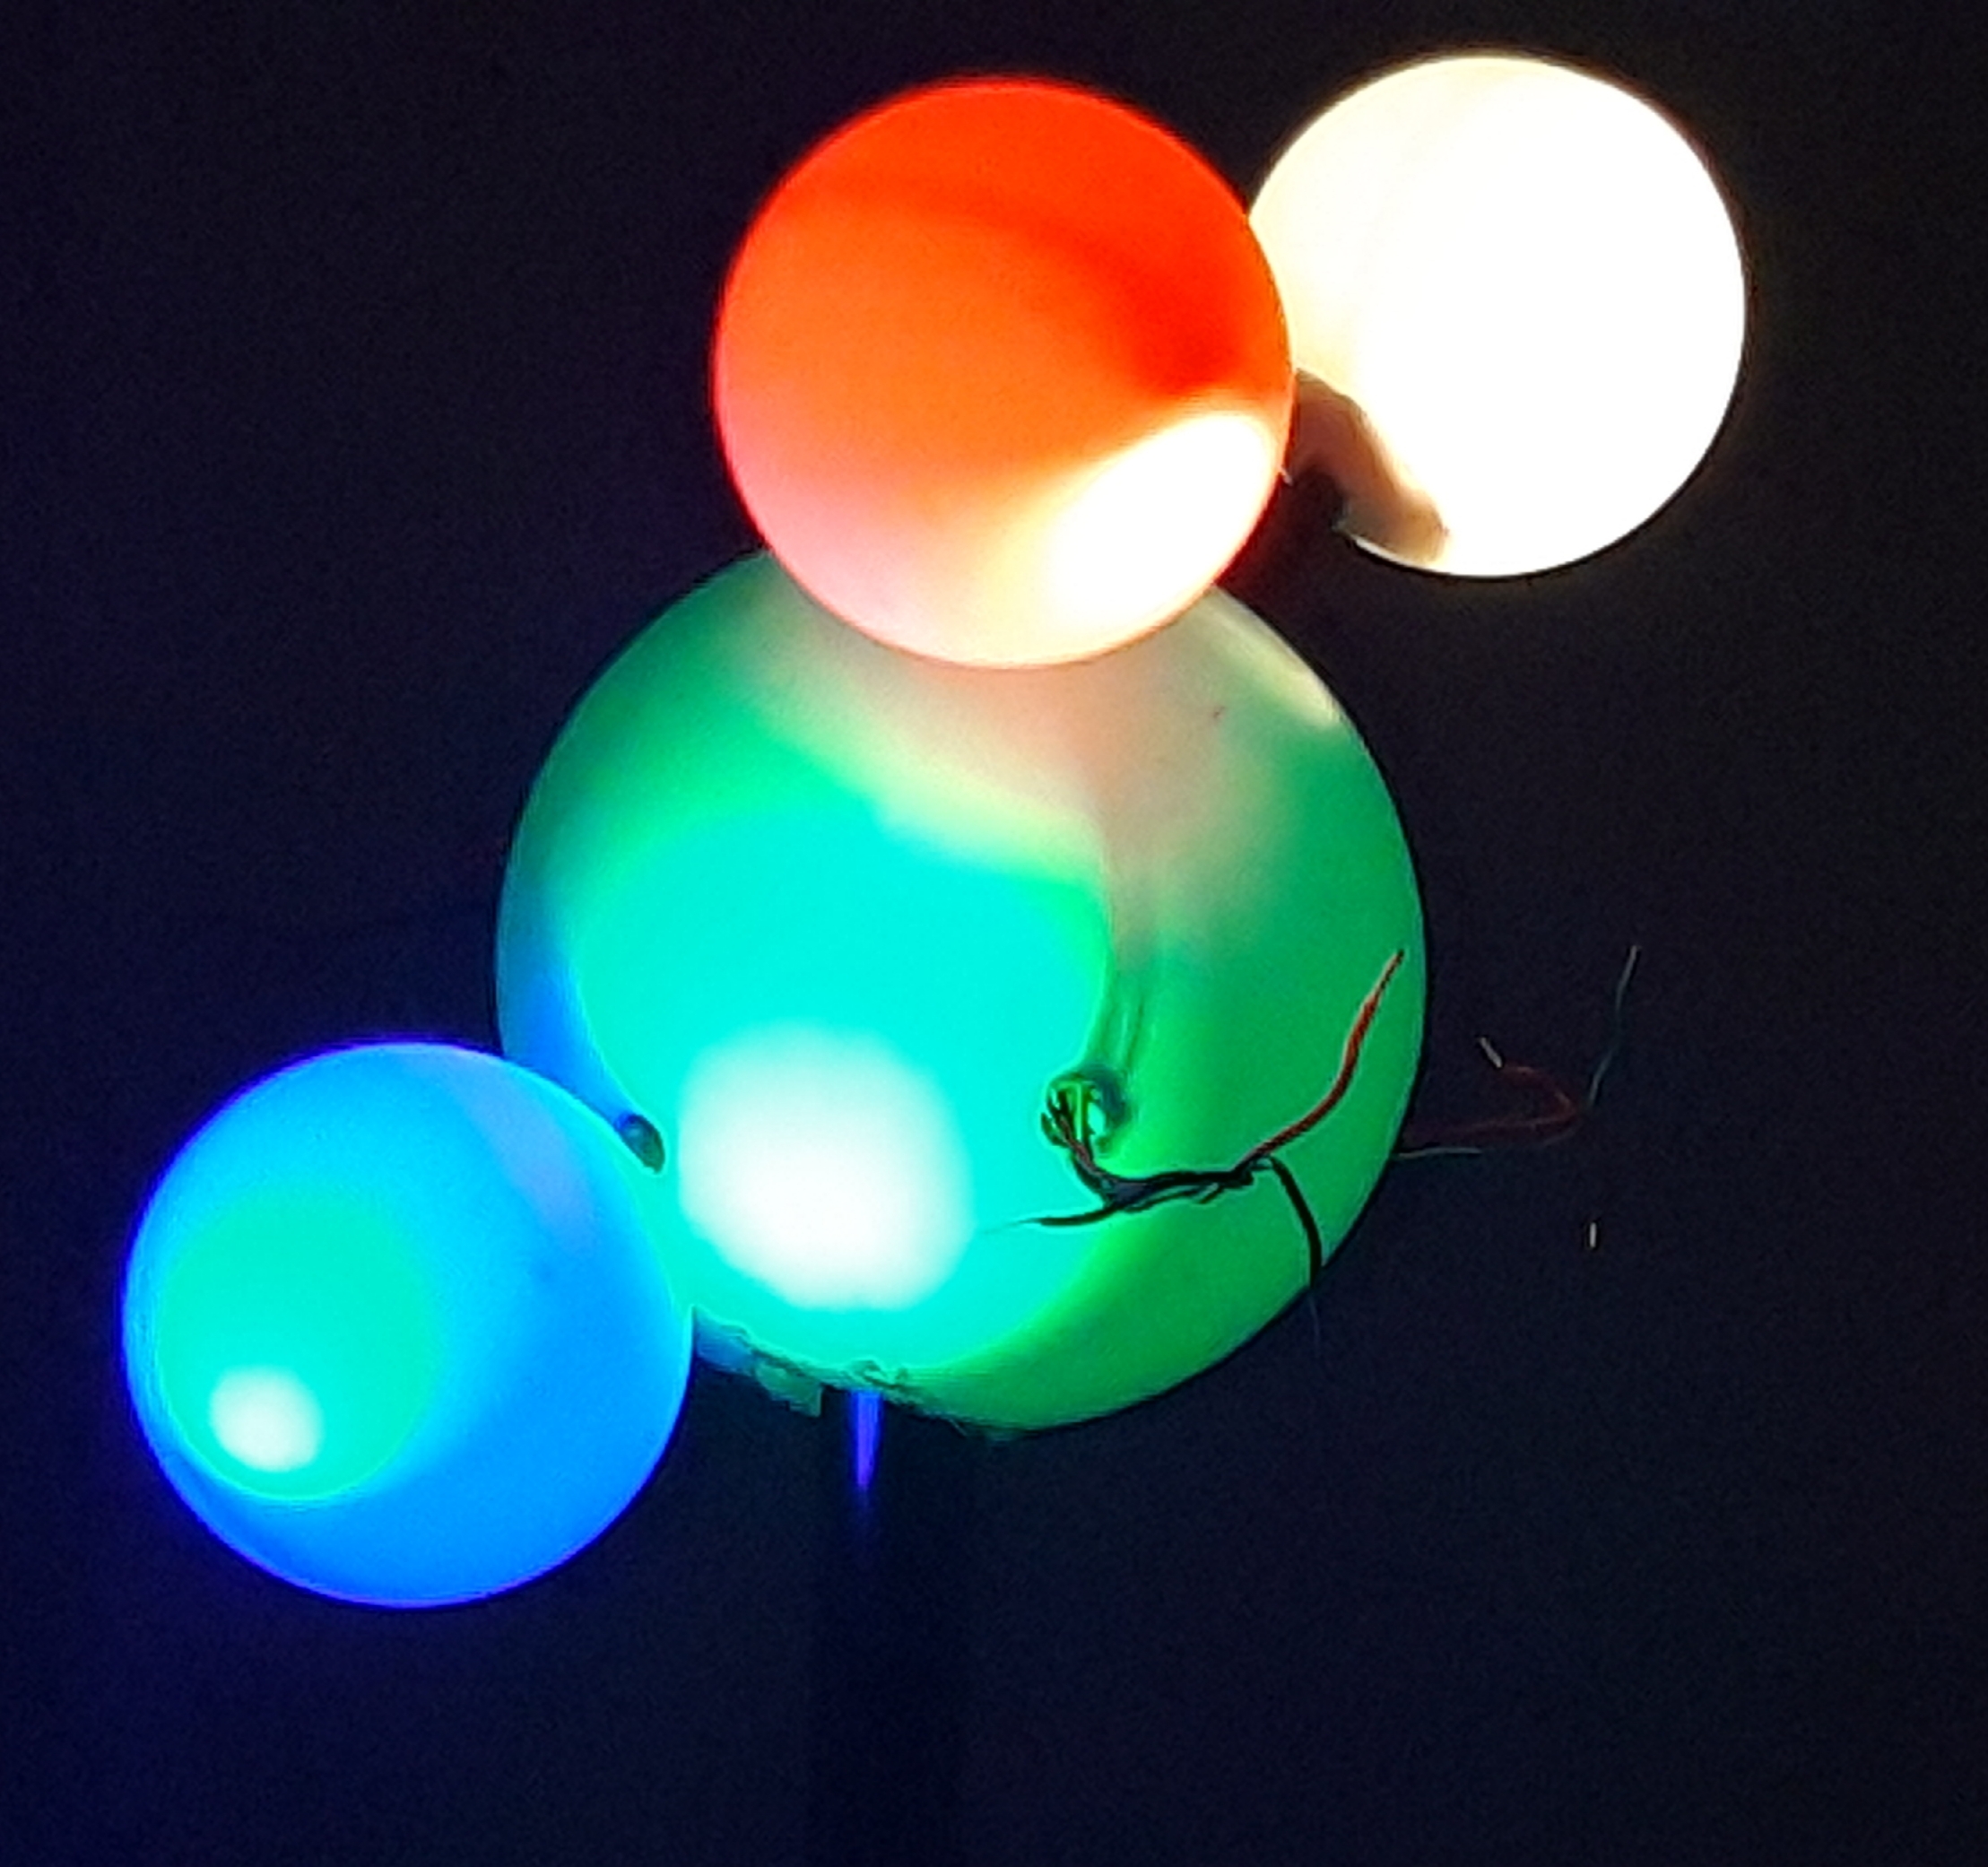
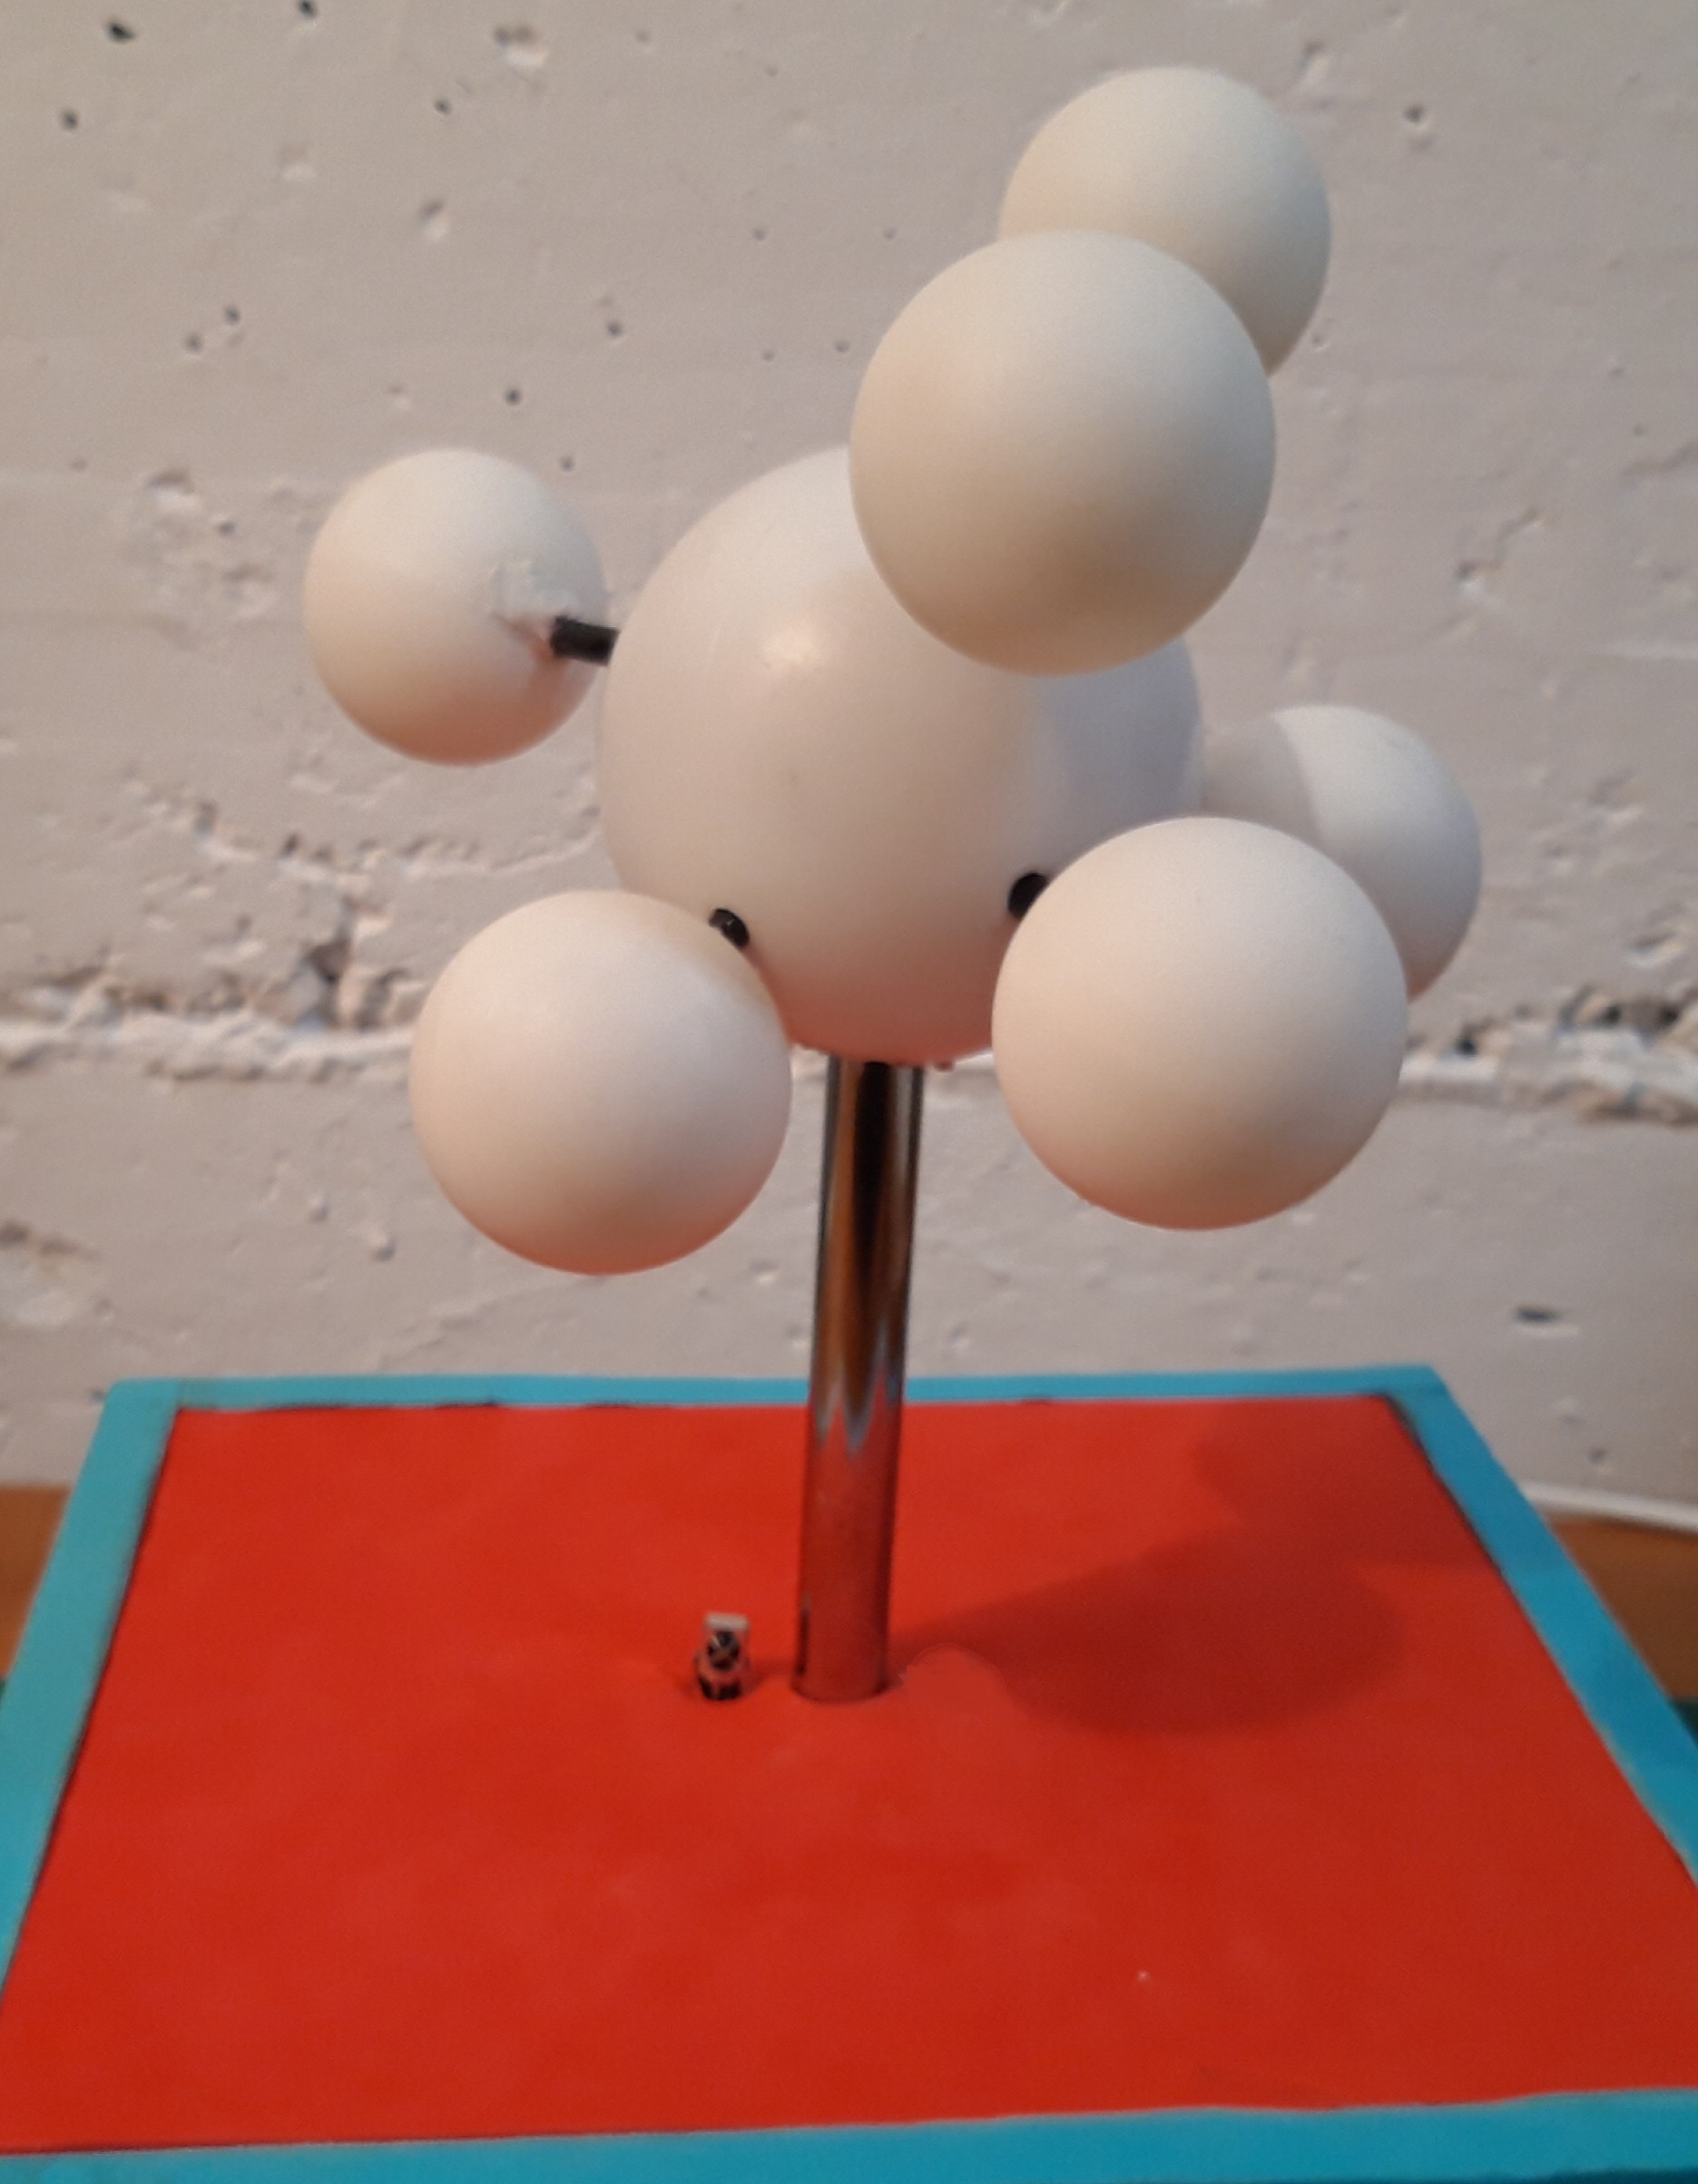
You have to decide what will be the molecular shapes you want to visualize in your lamp to open the holes in the right way. In the first image you can see the position and the angles between holes I have opened on my lamp to visualize a trigonal bipyramidal molecular shape with 5 ping pong balls.
Using this configuration you can visualize a tetrahedral, trigonal planar or linear geometries in the lamp just lighting the right strip leds.
You have take into account that all the visualized geometries are not perfect just only a good aproximation to a real one.
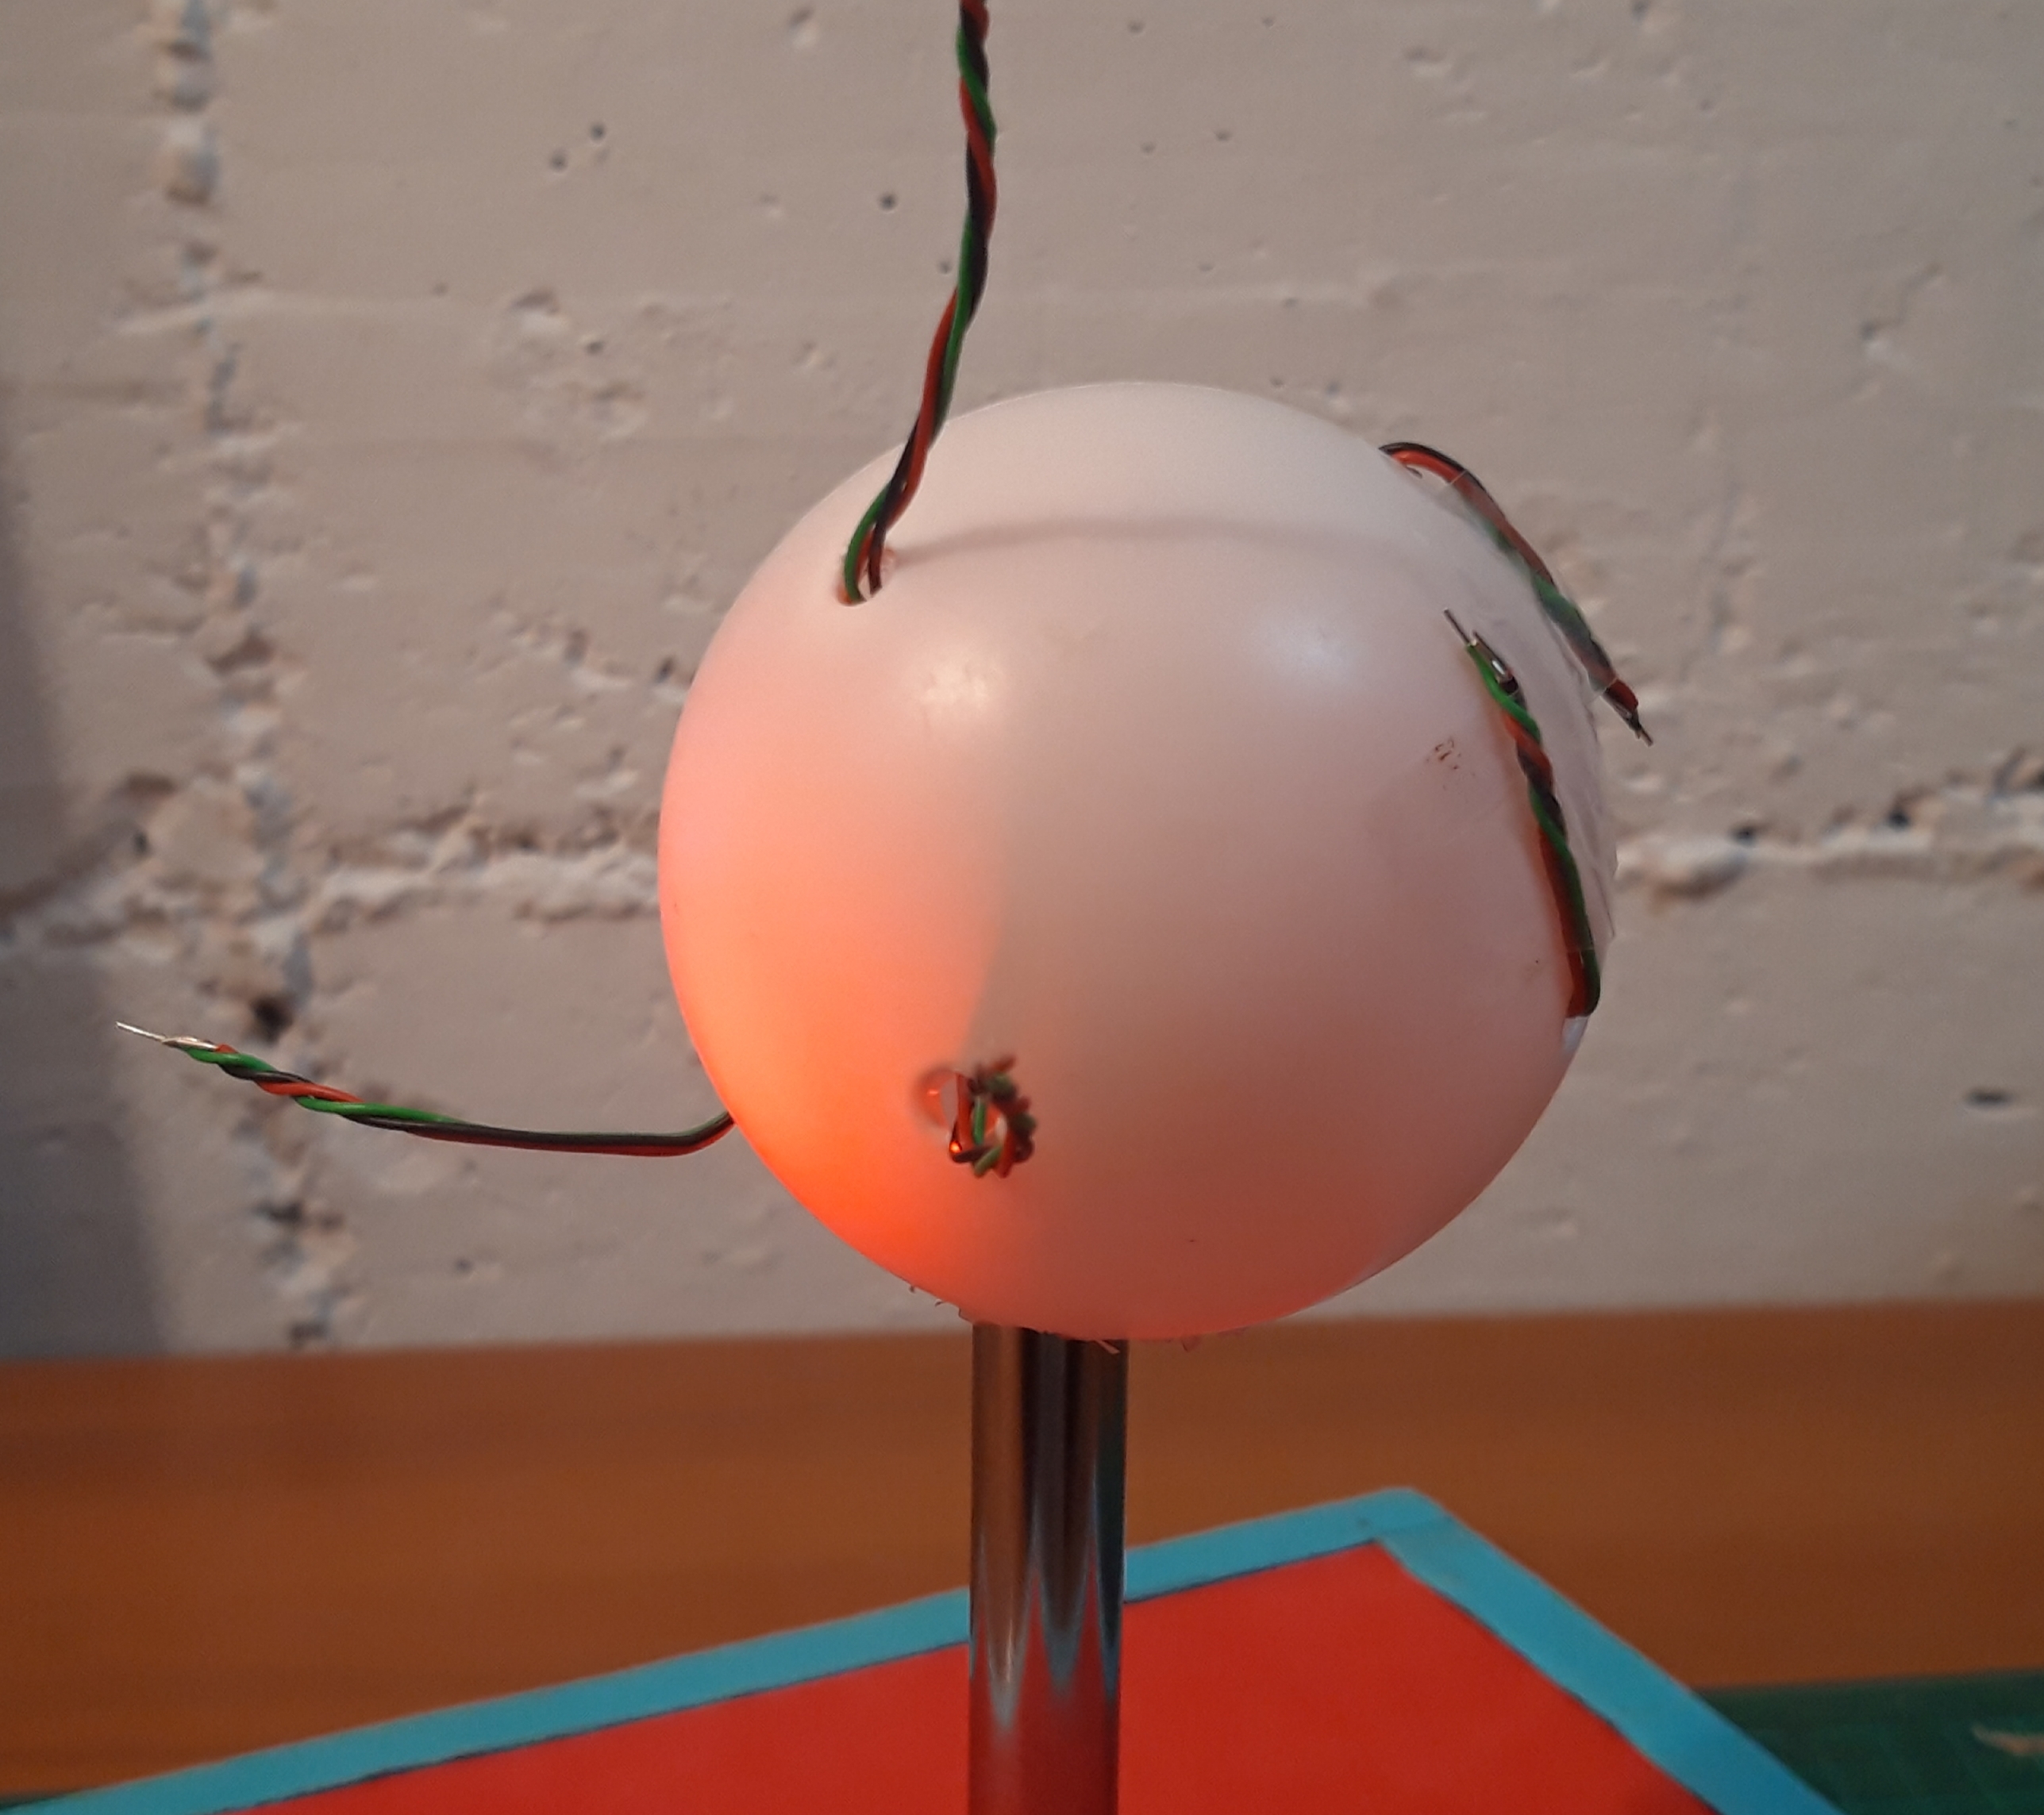
Once all the holes are opened you have to pass through them three cables as you can see in the last image.
Mount the Ping Pong Balls
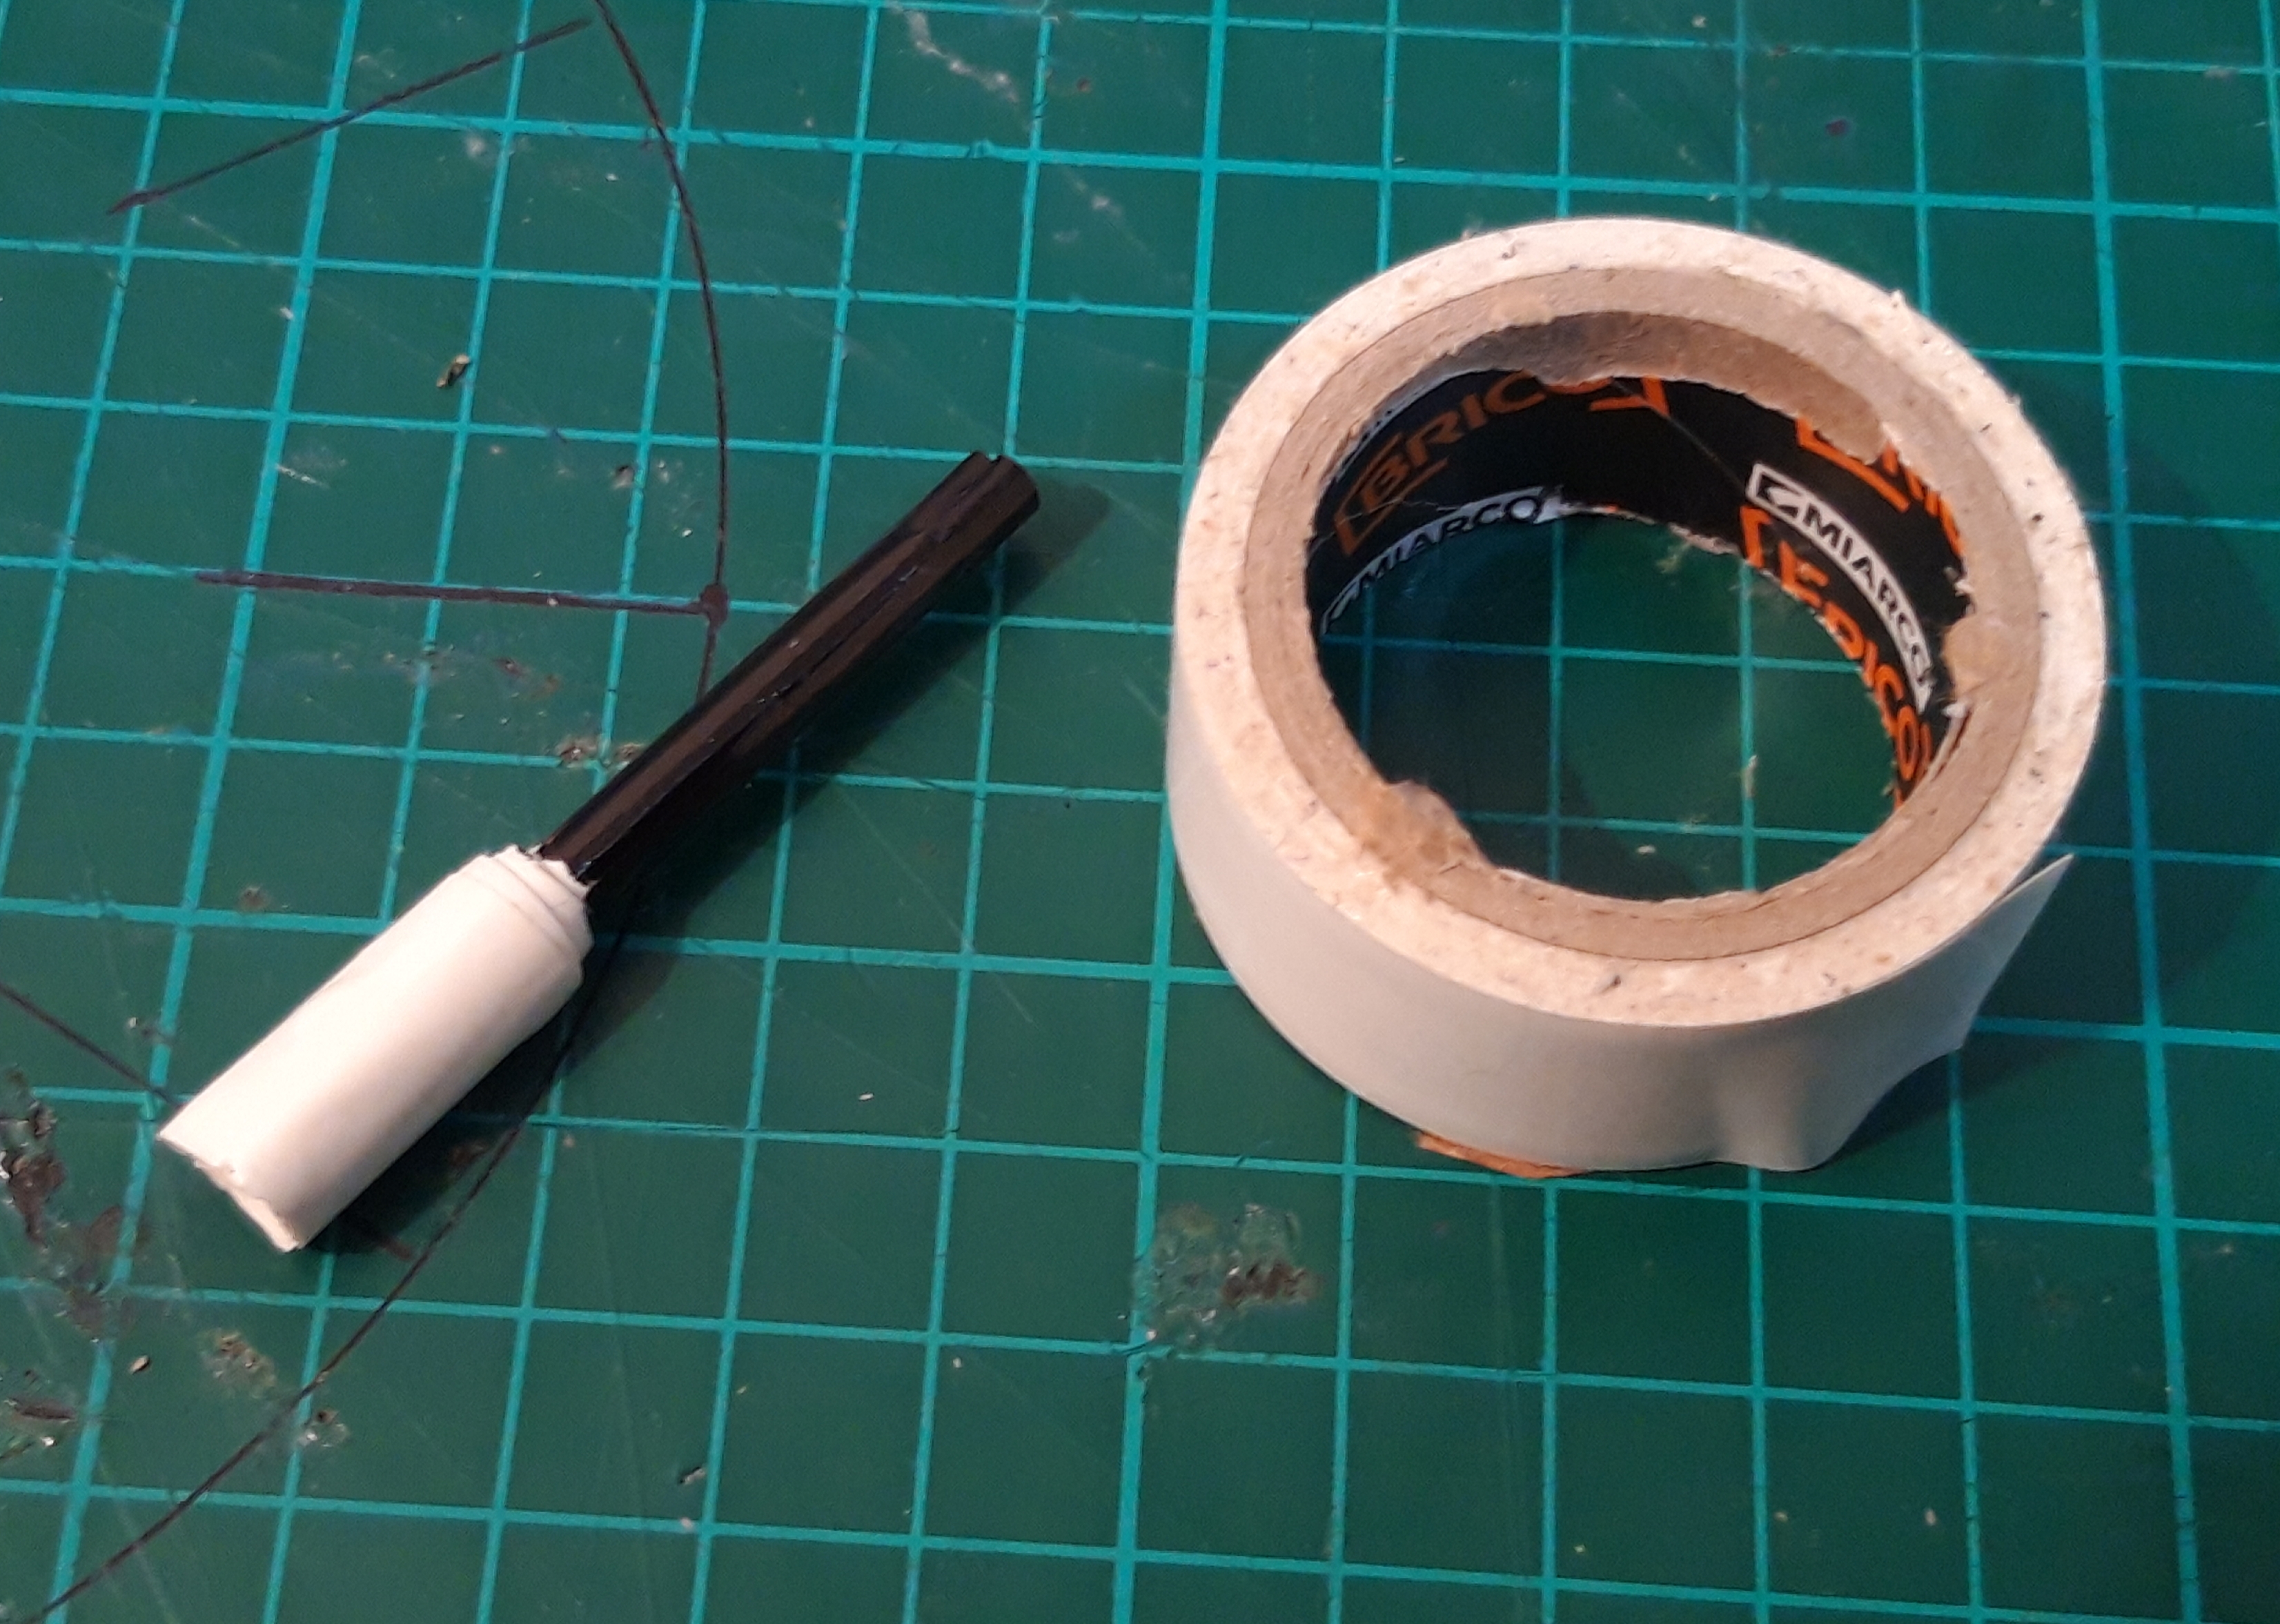
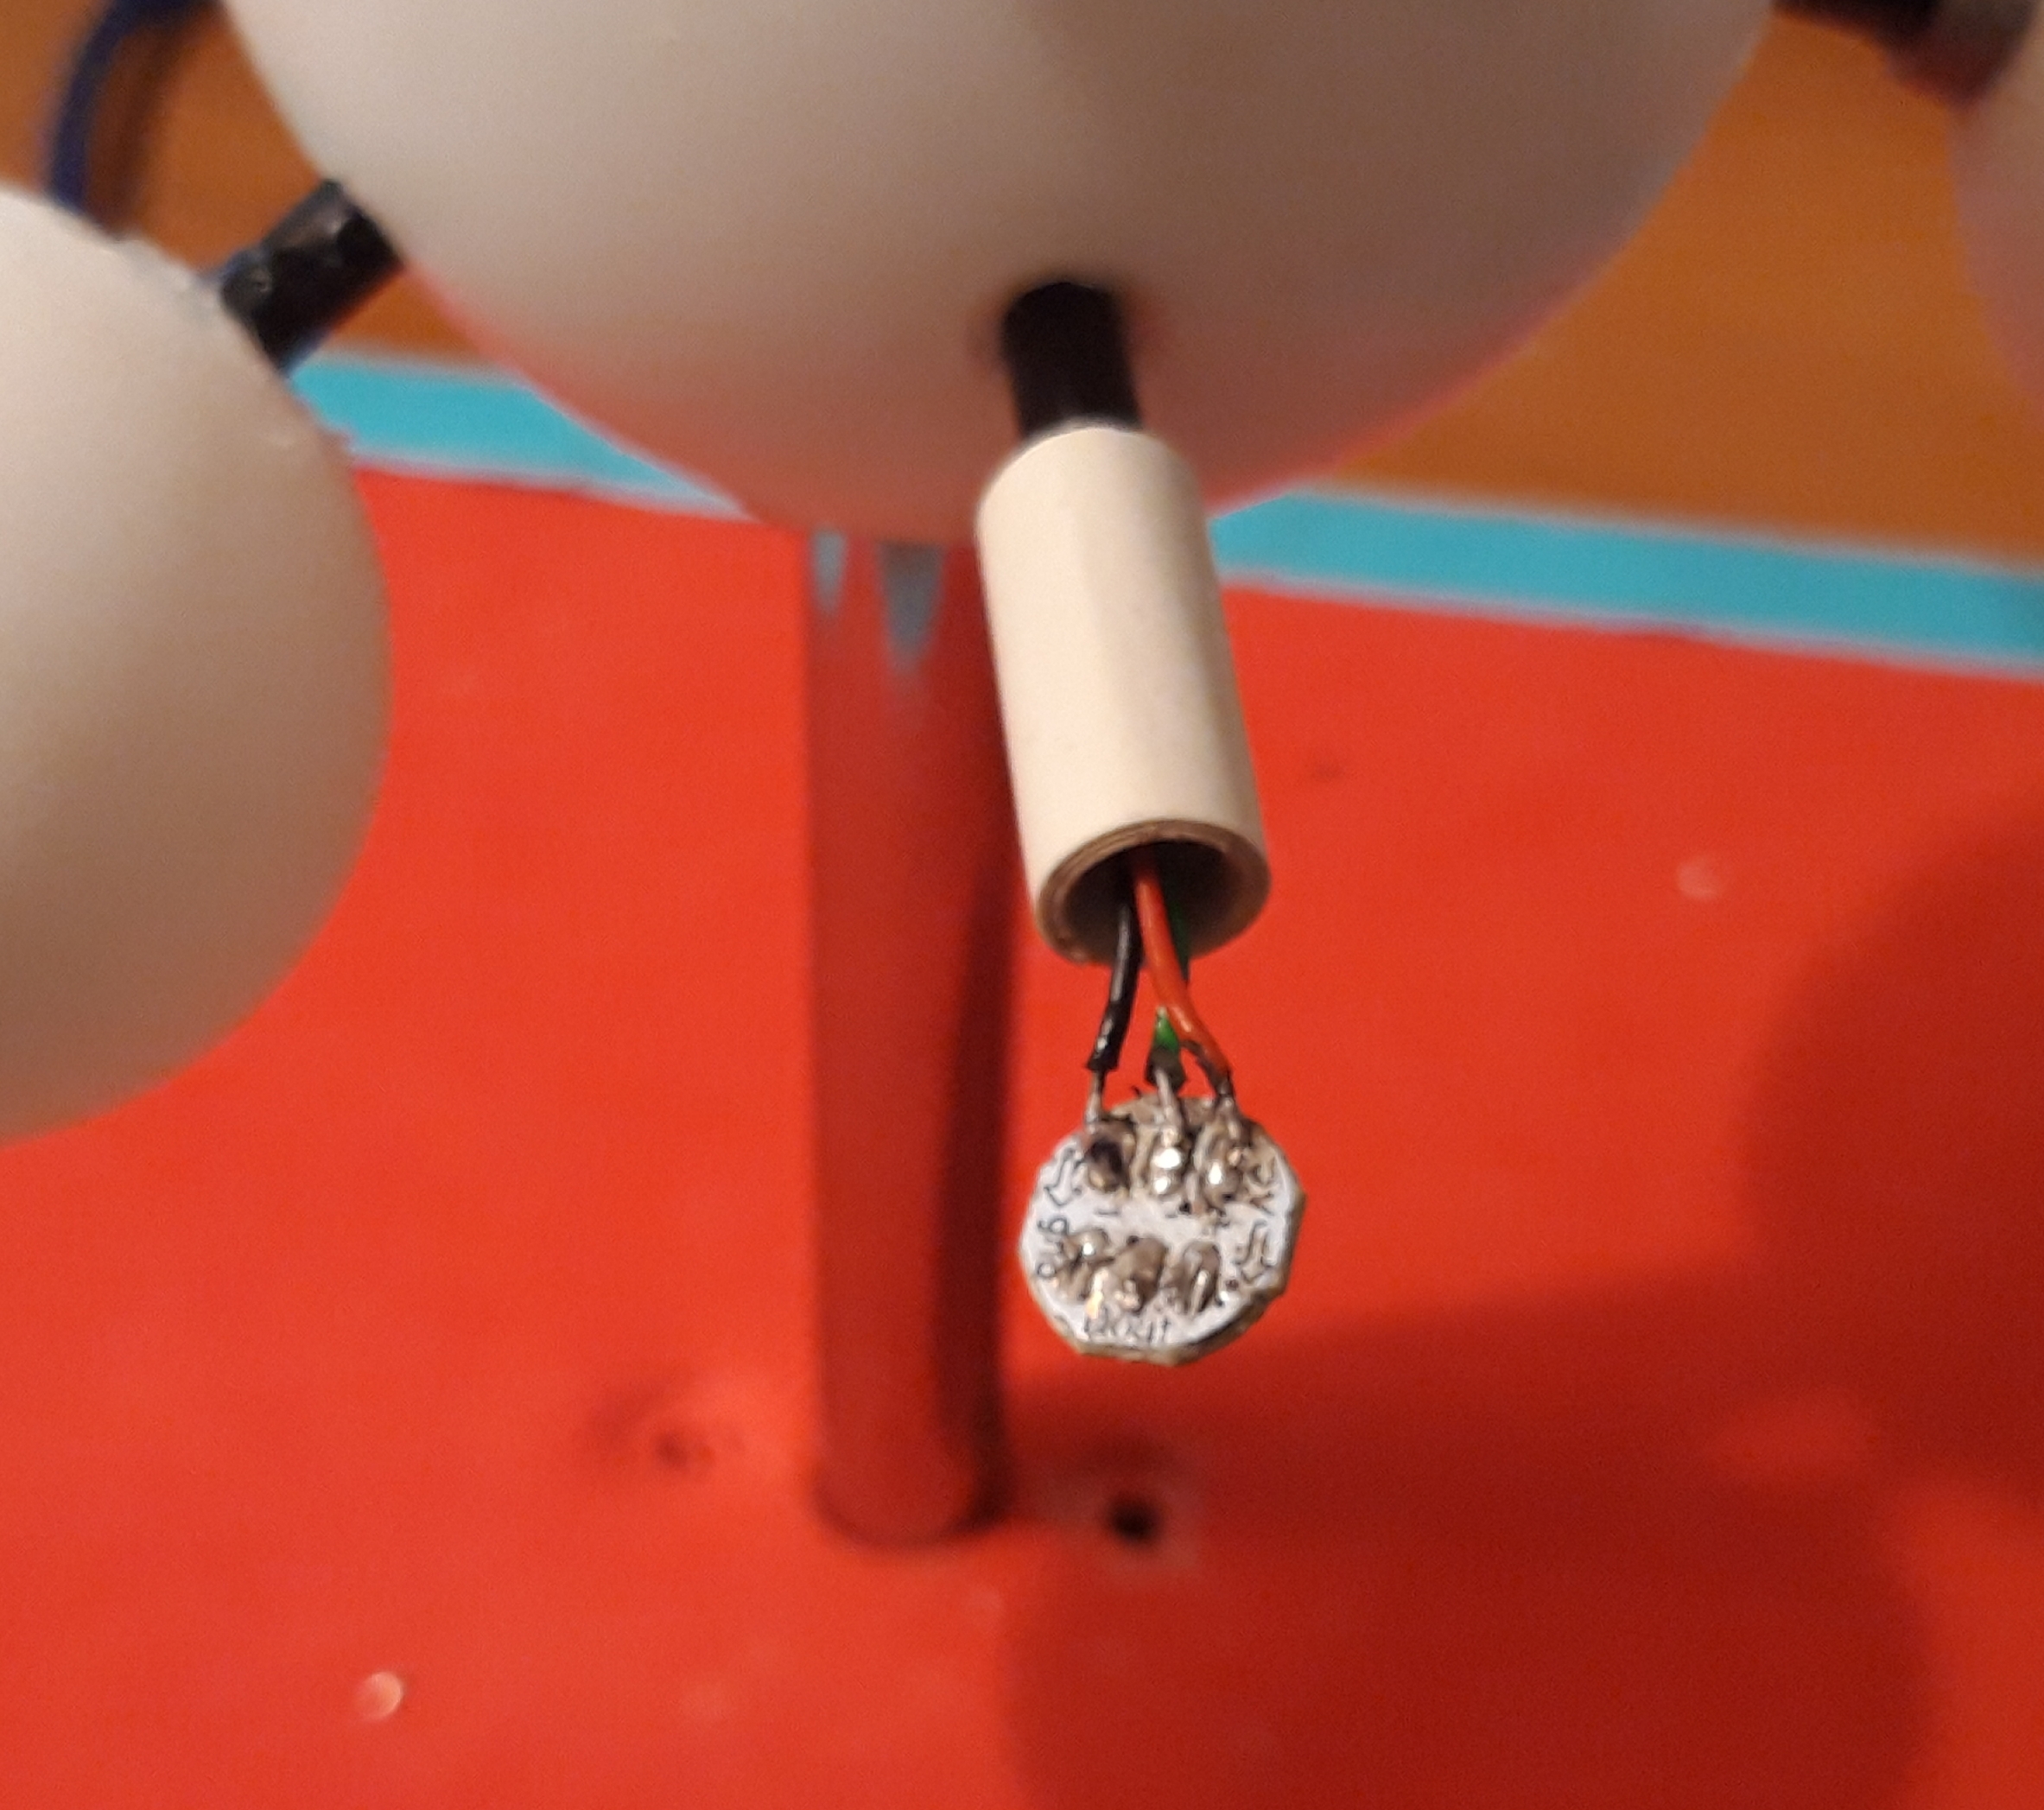

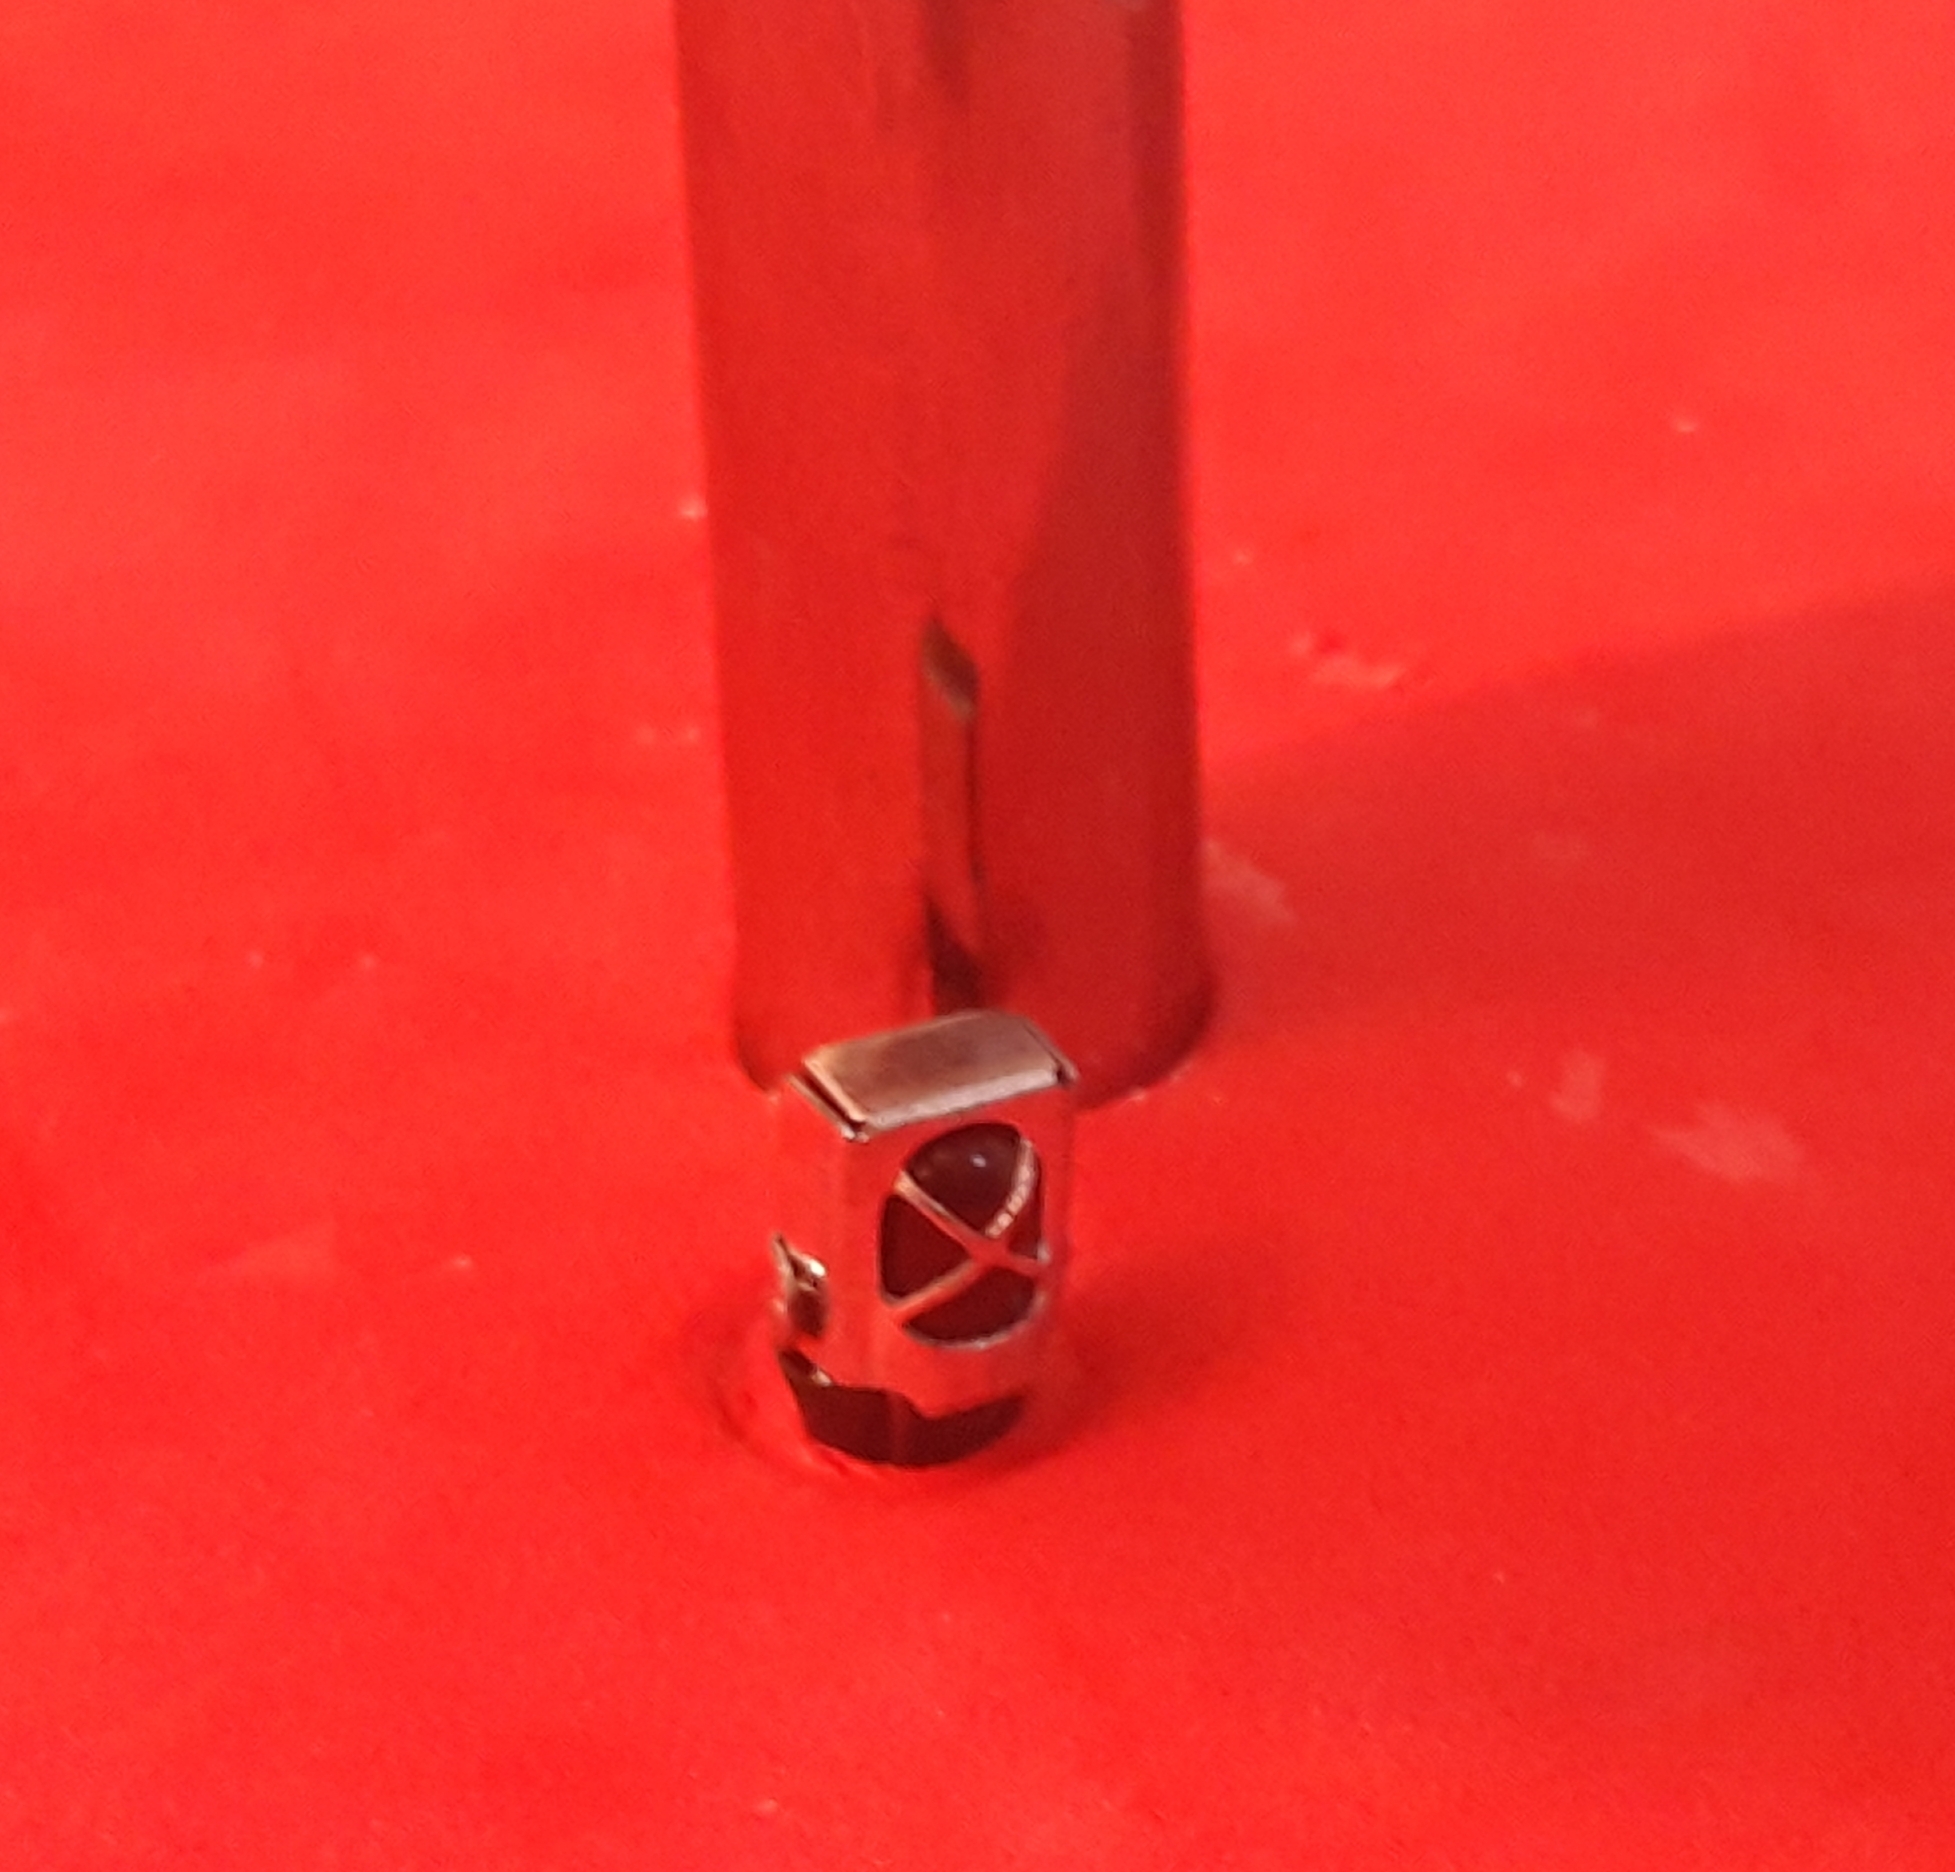
- Place white insulated tape in a piece of black drinking straw as you can see in the first image. This will allow to hold the ball temporarily while we fix it definitely (step 6 below)
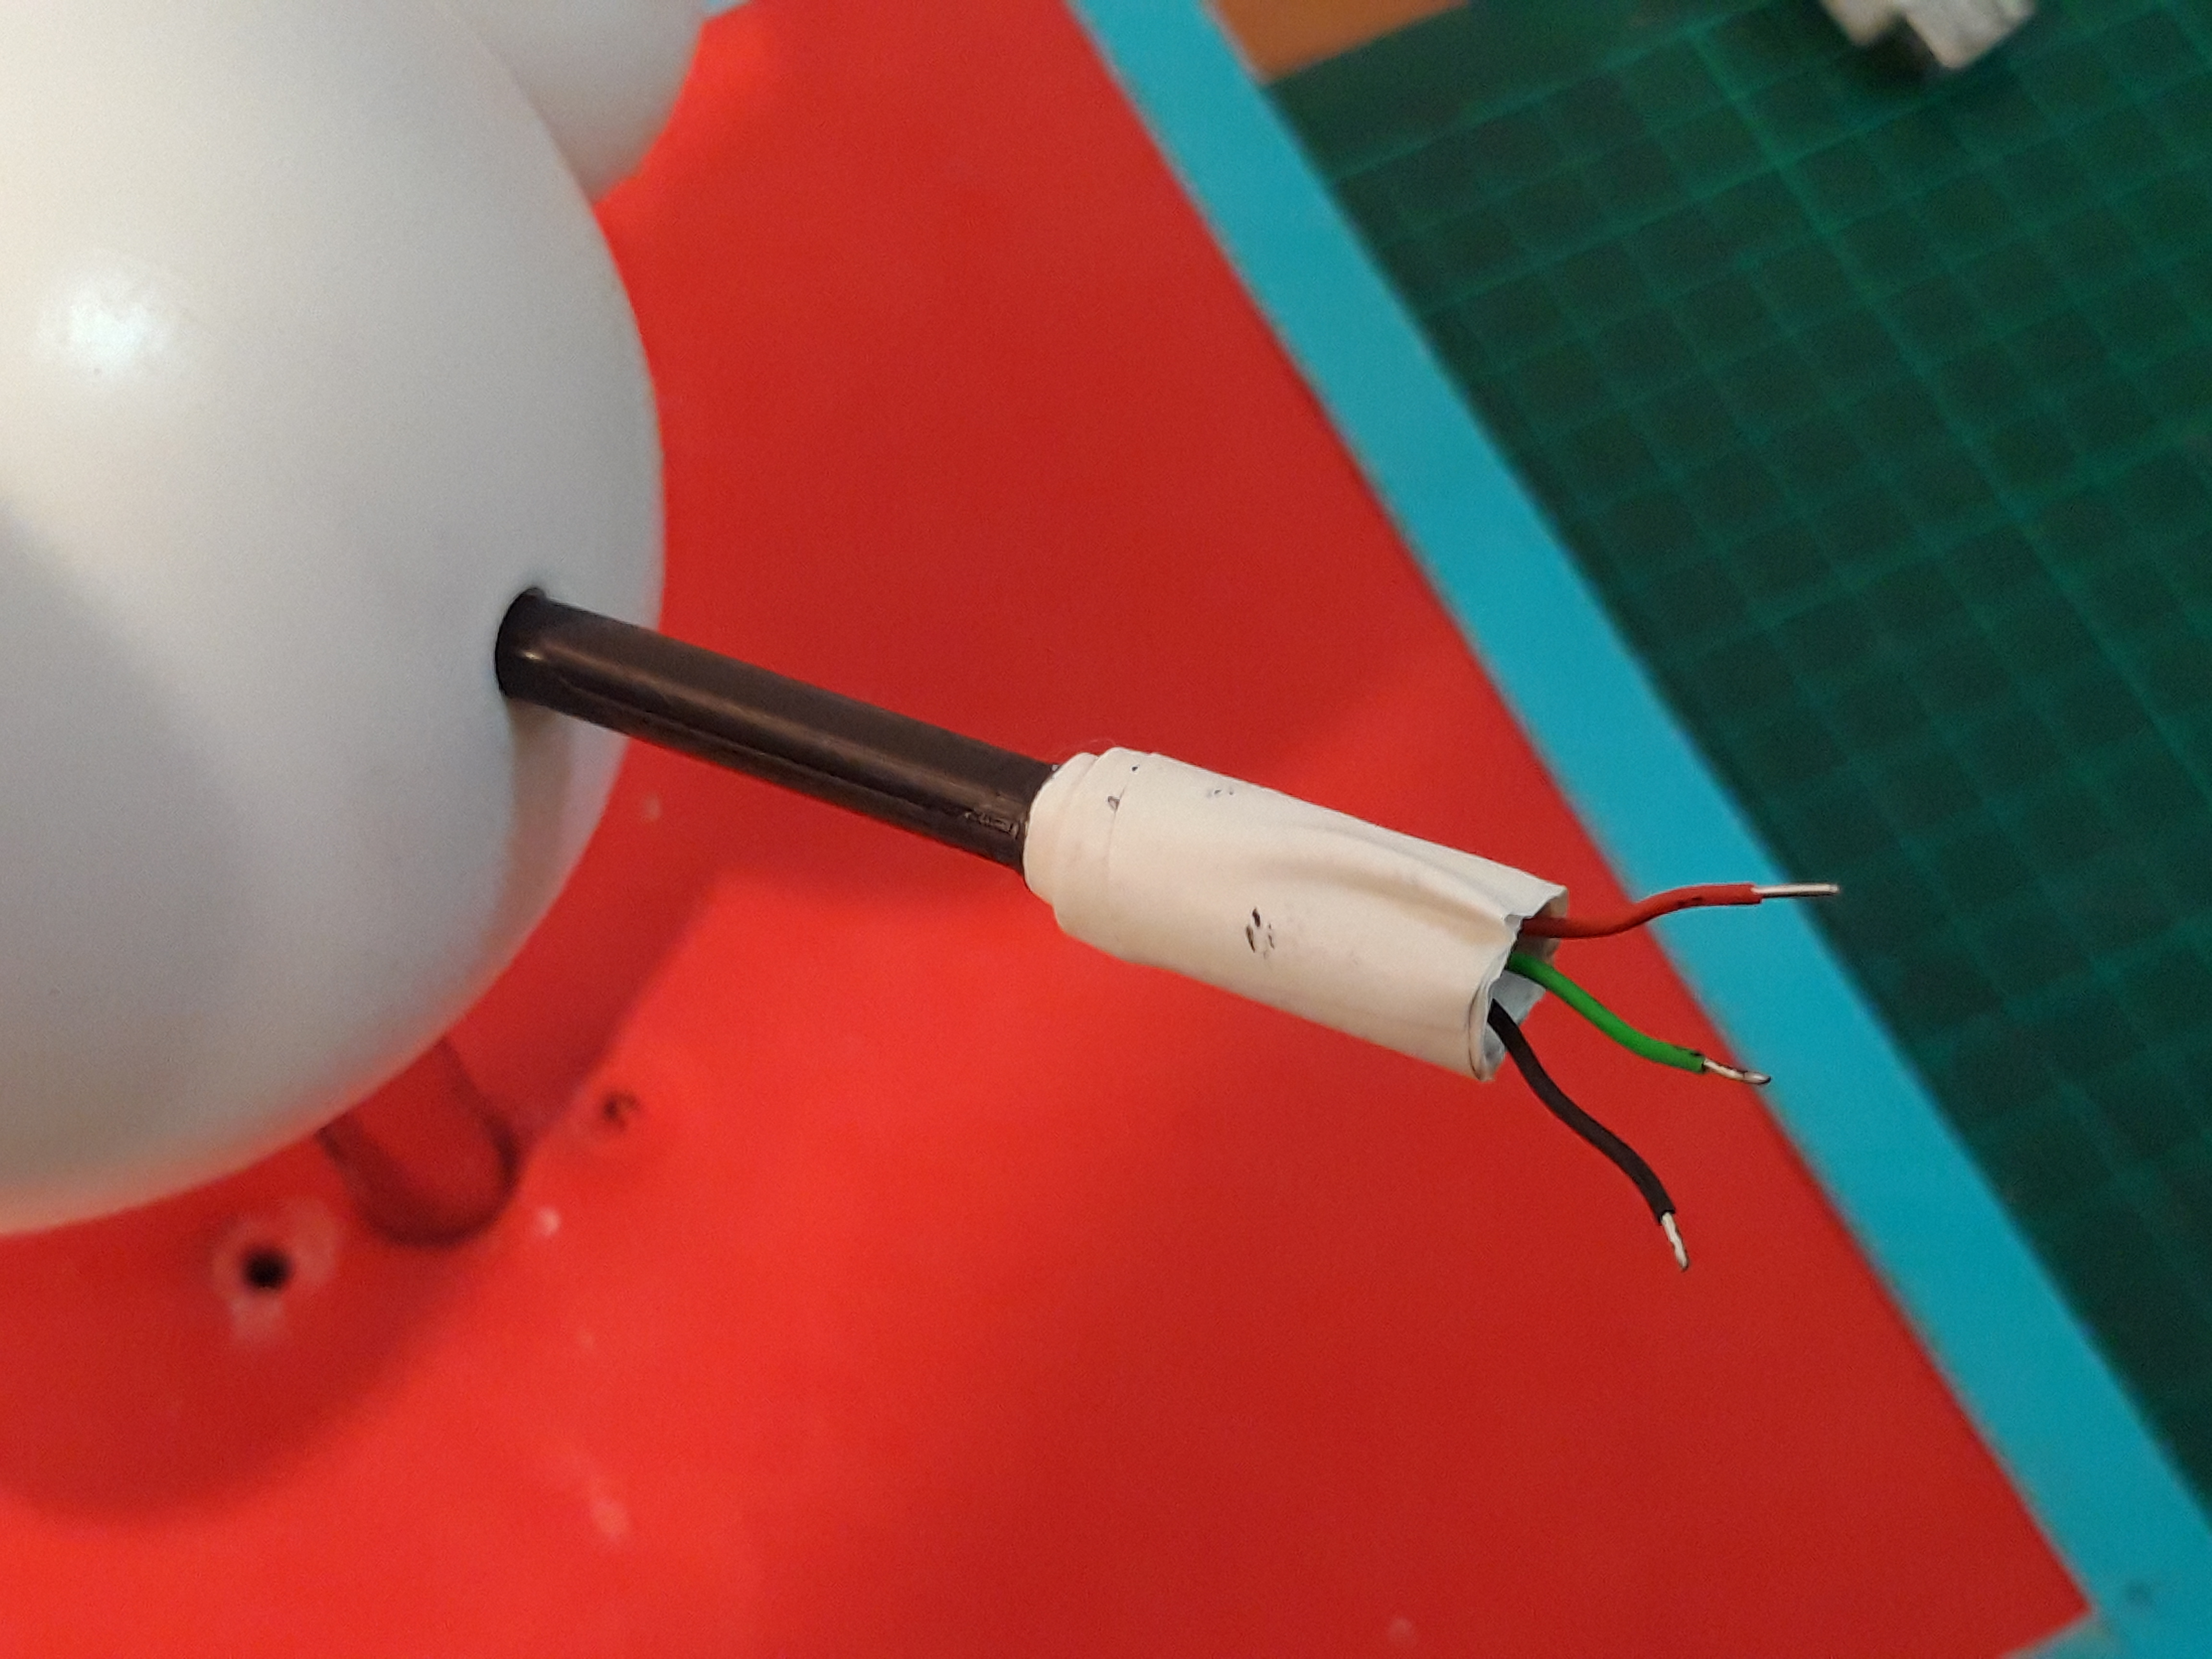
- Pass through the drinking straw three cables and insert it on one of the holes in the big ball as you can see in the second image
- In that position, solder the leds to the wires
- Open a little hole in a ping pong ball to allow to insert the led inside it.
- Place the ping pong ball
- Apply a little of black flexible putty to close the hole and fix the ball as you can see in the last image
Testing the Balls
Once you have finished one ball you must test it.
Mount the IR Receiver
- Open a little hole near the metal tube base
- Solder the wires and isolate them to avoid short circuit
- Pull the wires until its final position as you can see in the second image
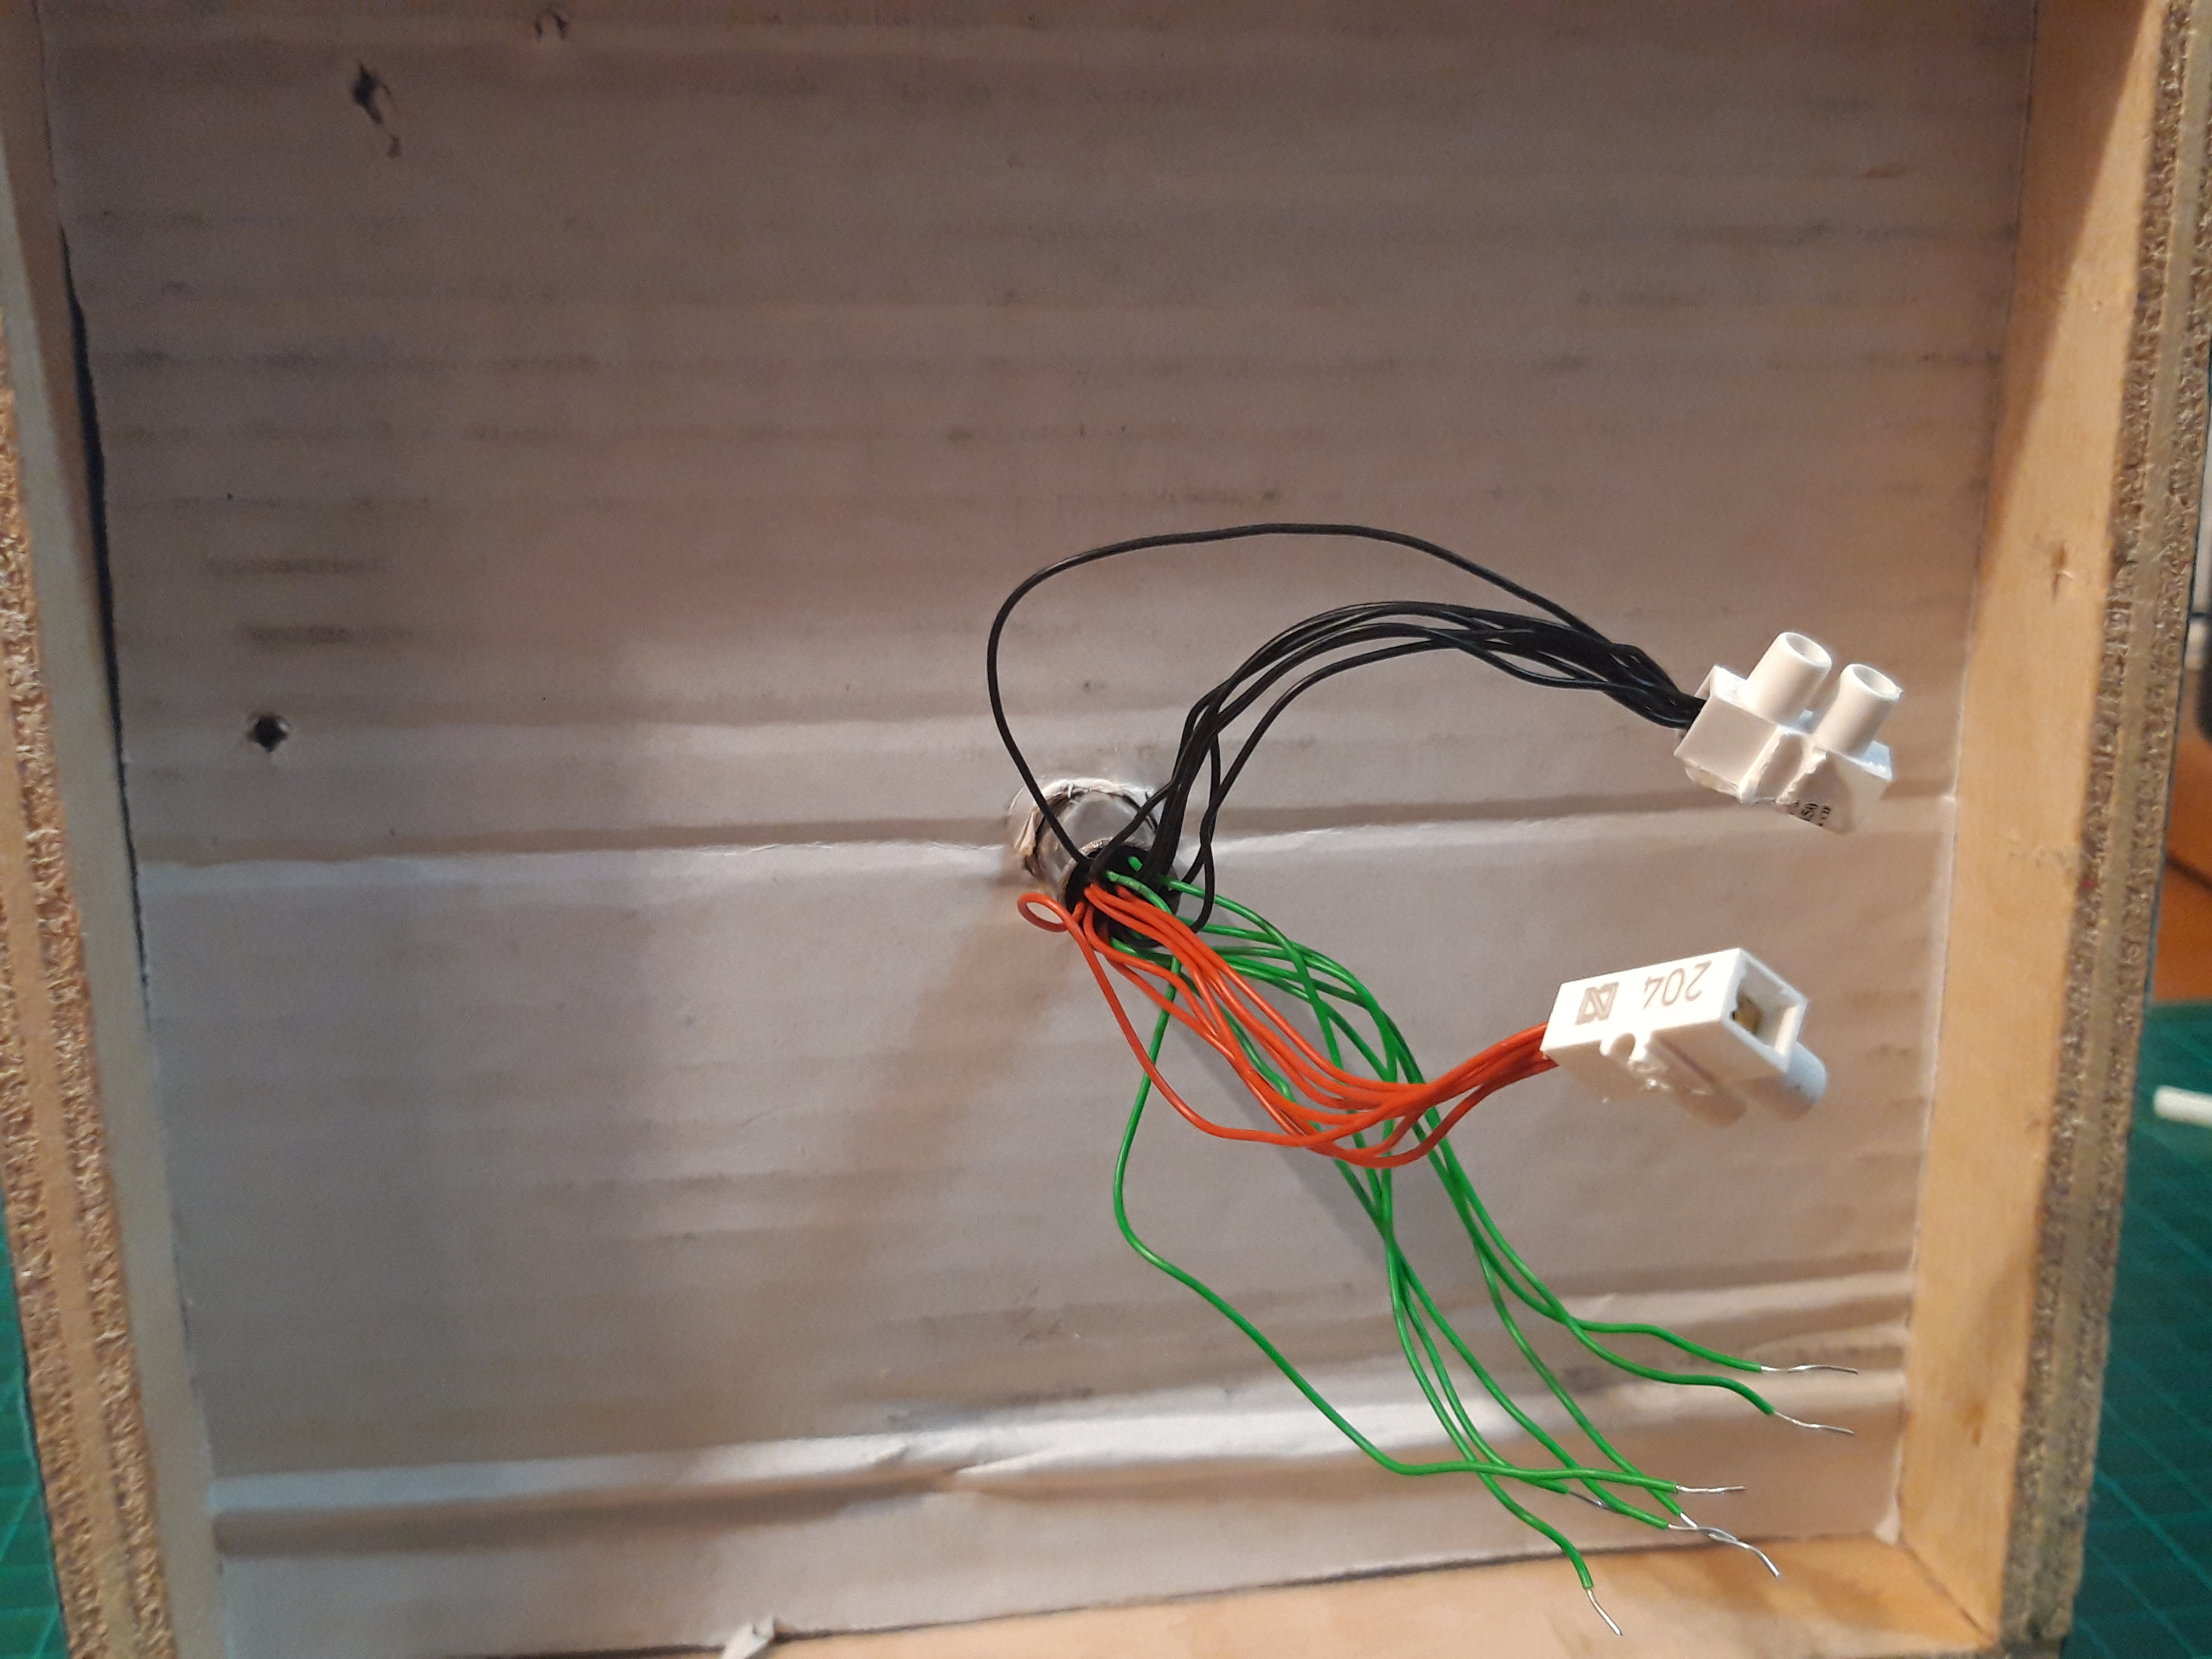
The Circuit
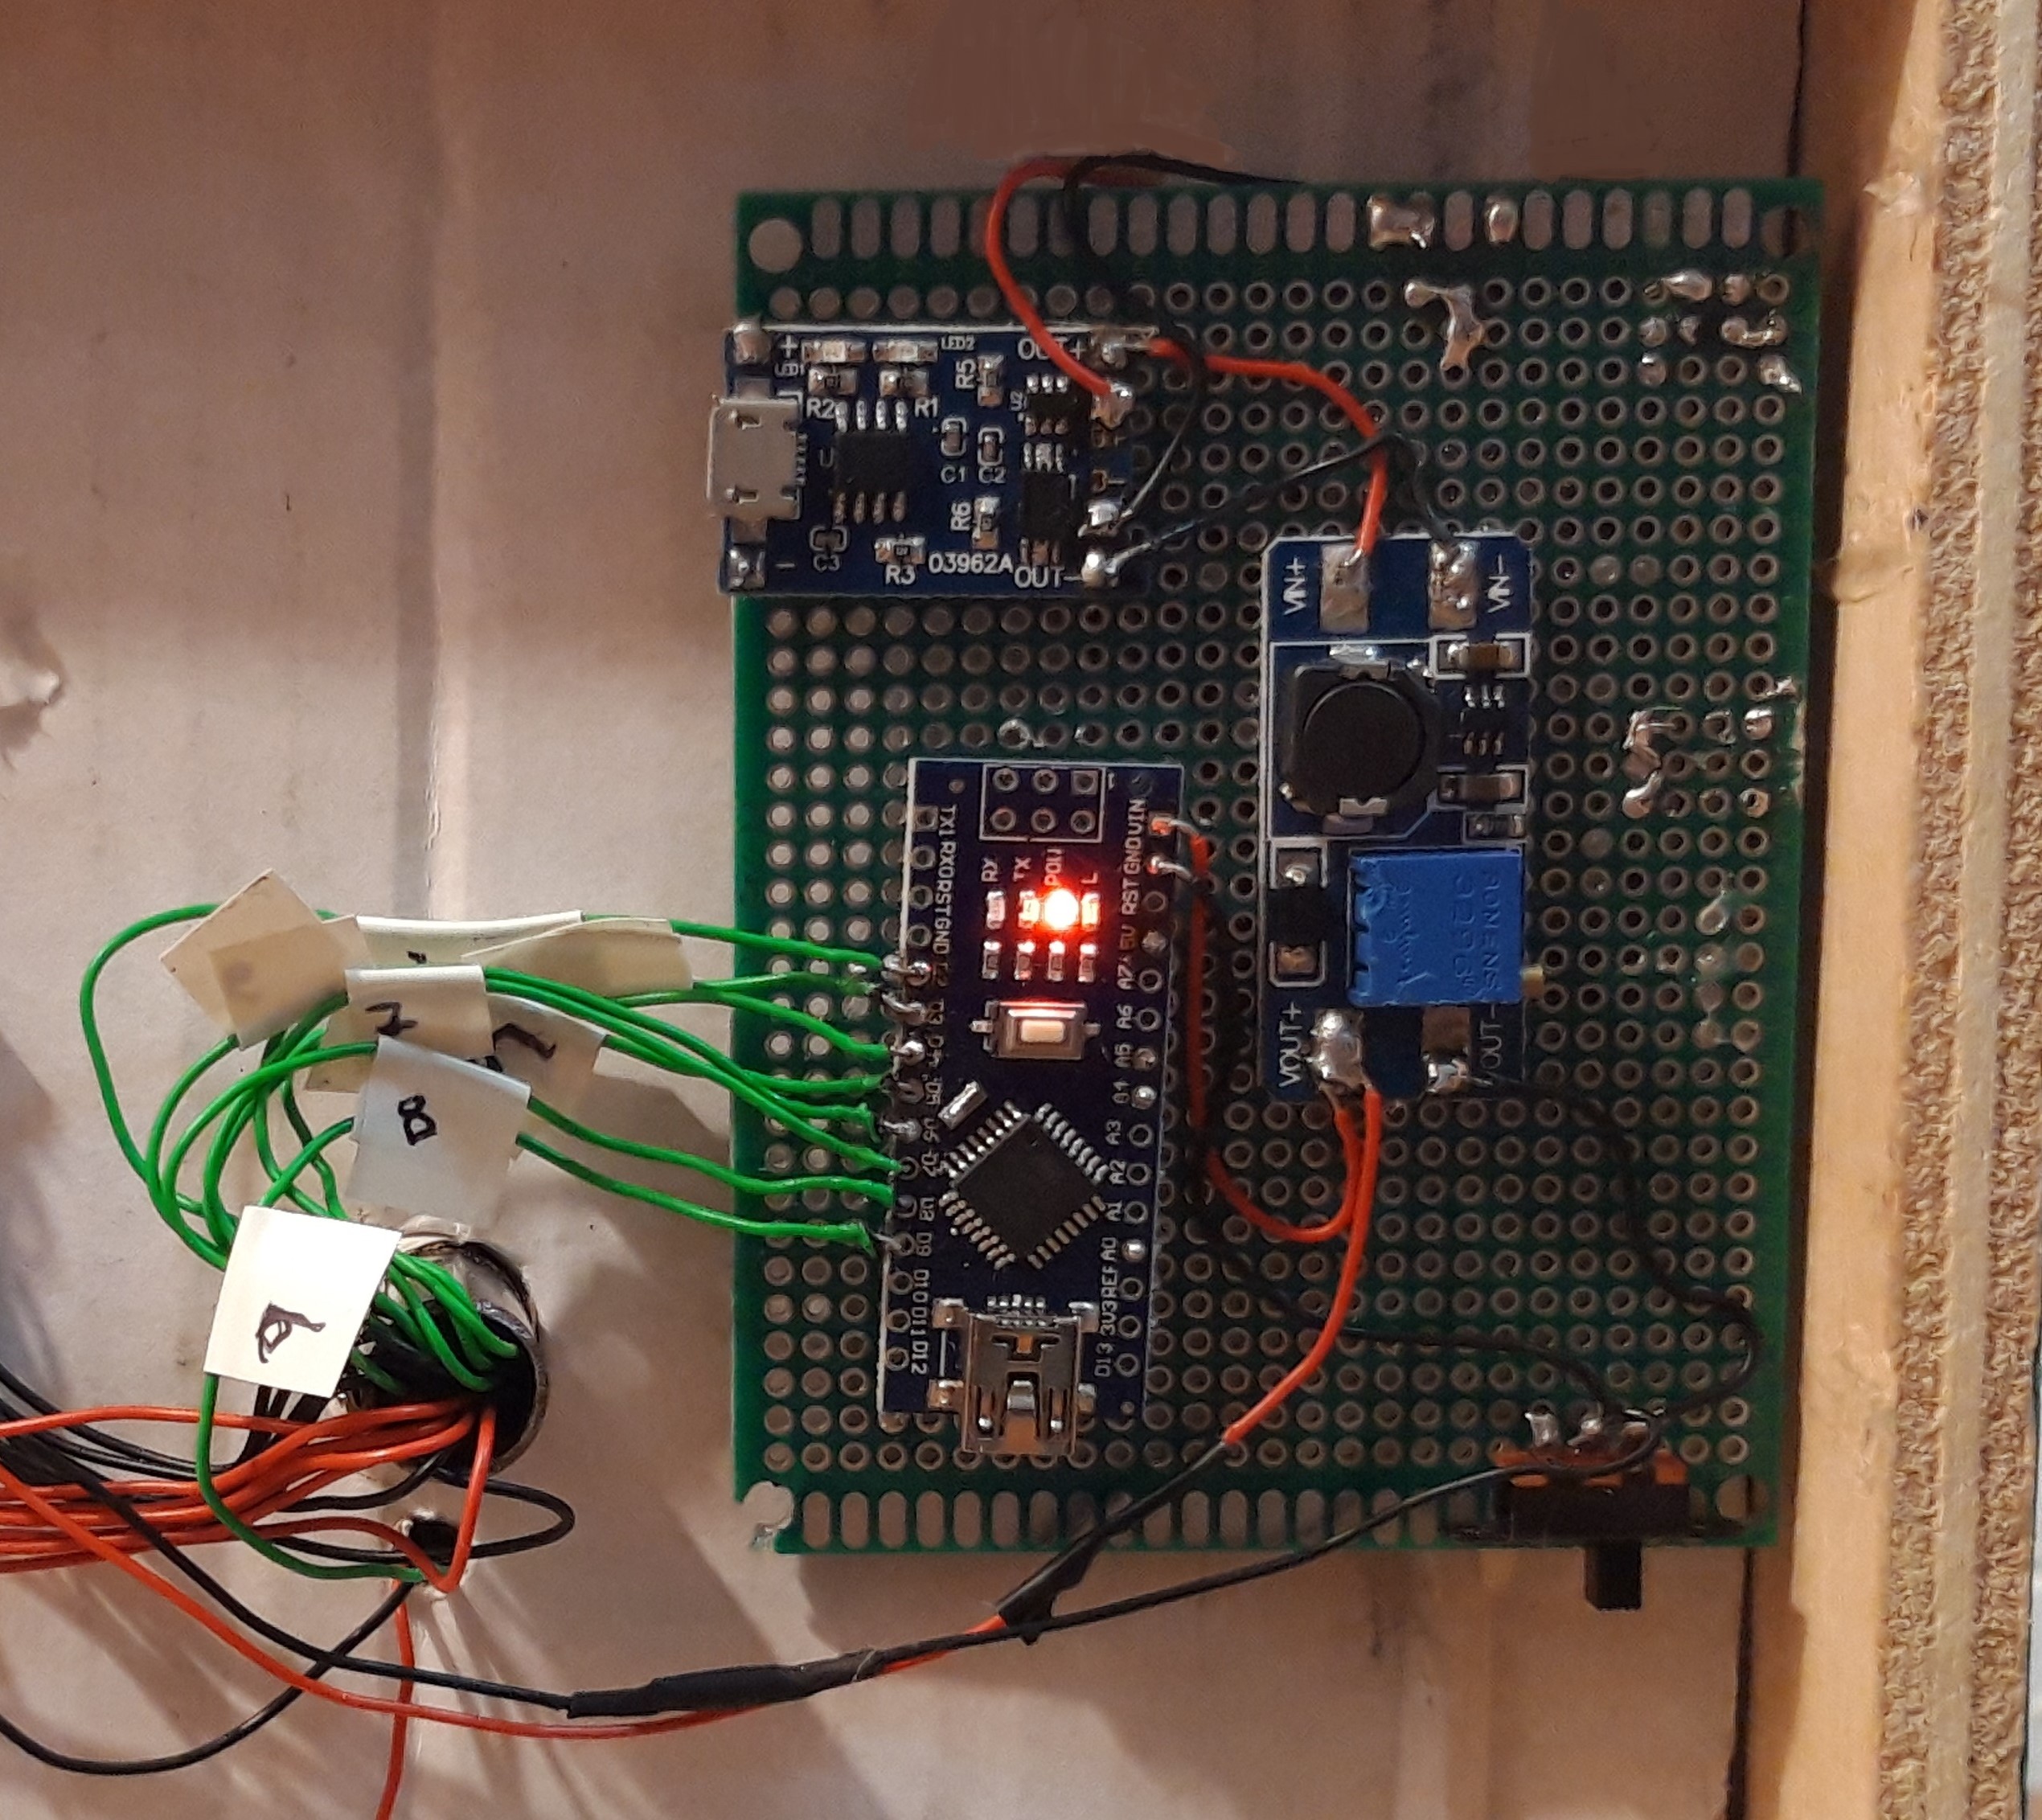
As you can see in the first image, I have used an ARDUINO NANO microcontroller where I have soldered eight wires: seven output pins to control the led strips from D2 to D8 and the D9 output pin for the IR receiver.
I have used a old movil battery, a micro USB charger and a step-up voltage boost converter DC to DC (3,7 V to 5V)
The ARDUINO Code
To control the LED strips, this time, I have used the FastLED library.
If you use the on-line ARDUINO IDE you don´t have to install anything but if you use the ARDUINO IDE from your computer you have to install the library FastLED.
Basically the code is waiting you push one of the following buttons in one IR remote:
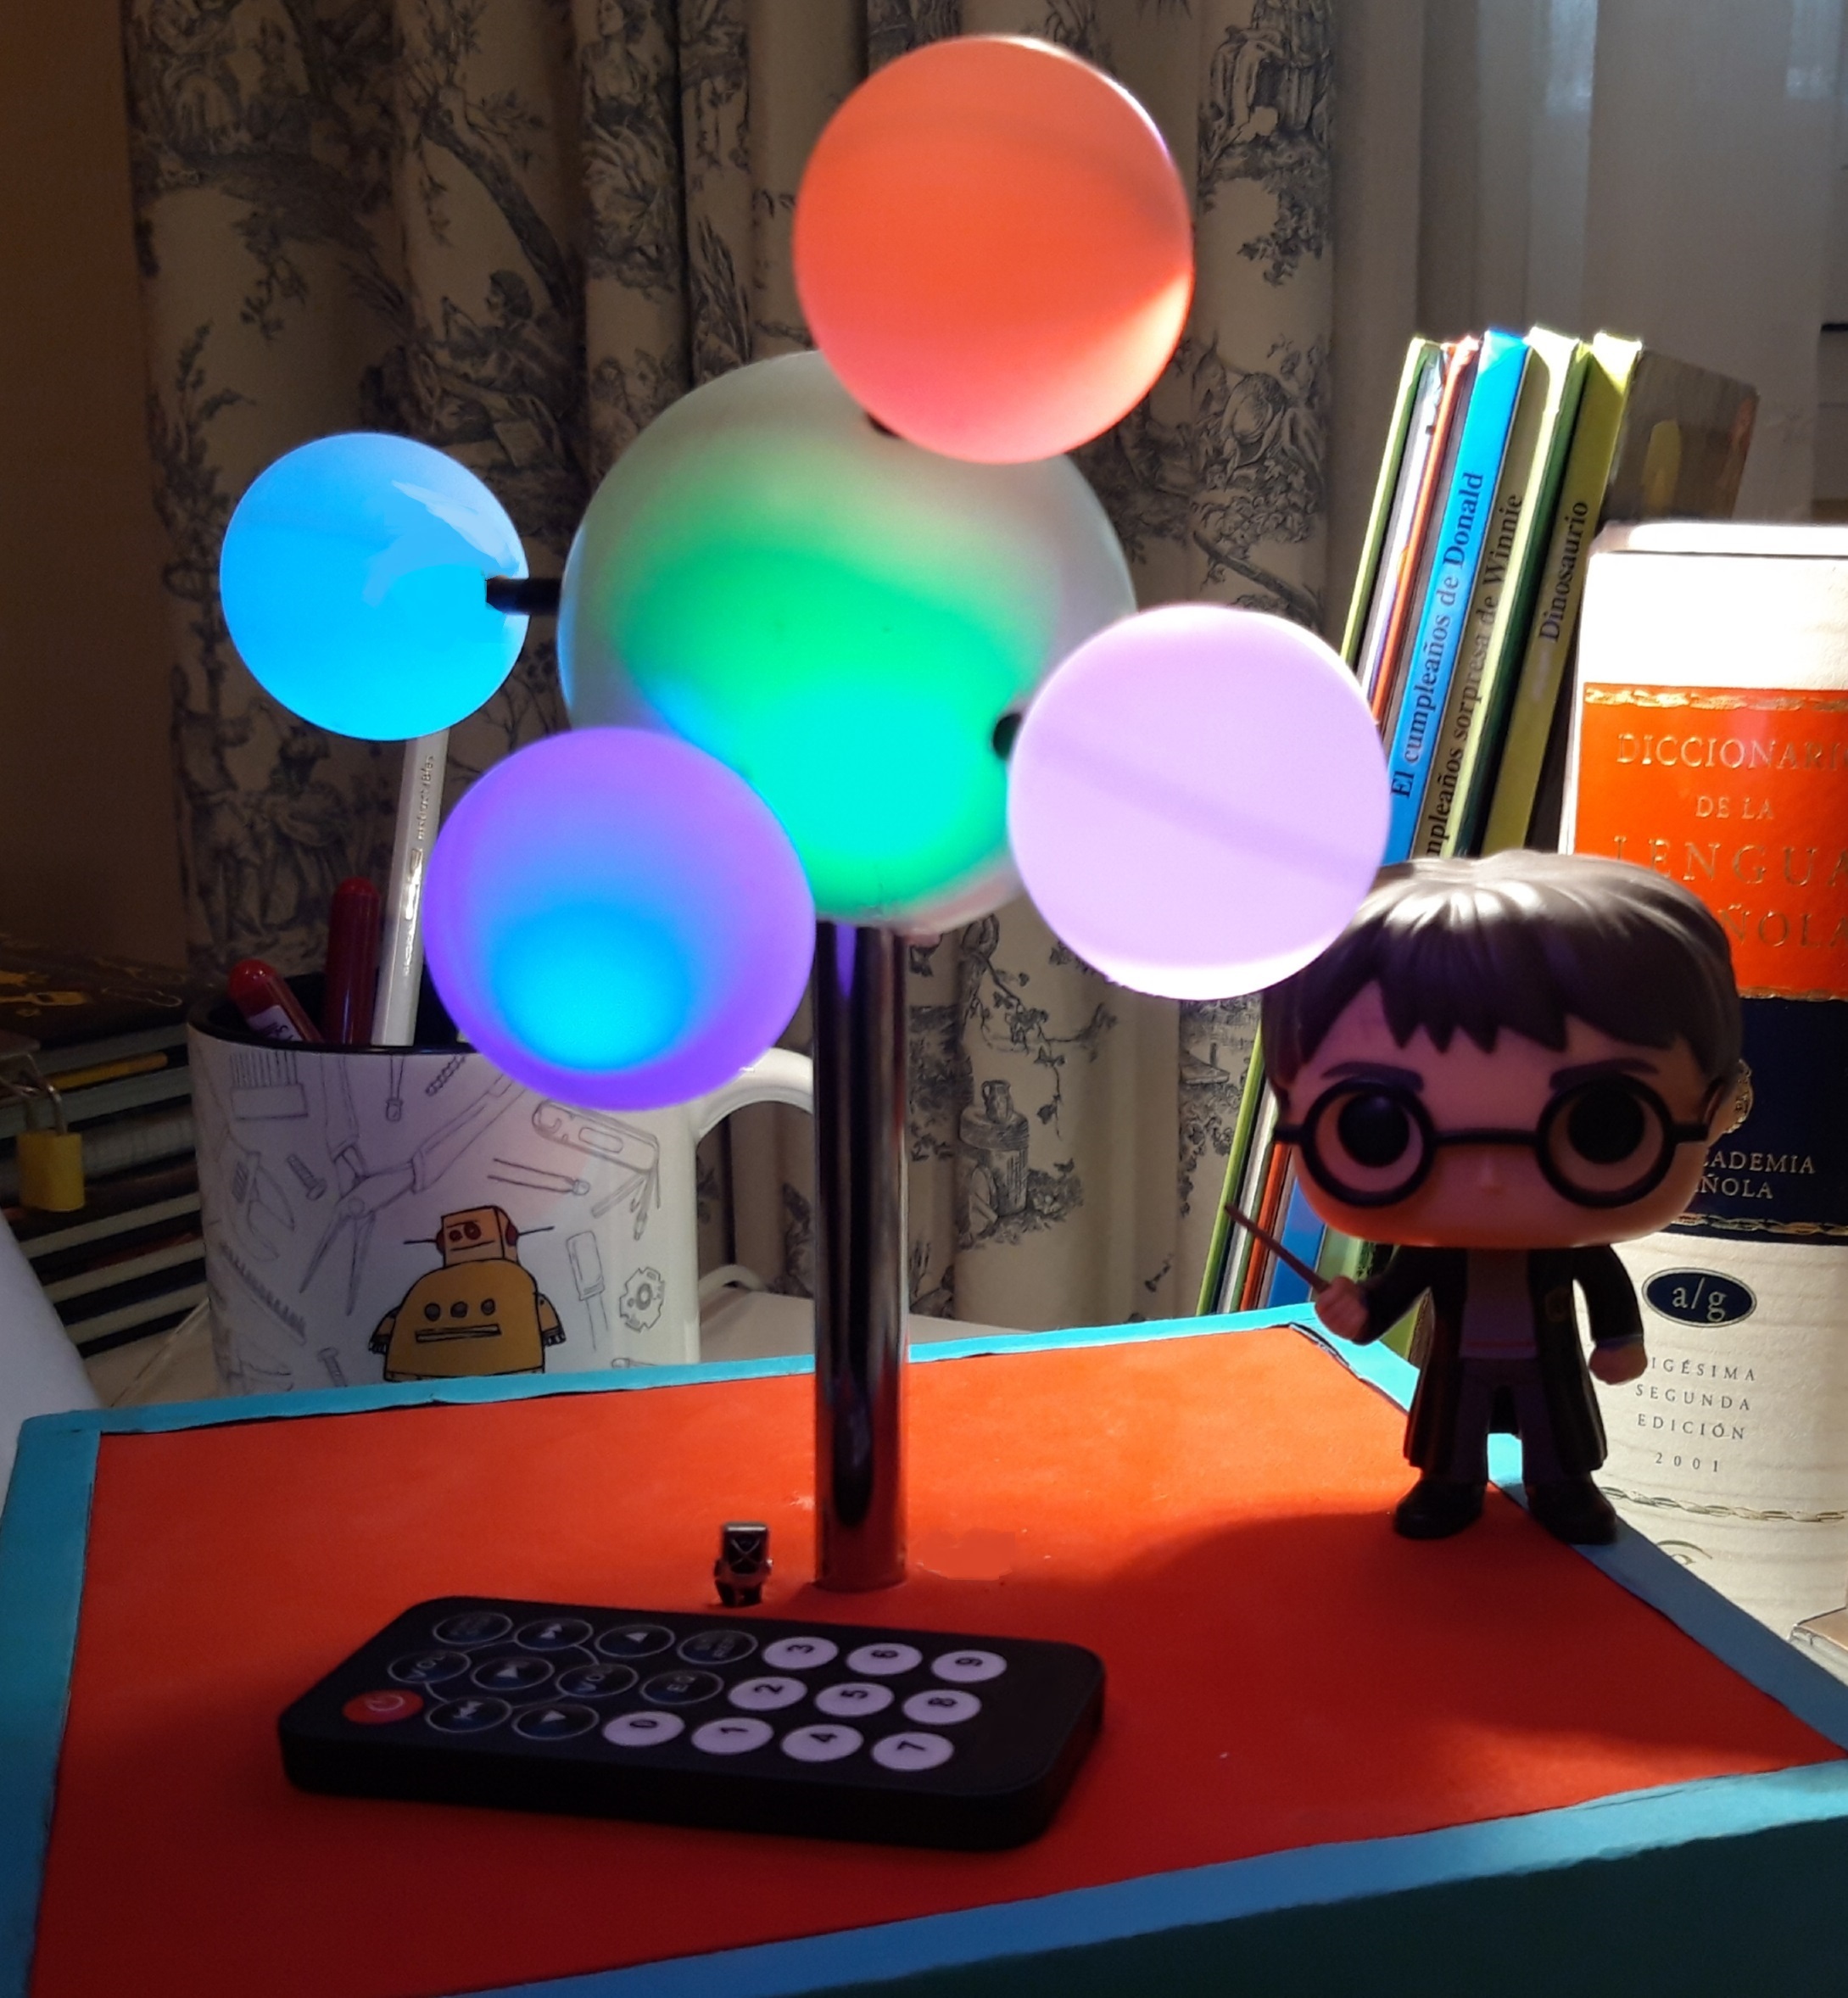
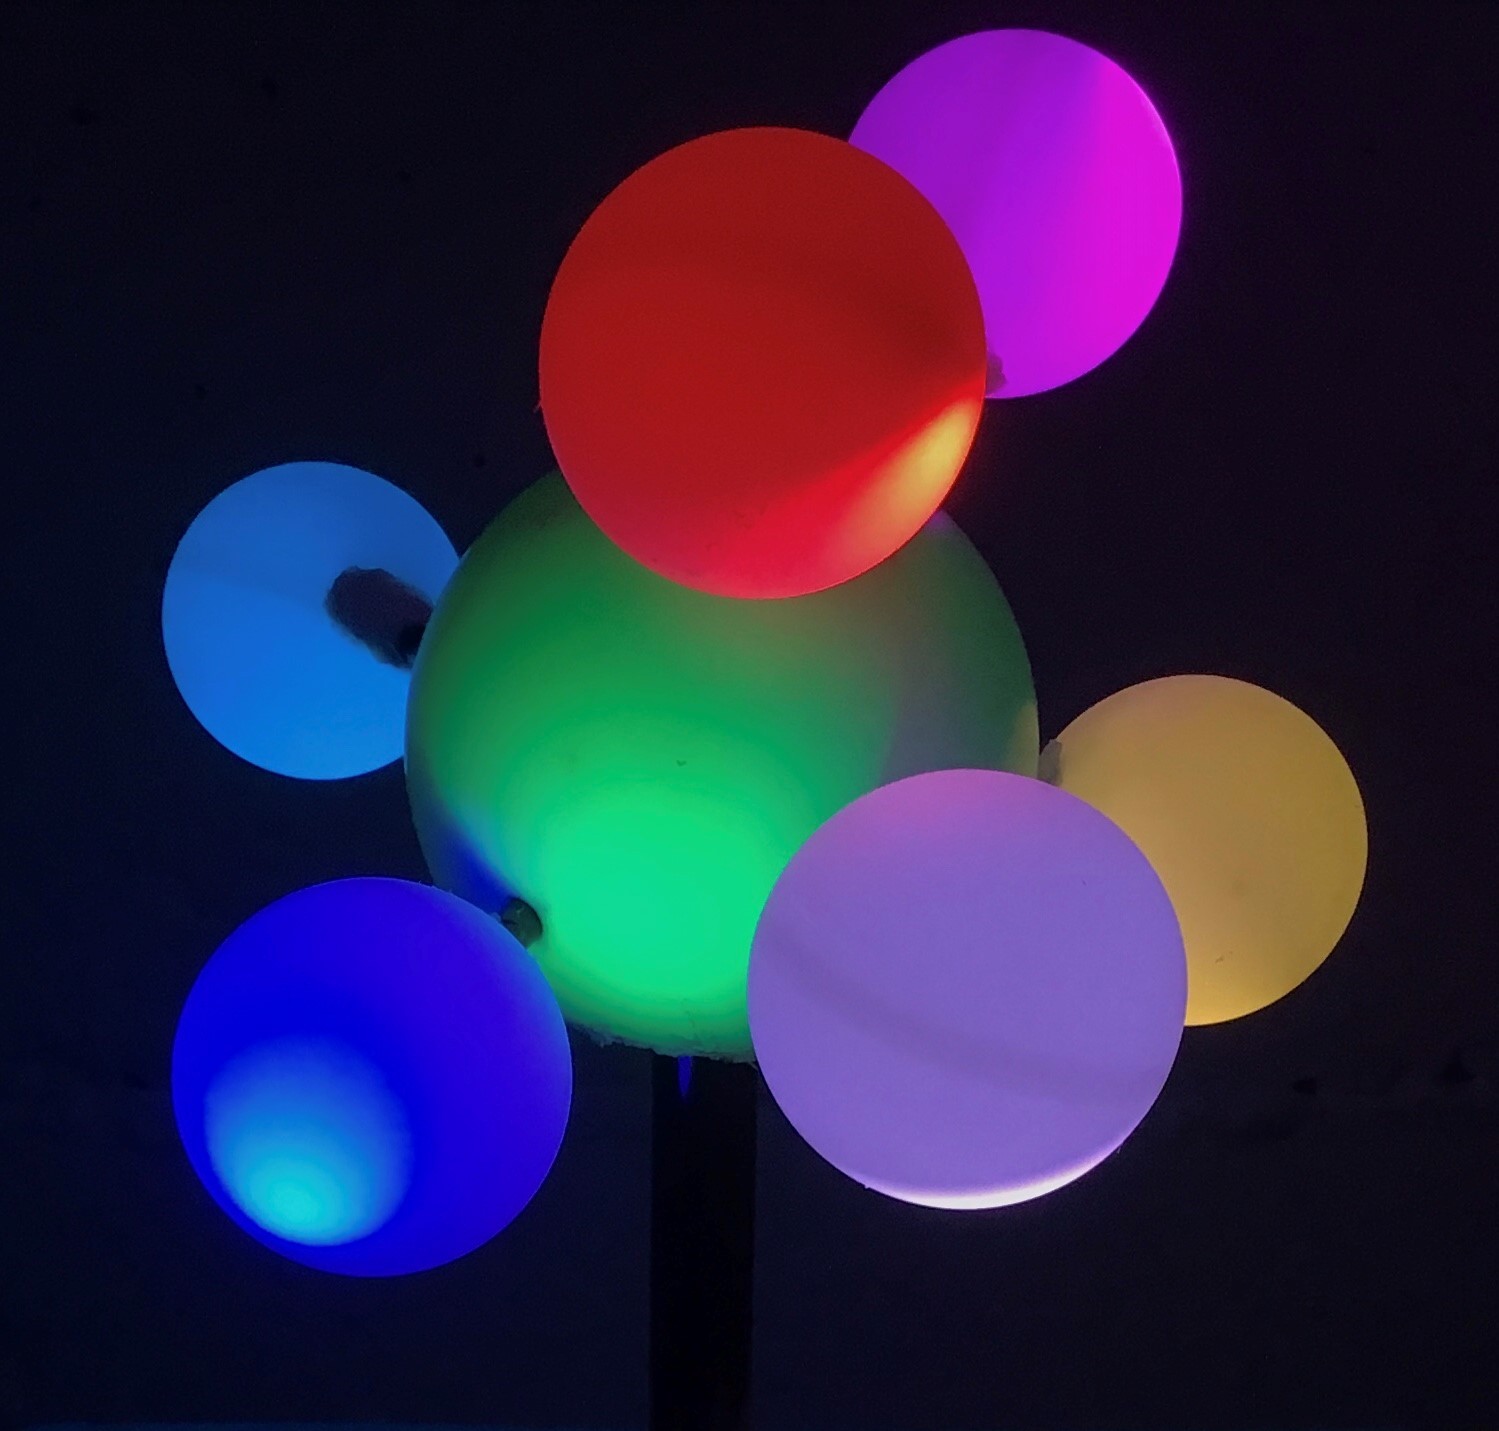
- POWER button. The first time you push it, all led strips will turn on slowly and the lamp will show you the colors you see in the image. The next time, all led strips will turn off.
- #0 button. The lamp will show the linear molecular geometry.
- #1 button. The lamp will show the trigonal planar molecular geometry.
- #2 button. The lamp will show the tetrahedral molecular geometry.
- #3 button. The lamp will show the trigonal bipyramidal molecuar geometry.
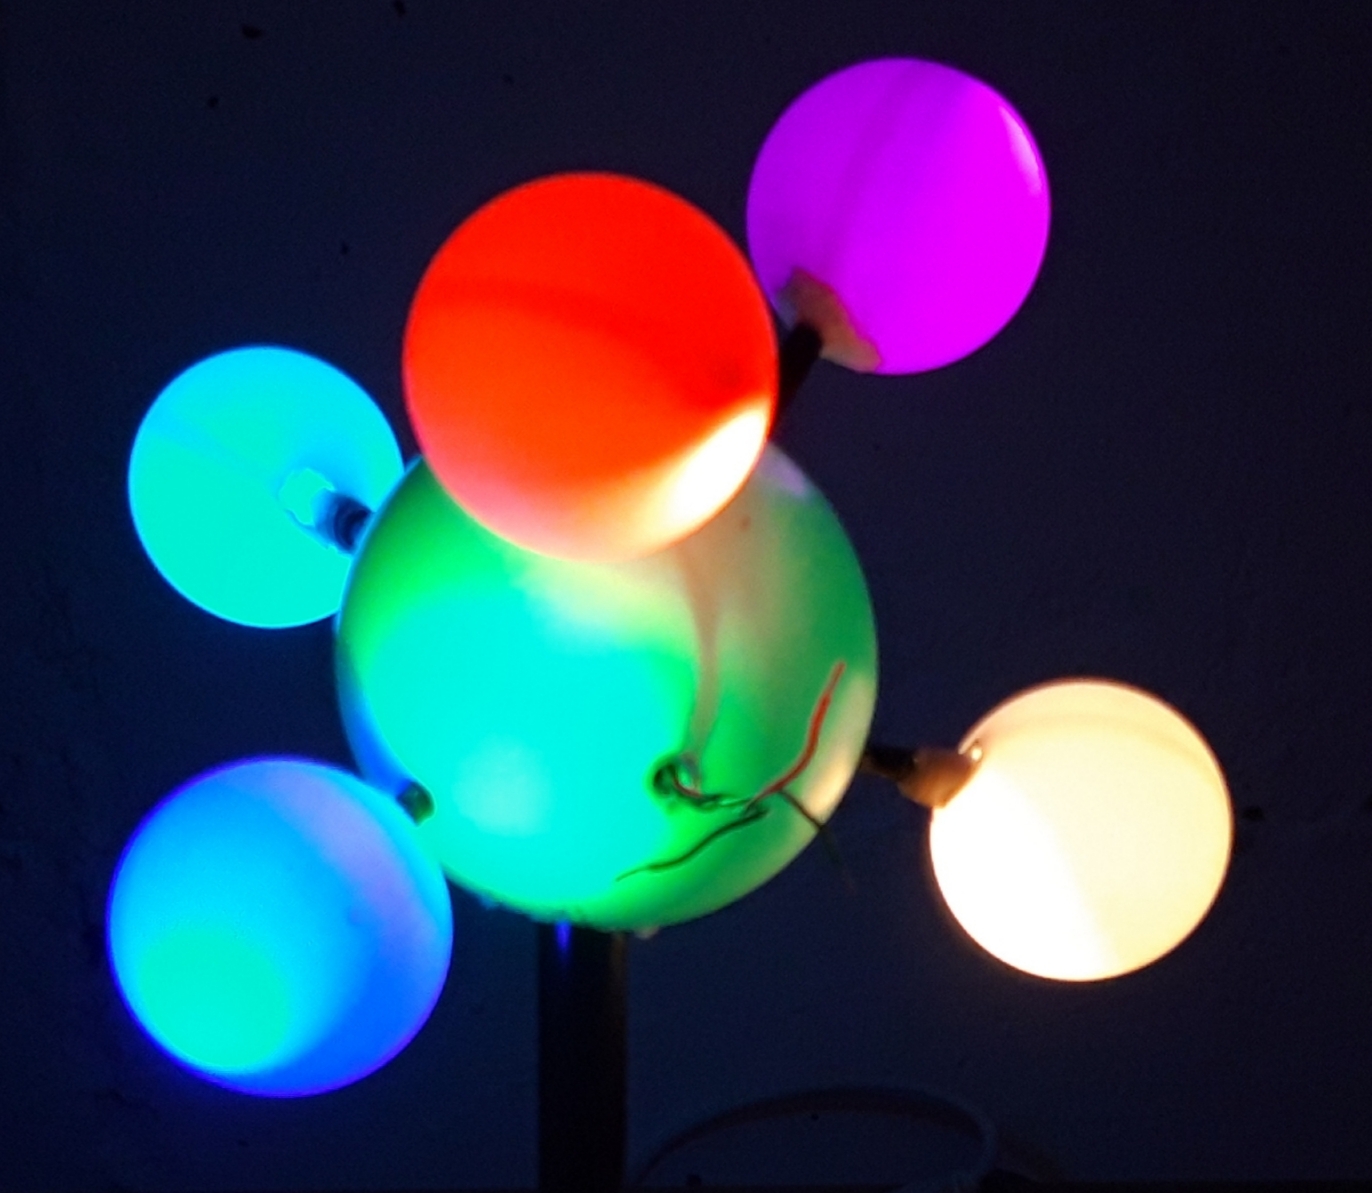
- #4 button. All the strips will turn on showing random colors every 250 milliseconds initially. Every time you push the button, the color change frequency will increase 250 milliseconds.
How It Looks
