Modular Molecule Lamp
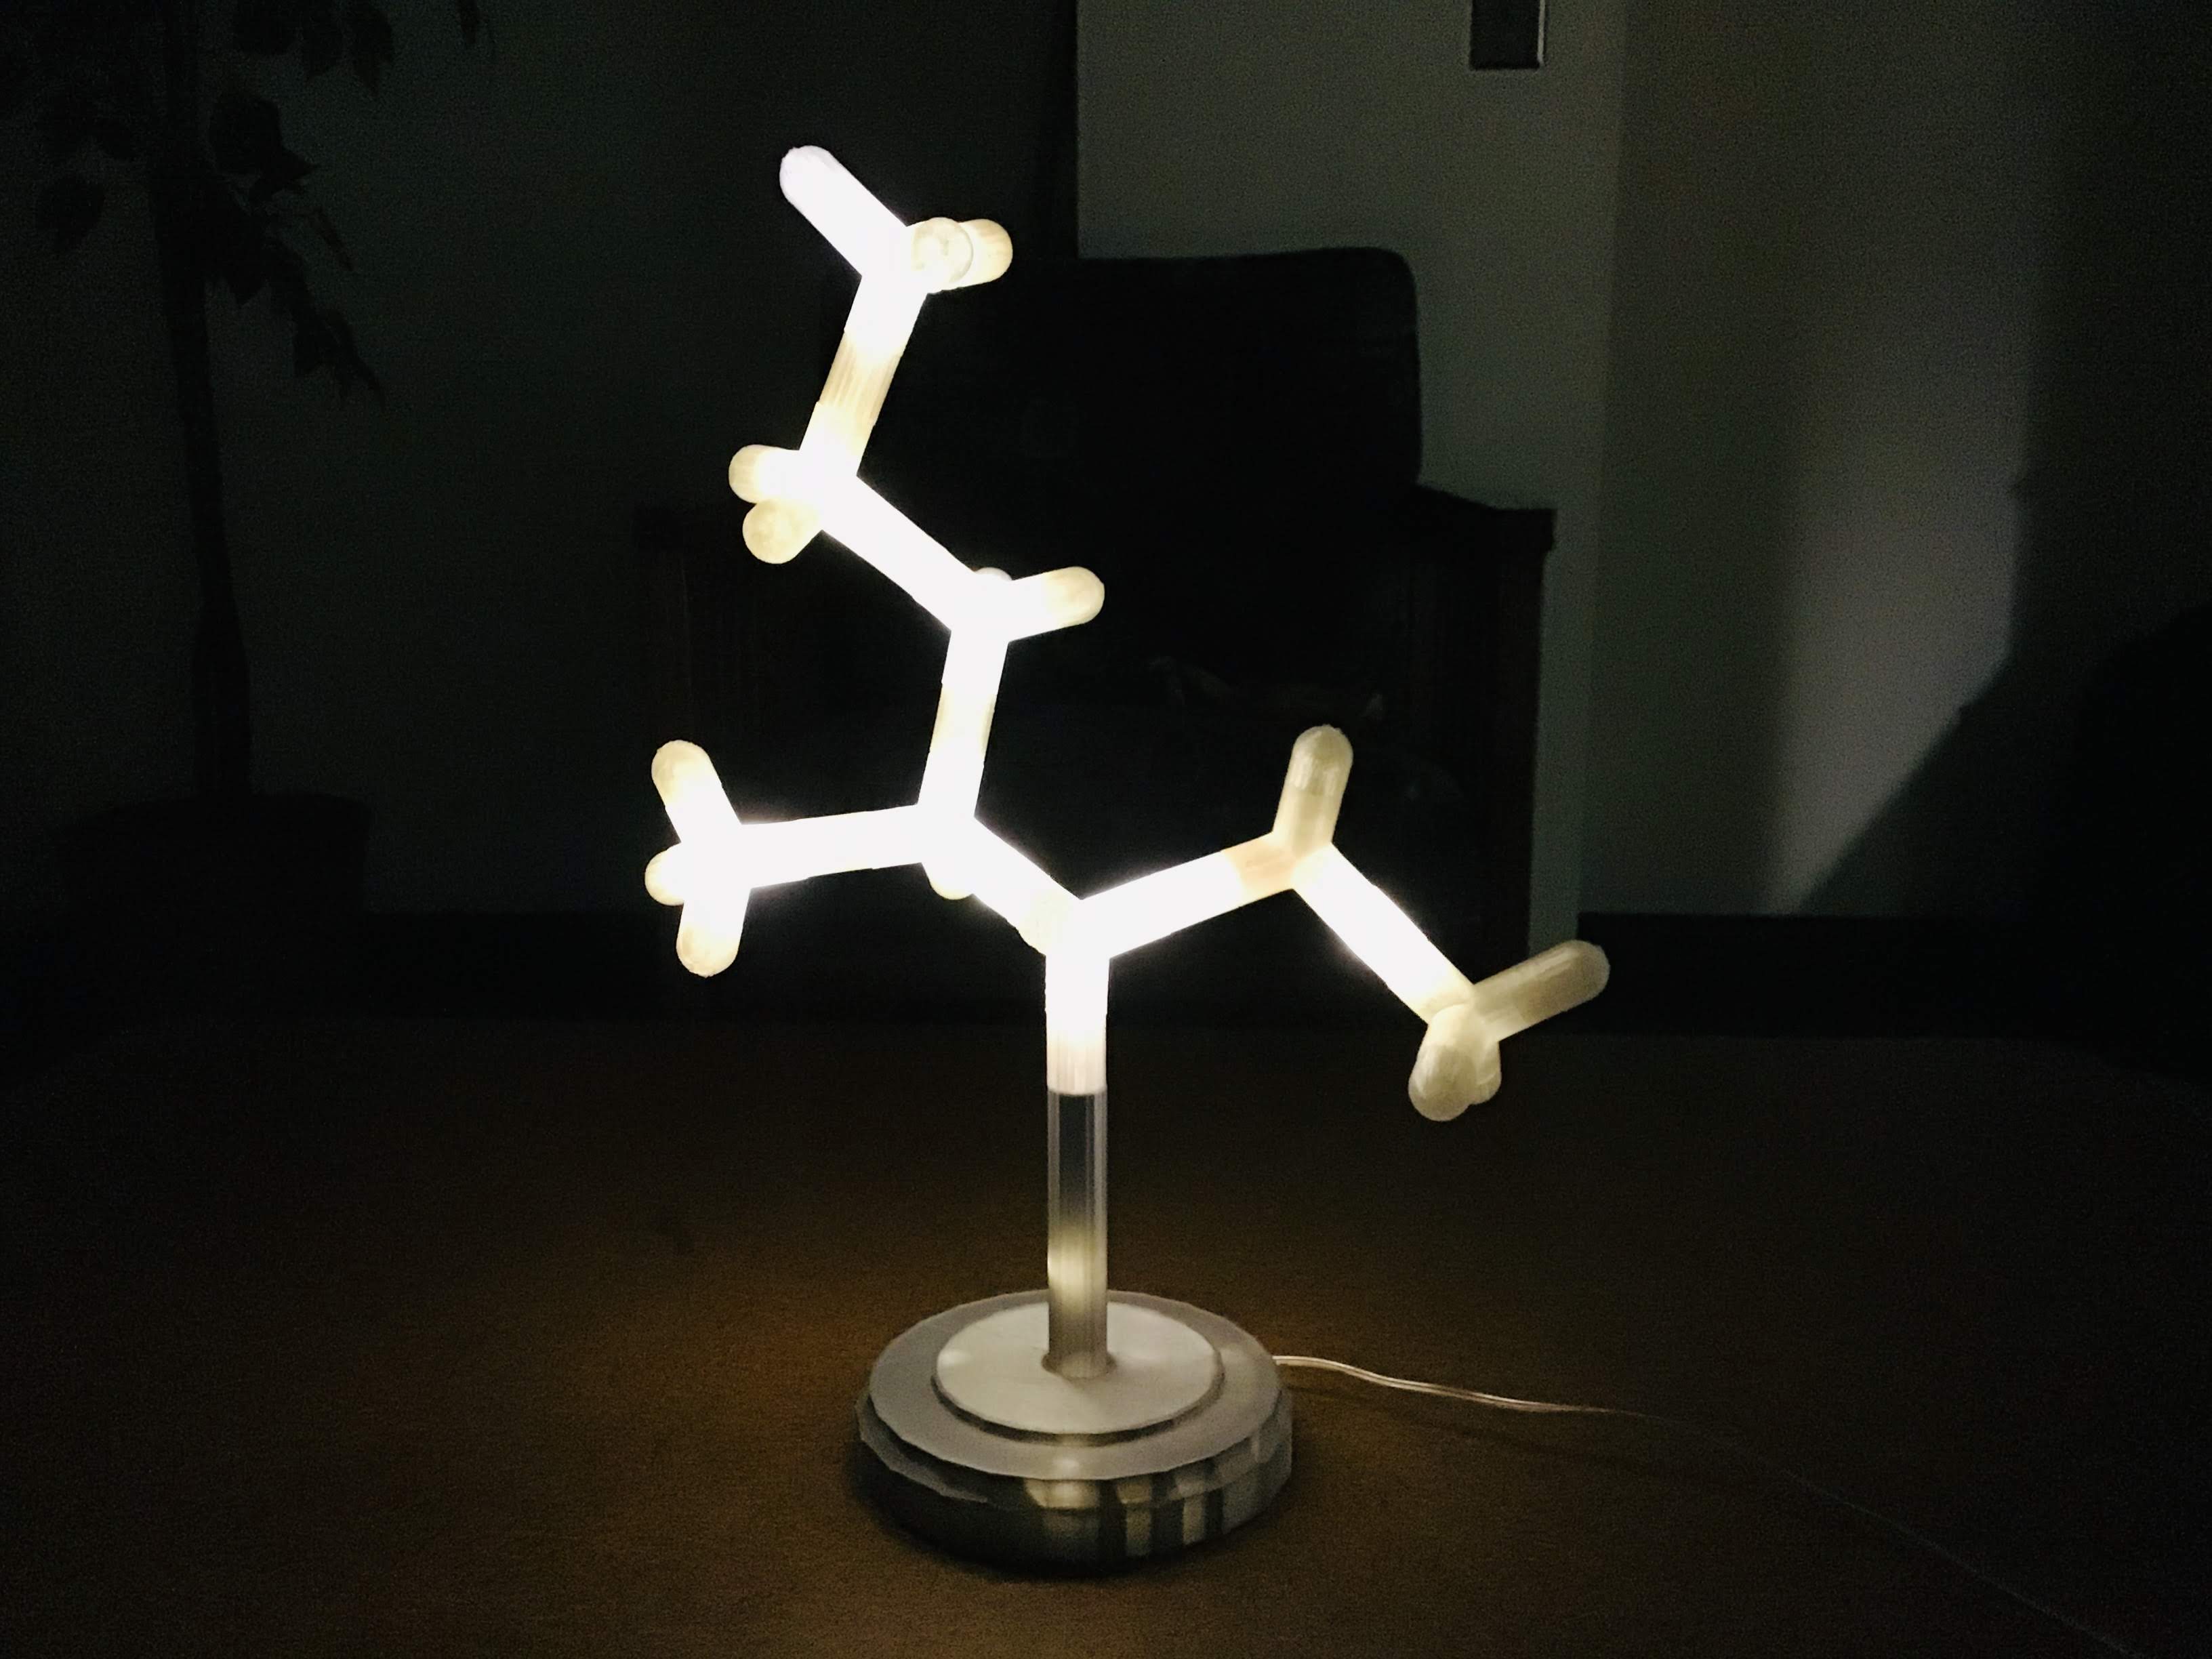
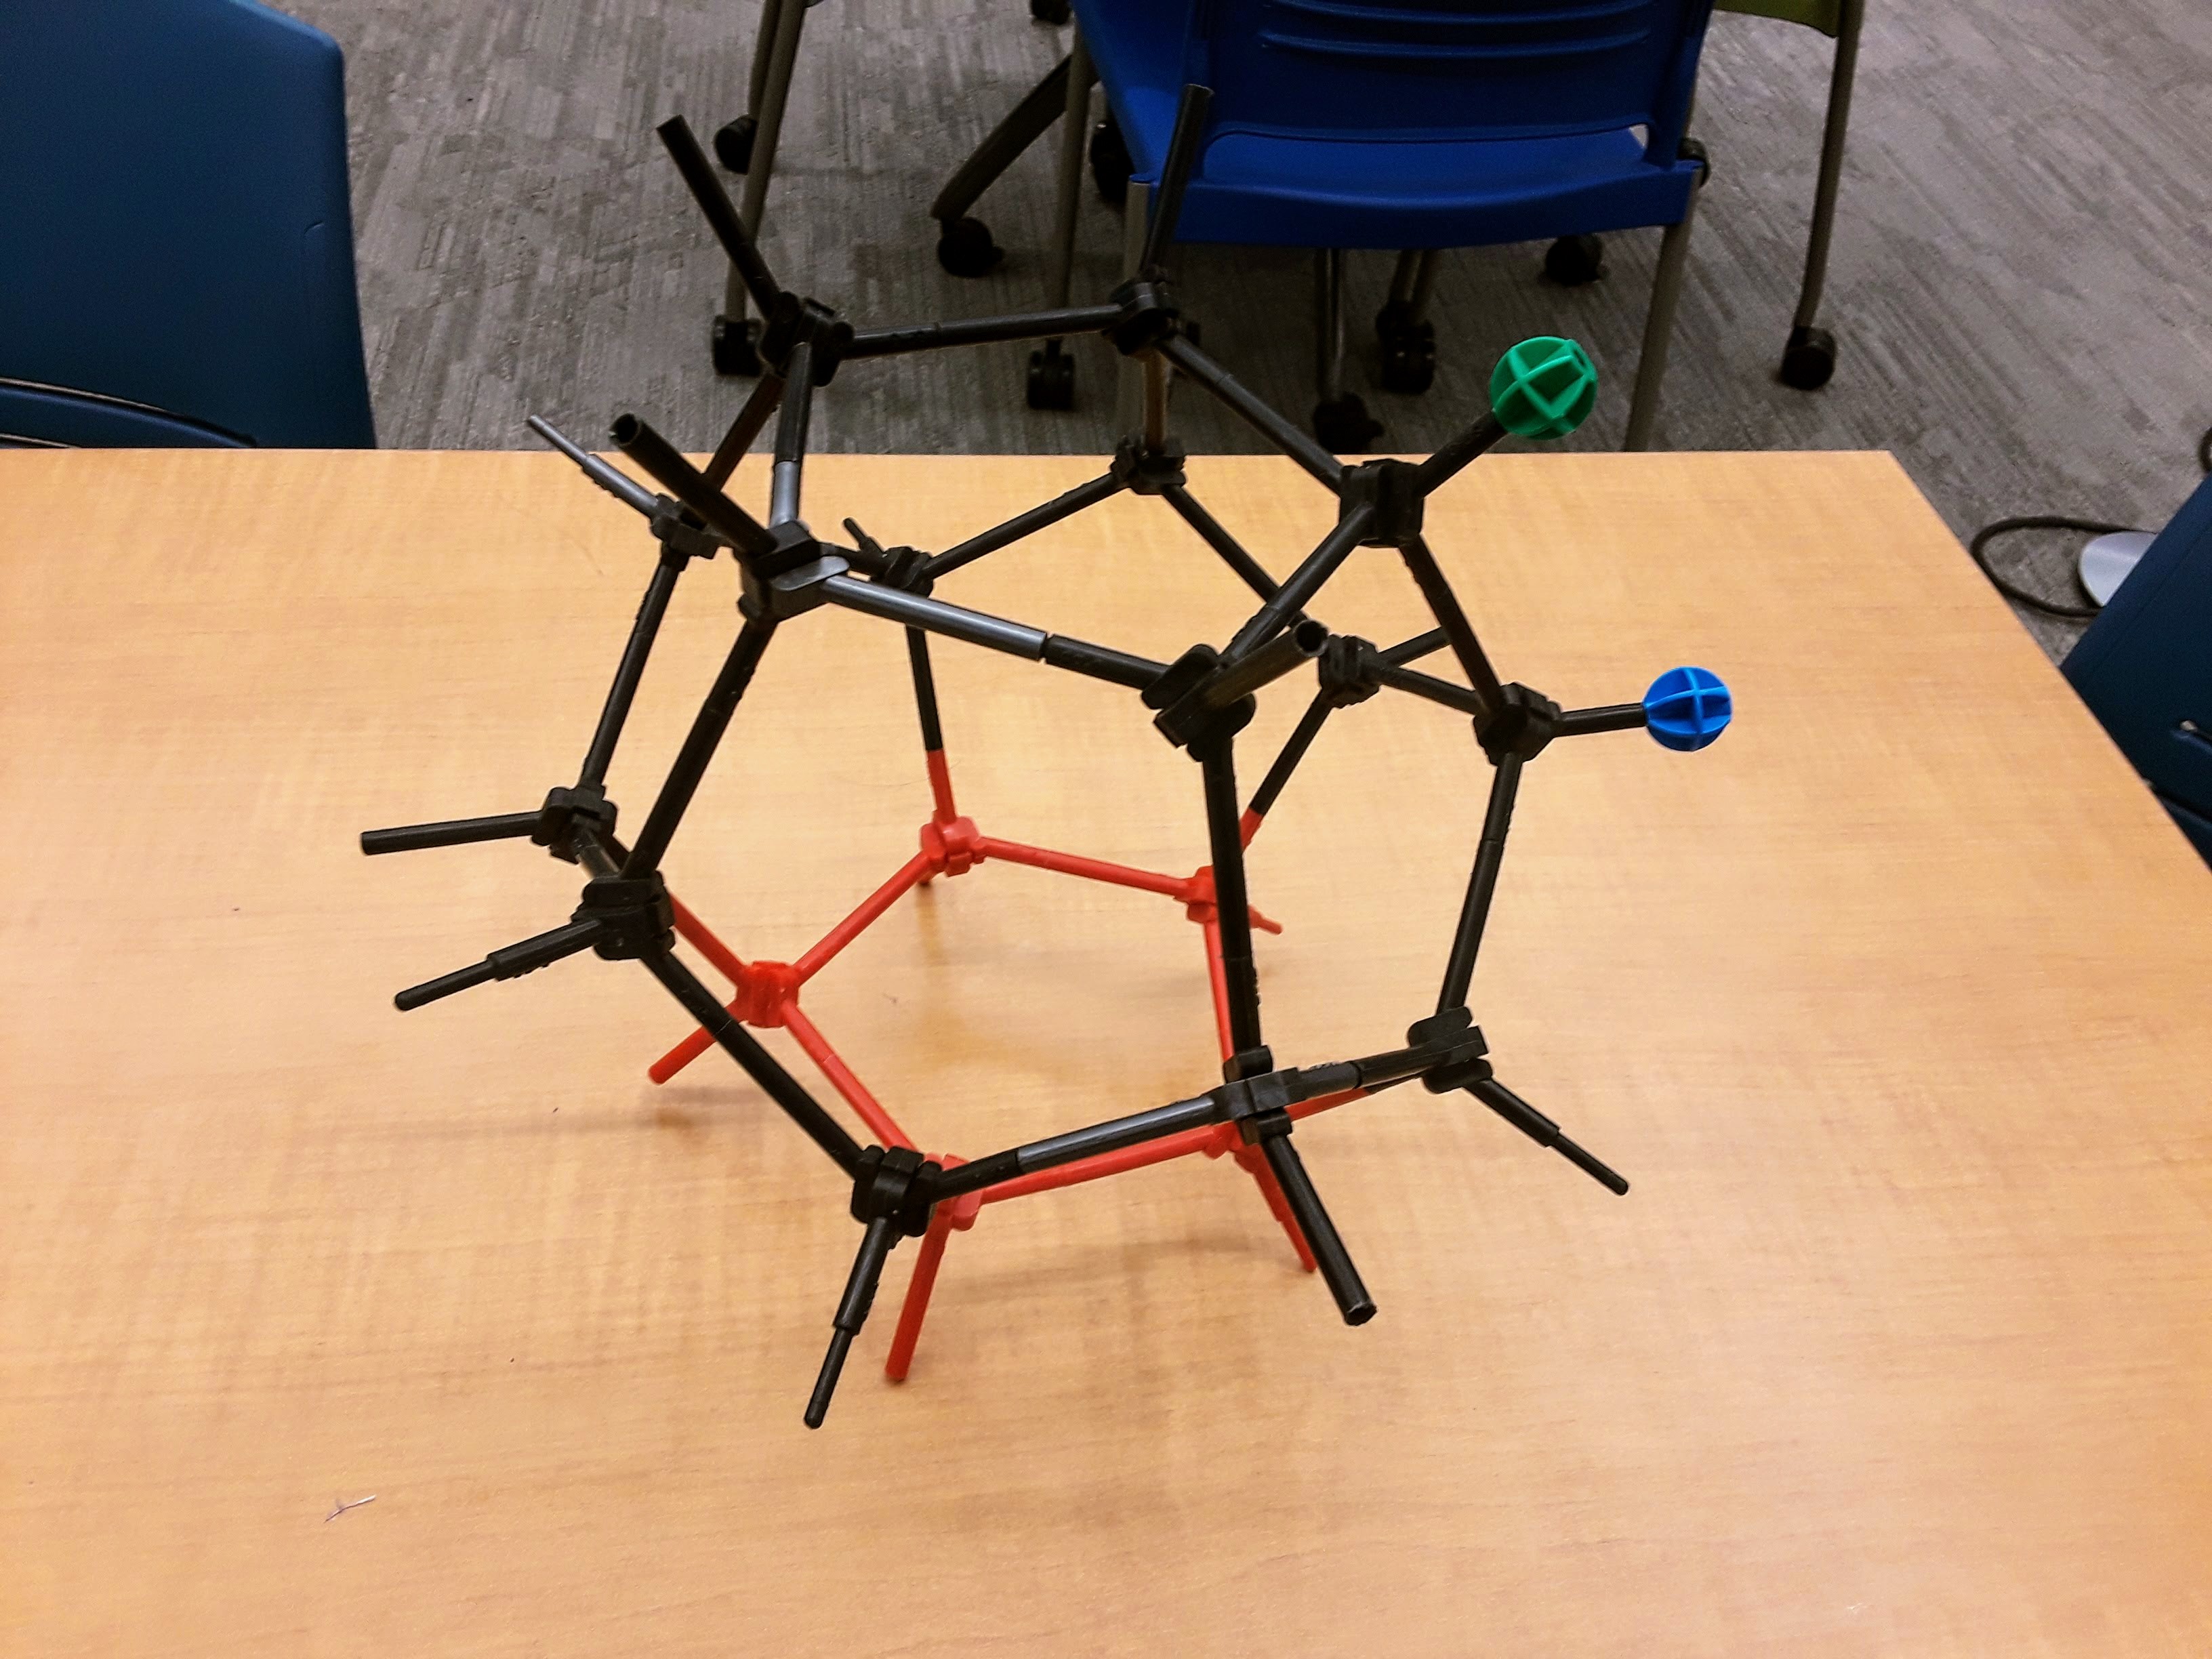
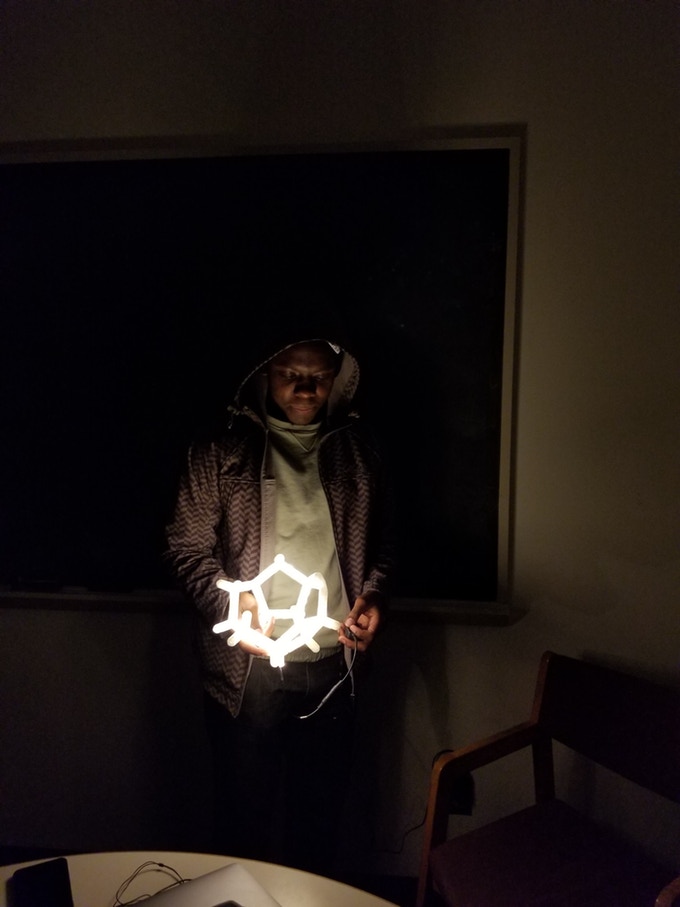
I really hate Organic Chemistry............... but I absolutely love molecular model kits. Nothing can surpass the feeling of using lego like plastic sticks to create random organic shapes that are more art than science.
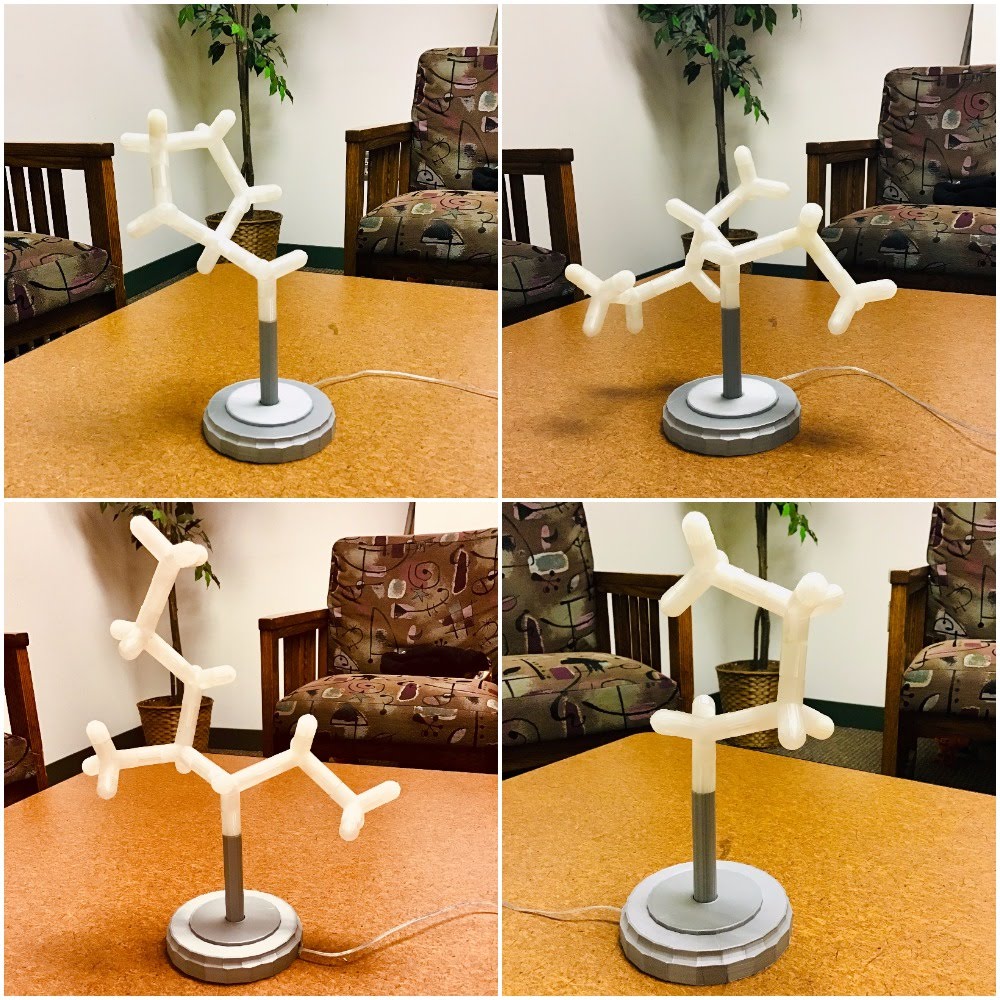
I wanted to expand on this idea of making art based on chemistry so made a lamp that has molecule kit like pieces and allows people to make awesome organic art pieces in the dark that can resonate even with people who don't like organic chemistry or have never taken it before just cause they are so cool.
Enjoy!
(ノ◕ヮ◕)ノ*:・゚✧・: *ヽ(◕ヮ◕ヽ)
Materials
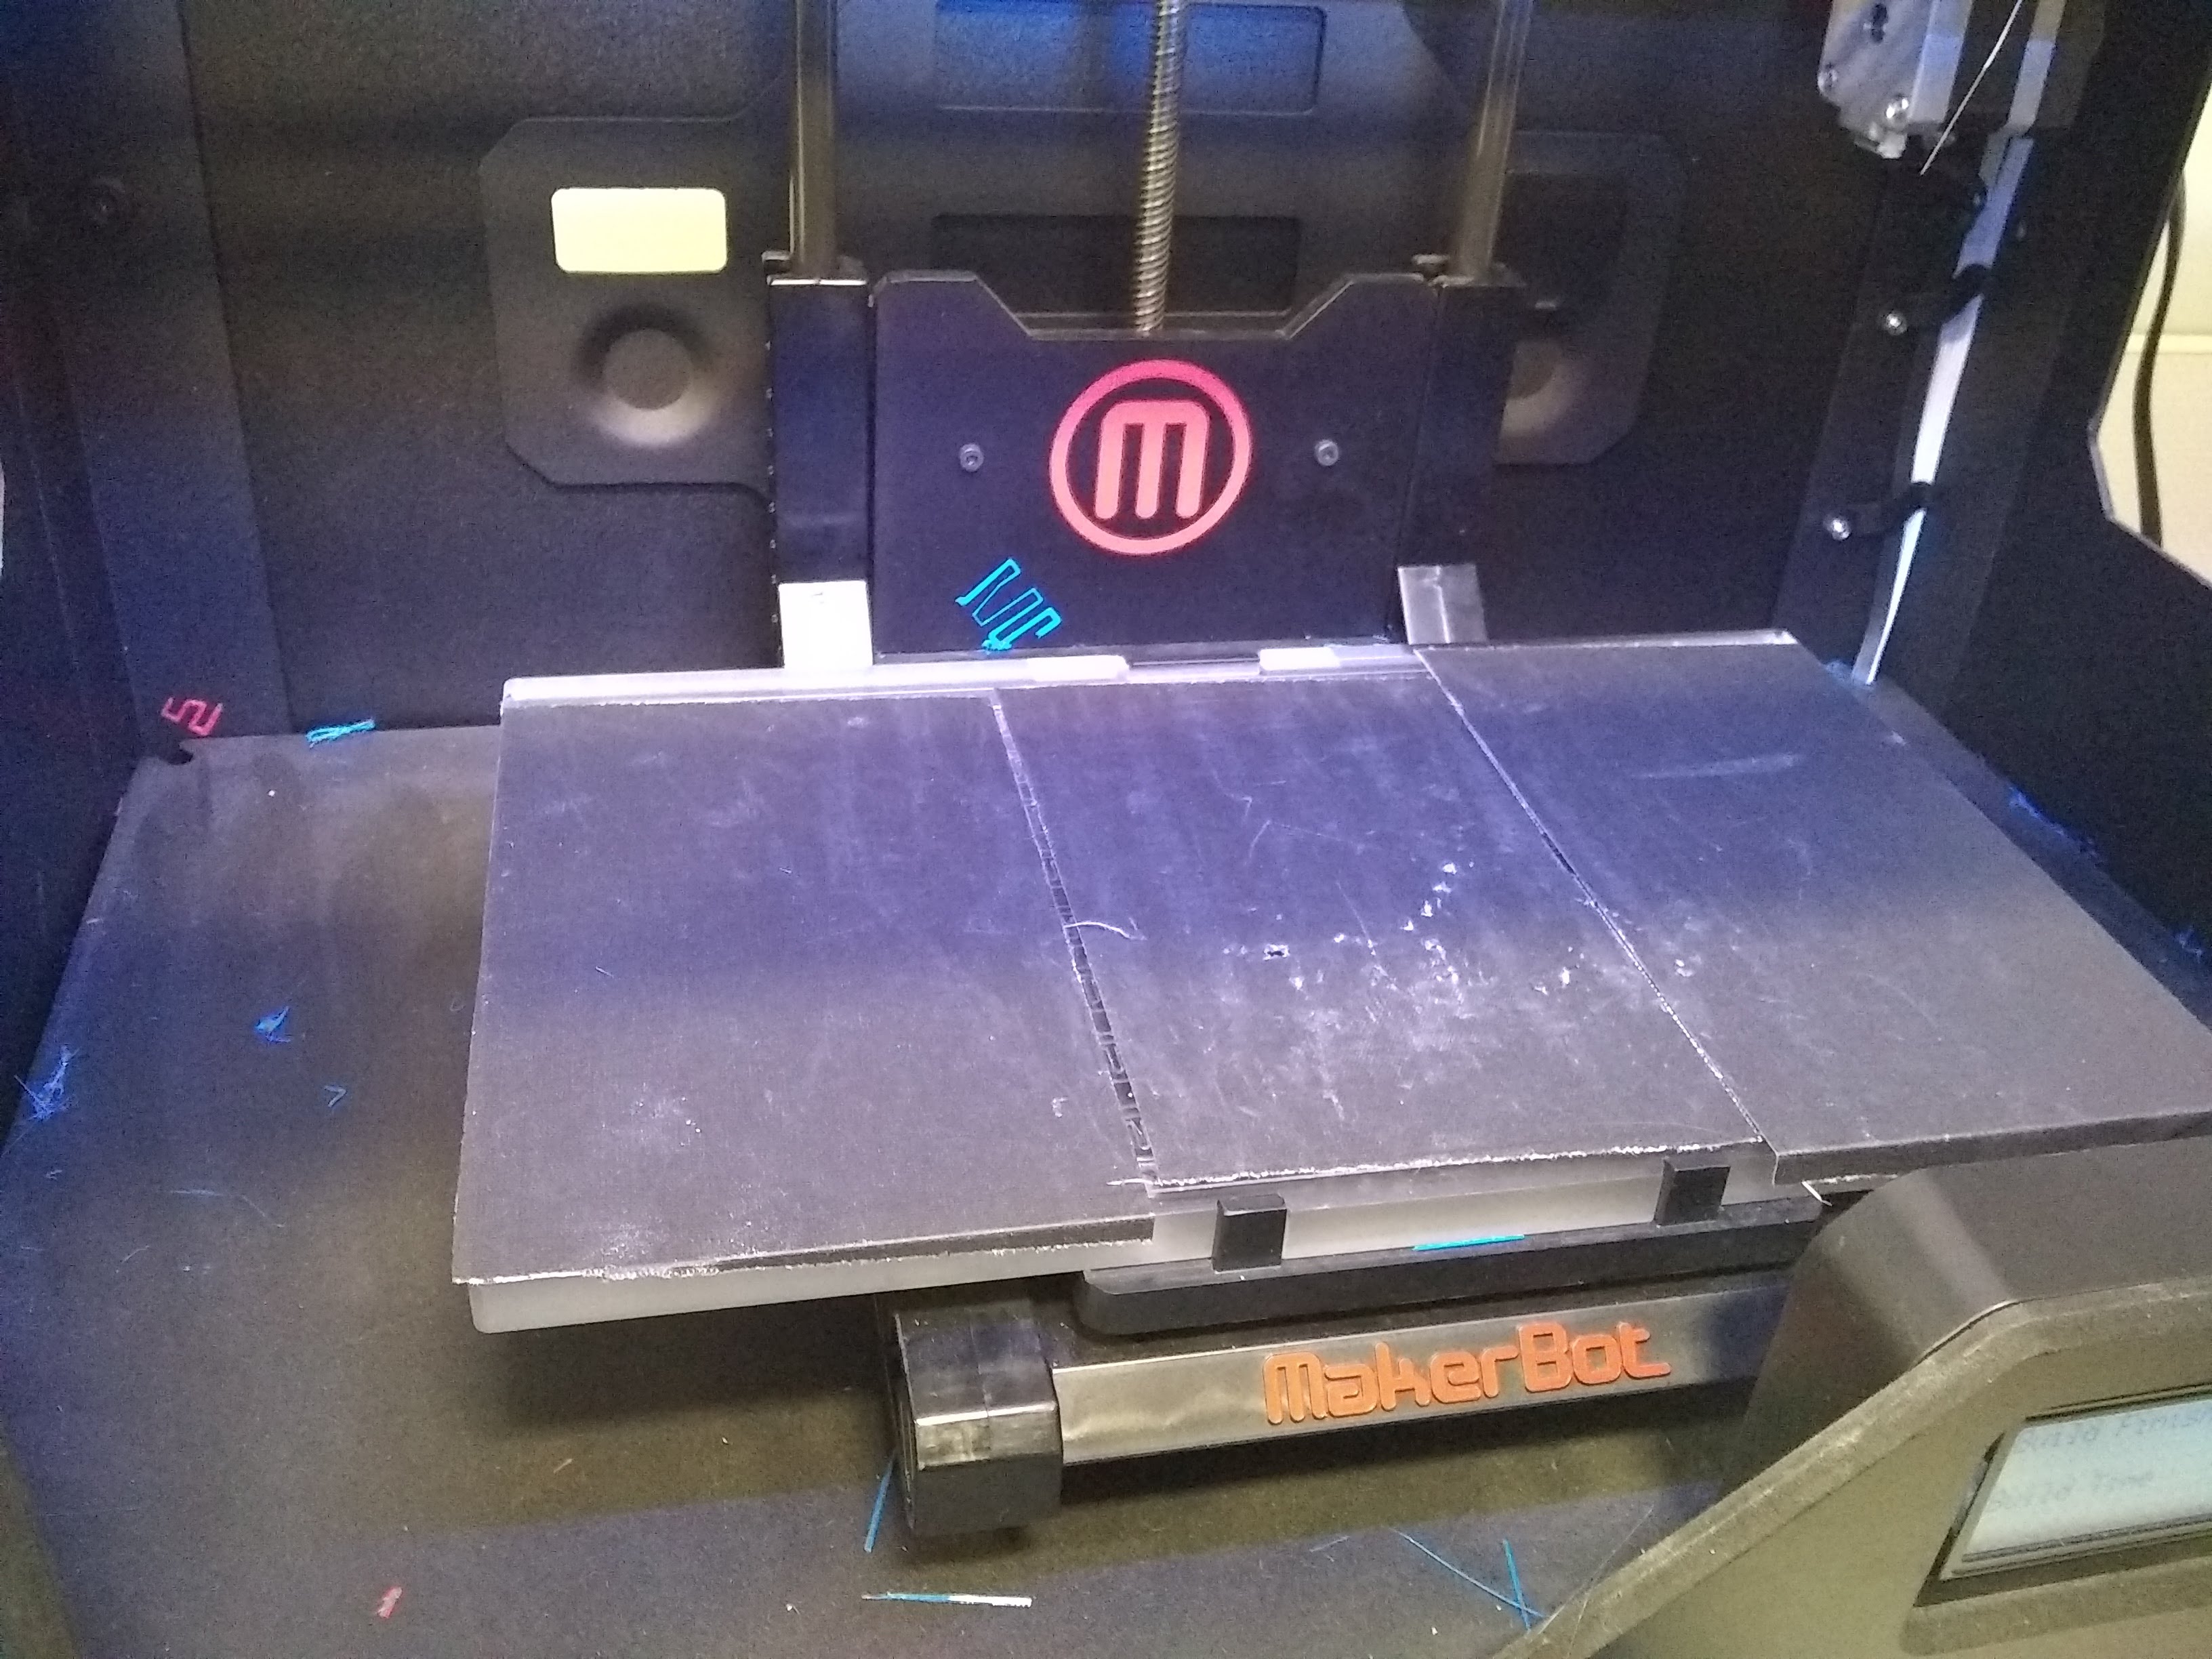
The main thing you will need is a 3D printer. This was the easiest way I found to make the molecule pieces after spending close to a month figuring out what materials worked and what processes were the cheapest ways to go about it and asking various design professors at my college for advice. Also Poly-lactic acid (PLA - basic 3D printing material) proved to work extremely well since the parts had to be hollow and sturdy. I used the Maker-bot 2nd Generation at my college so the 3D printing material I suggest below has diameters that are compatible with that 3D printer (1.75 mm diameter filaments). Do make sure to find alternative filaments that can satisfy whatever machine you plan to use.
Basically, you will need;
- Clear PLA 3D Print Filament for transparent parts of the lamp. This is a good type for a fairly cheap price. It also had a nice finish to it and was easy to mess around with and install. I used it with the Maker-bot 2nd Generation at my college.
- Grey PLA for lamp base. I used grey filament to make the lamp base since it was a generic color that sort of complemented the clear filament's whiter color. Black is also a good choice.
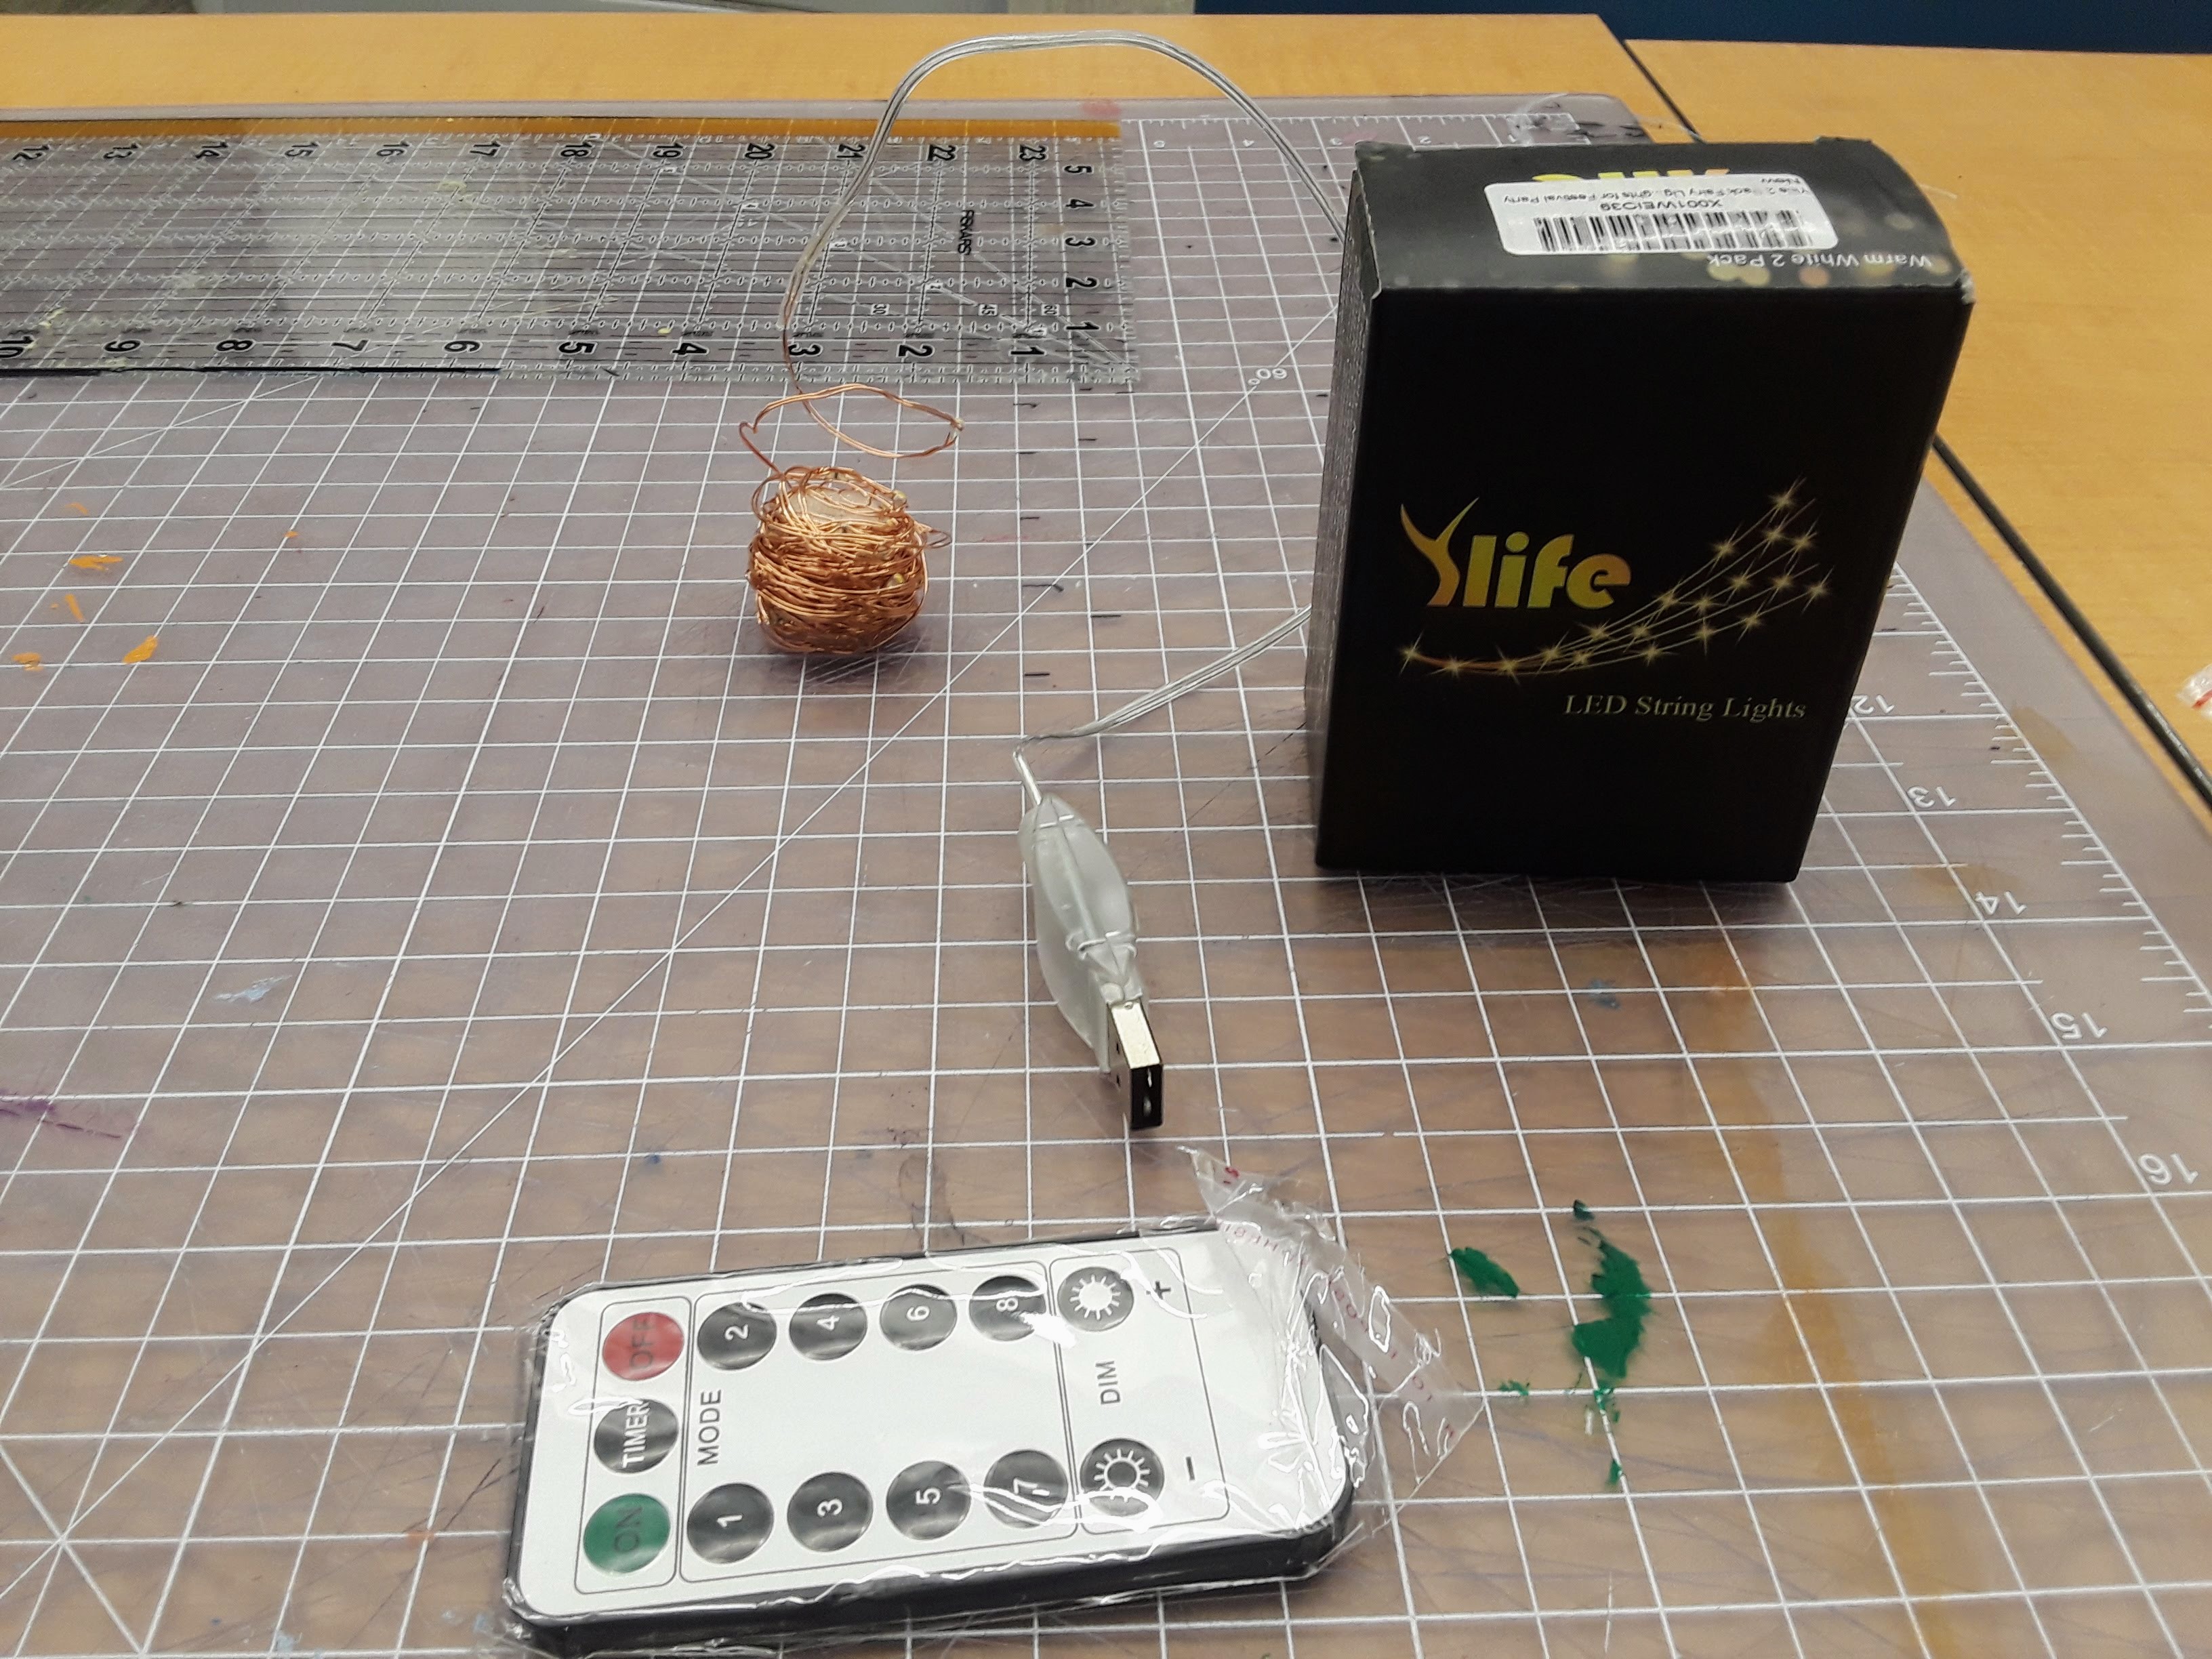
- LED String light (We used these since they had a cool remote control for long range usage and were pretty cheap. The USB power source is also a great for making the lamp portable)
- 3D Molecule stl file and Lamp base stl file (see files below). Download both of the files below and use them with the 3D printing software (I used Maker-bot's software) to print out the molecule parts and lamp base. If you want to design your own please go ahead! The next steps will be a quick run down of how did it using tinker-cad (in a simple way)
-
Sand Paper (Optional). For finishing the clear lamp parts. It helps to make them smoother and white and also to diffuse light better.
Deciding What Pieces to Make
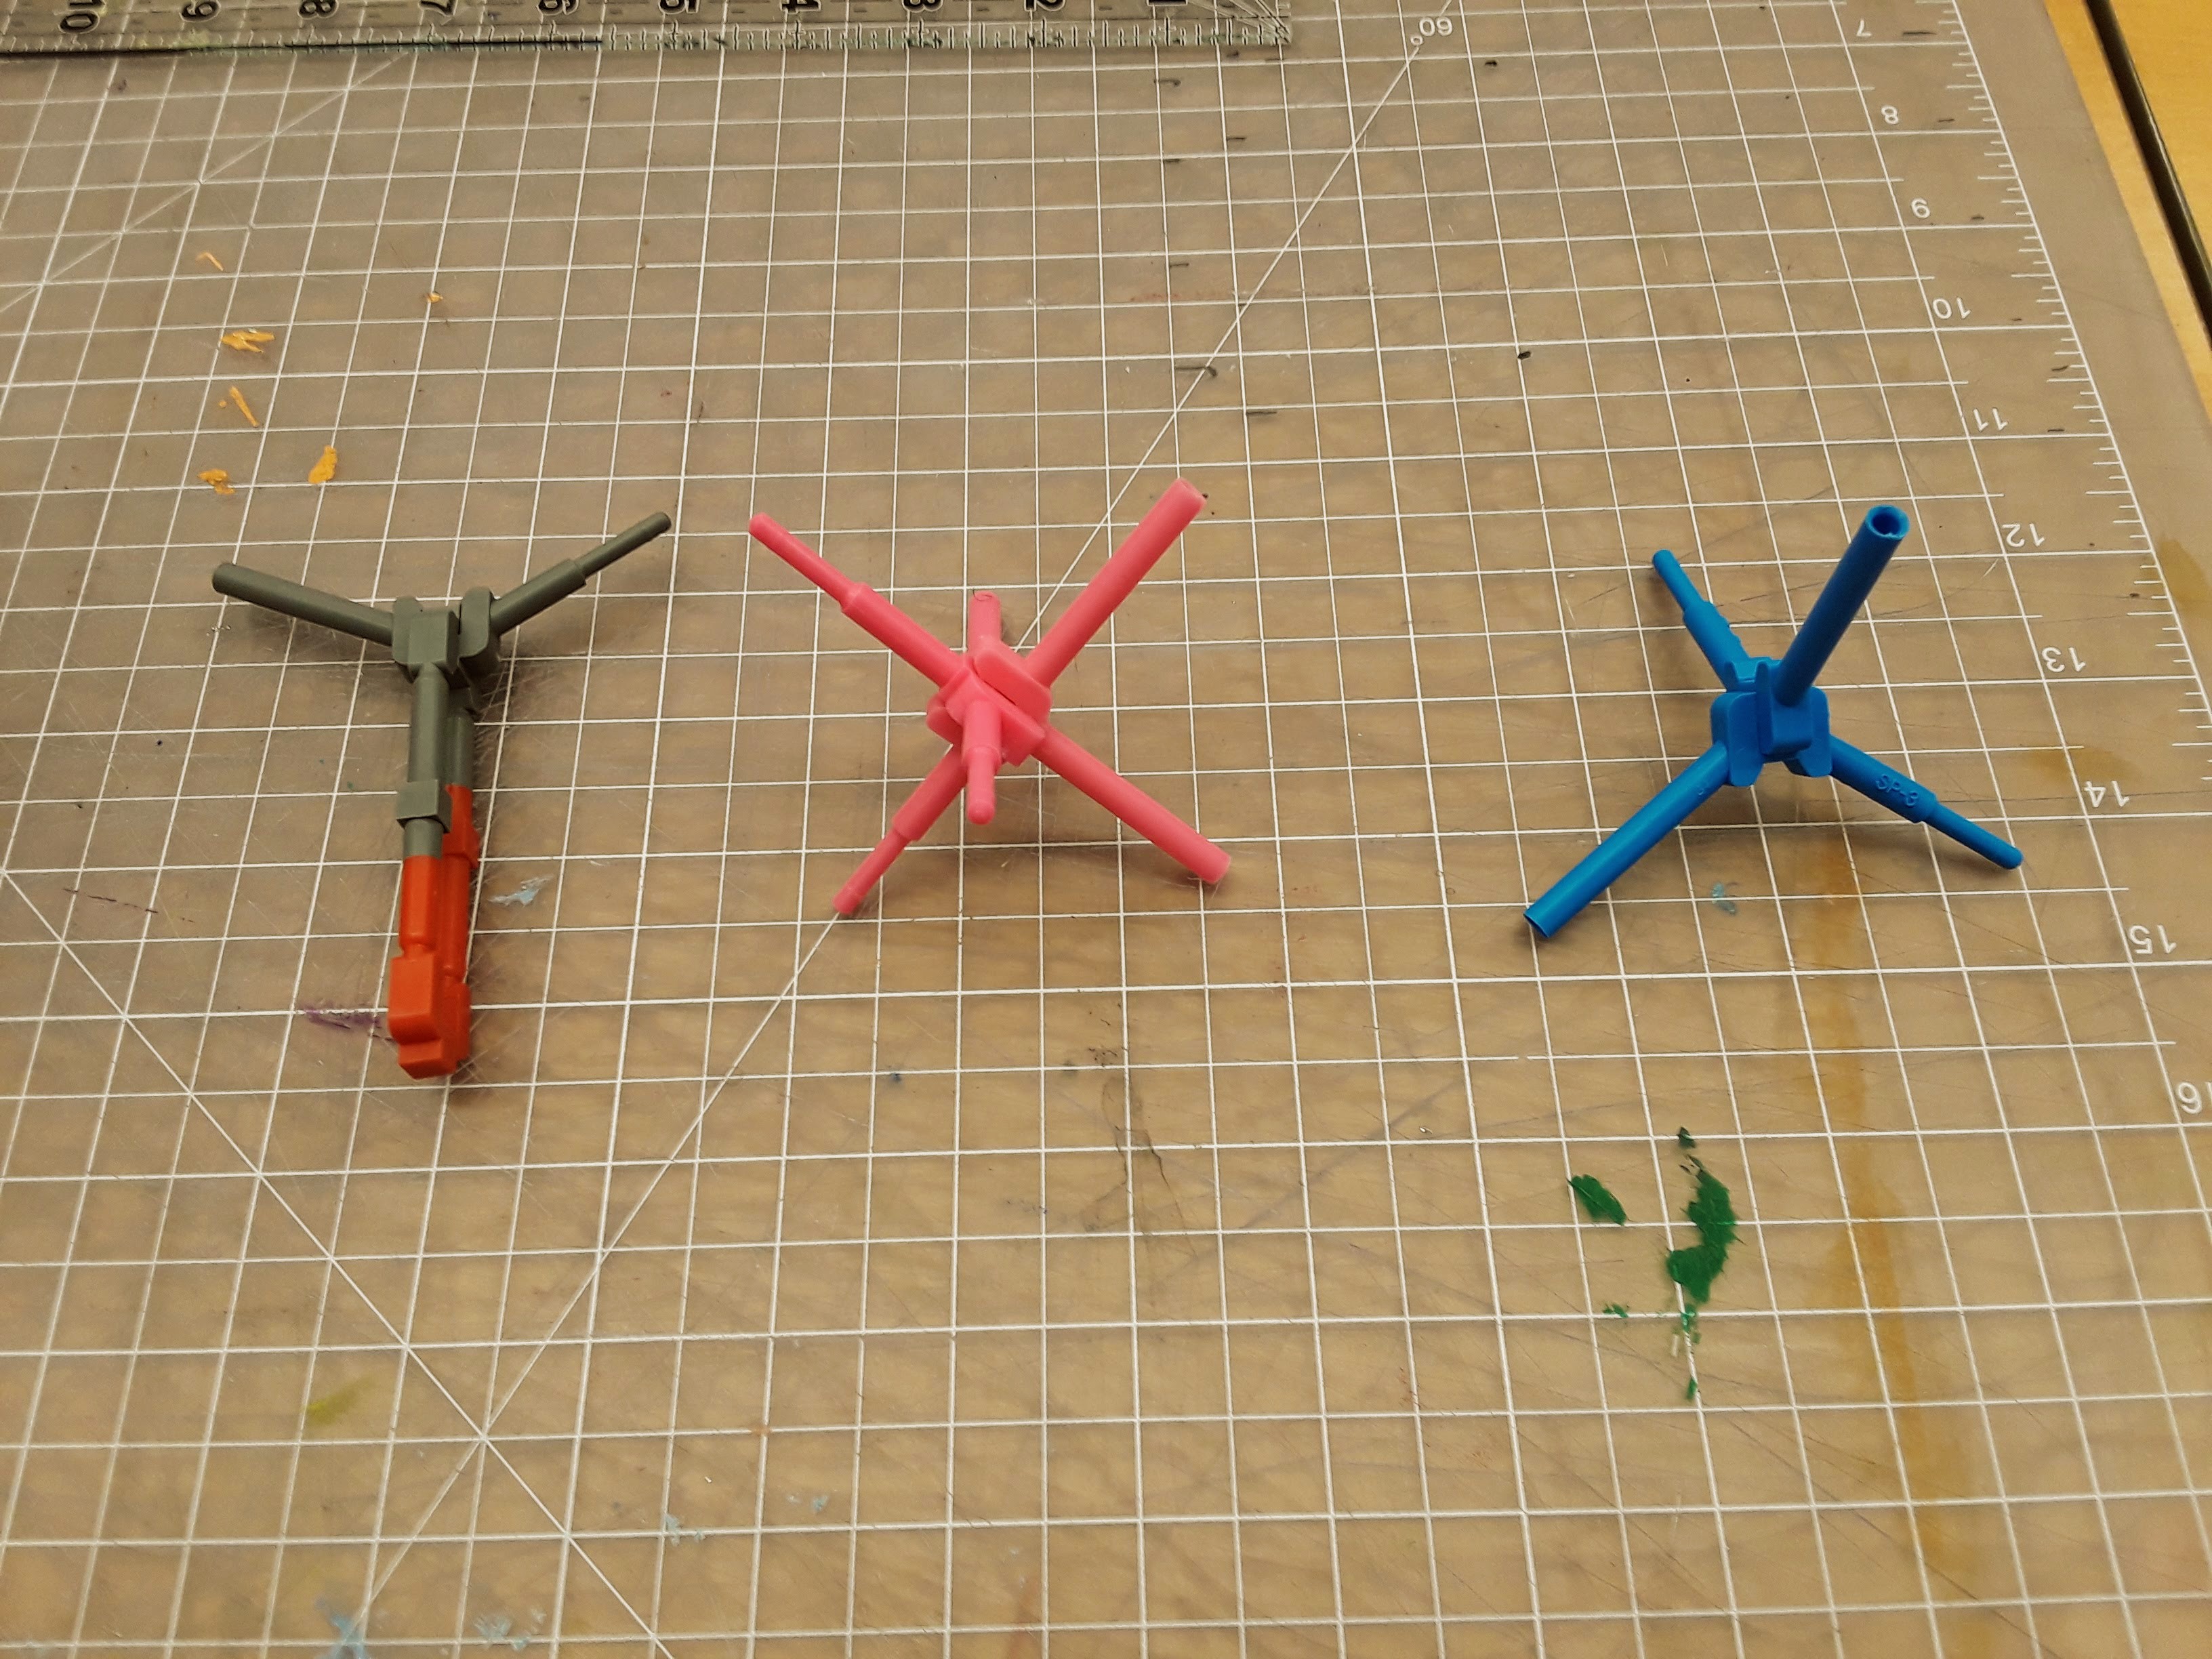
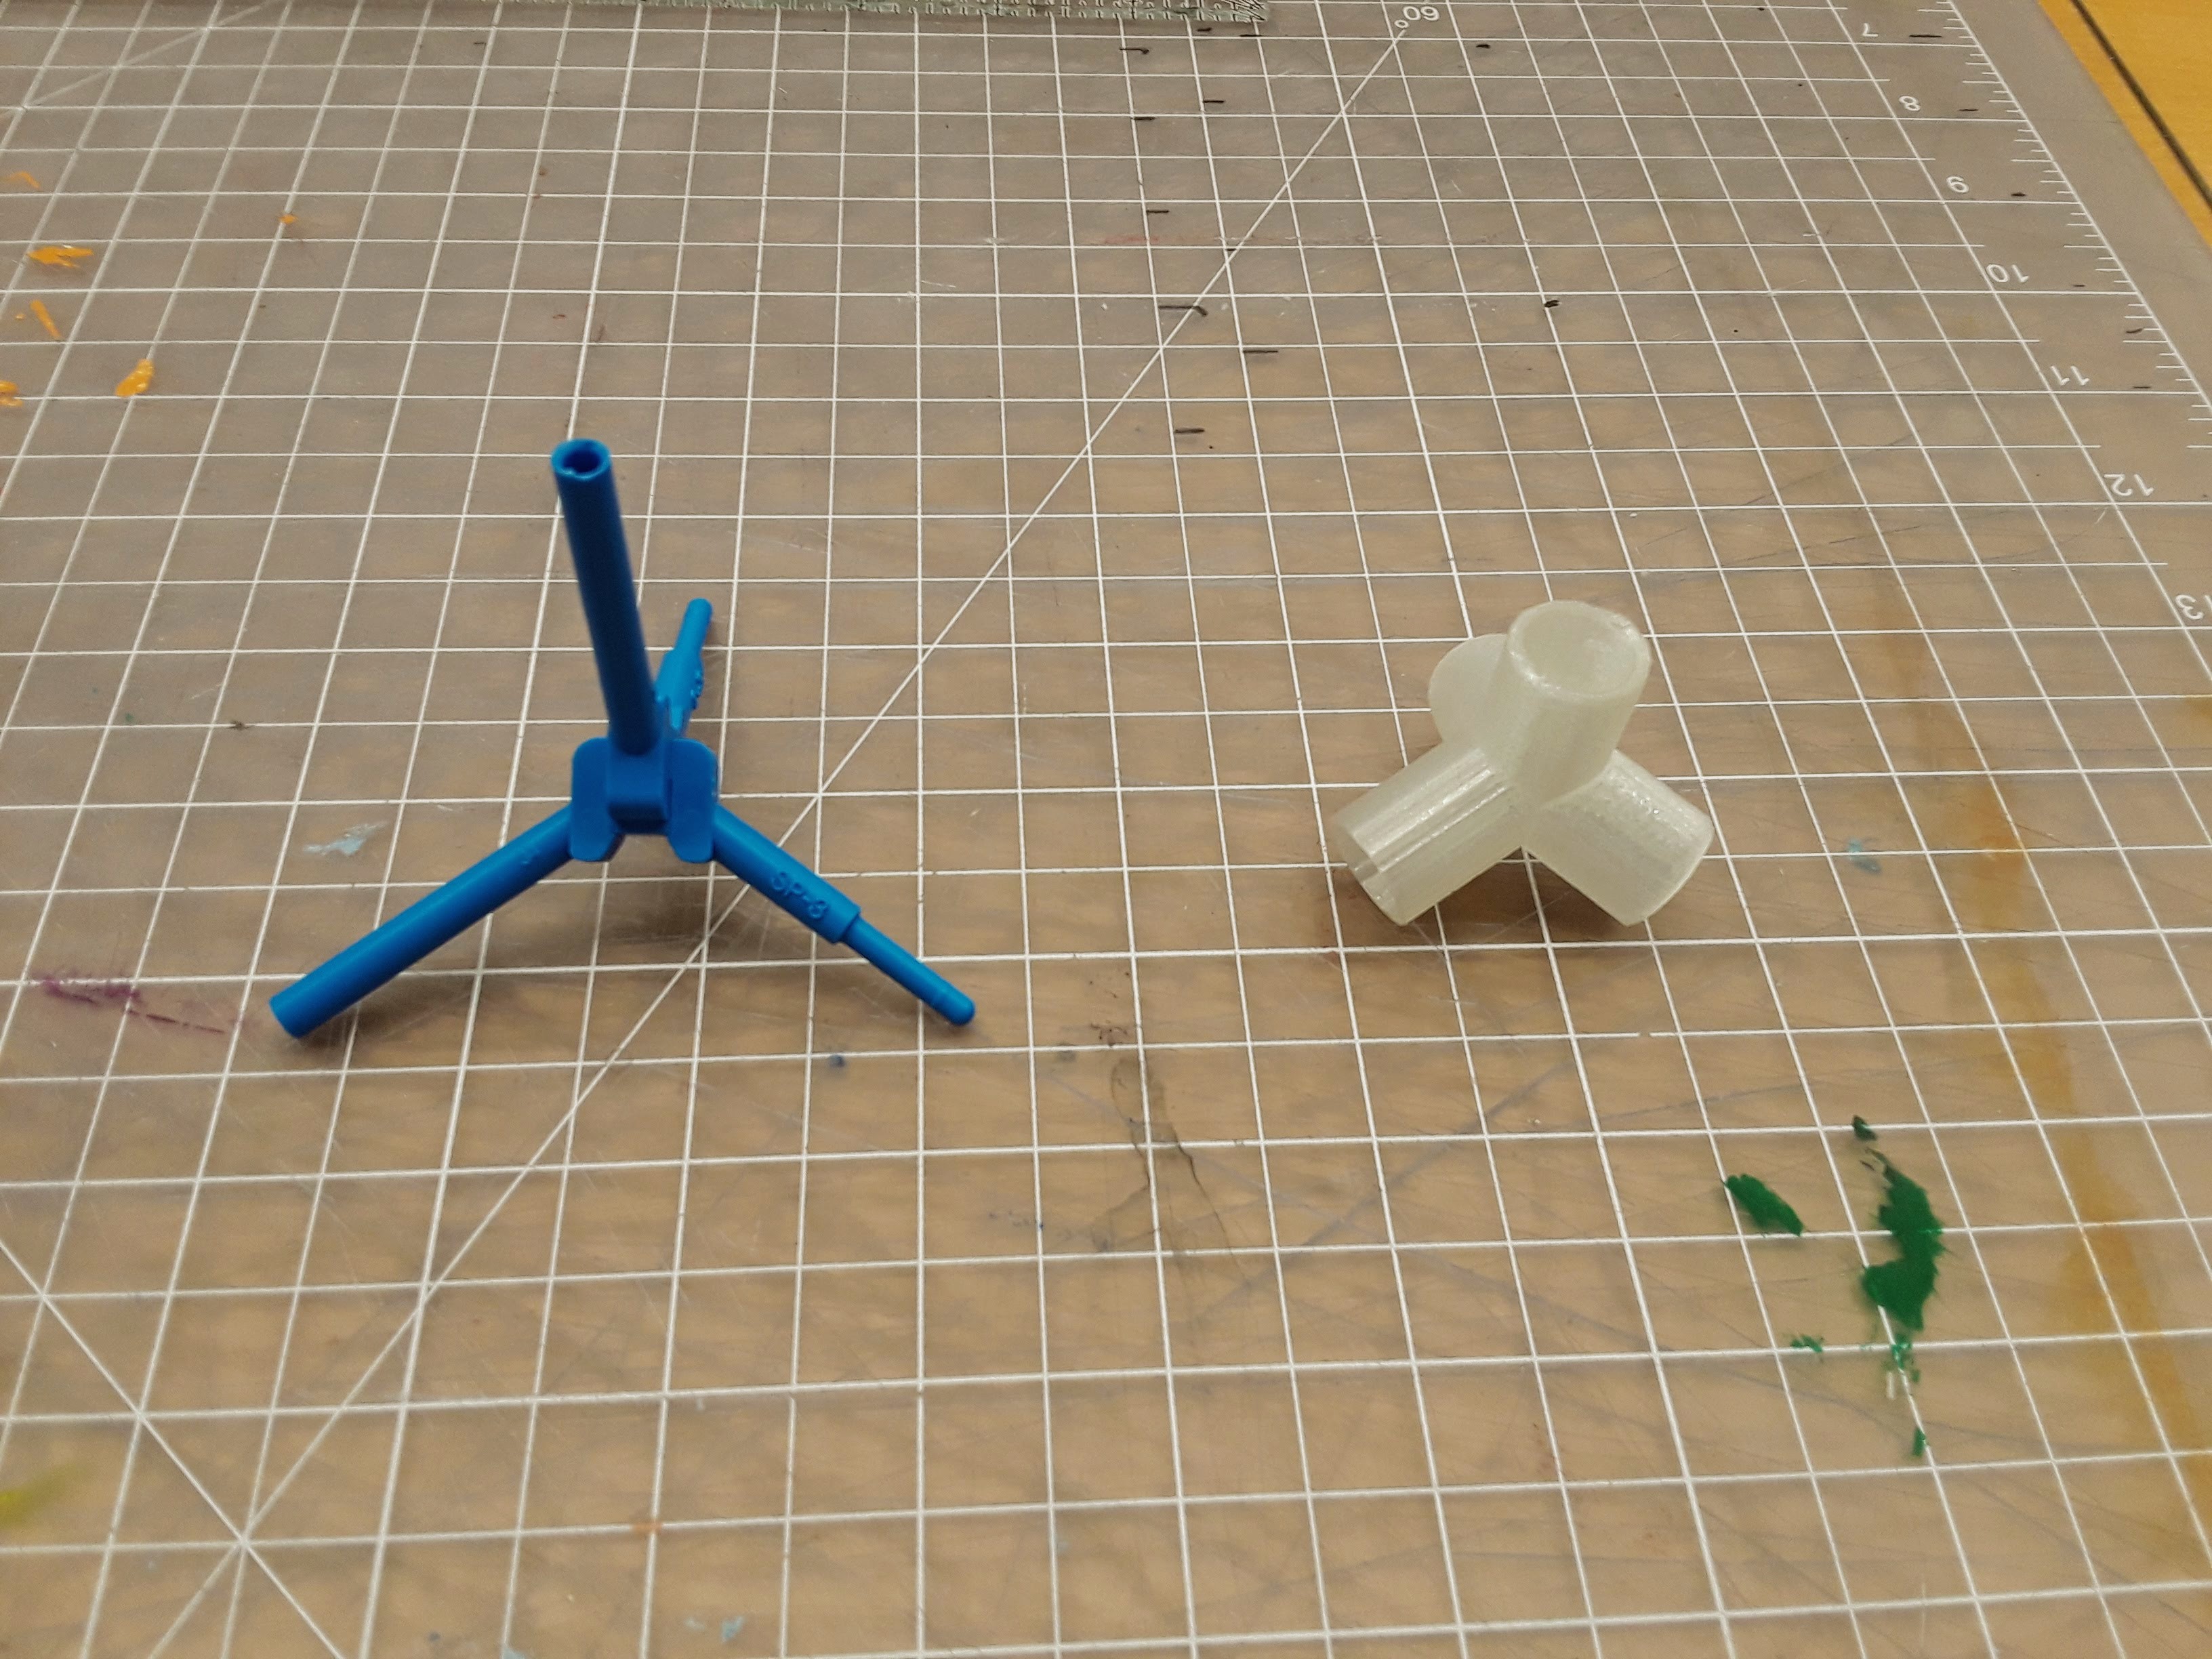
Molecular Model kits often come with a huge range of molecules of different weird and wonderful shapes. Some are planar (180 degrees between atoms), bent (kinda more than 180) , trigonal (120 degrees) and even tetrahedral (109.5 degrees) based on how atoms often tend to arrange the bonds around them in nature.
For this tutorial, I will only be making tetrahedral pieces that have 109.5 degree bond angles.
Sketching and Prototyping
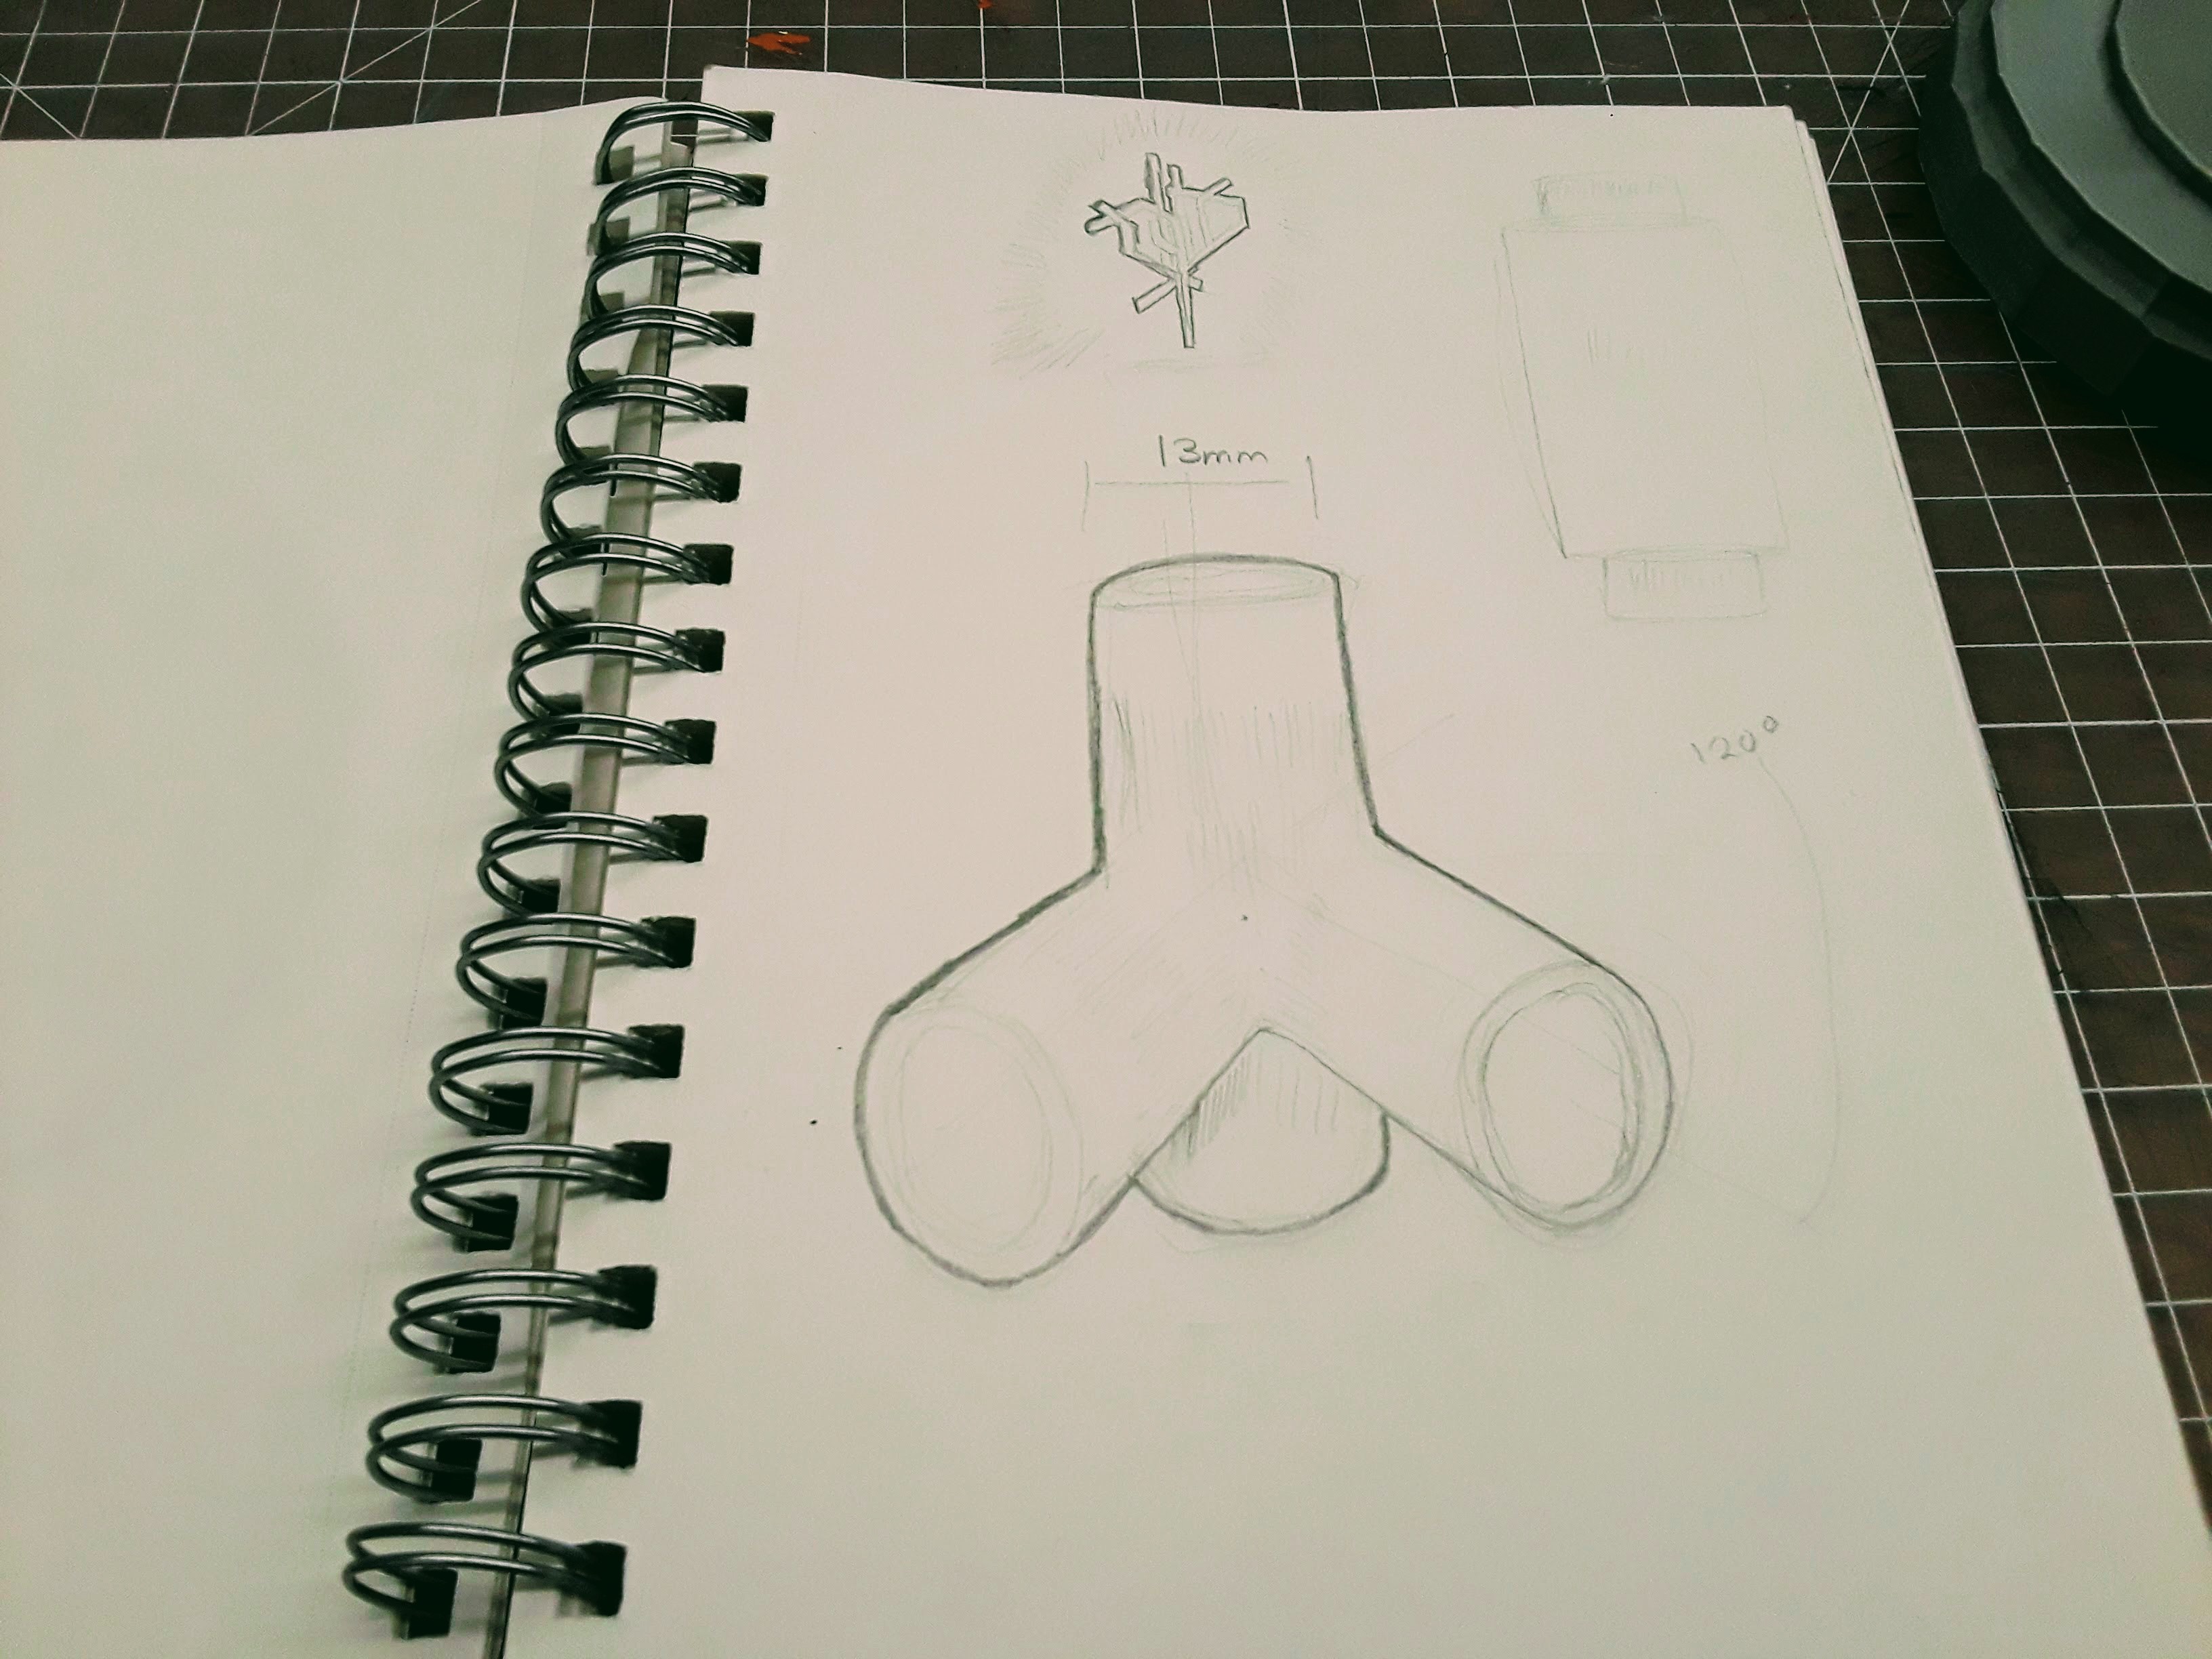
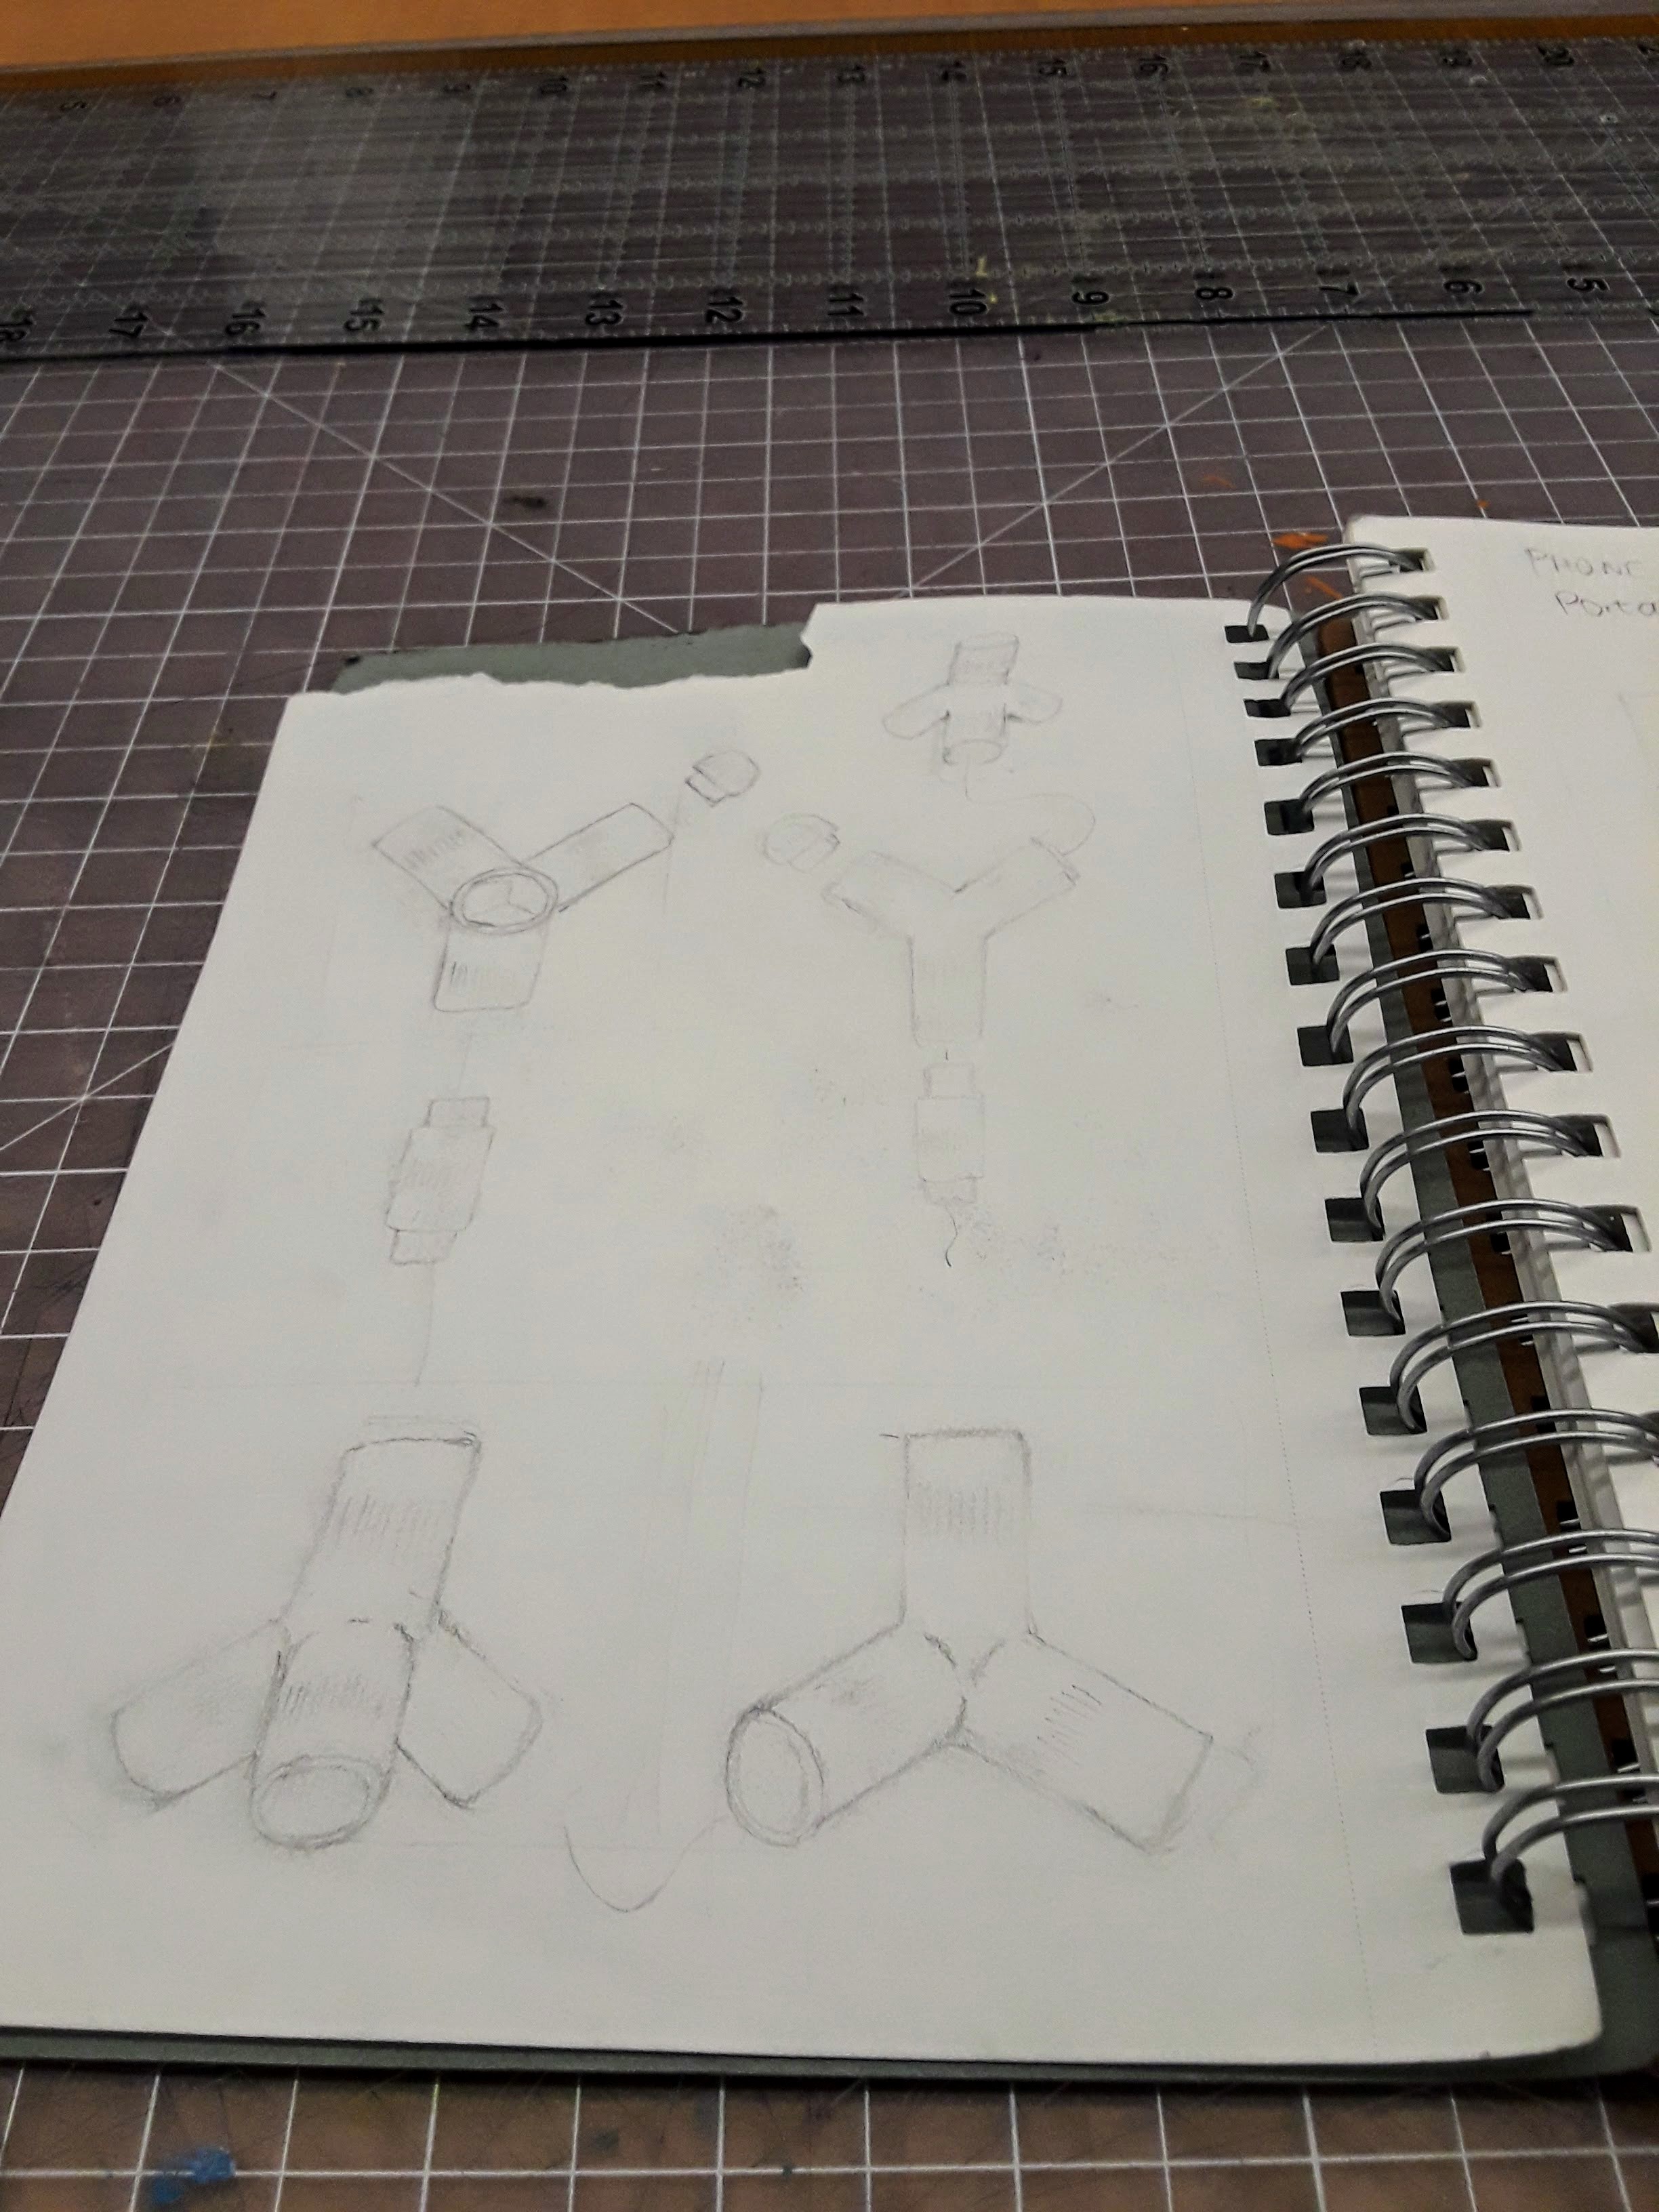
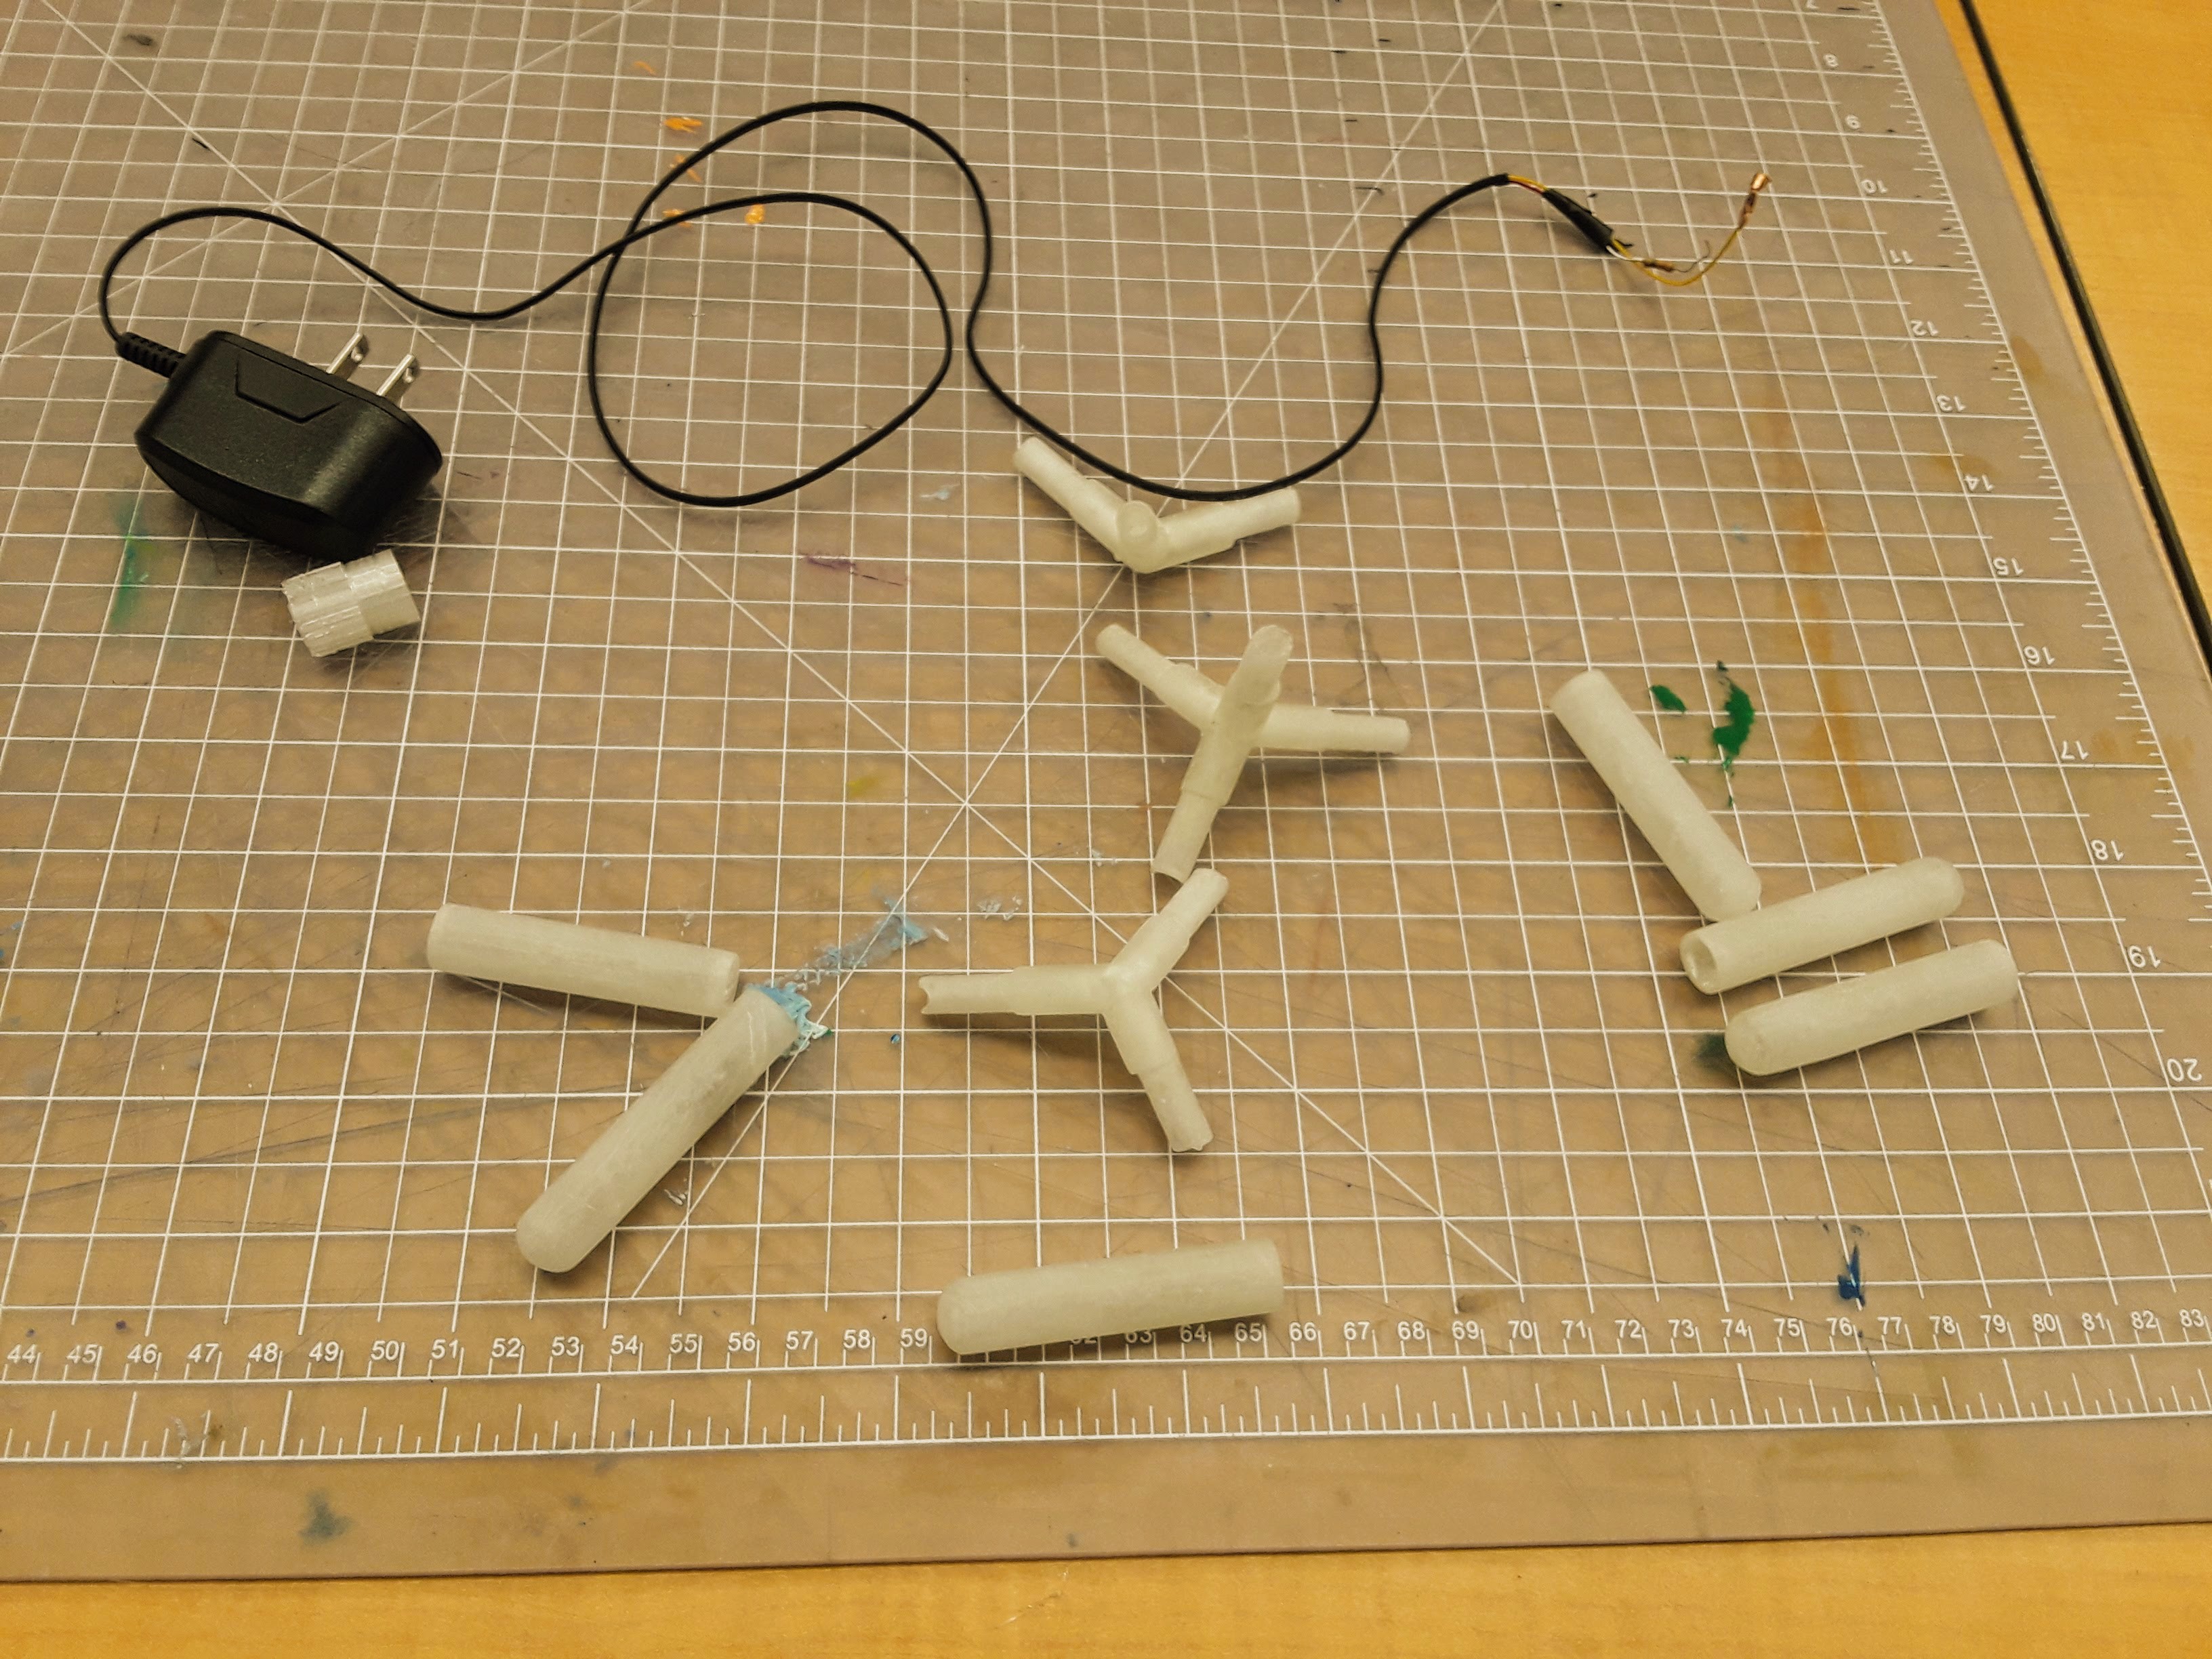
Make a few sketches of your molecules and decide what other pieces you might need. In this tutorial, I needed a few straight bonds and some end caps.
Make sure to write down the bond angles of the pieces as well as the diameters and lengths you want to use. For this tutorial, I used a few random measurements that I thought felt right based on some prototypes I did with pipe plastics. These measurements are given on the next step.
The straight bond type pieces are just straight and hollow to allow the fairy lights to pass through them while the end caps are simply needed to make the final lamps look better.
If you can get your hands on plastic tubes or sticks, you can also use these to prototype your lamp and figure out how big the pieces ought to be or what they should look like.
Tinker-cad It Up! (Tetrahedron Part 1)
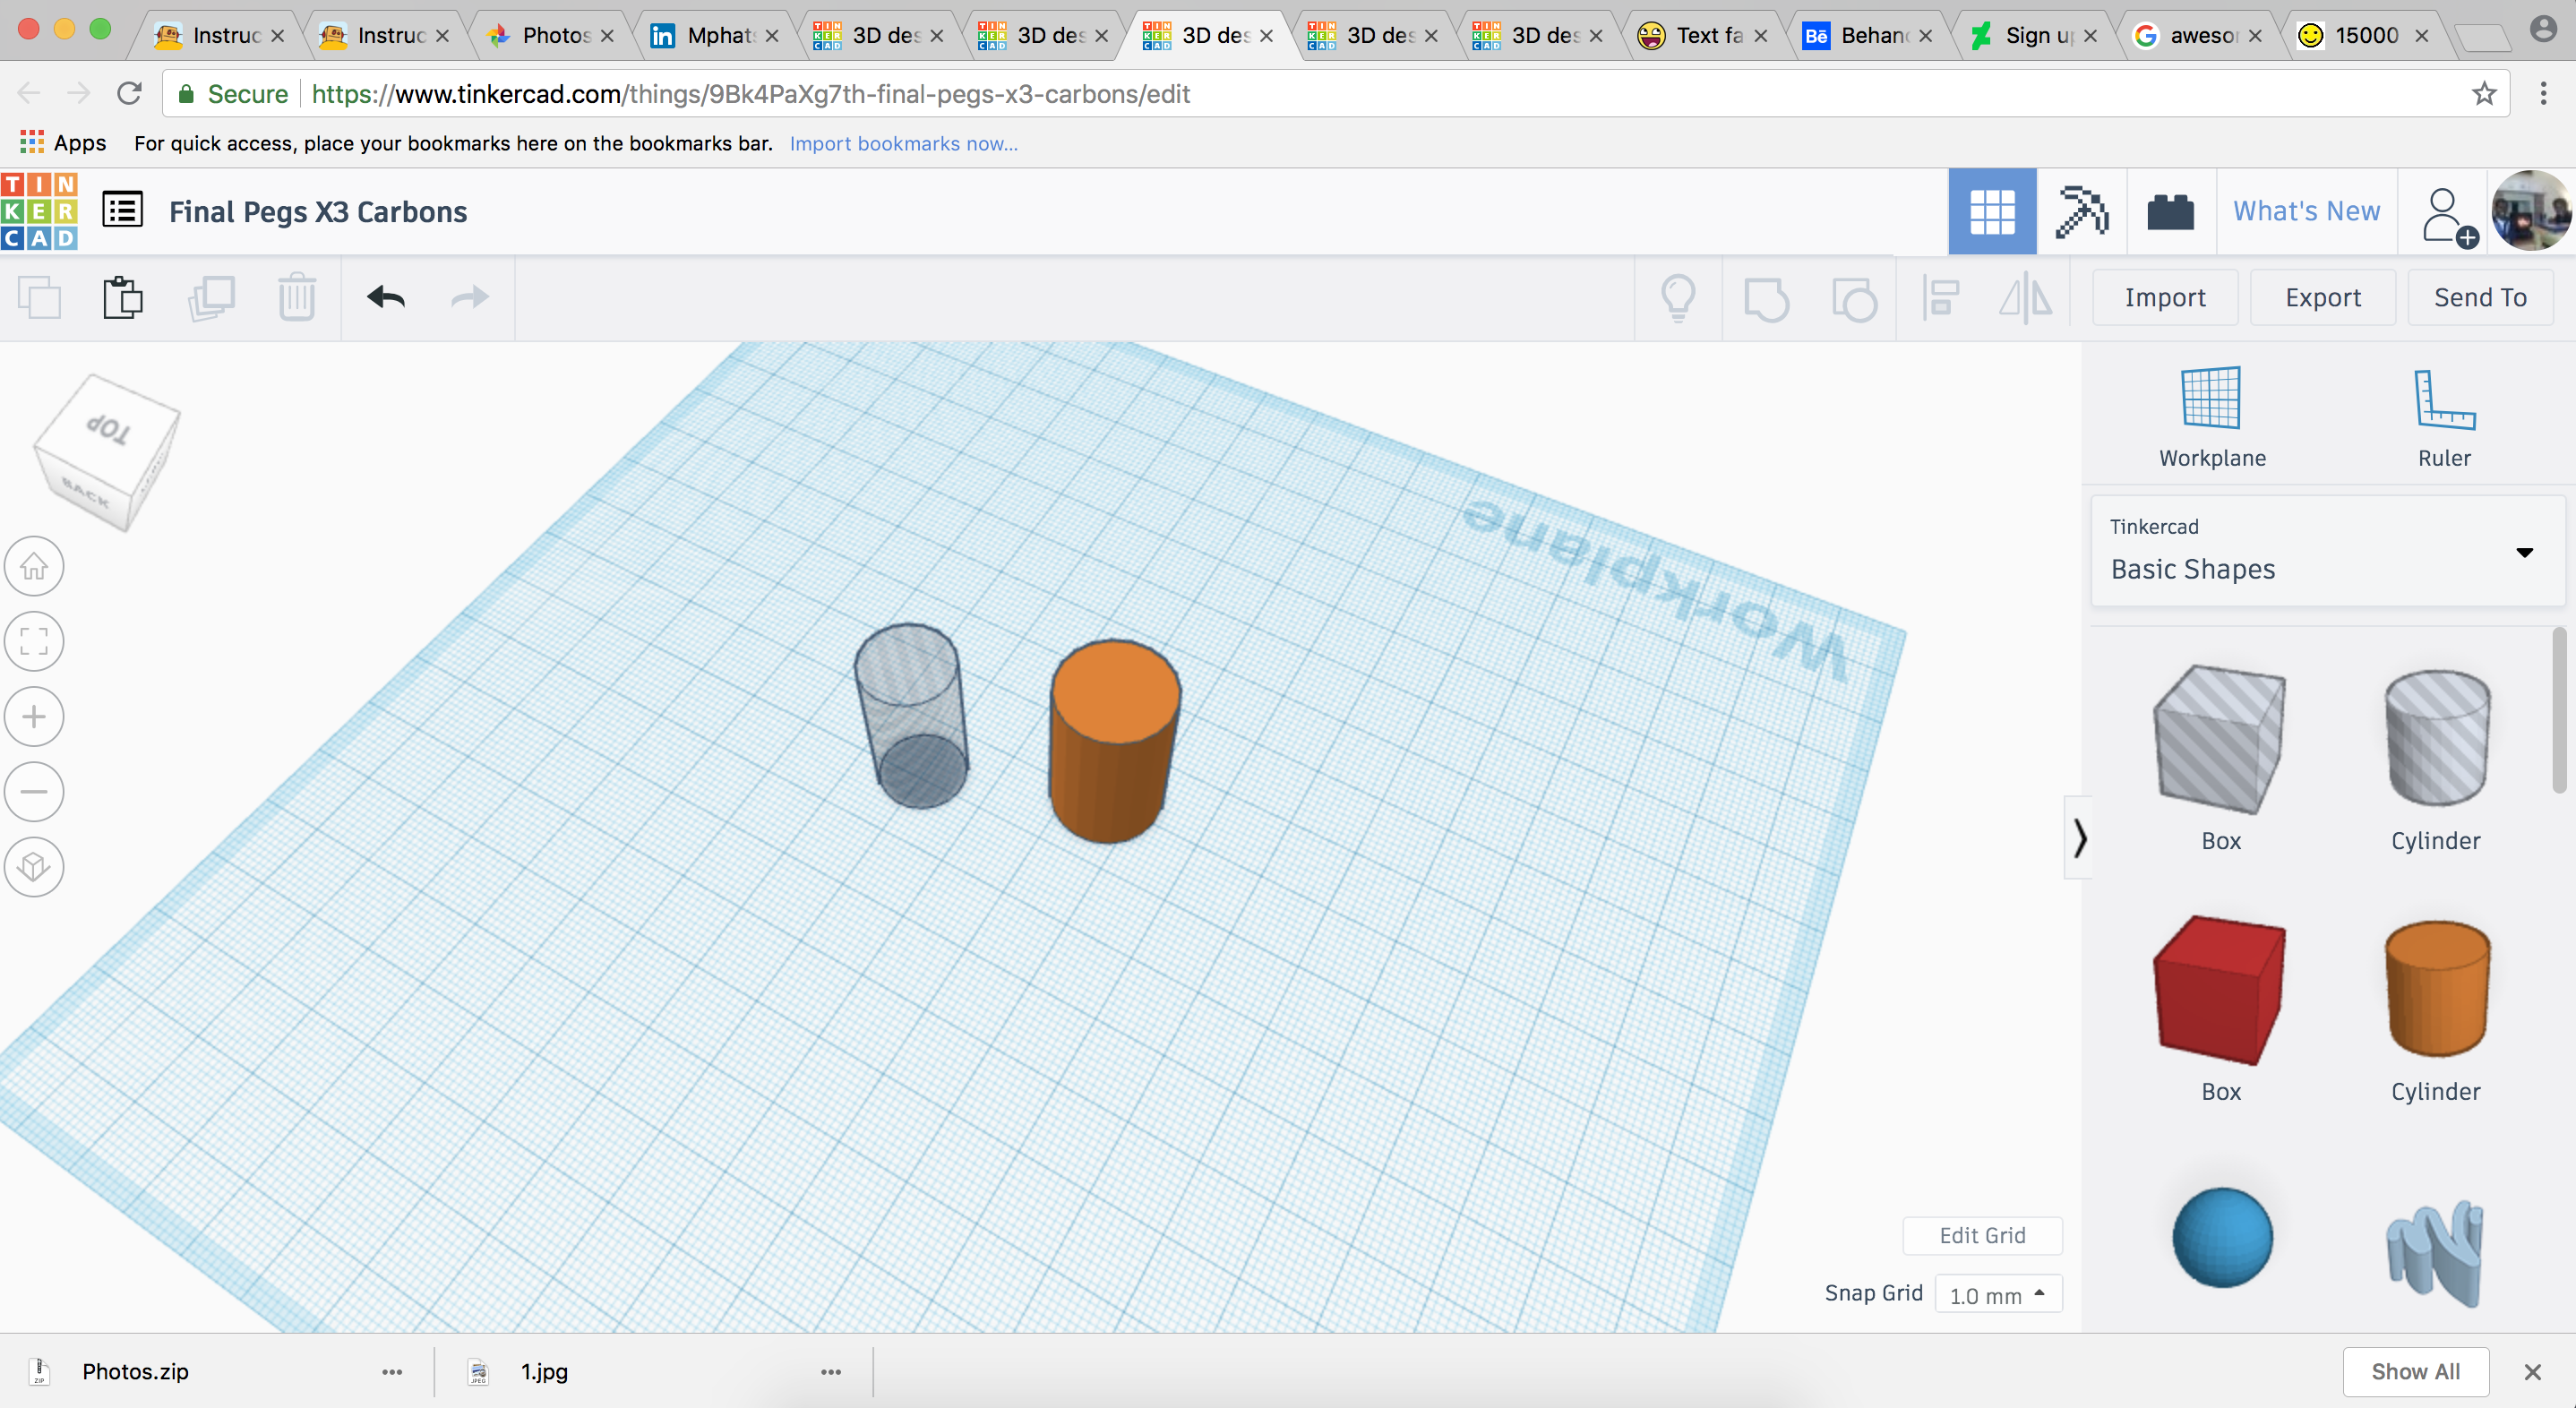
Next, sign in to tinker-cad and open a new design. The website has a great introduction incase you just want to find out what different features tinker-cad has to offer as well as some basic techniques I use in this instructable.
Drag a cylinder to the center of the view area. Click on it and change its dimensions to width=16, length=16 and height=25.
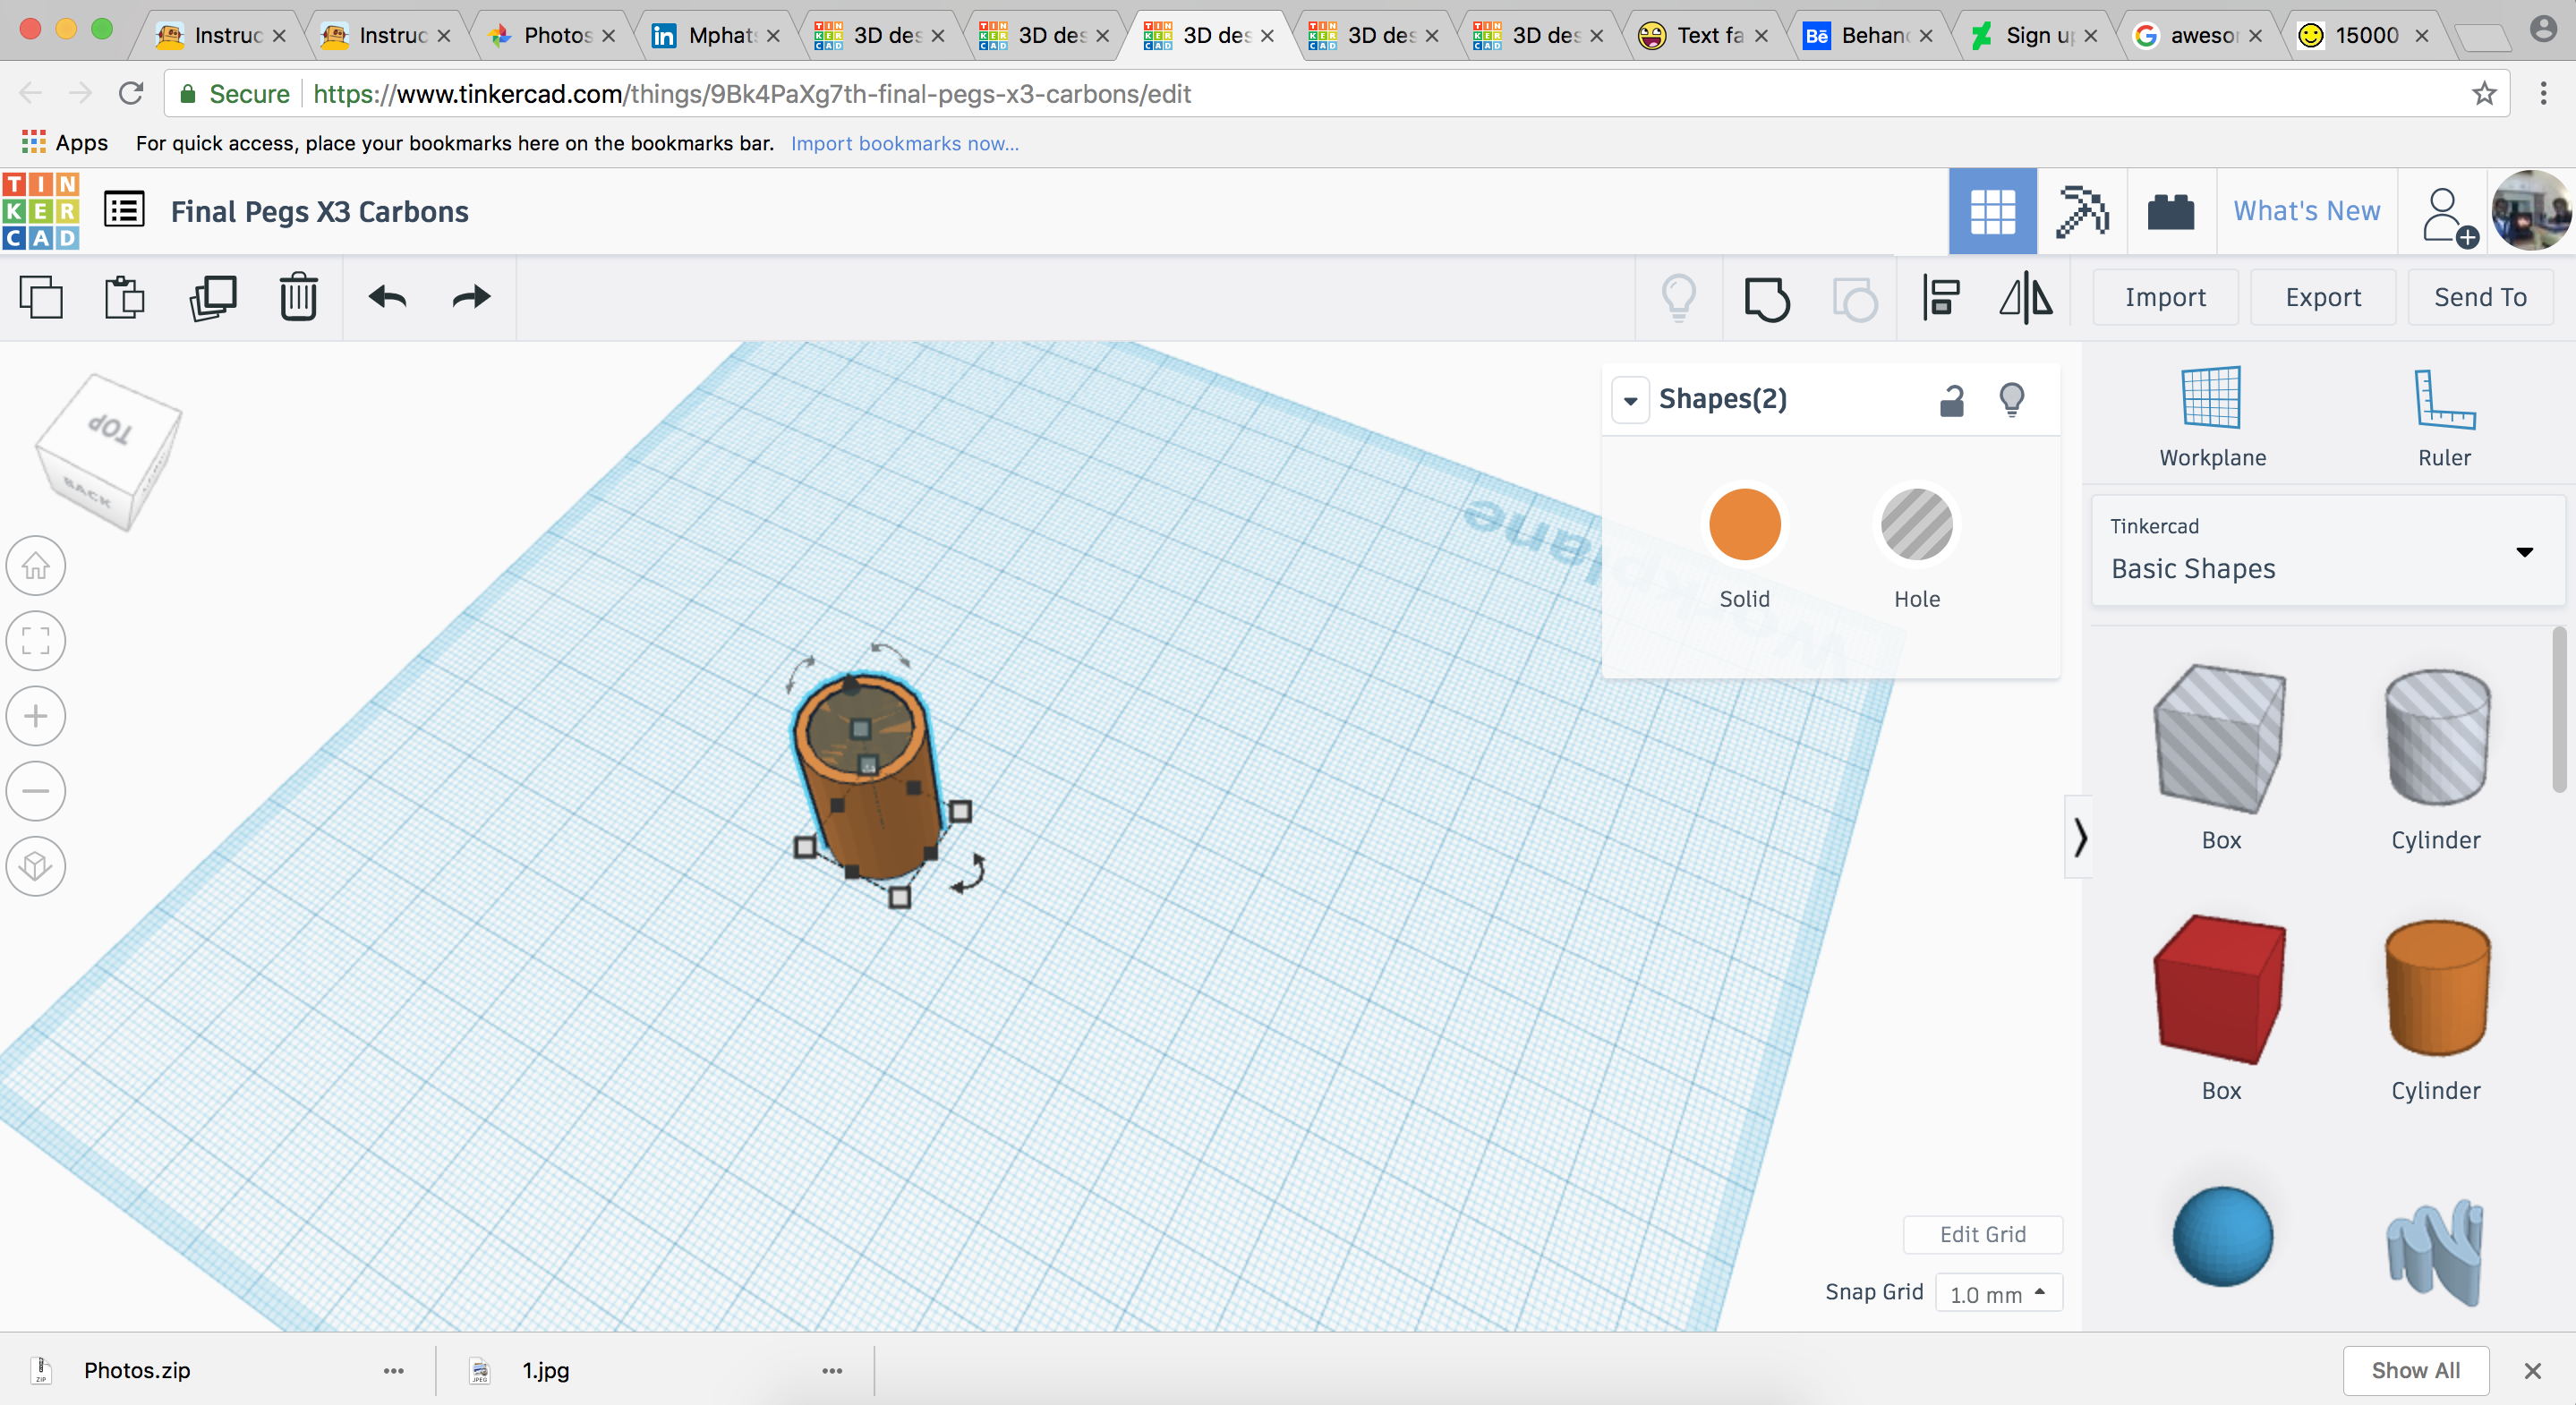
Then make another cylinder with the dimensions height=25, width=12.8, length=12.8. Change this cylinder's material from "solid" to "hole" in the top right corner window of the view area.
Put the smaller one into the center of the larger one as accurately as possible. After that, select both of them by clicking and holding on another part of the view area and dragging the small 2d dashed box that appears over the two cylinders.
Copy (Ctrl + c on the keyboard) and paste (Ctrl + v) the cylinder combo (combo A) to a new position (to make combo B).
Copy and paste the cylinder combo to a new position again (to make combo X) and leave this new combo aside as we will need it when making the straight pieces.
Tetrahedron Part 2
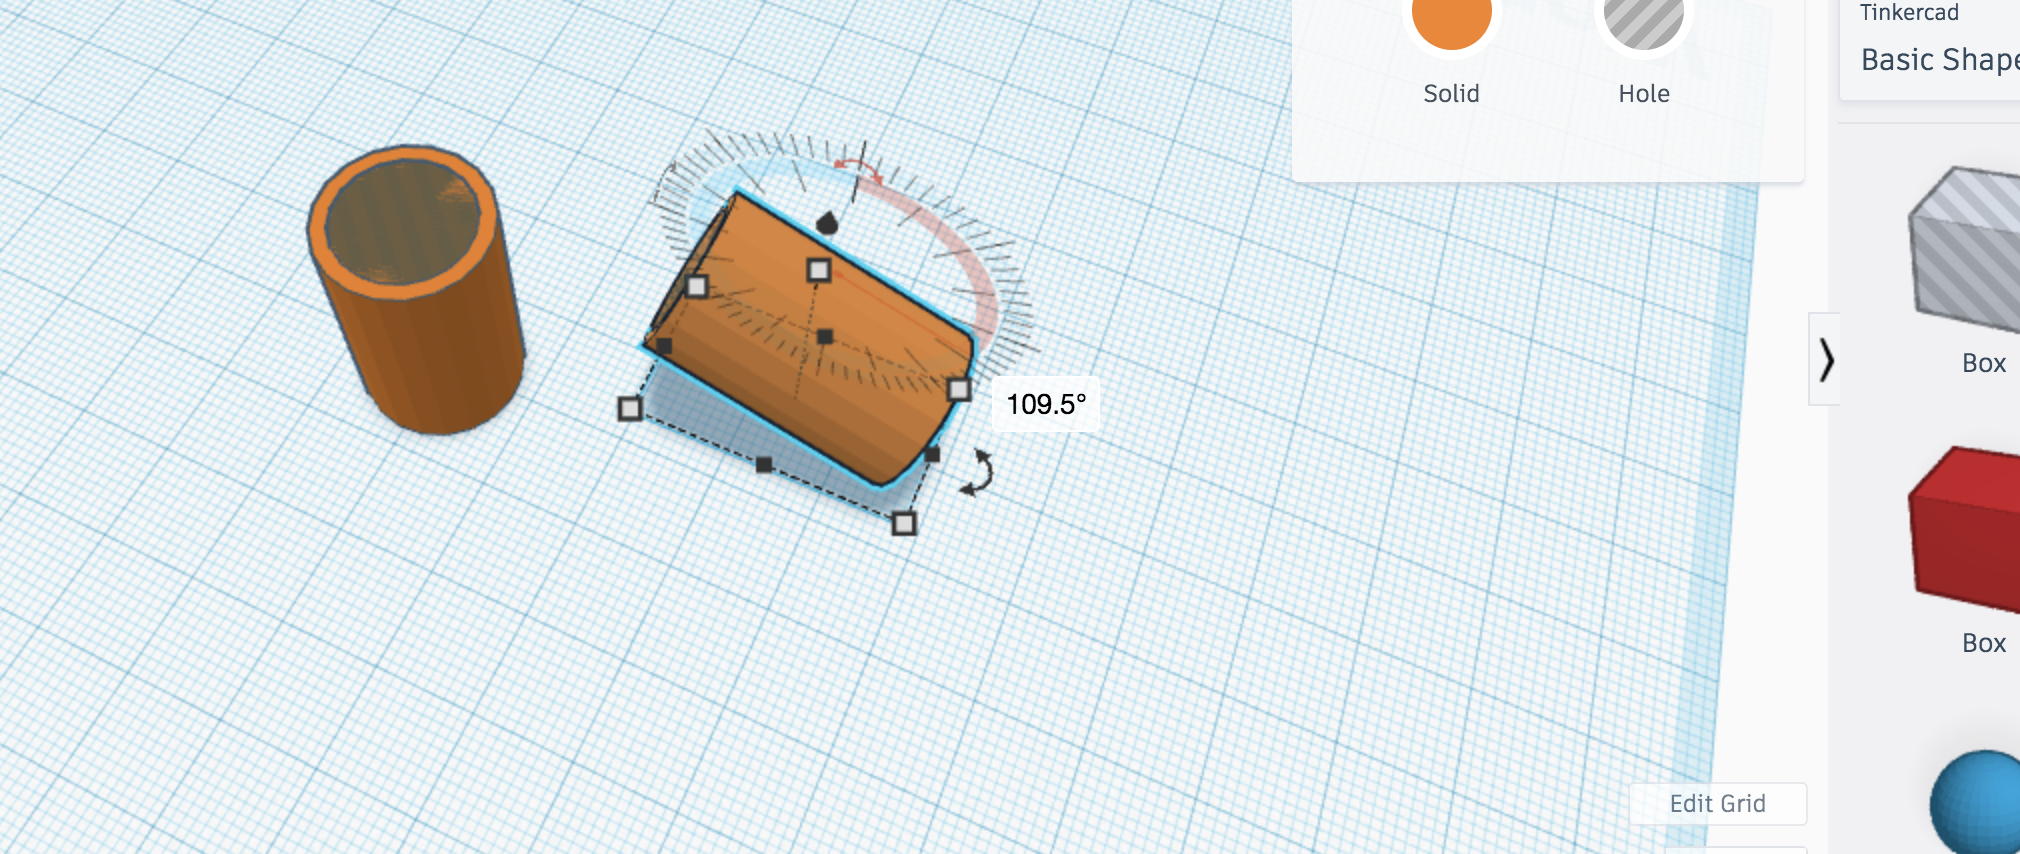
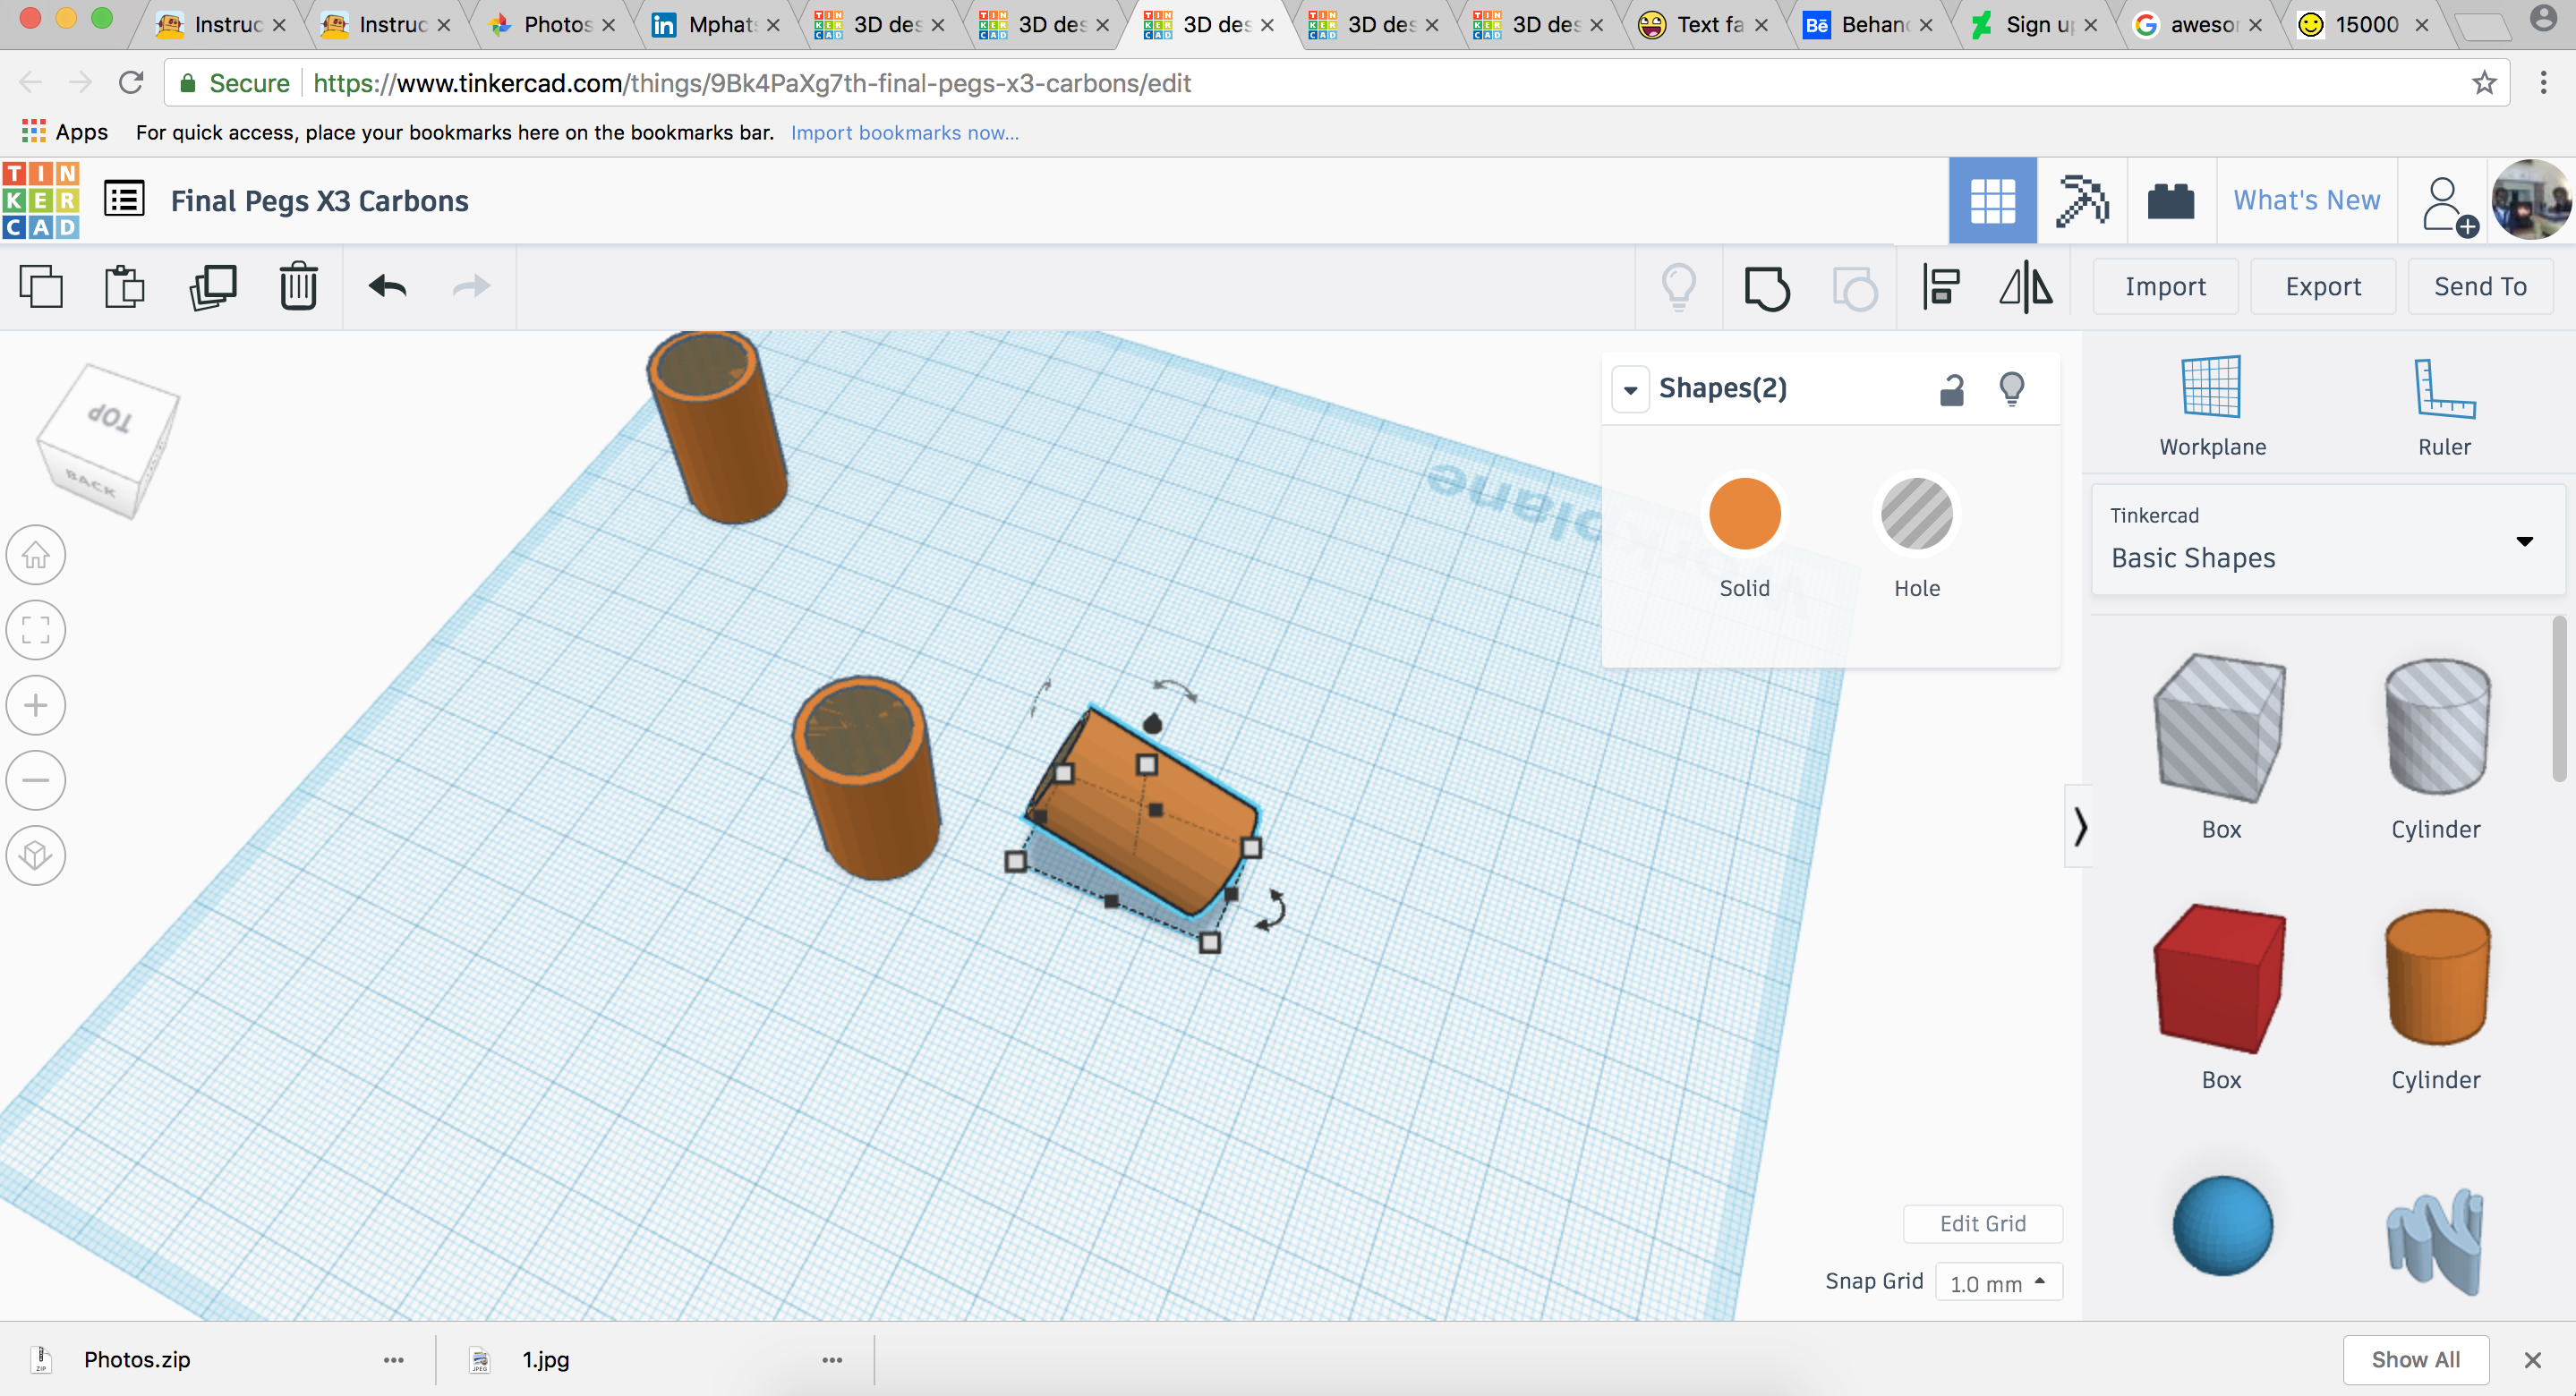
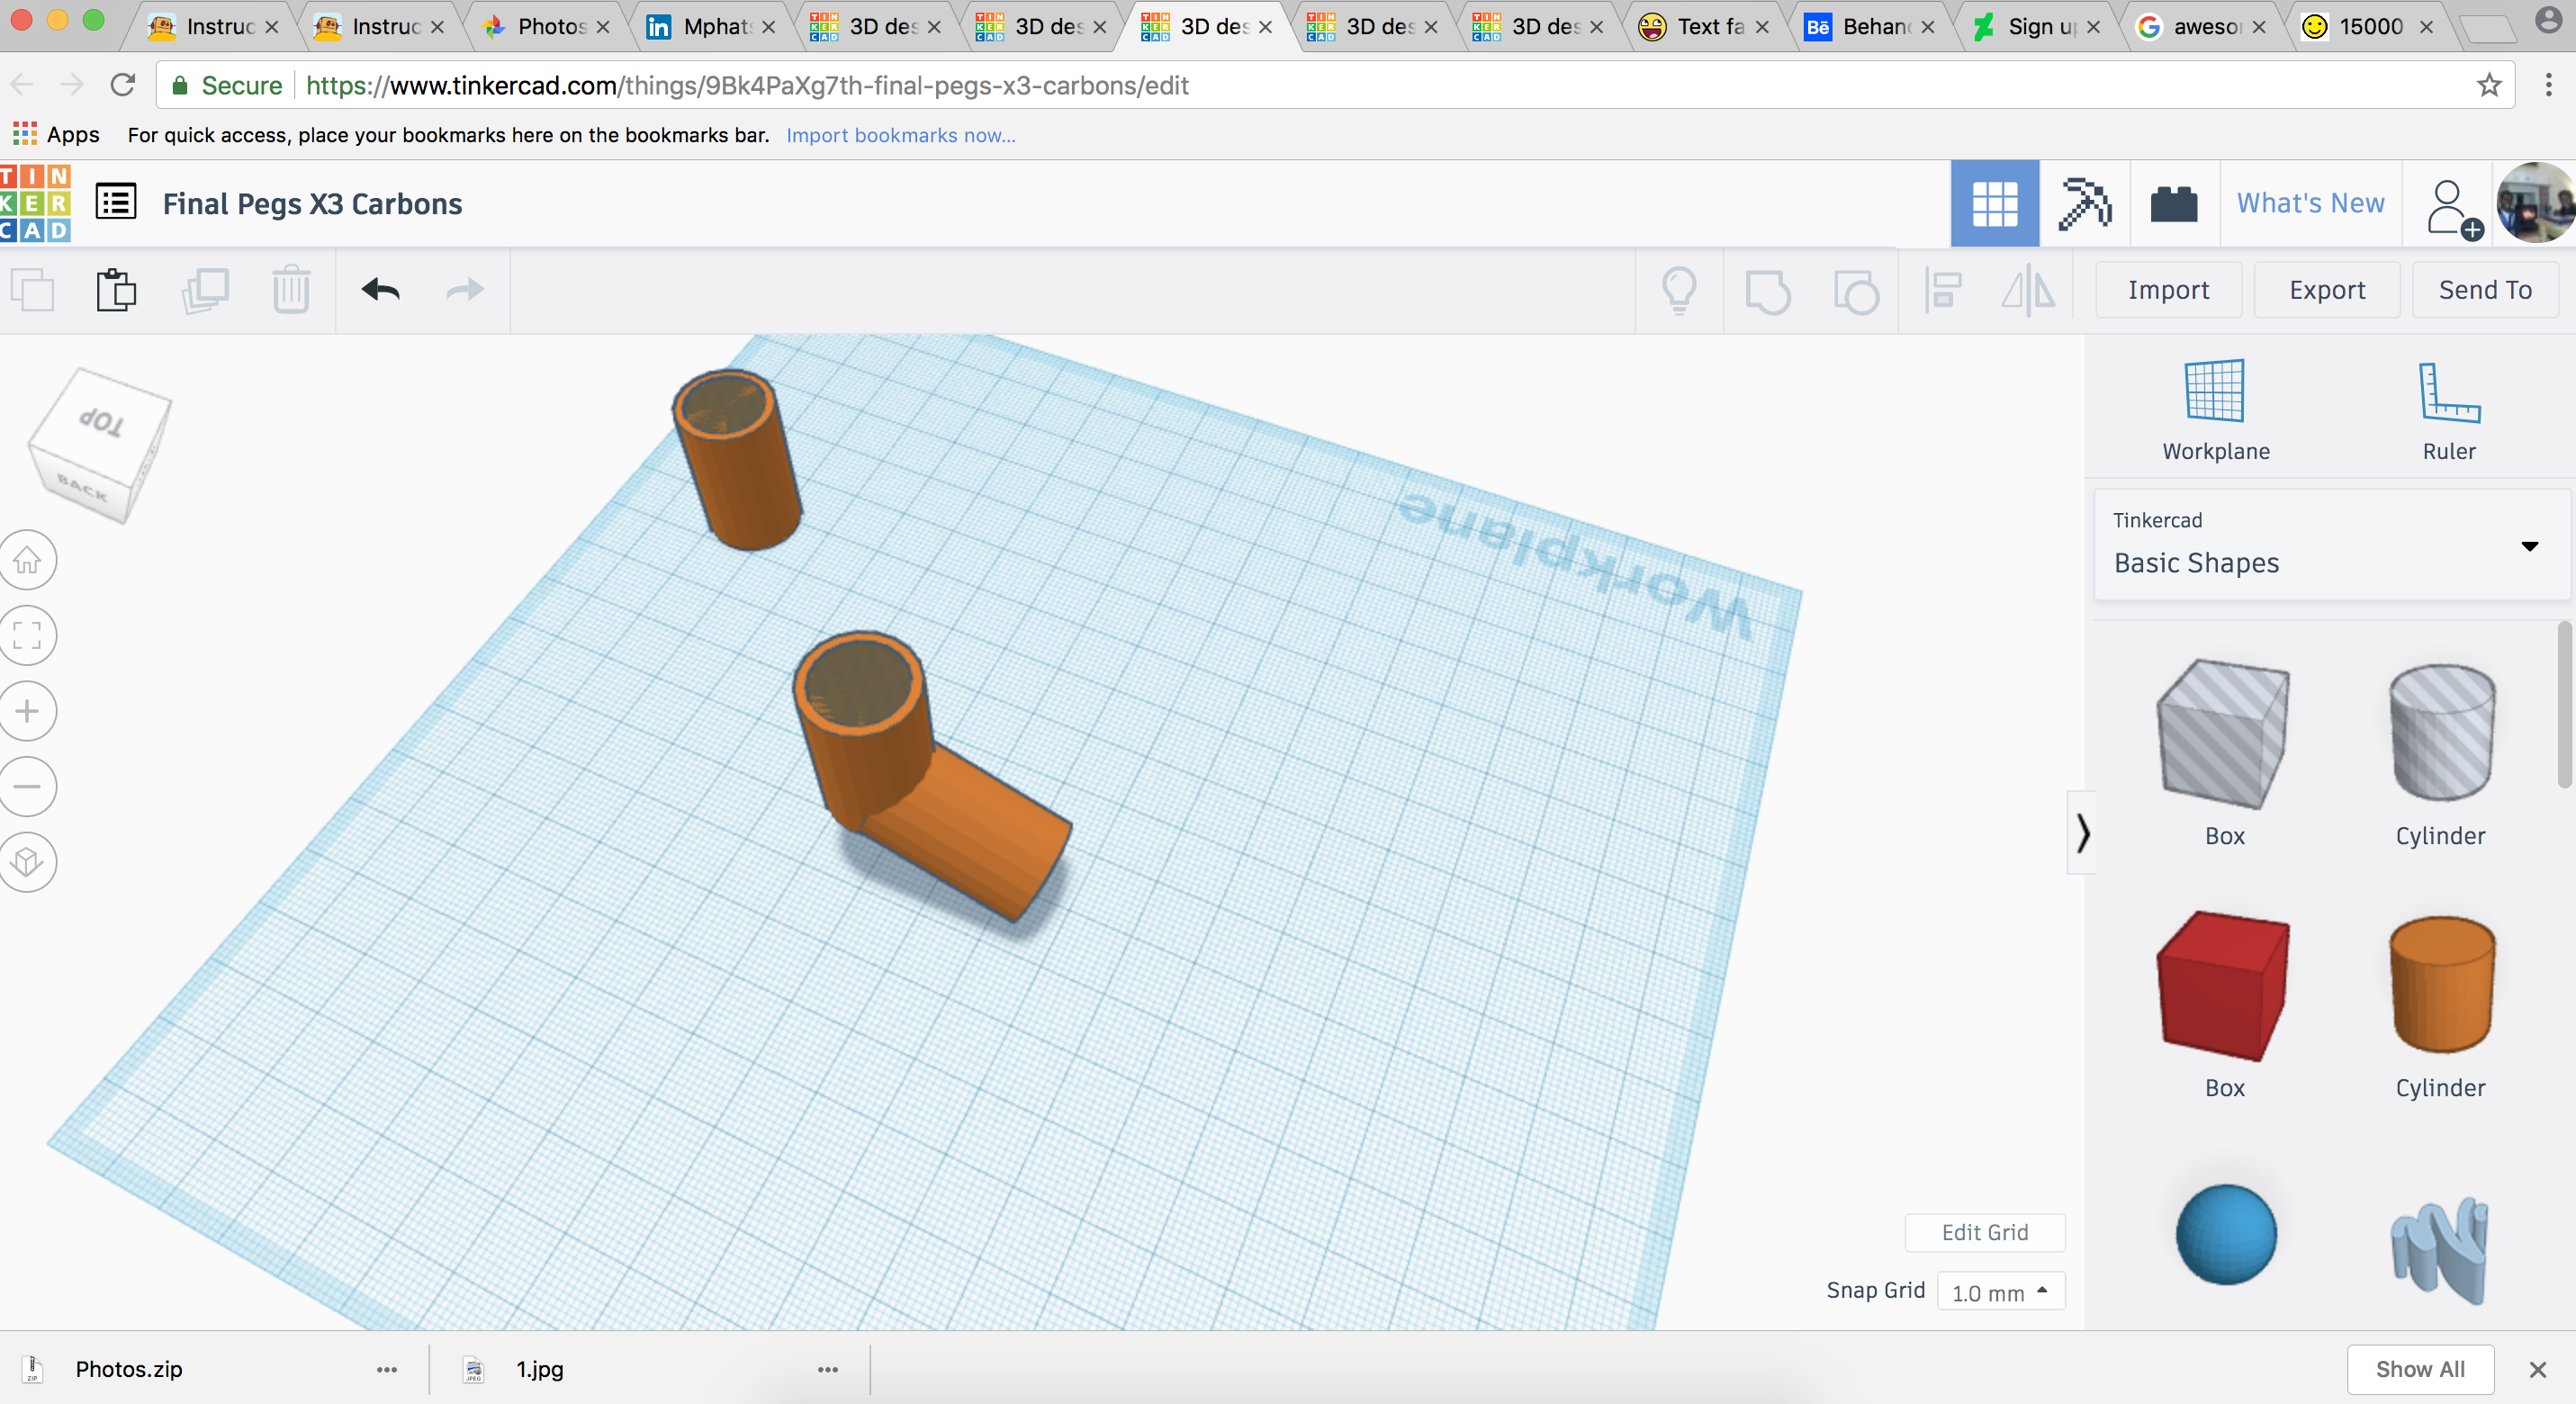
Click and drag over combo A of the two cylinders and lift it 14mm above the ground by dragging the little black arrow above them so that they are 13mm above the ground. Then rotate combo B 109.5 degrees in the vertical plane. Drag it so that it is under the first cylinder.
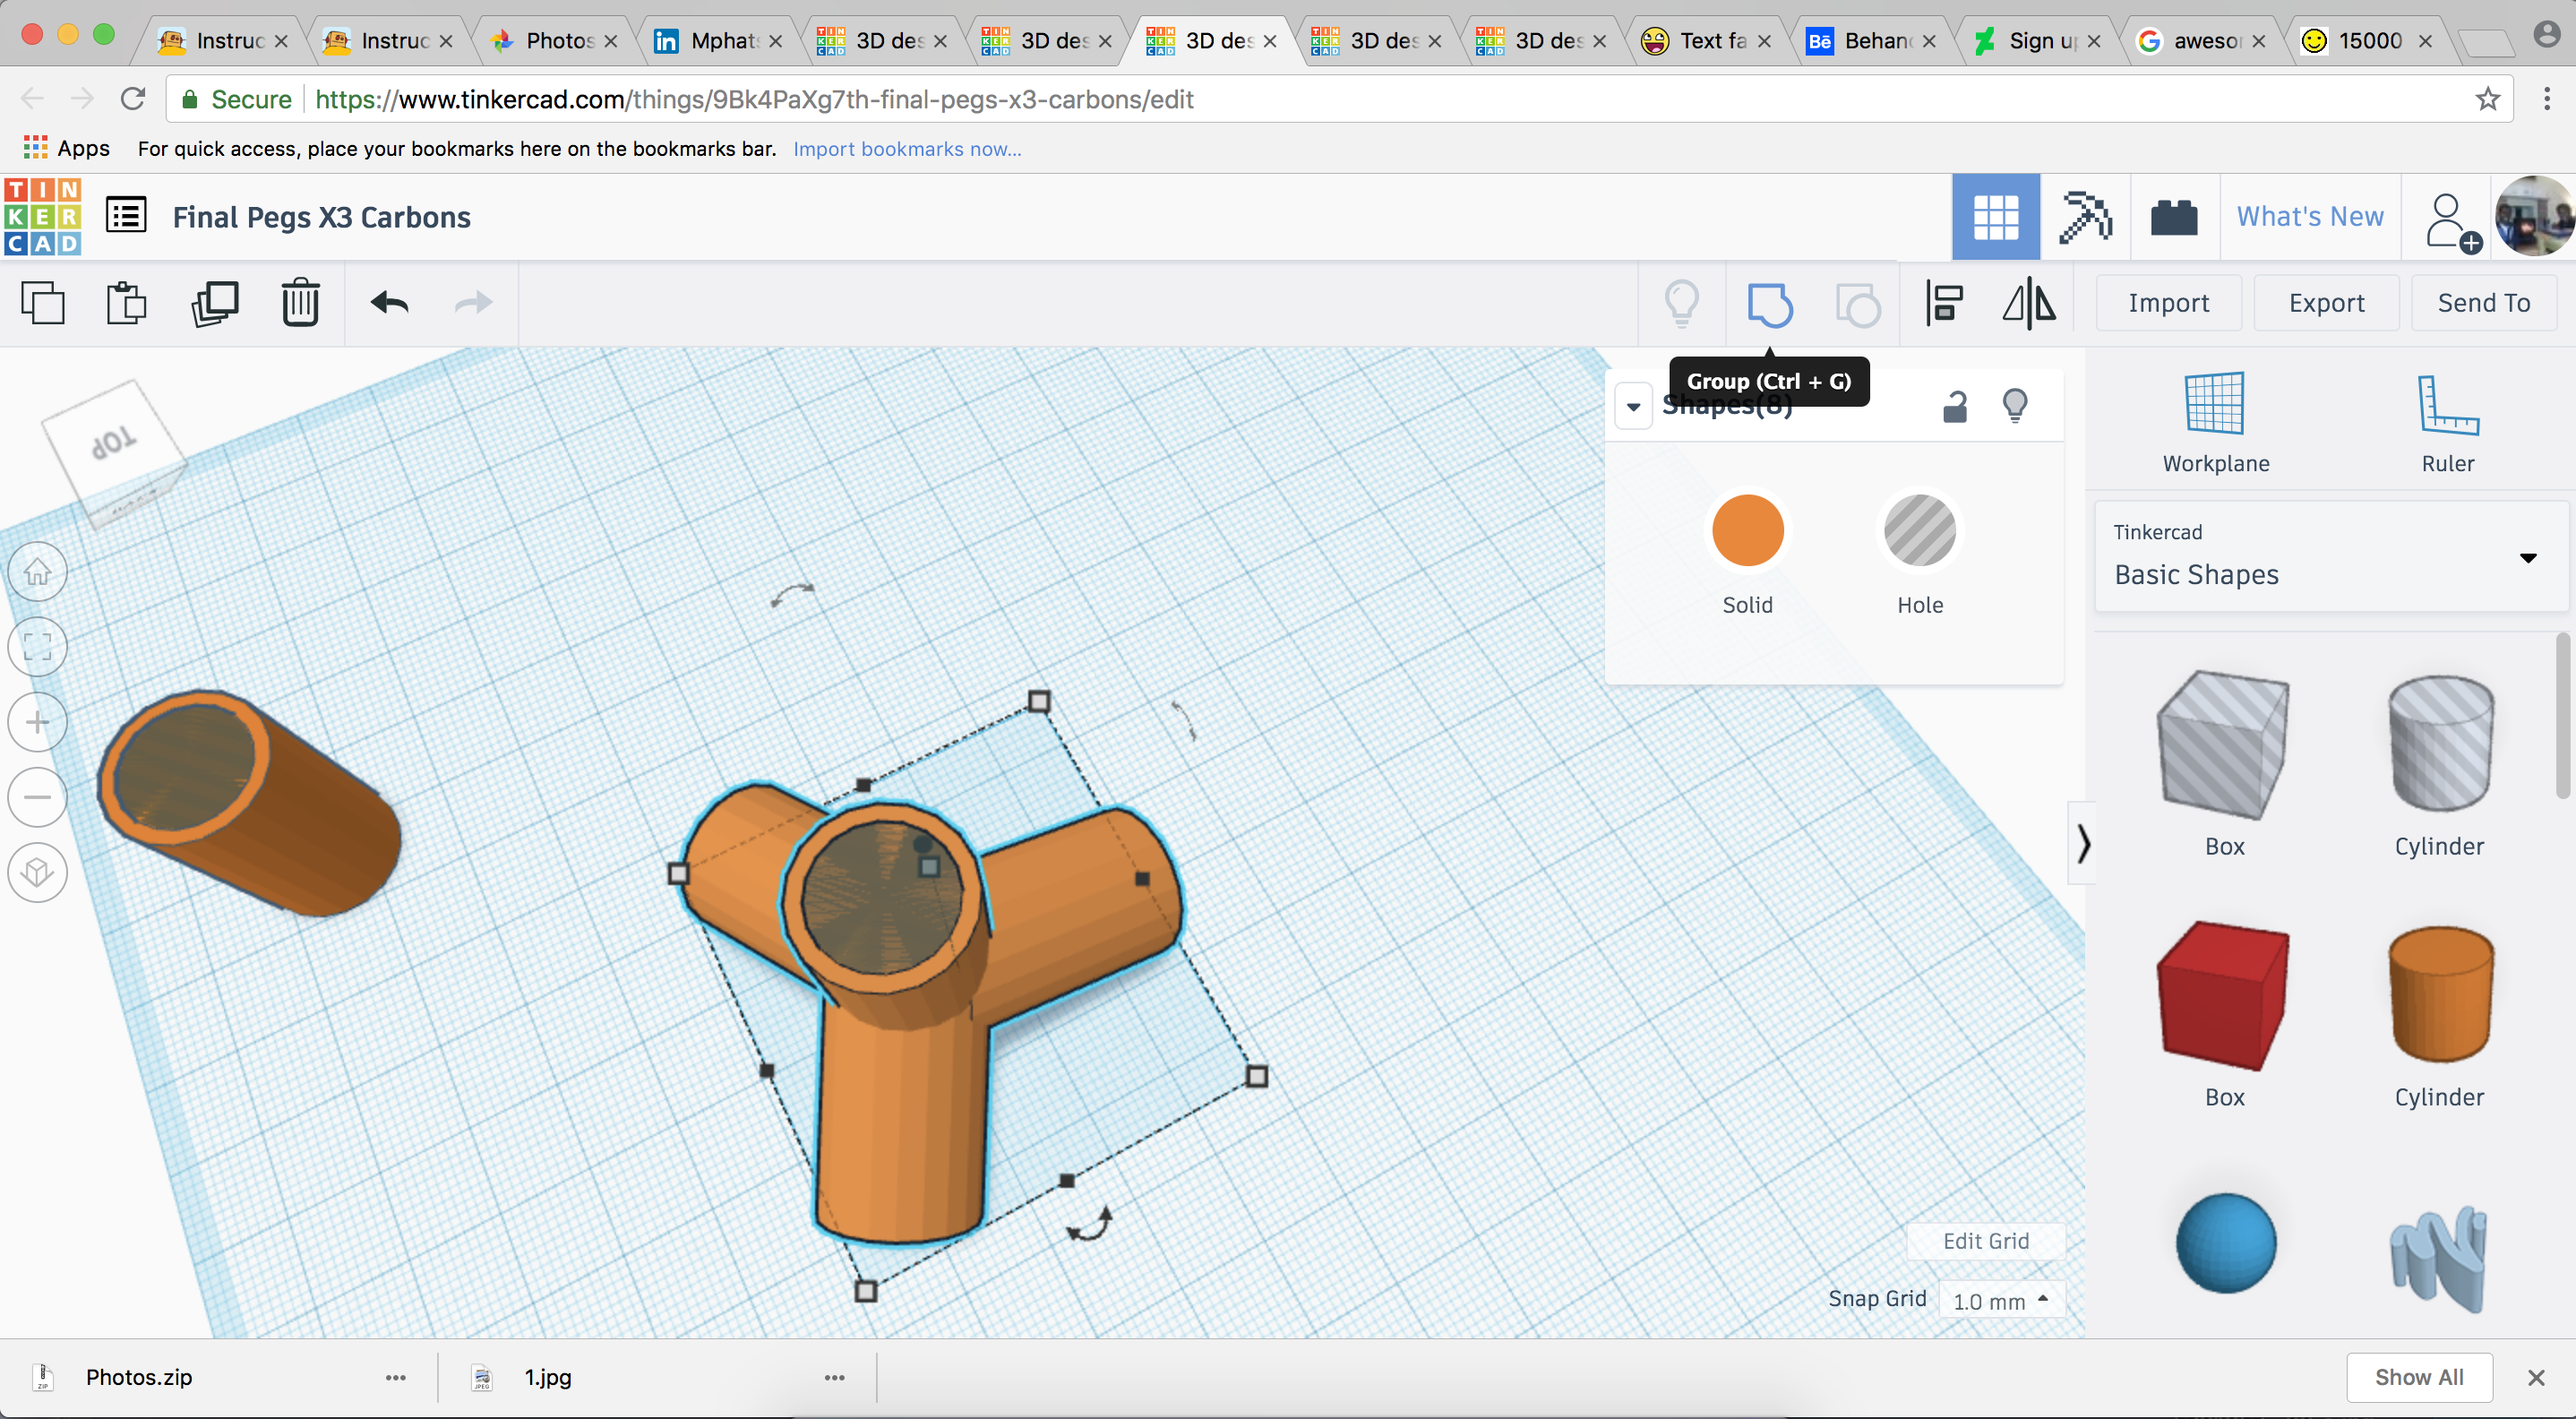
Copy and paste the rotated cylinder combo (to make Combo C) then rotate combo C 120 degrees in the horizontal plane to make a three way pyramid sort of thing.
Copy and paste this combo one last time (to make Combo D) then rotate combo D 120 degrees in the horizontal to make the finished looking tetrahedral piece.
NOTE: Move your combos around till they fit snuggly and it does not look like one arm is longer than the others. I never aligned them properly the first few times i printed the tetrahedral pieces and they kept on looking wonky.
Click and drag to select all the combos near your completed tetrahedron and select the group icon in the top right part of the view area (circle and box overlapping and becoming one)
Push this completed and combined piece to the side to create space for making the next piece.
Straight Piece
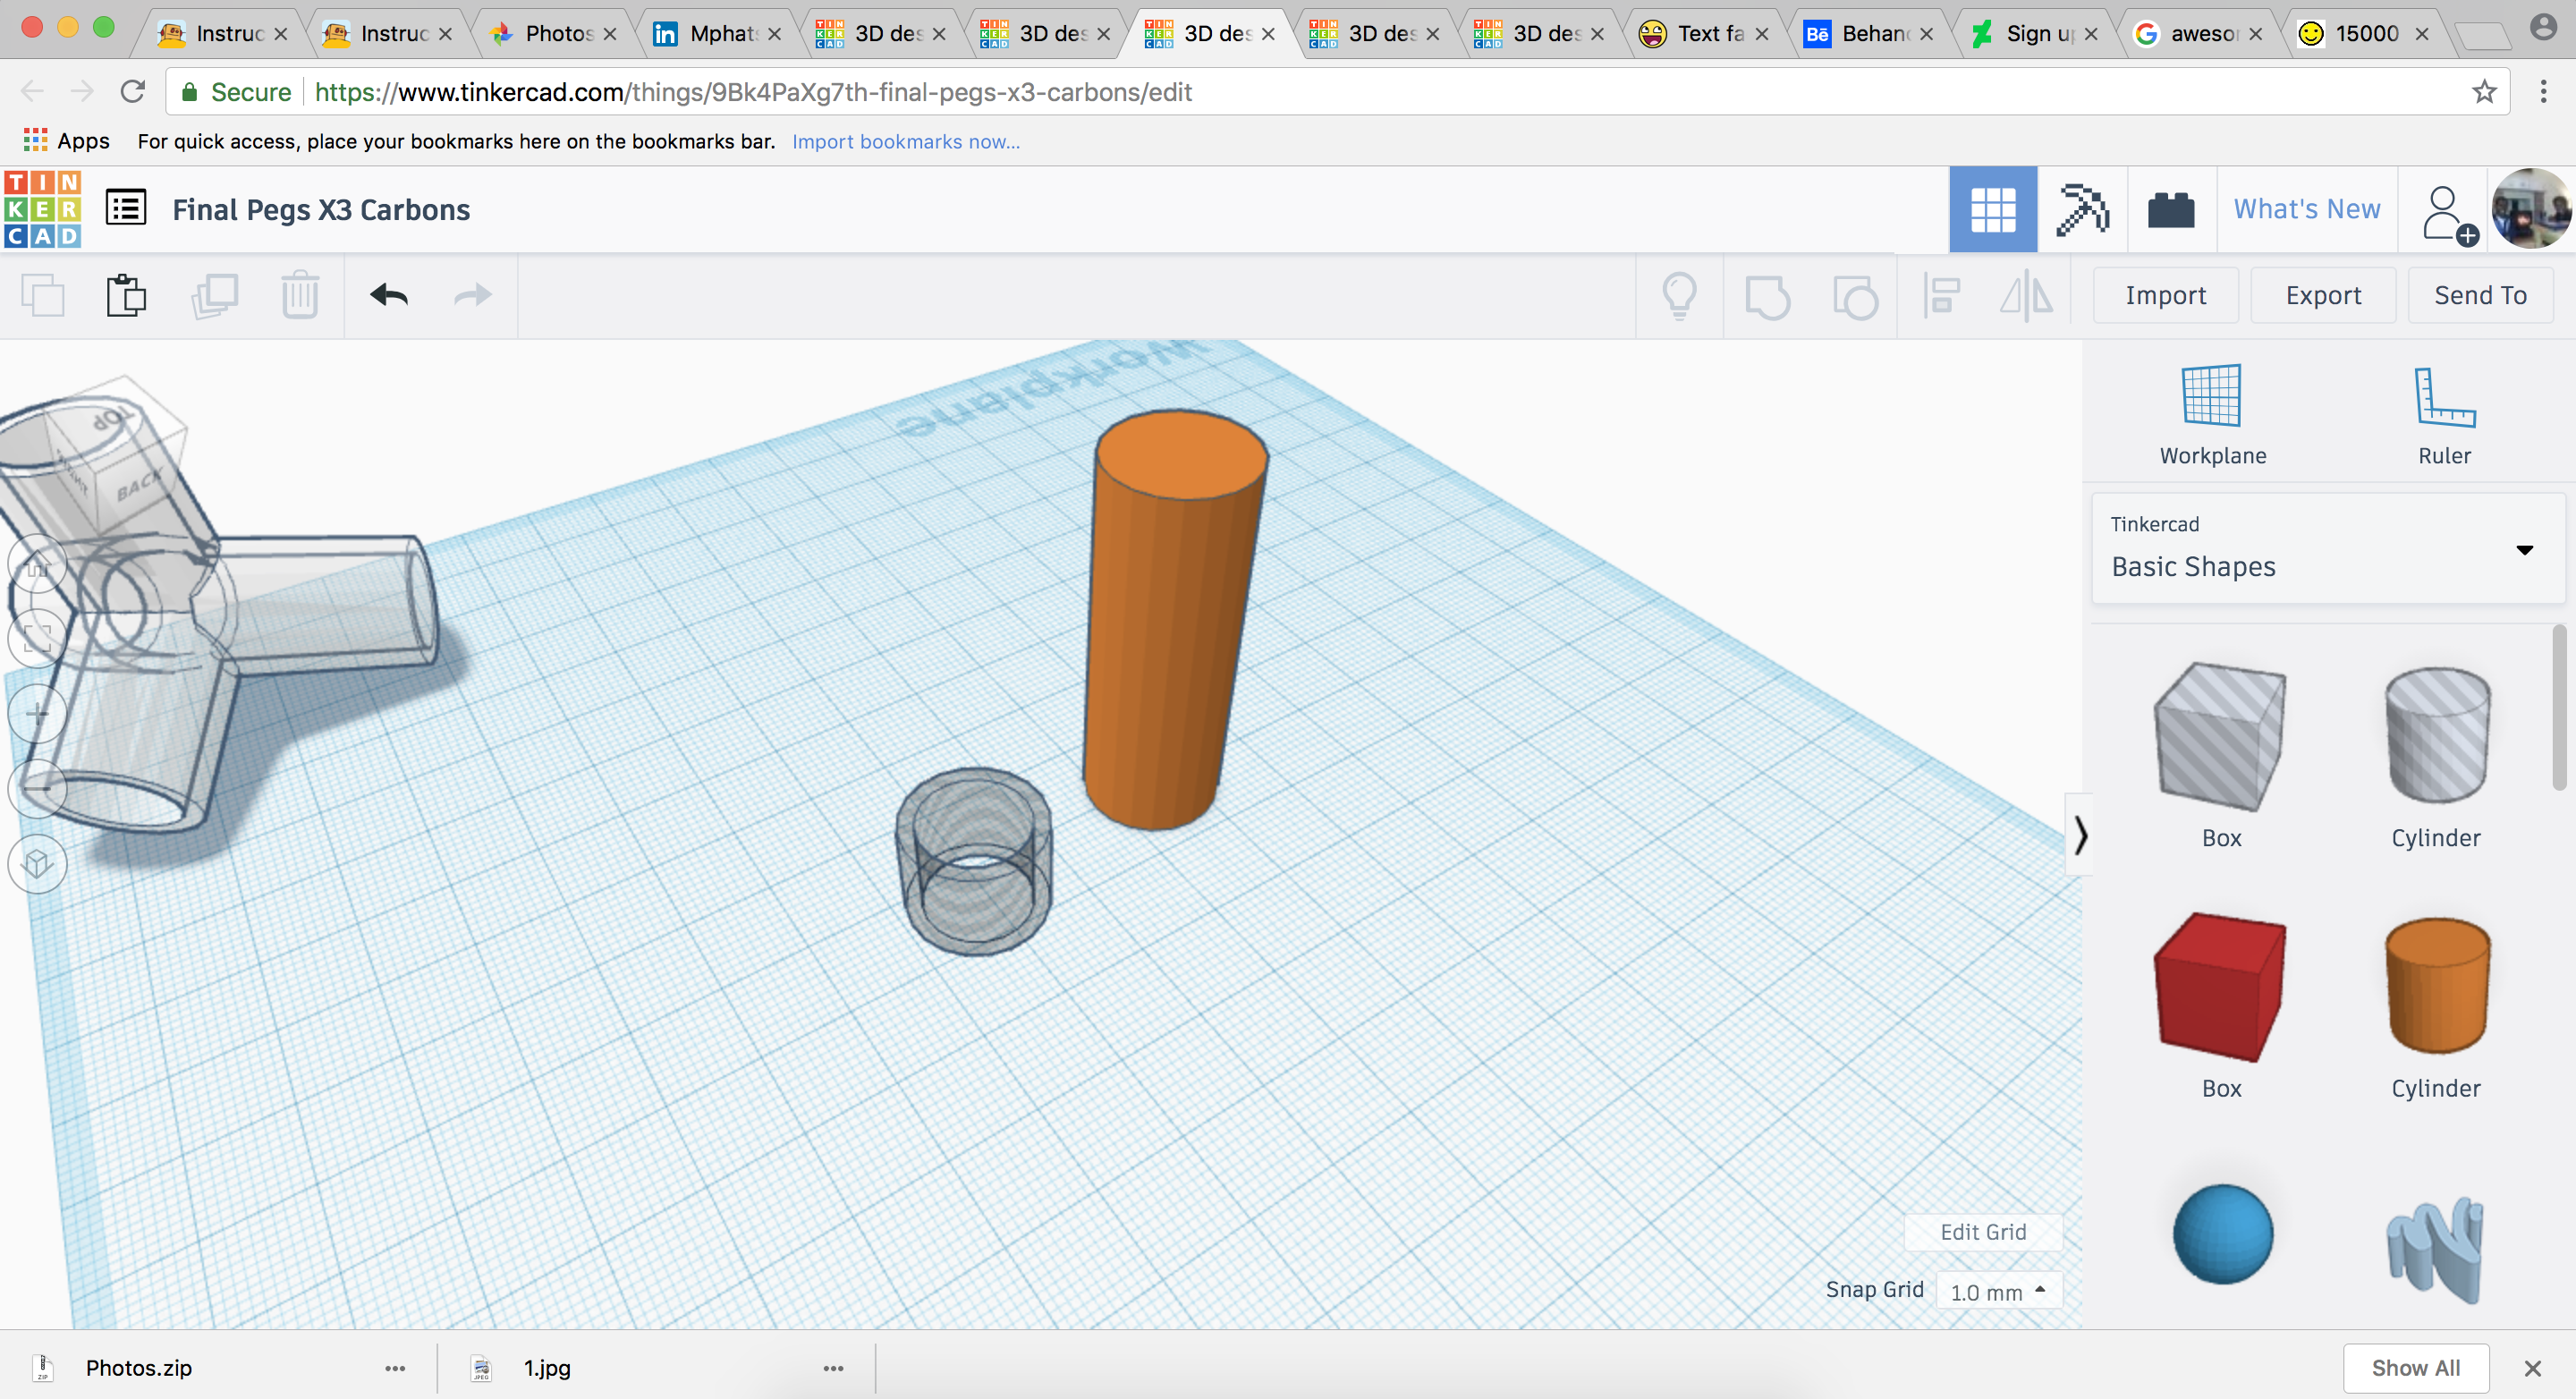
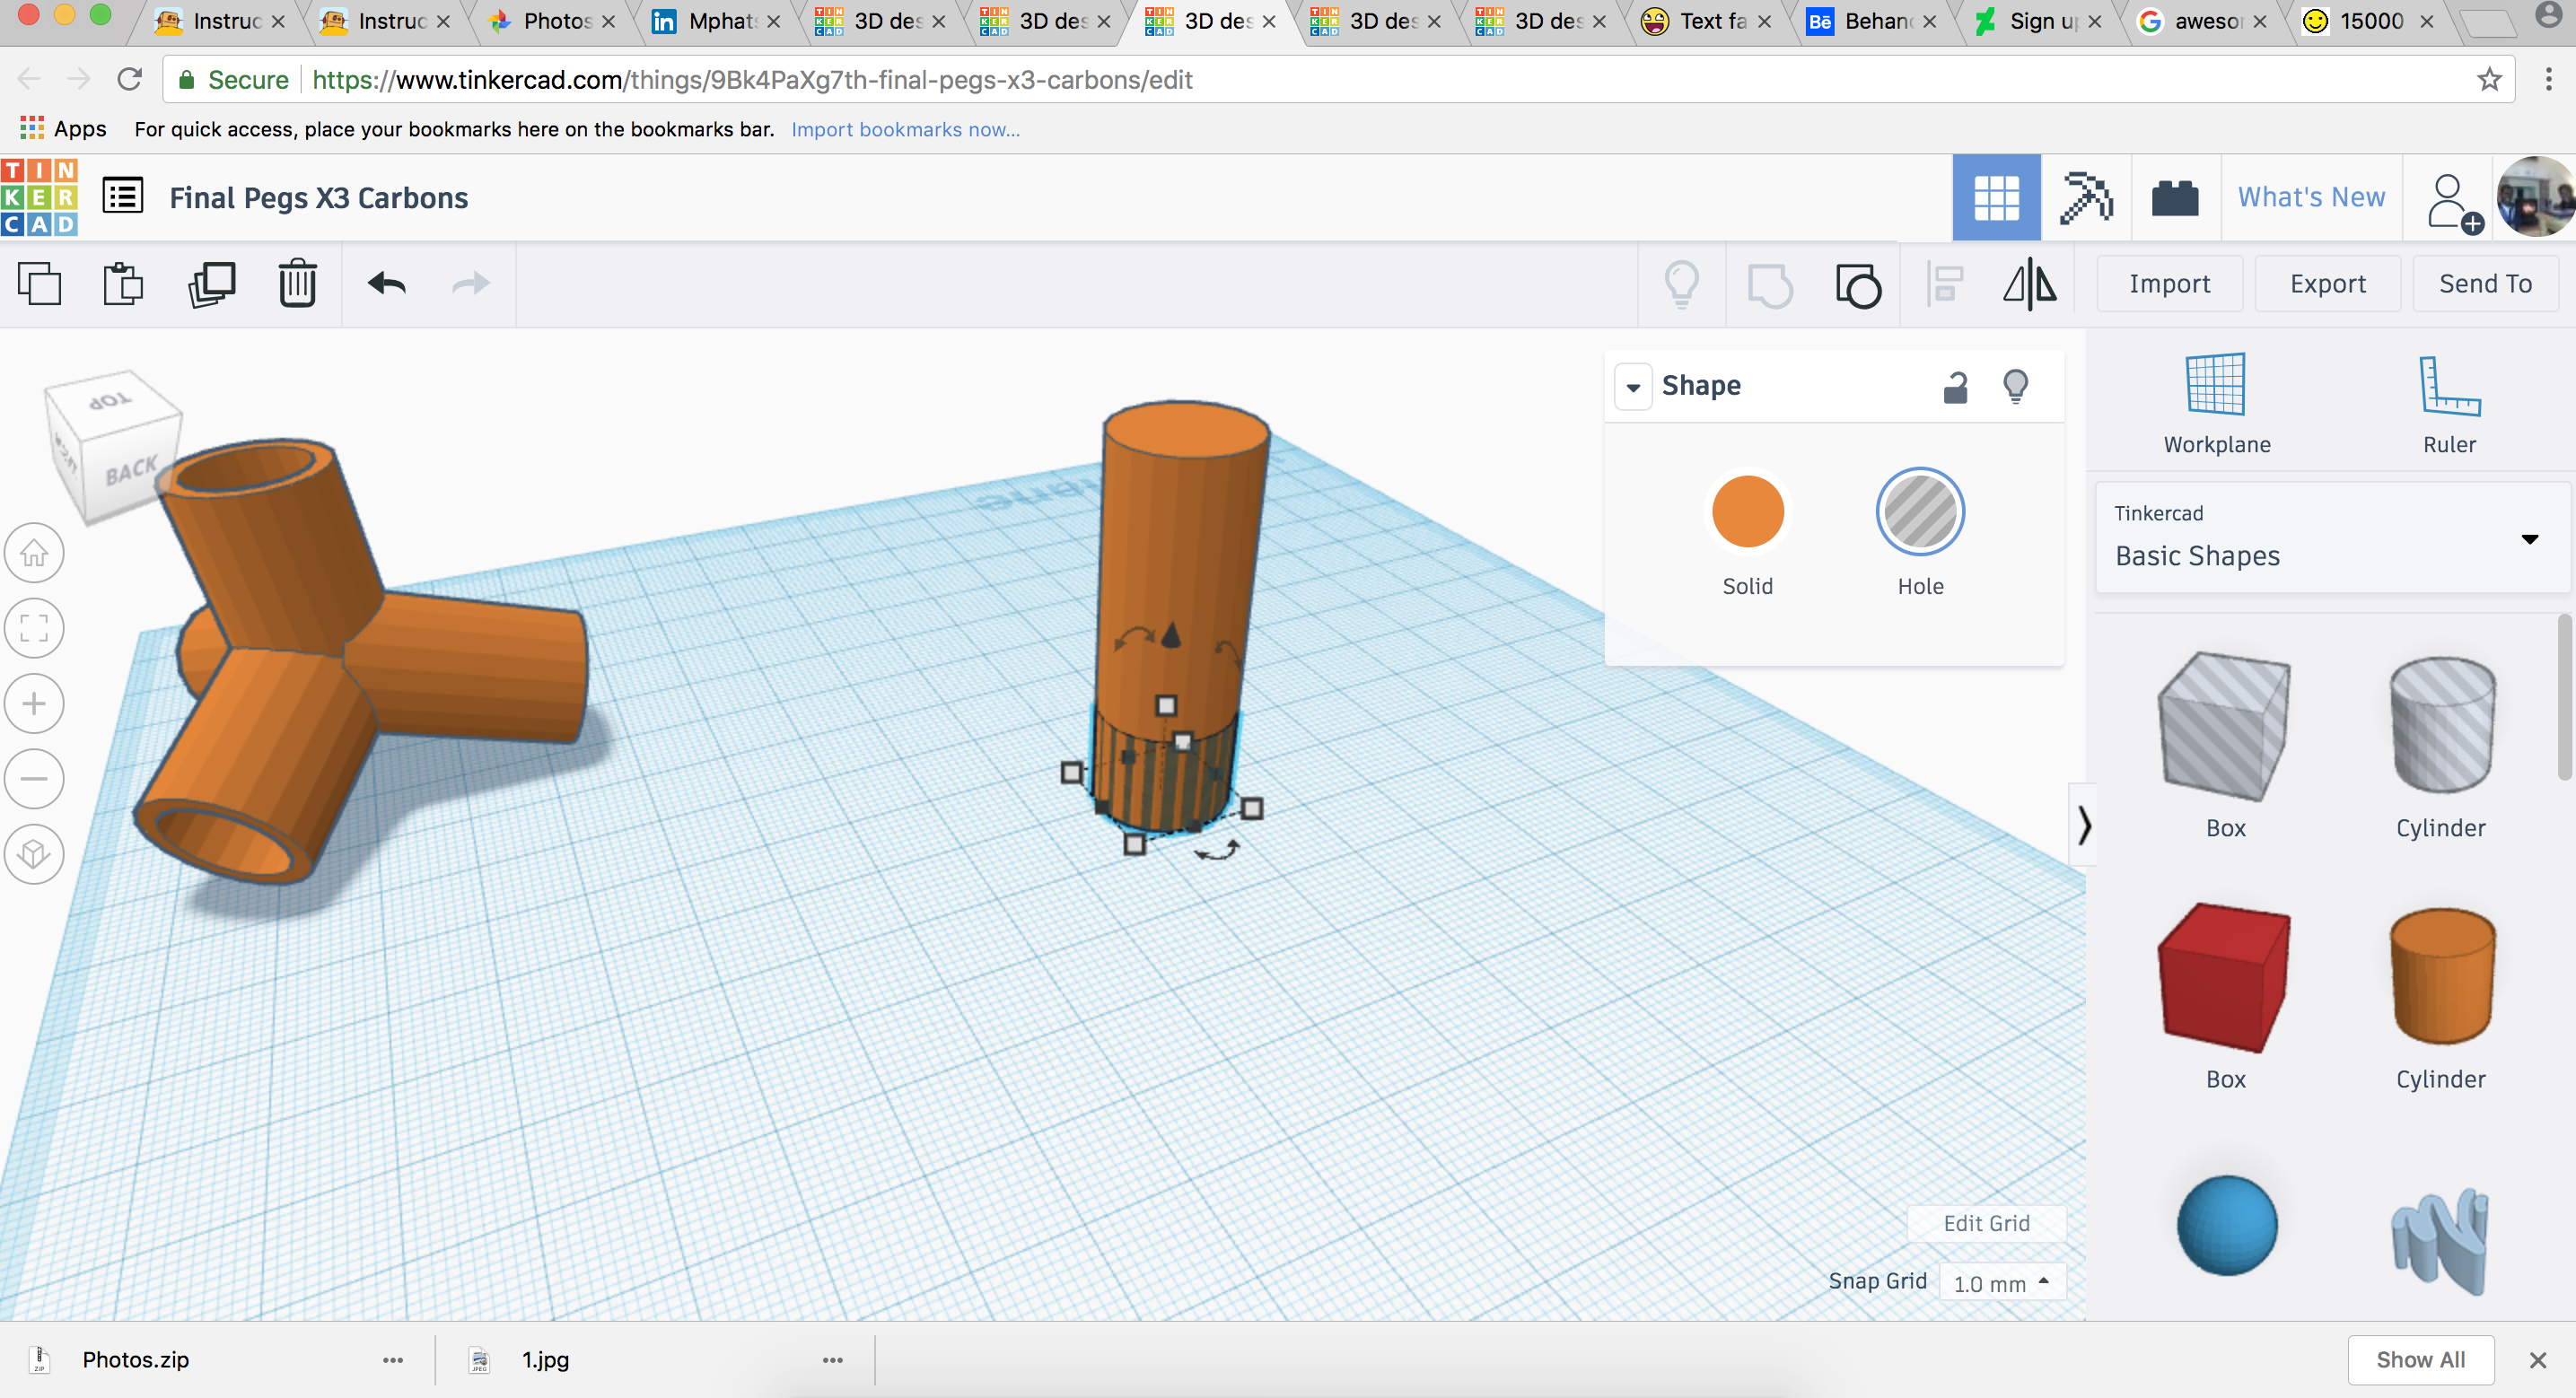

Bring the left over double cylinder combo (combo X) that you from making the tetrahedral piece in the previous step to the center of the view area. Combine the cylinders then change the material of this new donut like structure to hole.
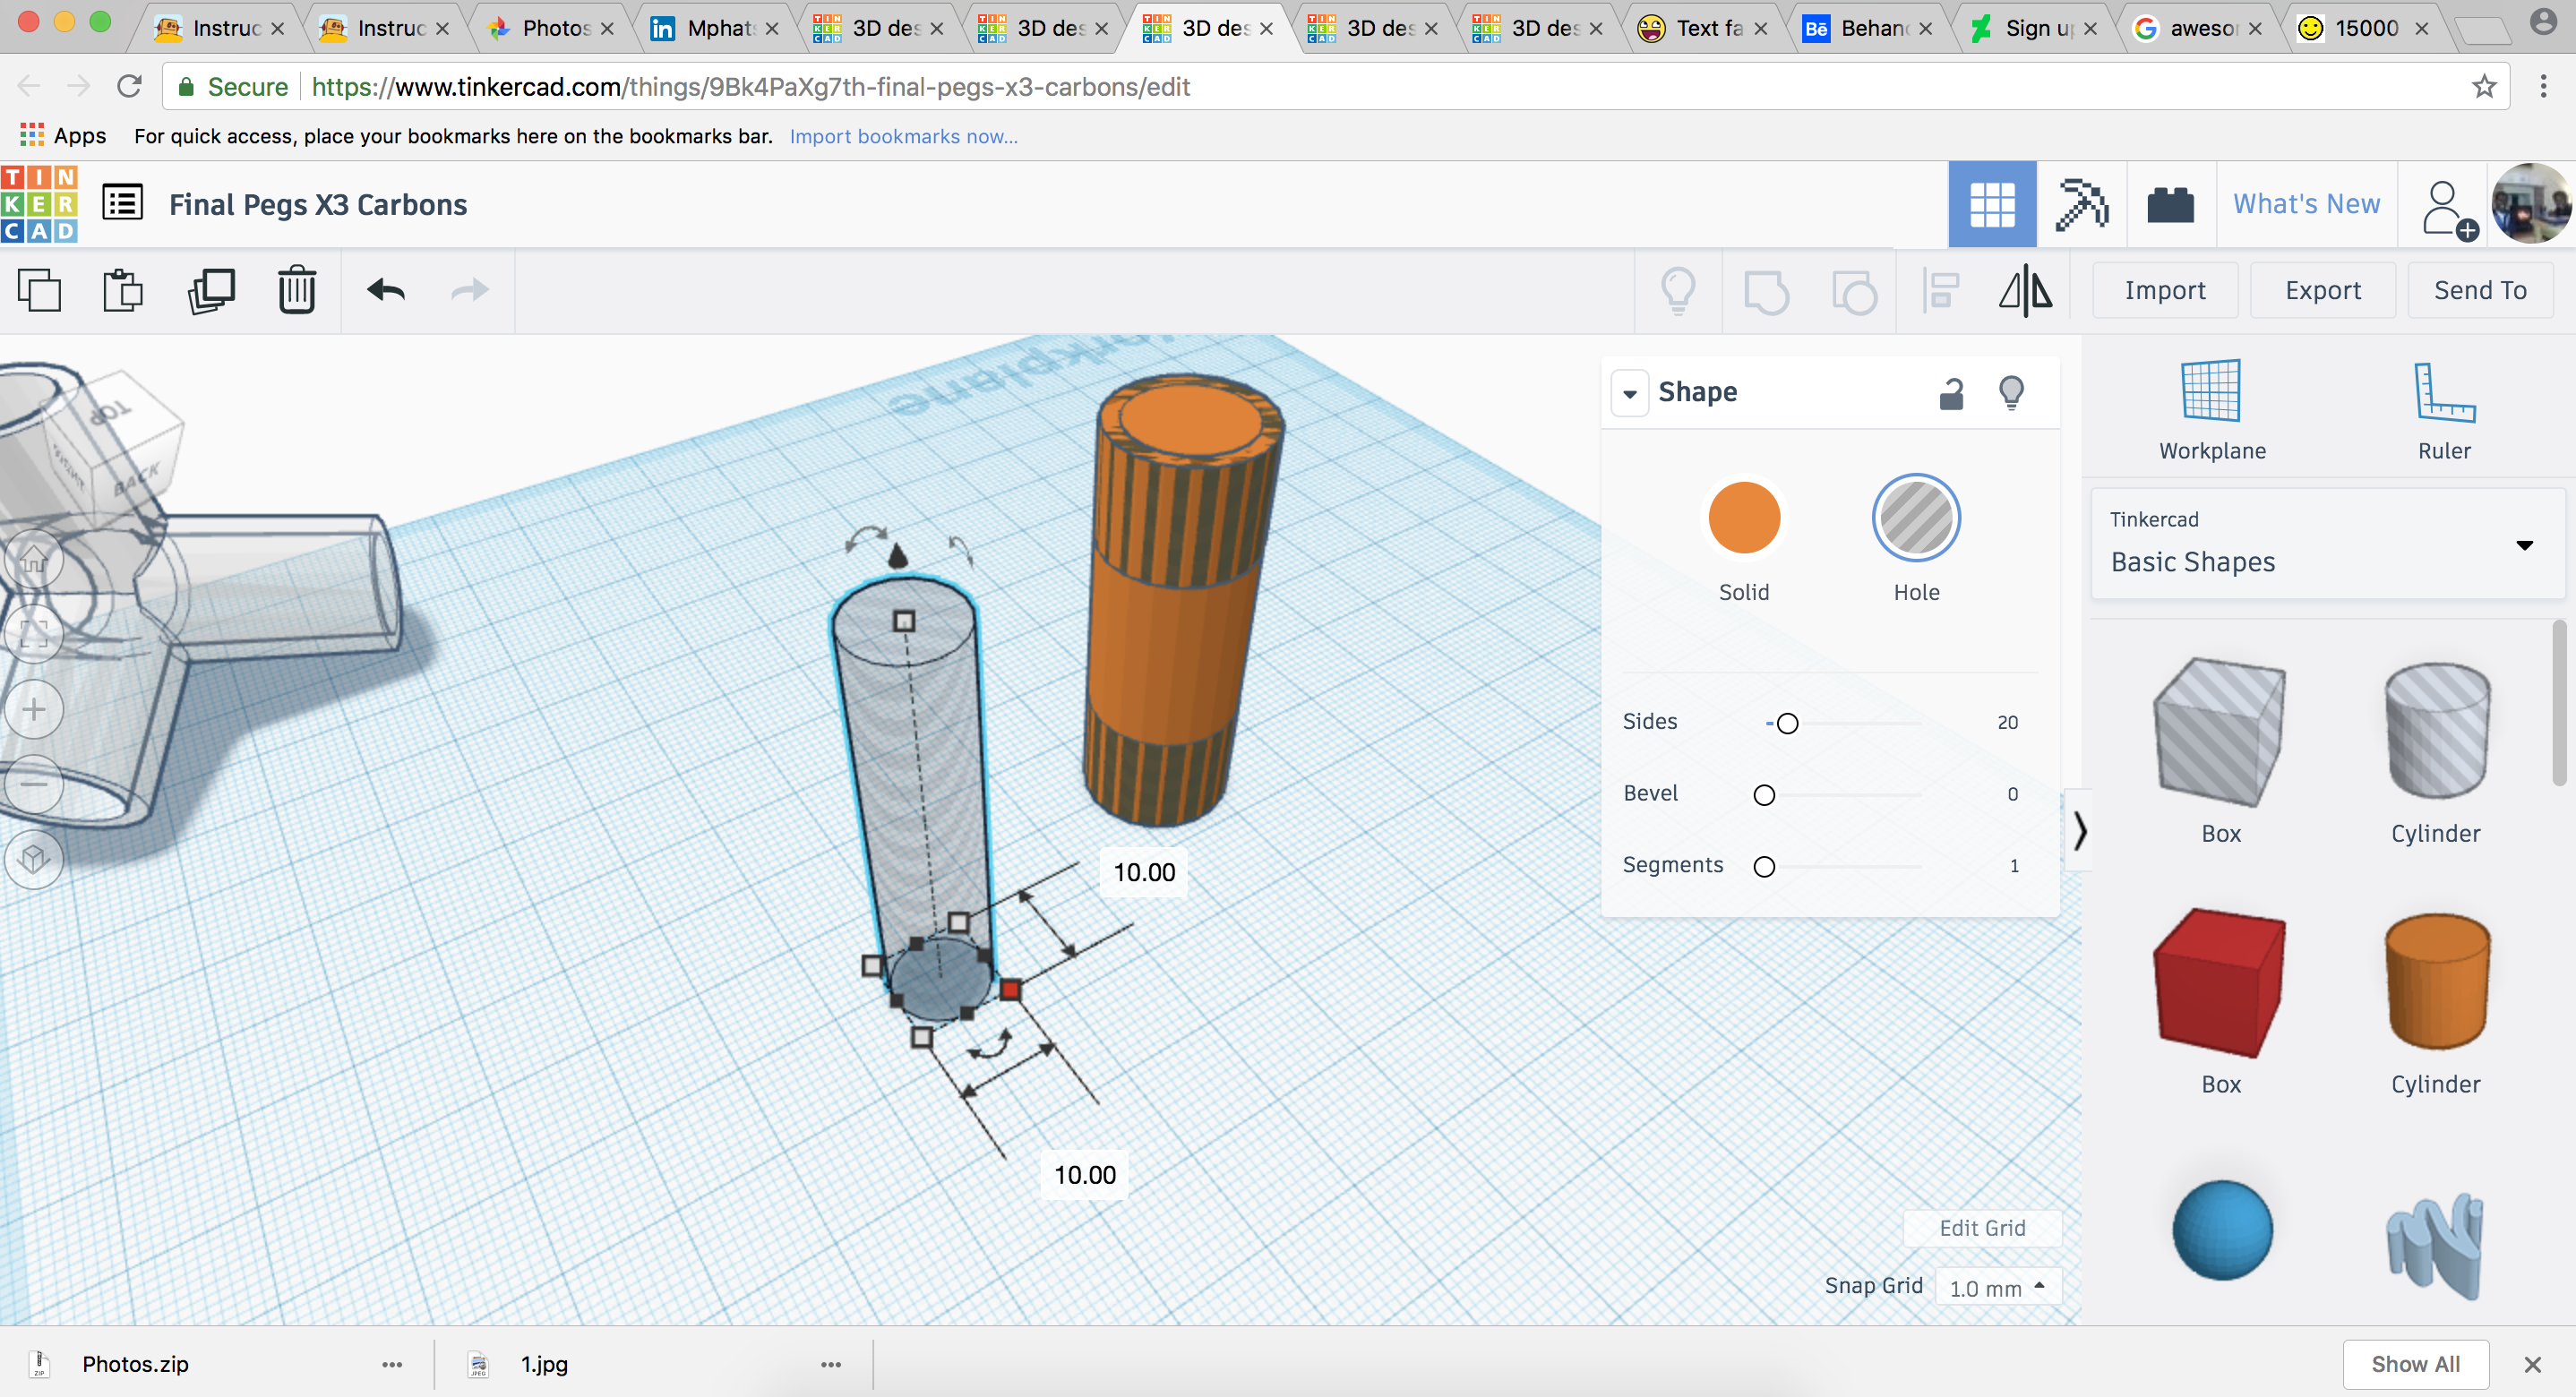
Drag a new cylinder (Cylinder A) to the view area and change its dimensions to width=16, length=16, height=44.
Copy and paste the donut hole piece and place one donut on each end of the new cylinder in the center of the view area.
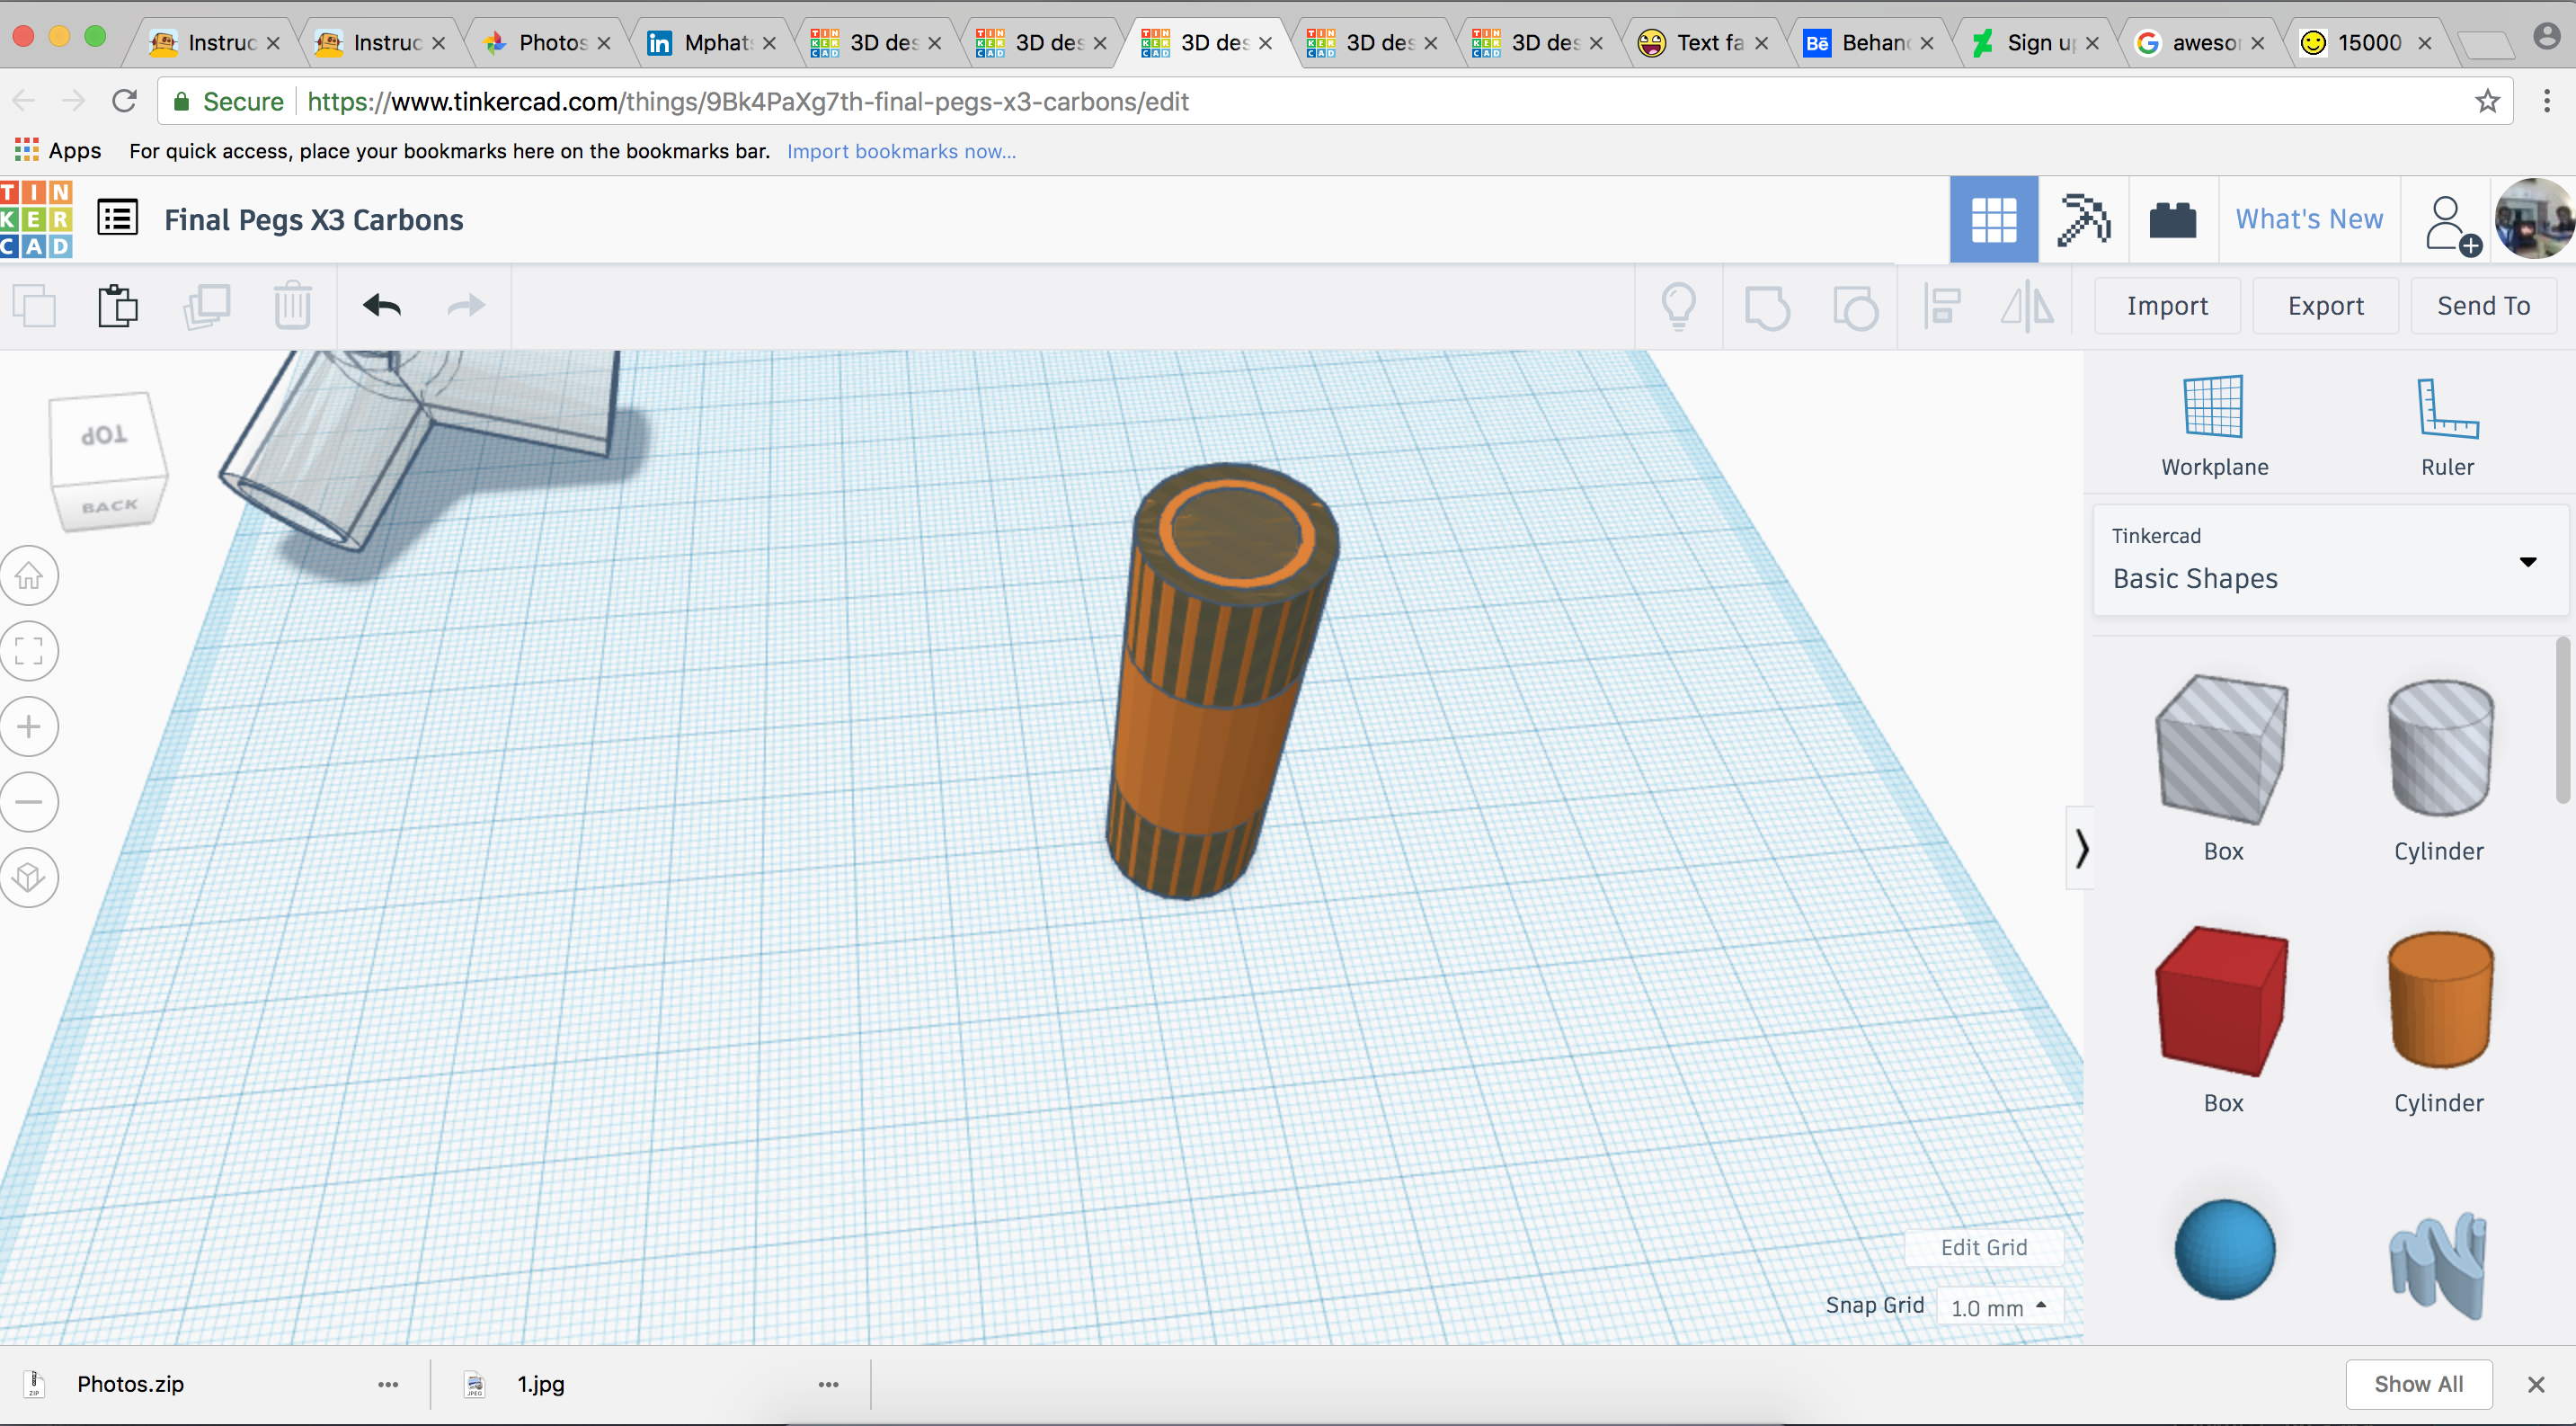
Then create a new cylinder (Cylinder B) with dimensions width=12, length=12, height=44. Place this in the center of your Cylinder A in the center of the view port and combine the pieces using the group icon.
Push this piece to the side to create space for making the next piece.
End Cap
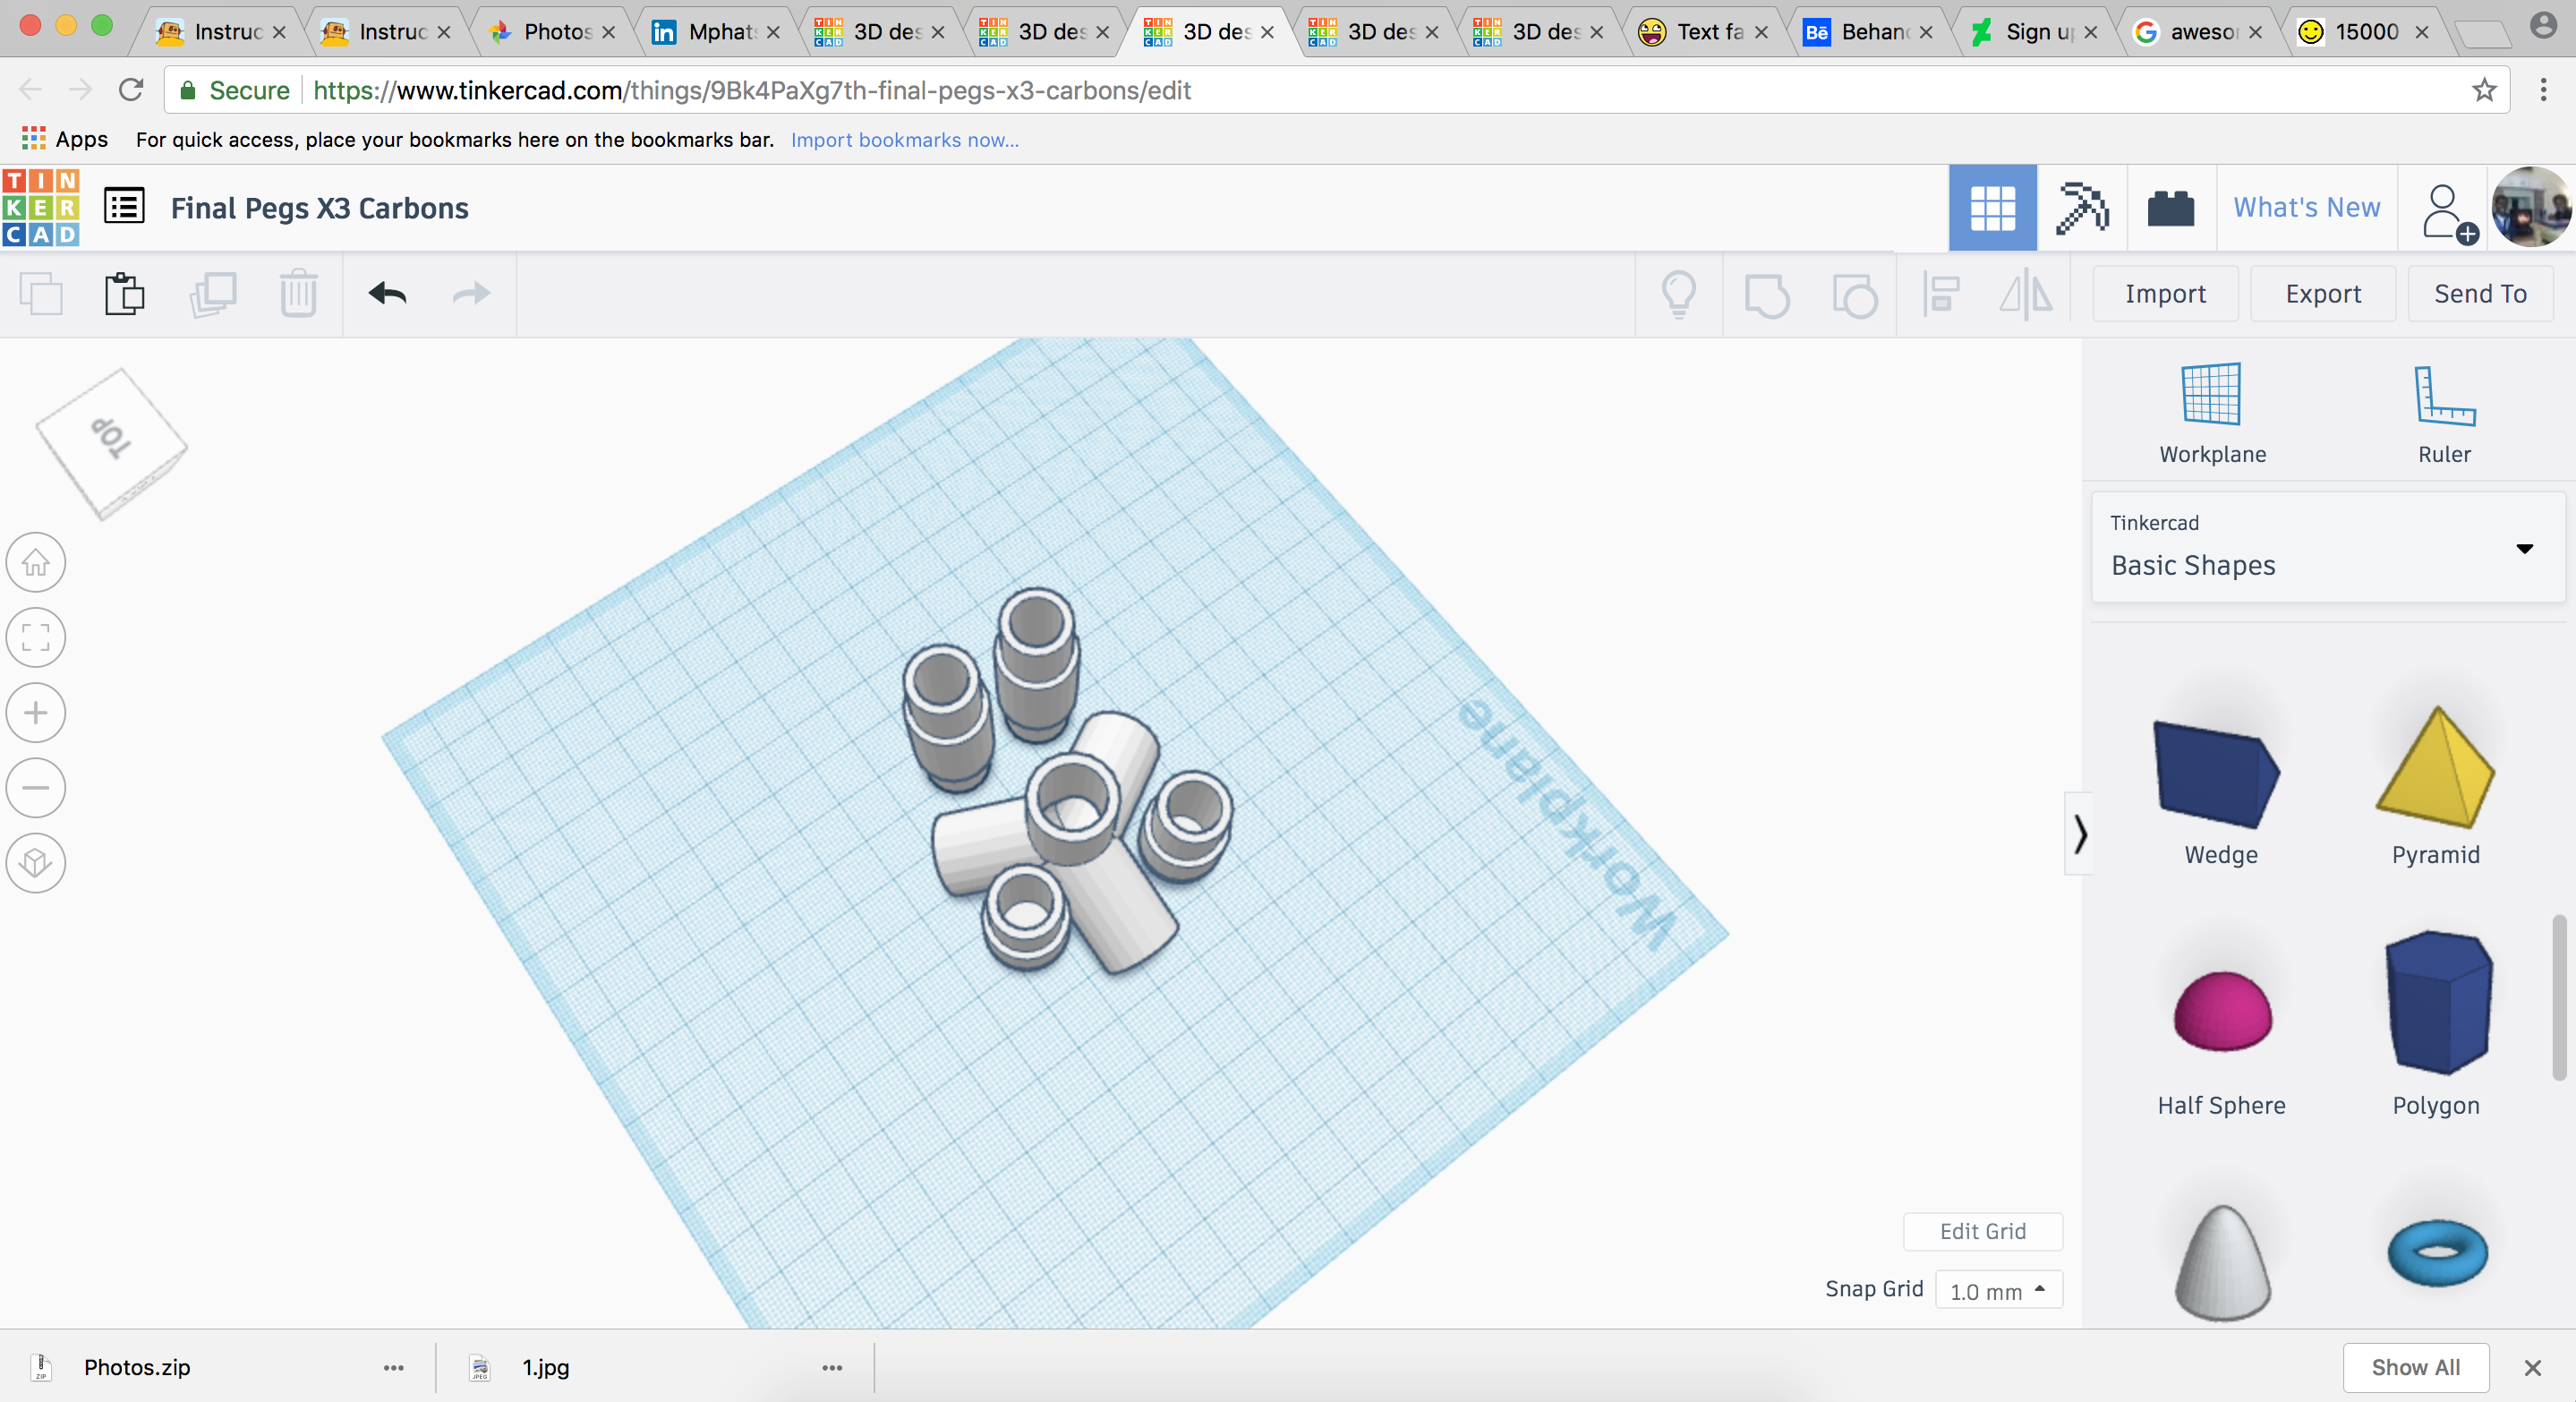
This is the easiest piece to make.
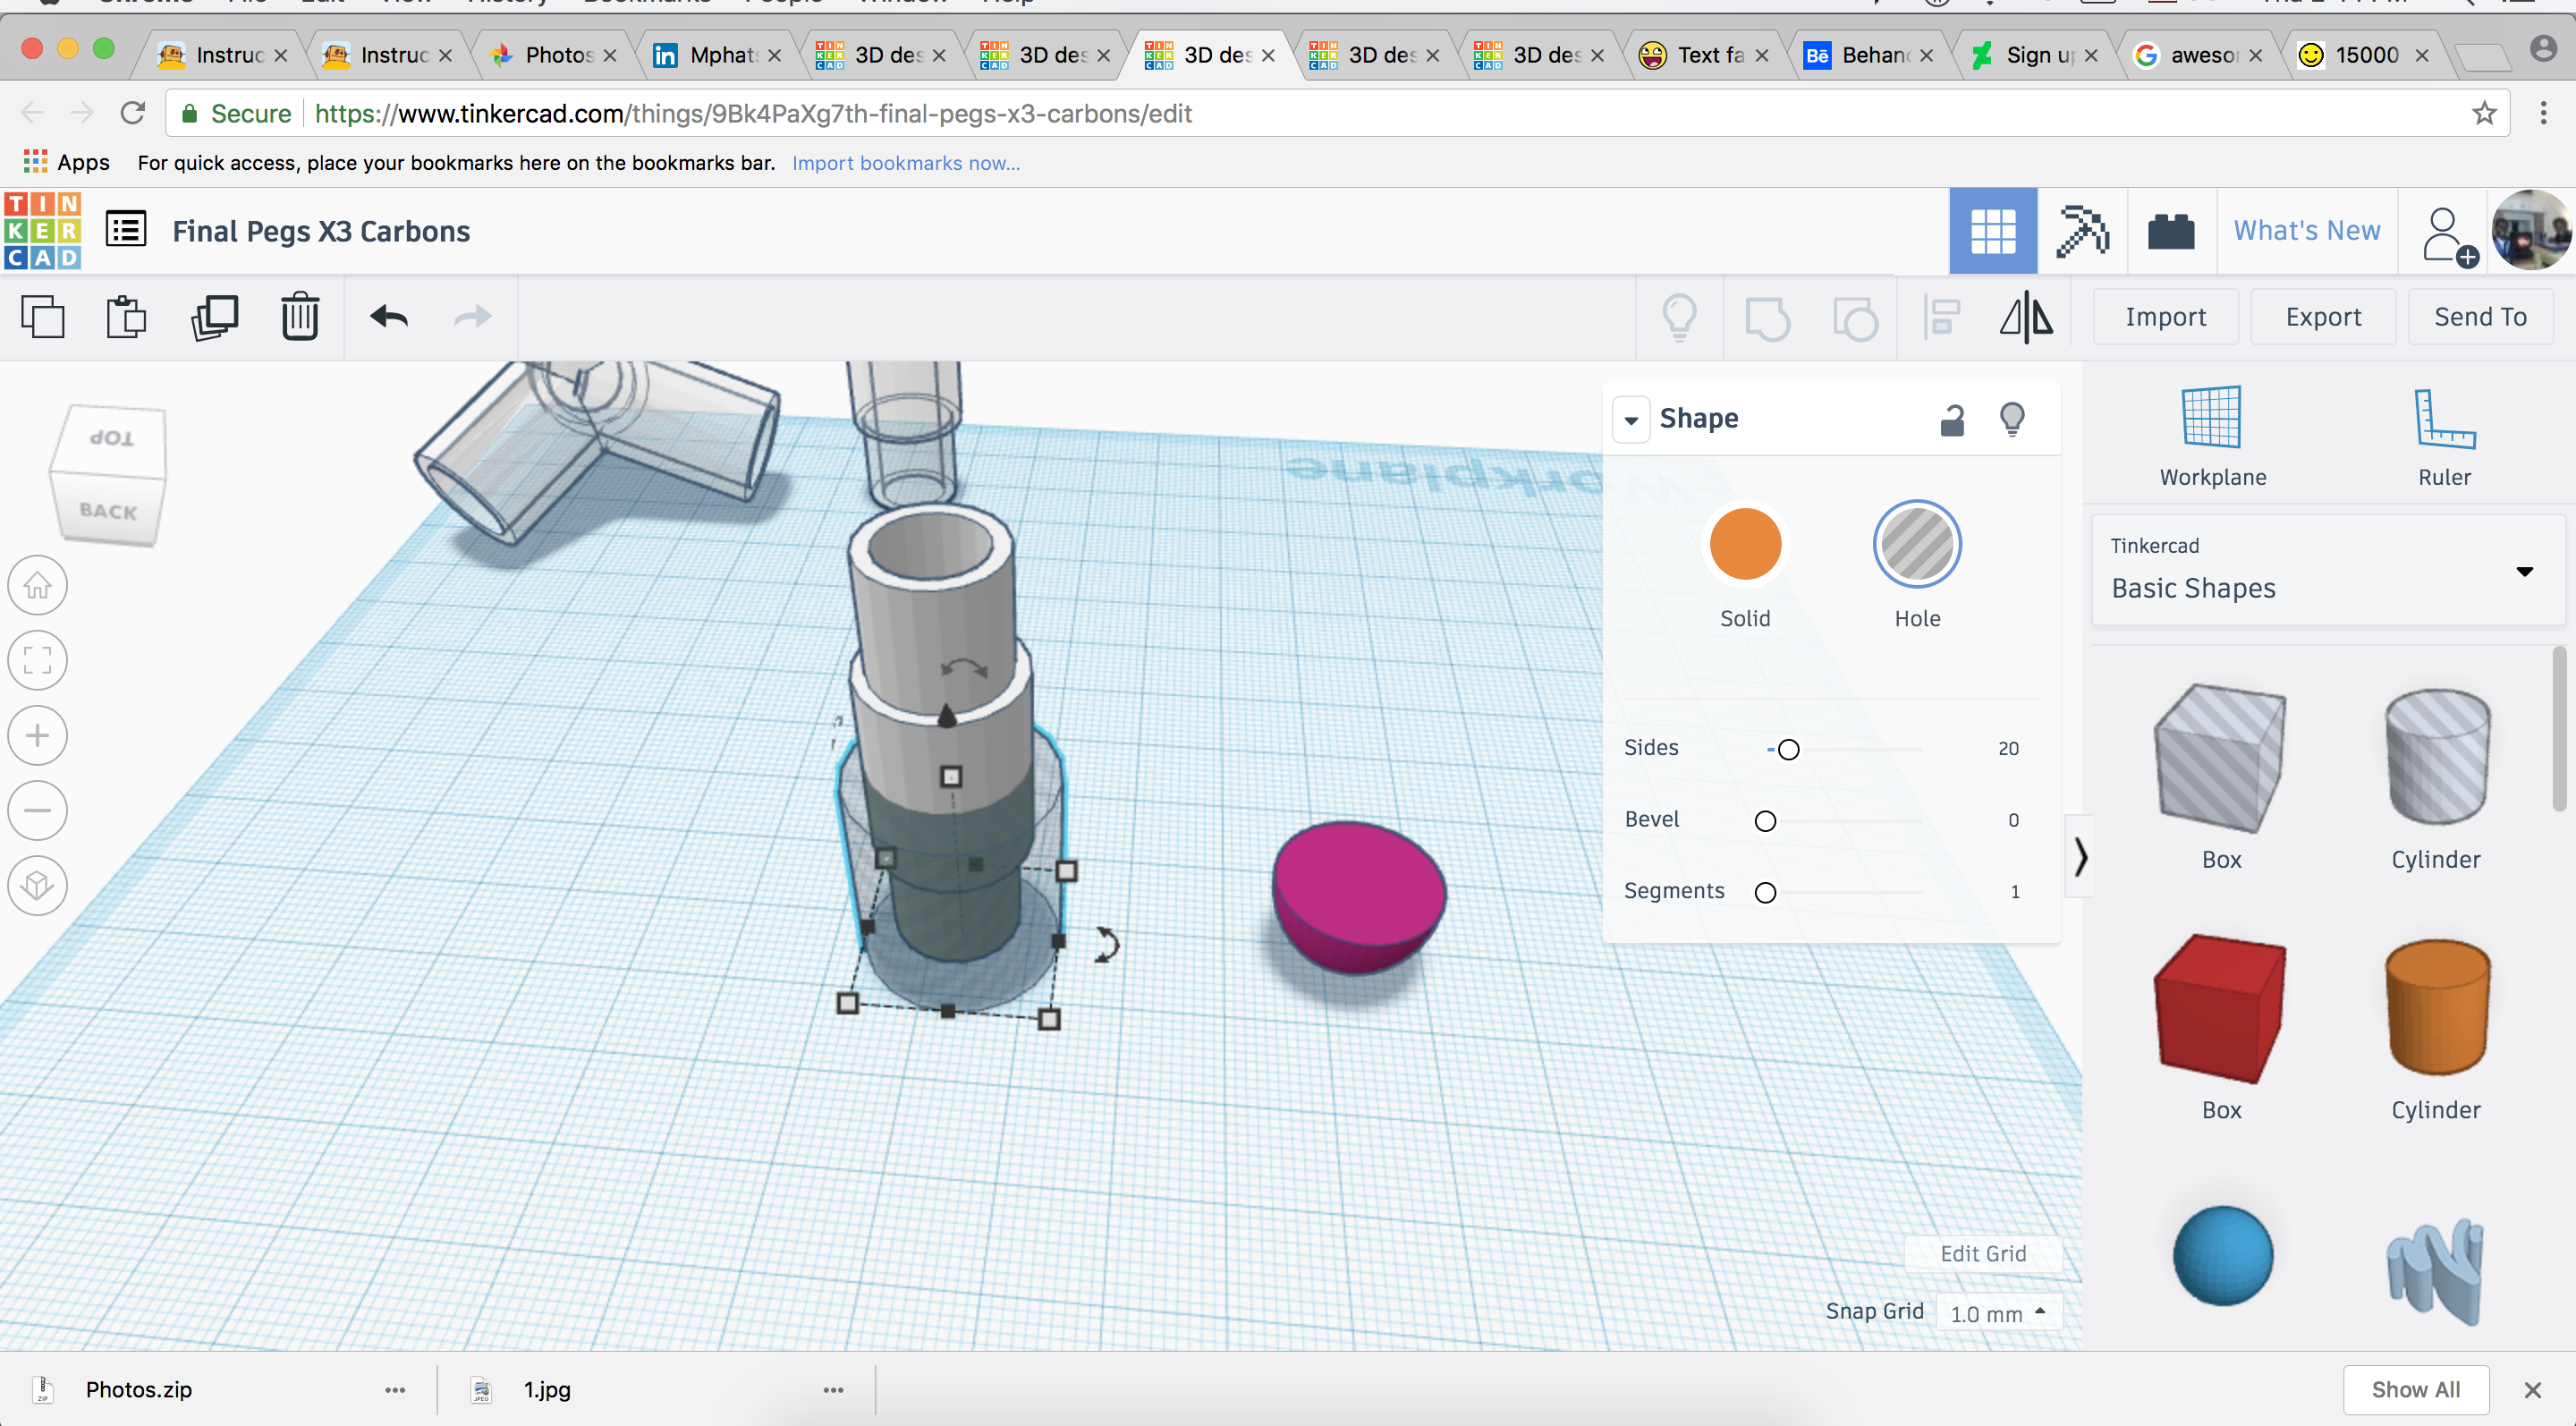
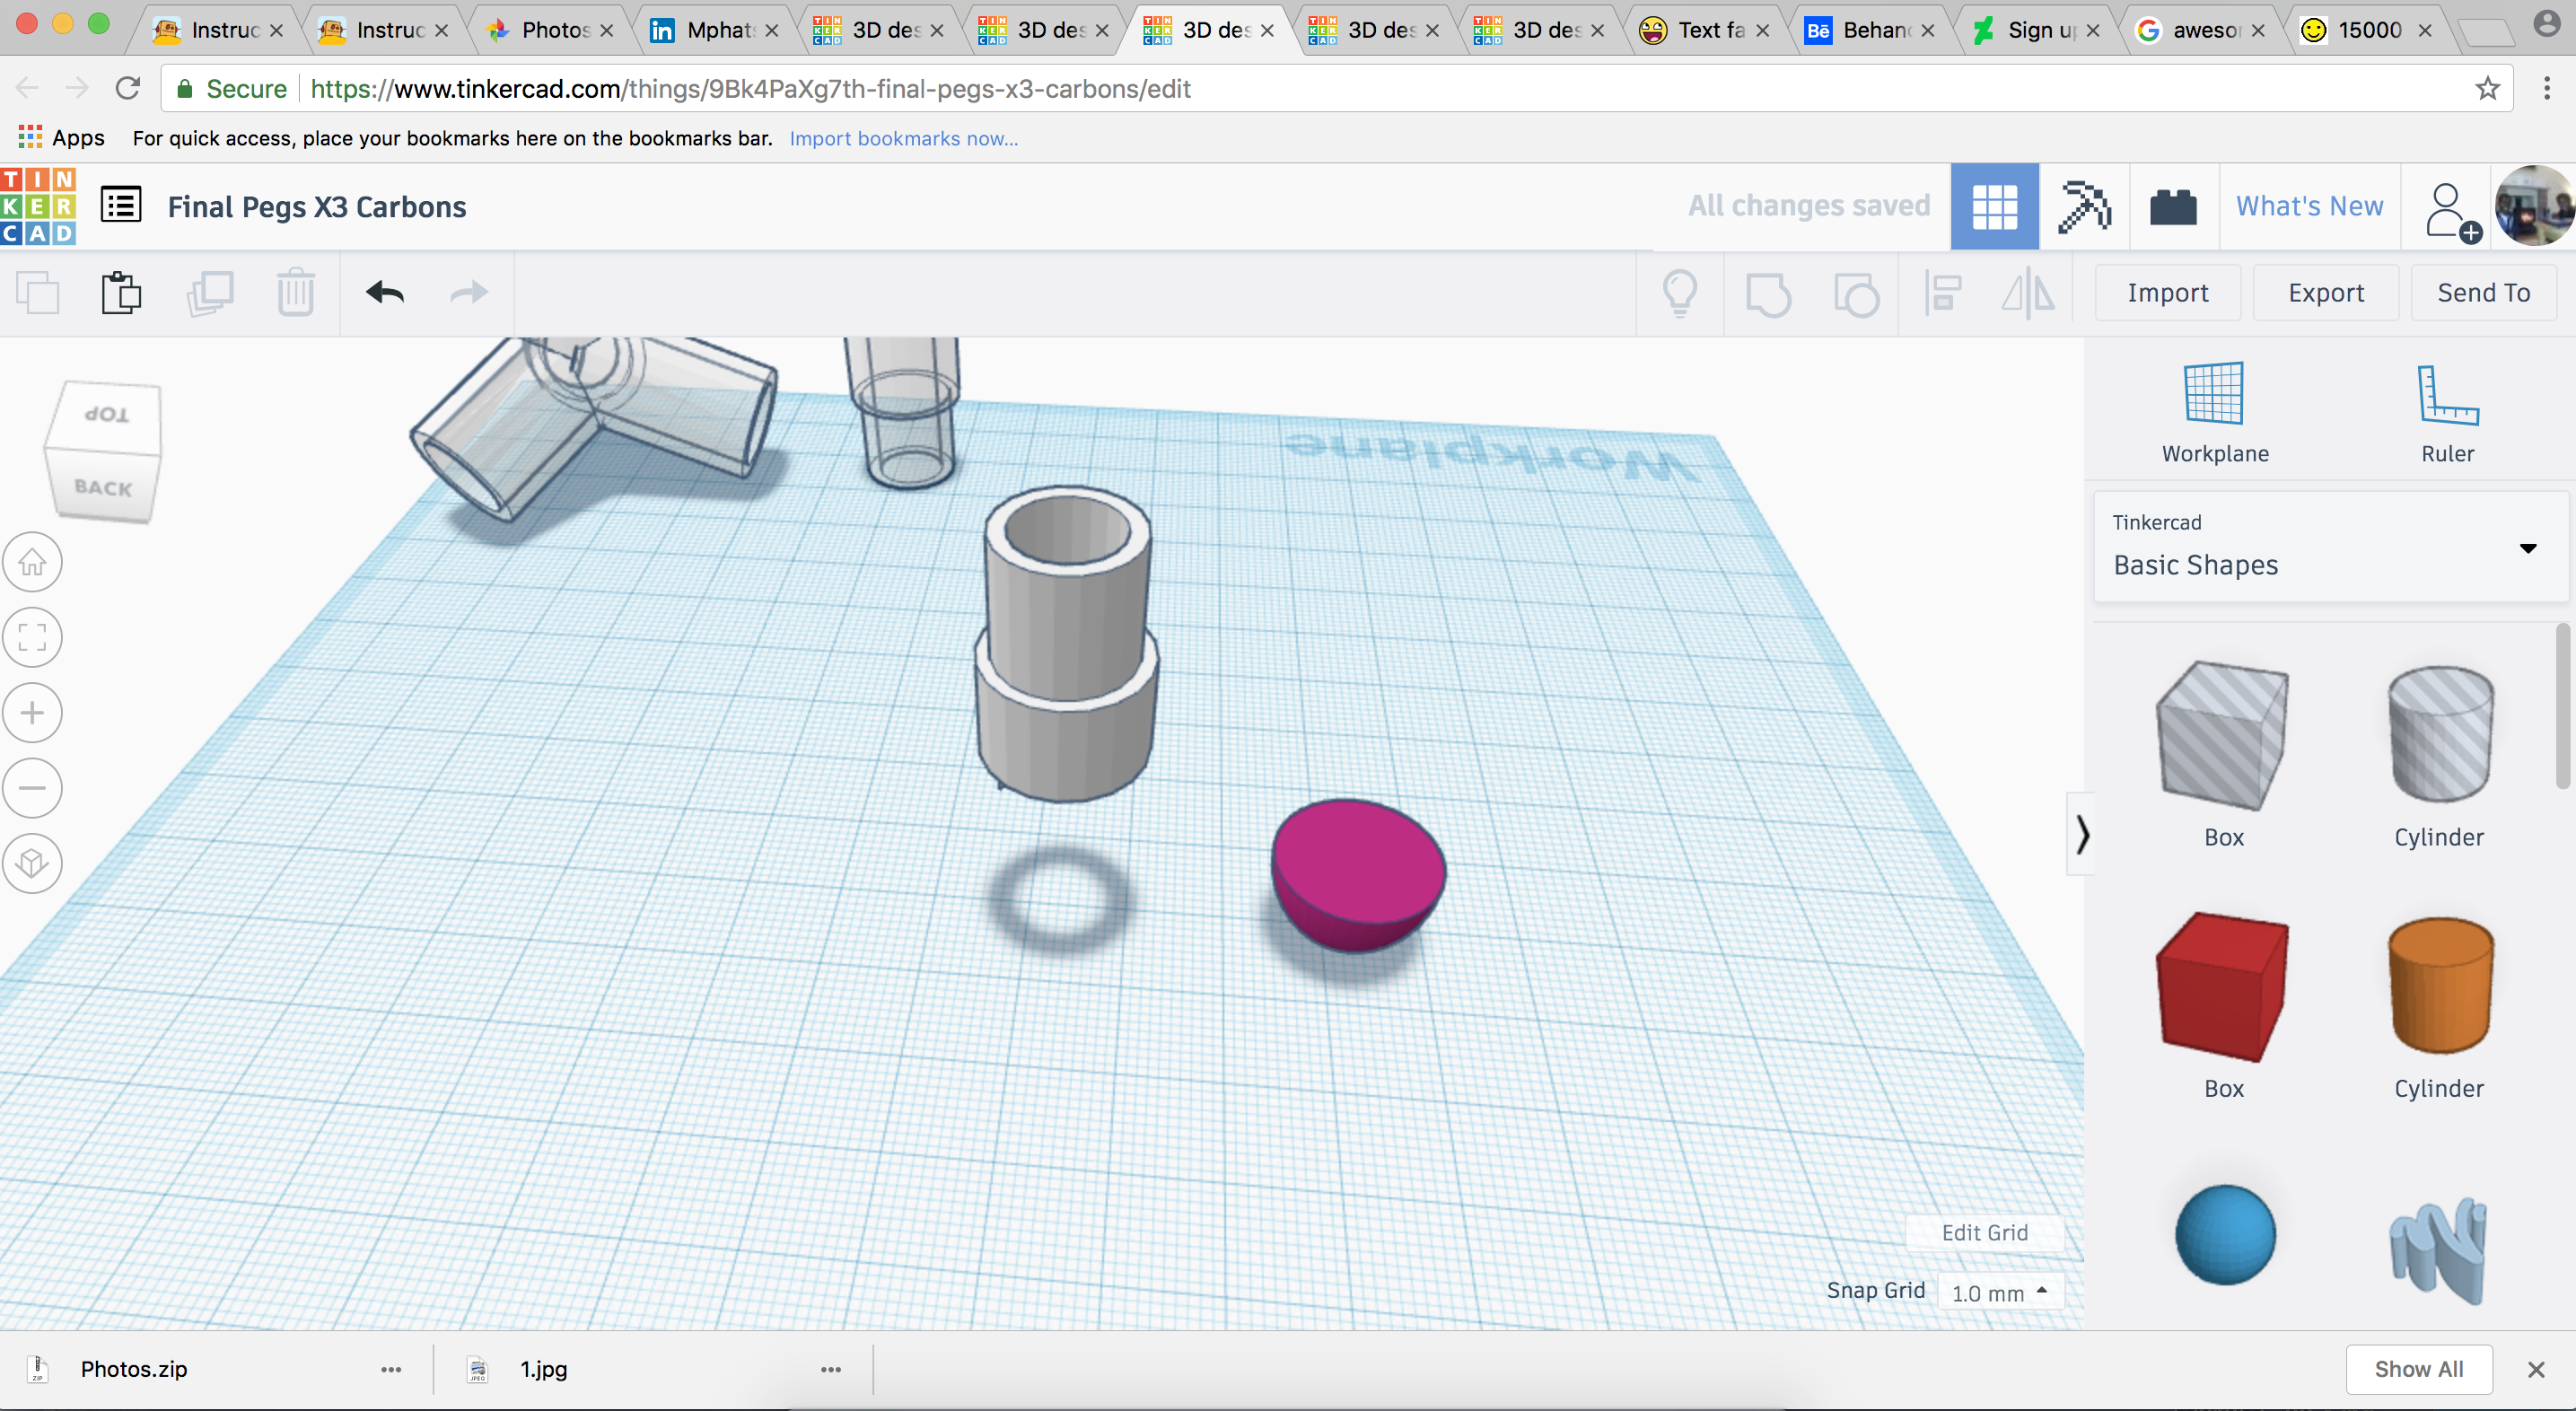
First copy the straight connector piece. Then add a cylinder with the dimensions height=22, width=20 and length=20. Change its material to hole then place it below the copy of the connector piece and combine the two pieces to cut the straight connector in half.
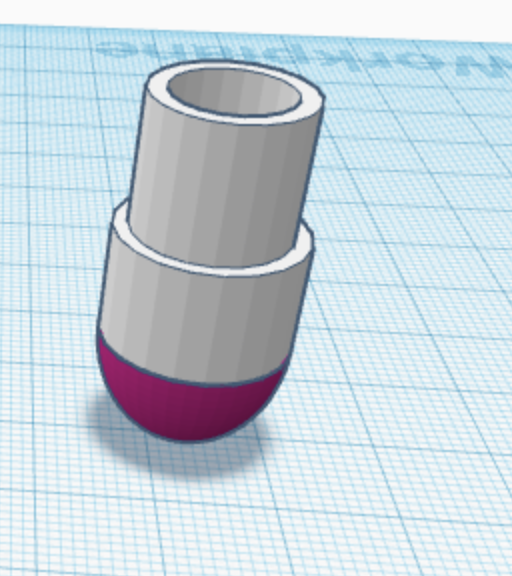
Add a half sphere with the dimensions width=16, length=16 and height=20 then rotate the half sphere 180 degrees vertically. Drag the top half of the straight connector down to meet the top part of the half sphere and combine the pieces.
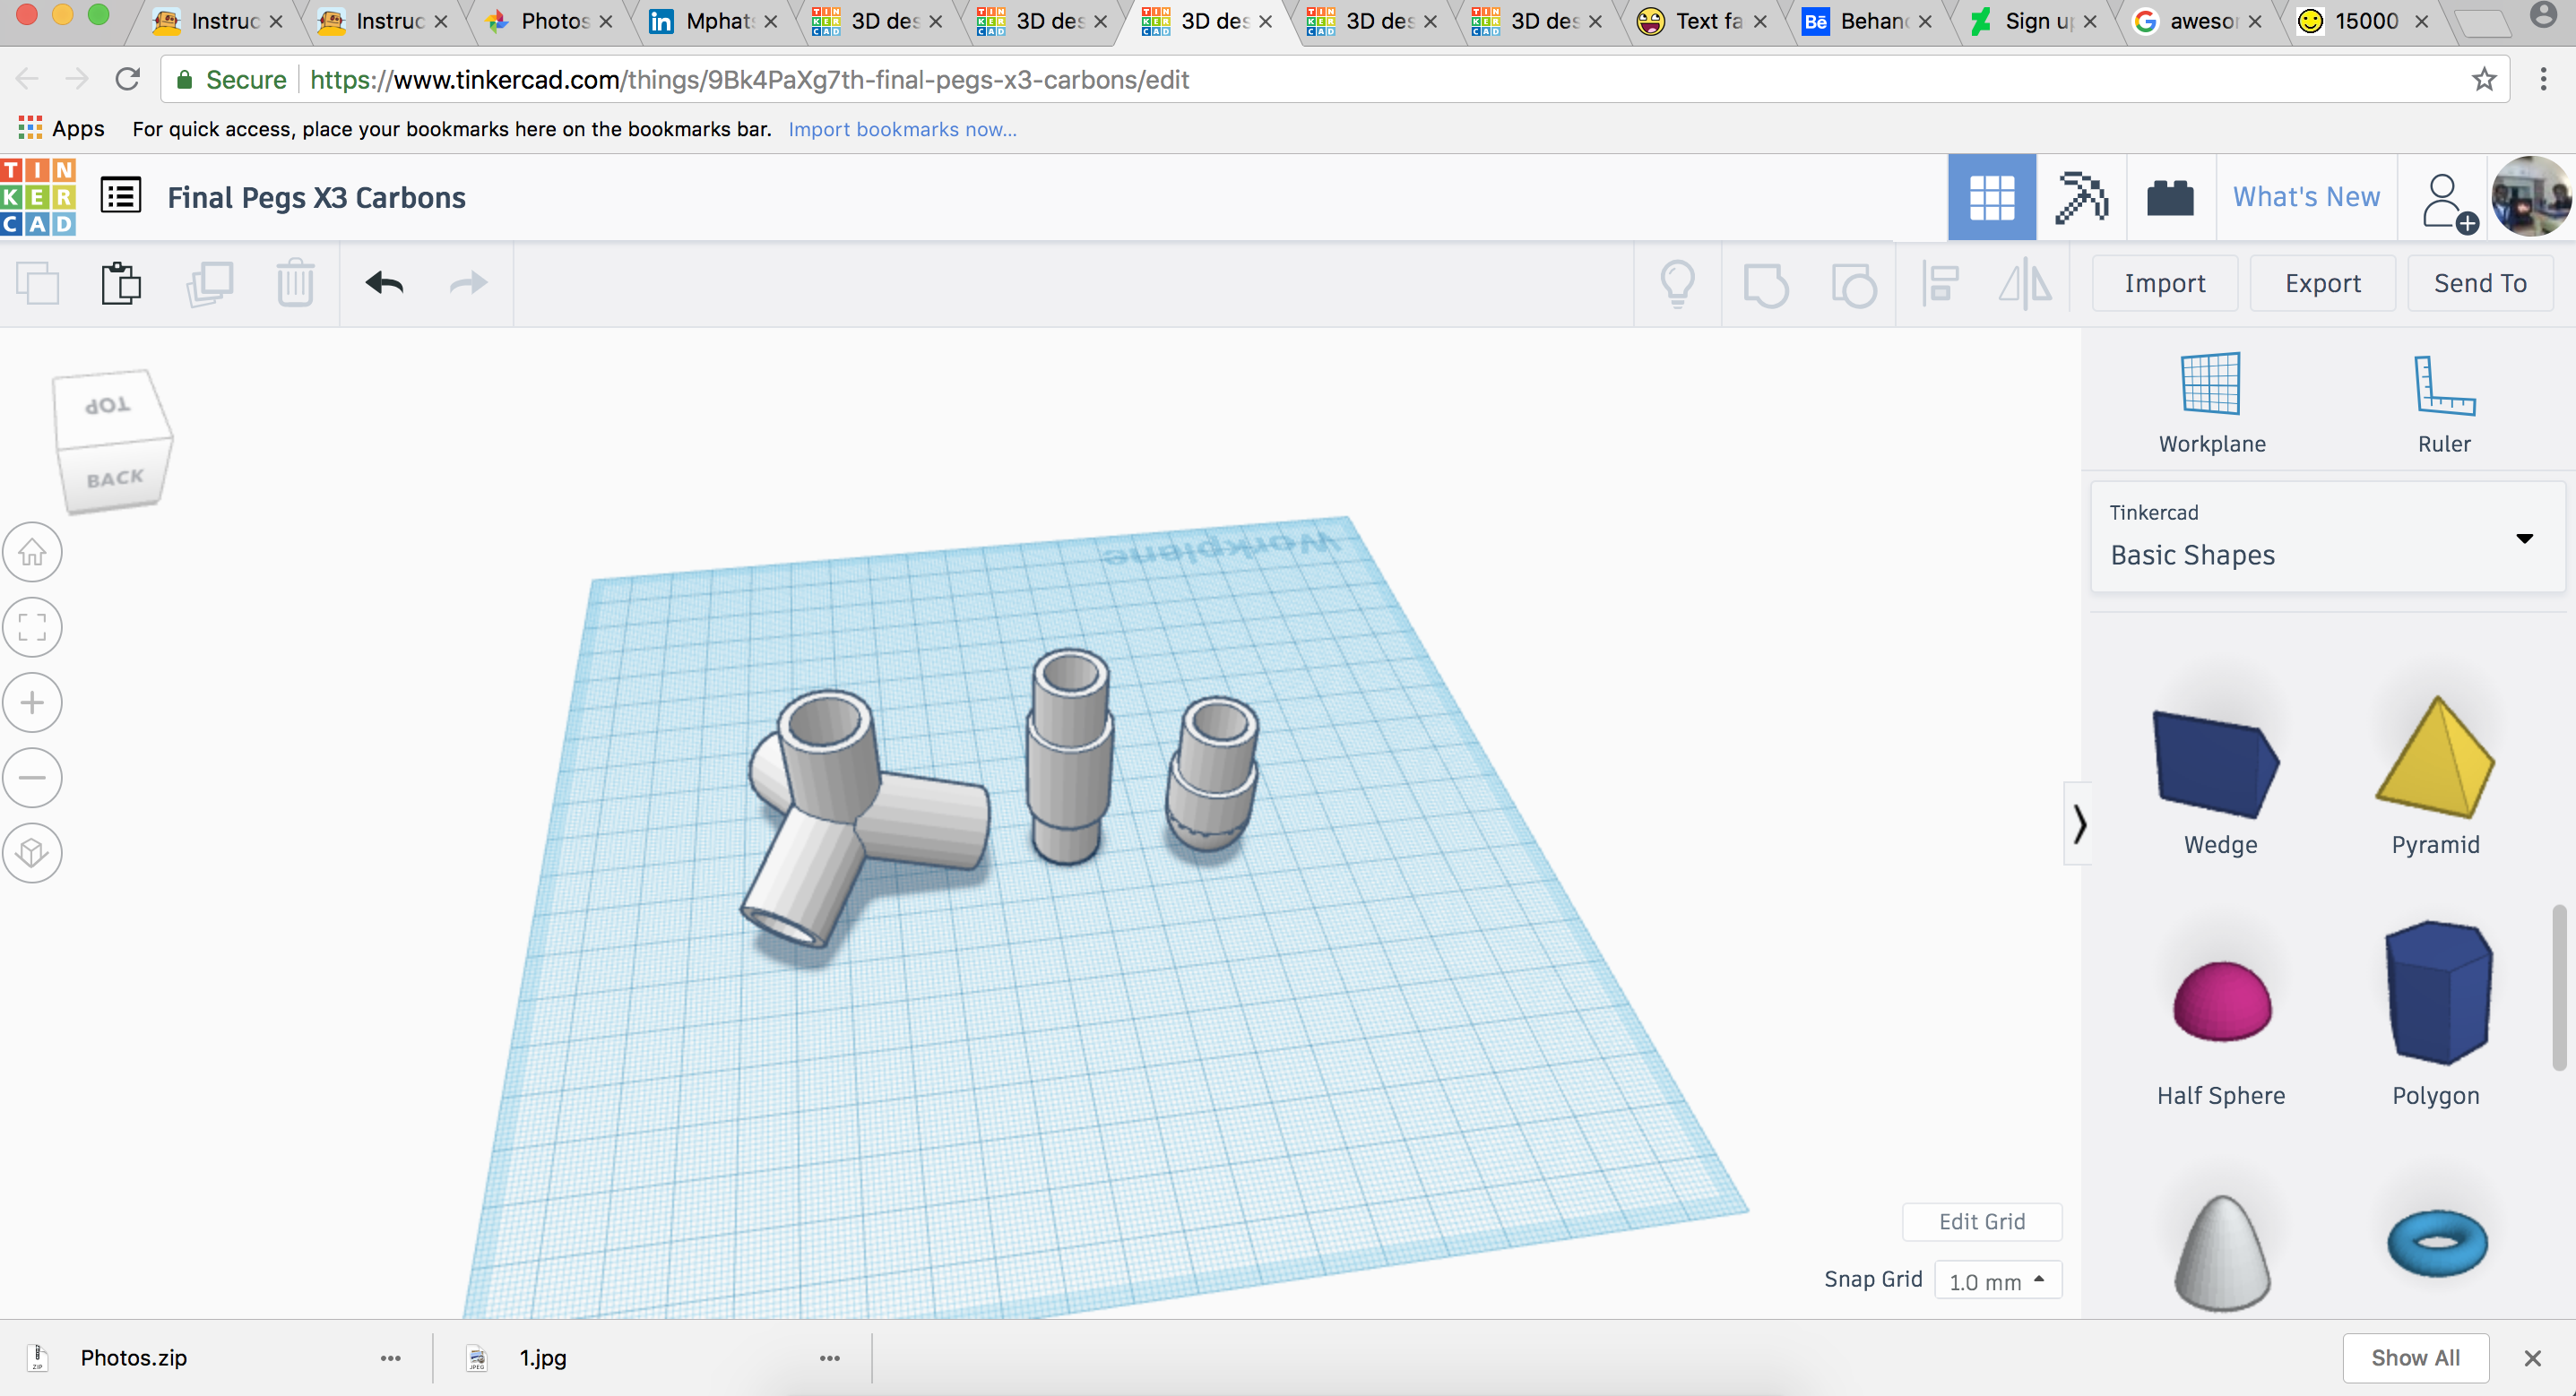
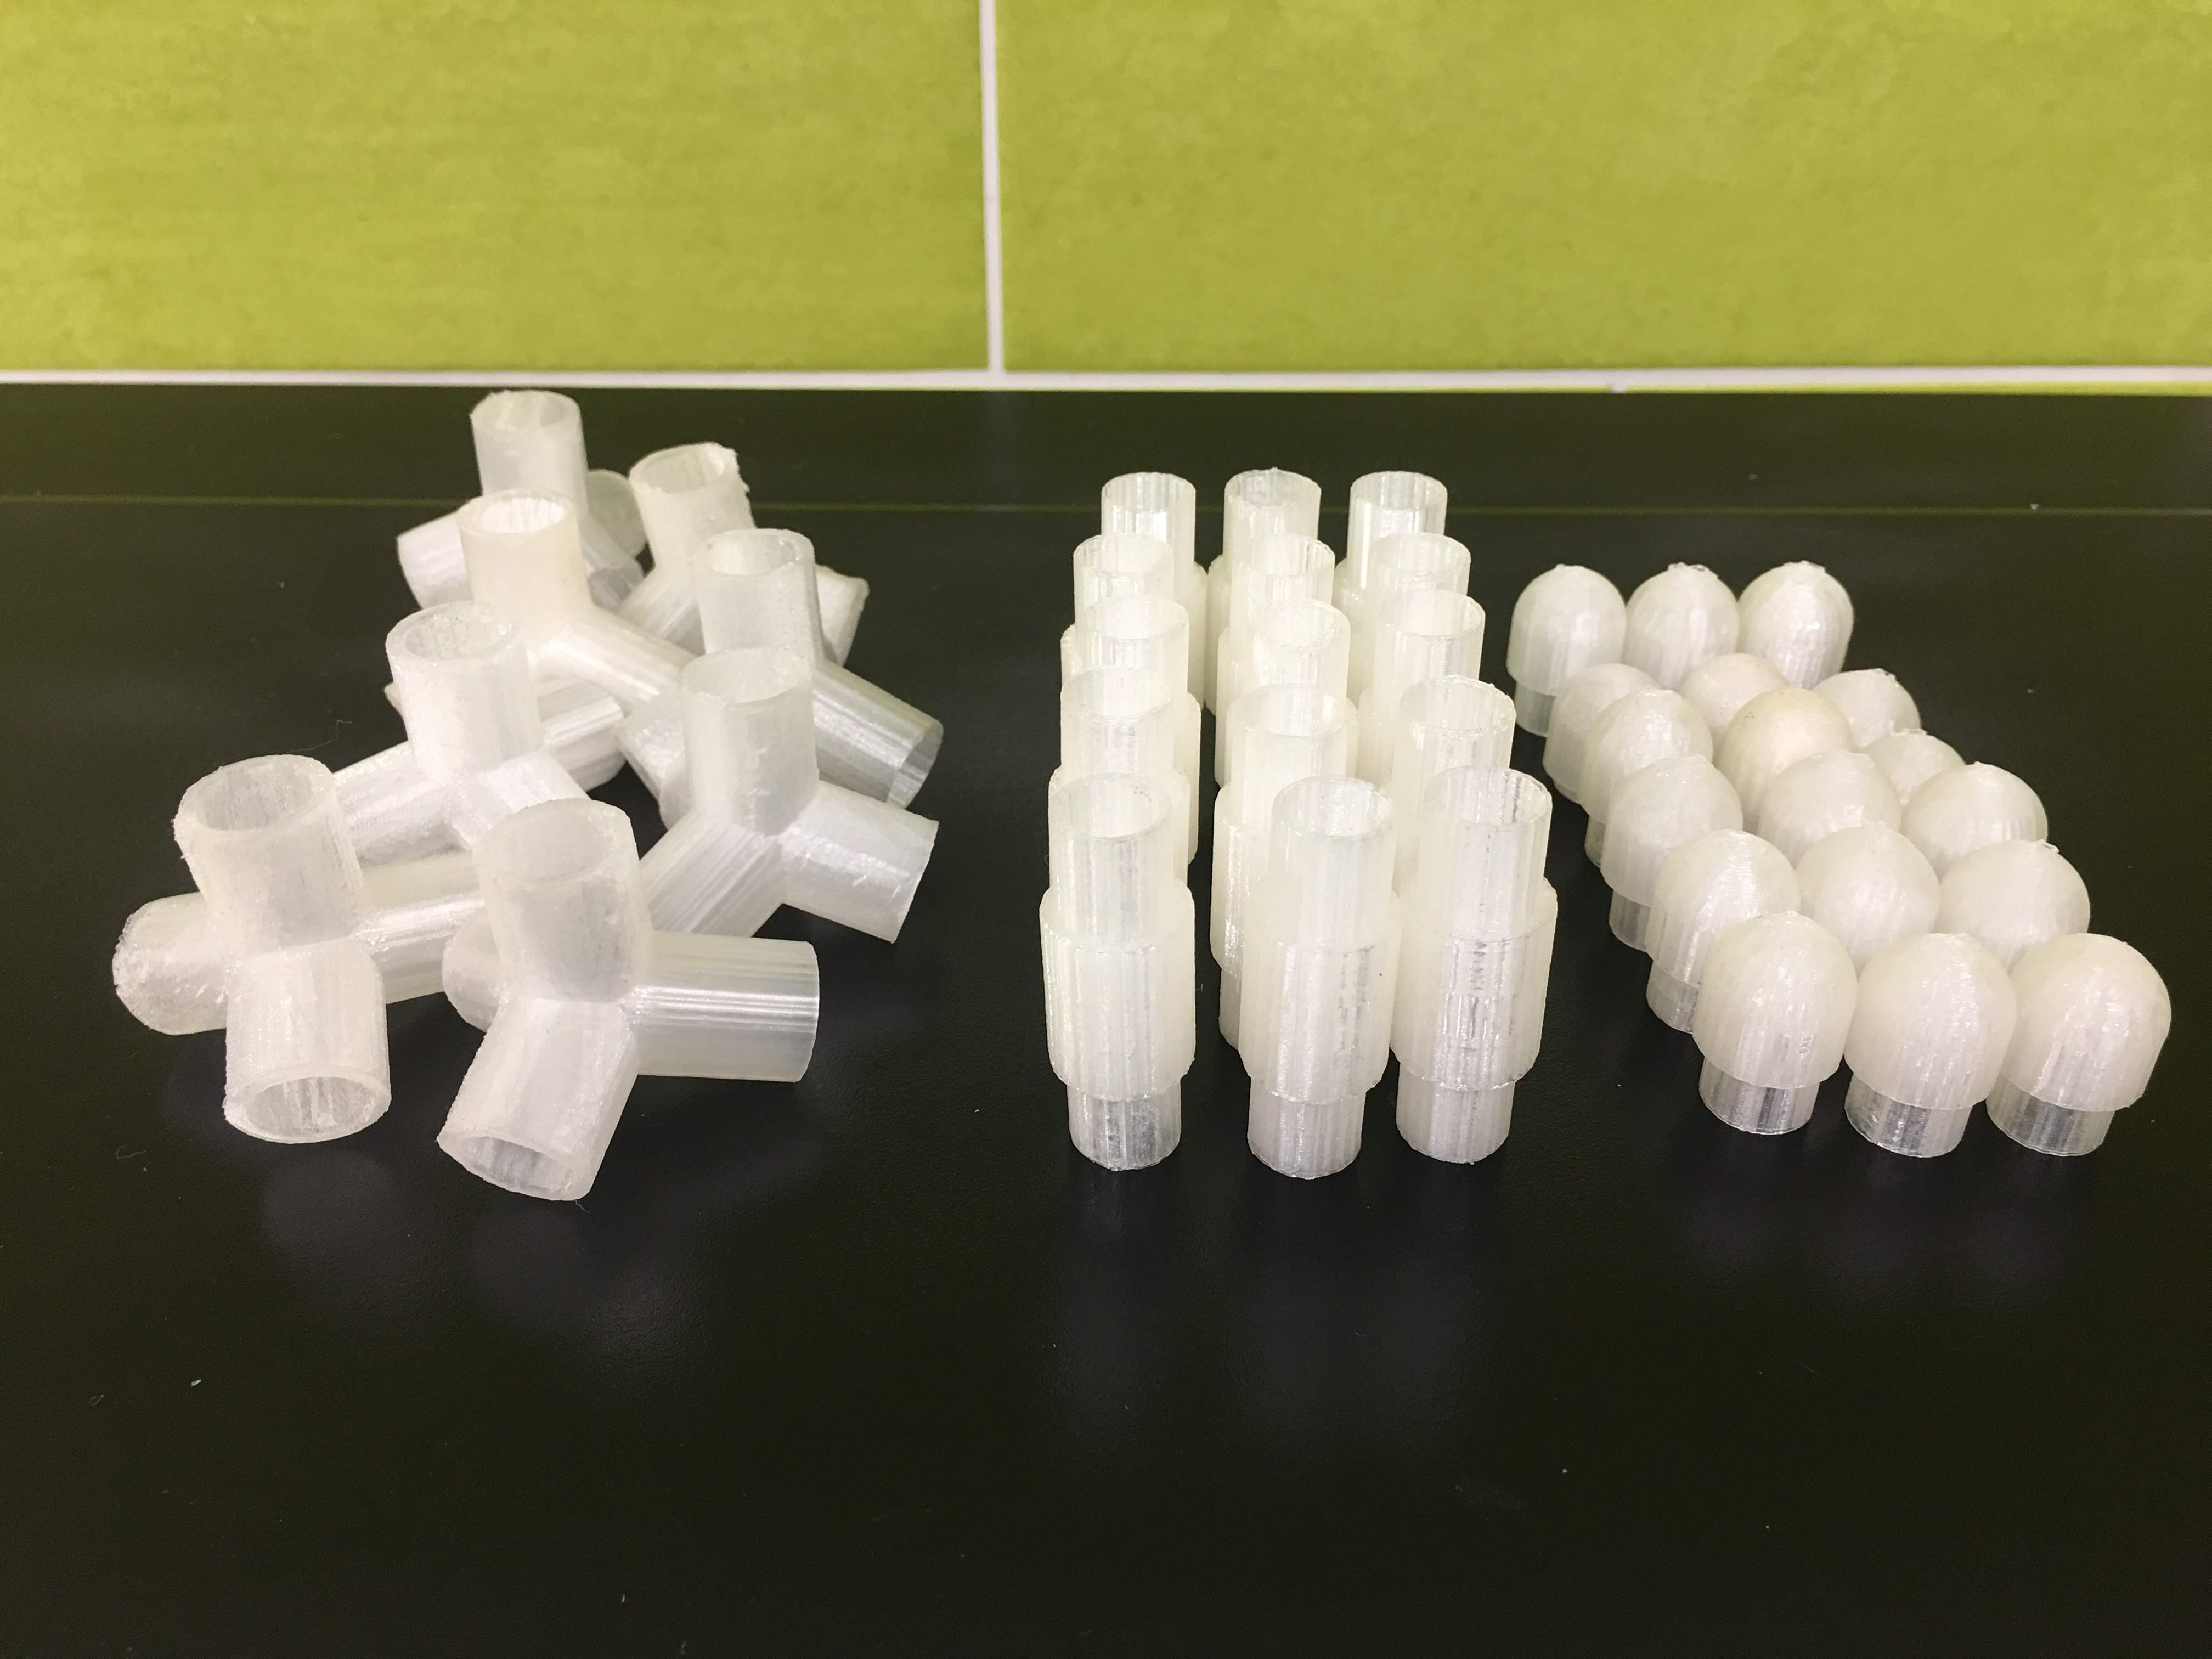
Now your all your pieces should look like the picture above.
TIP: Position them close together this helped me be able to print them faster while having the 3D printer do the least amount of work. Also, make sure to only print a few pieces at a time cause this helps with accuracy and troubleshooting.
(Optional Base)
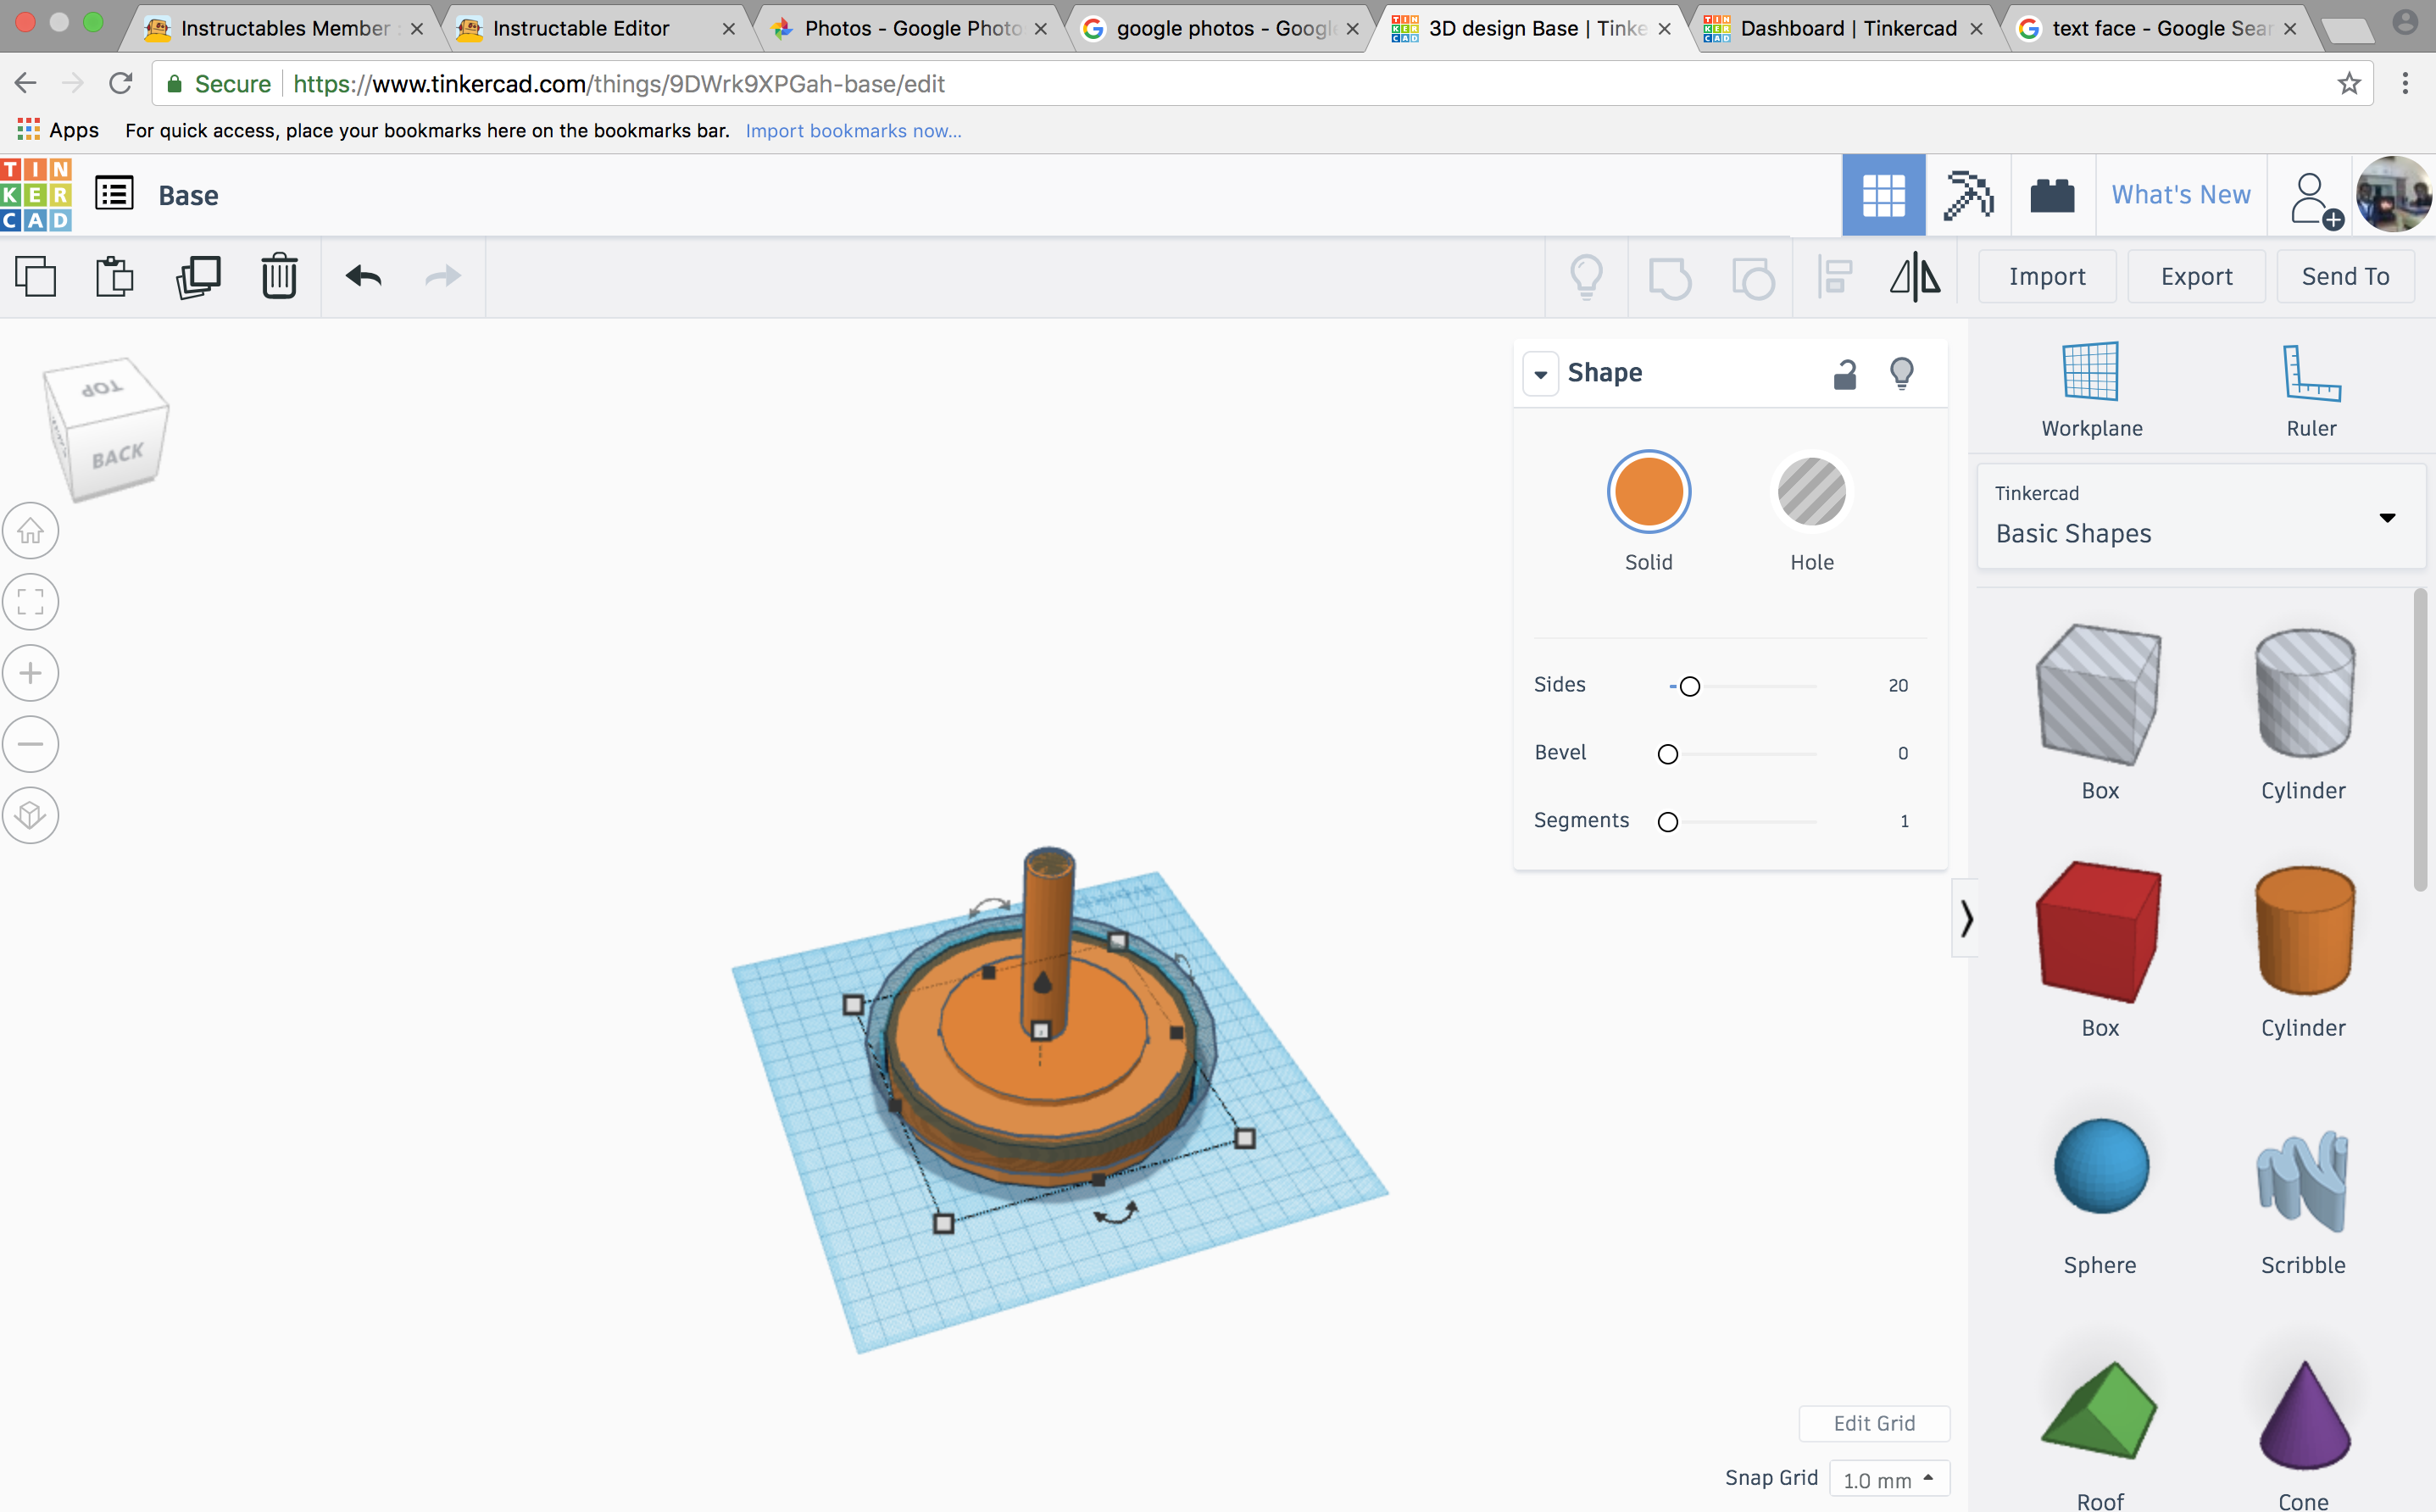
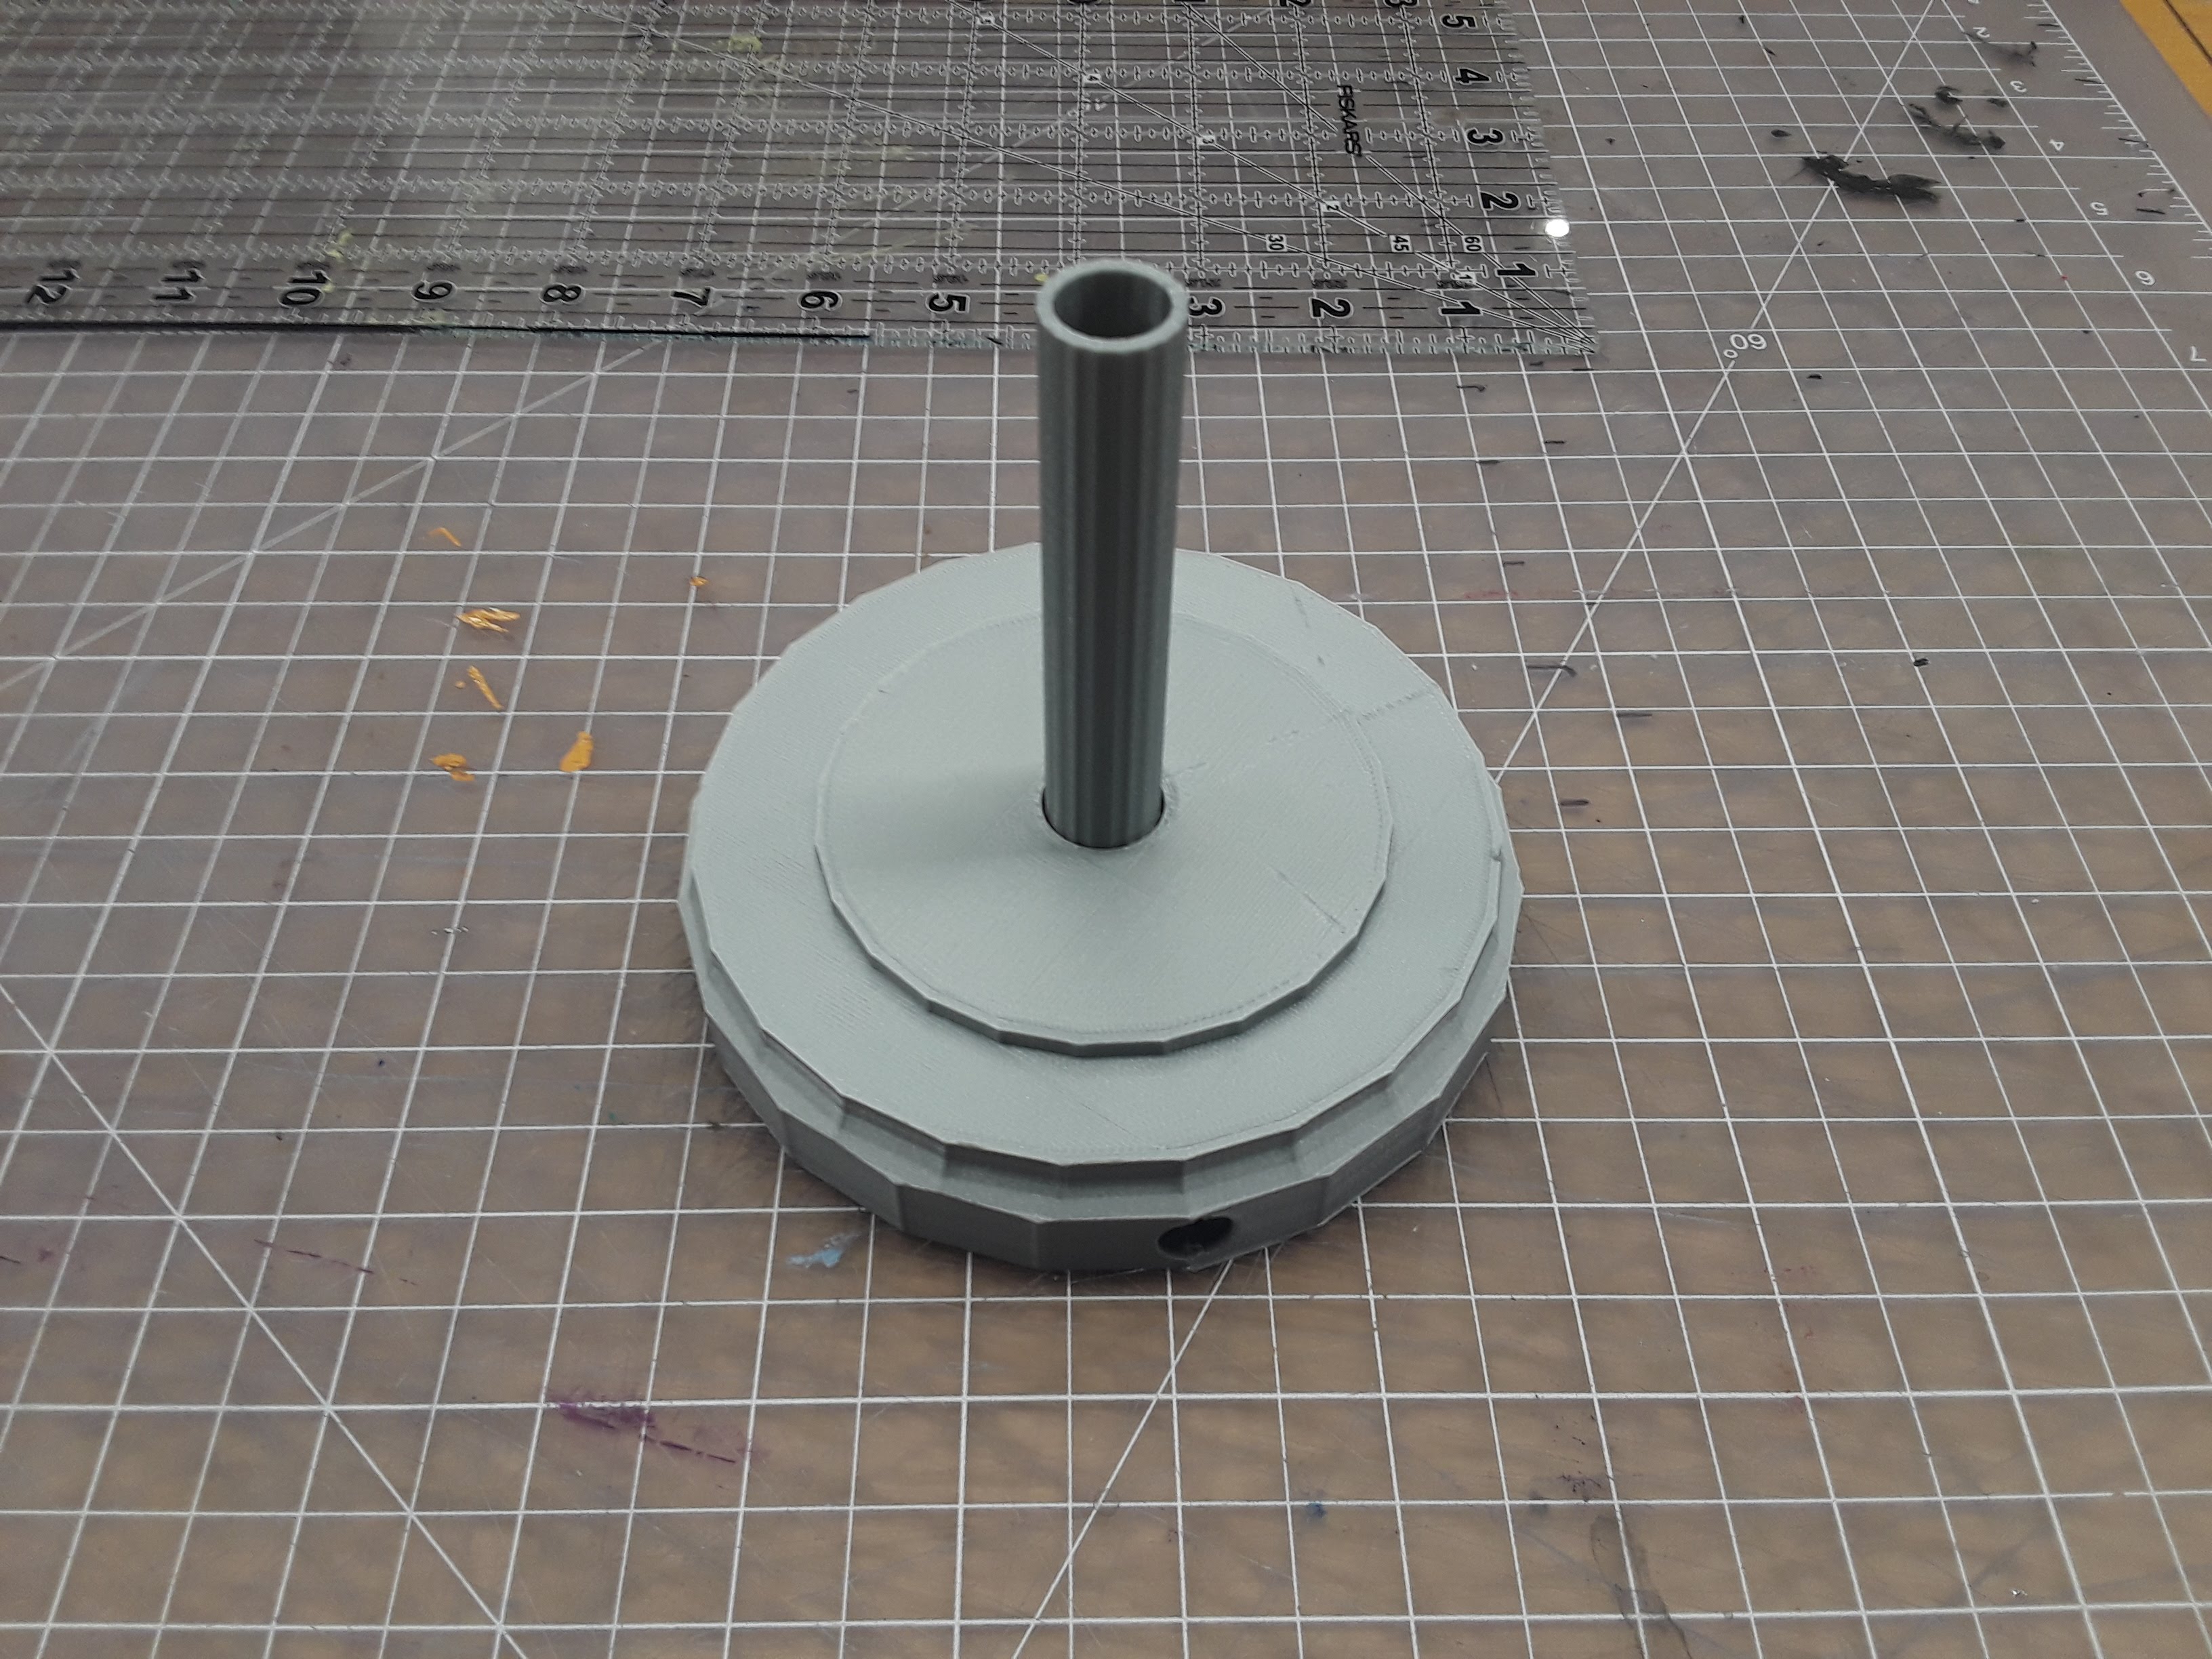
For the base, I basically used the same steps but made a hollow cylinder with dimensions width=16, length=16 and height=100 for the stem and dimensions height=20, width=120, length=120 for the bottom and hollowed them out in the same way as the connectors. I also added a hollow donut to style the bottom part.
It can be styled any way you want just make sure that the stem has the same inner diameter as the hollow part of the tetrahedral pieces.
The base is optional because I found the molecules to look more awesome without a base but my friend said to add it as an optional feature incase other people felt it was needed.
You can find the tinker-cad model here for the pieces....
https://www.tinkercad.com/things/3JAEg5EQWhB
And here for the base..
https://www.tinkercad.com/things/9DWrk9XPGah
(There's a bug with tinker-cad that makes the preview look like one of the first prototypes of the base)
Feel free to copy, edit and play around with the models as much as you want!
3D Printing
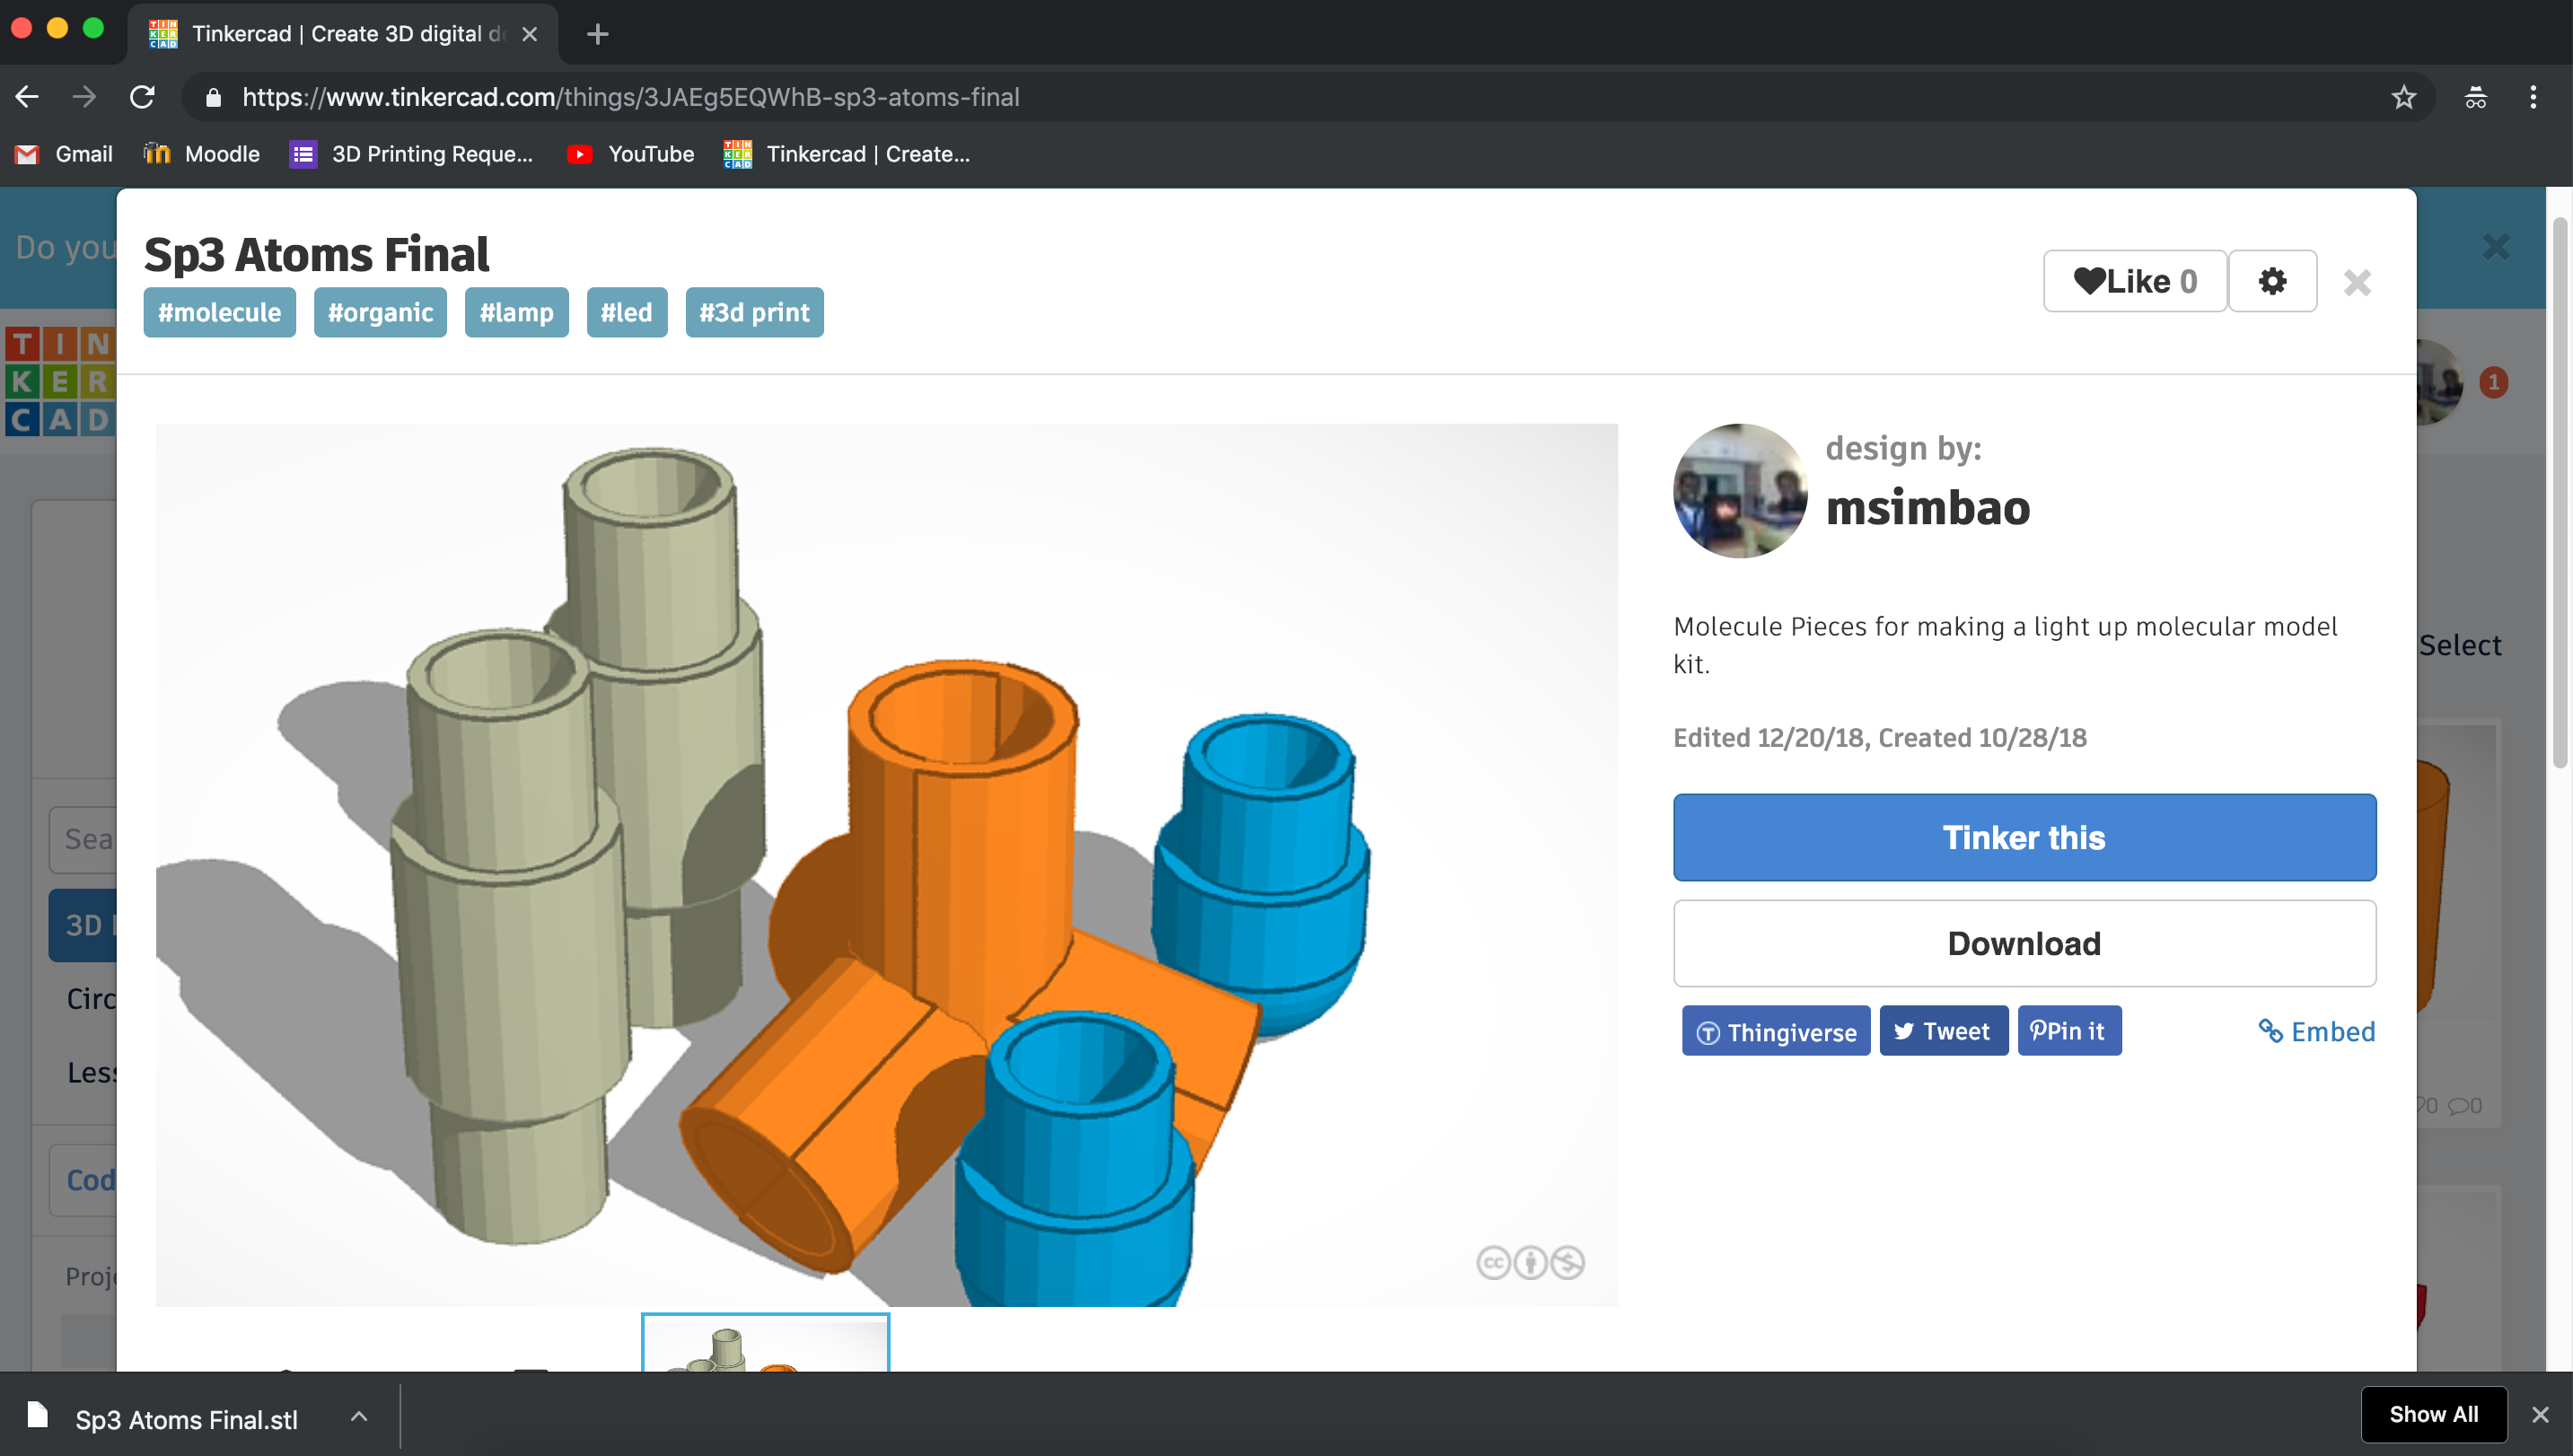
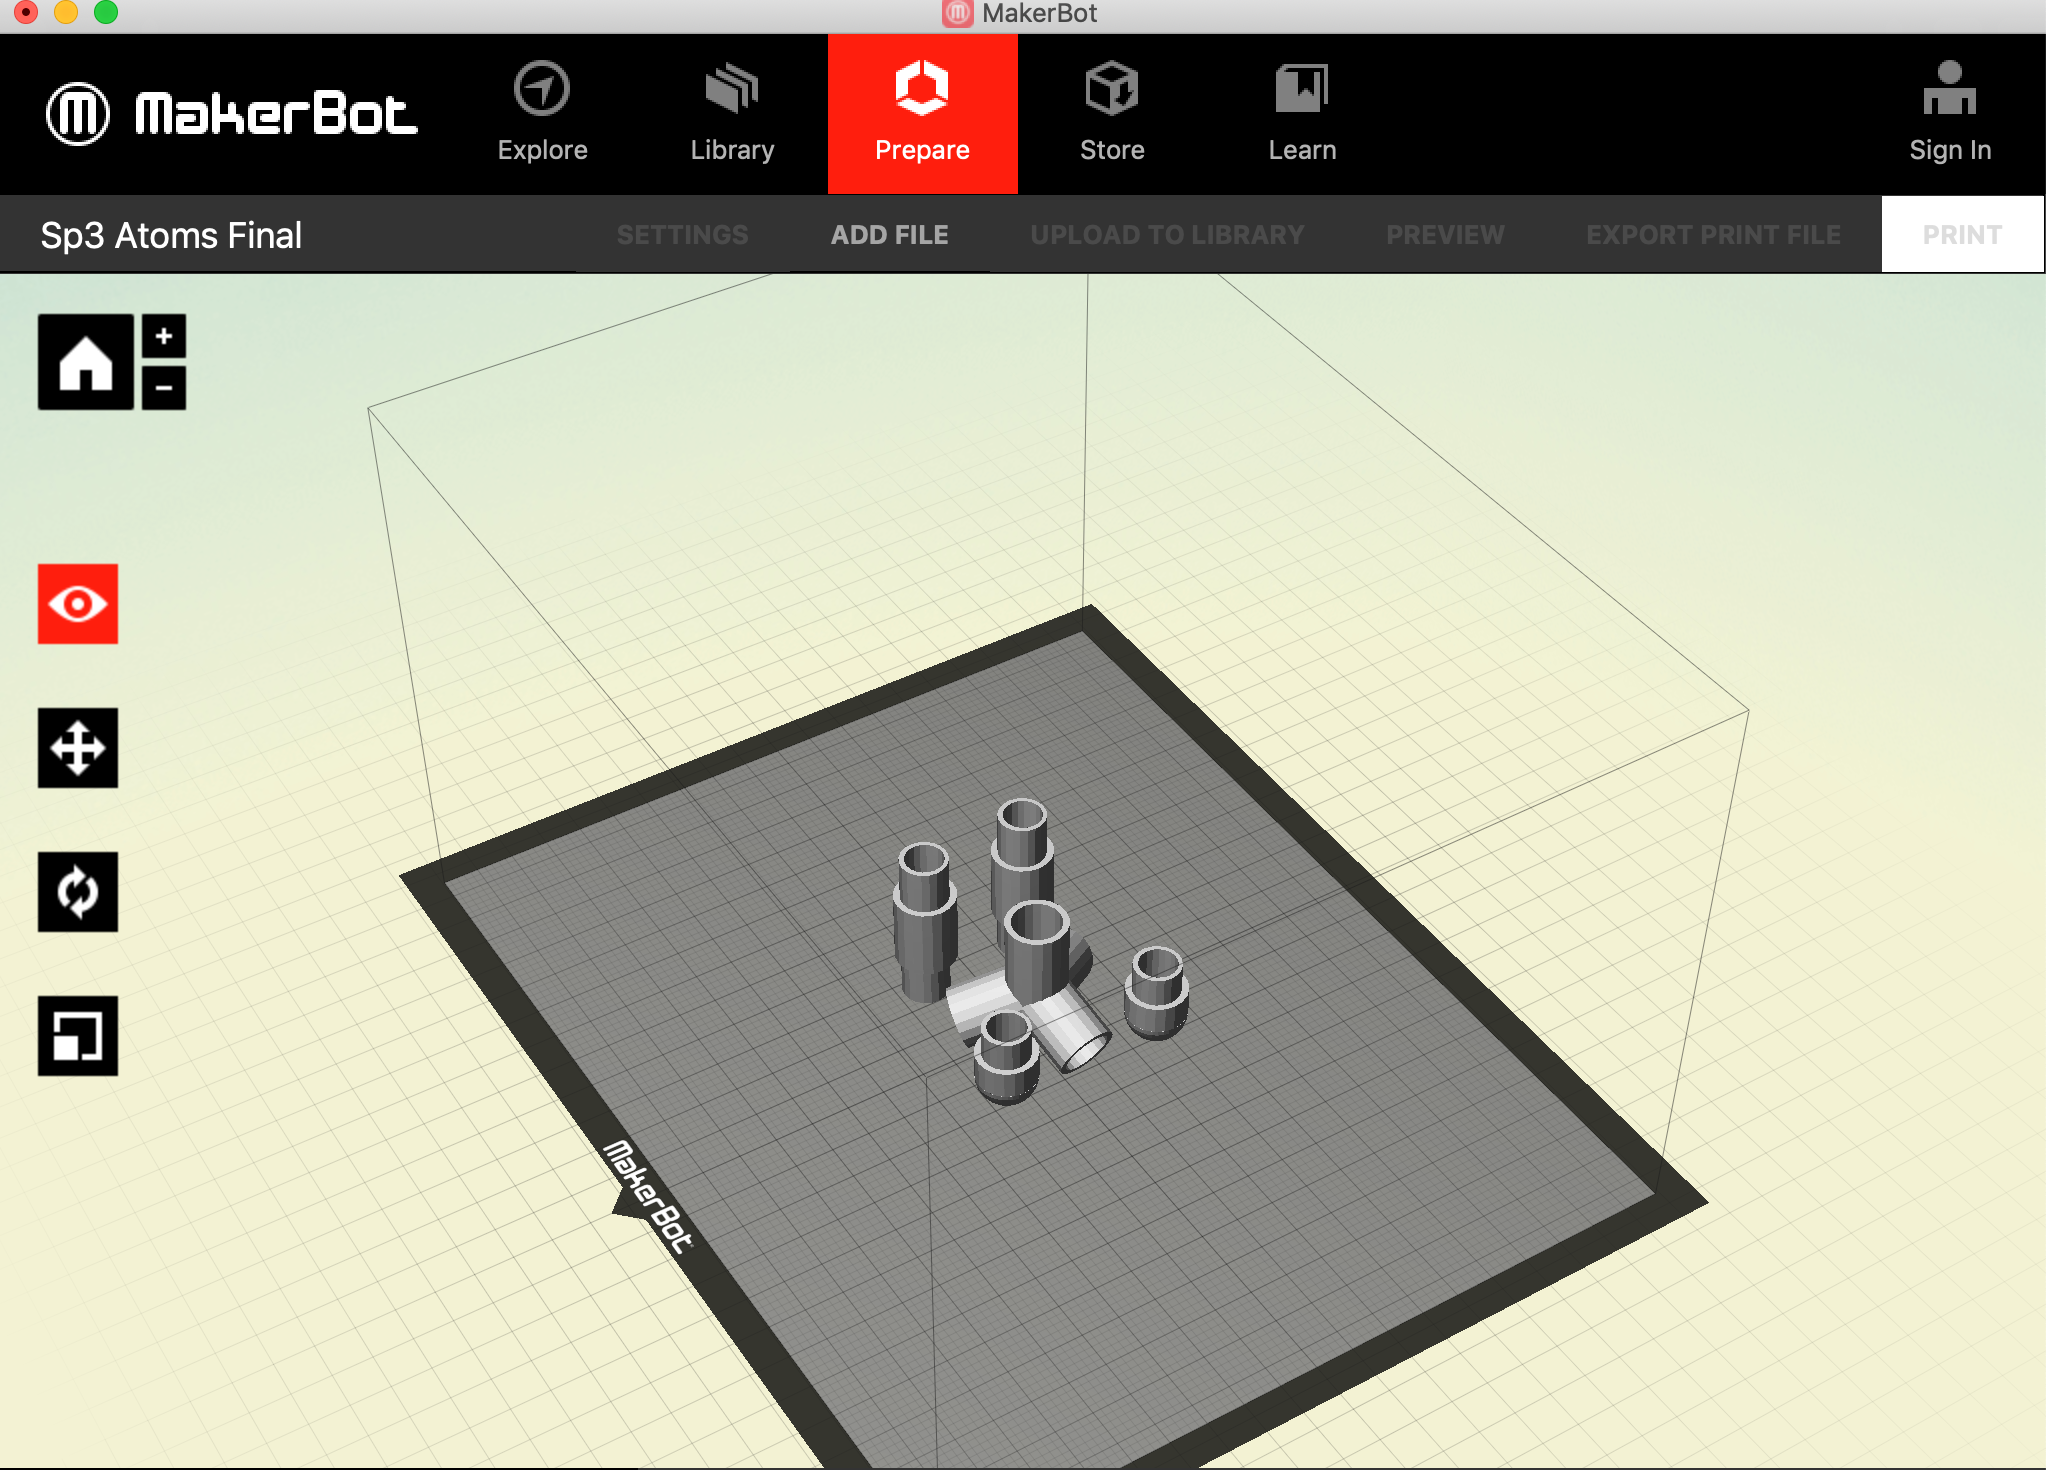
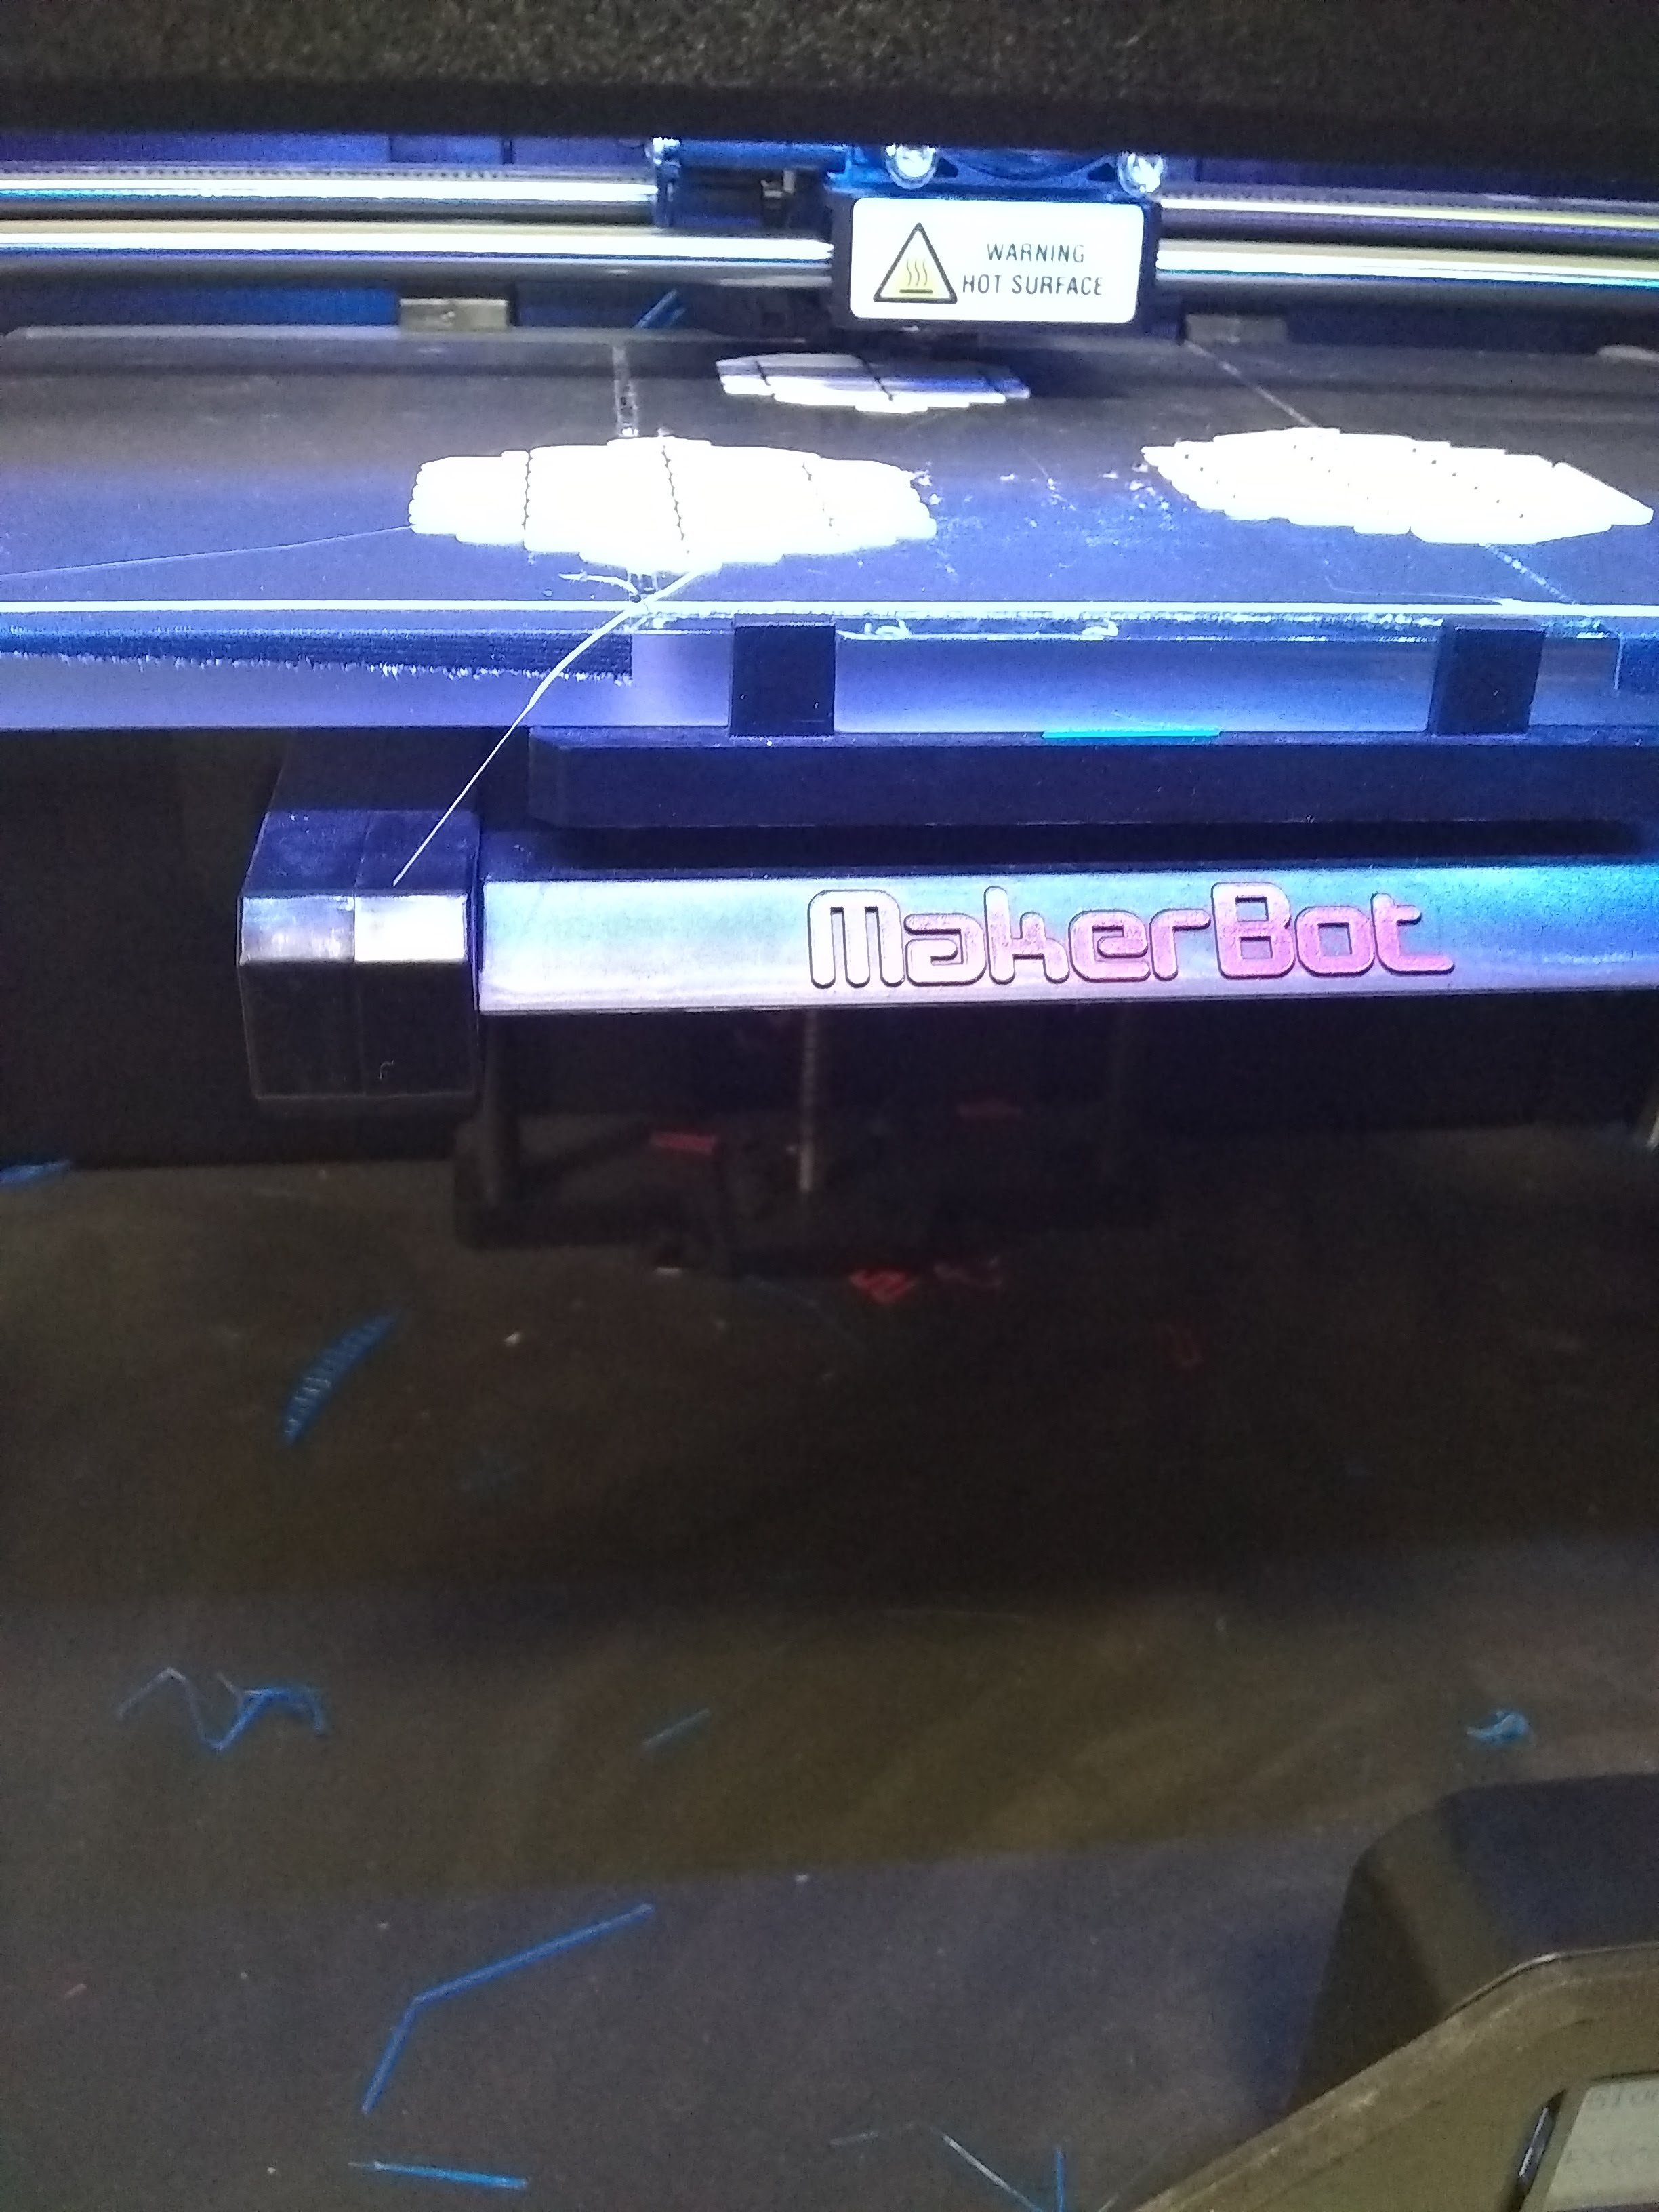
To 3D print, we used the maker-bot 2nd Generation at my college. All you need to do is click download (or export) in tinker-cad then click stl to download your 3D model as a stl file (stereolithography).
Then open the maker-bot software and drag and drop your stl file into the view area of the maker-bot software.
Turn on your maker-bot and click print. If you need a tutorial there is this awesome support answer by Maker Bot
(https://support.makerbot.com/learn/makerbot-deskto...)
Make sure to print as many copies of each piece as you need. For the start, I printed roughly 12 tetrahedral connectors. 12 straight connectors and 12 caps so that I could make a bunch of differently shaped lamps.
Optional : You can also sand the parts if you want to have a smoother feel to your lamp pieces
You're Done!!
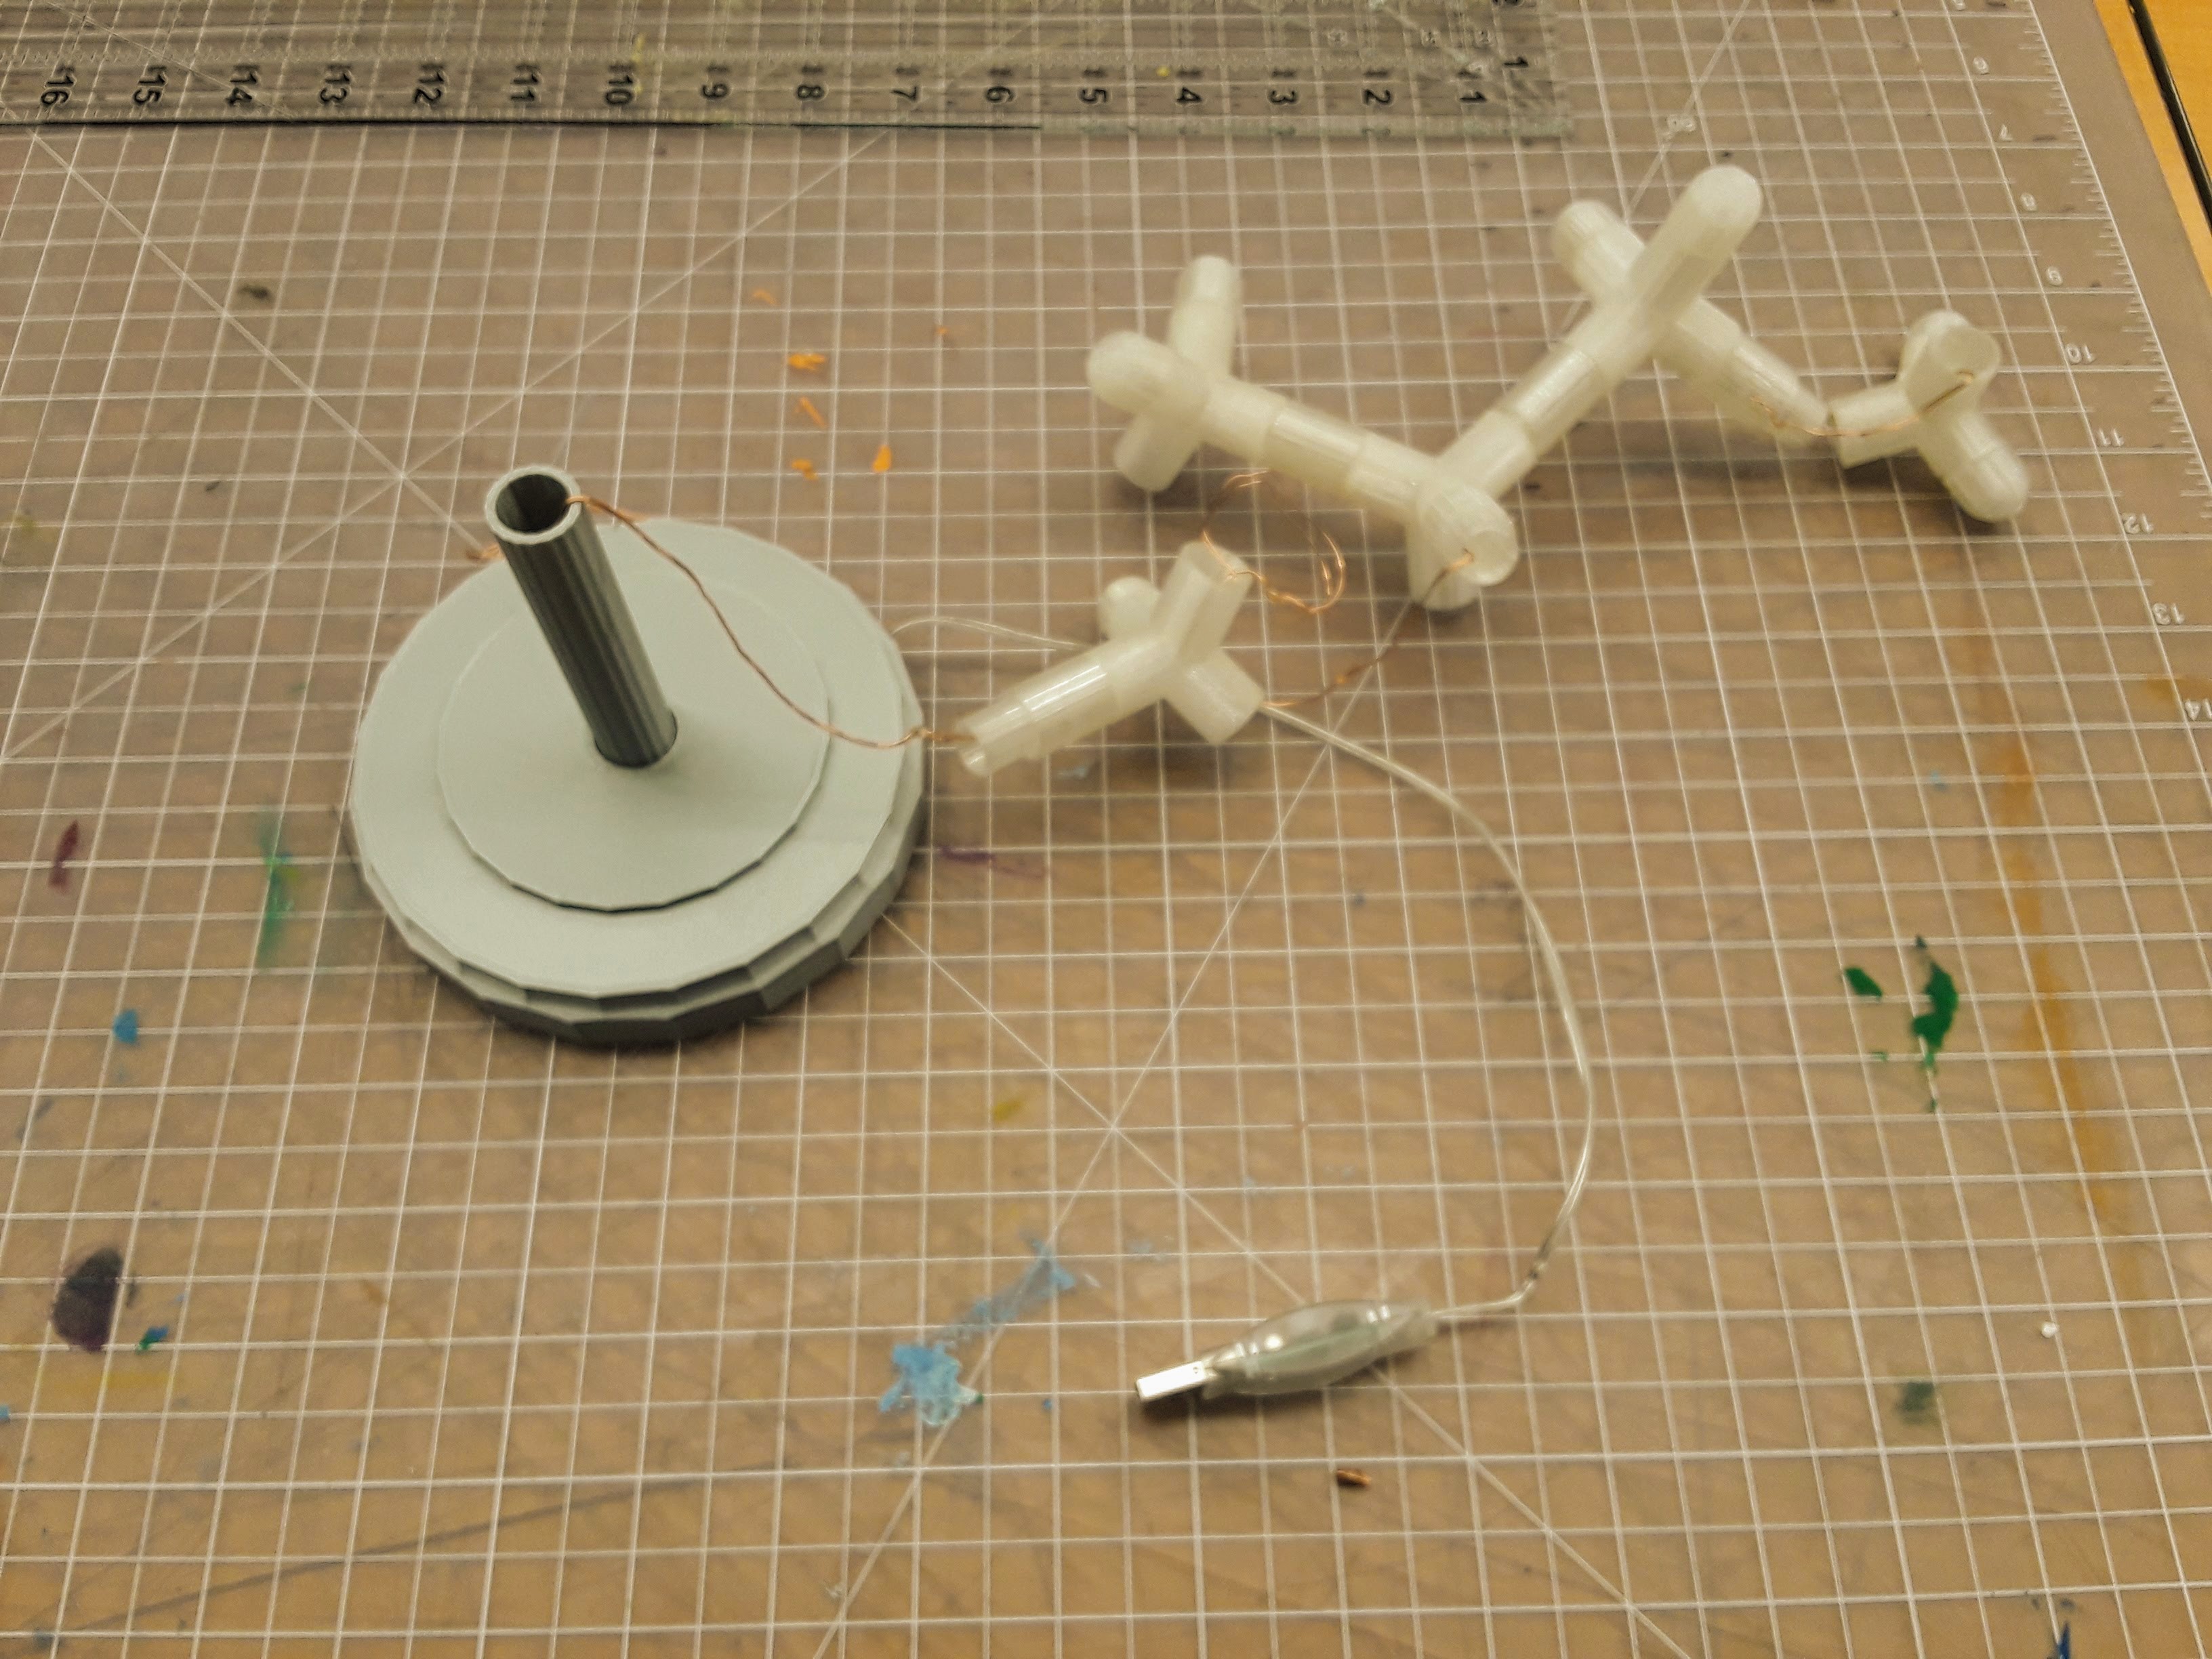
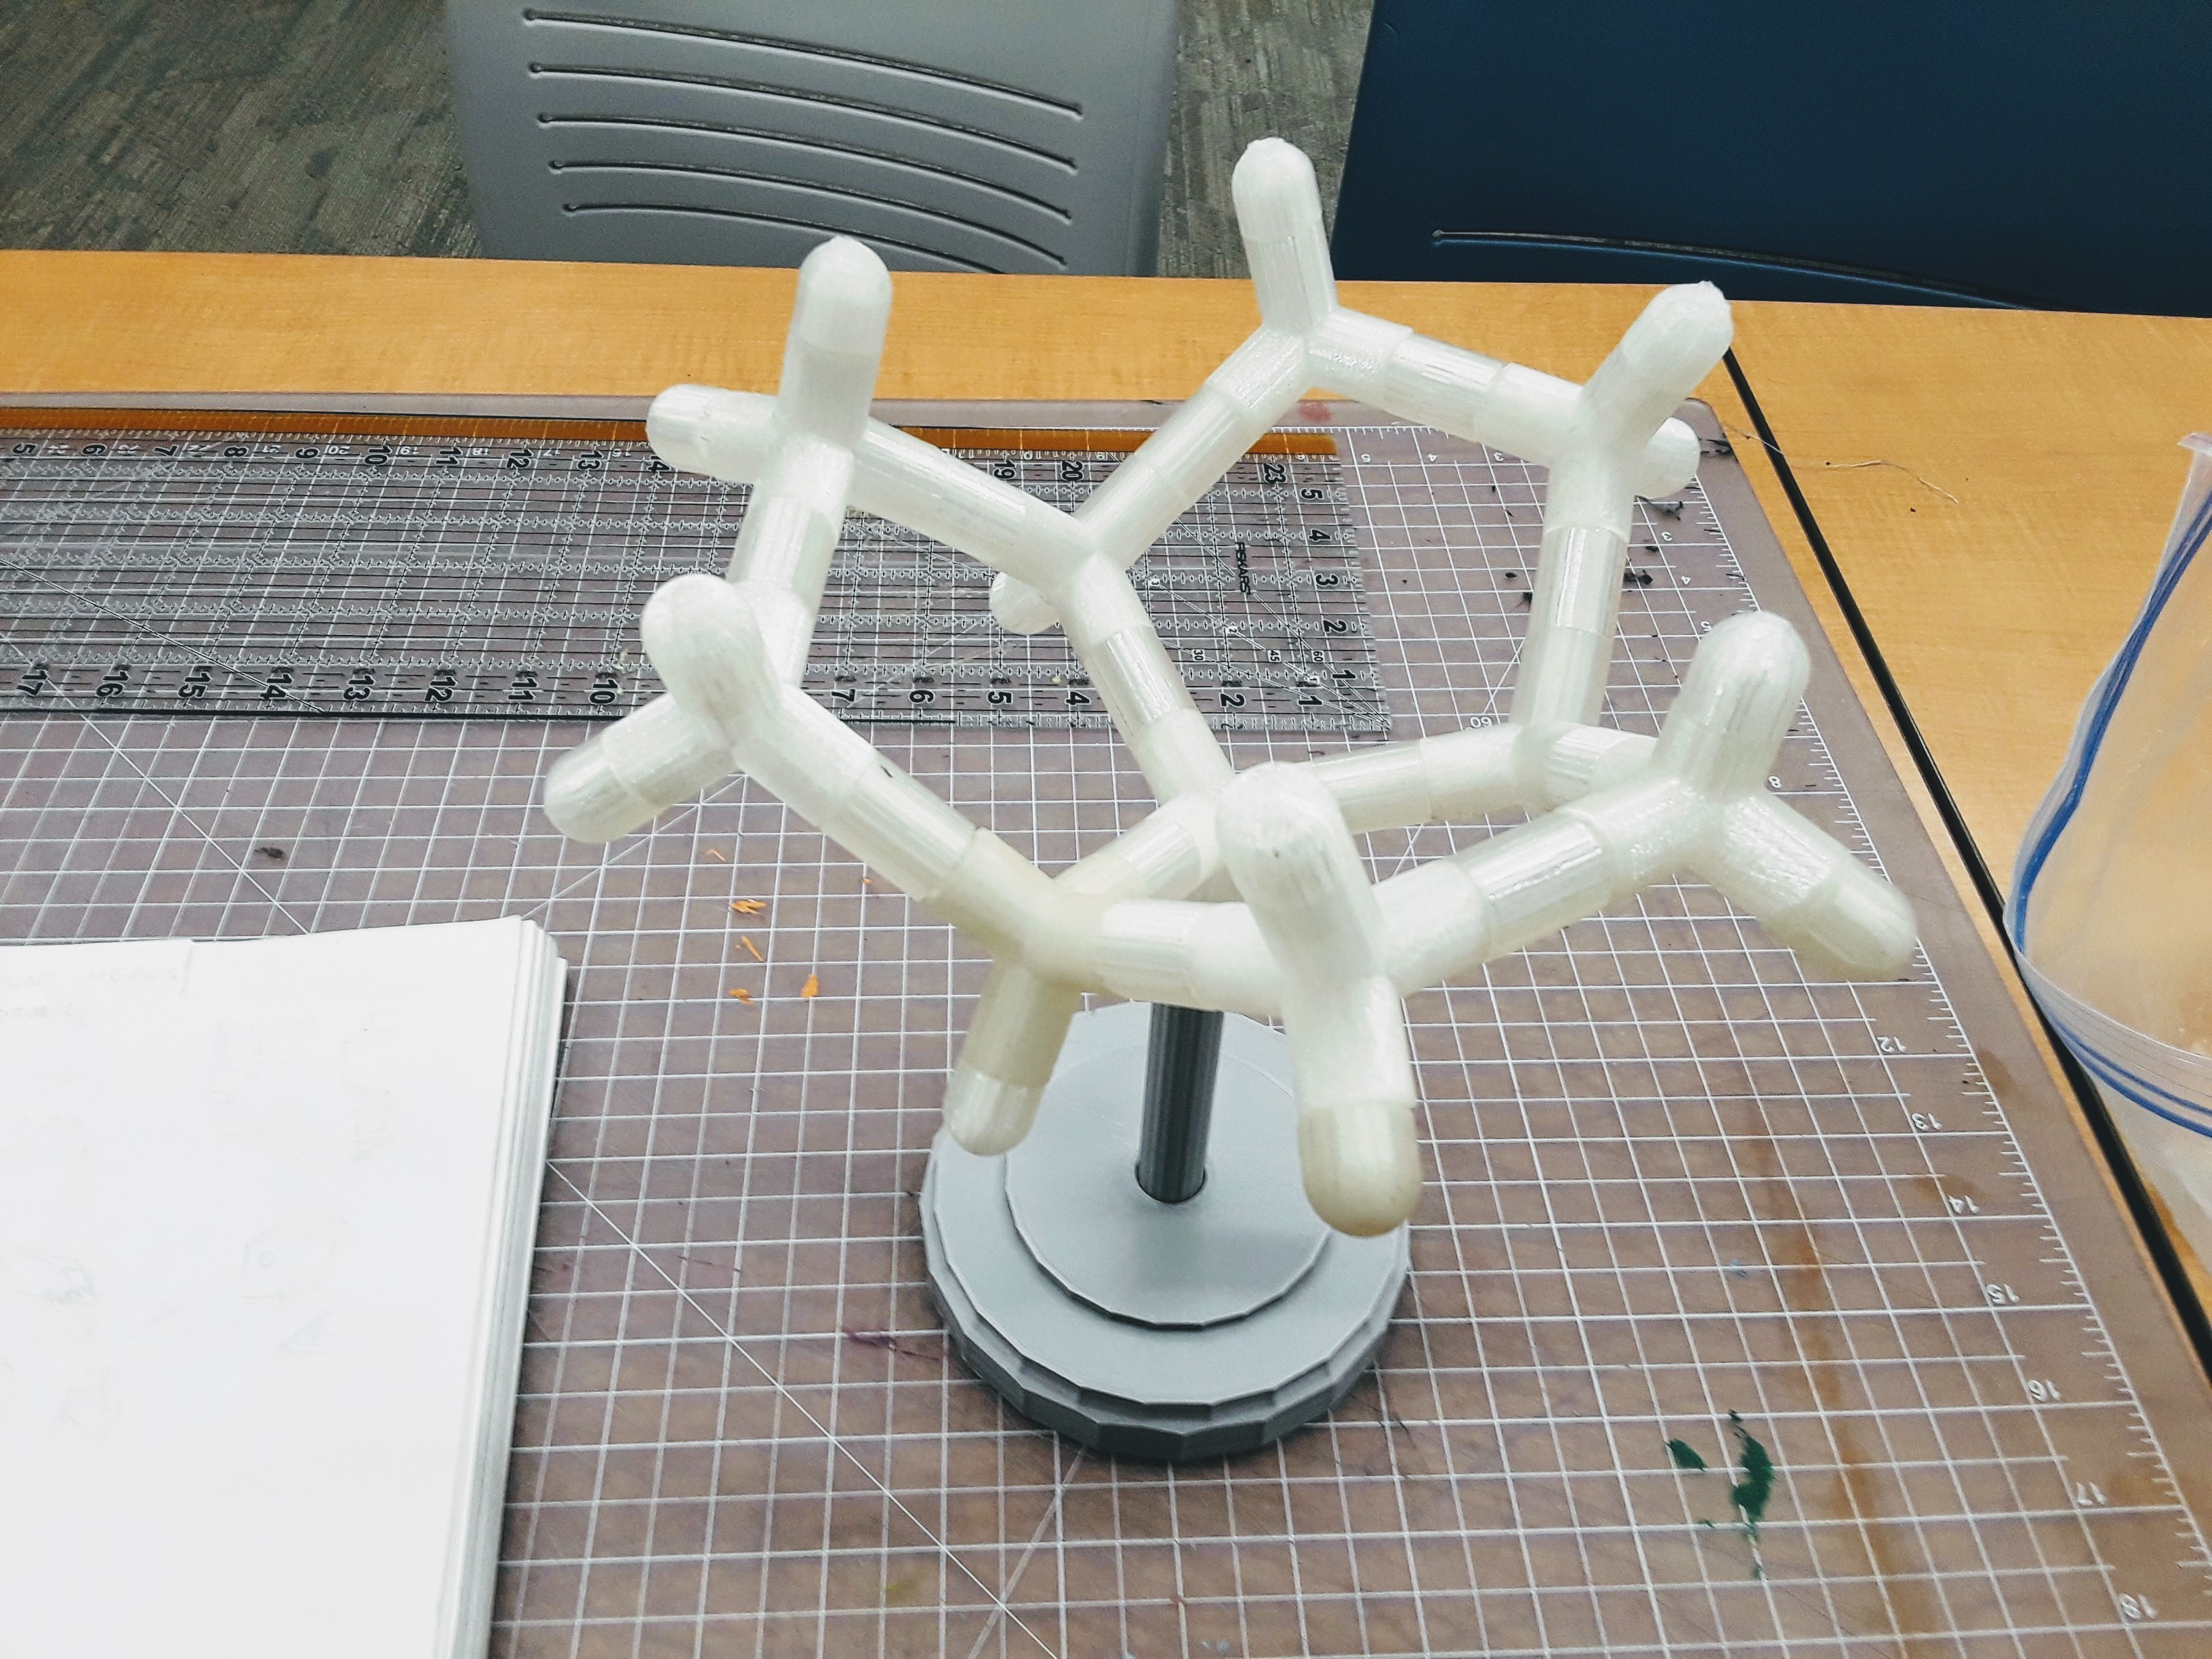
Connect your pieces together and string the fairy lamps through the hollow parts of the pieces. Then use the remote control to change your lighting options and control your lamp from afar.
You're Done!
Things Learnt and Acknowledgments!
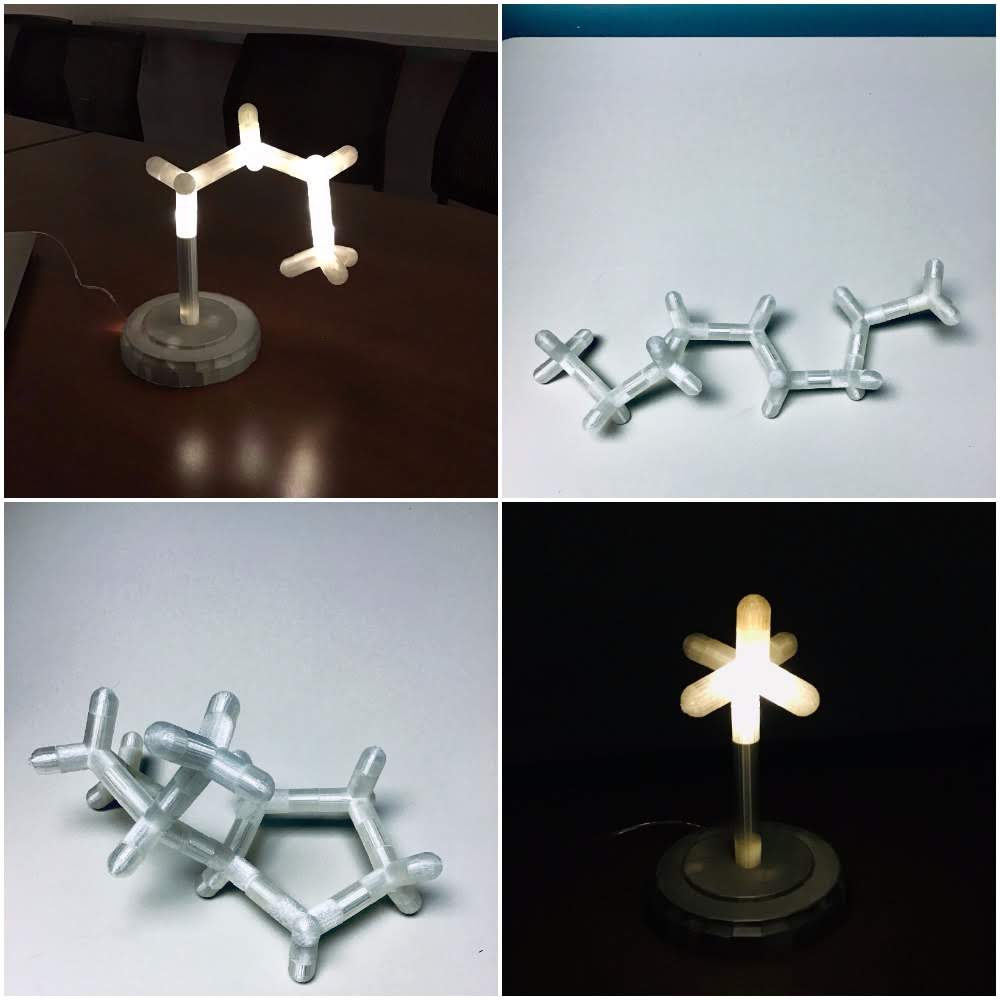

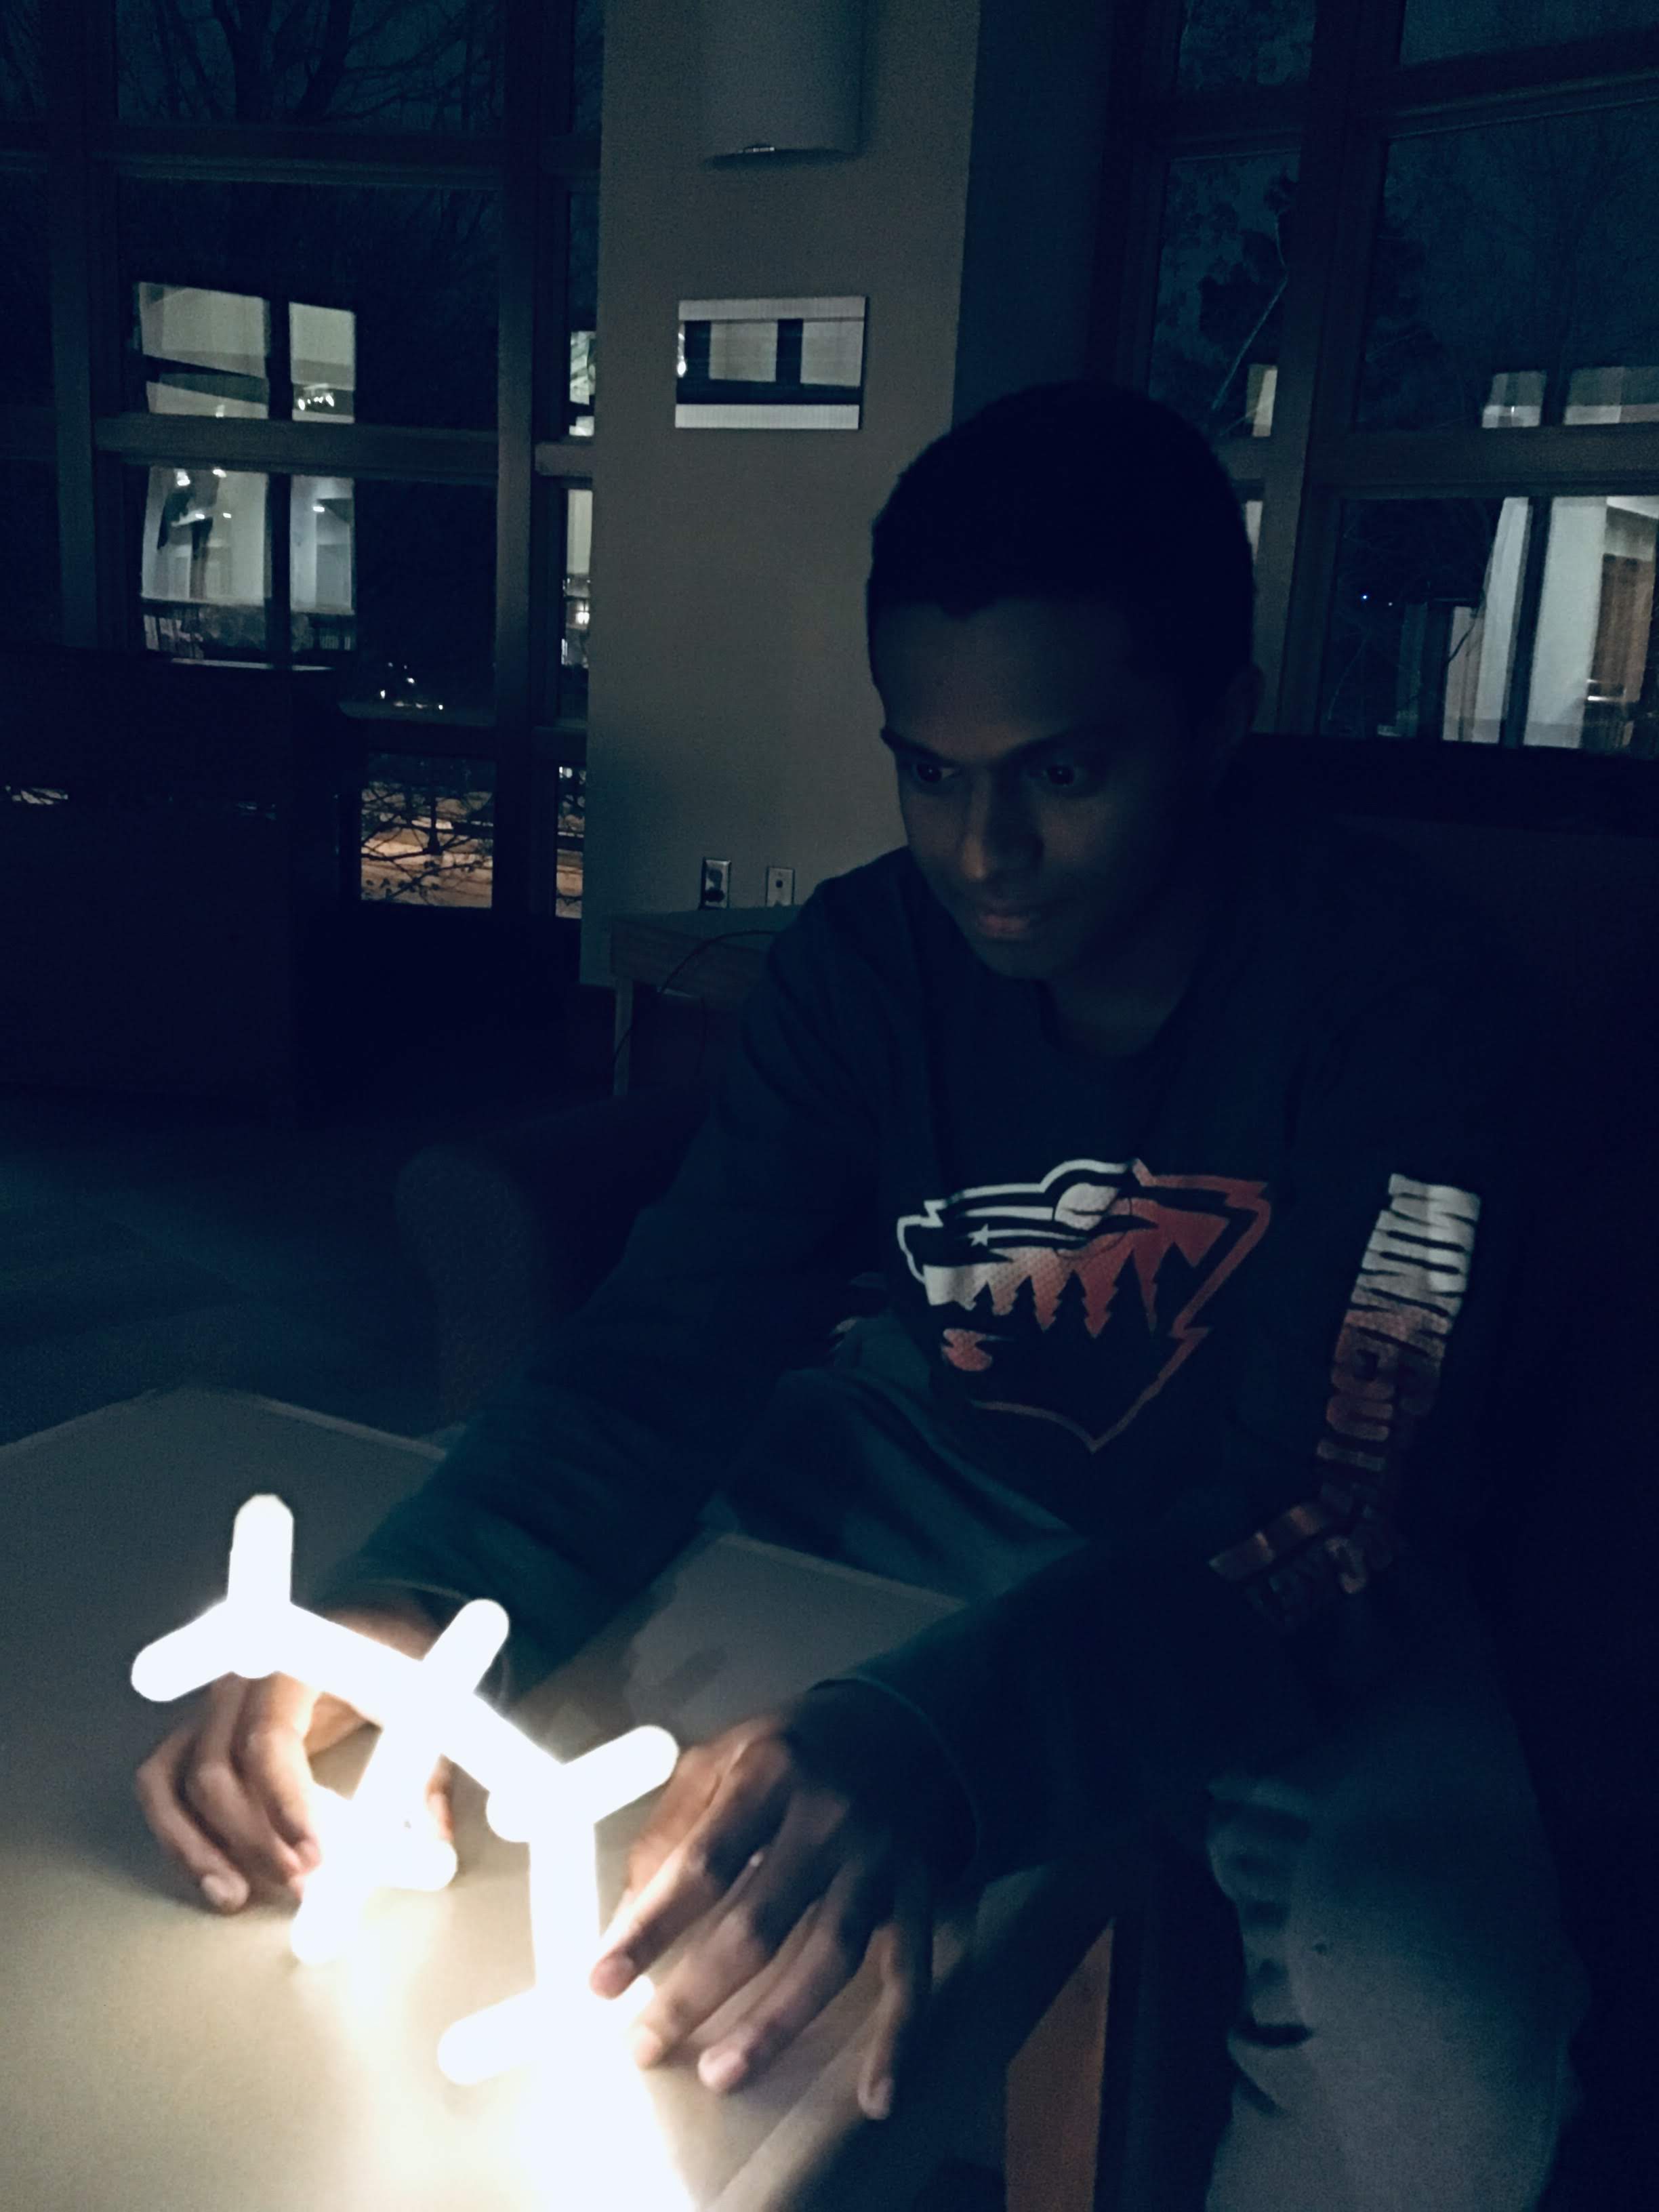
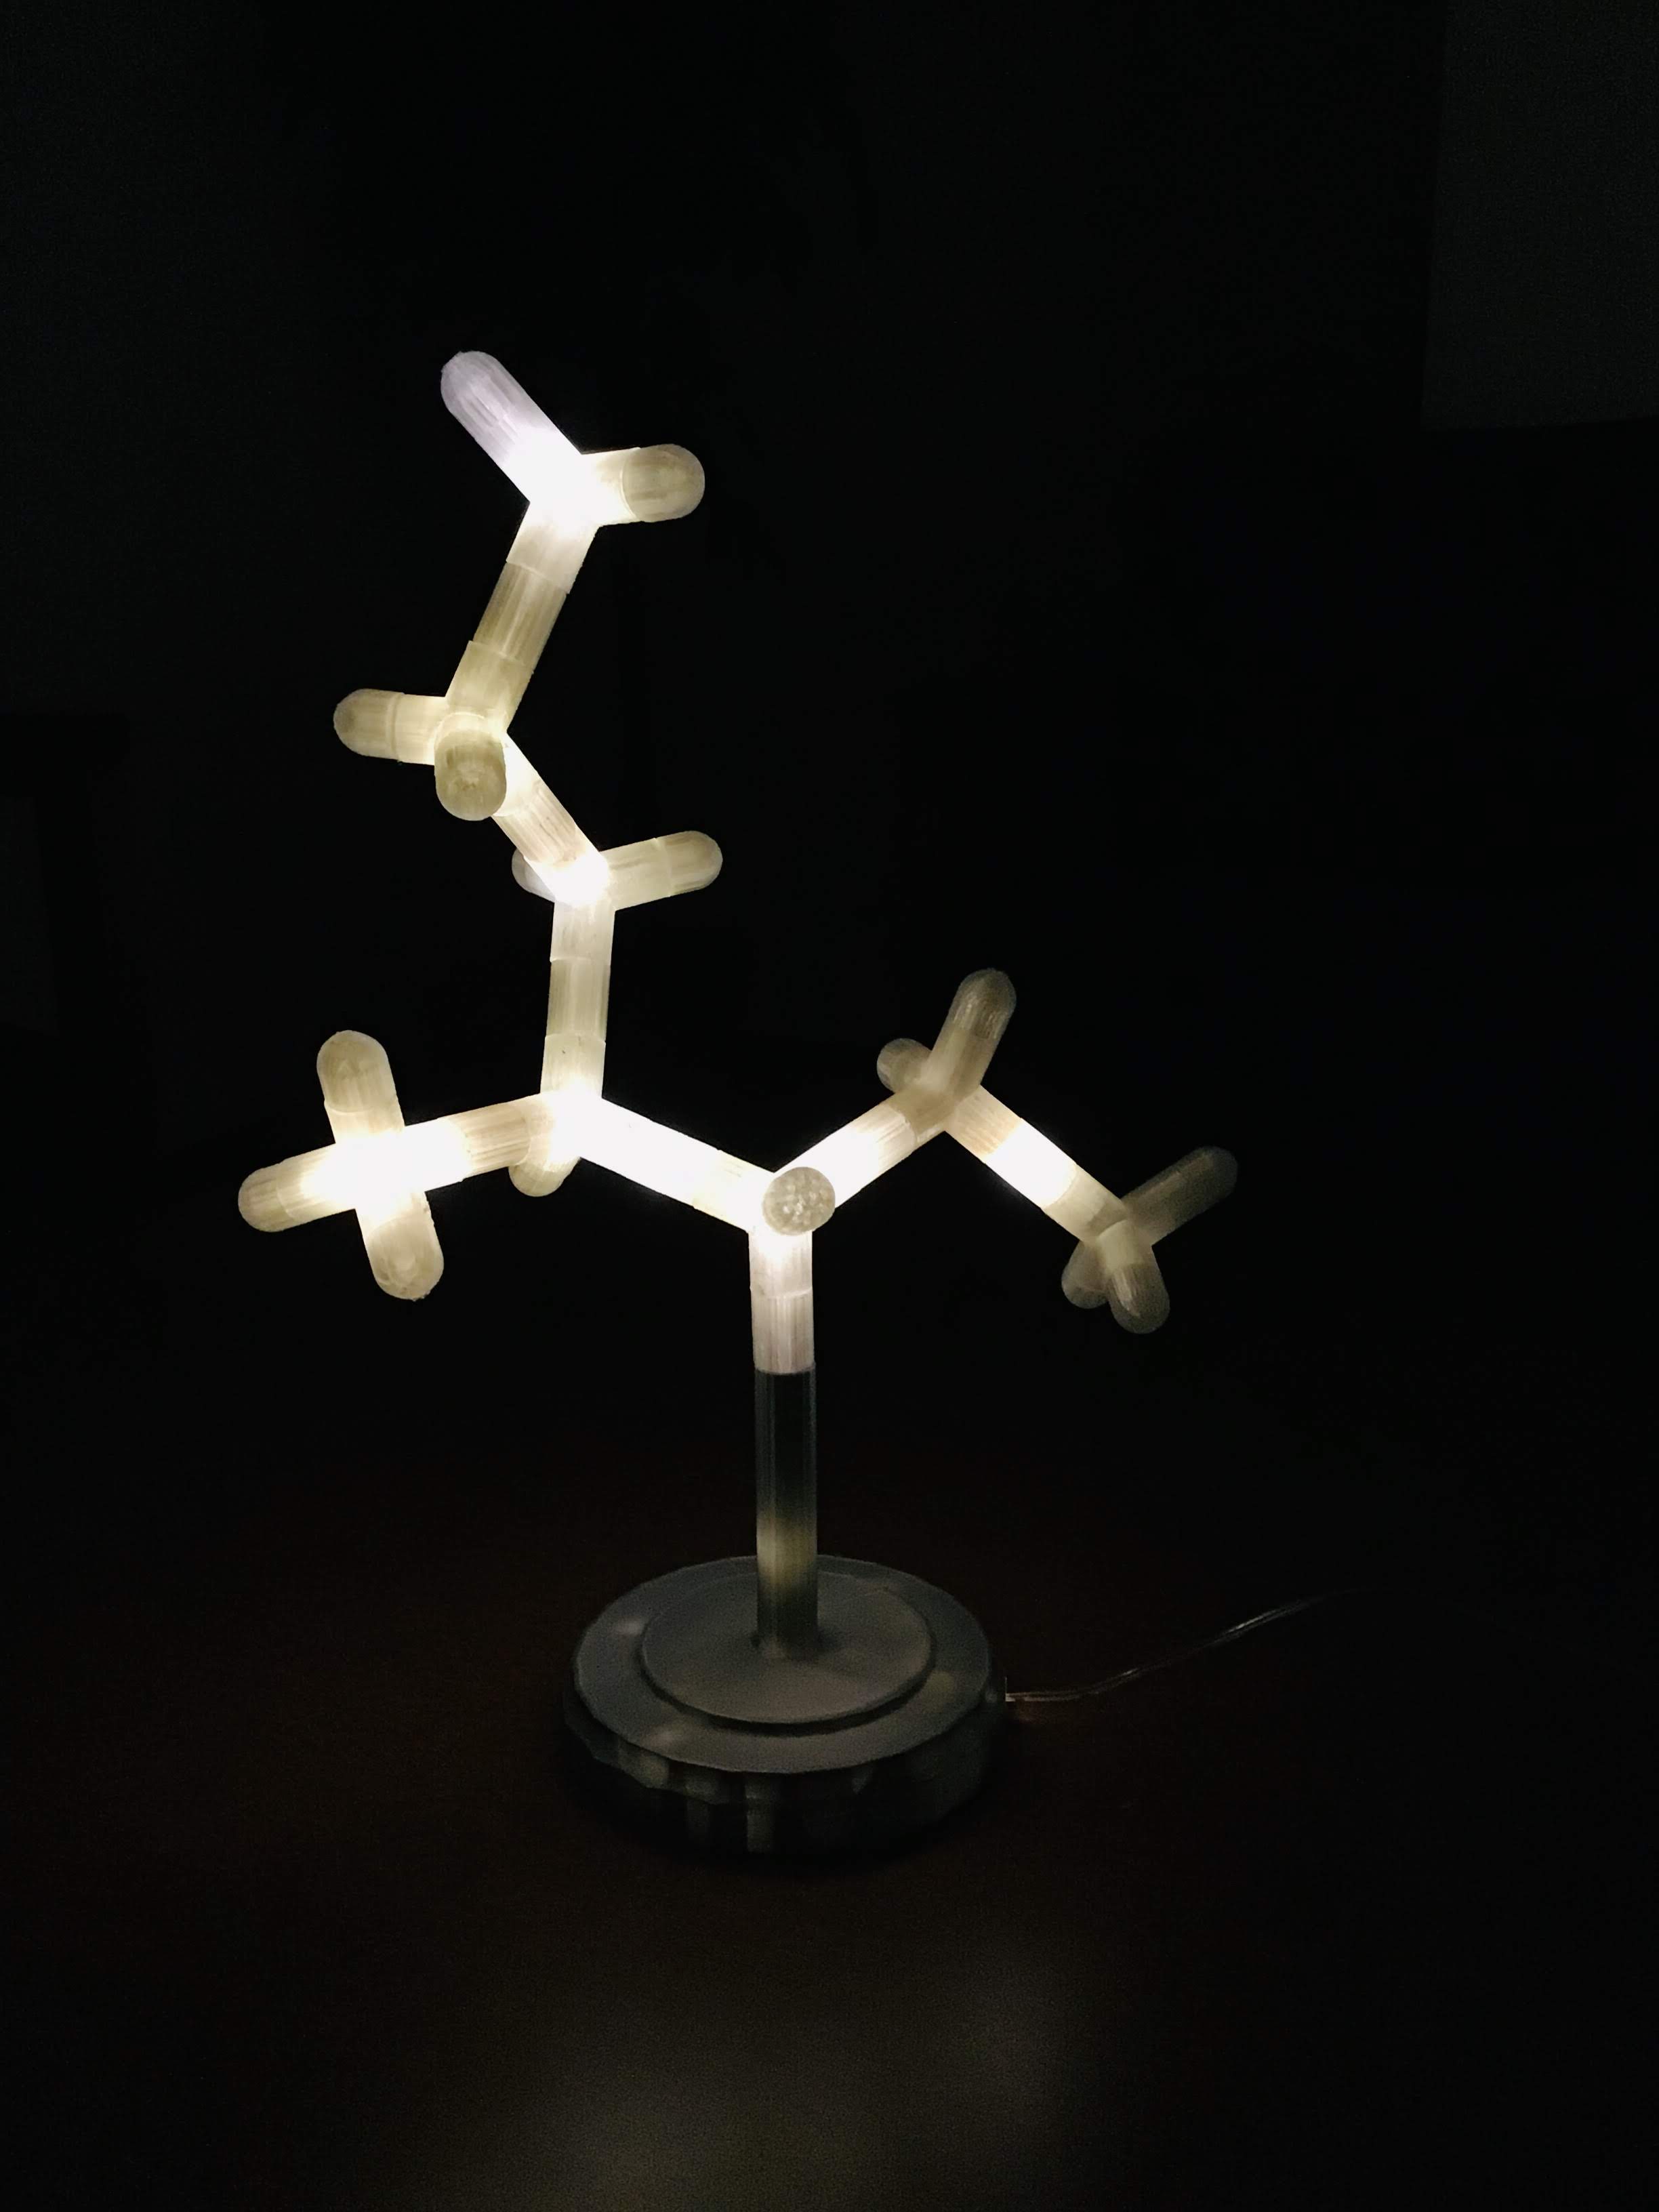
.jpg)
I really loved working on this project even if it took a long time to prototype and get the lamp produced while working on other projects and home work (lots and lots of unnecessary chem home work). I learnt a couple of awesome stuff along the way too;
1. When designing products ask tonnes of questions to interested parties! Feedback is essential and i'm really thankful to my professors for their help.
2. Avoid spending money on a project as much as possible :( Always reuse whatever you can and always start with simple things you have on hand.
3. I learnt so much about 3D modeling to compliment more complex ones I've learnt from Geometrical and Mechanical Drawing and highly recommend playing around with tinker-cad whenever you can. (◕‿◕✿)
4. Organic Chemistry is aweso......... nevermind (still hate it)
Enjoy (ノ◕ヮ◕)ノ*:・゚✧ ・: *ヽ(◕ヮ◕ヽ)