Modular Desk Organizer

We created this modular desk organizer to give hobbyists a way to use their 3D printer to better organize their tools on their desks.
Supplies
- 3D printer
- Heat press
- Tweezers
- Scraper
- Scissors
- Utility knife
- Blue painter’s tape
- 1 roll of TPU barrier film
- 1 roll of PETG filament
- 1 yard of polyester fabric
Base
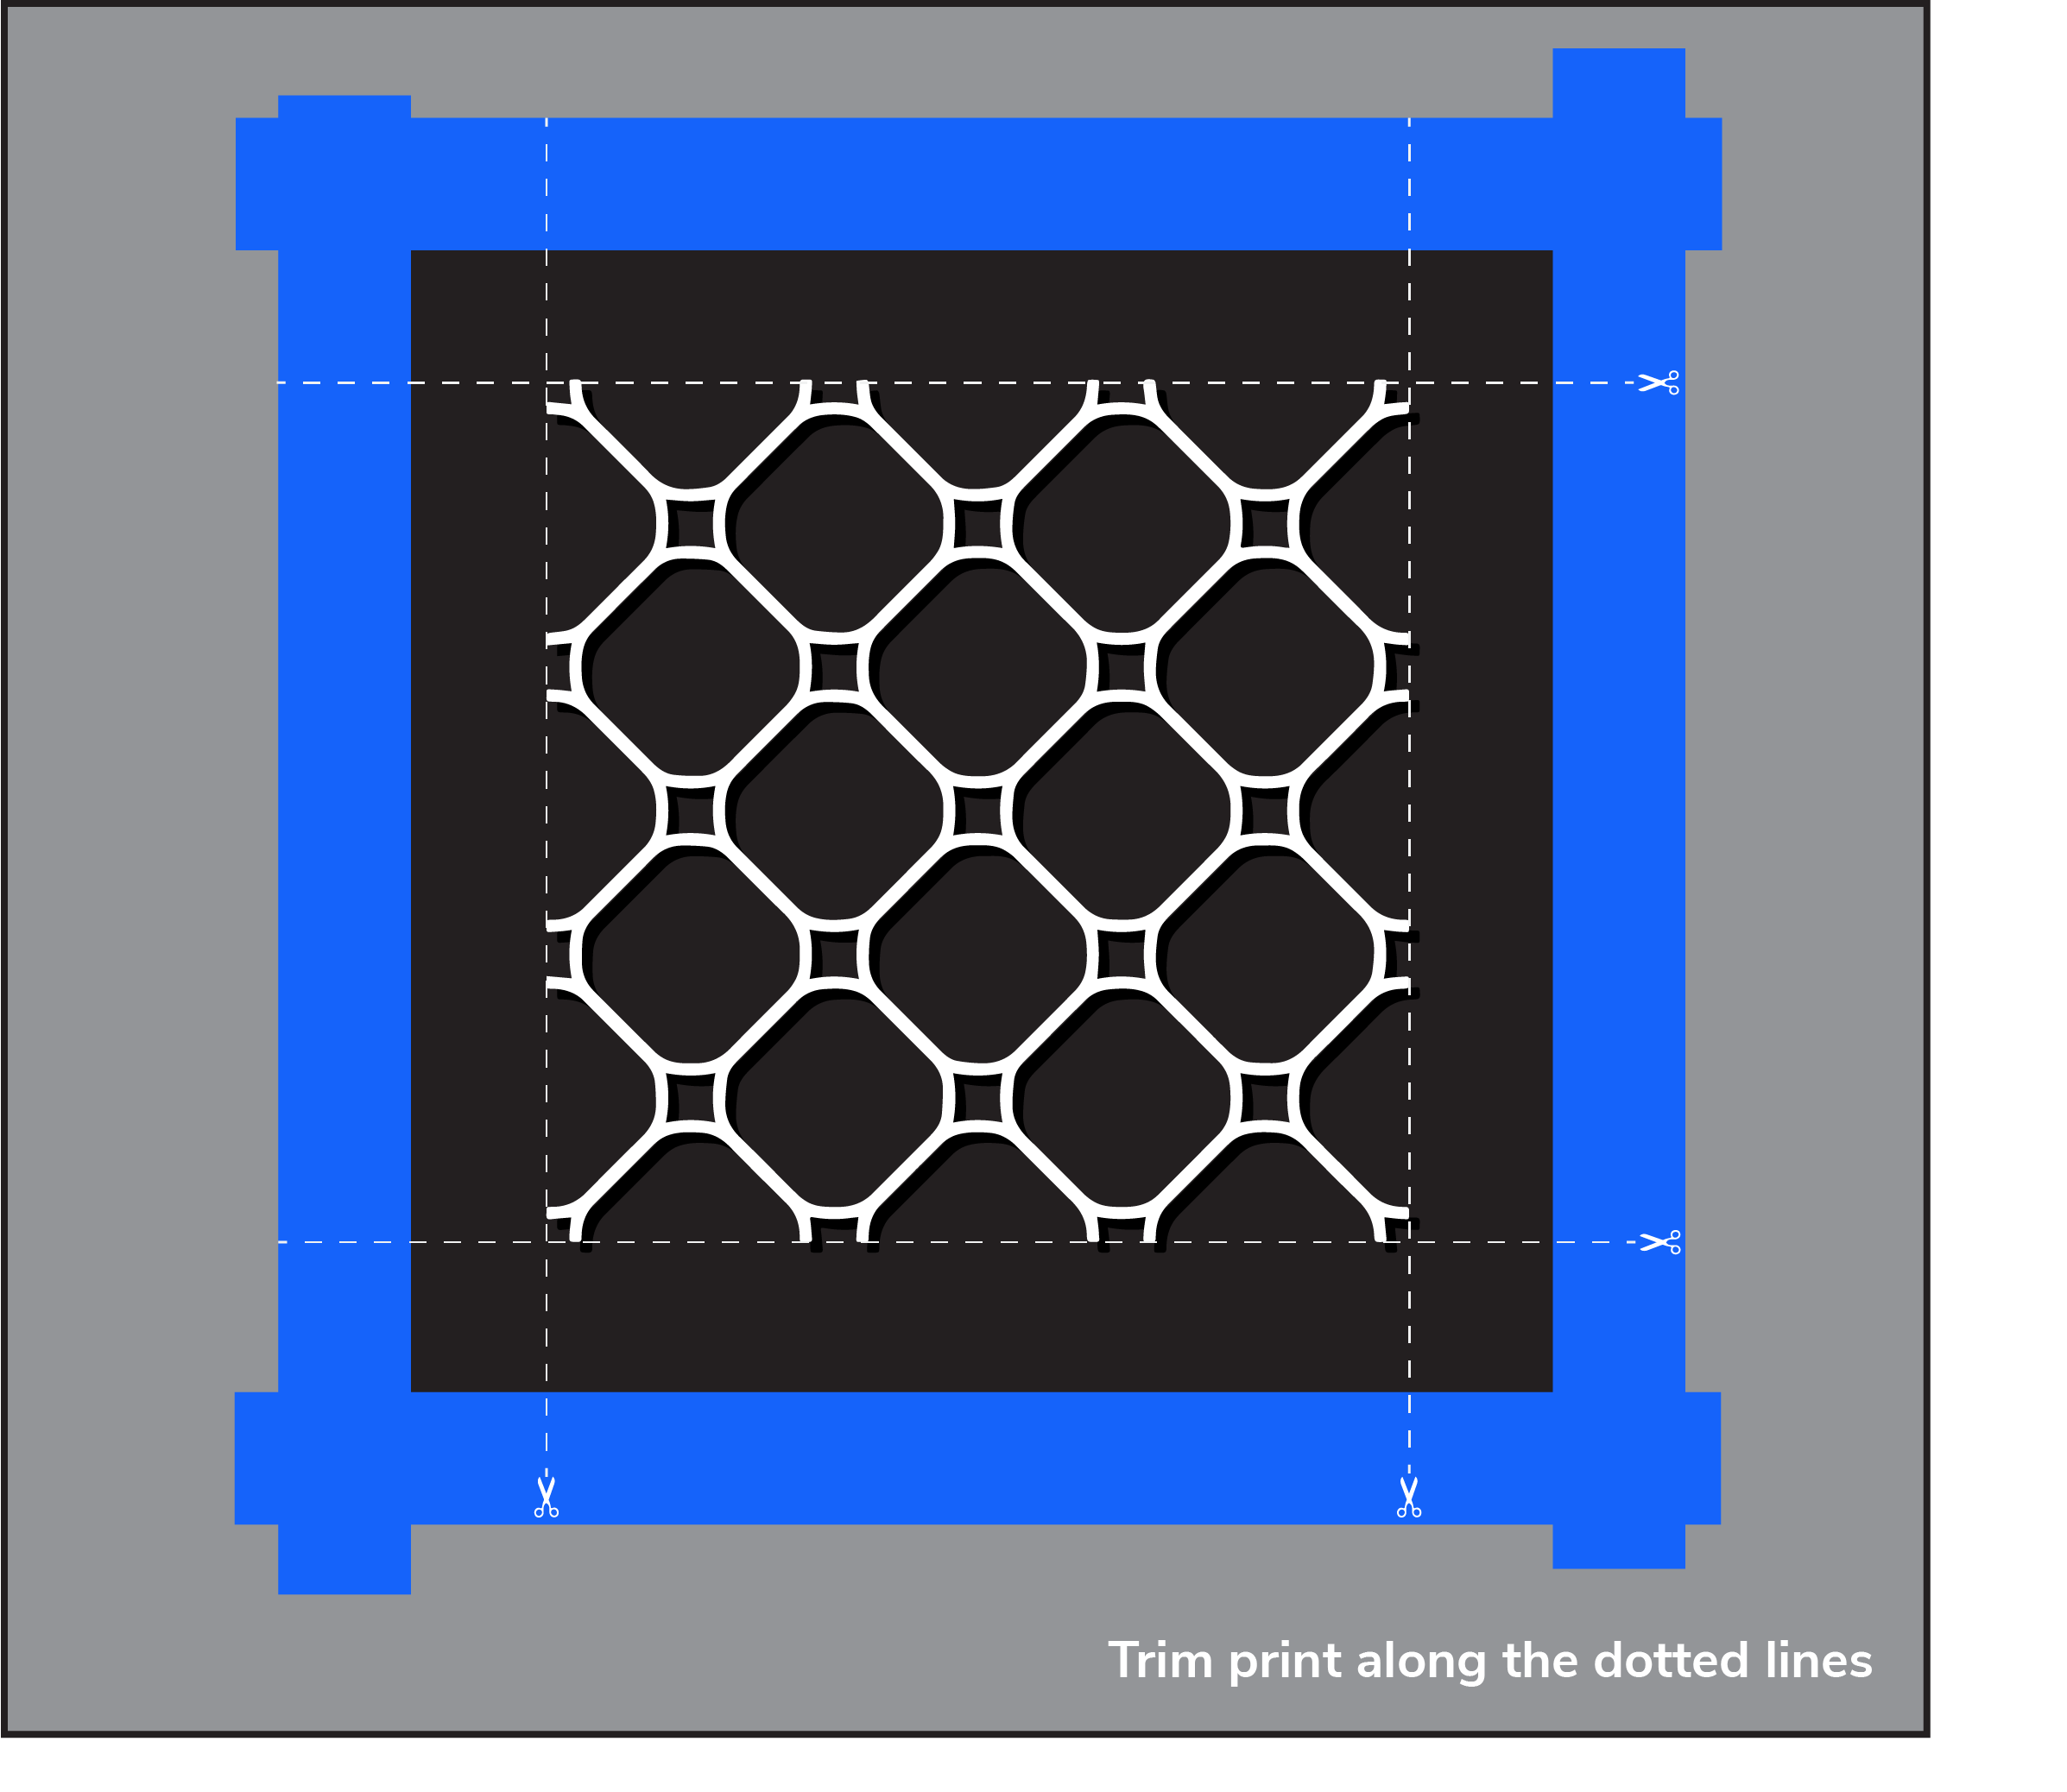
Prep
- Cut a 20x20 cm square of fabric.
- Cut a 20x20 cm square of TPU barrier film.
- Heat press fabric and TPU barrier film together at 135C/275F for 20 seconds.
- Center fabric square on the bed.
- Tape all four sides of the square to the bed.
(Note: Make sure exposed fabric is at least 16x16 cm)
(Note: For the best result, tape fabric to the bed with a bit of tension, with no creases or sagging.)
Printing
- Import (base.stl) into your slicer of choice. (We used Ultimaker Cura.)
- Settings
- Make sure that the nozzle and bed temperatures are set to filament manufacturer’s suggested settings. (Note: You might have to experiment to find the optimal settings for your setup.) Make sure there is no skirt, brim, or raft.
- Make sure that the model is centered on the bed.
- Slice and Print
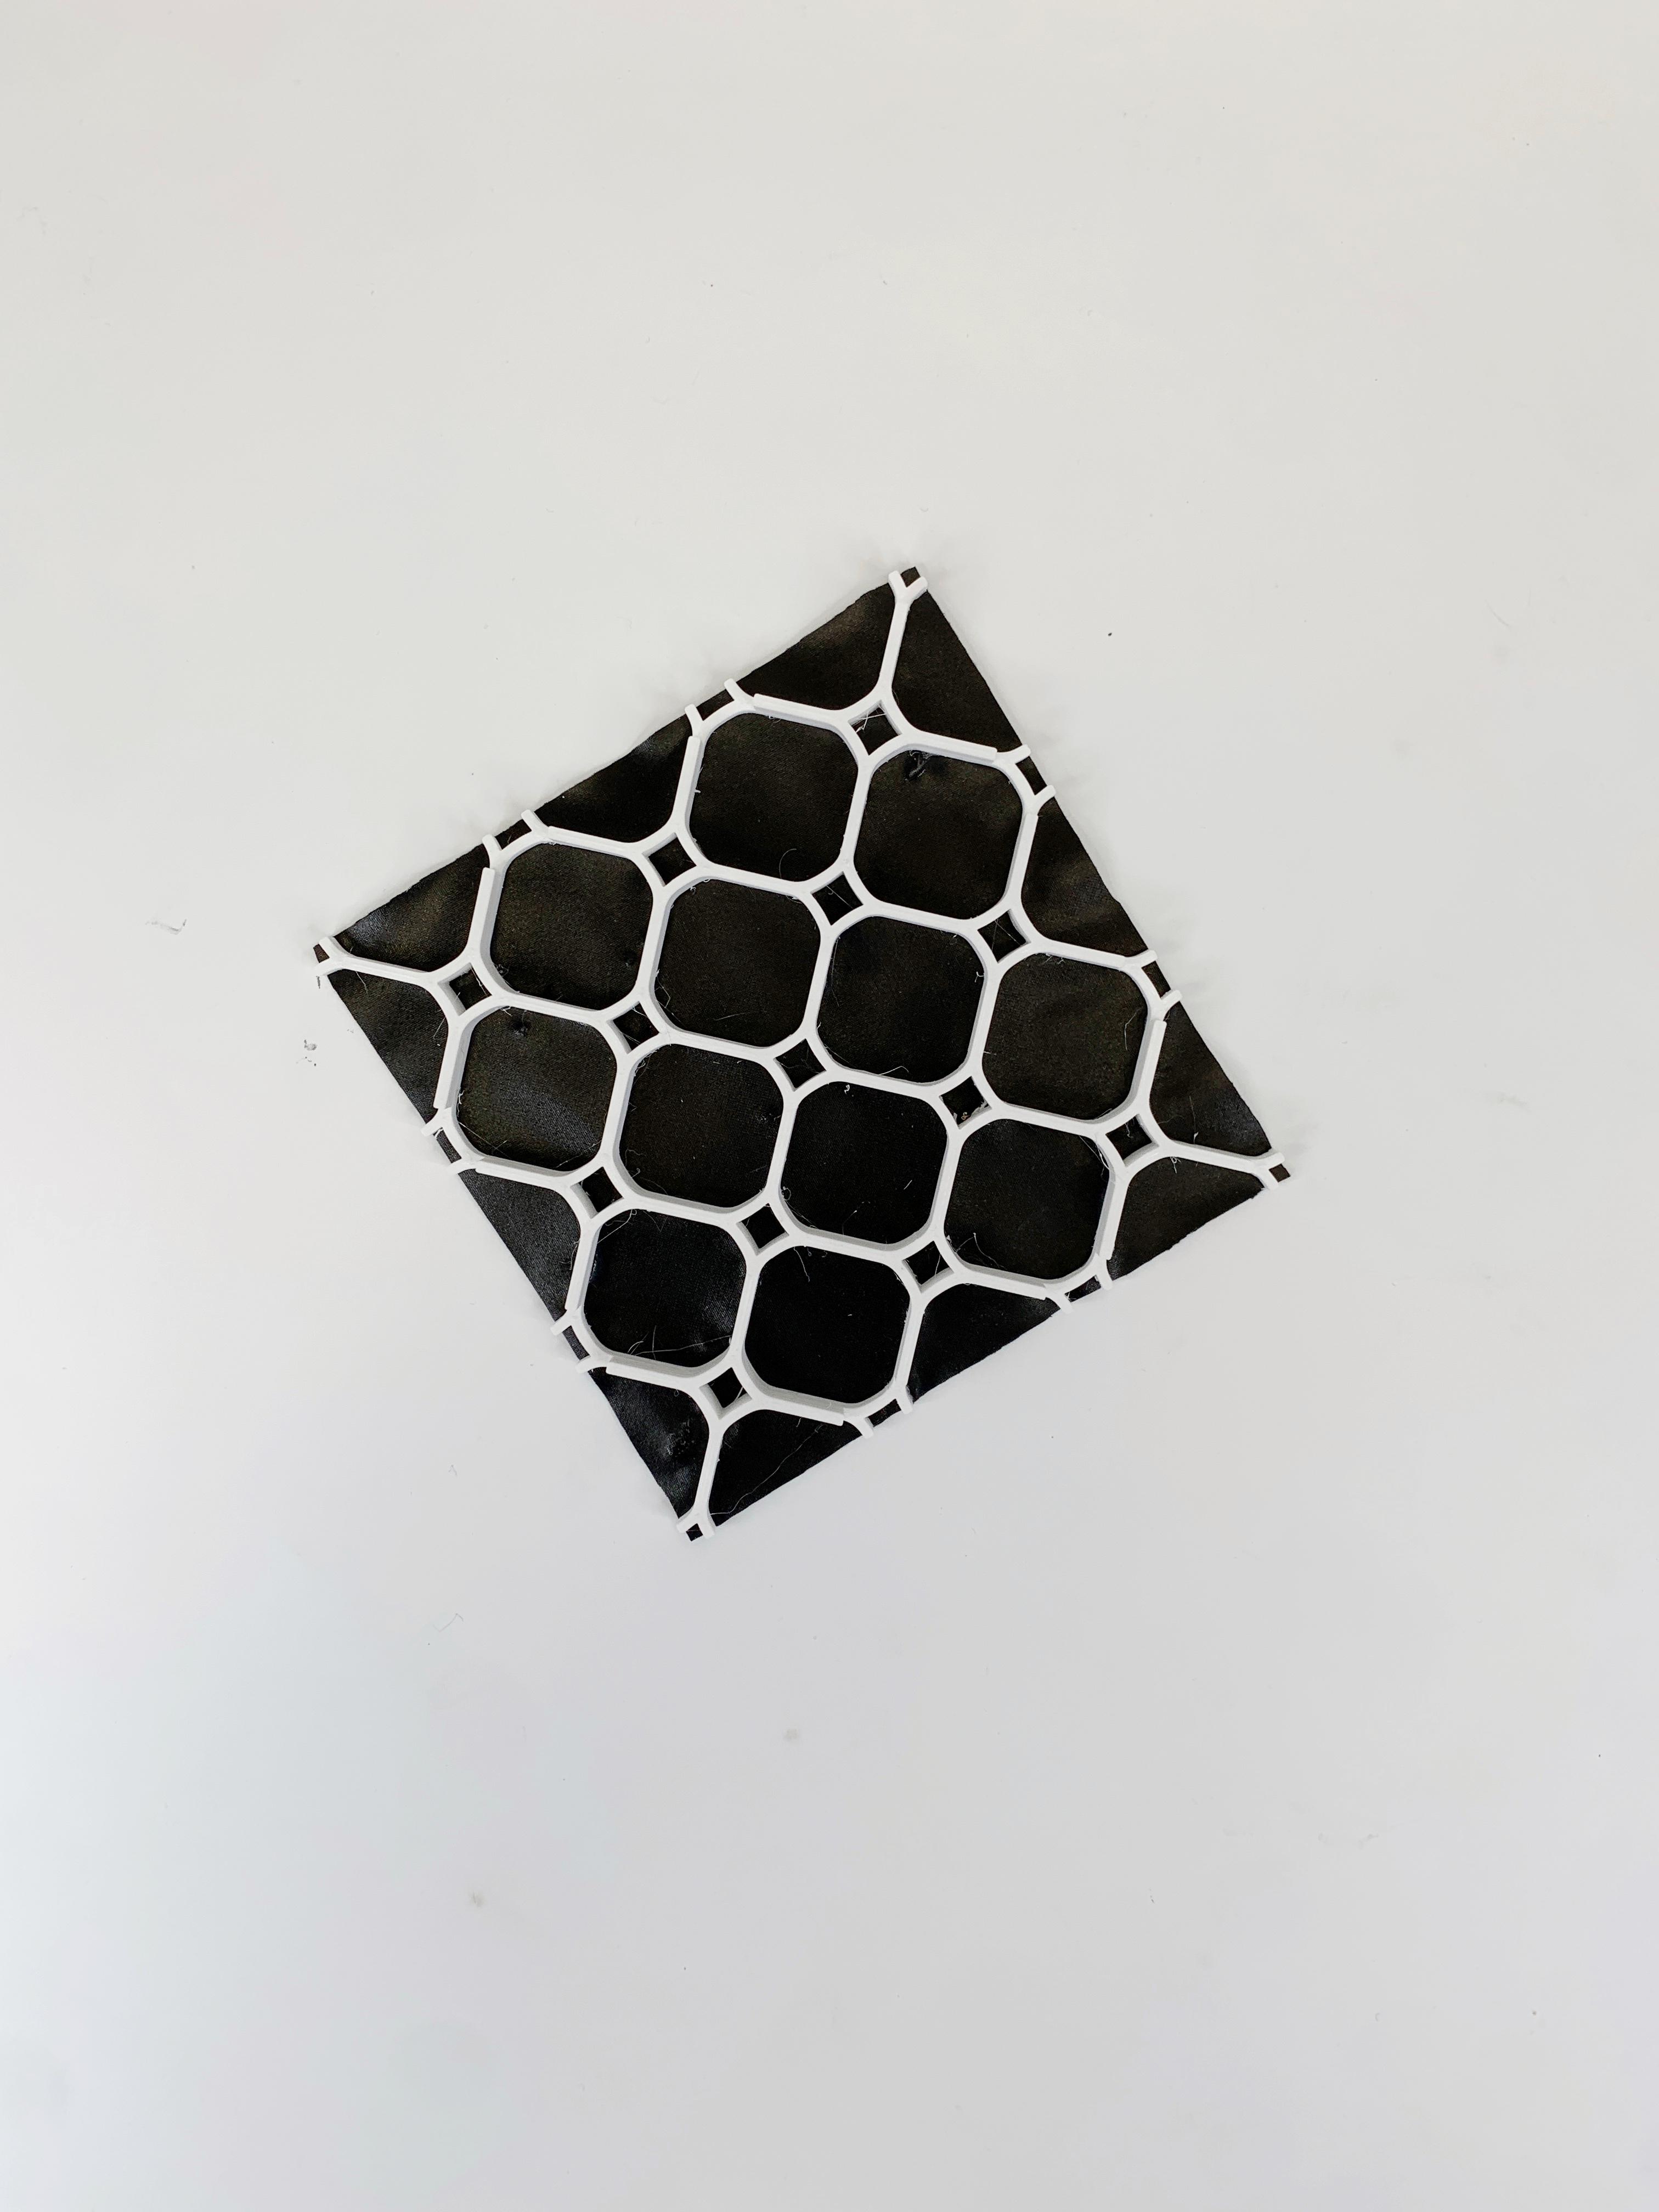
Post-processing
- Trim excess fabric
- Clean up the print if necessary
Container
Prep
- Adjust model parameters
- Open (container.f3d) in Fusion 360
- Modify
- Change parameters
- Height - changes container height
- Post quantity - changes container size
- Export as 3mf file and import into the slicer
- Center the model on bed and make sure there is no skirt, brim, or raft.
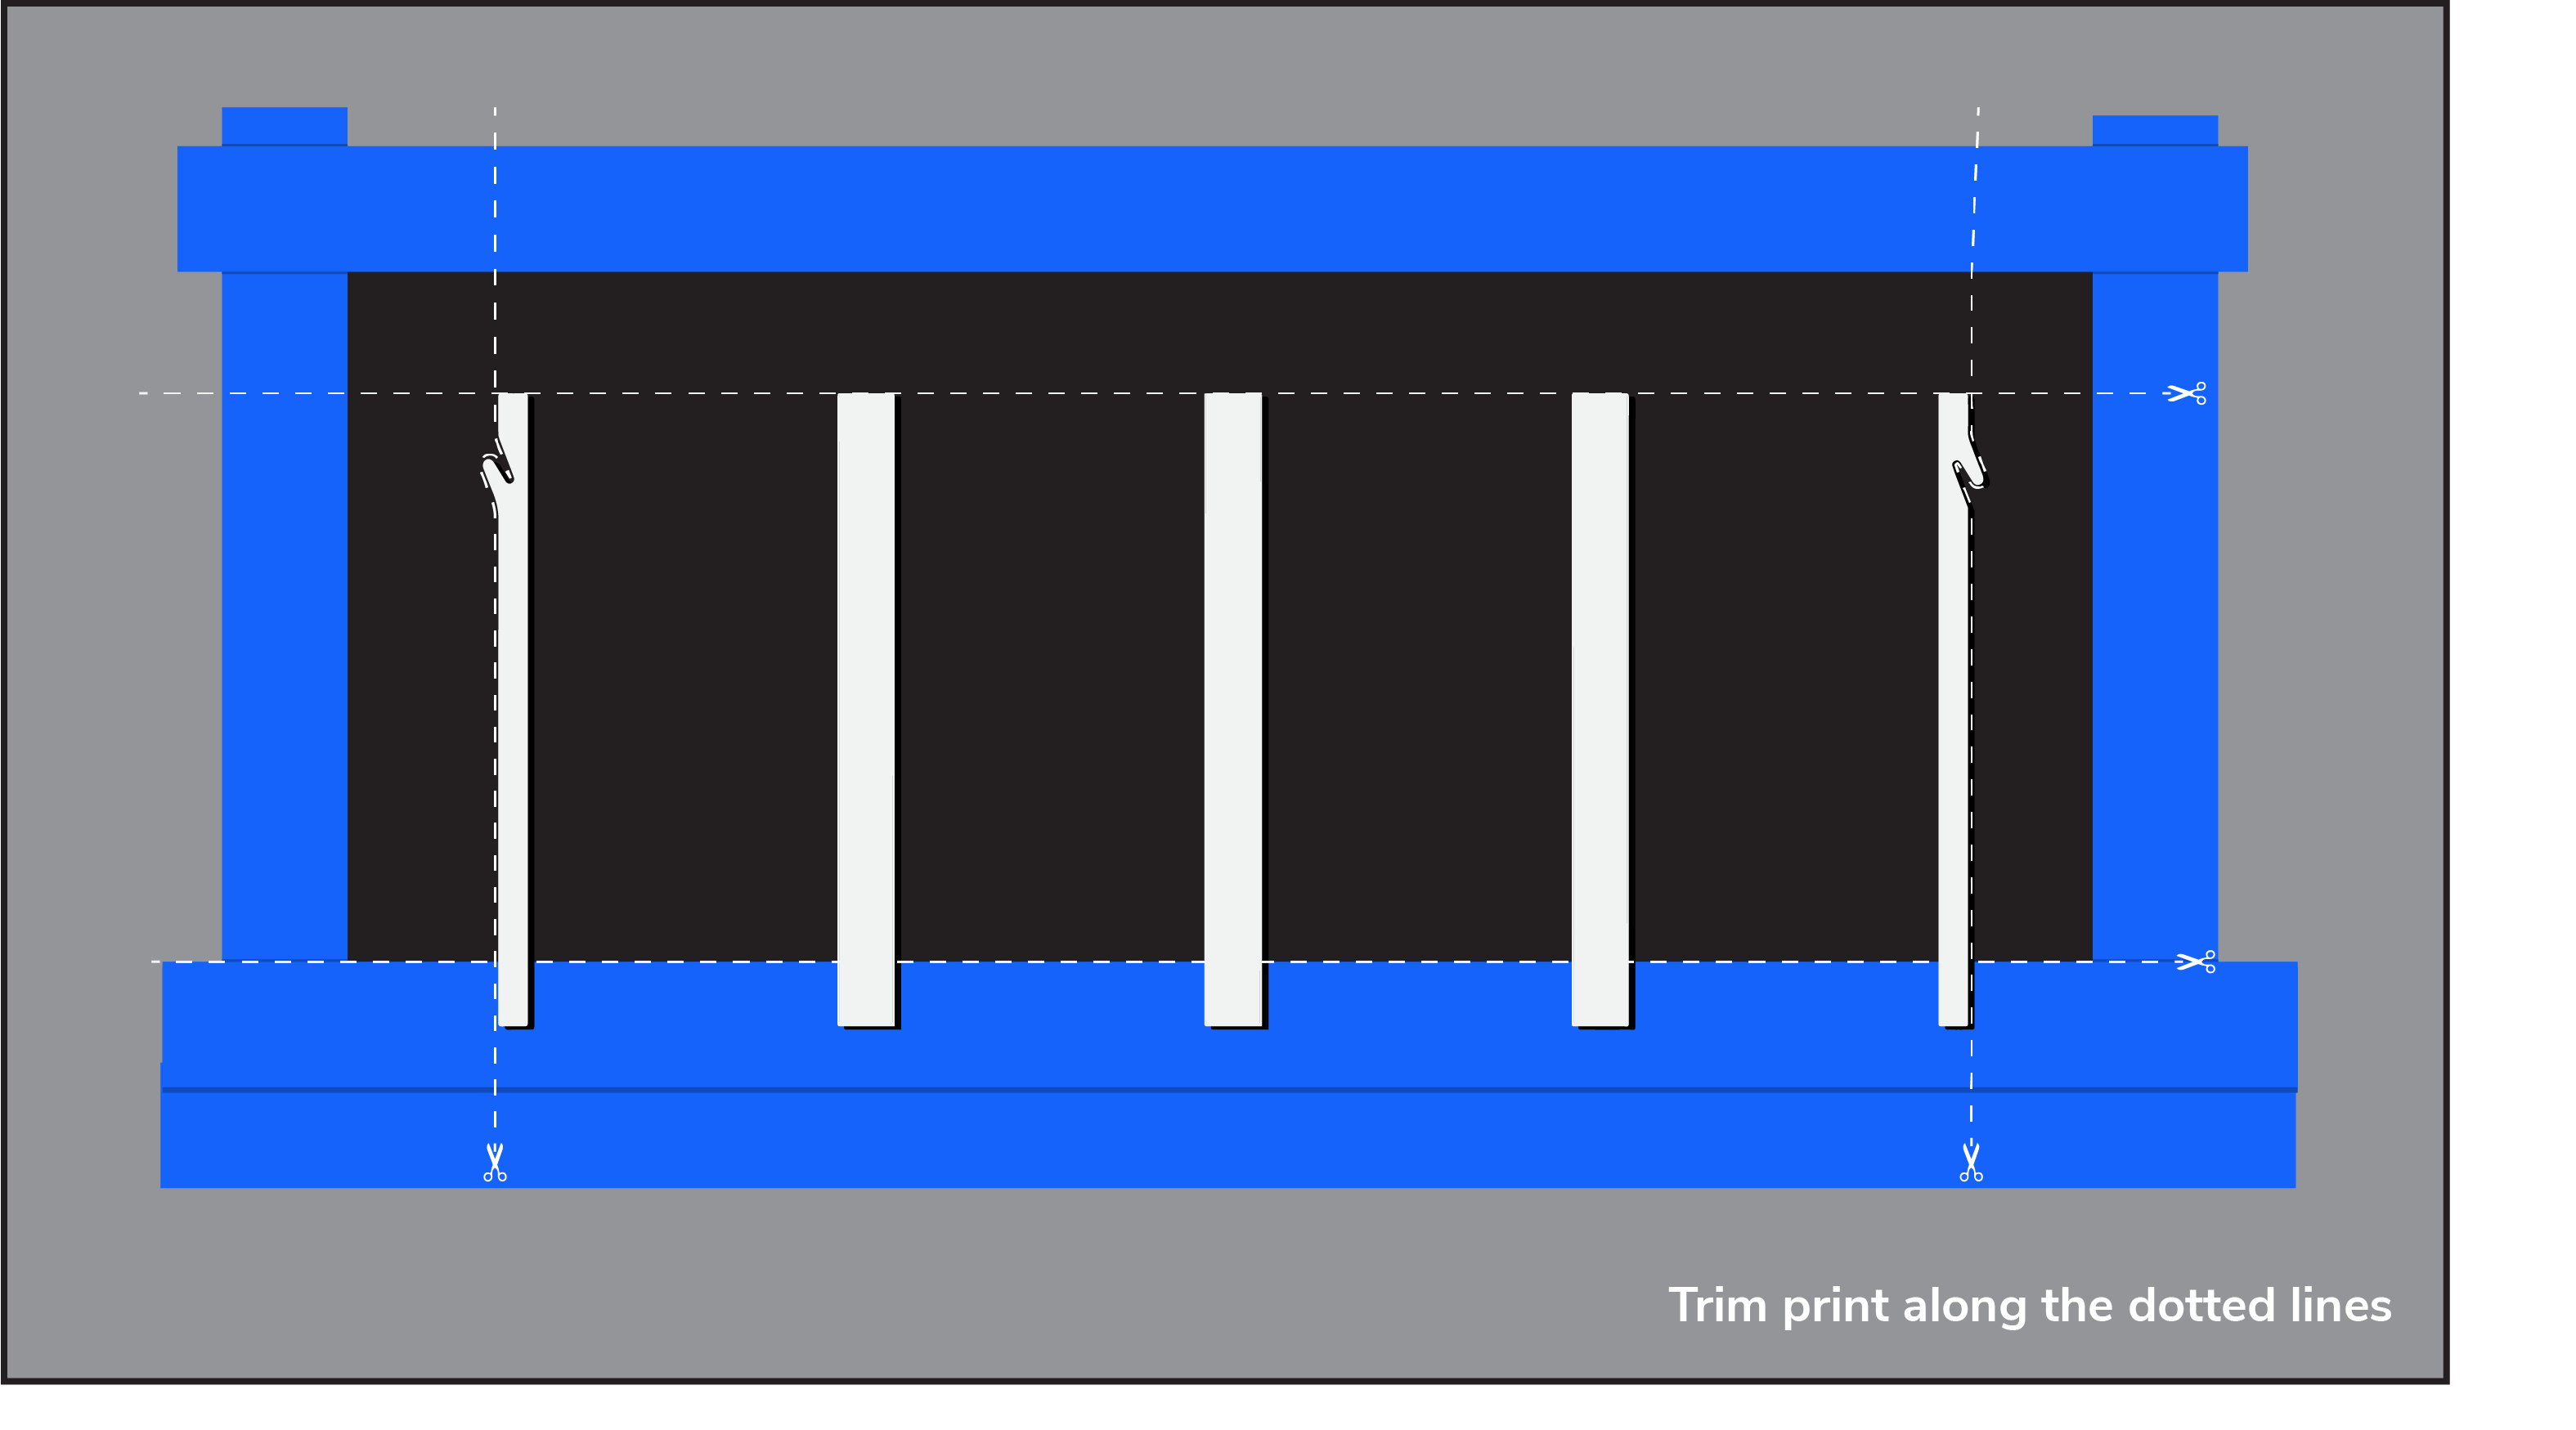
- Cut fabric and TPU barrier film to be wider than the model, and the height to be slightly taller than the post height
- Heat press fabric and TPU barrier film together at 135C/275F for 20 seconds.
- Center the fabric on the bed and tape all 4 sides to the bed with a little bit of tension. Top of the bottom tape should sit at (((bed length-post height)/2)+1)cm from the bottom of the bed. (Refer to diagram)
Slice and Print
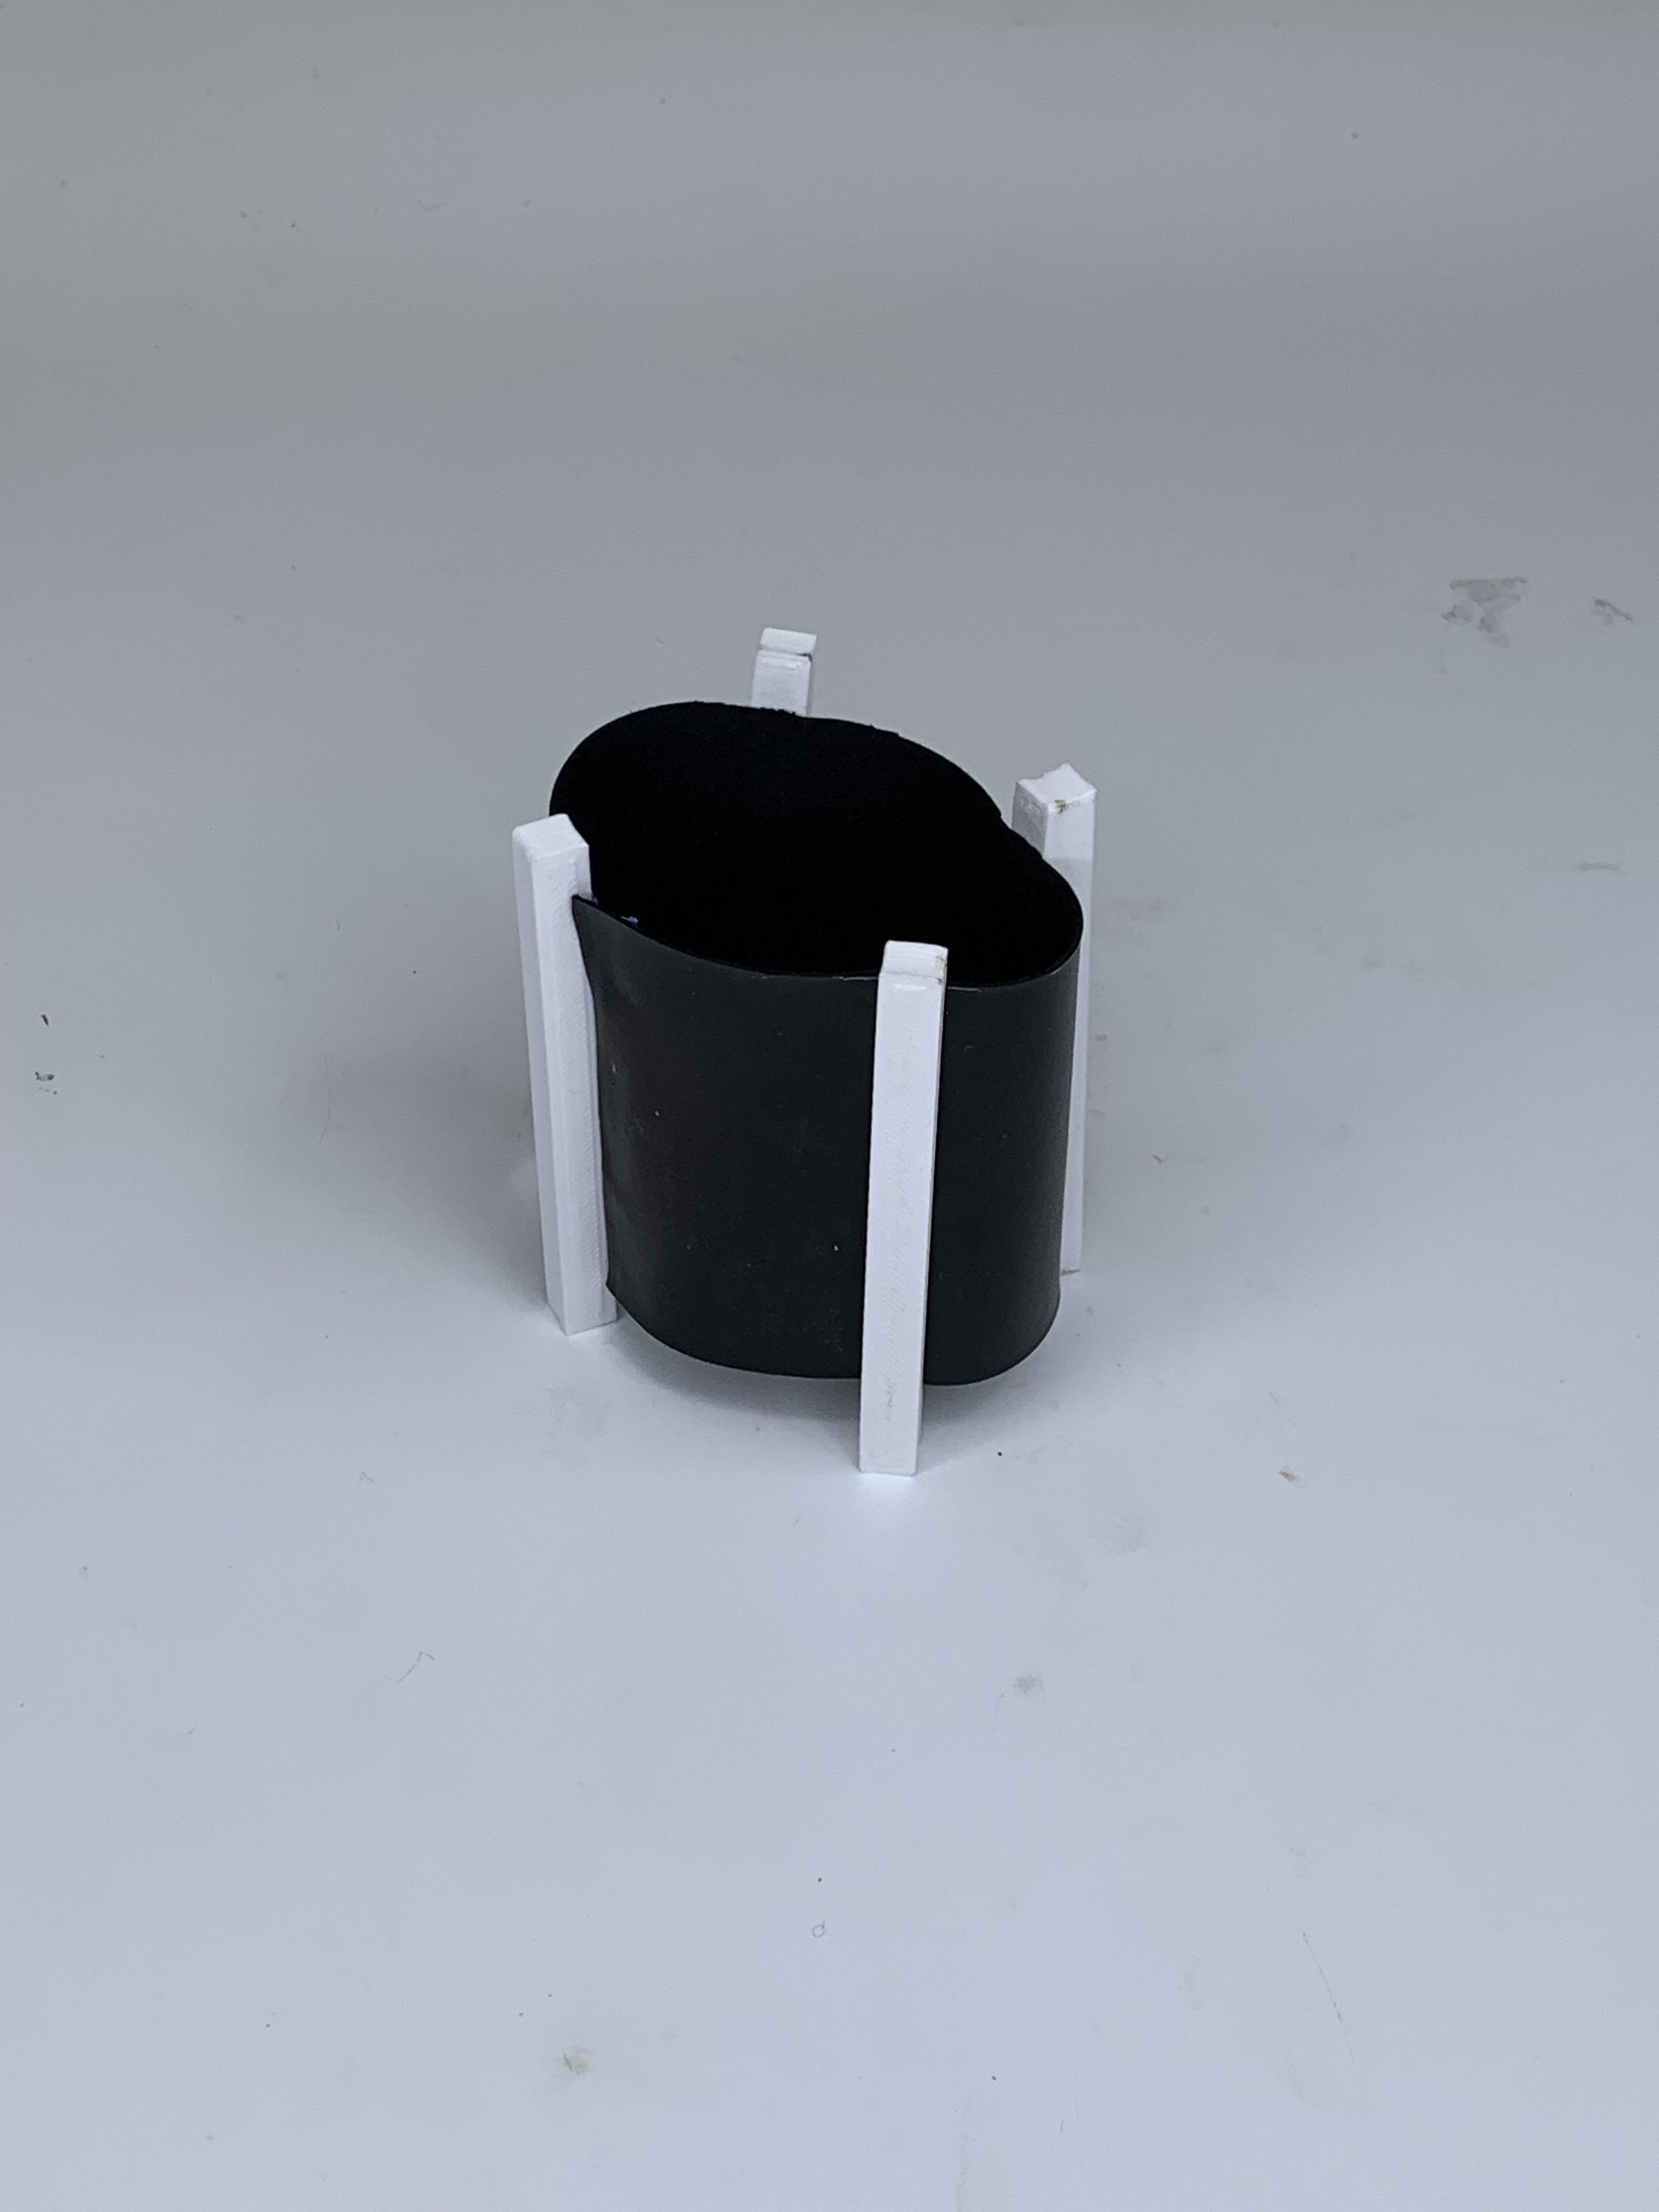
Post-processing
- Trim edges
- Trim top of the excess fabric to be flush with the top of the post
- Trim the bottom edge along the top of the tape
- Trim the sides flush with the end rails
- Clean up the print as necessary
Downloads
Joints
Prep
- Import (joints.3mf) and slice (Note: Use a brim if you are having adhesion issues)
Slice and Print
Post-processing
- Clean up as necessary.