Modifying an Adult Mobility Scooter Into an All-terrain Wheelchair for a Child
by WSUAssistiveTech in Workshop > Electric Vehicles
438 Views, 1 Favorites, 0 Comments
Modifying an Adult Mobility Scooter Into an All-terrain Wheelchair for a Child


Transform an electric mobility scooter into an off-road wheelchair for a child with mobility delays. Our team replaced the seat, added a tow hitch, and added additional features for the client.
Additional features added:
- Seat back lays down flat
- Sun shade
- Tablet holder for iPad/AAC communication device
- Hitch to pull a small trailer
DISCLAIMER: These instructions show our step-by-step process, but read through this completely and use it as inspiration to modify old used mobility scooters into something more fun and to give them some unexpected utility. This vehicle is made for light off-road adventures including grass and dirt paths; not recommended for gravel.
Supplies





Materials:
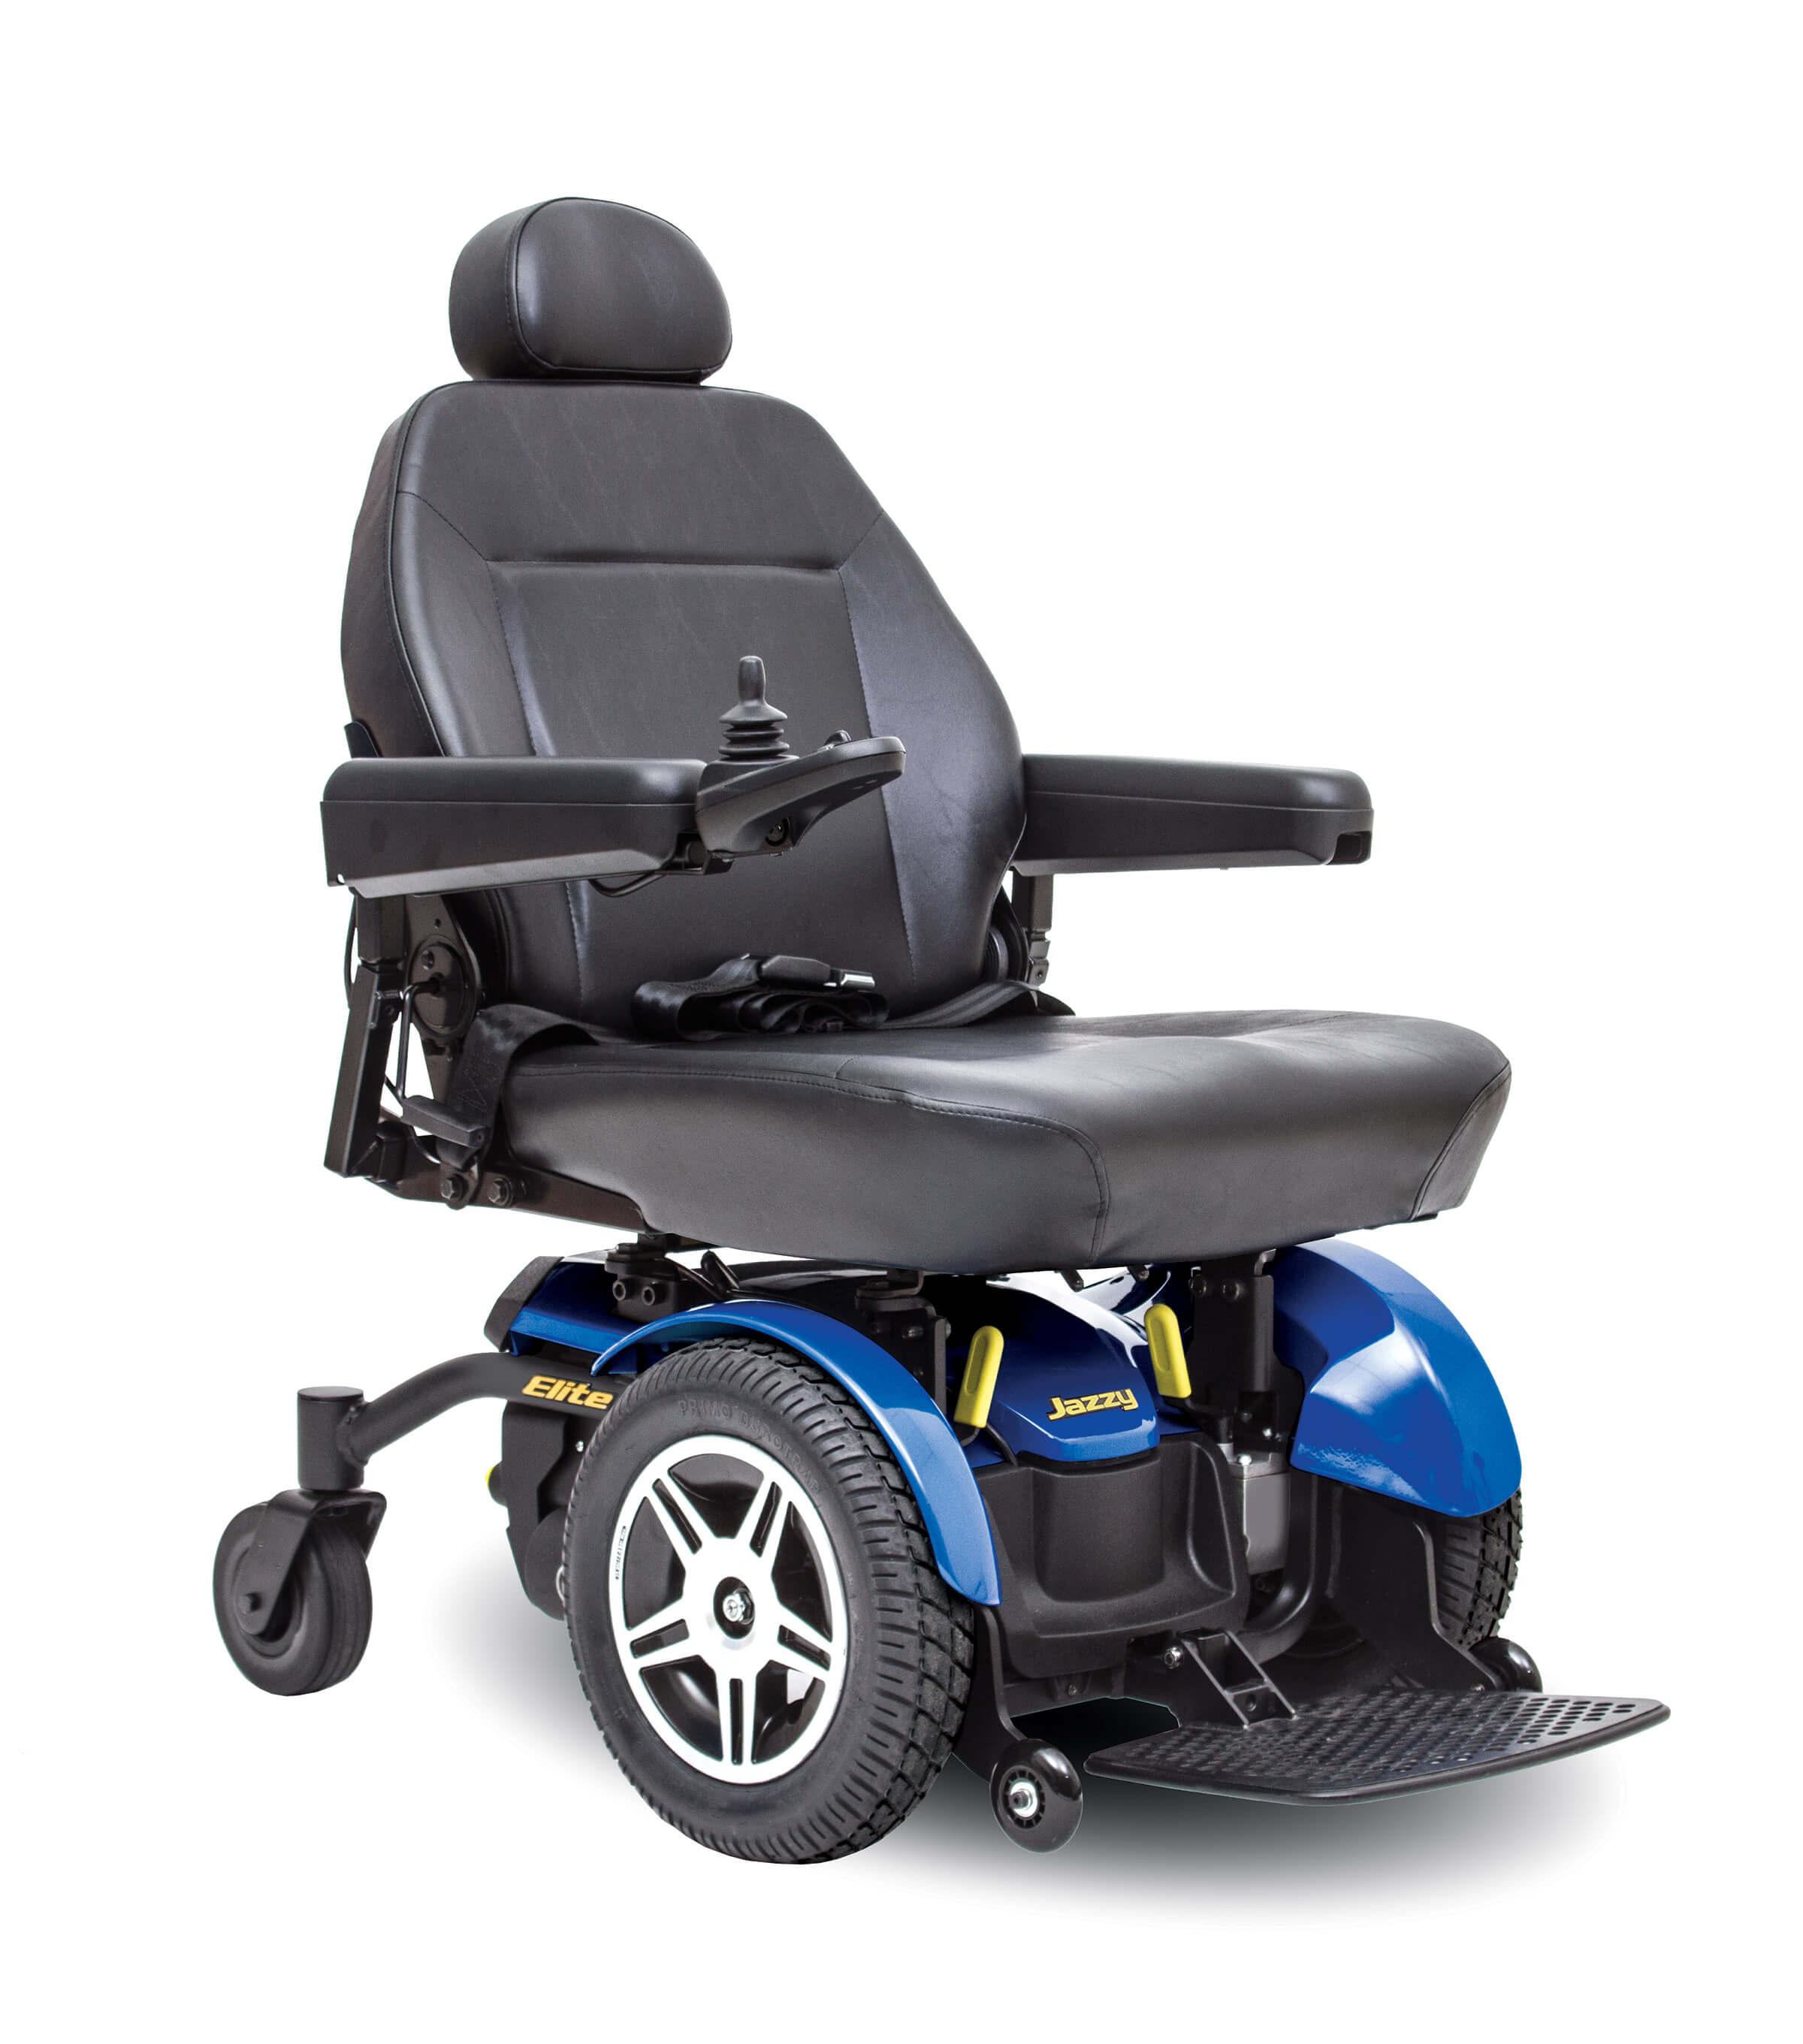
- Jazzy Elite 14 Wheelchair - This was found at a very low price with most of its original components being functional. This wheelchair has very strong motors and can climb steep surfaces with a bit of effort.
- Bicycle Trailer - 2-wheeled trailer that has a simple steel base and framework. The frame supports a 600D Oxford Cloth bag with a removable cover that can be used to protect the supplies from weather. The Trailer assembled measures about 55" L x 28.75" W x 23.5 H", but the basket itself only measures about 31.5" L x 23.5" W x 14" H. The trailer advertises a loading capacity of 88 lbs, which is more than enough for this project. The trailer also came with a small adapter and round locking pin for attaching to a bike.
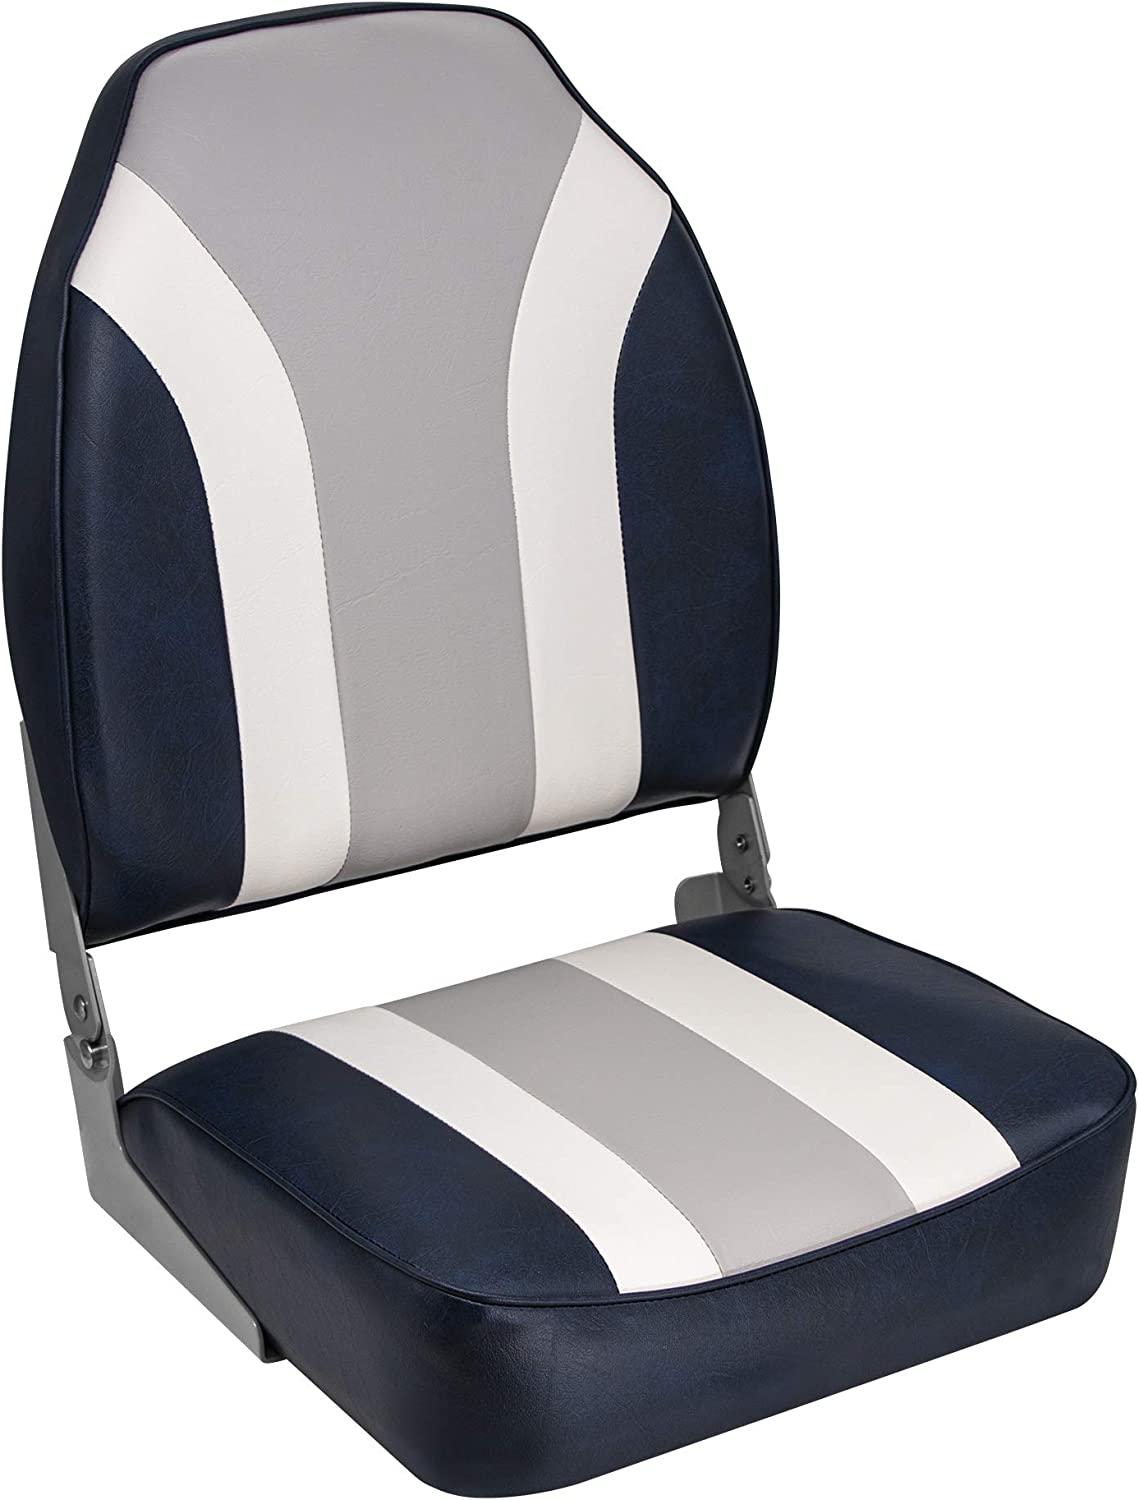
- High-back Boat Seat - This is our replacement chair.
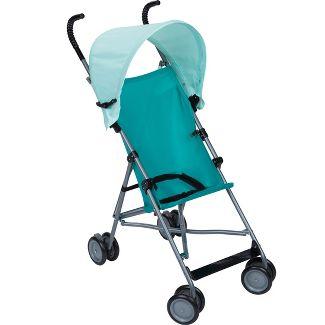
- Cosco Umbrella Stroller - We scrapped this stroller for the sun shade and some lightweight supporting aluminum.
- Rounded Lock Pins - These allowed us to create a reclining mechanism by using them as supporting material.
- Tablet Holder - This is an optional add-on to provide tablet support to the wheelchair since it is for a child. This gives easier access for both entertainment and communication.
- Plywood for seat base
Tools and hardware:
- drill
- screwdriver or ratchet set
- large rounded file
- vice
- hacksaw
- box cutter
- spare fasteners (based on whatever your wheelchair uses)
- 1/4" screws of varying lengths
- washers
- anchors (if you need to create a custom base and have no scrap to do so)
- 5/16" drill bit
Inspecting the Wheelchair


To get started, we gave the provided wheelchair a visual inspection and quick teardown to figure out what parts needed replacing. This is a step that is likely necessary should you obtain your wheelchair used due to the price of a new one being much greater. We removed the fairings and other decorative elements obscuring the motors and batteries to assess the damage from usage. In our case, we found rust damage along the left motor and discovered the wheels to be very worn. Thankfully, the batteries were in great shape despite their age. We replaced the rusted screws with equivalent screws. We also wiped down and cleaned some of the gunk off of the wheelchair from years in storage, such as the controller casing.
Replacing the Seat - Mounting


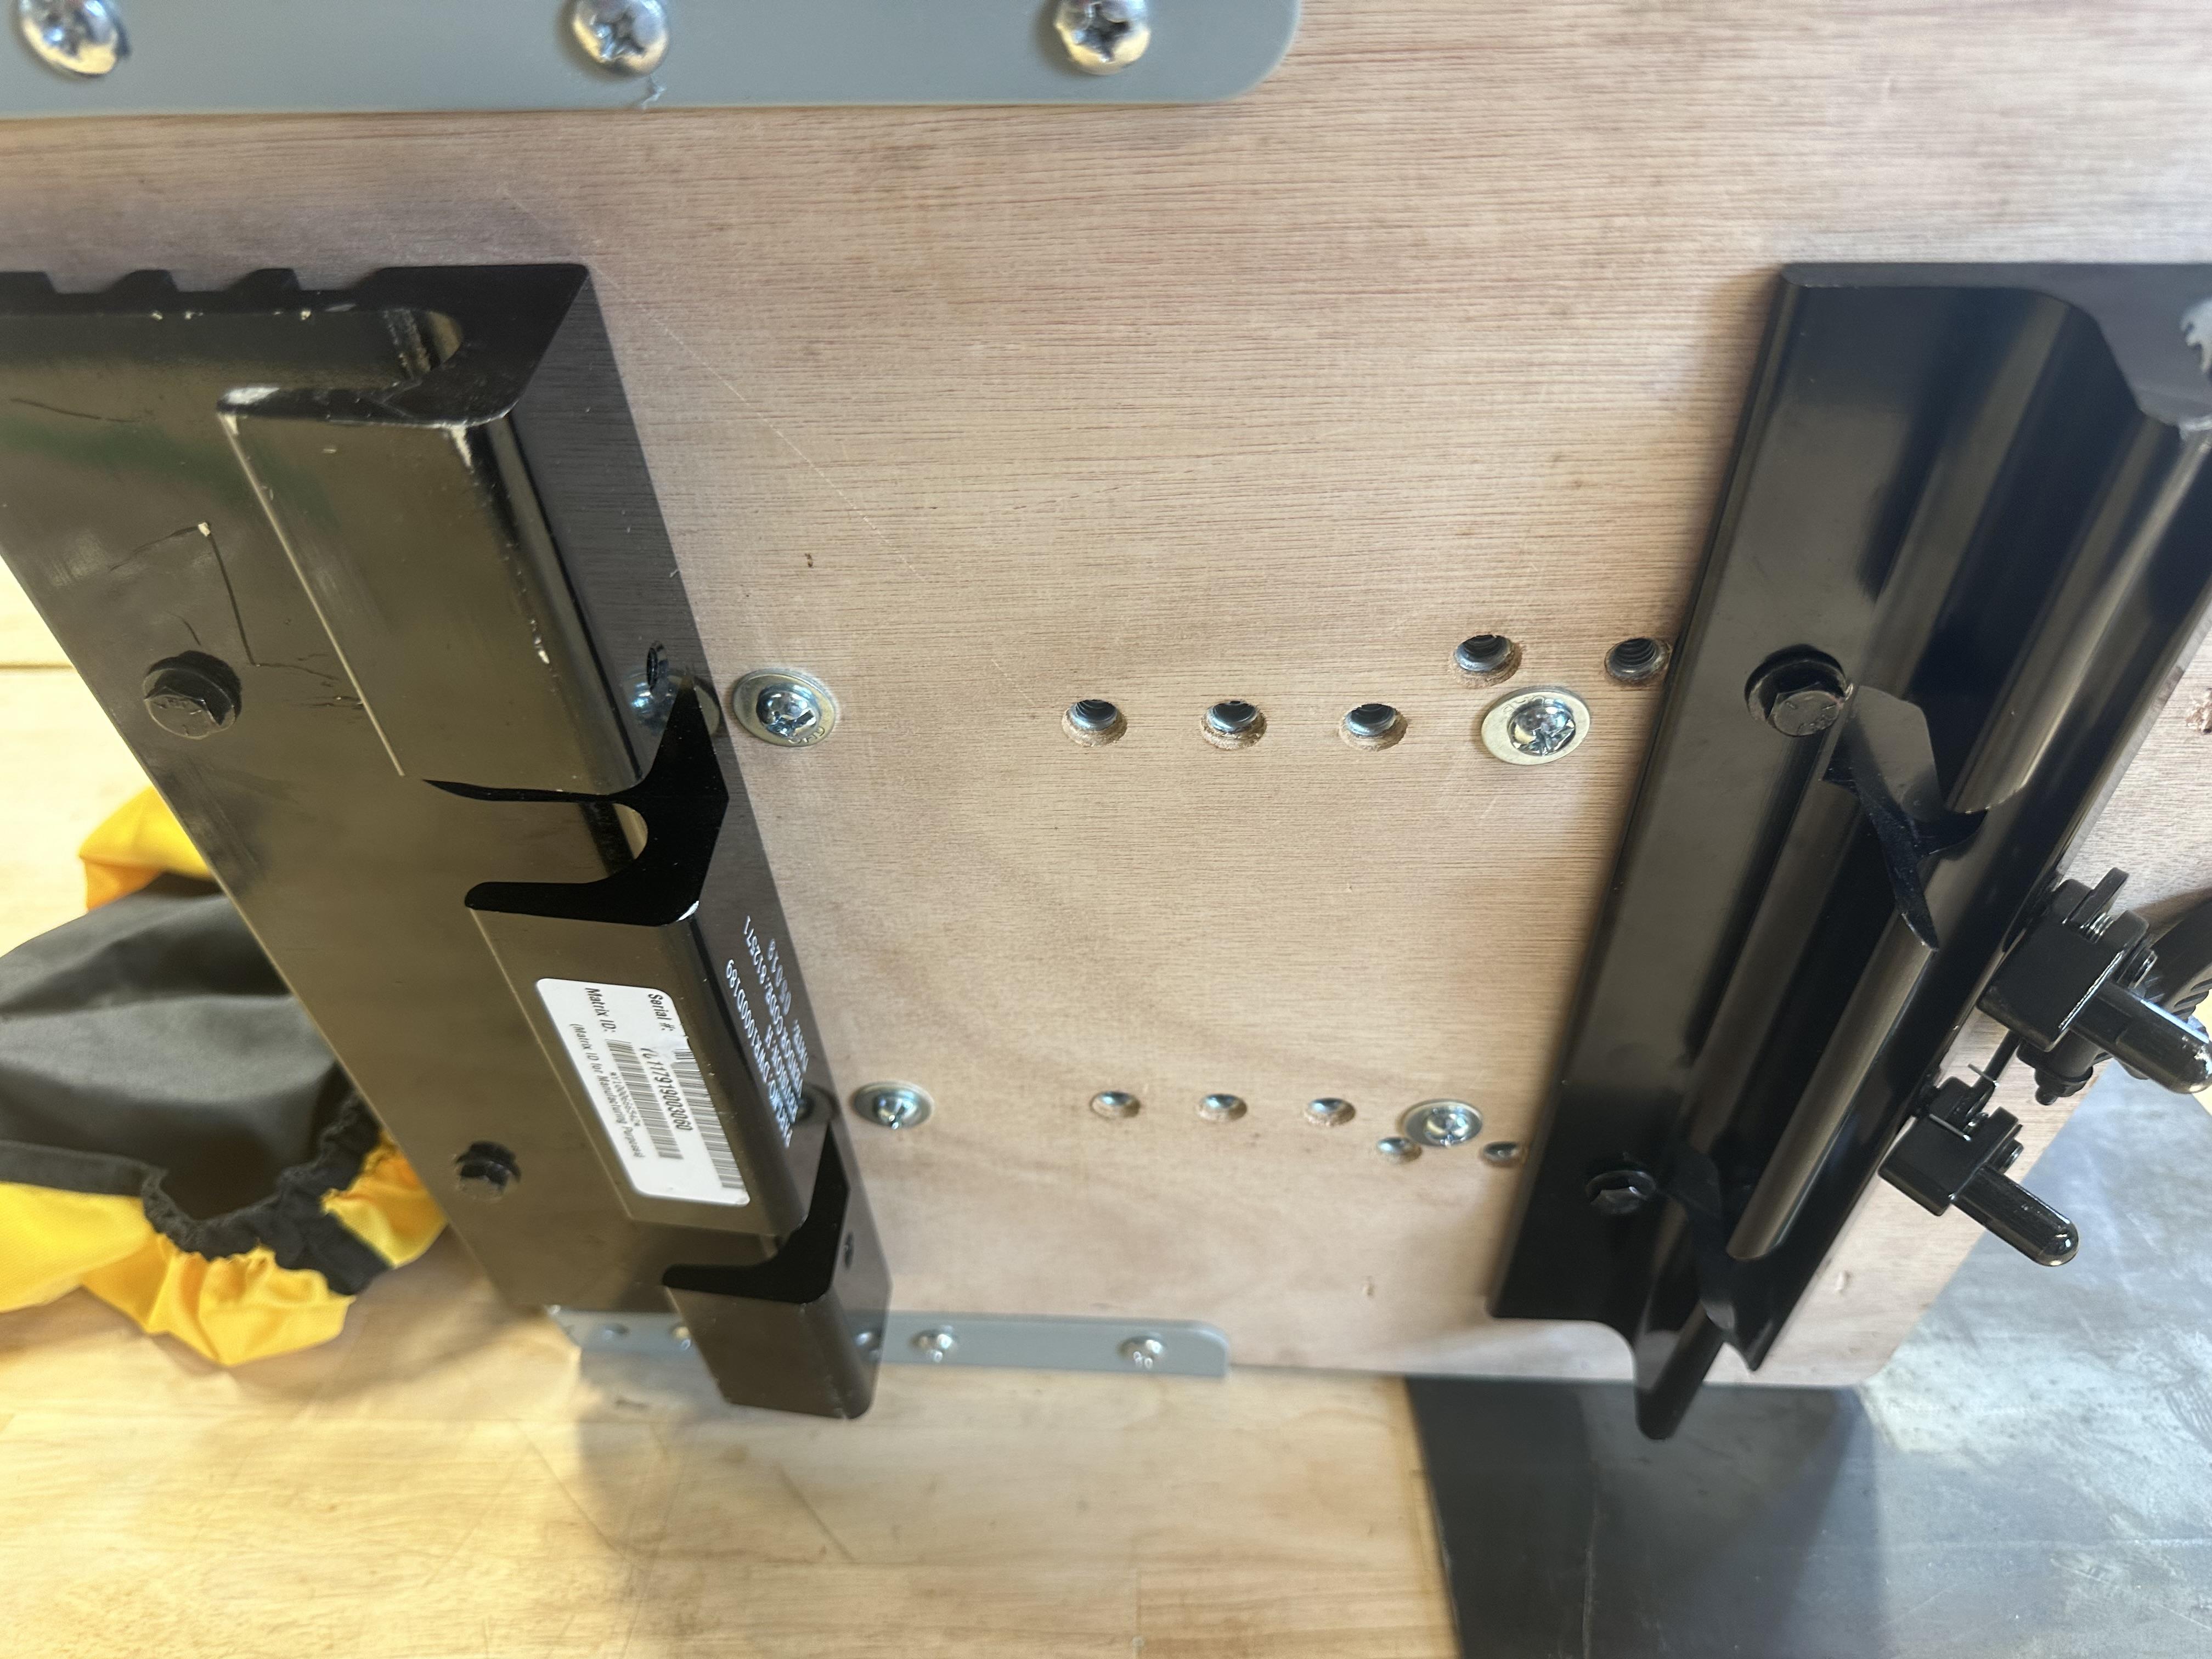
Since the OEM seat is intended for larger adults, making it recline would be both a large hassle and possibly dangerous. We decided to size down the seat to be more child friendly and lightweight by replacing it with a boat seat. To do this, we decided to go ahead and tear down the OEM seat to see what could be salvaged. The OEM seat was originally mounted by using a large metal hook mechanism consisting of 2 bars running across the length of the seat screwed down to the base of the motor bed. We realized these were bound to plywood and tore the seat down to get to the plywood base containing the anchor system used to mount the chair securely. This anchor system coincidentally had anchors of similar size, but we could not align all 4 points.
We chopped down the plywood base about 3 inches on the front and sides and sanded it down afterward. Then, we used the scrapped wood to salvage anchors for the boat seat mount. We located the anchors so that the seat would be at about the center of the platform and drilled the base to allow for them to be inserted. Then, we press-fitted the anchors into the holes and used some washers and large 1/4" screws to lock down the seat to the base.
Replacing the Seat - Reclining Mechanism


One of the main desires of the parents was to get a reclining seat. While the boat seat was designed to fold, it was not designed to recline back. Since the seat was locked in mostly upright, we punched out one of the supporting rivets to allow for the seat to swing back and forth on a pivot point. However, this did not provide the desired range of motion we were aiming for. So we ripped the brackets off and created mounting points for them on the base of the wood platform. We screwed them in there and rebound the seat backing to the brackets. This made the recline closer to level but was not fully leaning back.
To improve this, we filed down the middle of the bracket where the hinged plates would touch. By filing them down about an inch, we made the seat lean back at a nearly 180-degree angle while providing a bit of extra support to this position. Lastly, we used the space where one of the rivets was punched out and instead added the two extra rounded lock pins to the space. This acted as a replacement rivet that could be removed to allow for the full recline position, as the original request desired upright and flat positions. The locking pin swap acted as a way to place down a removable lock for the system, which could be useful in trying your own project for any features that may require being locked down.
Modifying the Wheelchair to Tow
![Image[1].jpeg](/proxy/?url=https://content.instructables.com/FQ6/6F9X/LHJ53H7X/FQ66F9XLHJ53H7X.jpg&filename=Image[1].jpeg)

![Image[10].jpeg](/proxy/?url=https://content.instructables.com/FZV/WGNR/LHJ53H7Y/FZVWGNRLHJ53H7Y.jpg&filename=Image[10].jpeg)
![Image[8].jpeg](/proxy/?url=https://content.instructables.com/FRV/HRNN/LHJ53H7Q/FRVHRNNLHJ53H7Q.jpg&filename=Image[8].jpeg)
Since most of the original chair was gone, there weren't very many points of support left on the wheelchair. Because of this, we chose to mount the trailer by using the rear auxiliary wheels and the accompanying frame. Since the rear support wheels weren't being actively driven and were mounted in a stiff metal frame, this meant the safest connection point would be the frame here.
Inspecting the frame, we found that the area directly above one of the rear wheels had a void of space covered by a cap. We used this to our advantage by drilling through the void space to allow for the trailer's axle adapter to be mounted there. Then, we were able to angle the adapter to face inwards toward the chair, centering the trailer's body behind the wheelchair. This gave us a stable, safe mounting point for storage.
Assembling the Storage System

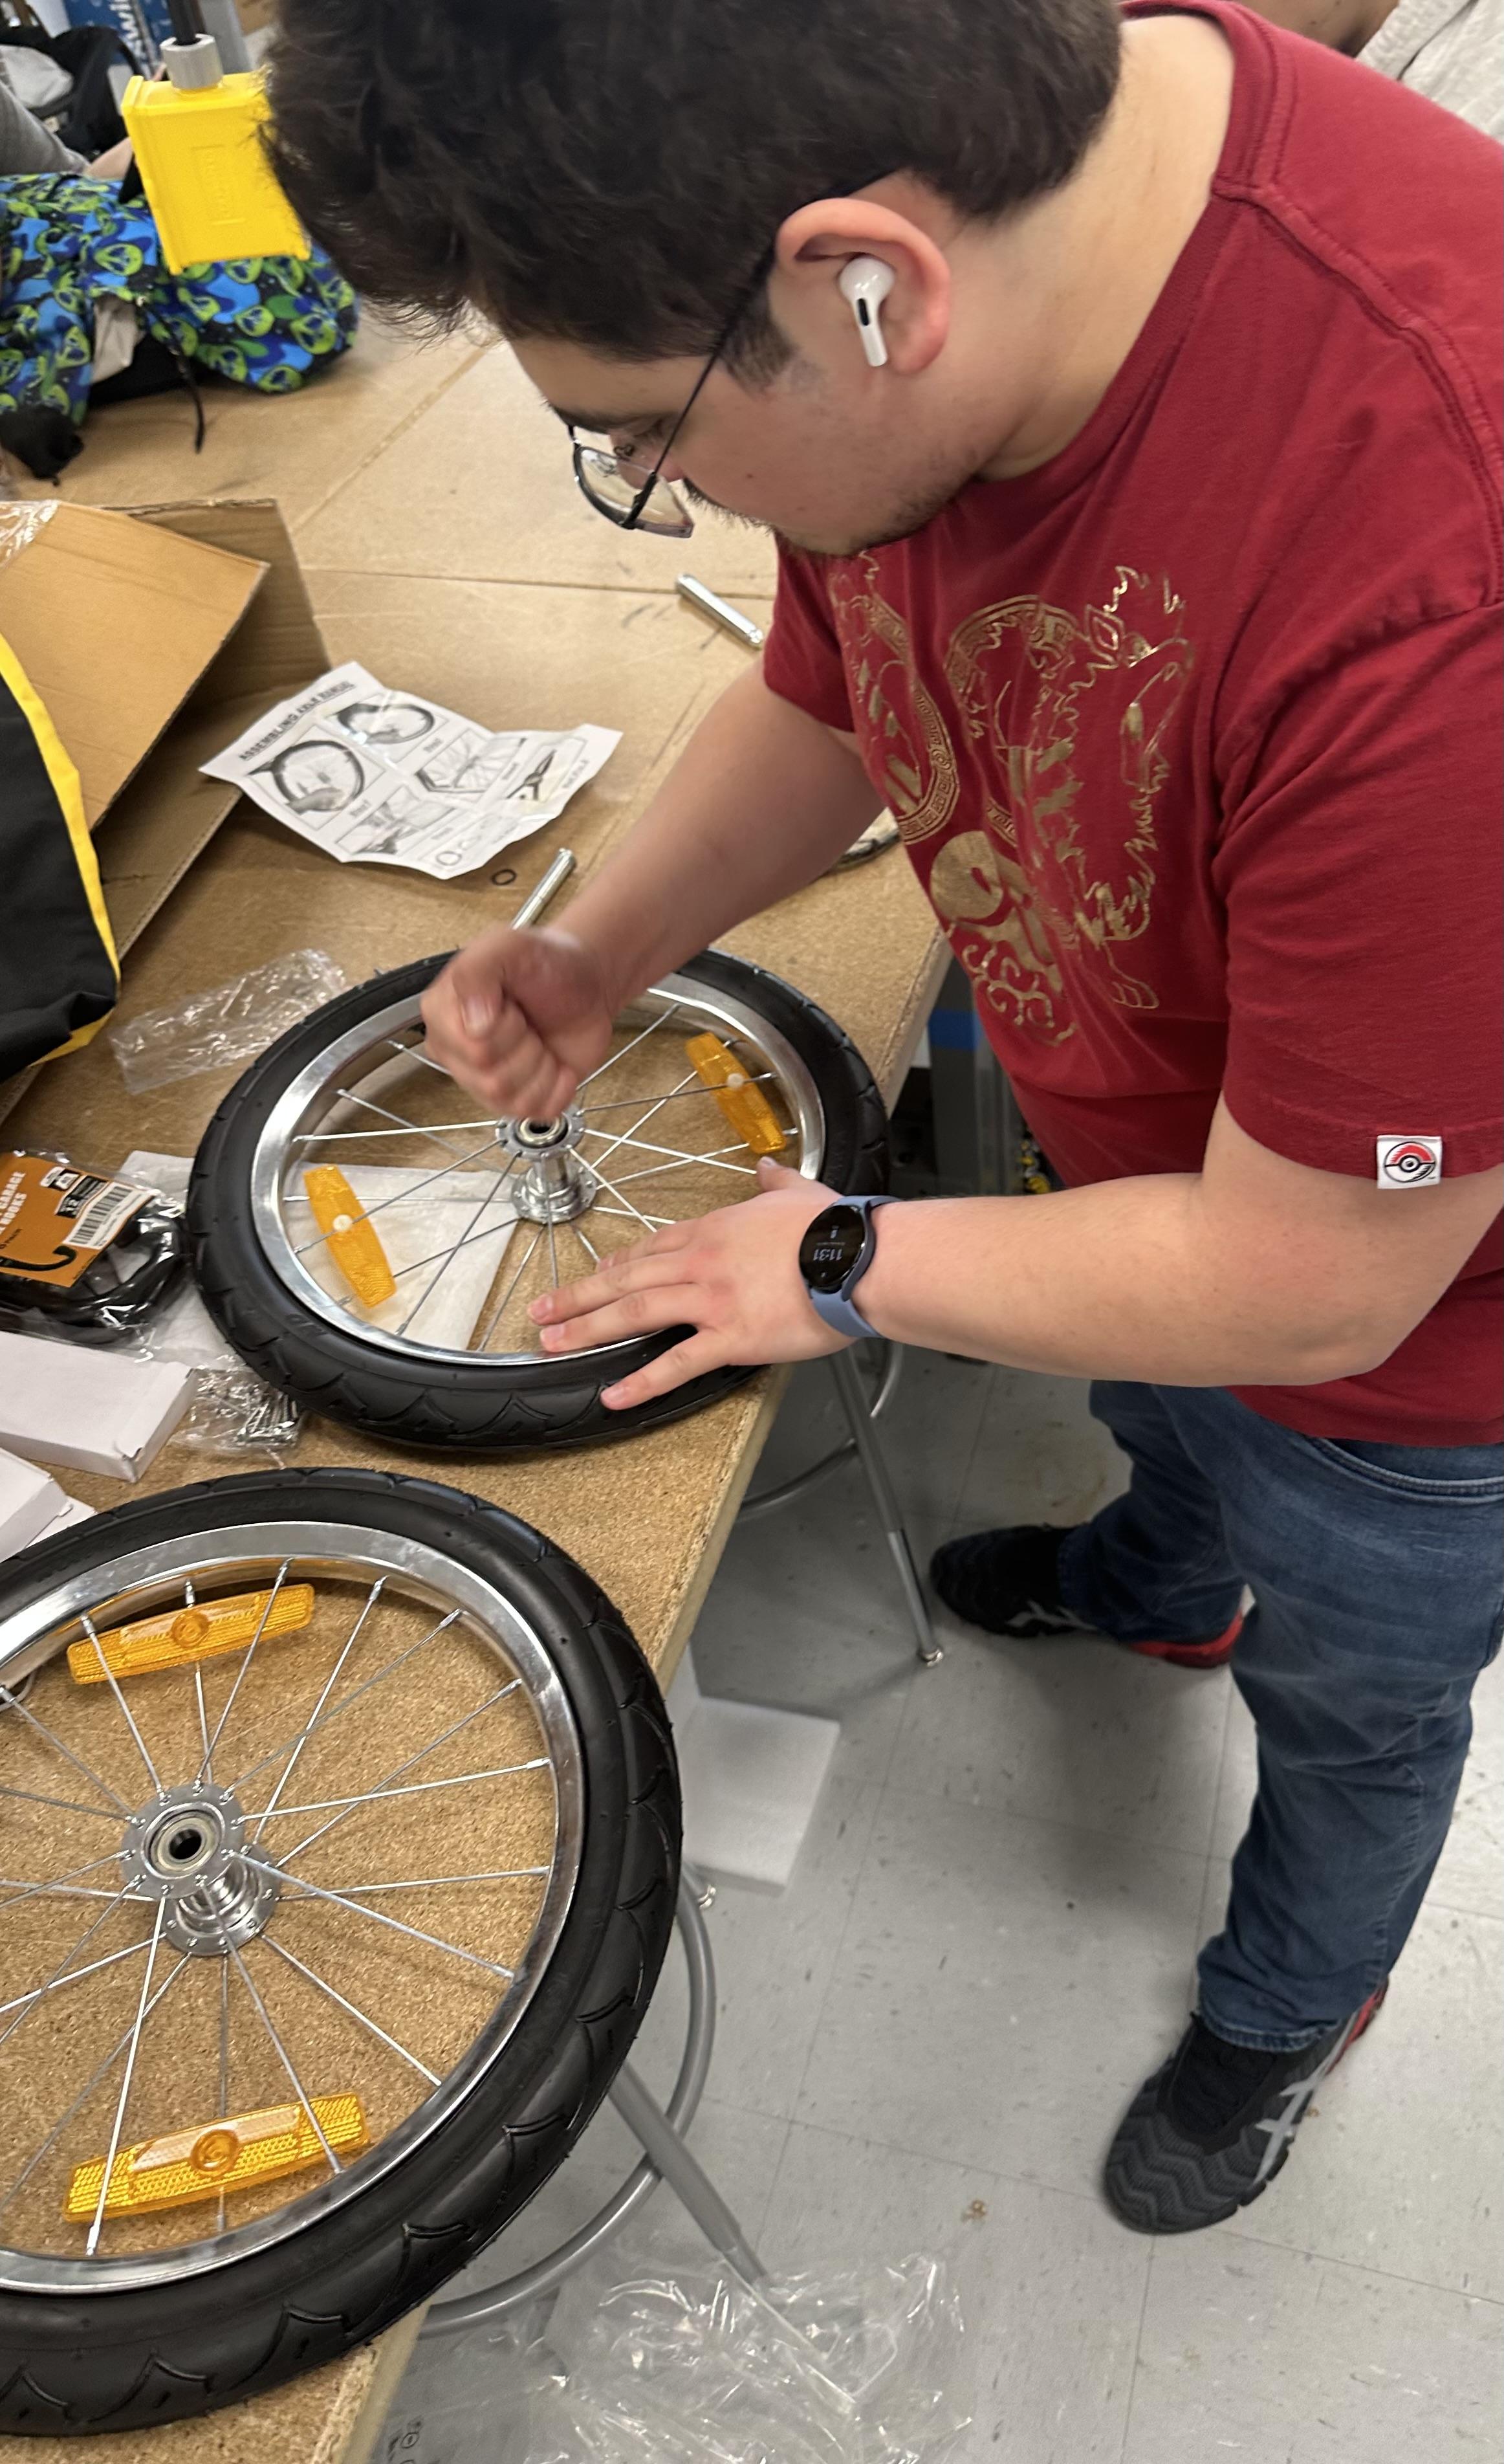

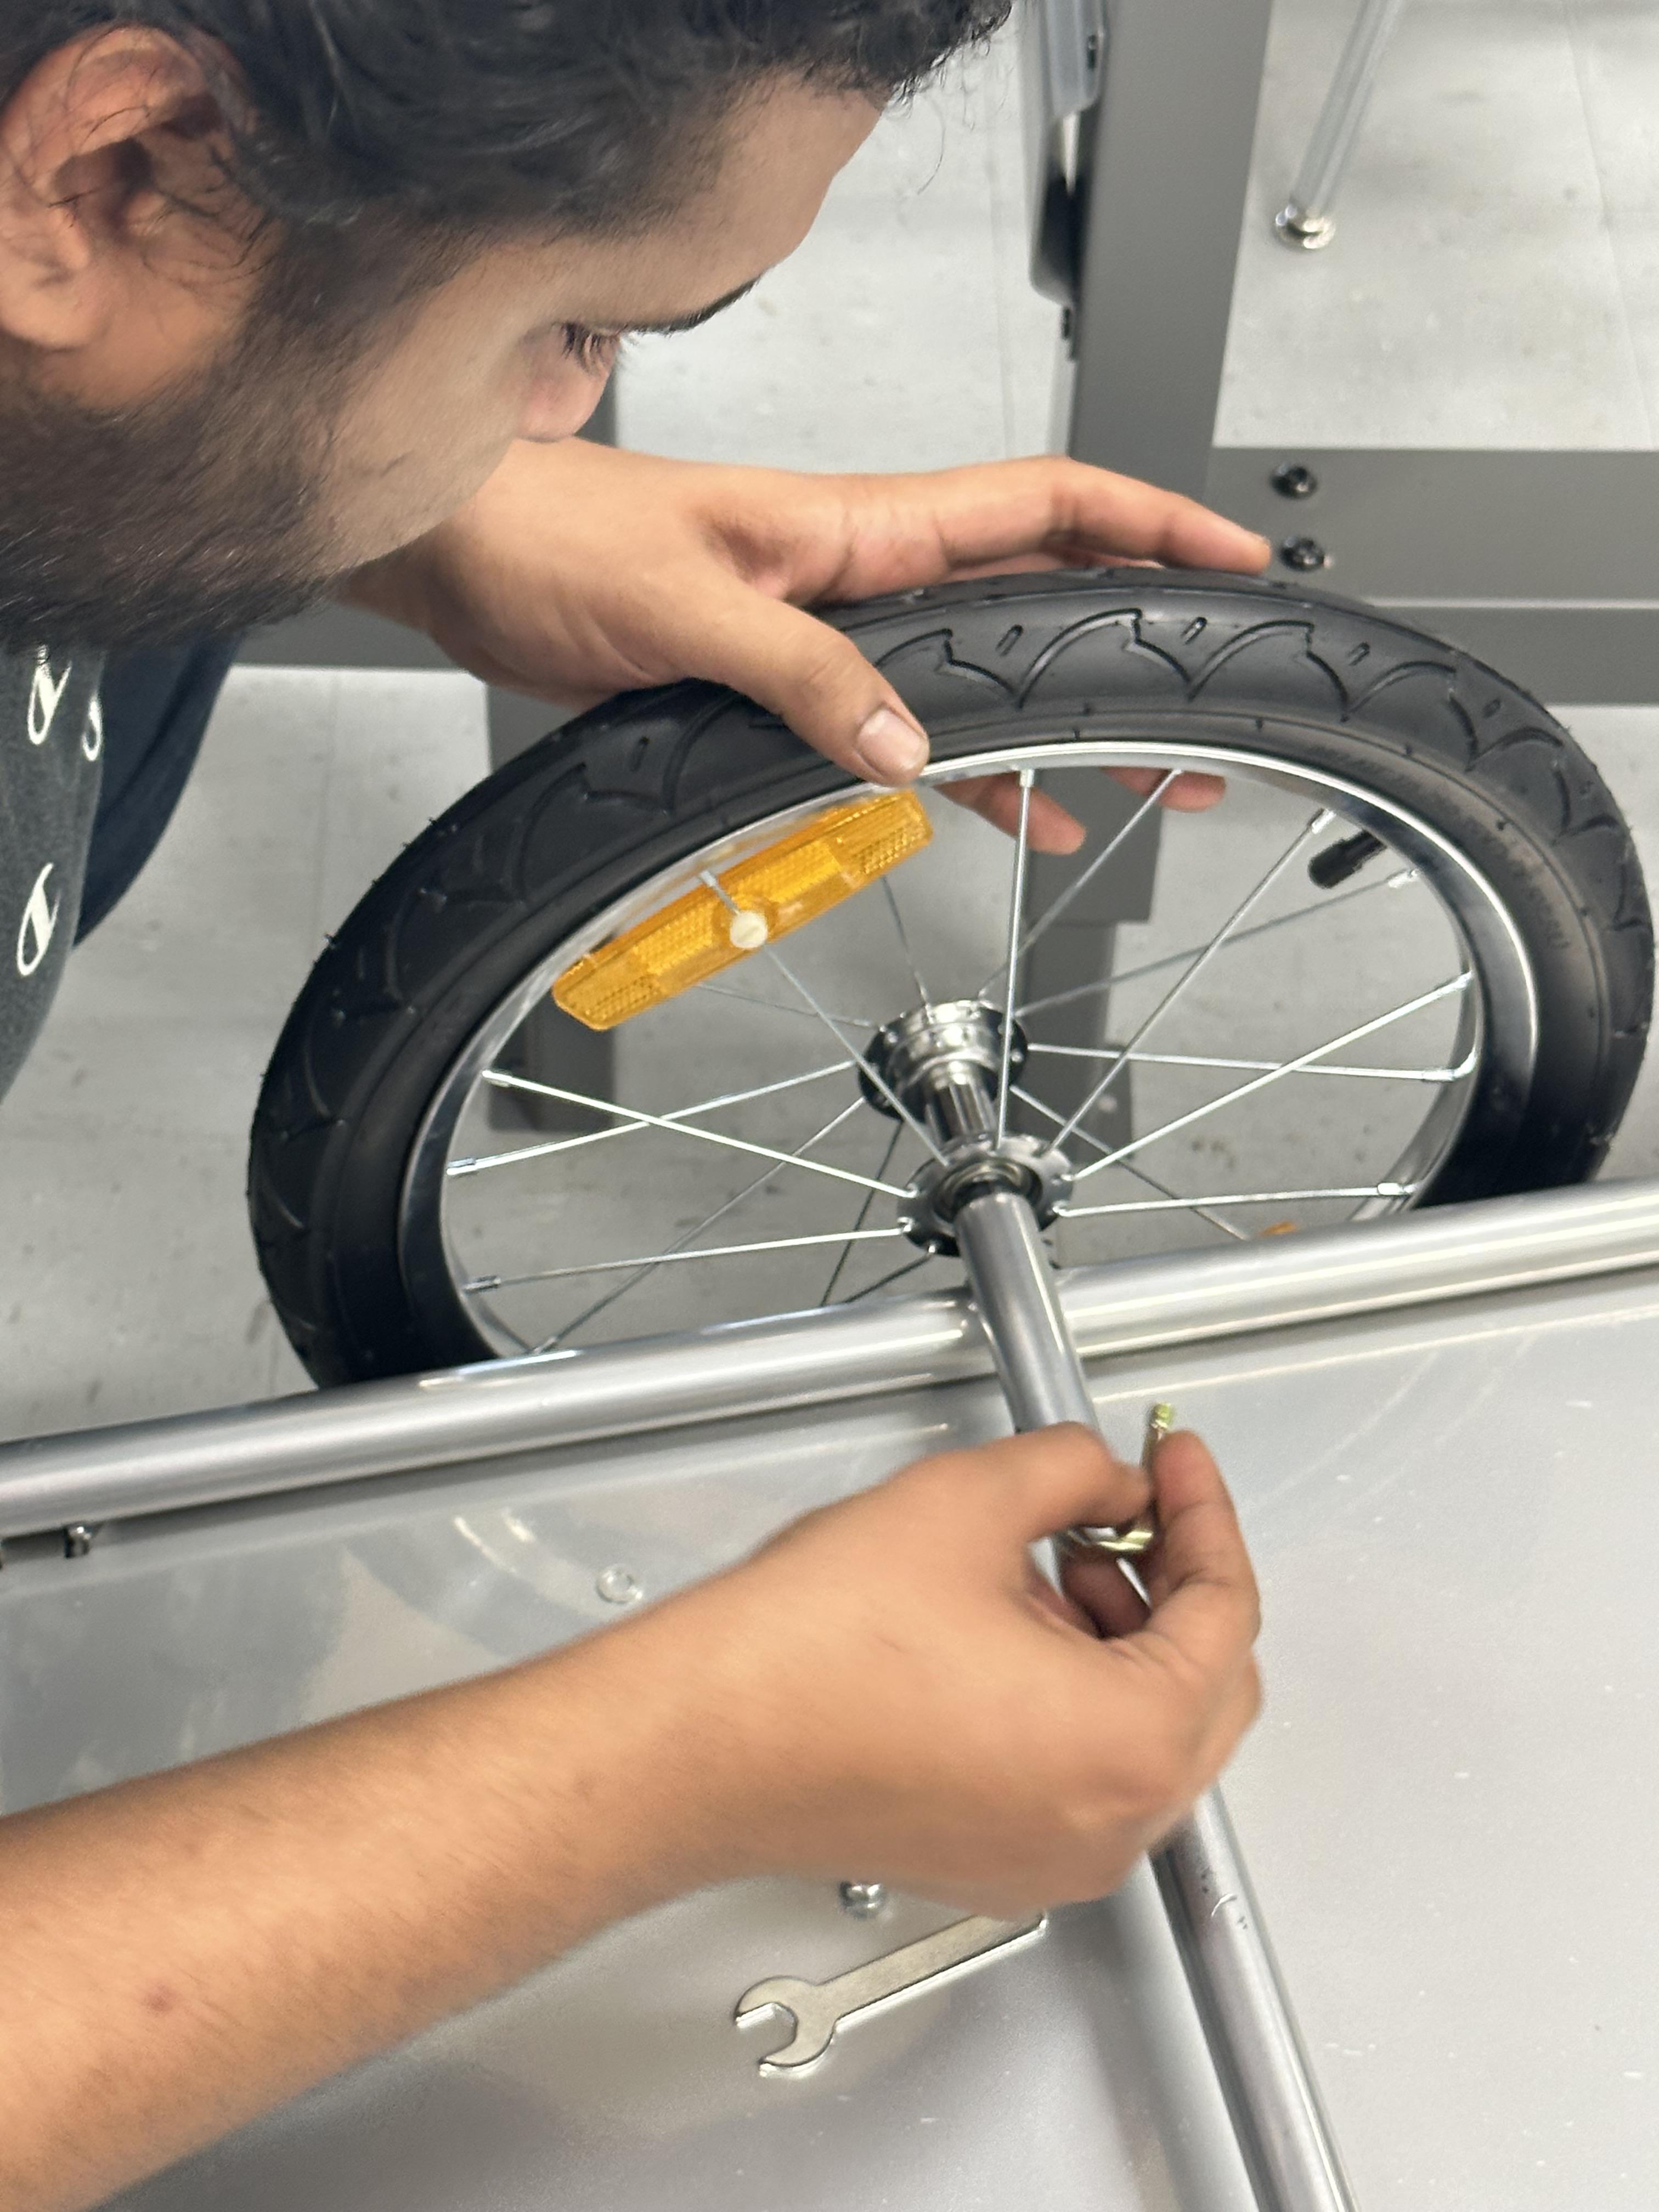
For storage, we realized the easiest way to handle carrying goods was to take advantage of the power of the wheelchair to act as a towing load. Since the rider would be less than half the weight of the original test riders, we decided that a bike trailer would be best for carrying their supplies. For this, we assembled the purchased trailer by pinning the premade frame with the provided spring-loaded pins. Then we assembled the wheel shafts by applying the provided sets of washers to lock the axles into their respective wheels. Finally, we used the underside pins on the trailer to lock the axle shafts into place to finalize the assembly of the wagon.
Making the Footrest Adjustable
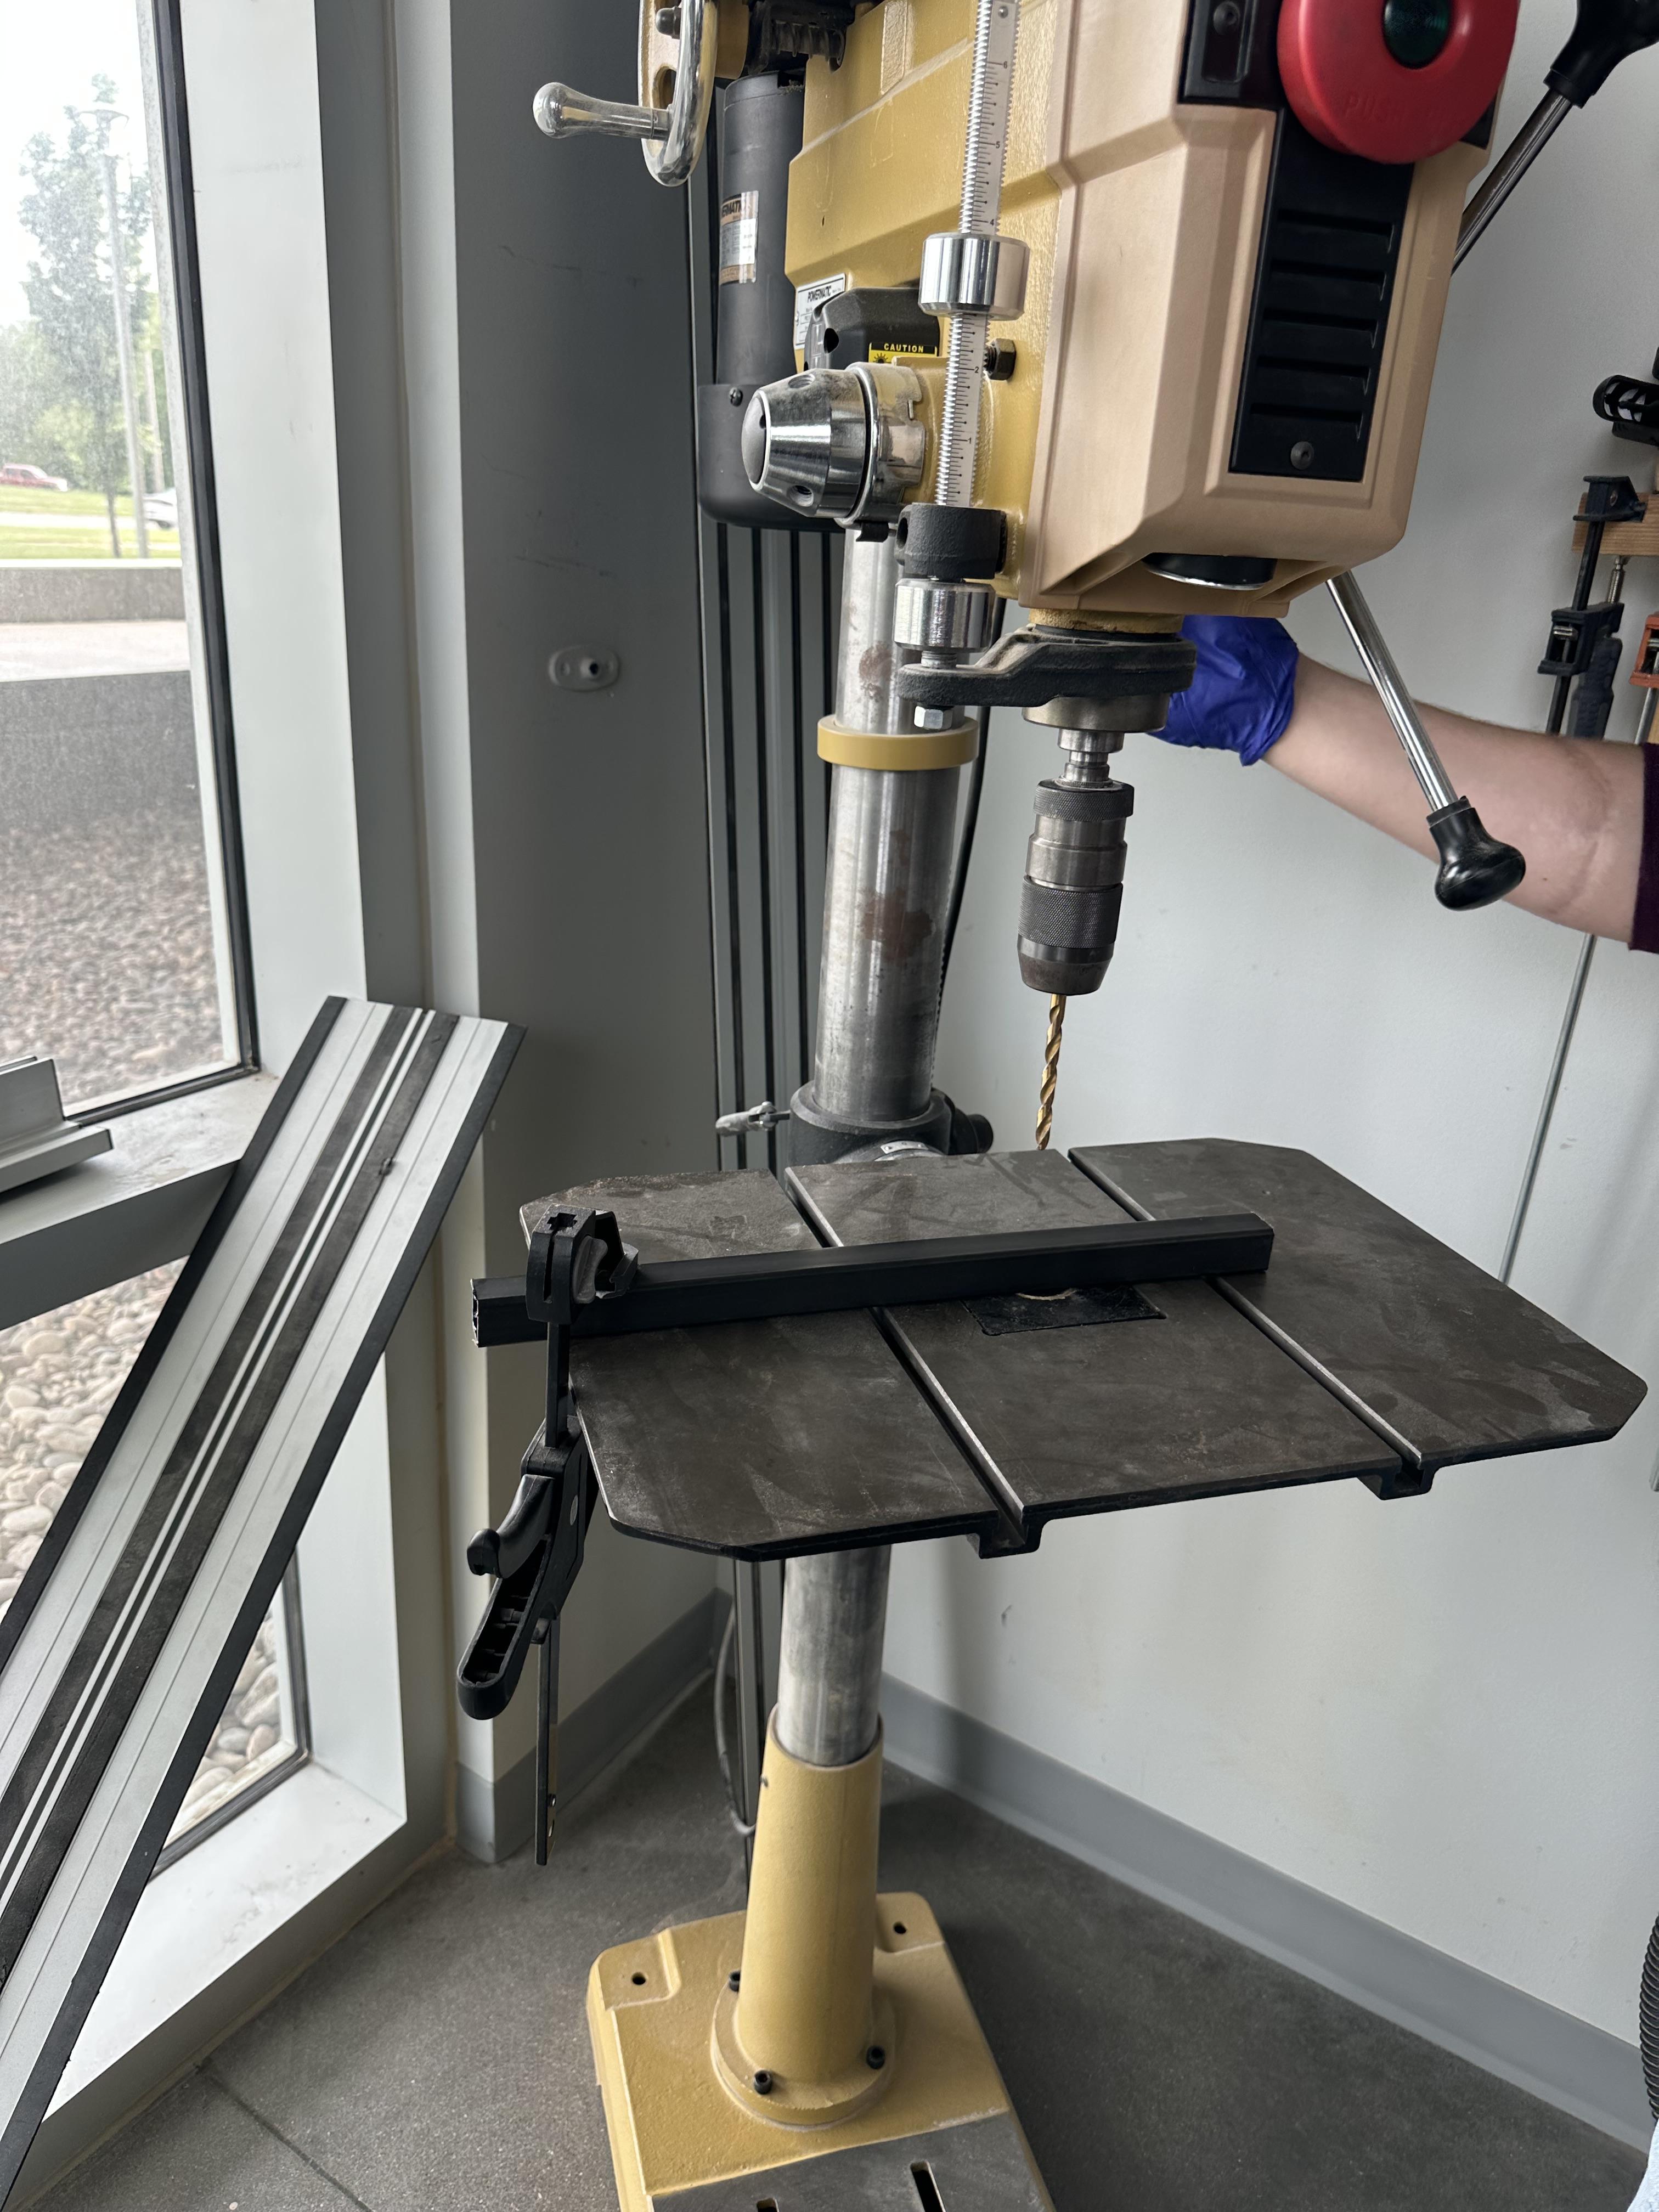

Another major request from the parents was for a footrest for their child. However, the stock footrest was non-adjustable and way too far even after lowering the seat. It was screwed in via a single pin though. To accommodate this, we chose to rework the mechanism to add a holed shaft where the footrest initially connected. This was done by using a 5/16" drill bit on a drill press to cut through the square steel shaft wall to wall. These holes were made in 1/2" increments from each other to allow for a wide range of variable adjustments. This shaft allowed for the footrest to be screwed in at different heights to get the most comfort possible and ensured extra longevity for the life of the design.
Touching Up Blemishes


We opted to paint some of the additions to help clean up the look of the wheelchair. We spray-painted the footrest shaft black to improve the look of the component. Afterward, we cut used a box cutter to cut a small pool noodle chunk to cover the shaft with foam to cover the sharper edges of the shaft. If filing down the metal is not enough to remove a hazardous edge, then using foam to cover it is a great idea.
Adding a Sunshade


The final request we needed to fulfill was to provide some cover from the sun for the child. We did this by taking a small stroller and scraping it for parts, namely the shade cover and the supporting poles. The shade came off by simply pulling it from some clips. The poles however were bolted together tightly. For this reason, we chose to cut them off with a hacksaw. After doing so, we used a vice to clamp down the ends of the poles to flatten them. We then aligned the flattened ends to the back of the boat chair along the edge of the chair's internal plywood backing, then screwed them in using a drill. This secured the sunshade roof to the chair.