Modifying a Headphone Transmitter
by nurdee1 in Circuits > Wireless
12339 Views, 15 Favorites, 0 Comments
Modifying a Headphone Transmitter
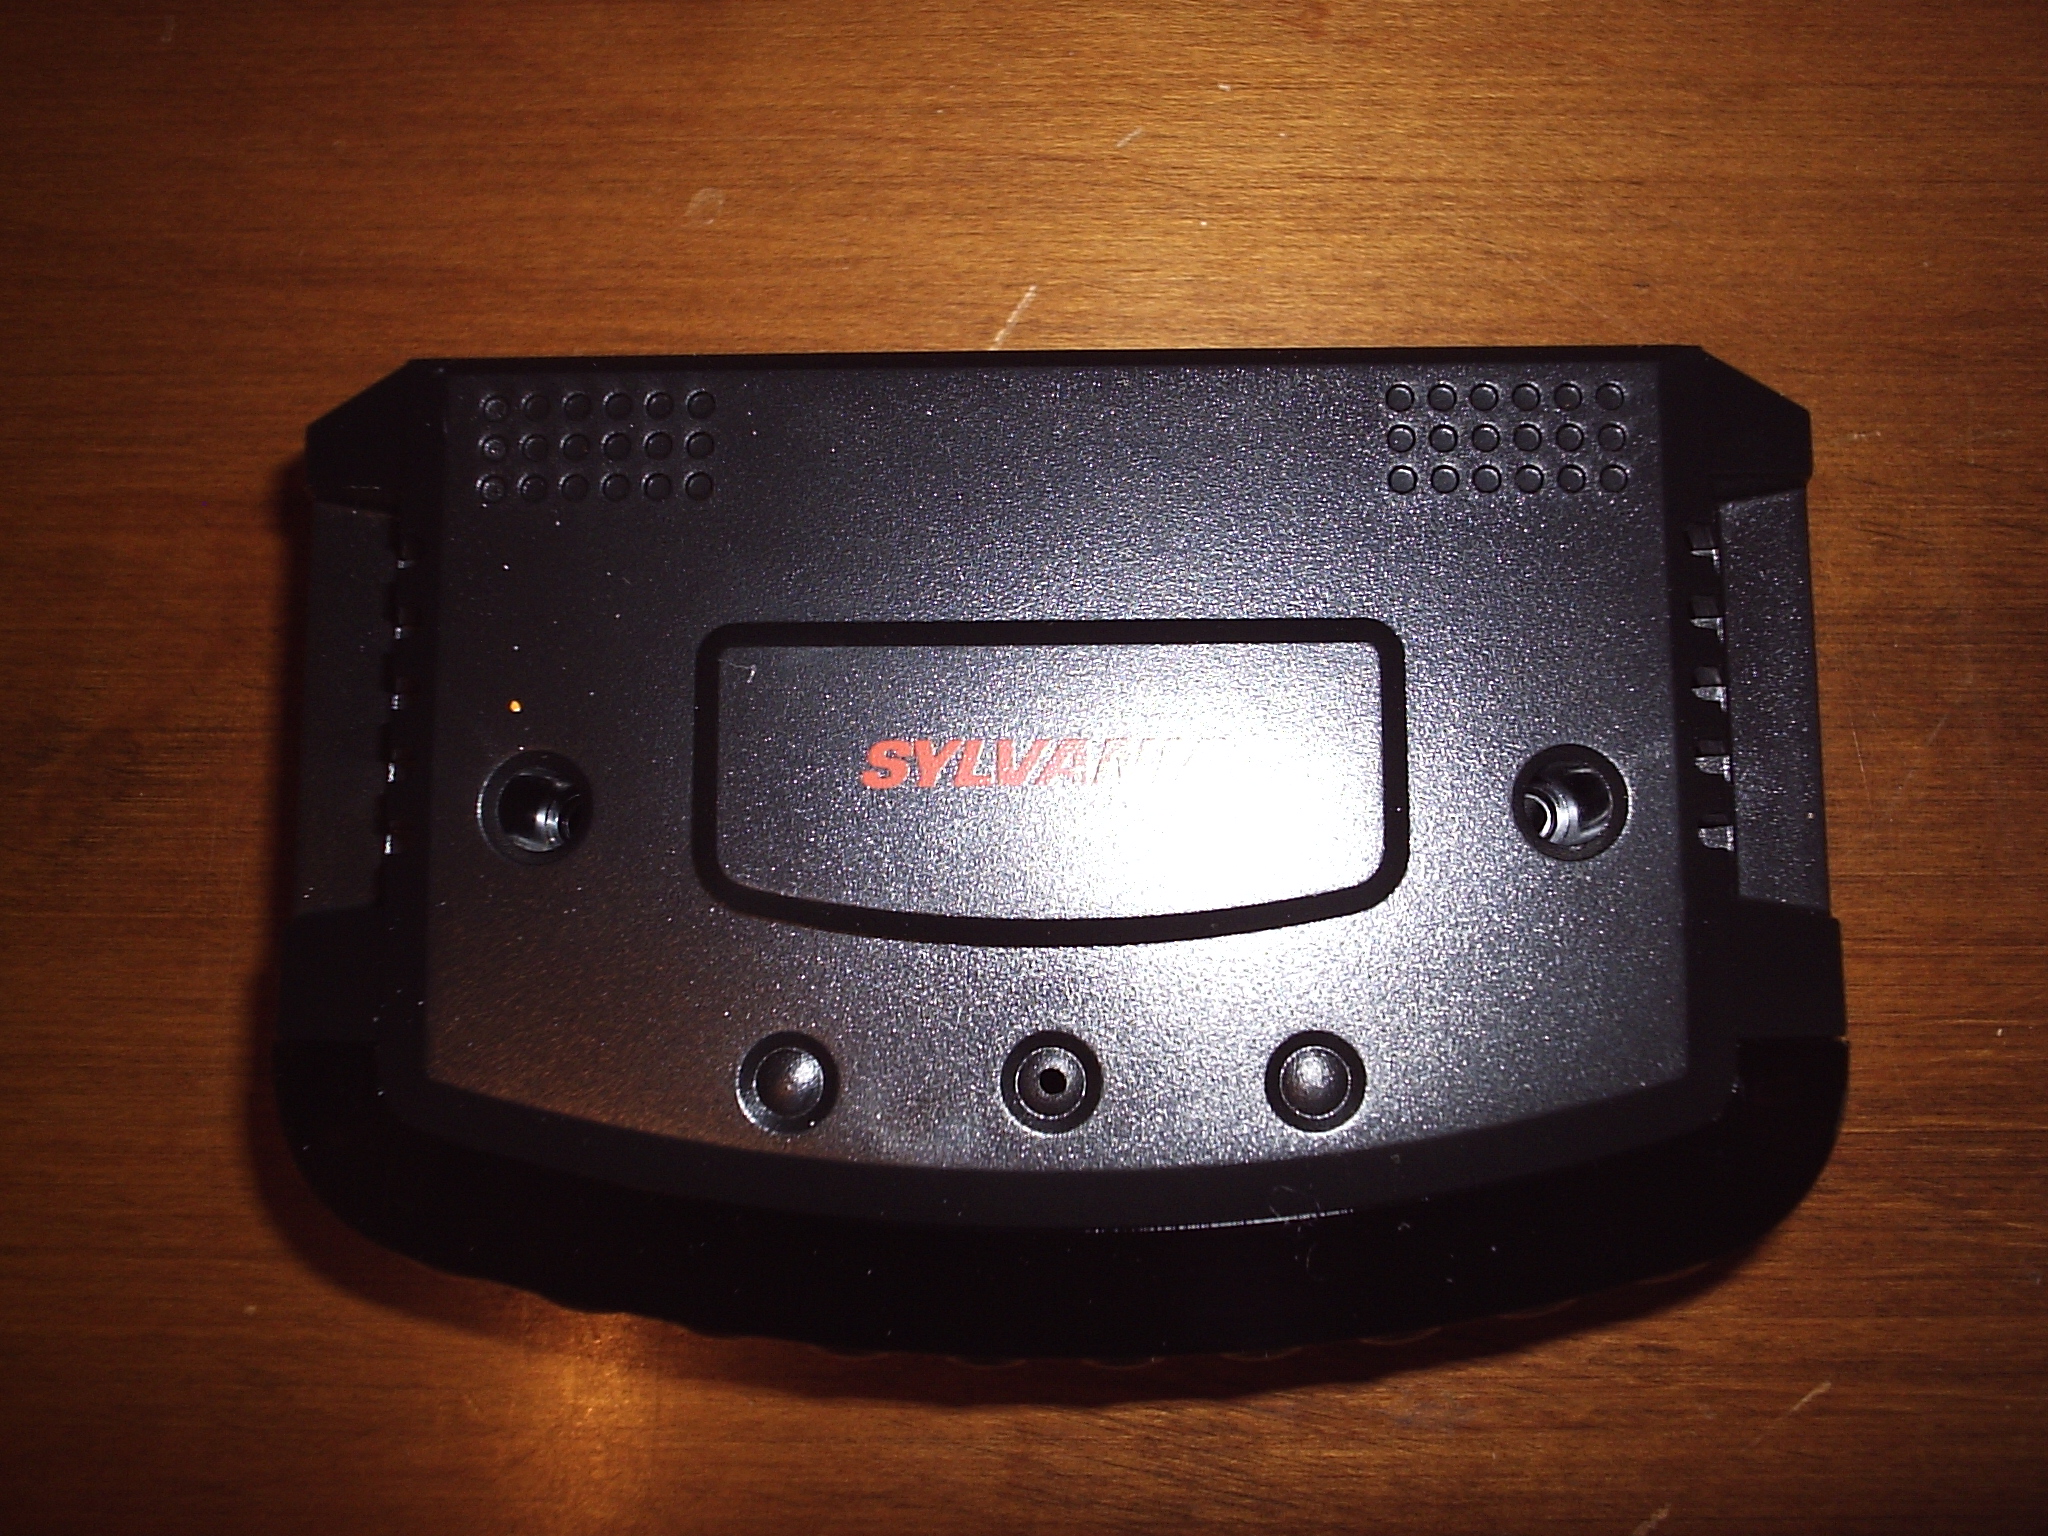
In this instructable I am going to show you how to modify the transmitter on your wireless headphones. I really like using wireless headphones, but they have a few drawbacks. First, some headphone transmitters run on batteries. Second, the transmitters don't transmit far enough.
The first problem may seem insignificant, but it can actually get very annoying. This is because the sound setup on my computer is somewhat finicky, having batteries that can wear out means there is one more thing to check when my sound stops working.
Poor transmitting range is more common and much more annoying. In general wireless headphones work fine if you are sitting three feet from the transmitter. But if you are like me you like to do things while you are using your headphones. Most cheap wireless headphones carry five to ten feet. In my case I wanted mine to carry farther than this, so I added an extra antenna.
So now that you know what we are going to do why don't you go to the next step to see what materials and tools you will need.
DISCLAIMER:
Doing this instructable may conflict with your local communications authorities rules the legality of this is entirely your responsibility.
Tools and Materials
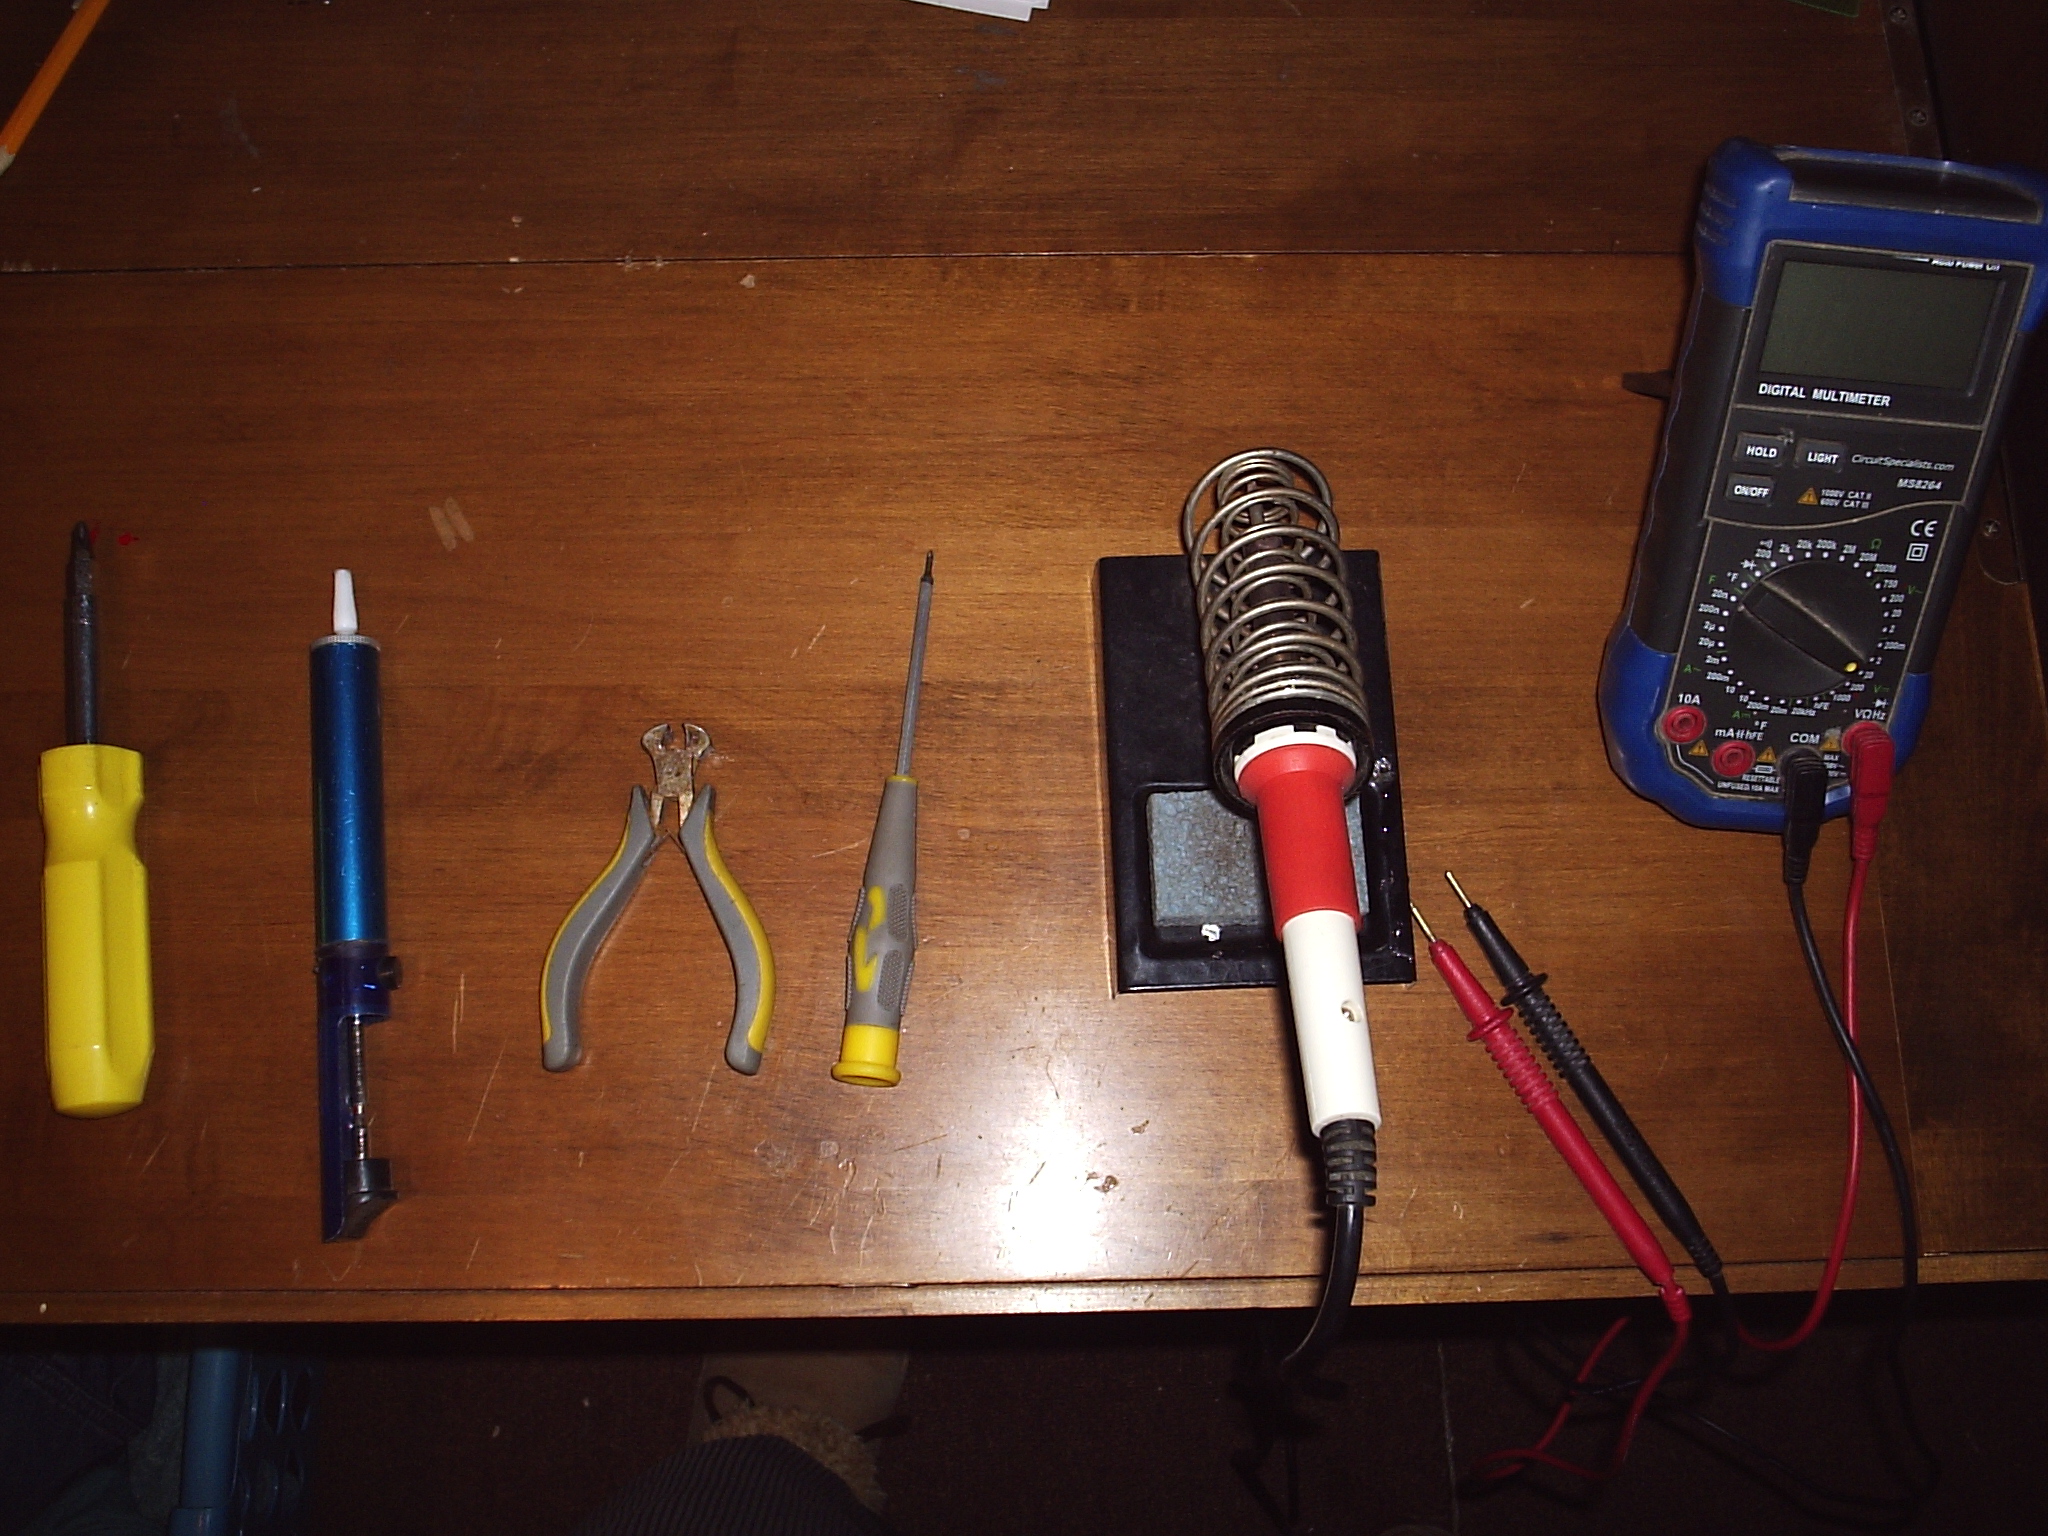
Before we can start there are a few tools and materials that you need to get.
Here are the materials that you will need:
That is all of the materials you need.
Now for the tools:
Once you have all of that we are ready to start modifying.
Here are the materials that you will need:
- Wireless headphones and transmitter. All we will be modifying is the transmitter, but ti doesn't do any good to modify a transmitter if you don't have headphones for it.
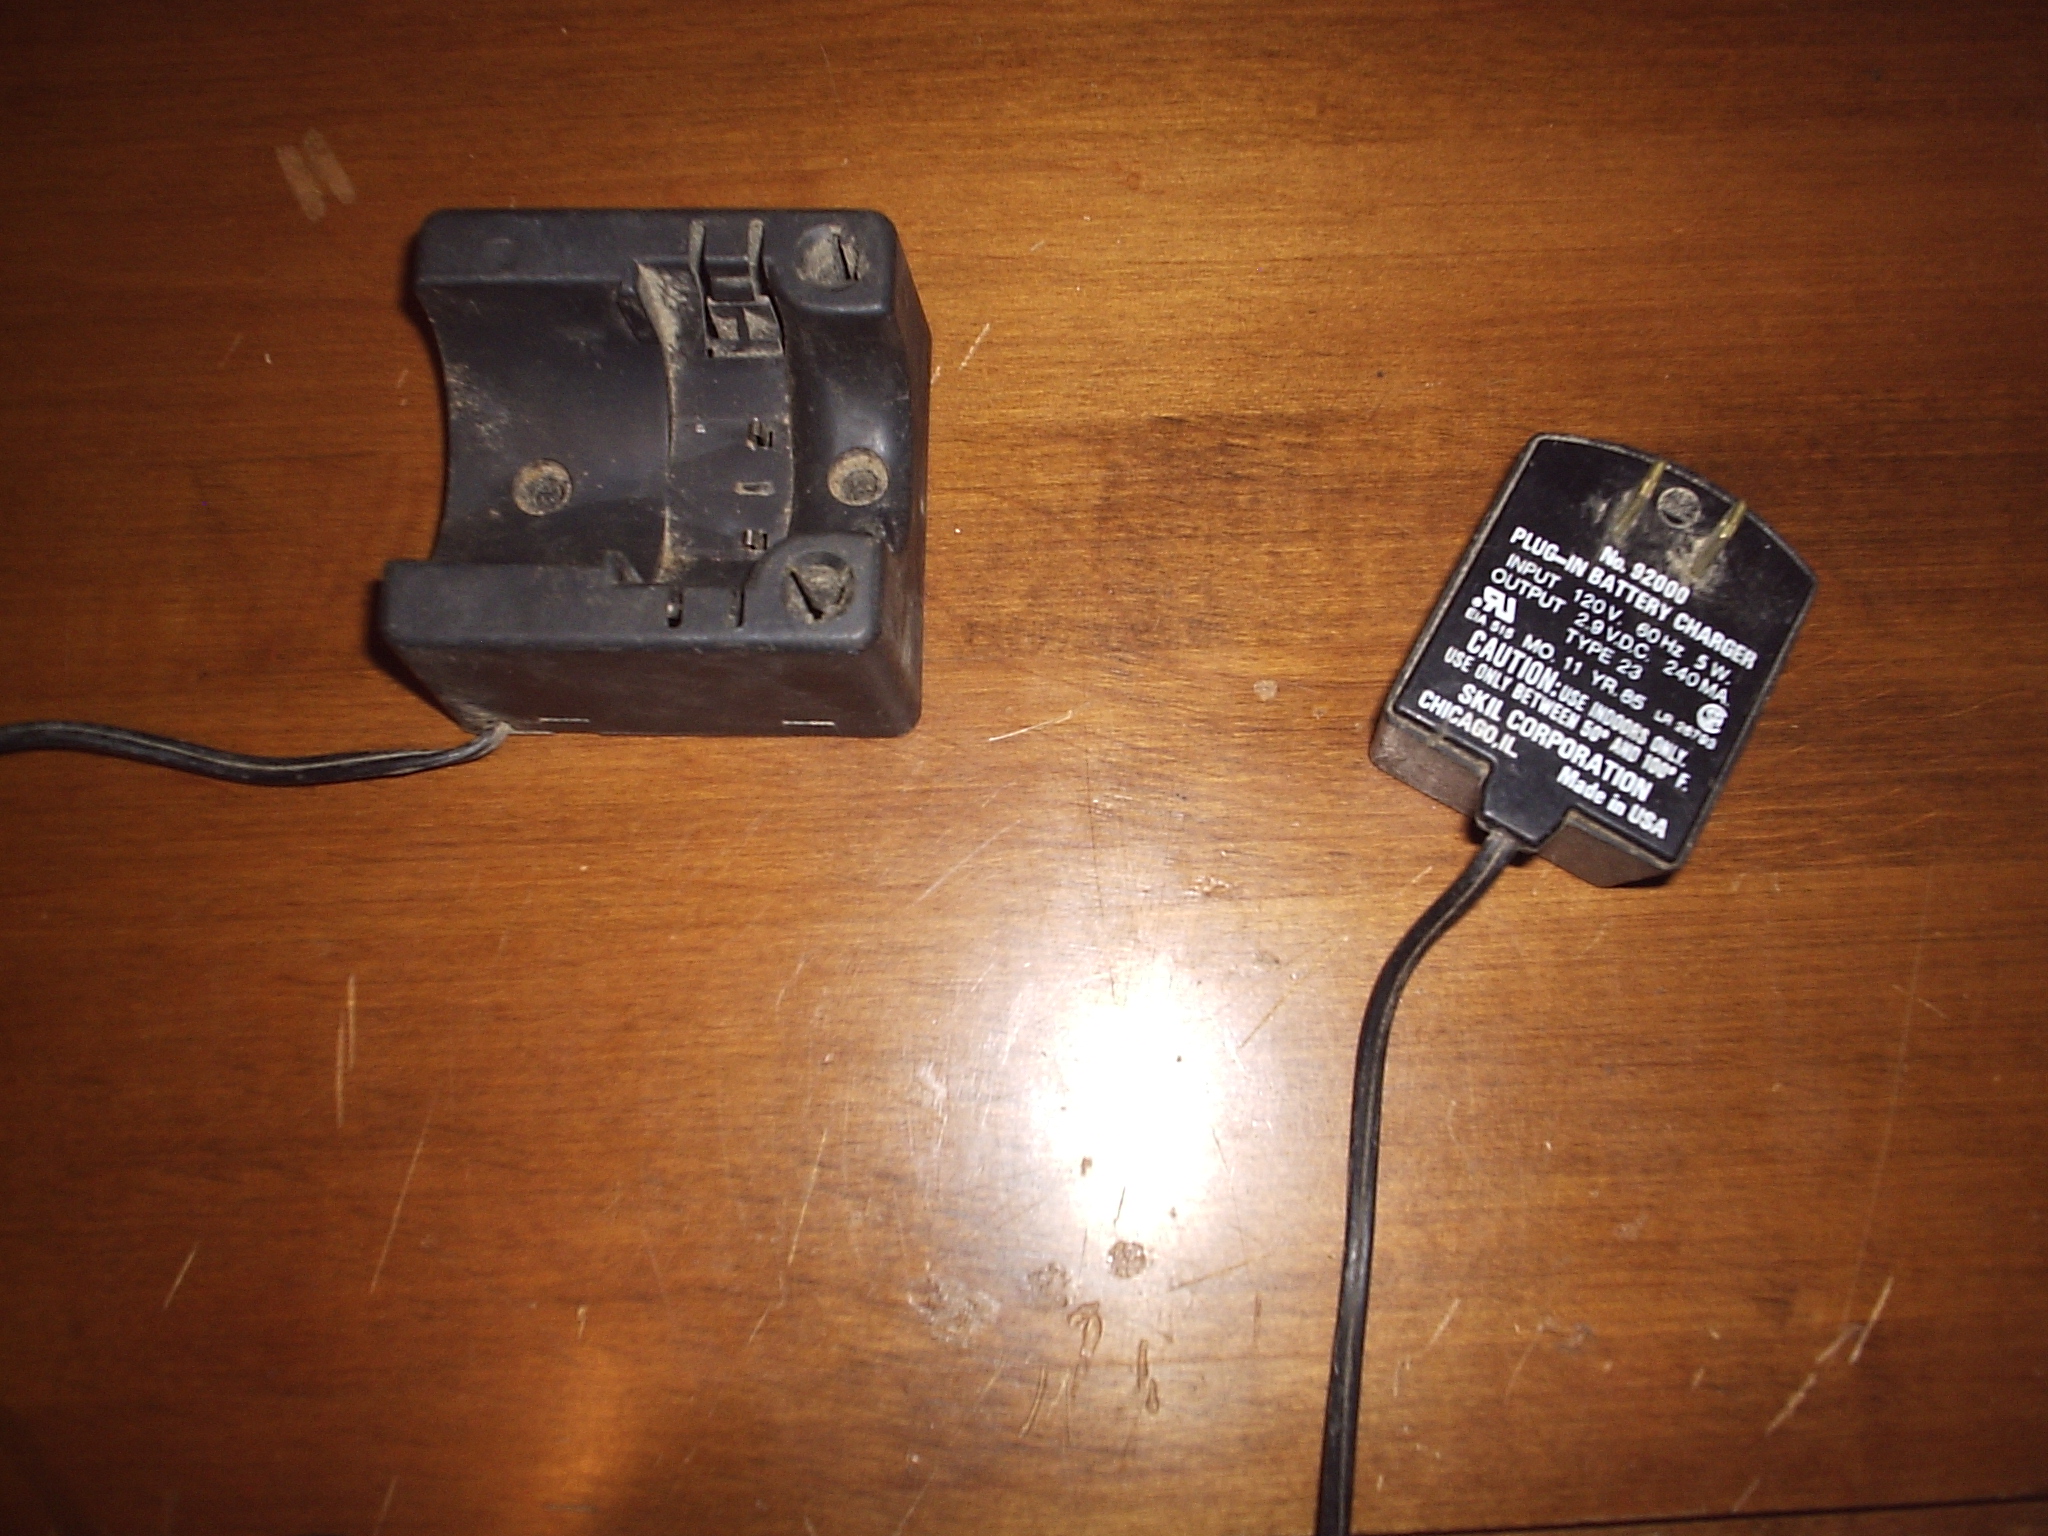
- DC wall adapter. The voltage you need depends on how many batteries your transmitter uses. In my case my transmitter used two 1.5 volt batteries so I needed a three volt transformer.
- Shrink tubing. This is for insulating electrical connections.
- Solder.
- Antenna. This is for increasing the range of your headphone transmitter. I got mine from an old radio, but you could also get one new.
That is all of the materials you need.
Now for the tools:
- Soldering iron. Solder doesn't do you any good without a soldering iron.
- Multimeter. This comes in handy, but you could probably get along without it.
- Assorted screwdrivers.
- Solder sucker. You may need this if you mess up.
- Wire cutters. For cutting wires of course.
Once you have all of that we are ready to start modifying.
Opening Up the Battery Compartment and Connecting the Adapter
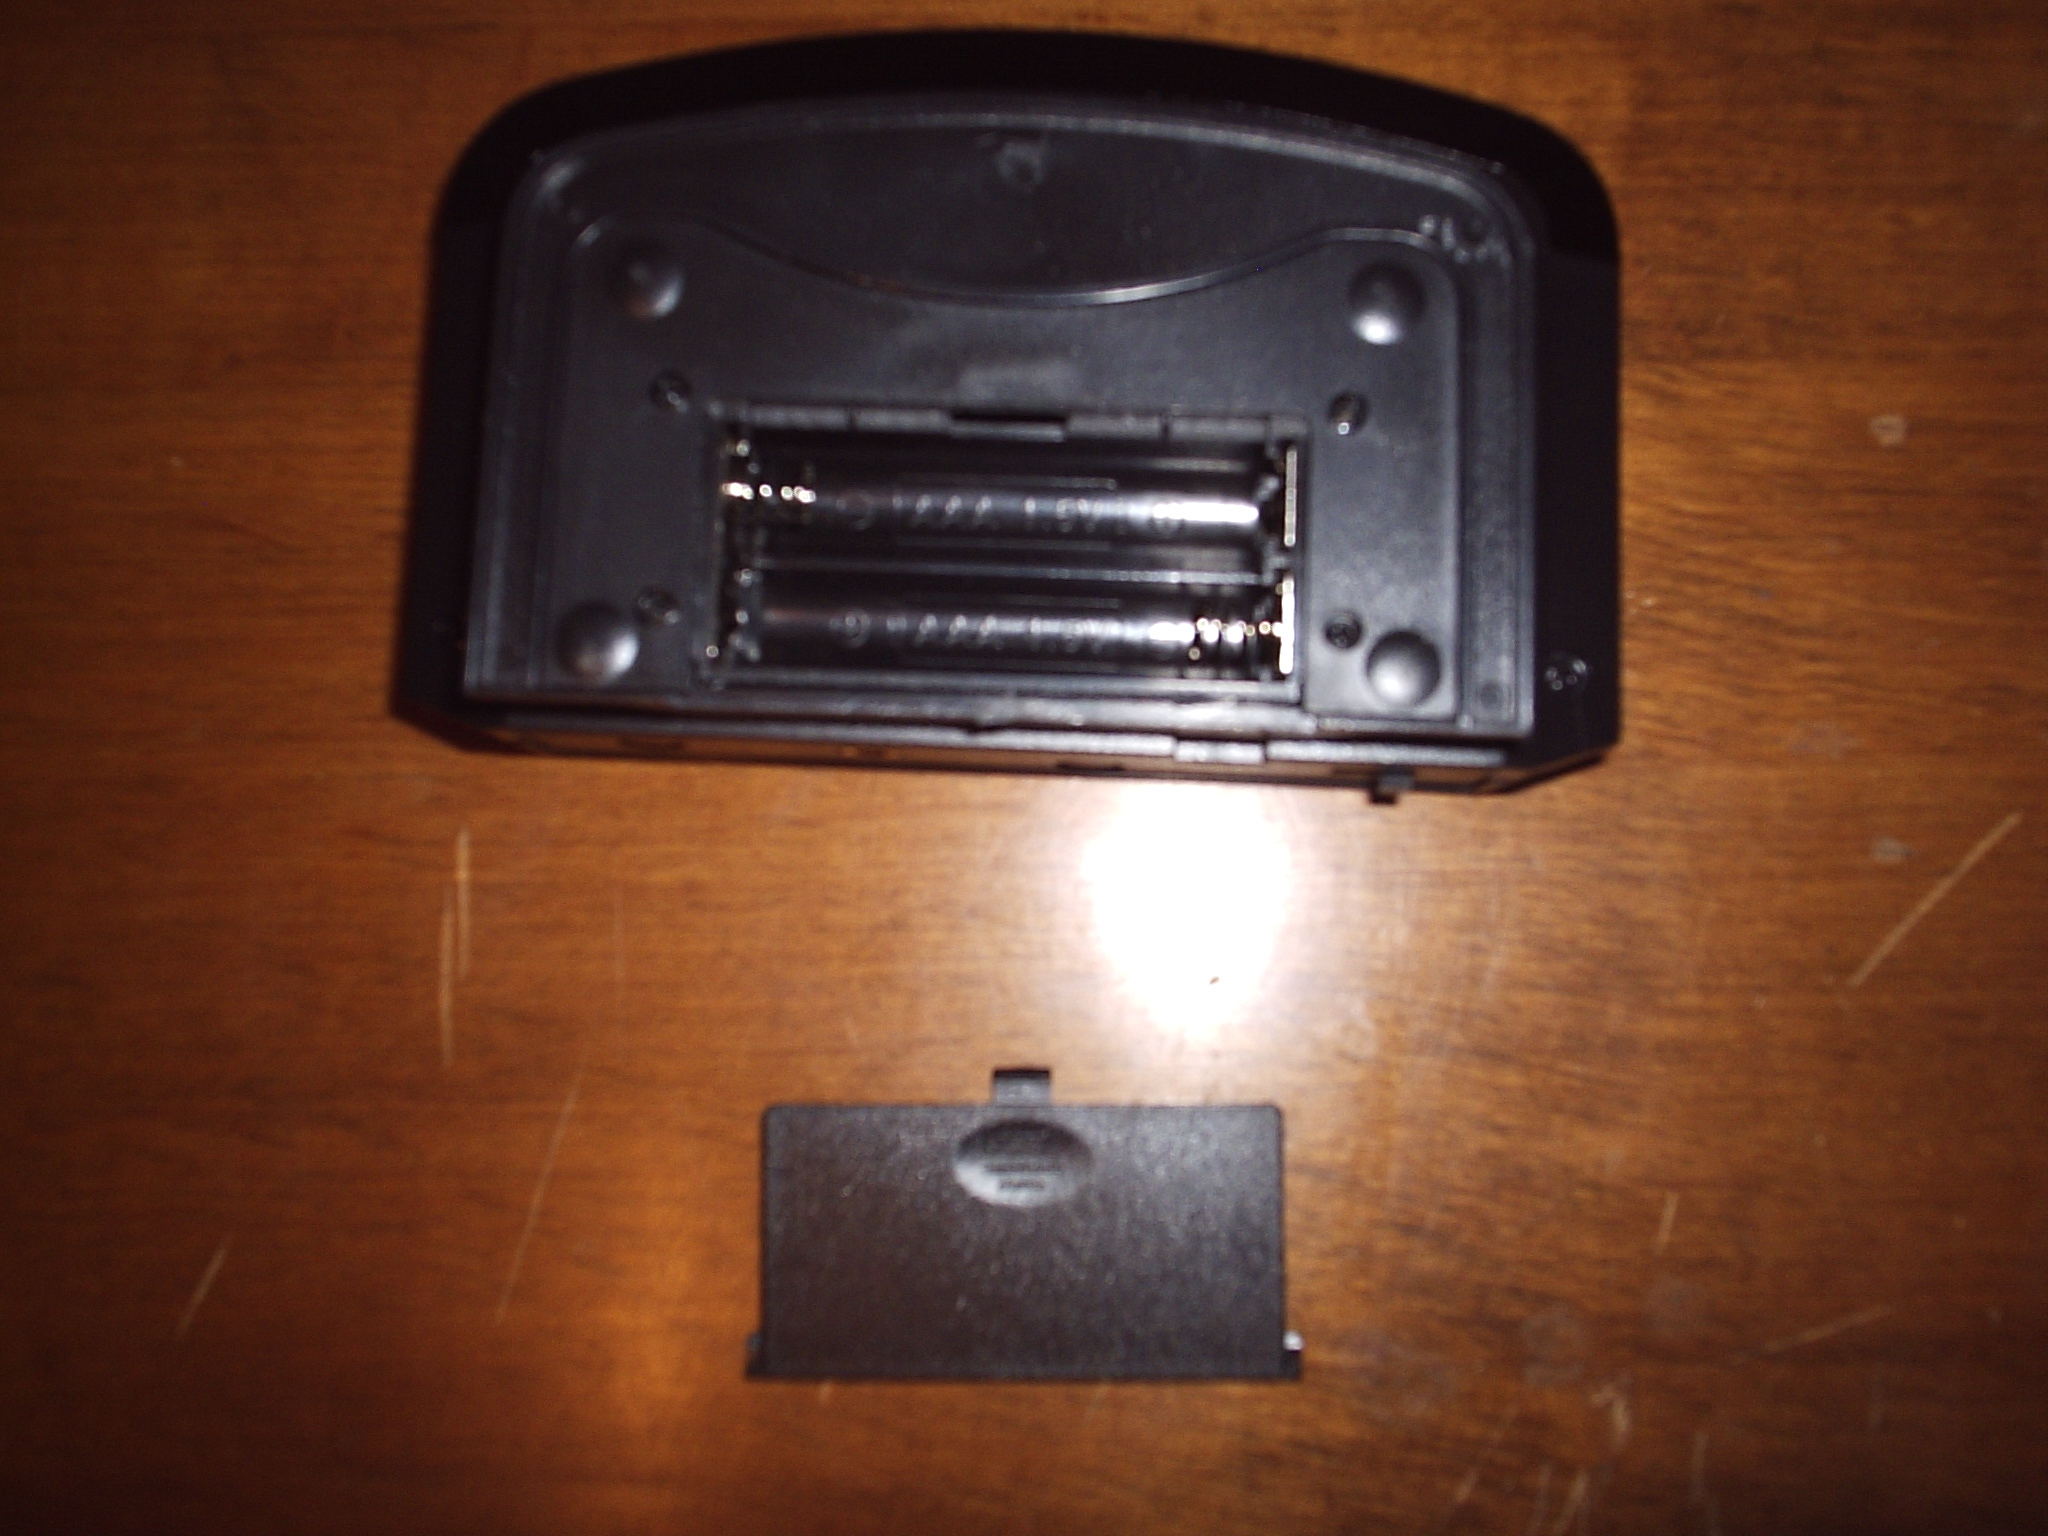
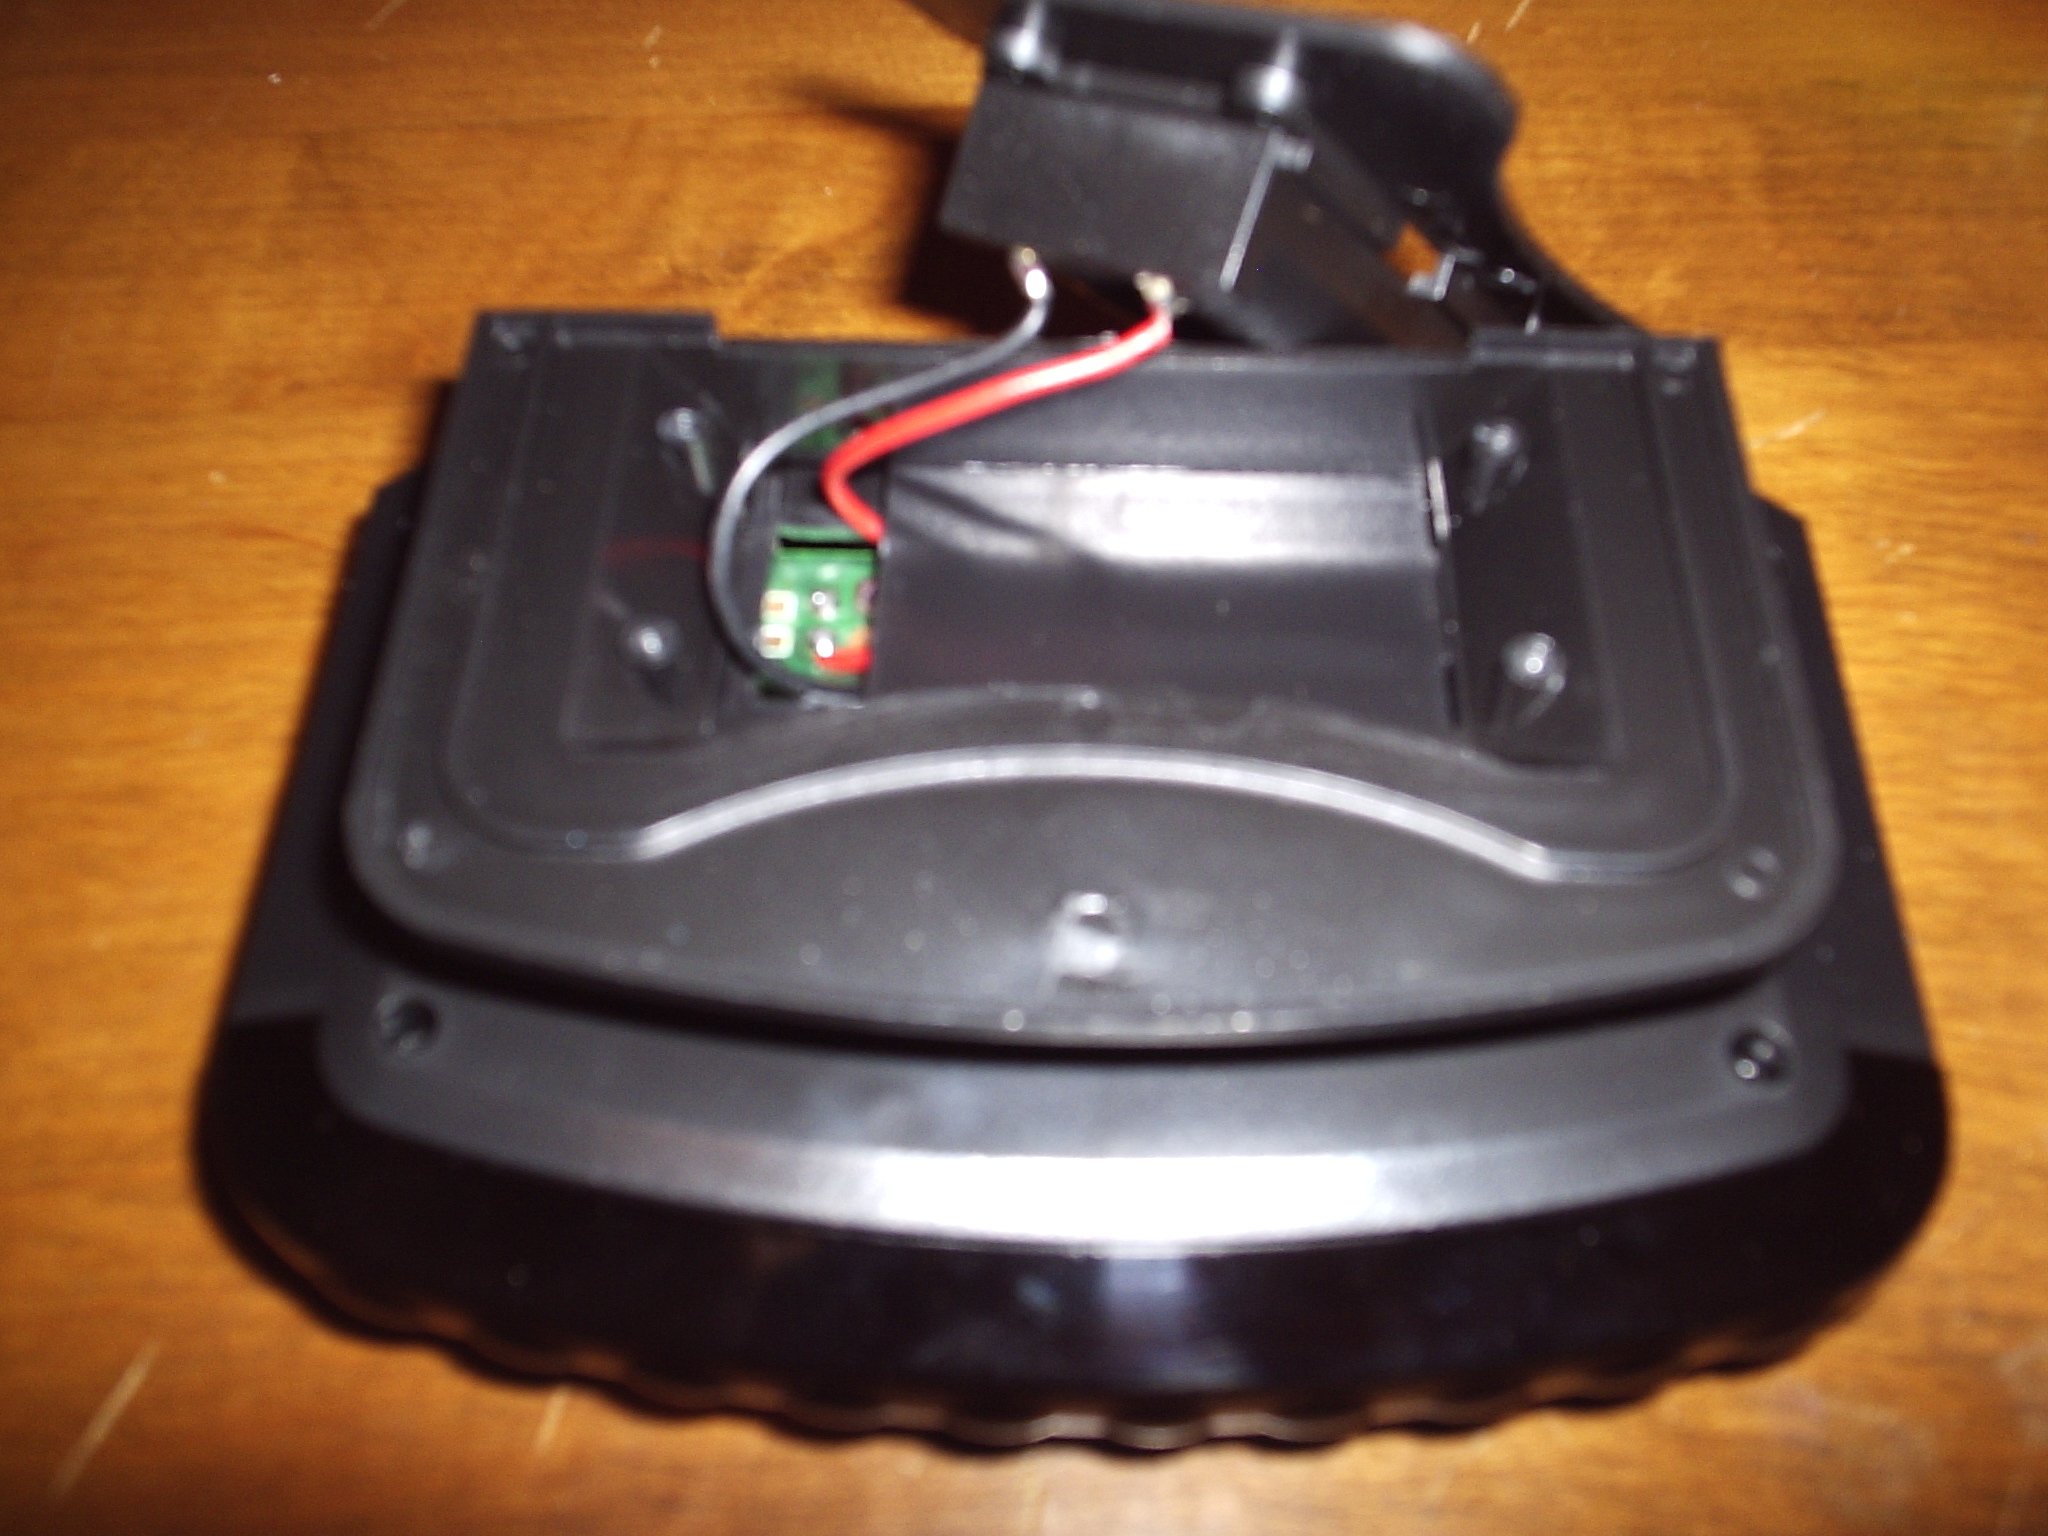
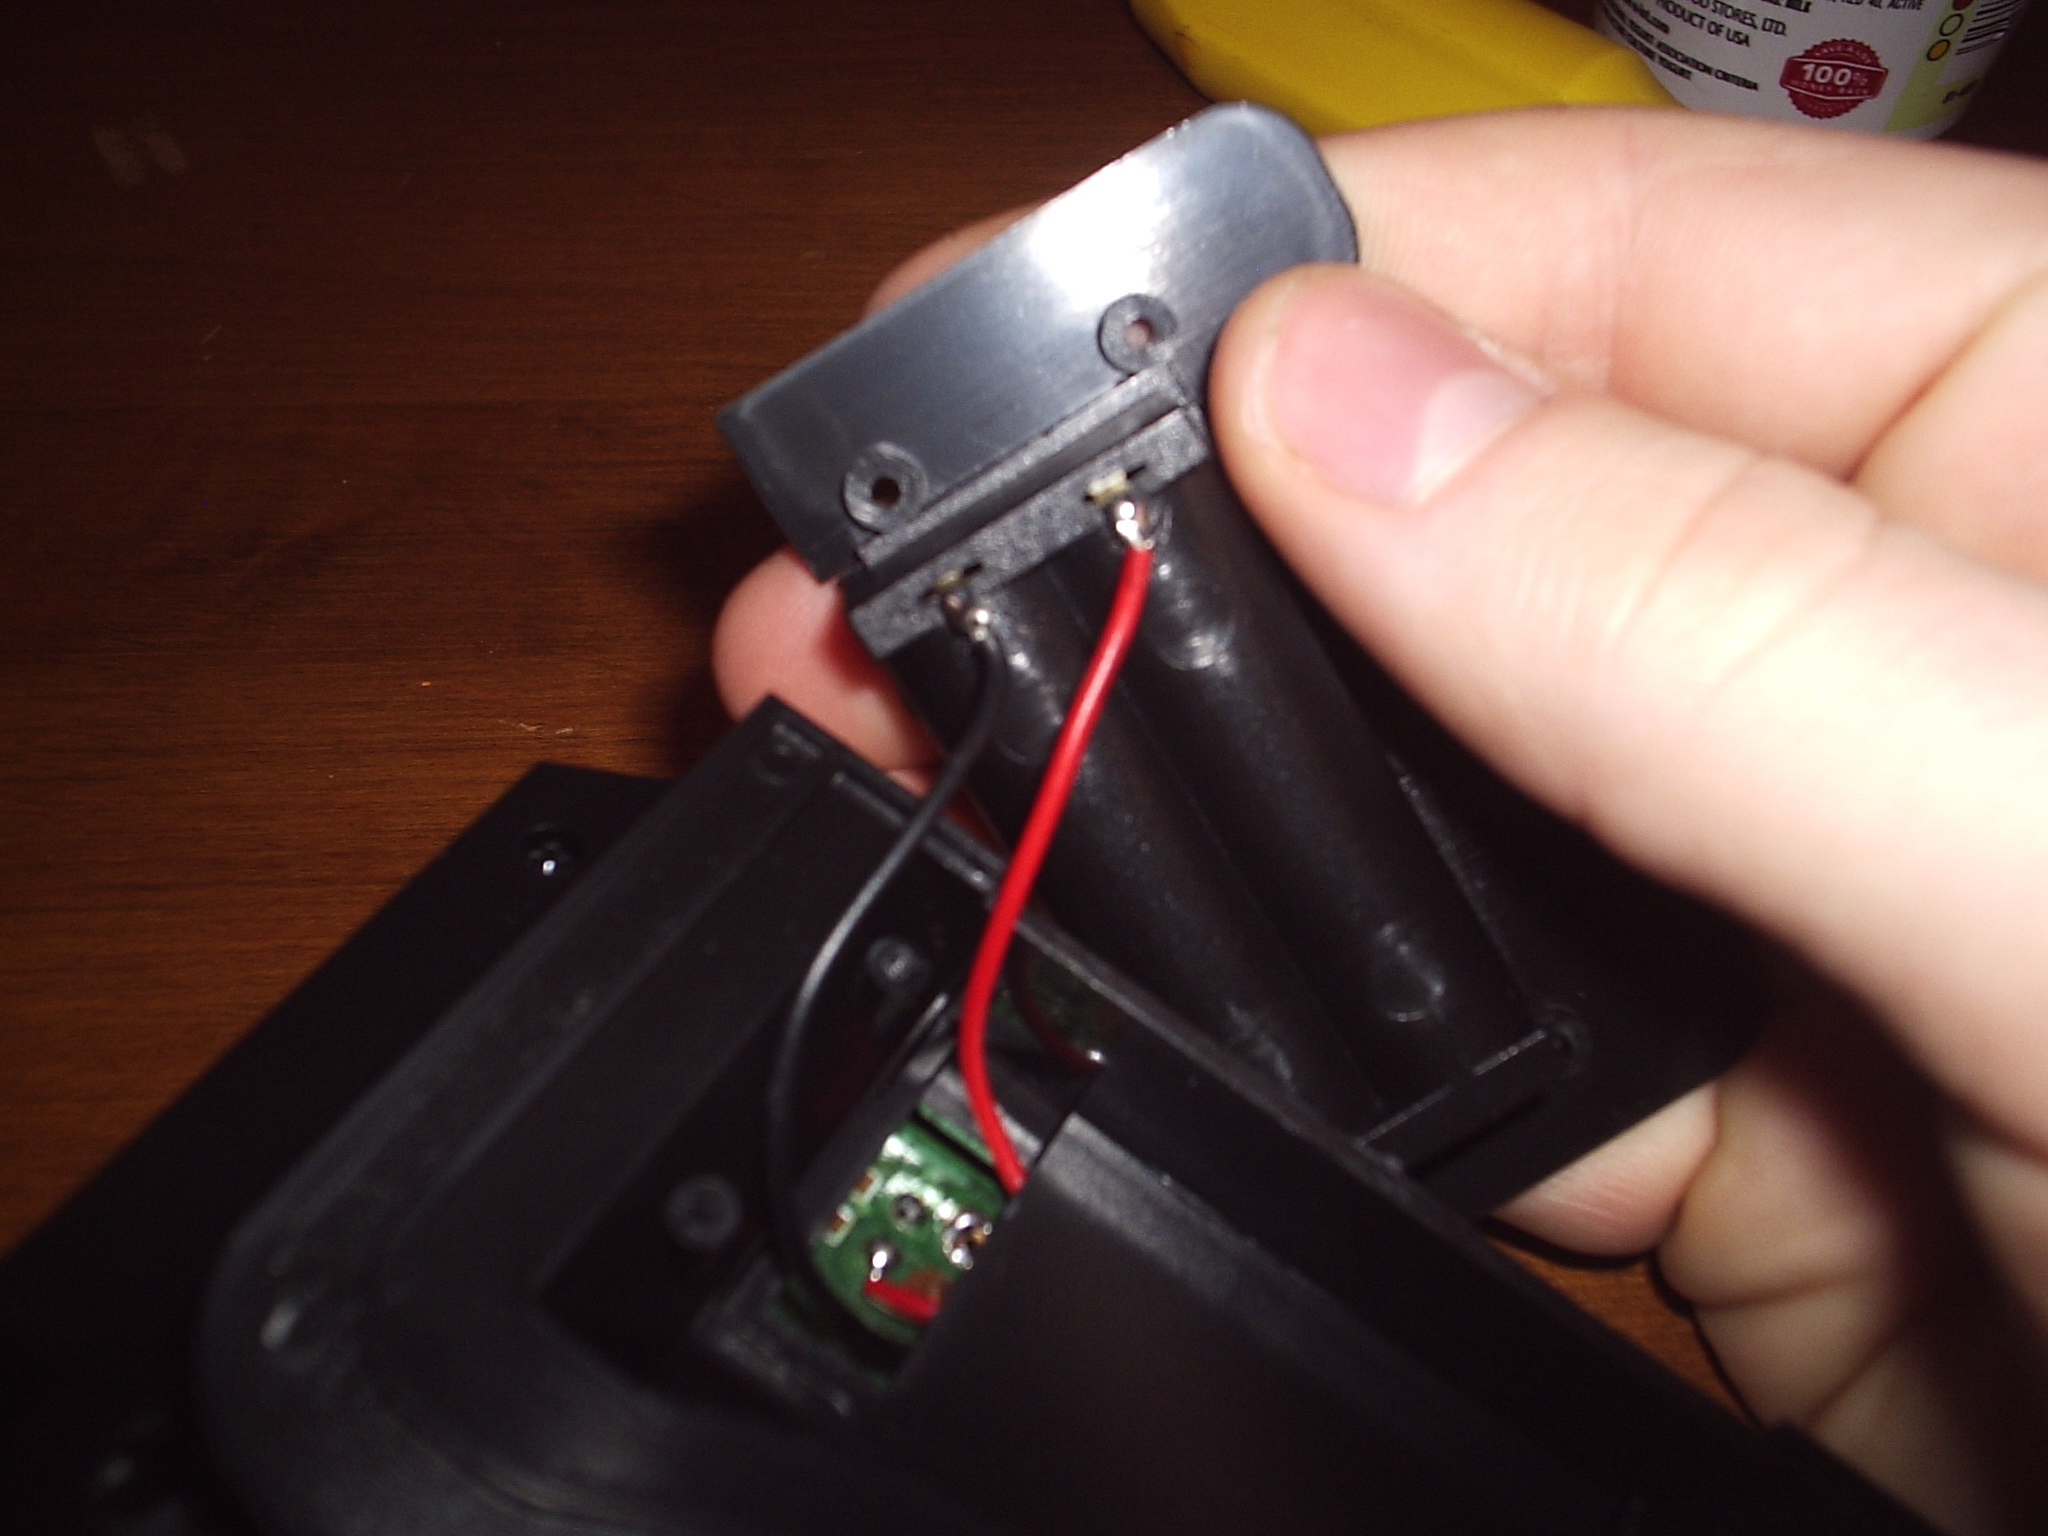
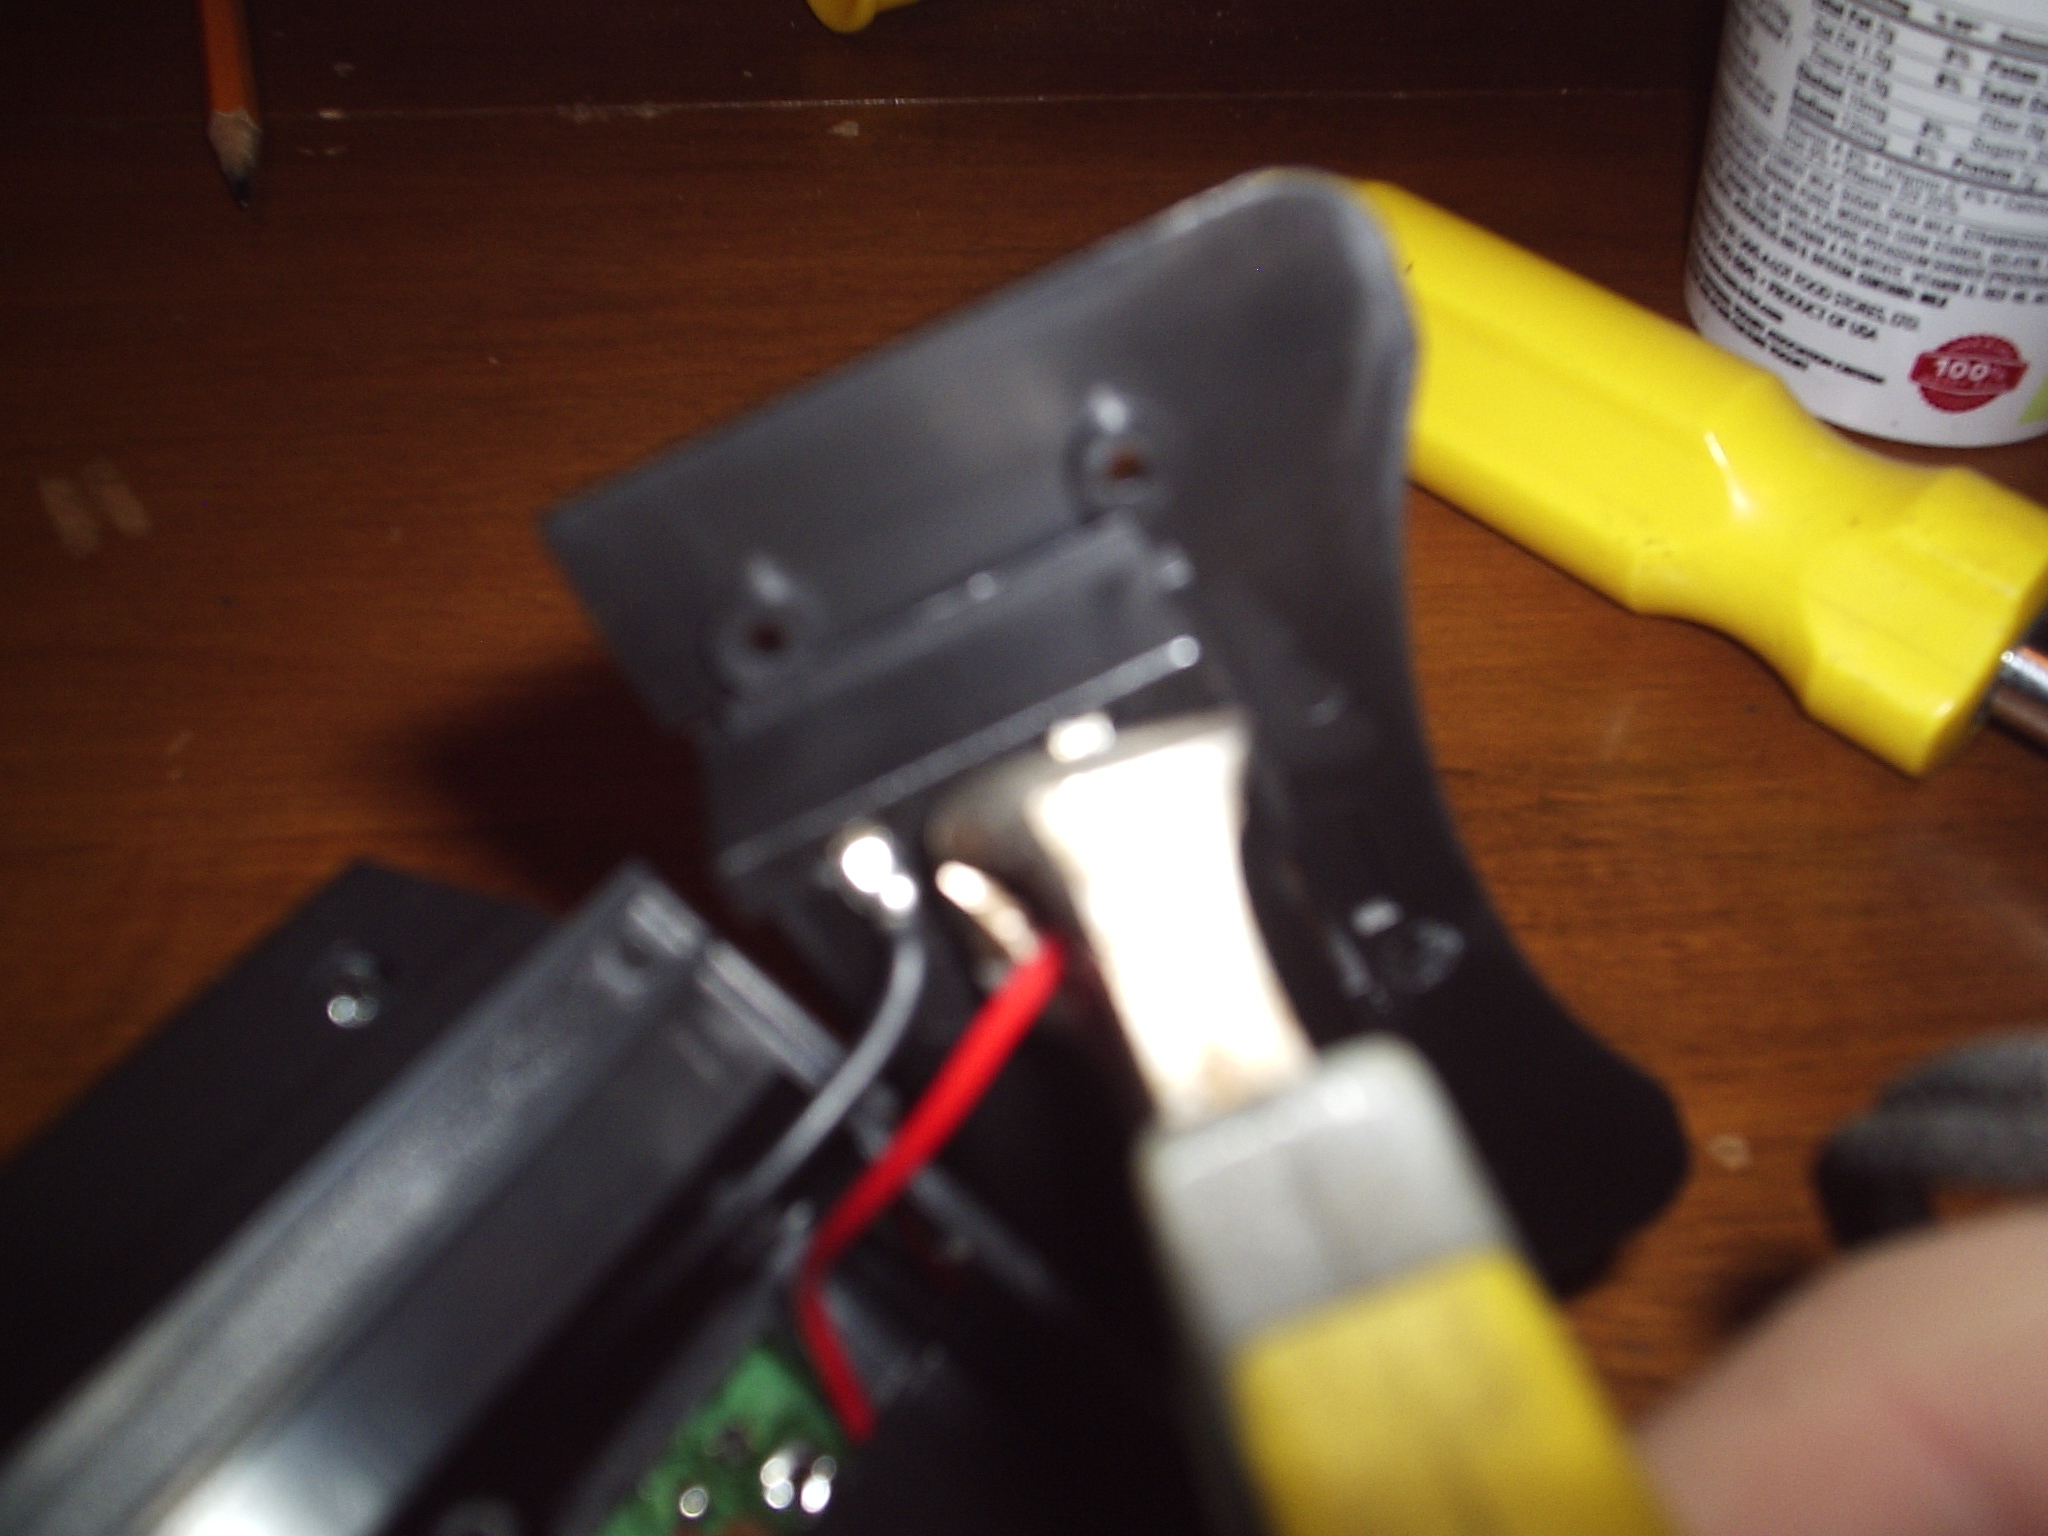
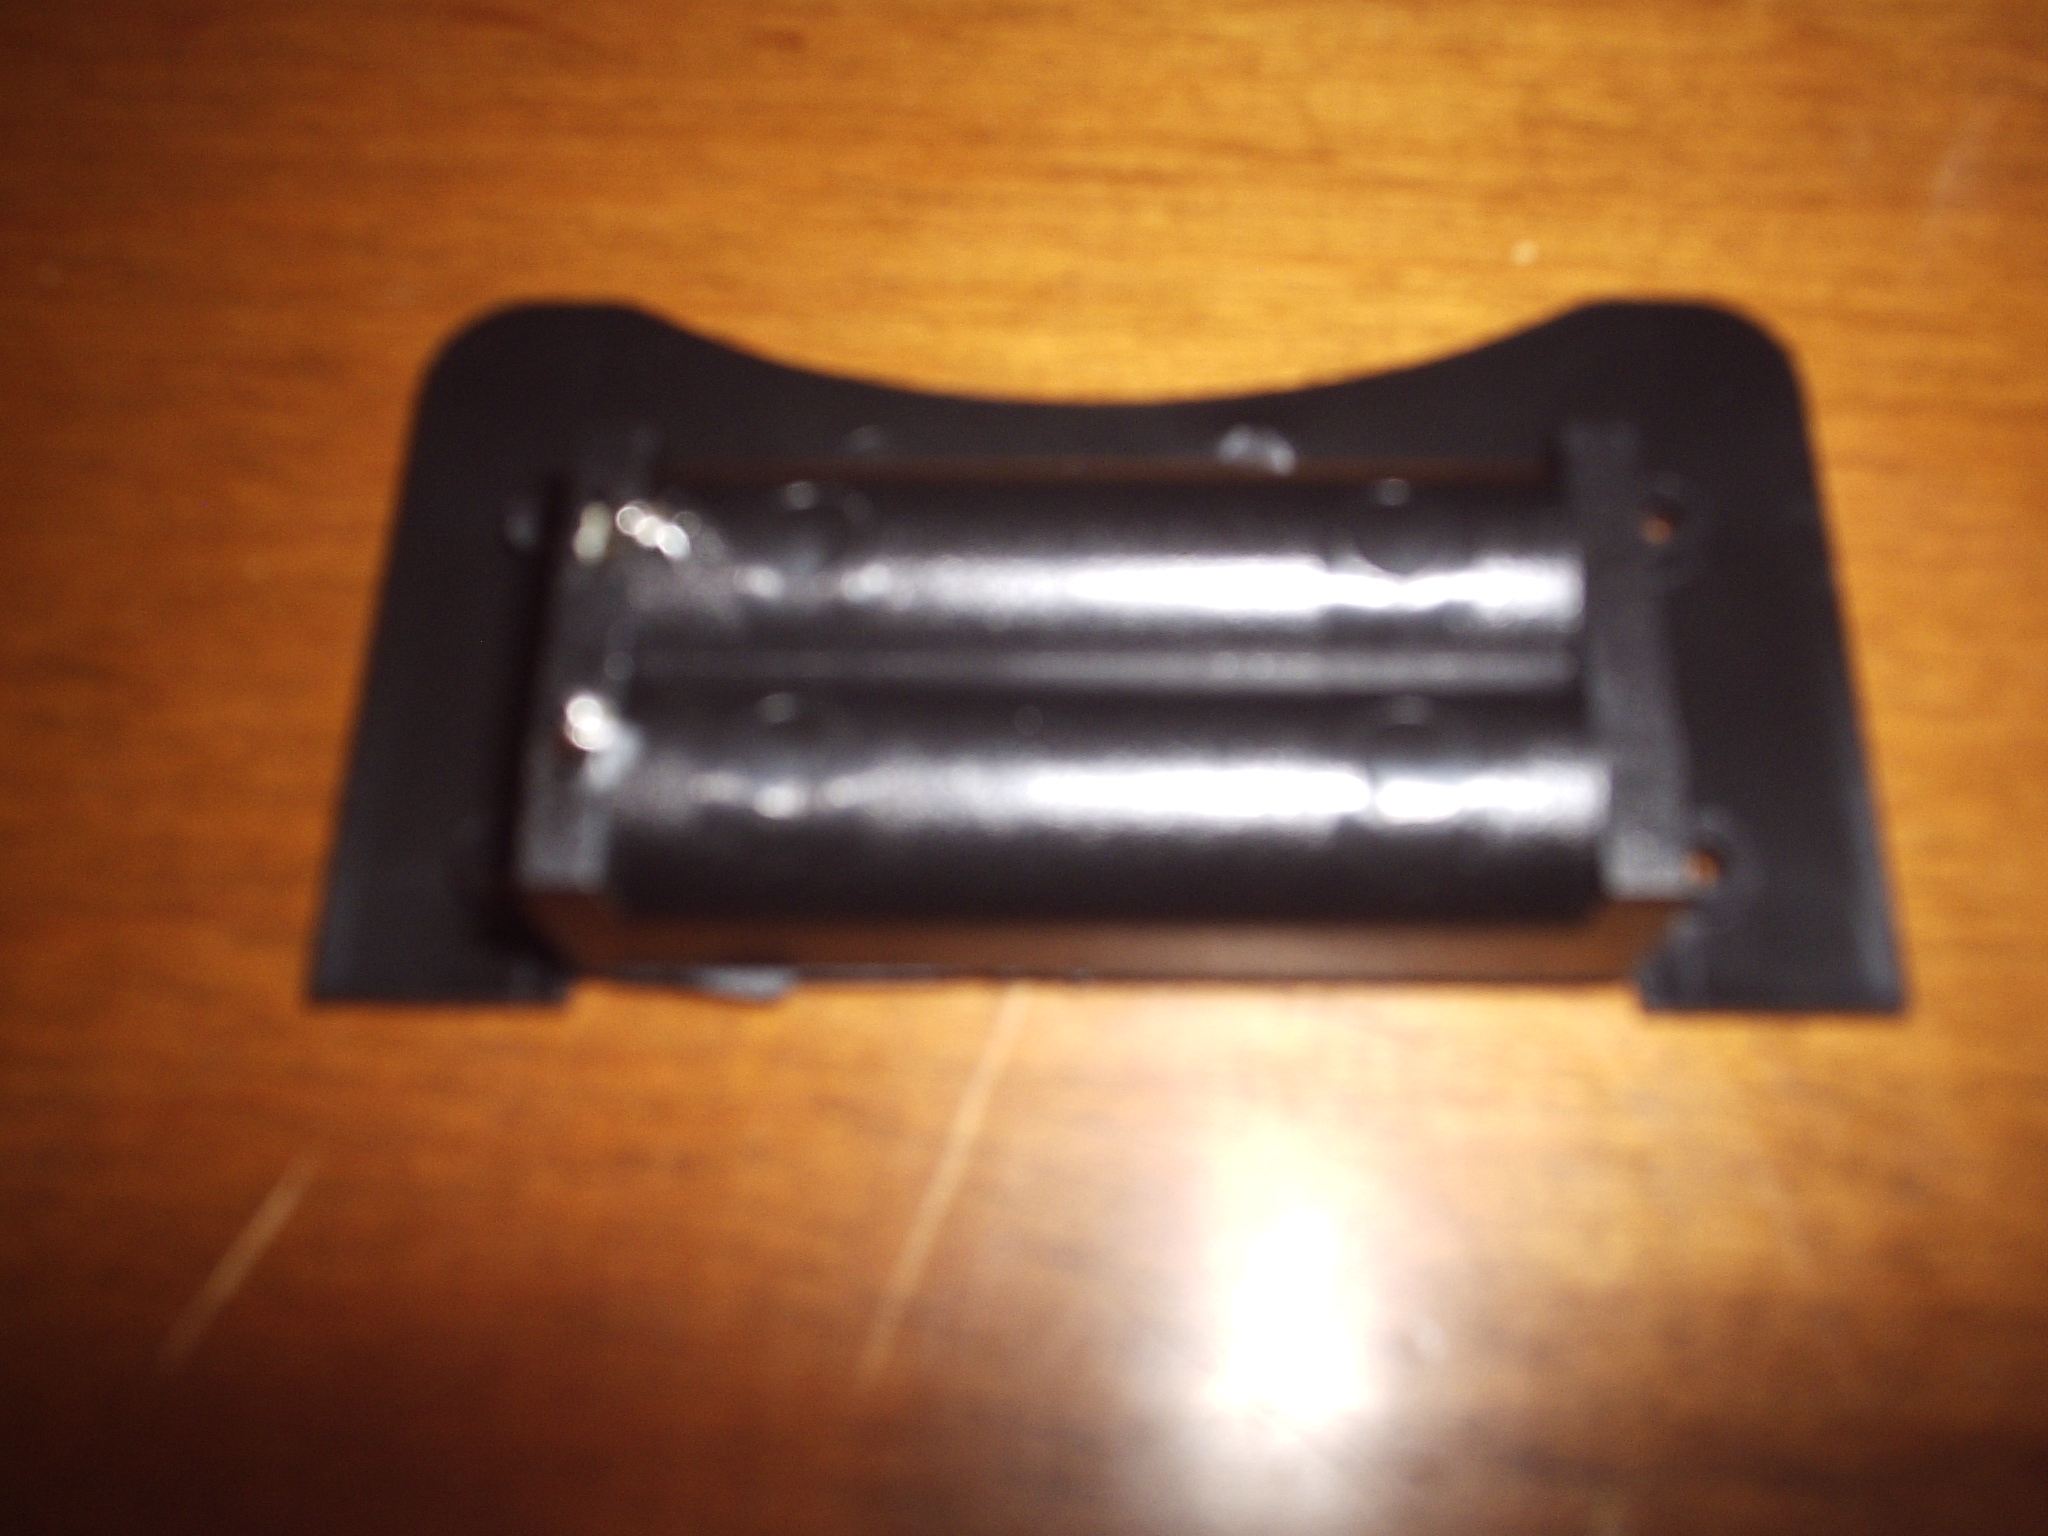
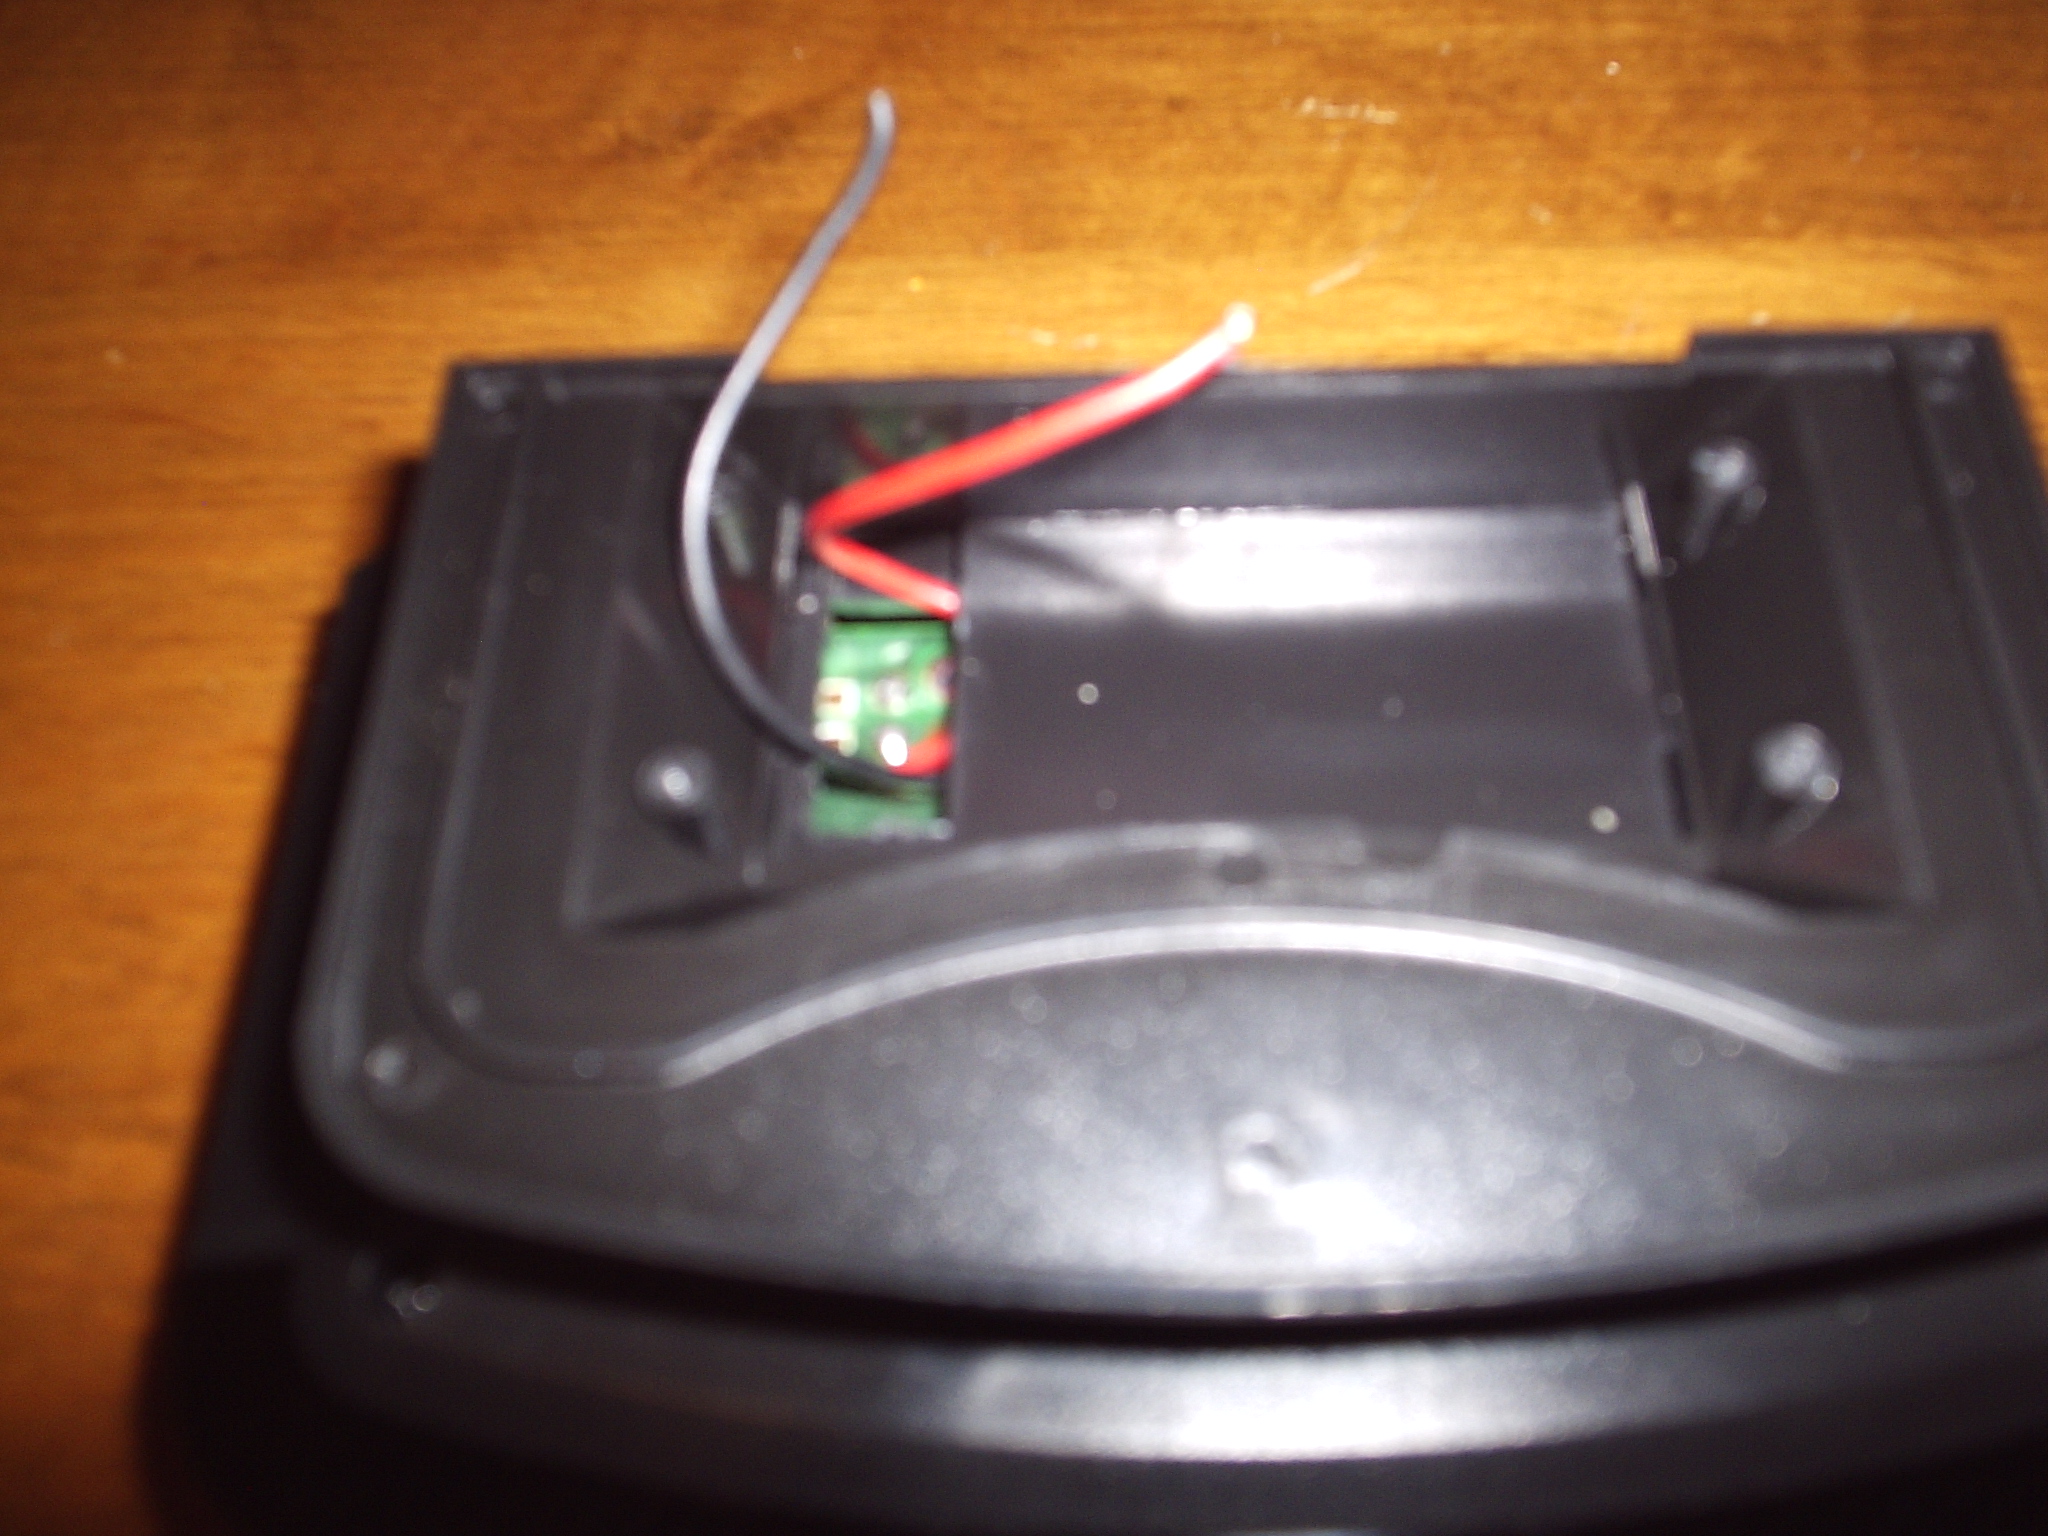
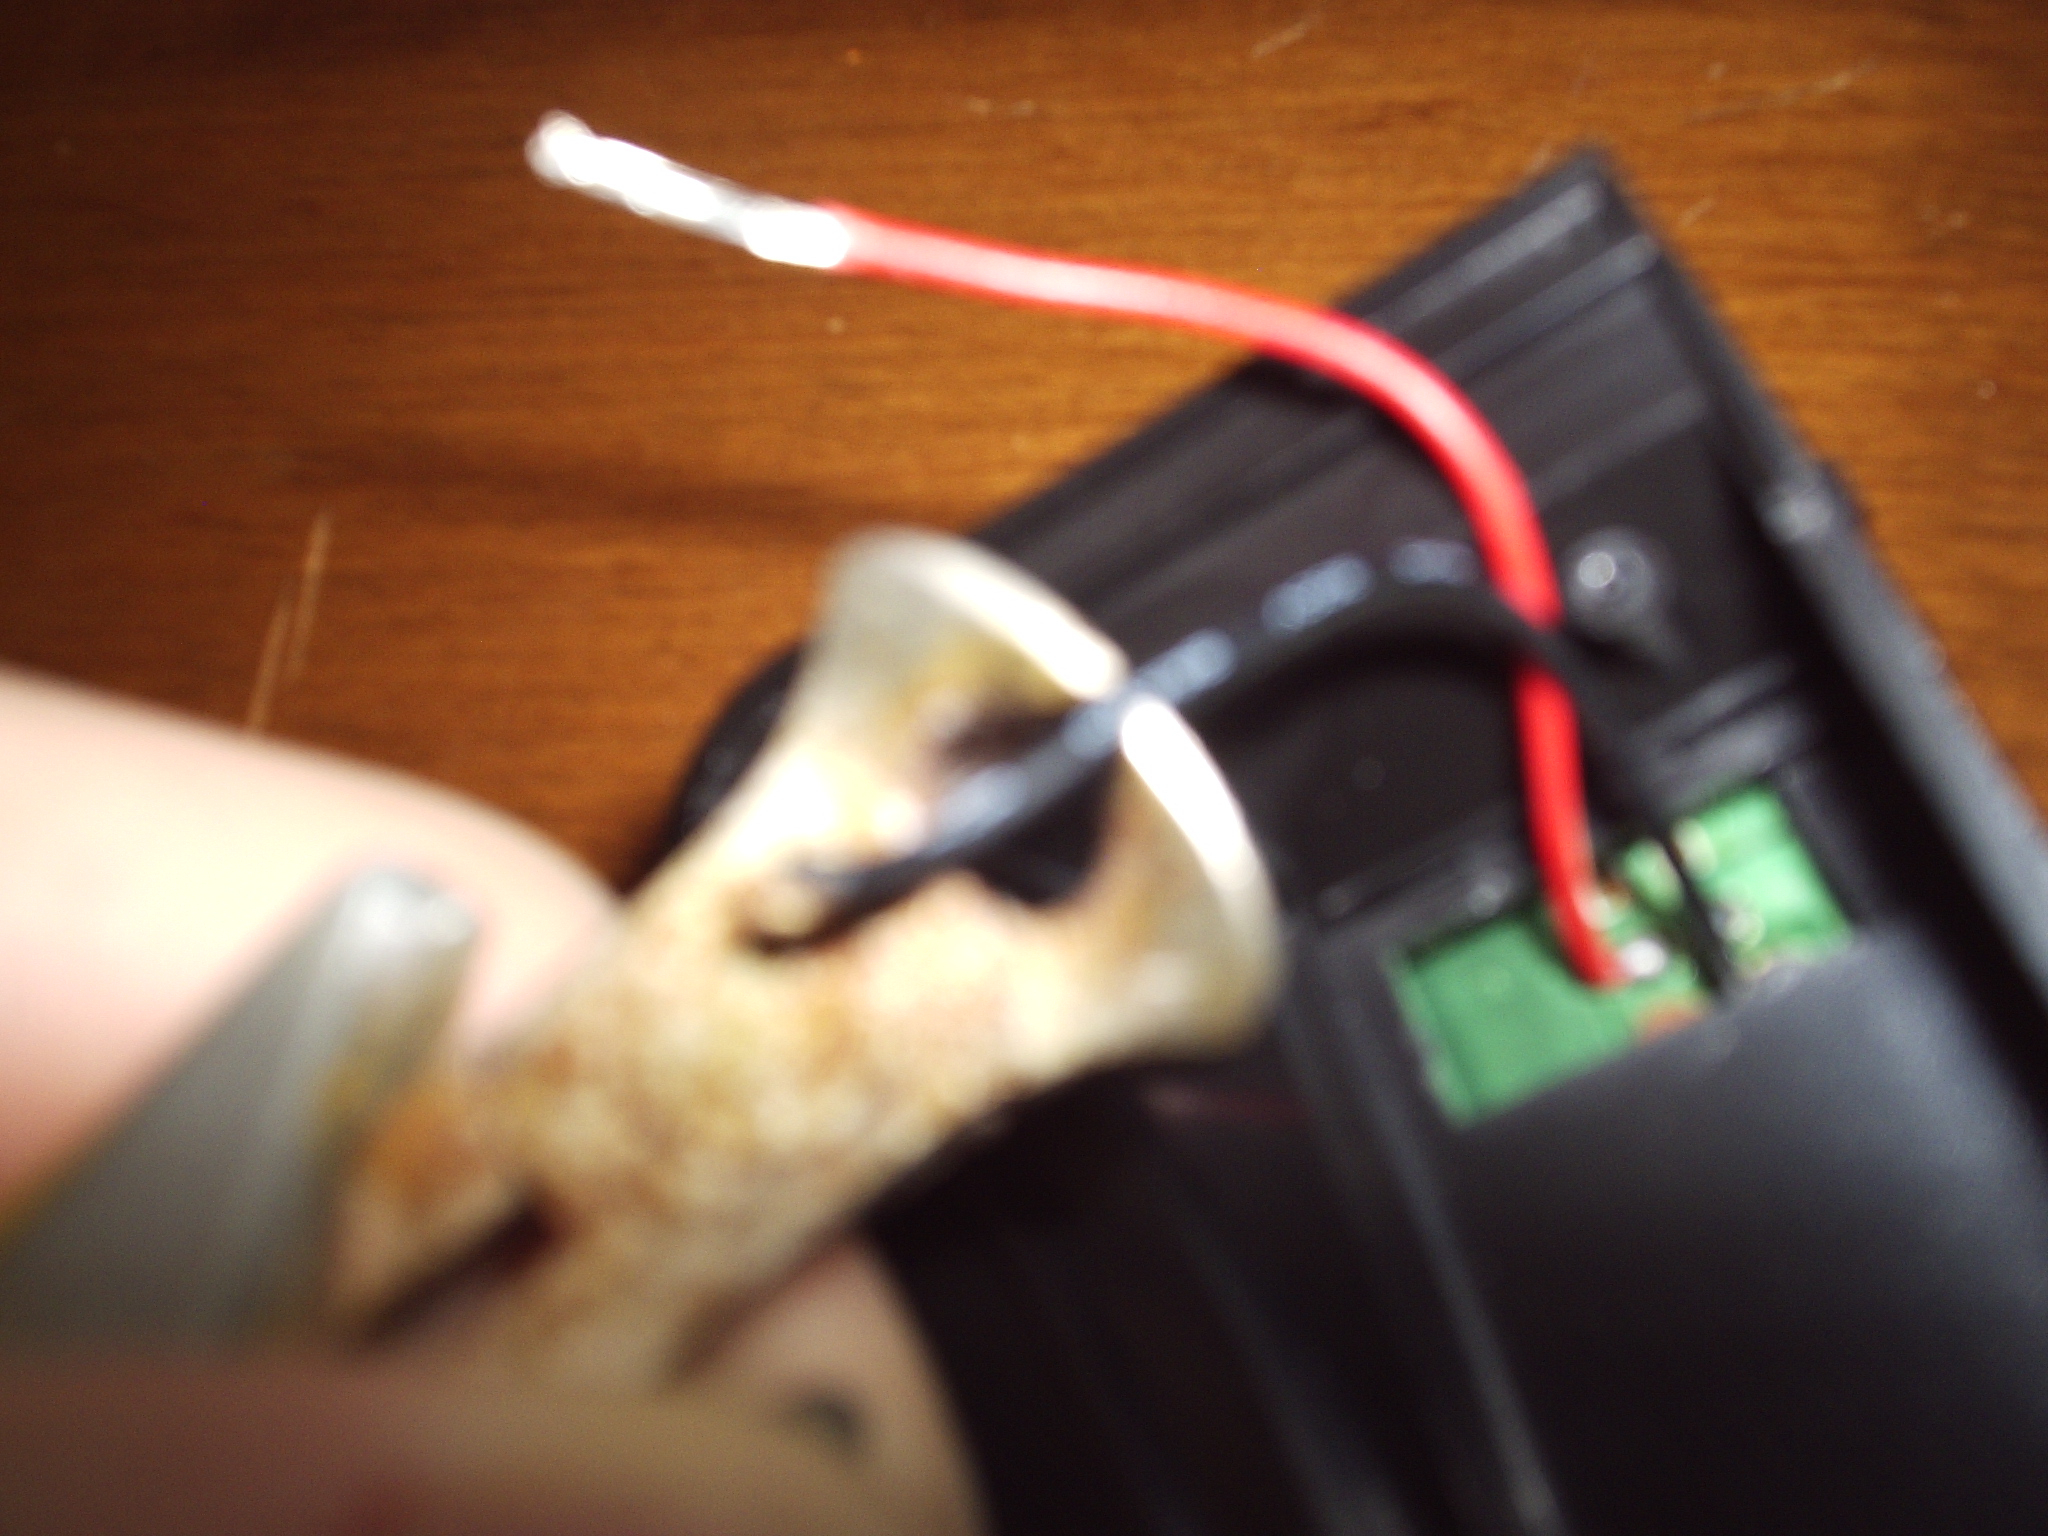

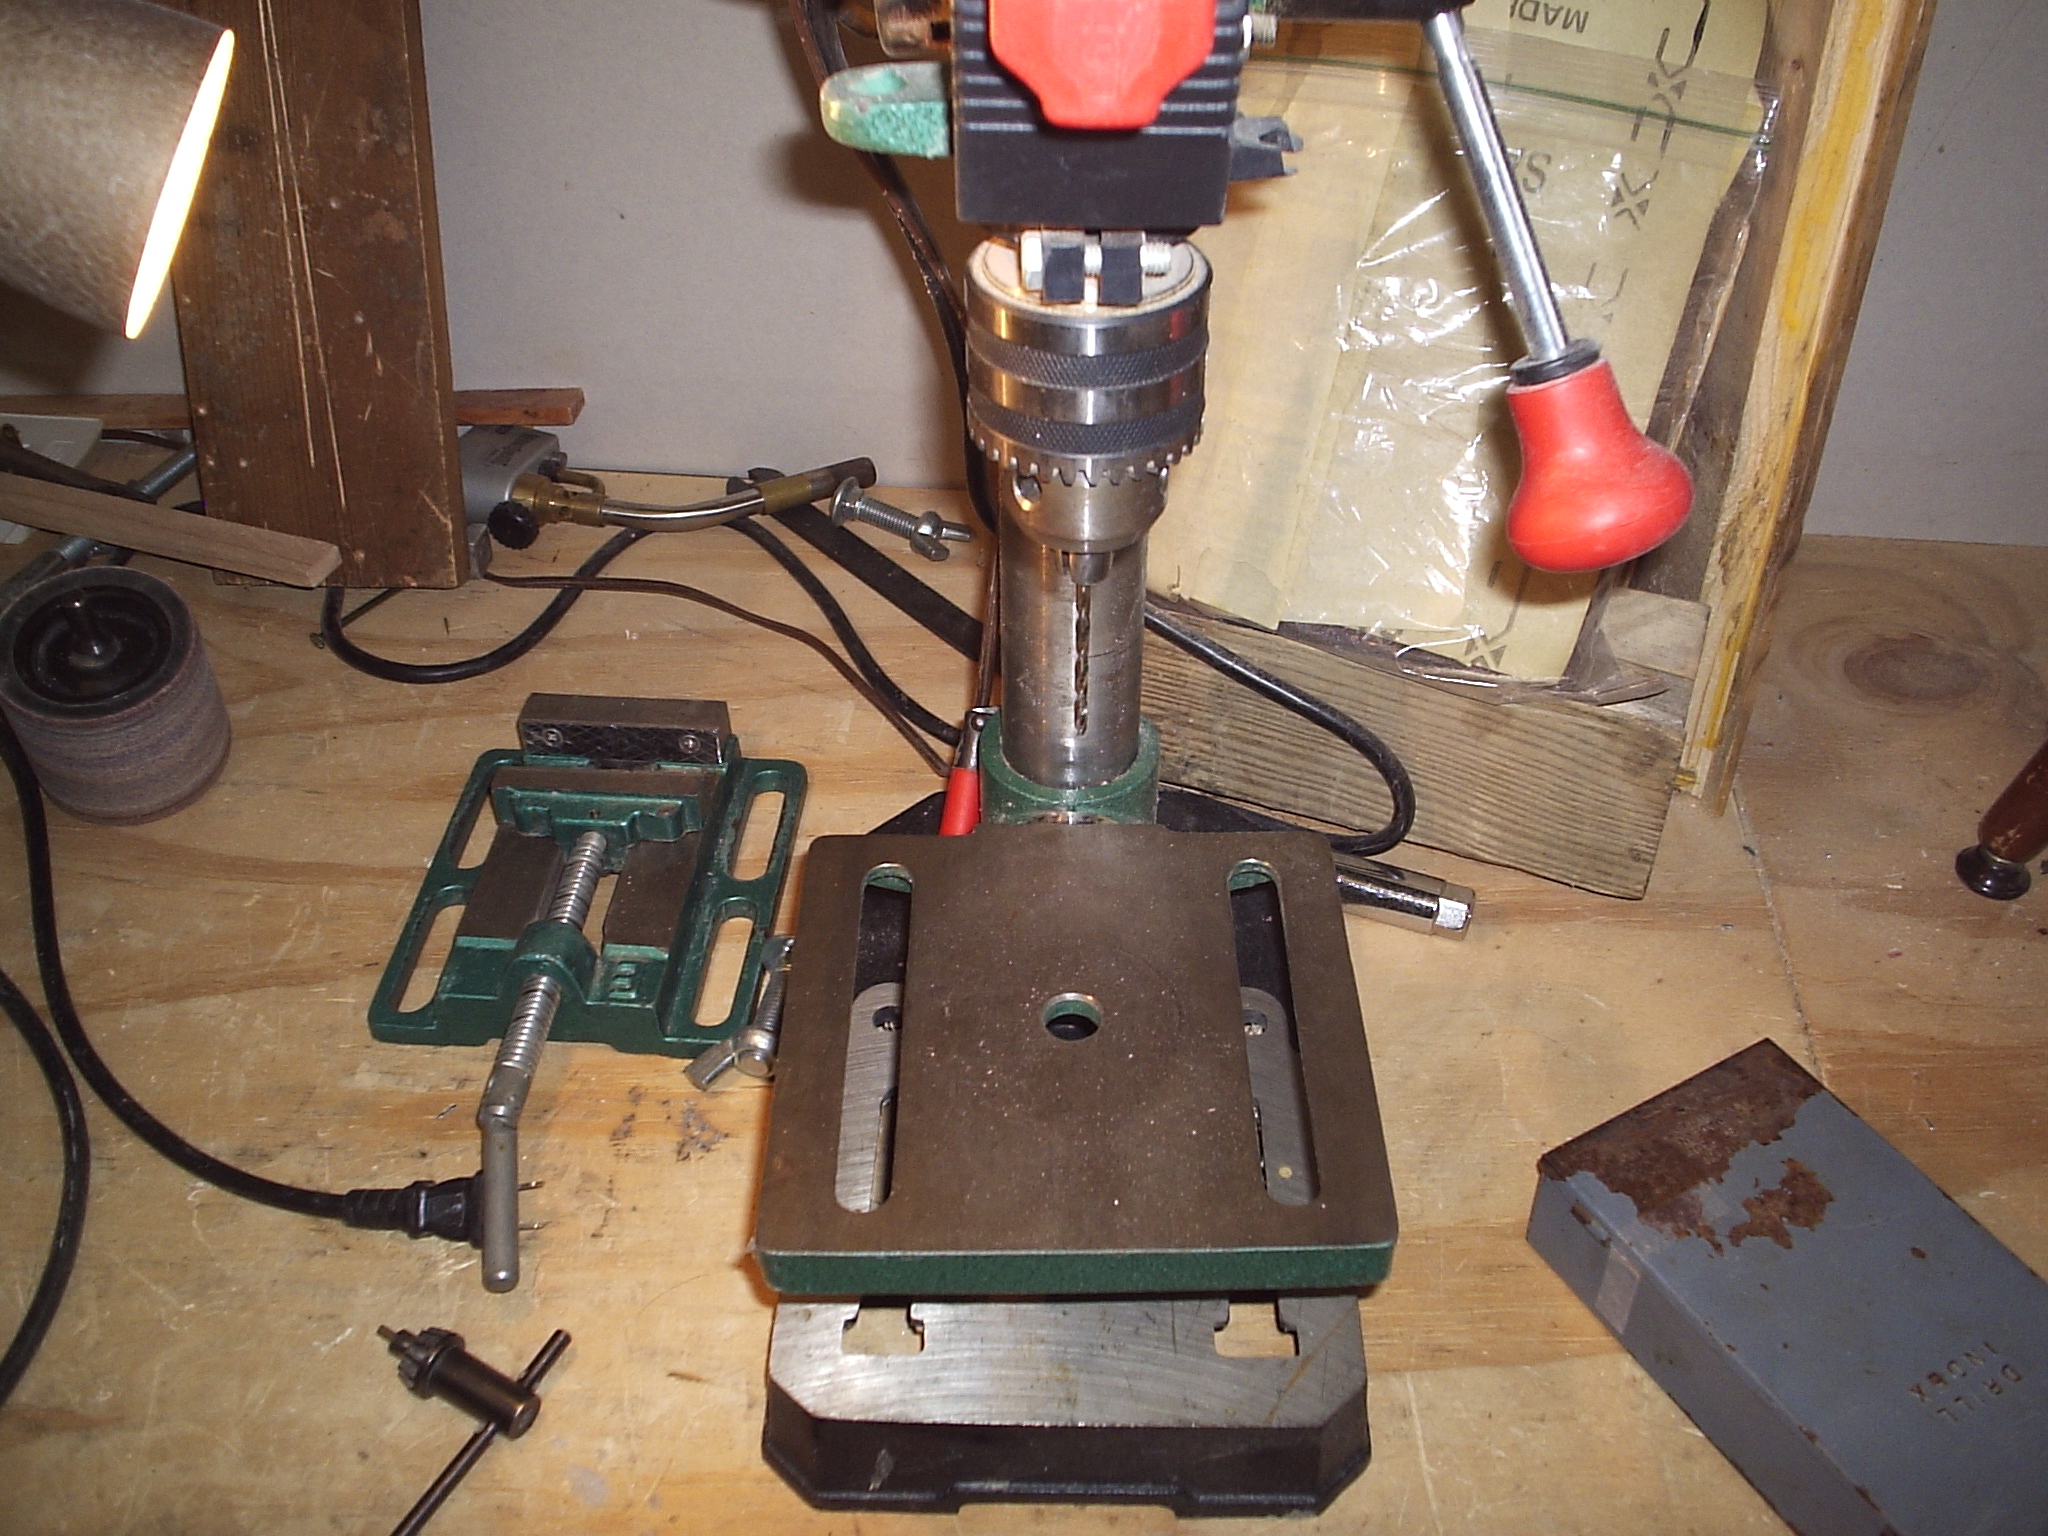
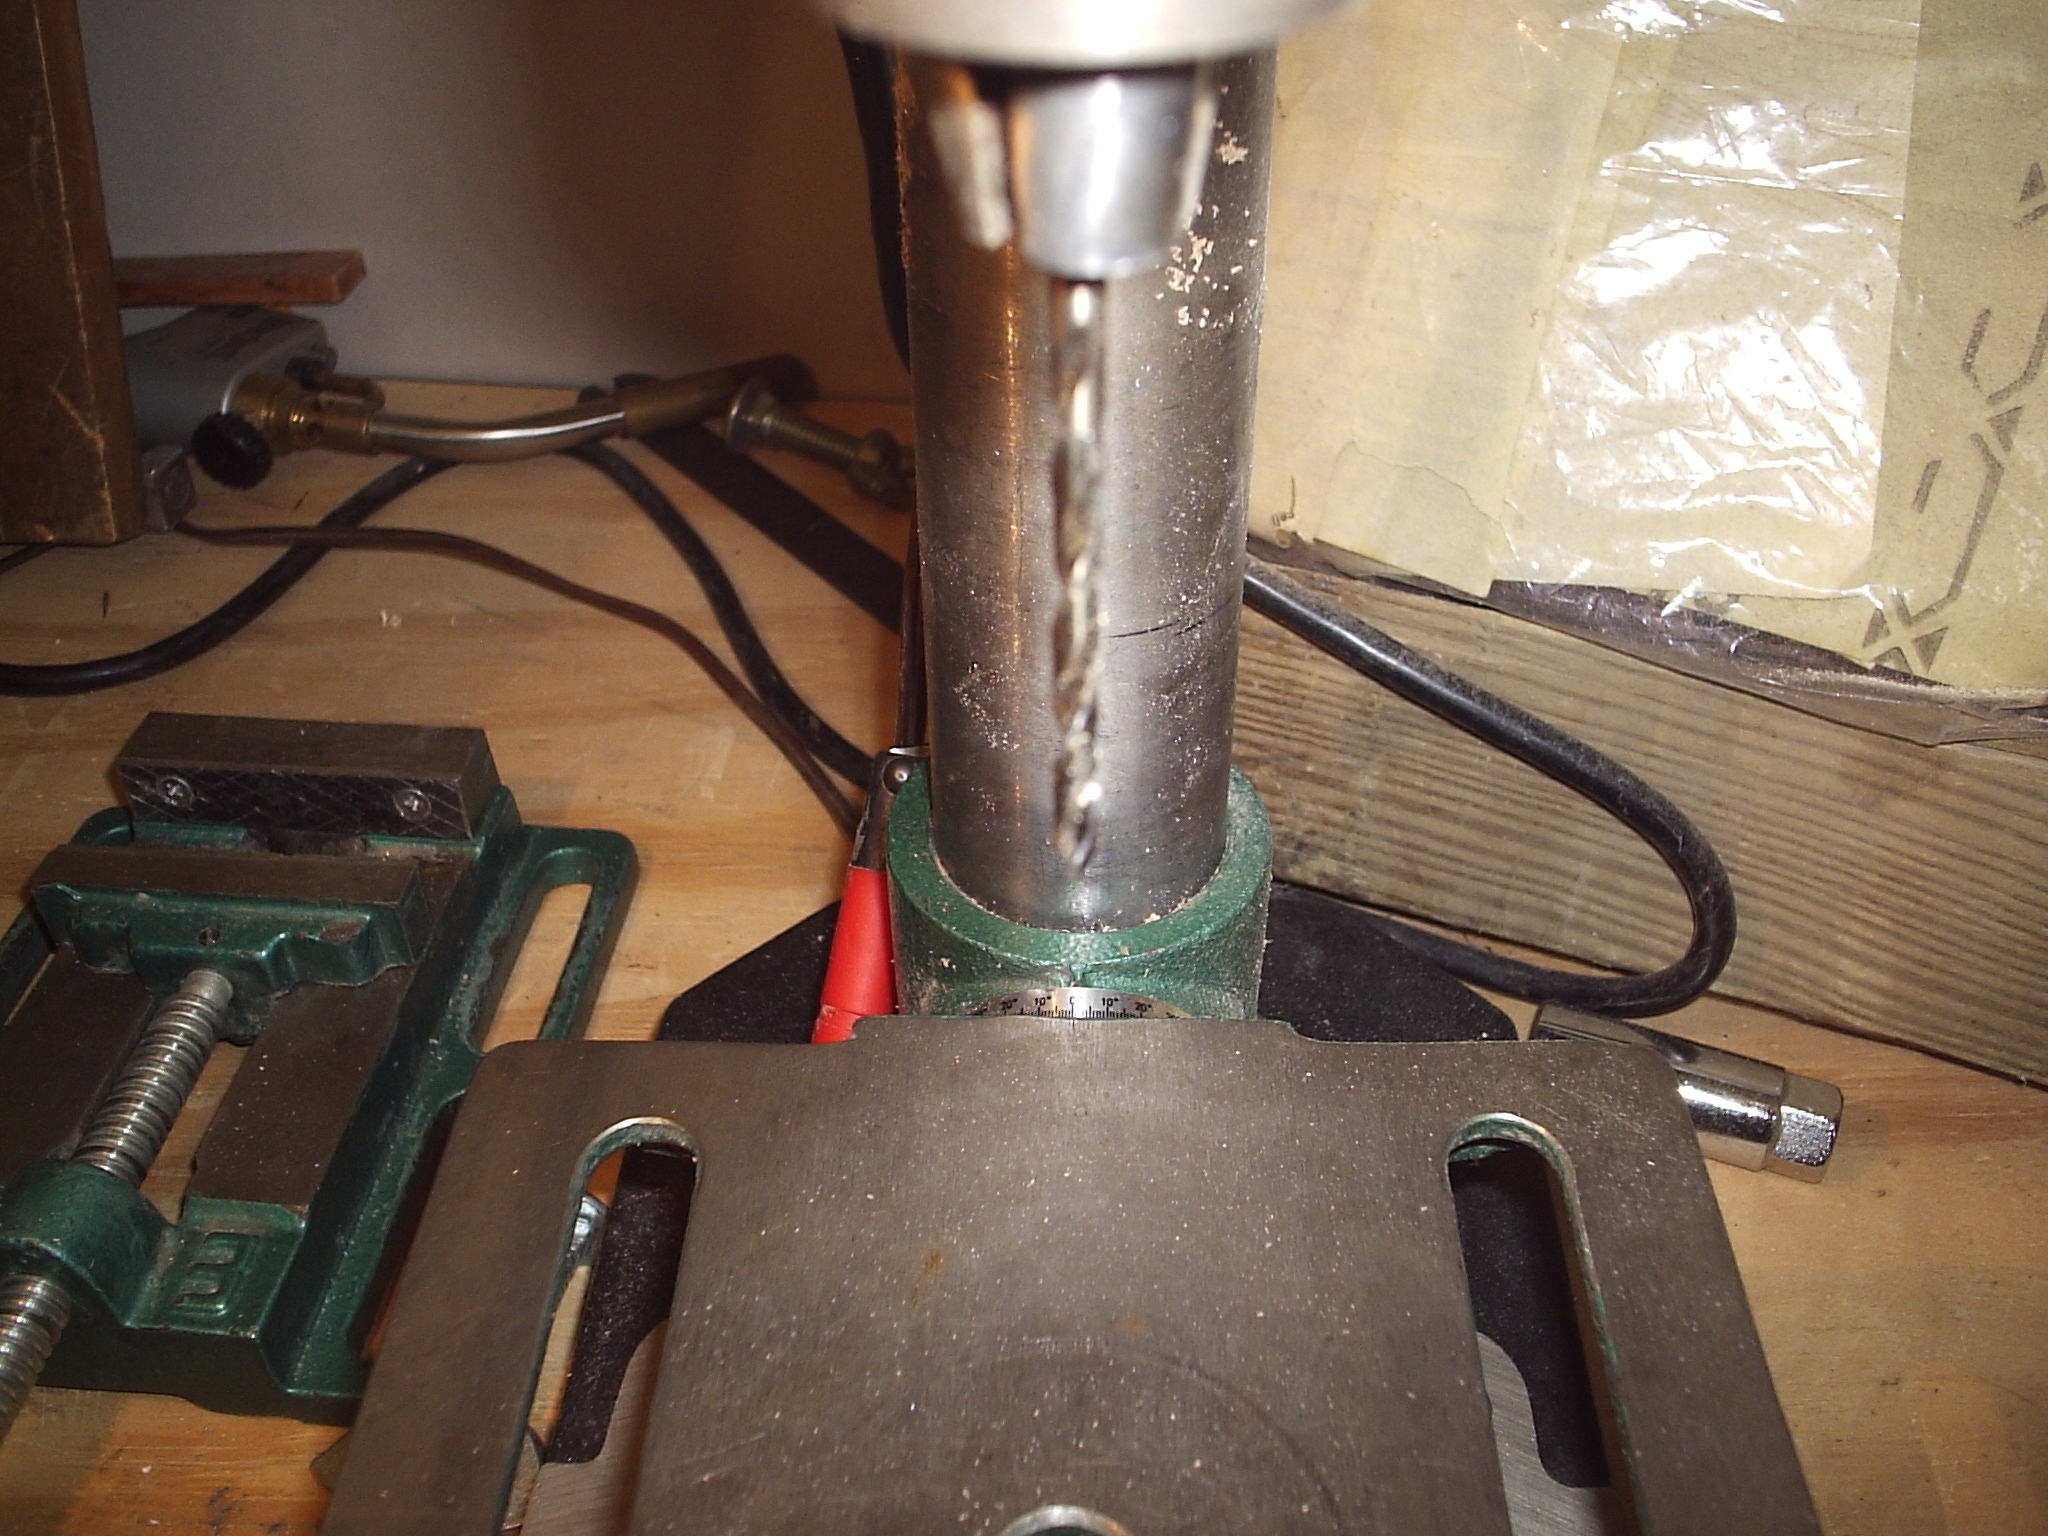
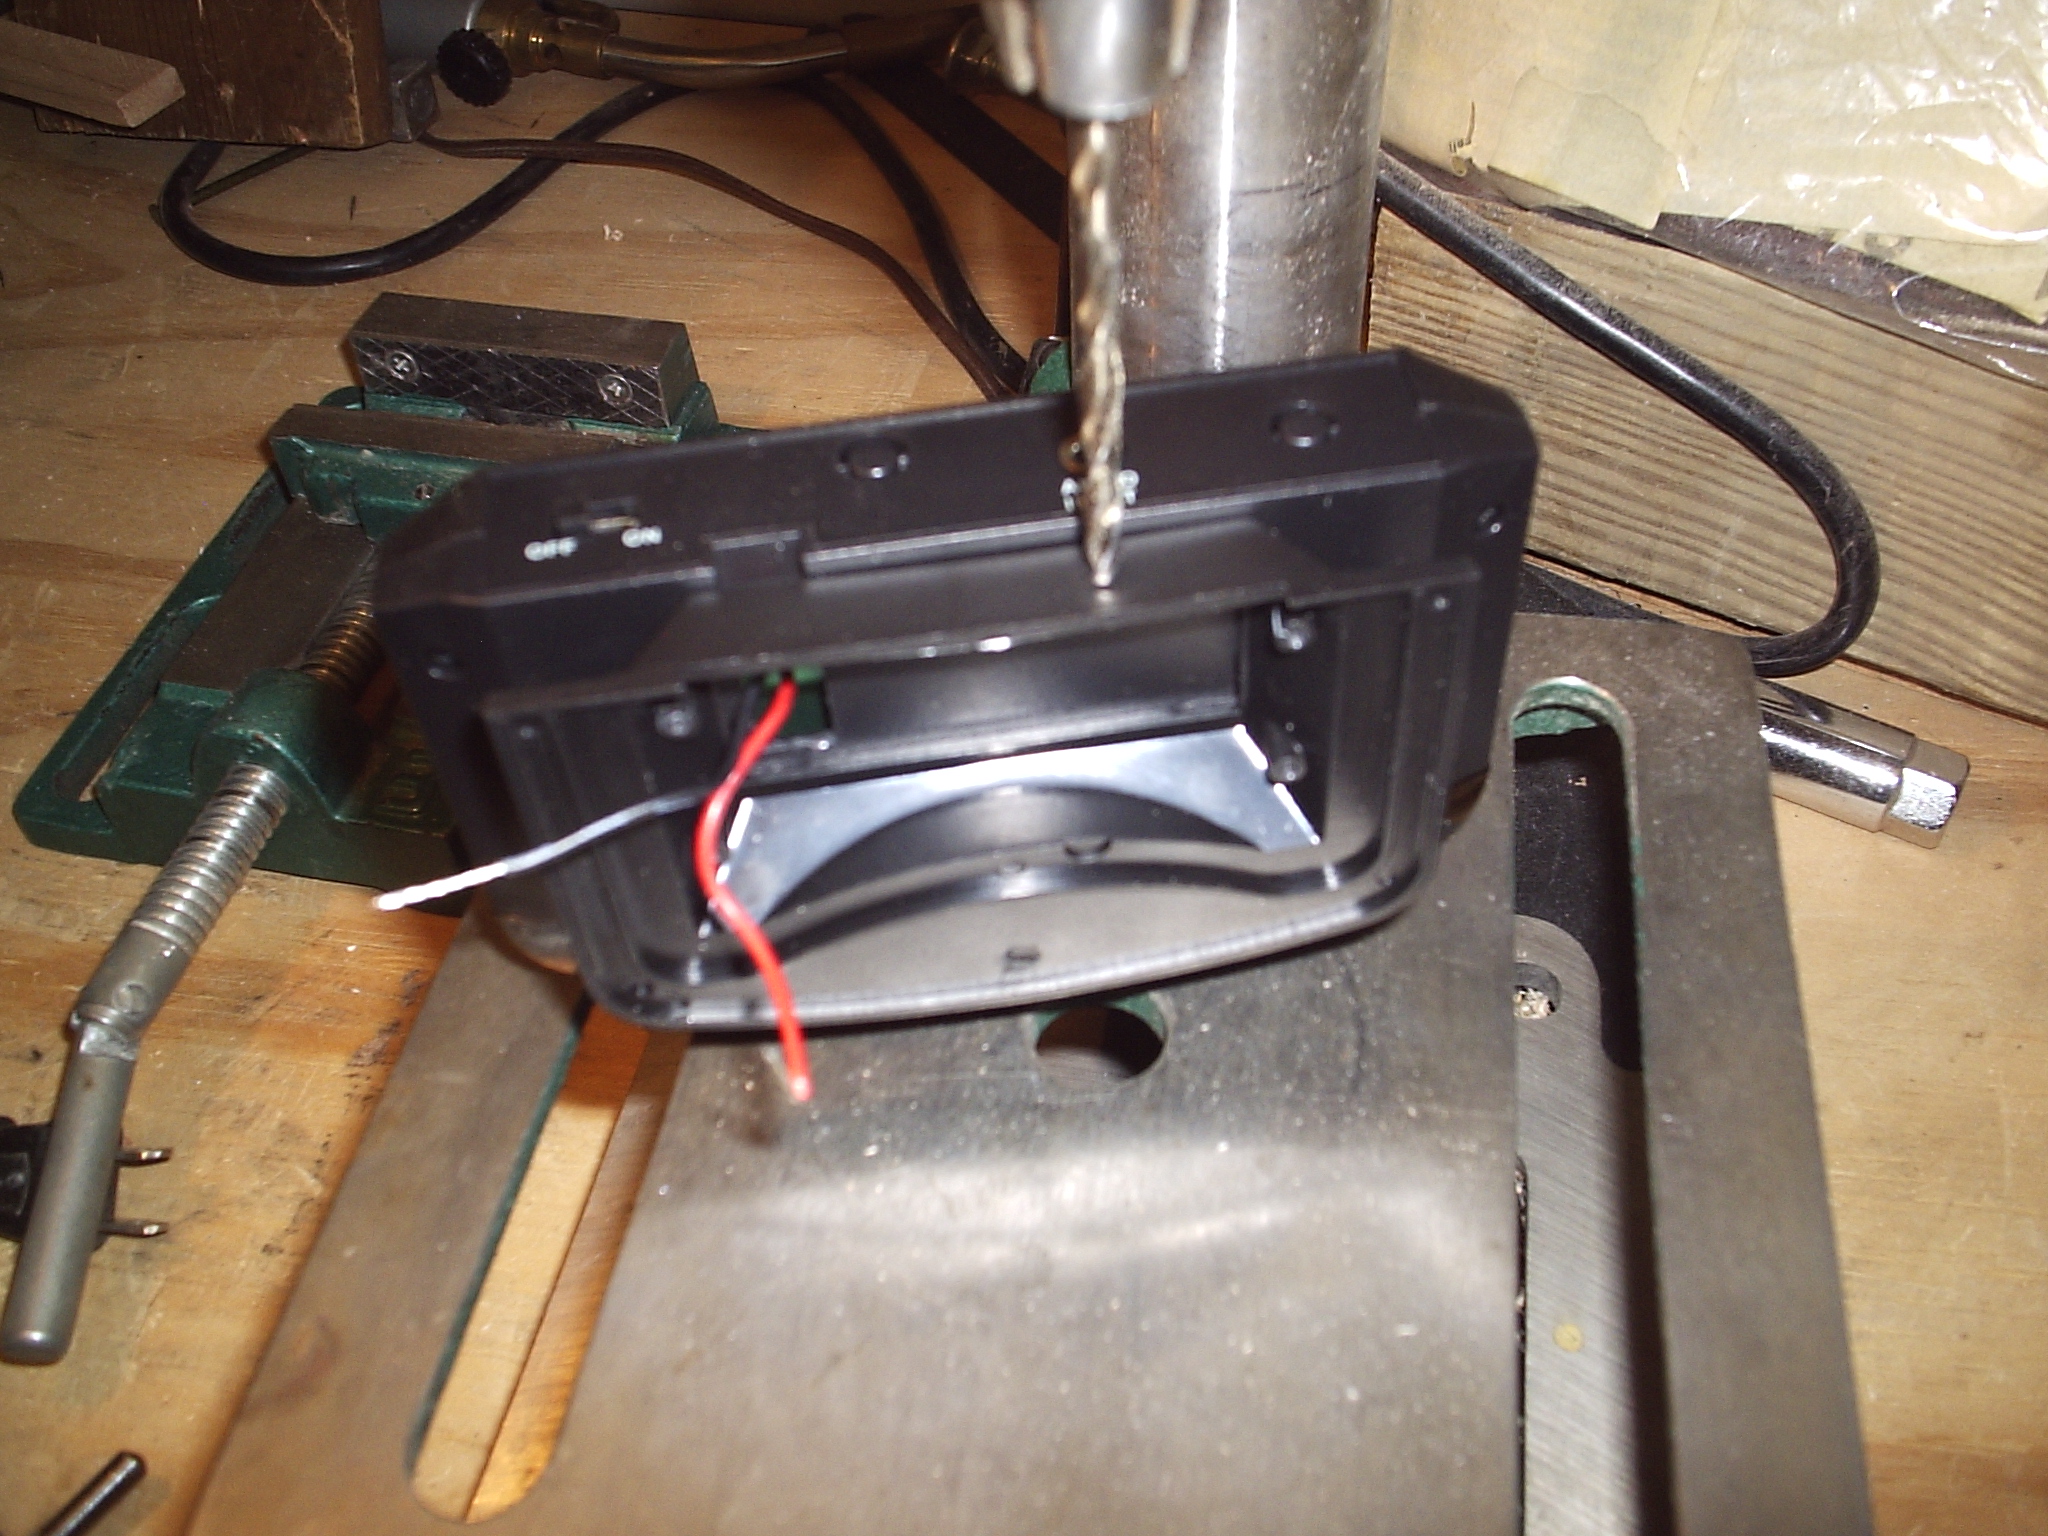
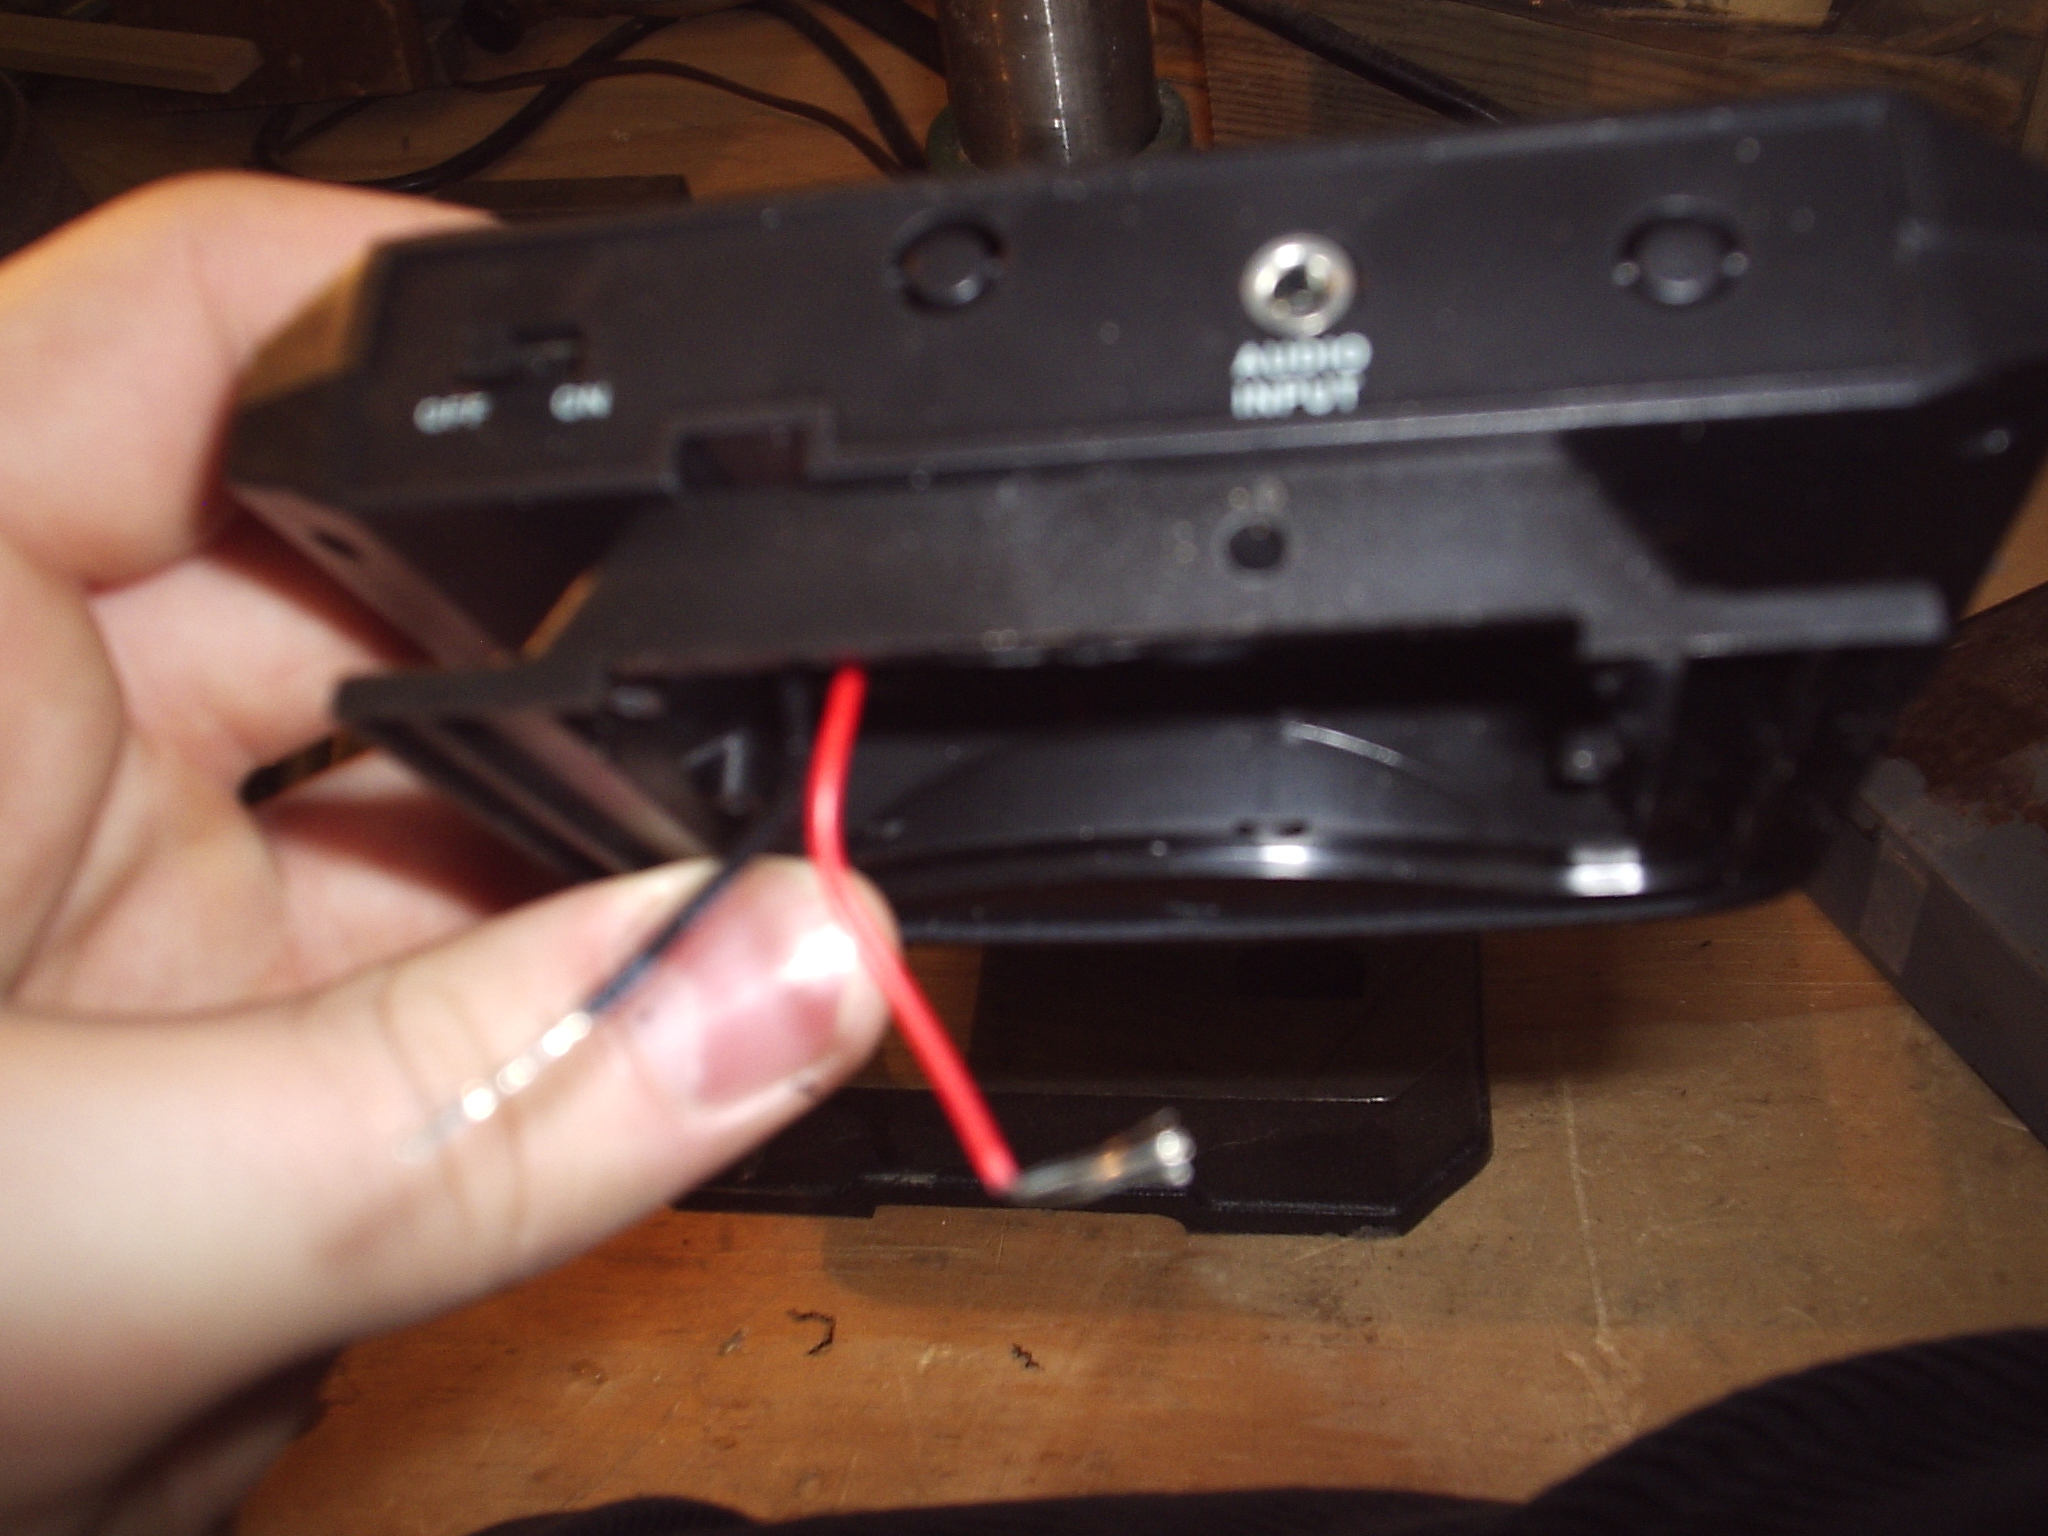
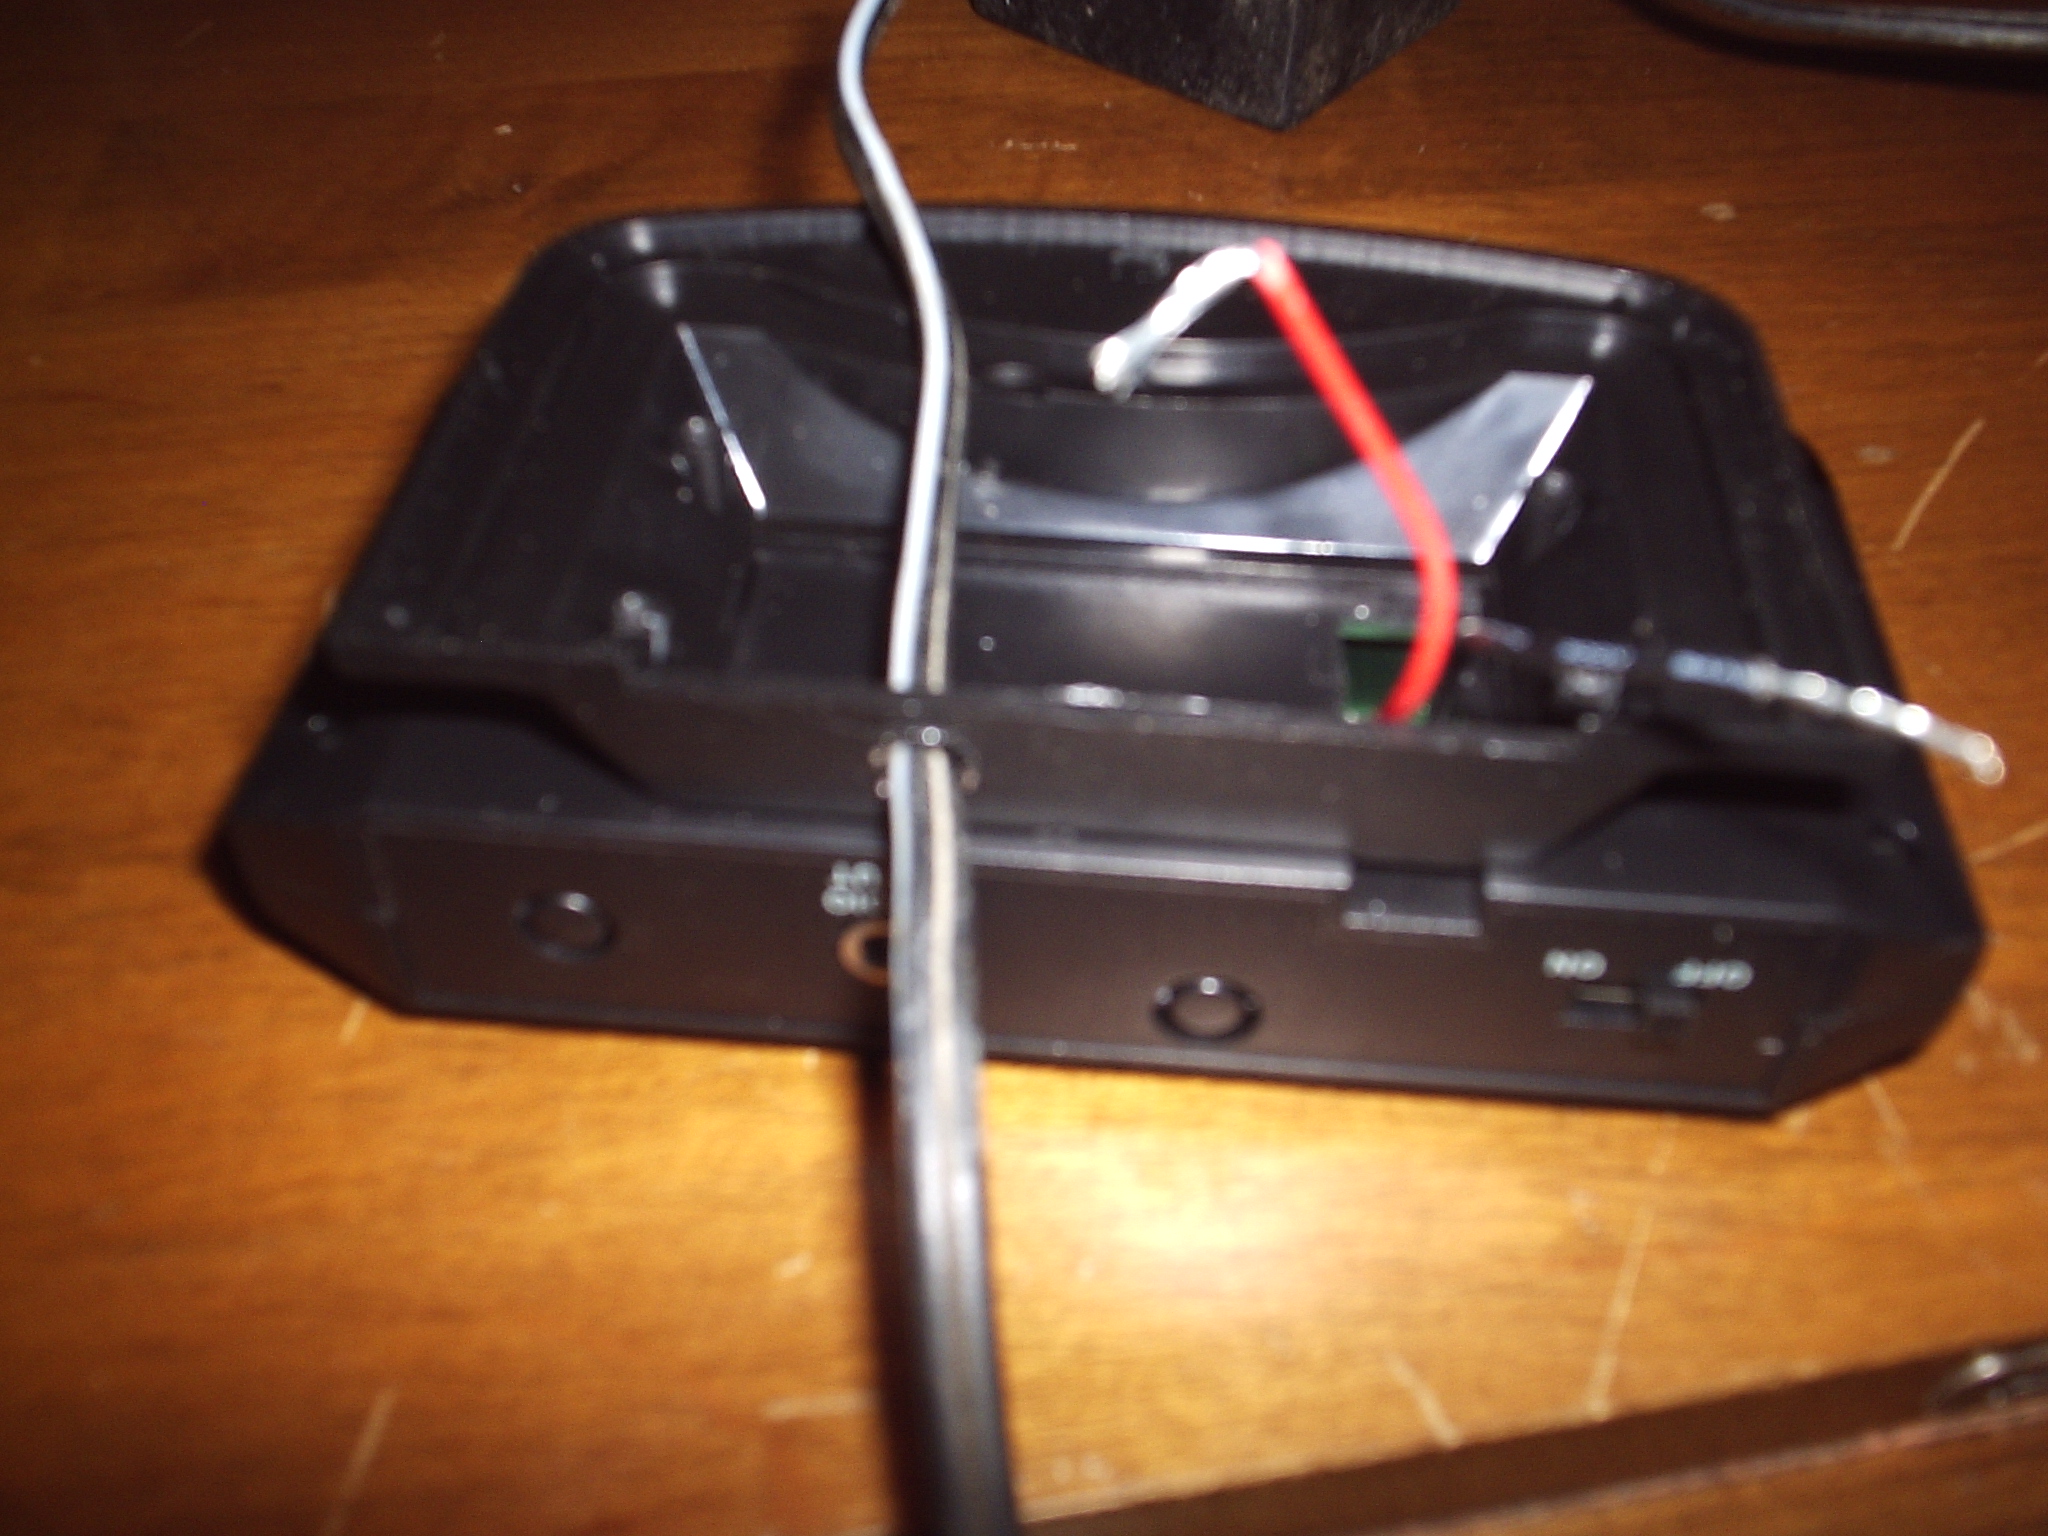
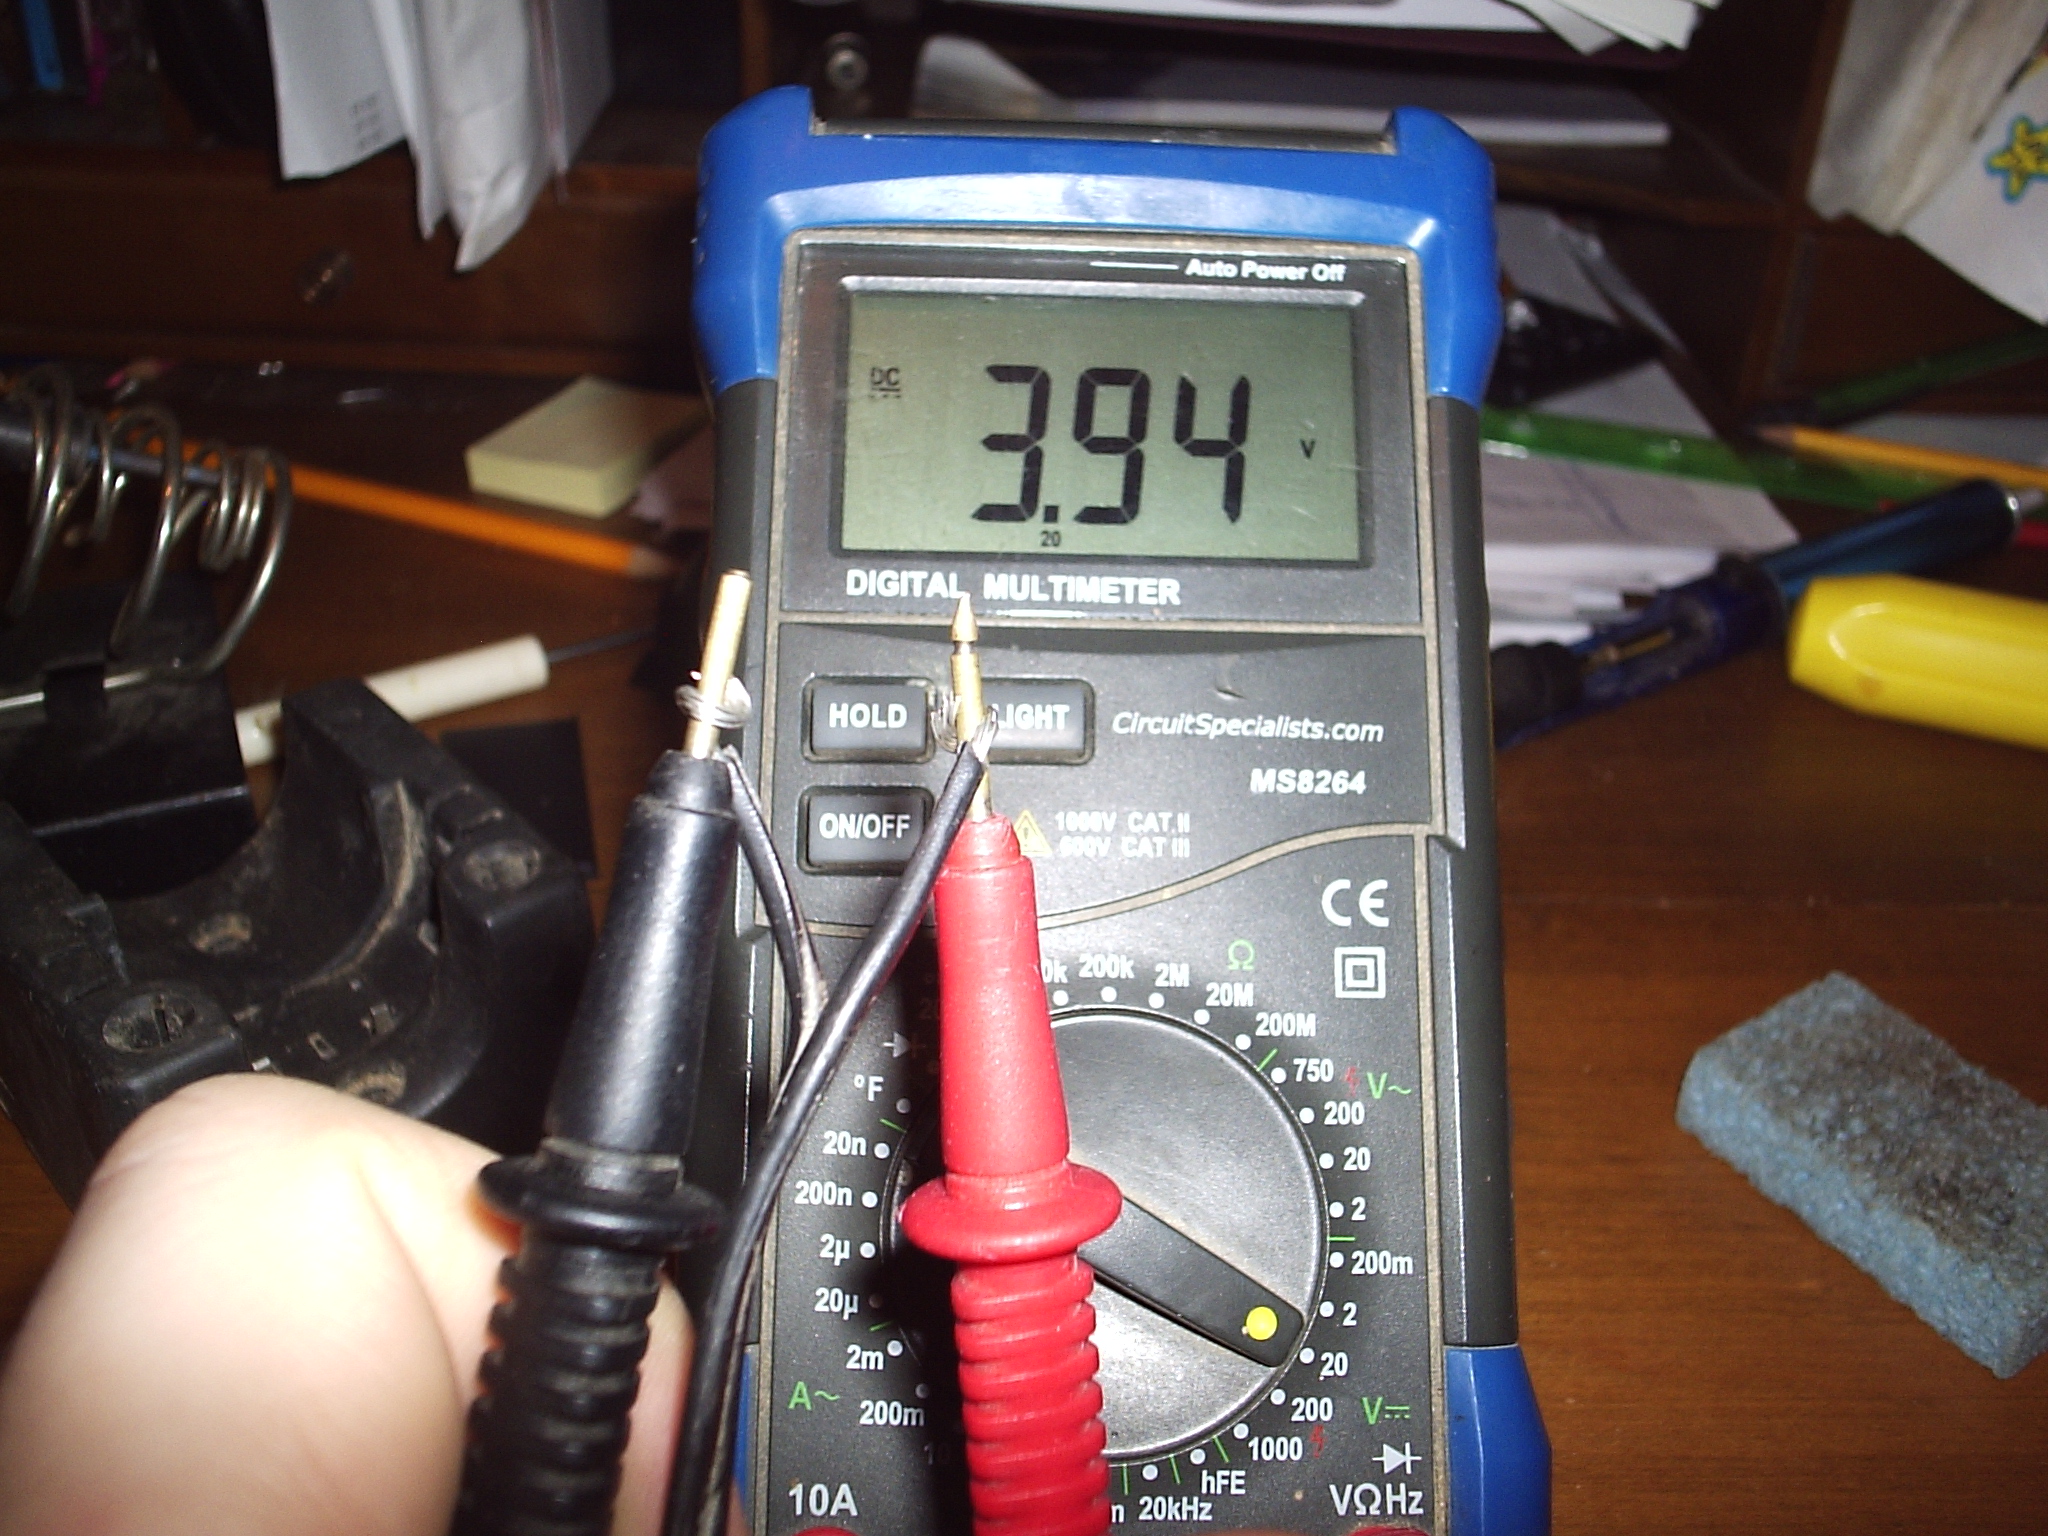
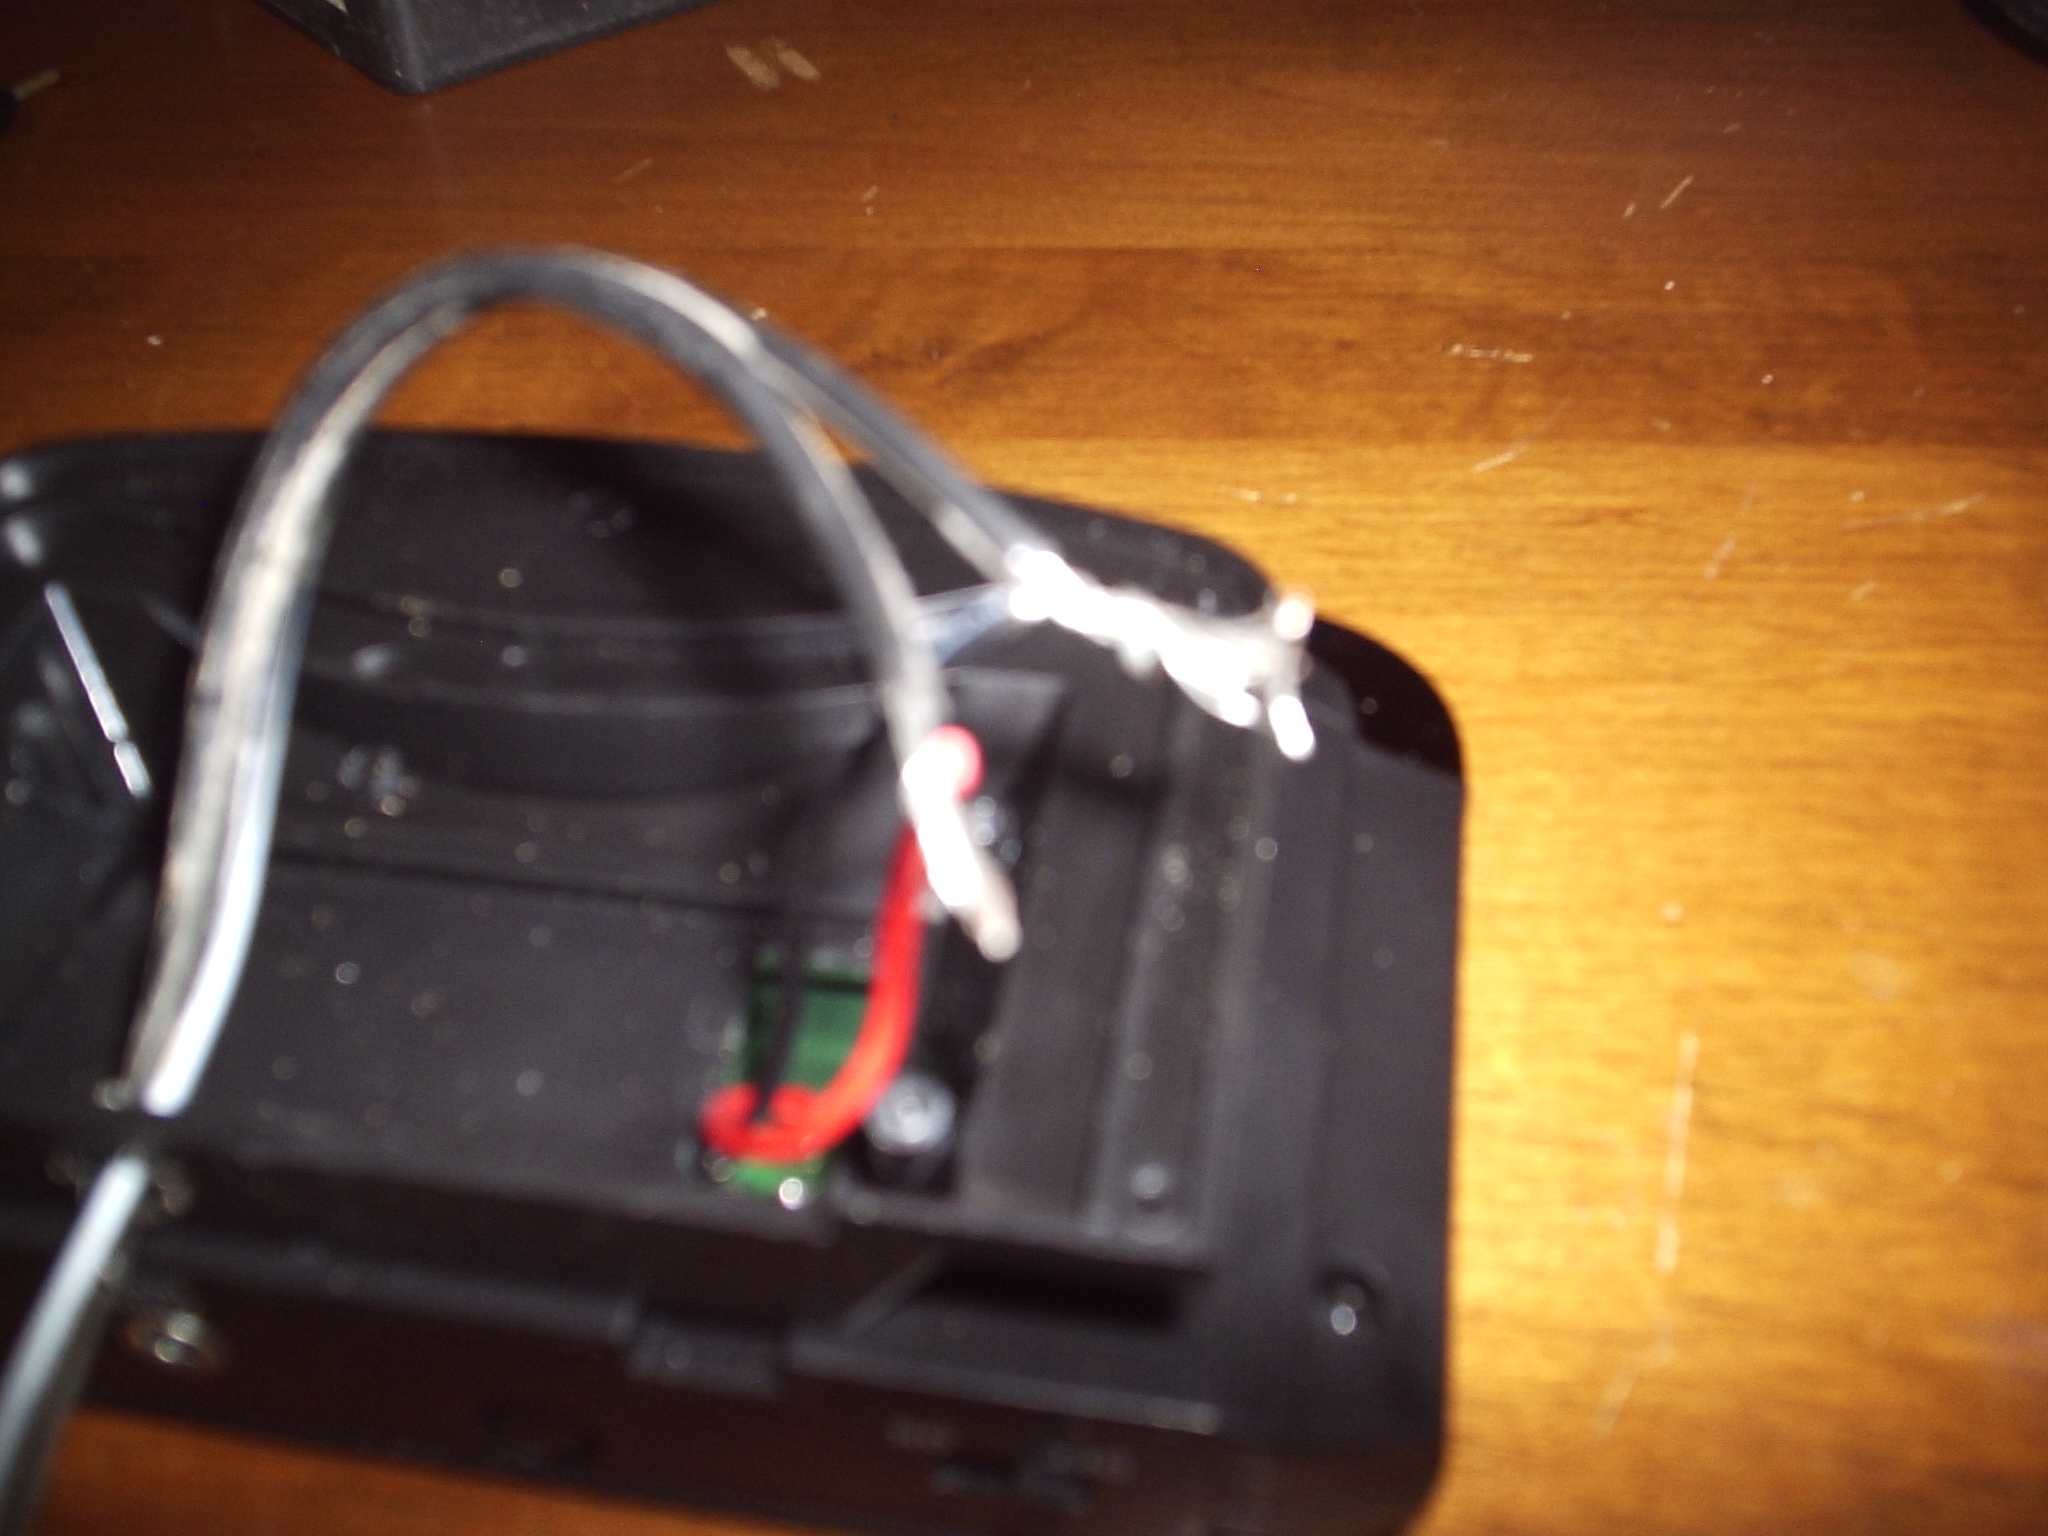
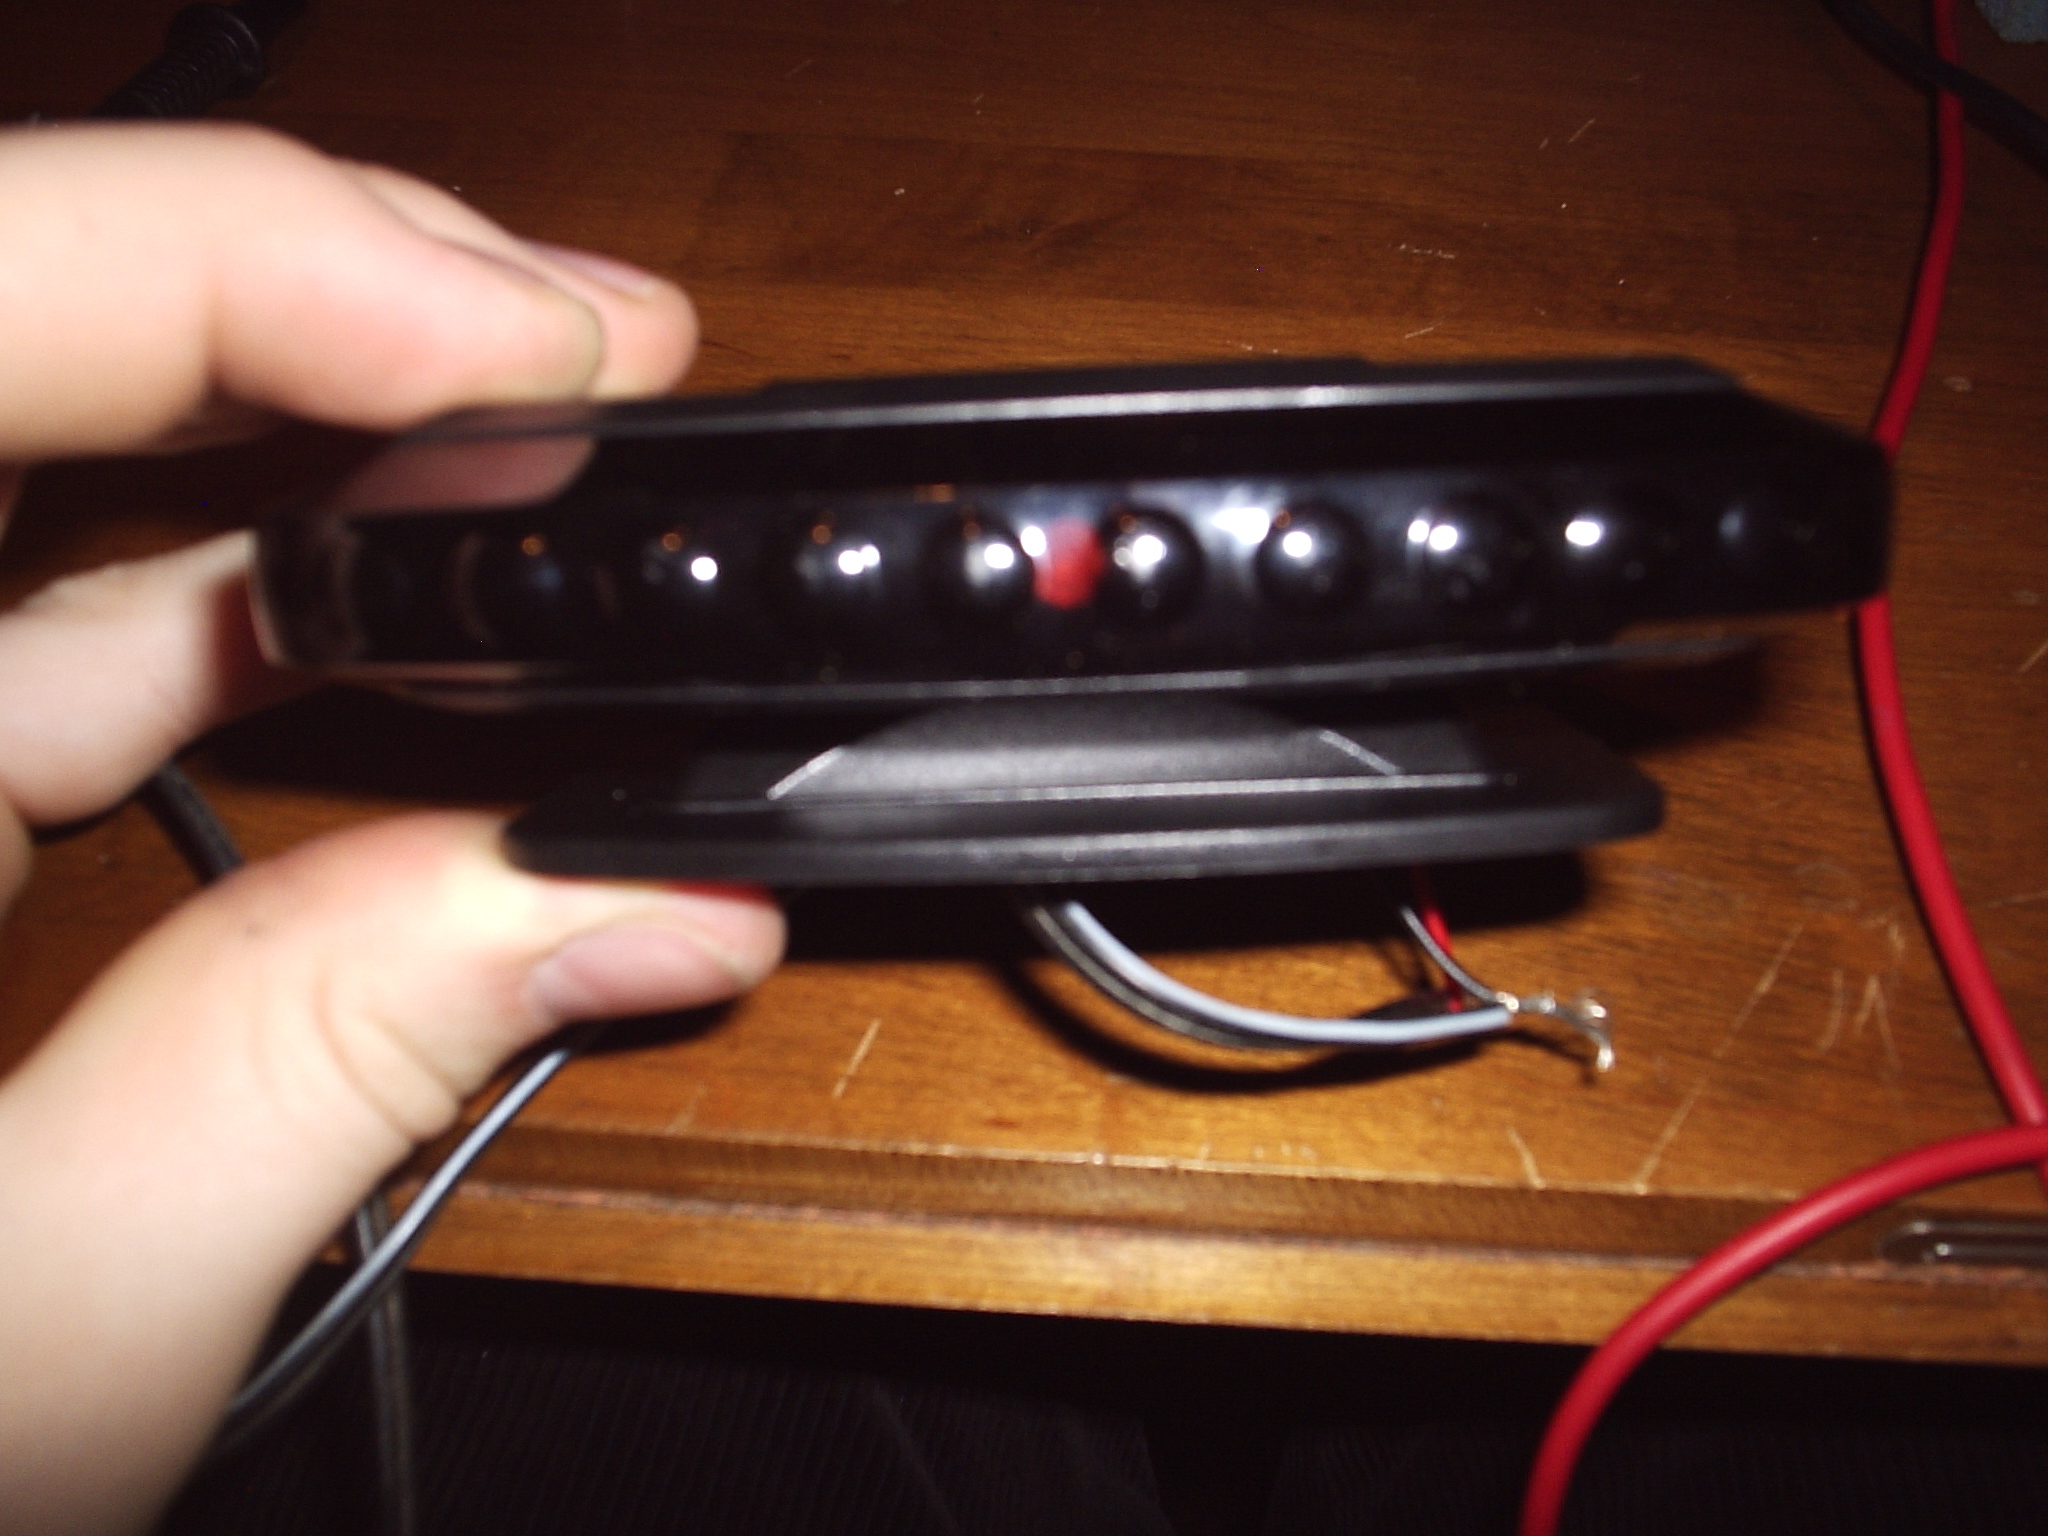
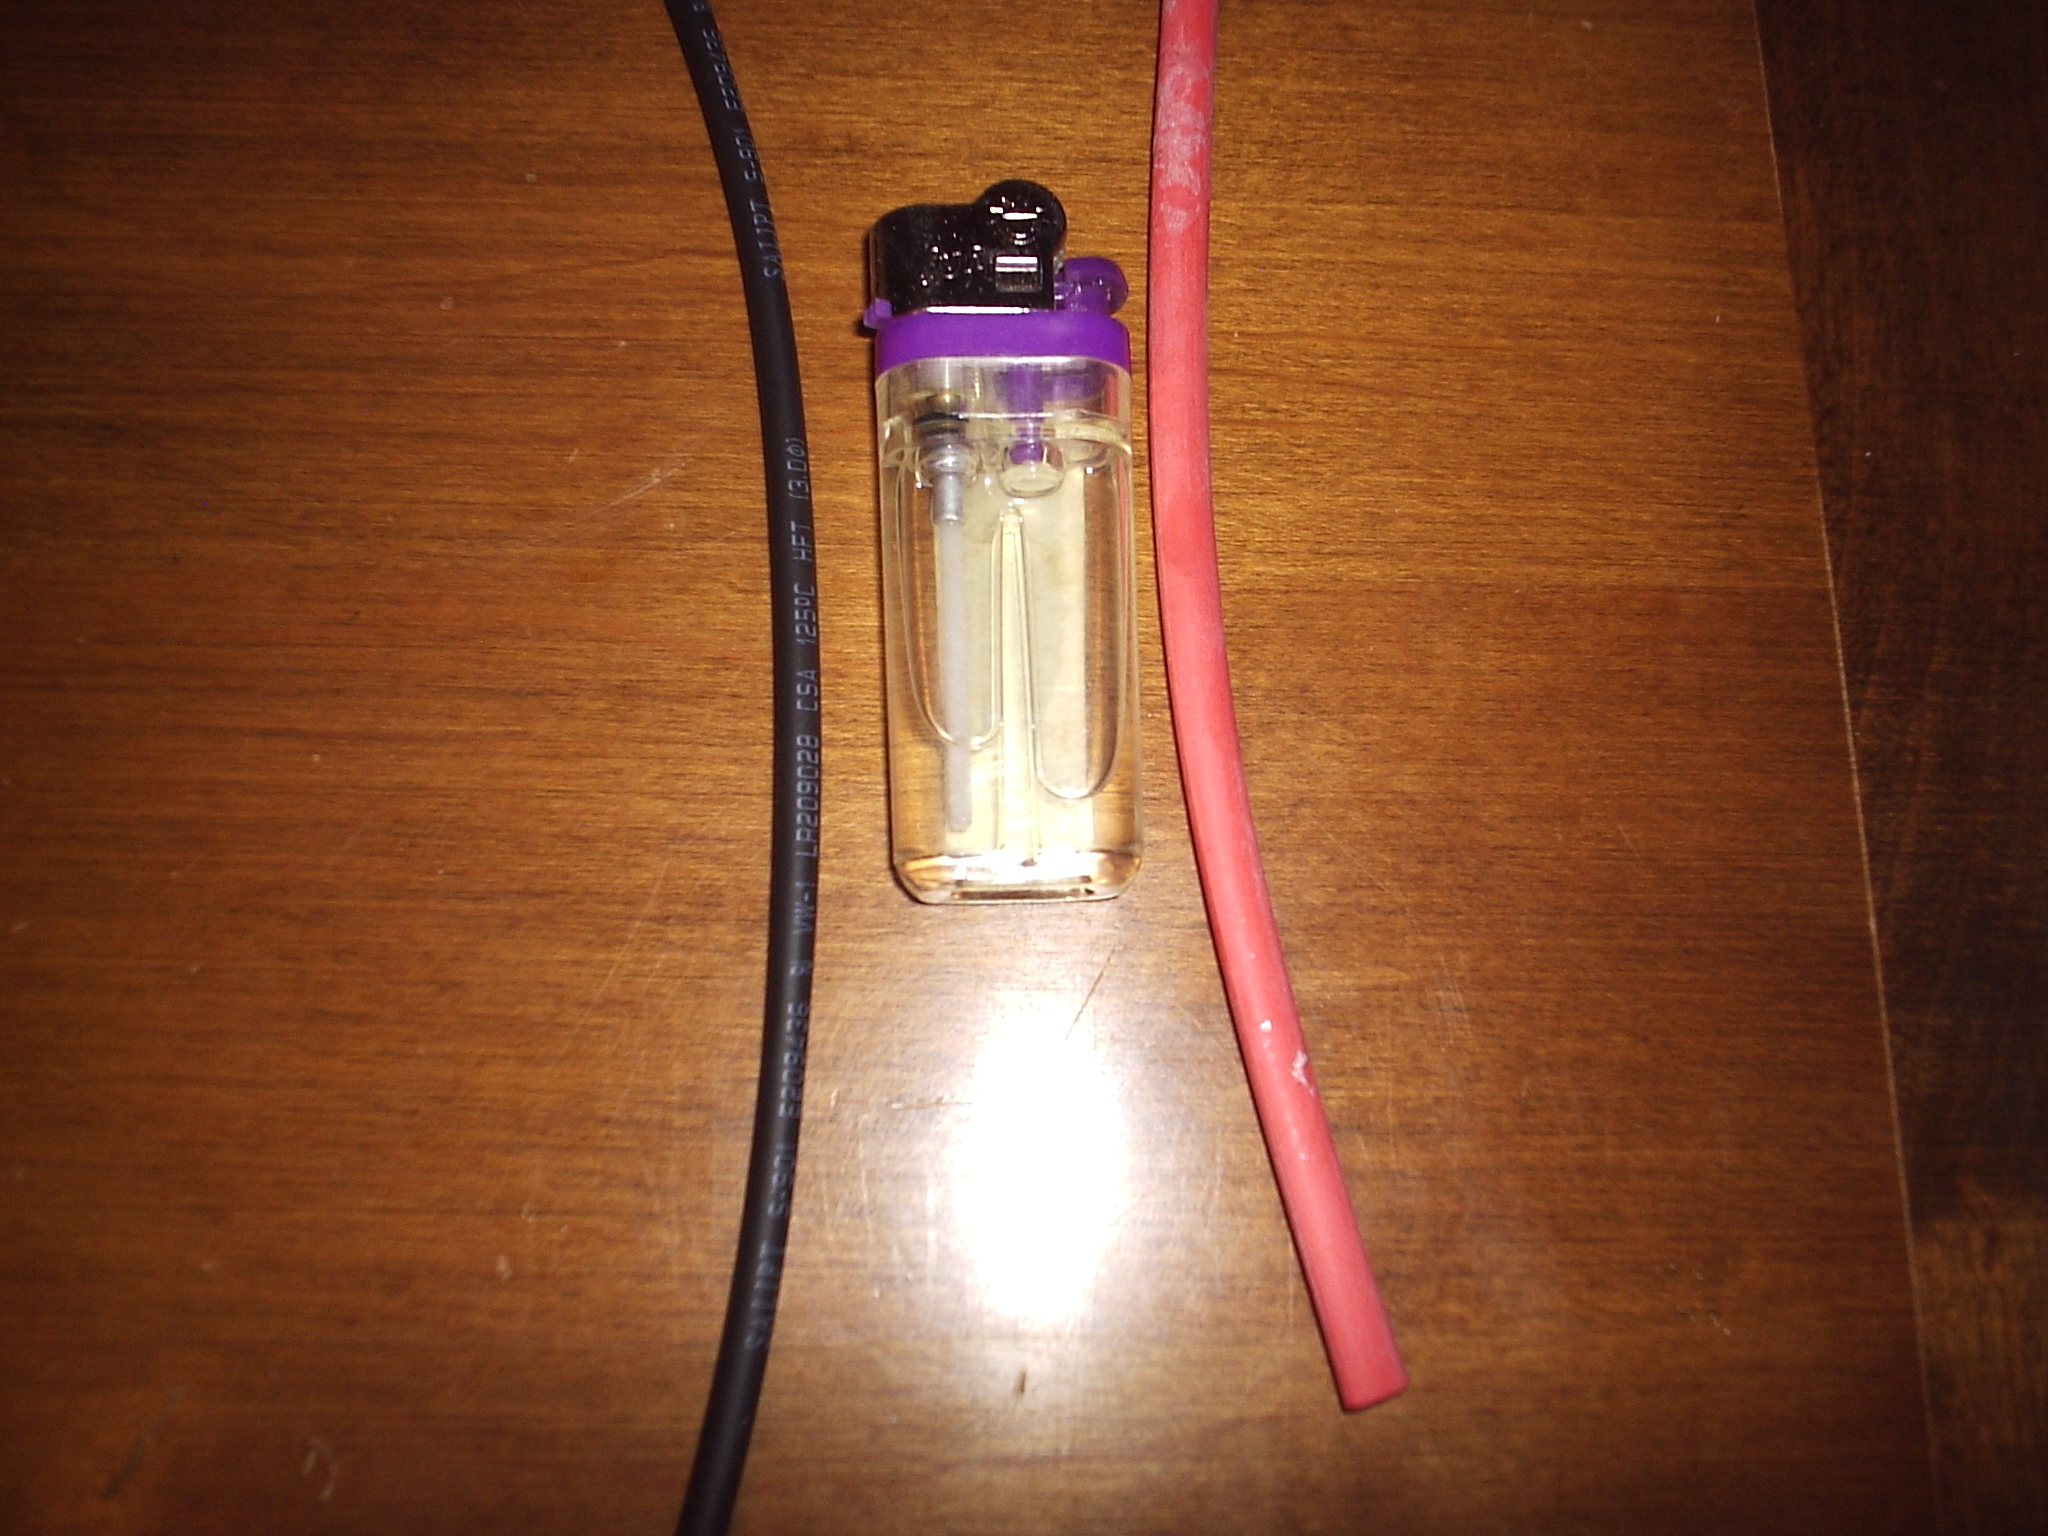
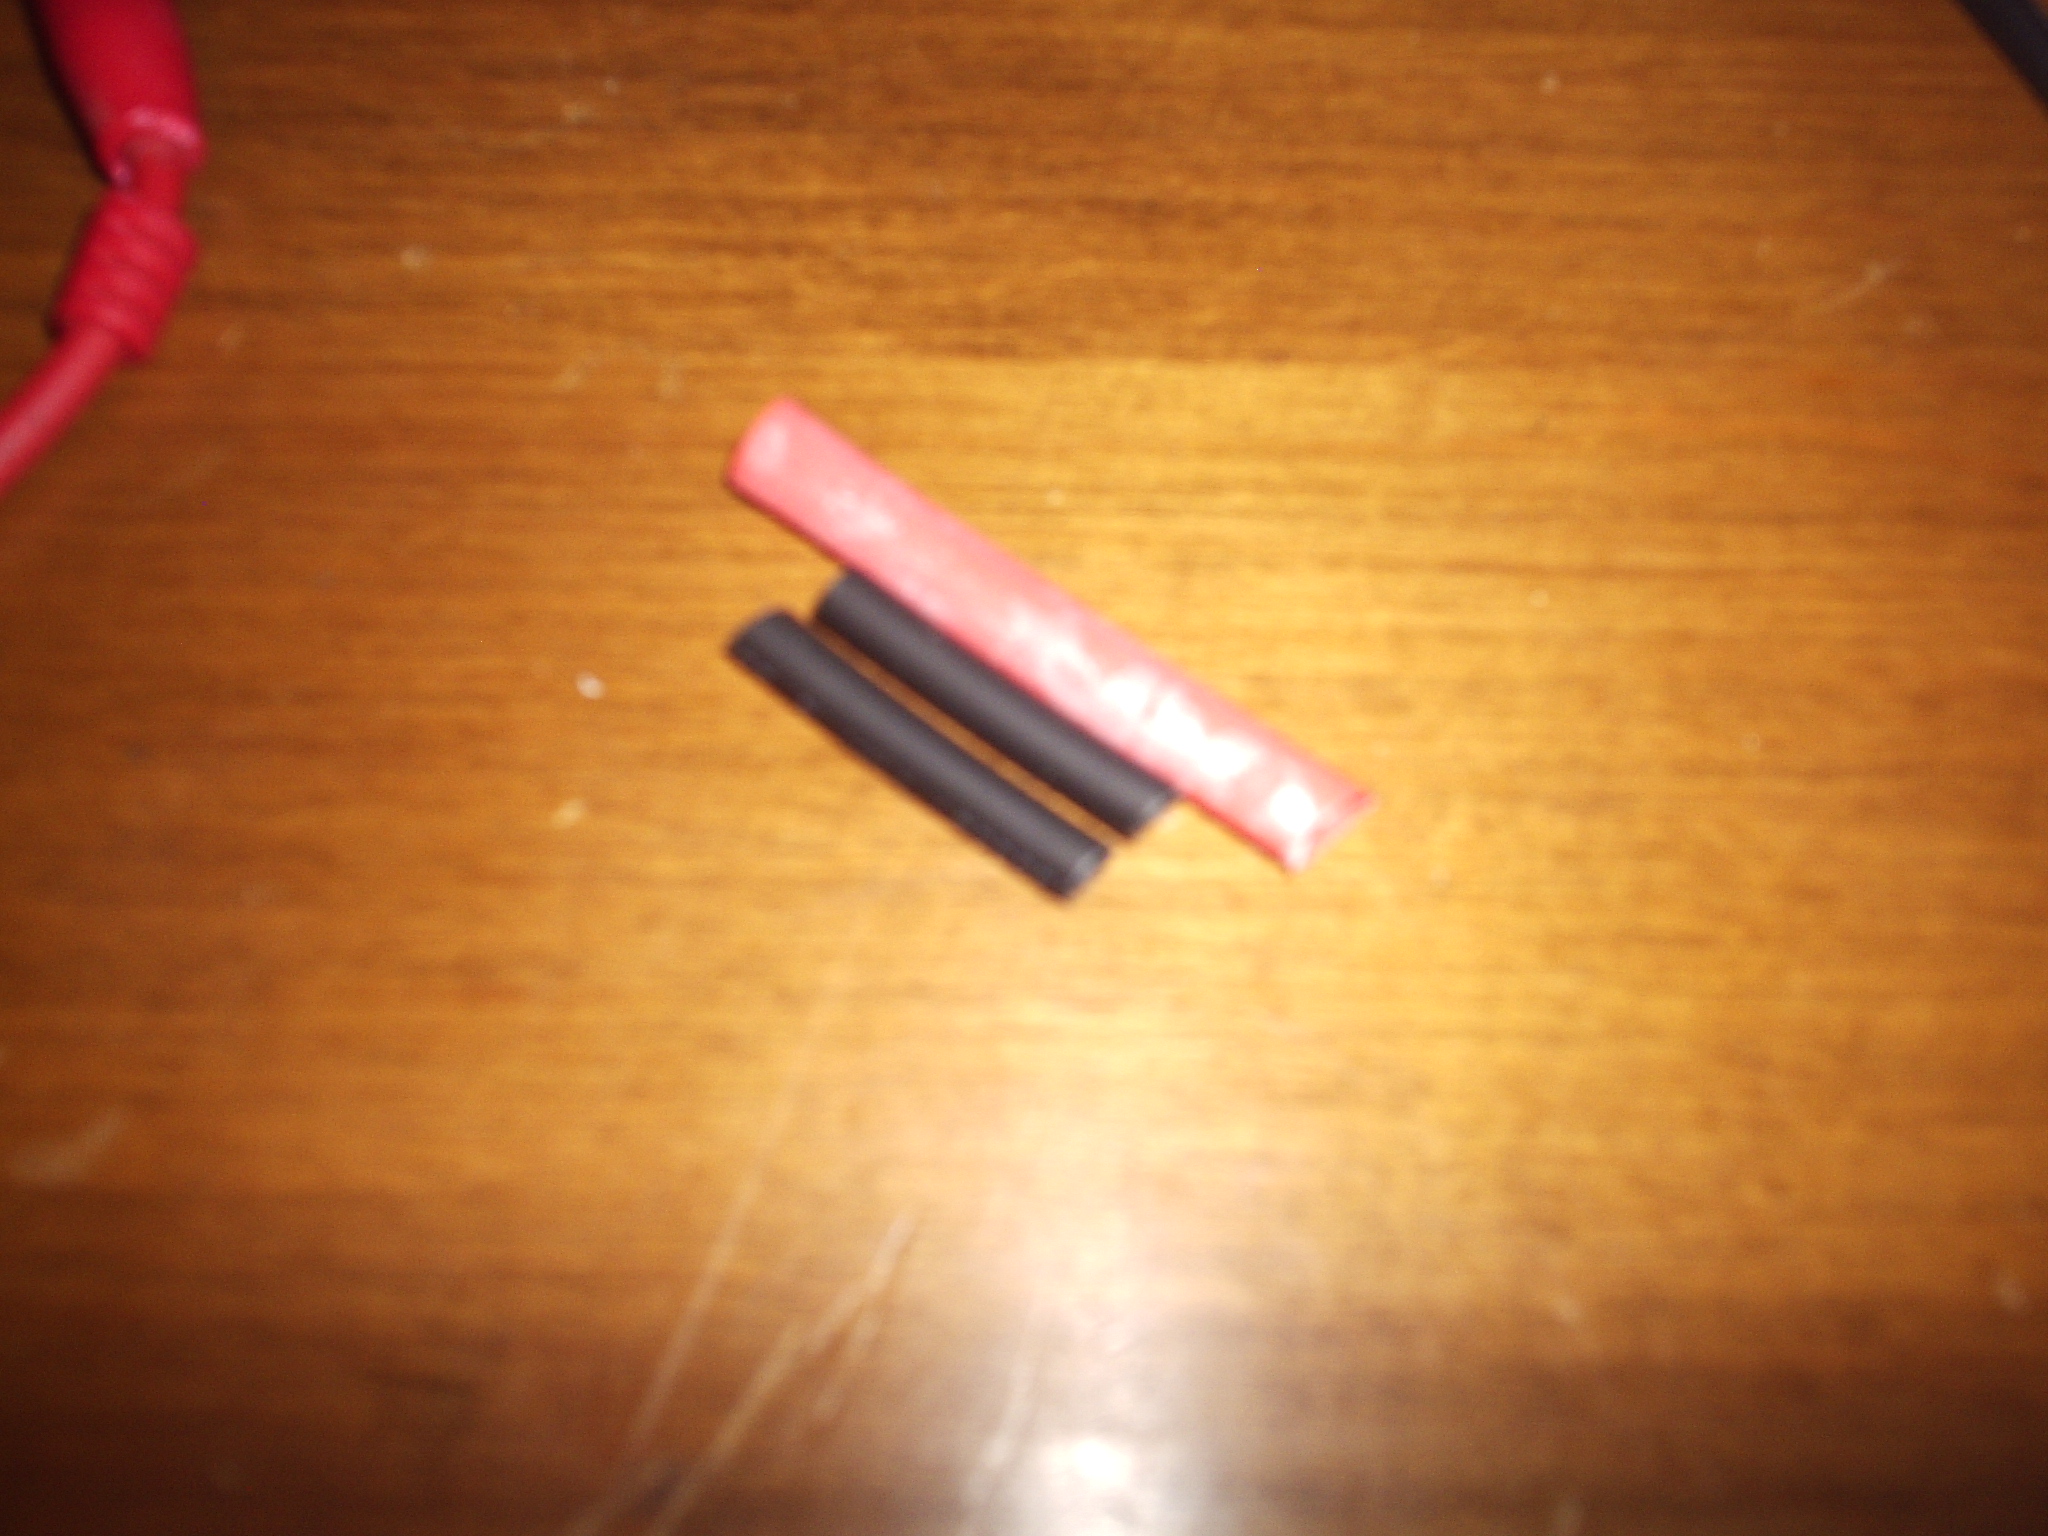
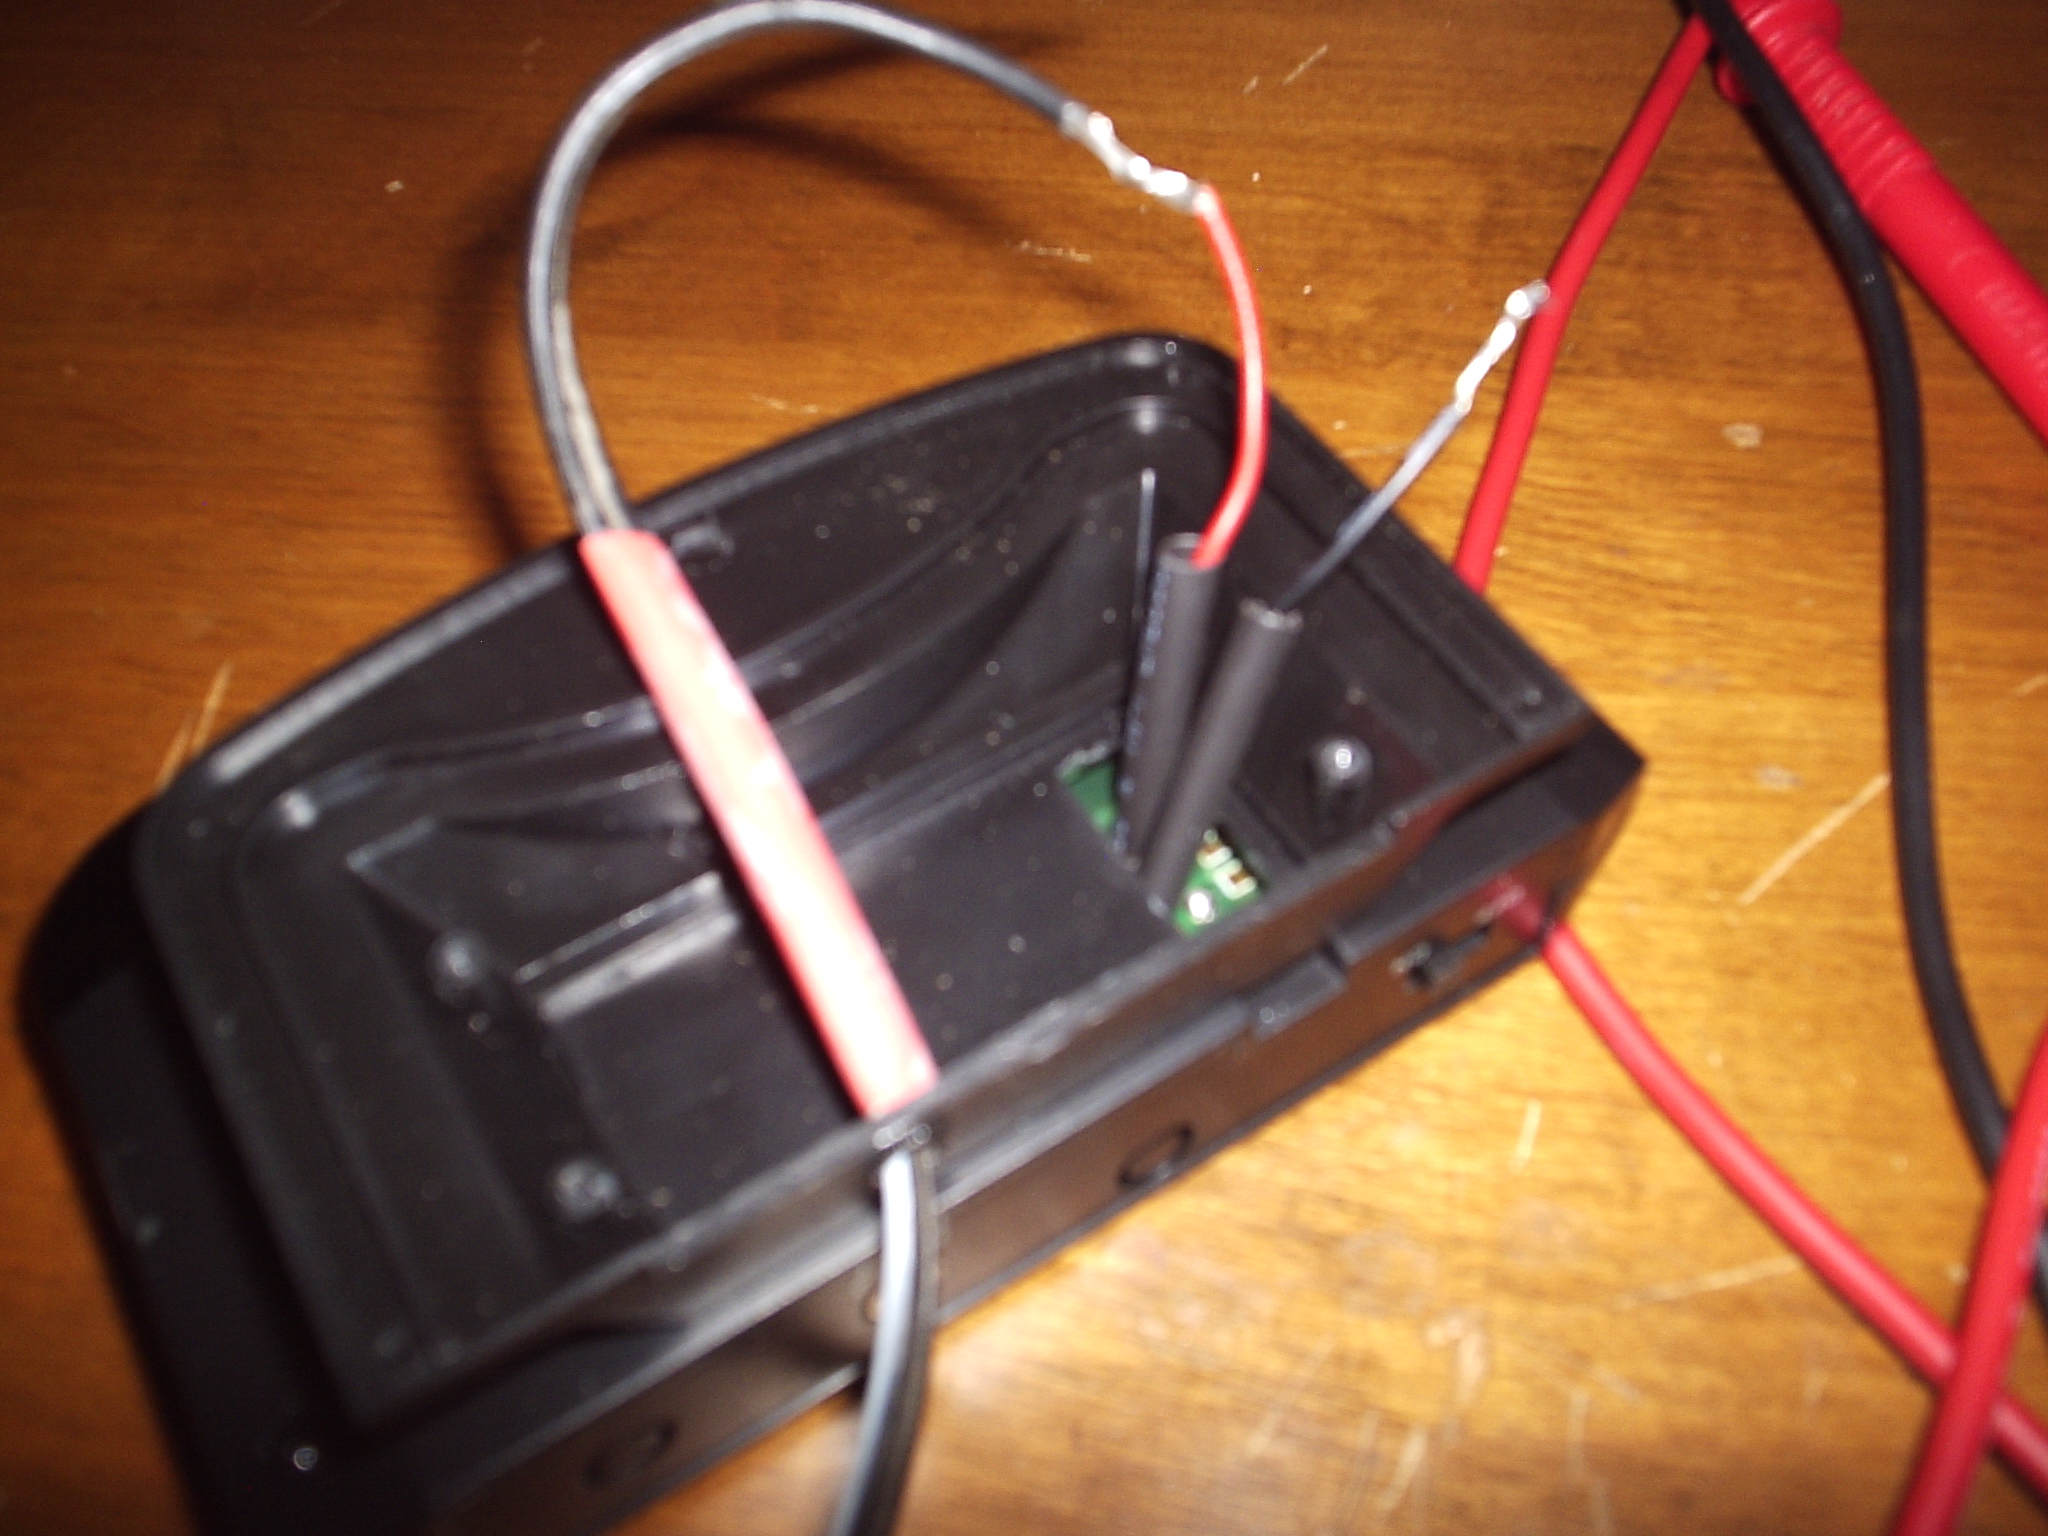
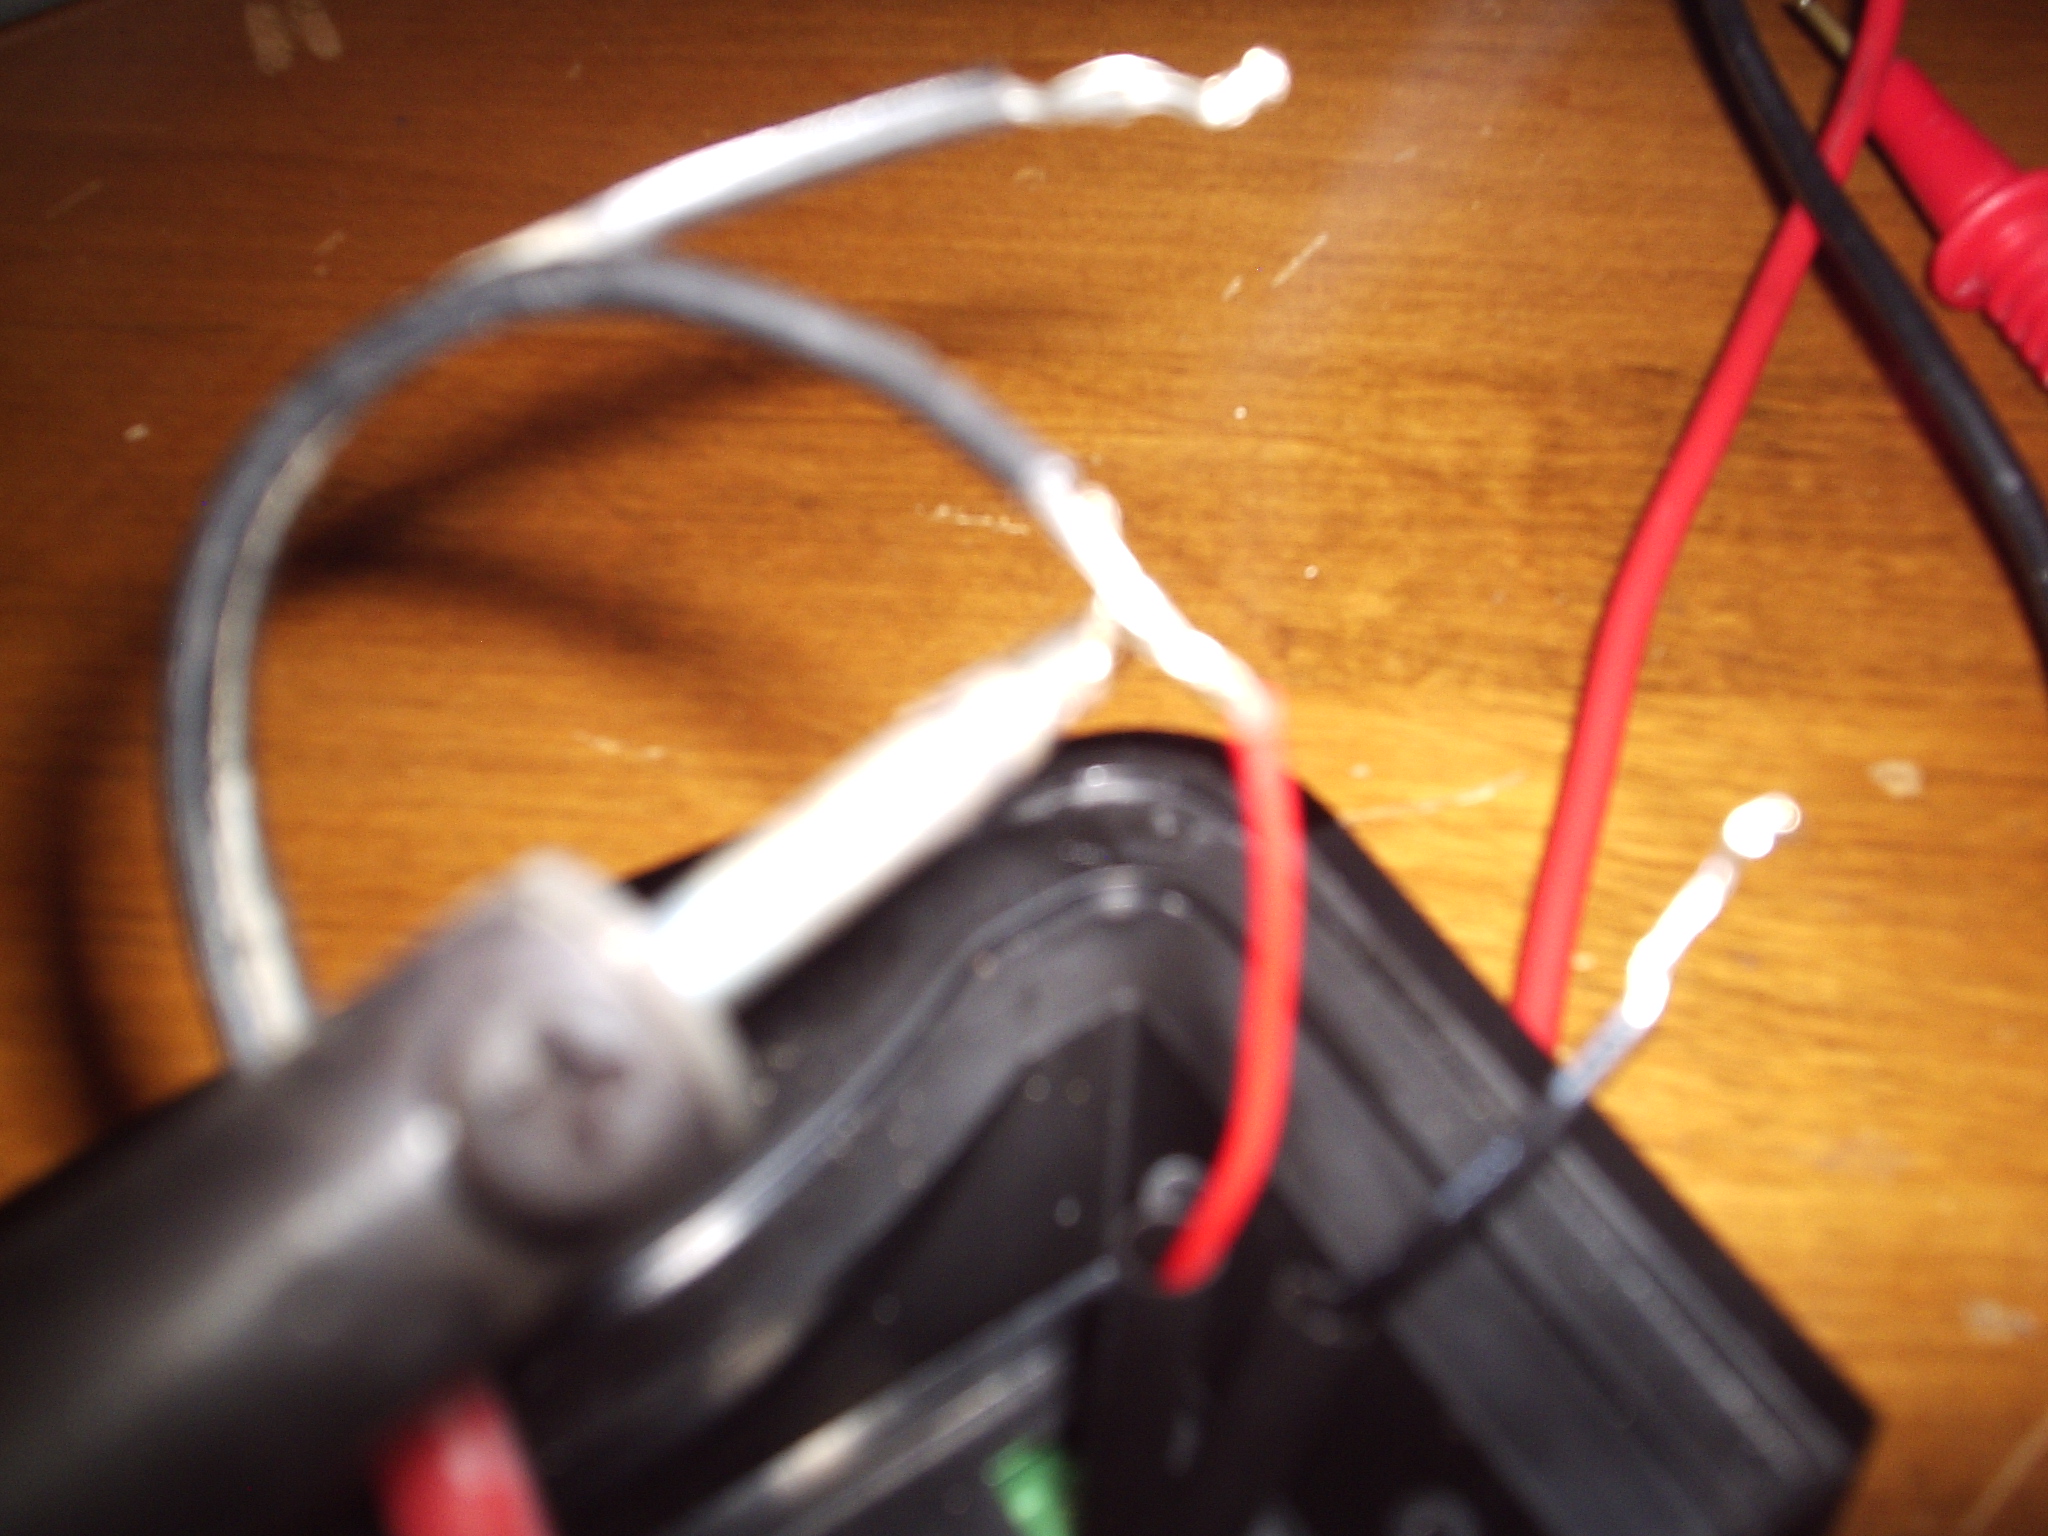
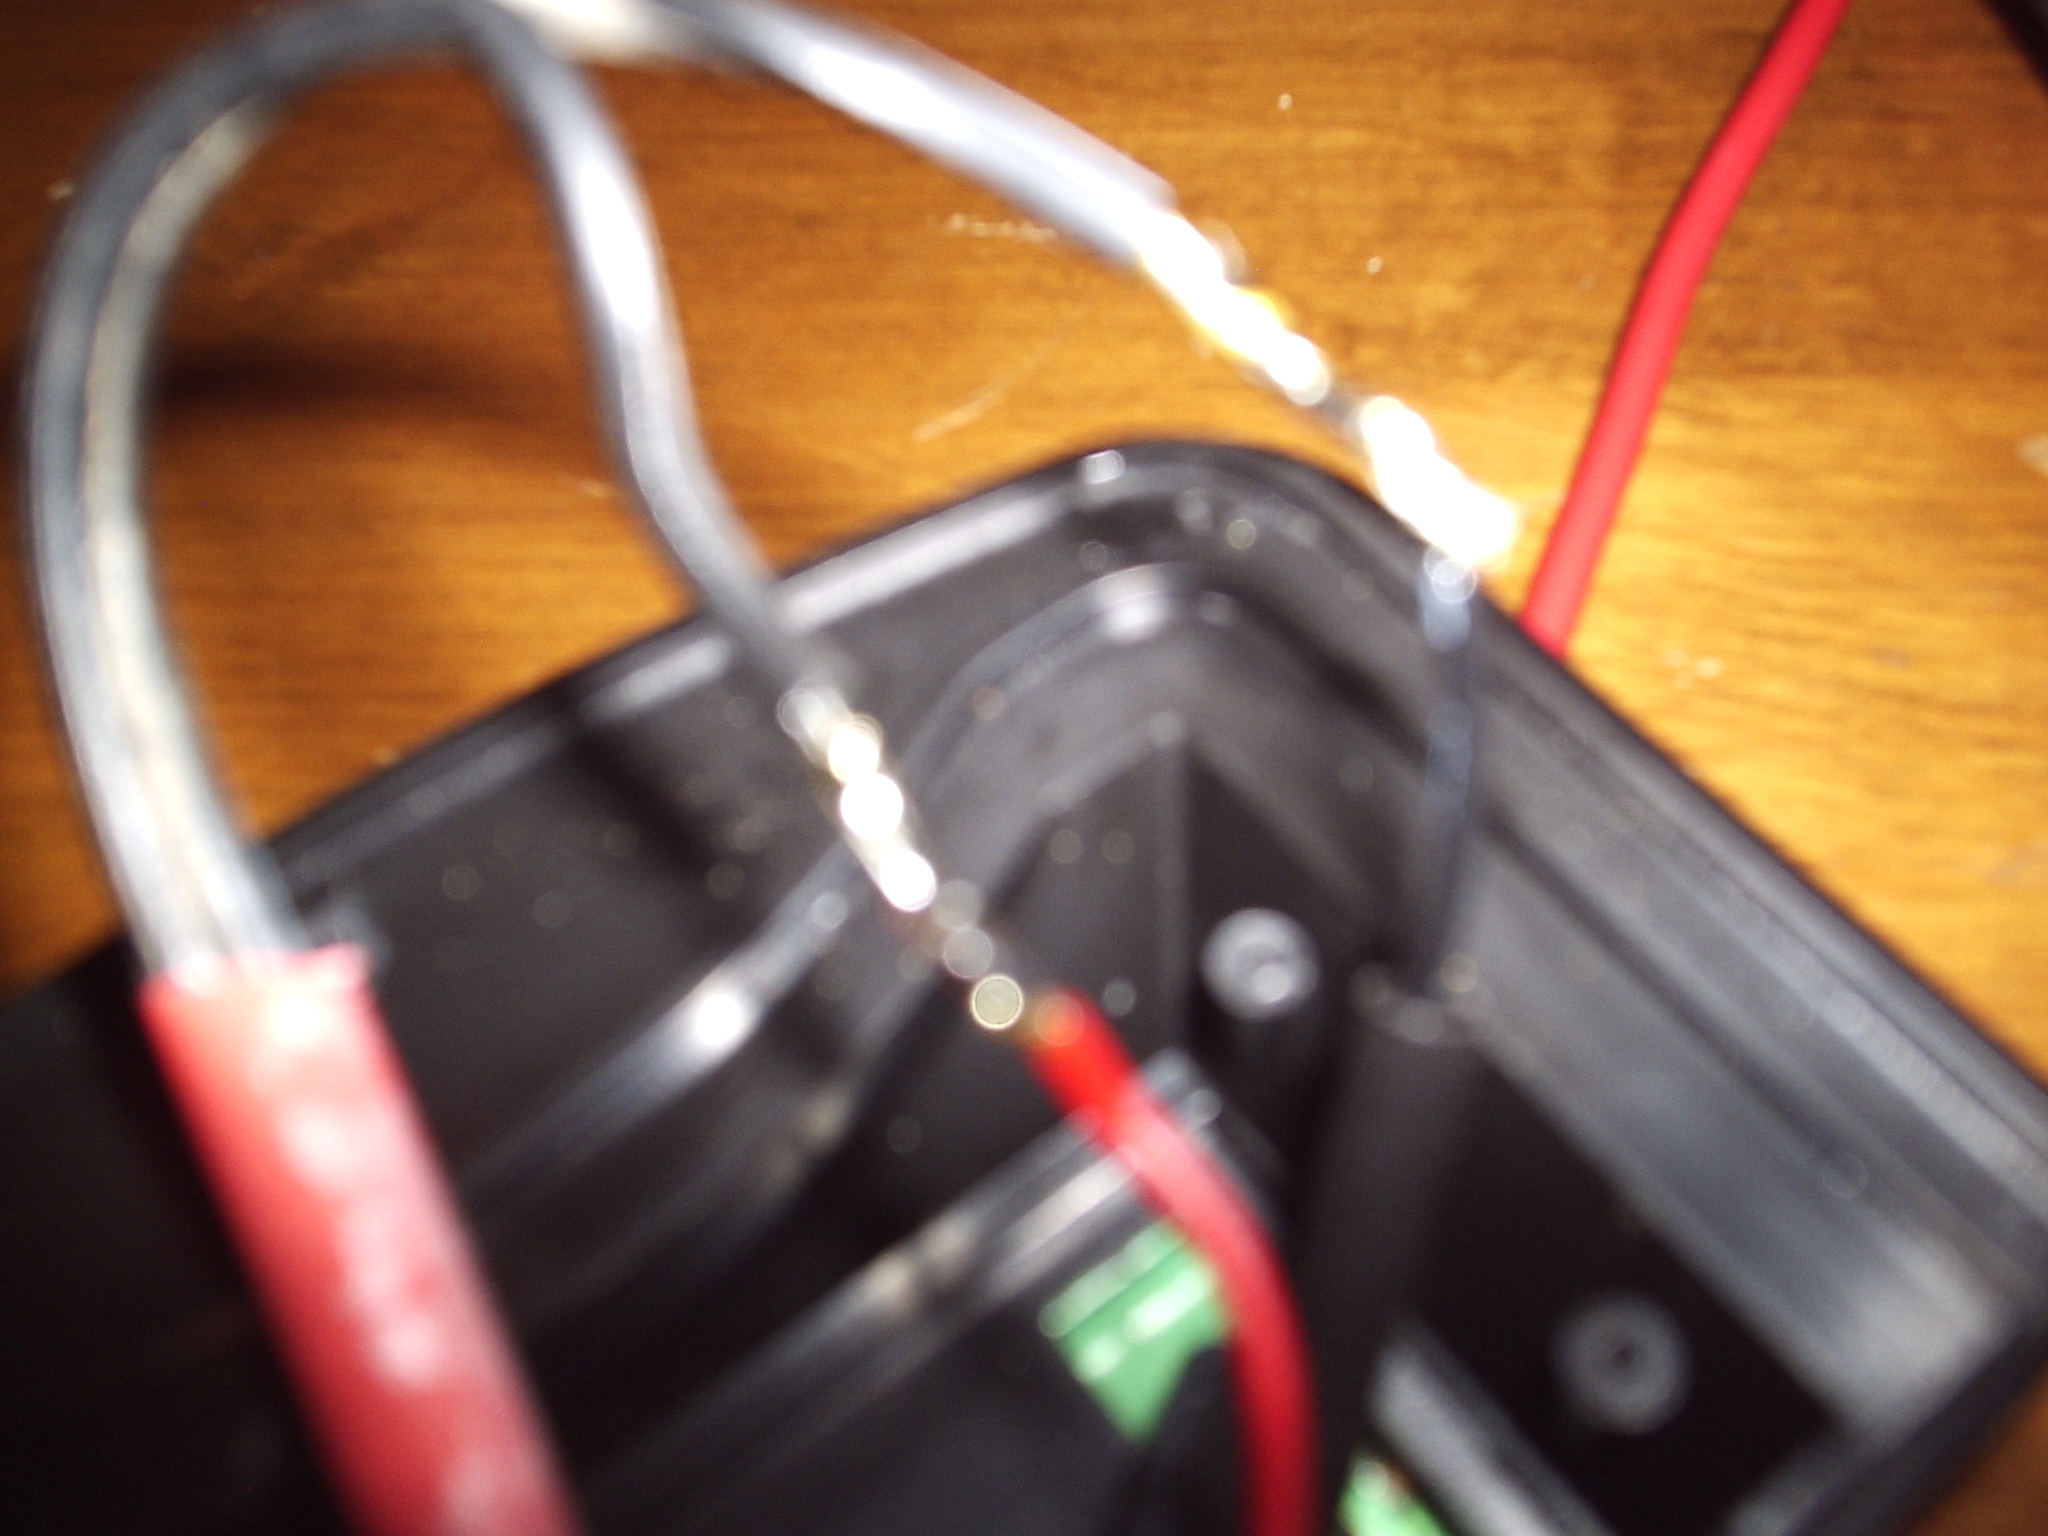
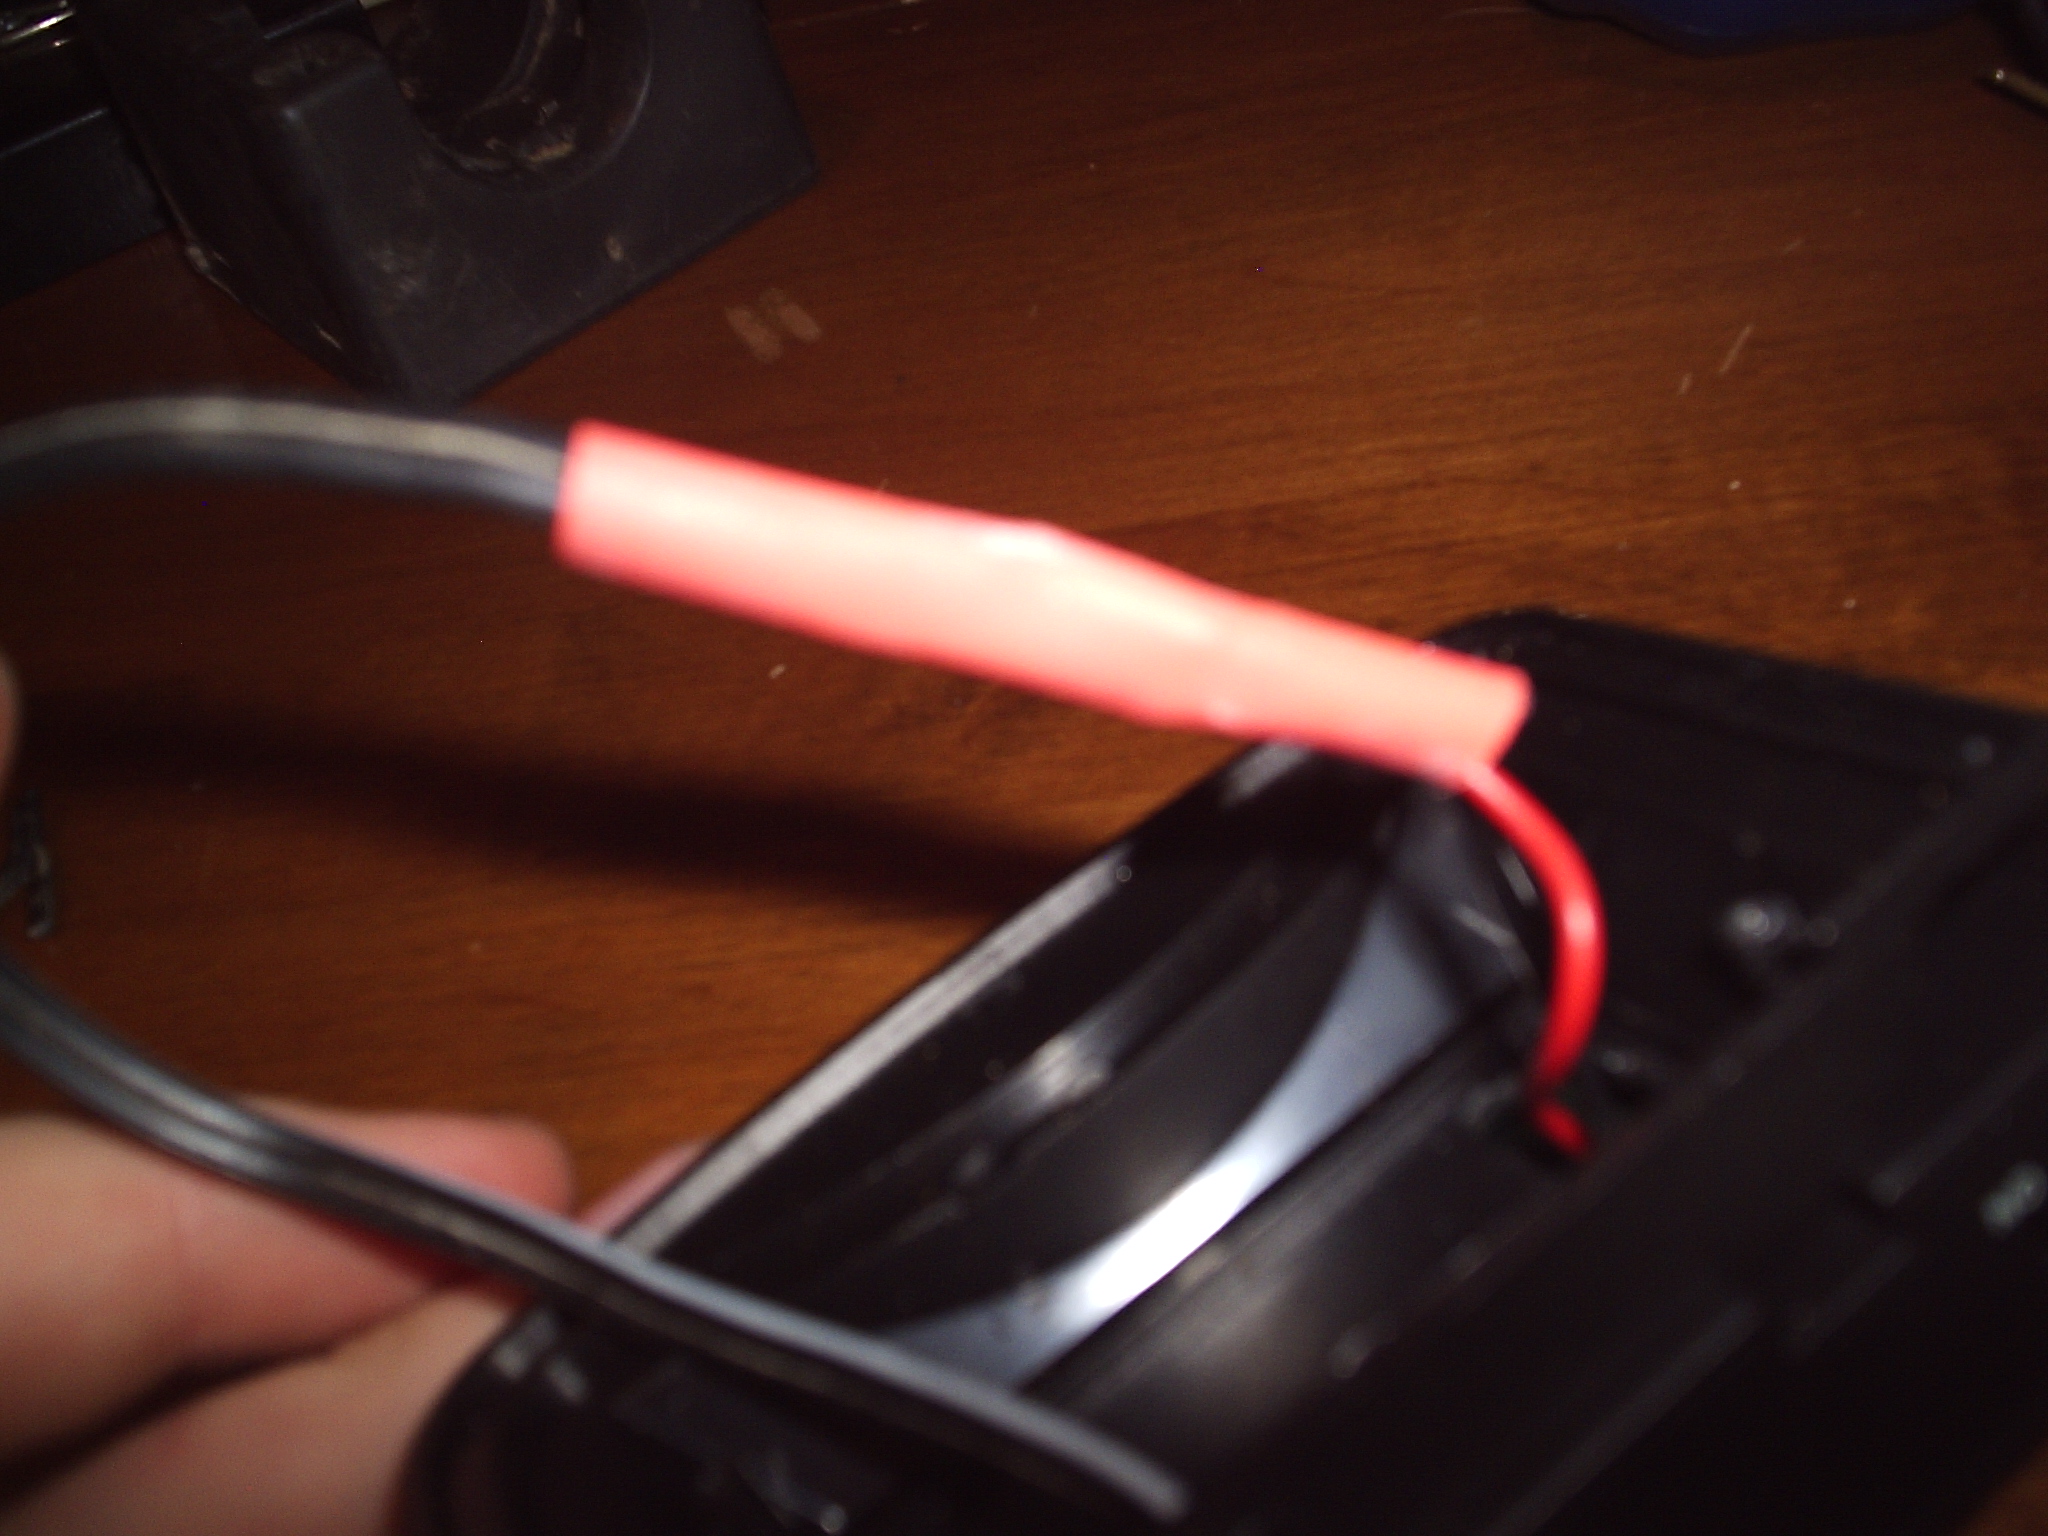
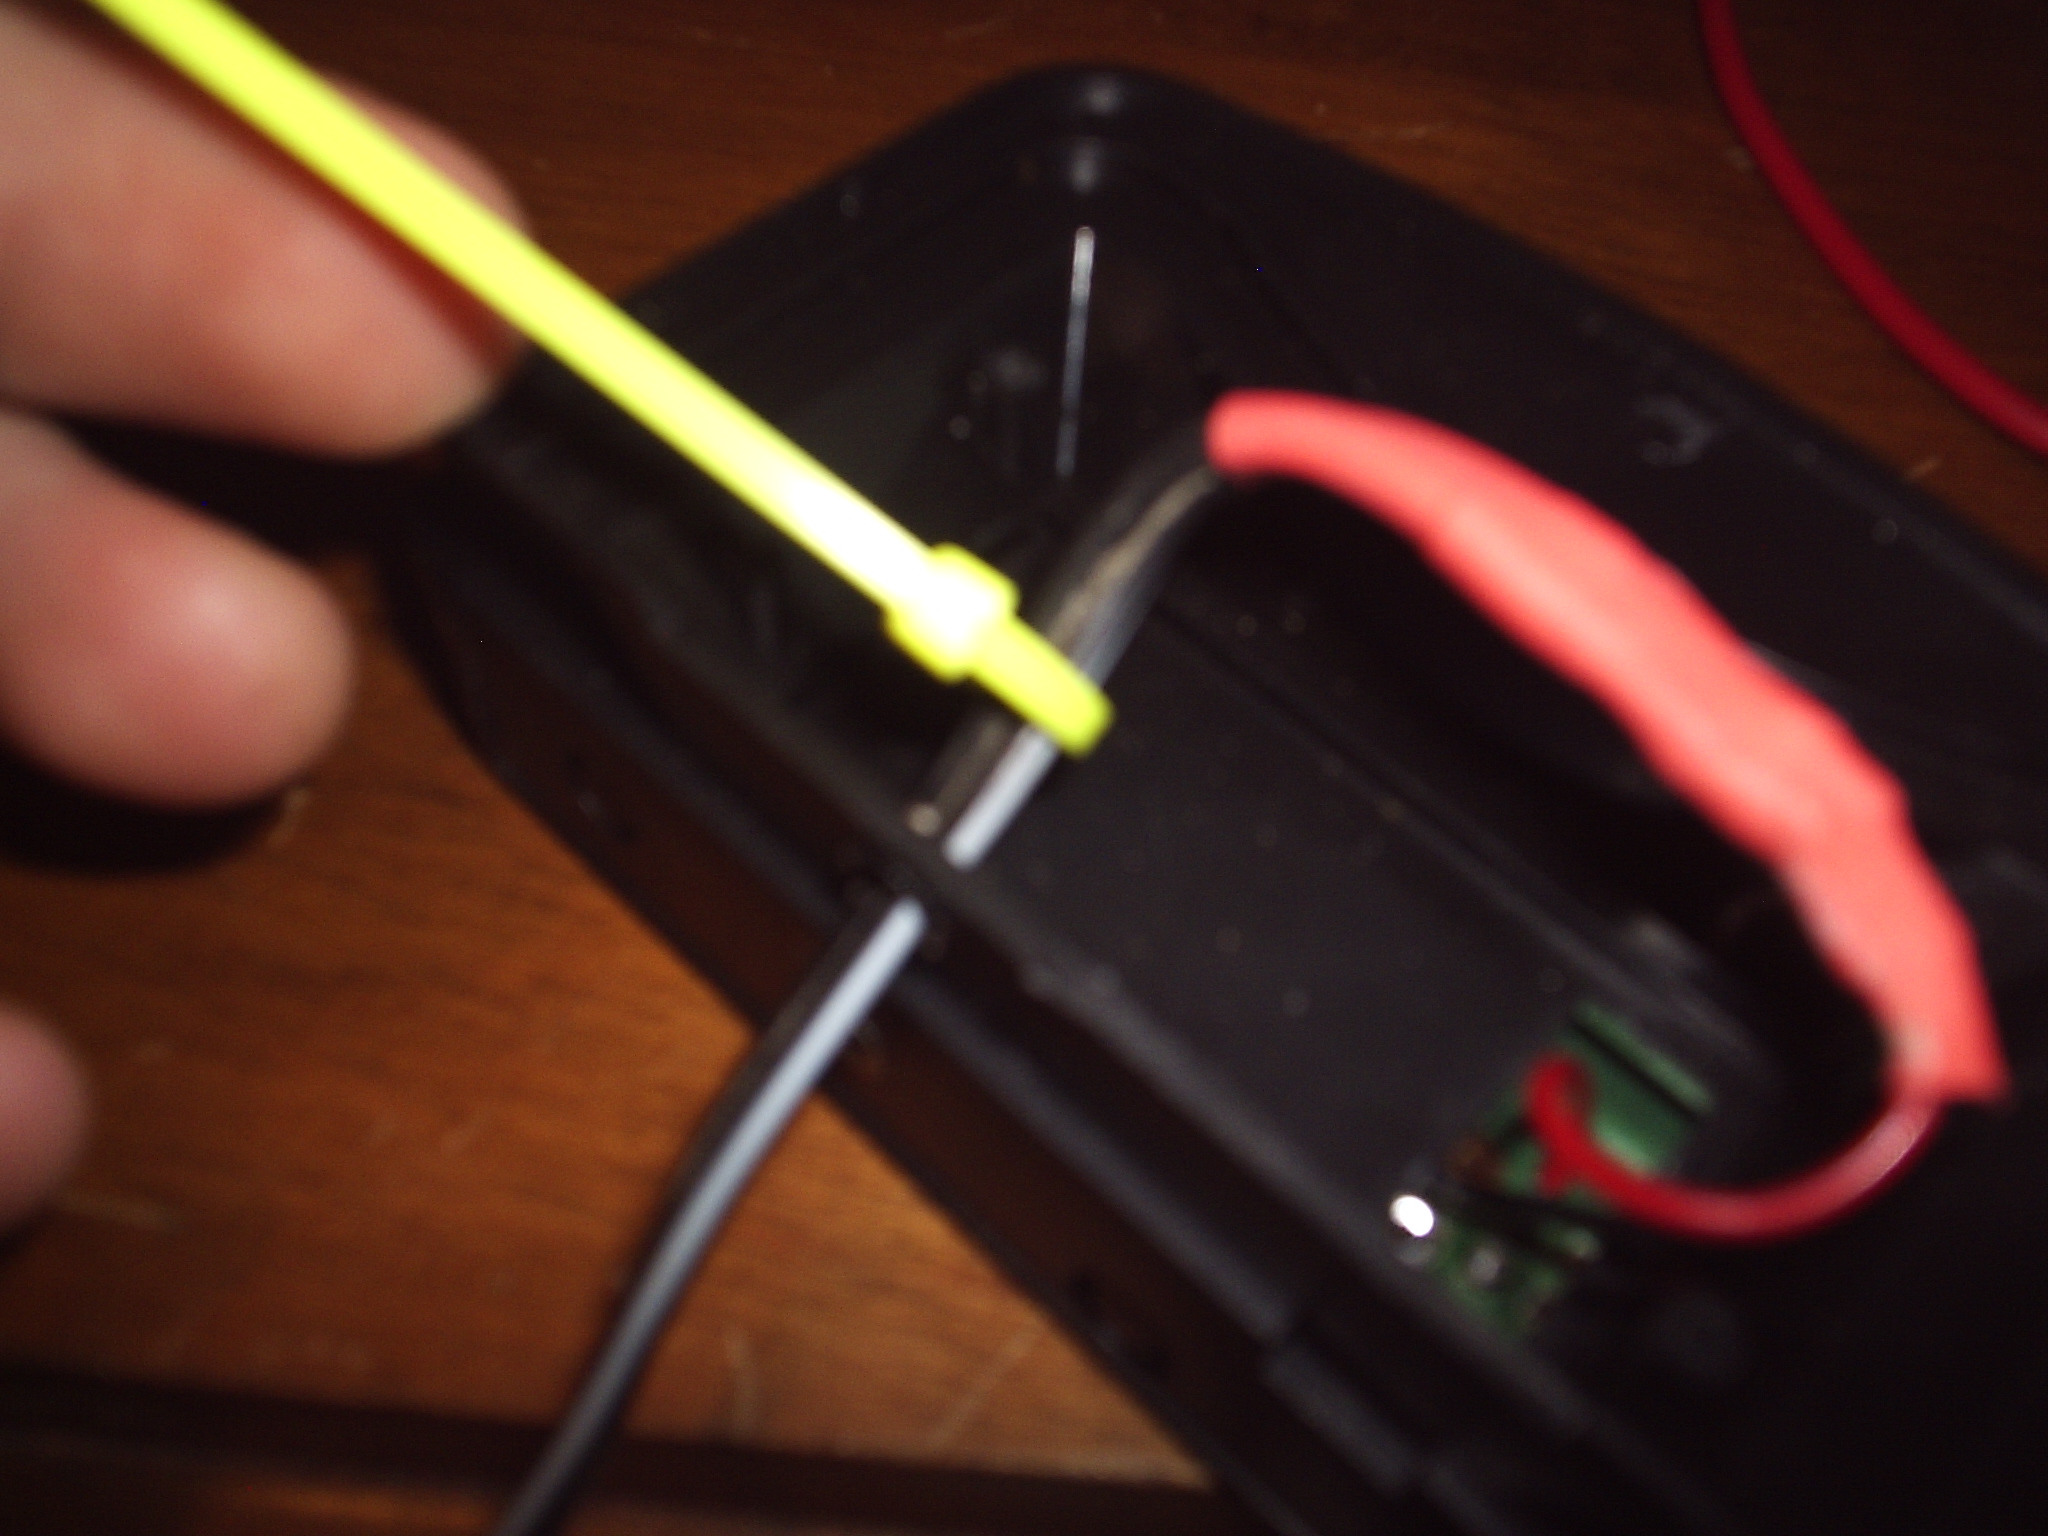
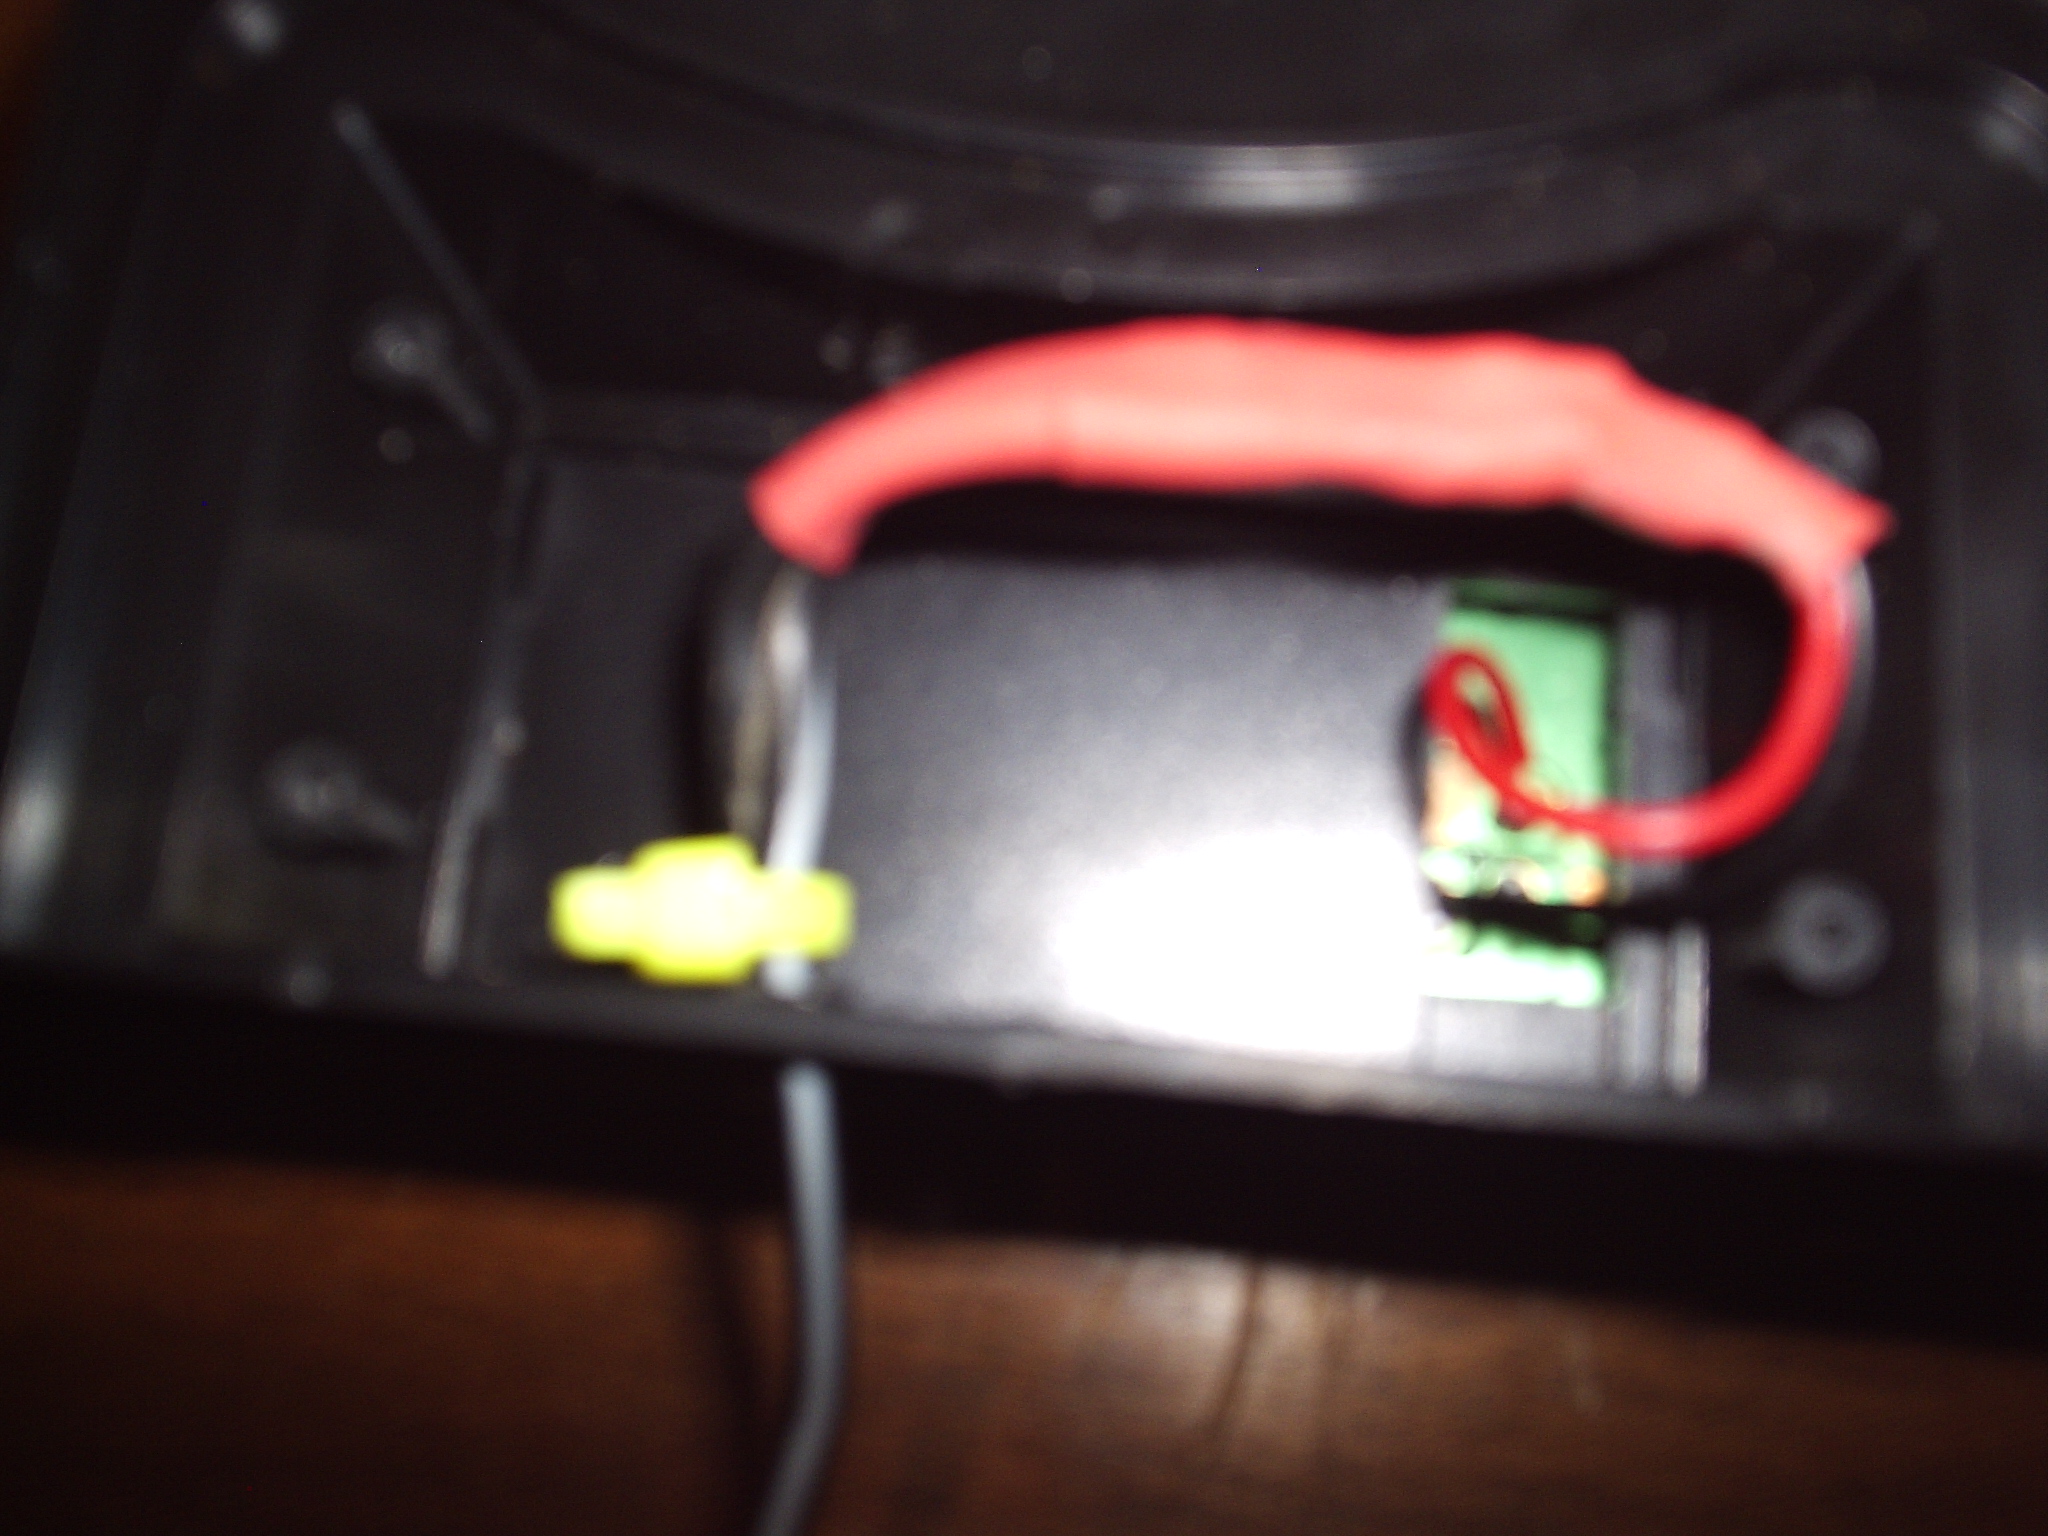
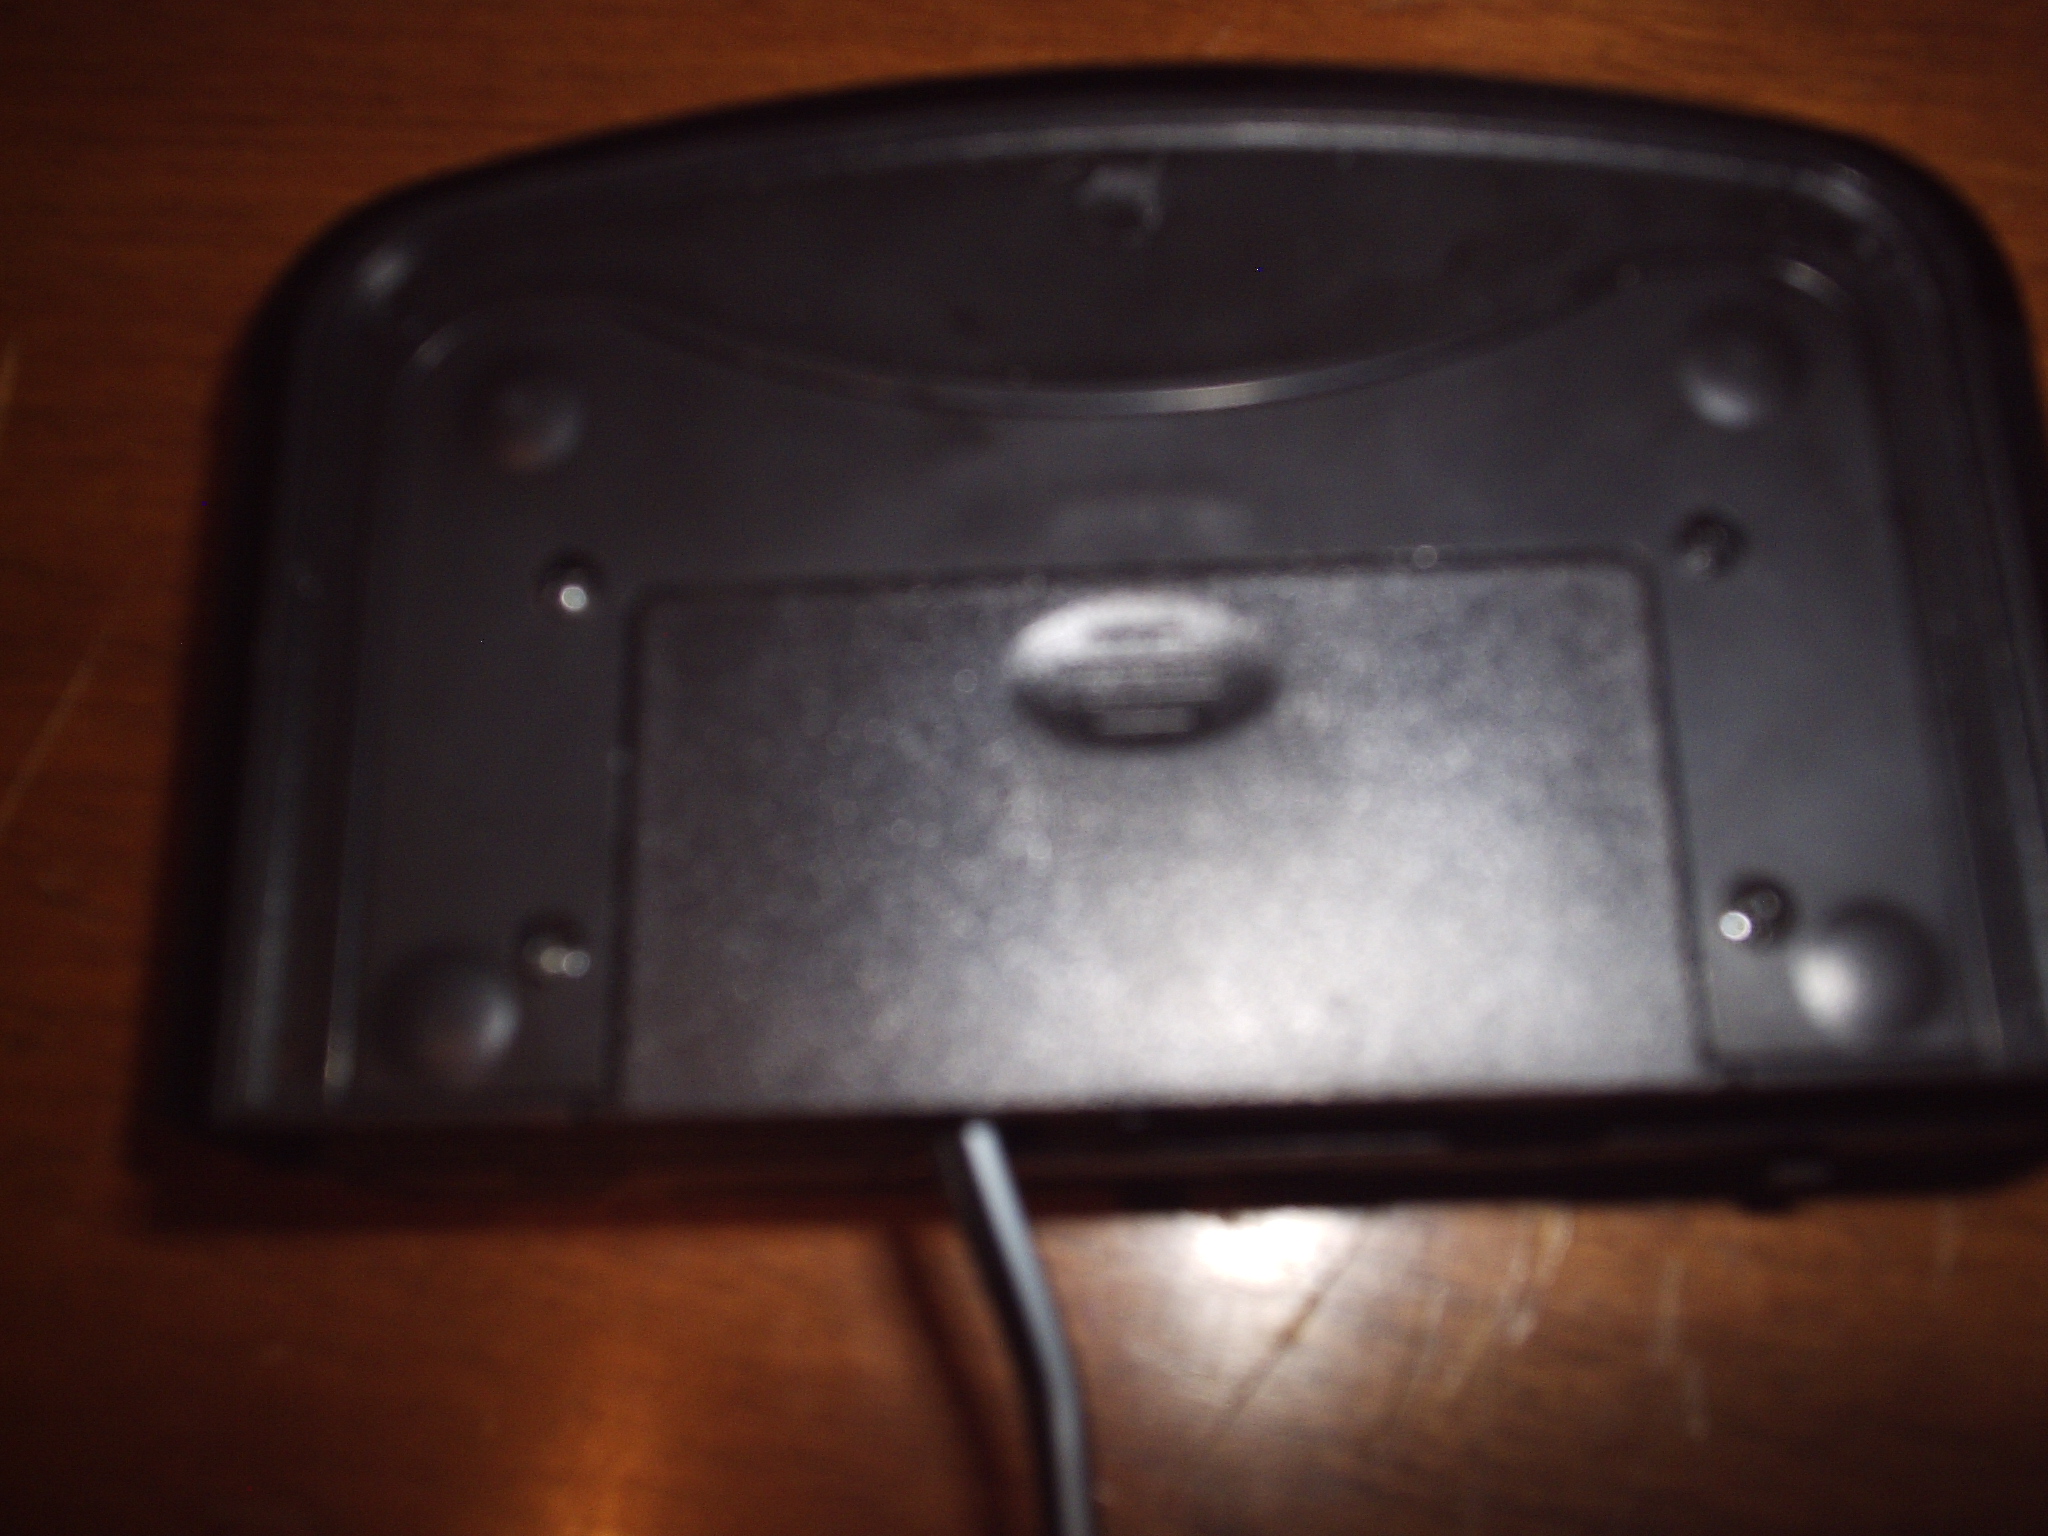
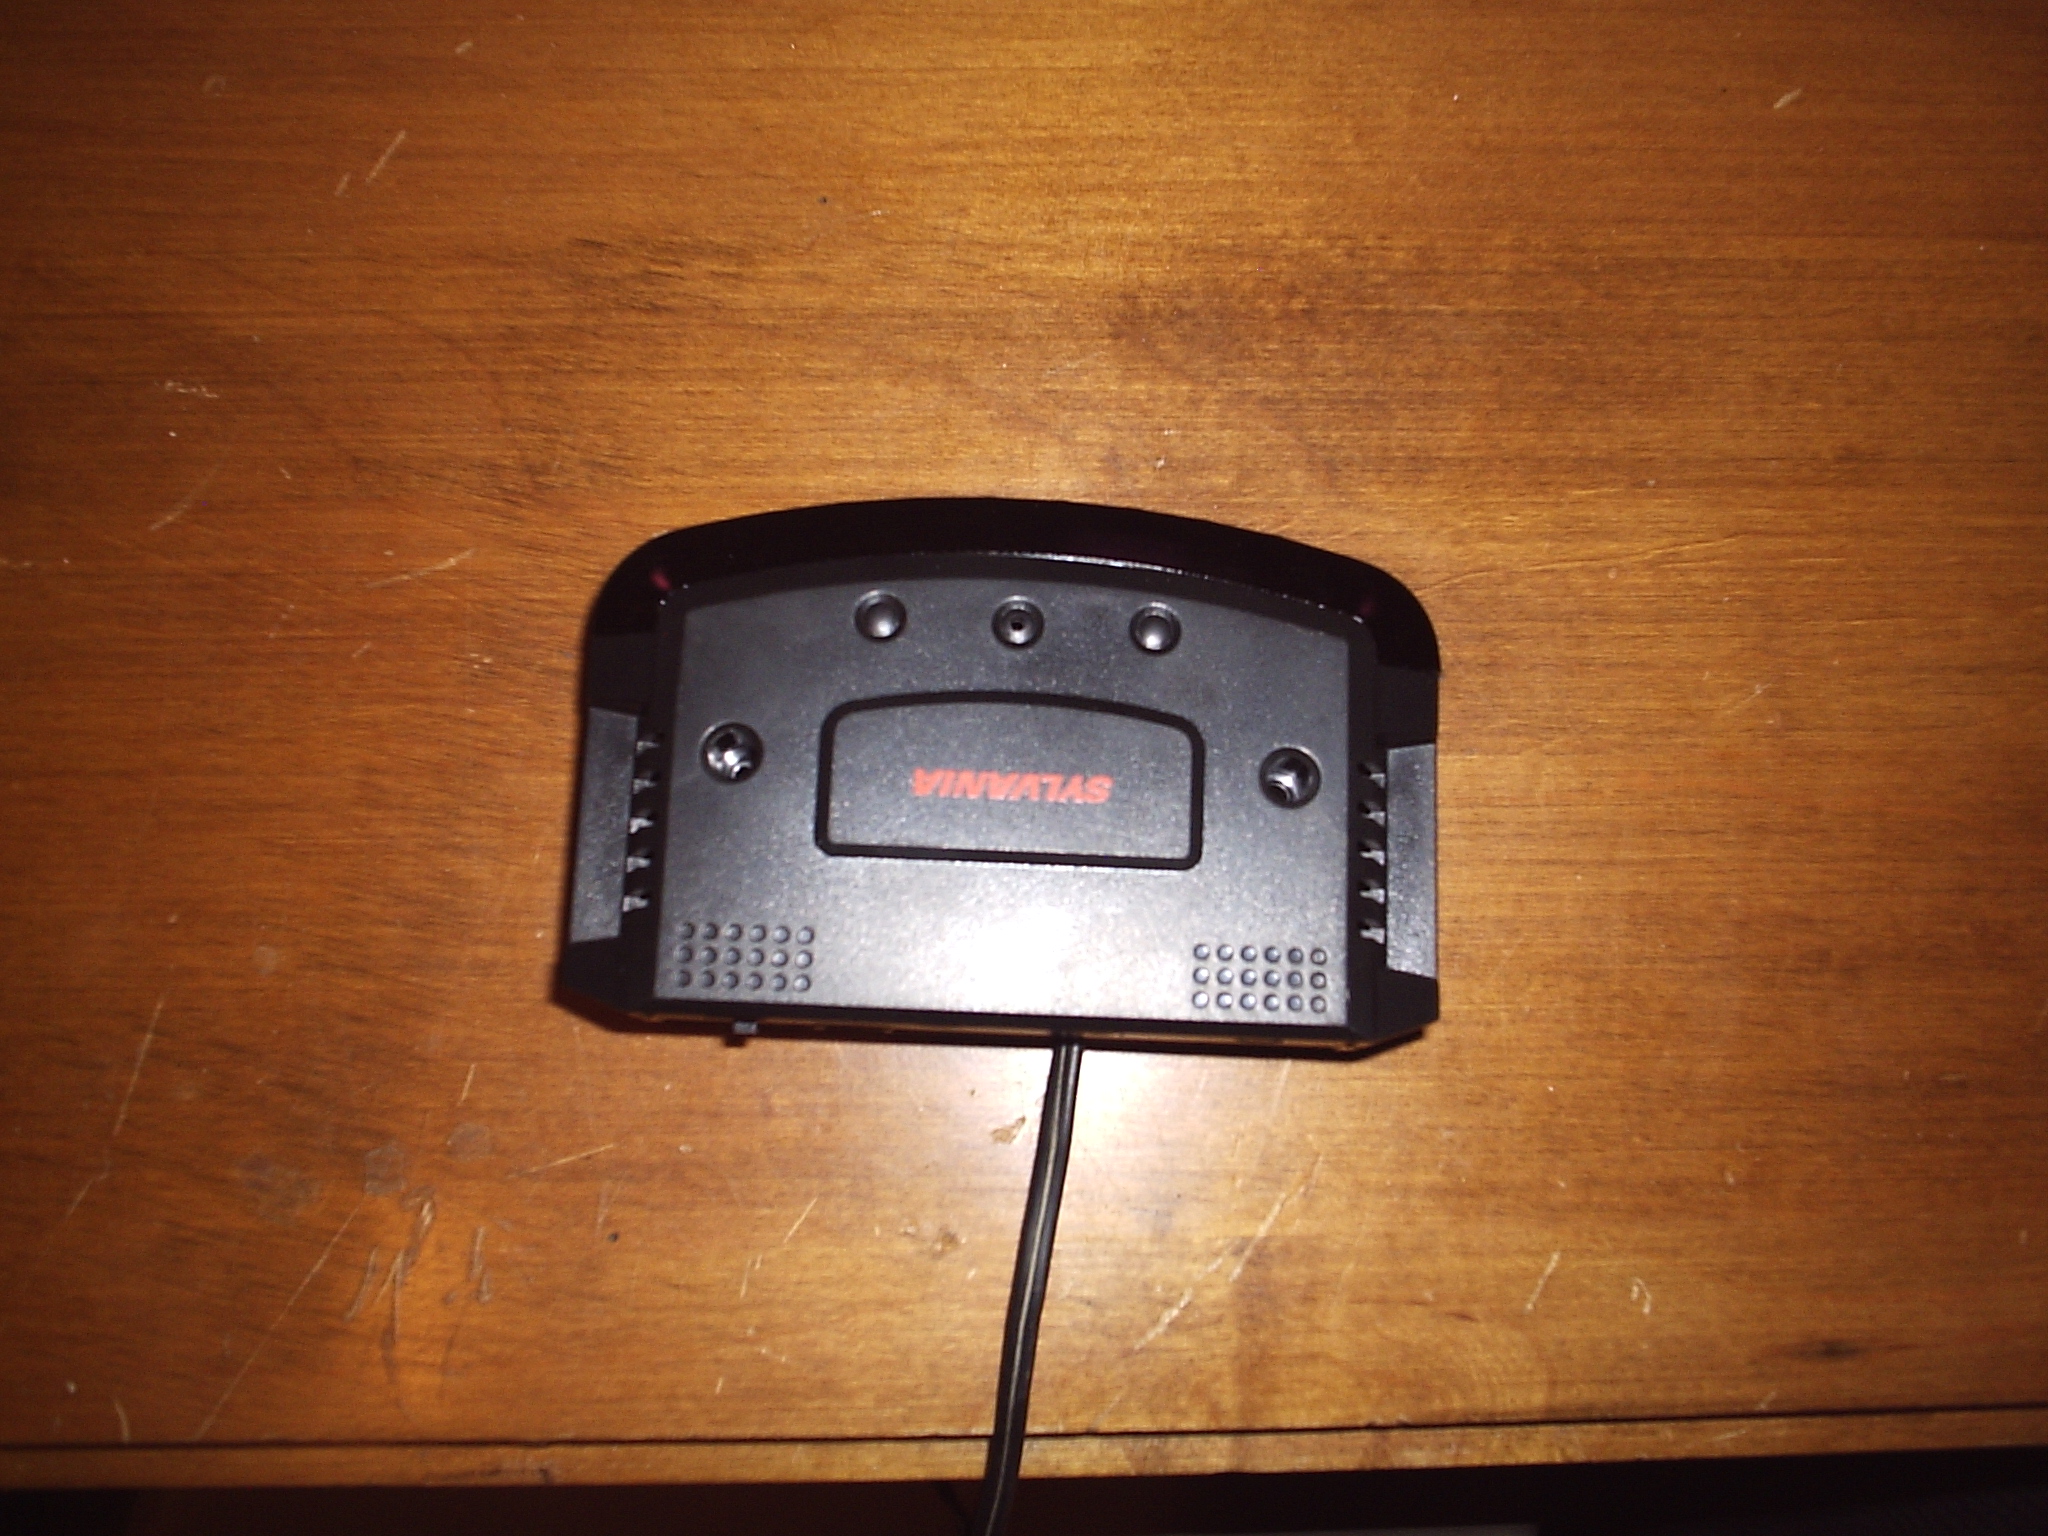
In this step we are going to open up the battery compartment. This will allow us to get to the wires that wen need to connect the AC adapter to. Follow these steps:
Now your transmitter is powered from a wall outlet instead of batteries. If you want you can put the battery cover back on, but you may need to trim it some in order for it to fit around the new wires.
- Flip your headphone transmitter over and locate the screws that hold on the battery compartment.
- Unscrew the screws holding the battery compartment in place.
- Pull the battery compartment loose and locate the wires that provide power to the circuit board.
- Cut both of the wires off as close to the battery holder as you can.
- Use a multimeter to figure out the polarity of your adapter.
- Connect the positive wire on your adapter to the red wire from your transmitter.
- Connect the negative wire on your adapter to the black wire from your transmitter.
- Solder the connections and insulate them with shrink tubing.
Now your transmitter is powered from a wall outlet instead of batteries. If you want you can put the battery cover back on, but you may need to trim it some in order for it to fit around the new wires.
Adding an Antena
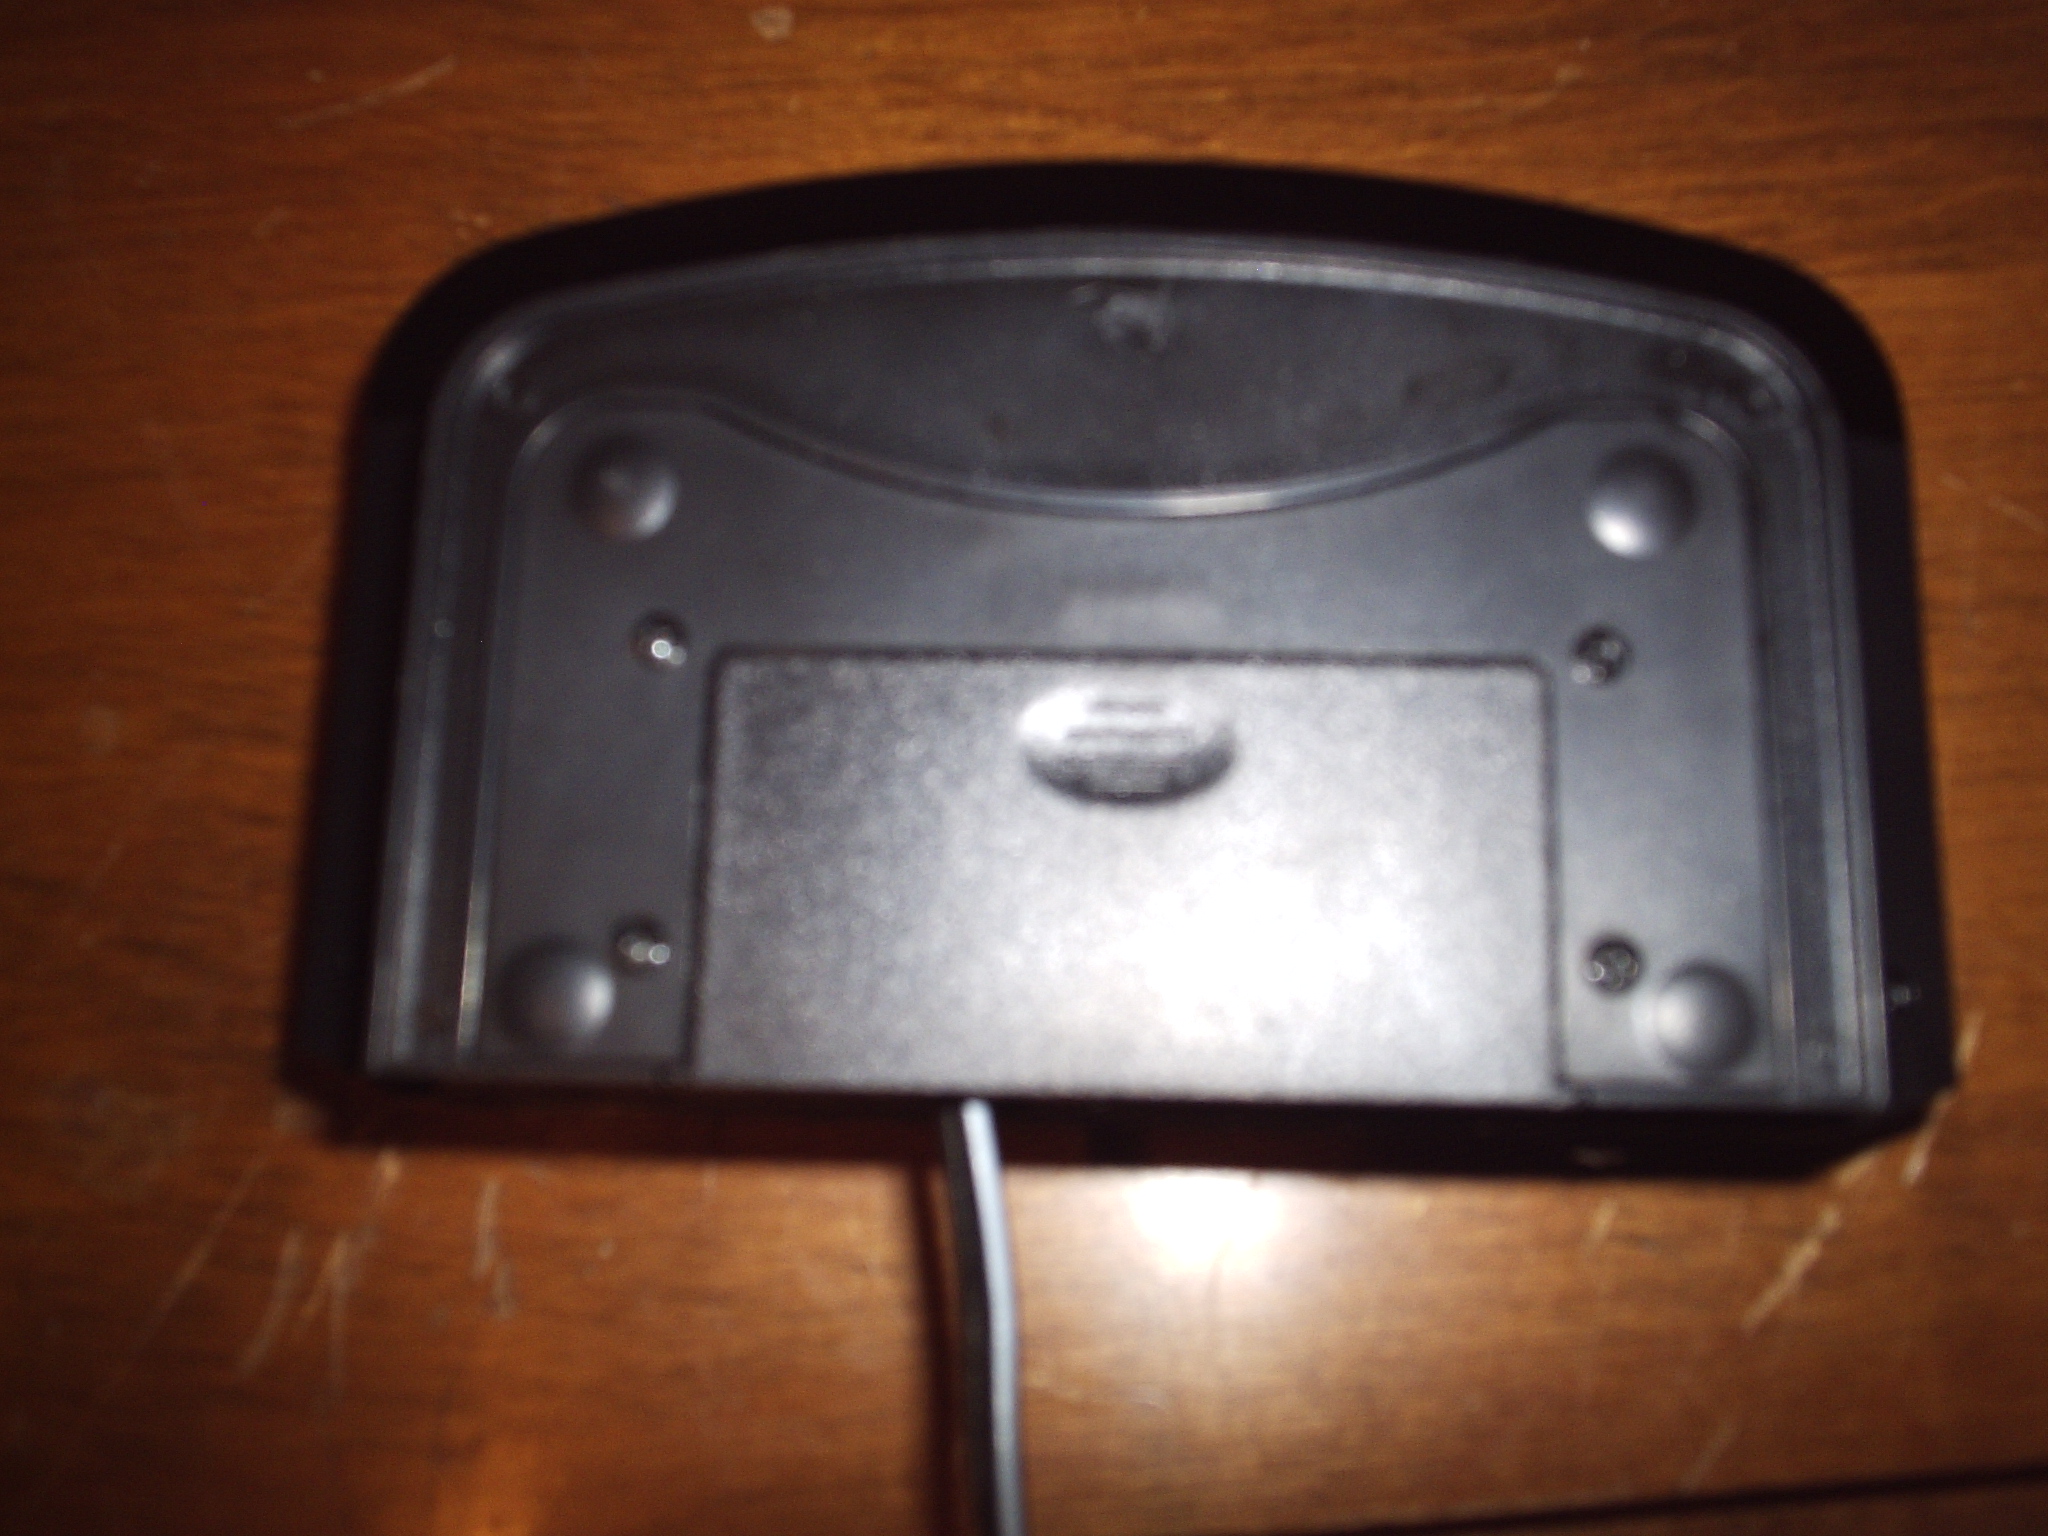
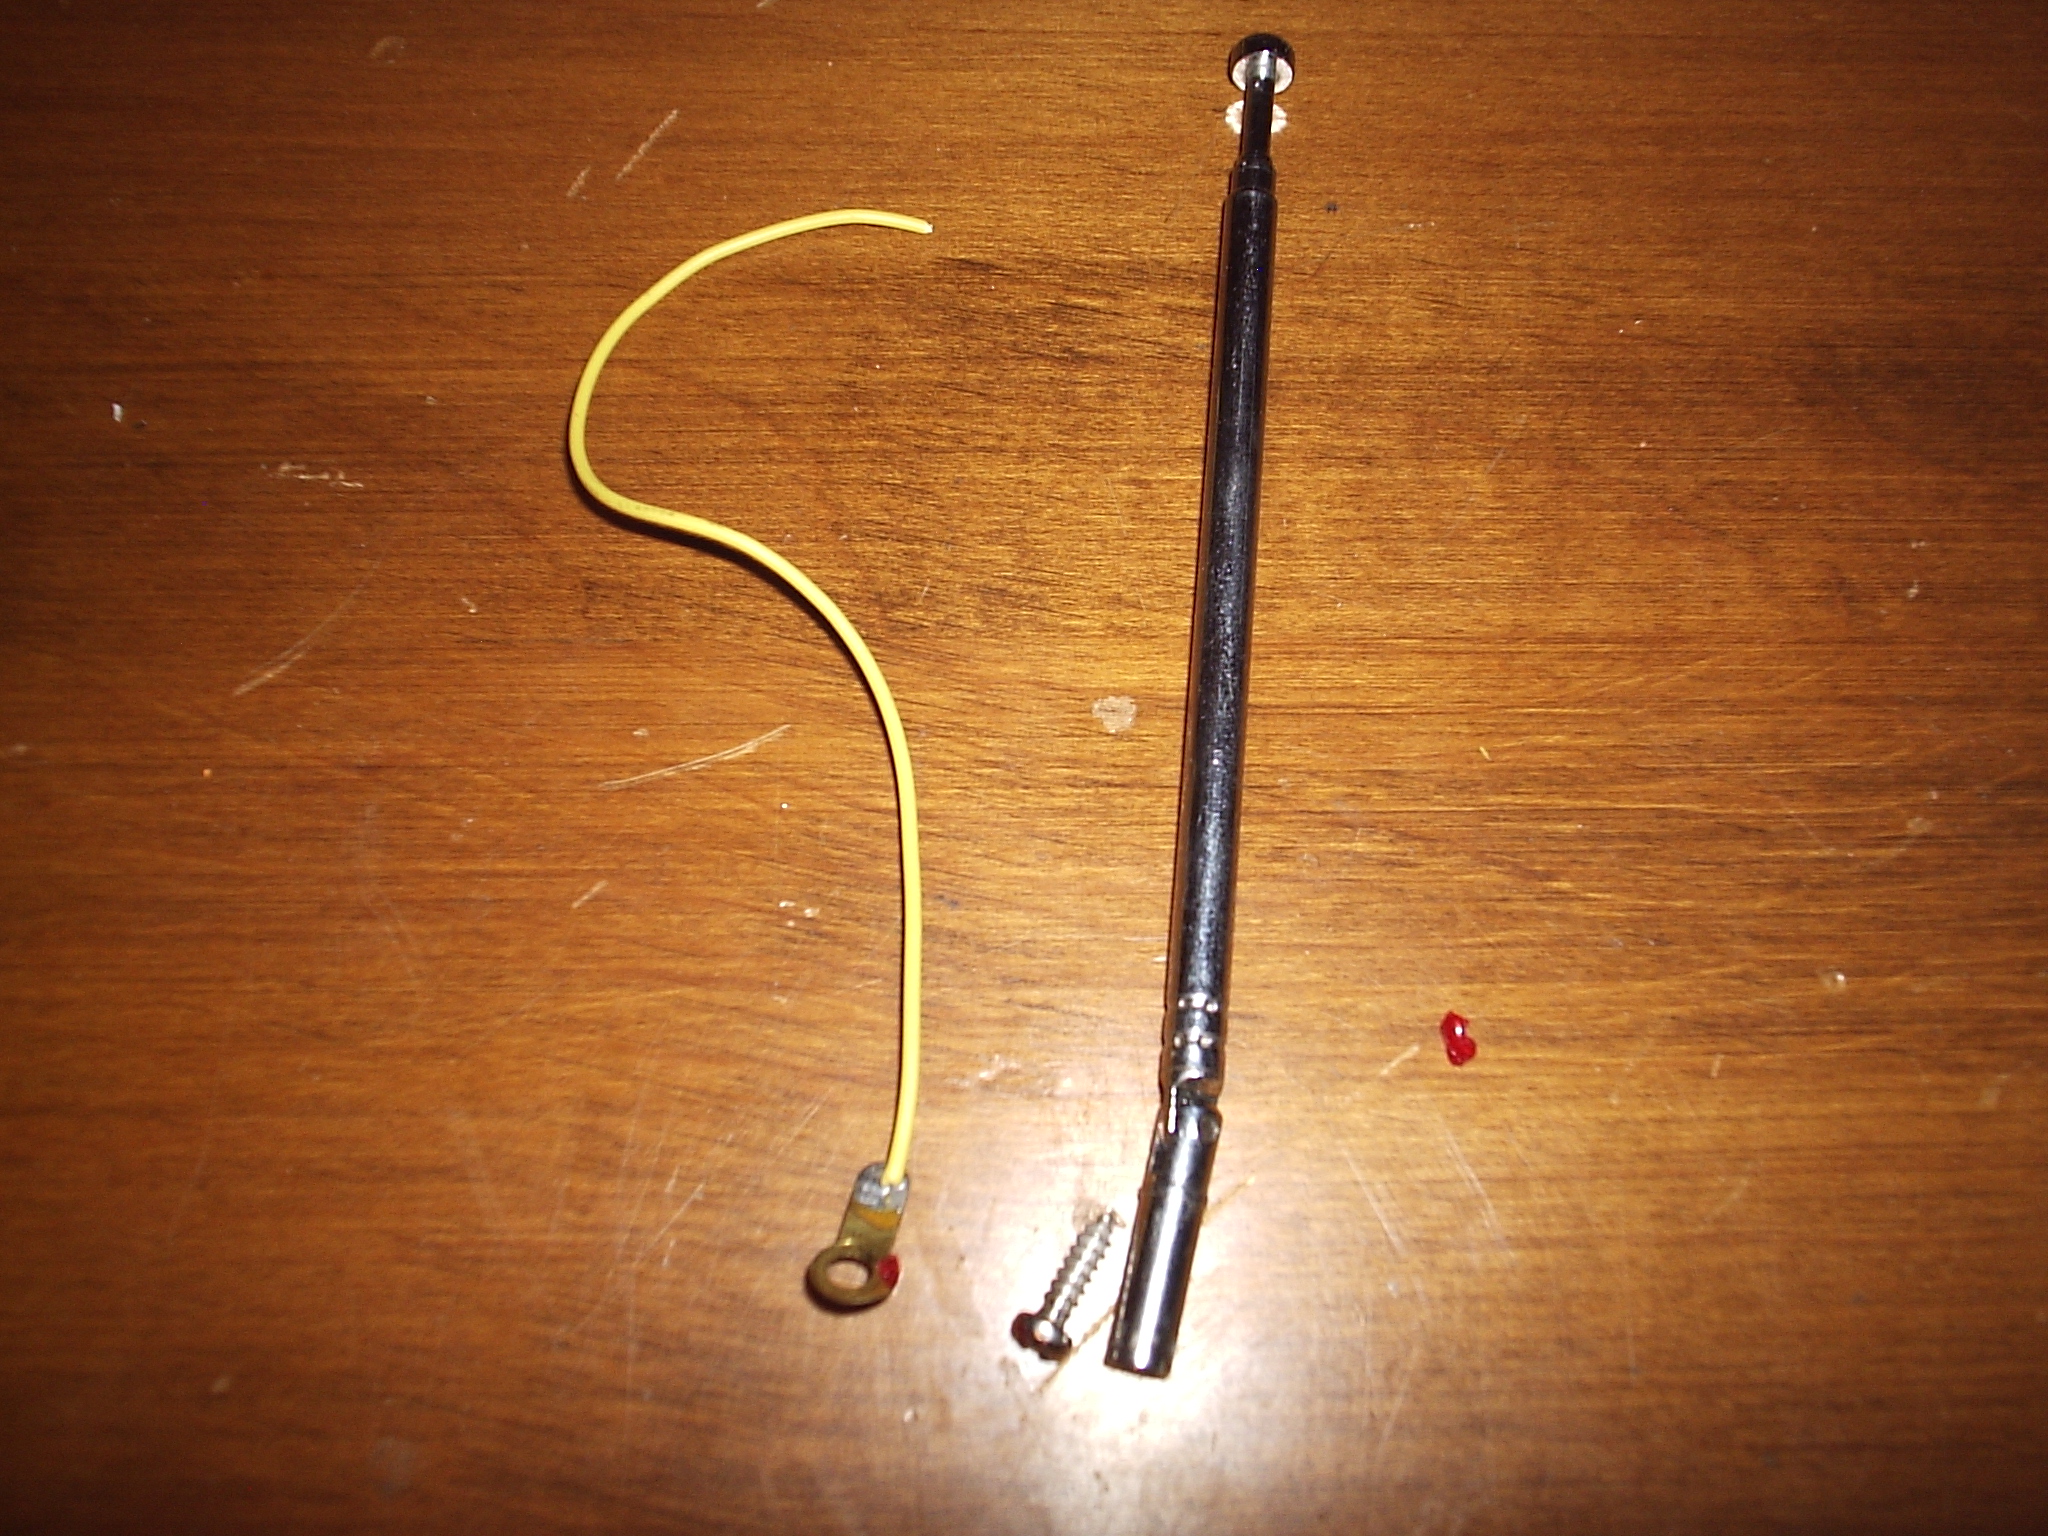
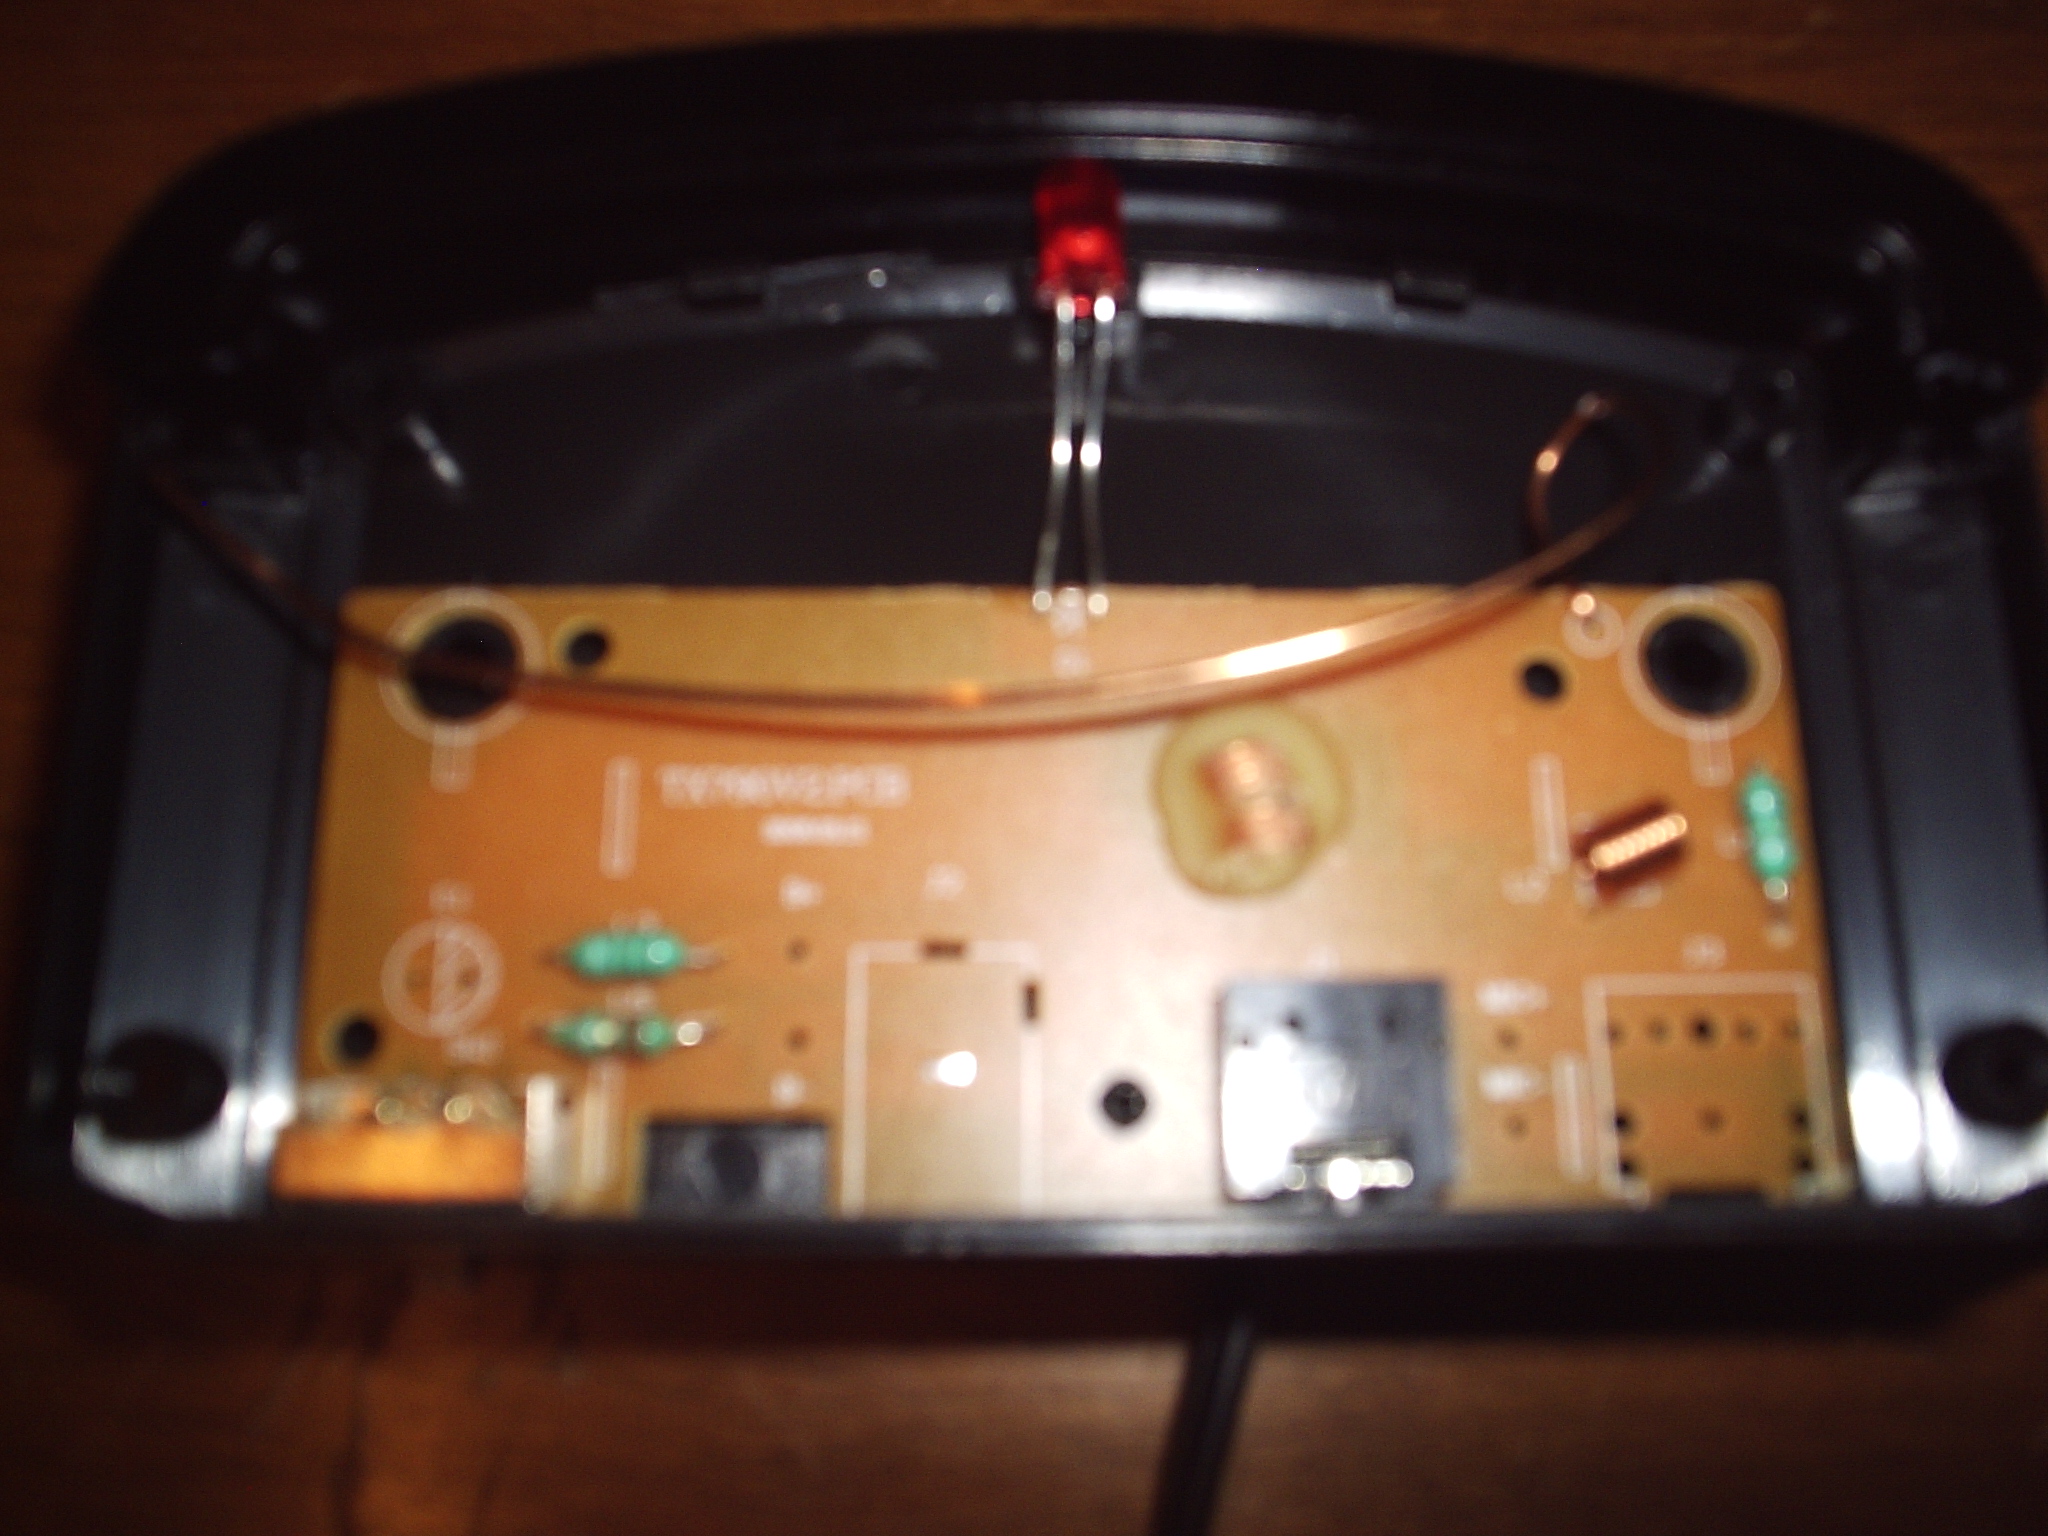
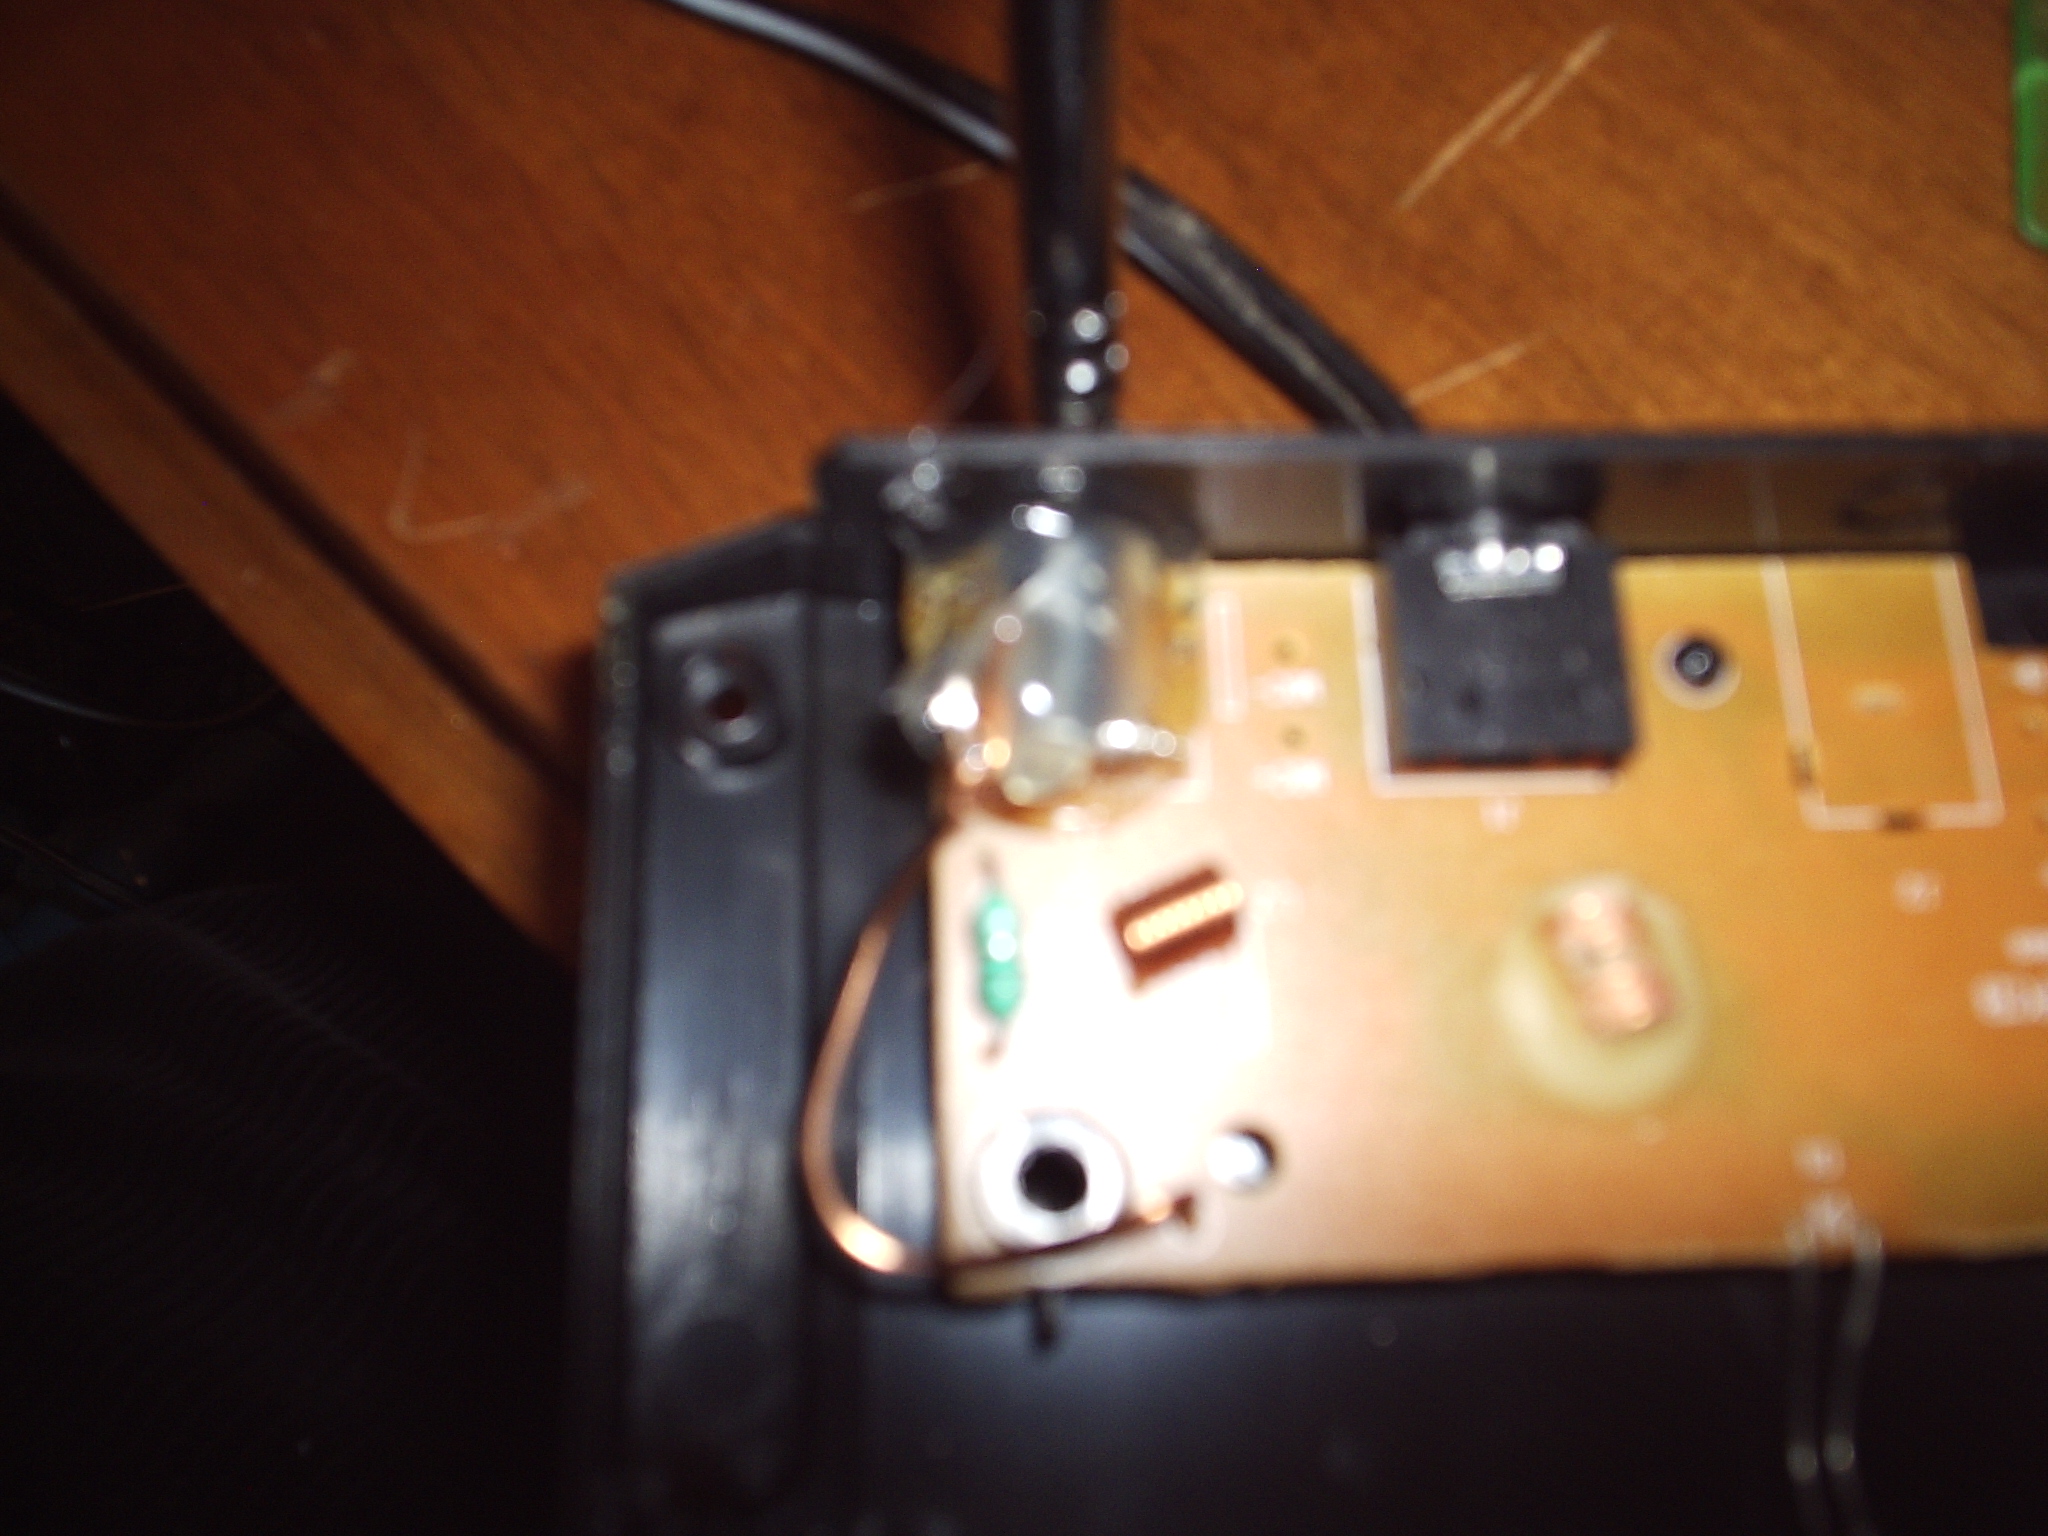
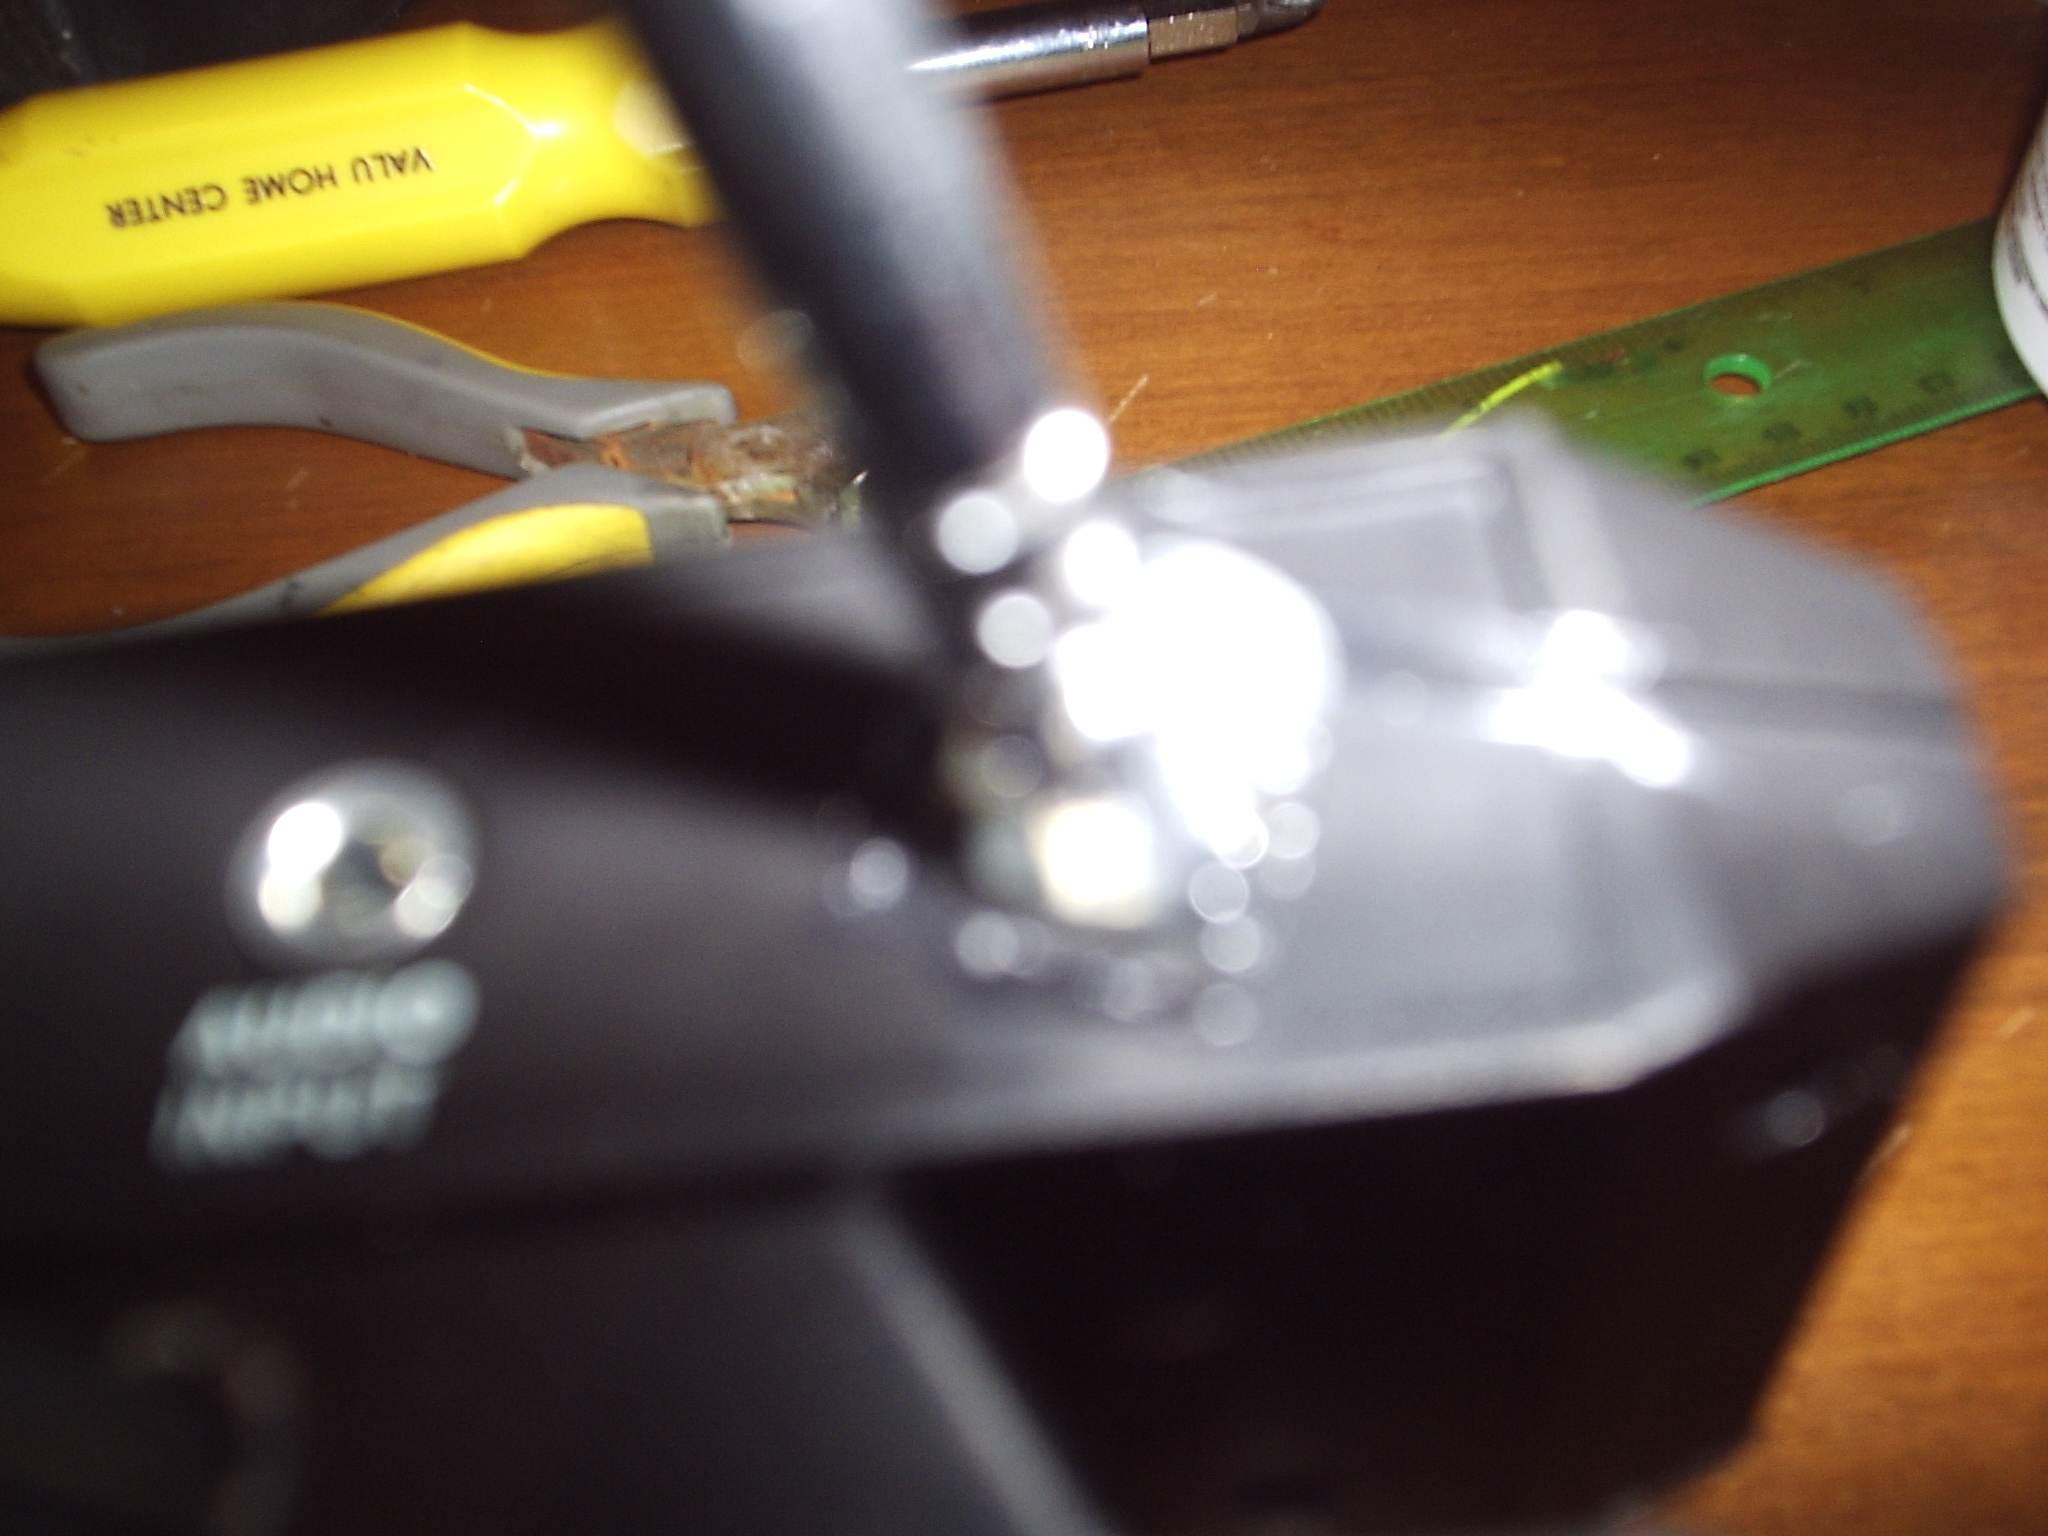
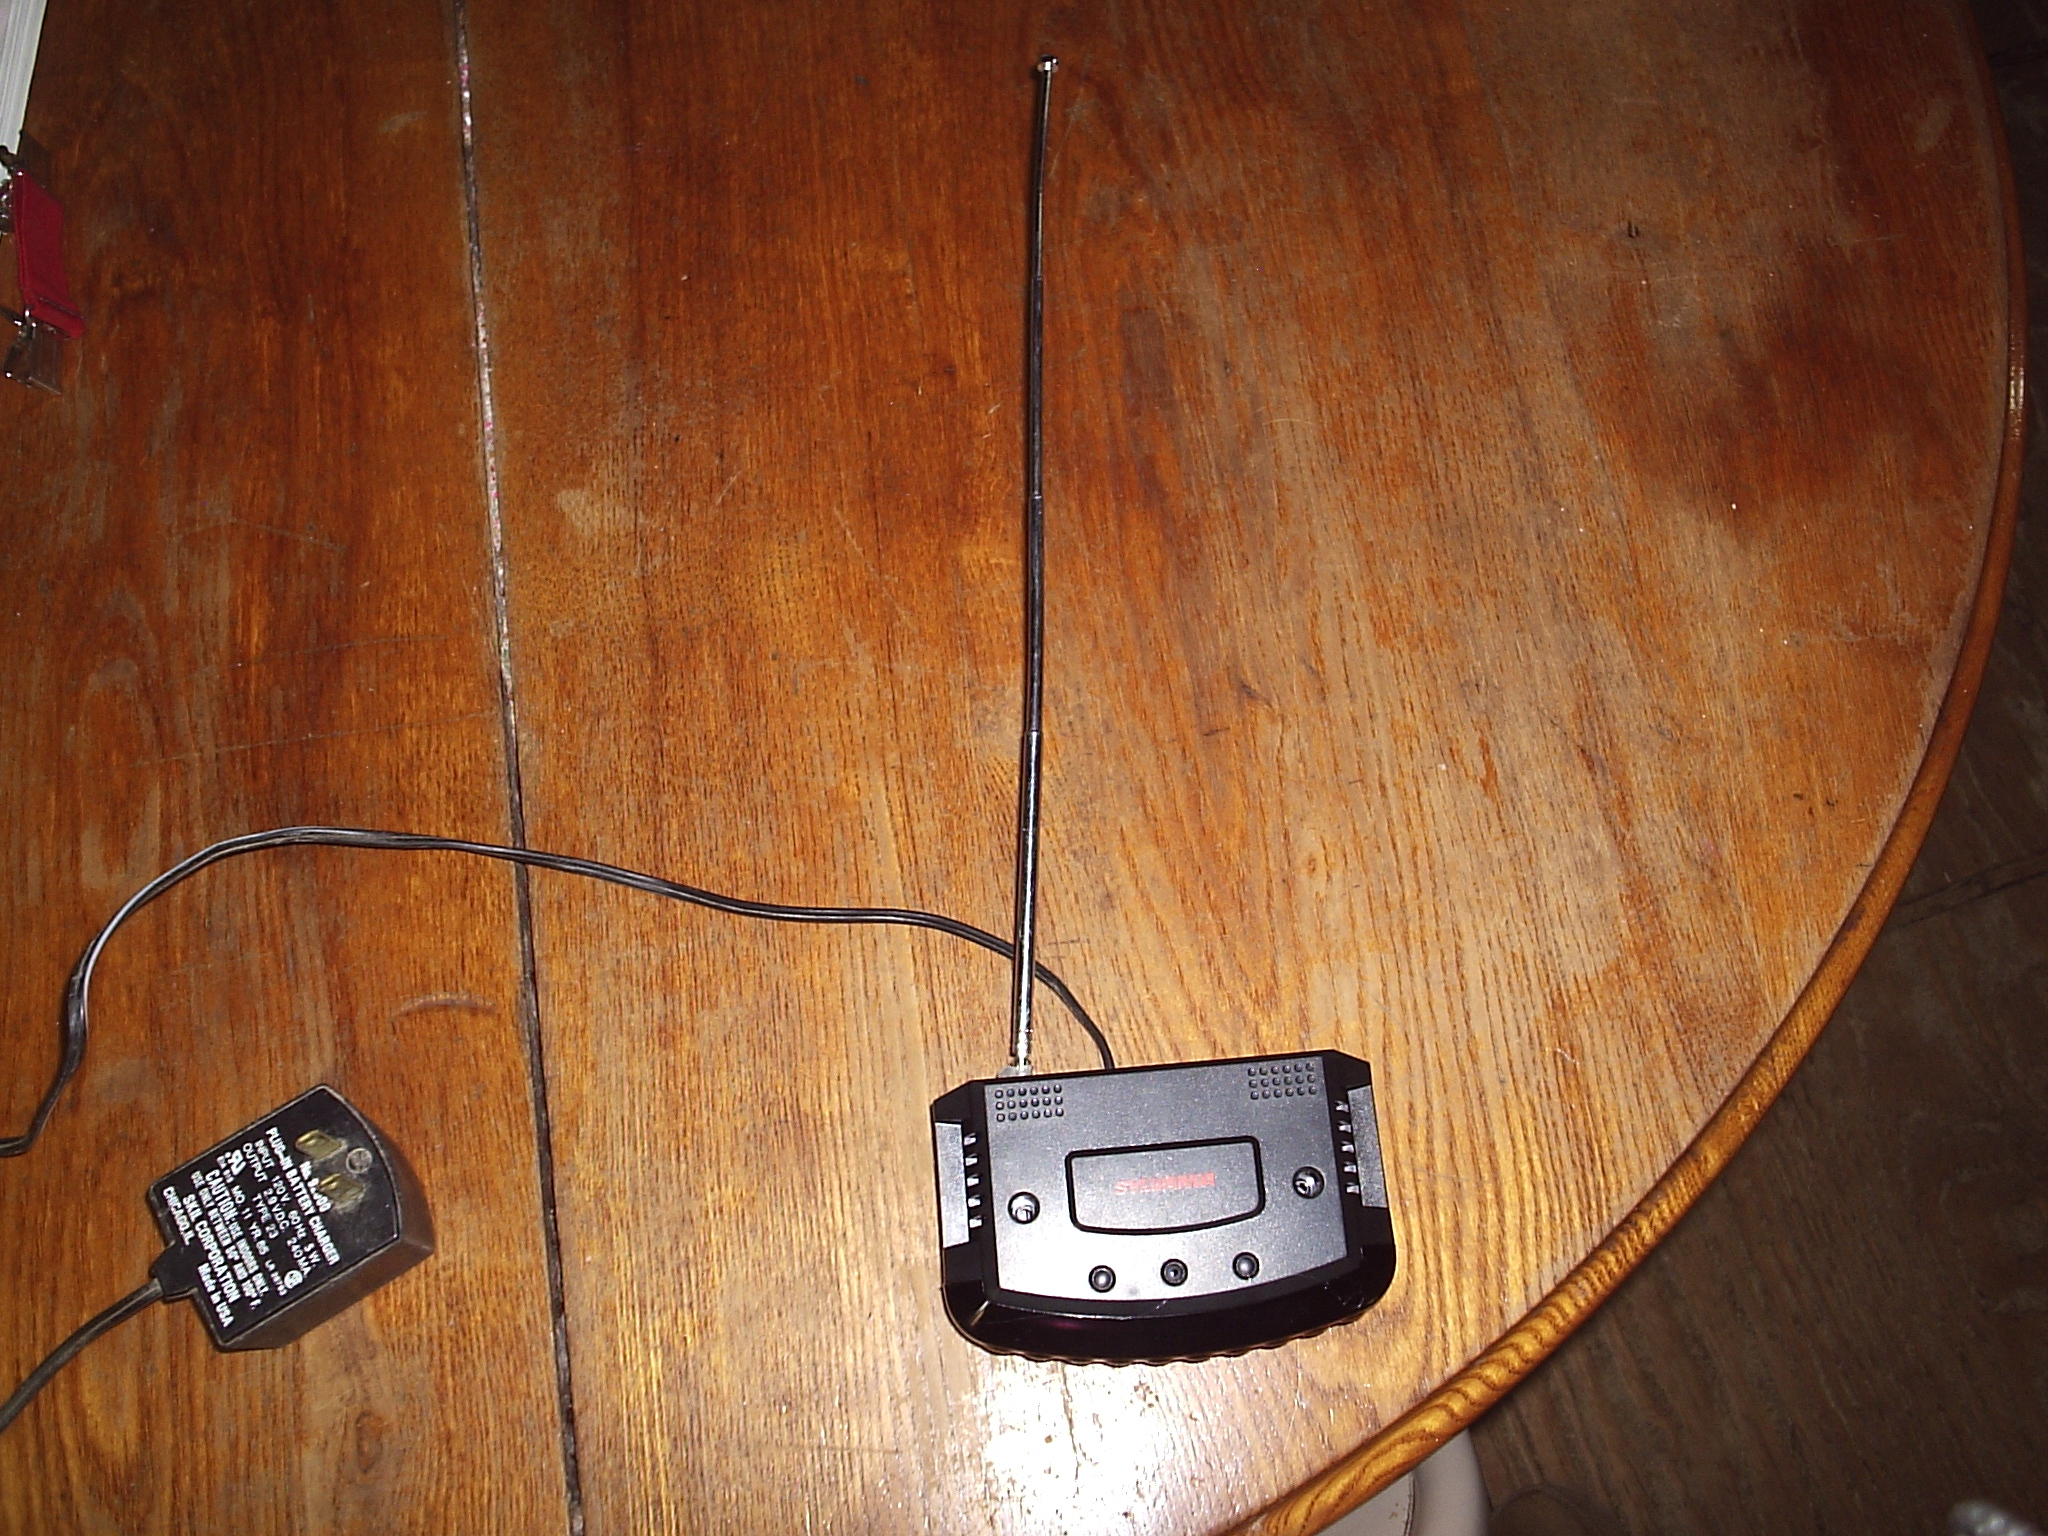
Now that your transmitter is running on an AC adapter it is time to add an antenna.
First you need to find an antenna. You can get one from an electronics supply store, but it is probably cheaper to salvage one from an old radio.
Once you have an antenna you are ready to start. Follow these steps:
And now your transmitter has much more power and range. In my case this simple modification allowed me to transmit up to one hundred feet!
First you need to find an antenna. You can get one from an electronics supply store, but it is probably cheaper to salvage one from an old radio.
Once you have an antenna you are ready to start. Follow these steps:
- Take the top cover off of your transmitter. Mine was held on with screws but it may just be held on by plastic tabs.
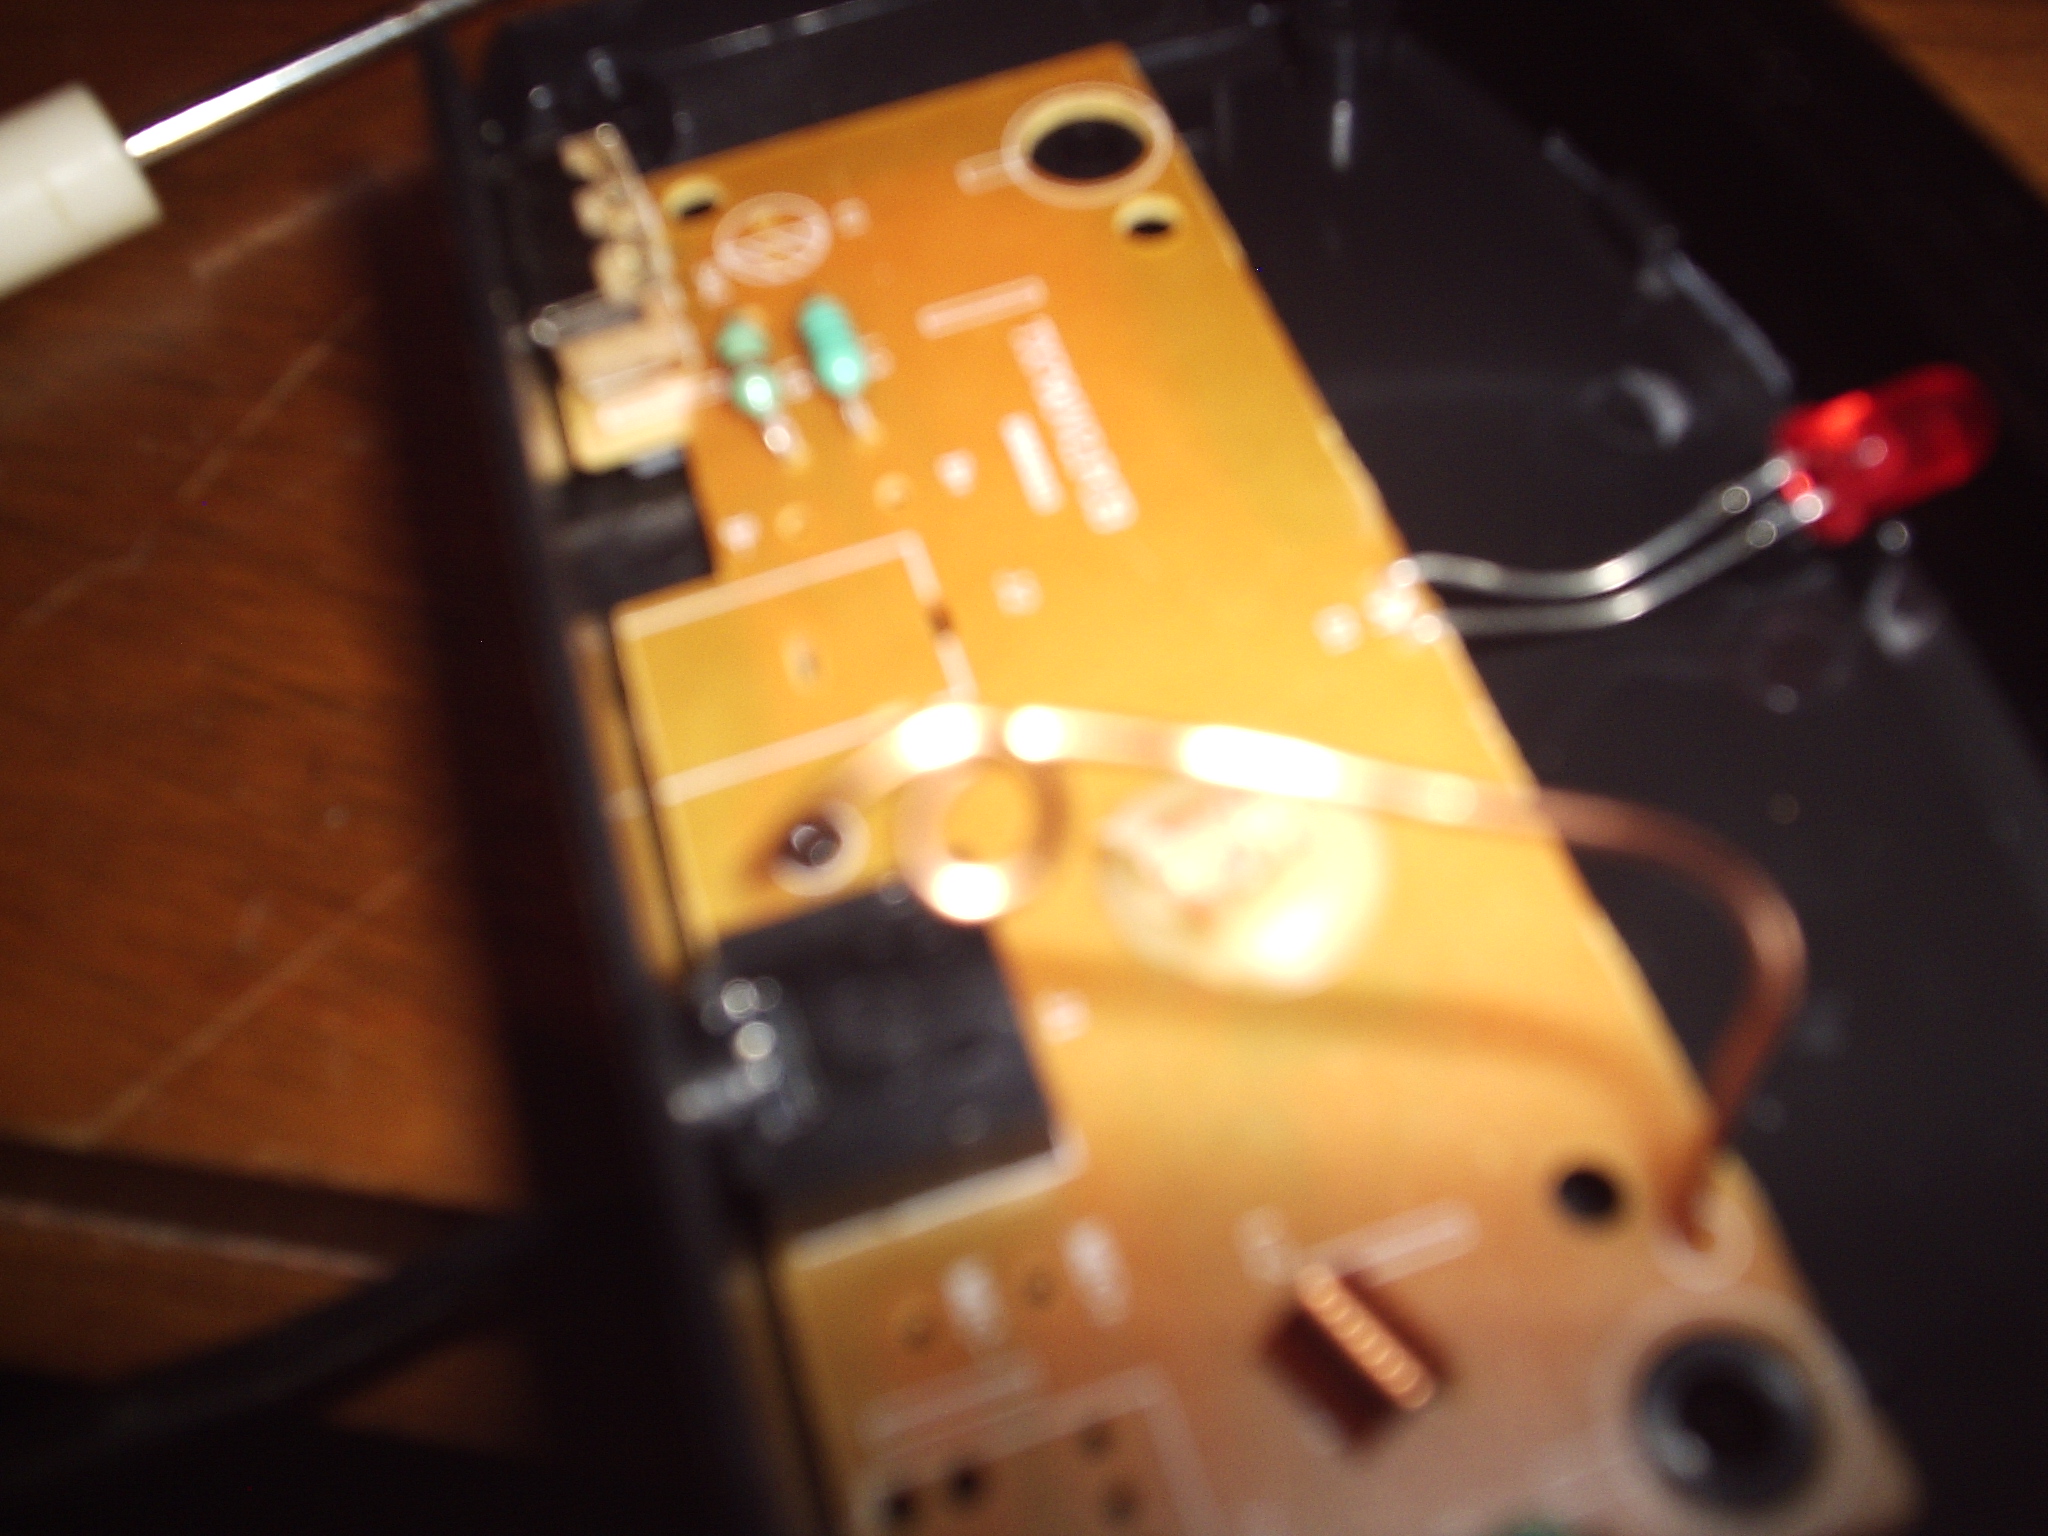
- Locate the internal antenna. The internal antenna is usually pretty pathetic, in my case it was just a loop of wire.
- Drill a hole in the case for mounting your antenna. In my case there were little holes that allowed me to mount the antenna.
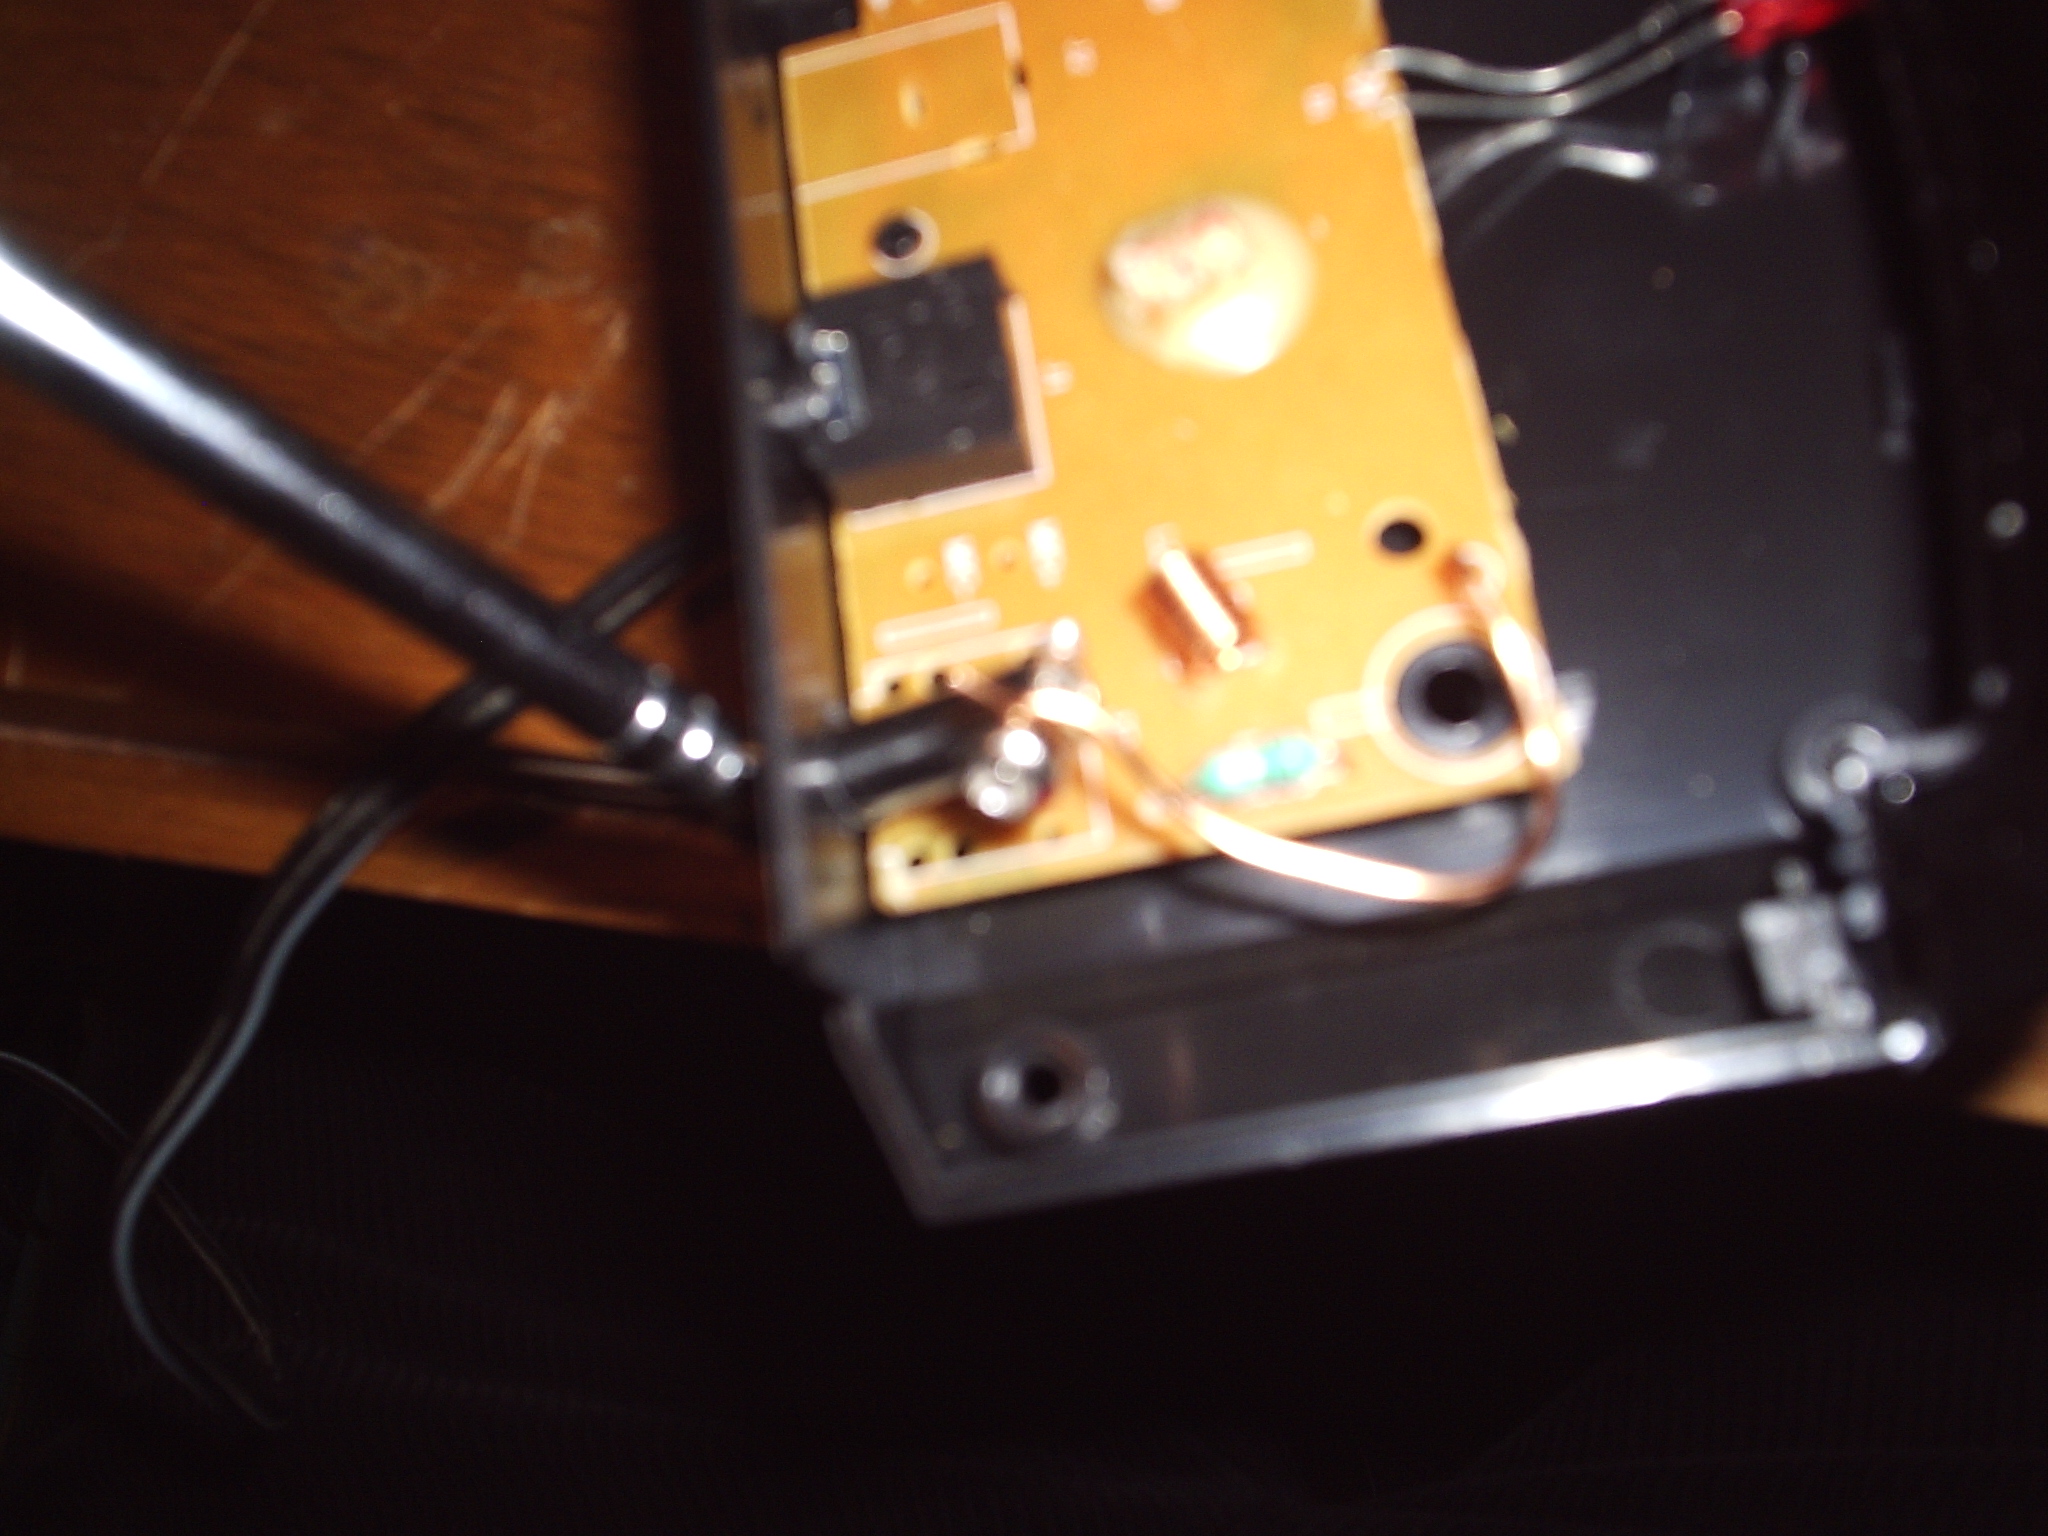
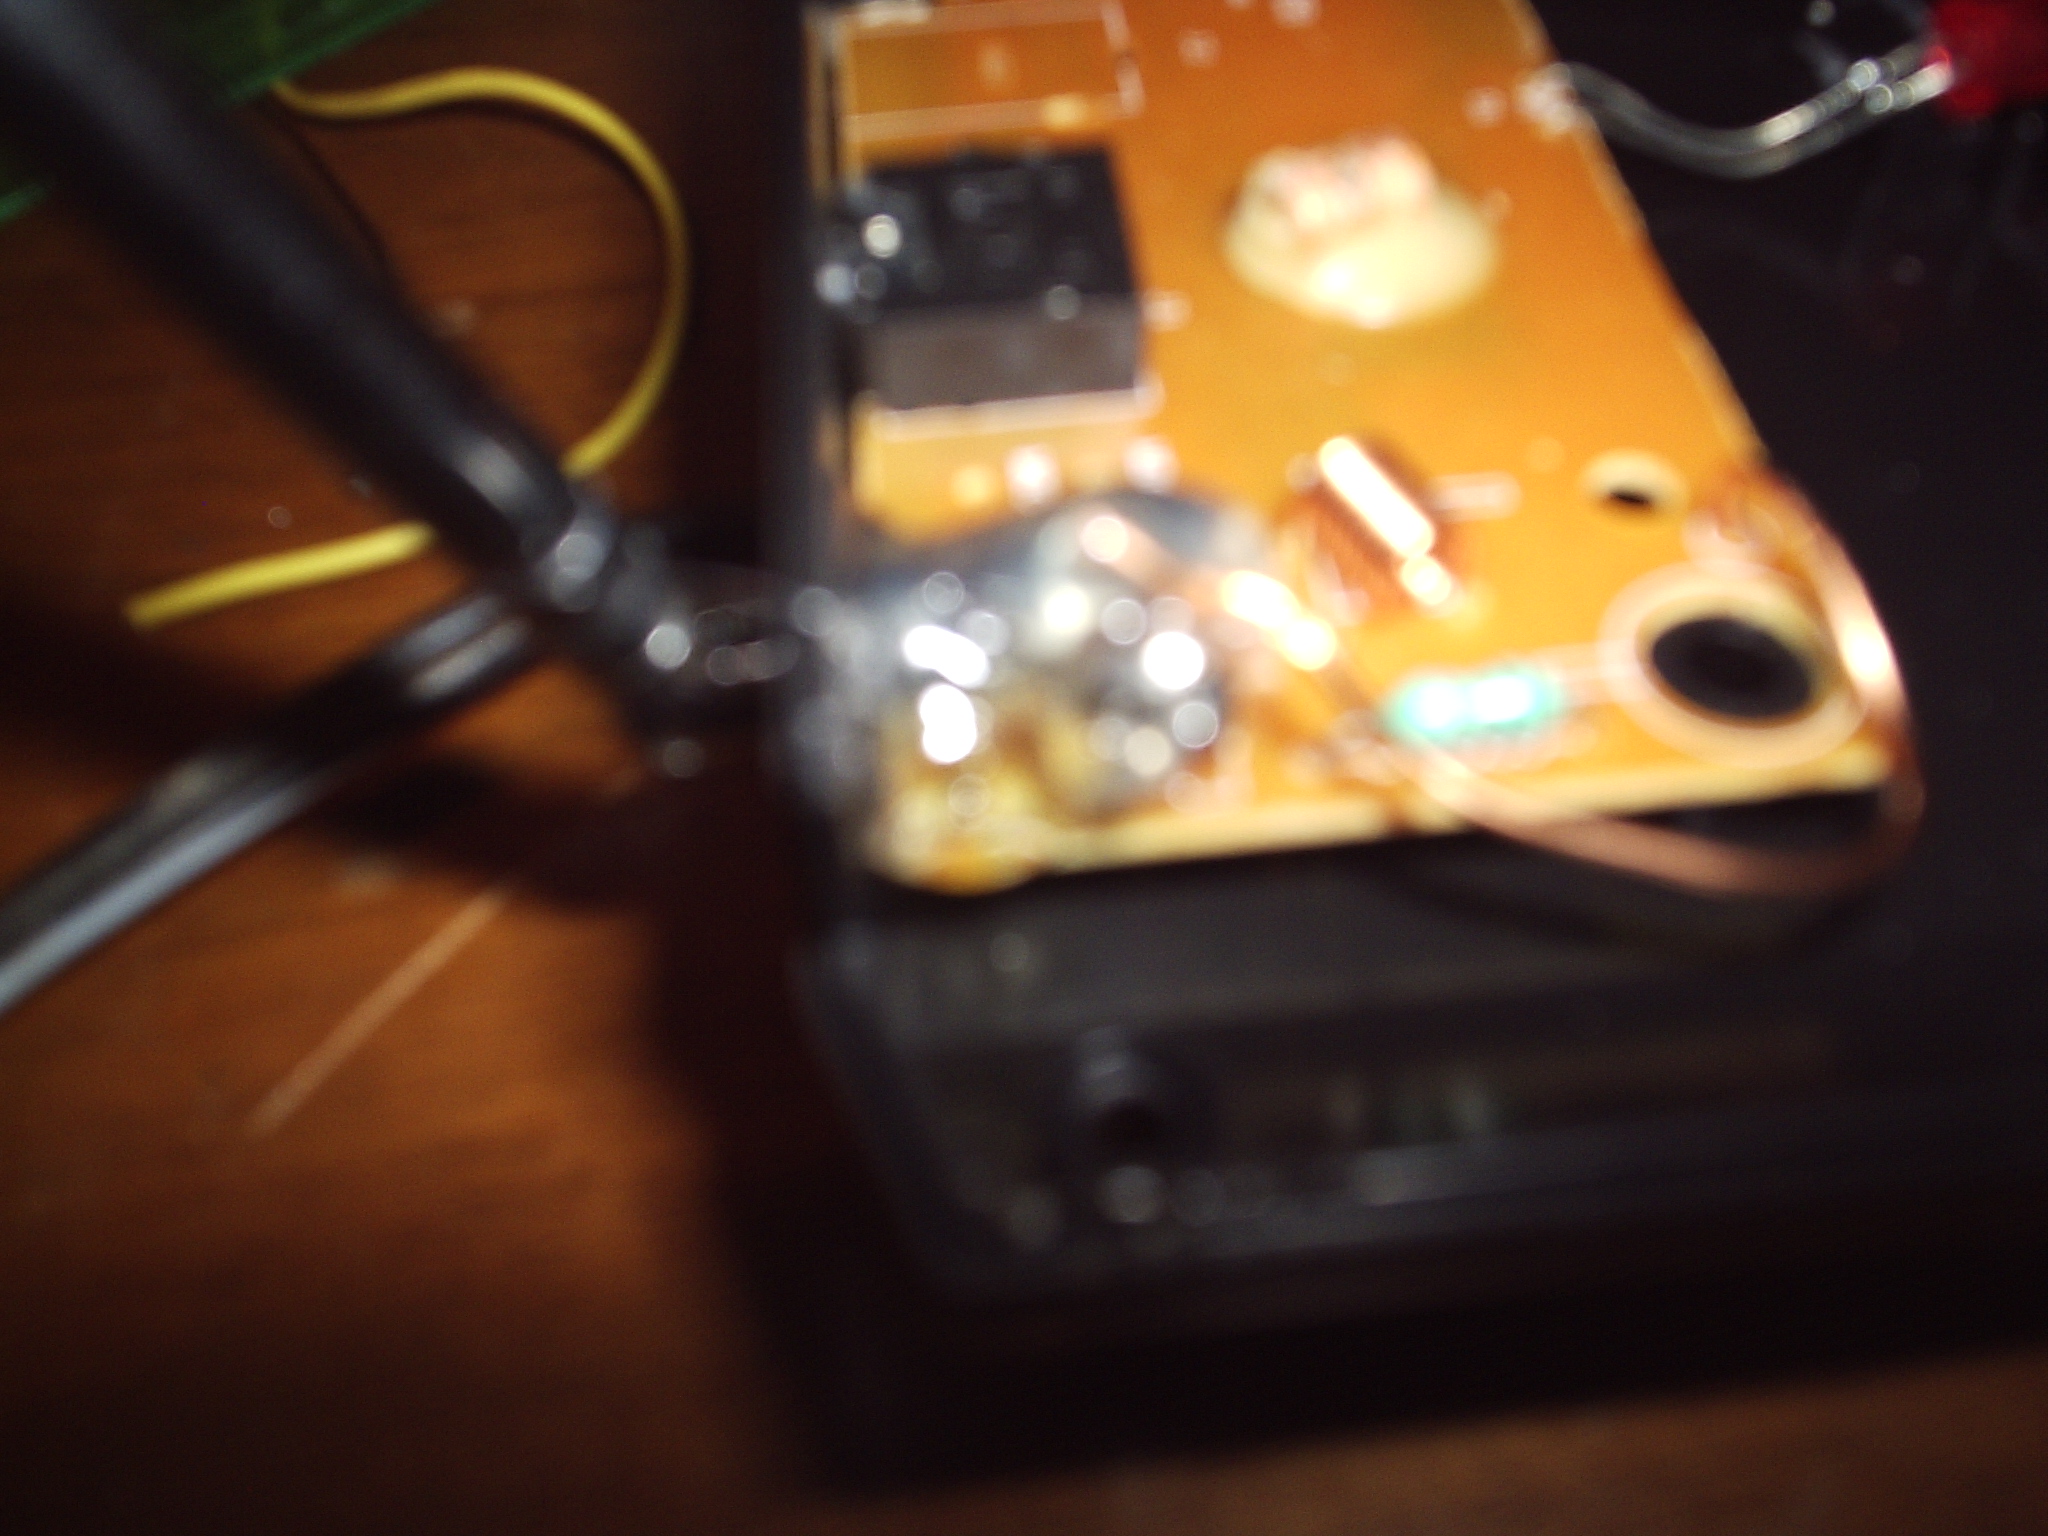
- Put the antenna the hole and attach the internal antenna to it. Your salvaged antenna will probably have a screw on the end of it. This screw allows a wire to be connected to it. In my case I was able to make a loop with the internal antenna and use the screw to connect it to the external antenna.
- Once you have everything connected use lots of hot glue to secure the new antenna to the case.
- Close everything back up and test it.
And now your transmitter has much more power and range. In my case this simple modification allowed me to transmit up to one hundred feet!
Conclusion
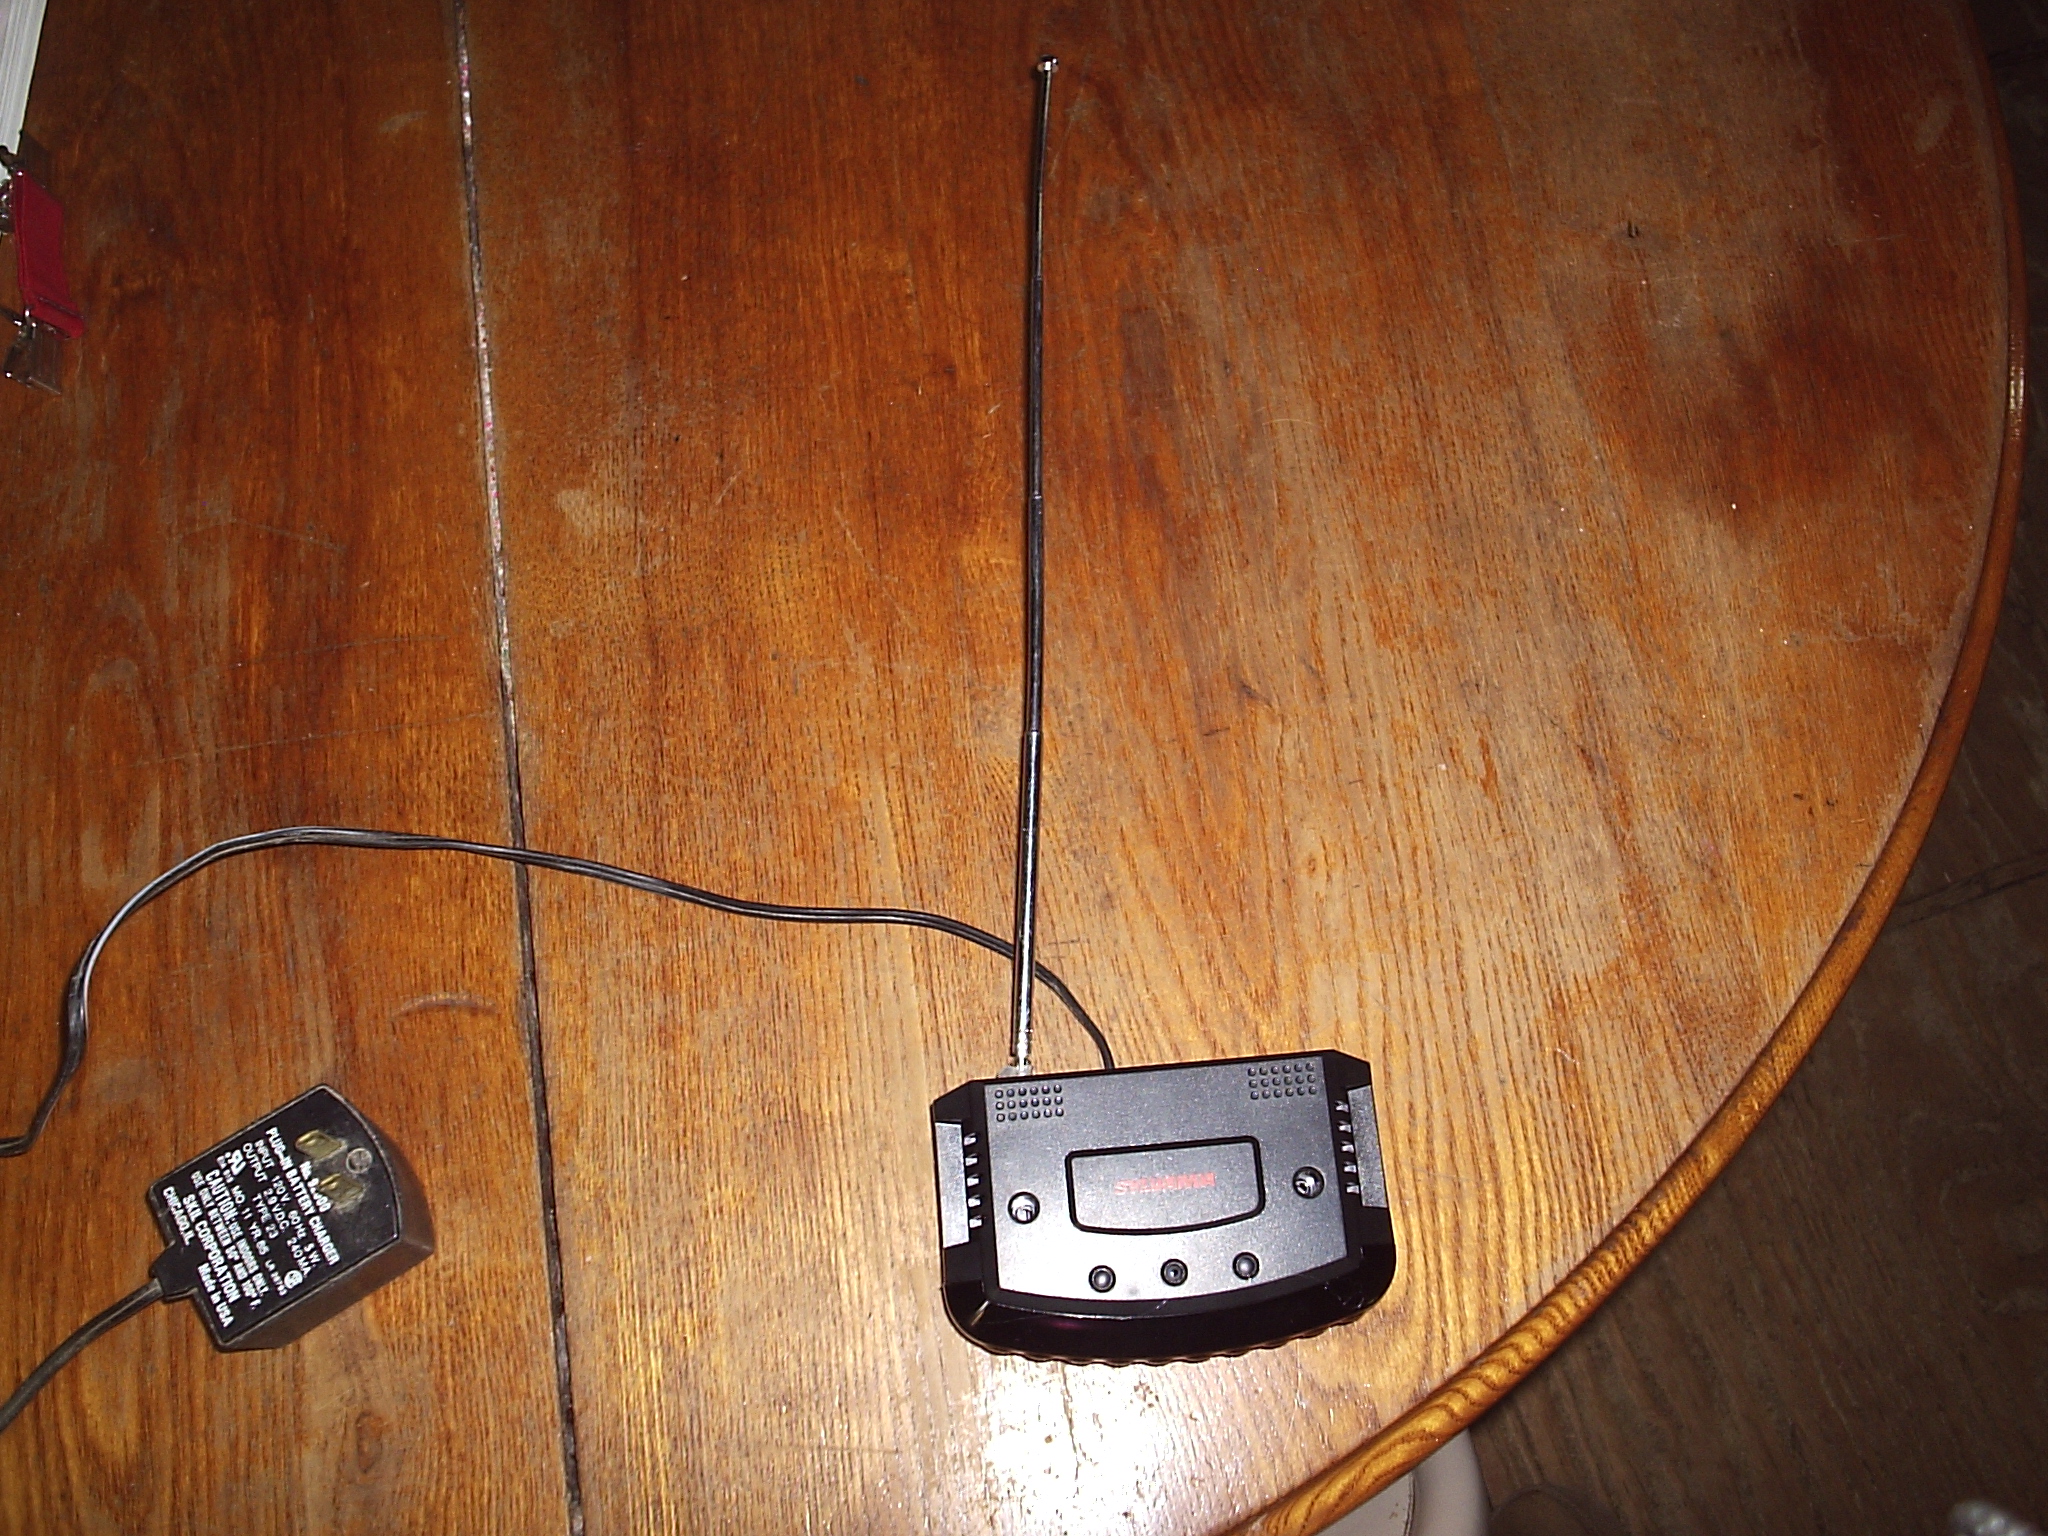
Now your headphones are running on an AC wall adapter, and carry further than they did when you started.
If you think this is worthy you might give me a vote in the shopbot challenge.
If you have any questions, comments, suggestions, or need help feel free to post.
Enjoy
If you think this is worthy you might give me a vote in the shopbot challenge.
If you have any questions, comments, suggestions, or need help feel free to post.
Enjoy