Modern Museum Created in SelfCAD
by Sammy50 in Workshop > 3D Printing
337 Views, 2 Favorites, 0 Comments
Modern Museum Created in SelfCAD
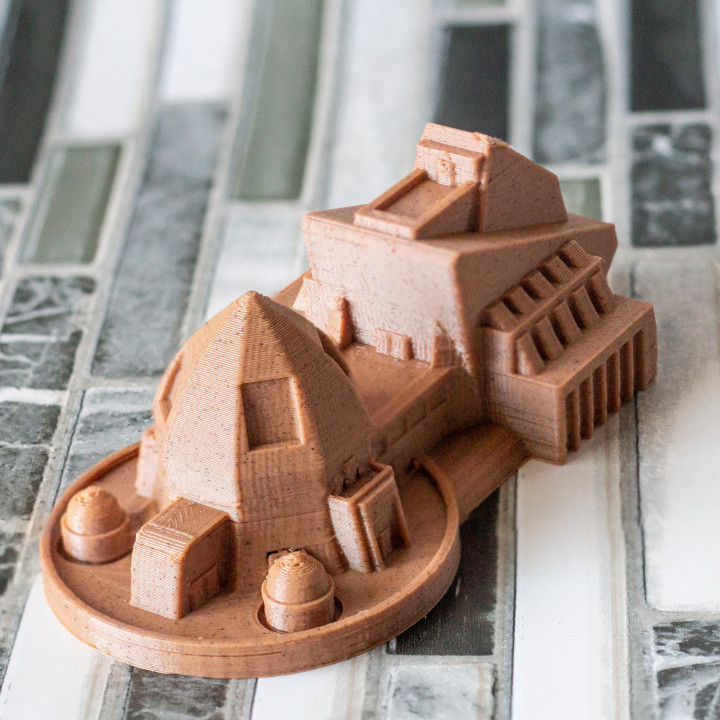
3D Printing Is reshaping Architecture. It's easier now to design and 3D print architectural designs when compared to the traditional way where architects would draw using their hands. With the advancement of 3D printing technology, new easy to use and powerful CAD programs which allow users to get started in 3D modeling easily unlike before where 3D modeling was only for professionals.
In this instructable, you will learn how to design a Modern Museum in SelfCAD. This is a step by step guide created from the video created by SelfCAD user, Alex. You can check out his profile on Myminifactory.
Alex designed it in a modern style which makes it really impressive. Follow along as we begin the design process.
Beginning to Design the Model
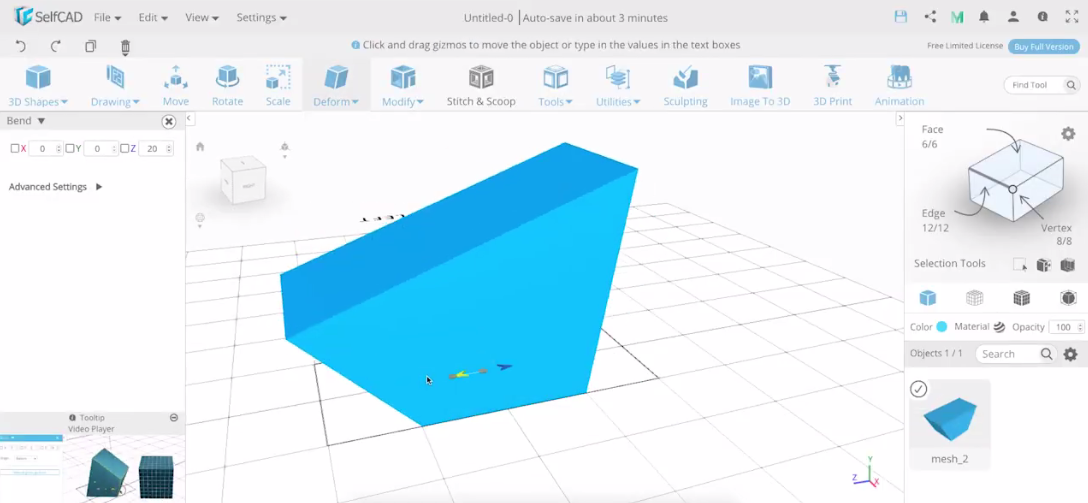
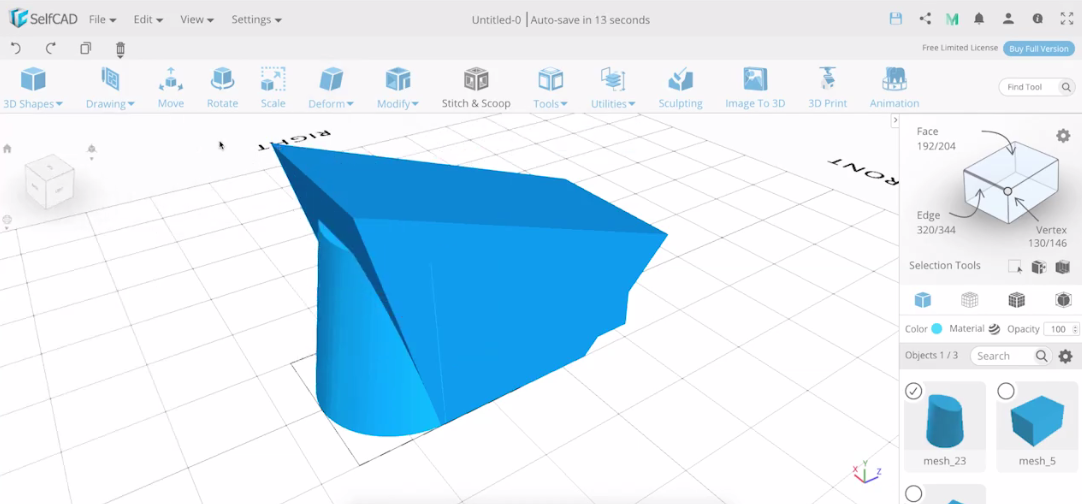
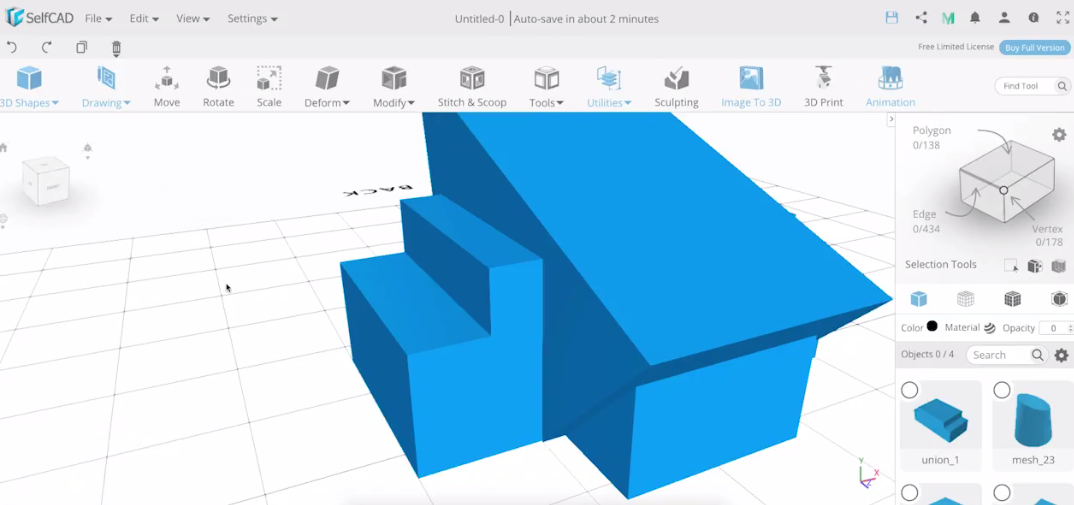
- To begin, we're going to use a Cube to create the Museum.
- Select a Cube from the Basic Shapes.
- Select the Taper Tool from the Deform section and use it to taper the mode and bend it a little bit using the Twist Tool as shown in the first image below.
- Add another cube, and use the move and scale tools to modify it further (See the attached video).
- Add the Cylinder and Move it to the front section of the design.
- Select the Chamfer Tool from the Modify section and set the Intensity to 2. Select the Inset Tool and finalize it.
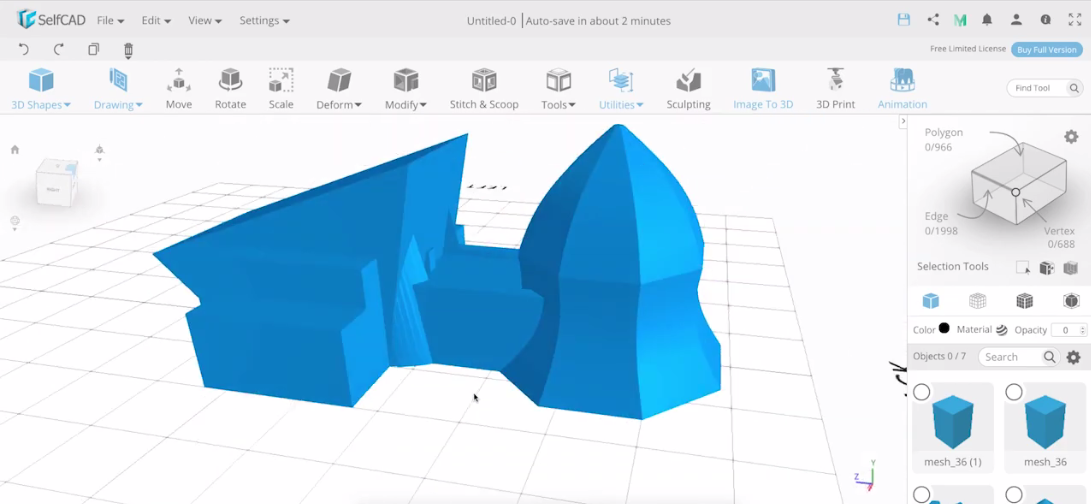
- Use the Add Thickness Tool to add thickness to the design. Taper the model and twist it to be as shown in the second image.
- Add two Cubes and modify them to be as shown in the third image below.
Designing the Oval Part of the Museum
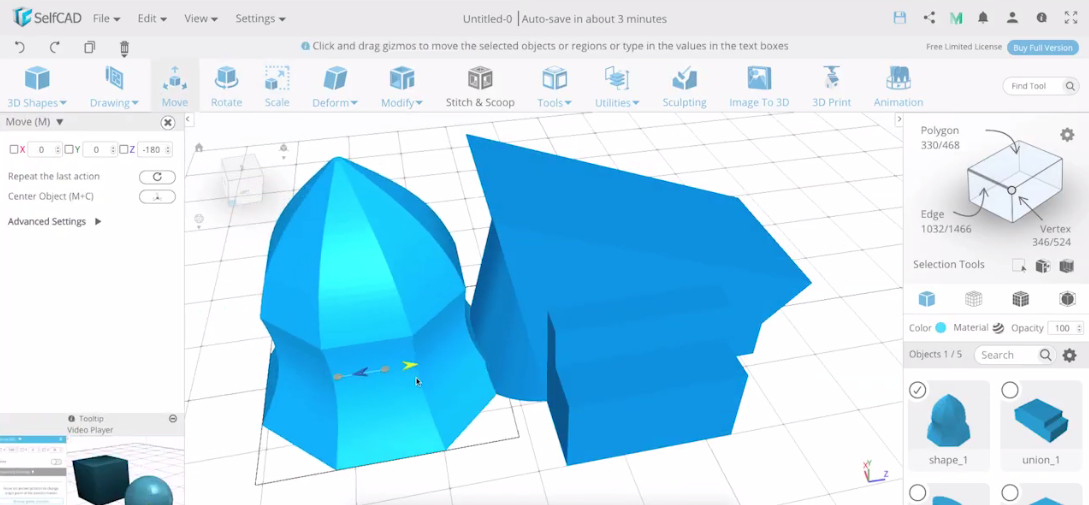
- Select the Shape Generator Tool from the Basic Shapes section.
- Set the radius, No of edges and Bevel Offset to 60, 8 and -1 respectively.
- Set the Bevel weight to 0 and add another segment and play around with the settings to get the image similar to the one shown below.
- Add a rectangular shape in between the two models
Modifying the Model
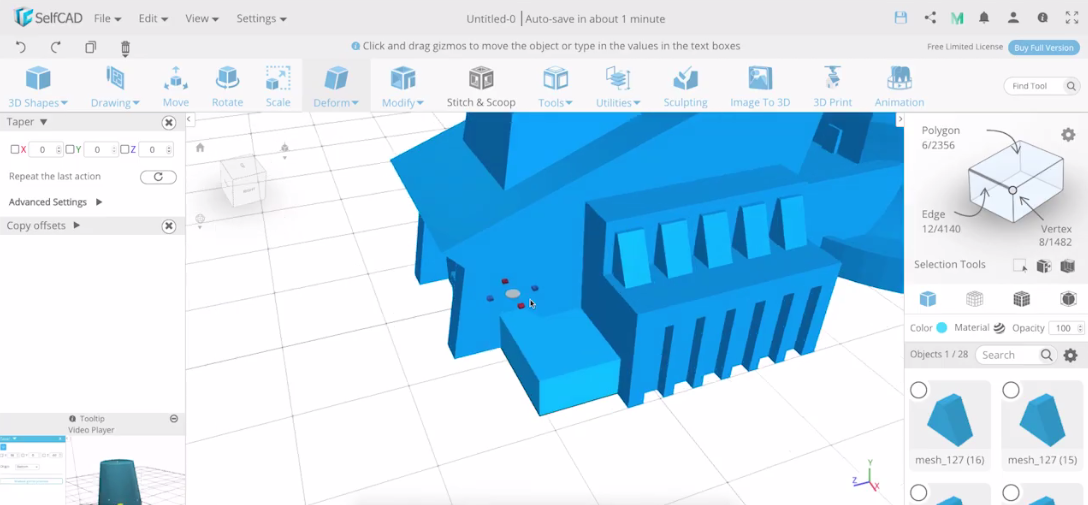
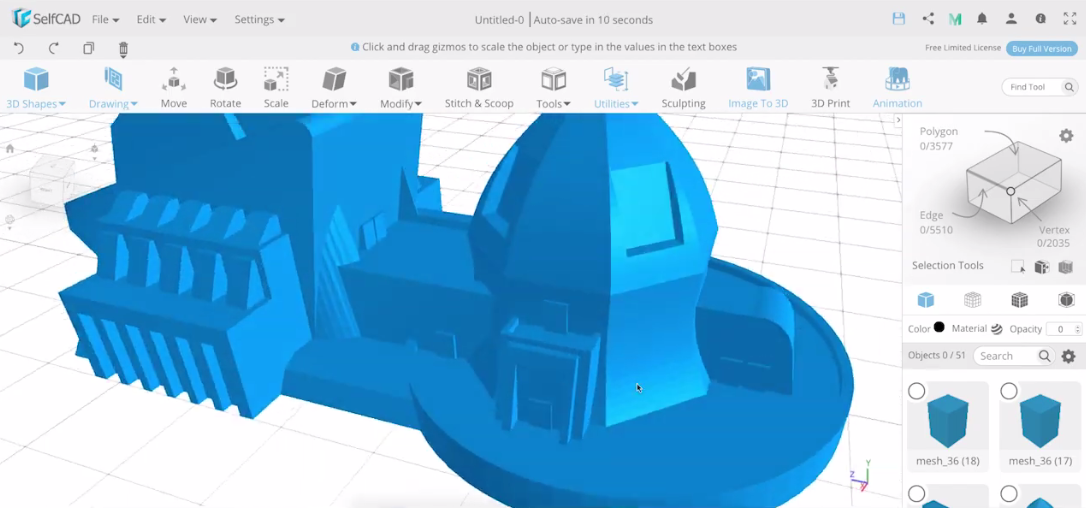
- Select the Cube, resize it using the scale too and use the move tool to move it on the sides of the model.
- You modify using the cubes of different sizes until you achieve the design below.
- Check out the video to see Alex did it.
- You can do the same with the top section of the model. Add resized cubes to each side you see it fits.
- To hollow out the top sections you will use the Difference Option of the Stitch And Scoop tool and you will be able to create a model similar to the one in the second image below.
Finalizing the Model
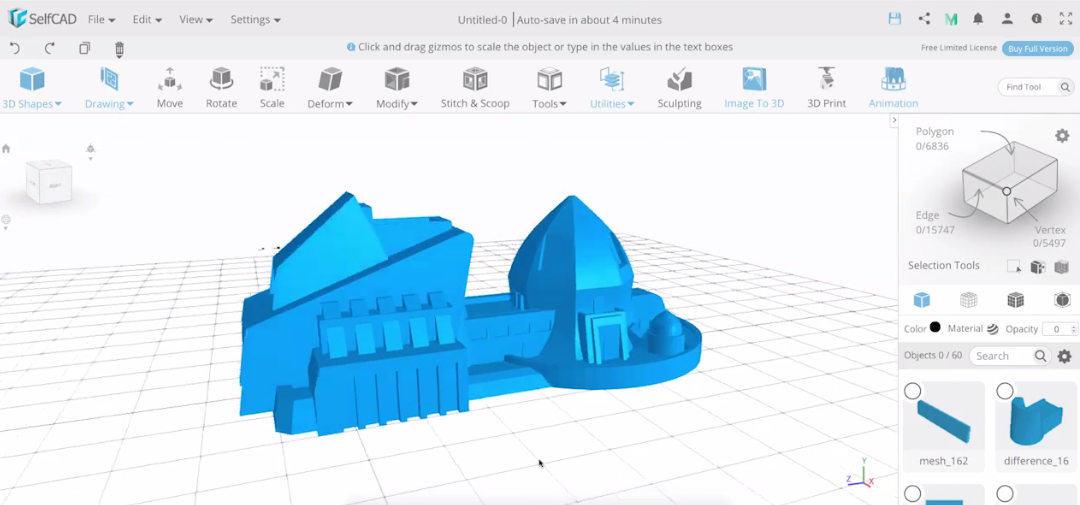

- After designing the model, you can save it on the Cloud or export it to Myminifactory directly for other people to see your design.
- If you would like to send it to 3D print it immediately, you can select the Magic Fix tool and use it to make your model printable.
- Click on 3D Print Tool to access the Slicer of SelfCAD, choose your 3D printer and slice it. You can then send the G-Code generated to your 3D printer for printing.