Modern House (Scene)
.png)
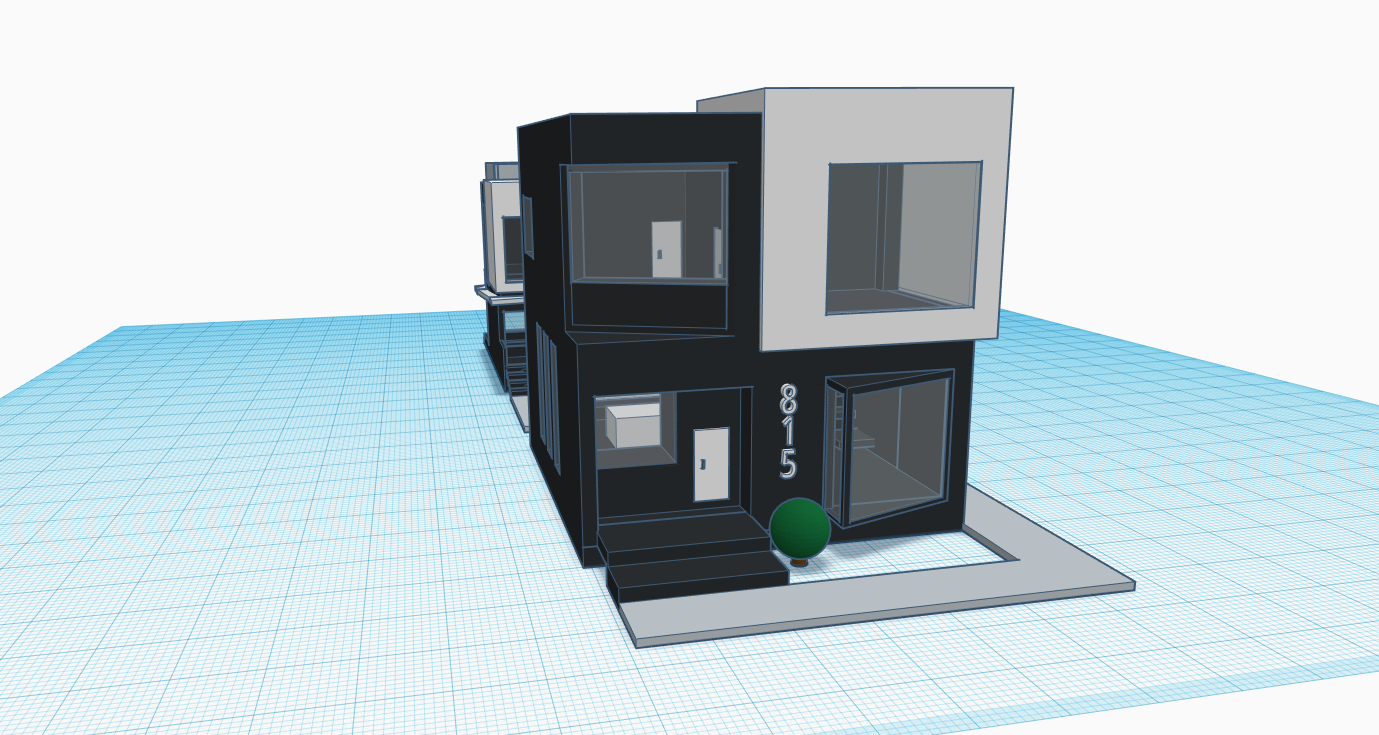
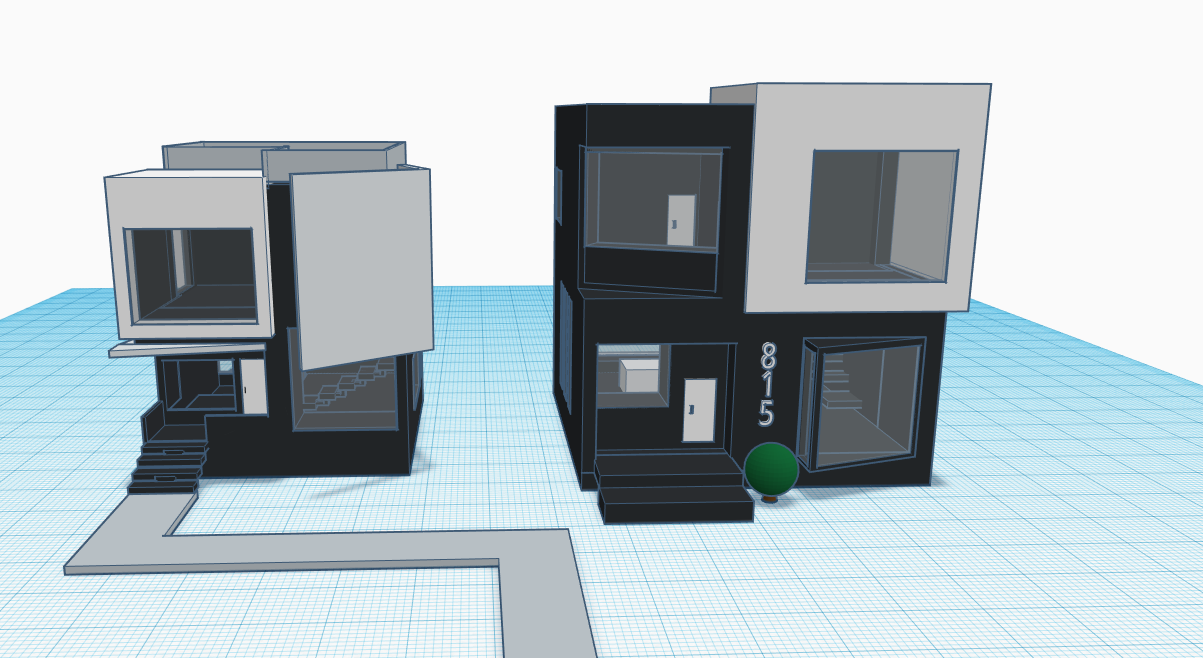
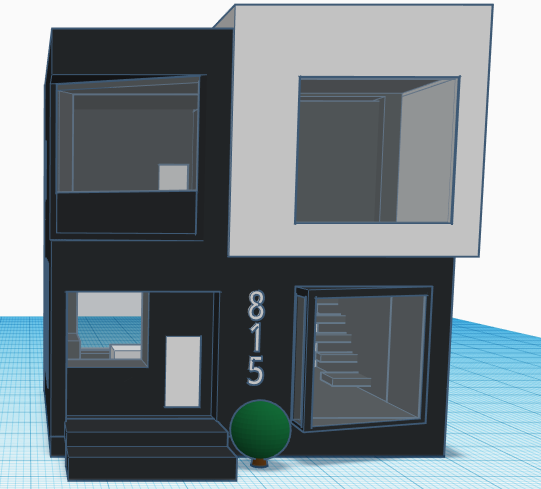
Hello, in this instructable, I will be showing you how to create the different elements of this house In simple easy steps. From one cube to the next, this house is quite simple as it uses basic shapes and colours, while retaining the modern aspect of the house. Im a 14 years old and live in Canada. Tinkercad was introduced to me maybe around 6 months ago for a design project I had to do for school, and this is my second project on this great 3D designing tool. (definitely not writing this on August 9th because I didn't read the part where I had to make an instructable)
White Square Window
.png)
.png)
.png)
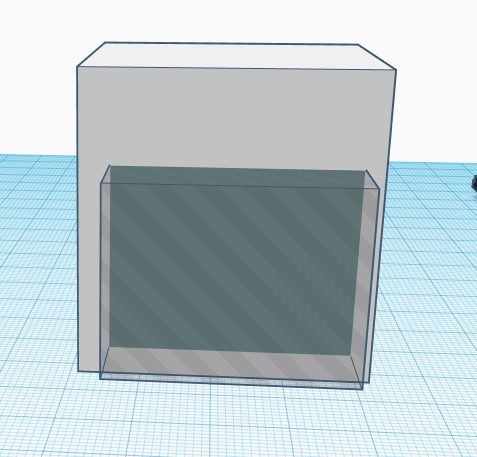
This step will show you how to create the white square window on both the Laneway house and the main building. First you will need a white square/rectangle. The measurements of mine that I used for the house are length 23.50, width 22.29, and height 24.65. get a "hole" box and place it in the middle of the white rectangle to create a window. Make sure that there is space outside of the white box to create a white outline as seen above. Make sure the length is long enough of the "hole" box to stick out the end of the white square. Before you group it, make sure you copy (ctrl + c) the "hole" box to make your life soo much easier. group the white box and the "hole" box to make, well a hole.
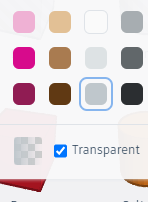
Paste the "hole" box (ctrl + v) and change its length to 1. change the pasted shape's settings to solid, transparent, and dark grey. Those are the specifications for all the windows that are used in the design. Carefully slot in the glass plane to the hole and you have your window!
If you do not want the white to show on the inside of your house's walls, to get rid of a side, all you need to do is to create another "hole" box, place it on the side of the white box, and group.
This can help guide you to create the windows for the rest of the house
Small Details
.png)
.png)
.png)
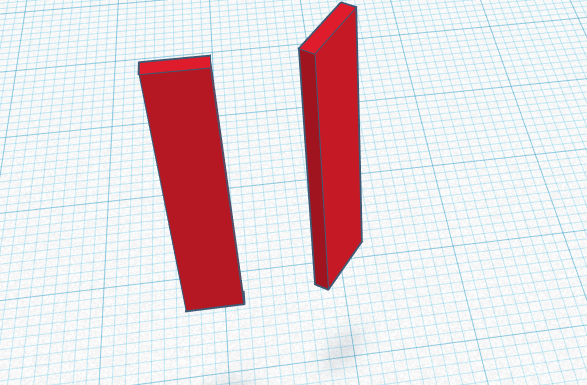
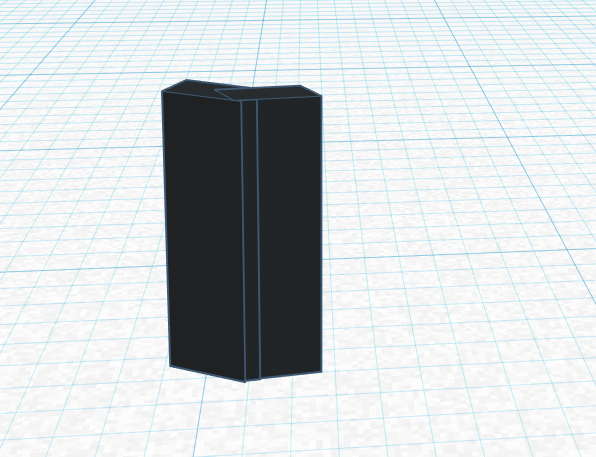
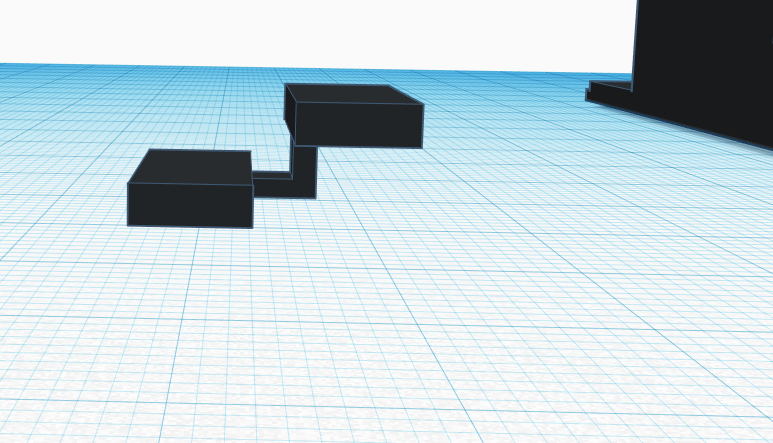
This step will show you how to create small details such as the door handle and the "floating" staircase.
Door handle
I didn't really want to have another circular twist and pull metal handle, so I decided to create my own. I start with 2 rectangles (you can resize it later to make it smaller), and rotating one 50 degrees to make it easier to grip. Move them into each other so that there is no gaps in between. Your finished product should look like the photo above.
Stairs (used for all inclines)
First start by making a small rectangle with its longest face parallel to the ground. I had my grid on 1.0 to move the steps. I first went 2 to the right and 3 up to create the incline. To connect the stairs, I created an "L" shape with rectangles. these rectangles are significantly smaller than the ones used for the steps. I had the base of the rectangle in a square (0.50 length 0.50 width) and a height of 2. I got 2 of these rectangles and rotated one 90 degrees and connected them together forming the "L" shape. I finished it off with connecting the 2 stairs with the "L"
Creating Slanted Windows
.png)
.png)
.png)
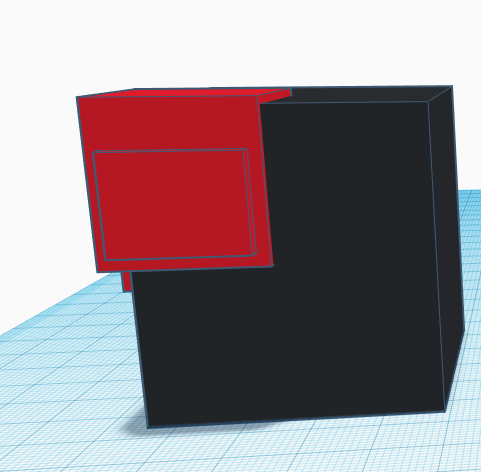
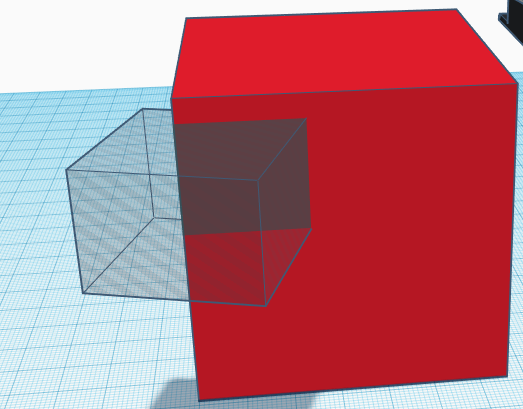
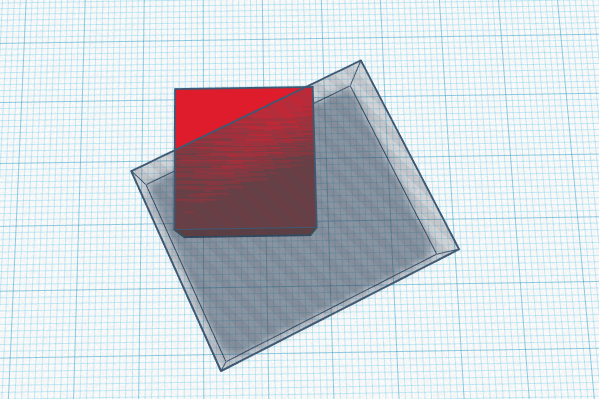
Doing these slanted windows is a little bit tough, but I hope this can clearly explain how to do this. I made the top left slant an indent and the bottom right sticking out as it not only gives the house a bit more texture, but it looks like you took a chunk of the top left, and placed it down at the bottom right.
Second-floor indent slant
Start by making a "hole" cube making sure that you have a big enough square as your indent, and rotating this 20 degrees to look like the image above. Group these together and you have your first indent. To create the windows, use the steps given on the "White Square Window" section, just remember to rotate your shapes 20 degrees first so that your window is not floating or skewed.
First-floor slanted texture
start by getting your solid cube, and making a large "hole" rectangle. turn that rectangle 25 degrees and place it into the cube to make a wedge. Use the same steps as the ones written in the "White Square Window" section, but turn the hole 25 degrees. You can also make a window on the perpendicular plane If you would like.
Layout of the Second Floor
.png)
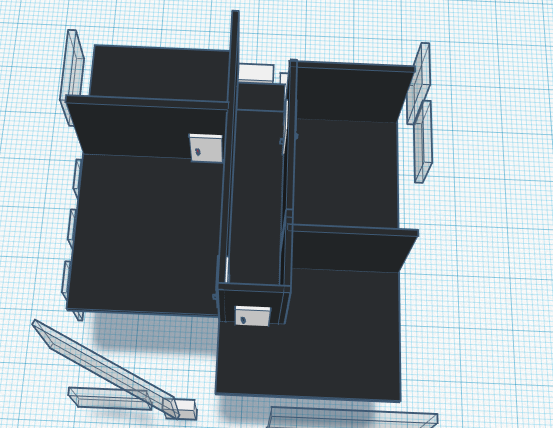
There is no specific way to create your house or the layout, feel free to create the house however you want. Some things I had trouble with is creating the second floor as it depended on the rest of the design on the outside with all the window placements and different features that are added on the outside. what I did for the second building instead of struggling to figure out the layout, I decided to create the second floor separately before putting it inside of the house. This makes it easier to group, edit, and remodify to your liking.
If you want to take a look at this house design in more depth (there's an inside as well!) here's a link to my design: https://www.tinkercad.com/things/kA67zwg3wsz