Modeling Tubular Objects in Blender 3D With Subdivision
by biozz in Craft > Digital Graphics
7917 Views, 4 Favorites, 0 Comments
Modeling Tubular Objects in Blender 3D With Subdivision
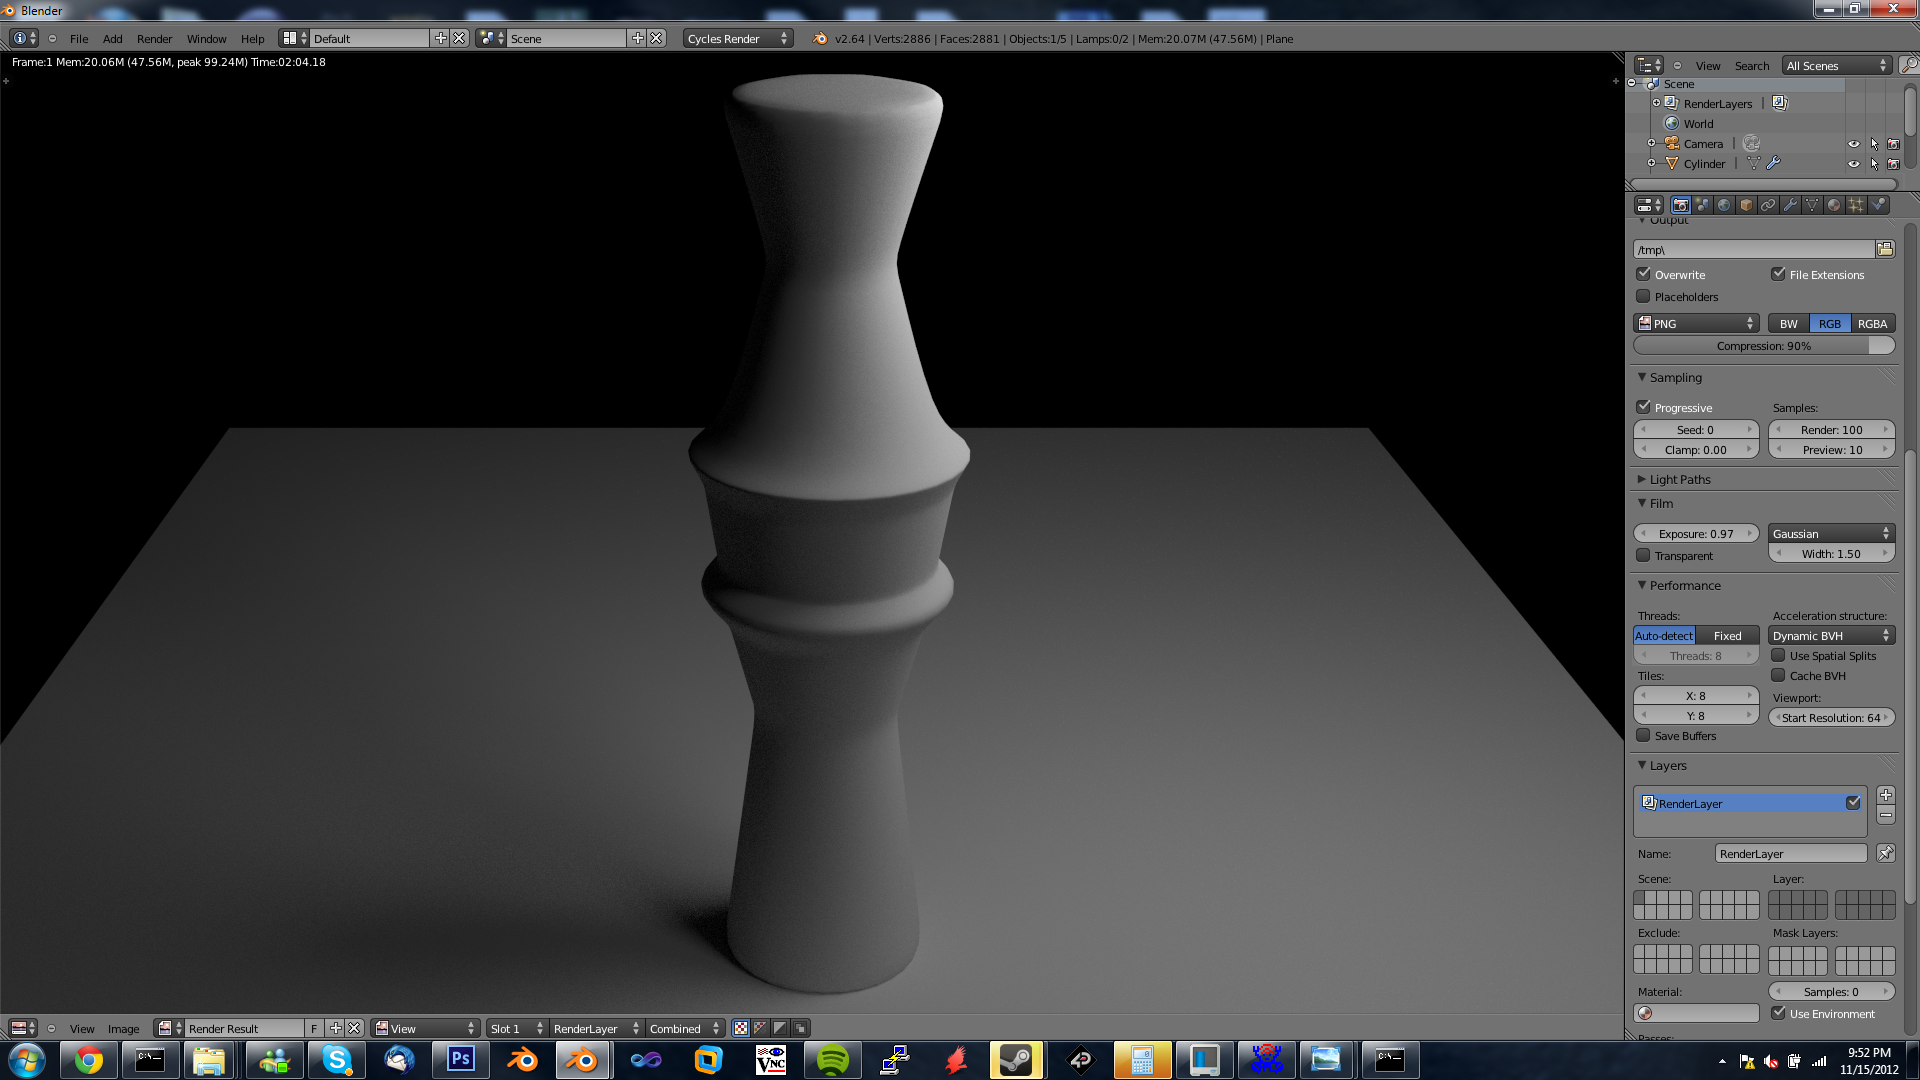
making very high quality models is very hard! the easiest way is to make a low quality model and sub diving them down mutable times but doing this can smooth out sharp or sharpish edges making the entire model look almost like it was blurred
This tutorial will show you 2 methods of modeling, the one described above and modeling relatively complex objects form a cylinder using one of my favorite blender features the loop cut!
For this im using blender 2.64
This is useful for modeling symmetrical things like bullets, lamps, pillers, table legs exc
Blender
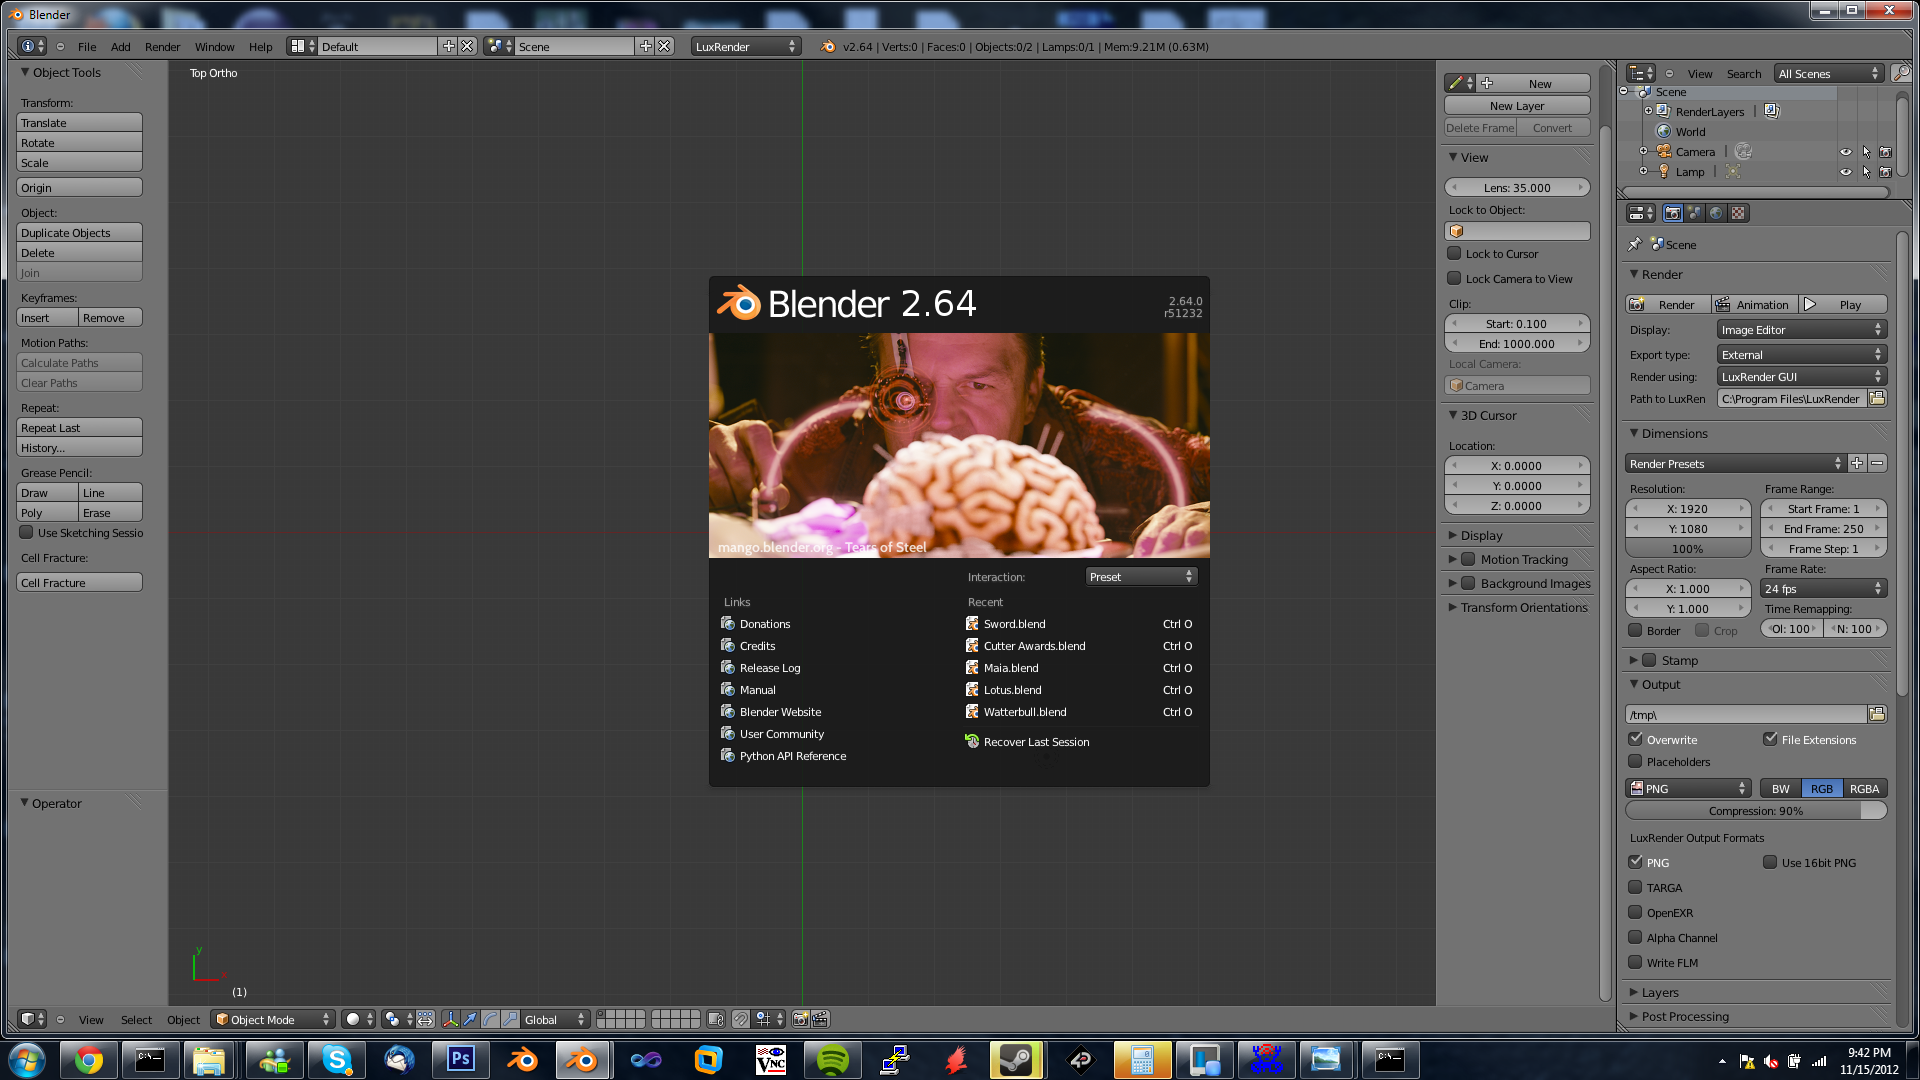
In this im using blender 2.64 its a standard build just slightly changed at the start for what i do (removed the block and moved the view port above
Adding the Shape!
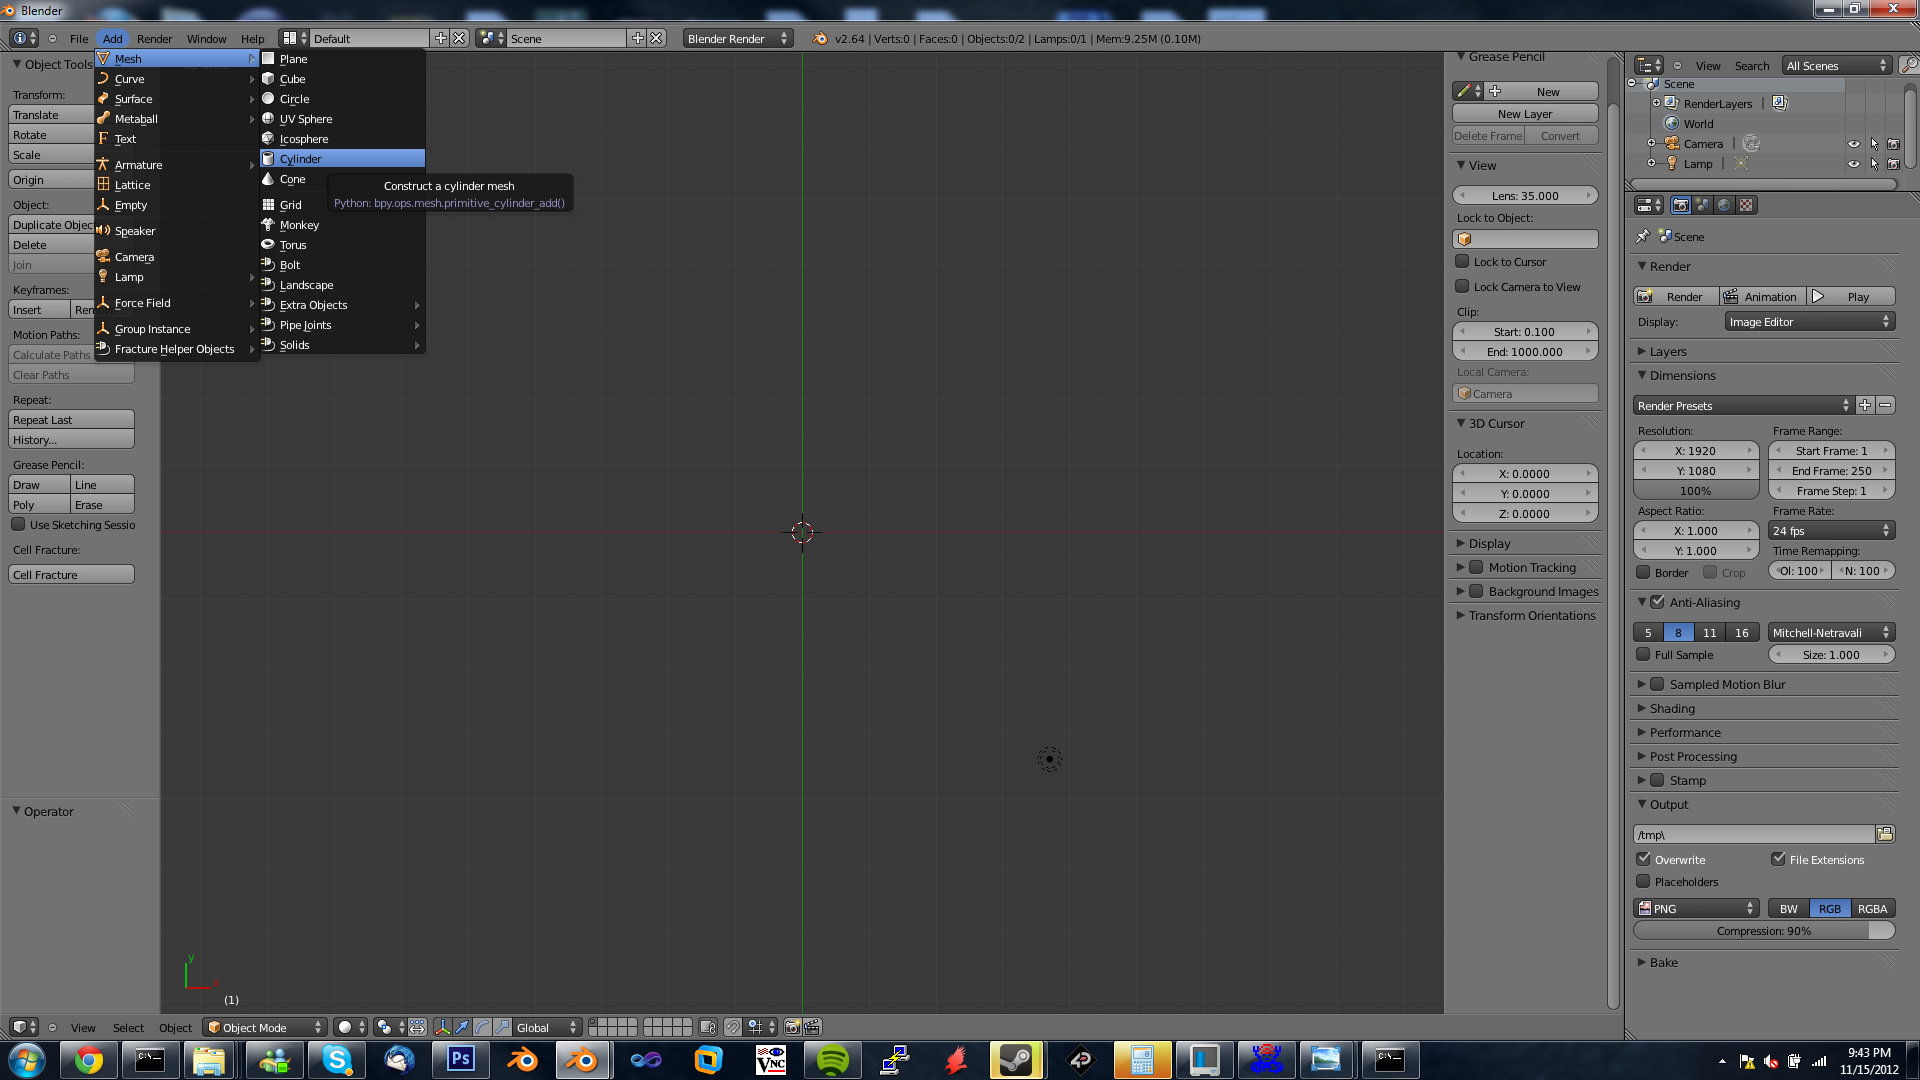
add>mesh> Cylinder is step one as seen in the first pic
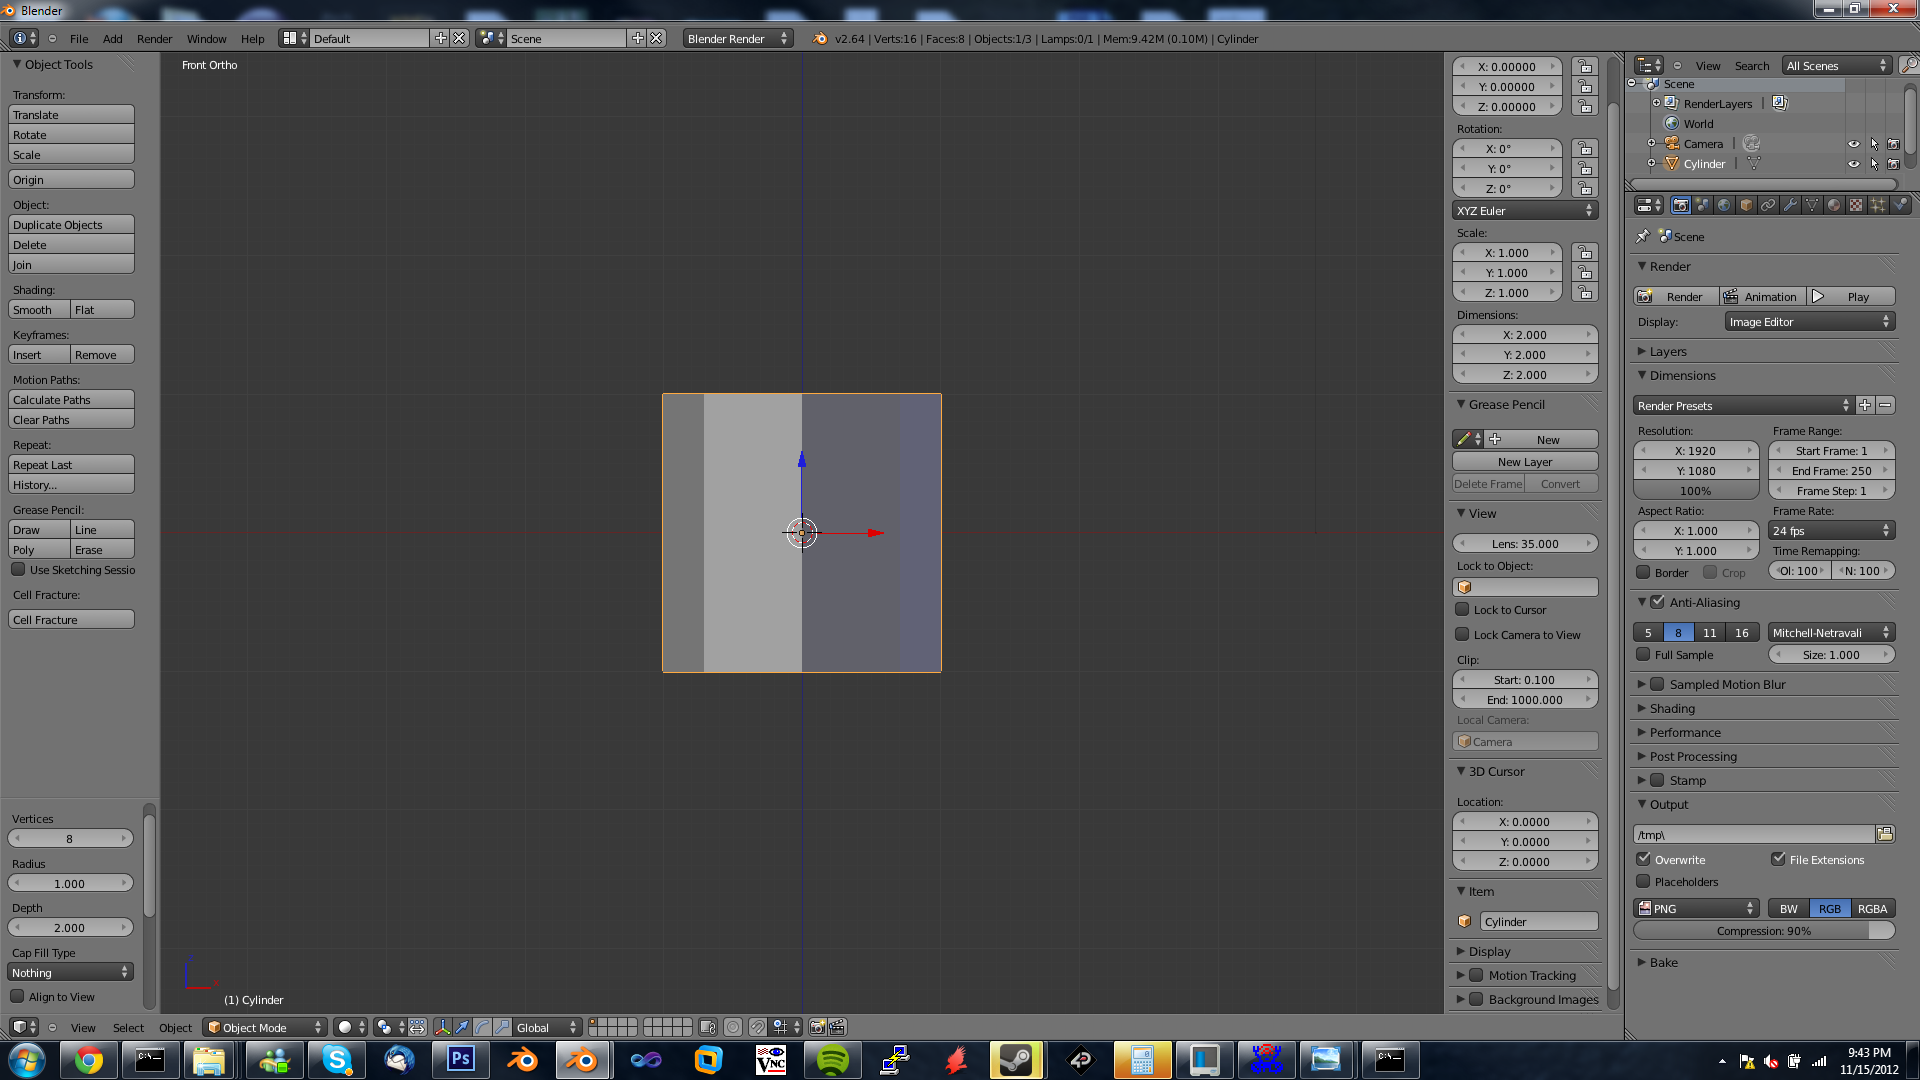
in the second pic you need to set the number of sides to 8 and no caps on the end (not necessary for this one but is a good habbet to have!)
in the second pic you need to set the number of sides to 8 and no caps on the end (not necessary for this one but is a good habbet to have!)
Scaling and Edit Mode
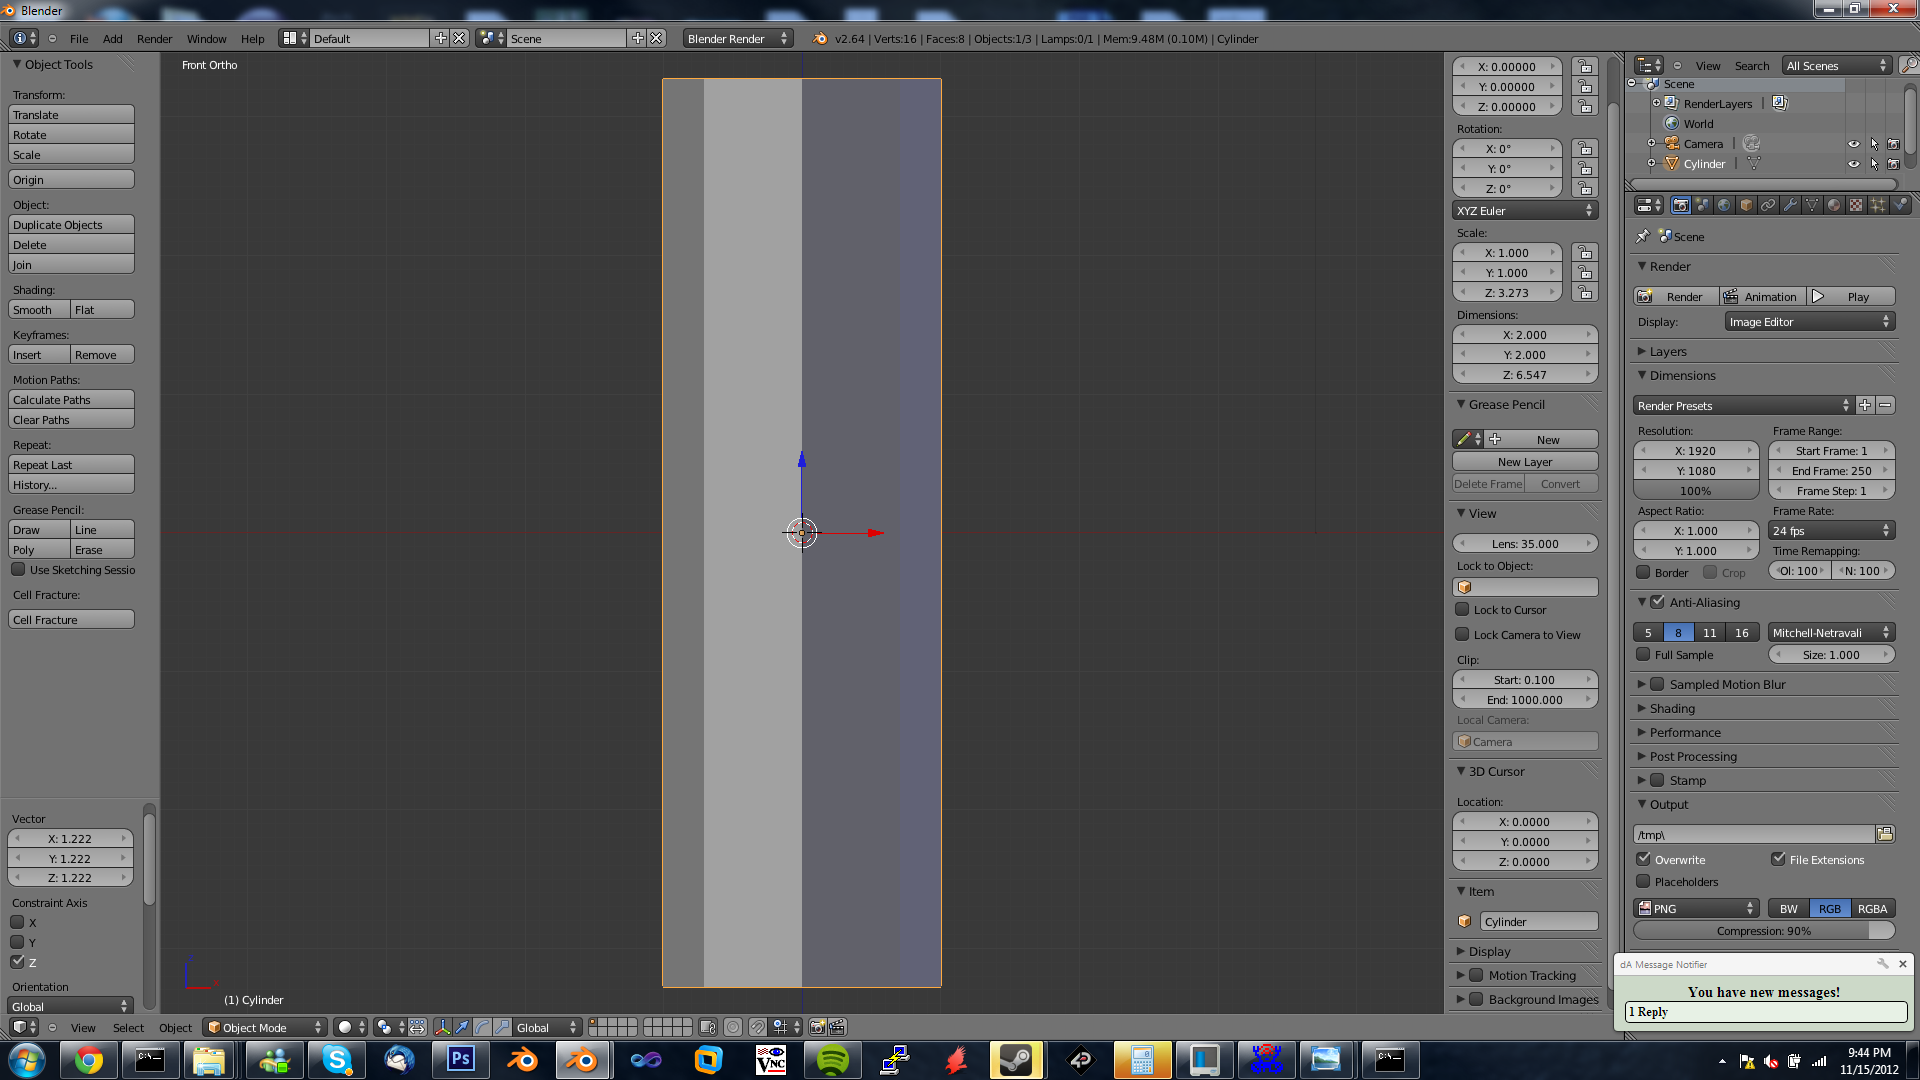
Next your going to scale the cylinder to the correct size
this is done by first hitting S for scale and than Z to scale along the Z axis than clicking to hold it!
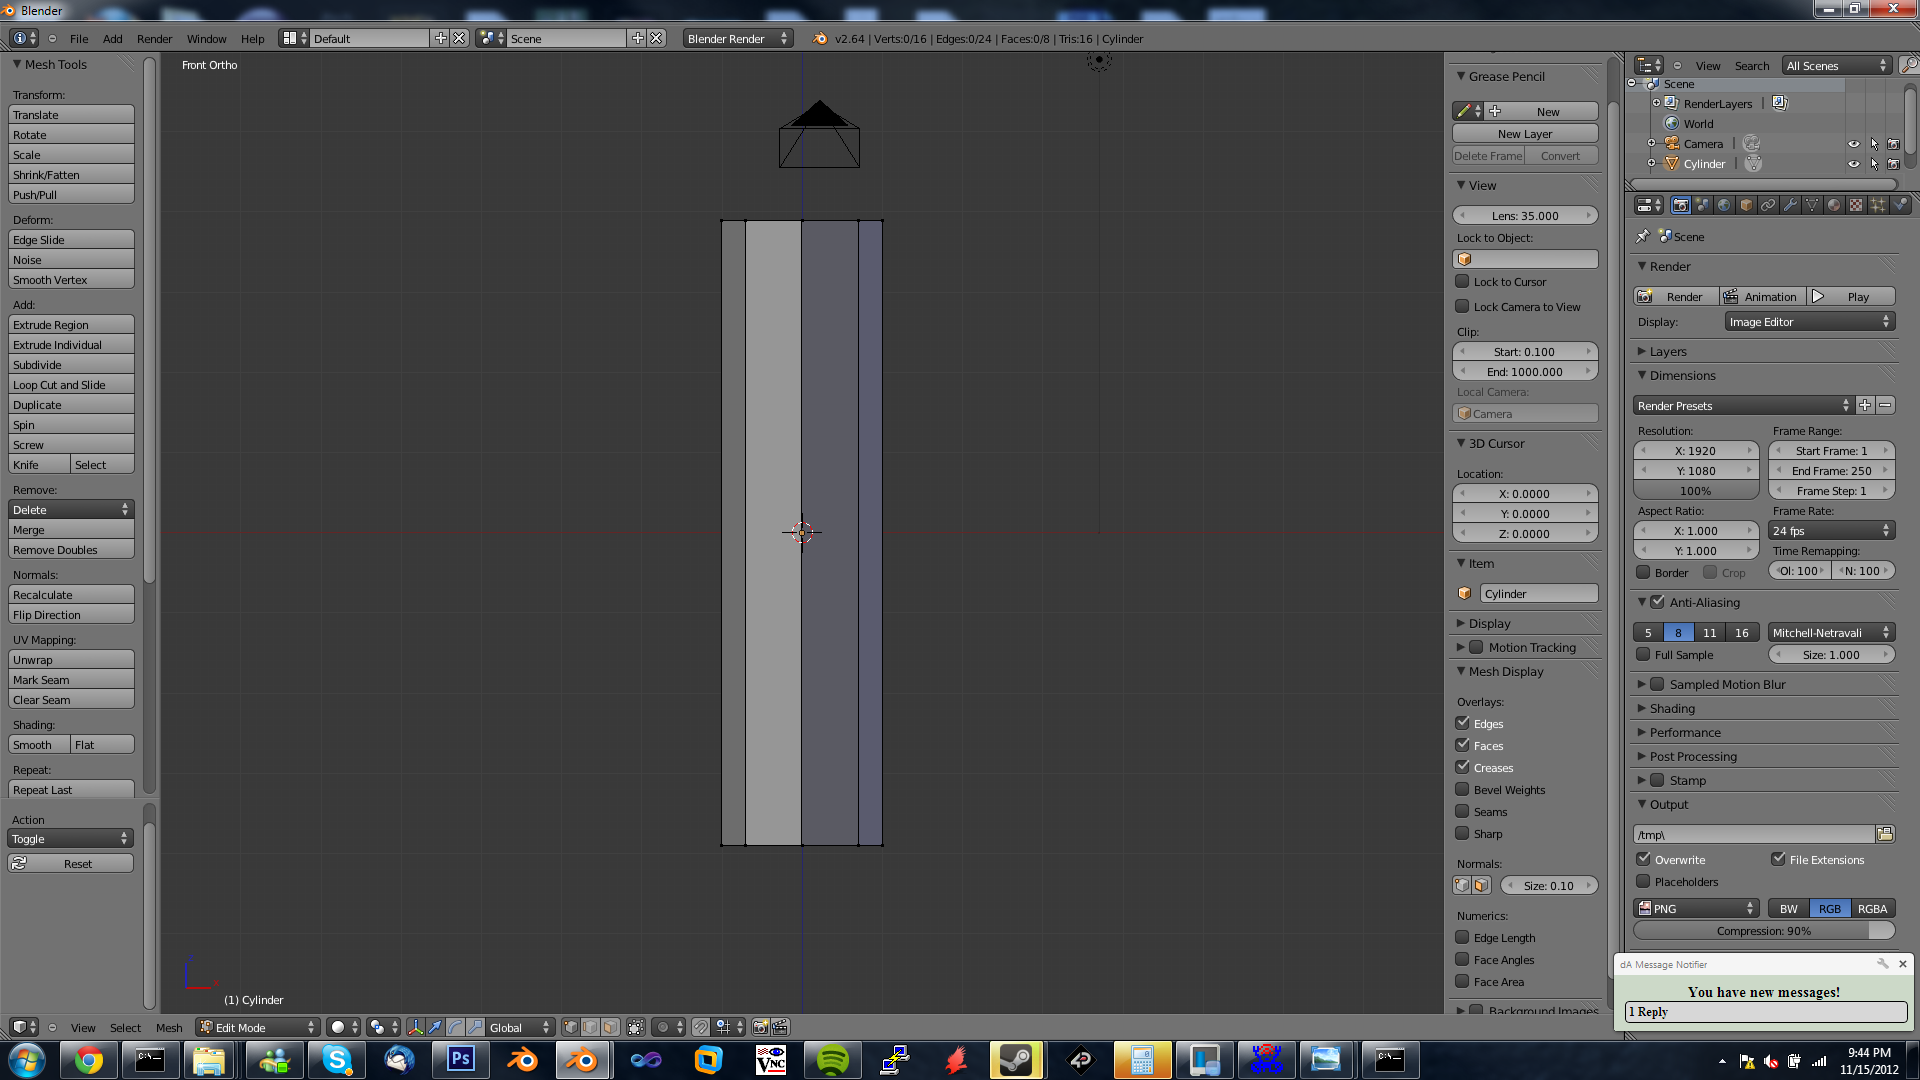
Next we want to enter edit mode and get ready for our cuts ... hit tab to enter edit mode and than hit A to select nothing
this is done by first hitting S for scale and than Z to scale along the Z axis than clicking to hold it!
Next we want to enter edit mode and get ready for our cuts ... hit tab to enter edit mode and than hit A to select nothing
View and Cutting!
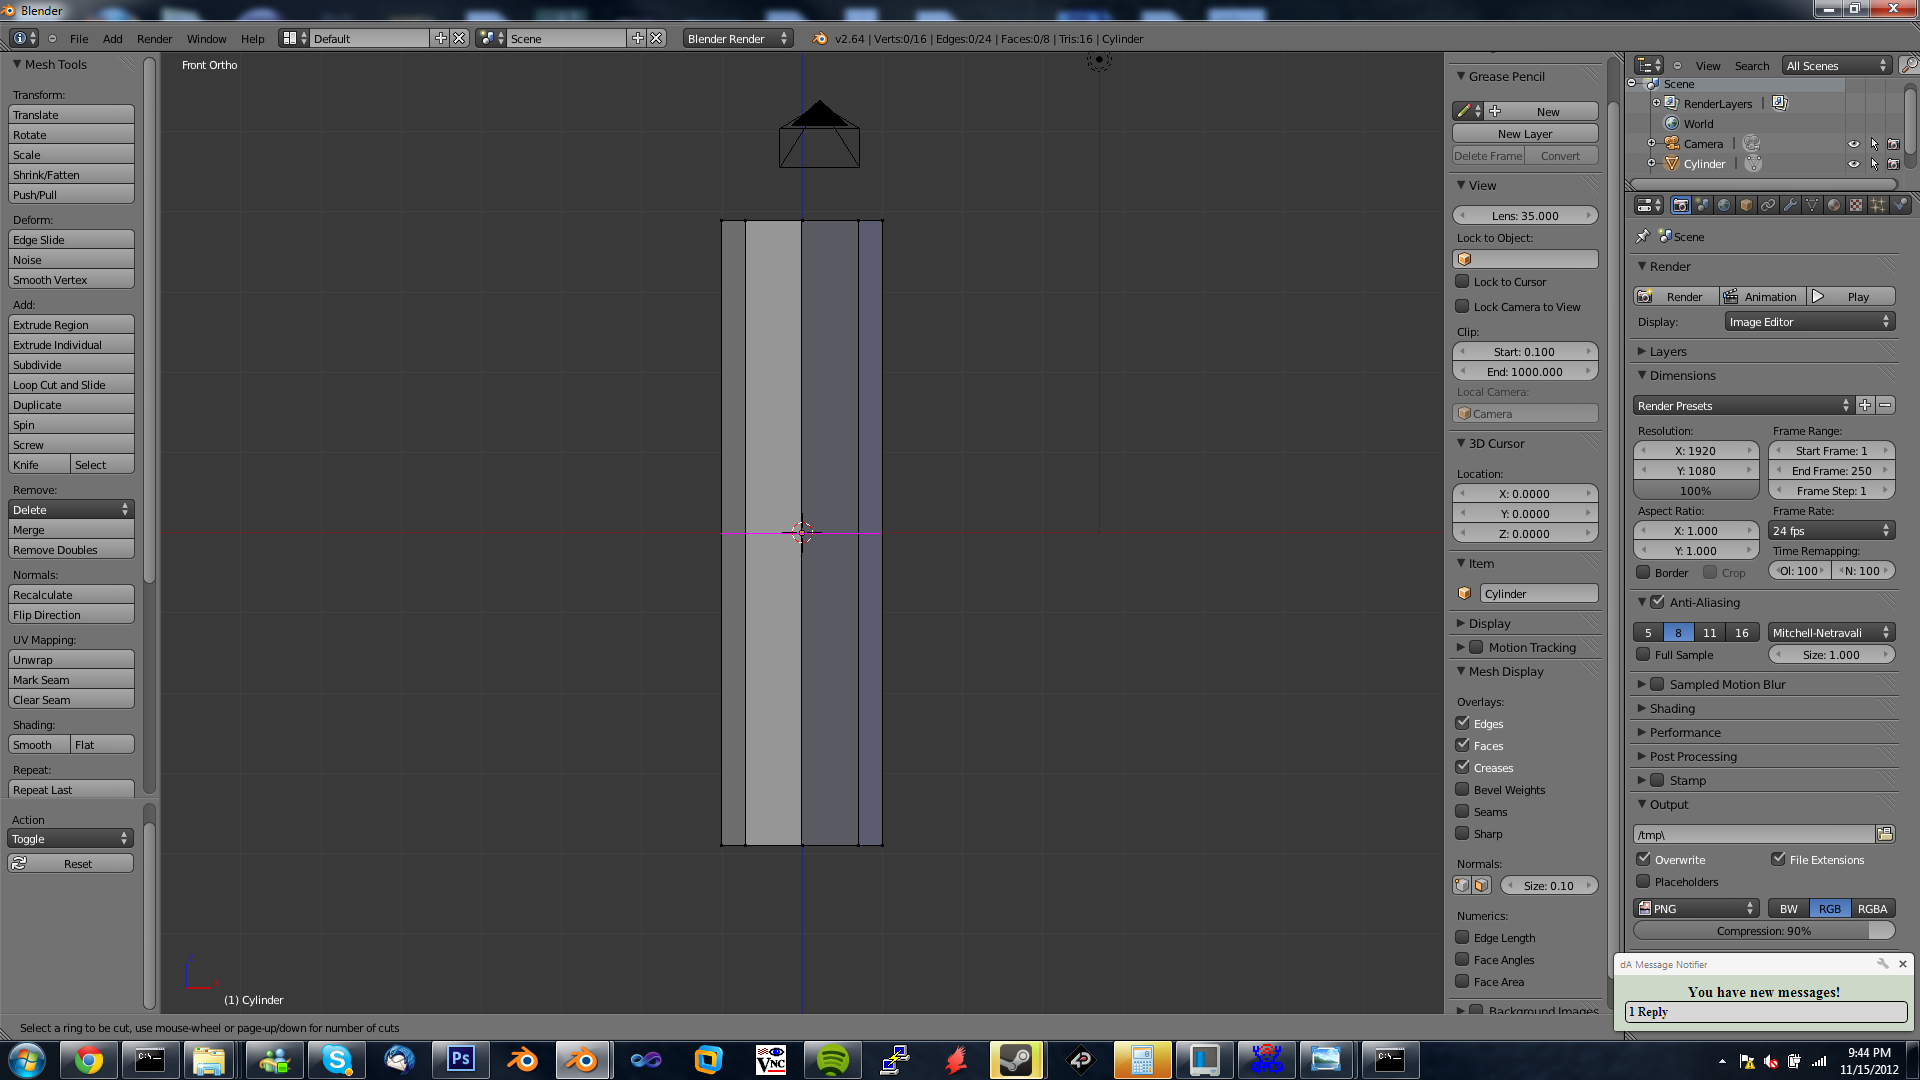
First to make this easy as possible you should hit 1 on the keypad than hit 5 to make it look at the cylinder HEAD ON ... you should see a grid behind the cylinder
now time to make a loopcut ... click ctrl+r than place your mouse over the object, a line should appear in the middle of it, click and set the place where you want the cut to be than click
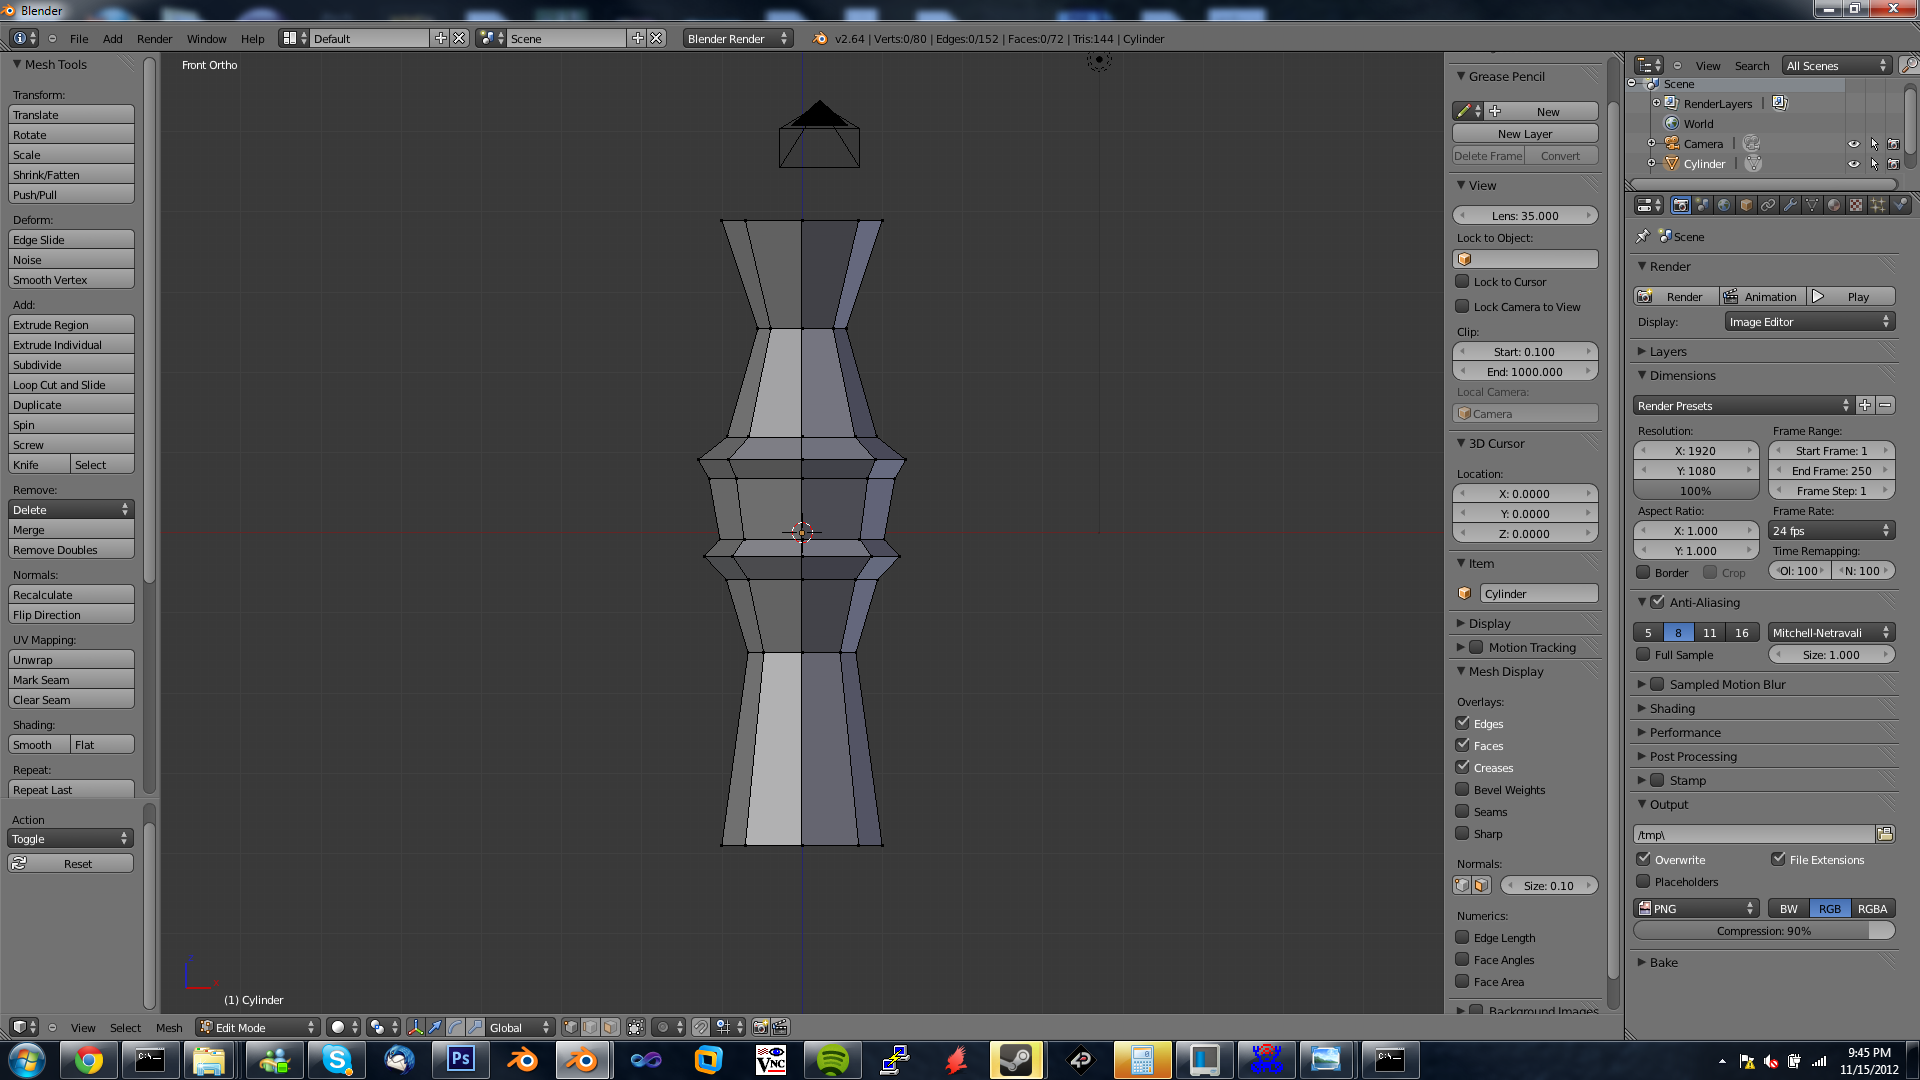
now hit S and move your mouse to scale it as you want it to be!
do this untill you get a low-polly version of what you want
Smoothing and Fixing!
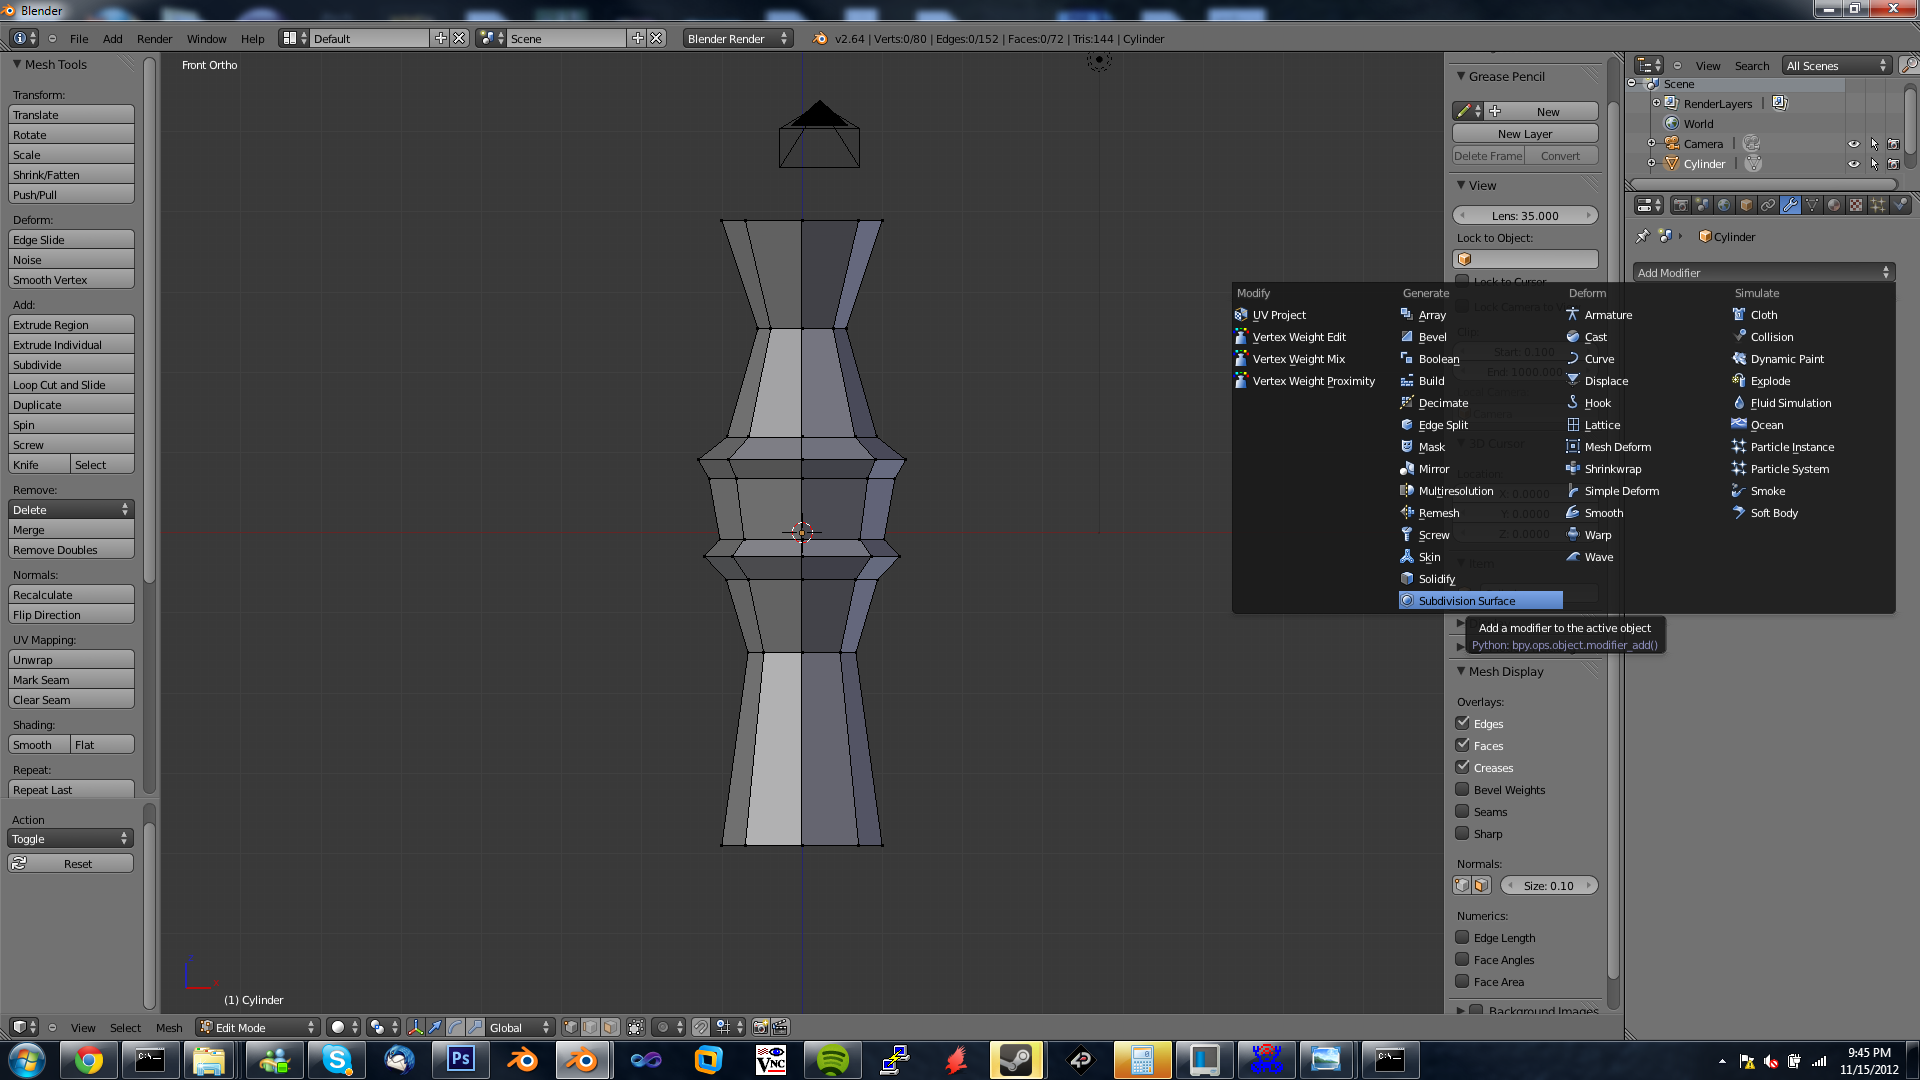
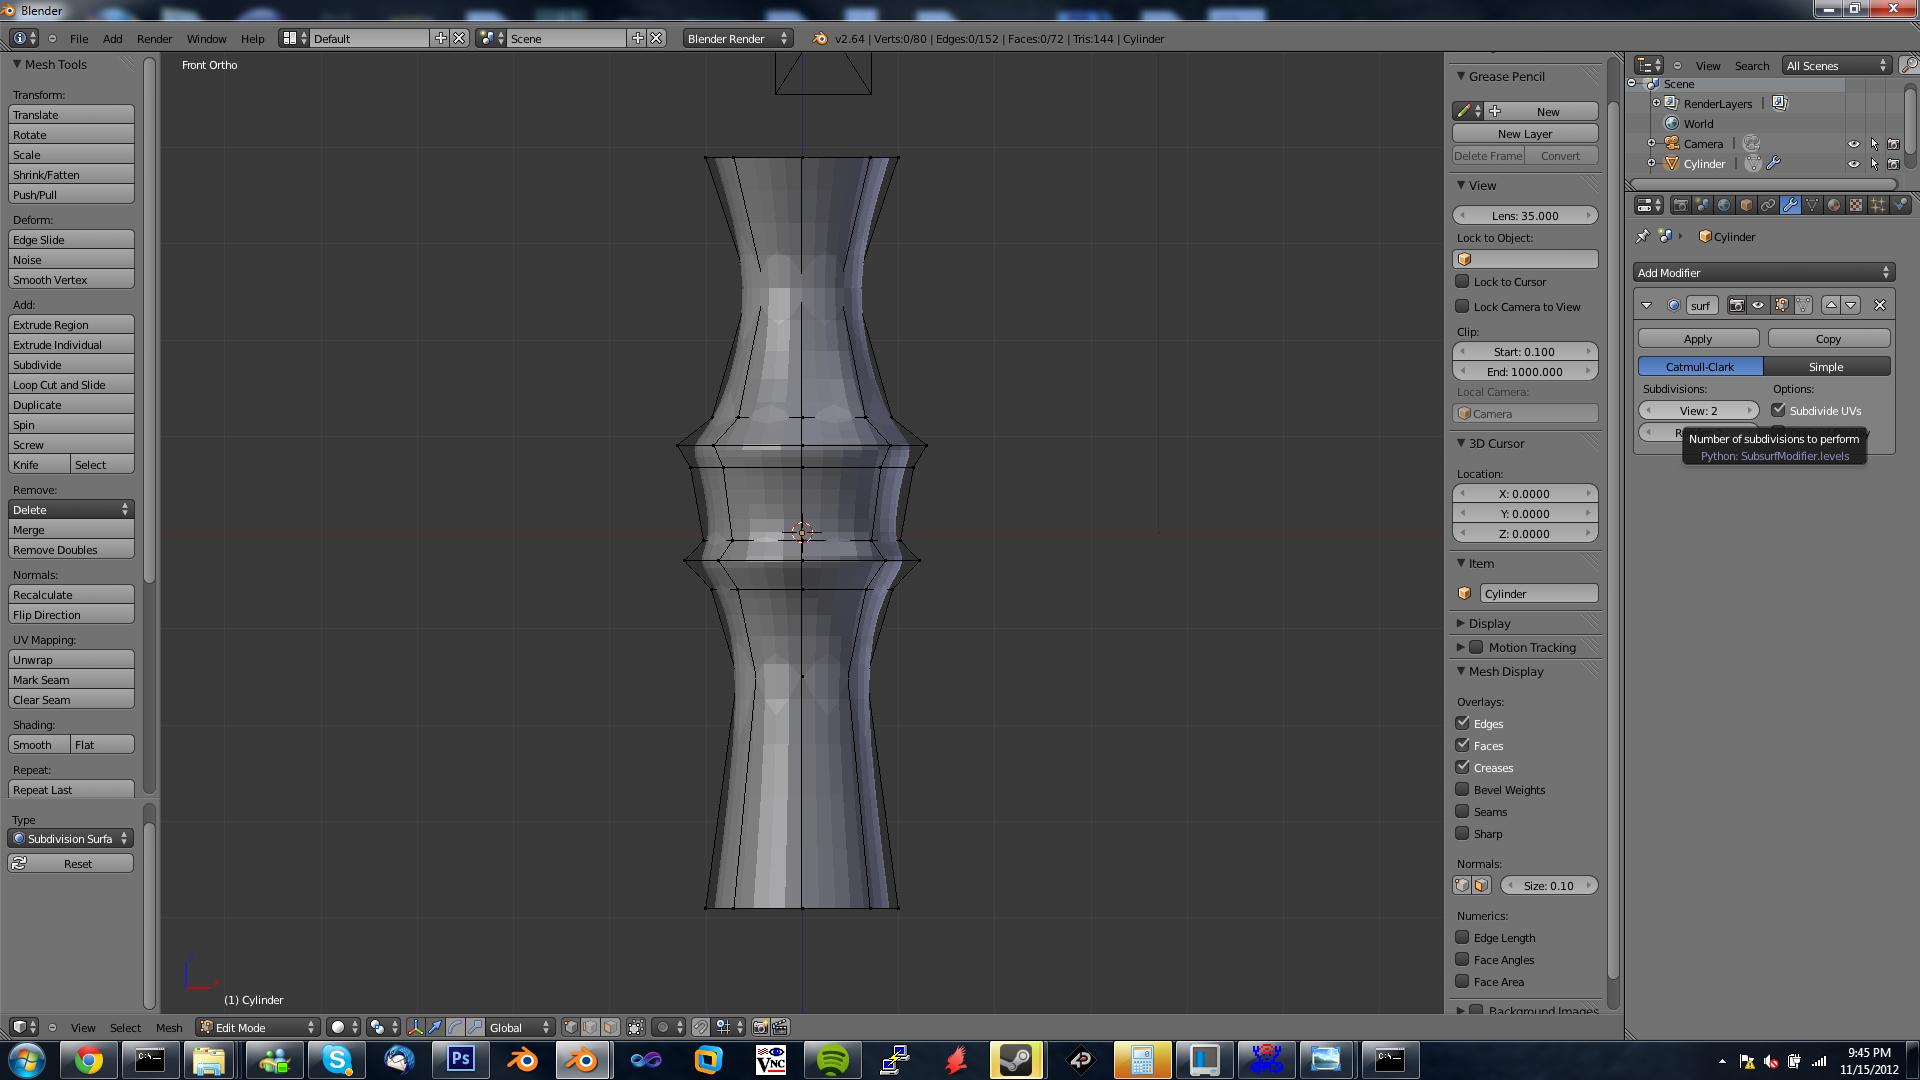
Go to the modifier window and select the "subdivision surface and select the smoothing in view to 2 (more will make it higher quality but slow down rendering and computer usage, 2 is good for almost anything
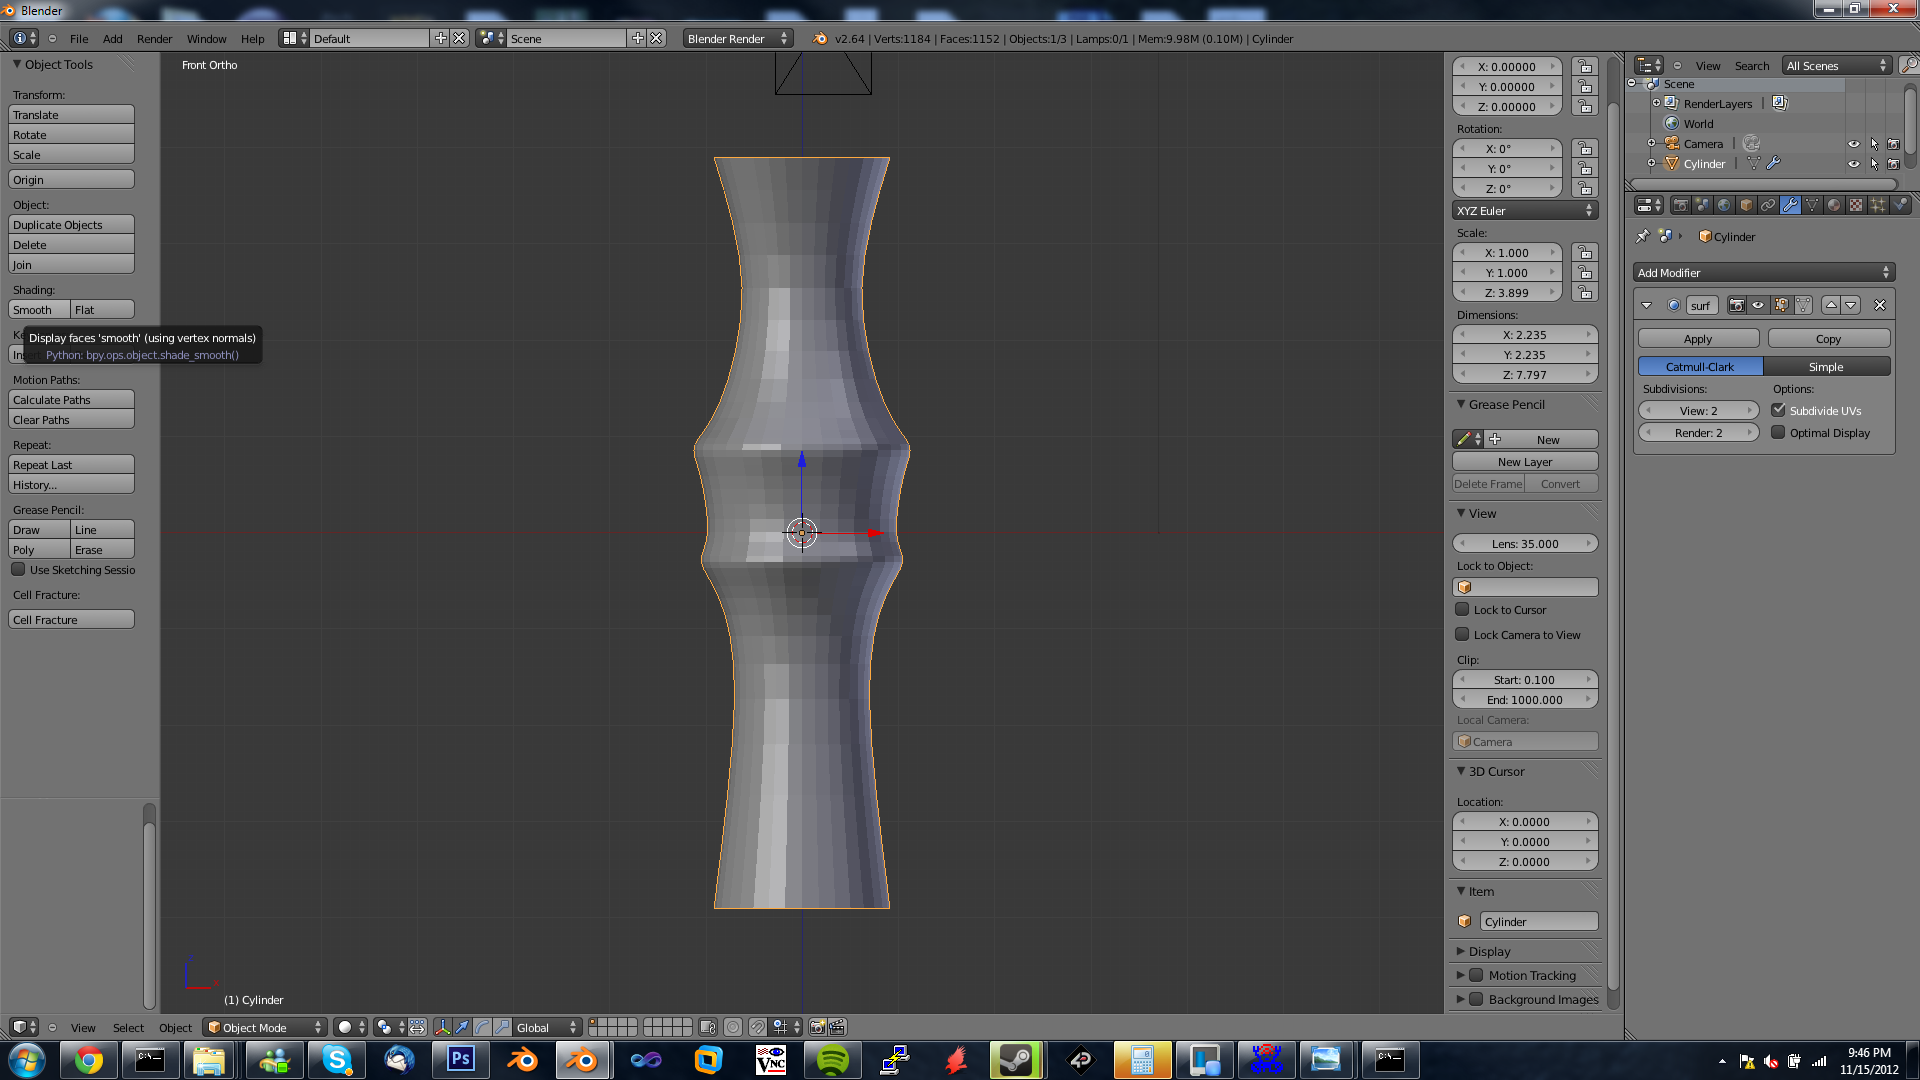
next exit editmode with tab click "smooth" under shading and enter edit mode again to see your crisp new model!
but it looks all ... meh ... next we fix that!
next exit editmode with tab click "smooth" under shading and enter edit mode again to see your crisp new model!
but it looks all ... meh ... next we fix that!
Fix the Meh!
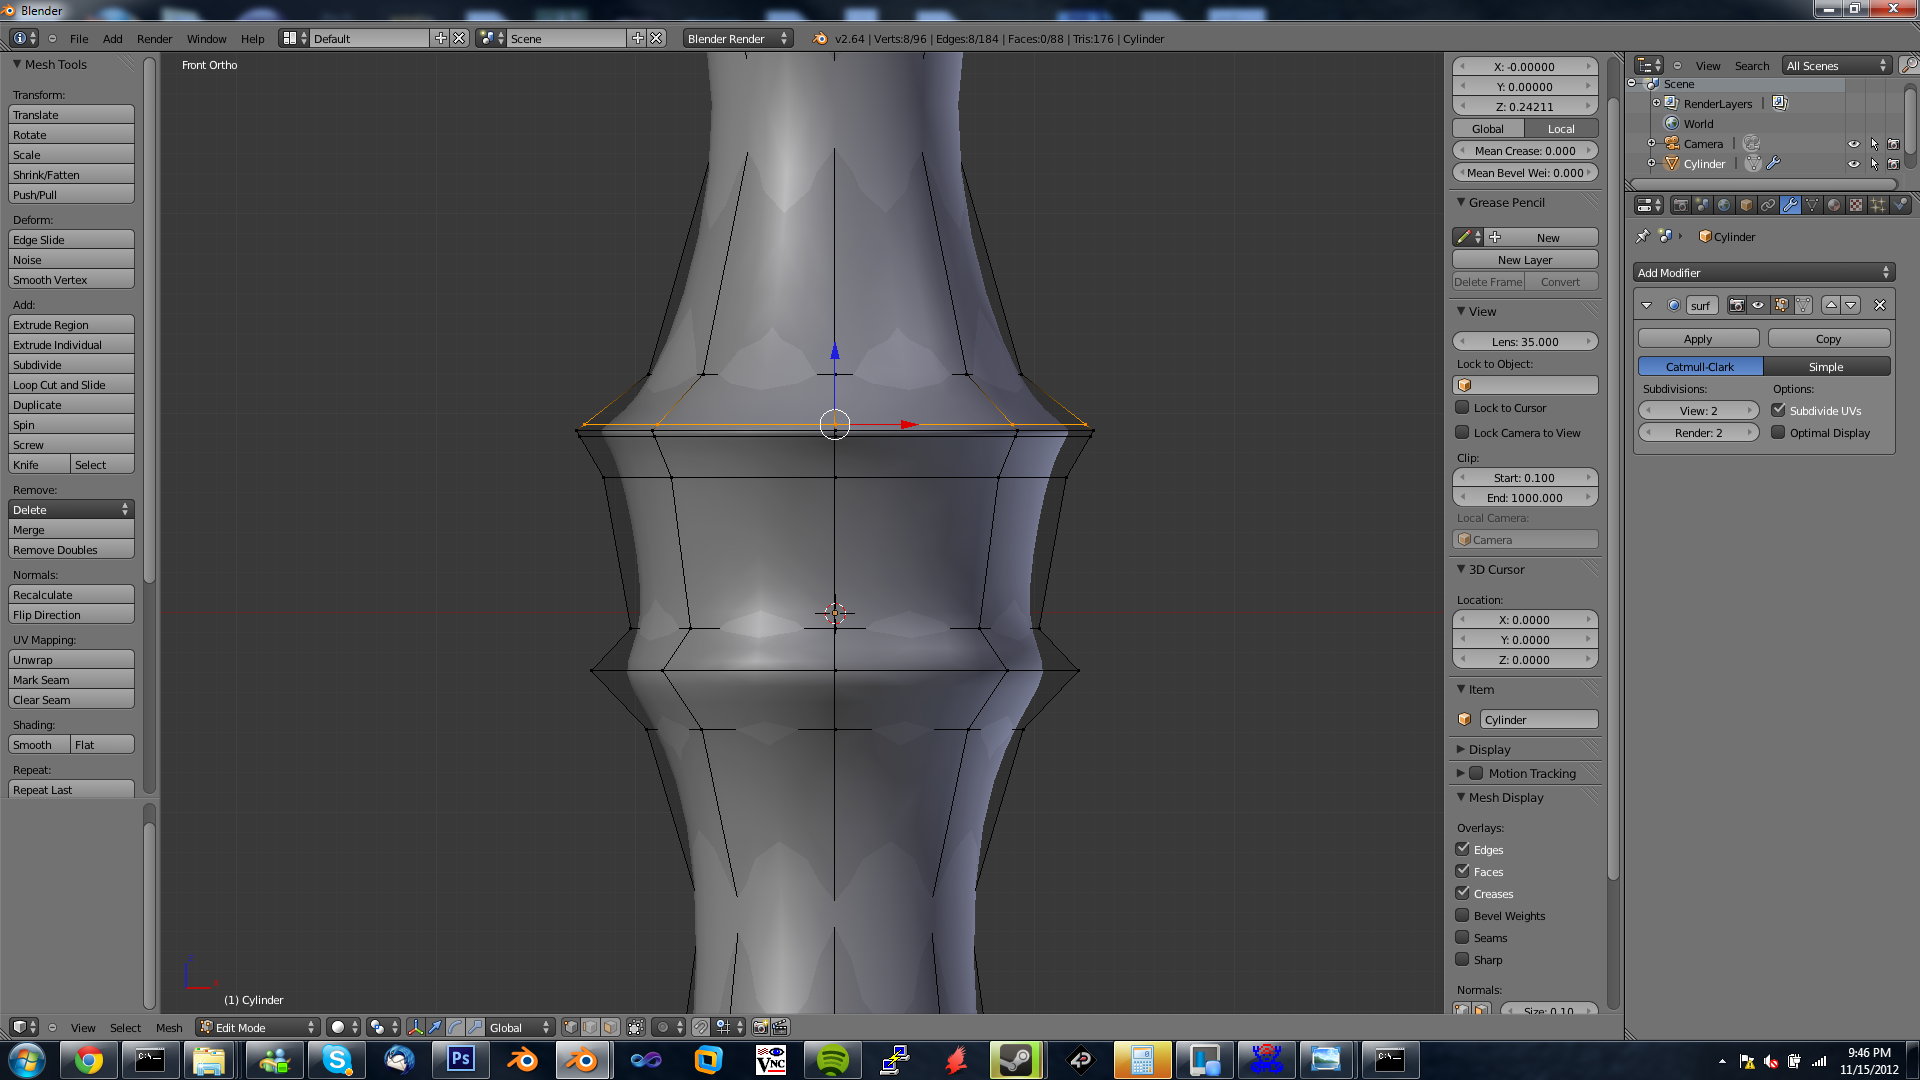
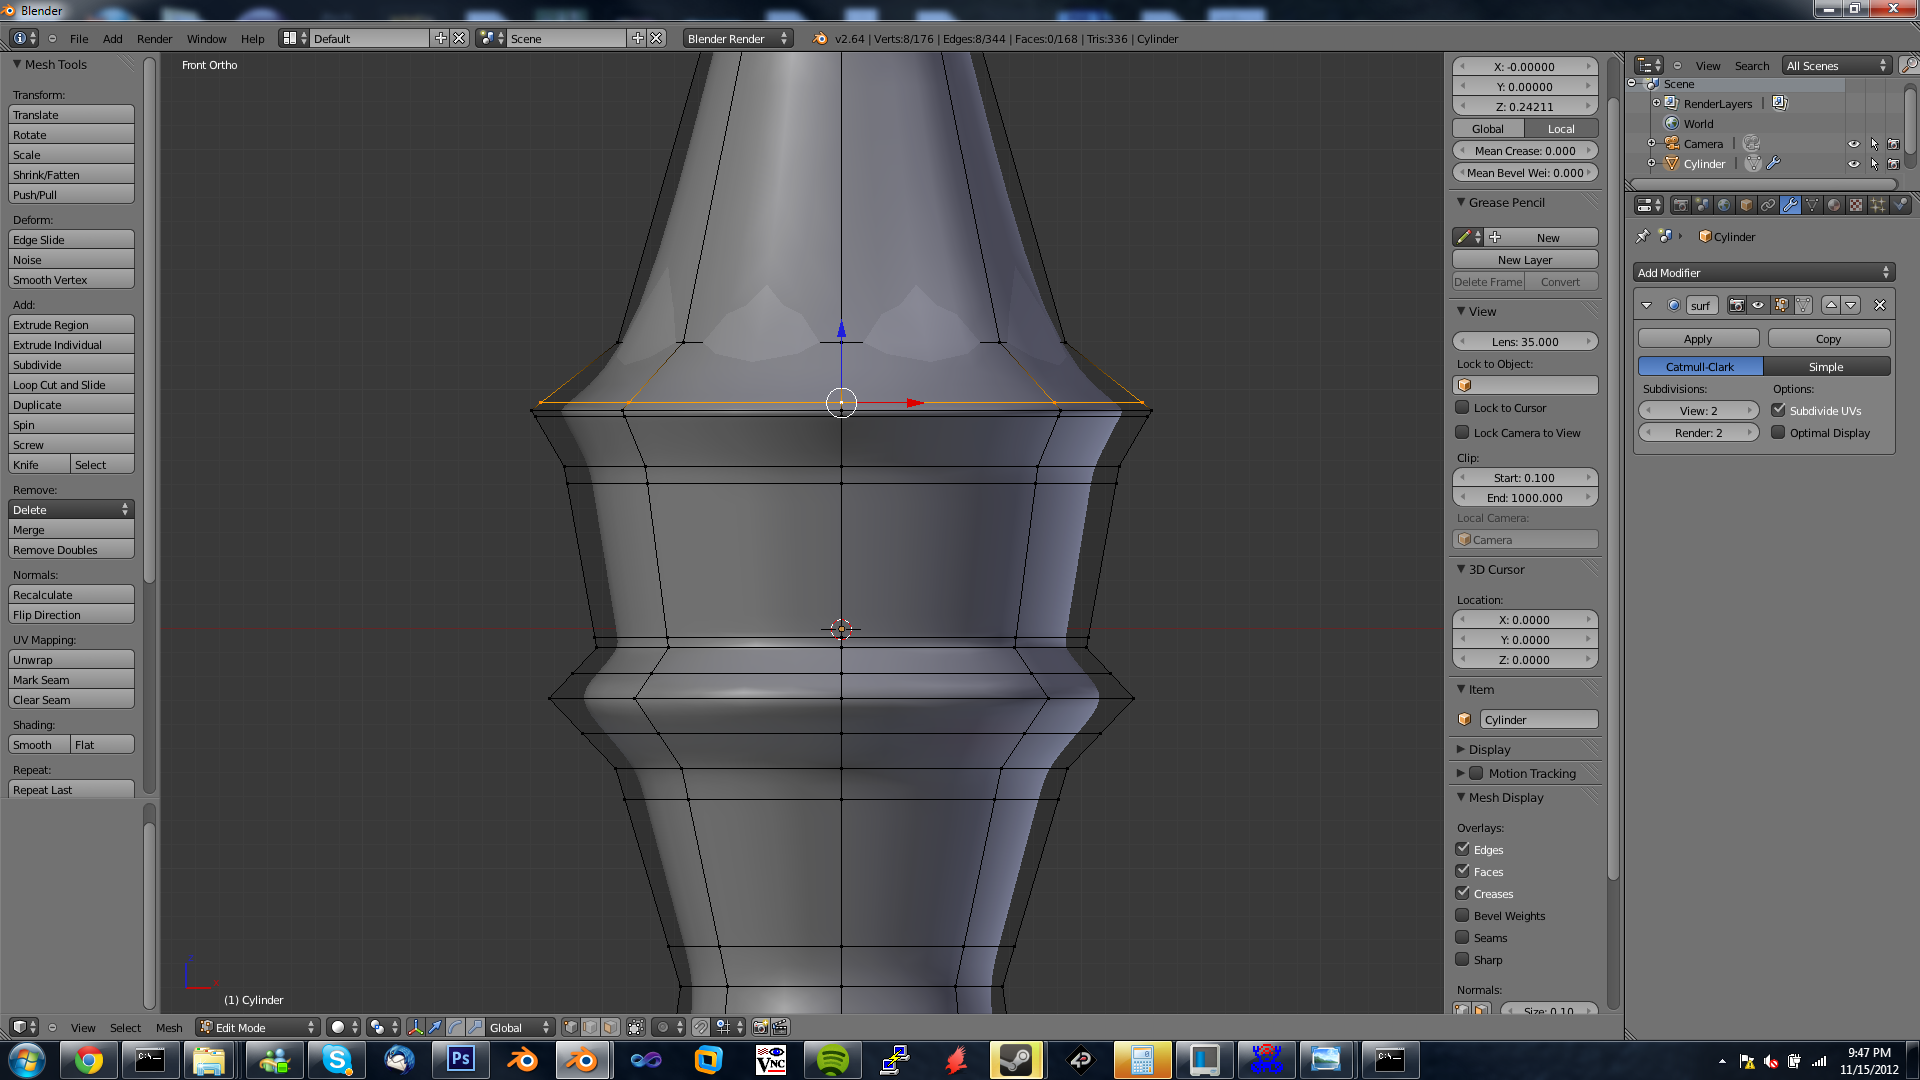
Now its all smooth and ... meh ... not how you want it to look!
lets make more loop cuts ... this time you want to make your cut above or below the eadge you want sharper ... click on it than drag it up the curve and you should see it sharpen up, click to apply, do this below it also and repeat anywhere else you want to do this!
lets make more loop cuts ... this time you want to make your cut above or below the eadge you want sharper ... click on it than drag it up the curve and you should see it sharpen up, click to apply, do this below it also and repeat anywhere else you want to do this!
Cap Those Ends!
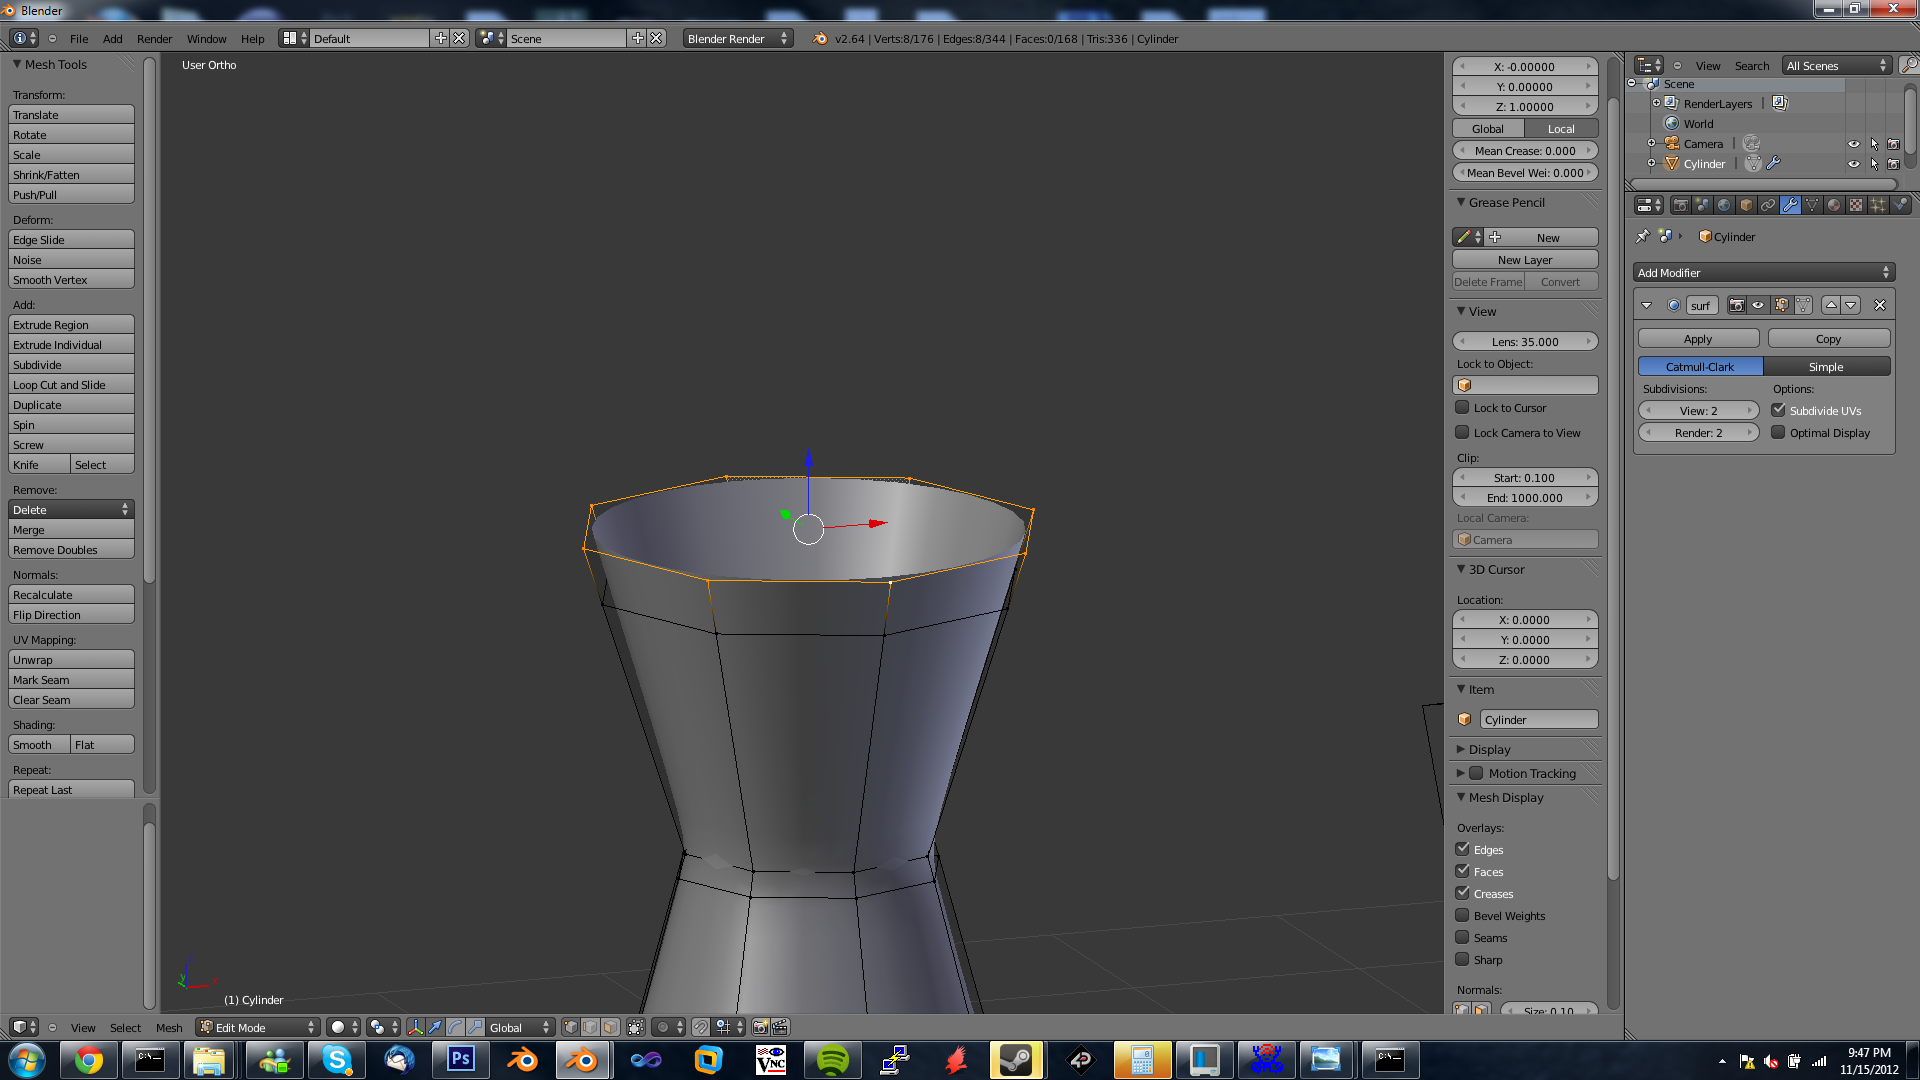
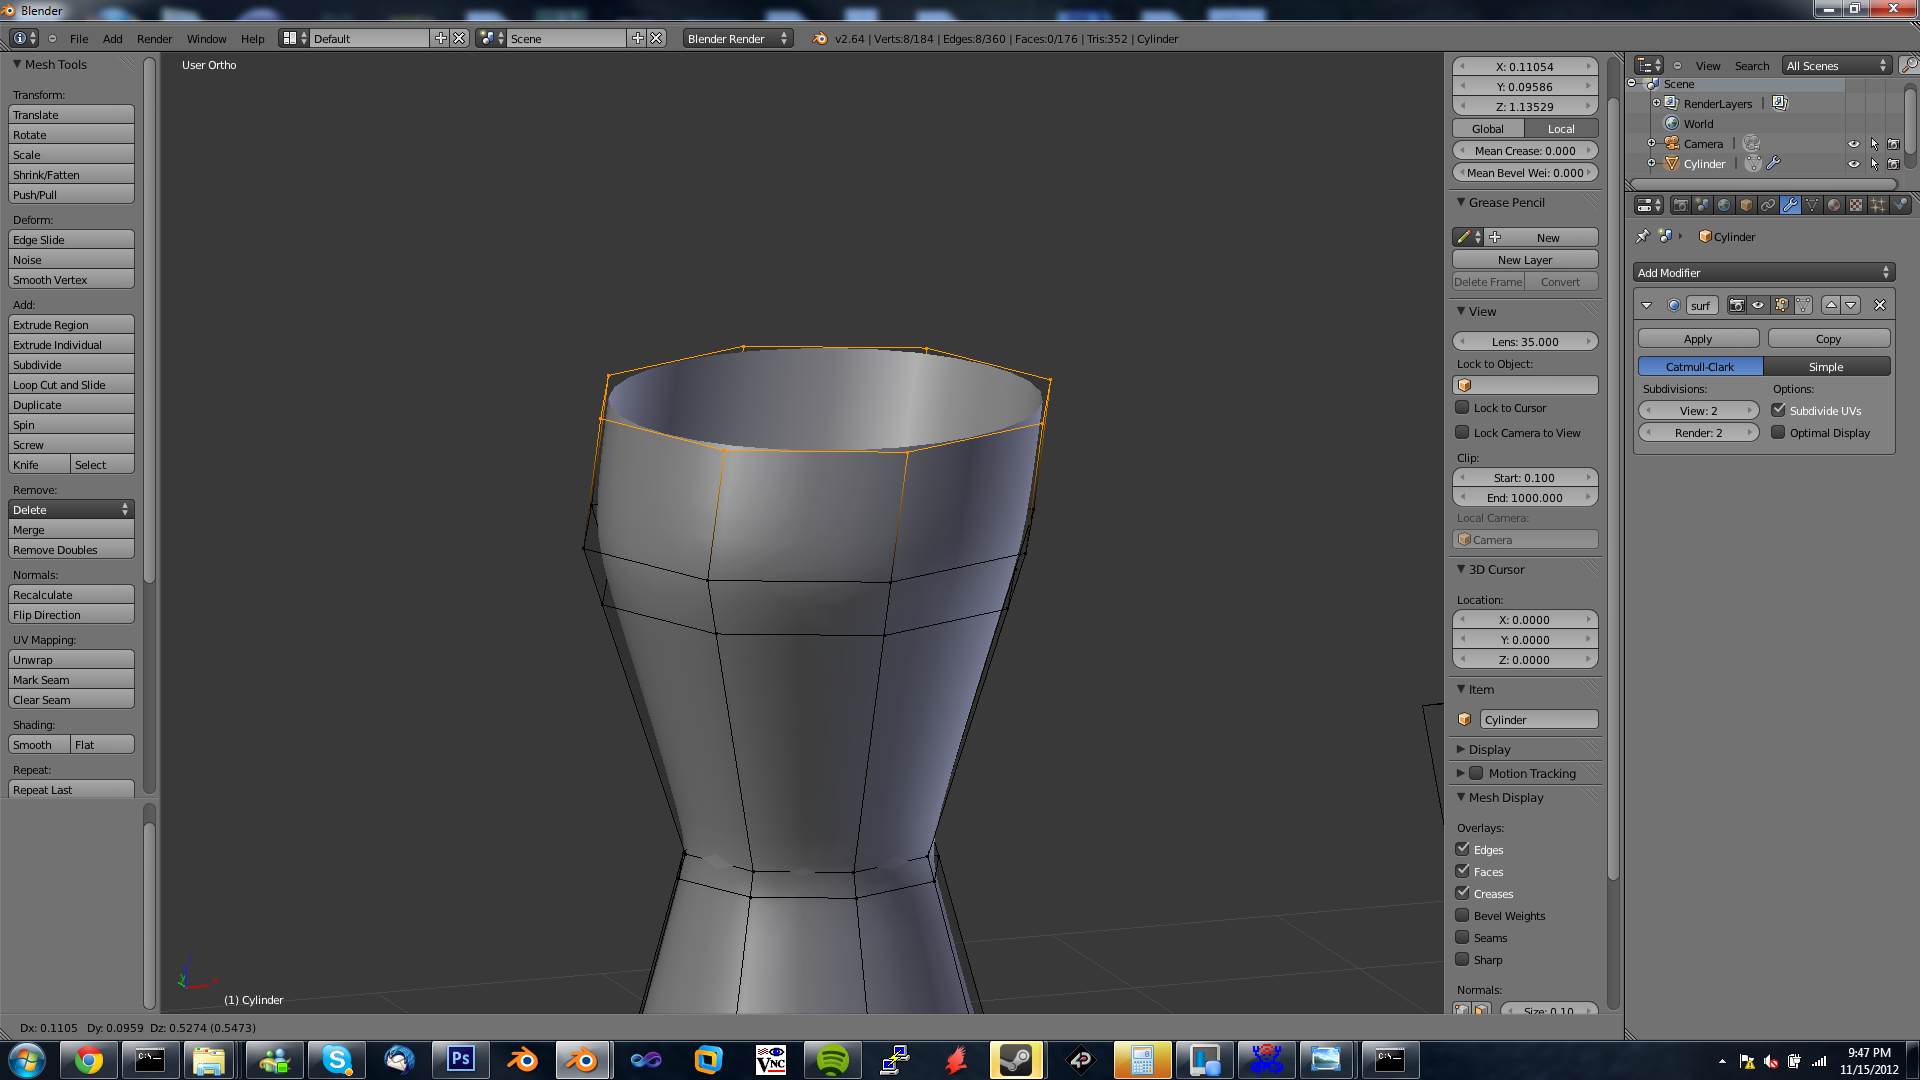
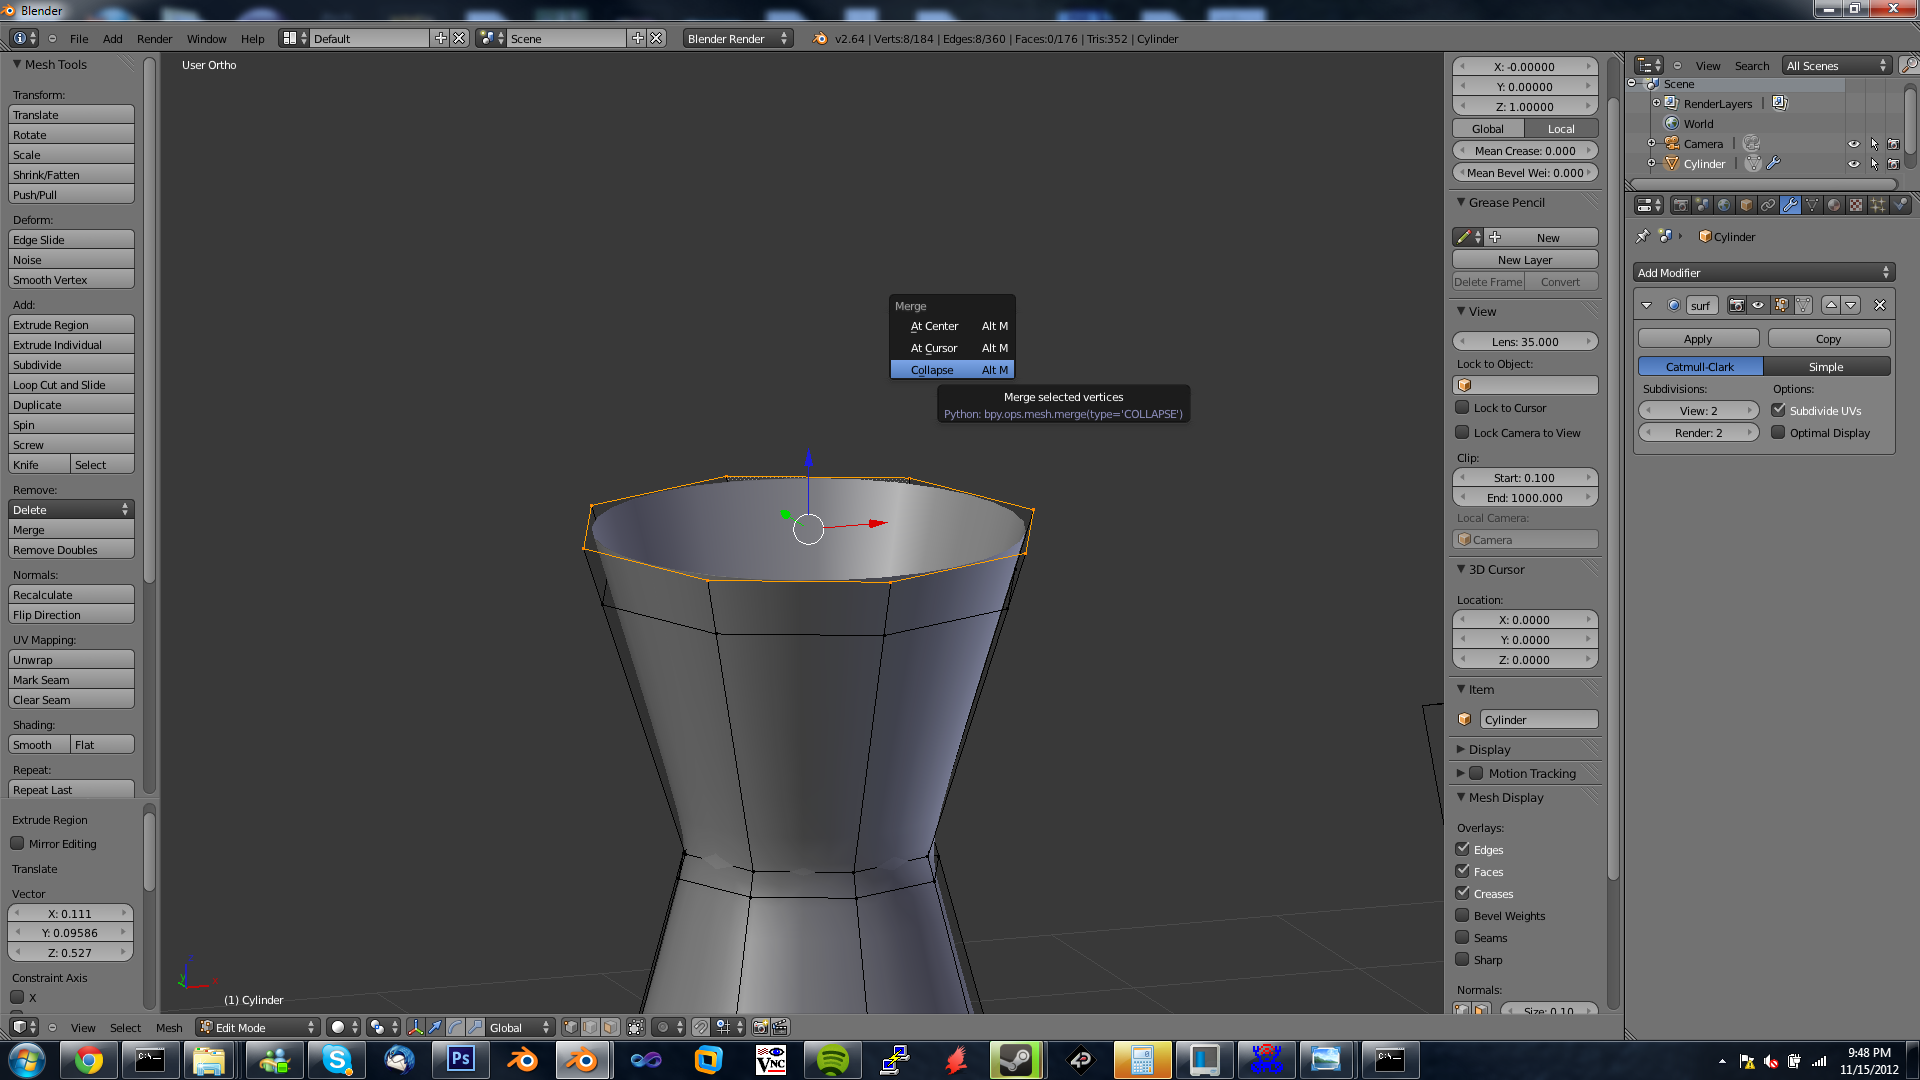
Now we have to cap the ends ... you cant loopcut faces that all share one vert (i dont like this) so now were going to cap the ends
select the end, do this by holding down alt and selecting an edge on the loop you want to select and you should select the entre thing
now hit E and you should see it dragging a clone of the selection ... right click to put it back! ... without selecting ANYTHING ELSE hit ctrl+m to bring up the merge menu and select "collapse" and you have your cap! ... repeat it at the bottom
Render!

ITS SO PURDY!