Model Magic X86 Mobile Keyboard Computer
by Laserbird in Circuits > Computers
4611 Views, 44 Favorites, 0 Comments
Model Magic X86 Mobile Keyboard Computer
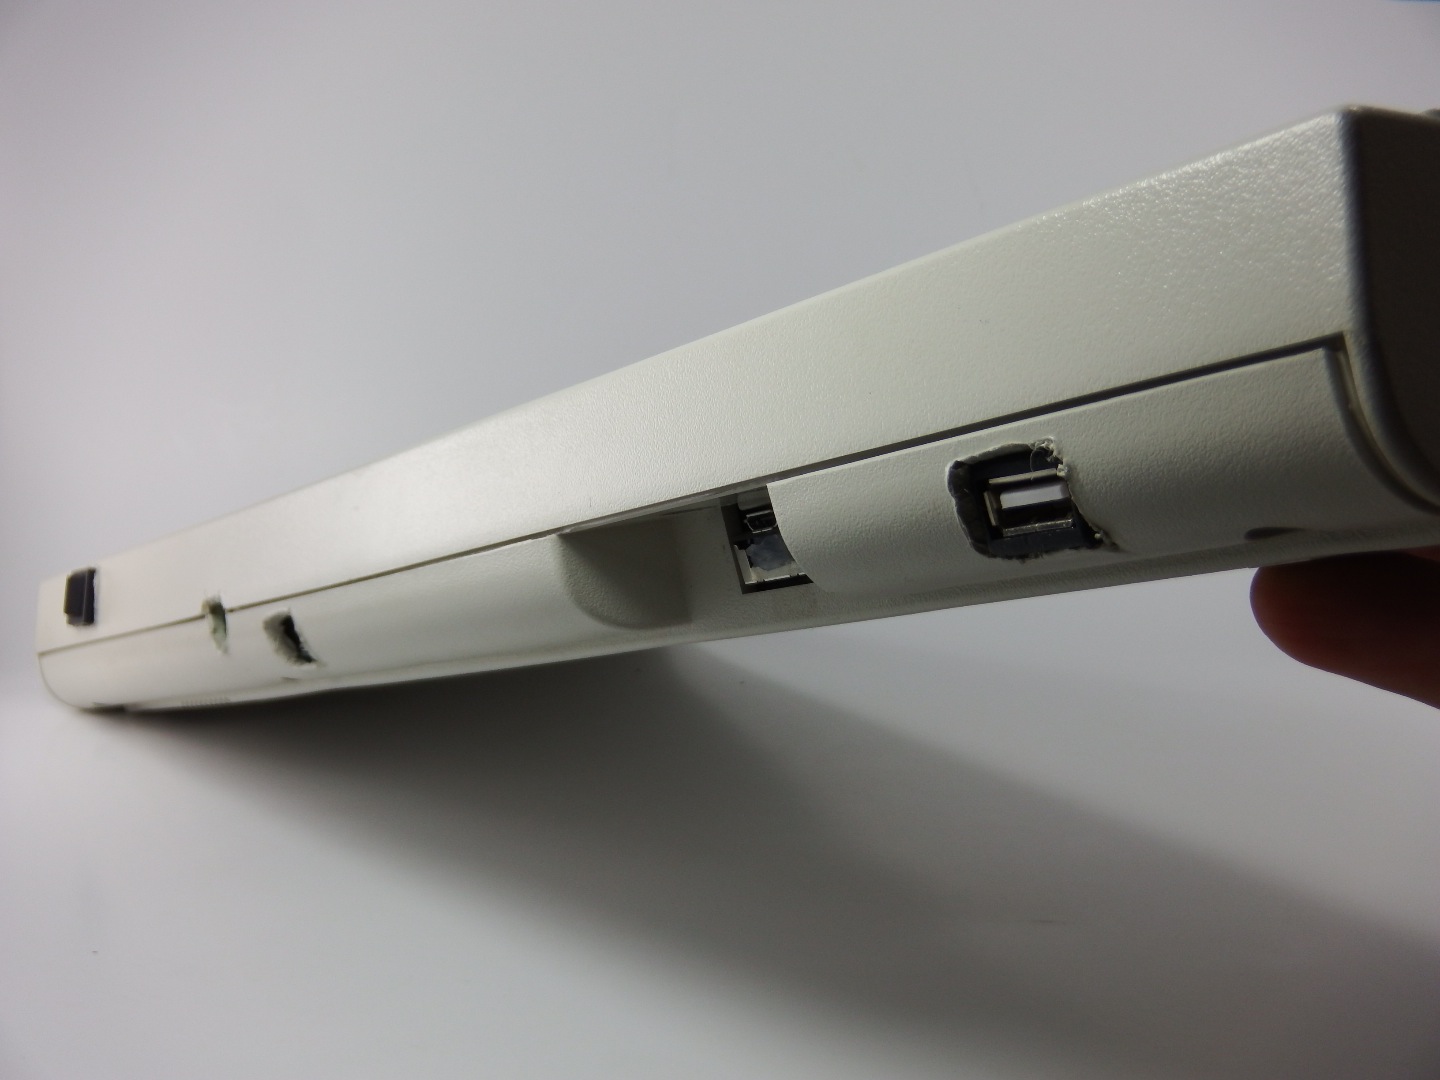
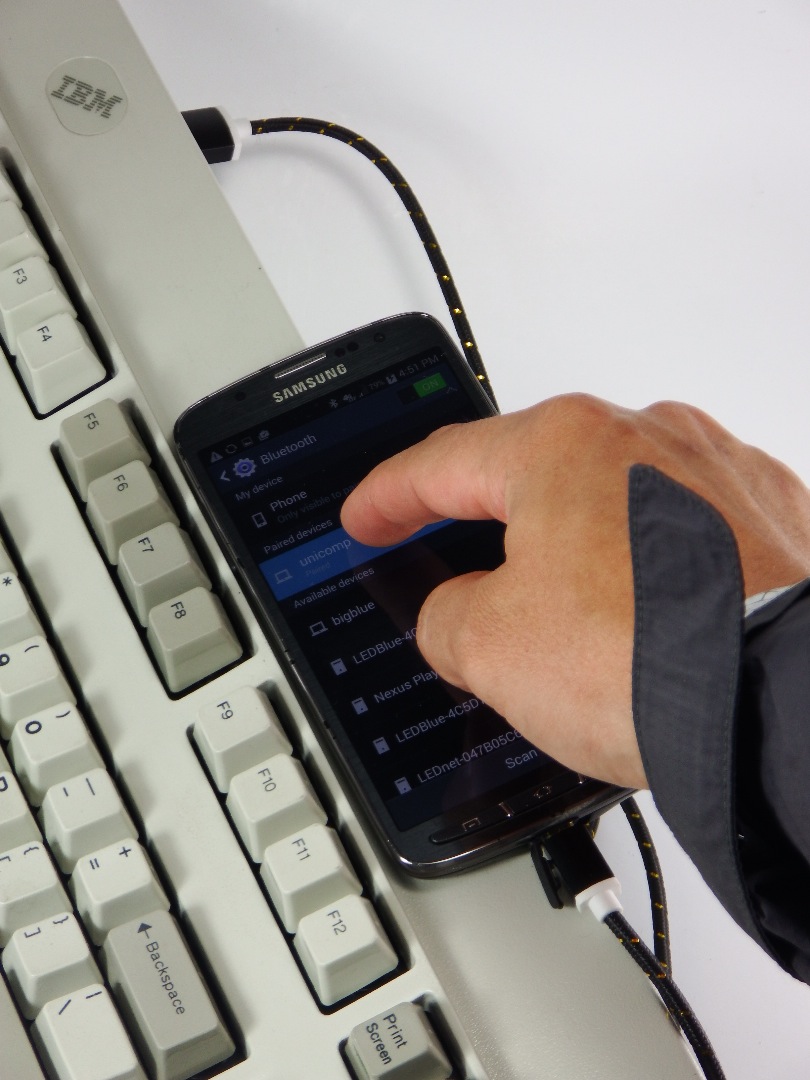
This is an Instructable on how to modify an old clicky keyboard in to a mobile X86 computer with an Intel Edison. With the power of the Intel Edison micro processor and 22nm architecture, the future is yours to command!
Model Magic is an Open Source USB Keyboard gadget supporting bluetooth, wifi, and ethernet connections. Using Intel's Edison 22nm X86 processor, we can place a genuine personal computer inside of a keyboard and power it with a few hundred milliamps of current.
Connect via Bluetooth with your phone or computer and control apps remotely. Pair with other devices for enhanced multimedia experiences. Have the power of the personal computer in the palms of your hands!
Click the link below to visit our Kickstarter campaign and pre-order a production model!
http://www.kickstarter.com/projects/619155670/mode...
Materials:
QTY Description
1 Power Stacker (2 Cells) Li-Ion Charge Control System or Equivalent
1 Double Pole/Single Throw switch (You can rip one off an old computer power supply)
2 USB Type A Male to Micro Male cables
1 OTG USB Hub
1 Li-Ion 5V DC/DC Converter (or equivalent)
1 Li-Ion 12V DC/DC Converter (or equivalent)
1 PS/2 to USB converter (If your clicky keyboard has a PS/2 connector)
1 1/8" Heat Shrink Tube
1 1/4" Heat Shrink Tube
Tools:
1 Soldering iron
1 Roll of solder
1 Solderdoodle (Hot cutting tool) or Dremel
1 1/2" Wide roll of Kapton tape
1 Hot glue gun
1 7/32" Hex Nut Driver
1 Heat Gun
1 Scissors
1 Sharpie Pen
1 Multimeter
1 Calipers
Install the Operating System
To get started, you must connect the Intel Edison to a breakout board and follow instructions online on how to install the operating system.
The best tutorial I found for setting up and installing the operating system on to the Intel Edison can be found here:
http://www.codefoster.com/edison-setup/
The files used to modify the Intel Edison to activate all the keyboard functionality can be found here: http://github.com/ii/iikeyboard
The terminal commands for installing the modifications here:
Retrofit the Keyboard
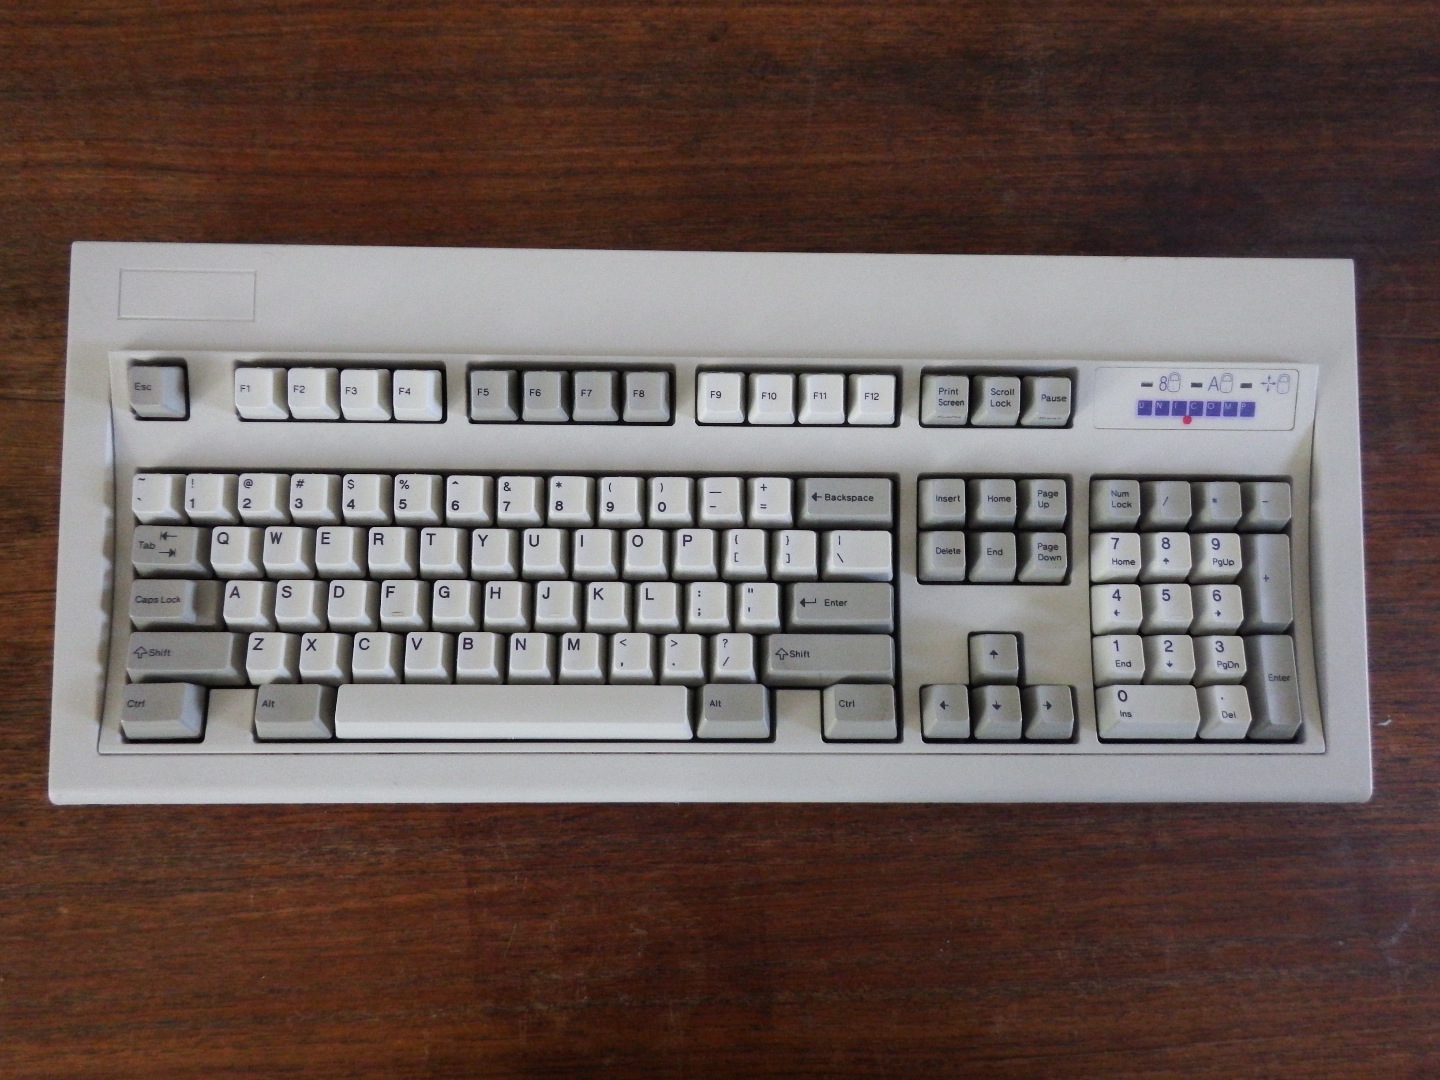
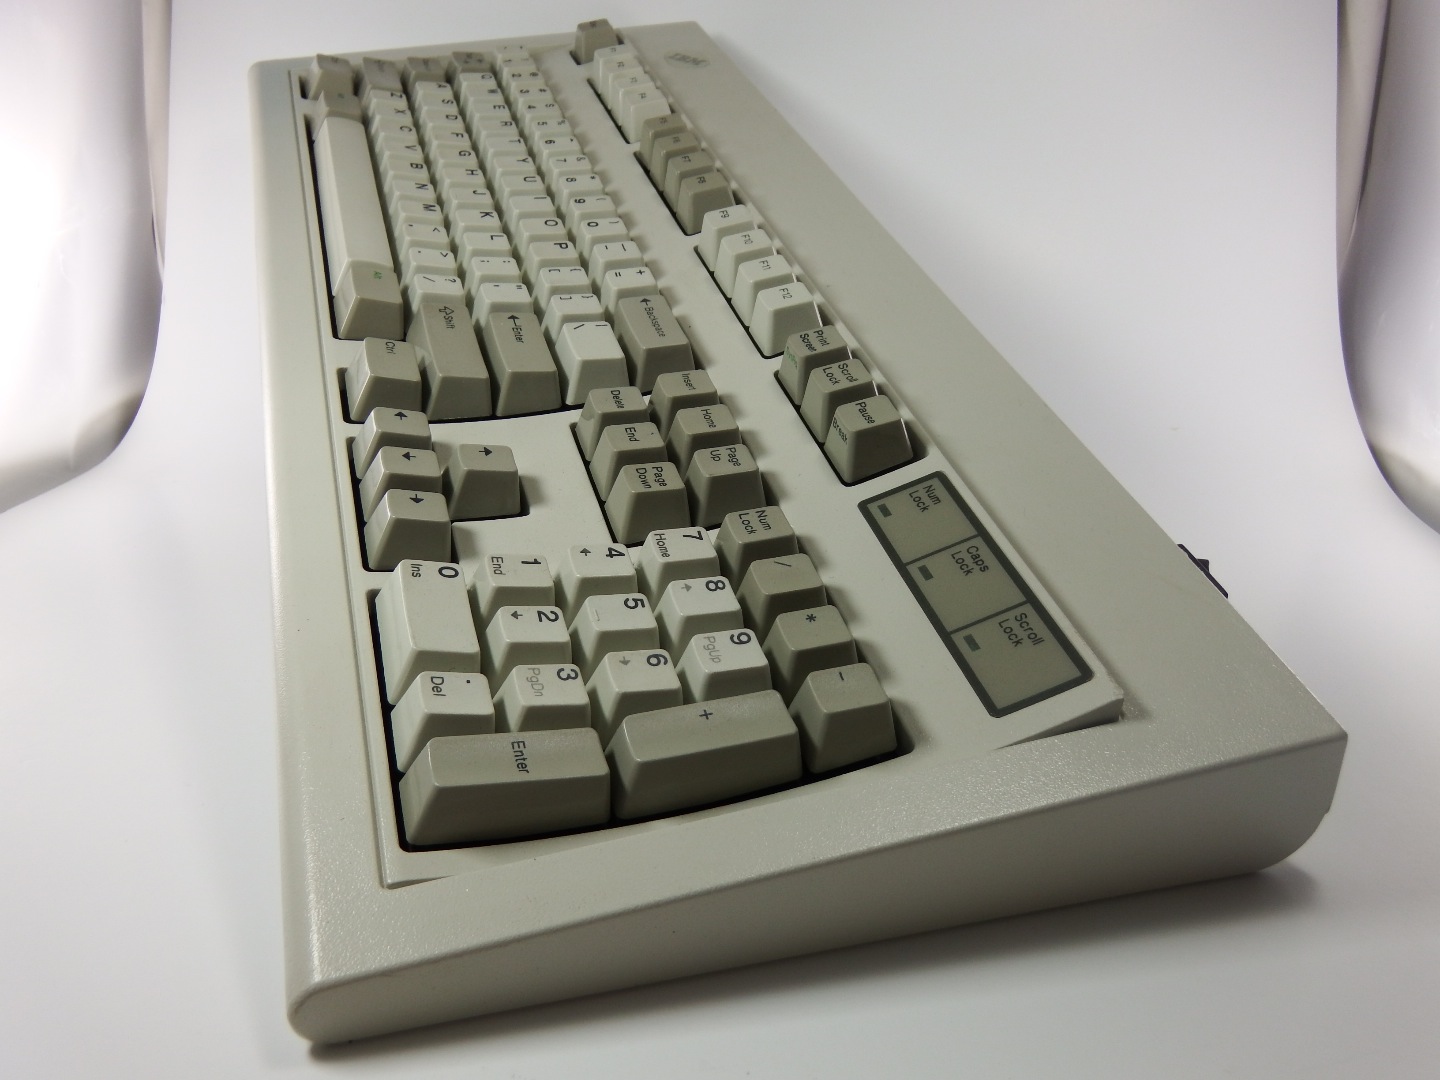
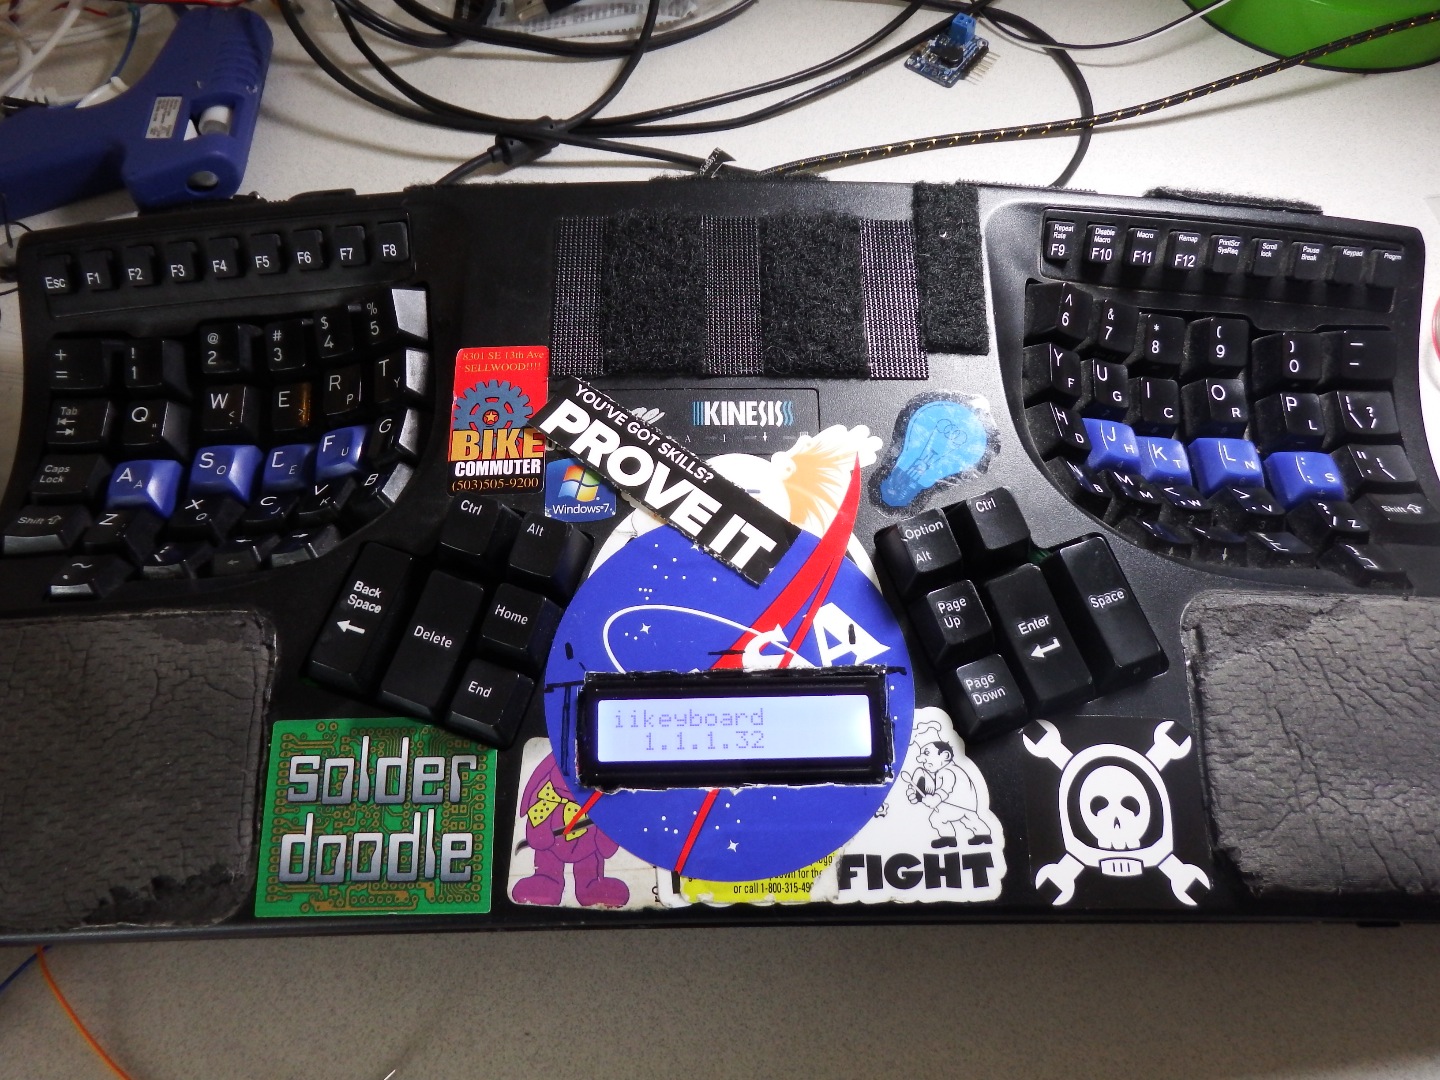
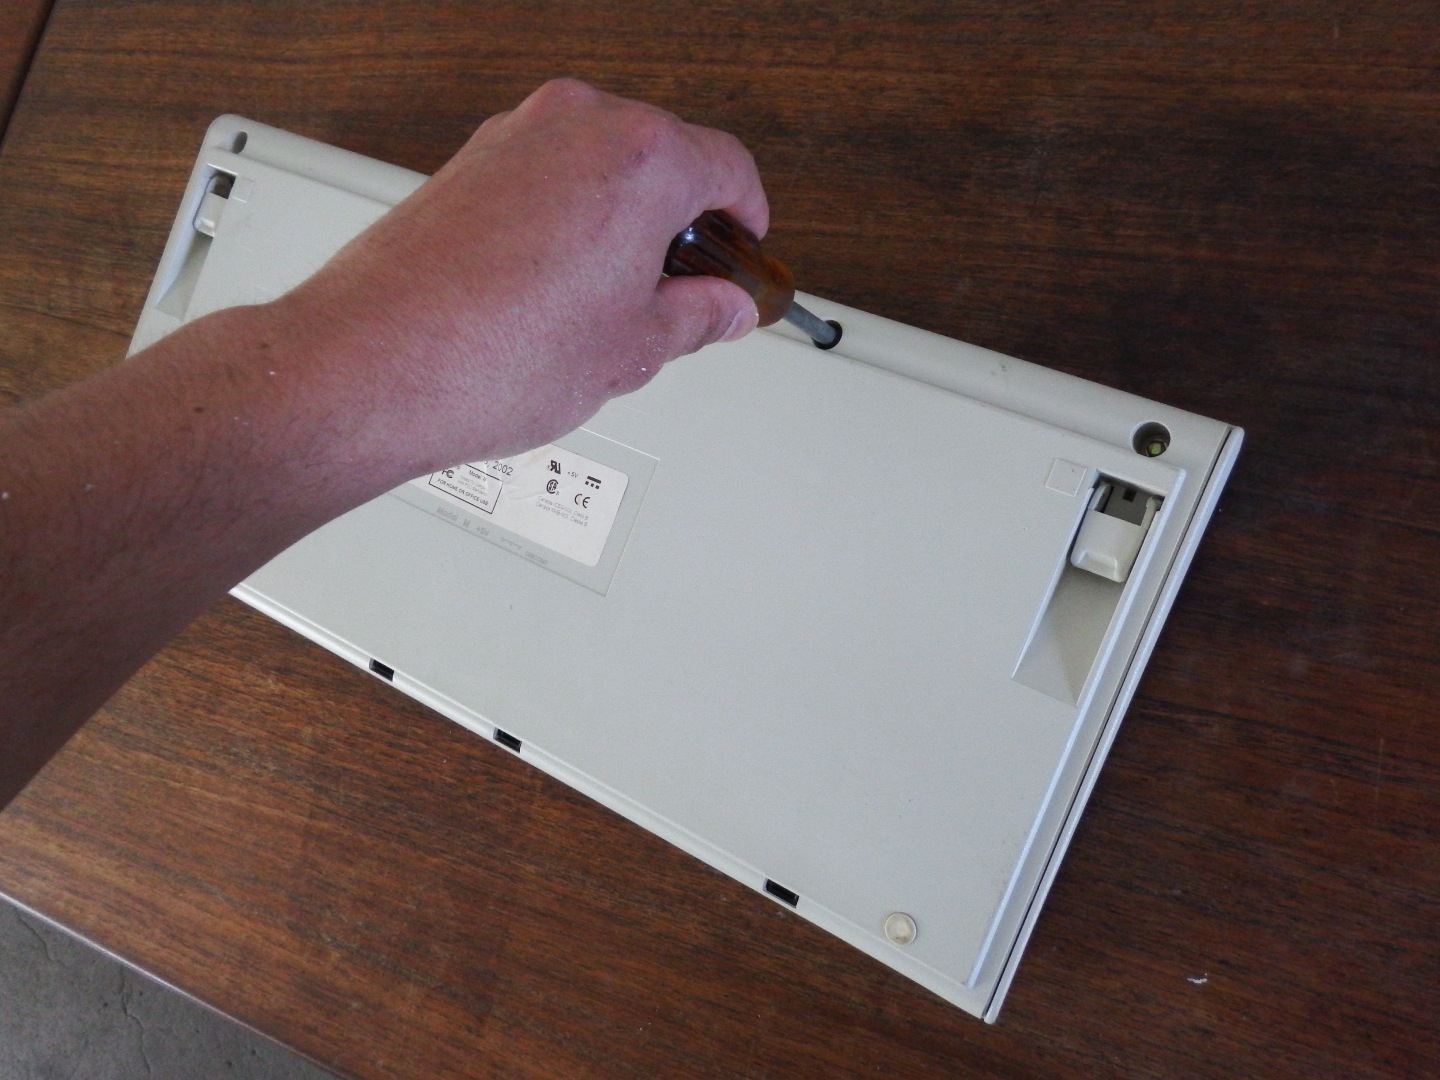
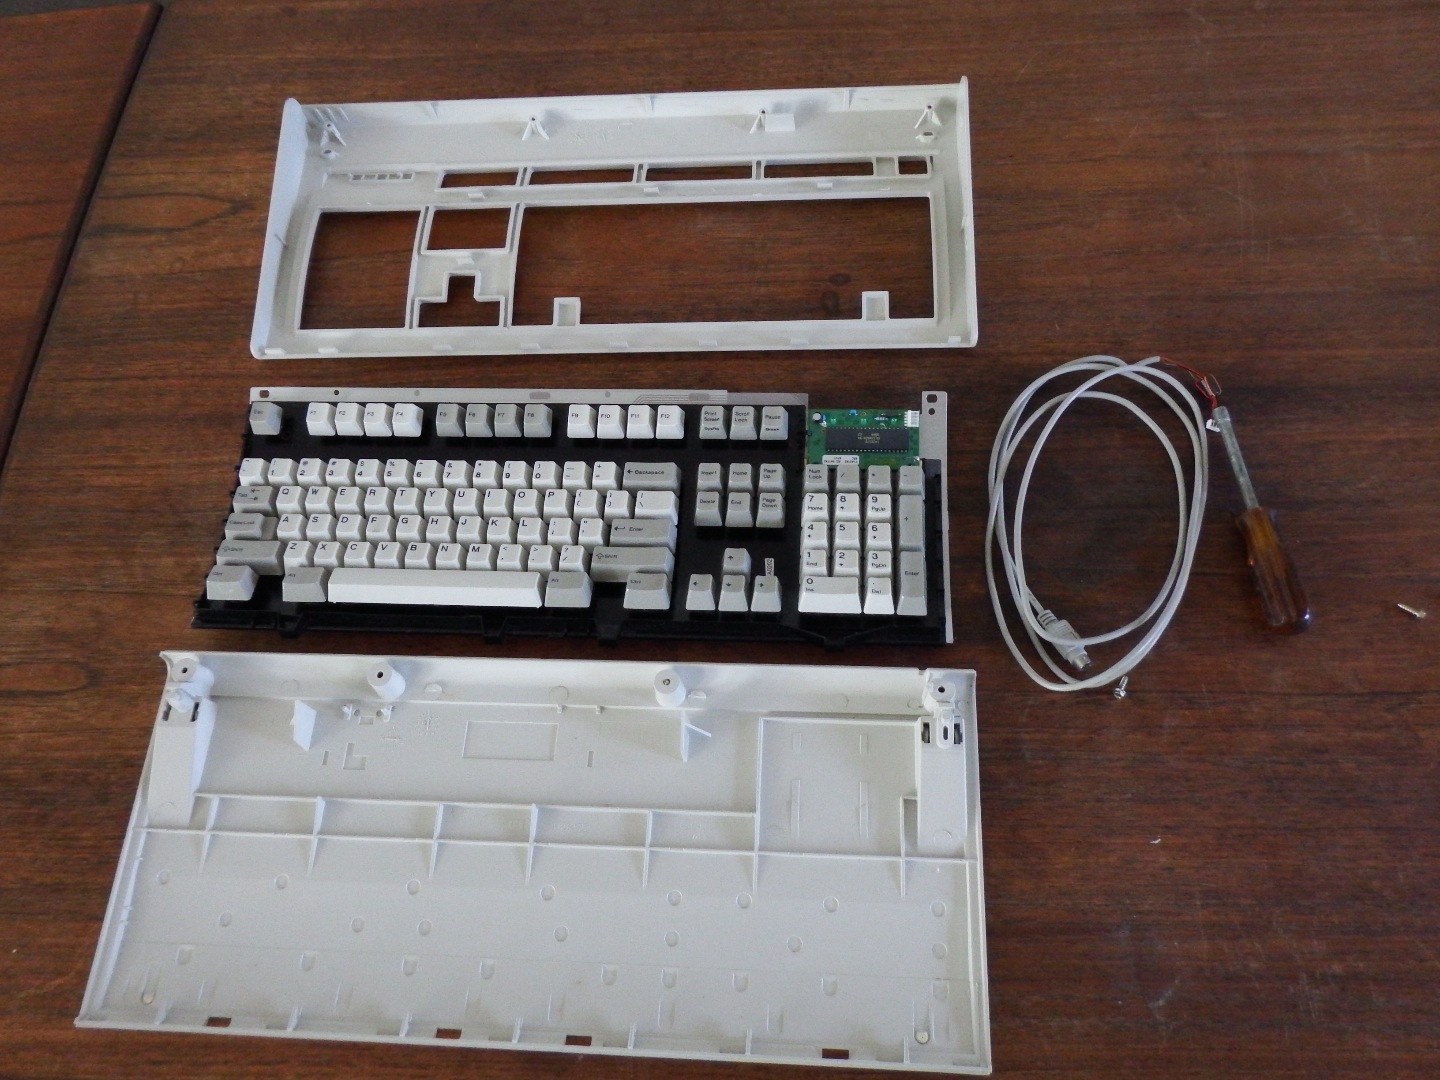
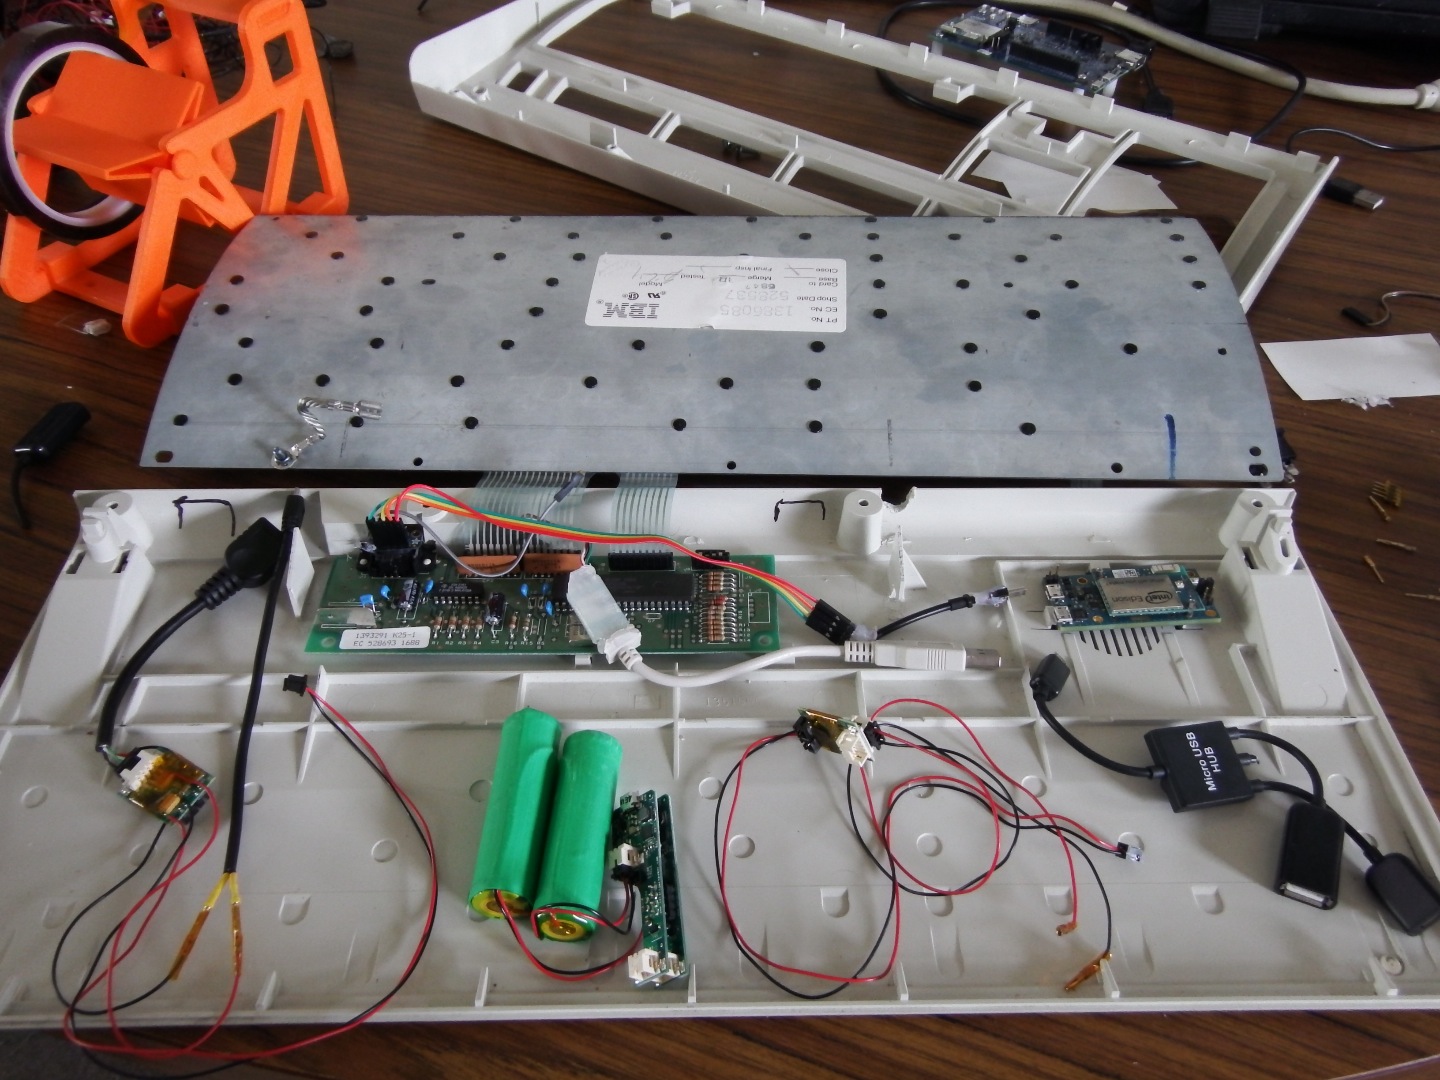
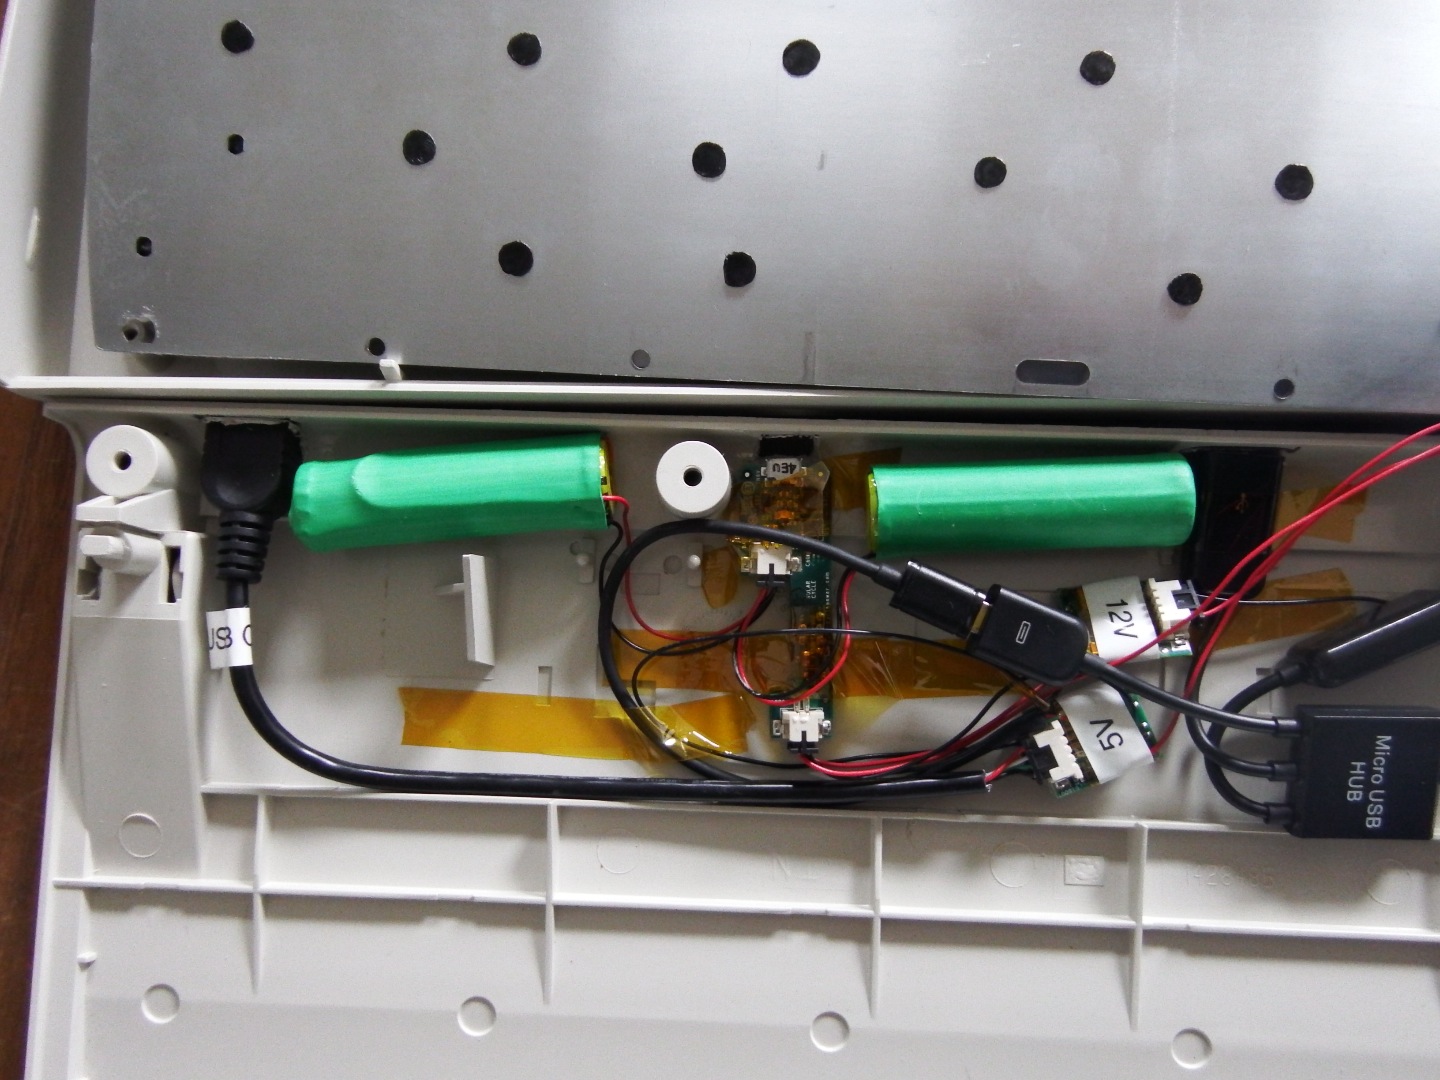
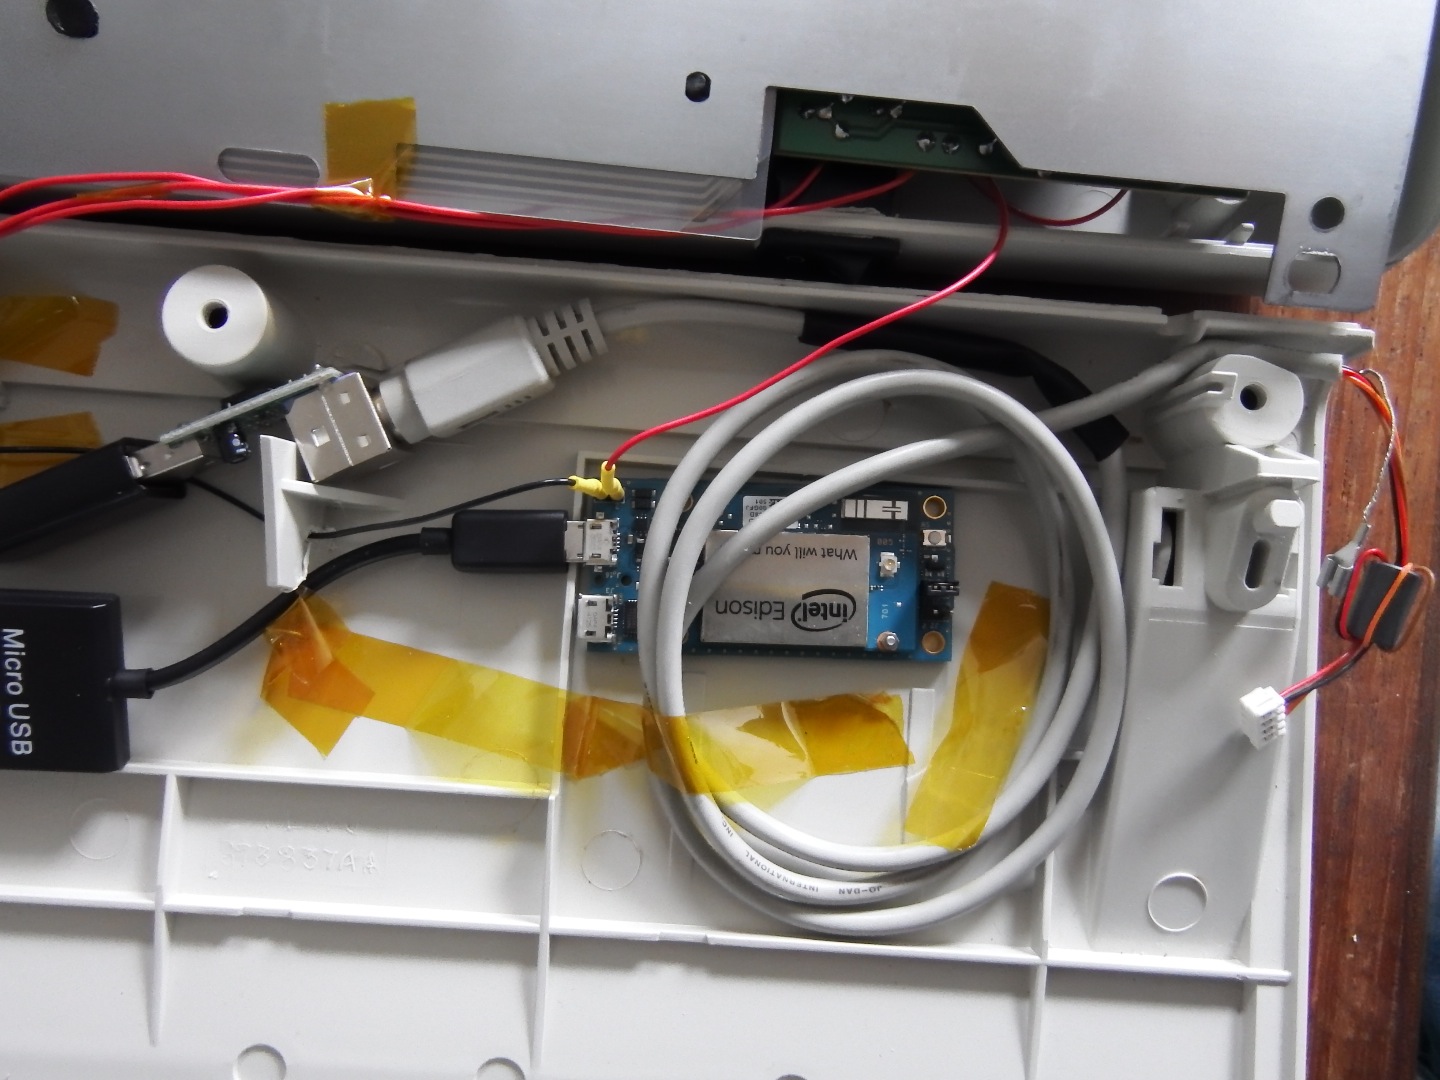
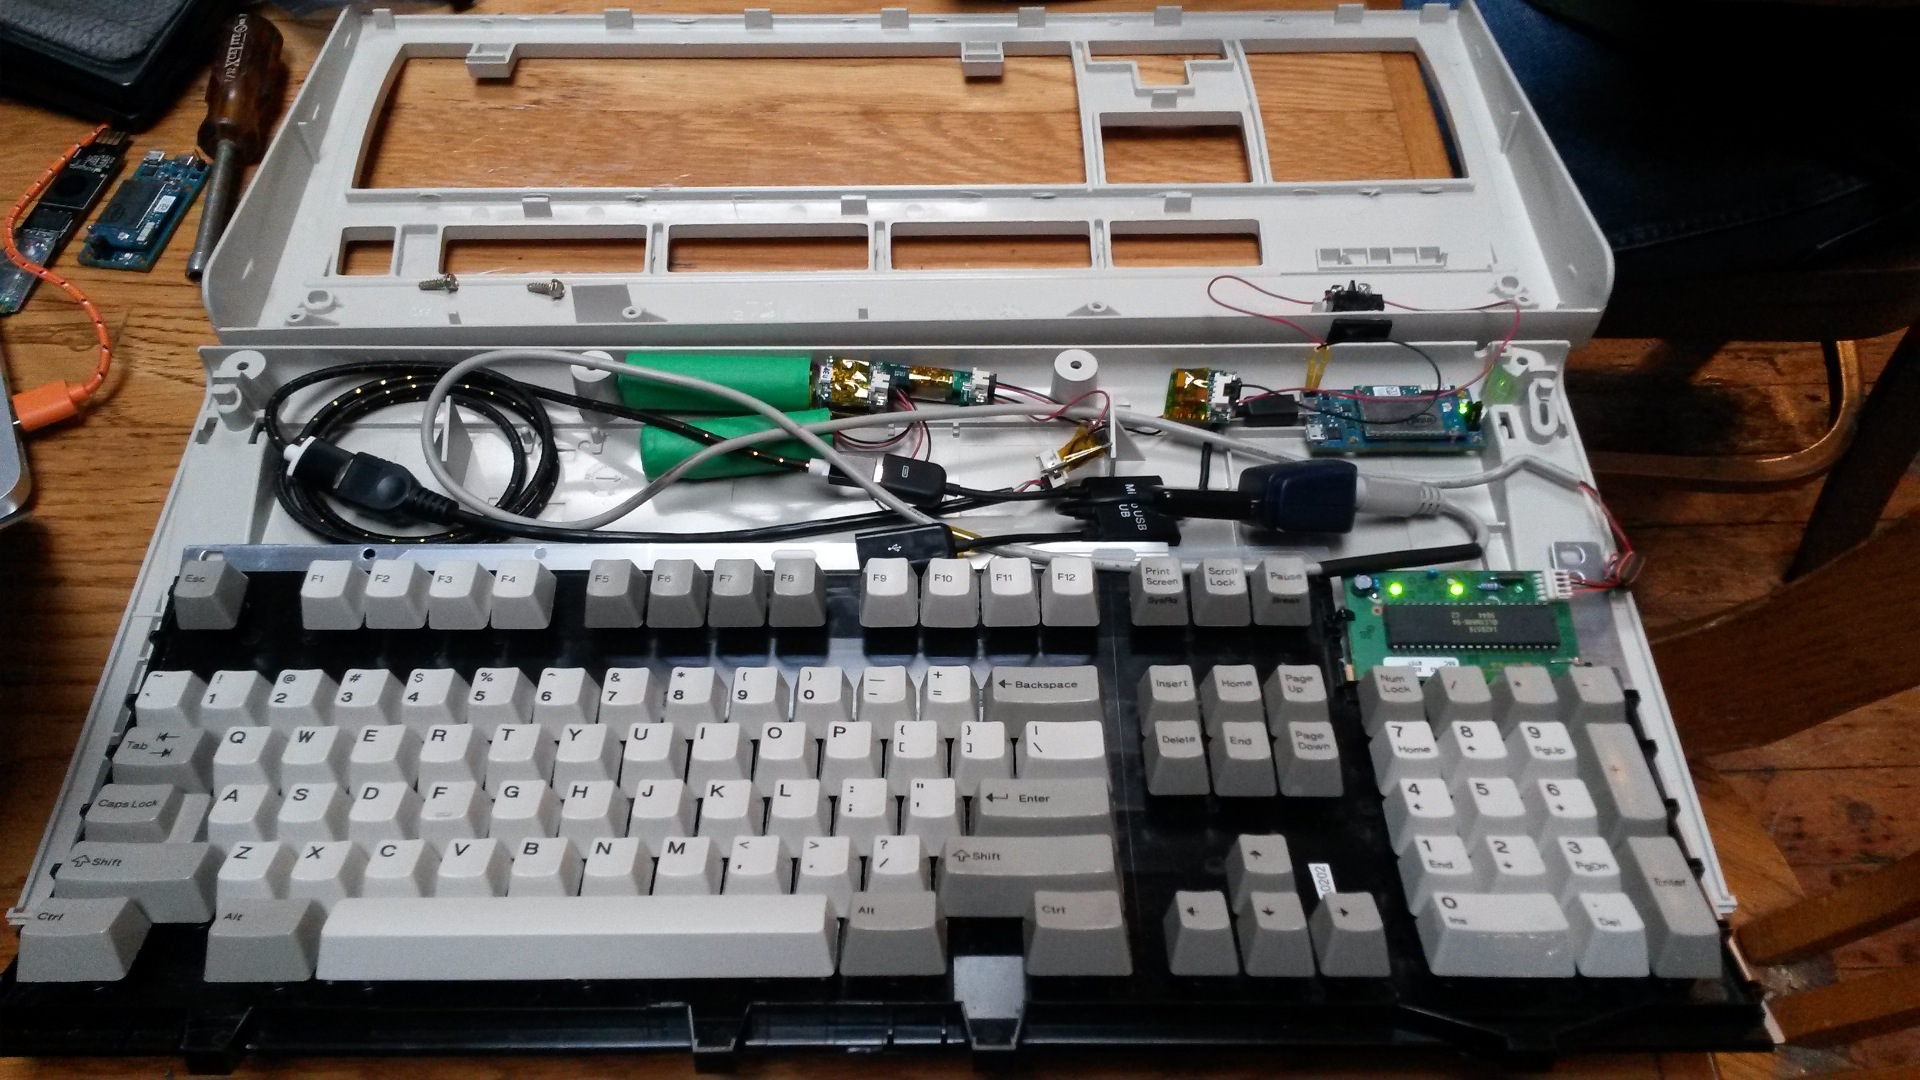
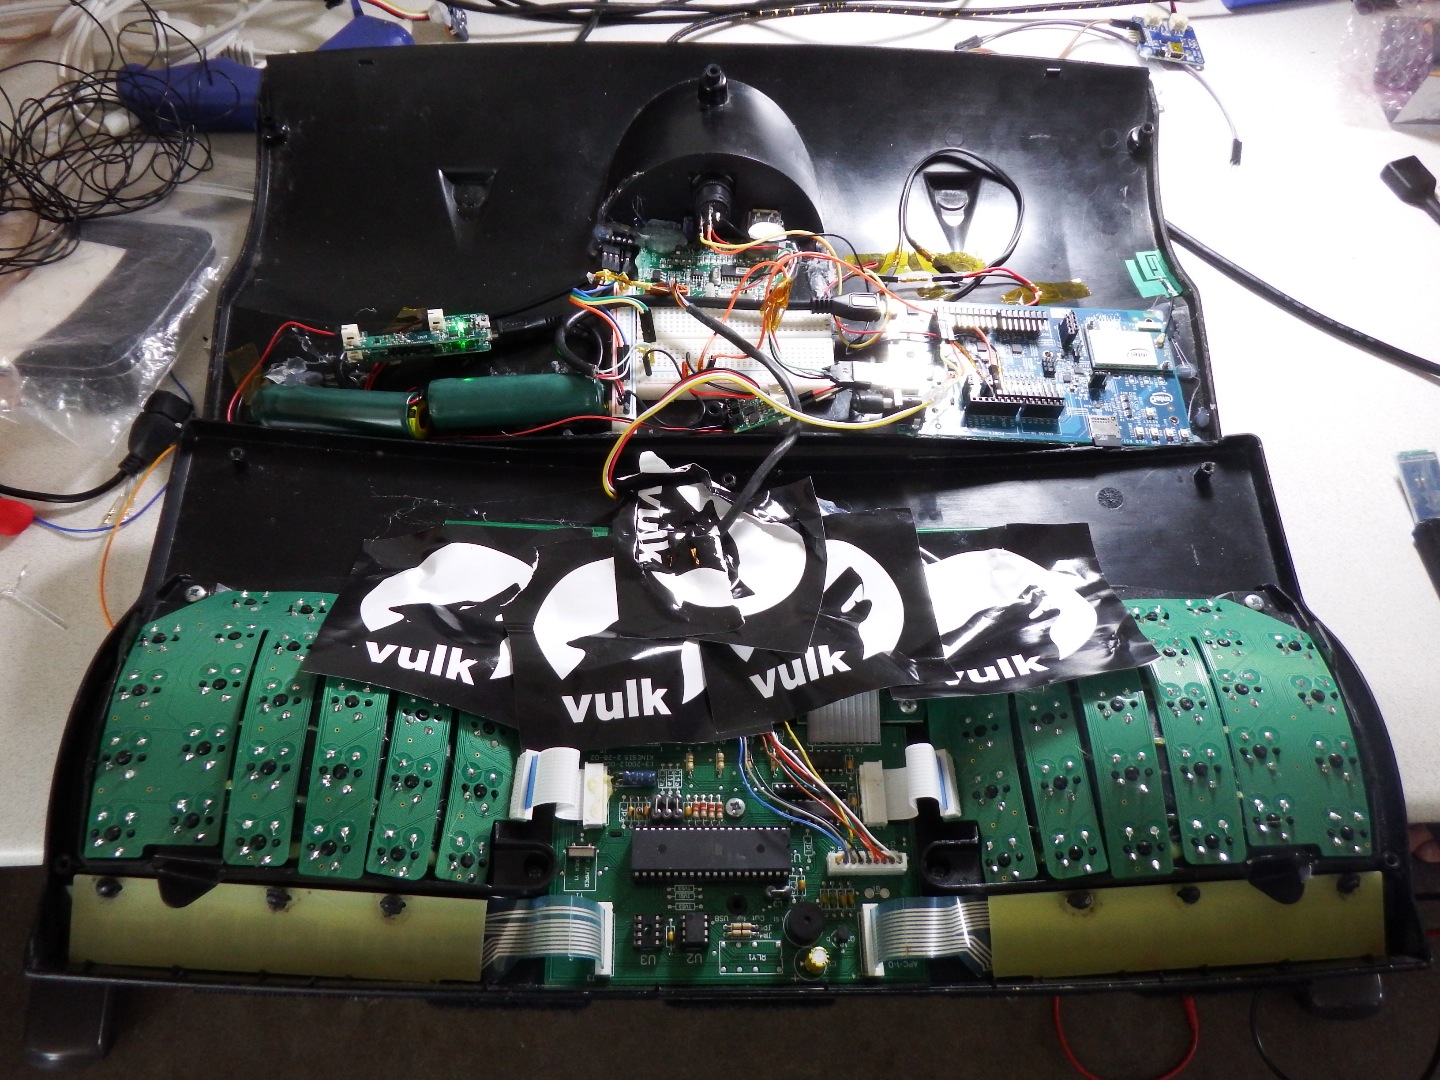
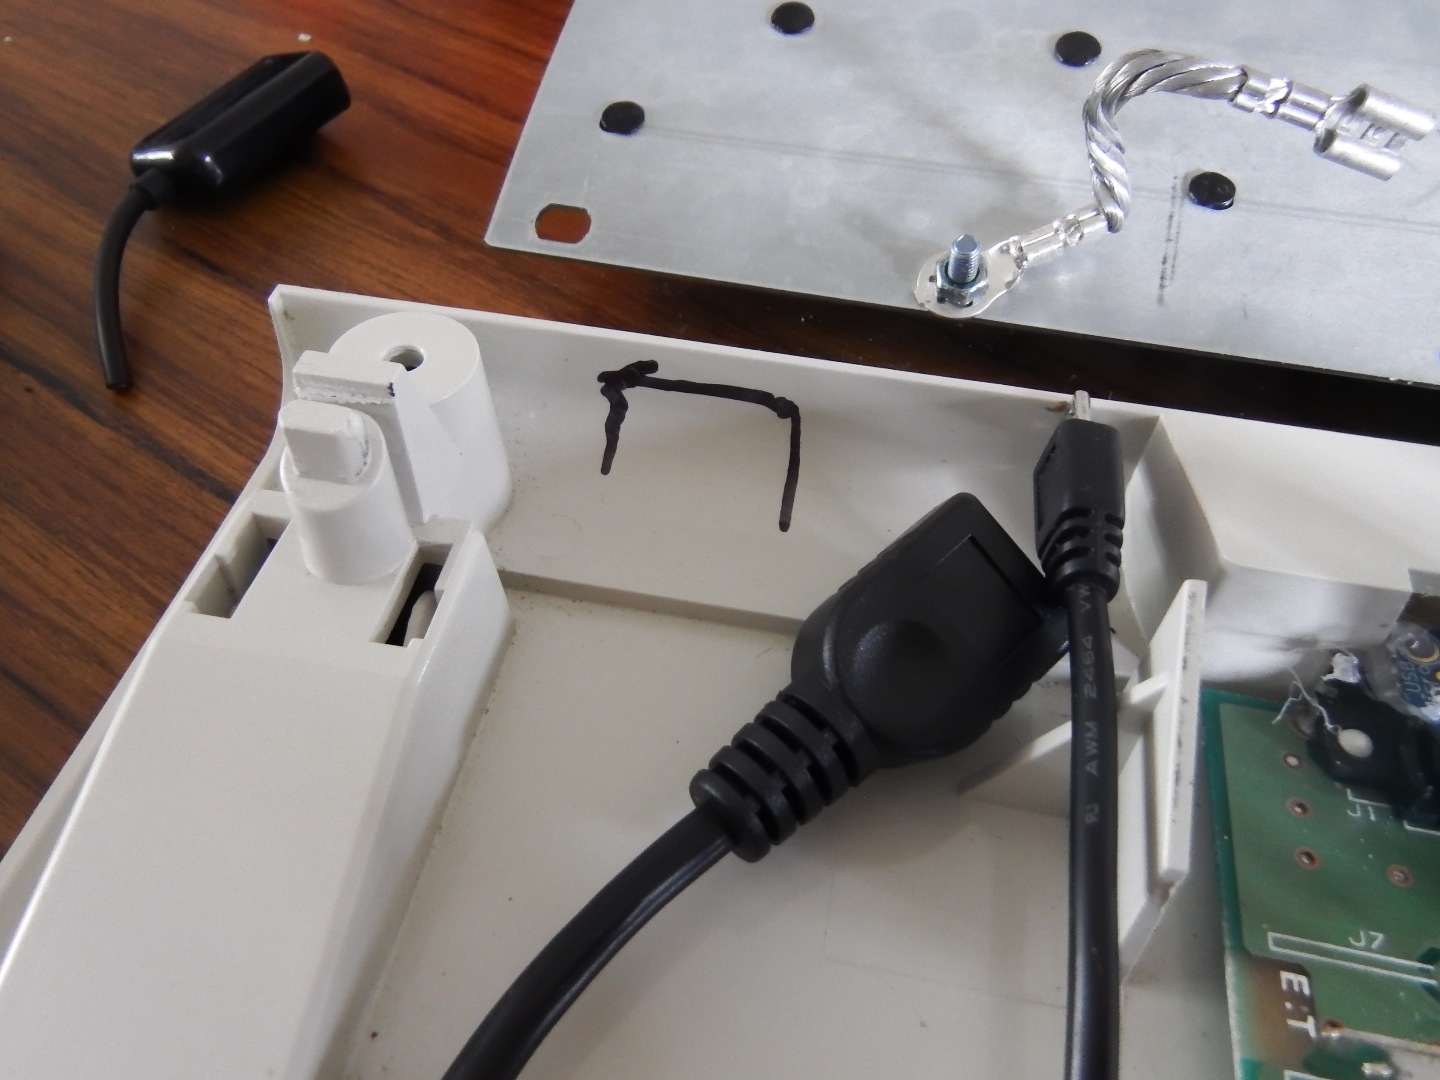
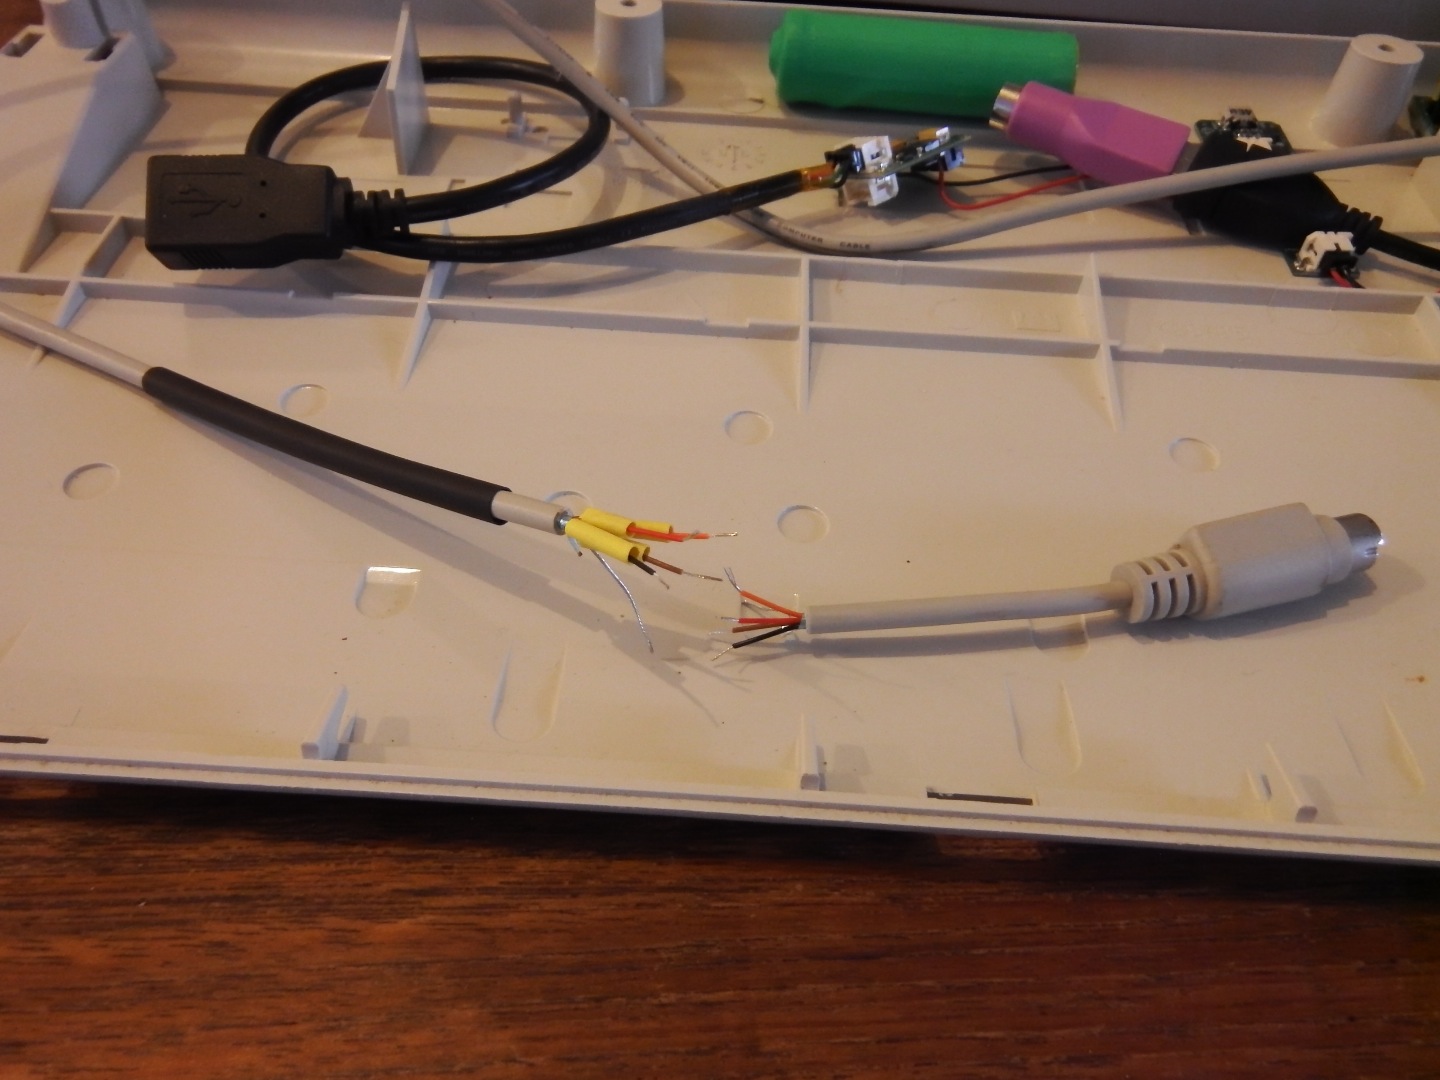
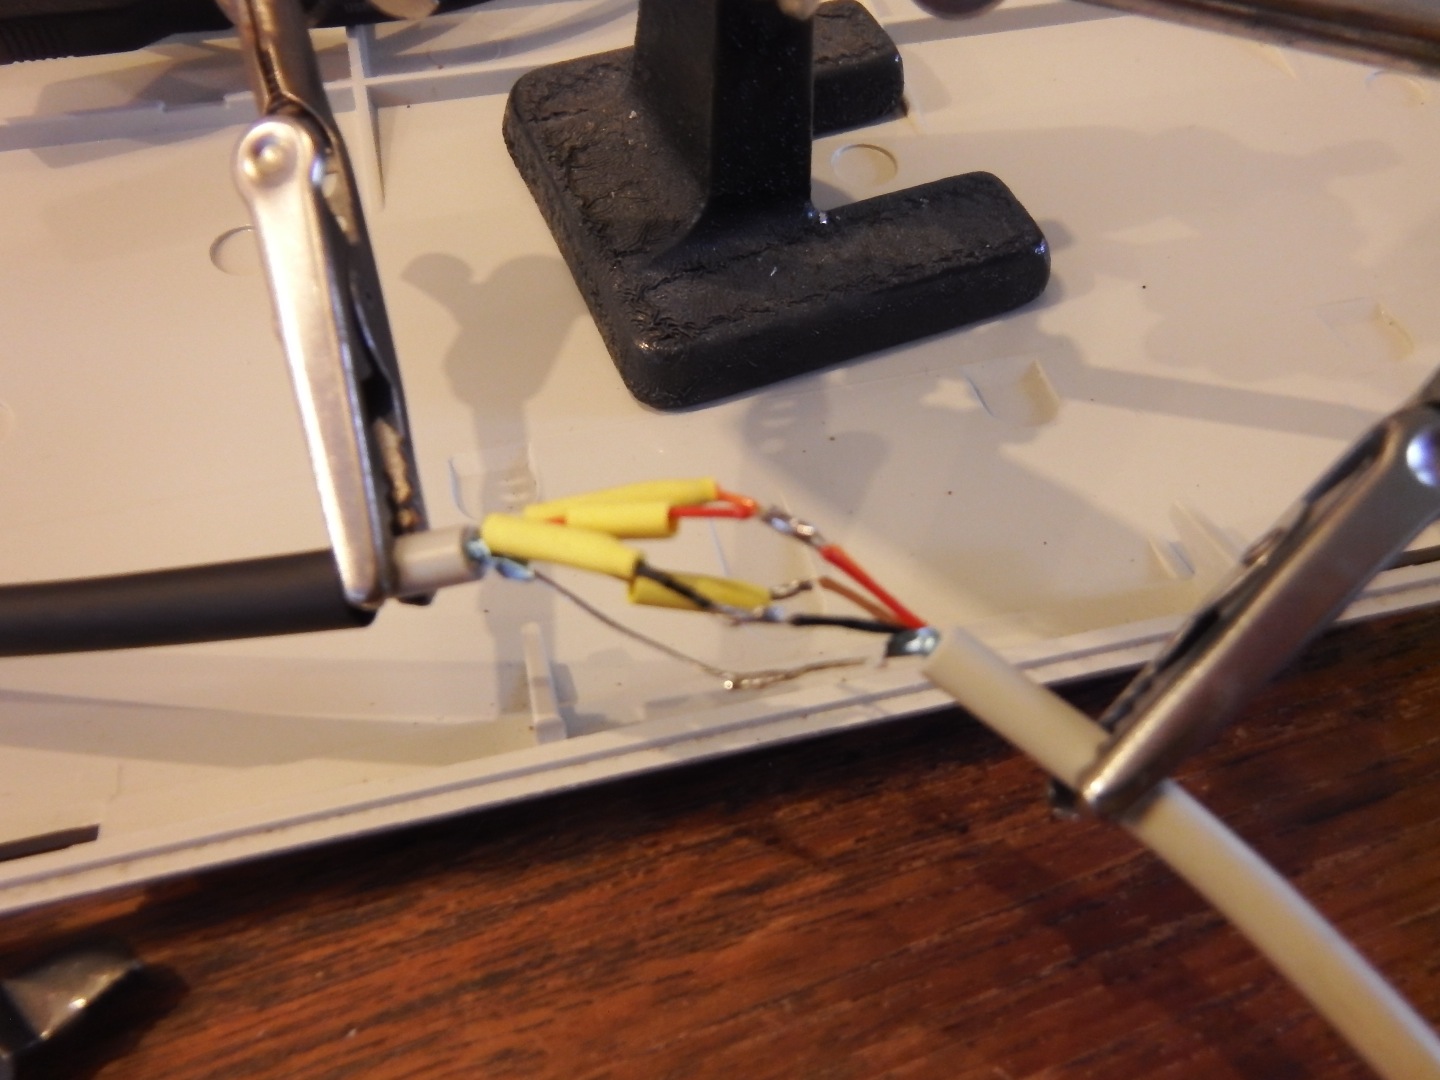
Take your clicky keyboard apart by using the hex nut driver to unscrew the screws in the back. If your keyboard has a cable, unplug the connector and ground cable connected to the PCB inside and separate the top plastic cover and keyboard from the bottom plastic base. For the original Model-M keyboard, pull all the flex cables and ground cable from the PCB.
Layout the batteries, DC/DC converters, USB cables, OTG HUB, Switch, PS/2 to USB converter (if needed), and Intel Edison in the locations that fits your keyboard, most likely against the back of the keyboard where there is the most space.
Optionally, for serial communication to the Intel Edison, you can install a female micro USB connector and tie the pins to a micro USB male connector in order to connect to the serial port of the Intel Edison breakout board. This isn't necessary for the computer keyboard to work though and is mostly used for debugging and advanced purposes.
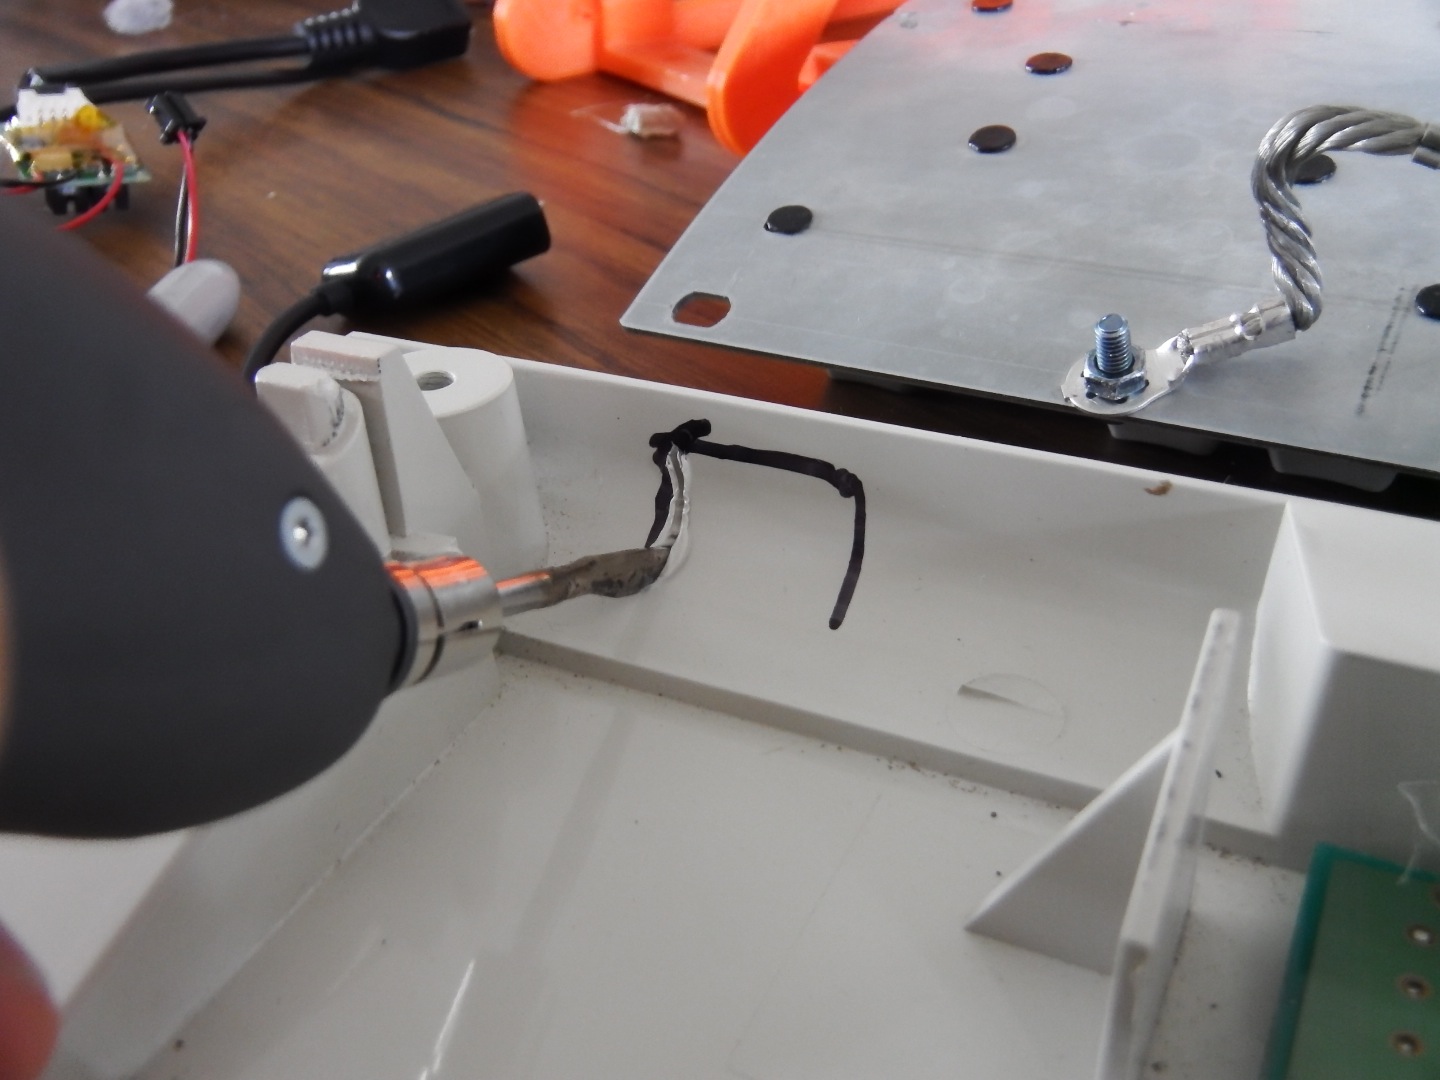
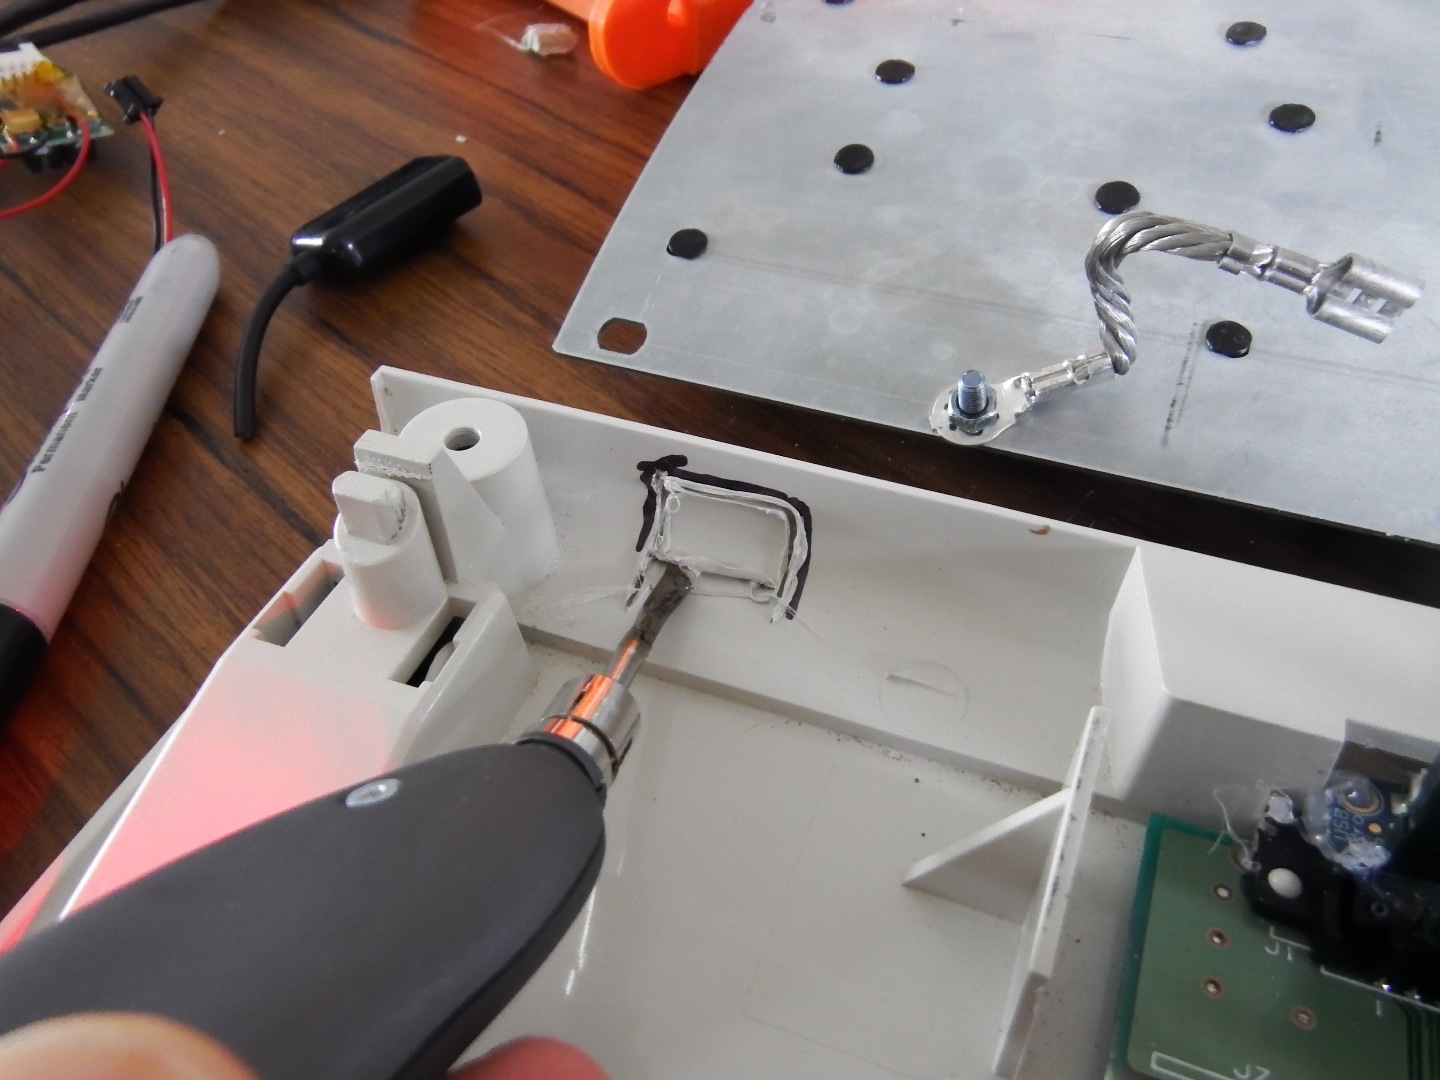
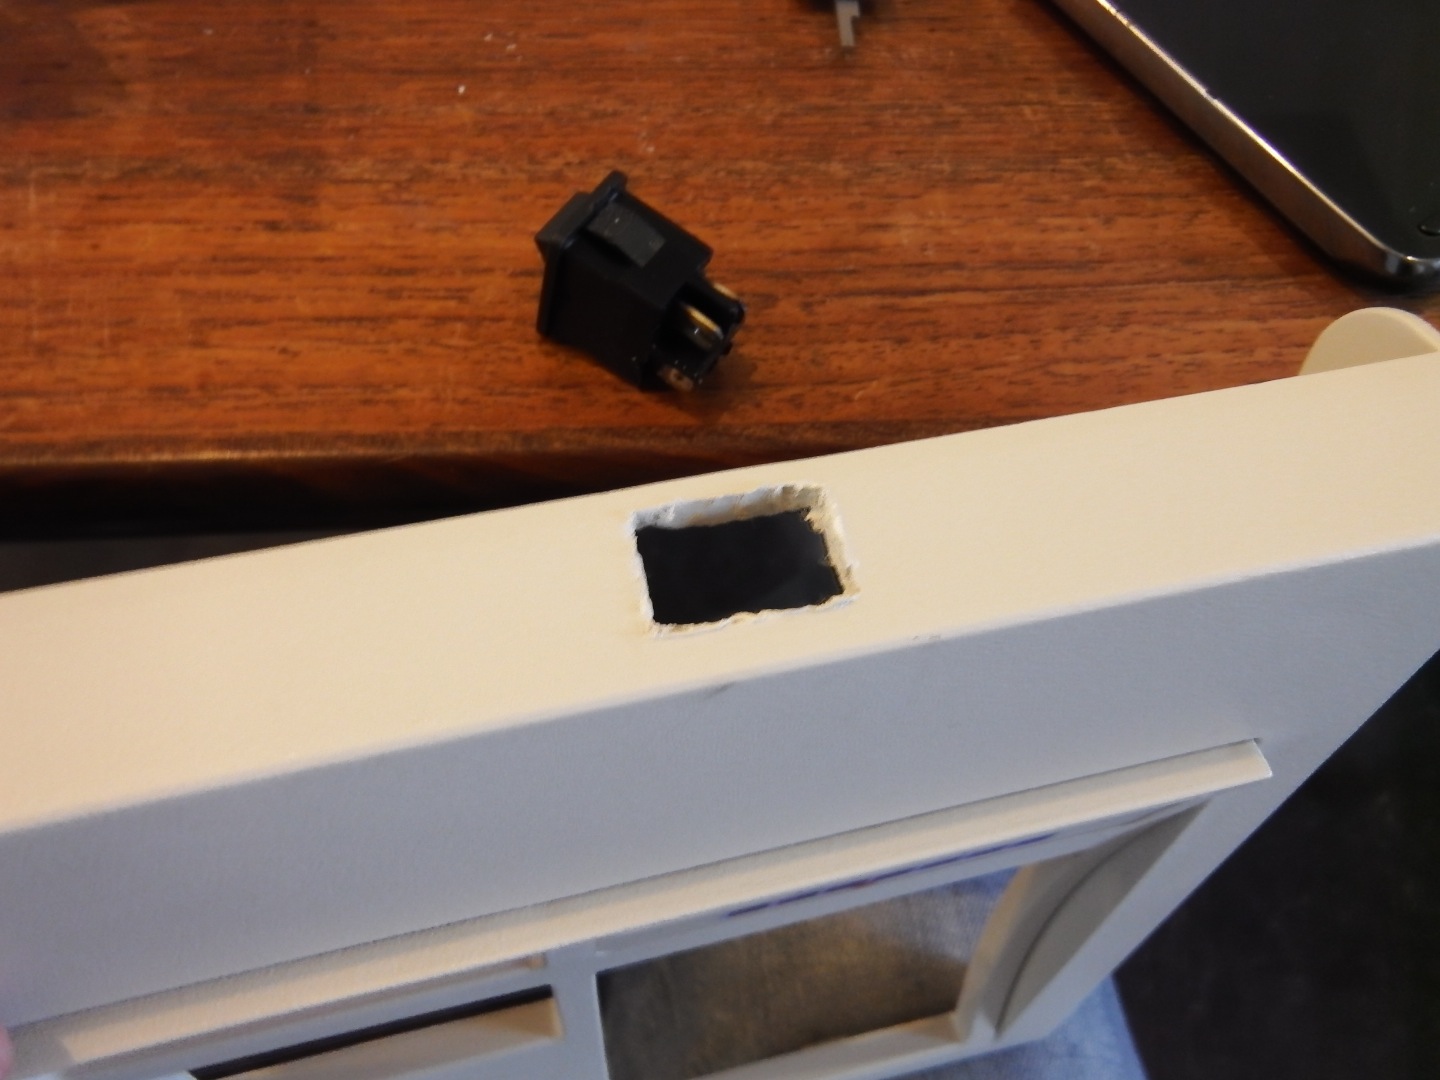
Use a Sharpie pen to outline areas to cut through to back of the case for the connectors and then use a tool like a Solderdoodle or Dremel to cut out the openings. The hole for the switch should be close to the end of the keyboard for easy access. For a tight fit for the switch, it's best to use calipers to measure the outside dimensions of the switch, lock the calipers, and then score the plastic with the sharp ends of the calipers. We chose to place the switch on the top half portion of the case.
If you're using a PS/2 to USB converter, remove the plastic case to reduce the size, and cut the original cable to fit inside the keyboard case. Connect the OTG hub to the OTG port on the Edison and then connect the USB micro cable from the converter to one of the OTG hub ports.
Locate the 12V input on your Edison breakout board:
https://communities.intel.com/message/255542
http://www.intel.com/support/edison/sb/CS-035374.h..
Solder the positive leads from the DC/DC converters to the switch and then insert the Switch in to the hole cut out. Attach the leads from the switch to the DC/DC converter outputs. Attach the 12V output lead from the switch to the 12V input on the corresponding connector on Edison breakout board. Then attach the 5V output lead from the switch to the Enable pin (if your DC/DC converter doesn't have an Enable pin, make the switch go between the battery input to the DC/DC converter). This way when the switch activates it turns on both the 12V and 5V DC/DC converters.
Why 12V and 5V?
The current Intel Edison breakout board doesn't seem to provide a correct USB voltage with a battery, so we found that using the 12V input turned on the OTG Hub with the appropriate USB voltage. The 5V from the other DC/DC converter was used for phone charging capability and also power the OTG Hub, which would drop in voltage with some higher current USB peripherals.
Reassemble the Keyboard
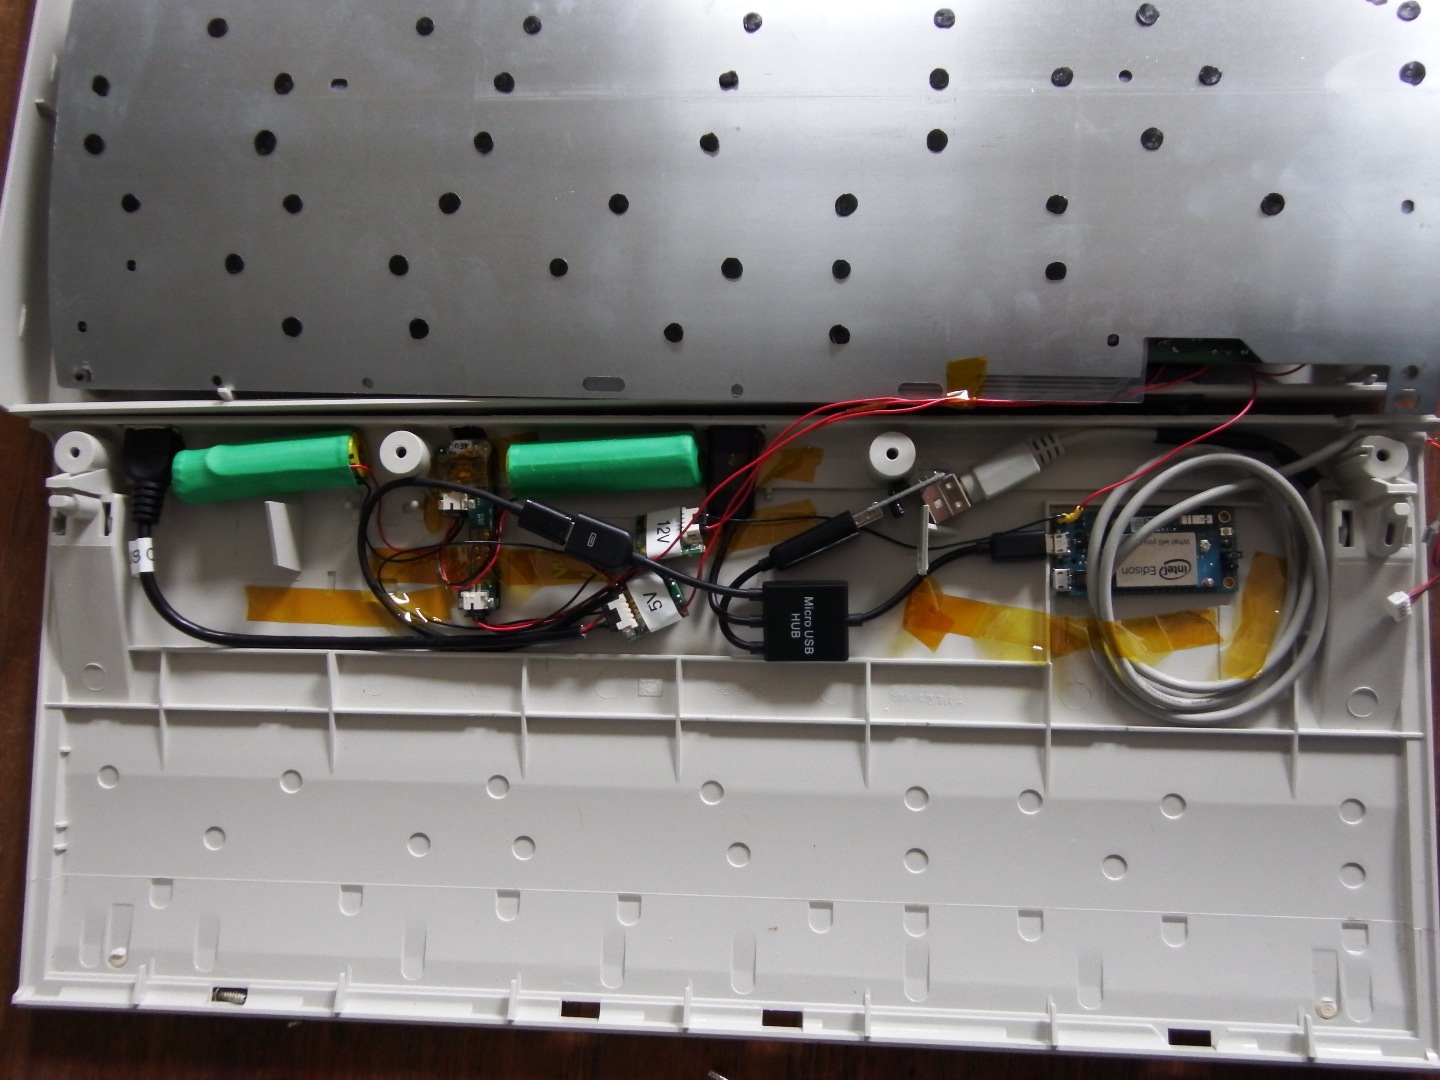
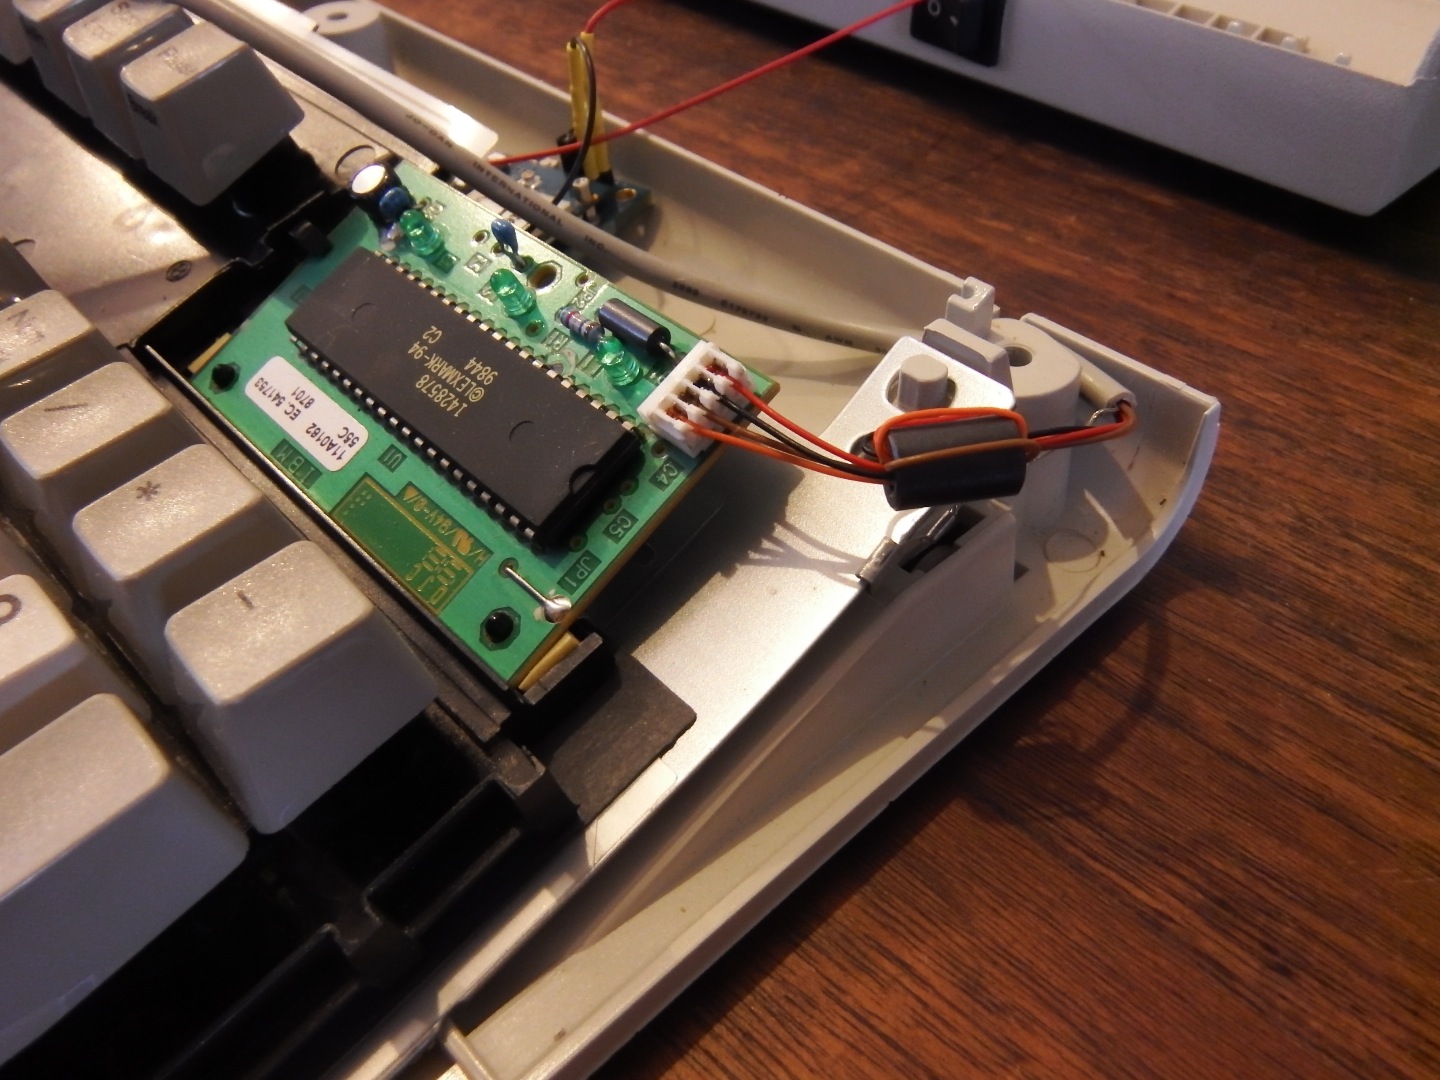
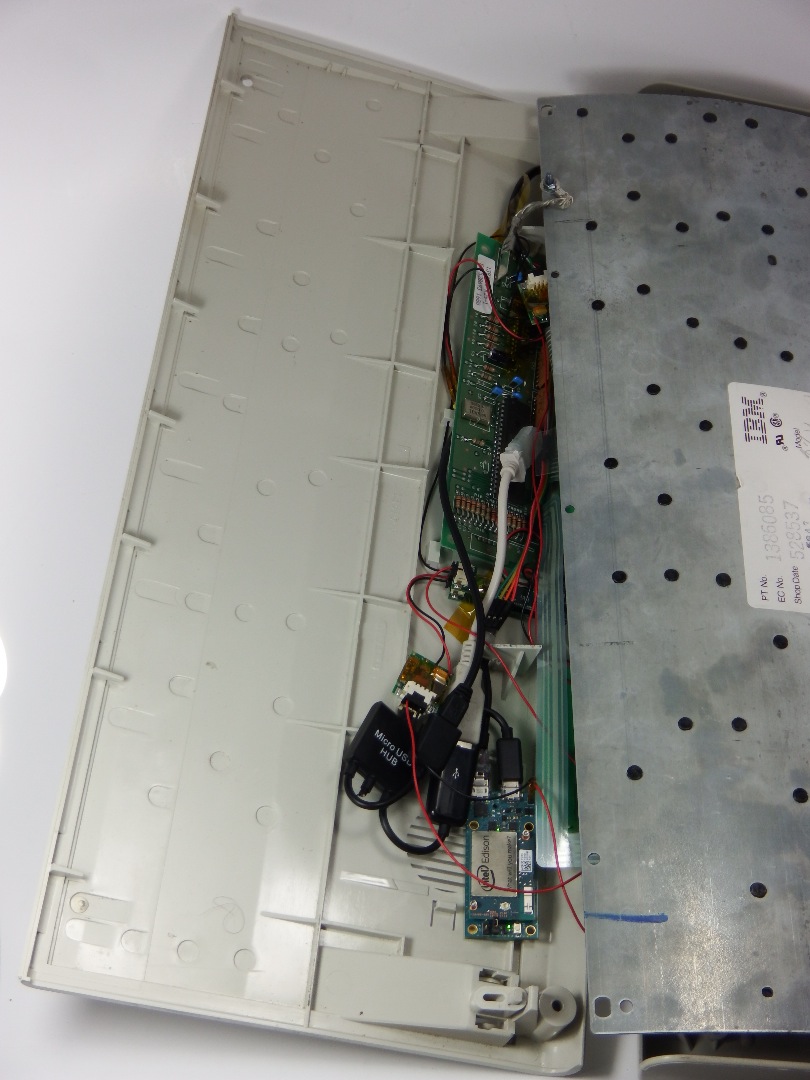
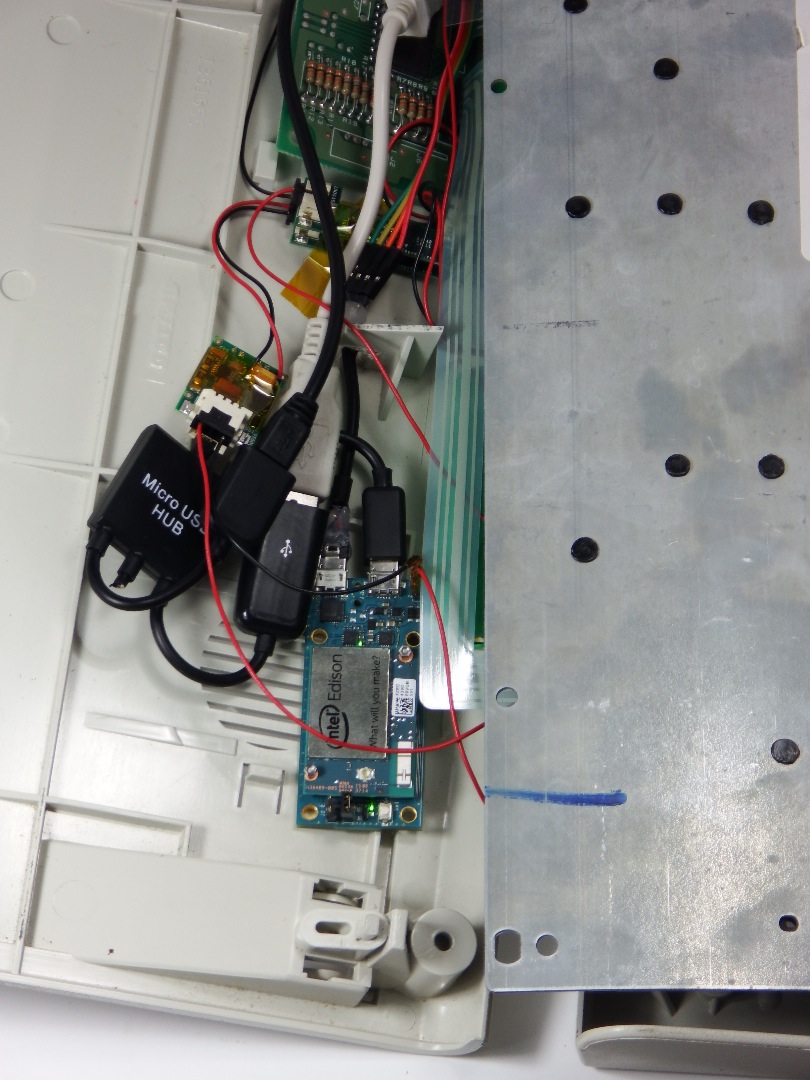
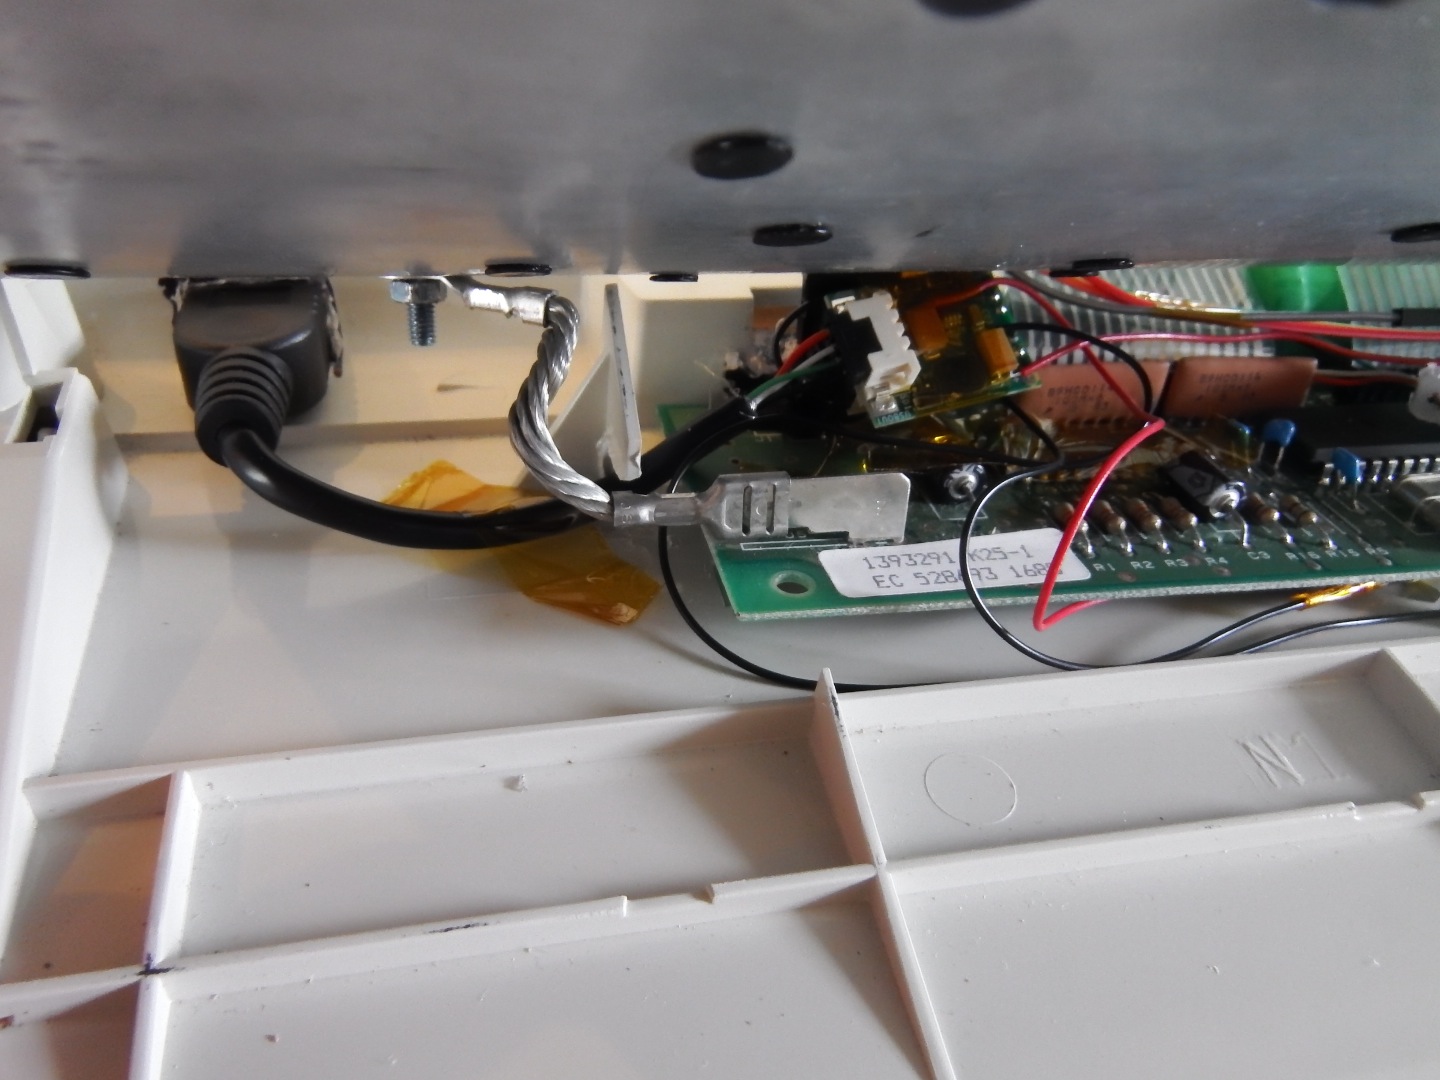
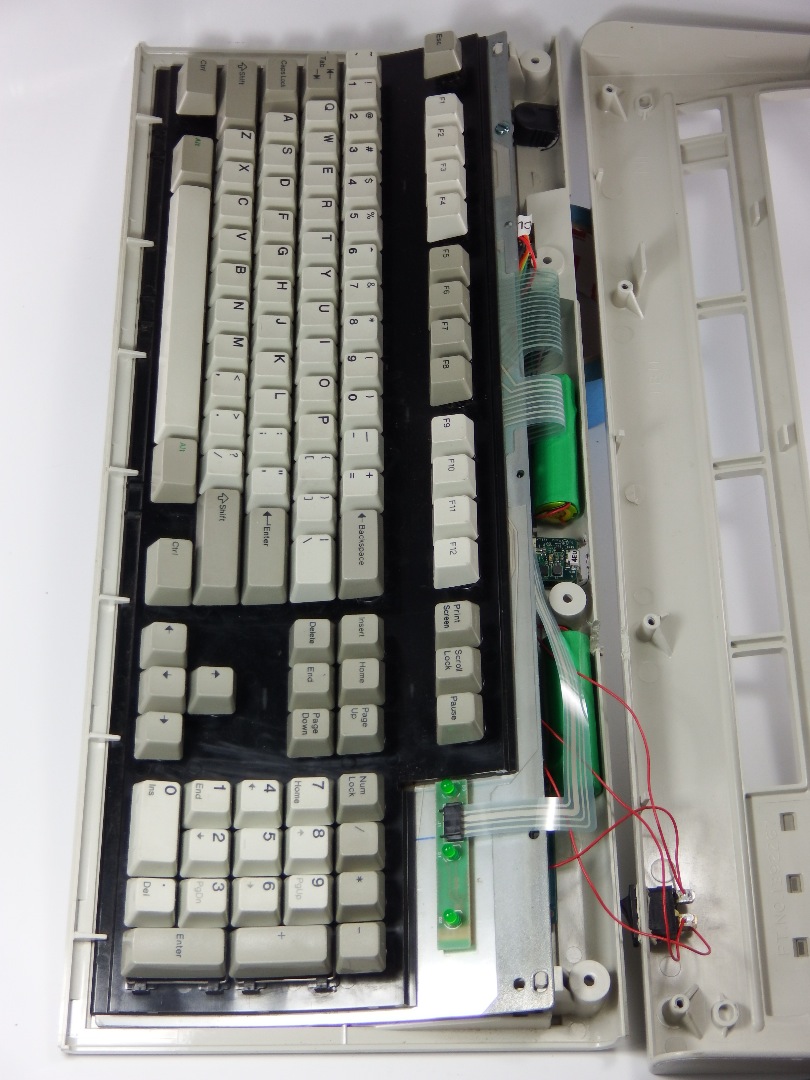
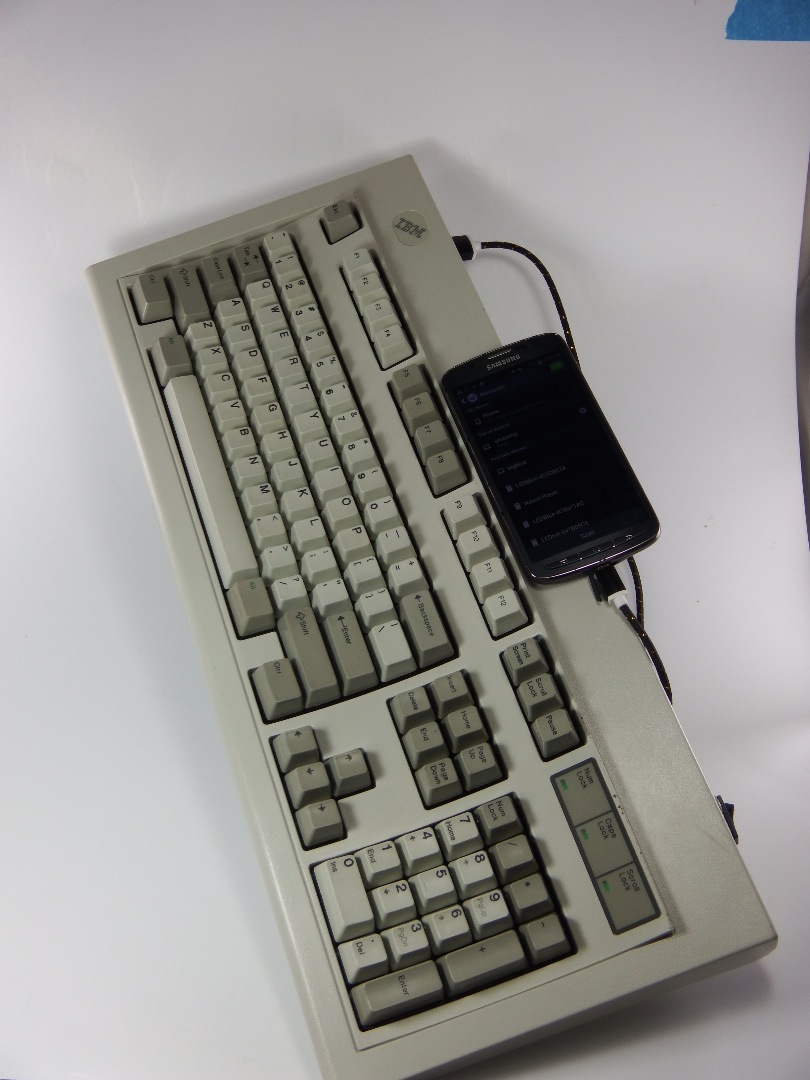
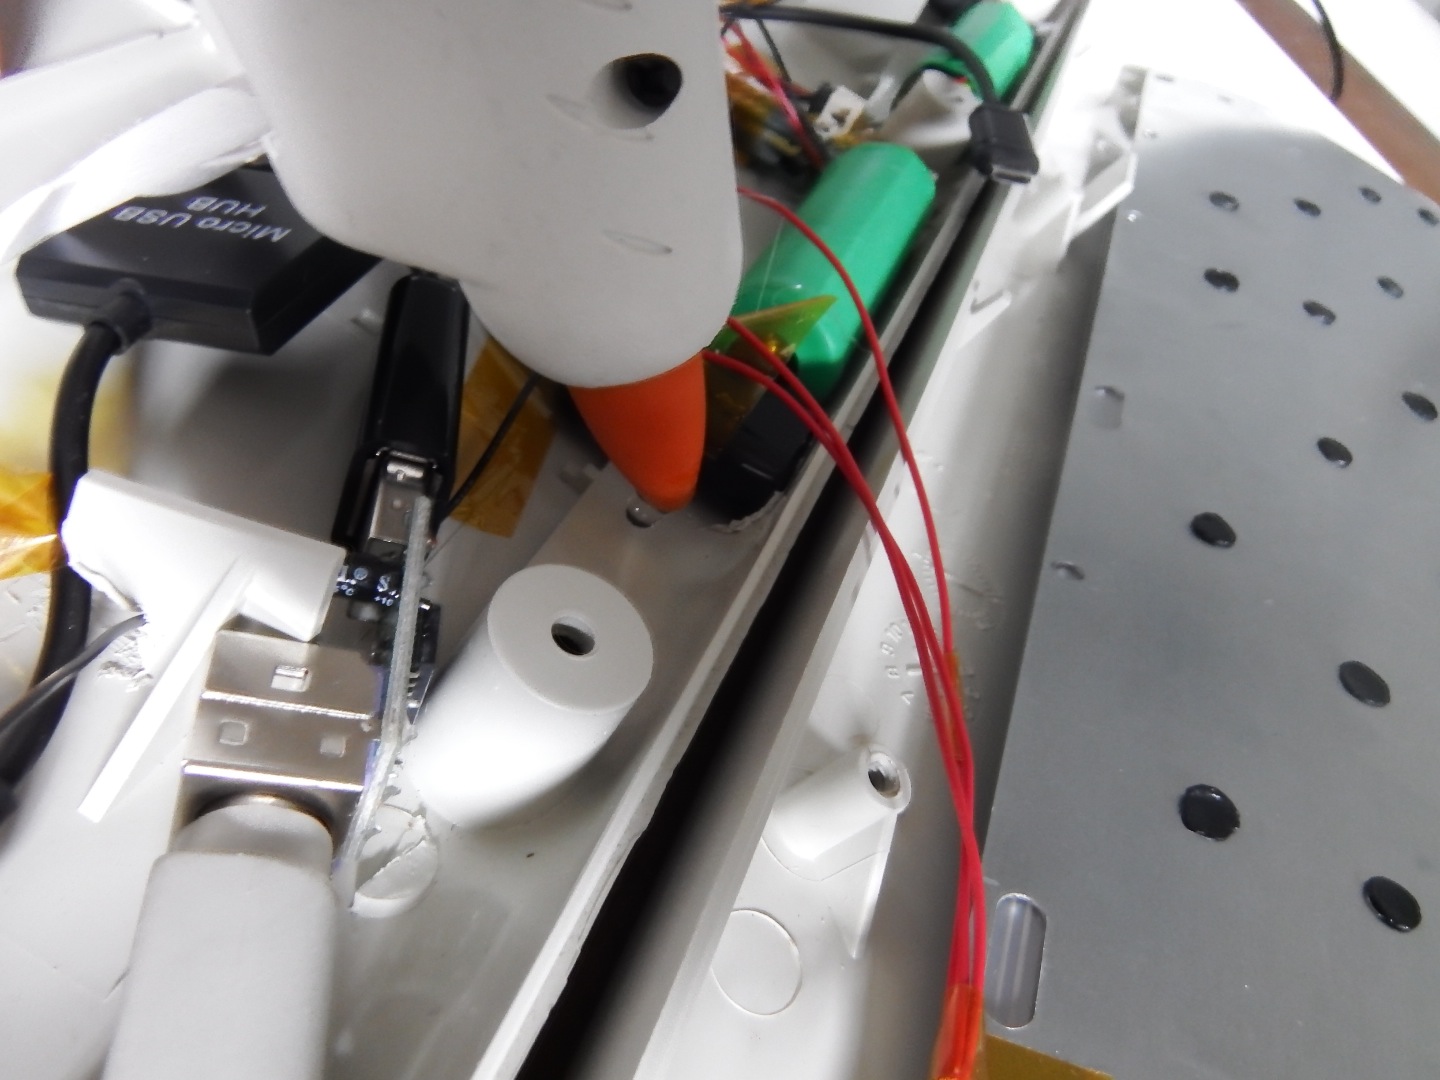
Once you have everything in place, connect the keyboard connector and ground cable to the original keyboard PCB and flip the power switch to the On position to make sure everything works. A simple way to make sure that the Edison is booting up properly is that after about a minute, the Num Lock, Caps Lock, and Scroll Lock keys should turn on the keyboard LEDs. Also, use your smartphone and turn on Bluetooth to see if your keyboard shows up as the name you gave your Edison during setup. If it doesn't work, turn off the switch and use a multimeter to make sure that the 12V and 5V pins are receiving power and debug the issues accordingly.
After debugging, try installing the keyboard and putting the case together. If you see anything not fitting right, readjust the cables and connectors and try again until it fits. Use Kapton tape to keeps things in place. Before you put the screws in, turn On the power to make sure everything still works. If it does, turn off the power switch, screw in the screws and turn On the switch again. I did notice that on one keyboard, a connector only disconnected when the screws were tightened and a piece of tape solved the problem.
Once everything is working well, used a hot glue gun to secure the batteries, connectors, and any other thing that was too loose. For wires and cables, use strips of Kapton tape to hold them in position and out of the way.
Congratulations! You made your own X86 Clicky Keyboard Computer!