Mod Gamecube Power LED
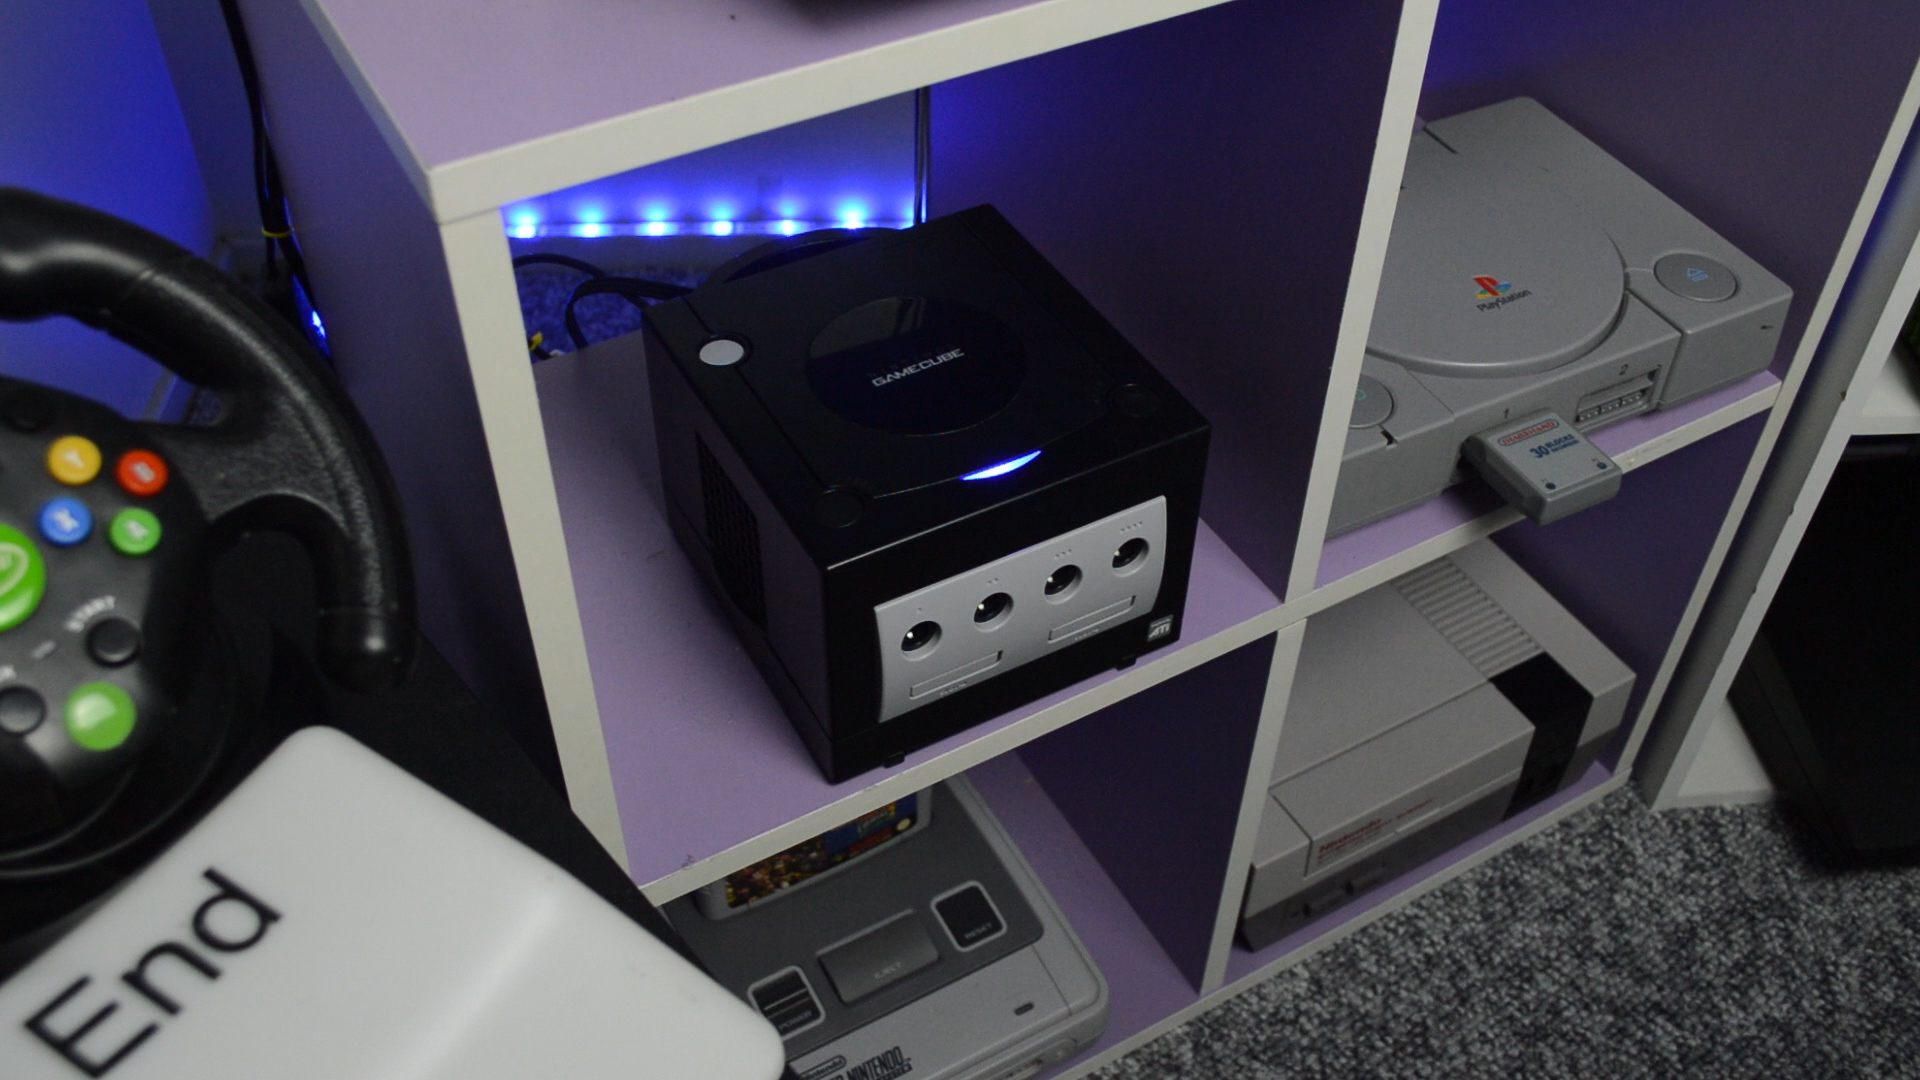
Stock color LEDs are BORING! No matter what the color is..
Make your GameCube stand out!
This tutorial is great for people wanting to get a start in modding consoles and electronics, so let's get started!
Parts and Tools Required

You will only need a few tools and about 20 minutes of time to do this modification.
- Electronics solder (not your dads plumbing stuff)
- Phillips head screwdriver
- Number 8 'GameBit' screwdriver (Most people don't have these, you can get them on ebay or alternatively melt a pen)
- Soldering Iron (40w max)
- 3mm or 5mm LED (The stock one is 3mm, I used 5mm and it just fit)
- Desoldering tool (this isn't crucial at all - I'll show you in a minute what I mean)
Now set up a well lit, clean work space. If you don't want to scratch up you cube of joy, lay down a soft cloth for the next part..
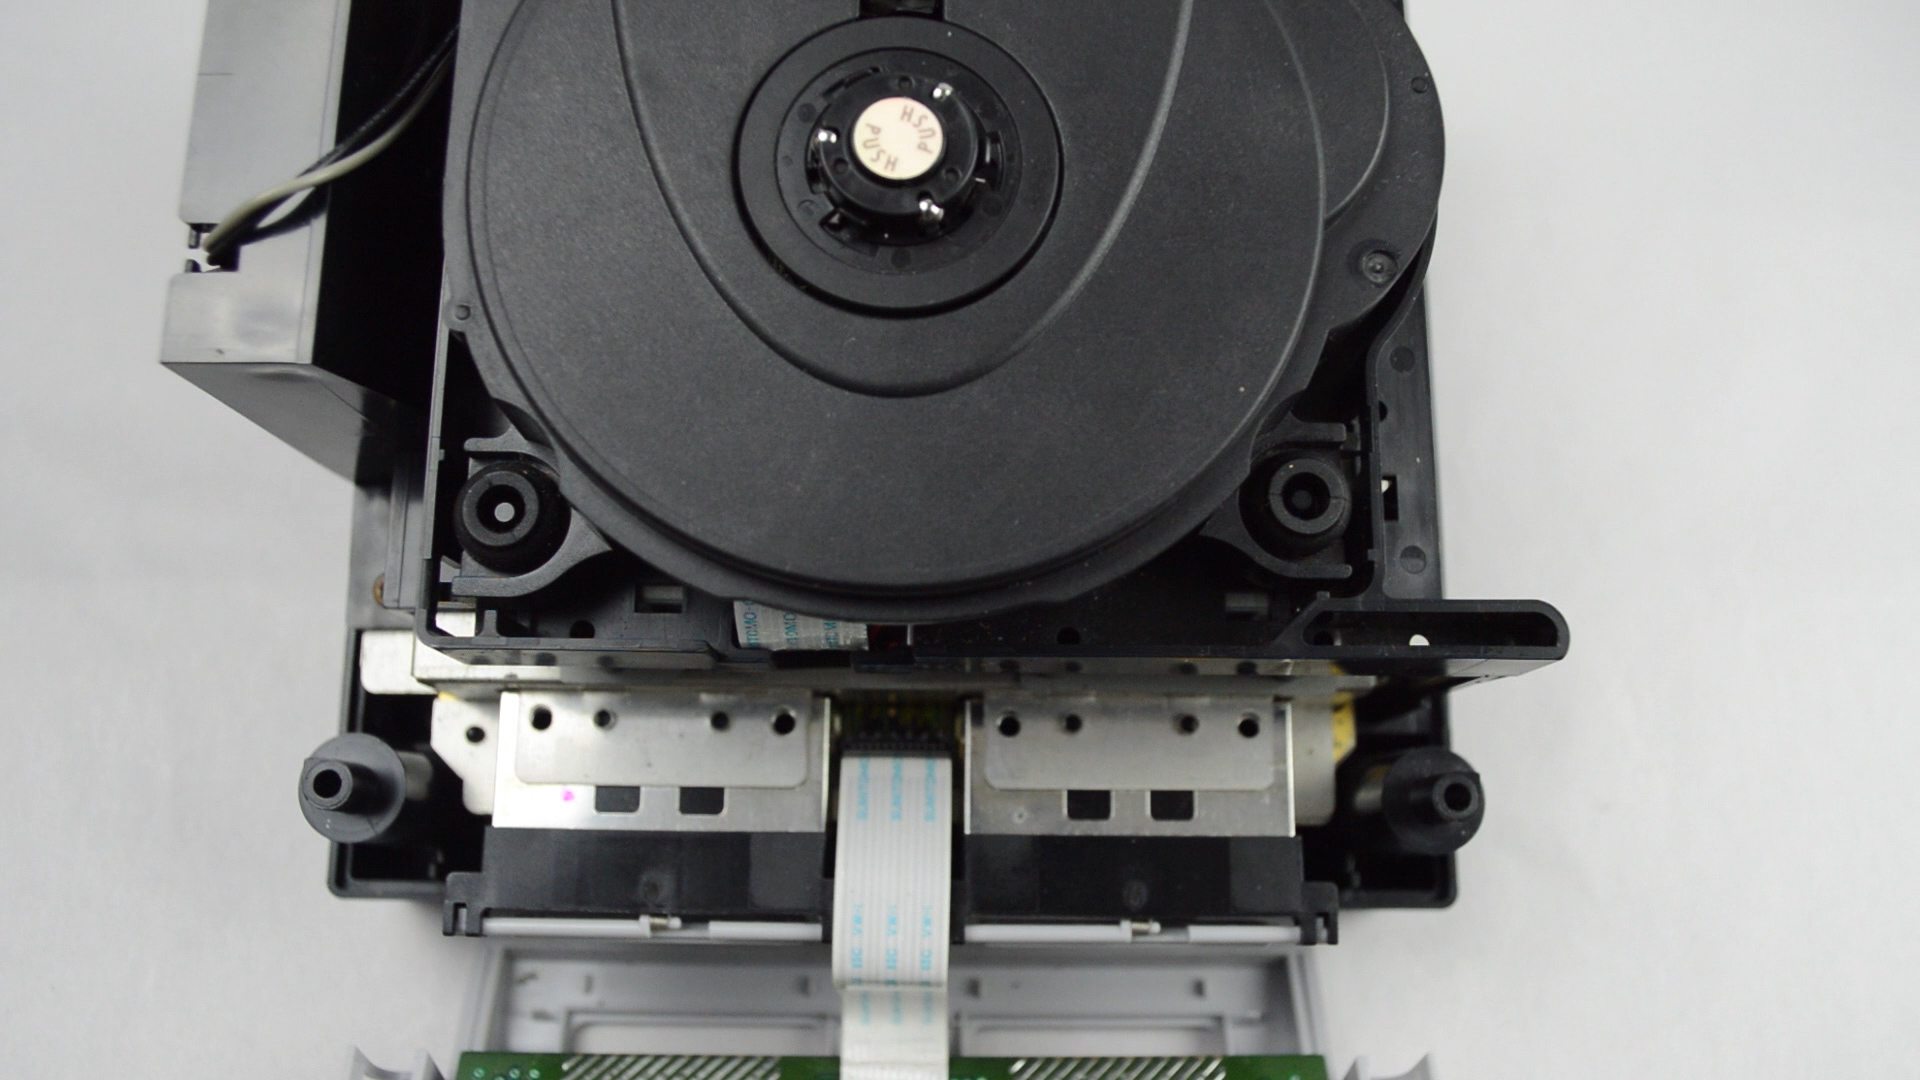
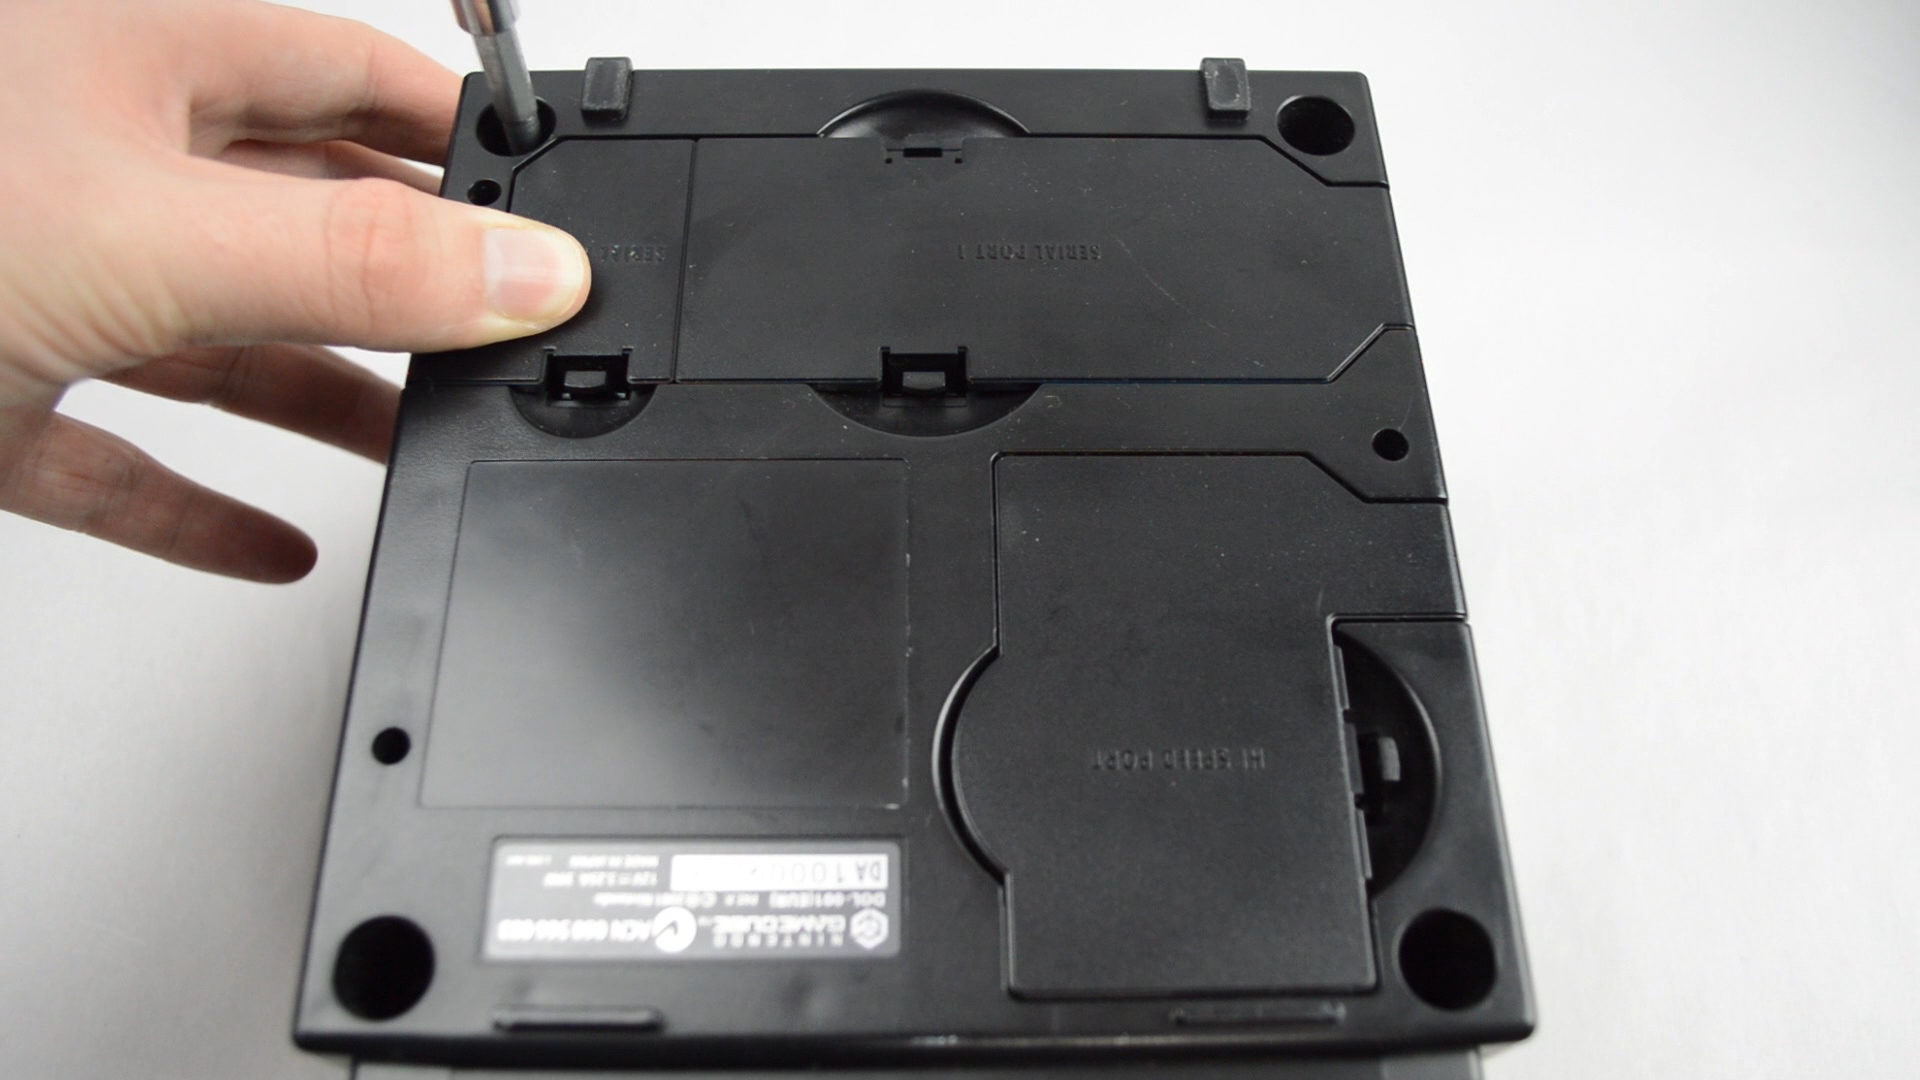
Disassemble the Console
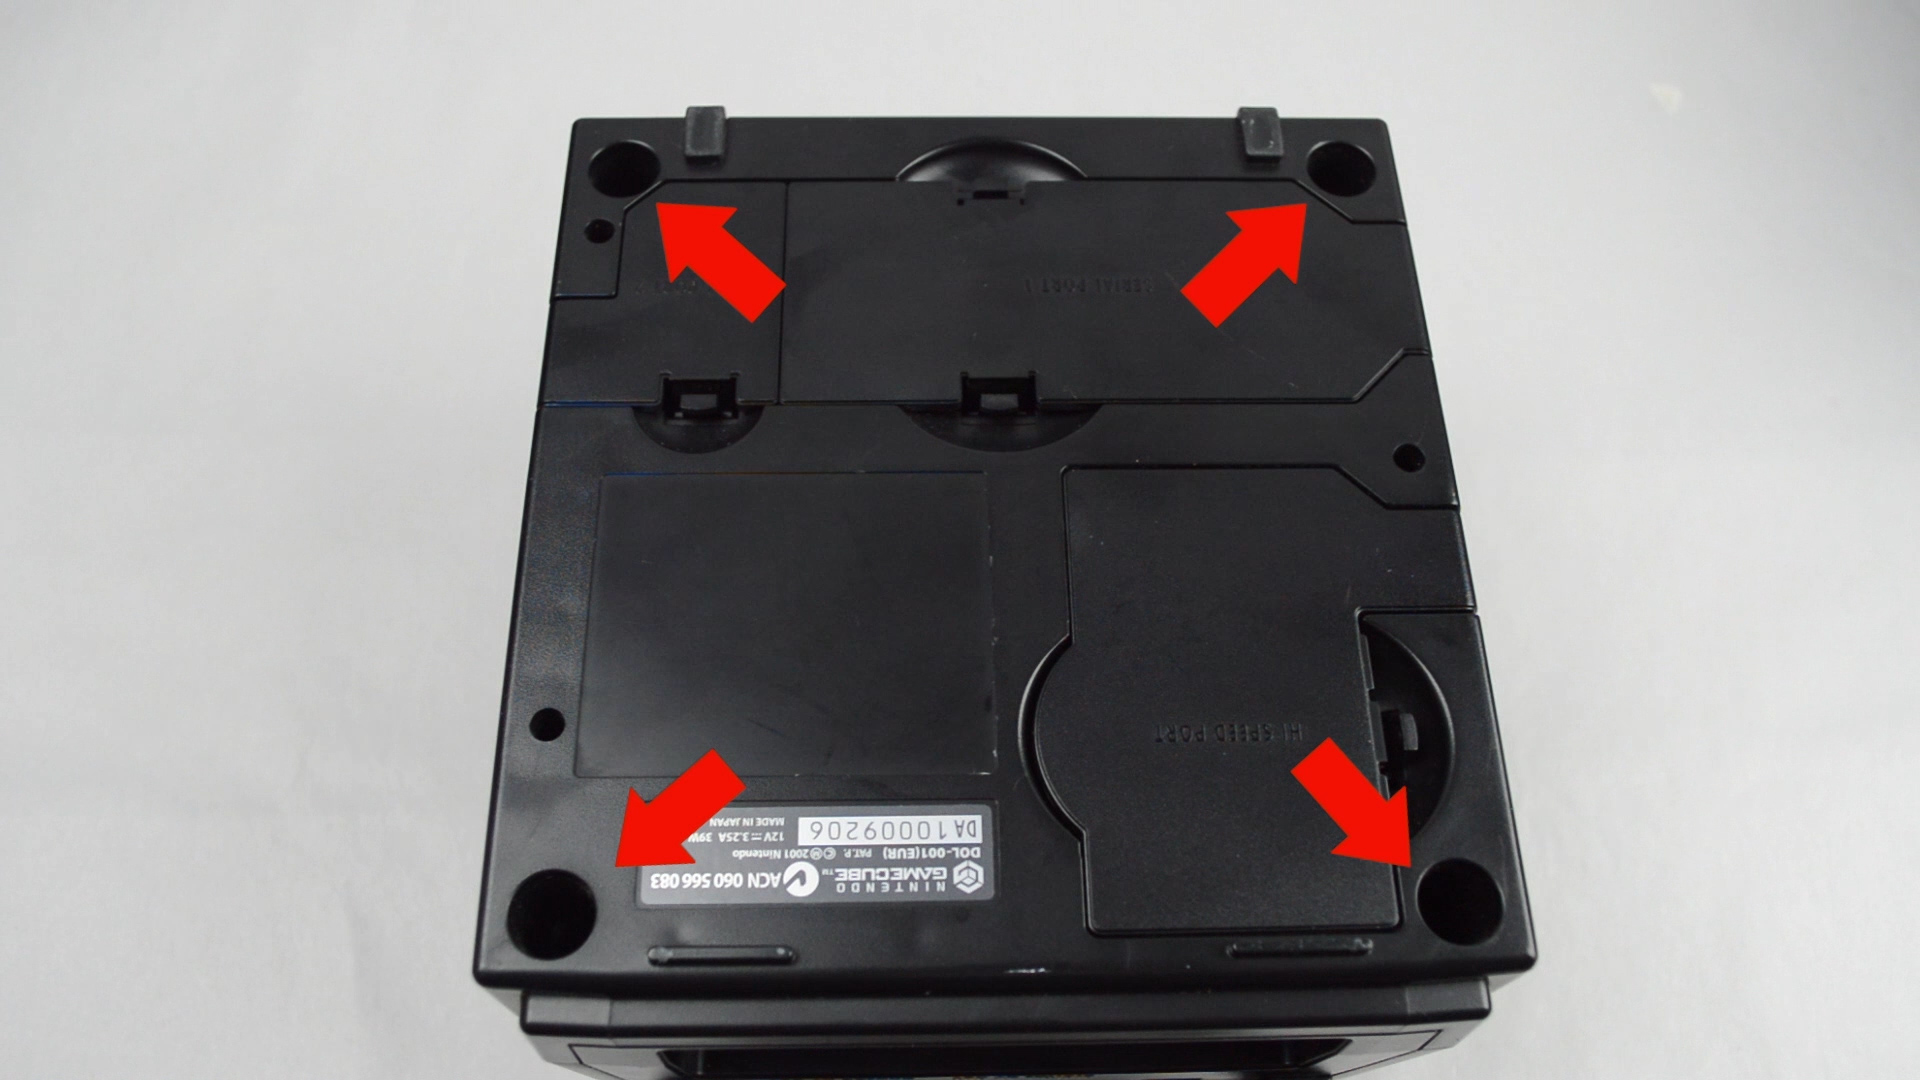
This may sound daunting to new-comers but in all honesty there are six screws to remove, very easy.
This is where the aforementioned soft cloth and Gamebit screwdriver come into play.
Start by flipping the console over and locating the four #8 GameBit screws on the bottom..
If you don't have a gamebit screwdriver, you can melt an old pen (remove the ink ect first!). Melt one end of a pen and quickly press it into the top of the gamebit screw in the console, once it cools off you can use it to unscrew the screws.
Lift the Lid
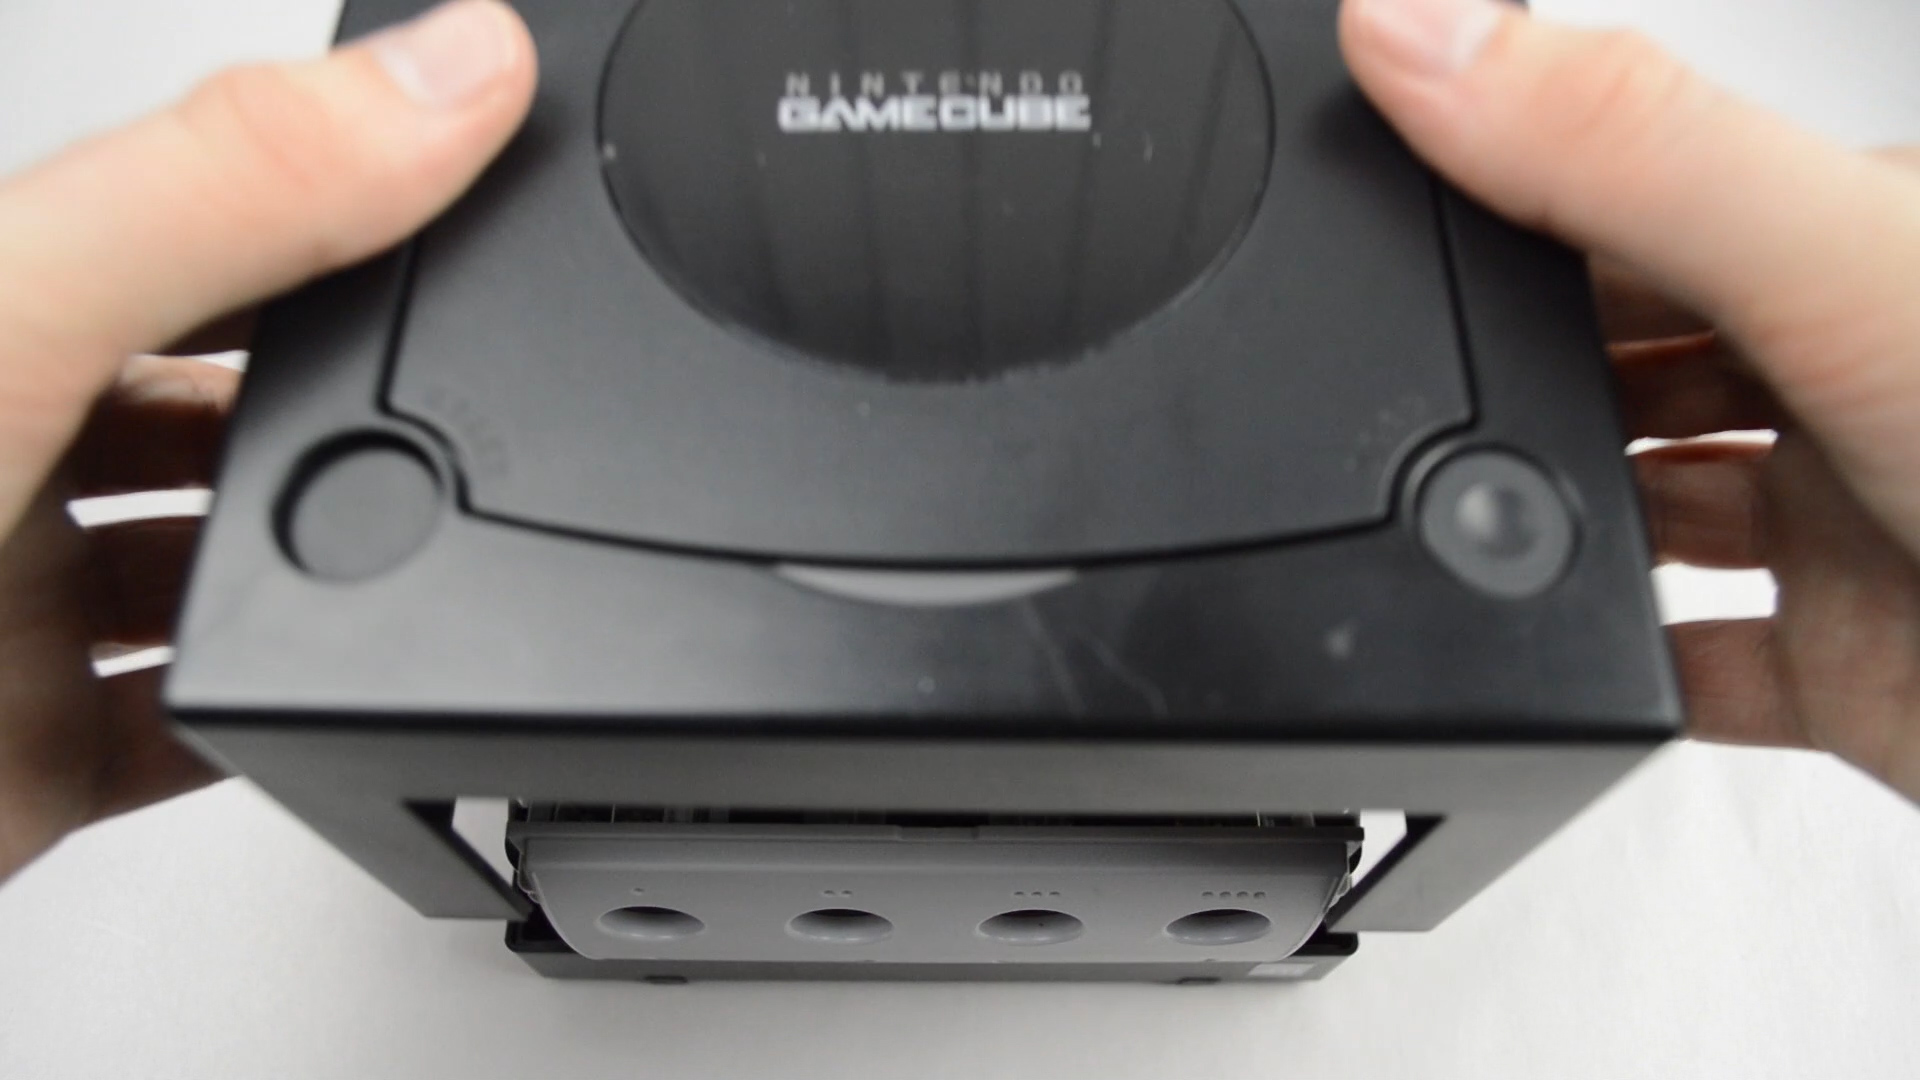
Now gently flip the console back over and lift the top housing off by the sides. Once you have it off we can get to work.
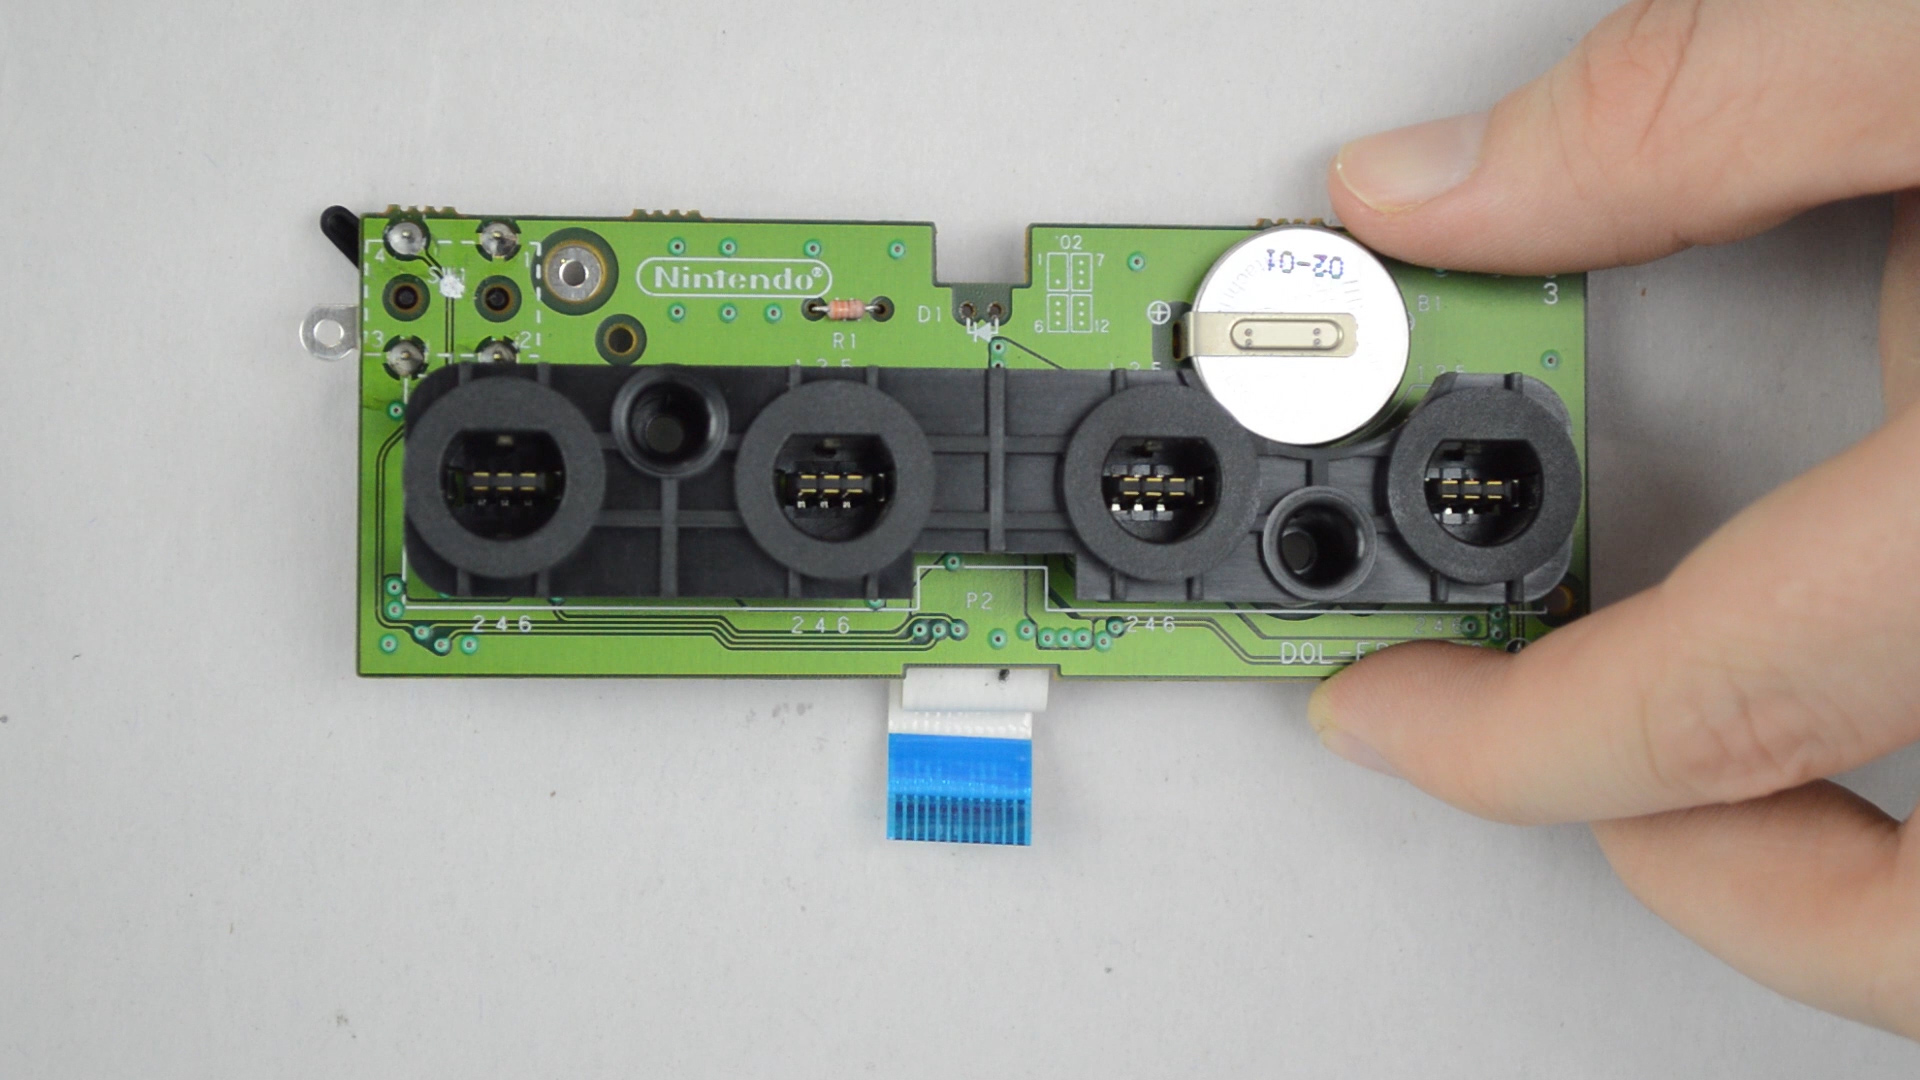
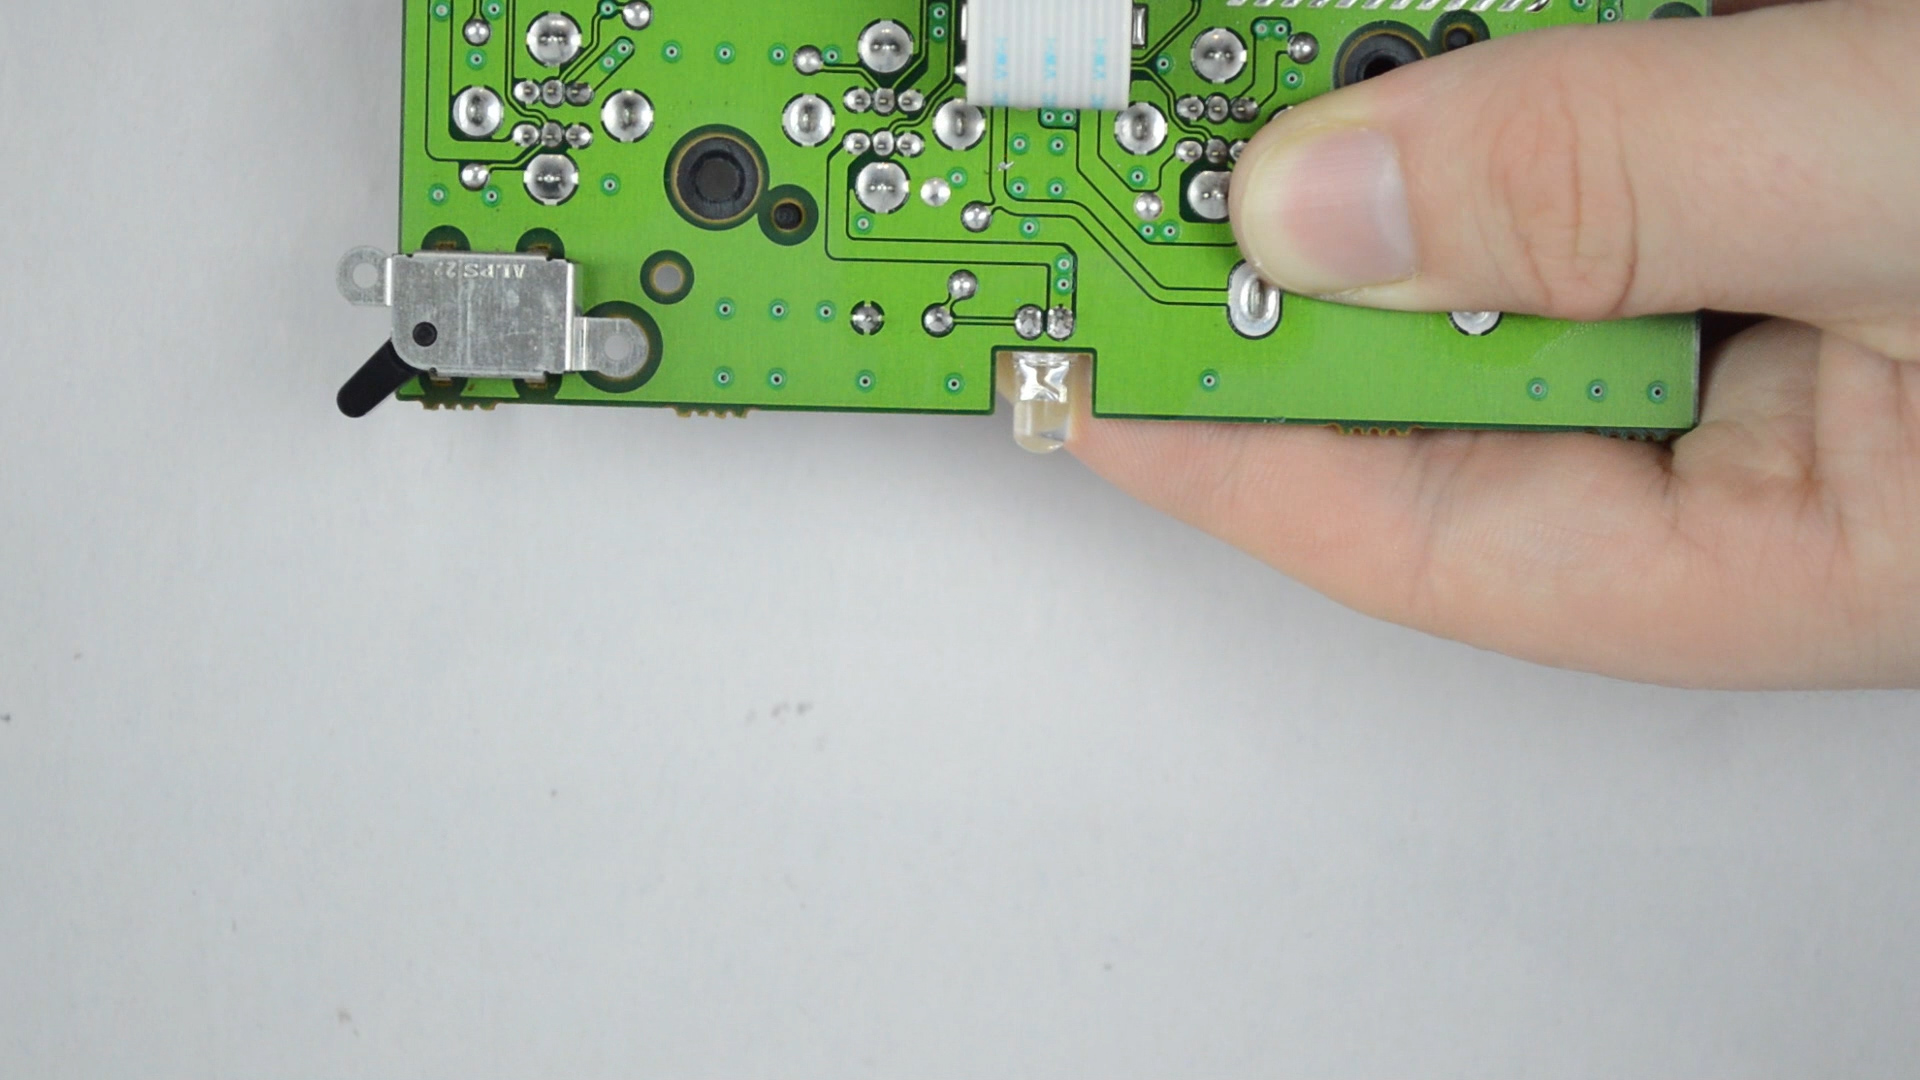
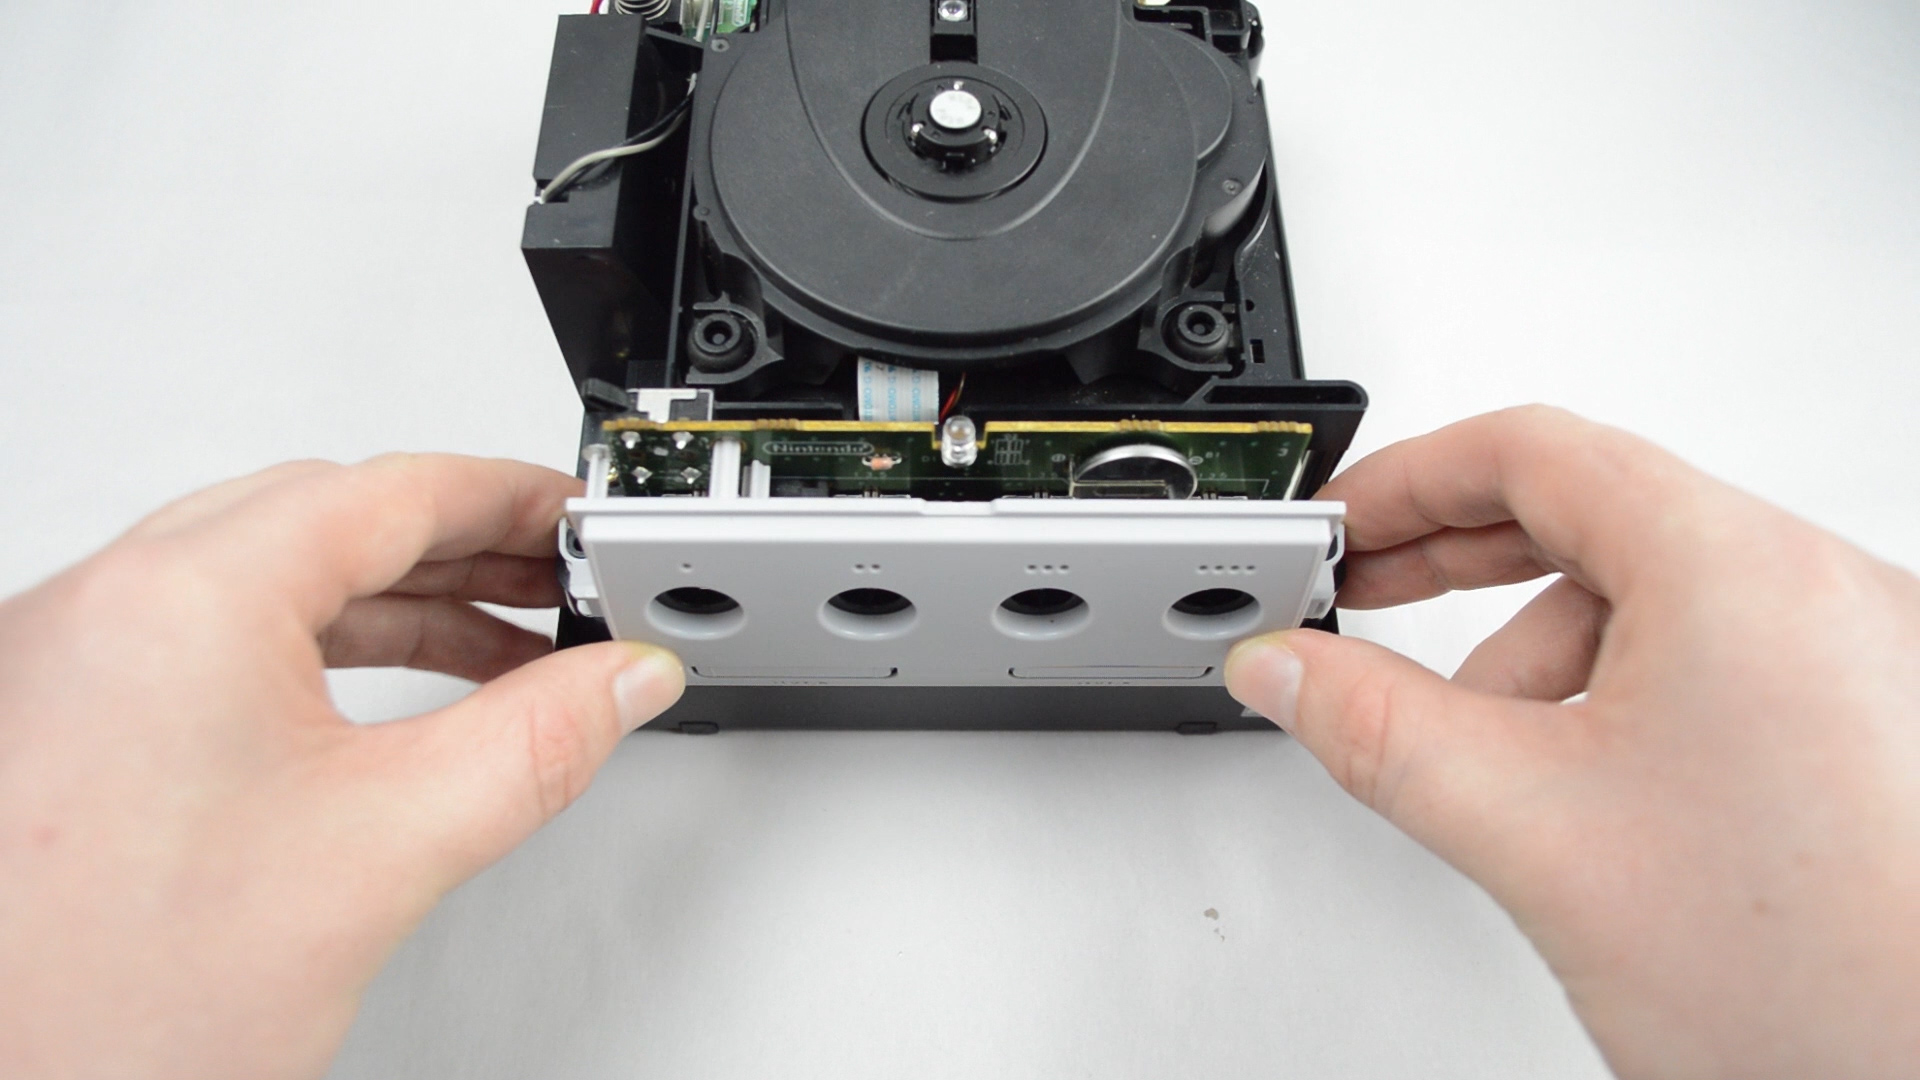
Remove the Front Panel
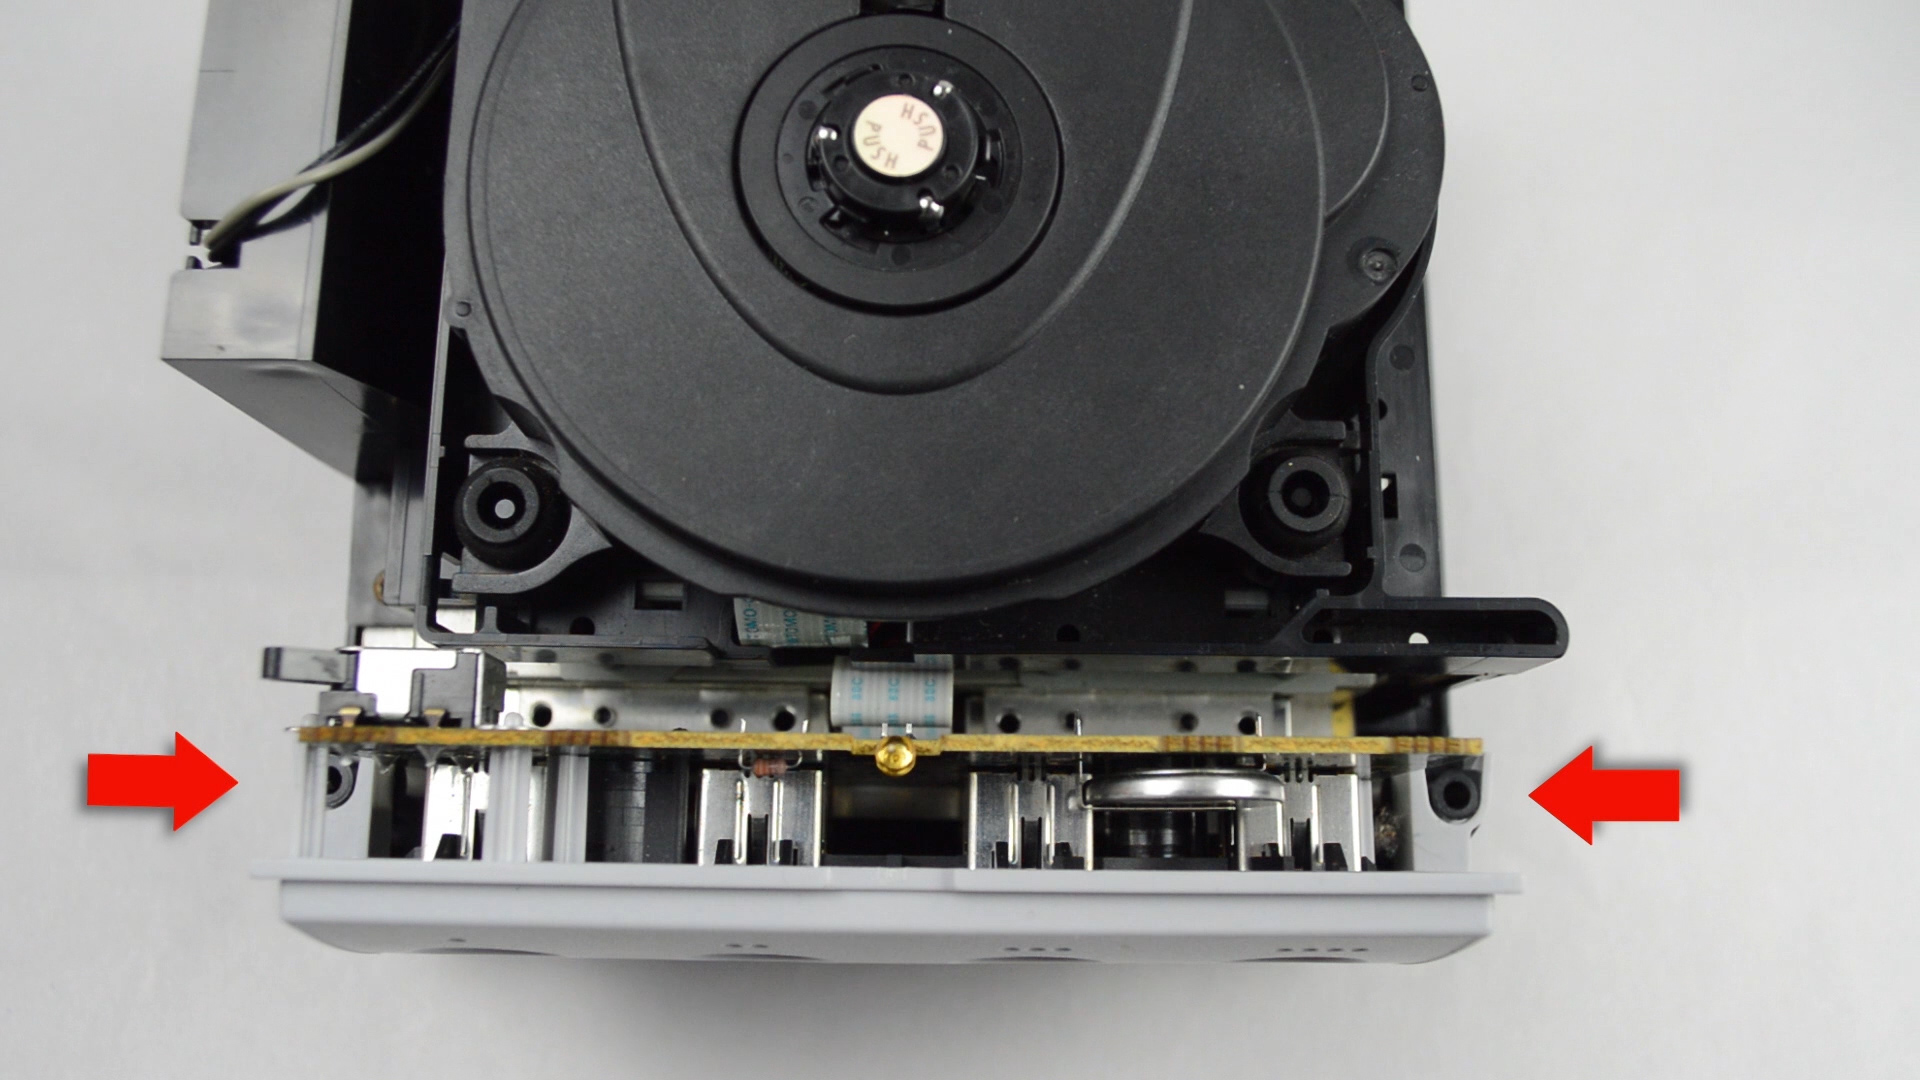
With the internal components exposed, it is now time to remove the front controller port assembly.
There are two things holding the whole front on, some small tabs and one ribbon cable.
Start by gently prying the two tabs either side of the front bezel away from the posts they are clipped to.
Now gently pull the ribbon cable out of the slot on motherboard, if you are gentle you can do this mod without disconnecting the front panel but it's recommended to do so.
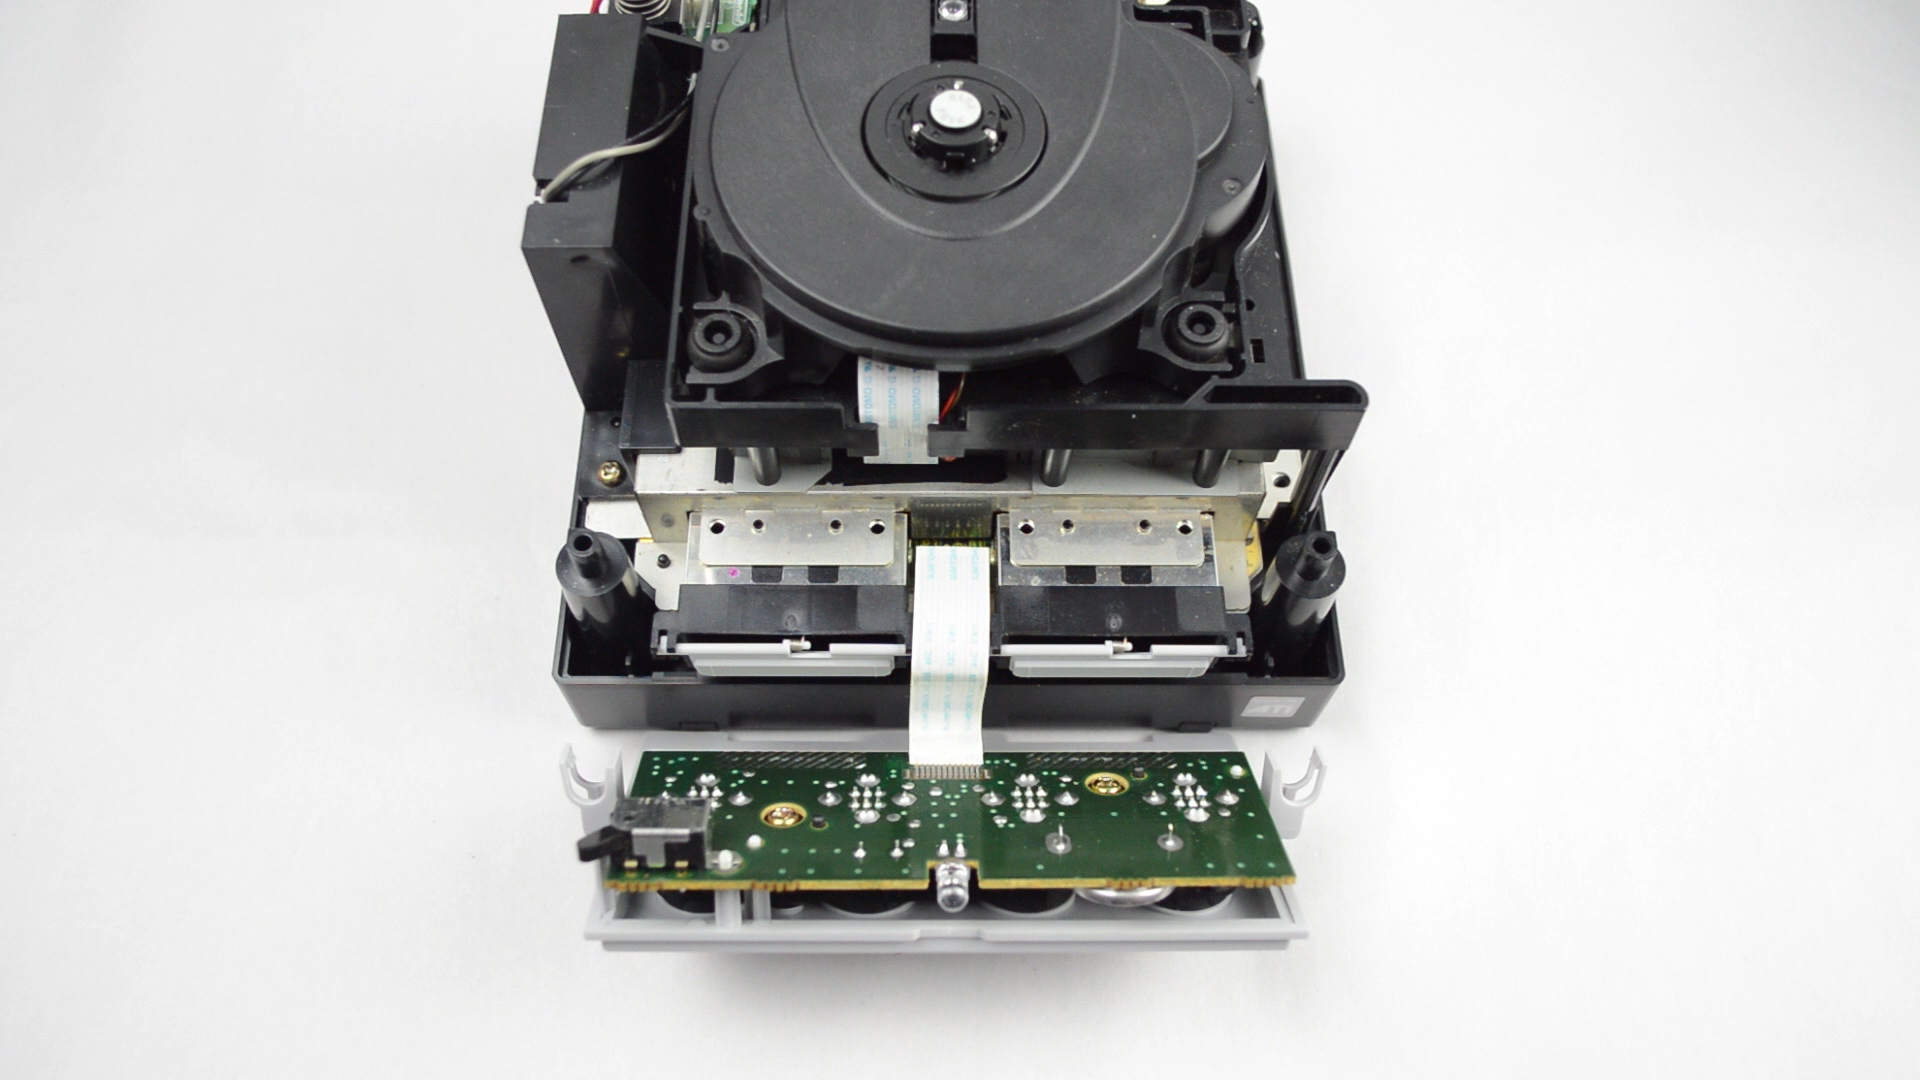
Unscrew the Bezel
To remove the grey front bezel, remove the two phillips screws holding it on, that is all for this step..
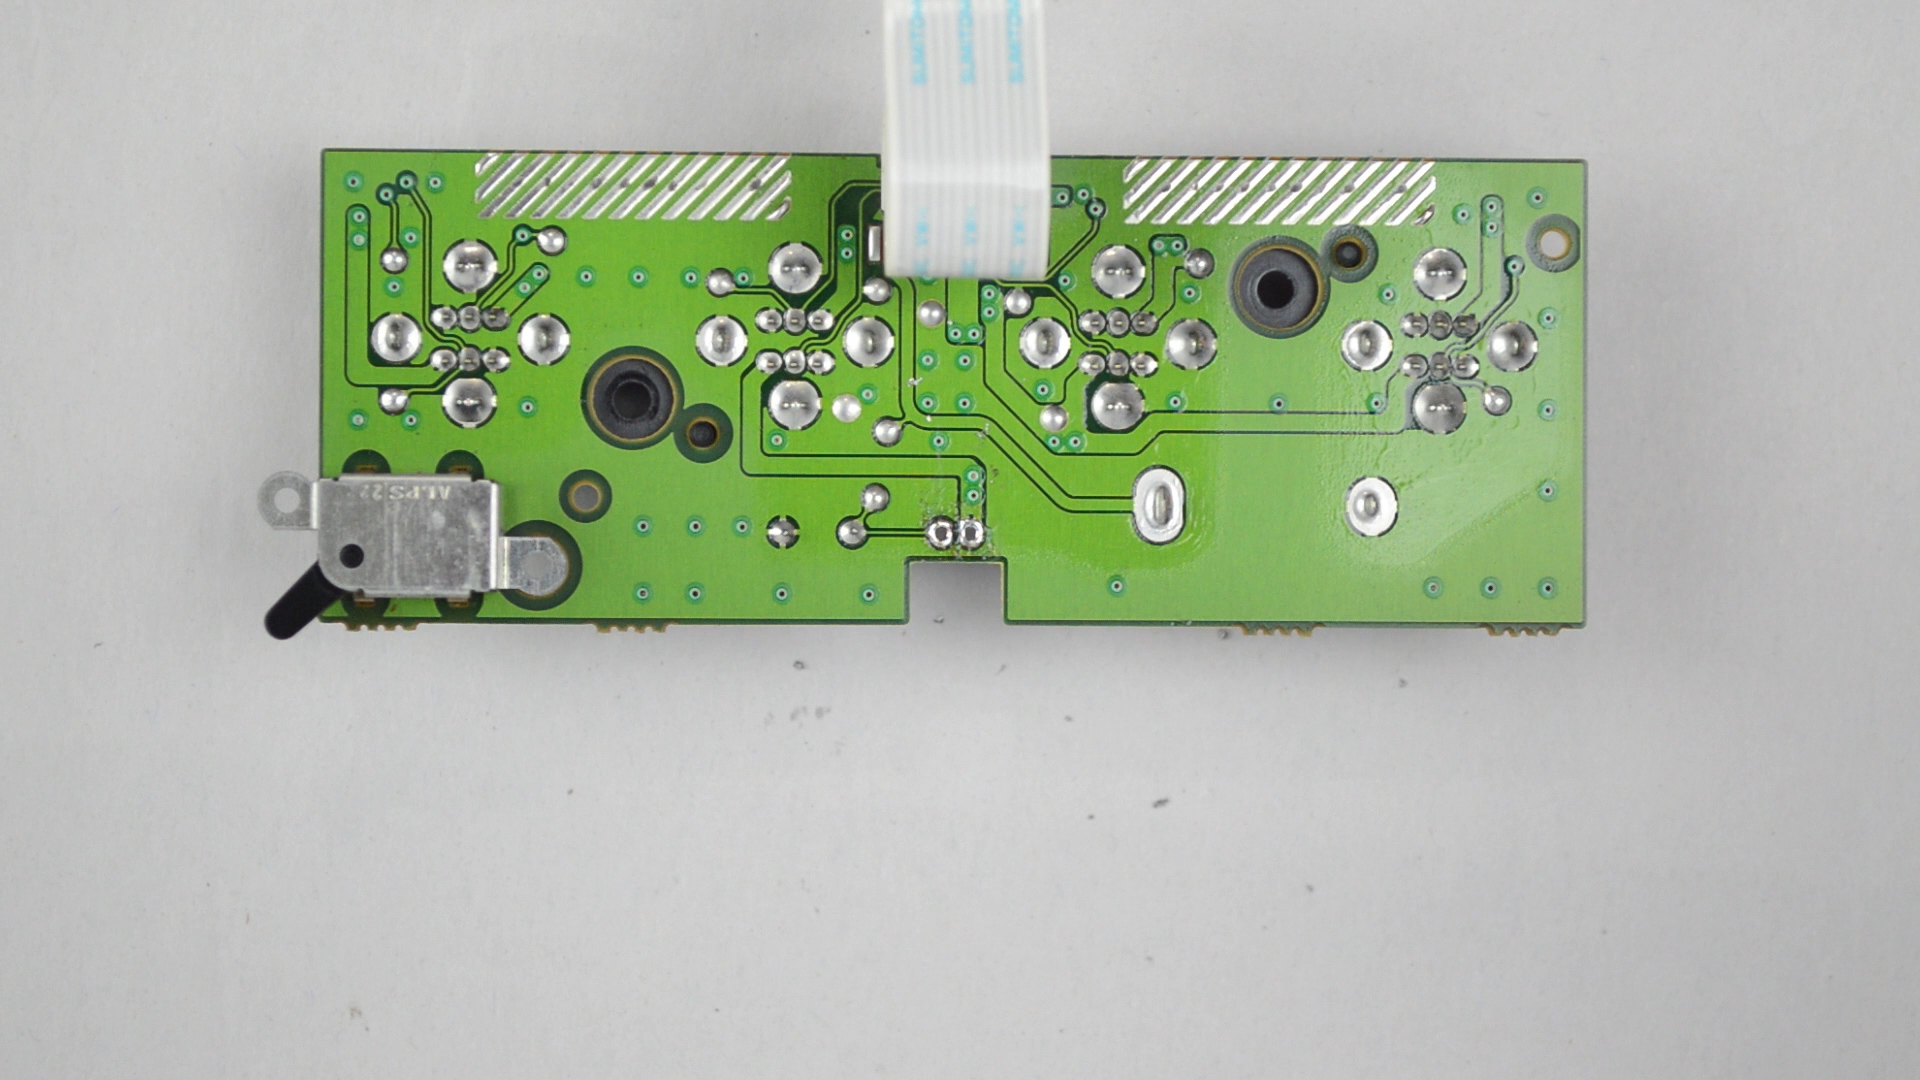
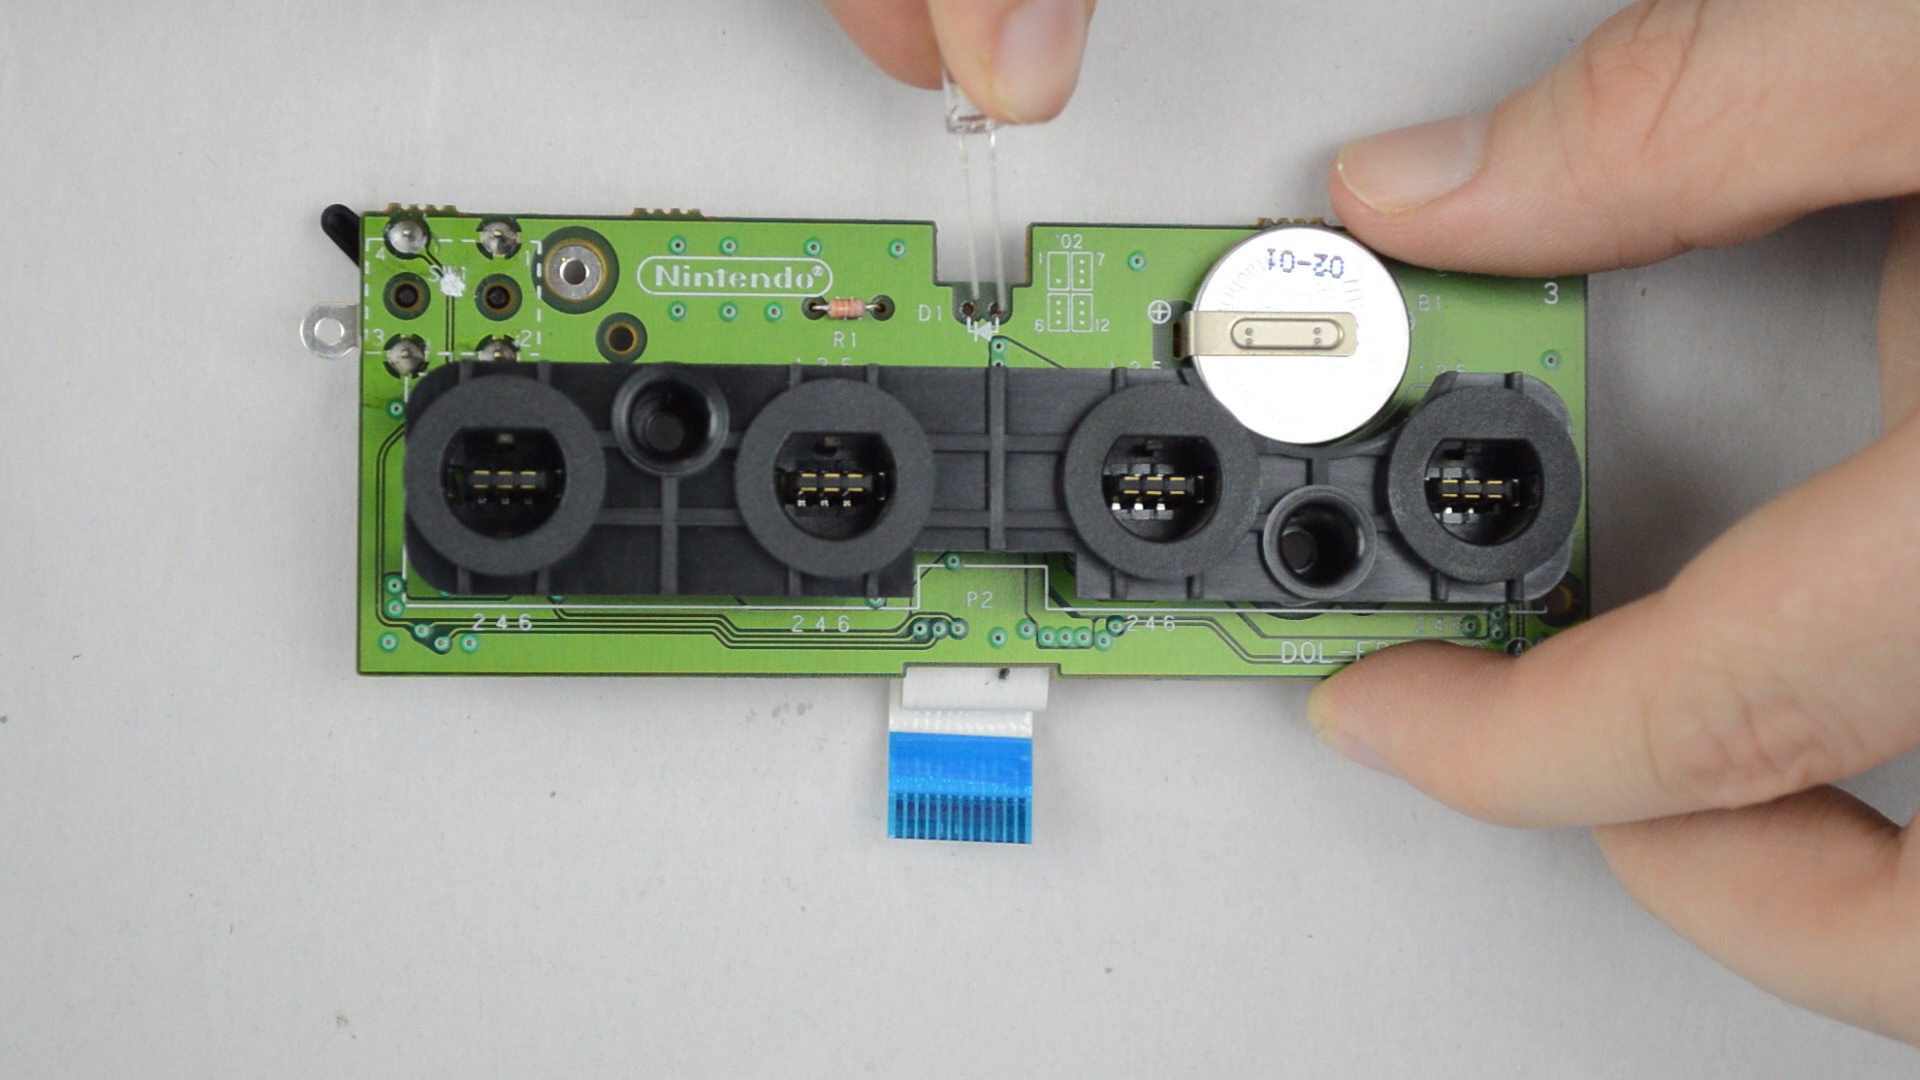
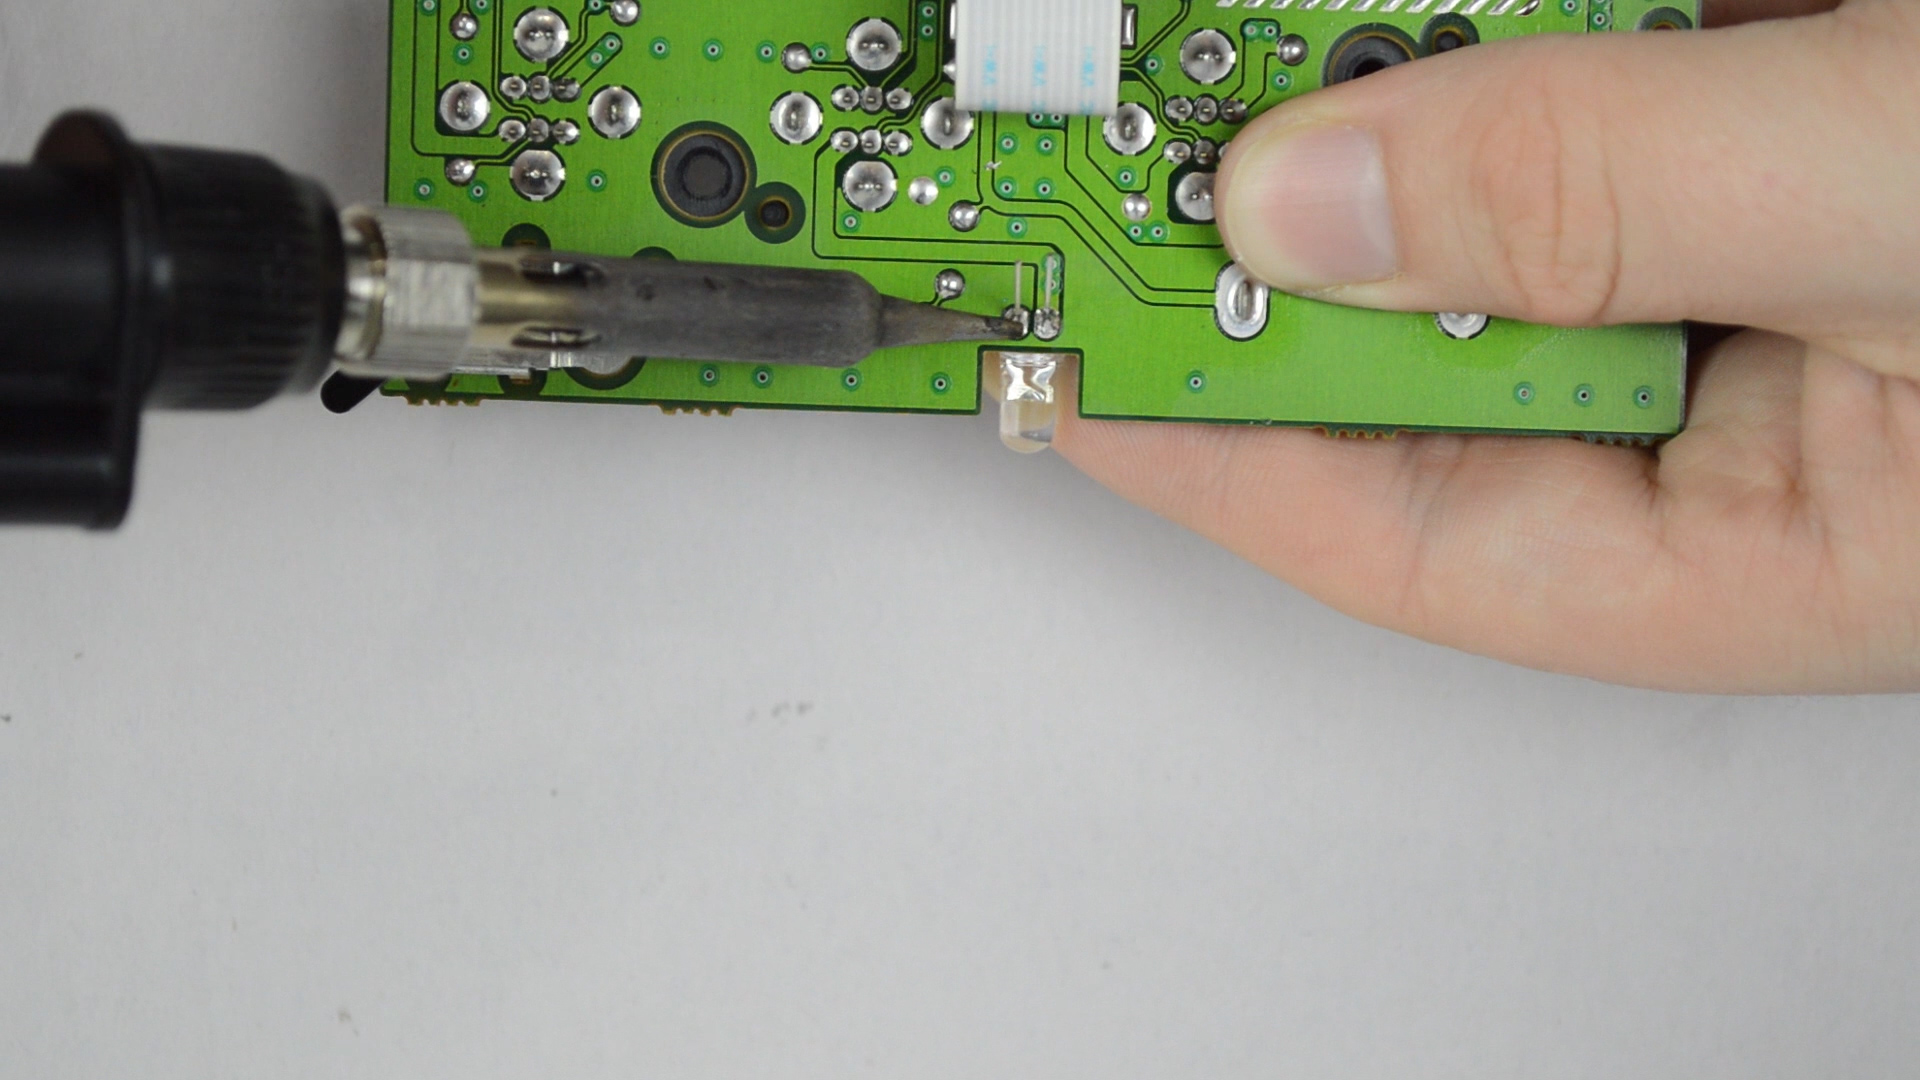
Remove the Stock LED
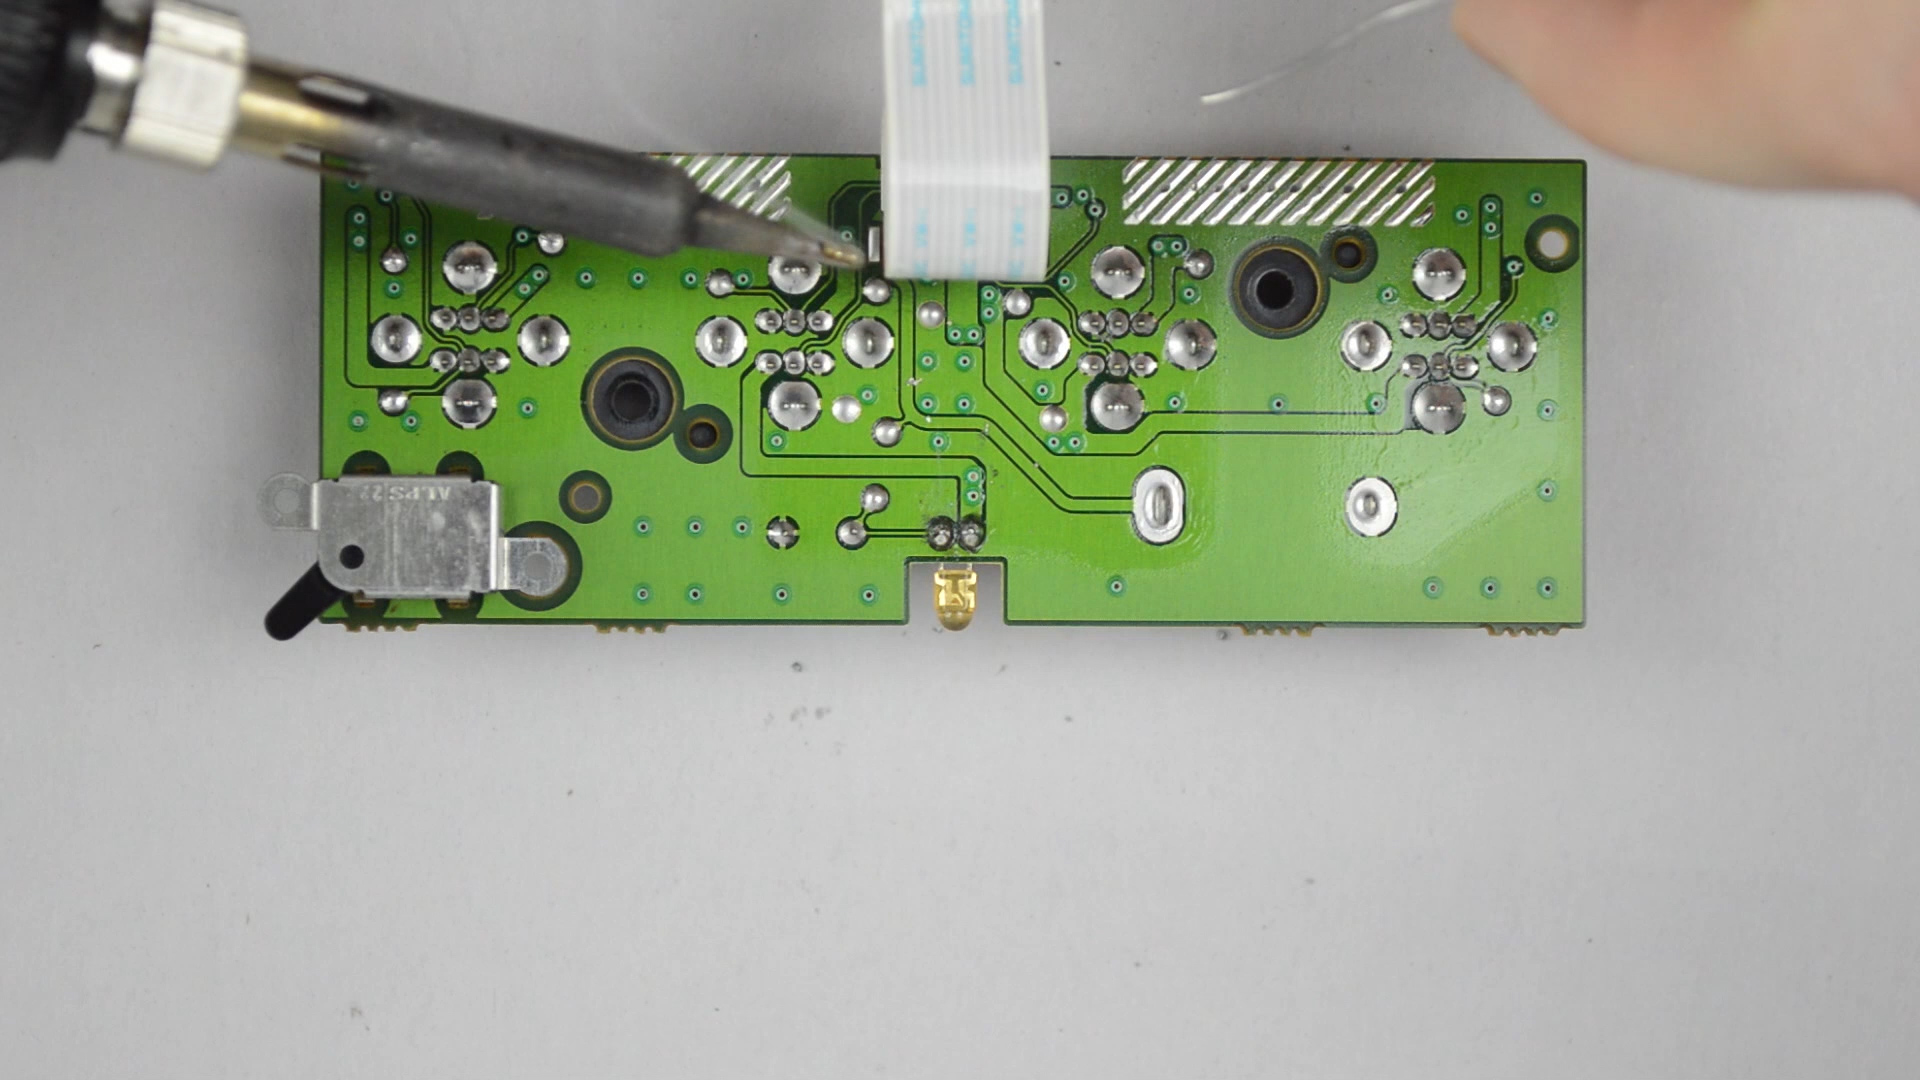

There is two ways to remove this LED, one is to use desoldering braid or a pump but as this tutorial is aimed at beginners, I'm going to assume you don't have those..
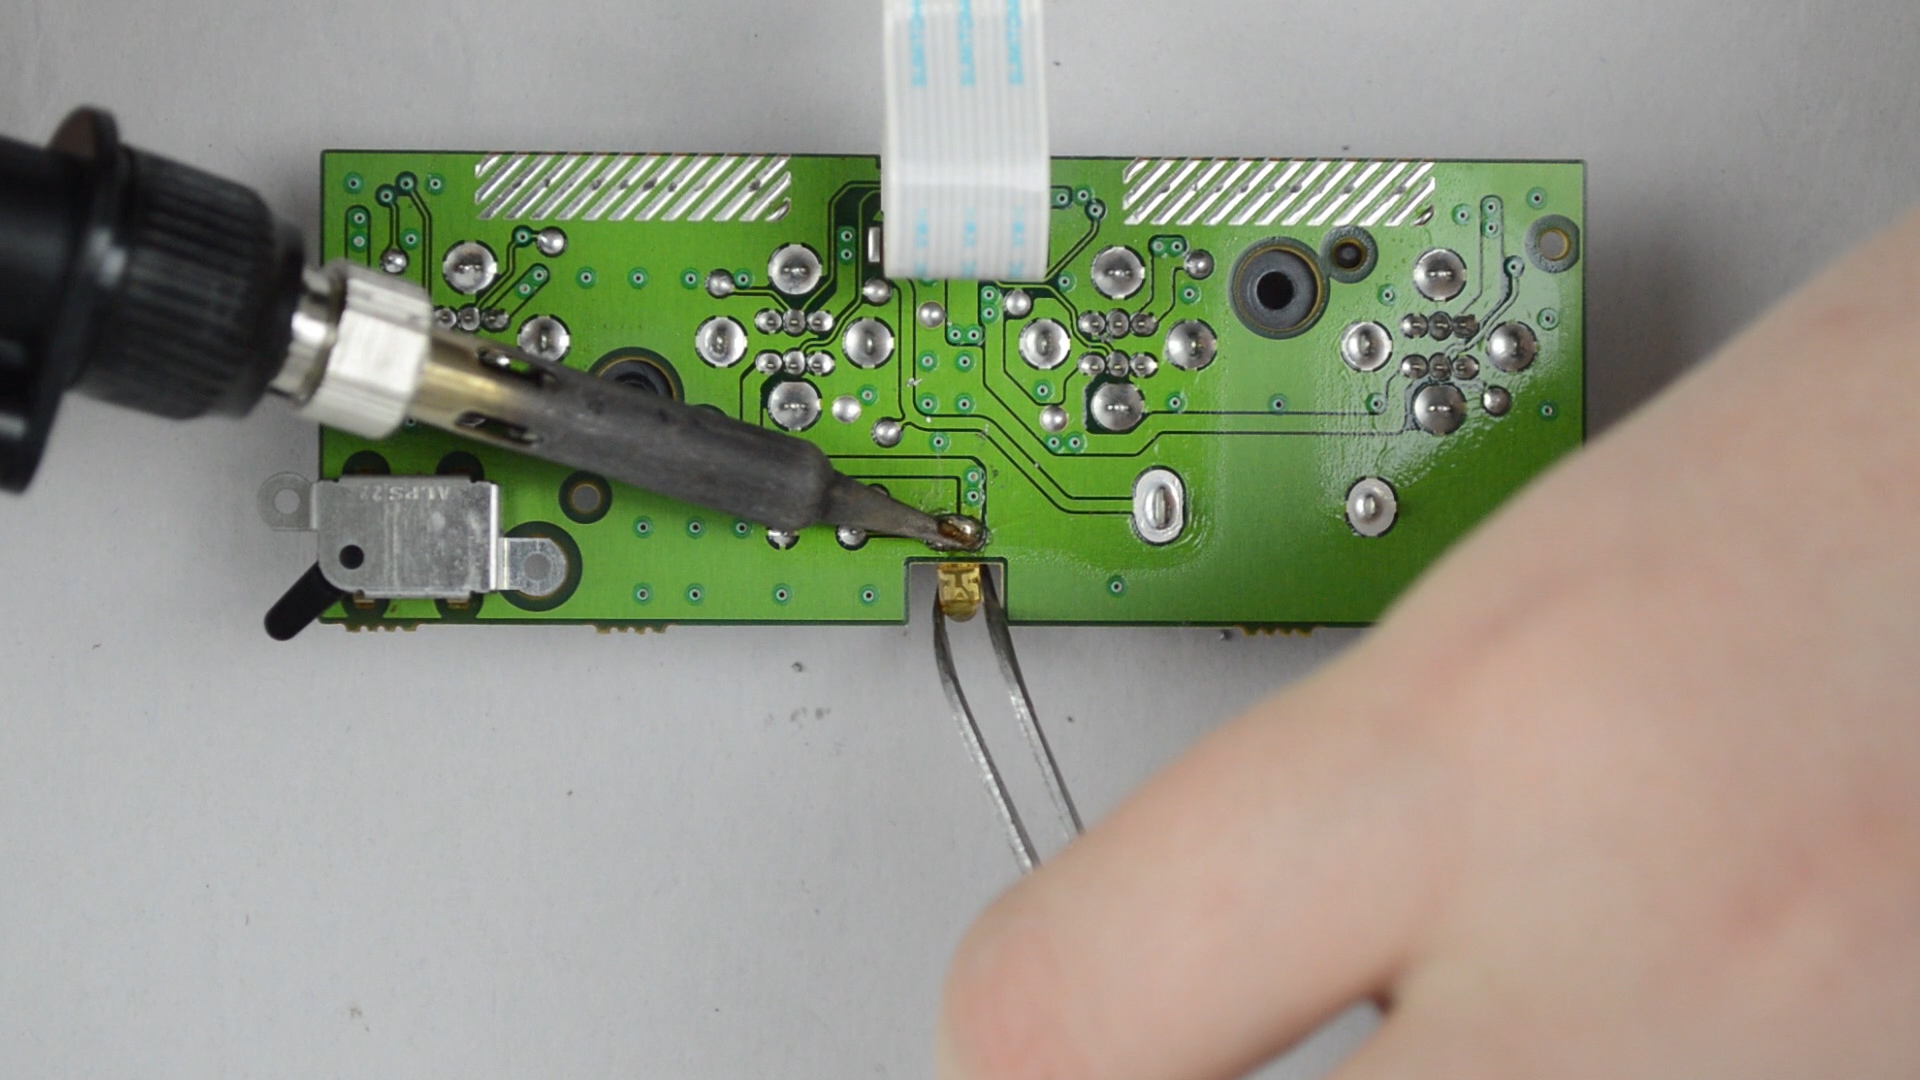
The second (more beginner friendly) method is to use a blob of solder to heat both legs of the LED at the same time, so we can effortlessly remove it.
- Use a blob of solder to heat both legs of the LED.
- Once it's hot enough, the LED should fall out. If it doesn't, use a pair of tweezers and gently pull it out.
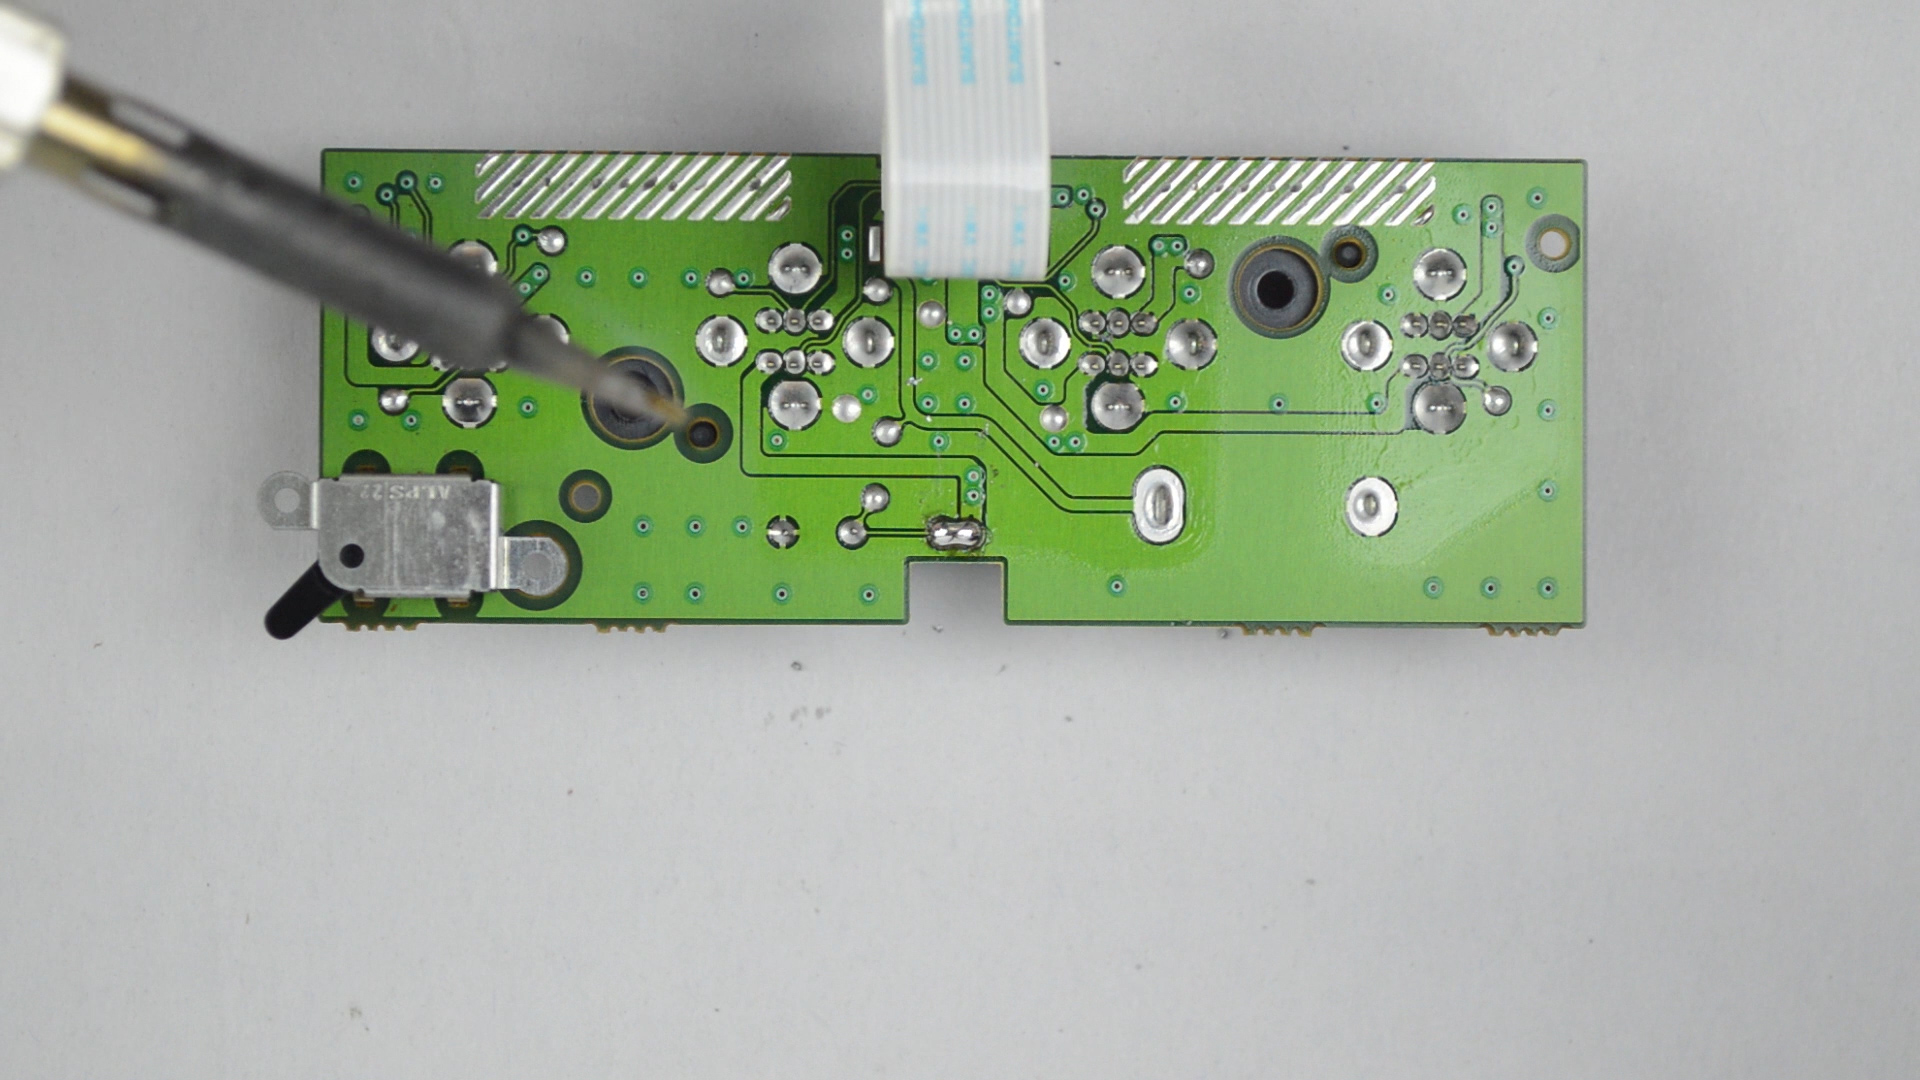
- Clean off your soldering iron and use it to wick up any left over solder
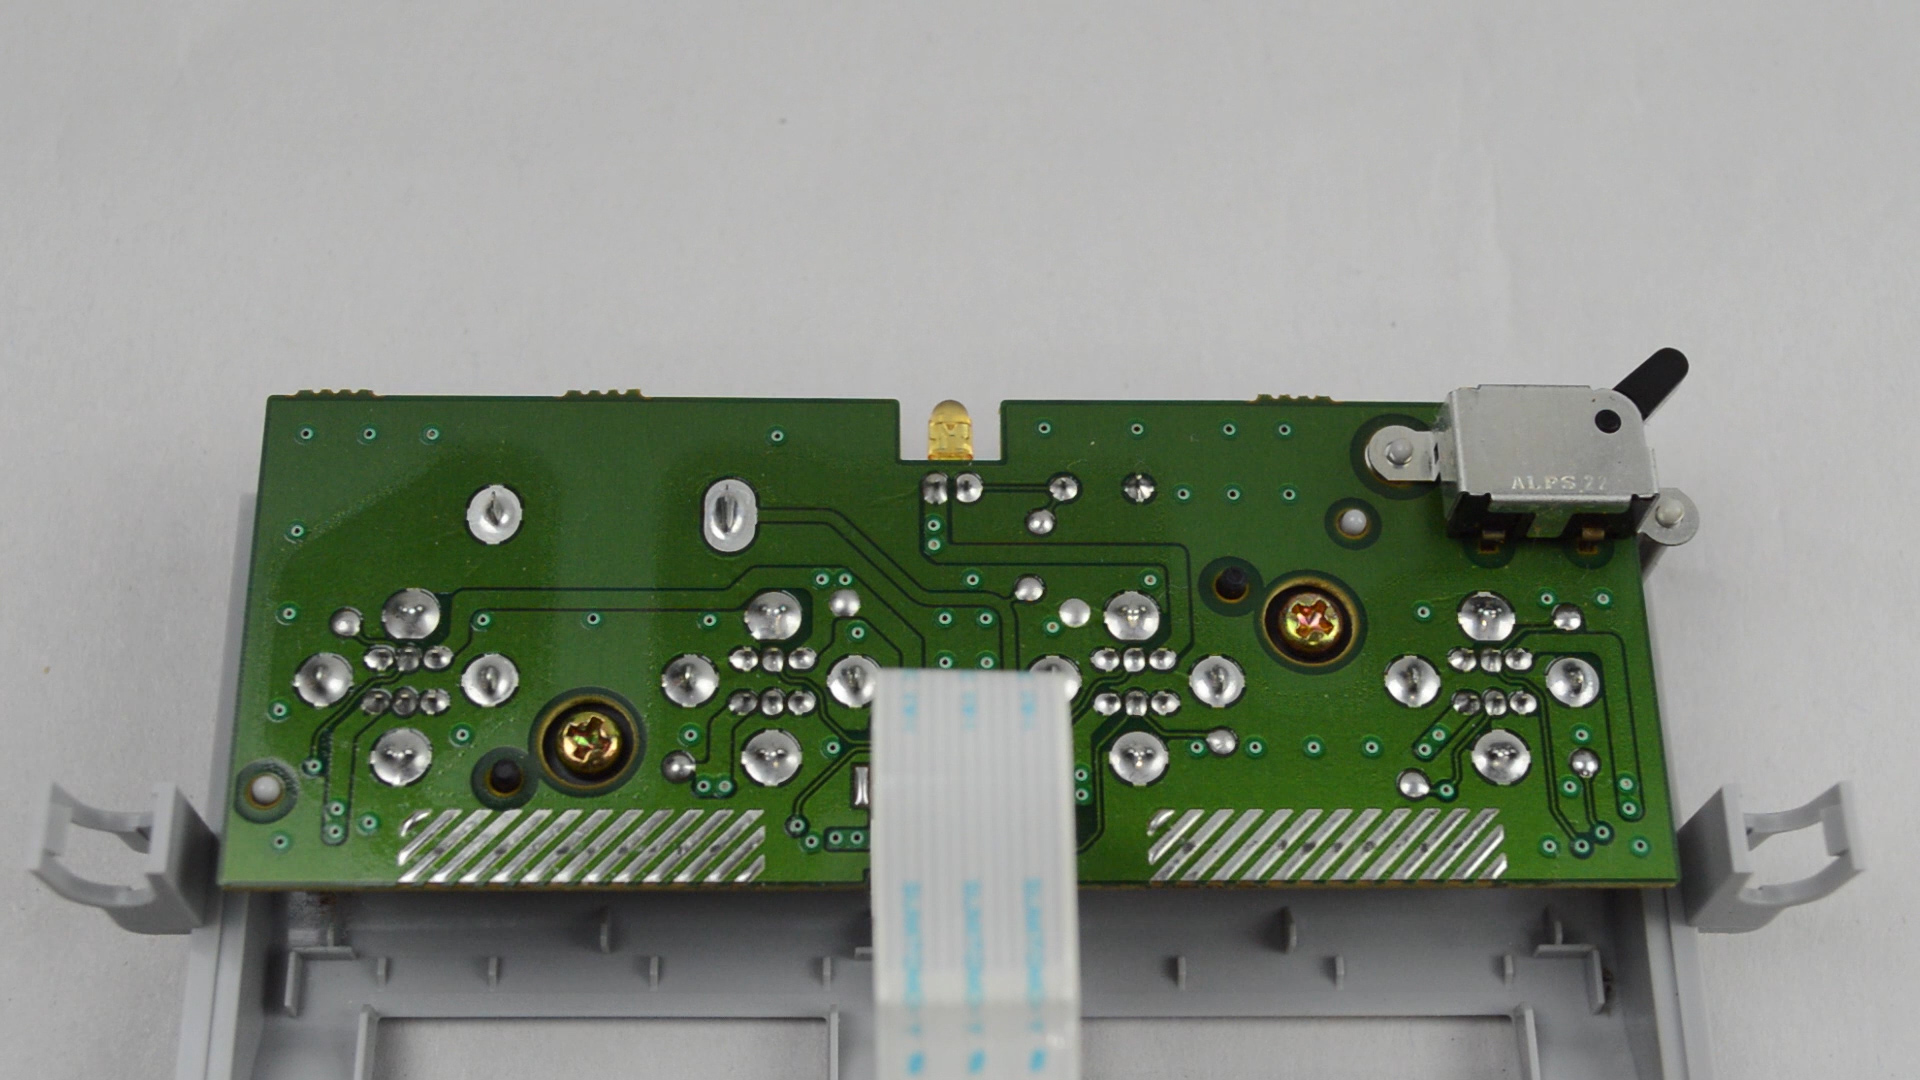
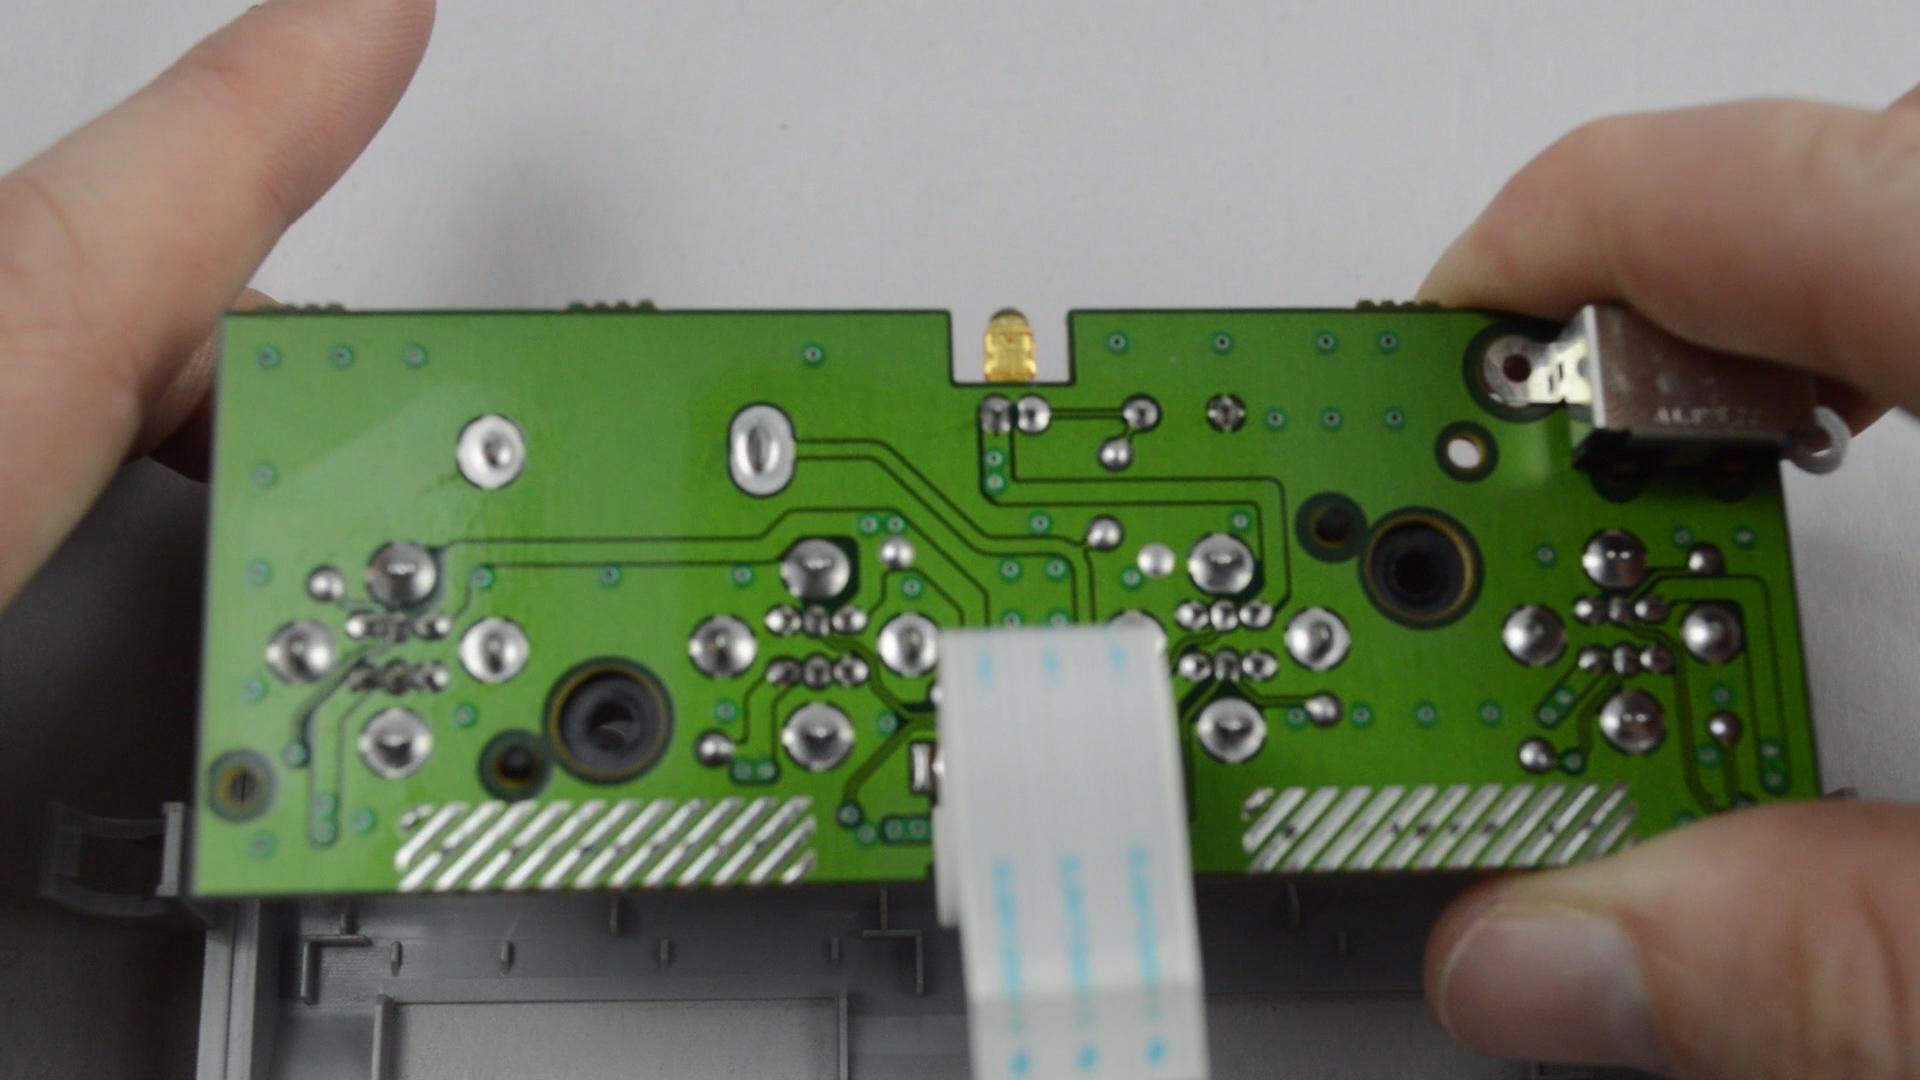
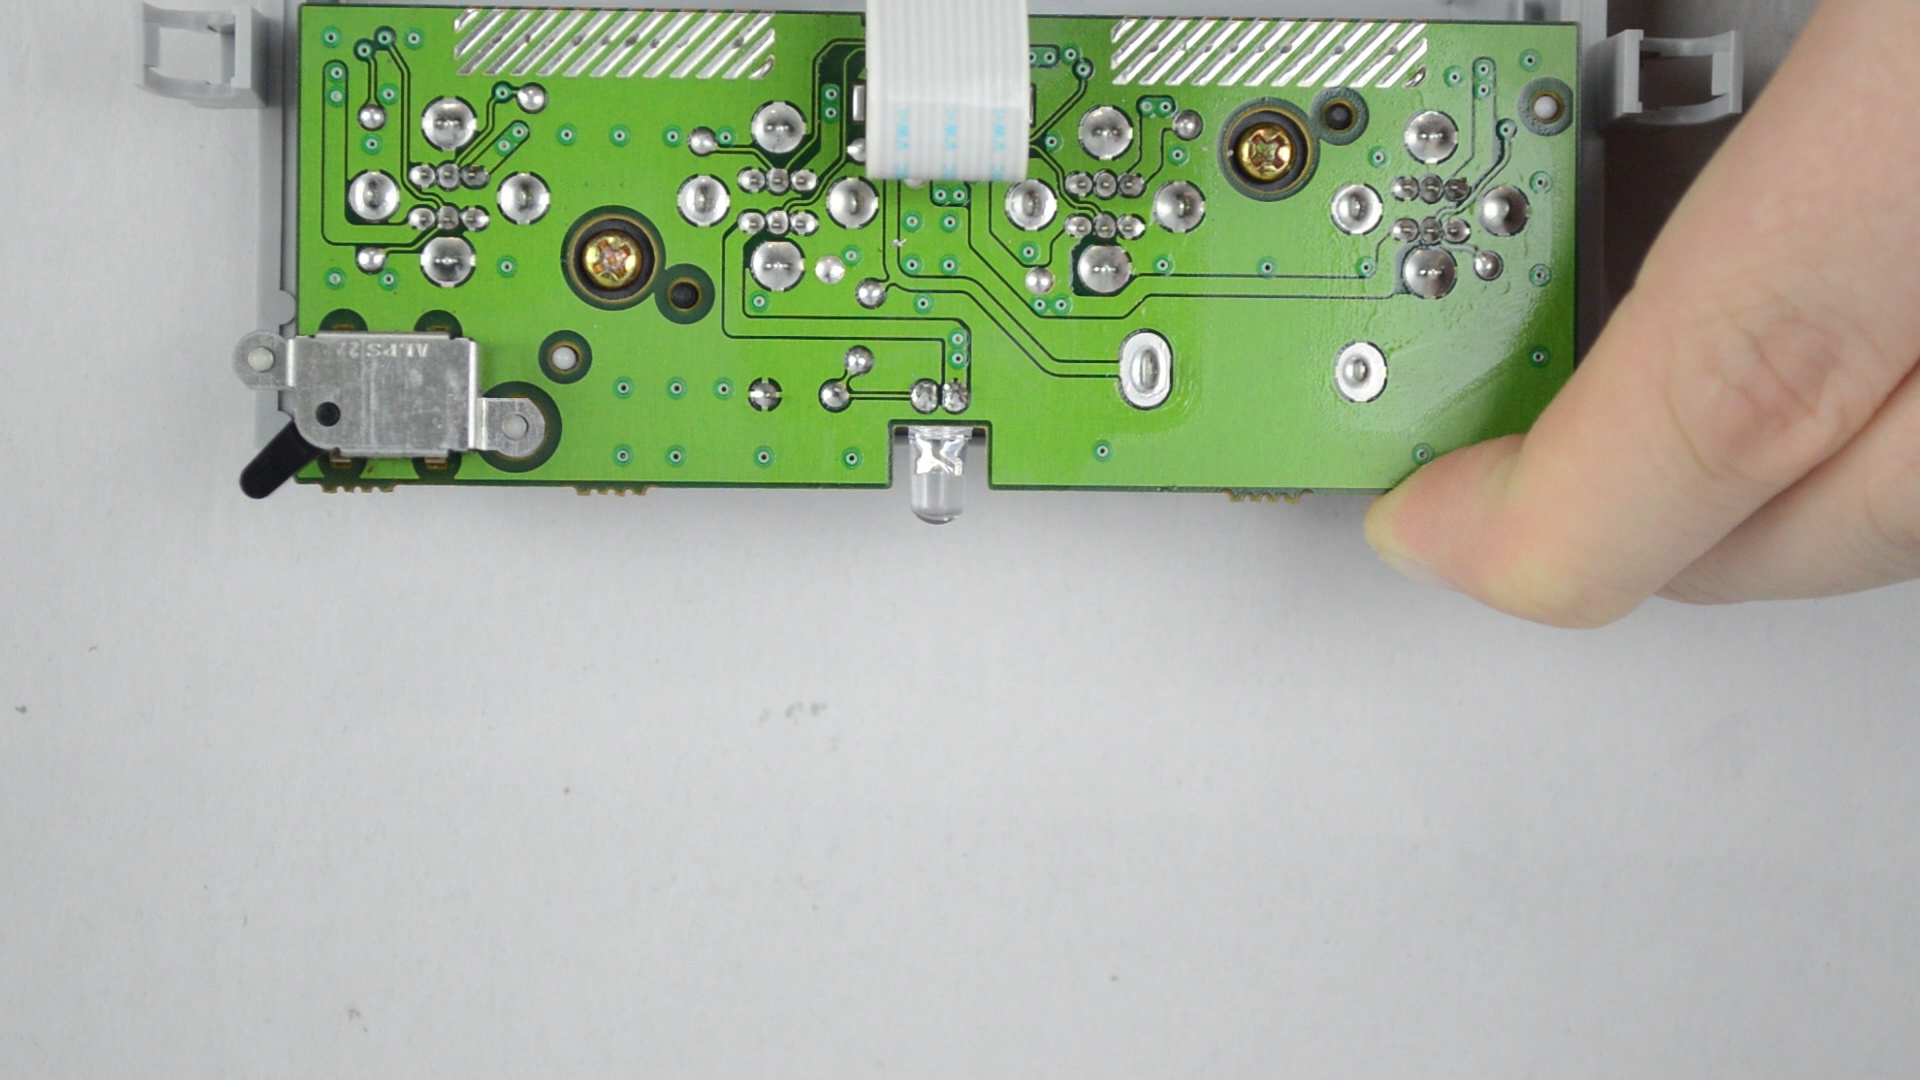
Install the New LED
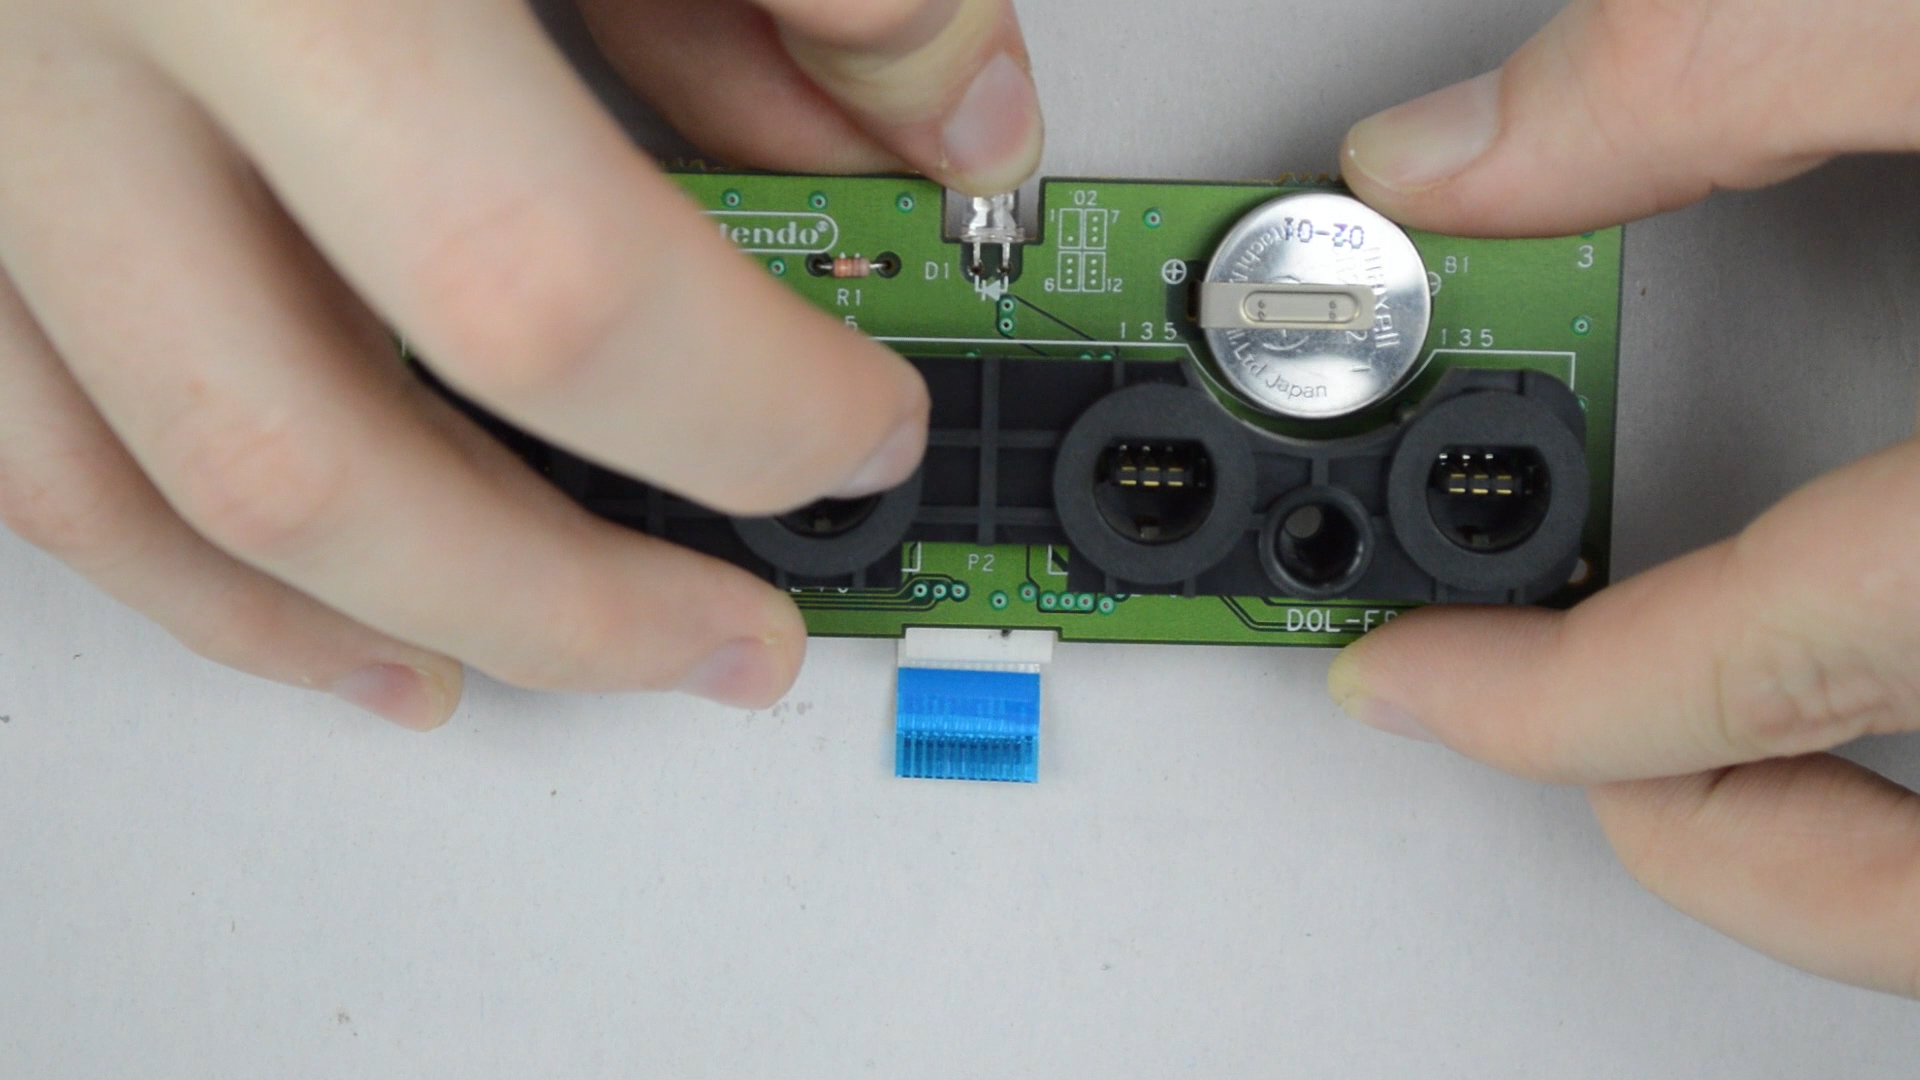
Flip the controller PCB over.
The left hand side hole for the LED is the cathode, also known as the negative. The right hand side hole is the anode, also known as the positive.
The longer leg on the new LED is the positive (anode), it will go into the right hand side hole, where as the negative will go into the left.
Before soldering in the new LED be sure to bend it 90 degrees, so it sits the same as the original orange LED.
Solder Time
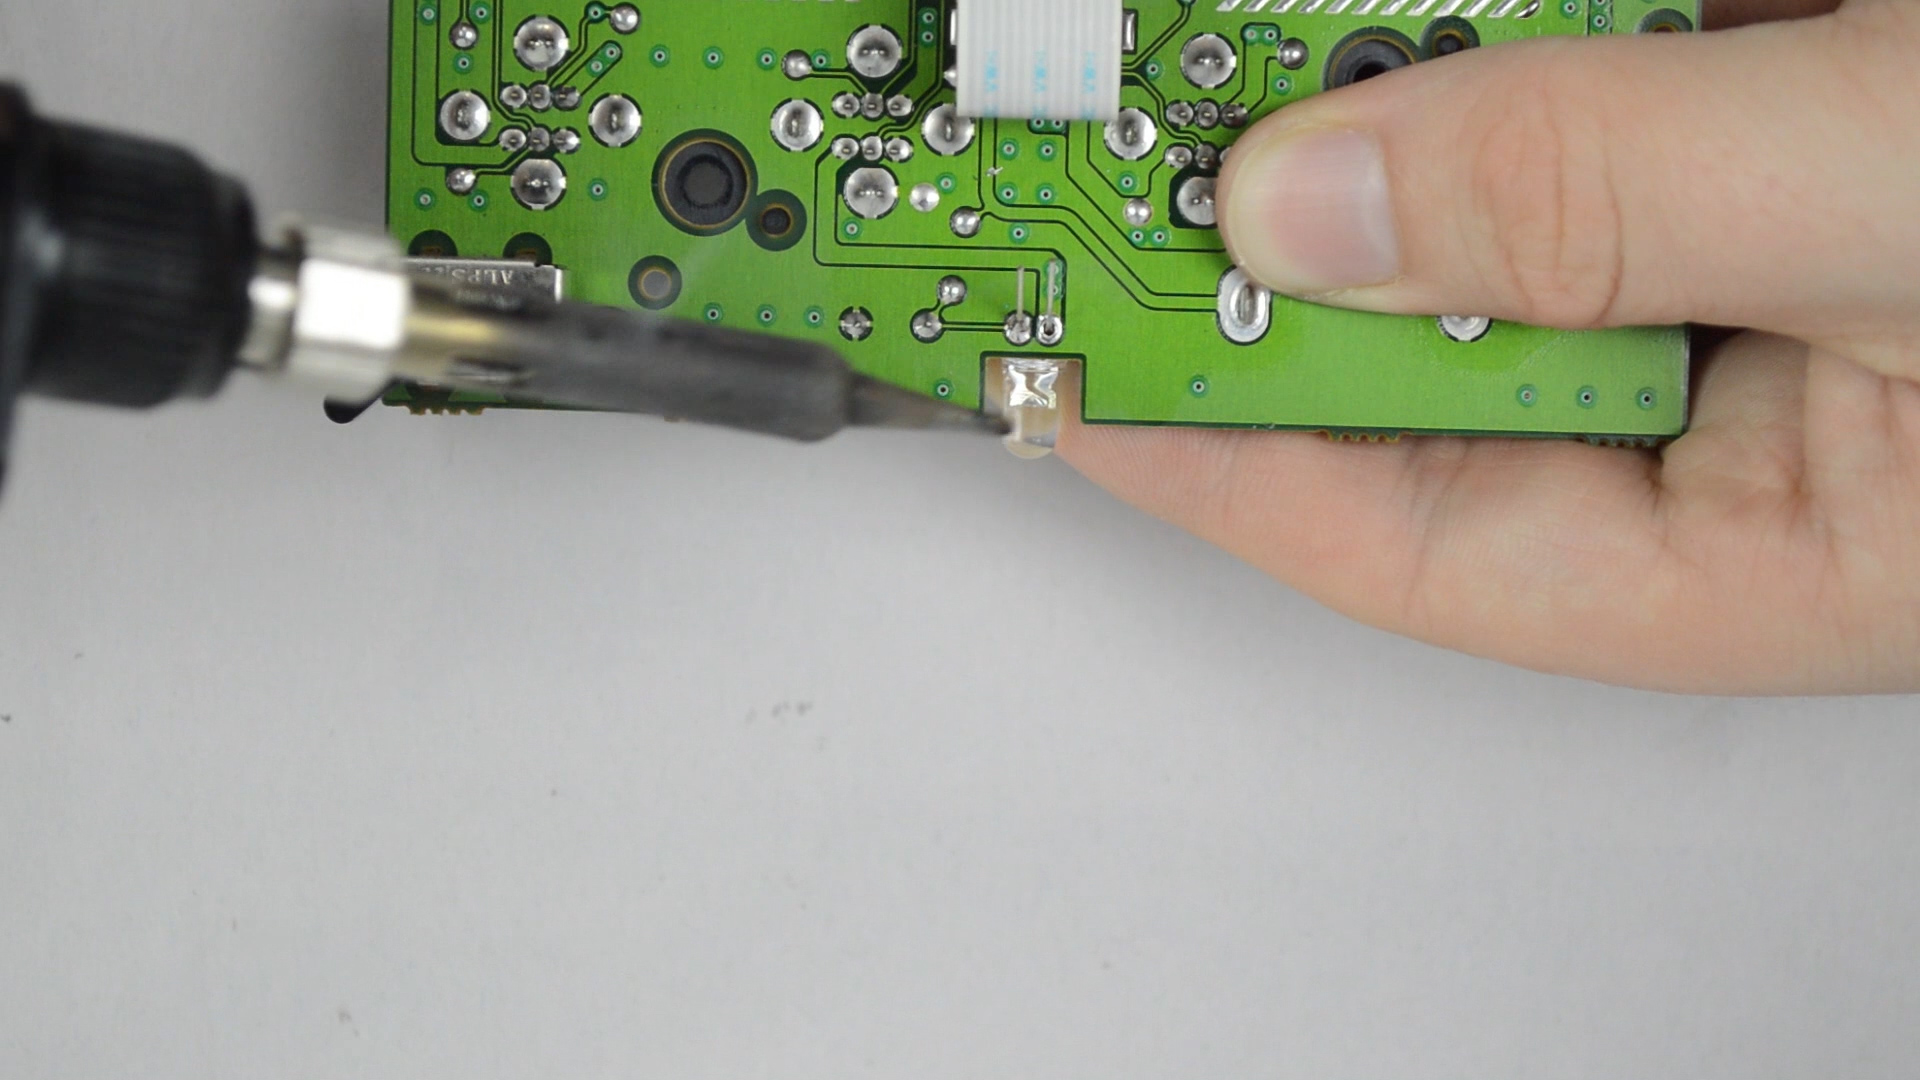
Hold the new LED in place with your finger and flip the controller PCB back over, we are going to now solder it in.
Use a small amount of solder on each leg, too much and you risk creating a short, thus making the LED not work!
Once you have the LED all soldered in, using your snips or scissors, trim the LED legs down.
Put It Back Together
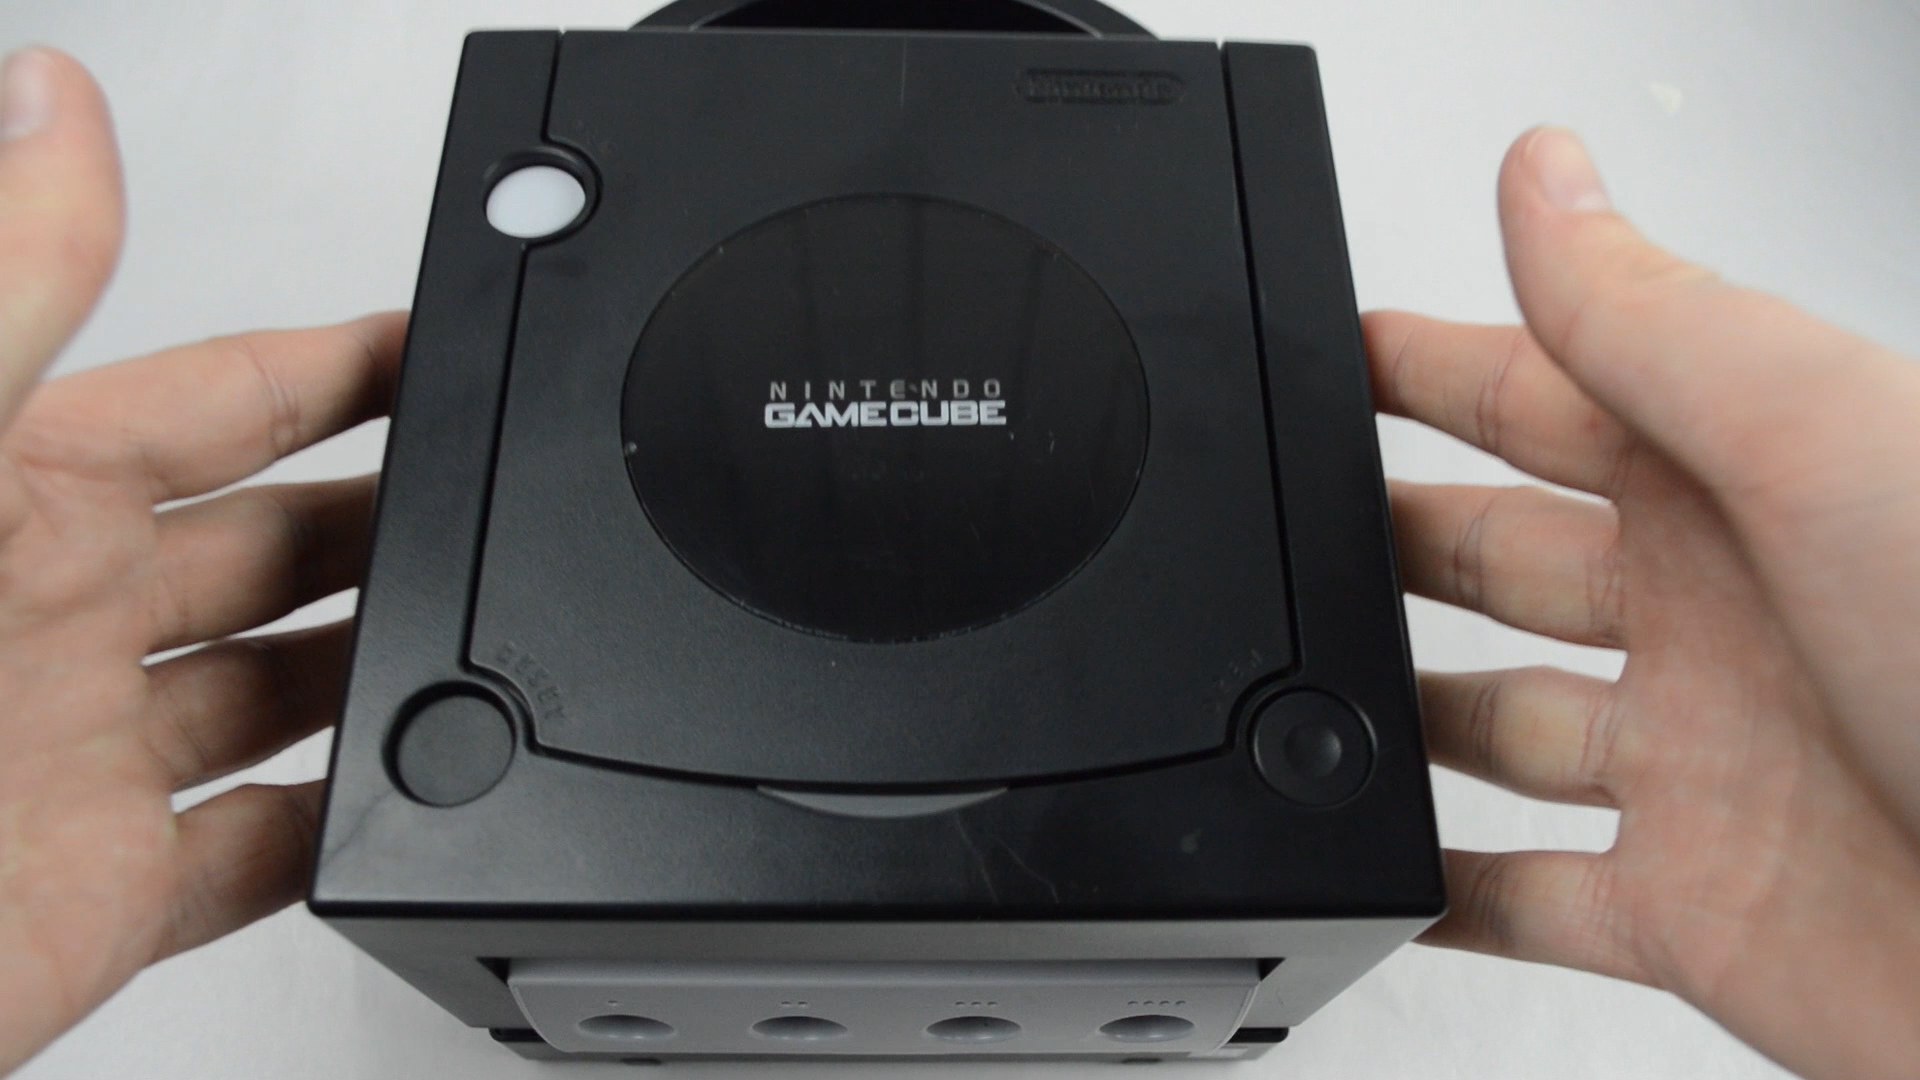

Now follow the reverse of taking the system apart!
- Screw the grey front panel back on using the two Phillips screws.
- Re-insert the ribbon cable, it pushes in (if you disconnected it).
- Clip the front controller assembly back in place (Bottom end first)
- Screw the top housing back on using the four GameBit screws.
- Enjoy!
The Final Poduct

I hope you found this Insructable helpful, this is my first instructable but not my first tutorial.
If you want to see more tutorials like this please follow me on here as well as on YouTube.
Comment below :)
Thanks for stopping by!