Mockup Template With PHOTOSHOP Smart Object
by tkjoey in Craft > Digital Graphics
4009 Views, 12 Favorites, 0 Comments
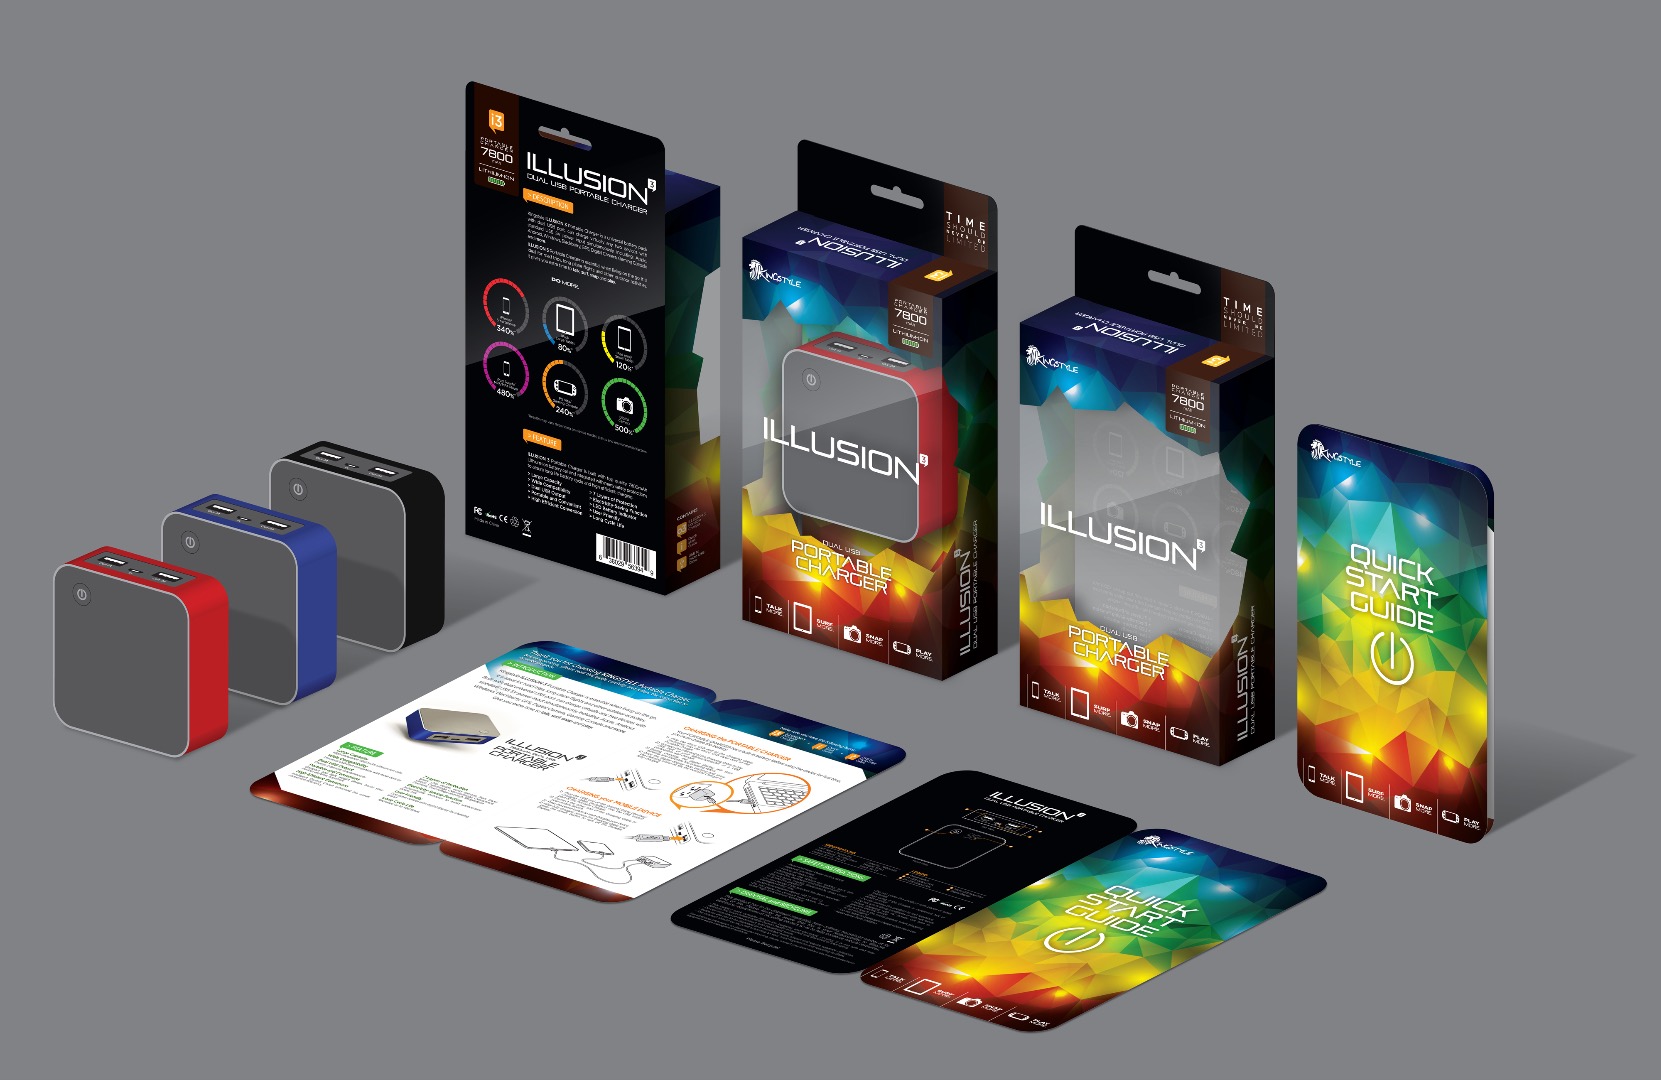
Mockup Template With PHOTOSHOP Smart Object
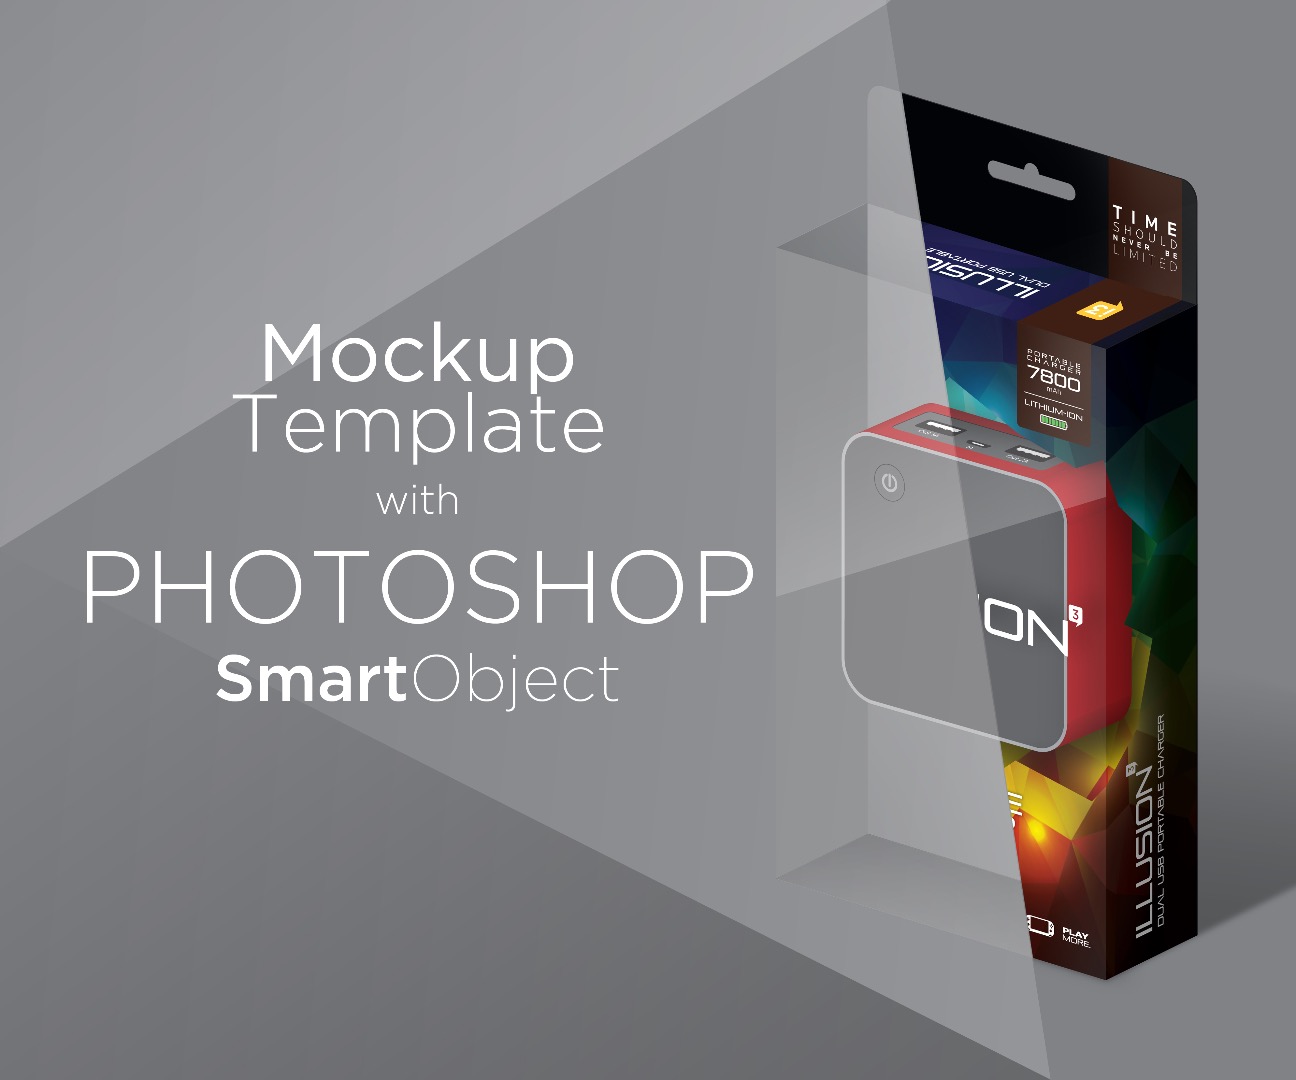
Mockup is very important for design / presentation, not just for an impression but to give client a better understanding of how your design will look in reality. However, no matter how good your design / presentation was, a first round K.O. won't happen in most cases, aside from design there's a lot of reasons (e.g. product / information update, marketing / strategy change...etc). Therefore, a file named "layout_6b_v5_final4_v3.whatever" will appear in your hard drive, and when you still have to deal with the mockup is not just time consuming and yet frustrating. So, you've to work smart! A mockup template can save time and keep you happy in design process, it might double the time compare with a regular mockup but you'll found it's worth to invest eventually.
Here's how I work
Create an Empty Set
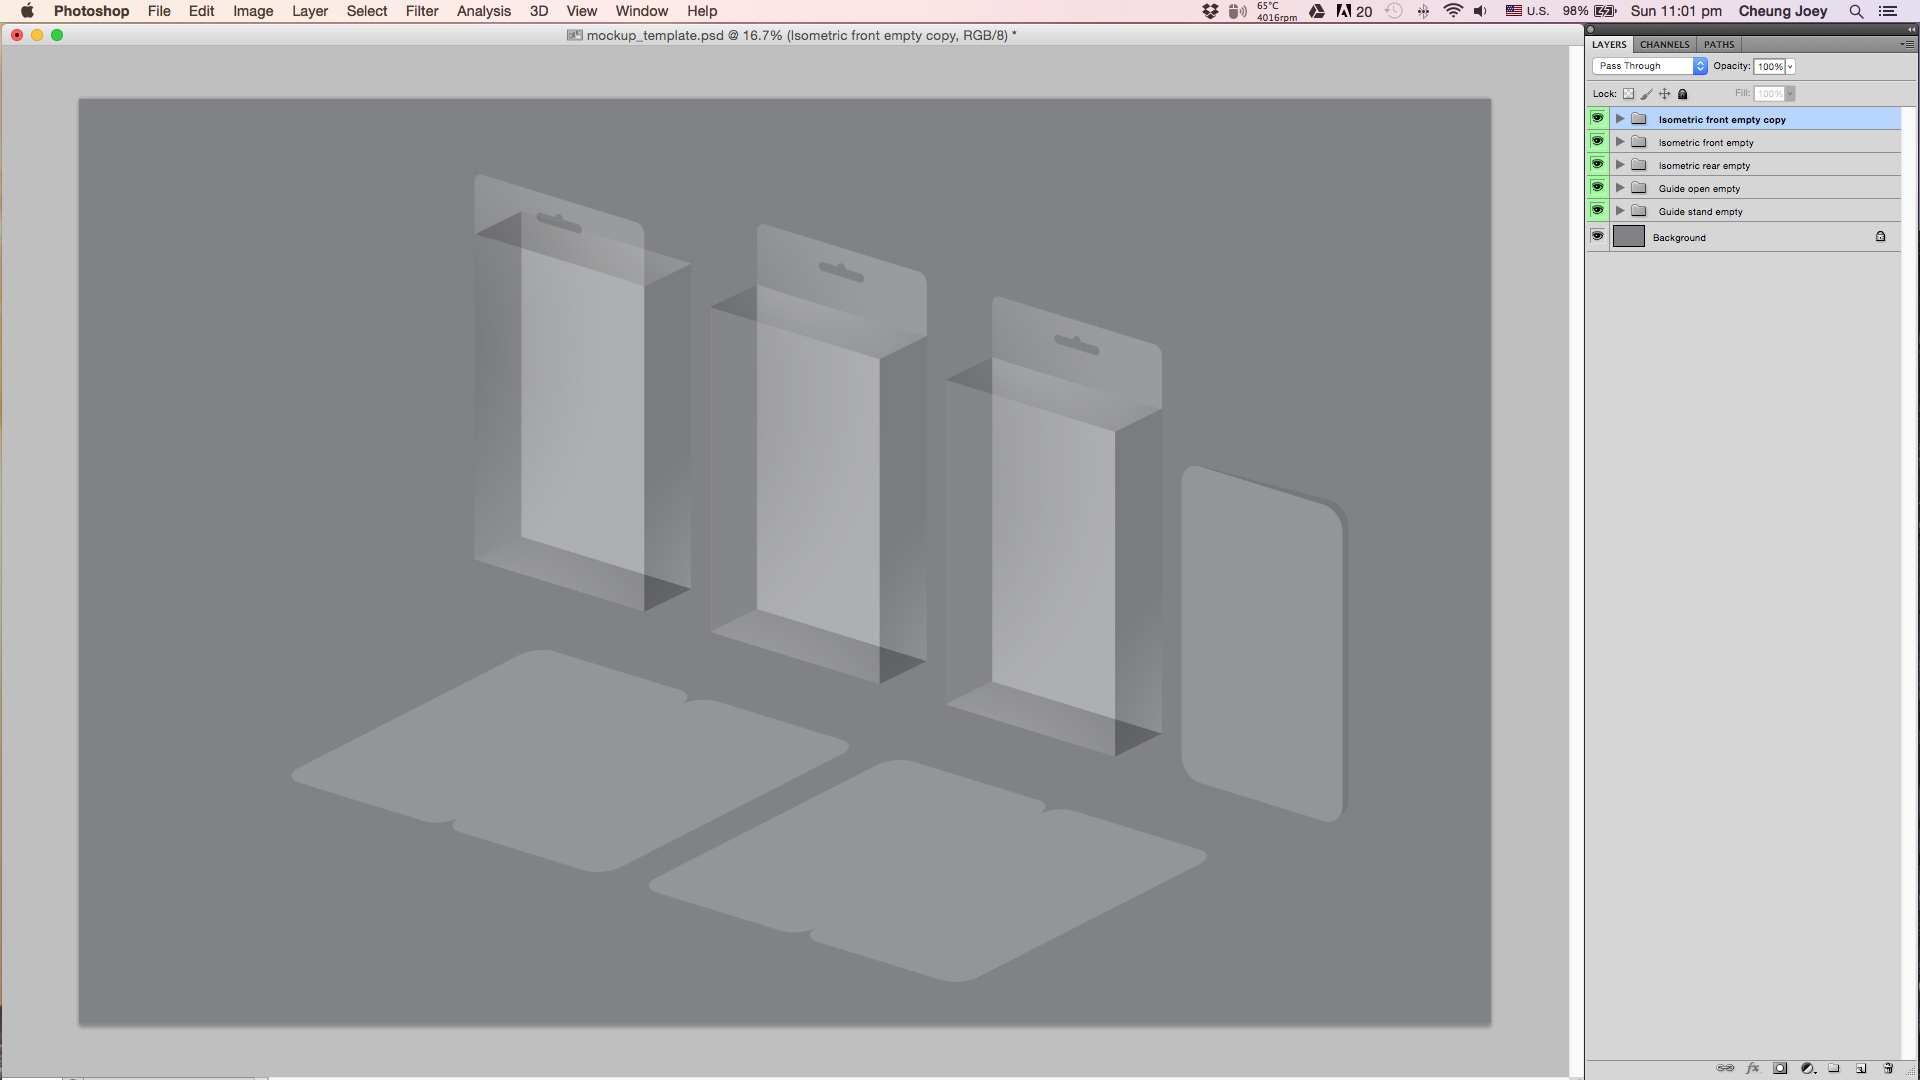
After finished my design (a packaging design done in AI for example), I'll create an empty set in photoshop to define the render angle & the items I want to include in this mockup (here I'm using isometric for easy reading, it's also work with perspective).
Paste in the Design
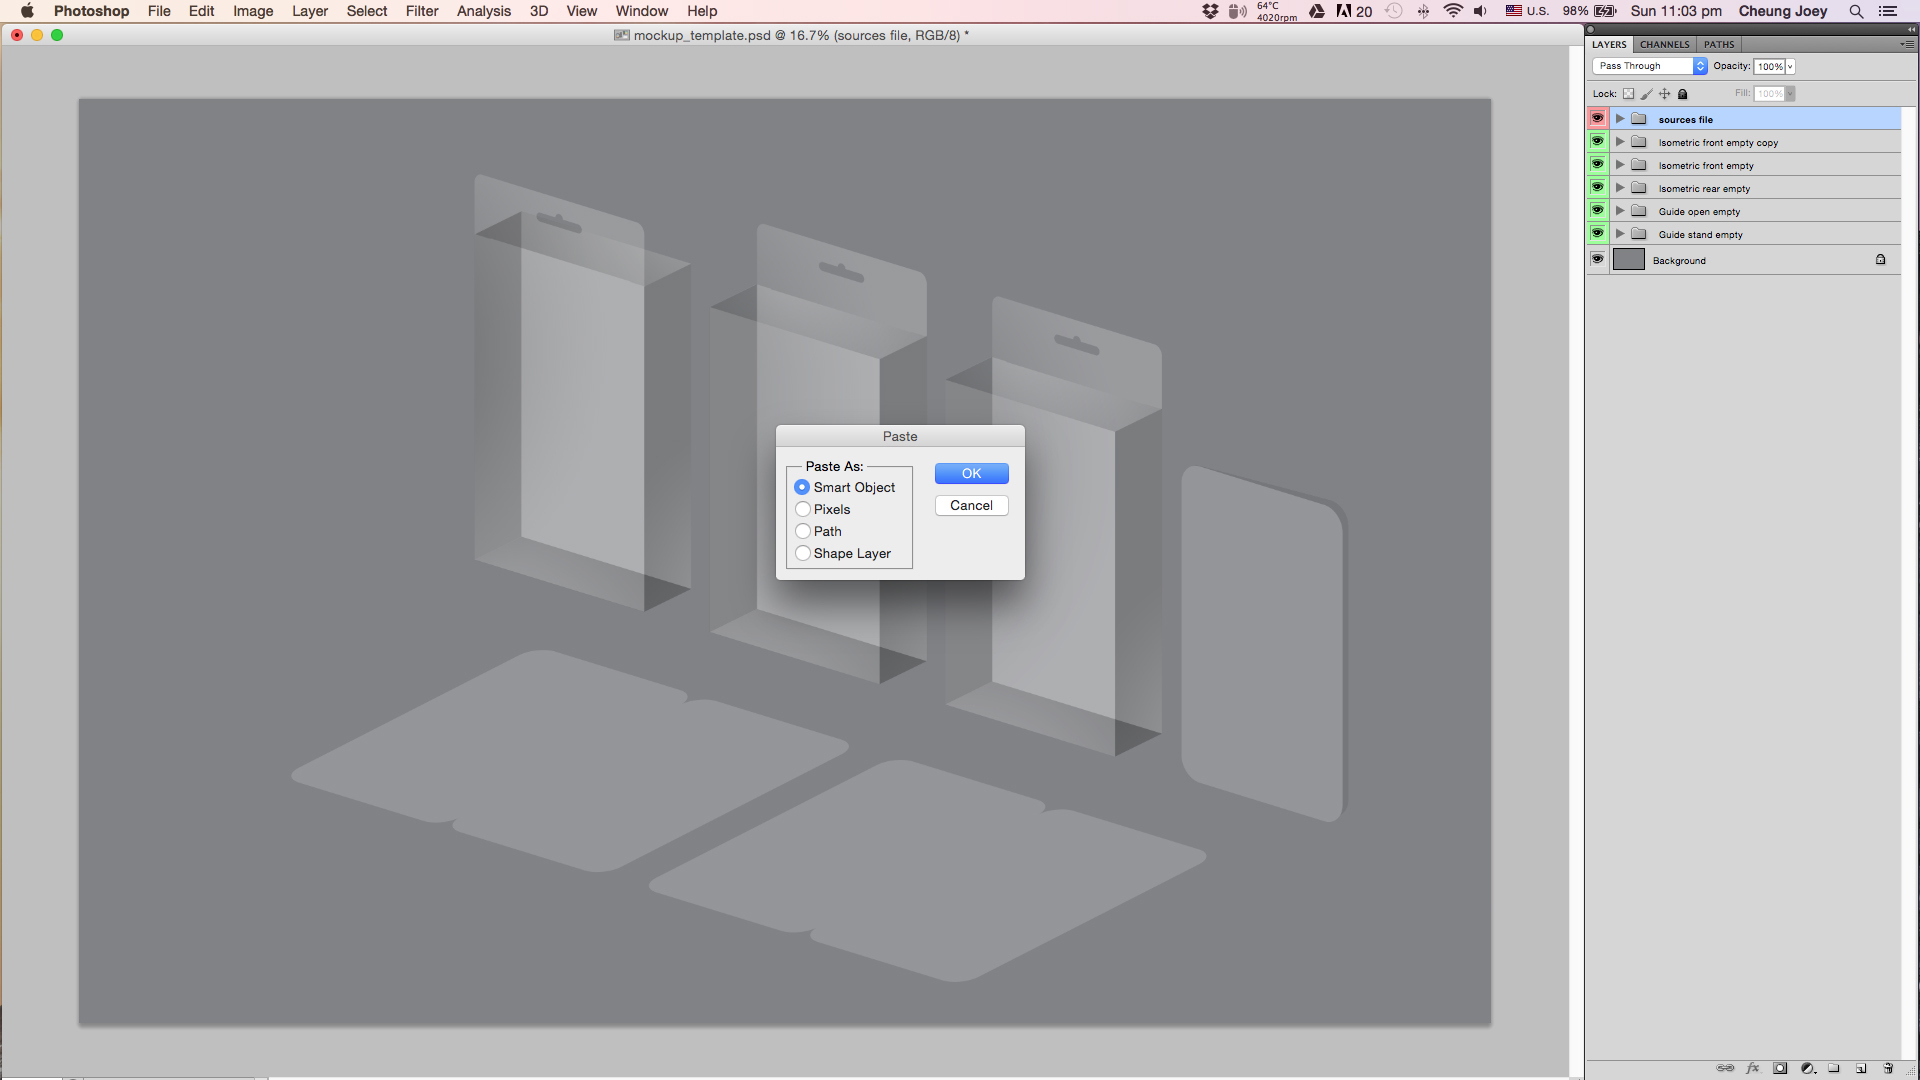
If done in PS - Group everything, then right click on folder and select "convert to smart object"
If done in AI - Copy everything and paste in photoshop as "smart object"
Group all sources files & highlight in group properties, make it easy to find.
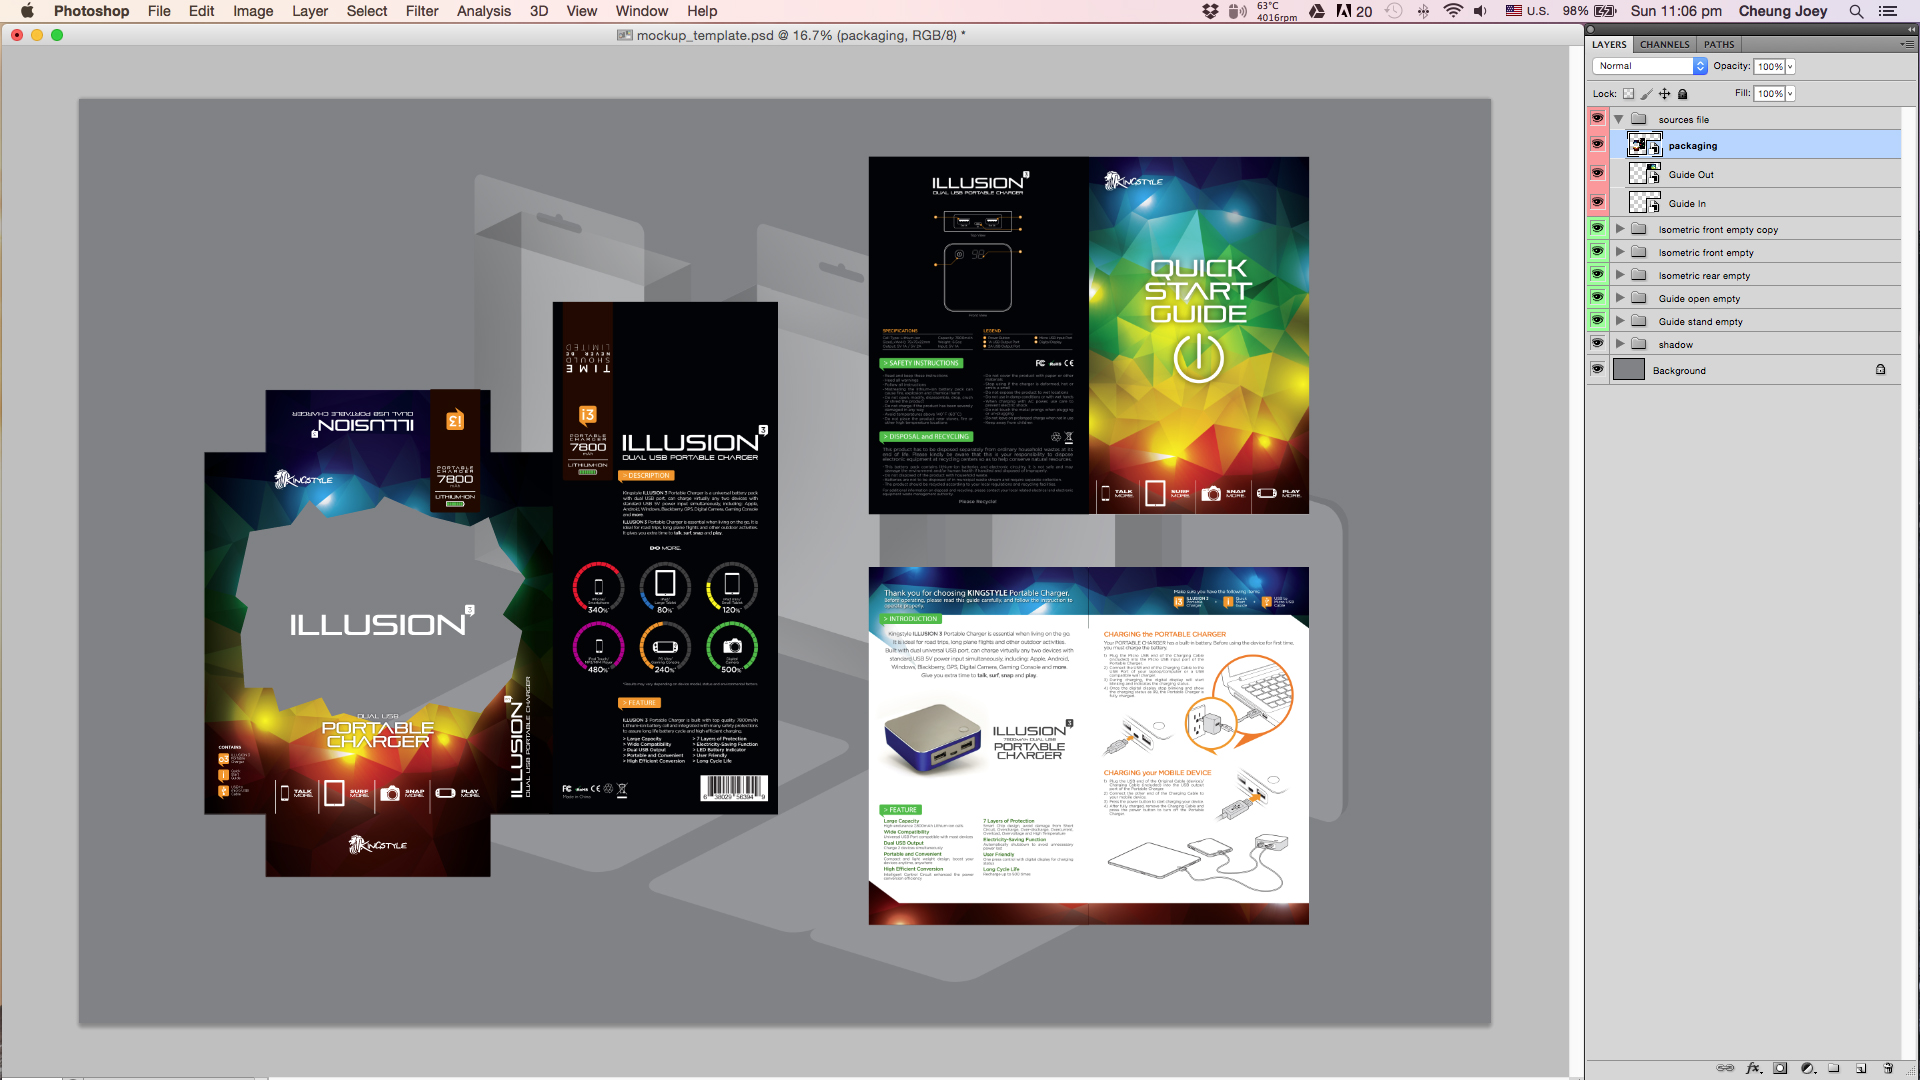
ps. A user guide is also included in this design.
Duplicate the Sources File
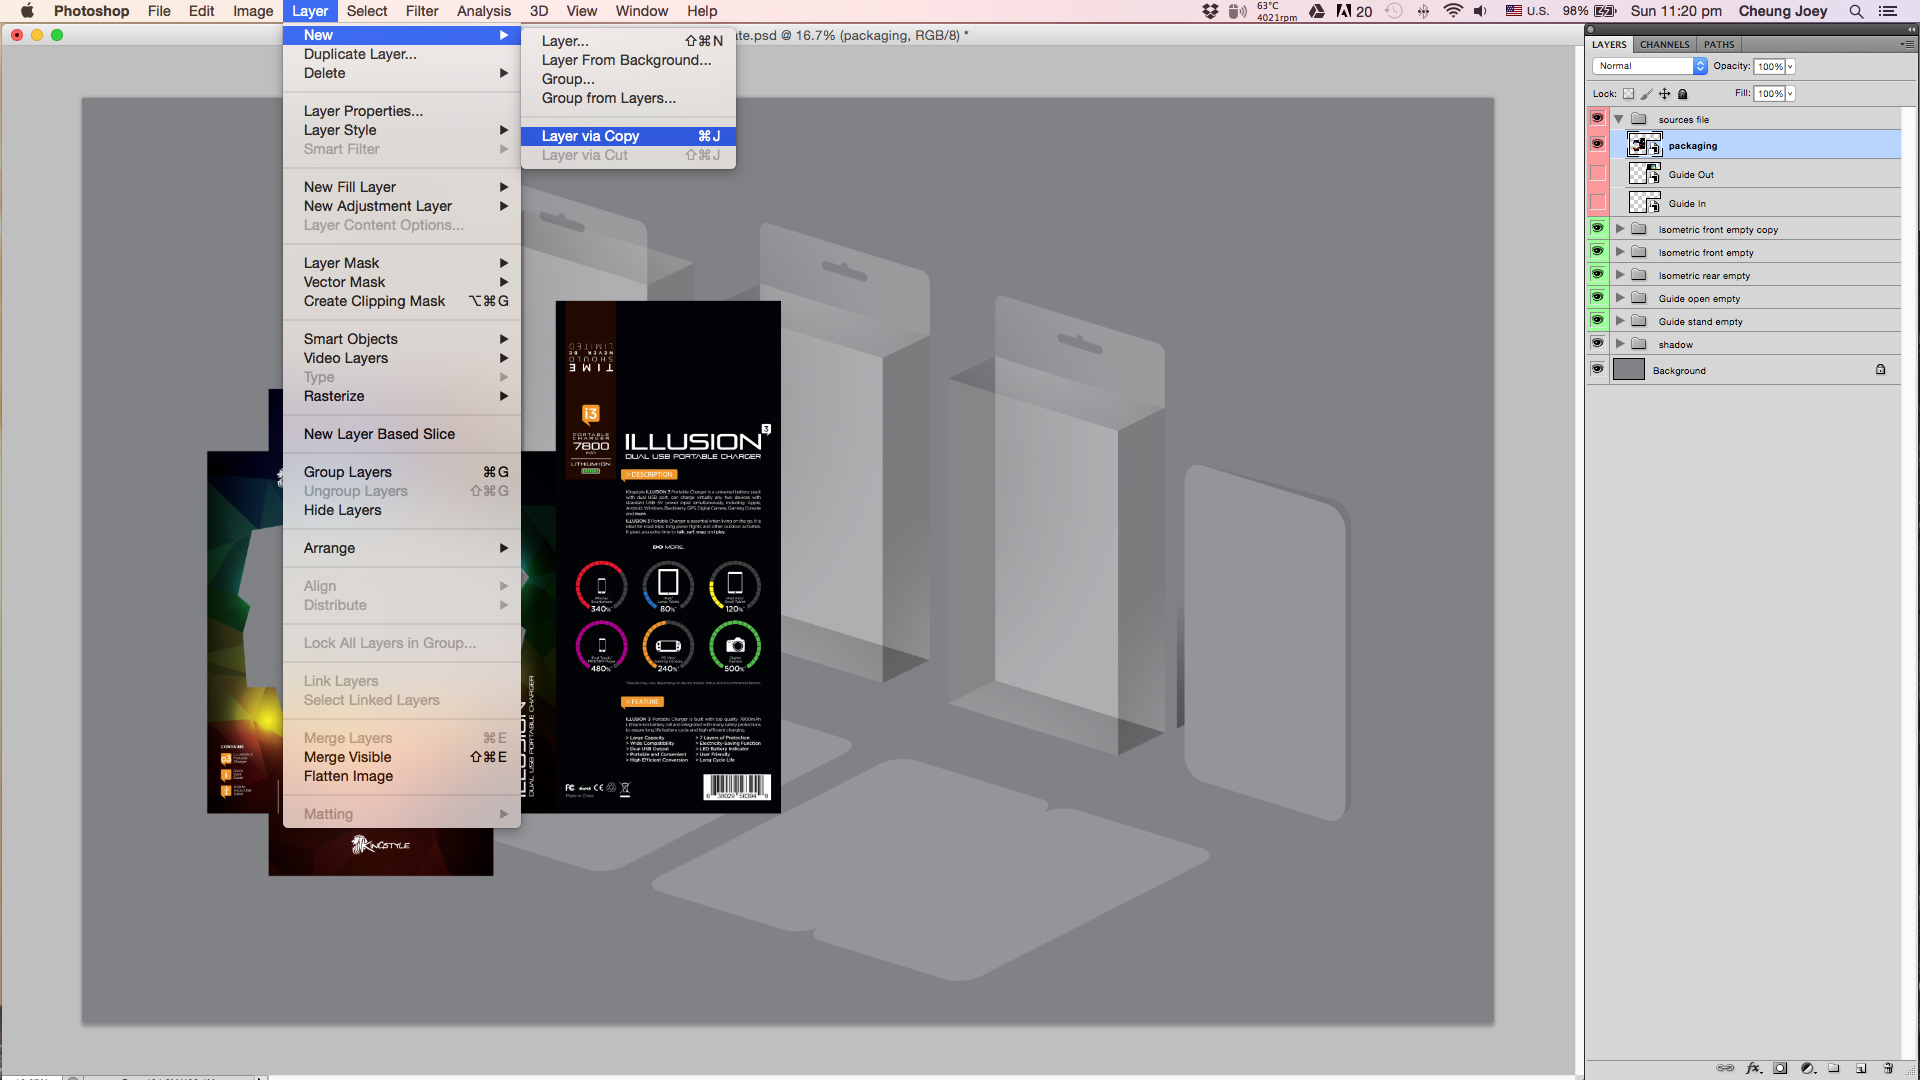
Duplicate the sources file using "Layer via Copy", it will automatic update once we edit the sources files, that's the key point for a template.
Distort & Mask
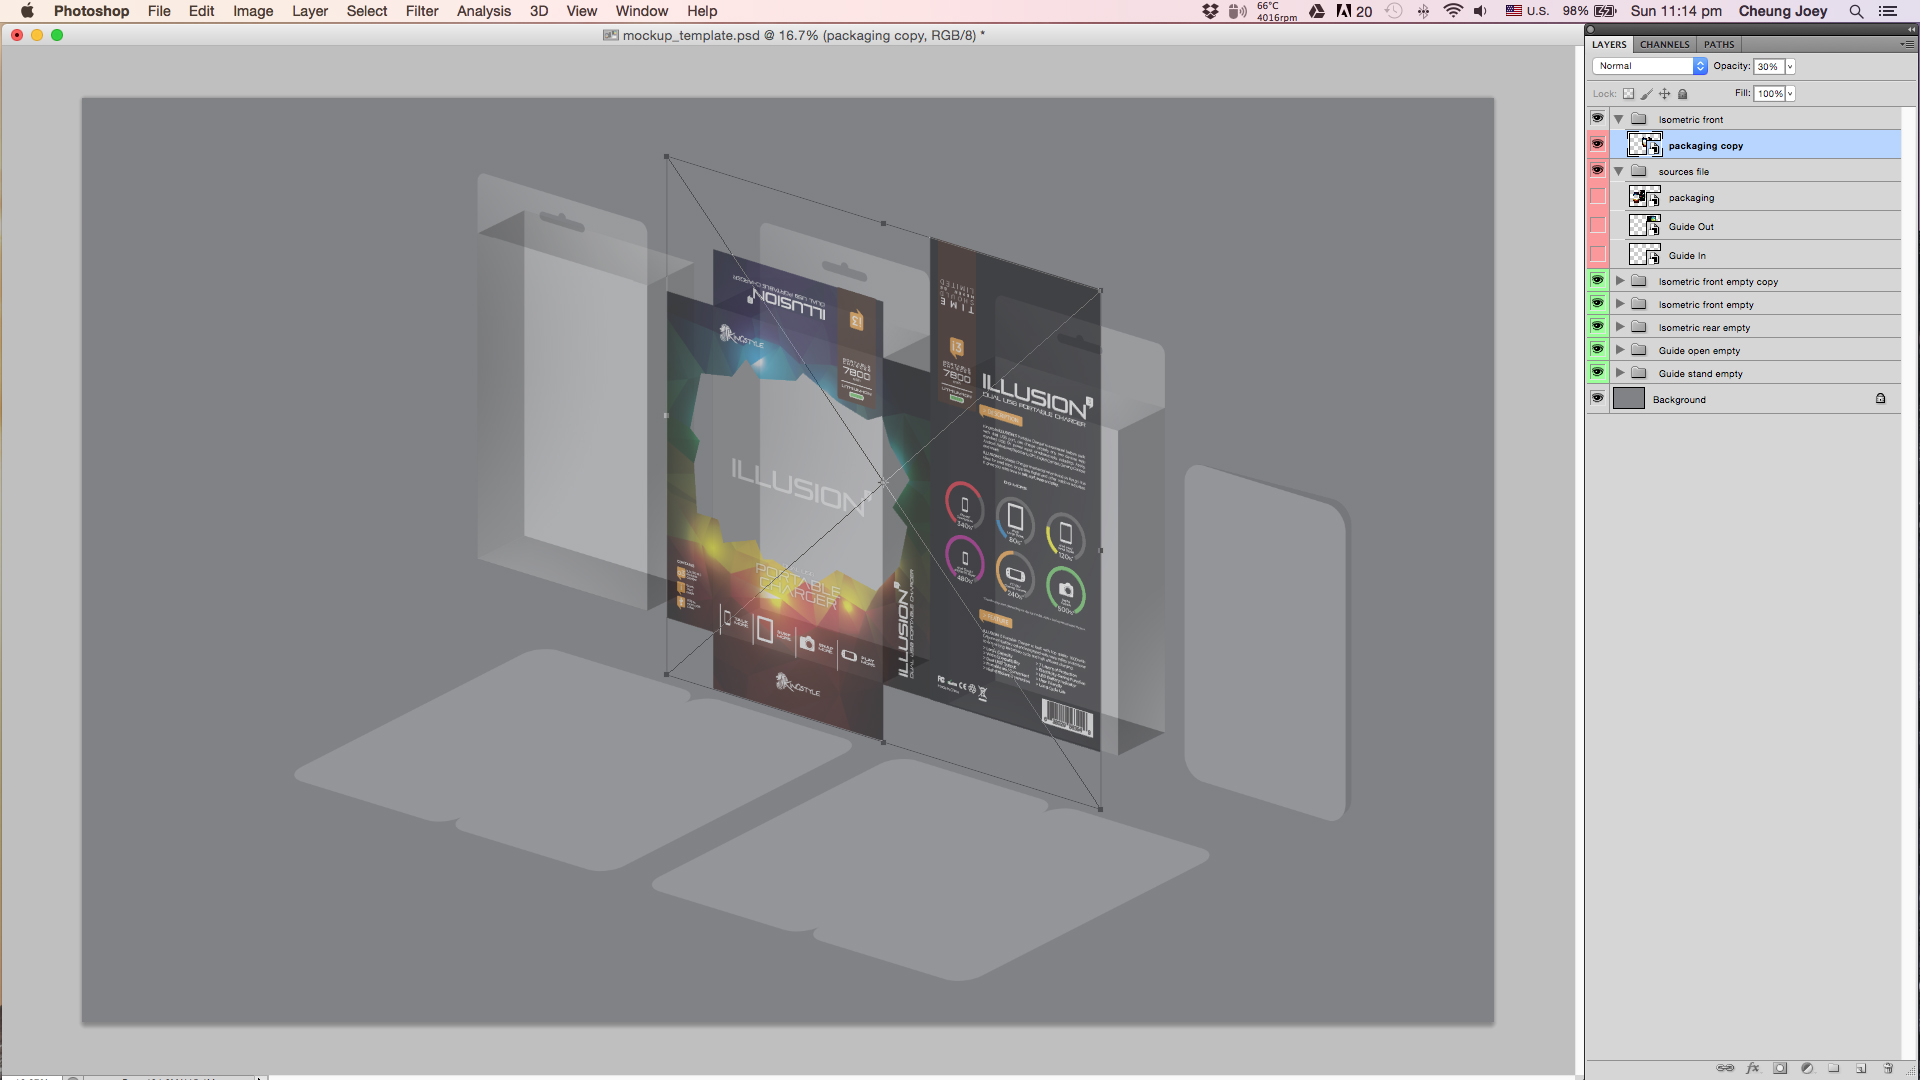
Distort & mask the duplicated layers to wrap the surface, repeat Step 3 & 4 for the whole packaging.
When all the surface is mapped, I'll use adjustment layer to modify the colours, highlights and shadows.
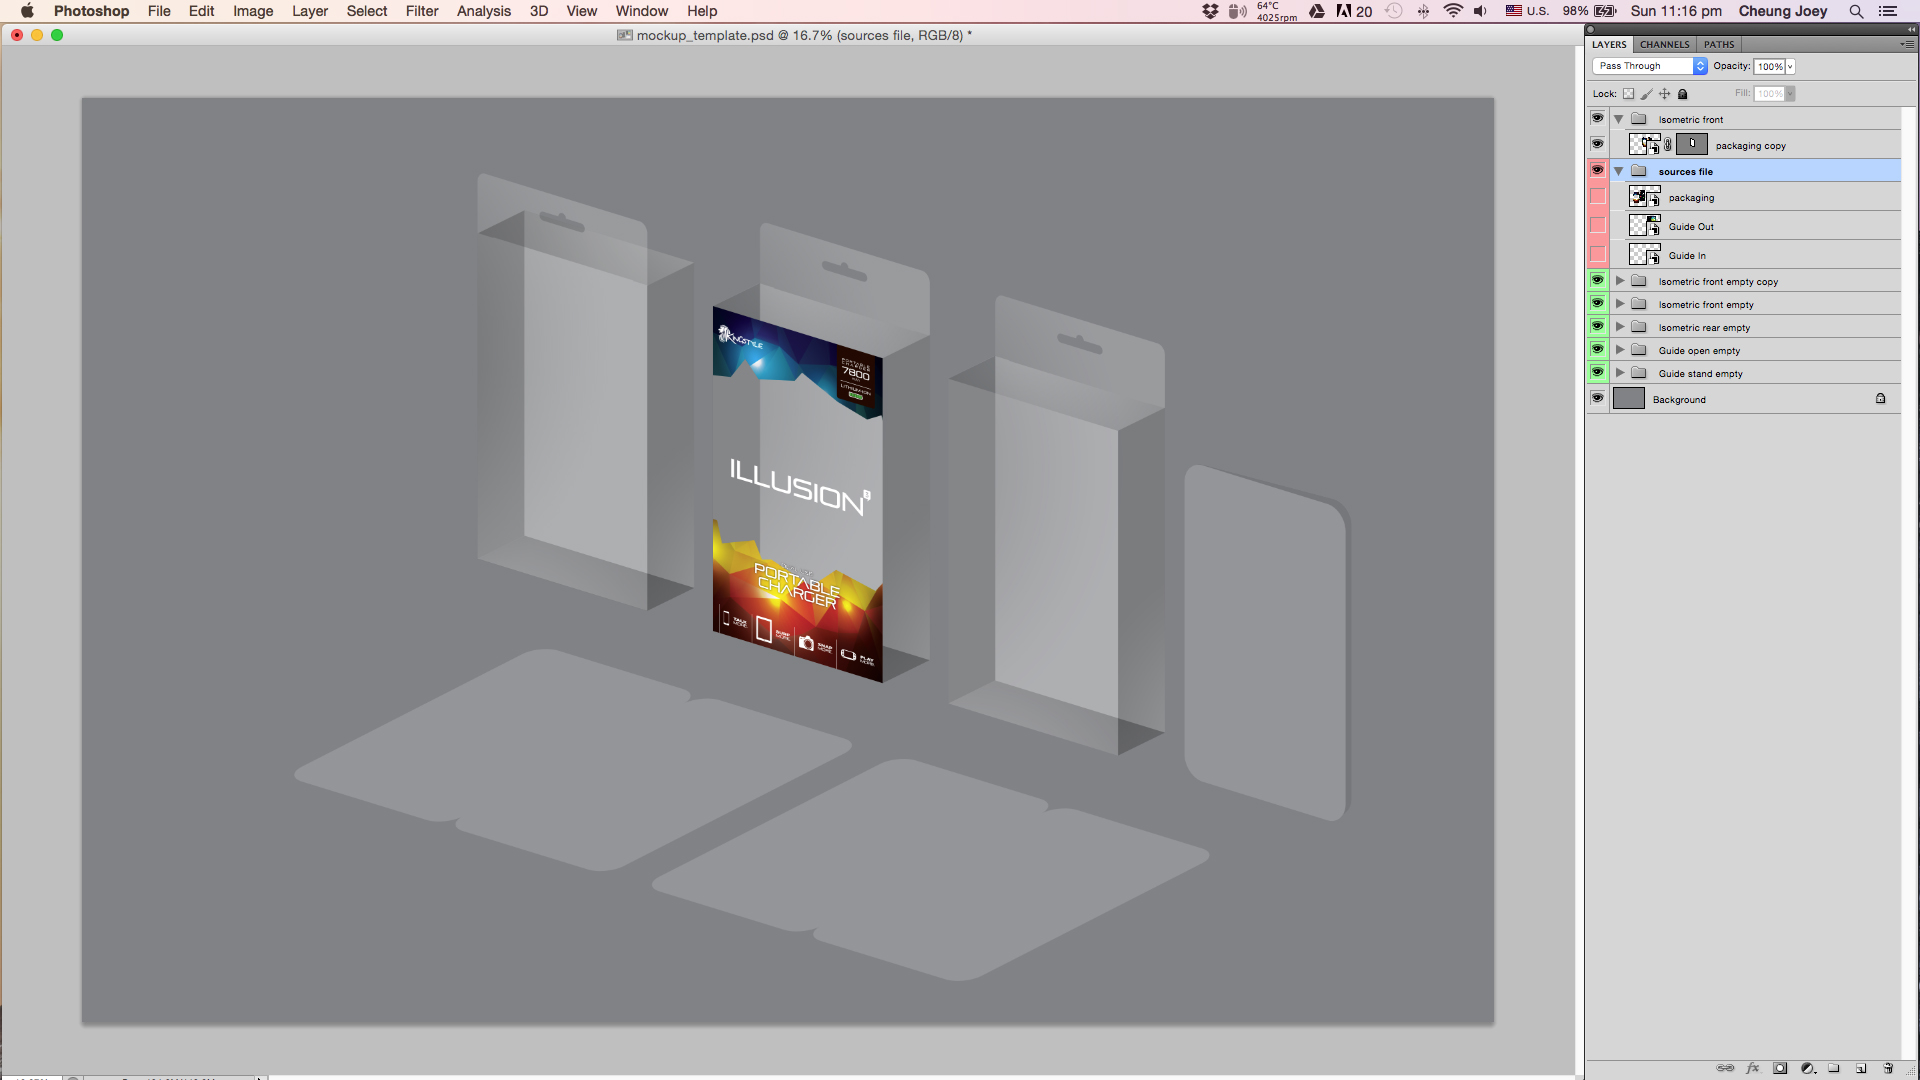
Work As a Template
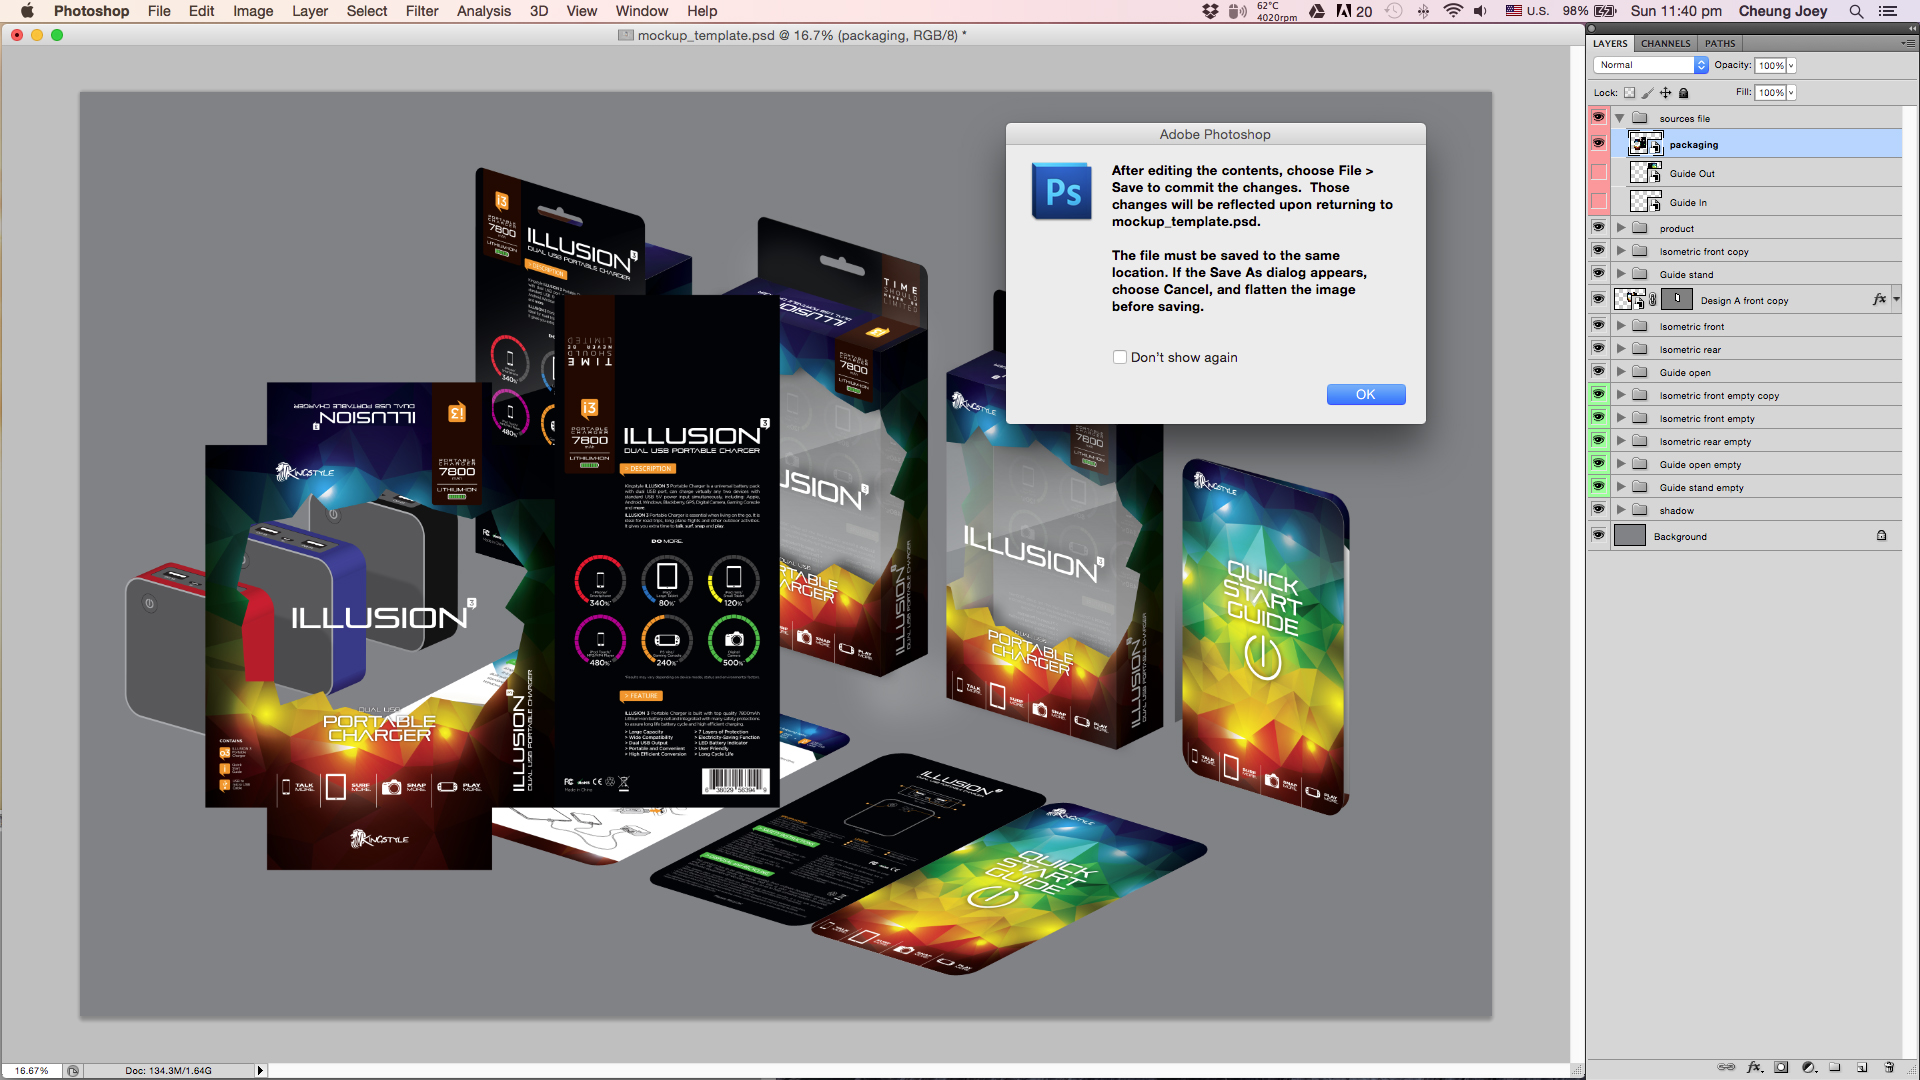
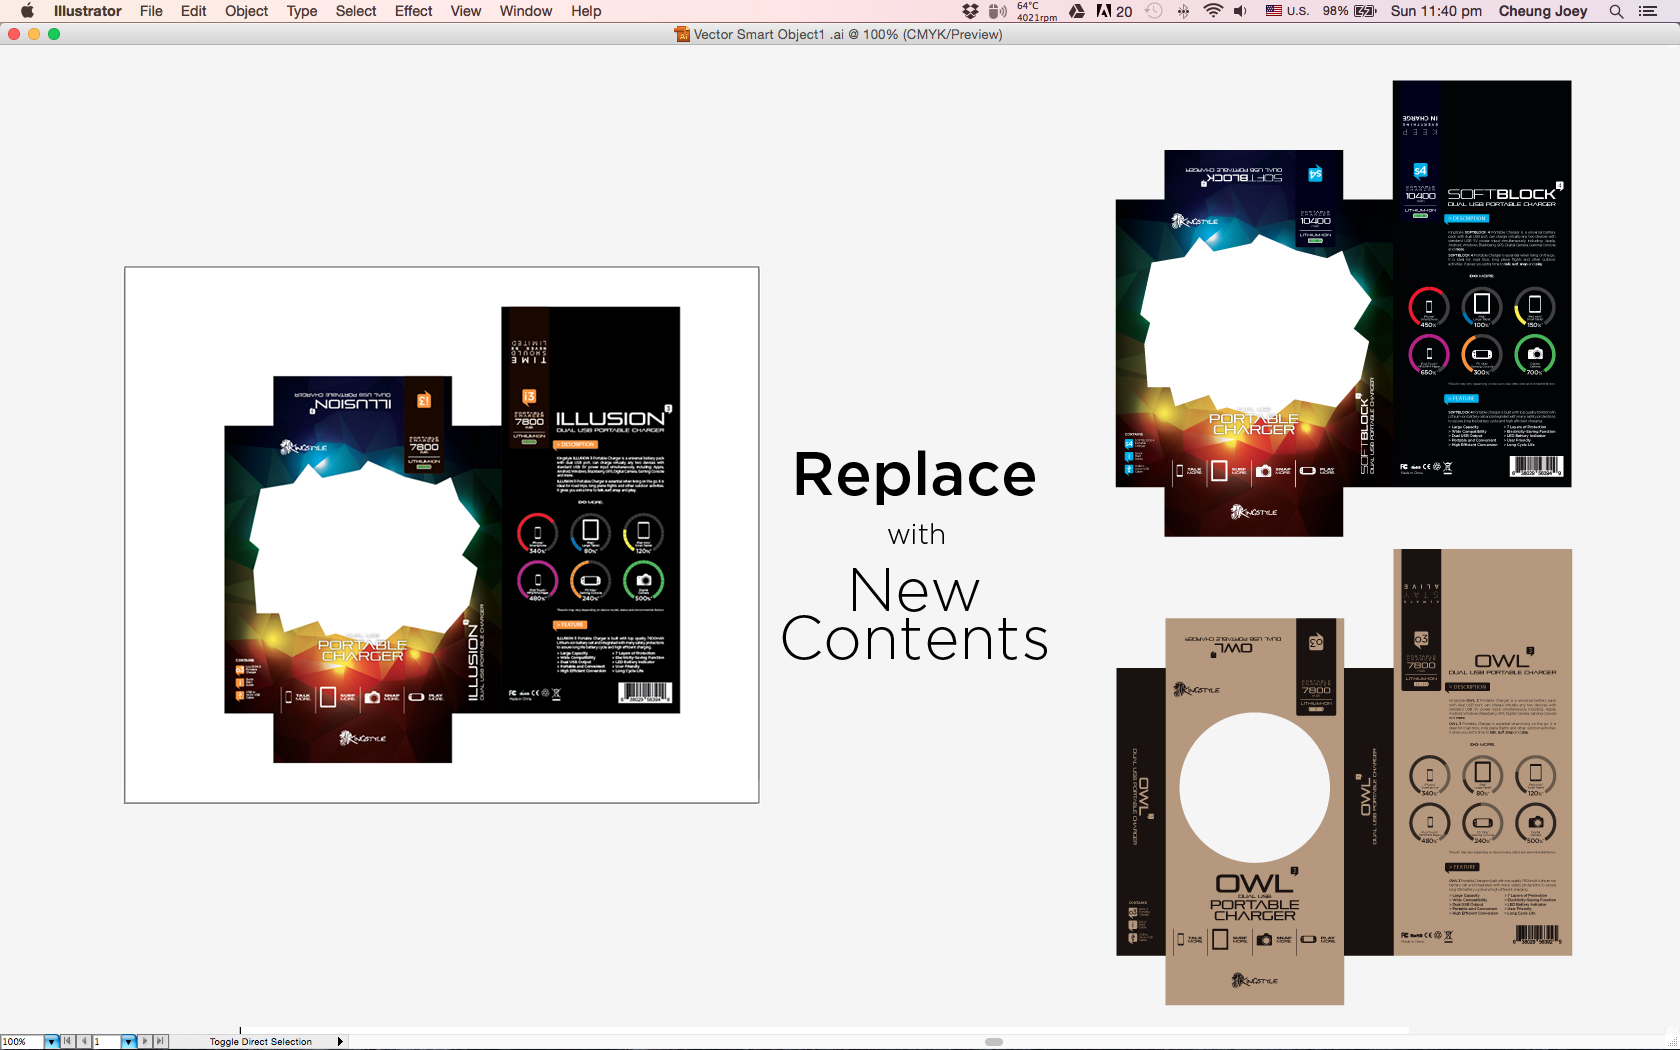
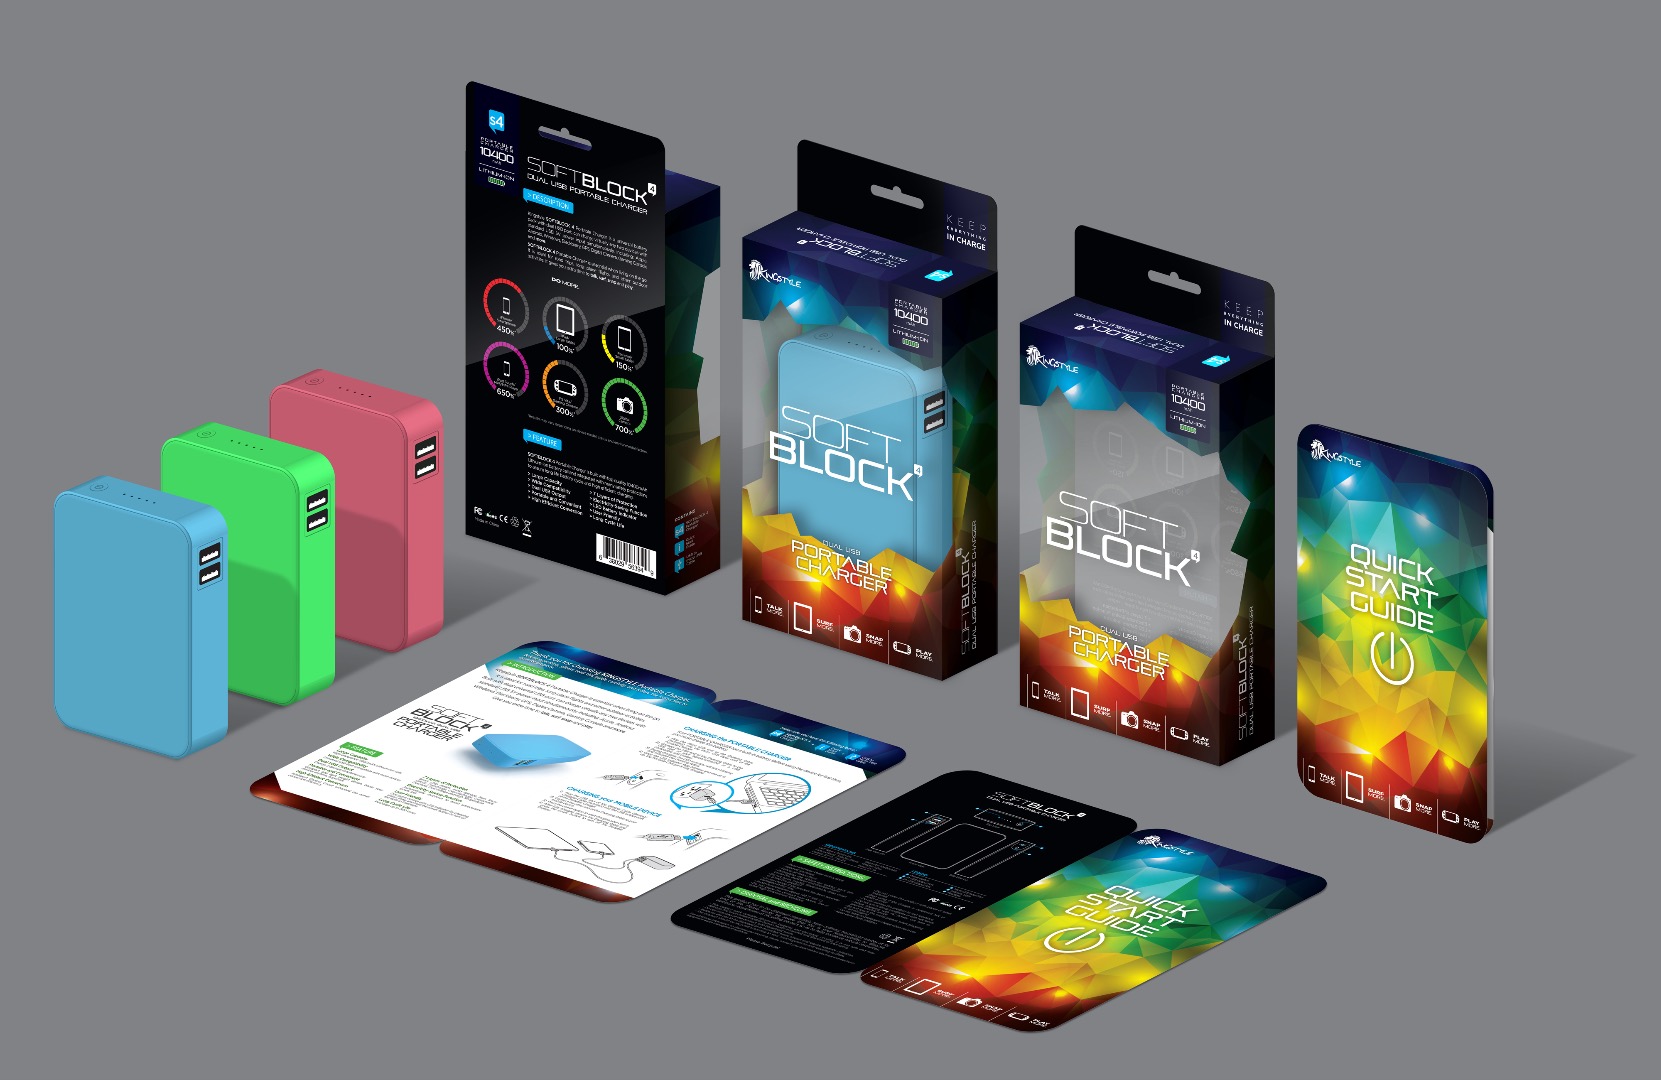
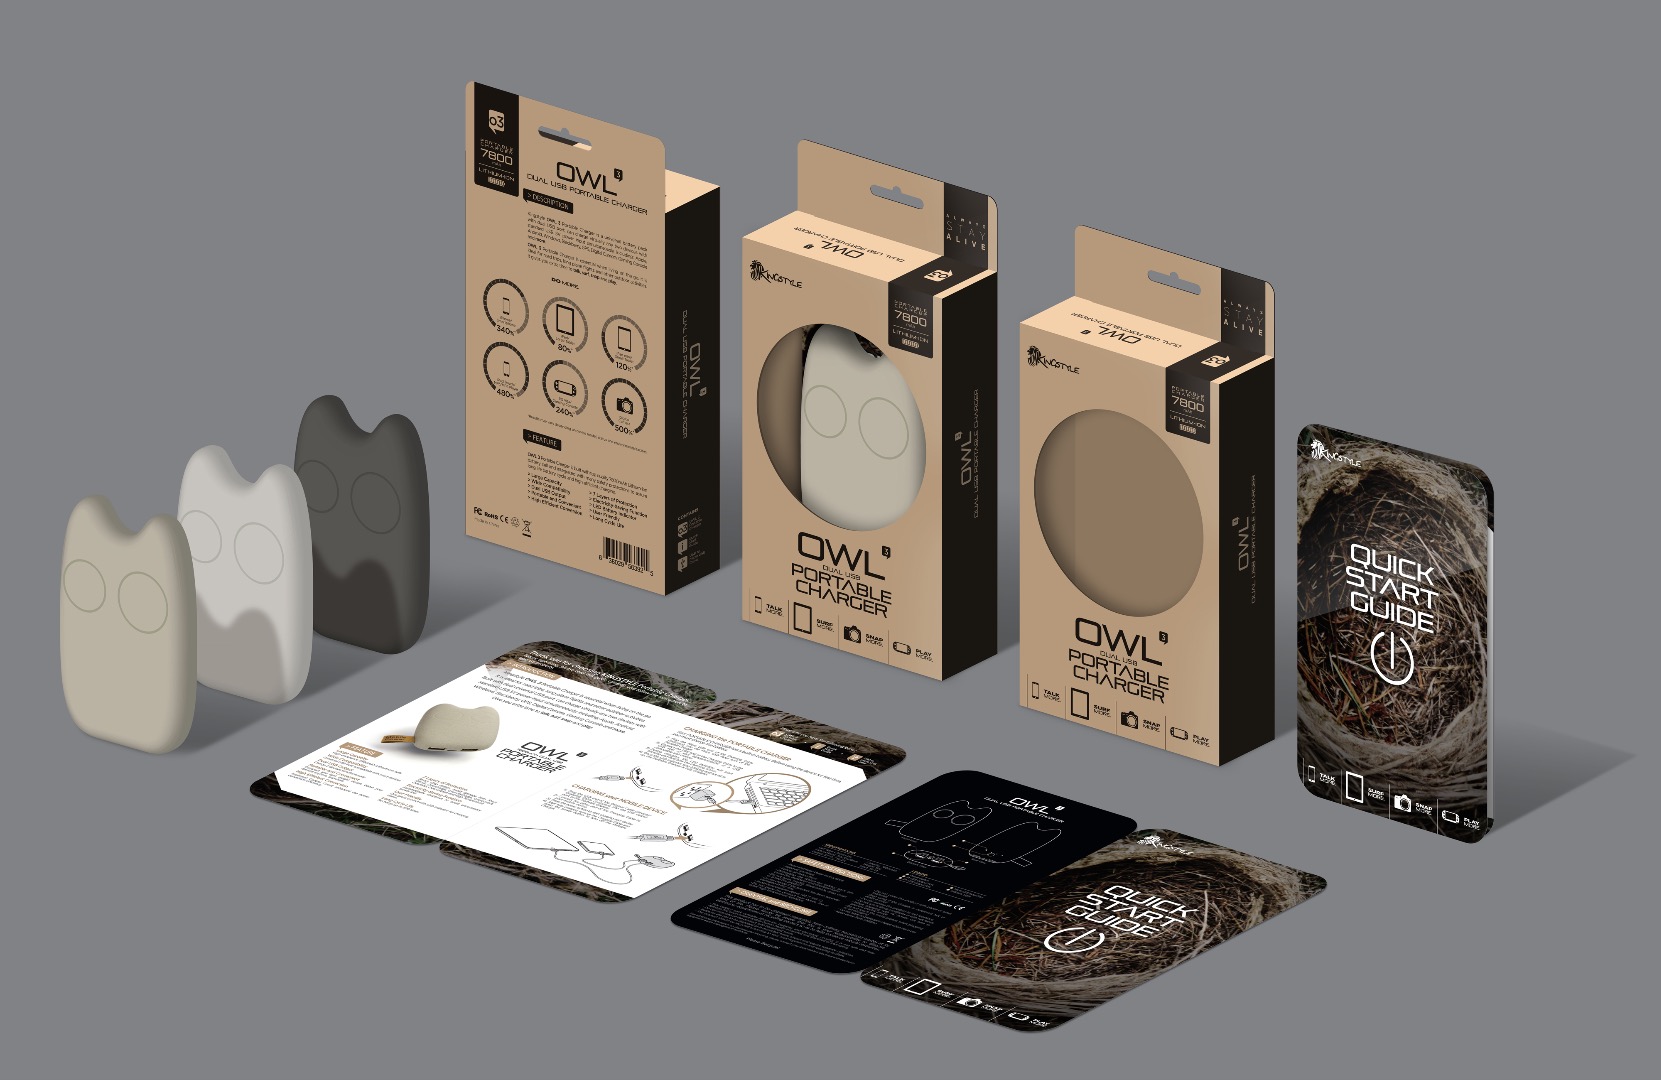
Double click on the sources files, replace with new contents & save, and it's Done!
It's just that simple!
Thanks for Watching! Happy Design!!