Design Mobile Apps Using This Prototyping Whiteboard
by drewSaysGoVeg in Circuits > Tools
3983 Views, 27 Favorites, 0 Comments
Design Mobile Apps Using This Prototyping Whiteboard
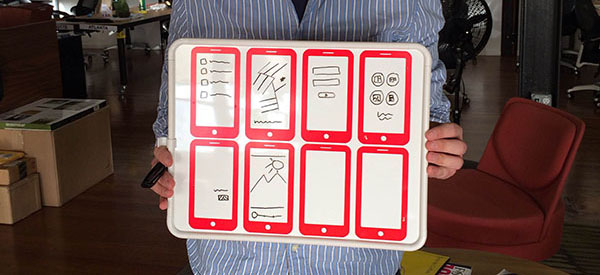
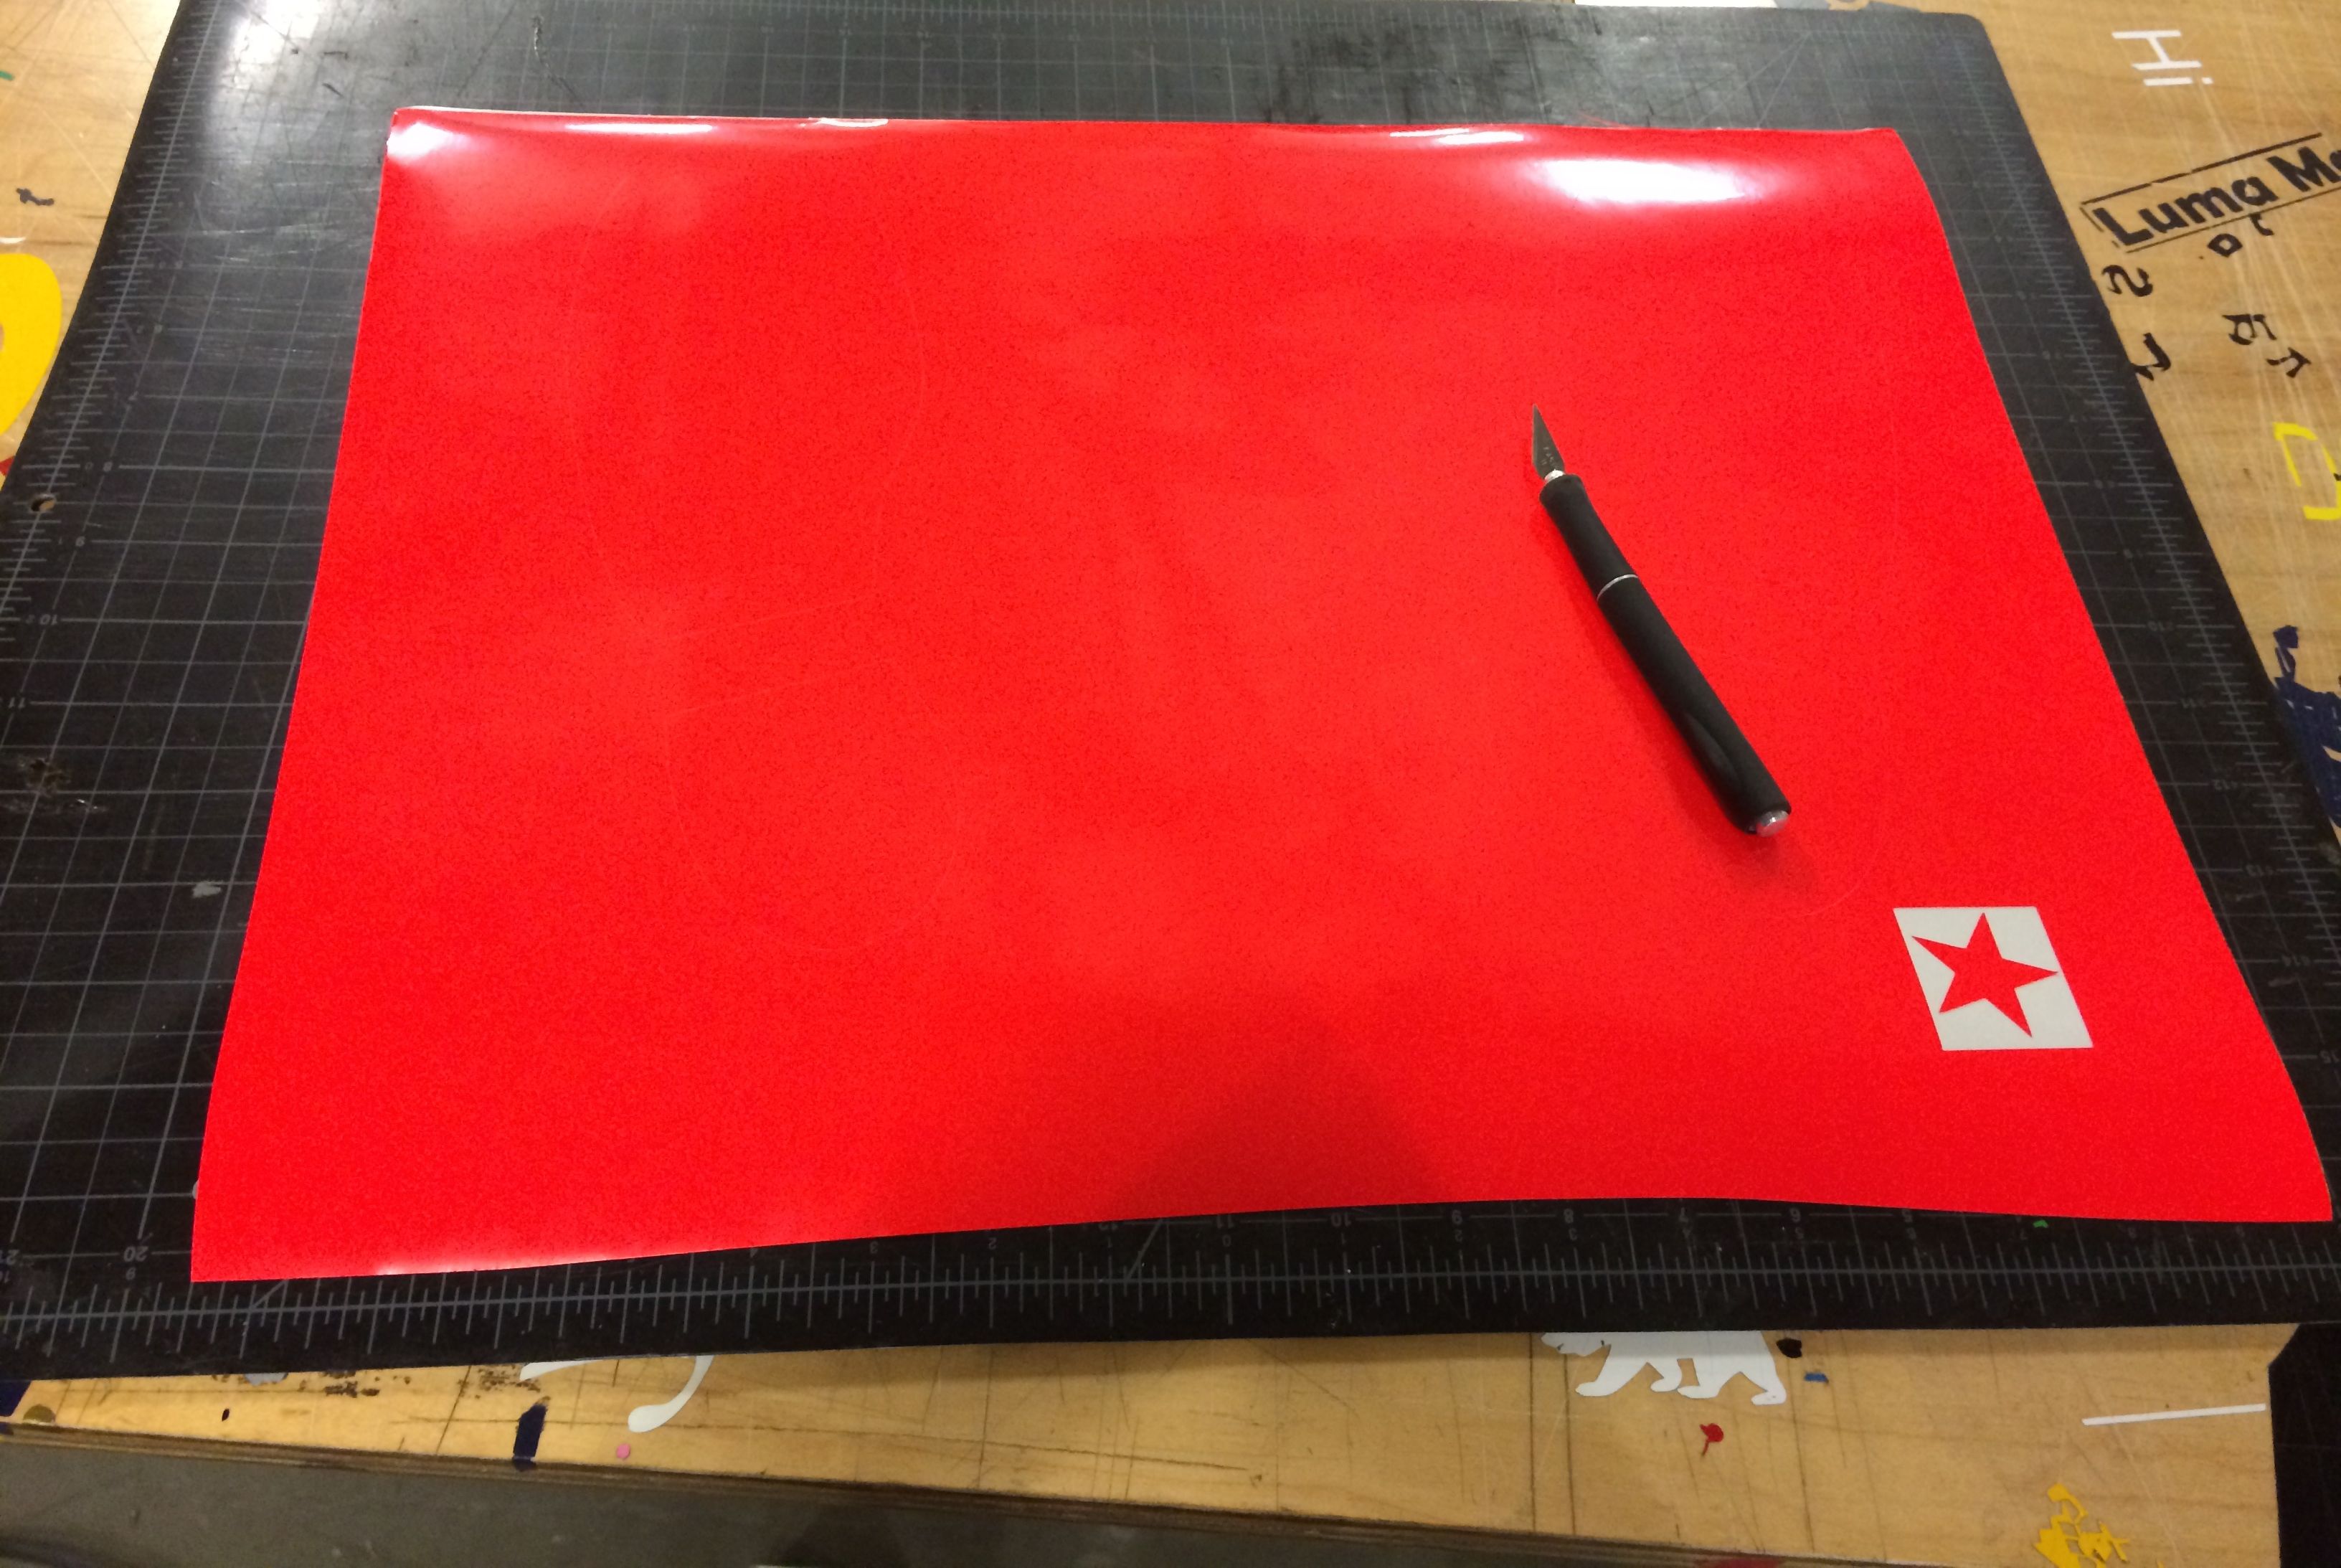
Have a mobile app idea? Take your idea to the next step by drawing out the various screens. This kind of low-fi prototyping can help you refine your idea without even needing to write code or design anything. I made one of these for my Code for America fellowship team.
For this instructable you'll need access to a vinyl cutter. I made this at TechShop.
Materials:
- Vinyl sticker sheet
- Sticker contact paper
- White board - I bought one for ~$12 at an office supply store
Tools:
- Vinyl cutter
- Exacto knife
- Some dental tools are ideal, but you could use toothpicks instead
- Squeegee (you could improvise with a dowel or even just your fingers)
Design Your File
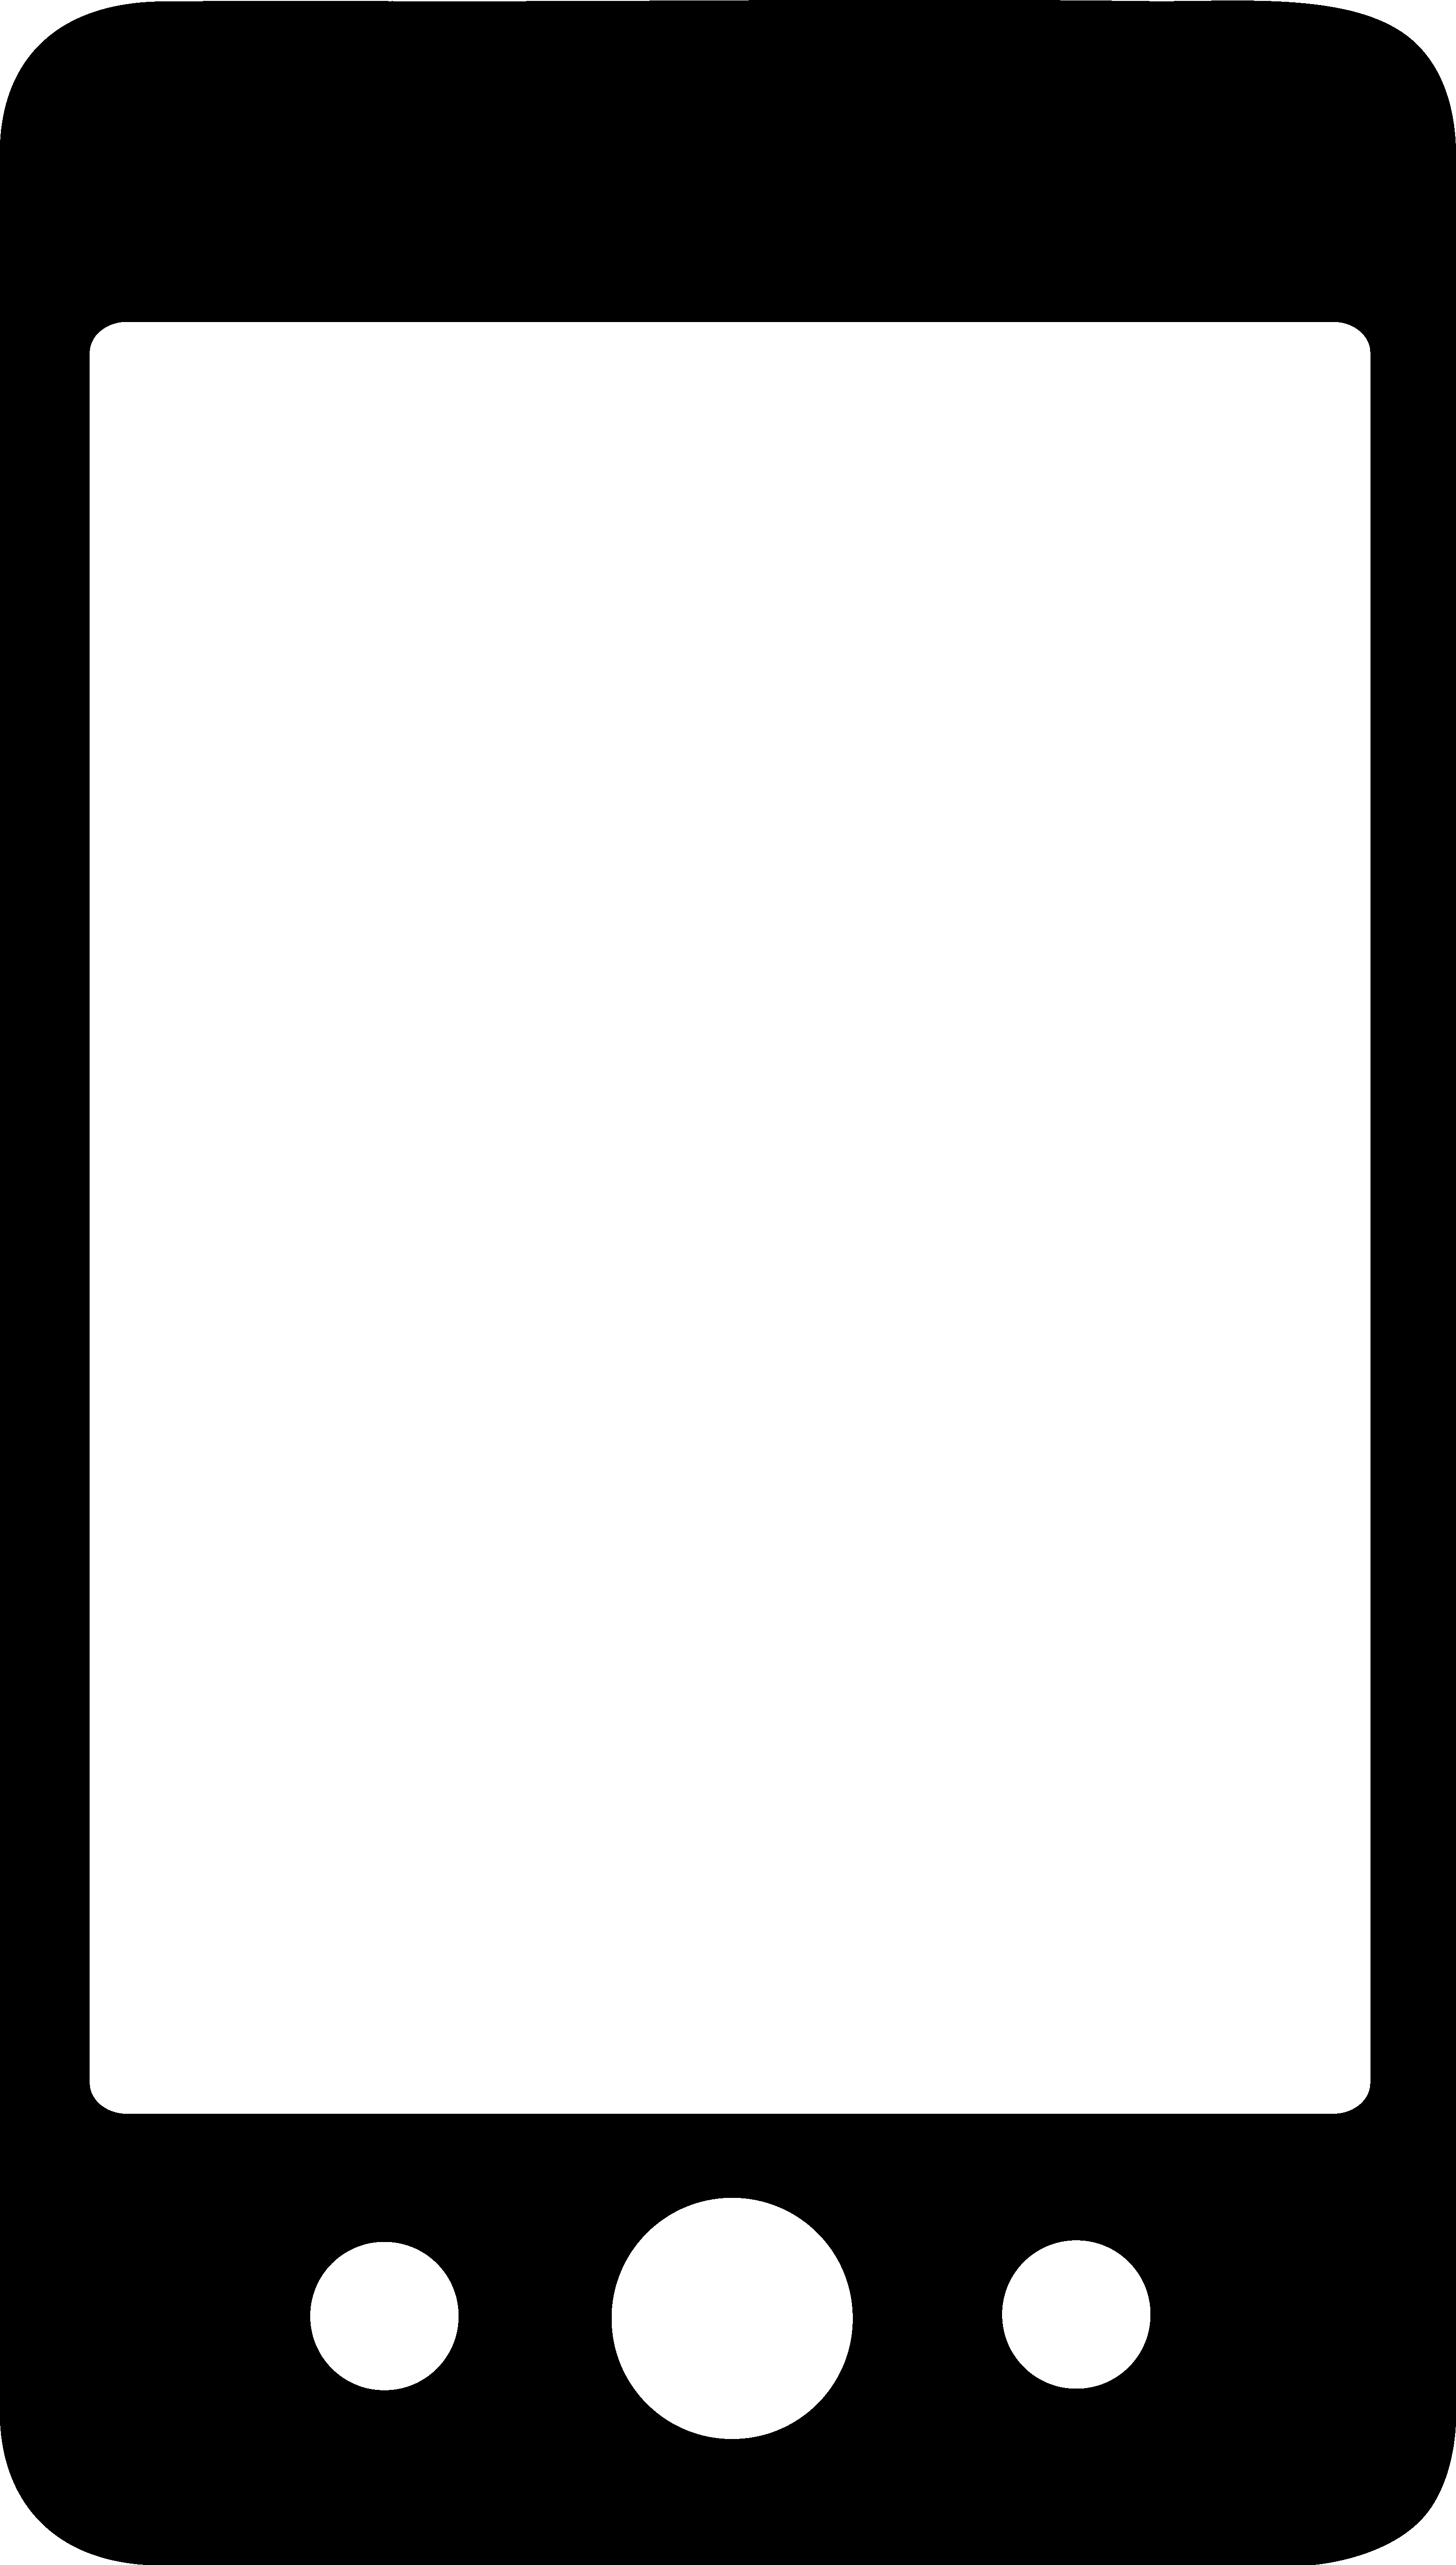
Depending on the size of your whiteboard, you'll want to design your sticker sheet to fit the right number of screens. I chose to use the iPhone 5S screen size and my whiteboard fit two rows of four screens. You could also experiment and include some tablet and desktop sizes, if you'd like. To keep it simple I just used 8 iPhone 5S sizes.
Common sizes:
iPhone 5S
- Height: 4.87 inches (123.8 mm)
- Width: 2.31 inches (58.6 mm)
Samsung Galaxy S4
- Height: 5.38 inches (136.6 mm)
- Width: 2.75 inches (69.8 mm)
Send It on the Vinyl Cutter
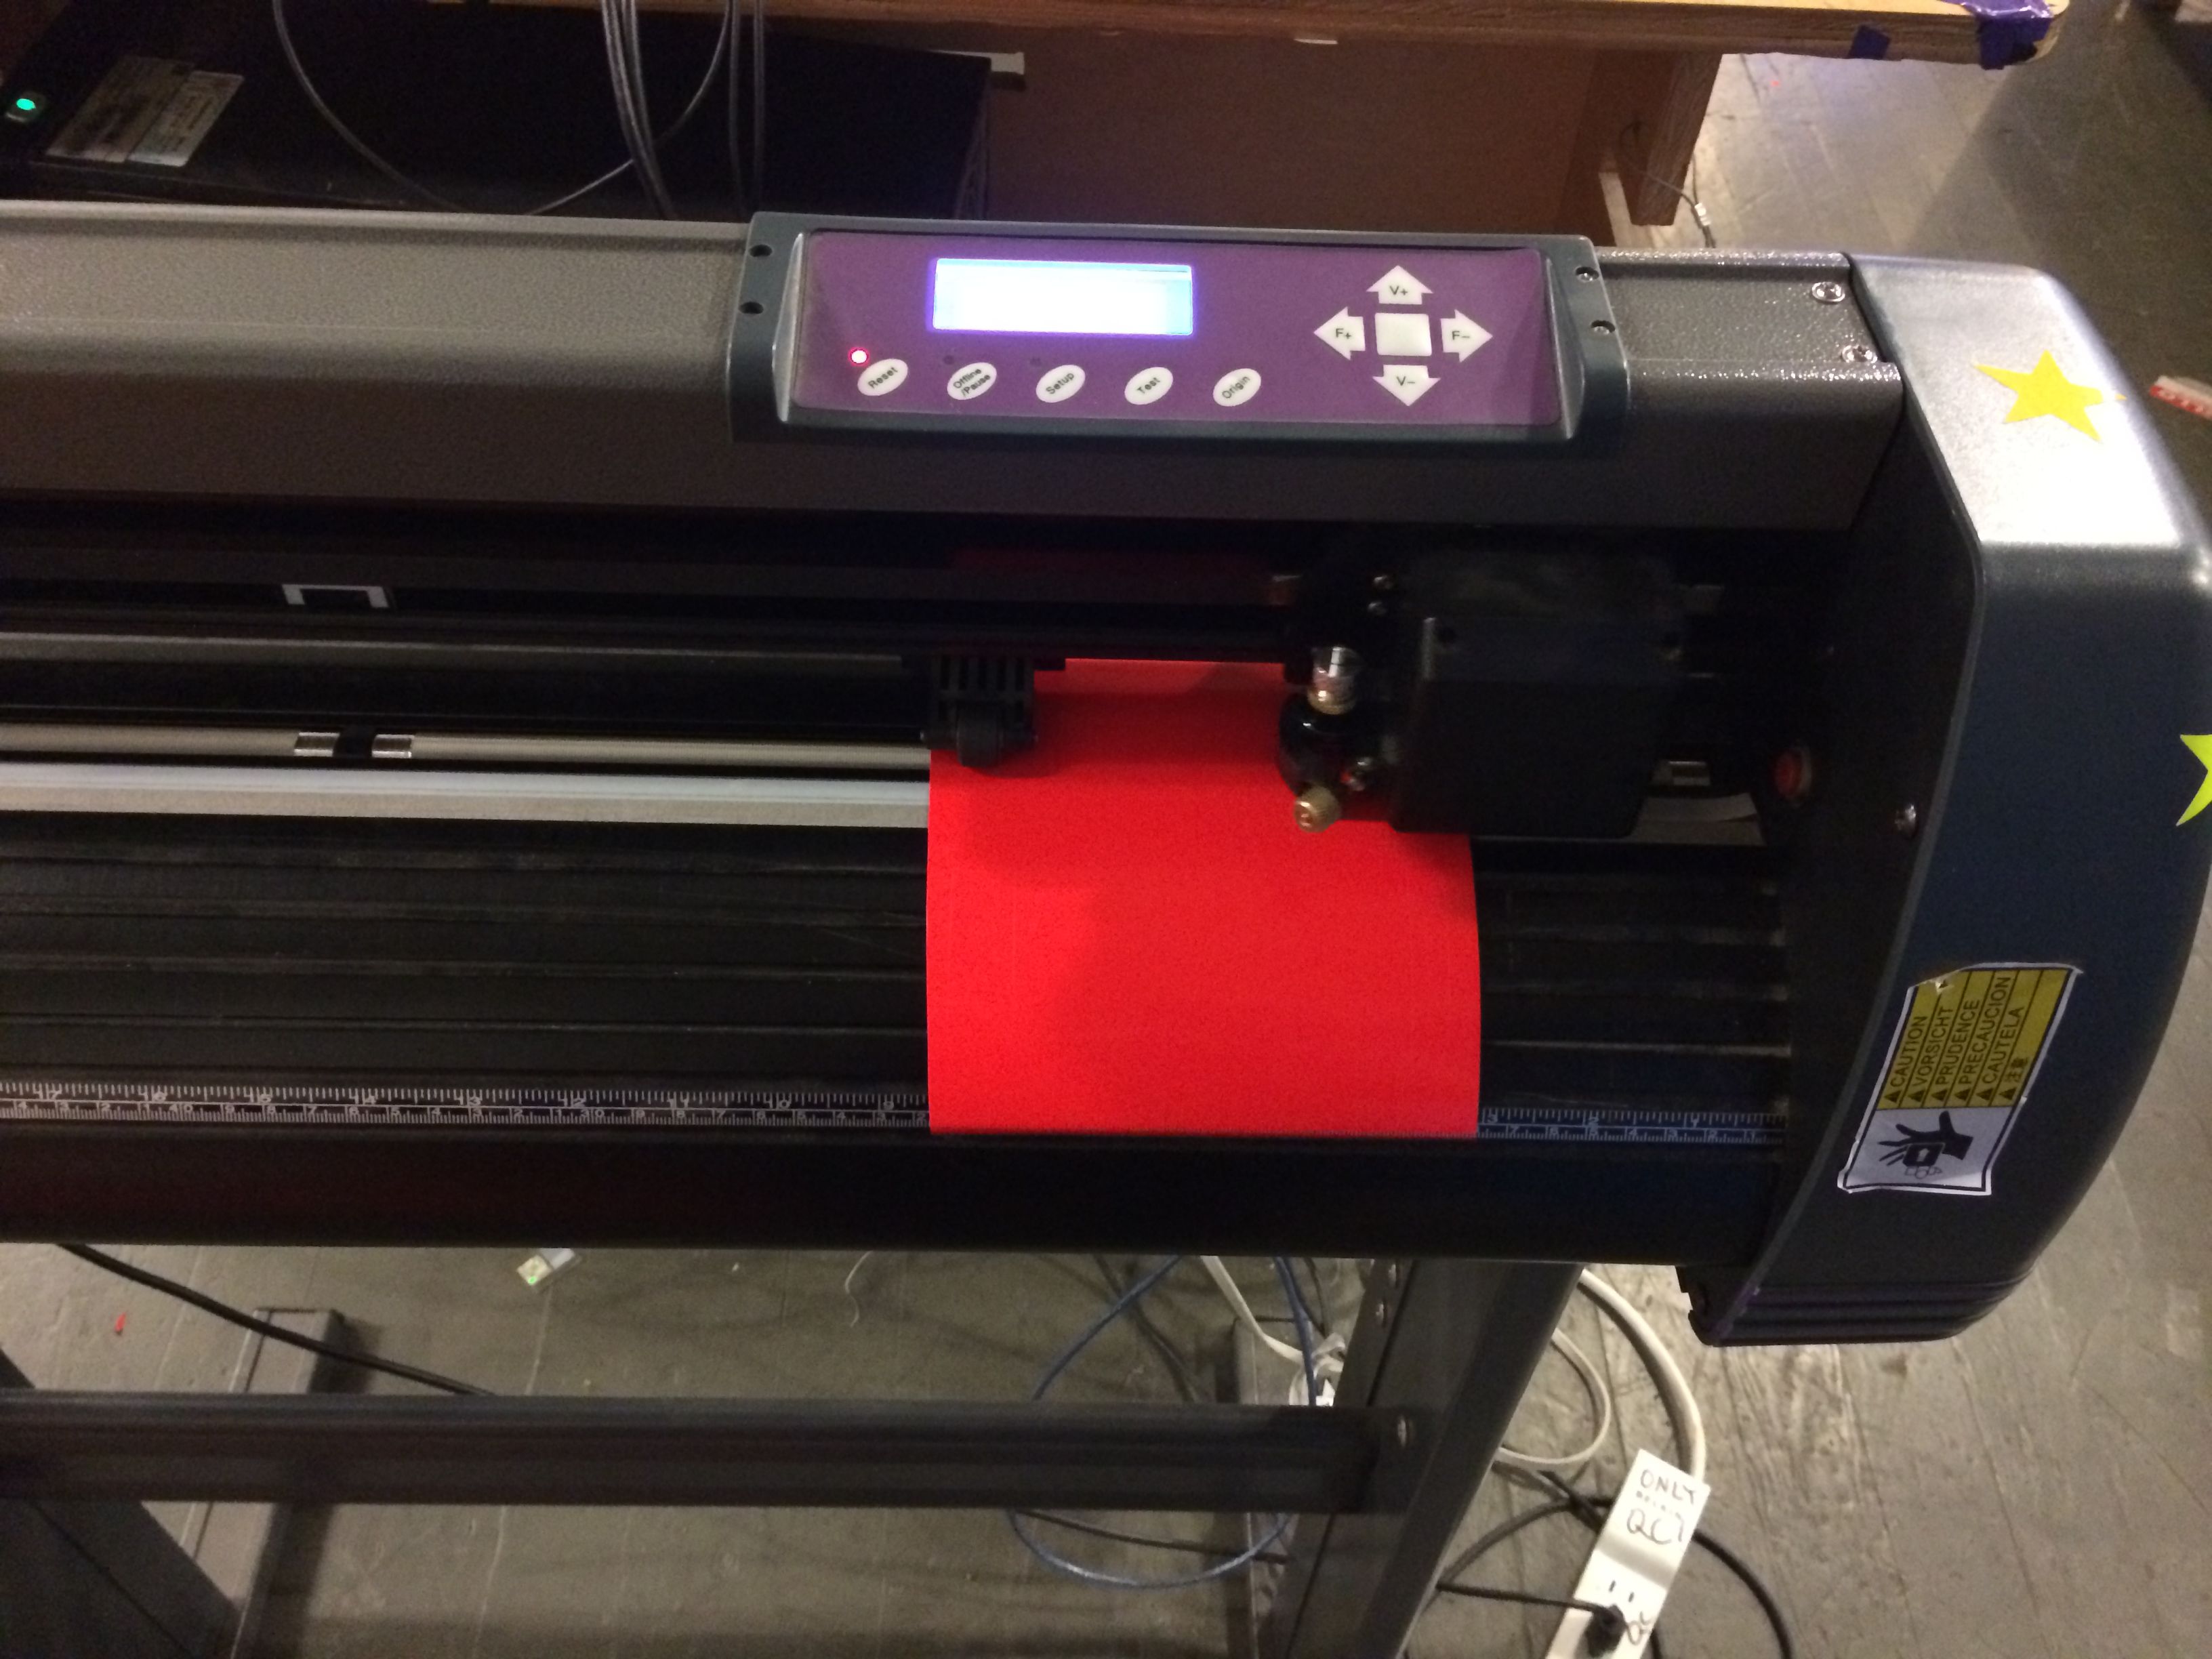
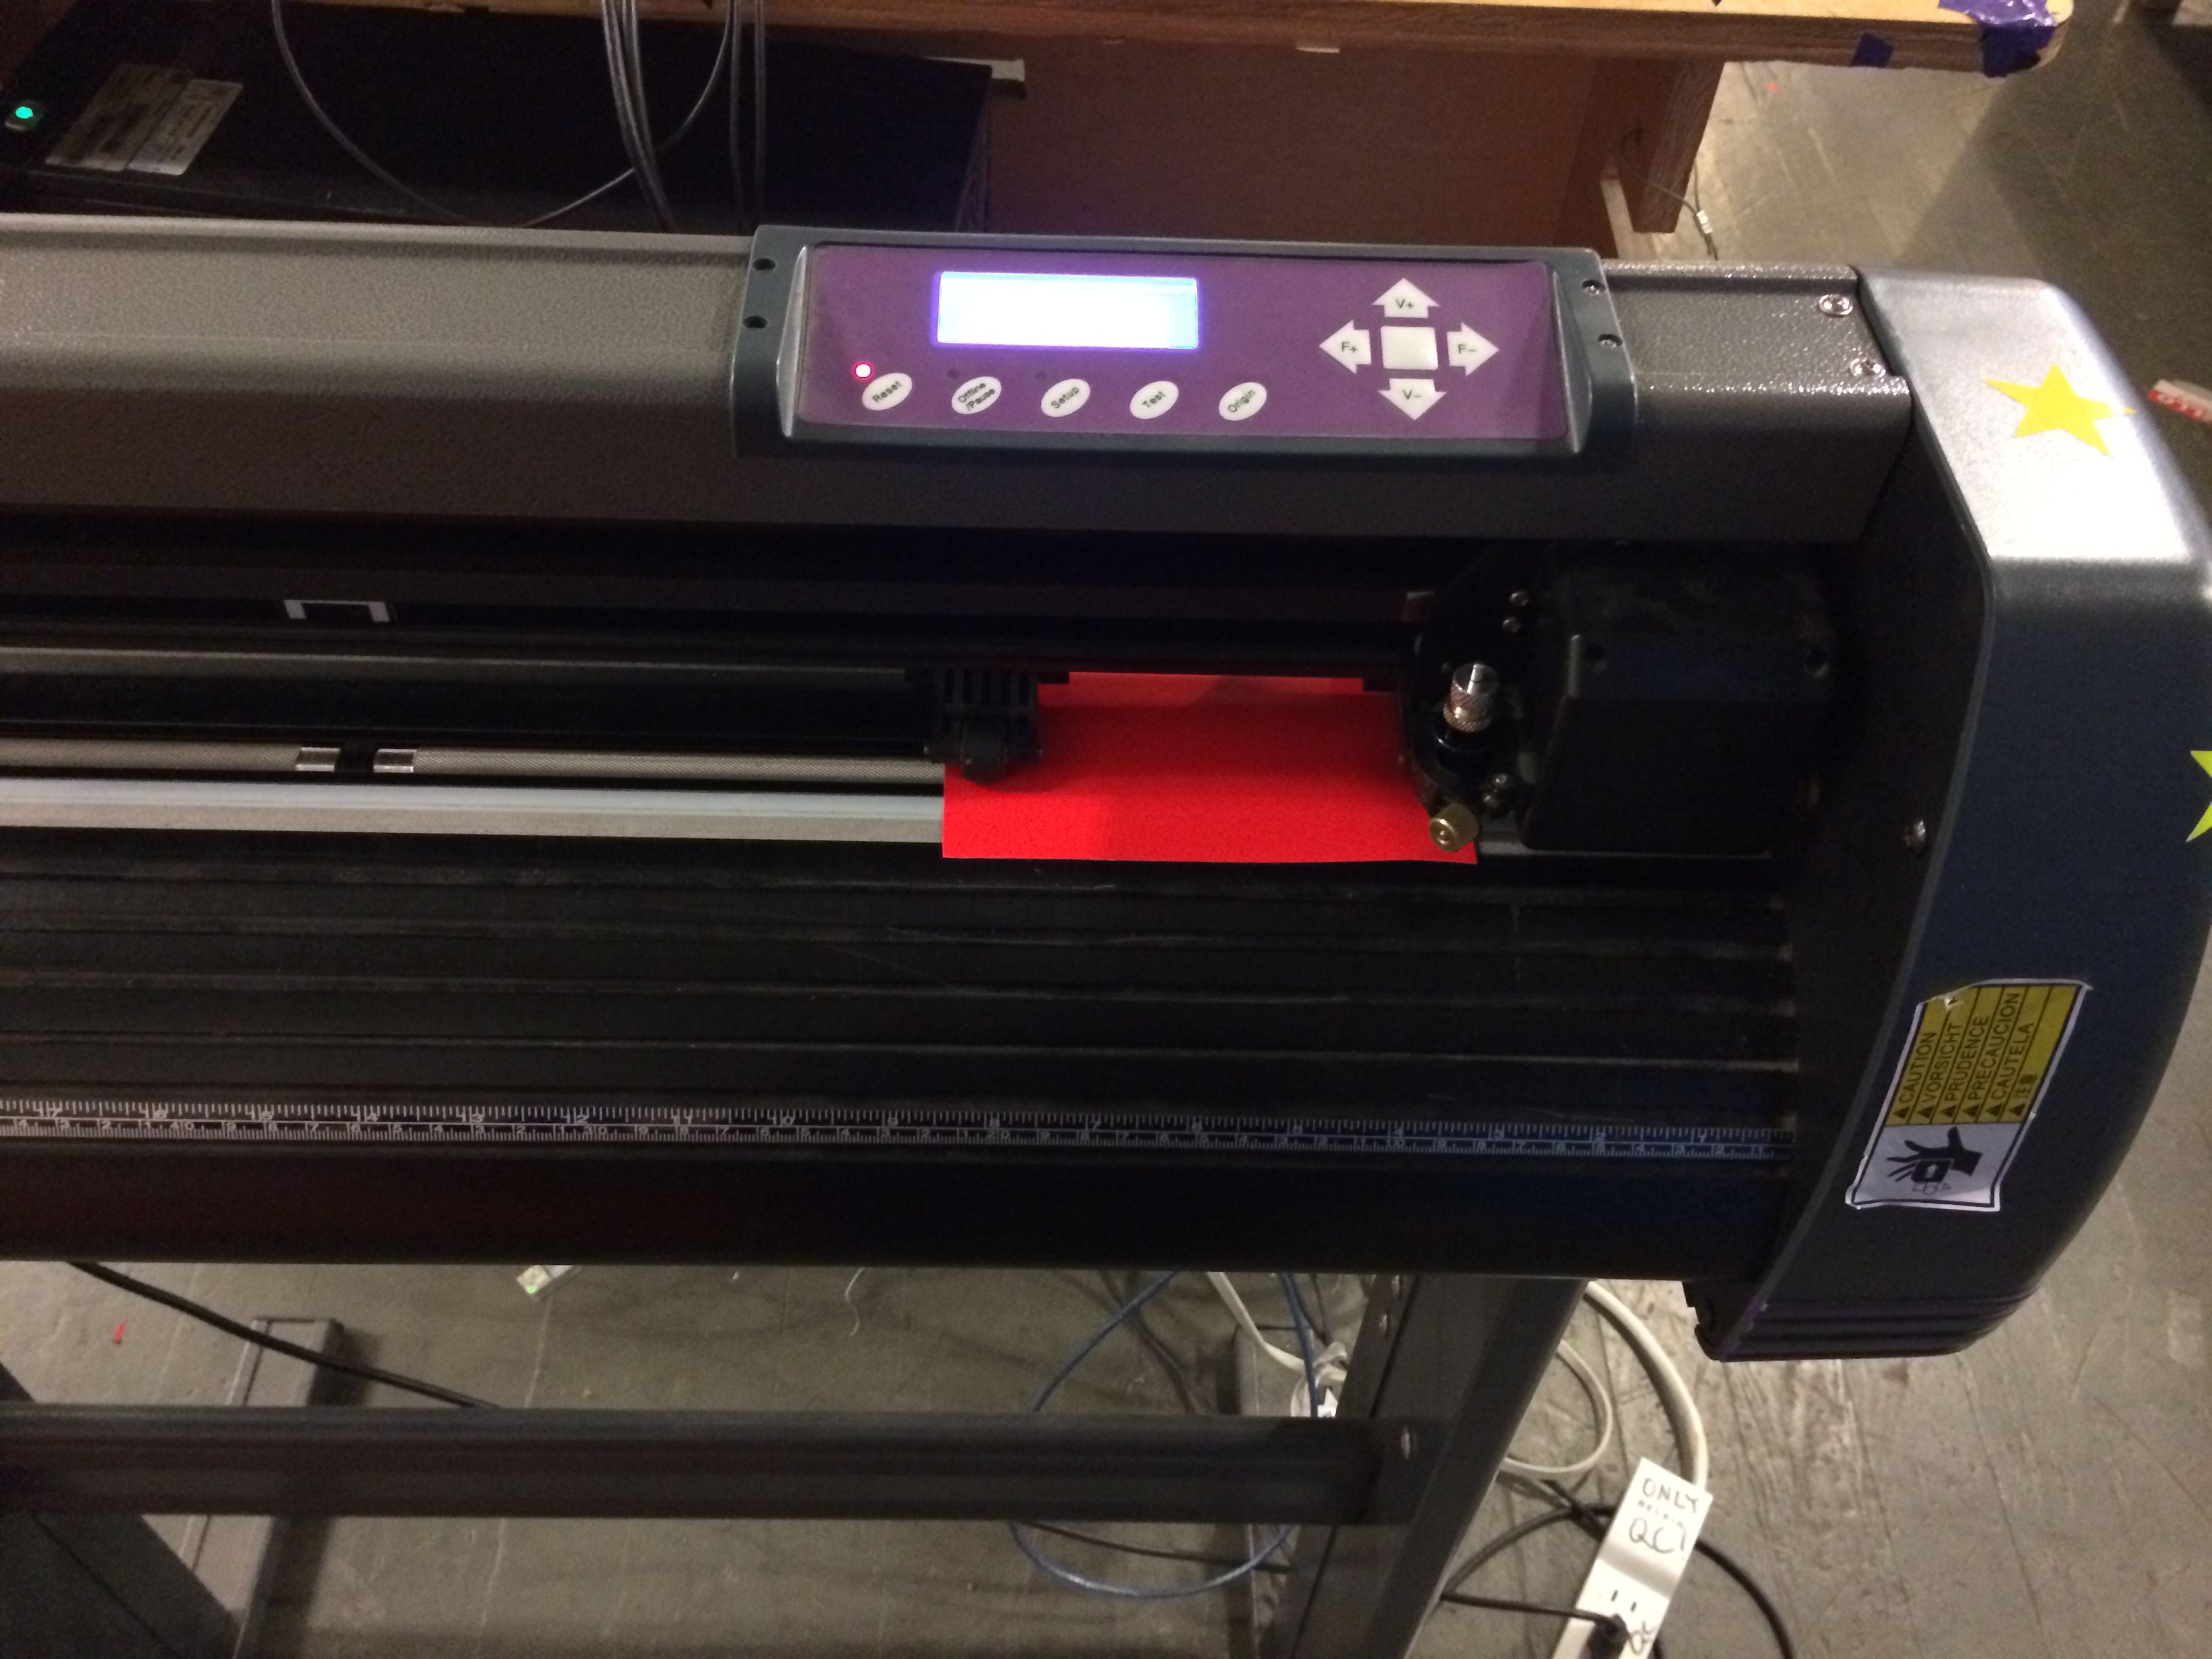
Load up your sheet of vinyl and send your file to the machine to cut it. You may need to experiment with the cut speed and pressure to get it right. I usually start by printing a star as a test.
Peel Off the Extra Sticker Area
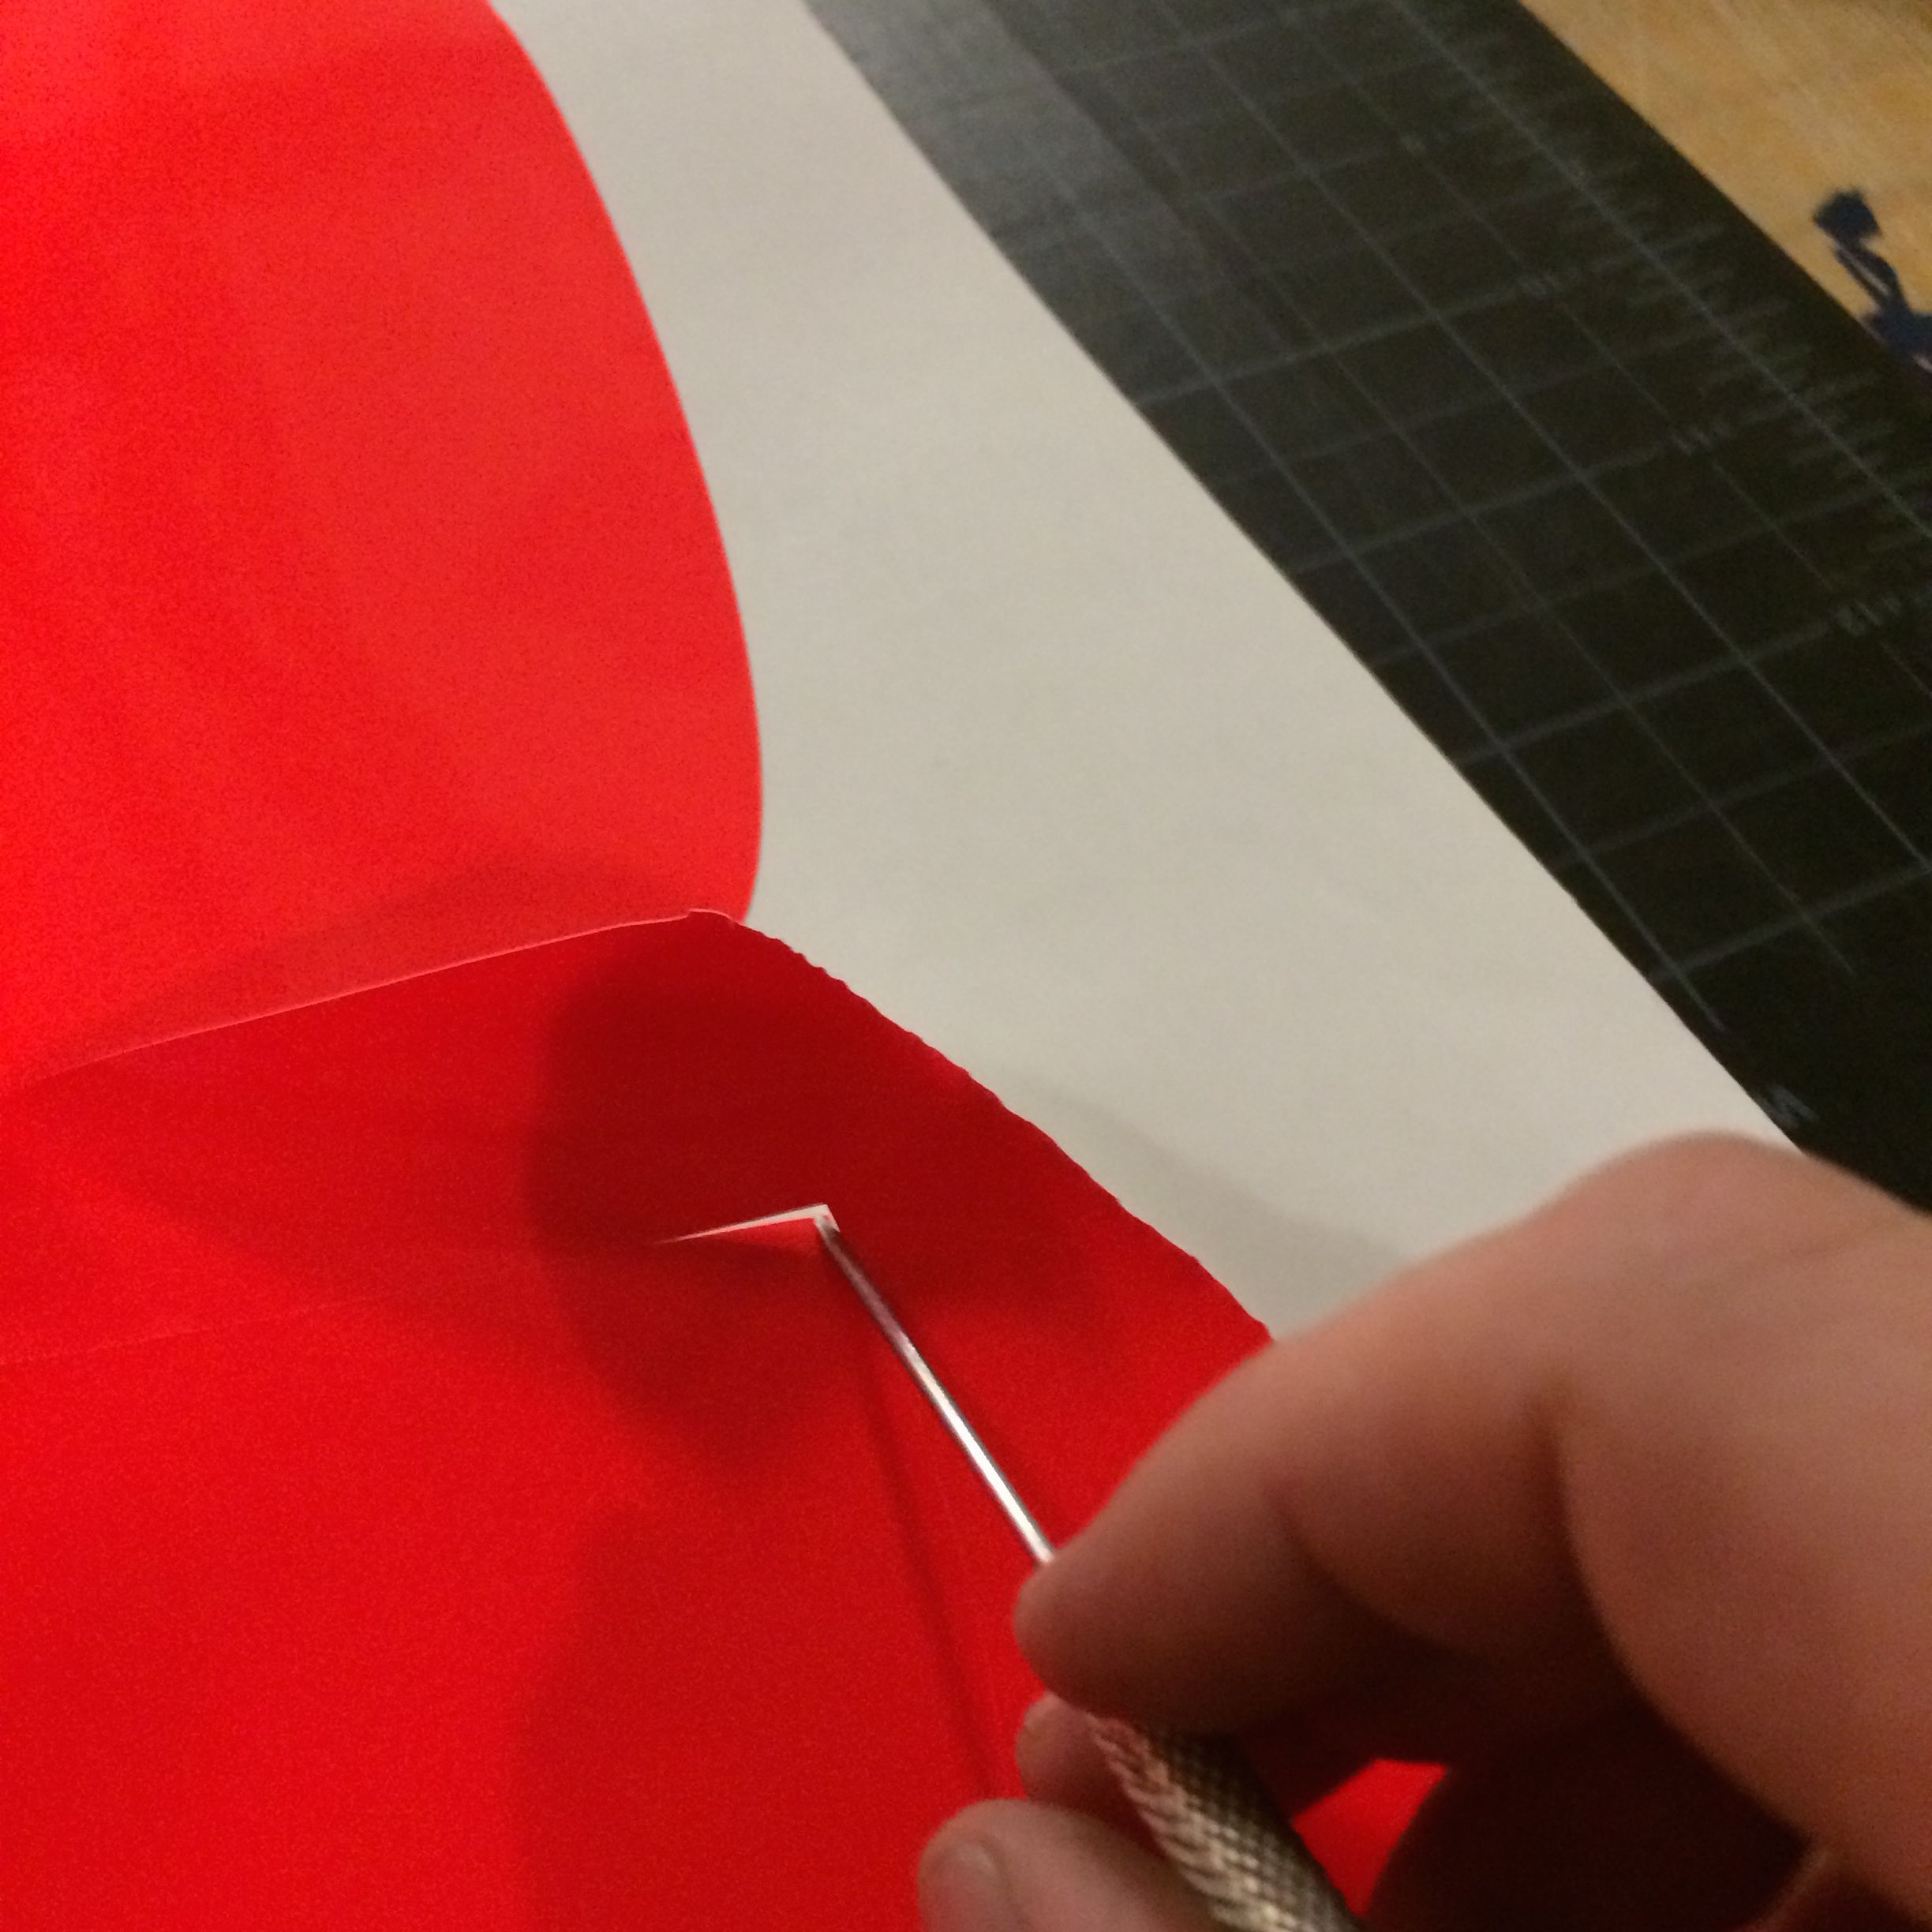
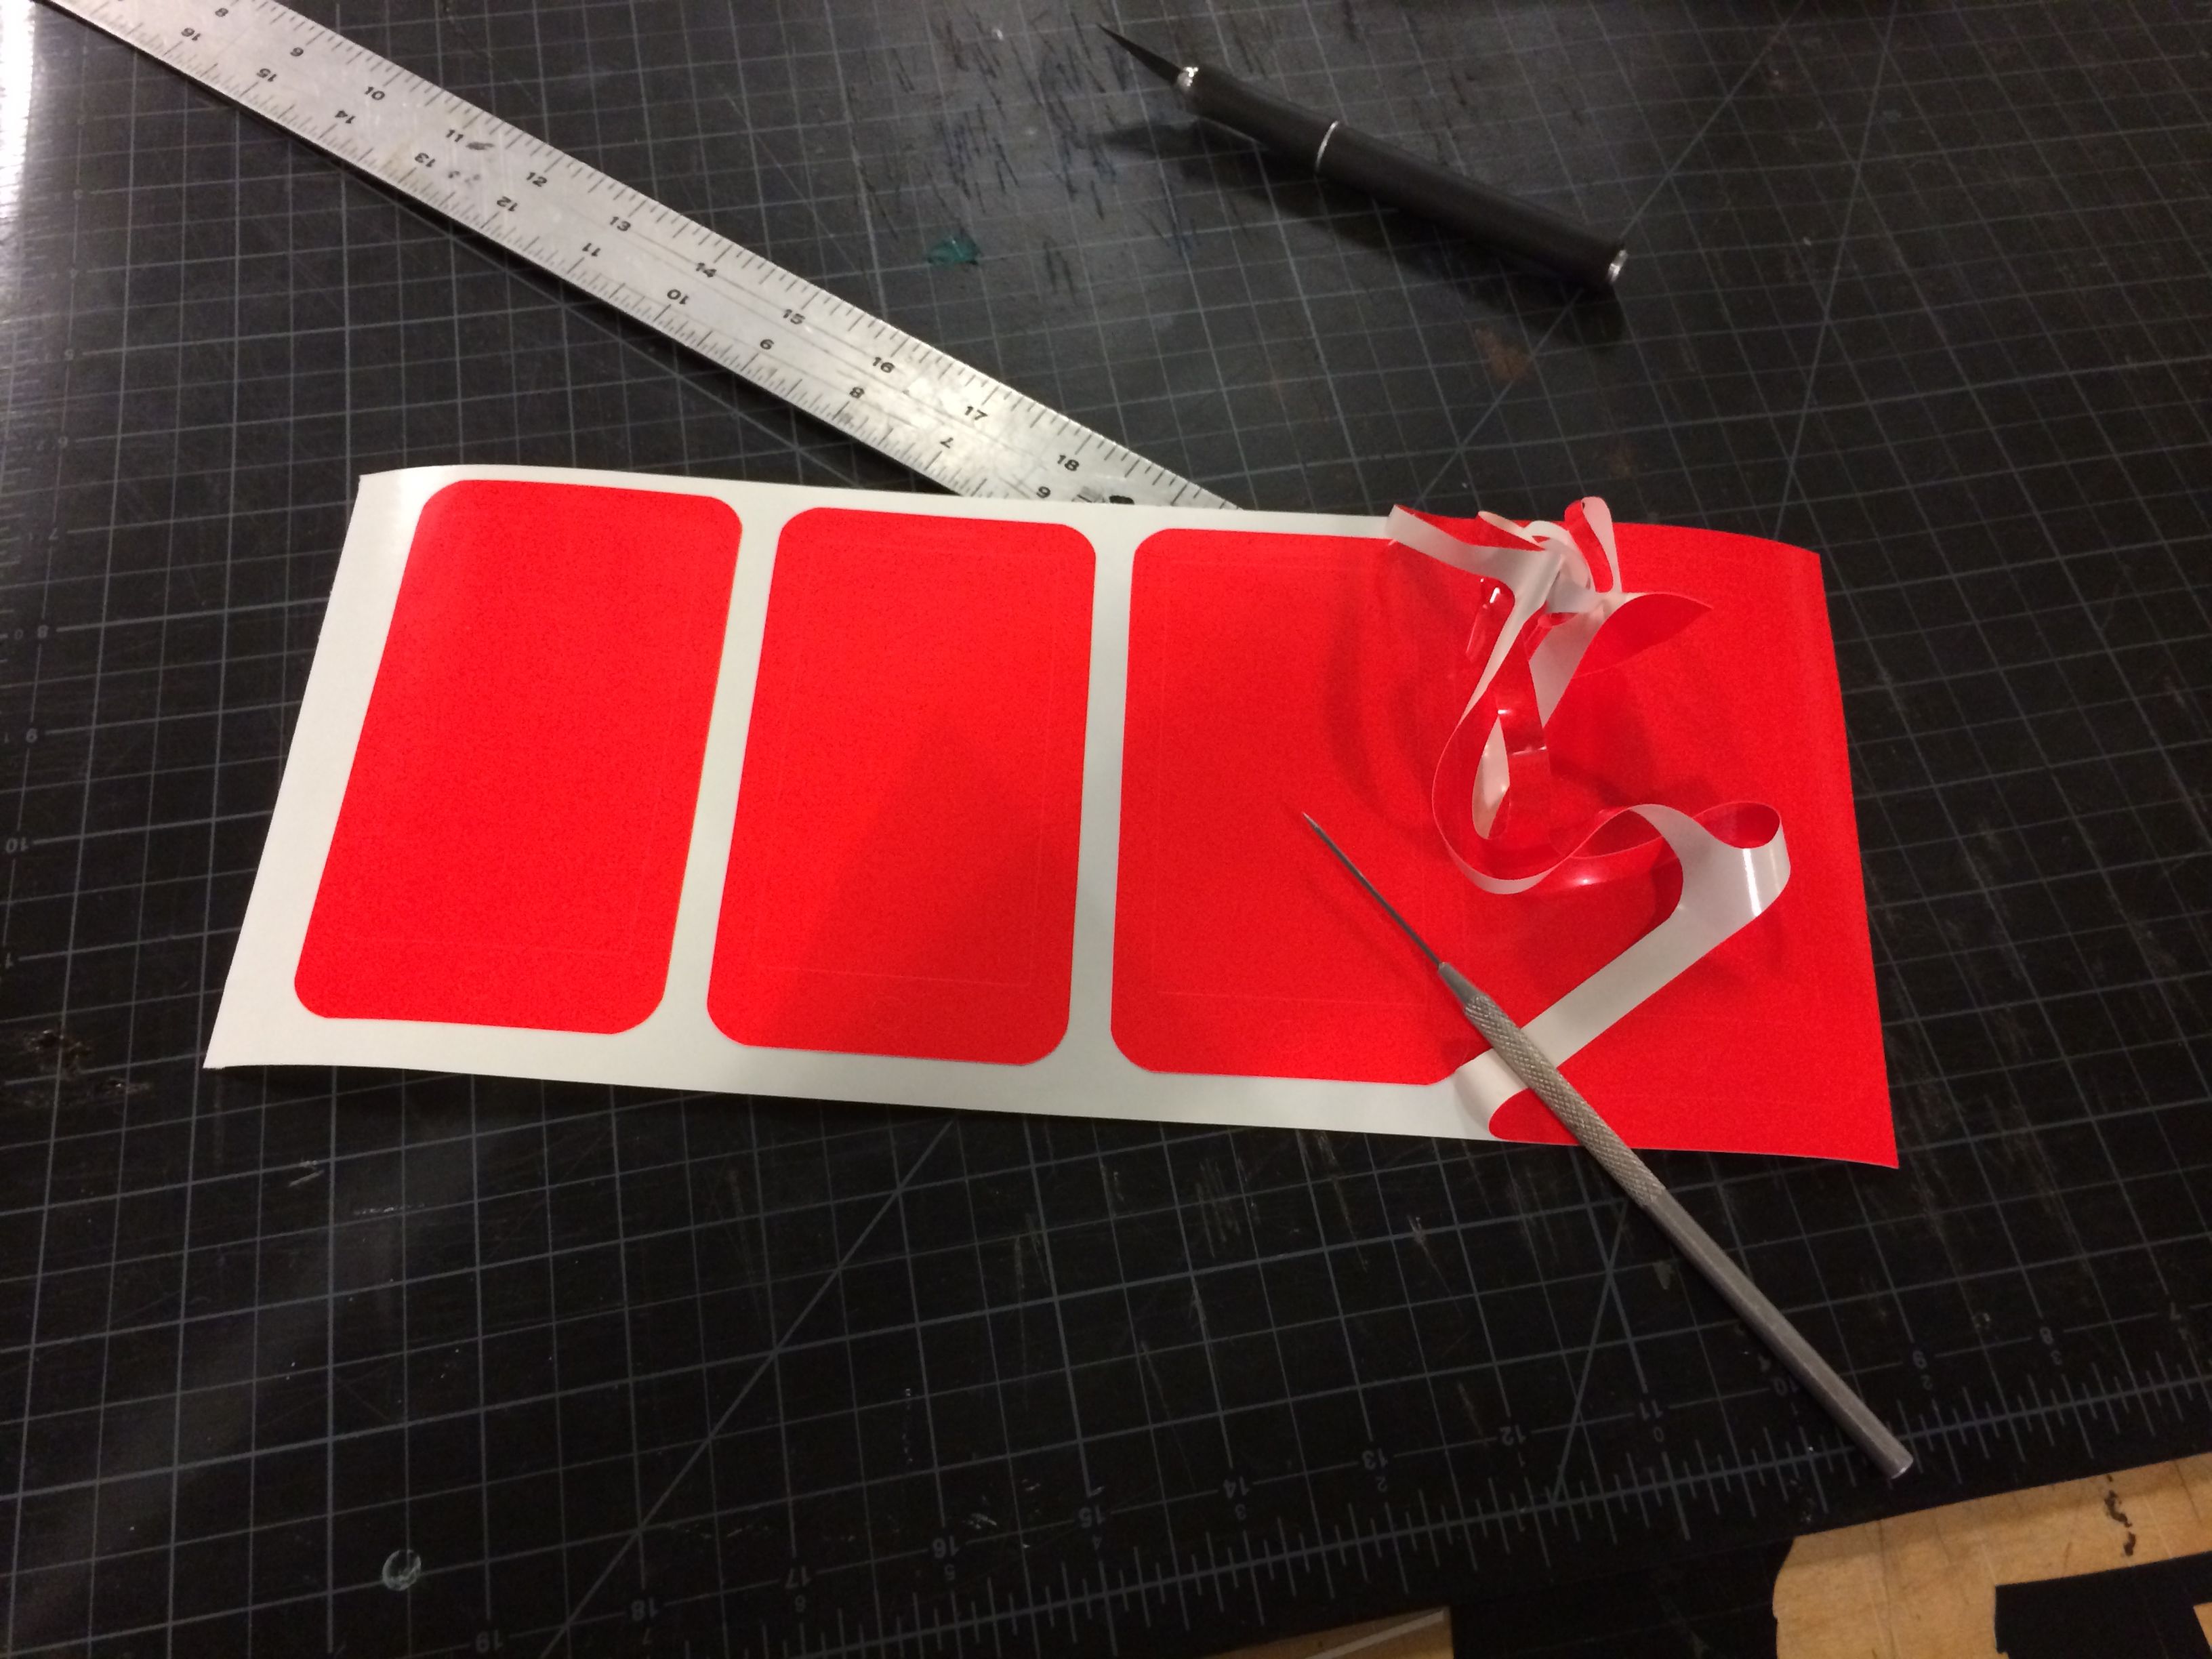
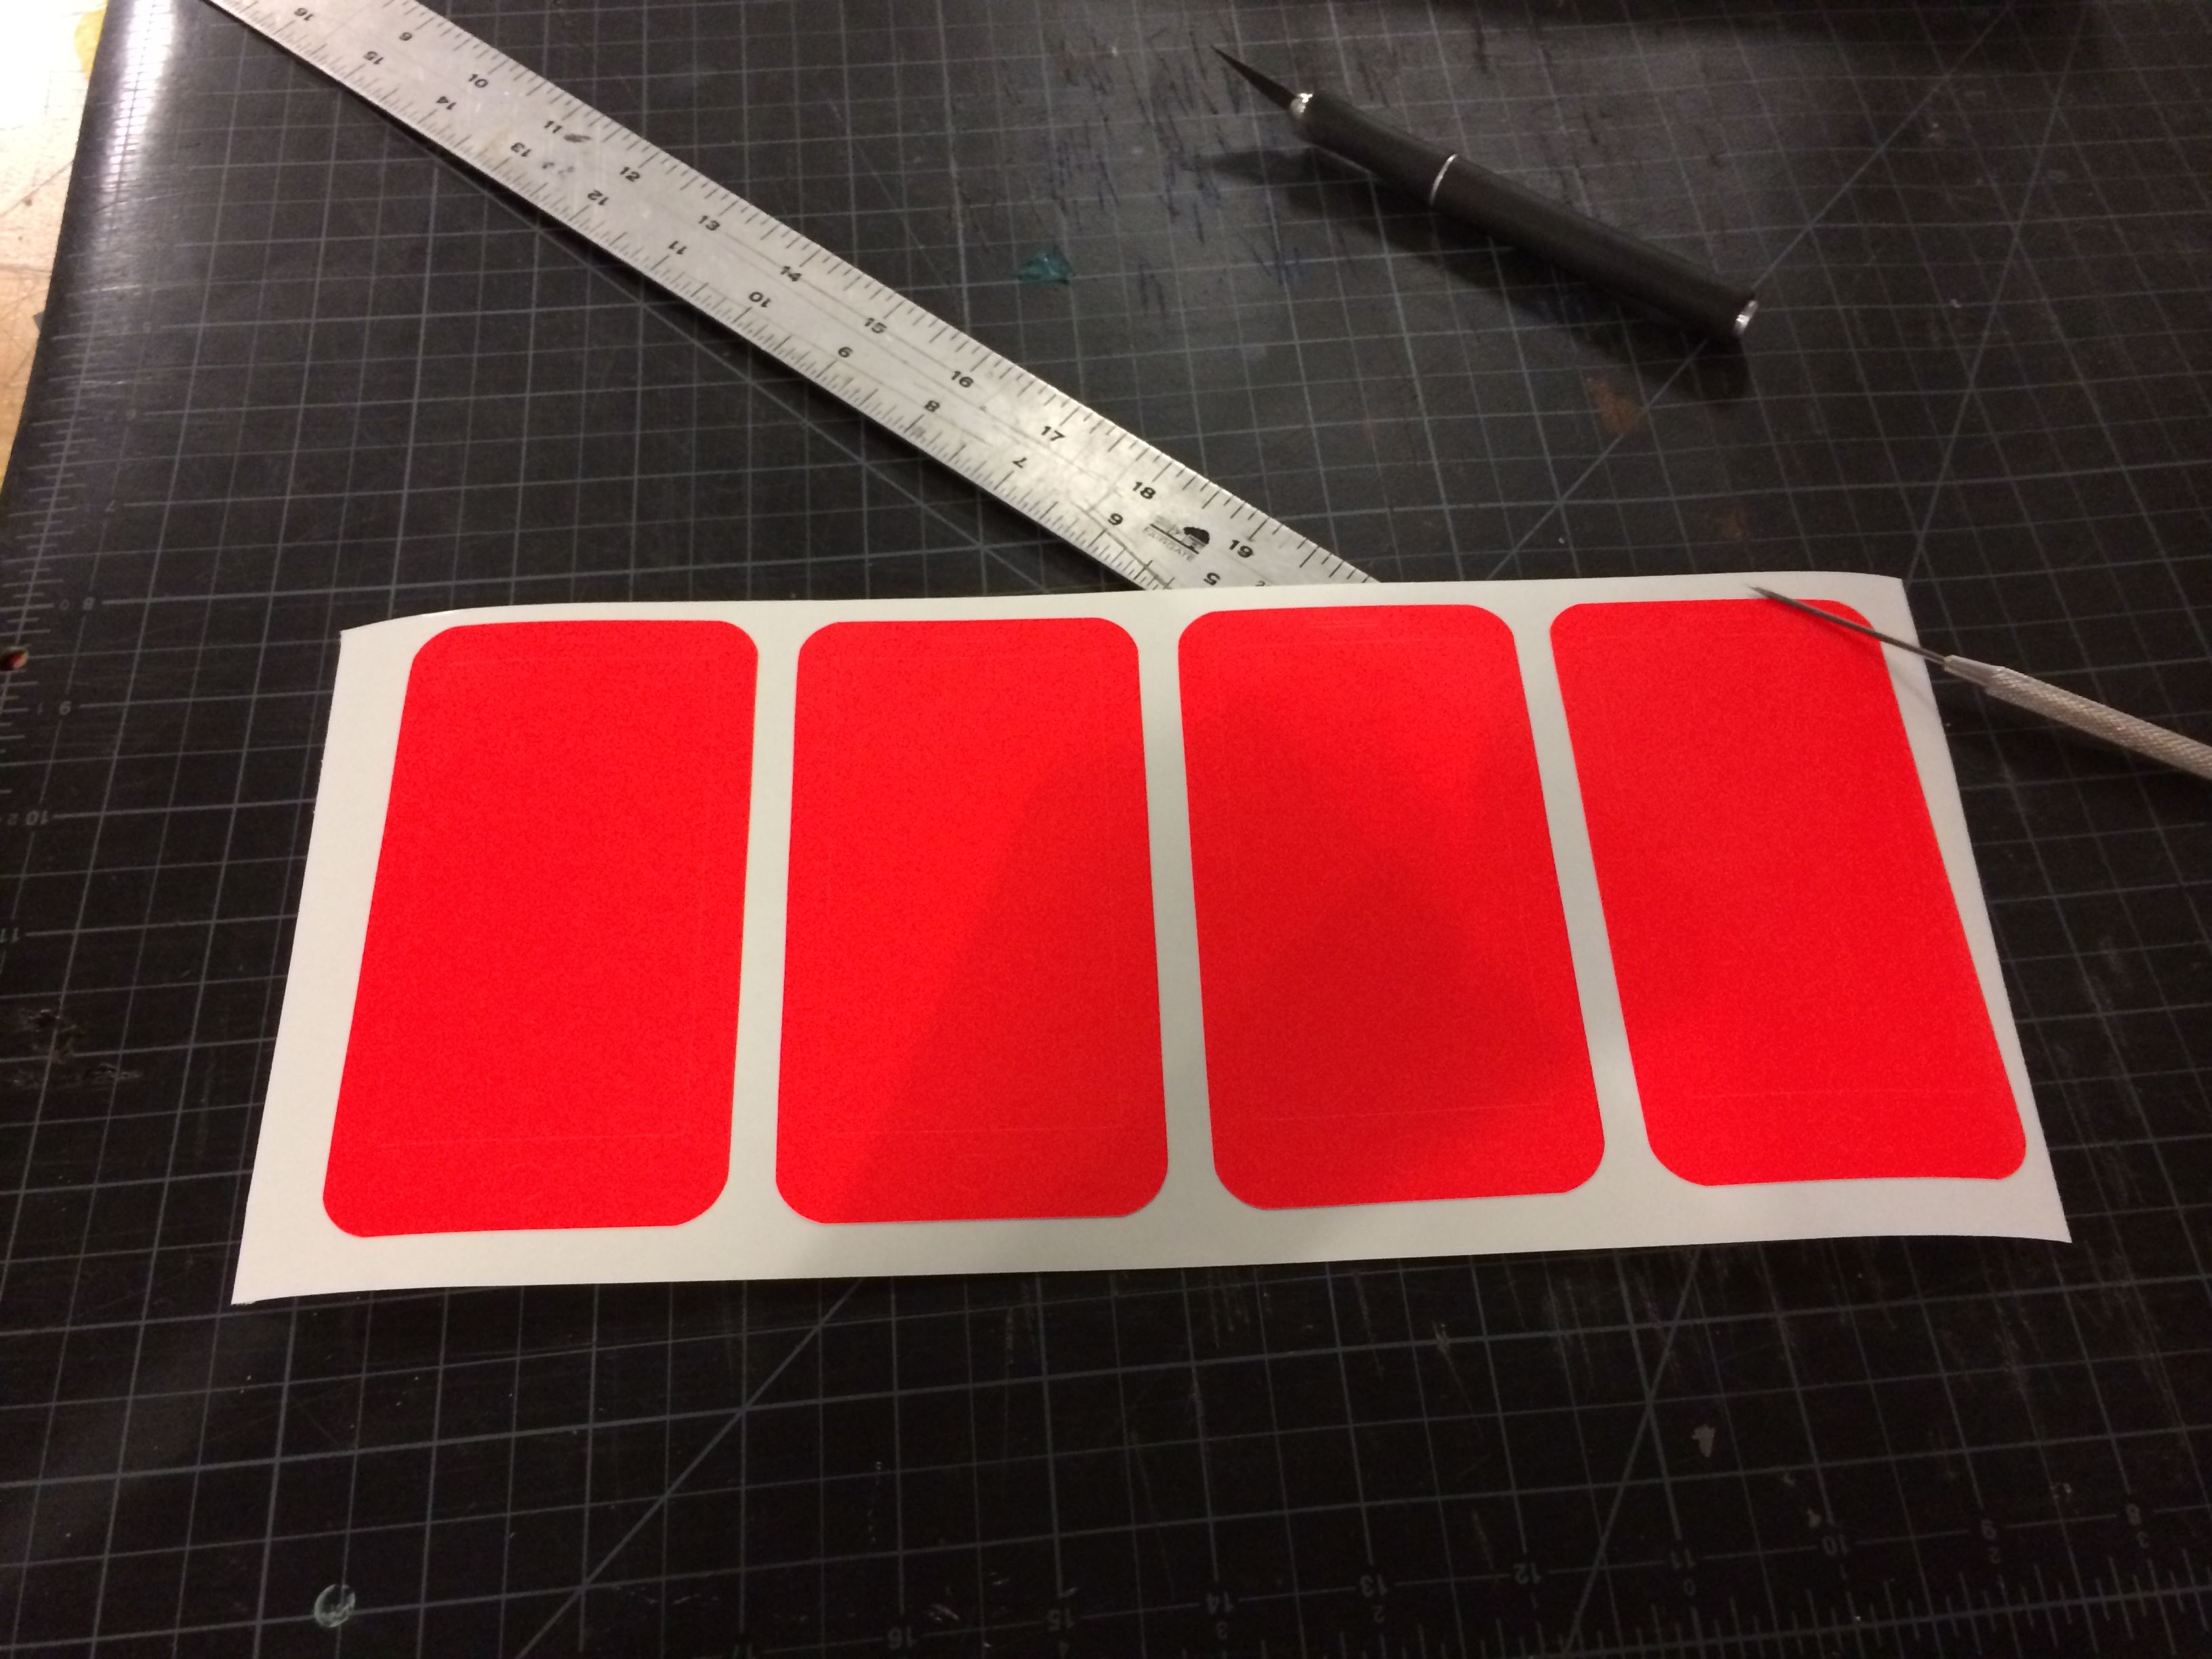
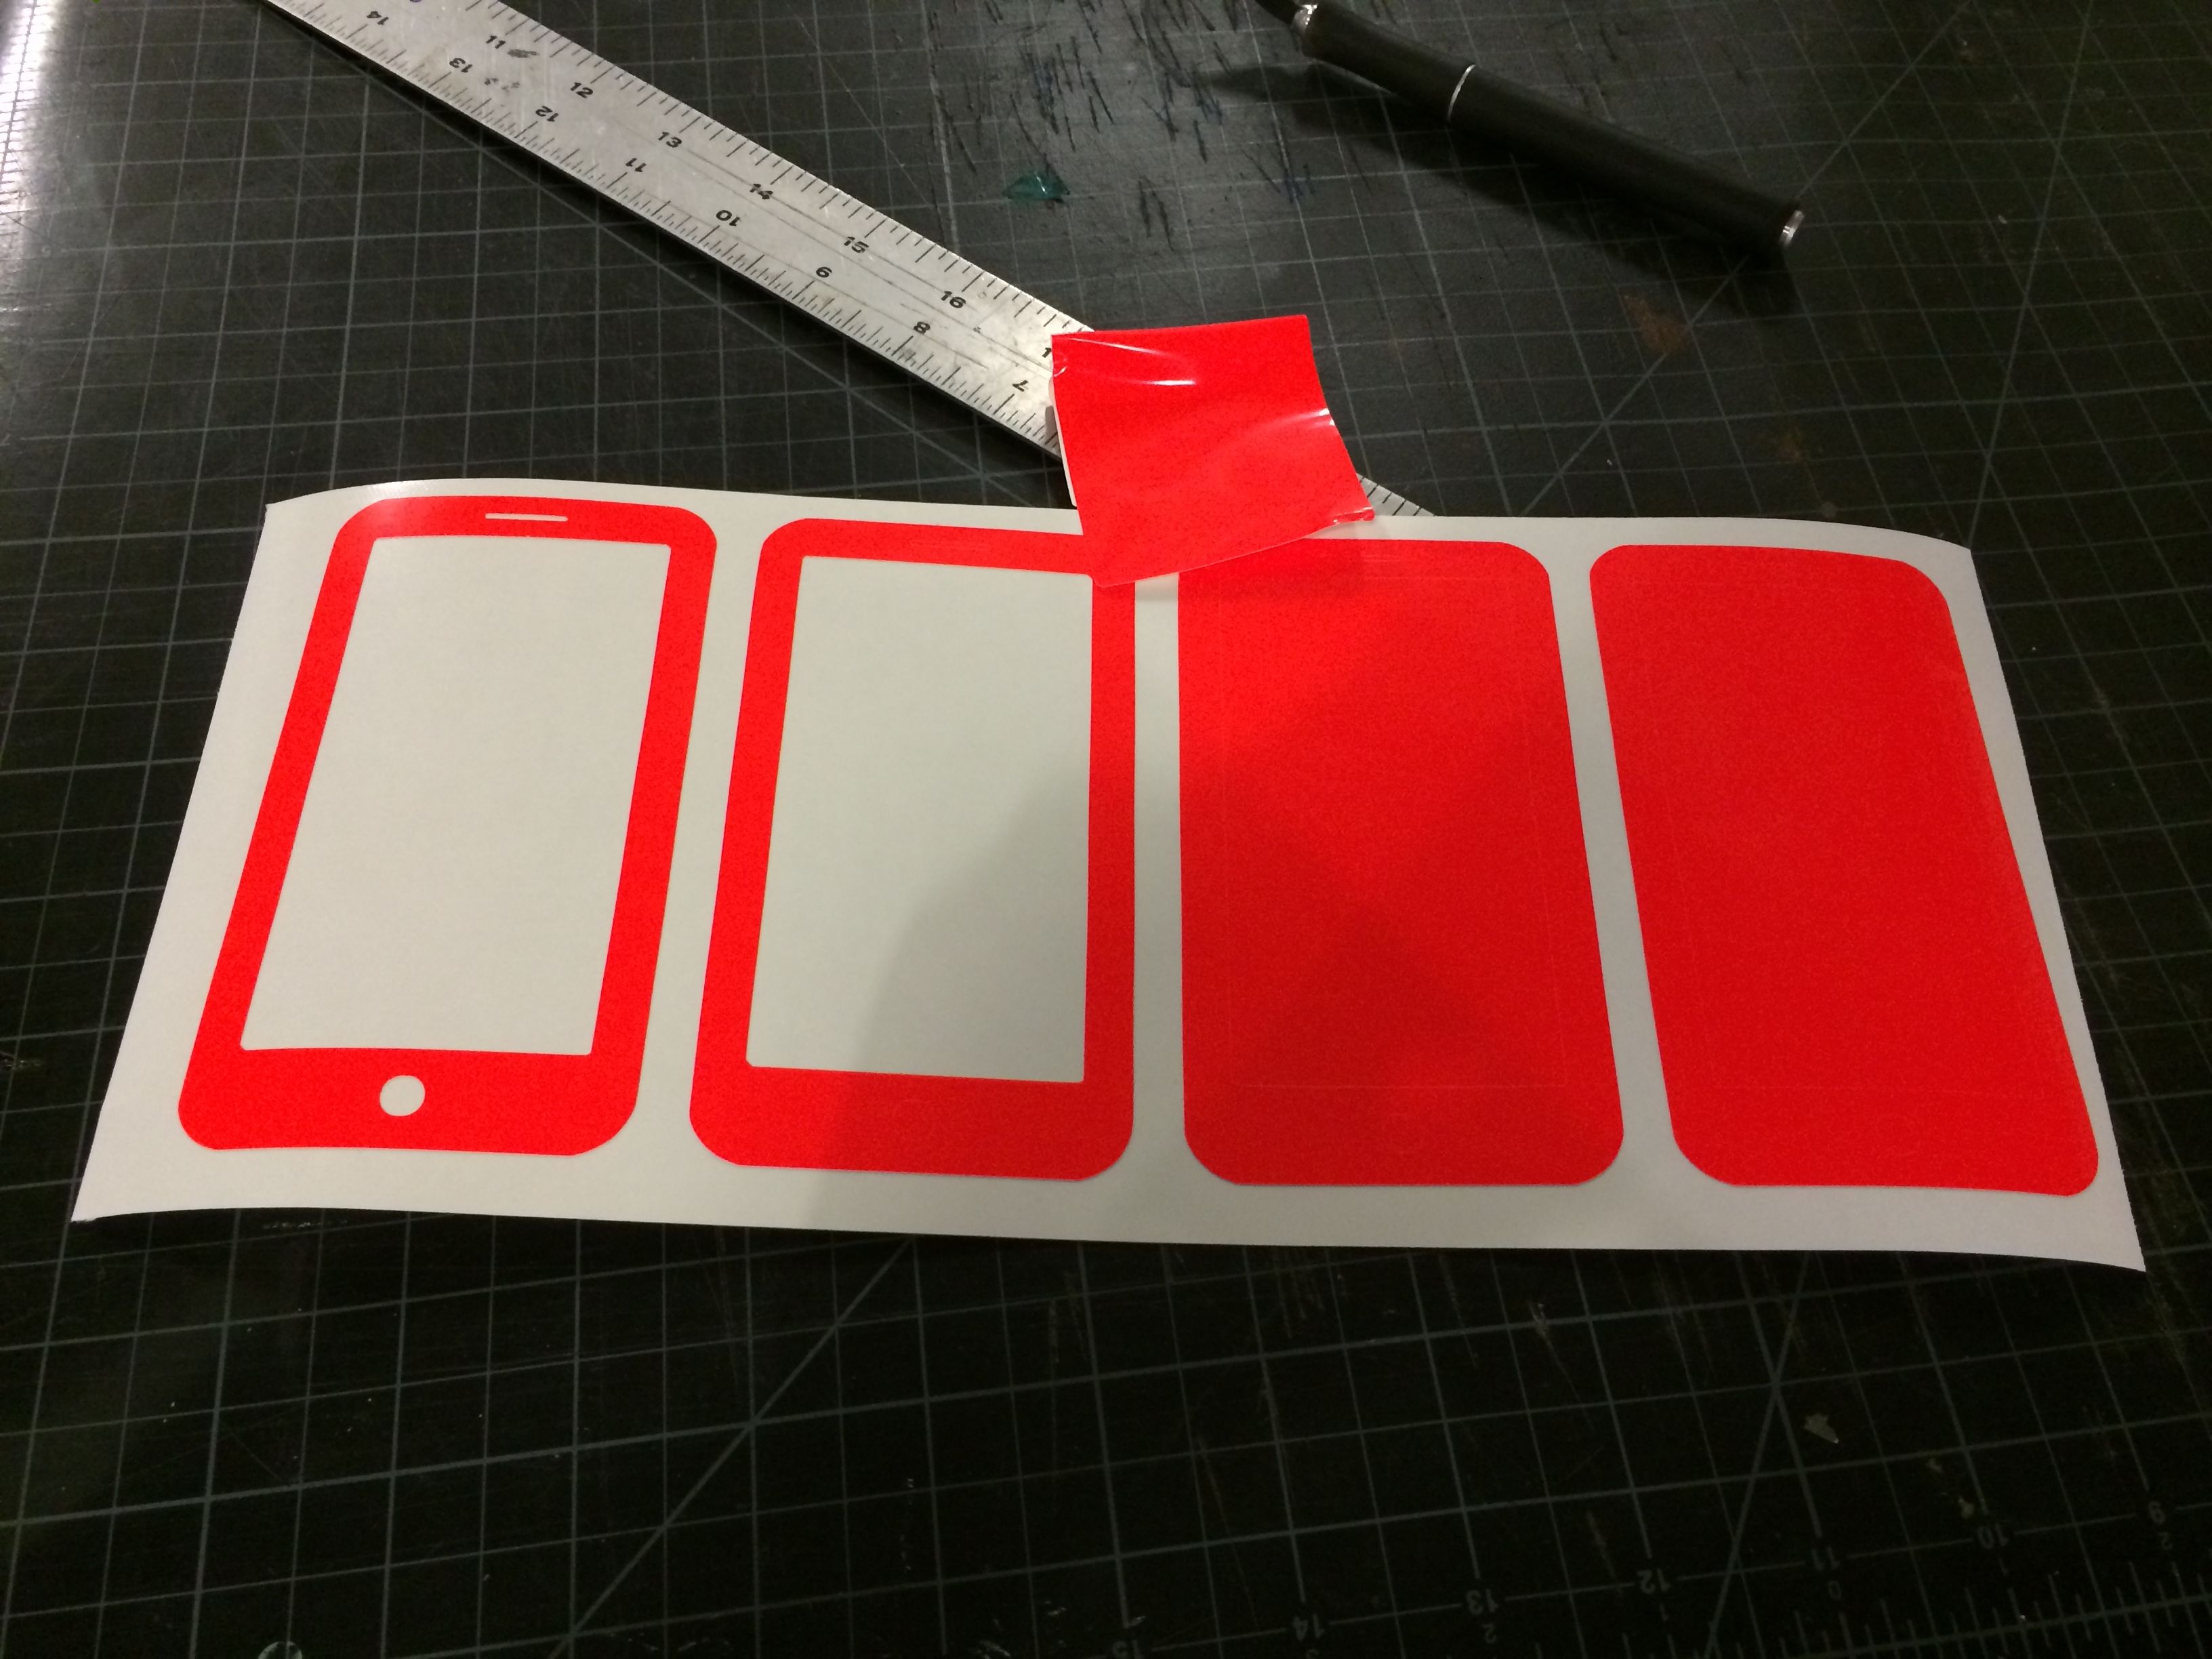
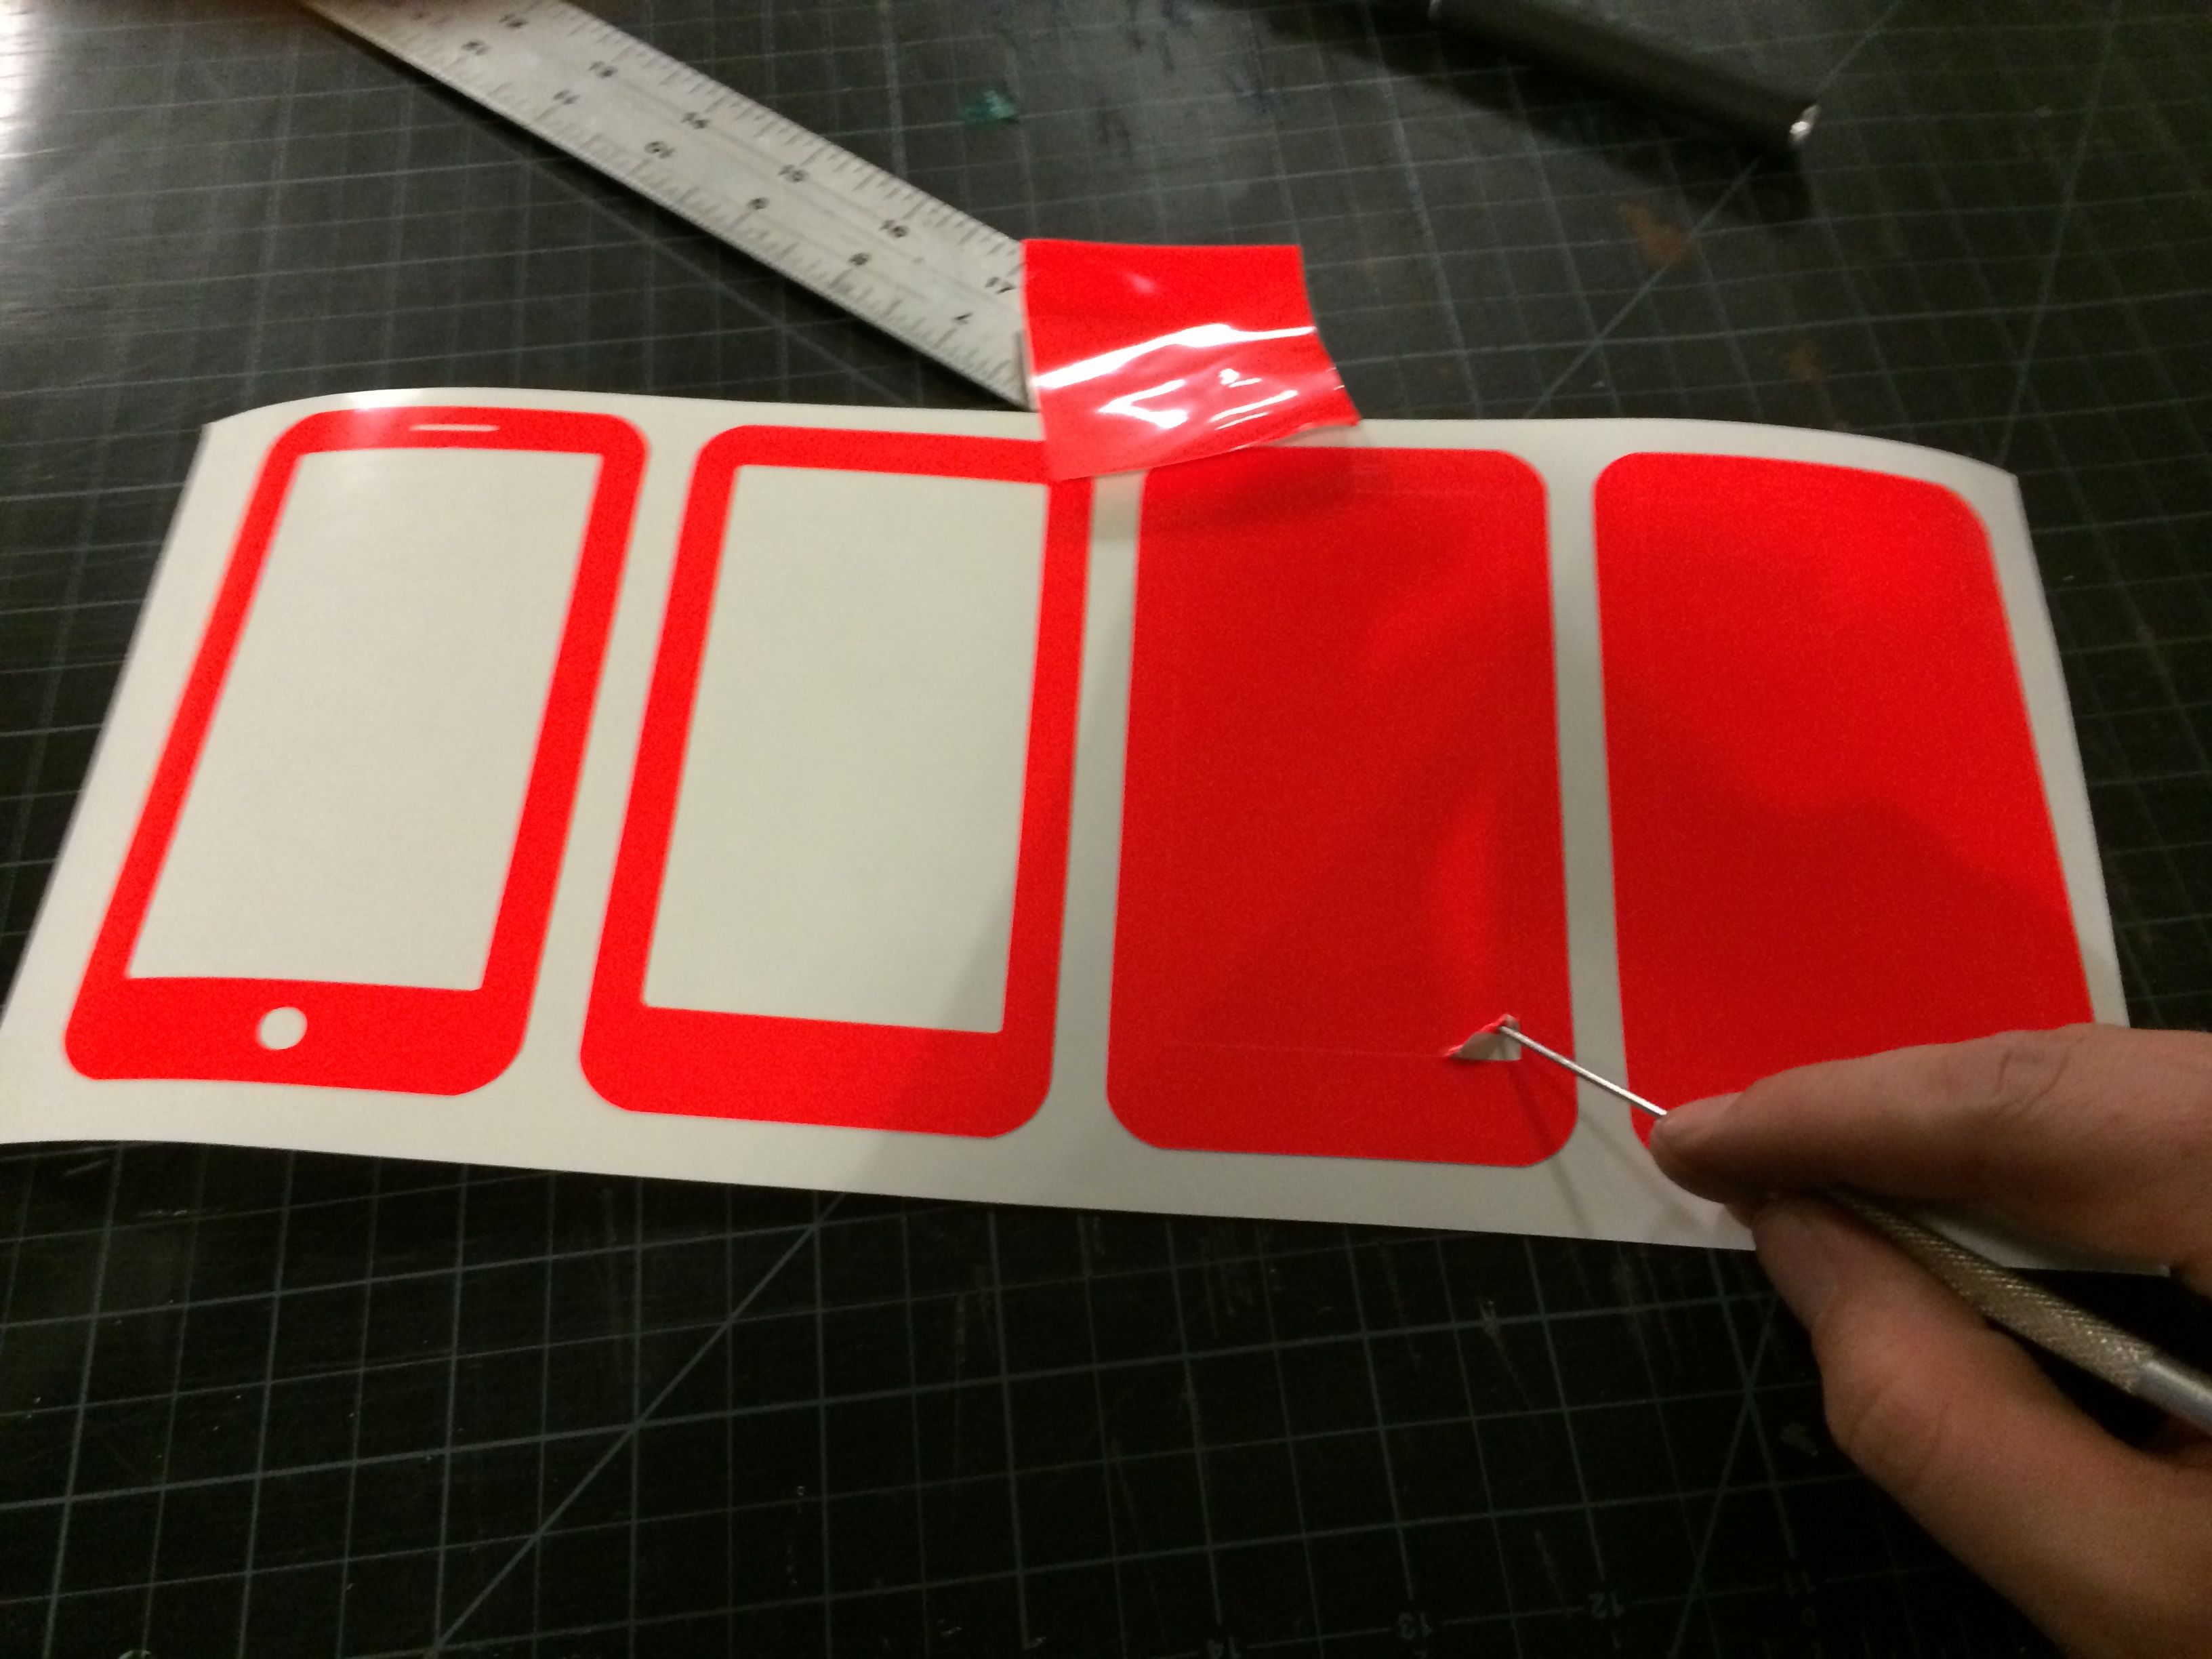
Use your dentist tools (or toothpicks) to pick away at the vinyl sticker, removing the negative space around your phone shapes. Start slow and it'll come up. It's best to start at corners.
Cover in Contact Paper
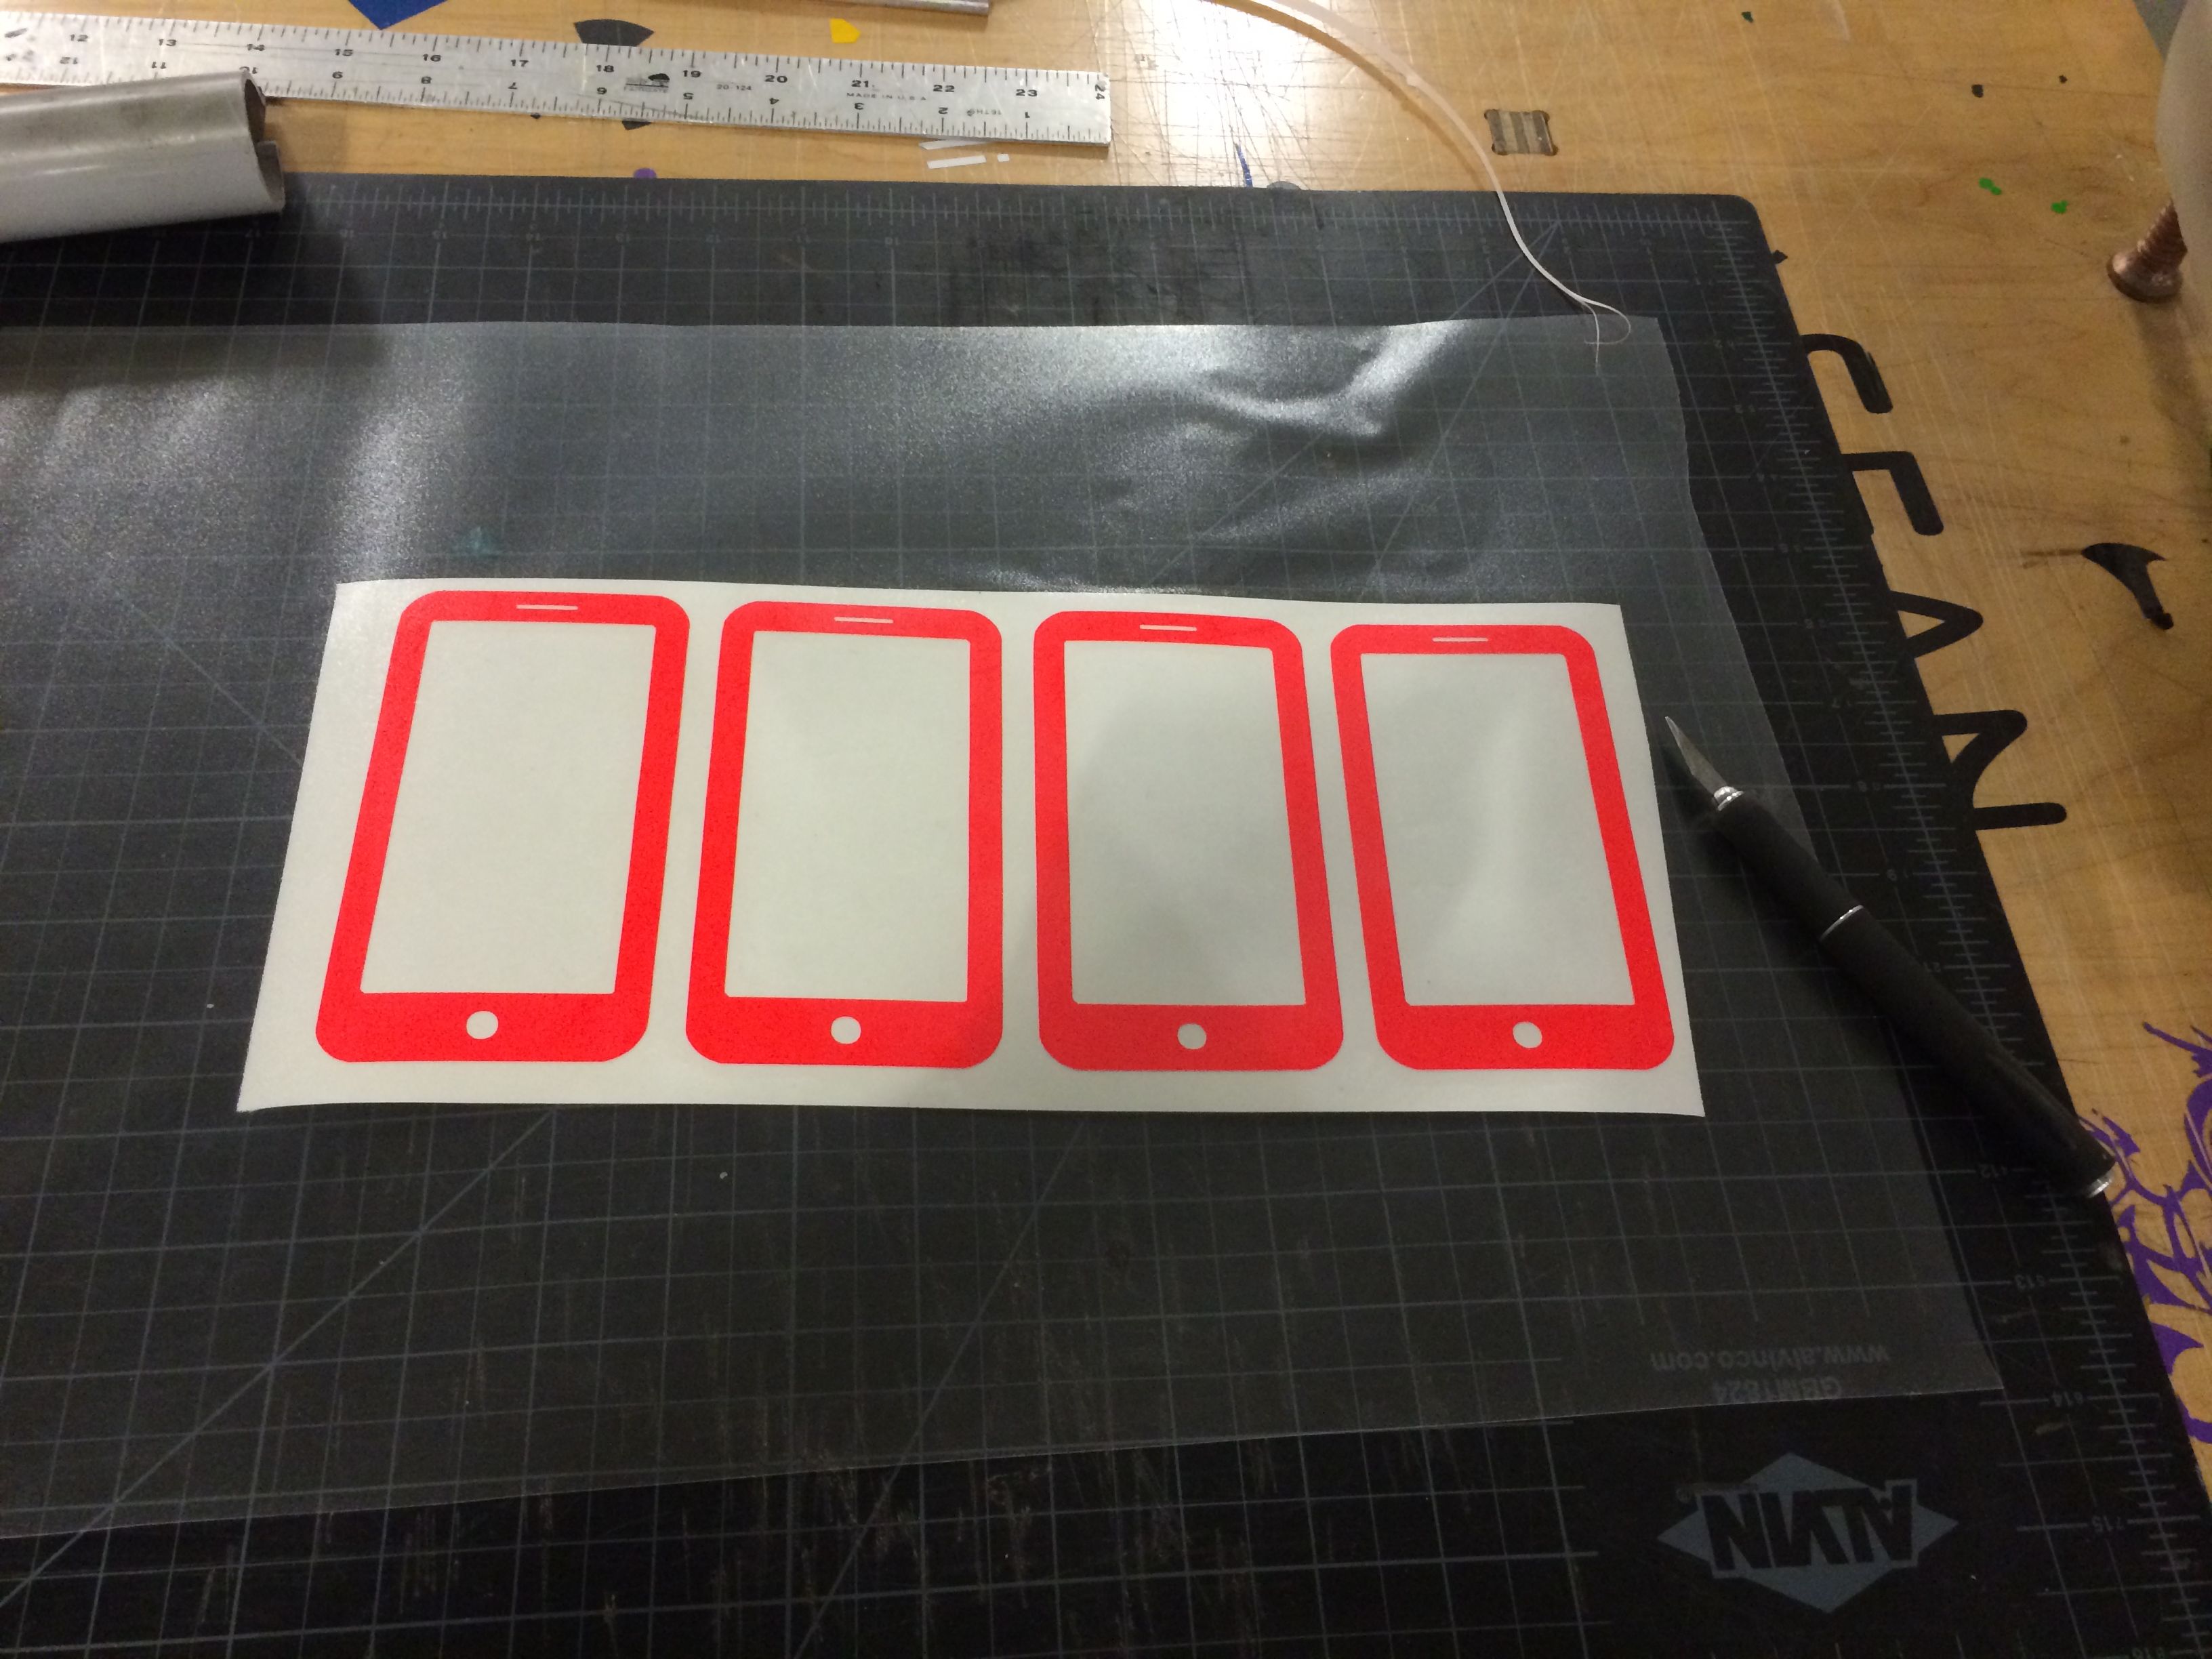
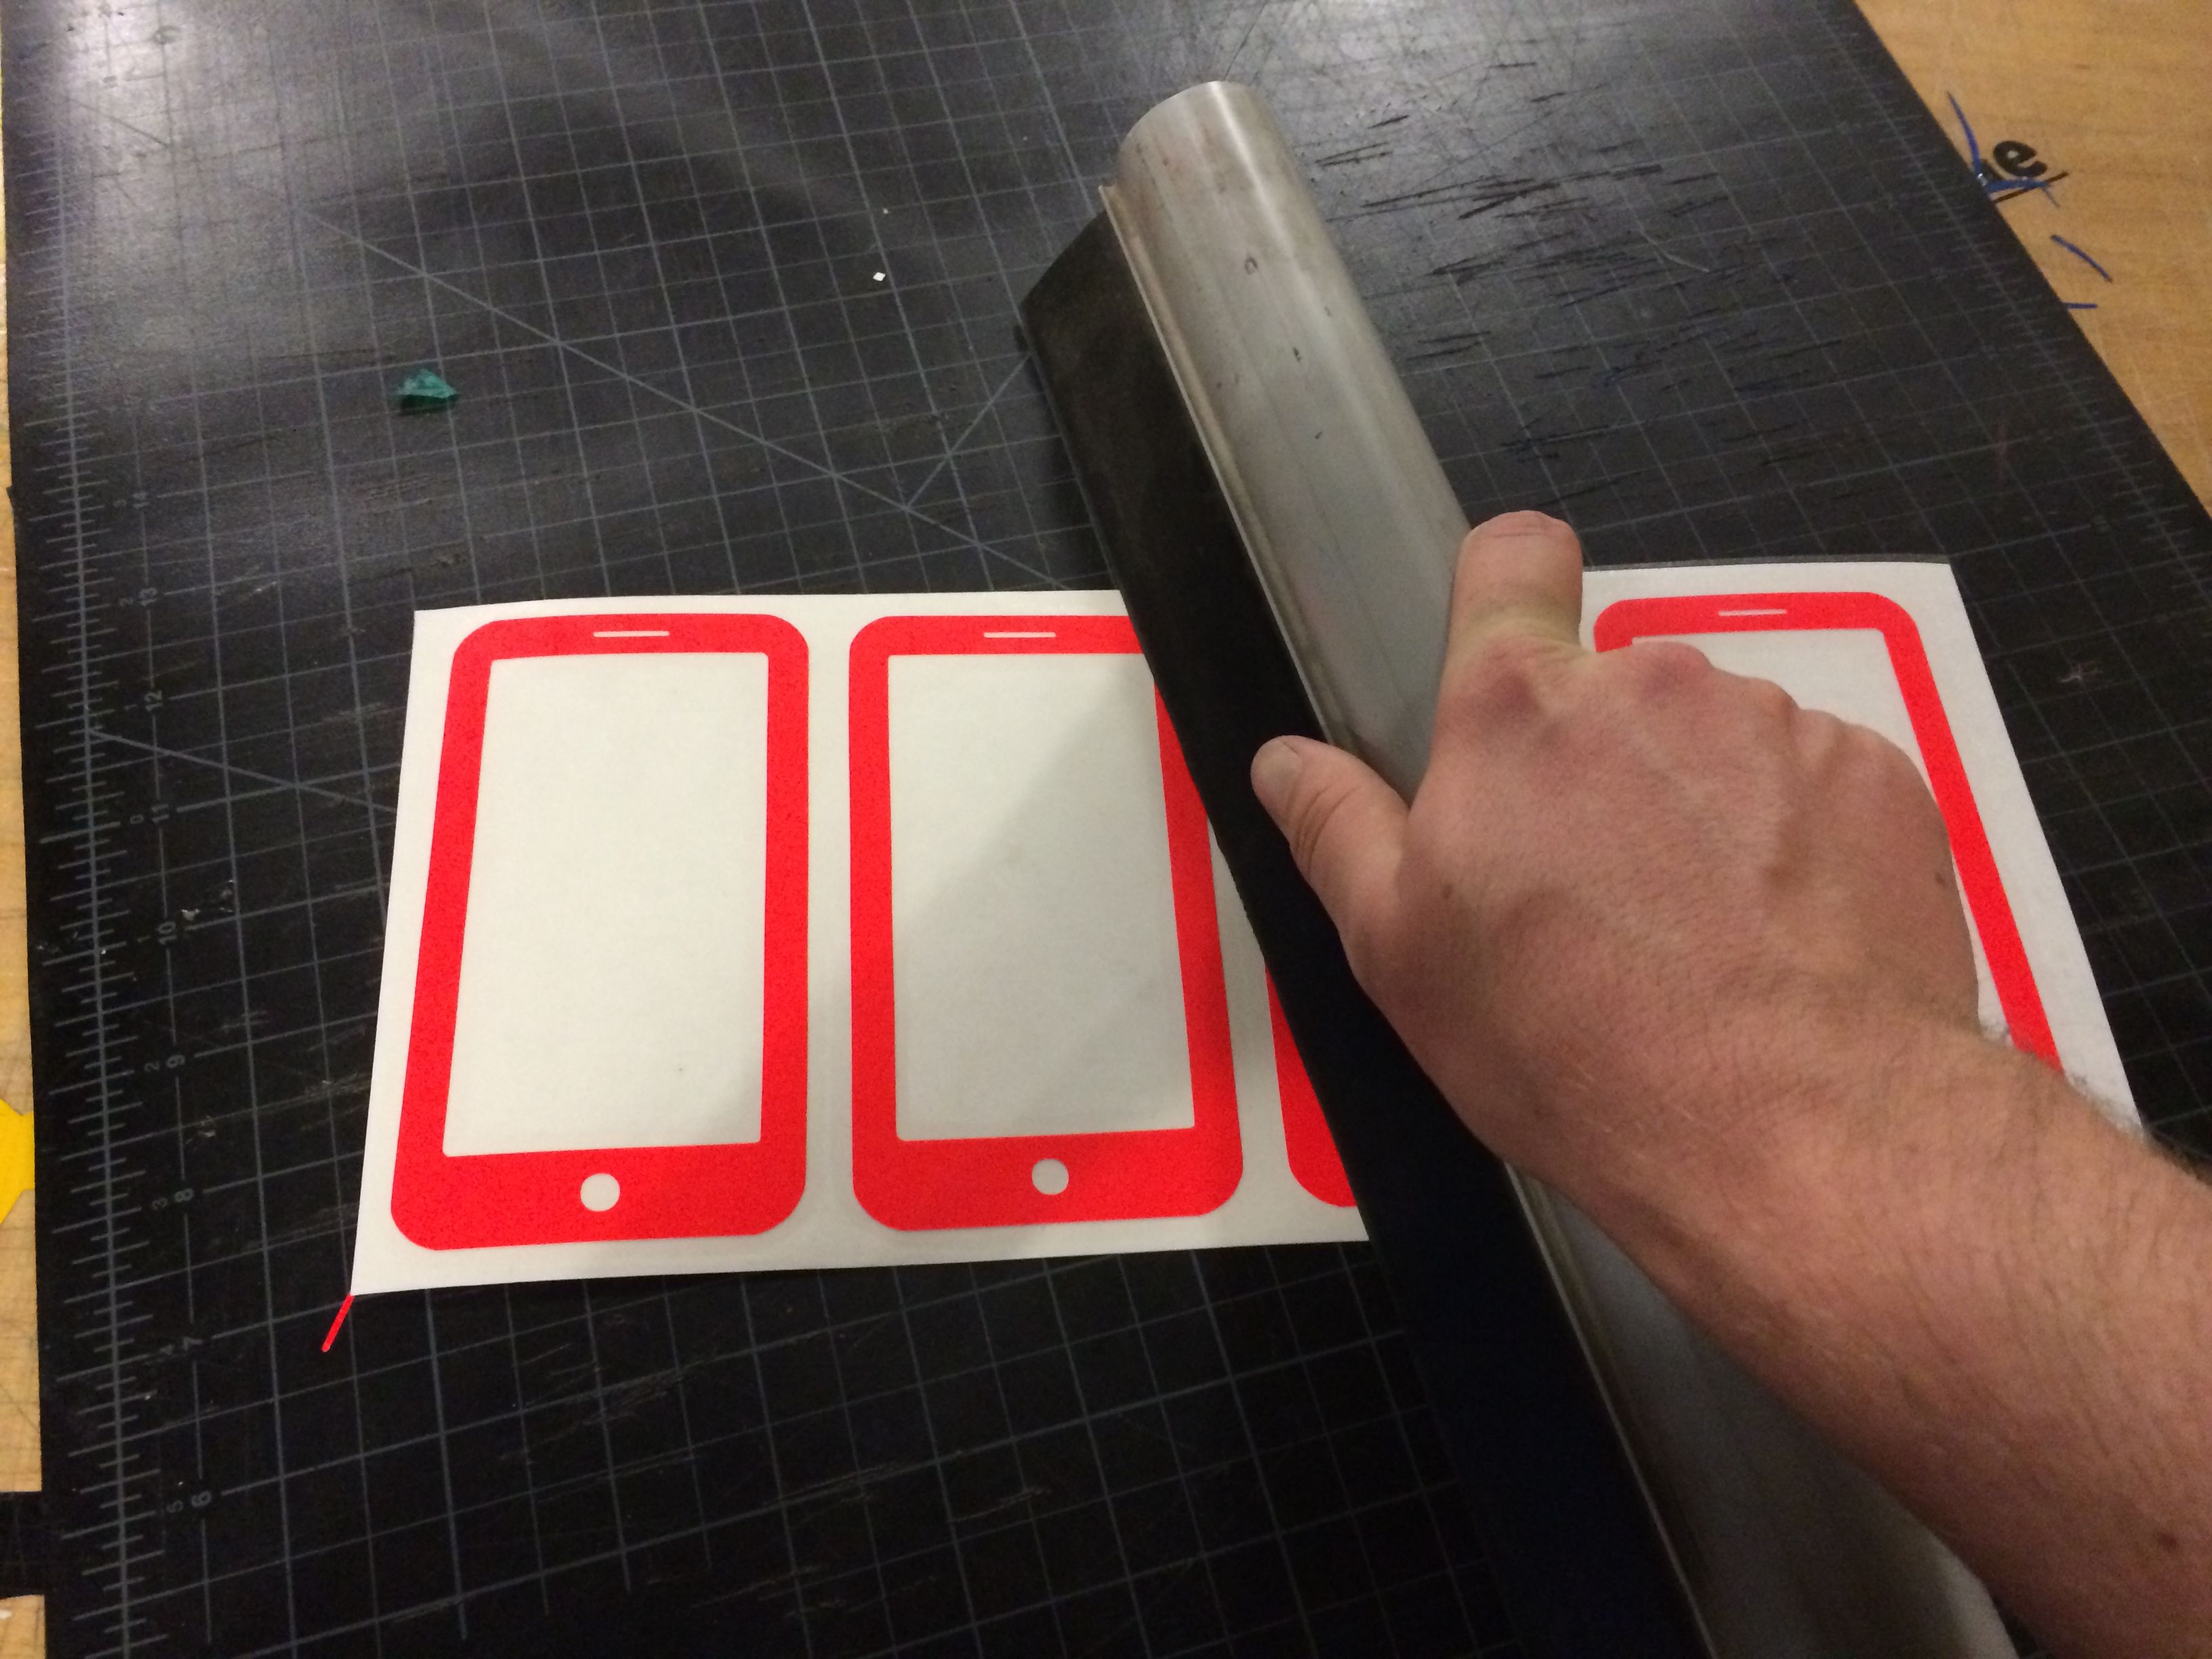
After you remove all of the excess sticker space, cover the design with contact paper. Make sure you don't get any air bubbles under your contact paper. Use the squeegee to smooth out the contact paper.
Add Your First Row of Stickers to the Whiteboard
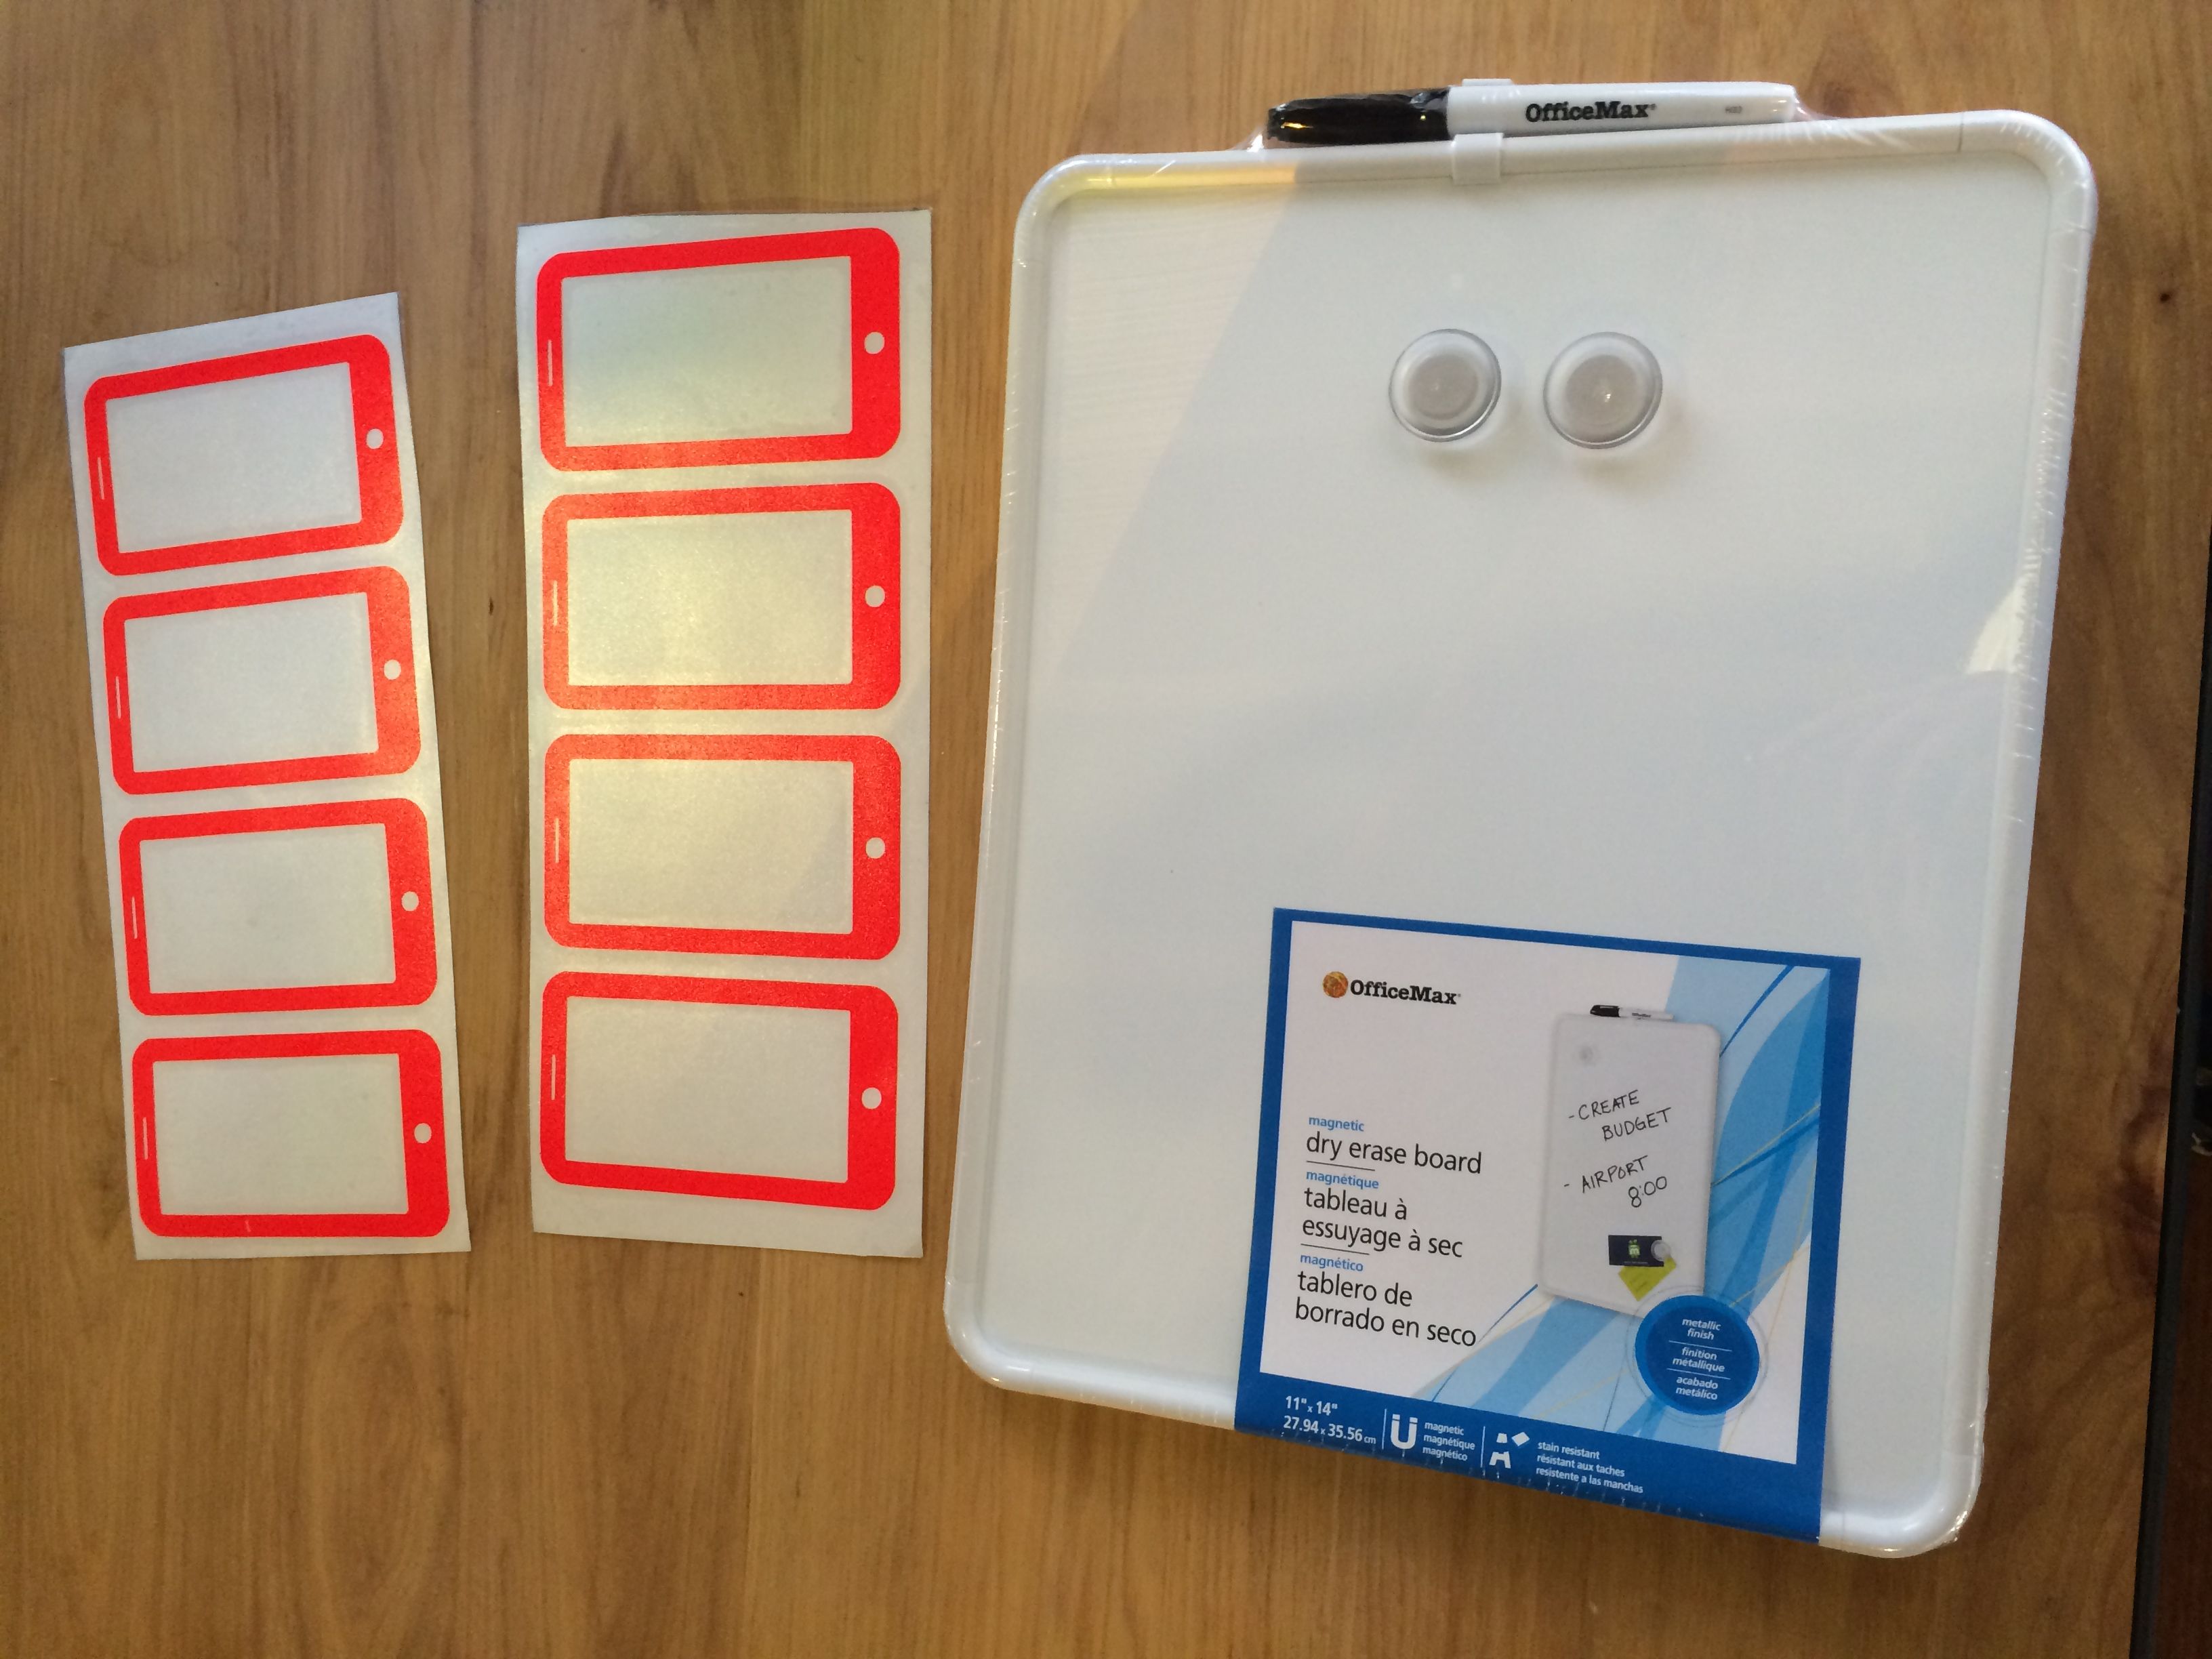
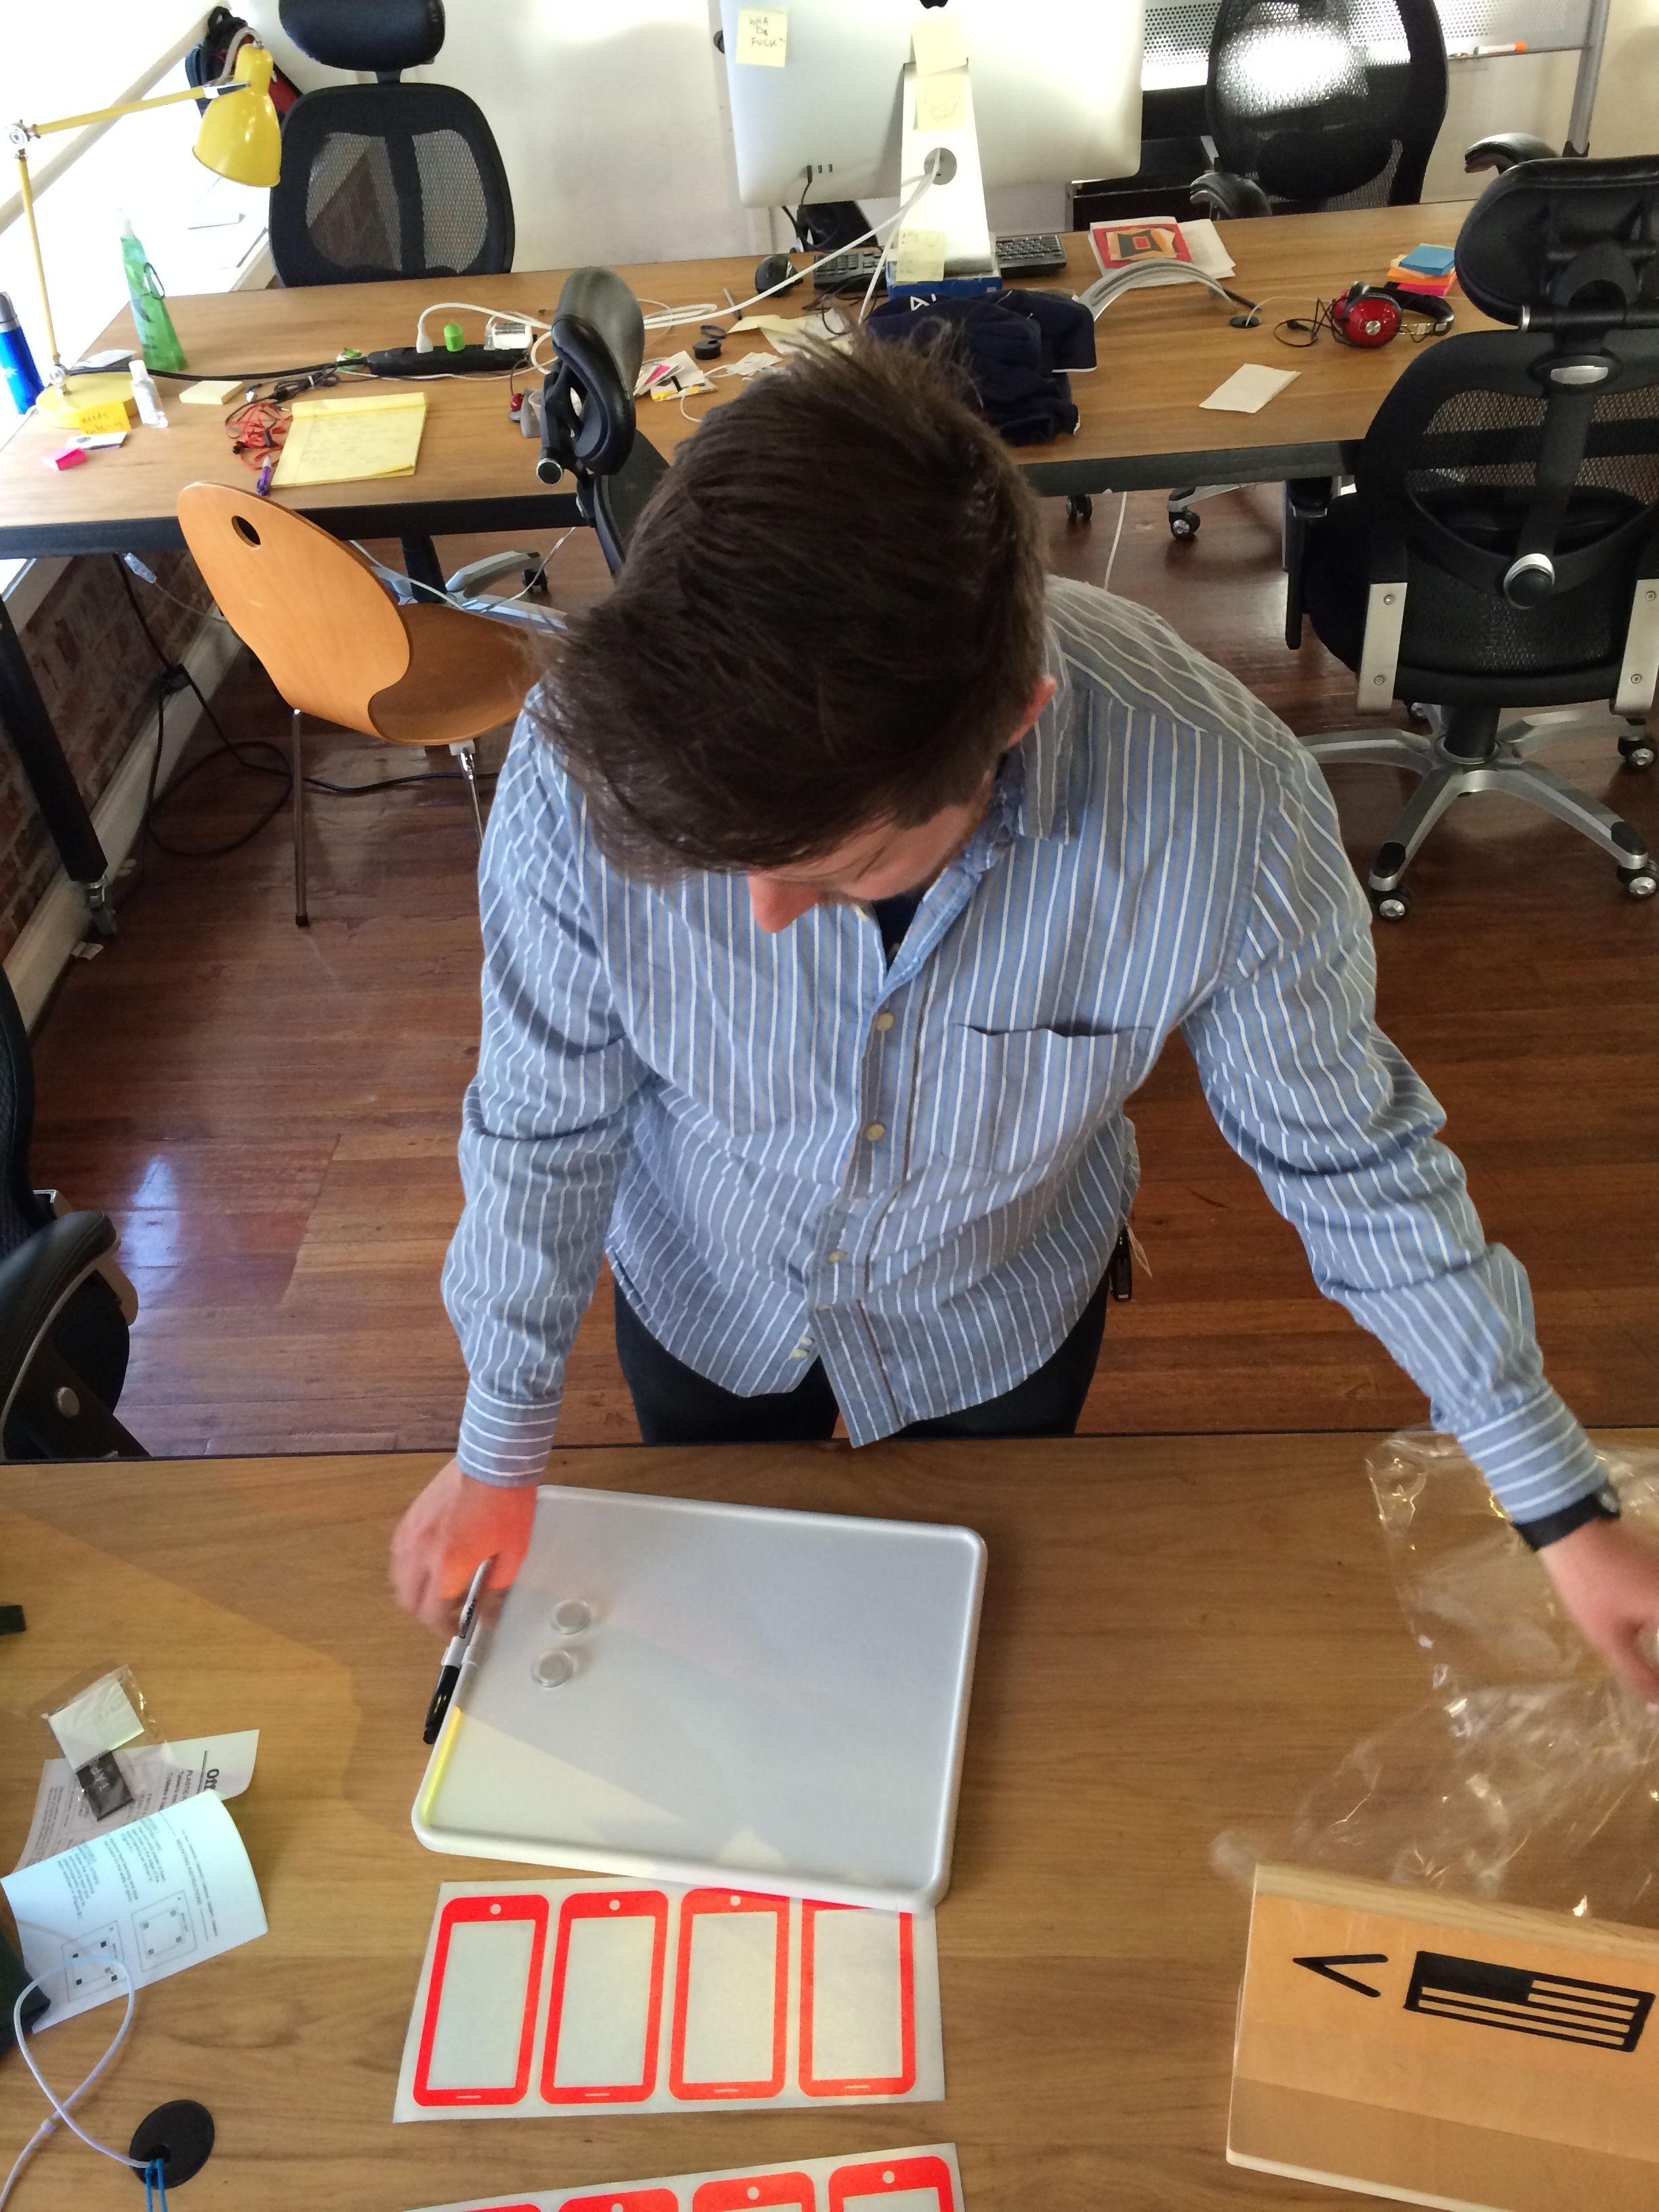
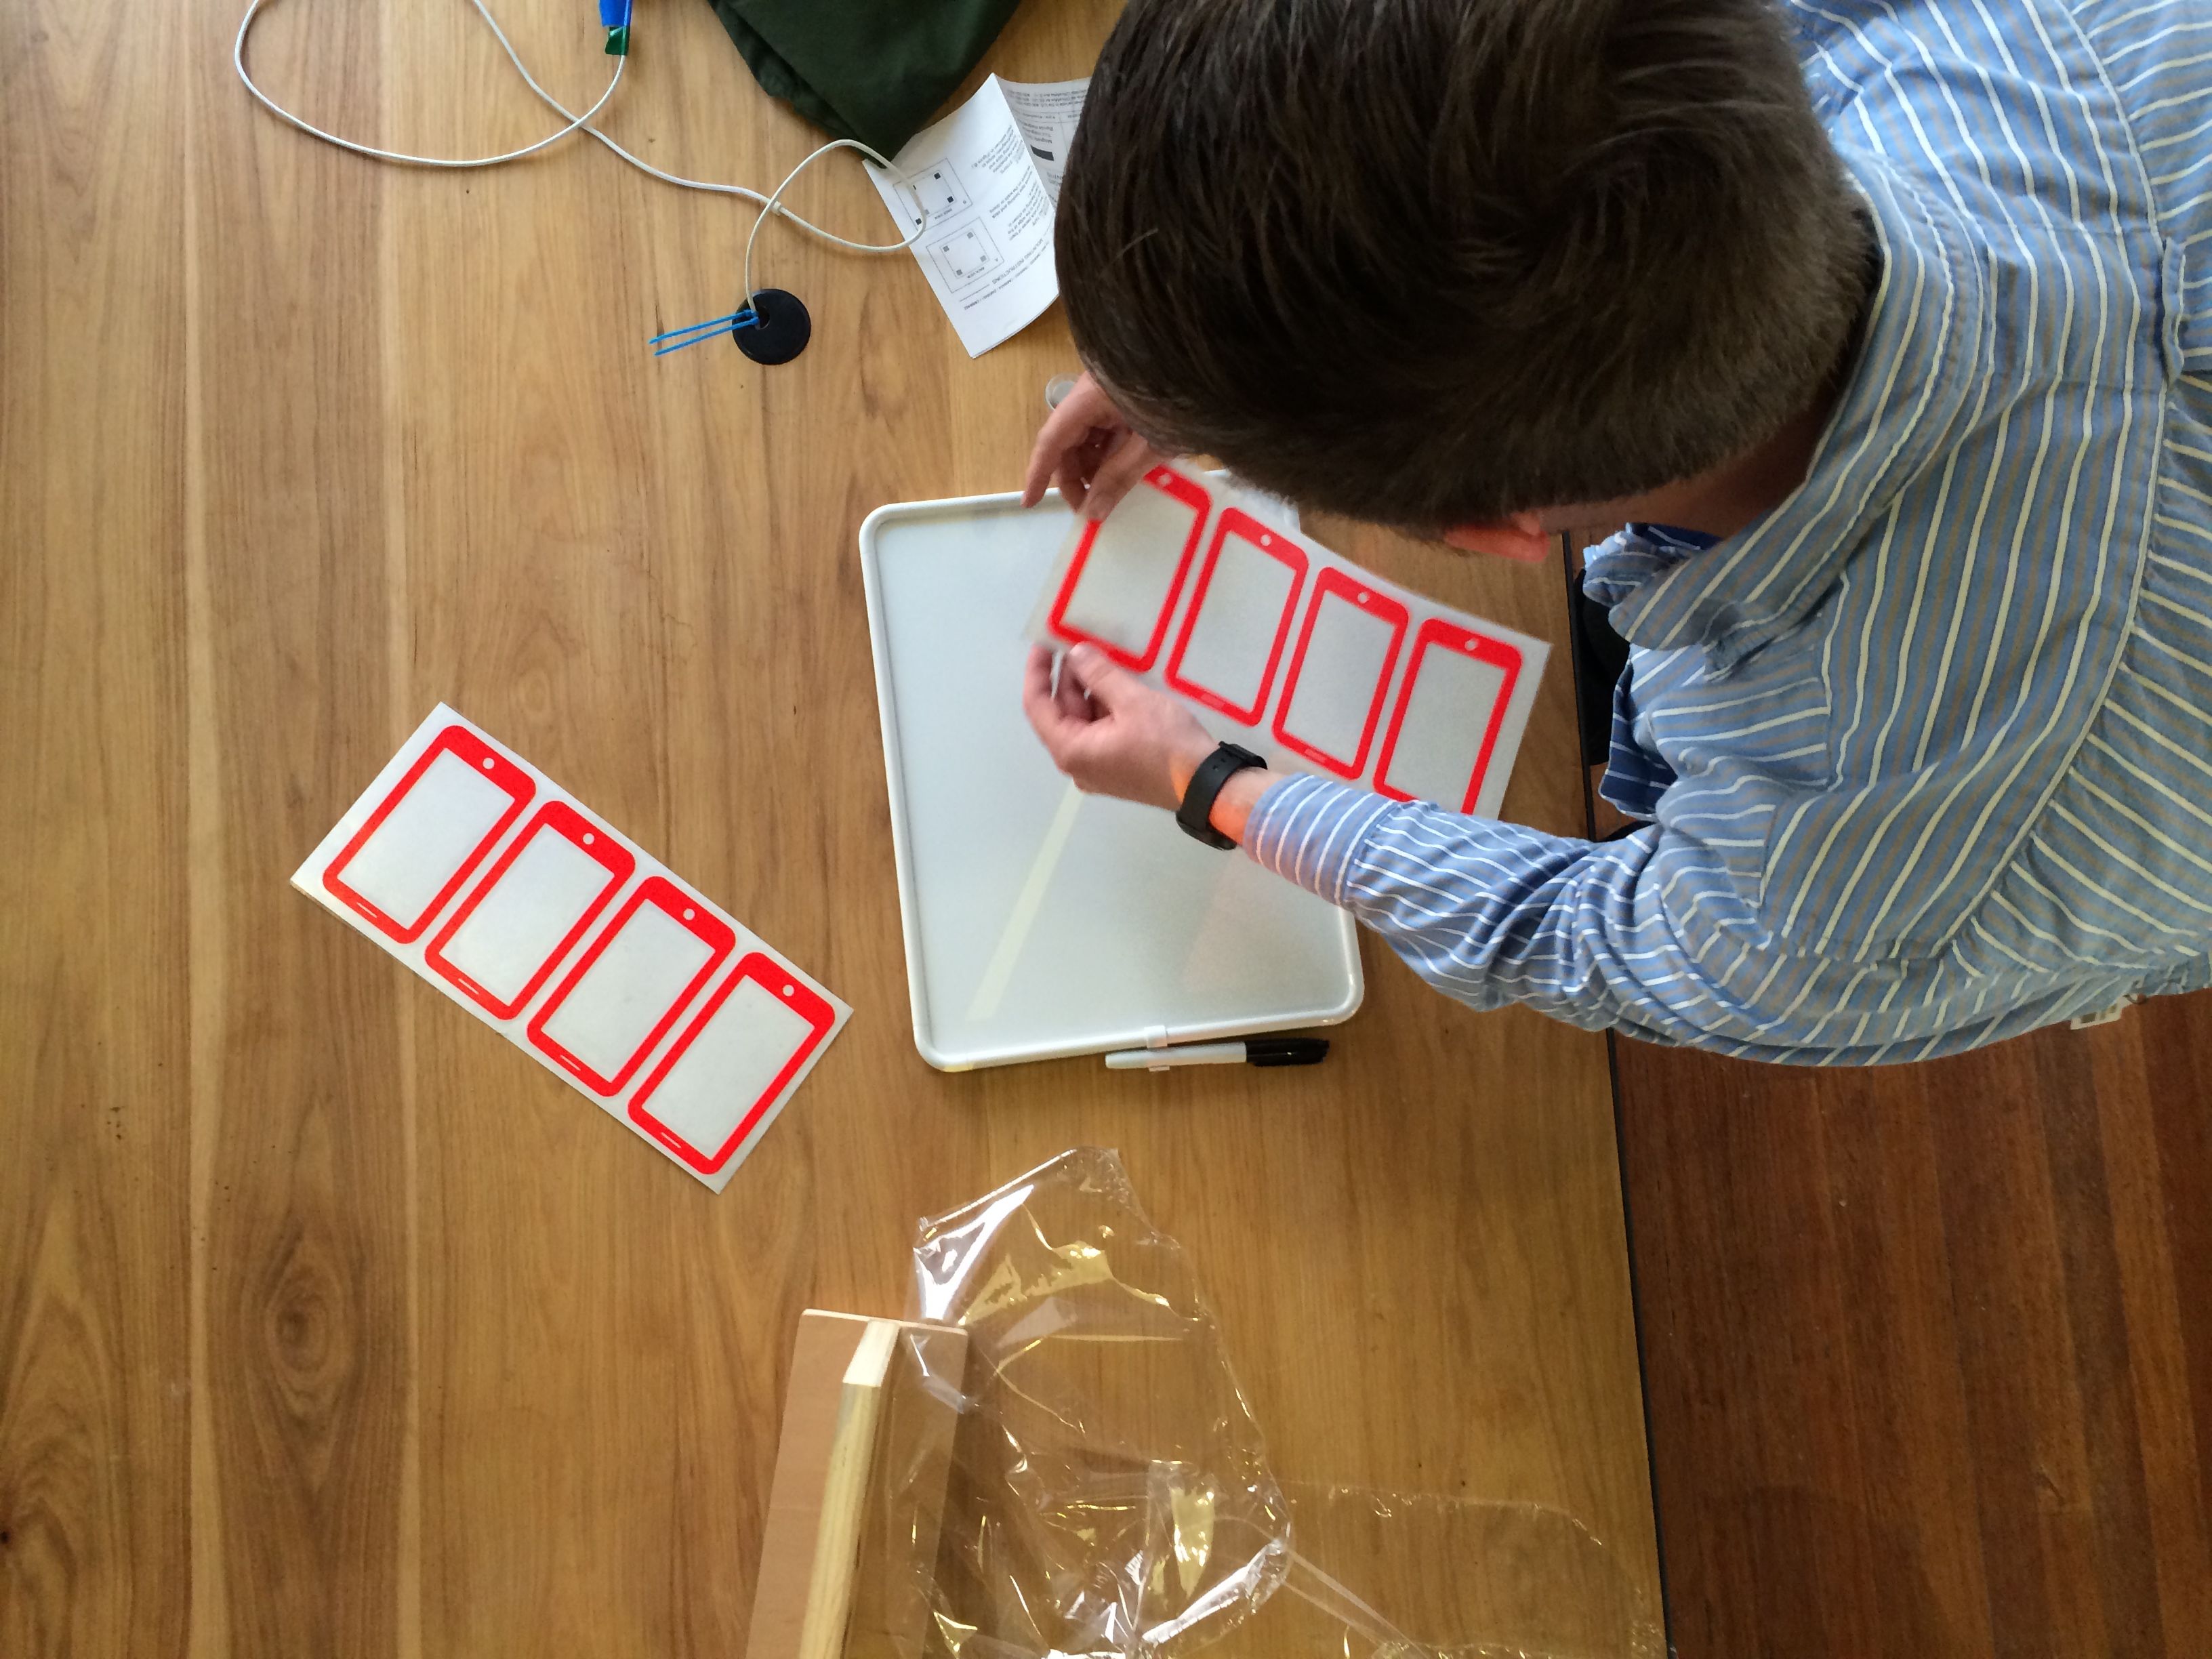
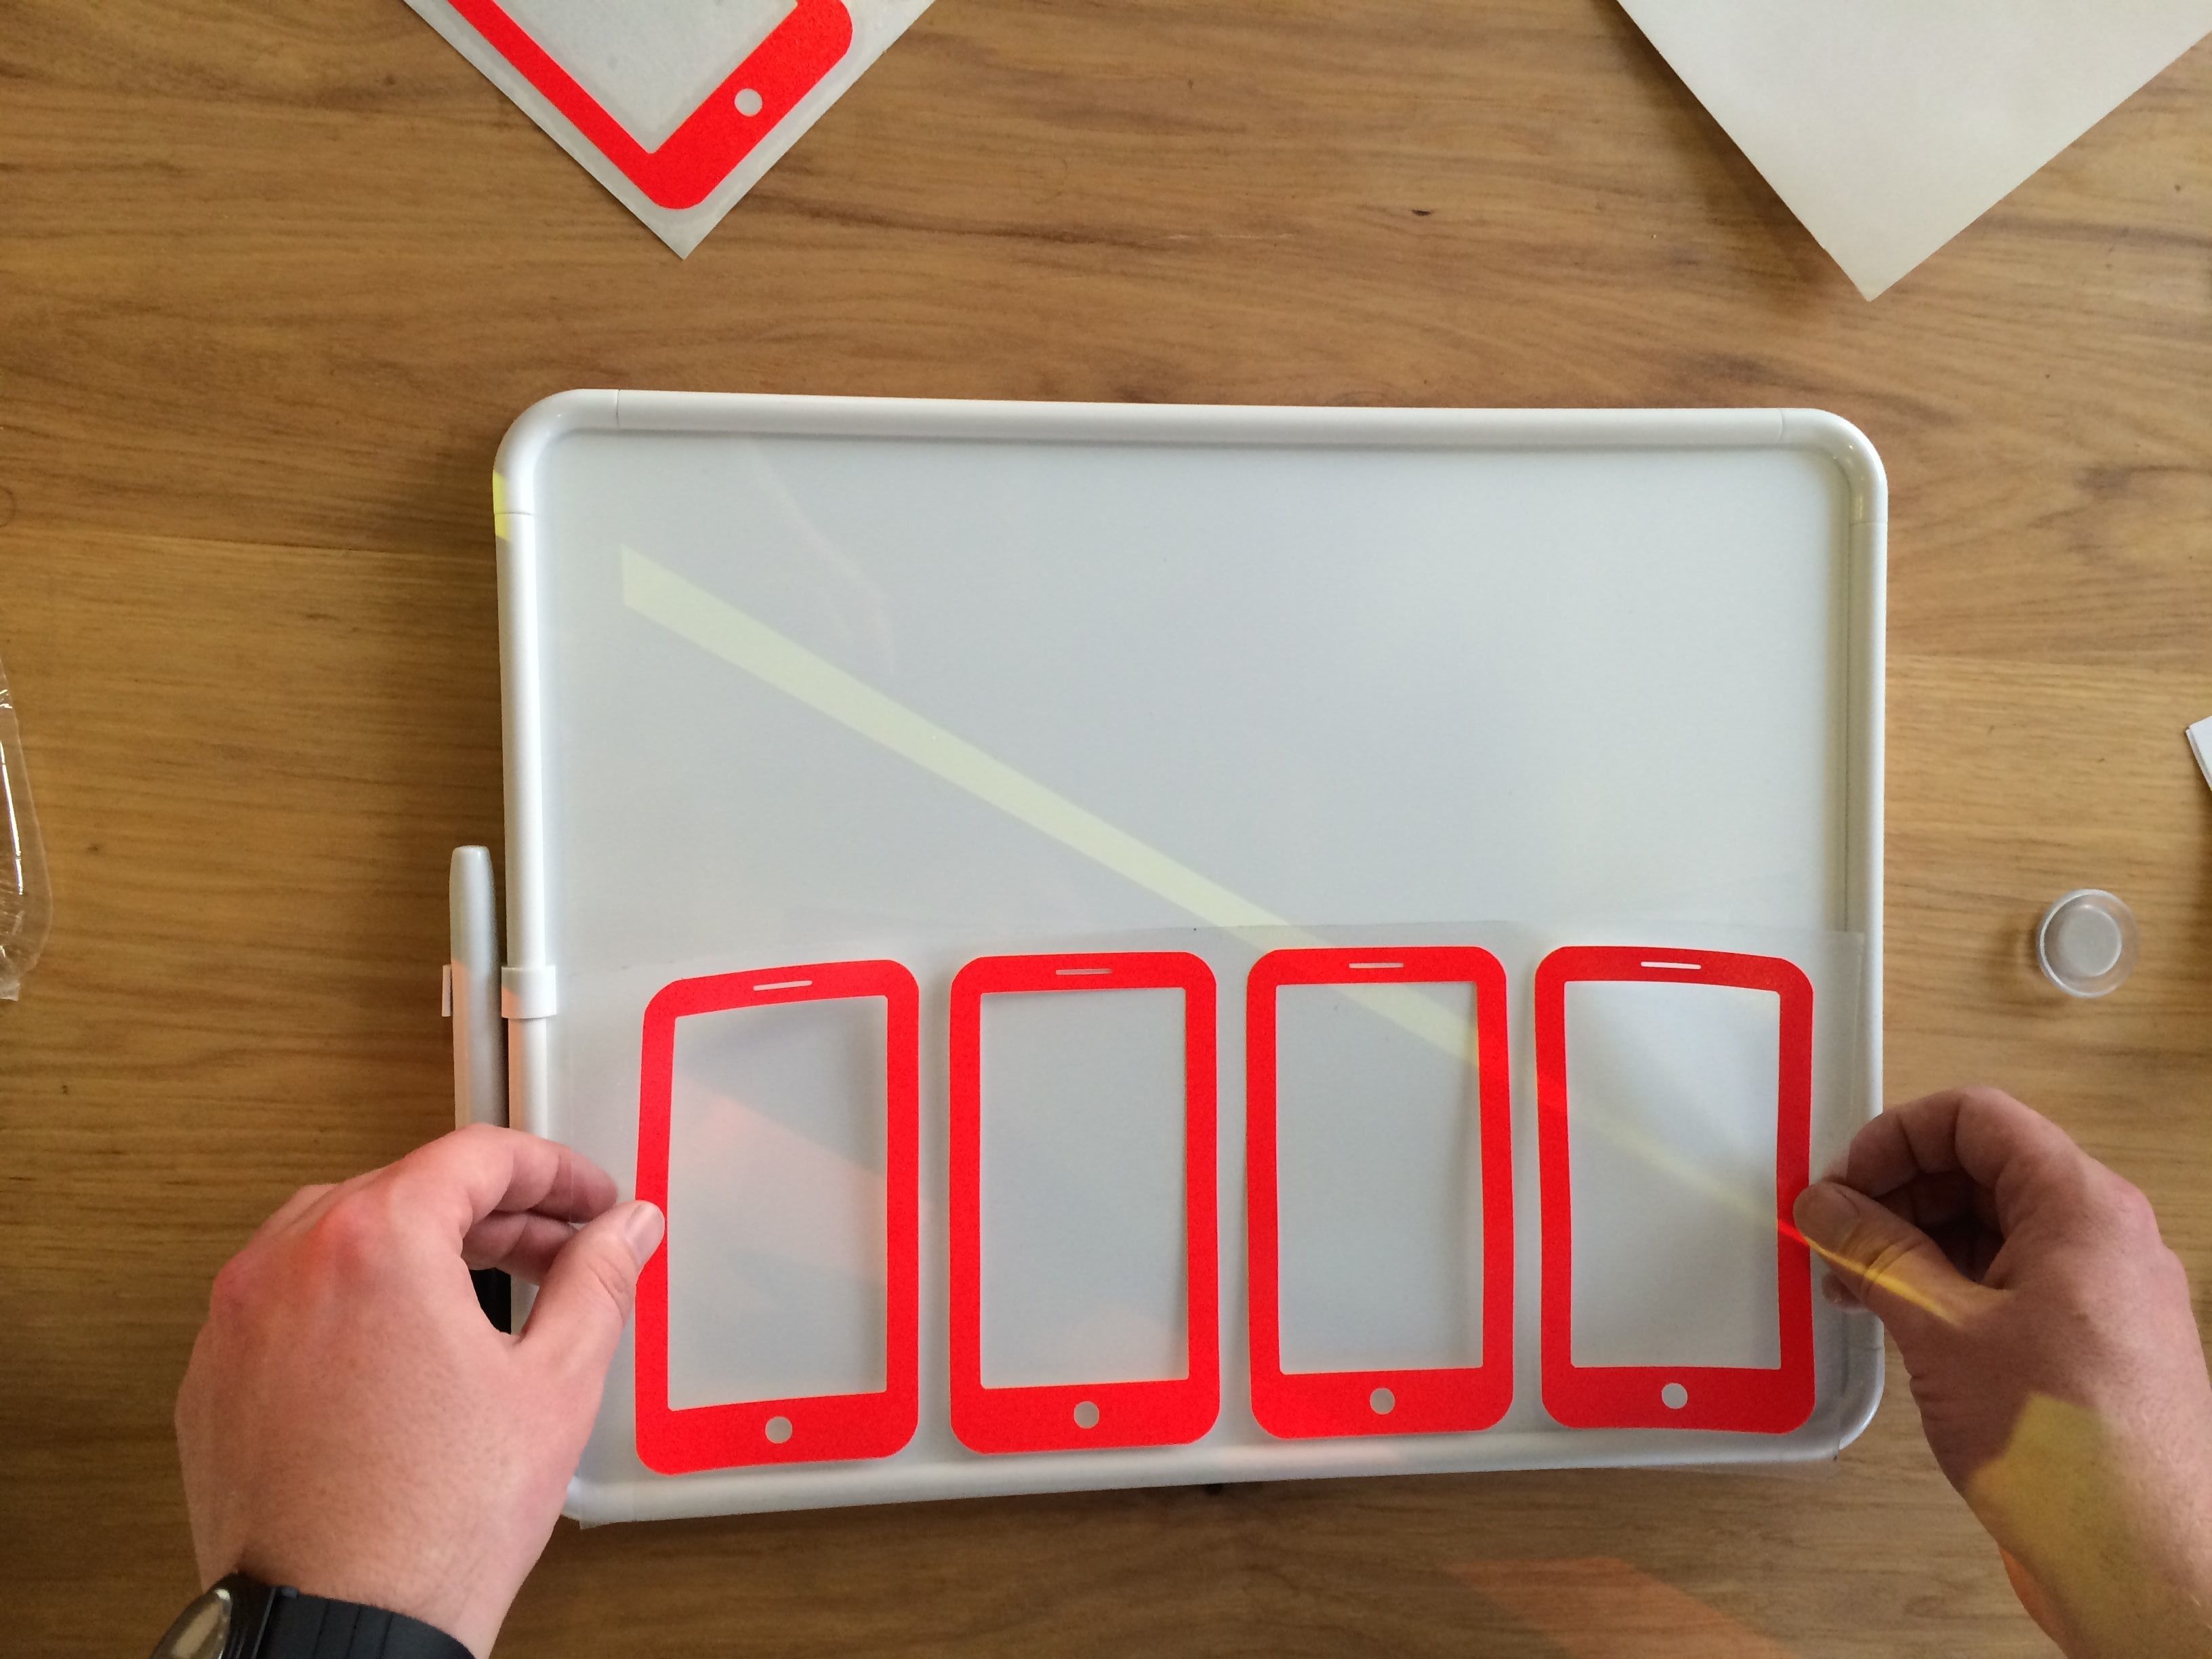
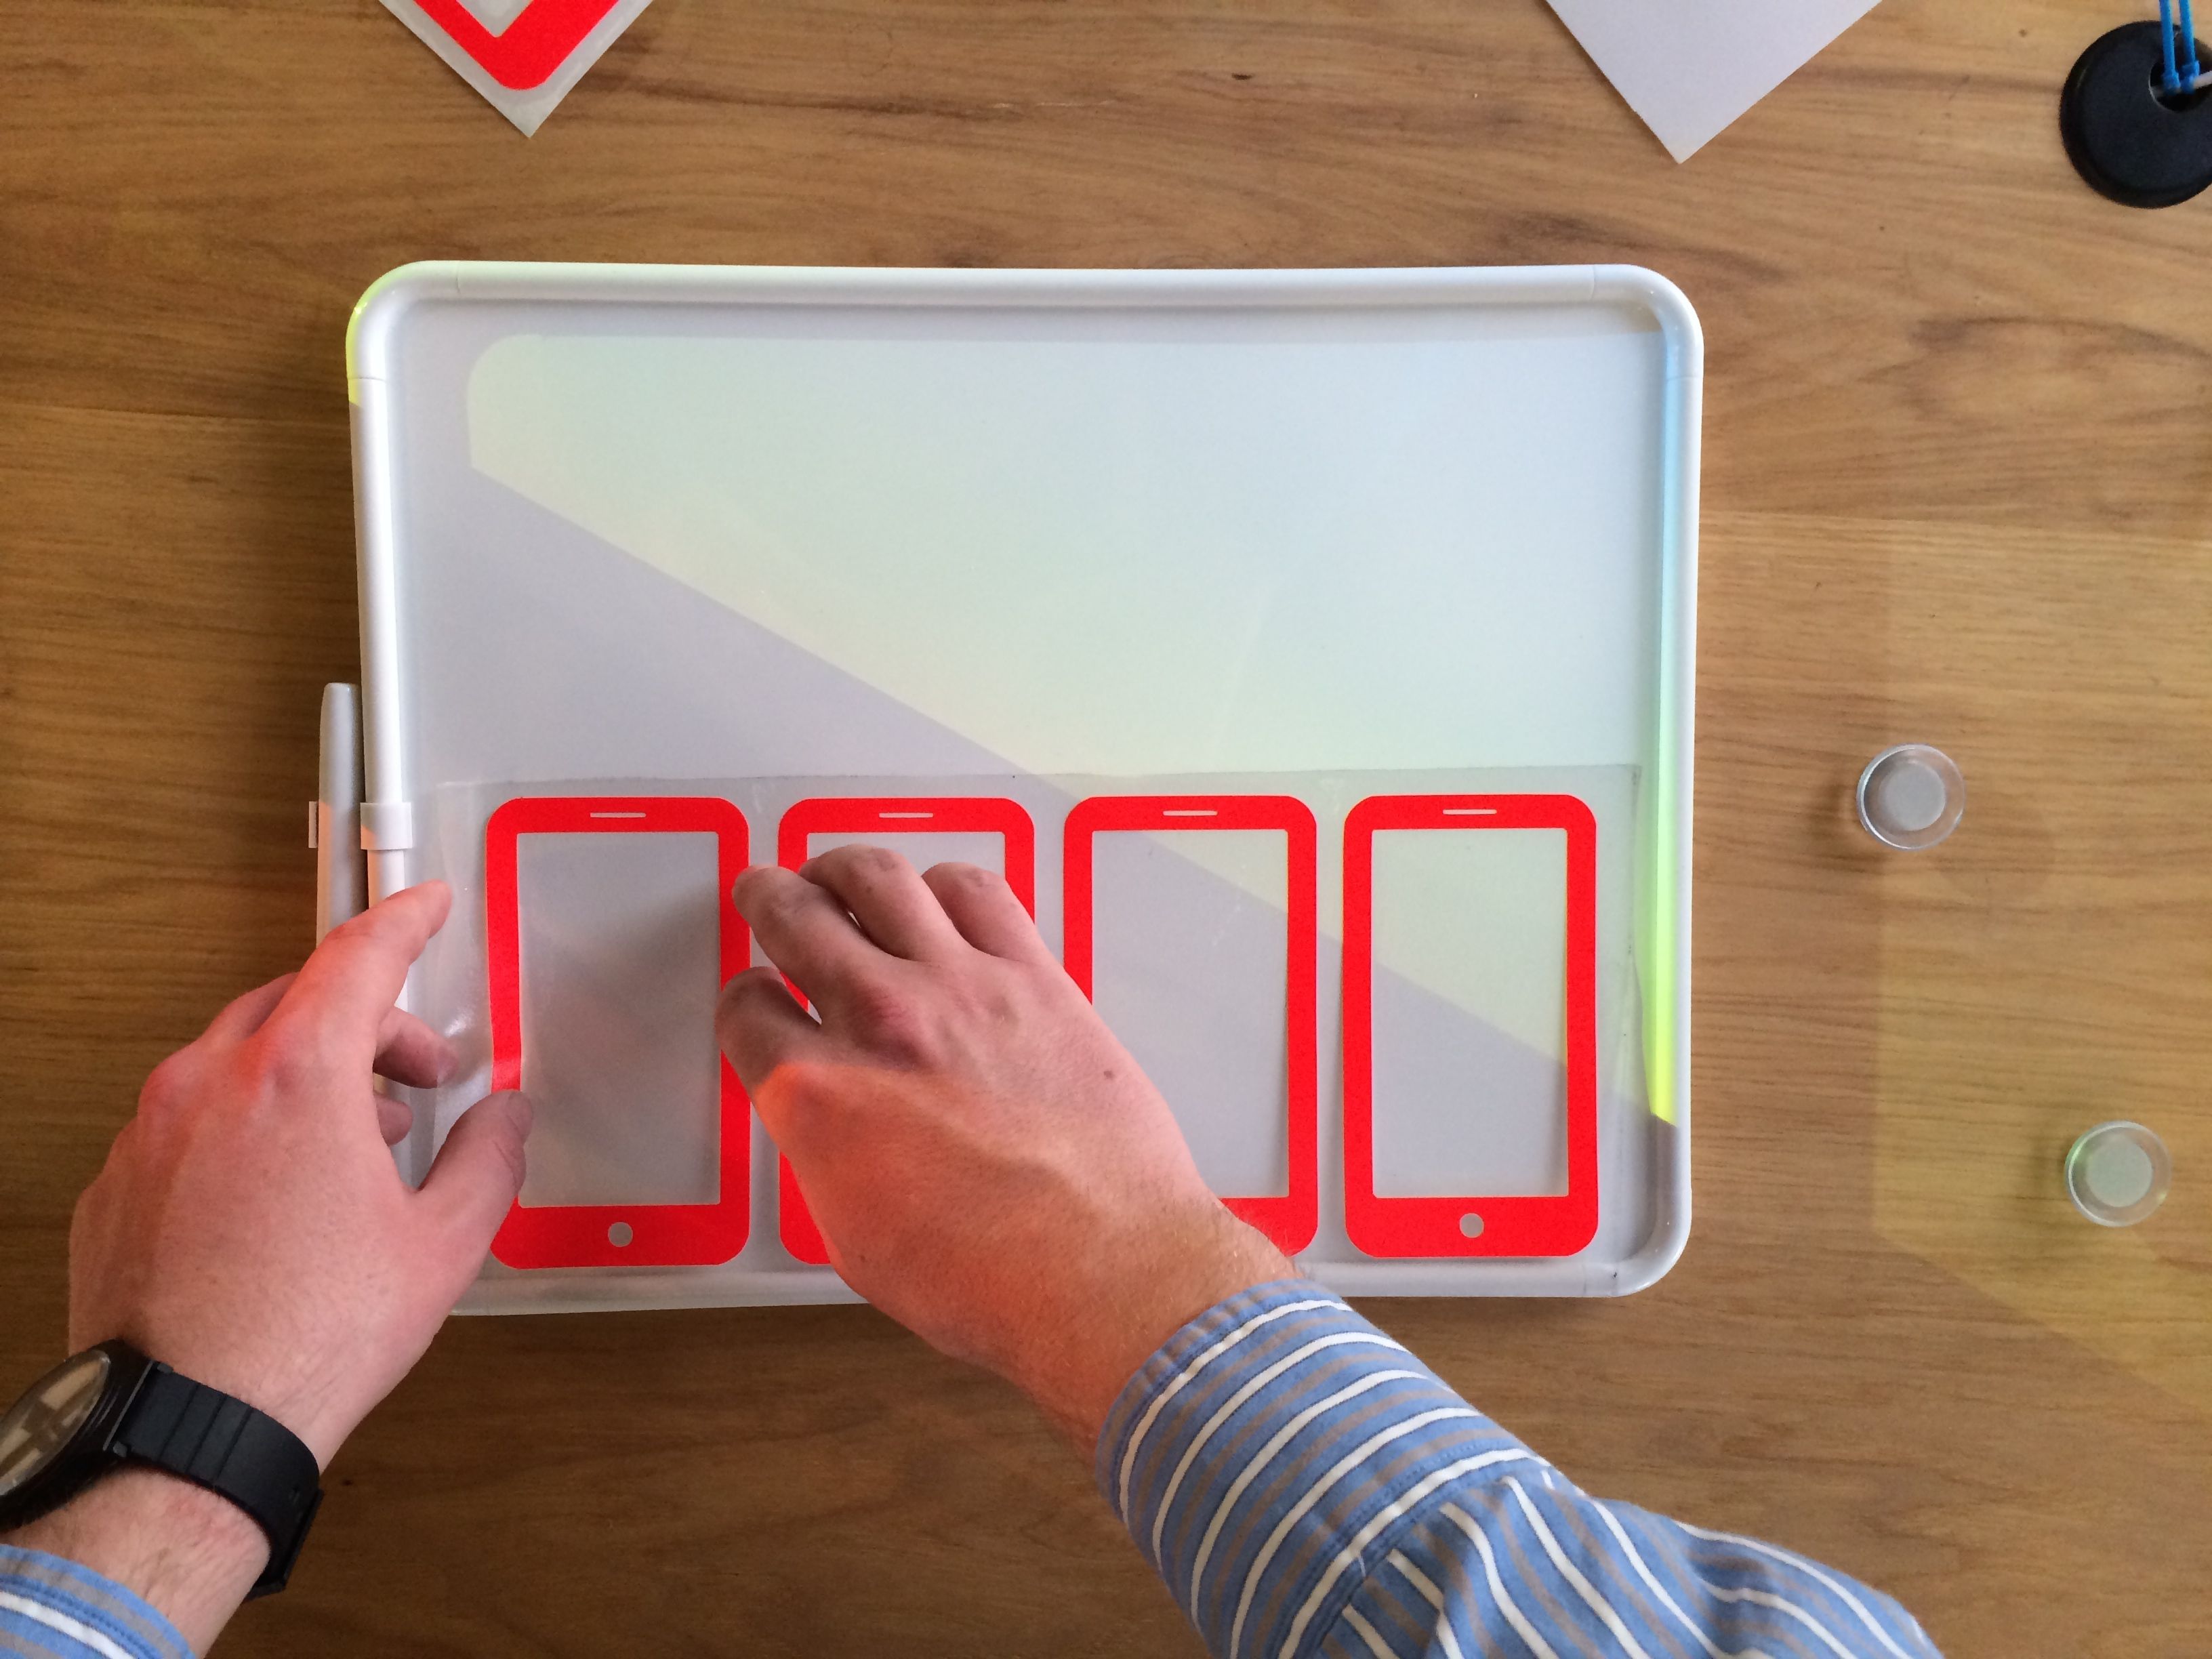
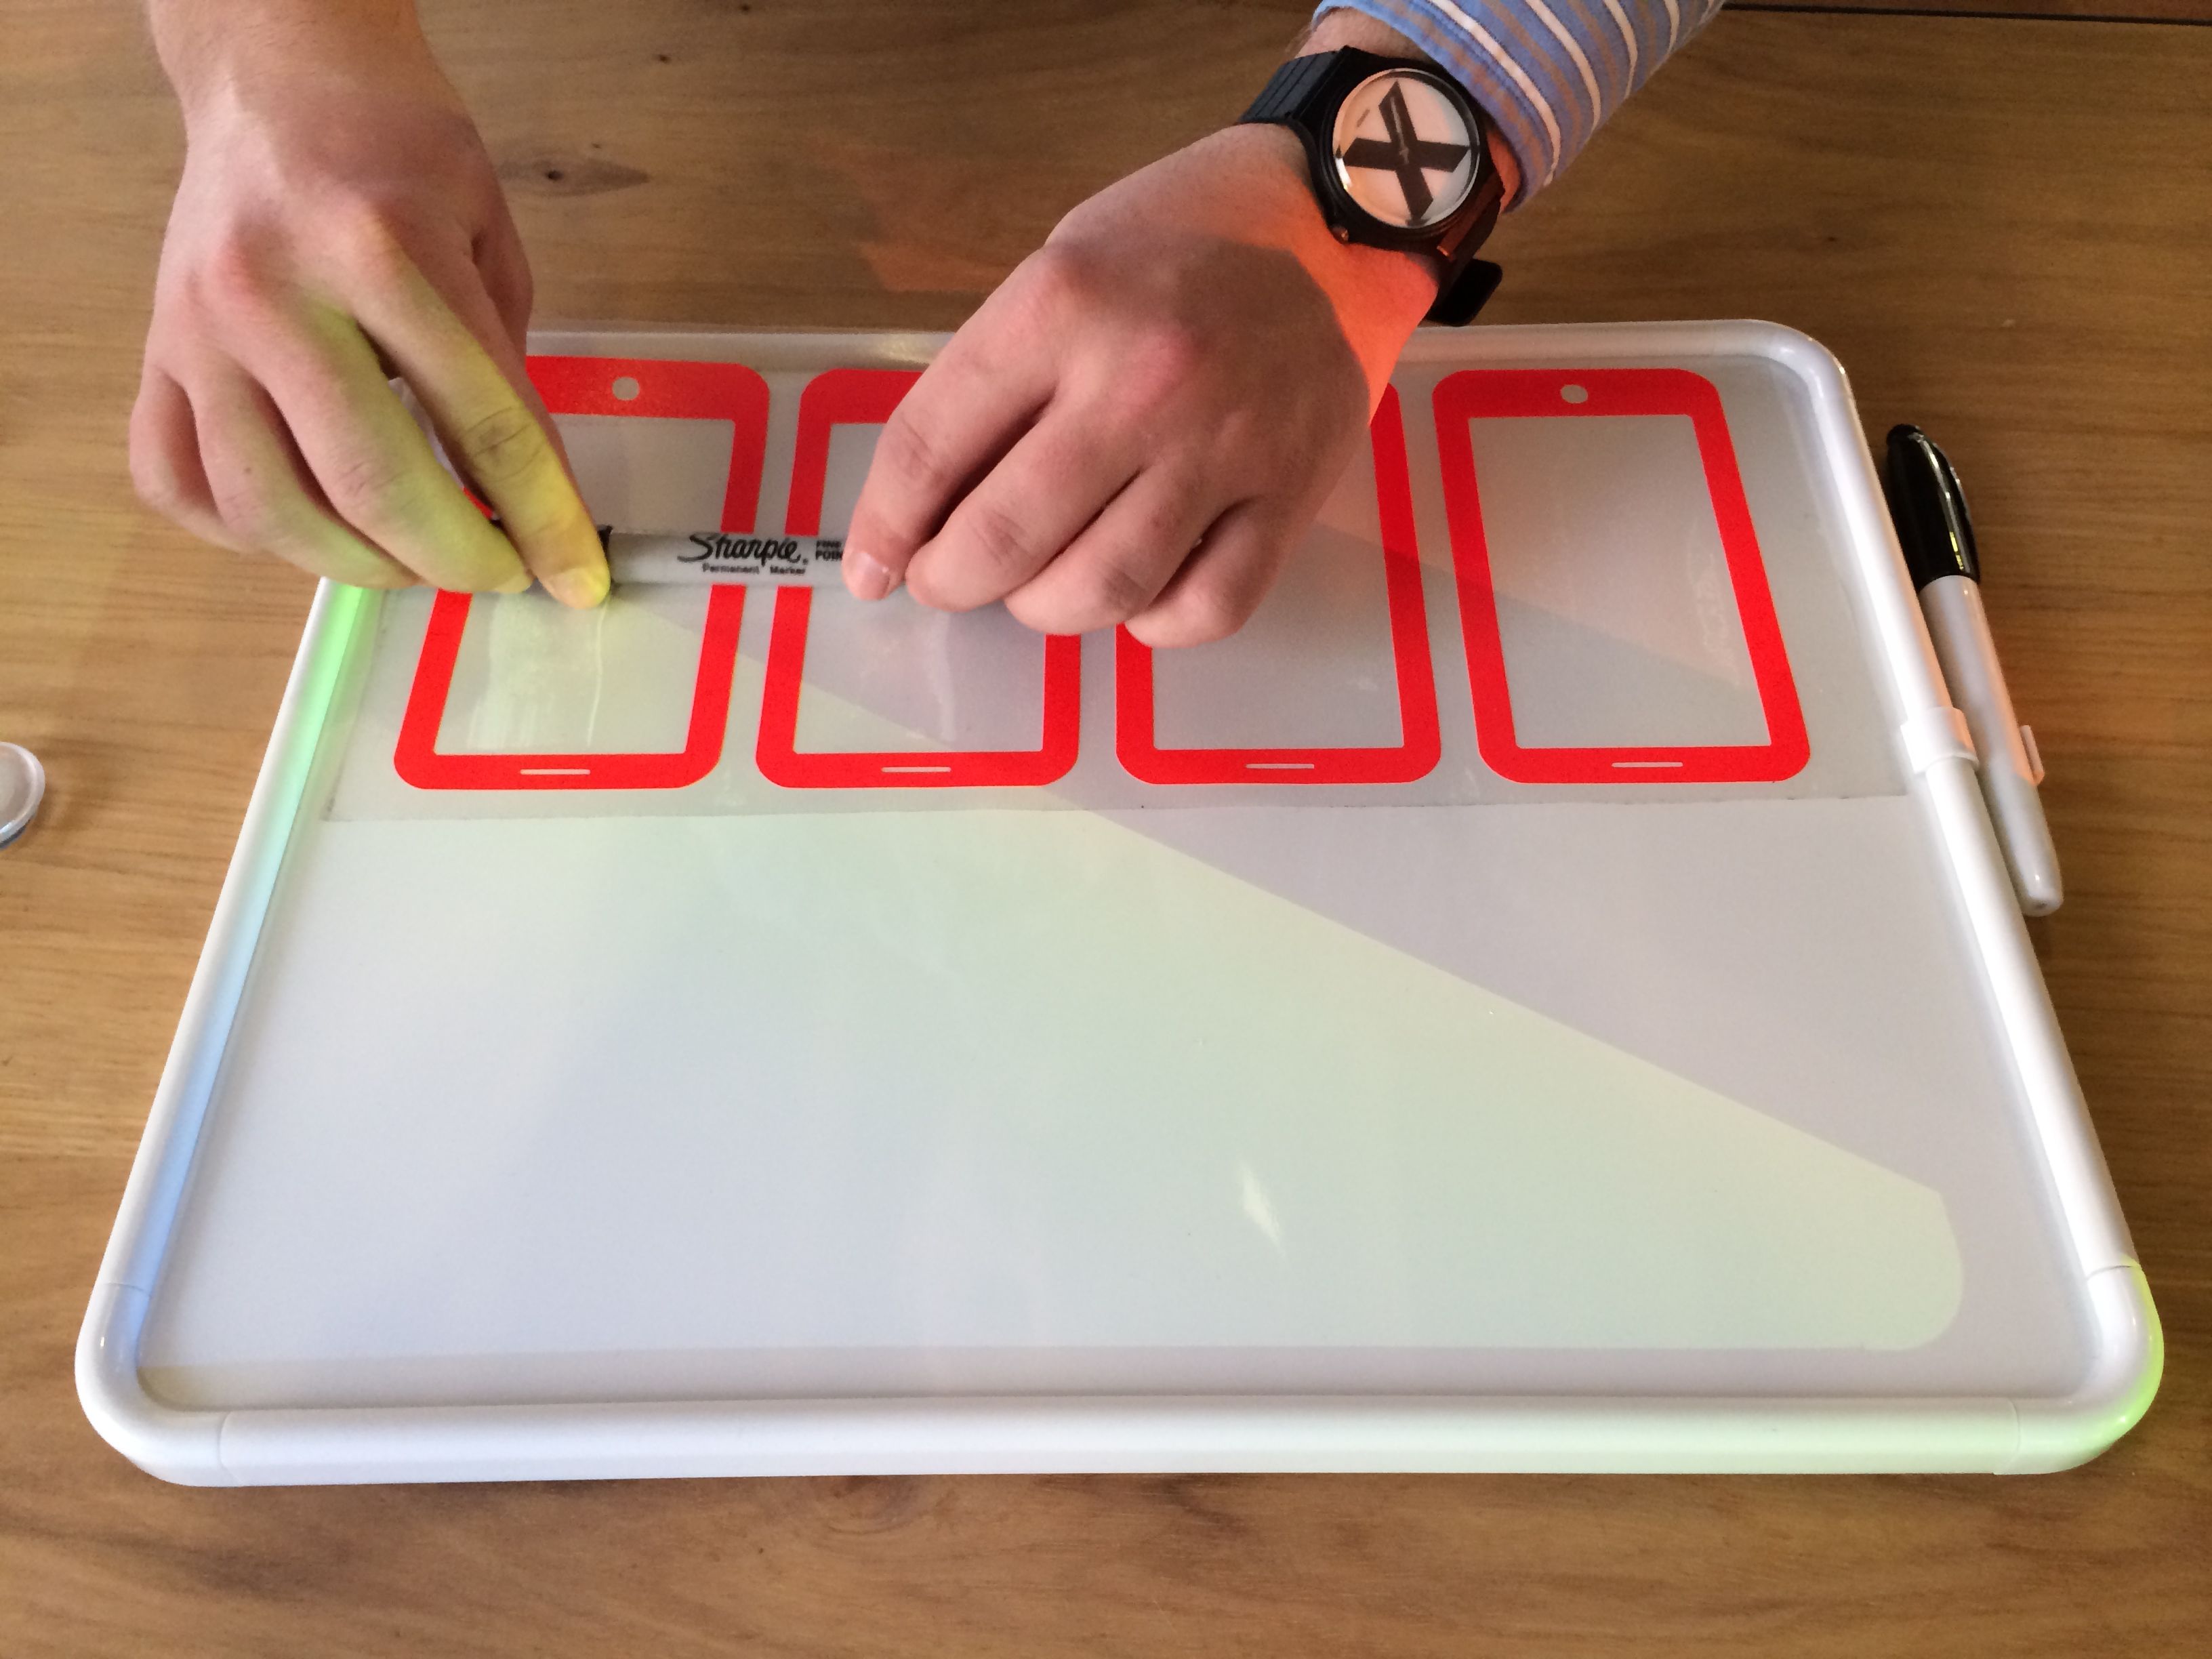
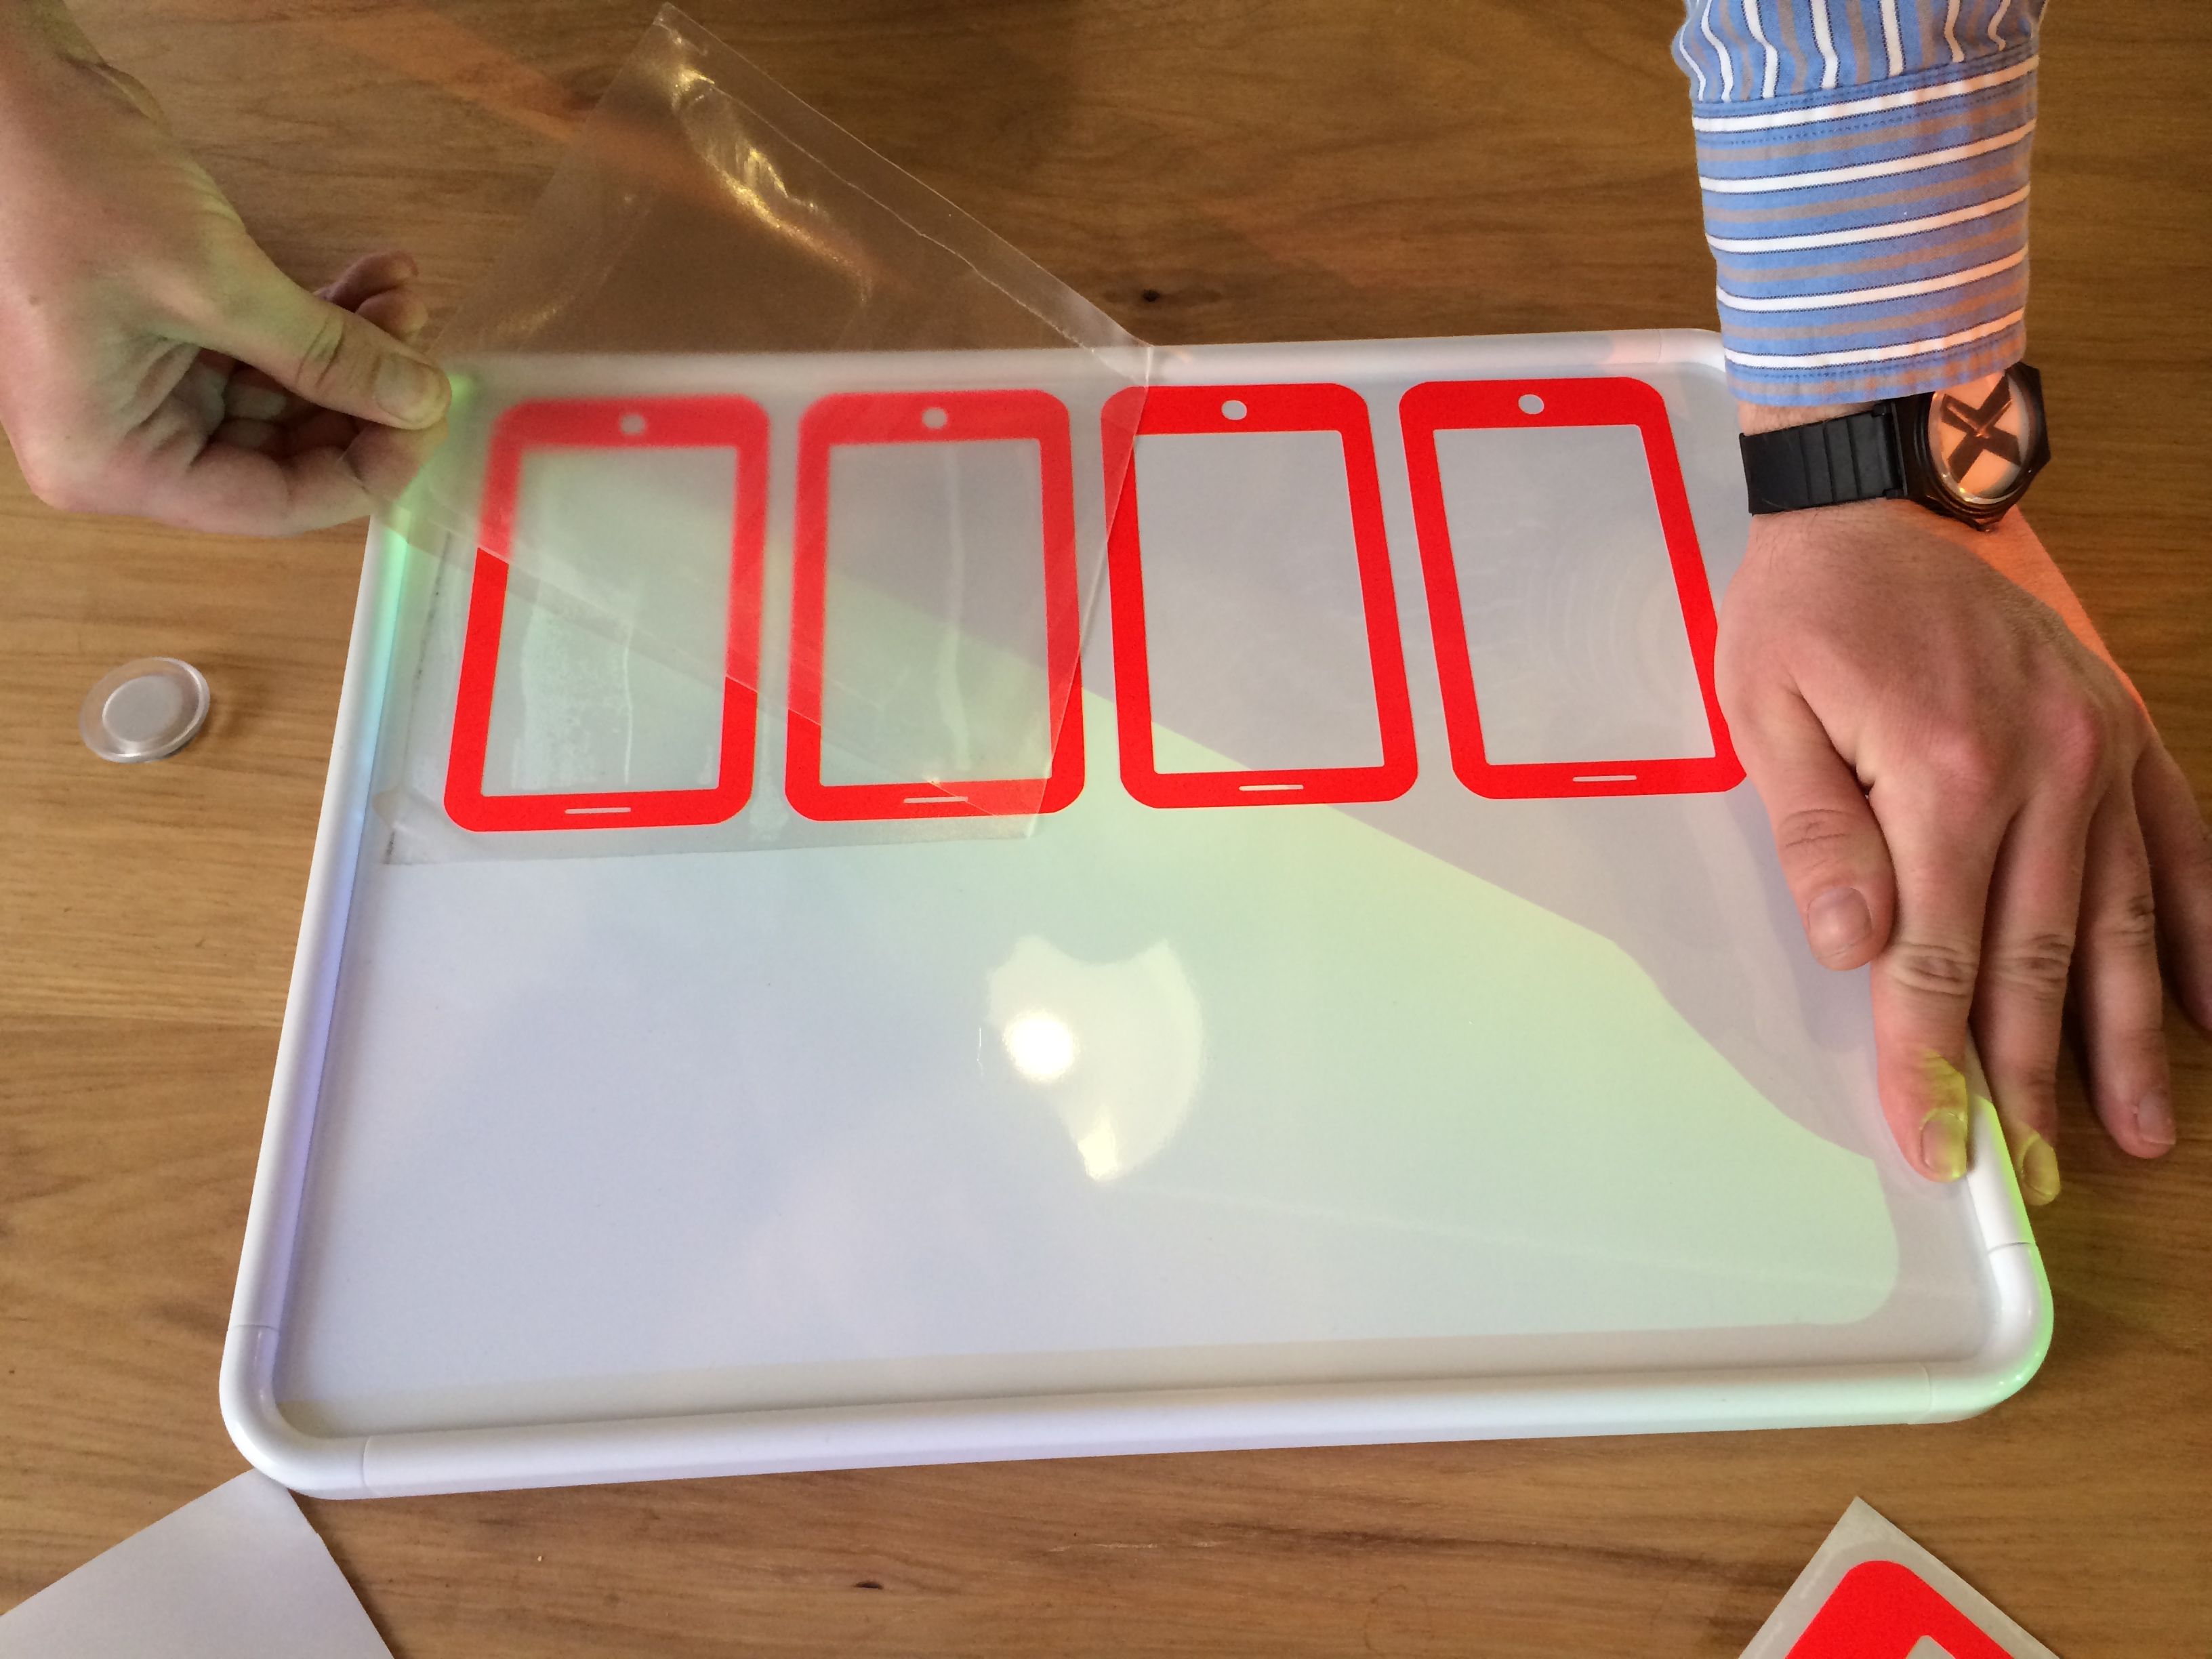
Open up your whiteboard and remove any stickers put on it when you purchased it. Peel the contact paper off your newly created vinyl stickers. Your vinyl design should stick to the clear contact paper. Position and place your sticker sheet on your whiteboard. Smooth it out to make sure you don't have any air bubbles under the stickers. I used a sharpie to roll out air bubbles.
Add Your Second Sticker Sheet
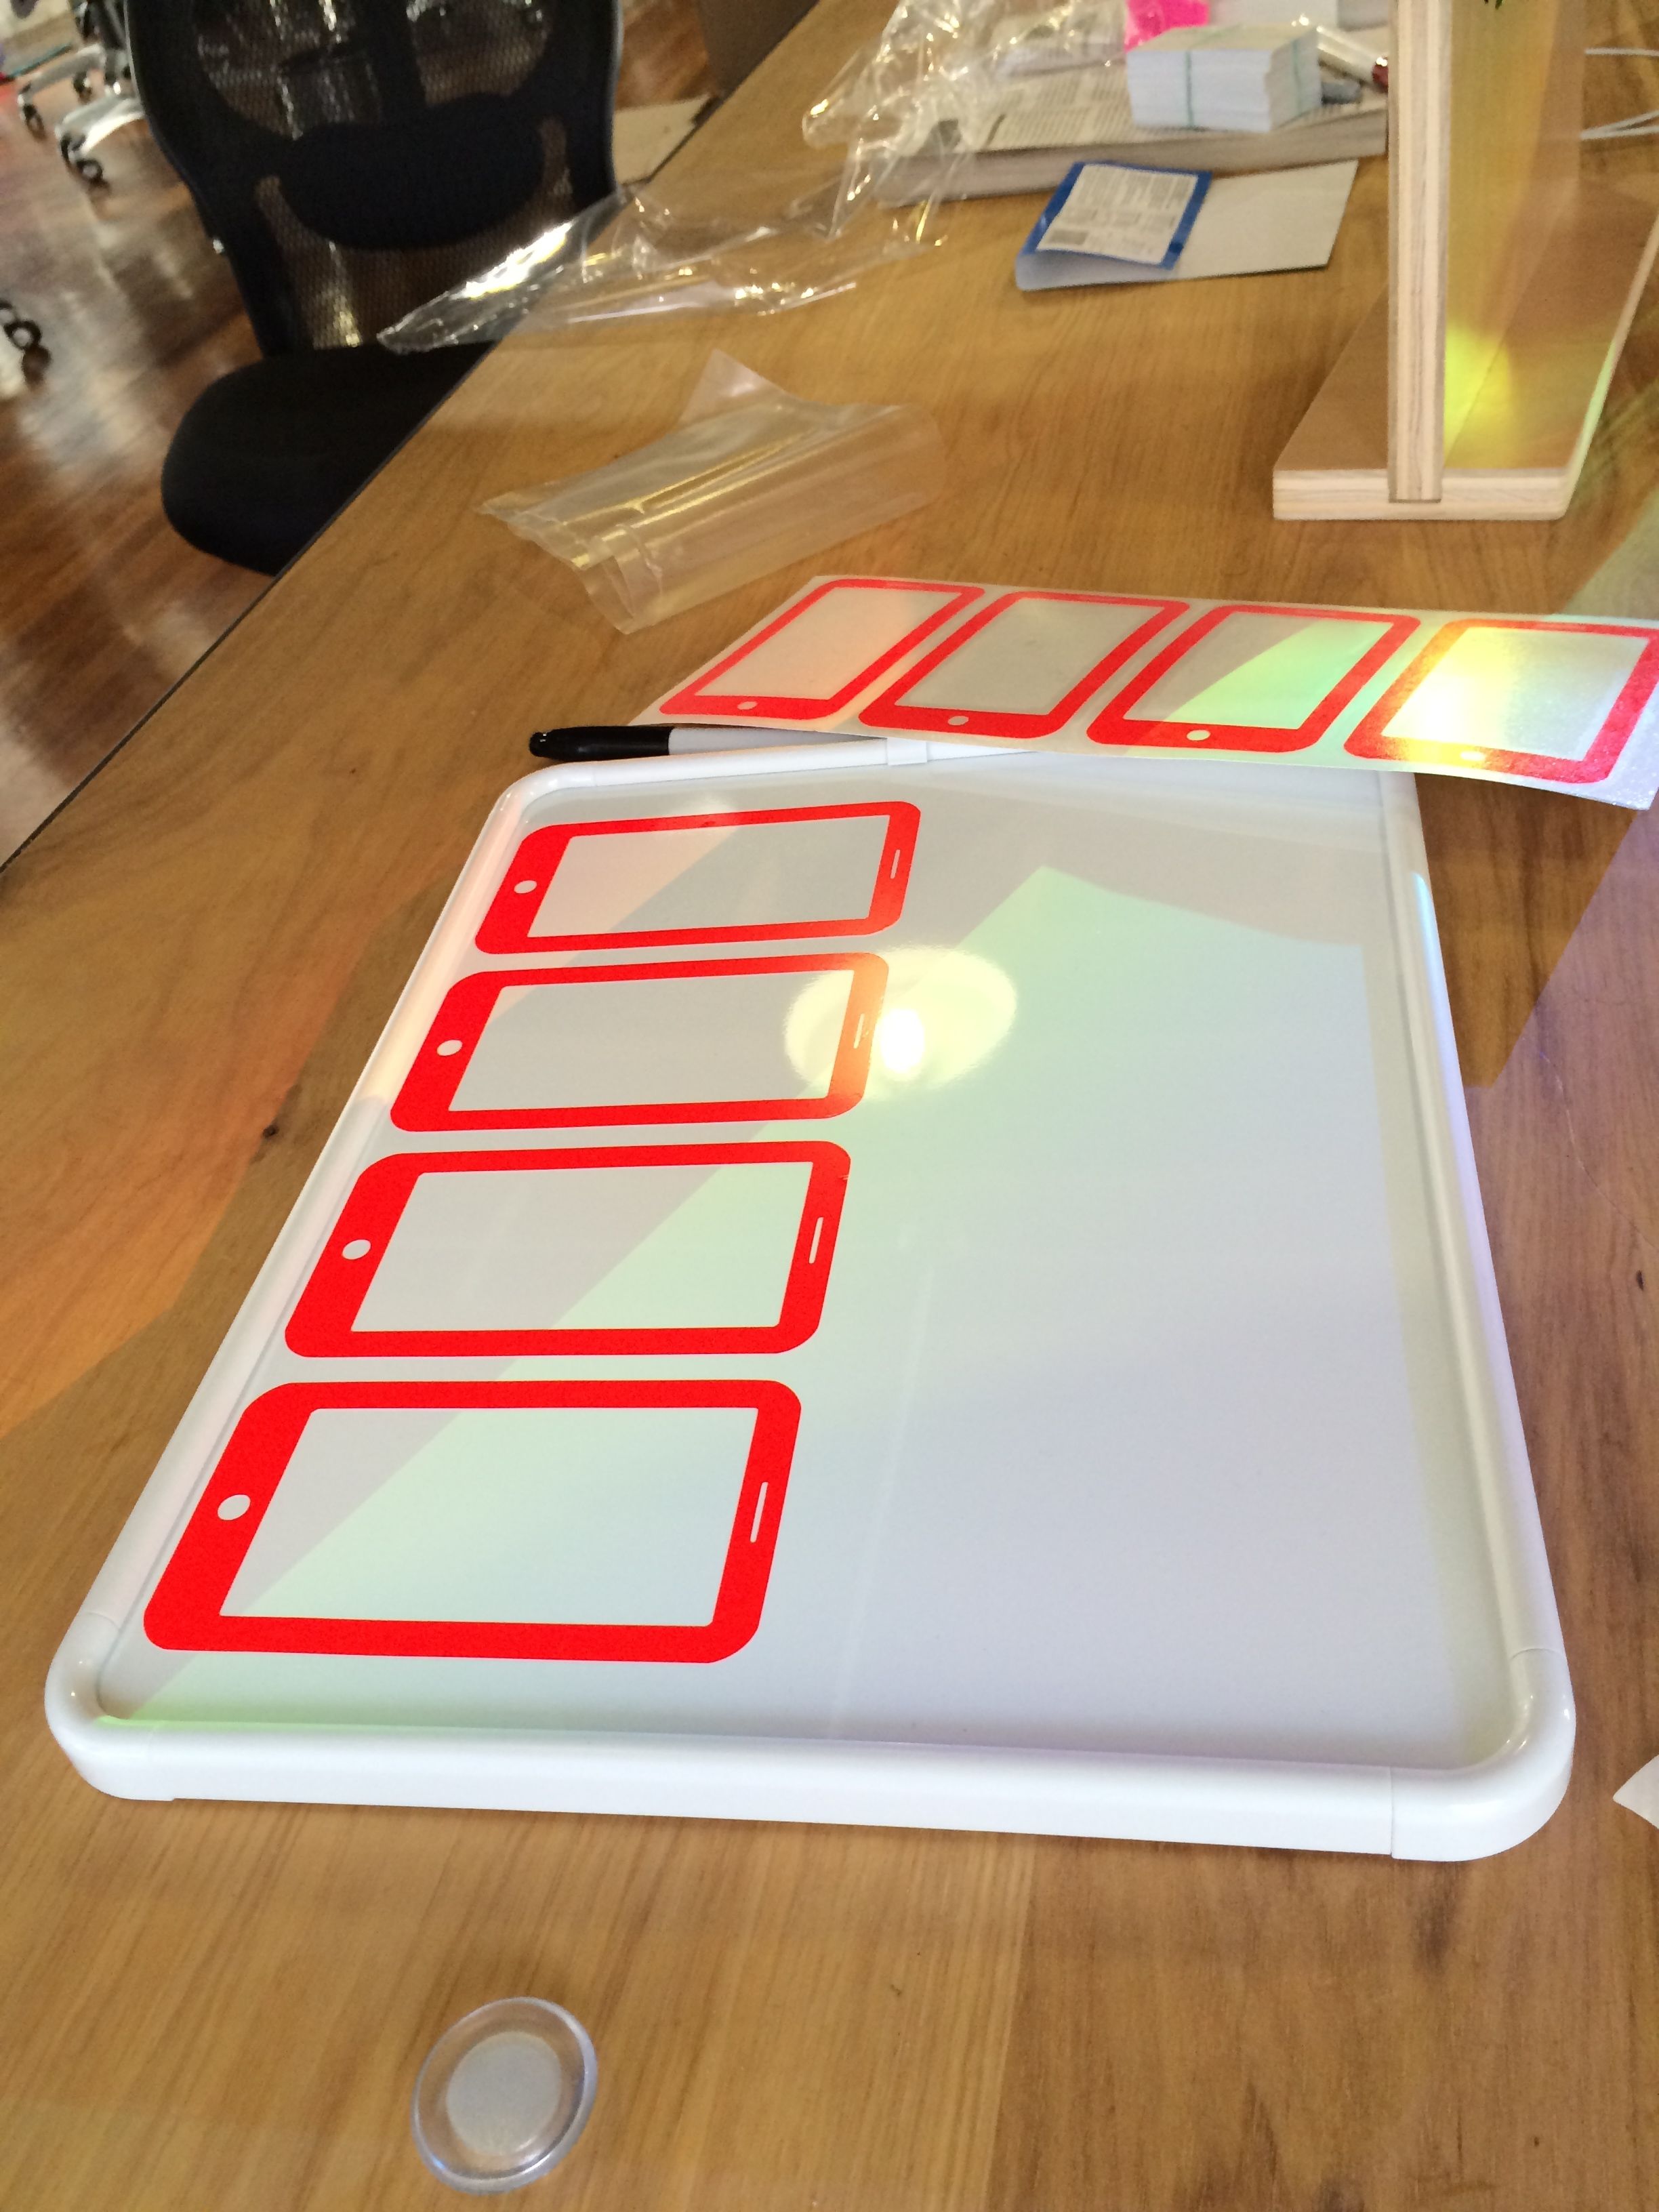
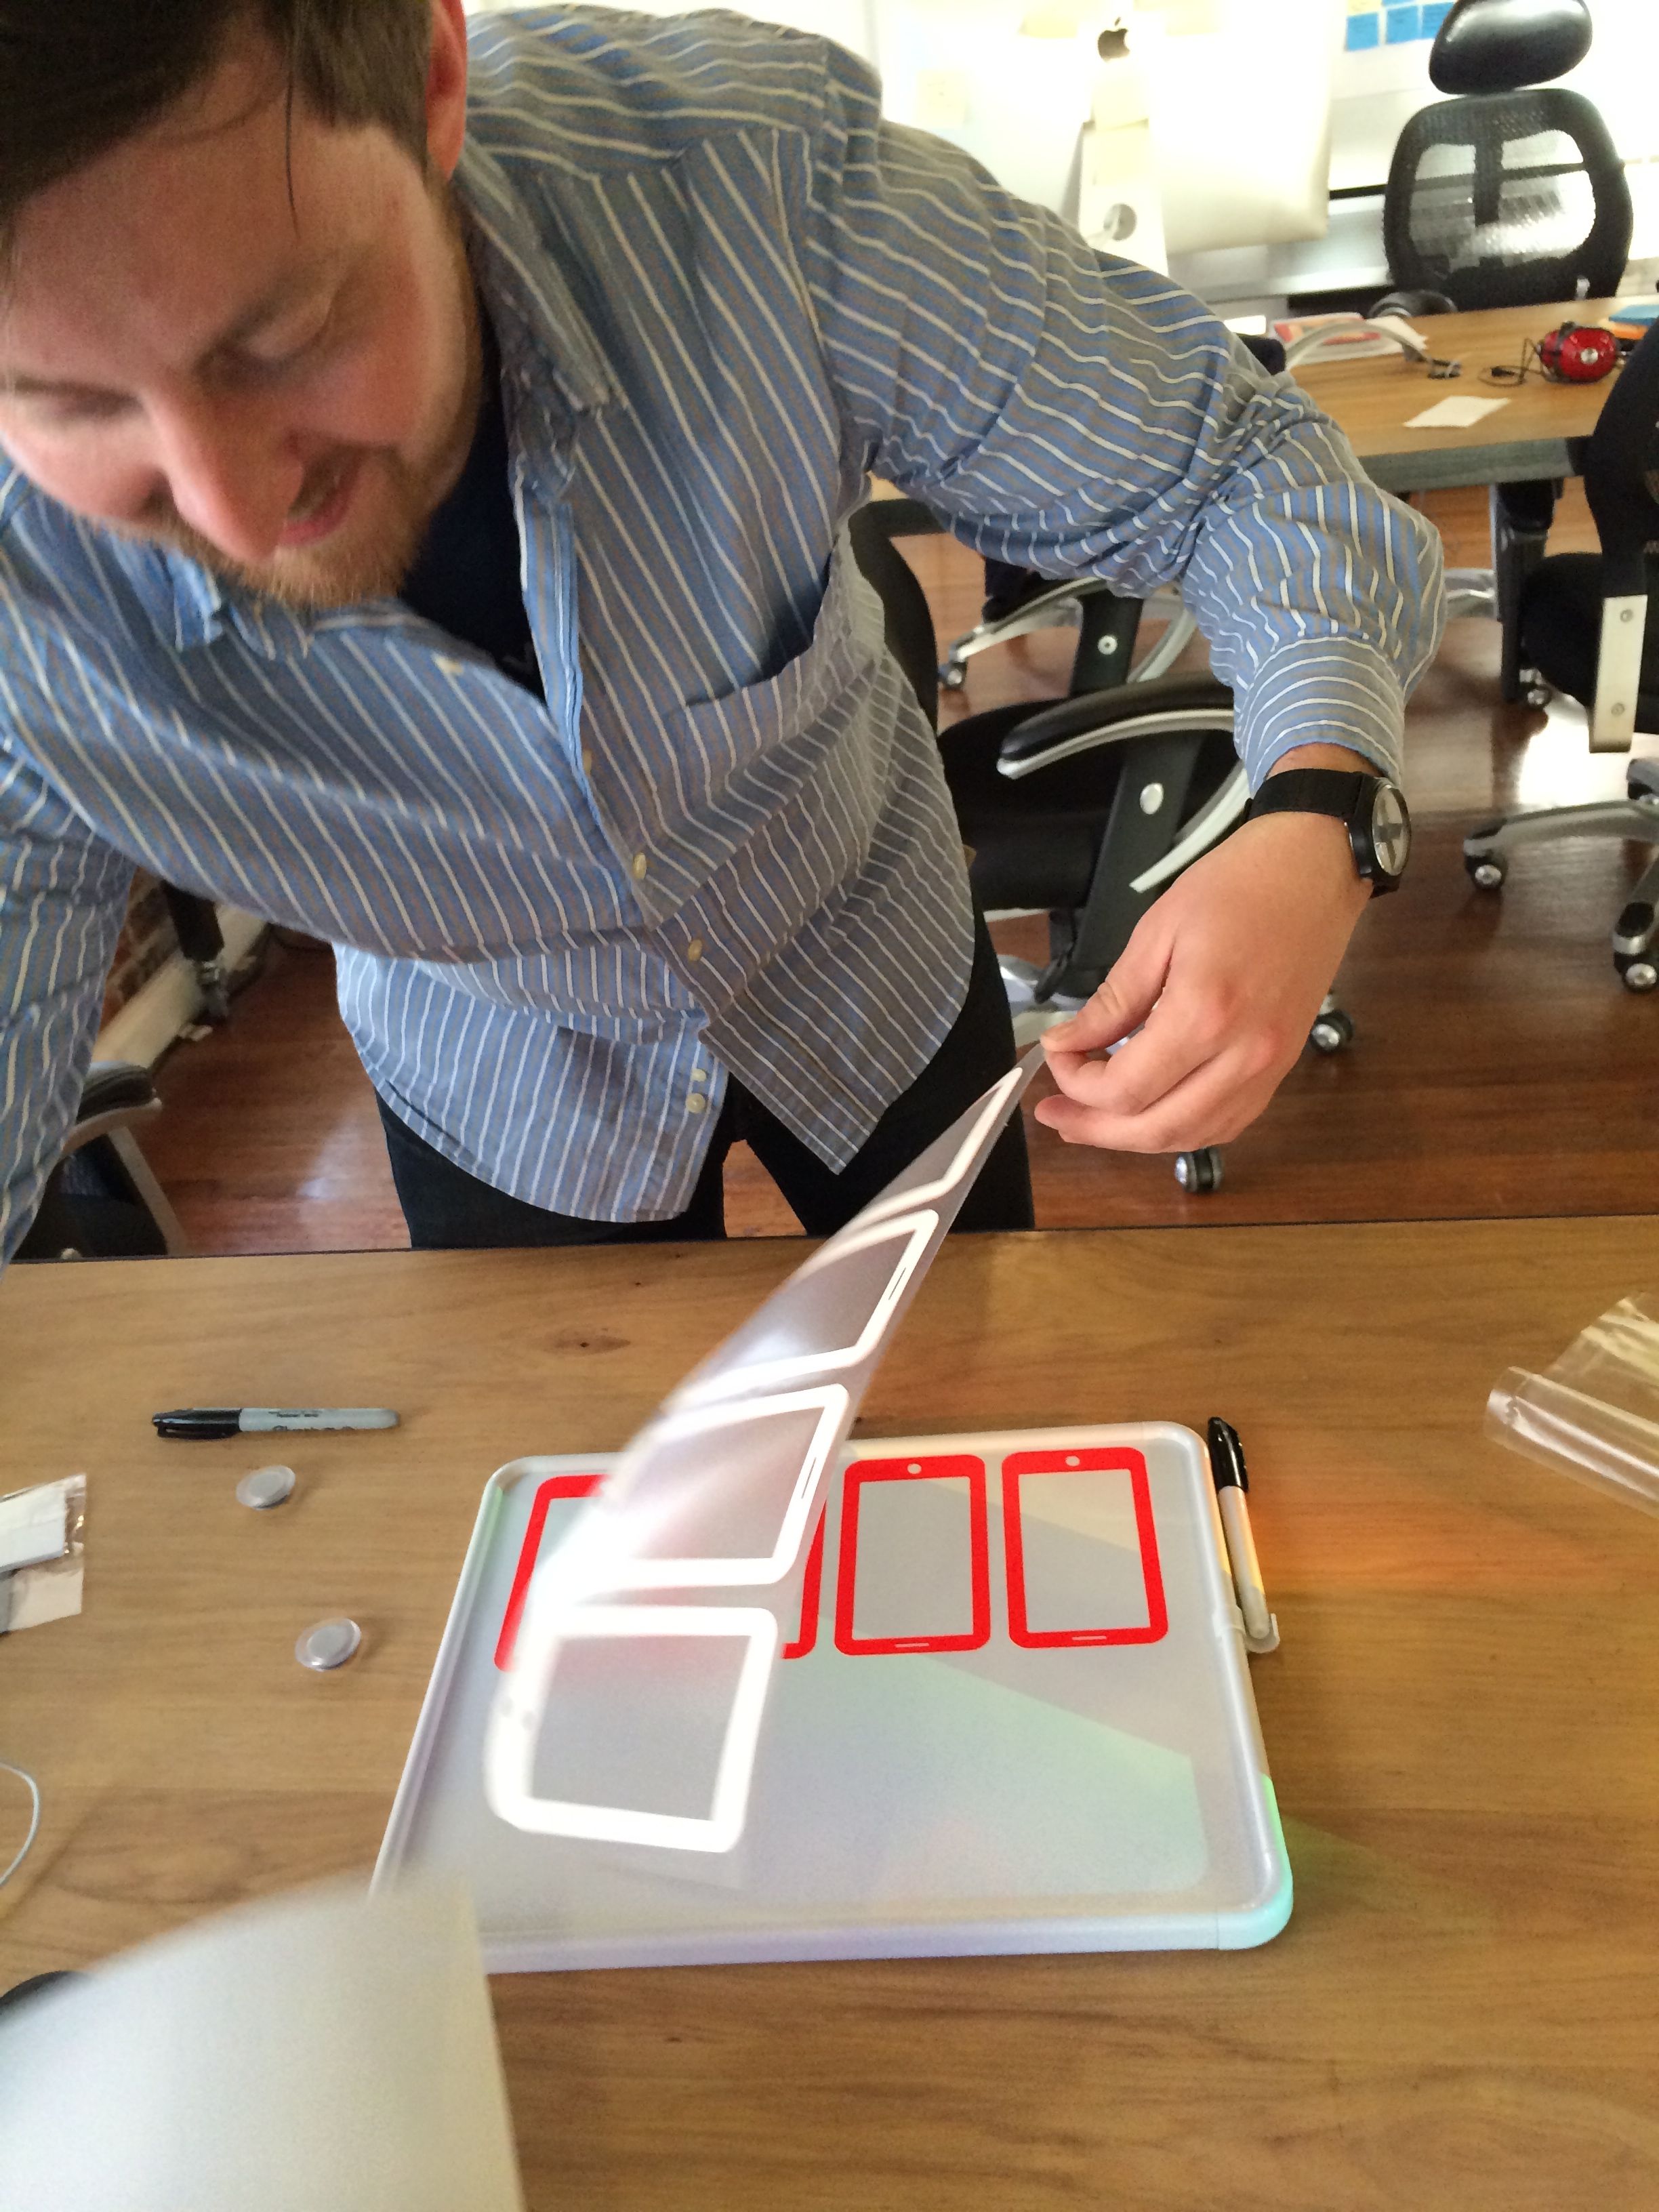
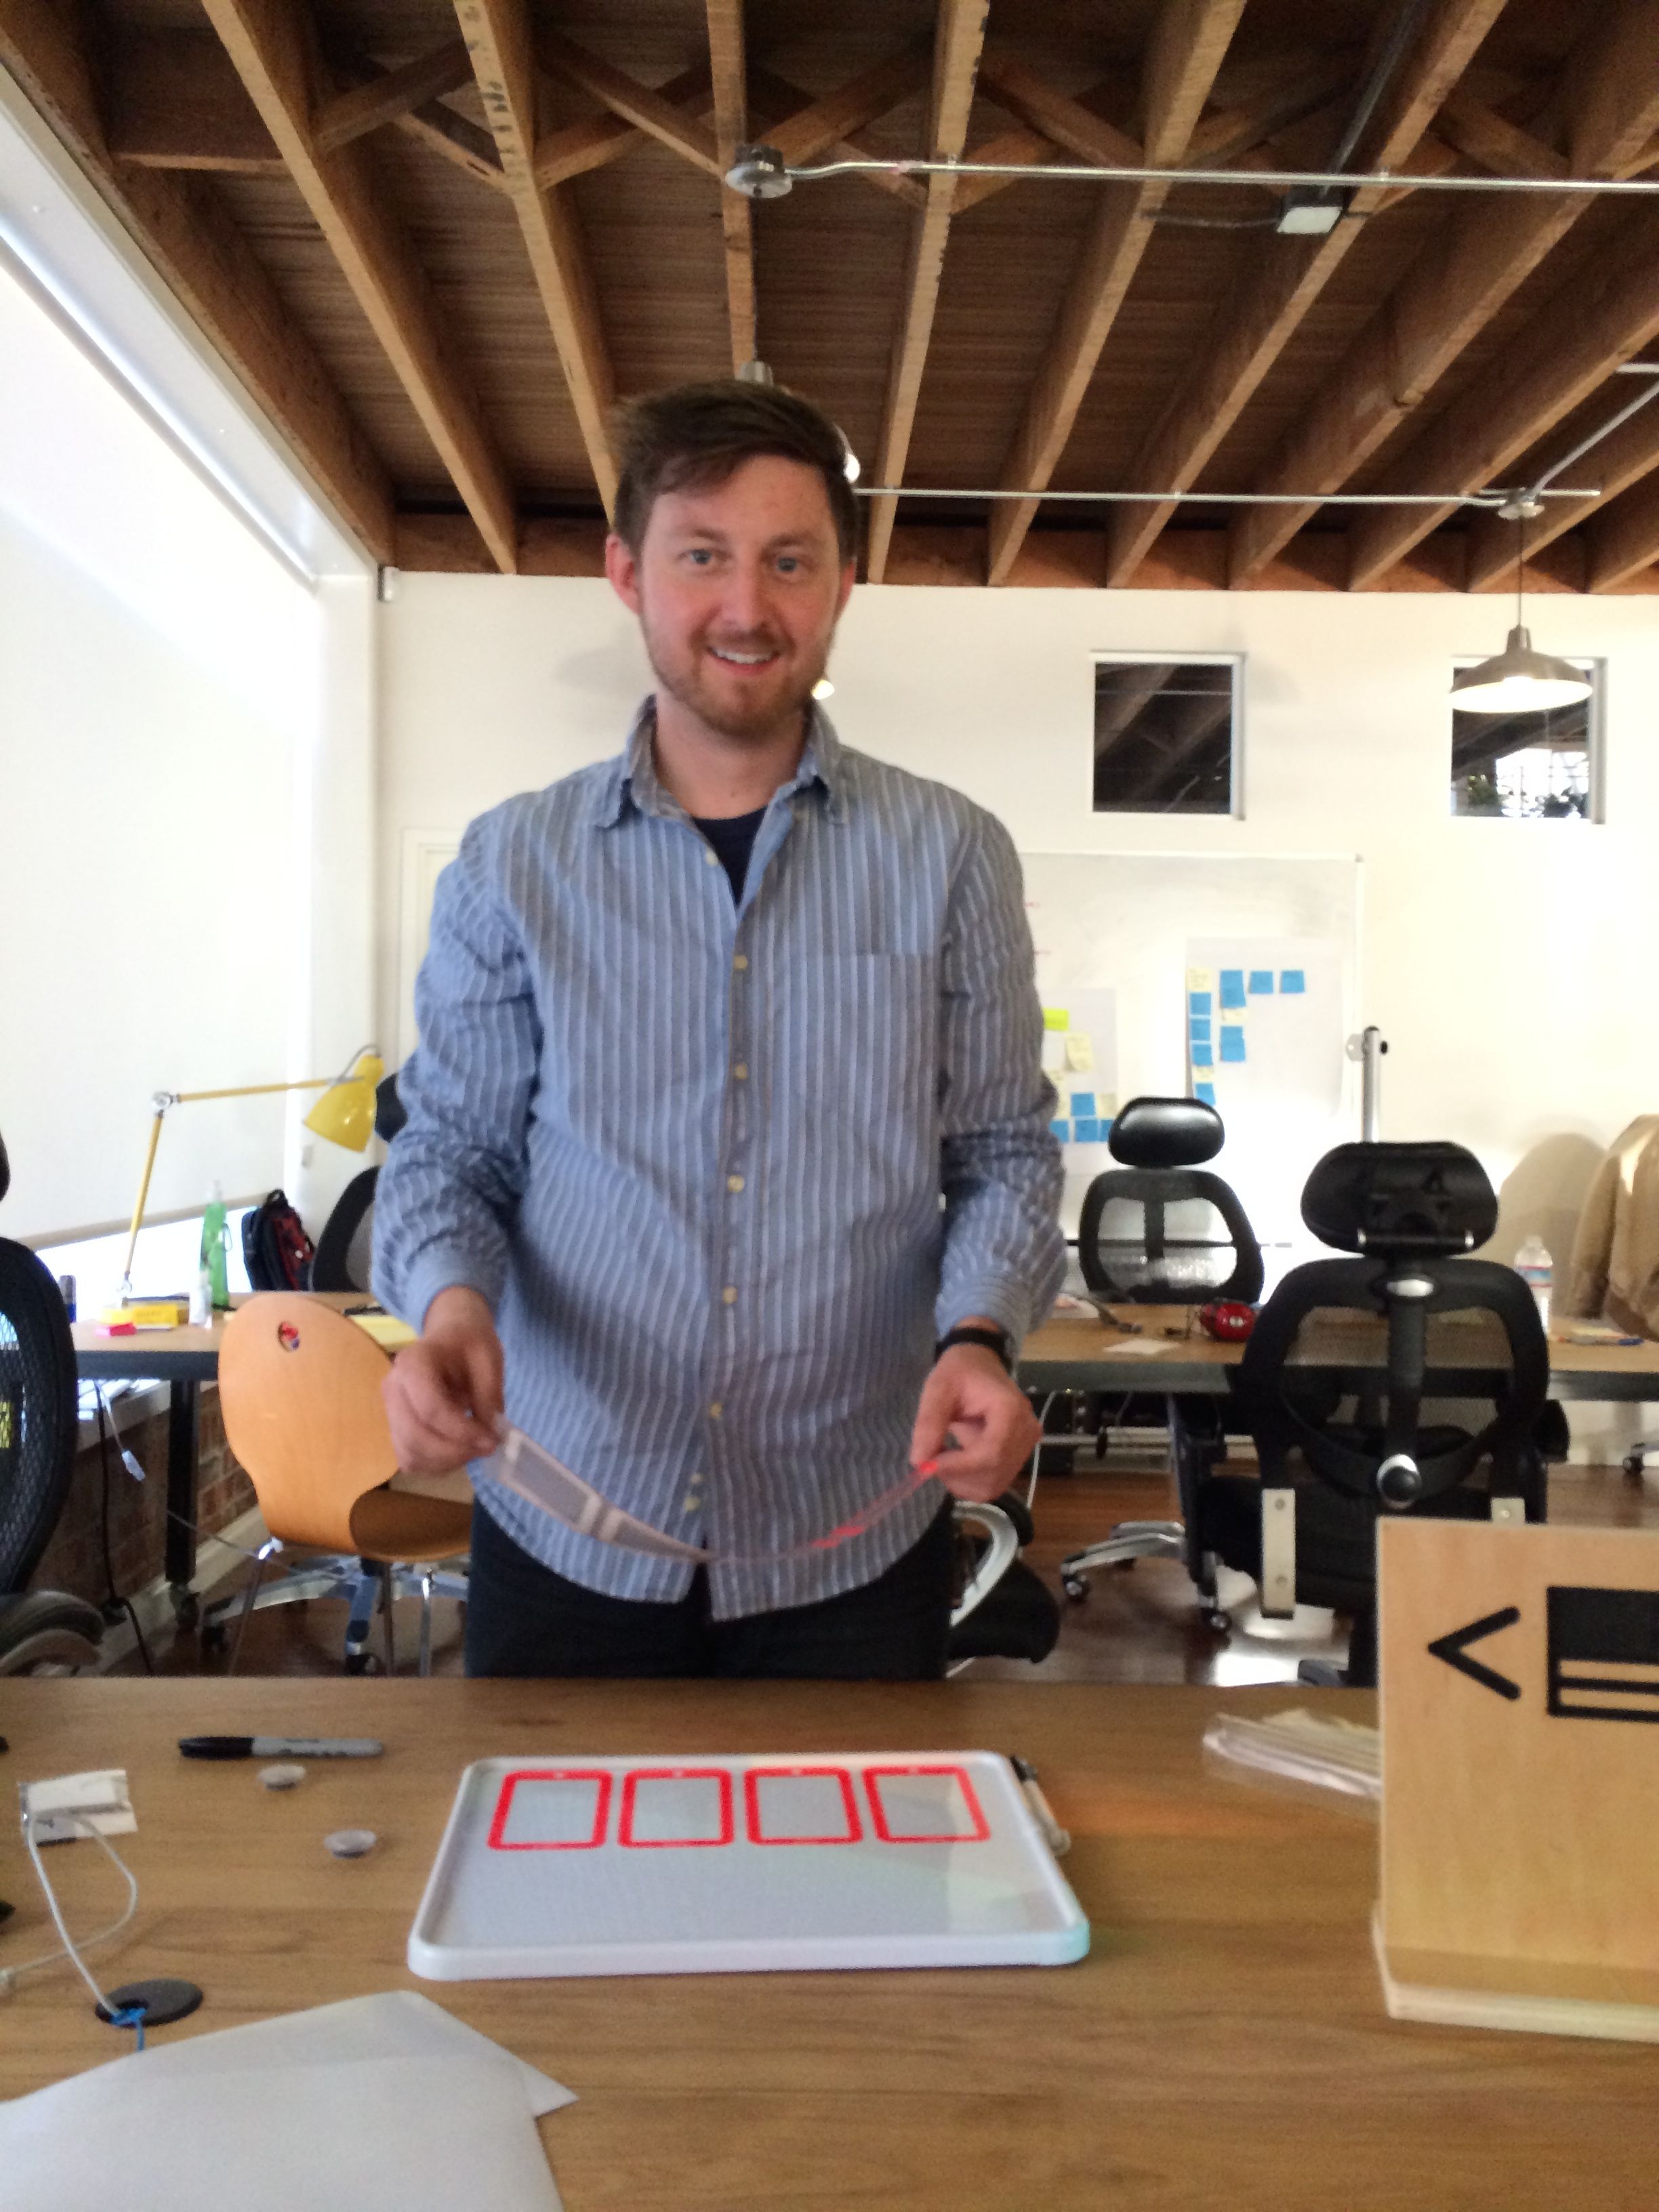
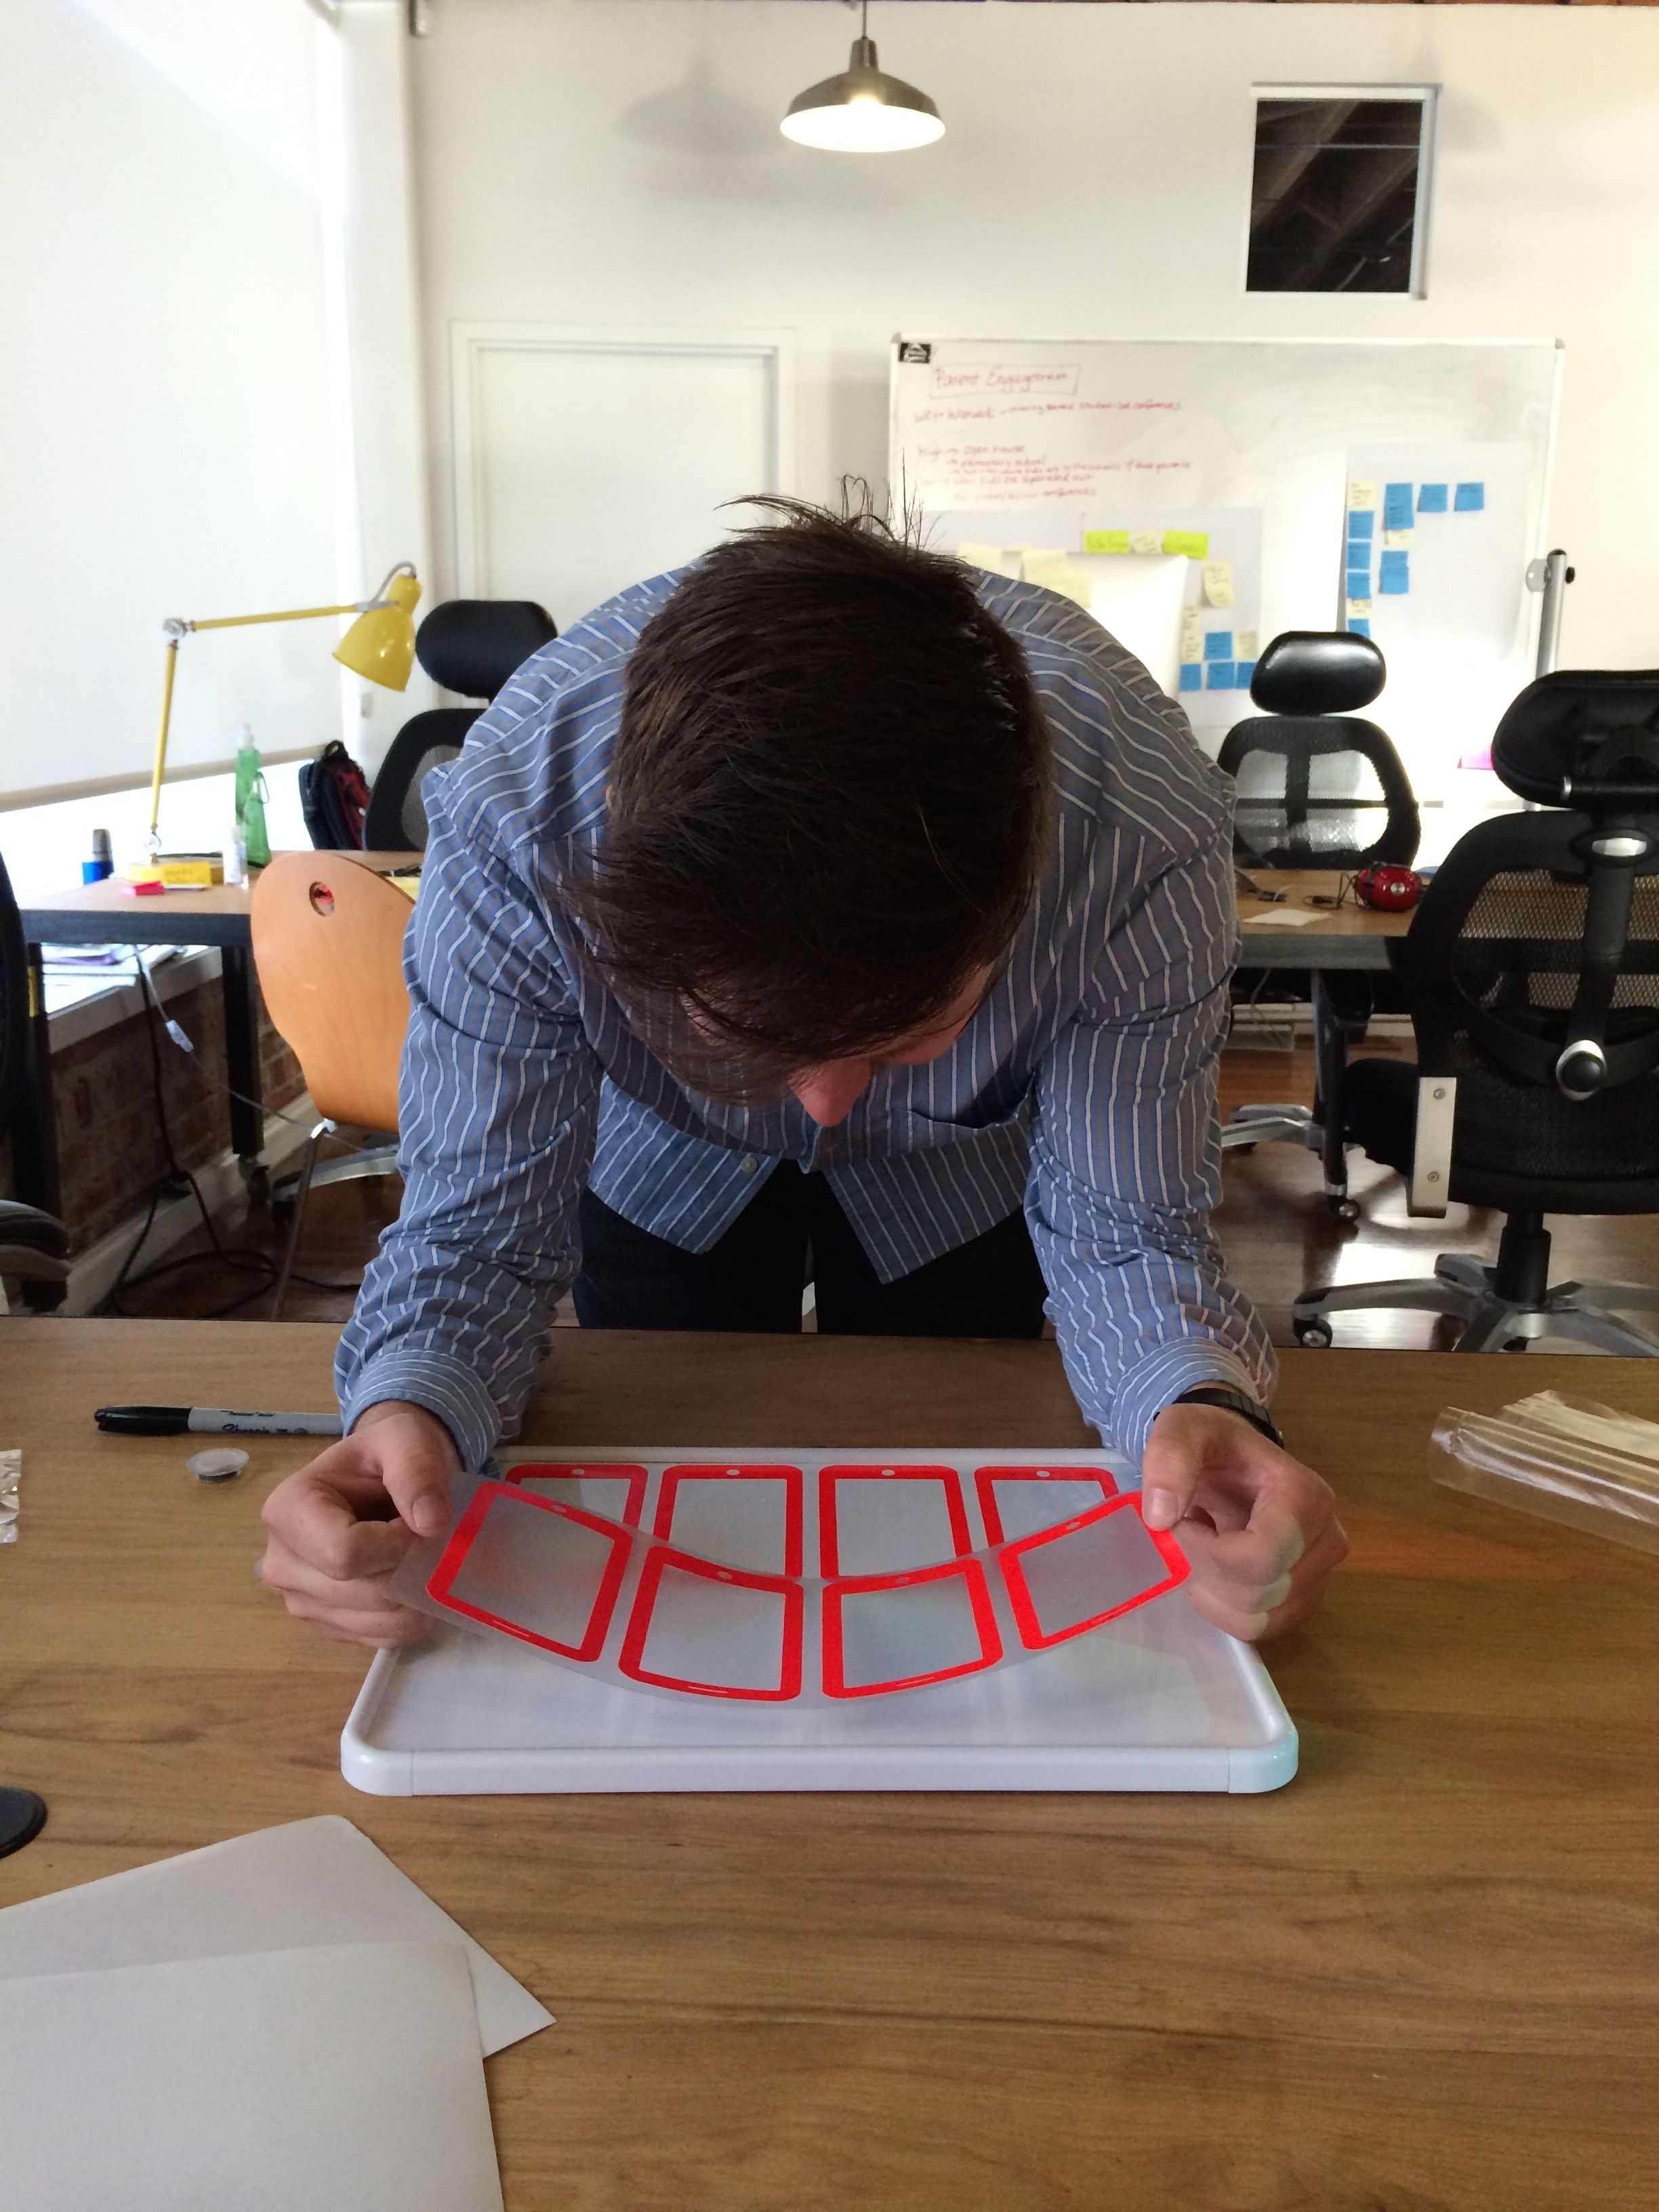
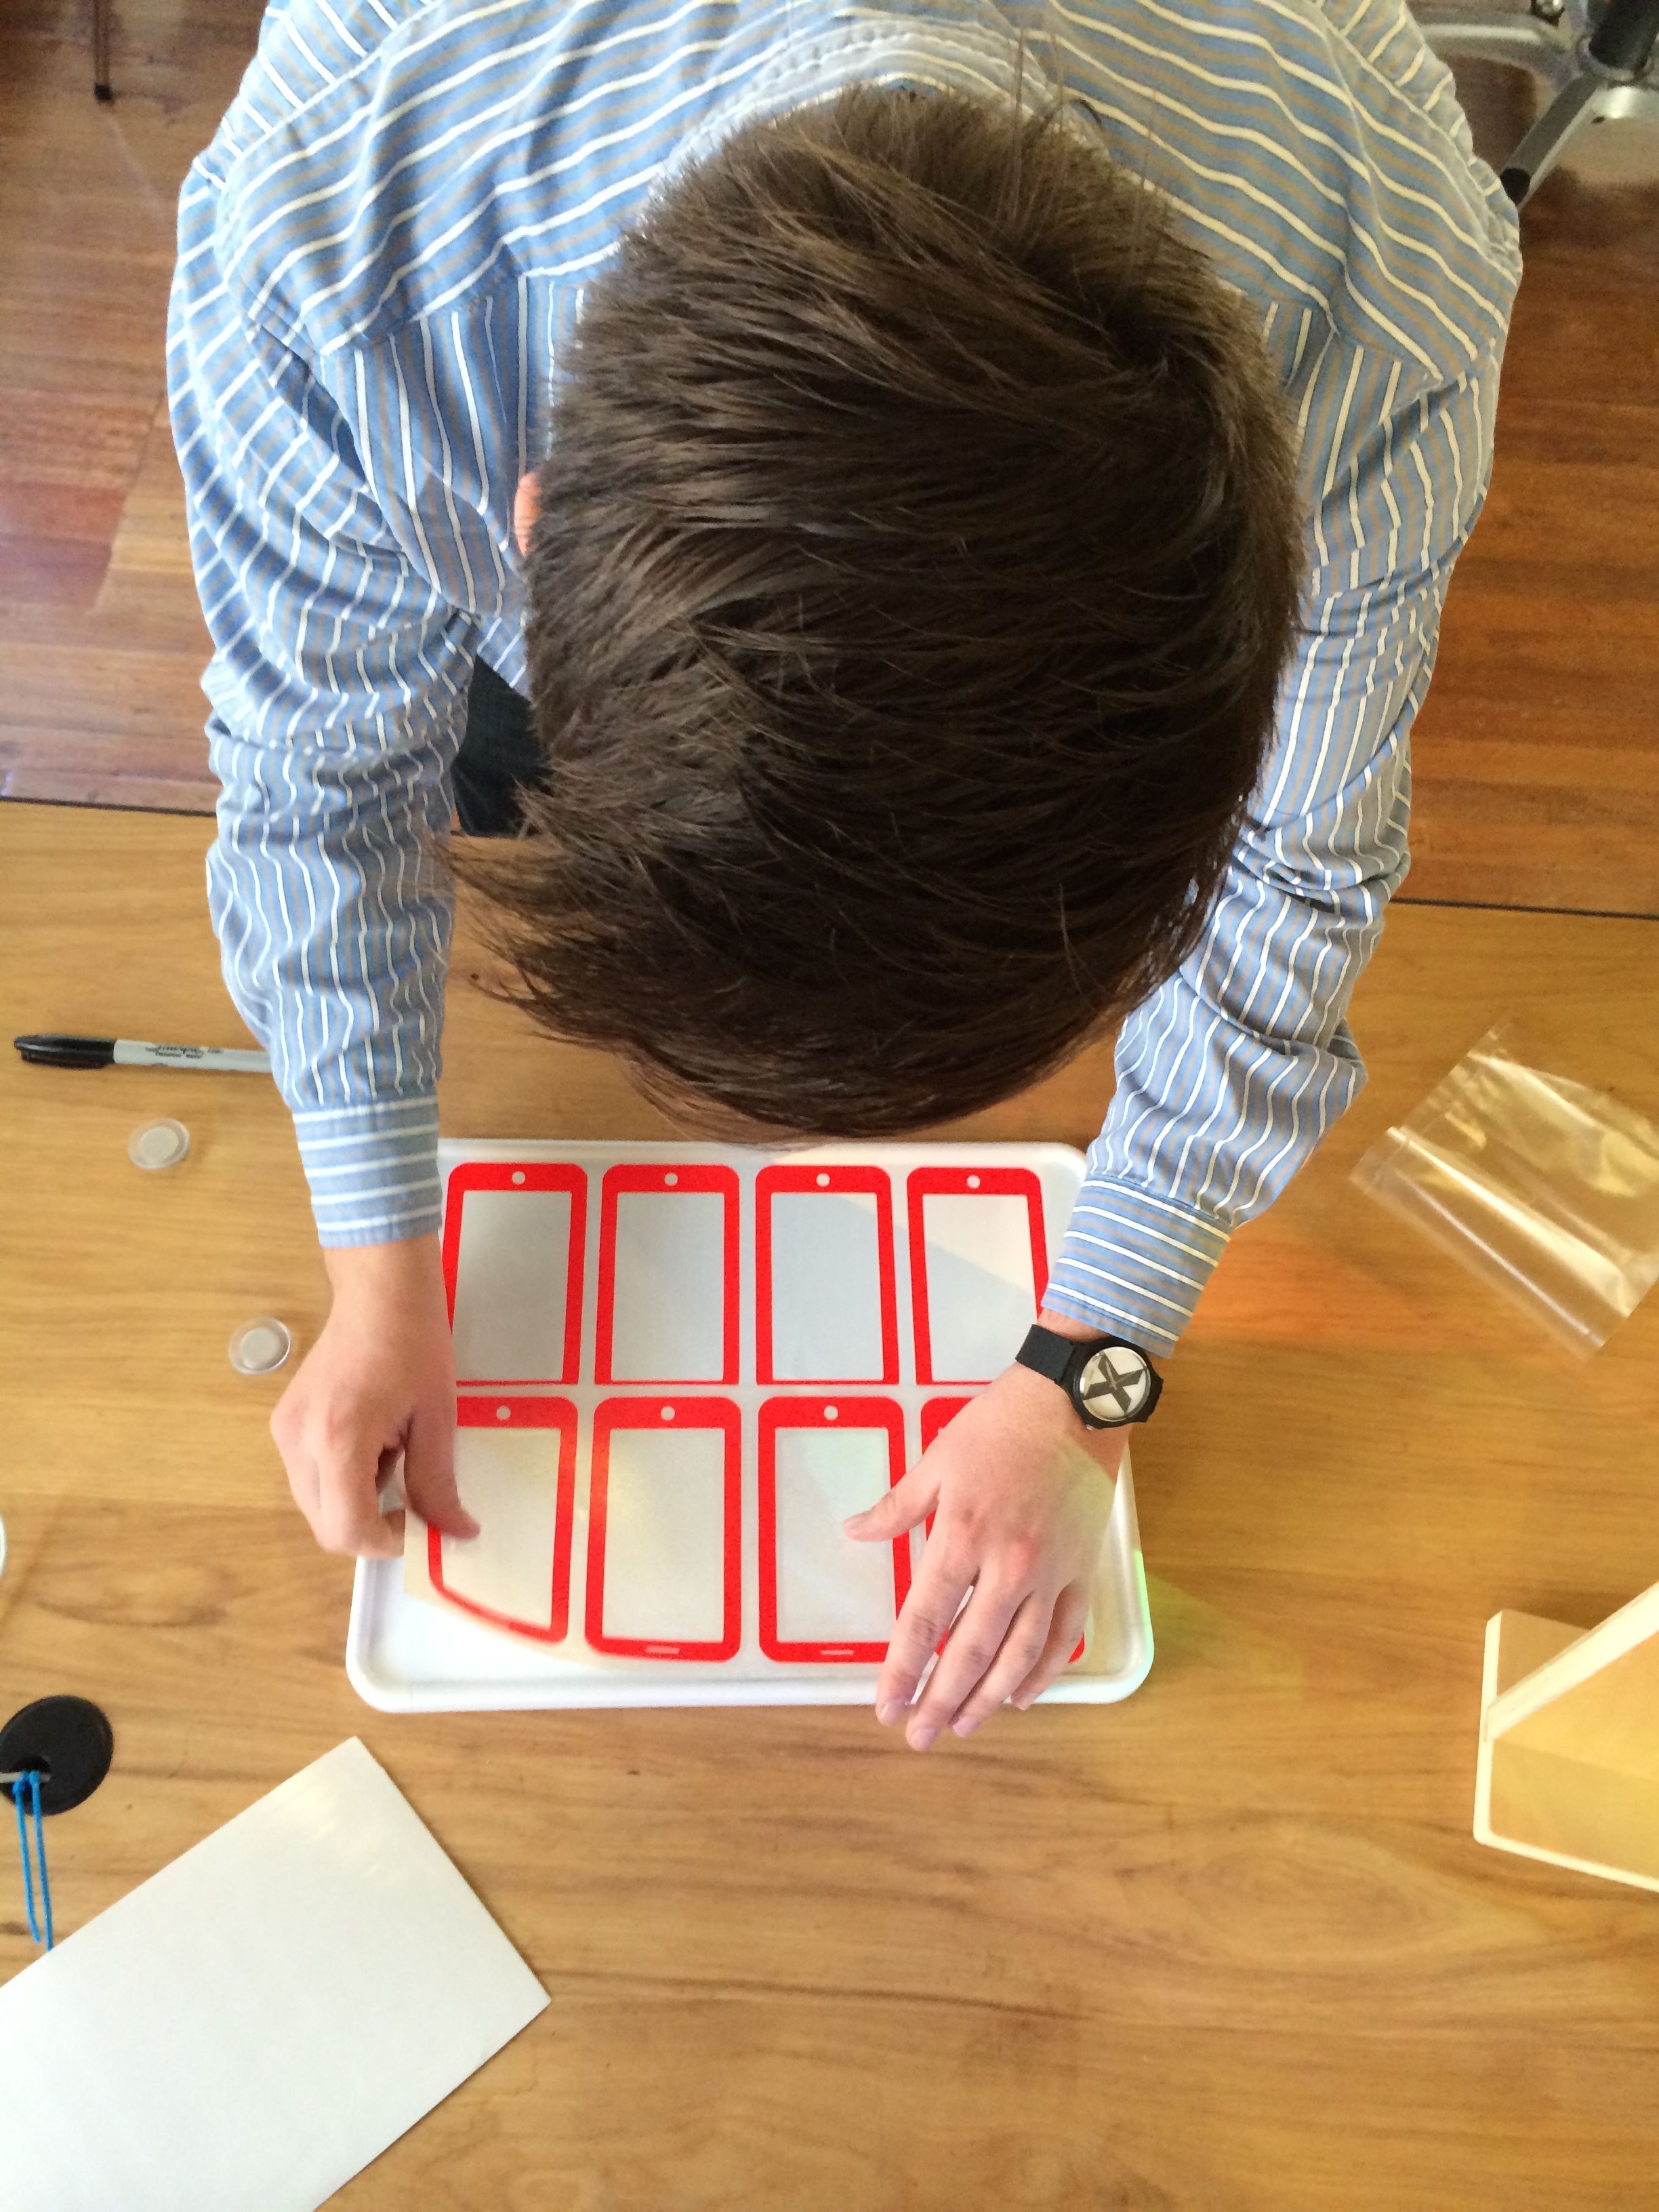
Peel off your second sticker sheet and adhere it to the whiteboard. This is straight forward, but a little challenging to line it up correctly. You really only get one shot at it, so be careful! Remember to smooth it out after placing the sticker.
Draw Out Your App Ideas
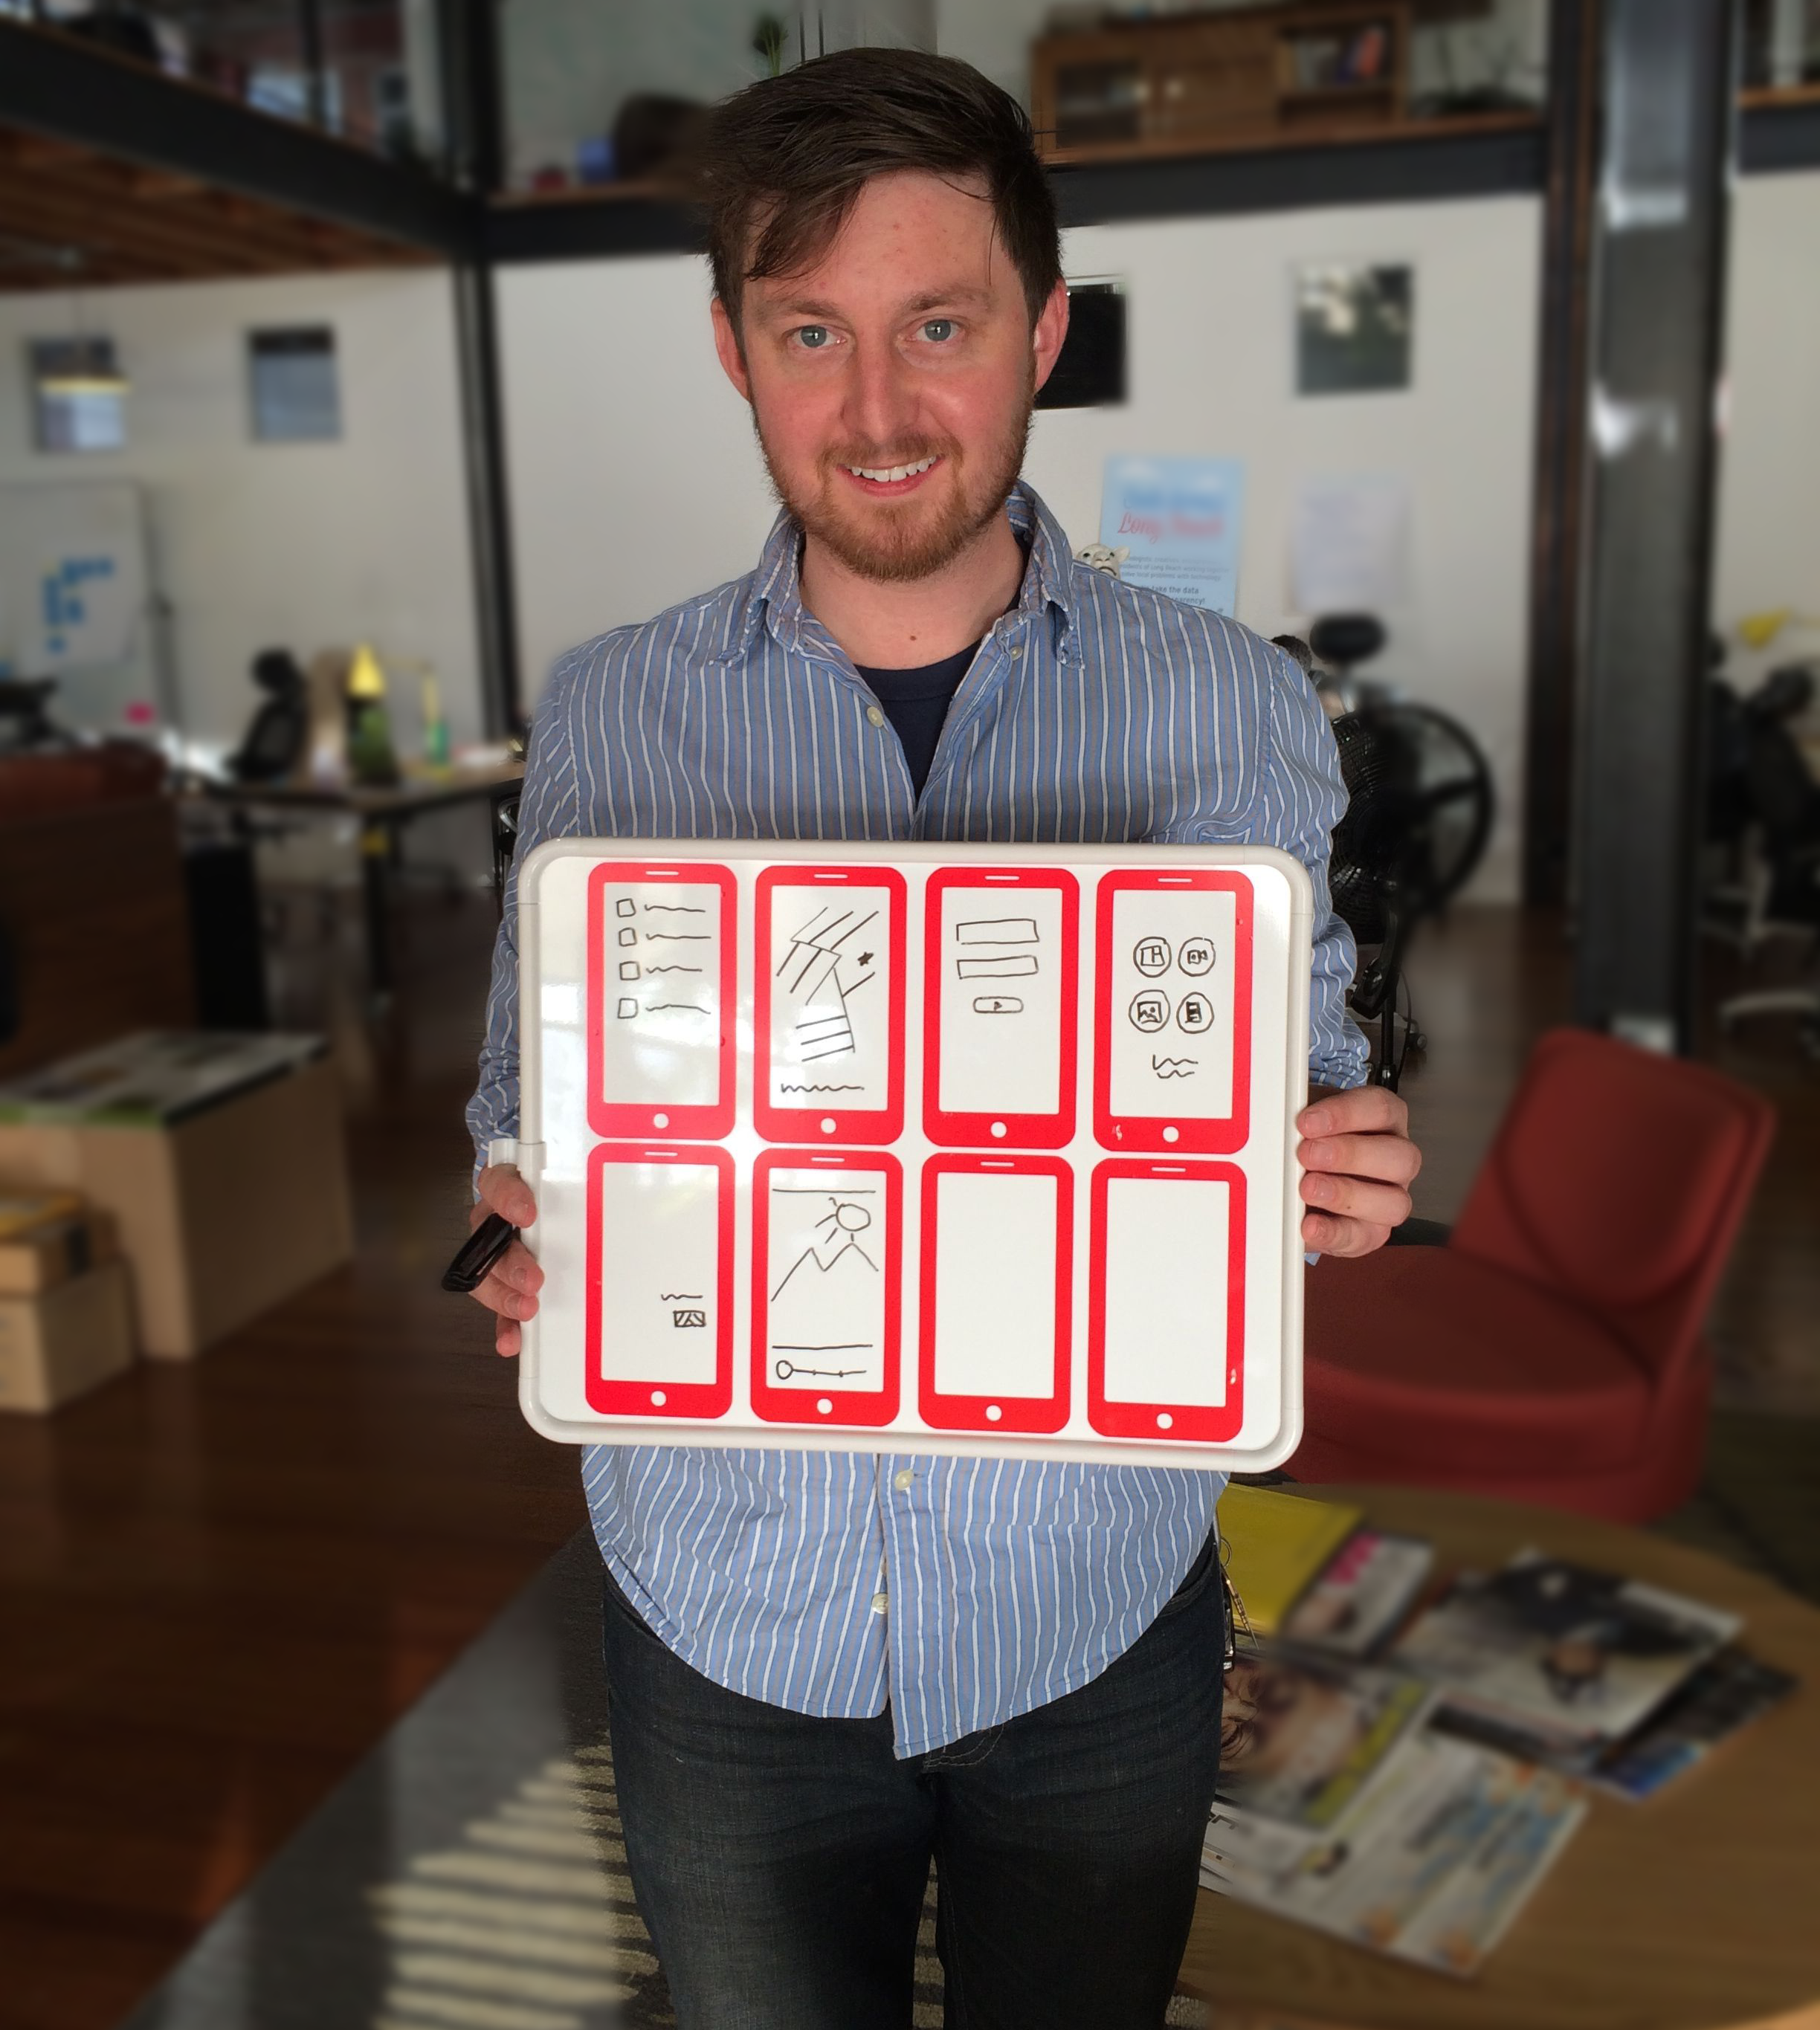
Draw a lot, erase, change, draw another one. If you like what you came up with, you can snap a quick photo of the board before you erase it.
This is a great way to visually communicate your ideas without having to go through all the effort of mocking up a design or building out a functional prototype.
I hope you use this prototyping board in your work! Definitely get in touch with me if you decide to make a version of this project.