Mixed Media Christmas Card


This is a fun craft incorporating watercolors, acrylic paint, and pastels to create a handmade Christmas card. This is made with simple materials that are easily found at your local craft store. There are many ways you can make this, so feel free to be creative and make it your own!
Materials


- What You'll Need:
Paper/Cutting
- Scissors
- 10 x 7 inch card stock or watercolor paper
- Ruler (optional)
- Straight-edge paper cutter (optional)
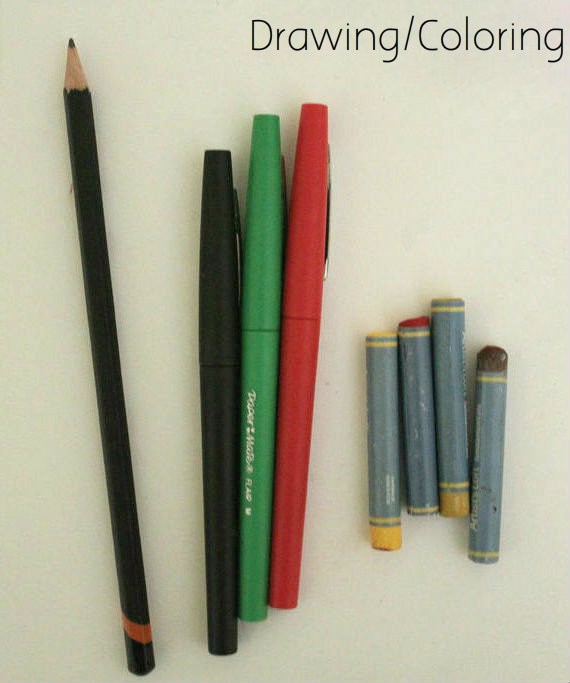
Drawing/Coloring
- Sketch pencil
- Black, red and green marker
- Pastels: red, brown, ombre, and (optional) yellow
Painting
- Small paintbrush
- Larger paintbrush
- Red and green acrylic paint
- Light blue watercolor paint
- Salt
Cutting the Paper


Fold your paper in half, and trim the uneven ends with scissors or a paper cutter.
Sketching


Before you start painting, you want an idea of what and where you're painting. It doesn't have to be perfect, just a general sketch to lay out the objects on the front of your card.
Start by lightly sketching the branches. It doesn't need to be exact, as you'll be painting over the pencil marks later.
Draw the leaves and holly on the branches.
For the body of the bird, start with a simple oval sitting on the branch, with an attached circle for the head. From there, add the wing, tail, beak, face marking, feet, and nice hair-do.
Now it's time to paint!
Watercolor


Squeeze a small amount of blue watercolor paint into a pallet. Add water, and stir it with a paintbrush until the paint is all mixed into the water. Spread the watercolor onto the background of your card; everything but the bird and branches. Before the water dries, sprinkle a pinch of salt on the wet paper to create a frosty effect.
When the card is dry, gently tap it on the table to get rid of extra salt.
Pastel


Now we'll be using pastels to color the cardinal. With red, color in the whole bird except for the beak and face marking.
You'll notice the chunky pastel makes the bird look fuzzing. If you like it that way, great! Or you can take your red marker and outline the pastel to make it look better.
Now with brown pastel, lightly color the wings and belly to give it a more 3-D look.
Using your ombre color (or yellow), color in the beak and feet. Then with your black marker, color the face marking around the eye. Then color the pupil of the eye, but leave the rest of the eye white.
Acrylic Paint


Now lets paint the branches. If you don't have brown paint, simply mix an equal amount of red and green paint to get the right color. Using your smaller paint brush, paint the branches brown, without painting over the the leaves and holly.
For the holly, dip the end of your paint brush in red and dot the berries. If you want the color of your leaves to be darker, mix some brown into the green until you have a satisfactory color, then paint the leaves.
Merry Christmas!


Now your card is finished, but you can add a message at the bottom of your card. I wrote the standard Merry Christmas! with green and red marker. If you don't have room, that's fine; they will most likely know the occasion by the cardinal on the front. :)
Add Your Logo

Now to put your special logo on the back of the card you worked to create! Your logo makes the card specially yours and makes it more official. :) If you don't have your own card logo, now's the time to think of one! I created mine a few years ago and I write it on the back of every card I make. Be creative!
Finished!

Your card is finished! Share your artwork with friends and family!