Minion Music Box
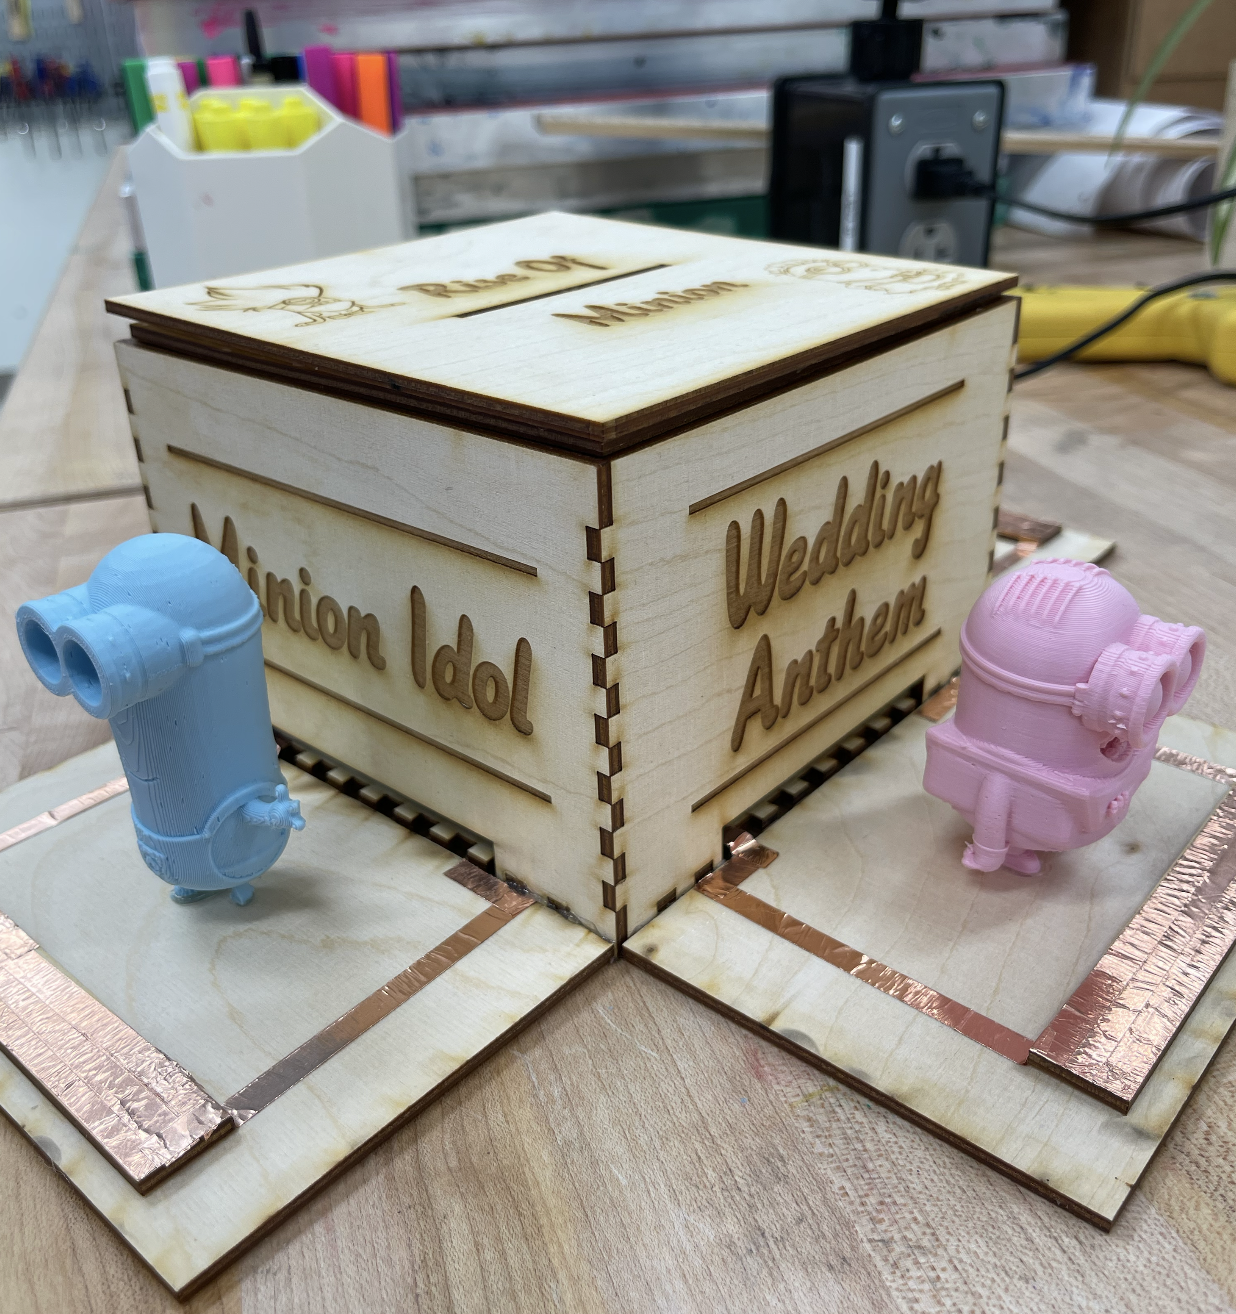
If you love minions, this is the project for you. Each side of this laser cut box displays a 3D printed minion and when the touchpad is pressed, a minion song associated with the name behind it is played.
Supplies
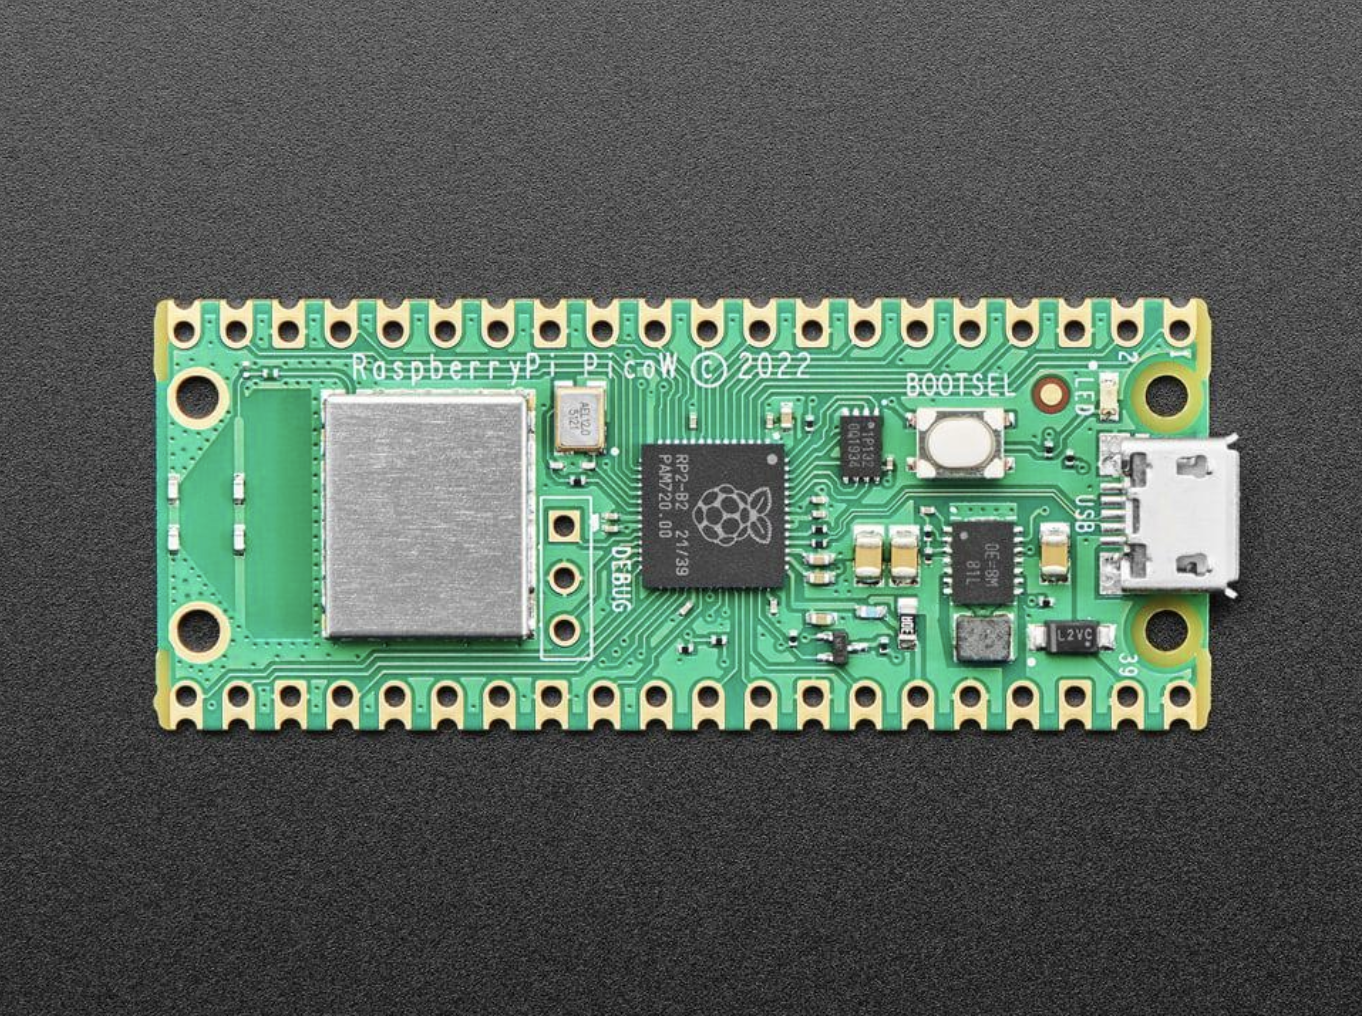
- Raspberry Pi Pico W
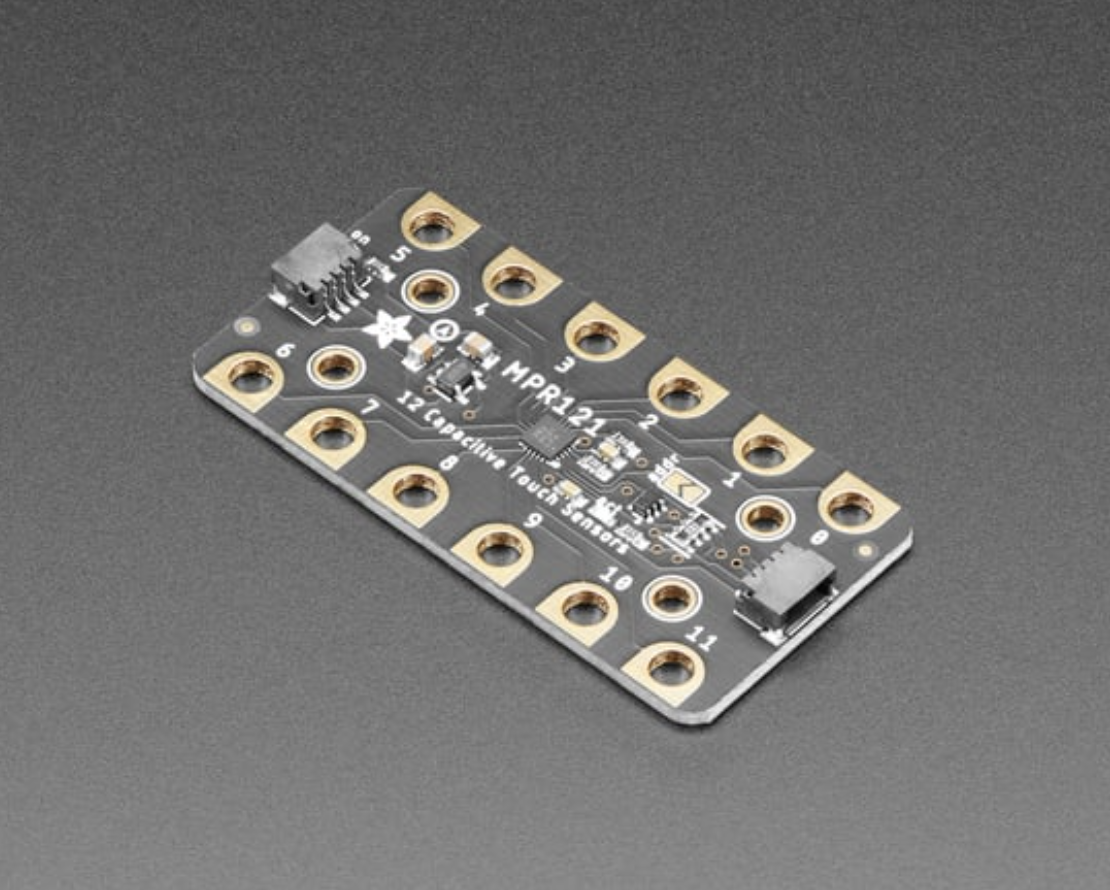
- Adafruit MPR121 12-Key Capactive Toucch Sensor Gator Breakout
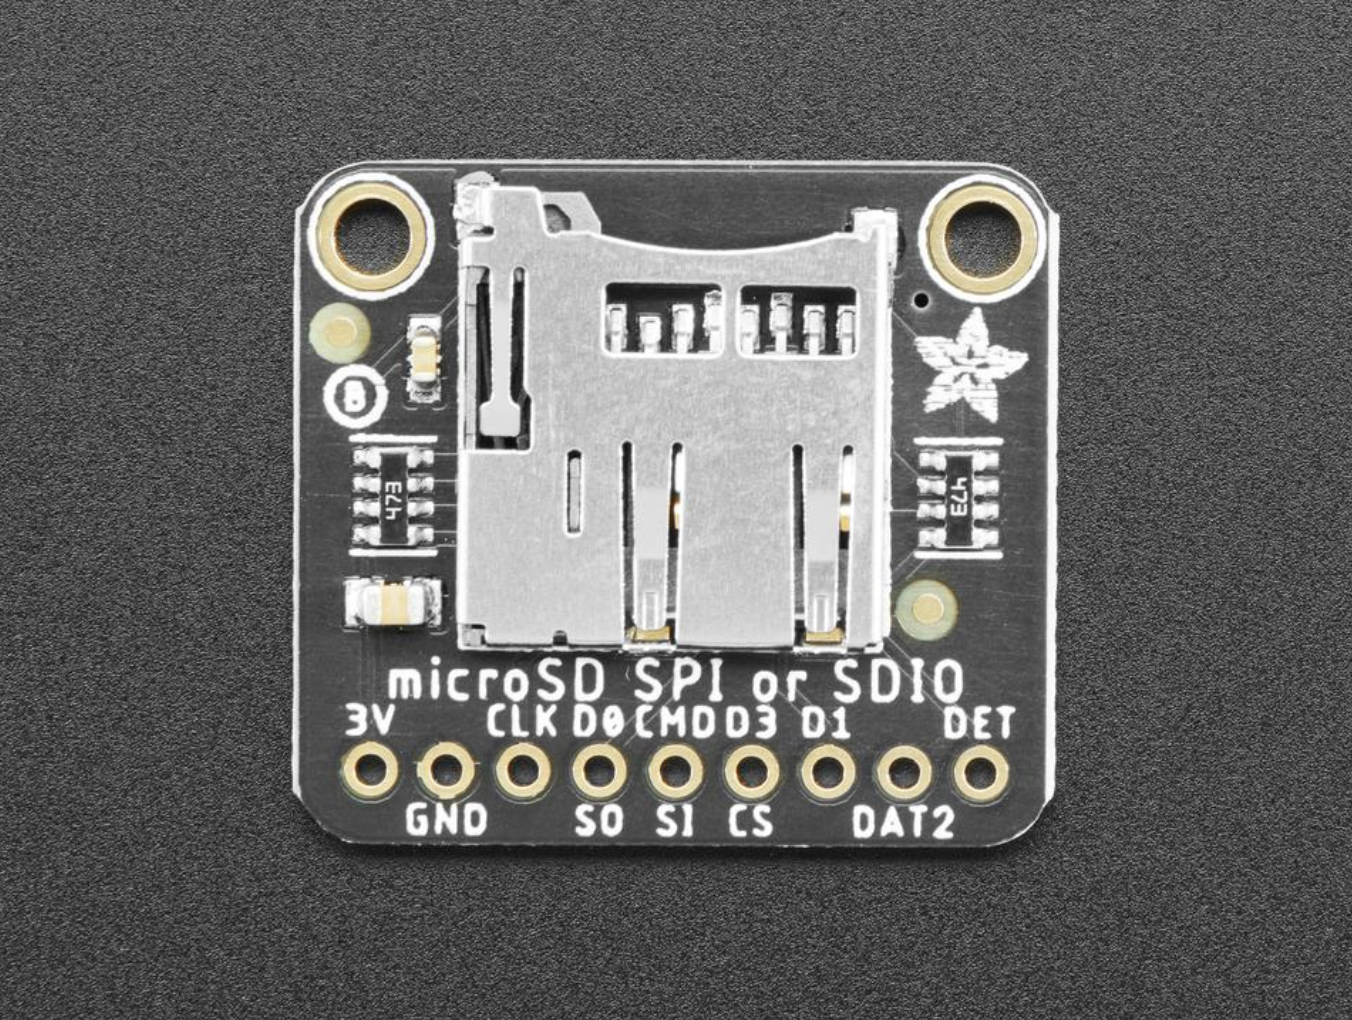
- Adafruit Micro SD SPI or SDIO Card Breakout Board
- Micro SD Card
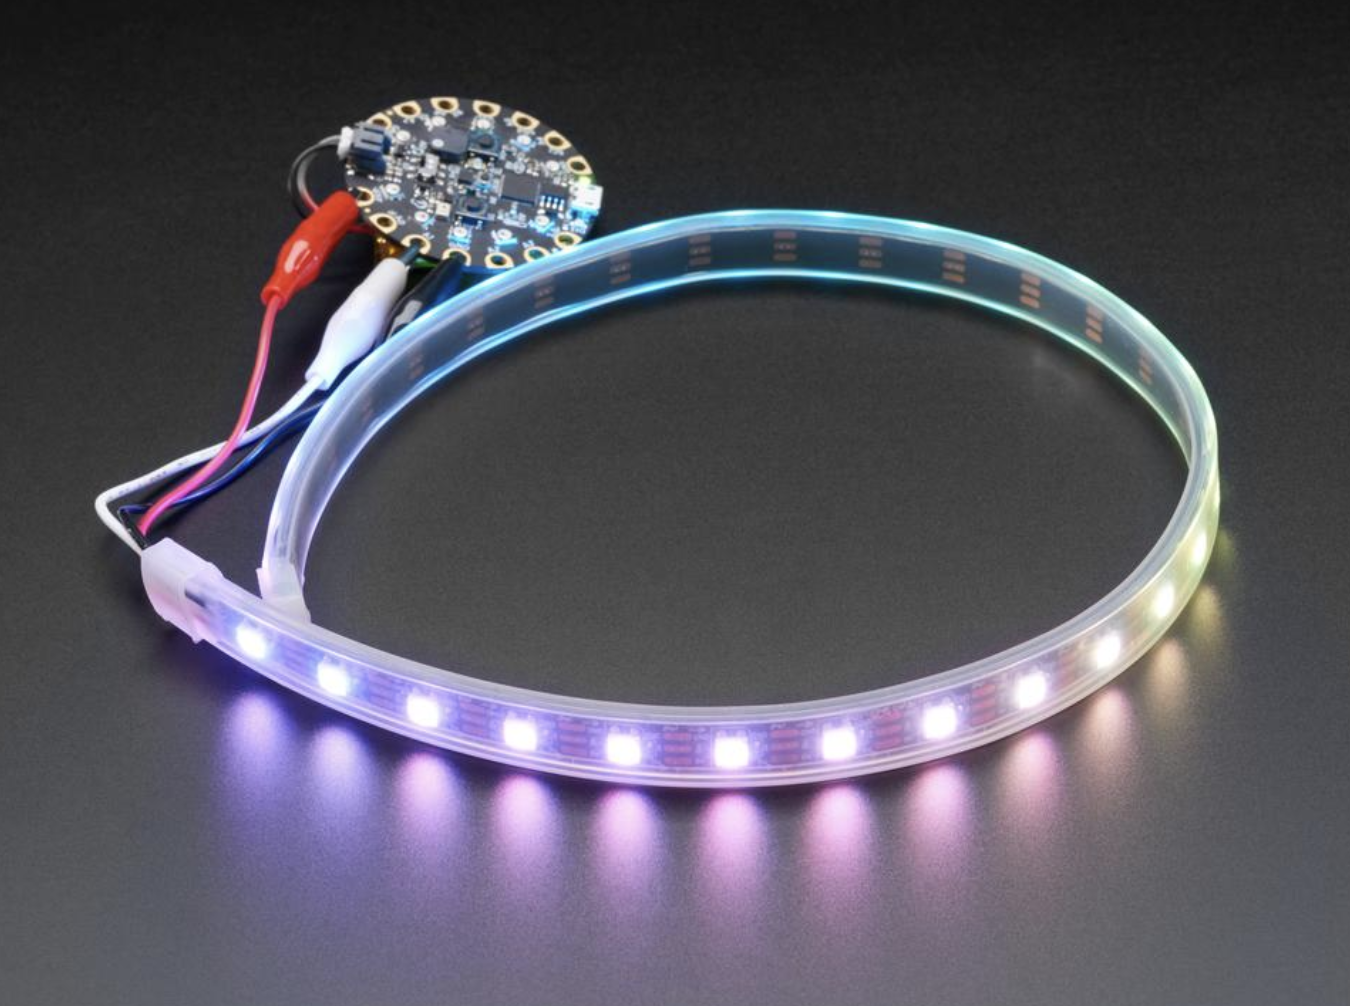
- Adafruit Neopixel LED Strip: 30 LEDS/meter
- Conductive Tape
- Speaker
- Alligator Clips
- Male to Male Pins
- Hot Glue Gun
- Laser Cutter
- 3D Printer
Download Code for Raspberry Pi Pico
This includes the code for the Raspberry Pi Pico and the mp3 music files stored on the micro sd card.
3D Print
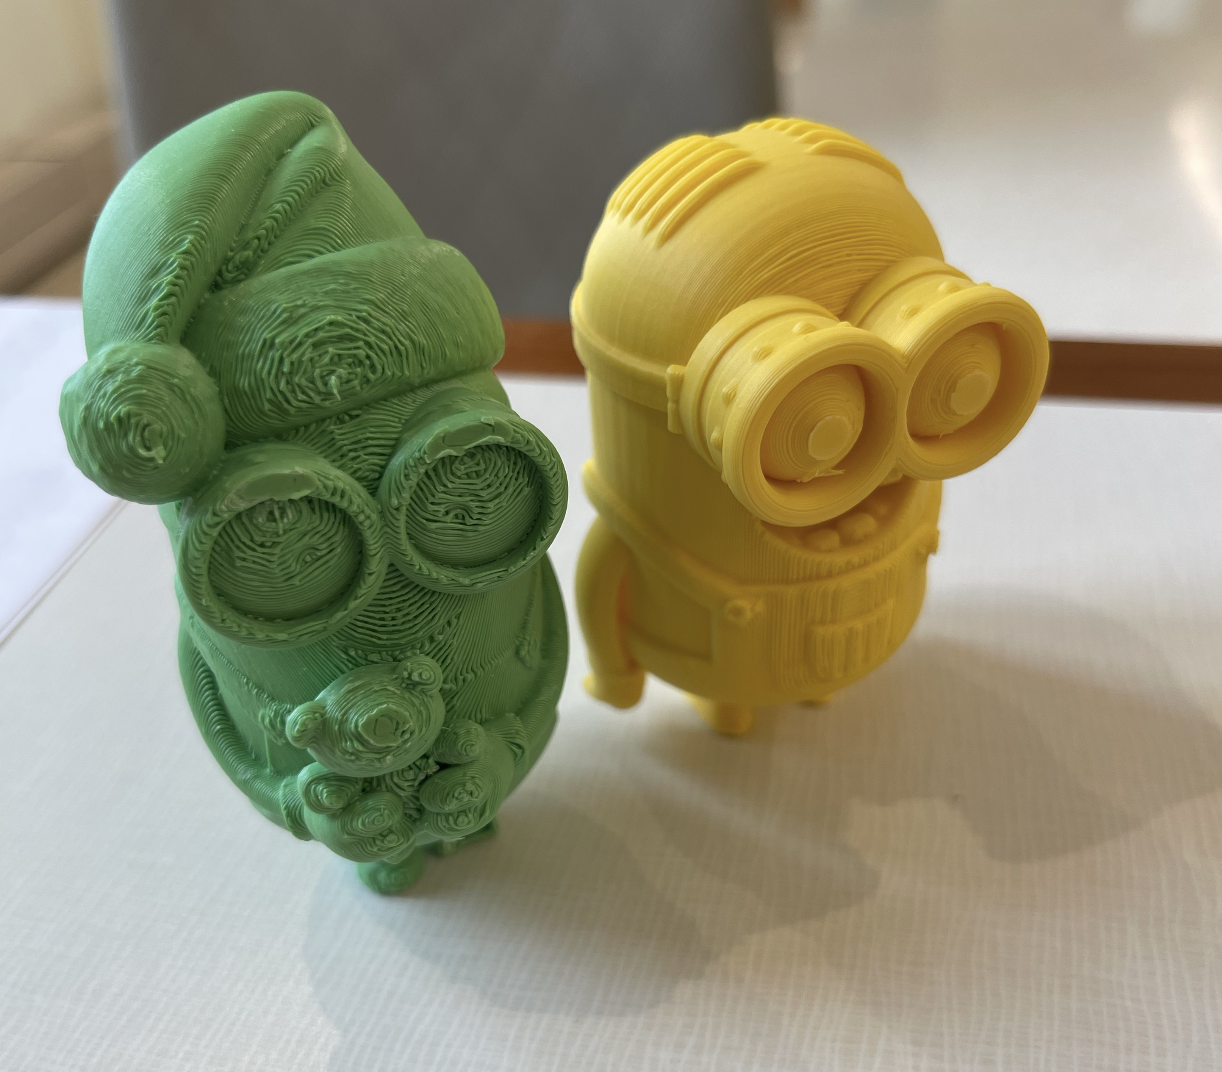
- Download the files below for the 3D printer.
Laser Cut Box
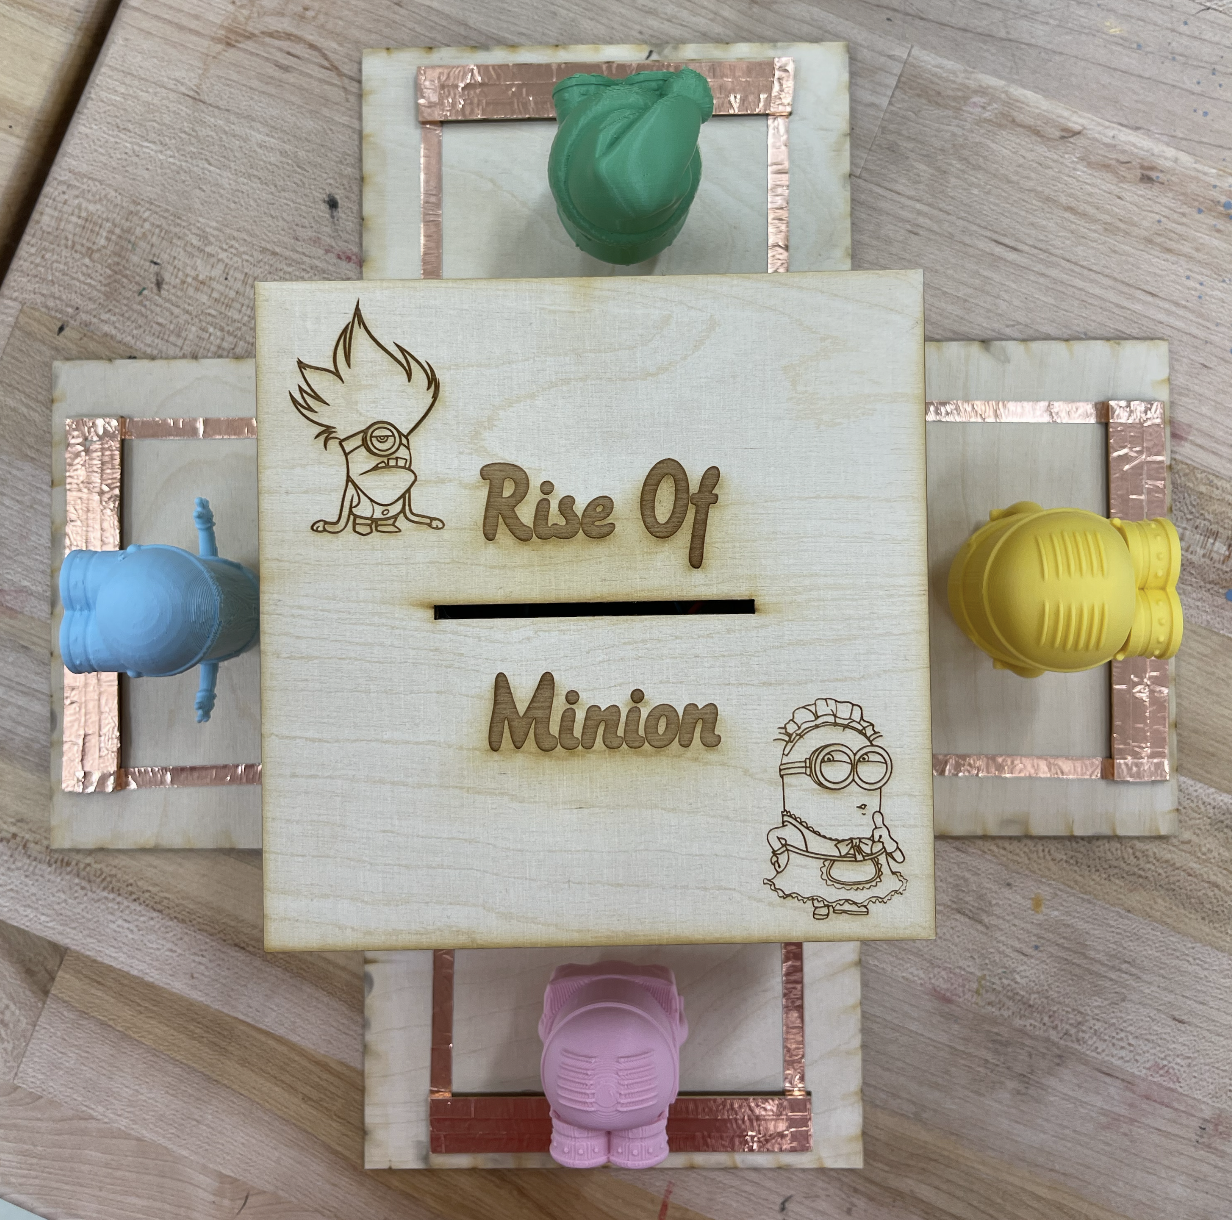
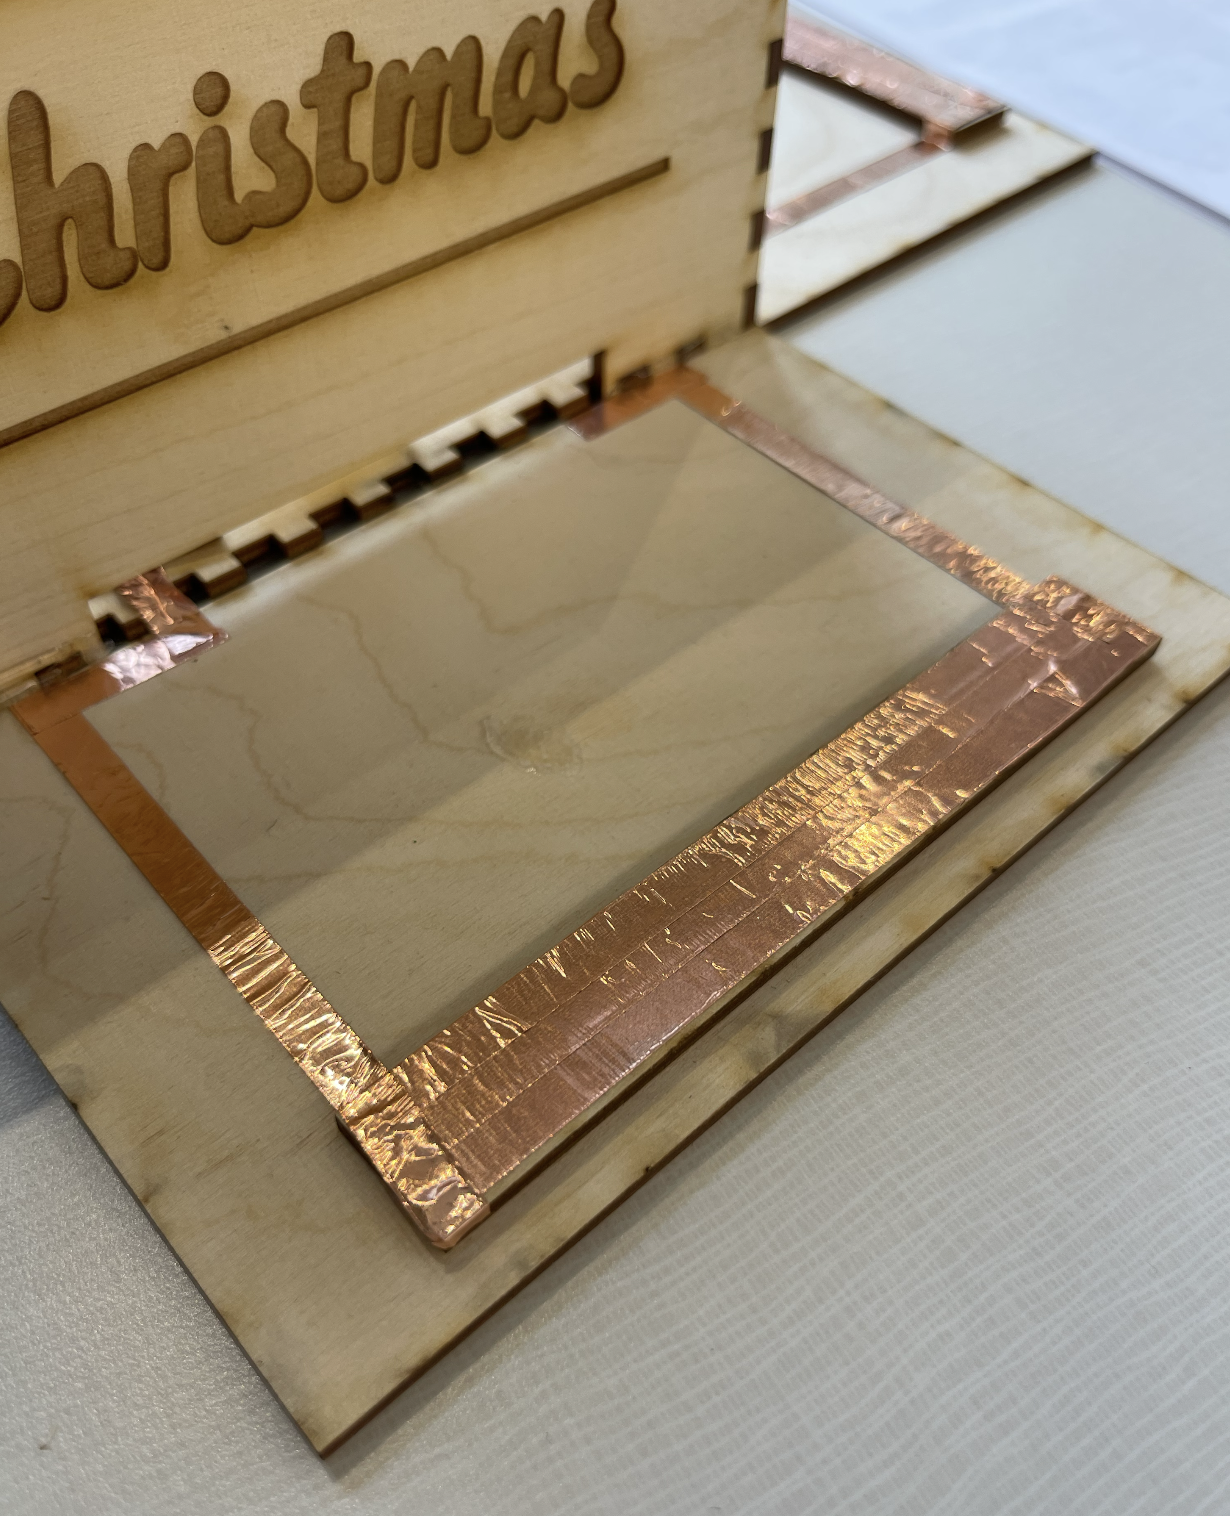
- Using https://www.festi.info/boxes.py/ABox?language=en create an "ABox" svg file with the dimensions of your choice that allow for all supplies to fit inside. This build uses dimensions 150 mm x 150 mm x 100 mm.
- Upload svg file to Adobe Illustrator.
- For each side of the box, you will make a rectangular cut out at the bottom for the conductive tape to feed through and LED lights to shine out of.
- In addition to the already drawn pieces, create four platforms for the 3D prints to stand on. They should be the same width as the box. For the touch sensor, create four rectangular touch pads. Also, four small pieces that can be about 1 in x 1 in. These will be used for the capacitive touch pads.
- You can design the exterior how you please. I found minion vector files online that I then put onto the lid of the box.
- Print and assemble the box. Hot glue the platforms to each side of the box and glue down the four touch pads.
- Cover the touch pads with the conductive tape and wrap around the edges of the platforms to feed into the slit at the bottom of the box's wall. The small 1 x 1 cut pieces will have tape wrapped around it and an alligator clip that connects to the touch sensor.
- Glue down 3D prints.
Raspberry Pi Pico W Setup
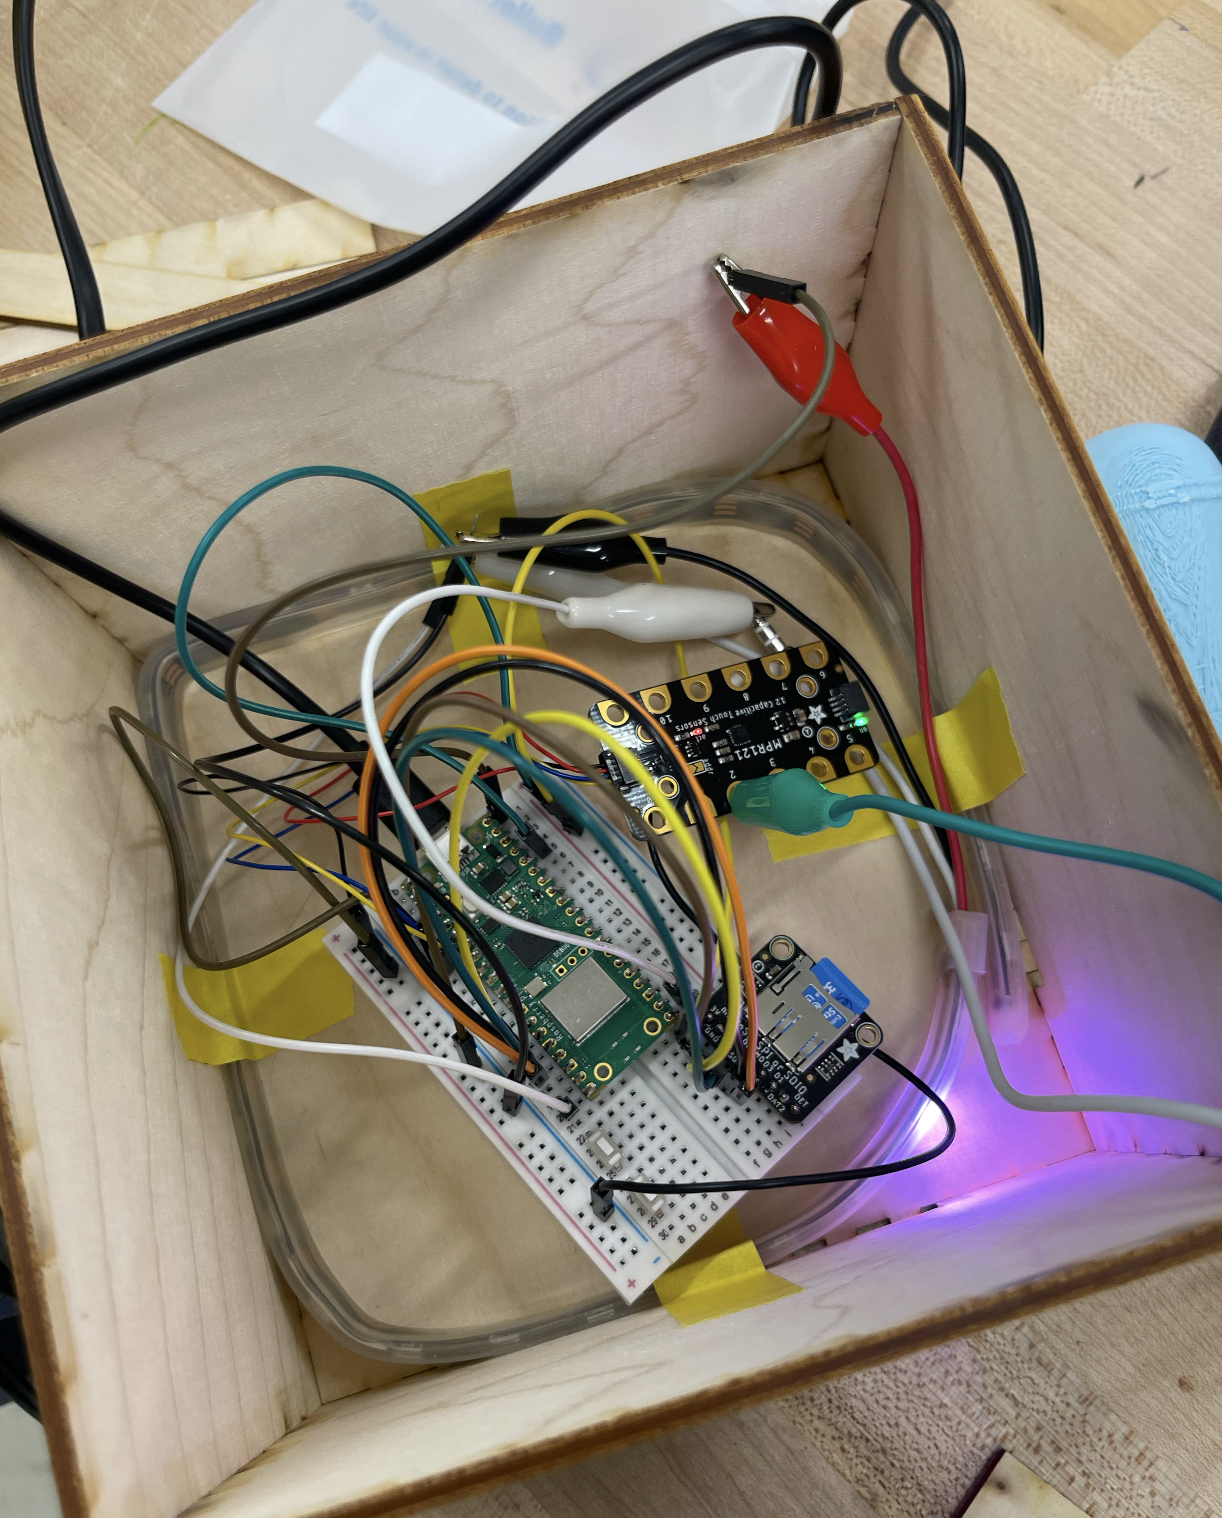
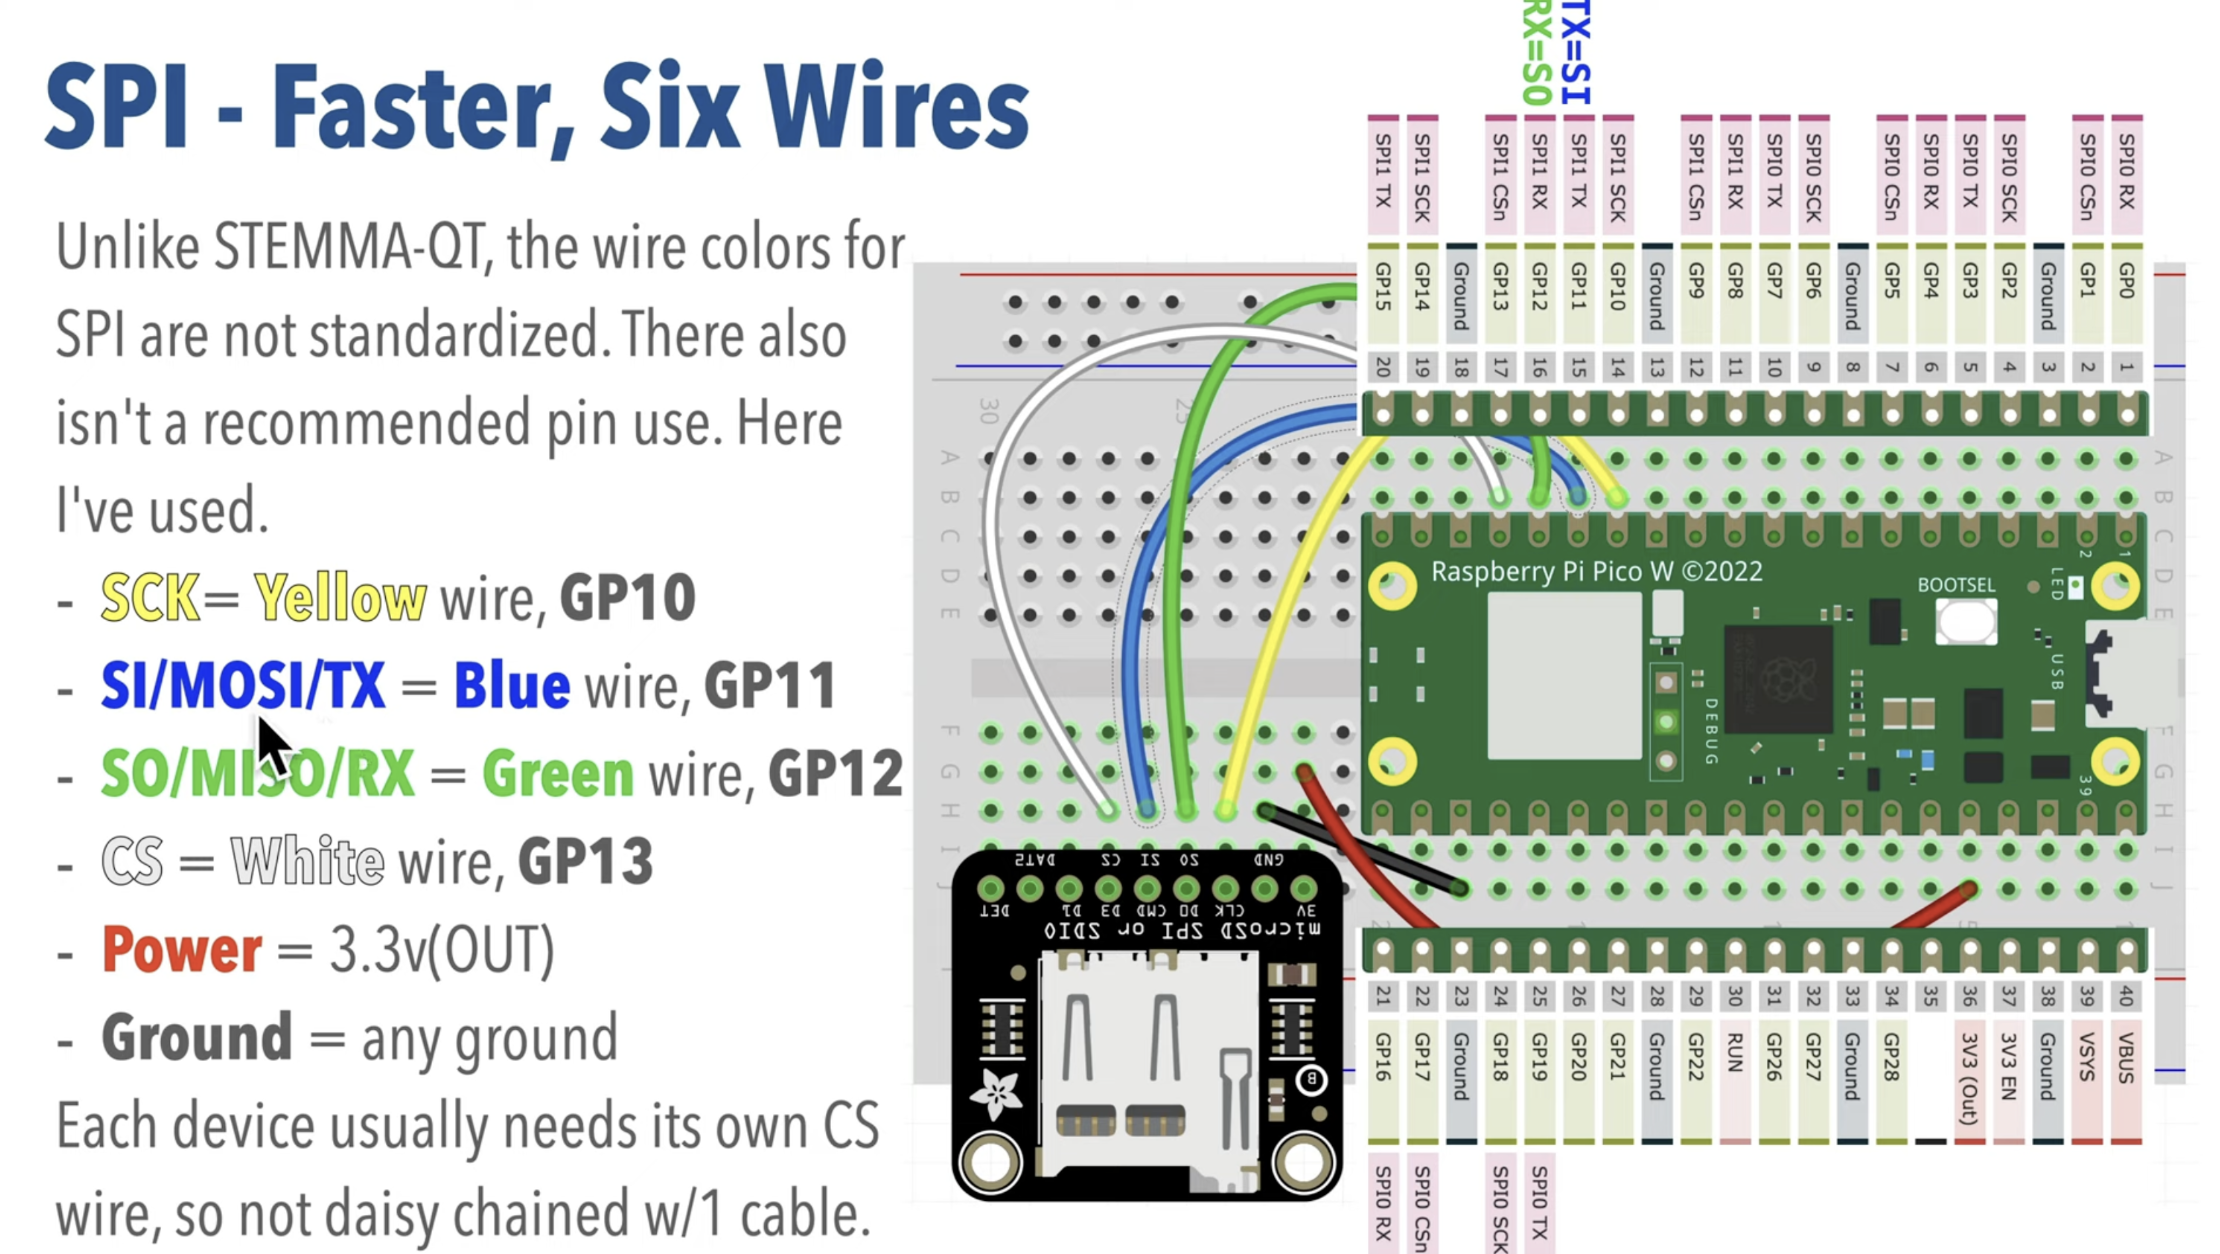
- SD Card Reader: Ground, power (3.3V), CS, SO, SI, SCK
- Speaker: Ground and signal pin (GP16)
- LED Strip: Ground, power (VBUS), signal pin (GP15)
- Capacitive Touch Sensor: STEMMA QT connection: Ground, power (3.3V), SCL, SDA
Assemble
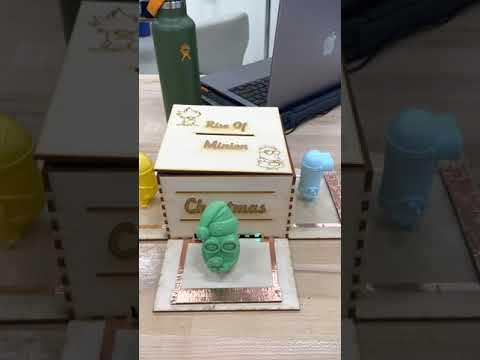
- Place Raspbery Pi Pico and all connections inside box.
- Put the lid on and run the code!