Miniature Pool
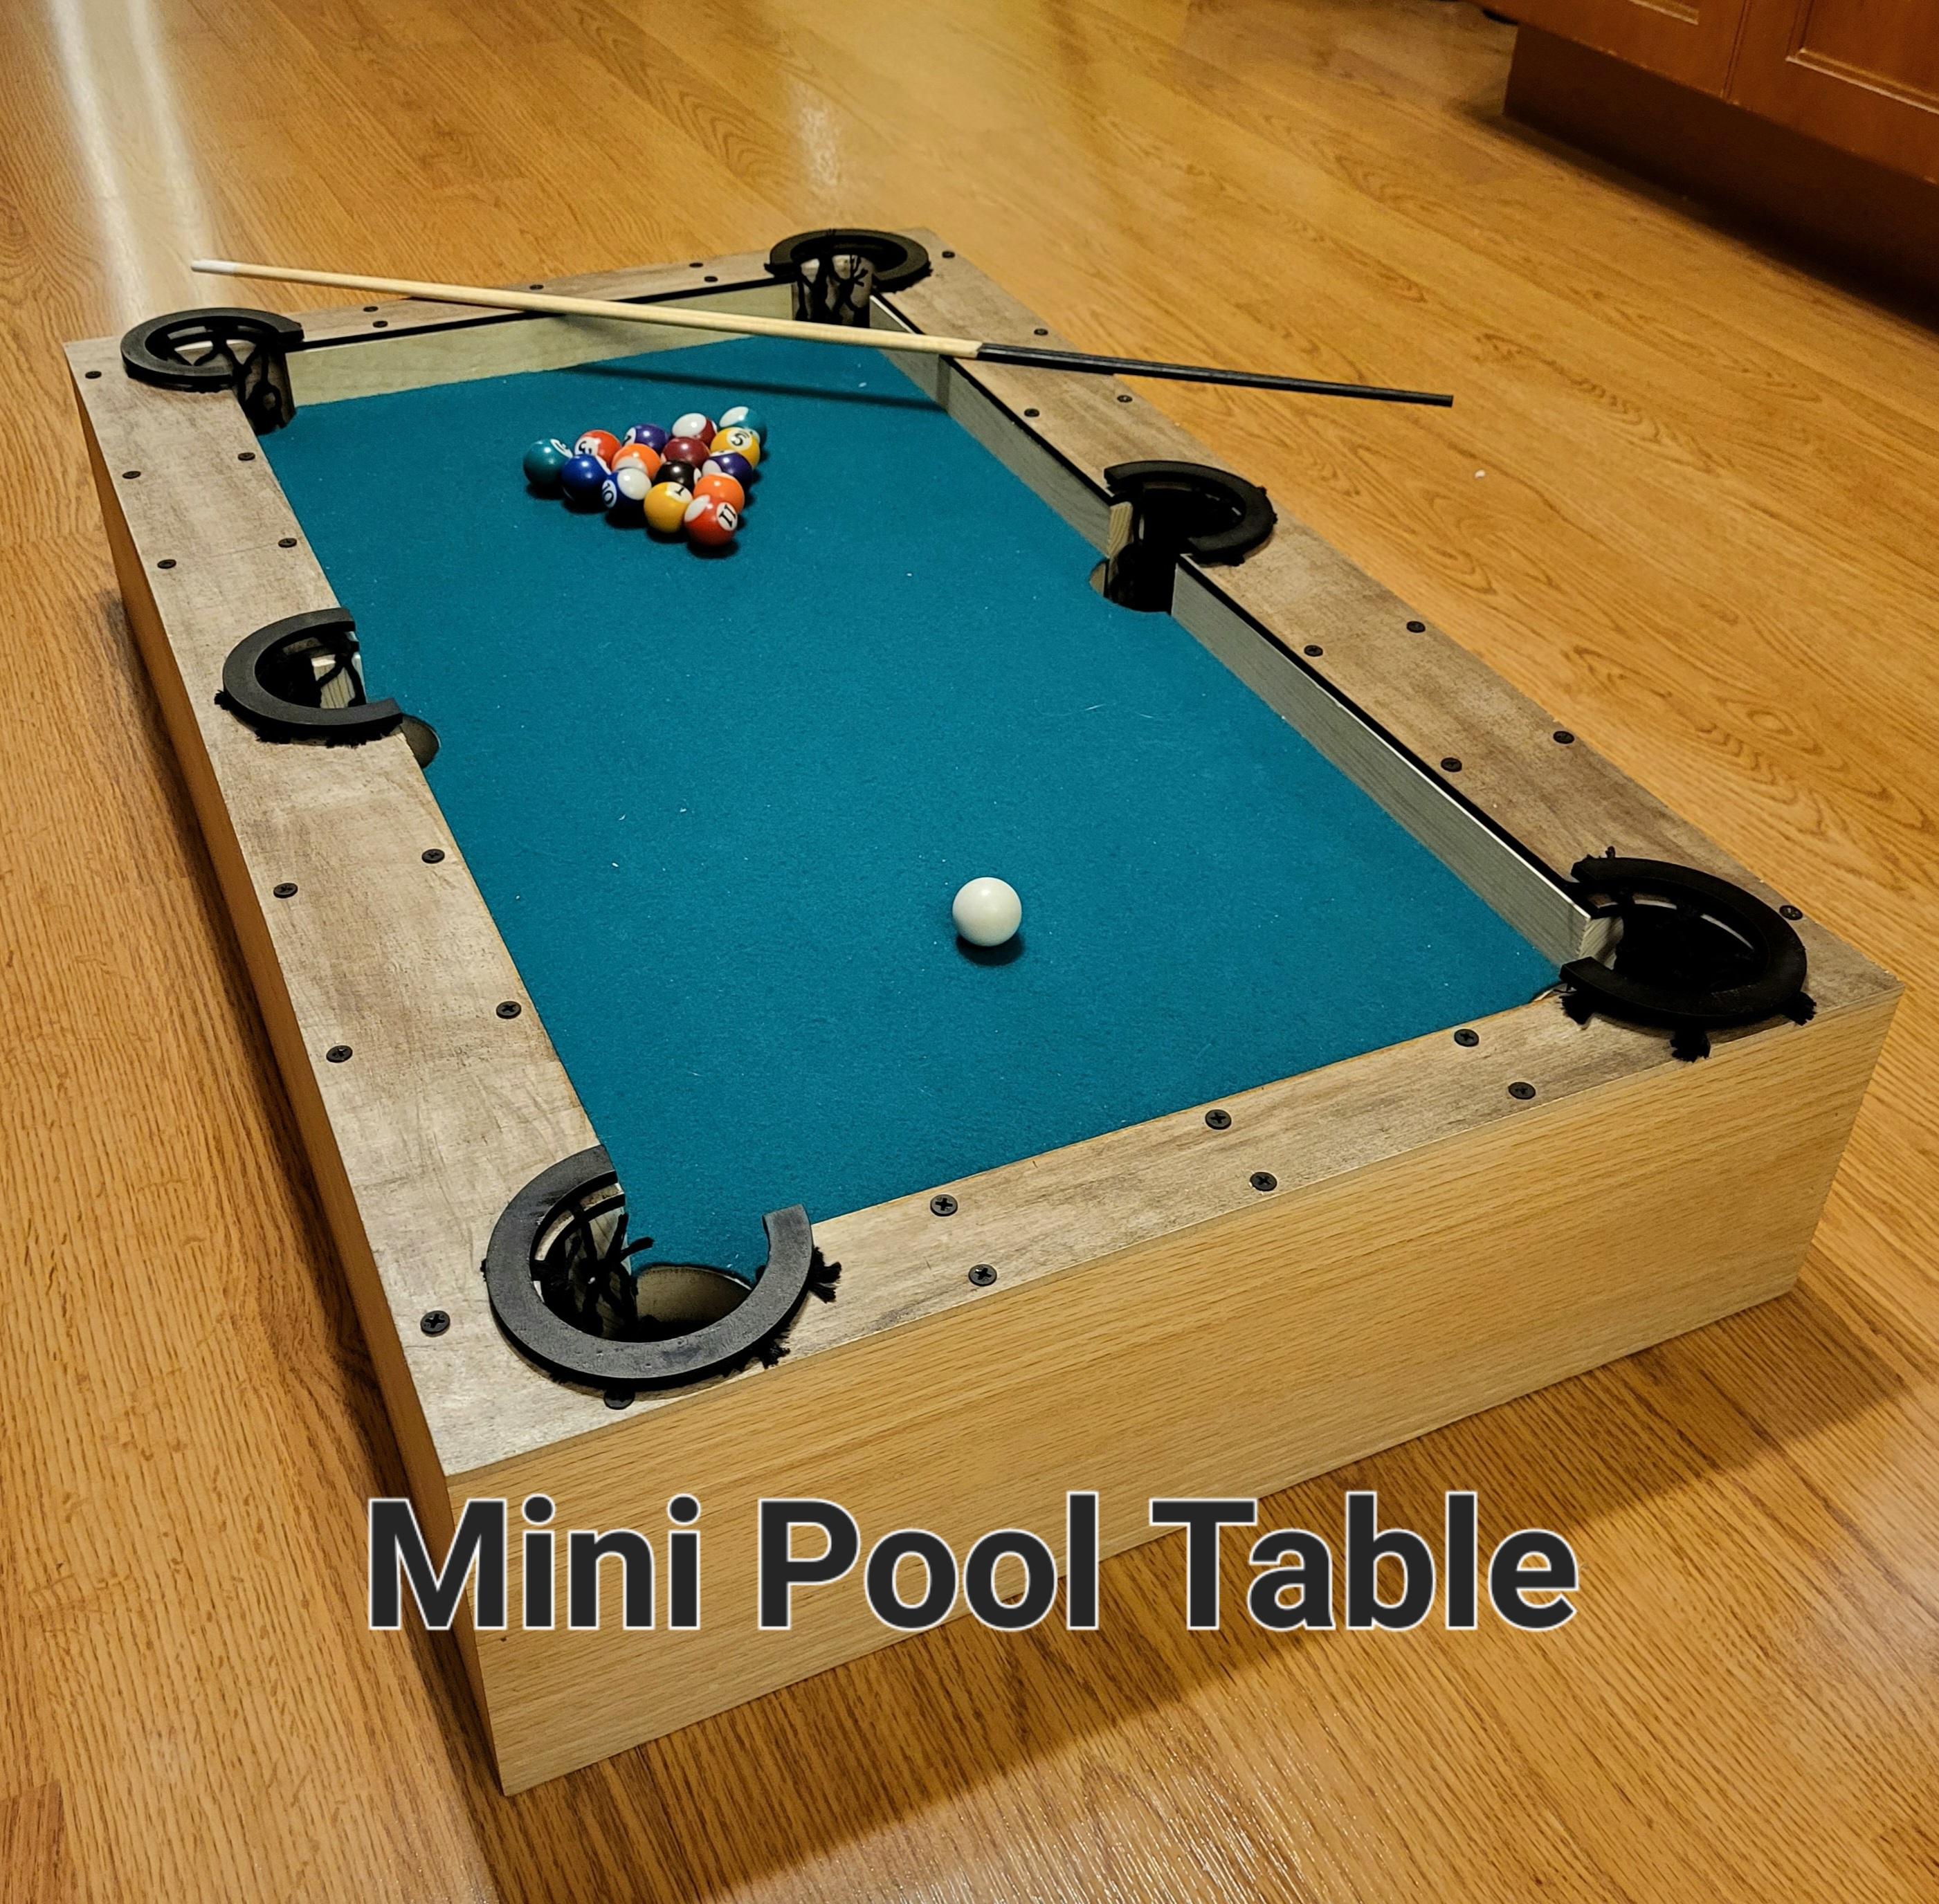
My name is Owen Bandstra and I go to school at Illiana Christian High School in Dyer Indiana. I am in 11th grade and the engineering class that I am enrolled into is called Computer Integrated Manufacturing. Pool is one of my favorite games to play with my friends and family. Now making a full size pool table takes a lot of work and it is quite expensive, but making a mini version of pool is a lot easier and less expensive and it can still be just as fun as normal pool. Below are the steps I took to make my miniature pool table.
Supplies
Here are all of the various tool and supplies you need to make this:
Tools
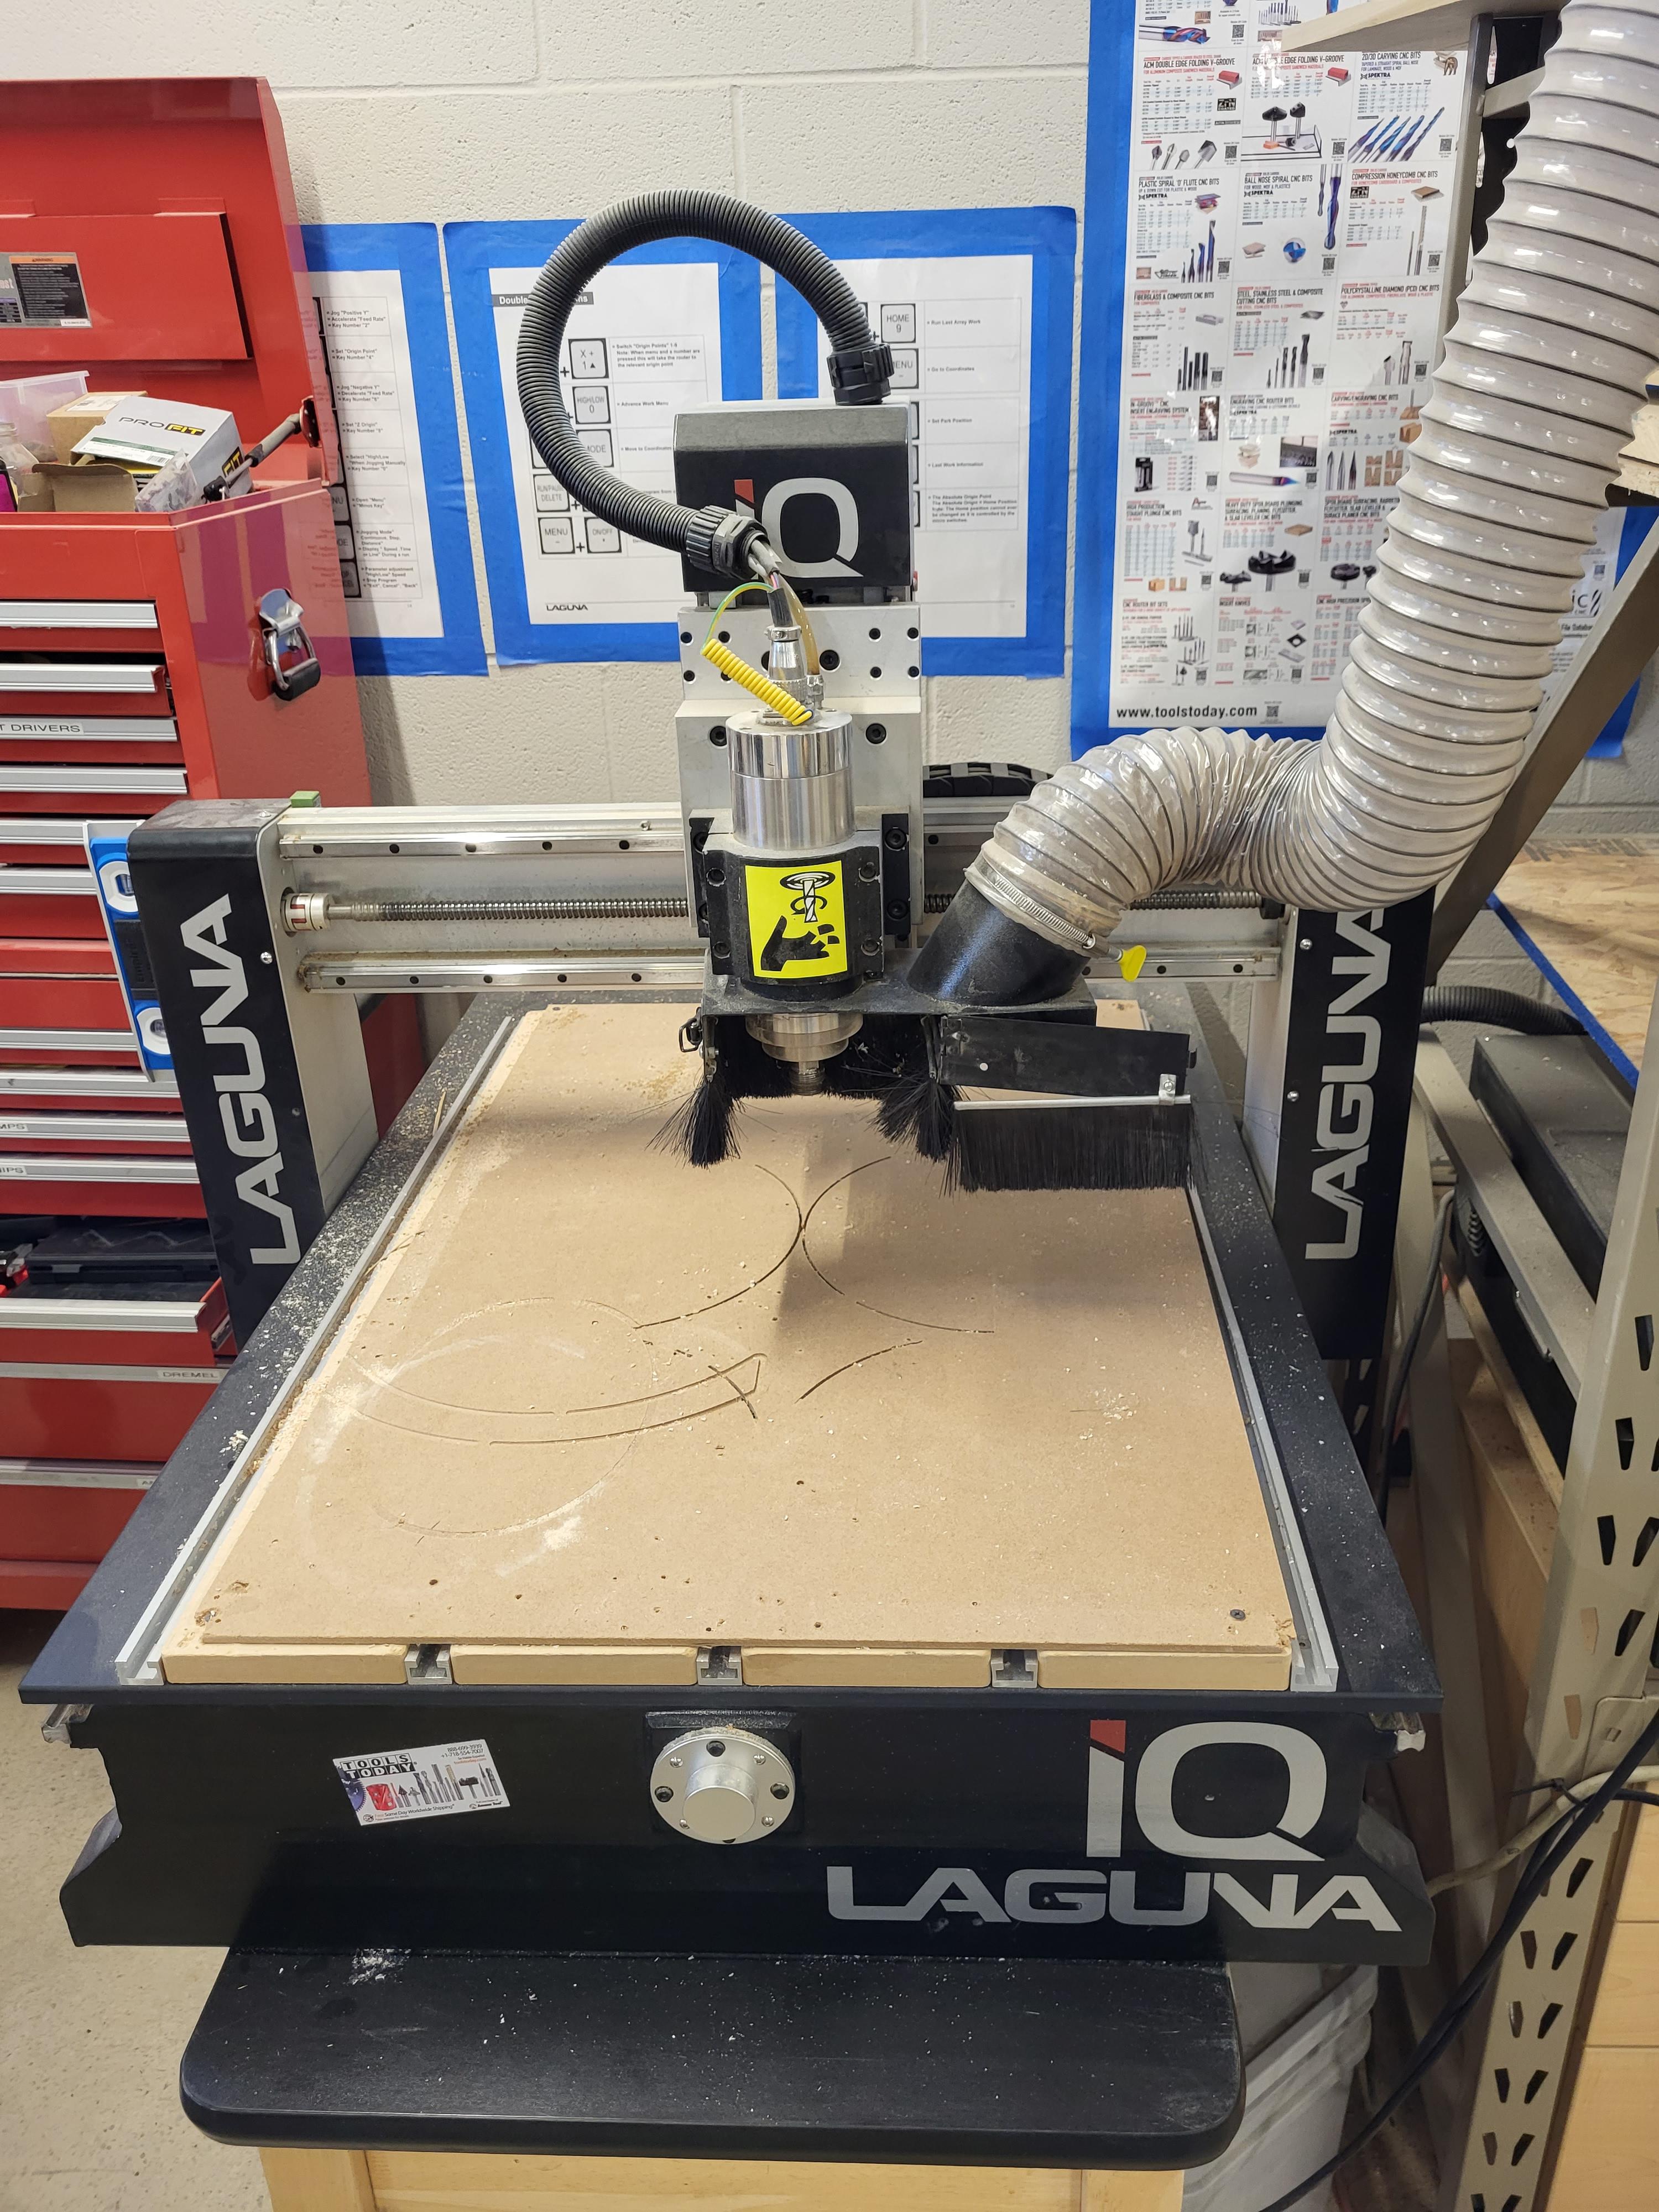
- CNC router
- 1/4 in flat drill bit for CNC router
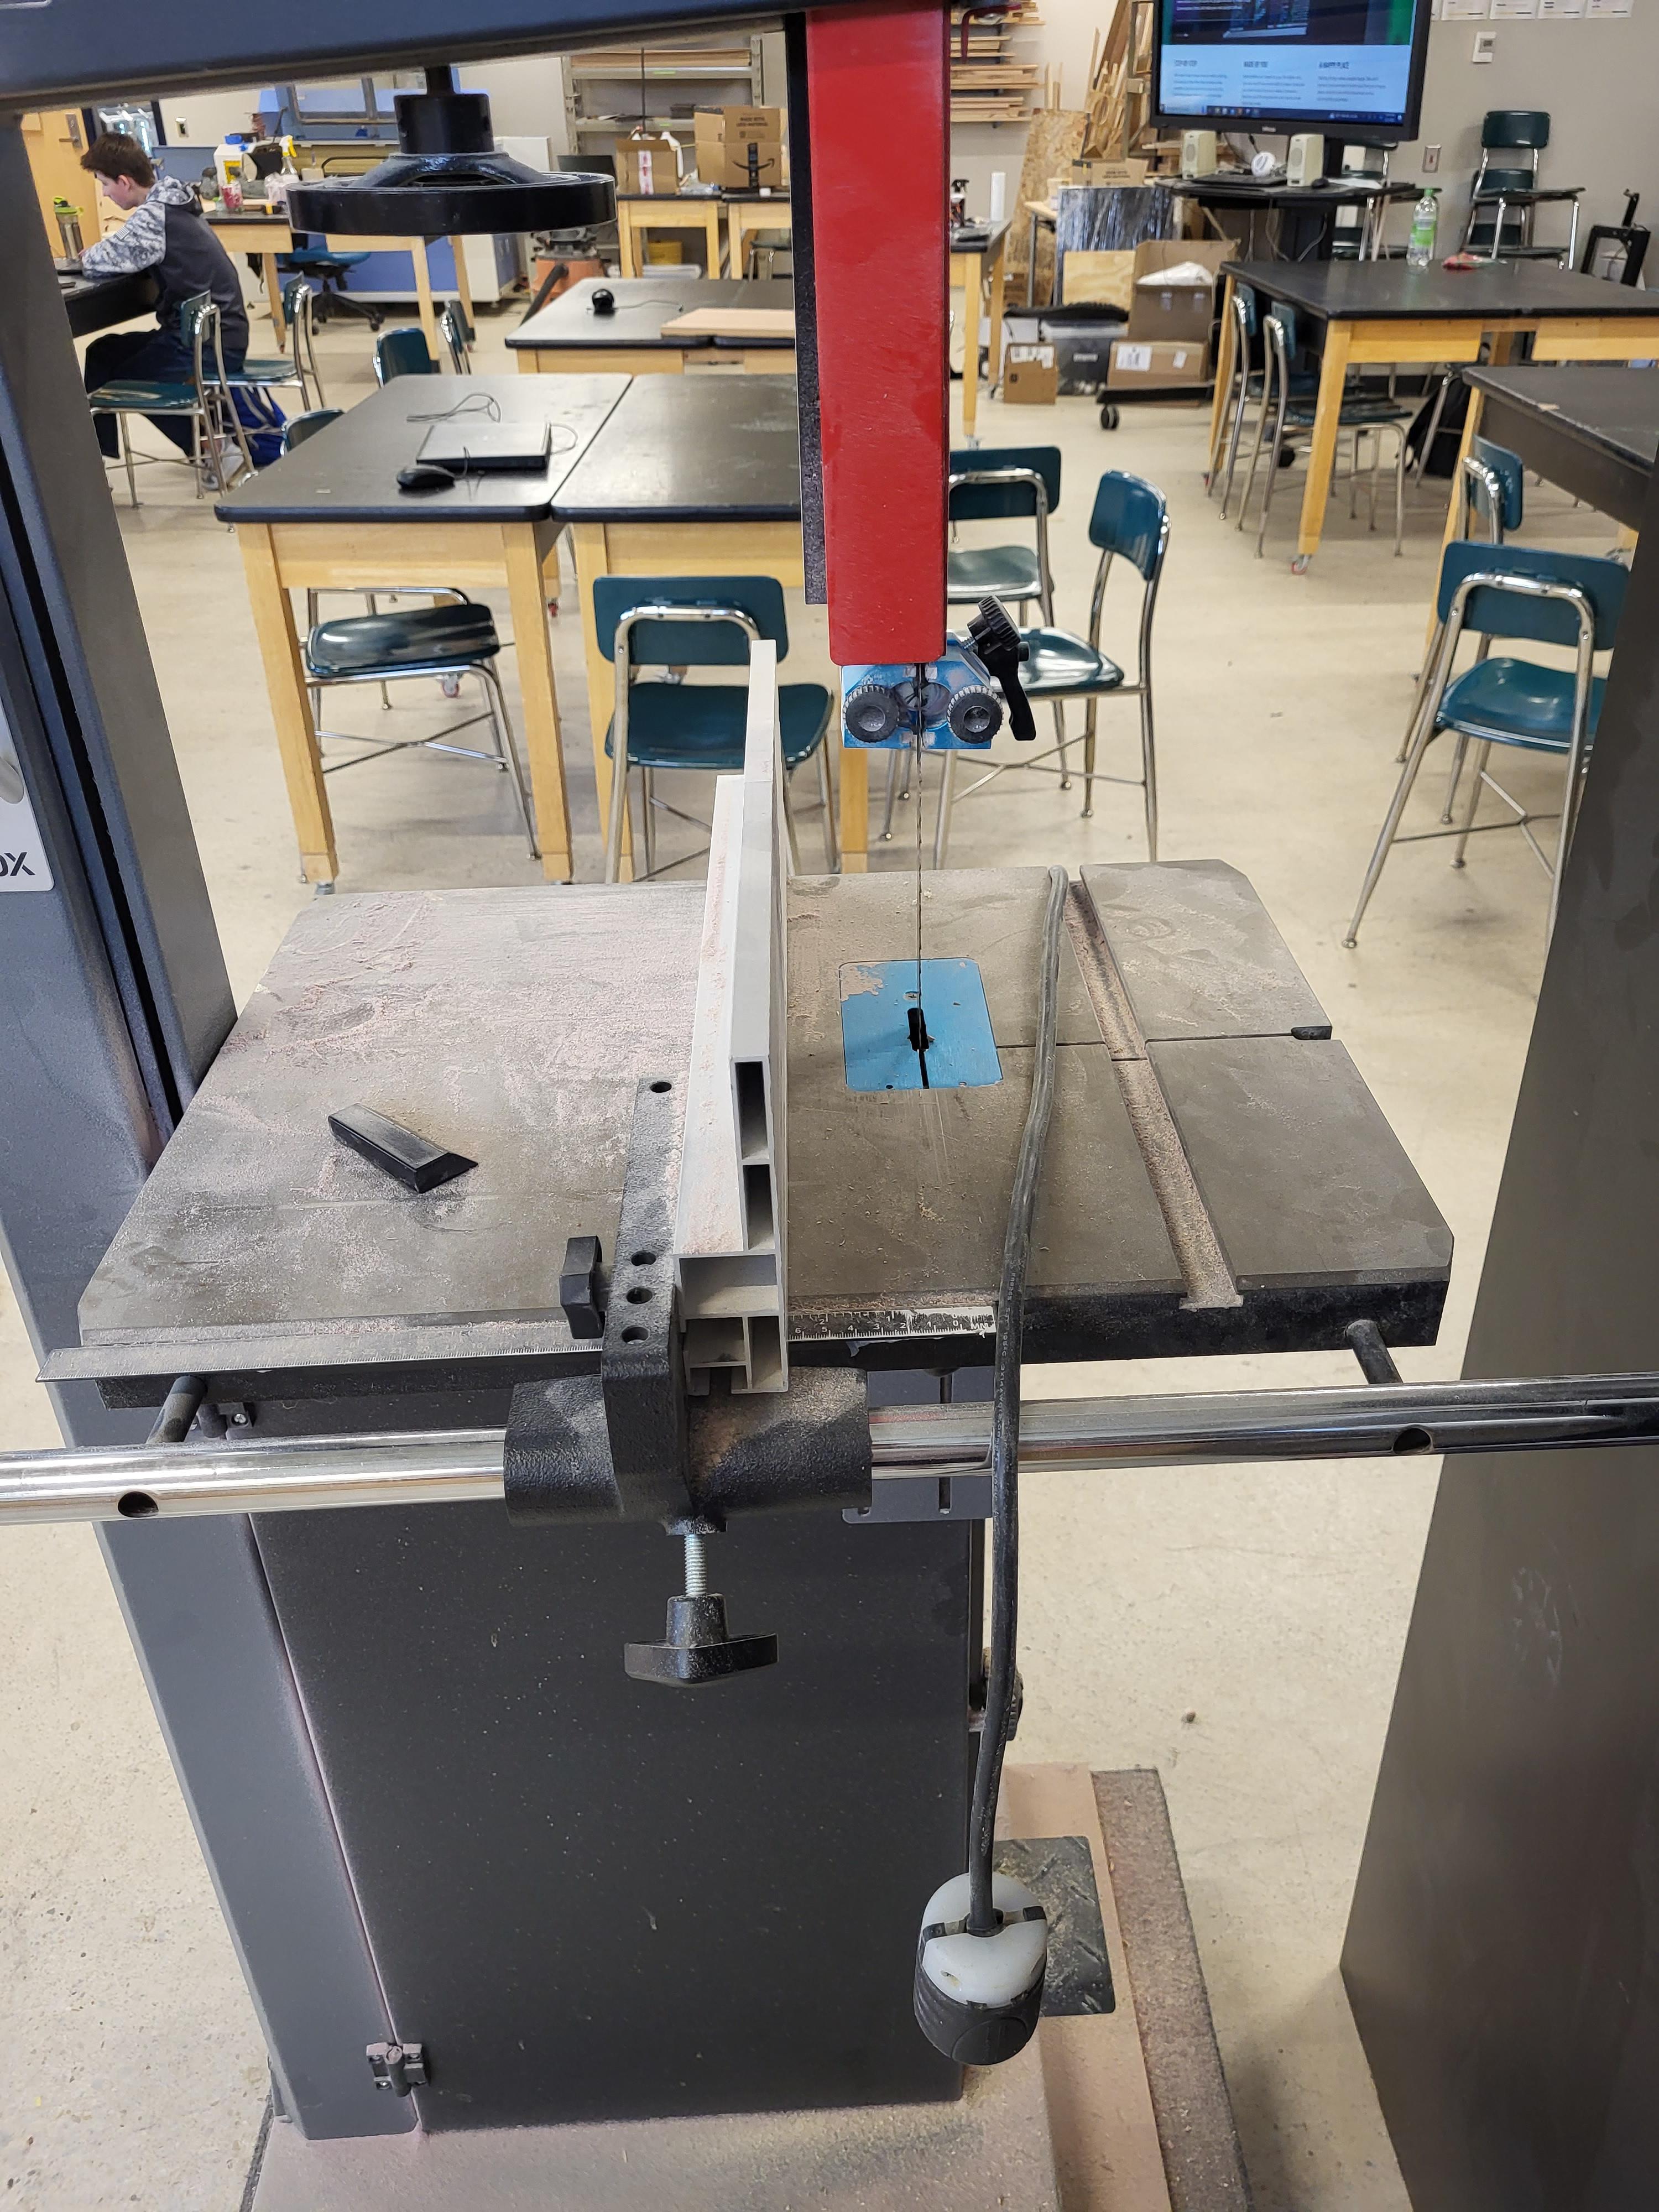
- Band saw
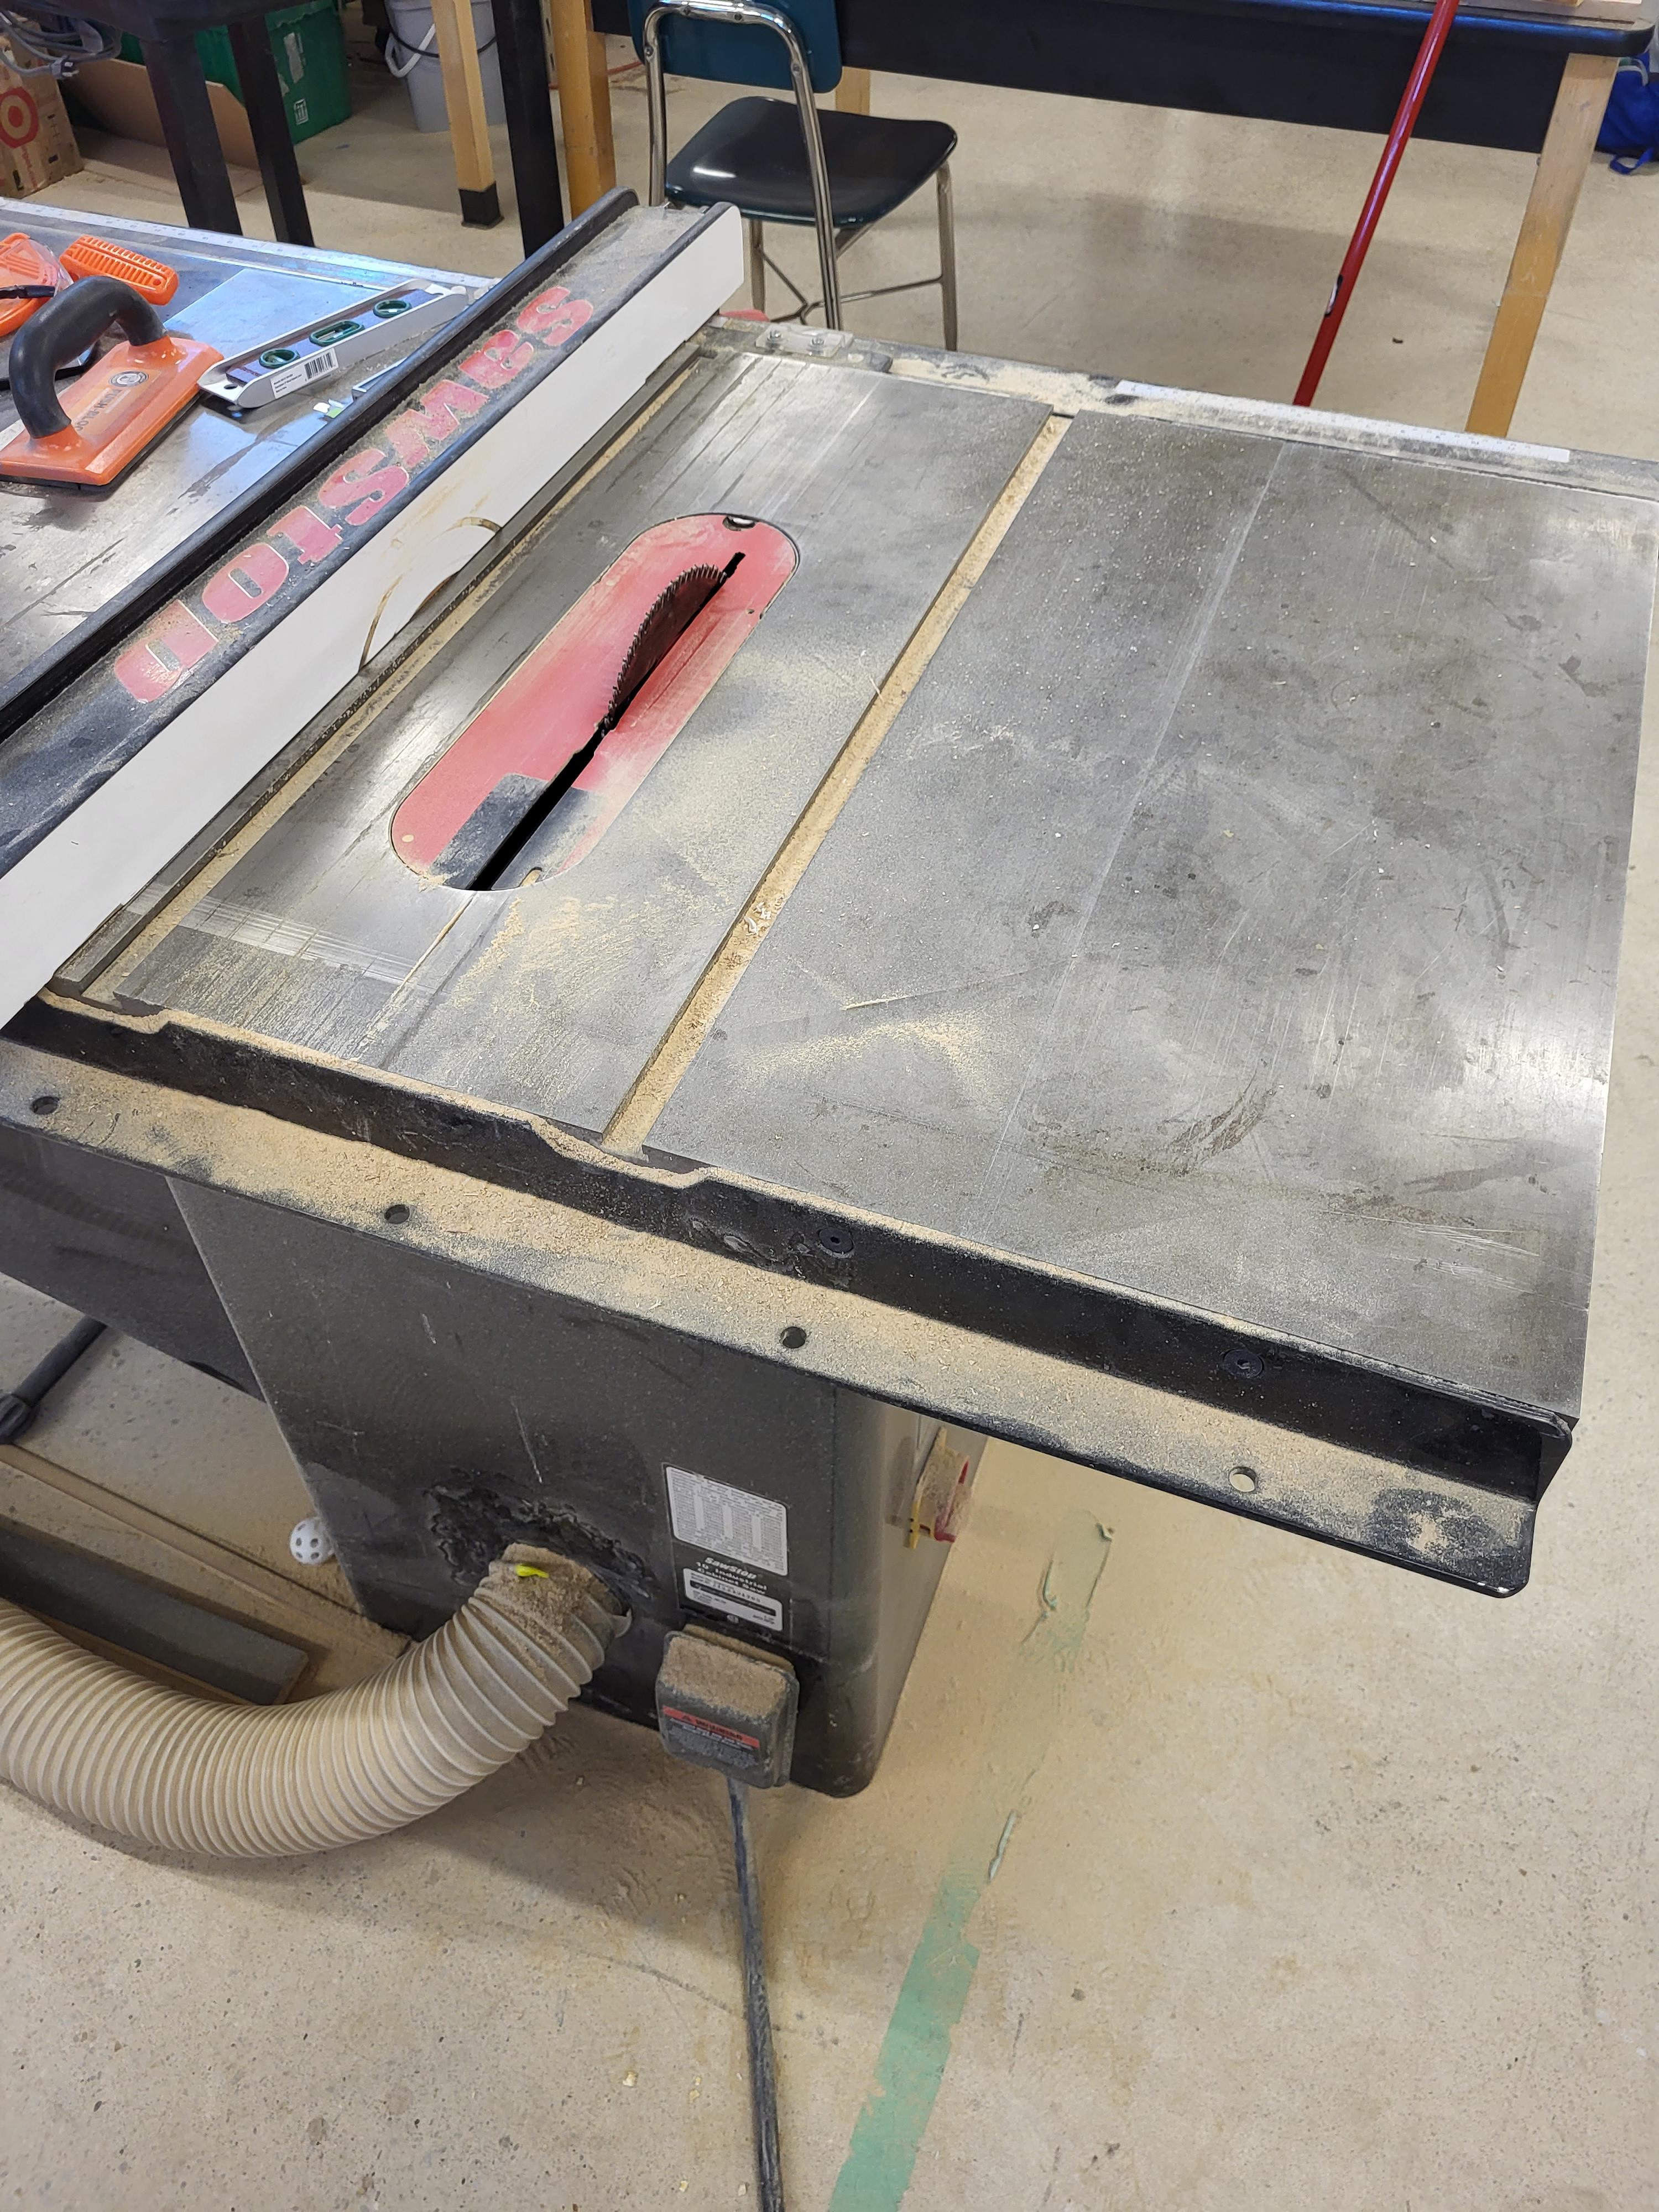
- Table saw
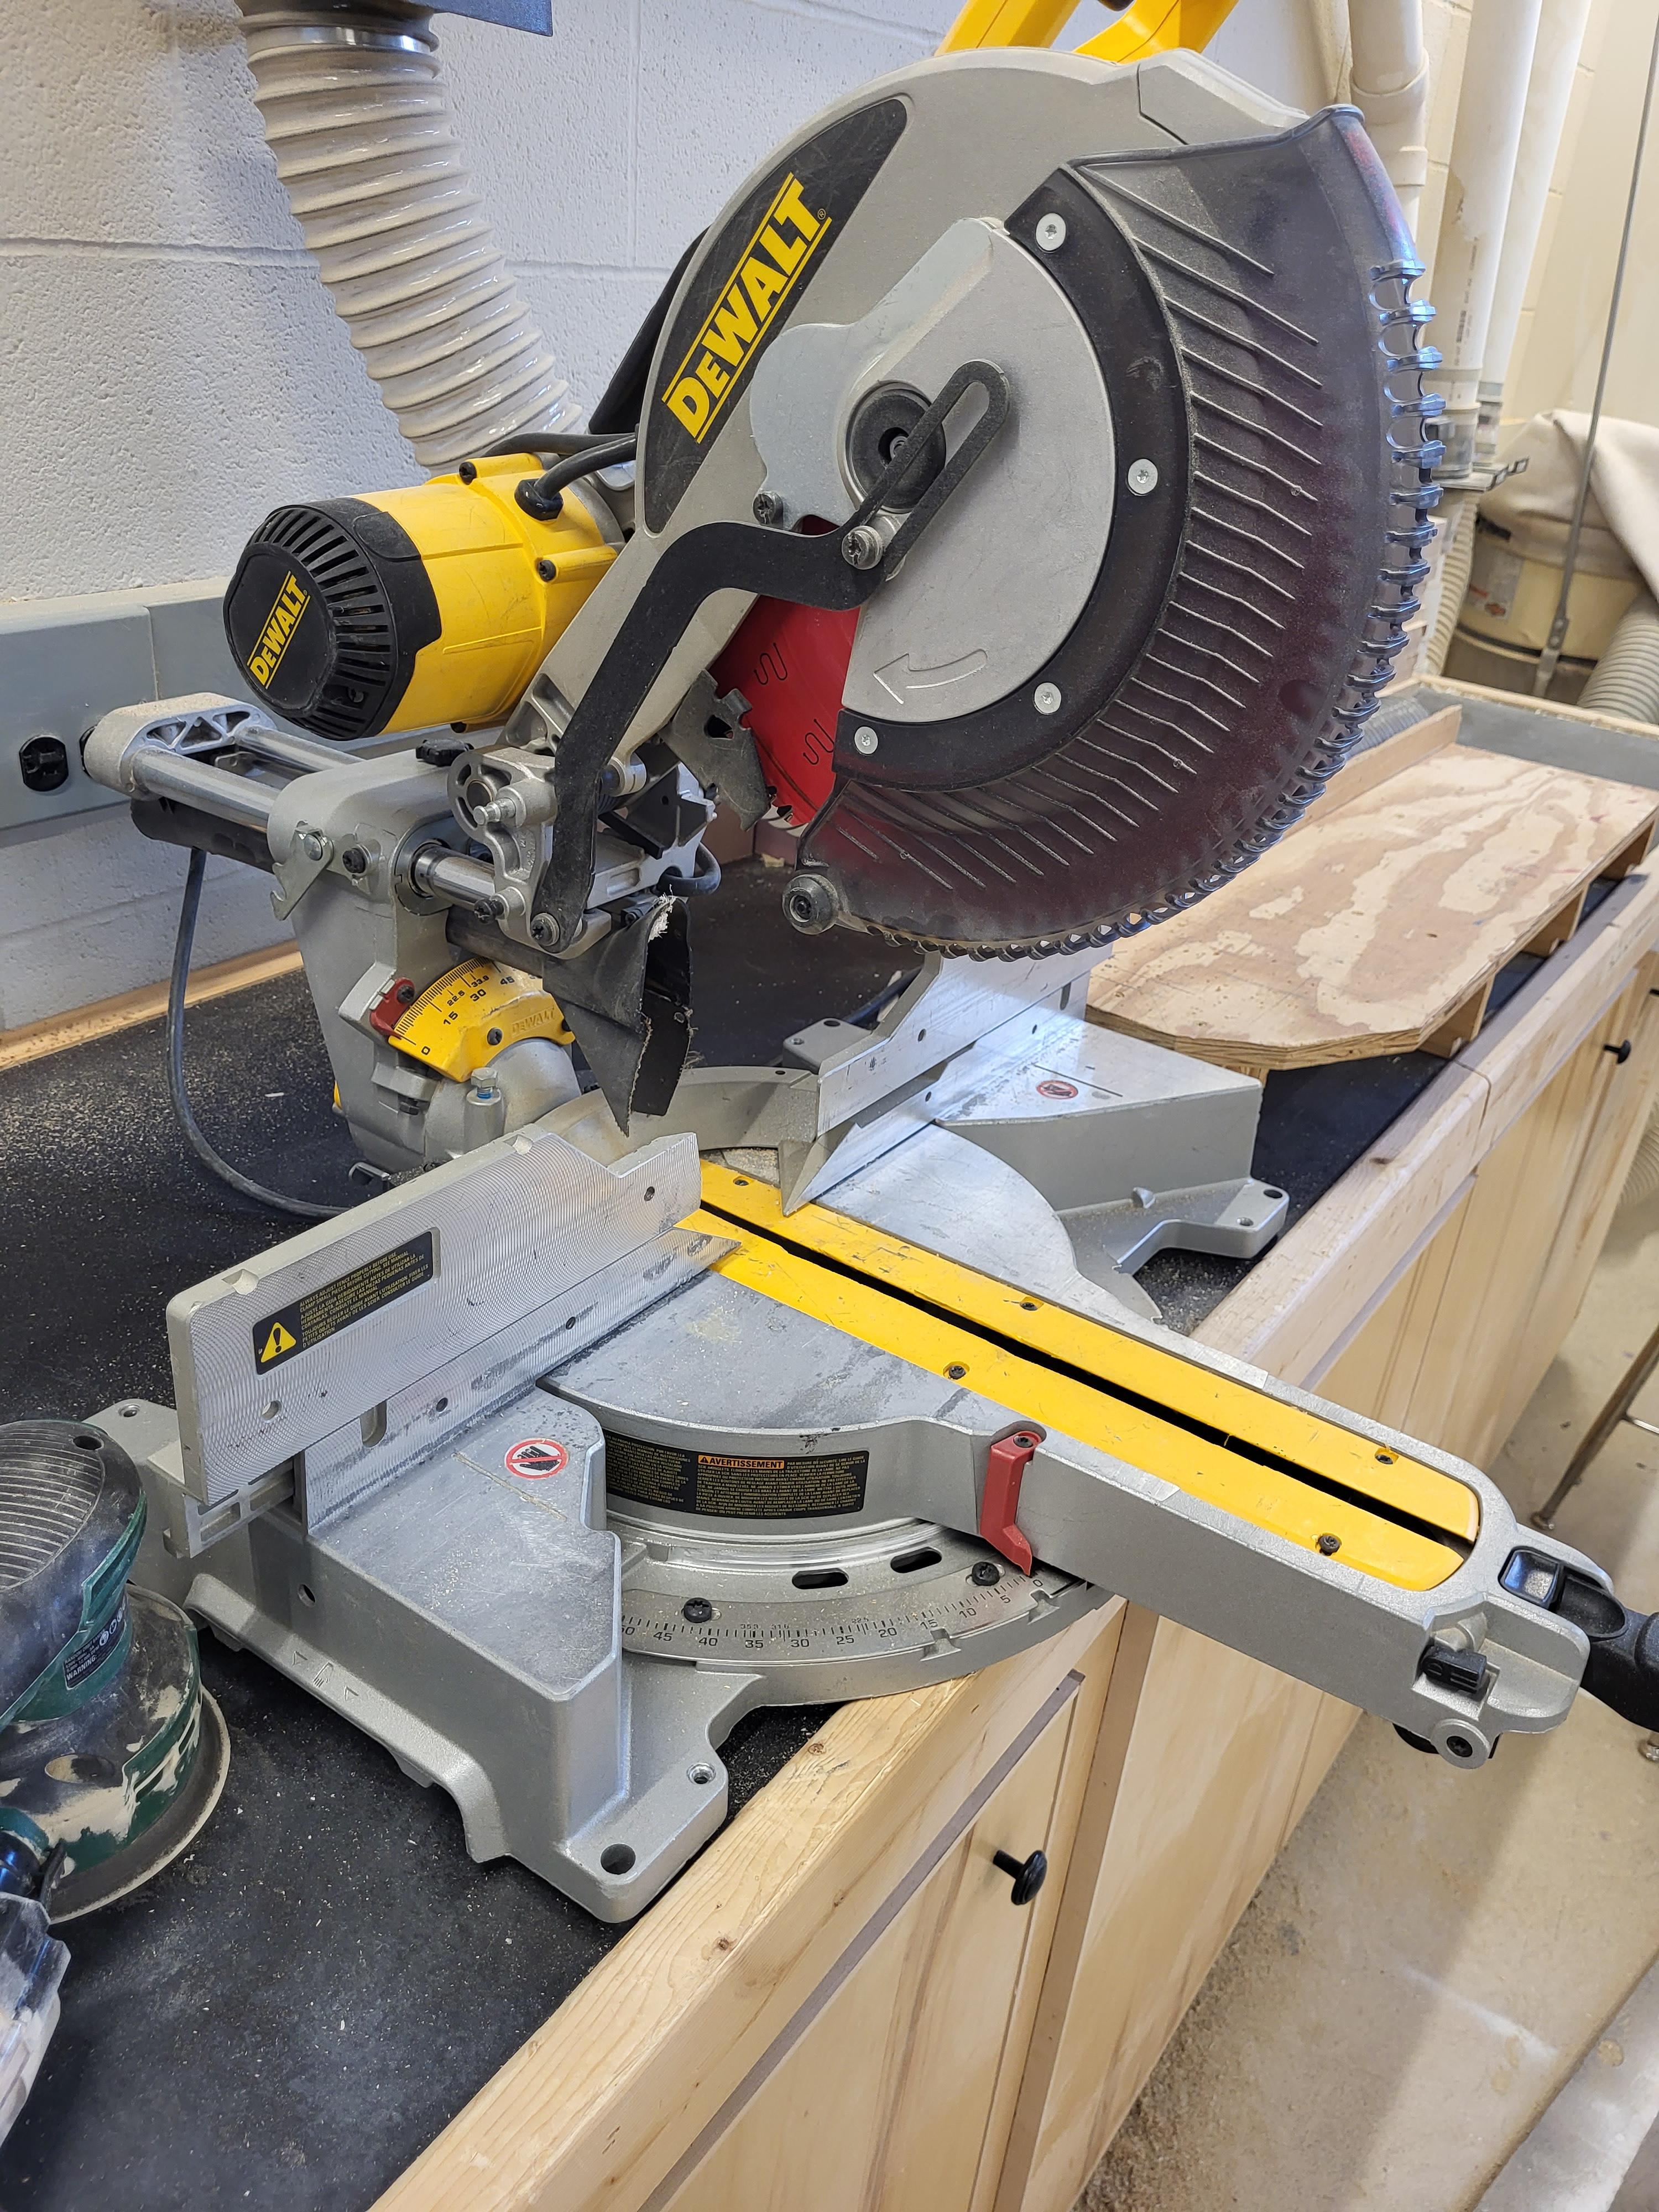
- Chop saw
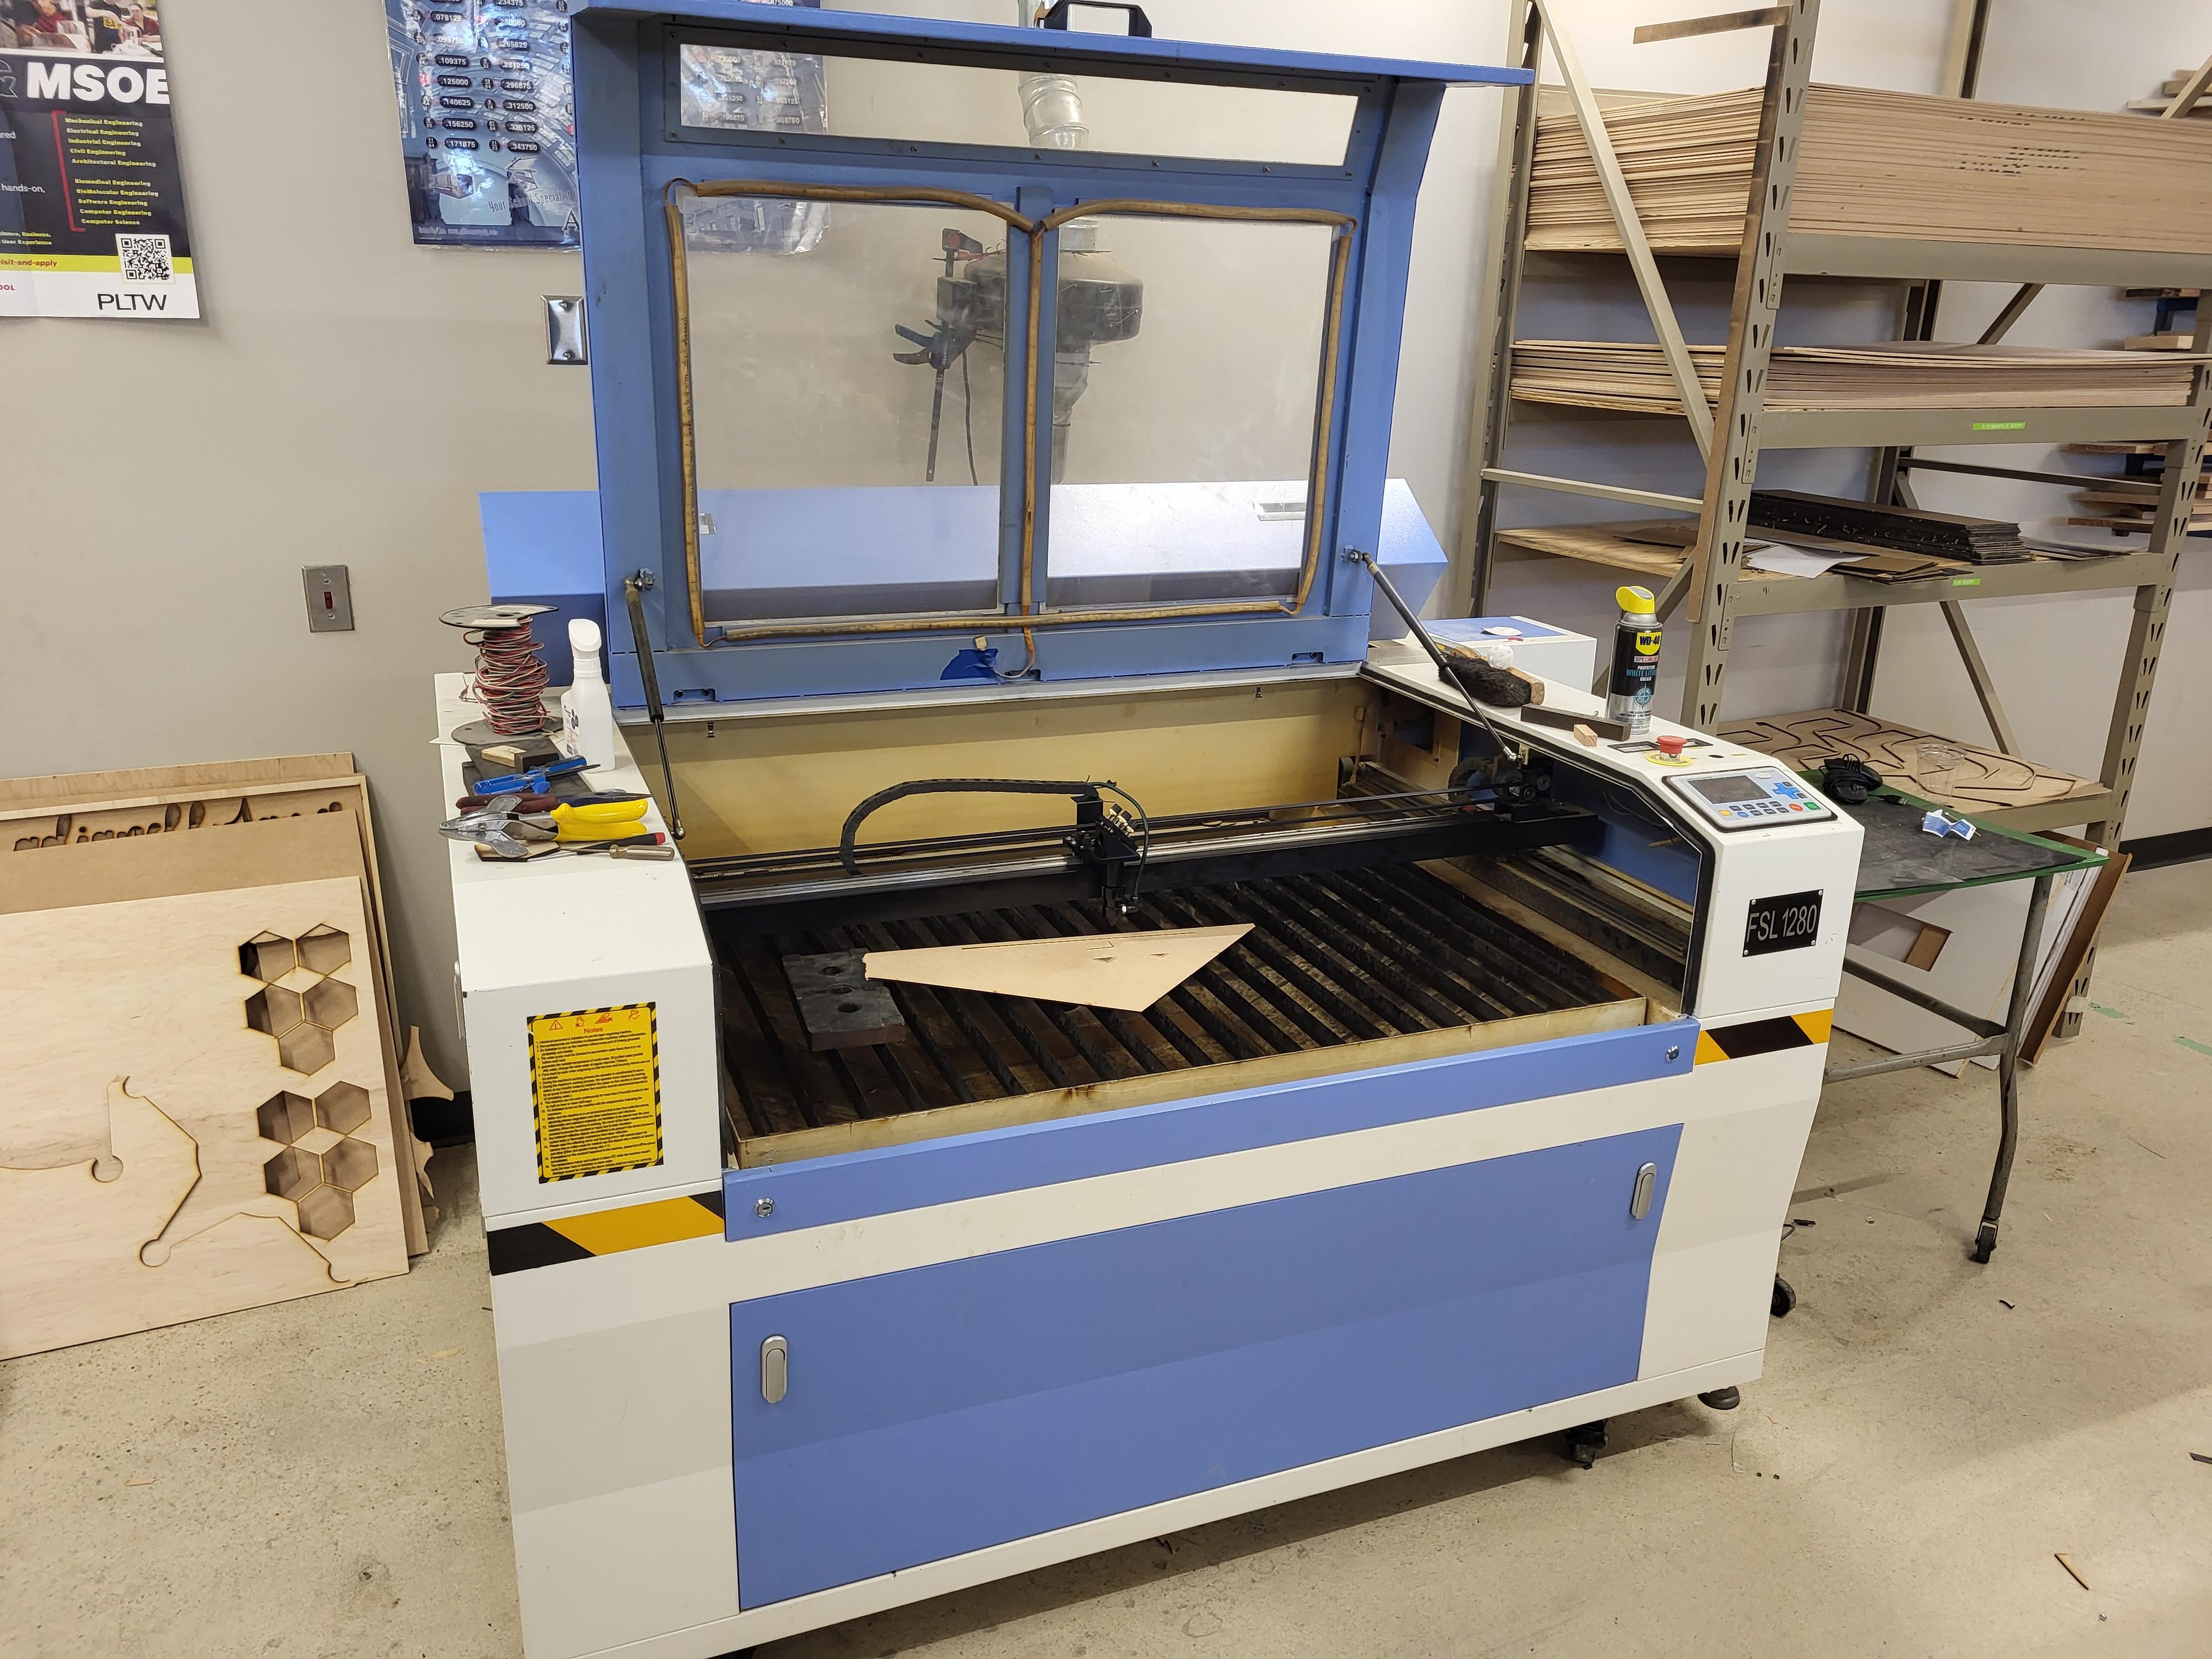
- Laser cutter
- Nail gun
- Drill with various sizes of drill bits
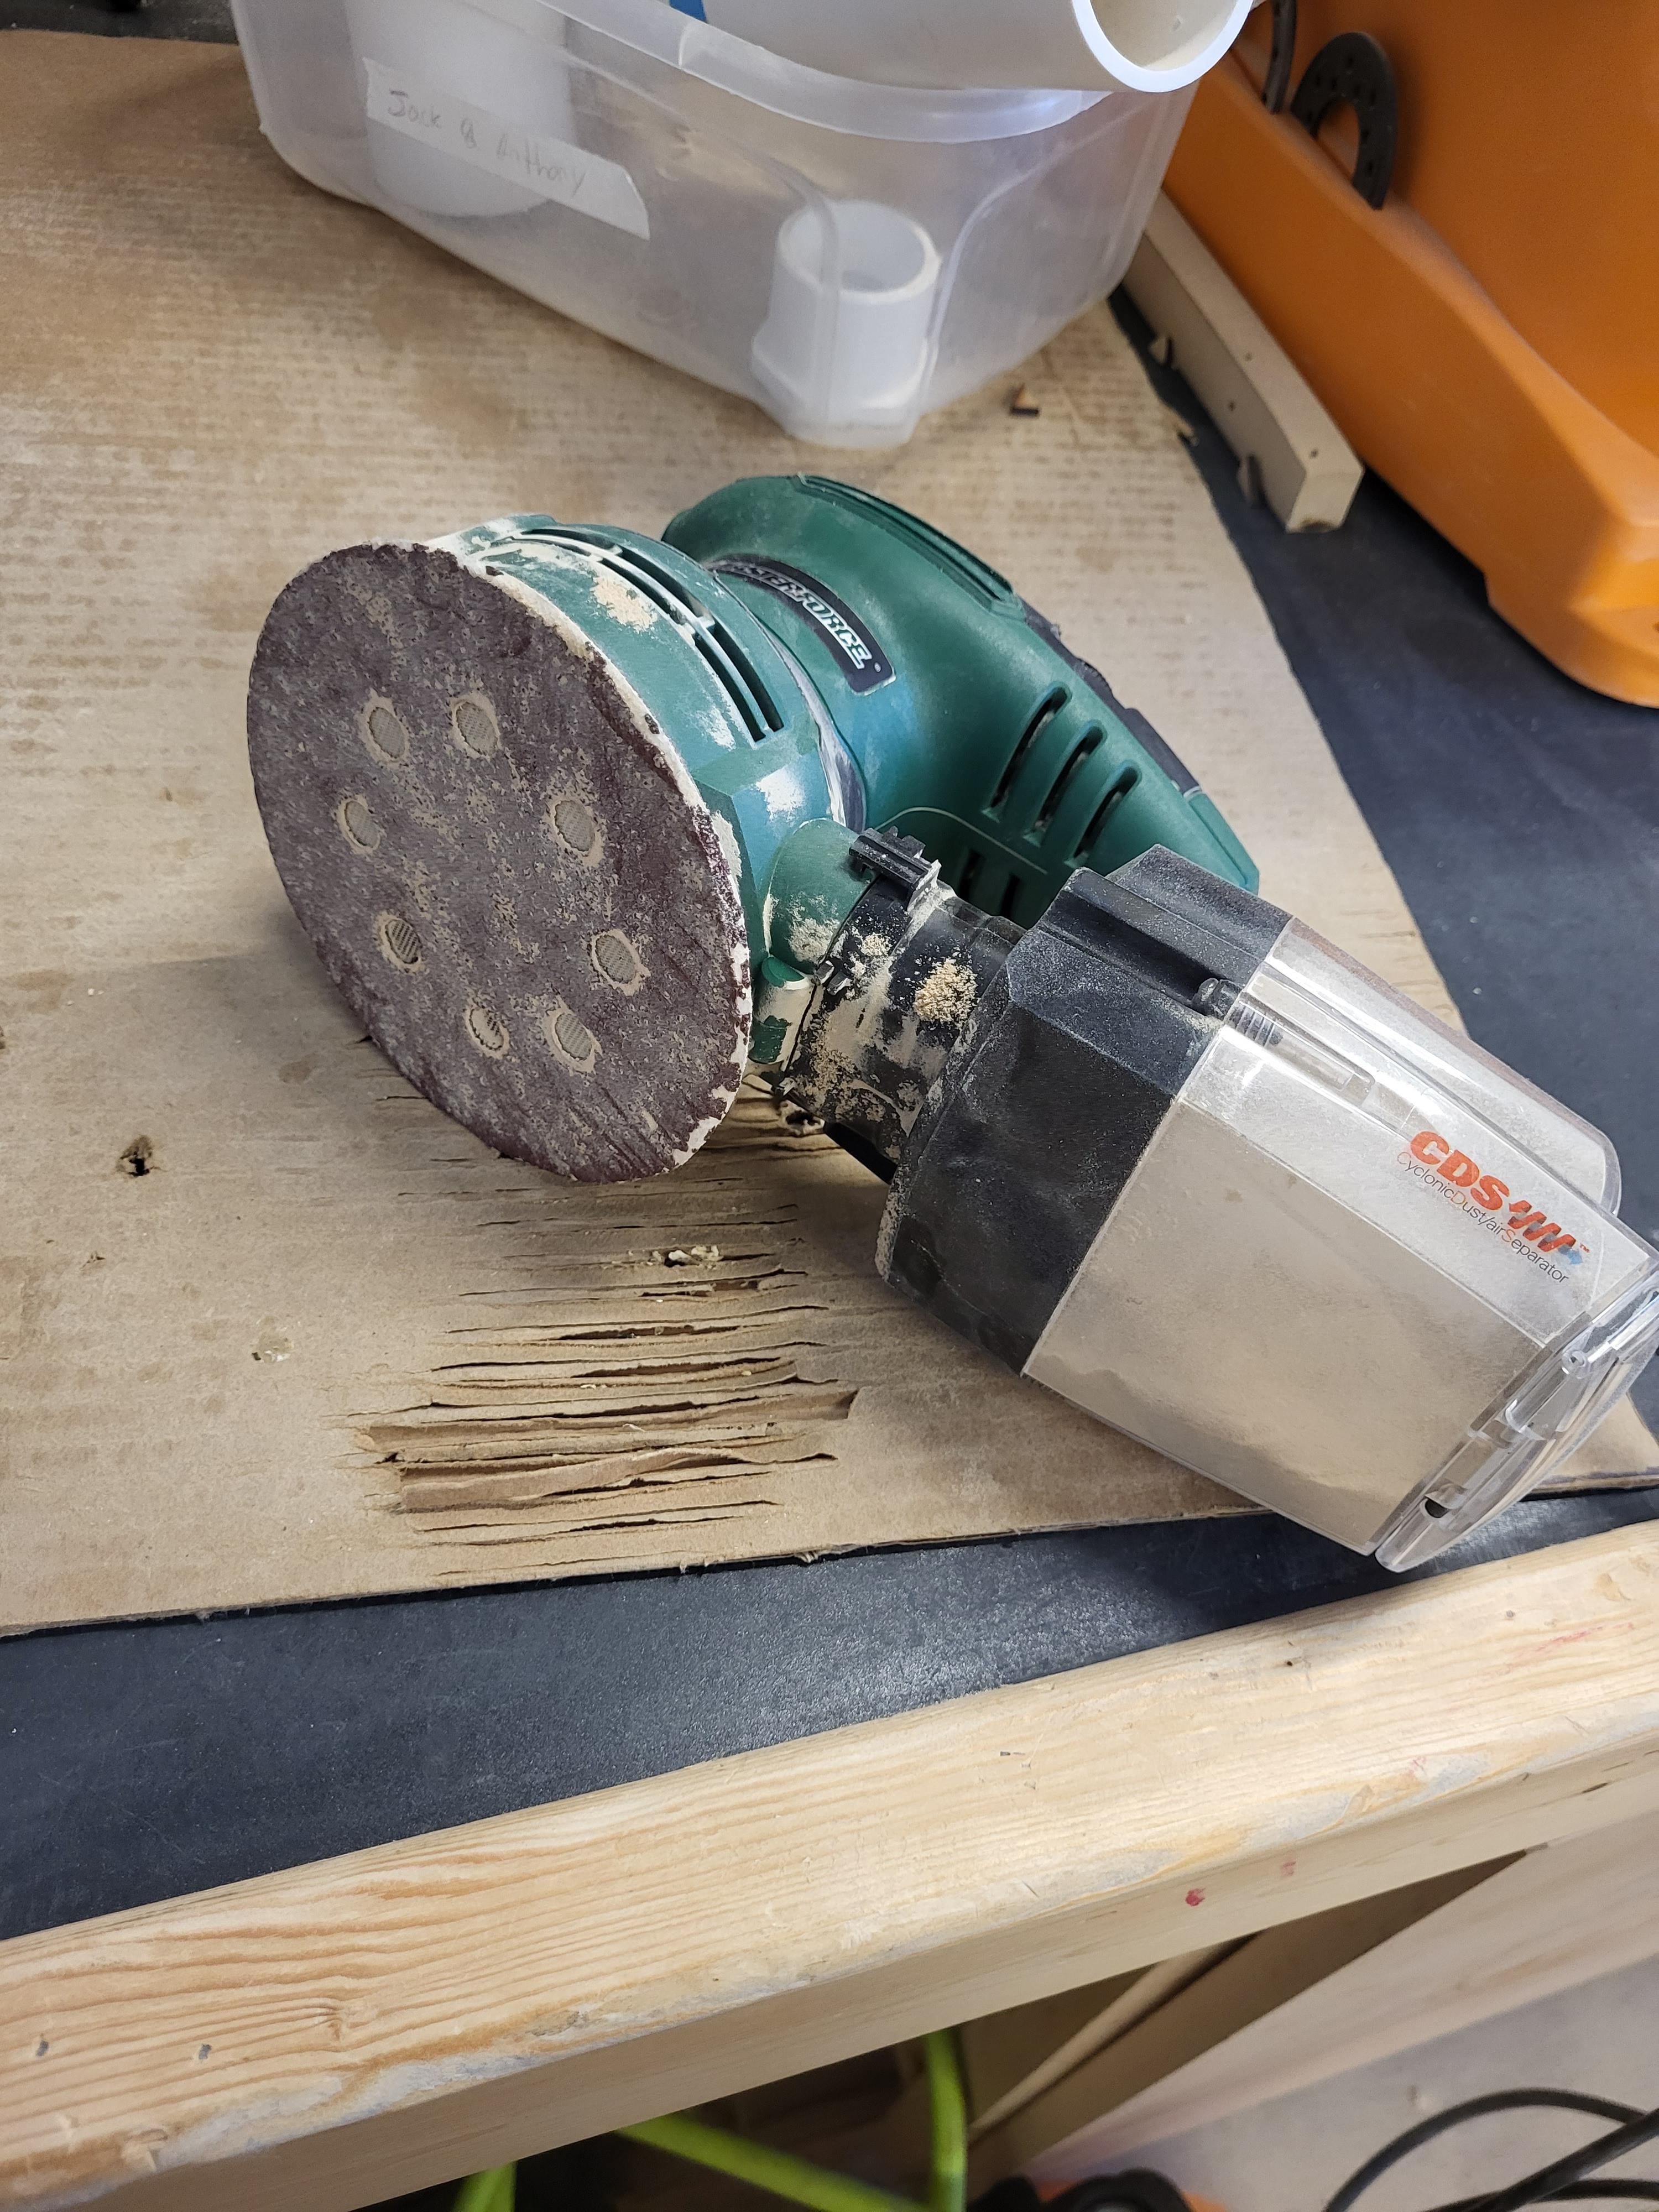
- Electrical sander
- Pencil
- Ruler/ Tape measure
- Laptop with Fusion 360 and Laser CAD
- Paint
- Painters tape
- Wood stain
- Wood glue
- Sand paper
- Square
- Scissors
- Tin snips
- Clamps
- Super glue
Supplies
- Wooden planks/boards
- 15 in x 30 in x 1 in piece of wood
- 1/4 in thick MDF sheet of wood
- Scrap wood
- 2 1/4 in dowel rods
- 1 in set of pool balls
- Nets
- Green cloth
- 36 1 in screws
- 18 2 in screws
- 8 1/2 in screws
- 1 in nails(for nail gun)
Brainstorming
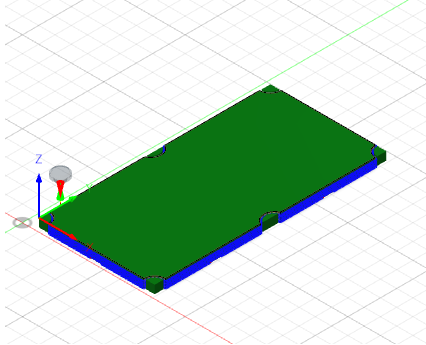
I did some research online and the ratio for the length and width of a pool table is 2:1. So, I decided to have my playing field be 28 in by 14 in. For the pockets I thought a radius of 1.5 in would be good, but I adjusted it later to be a radius of 1.31 in. Later on I thought of everything else I would do during this project.
Making the Playing Field(Part 1)
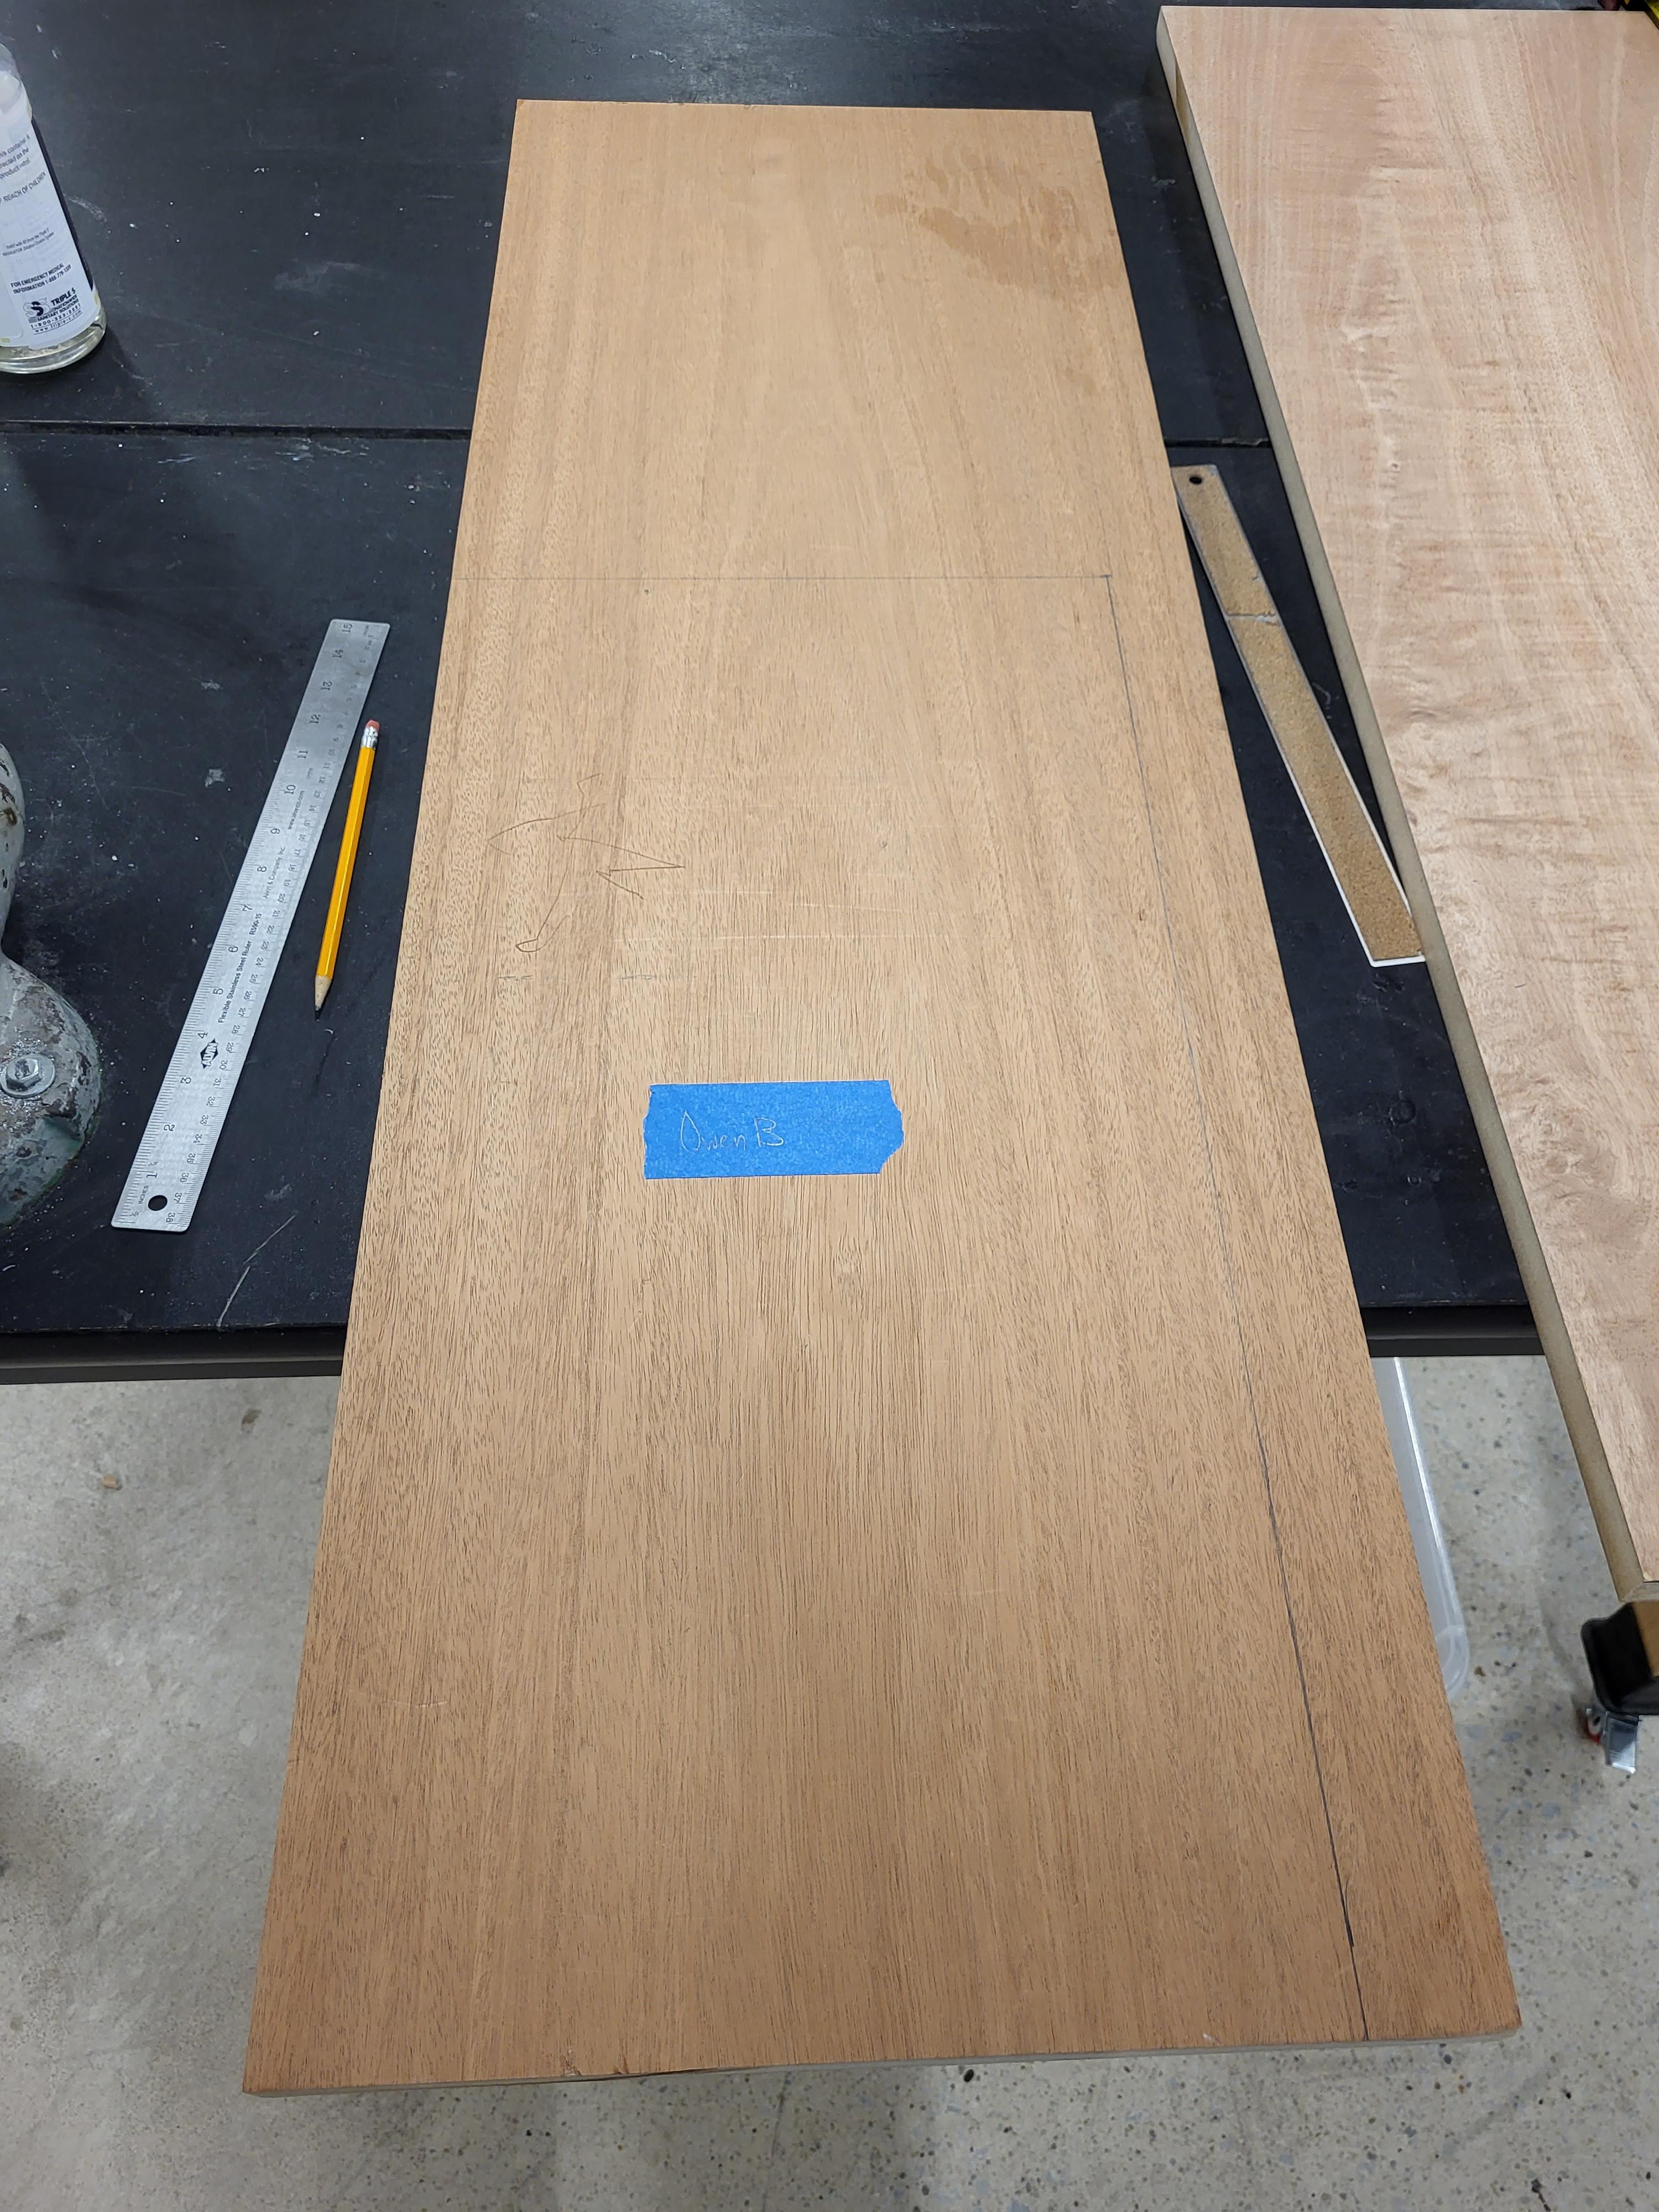
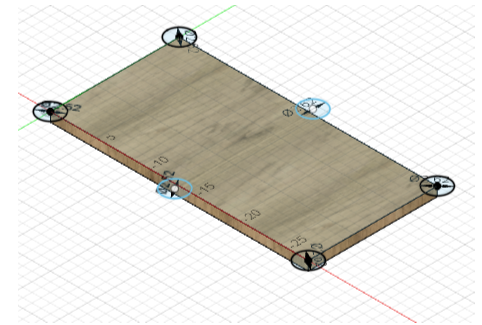
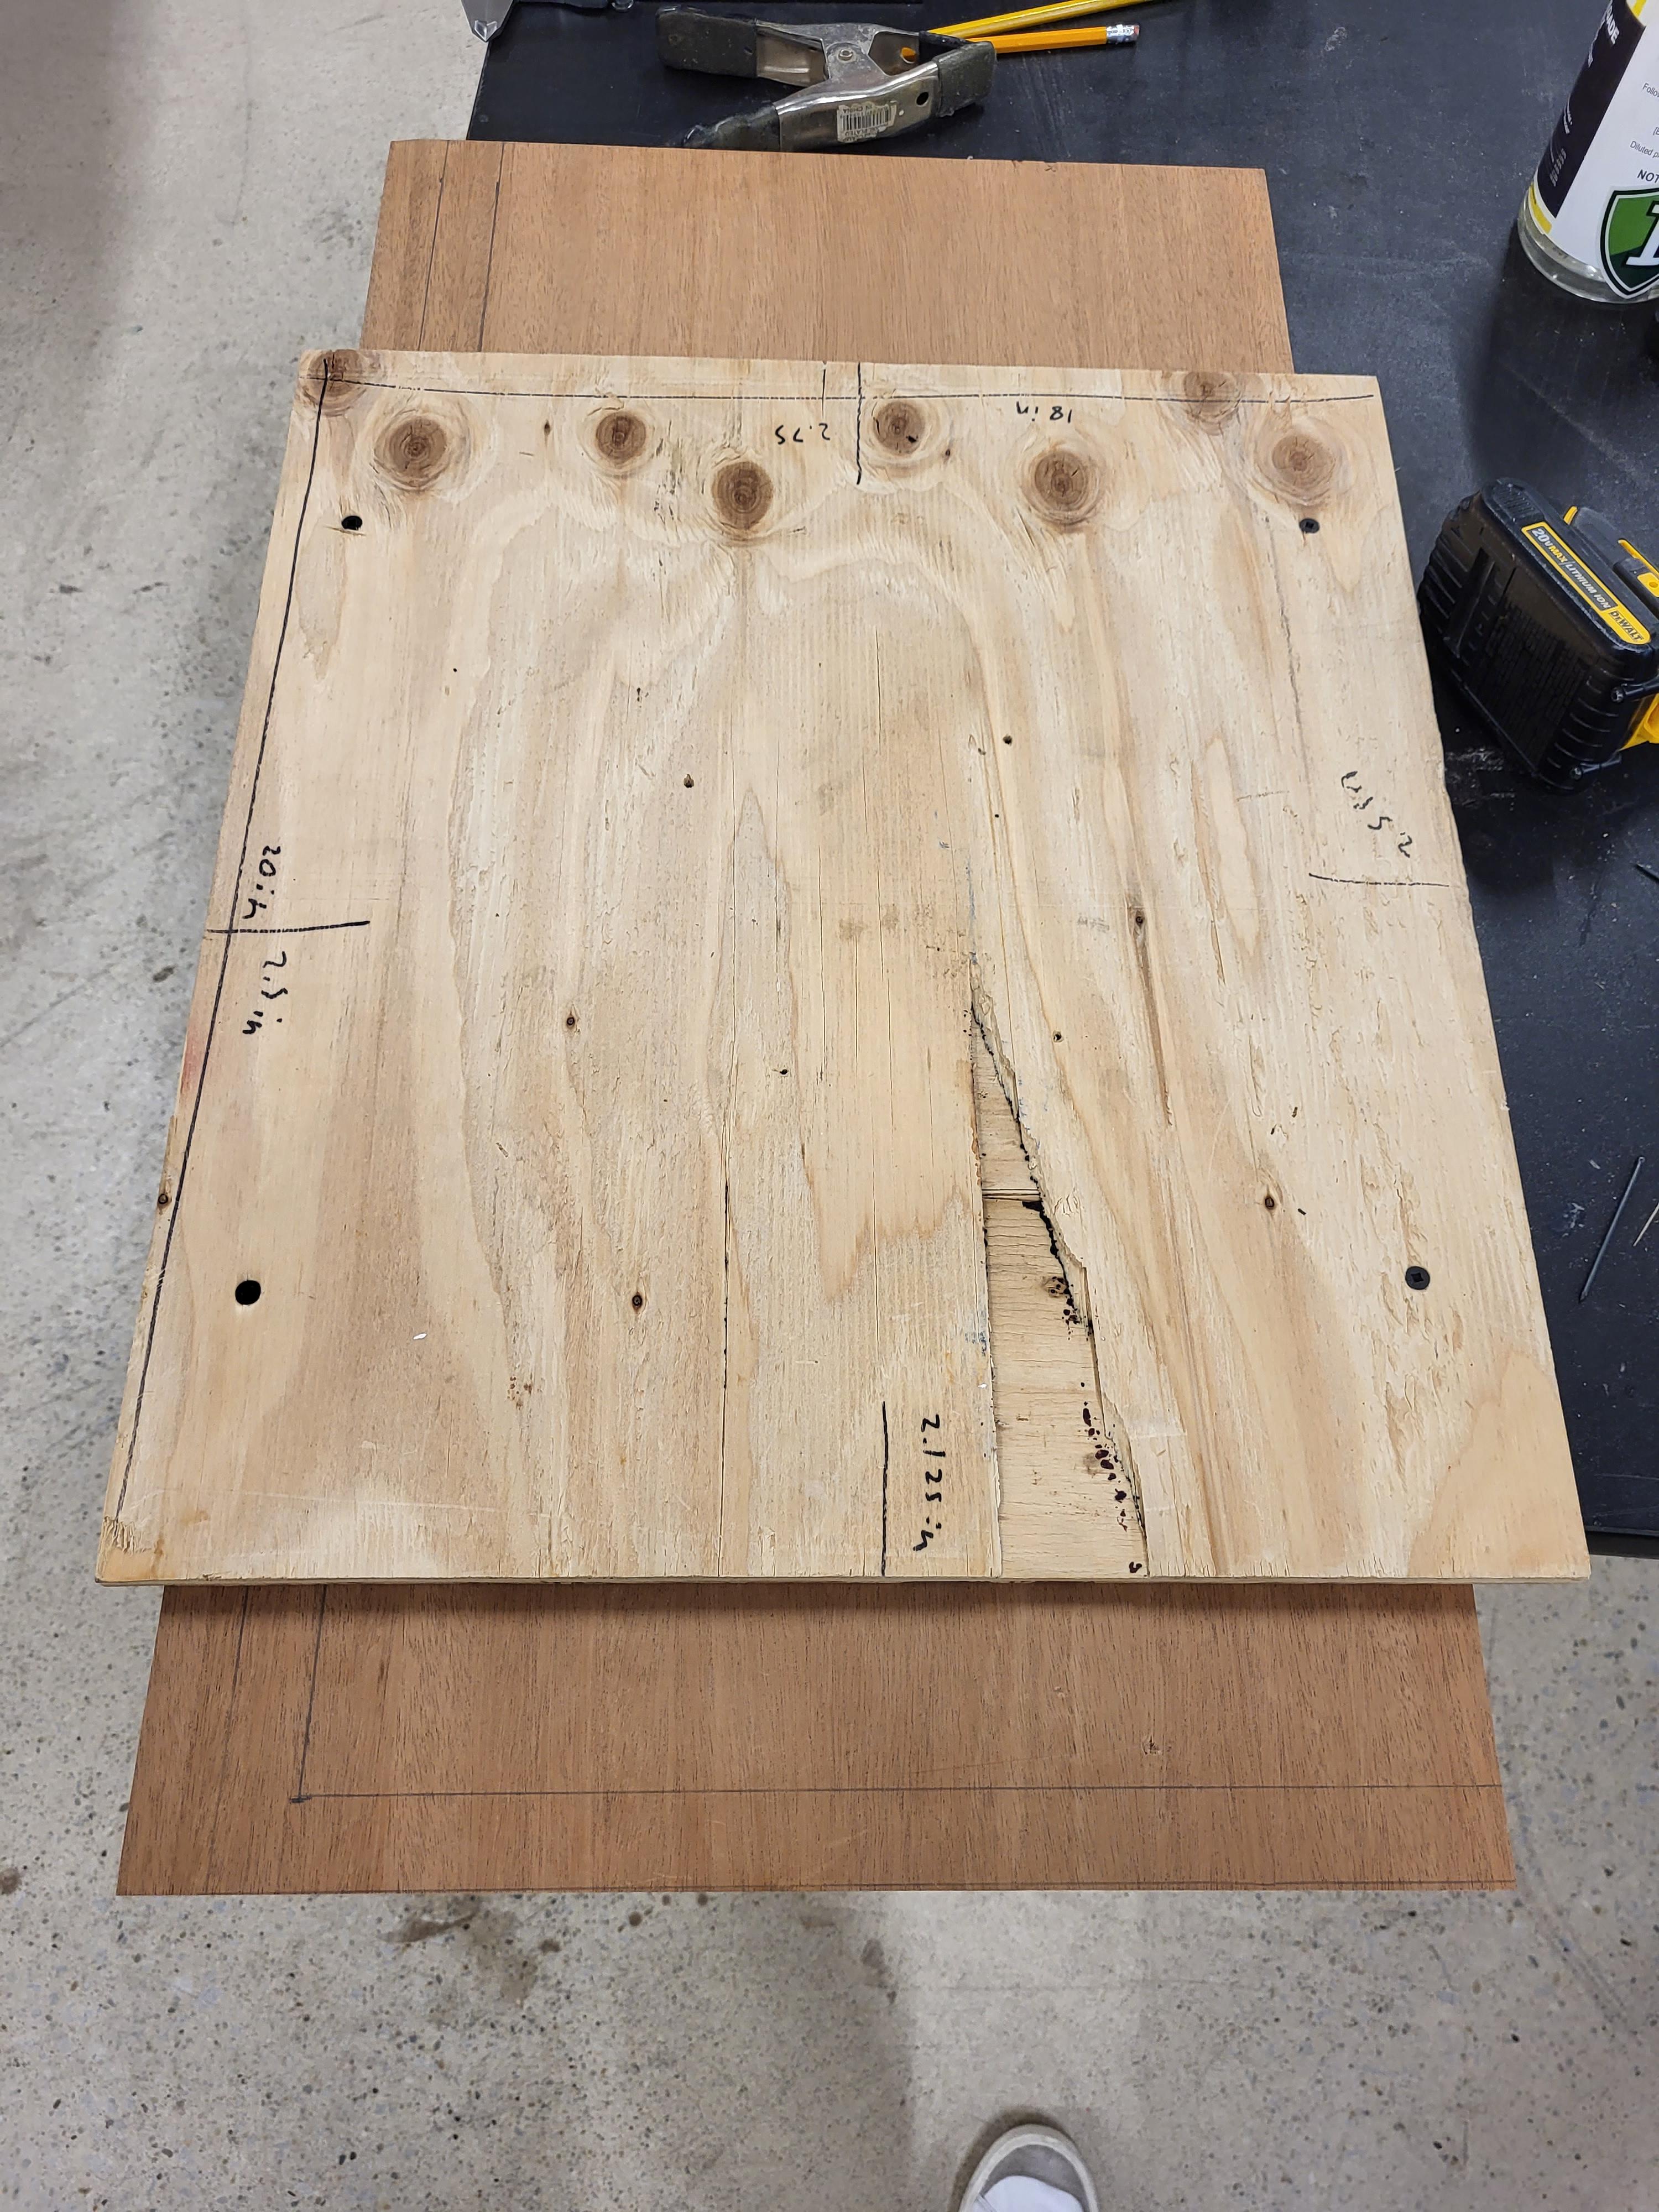
First we need to cut out our main part of the playing field. Cut out a 15 in by 30 in by 1 in piece of wood using a table saw for the playing field. The playing field will need to be a little bit bigger at the start so you can screw it into the base of the CNC router.
Making the Playing Field(Part 2)
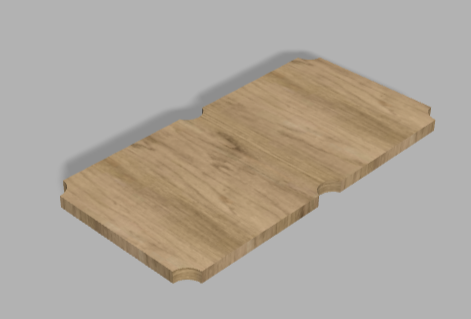
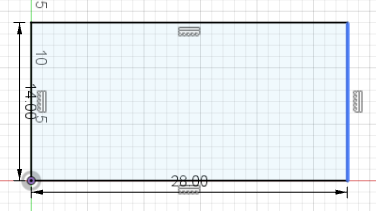
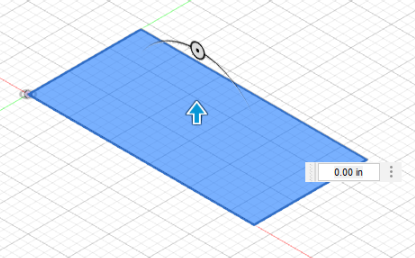
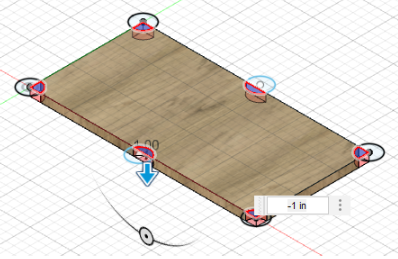
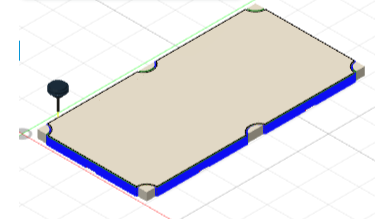
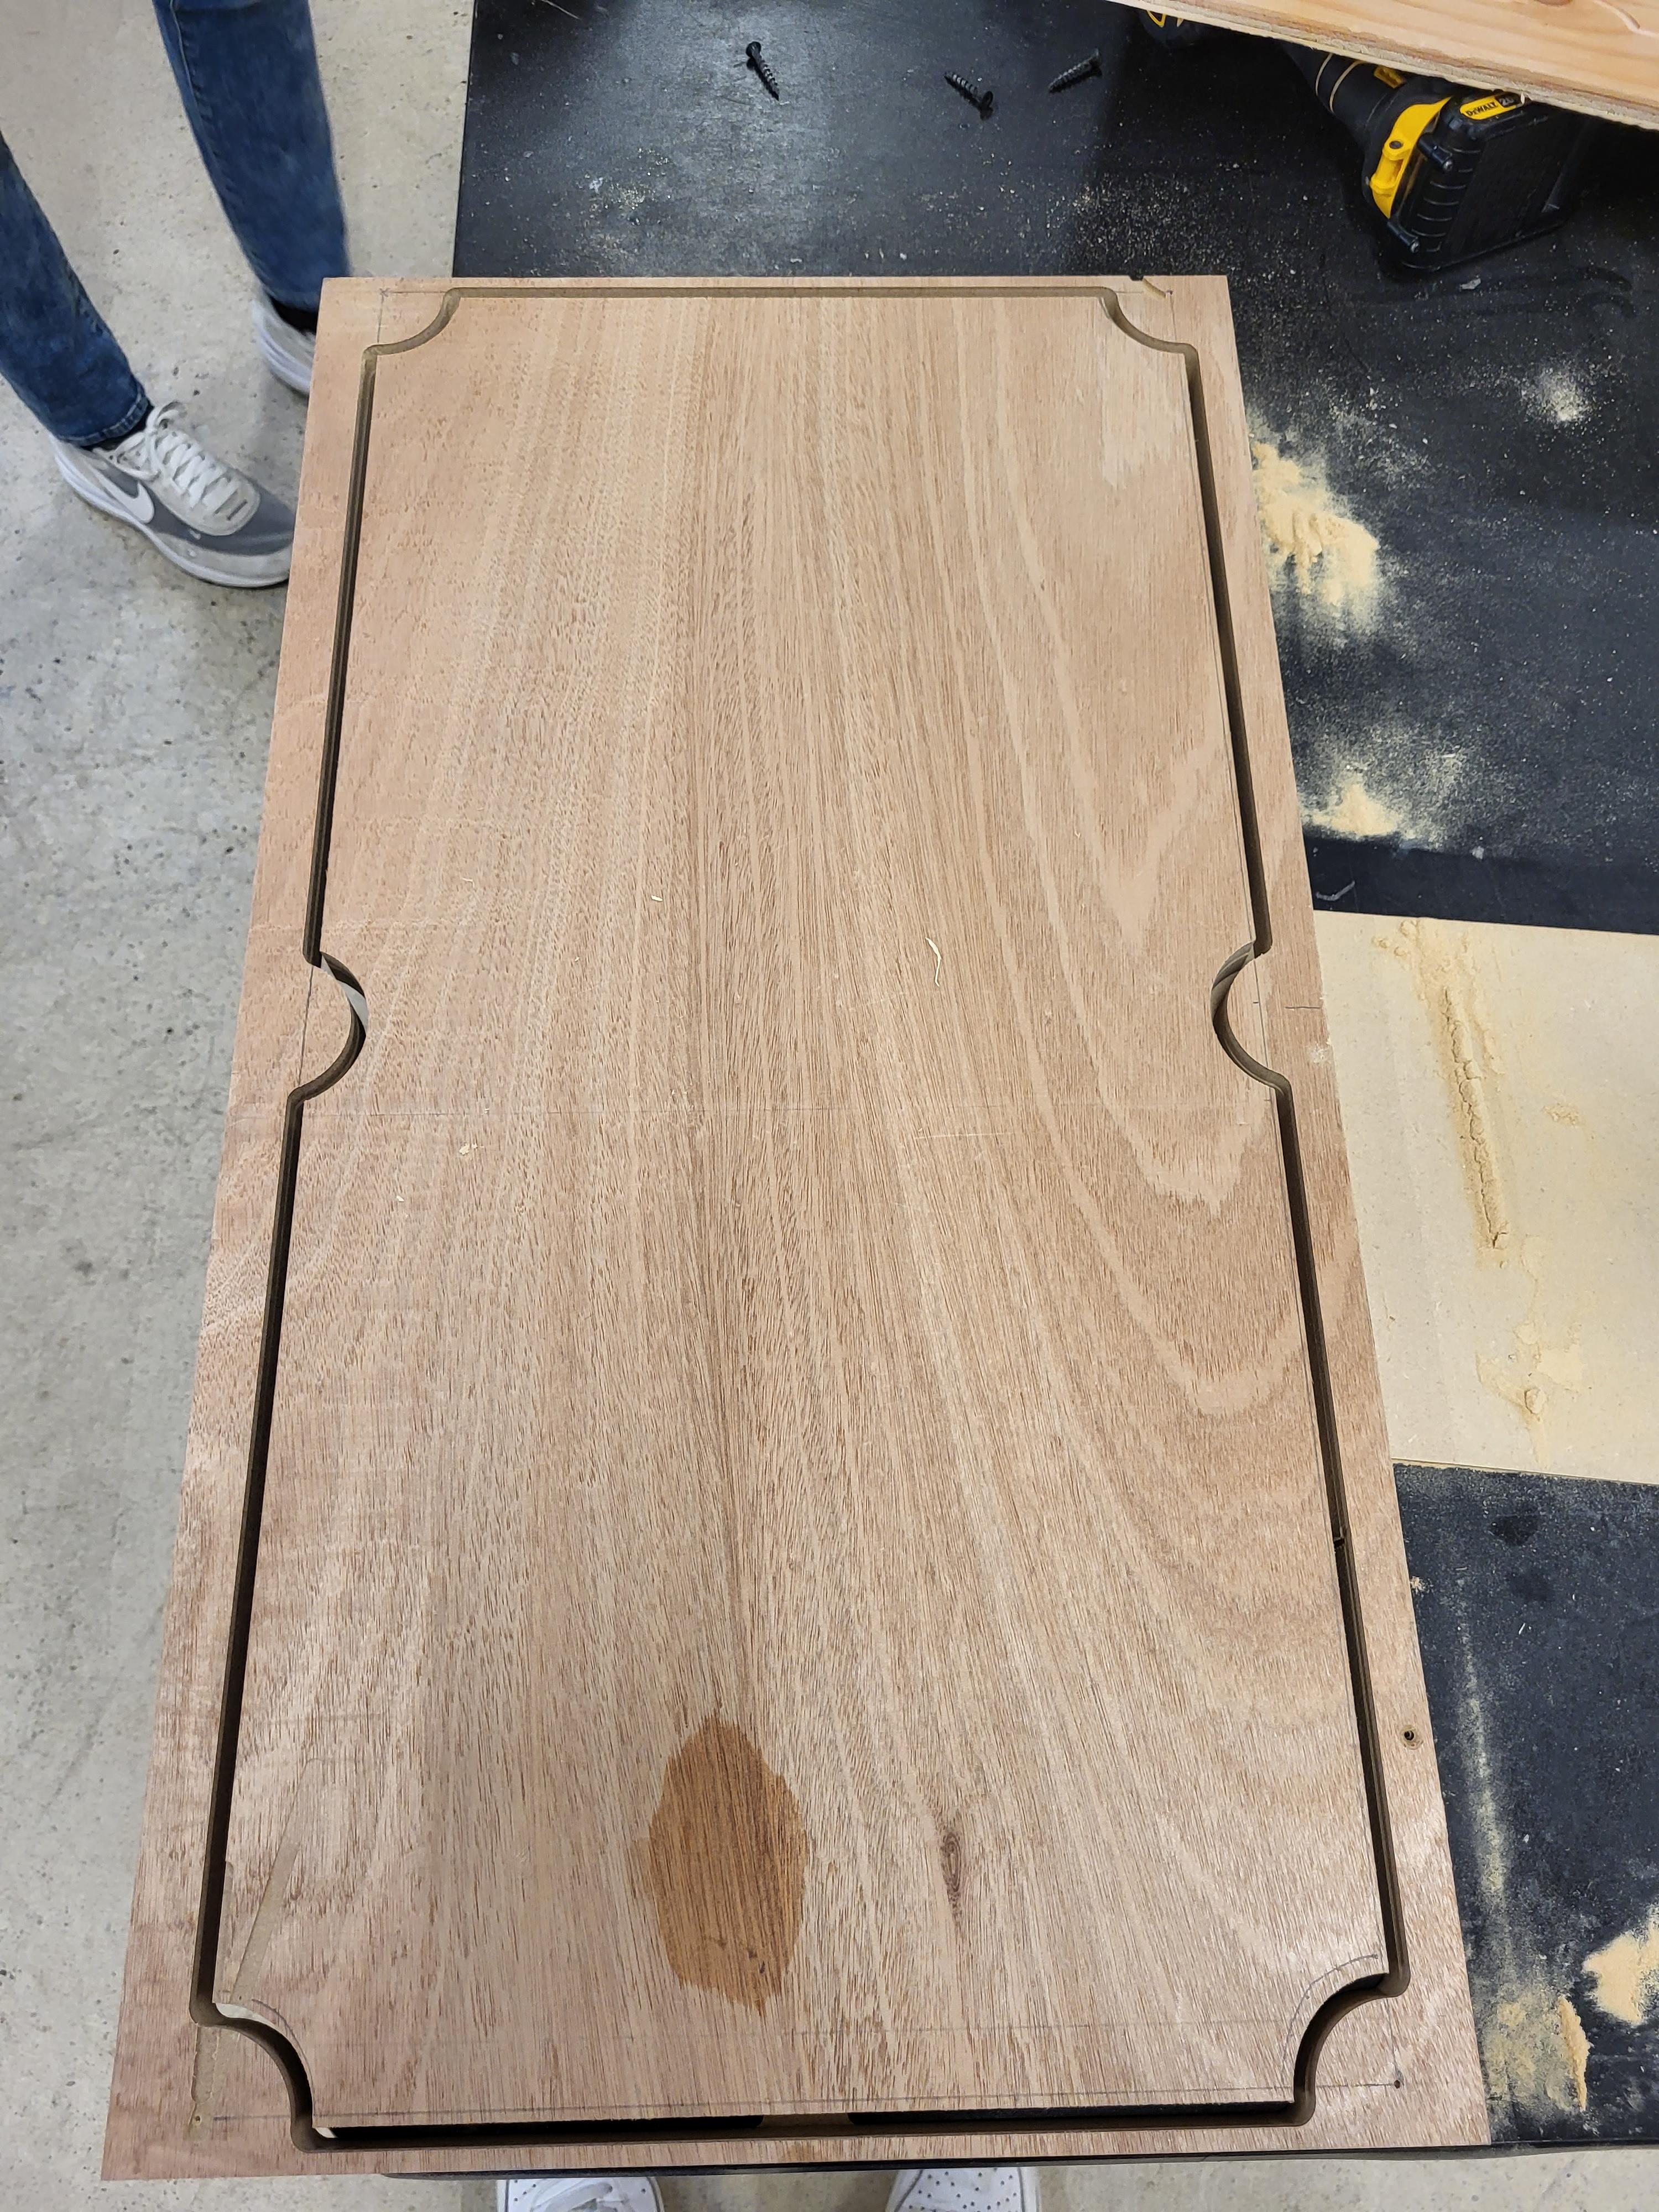
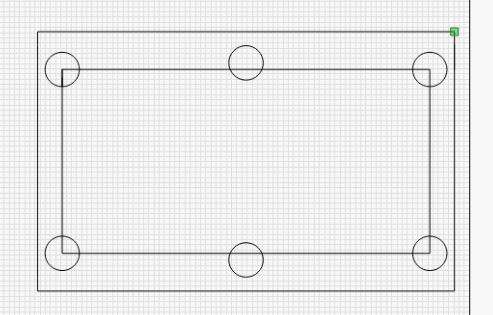
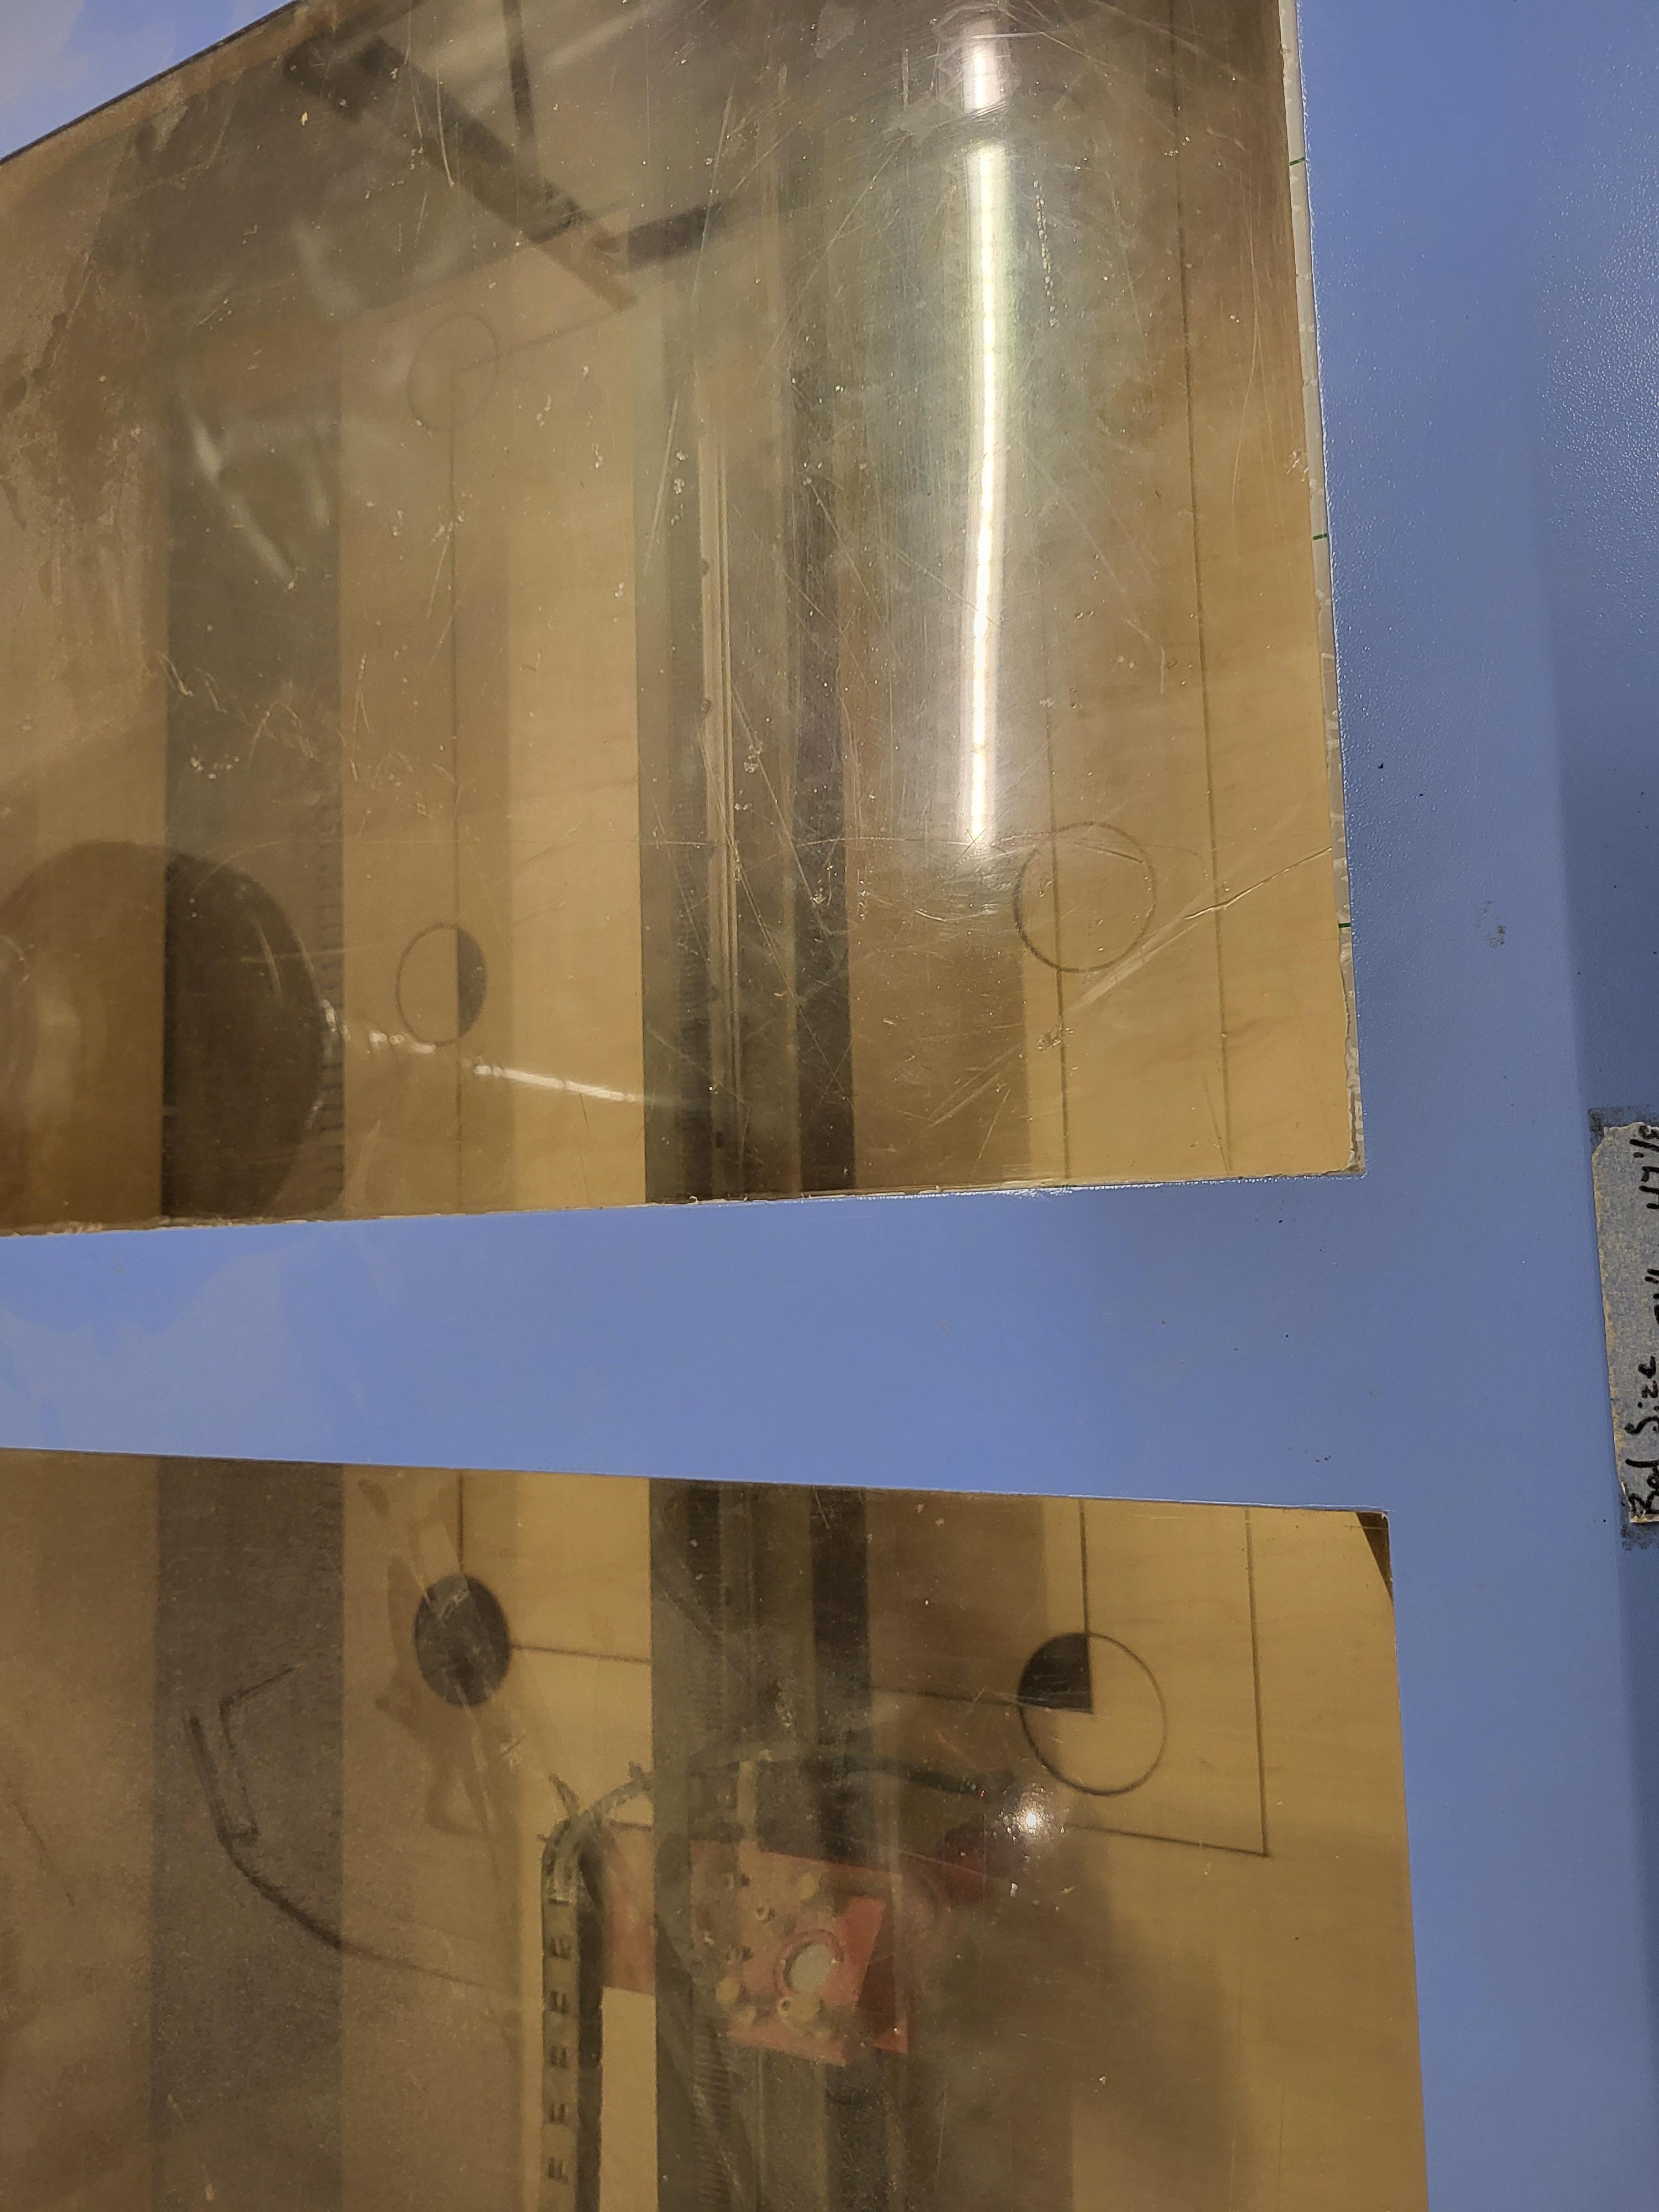
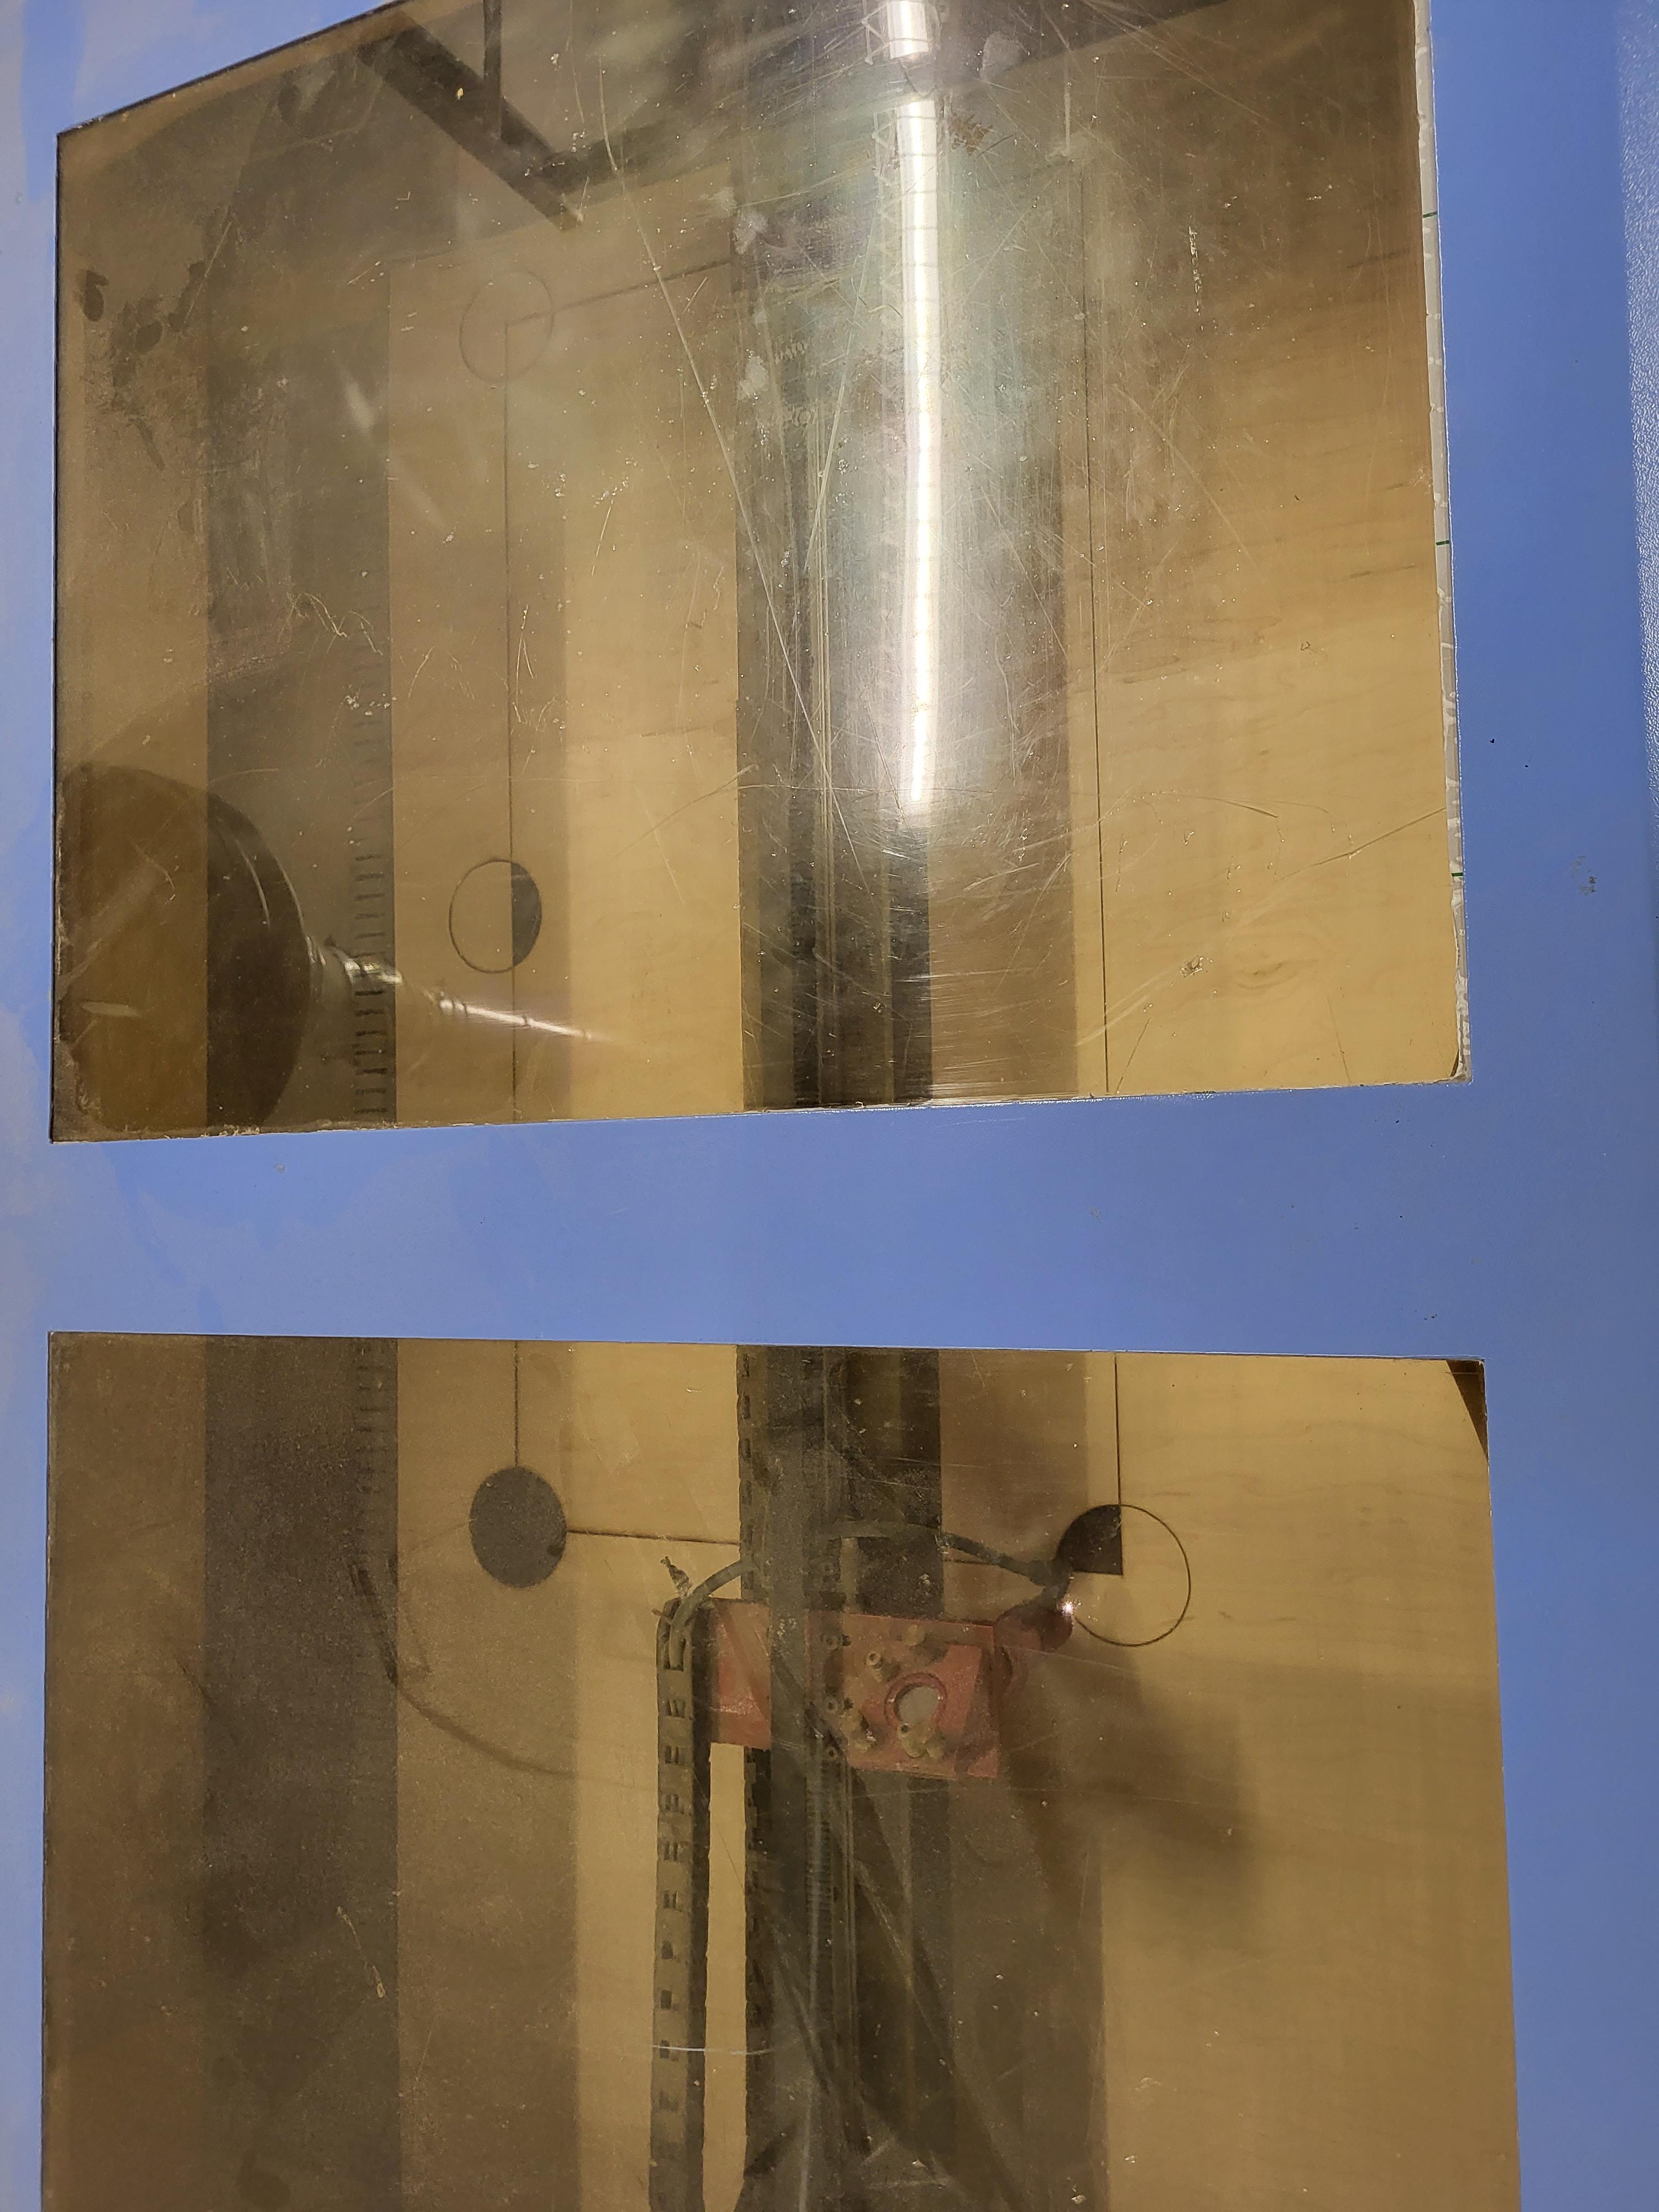
Now we must design our playing field in Fusion 360 so it can be cut out with the CNC router. In Fusion, create a sketch that is a box that has the dimensions of 14 in by 28 in. Now complete the sketch and pull the box up by 1 in. In the corners and the middle of the longer sides of the box place circles with a radius of 1.31 in. For the middle hole move each circle 0.5 in away from the box. Complete that sketch and pull the circles down by one in.
Making the Playing Field(Part 3)

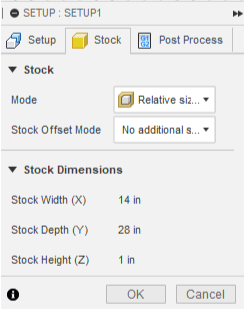
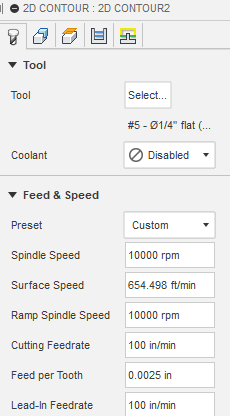
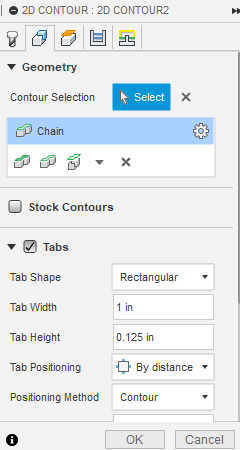
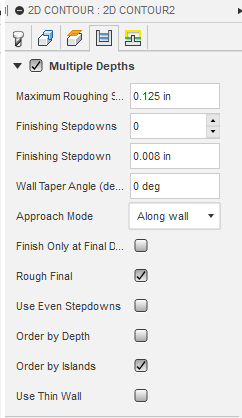
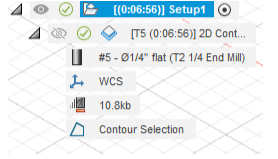
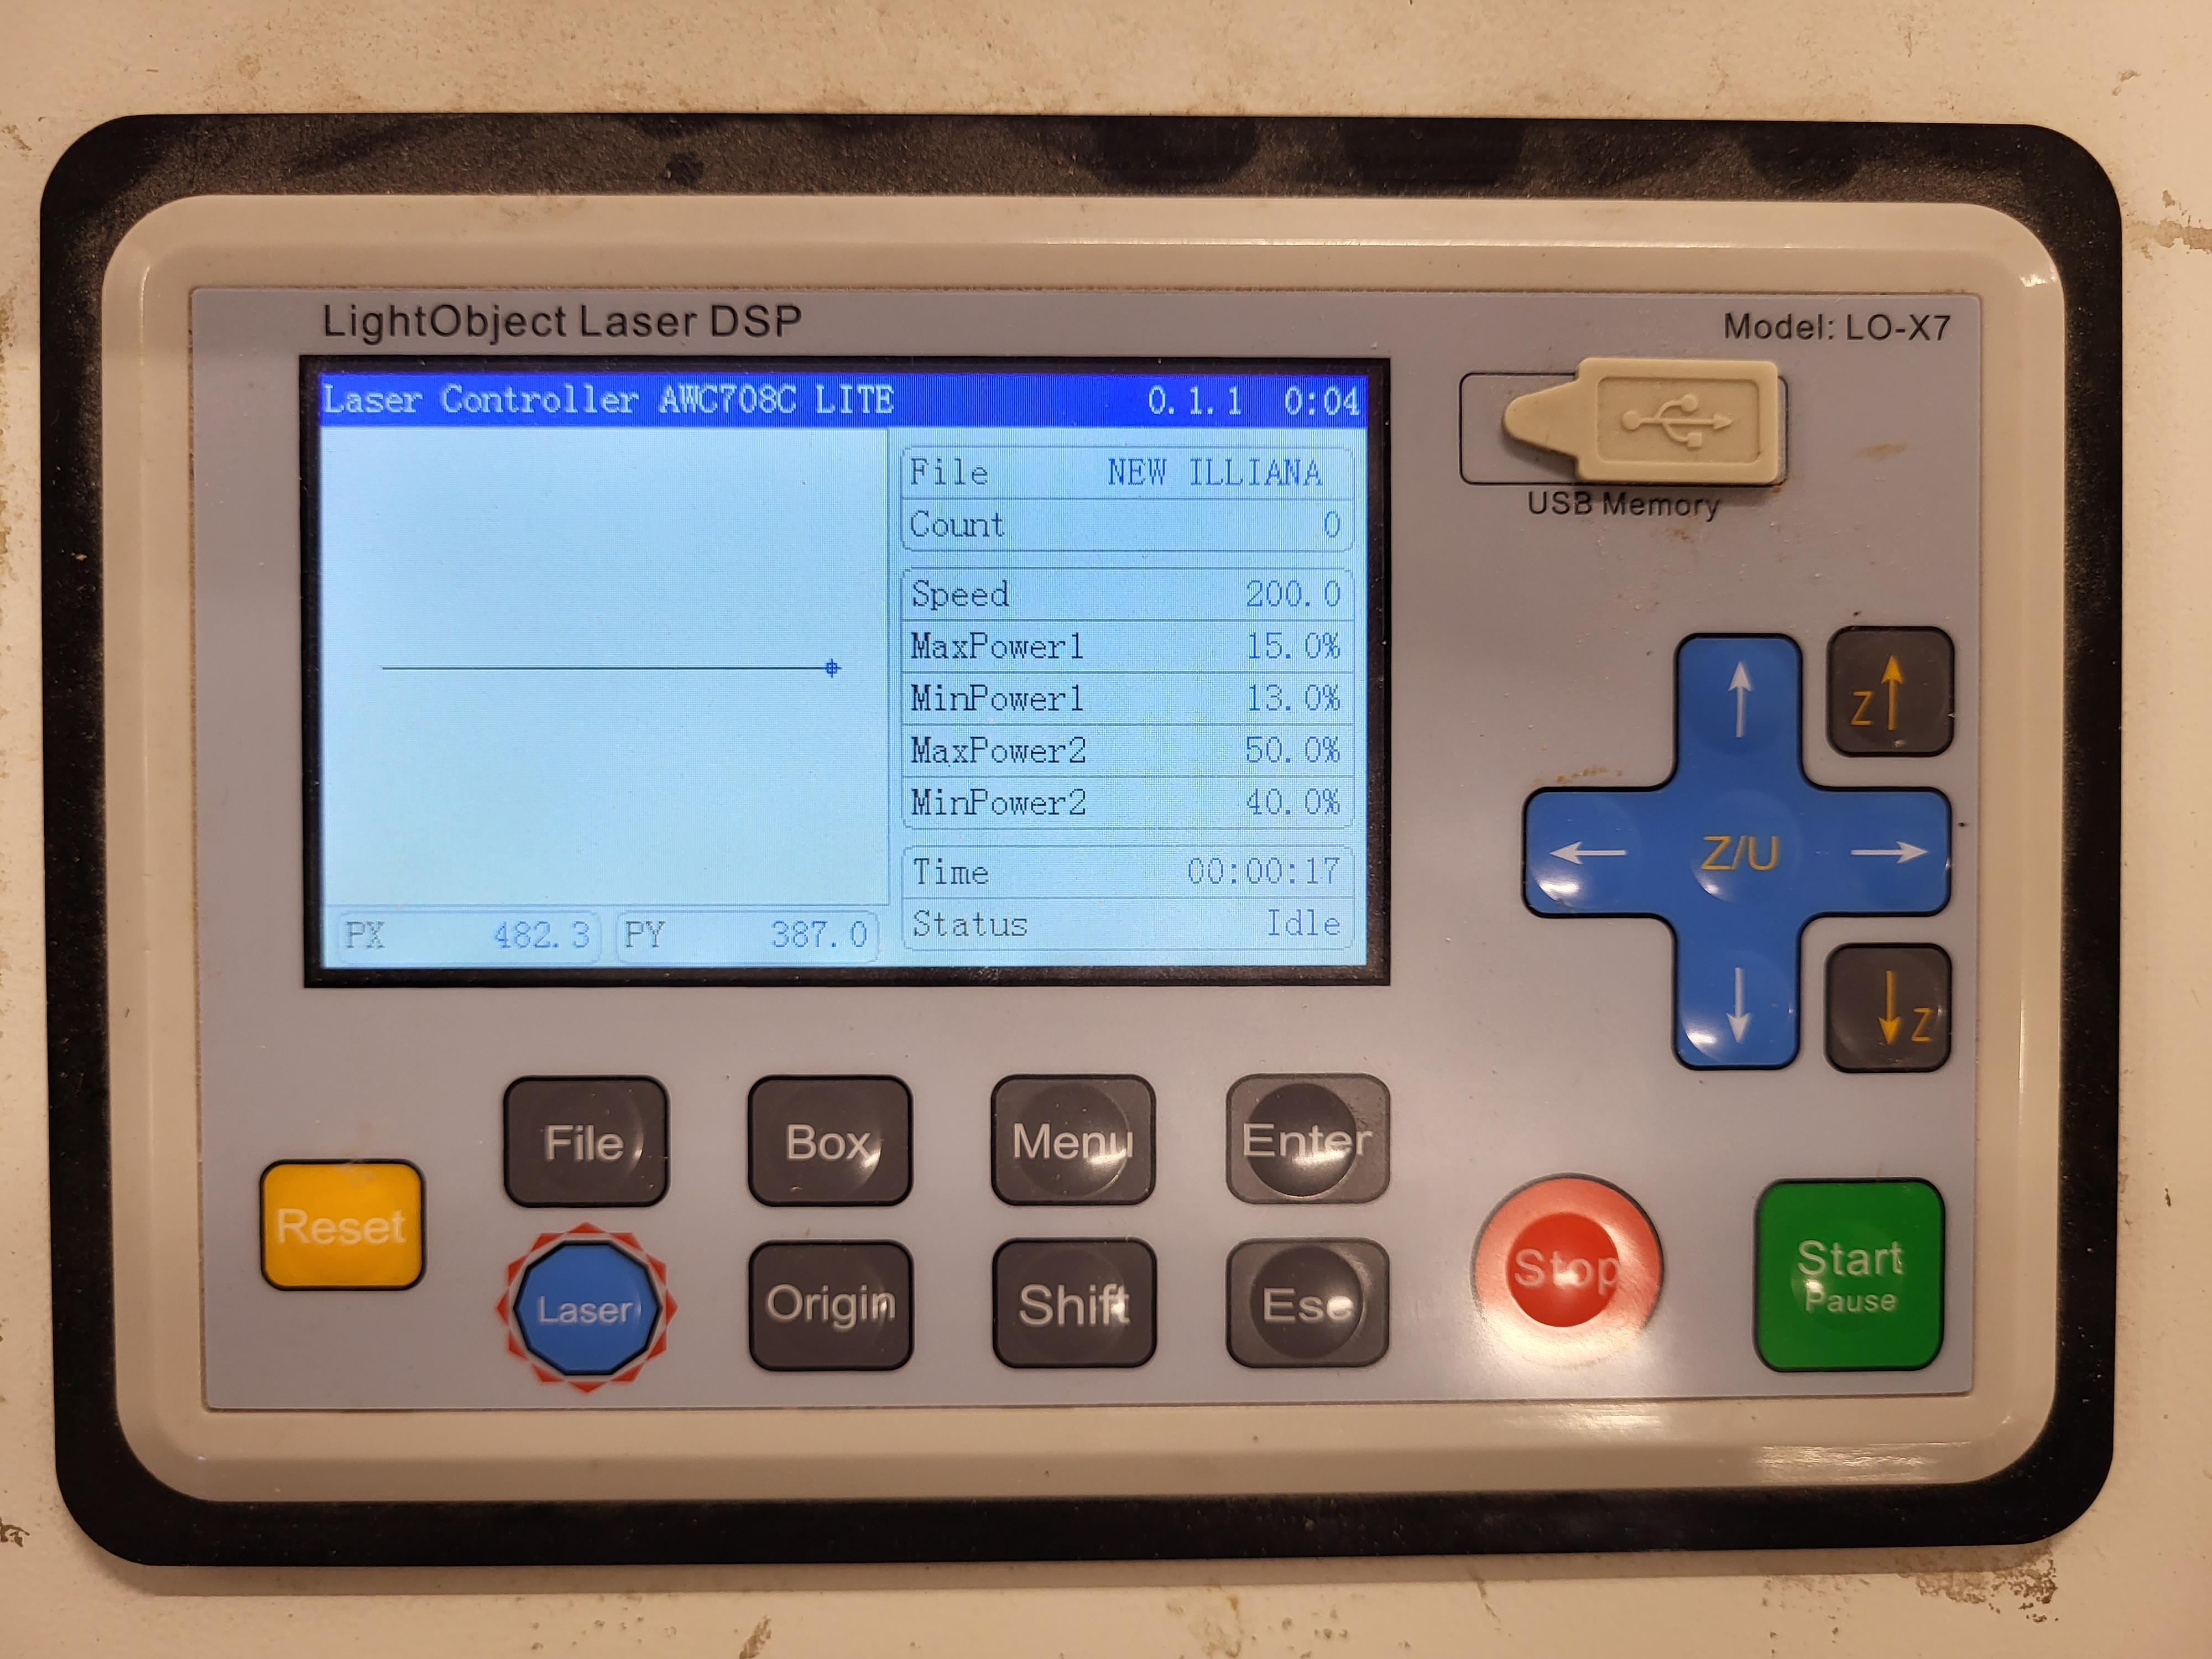
Go into the manufacturing part of Fusion and your piece of wood will be there. Click the "Setup" button and make sure the origin is lower left of the box and click "No Additional Stock". Now click the "Contour" button. Under the "Tool" tab make sure the tool is a 1/4 in flat drill bit. Also make sure the cutting feed rate is at 100 in per minute. Now click "Geometry" and click the "tabs" button. Make sure the tabs have a height of 0.125 in and a length of 1 in. Add a tab for each of the 6 sides. Now click the "Passes" tab and click "Multiple Depths". Make sure the roughing step down is 0.125 in. After you have done all of this, simulate the process on the computer and make sure everything looks correct. Export your file as an NC file and download it to a USB drive.
Making the Playing Field(Part 4)


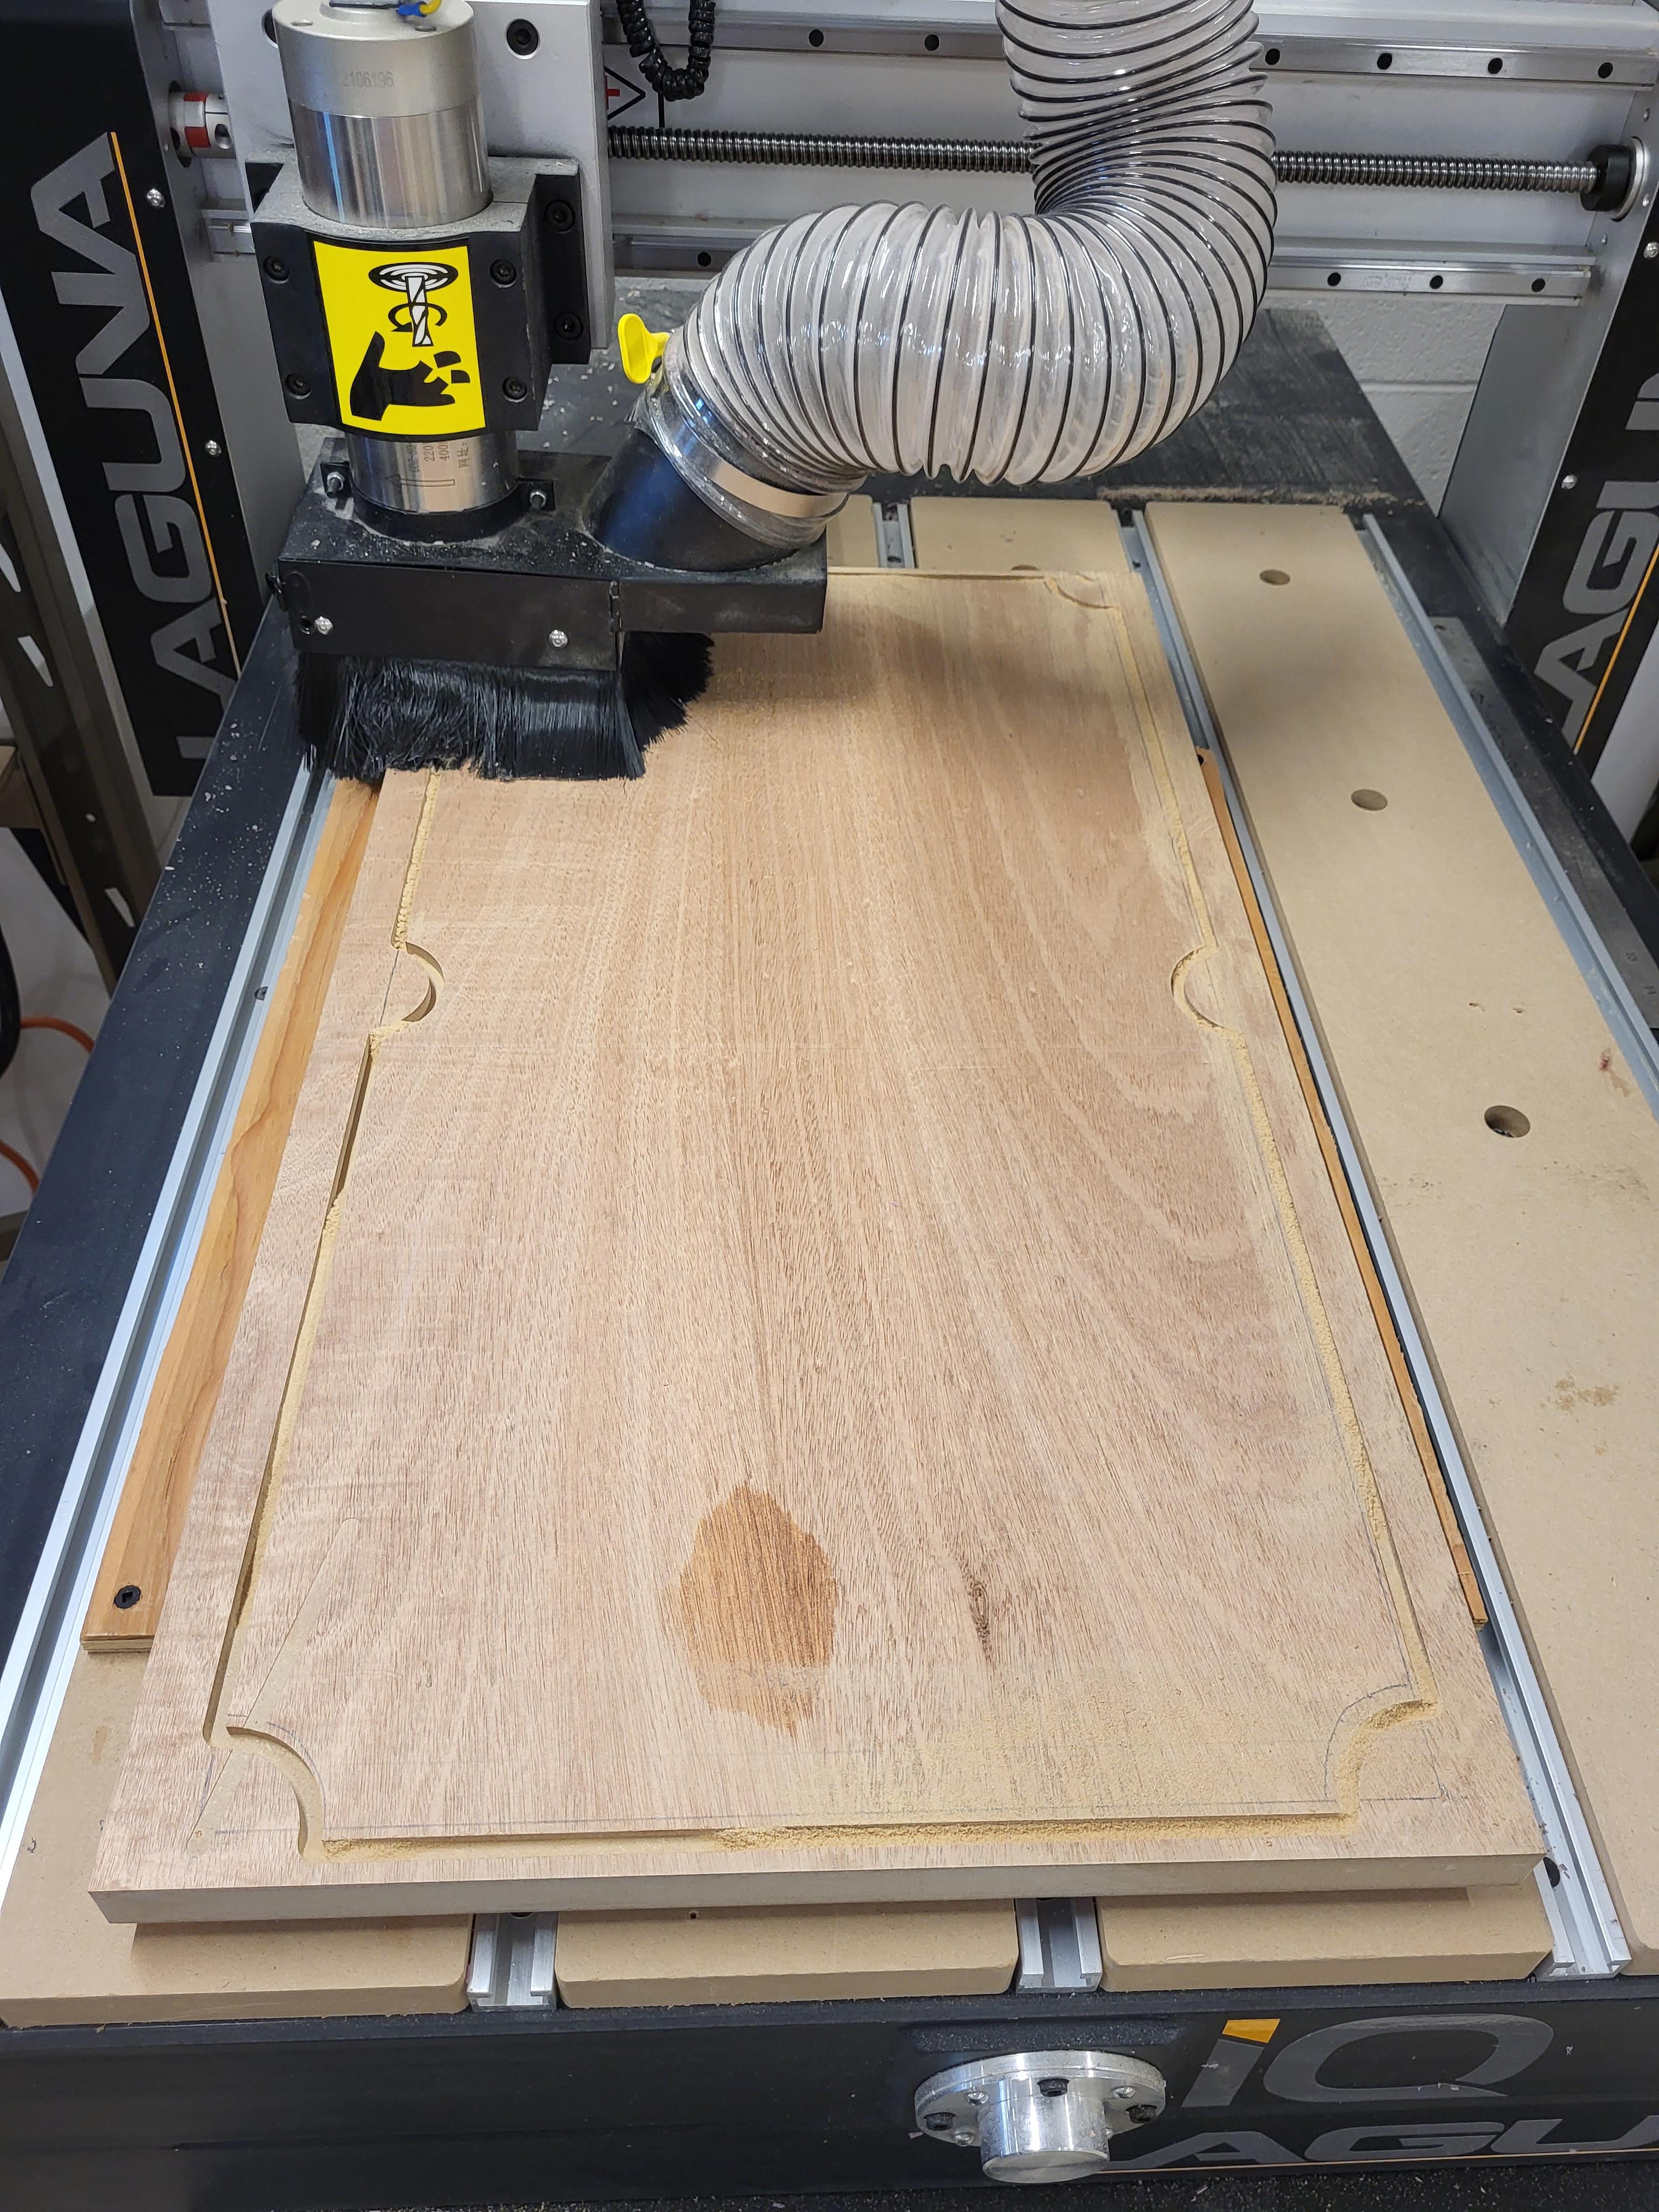
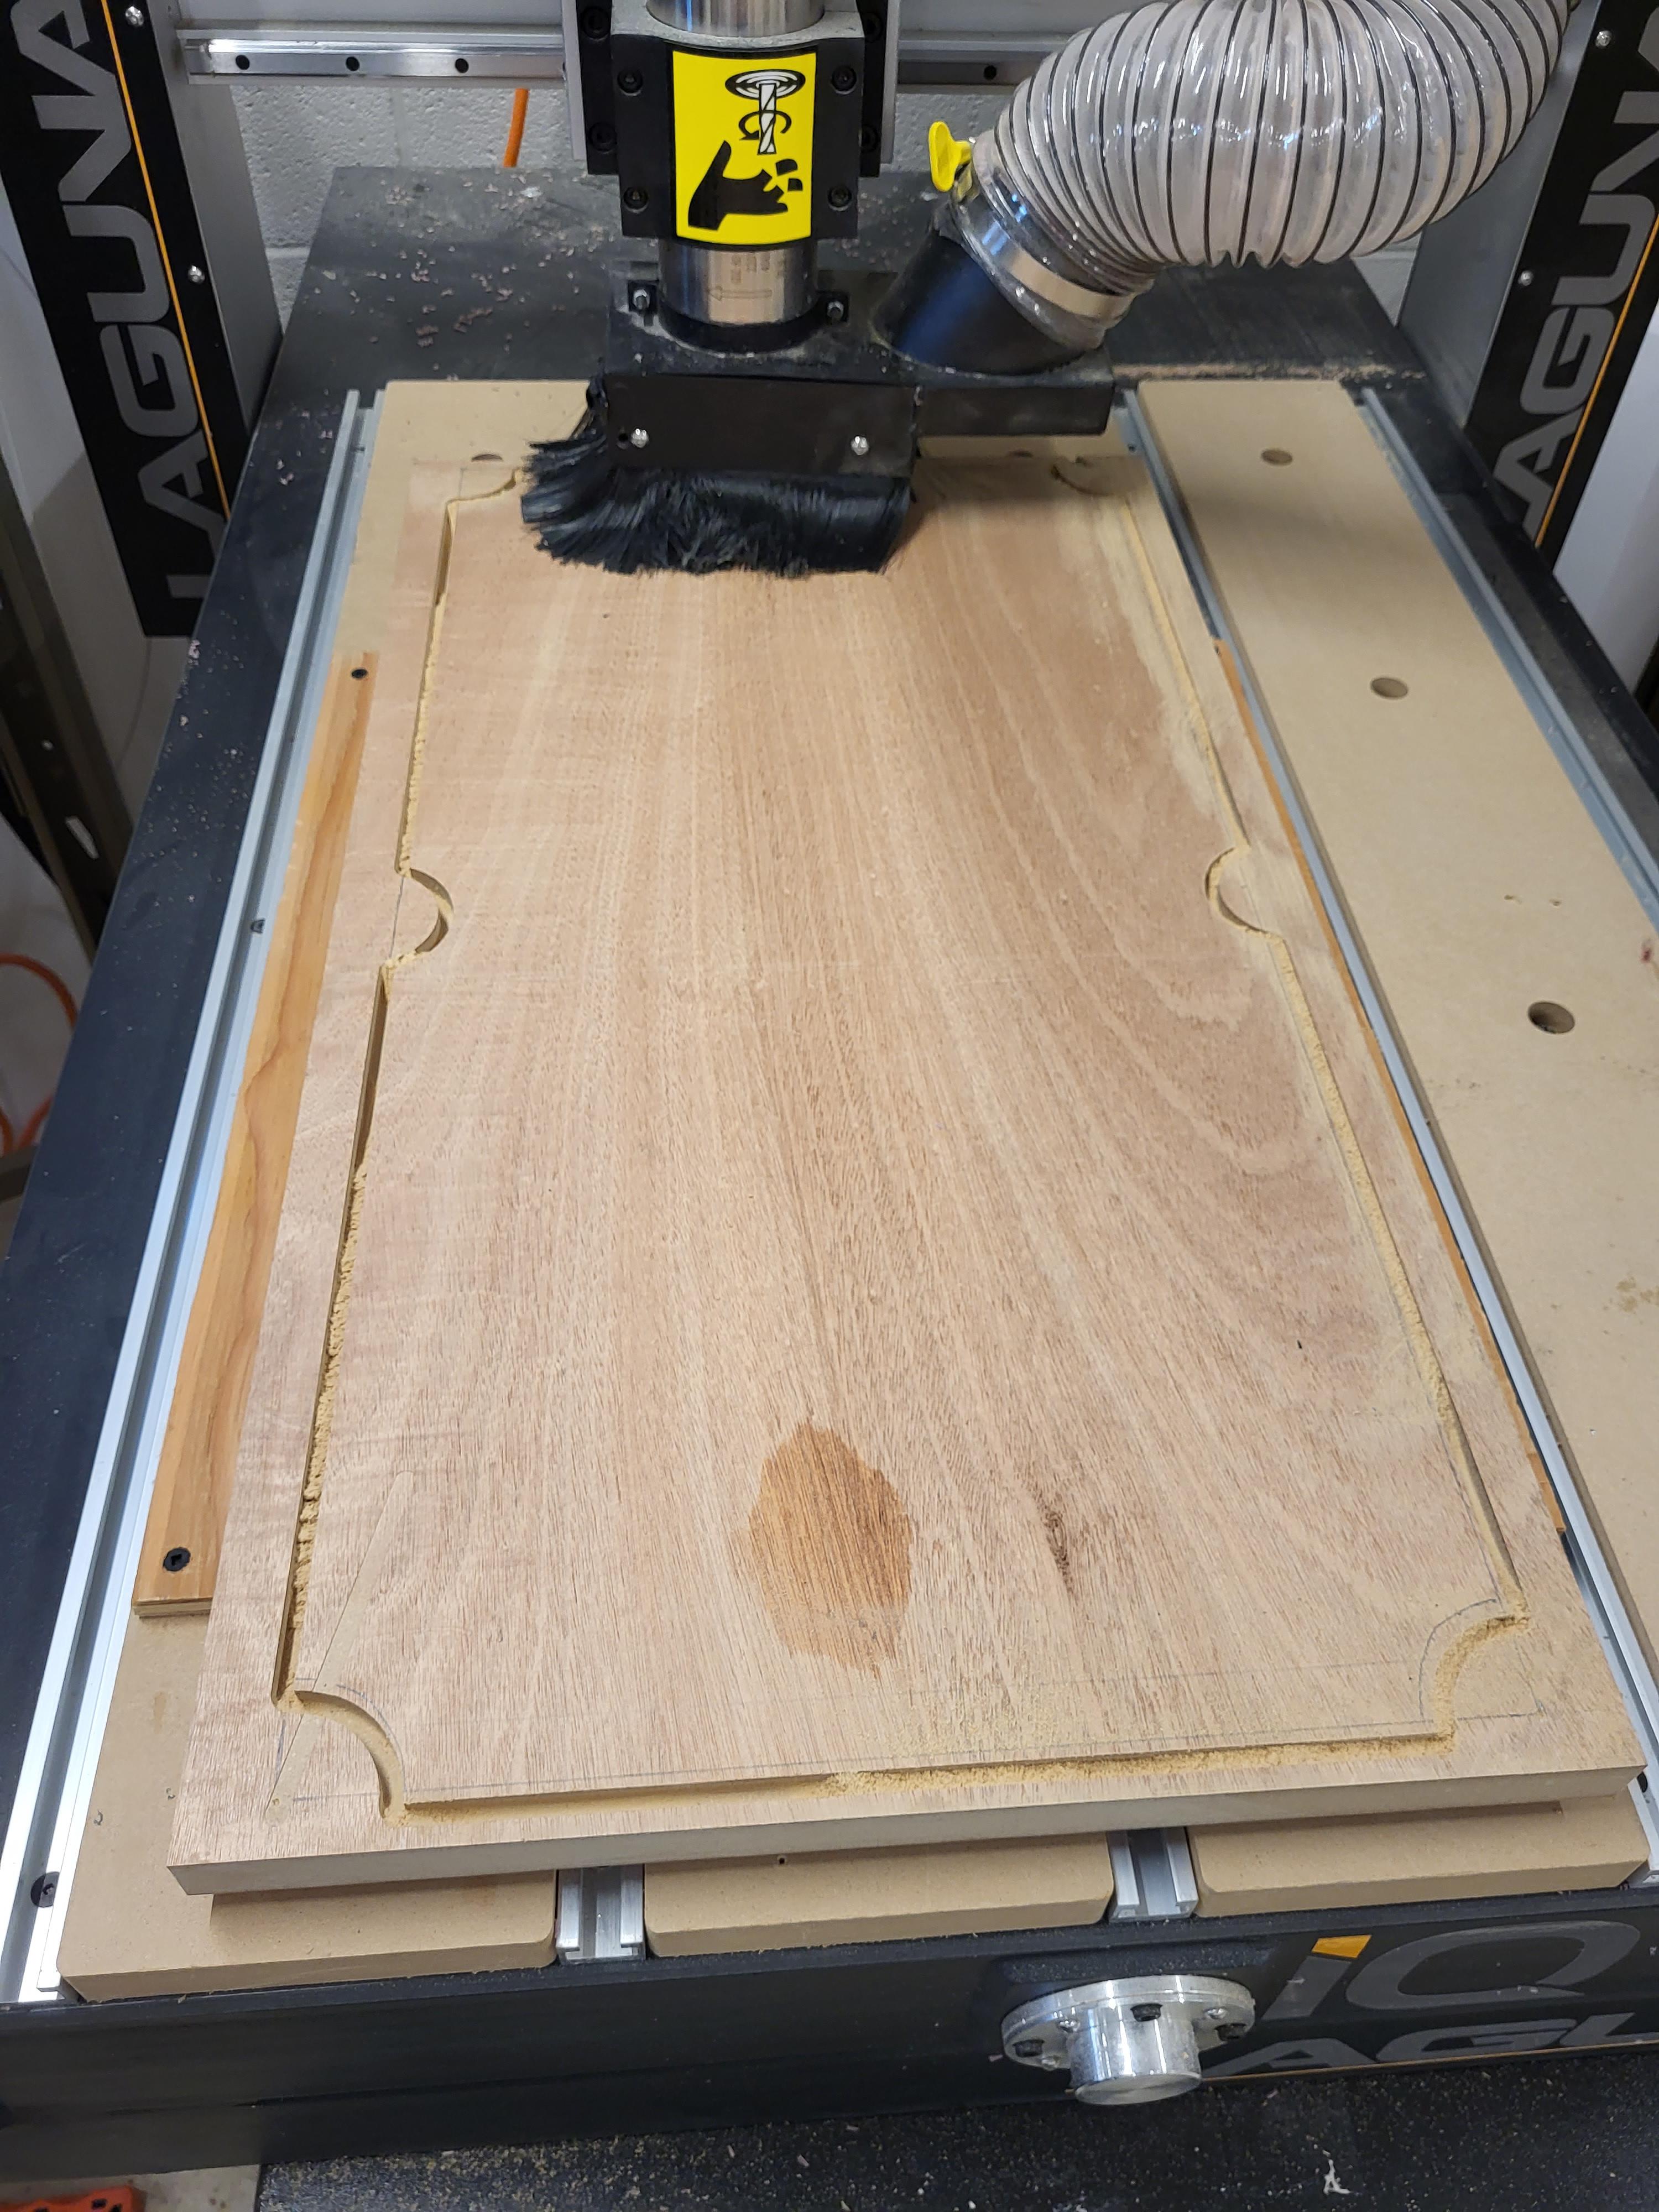
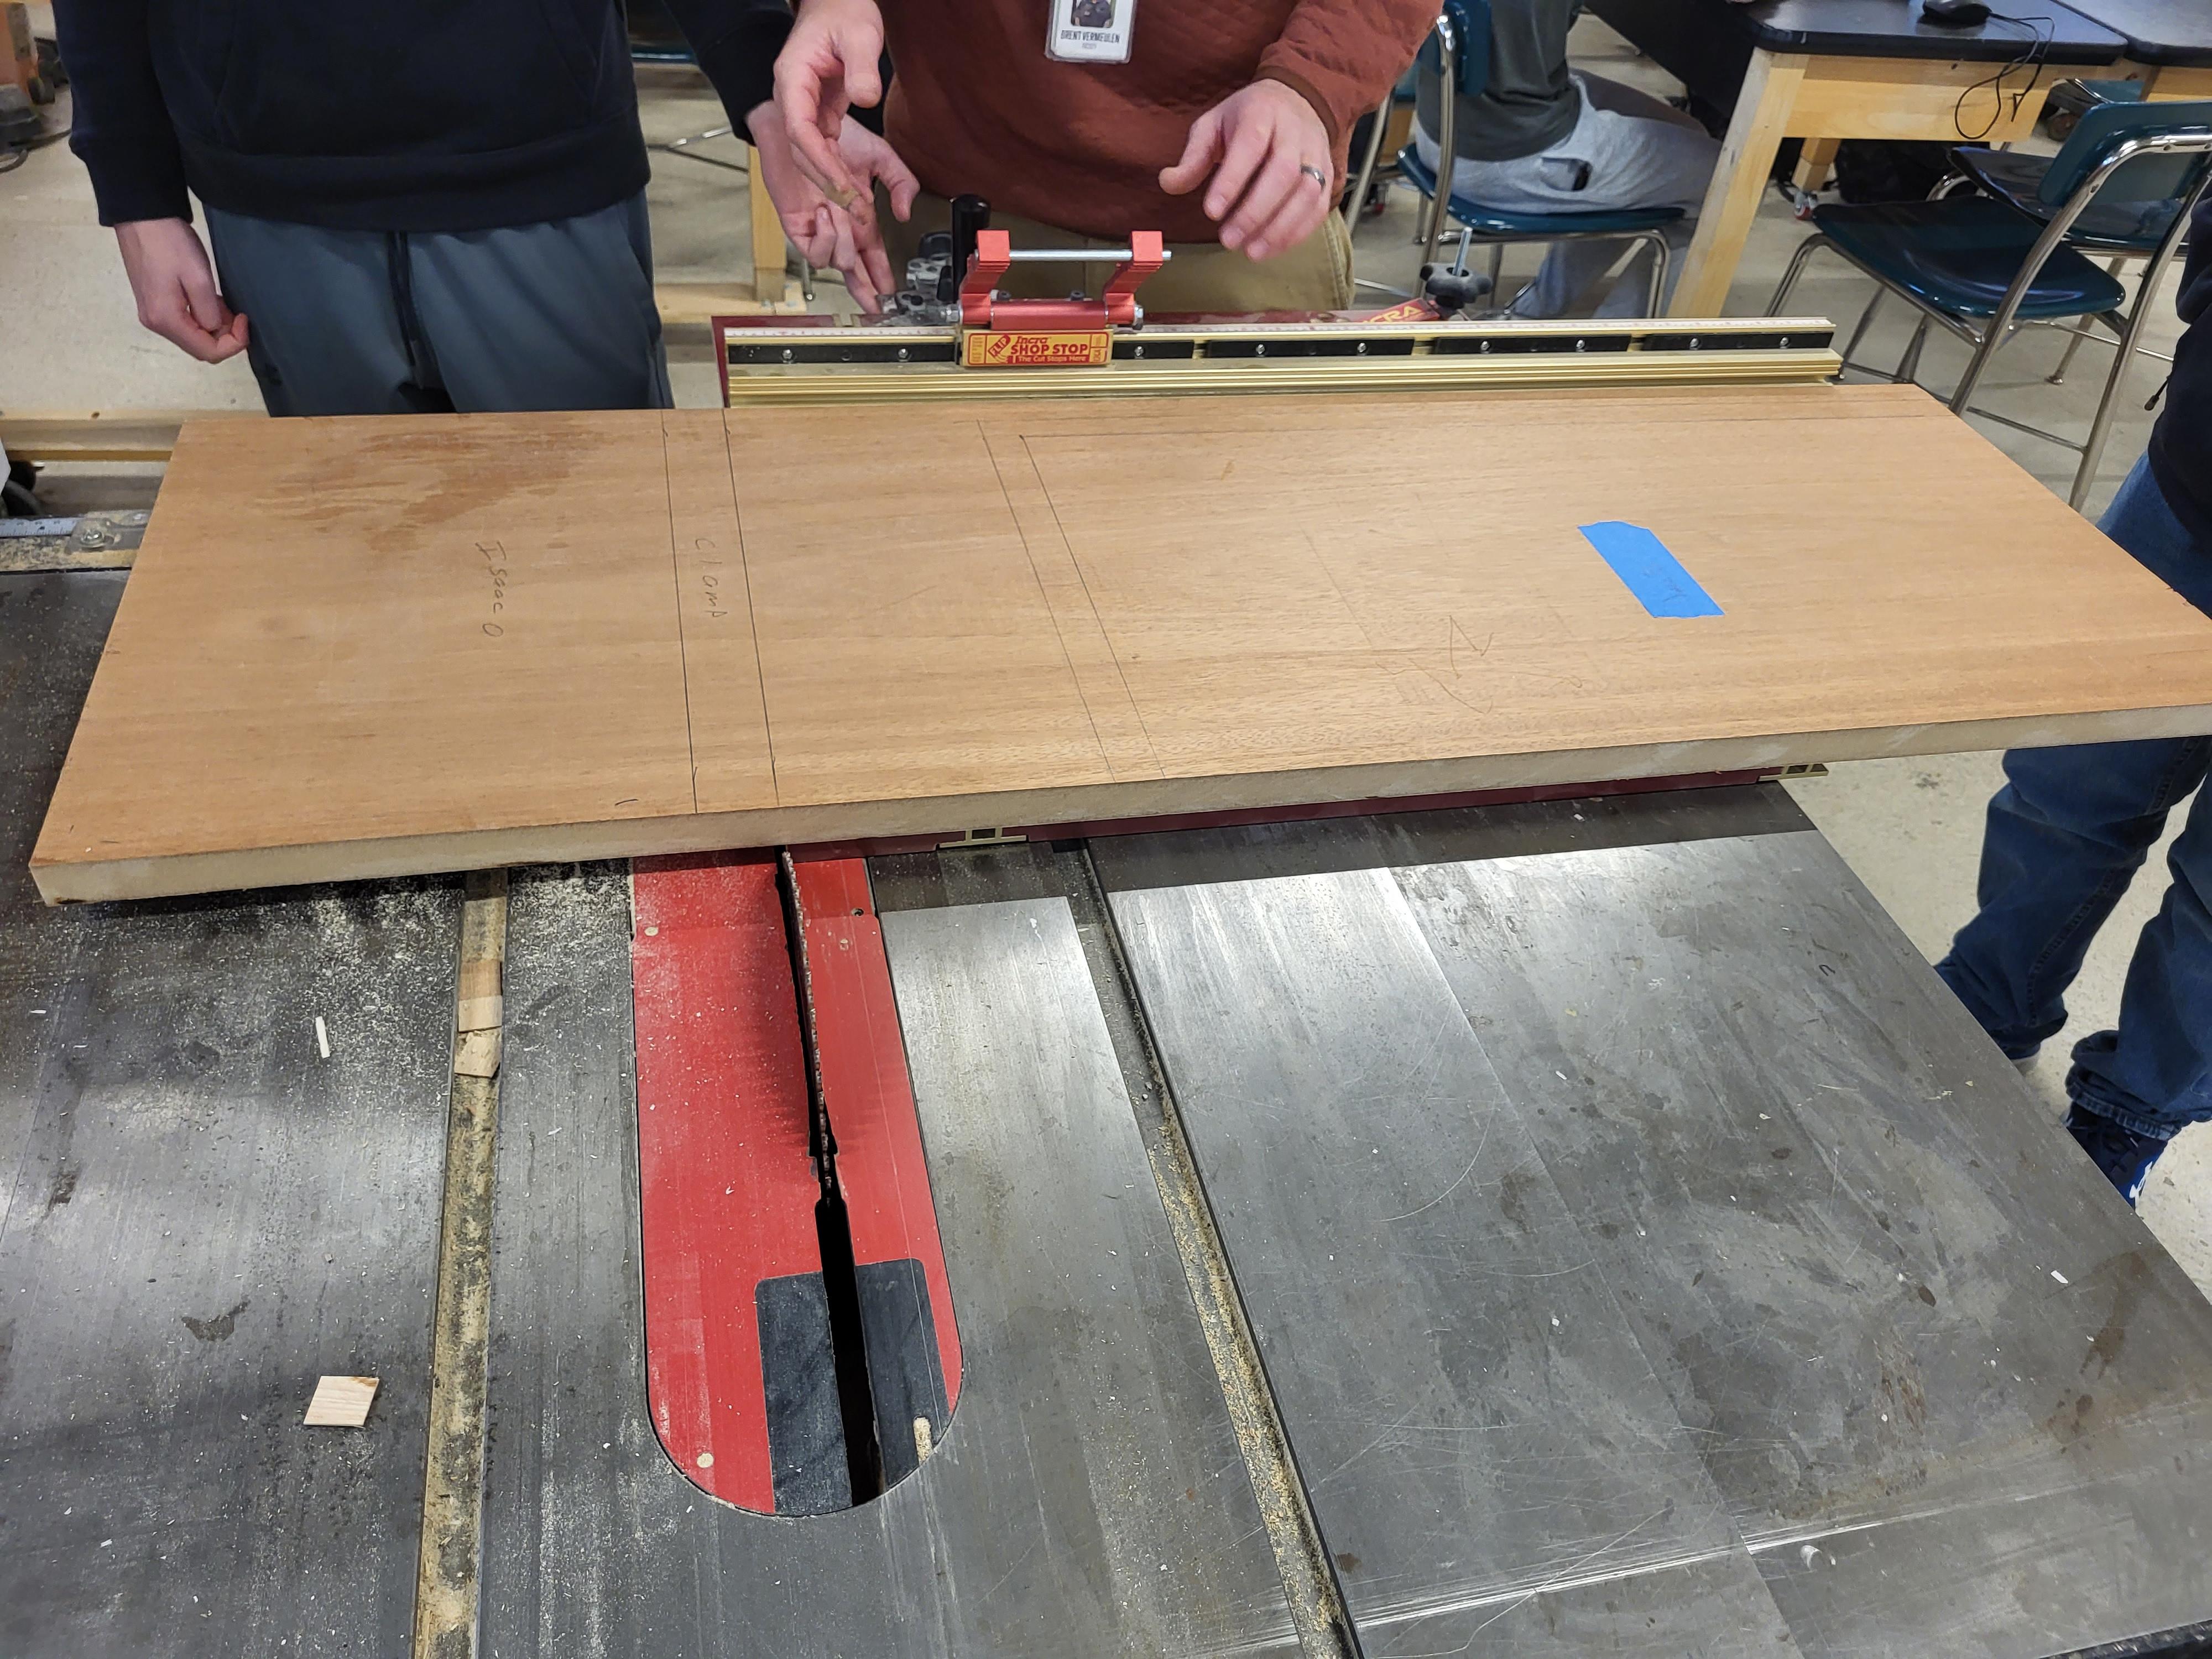
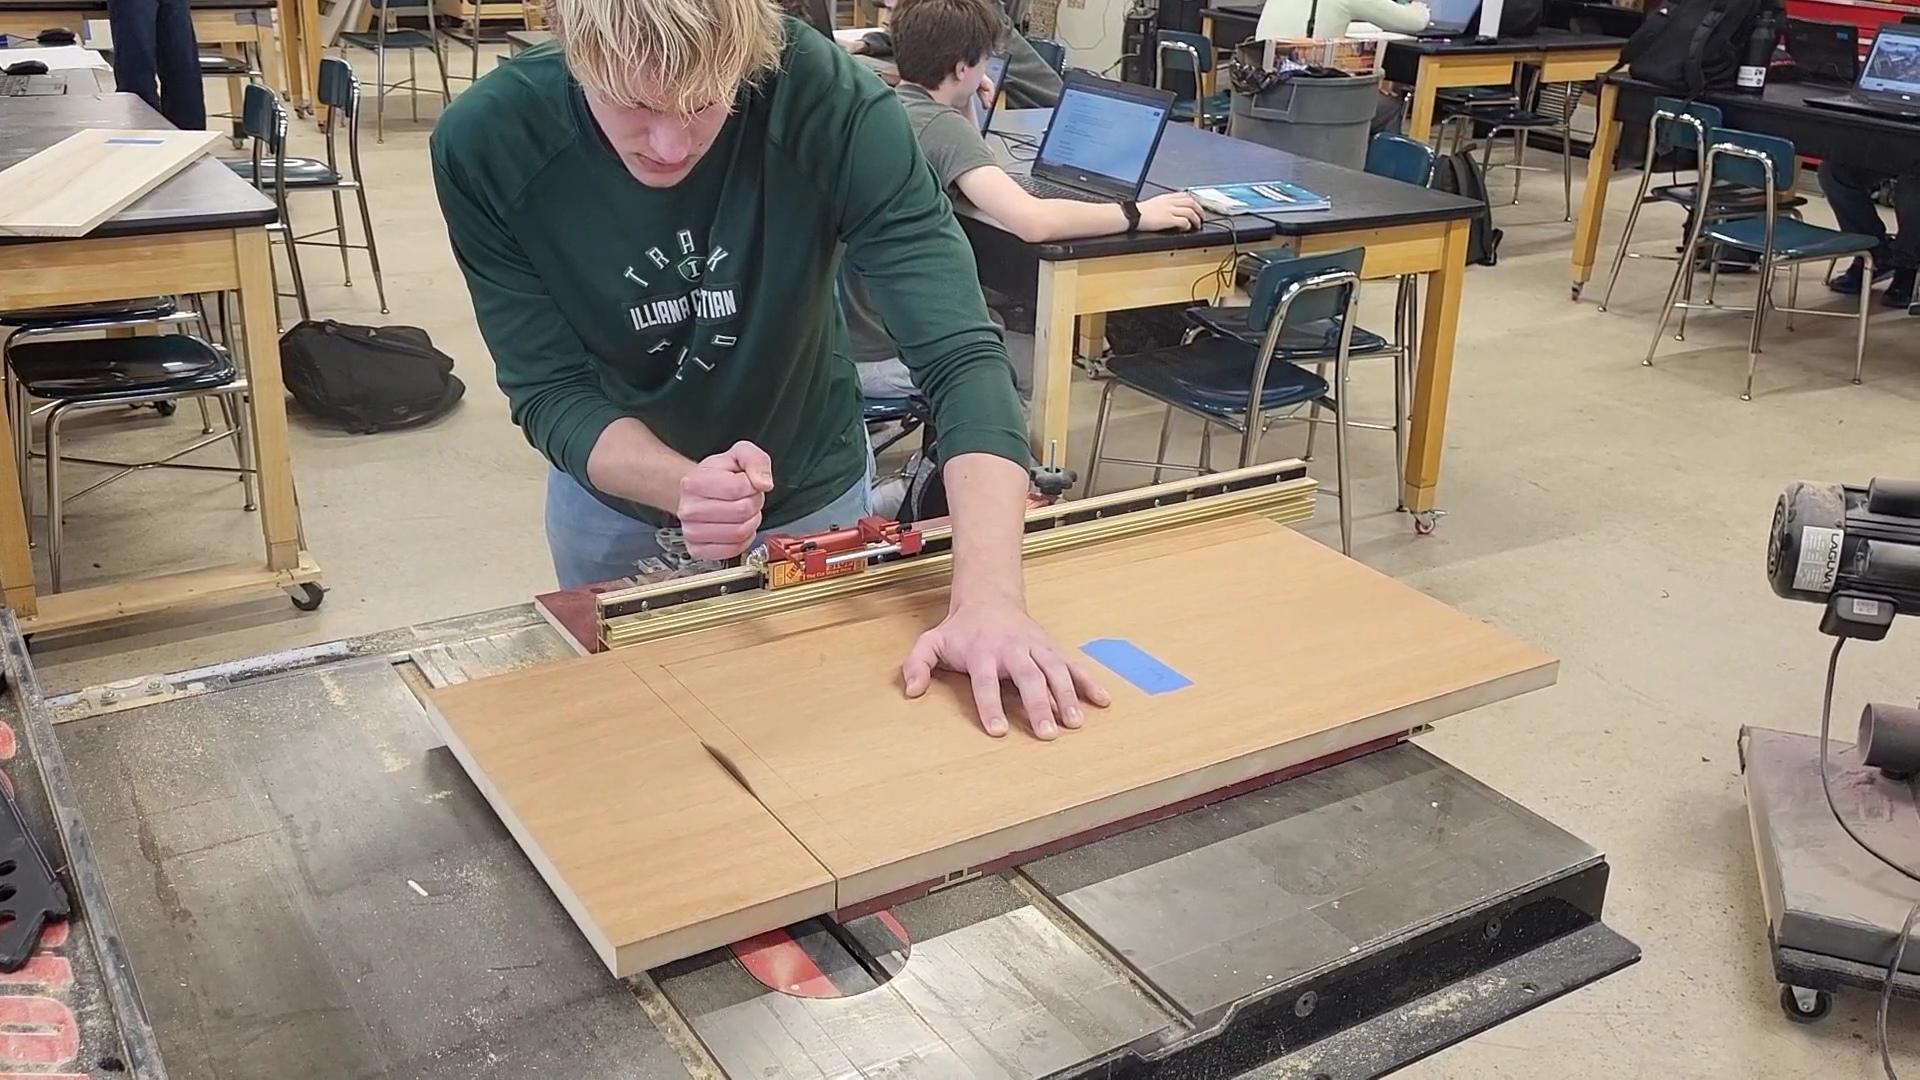
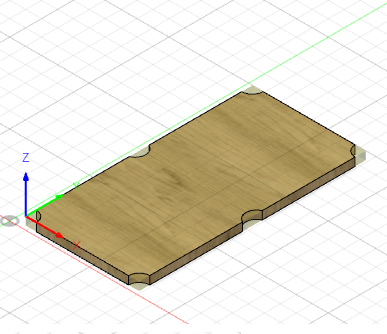
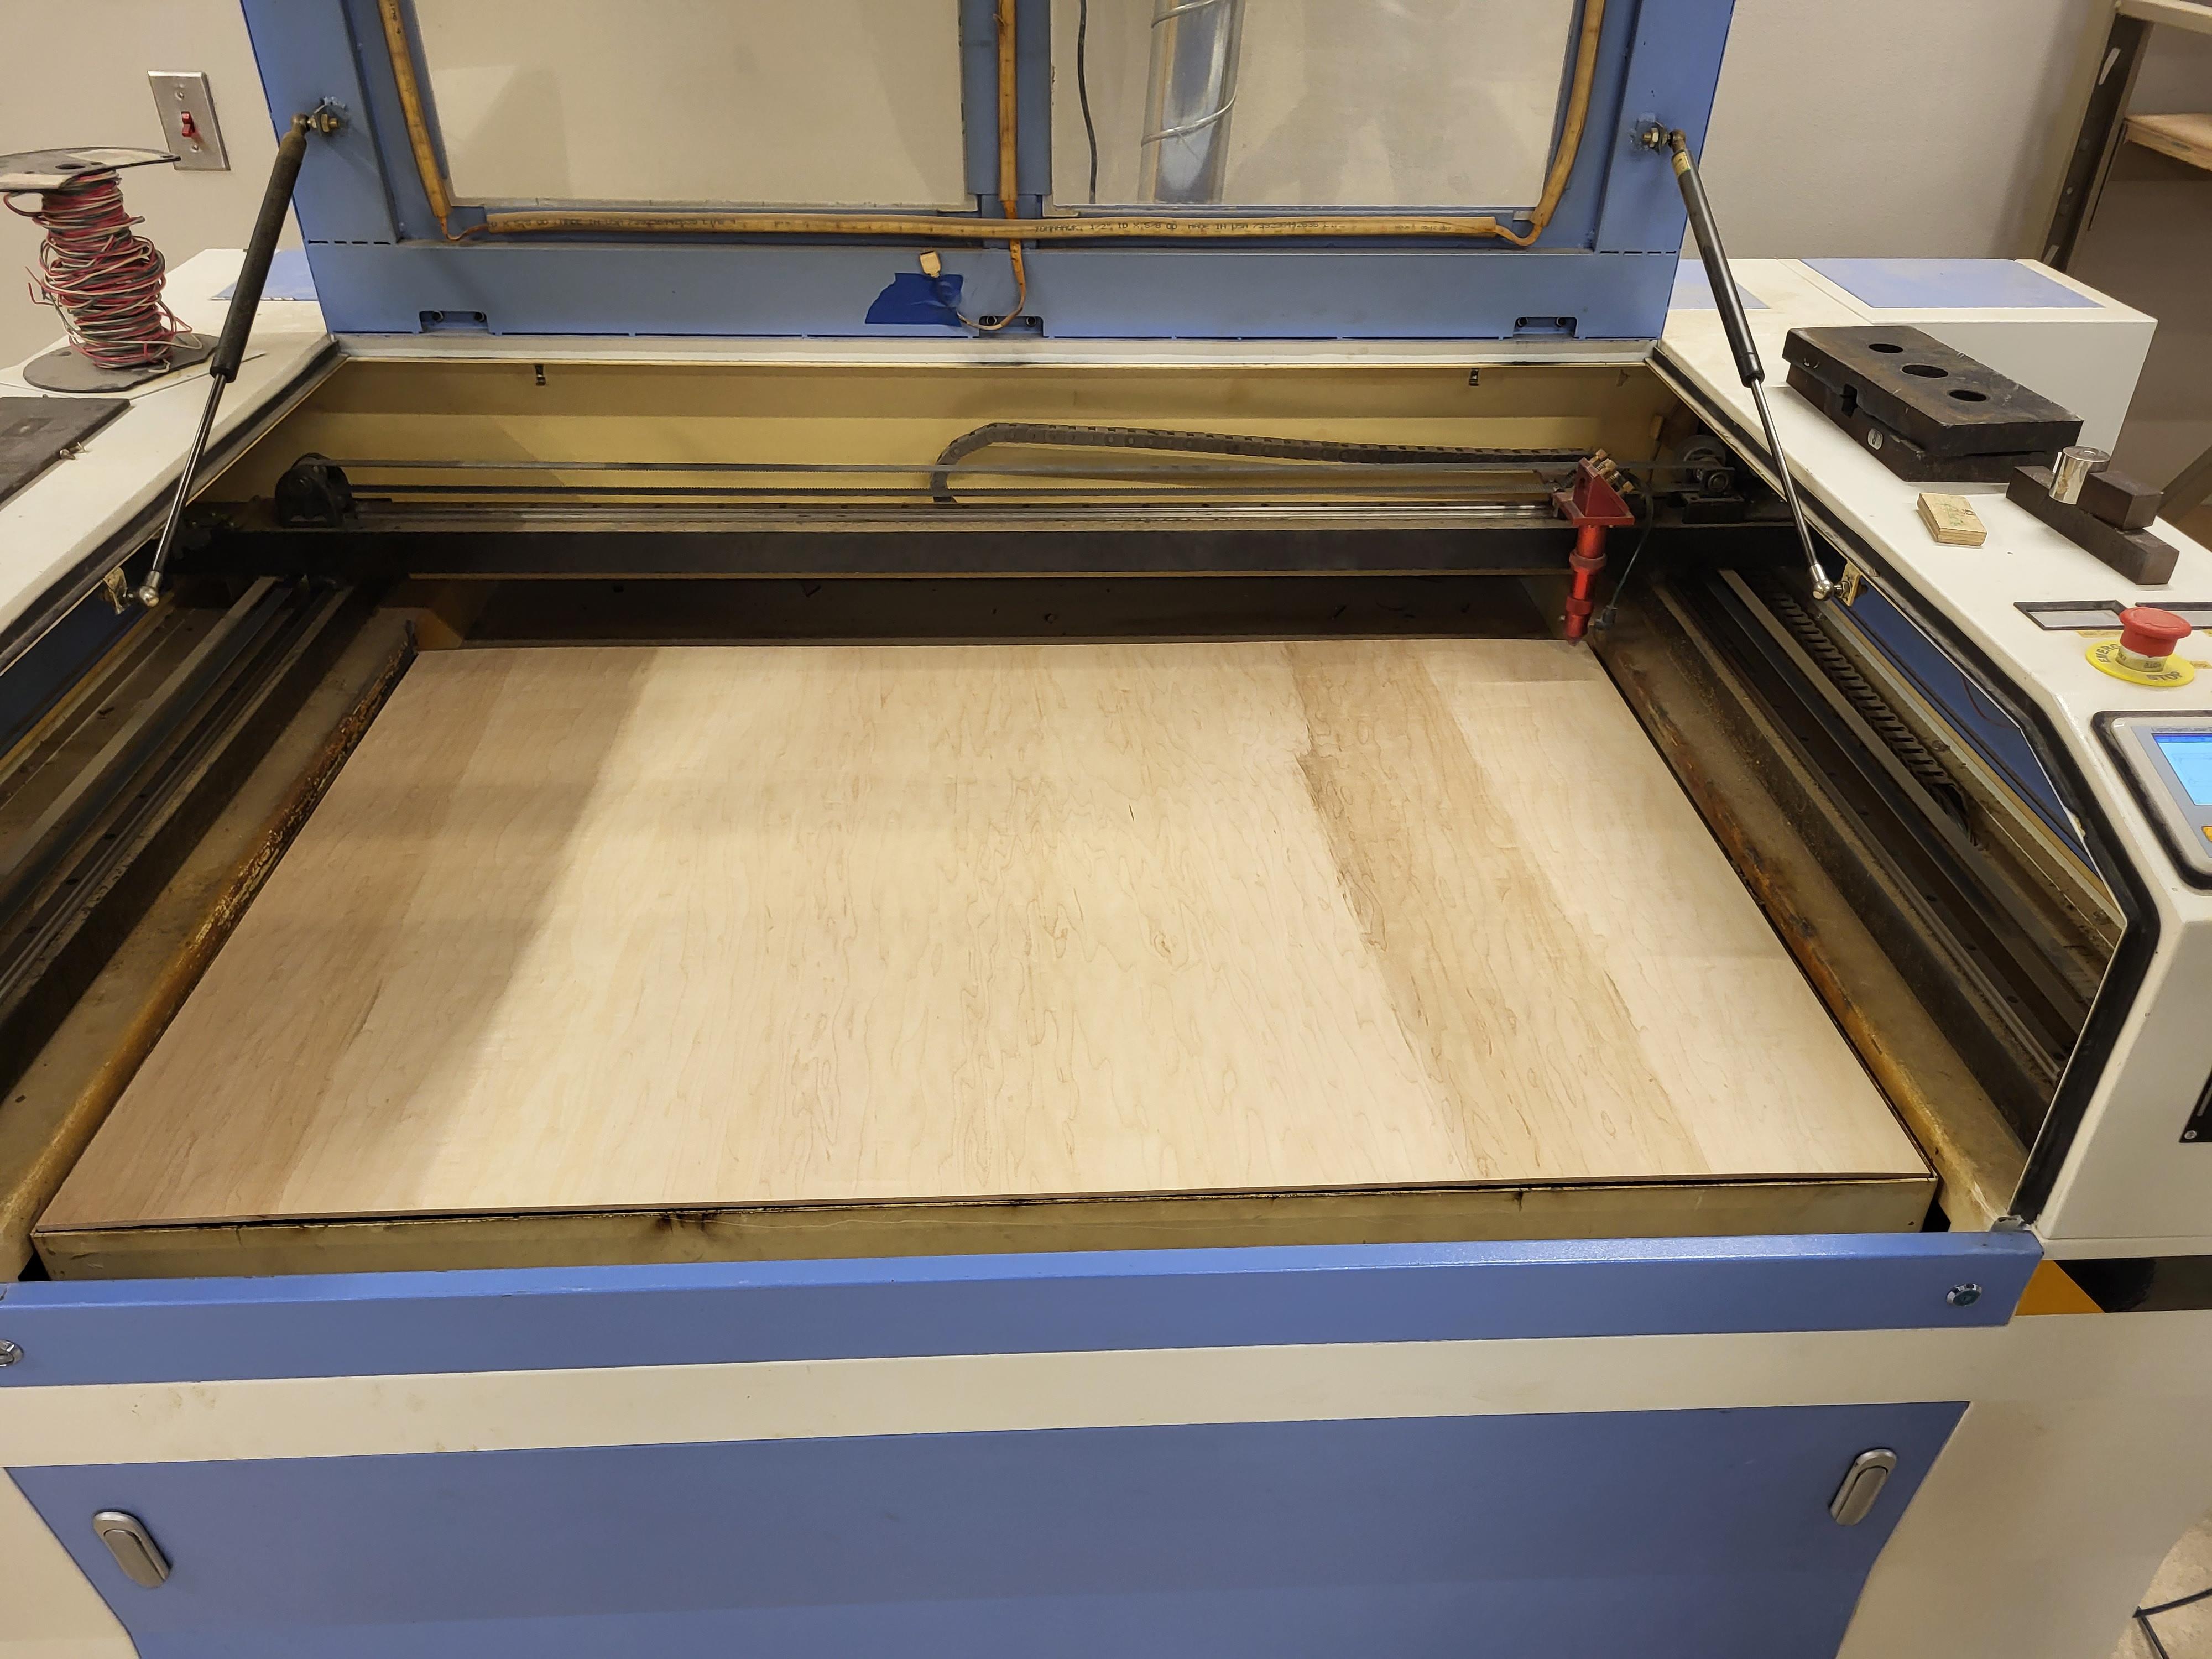
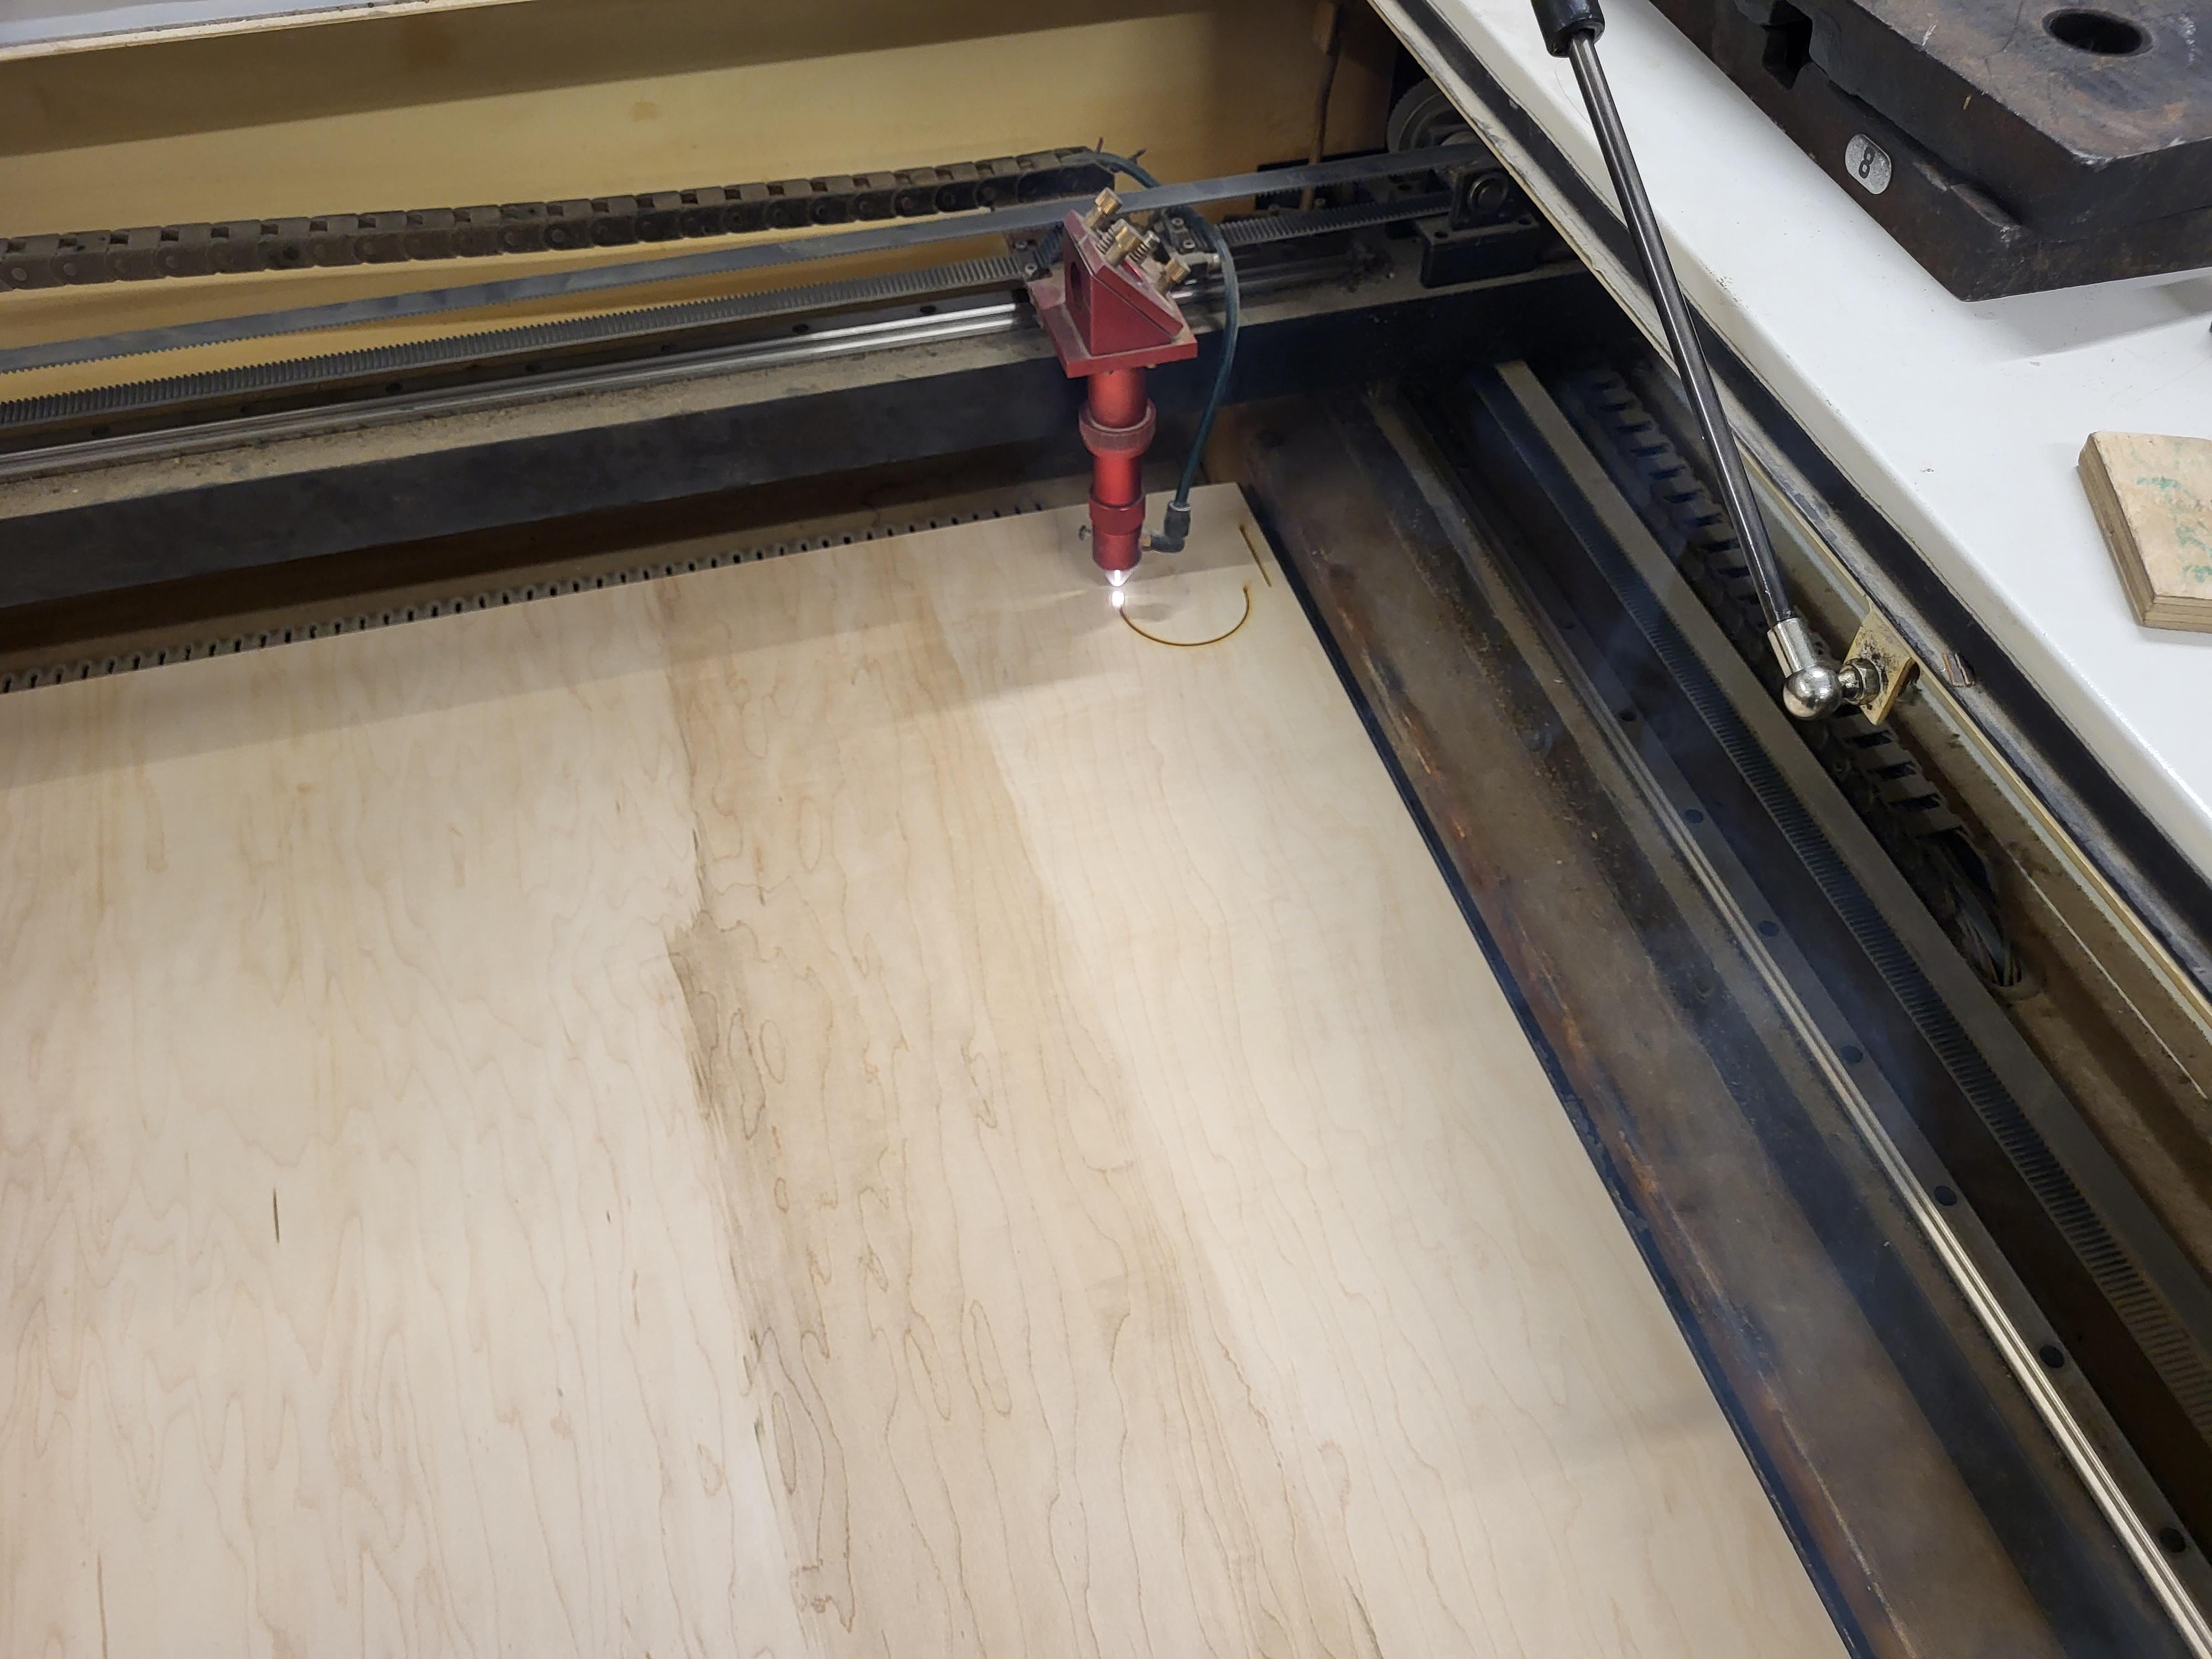
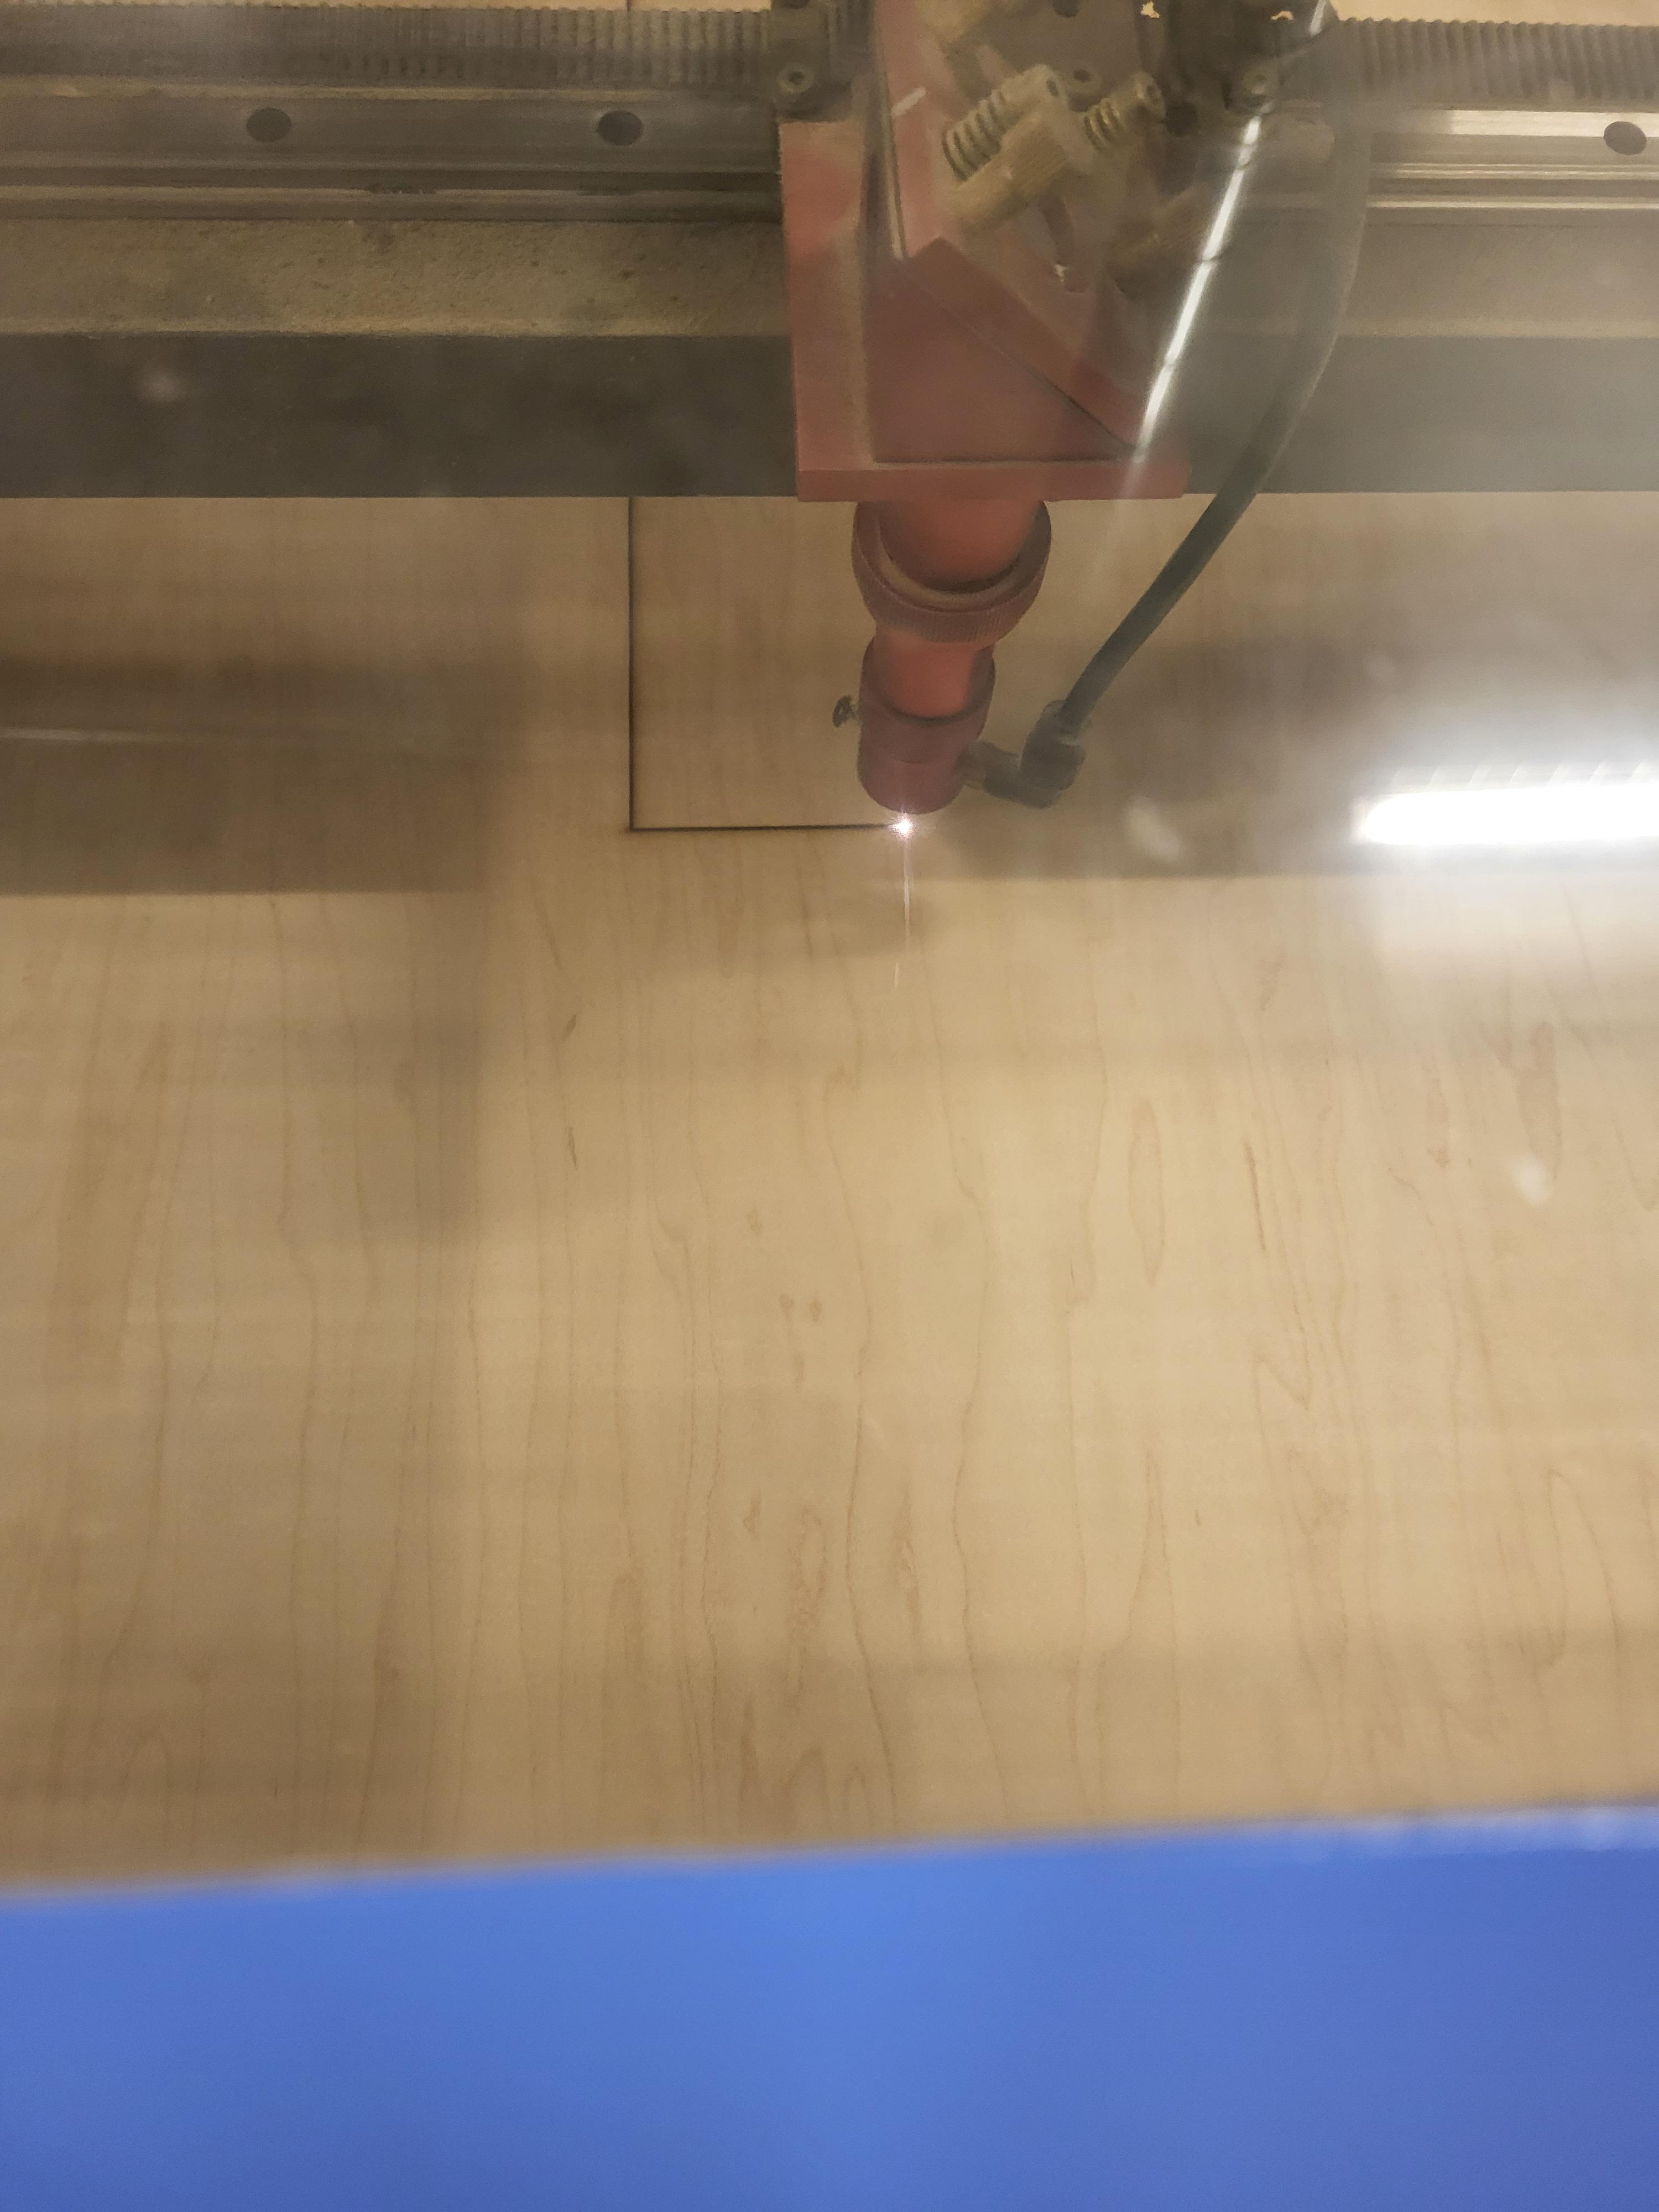
Get some scrap wood for the bottom of the 15 in by 30 in by 1 piece of wood so the drill bit does not cut the bottom of the CNC router. Drill the scrap wood into the playing field with 4 1/2 in screws. Make sure the screws are very close to the edge. Now flip it upside down and drill the scrap wood into the CNC router base with 4 1/2 in screws. Put the 1/4 in flat drill bit into the CNC router. Set the origin by moving the bit to where you want your origin to be and press "Origin". Set the Z height by pressing "Menu and 9" at the same time. Place the USB drive into the keypad, find your file and press "Run" on the keypad. After almost 7 minutes the operation will be done.
Making the Playing Field(Part 5)
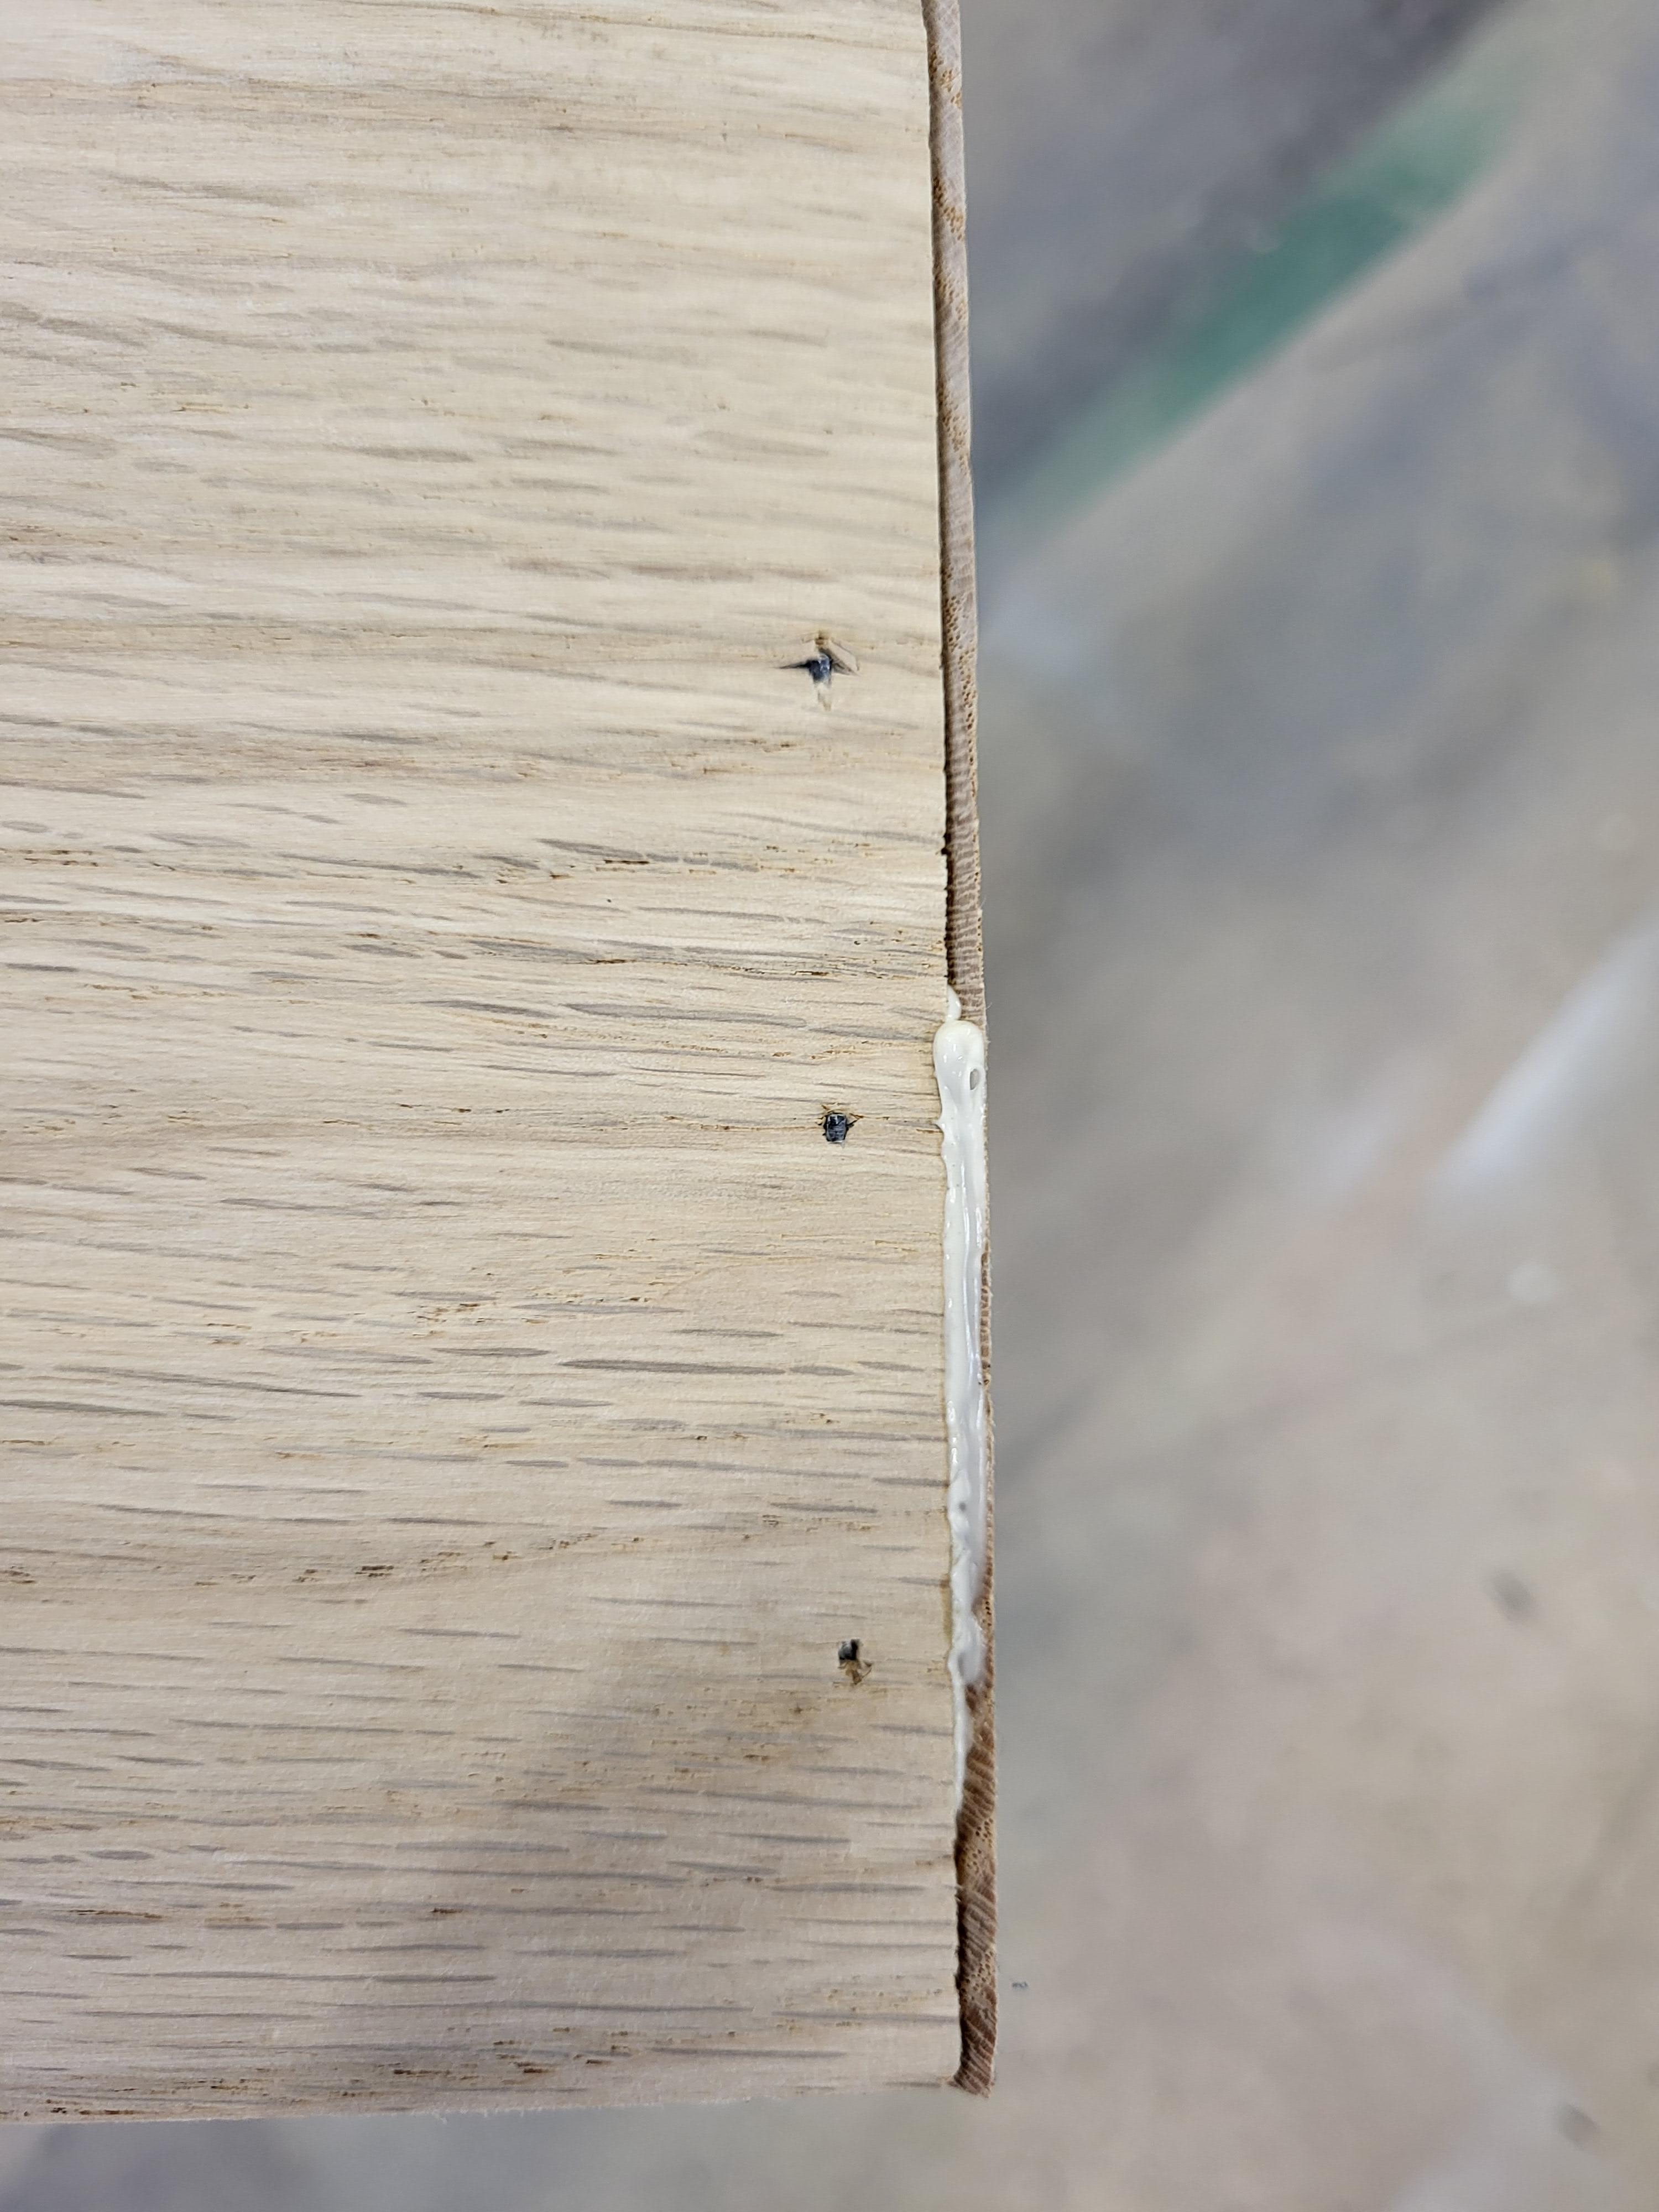
Unscrew the screws out of the CNC router and then unscrew the screws from the scrap wood out of the playing field. Cut the tabs out with tin snips and sand the edges of the sides of the playing field with sand paper. Use the electrical sander to make the top of the playing field very smooth. Now your playing field is done.
Making the Top(Part 1)
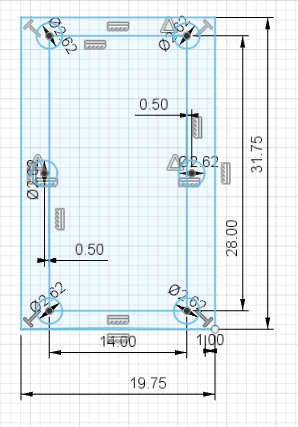
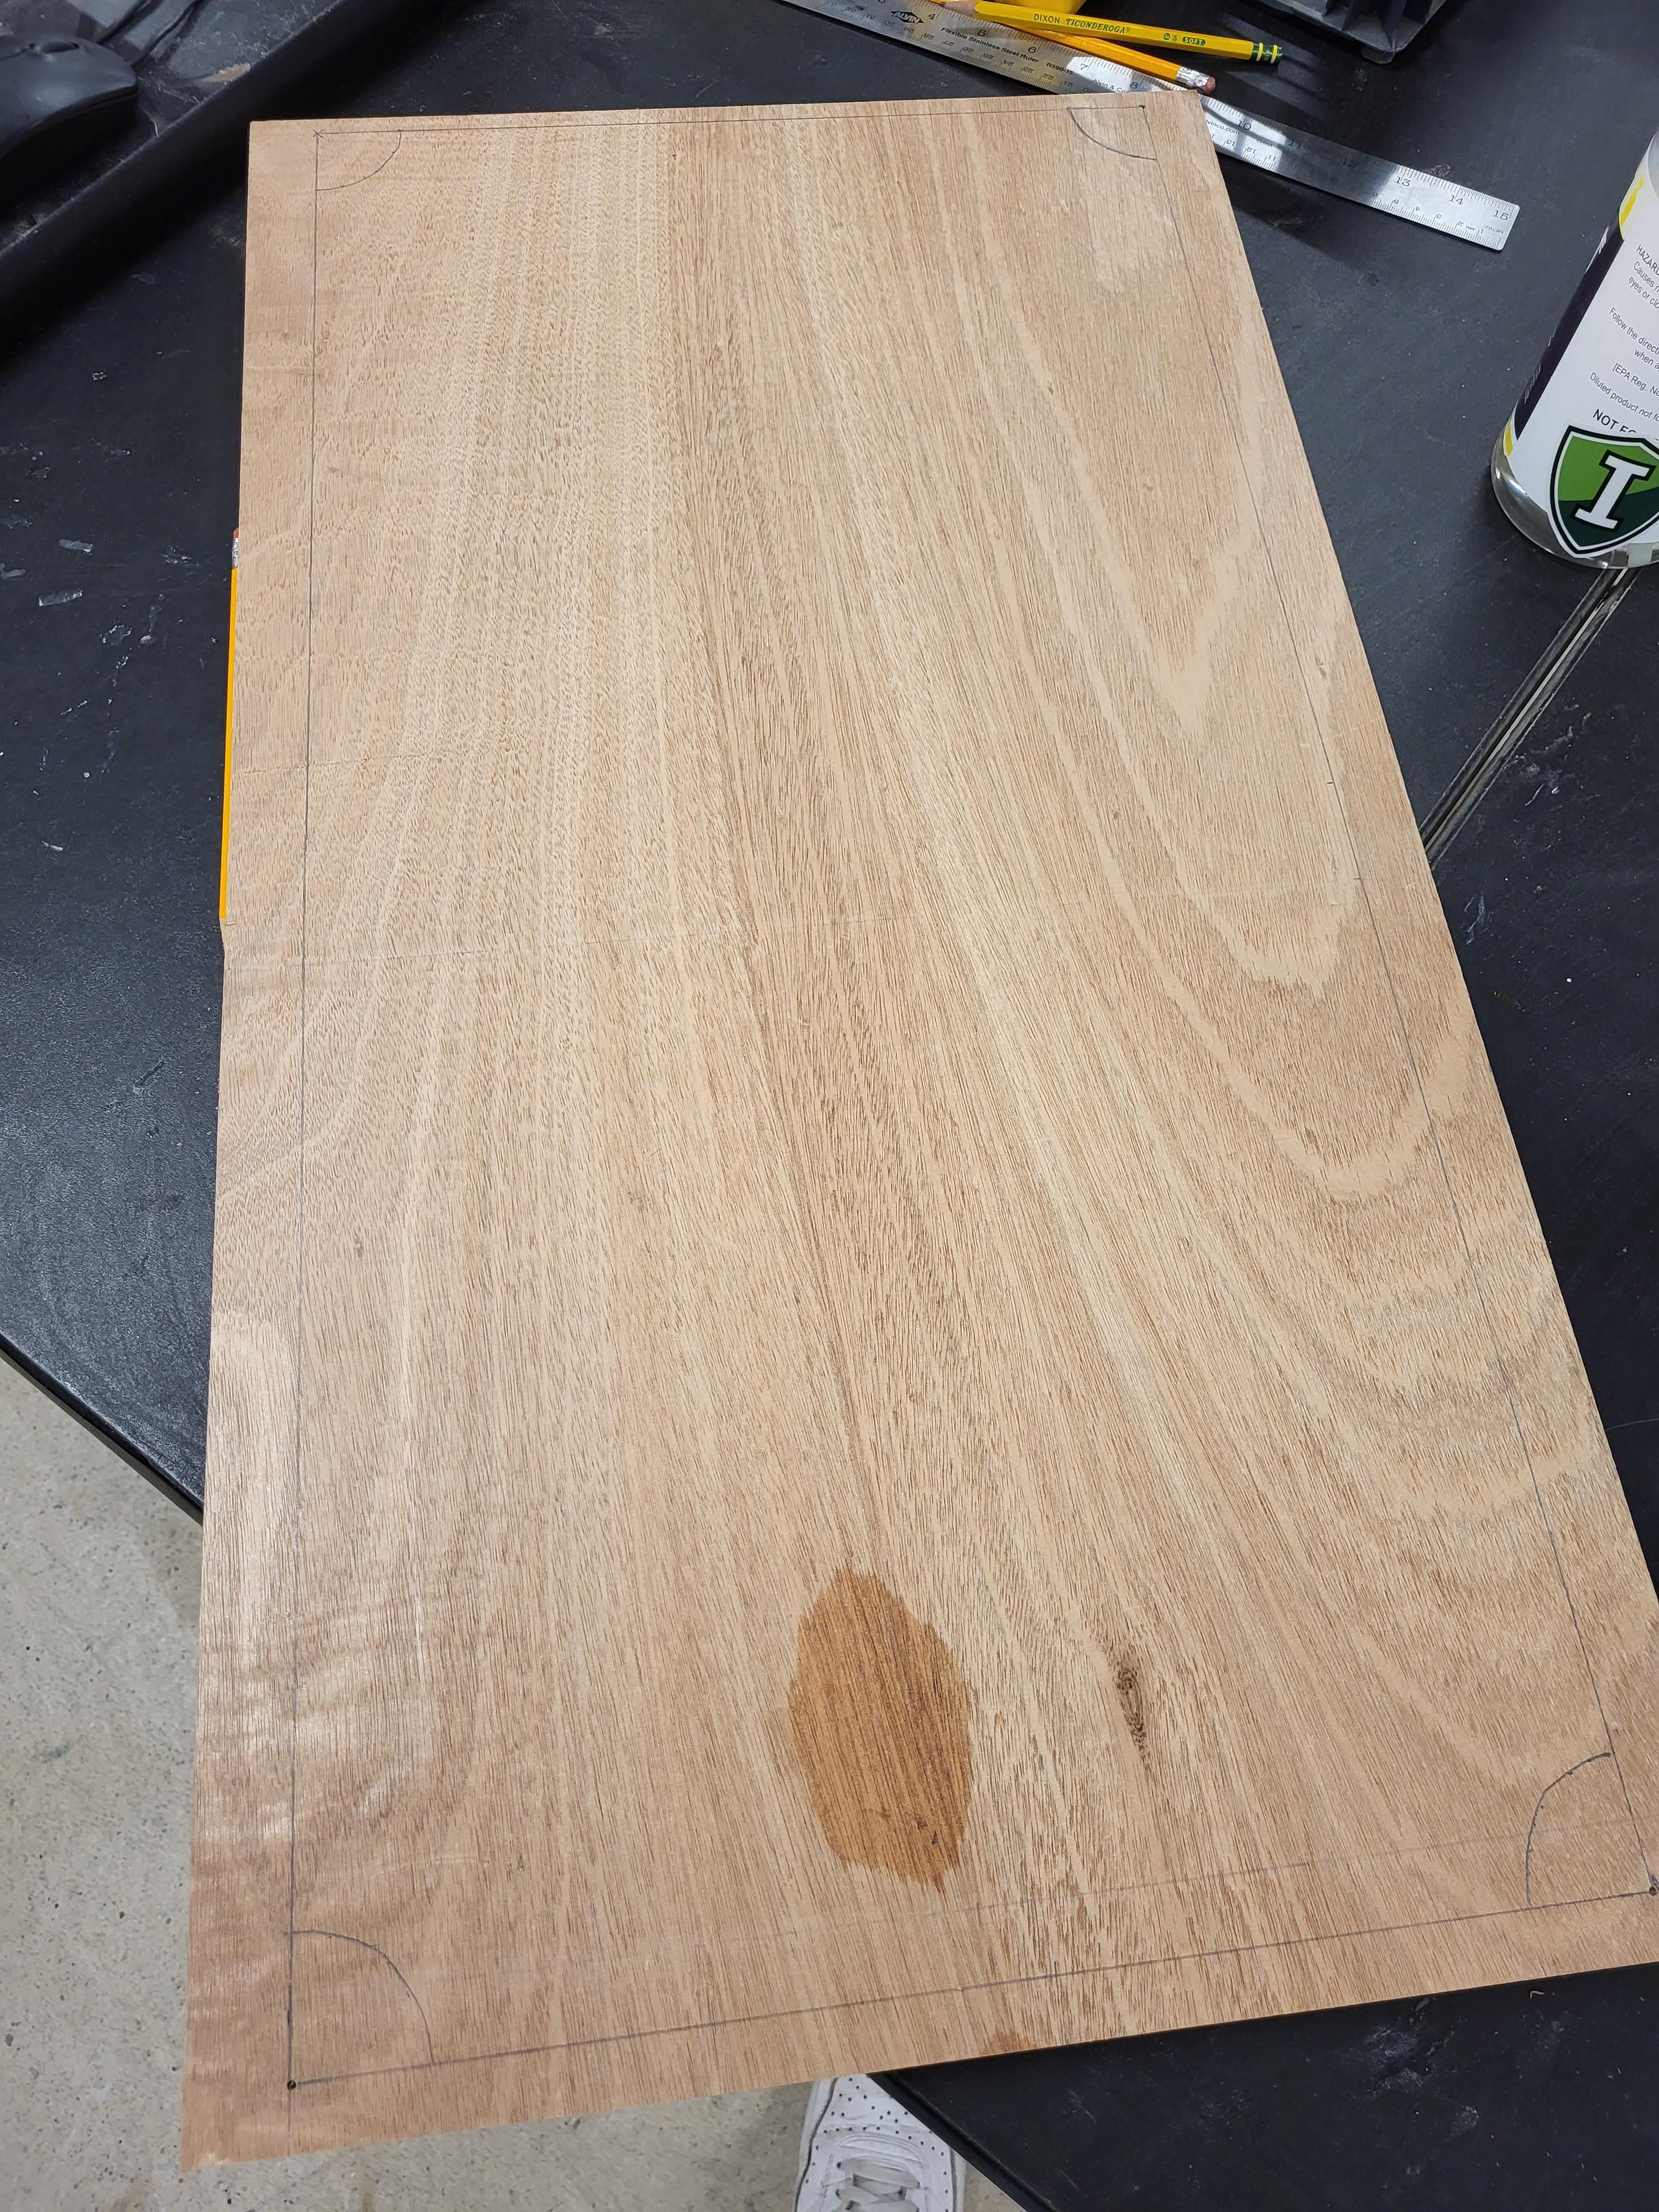
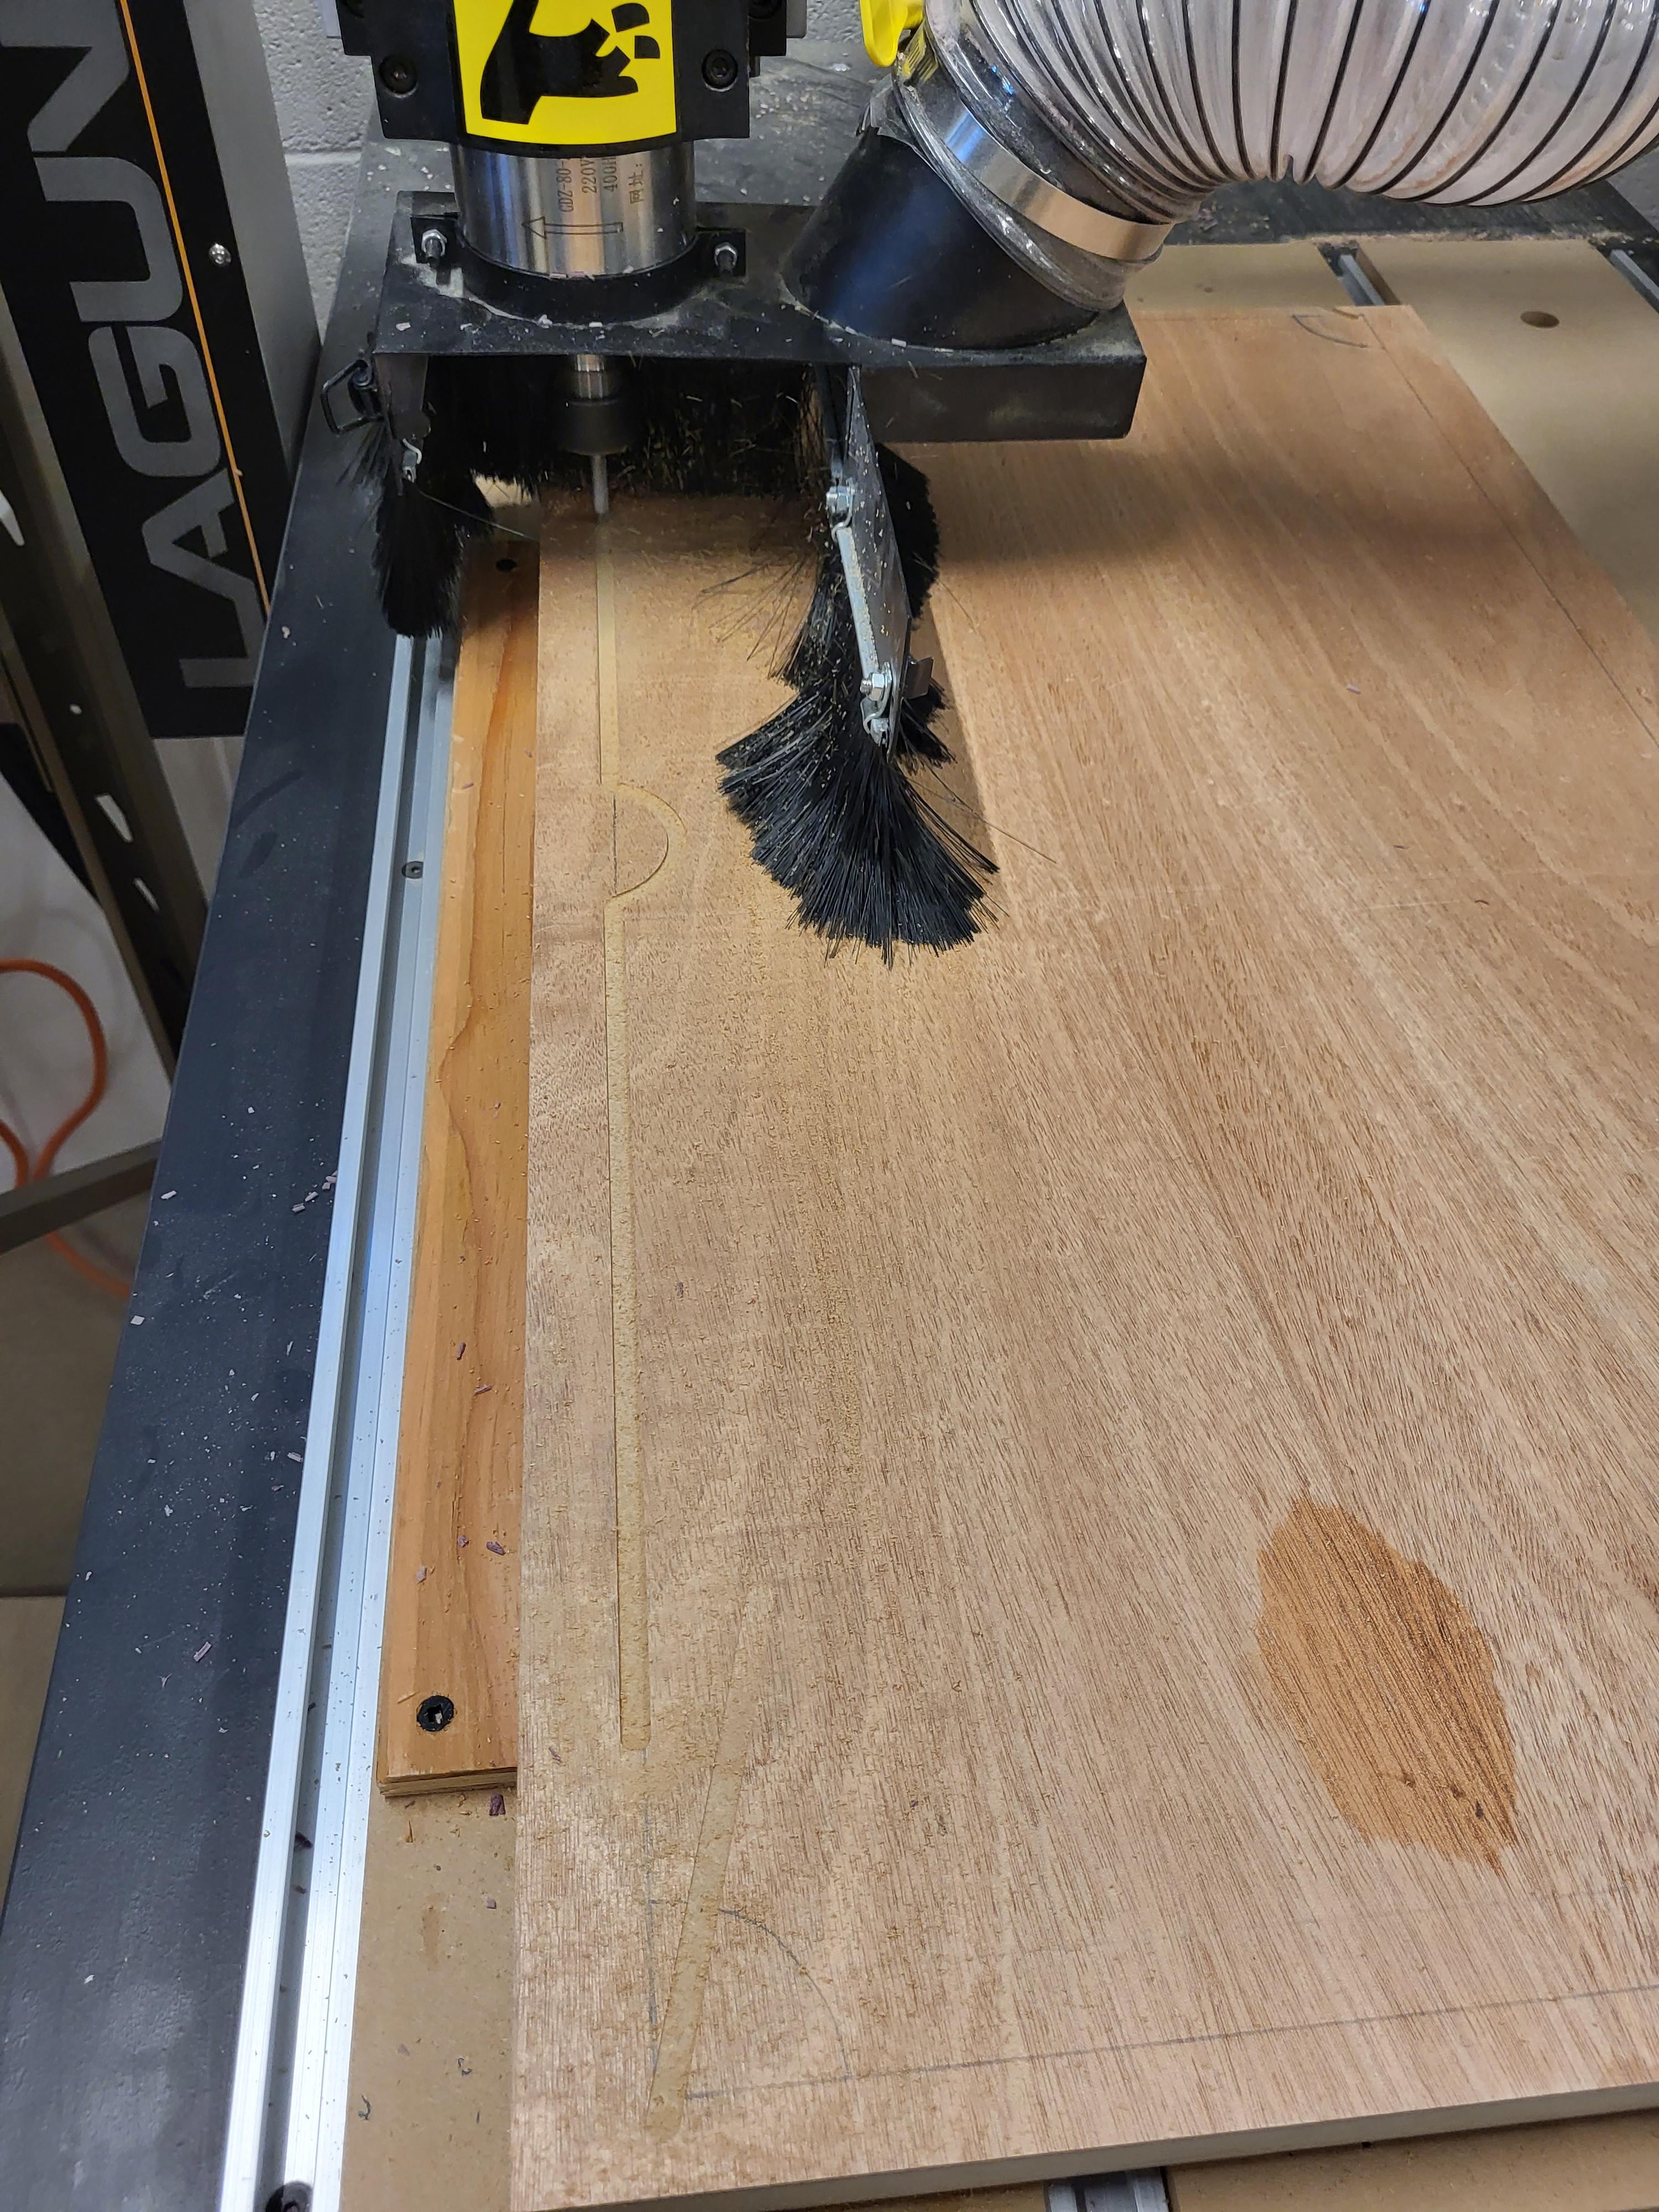
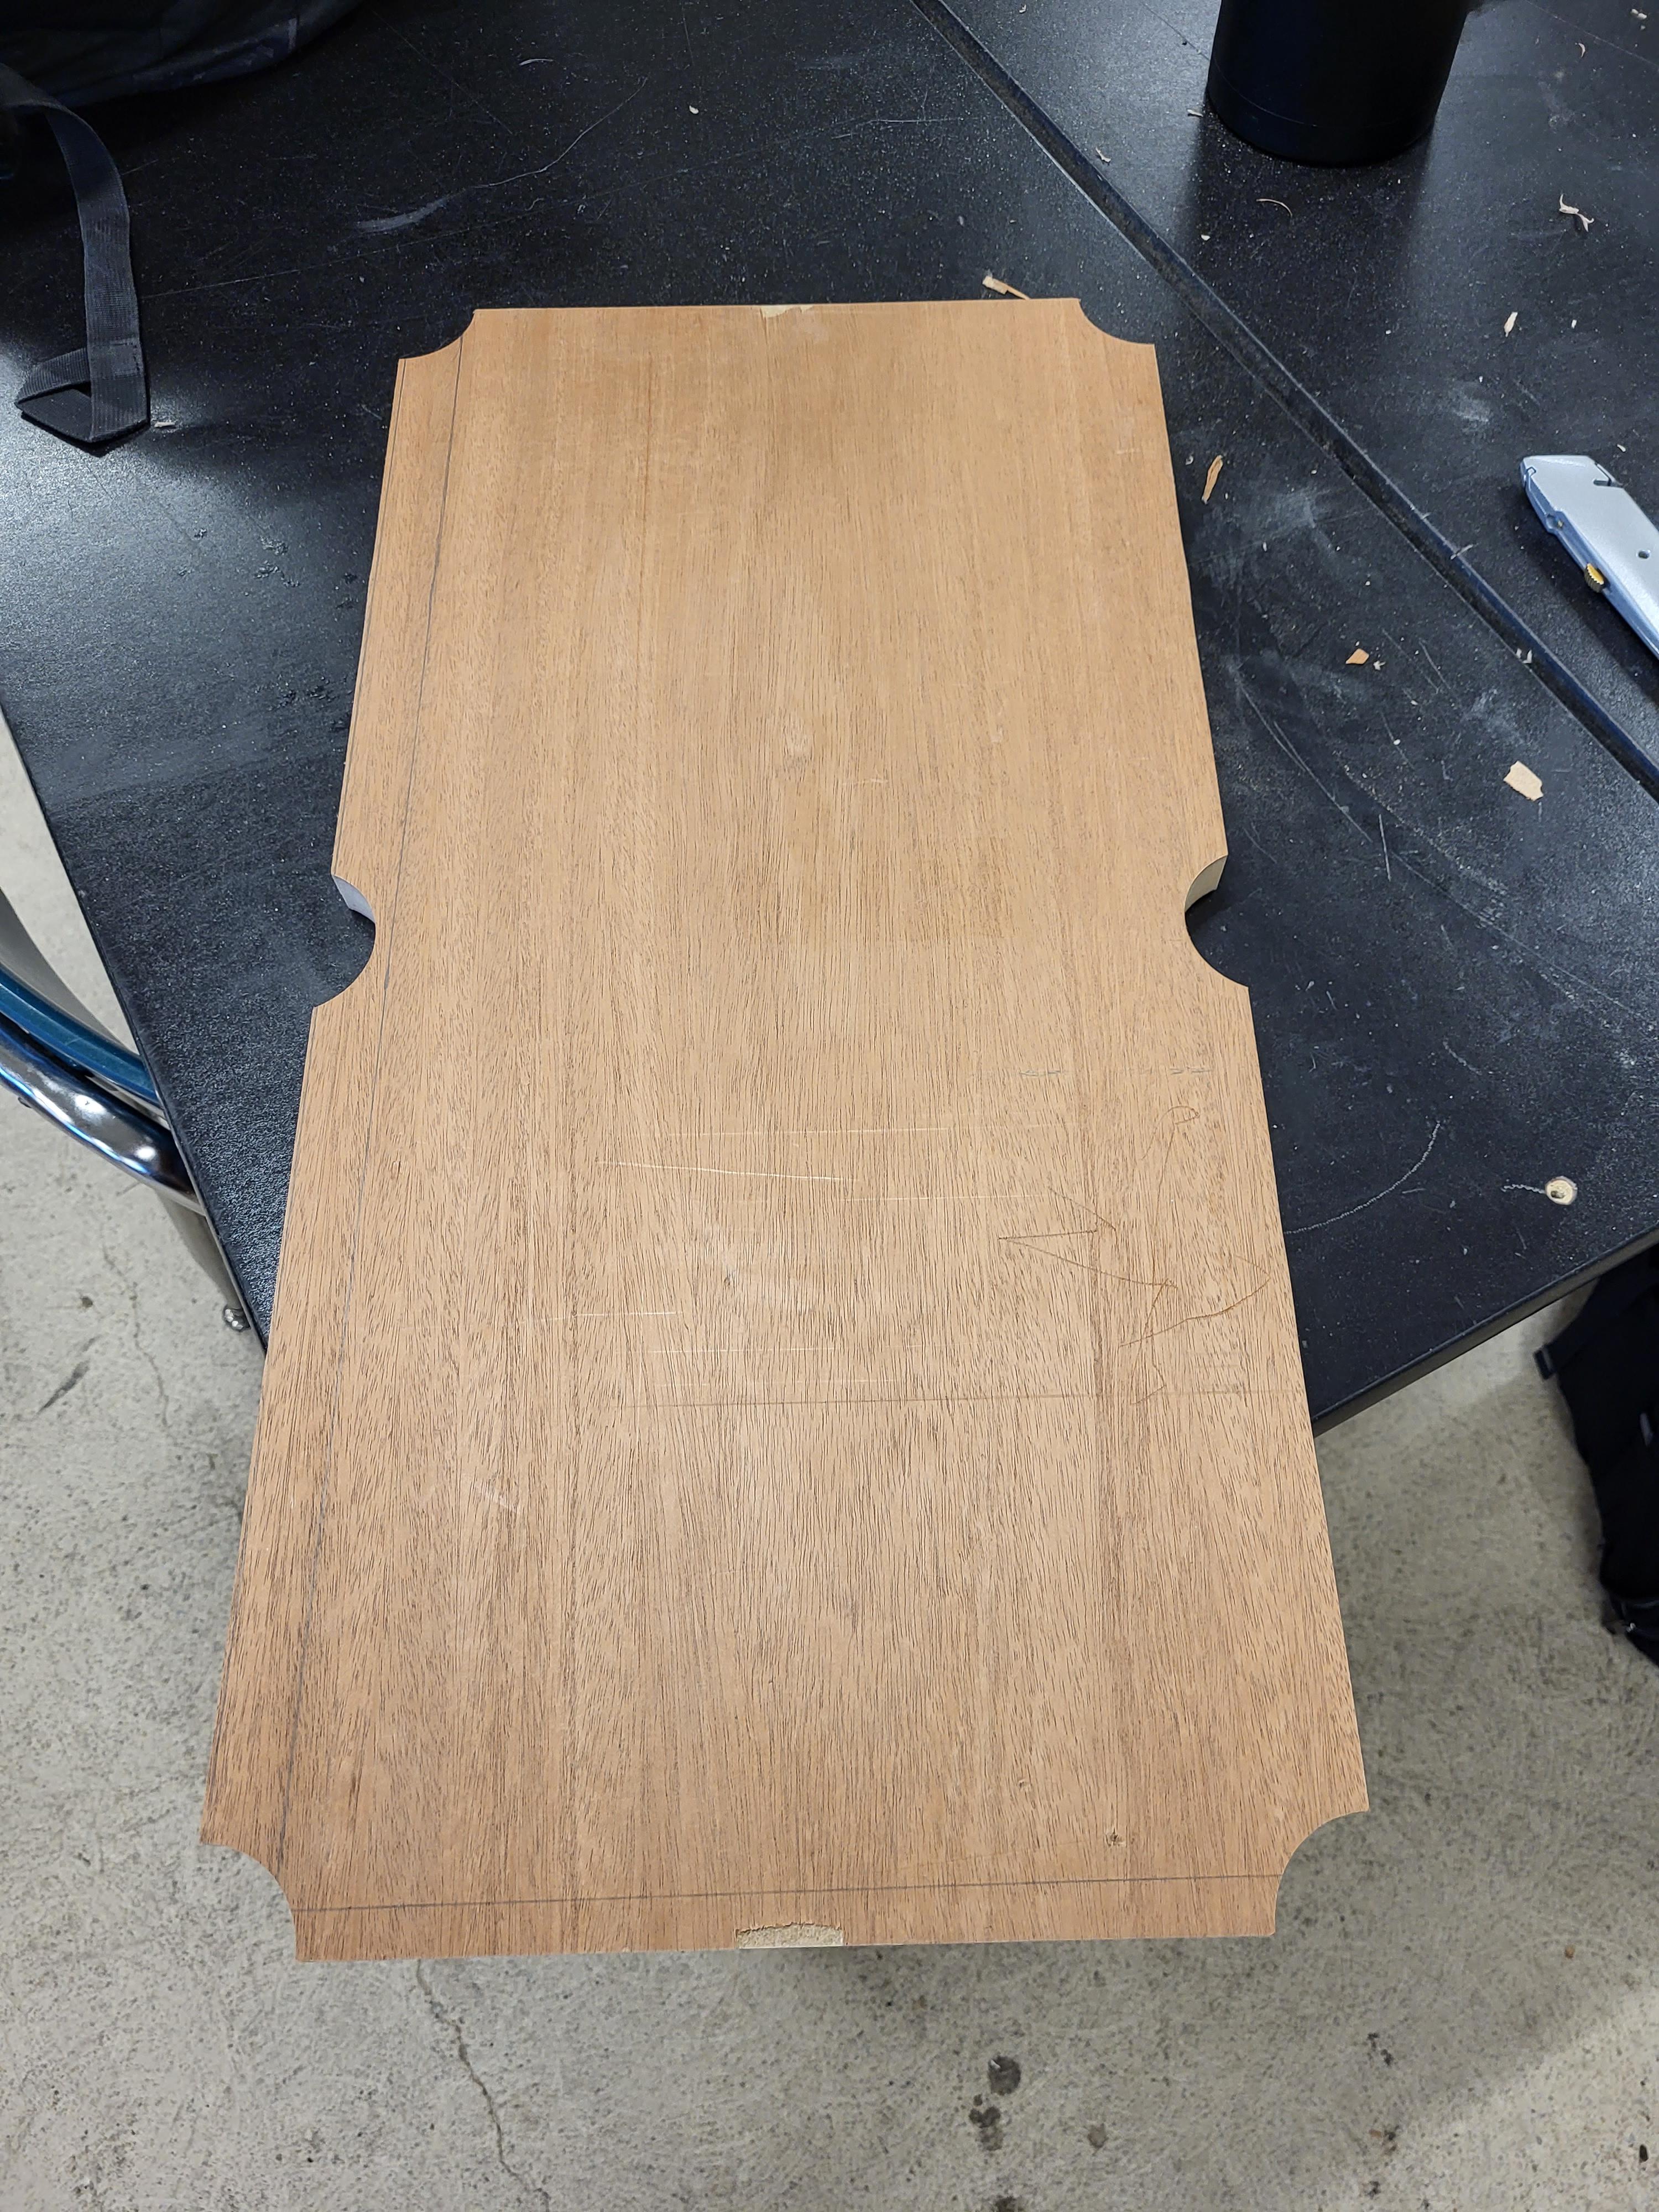
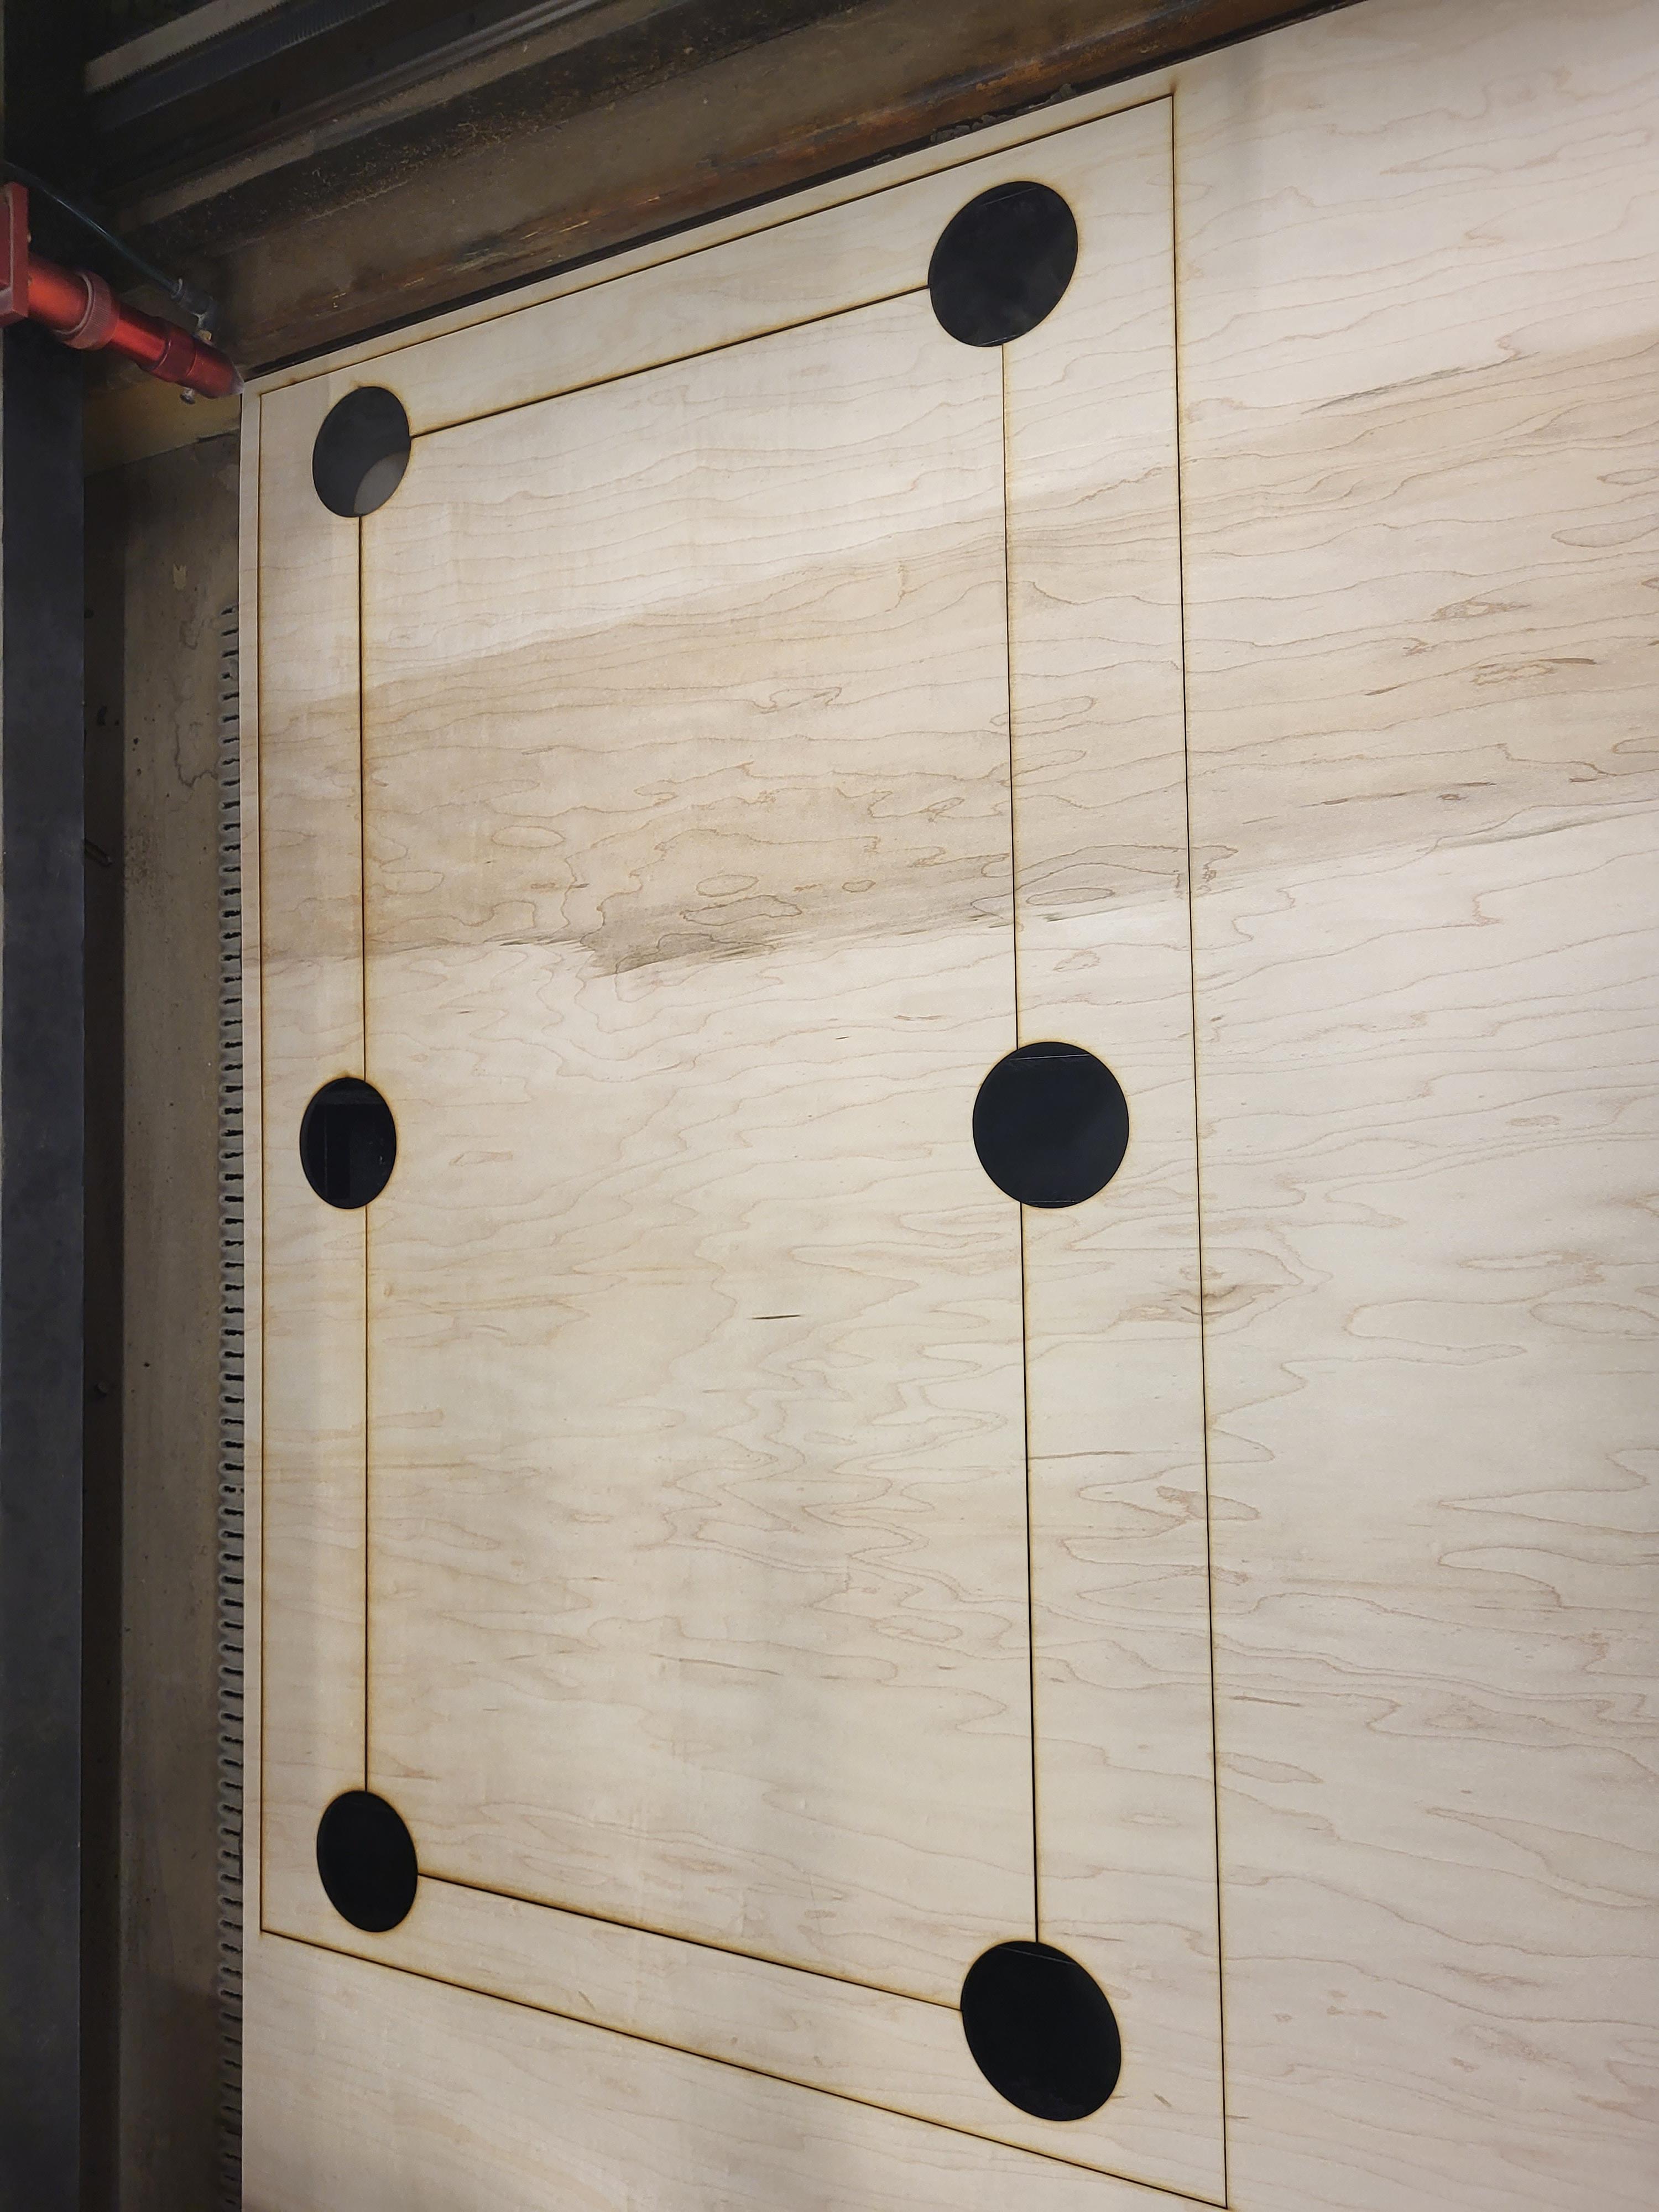
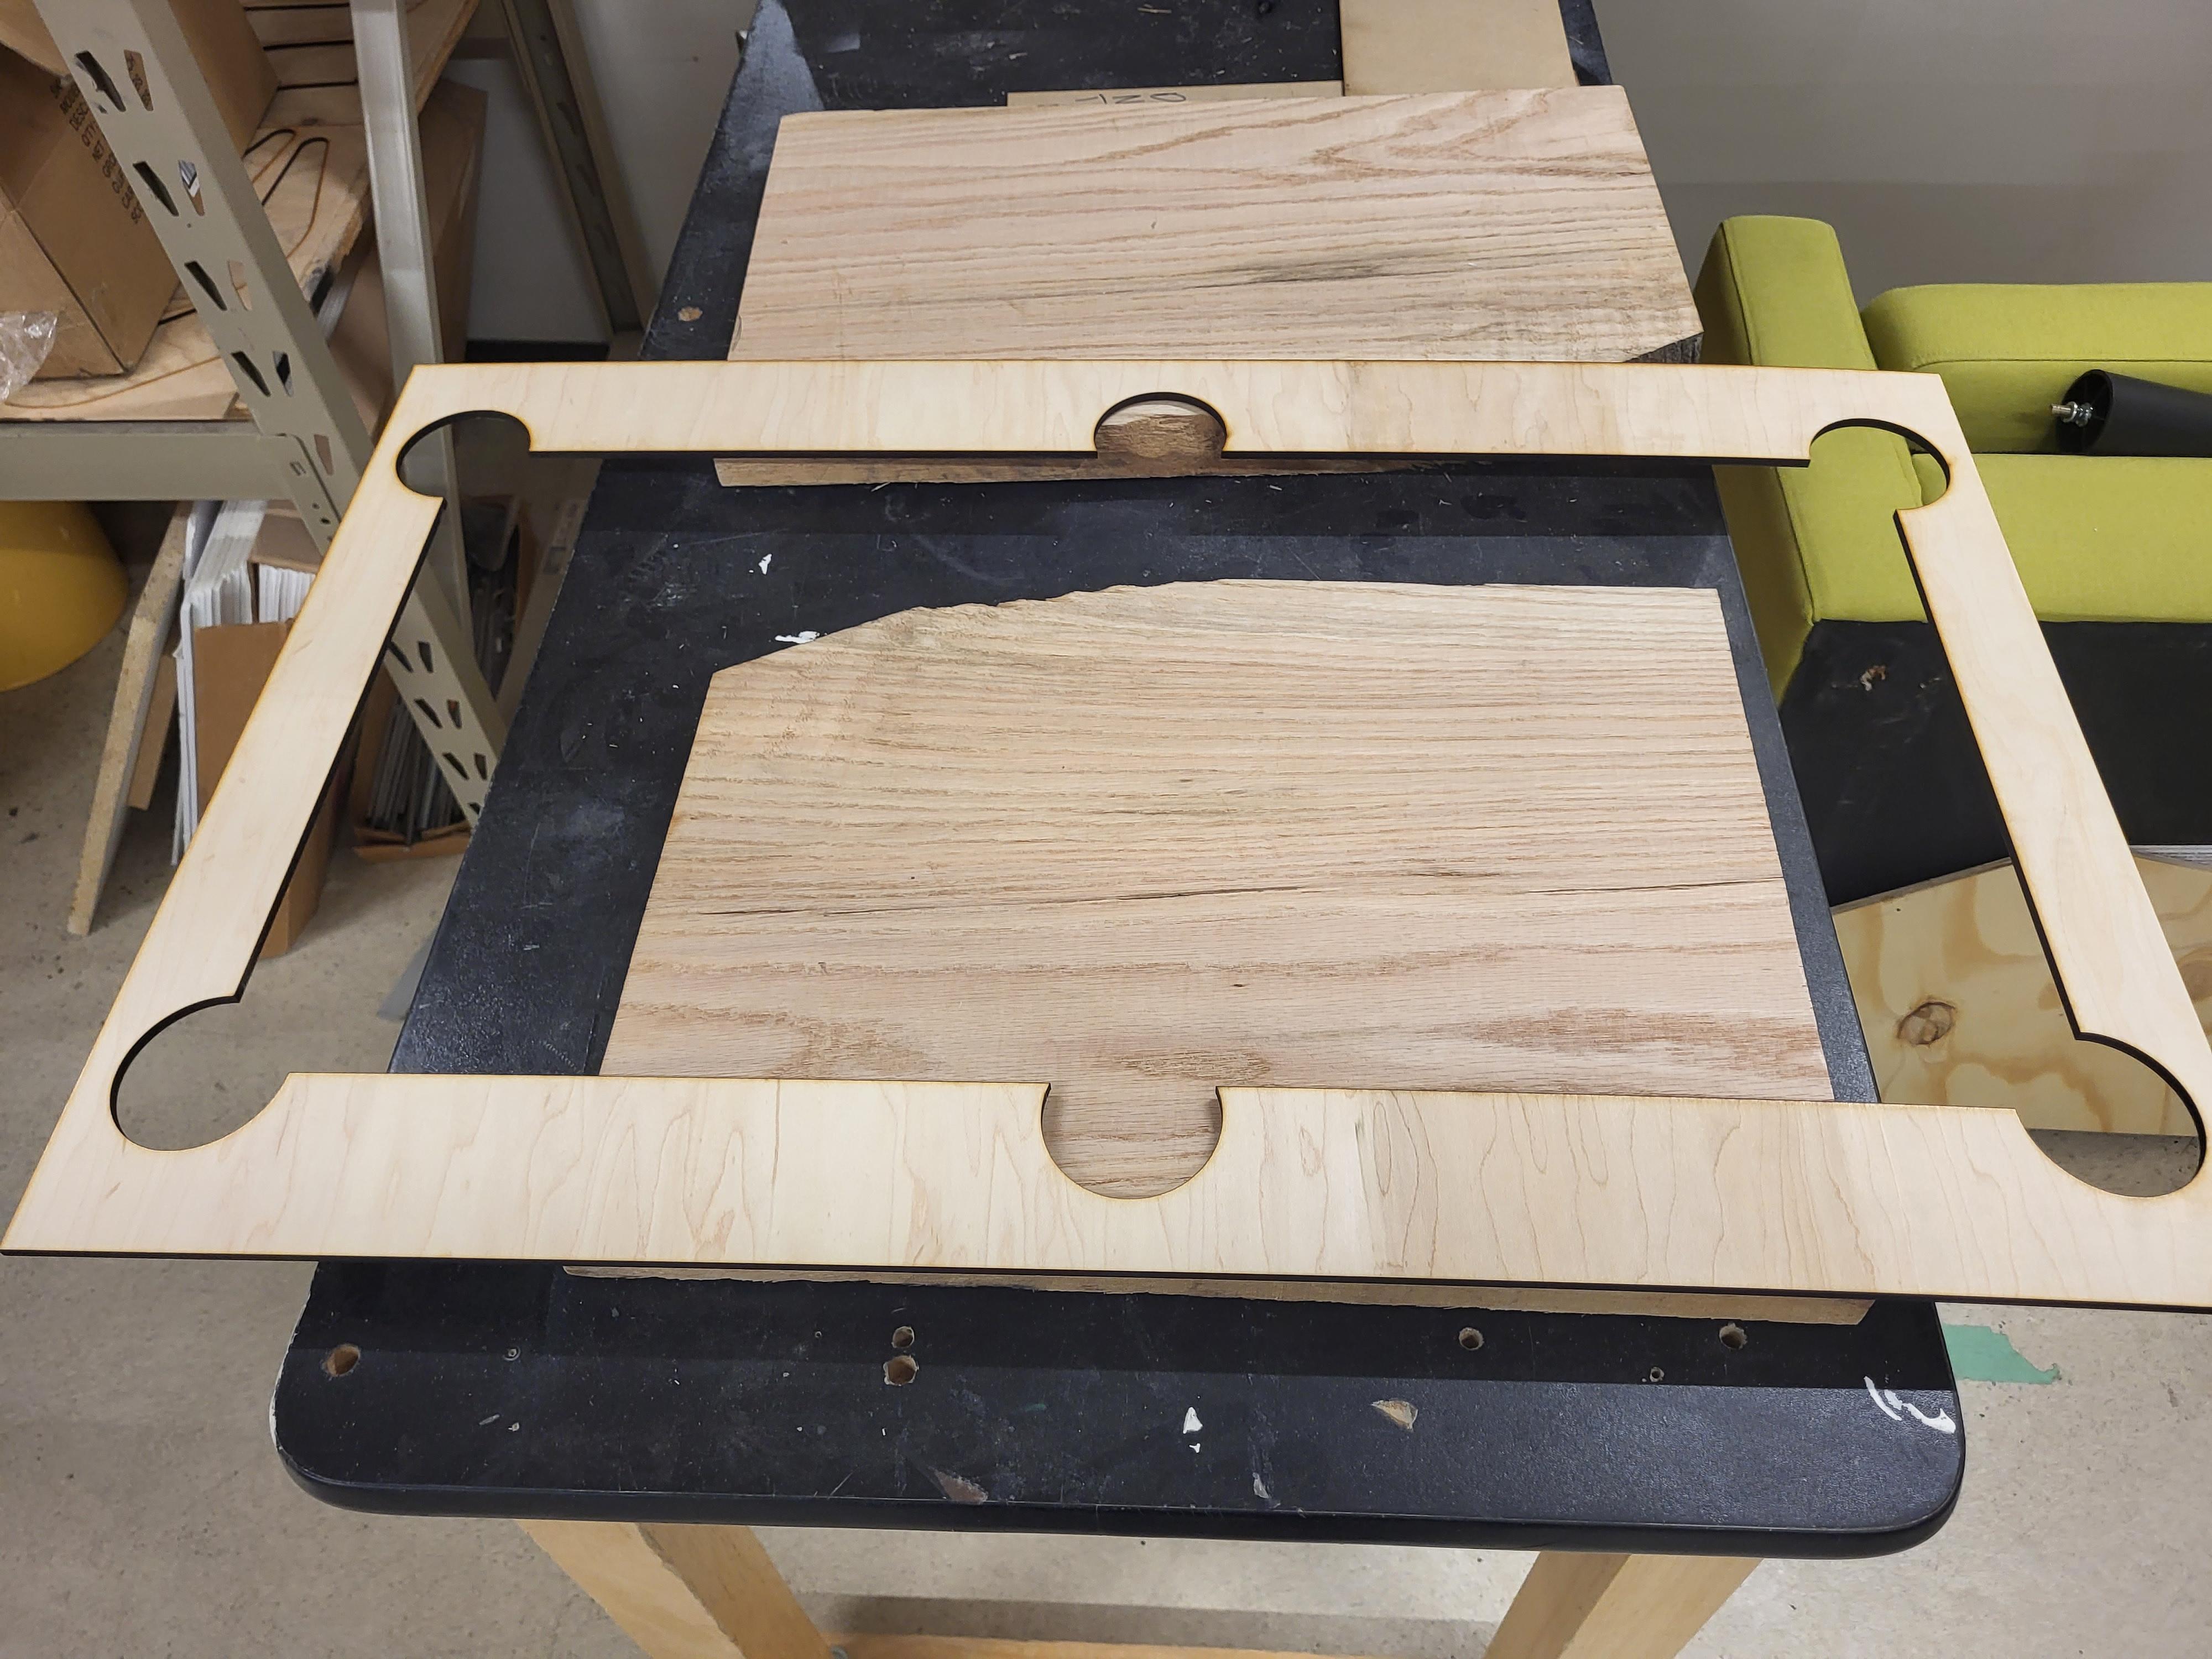
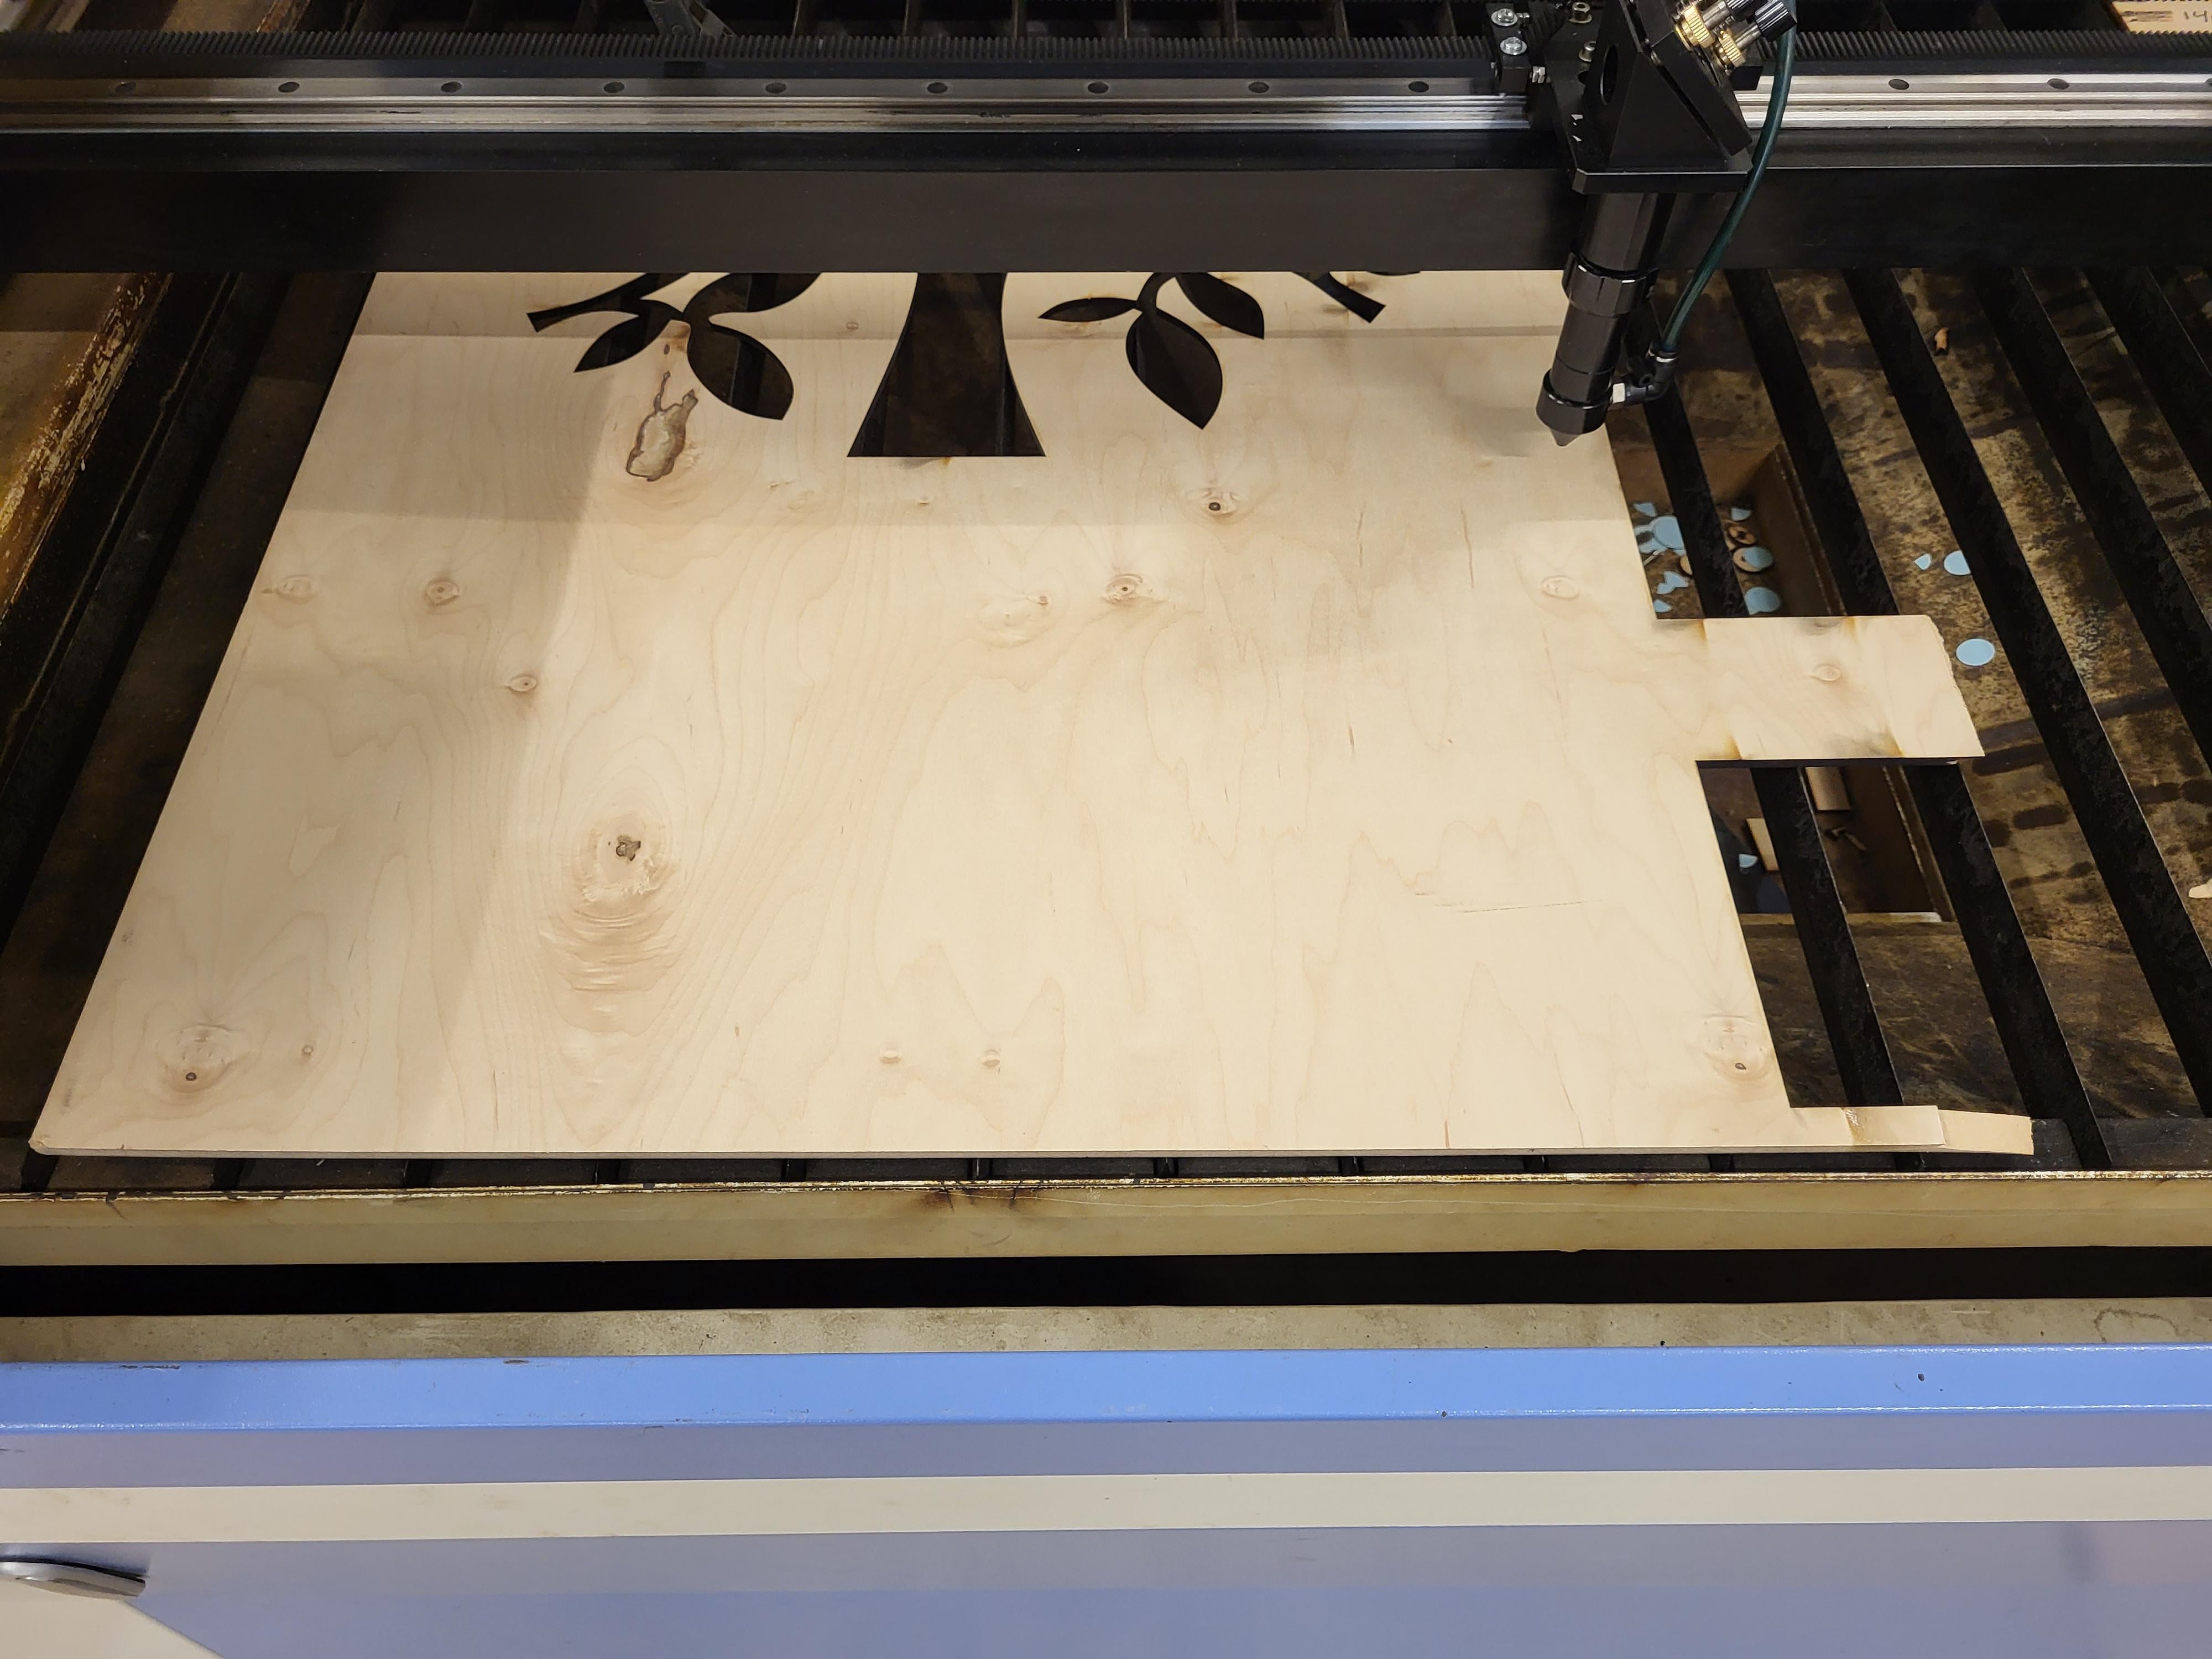
Now we have to make the top of the pool table. Open up Fusion 360, and create a sketch. Create a box that is 31.75 in by 19.75 in. In the middle of that box make another box that is 14 in by 28 in. In the corners and the middle of the longer sides of the inner box box place circles with a radius of 1.31 in. For the middle hole move each circle 0.5 in away from the box. Now export your drawing as a DXF. Upload that file to Light Burn. Set the power of the laser cutter to 100 and the speed to 16. Make sure the simulation says to cut out the inner circles, then the inner box, and then the outer box.
Making the Top(Part 2)

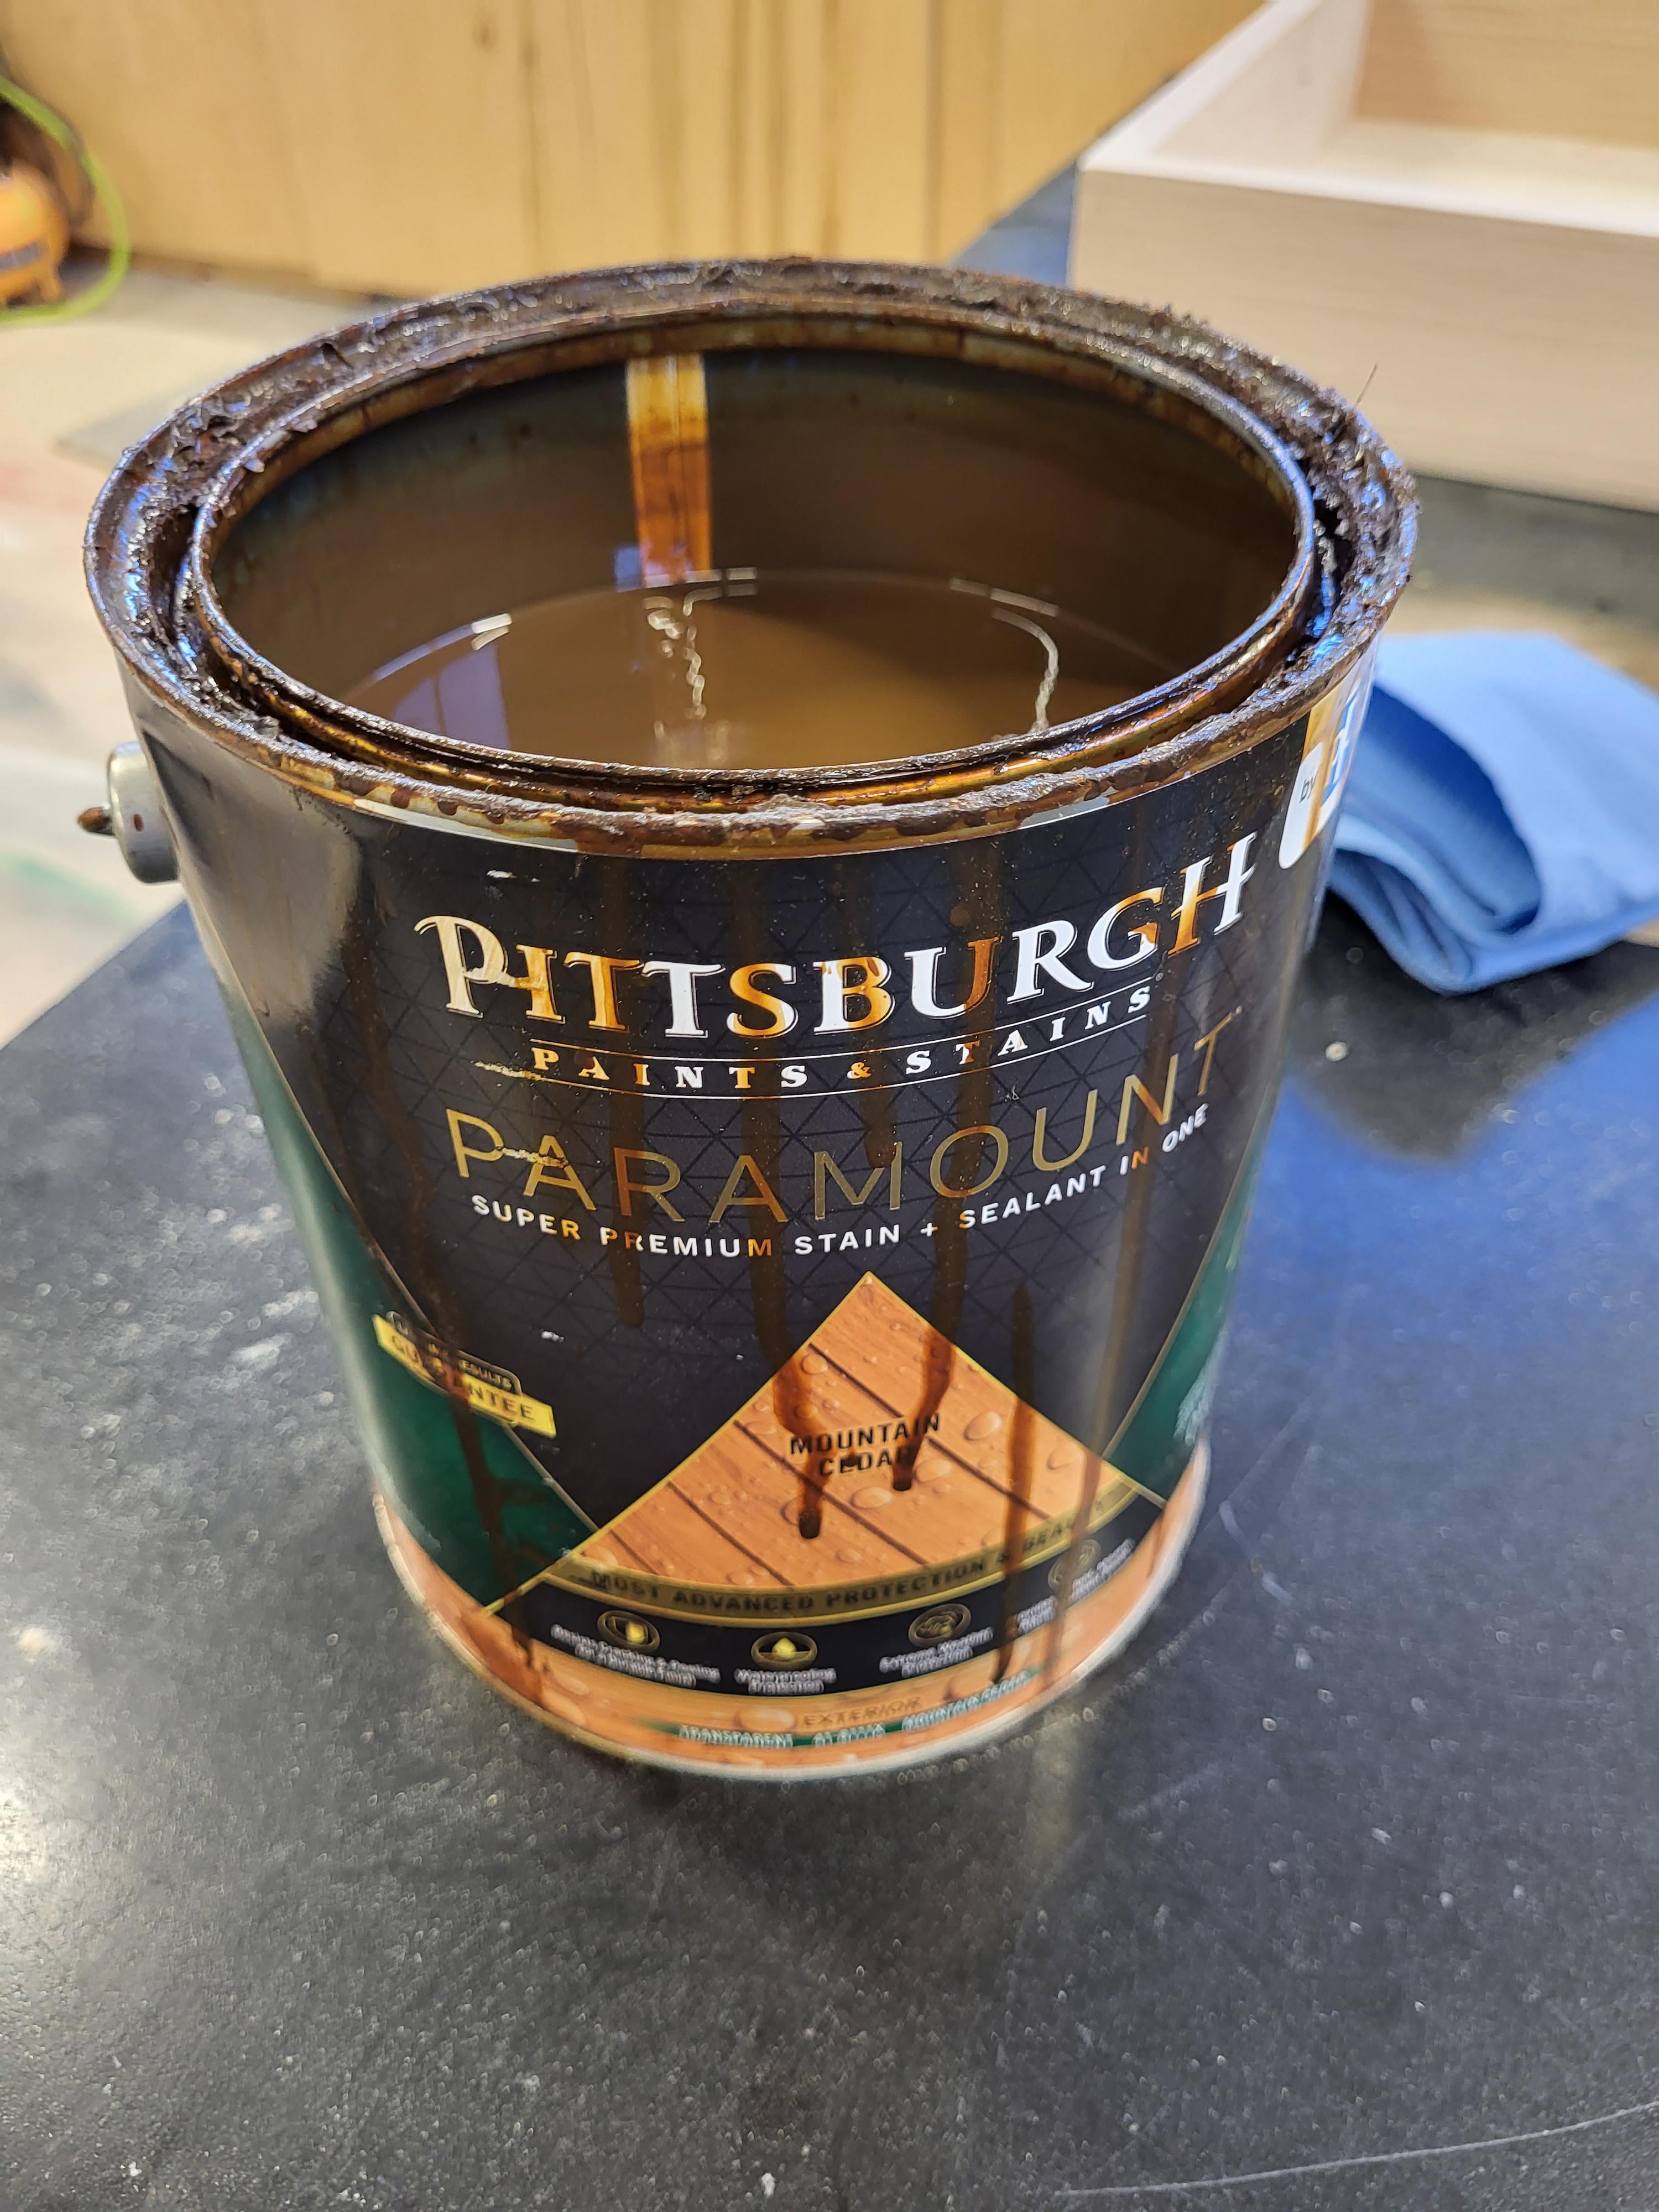
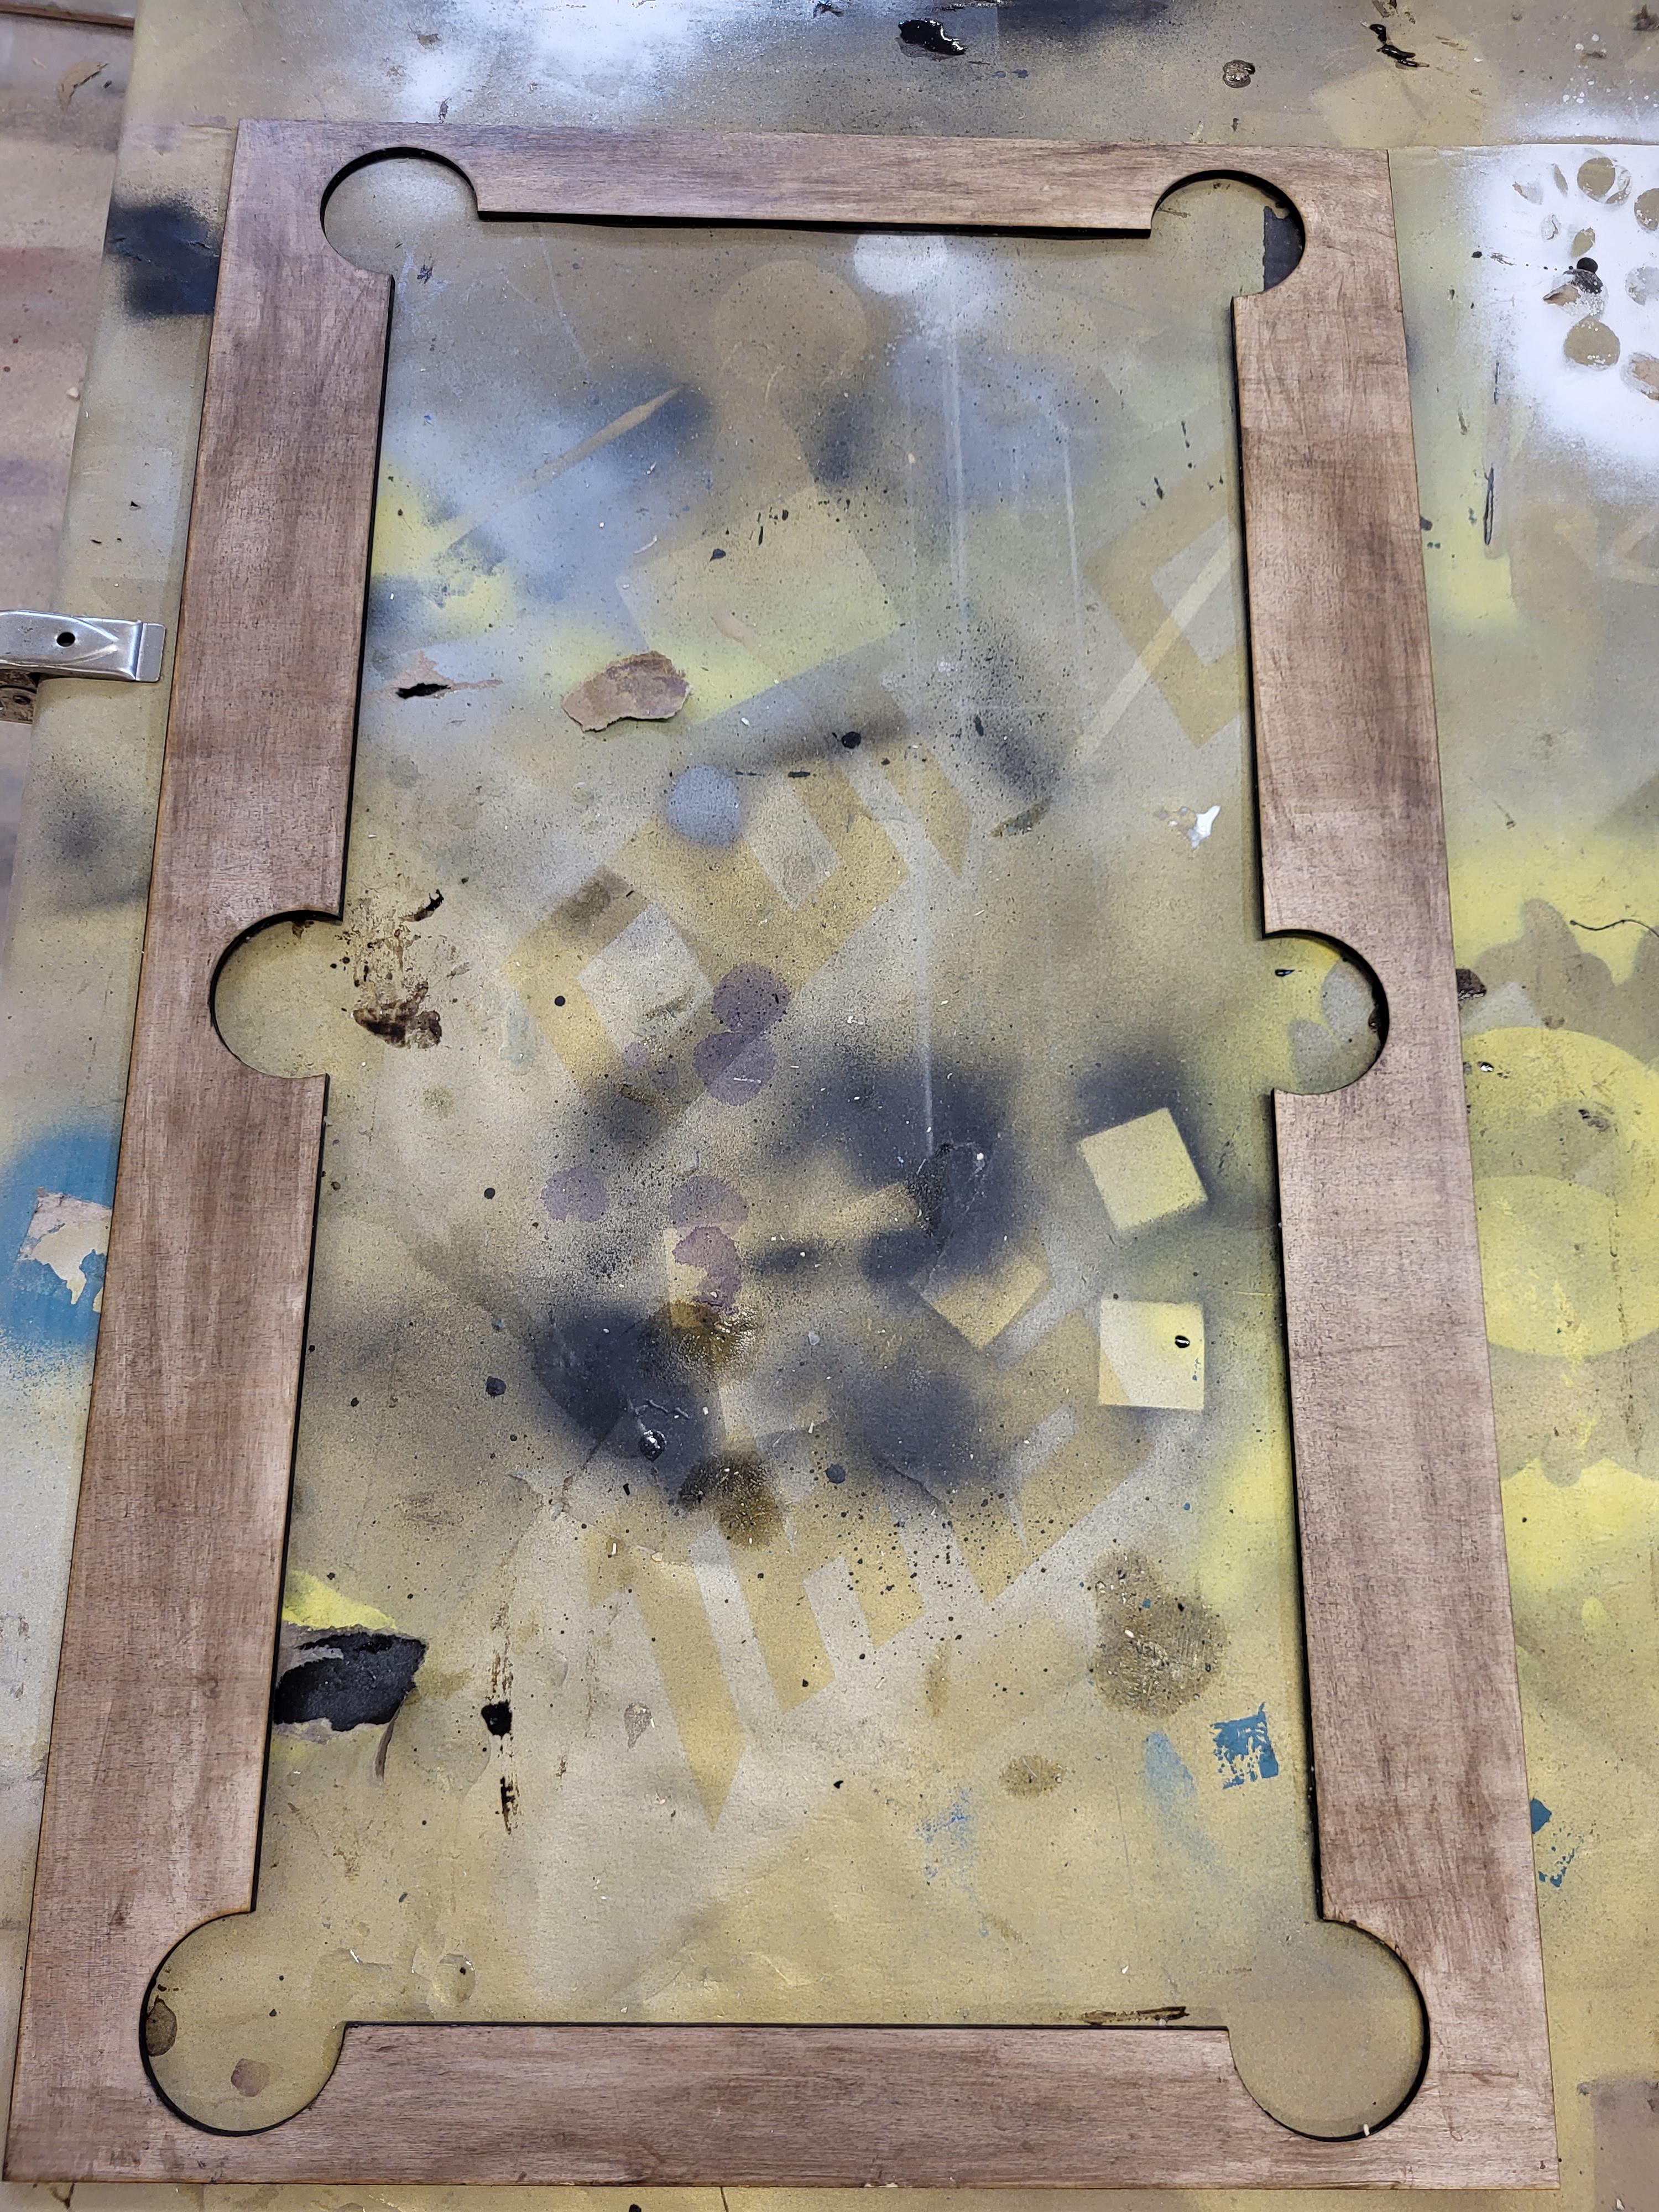
Place 1/4 in thick MDF sheet of wood on the laser cutter. Upload the file to the laser cutter. Press "Box" on the laser cutter to make sure there is enough room for the top to fit on the wood. Press "Start" on the laser cutter. Shut the lid on the laser cutter. The operation will take about 10 minutes. Once it is done, take it out and throw out all the scraps. Stain the piece of wood so it is a little darker than it usually was. I used Mountain Cedar. Let it dry for 24 hours
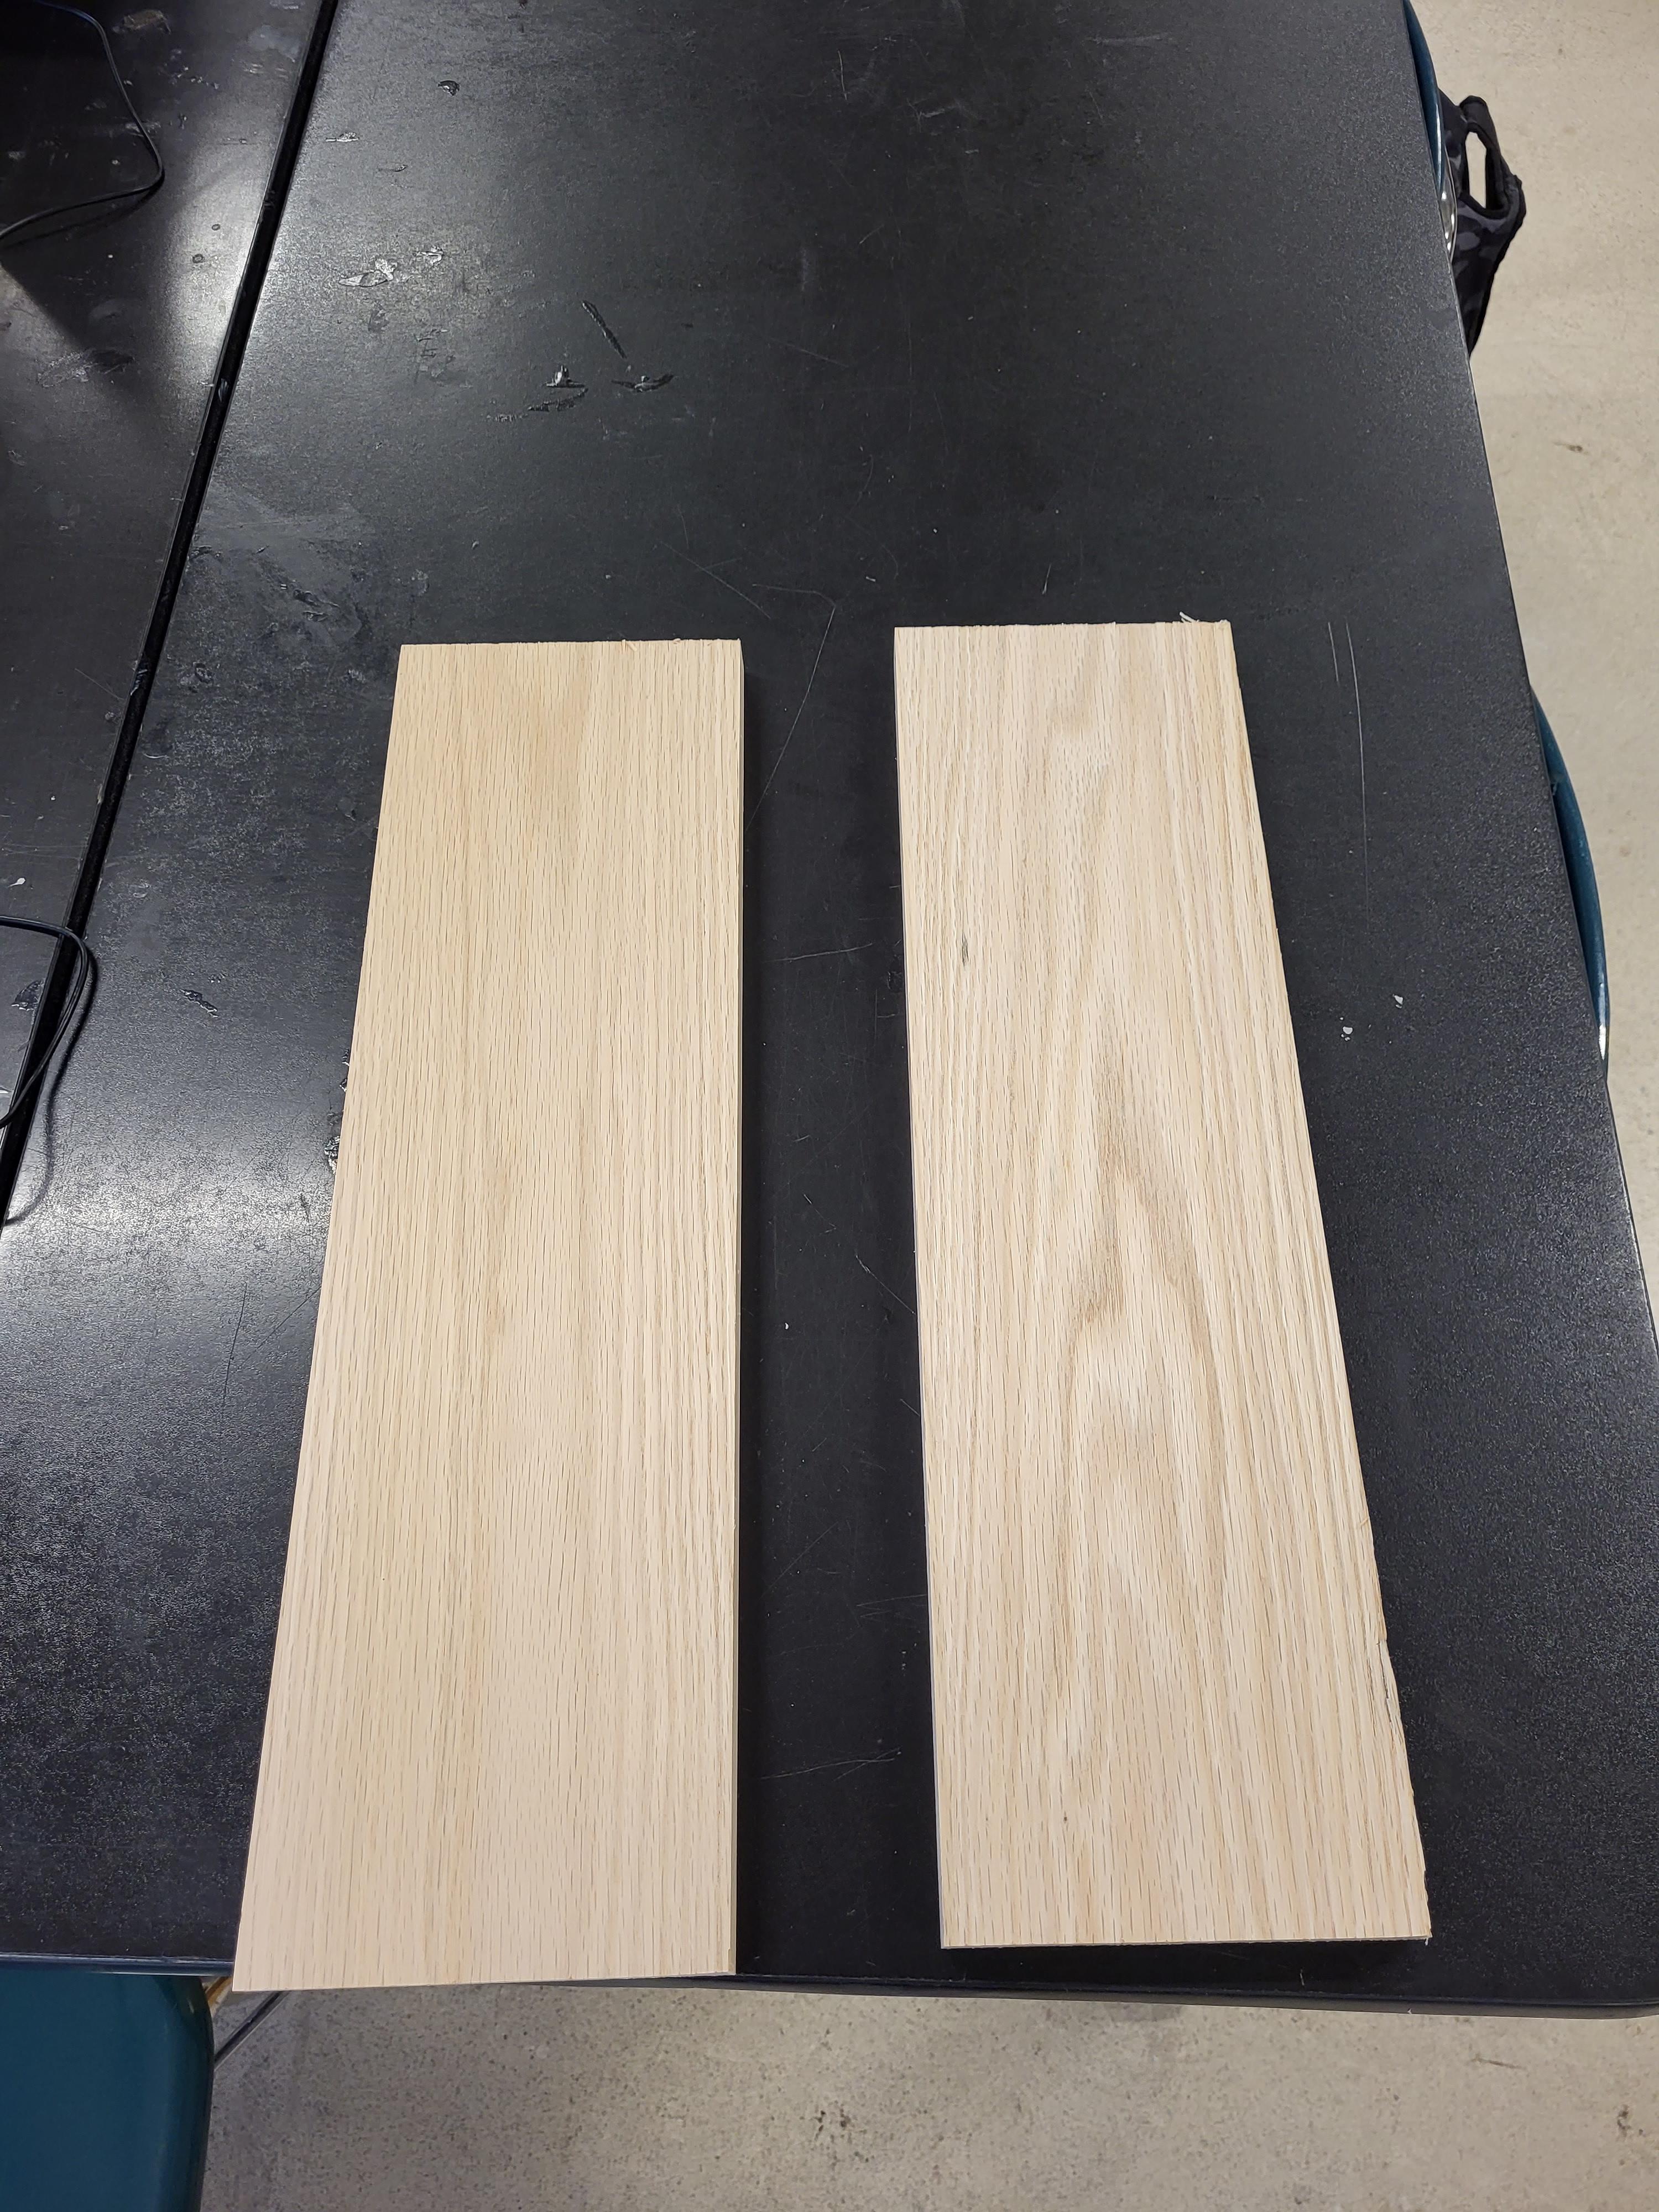
Making the Inner Sides(Part 1)
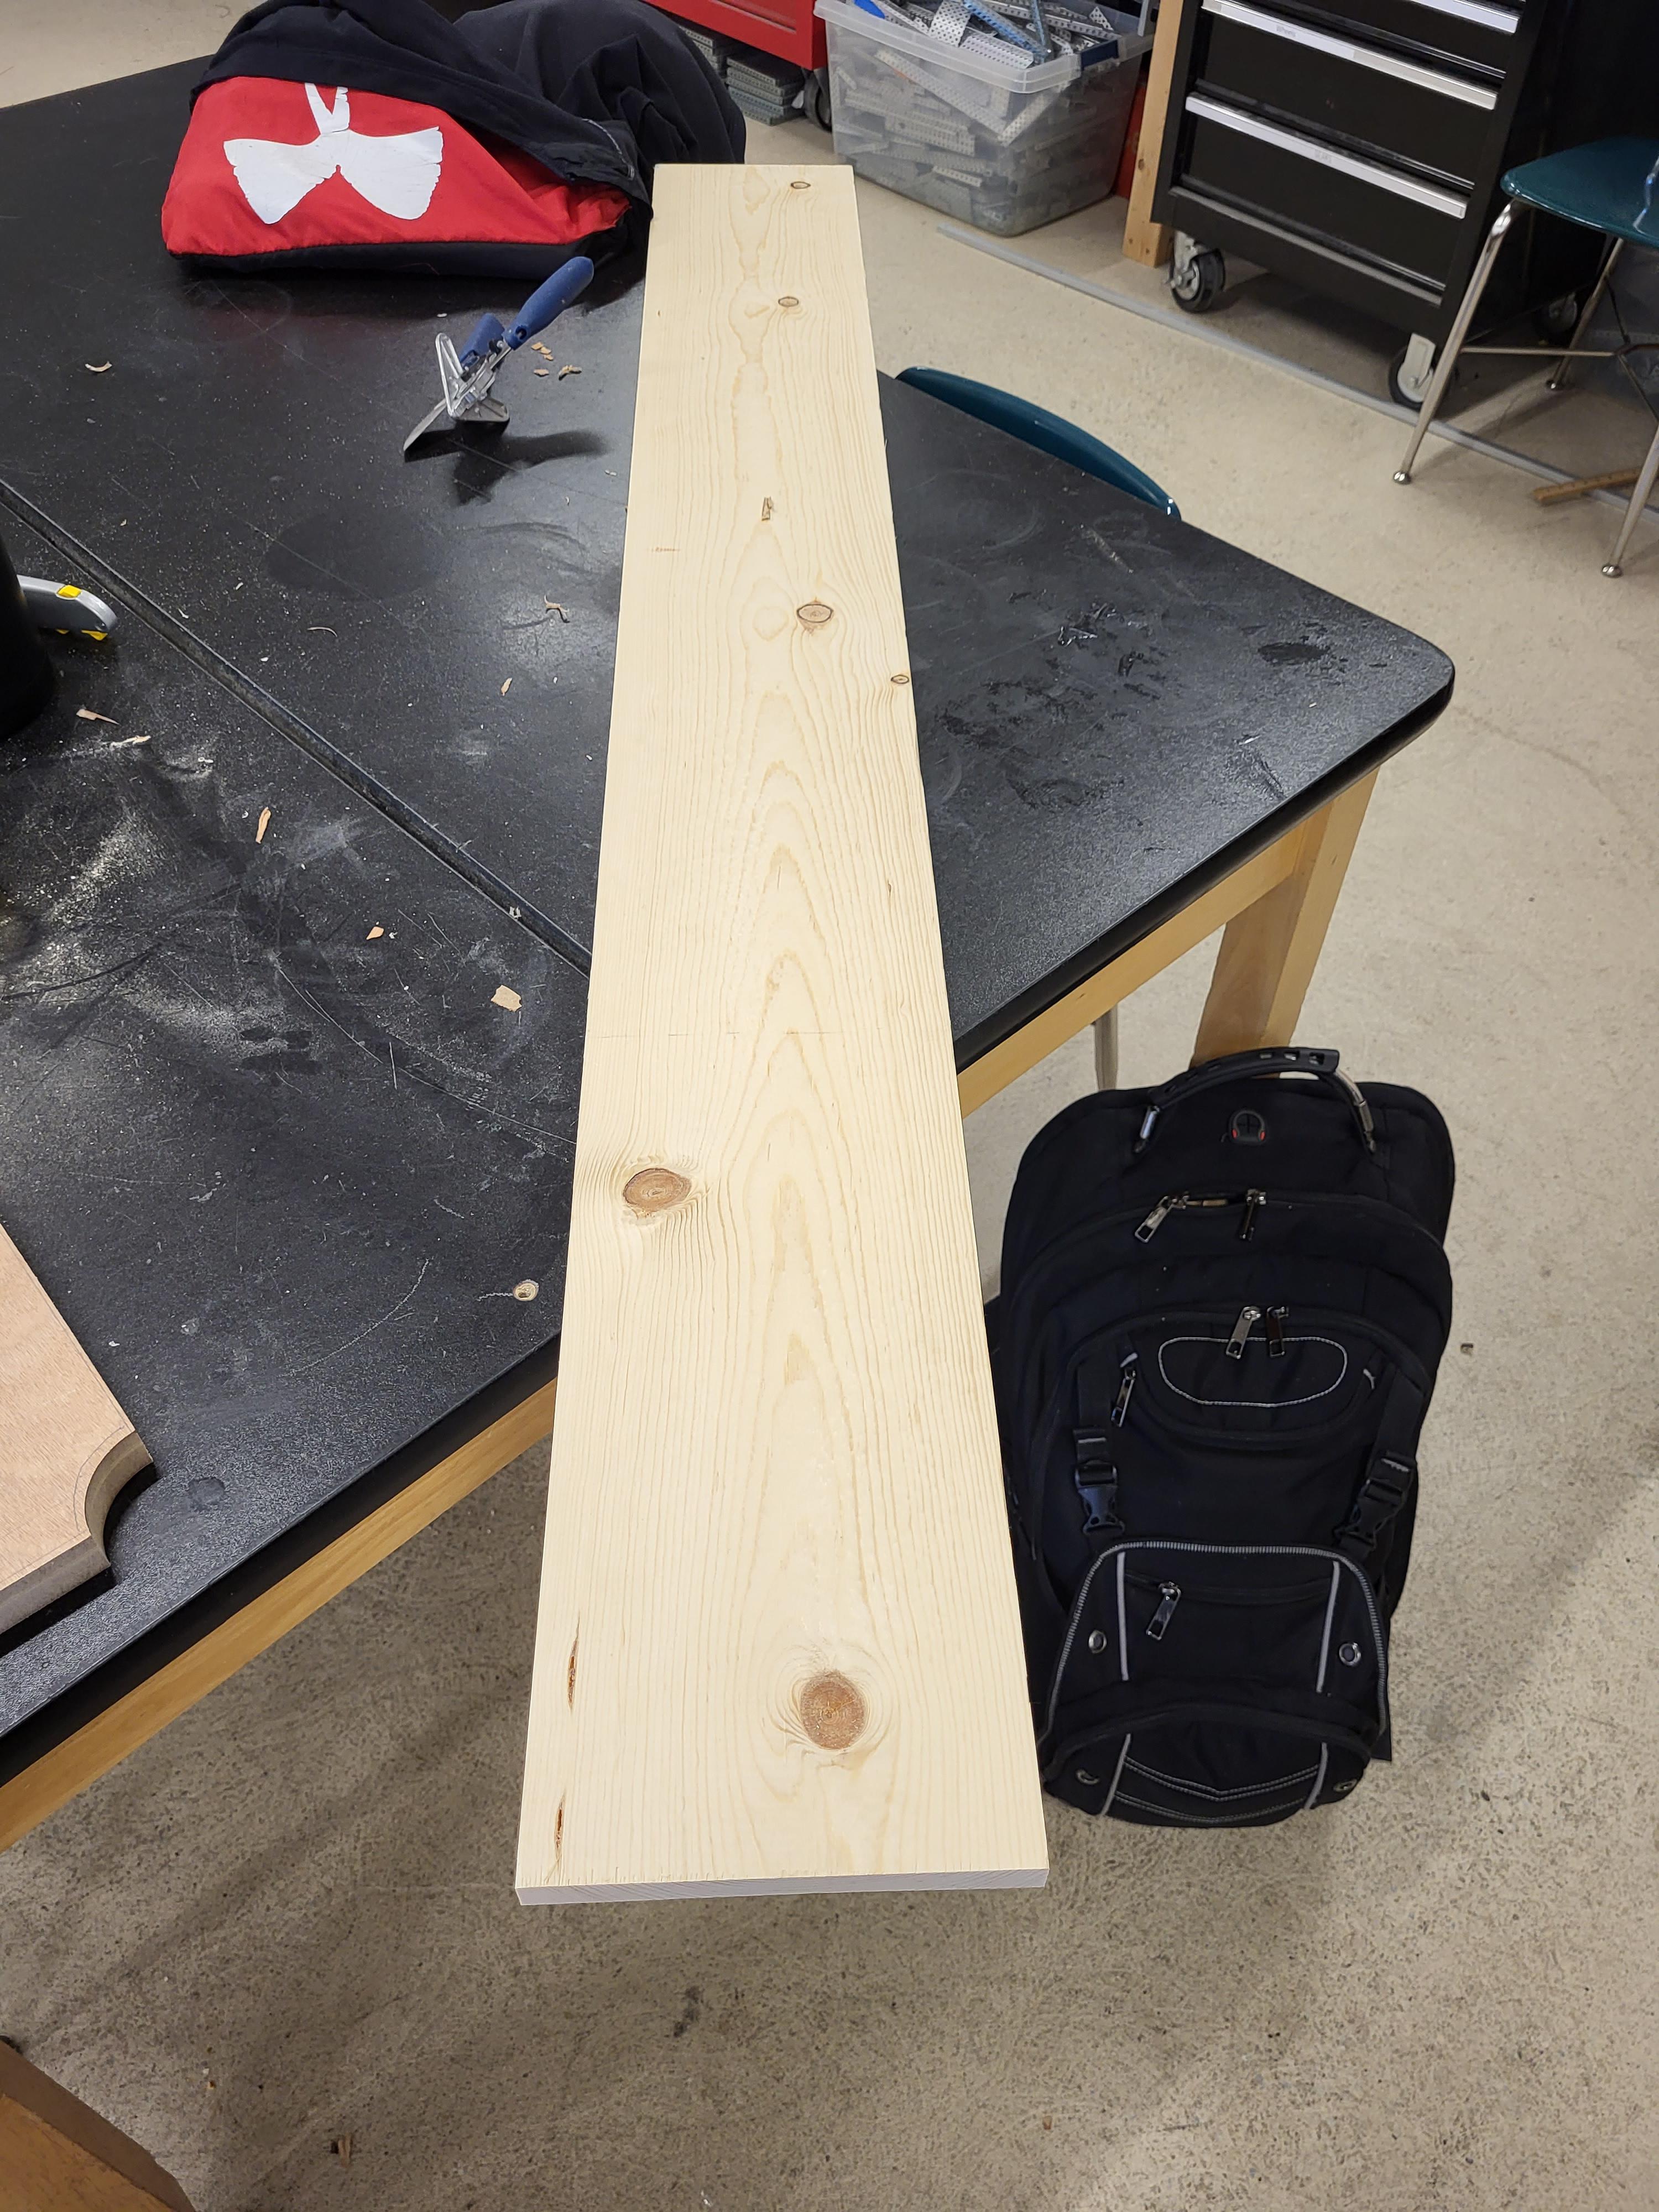
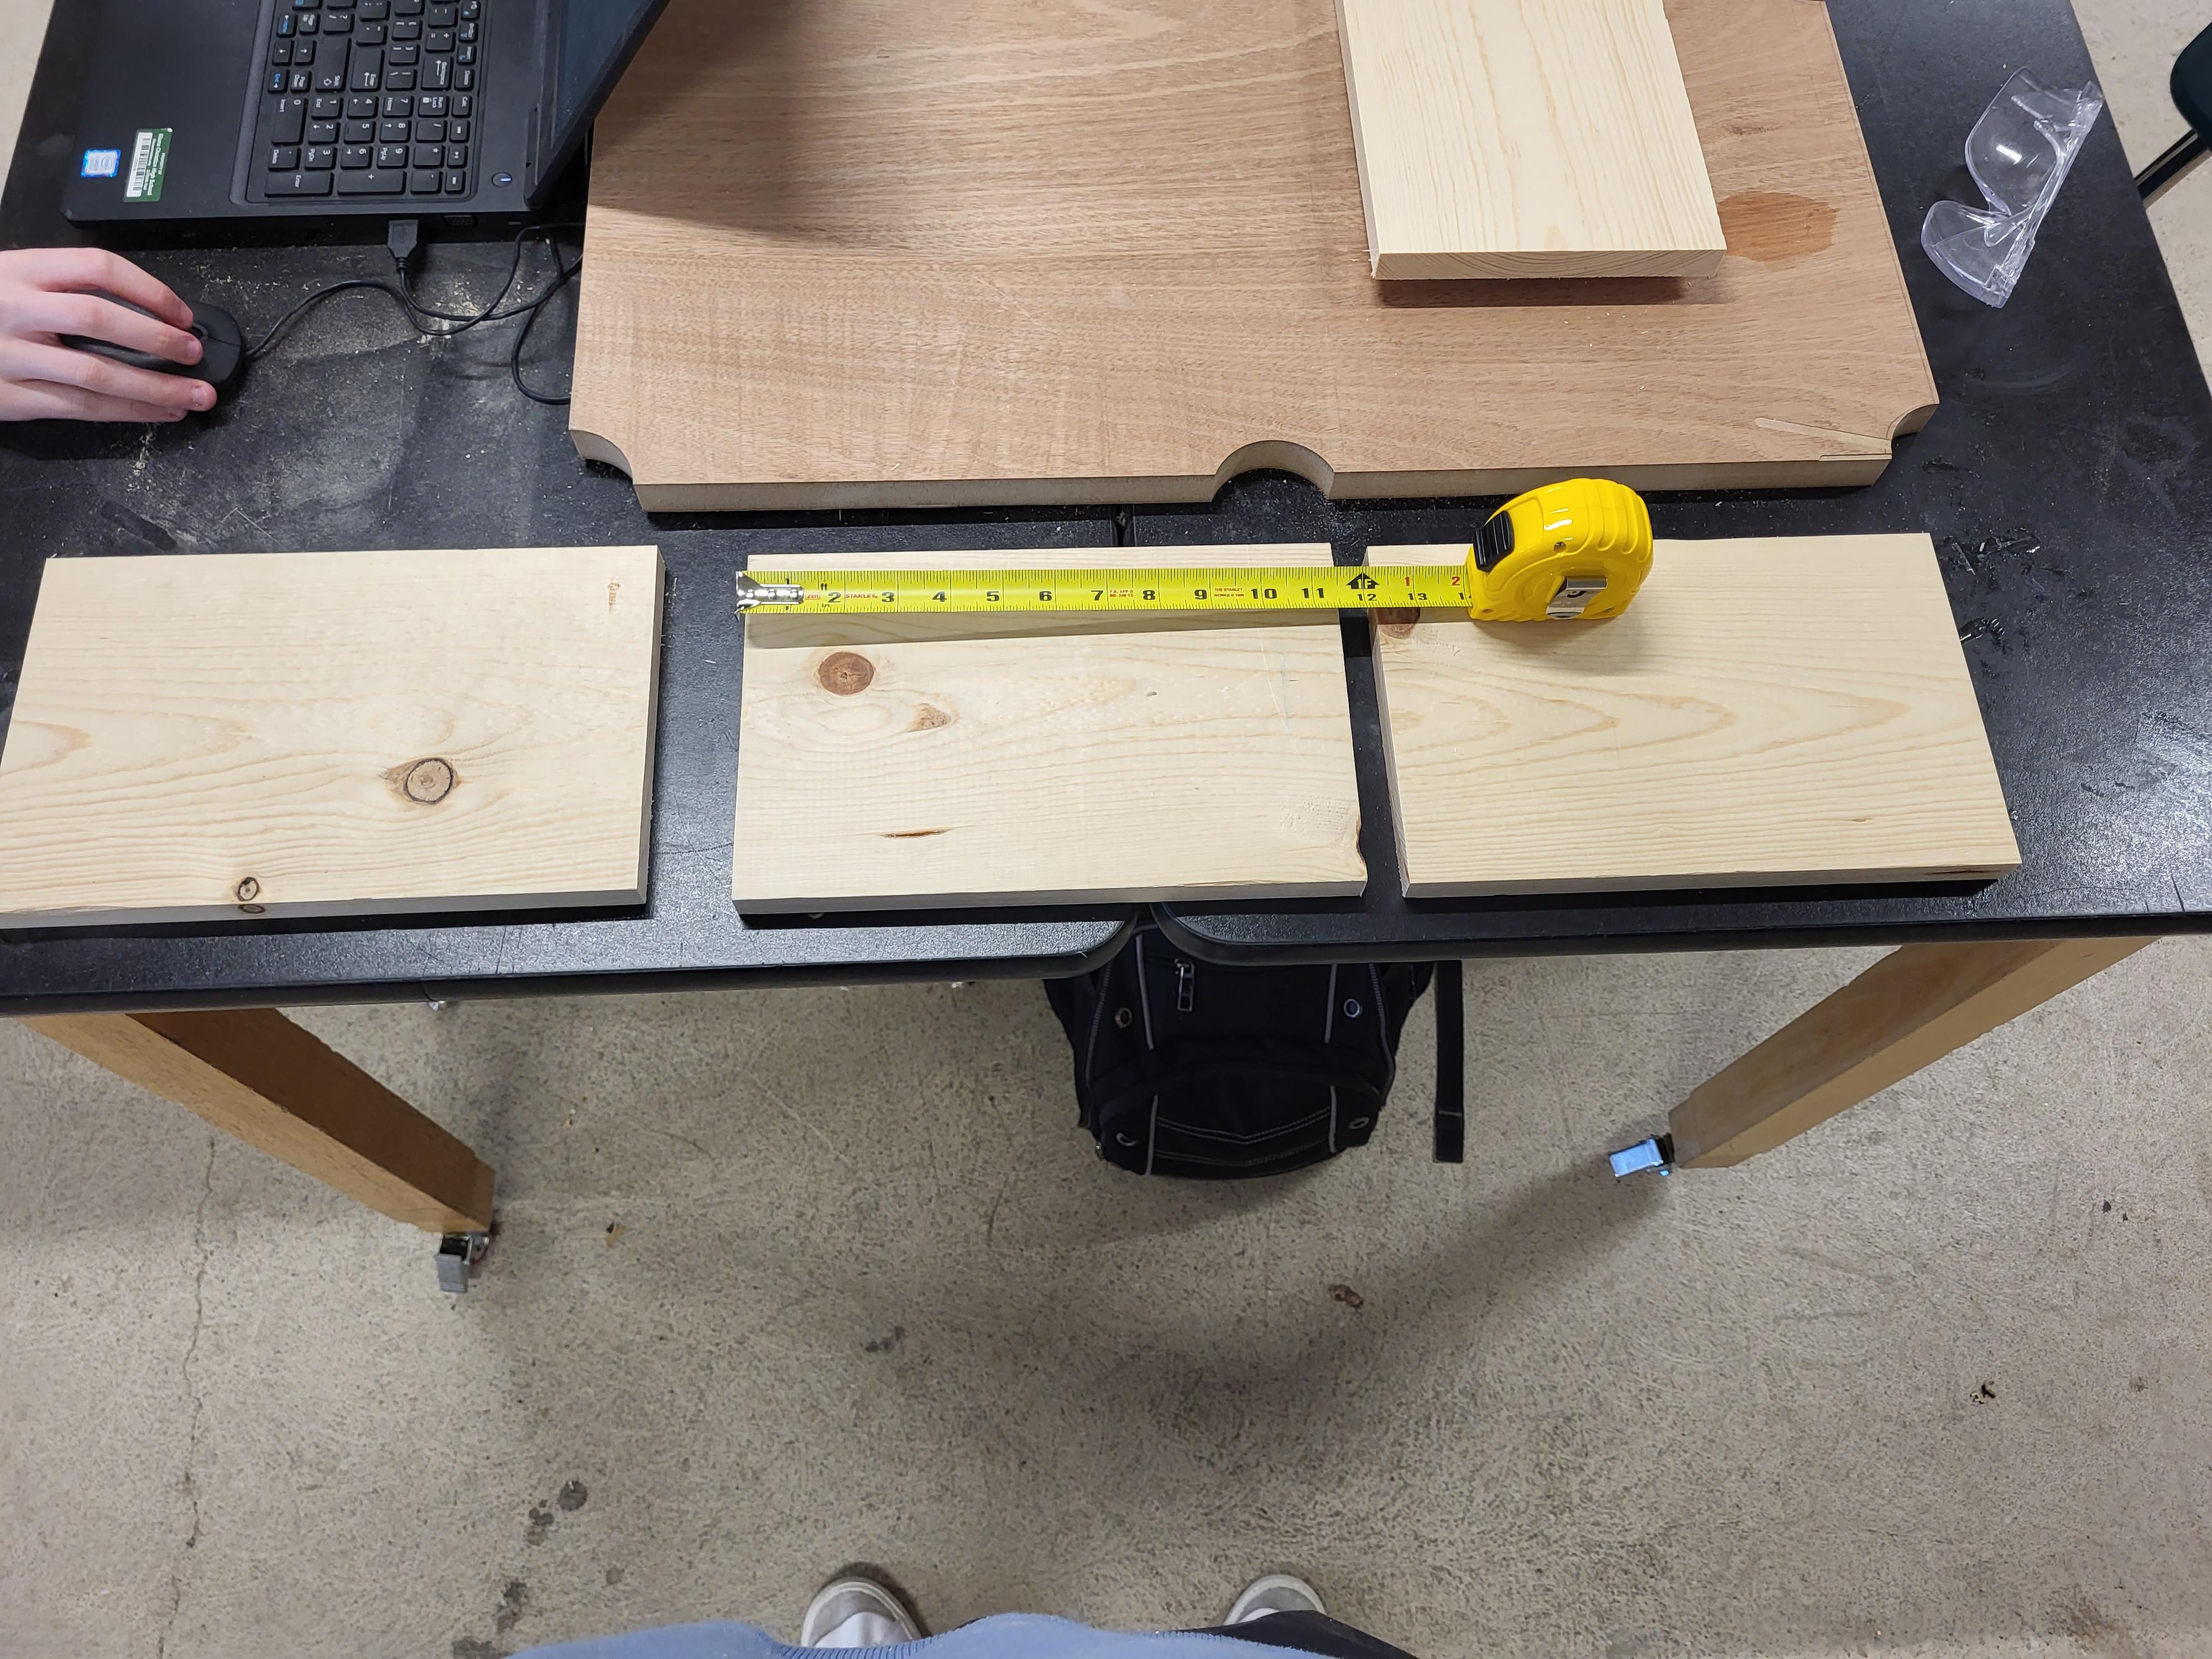
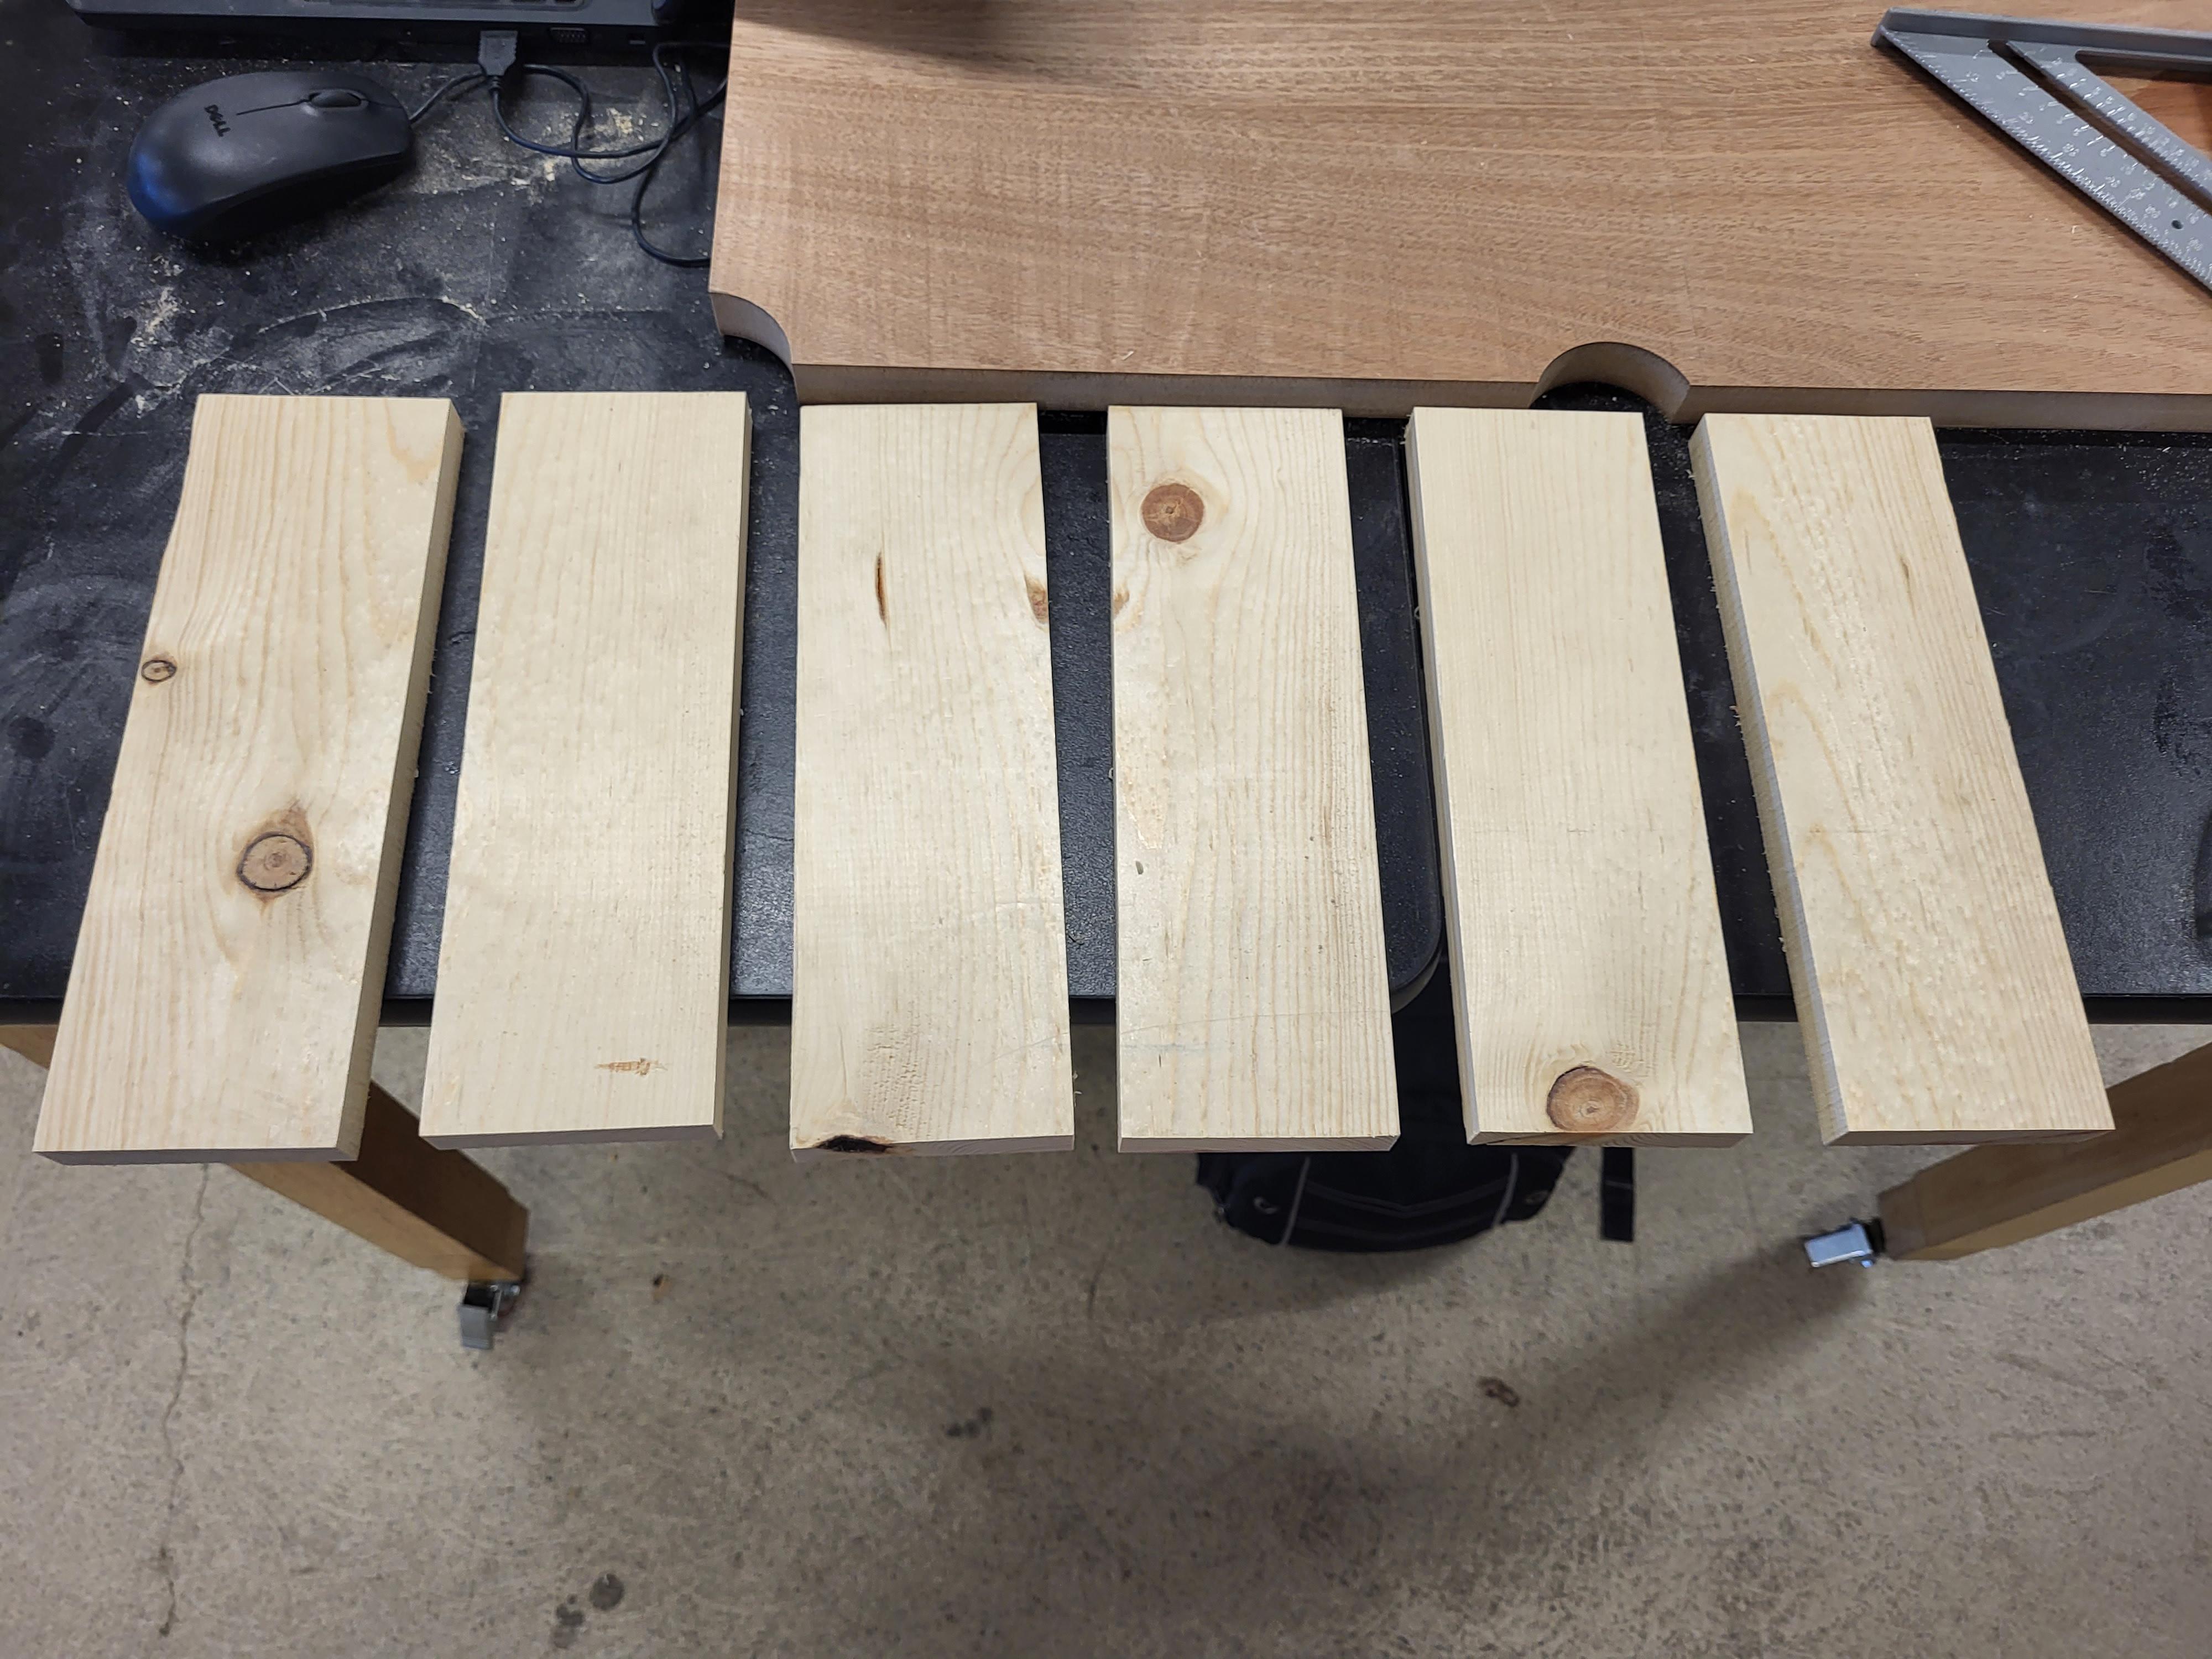
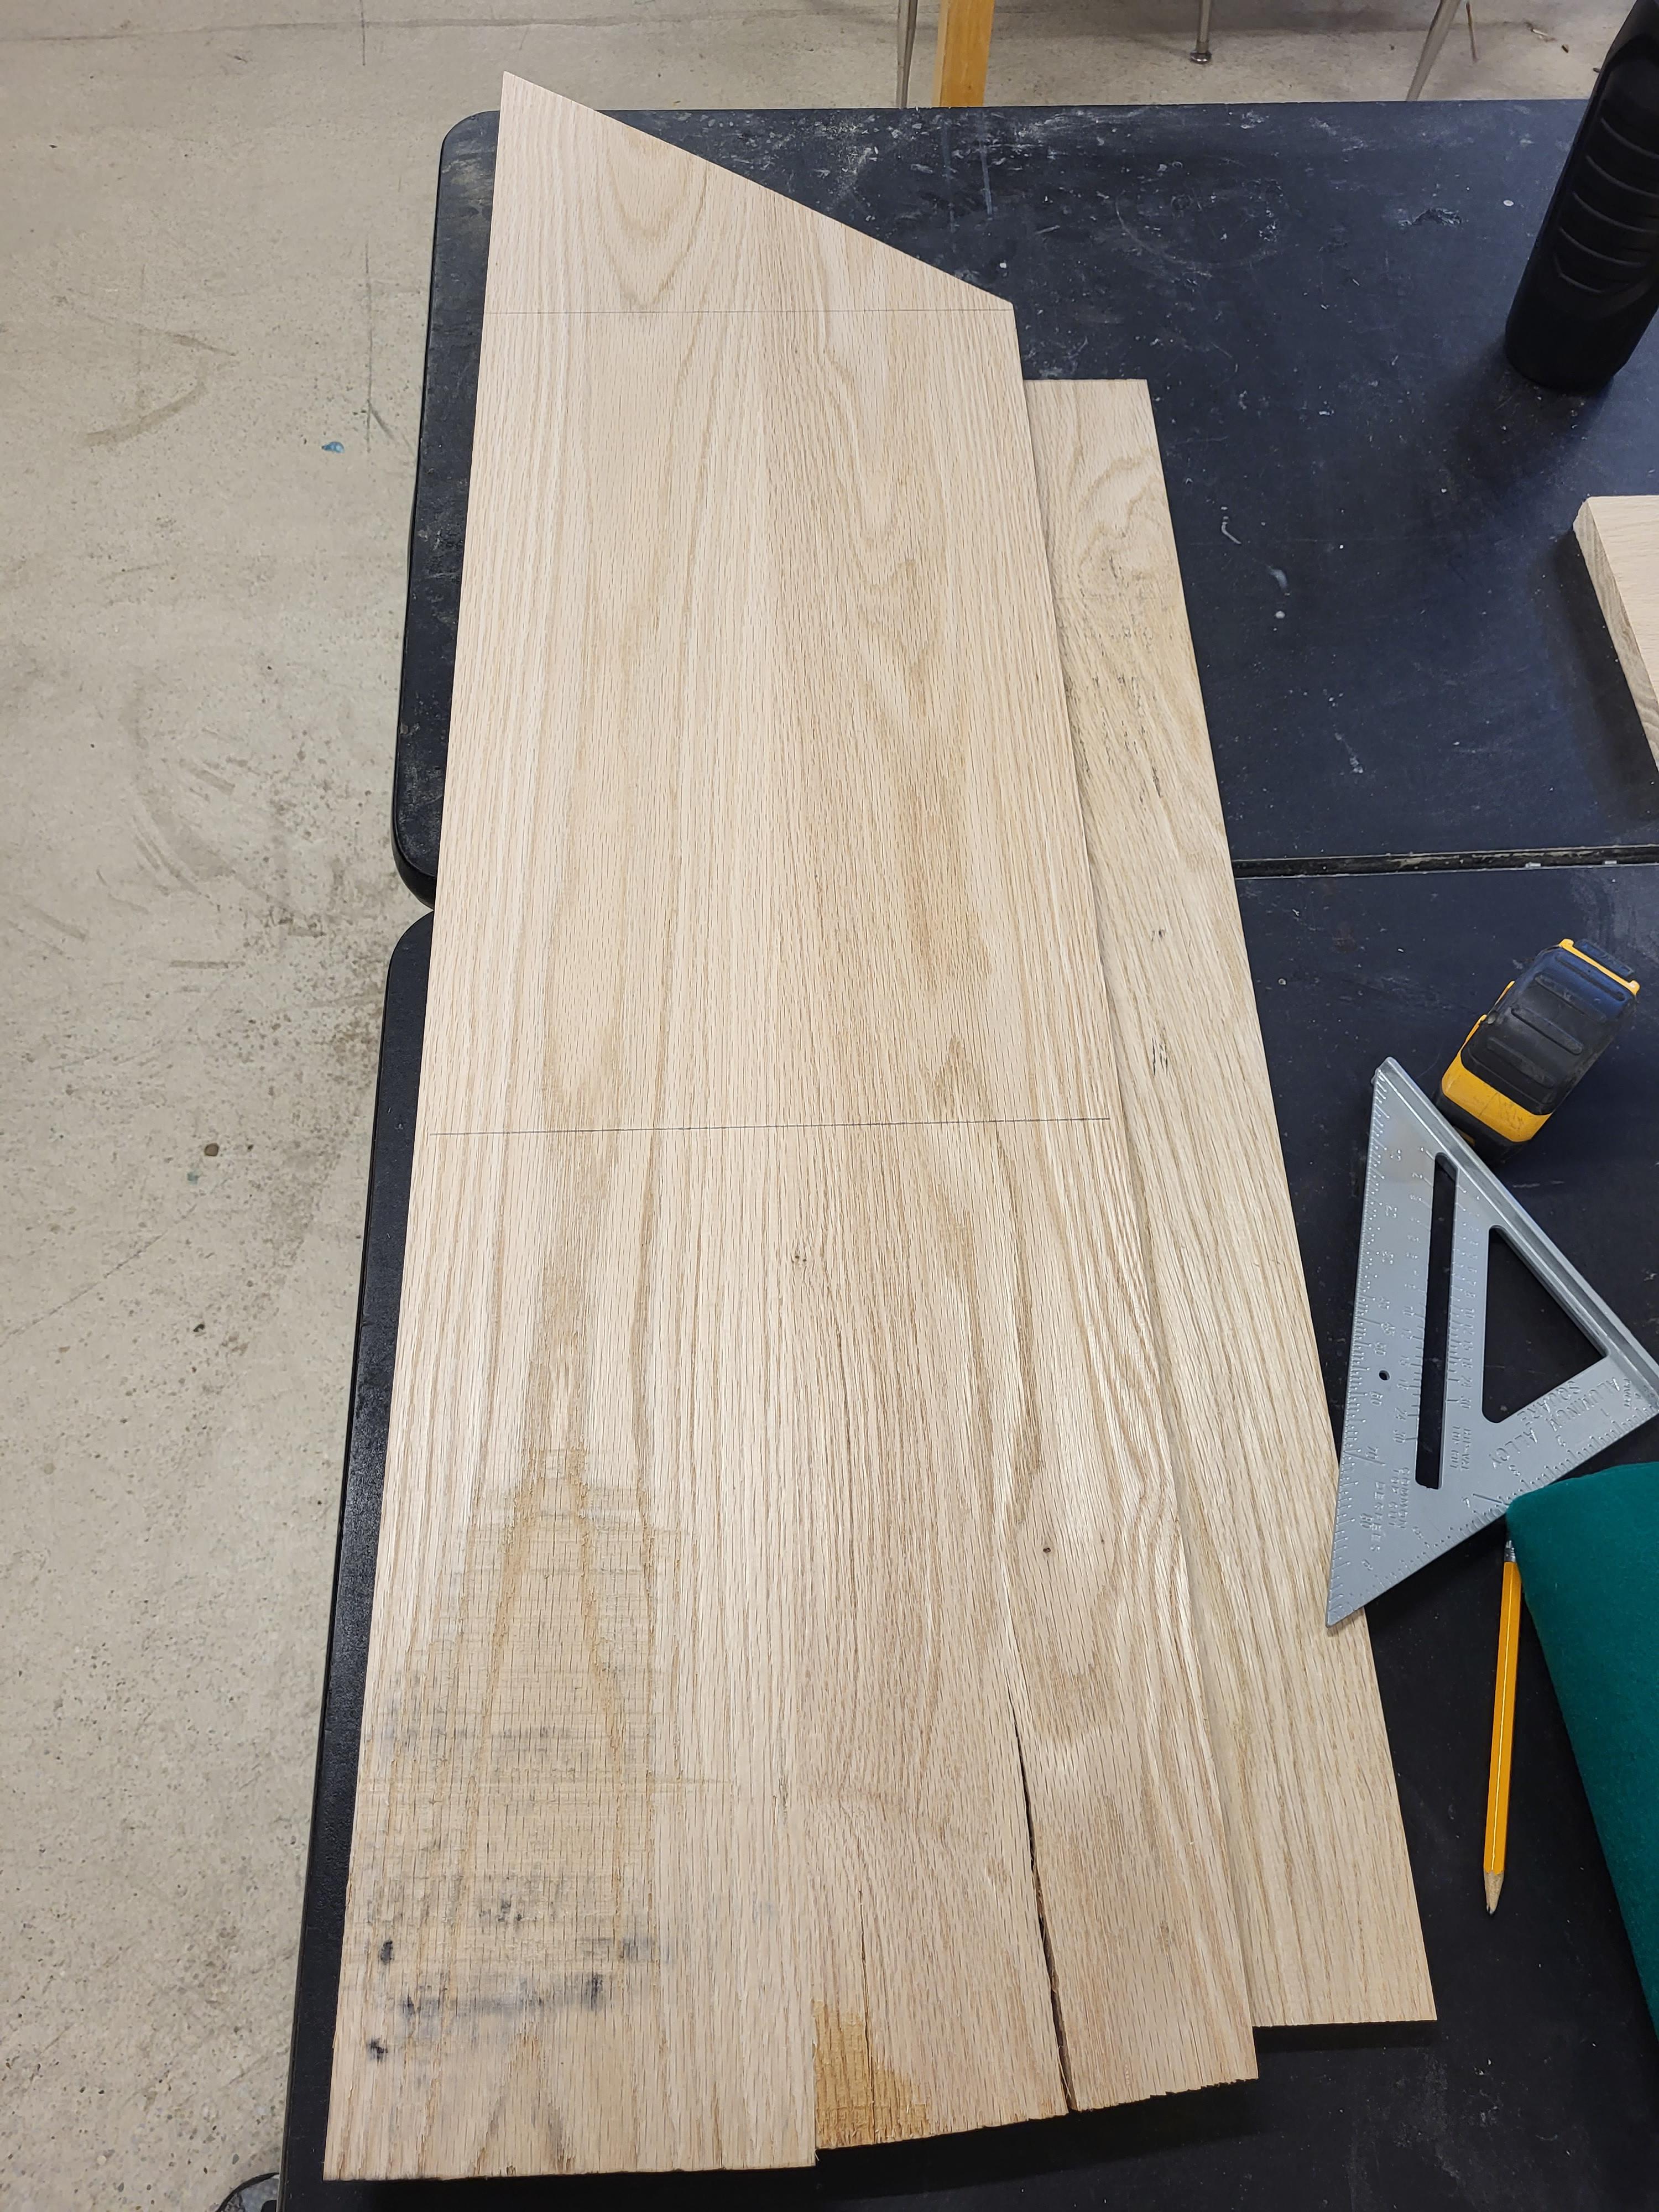
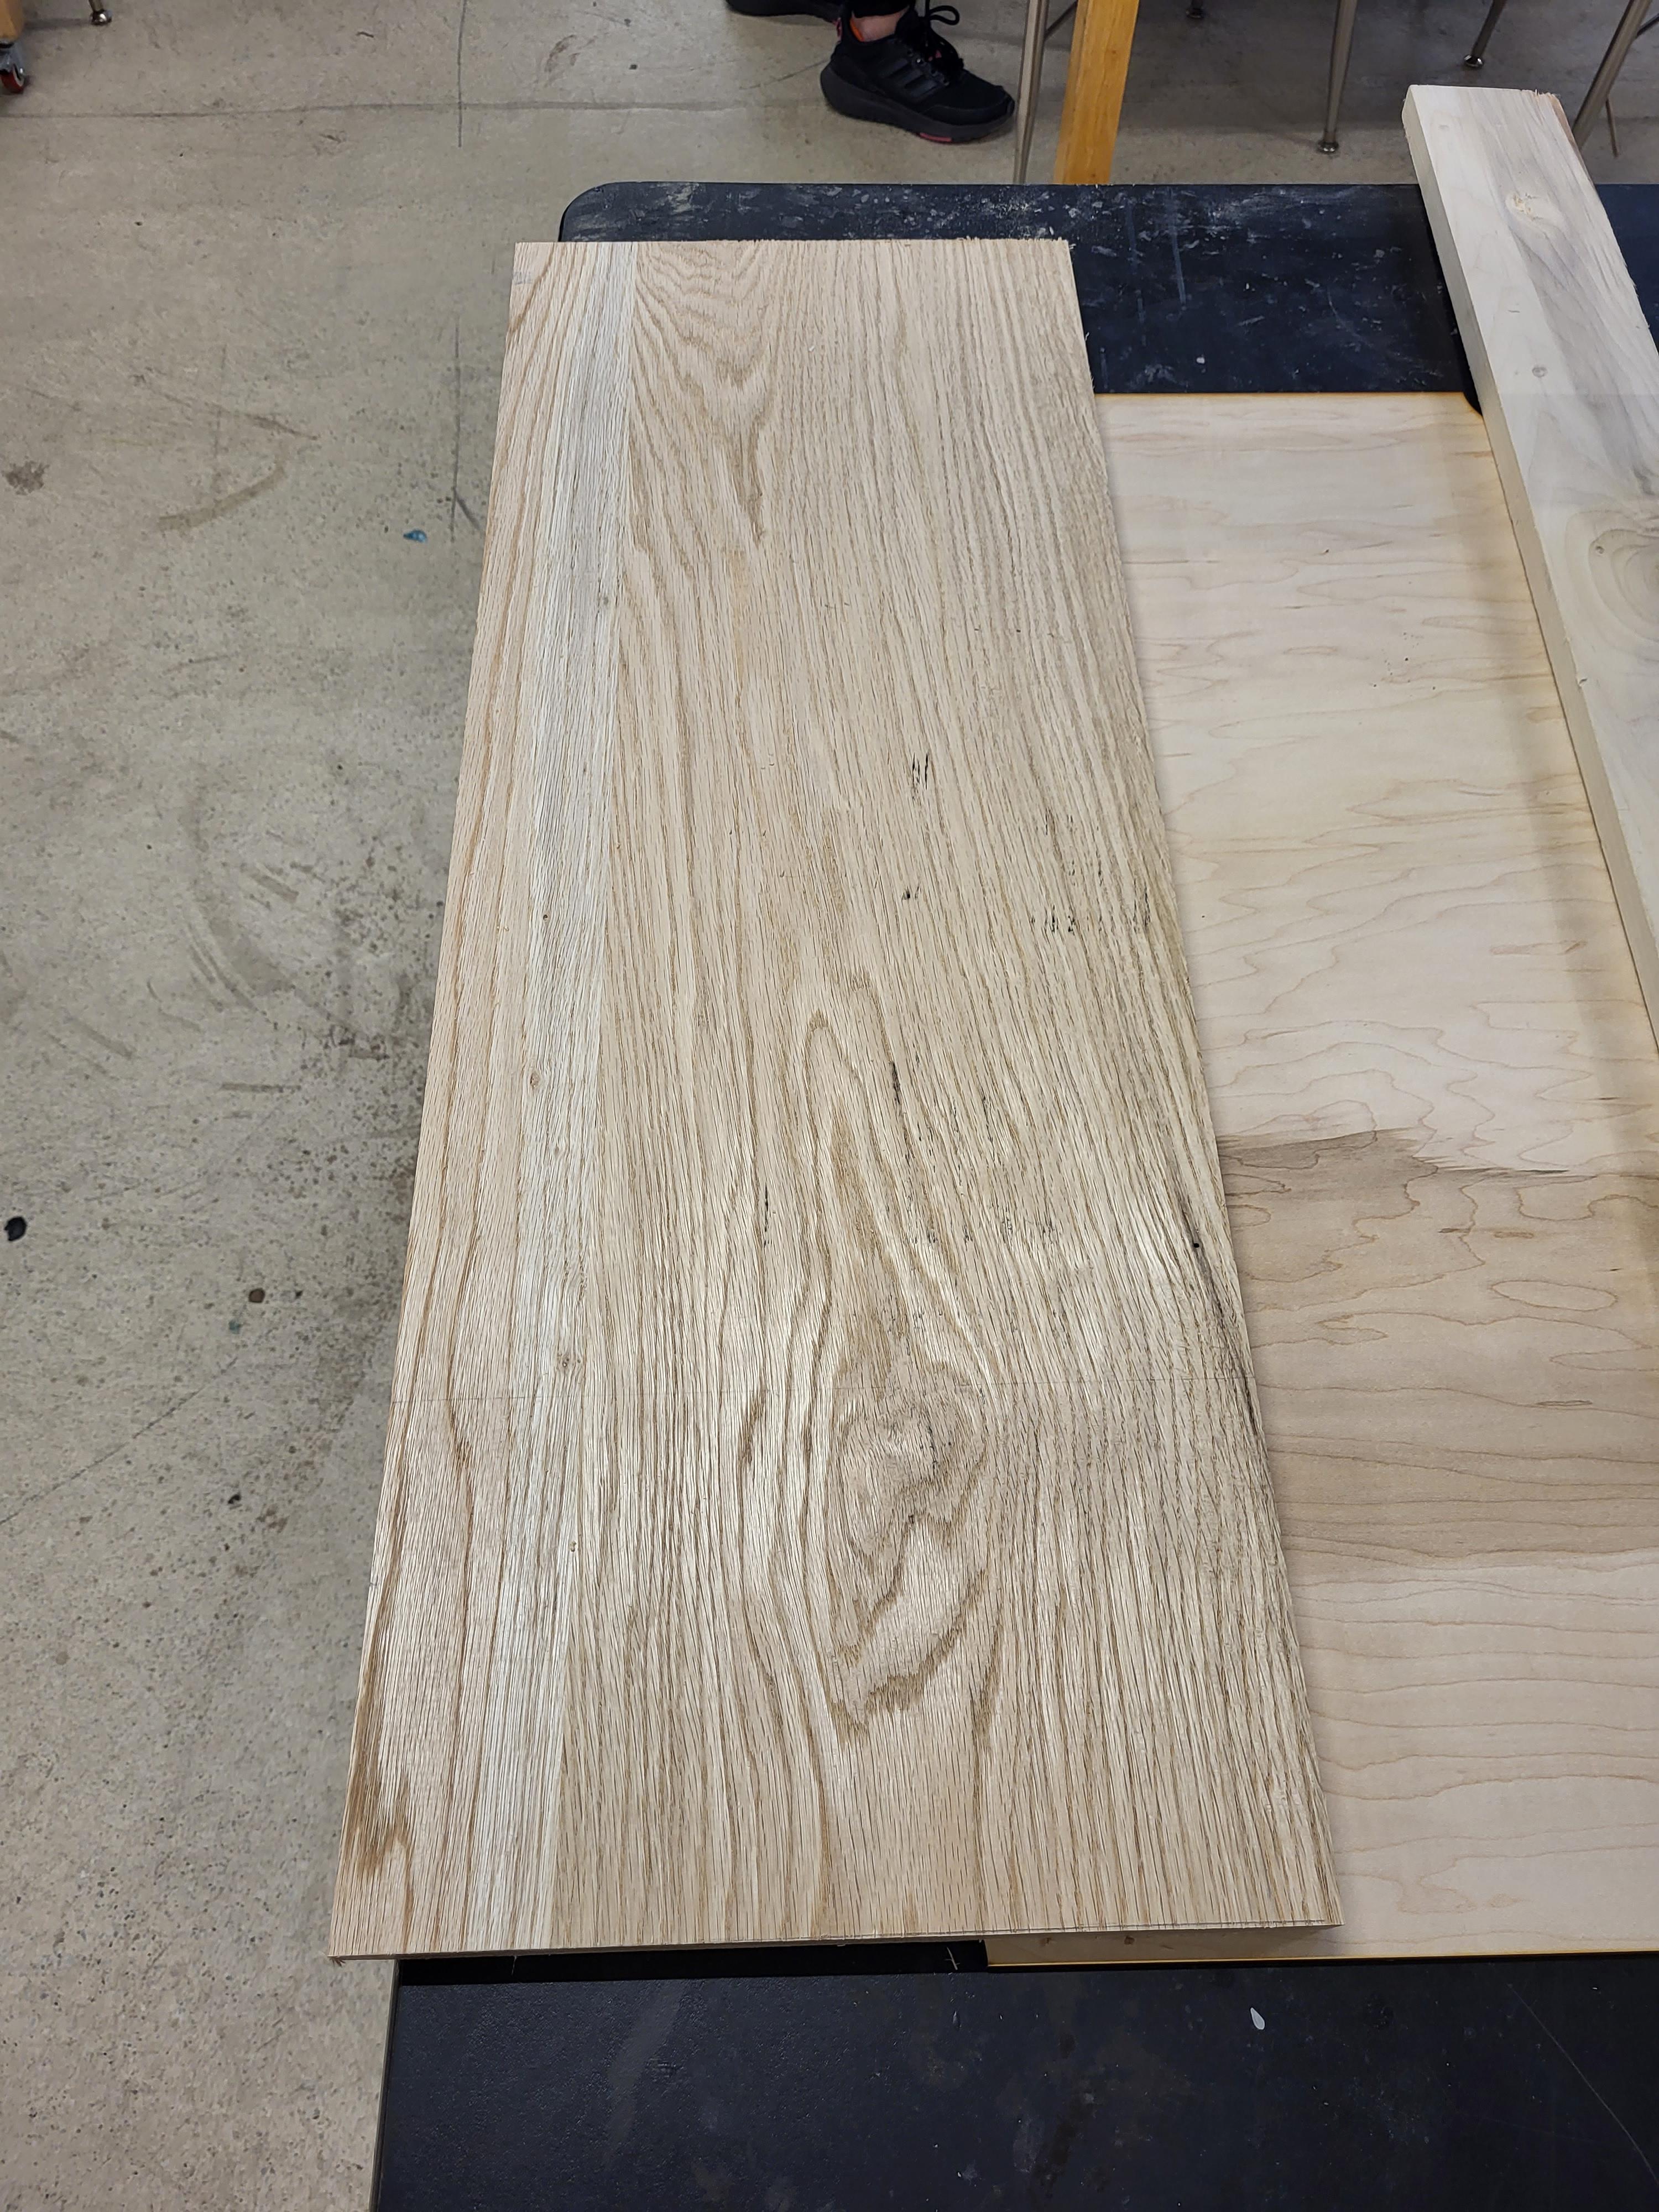
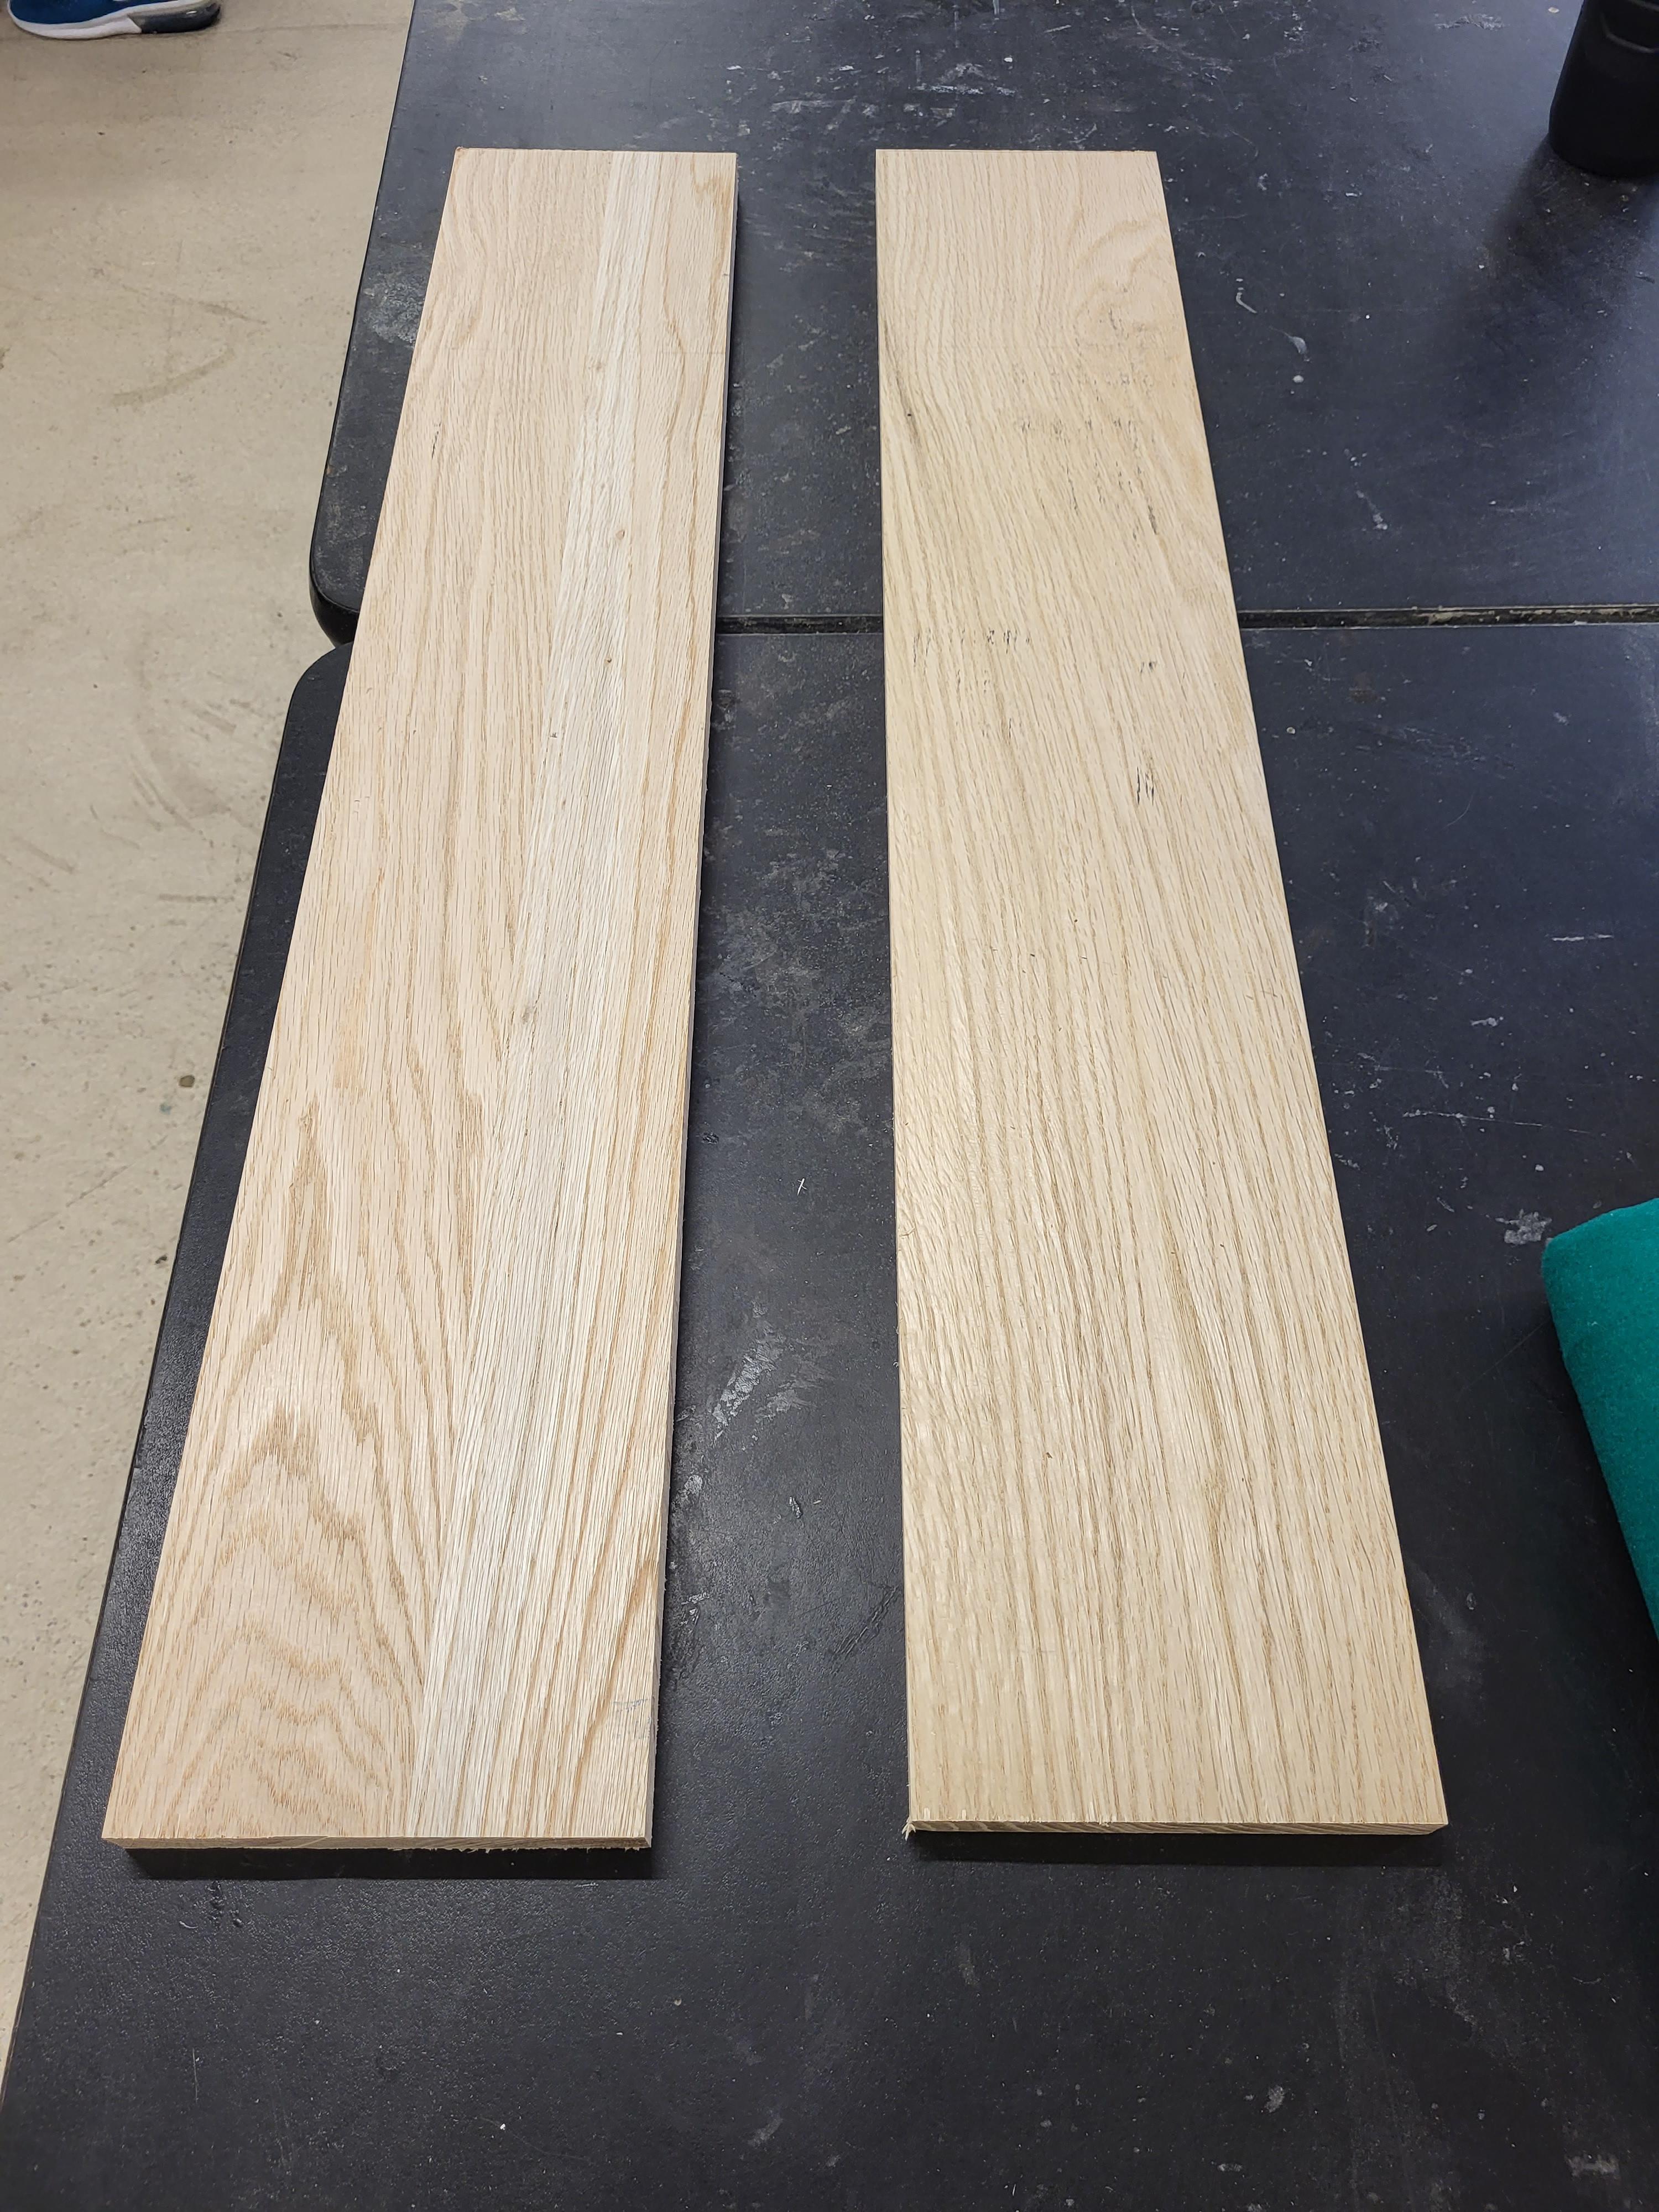
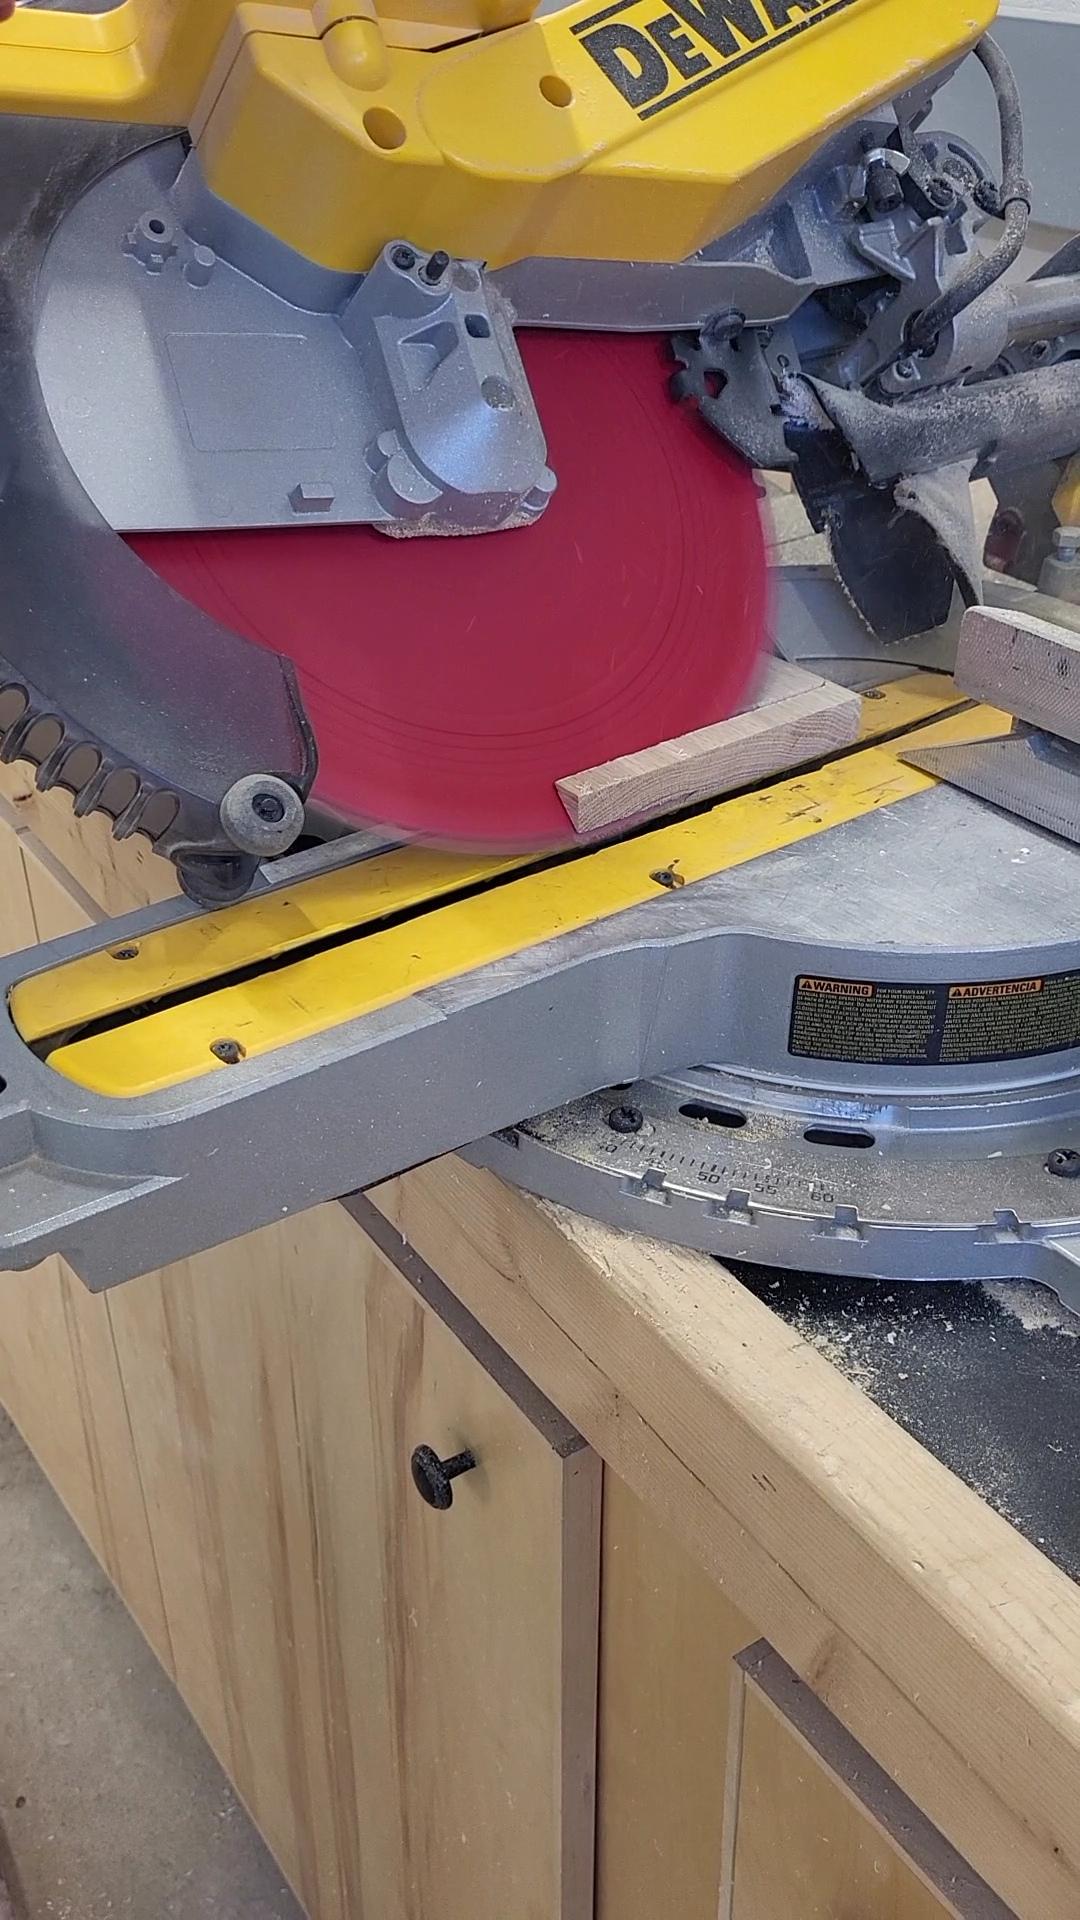
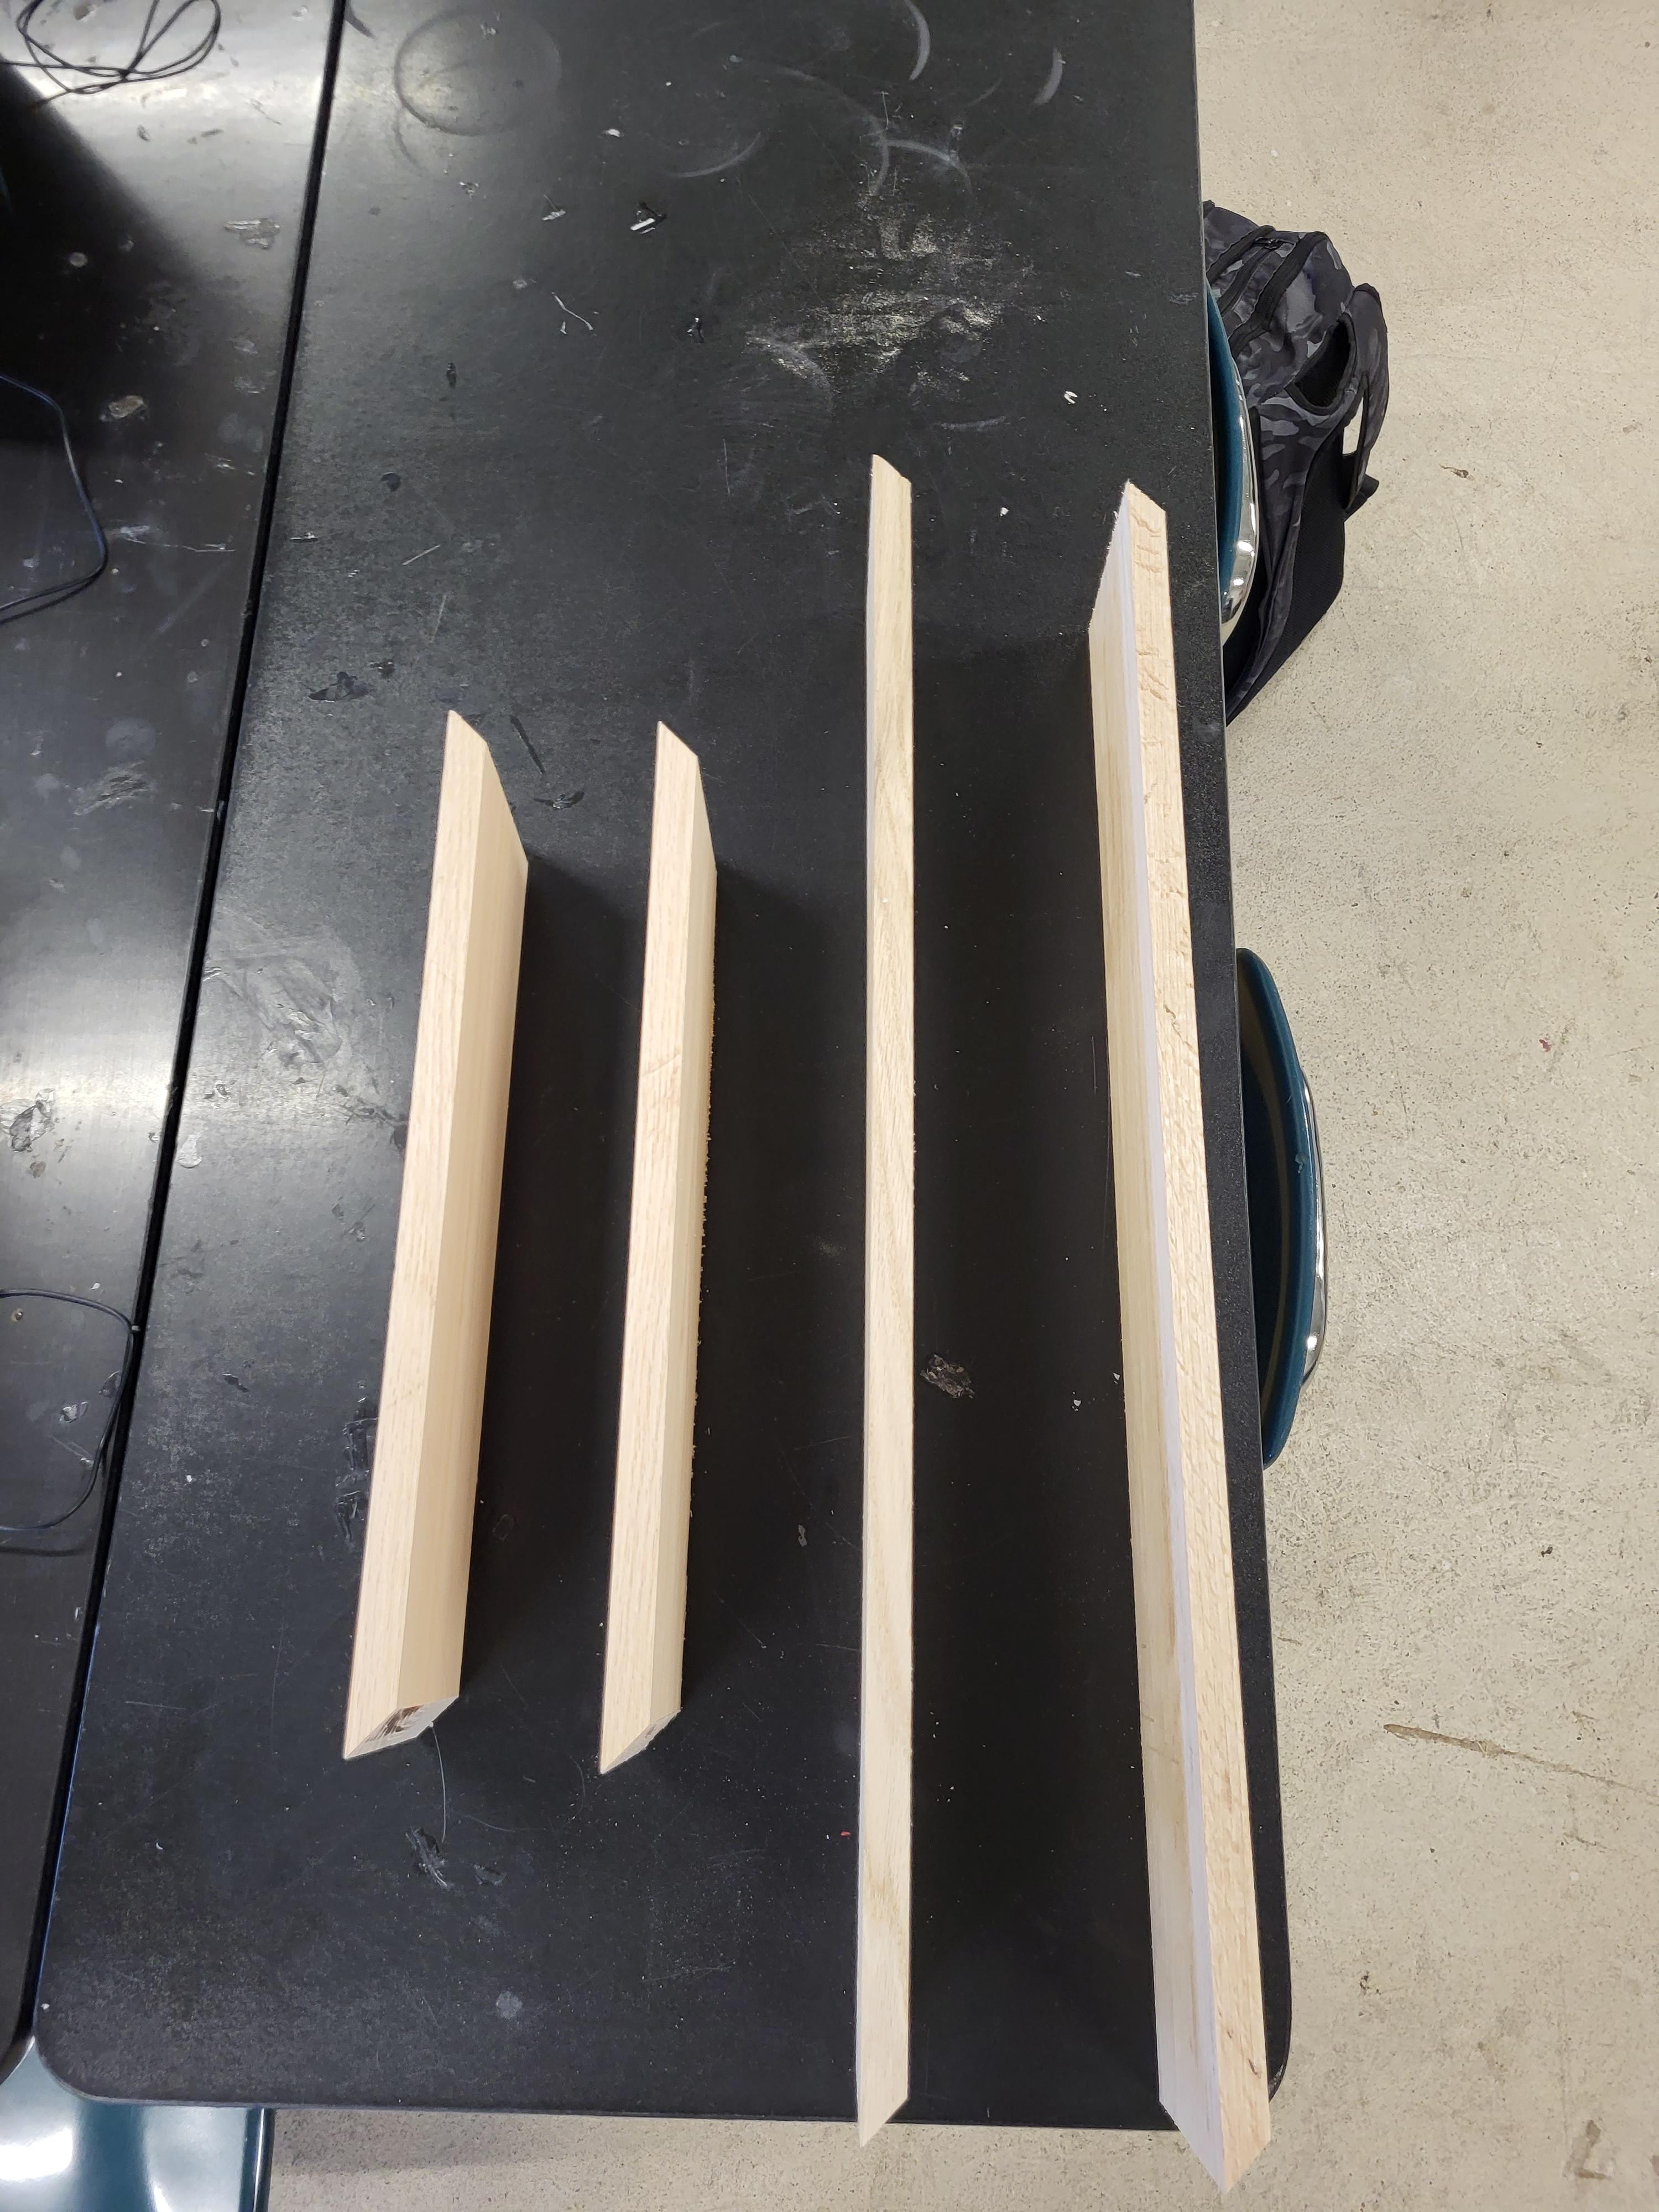
Get a long plank of wood that has a width of 7 in. Cut 3 pieces of wood with the chop saw that have the length of 11 1/2 in. Now take the band saw and cut each of the 3 pieces of wood in half vertically. Use the electrical sander to make each piece very smooth.
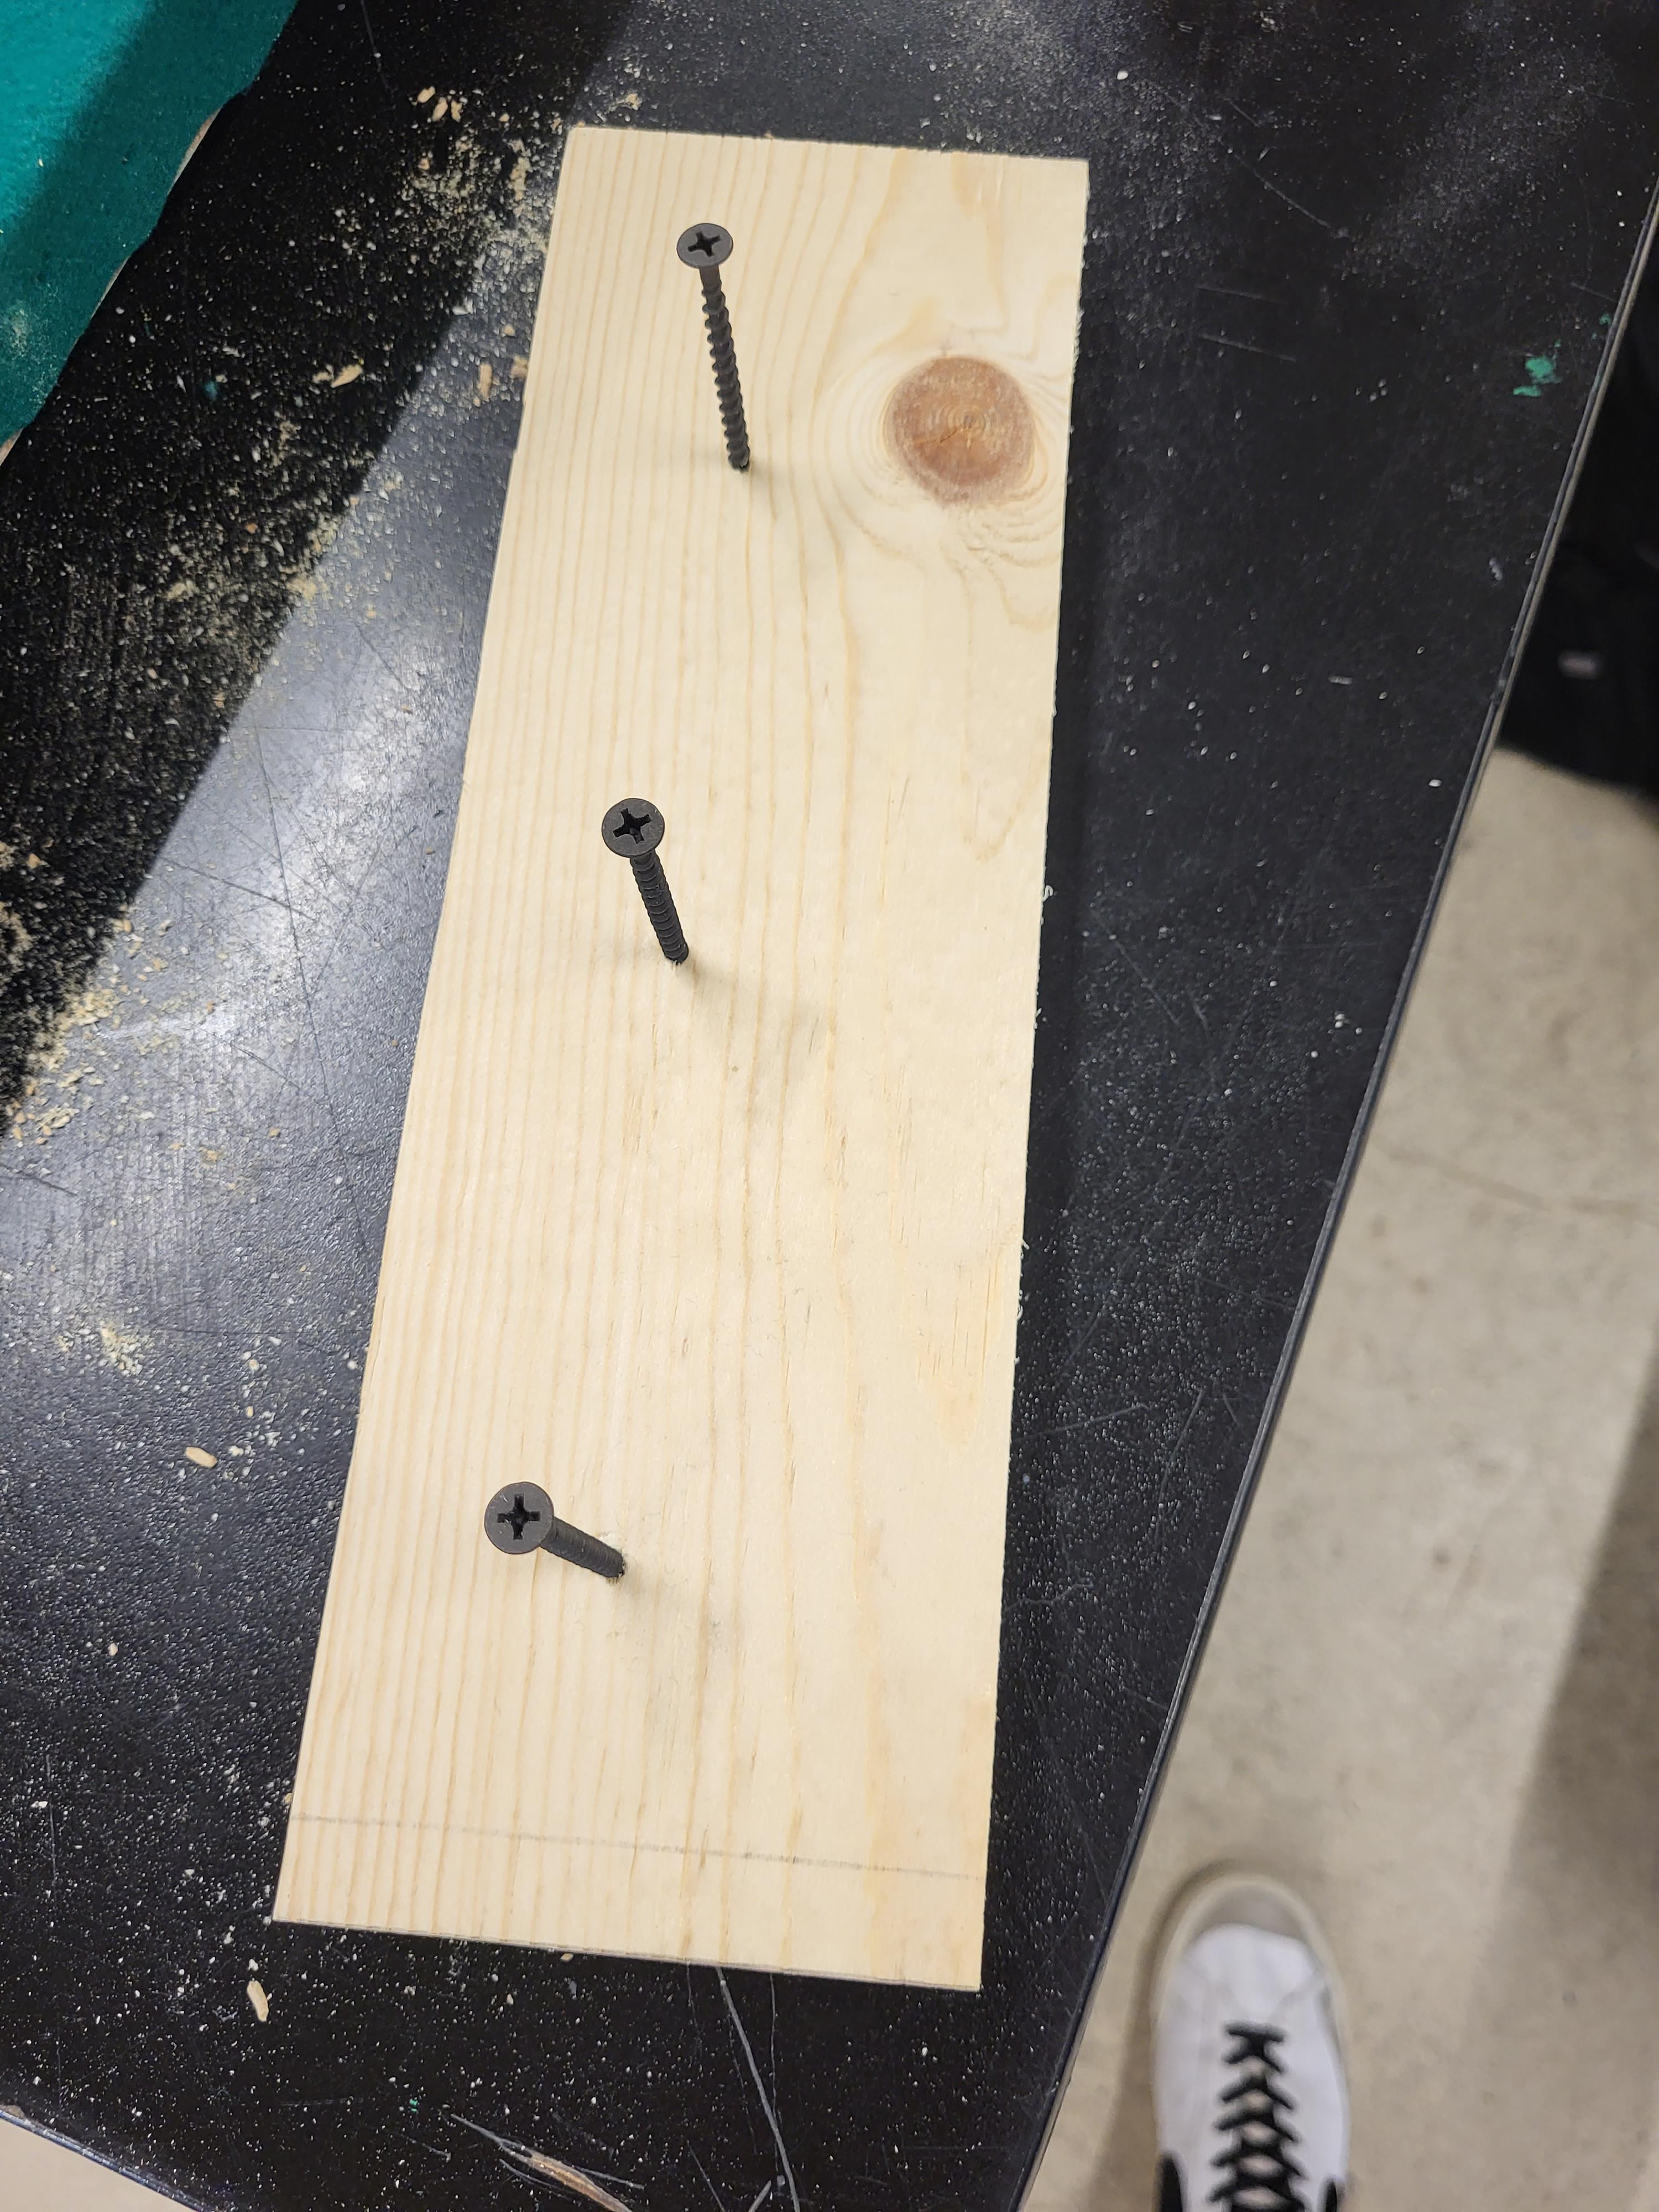
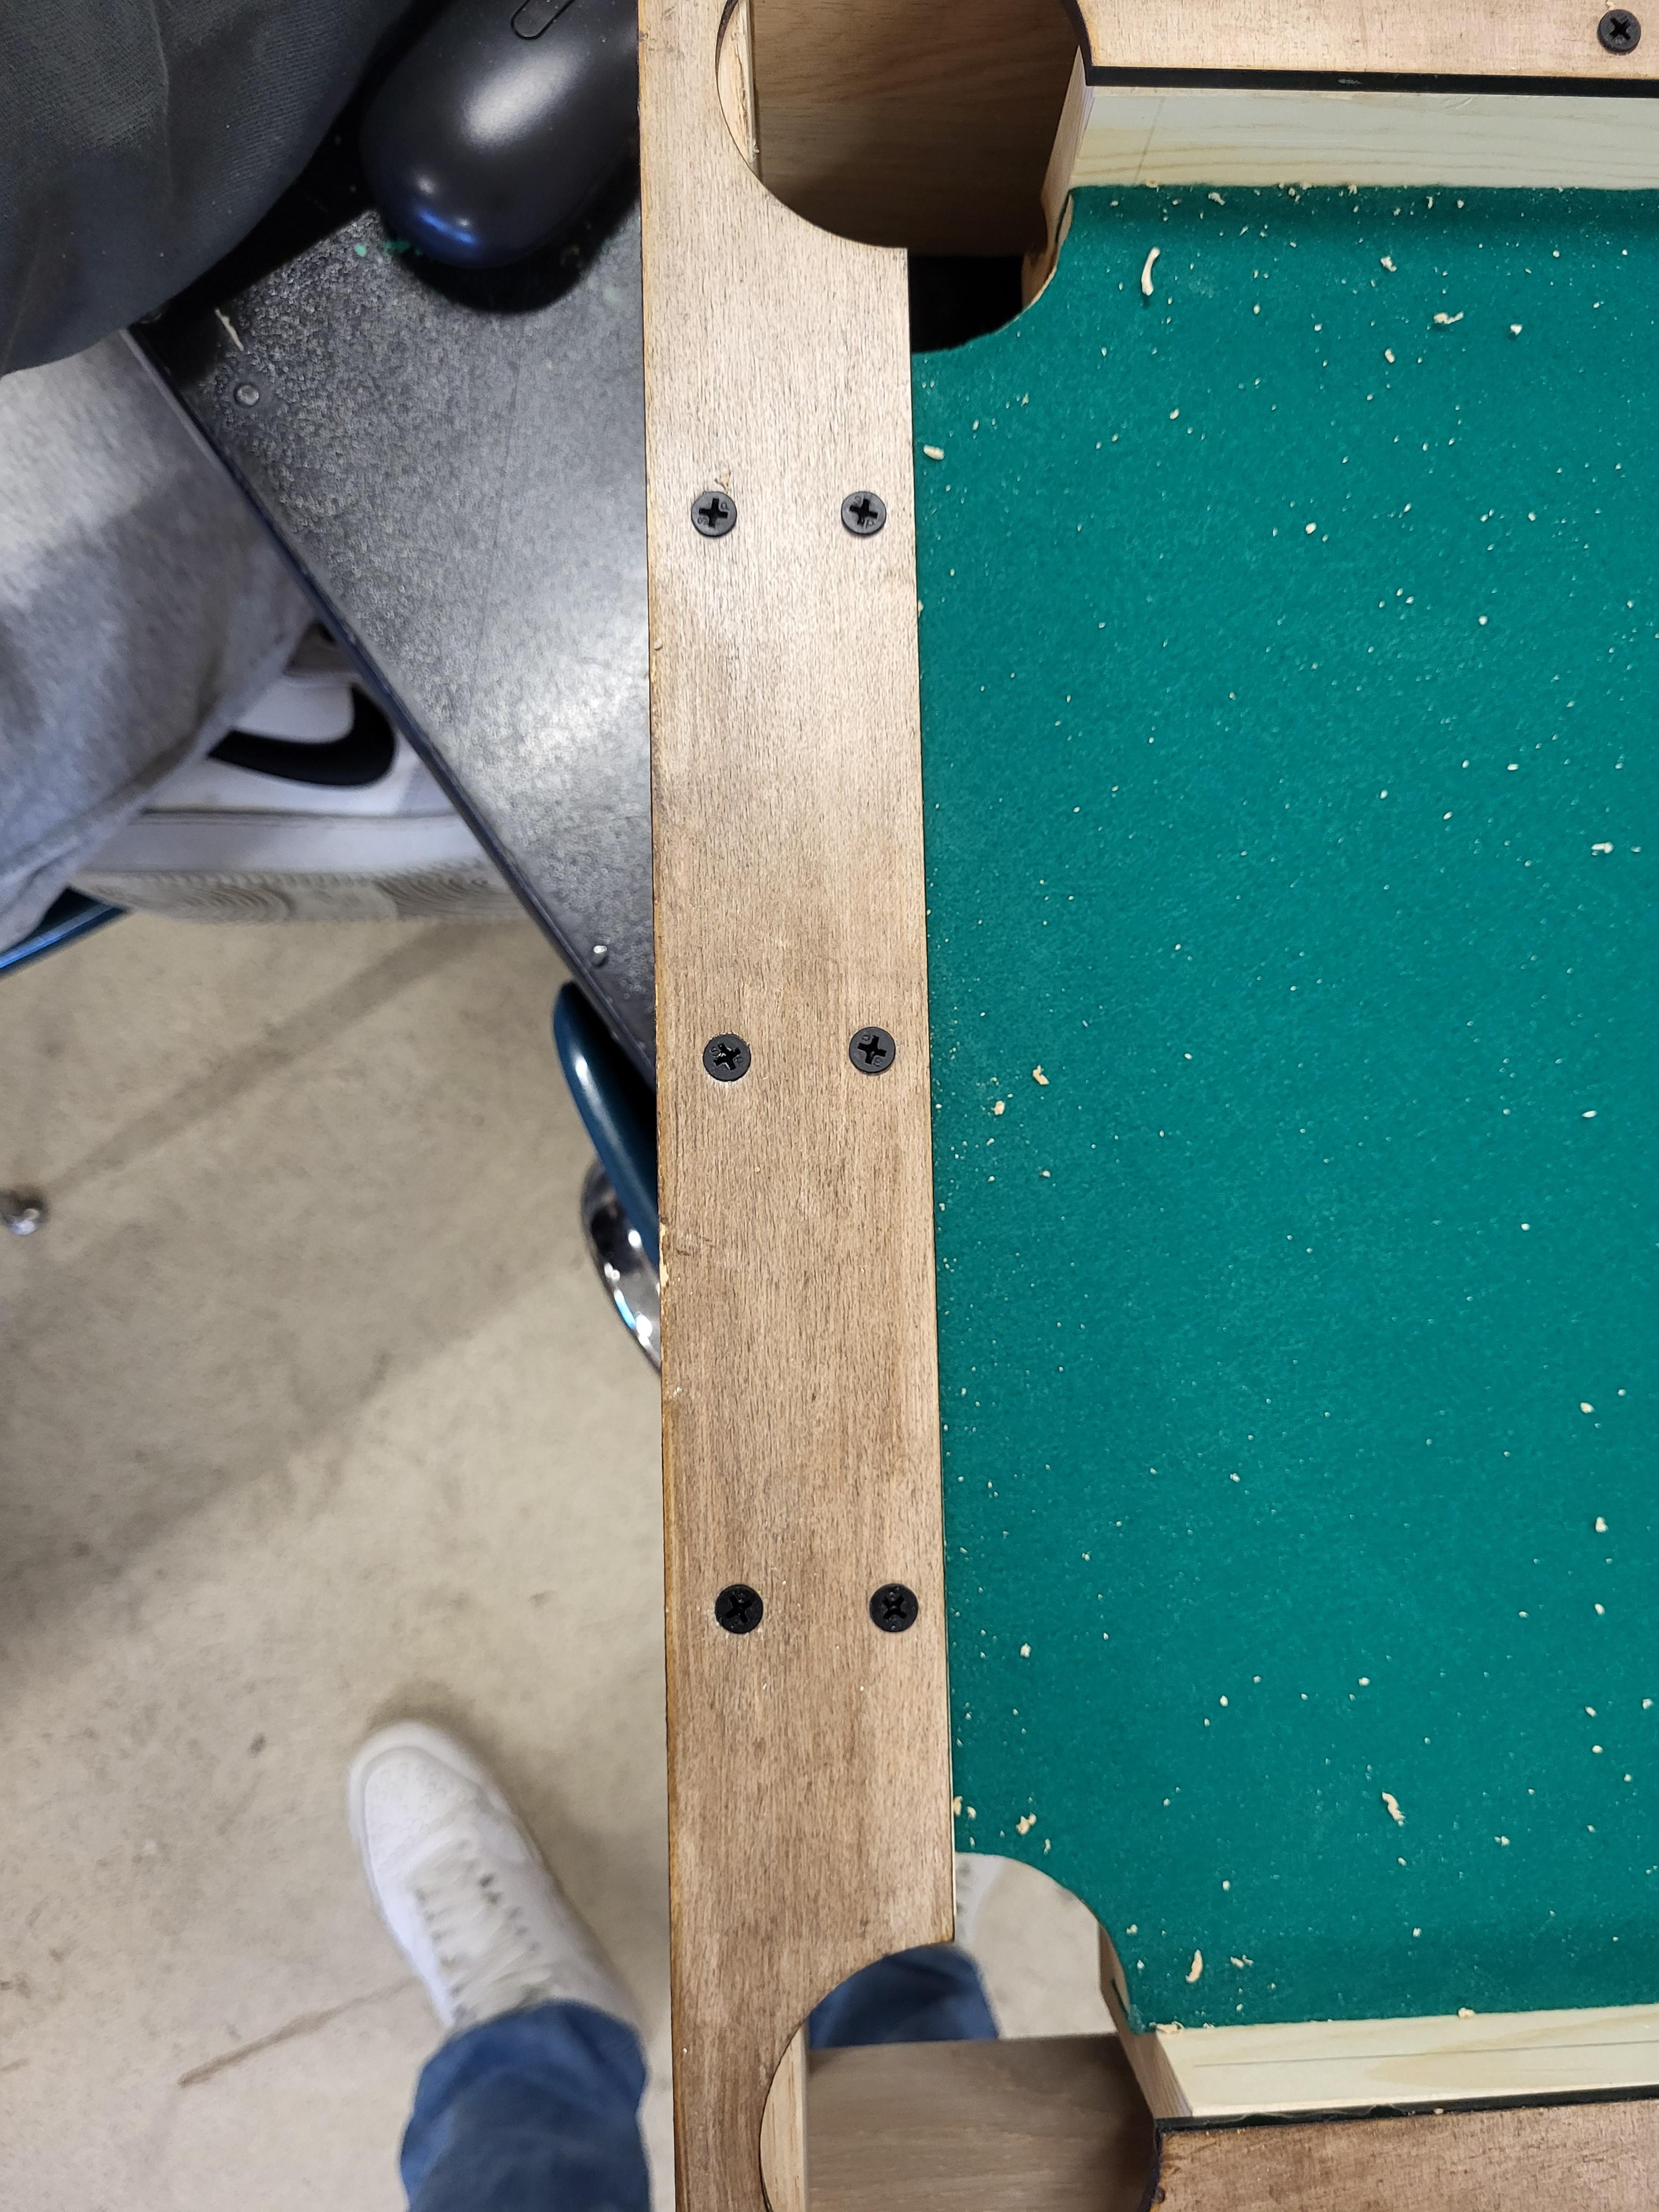
Making the Inner Sides(Part 2)
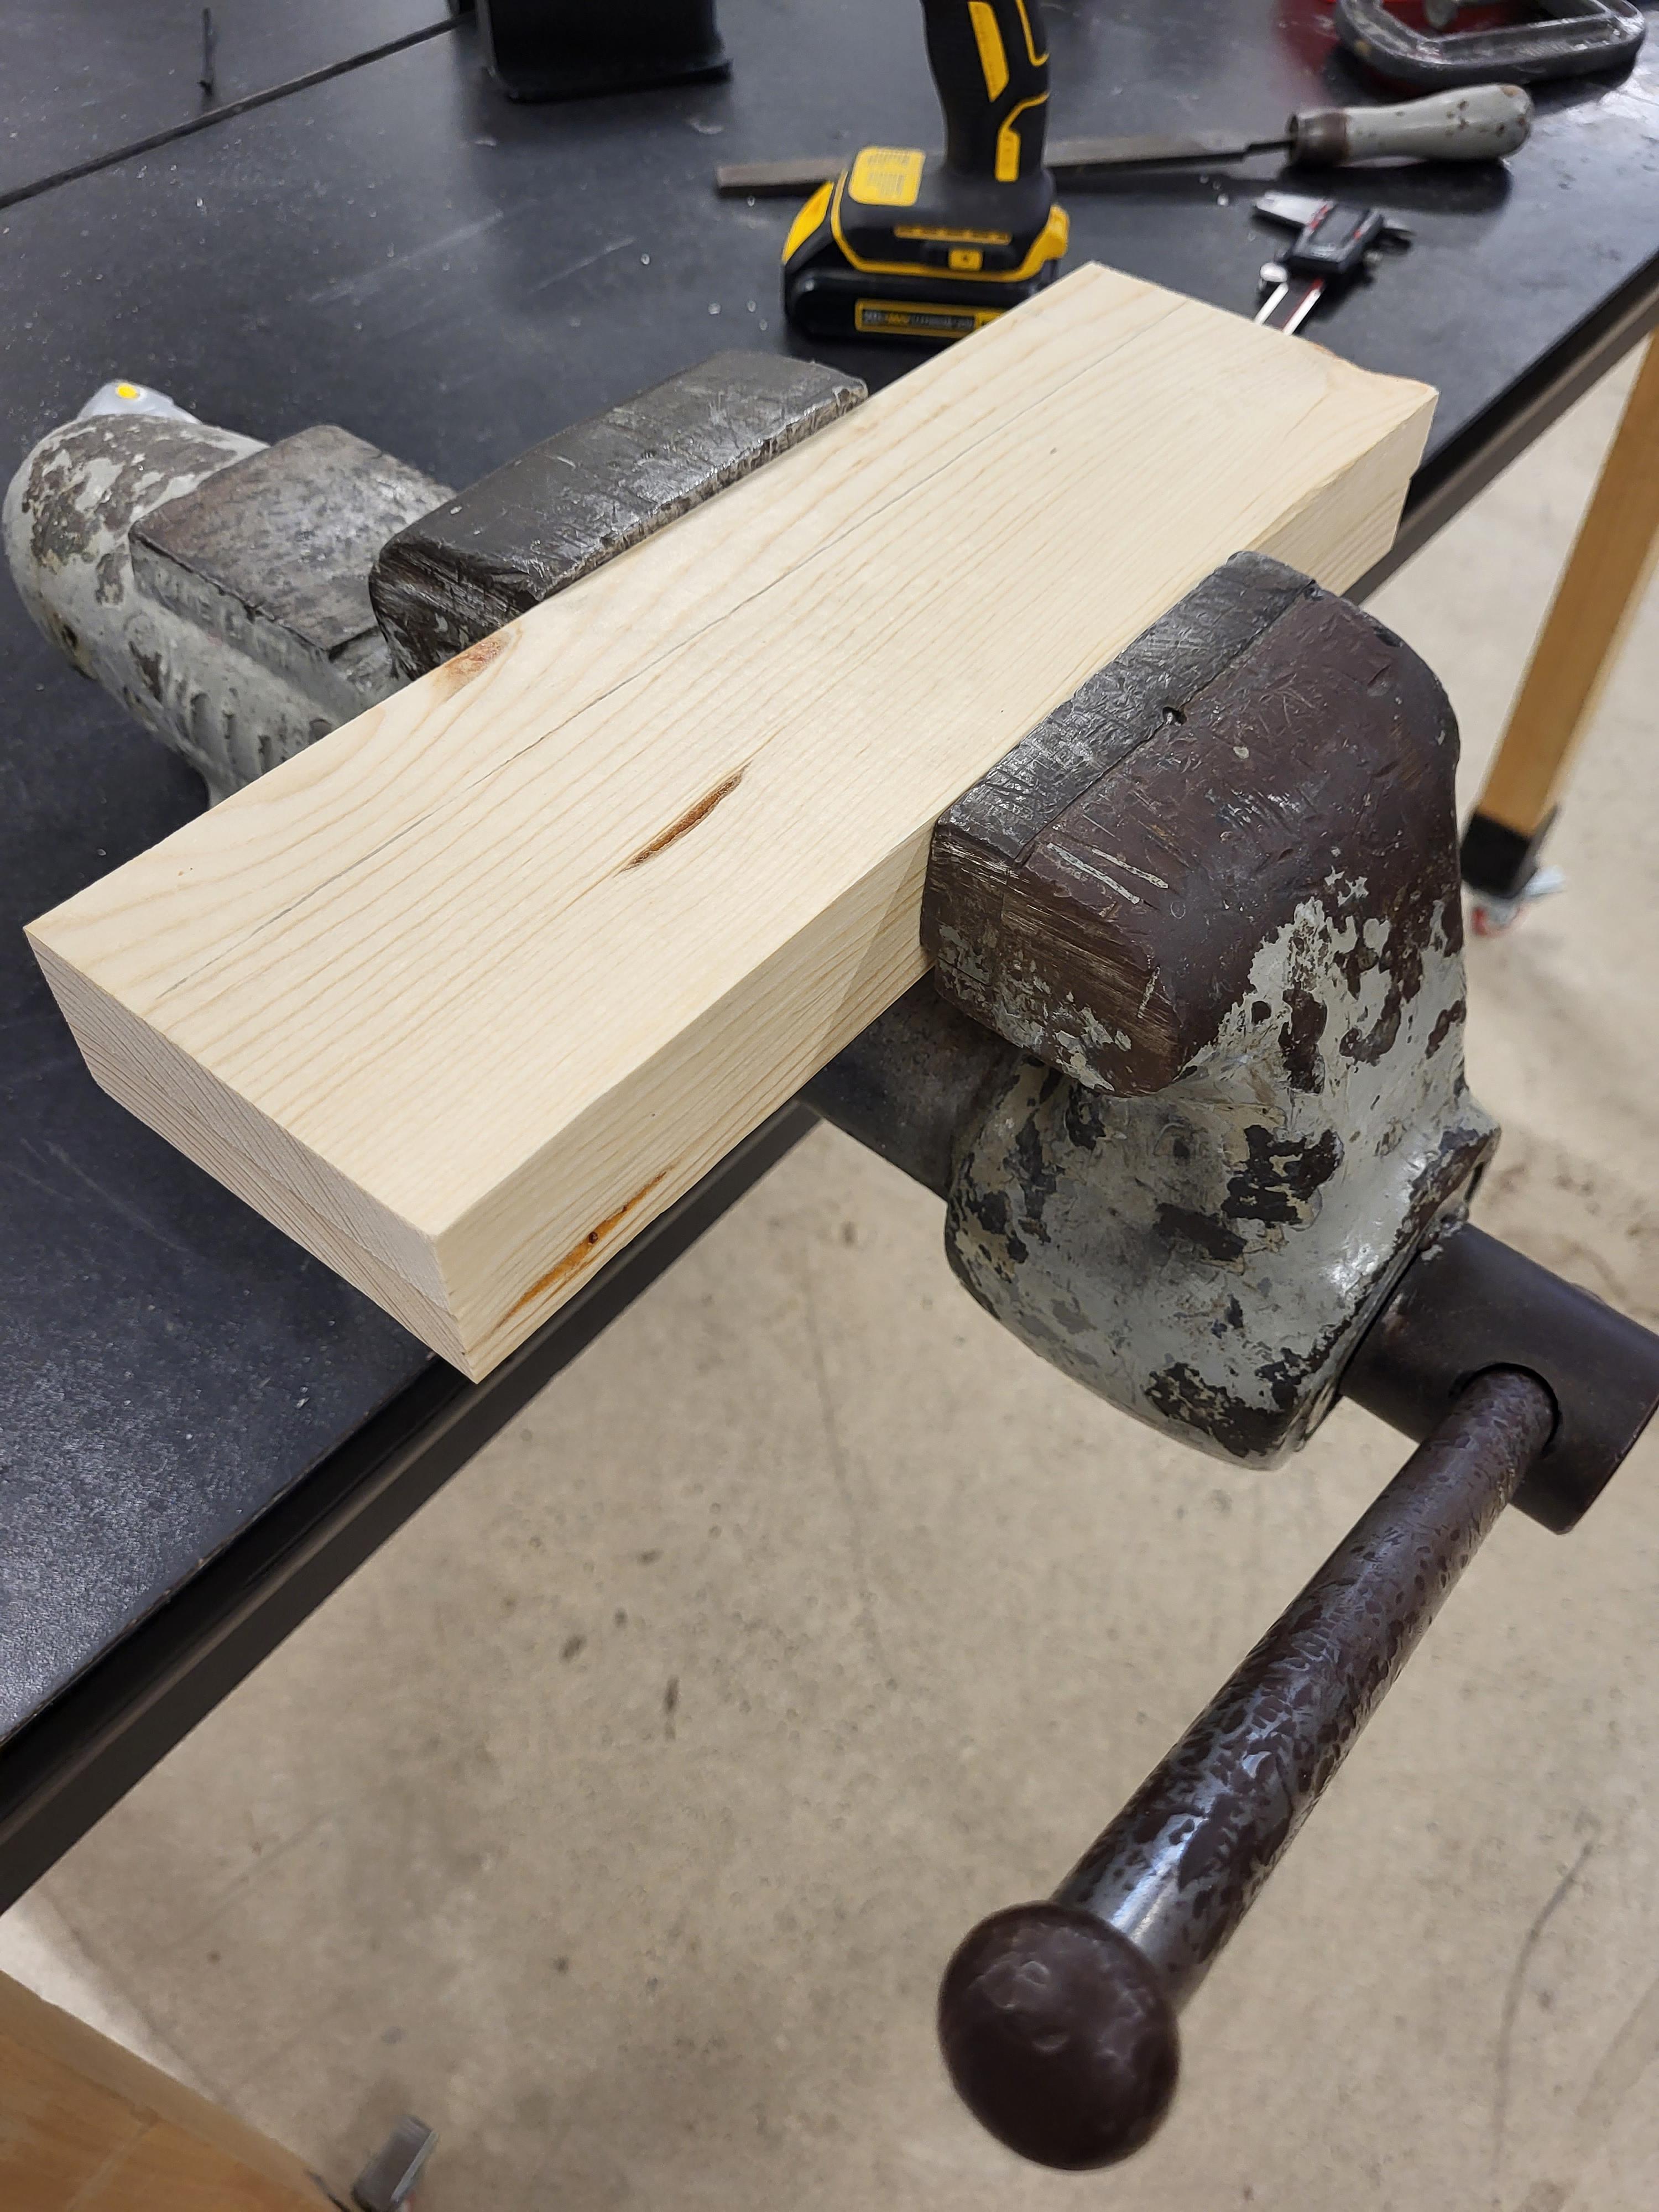
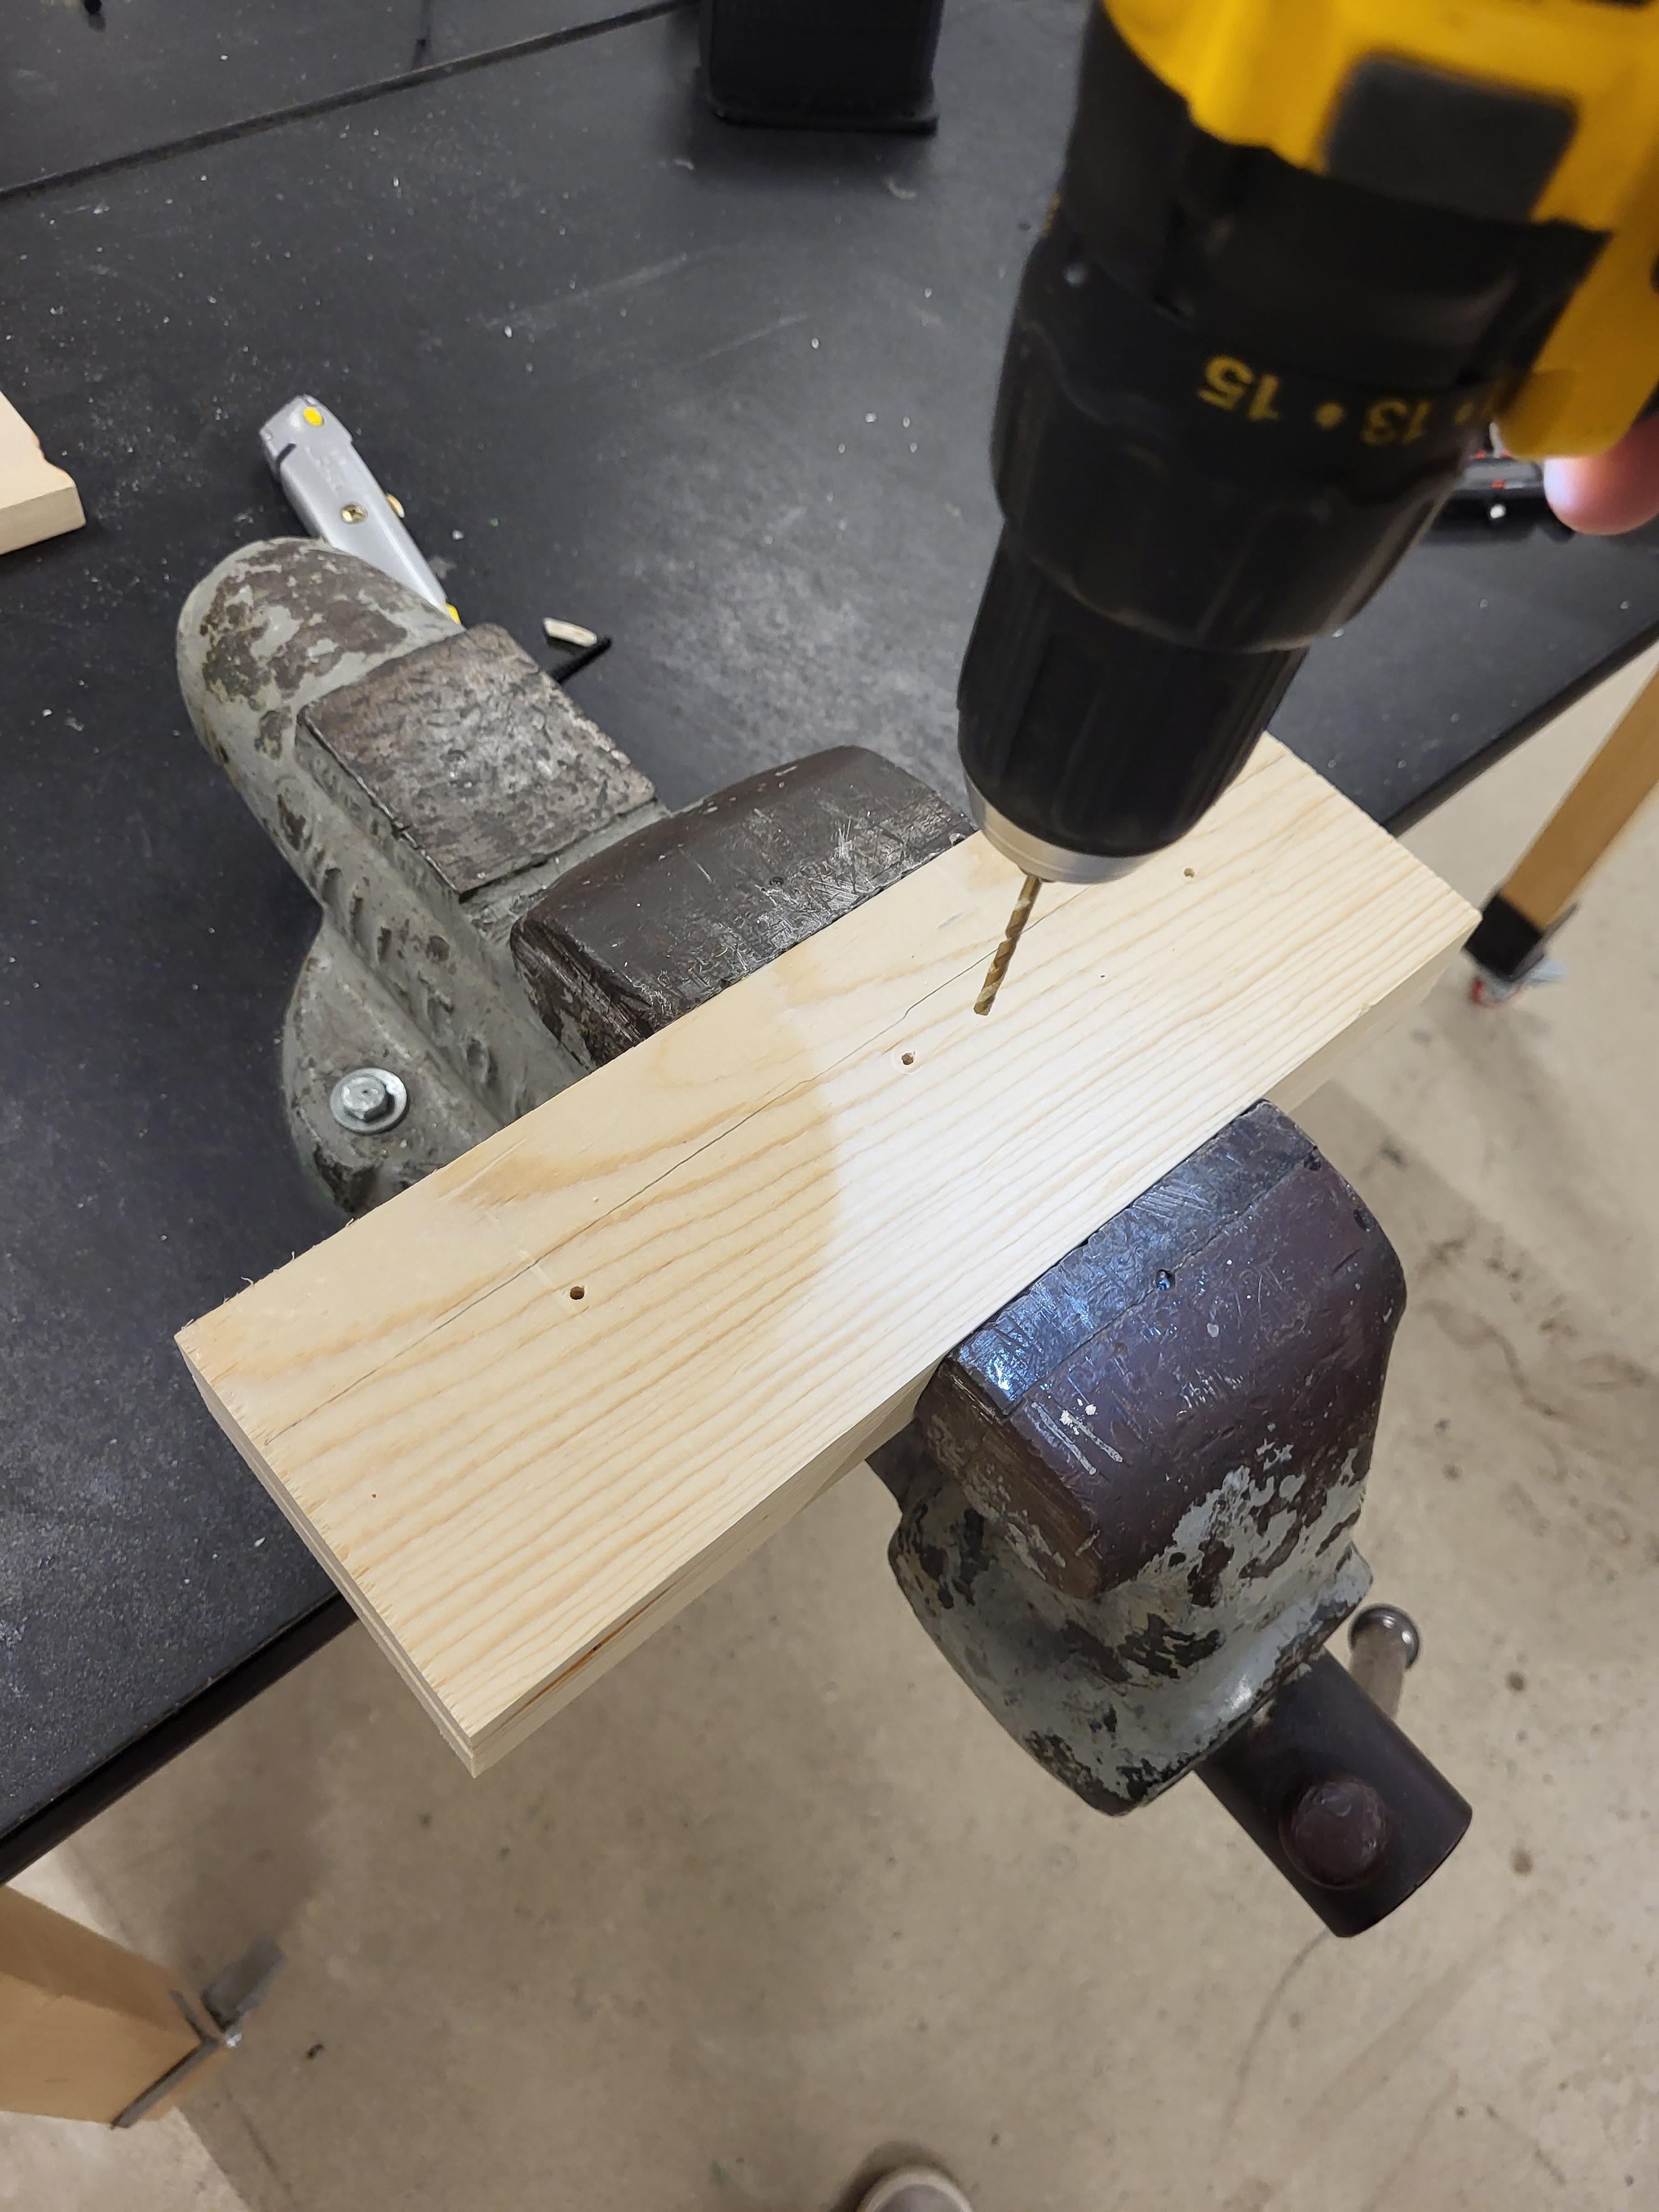

Place the 2 of the inner side pieces on top of each other and place them into the clap. Now we must drill holes into them. Use an 1/8 in drill bit for this. Make sure each hole is 1 1/2 in down from the top of the piece of wood, and make each hole has a 3 in spacing. There should be 3 holes in each piece of wood. Once you drill it, take one piece out and place another on the bottom. Now you can just drill through the hole you already created. Do this for all 6 pieces.
Making the Outer Sides(Part 1)
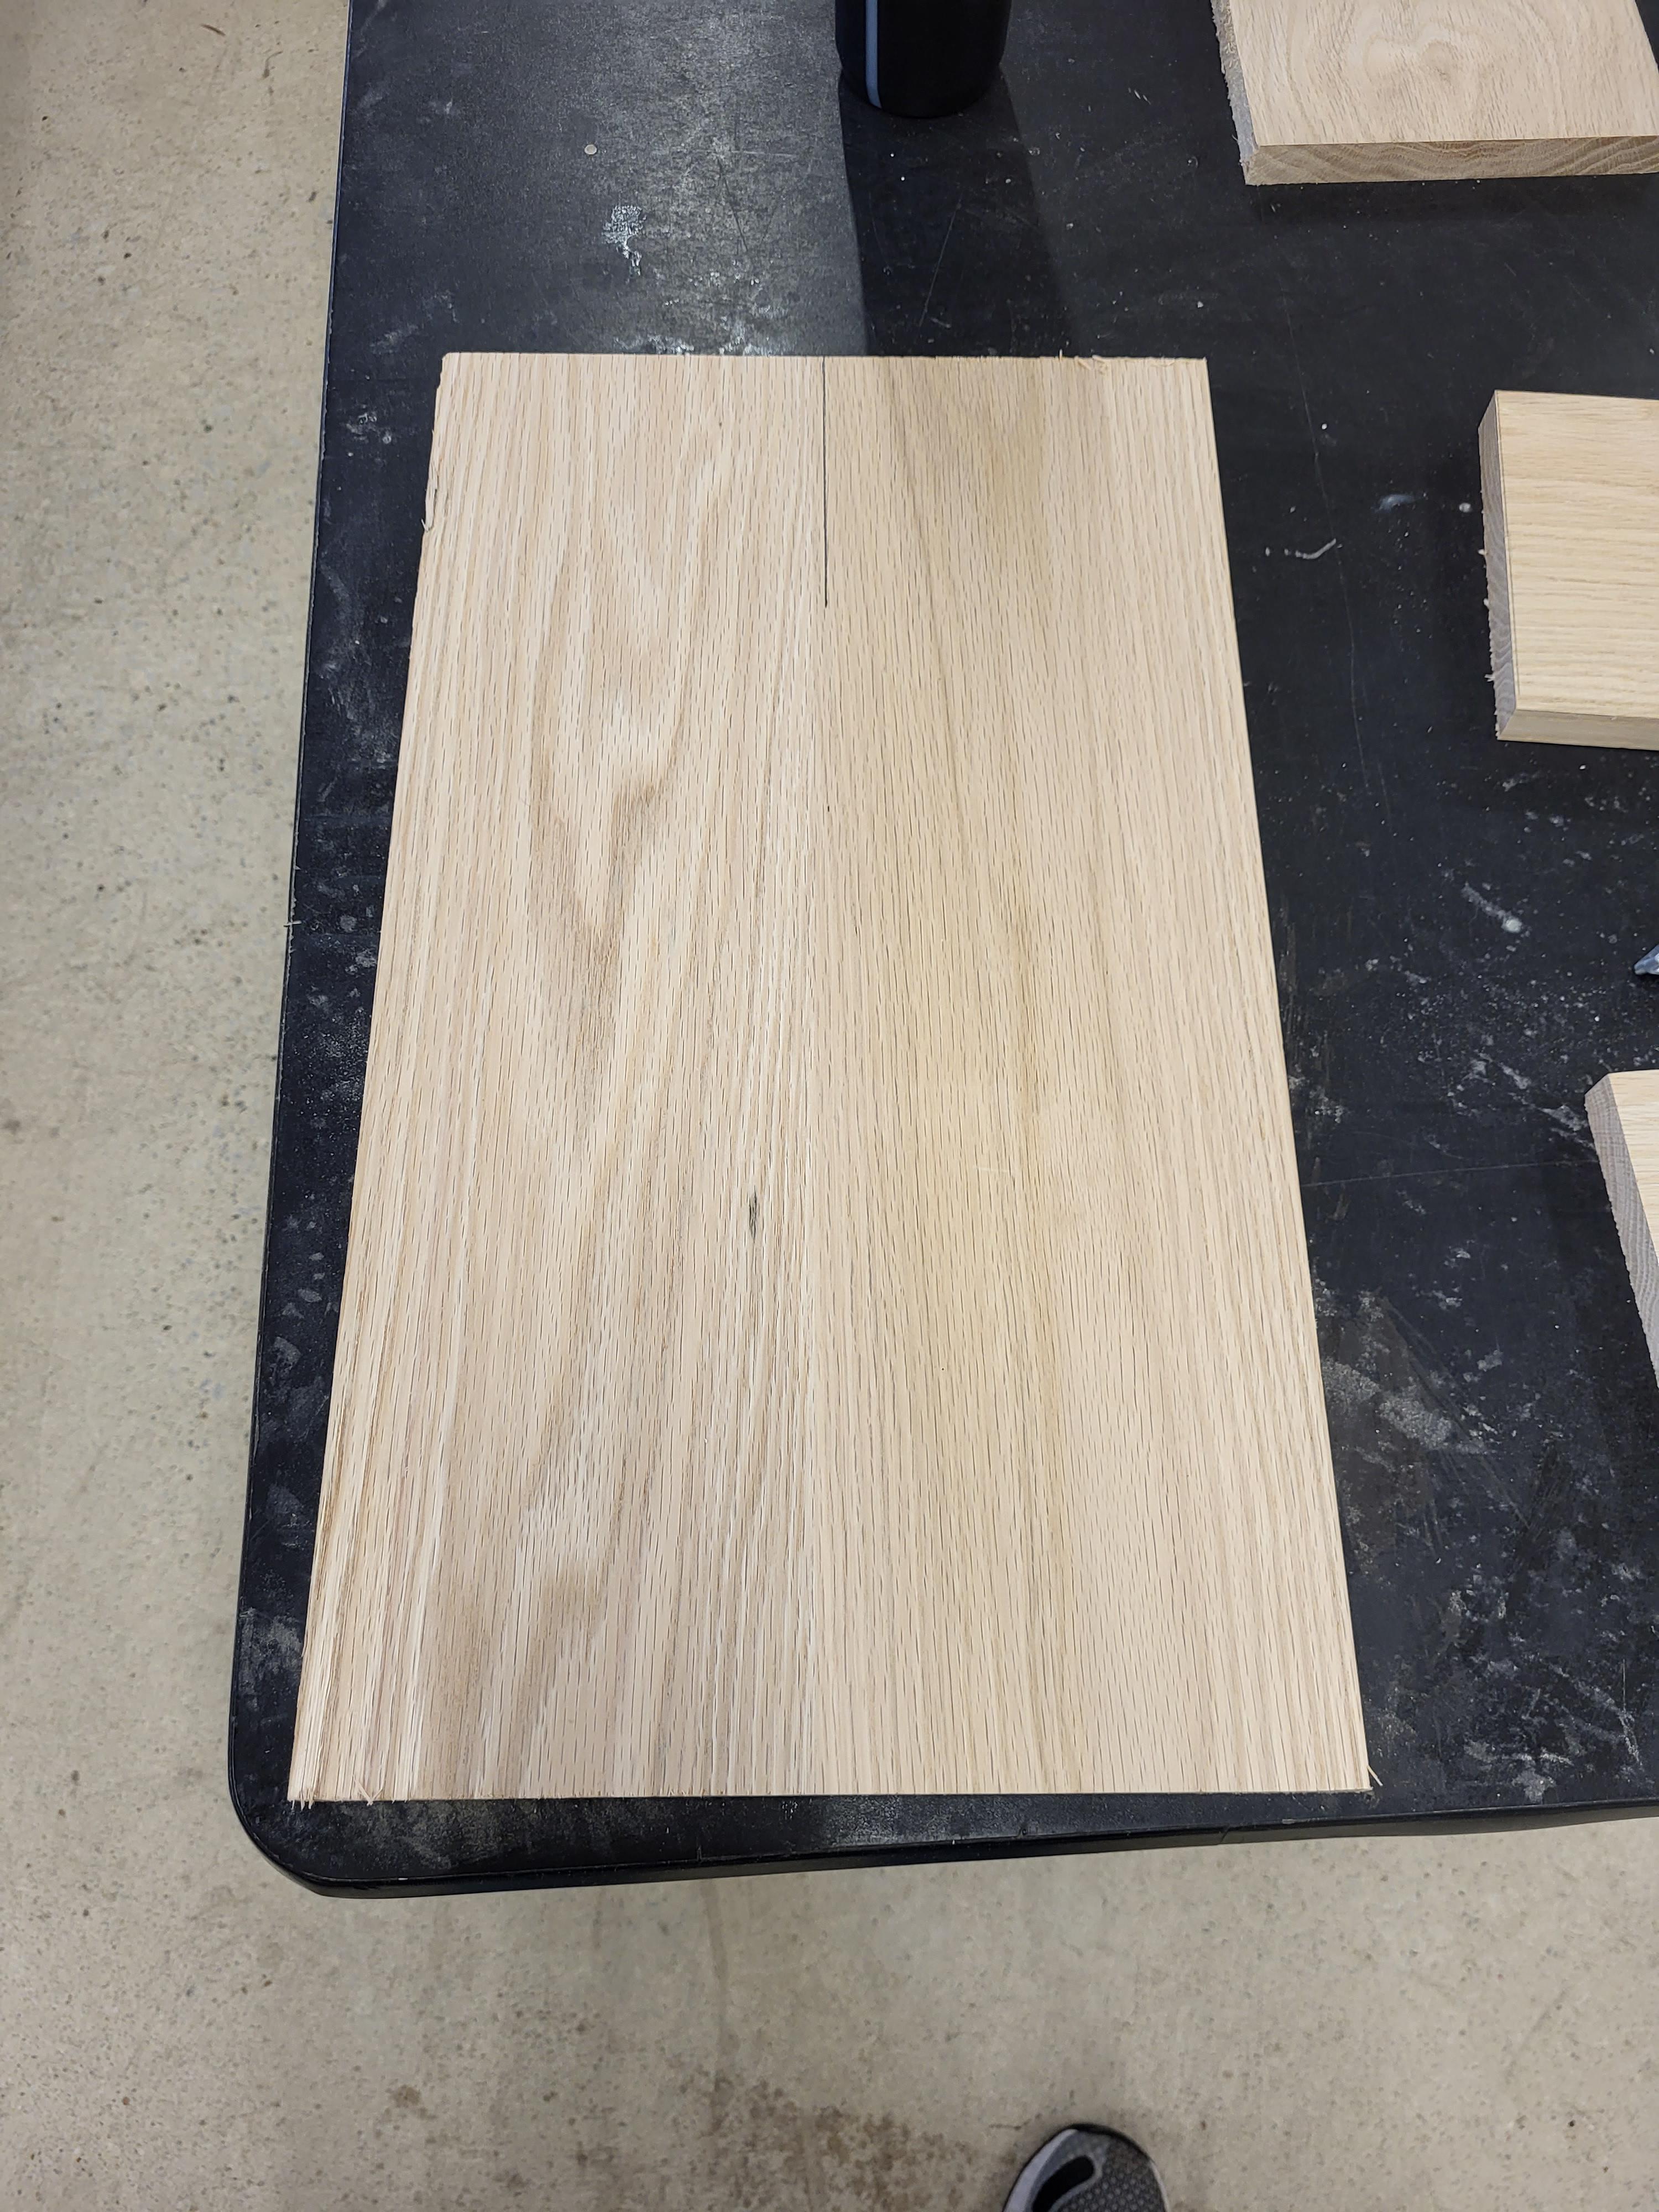
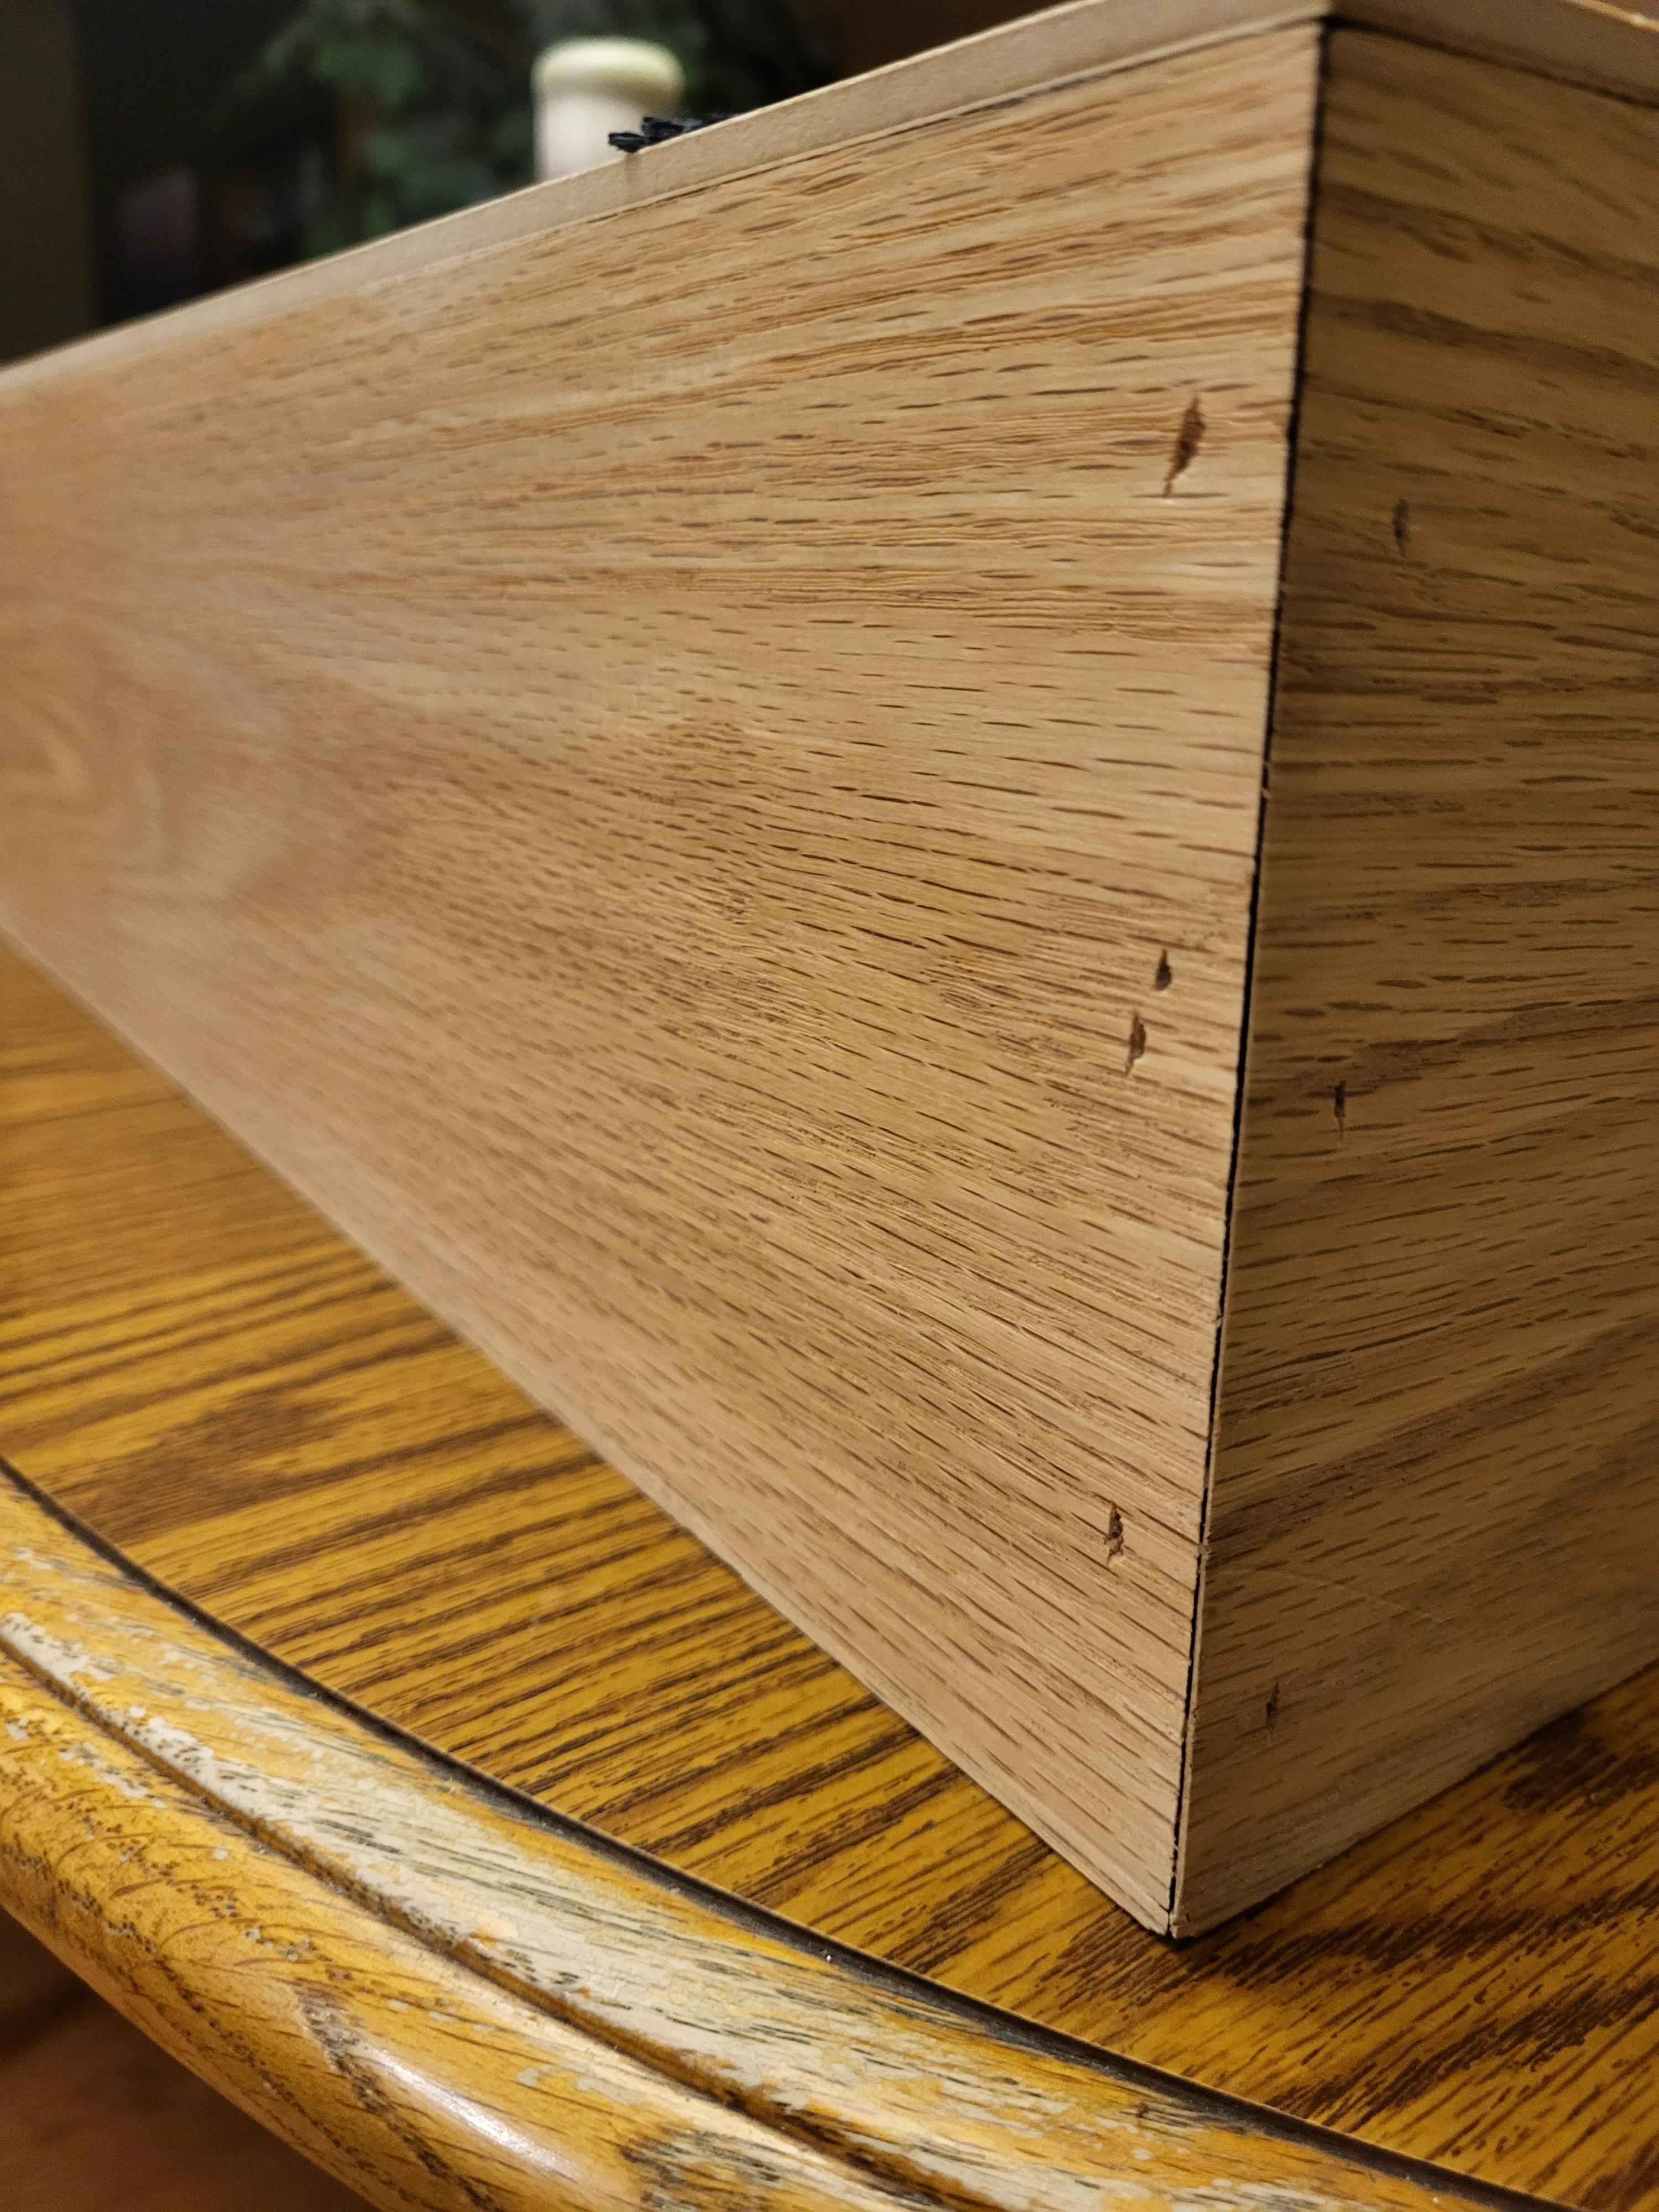
Now we must make the outside of the pool table. For the long sides, cut a piece of wood that has a length of 32 in and a width of 12 in with the chop saw. Then cut that piece of wood in half vertically with the table saw. For the shorter sides, cut out a piece of wood that has a length of 20 in and a width of 12 in with the chop saw. Then cut that piece of wood in half vertically with the table saw. Sand each piece of wood with the electrical sander so they are smooth.
Making the Outer Sides(Part 2)
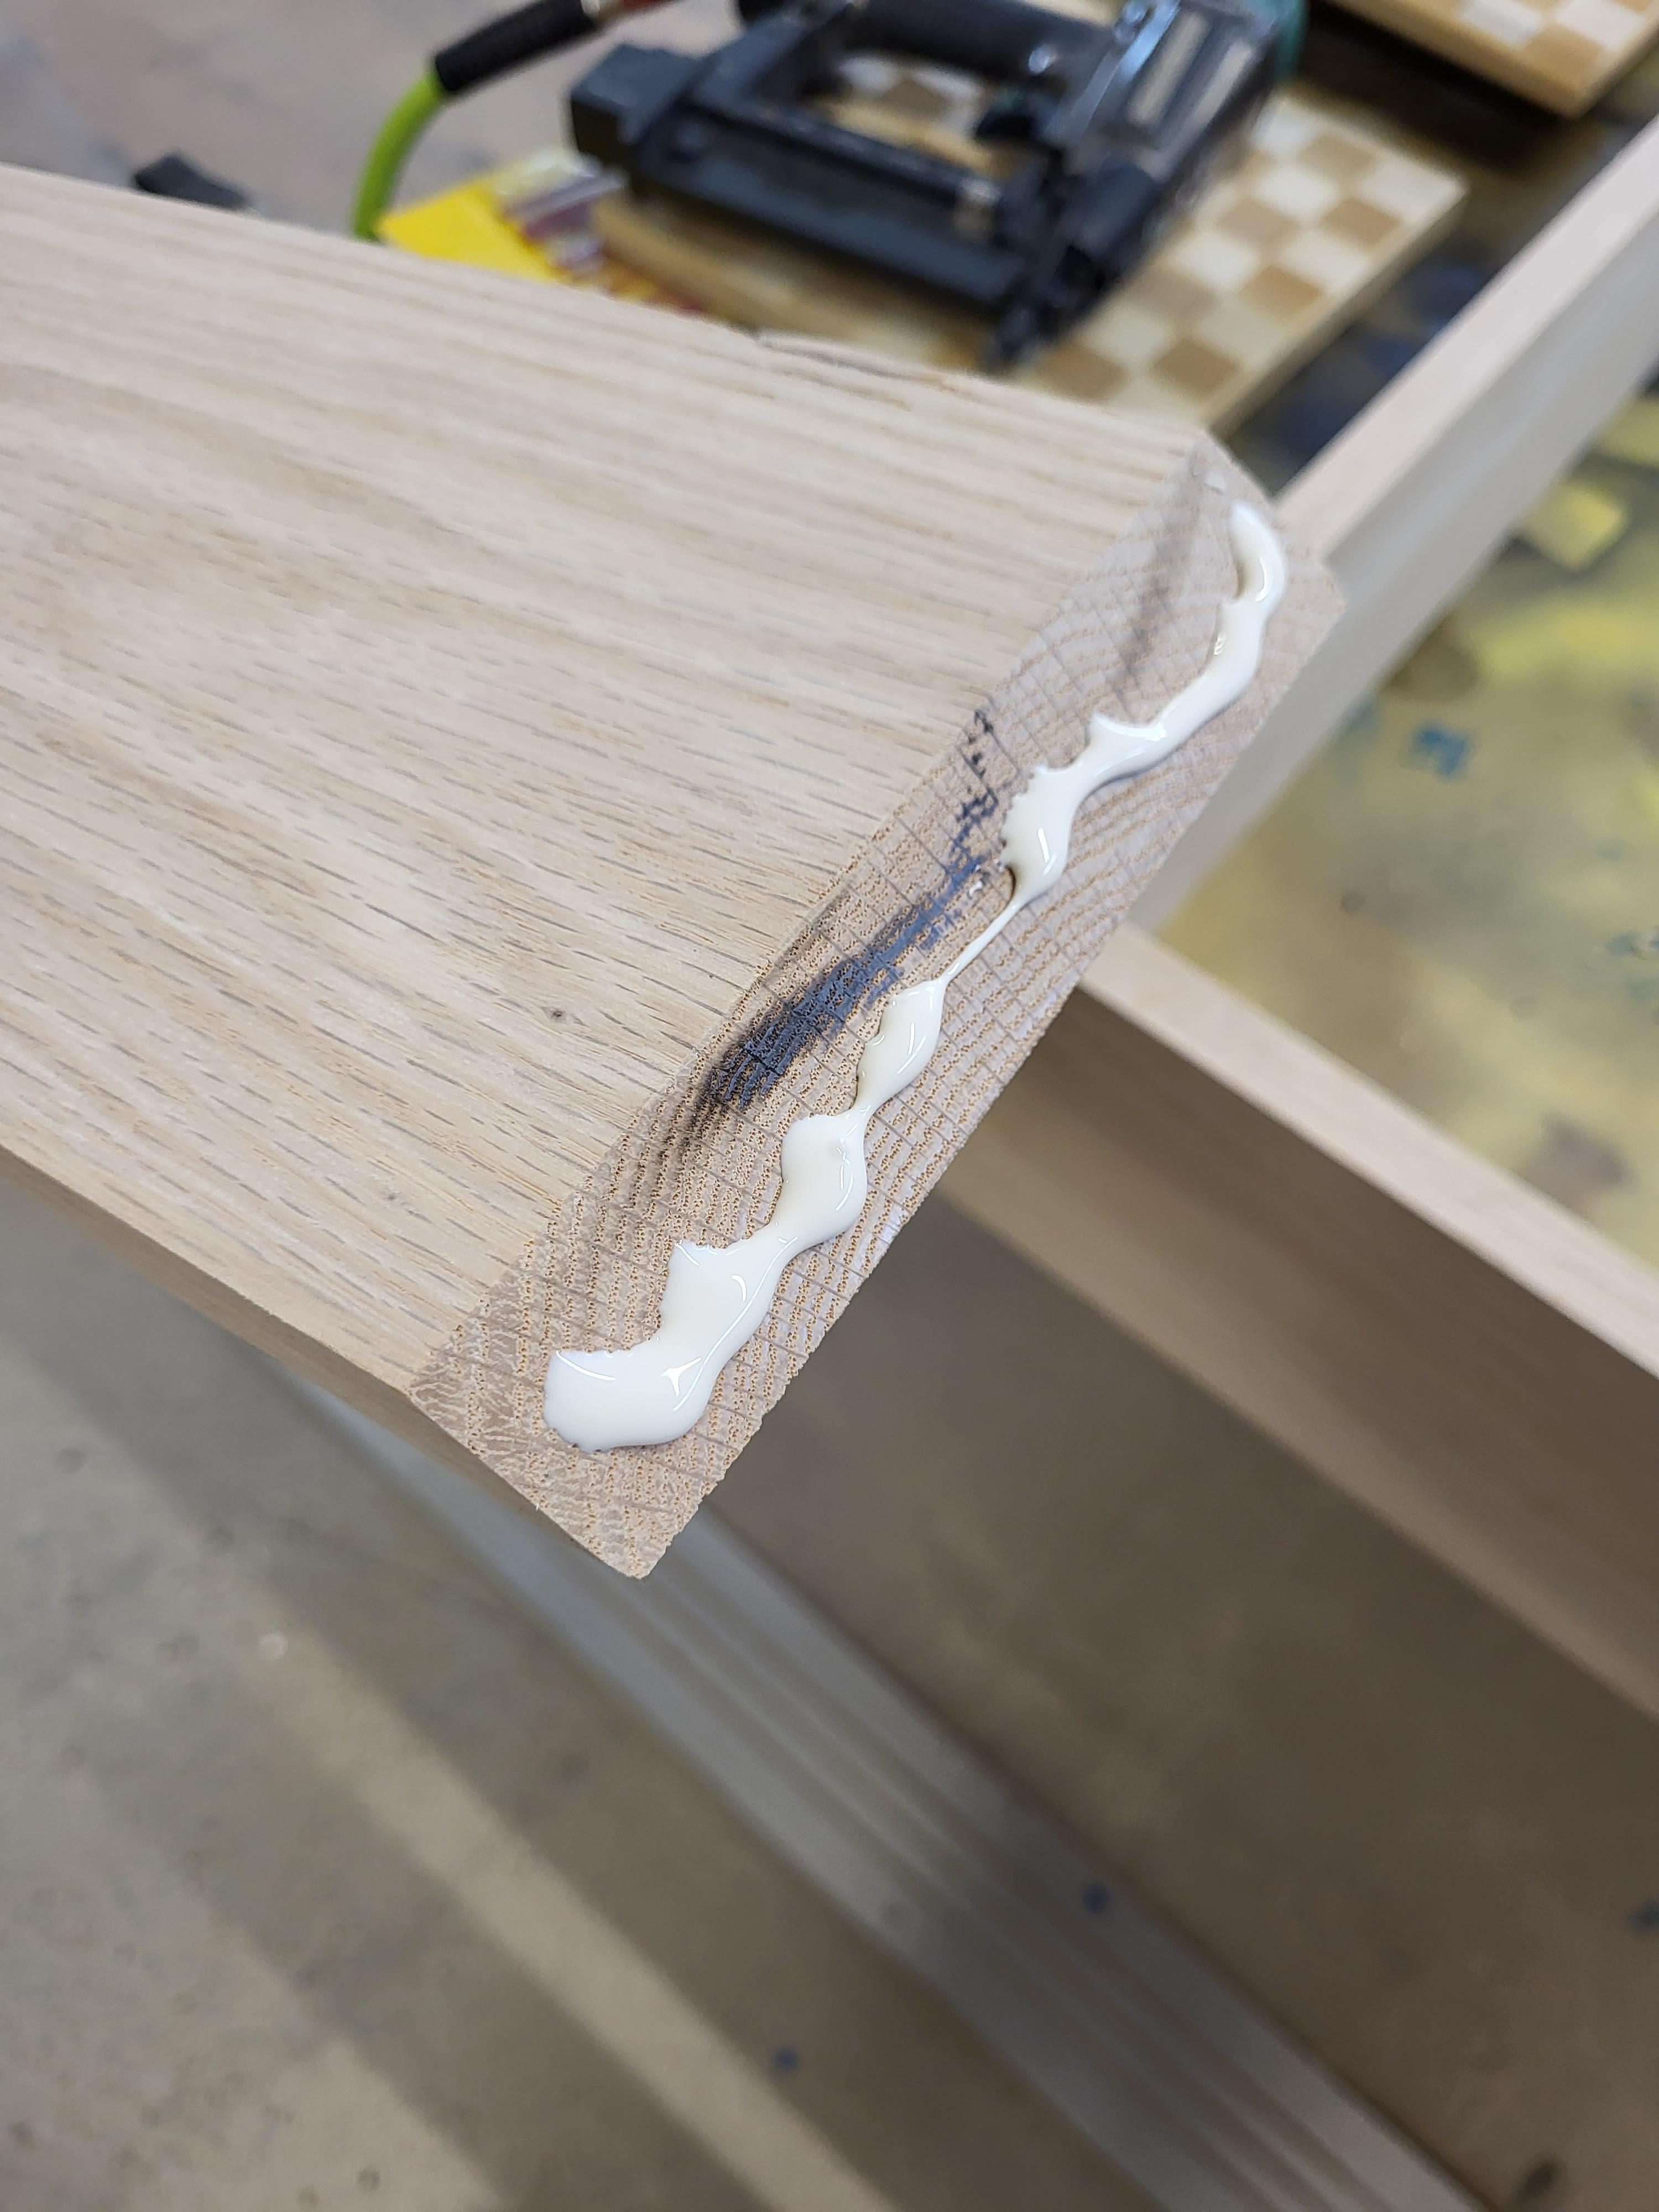

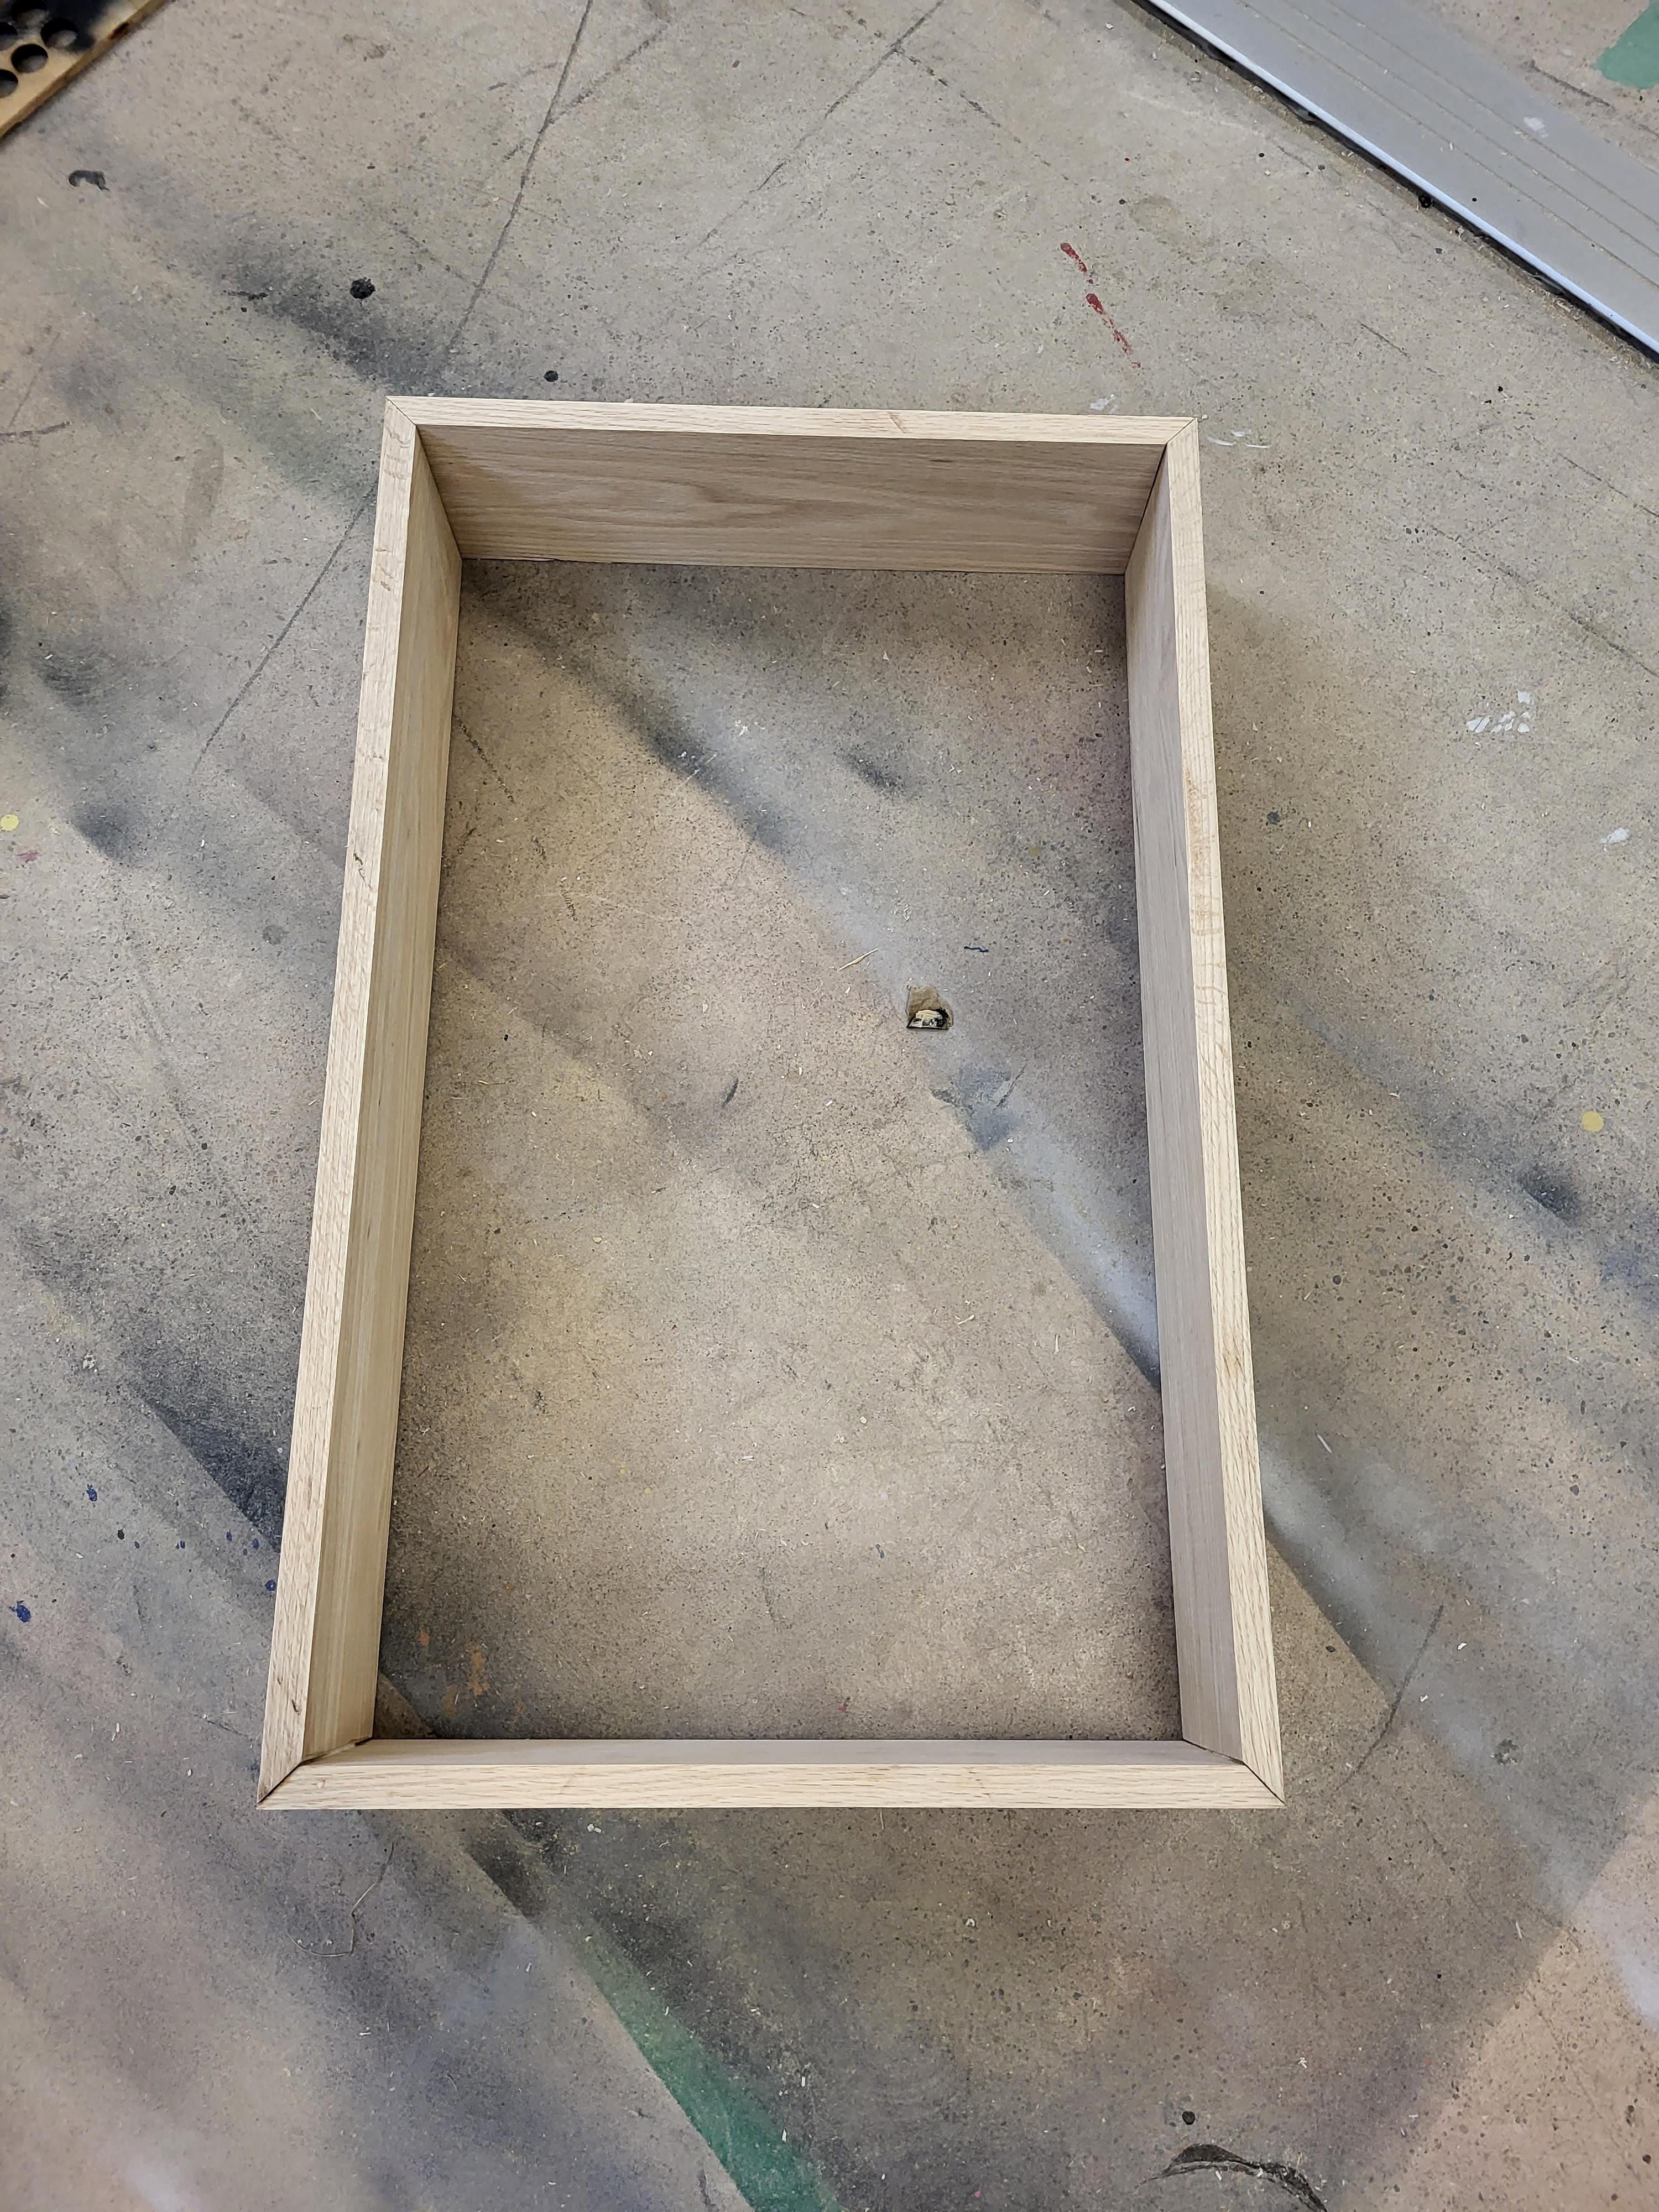
Angle the chop saw so it is at a 45 degree angle. Line it up so that the 45 degree angle will go to the edge of the piece of wood. Do this for each 2 sides of the 4 pieces of wood. Now we have to put it together. Place glue on each of the edges of the 4 pieces of wood. Use a square to make sure they line up at a 90 degree angle. Once it is perfect, use the nail gun to nail it together. Use 3 nails on each side of the left and right corners. Repeat this for the other 3 corners. Once all 4 pieces of wood are together, sand the top with the electrical sander so it is flat.
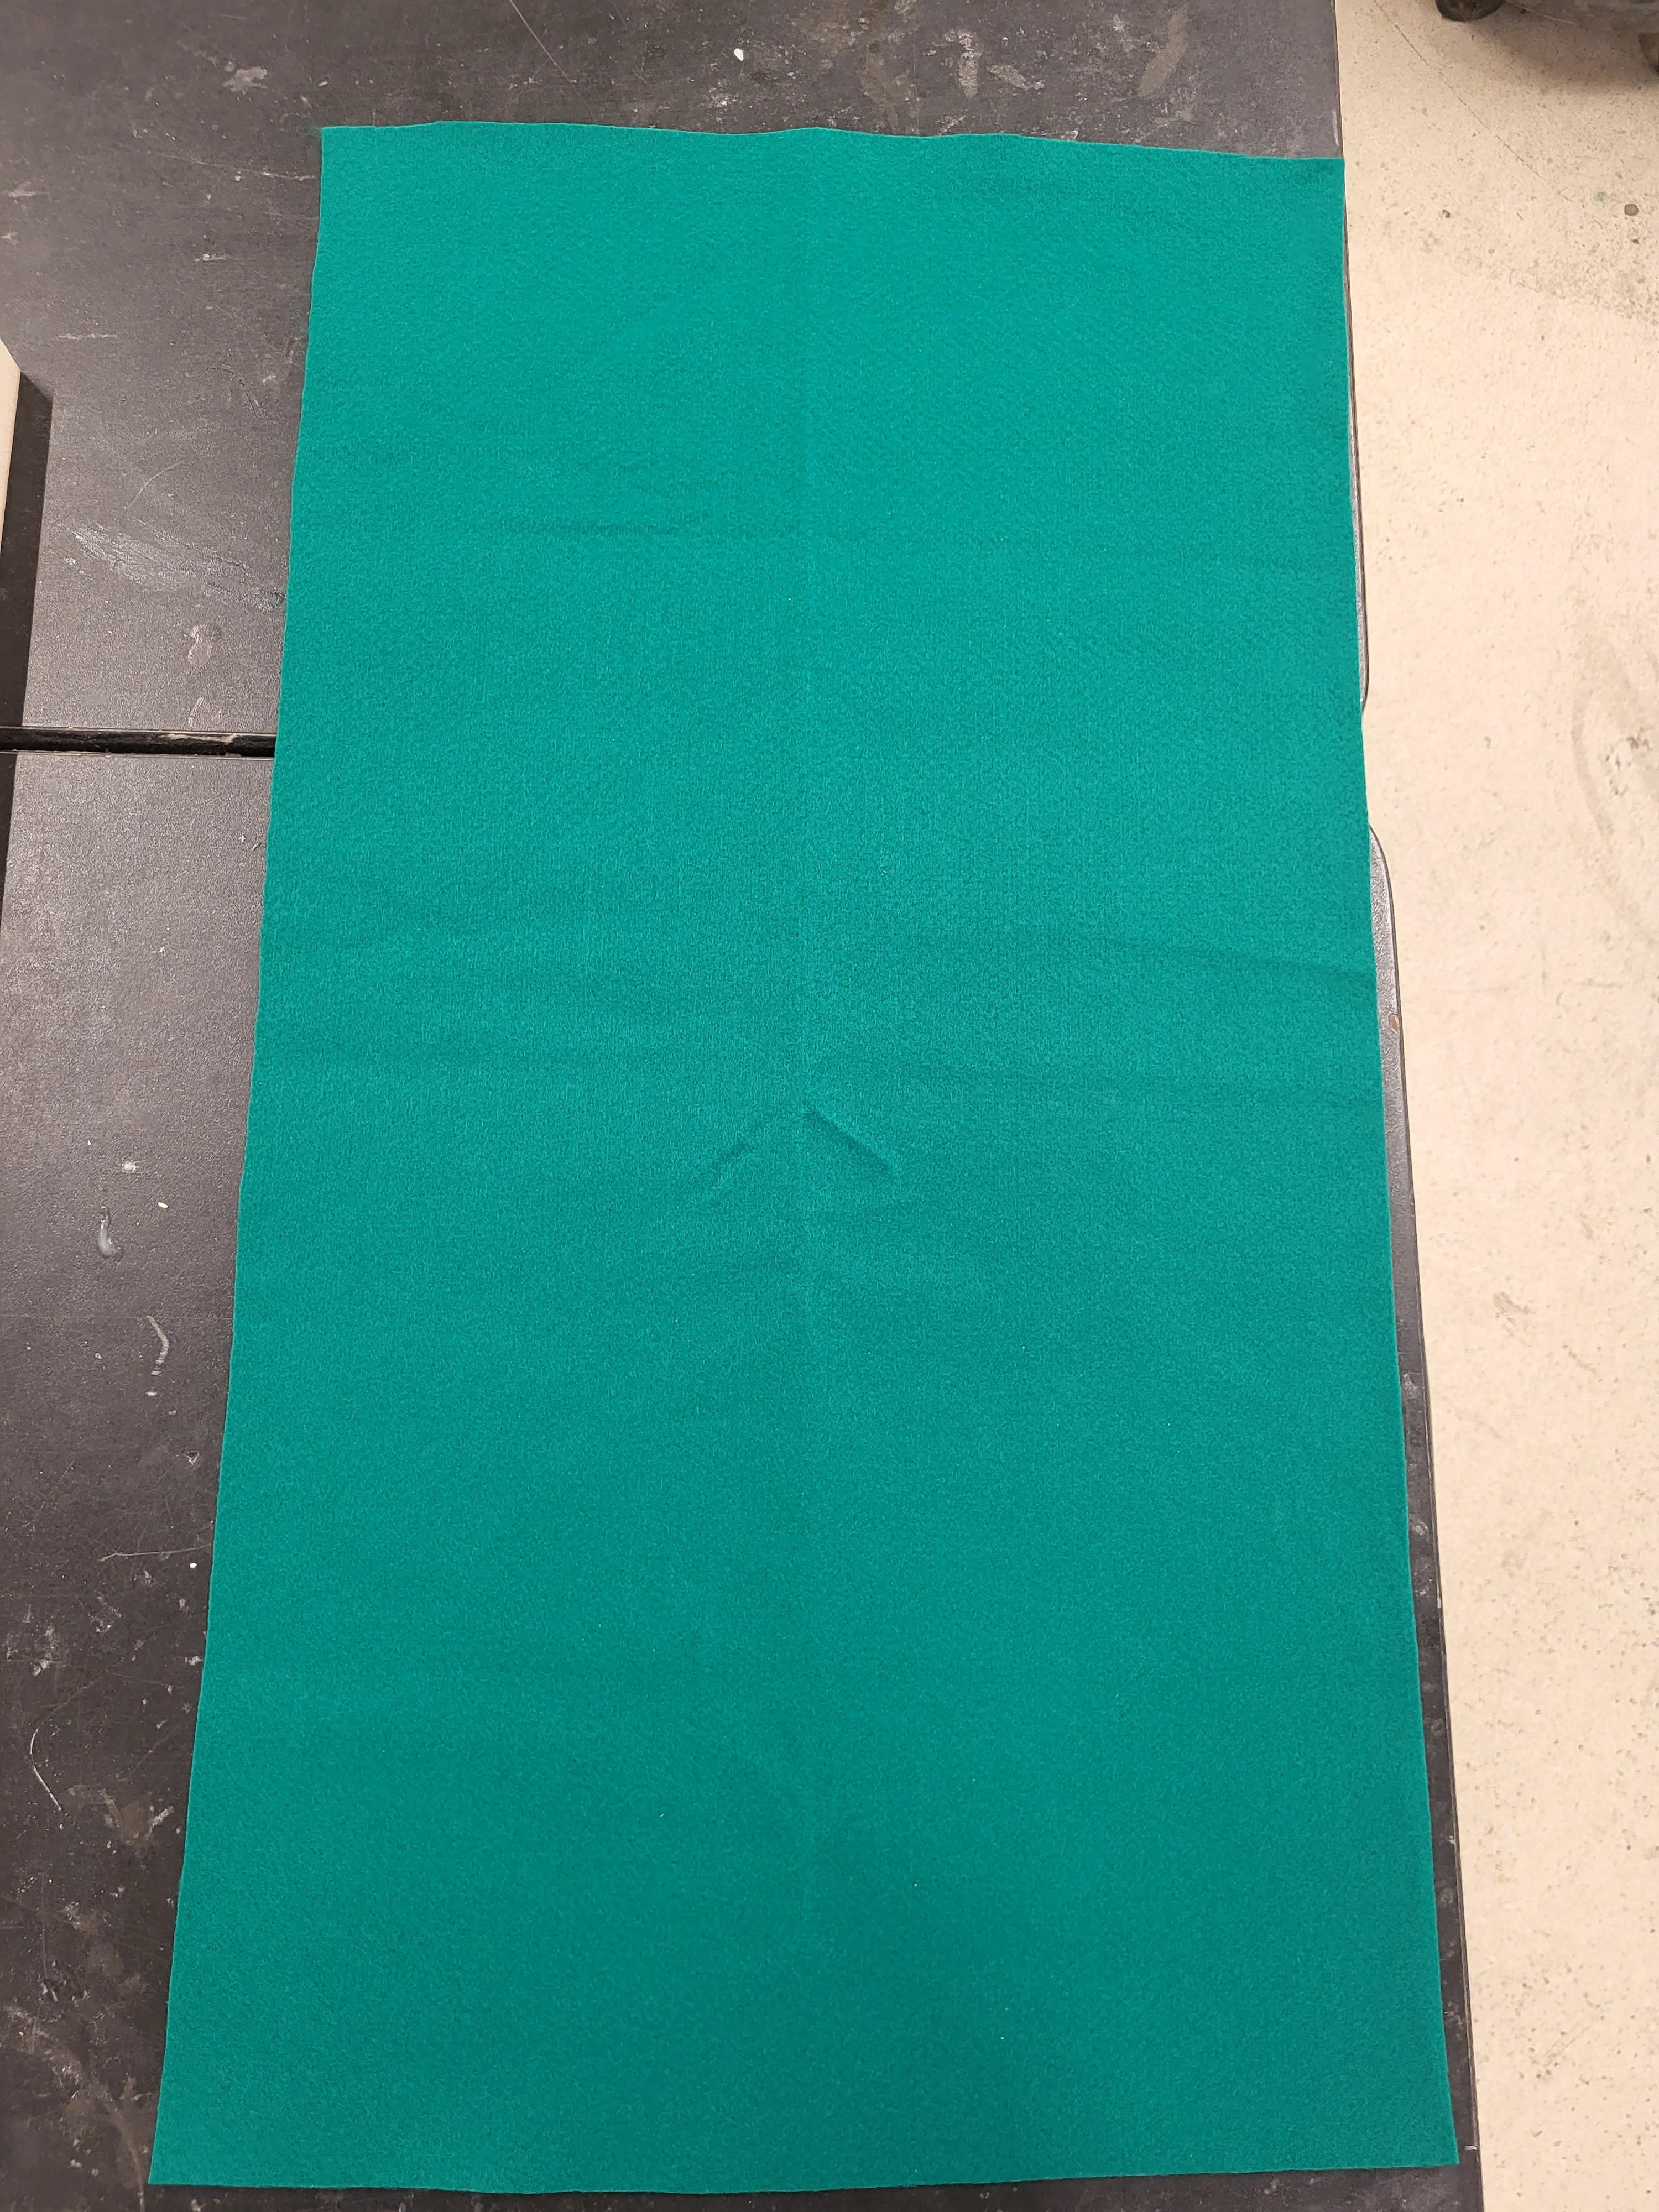
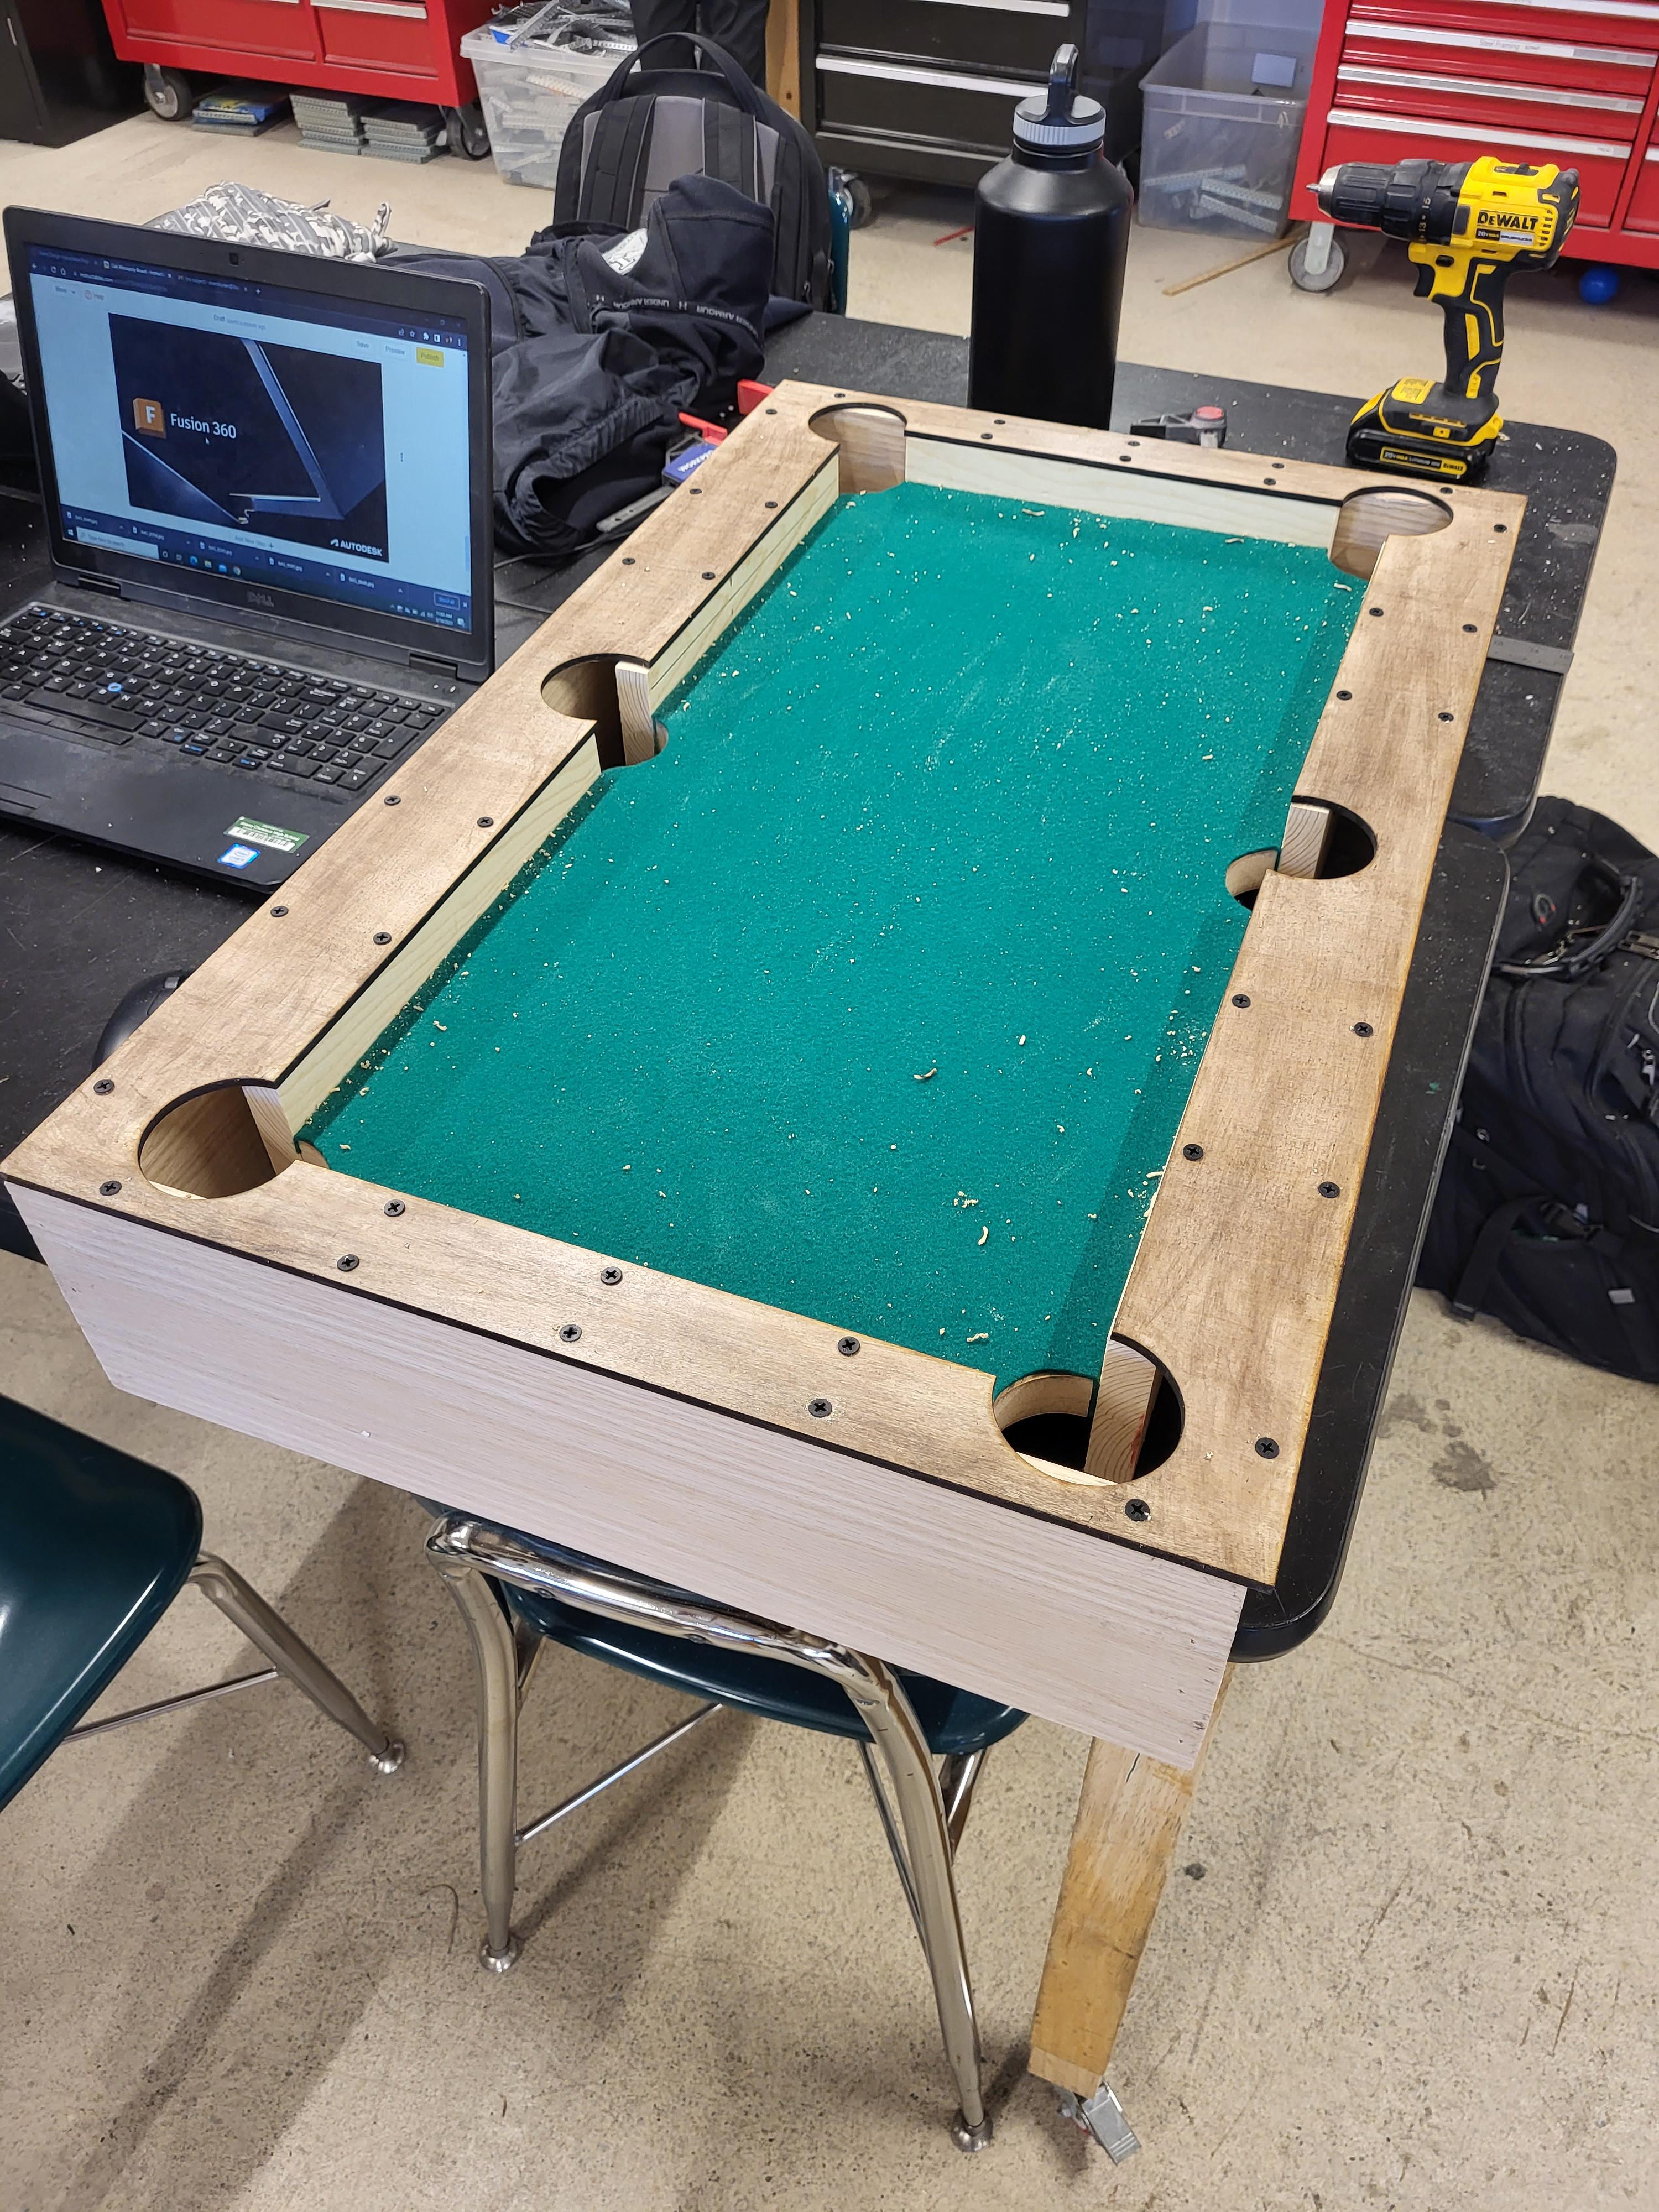
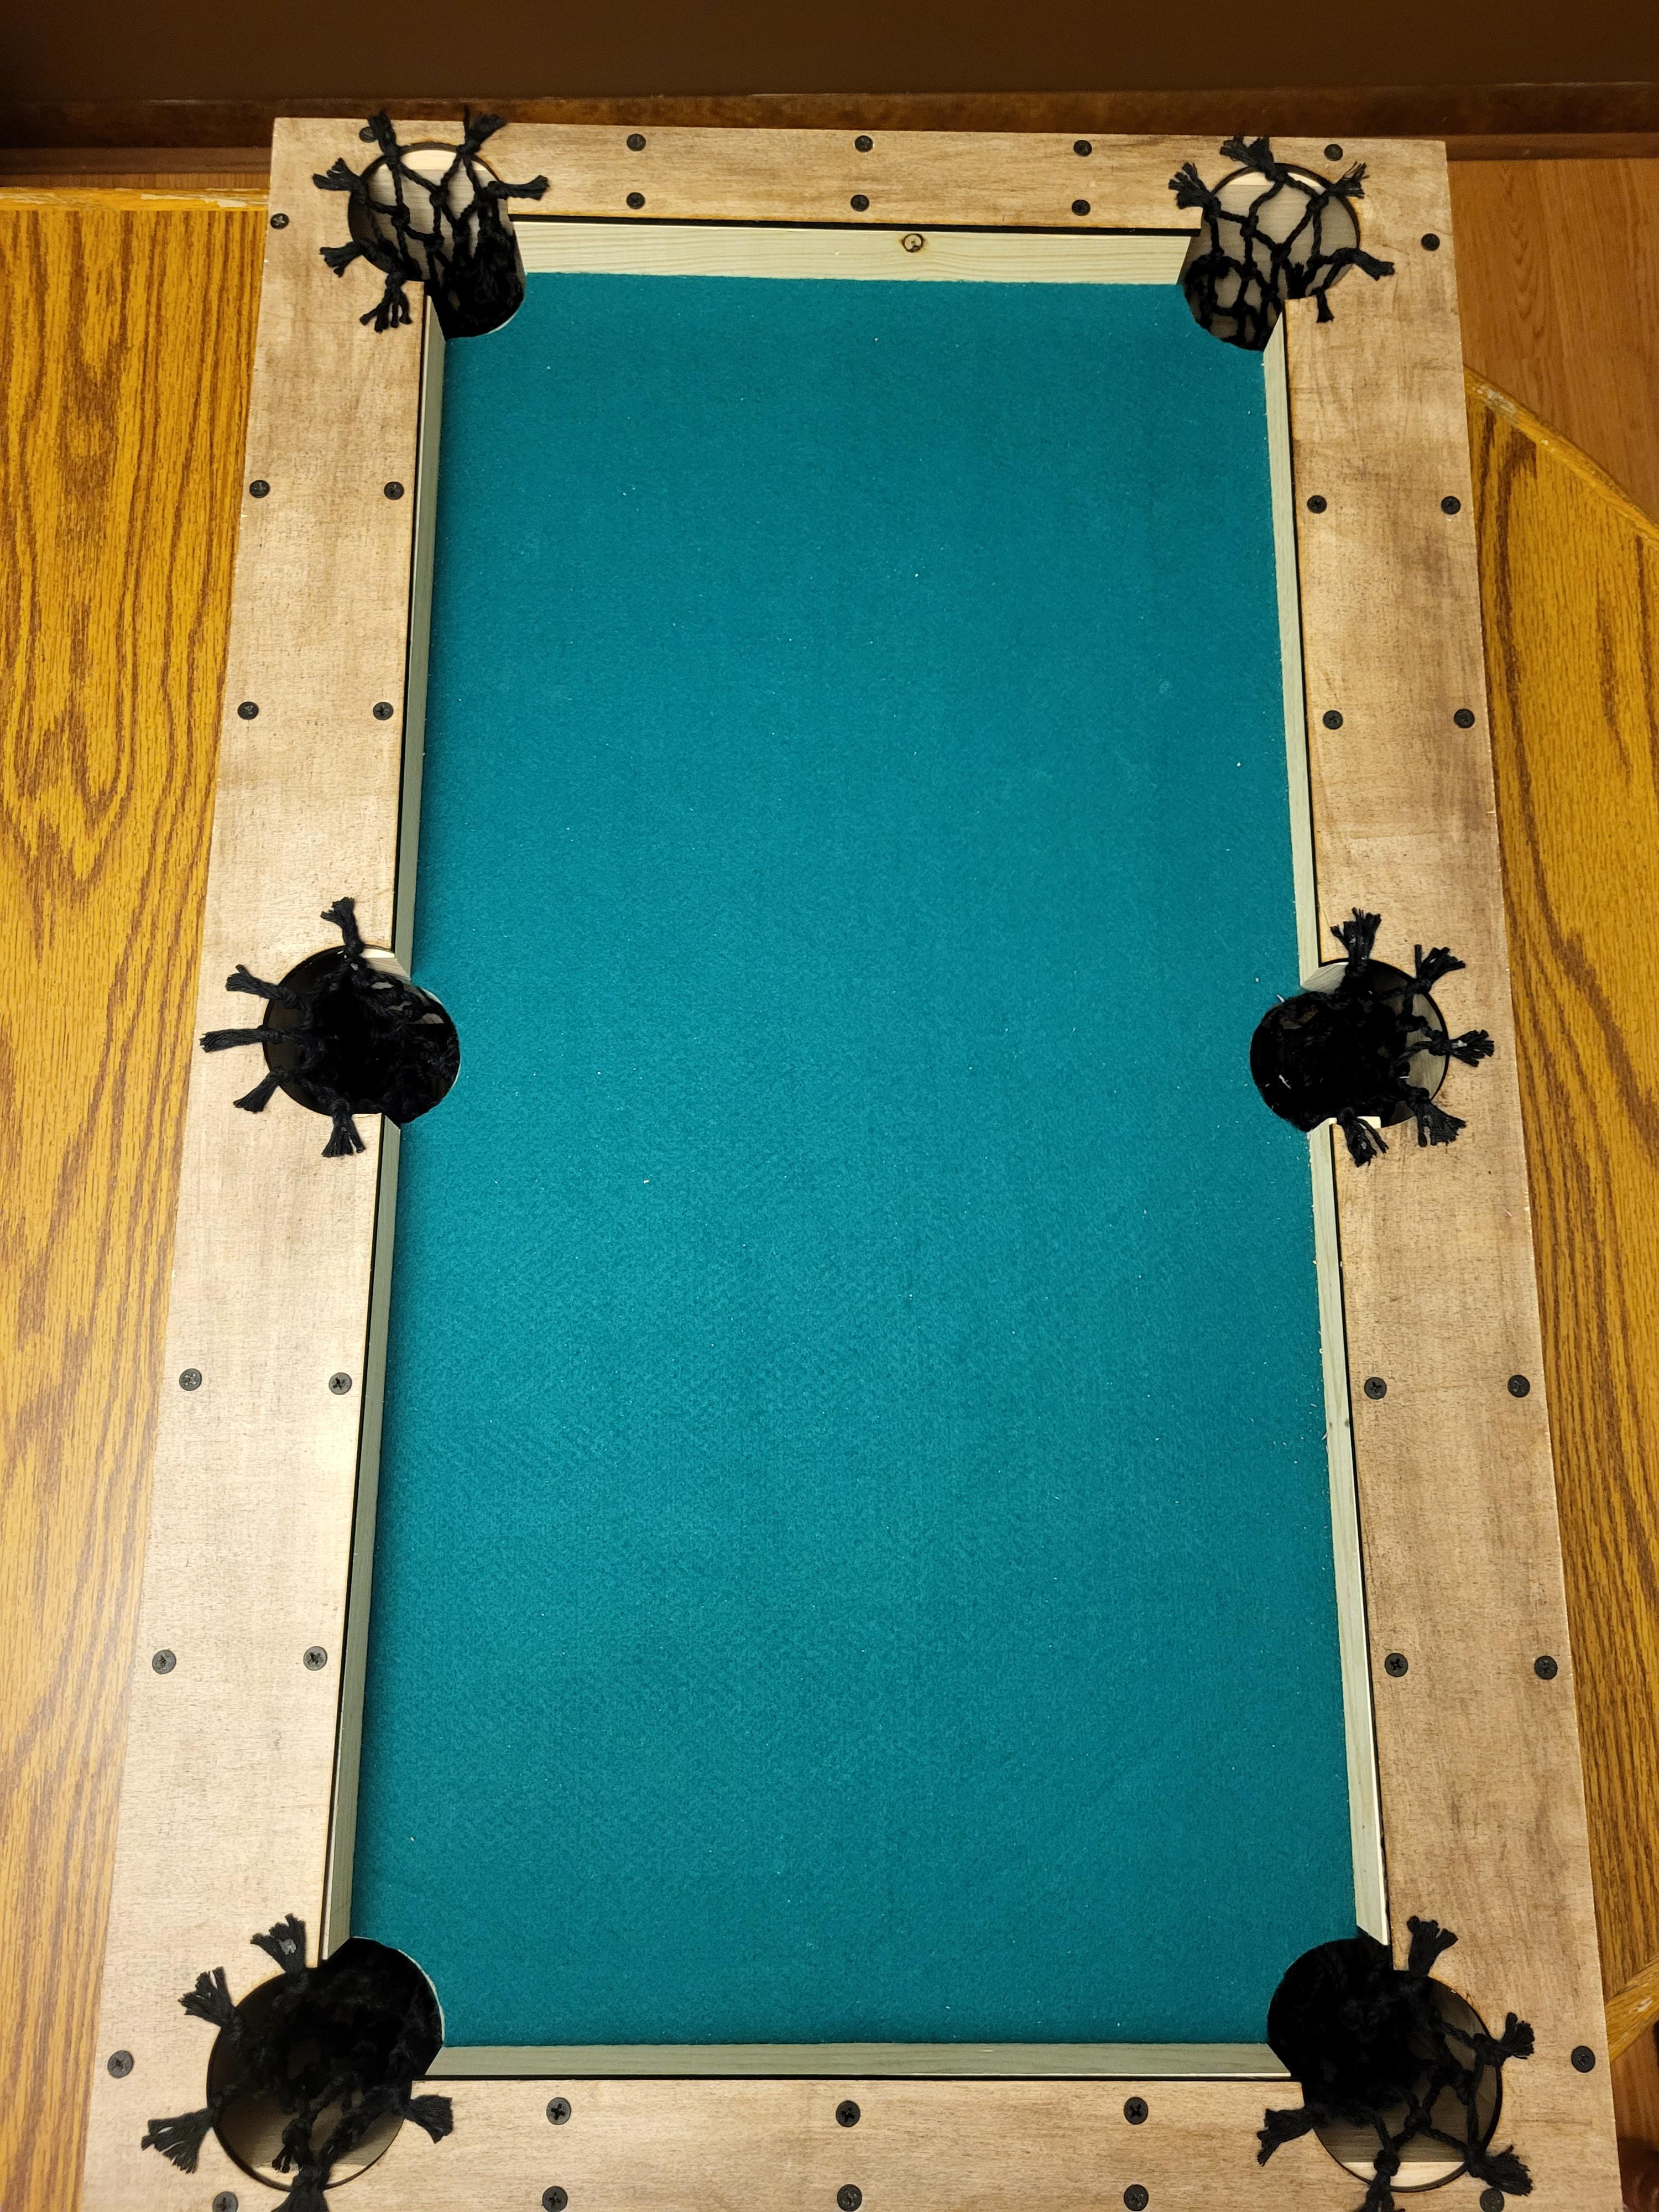
Placing Cloth on the Playing Field
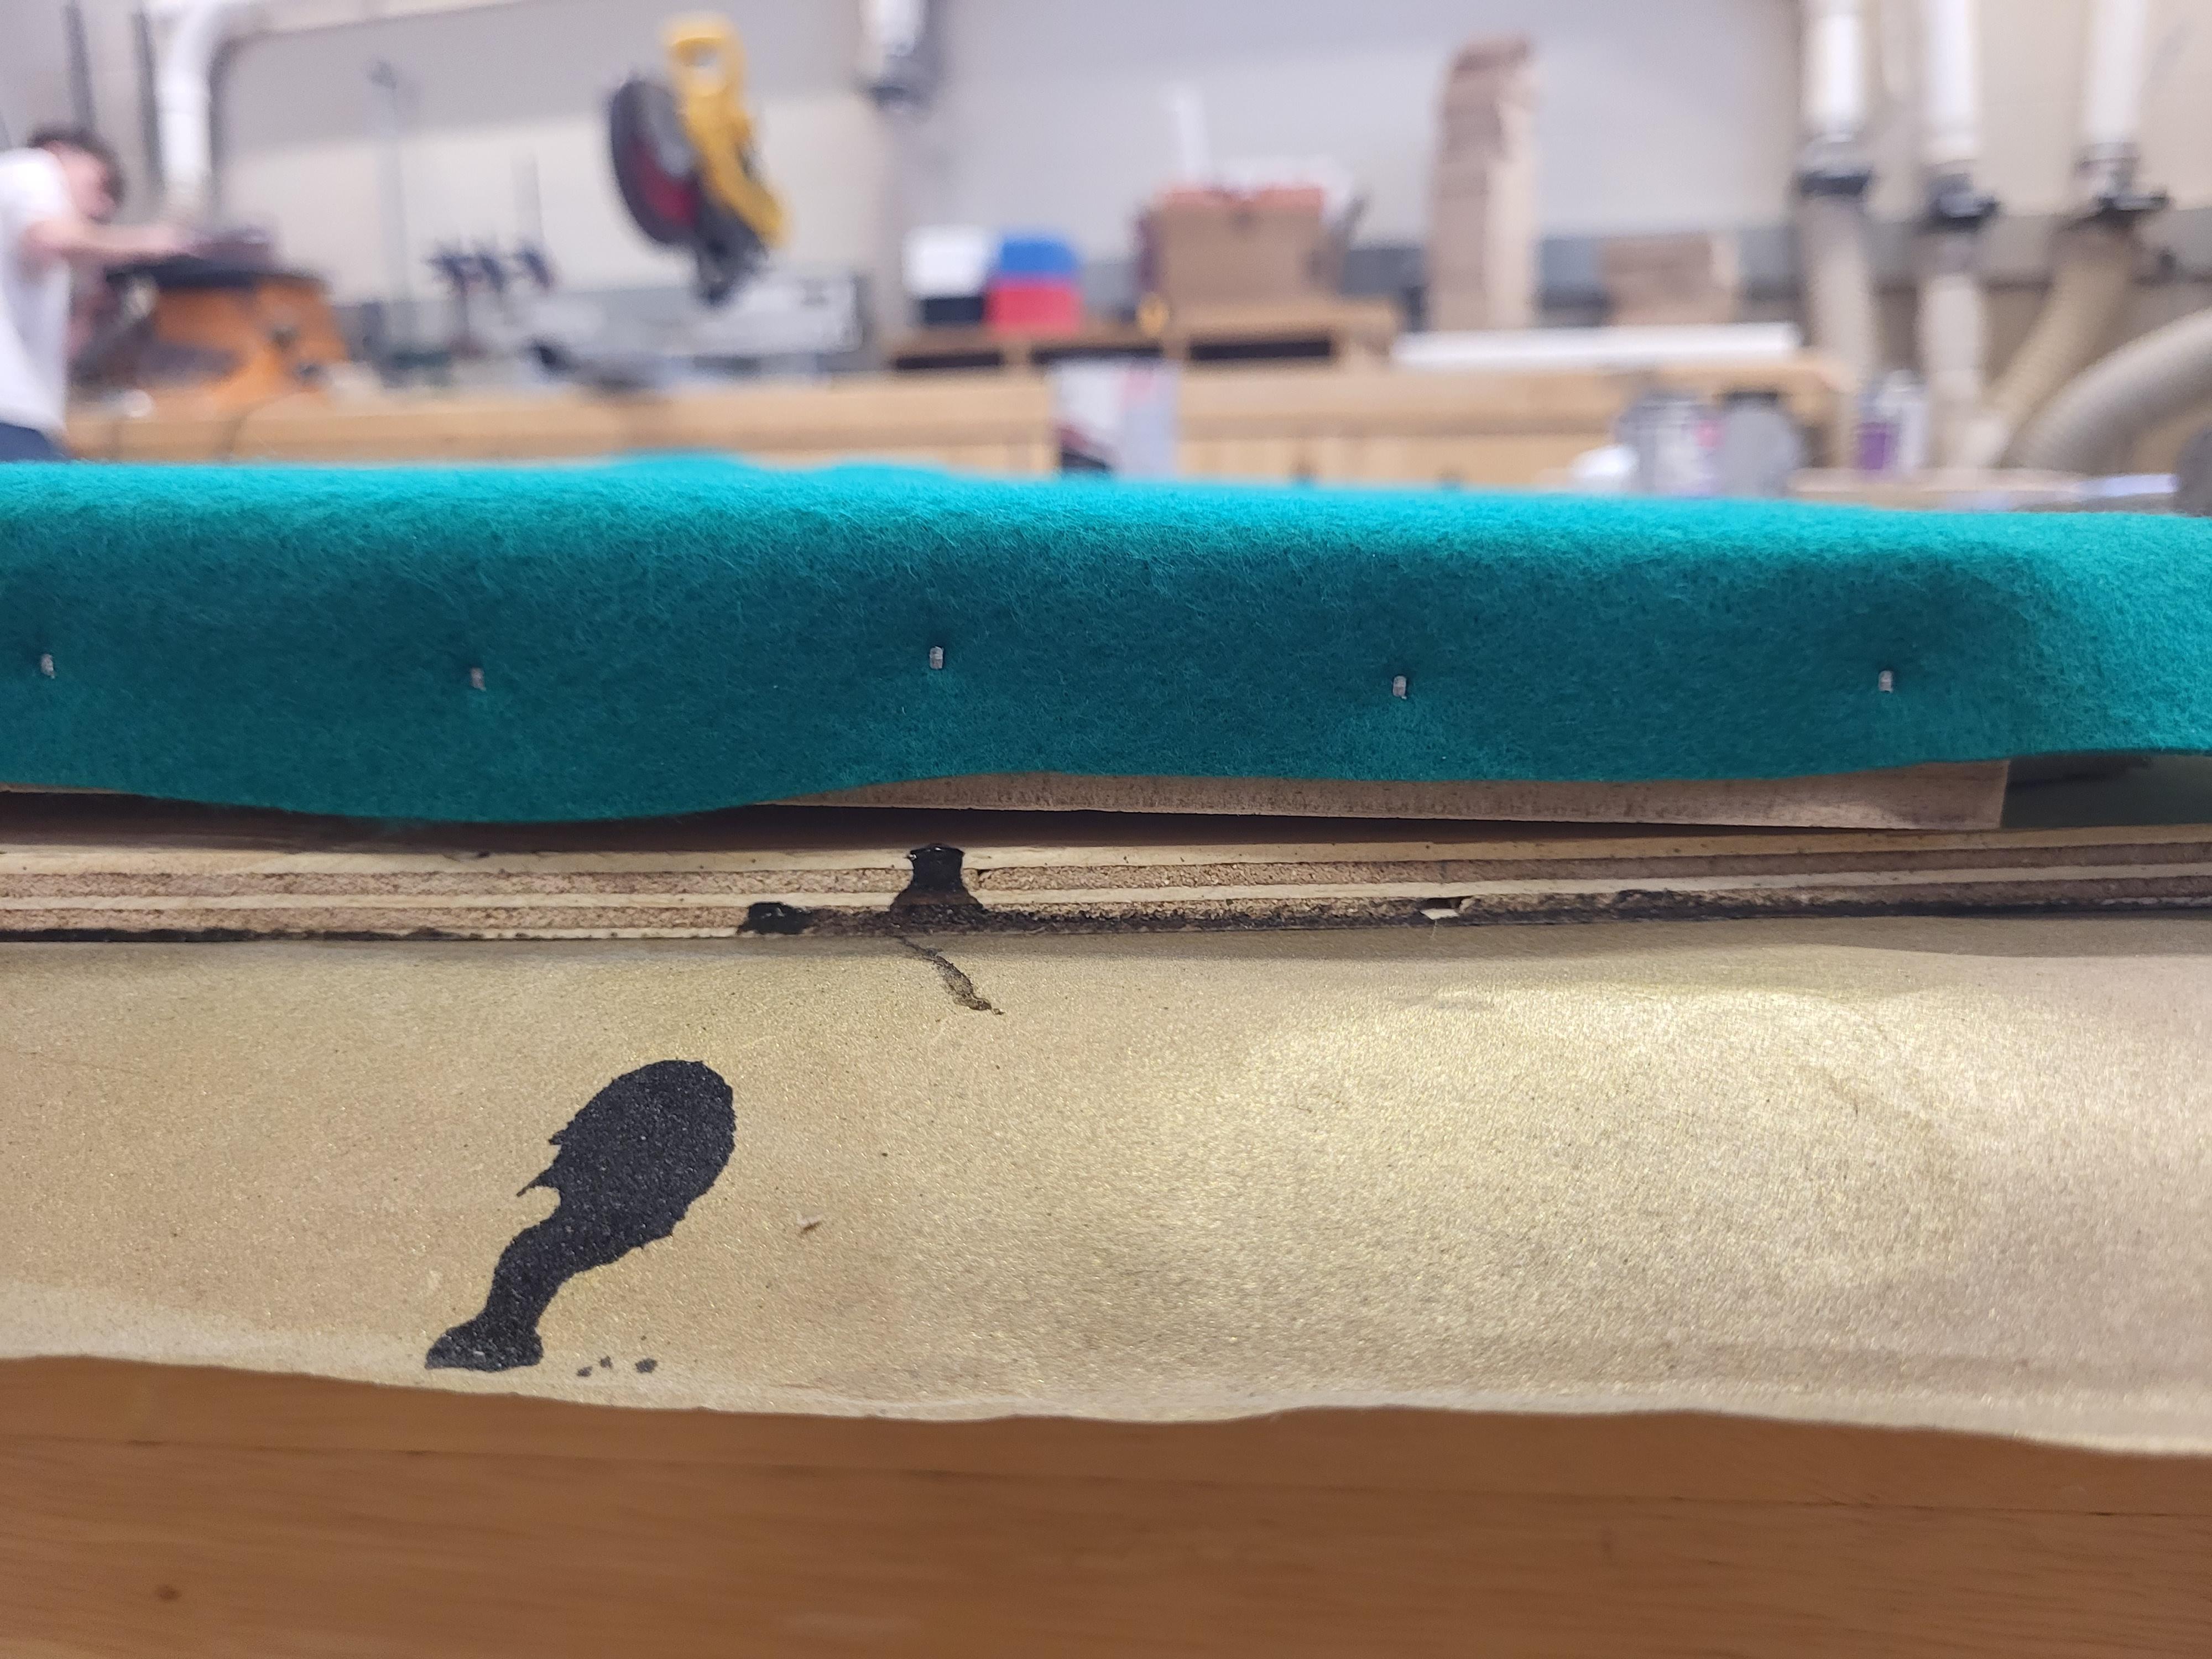
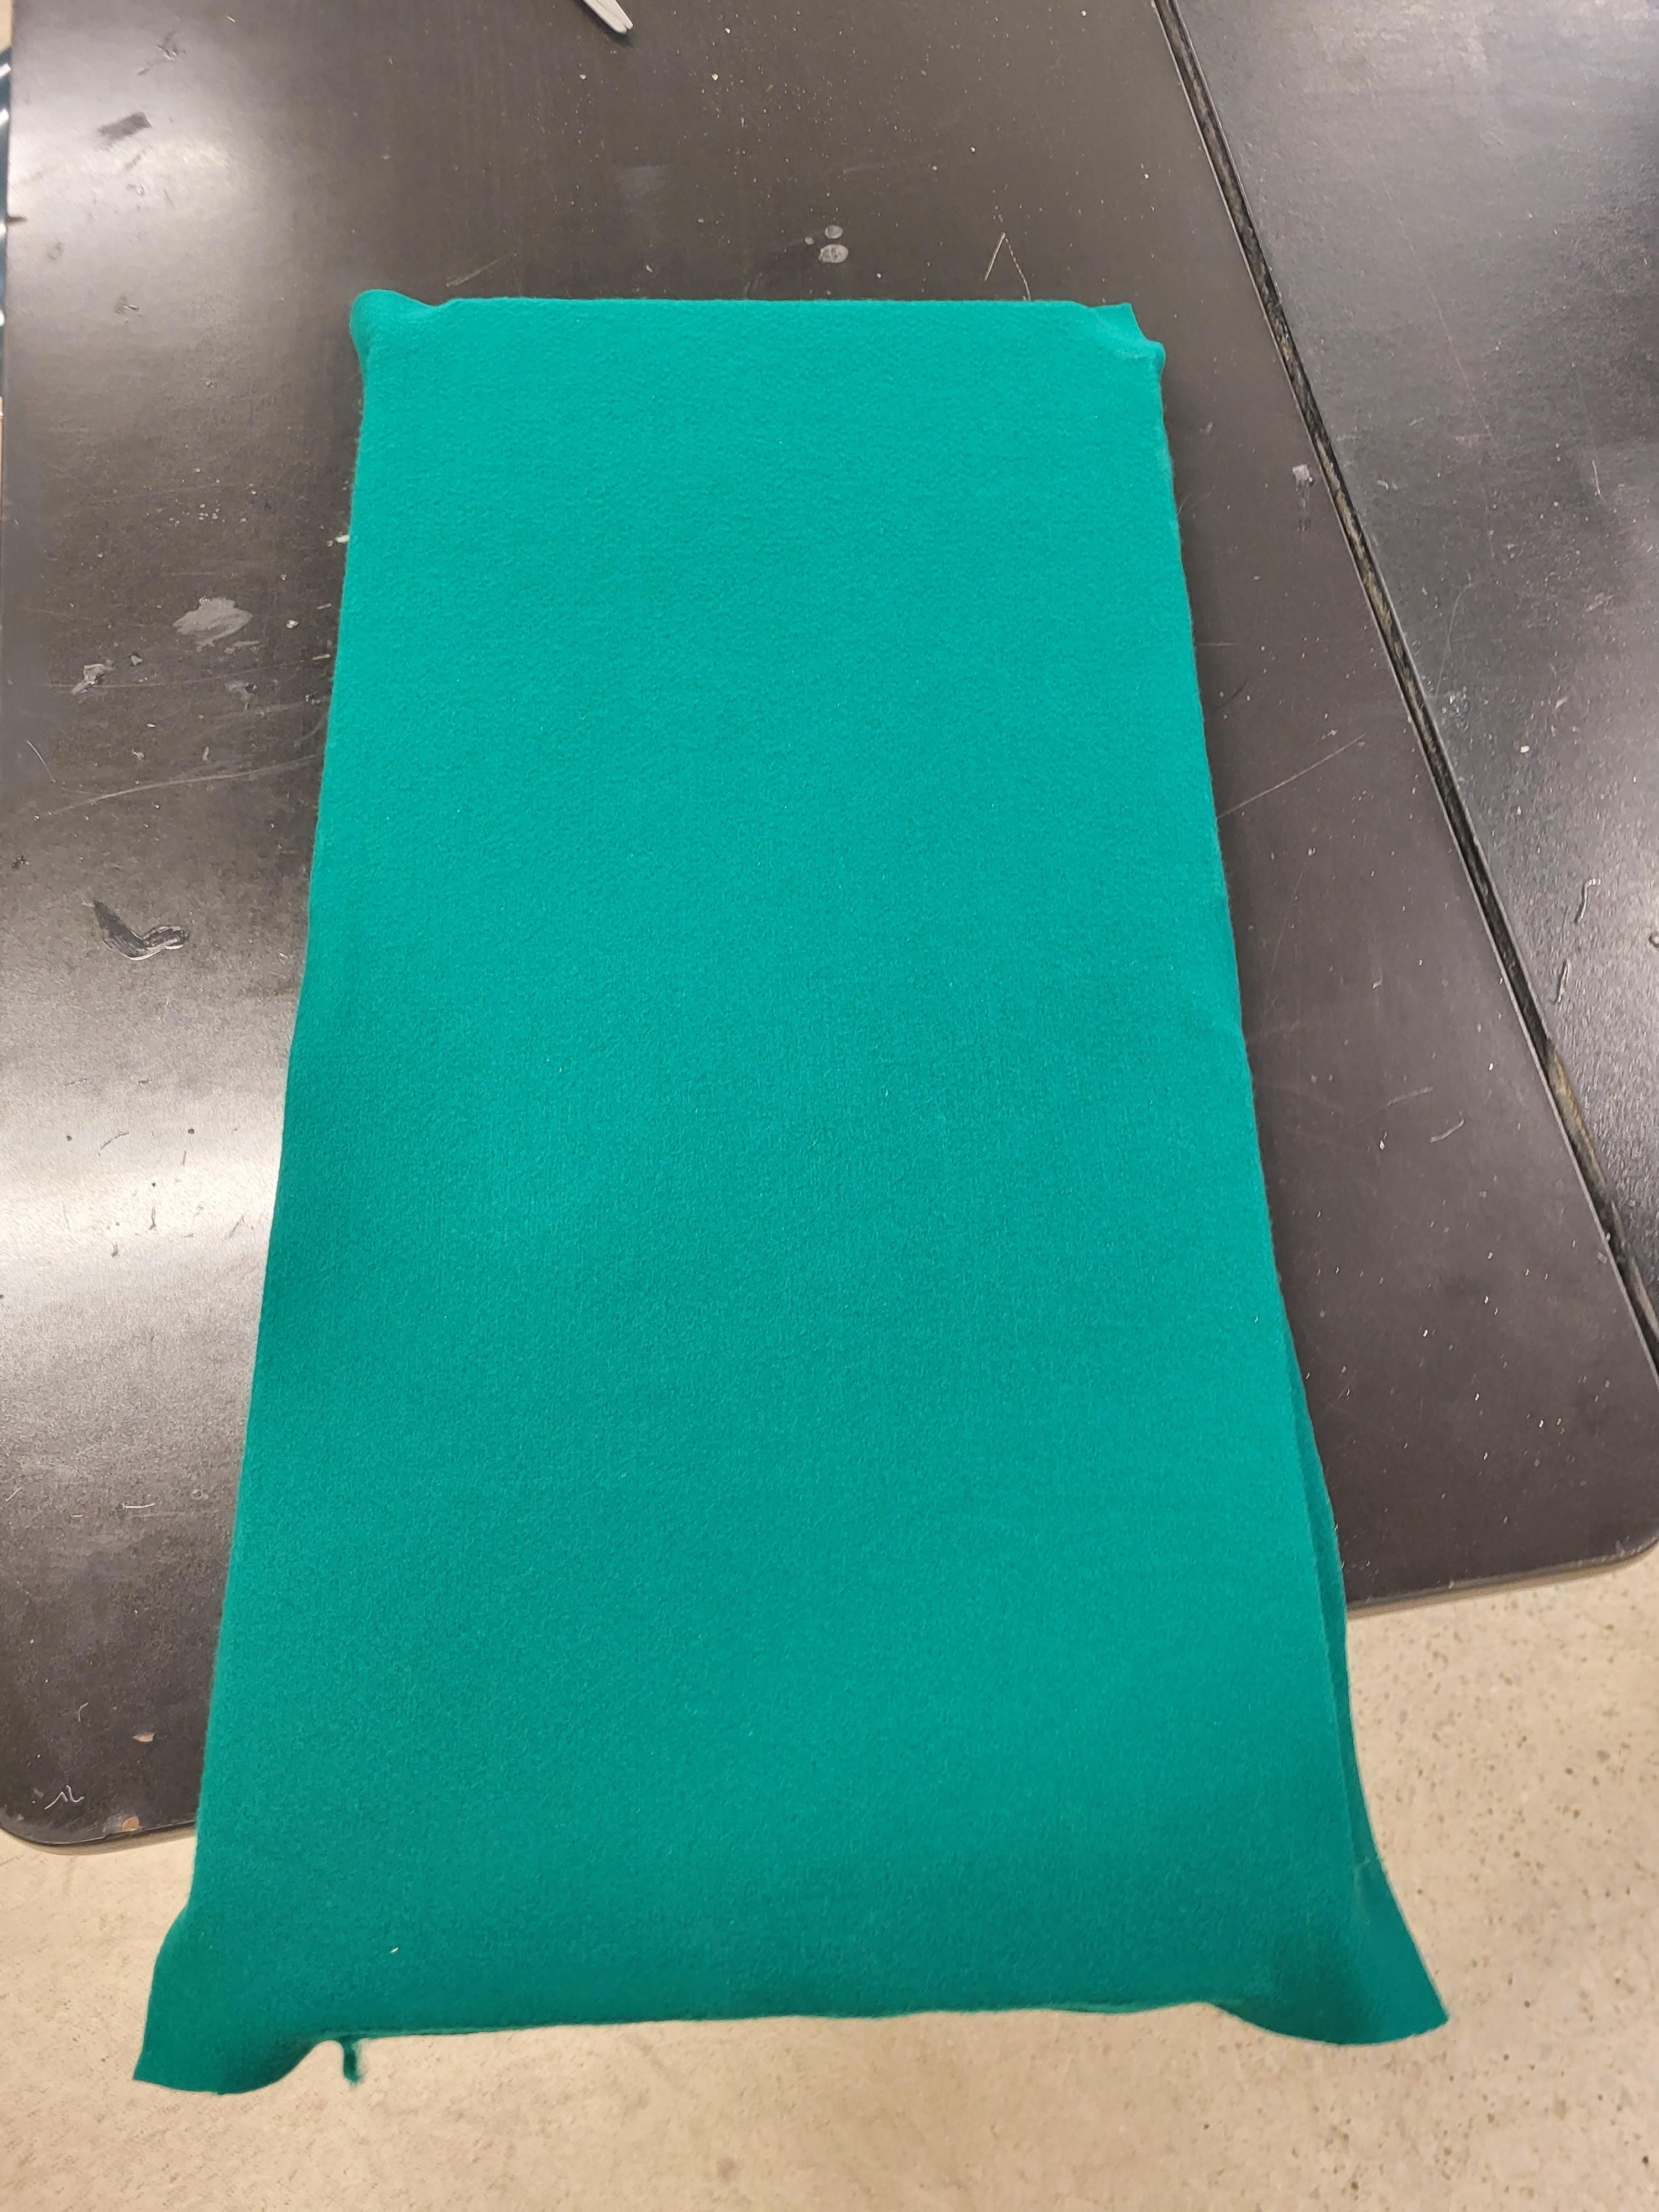
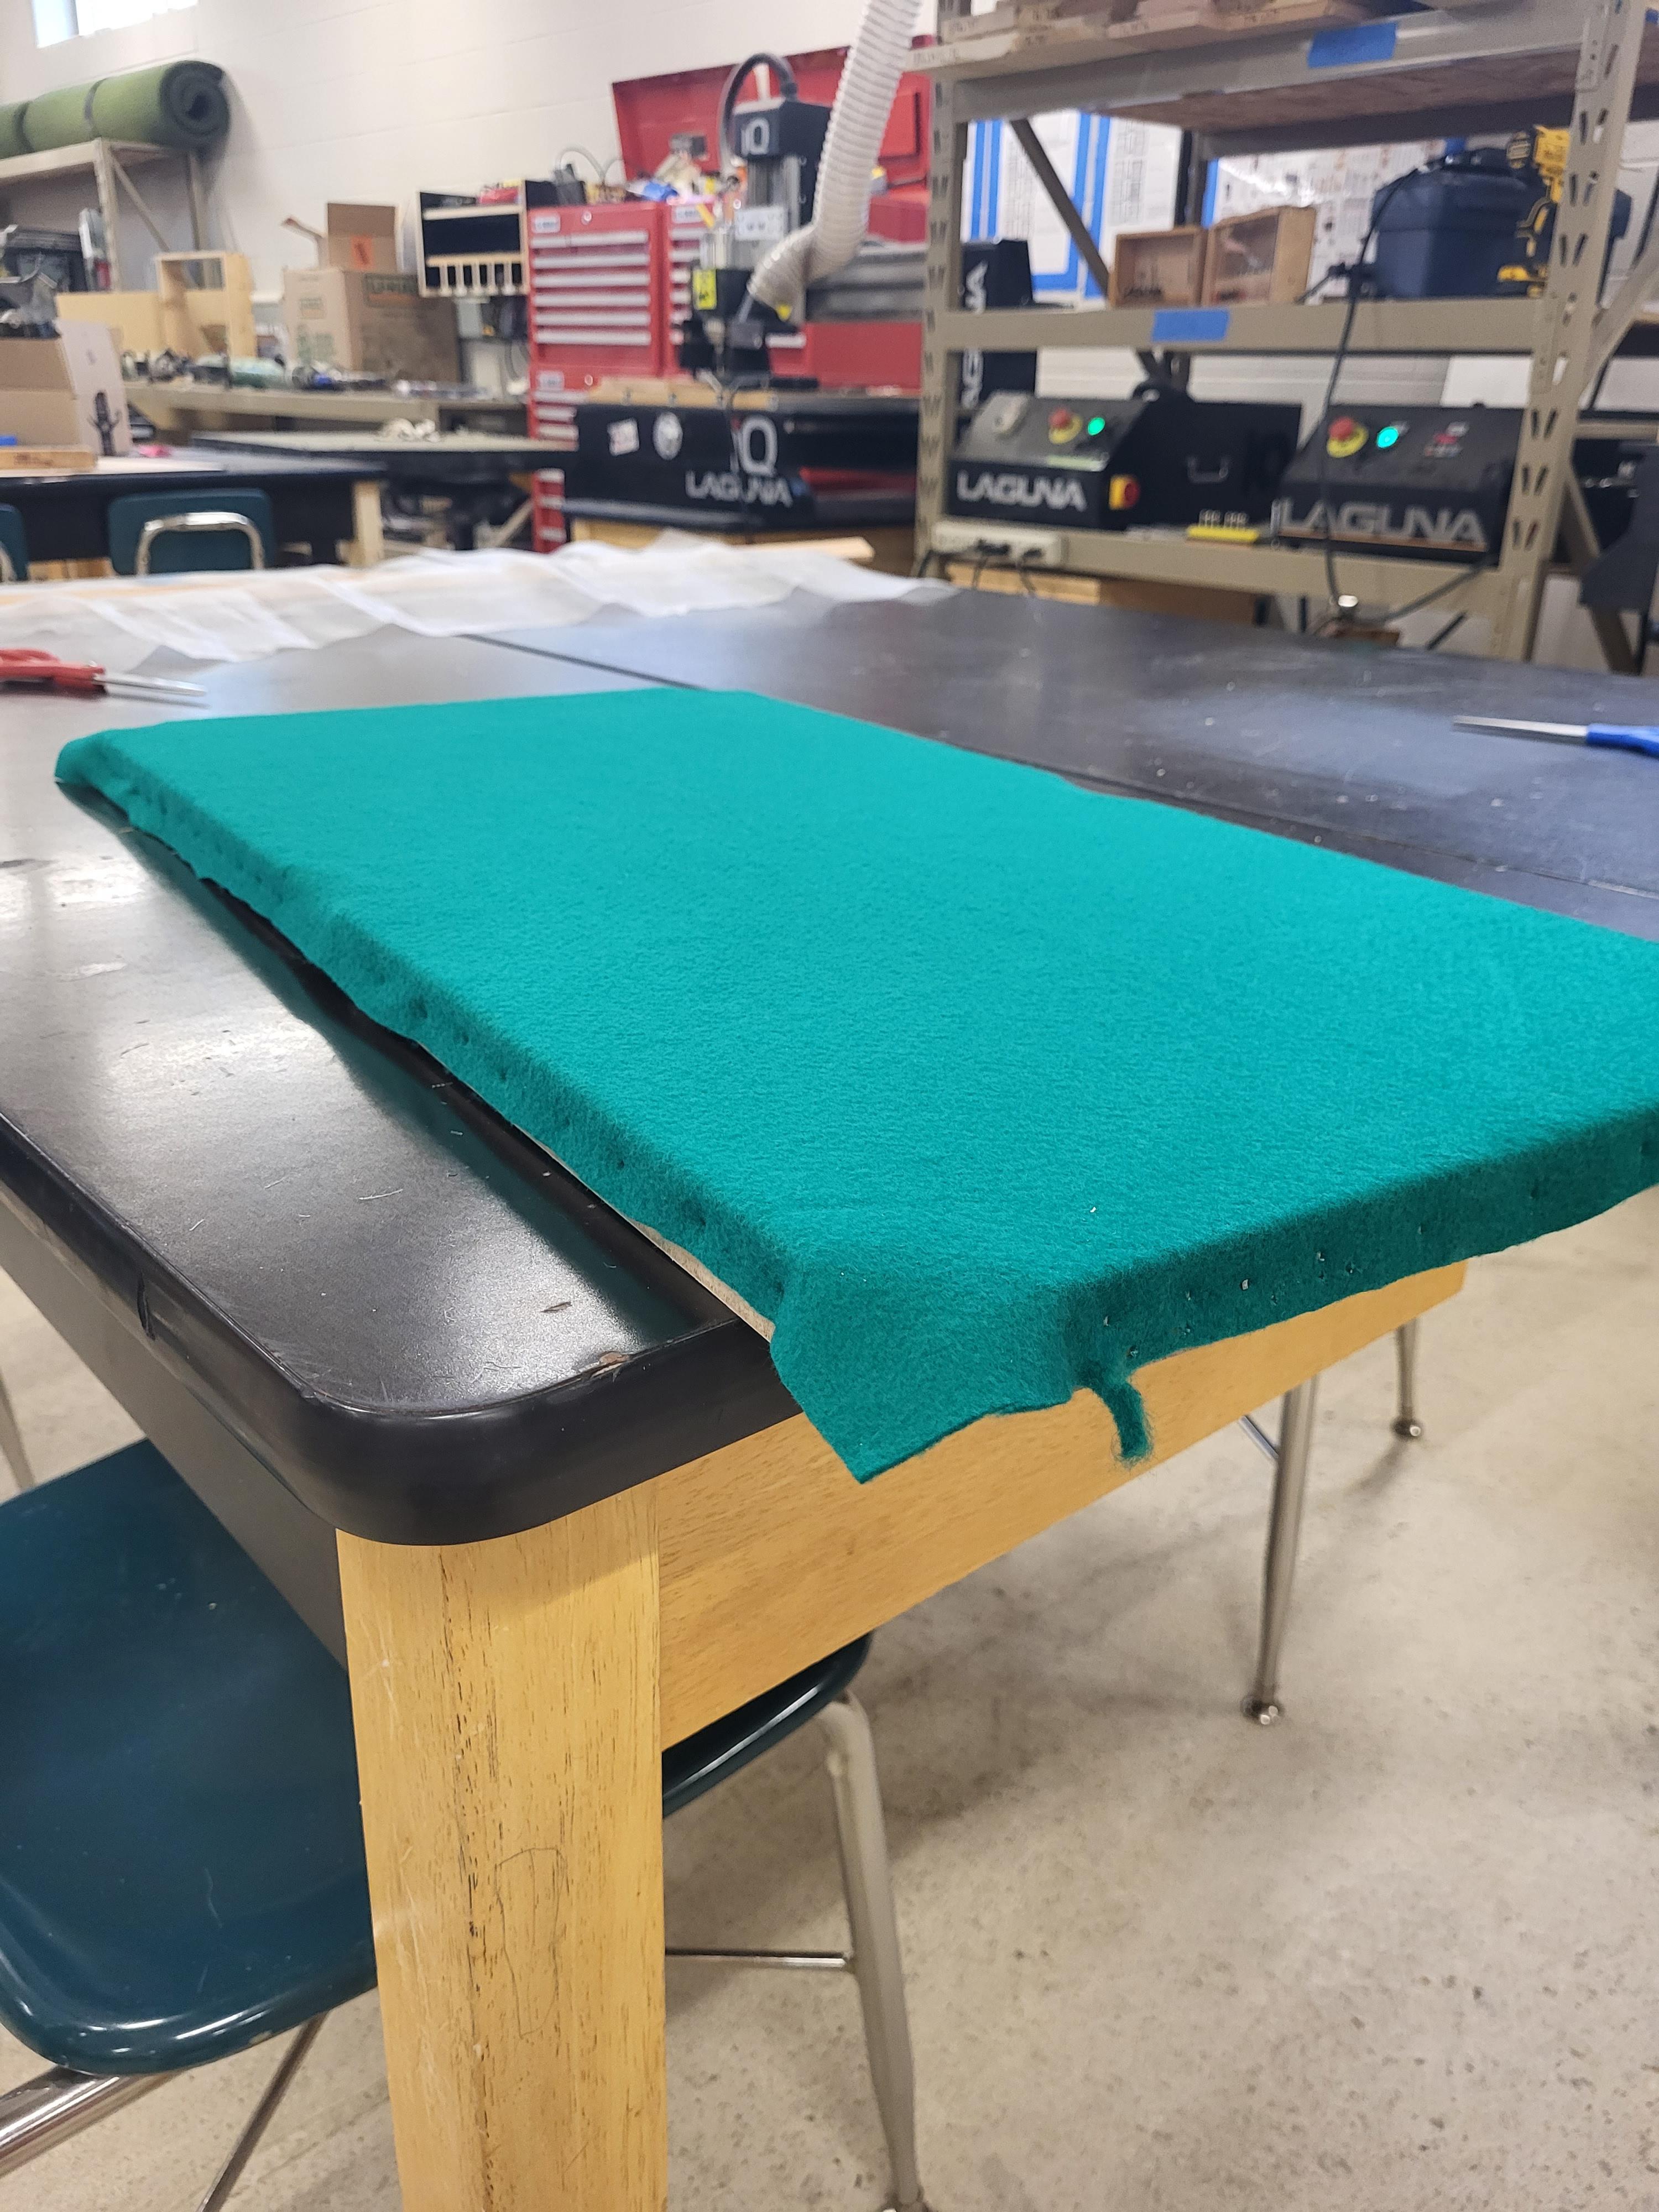
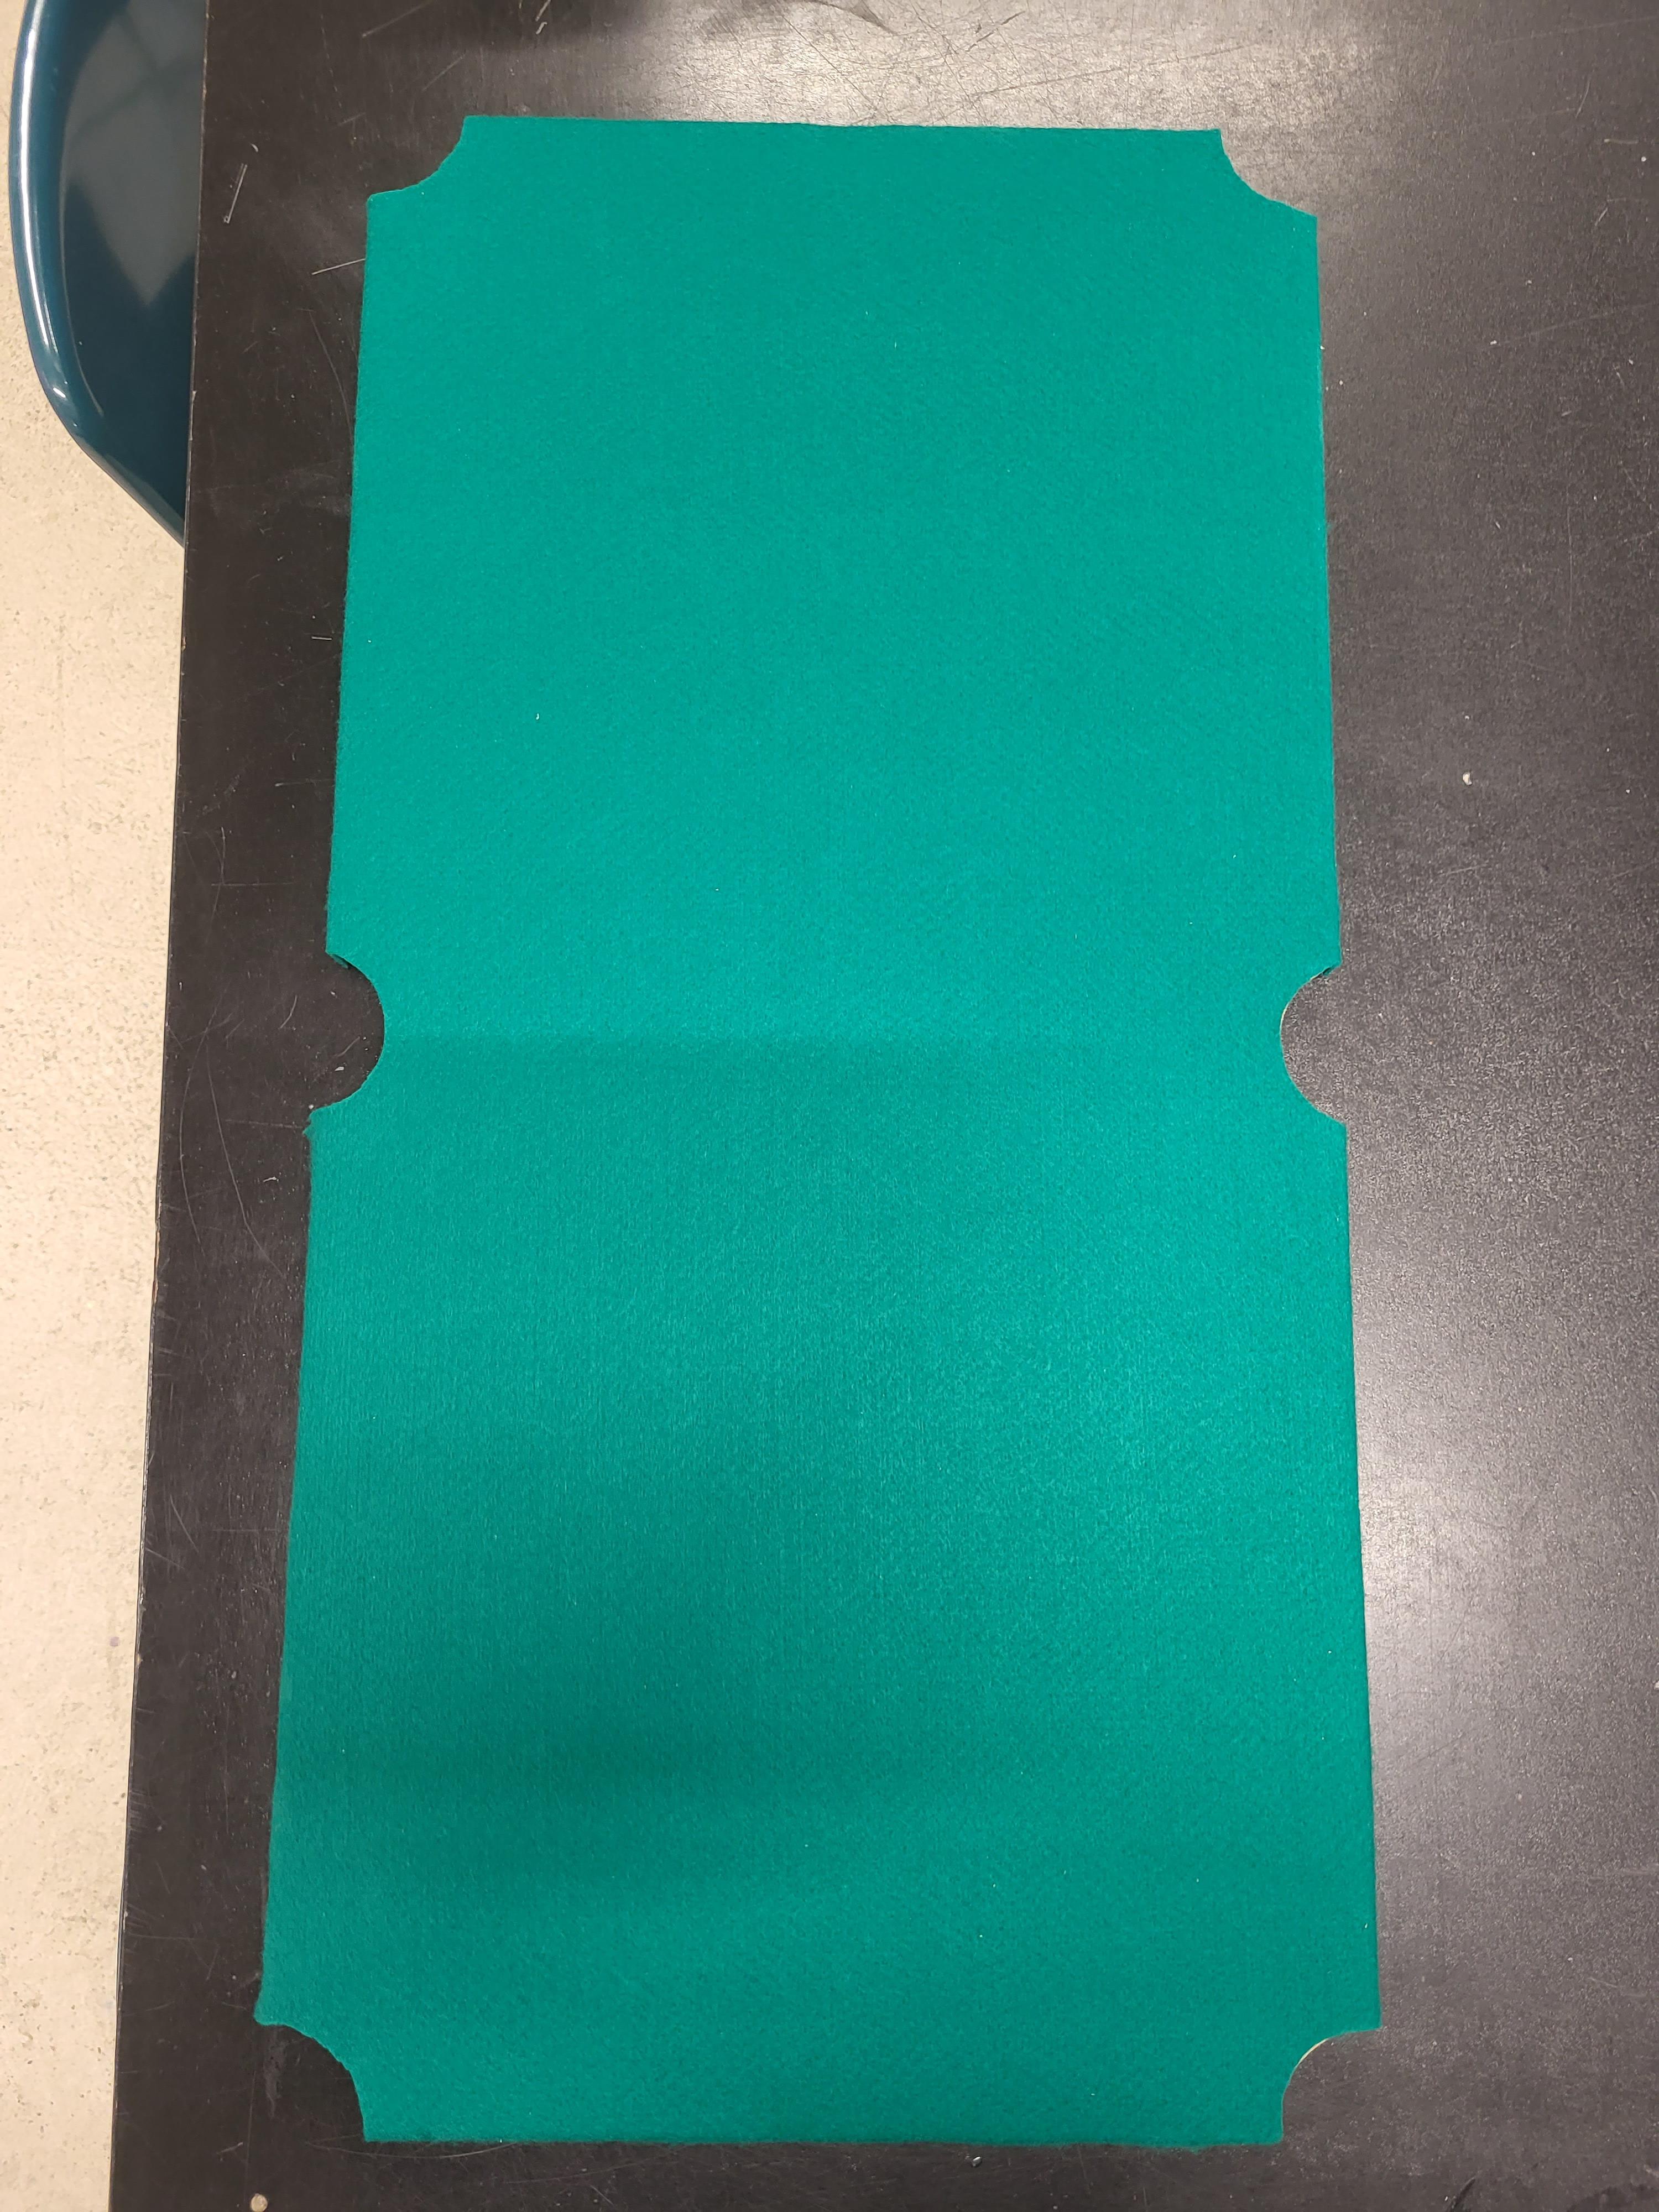
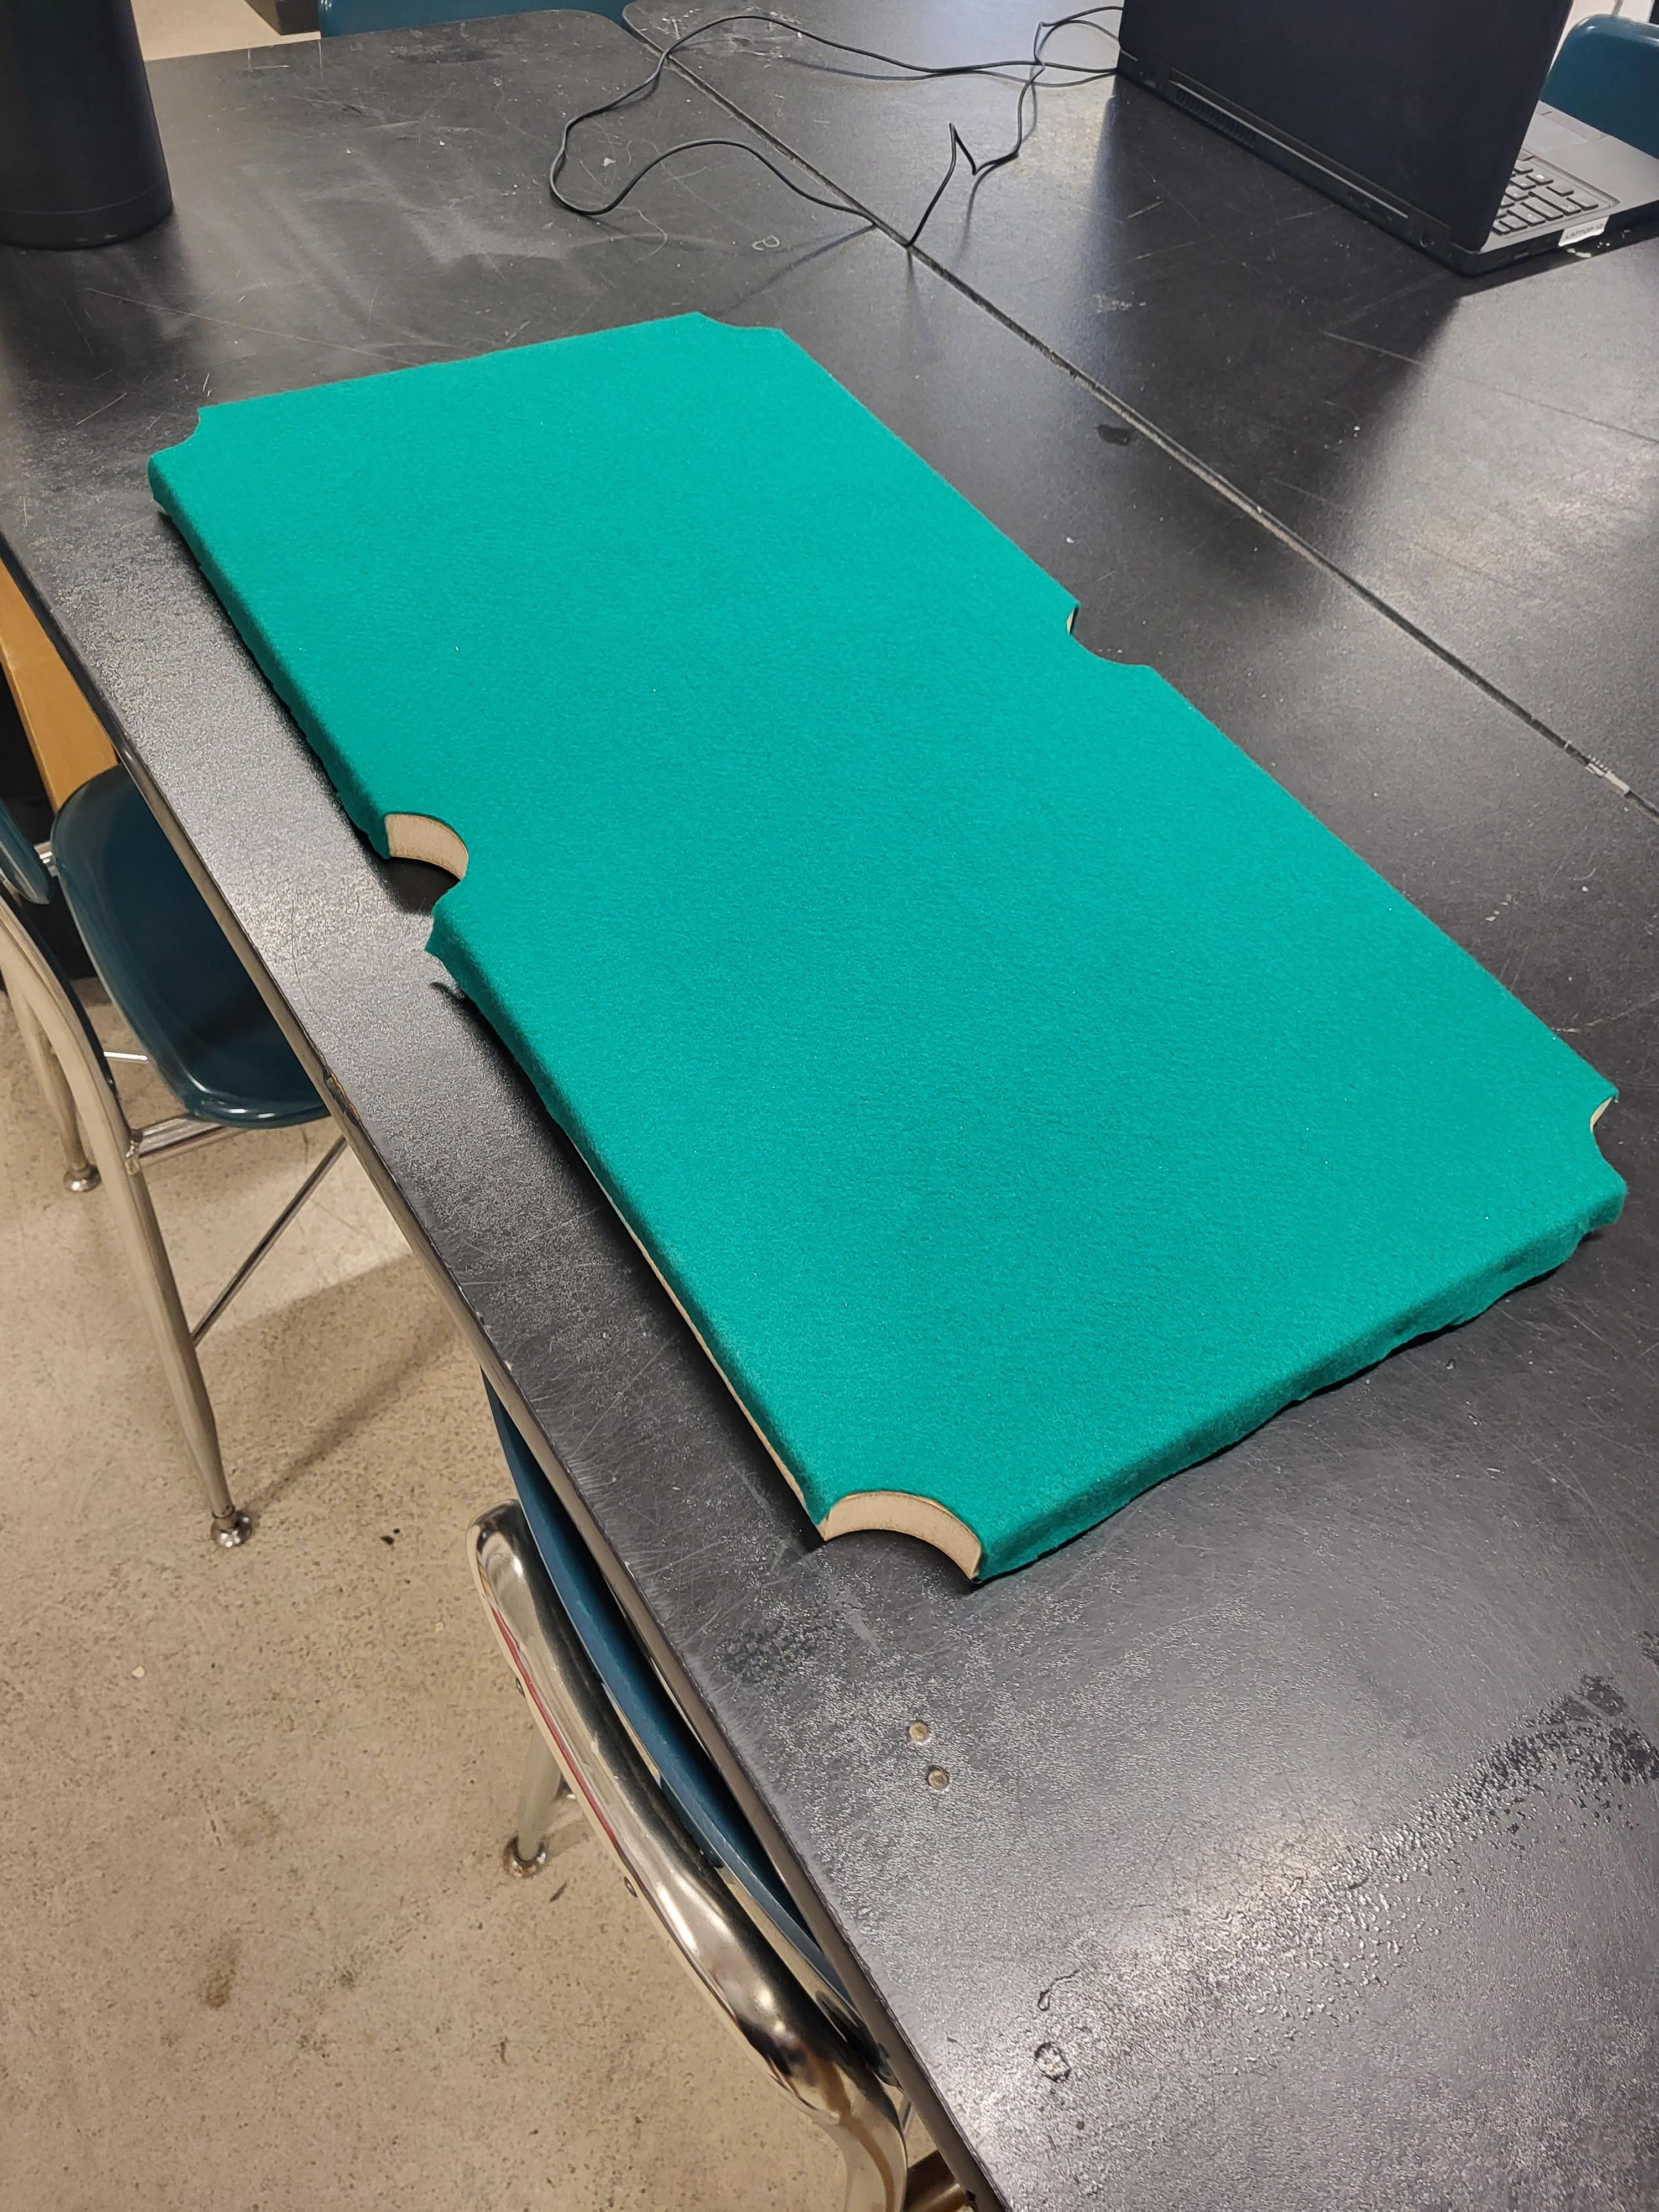
Cut out a 15 in by 29 in of green cloth. Now get the nail gun, make sure it is at the lowest depth, and nail the cloth to the sides of the playing field. For each of the six sides I put about 7-8 nails. Make sure to pull the cloth very tight so it ends up very flat on the top. Once all of the nails are in, cut out the excess cloth on the holes and if there is any on the sides.
Putting It All Together(Part 1)
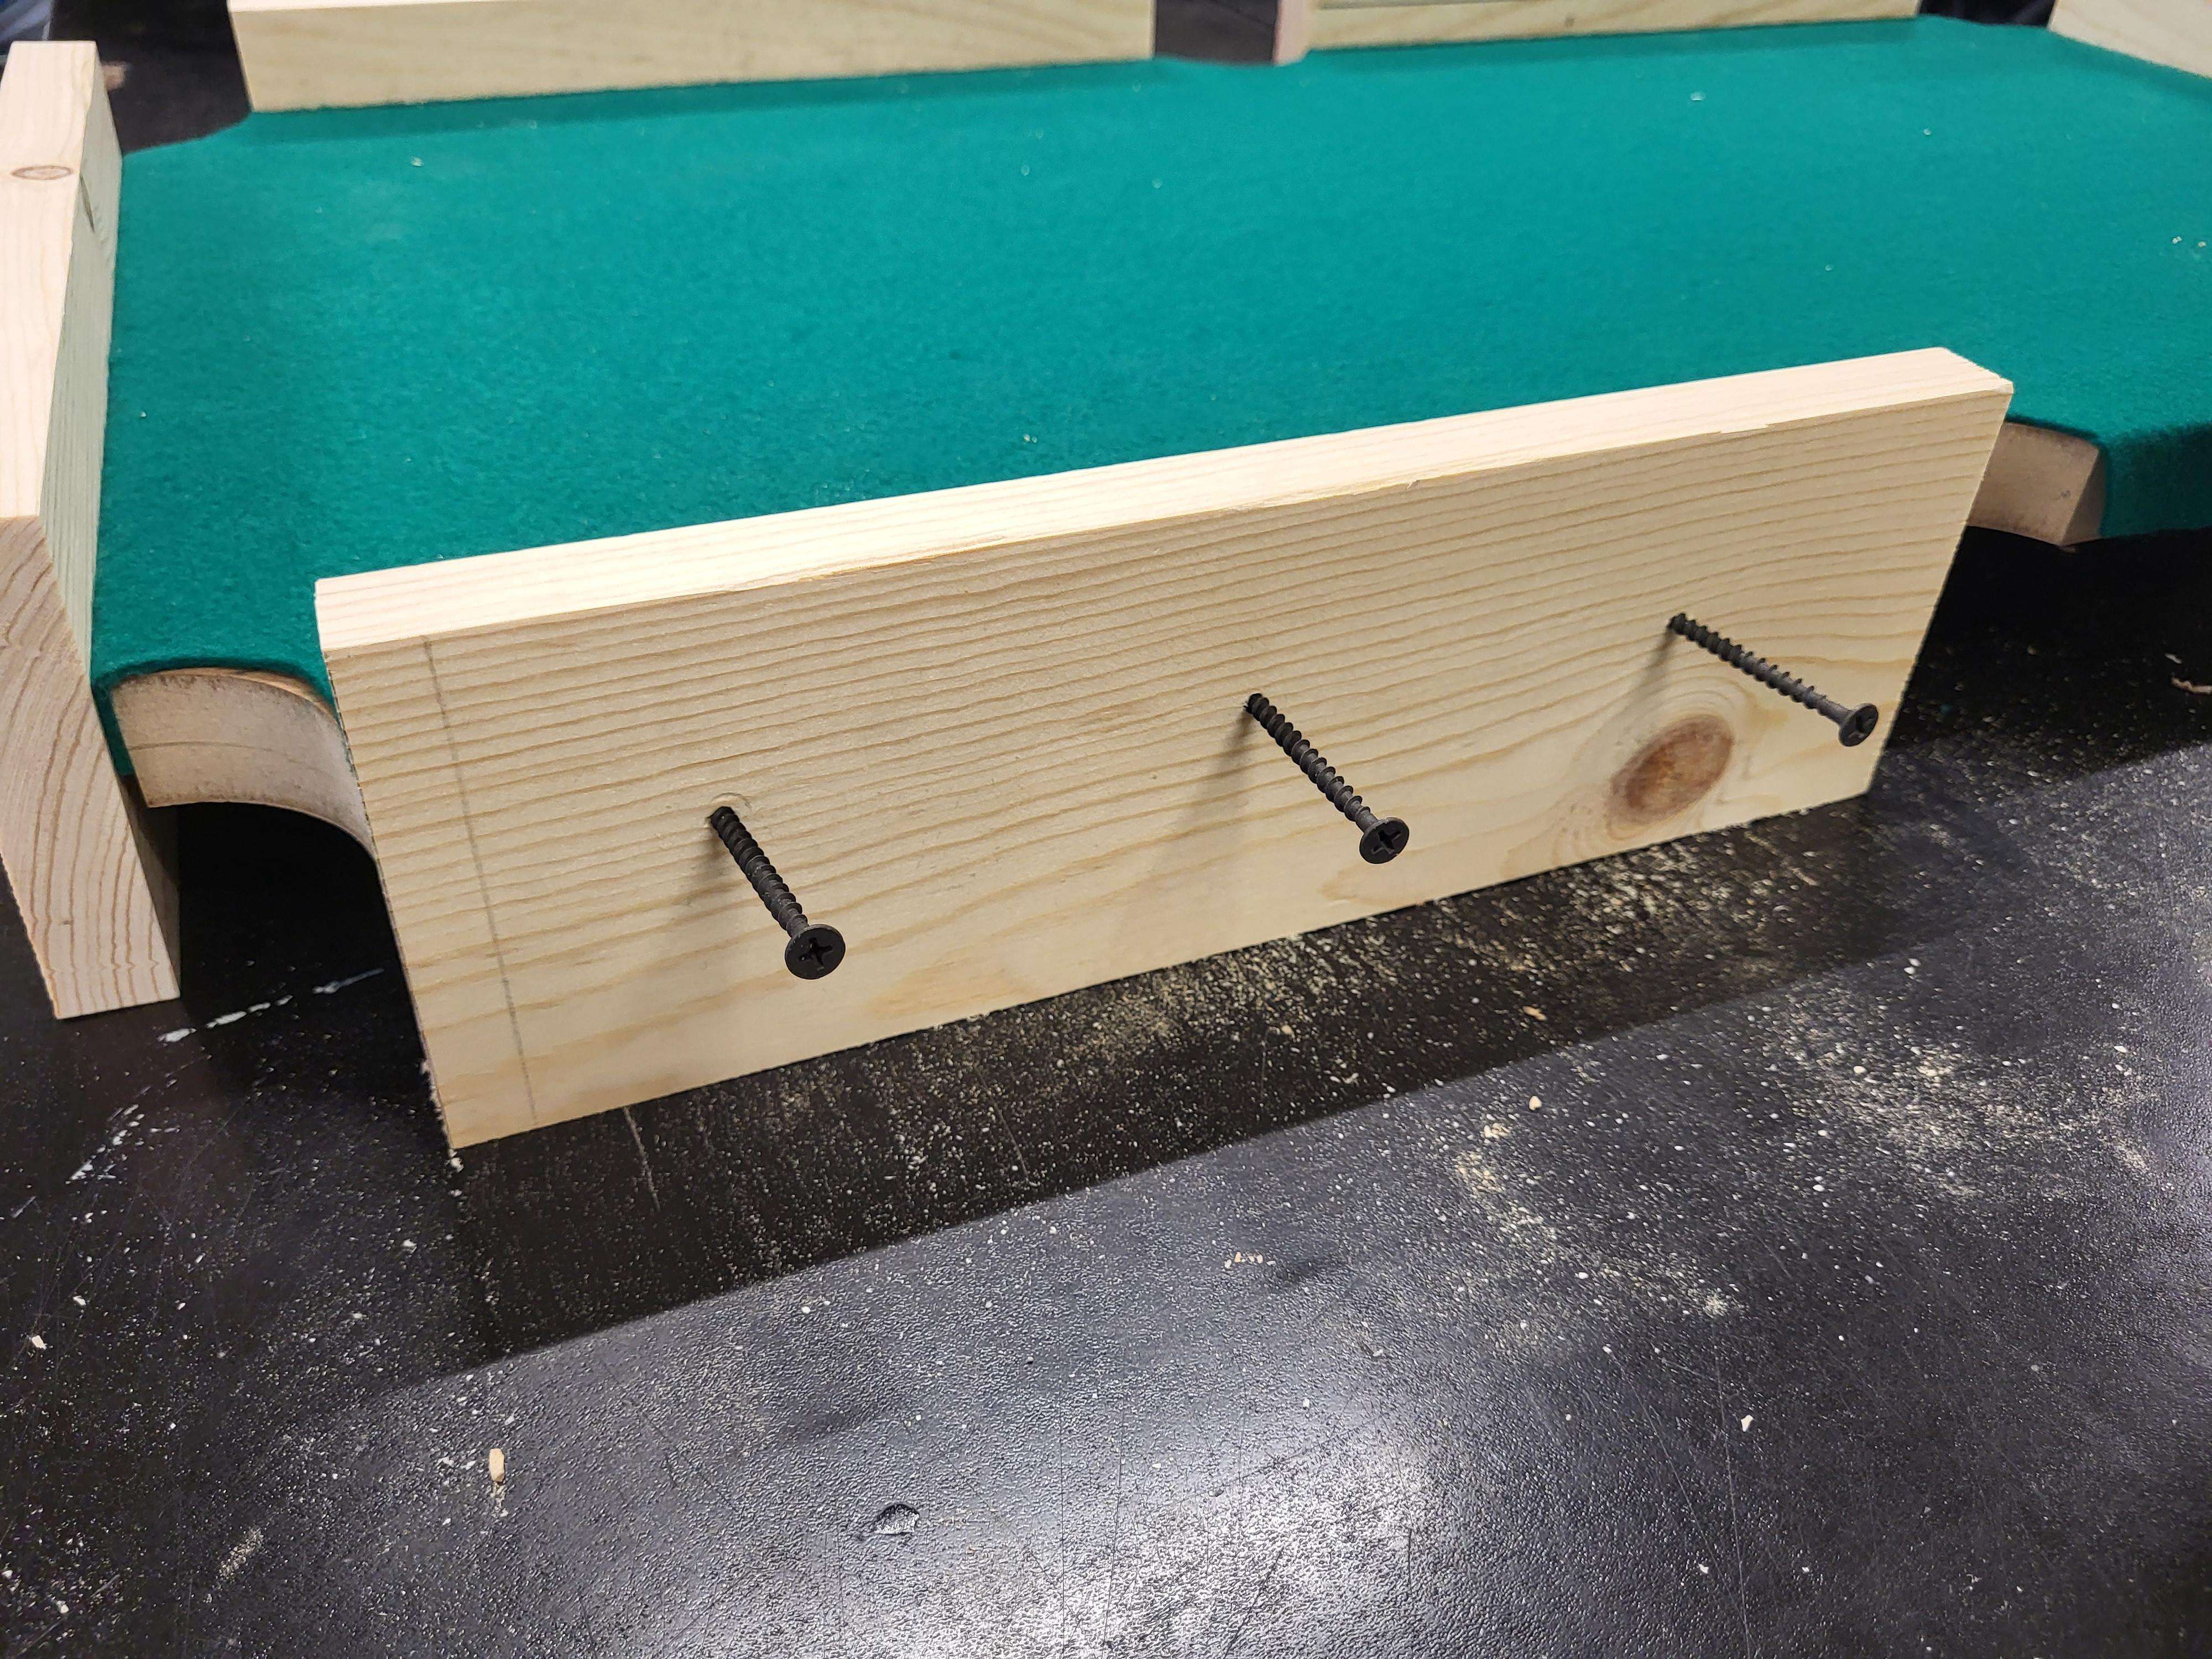

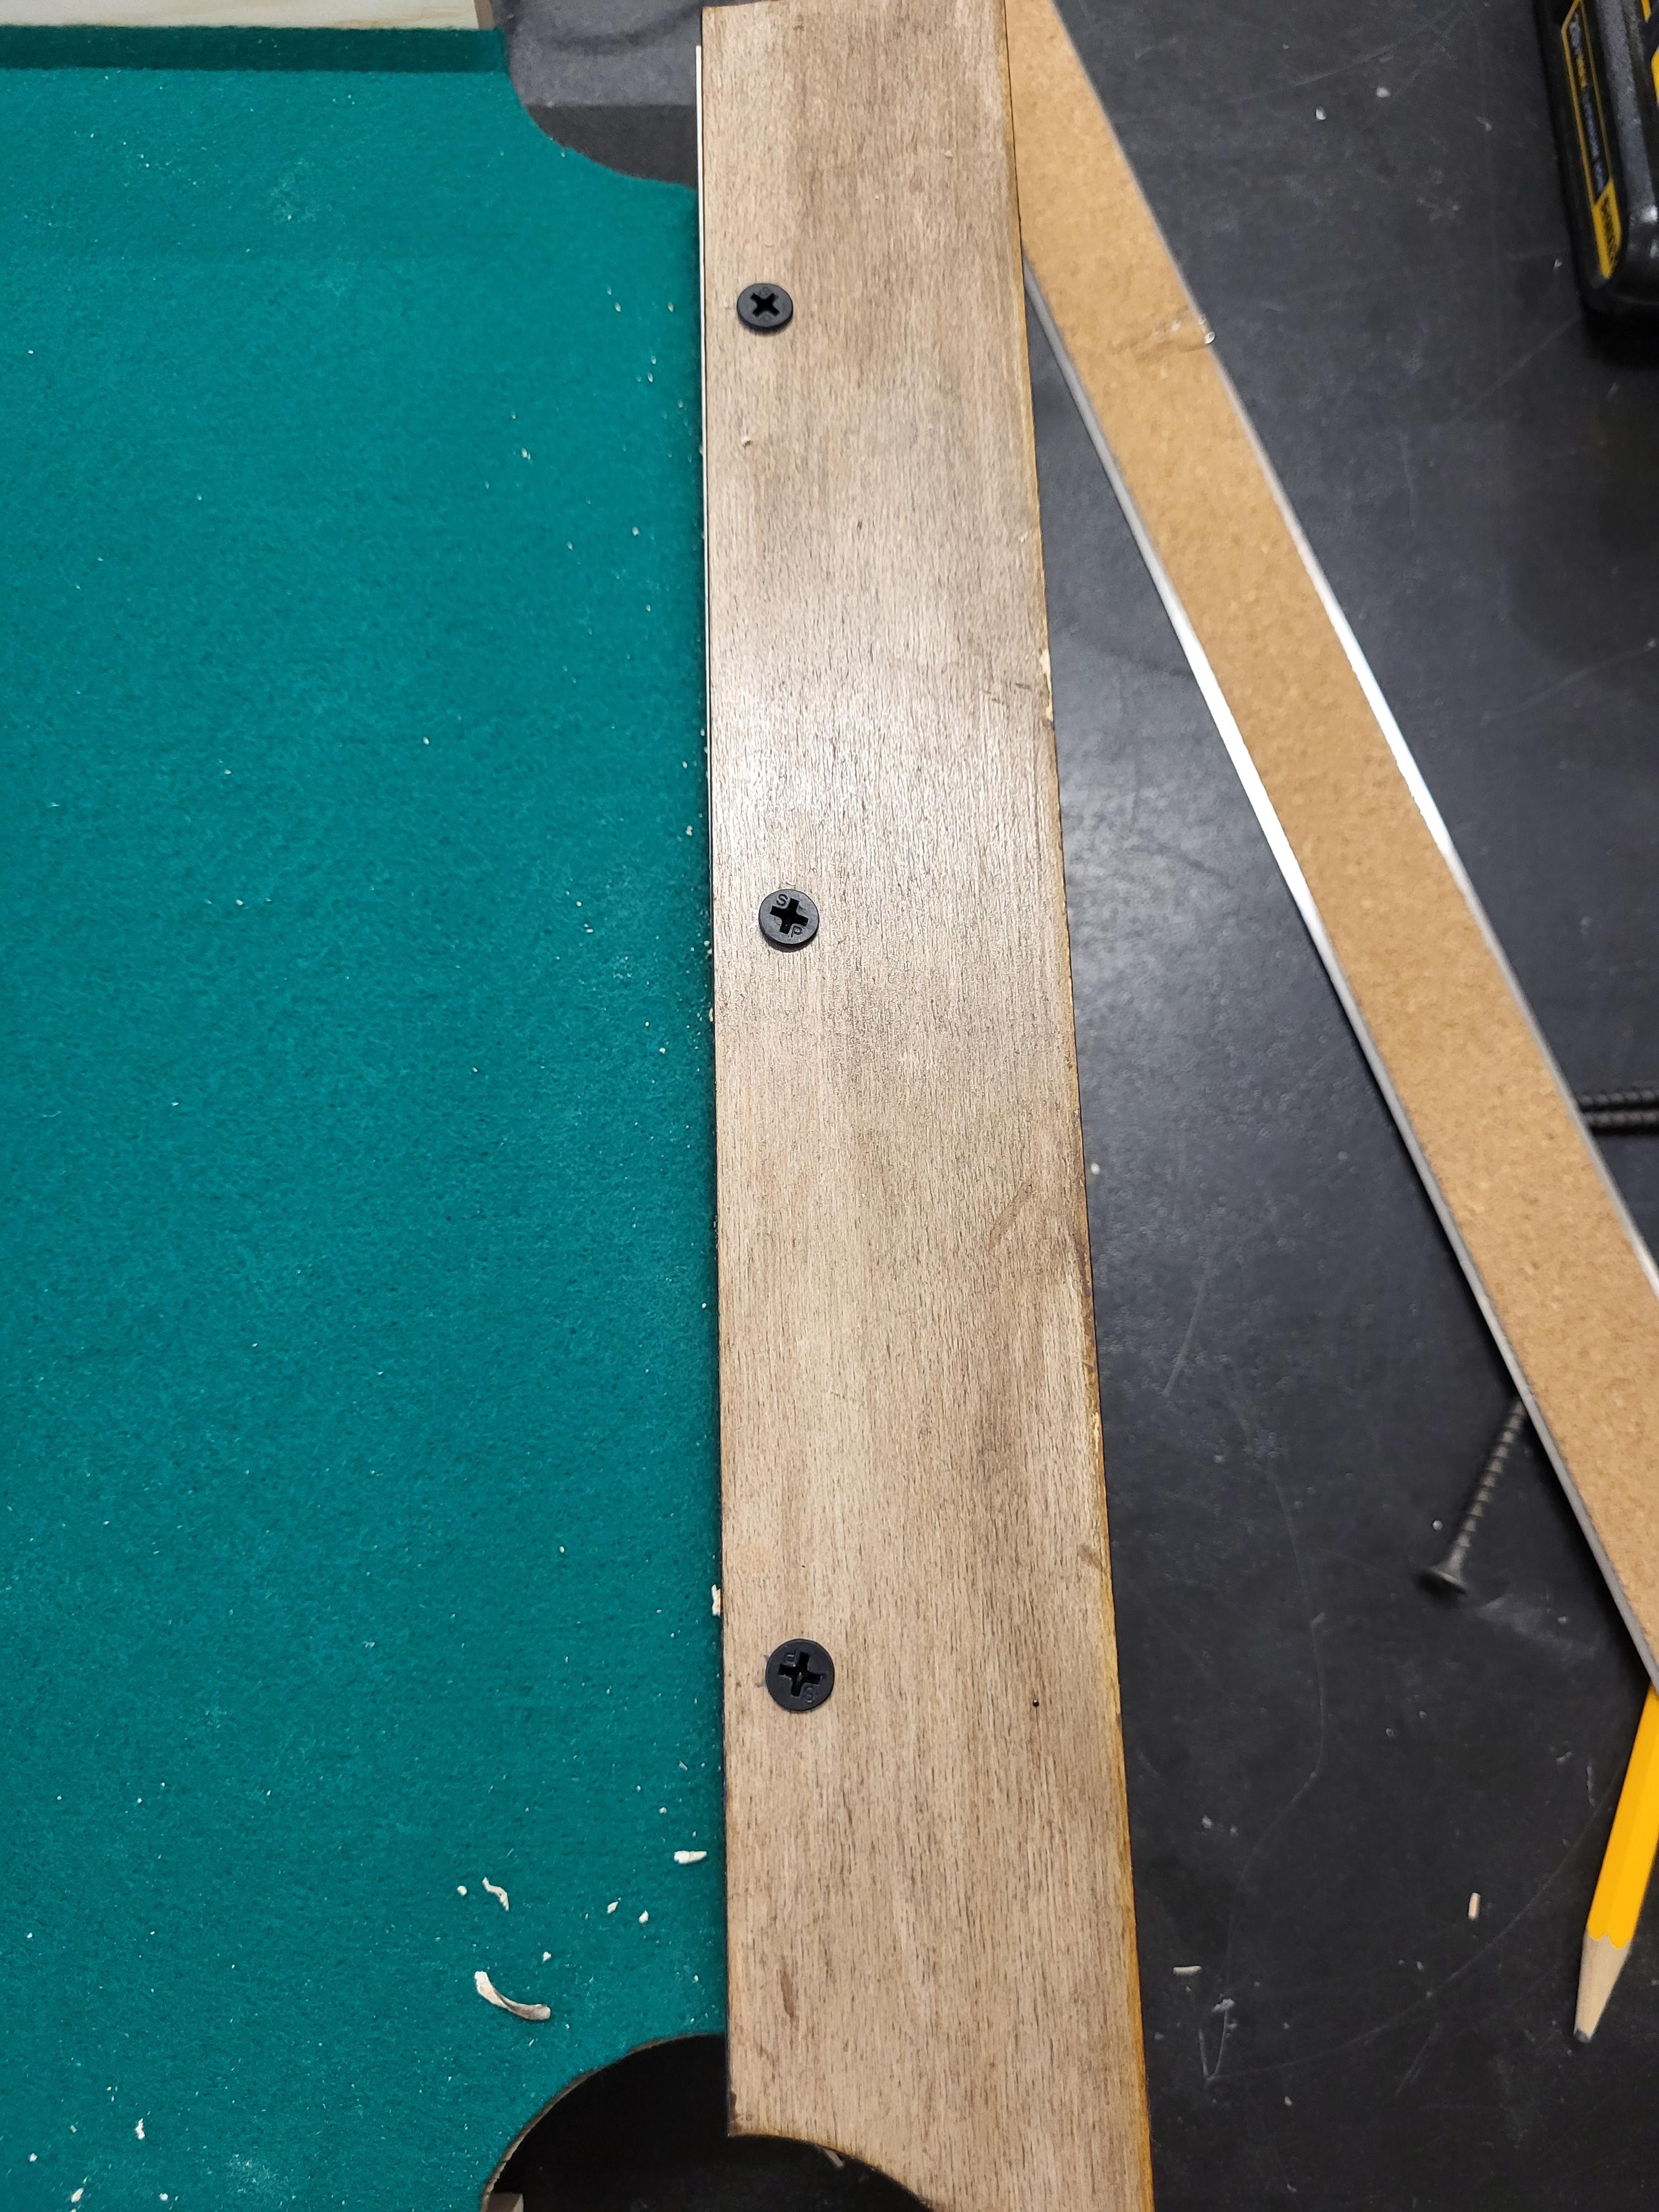
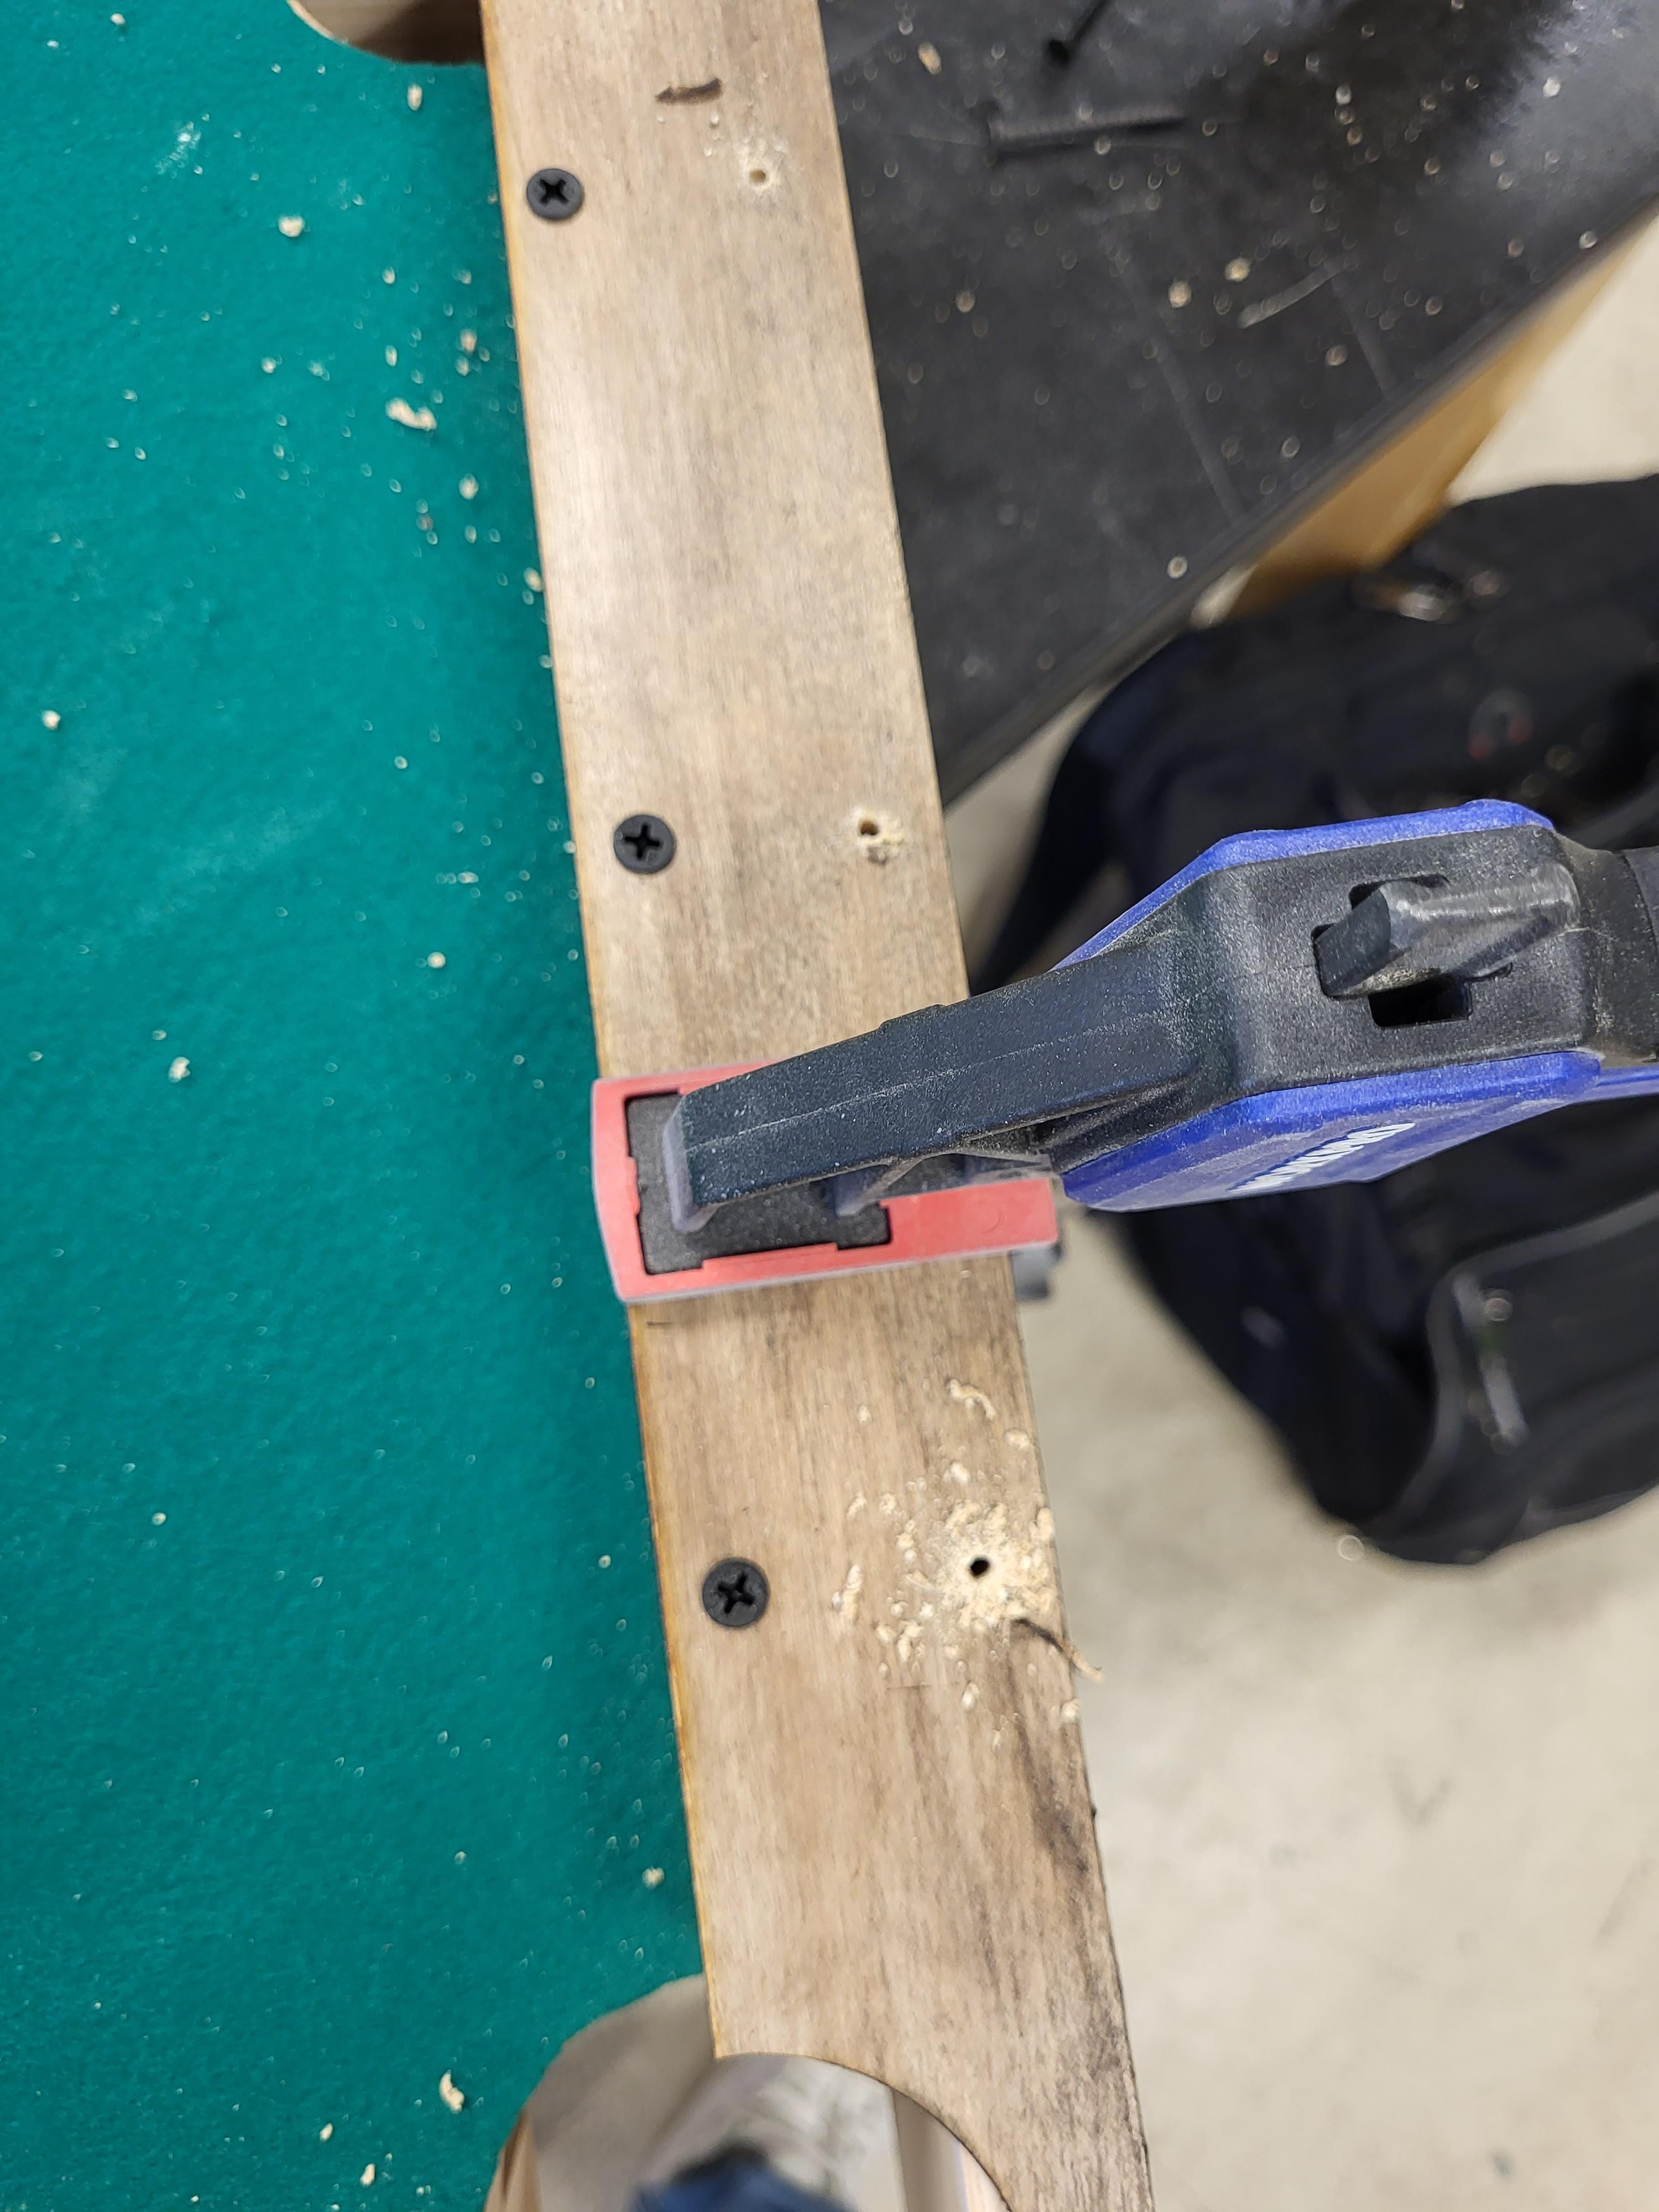
Get 4 of the 6 pieces of wood and make 2 stacks so they are about 2 in tall. Place them under the playing field. This will allow you to put in the inner sides at an even height. Take 1 inner side and place it next to the left side of the playing field. Drill into the playing field through the inner side piece so the screw goes in easier. Take 3 2 in screws and put them into the side piece. Now drill them together. Start with the middle one so it does not get moved around as much. Do this for the other side. Once the left and right inner side pieces are together take the other 4 bottom pieces out and drill them into the playing field.
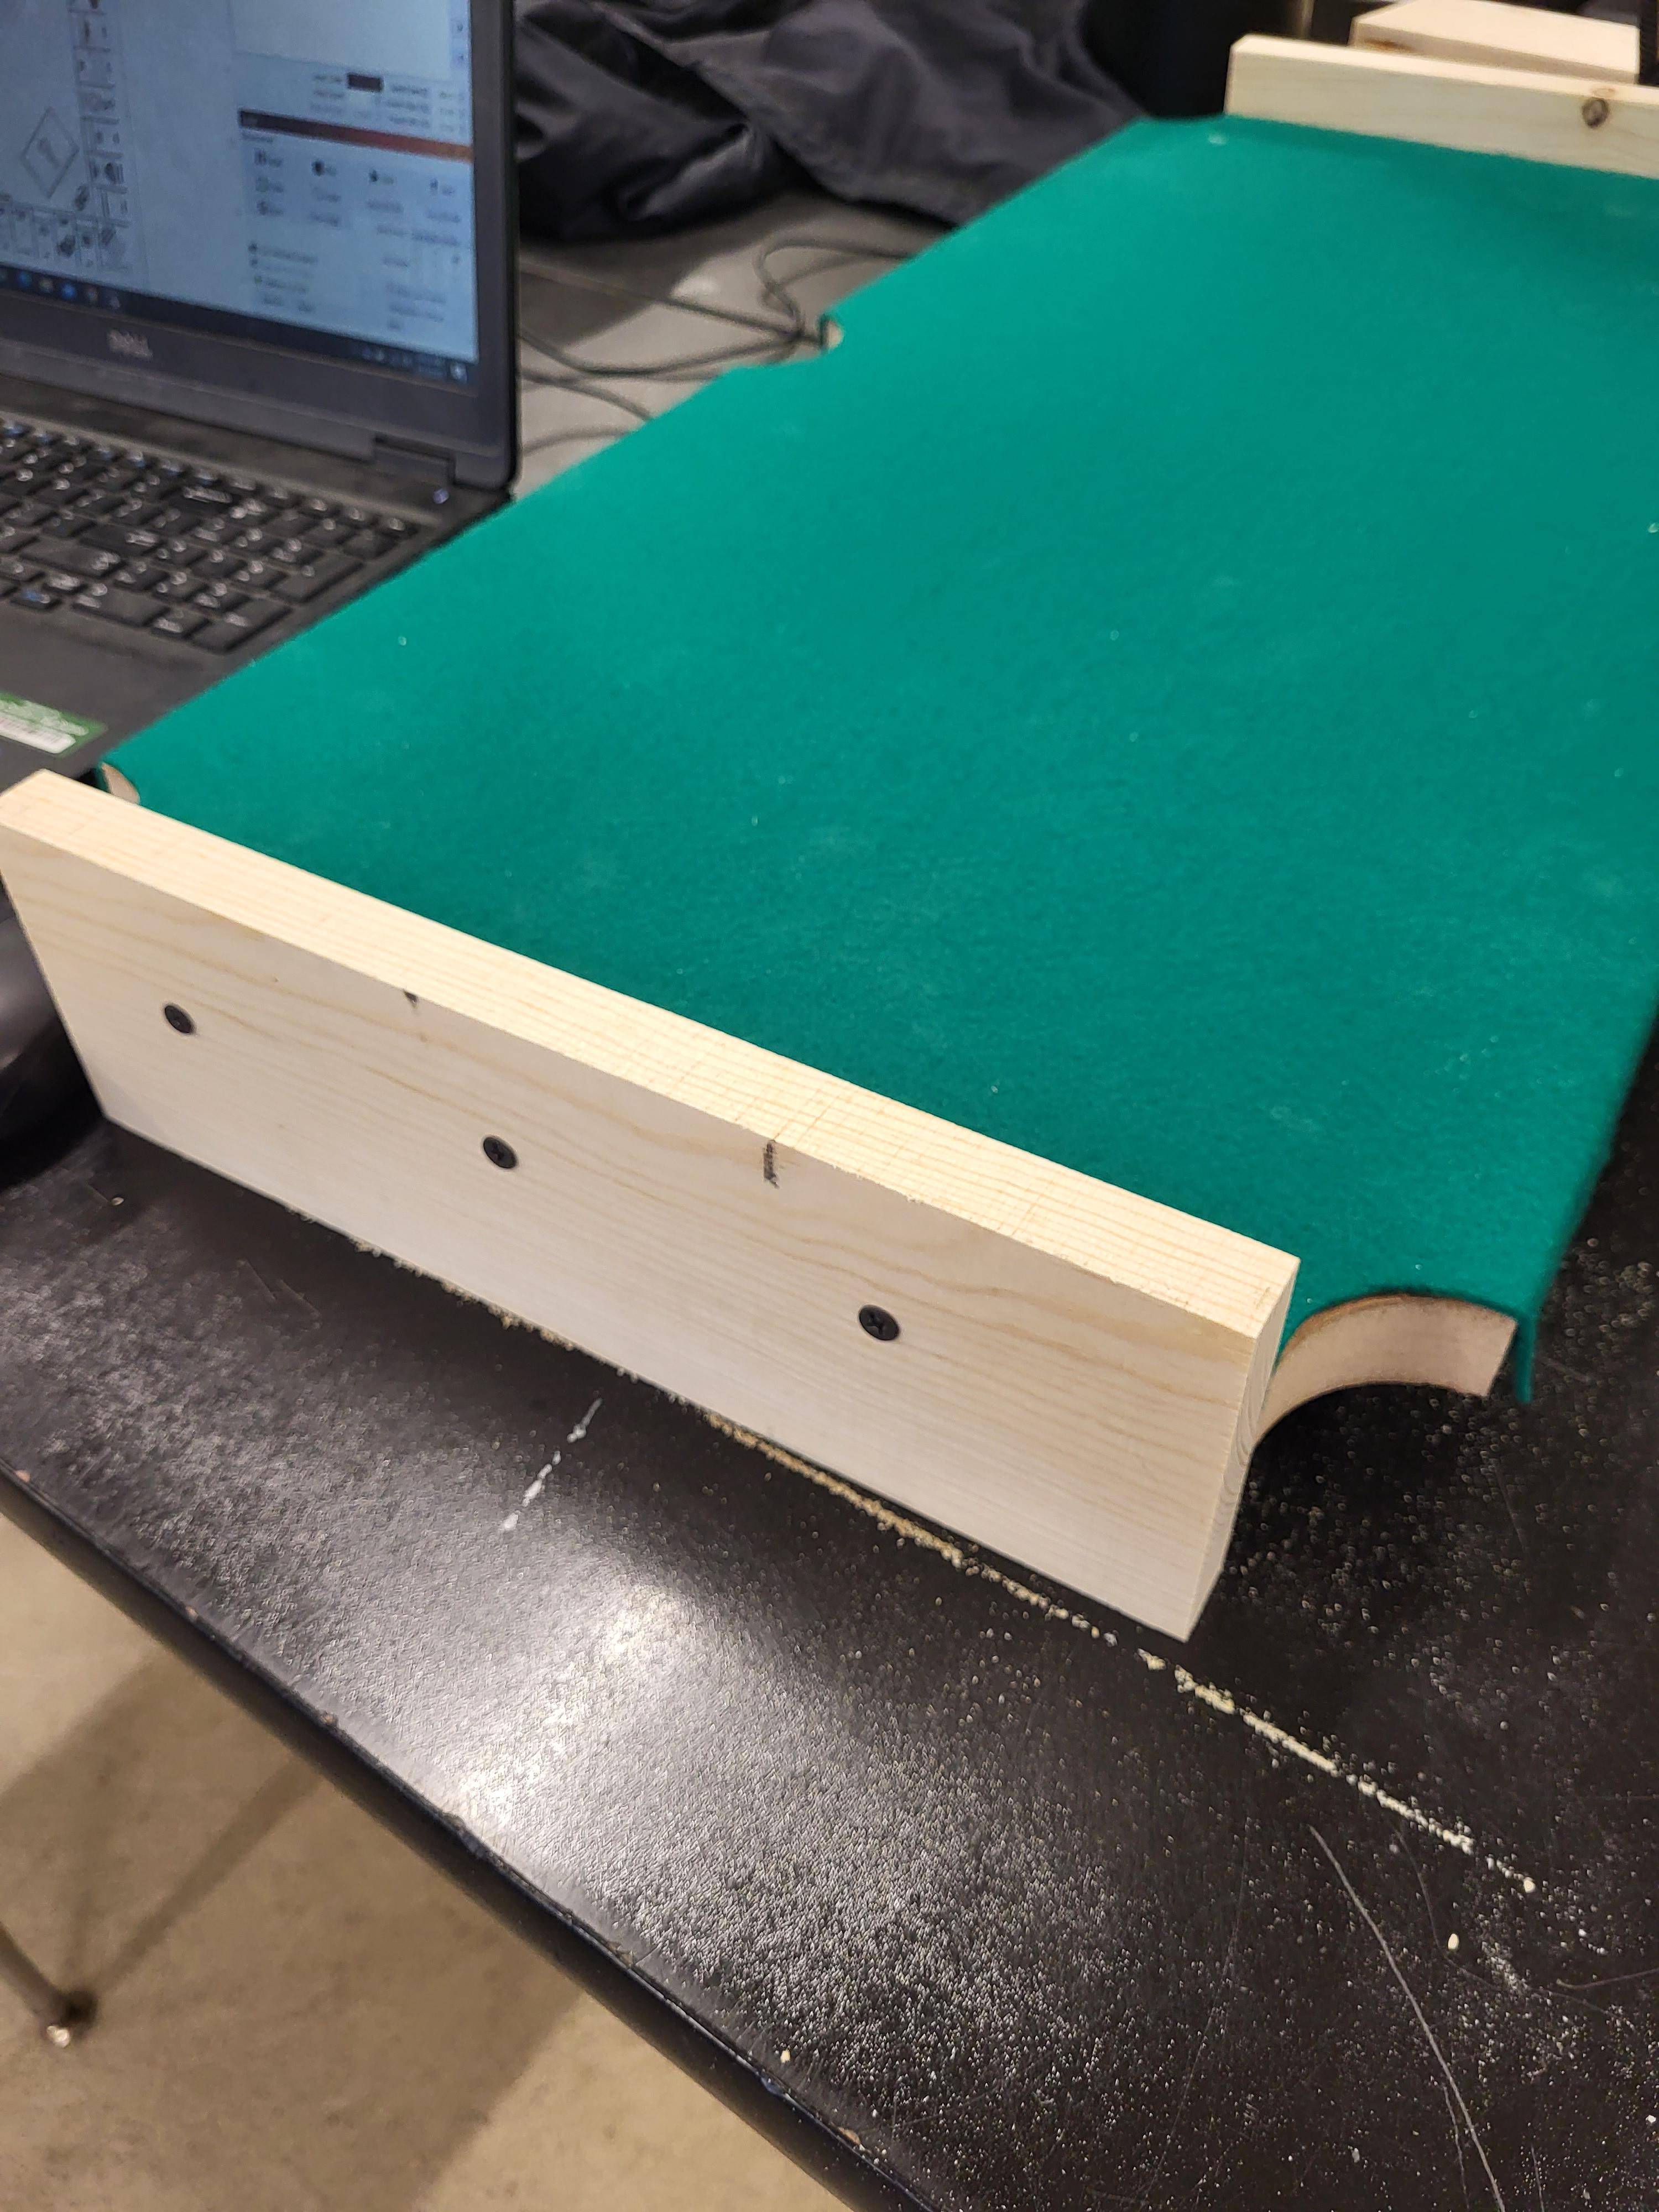
Putting It All Together(Part 2)
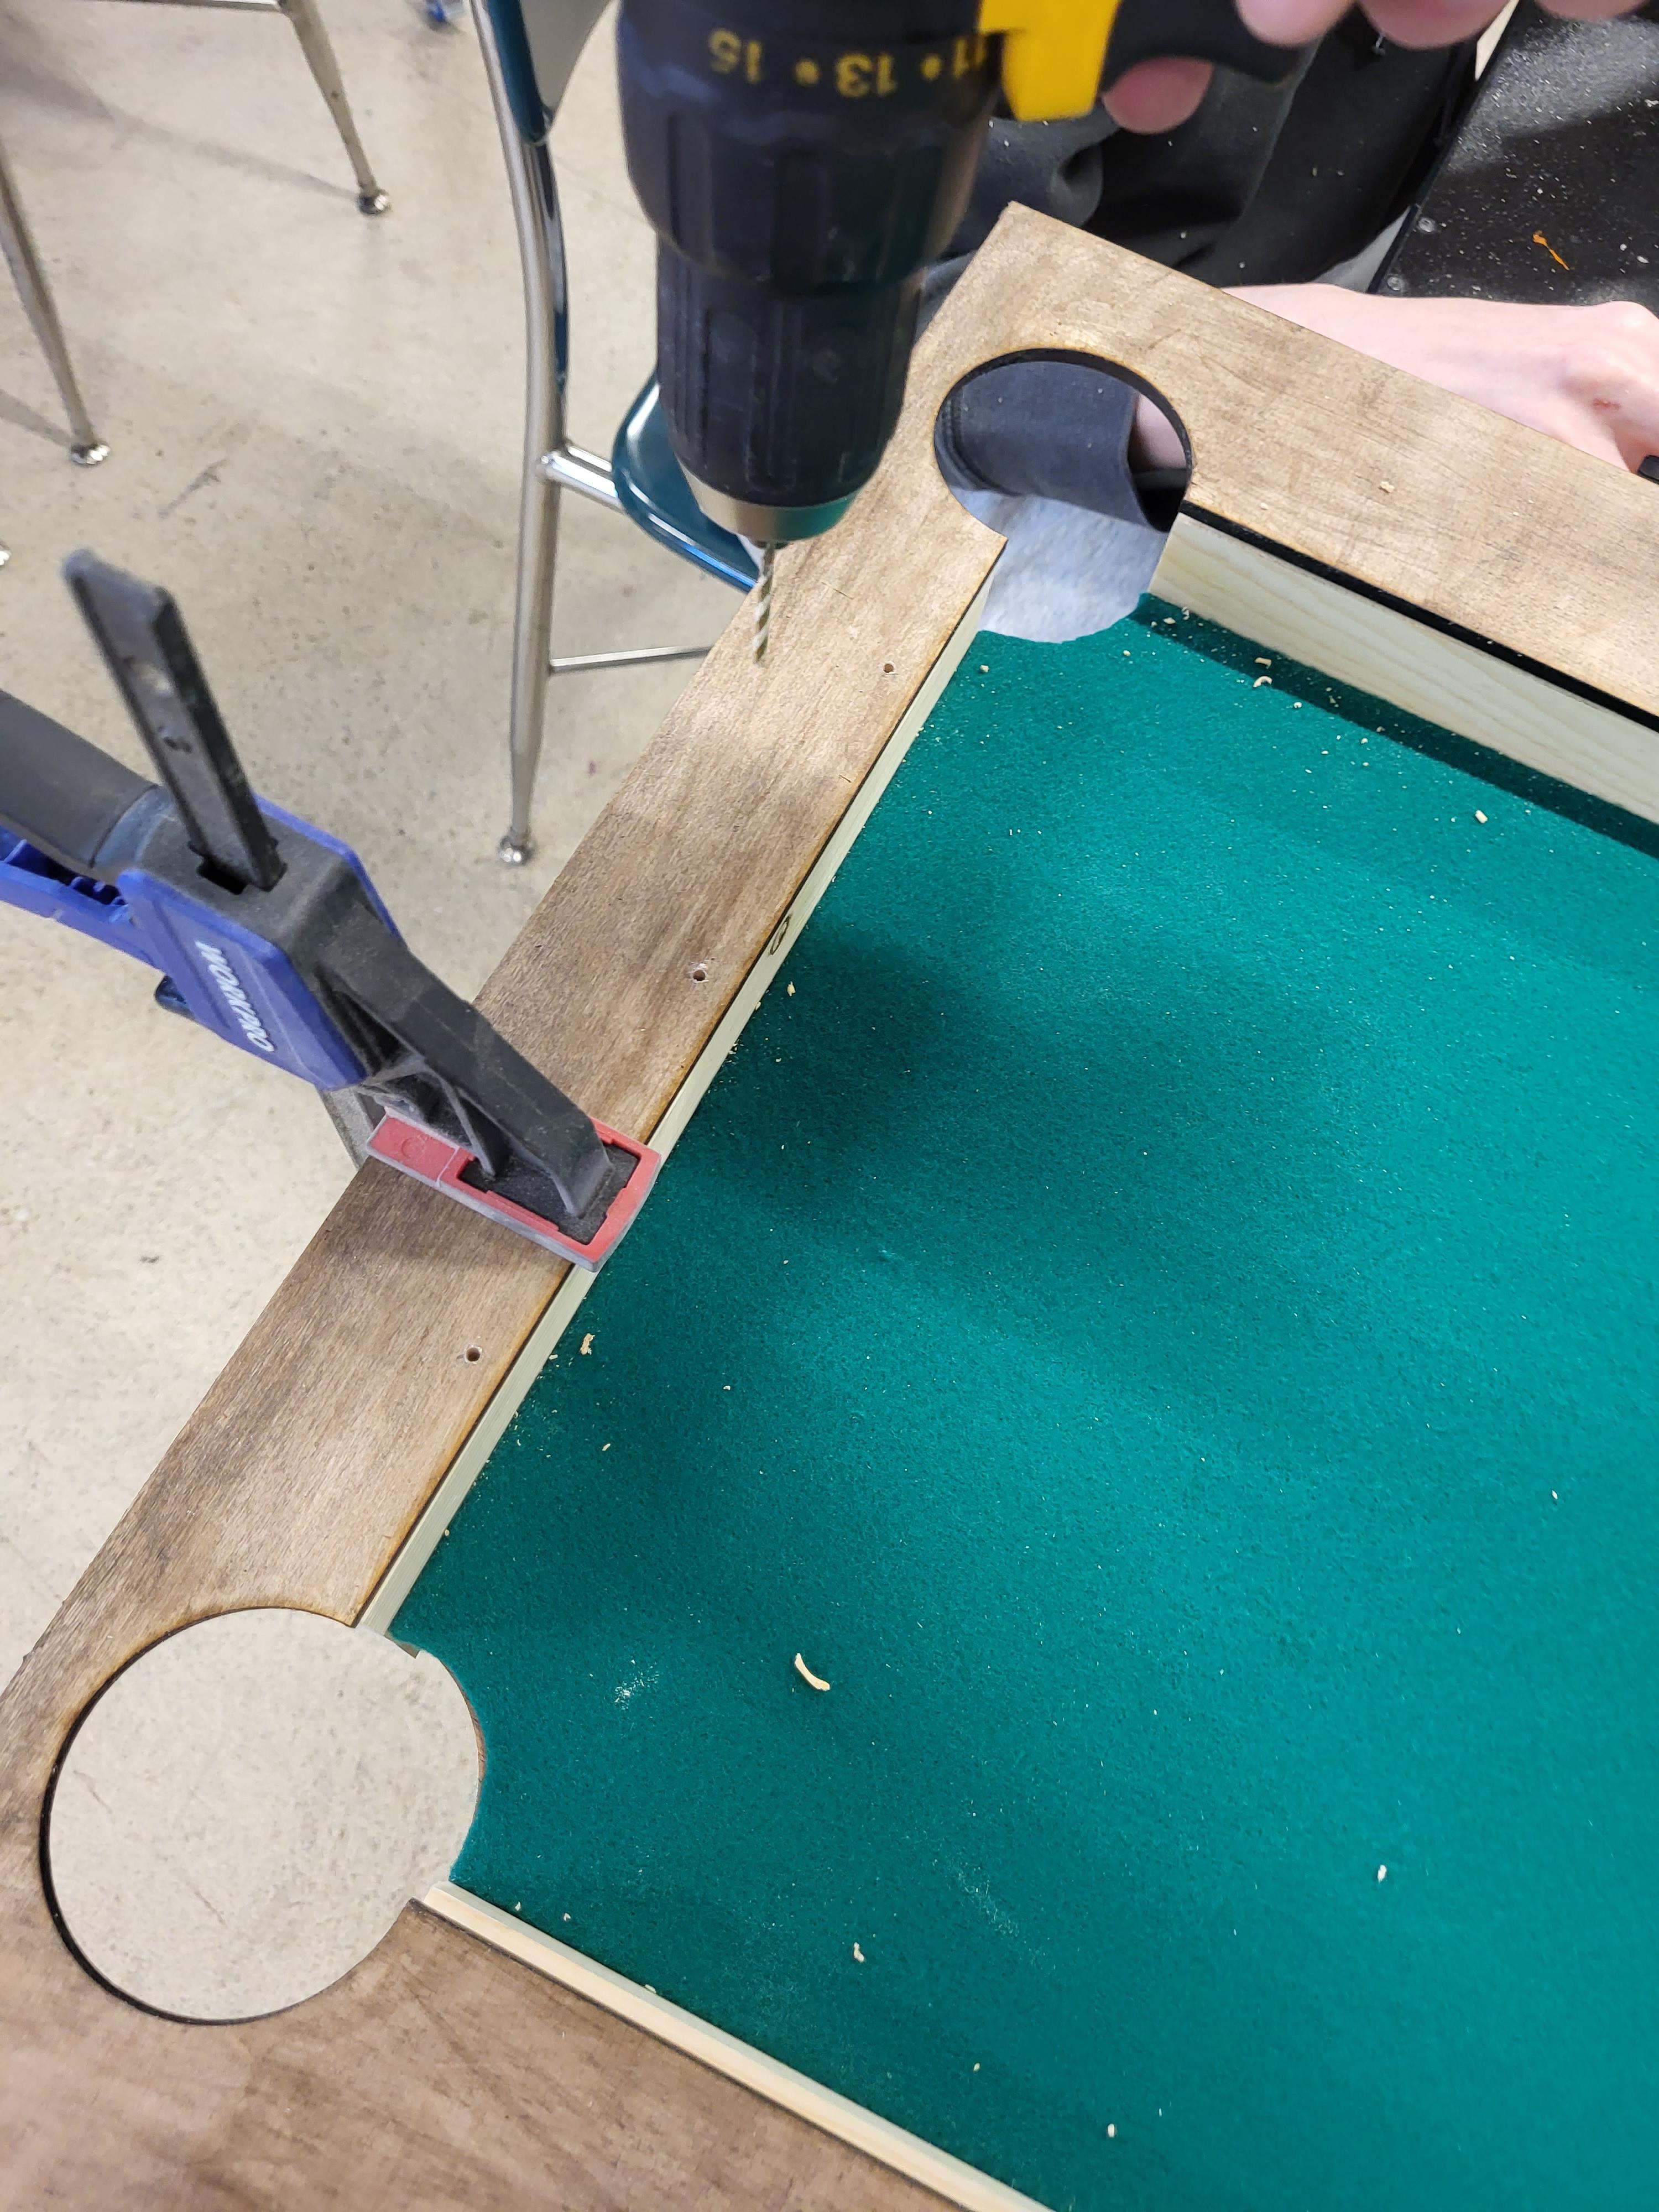
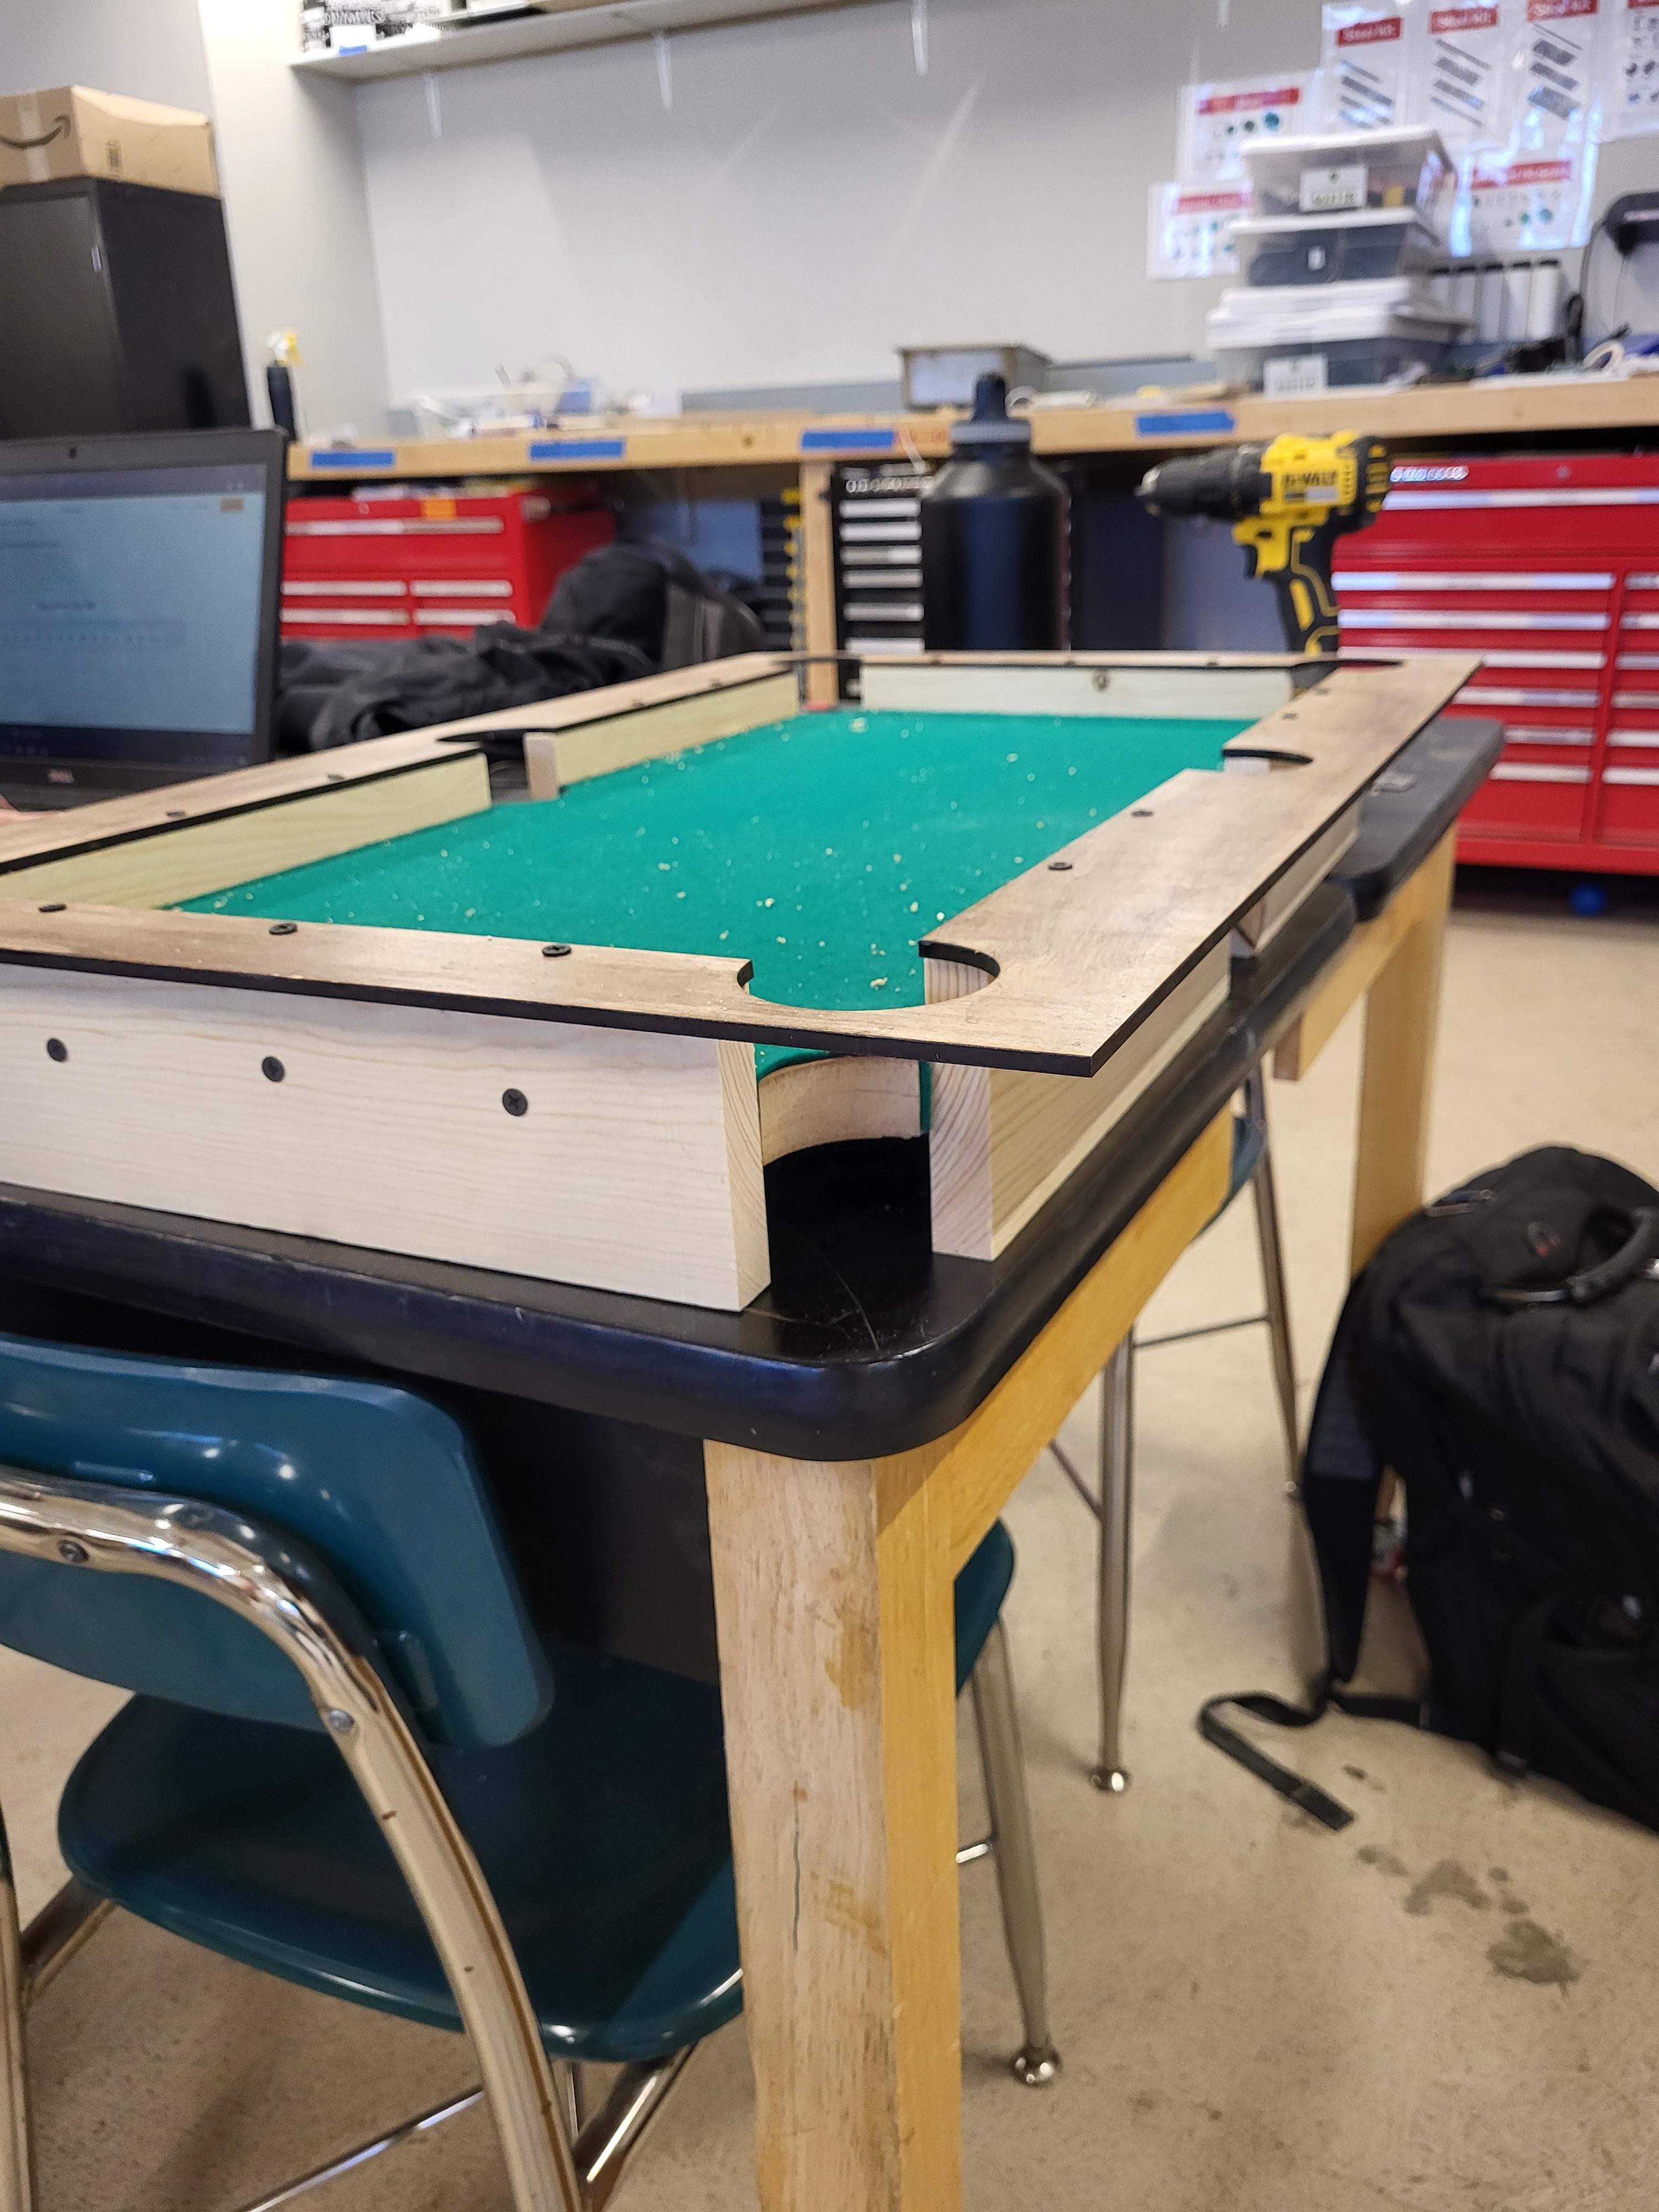
Get the top of the pool table and place it onto the top of the playing field. Place clamps on it so it is tight. For the left and right side drill 3 holes that have a 3 in spacing. For the other 4 sides, drill 2 holes with a 4 in spacing. Now drill 1 in screws into each of the holes you drilled.
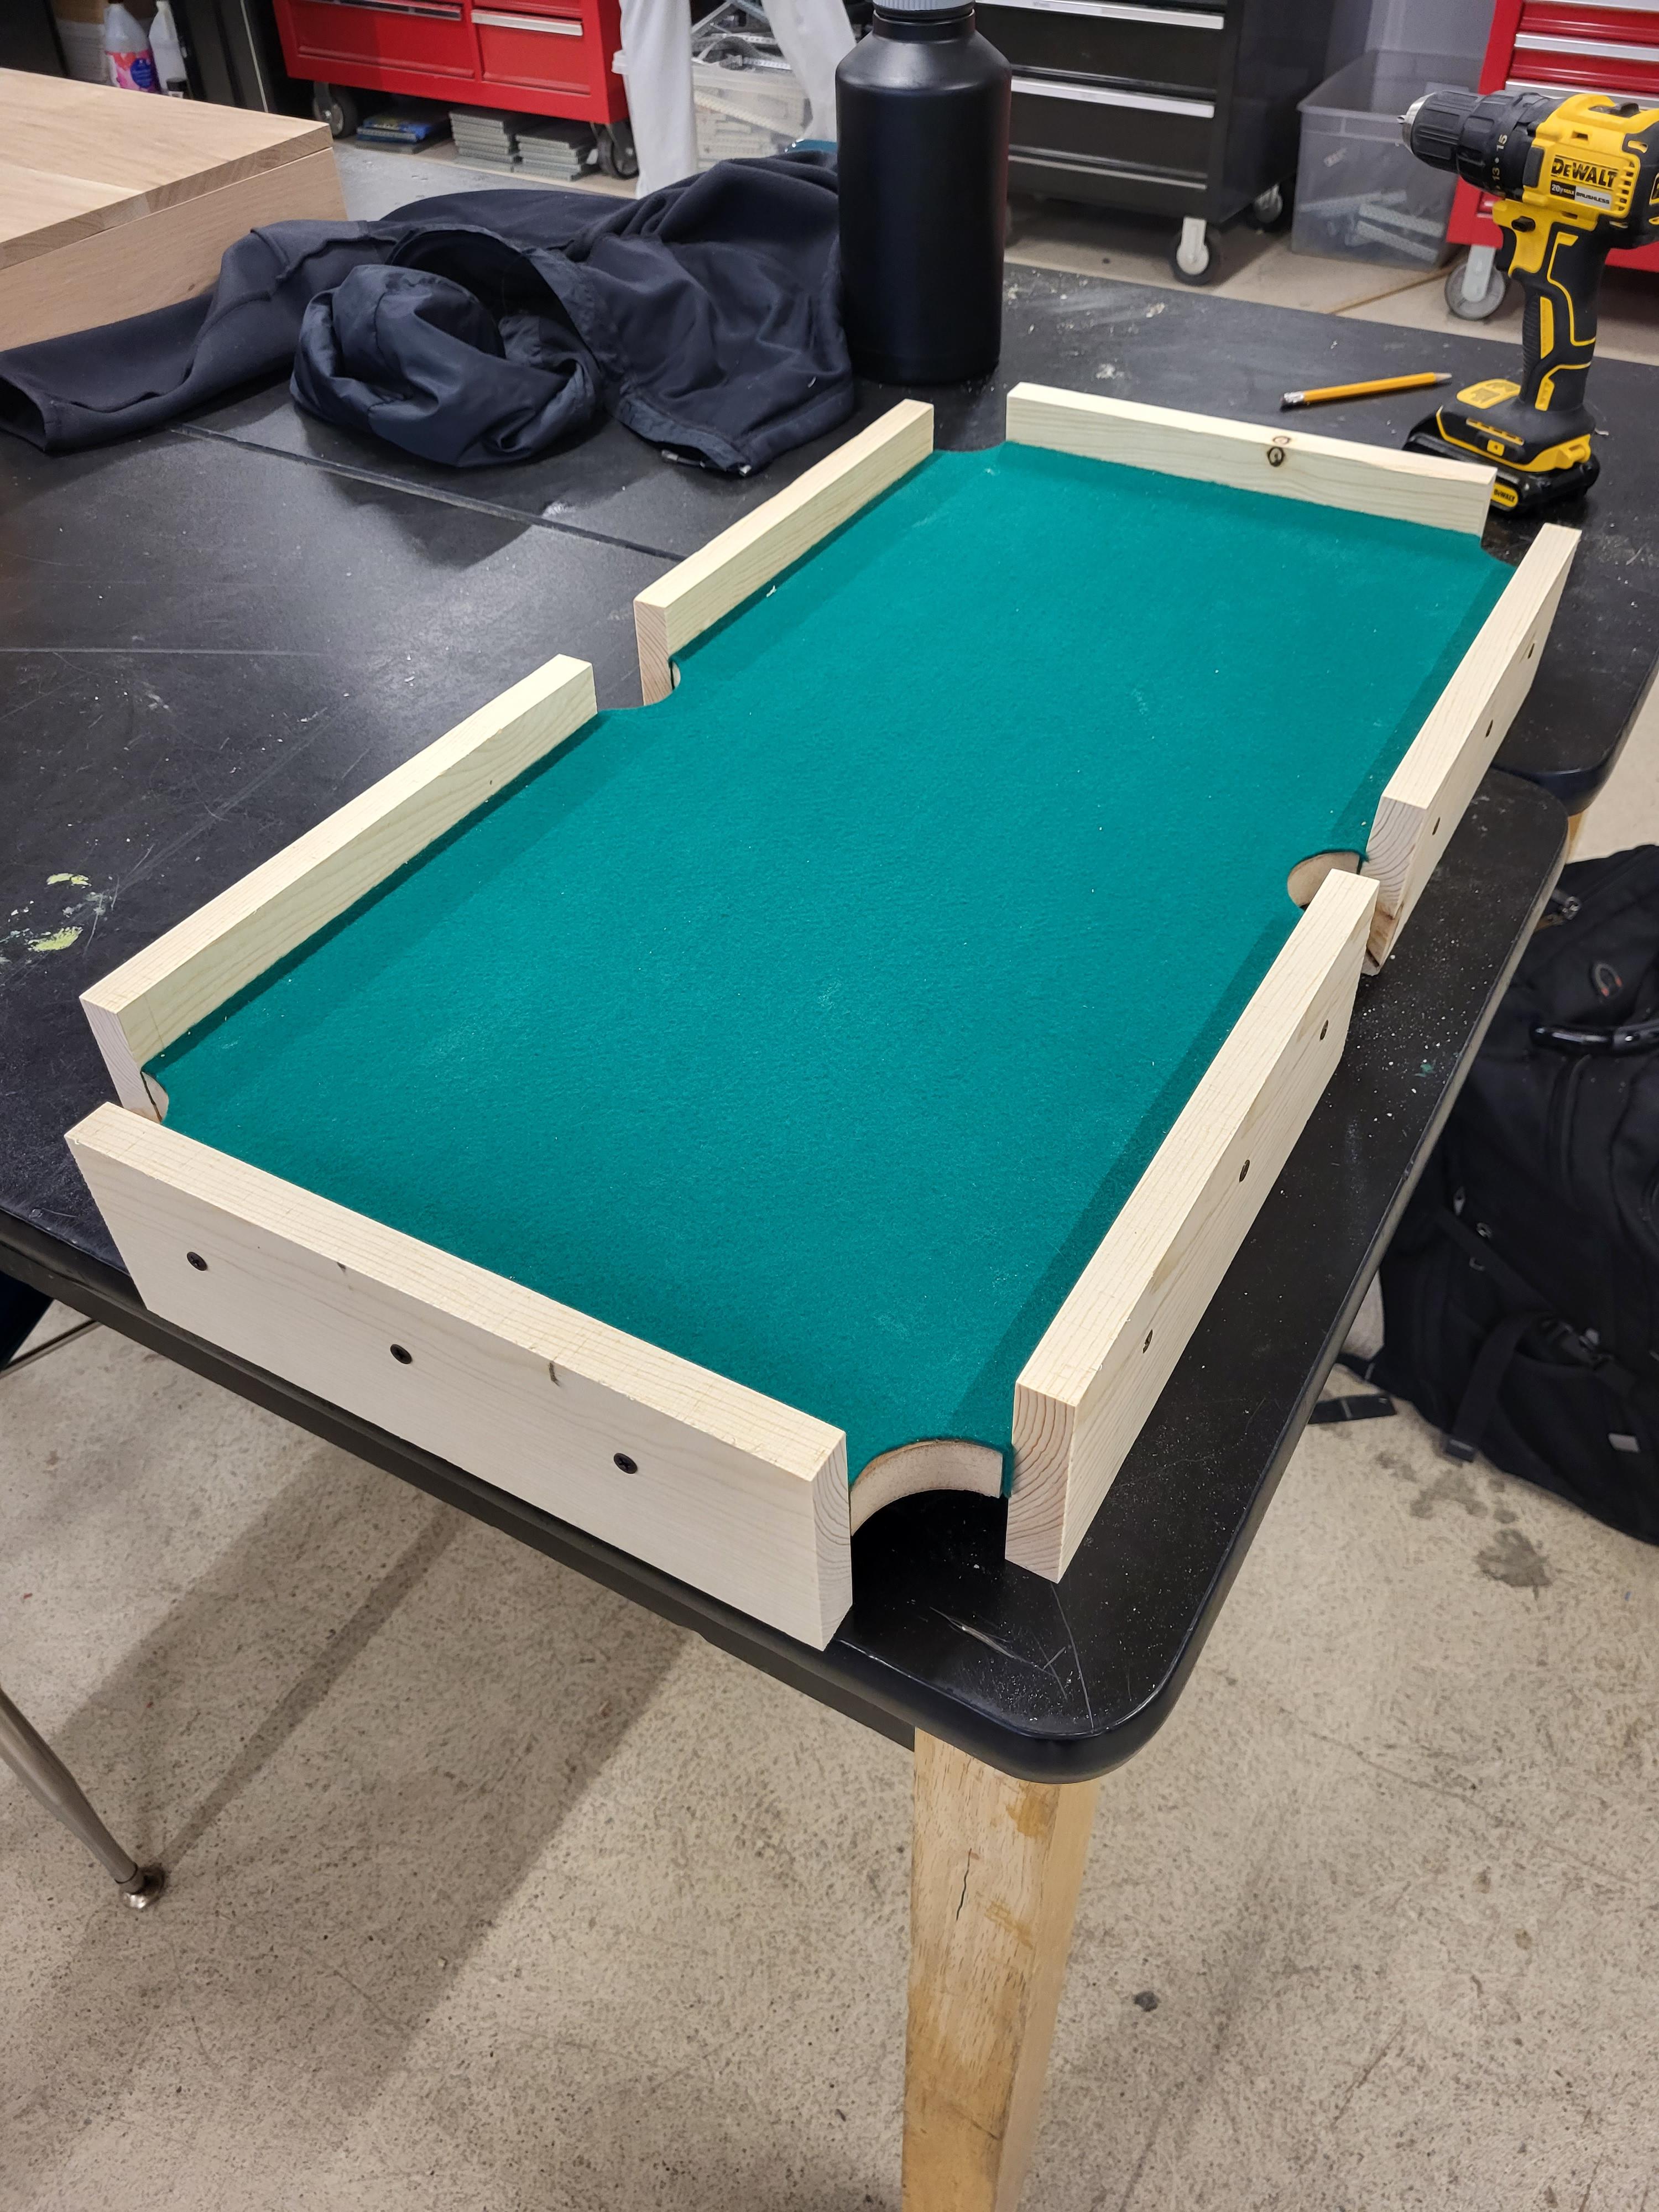
Putting It All Together(Part 3)
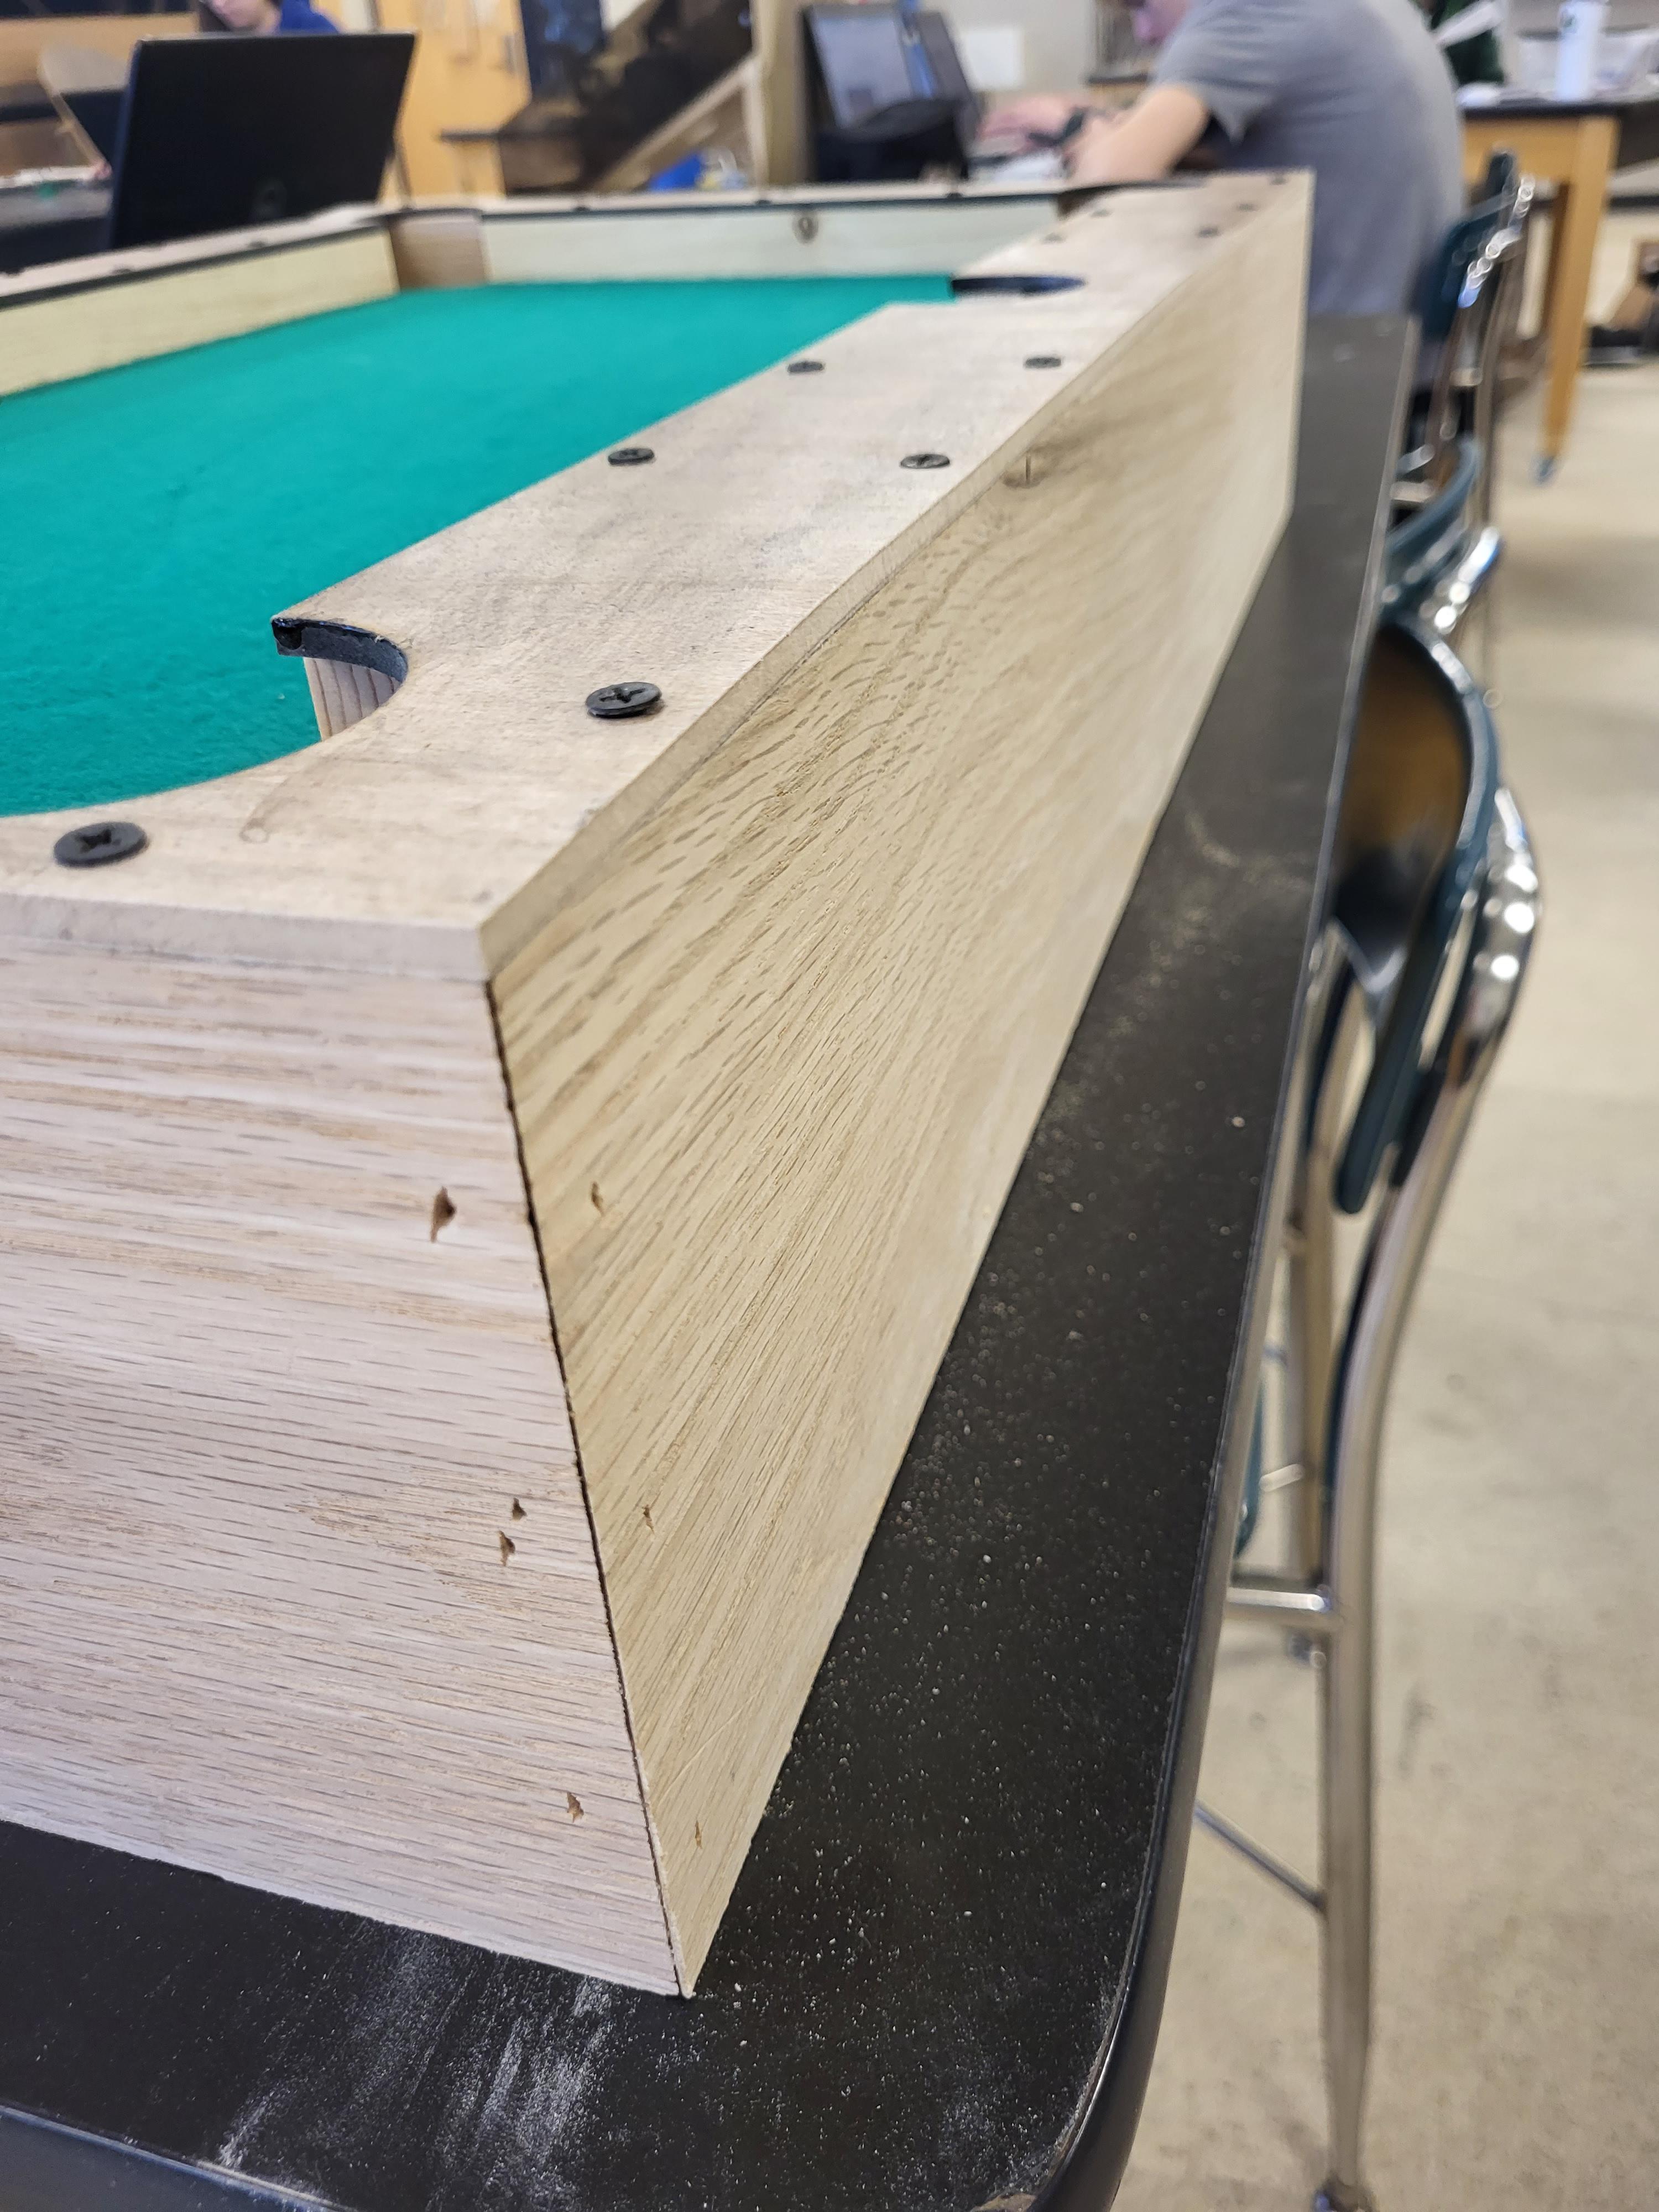
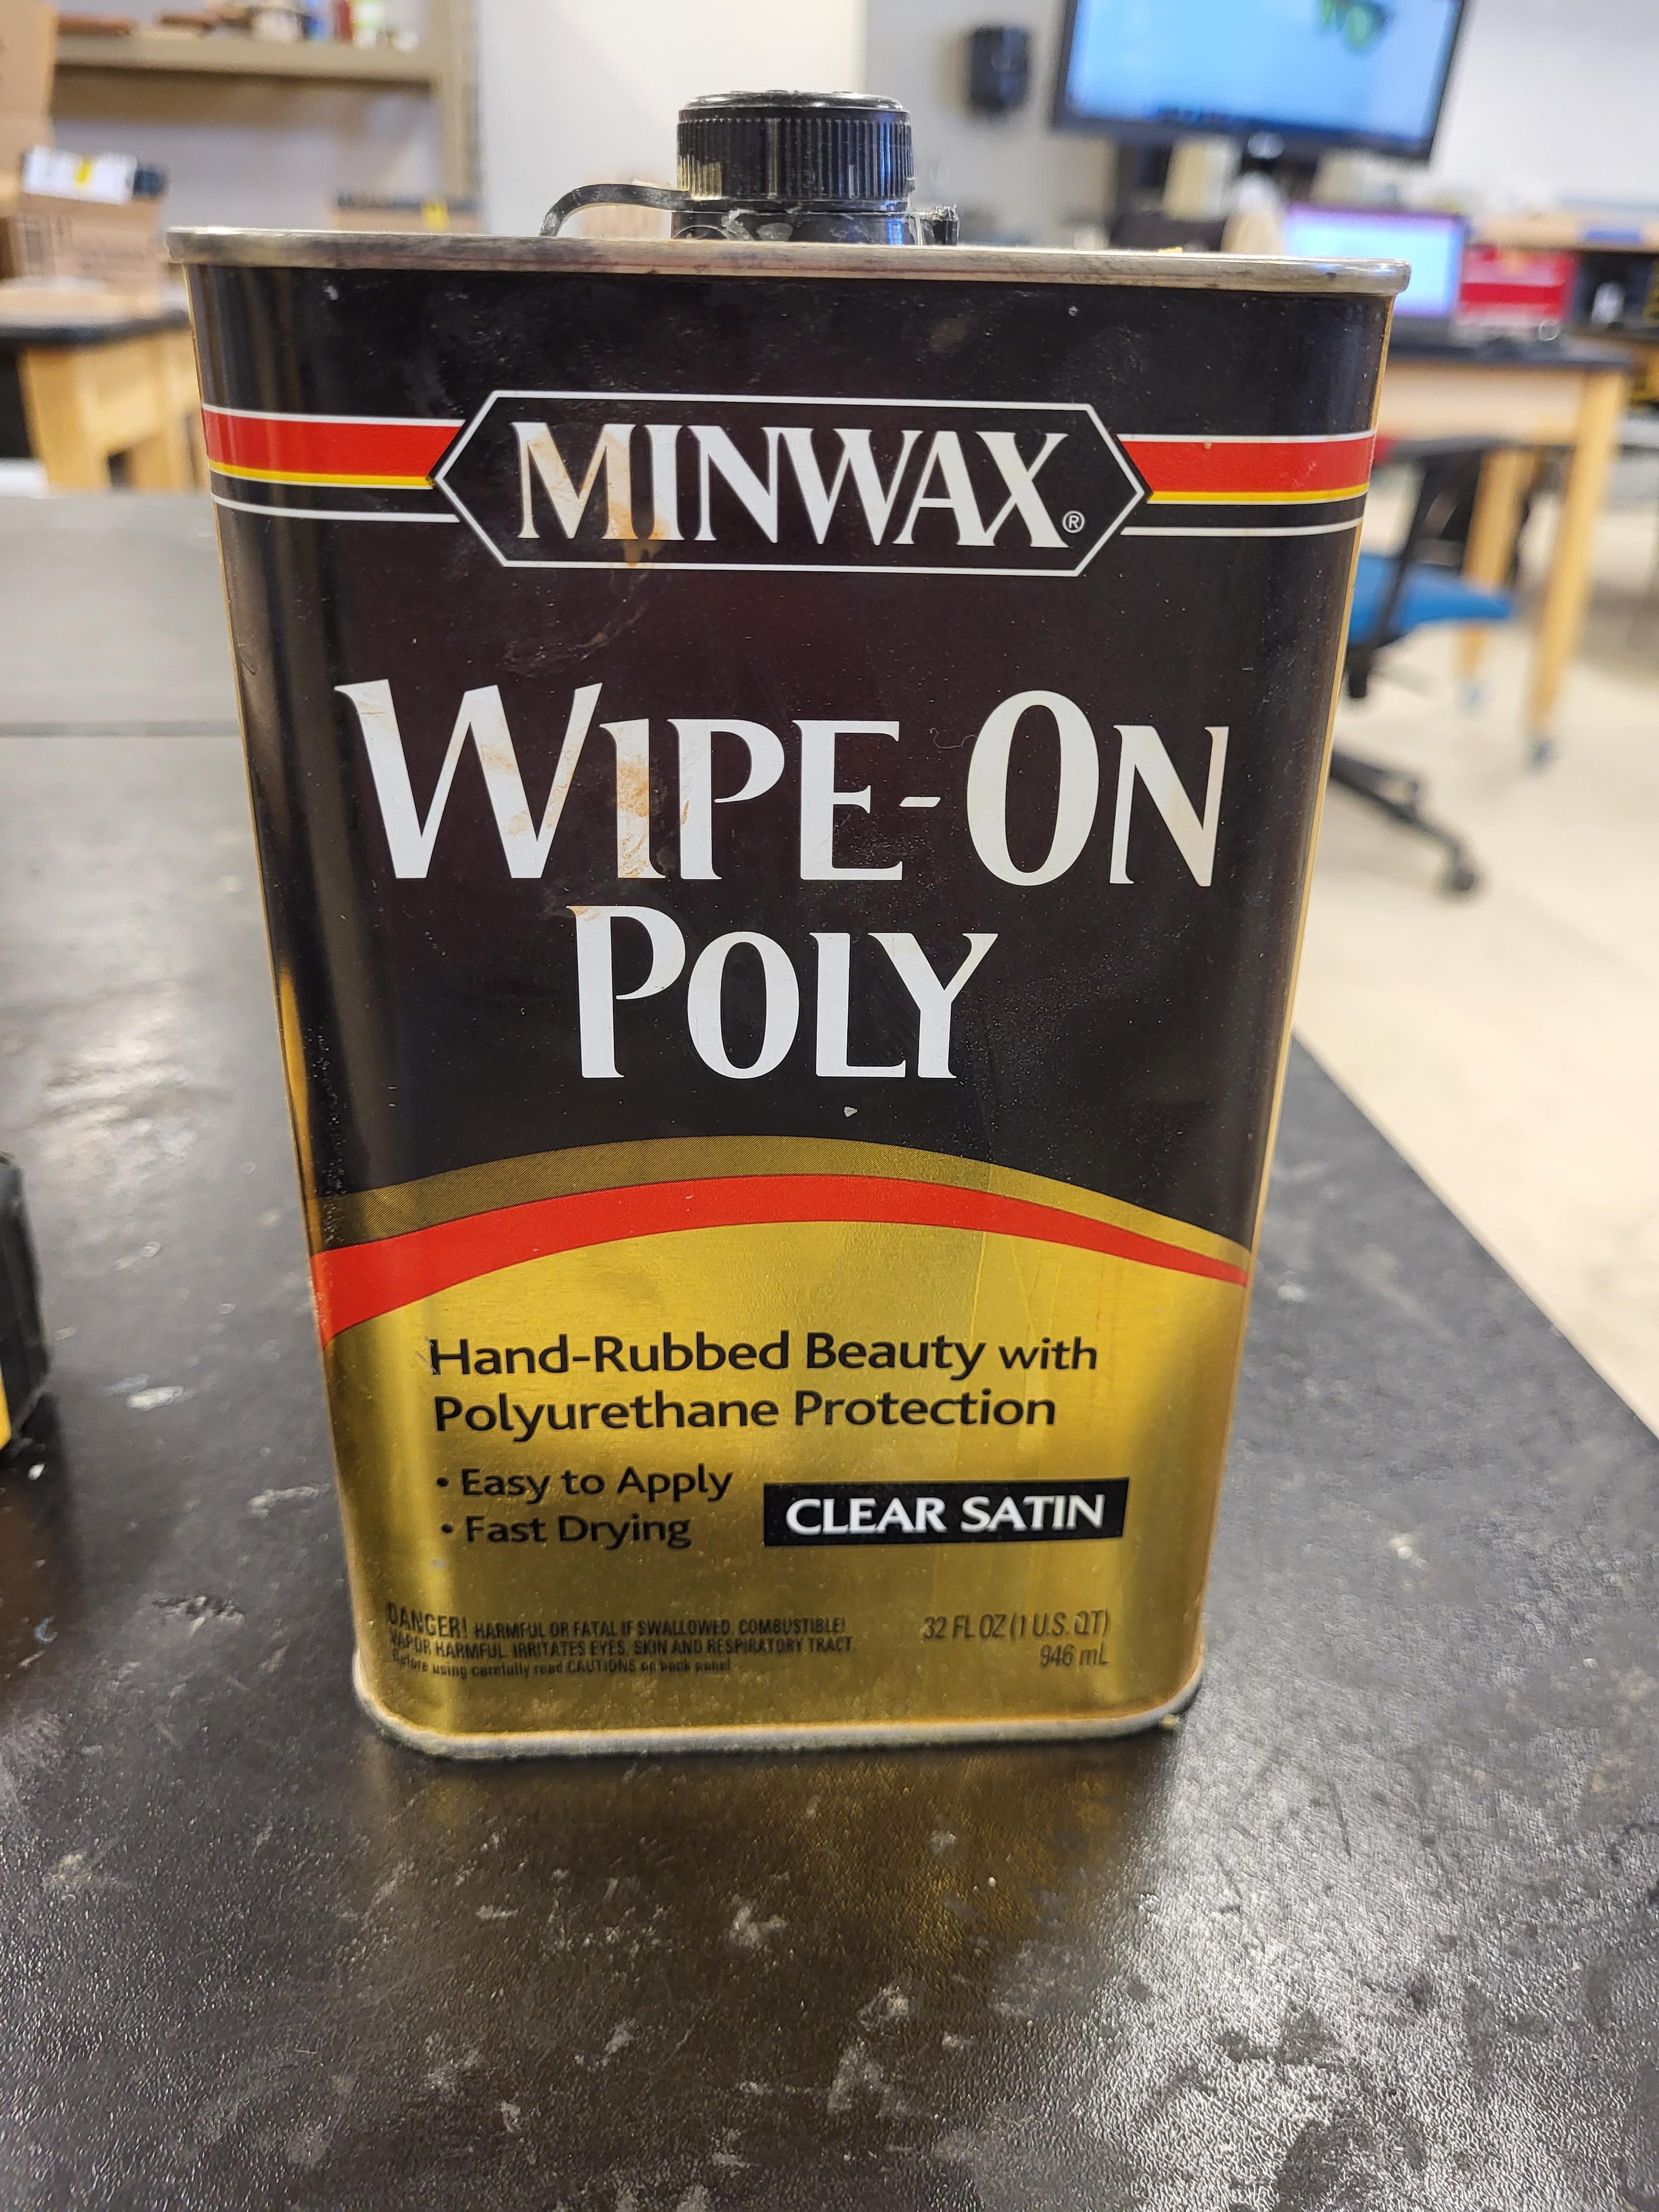
Place the playing field and the top on top of the outer sides . Place a clamp on them so they do not move. Drill For the left and right side drill 3 holes that have a 3 in spacing. For the other 4 sides, drill 2 holes with a 4 in spacing. Also drill 2 holes into each of the 4 corners with a 2 in spacing from each corner. Now drill 1 in screws into each of the holes you drilled. Sand the top and the outer sides of the pool table with the electrical sander so they are even and smooth with each other. After this apply on poly to the edges to make it look shinier and so it has a nice finish.
Adding the Nets
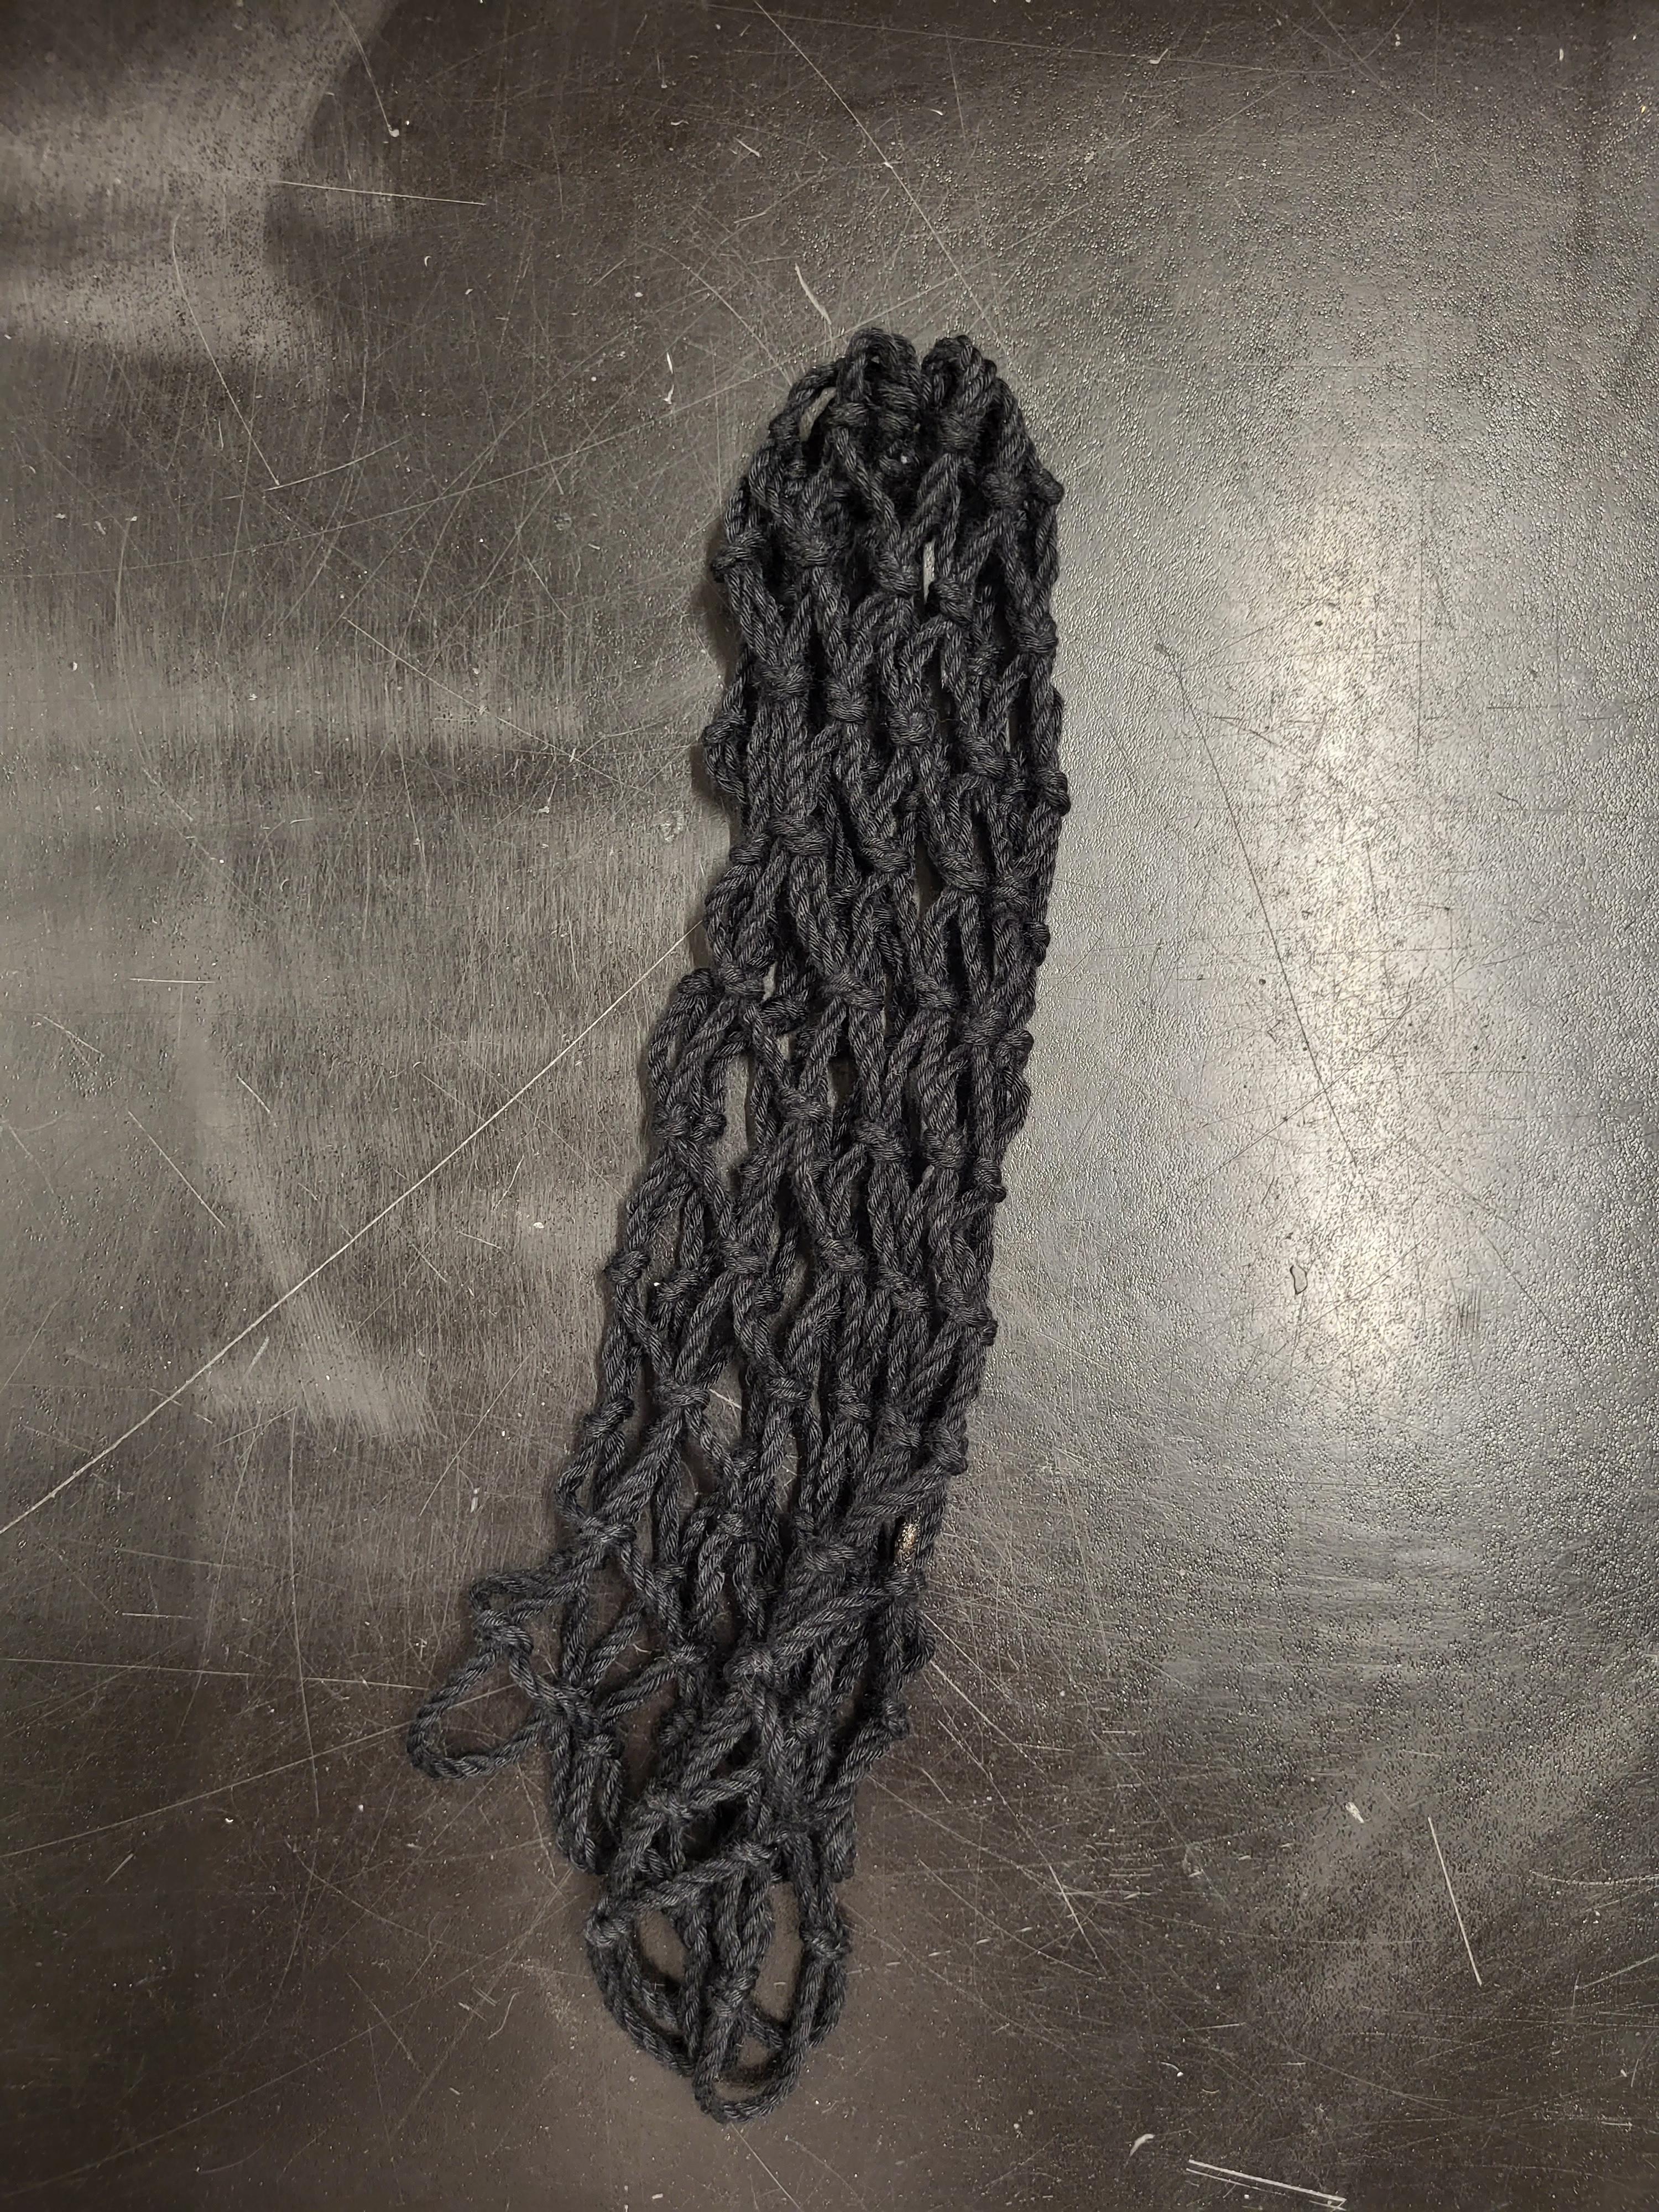
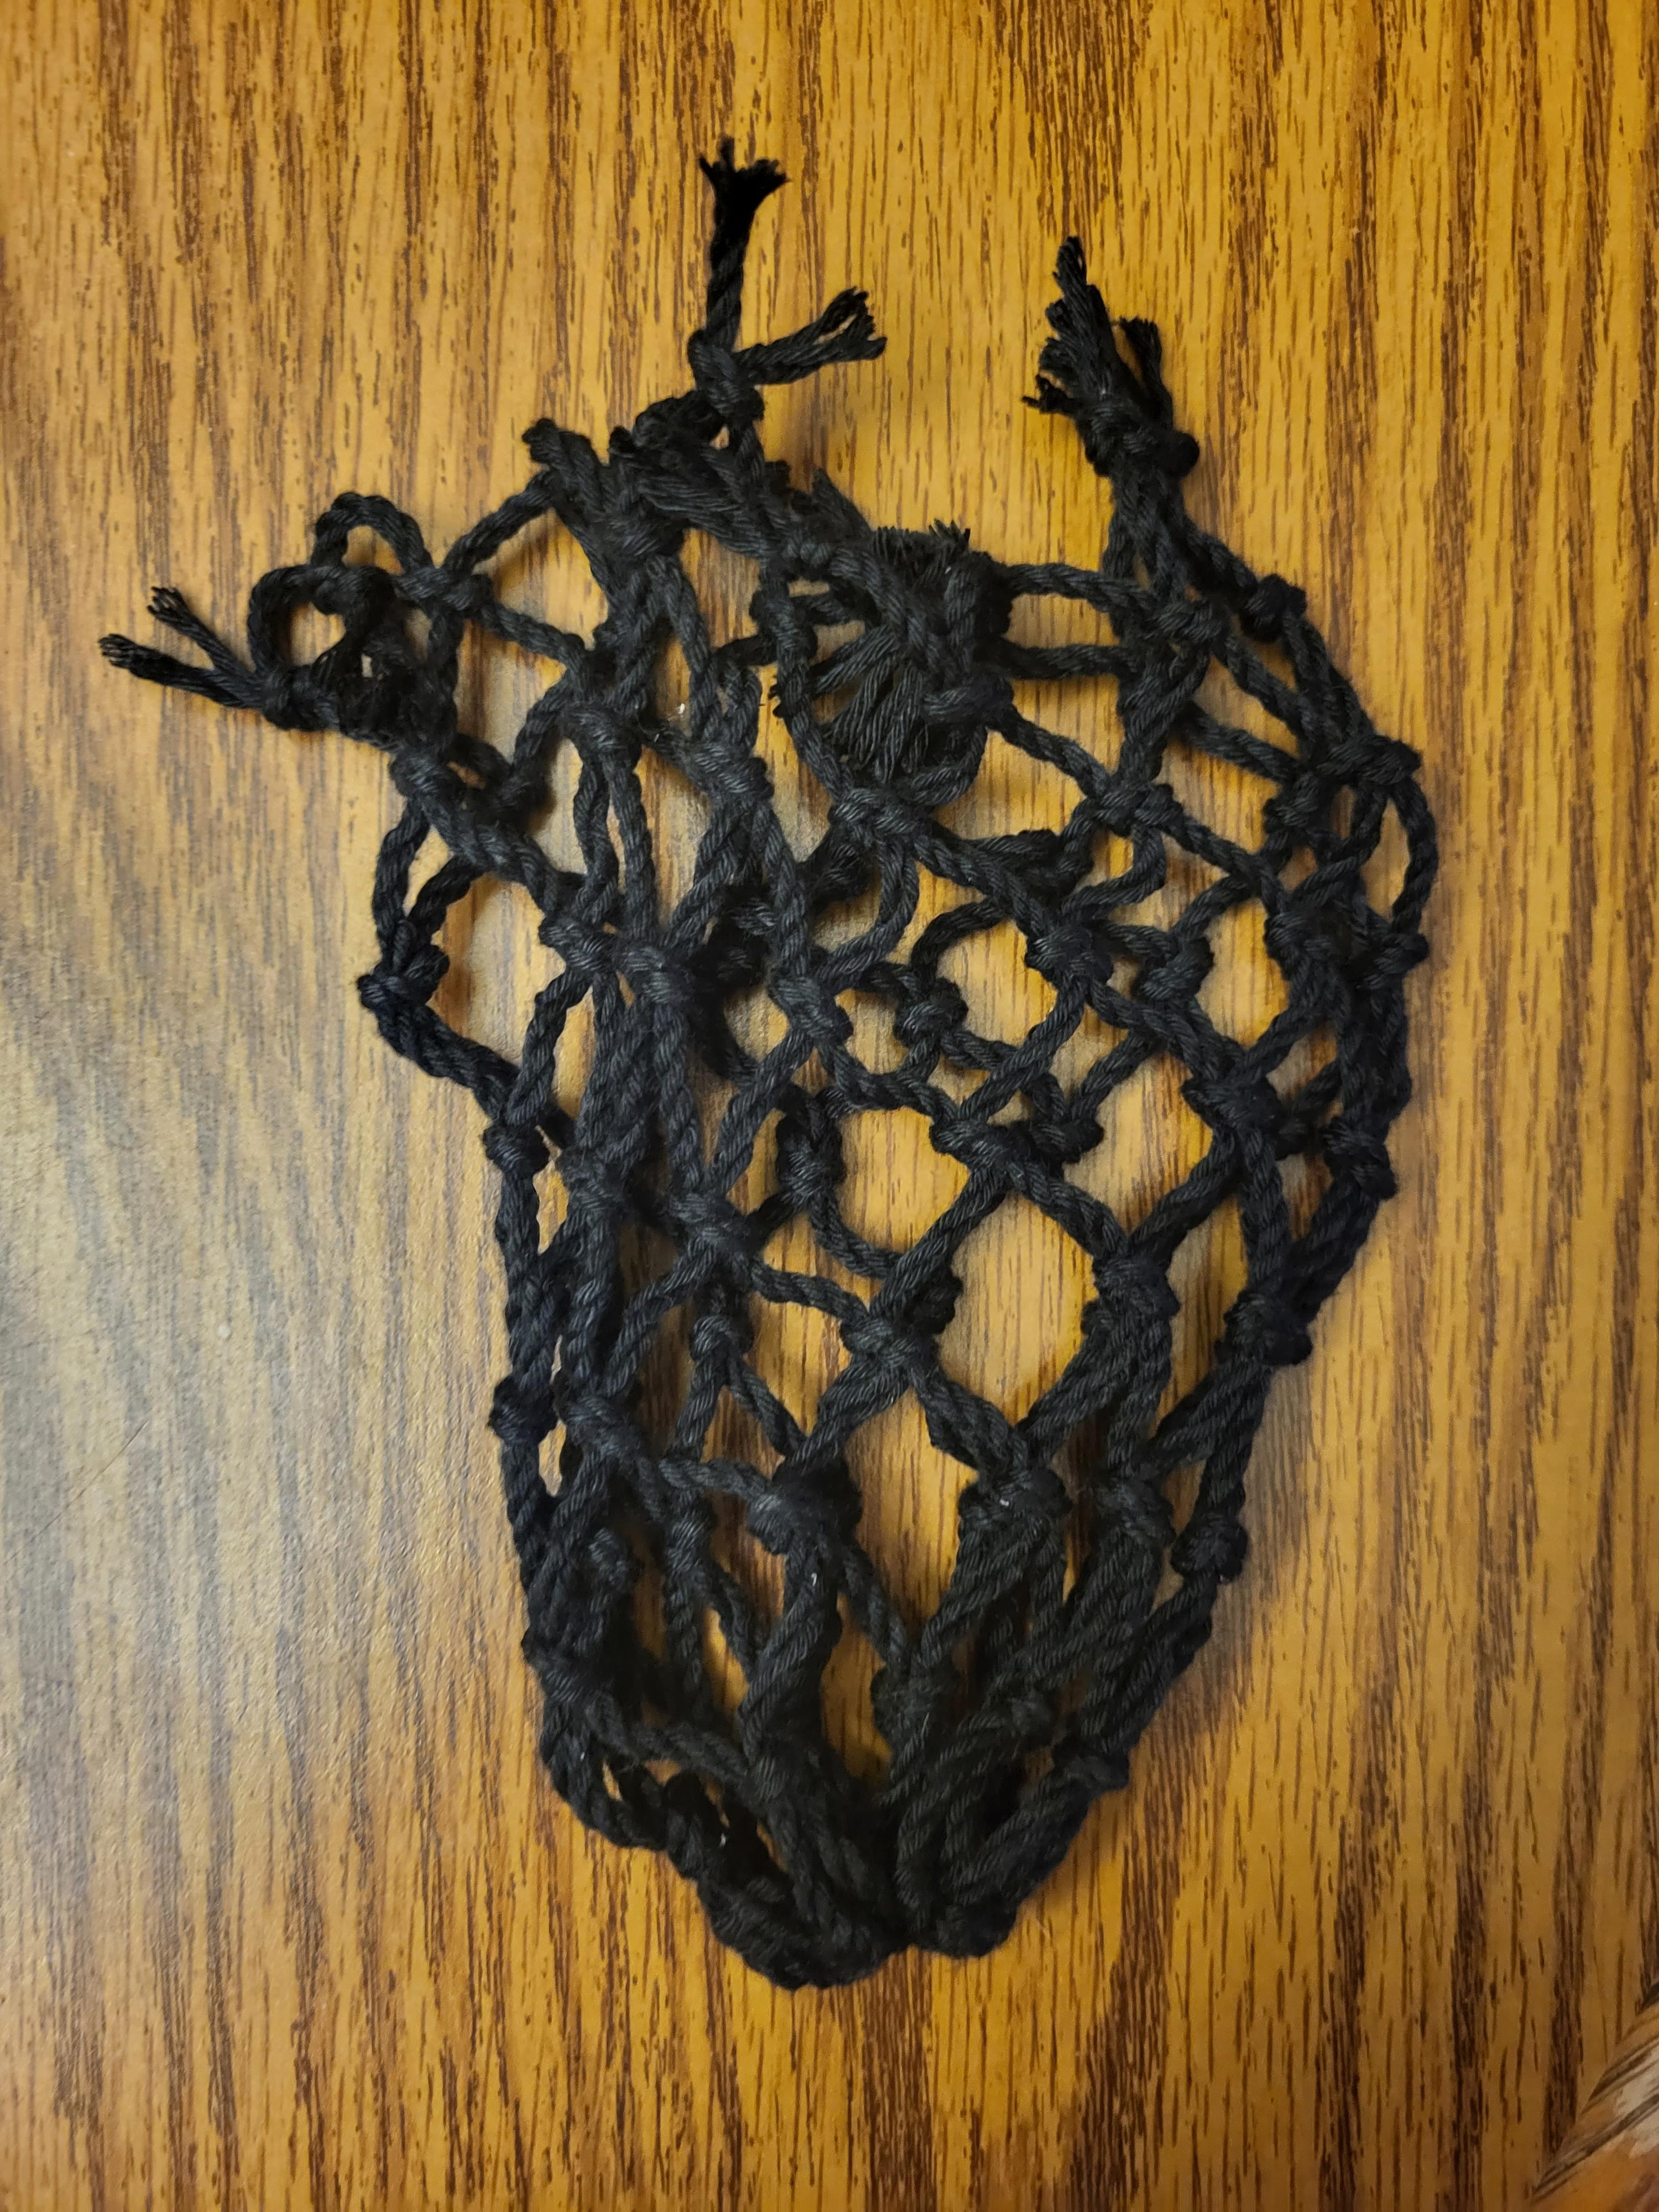
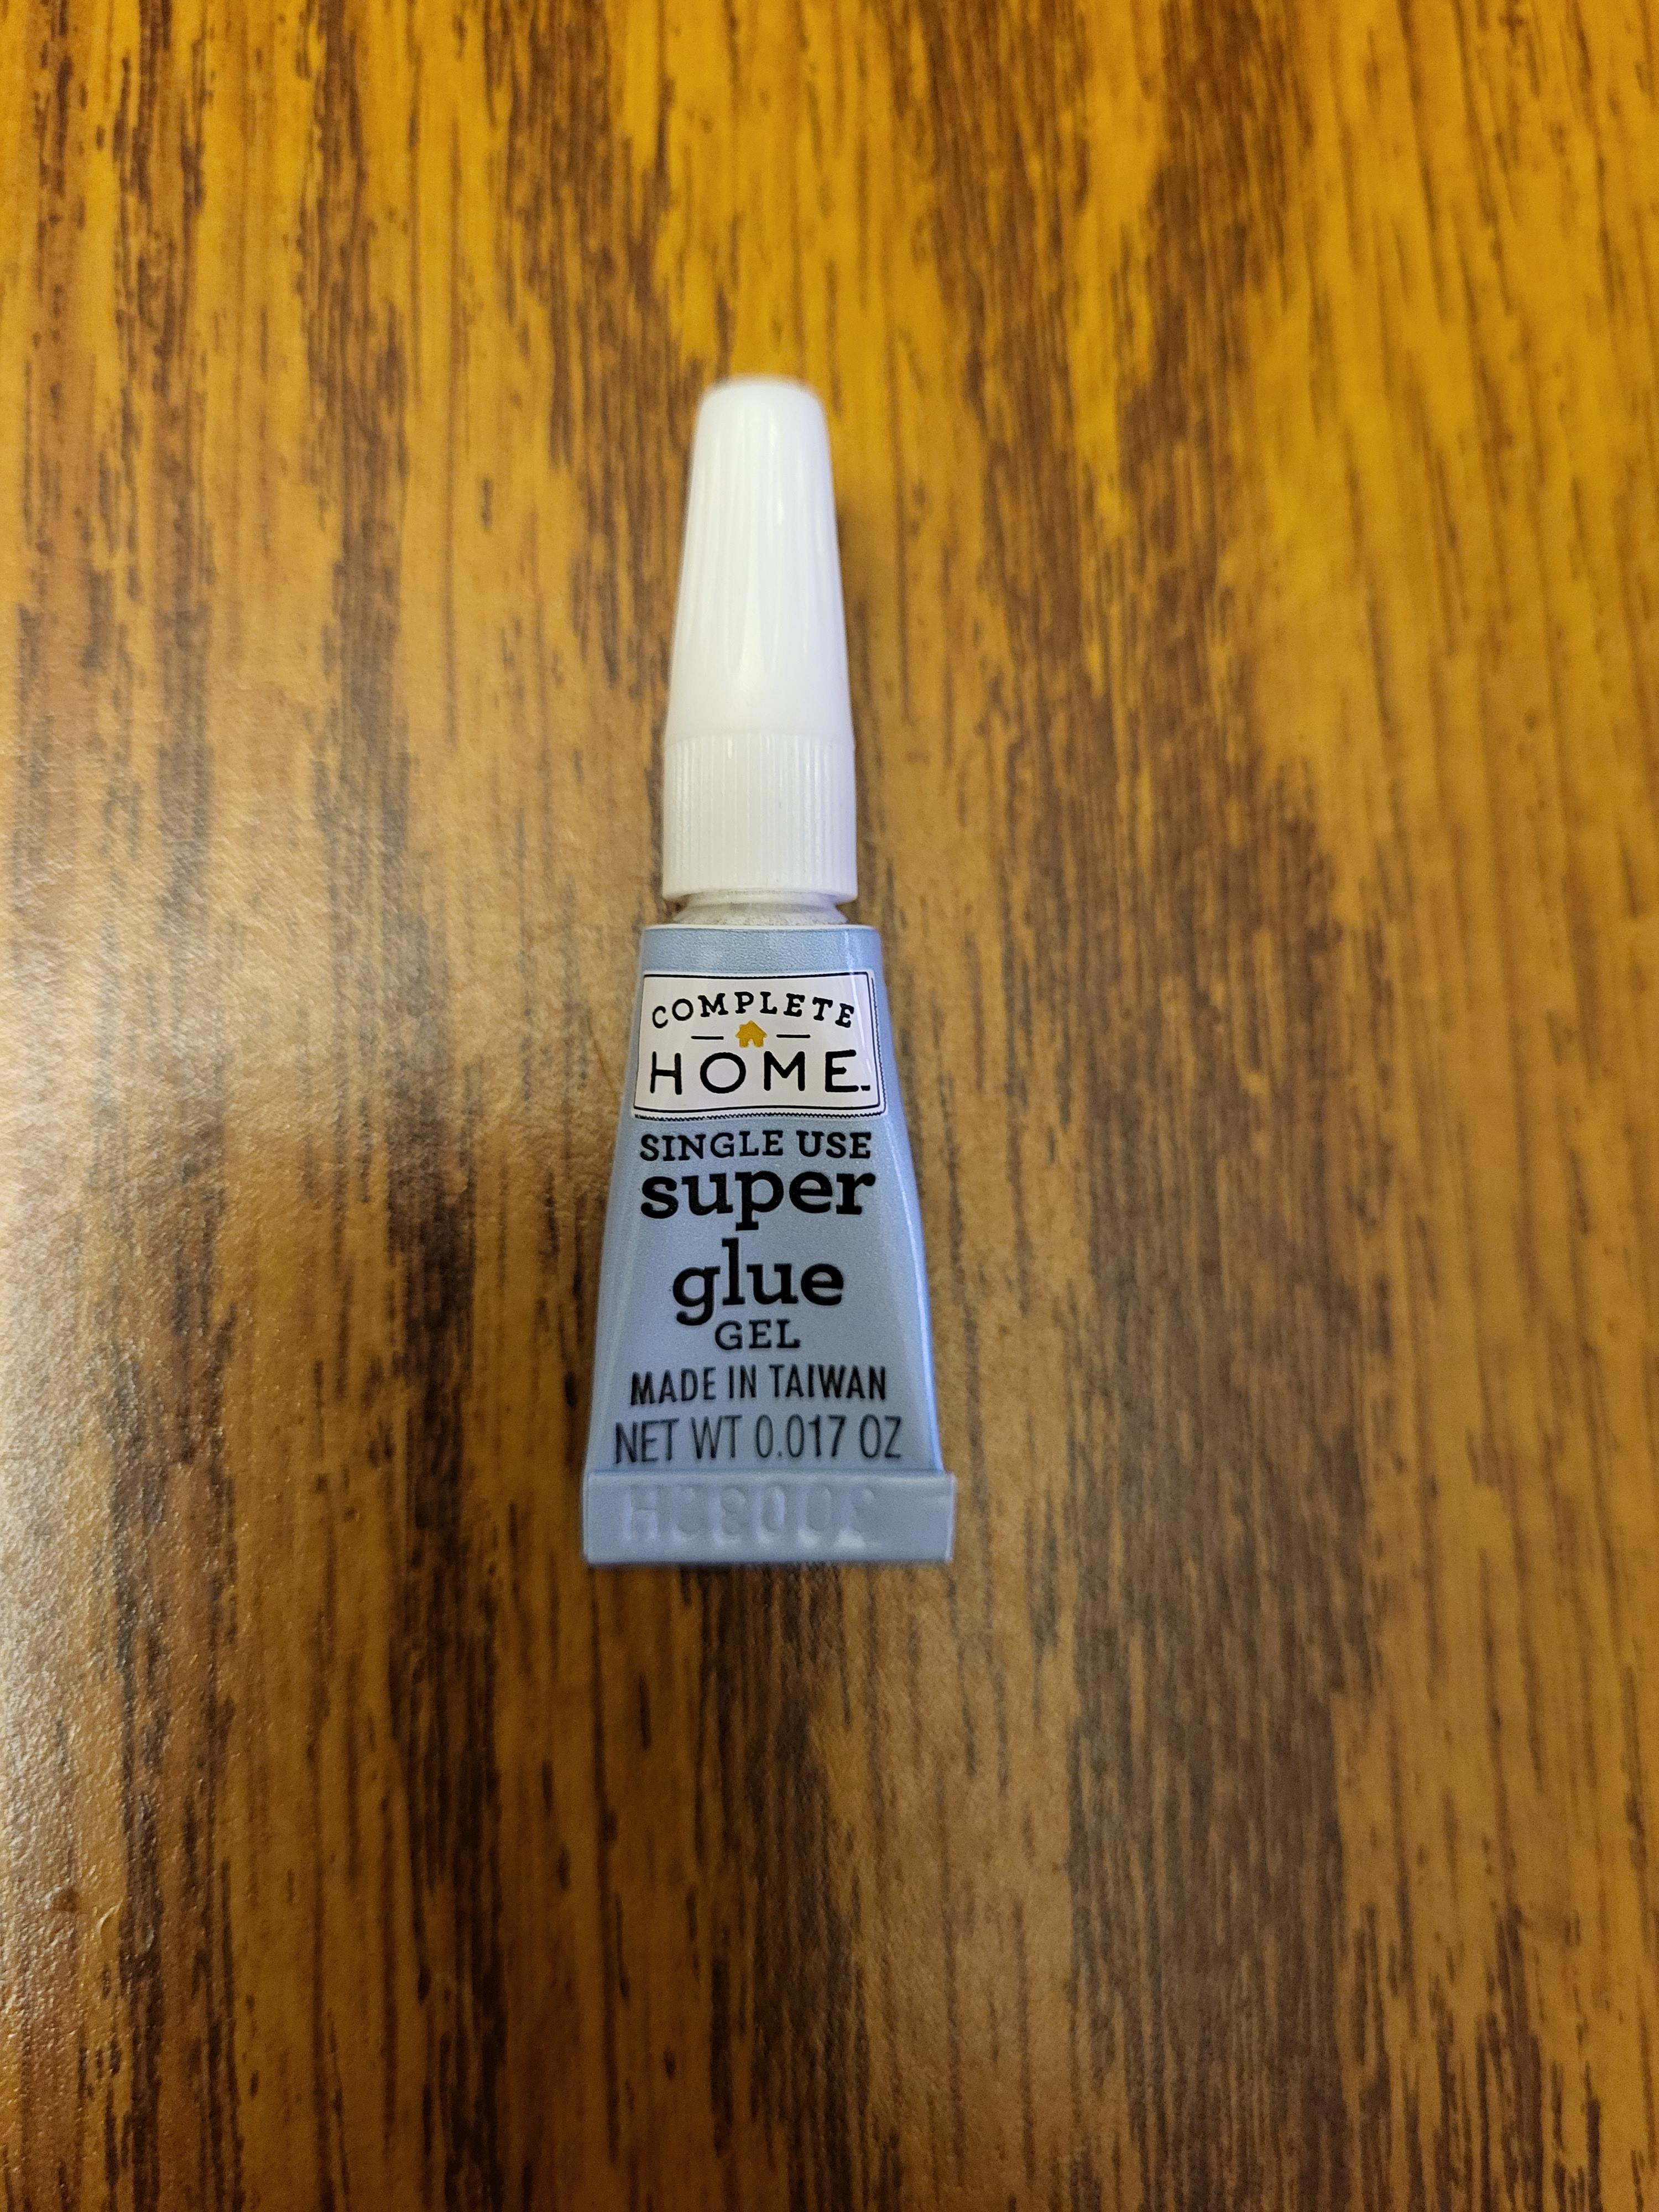
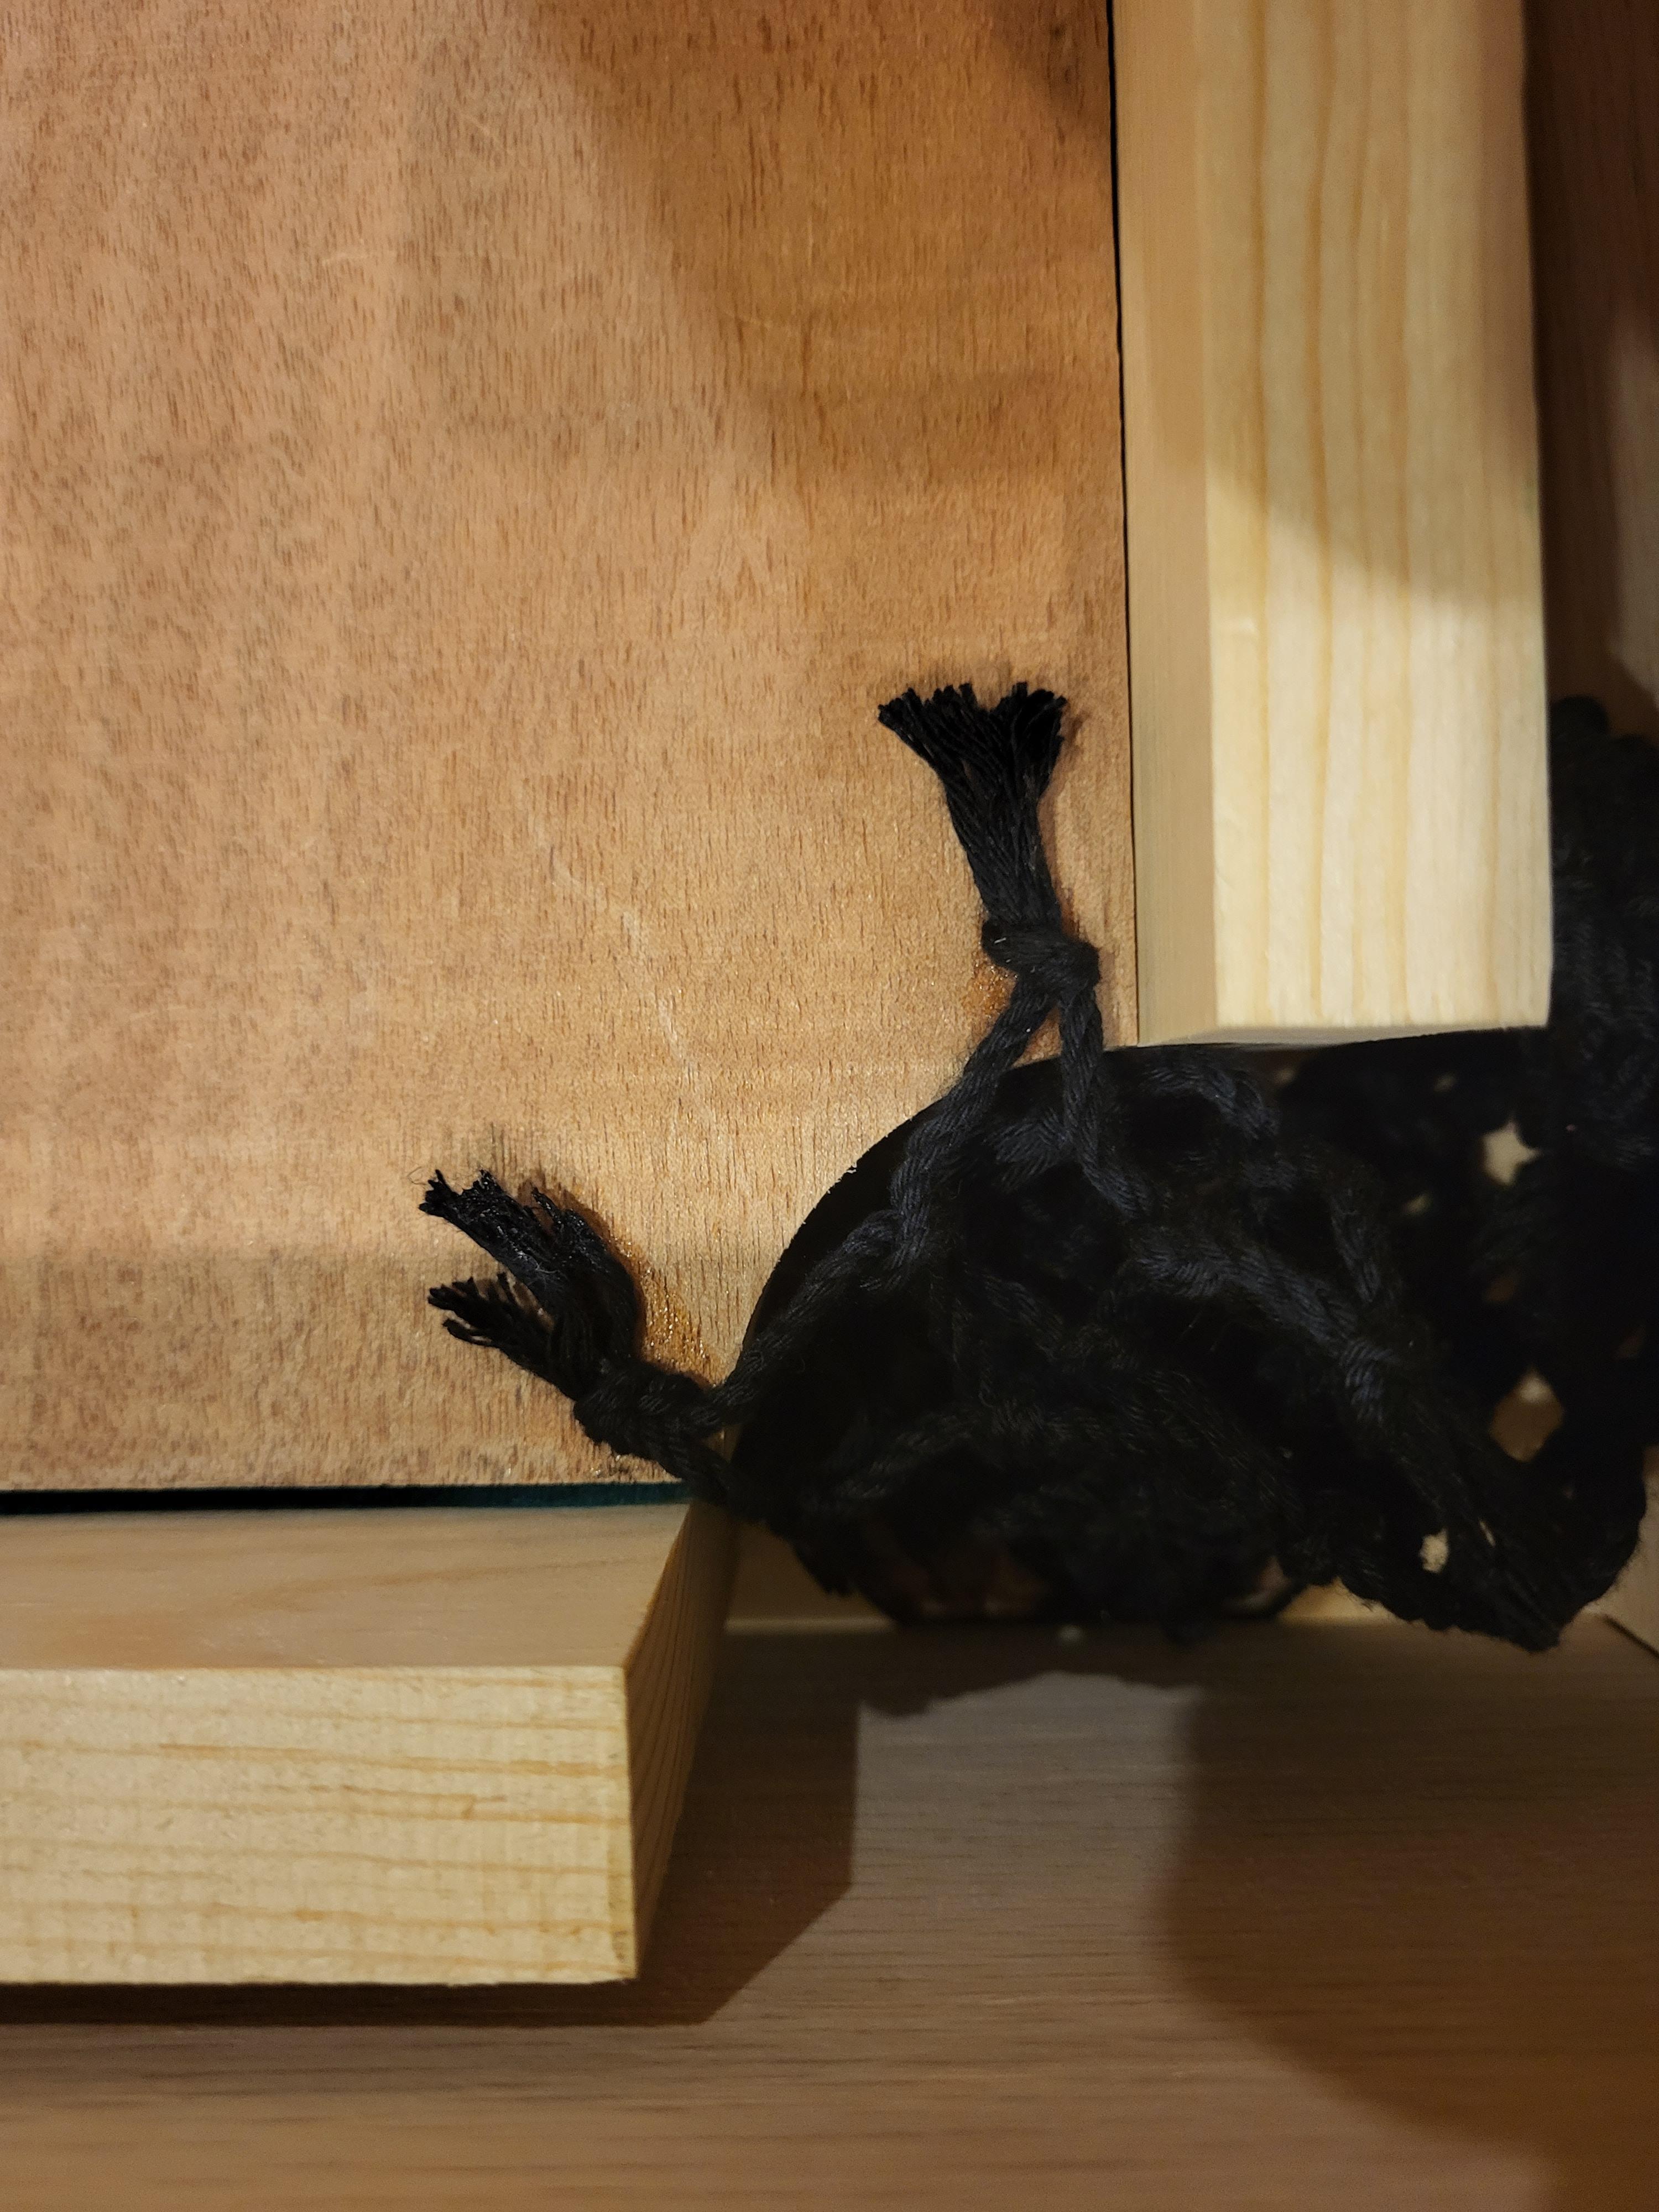

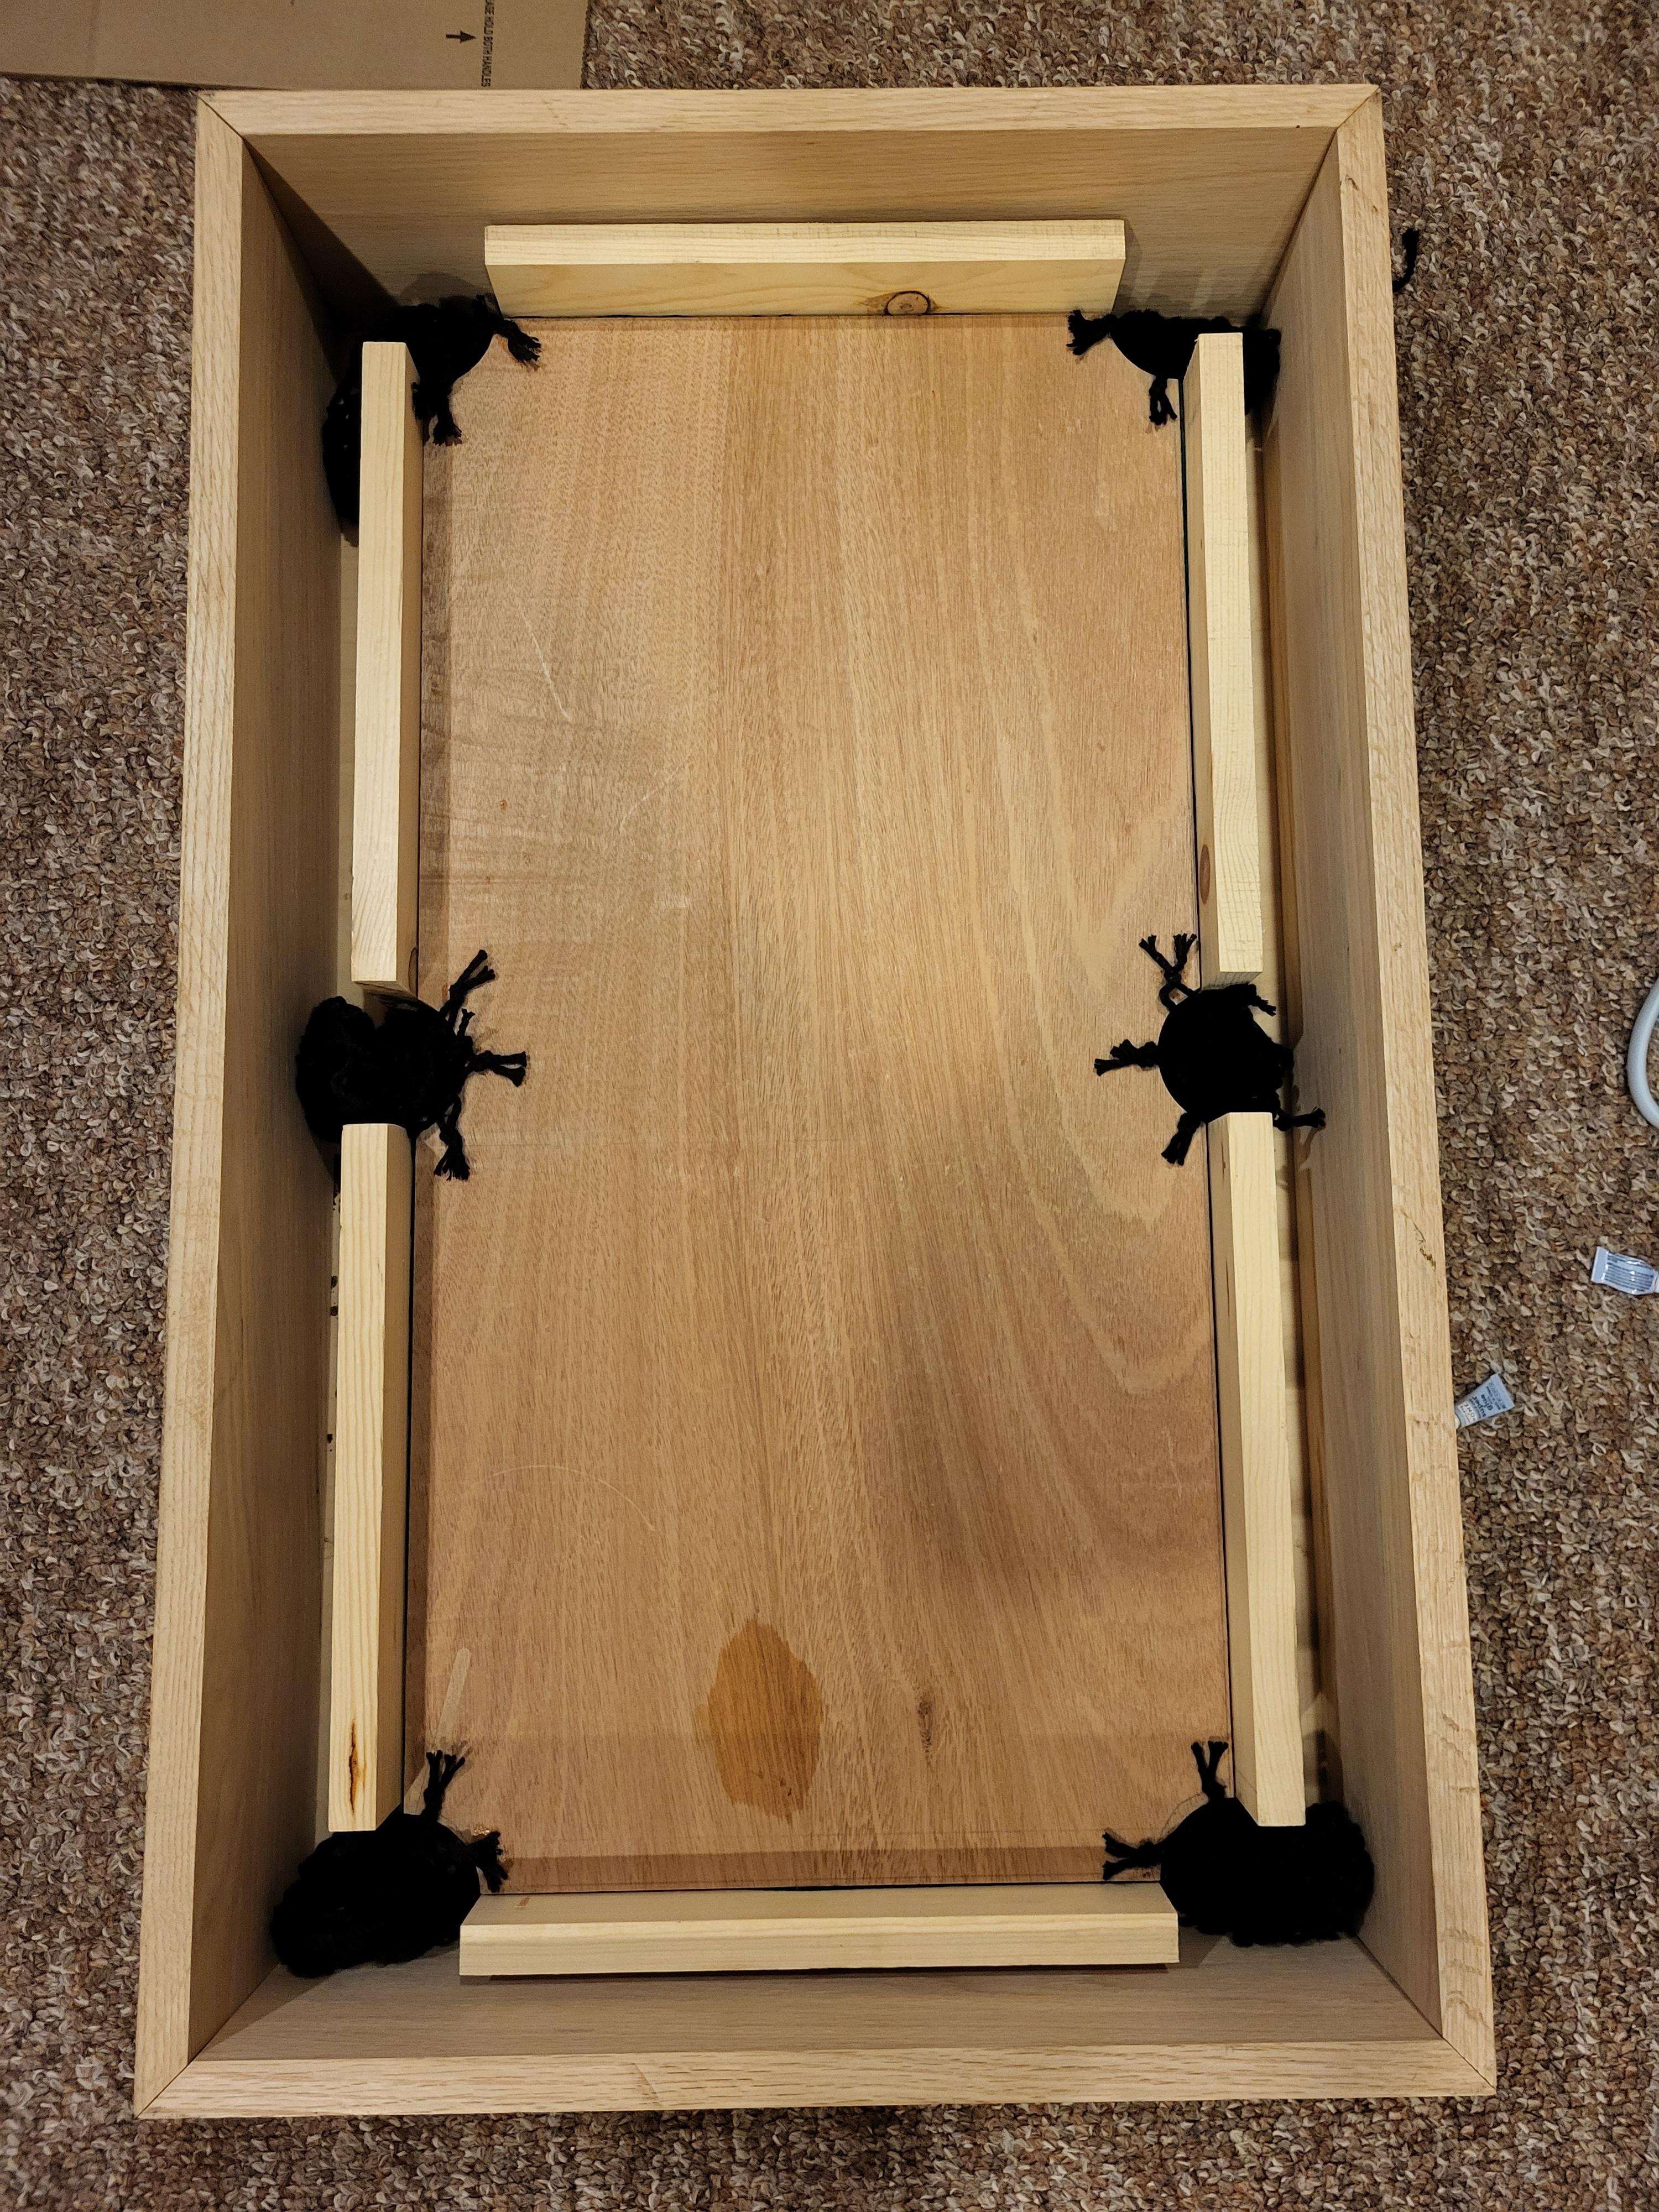
Buy some pool nets off of Amazon. Cut the length of the nets in half with scissors so they are not too long. Use super glue to glue on 2 stands to the bottom of the playing field and super glue the other 5-6 stands on the top of the table.
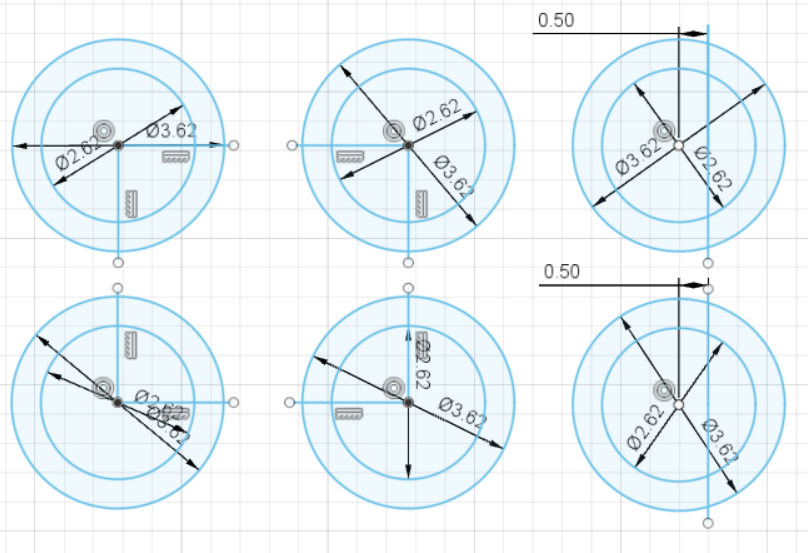
Making the Rings
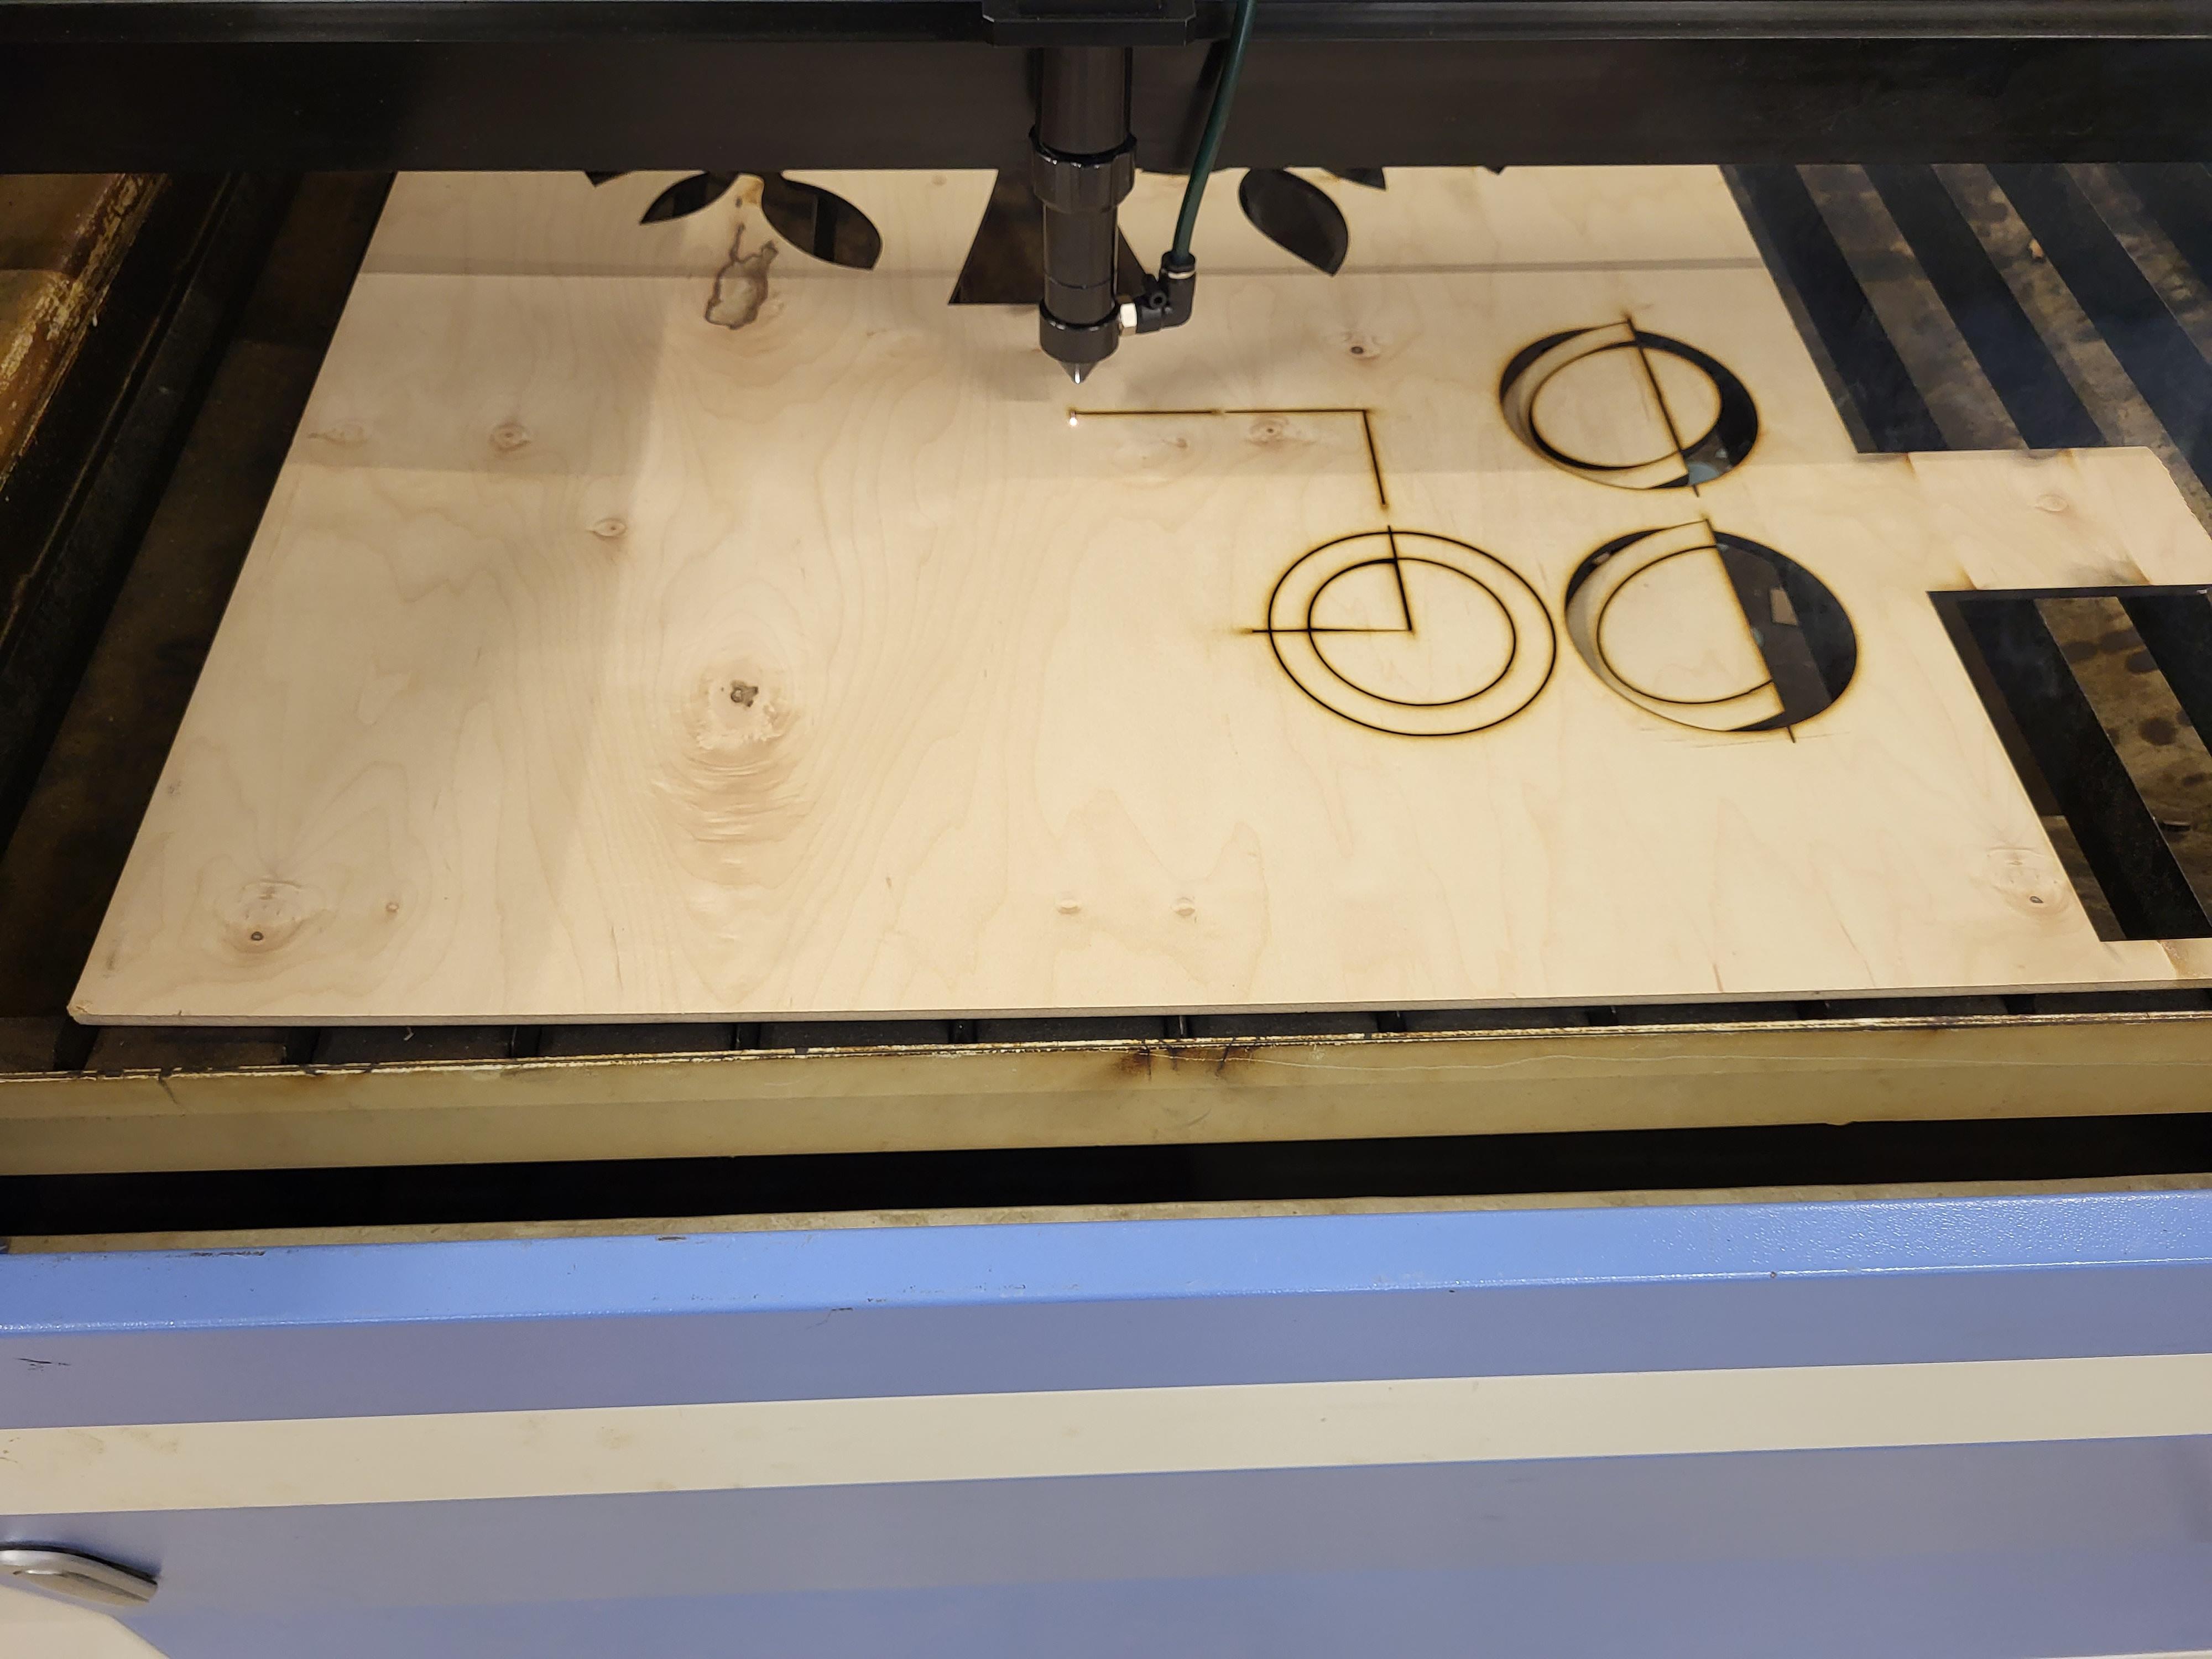
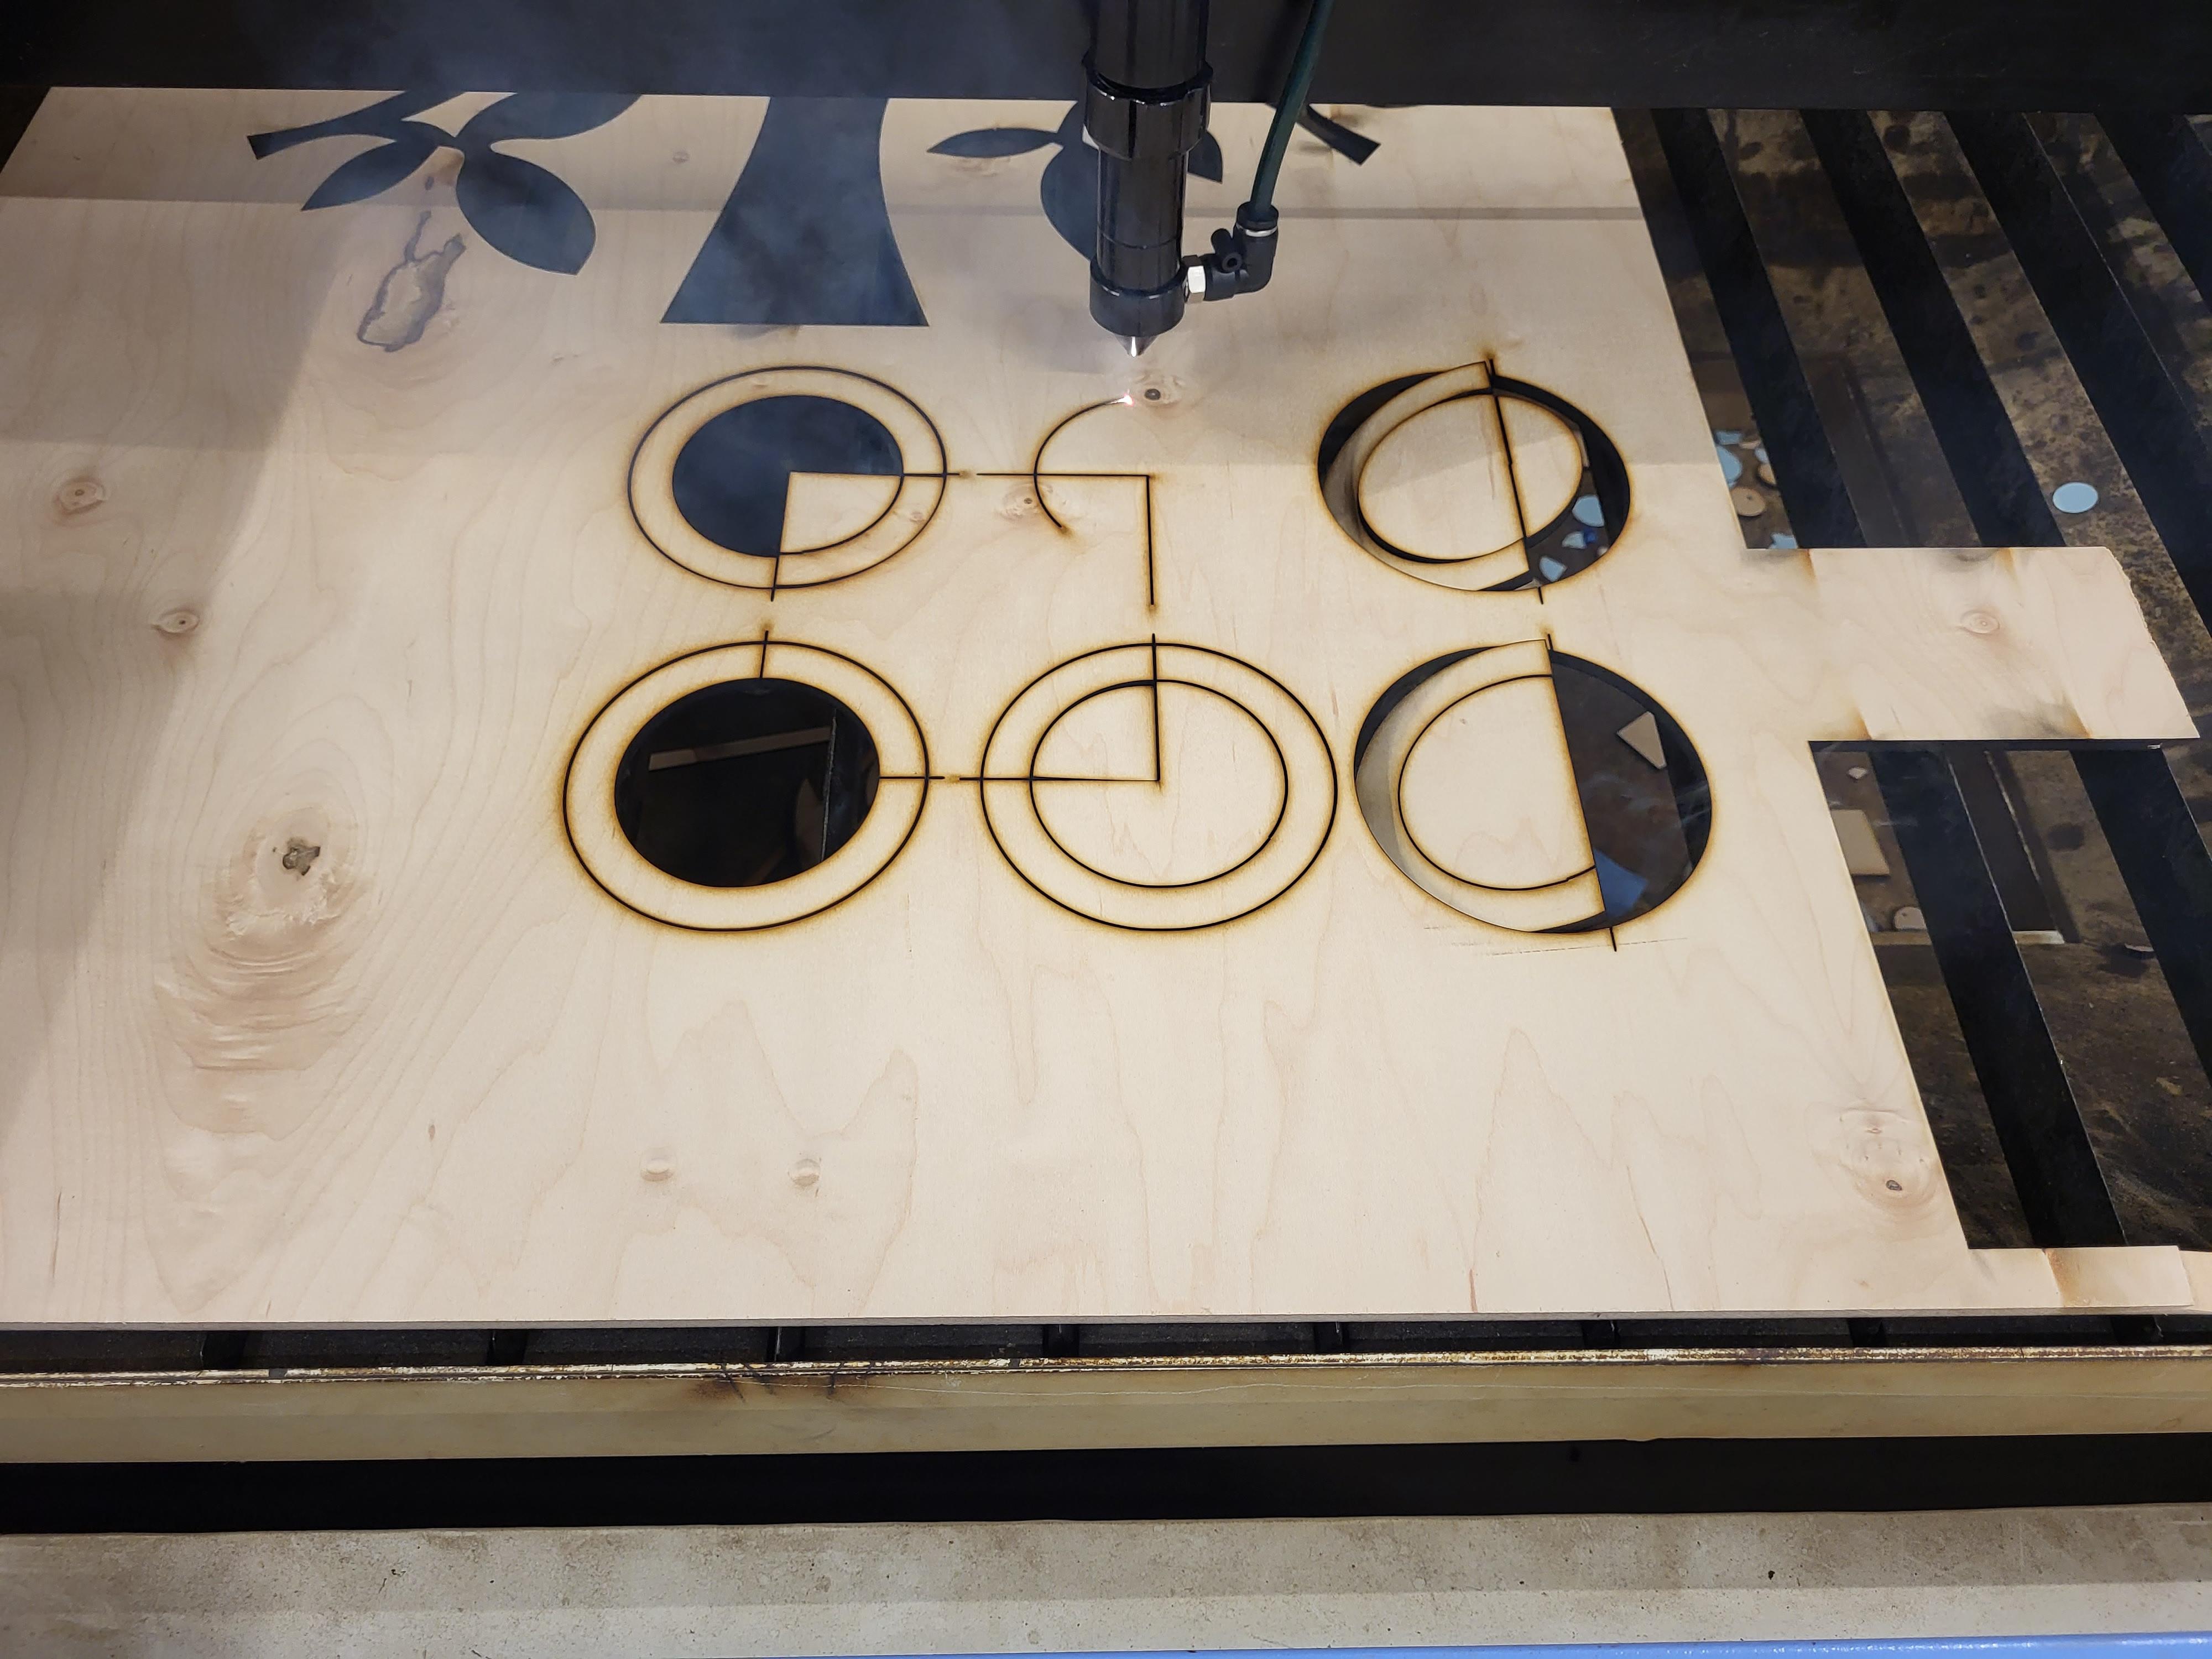
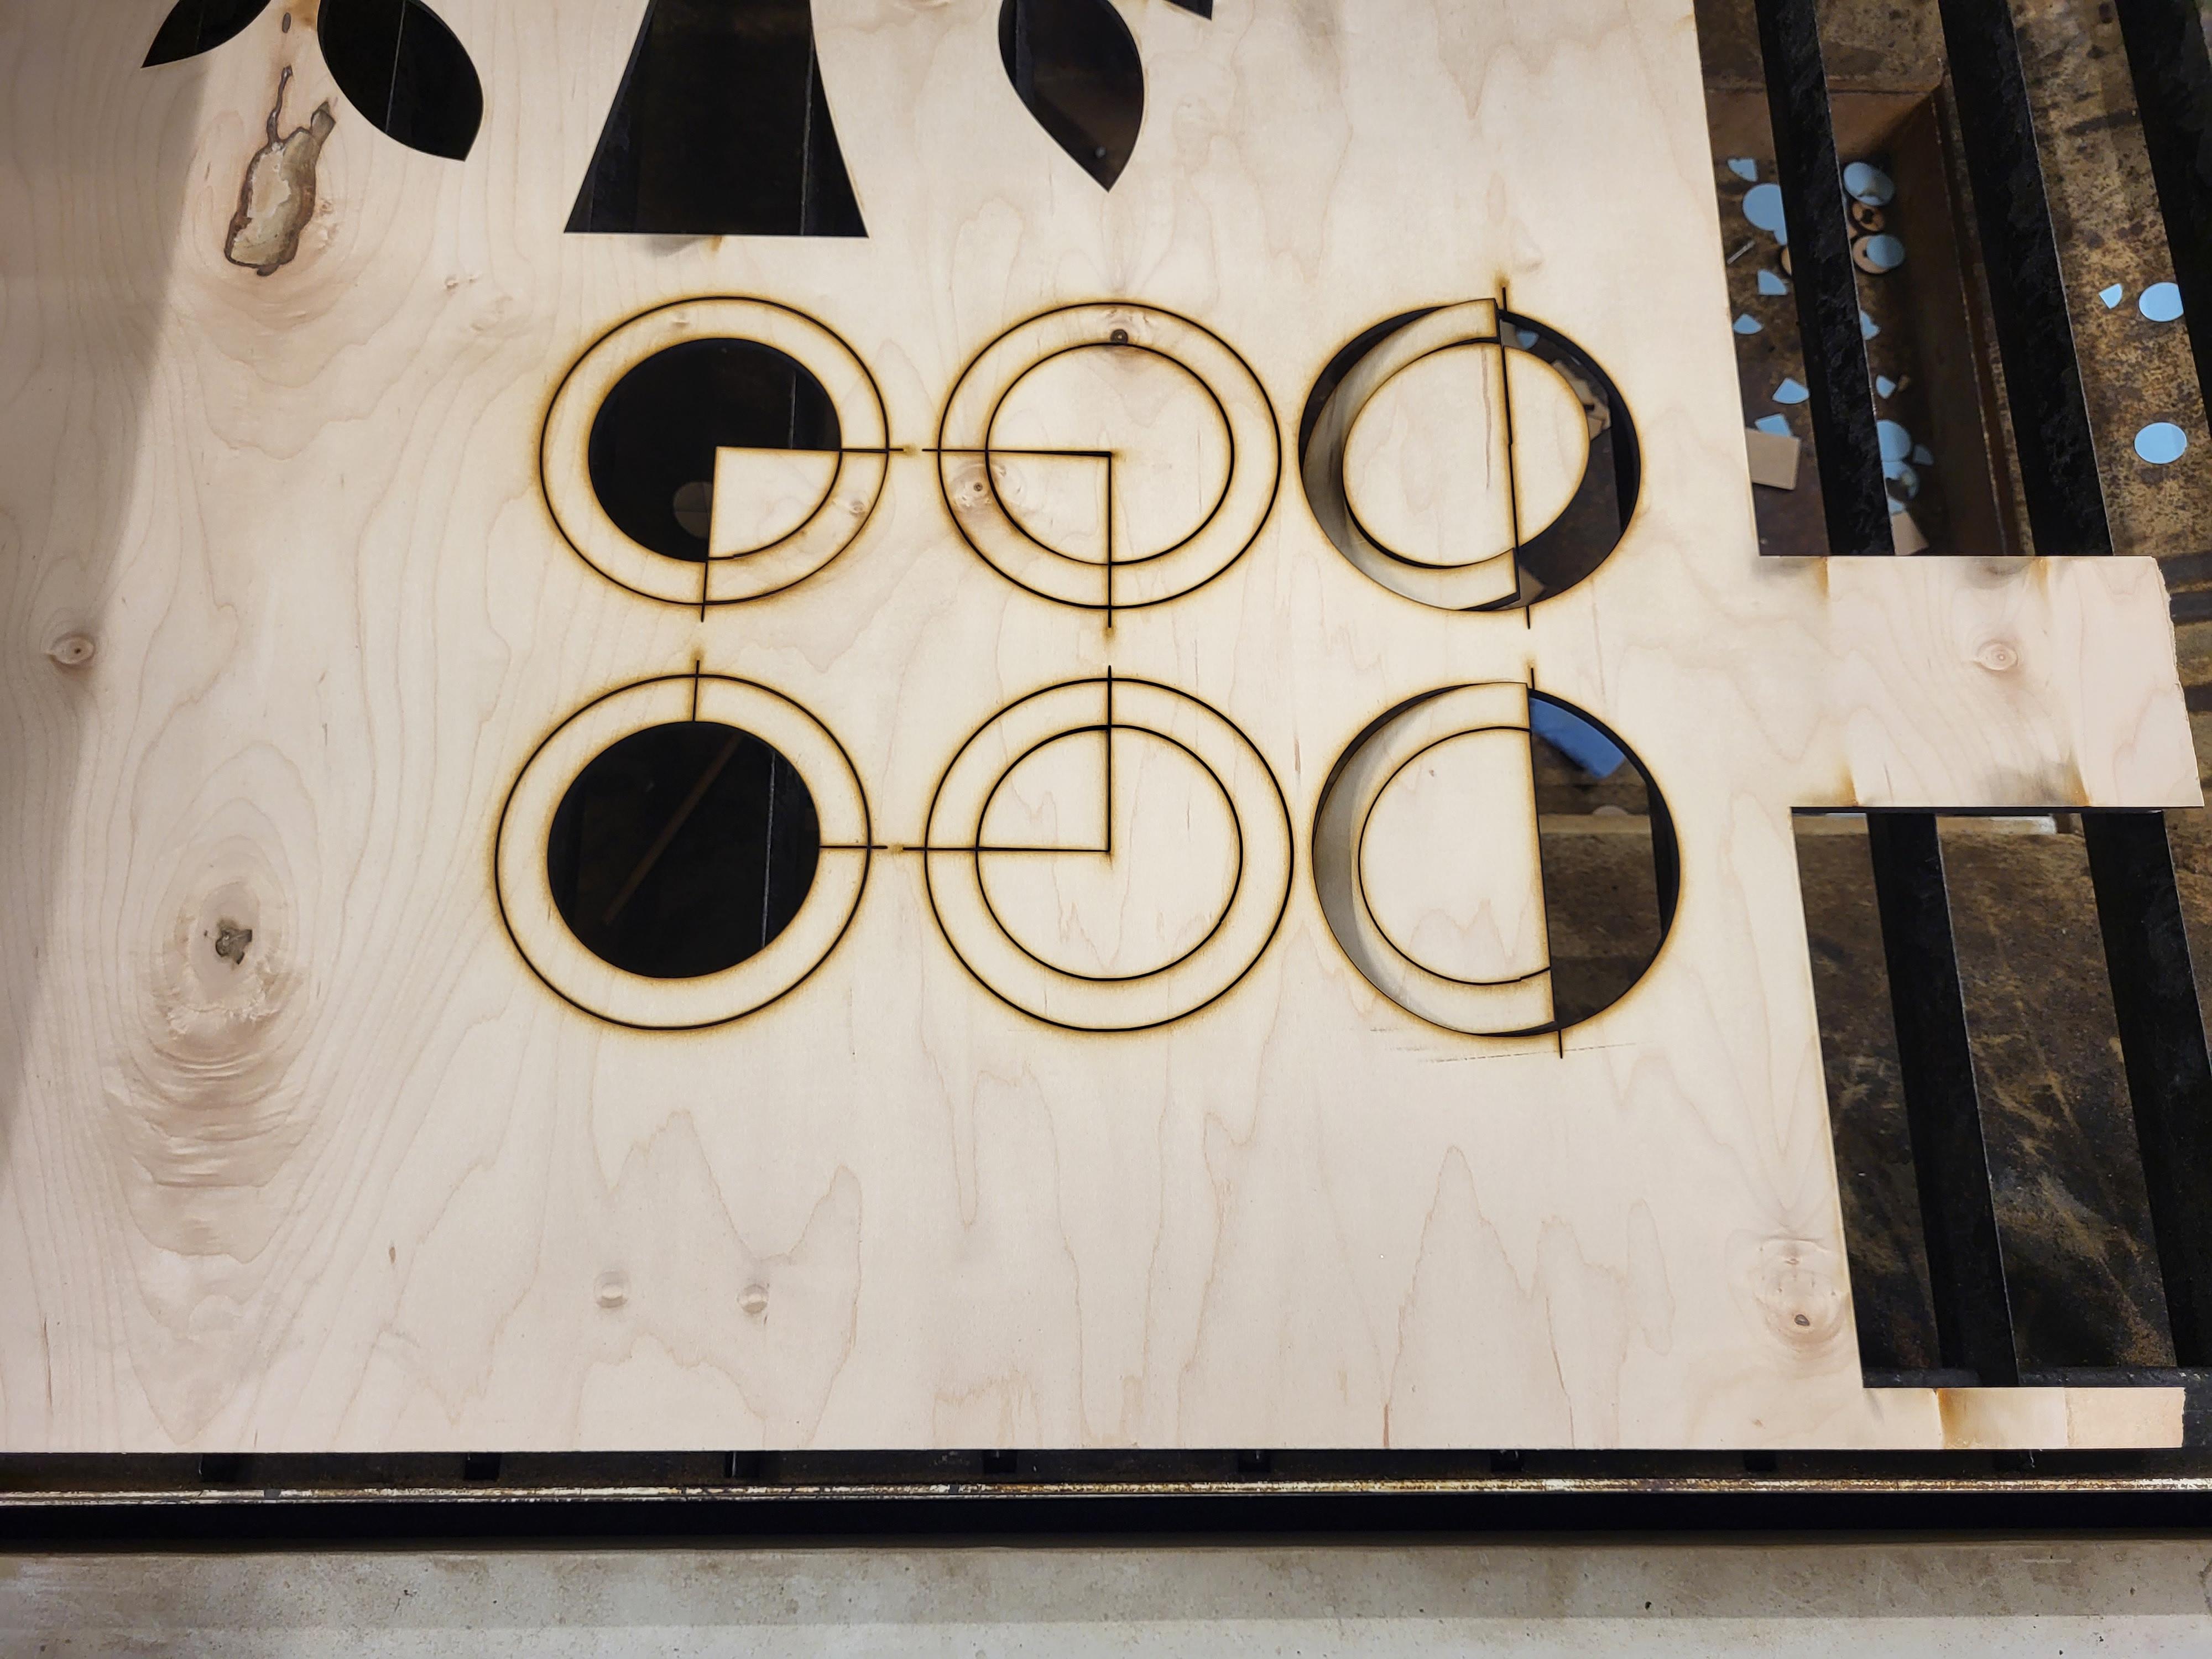
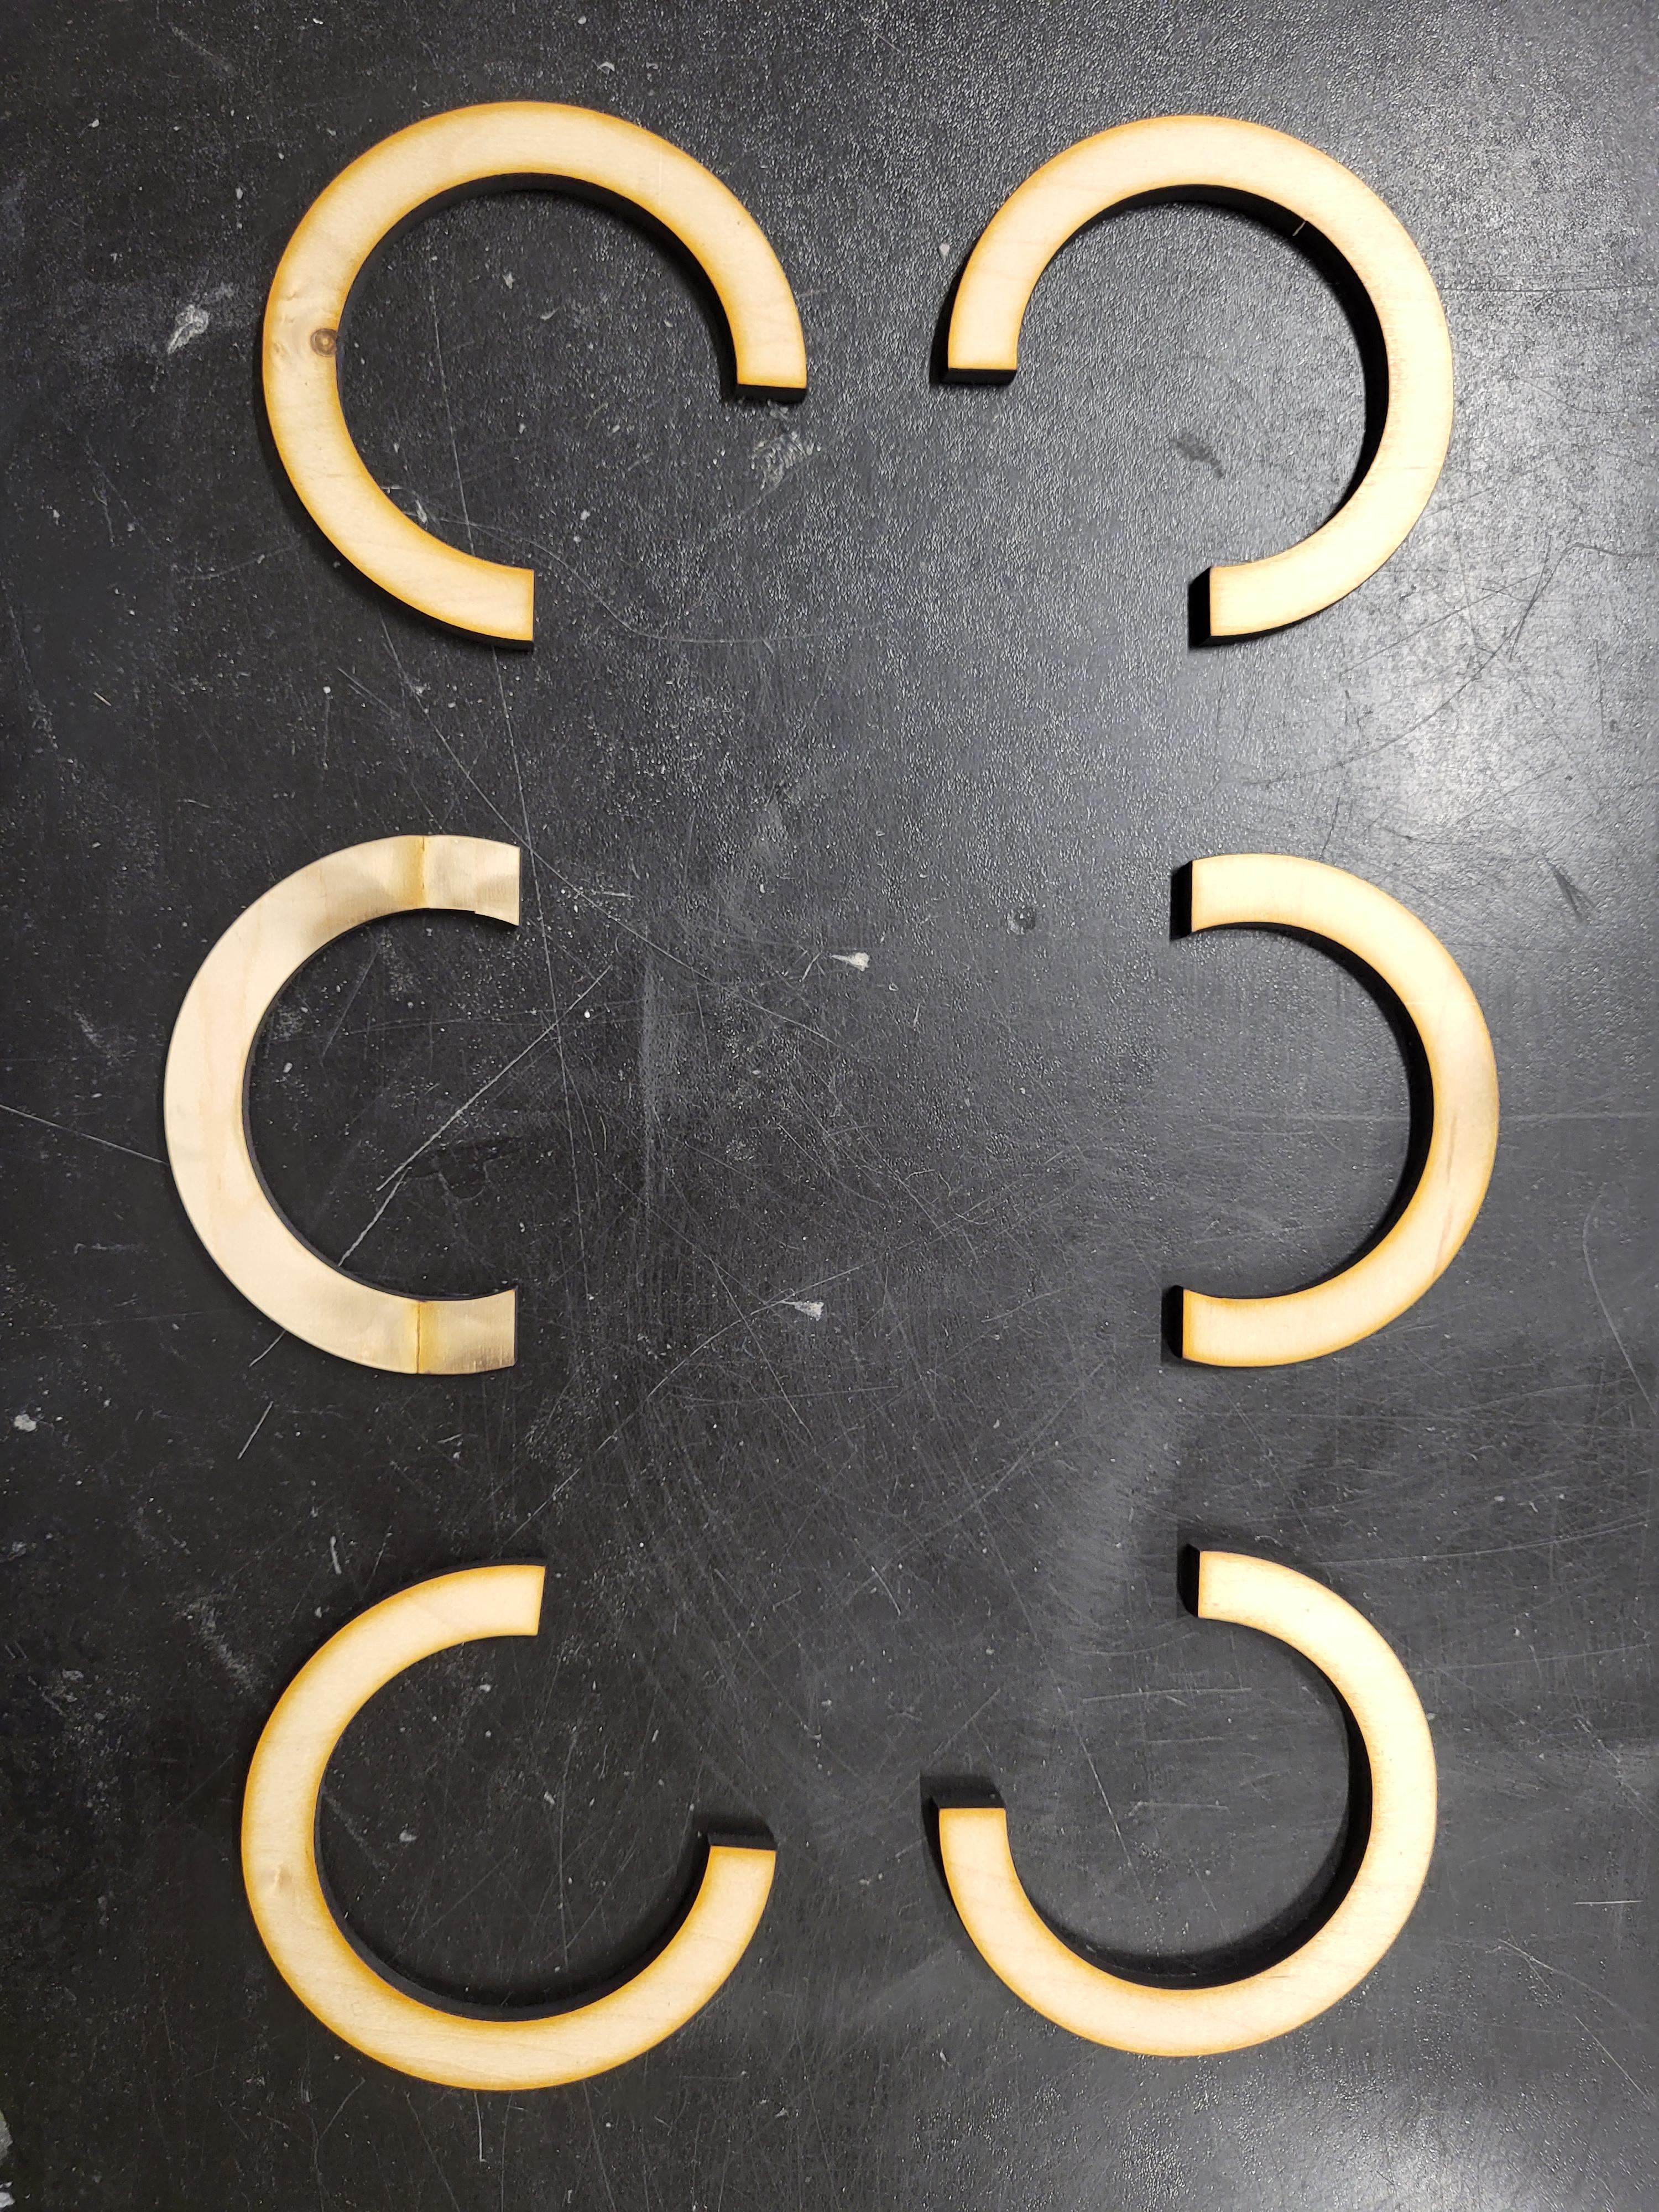
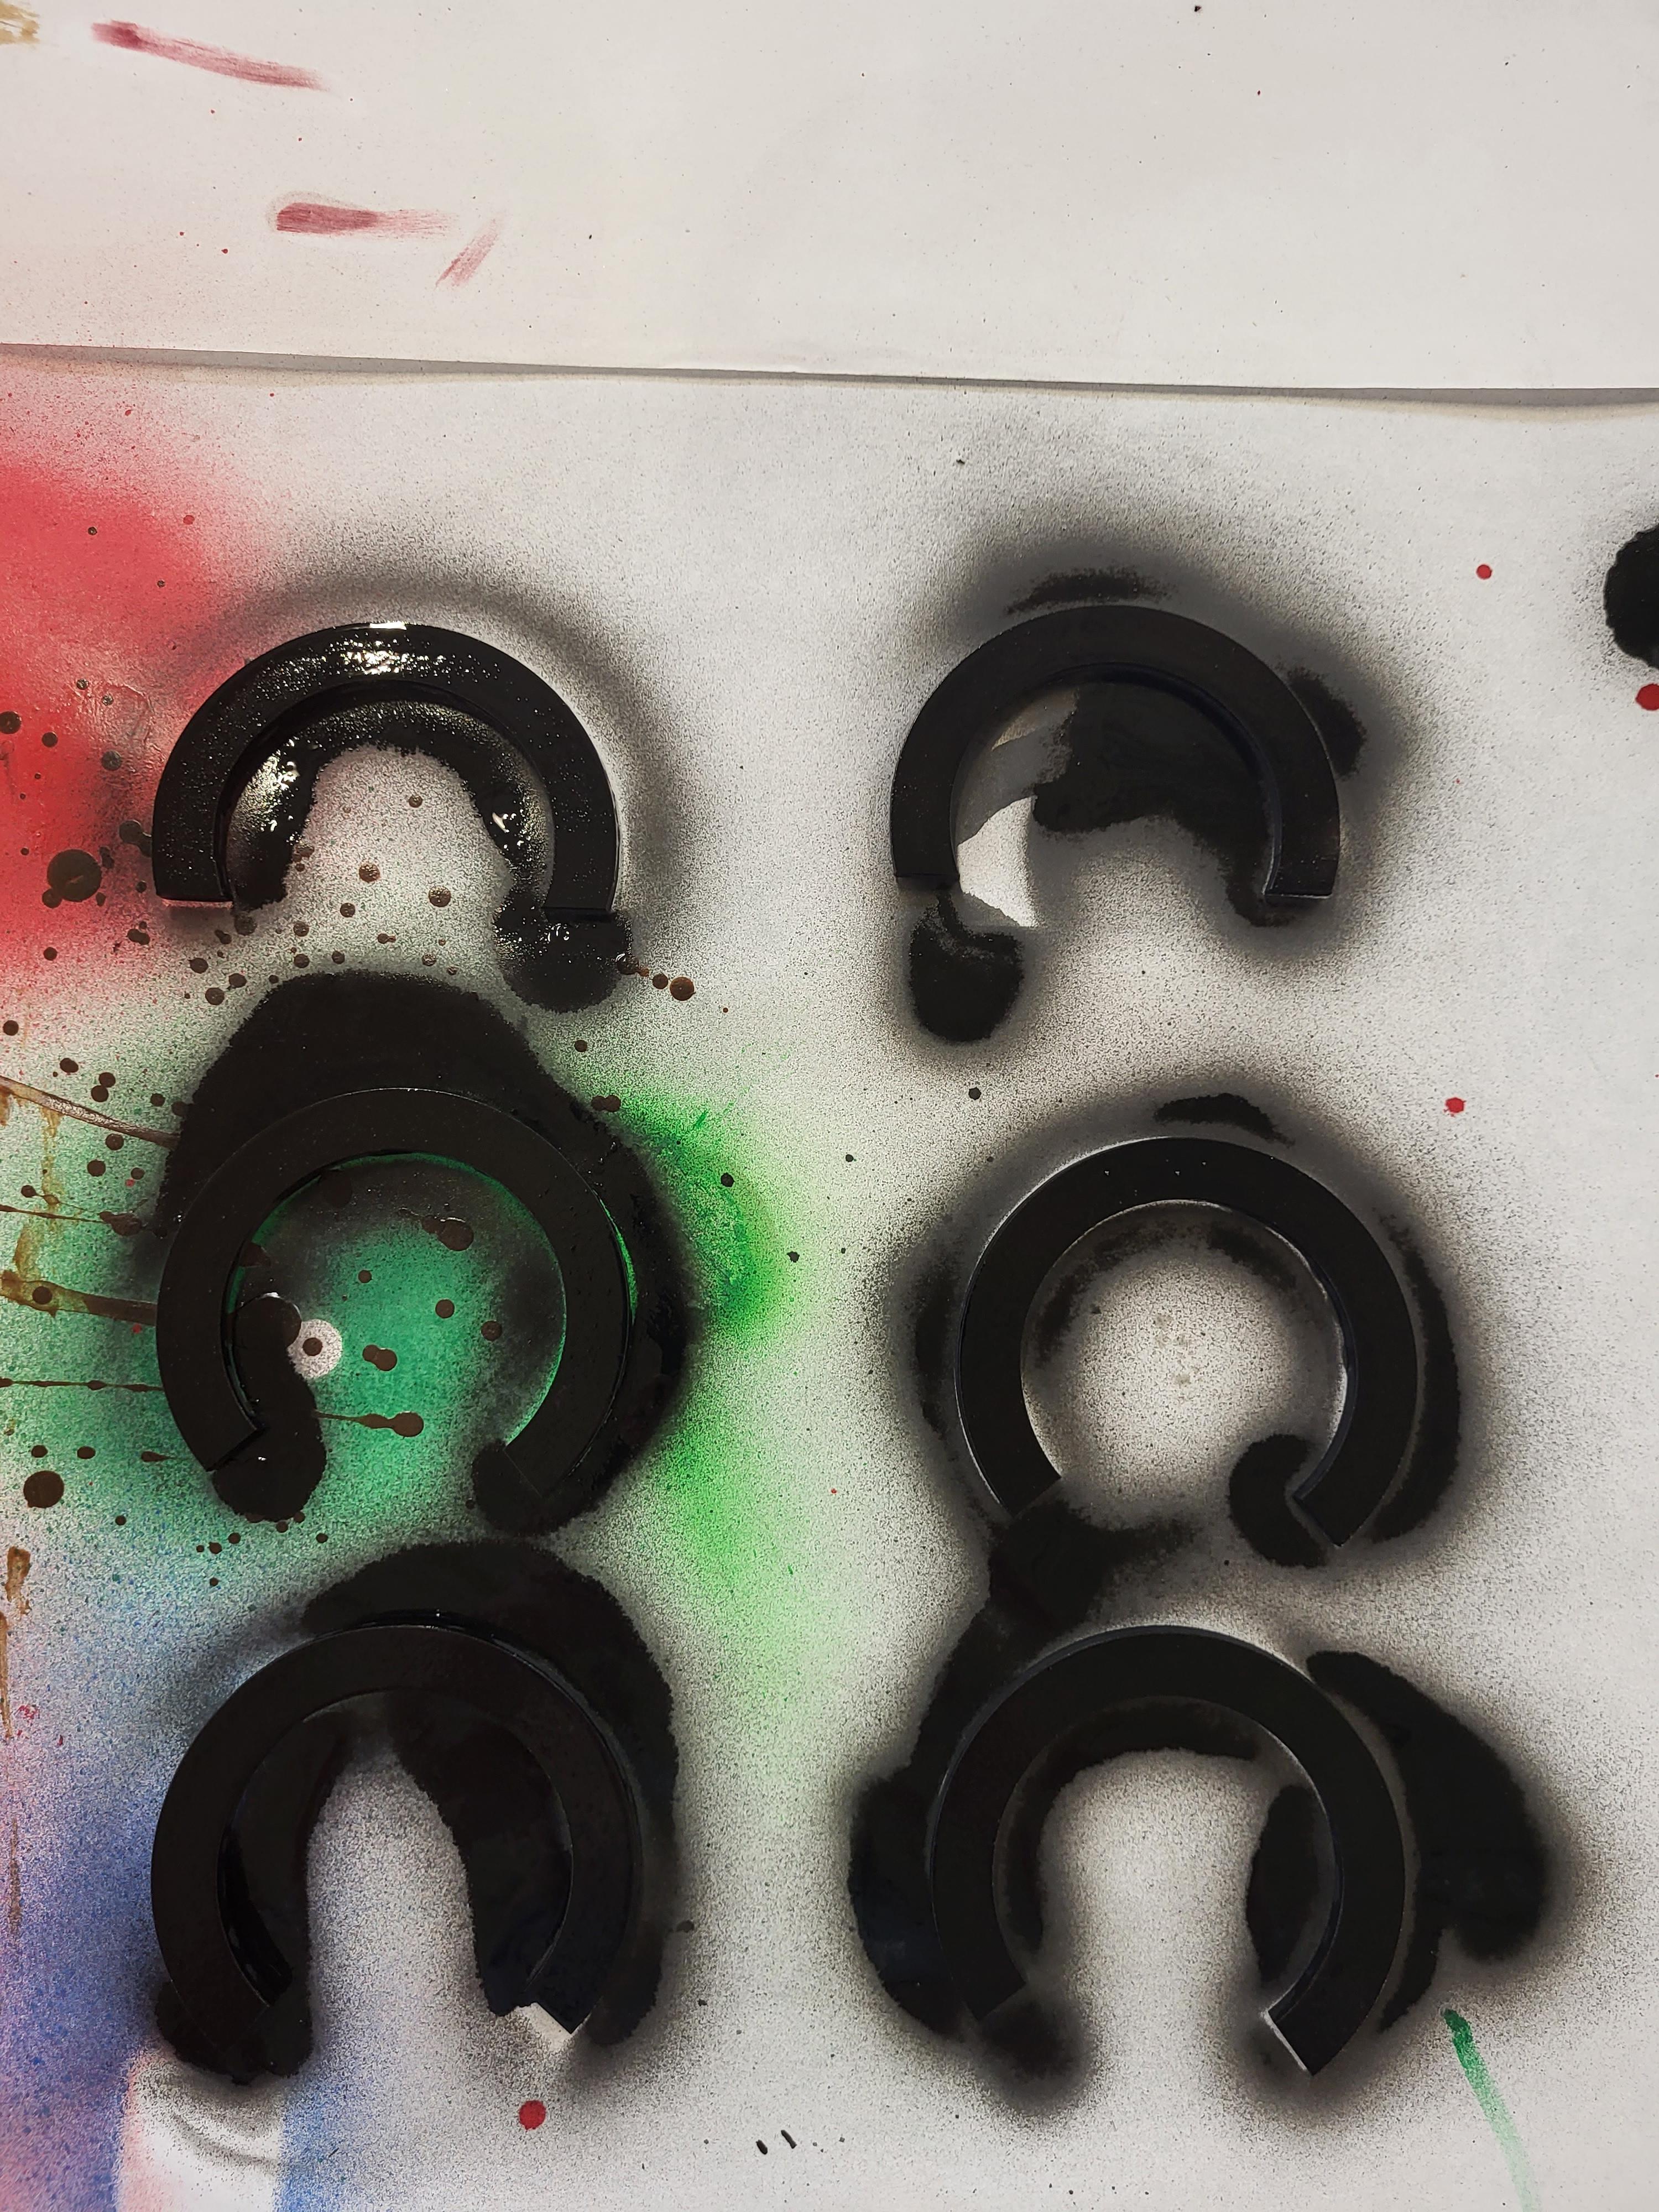
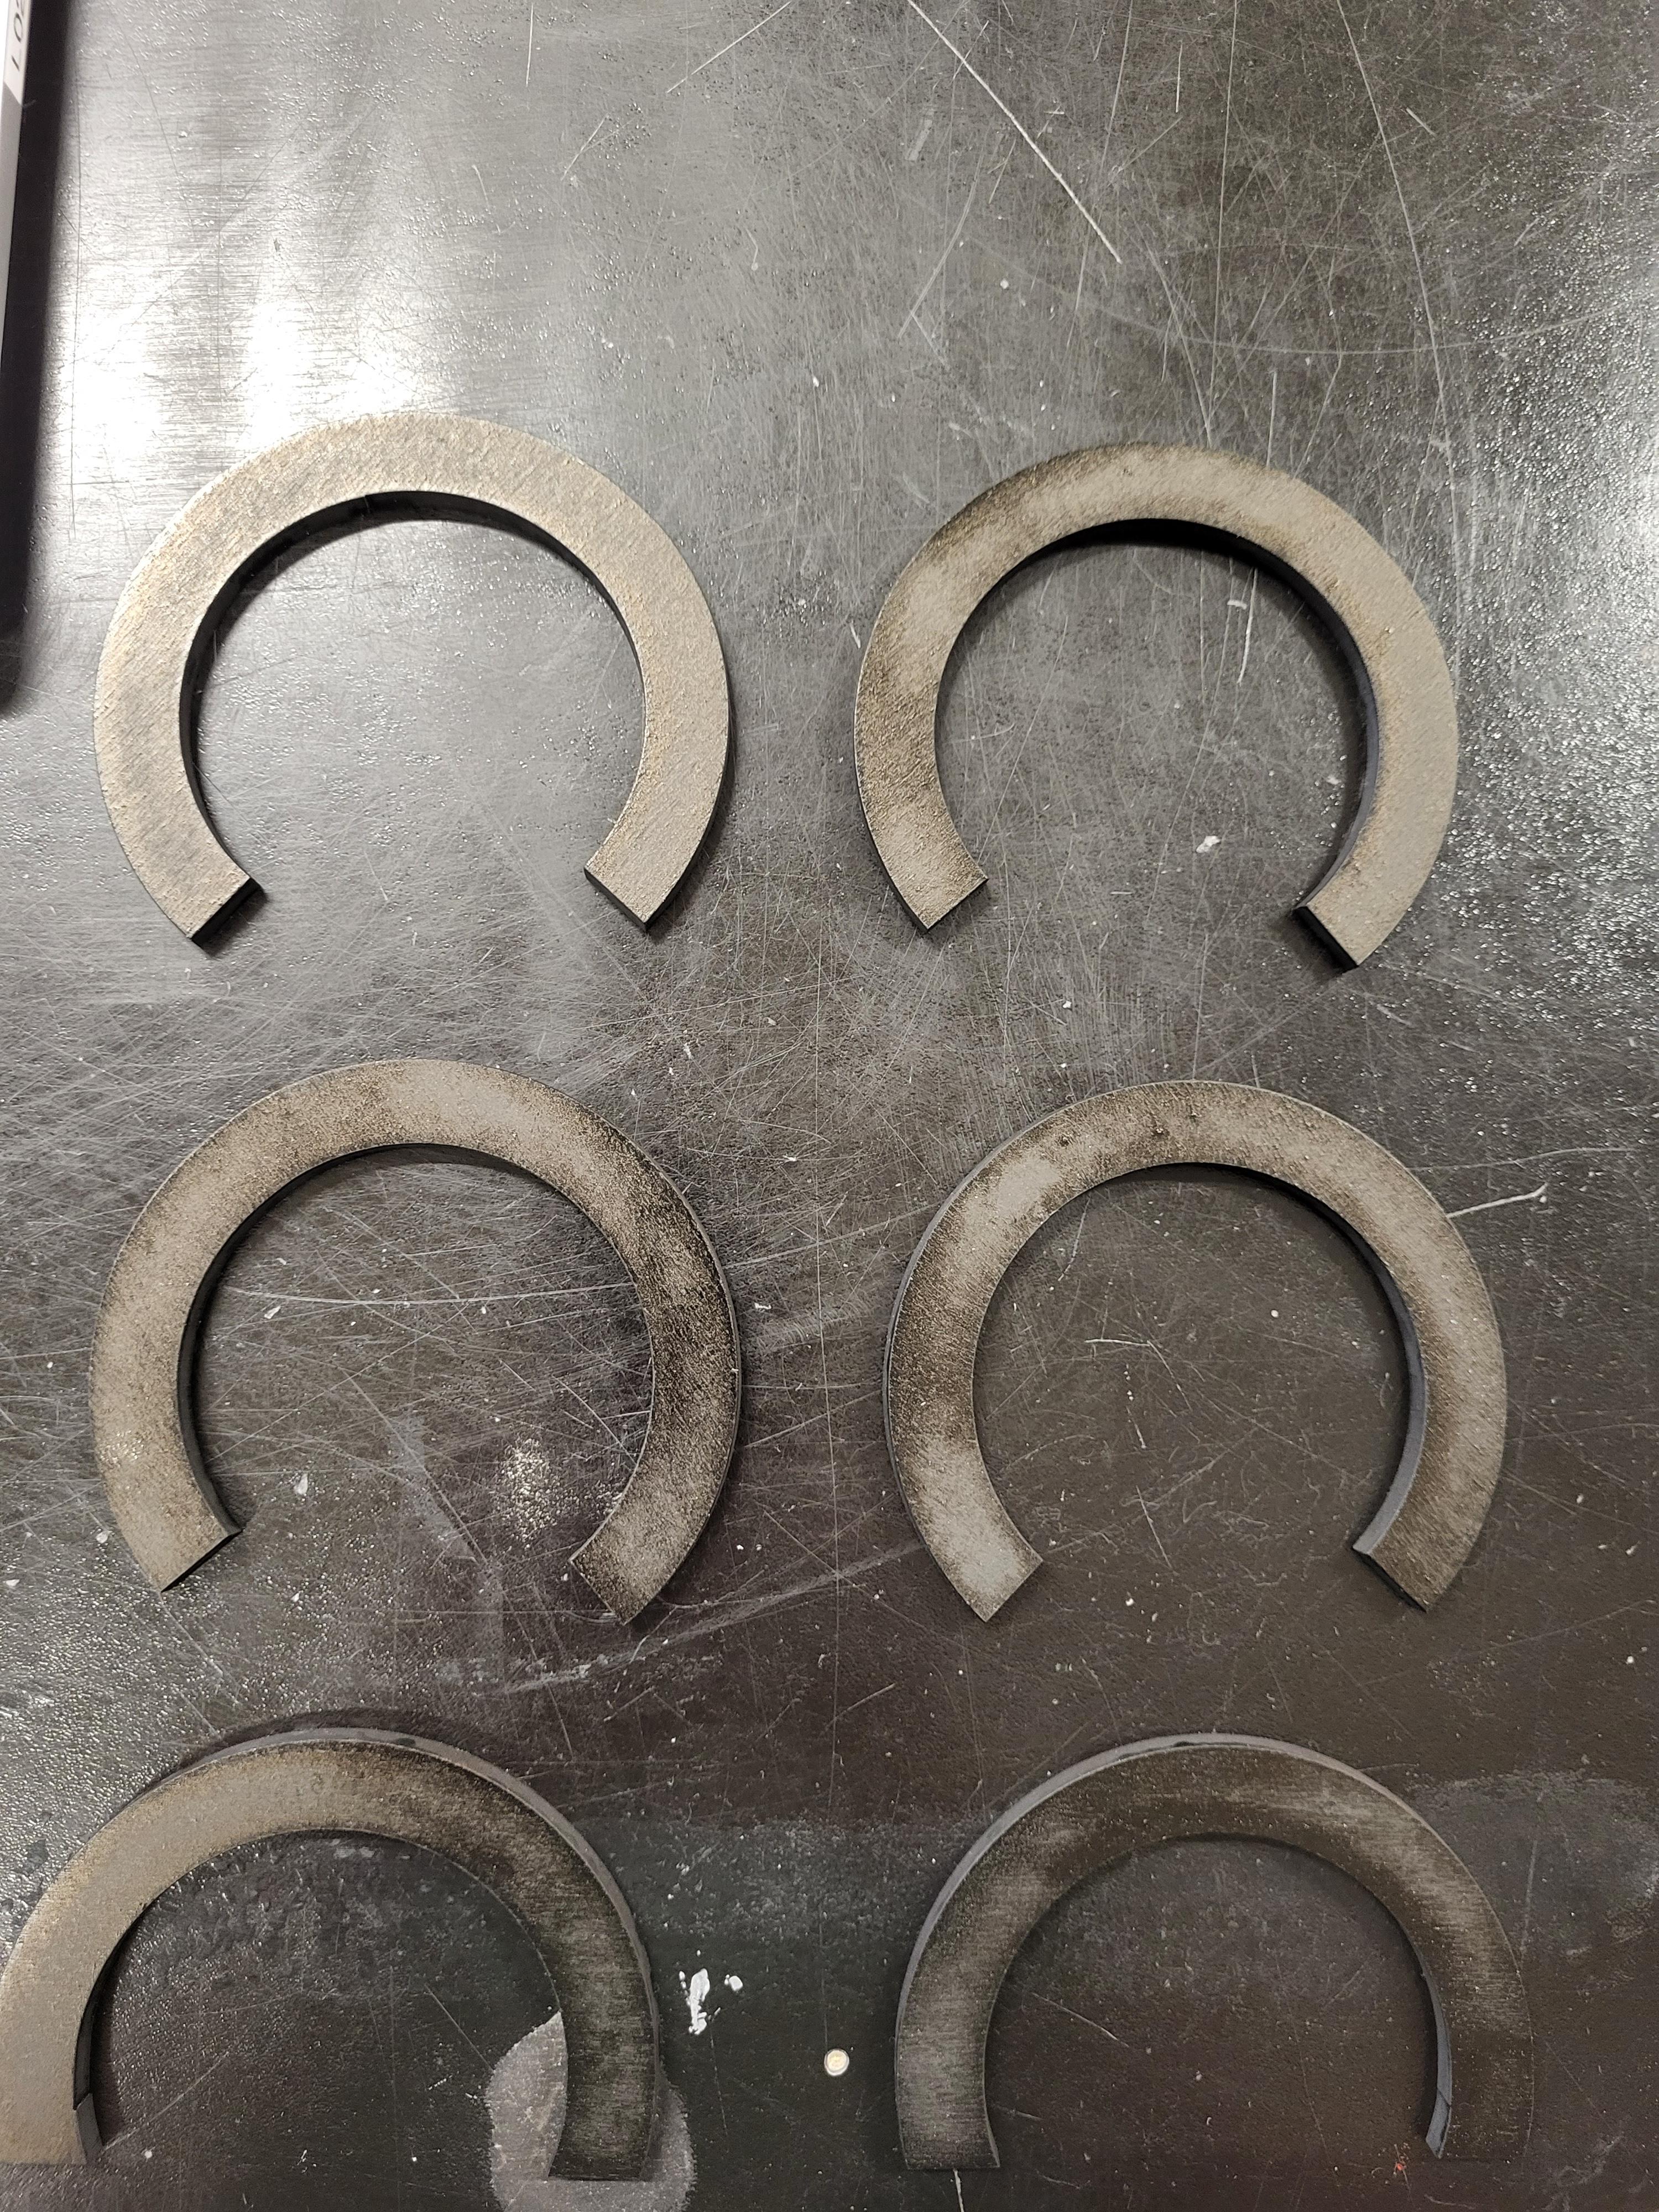
On Fusion create a sketch and make 6 circles with a diameter of 3.62 inches. Now make more circles inside of those circles and make the diameter 2.62 inches. For 4 of the 6 circles place a squares with a length of 1.97 inches and make sure the corners are in the middle of the the circles. For the other 2 circles place a line in the middle that is 0.5 inches away from the center and then add another line perpendicular to that line that is 4 inches. After you have done this export your sketch as a DXF. Upload that file to Light Burn. Set the power of the laser cutter to 100 and the speed to 16. Place a sheet of 1/4 in thick MDF wood into the laser cutter. Upload your file to the laser cutter and then press "Origin" to set the origin and then press "Box" to make sure it all fits on the wood. Press "Start" and then it will be cut out in about 5 minutes. Make sure to shut the lid on the laser cutter. After it is done spray paint the rings with black spray paint. Let it dry for 24 hours.
Adding the Rings
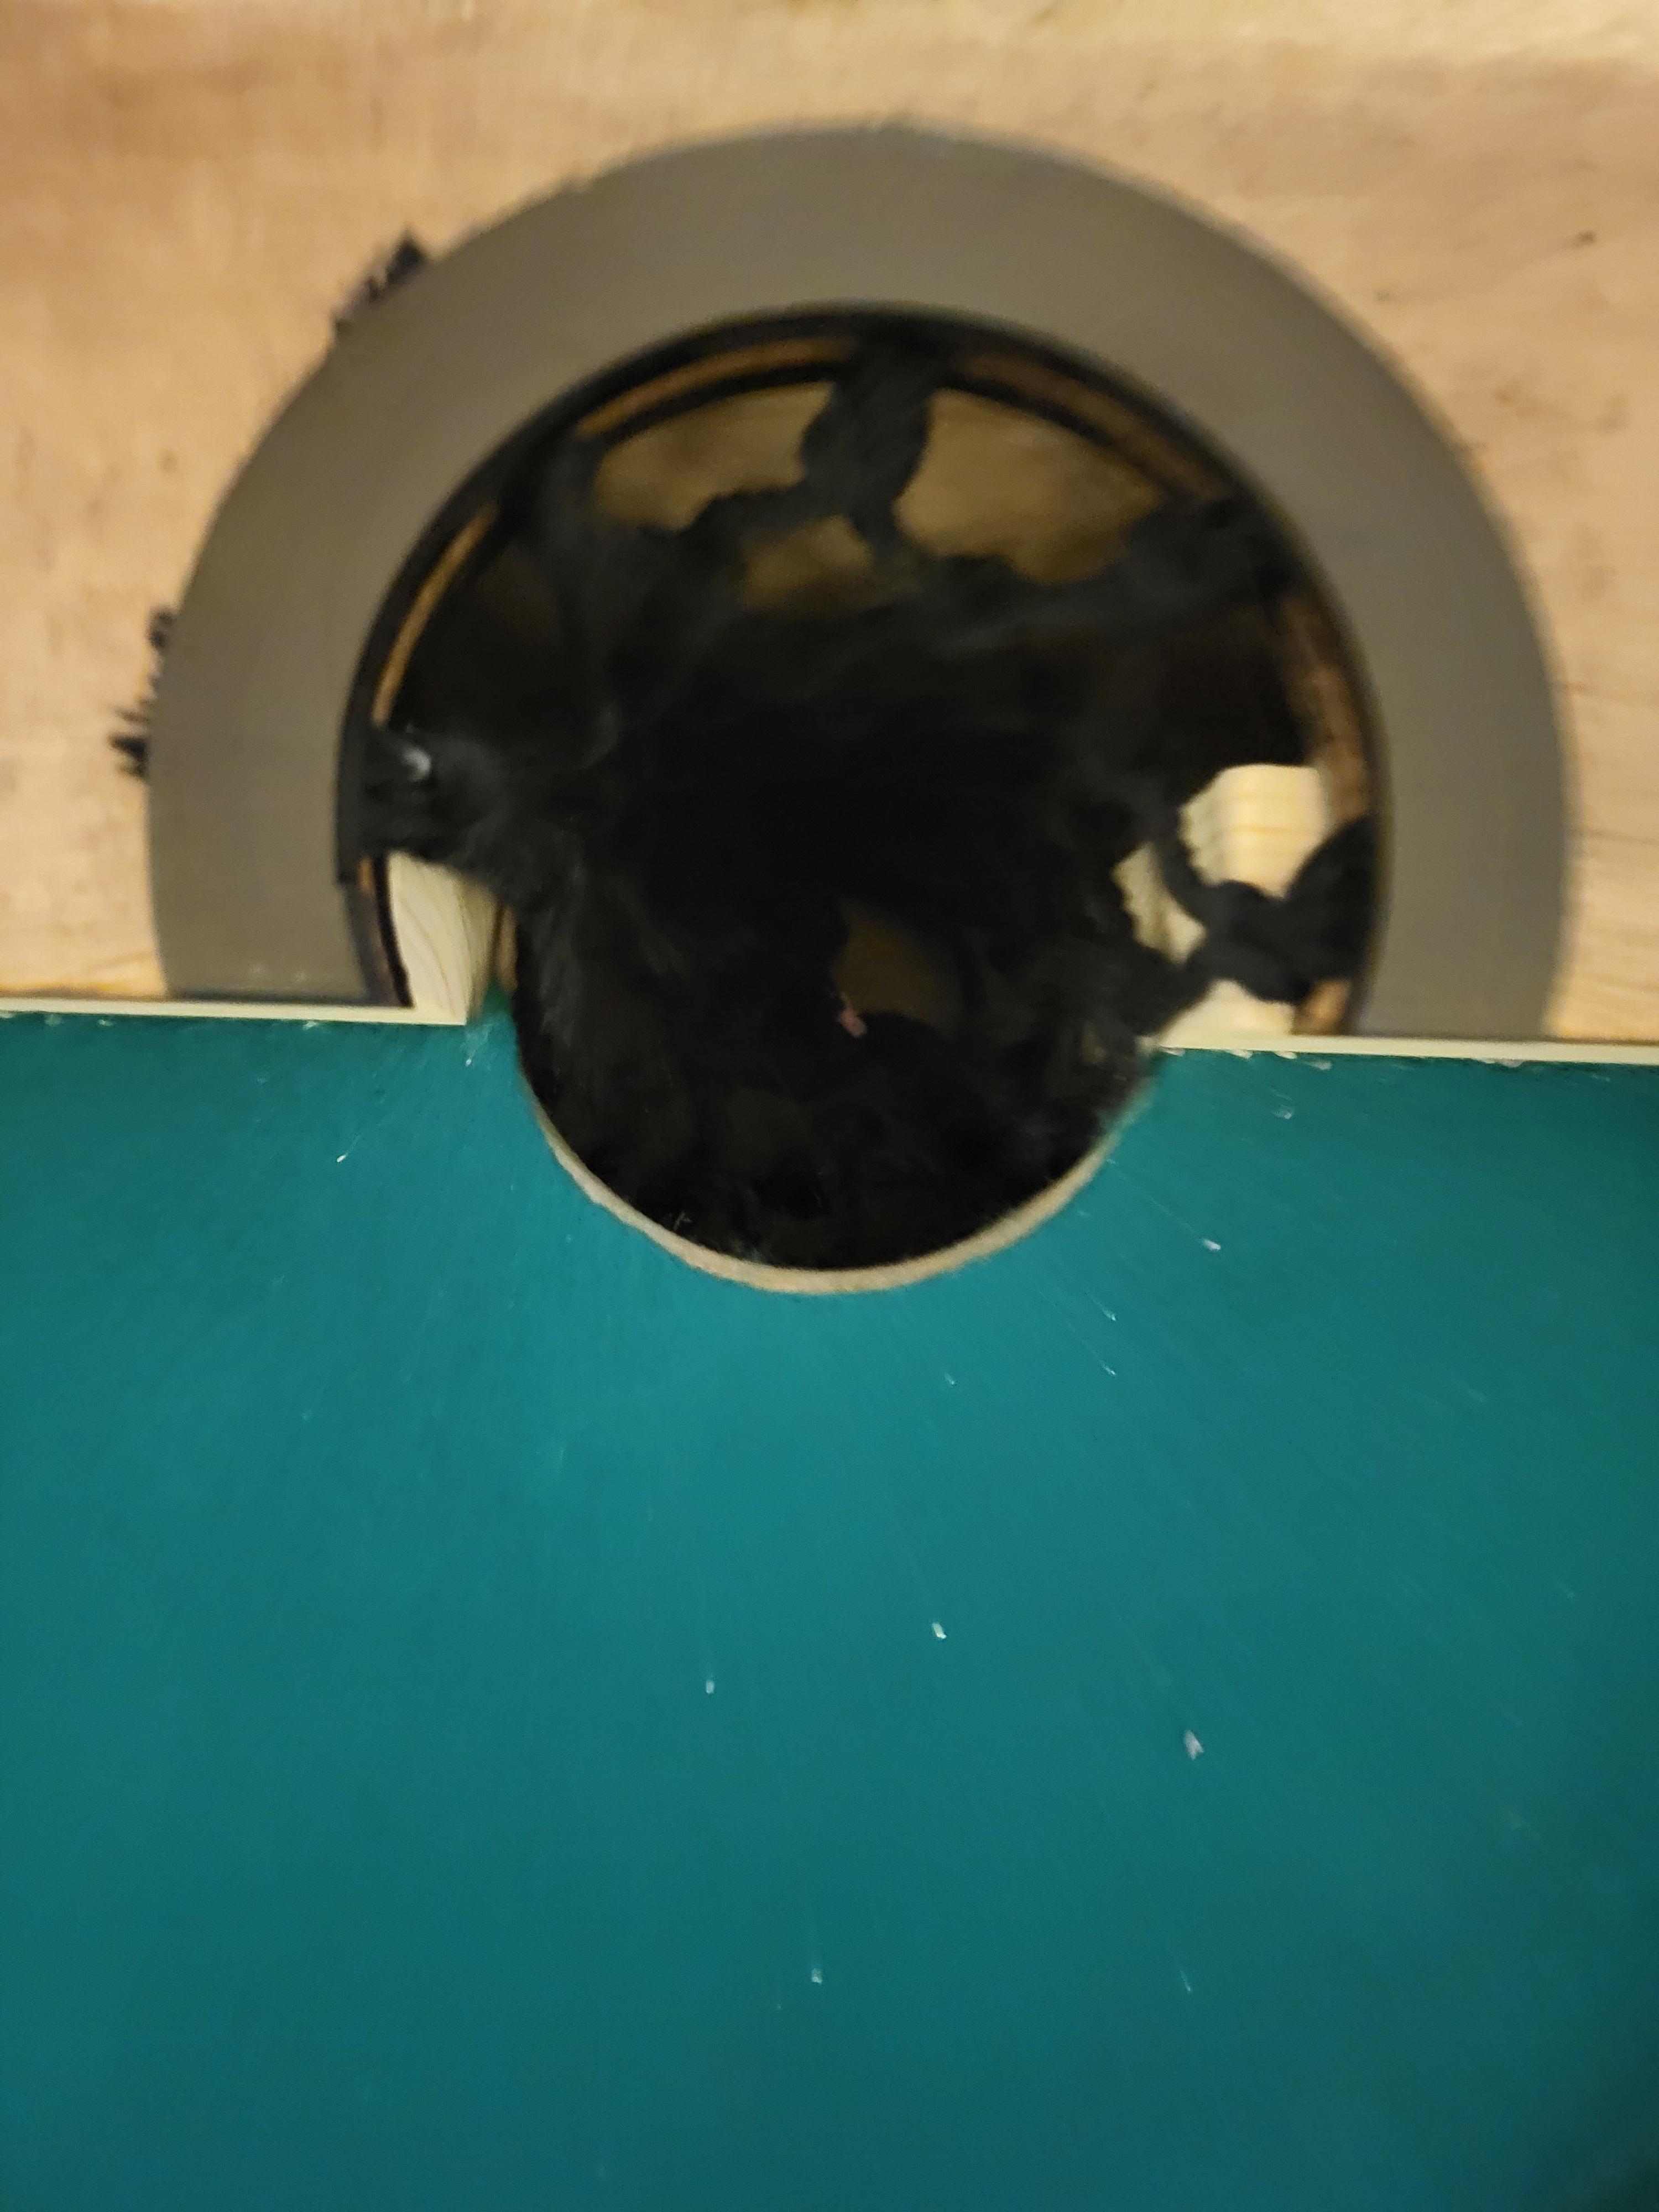
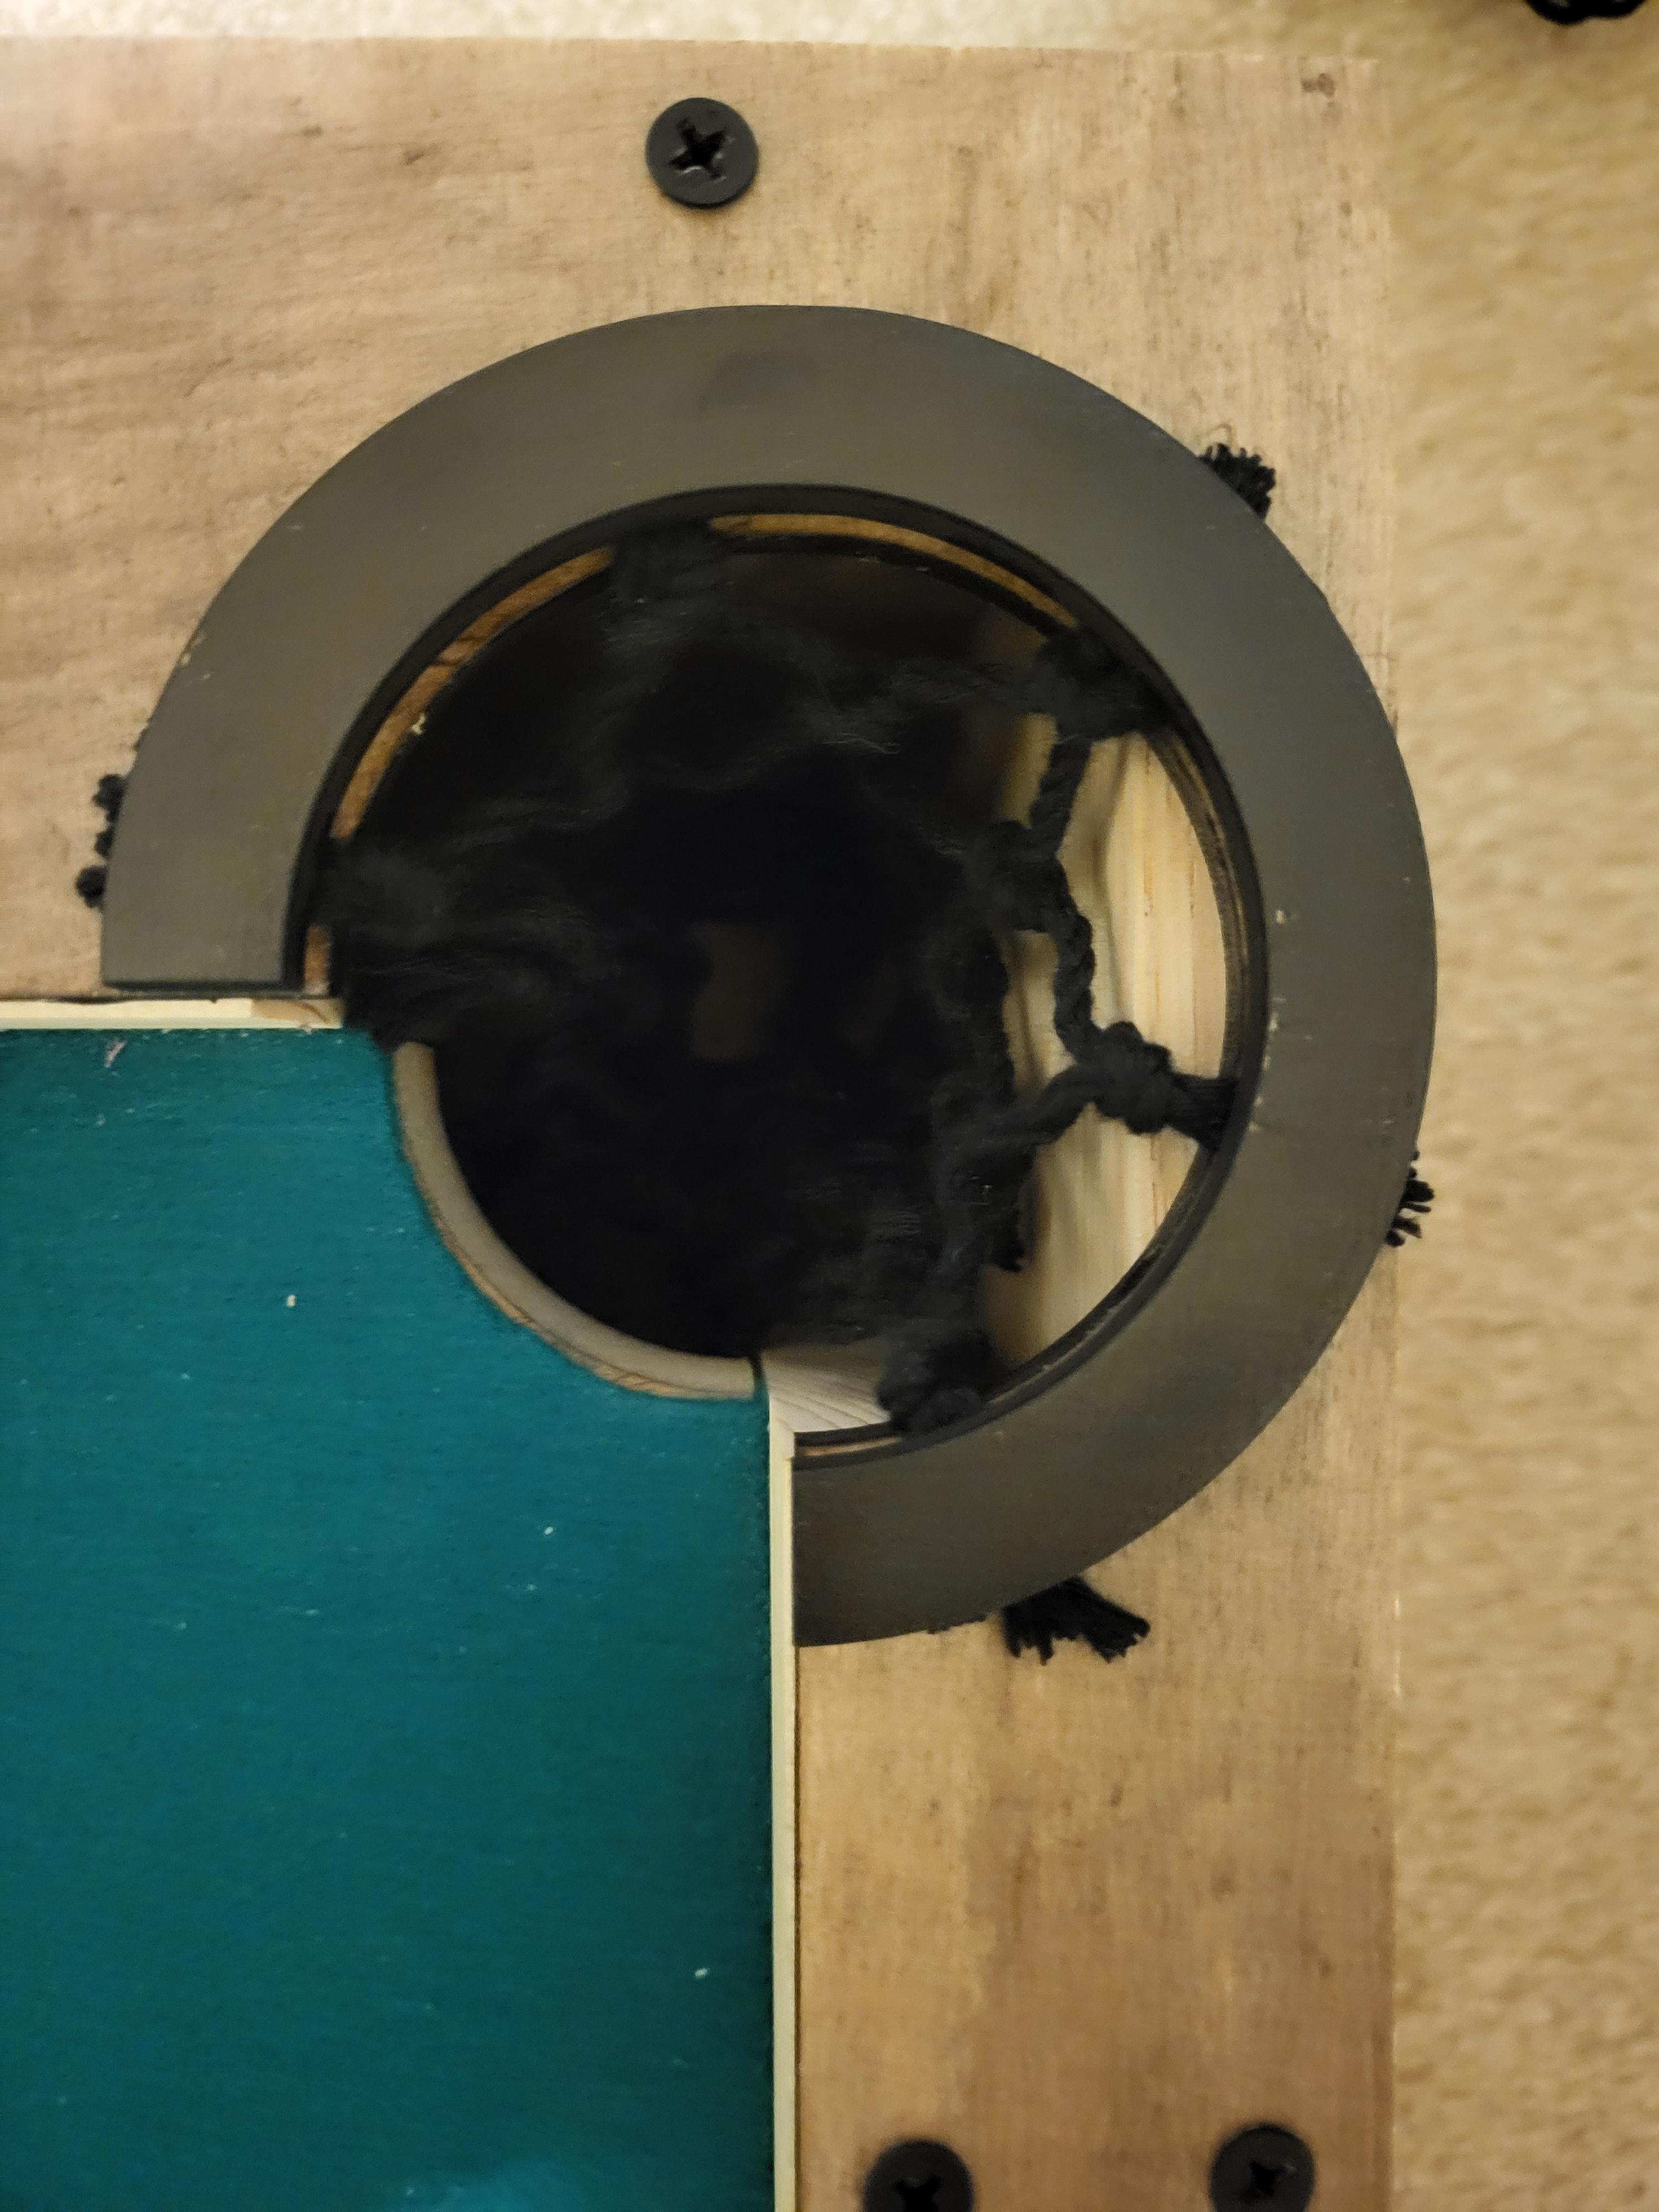
Now you must put the rings on the table. Use super glue to glue each of the 6 rings on the outsides of the holes.
Making the Pool Ques
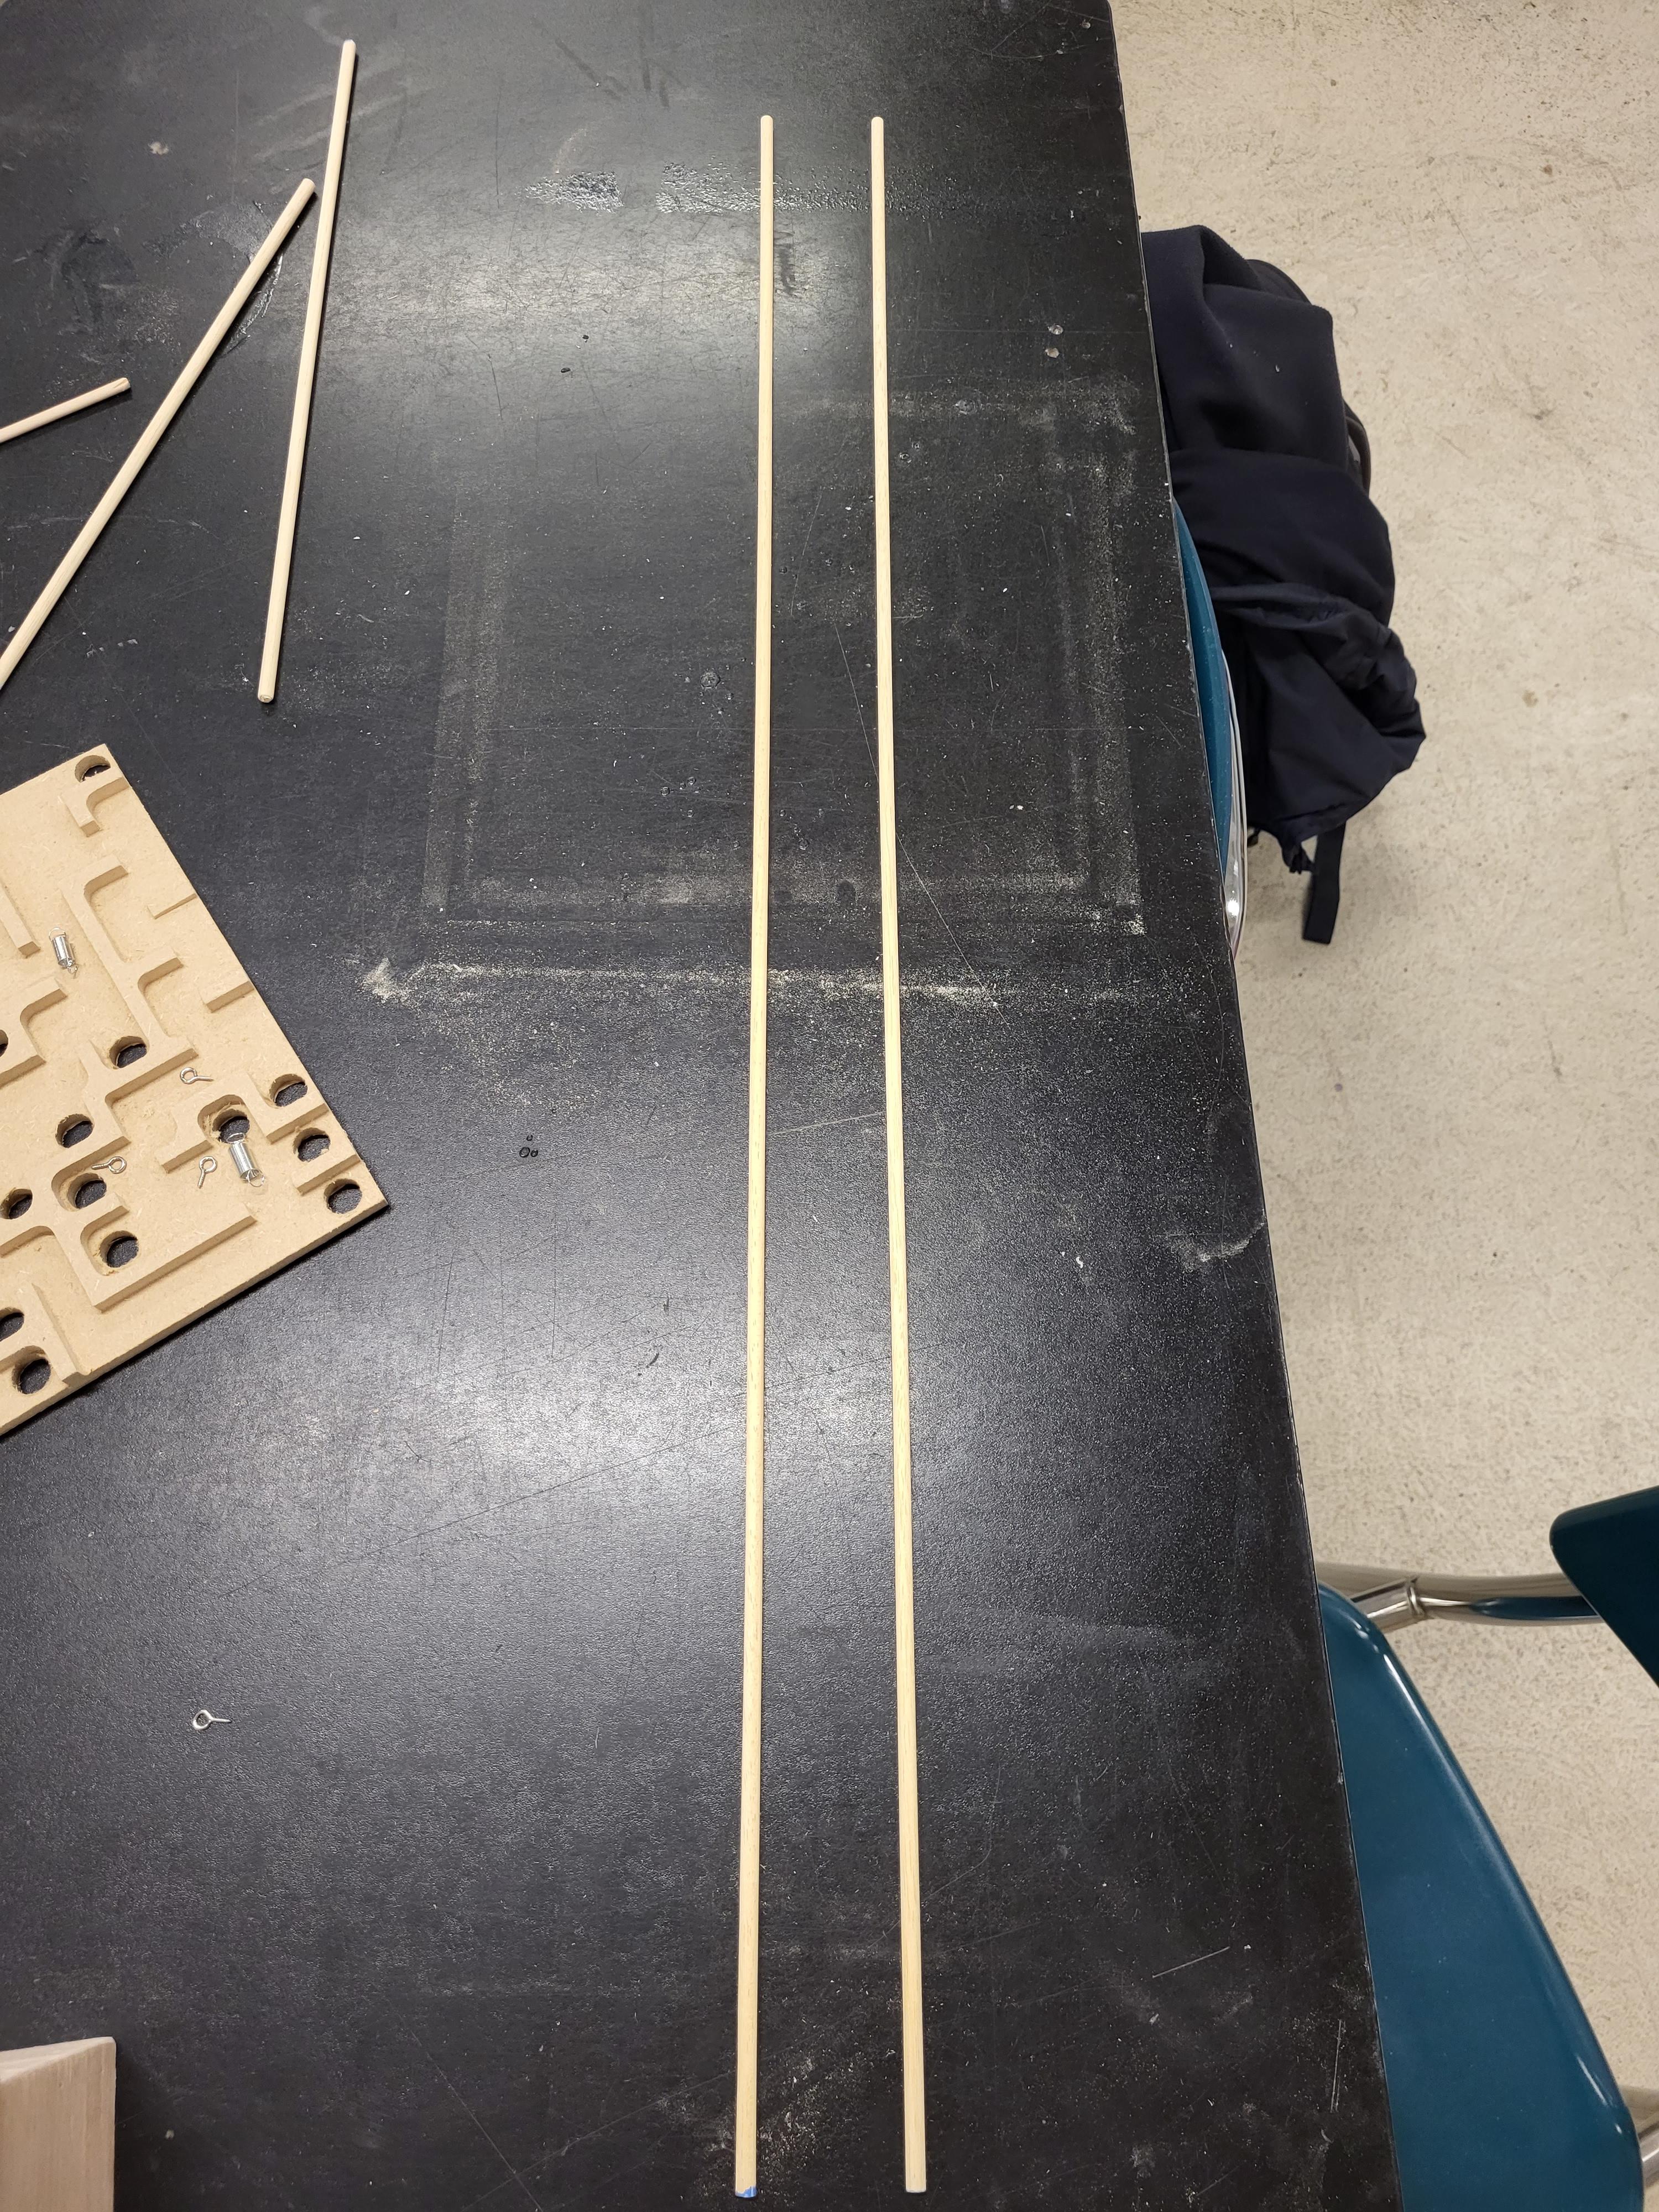
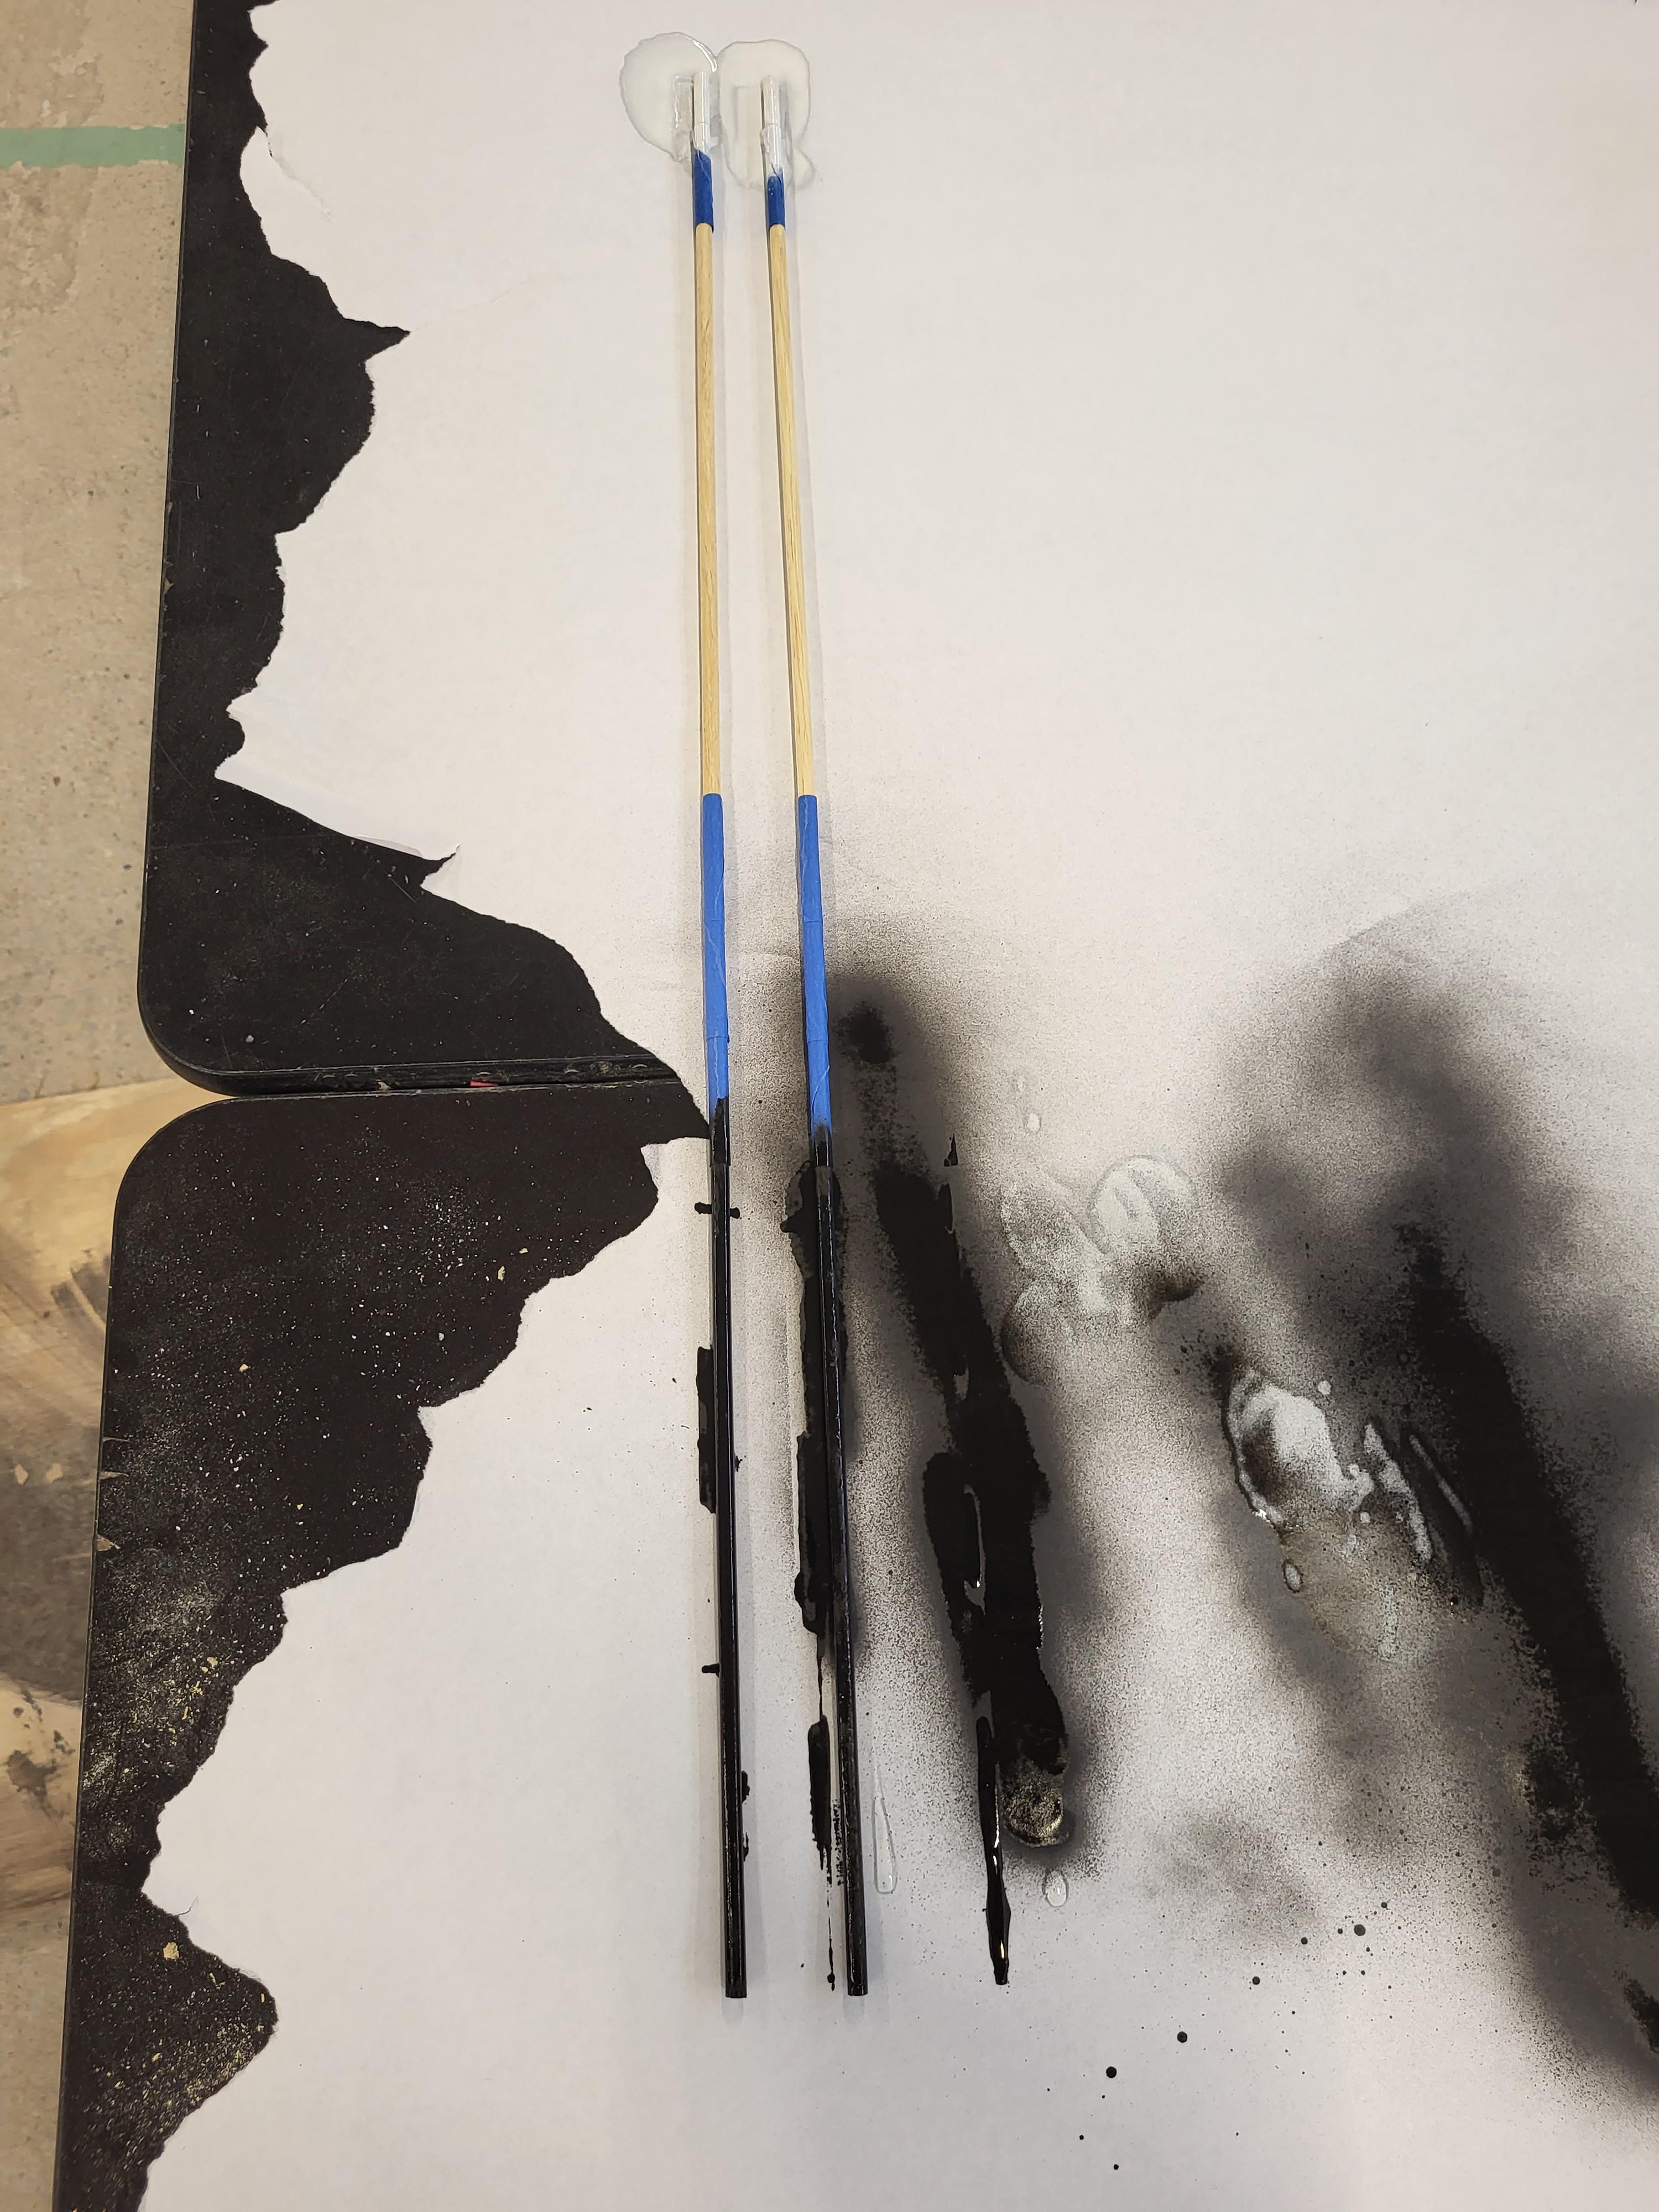
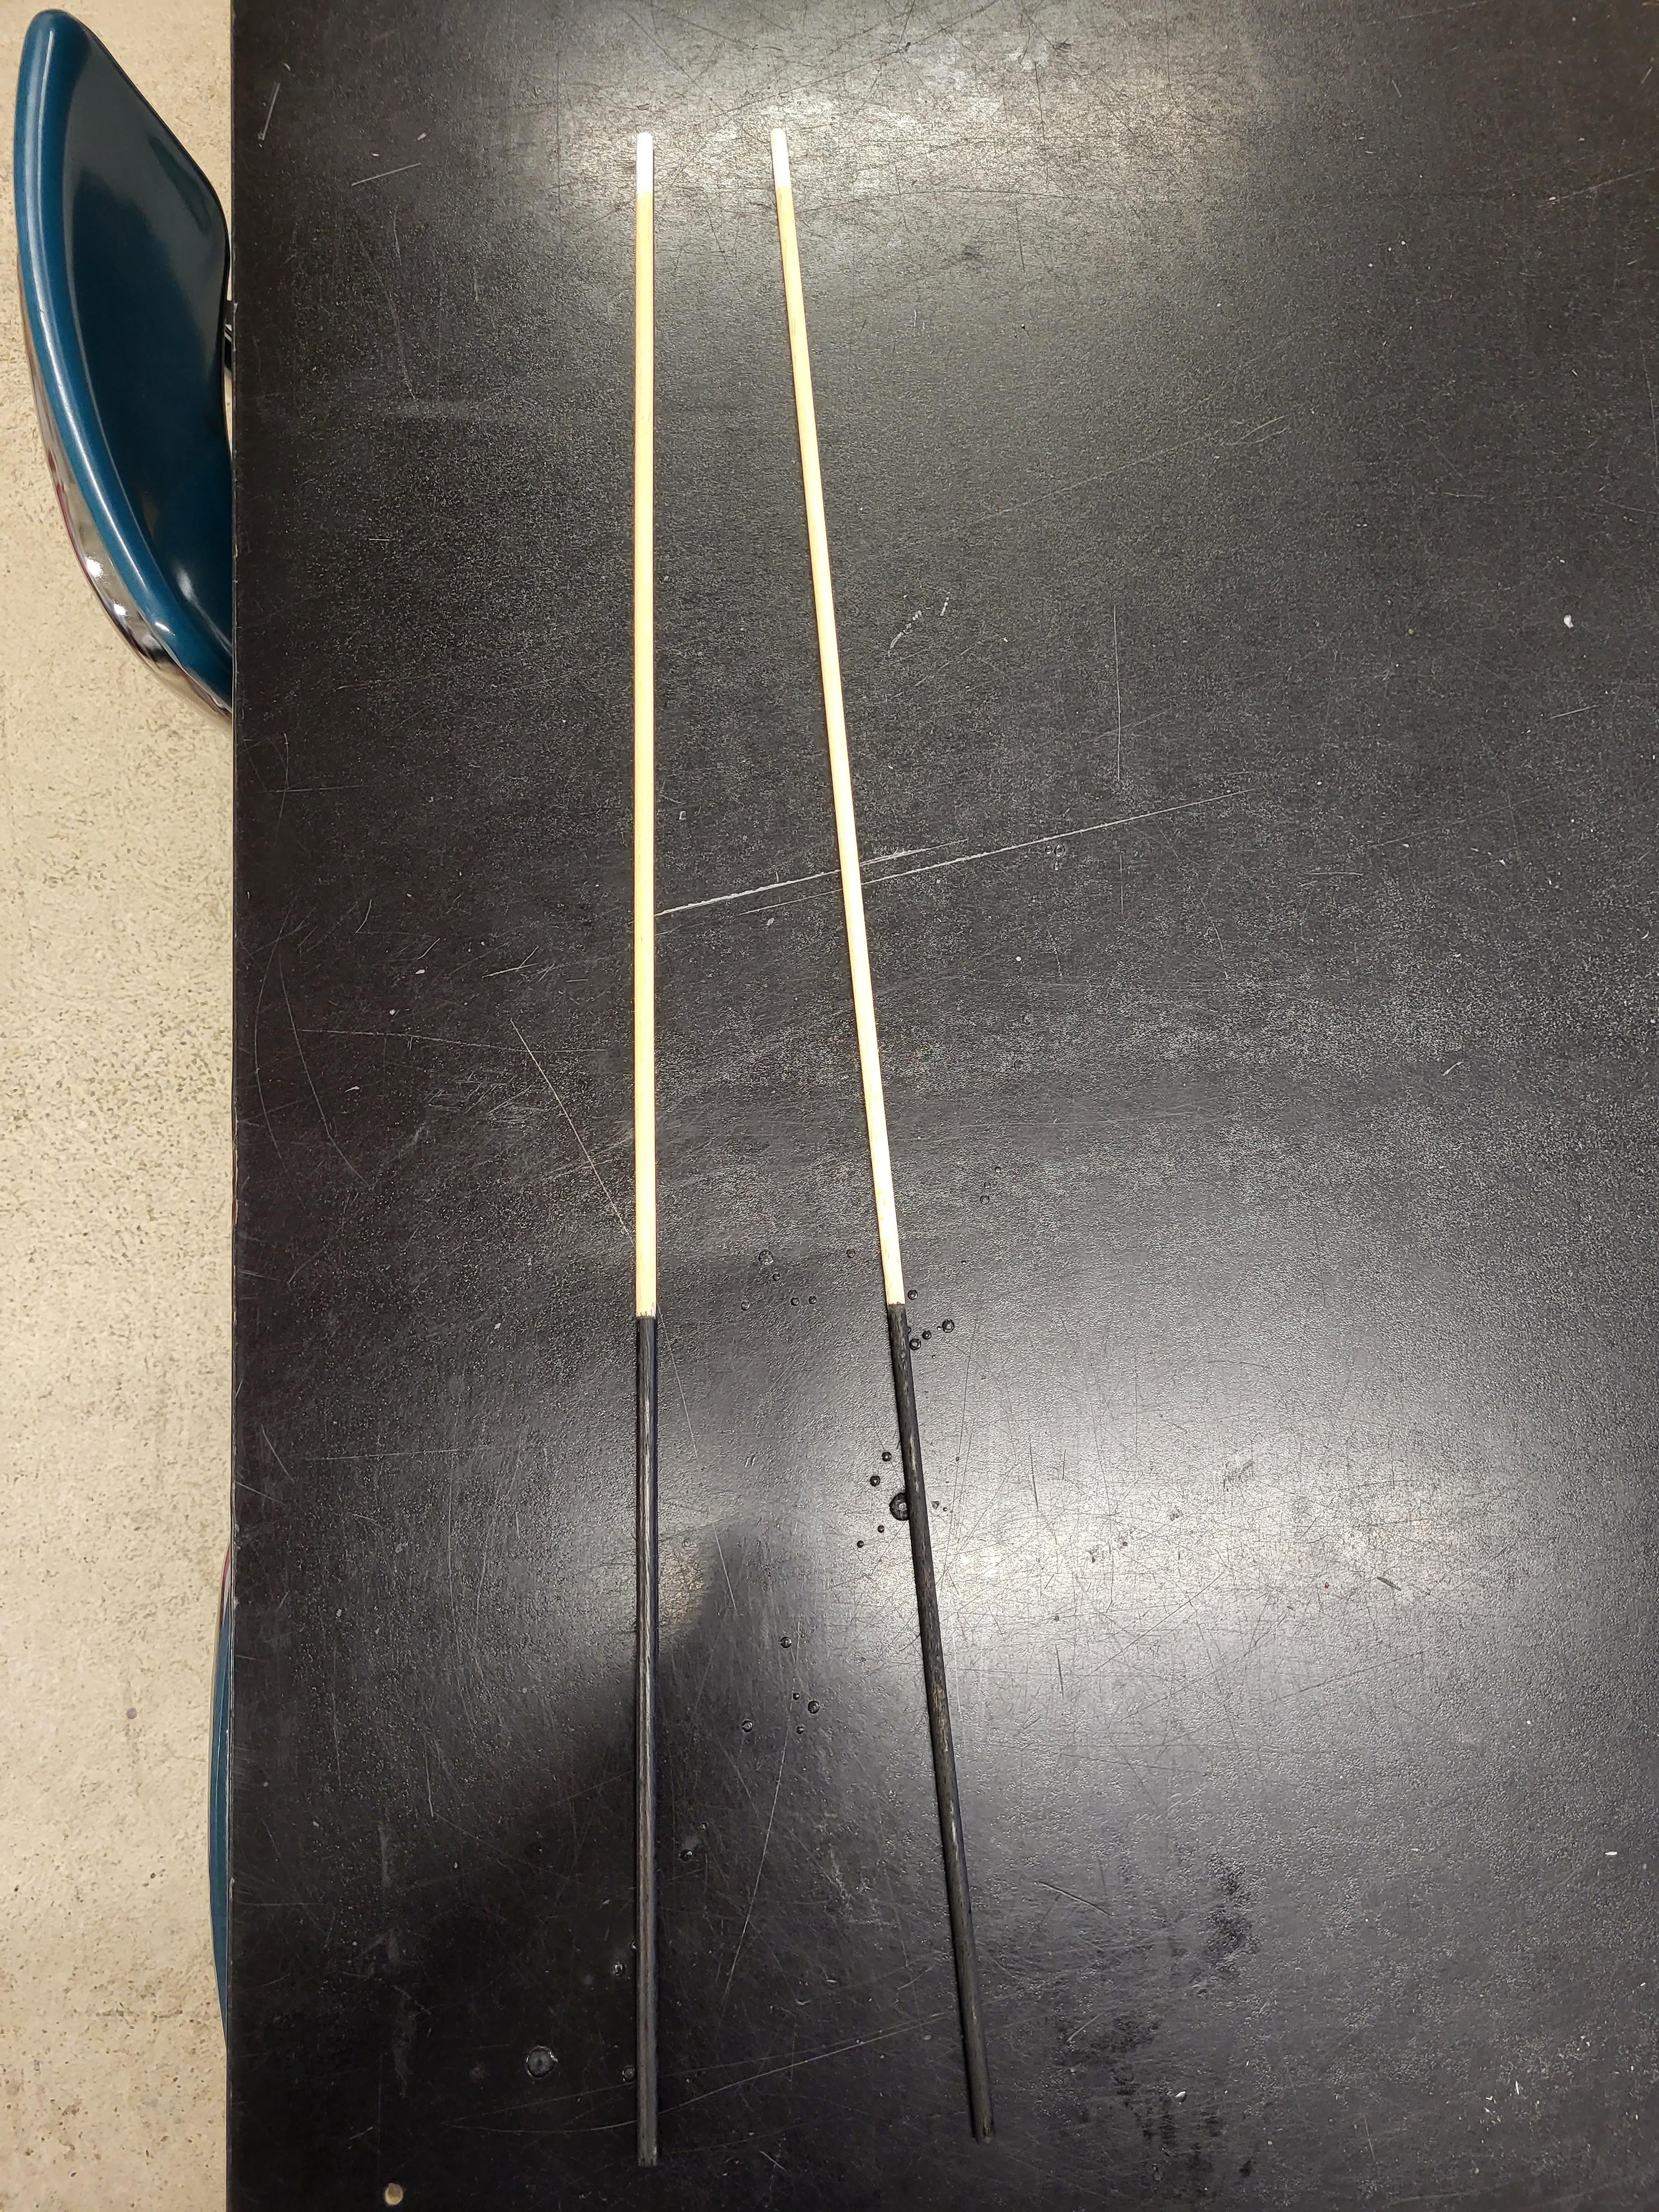
Get 2 1/4 in diameter dowel rods. Cut them with the chop saw so they both have a length of 28 in. Now get painters tape and place top on one side of the rods so an inch of wood is showing. On the other side place tape so about 10 in of wood are showing. Now paint the 1 in side white and paint the 10 in side black. Let it dry for 24 hours and now your pool ques are done. You may want to add another coat of paint if you want.
All Done!
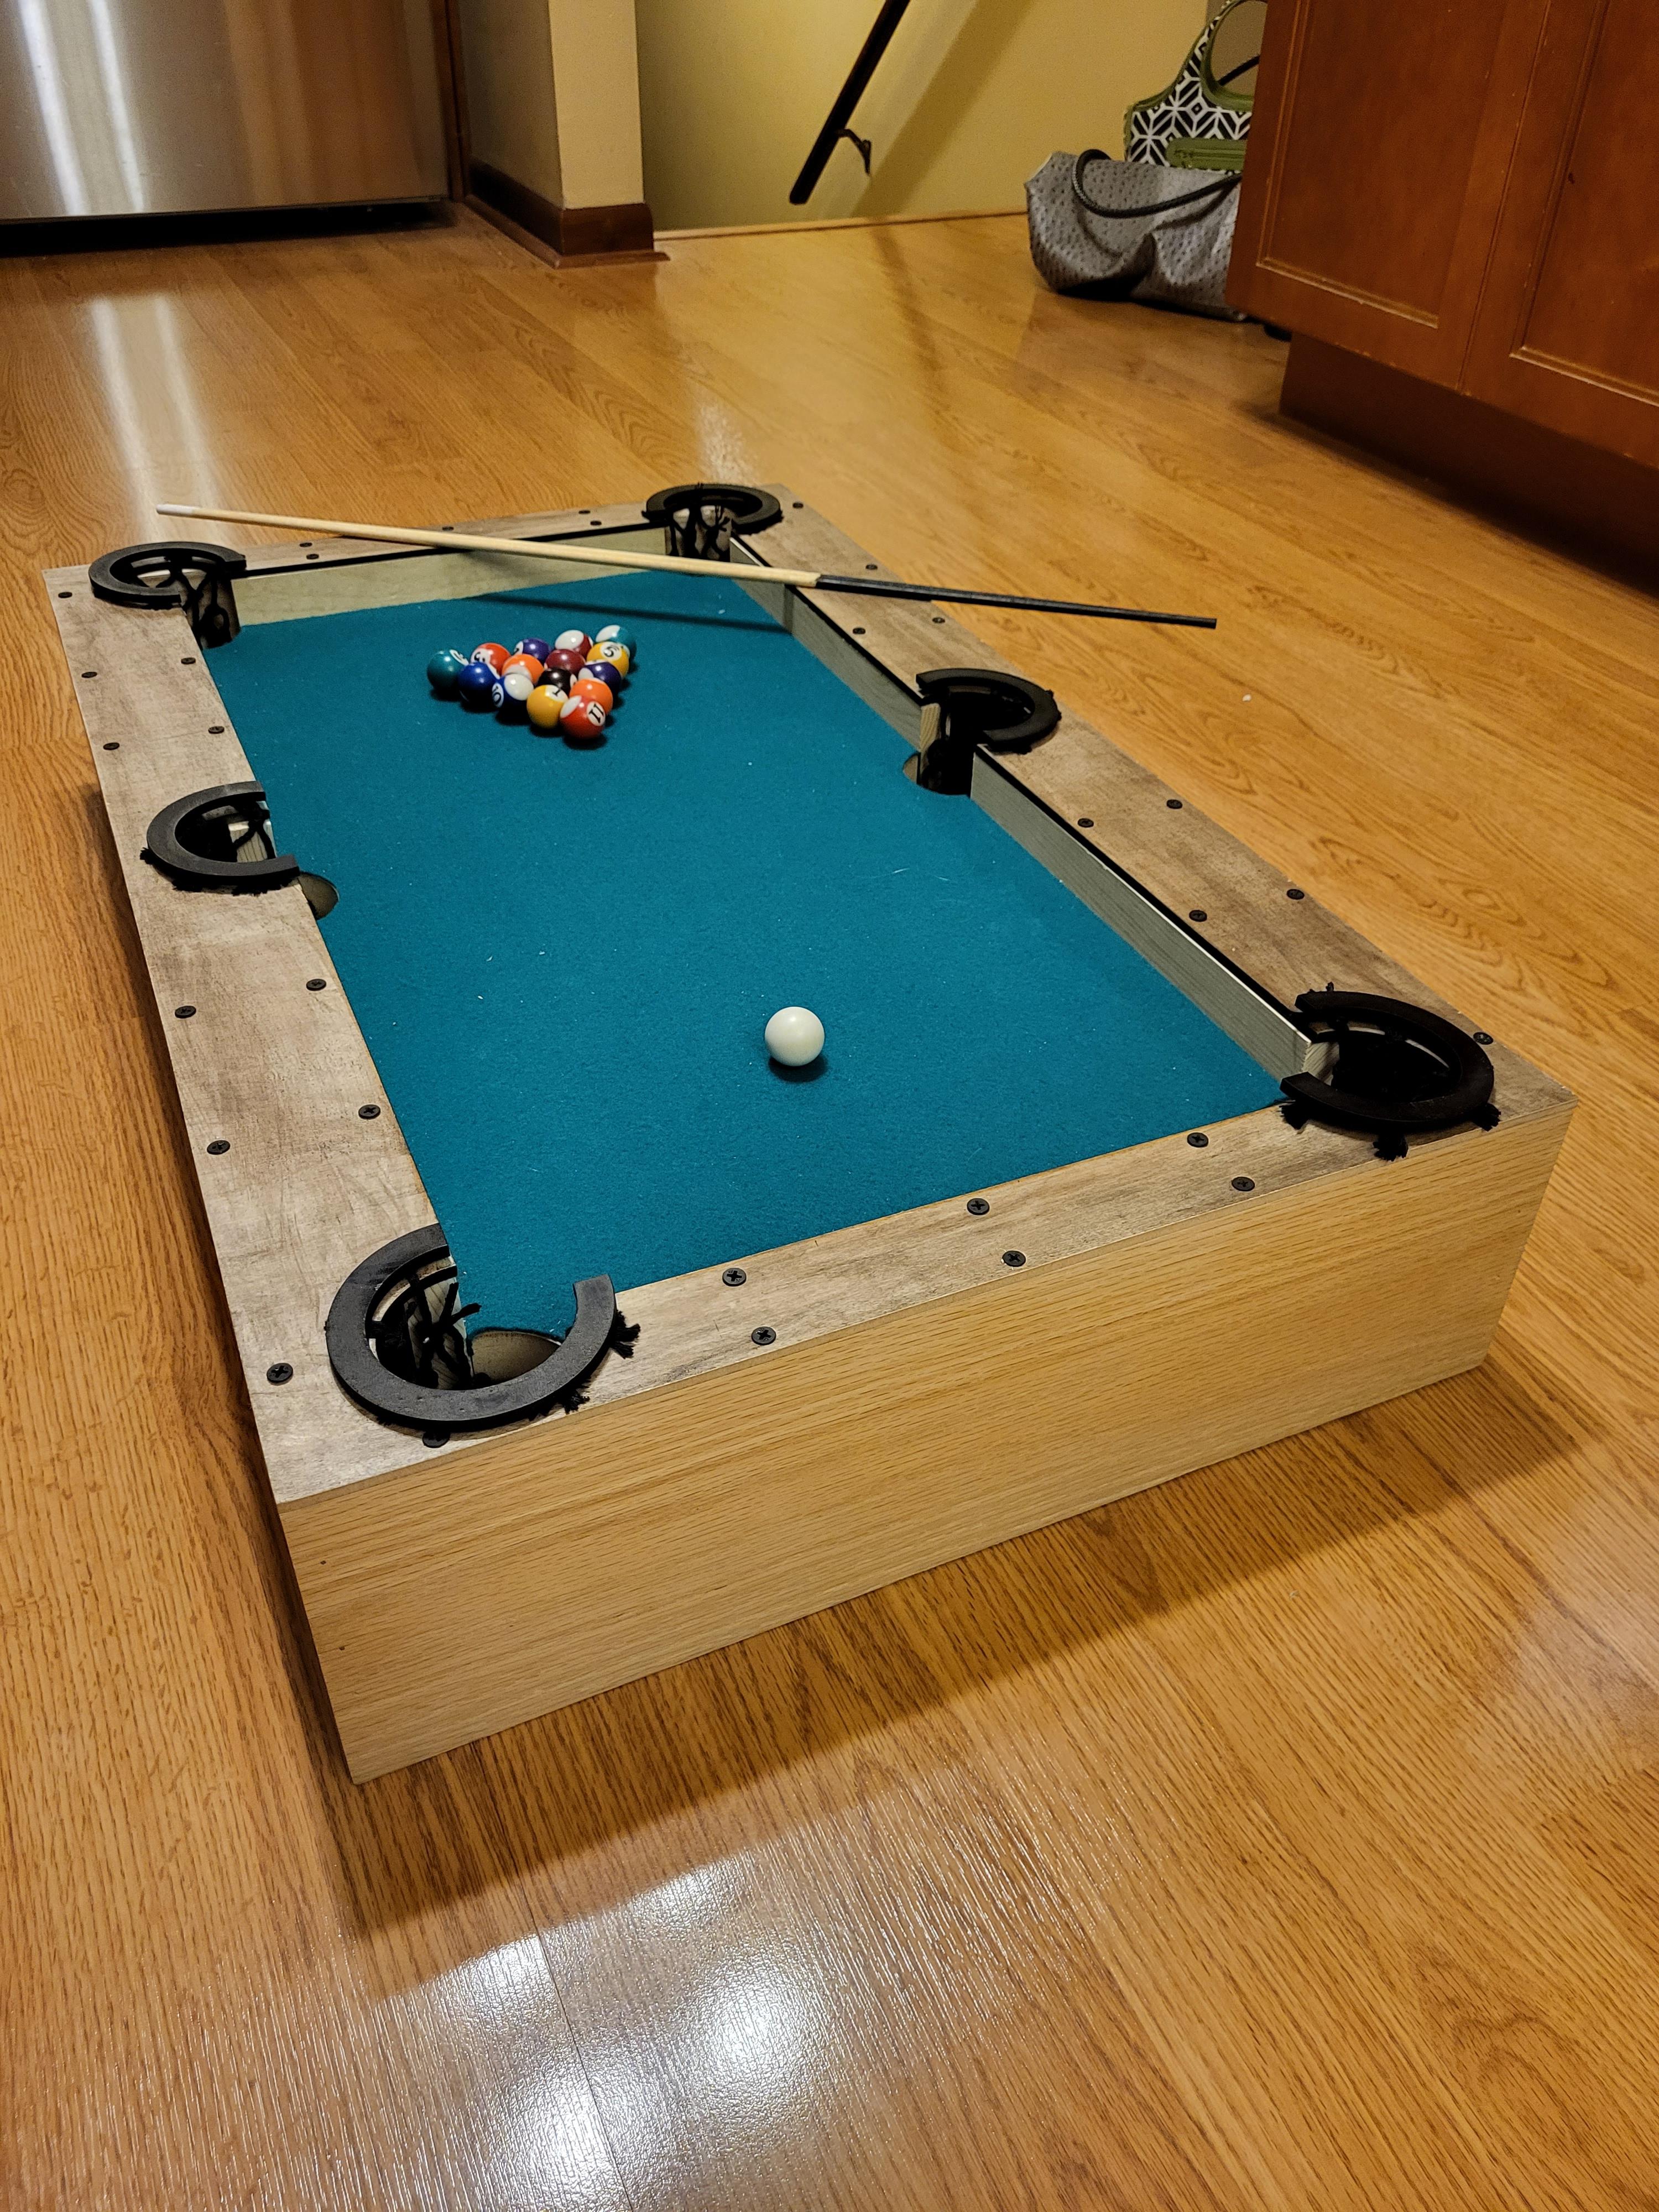
I bought 1 inch mini pool balls of of amazon for the pool table. Now your pool table is complete!