Miniature Digital Photo Frame With AI-generated Images
by Northstrix in Circuits > Raspberry Pi
1318 Views, 15 Favorites, 0 Comments
Miniature Digital Photo Frame With AI-generated Images
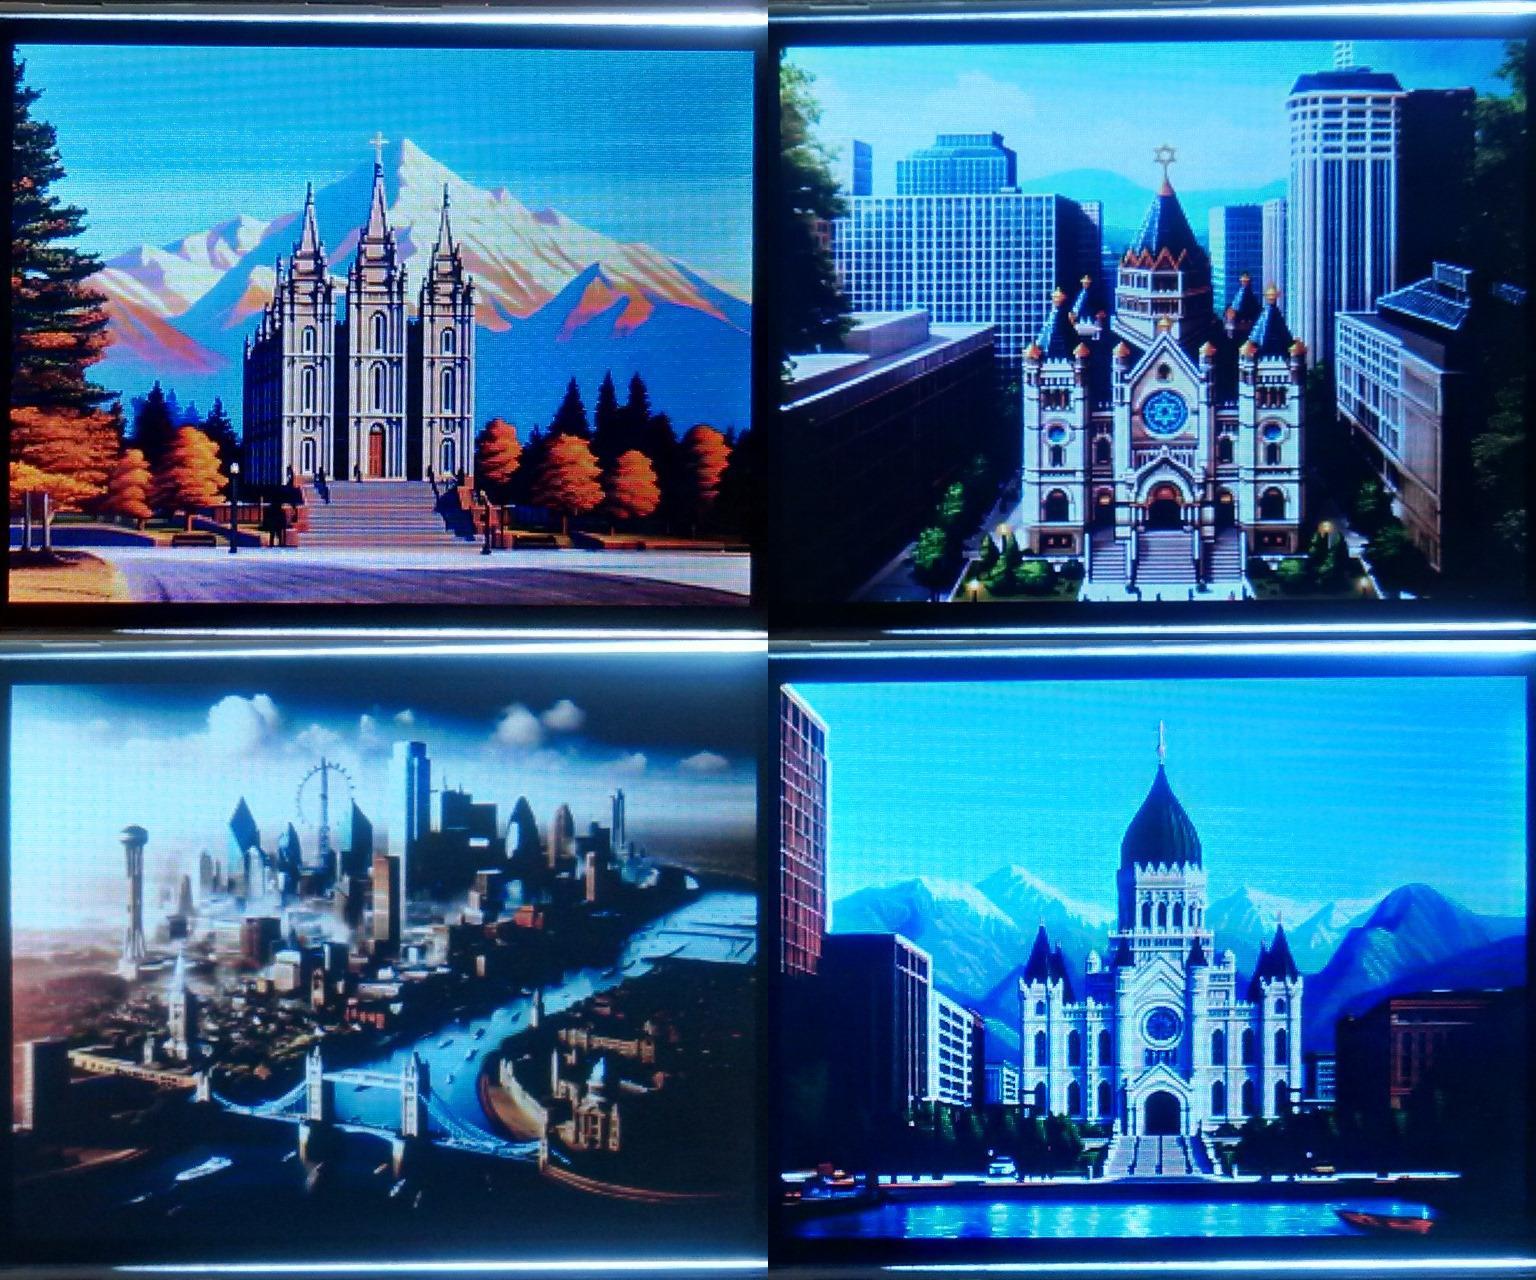
Recently, I discovered the power of Bing Image Creator, a generative AI based on the DALL-E 3 text-to-image model. At first, I was just playing with it and testing its capabilities. However, after exploring it for roughly an hour, I started thinking about its practical applications and where I could use it. Eventually, I realized that I could use it to generate unique images and then display them on the 2.4 Inch TFT LCD with ILI9341 connected to the Raspberry Pi Pico.
If you wish to learn how to do the same, follow along with this tutorial.
Supplies
- Raspberry Pi Pico x1
- 2.4 Inch TFT LCD with ILI9341 x1
Ask AI to Generate an Image That You Want
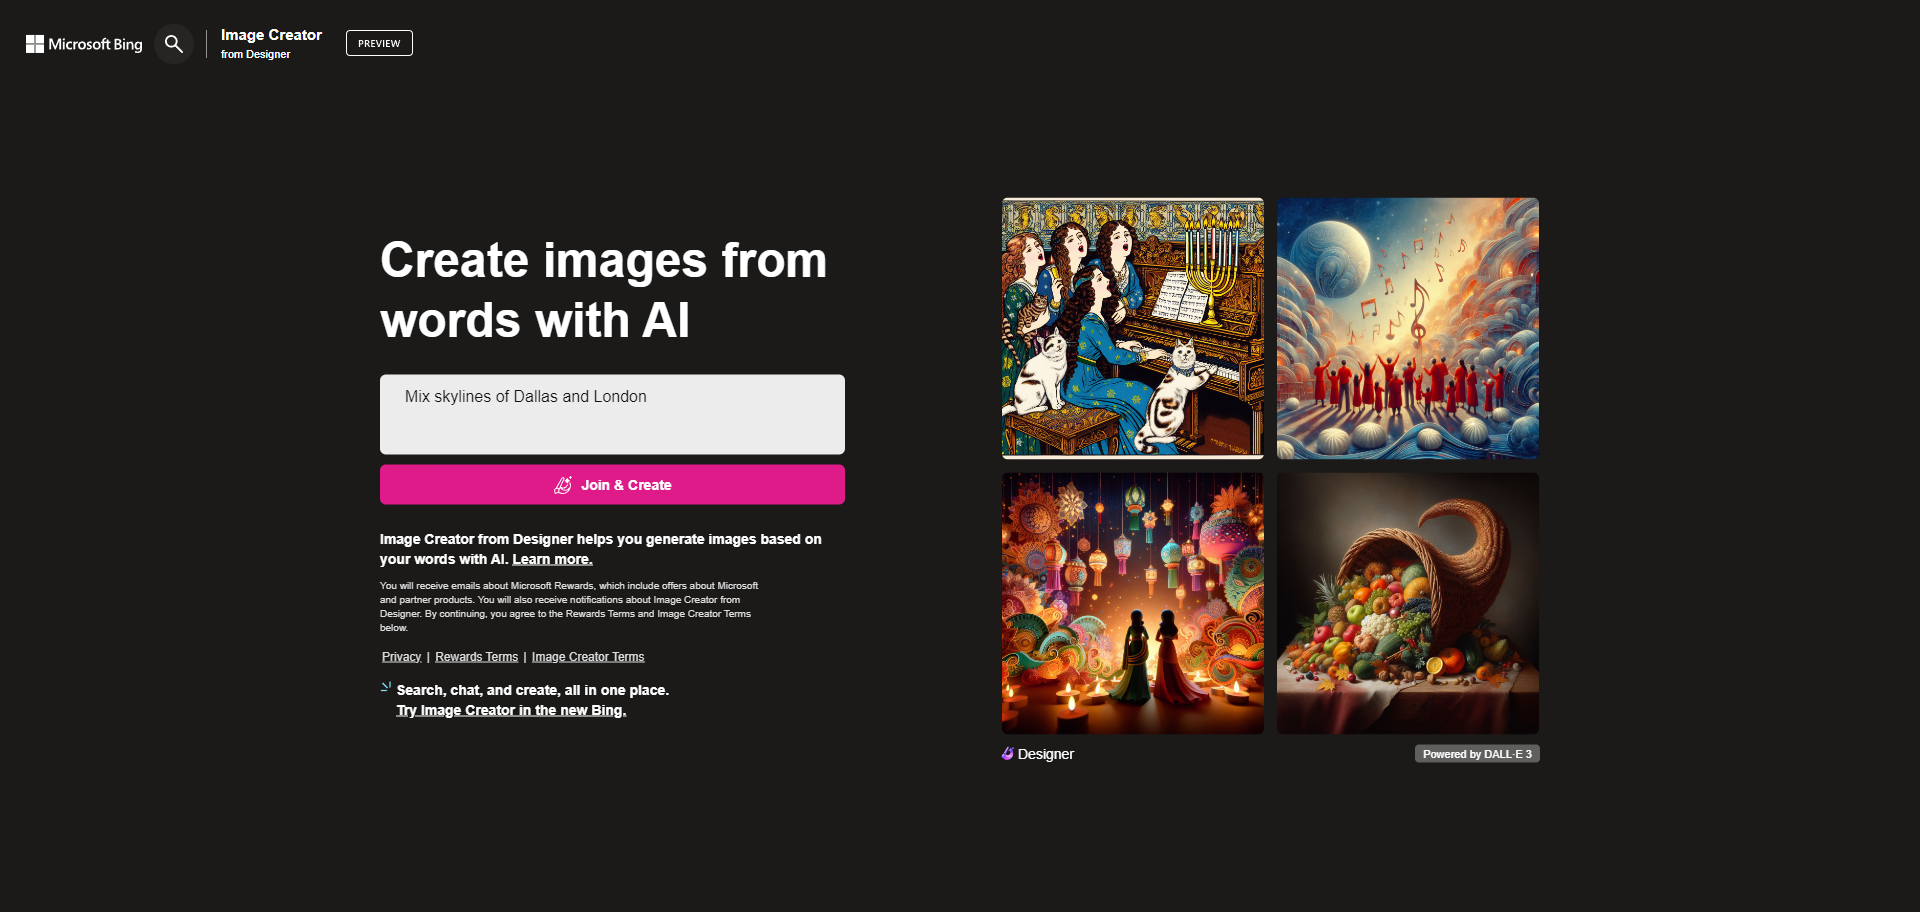
To create an image using AI, follow these steps:
- Go to bing.com/images/create and enter a description of the image you want the AI to create for you;
- Once you have described the image you want, click the "Join & Create" button;
- Login to your Microsoft account (If you haven't already). If you don't have a Microsoft account, don't worry, you can create one for free.
Evaluate Generated Images and Generate New Ones
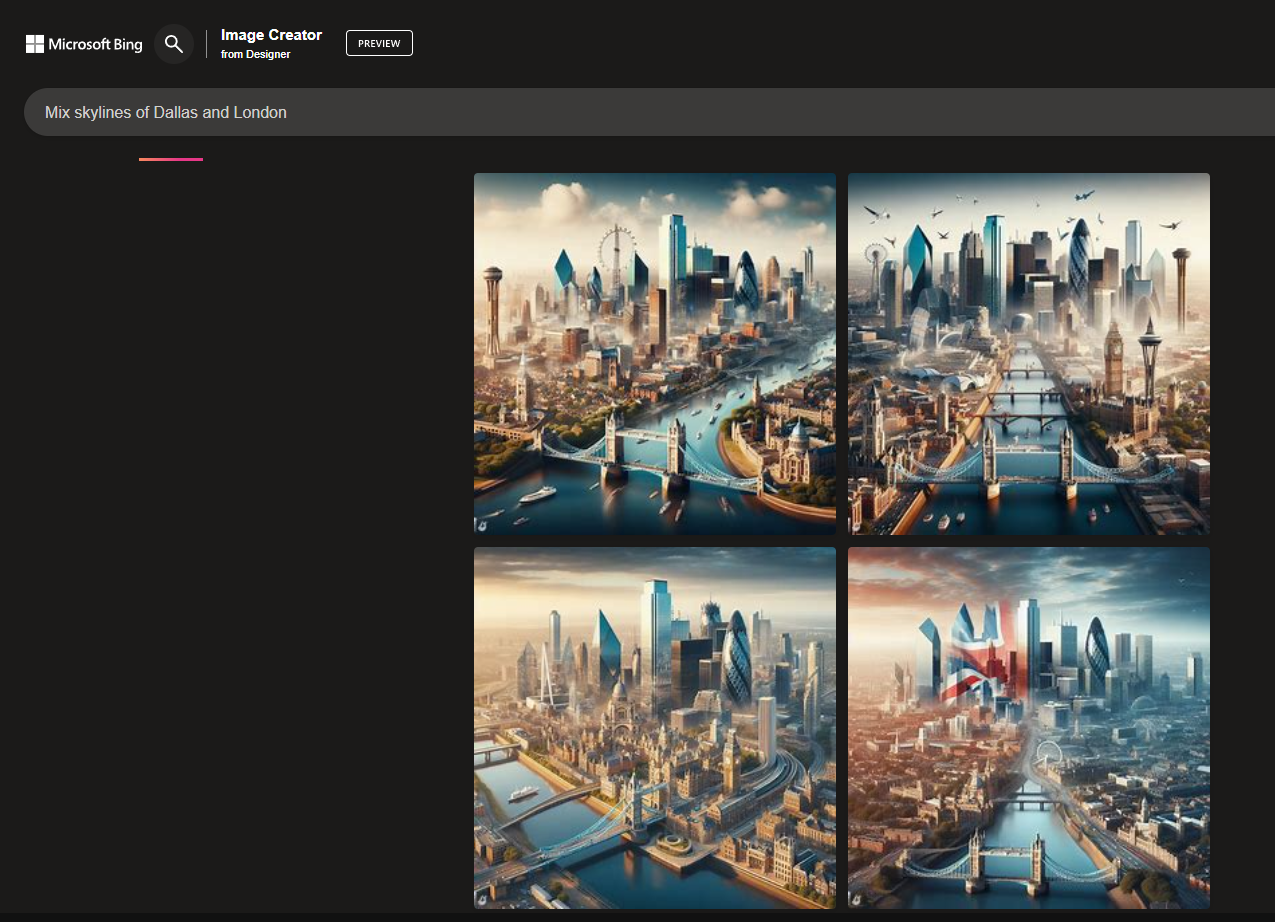
The Bing Image Creator generates four images at once. If any of them do not meet your expectations, you can try modifying your request or entering an entirely different one. It took me approximately an hour and a half and a couple dozen attempts to get the images I found satisfactory. Take your time here.
Download the Images You Like
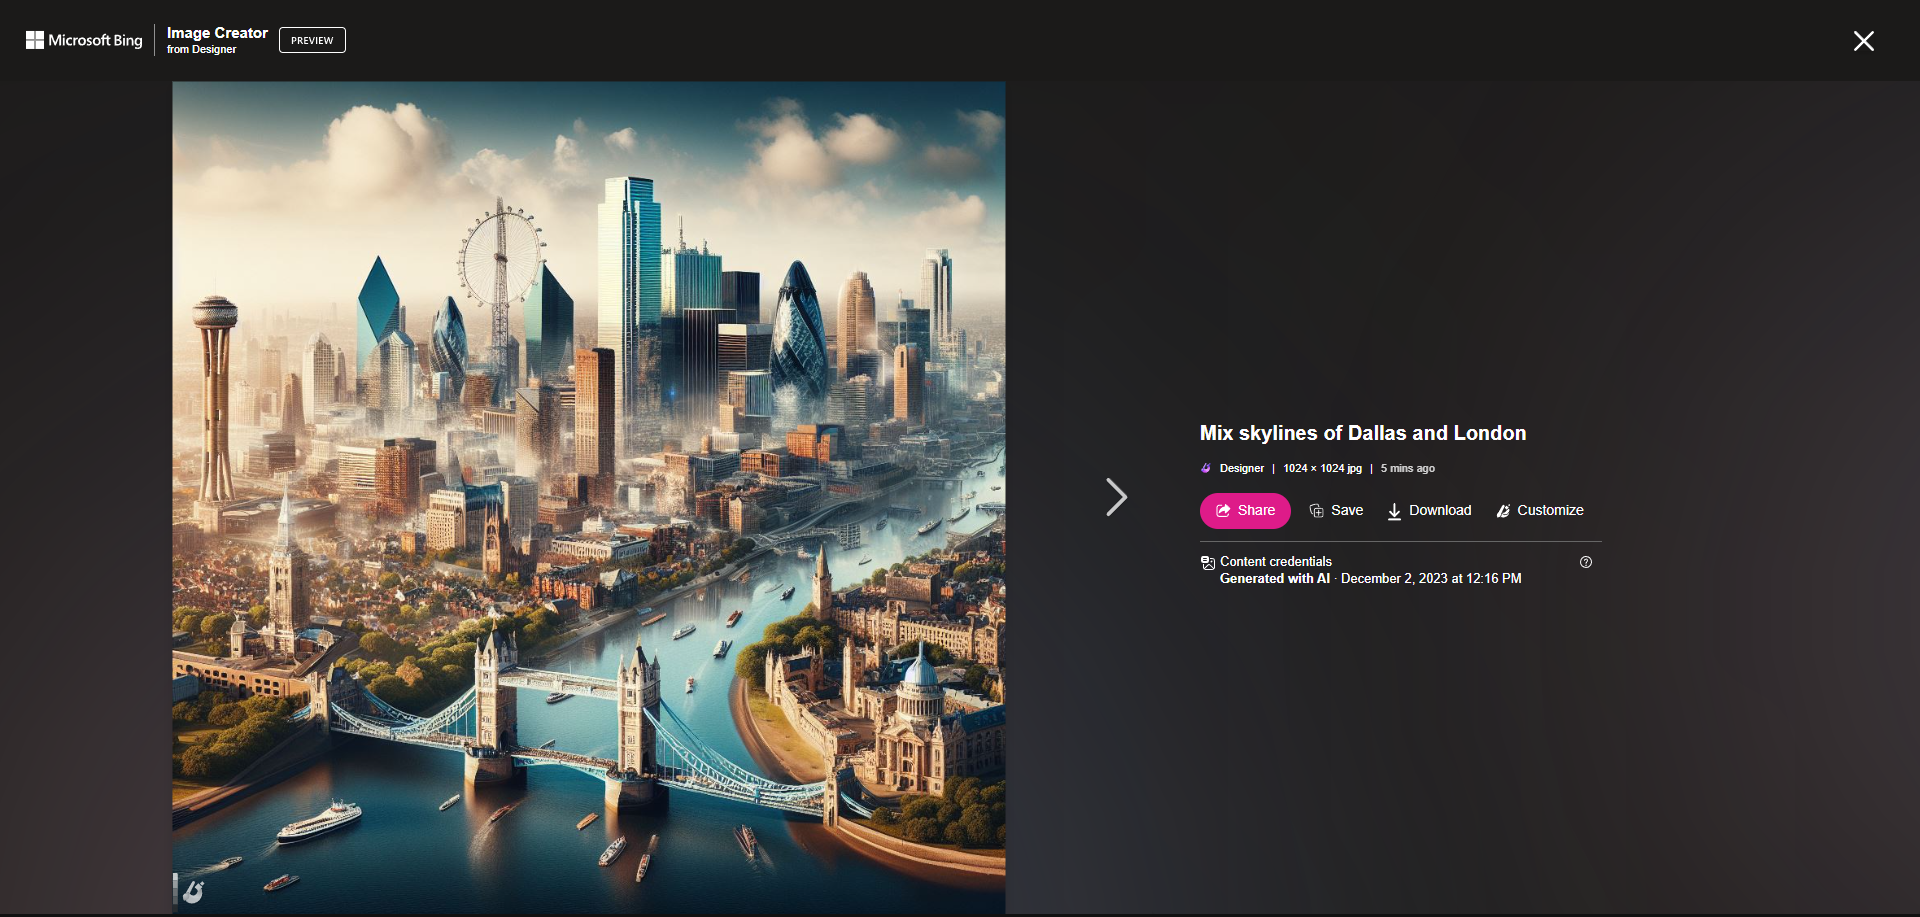
If you like one of the generated image, click on it and then download it when the button becomes available.
By default, the Miniature Digital Photo Frame With AI-generated Images demonstrated in this tutorial displays four AI-generated images.
Extend the Images

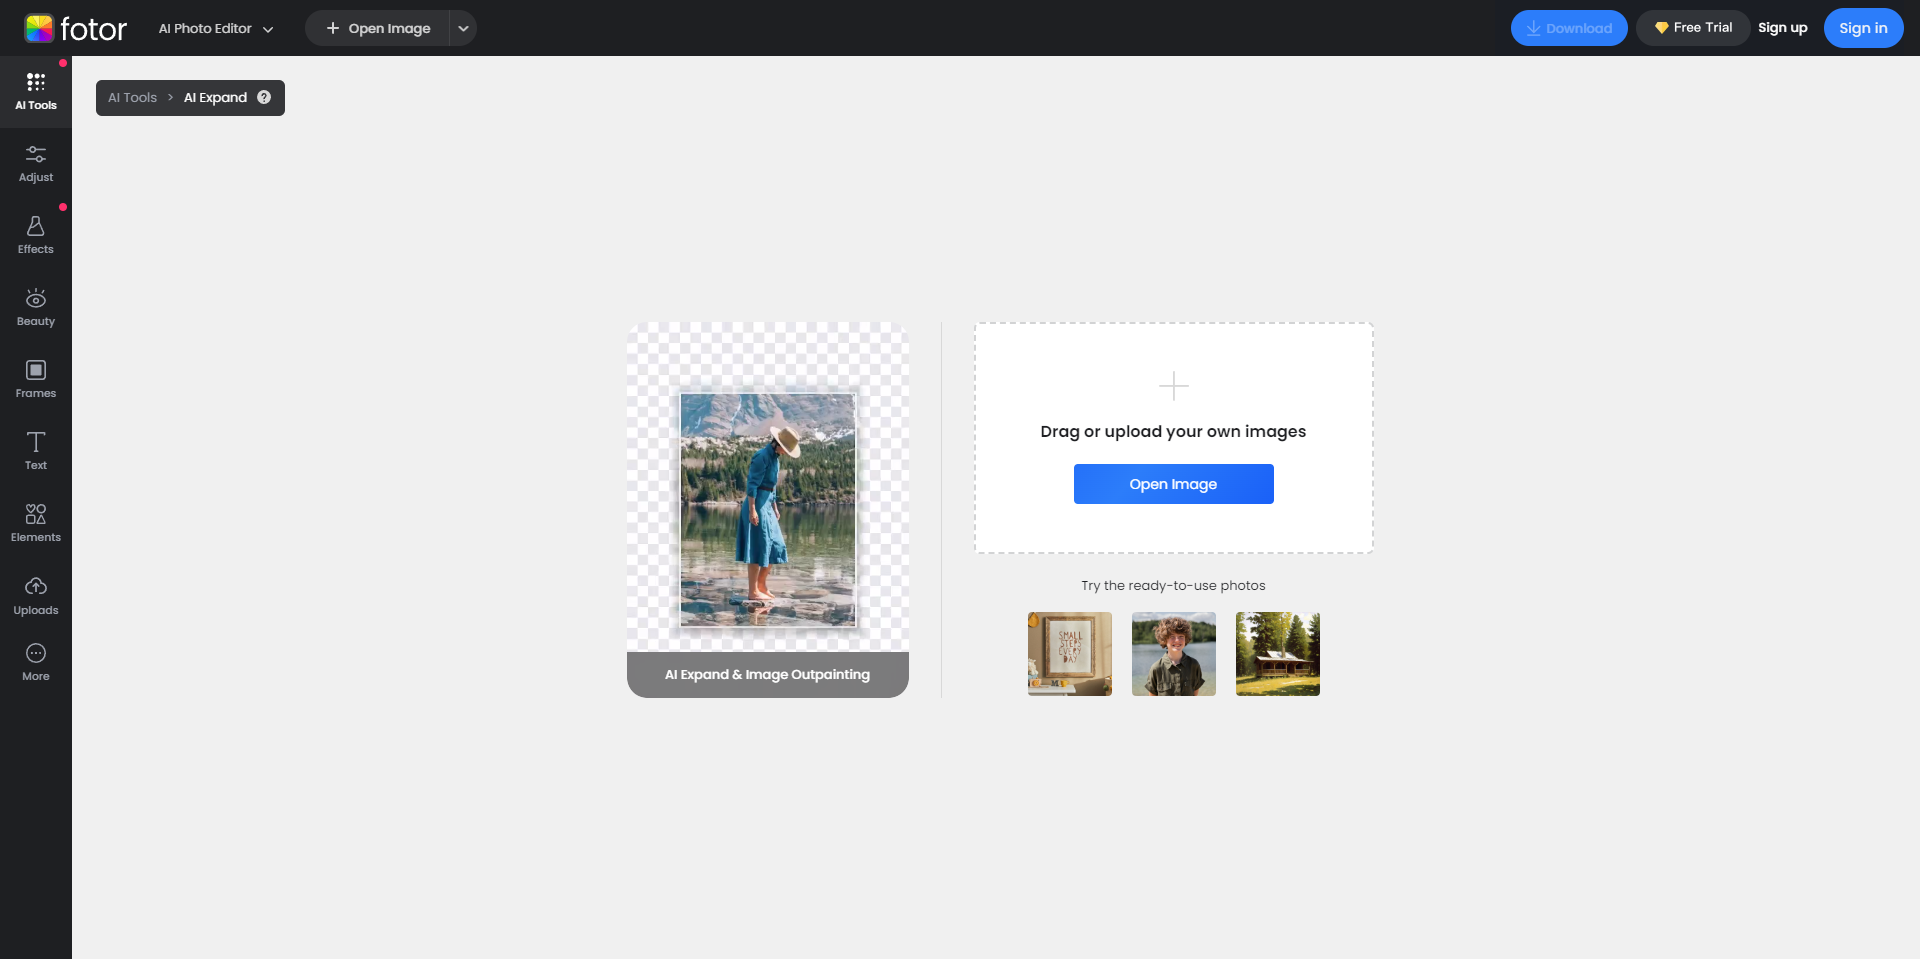
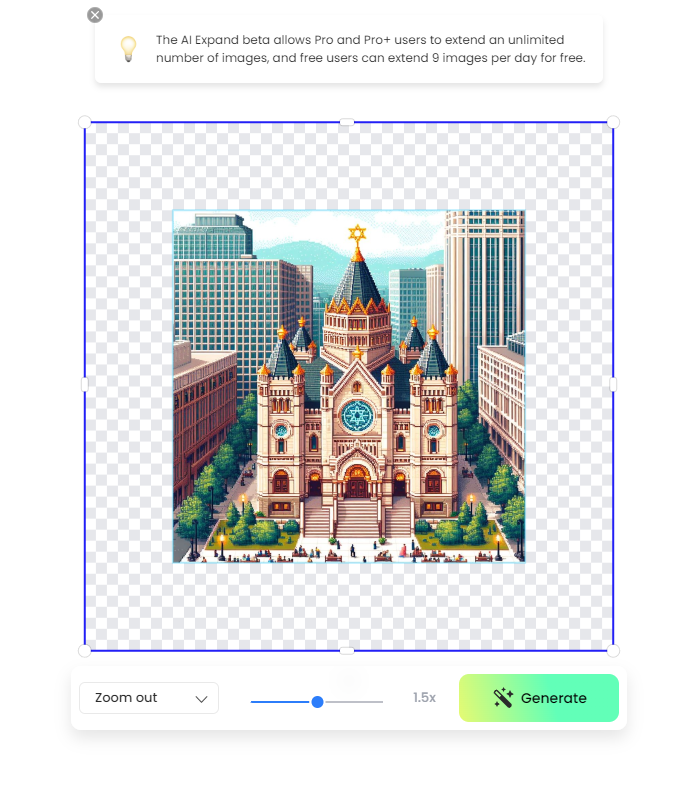
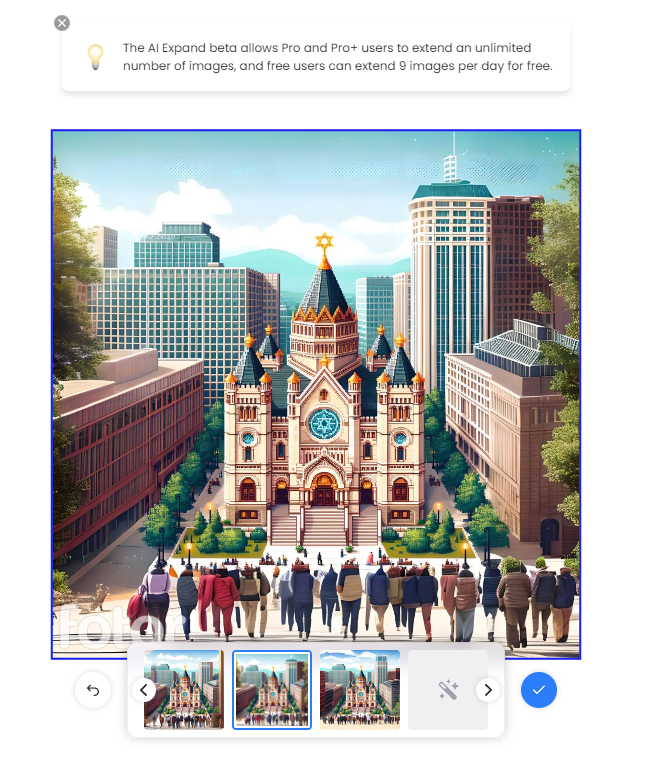
It's all great except for one issue: the generated images have a 1:1 aspect ratio, while the 2.4-inch TFT LCD with ILI9341 has an aspect ratio of 16:12. To avoid cutting off important parts of the picture or stretching it, you can use another AI to extend the image.
To extend the image using Fotor AI Image Extender, follow these steps:
- Go to fotor.com/features/ai-image-extender/ and click the "Extend Image with AI" button;
- On the new page, click the "Open Image" button and navigate to the downloaded image;
- The generation process will start after you click the "Generate" button. If you haven't logged into your Fotor account, it will prompt you to do so. If you don't have a Fotor account, don't worry, you can create one for free;
- Fotor will generate three versions of an extended image. Choose the one you like, hover a cursor over its thumbnail, and click on the download icon to download it.
Crop and Resize Images
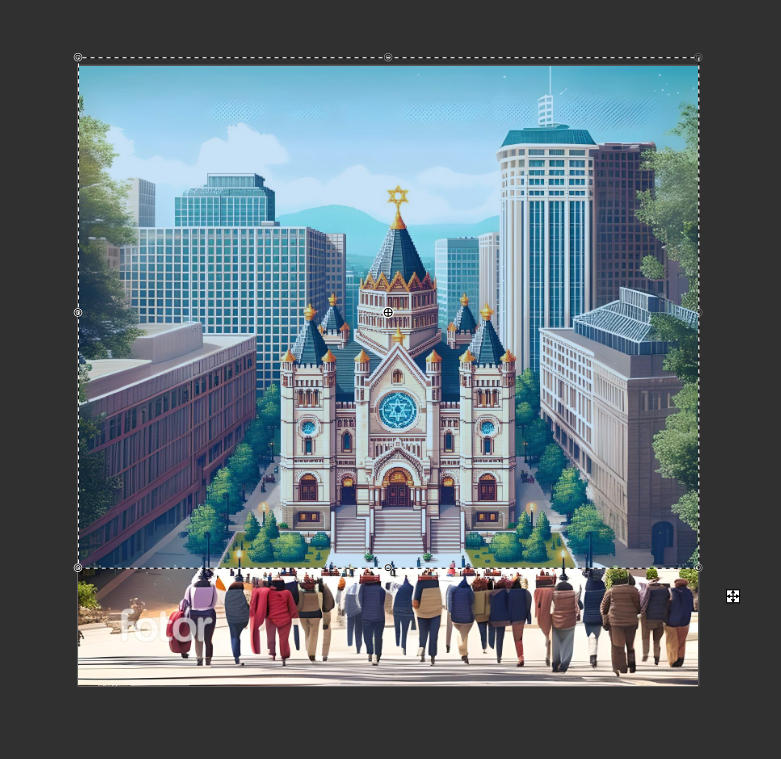
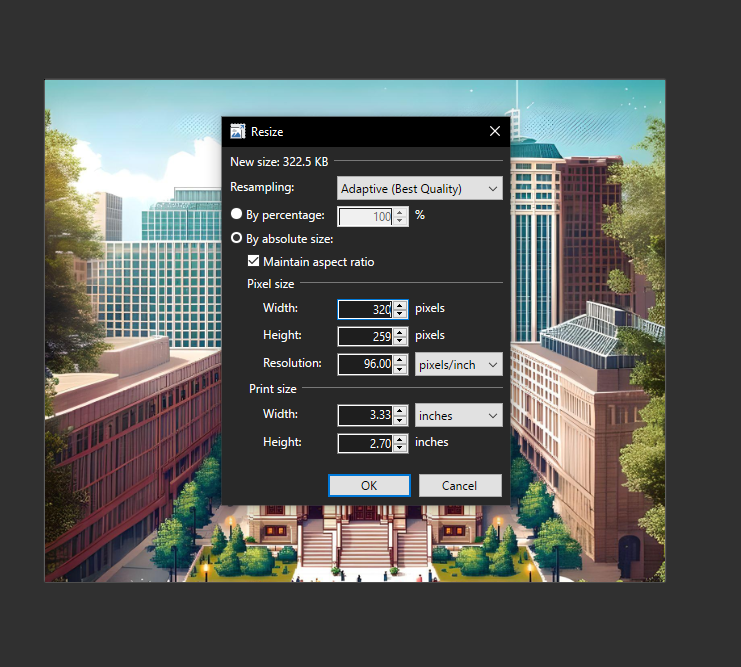
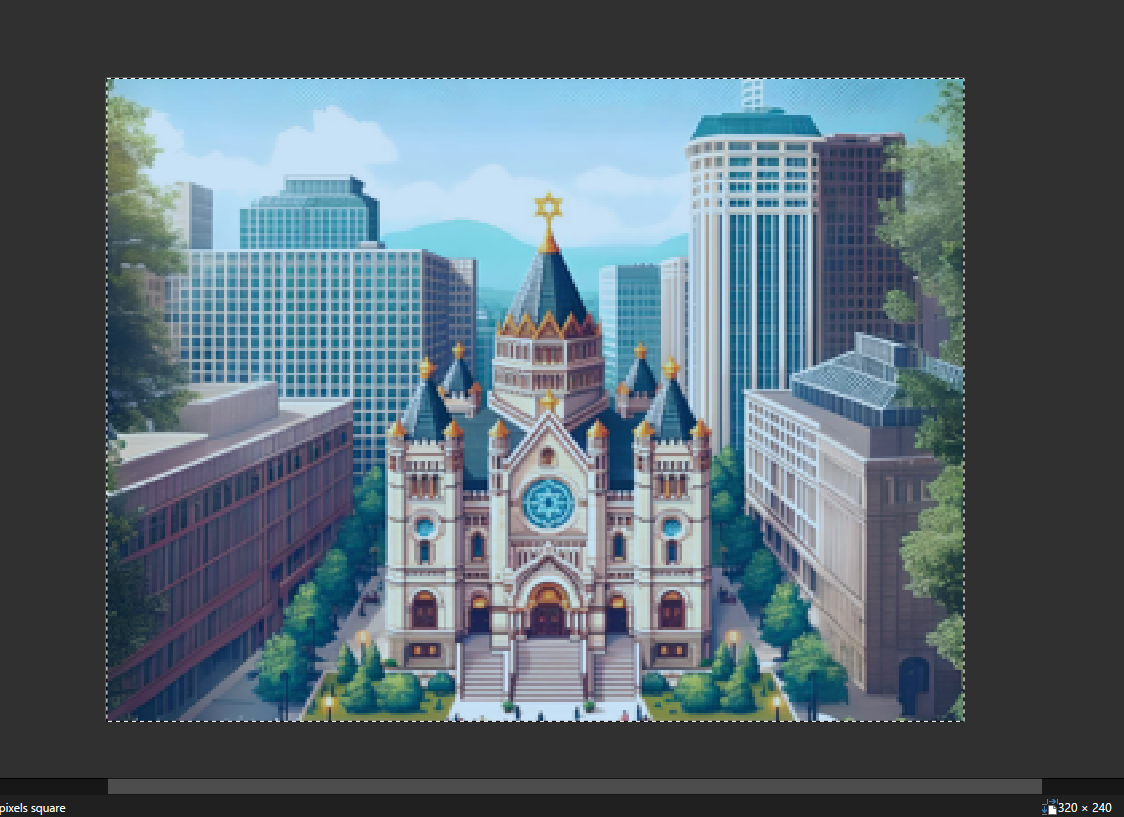
In order to display images on the LCD with ILI9341, it is necessary to resize and crop them. You can use any software to perform the resizing and cropping tasks. However, the following instructions are specifically for the Paint.net graphic editor:
- Open the image that you wish to resize and crop;
- Select the "Rectangle Select" tool from the toolbar on the left-hand side of the screen;
- Use the tool to draw a rectangle around the portion of the image that you want to keep;
- Once you have the rectangle in place, press "Ctrl+Shift+X" to crop the image;
- After cropping the image, it needs to be resized. Click on the "Image" tab in the top menu and select "Resize" from the drop-down menu;
- In the "Resize Image" window, set the width to 320 pixels. Ensure that the height of the image is at least 240 pixels. If the height is less than 240 pixels, set it to 240;
- Once you have set the new size, click the "OK" button to apply the changes;
- Crop the resized image again to make its size 320x240 pixels.
Add a Sacrificial Pixel (line) on the Bottom of Each Image
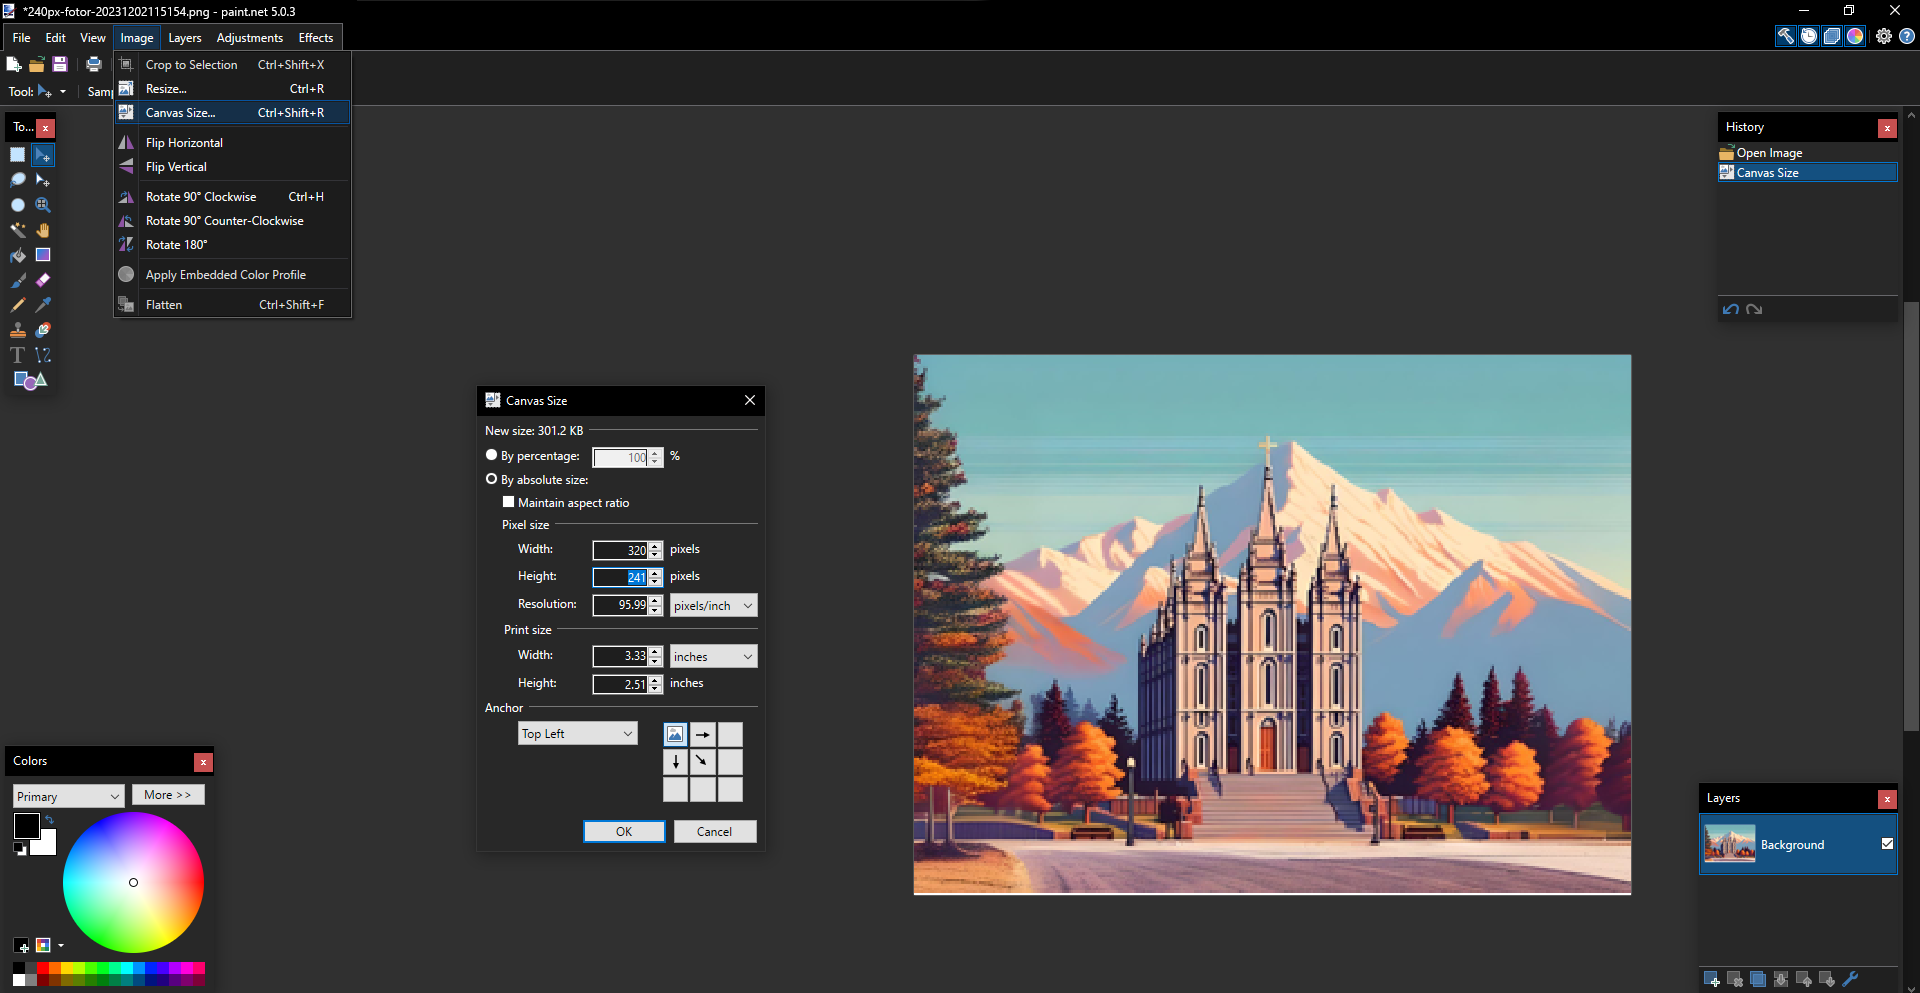
Apparently, that’s the extra work. The reason why you need to do this is that the Image convertor provided in the archive in the next step spoils the bottom pixel (or the line, to be precise) of the bitmap.
Download and Unpack the Archive With Code
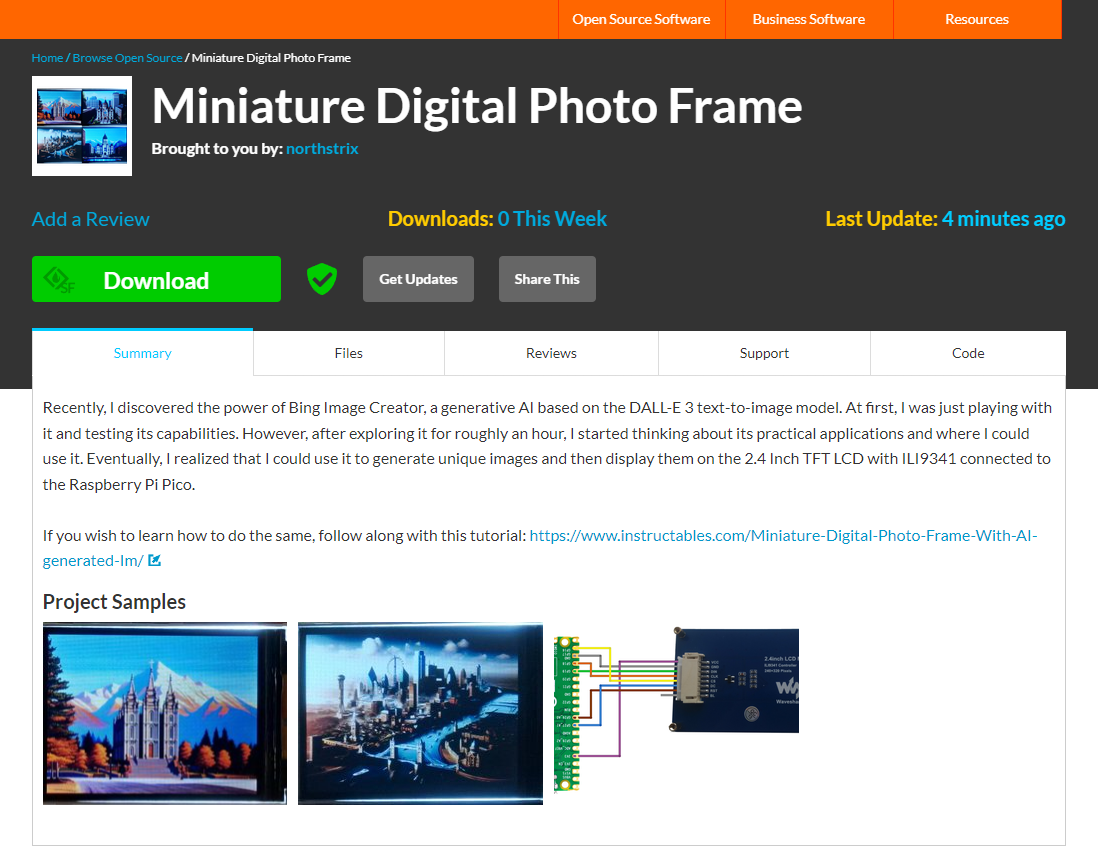
Download the archive with the firmware for Raspberry Pi Pico and the Image Converter software from SourceForge.
Here's the link for you: https://sourceforge.net/projects/miniature-digital-photo-frame/
Unpack the content of archive to any folder of your choosing after downloading it.
Import the Image Convertor Software to the Eclipse IDE
First and foremost, download and install the Eclipse IDE for Java Developers.
Then, import the Image Convertor to it.
To do so:
- Open Eclipse and select "File" from the menu bar;
- Click on "Import" and select "General" > "Projects from Folder or Archive;"
- Browse to the directory where the Image Convertor is located and select it;
- Click the "Finish" button.
Convert Images to the 16-bit Color Array
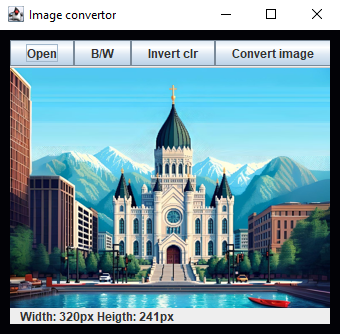
To convert an image to a 16-bit color array, follow these steps:
- Right-click on the "Image Converter" project;
- From the pop-up menu, select "Run As" and then choose "Java Application;"
- When the program opens, click on the "Open" button;
- Navigate to the 320x241 image that you want to convert;
- Click on the "Convert Image" button.
Copy Converted Images to the Sketch for Raspberry Pi Pico
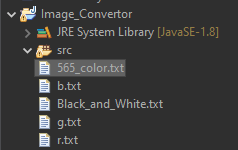
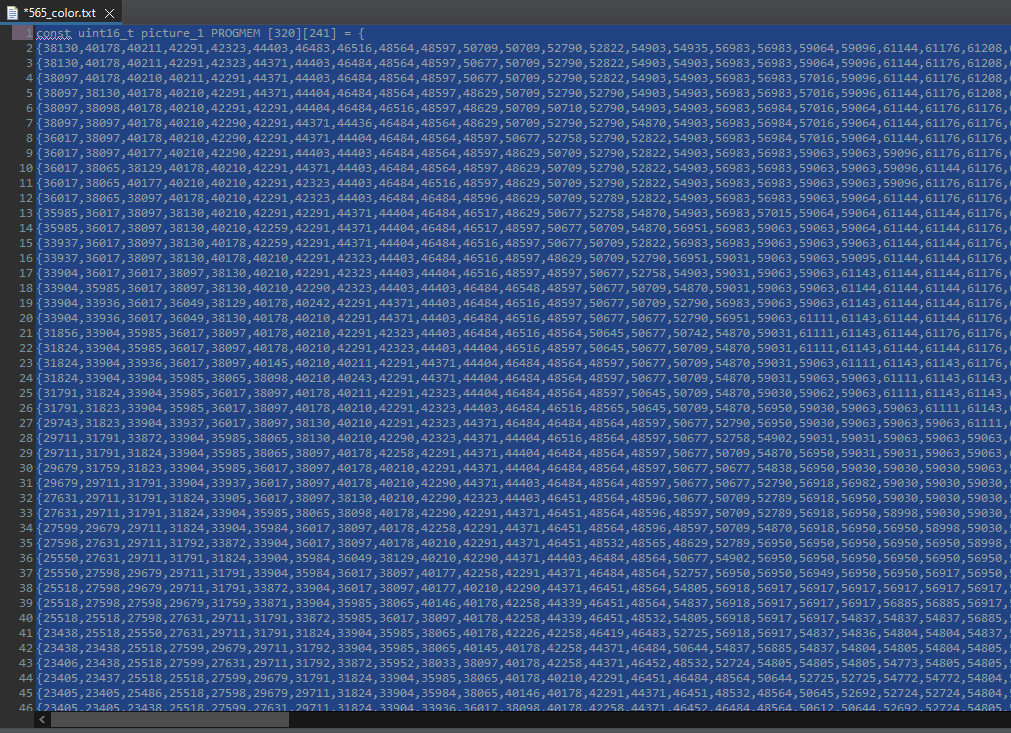
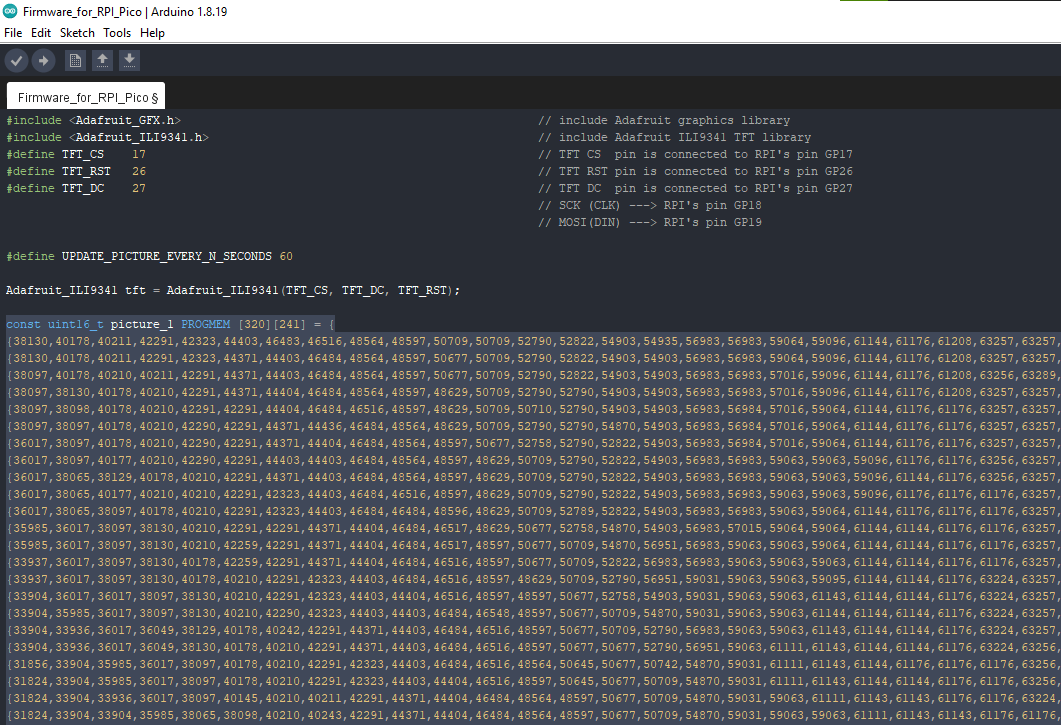
After you have finished converting an image using the Image Converter program, close the application and open the "565_color.txt" file. Next, rename the array to "picture_N," where N corresponds to the image number, and copy the array to the Raspberry Pi Pico firmware. Once you've done that, return to step 9 and repeat the process for the remaining images.
Configure Arduino IDE
If you've never flashed the Raspberry Pi Pico before you need to configure the Arduino IDE first.
Configuring IDE isn't a part of this tutorial. You can read about it here https://www.tomshardware.com/how-to/program-raspberry-pi-pico-with-arduino-ide
Flash Raspberry Pi Pico
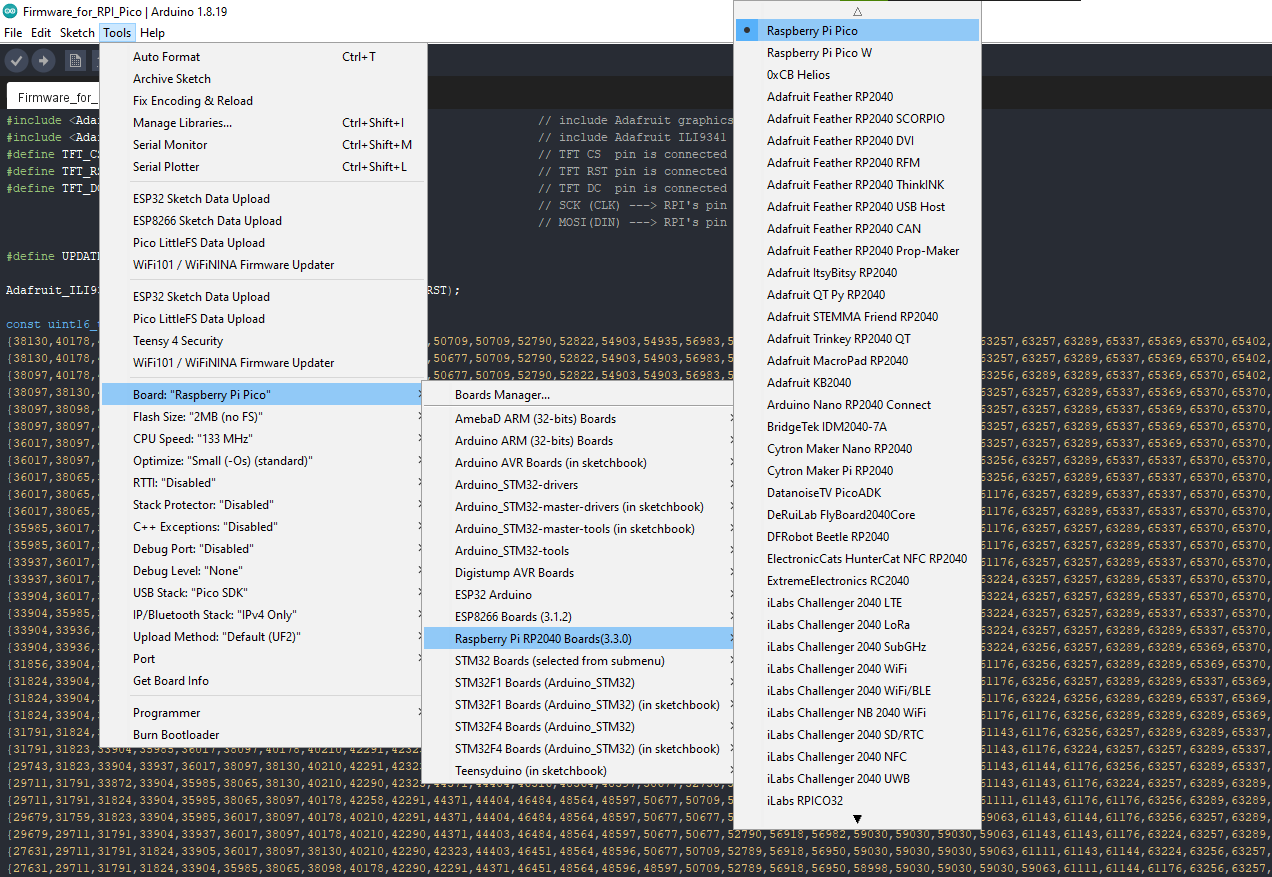
Upload the resulted firmware into the Raspberry Pi Pico.
Assemble the Circuit
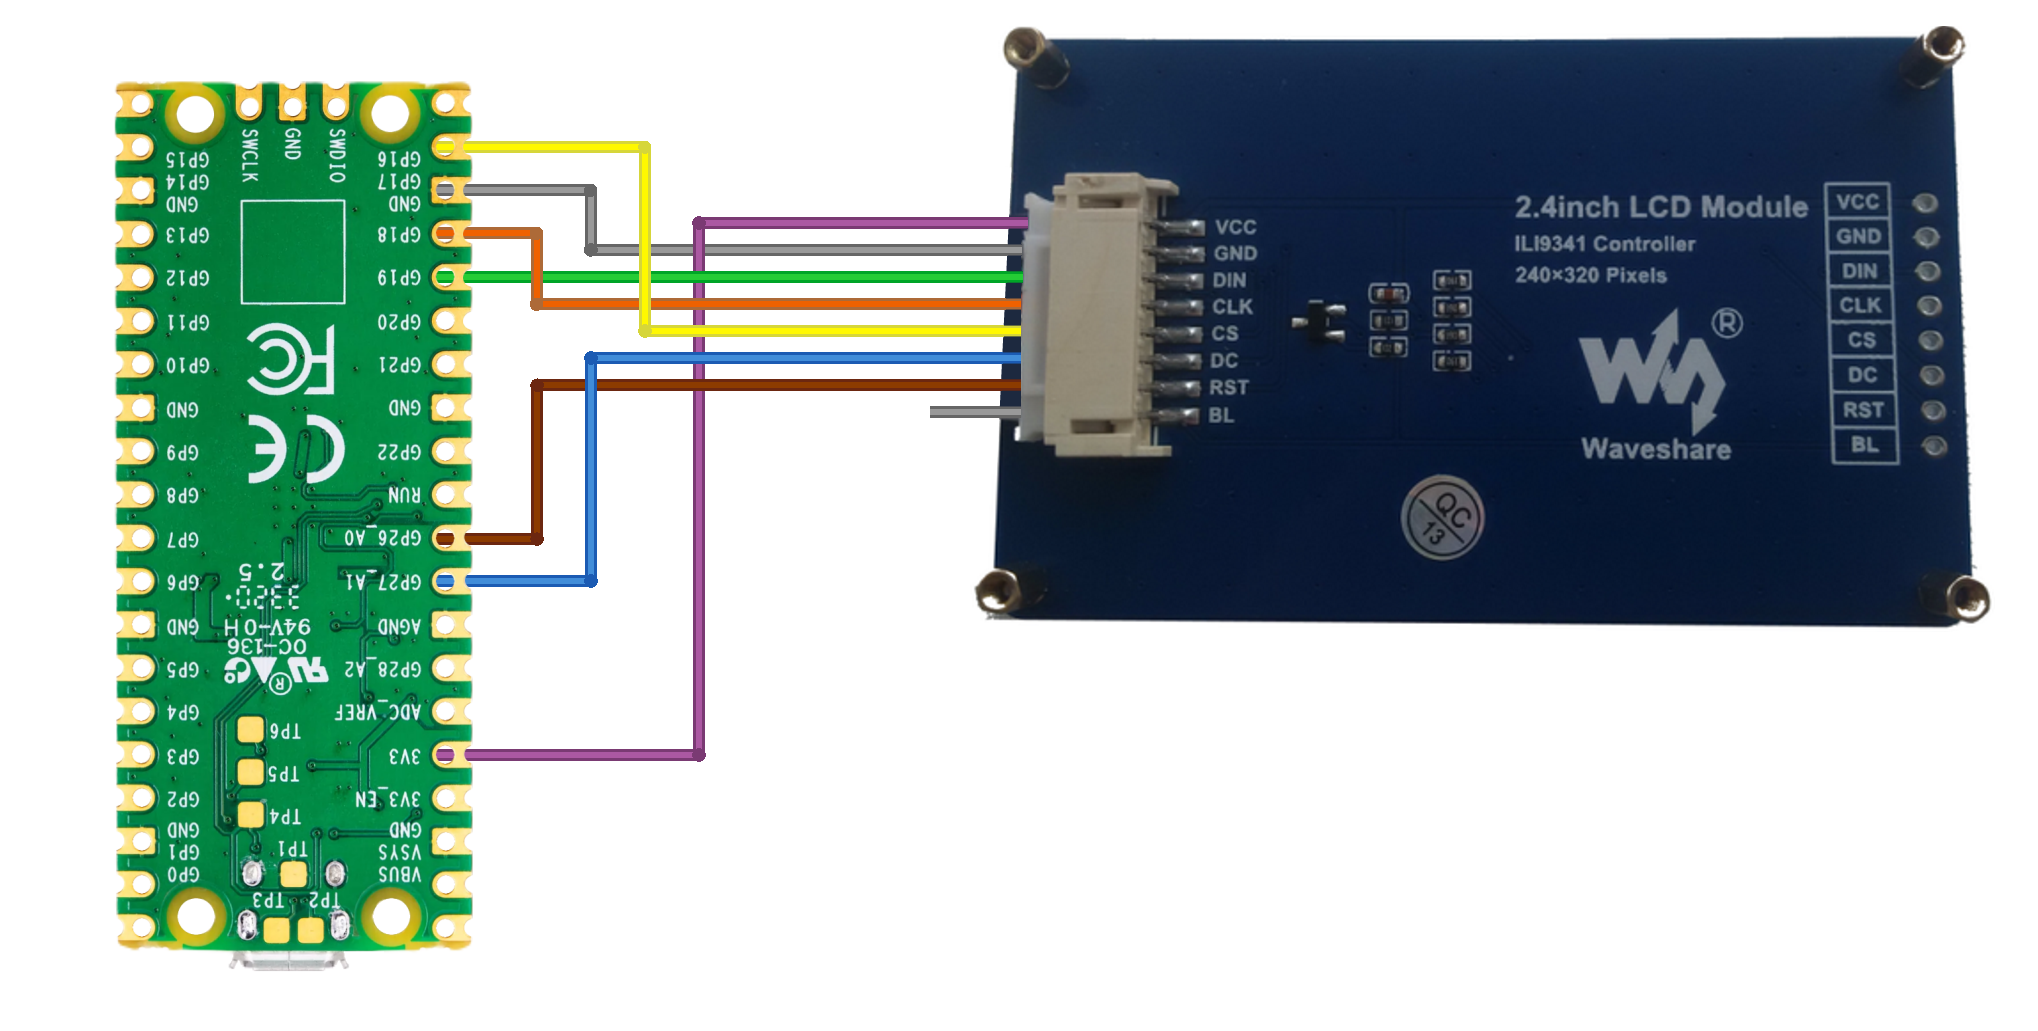
Connect the LCD with ILI9341 to Raspberry Pi Pico.
When it comes to LCD's "BL" pin, different versions of the display have different requirements on what to do with it. Some versions specify that it must be connected to the +3.3V, some require it to be grounded, and others allow you to leave it unconnected.
Enjoy the Result
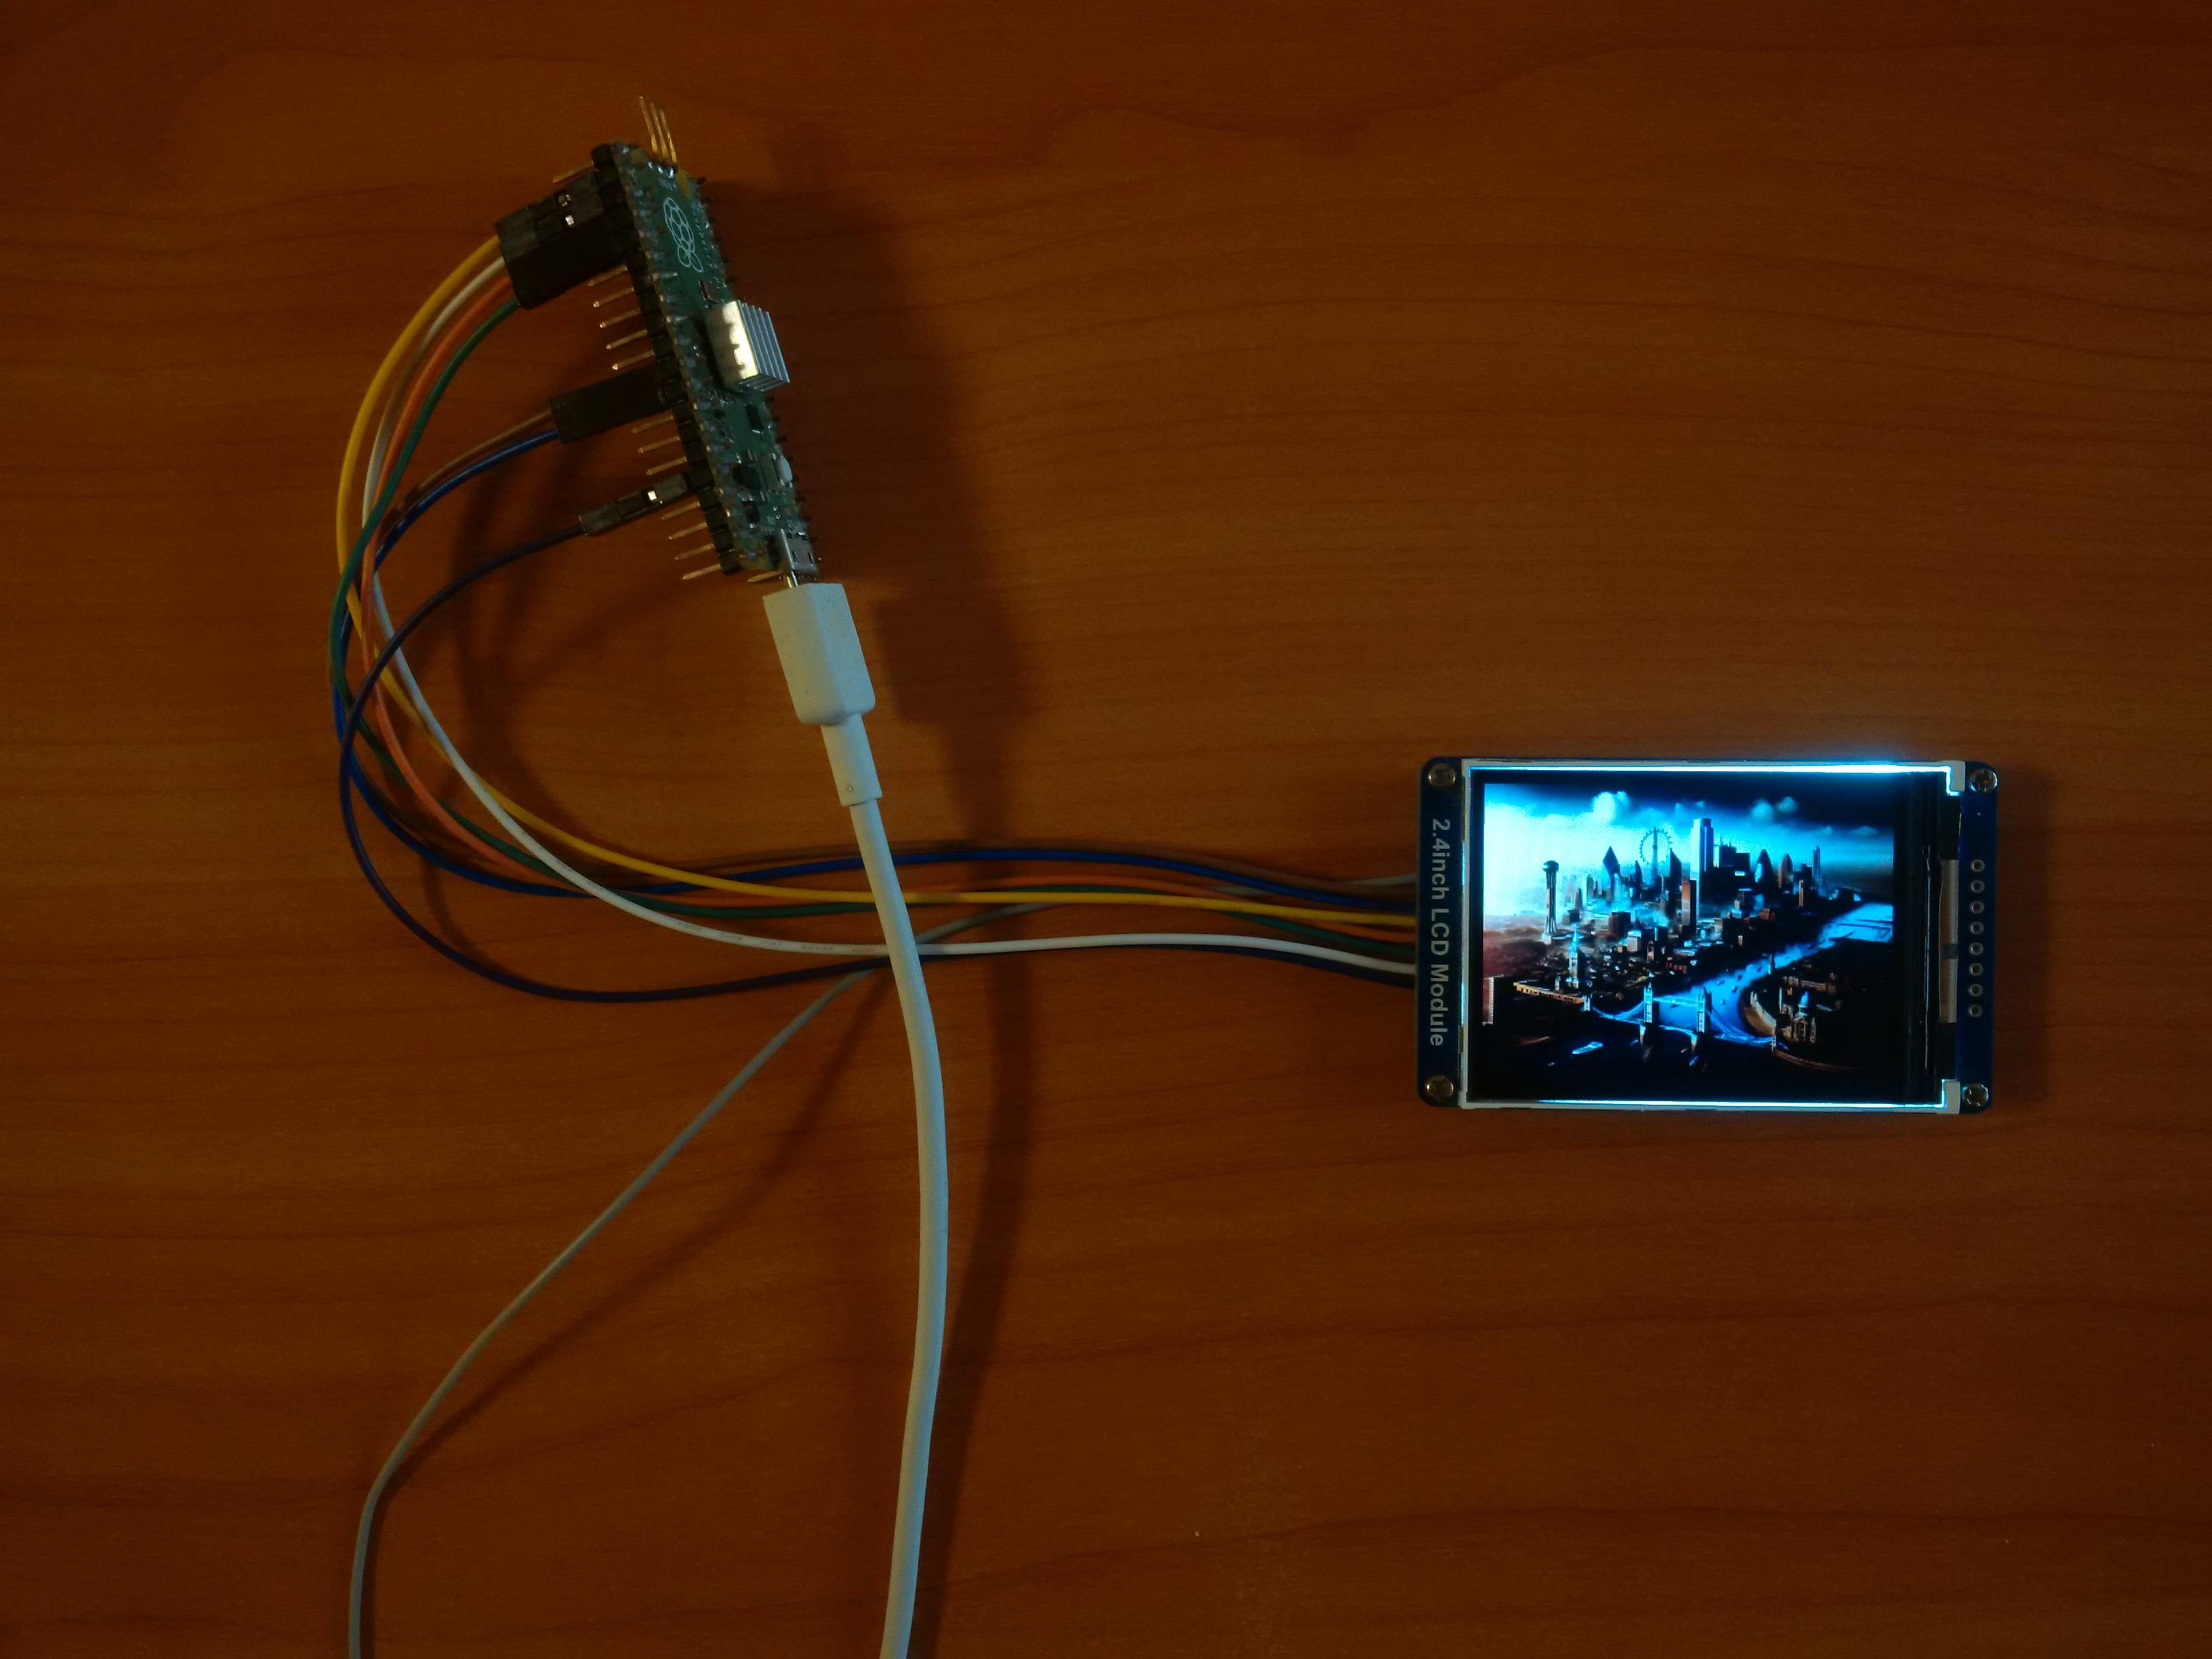
After completing the task, connect the Raspberry Pi Pico to the power source and enjoy the result.
Final Thoughts



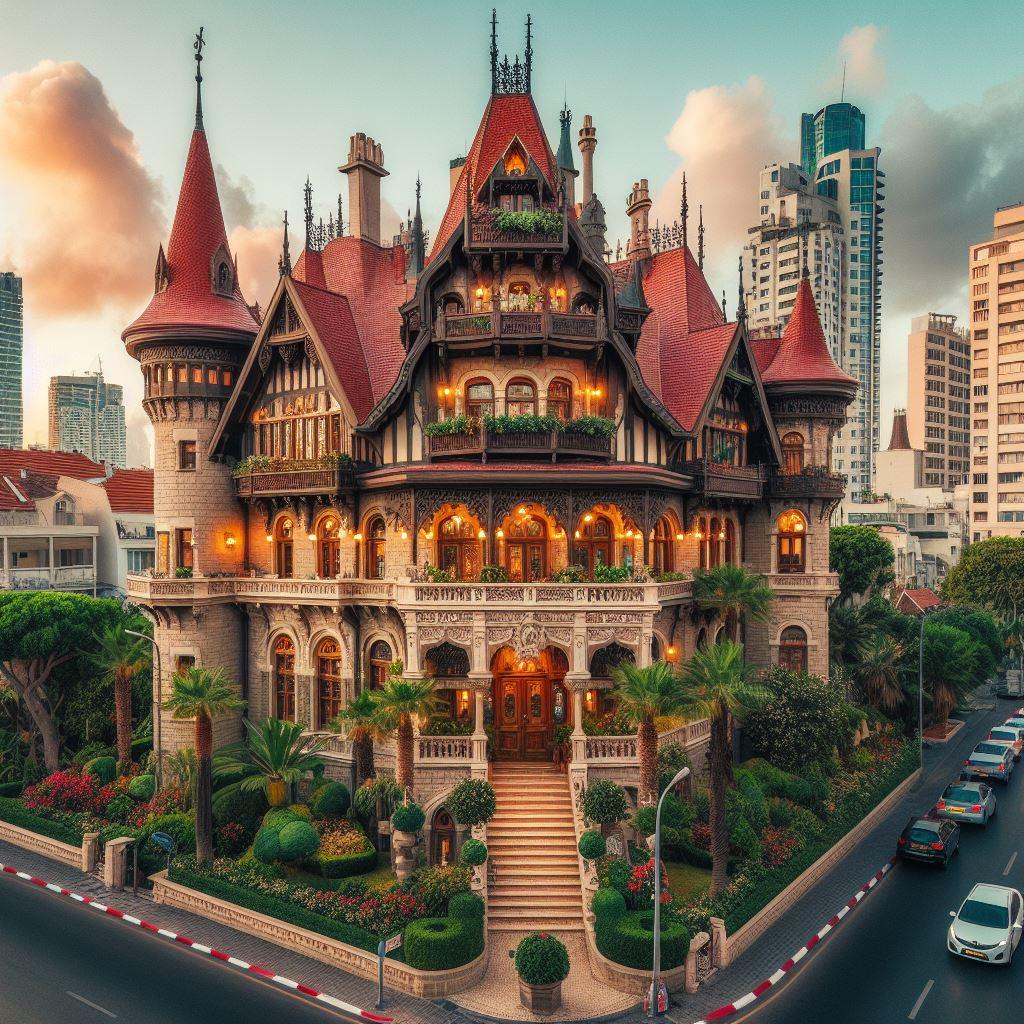

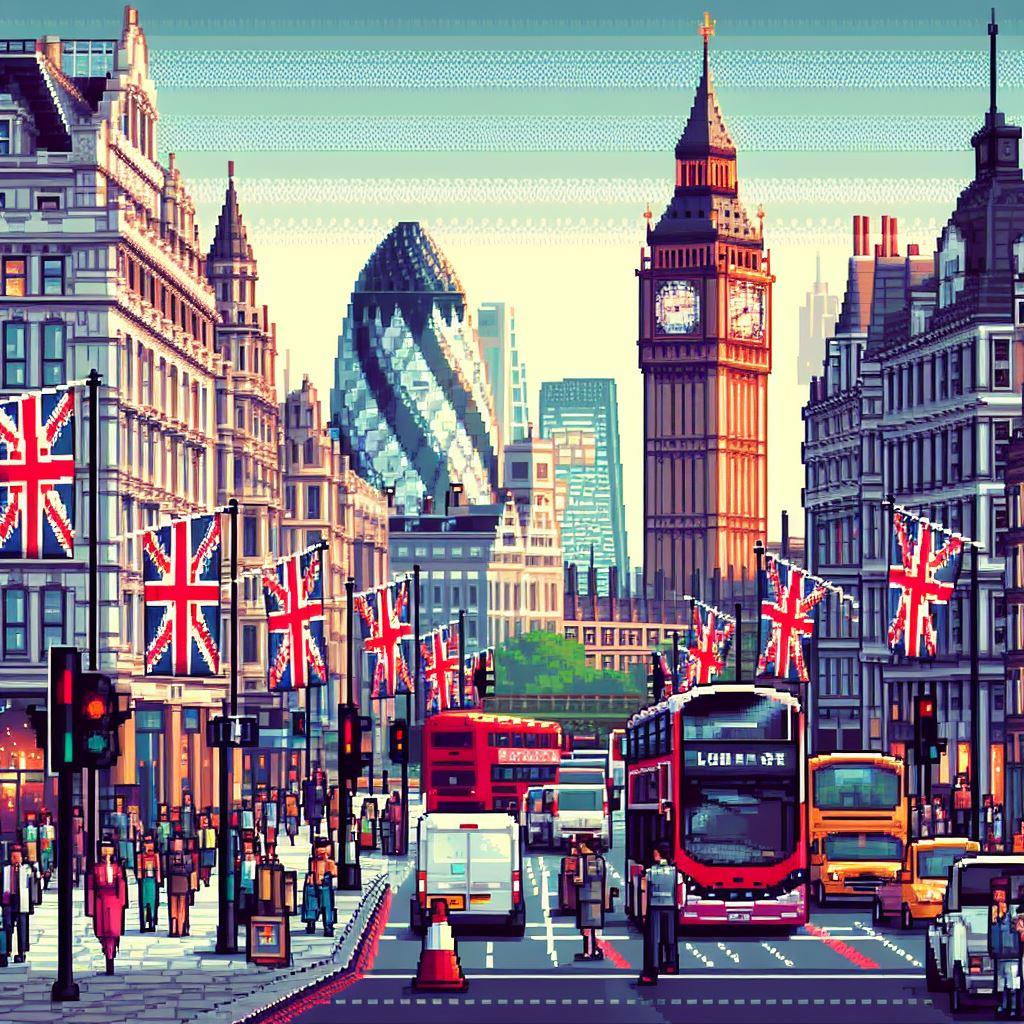
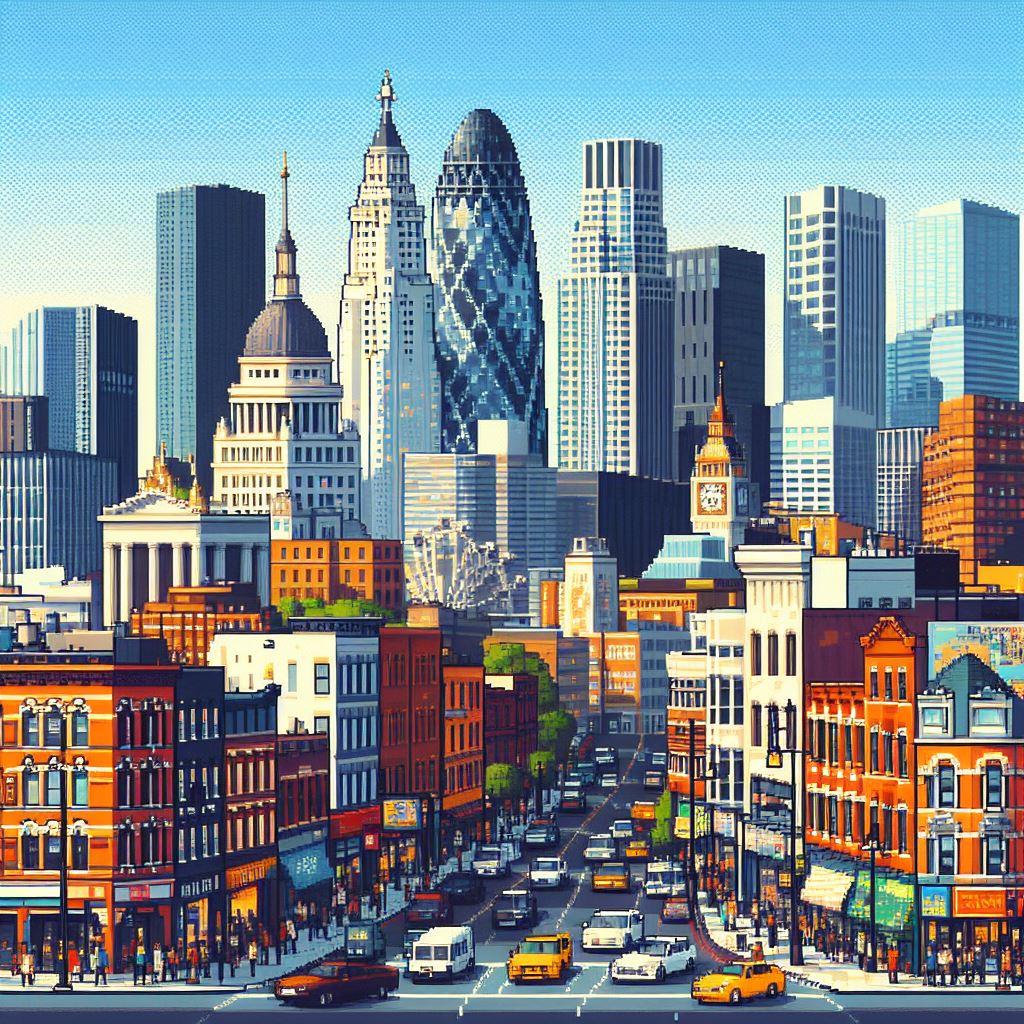

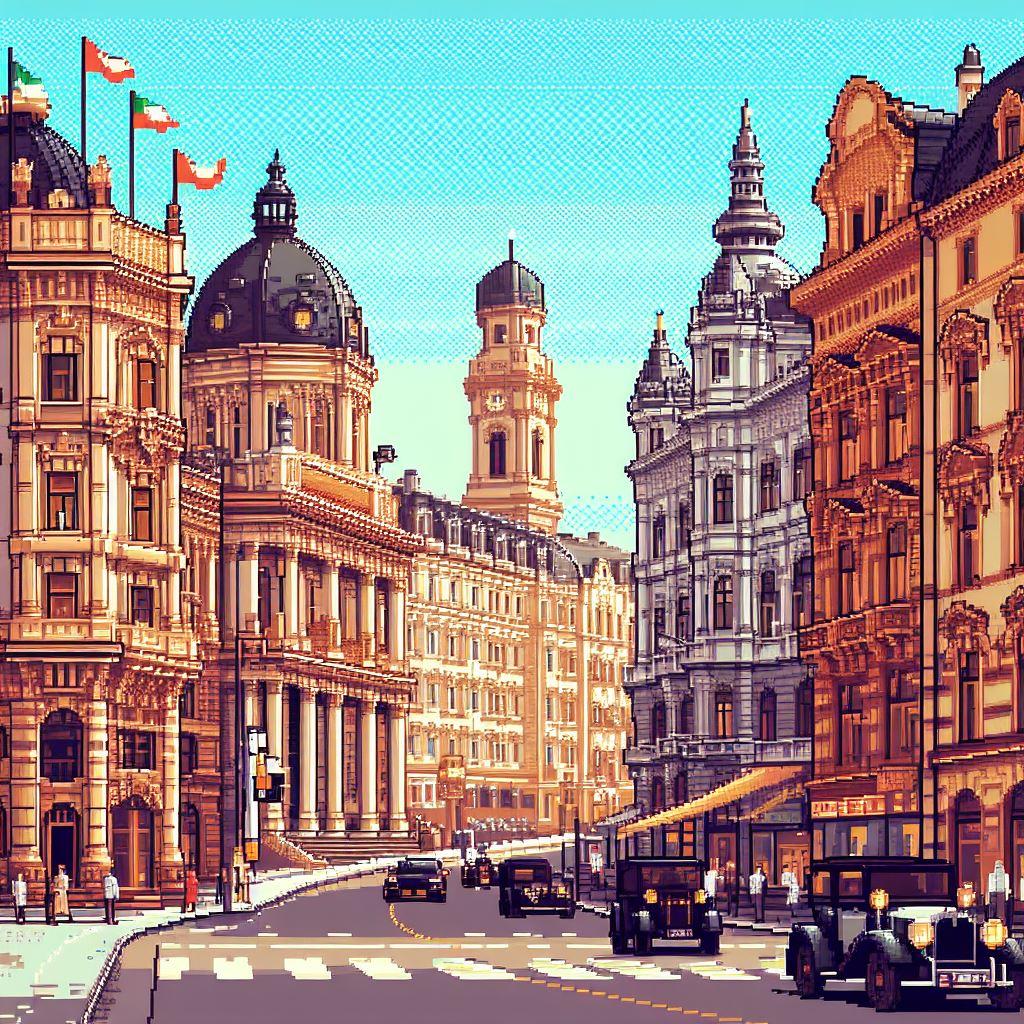
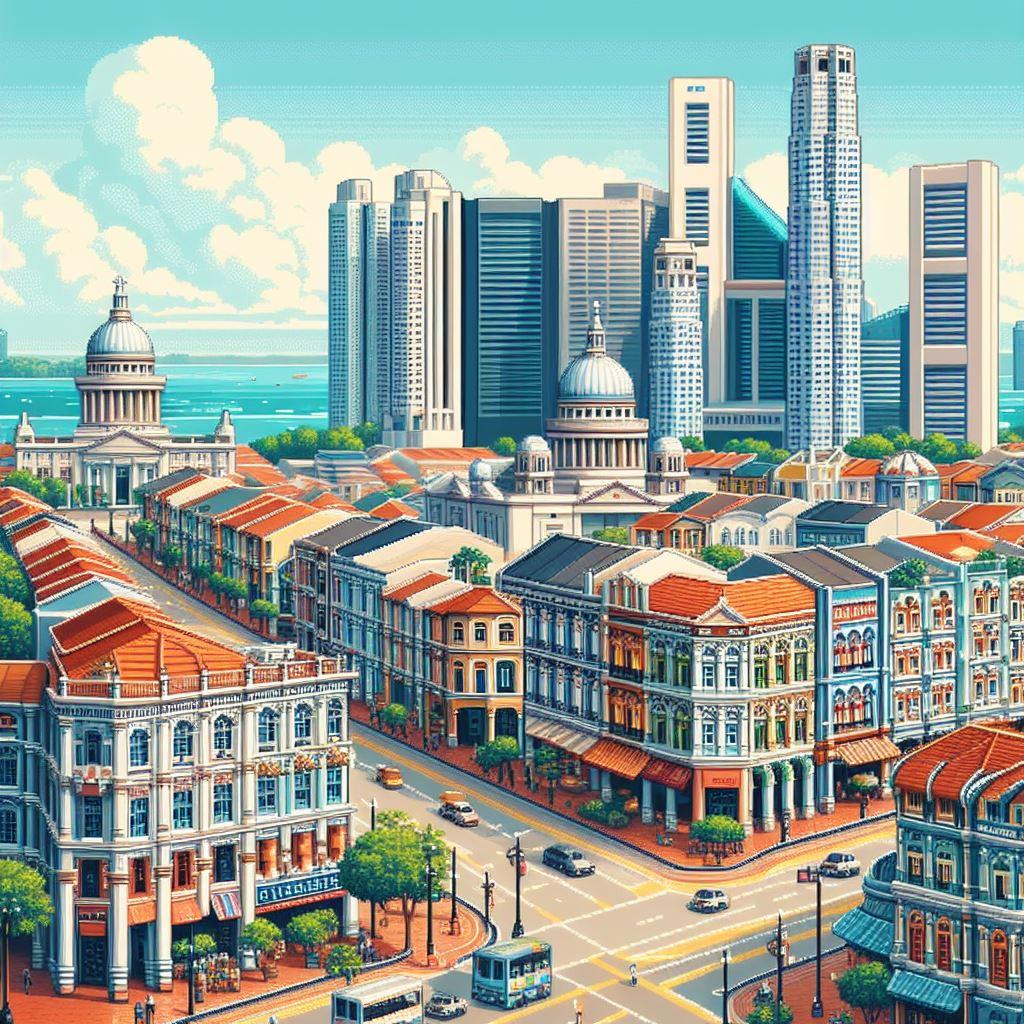
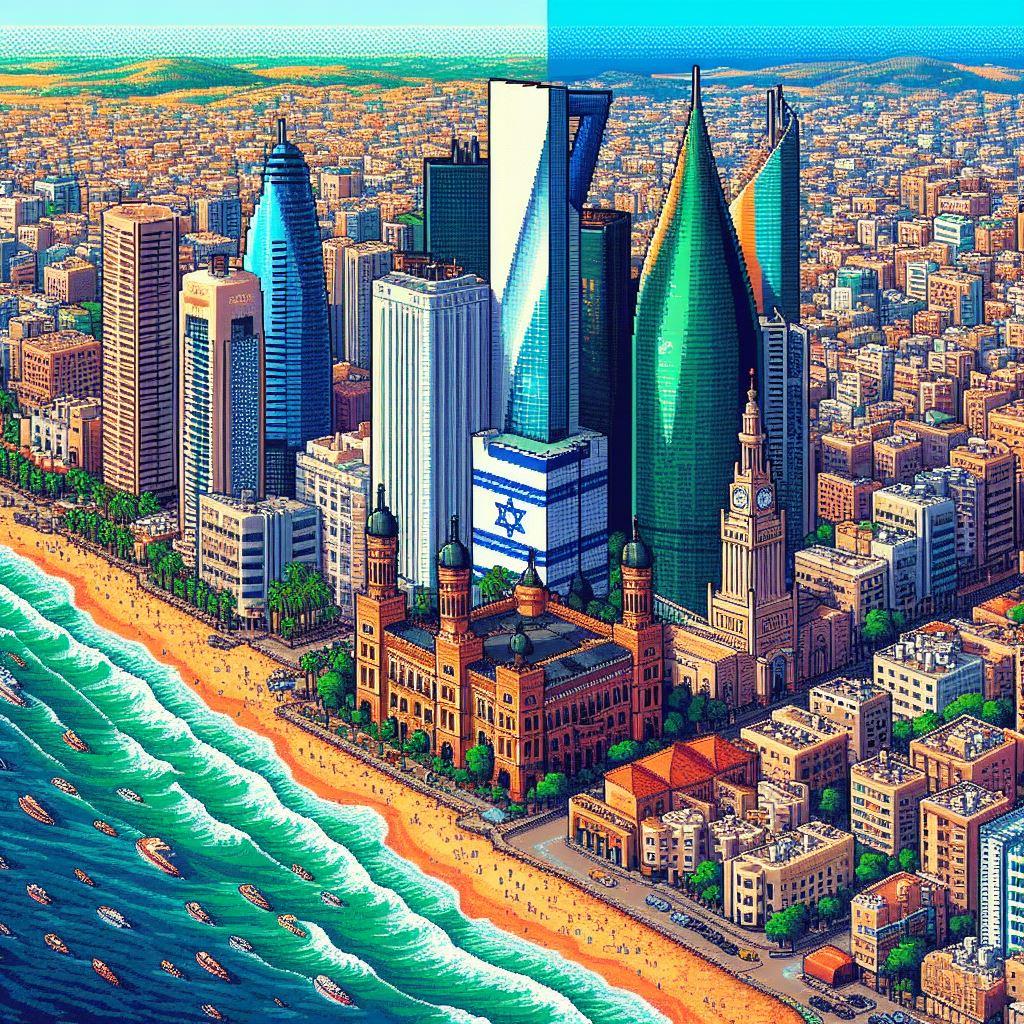
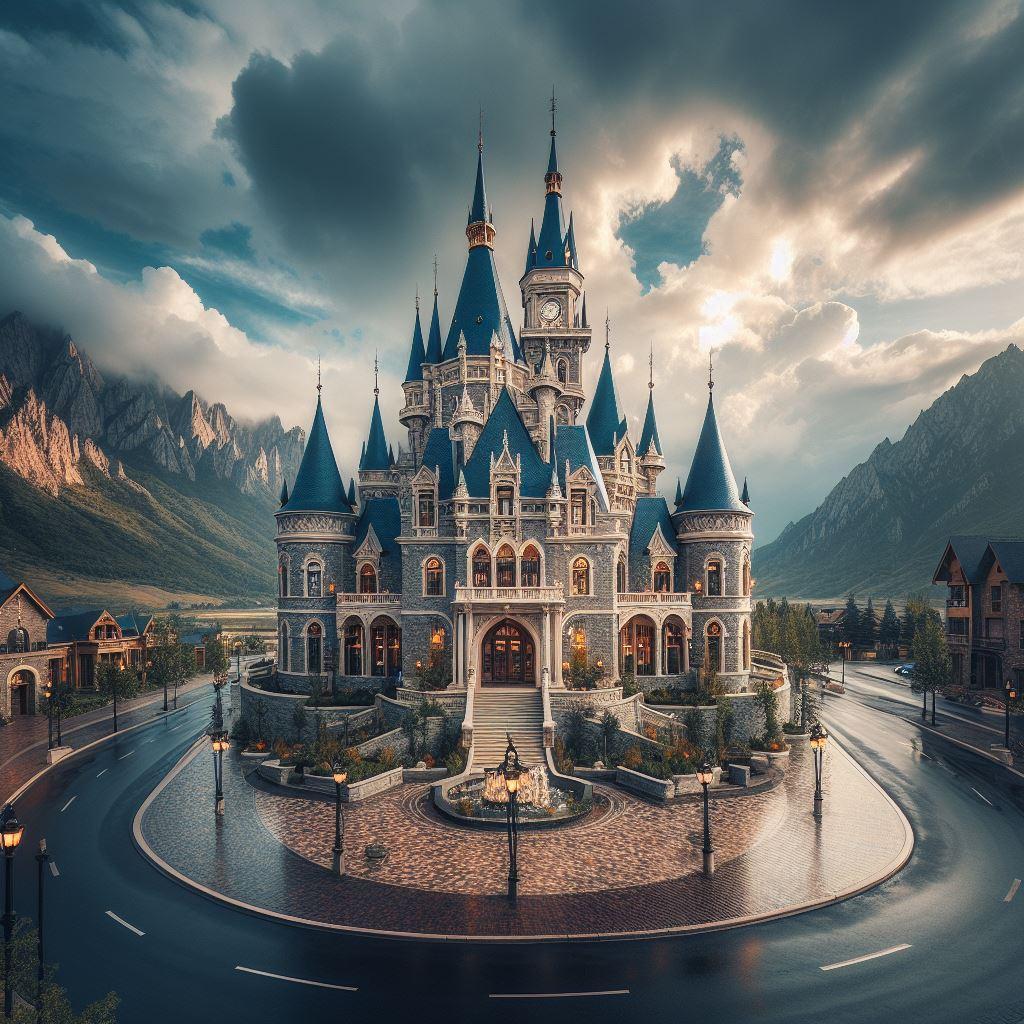
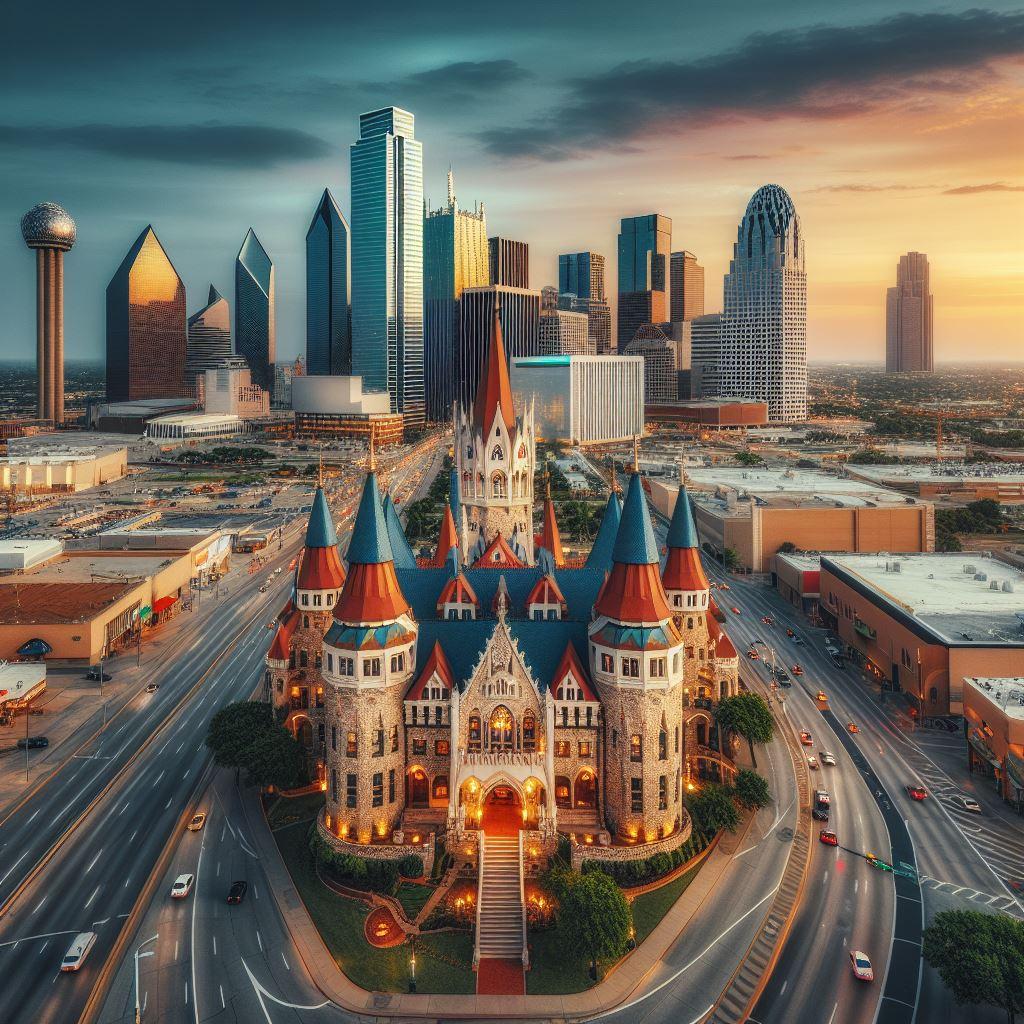
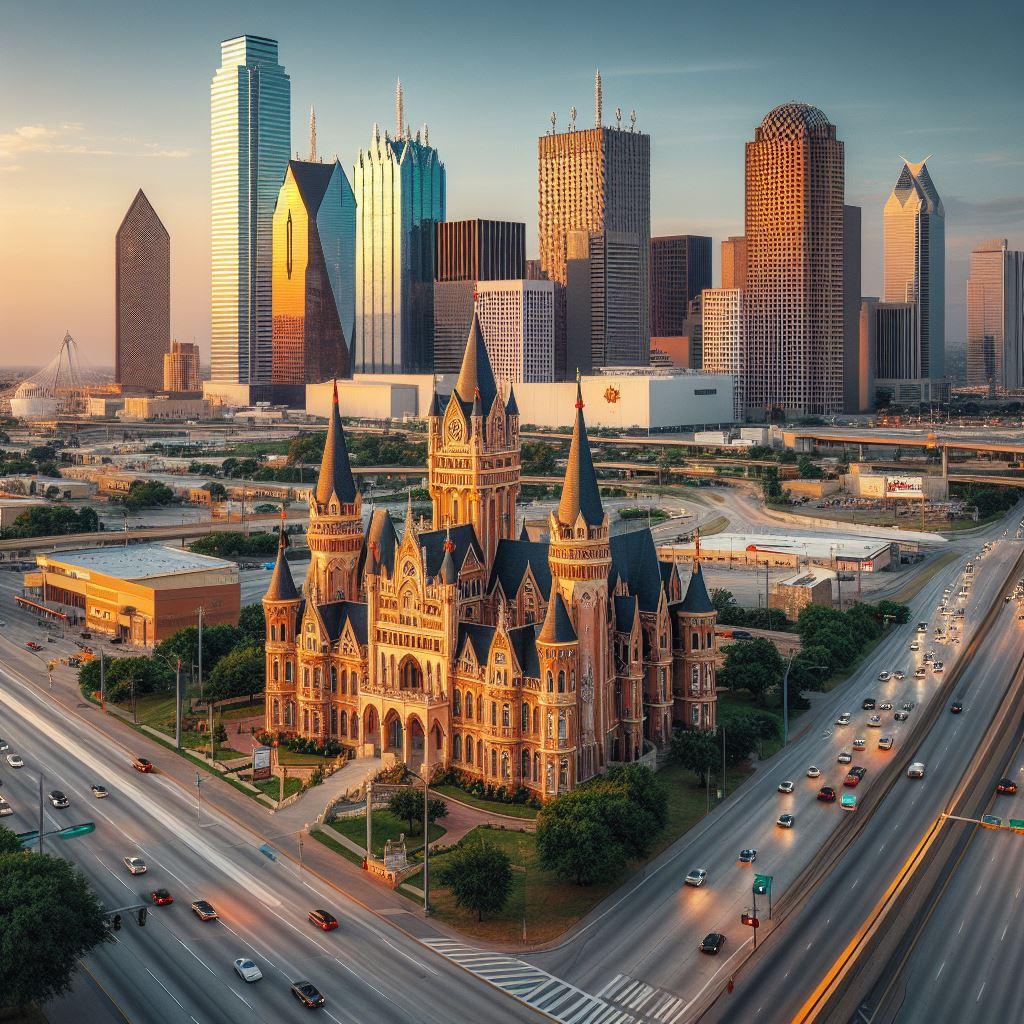
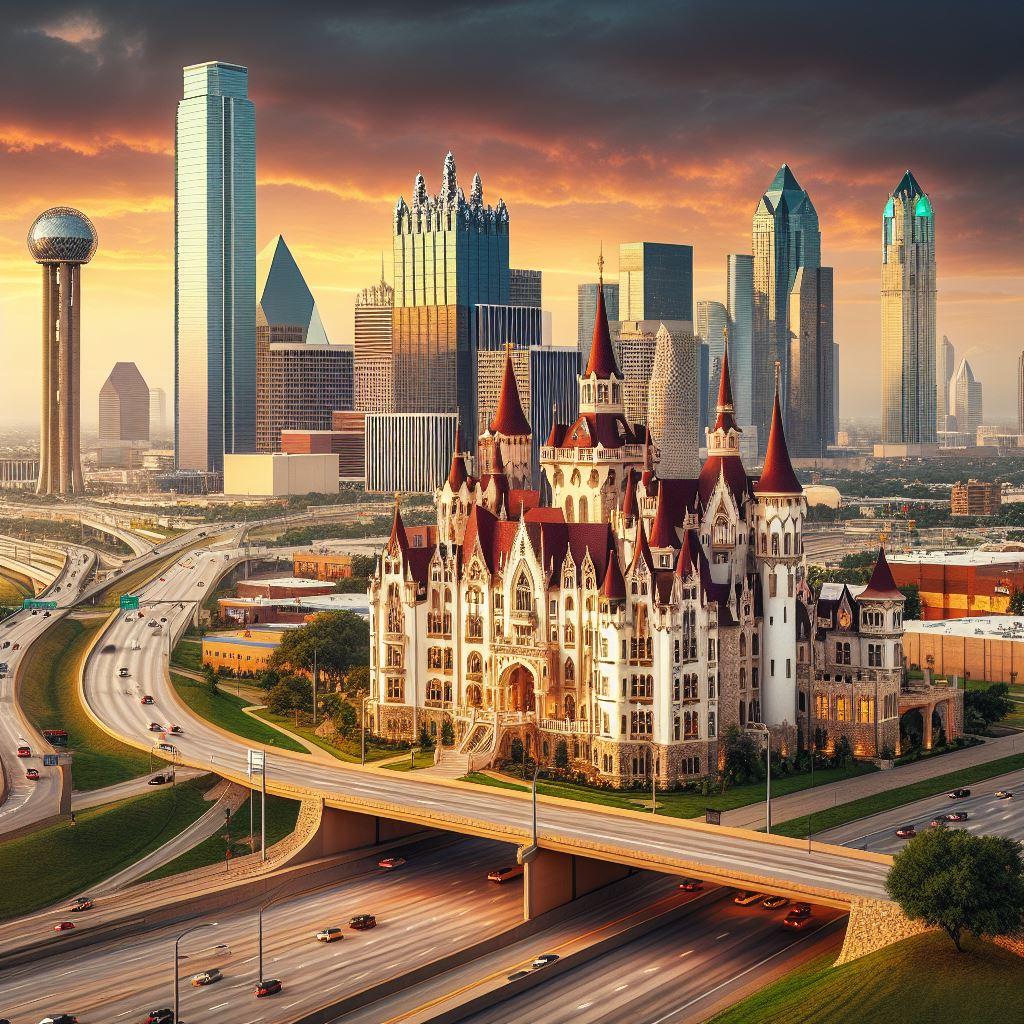
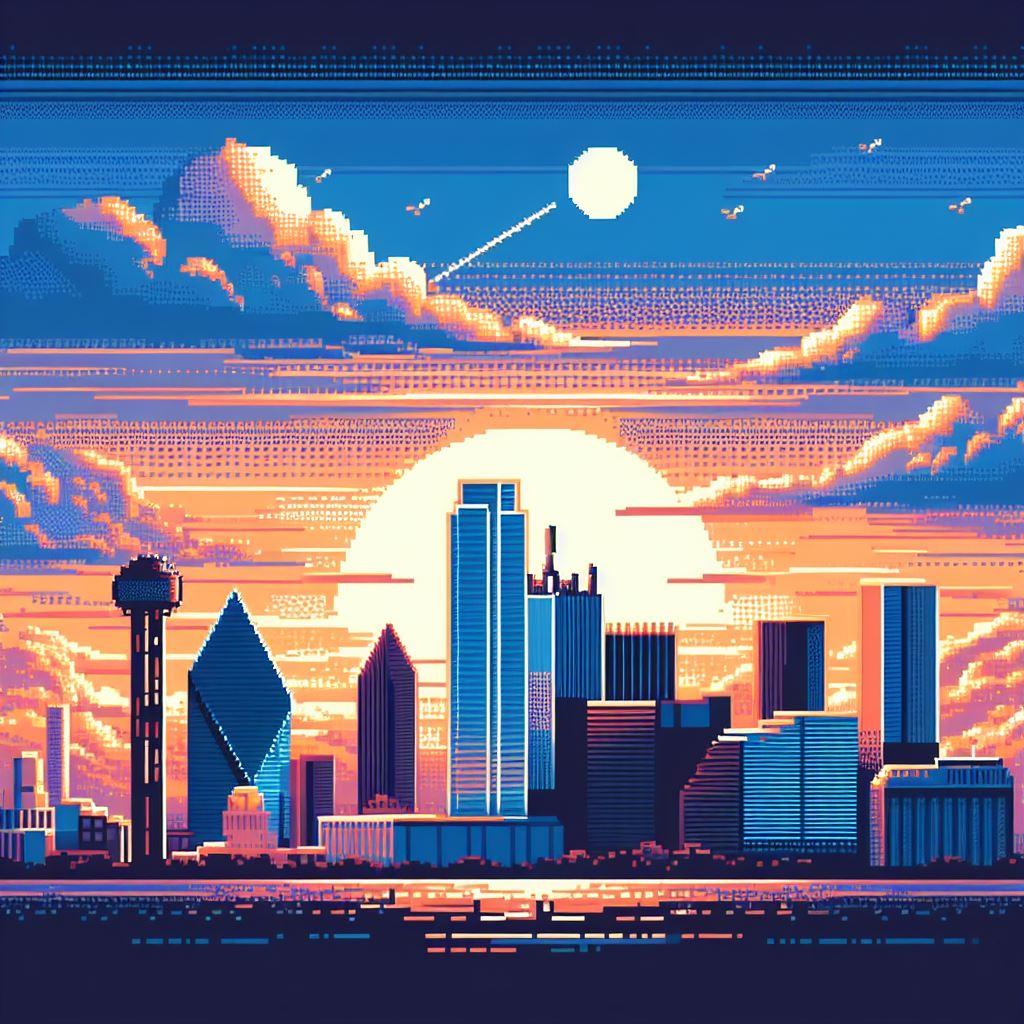
Bing Image Creator is an amazing tool that enables you to channel your imagination and unleash your creative potential. I utilized this tool to generate images for a miniature digital photo frame and found it especially convenient for generating pixel art images.
You may also be able to find an area where you can benefit from using this and other AI-based tools. It's all up to you.
By the way, here are more images that Bing Image Creator generated at my request.
Content credentials:
All images demonstrated in this tutorial were generated with AI on December 1 and December 2, 2023
If you found this tutorial to be useful, please consider sharing it.
Thank you for reading this tutorial.