Mini Trash Can
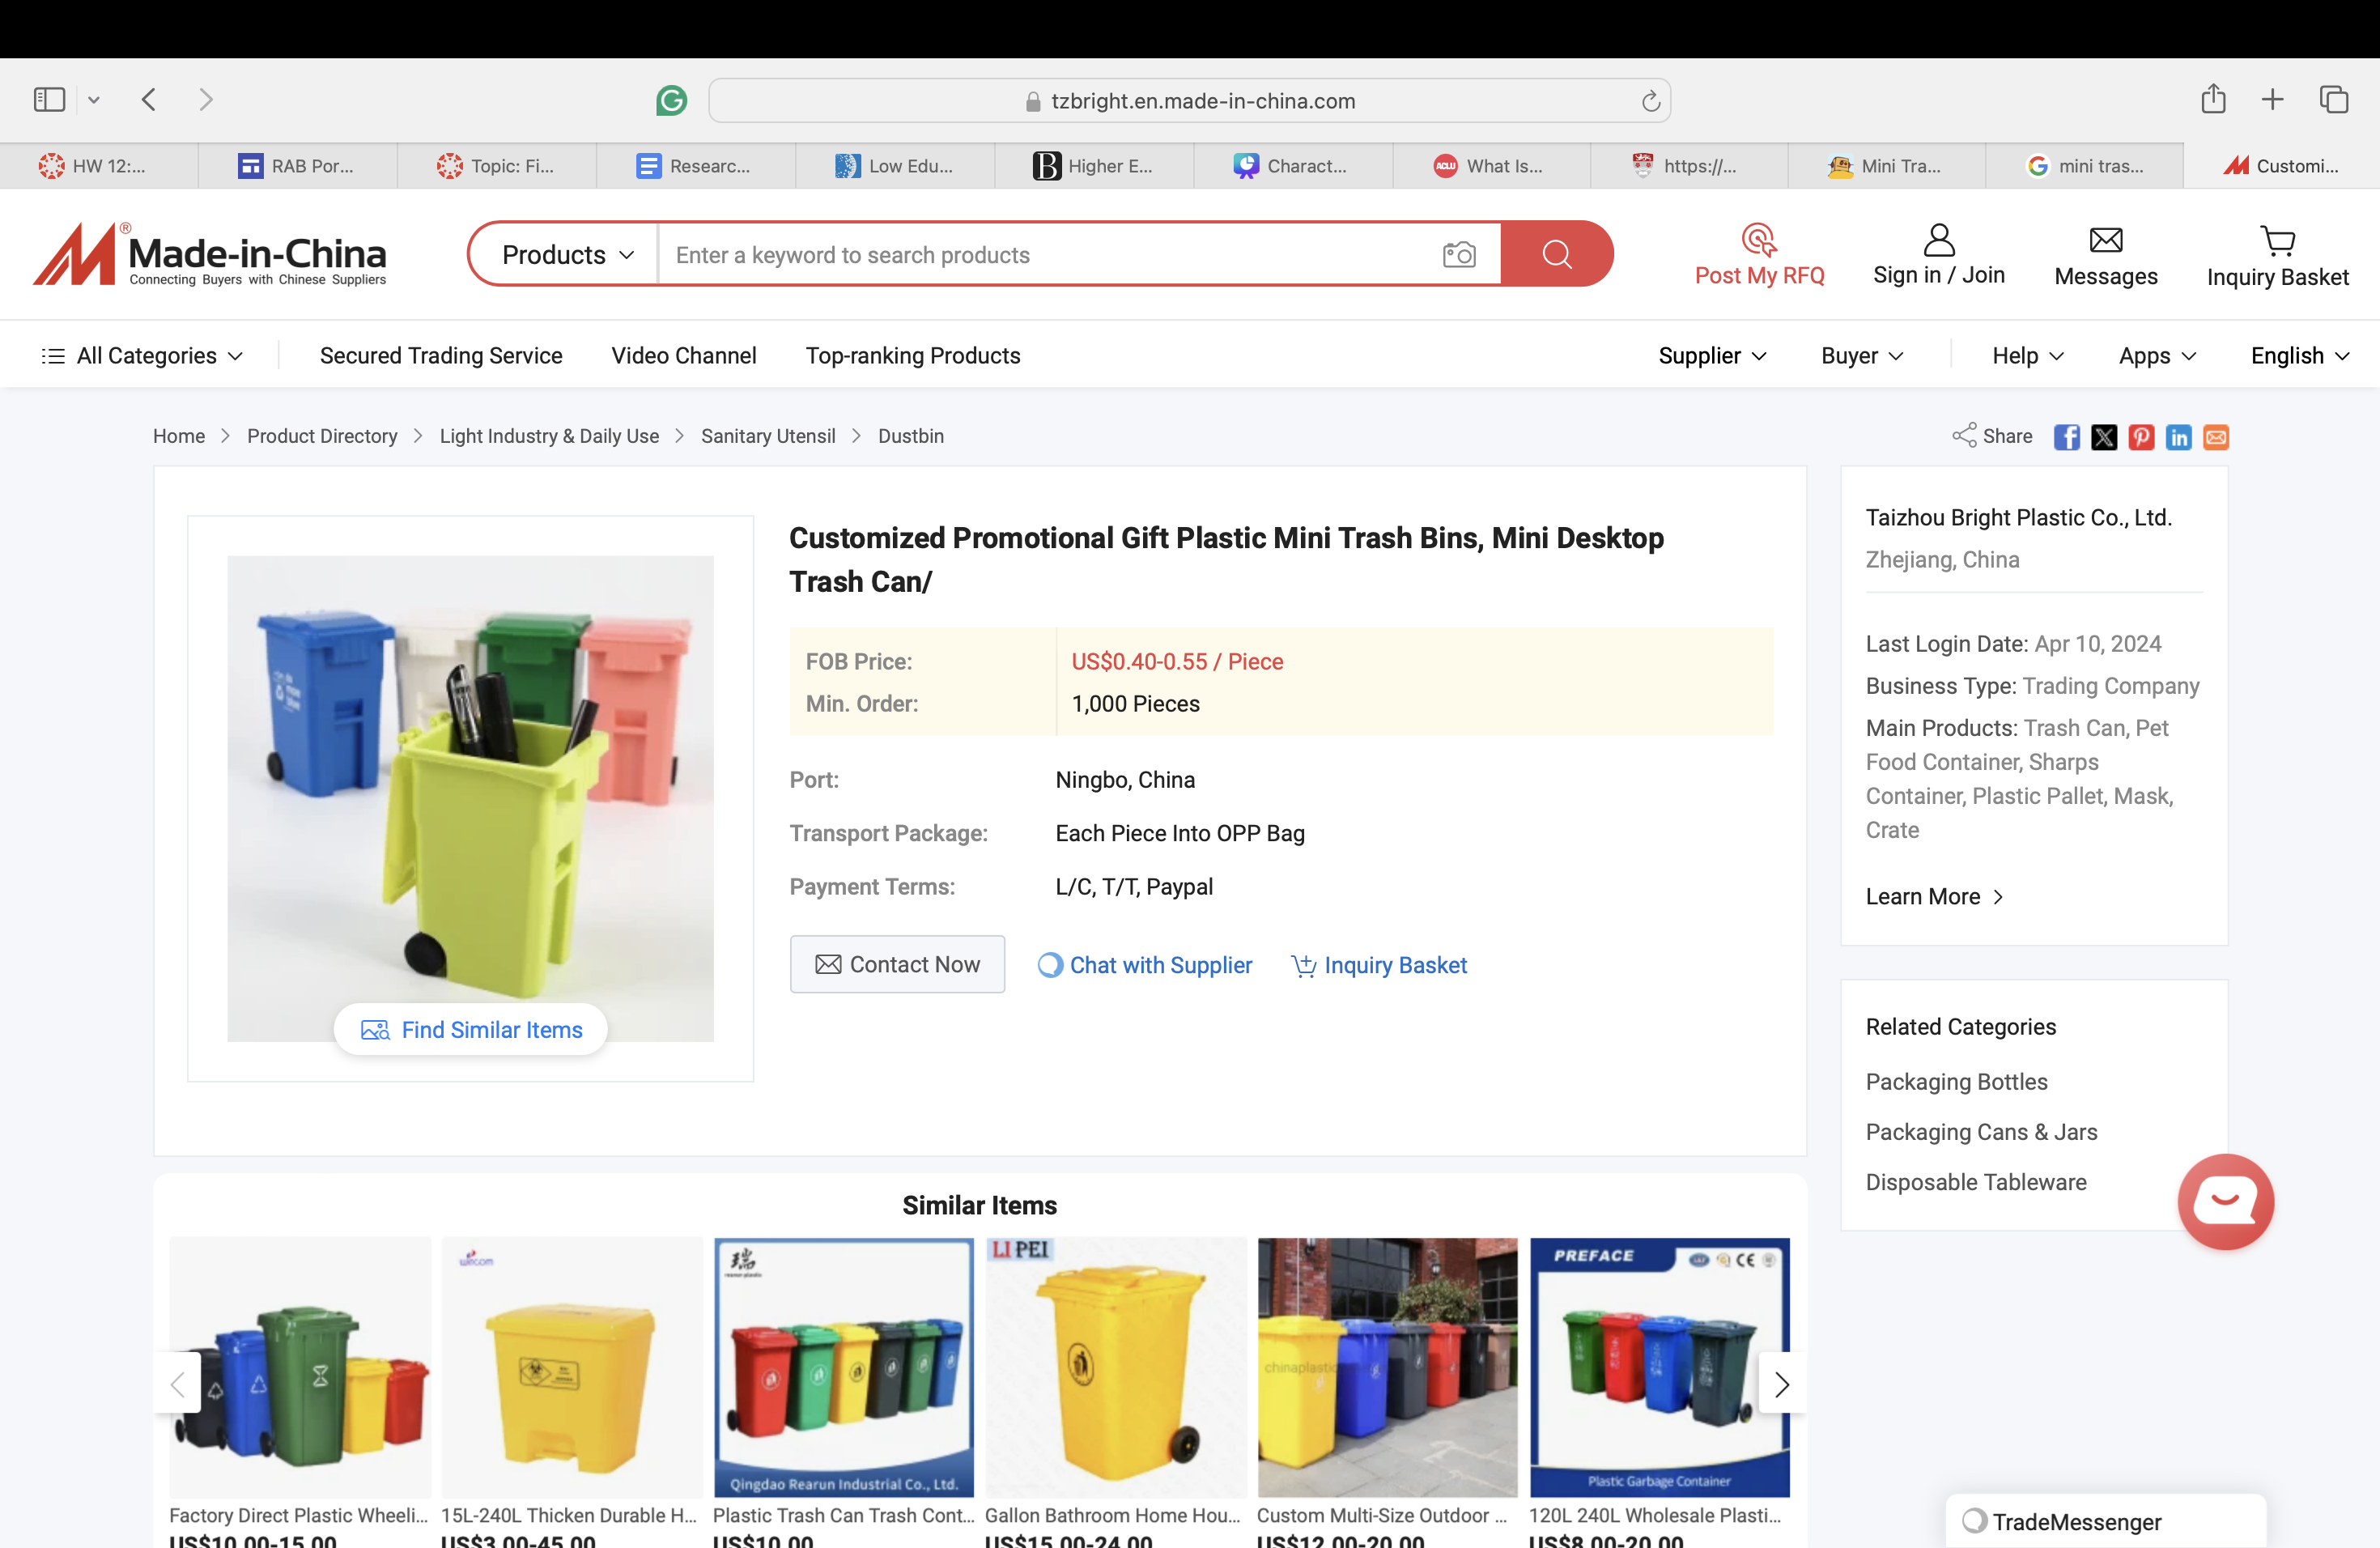
We made a mini trashcan. We made it because we think it would be super beneficial for people to have it in their cars or desks when they need to throw away wrappers or little things.
Supplies
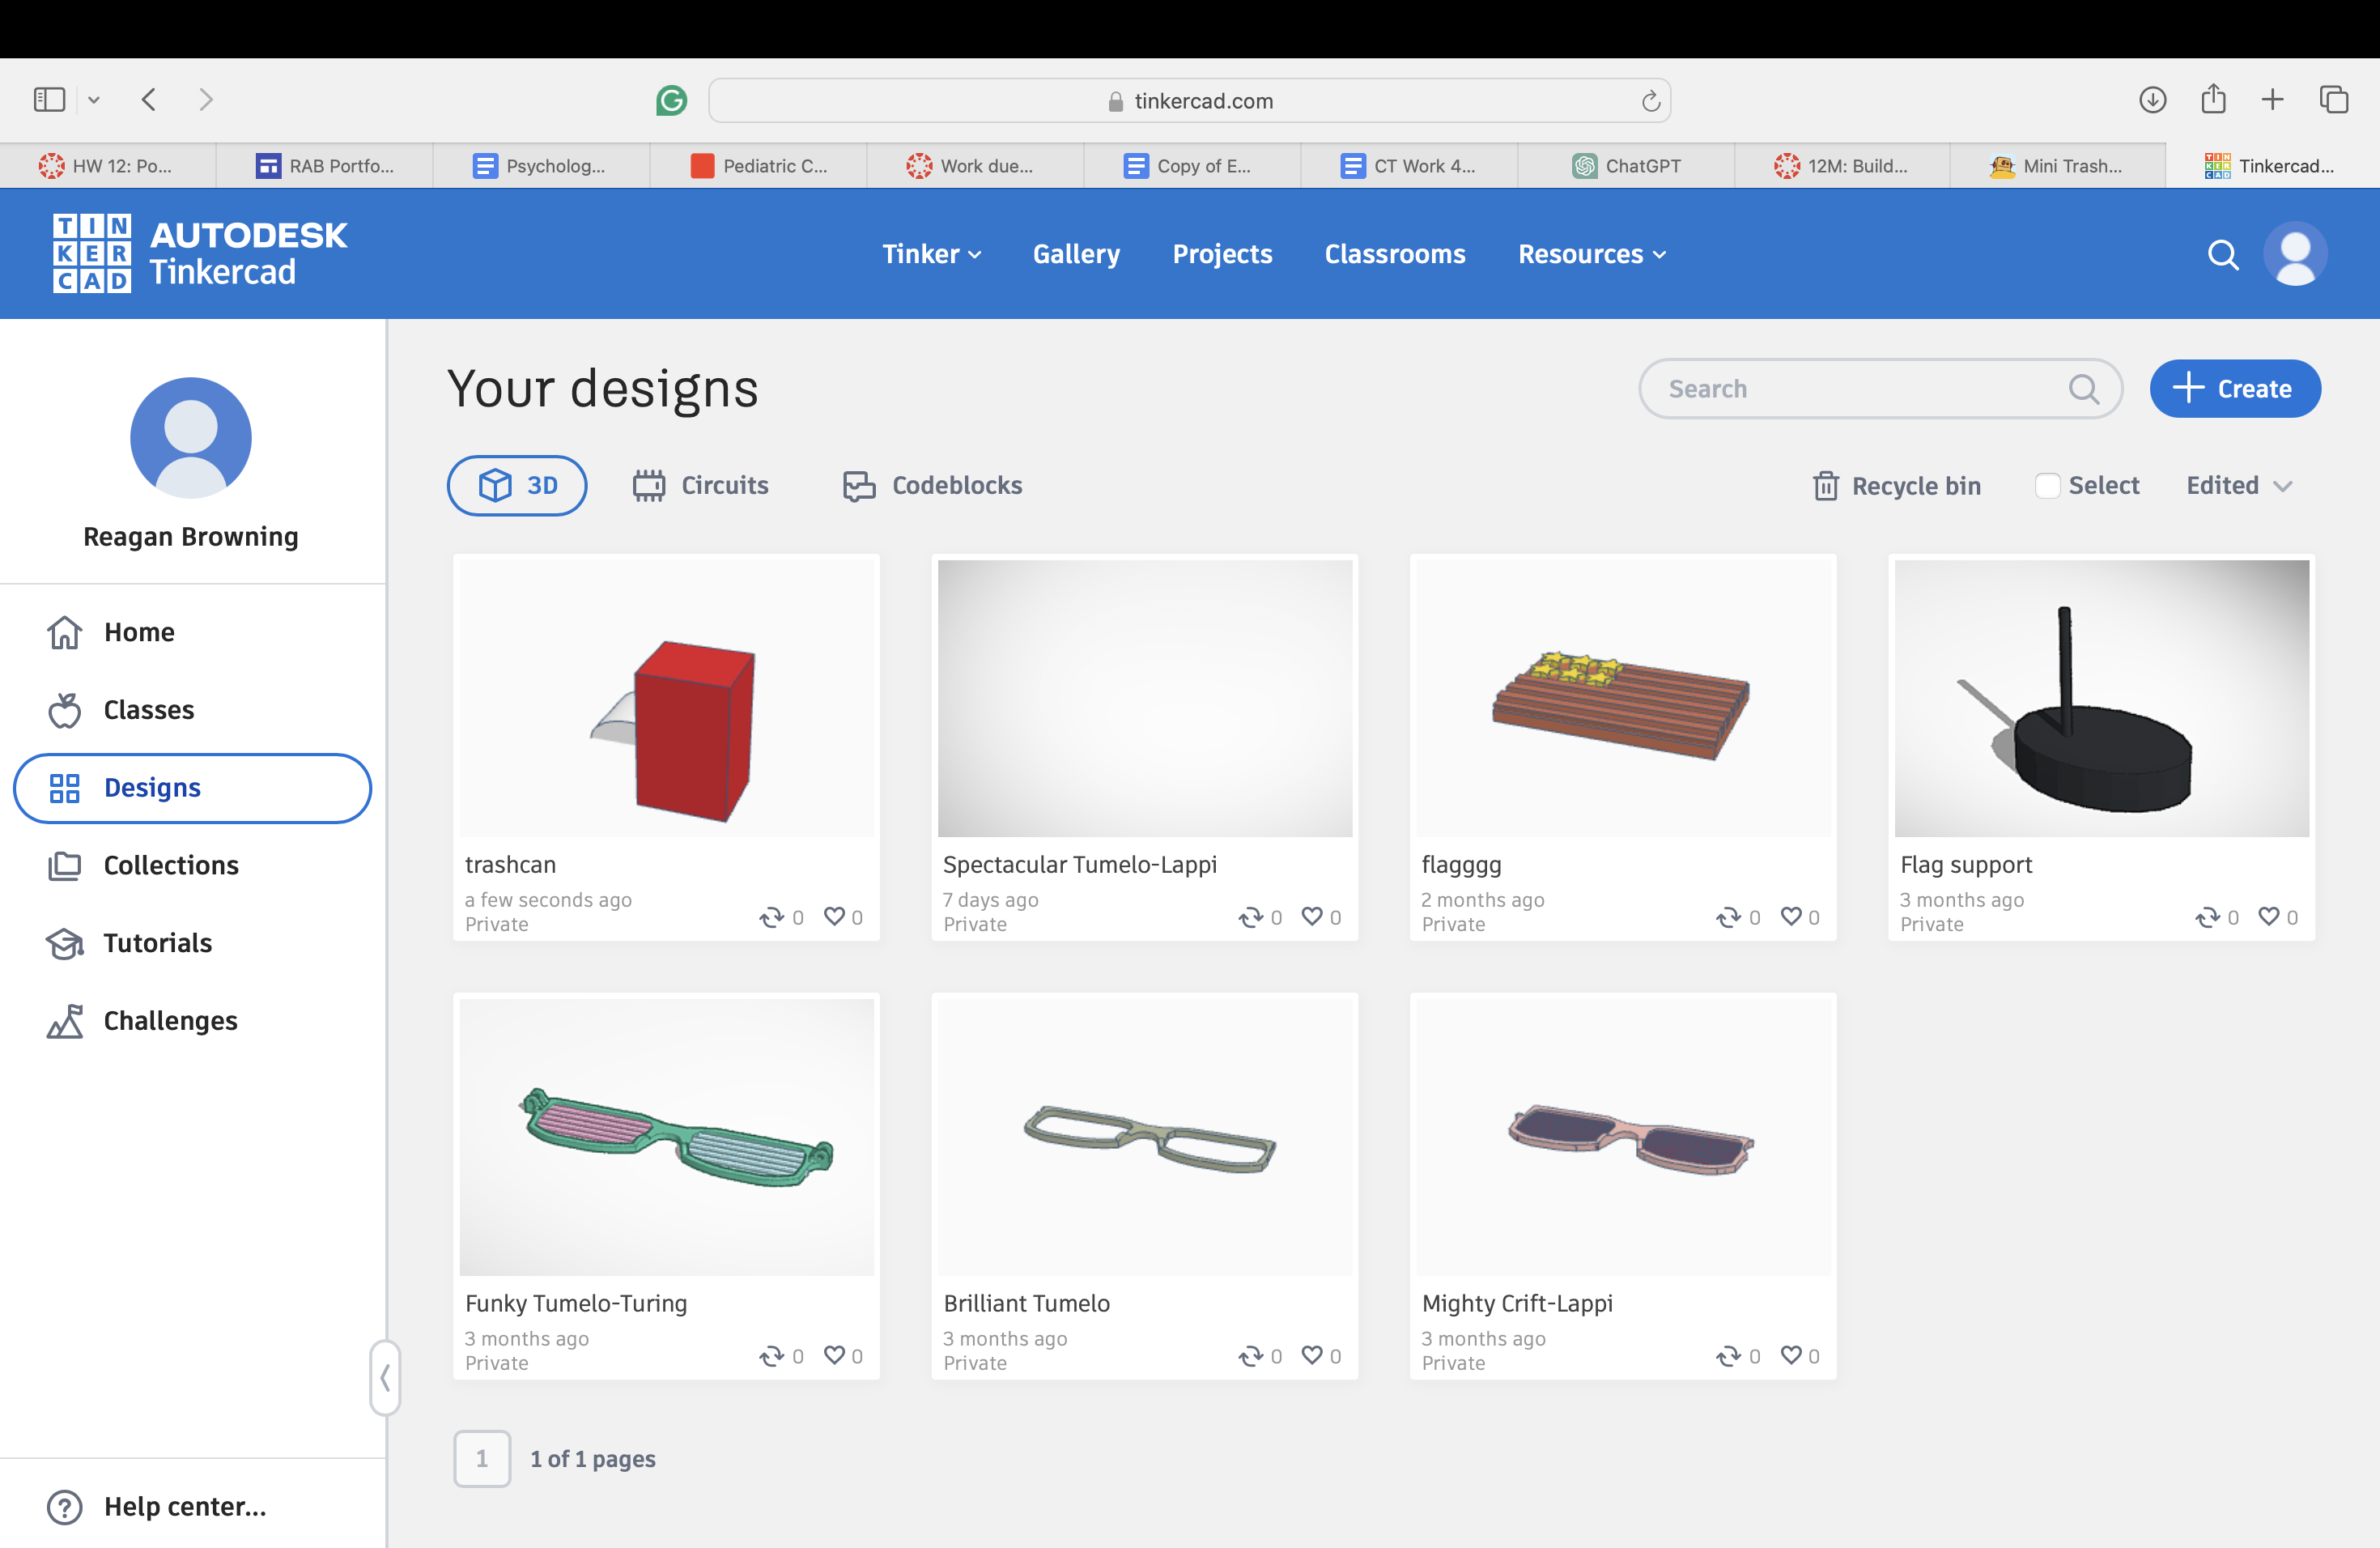
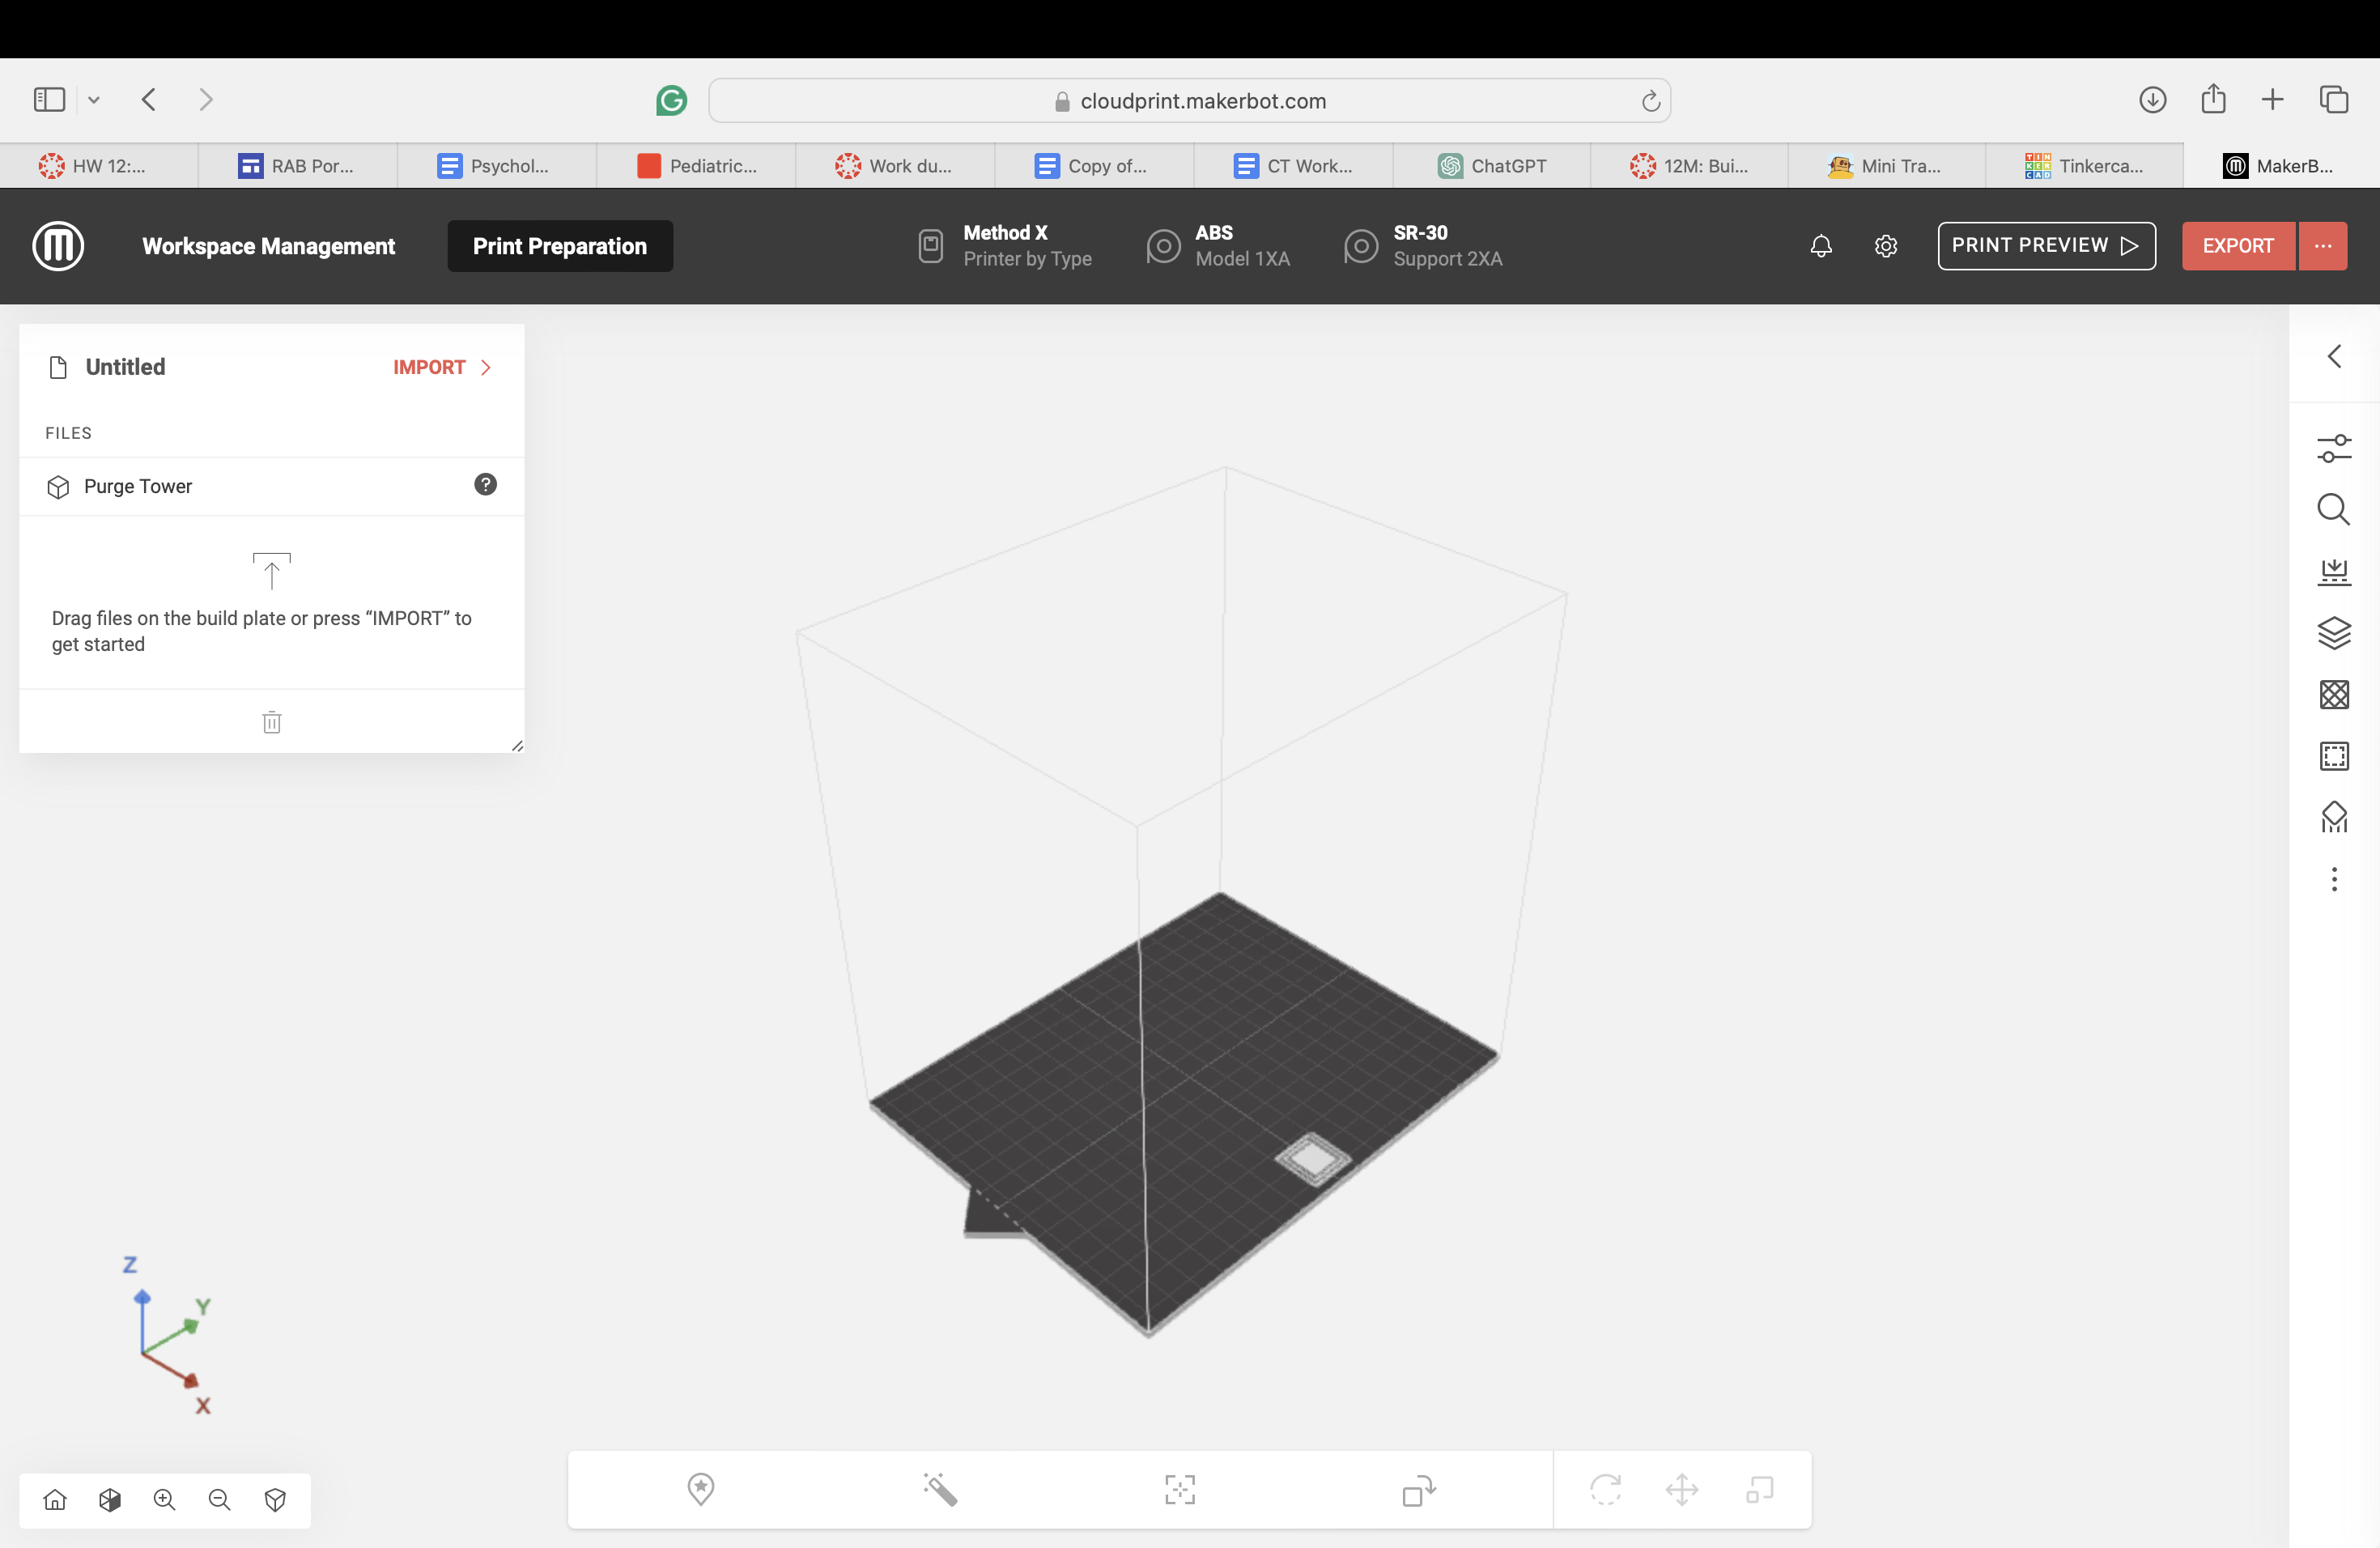
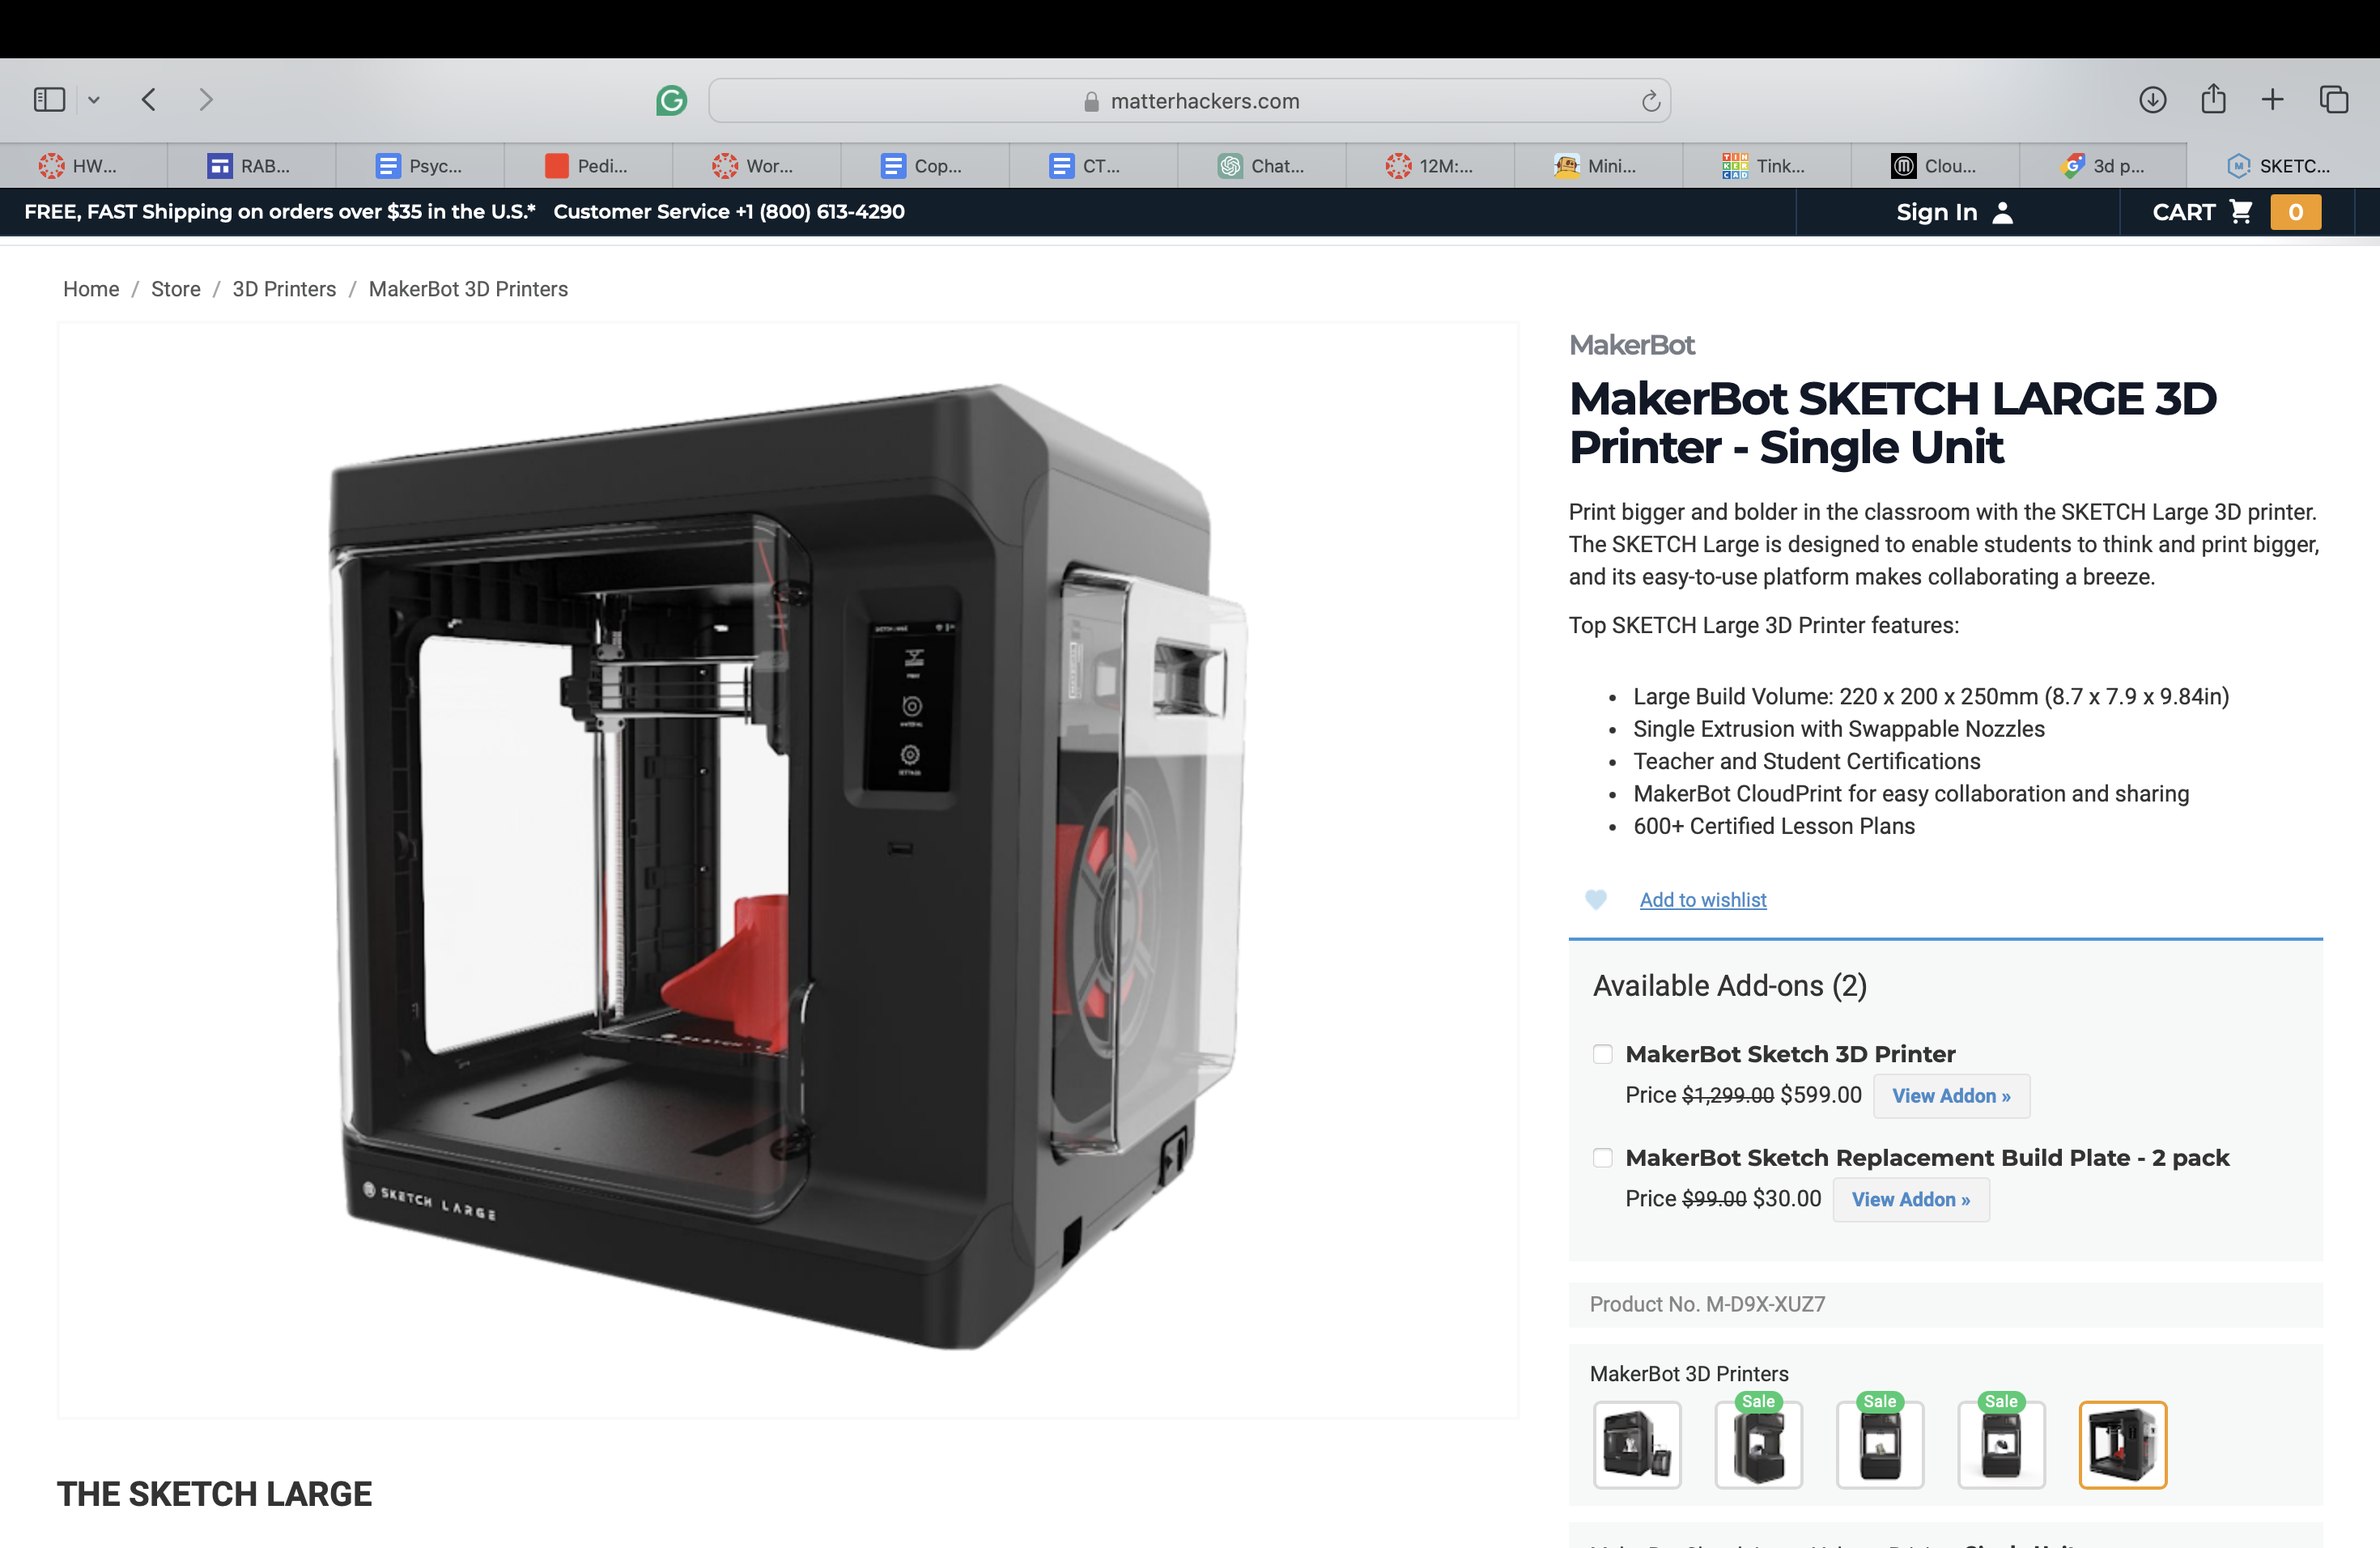
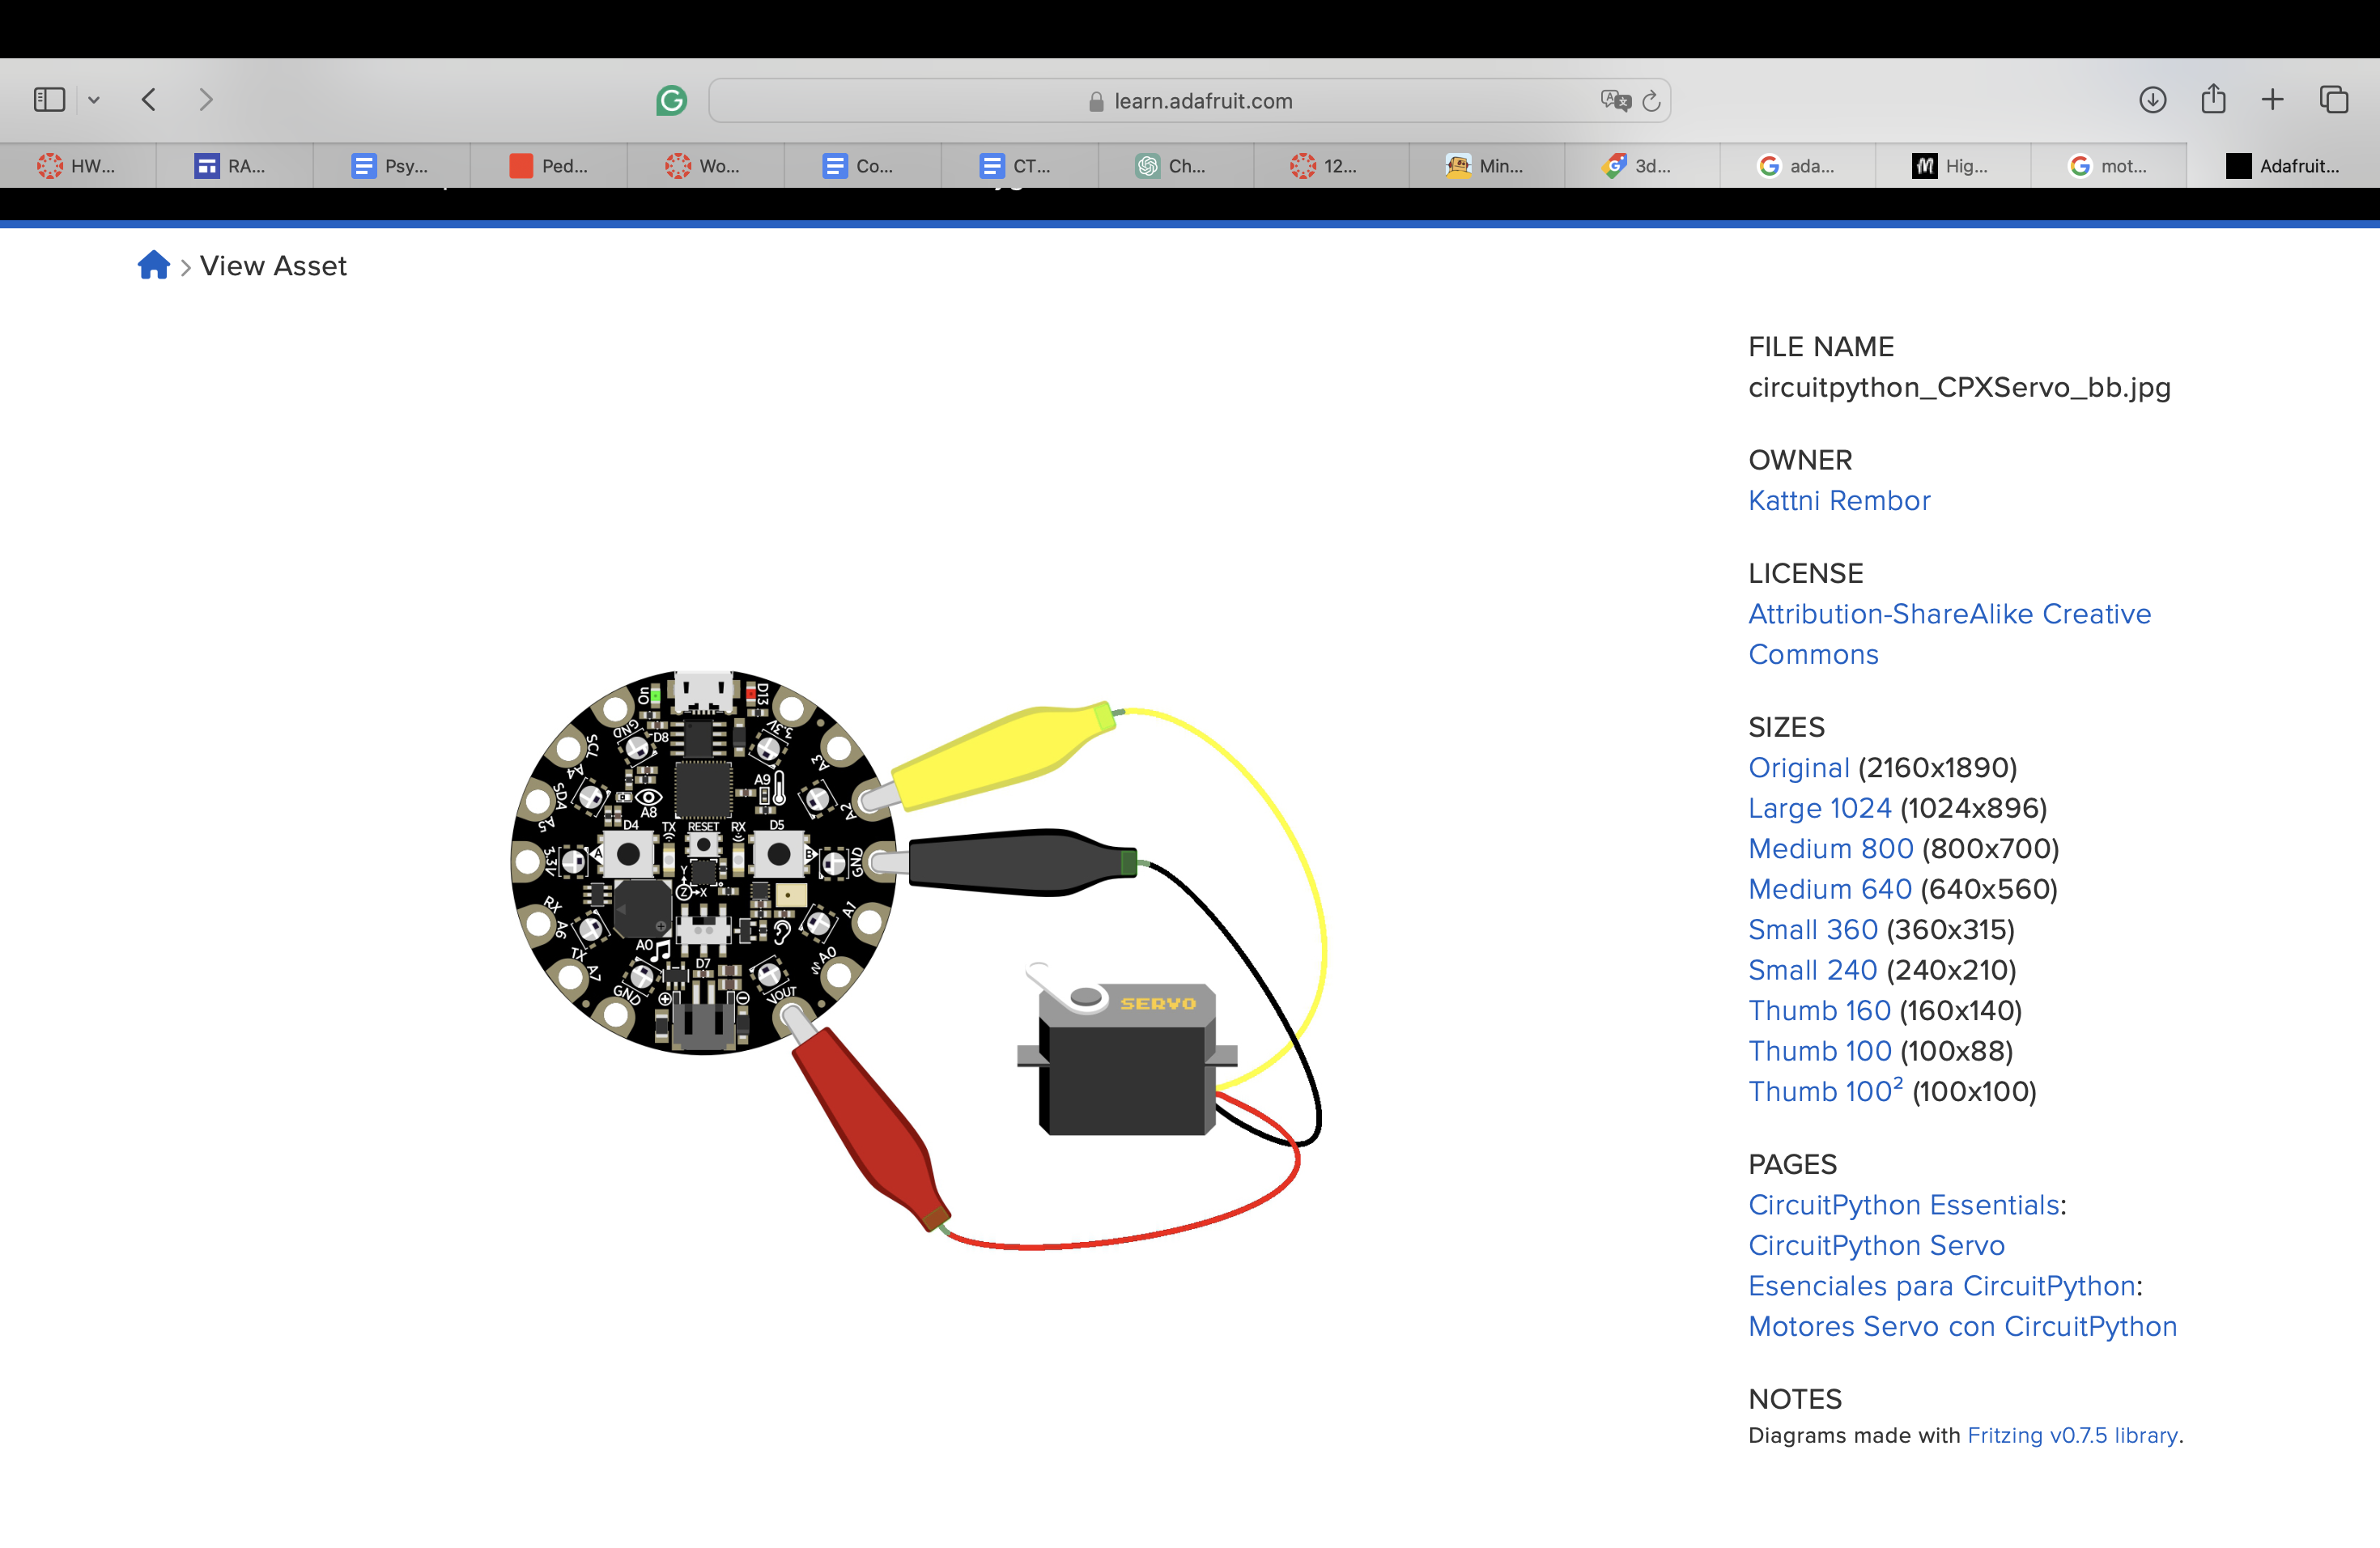
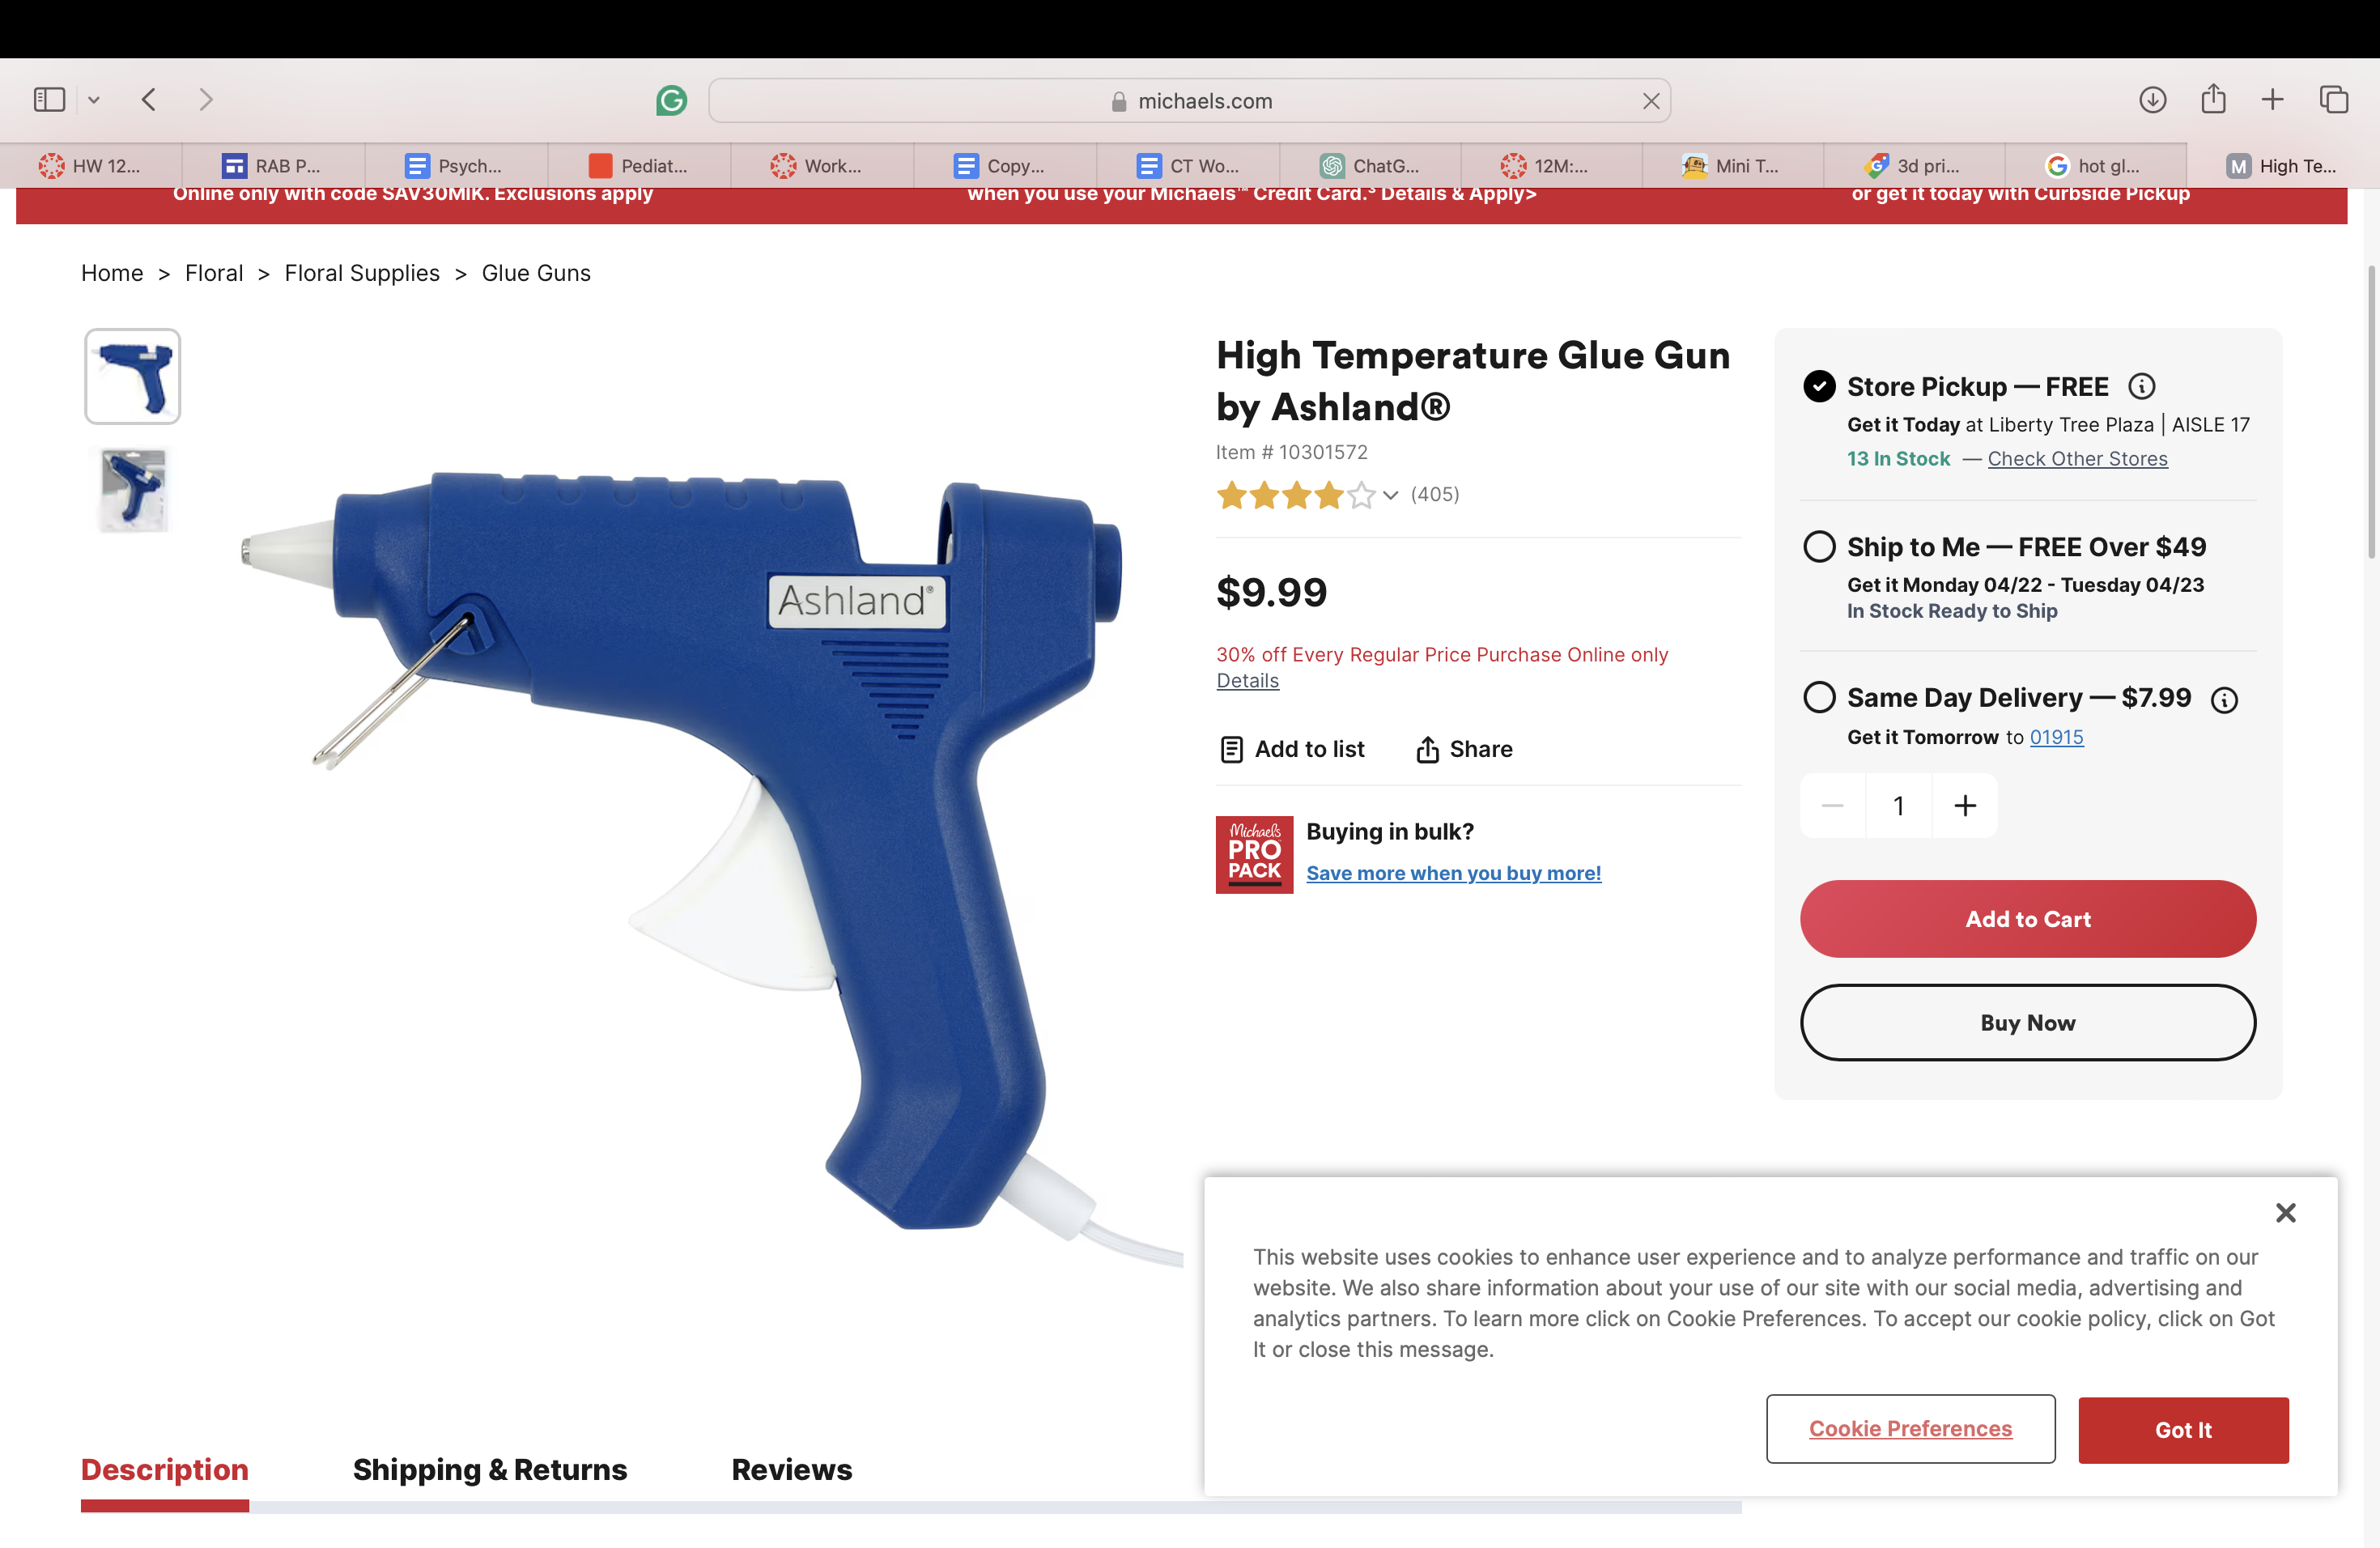
TinkerCAD, Makerbot, 3D printer, printer film, hot glue, tape, CPX, Motor
Designing the Trashcan
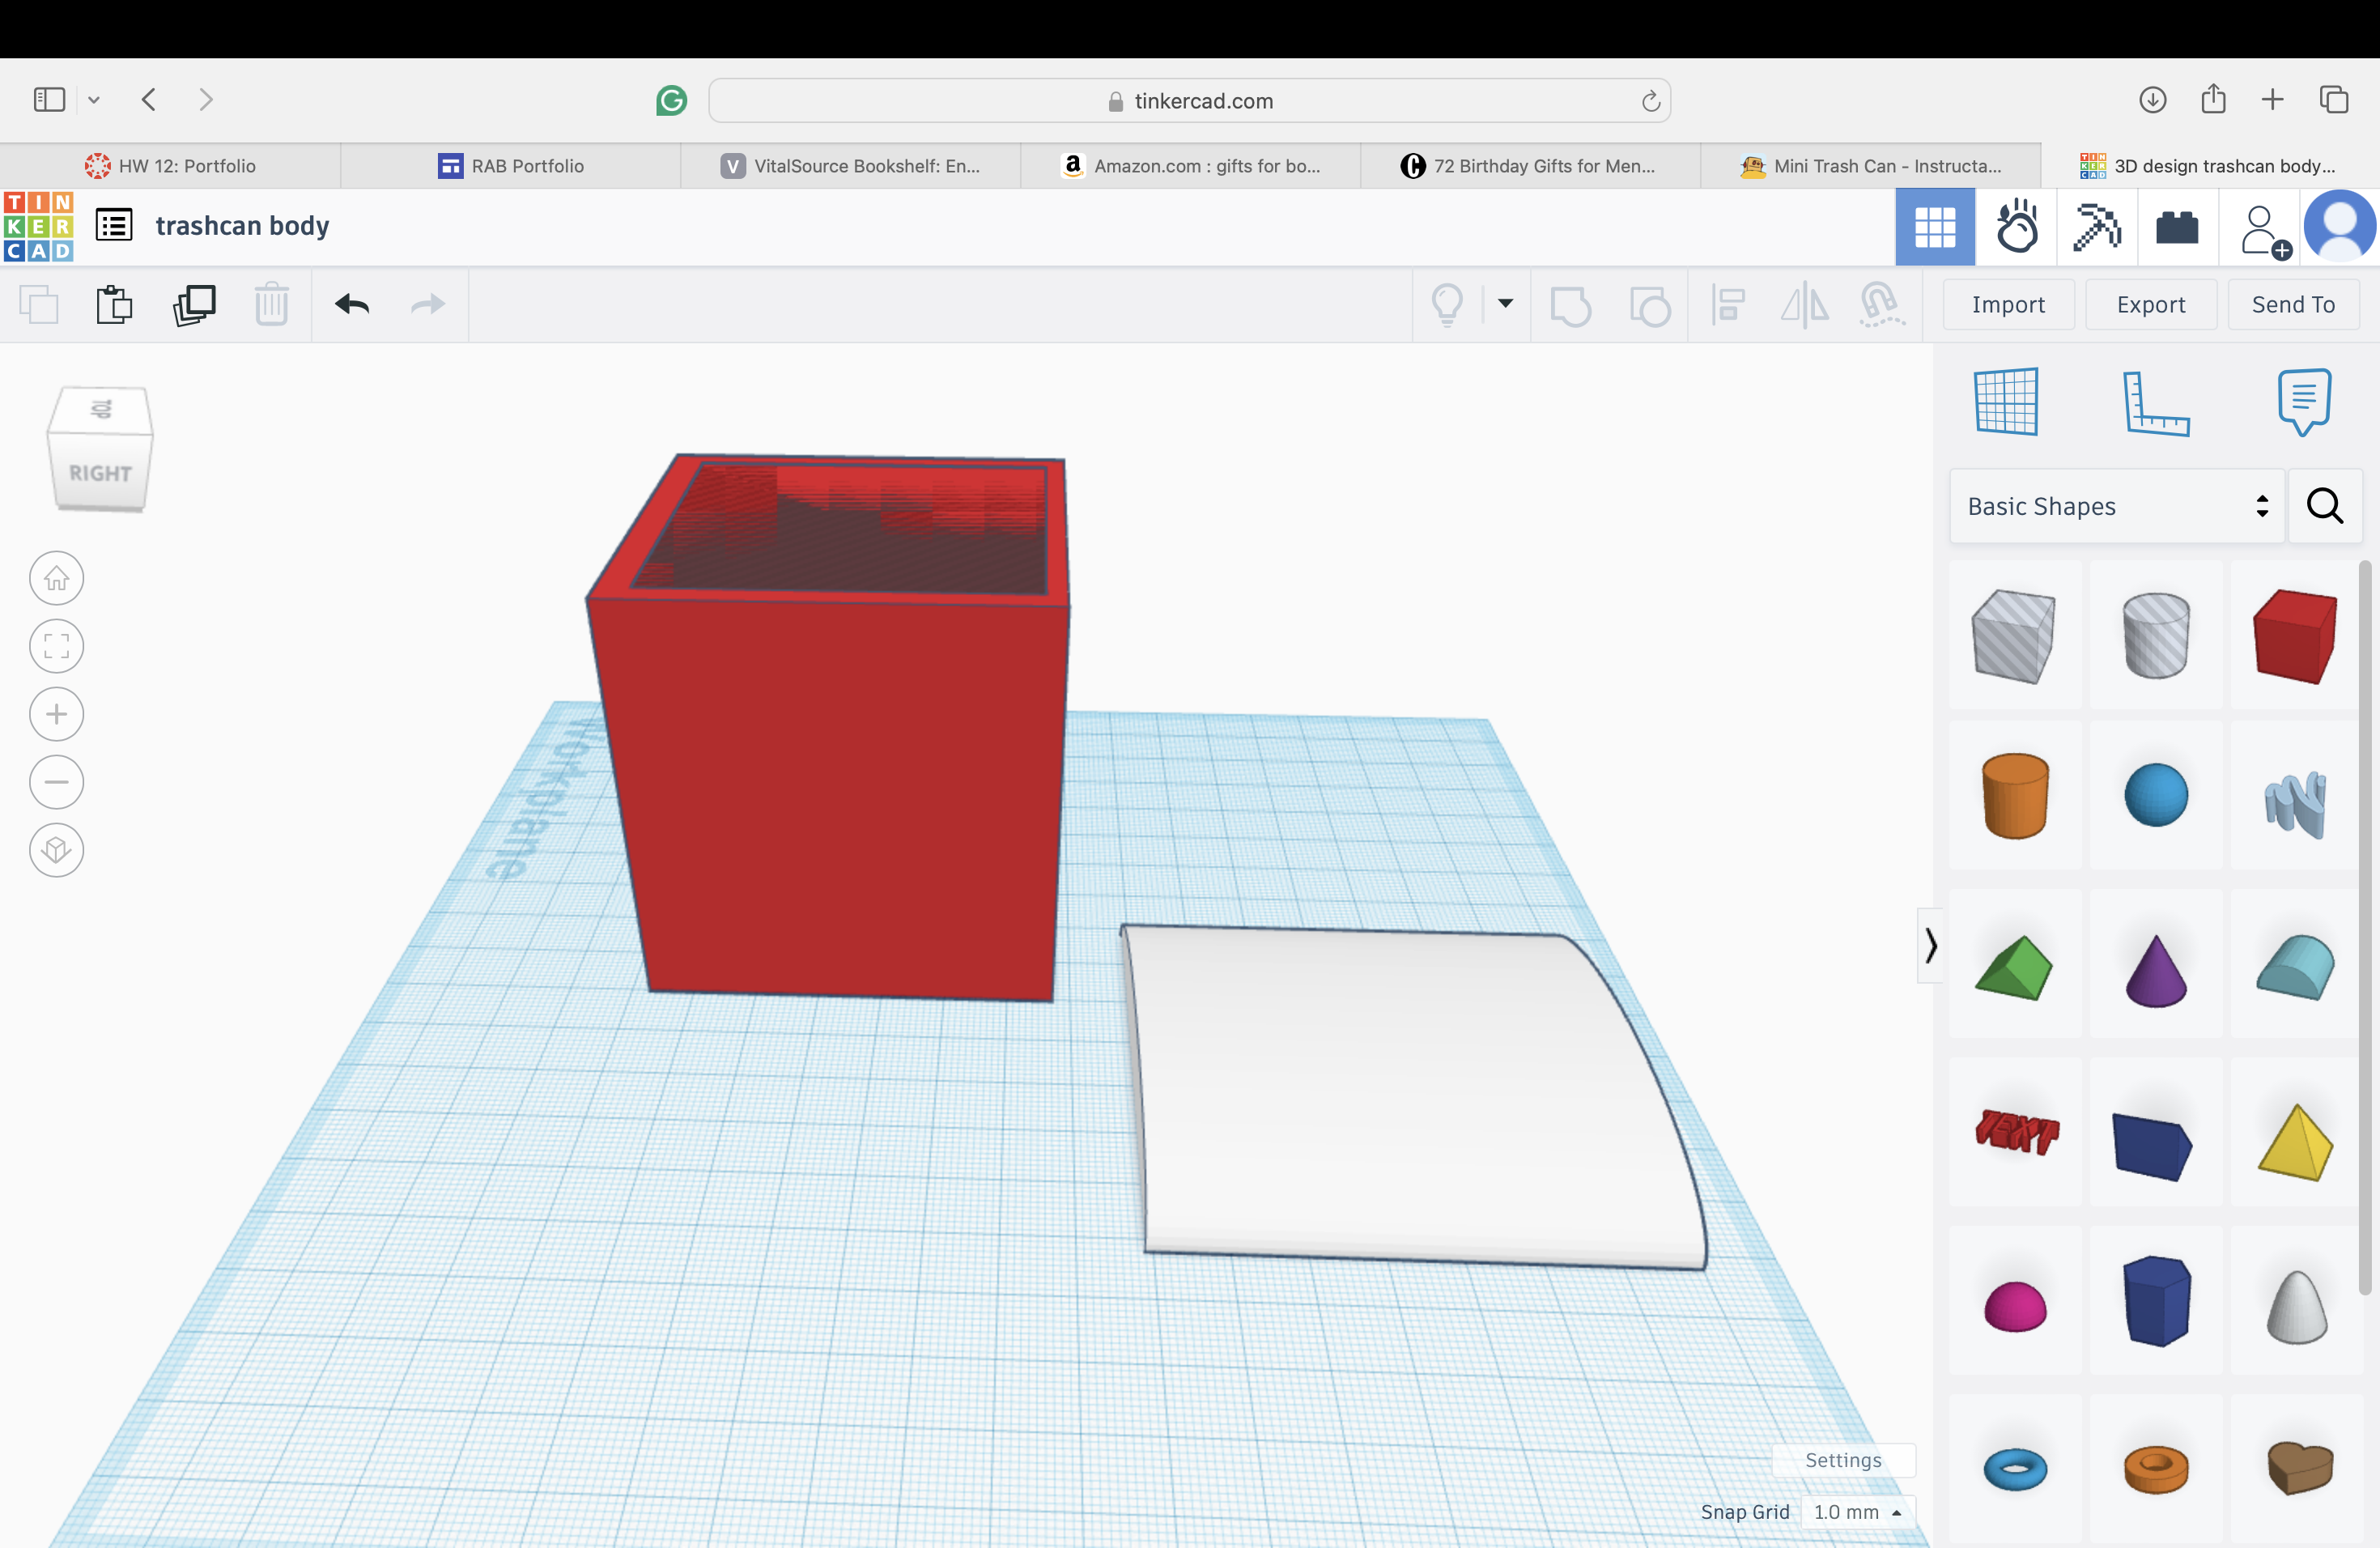
When designing our print we used TinkerCAD to get our ideas out. We placed the square (hole one not regular) on the base and stretched it up to create a tall rectangle. Then we took the half-cylinder shape and made it to the size that fit the top of the rectangle and put a whole through the middle so there was an opening at the bottom aswell. The tall rectangle resembles the body of the trashcan, while the half-cylinder resembles the trashcan lid. After creating both we placed them side by side so they would print individually and not attached together. After separating them we named the file "trashcan" and exported the file.
Printing the Trashcan
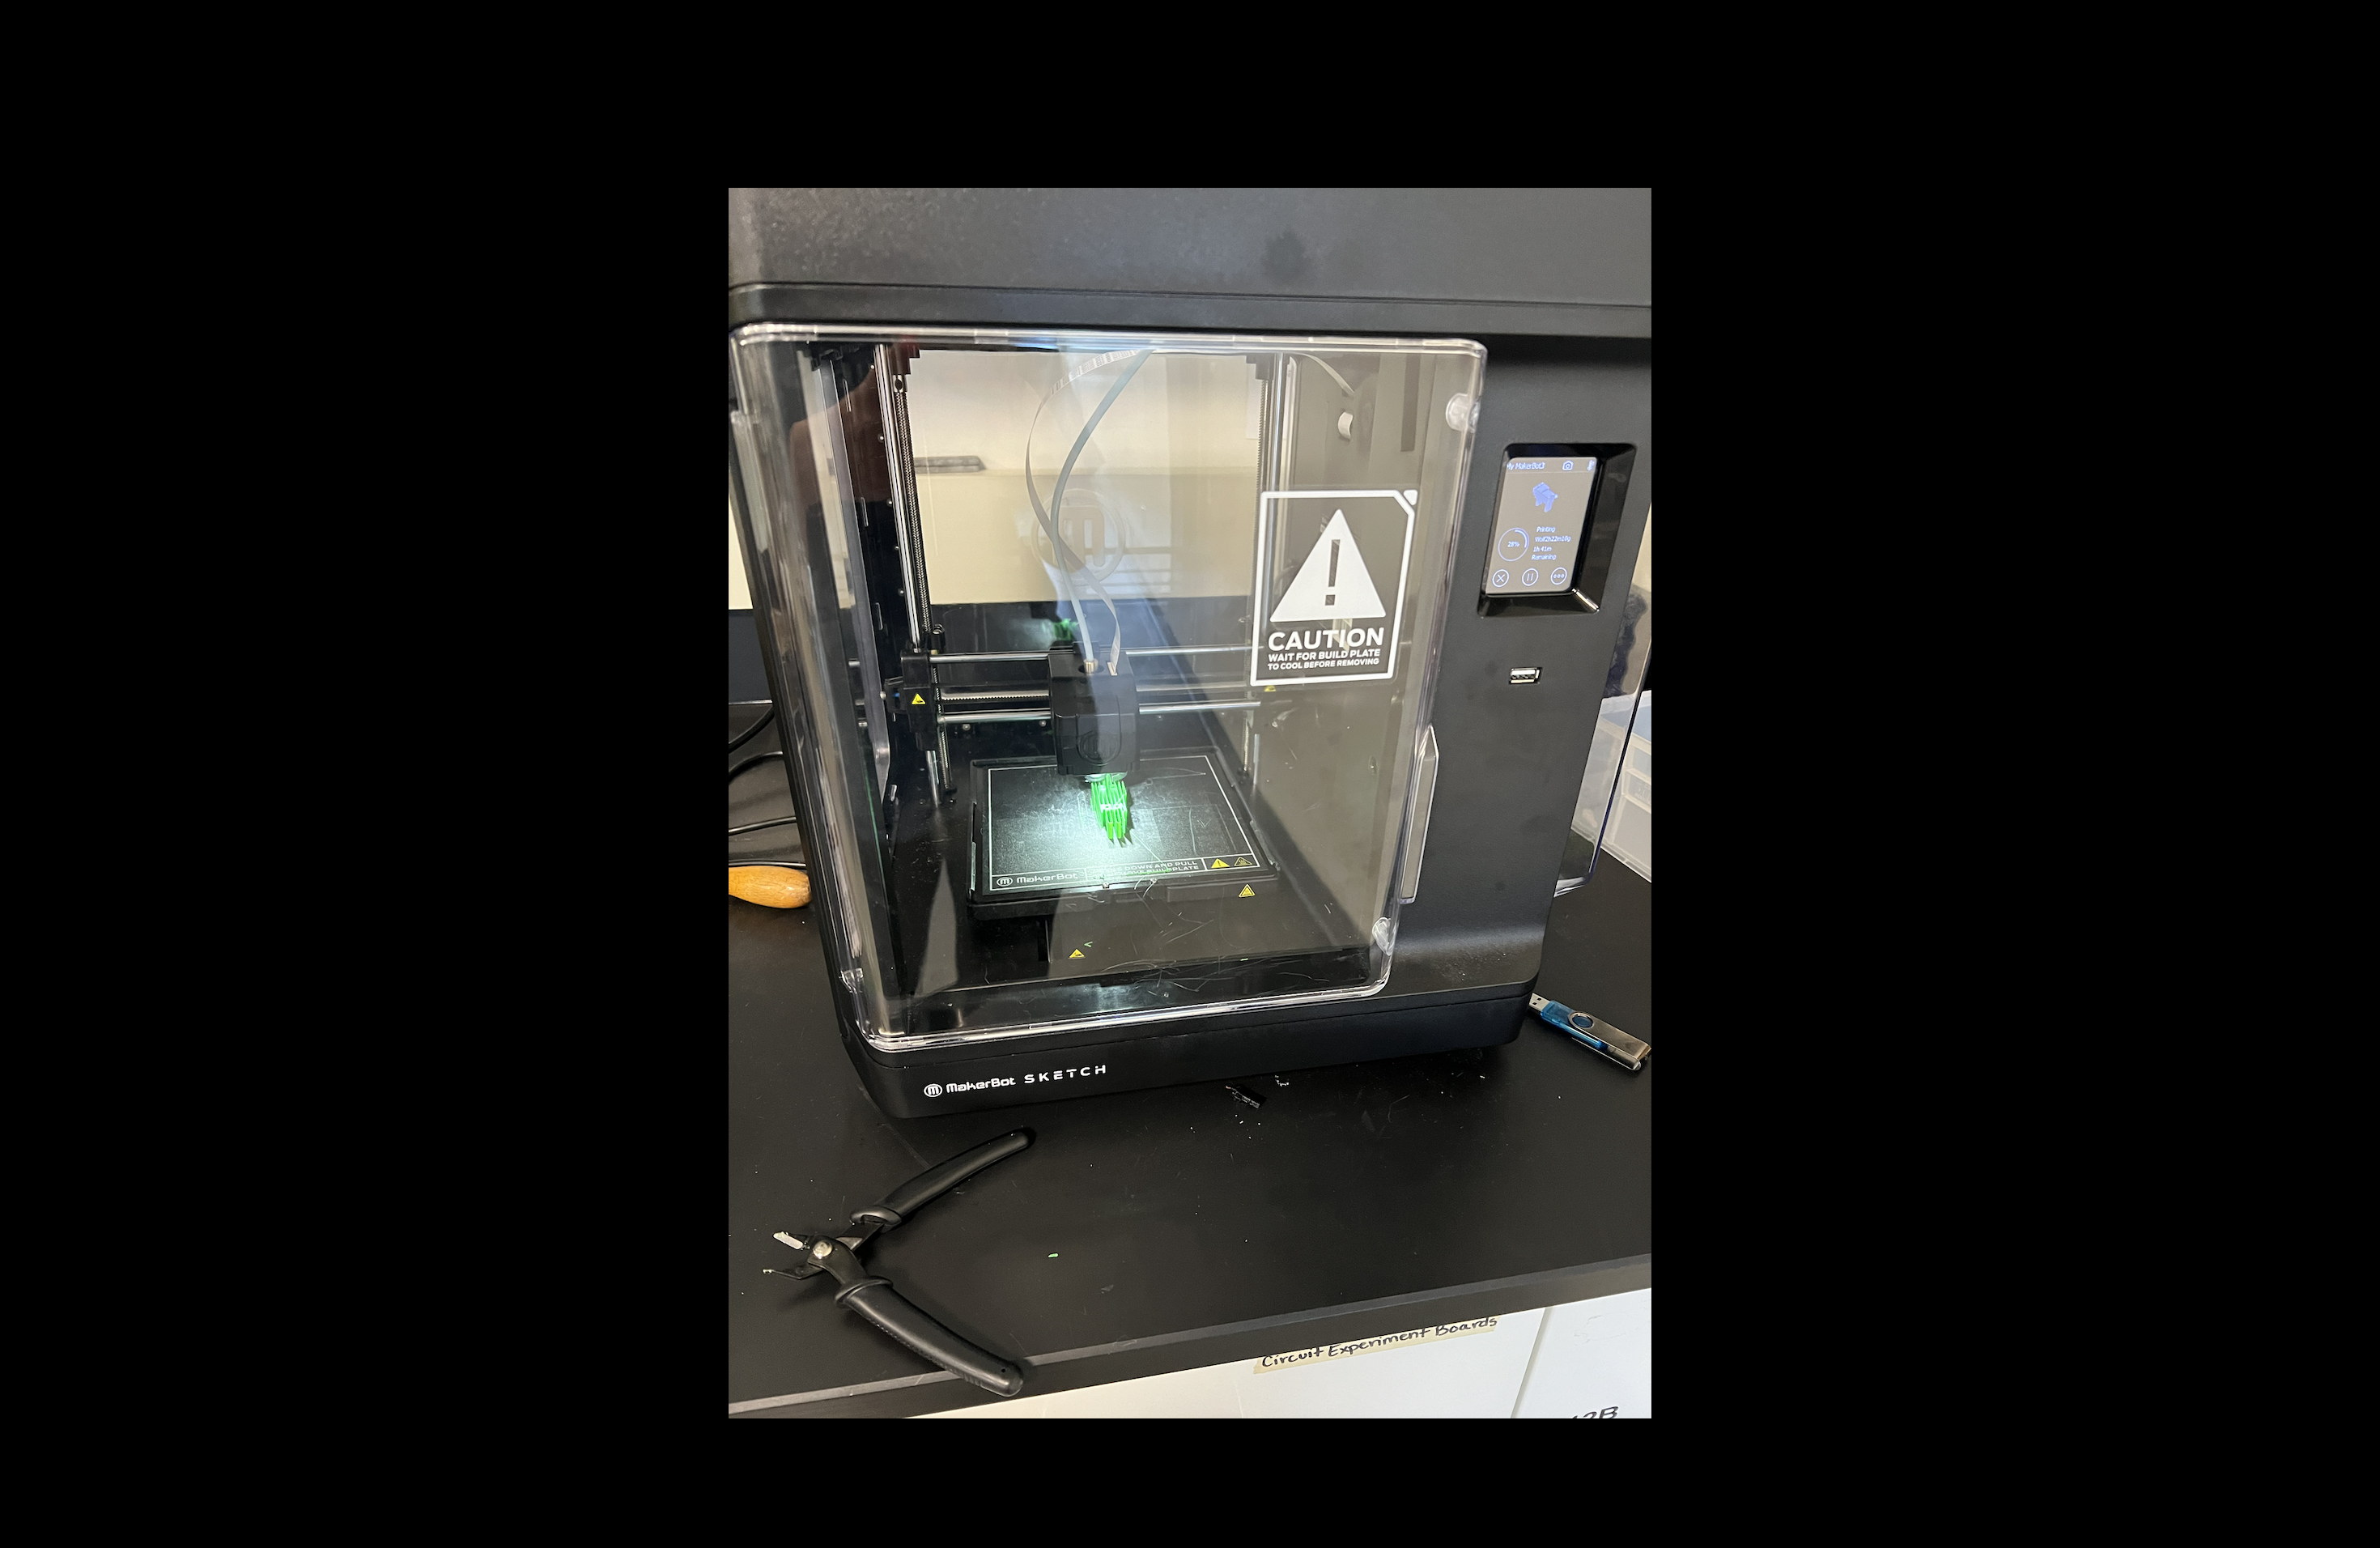
After designing the Trashcan on TinkerCAD, we imported the file into MakerBot Cloud Print. We used the Sketch Print and chose no raft. After that, we clicked review print and exported it. We then grabbed a flash drive, plugged it into the computer, dropped the Makerbot file into the flash drive, then plugged the flash drive into the printer, clicked on the file, and then clicked print! The print took about 5 hours.
The Code
Plug this code into your computer!
# create a PWMOut object on Pin A2.
pwm = pwmio.PWMOut(board.A1, frequency=50)
# Create a servo object, my_servo.
my_servo = servo.ContinuousServo(pwm)
while True:
print("forward")
my_servo.throttle = 0.5
time.sleep(2.0)
print("stop")
my_servo.throttle = 0.0
time.sleep(2.0)
print("reverse")
my_servo.throttle = -1.0
time.sleep(2.0)
print("stop")
my_servo.throttle = 0.0
time.sleep(4.0)
Downloads
Assembling the Trashcan
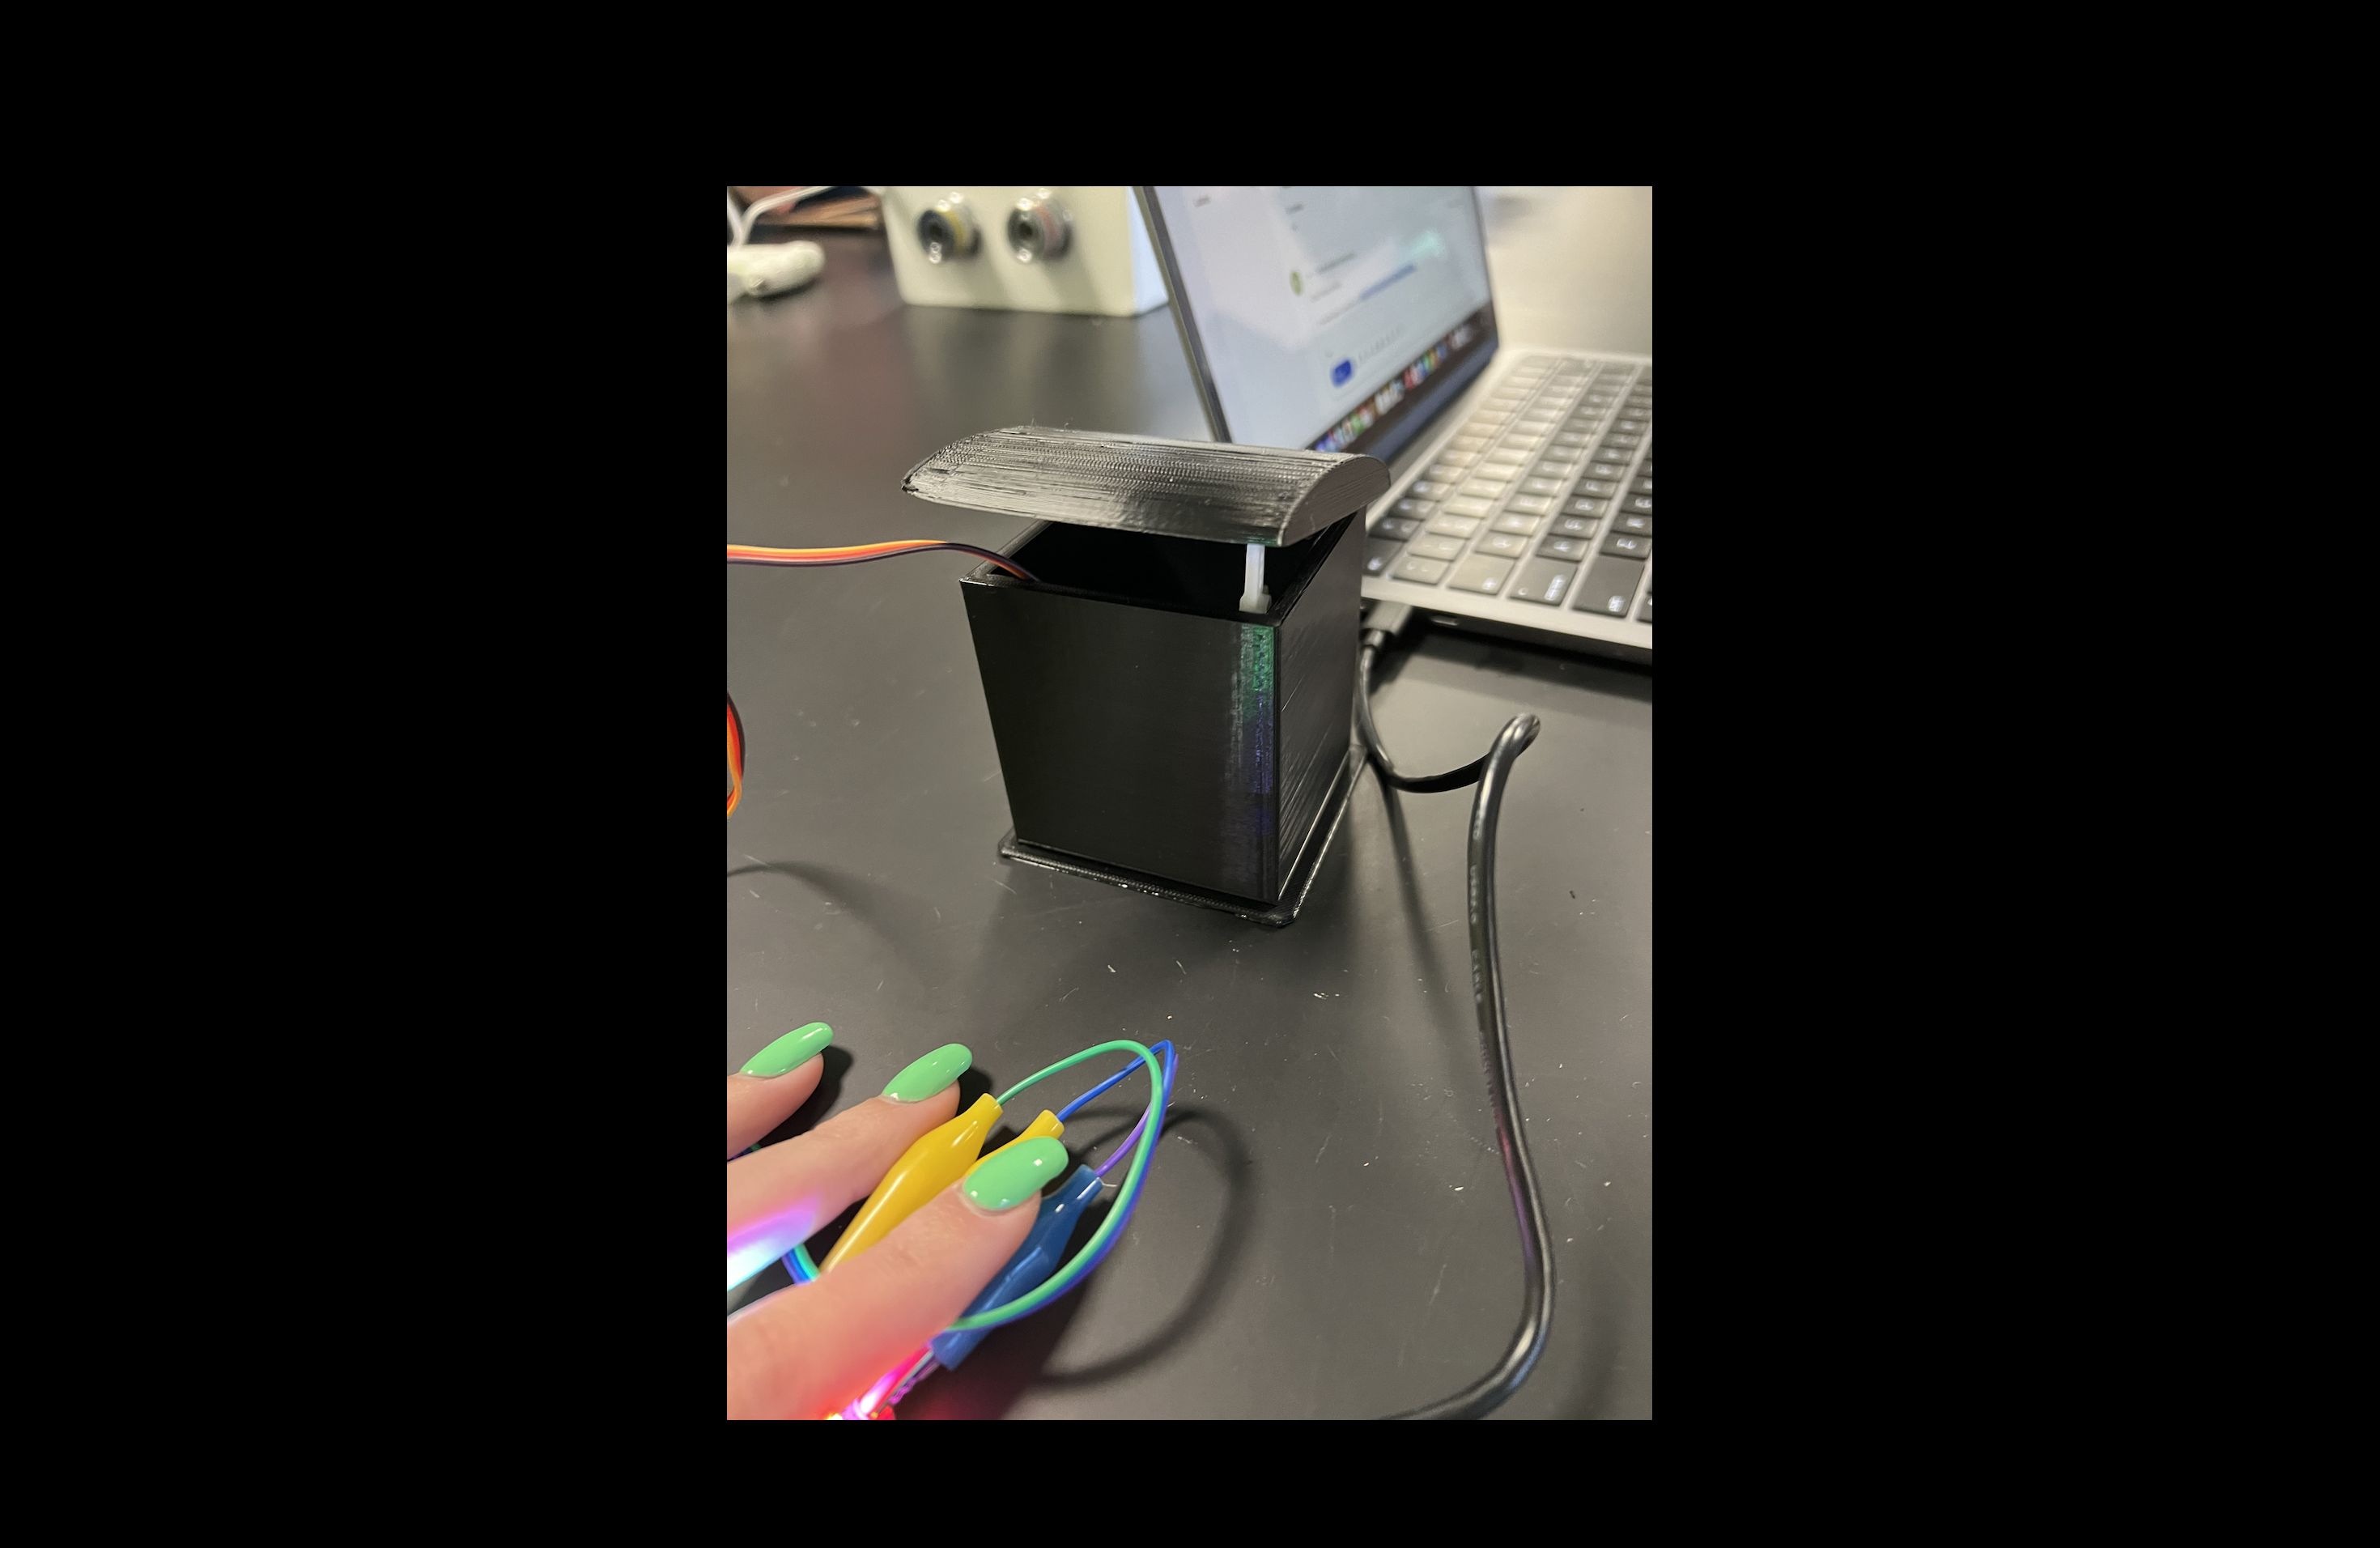
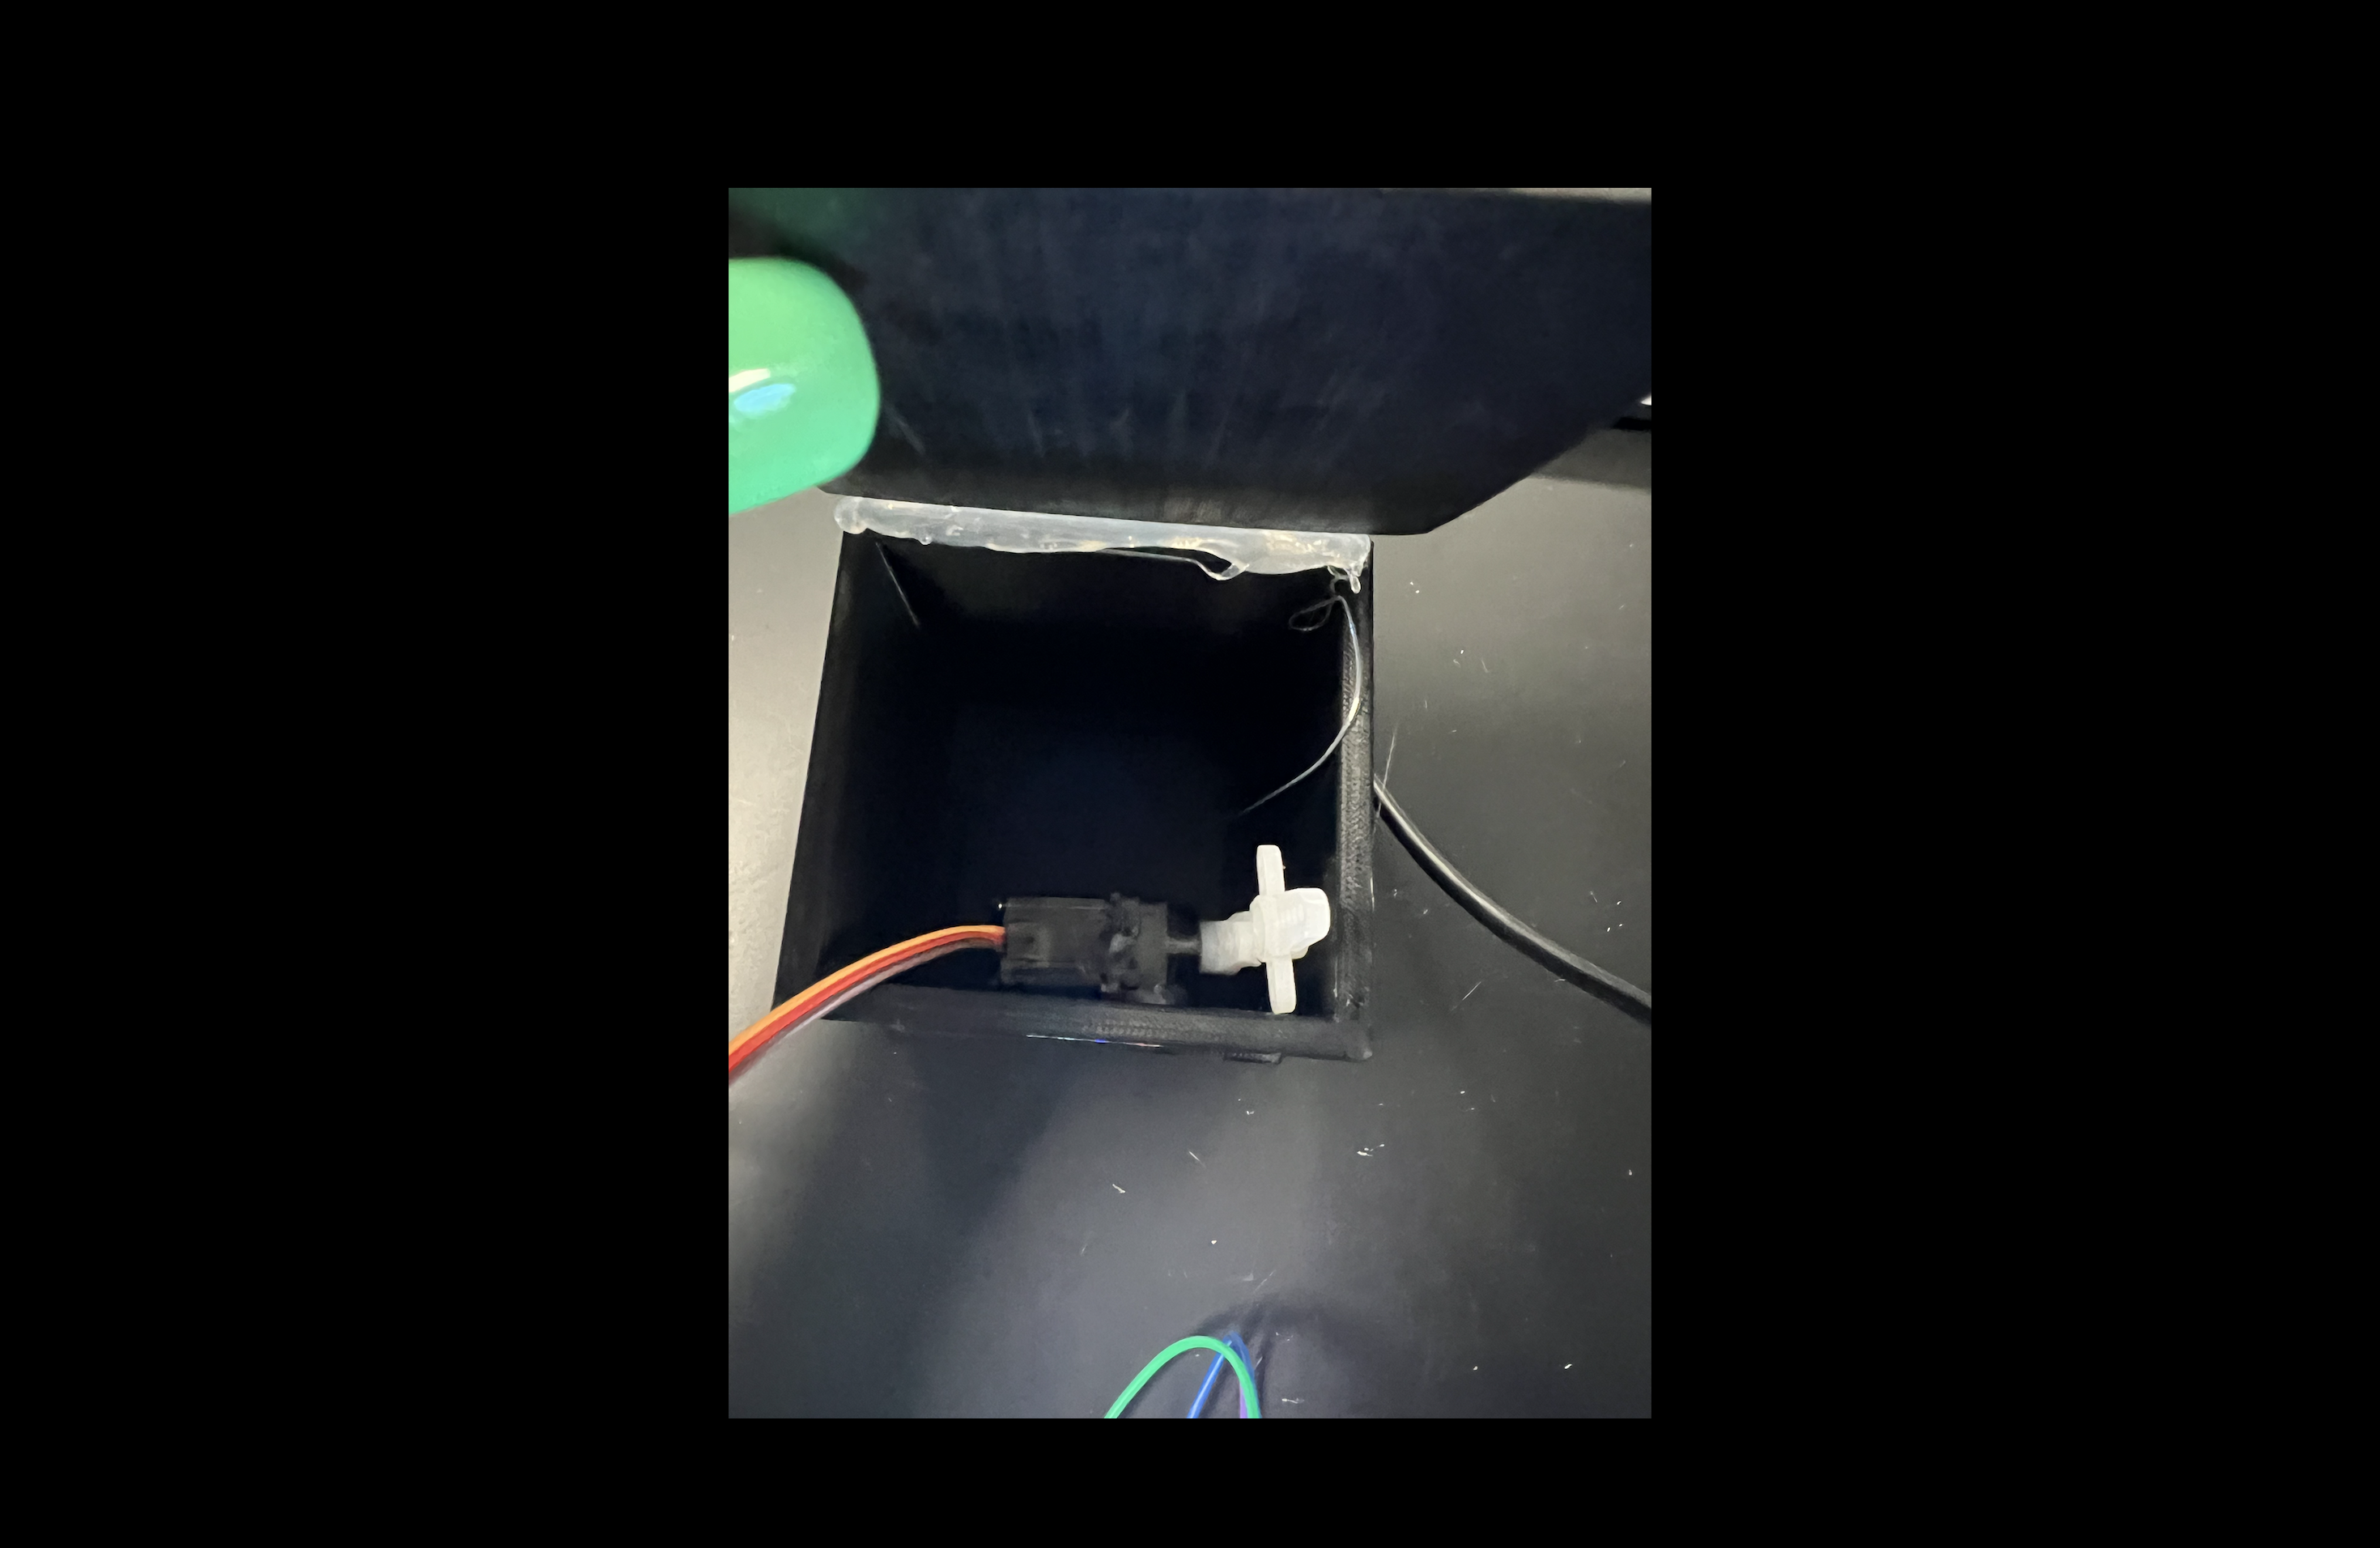
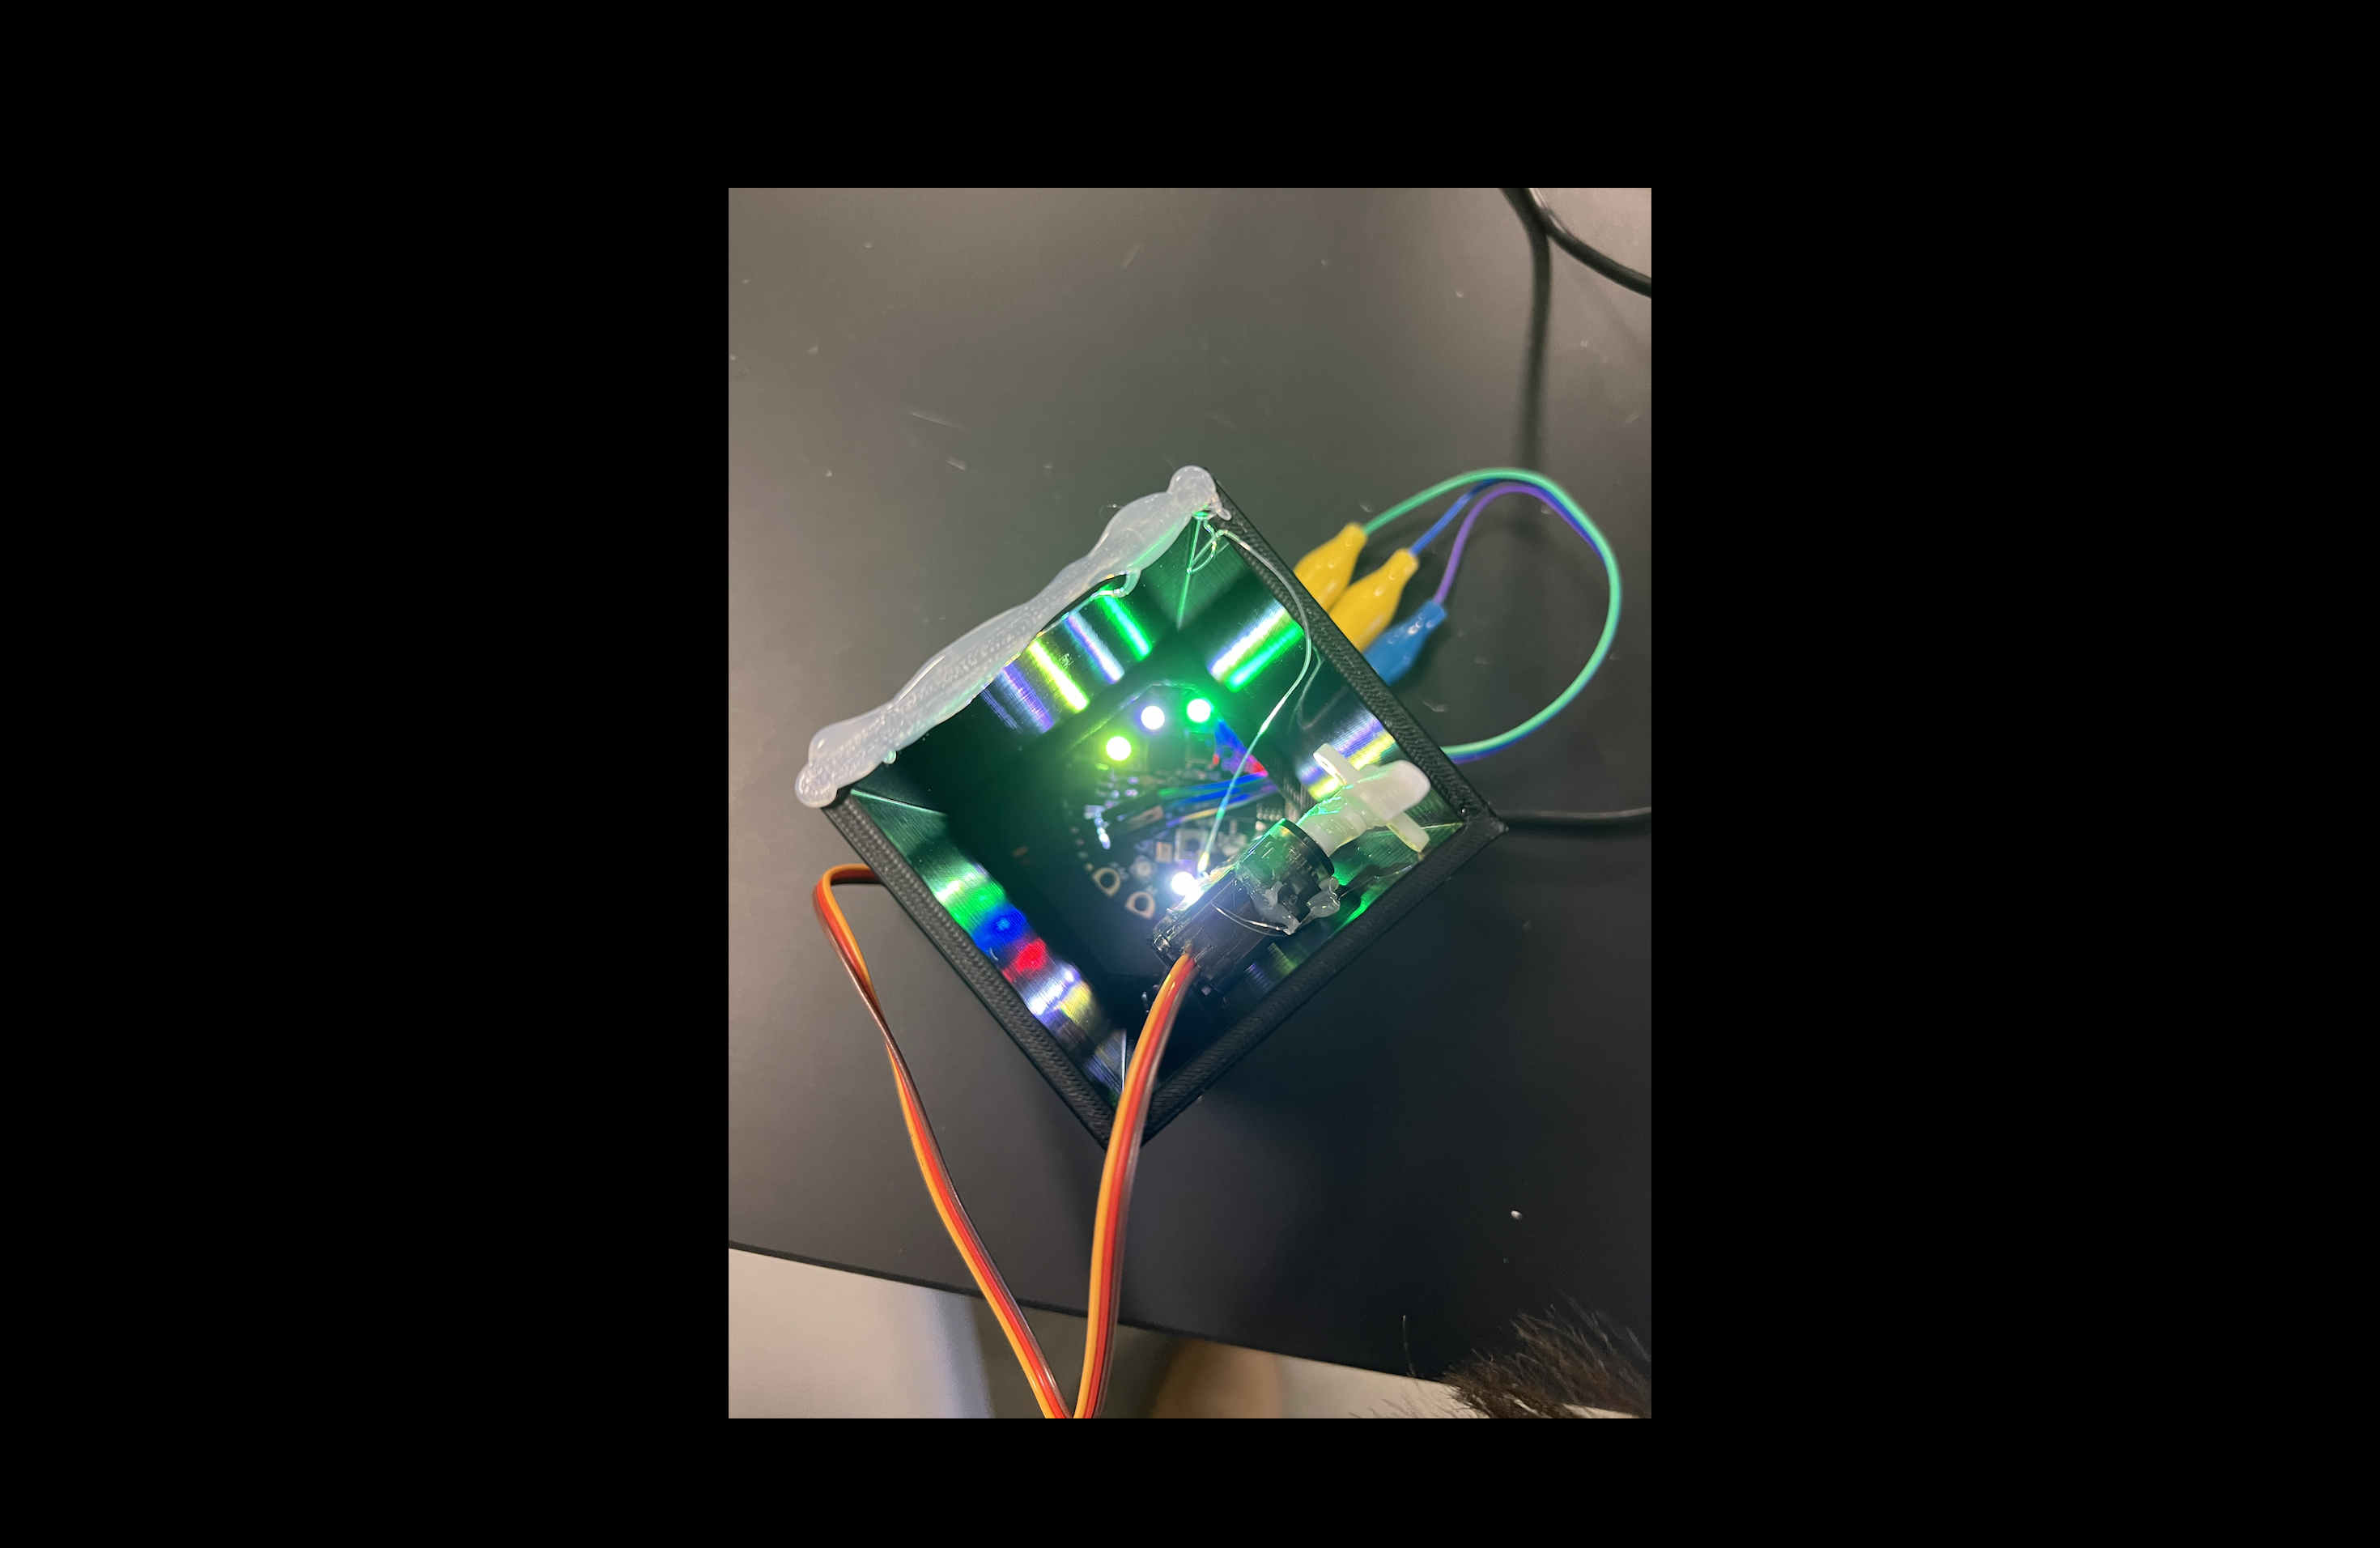
When both parts were done printing, we hot-glued one side of the lid onto the bin. You might have to tape over top the hot glue as well. Next we hot glued the motor to the inside of the bin, but on the side opposite of where you hot-glued. After that slide the CPX under the bin. Plug in the cable to your computer and plug in the code.
Get It Working
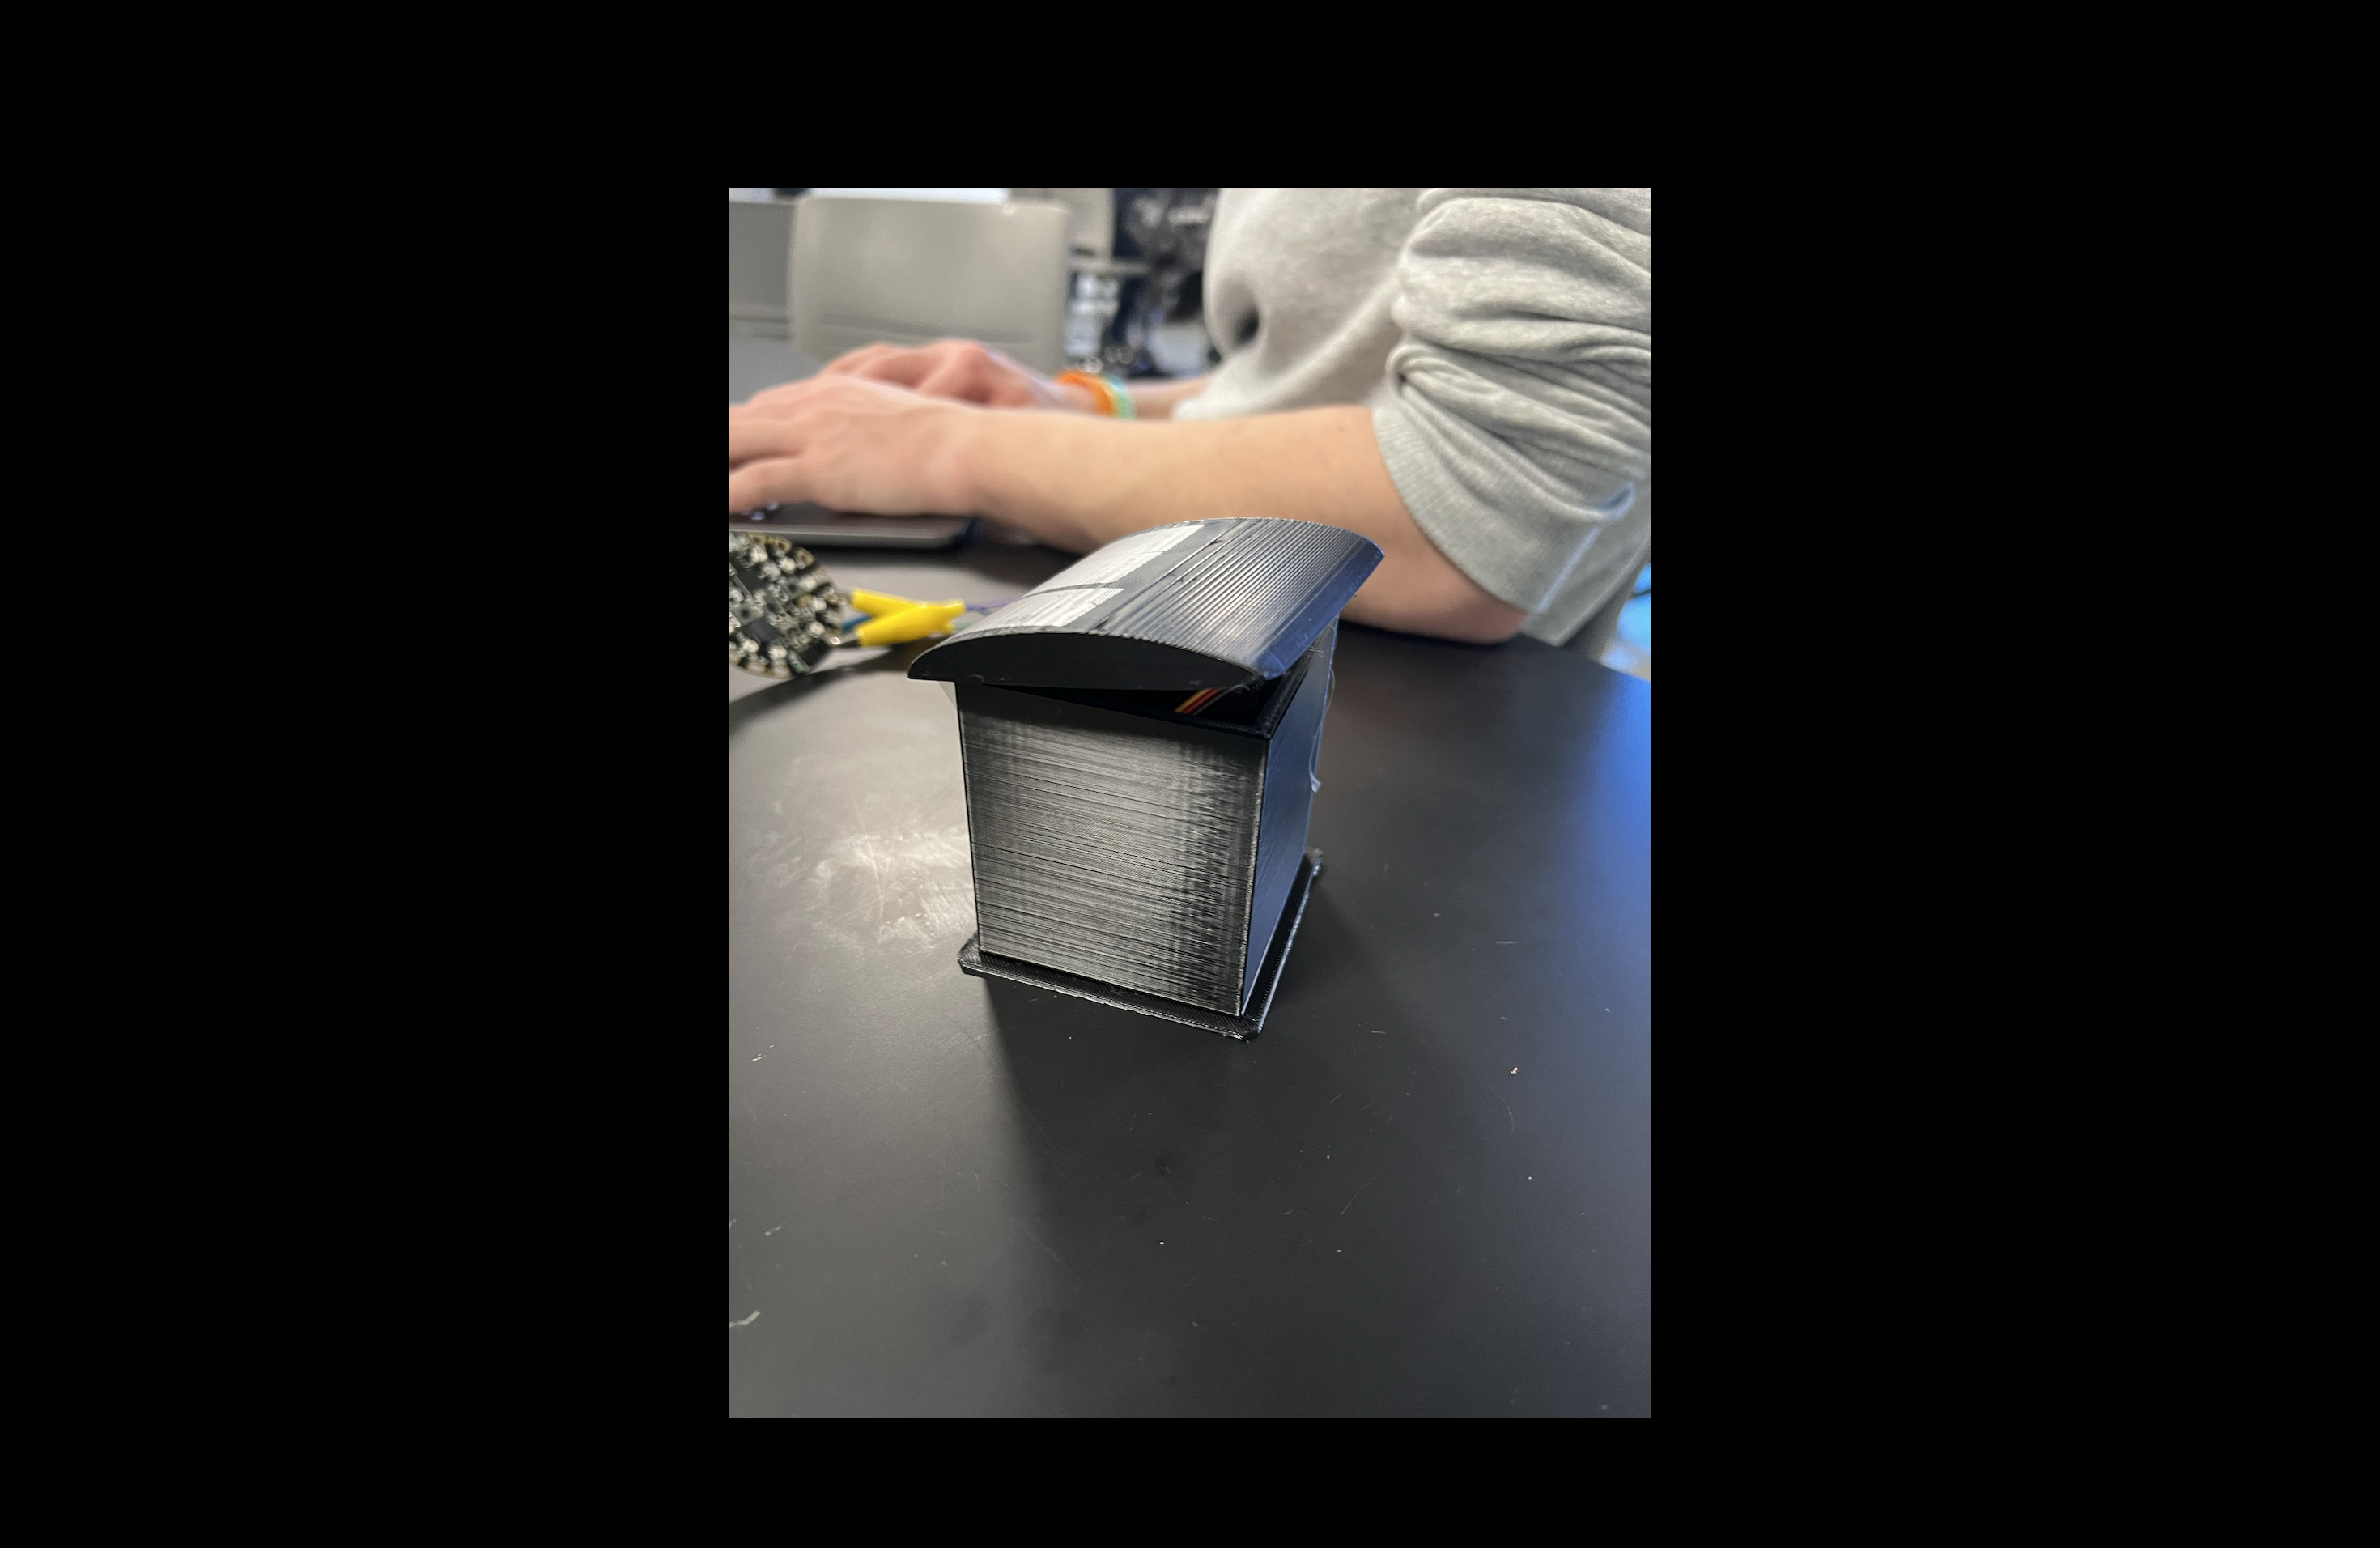
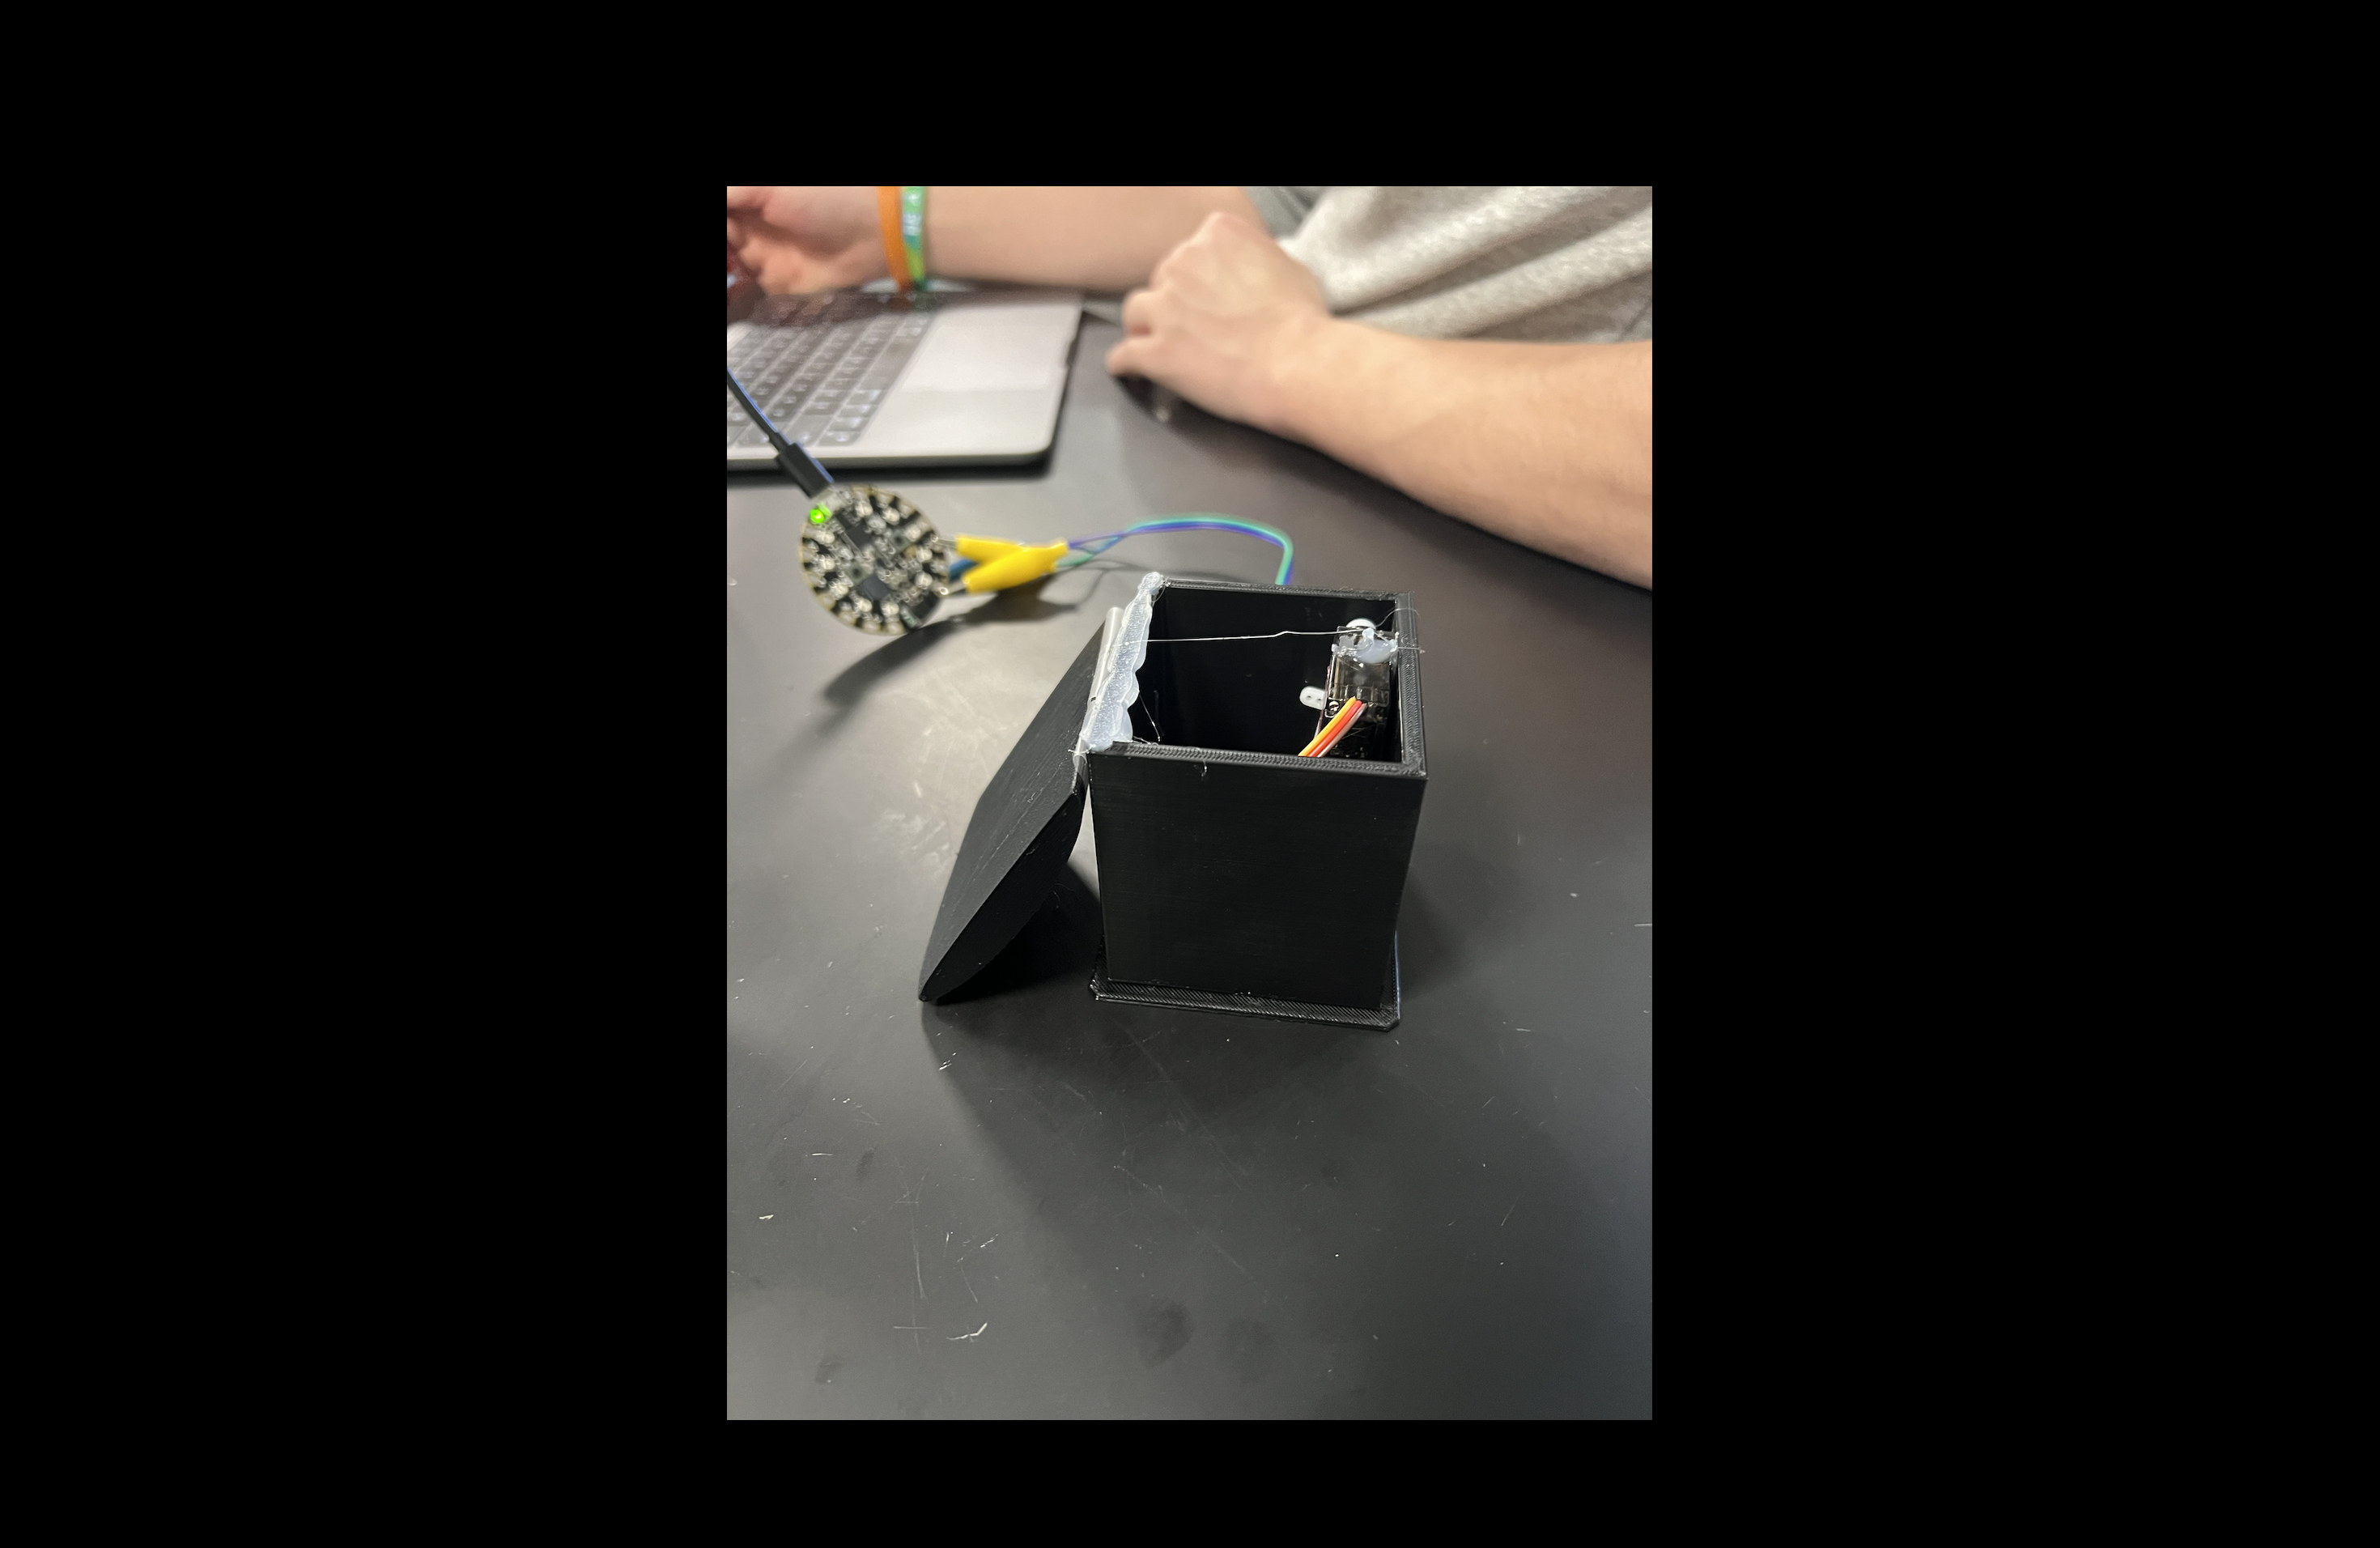
Attach the clips to the CPX and it will work!! It should flip all the way open. You do have to close the lid on your own.