Mini-Quoridor Game
Do you know what quoridor game is? It is a strategic game, which was made by Mirko Marchesi that can be played by 2-4 players. This game is consist of 9x9 grid squares, some walls and pawns. Click here for more detail information.
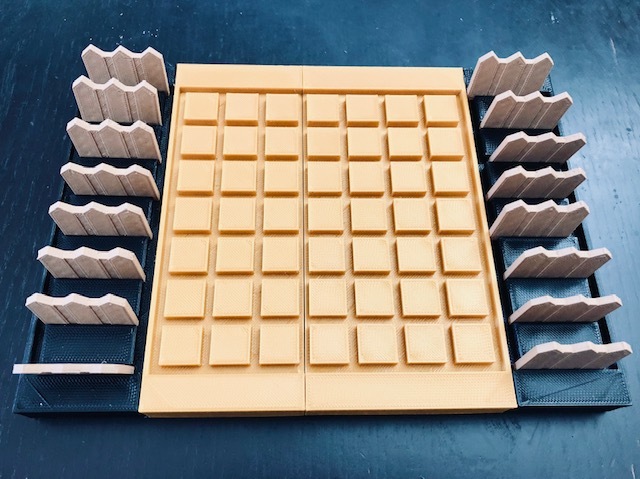
In this Instructables, I design a mini quoridor game with have 7x7 grid squares and some creative details by using Fusion 360. I made this game board for 2 players only. You can also make it for 4 players, just reduce the amount of walls equally.
Here is my Cults3d Design.
Supplies
Materials needed to make this game:
Fusion 360 Software
Dremel 3D40 Printer
Dremel Digilab 3D Slicer
PLA Filament (Black, Gold, Wood, and White)
Hot Glue
Spray Paints (Orange and Blue)
Preparation
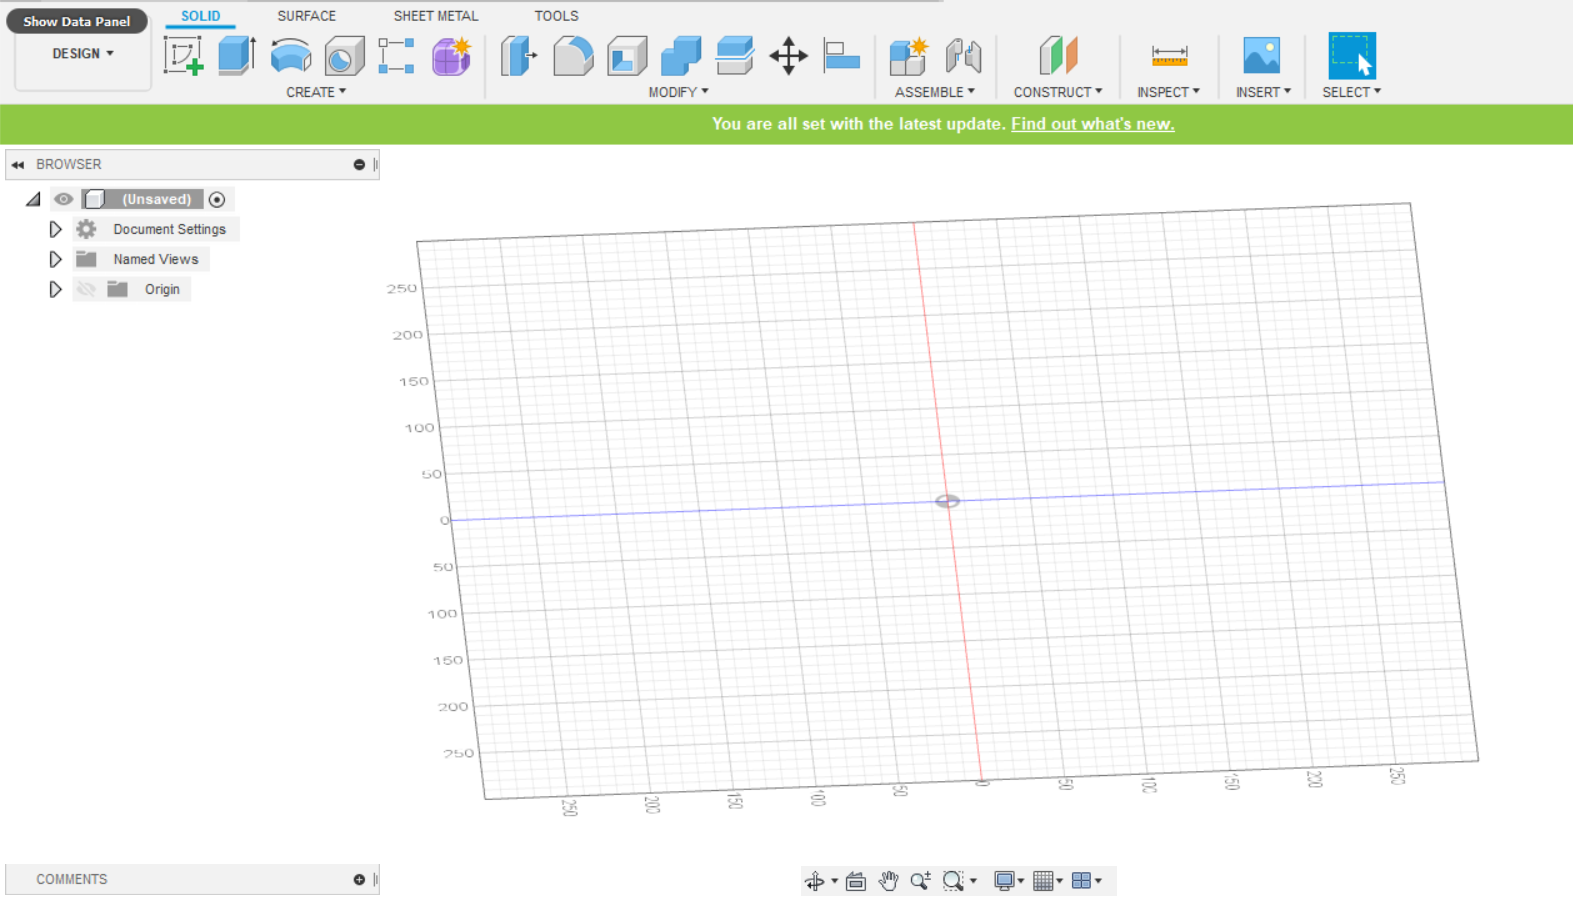
First, open Fusion 360 Software. If you want to download it, you can click here (it is free for students, teachers, and educators) or here (it is only a free trial for people not related to education).
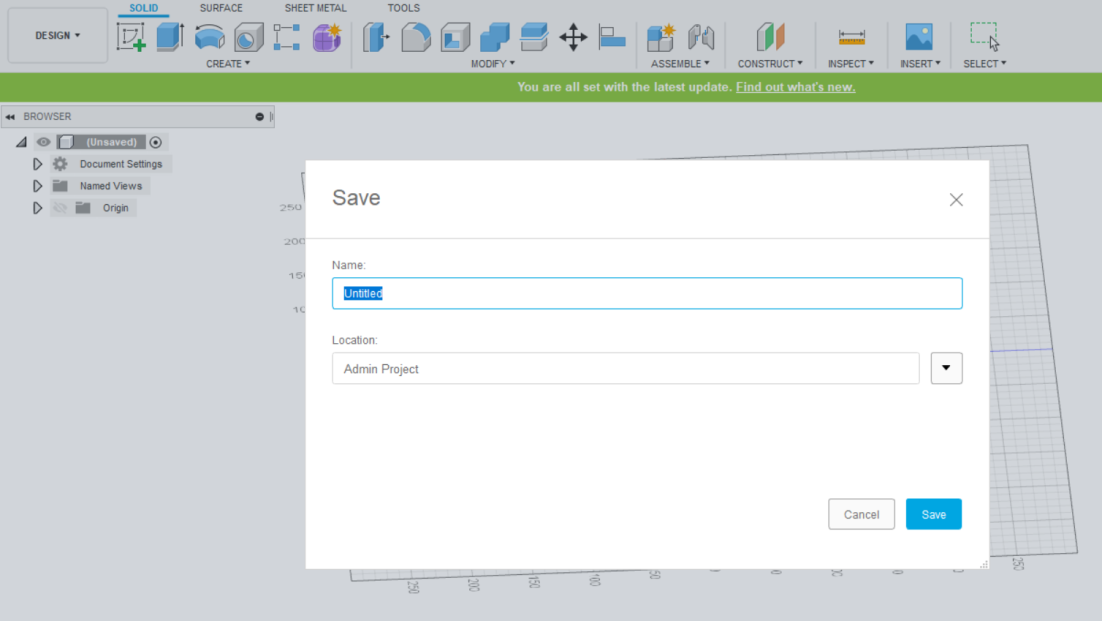
Open the blank document and save it by clicking the "Save" button. Do not forget to choose the location of the file.
Change the units of measurement. In this case, I chose mm (millimeter).
Game Board Sketch
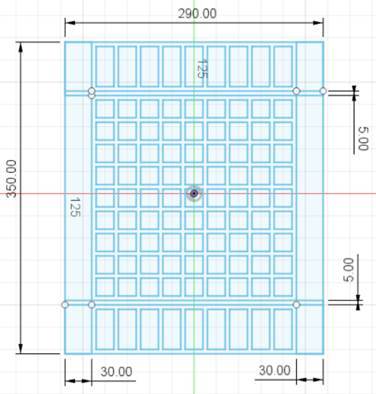
I always use sketch when making something in Fusion 360 because it is easier than using form. Because the game board sketch most consist of rectangles and squares, start making sketch by using 2-point-rectangle or you can use line, too.
Make the sketch as shown in the picture. After finish, just click finish sketch.
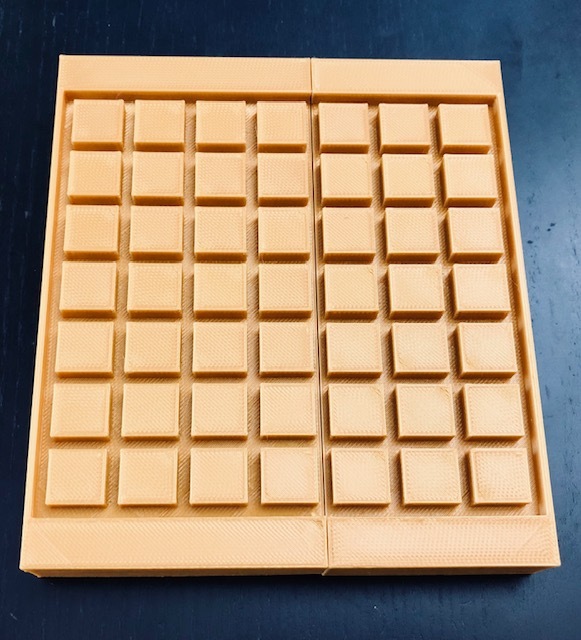
Game Board - Pt. 1
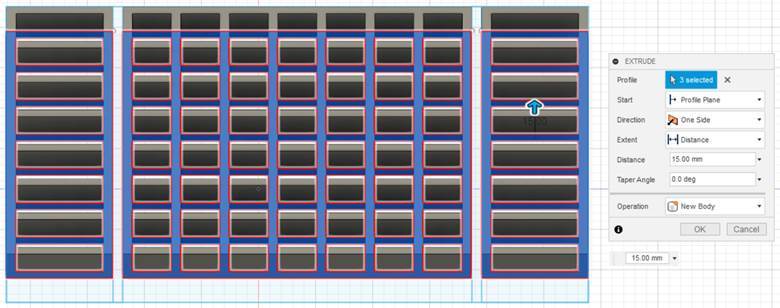
After finish with the sketch, extrude the game board. Please be careful when extruding. Choose the sketch you want to extrude (in this case, choose the outer one for the base), input the distance (here the distance will be 15 mm) and then, click ok.
Game Board - Pt. 2
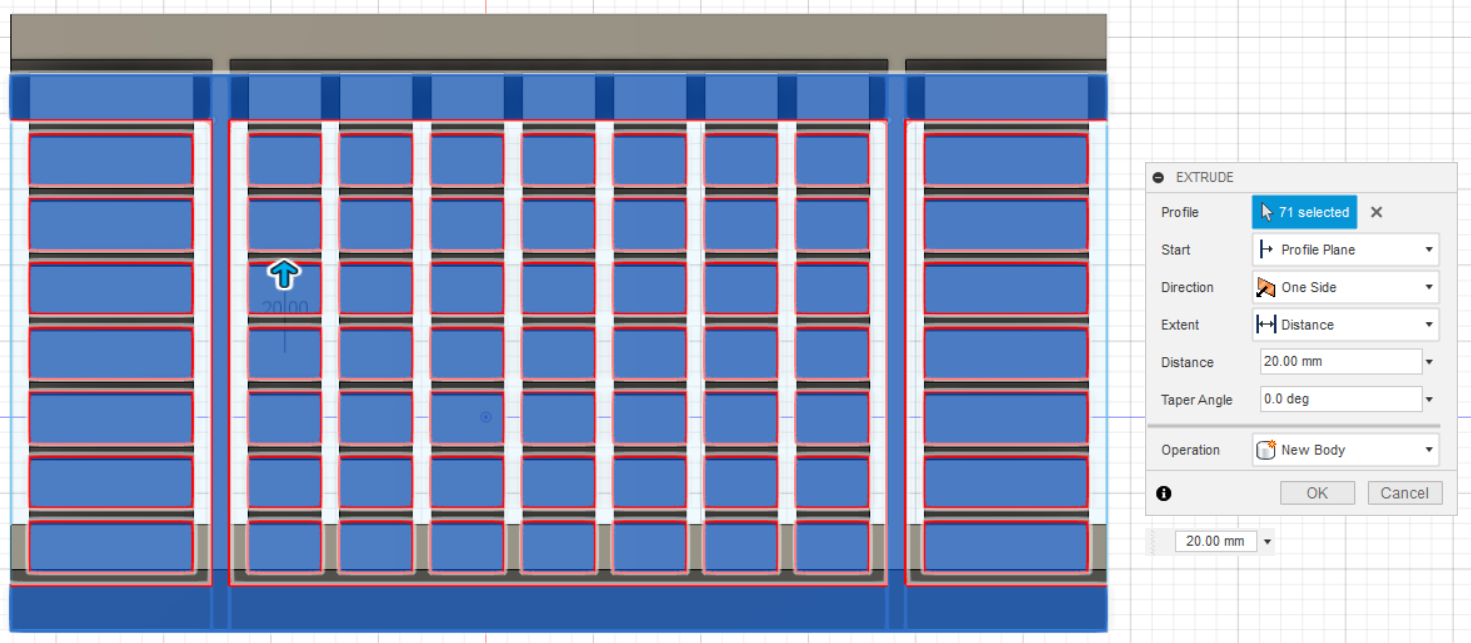
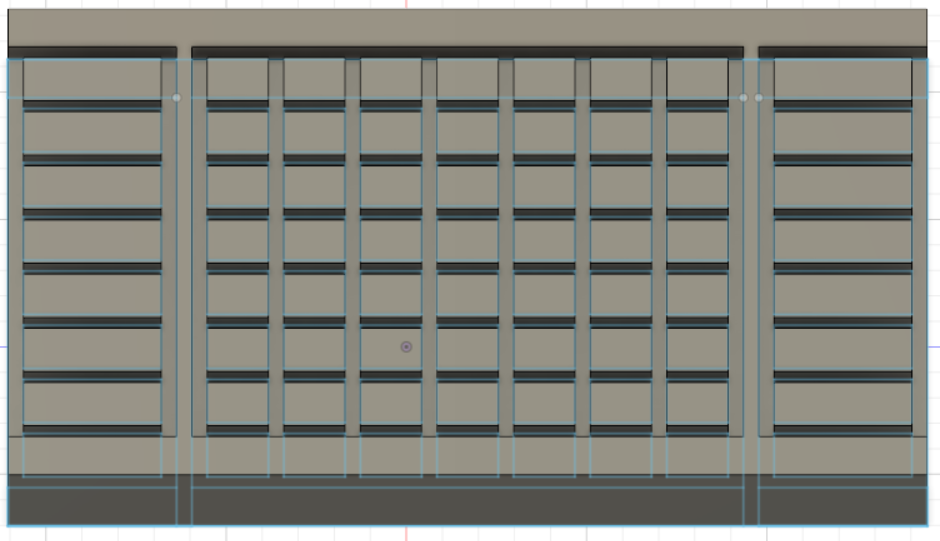
Also, choose the grid squares and then, extrude it. The distance of extrusion must be longer than previous. (Here I extrude 20 mm). Lastly, extrude the list with the distance of 20 mm. Then, click ok. You already finished creating the game board of quoridor.
Finally, click ok.
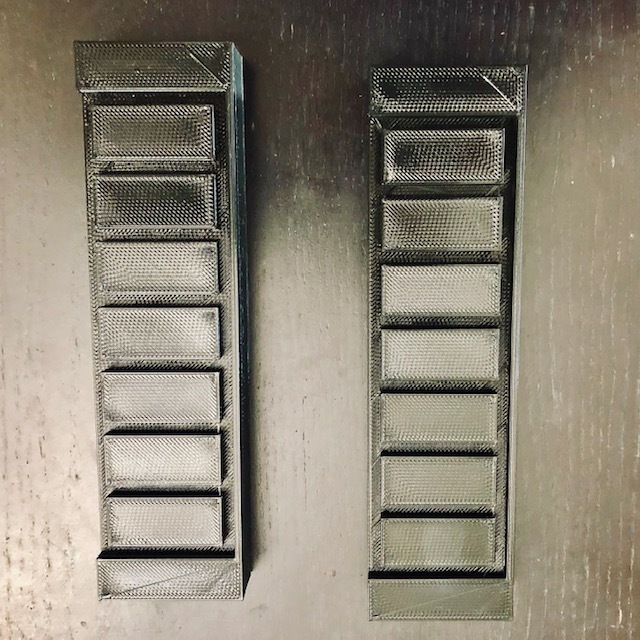
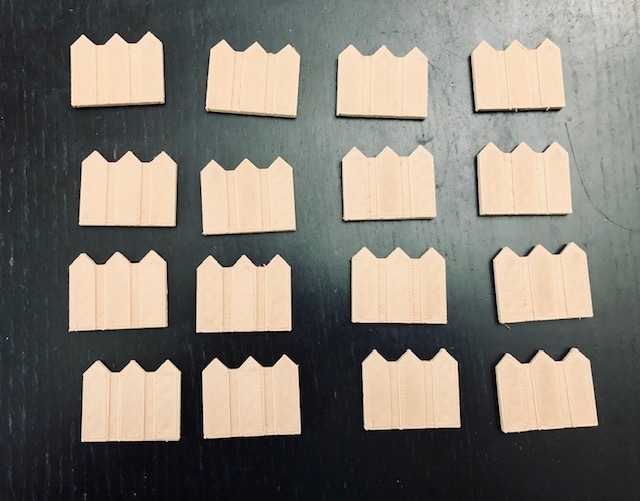
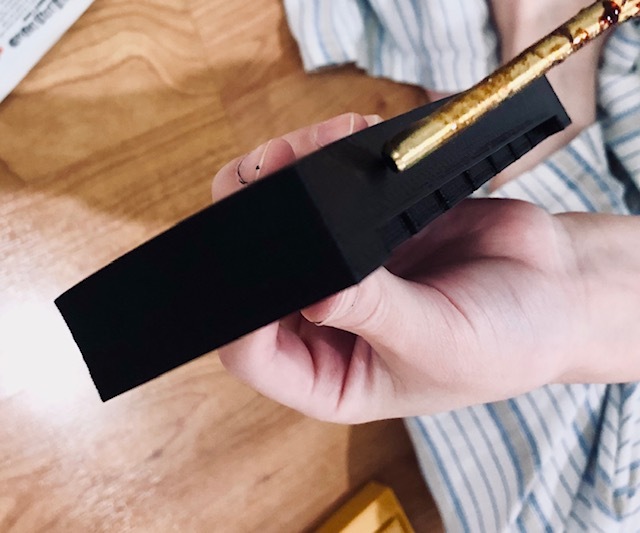
Walls
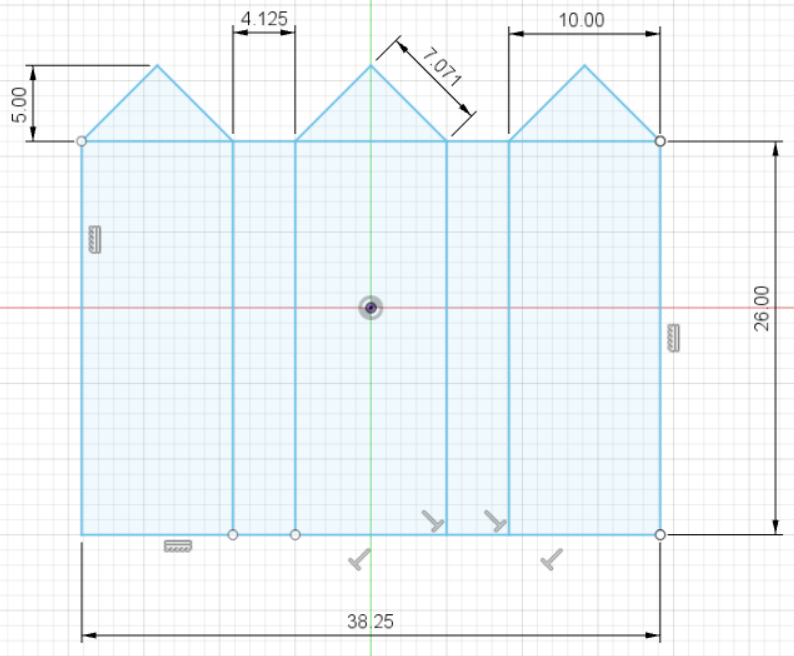
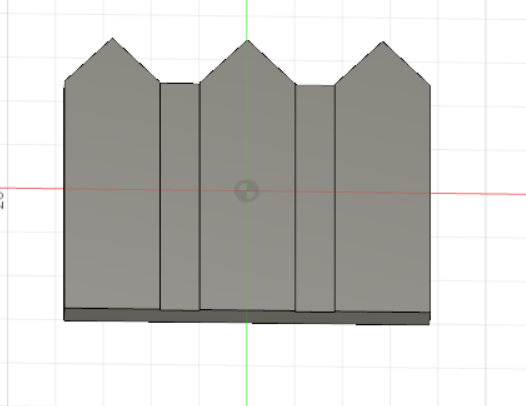
Usually, the walls in this game are only rectangle shape, but this time, I create another shape for the walls. I made in the shape of fence, instead of rectangle one. To make this, create sketch by using line and 2-point rectangle. After finishing sketch, extrude doe 3.3 mm. For all the measurements, see the pictures. Export the file to STL files and print it.
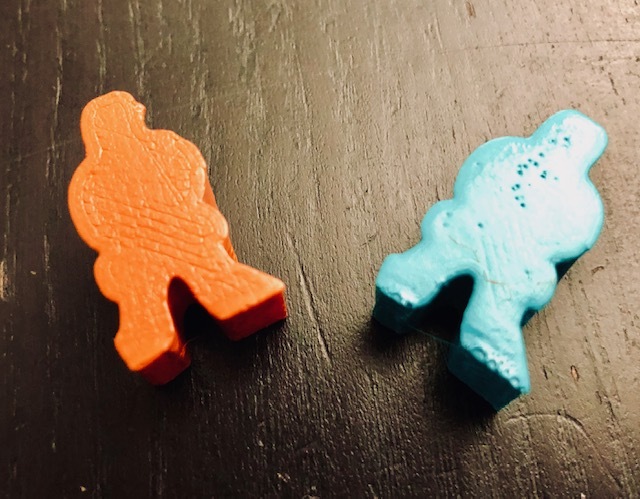
Pawns
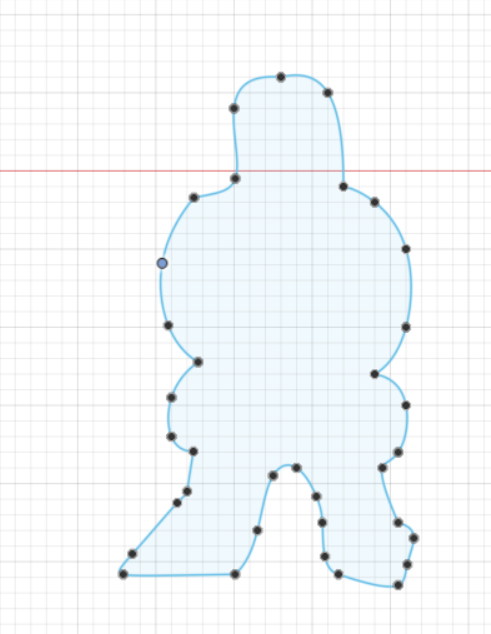
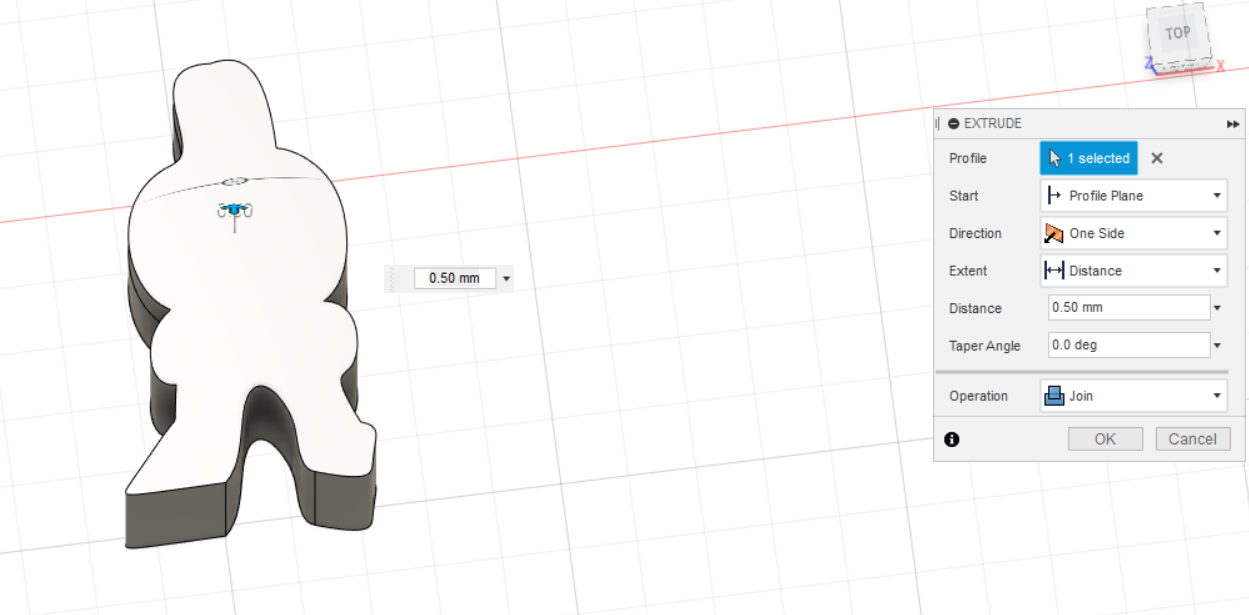
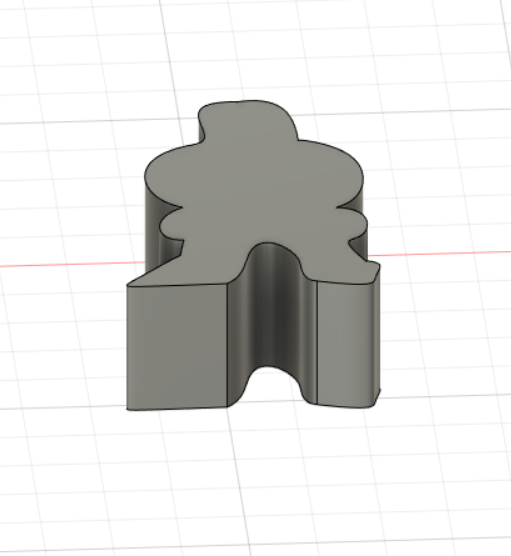
For creating pawns, I used sketch in Fusion 360. Click Create Sketch, and select Plane. Use Fit Point Spline to form the Pawn Image. After finishing the Sketch, click Extrude and OK. Just remember the size of the Pawn should be fit to the grid of the game board and lower than the wall.
Printing and Assembles- Pt. 1
Print all parts of the game. For most printing, I used PLA Materials with high speed, infill: Gradual, no support and no build plate adhesion. Only for pawns and walls, I used Medium quality, infill: 20% and use build plate adhesion because it is too small and I am afraid it will fail to print if I use high speed.
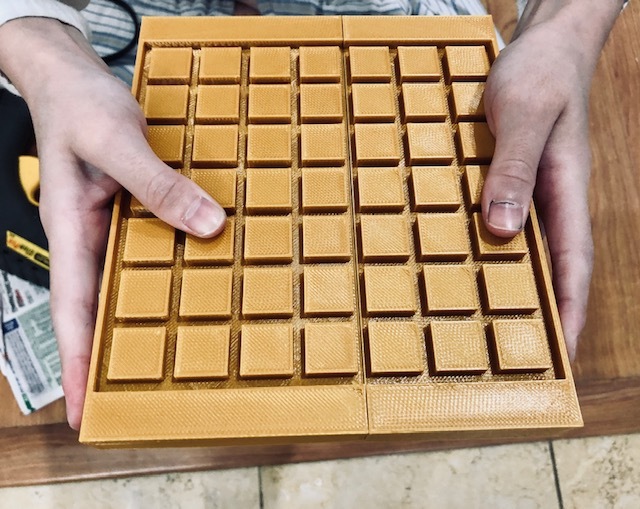
Because the game board is too large to print once in my Dremel Printer 3D40, I divided it into 4 parts. I glued one by one.
Printing and Assembles- Pt.2

Total time for printing for whole is about 14.75 hours and consume about 122 meter long.
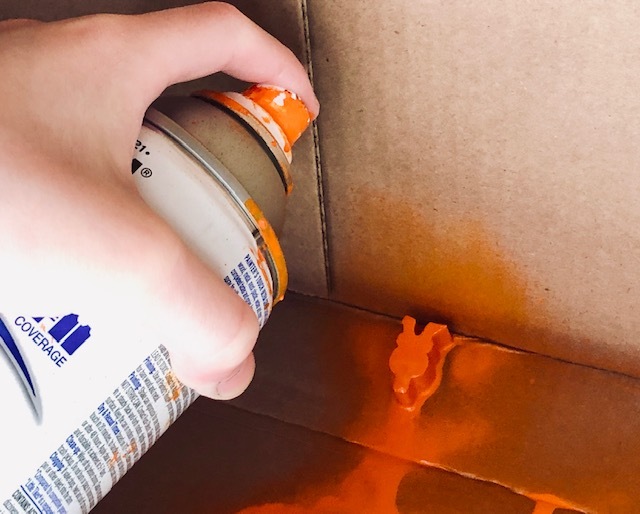
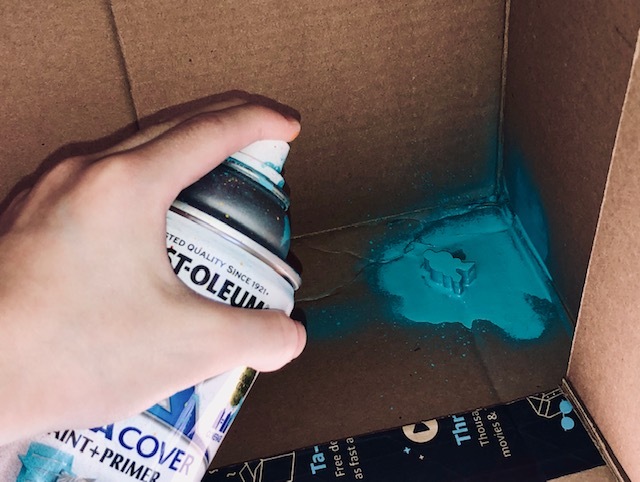
For pawns, I printed in the same color (white). After printing, I painted with spray paints, one with orange and the other with blue.
Game Rules
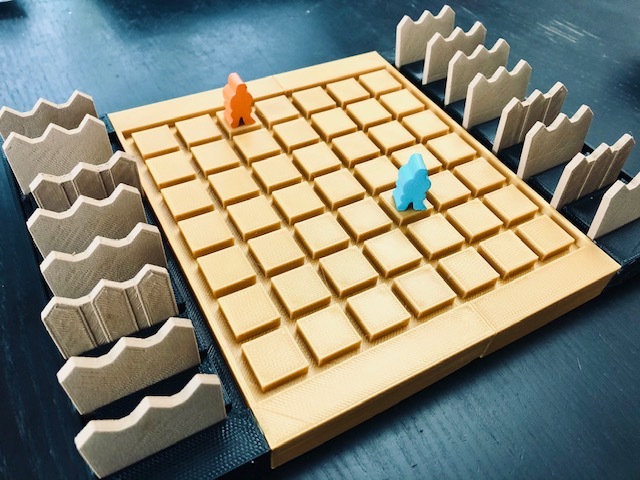
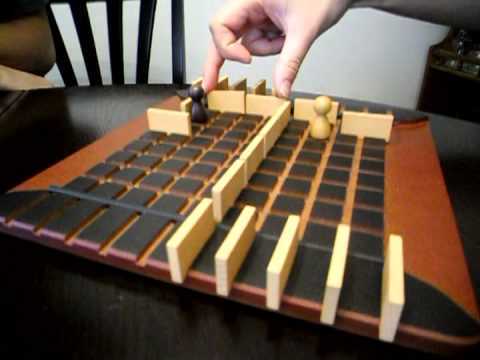
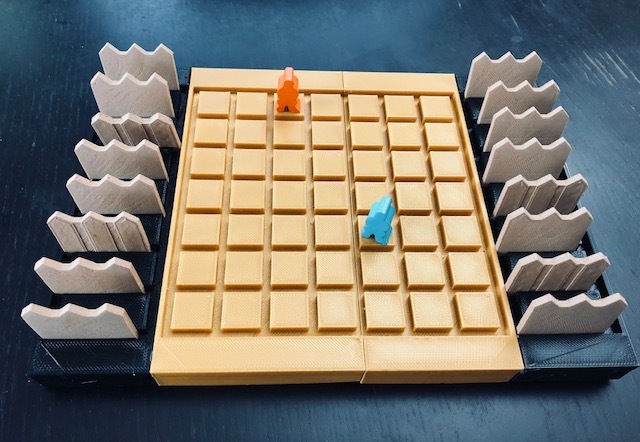
Every player is symbolized by a pawn. Each pawn starts at the middle space of each baseline.
Blue player starts first, and then players take turn. In turn, each player must choose to move his pawn or put up one of his walls. There are 16 walls in the game. If the player runs out his walls, that player must move his pawn. The pawns can be moved one square at a time, horizontally or vertically, forwards or backwards.
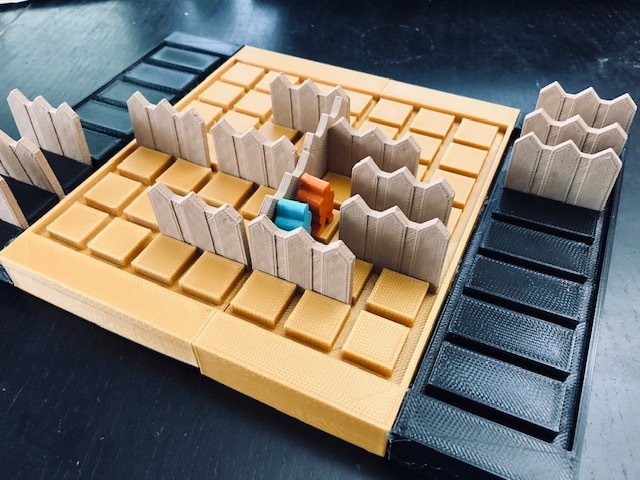
If the pawn is blocked by walls, the player must move his pawn surround that wall. On adjacent squares separated by a wall, when two pawns face each other, the player, in turn, may jump the opponent's pawn (and place himself behind him), thus advancing an extra square.
The player can only block the opponent's way, but still let one path for the opponent to reach the goal.
The goal of the game is to reach the opposite side. The winner will be the first one who reaches the opposite baseline.
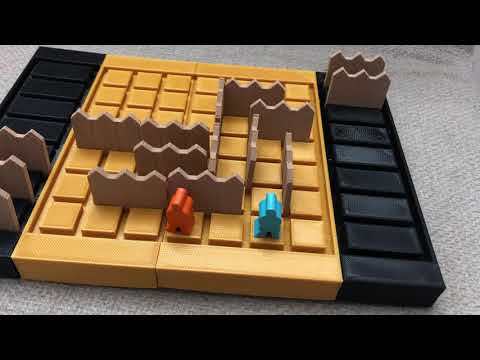
Also, I credited this author (Nam Ngo) in YouTube in how to play this game. This video is a good tutorial.
You can play online too: here
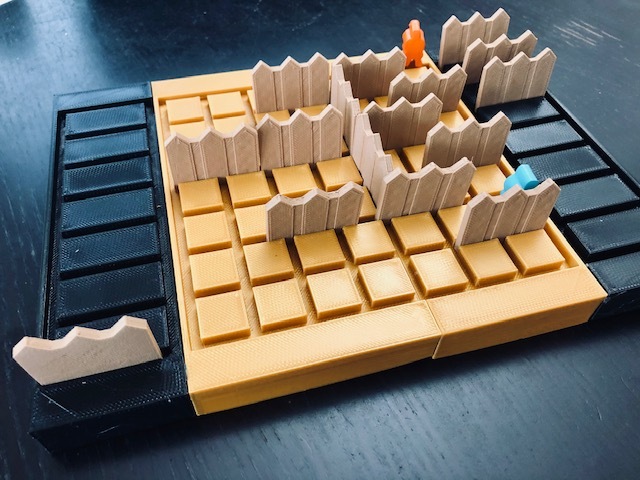
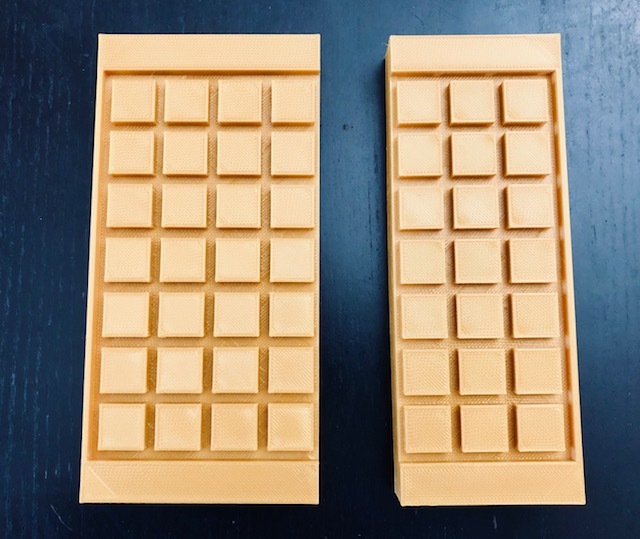
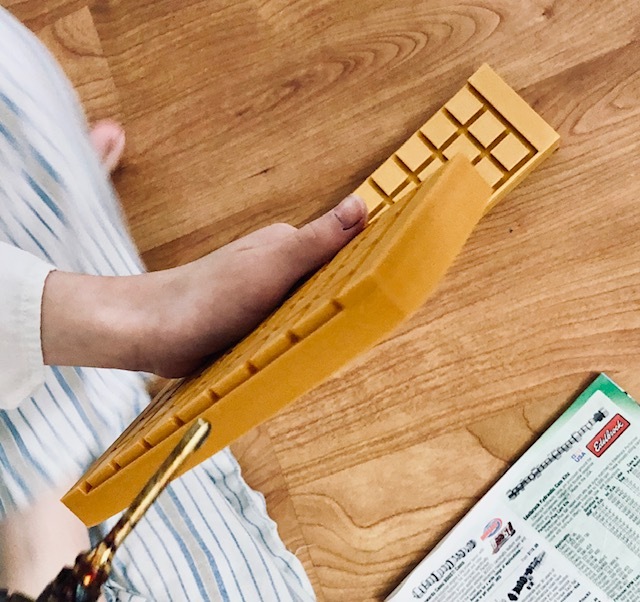
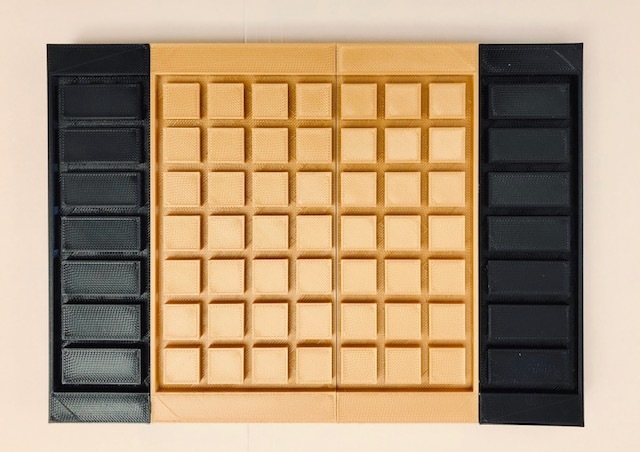
The Results


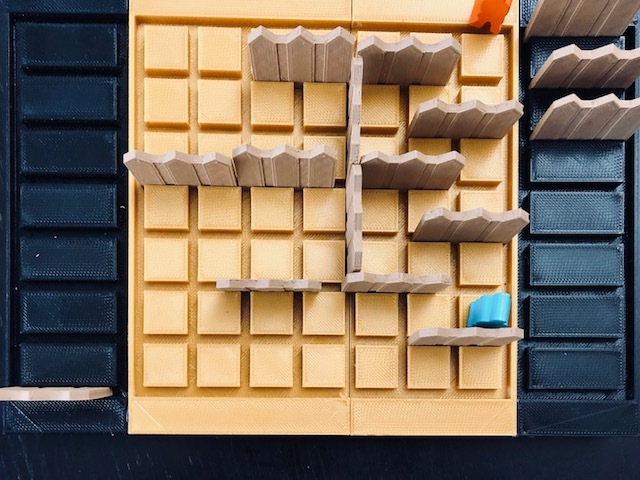
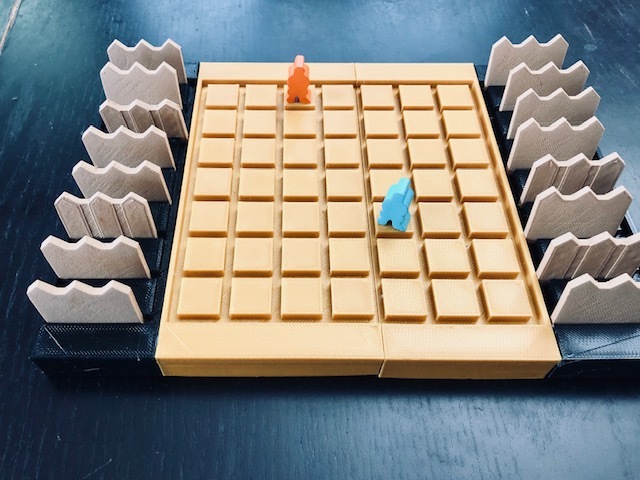
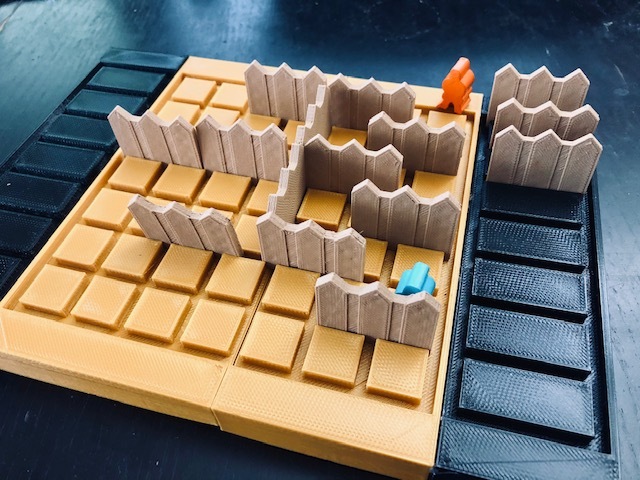

Here is the result of the game.
Do not procrastinate. Let's build and play.