Mini Plant Pot - Designed for 3D Printing
by Autodesk Gallery Workshop in Workshop > 3D Printing
4139 Views, 16 Favorites, 0 Comments
Mini Plant Pot - Designed for 3D Printing
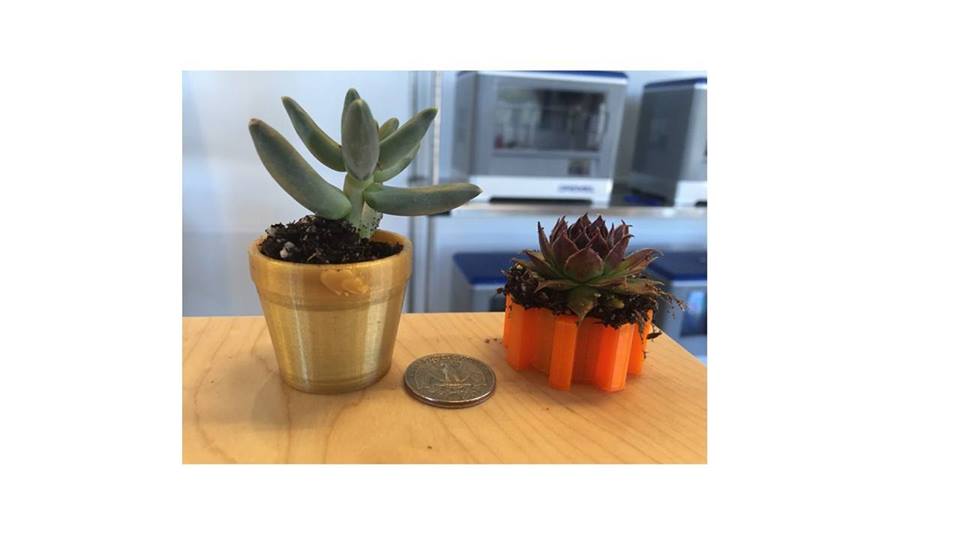
This module will walk through designing a mini plant pot in Tinkercad and preparing it for 3D printing.
Tinkercad is a free web based CAD program: www.tinkercad.com
Create Plant Pot Base
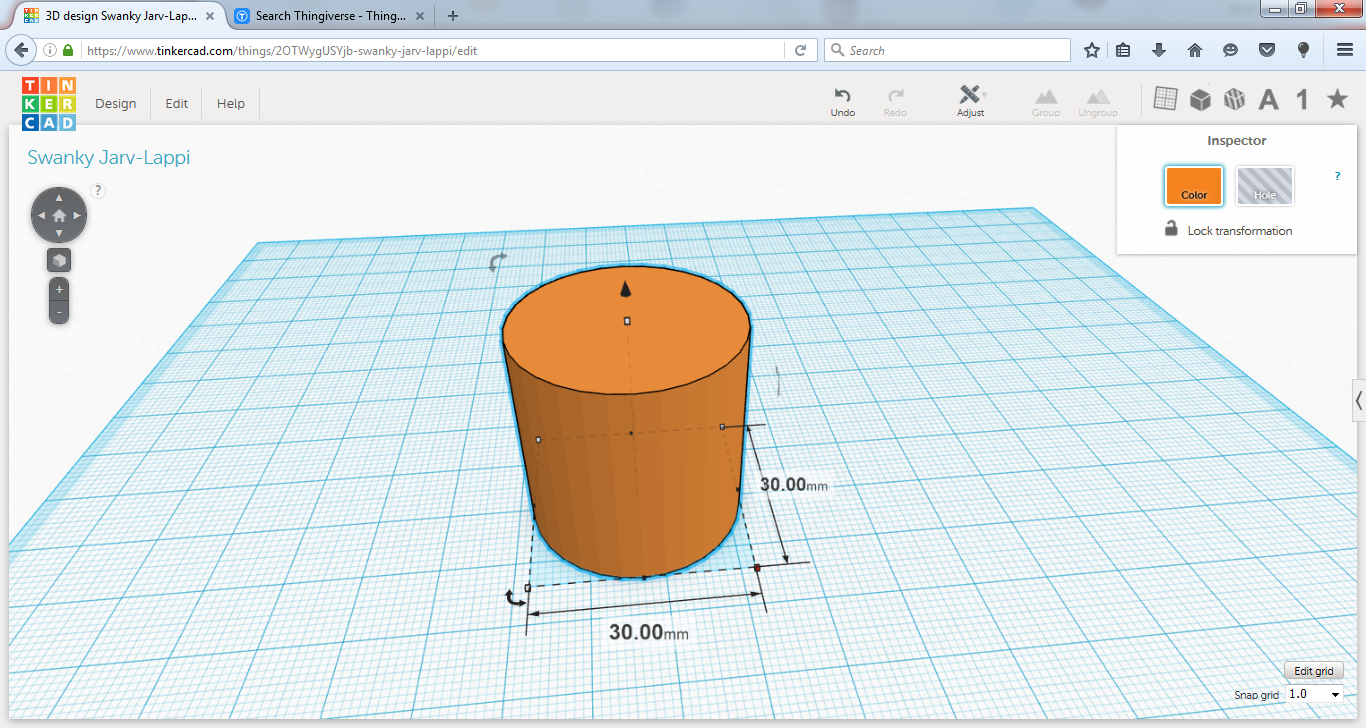
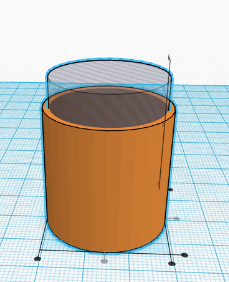
1. Drag and drop a cyliner or desired plant pot shape onto the workplane
2. Scale the shape to about 30mm x 30mm x 30mm
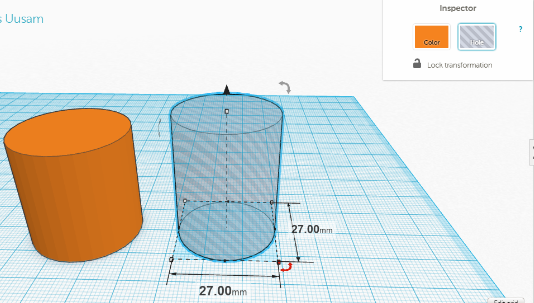
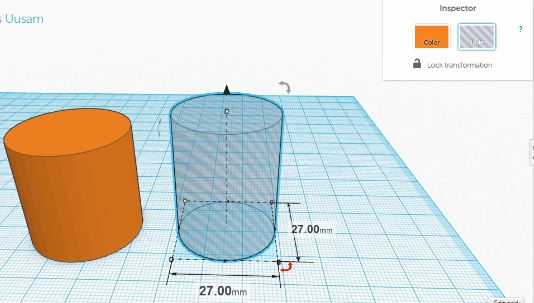
3. Drag and drop a another cylinder on the workplane, and while selected click hole in top right corner
4. Scale hole to 27mm x 27mm x 35mm
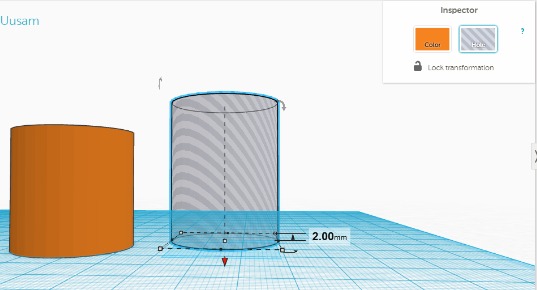
5. Raise hole 2mm up off the workplane
6. Drag hole onto cylinder
7. Using the “align” tool under adjust center your plant pot to ensure perfect alignment
8. With both shapes selected, click the group button in the upper right corner. You should now have your plant pot base
Create Water Hole
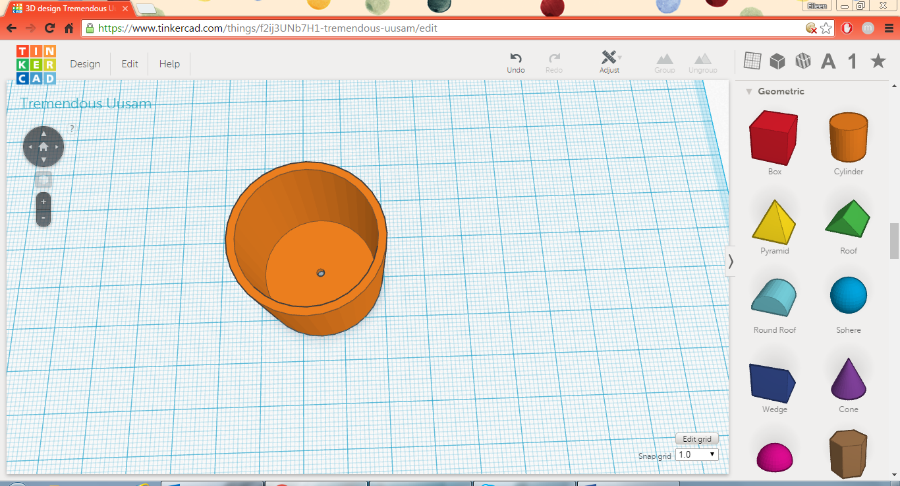
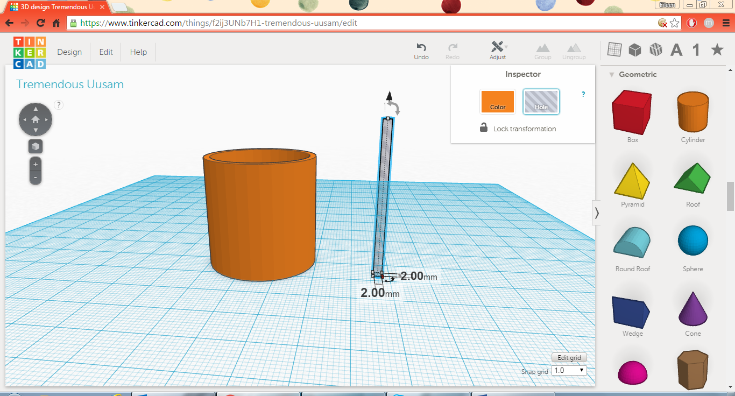
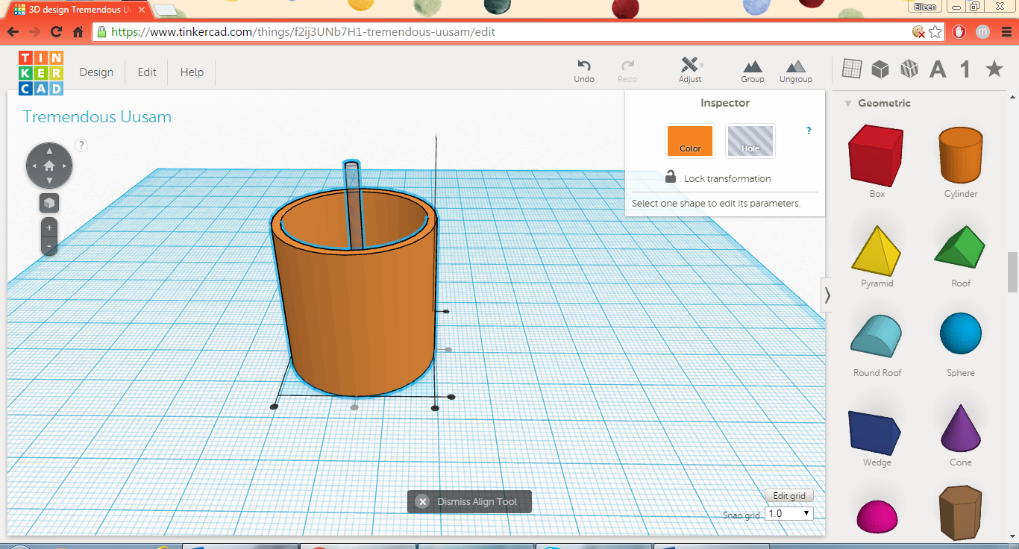
1. Place a cylinder on the workplane
2. Scale the cylinder to 2mm X 2mm X 40mm
3. With the cylinder selected make it a hole
4. Drag the hole into the center of the cylinder
5. Select both shapes and select the “Align” tool from the Adjust menu to ensure perfect alignment
6. While having both cylinders selected press the “Group” button in the top right corner. You should now have a water hole.
Create Plant Pot Lip
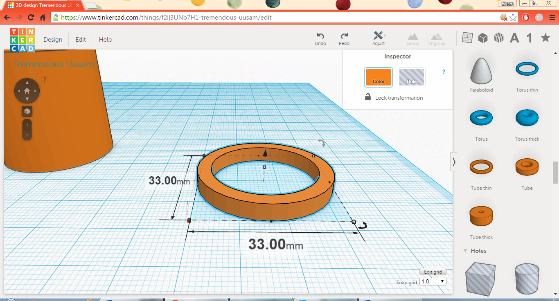
1. Place a “tube thin” onto the workplane
2. Scale the tube to be 33mm X 33mm X 4mm
3. Lift the tube up off workplane to a height of 30mm or the height of your plant pot
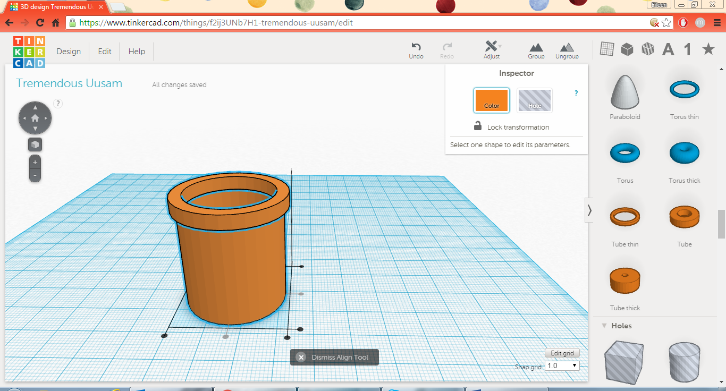
4. Drag the tube onto your plant pot
5. Using the “align” tool under adjust center your
plant pot to ensure perfect alignment
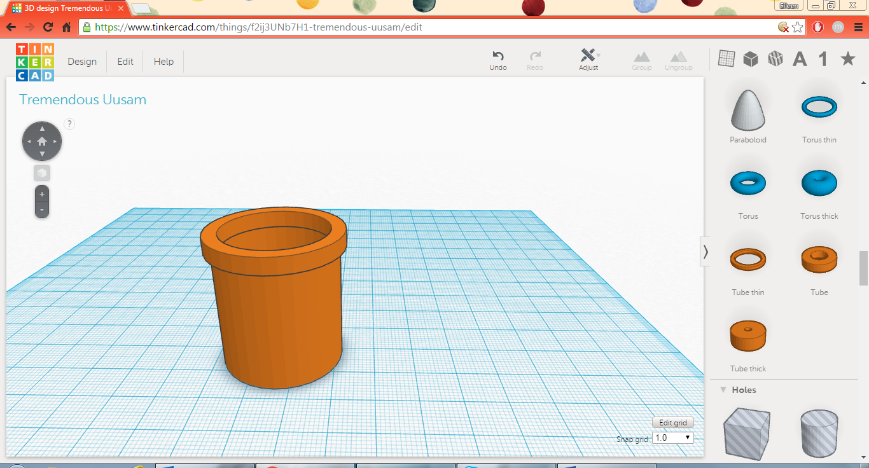
6. Group all of the shapes
7. You now have a plant pot. Keep tinkering to personalize your design
Personalize Plant Pot
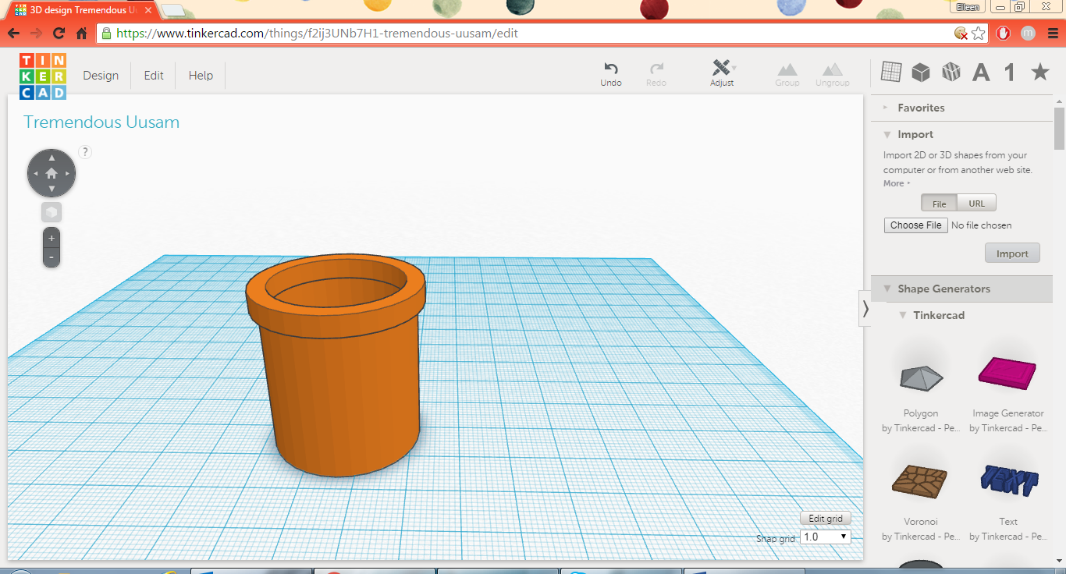
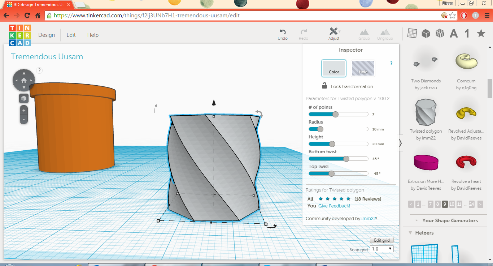
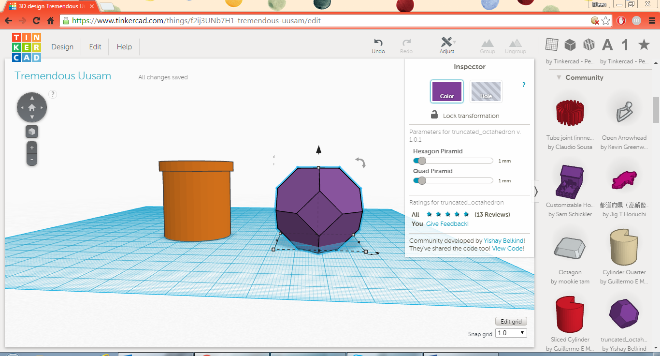
1. Exploring Alternate Plant Pot Shapes
a. A plant pot can be any shape with a hole in it, create your own shapes on Tinkercad by grouping shapes together and creating holes. Alternatively explore the various shape generators on Tinkercad that are located at the top of the toolbar
b. The images on the far right are examples of shapes created using the various community and Tinkercad shape generators
3D Printing
1. Downloading File for 3D Printing
a. Once design is complete select “Design” from the upper left corner
b. Click on menu option “Download for 3D Printing”
c. Select “.STL” button
d. The file will now appear in the downloads folder and can be opened in any 3D printing software
2. Sending Model to Print
a. If you don’t have a 3D Printer, you can easily send a 3D model to print through Tinkercad
b. Once the design is complete select “Design” from the upper left-hand toolbar
c. Click on menu option “Order a 3D Print”