Mini MacIntosh 1985
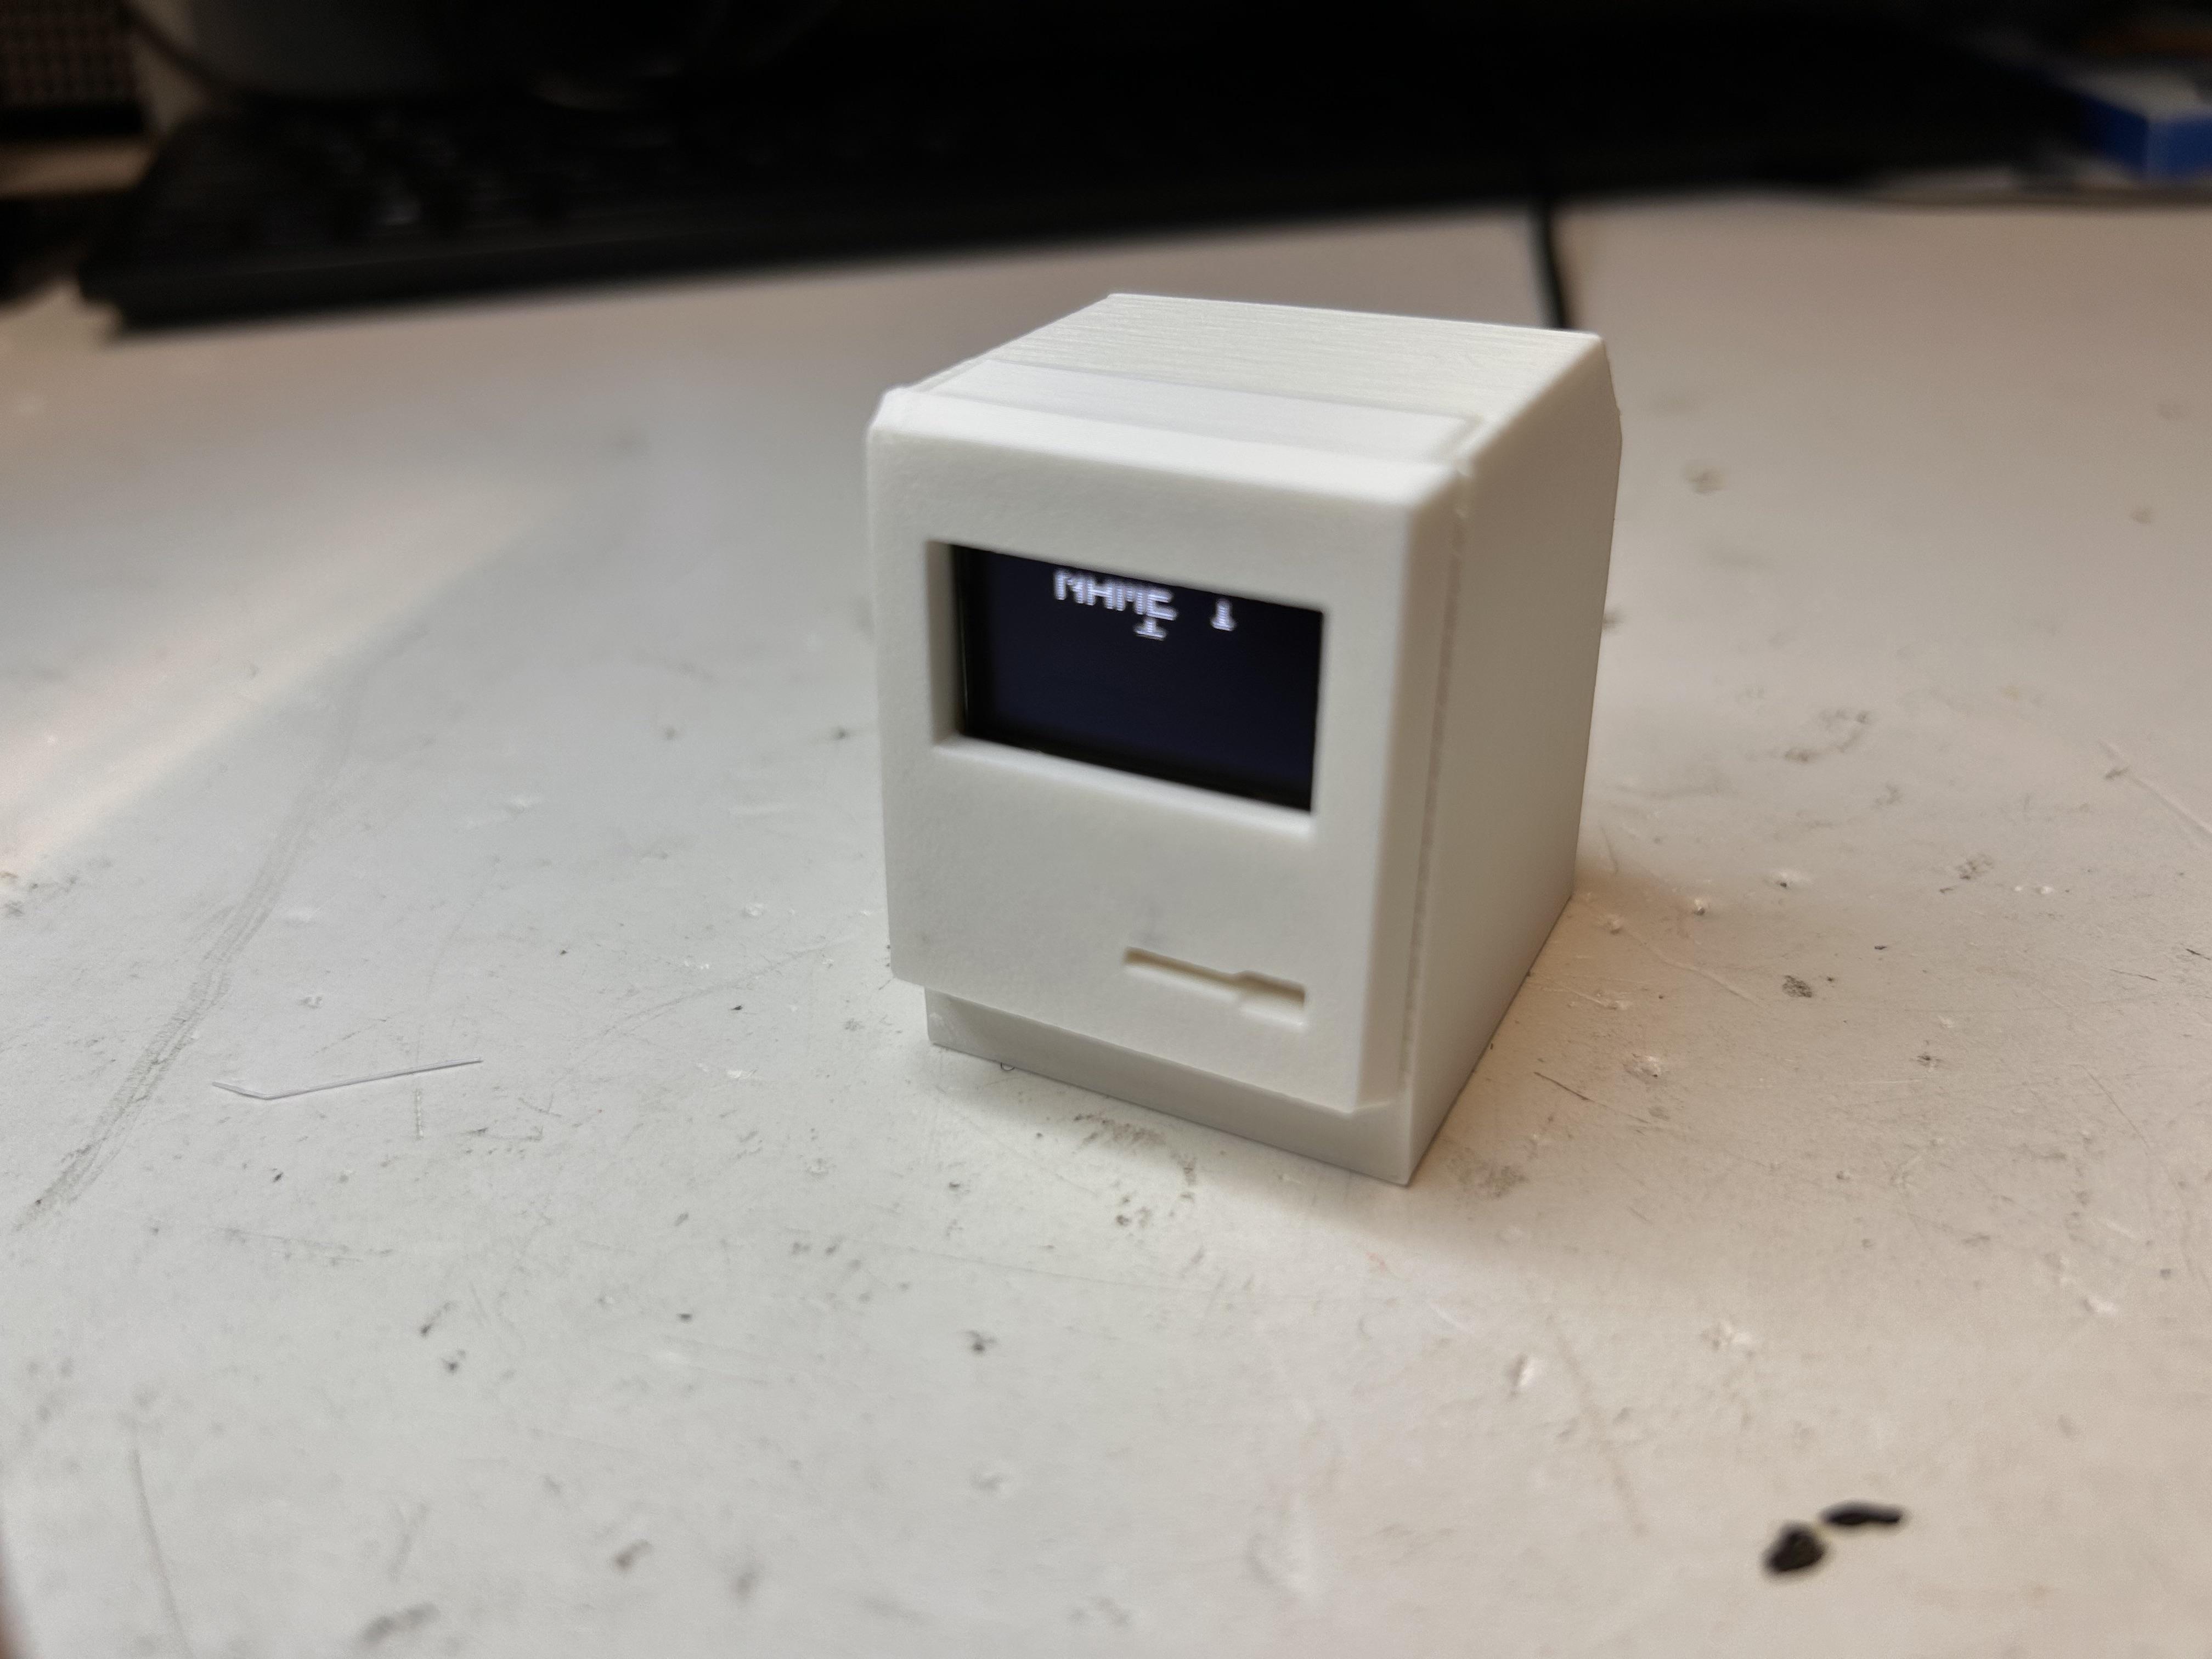
Mini 1984 Macintosh that displays simple animations.
Supplies
Screen: 0.95 inch OLED SSD1306 (monocolor, 128x64 pixels)
Microcontroller: ESP8266 D1 Mini Dev Board
22AWG wire (preferably red, black, green, blue. Both stranded or solid core is ok)
Micro USB cable
Sample Script: https://github.com/viohazard/Mini_Mac_Demo
Free STL files for 3D print: https://www.thingiverse.com/thing:6820442
Wiring
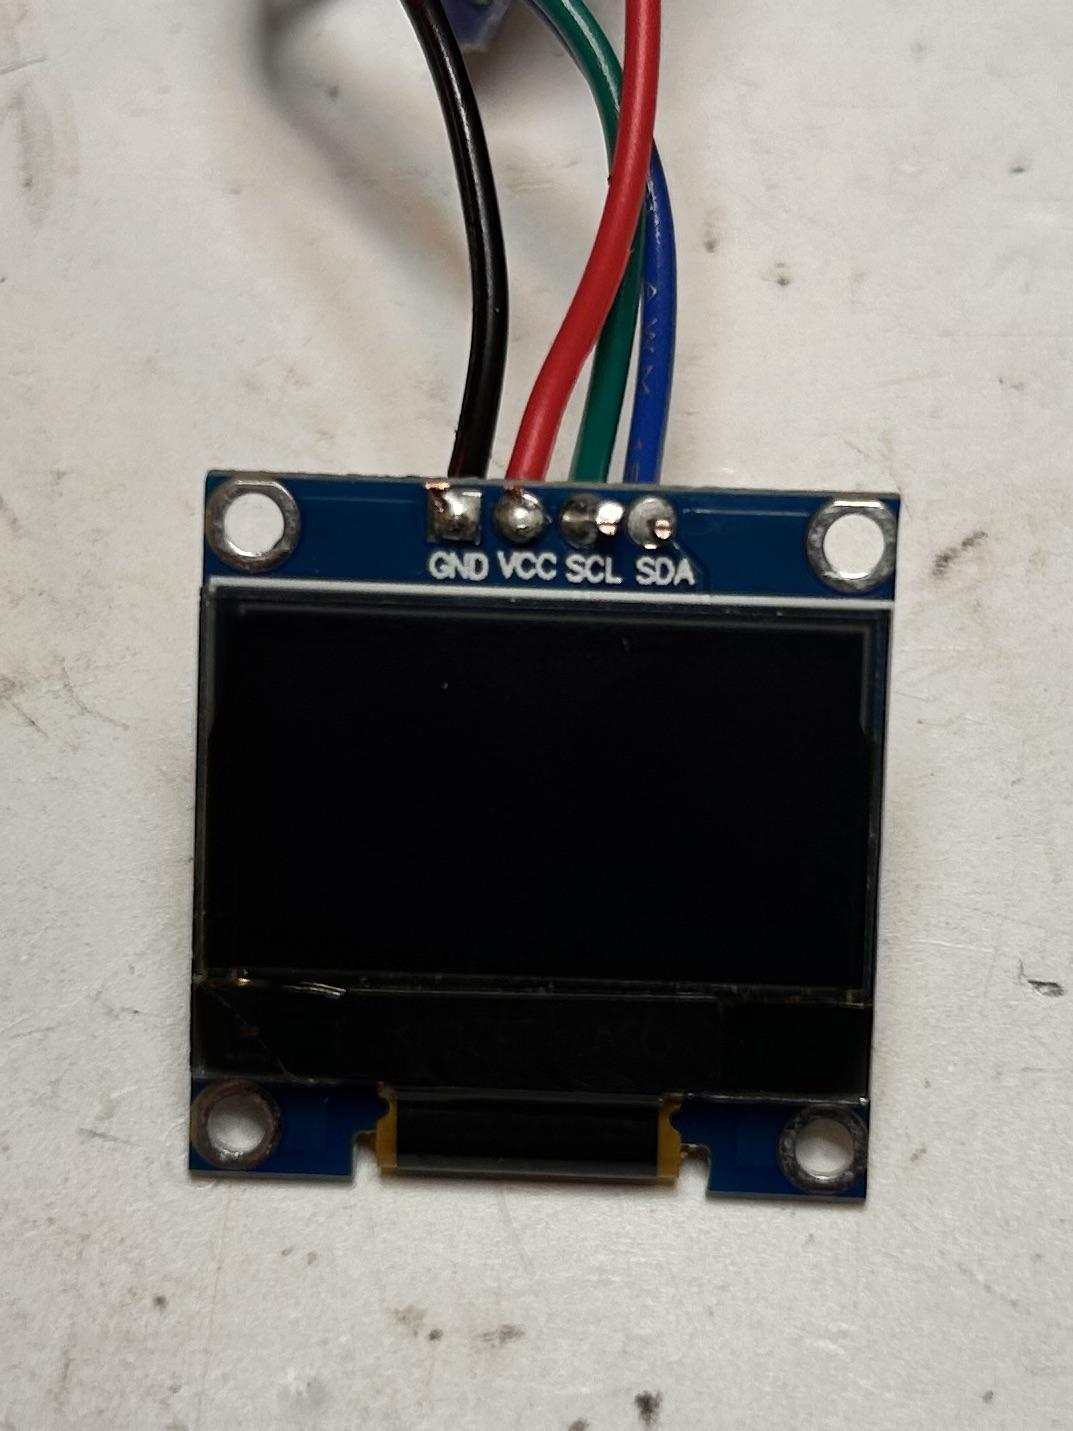
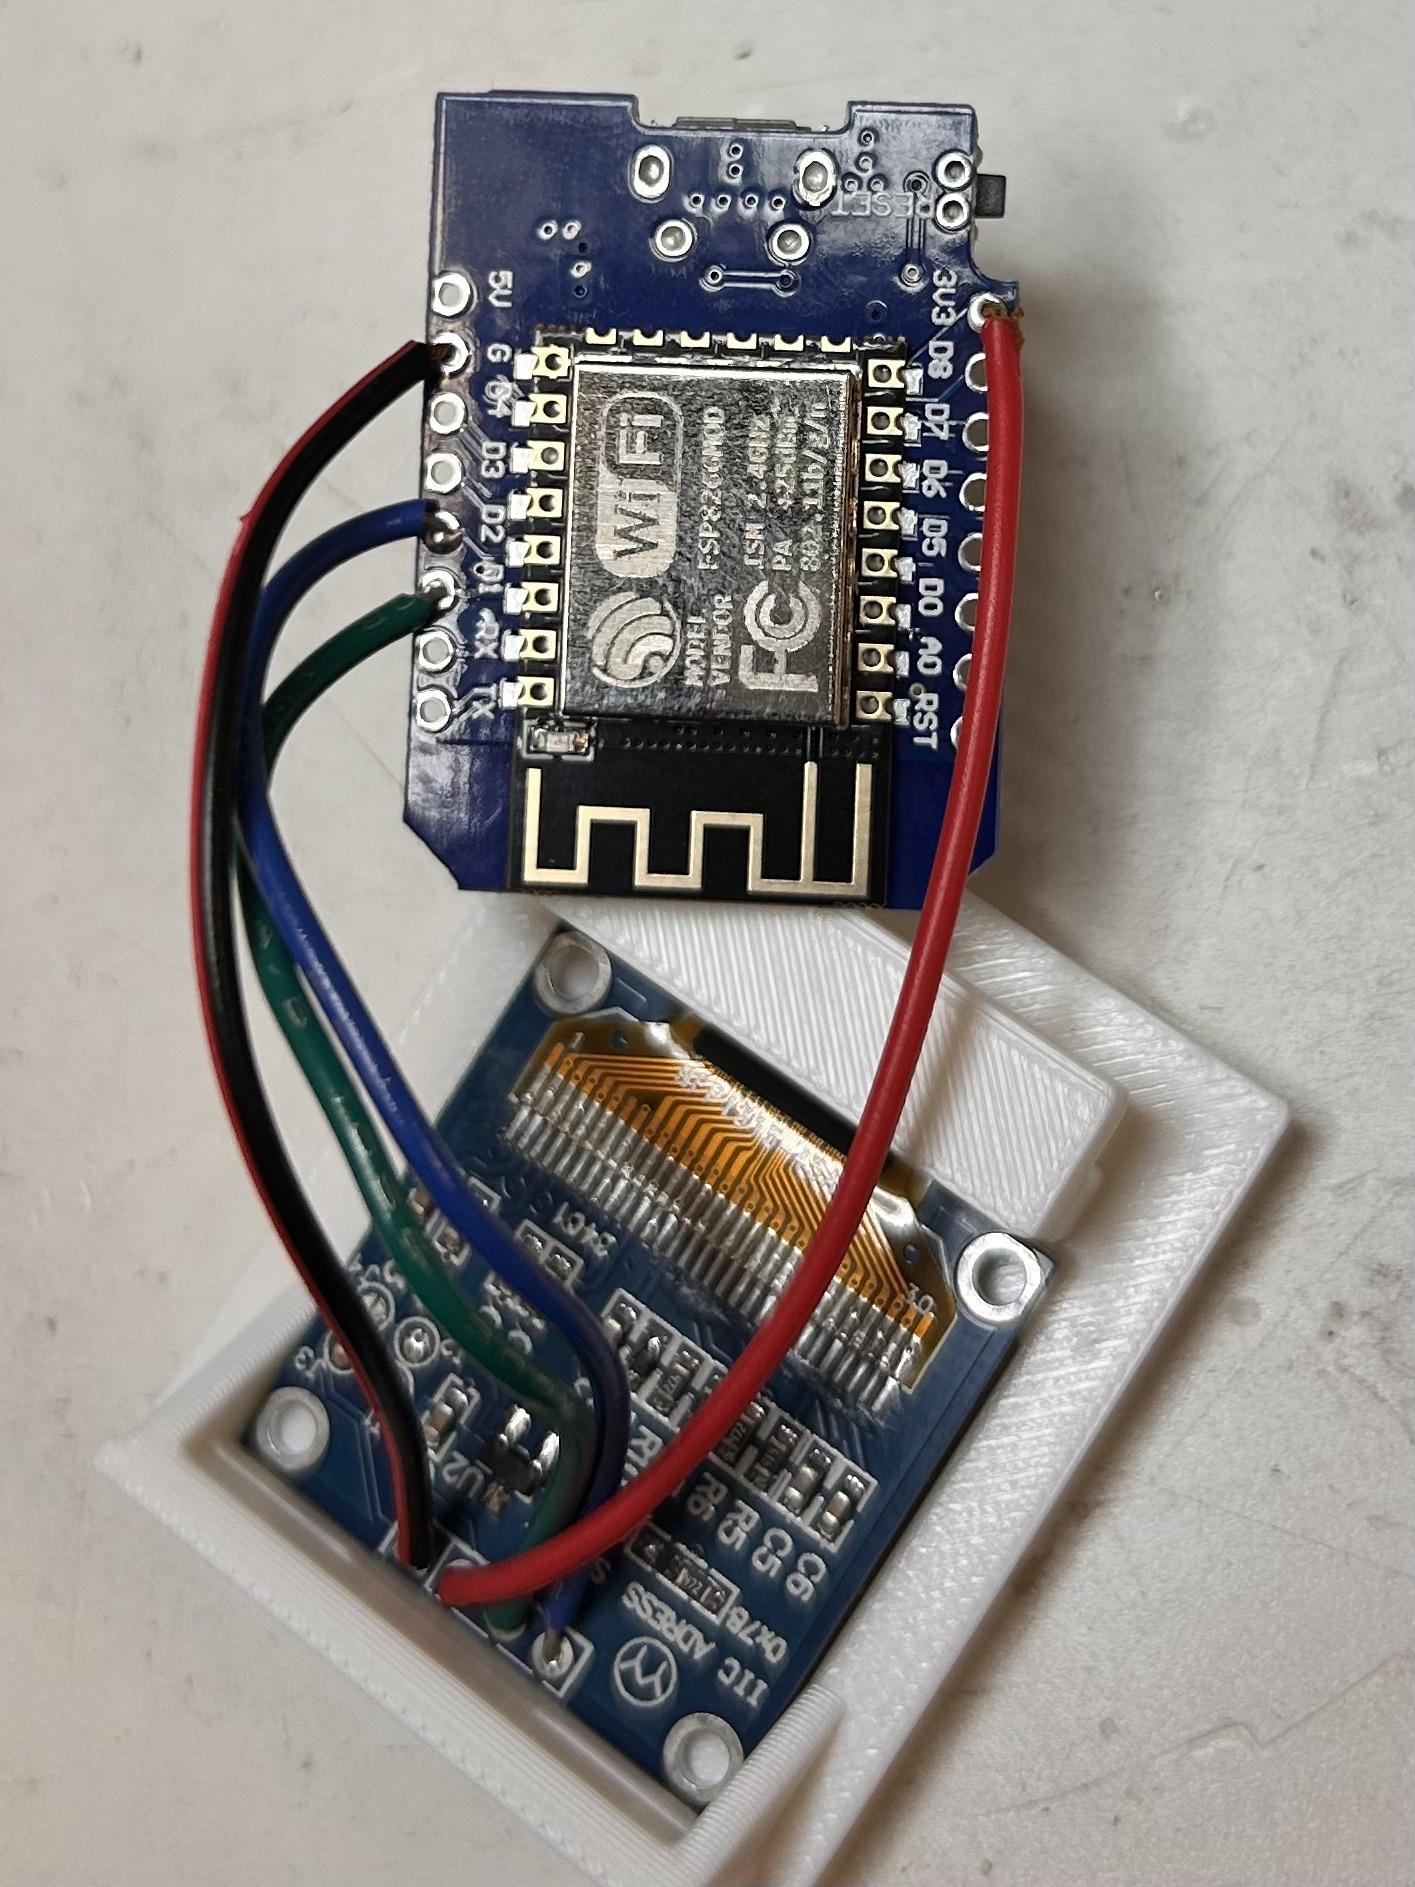
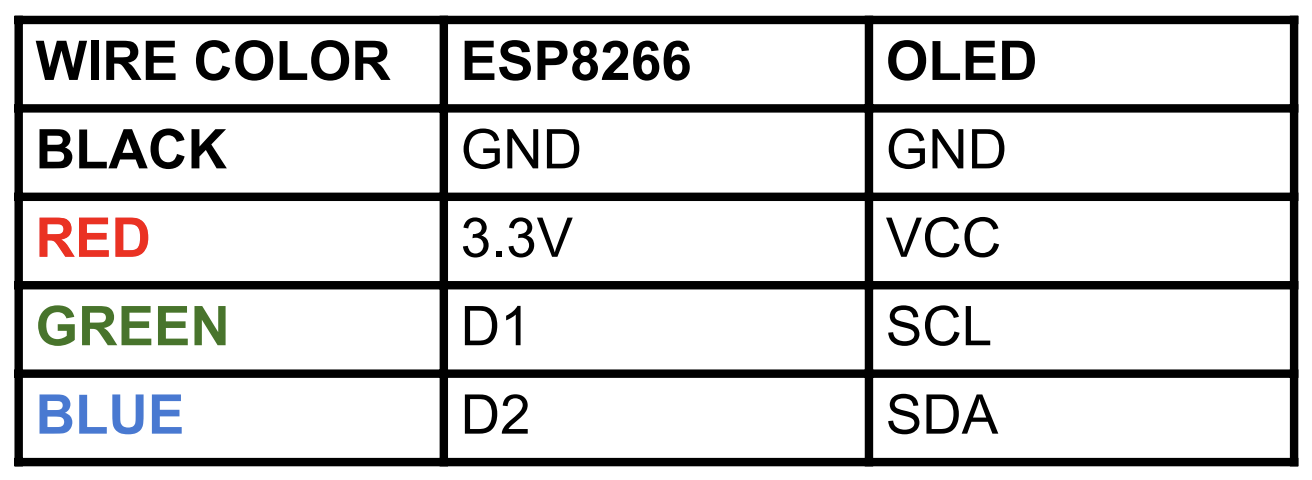
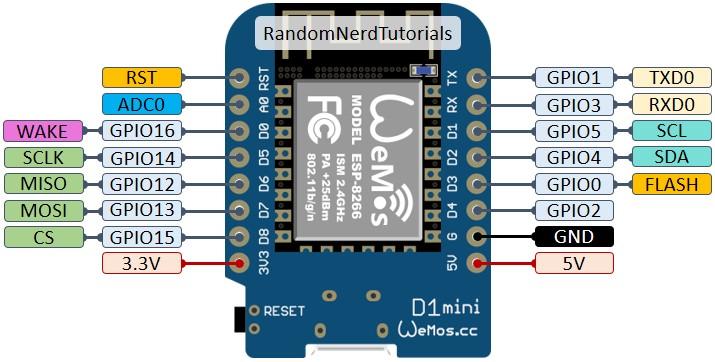
How to connect the Board to the screen:
GND to GND
3.3V to VCC
D1 to SCL
D2() to SDA
It is best to solder these connections, and make sure there's not too much bare wire exposed, since we will stuff it in a box in a later step and we want to make sure there are no shorts.
3D Printing
3D printable files (and files editable in Fusion360!) are available here on Thingiverse.
Assembly
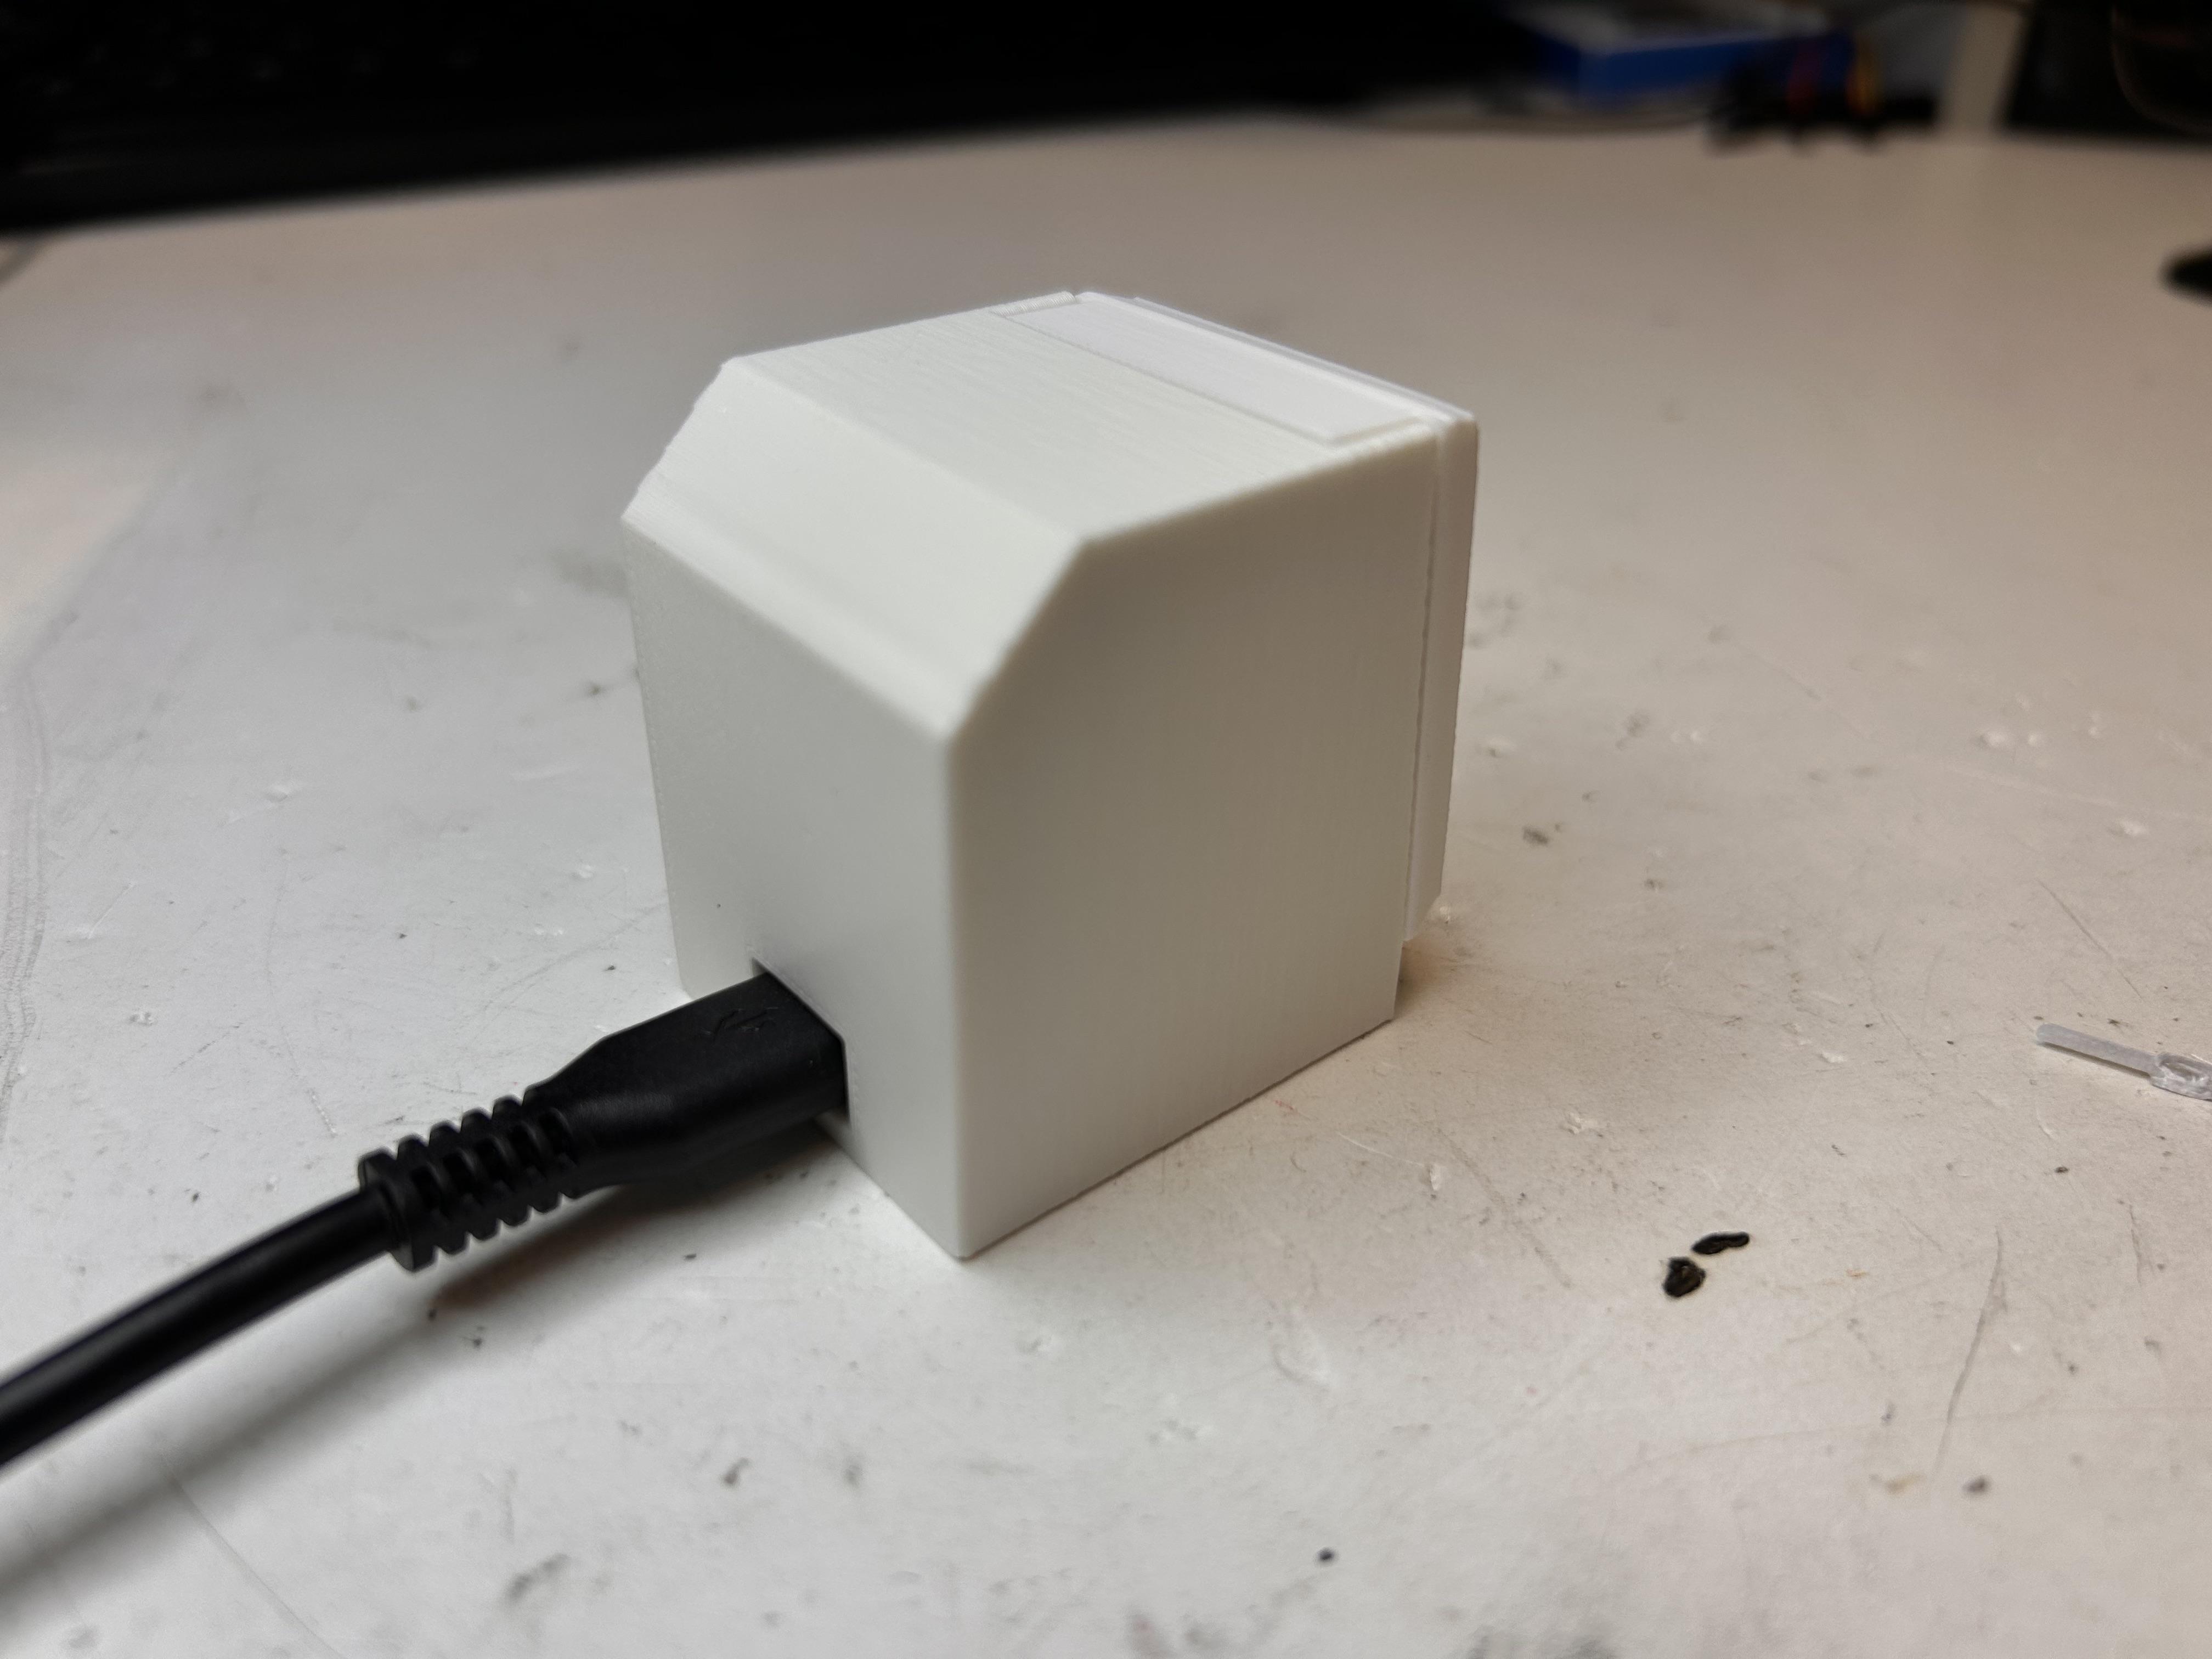
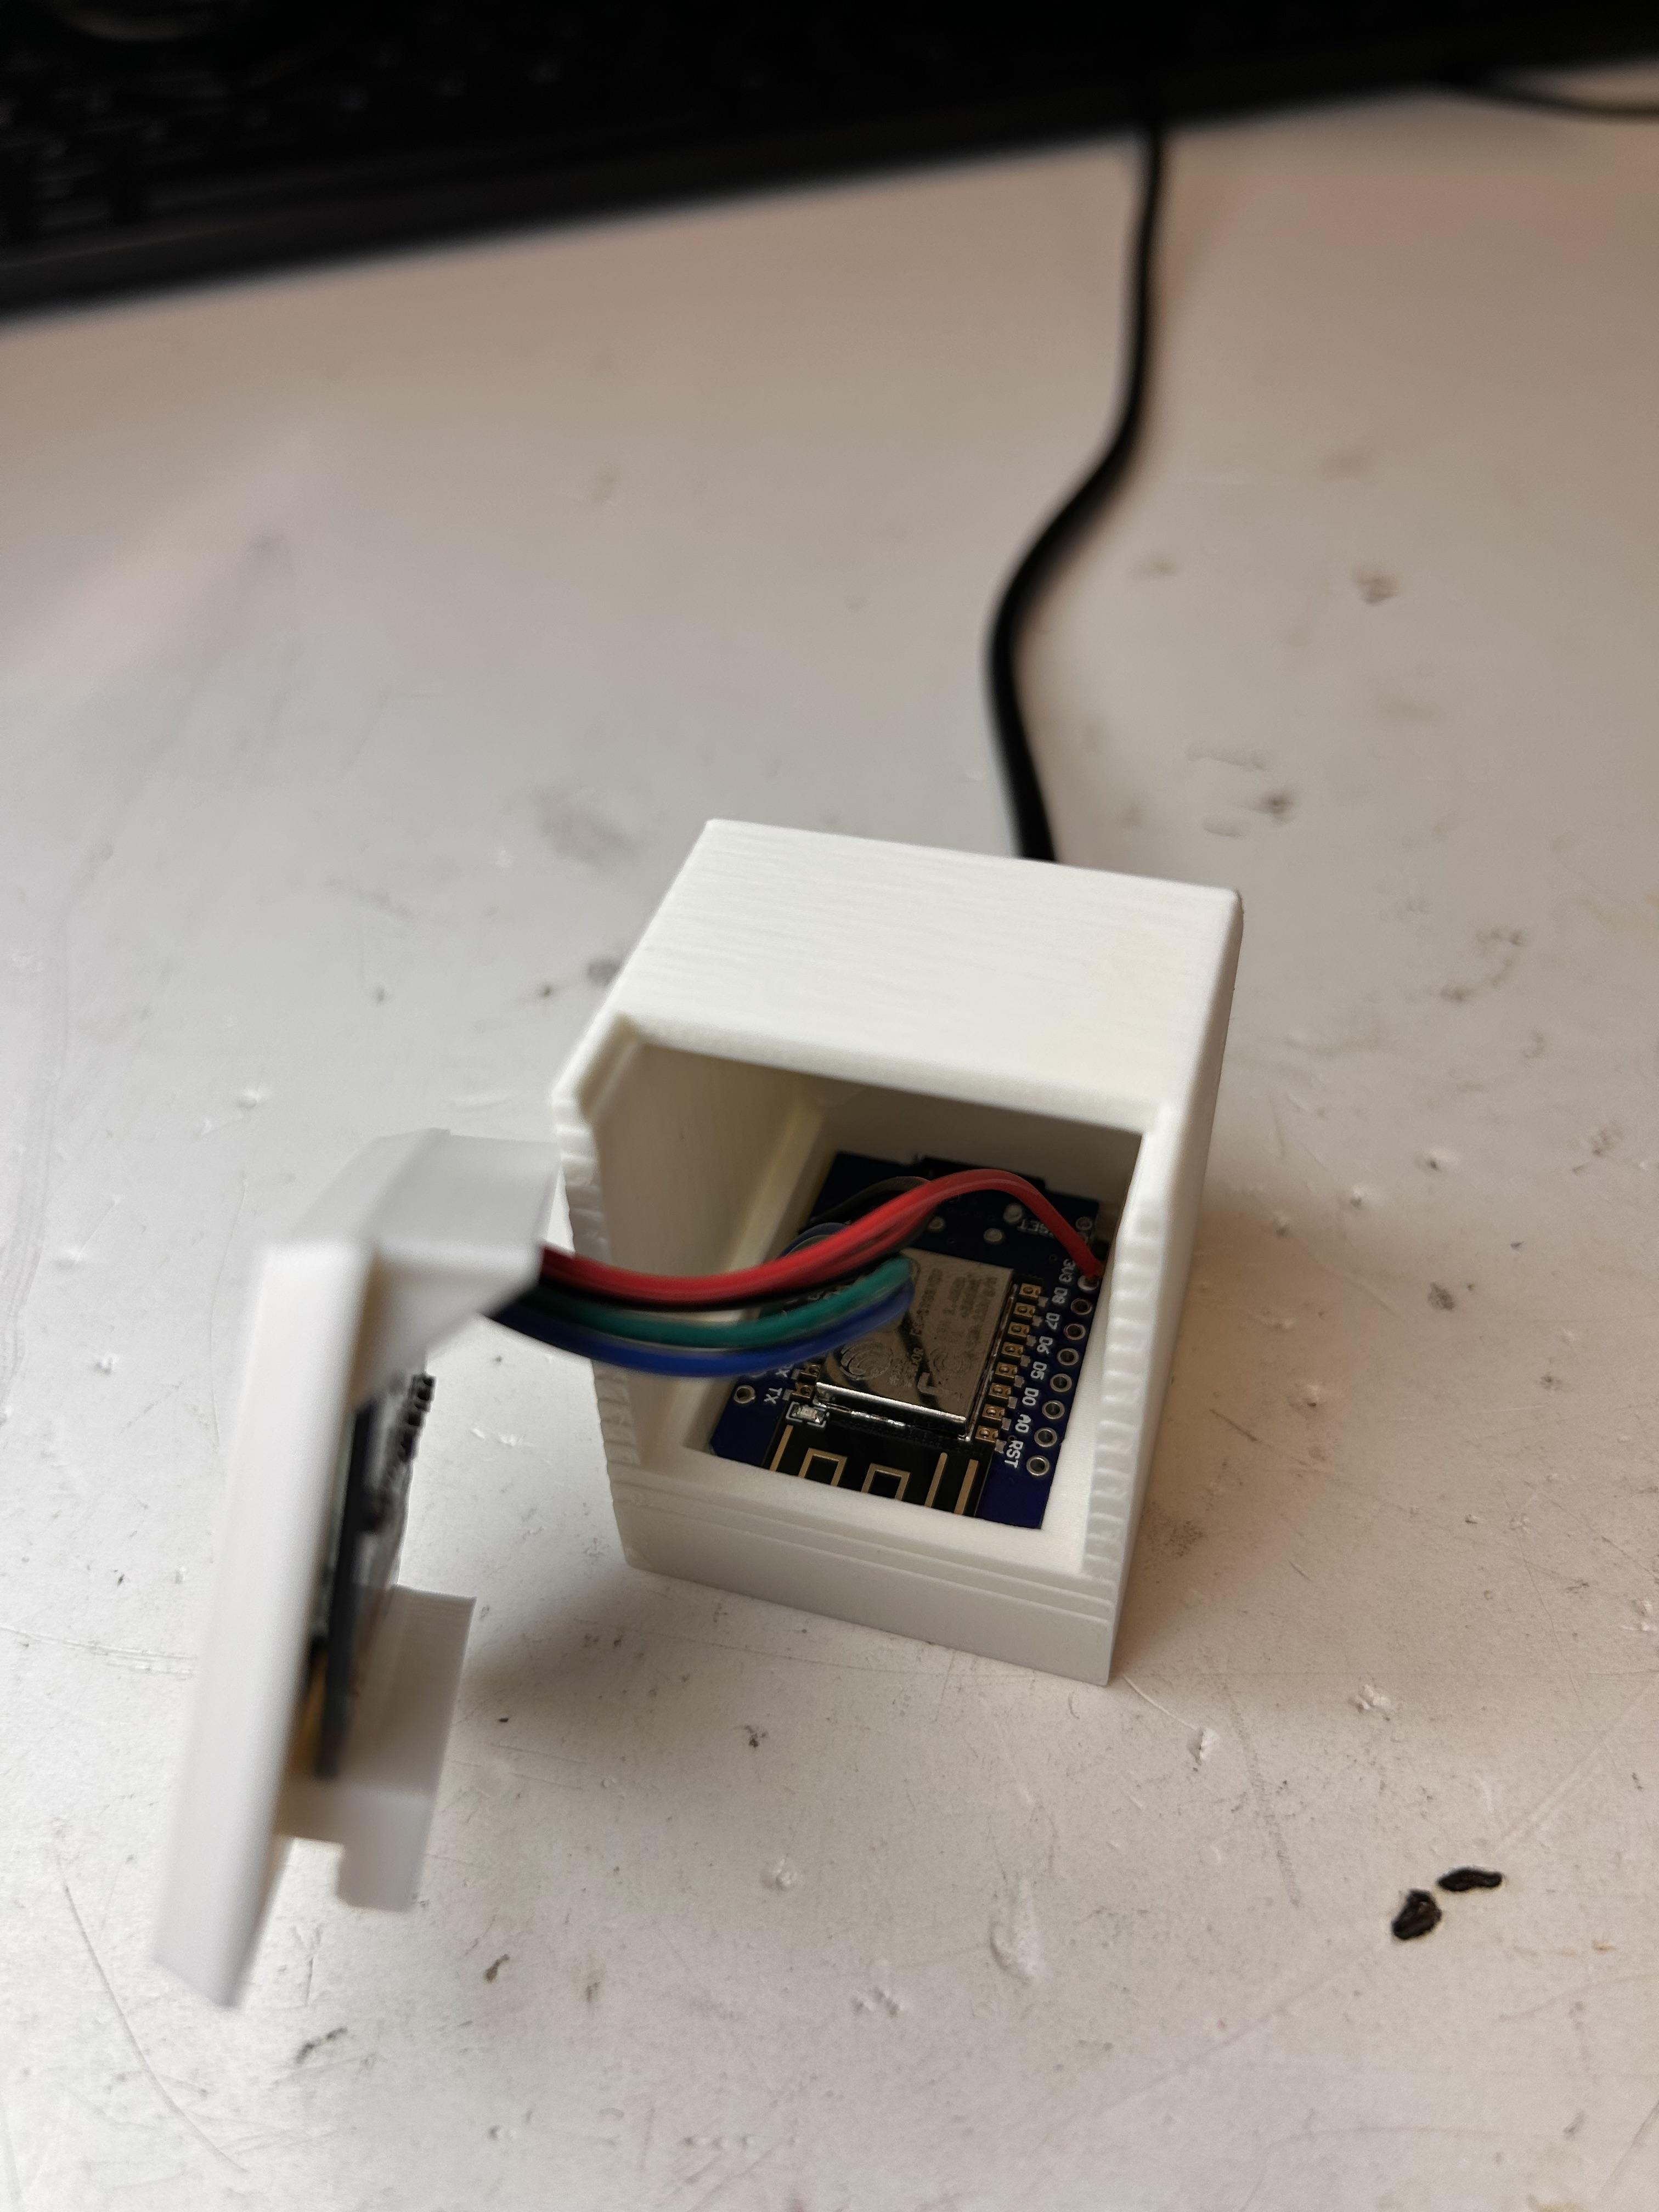
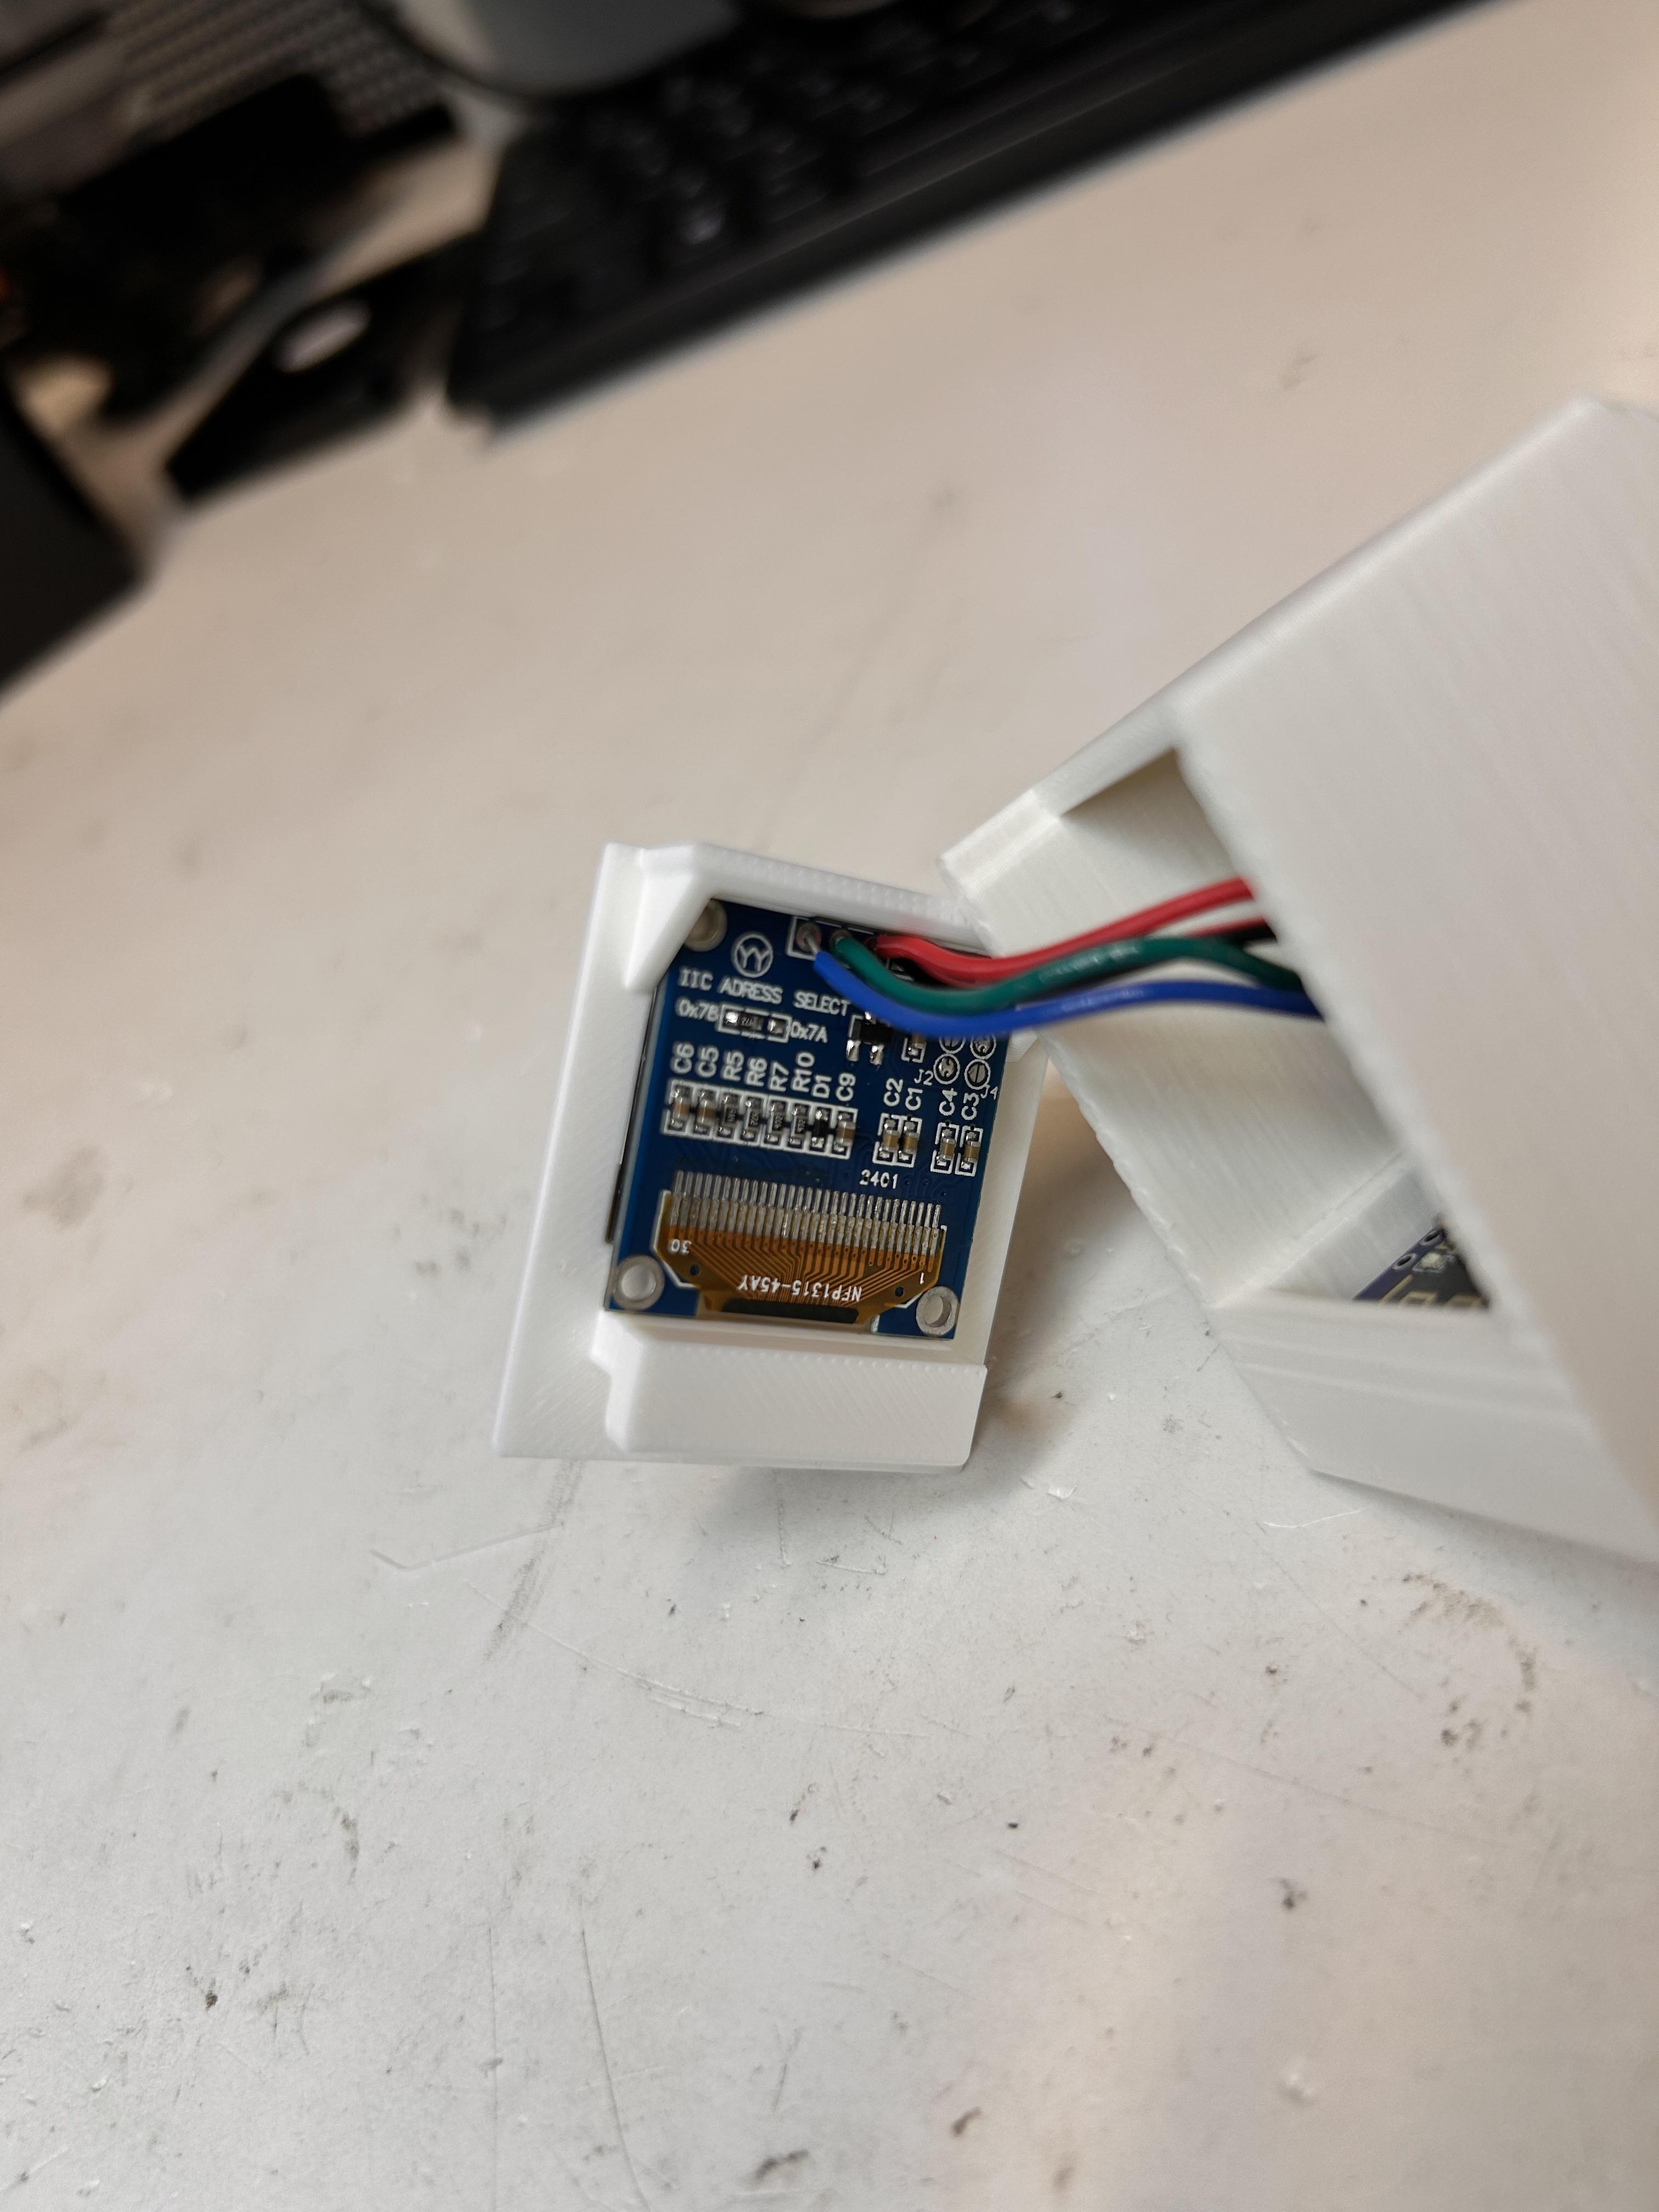
Insert the motherboard into the base by inserting into the slot near the hole in the back for the usb. The usb will be facing the bottom of the box, with the silver chip facing upwards. Then, gently push down the motherboard near the front of the box. When you insert the faceplate later, it will help hold the motherboard in place.
Insert screen into the faceplate. Important: Make sure you insert the bottom of the screen first and then click in the top. This will help to avoid cracking the glass.
Now that the components are installed, gently slide the faceplate down to lock in place.
Preparing IDE
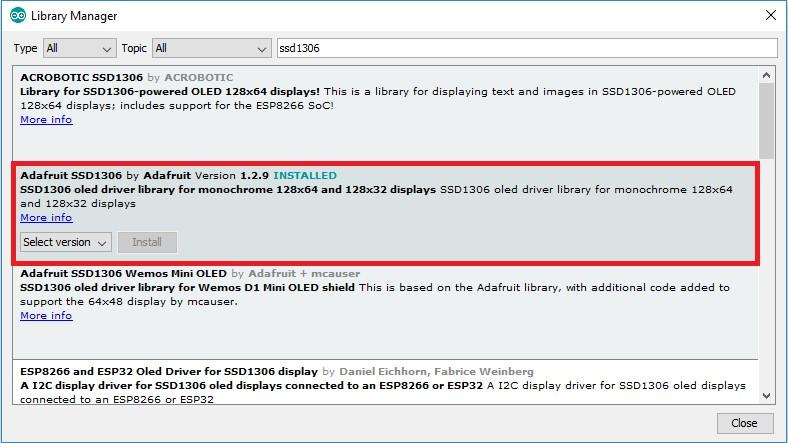
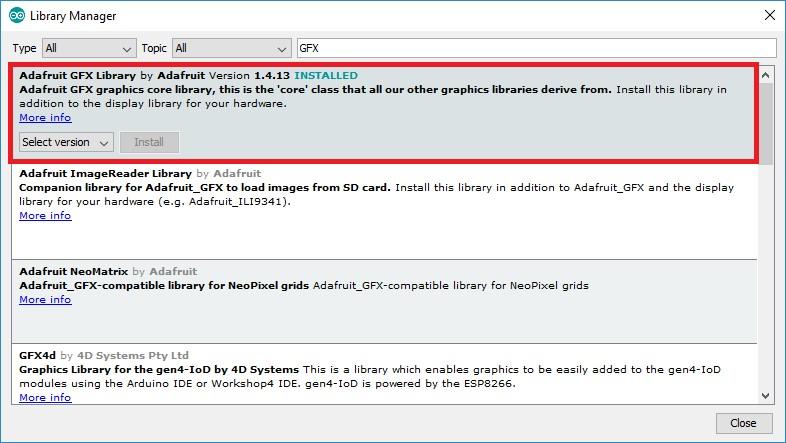
Download and install the Arduino IDE:
https://support.arduino.cc/hc/en-us/articles/360019833020-Download-and-install-Arduino-IDE
Install two Adafruit libraries to control the display:
Adafruit SSD1306: https://github.com/adafruit/Adafruit_SSD1306
Adafruit GFX: https://github.com/adafruit/Adafruit_SSD1306
While you could download and install via Github links above, it's easier to download via the built in Library Manager.
- Open your Arduino IDE and go to Sketch > Include Library > Manage Libraries. The Library Manager should open.
- Type “SSD1306” in the search box and install the SSD1306 library from Adafruit.
- After installing the SSD1306 library from Adafruit, you may get a notification that there are other libraries needed. Select the option to download all. If you didn't do this, you can always type “GFX” in the Manage Libraries search box and install the library manually.
- You will need to make sure you installed the ESP32 add-on into your Arduino IDE. If not, follow these instructions. (My board is the Wemos Clone)
- If you aren't seeing your board show up in the COM port options at the top of Arduino IDE, please install the CH340 driver.
- After installing everything, restart your Arduino IDE.
Programming
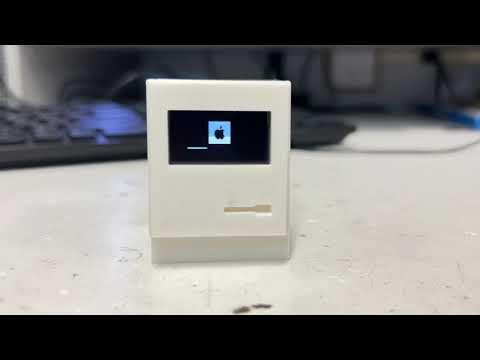
Load the example script into the IDE. Plug in the motherboard with microUSB cable and select the comPORT that appears. When prompted to select the board, I chose the "LOLIN(WEMOS) D1 mini (clone)".
Optional Steps
This guide includes good instructions if you want to show an image or logo:
Long story short, you will need to resize the image to fit on your SSD1306 screen, then make it monochrome, then convert it to a bitmap, and finally convert that bitmap to an array to use in your code. I implemented this slightly differently than in the above guide, so take a look at the source code in the last step for an example.