Mini Handmade Carpet


This is an attempt to design and implement a small sample of handcrafted high open loop carpets.
Using easy-to-availability materials and simple tools.
In addition, it can be implemented in different sizes and the length of the pile can also be controlled so that it is not only used as a carpet, but also can be used as a cover for pillows, chairs, wall hangings and coaster.
Using easy-to-availability materials and simple tools.
In addition, it can be implemented in different sizes and the length of the pile can also be controlled so that it is not only used as a carpet, but also can be used as a cover for pillows, chairs, wall hangings and coaster.
Supplies
1-Wooden or cardboard loom.(30 cm * 35 cm)
2-scissors.
3-Thick wool yarn.
4-Thin and strong cotton thread.
5- paper.
2-scissors.
3-Thick wool yarn.
4-Thin and strong cotton thread.
5- paper.
Prepare Your Loom


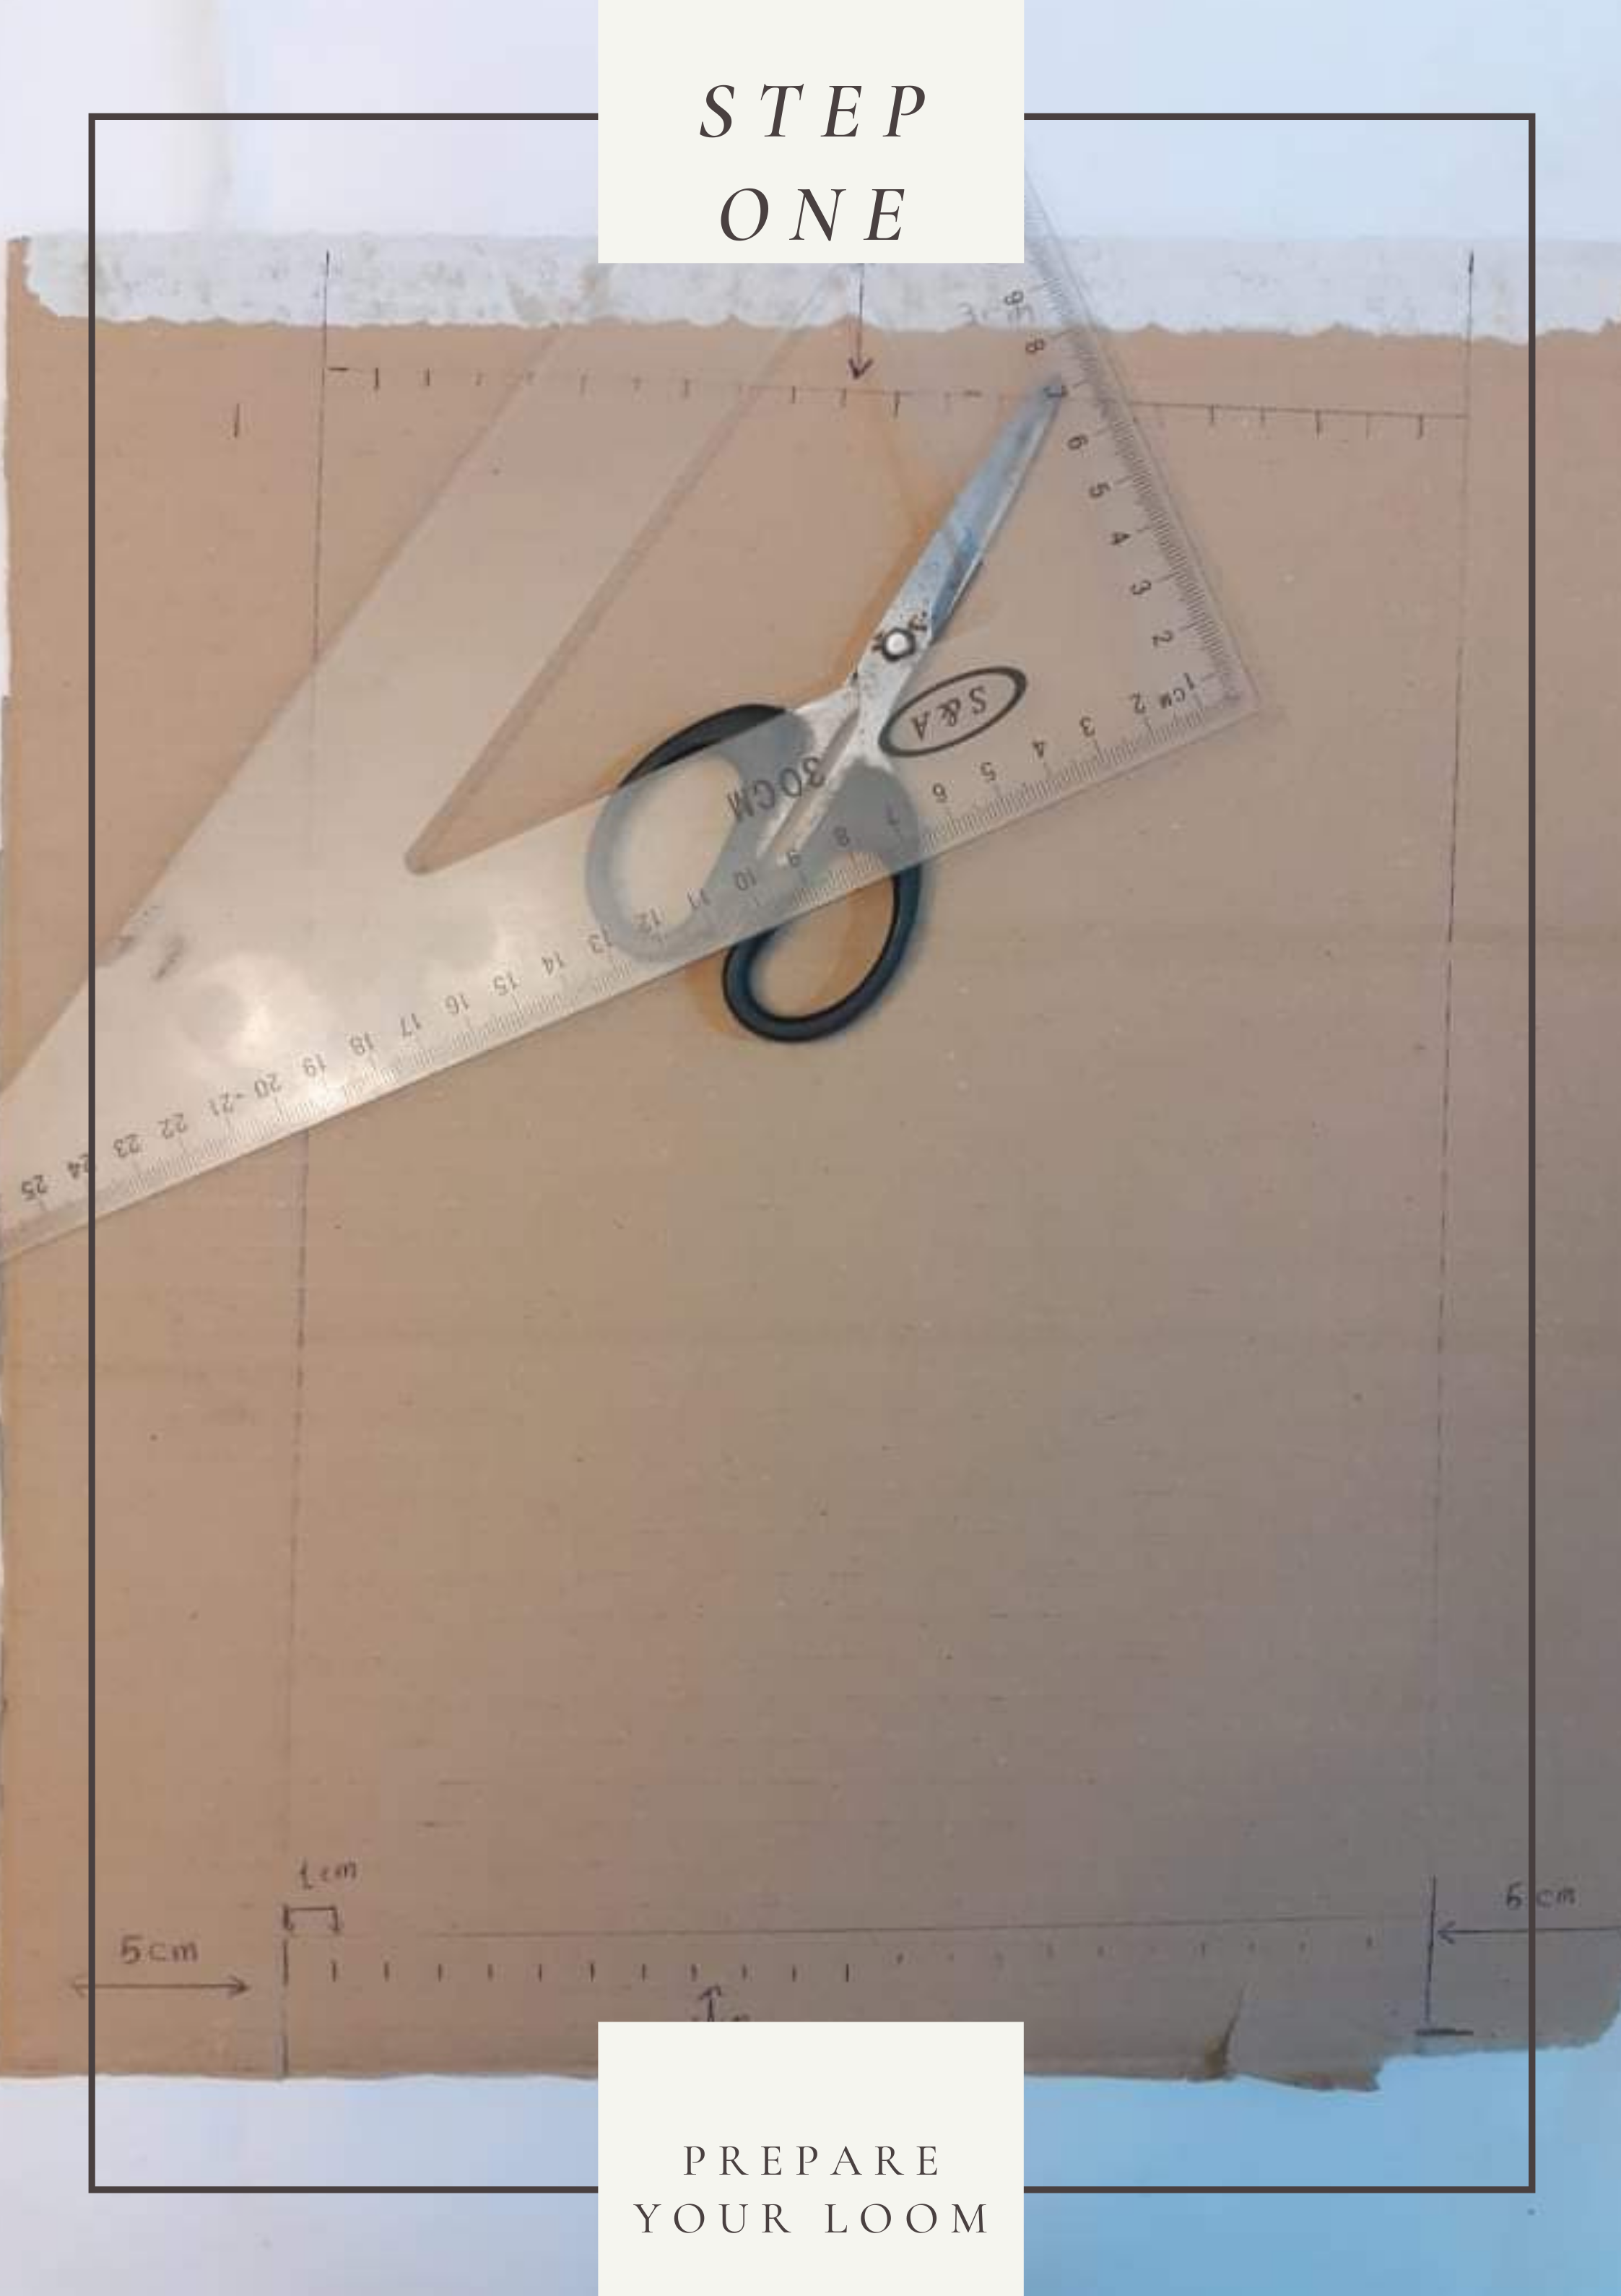
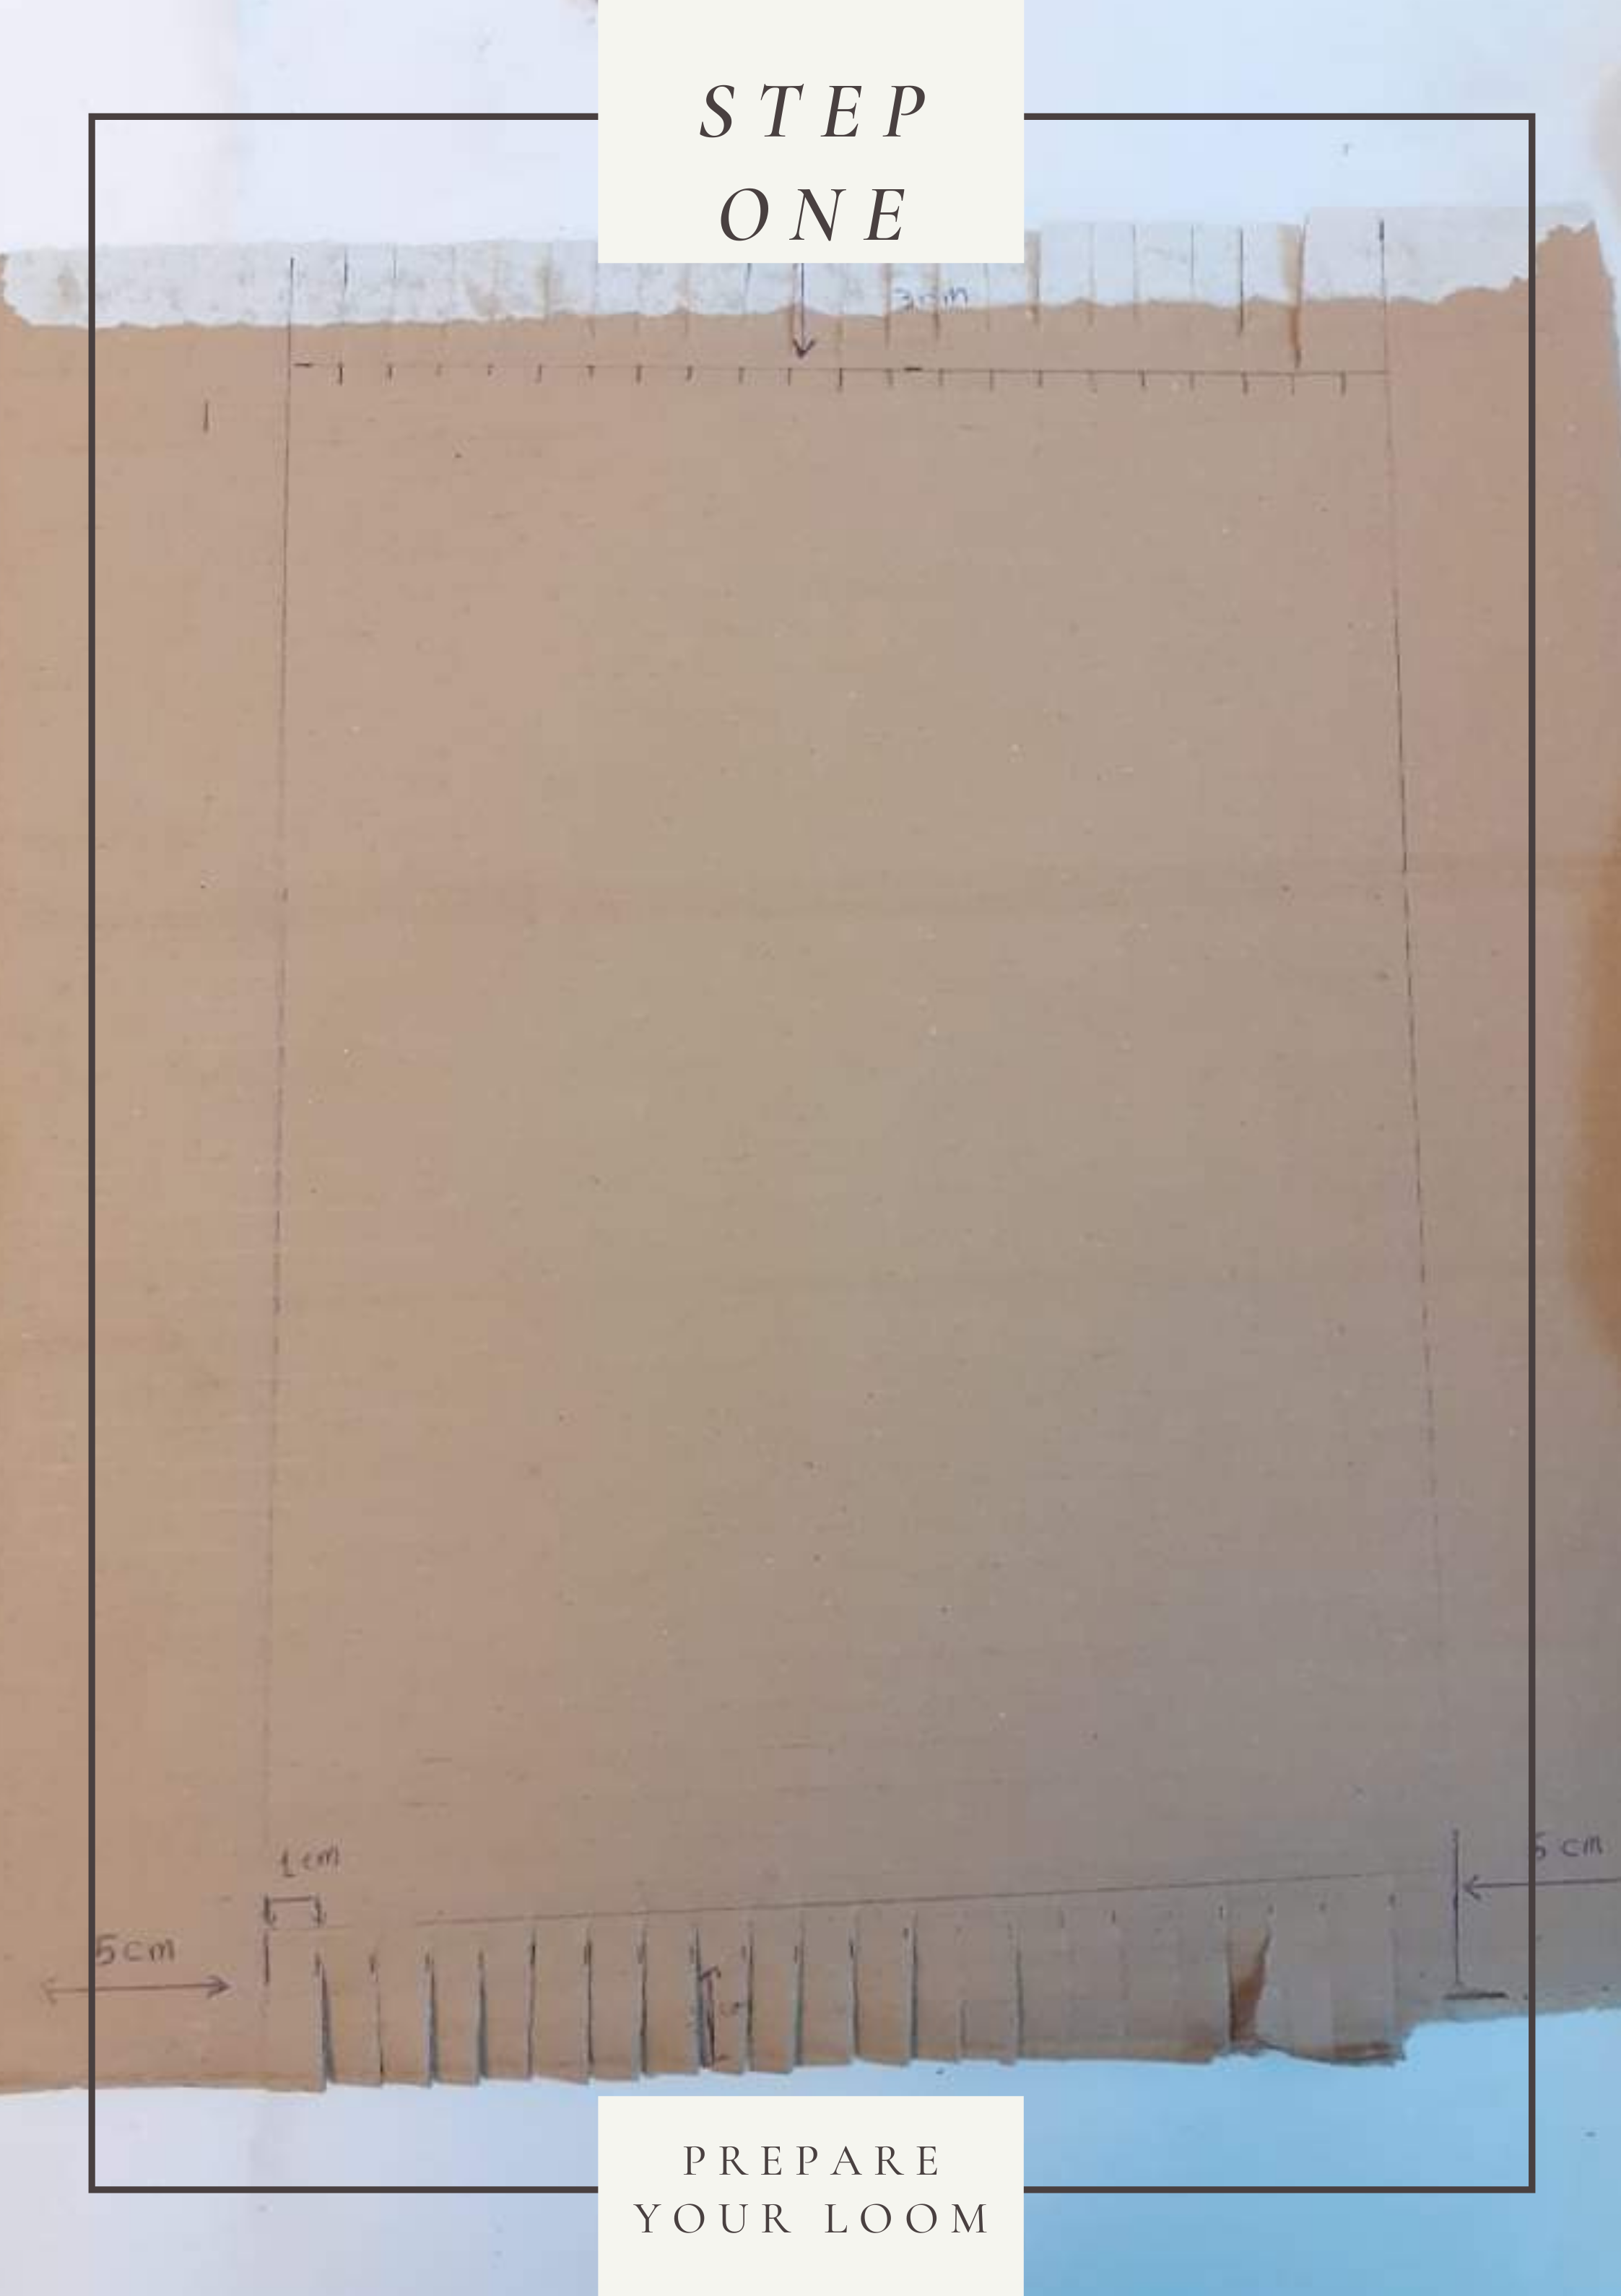
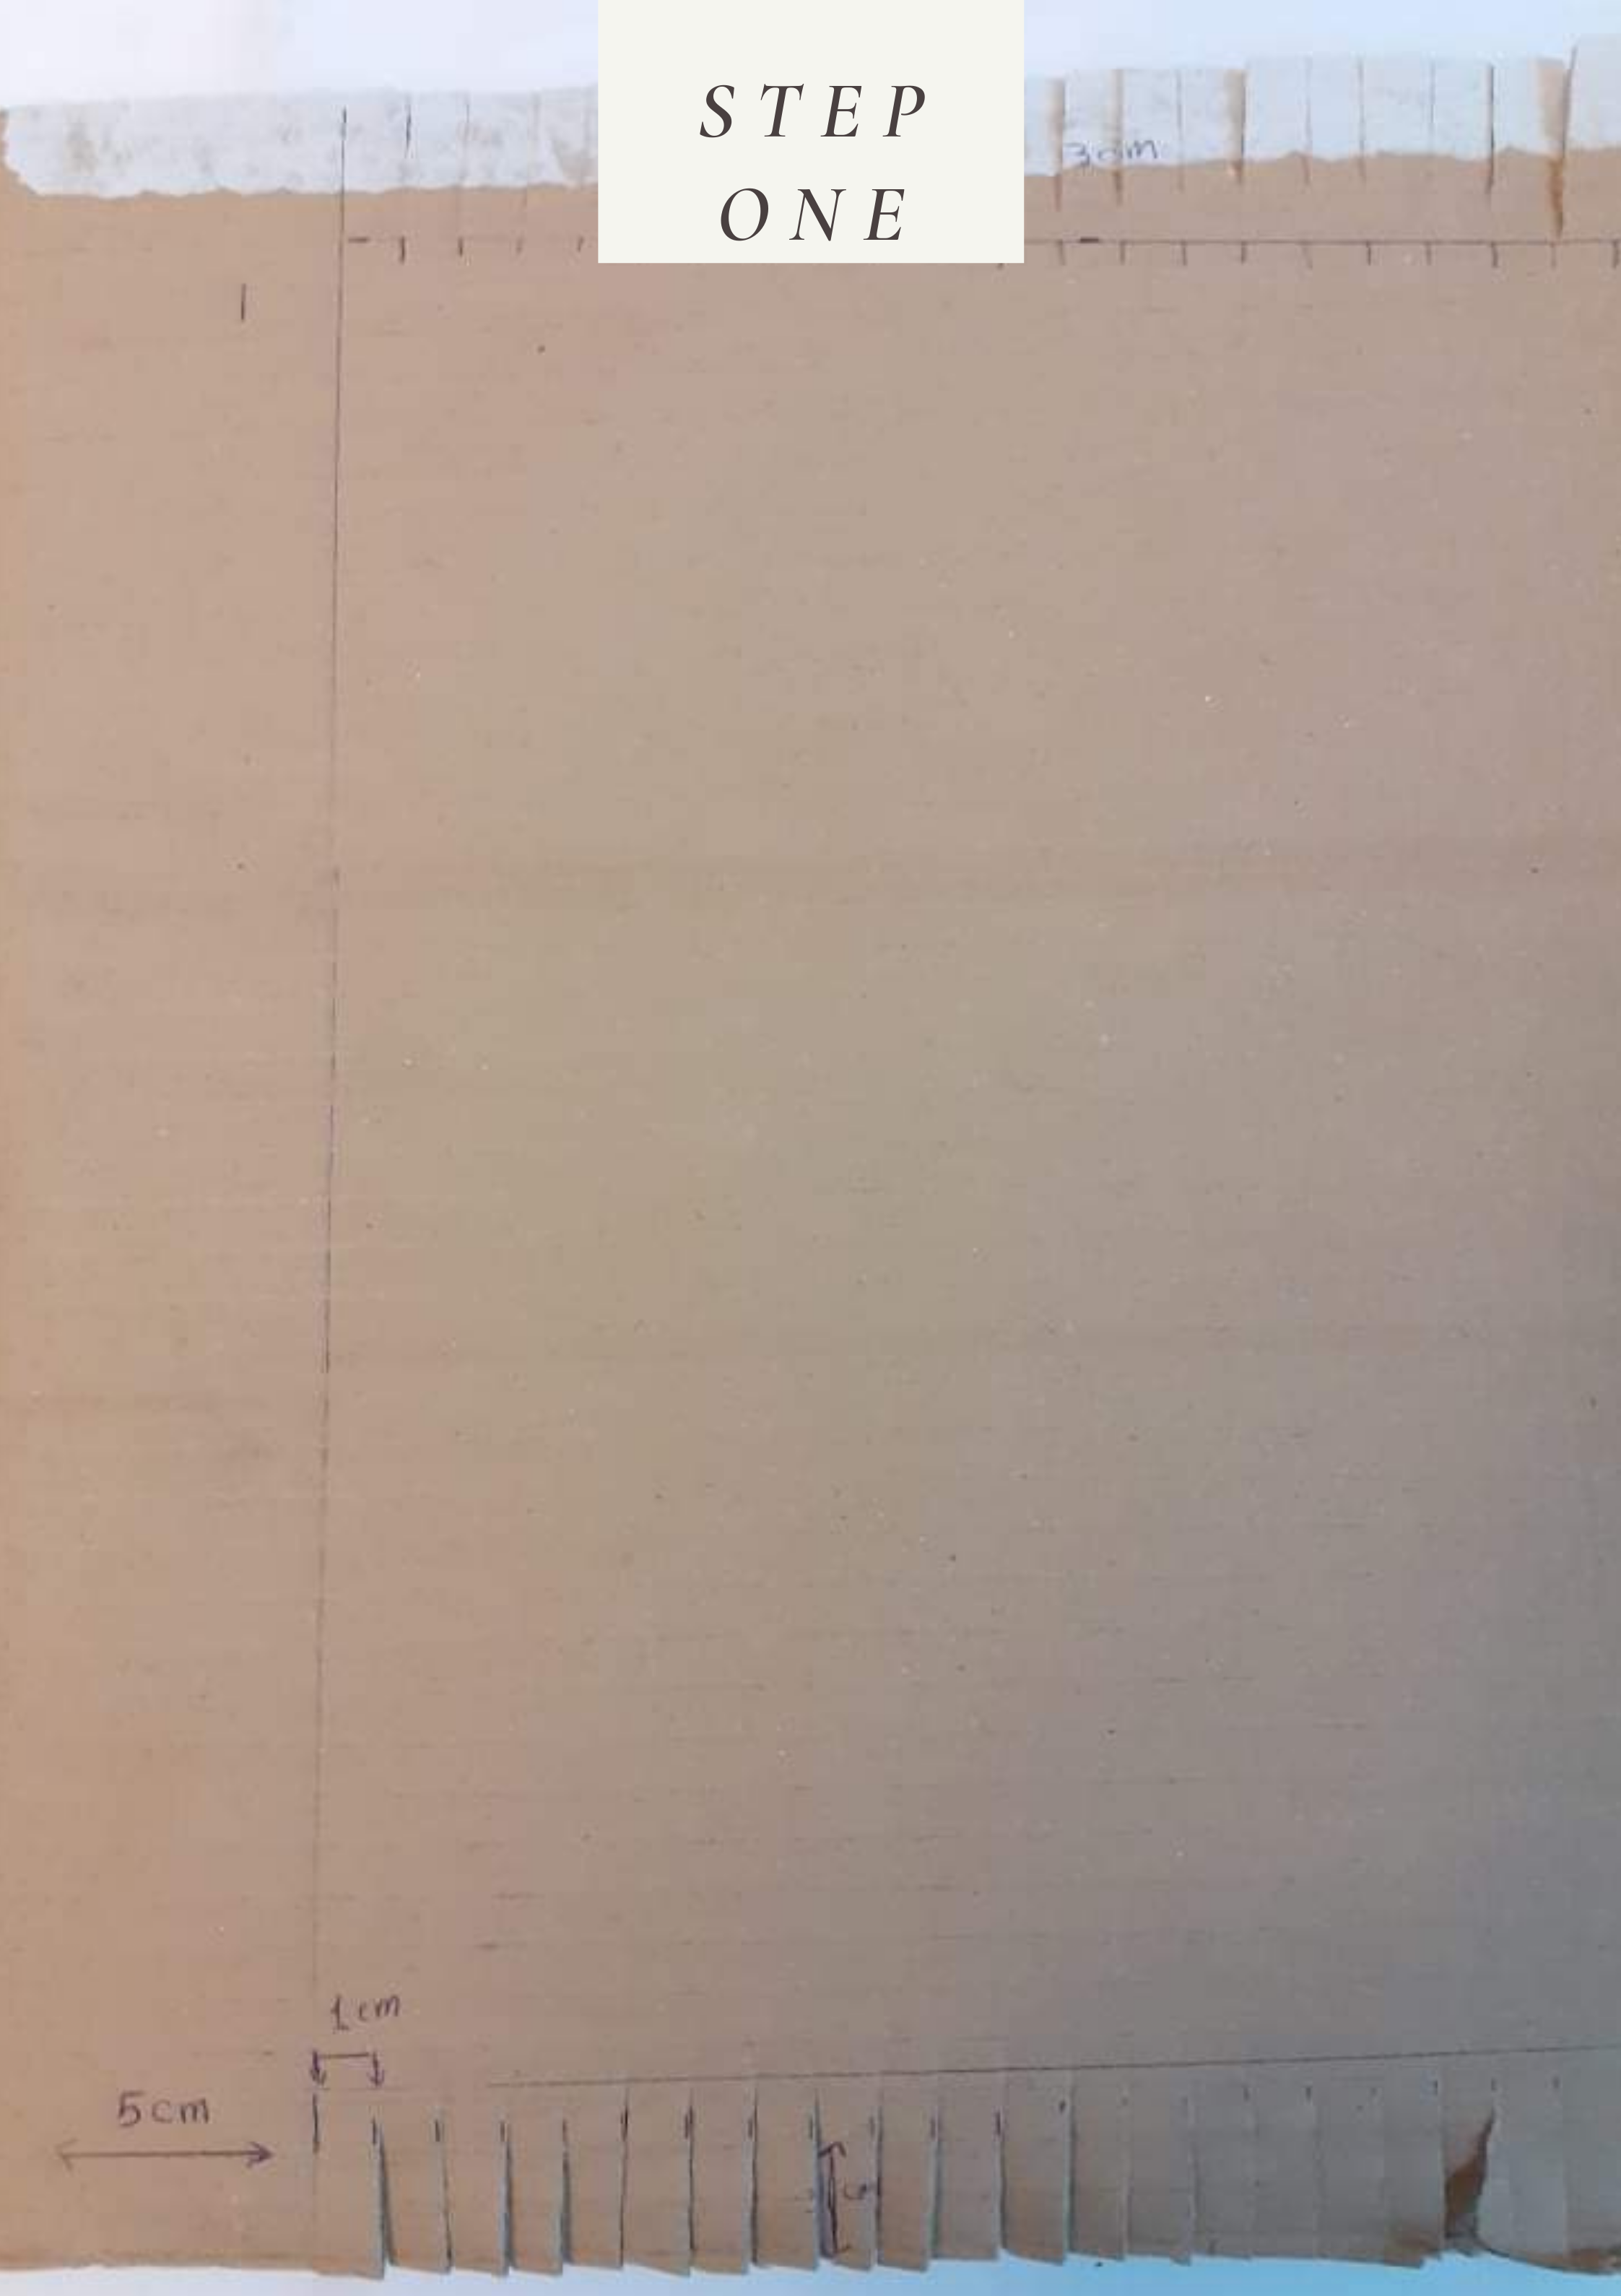

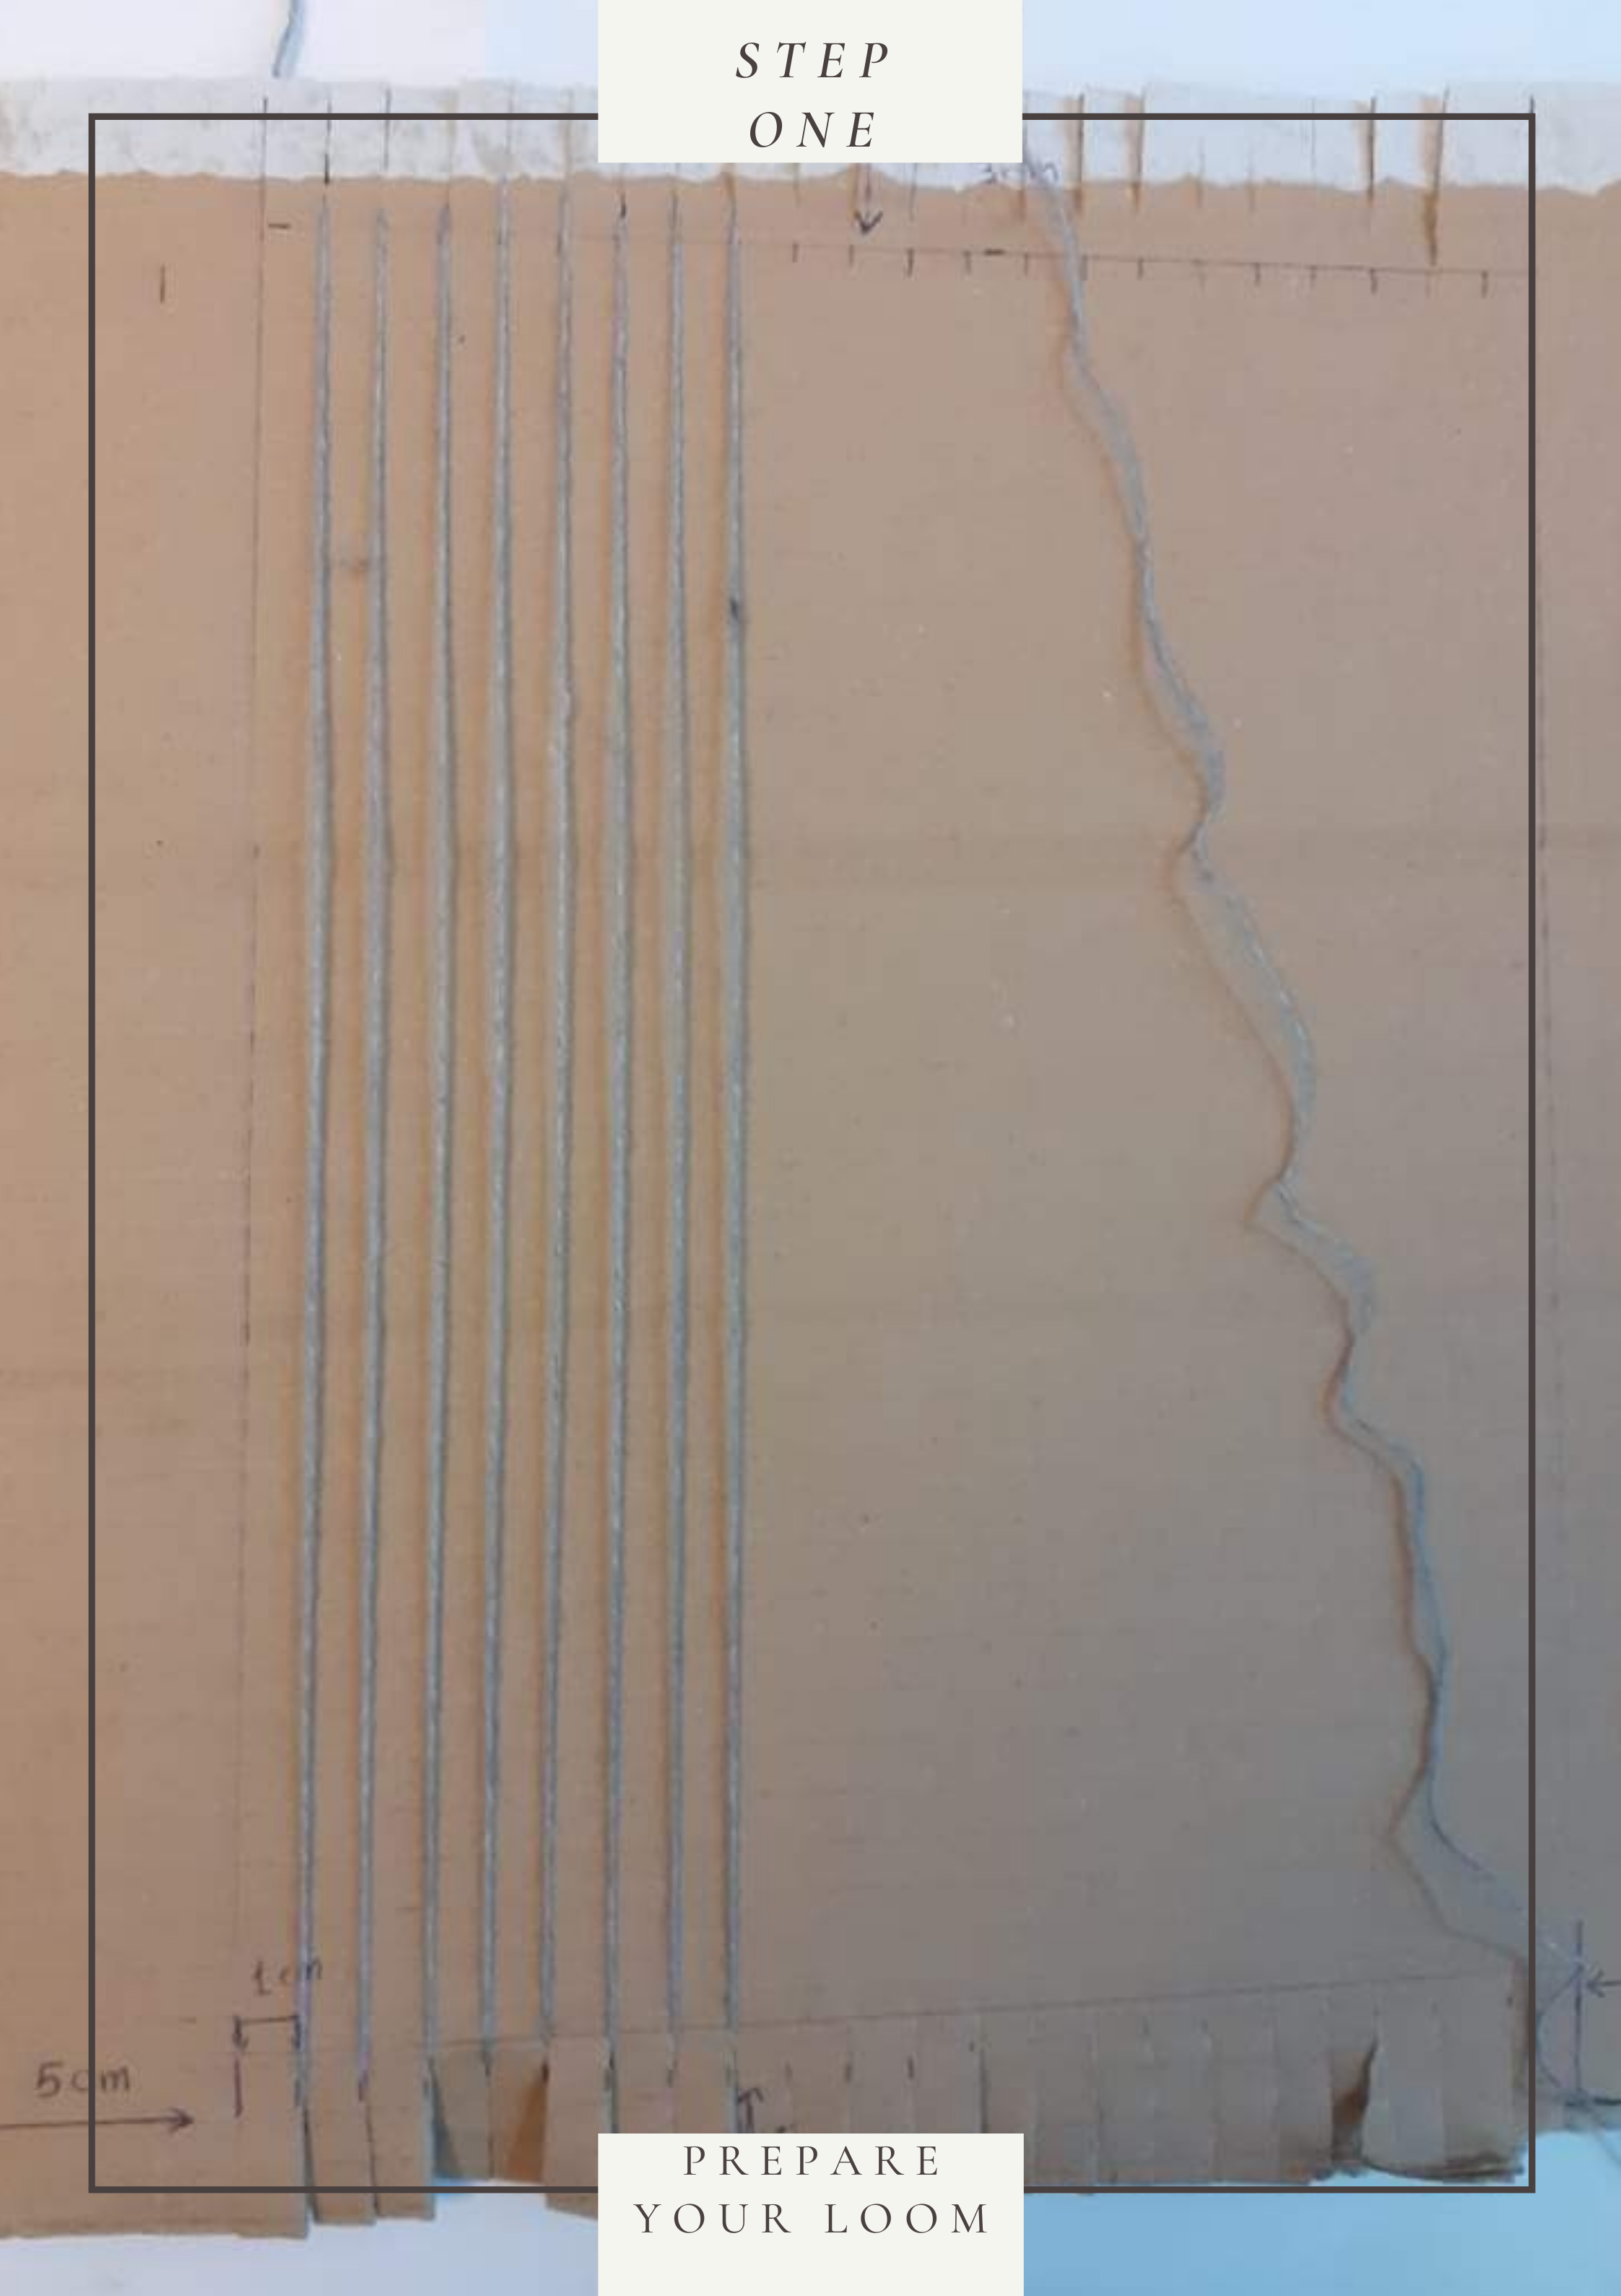


You can equip a wooden loom or a cardboard loom according to what is available for you and in the size that suits you.
In this sample, a wooden loom with a size of 30 * 35 cm was used, but we will explain it on the reinforced cardboard loom so that everyone has the opportunity to implement it.
When using a cardboard loom,
1- a cardboard carton 30 cm in width and 35 cm in length will be prepared, leaving a gap of 5 cm in each direction.
2-And at a distance of the upper and lower 5 cm, you make paths Using scissors to enter the thread so that the distance between the thread and the other is half a centimeter.
3- A thin and strong cotton thread is used to equip the loom with longitudinal threads, and it is passed through these paths in a continuous manner.
All of these longitudinal strings must be taut.
4- After this stage, the loom preparation will be completed.
As for when using a wooden loom, the difference is that the loom is a wooden frame that determines its area and the area of the frame you want.
The thread is wrapped across the upper and lower beams, and the distance between each thread and the other is half a centimeter.
And it follows the same previous steps in preparation.
Important note: All threads must be longitudinally tightened well, and you must make sure that the first thread is secured well by knot and winding.
Pile Formation Process


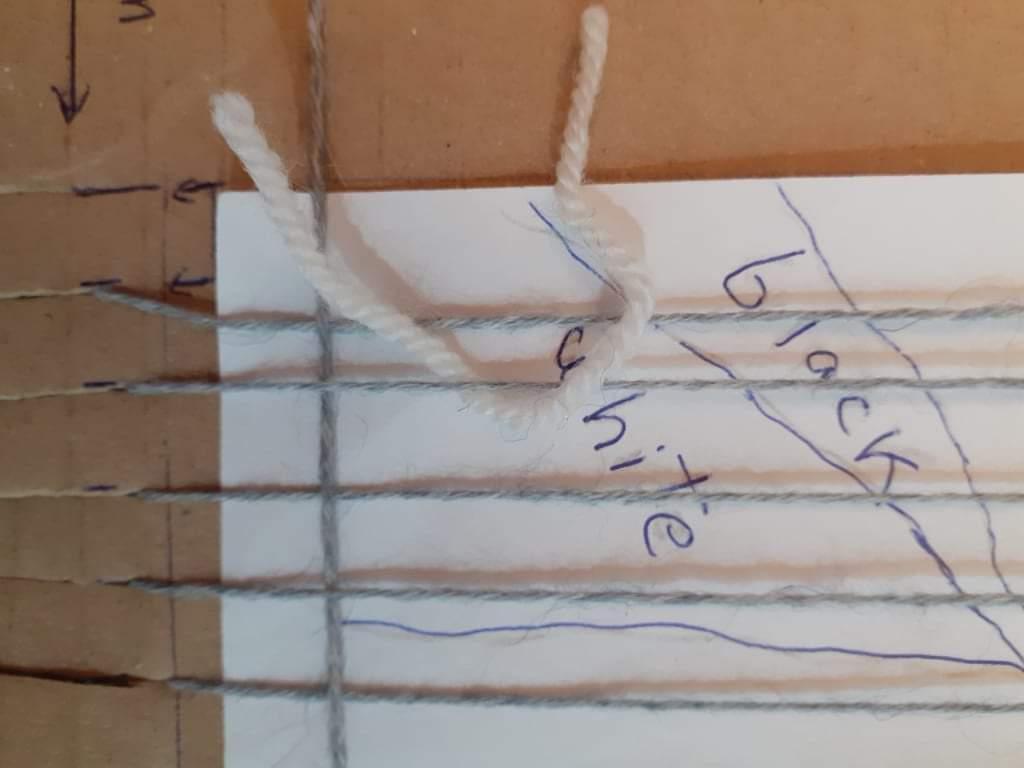

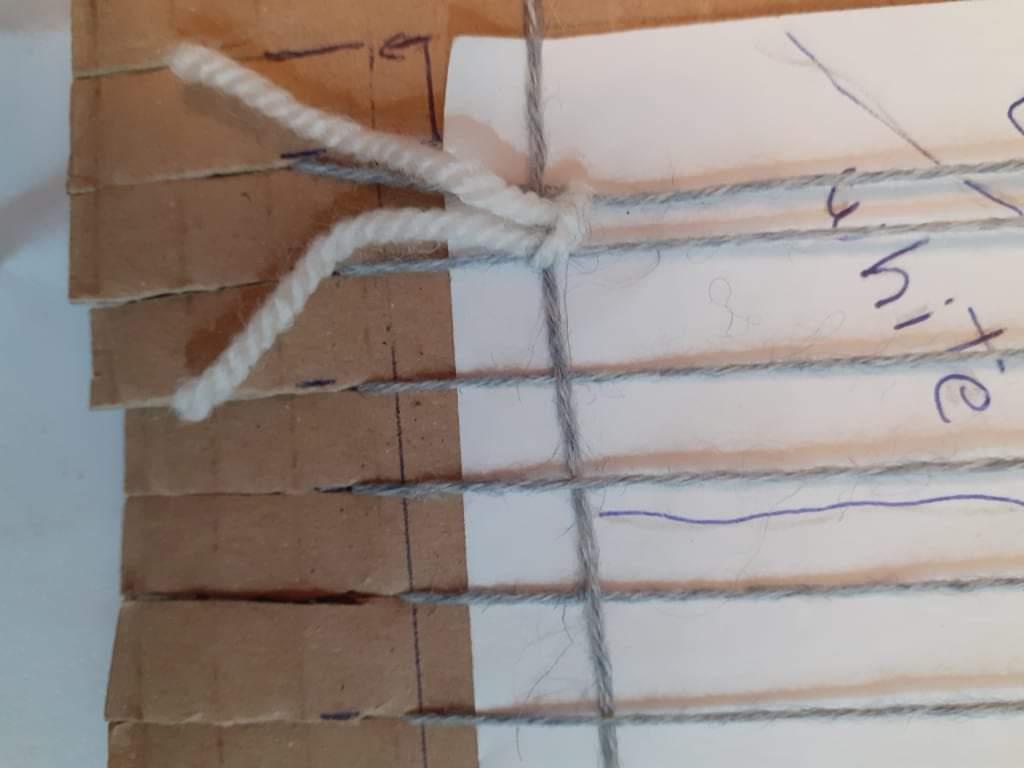
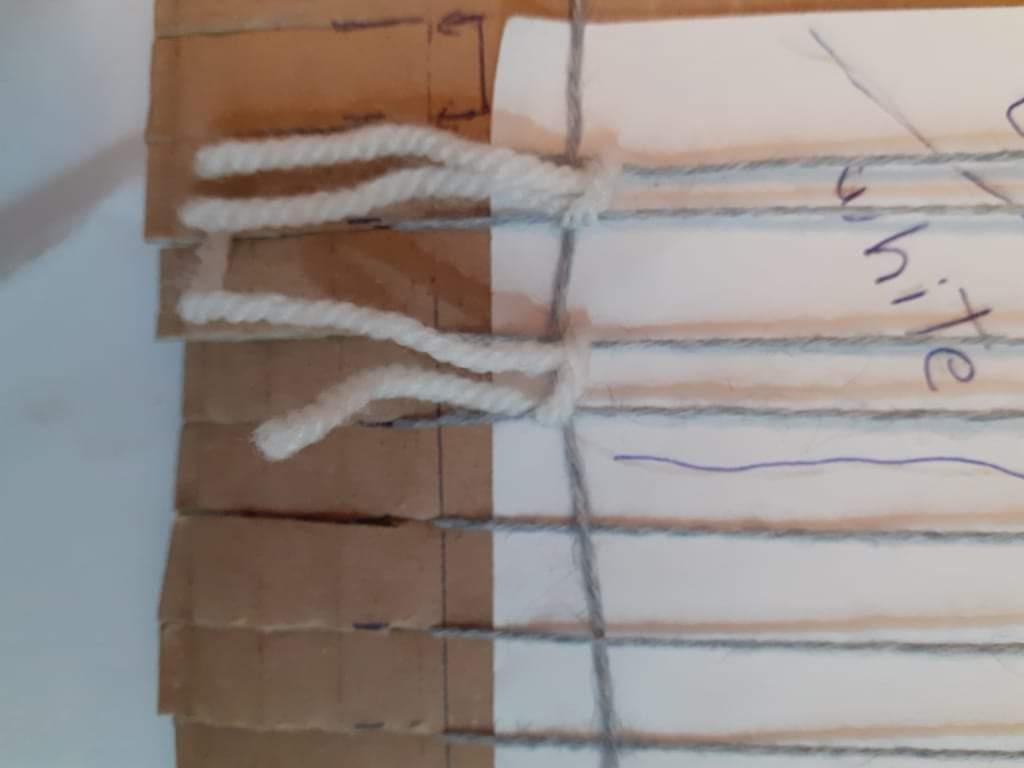
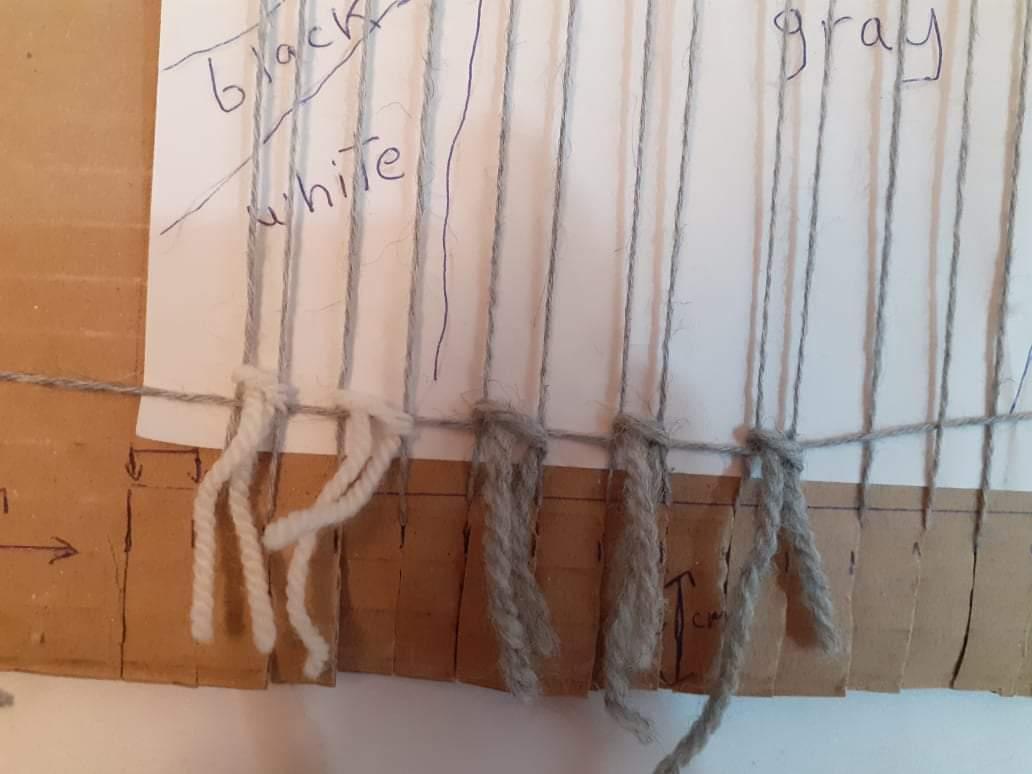


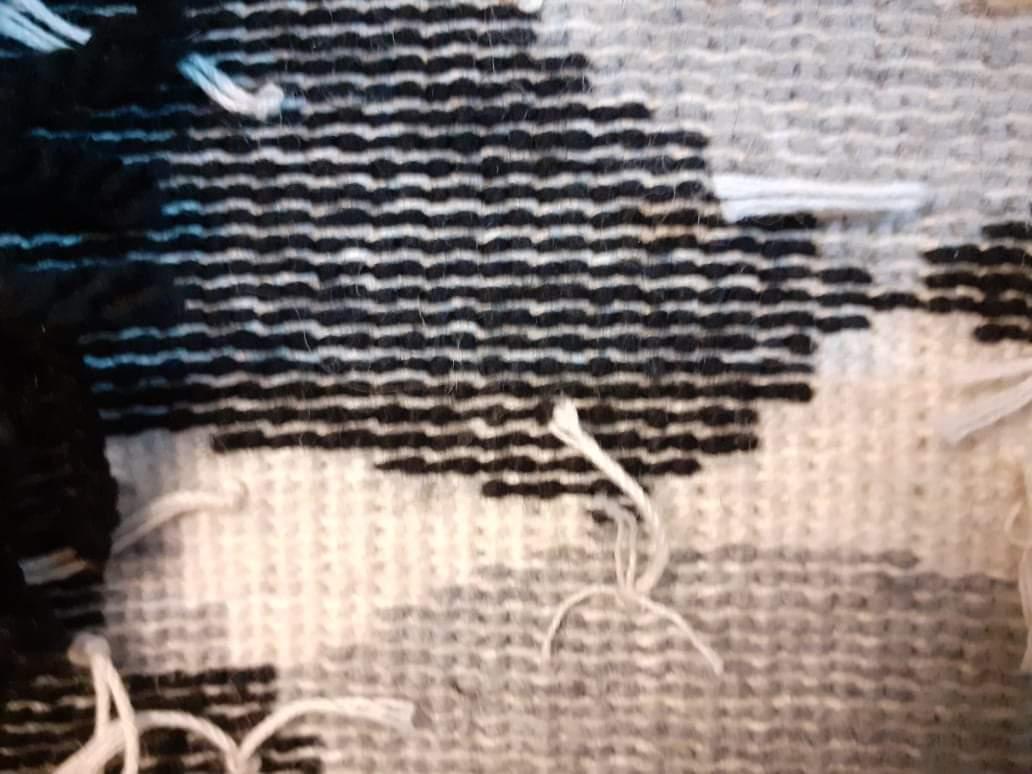

1- At first, thin cotton threads are used to carry out the weaving process
This is done by passing a thread crosswise so that it passes over a longitudinal thread, then passes under the next thread, then passes above it again, and so on.
2- It is preferable to repeat this weaving process several times, so that the carpet wool knot will be well fixed after that.
3- After that, the open loops are formed according to the design and colors.
4- The woolen thread, which is 10 cm long, is used and is placed on two long strings, then they are pulled from the back and twisted and tied down to form the pile.
5- The open loop is formed until the end of each row in width and every area has the color assigned to it
6 - And after completing the formation of the open loop row, it is sealed with cotton threads by the weaving process.
Thus, these steps are repeated during work.
7-After completing this piece, it is cut from the loom.
And a glue is placed on the ends to ensure its stability
And if you want to put a piece of cloth on the back of the piece or felt
Also, the loops is straightened by shaving it or cutting it to the length you want.
Choose the Design and the Colors of the Strings Used in It


1- The design to be executed is chosen and drawn or printed on paper.
2- If you are a beginner, it is preferable to place the design behind the strings and be adjusted to the area.
To be easy to be guided by design.
3- After that, the colors used in the design are determined and prepared, and thick woolen threads are formed.
4- Woolen yarns are prepared into smaller threads within 10 cm