Mini DIY Photography Backdrop
by Printy in Circuits > Cameras
29442 Views, 115 Favorites, 0 Comments
Mini DIY Photography Backdrop
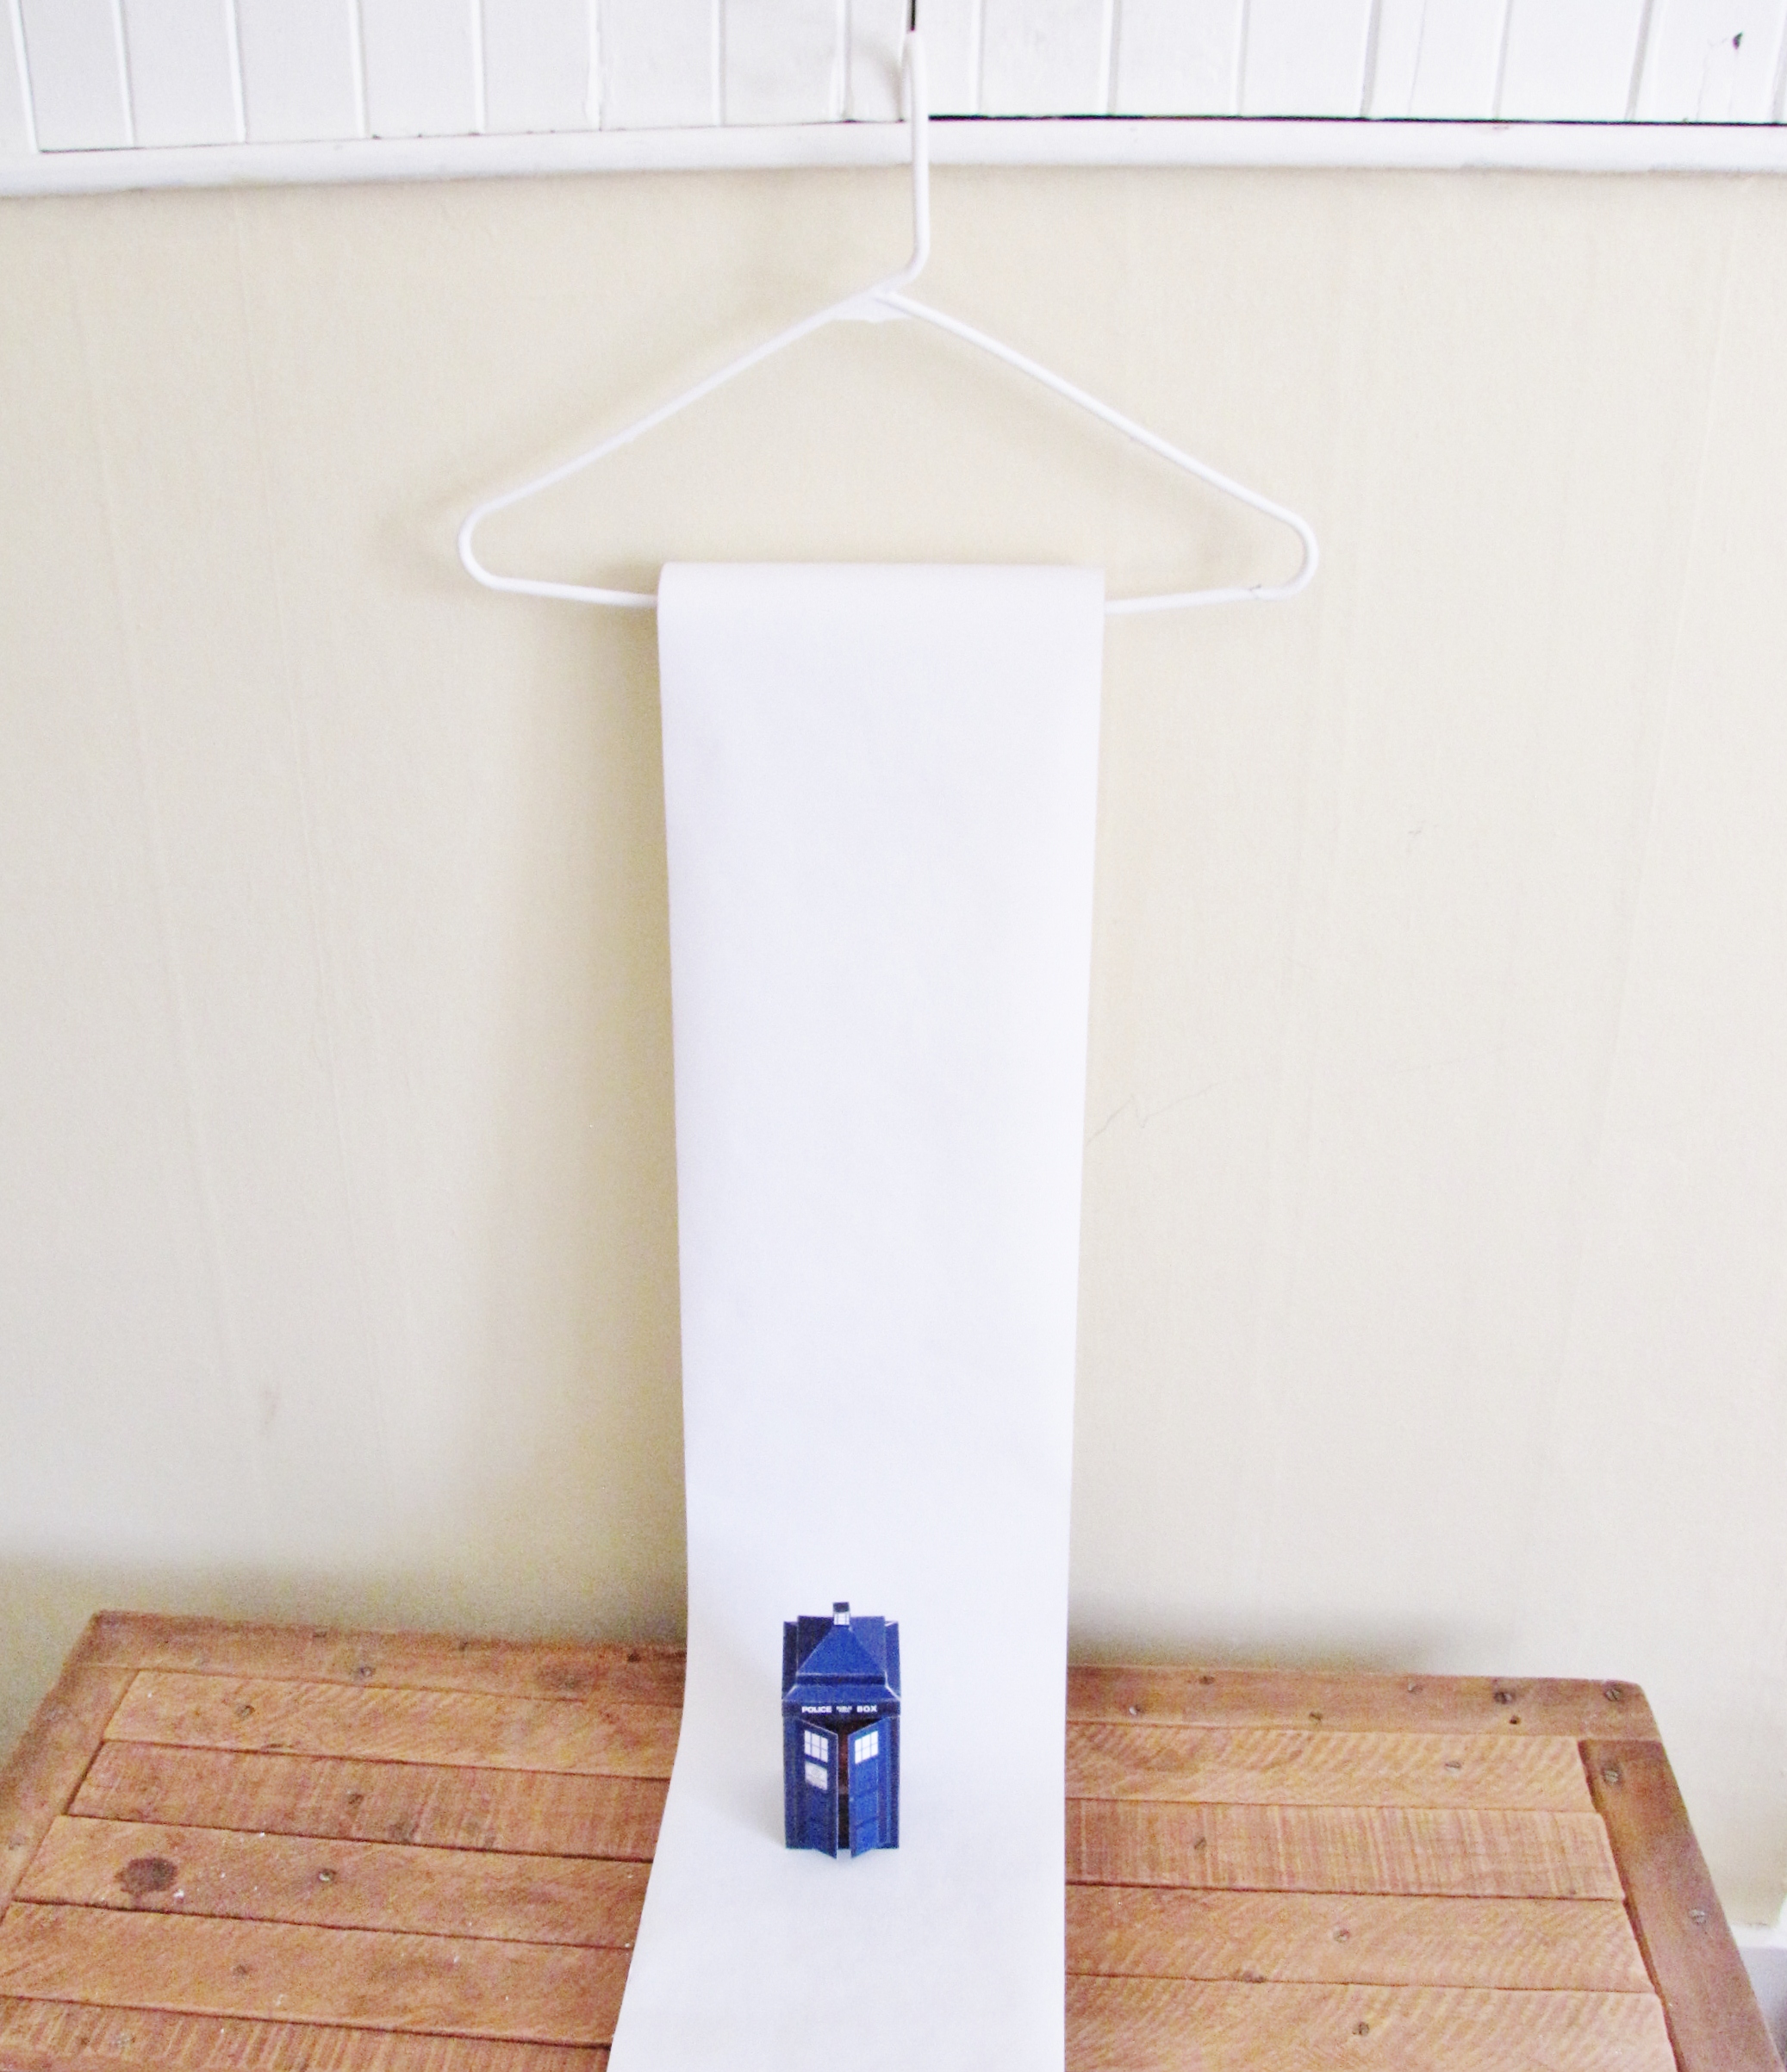
I've been looking for a solution to my backdrop issue for a while now. The need for which is revisited every time a new craft is produced for my little Etsy shop, and I finally decided it was time to do something about this.
Some time ago I was greatly inspired by the larger version which is mounted to a table and although portable doesn't fit in my small apartment and doesn't do well with my traveling lifestyle. I found it was just too big, too expensive and I couldn't pack it in my bag for traveling. I aimed for something cheaper, smaller and more portable, and was able to come up with this one, which fits all the criteria: Small, portable, easy set up, reusable, and cheap or common materials.
I now introduce The Mini DIY Photography Backdrop (sets up in under 2 minutes).
The original Instructable can be found here:
www.instructables.com/id/DIY-Photography-Backdrop
Materials
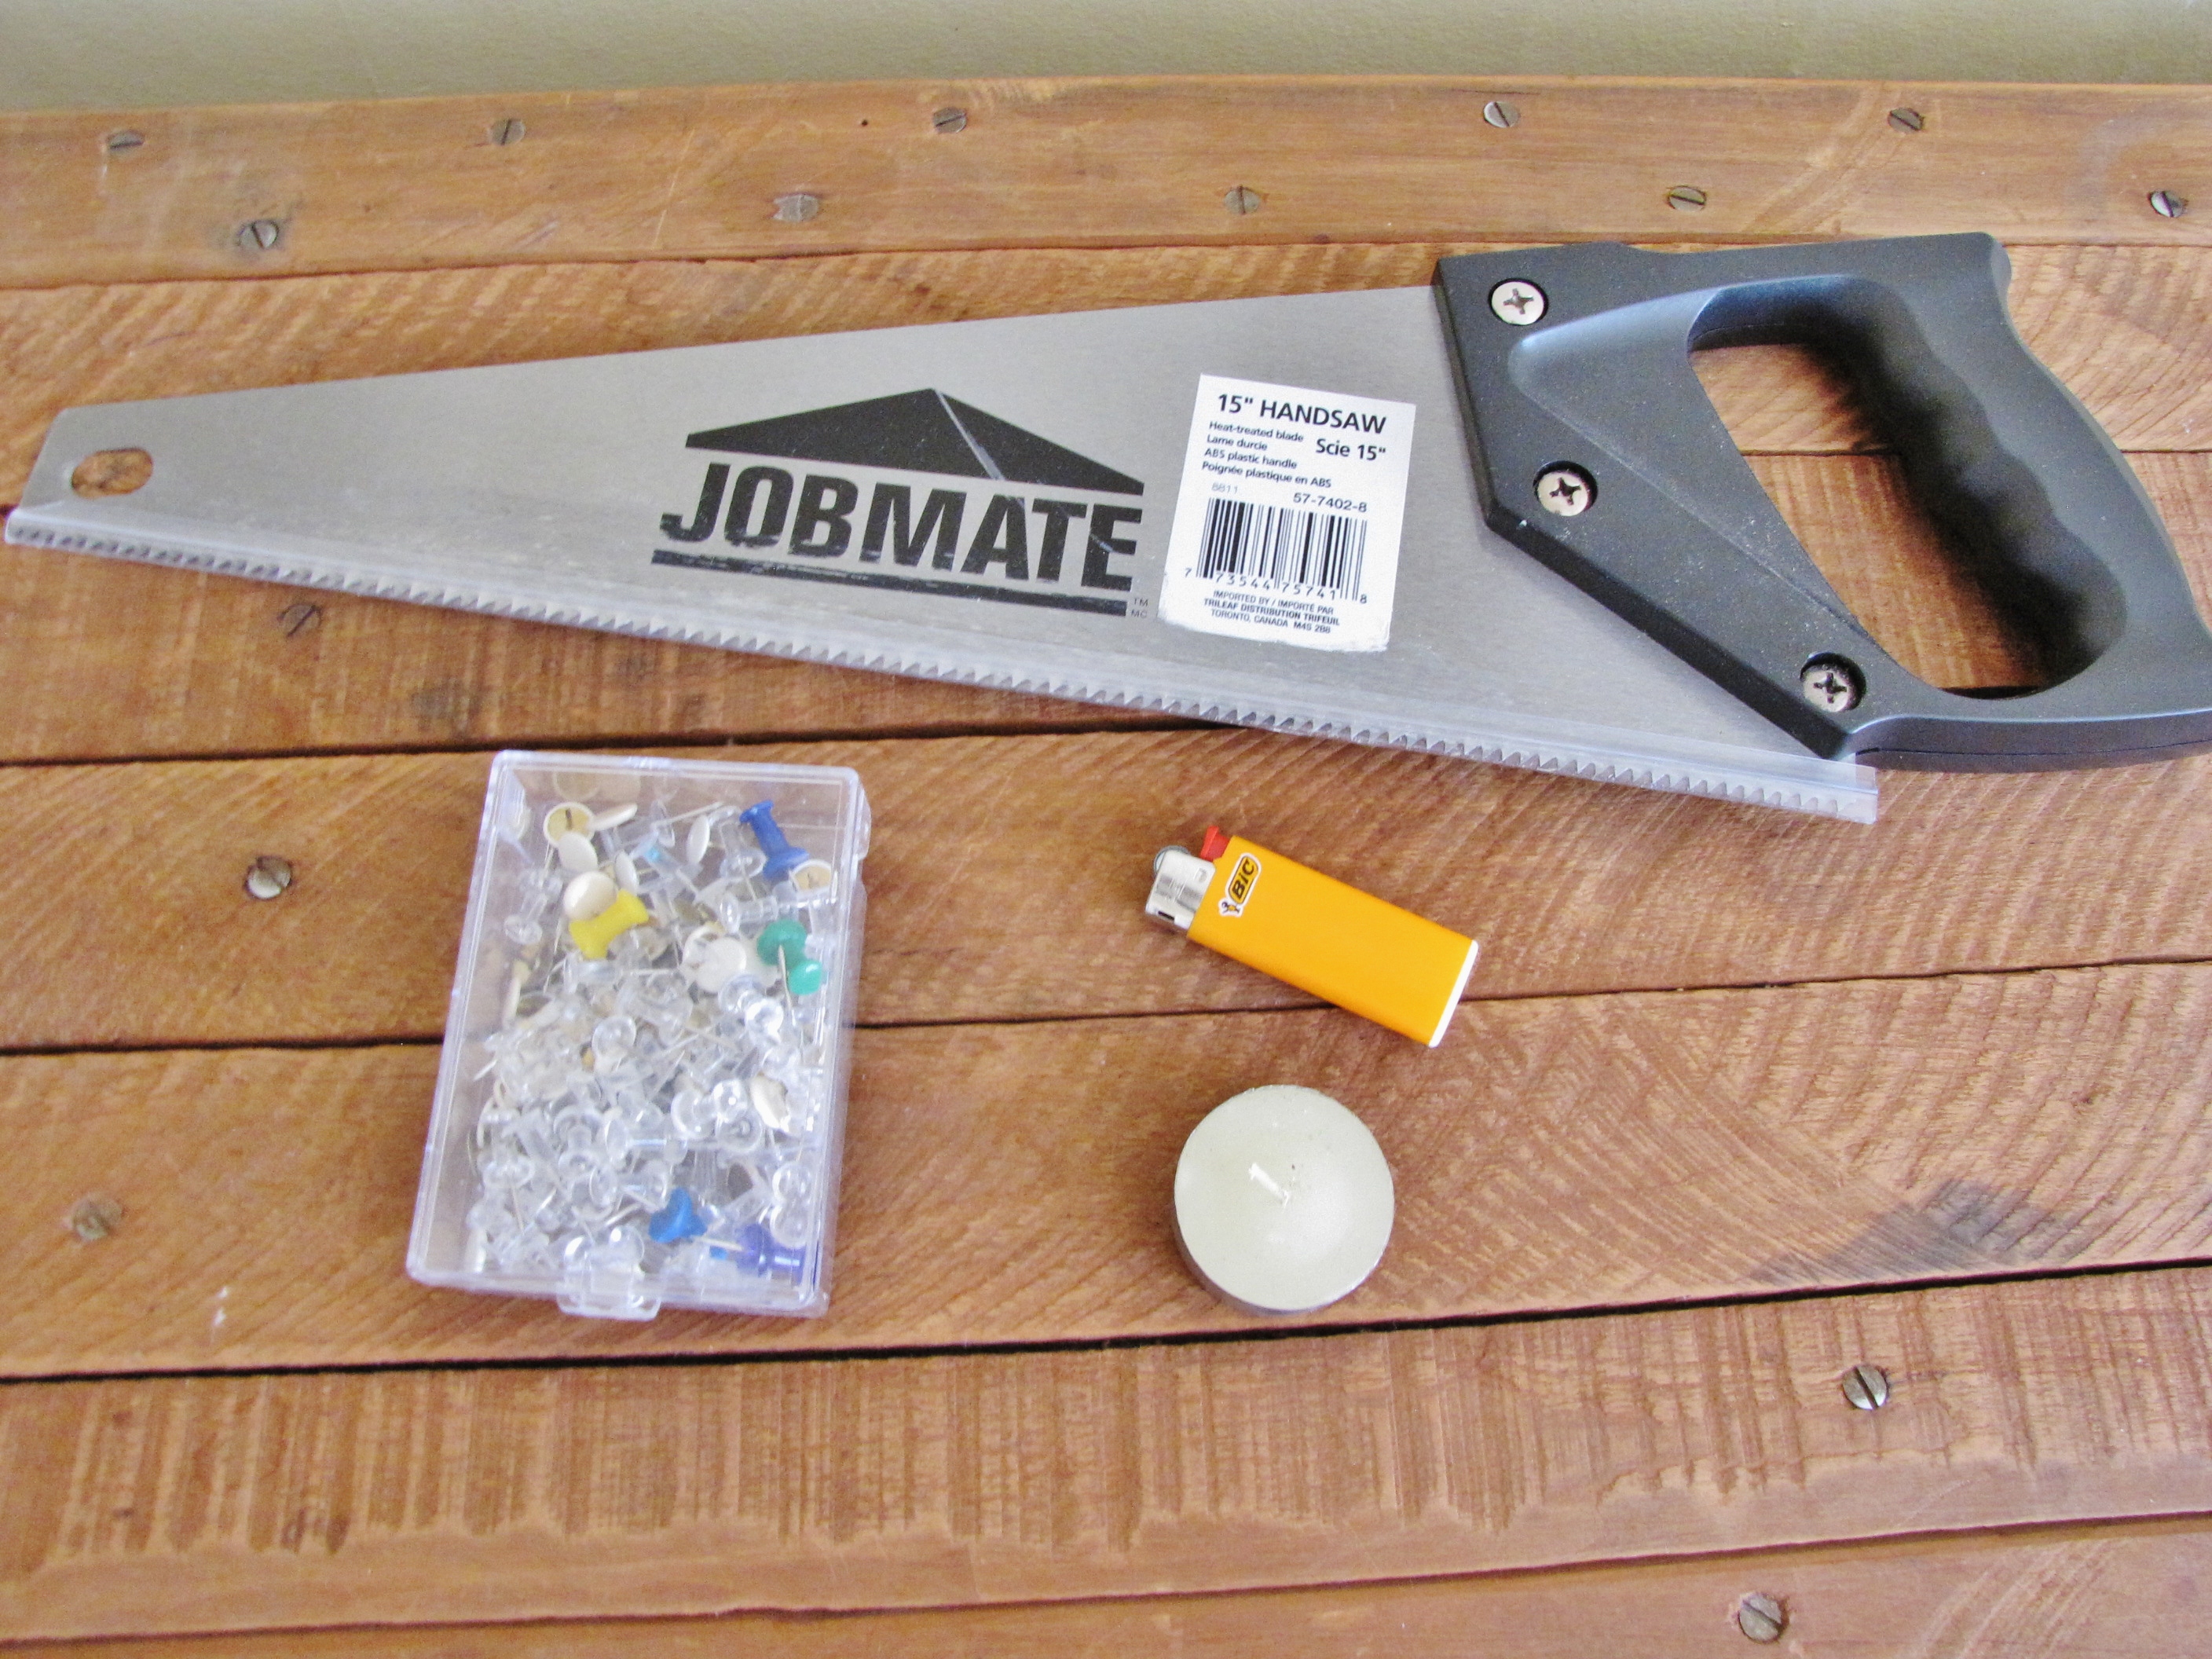
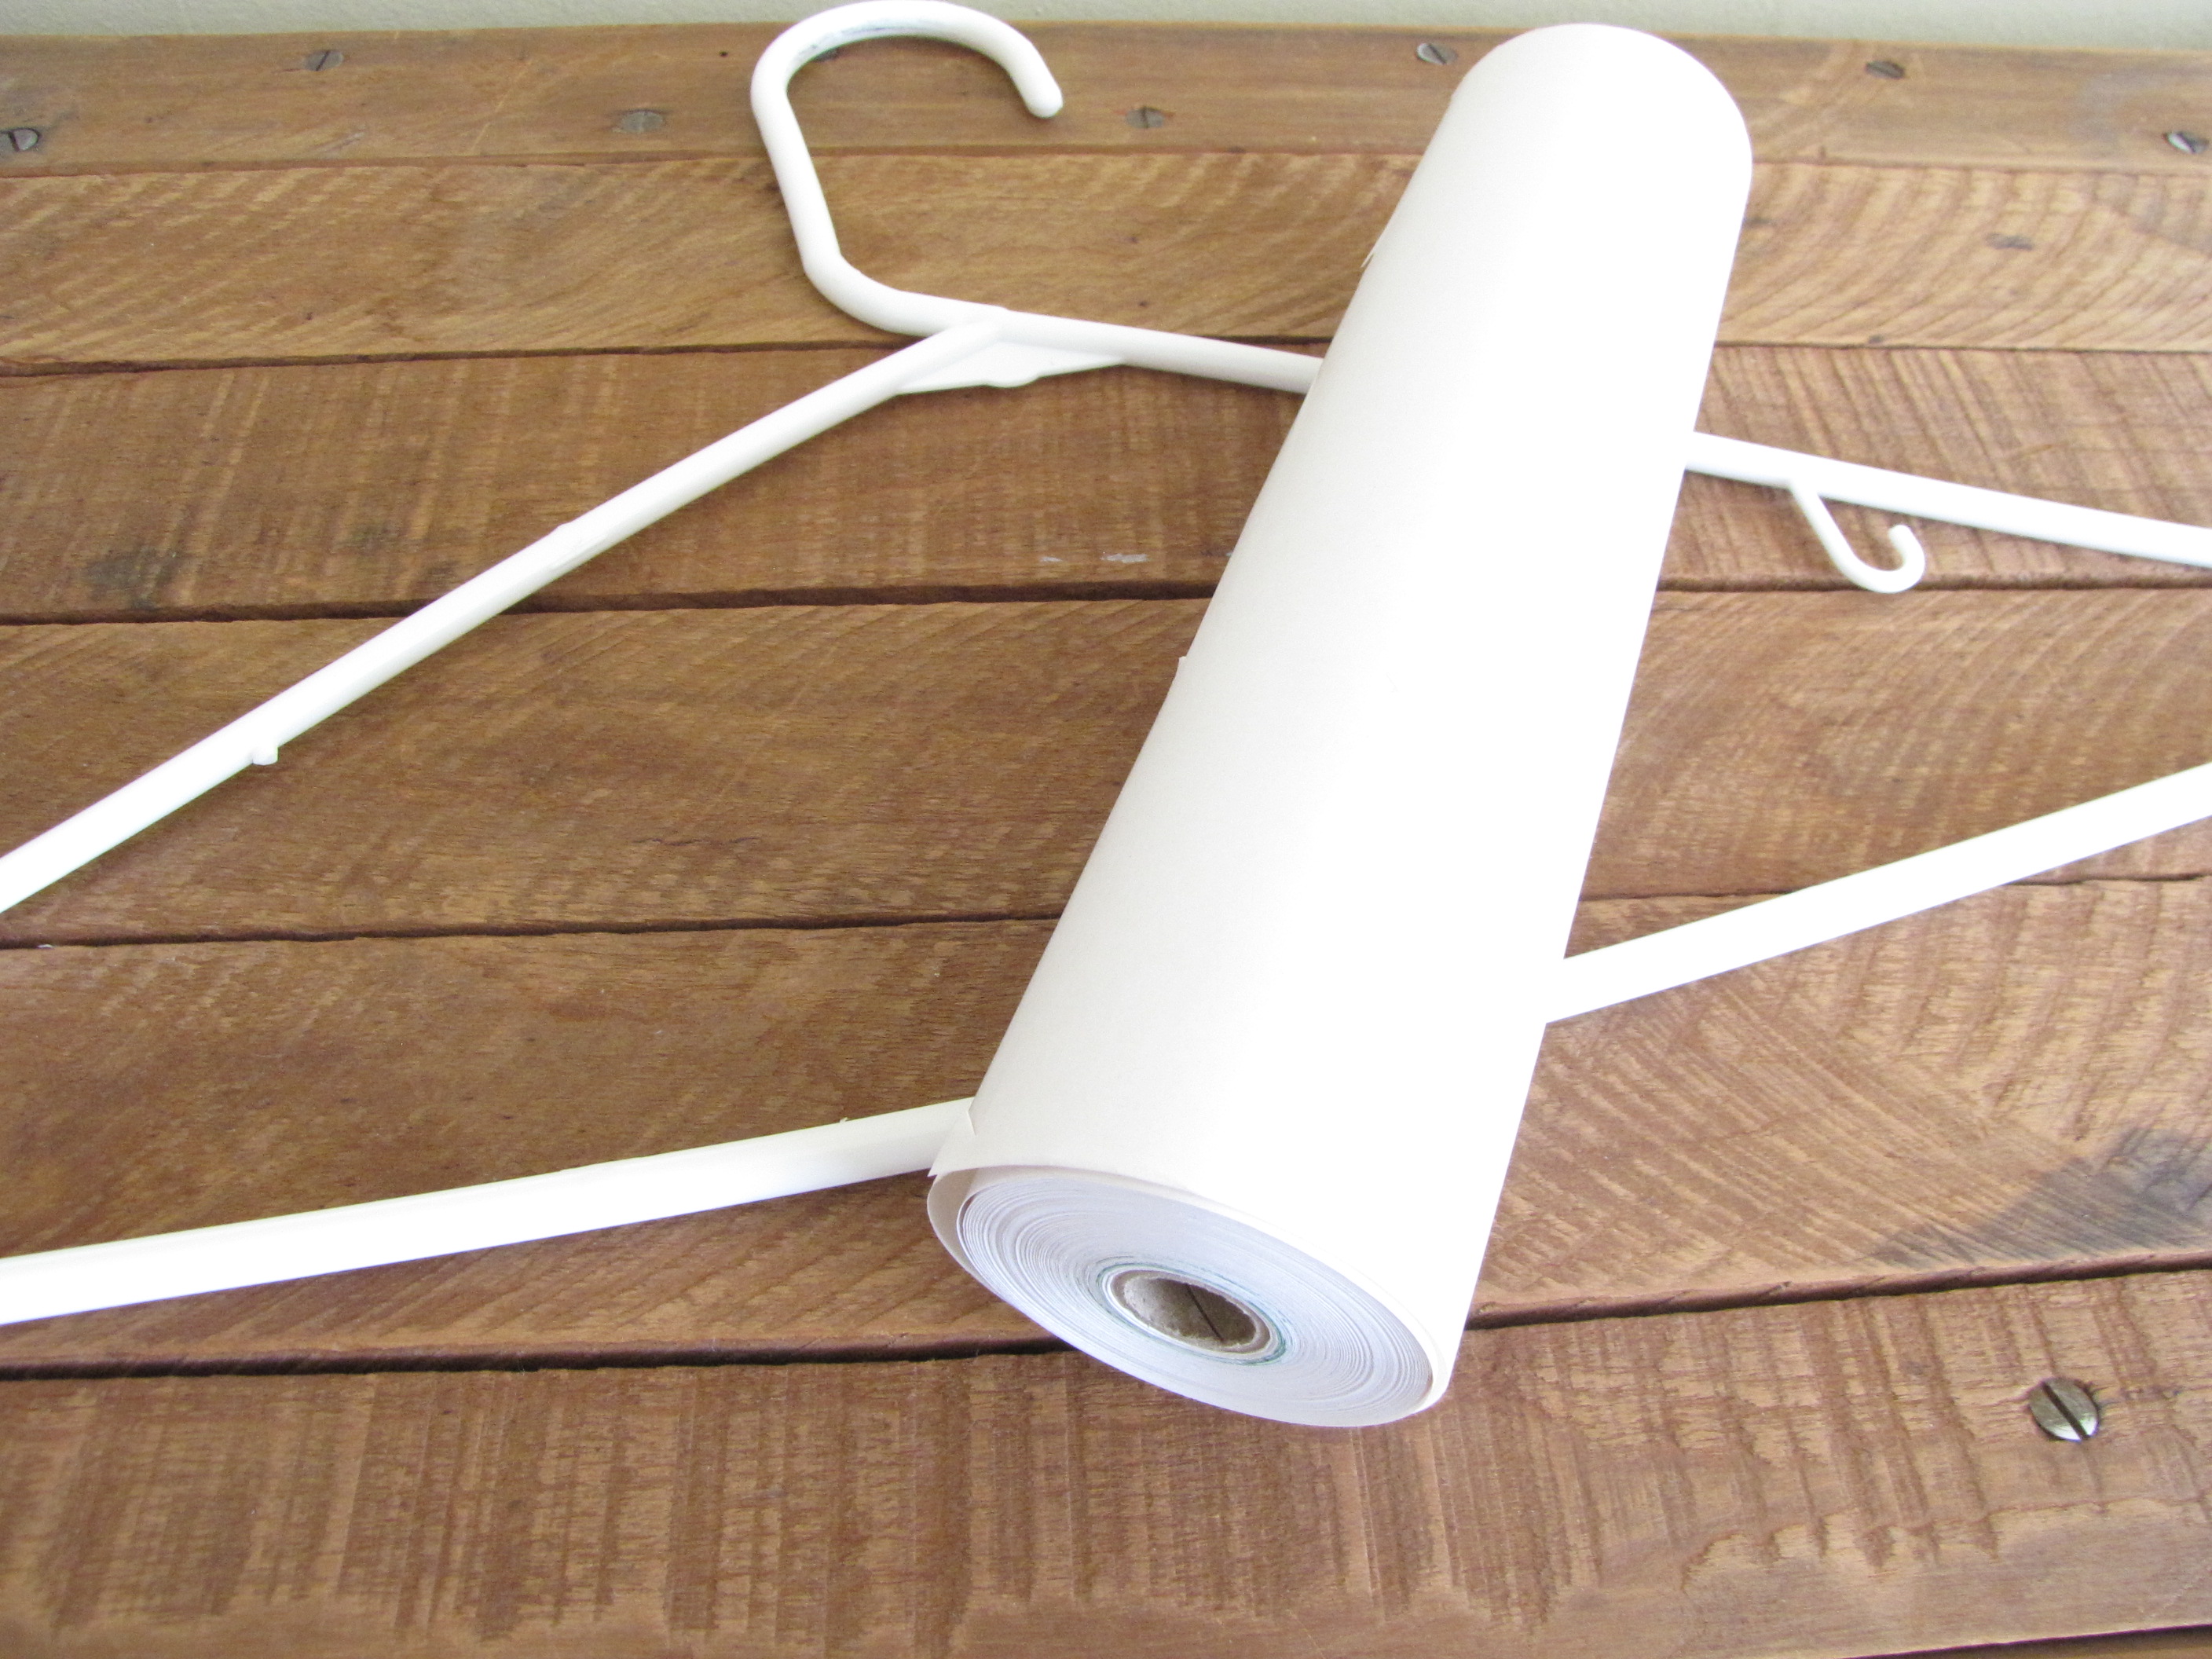
Things you will need that are either cheap or sitting around the house:
1 Plastic hanger
Fax Paper rolls
Thumb tacks (3 - 4)
Saw (or cutting tool to sever the hanger)
Exacto Knife or craft knife (for detail work on the hanger)
Hammer (optional. This is for breaking the tack into pieces, so a rock or heavy stapler could work too)
Candle & lighter
Glue (Craft glue / crazy glue / gorilla glue etc...)
Cut the Hanger
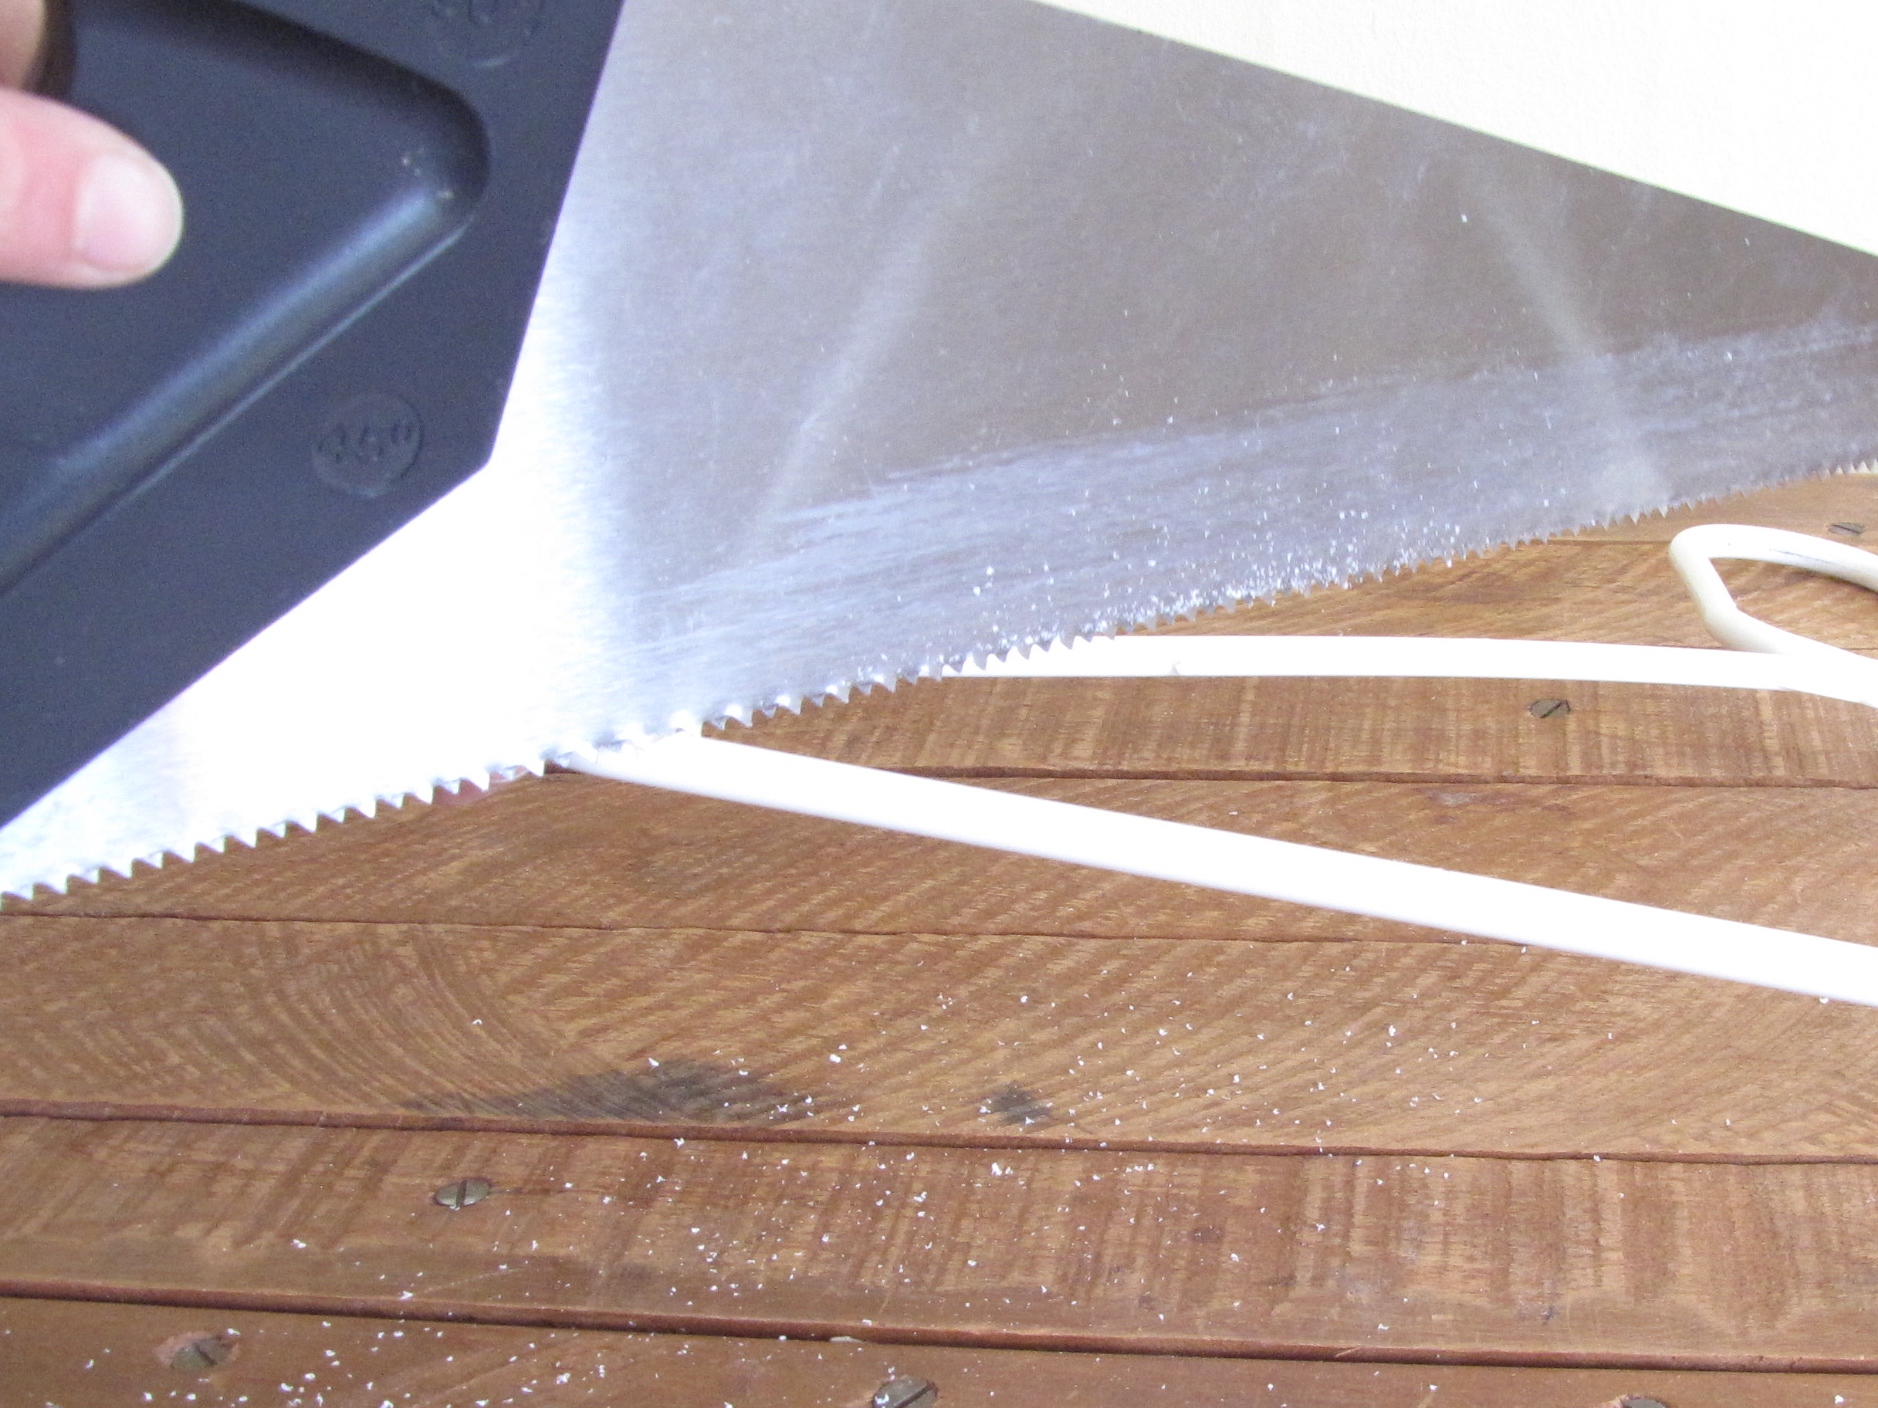
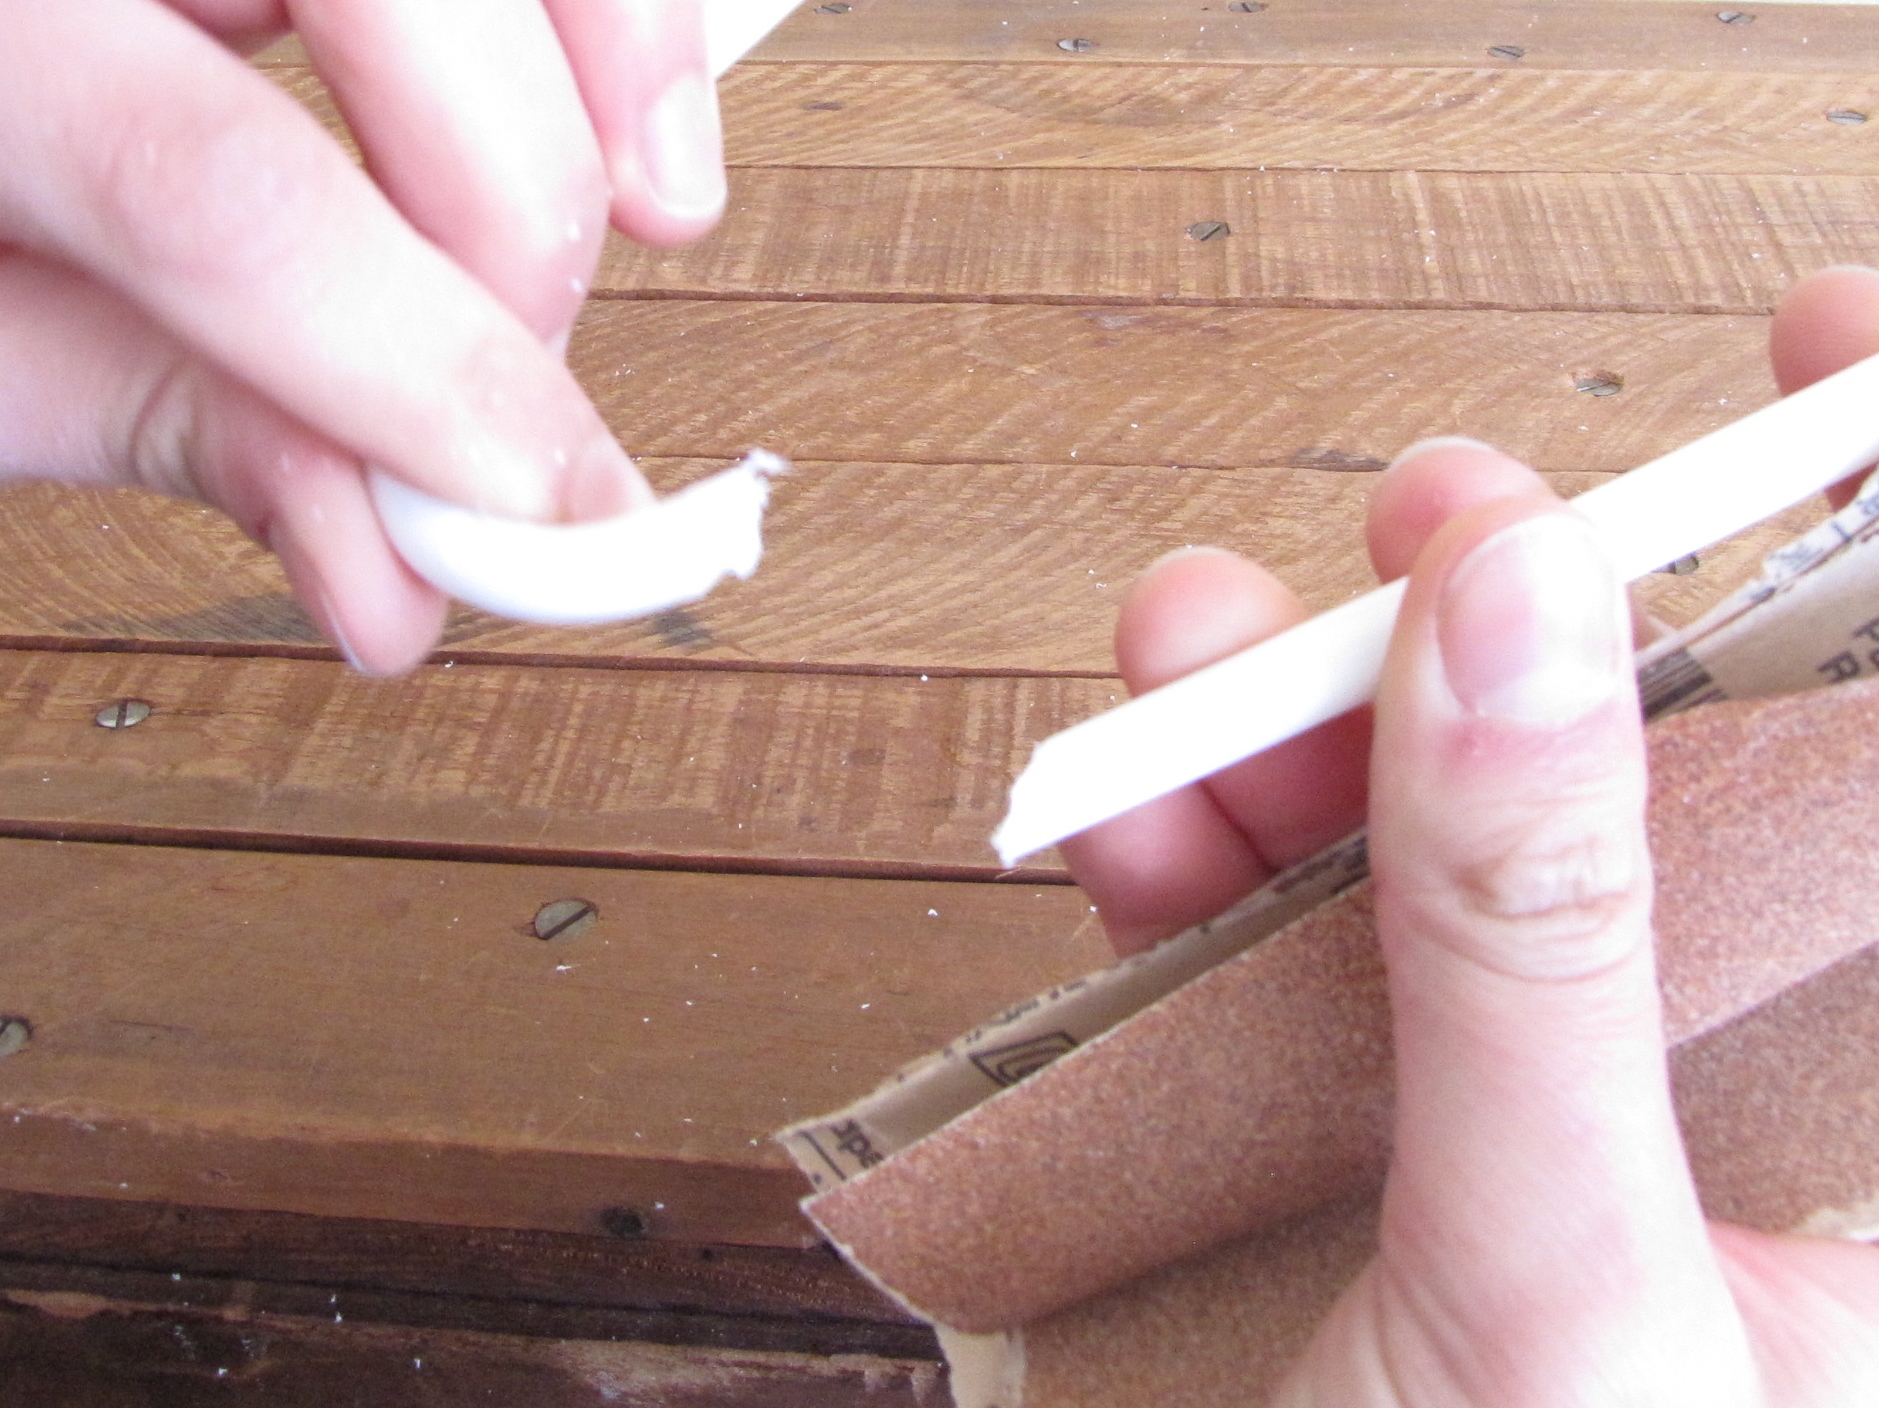
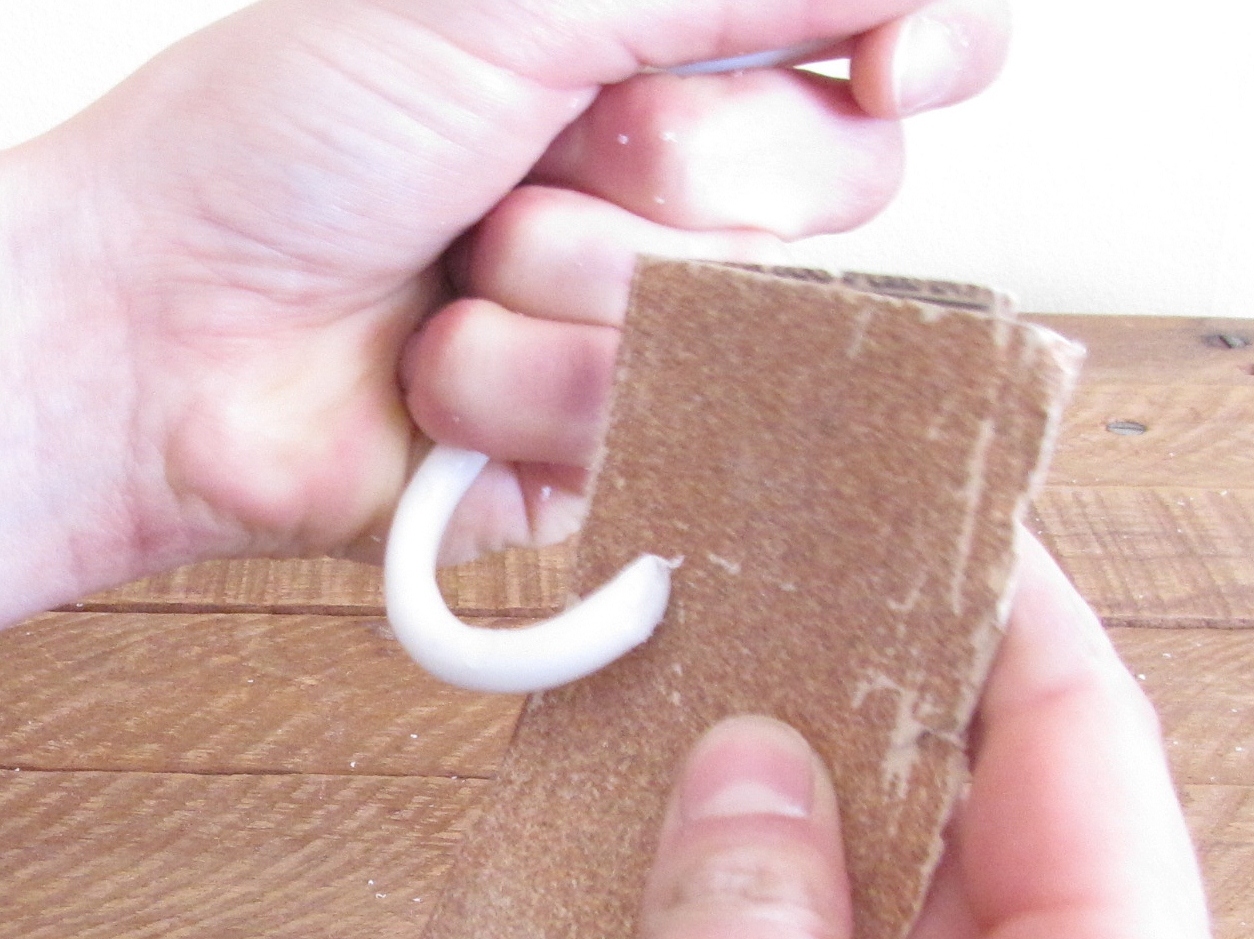
Simply cut the hanger at one end before the bend. I cut it diagonally because it adds strength to the future clasp. I sanded the ends at this point just to finish it up nicely (saws leave bits of plastic hanging off of the ends like hangnails).
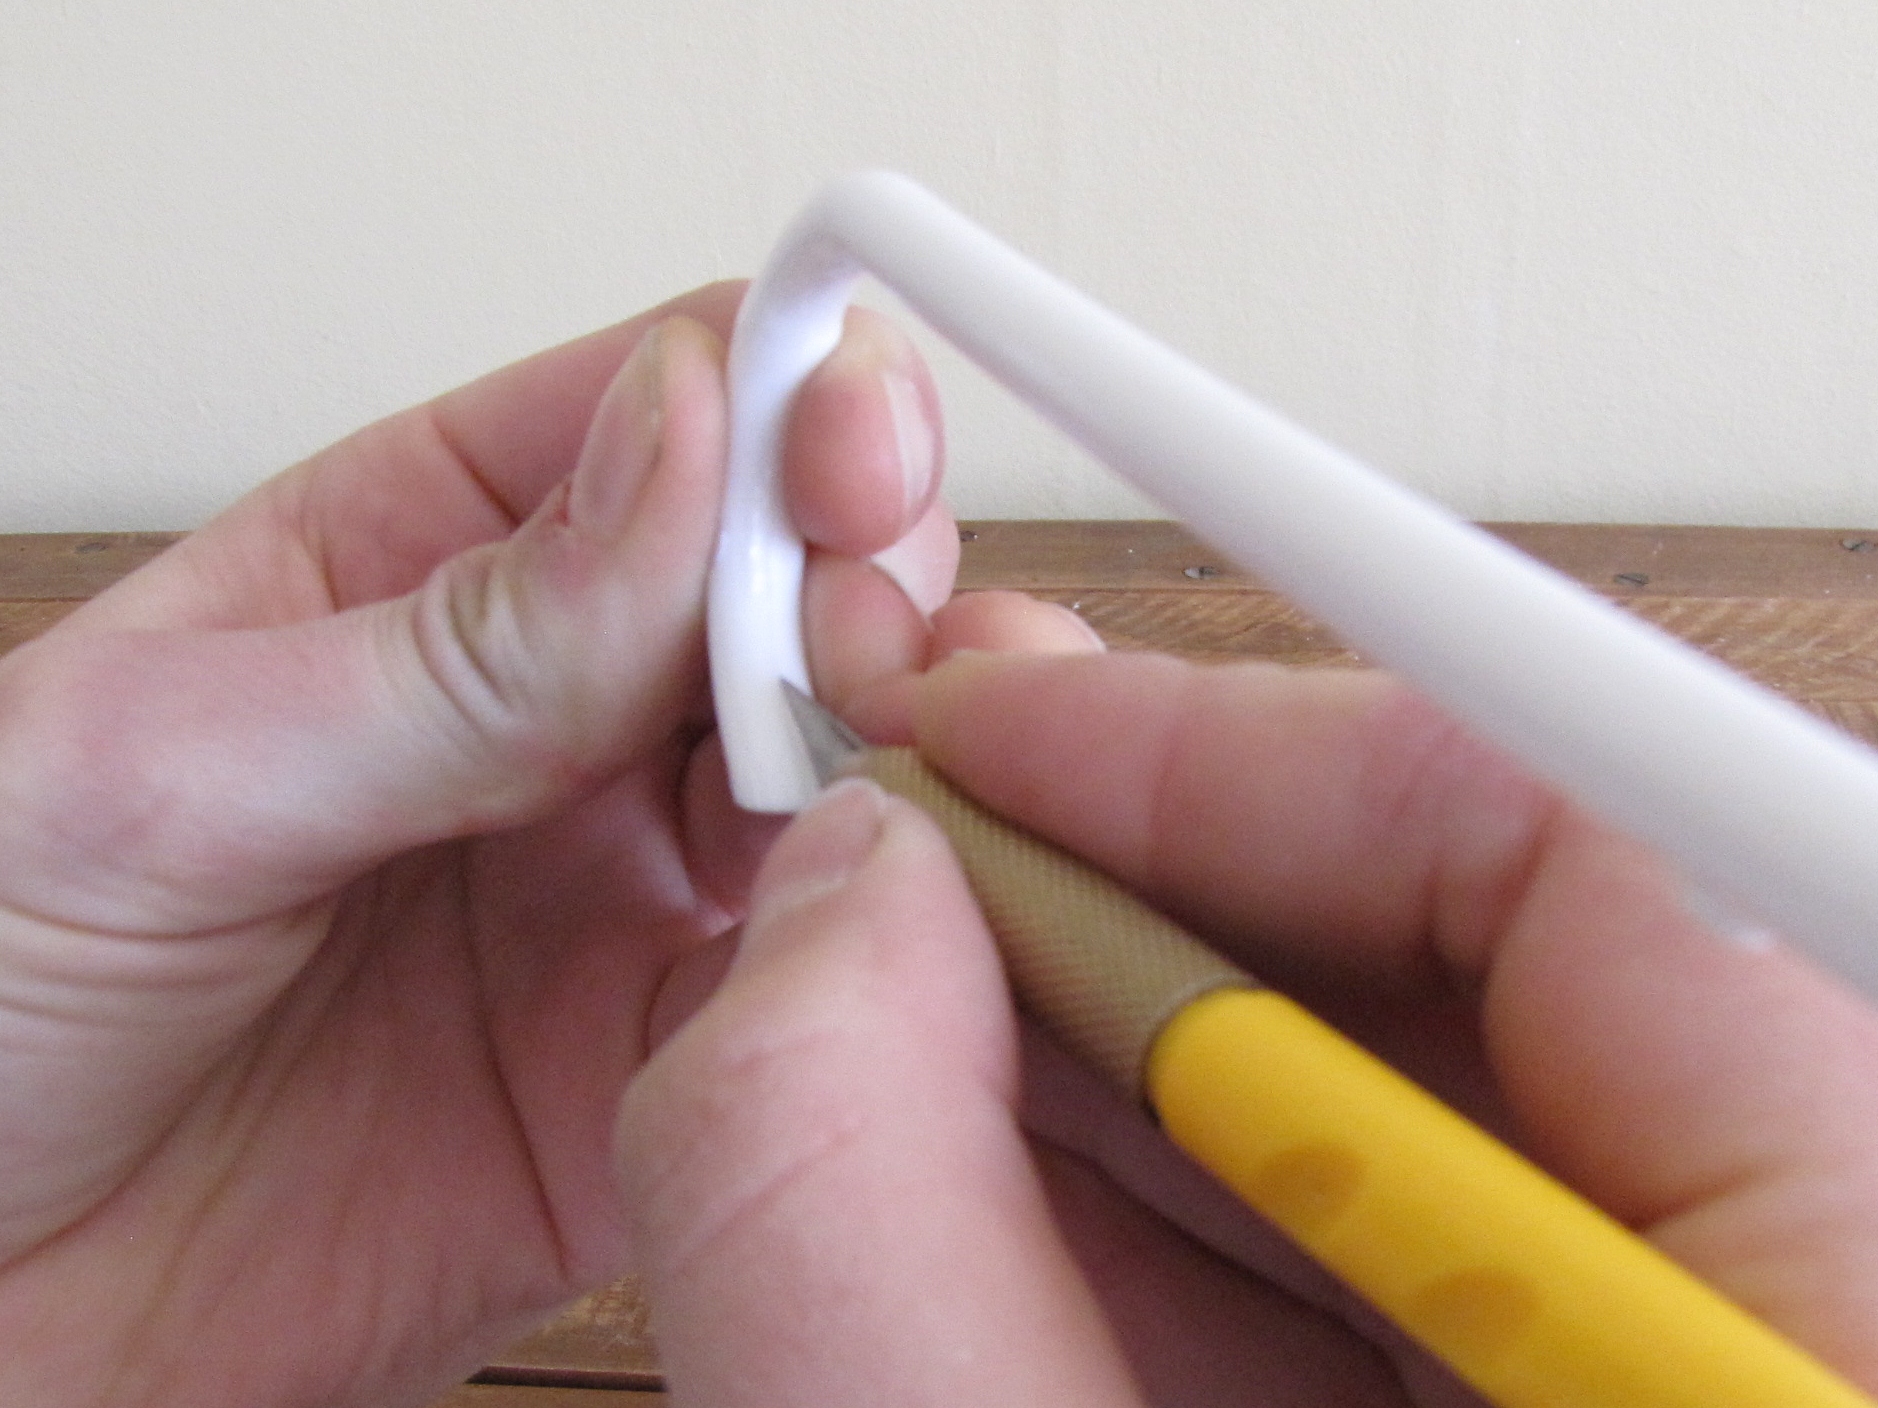
Use your exacto knife or craft knife to carefully cut a slit in the top side of the end piece. This slit will be used for the end of the tack to sit in which will hold the whole thing up. If you have a tack with a flat head (like a common nail) you'll need to make an extra slit for the head to sit snugly in.
Once you've finished those two things, you are finished with the cutting.
Smash and Insert the Tack
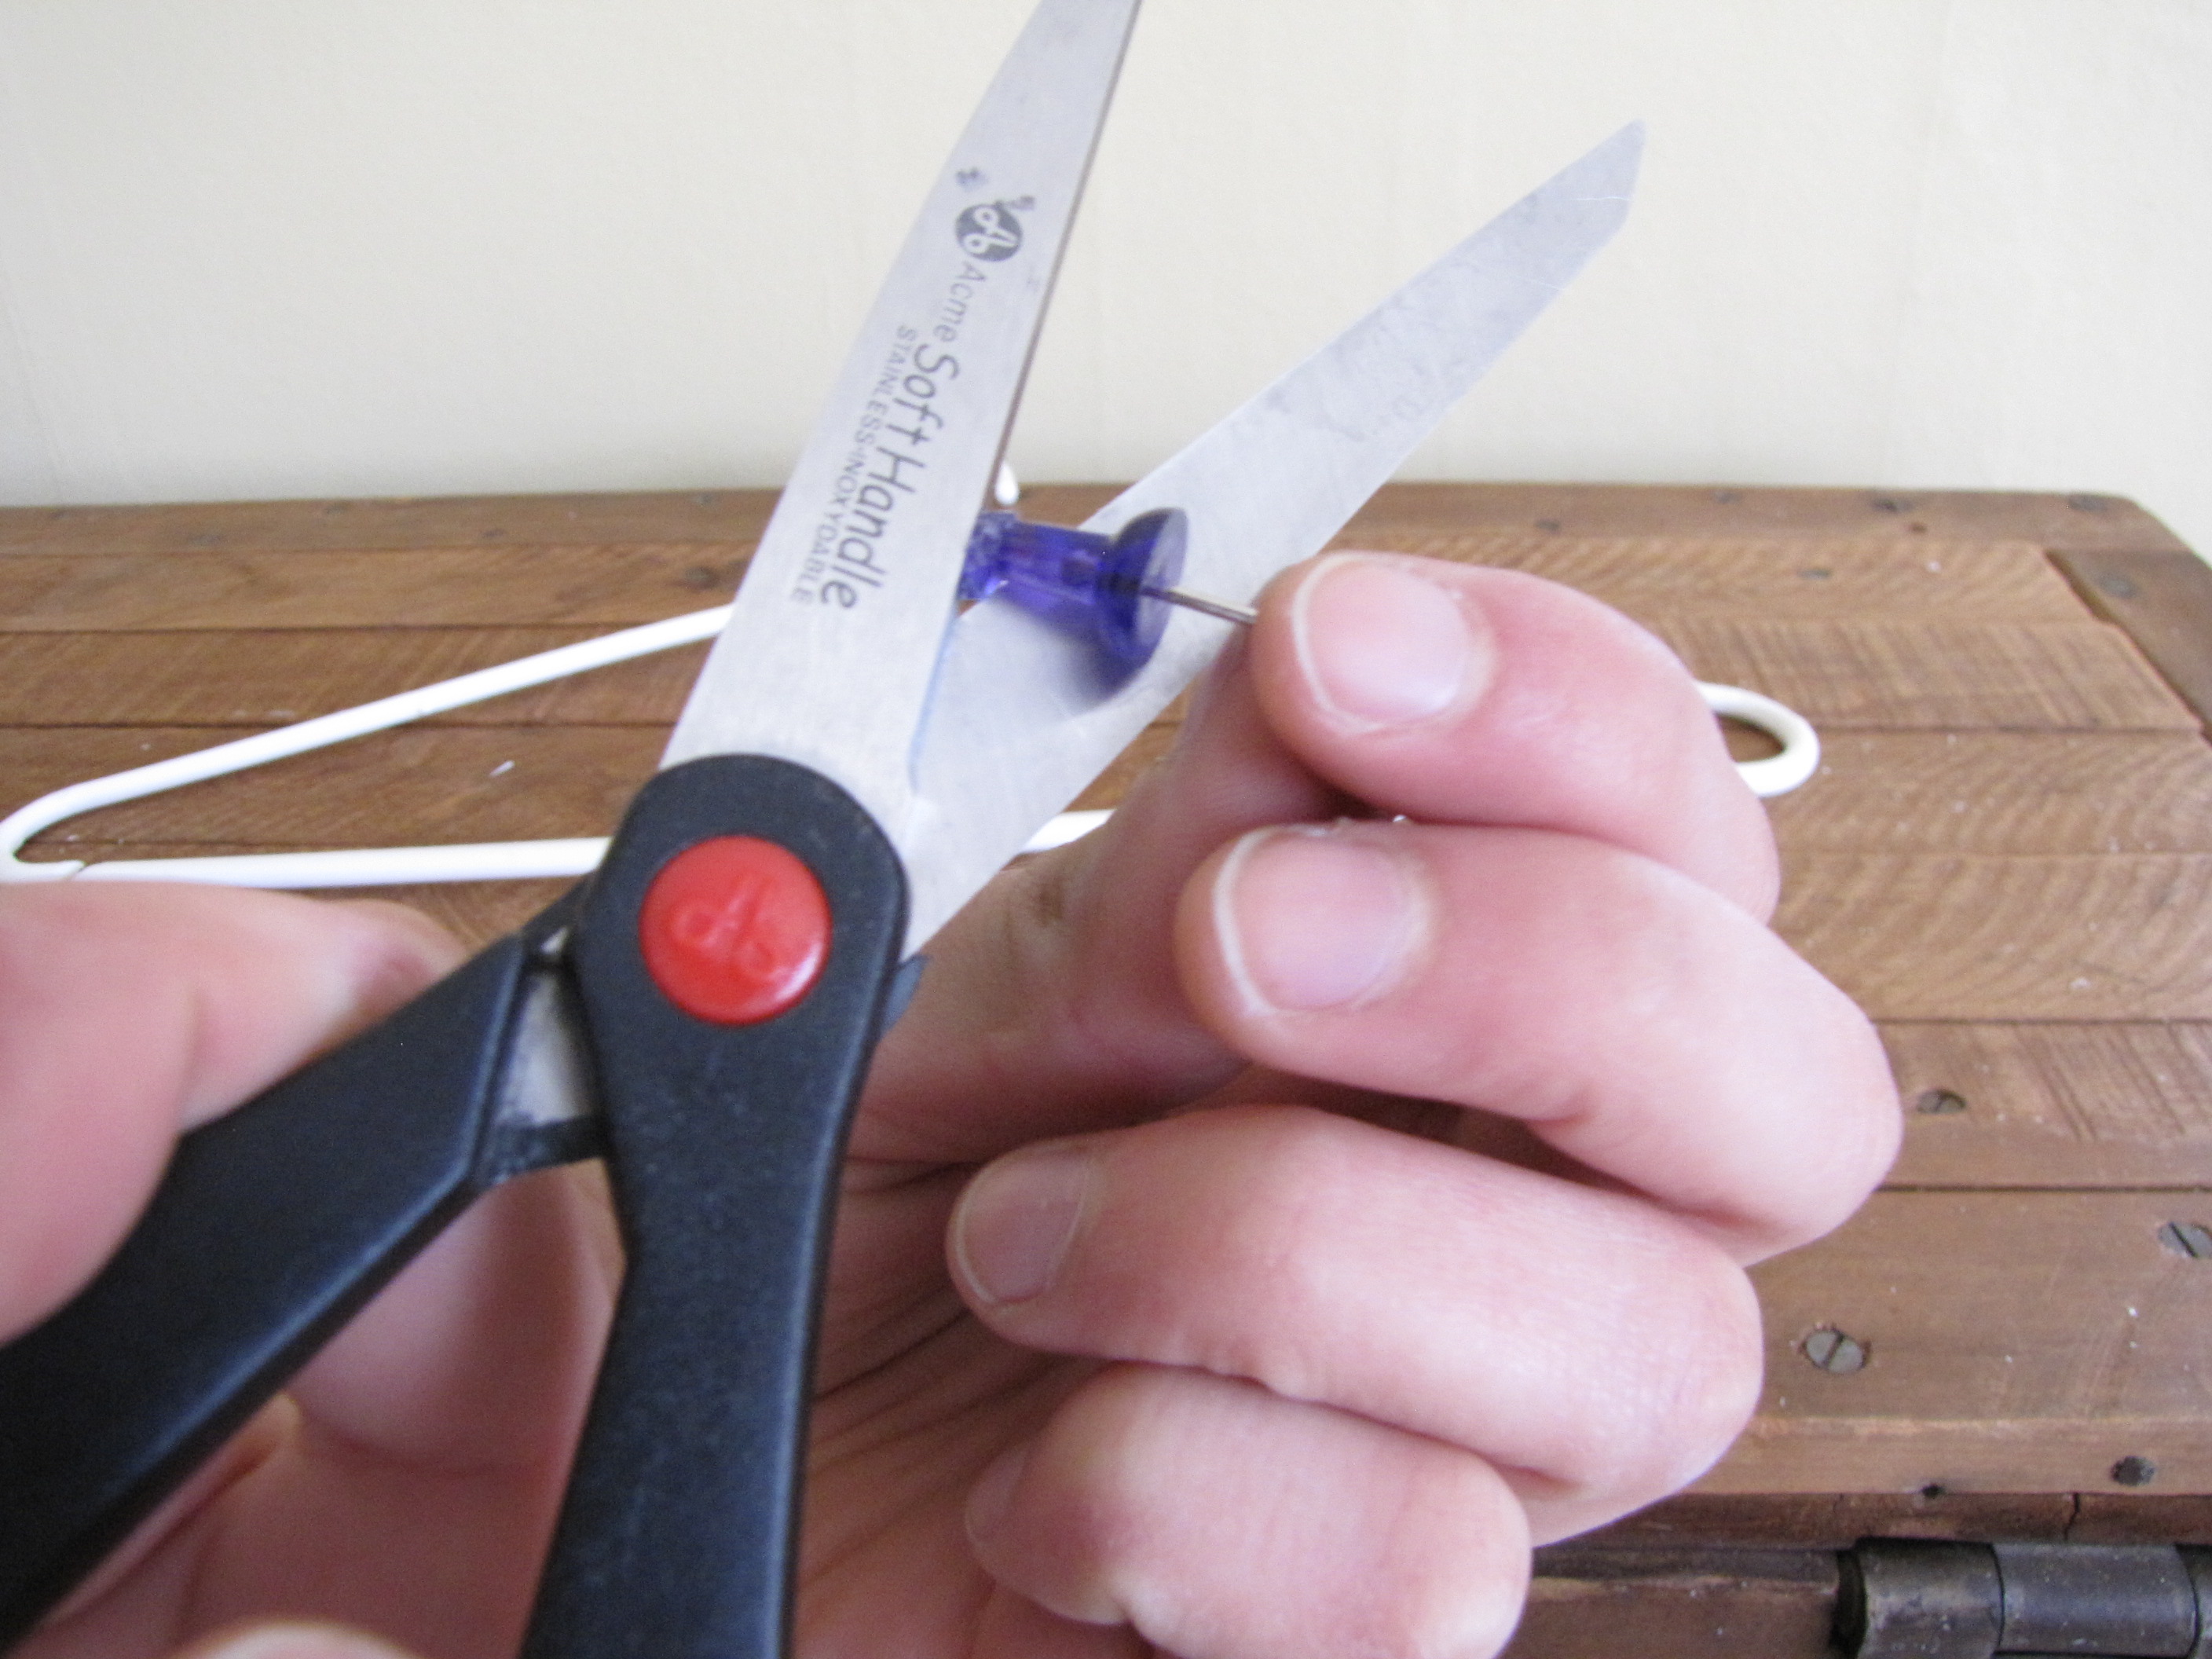
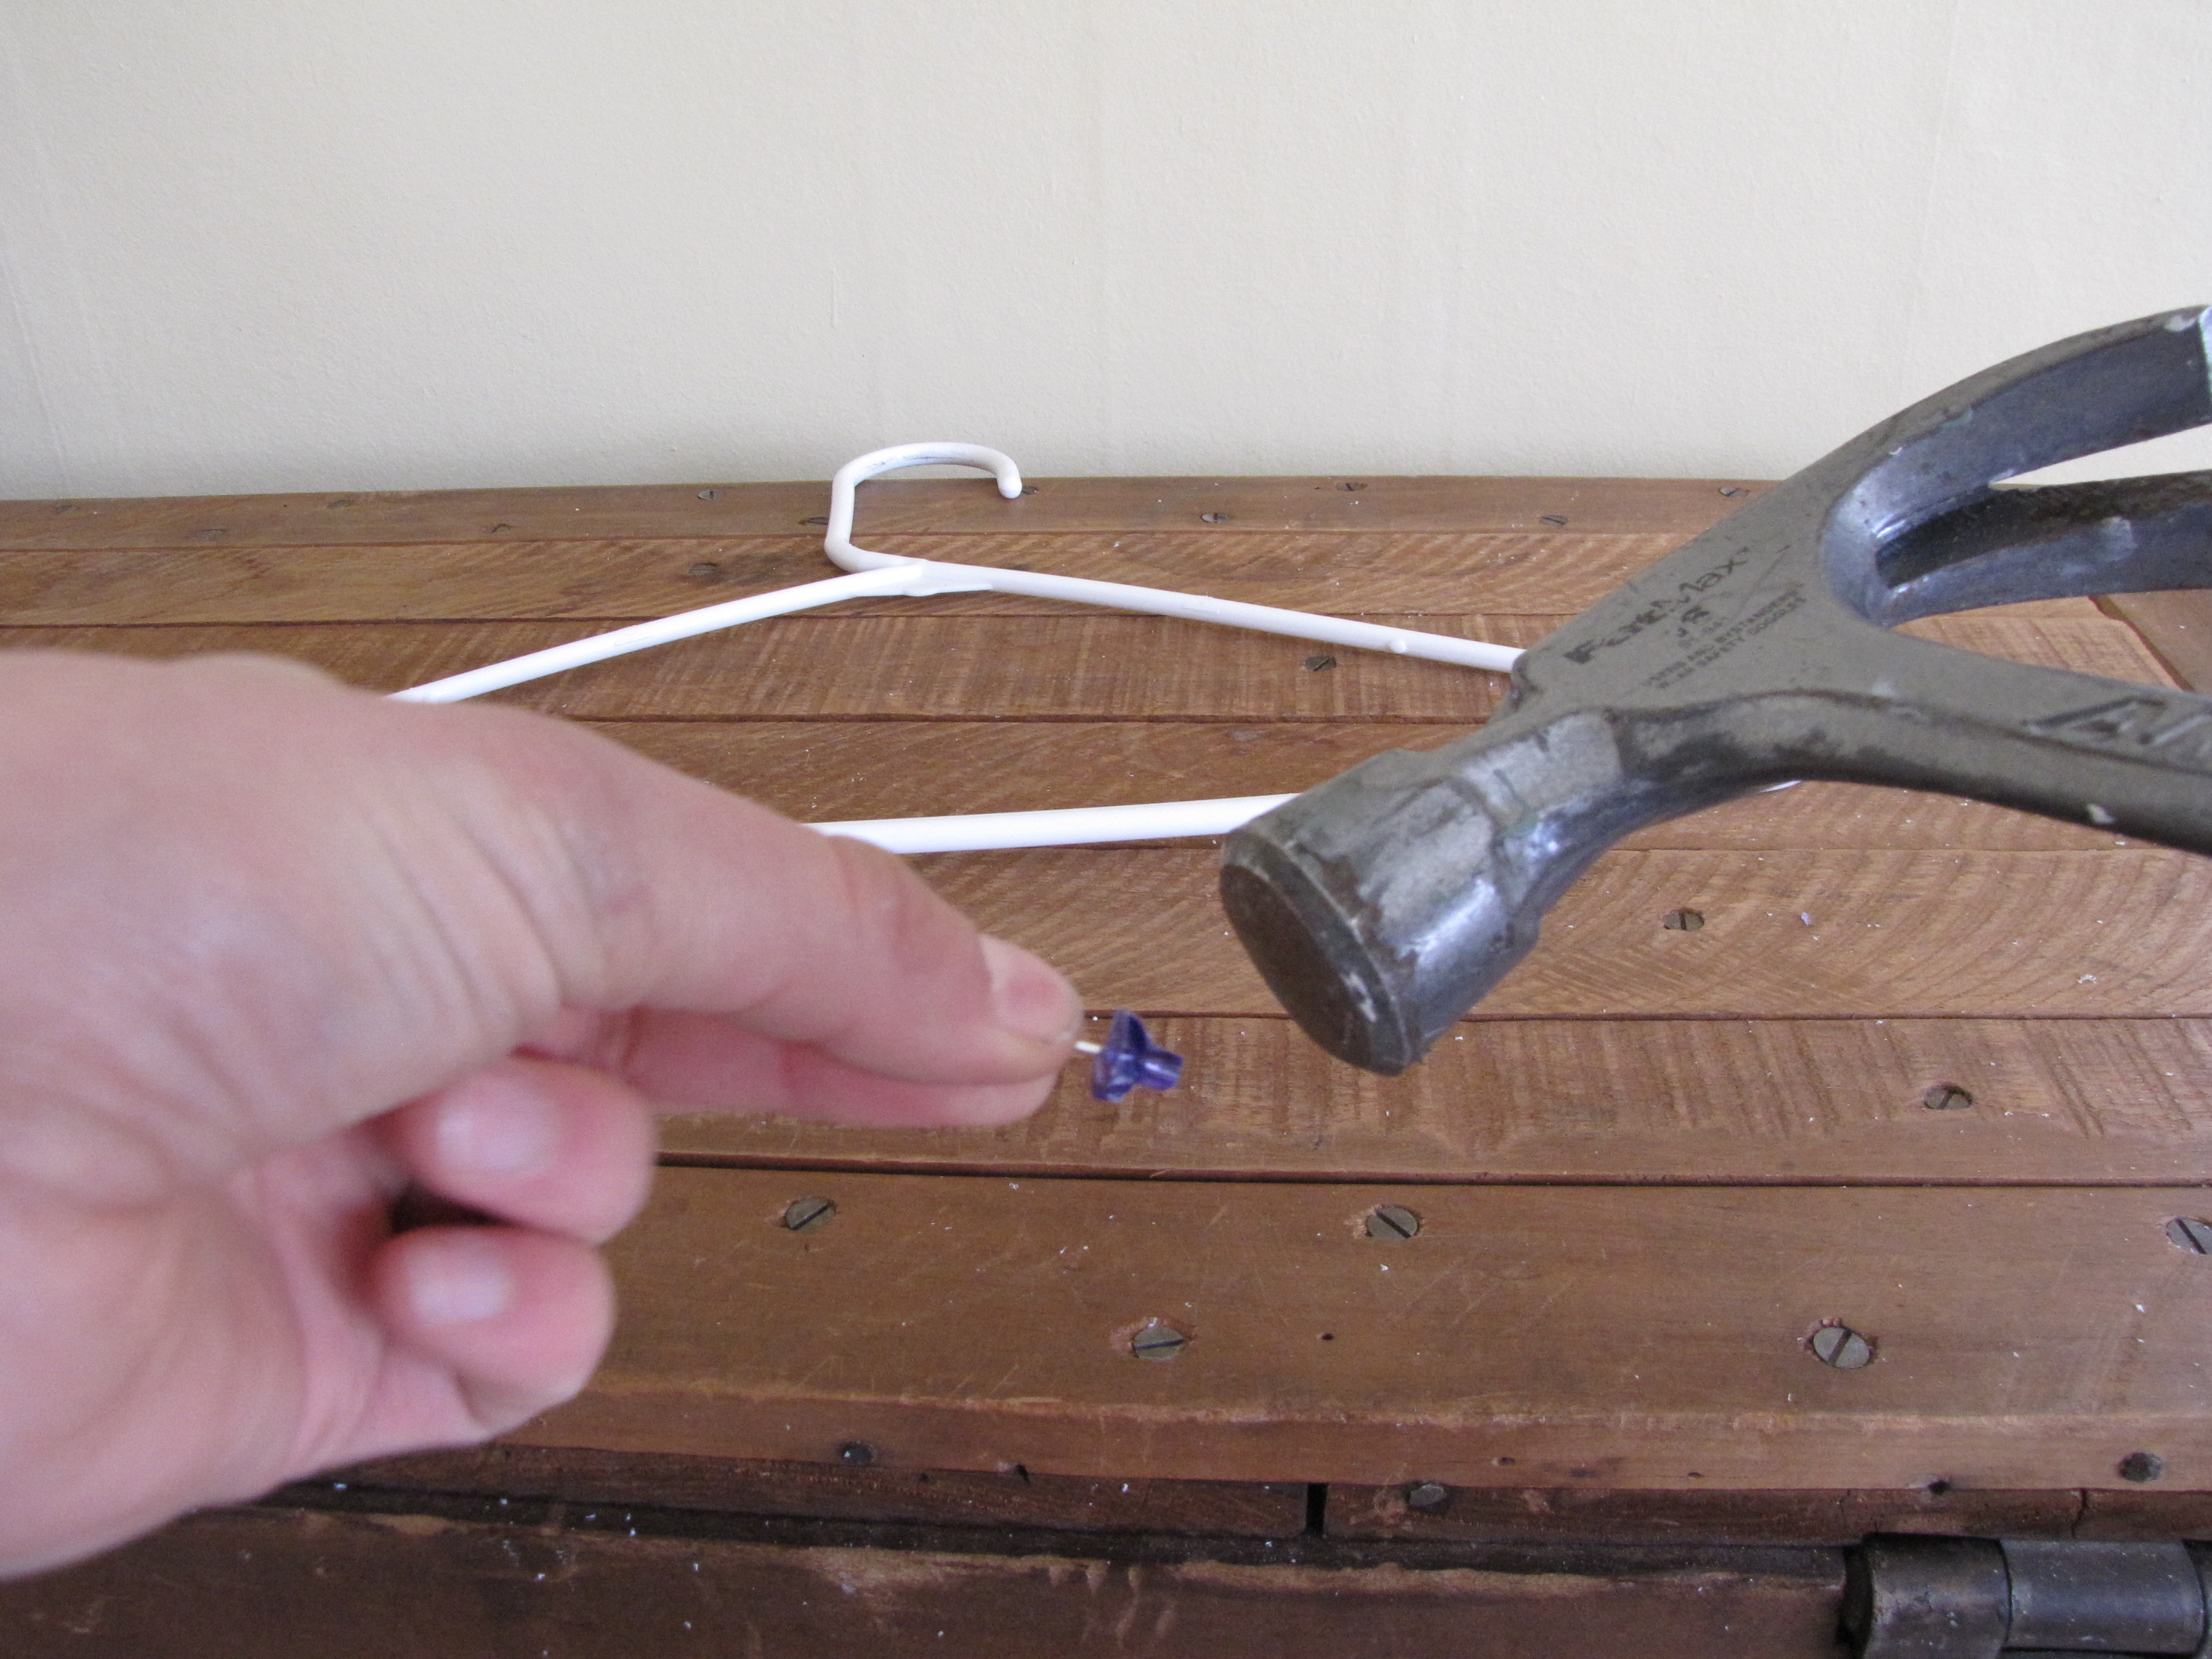
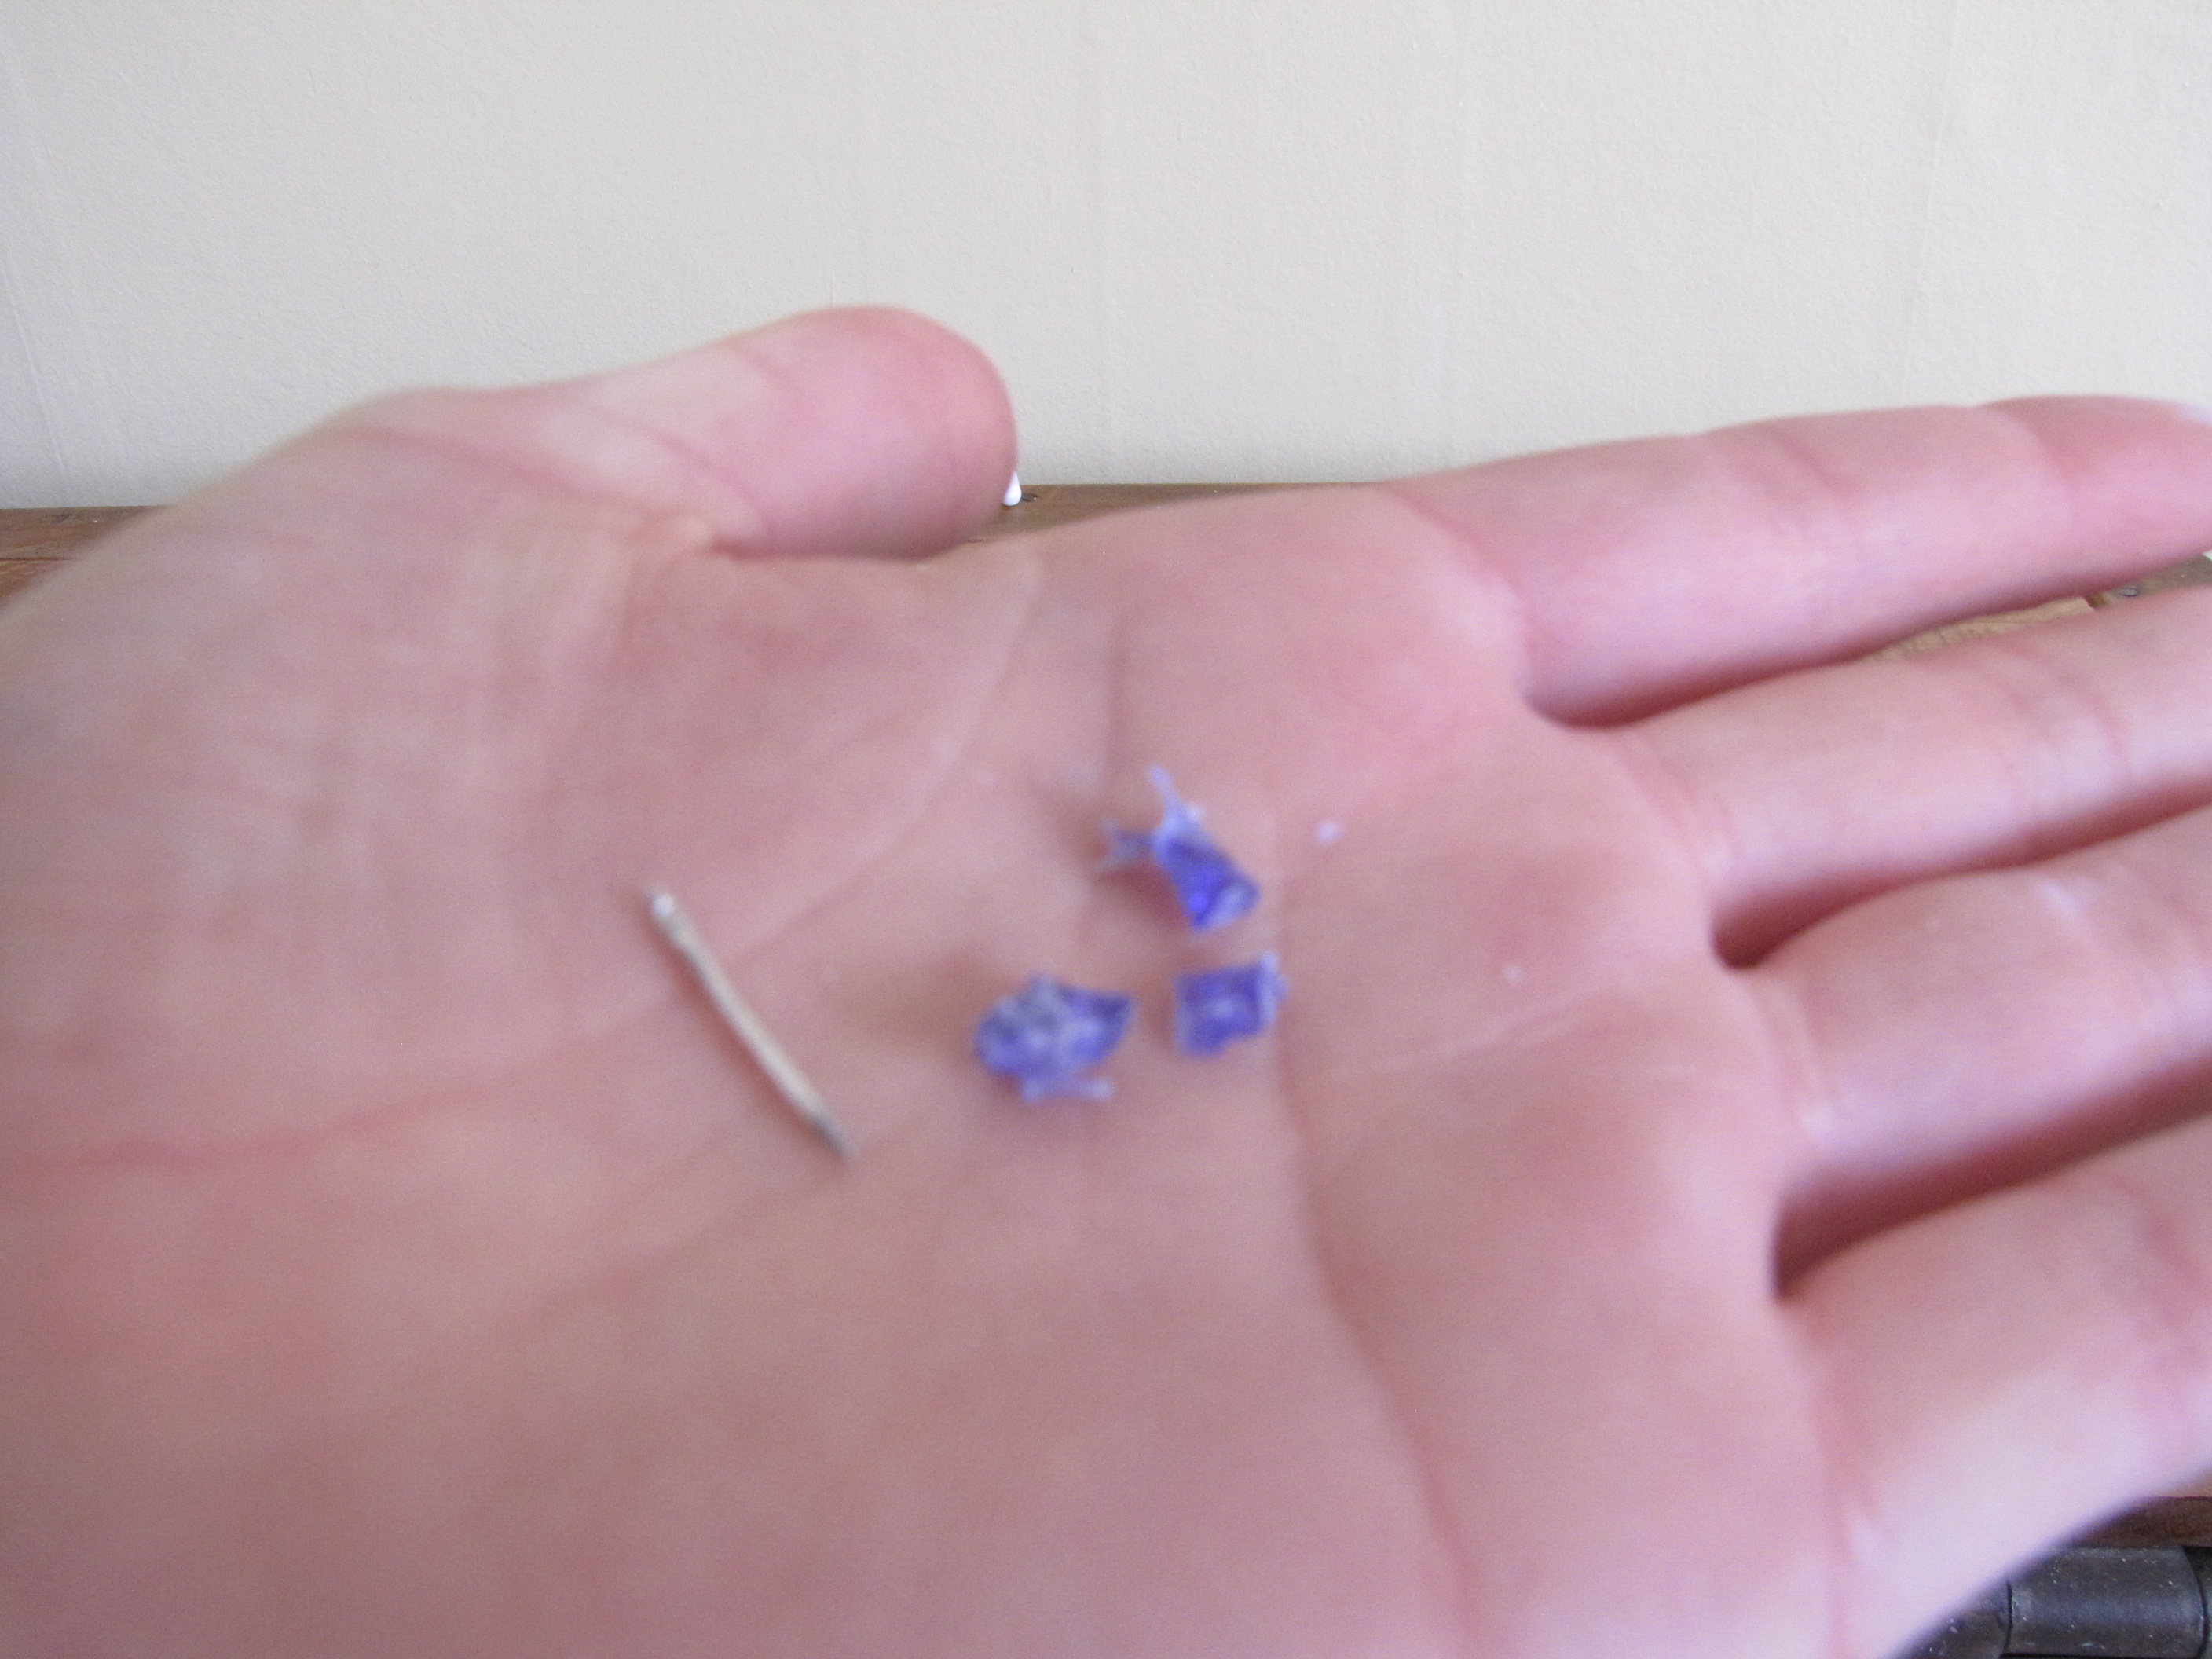
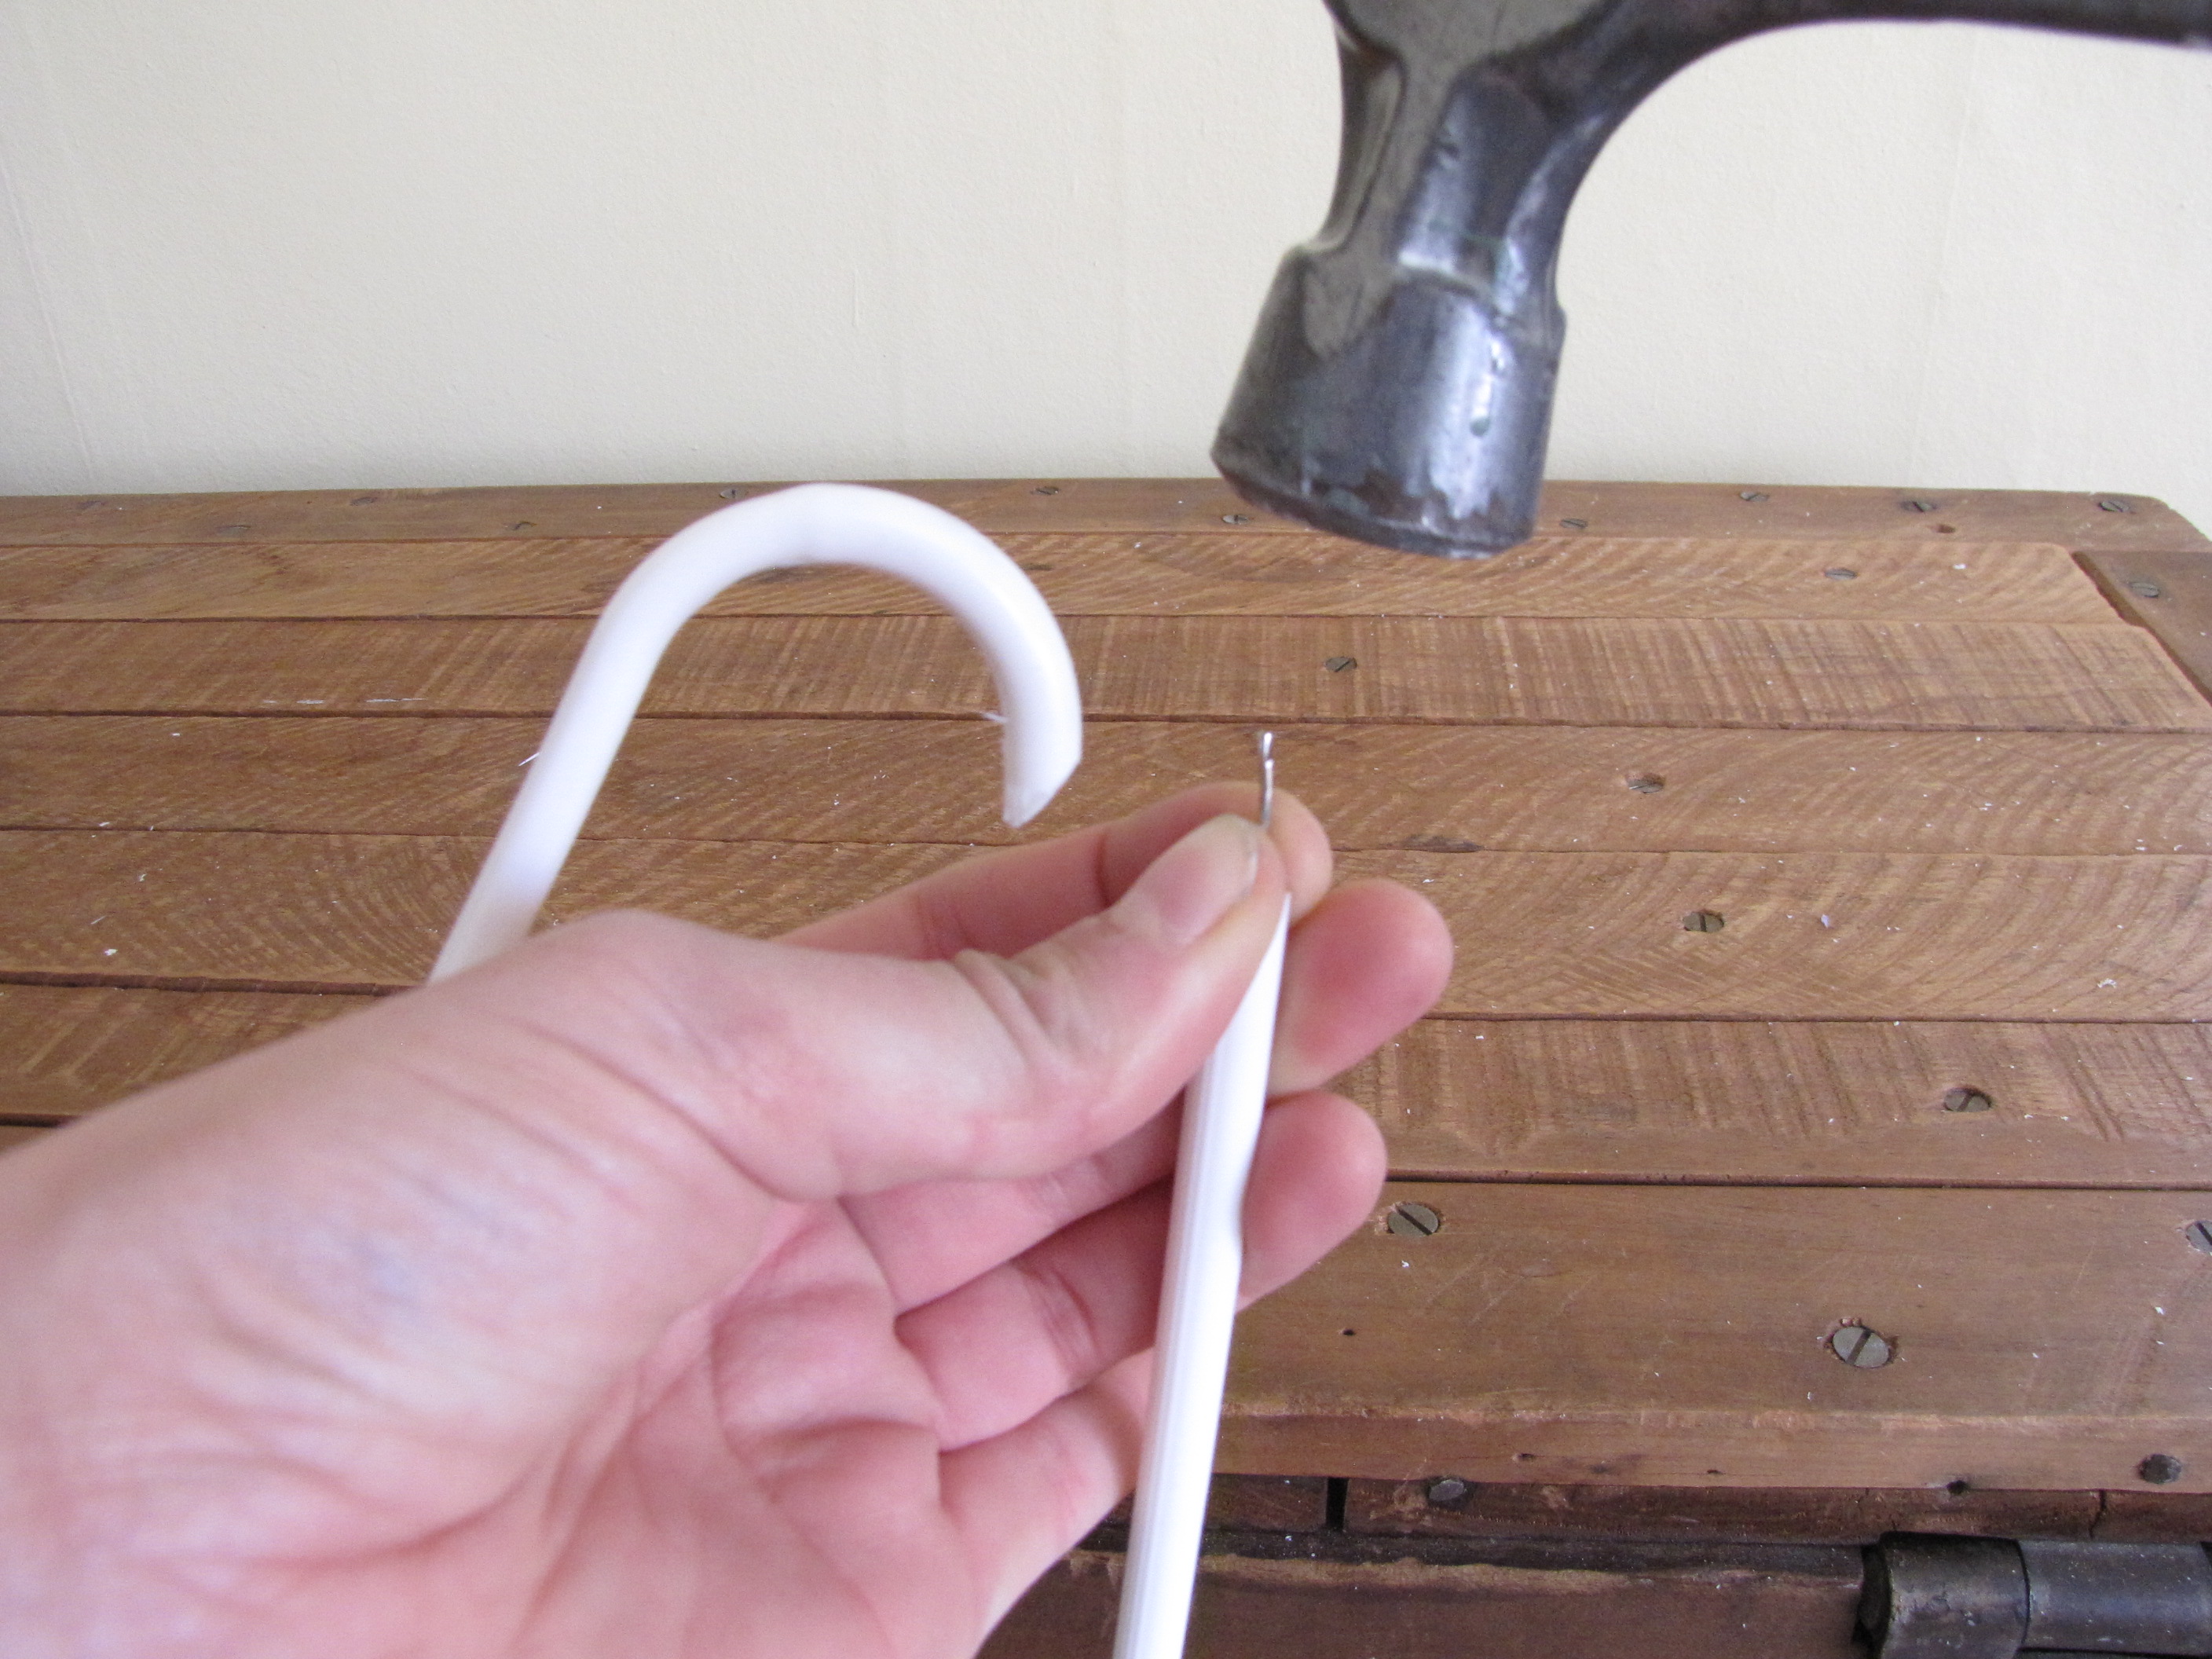
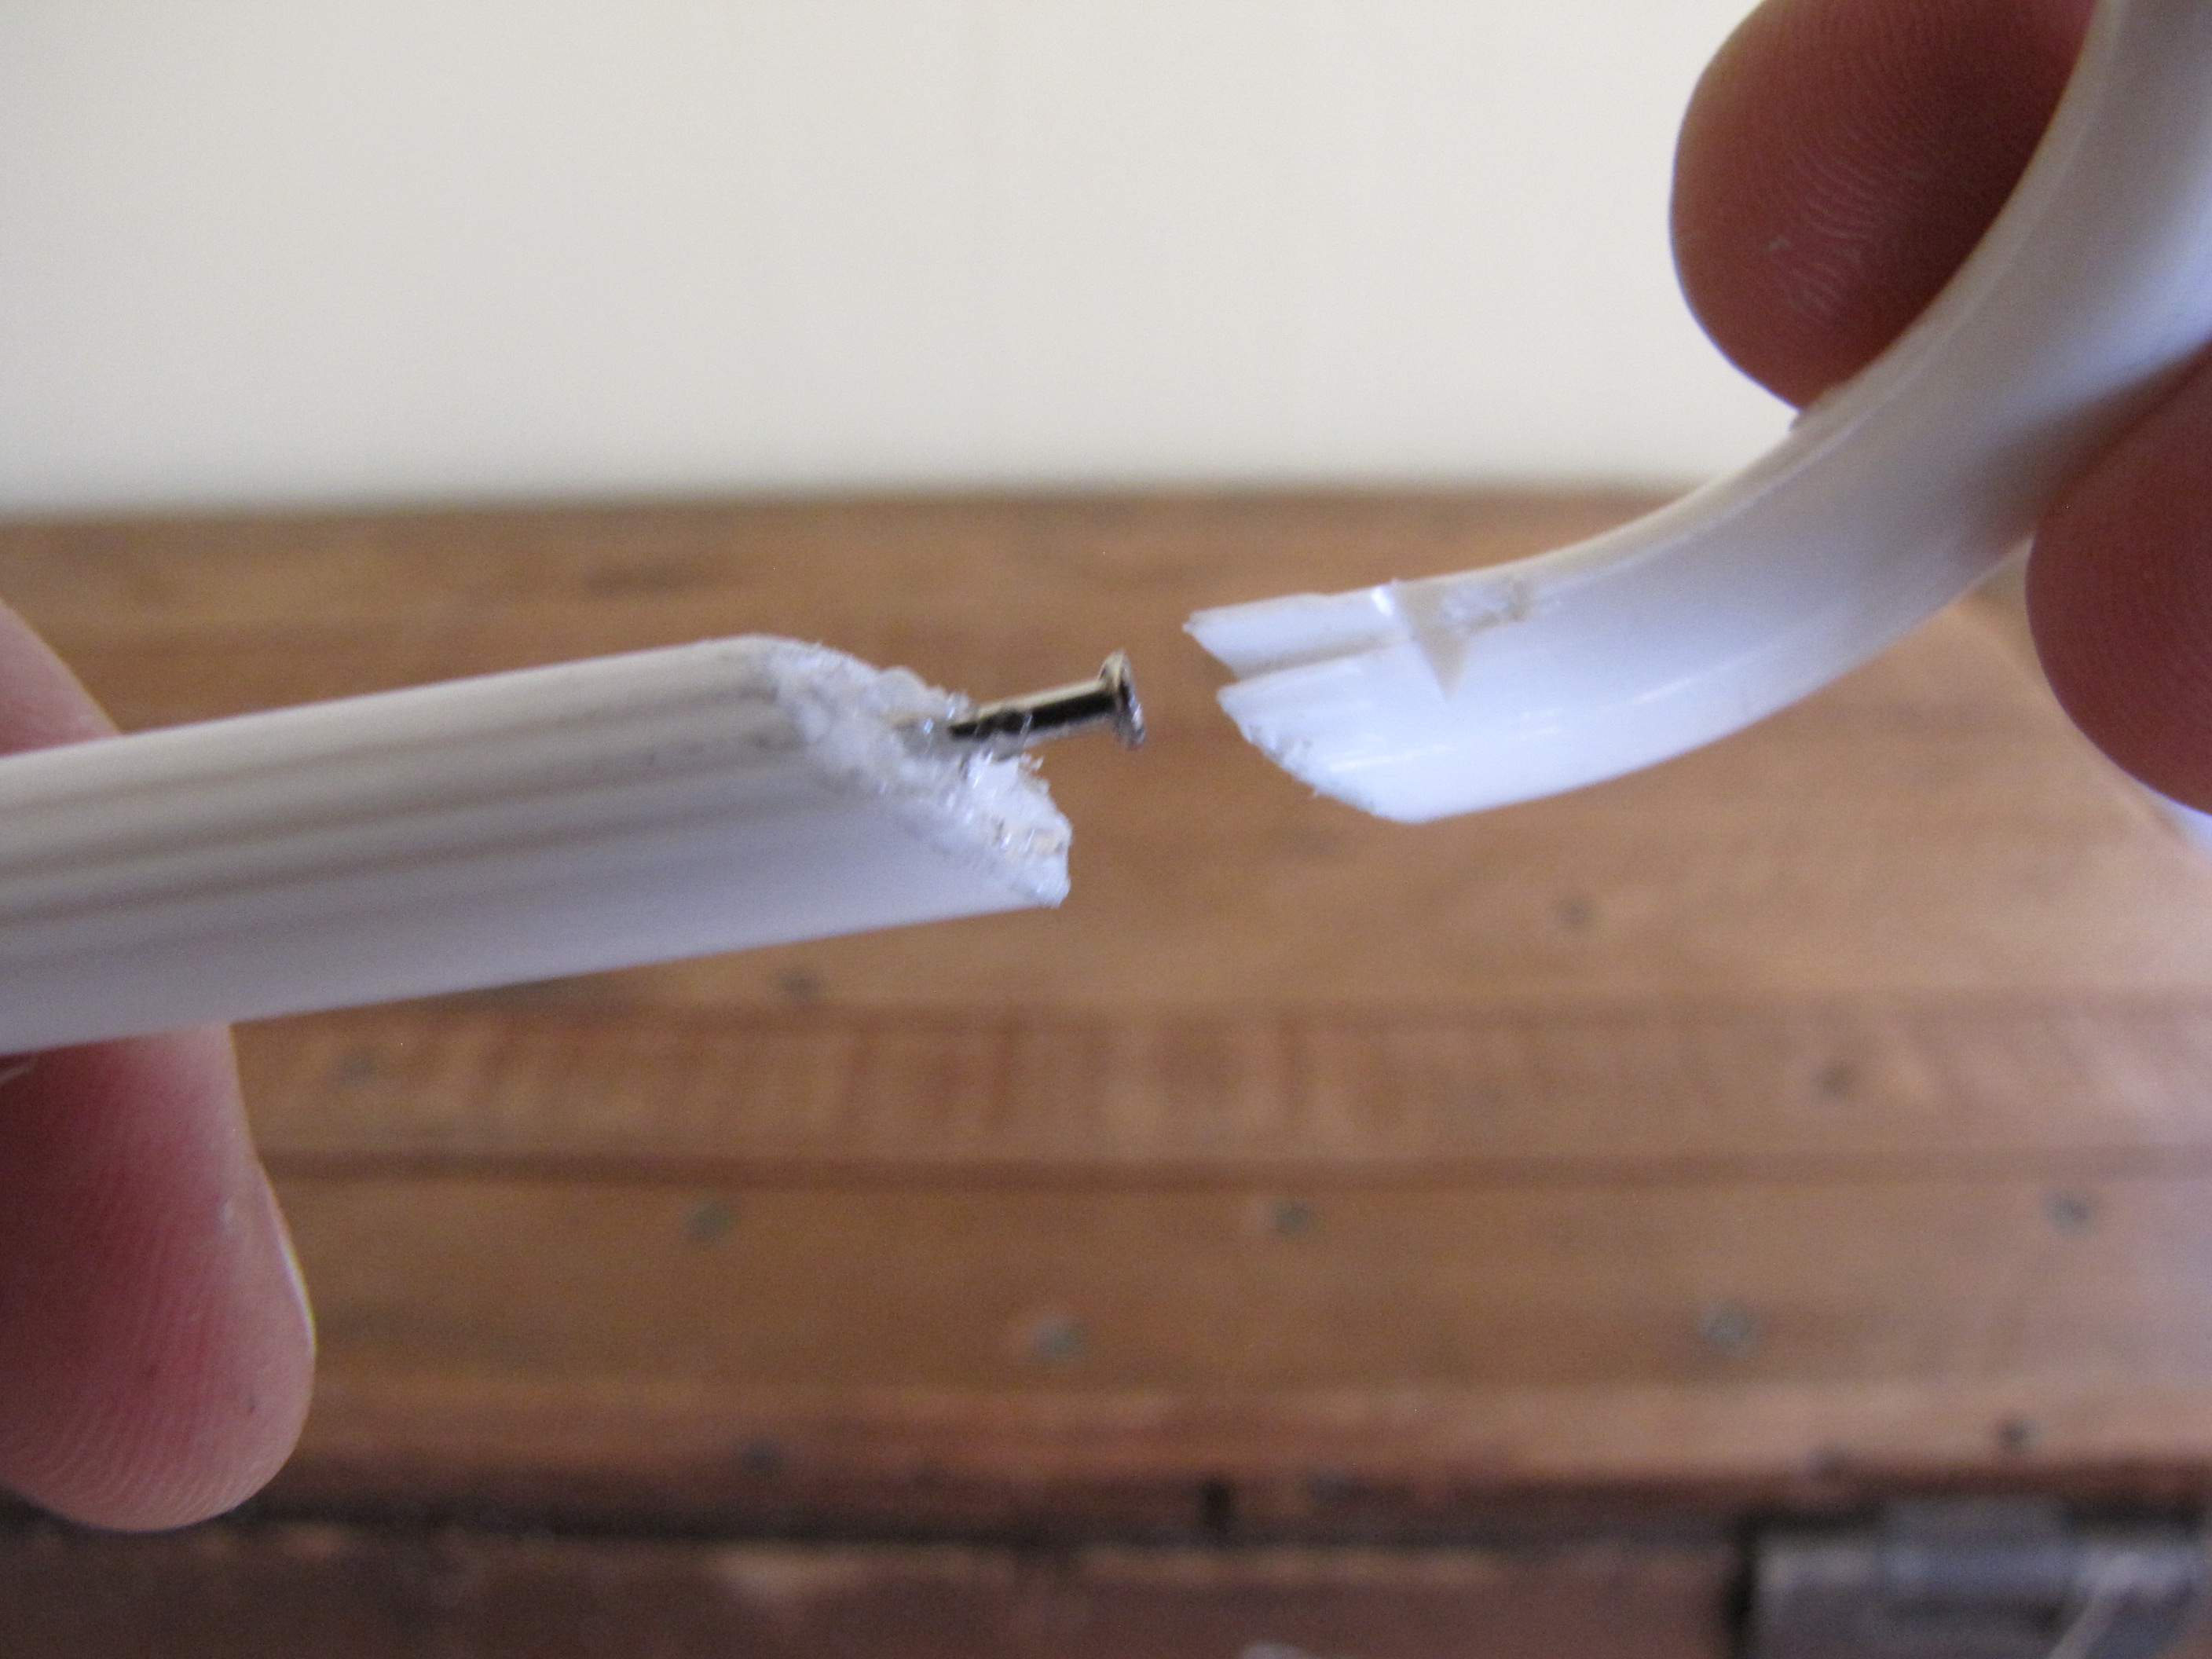
Smash the tack apart till you just have the metal bit inside, either by using a hammer, a rock or something else heavy and strong.
Once you have the tack, you can hammer it into the long bottom piece of hanger you've cut open. Sounds simple enough in explaining, but a little tricky when it comes down to it because it's a plastic hanger and wobbles when you hammer. But luckily, the plastic is pretty soft so it goes in easy if you hold the rest of the hanger solidly some how. I used my feet and knees to hold it steady and then just pounded the tack piece in.
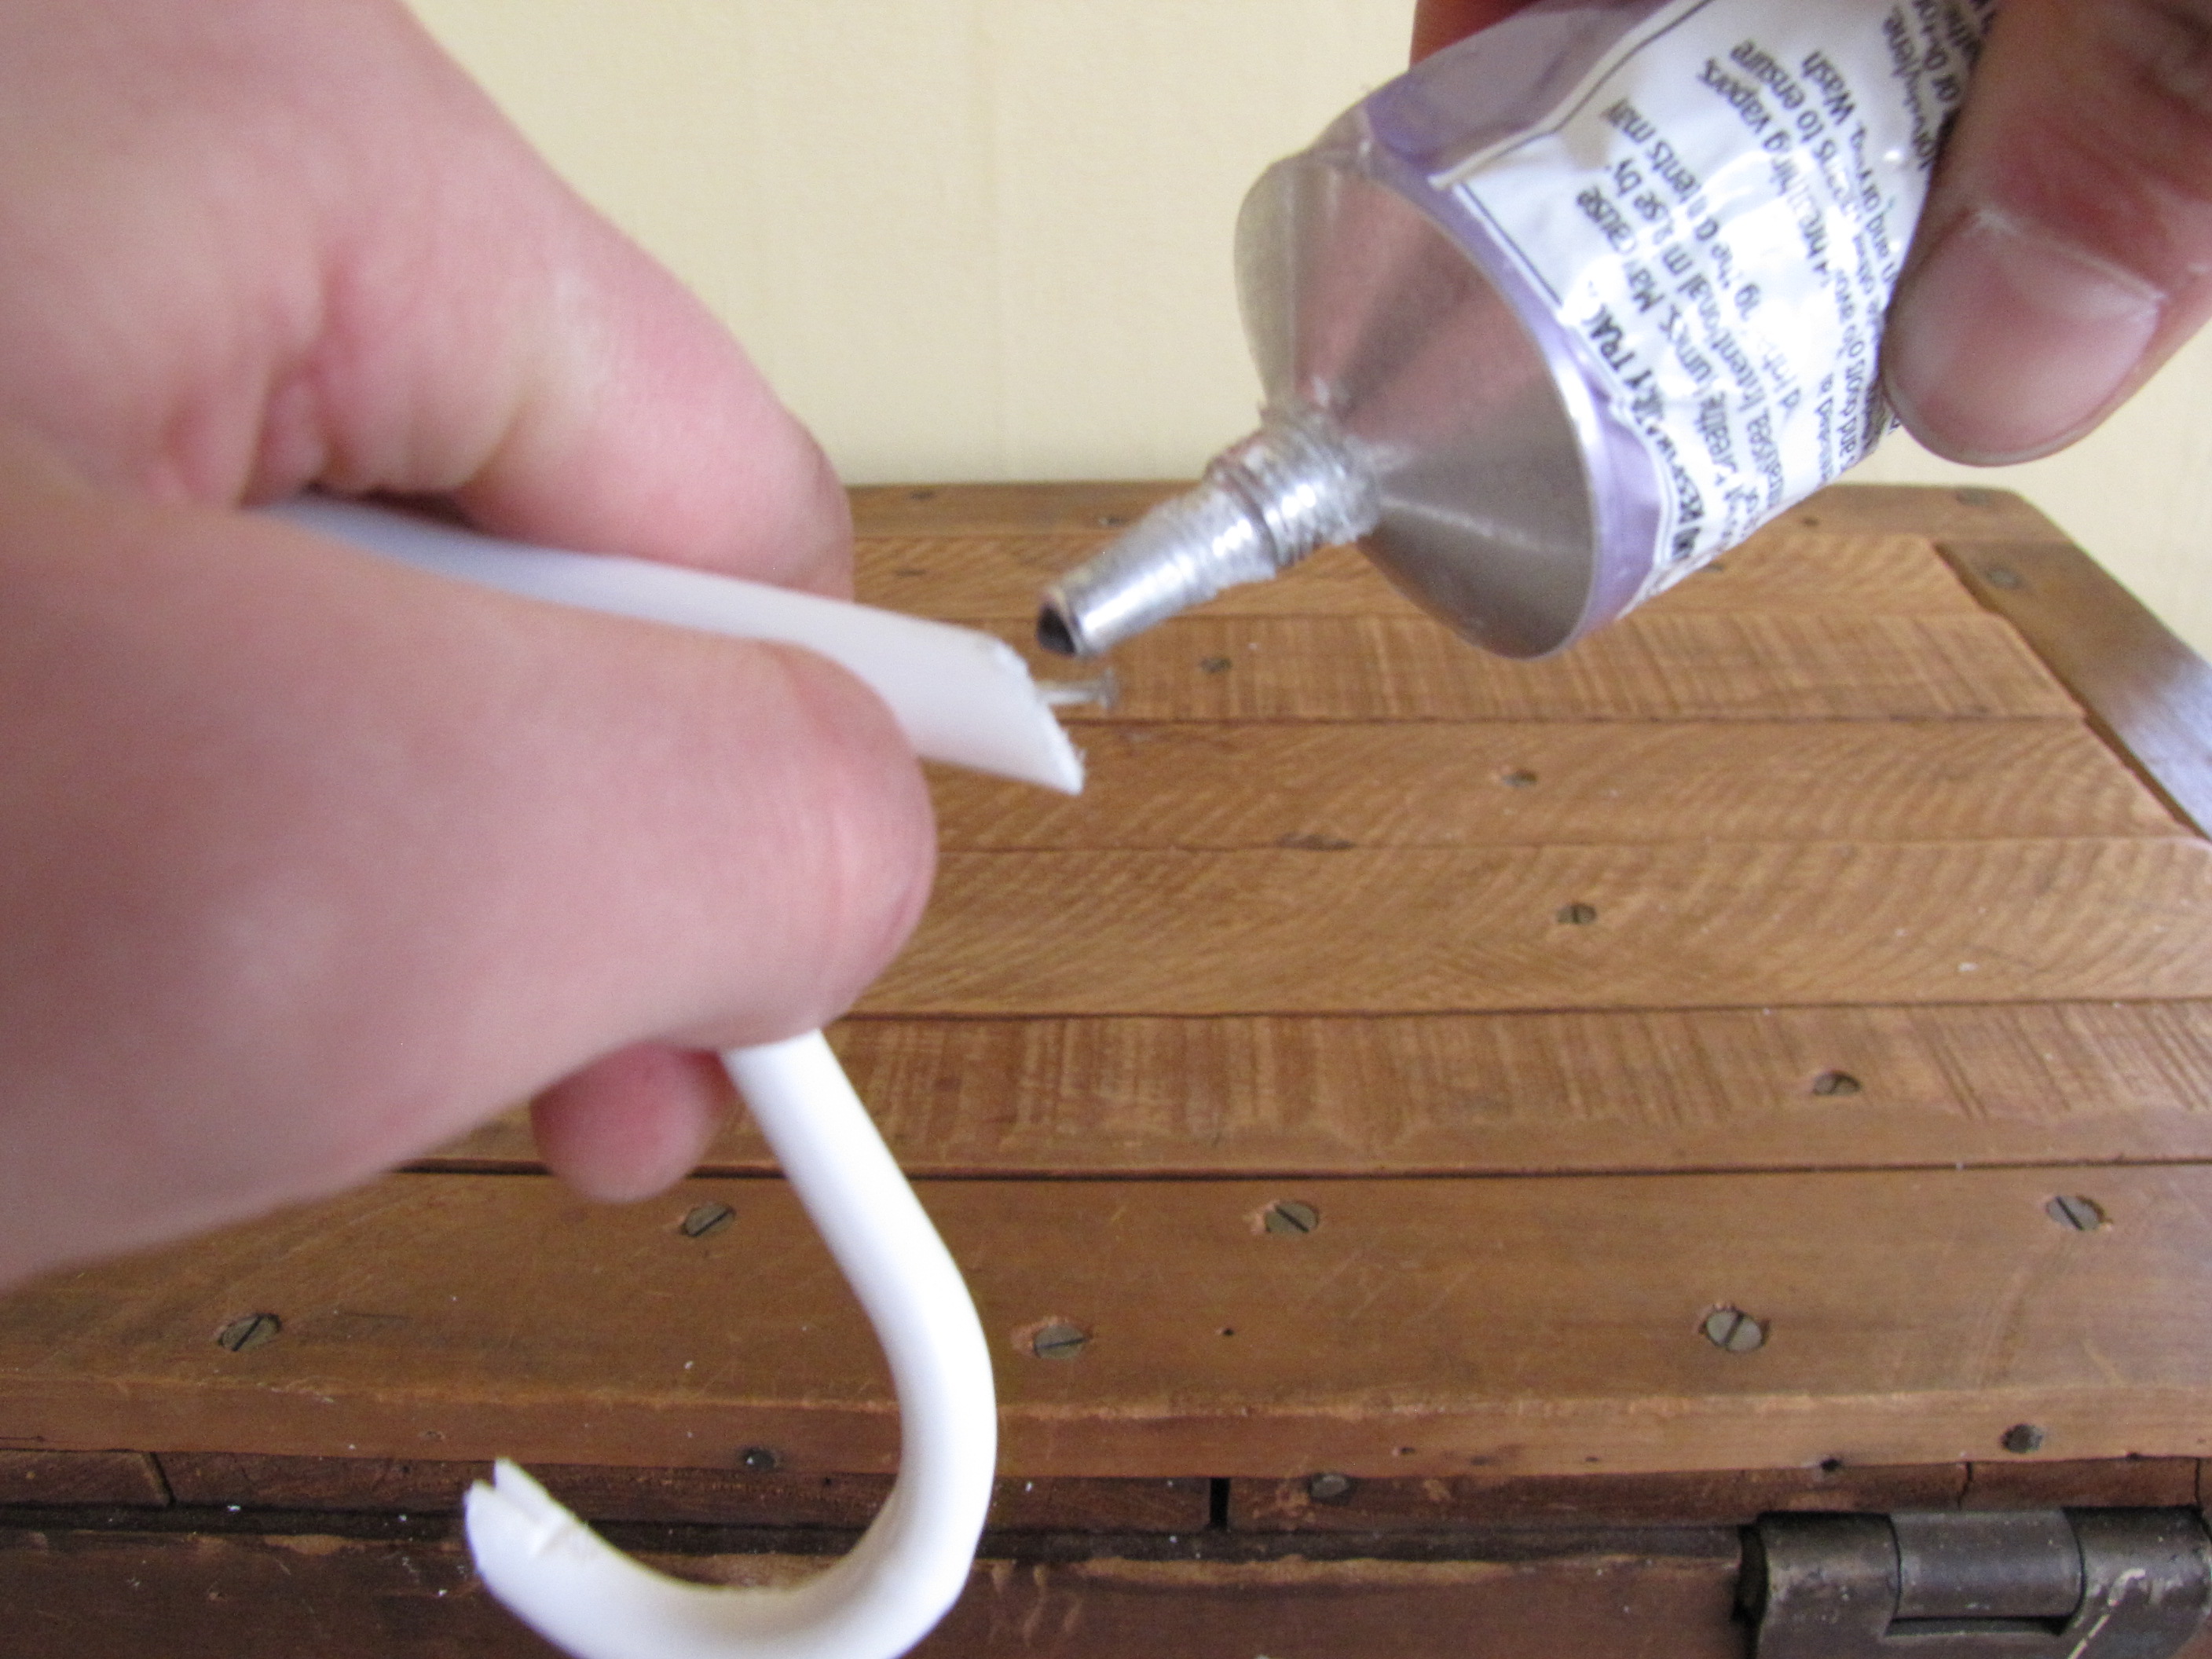
After that, it may be a good idea to add a little glue to the tack piece so it's a little less likely to slip out. That's what I did because it wasn't as secure as I wanted it to be.
Bend the Top Into Place
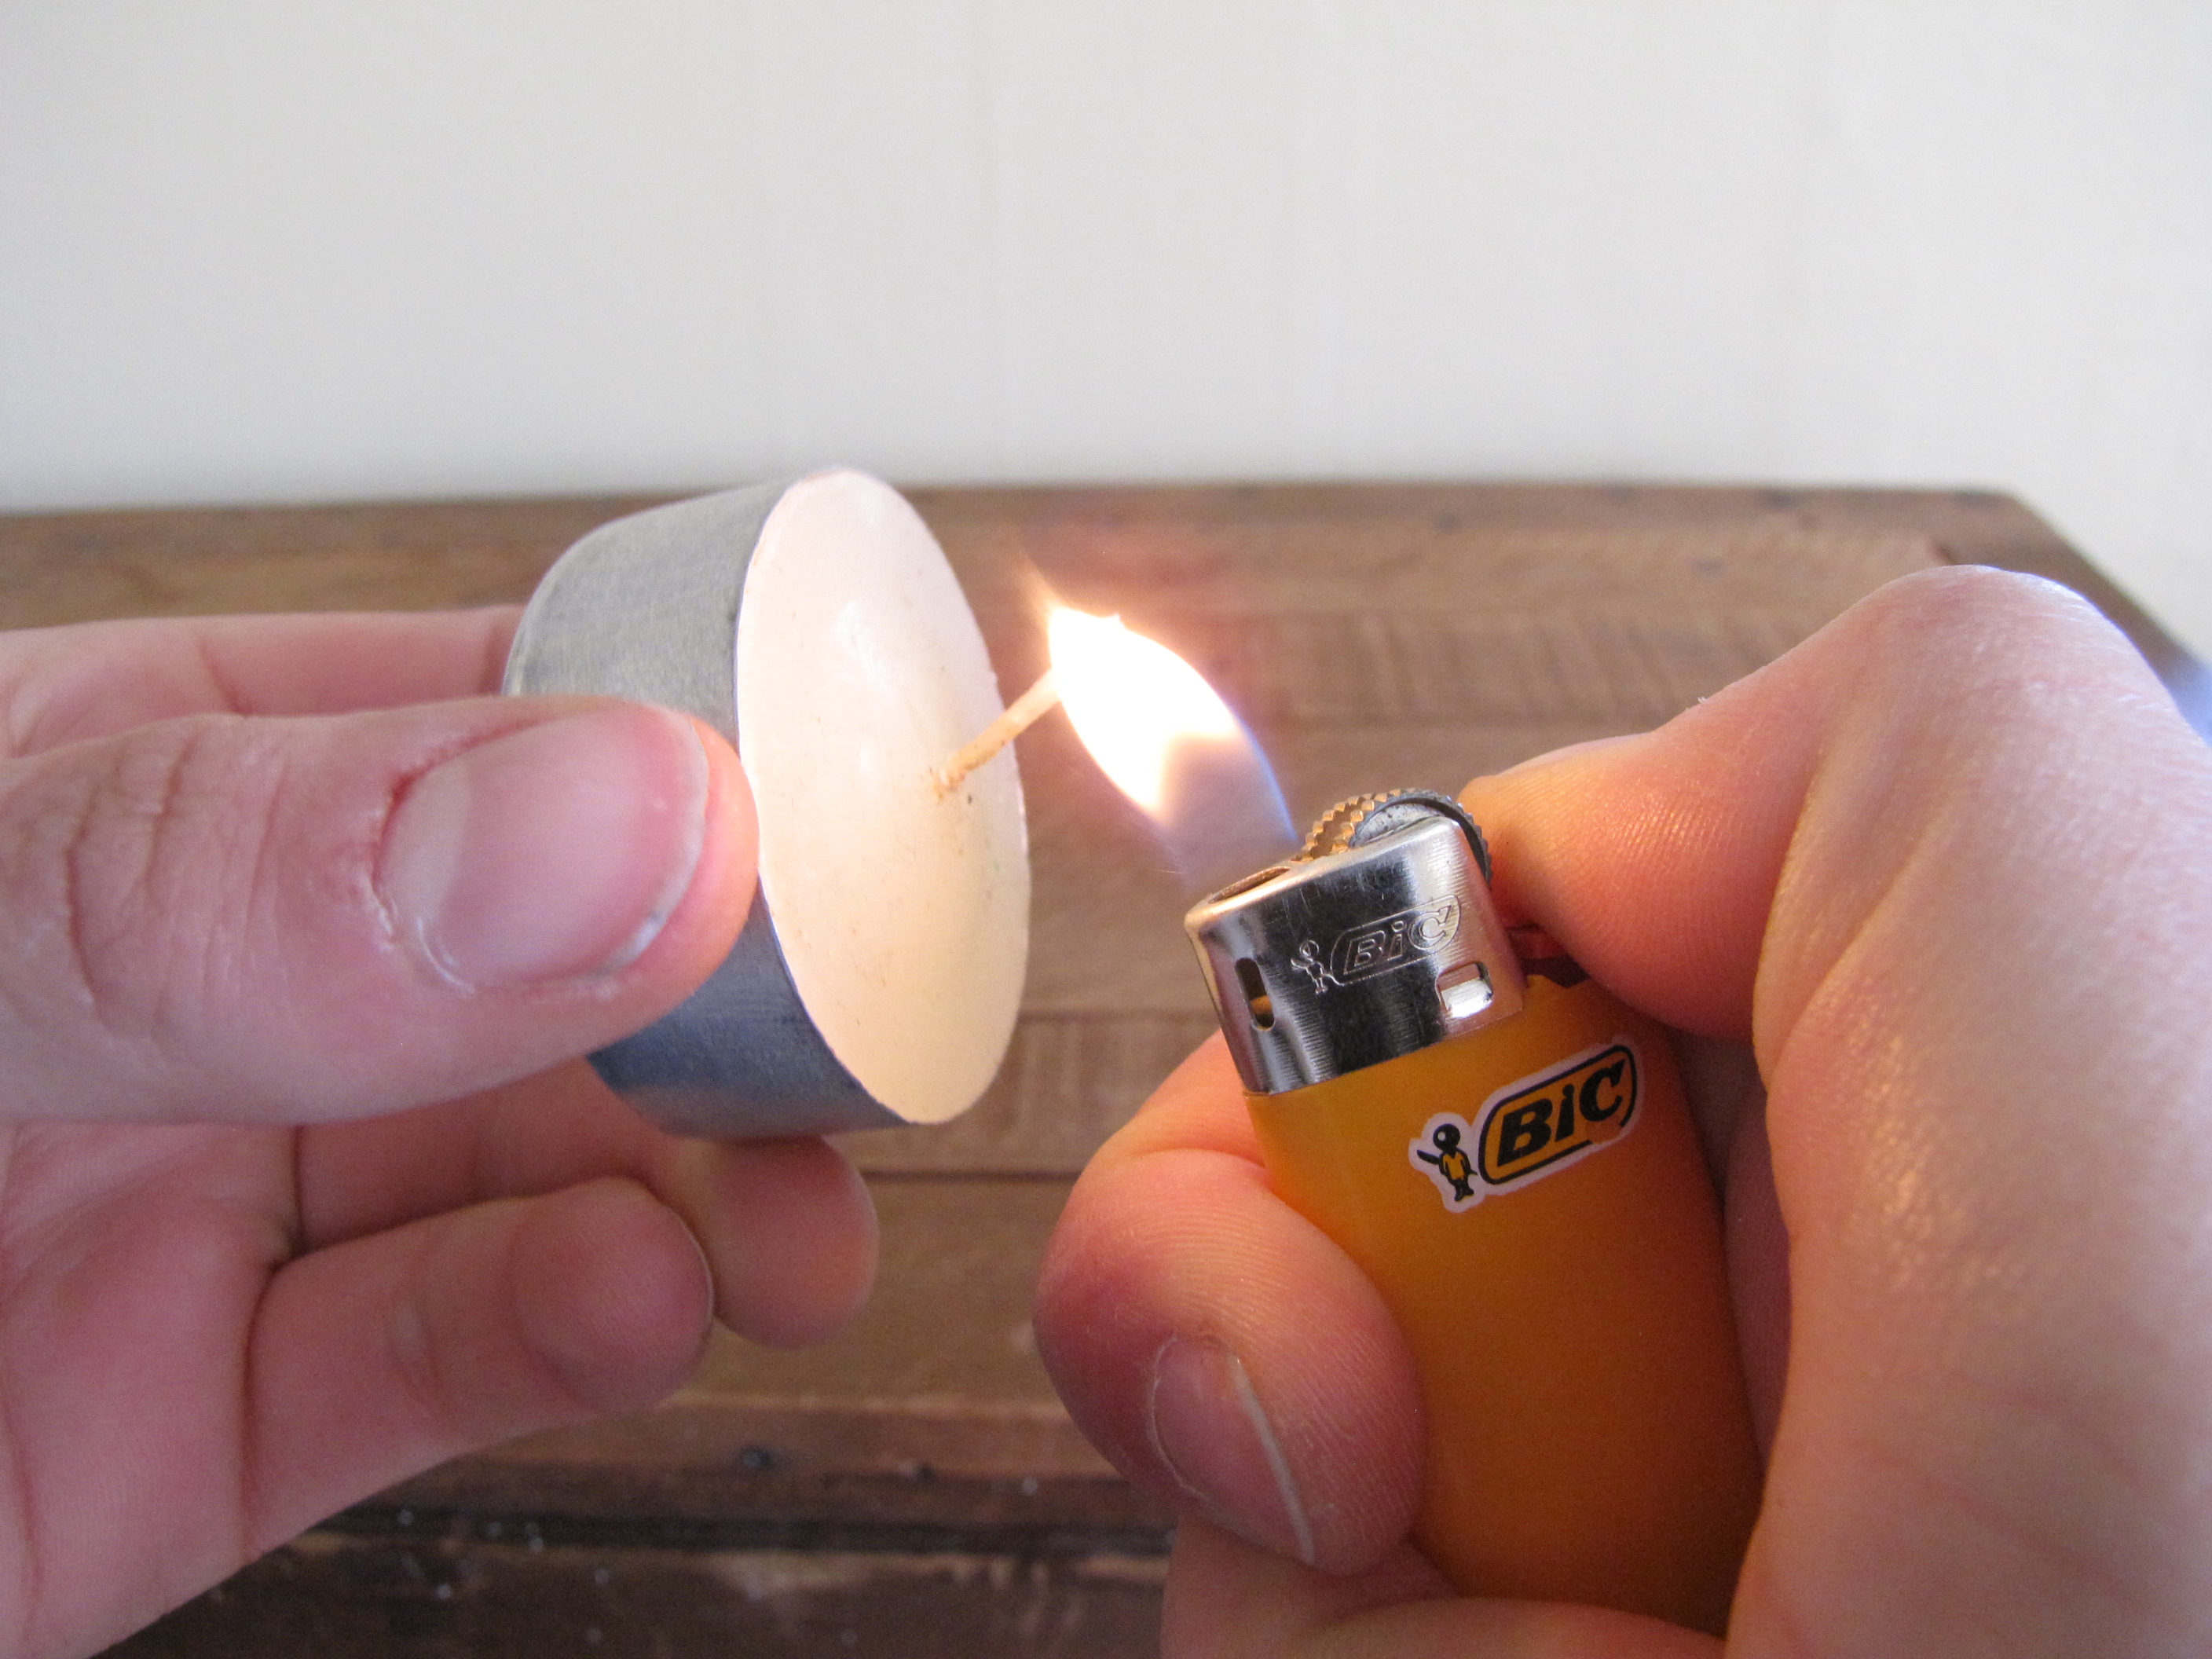
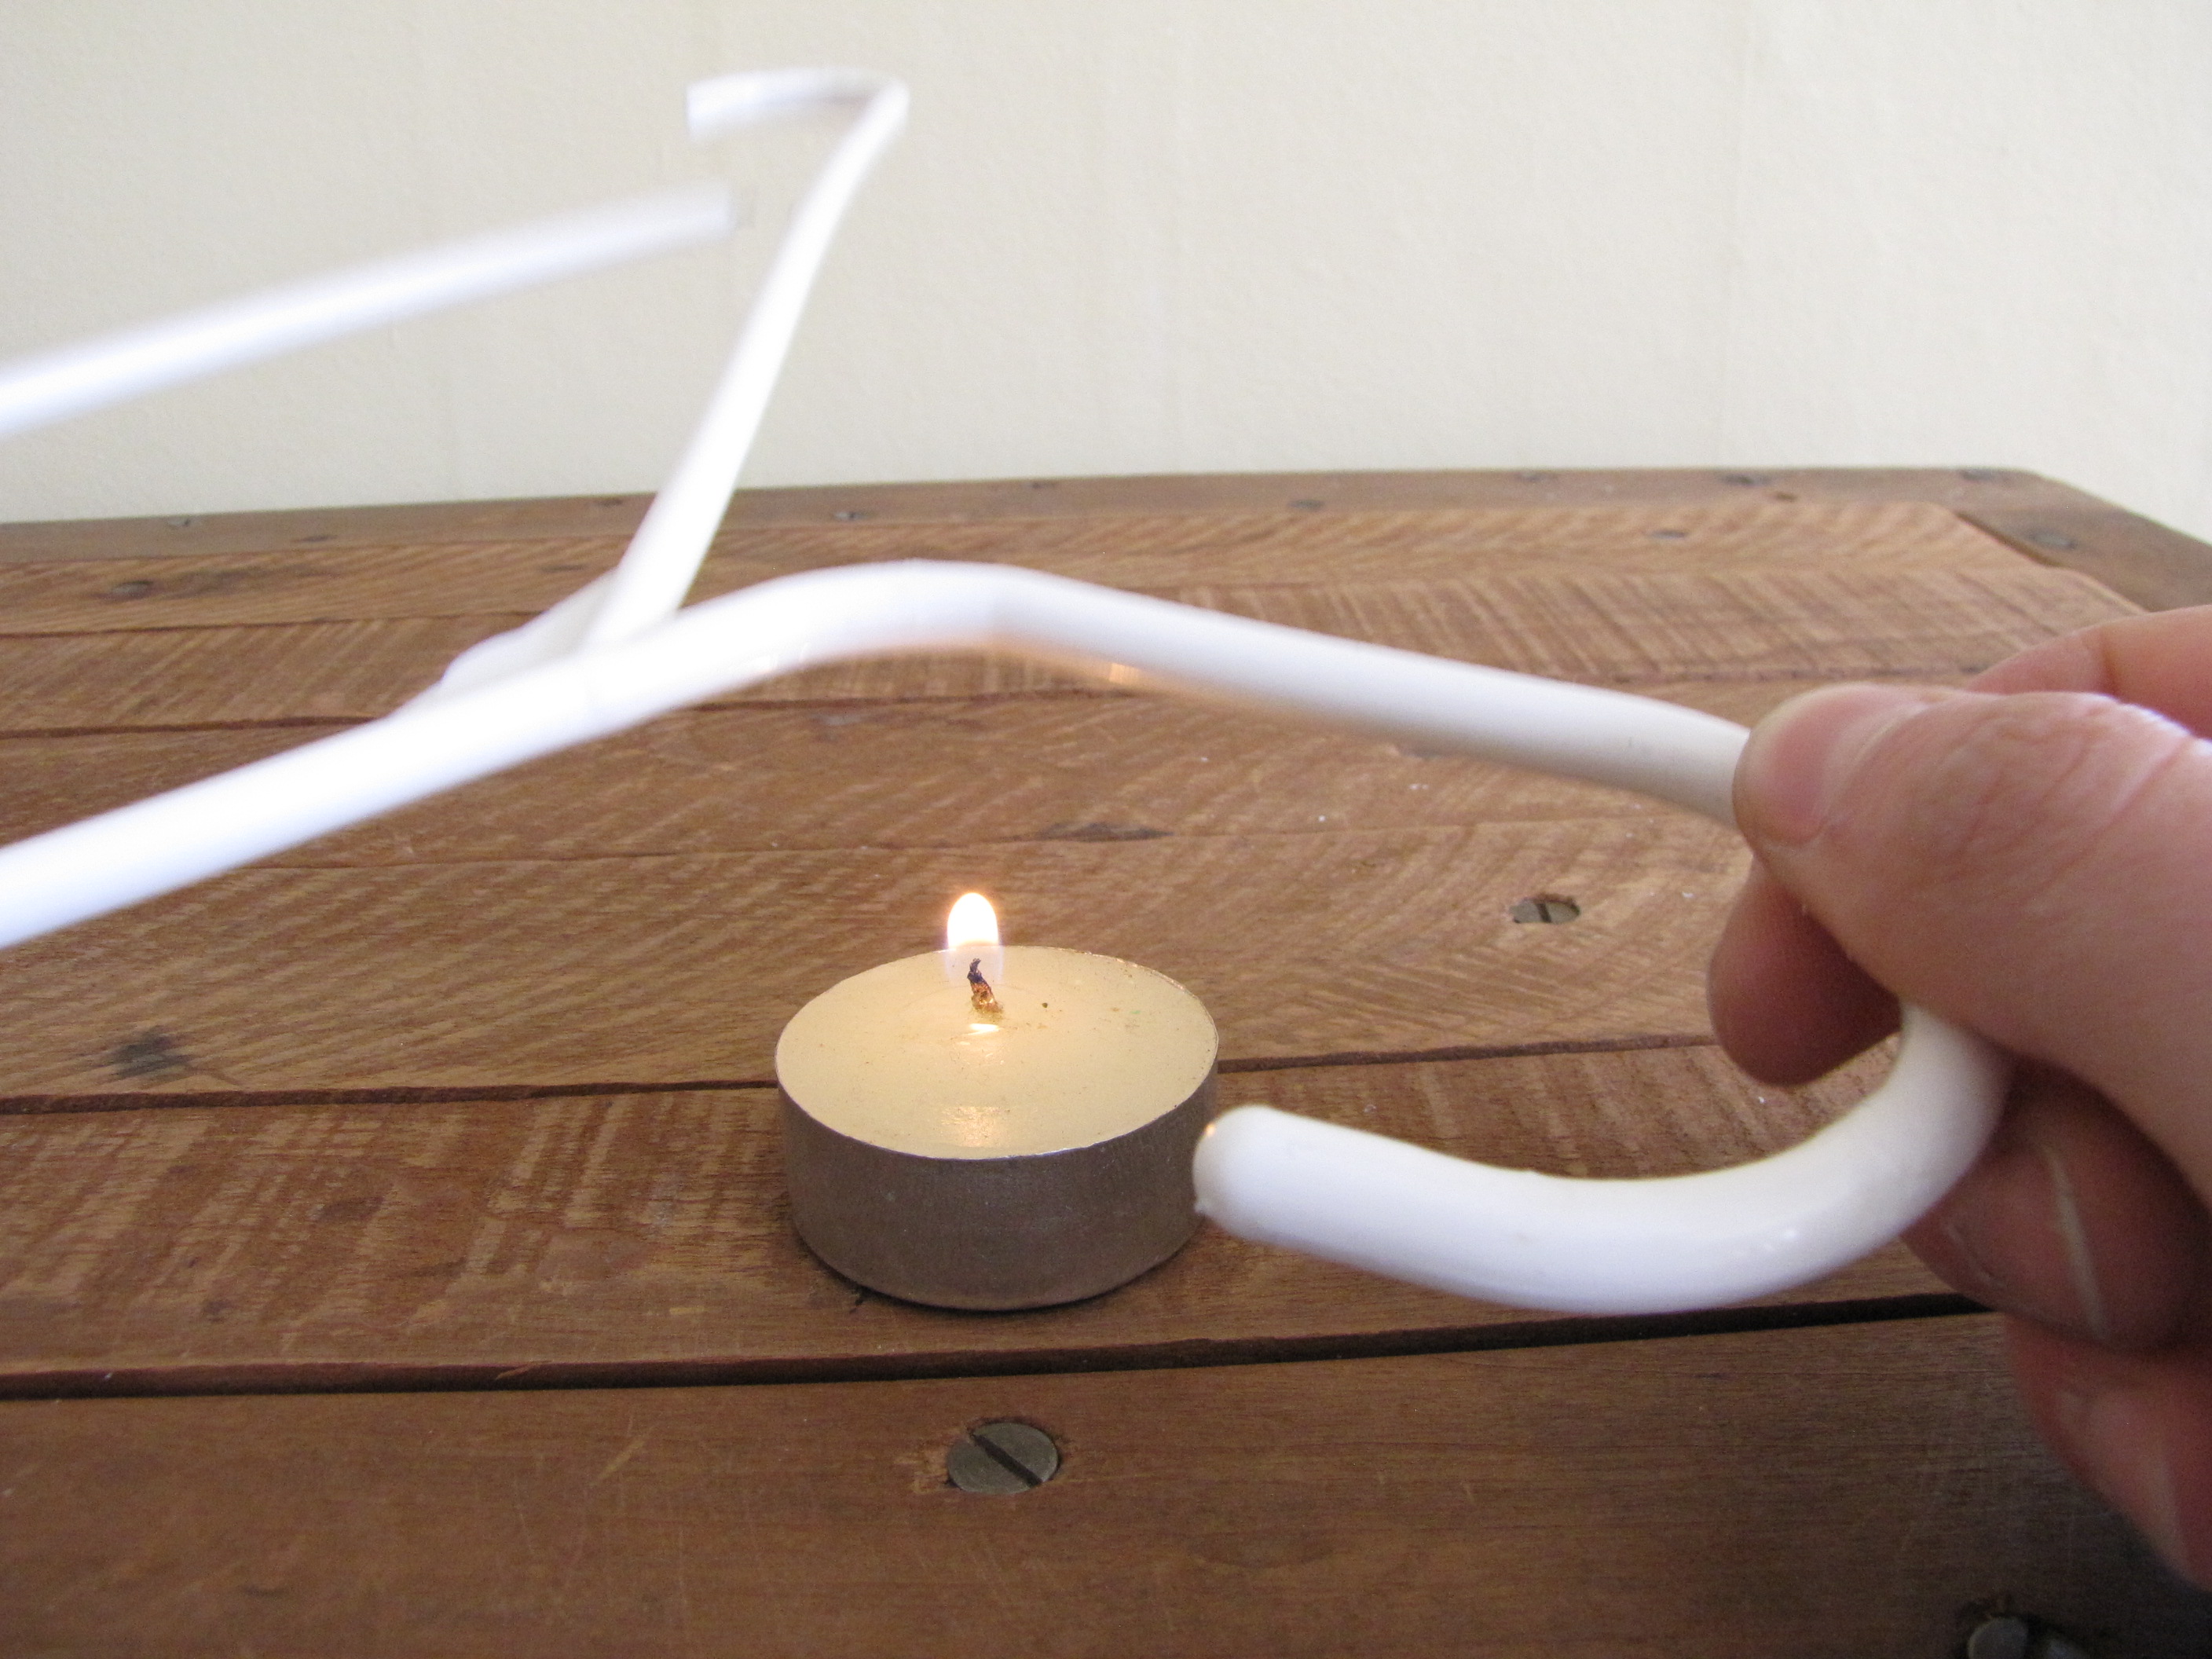
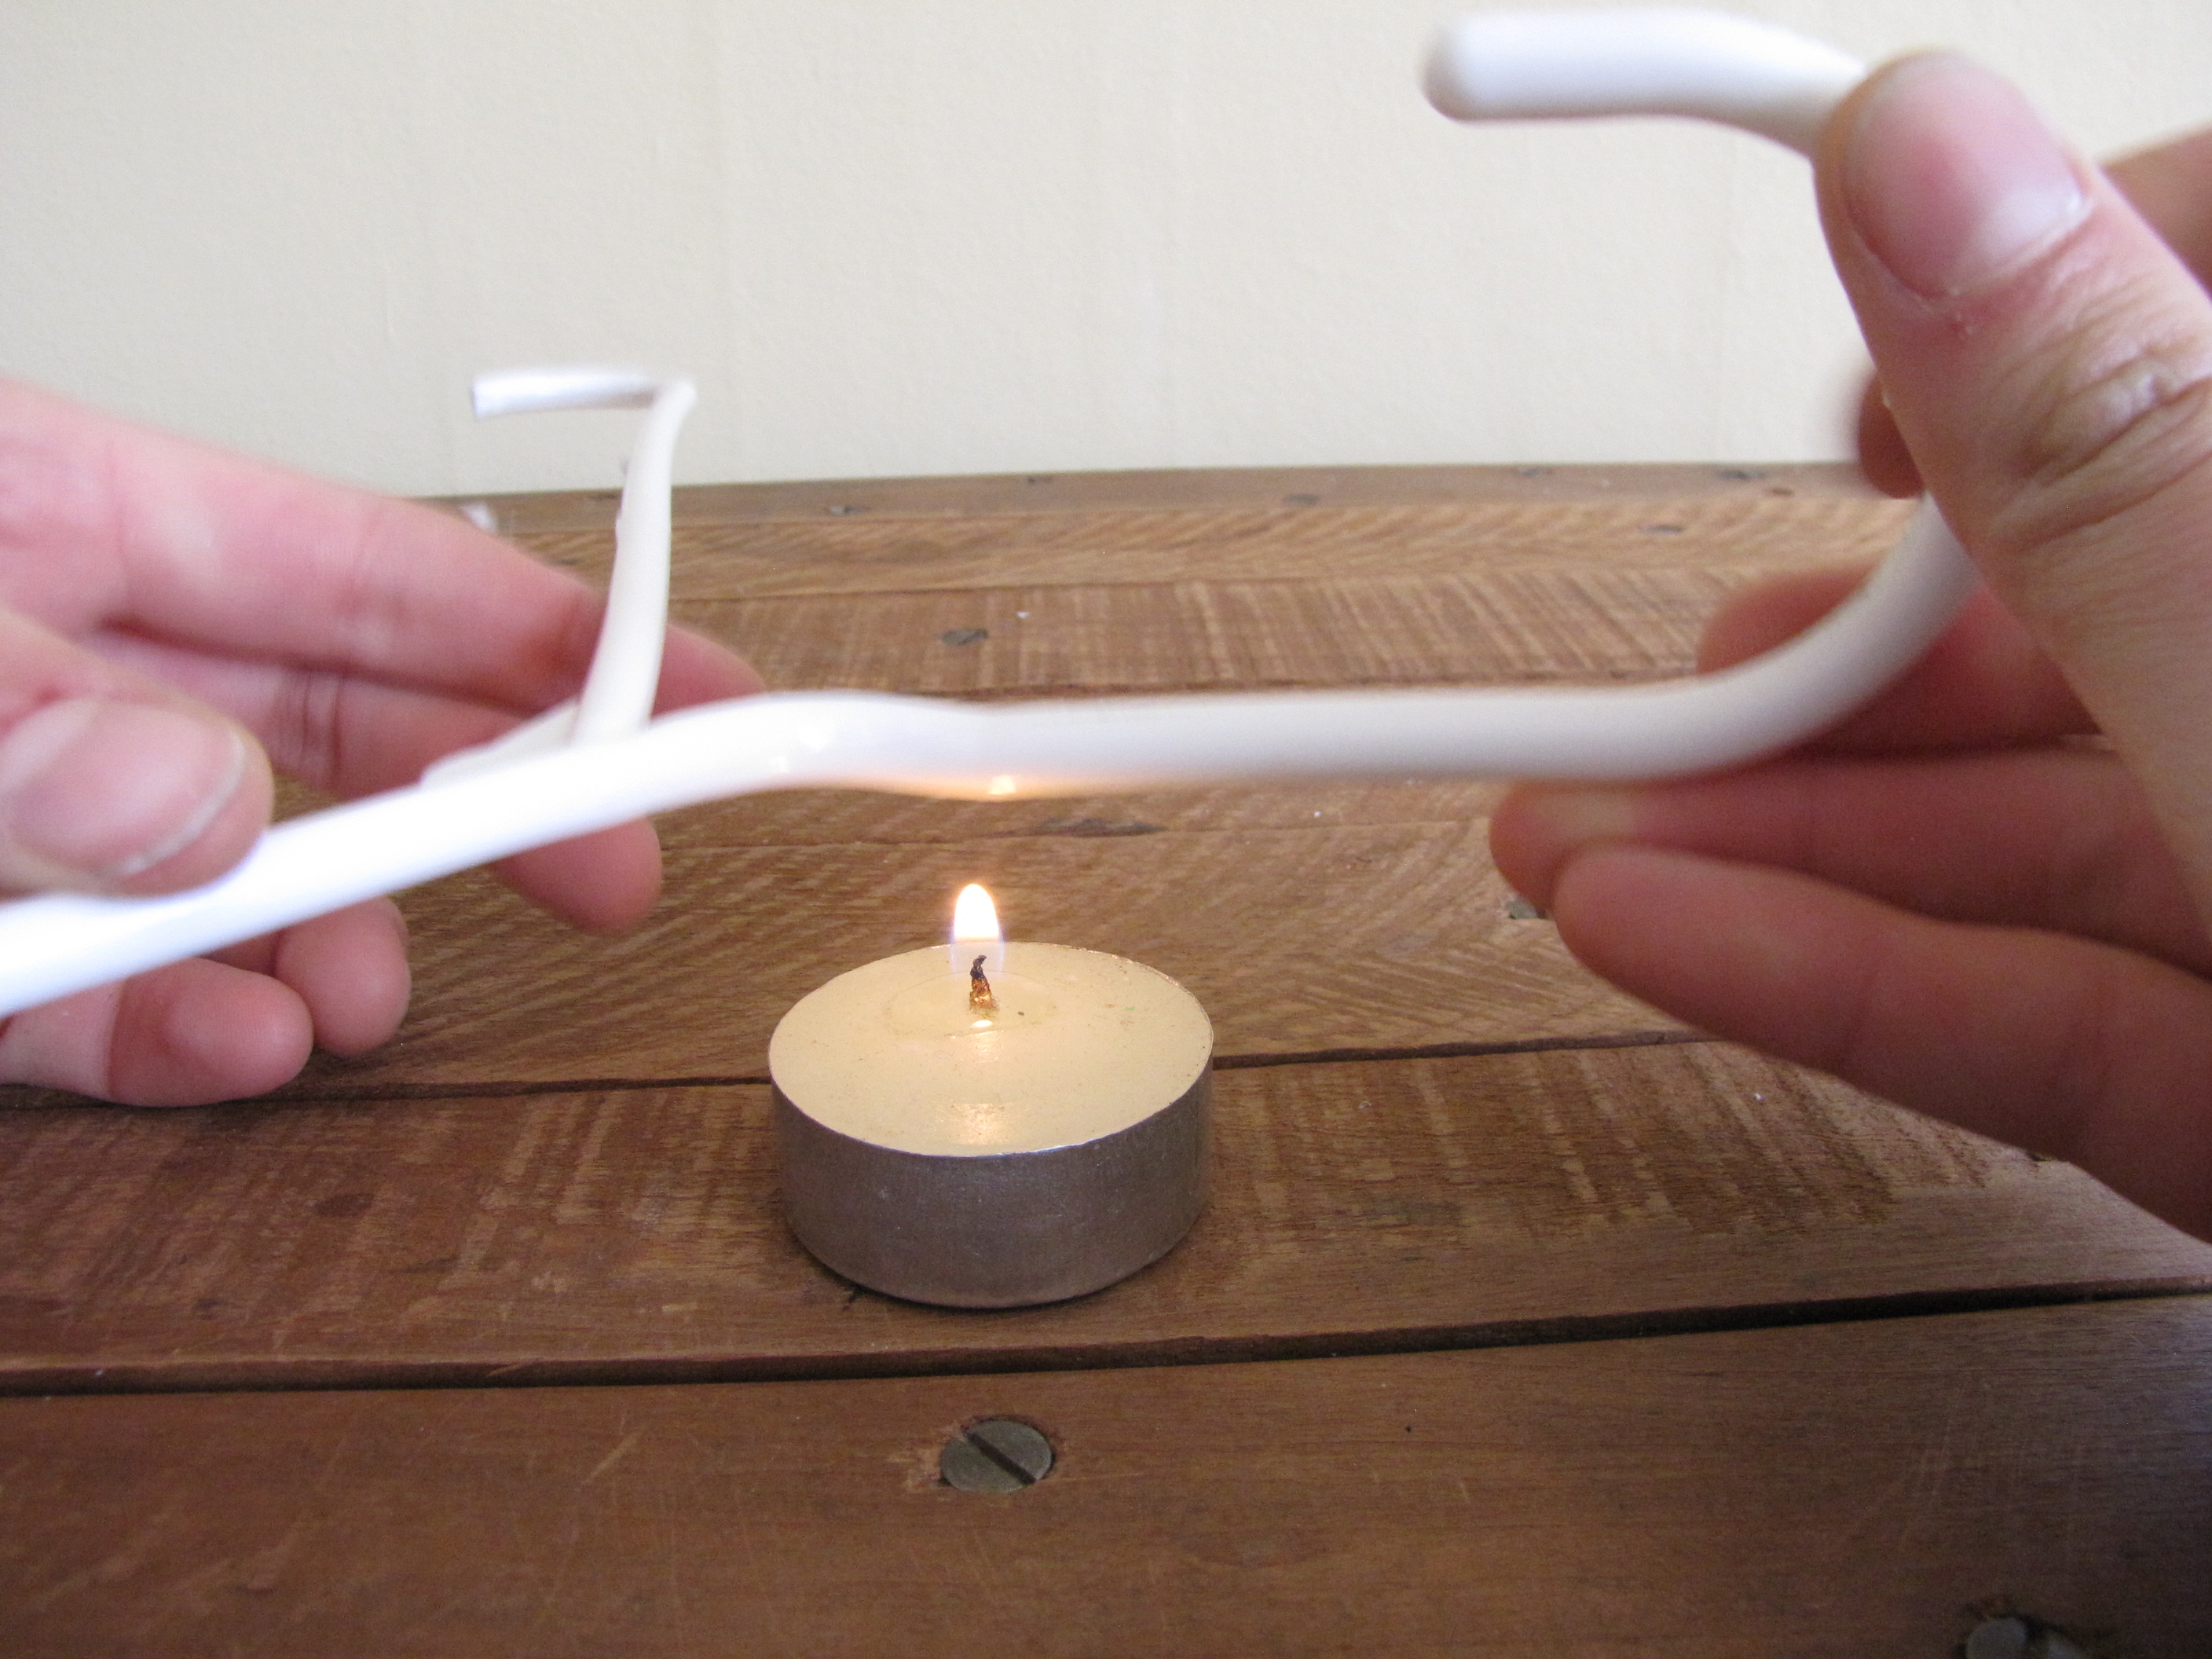
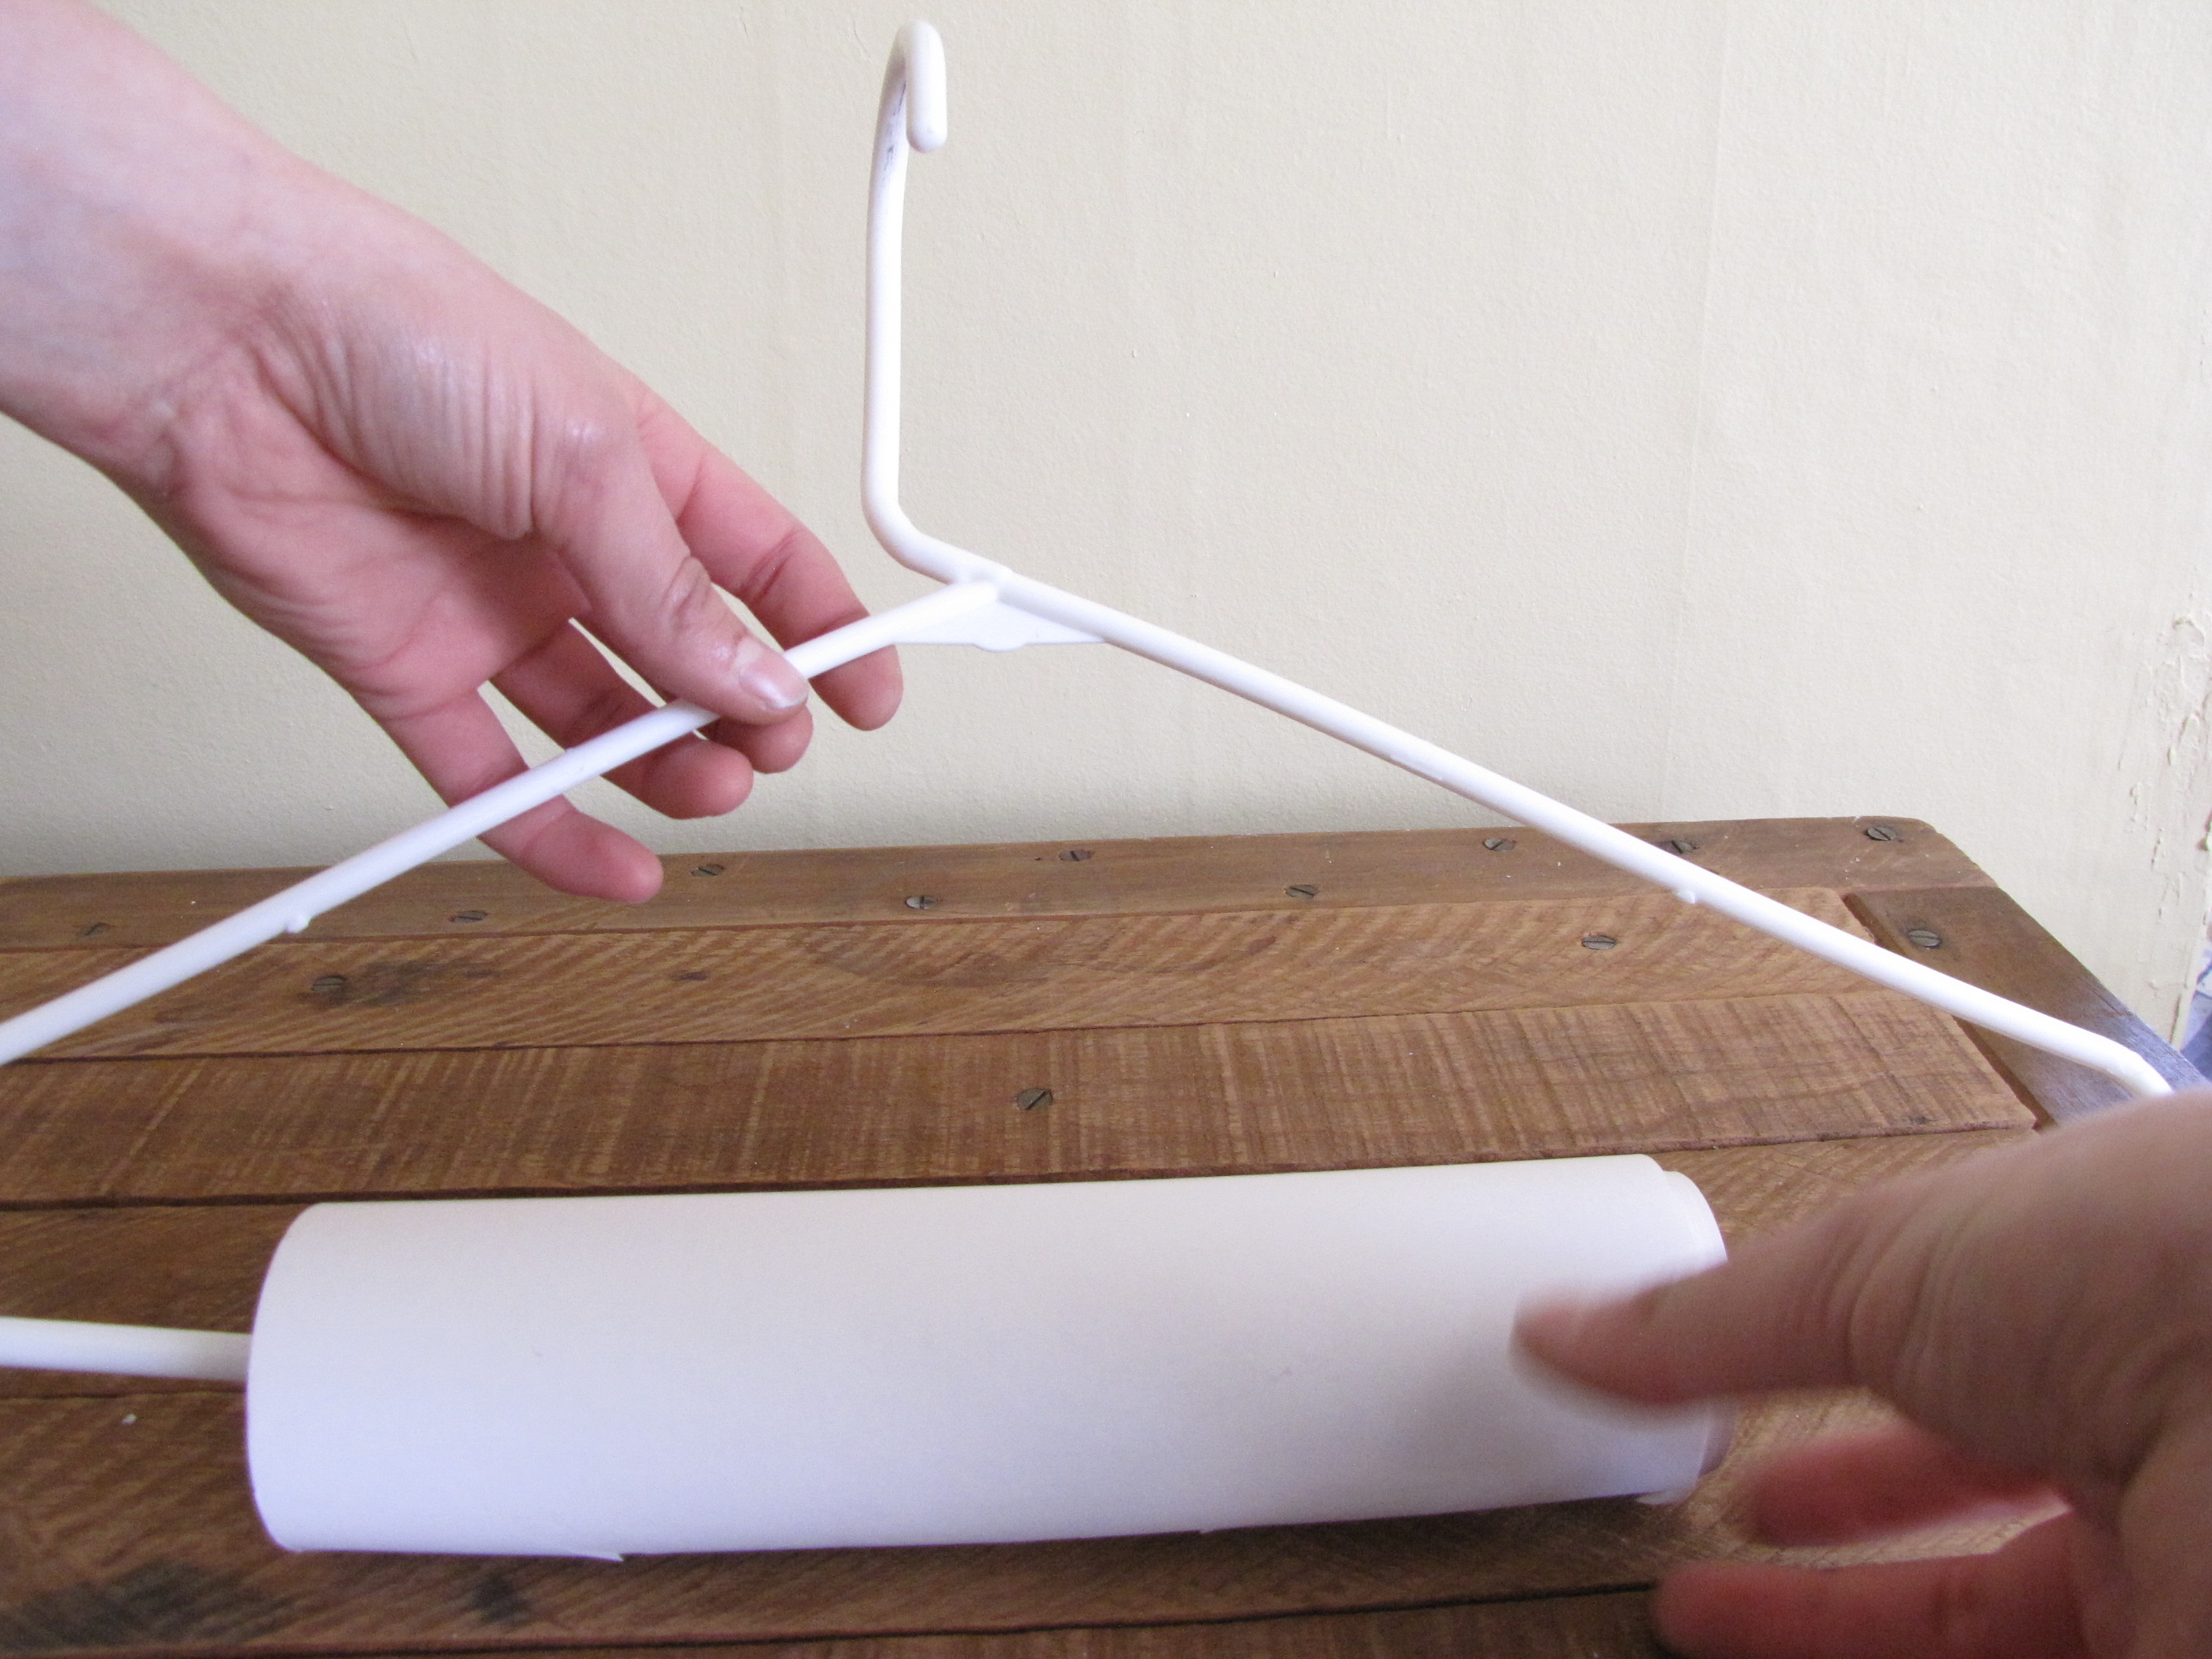
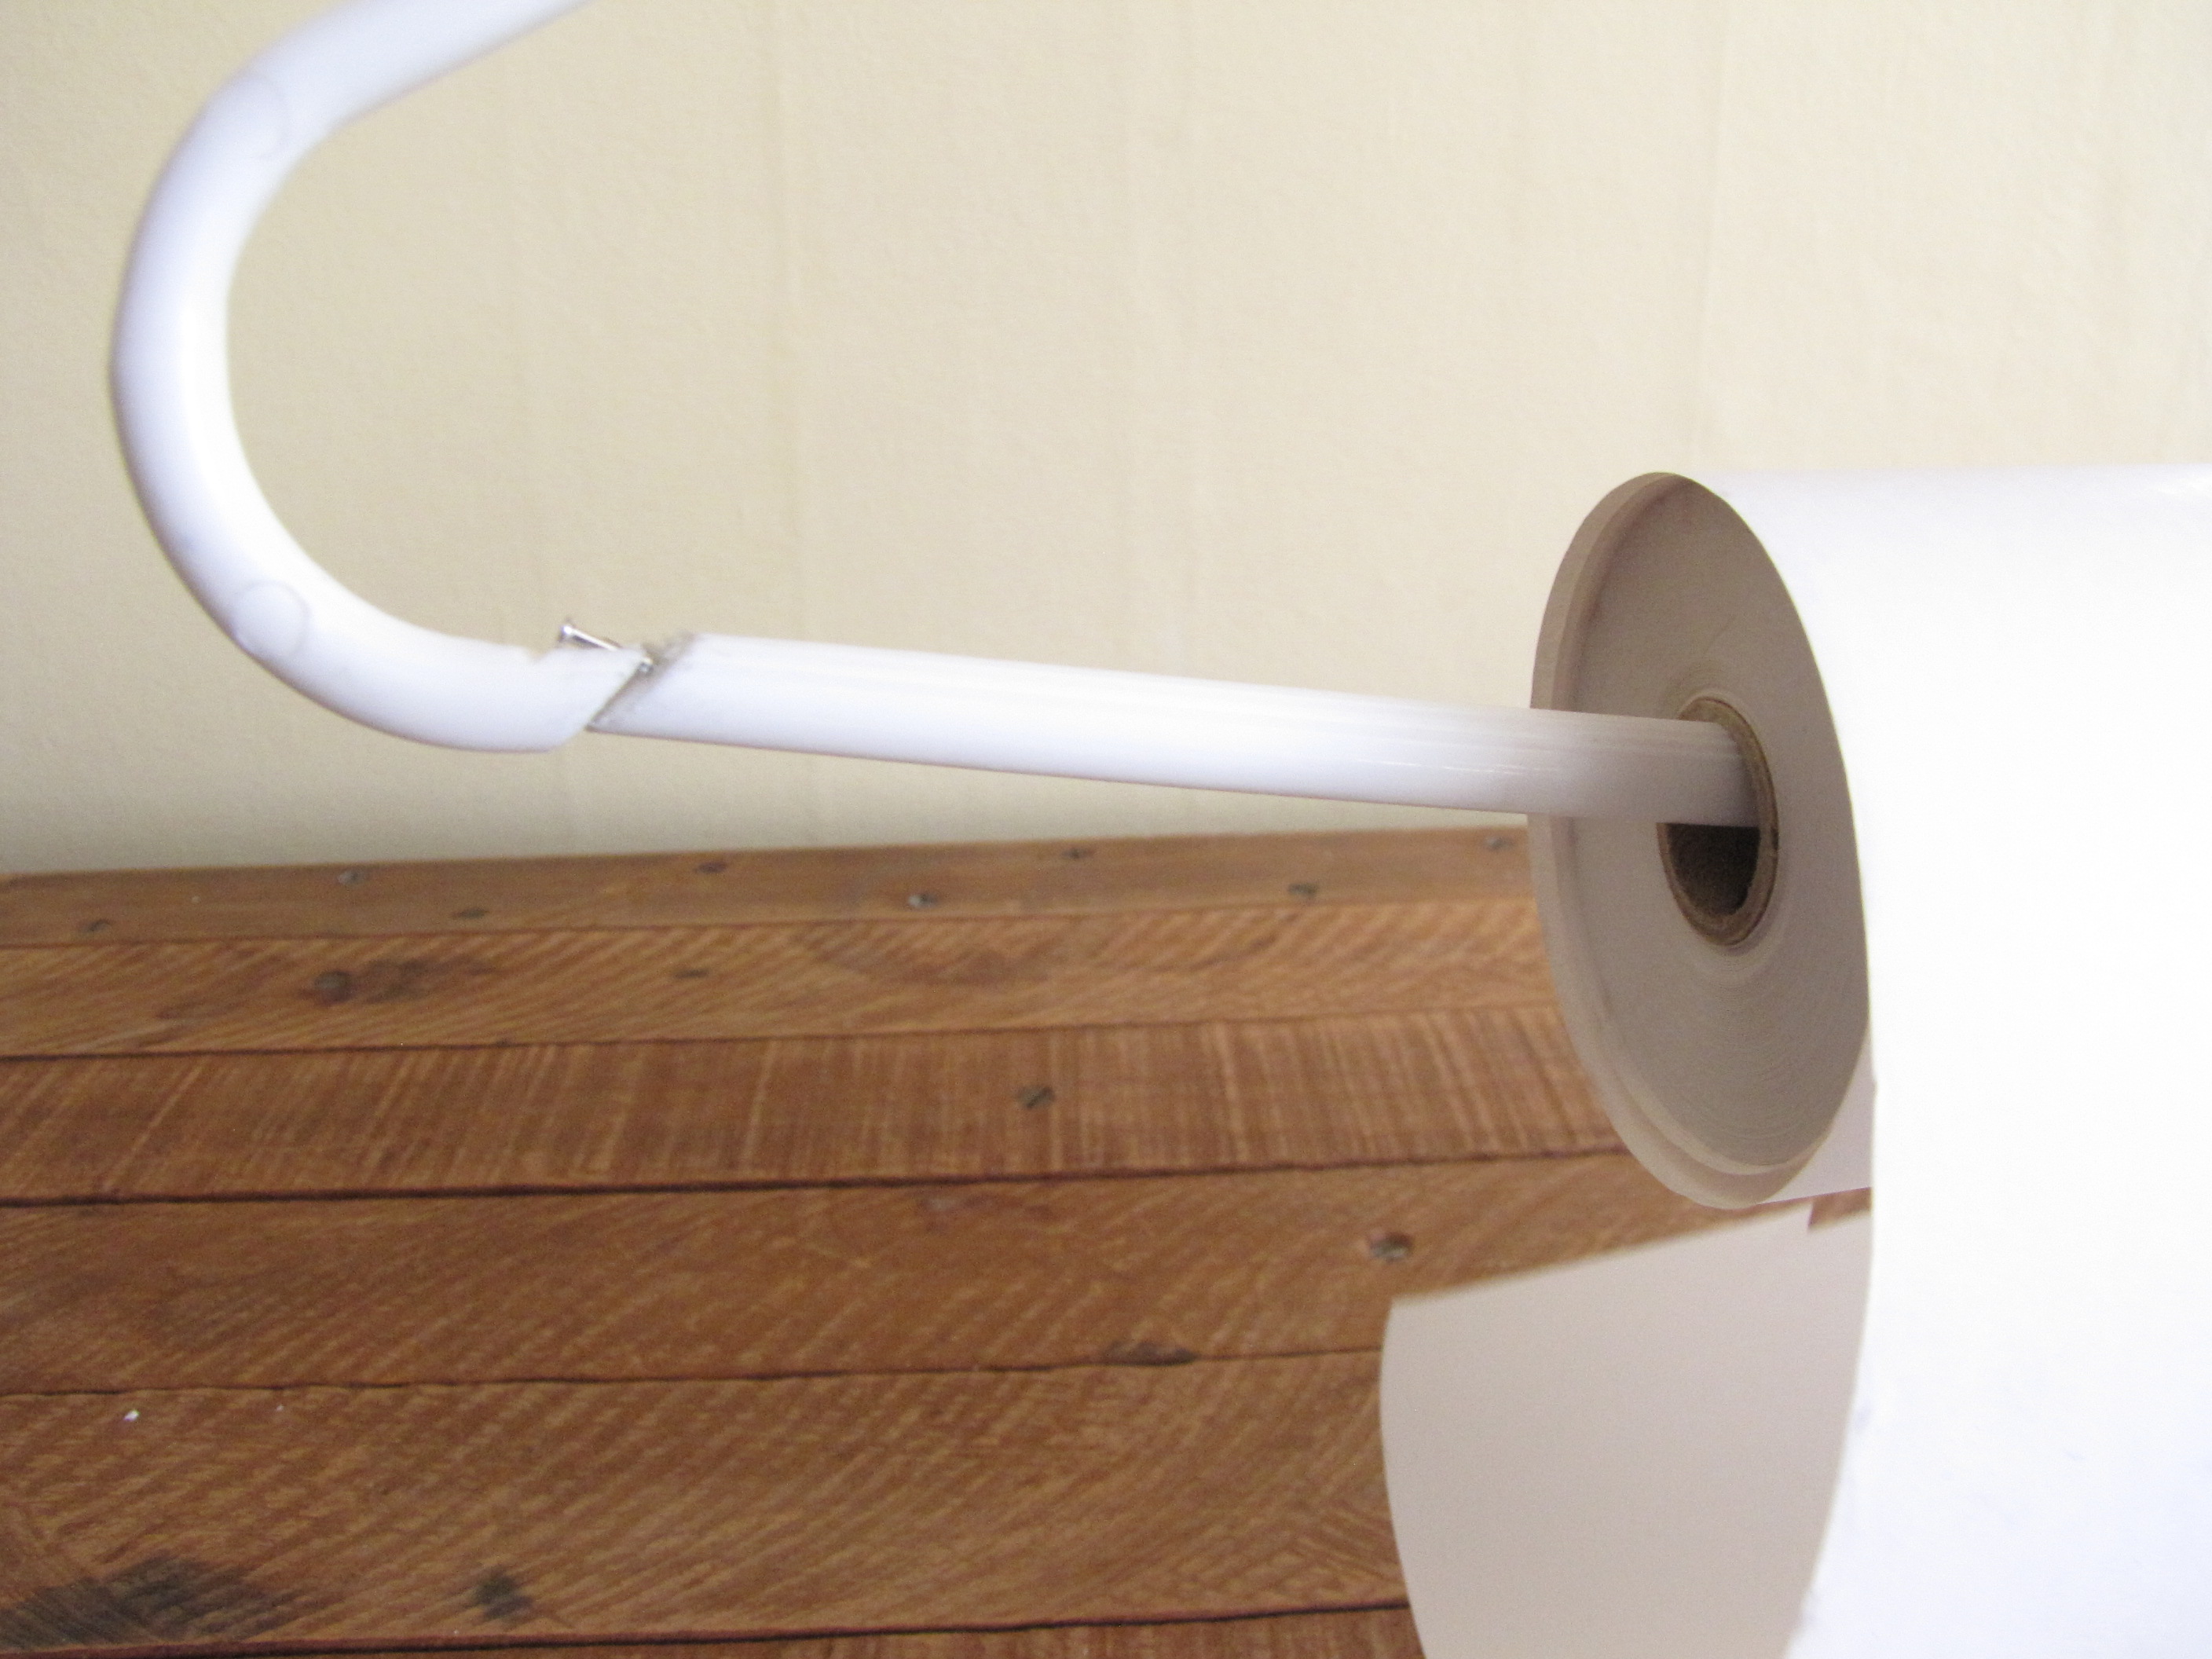
This is where we whip out the candle and flame to bend the top into place.
Light up the candle and slowly move the plastic hook along the heat, but don't get too close or you'll burn it. Gently apply pressure until the hook stays bent in a perpendicular angle to the body of the hanger.
That's it - you're ready to go!
Light up the candle and slowly move the plastic hook along the heat, but don't get too close or you'll burn it. Gently apply pressure until the hook stays bent in a perpendicular angle to the body of the hanger.
That's it - you're ready to go!
Using Your New Photography Backdrop
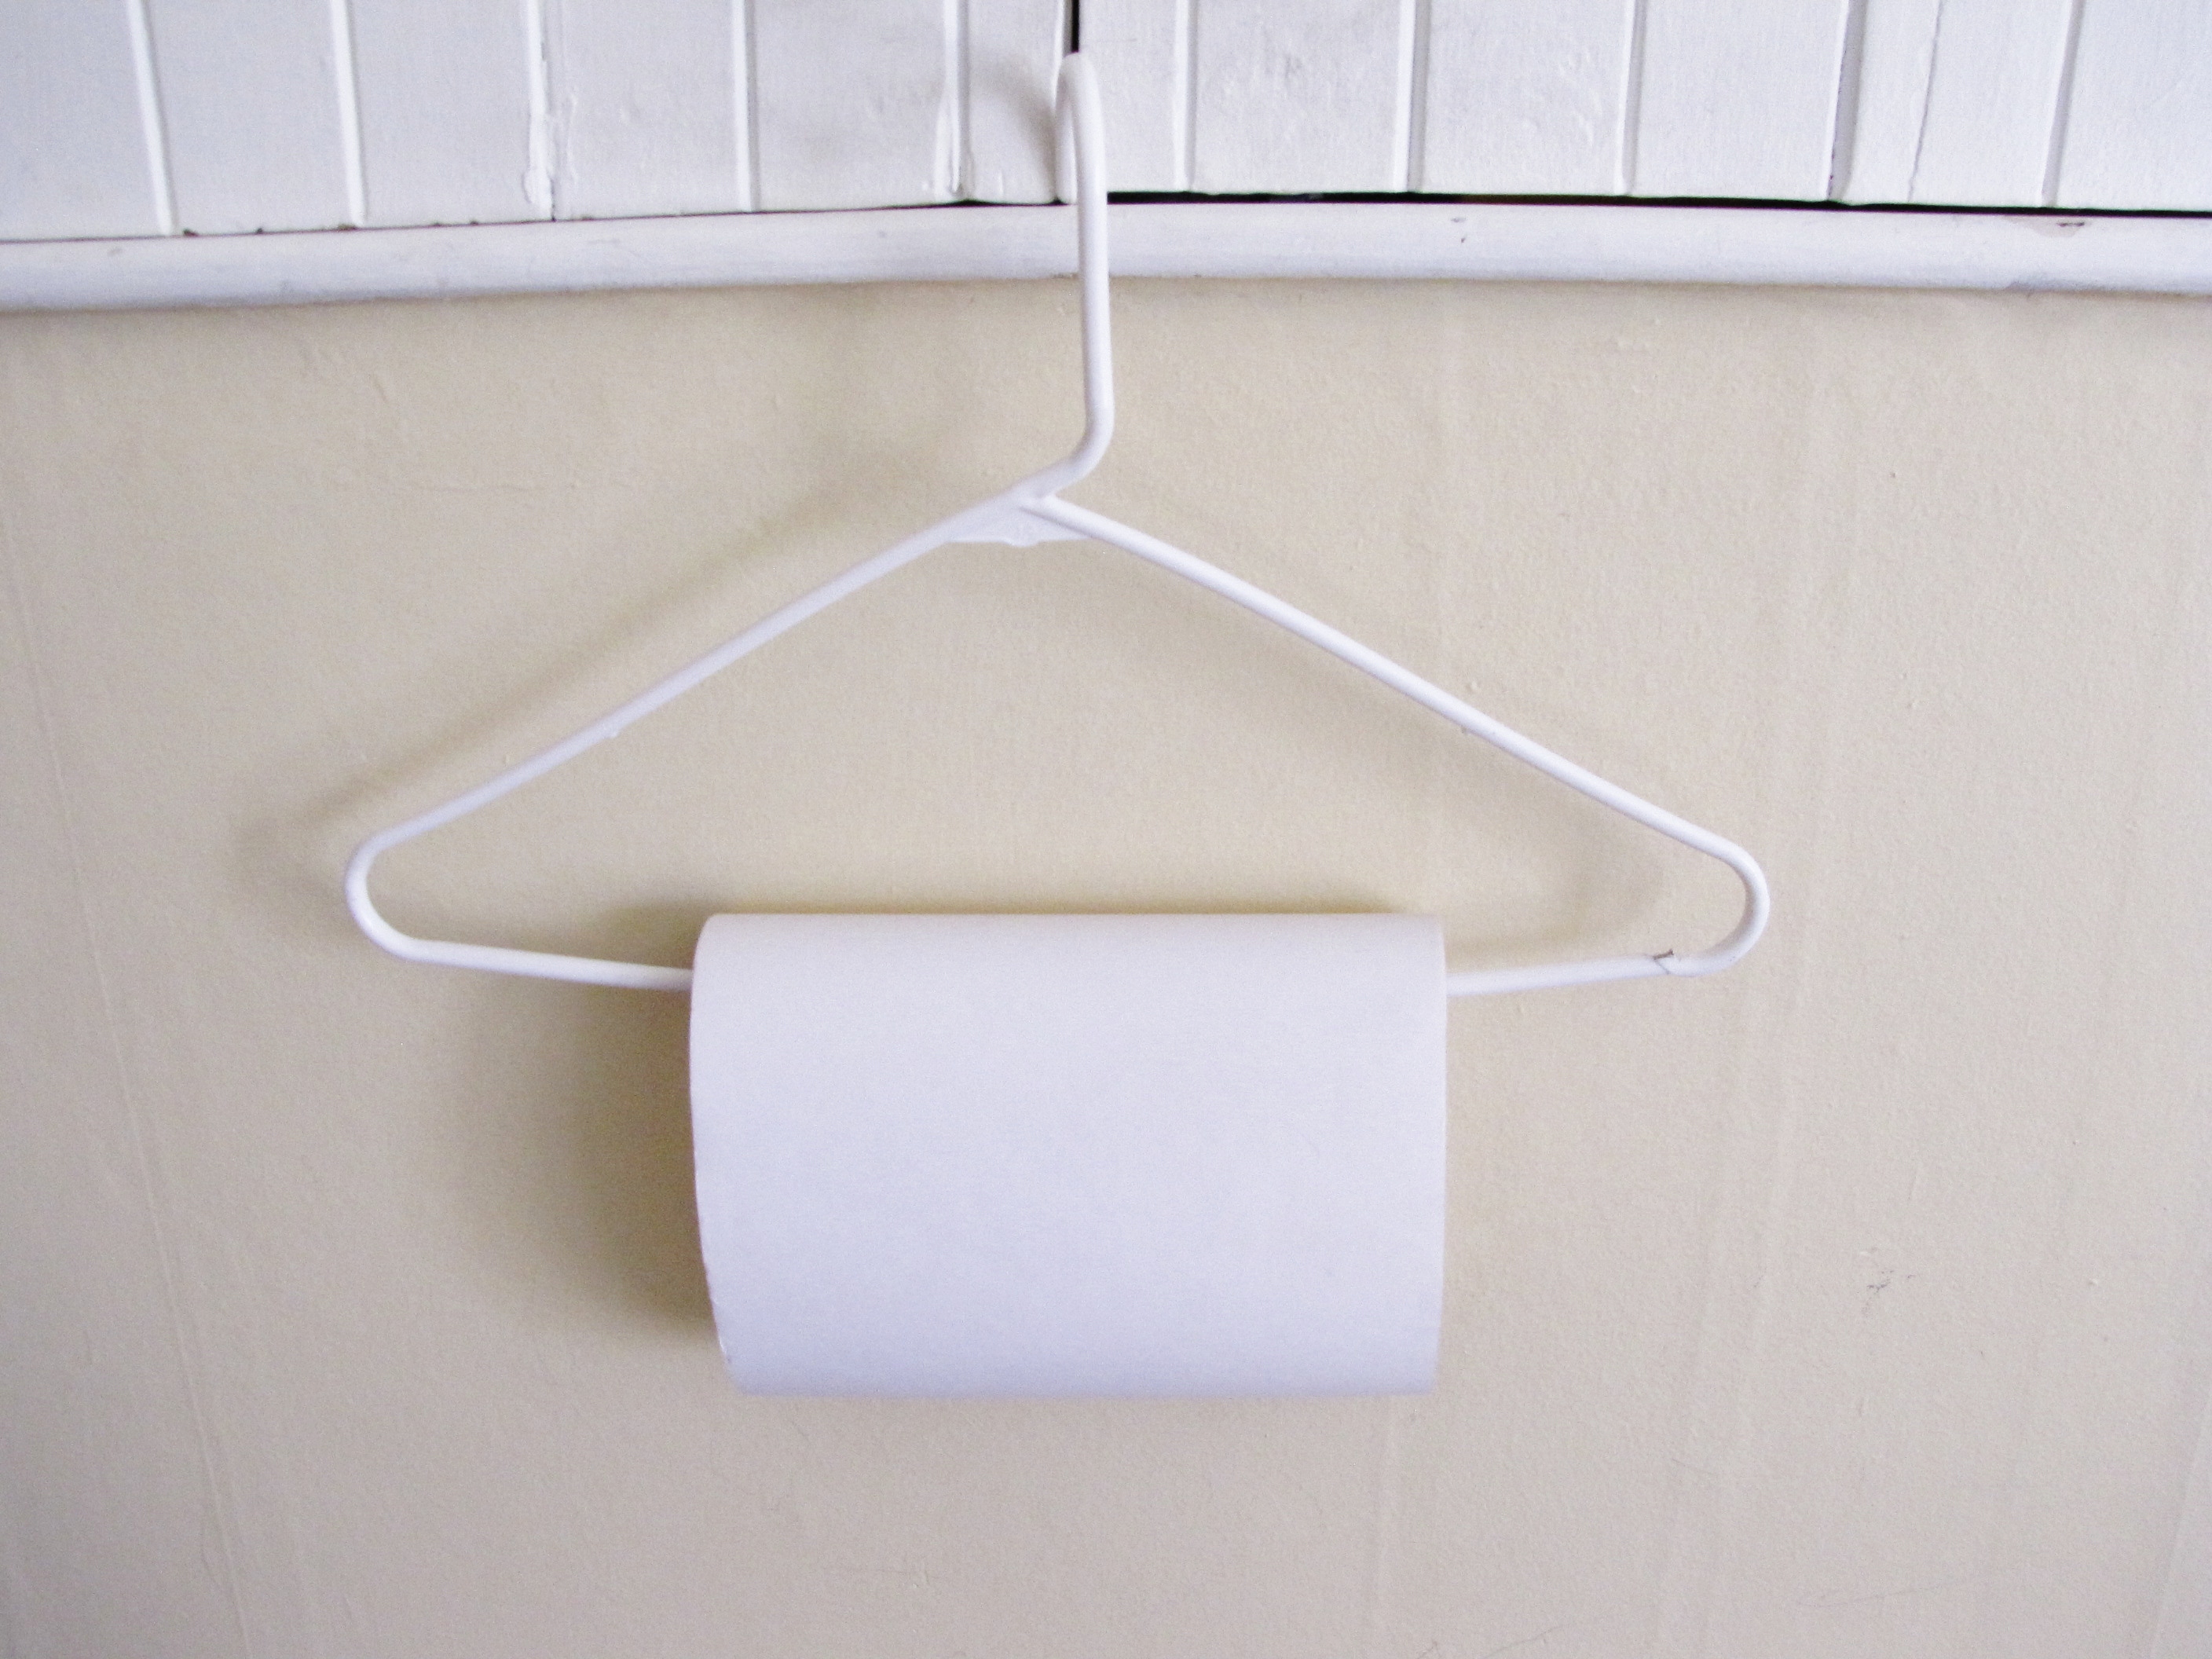
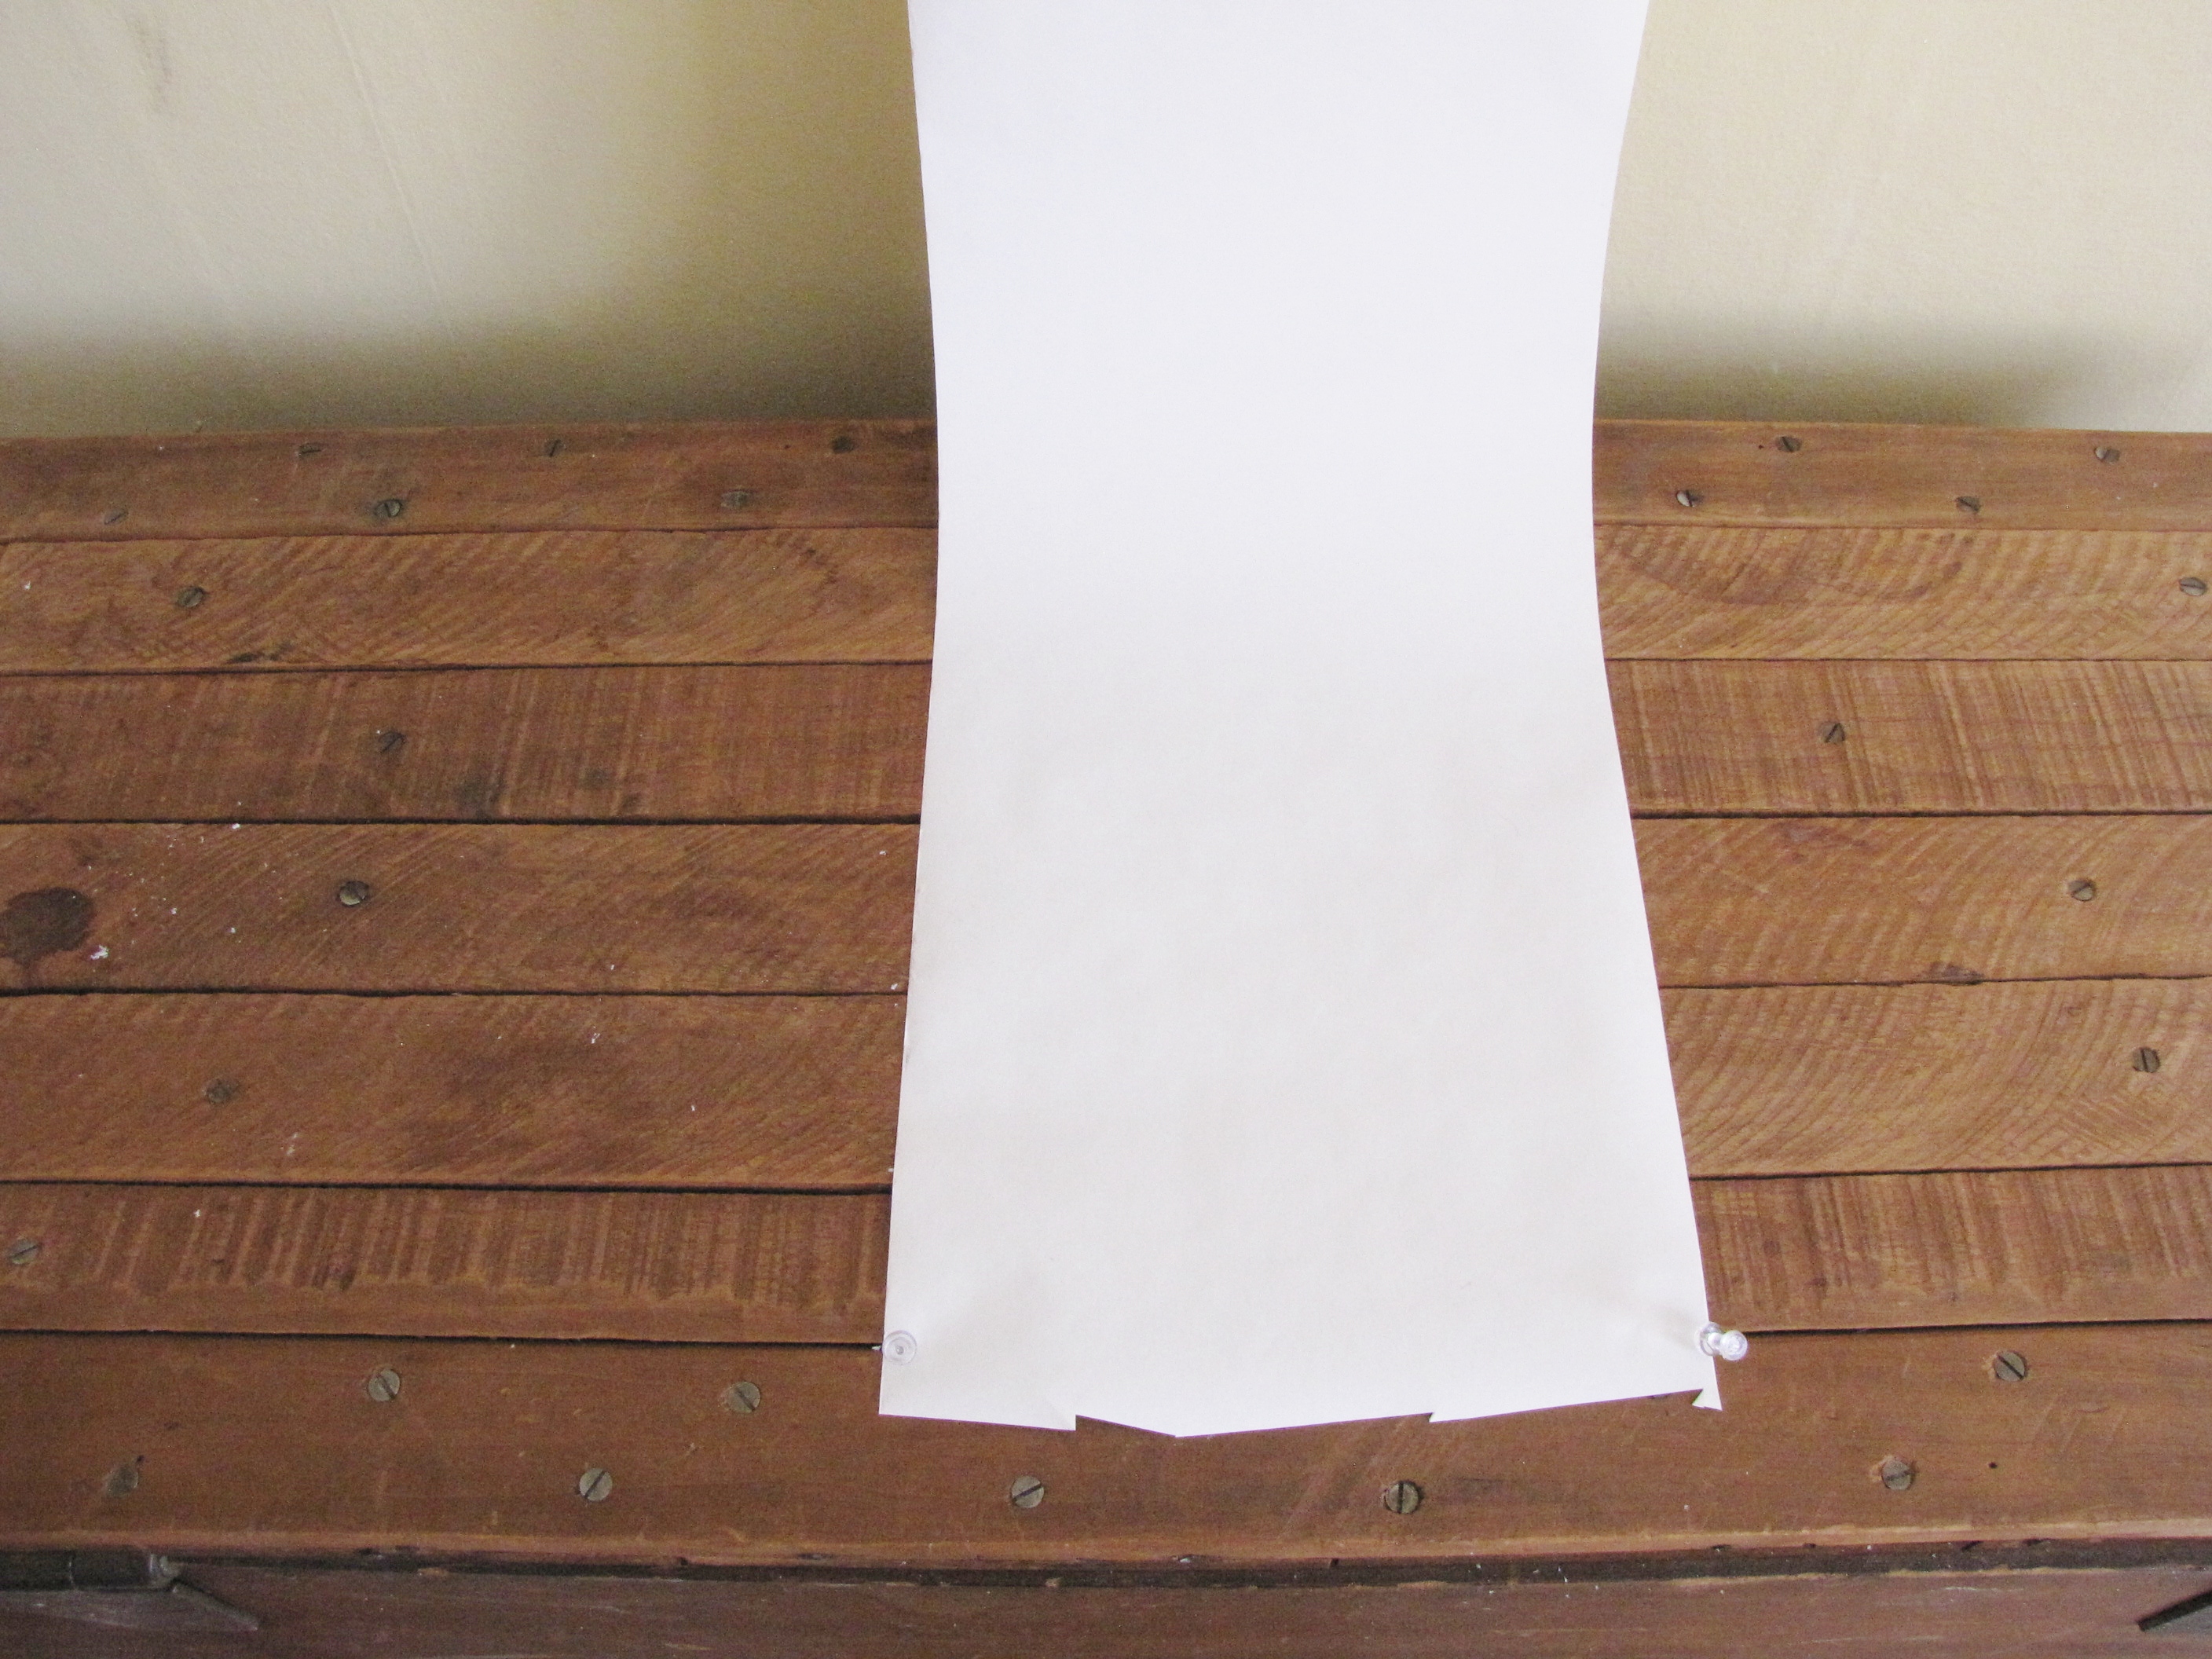

Hang the hook up on any extruding surface and tack the bottom of the fax paper down on any flat surface, making sure there is no crease. Your mini Photography Backdrop is now ready for use!
The best way to use your backdrop is to get some perspective and step back a ways before taking the photo. If you zoom in on the area after stepping back, your backdrop is more likely to cover what it needs to. If you don't step back, you'll get a slightly fish-eye perspective and the backdrop will be useless because you'll get all the excess surrounding surfaces in your shot.
And there you go - easy, portable, cheap and small enough to carry. :) Best of luck in your photography adventures!