Minecraft-like Game and 3D Scanning
by Digijeunes in Workshop > 3D Printing
1738 Views, 1 Favorites, 0 Comments
Minecraft-like Game and 3D Scanning
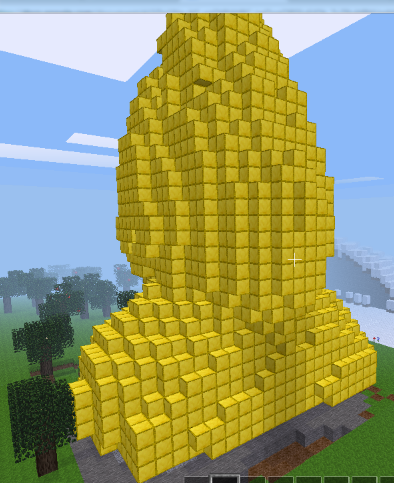
In this tutorial you will learn how to import into minetest 3D scans of objects.
List of parts:
- A smartphone with Qlone app installed
- A computer
- An internet connection
3D Scan an Object
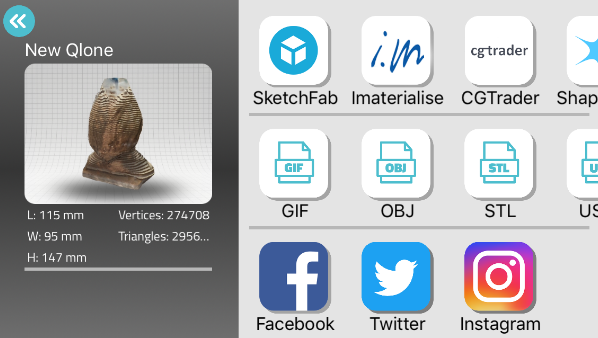
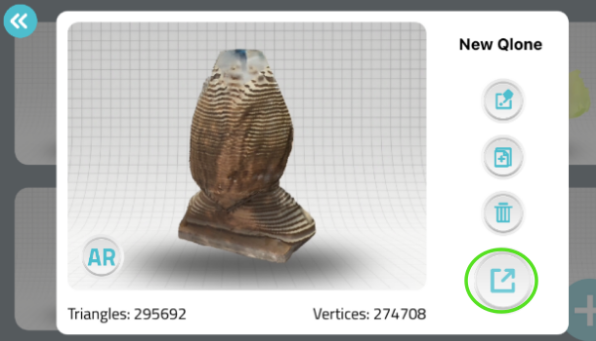
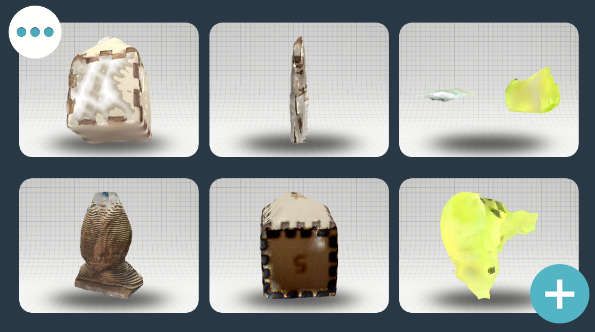
You will be using Qlone, an application for smartphone, to 3D scan an object of your choice. Beware that Qlone requires you to pay for each export, or to buy a subscription that offers unlimited exports over a certain period of time. Unfortunately at the moment, there is not free technology that we are aware of, and that allows 3D scanning with a smartphone.
Find how to 3D scan an object with Qlone on this tutorial.
Export the scan on your computer
Choose the 3D object you want to export from your library.
Choose a format for export (either obj or stl).
Choose a way of forwarding the file to your pc. We chose to send it via gmail.
Prepare Minetest on Your Pc
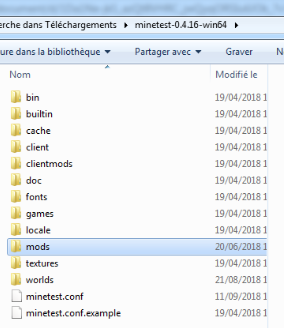
If you haven’t already done so, download minetest.
Download WorldEdit mode.
Unzip the folder and place its content in the “mods” folder, inside your minetest directory.
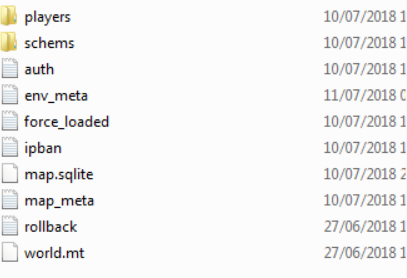
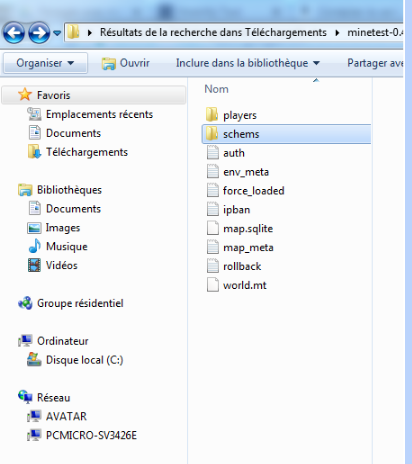
Create a folder named “schems” in one of your minetest worlds’ folder.
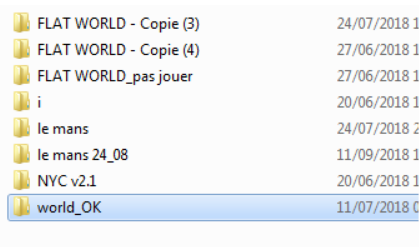
For example we chose to create the “schems” folder inside the minetest world named “world_OK”
Prepare McEdit on Your Pc
If you haven’t already done so, download mcedit.
Prepare the 3D File on Tinkercad


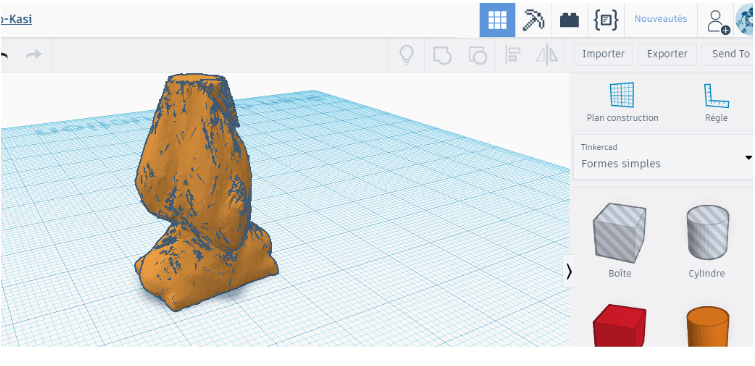
First, you will need to import the 3D file on tinkercad. To do so, start a new project, then click on the “Import” button (top of the screen).
Next, select the 3D file that you wish to import.
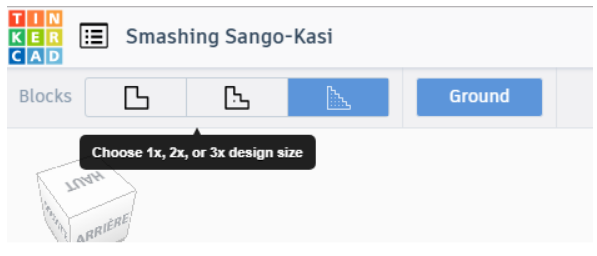
We now need to make this shape compatible with Minetest blocks, so click on the “Blocks” button (top of the screen).
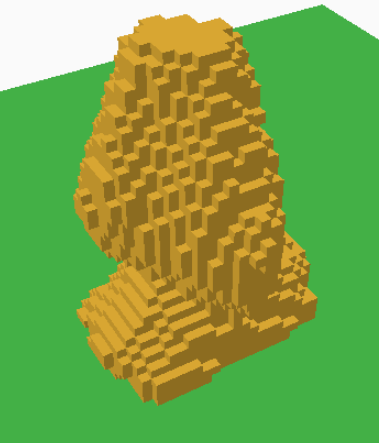
Once your object turns into bricks, select the 3x design size, this will allow you to get a decent level of details.
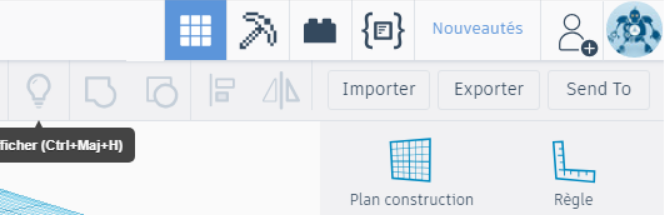
Lastly, export the object by clicking on the “Export” button, and save this file somewhere on your pc.
Import the 3D File on McEdit

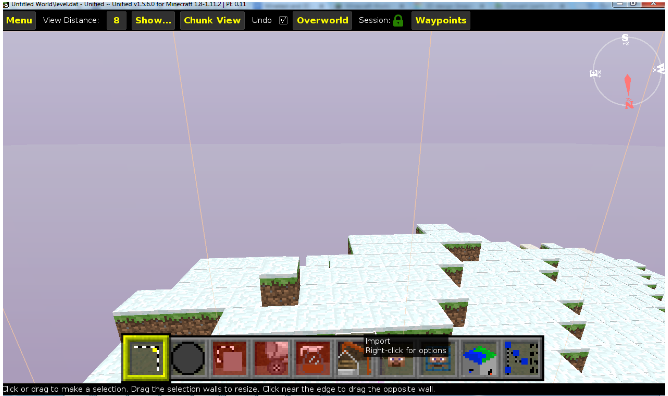
Launch McEdit and create a New World. If you have minecraft worlds on your pc, then you can quick loan a minecraft world. Alternatively, you can download minecraft worlds from here.
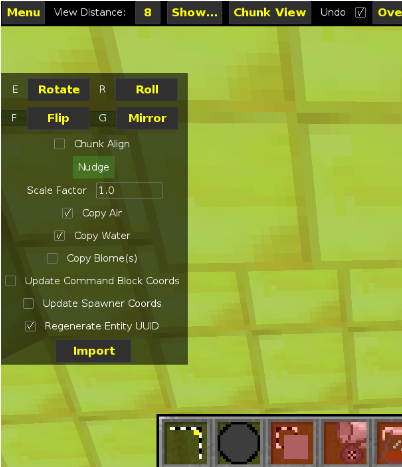
Once you are inside a world on mcedit, click on the “Import” button, and select the file you’ve previously exported from tinkercad.com (it’s a .schematic file, probably located in your downloads folder).
A dialogue window will pop up. Click on “Import”.
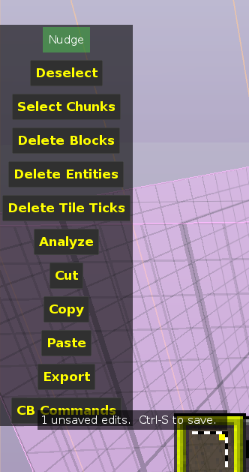
and subsequently, click on “Deselect”.
Next, click on the “Select” button at the bottom of the screen ,and select all the object you’ve
imported.
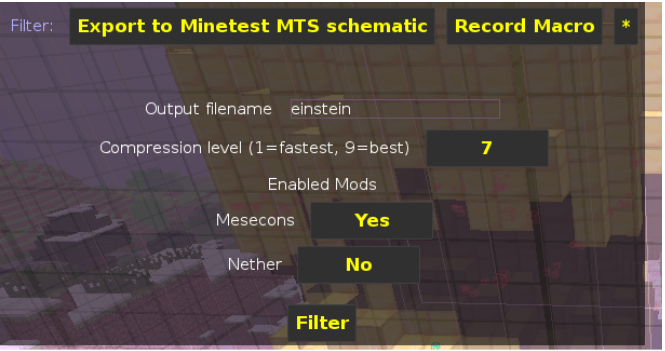
When you’re done, click on the “Filter” button.
Name your output, select Mesecons Yes, and click on Filter.
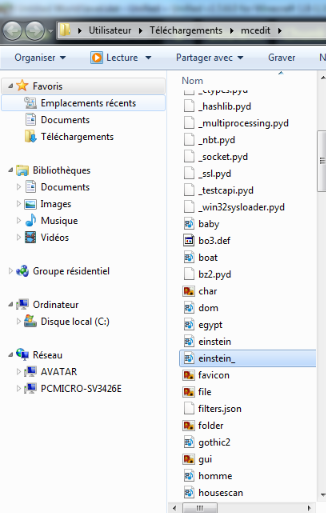
You will find a file with that same name in your McEdit folder.
Now copy this file, and paste it in the “schems” folder that you’ve previously created inside one of your minetest worlds’ folder.
Import the 3D Object on Minetest
Launch Minetest.
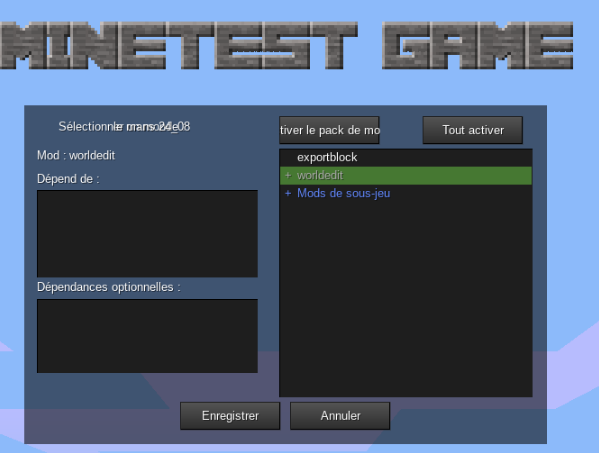
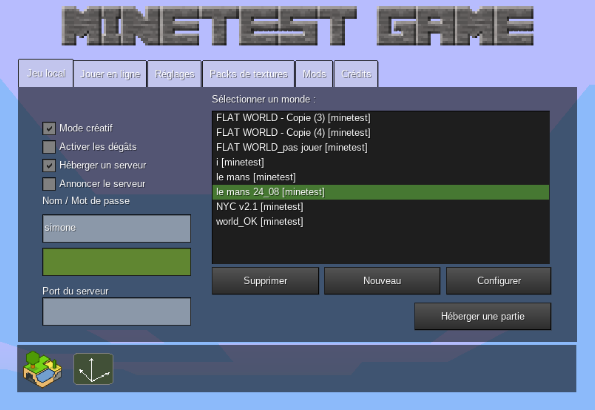
Select the world you where you wish to import your object and click on “Configure”.
Click on “Activate all”.
and then save your changes, and go back to the main menu.
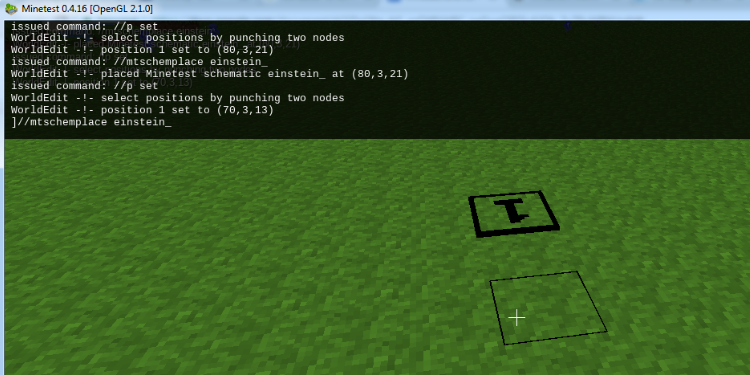
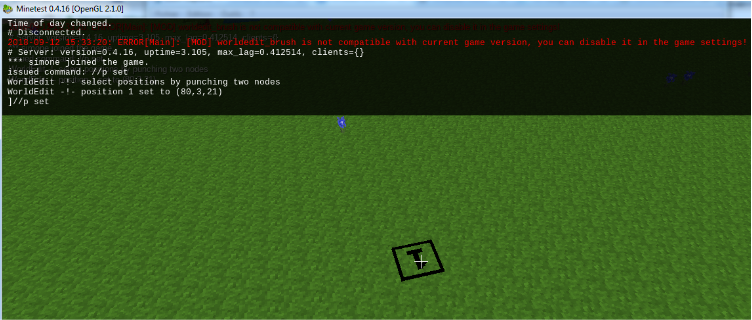
Once you are in your minetest world, open the dialogue window (click on t), and type:
//p set
Place one node by clicking somewhere on the ground.
then type
//mtschemplace
followed by a space and the name of the file you wish to import
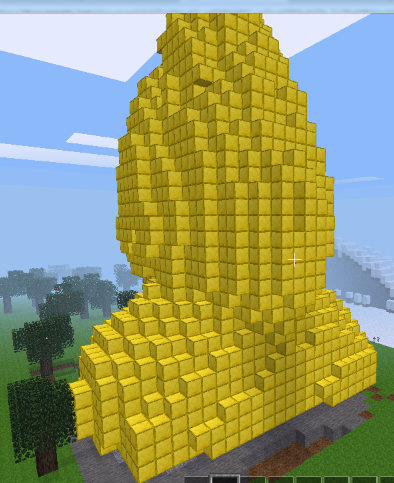
for example //mtschemplace einstein_