Minecraft Torch, the Real Version
by pucksurfer in Craft > Costumes & Cosplay
3602 Views, 8 Favorites, 0 Comments
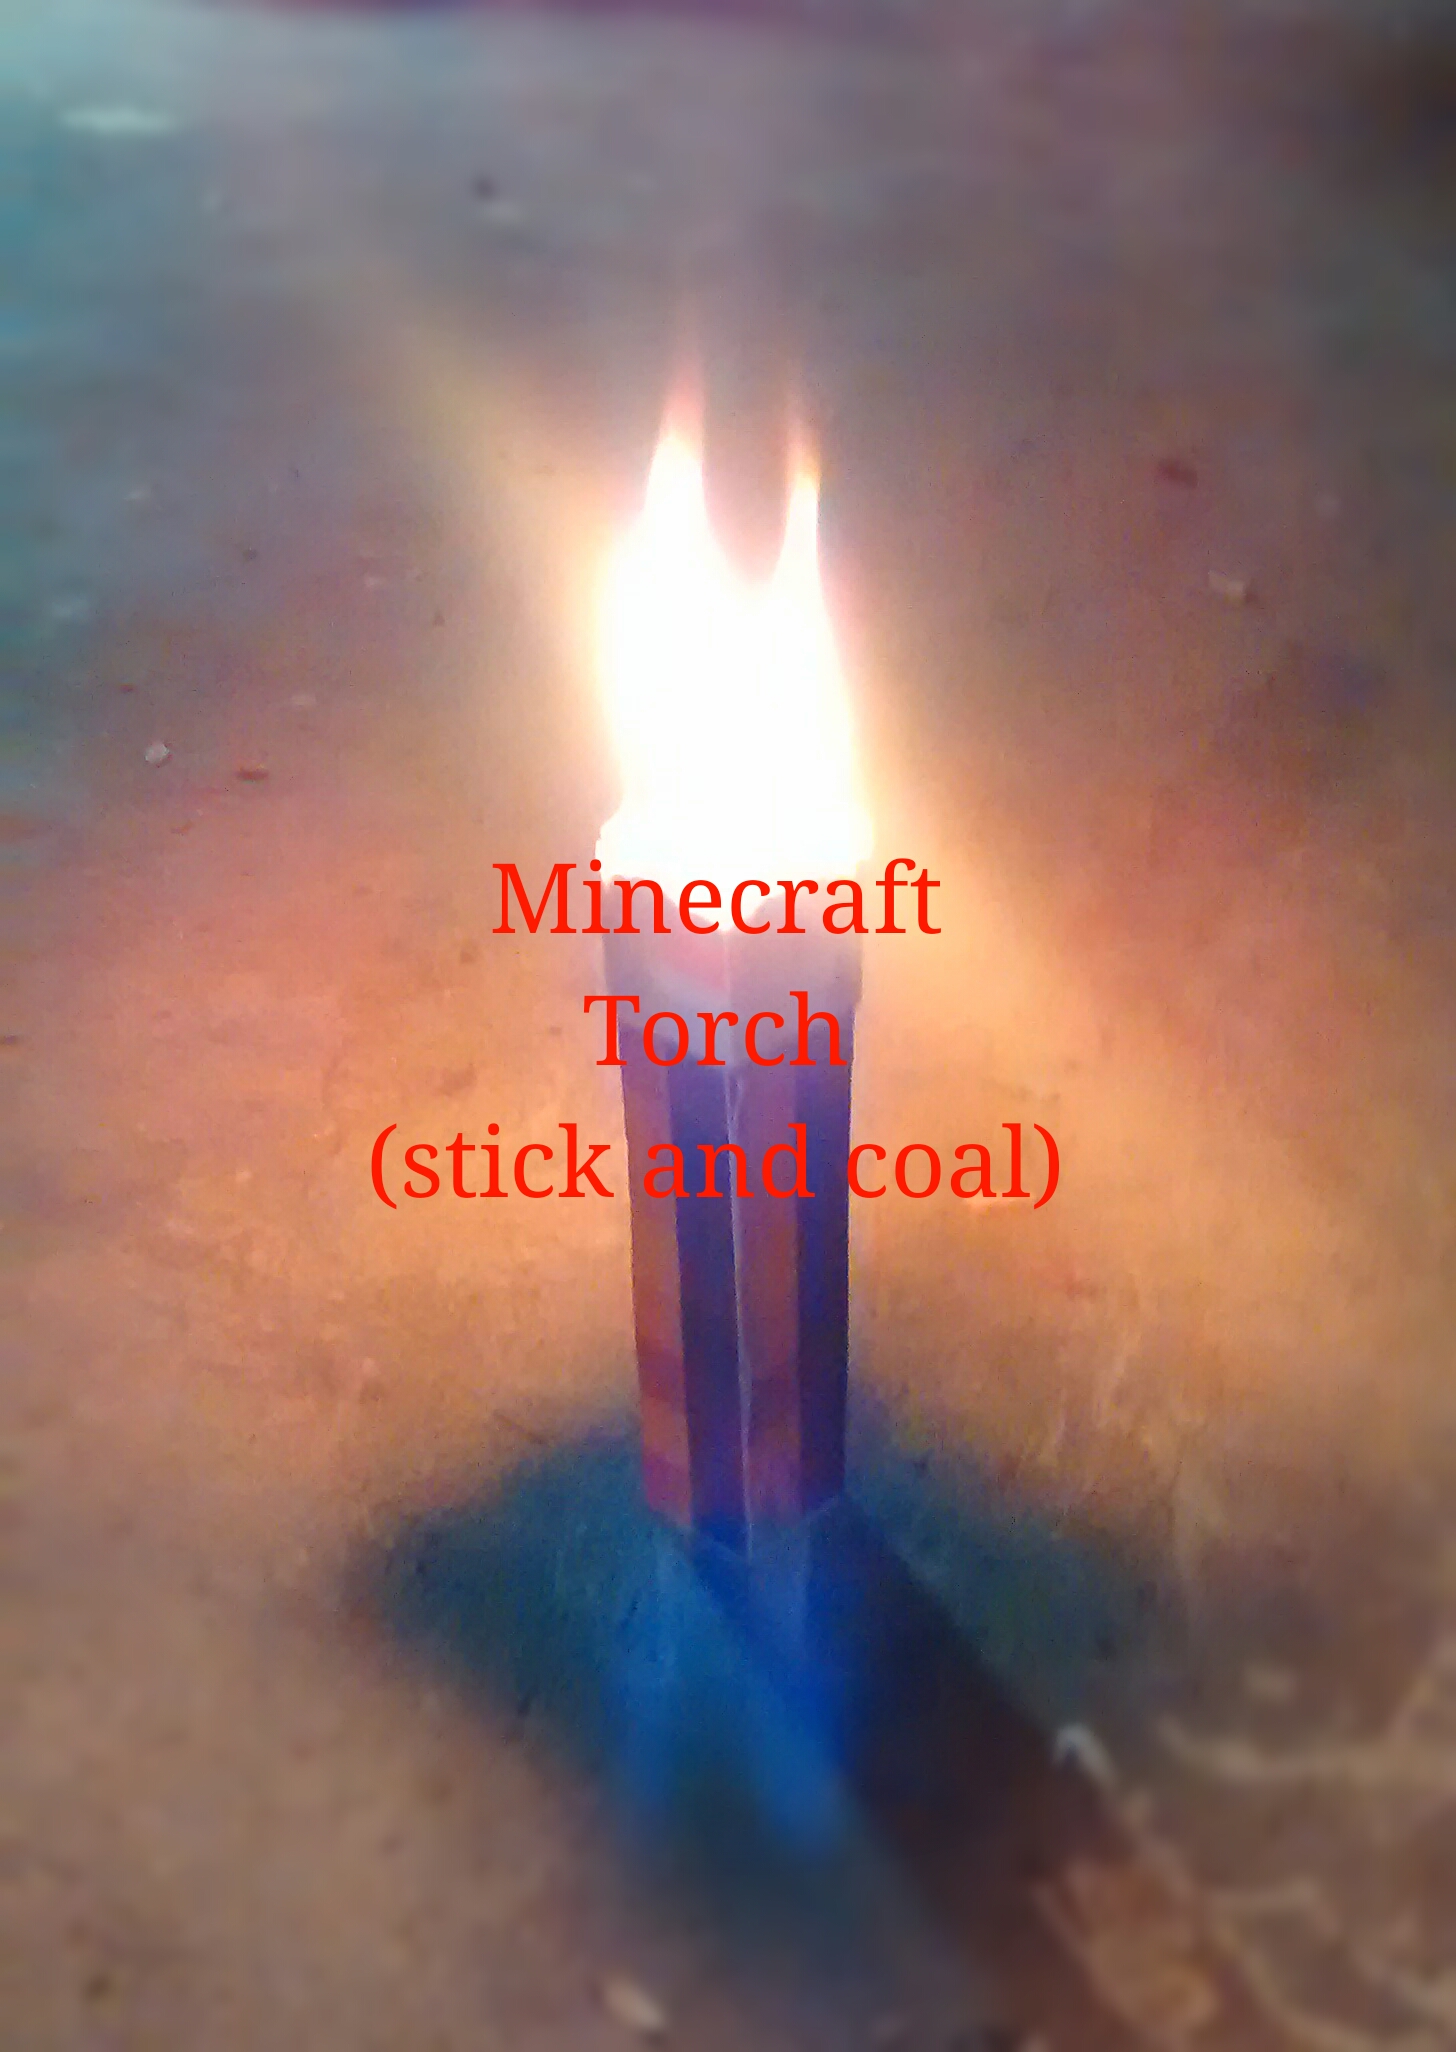
Minecraft Torch, the Real Version
DISCLAIMER: I am not responsible for you hurting yourself or damaging any of your possessions, proceed to carry through with this project with all cation.
WARNING: fire can be dangerous, be careful while doing this project as you could cause severe damage to yourself or your possessions.
Creating Your Wood Base
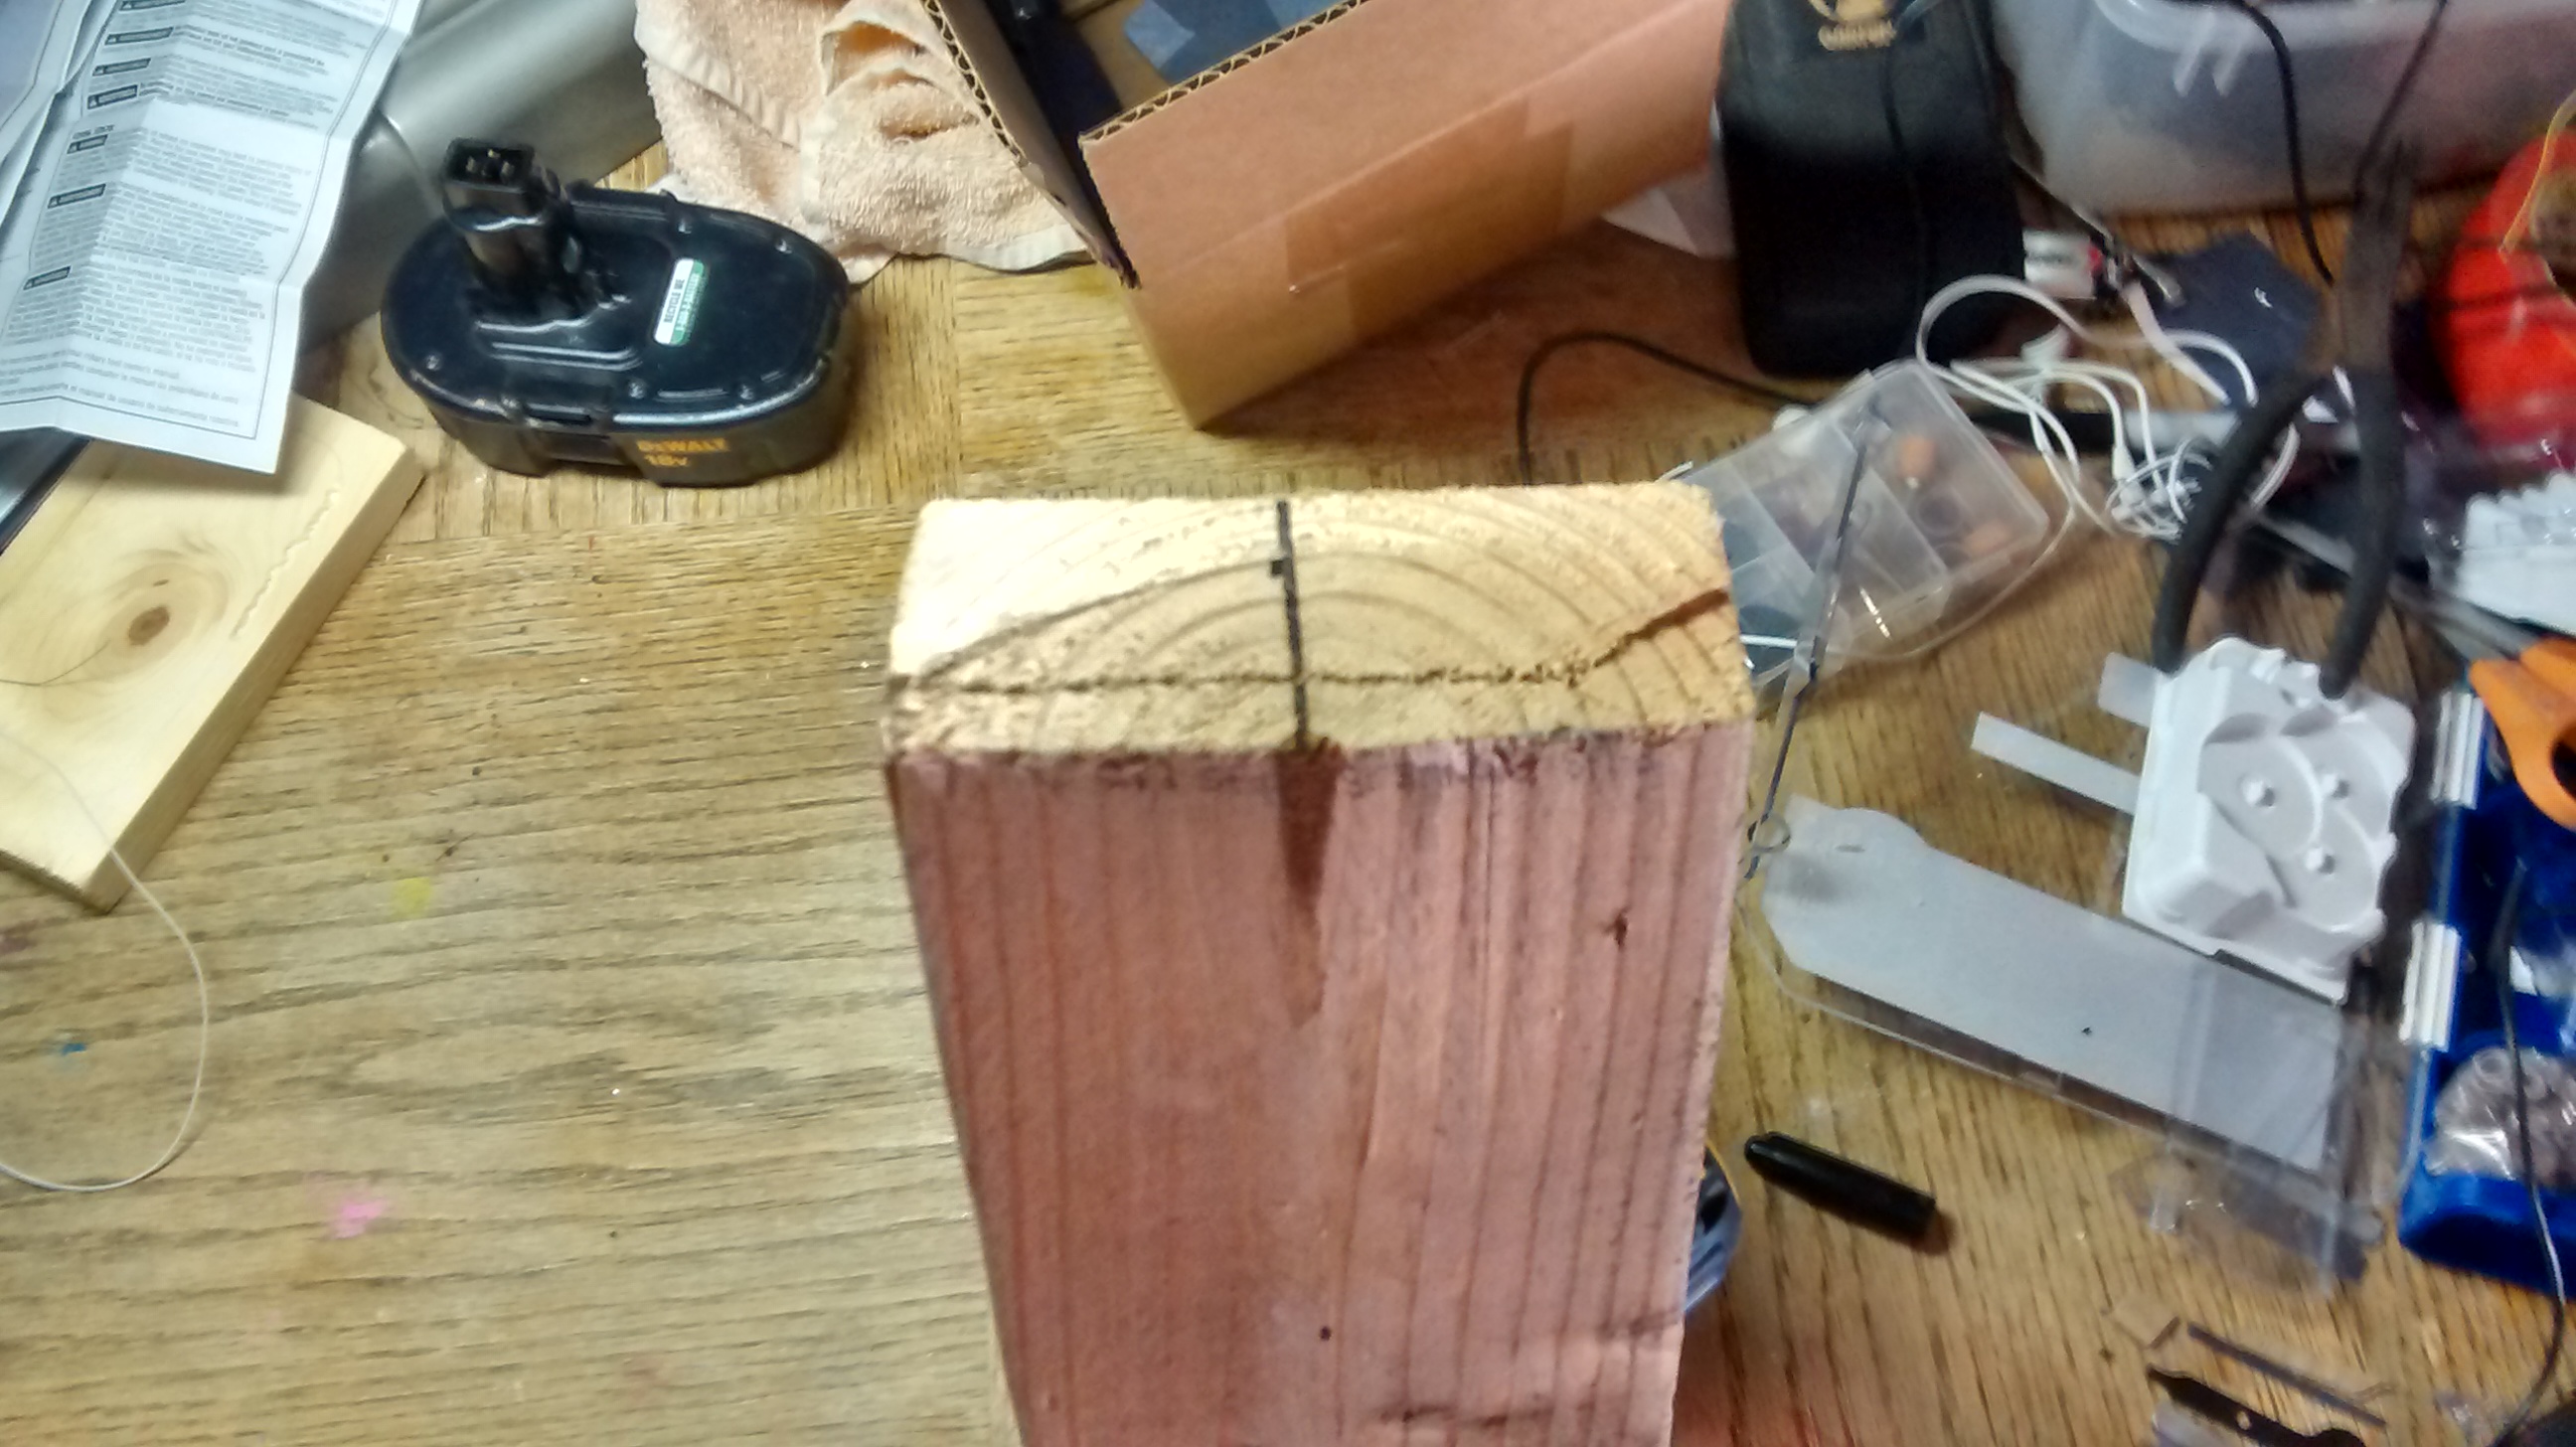
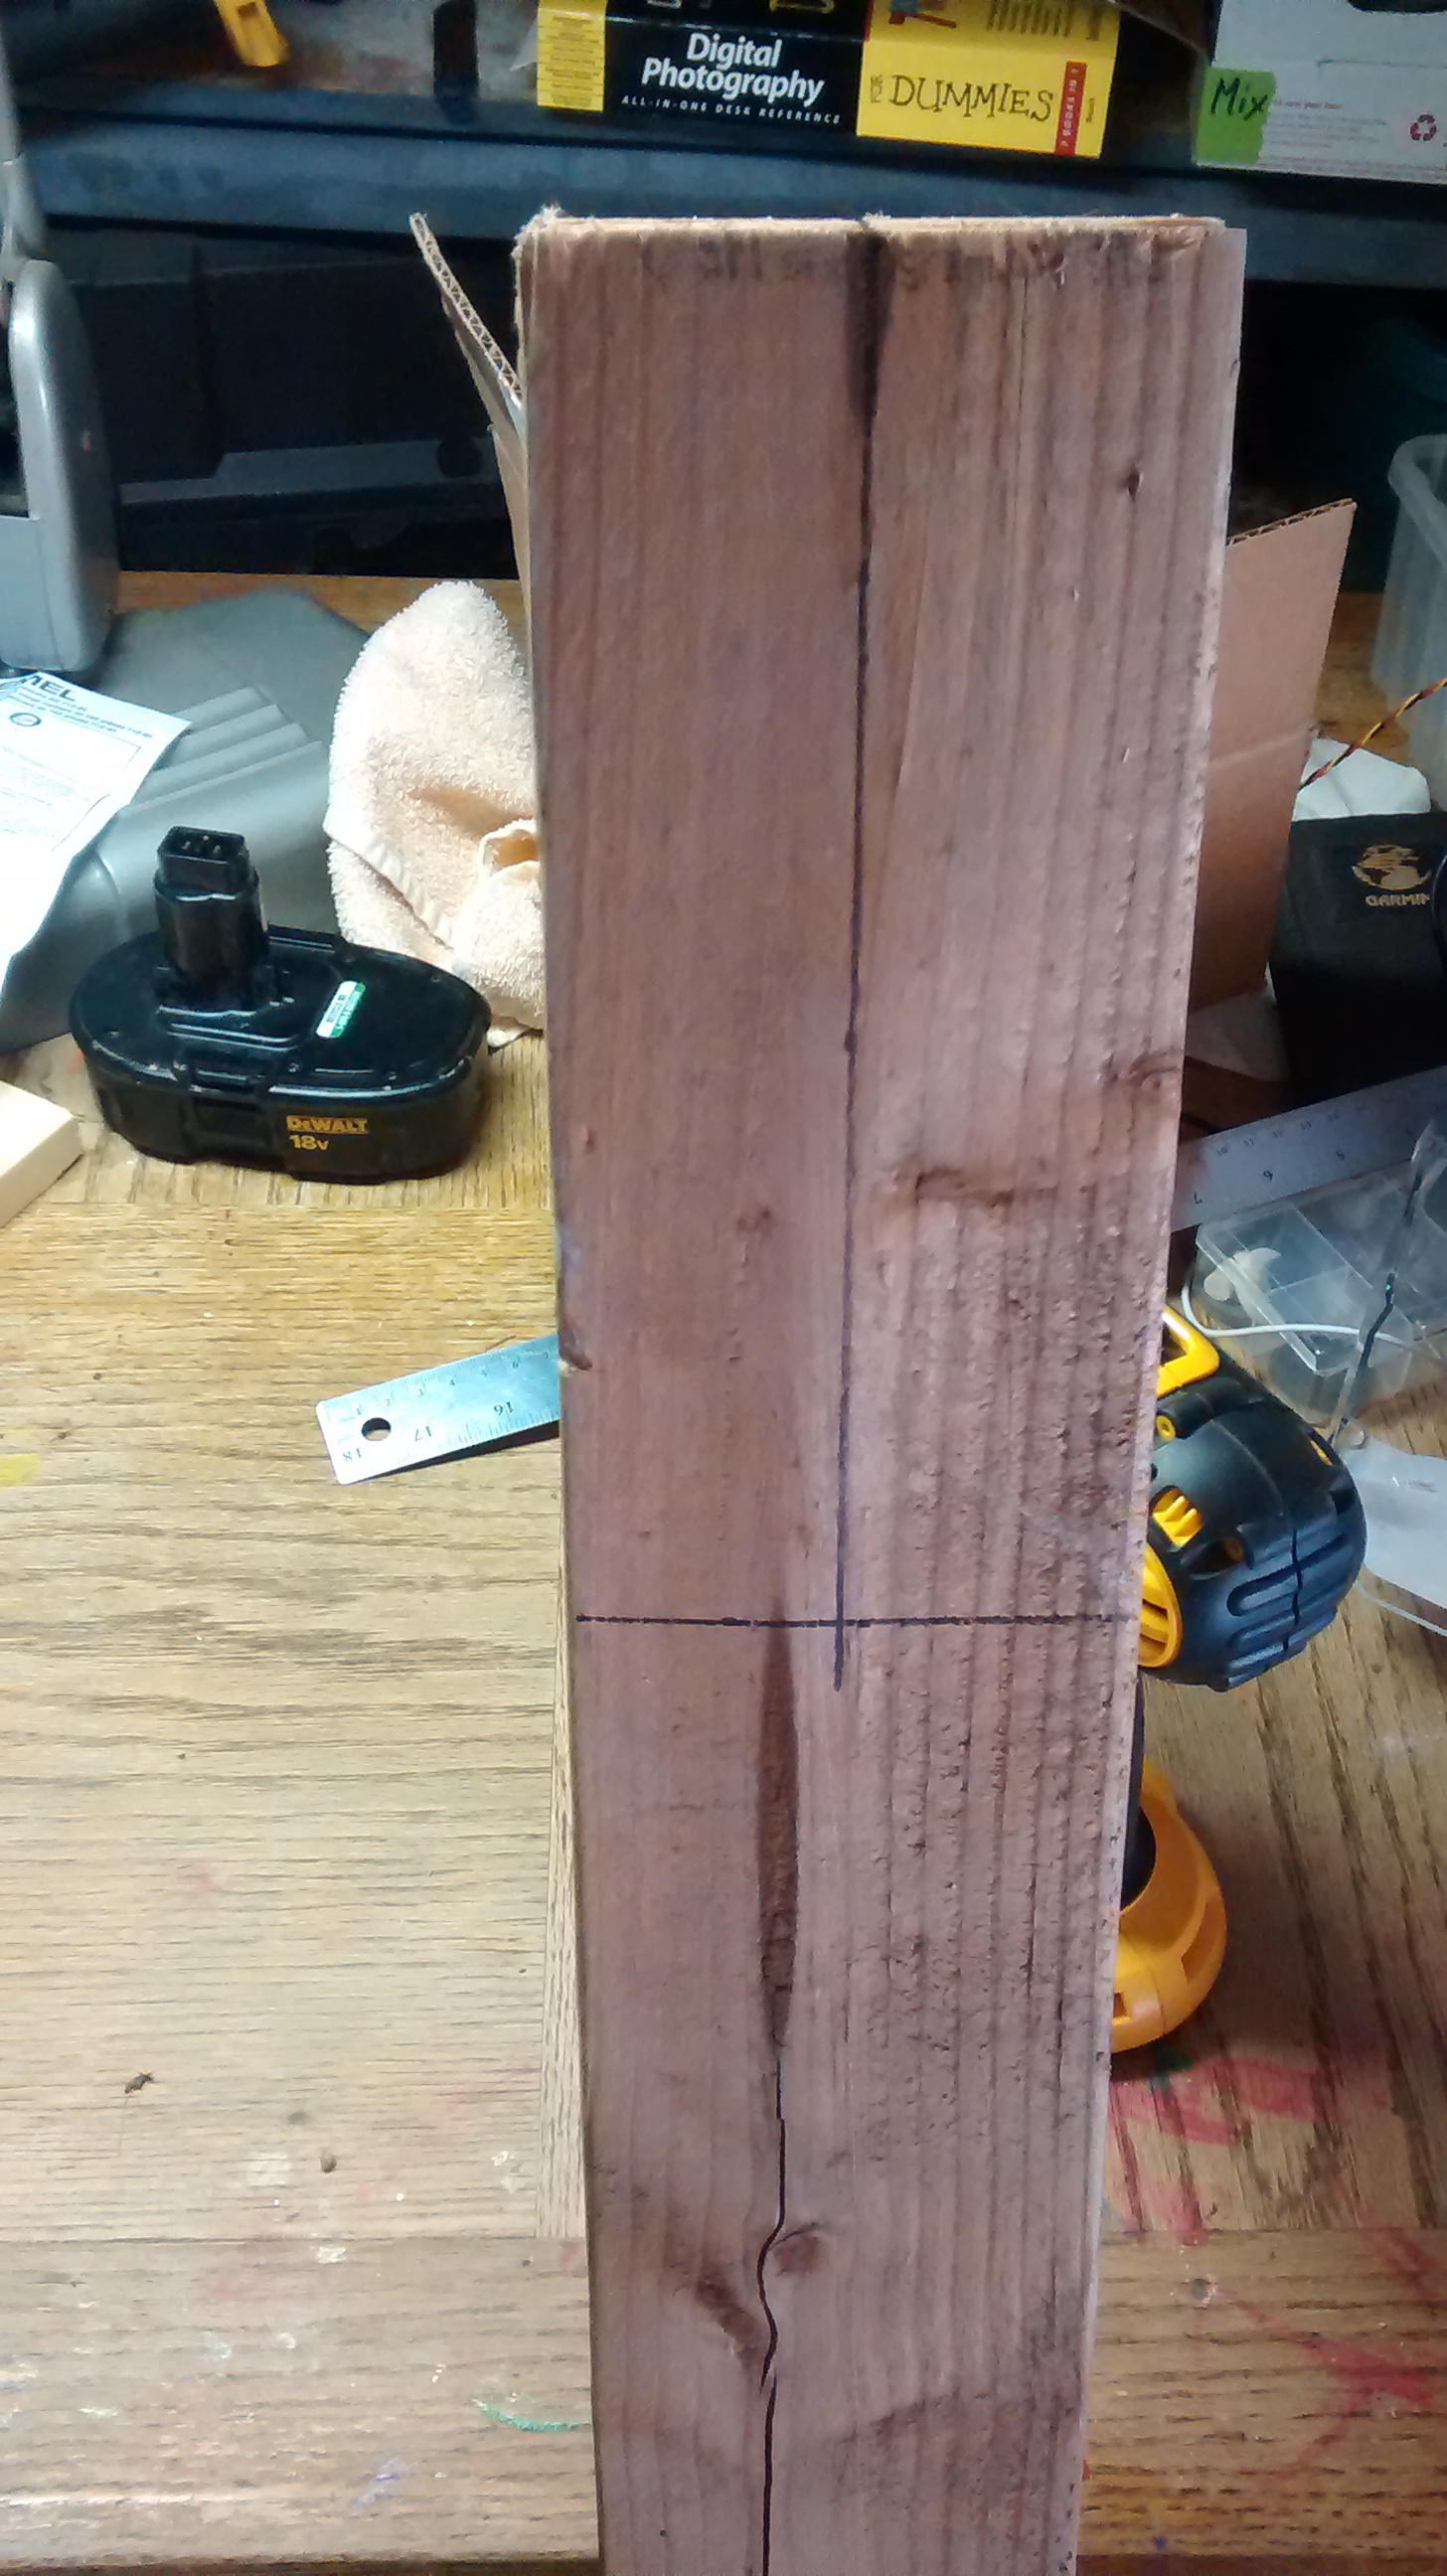
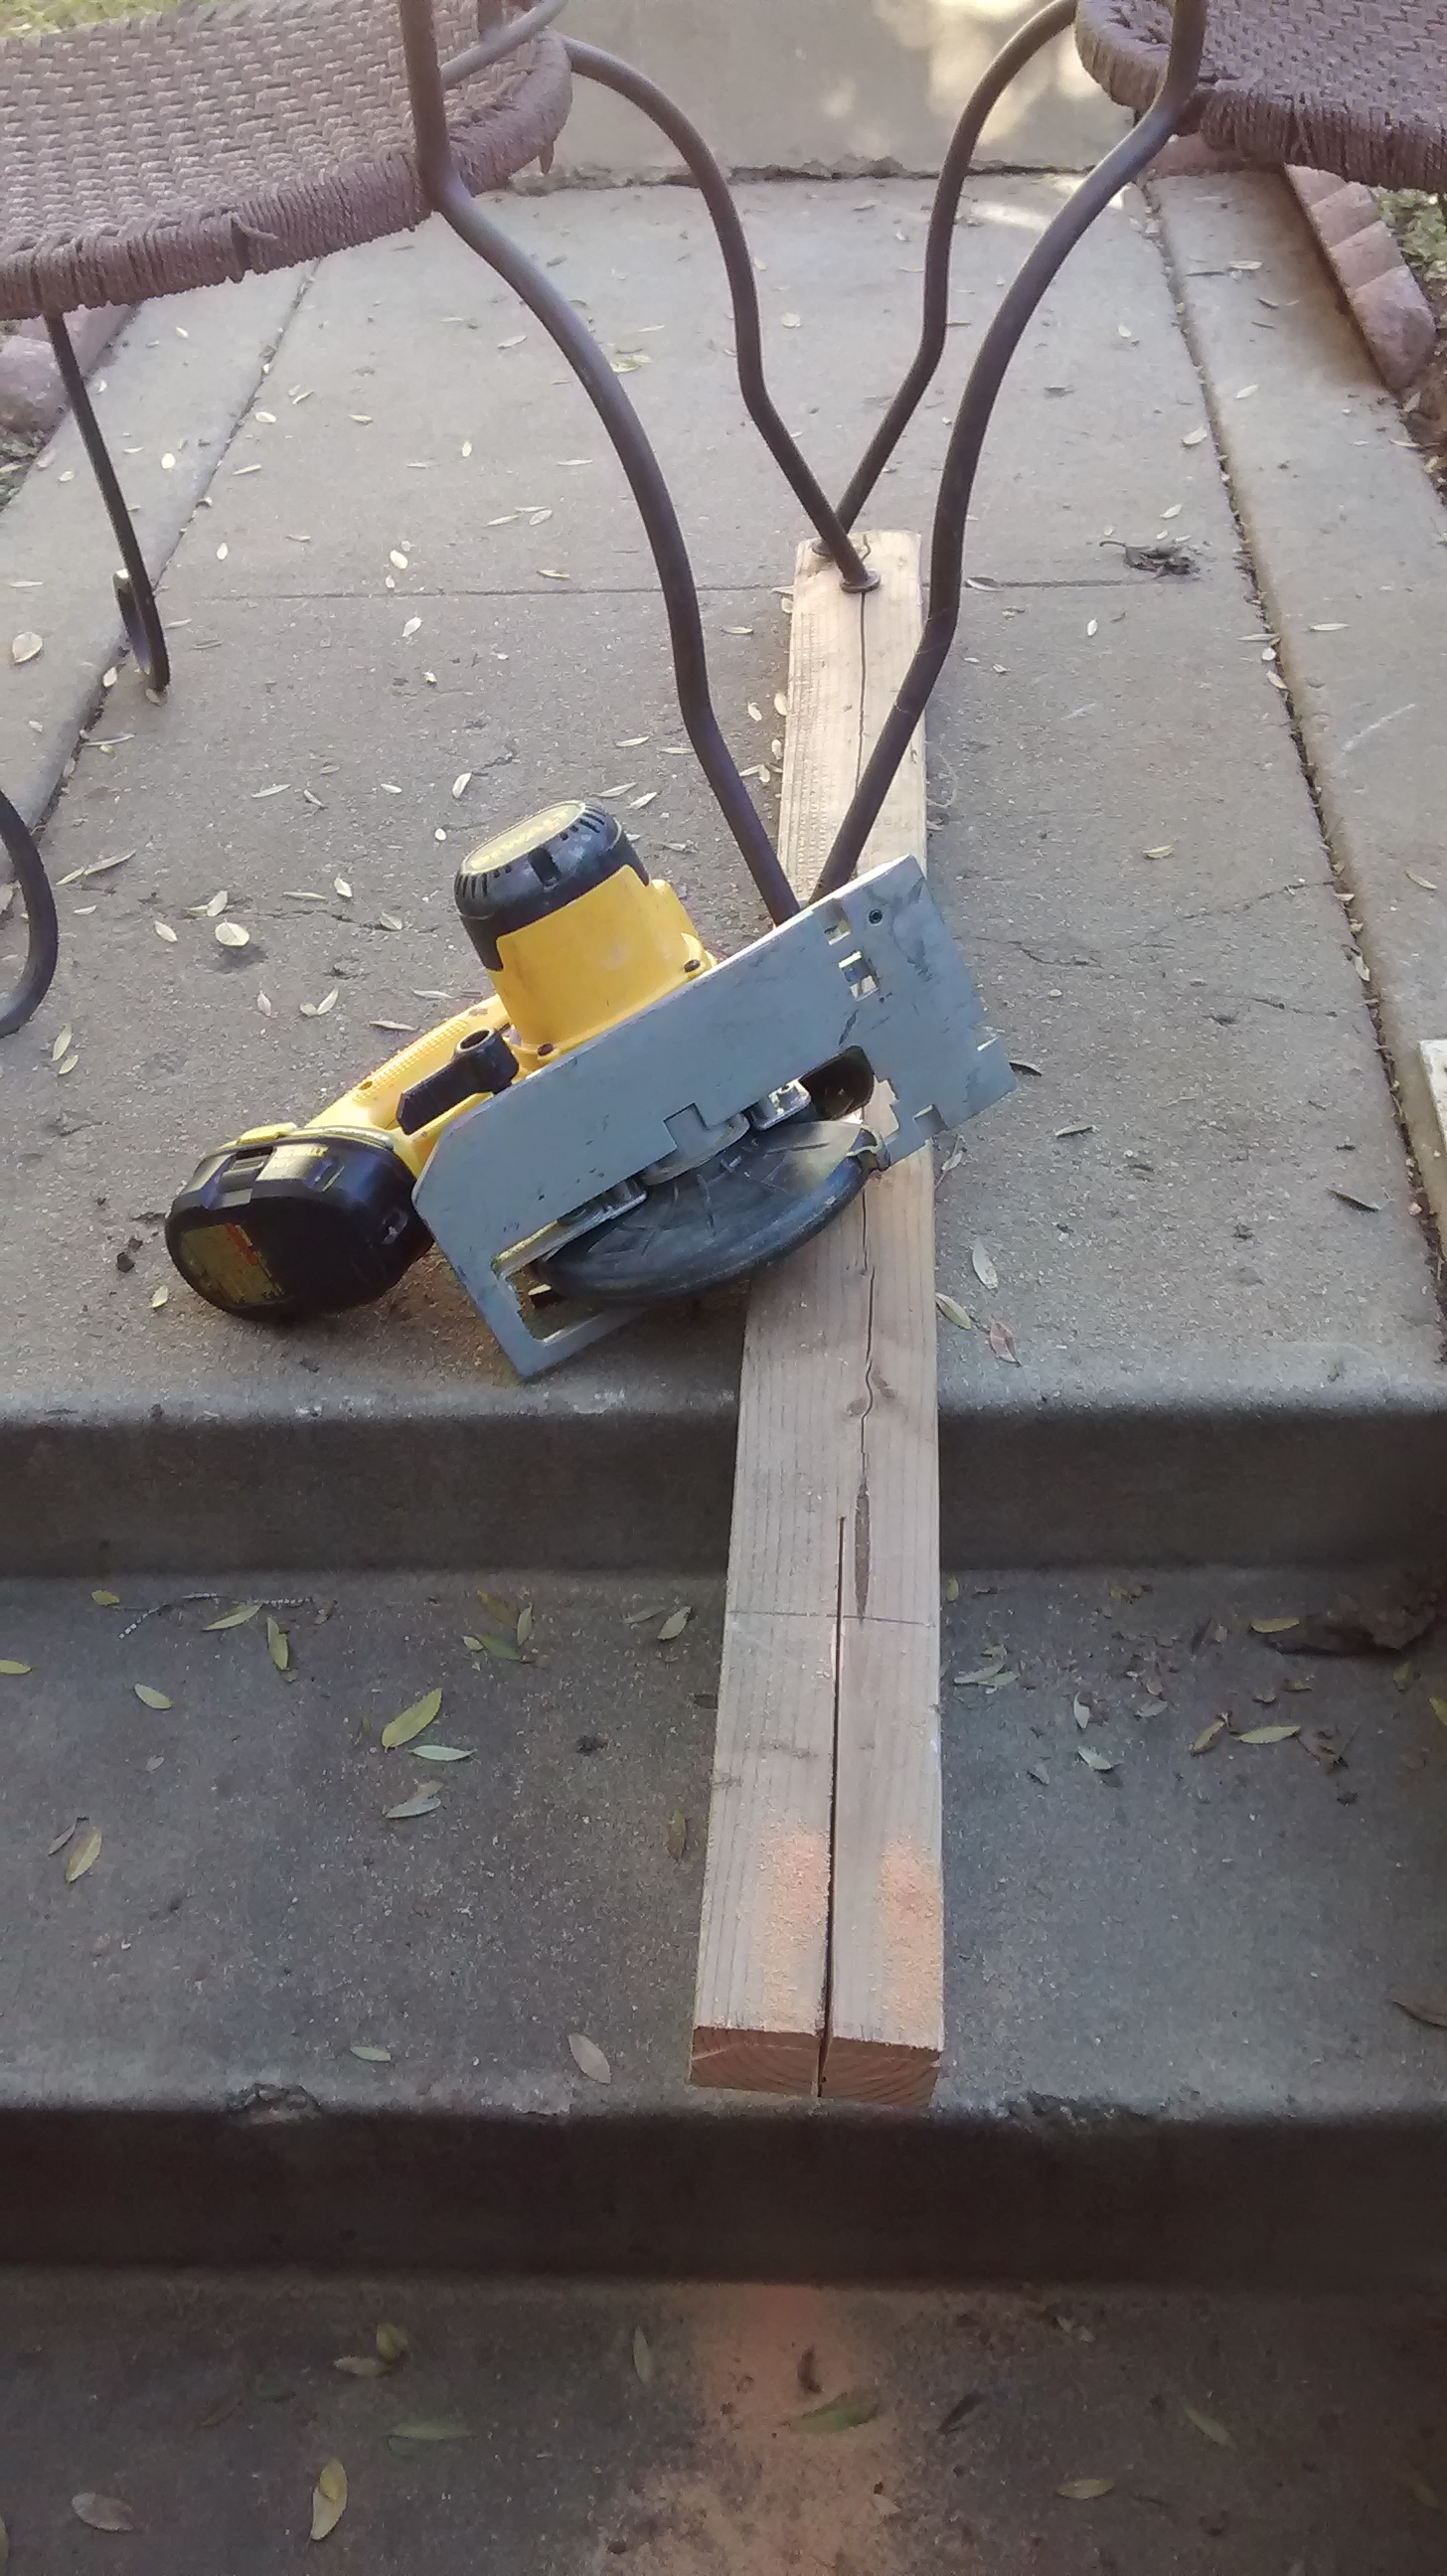
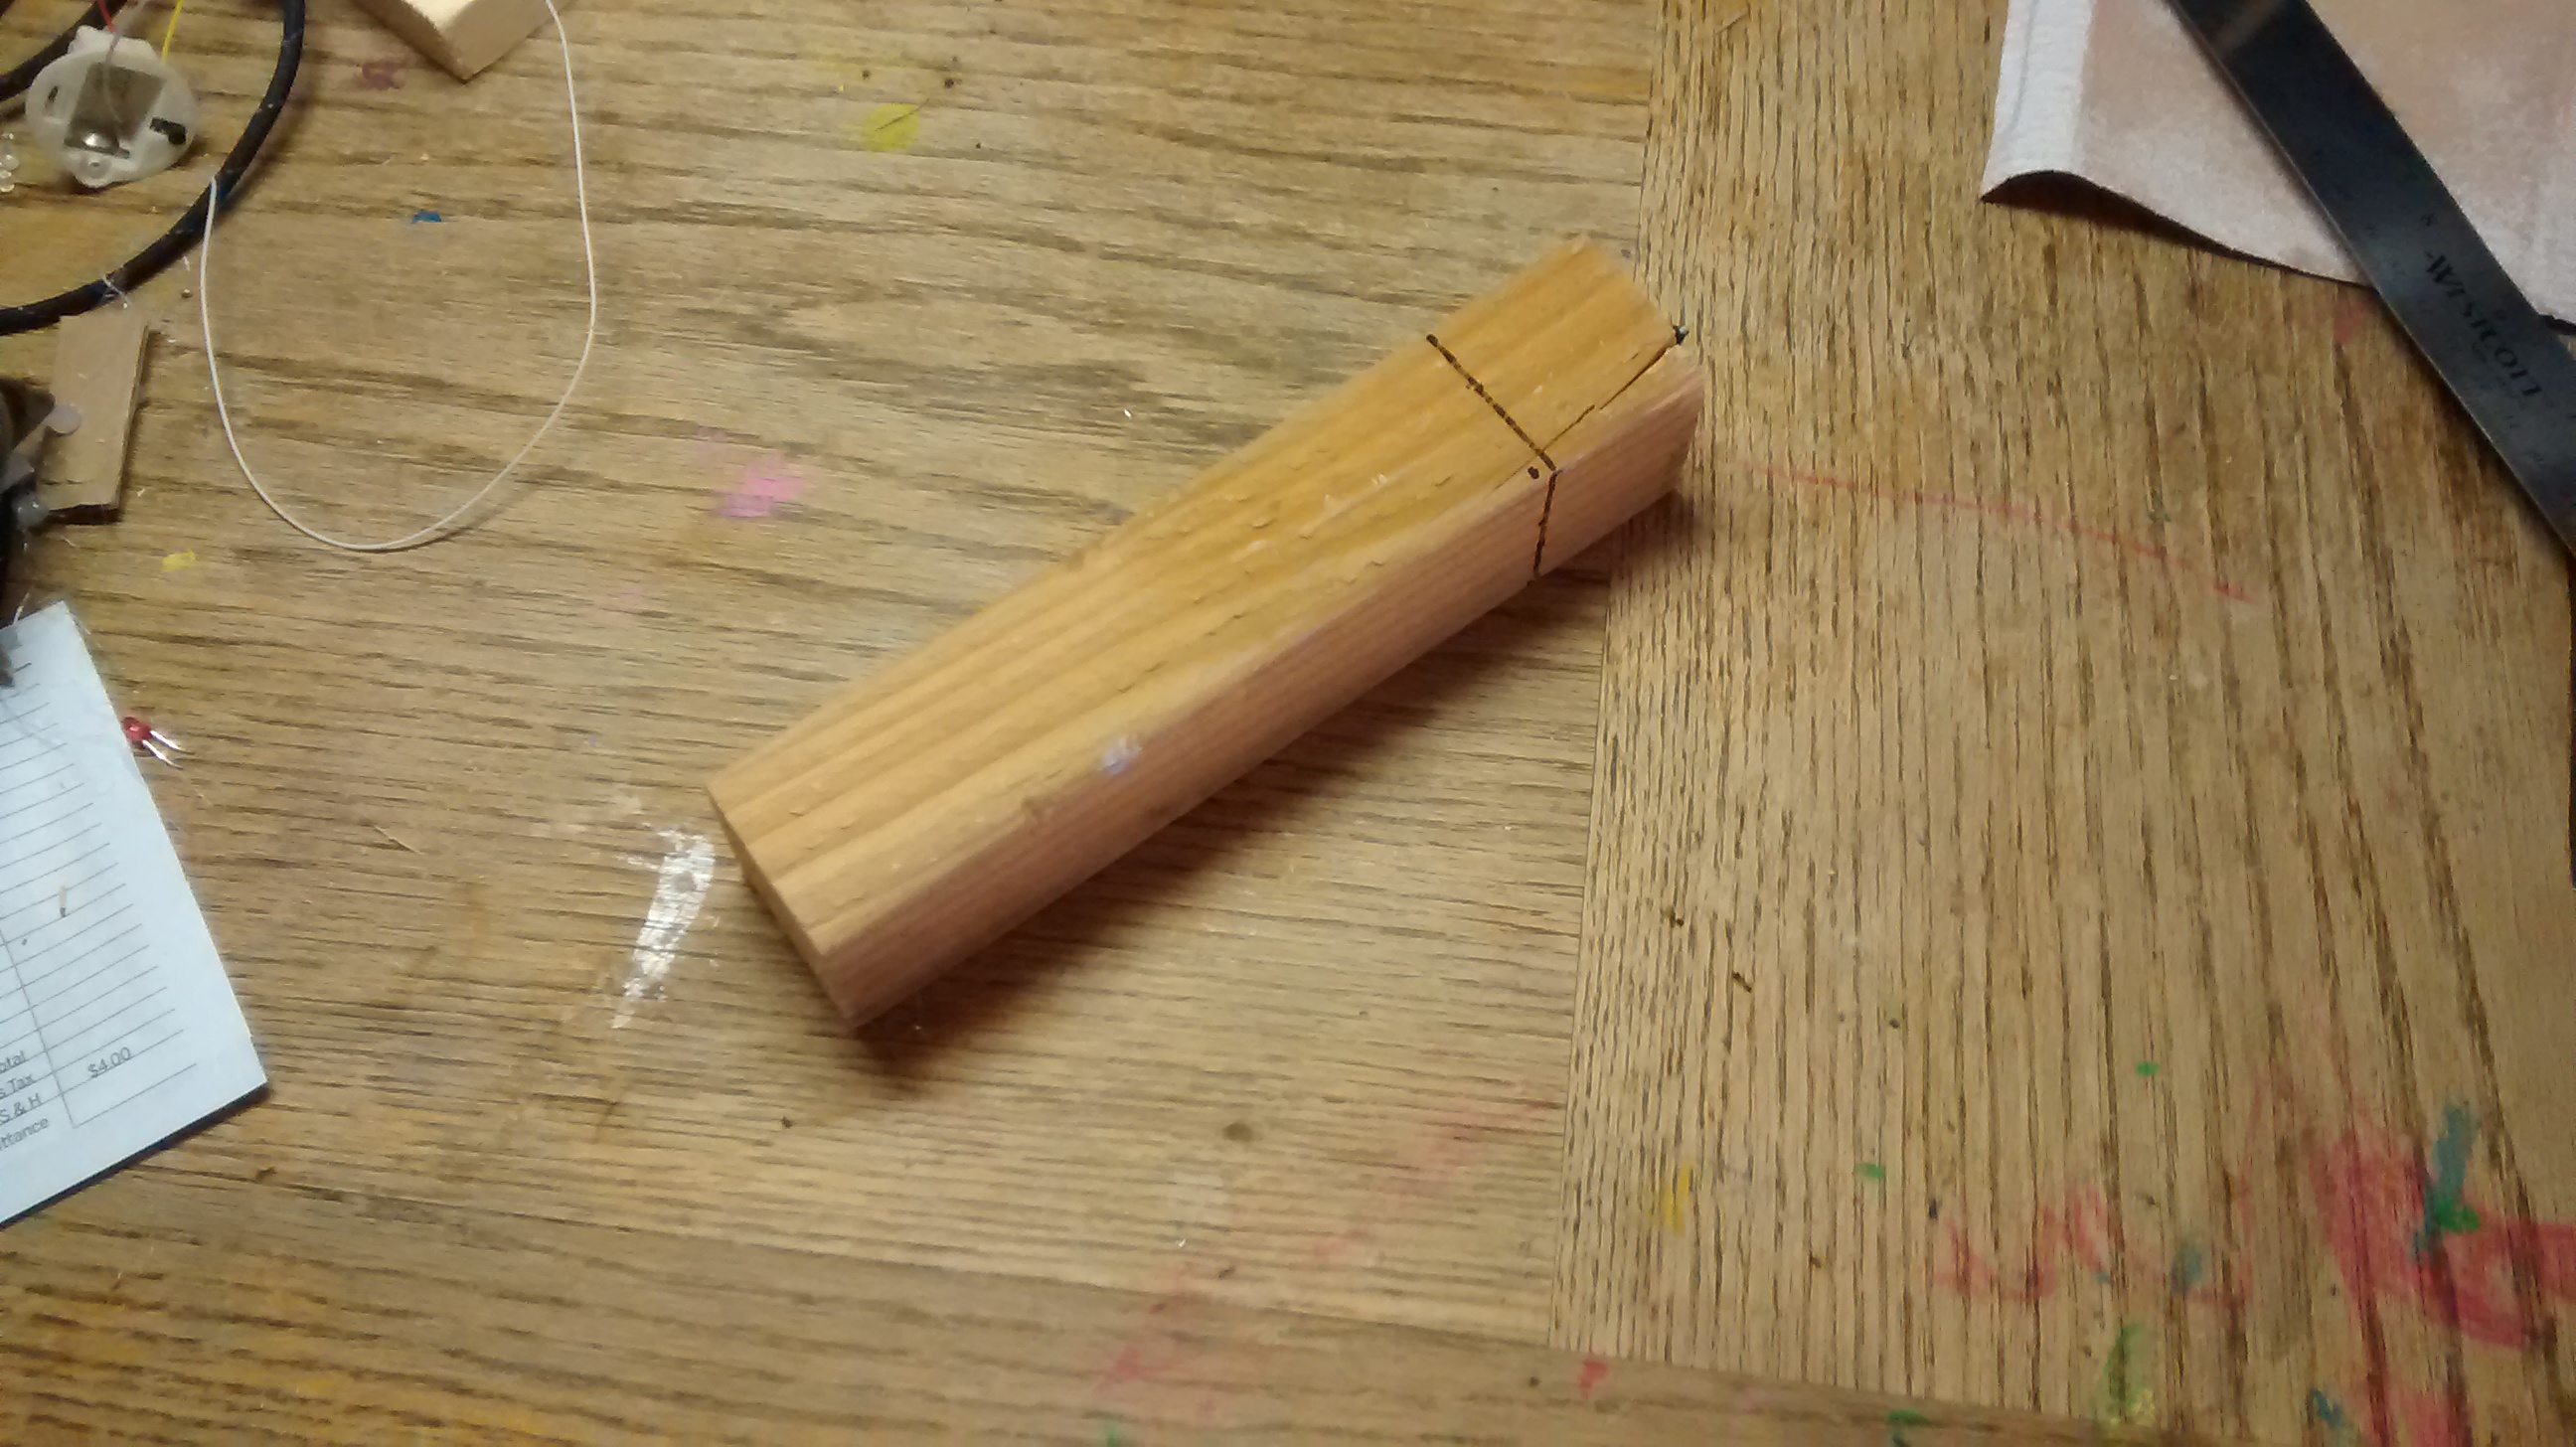
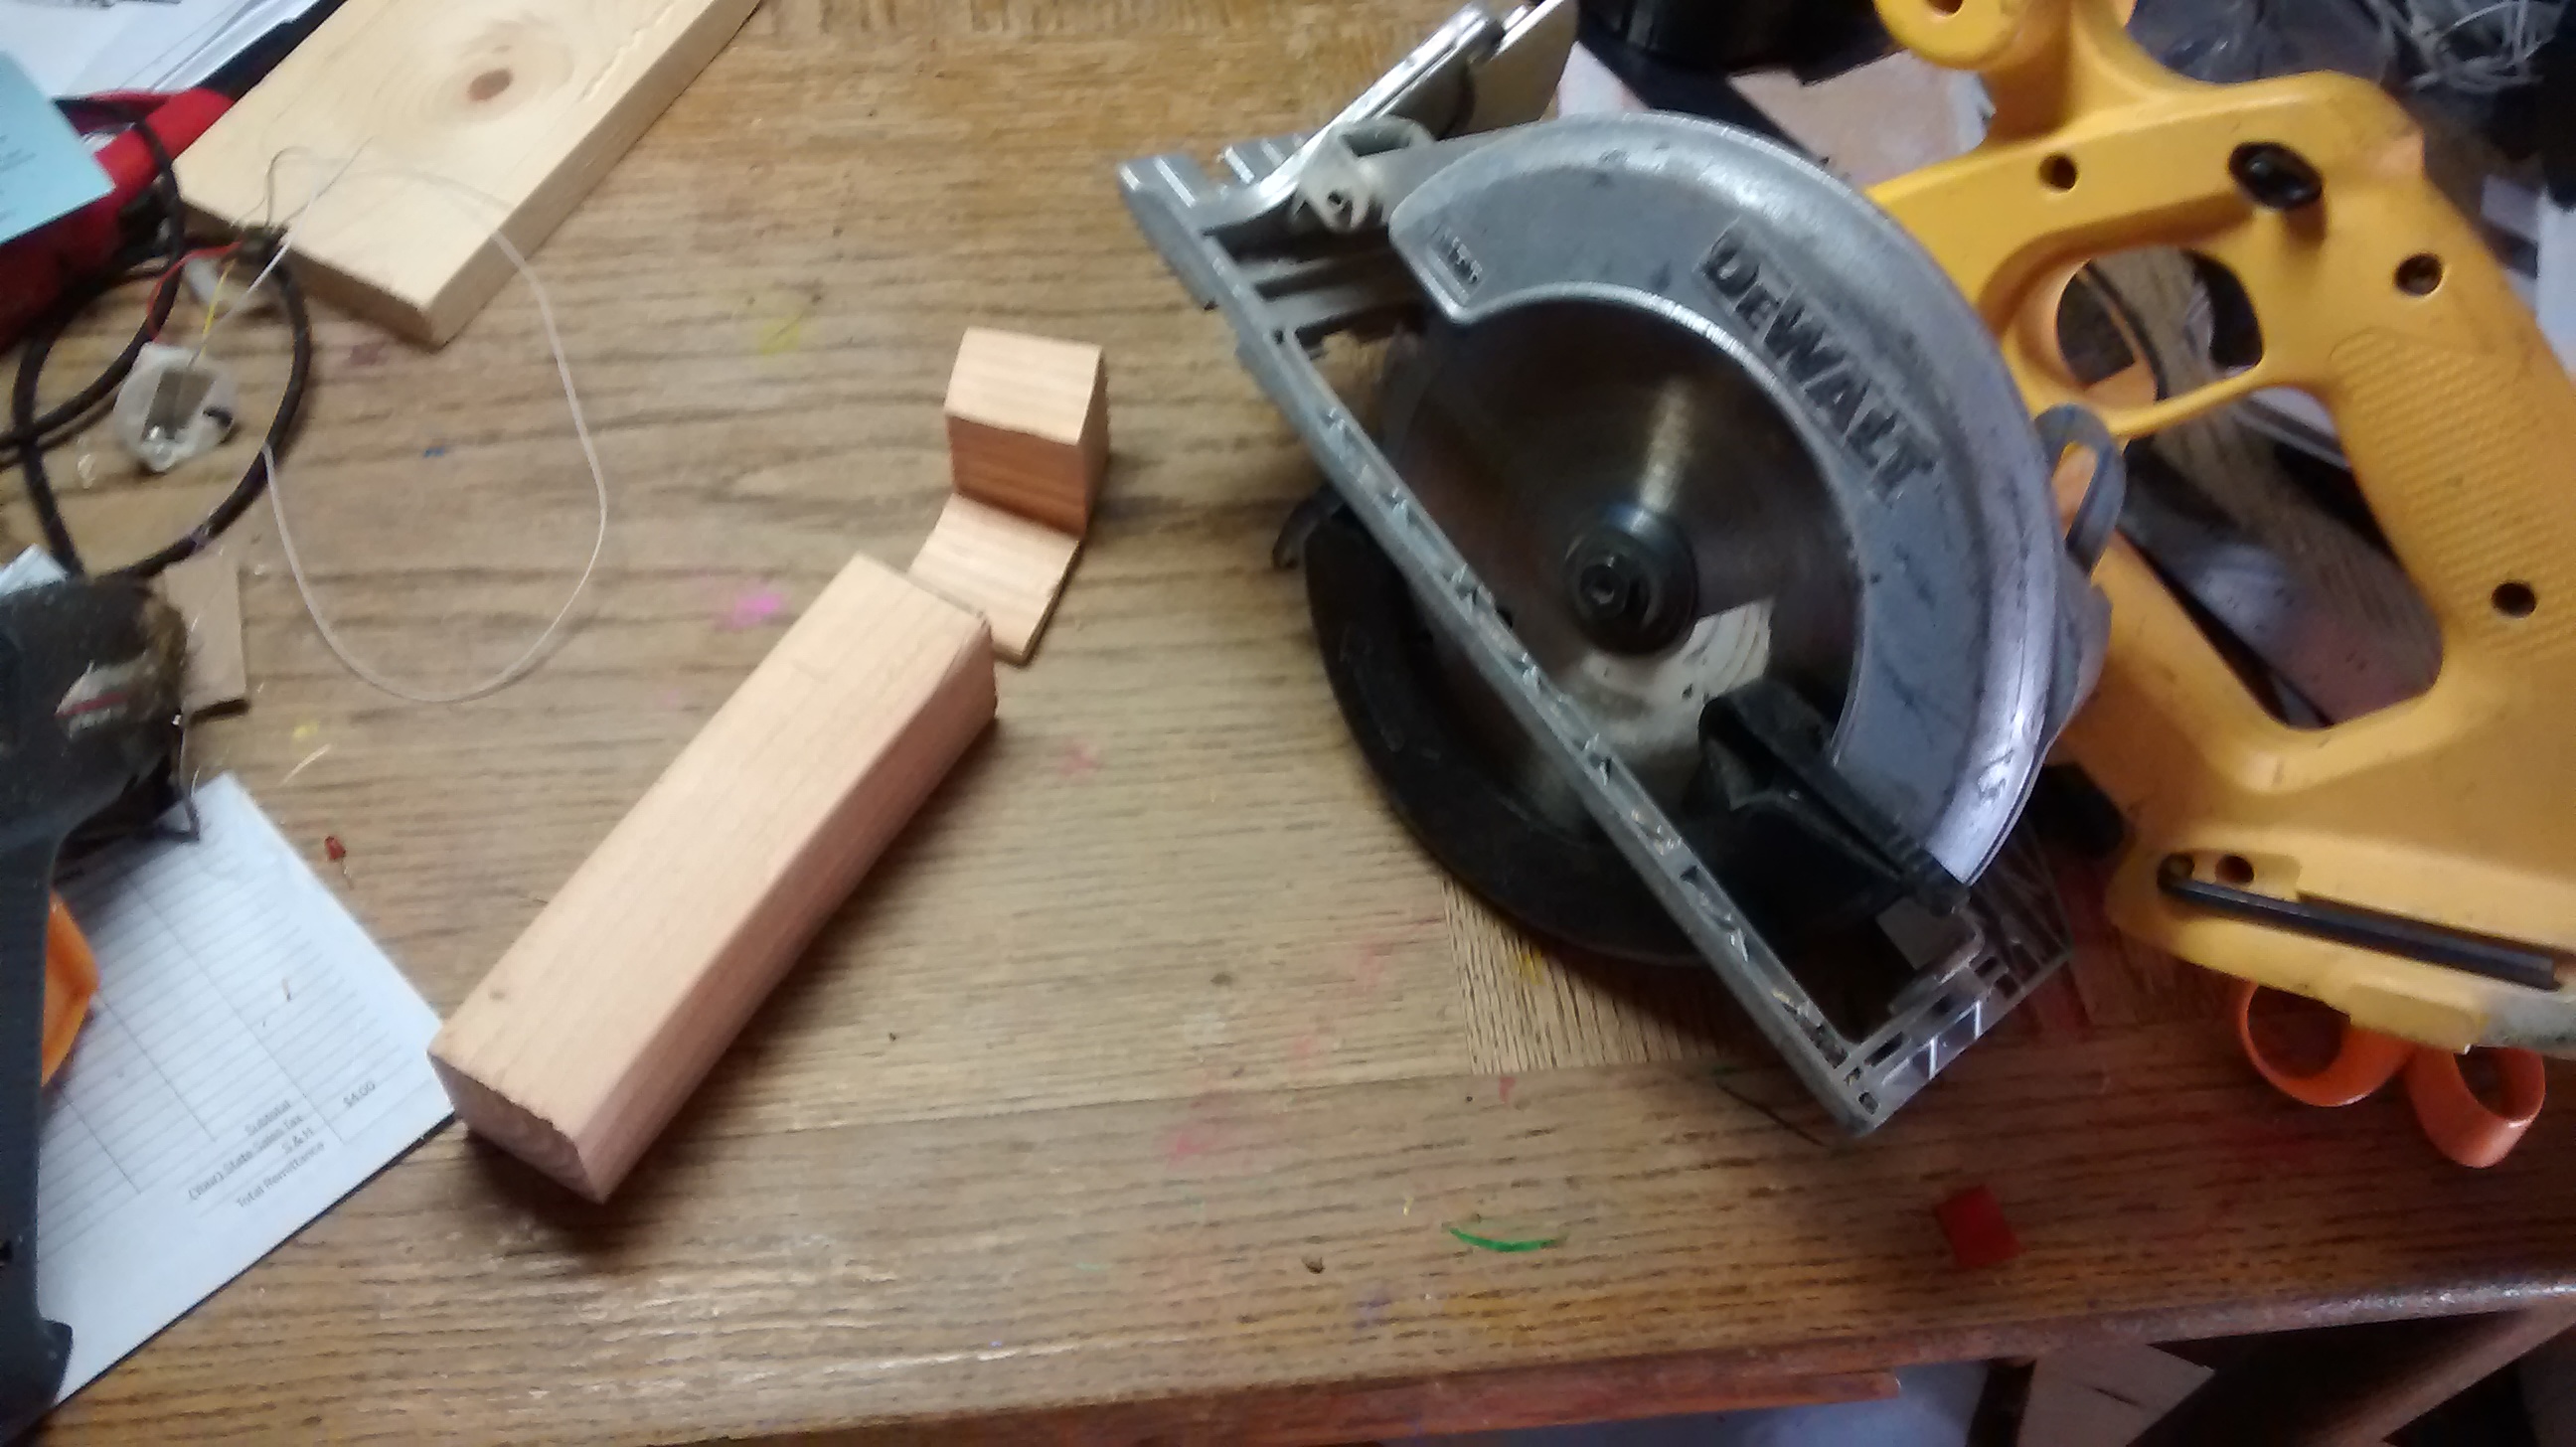
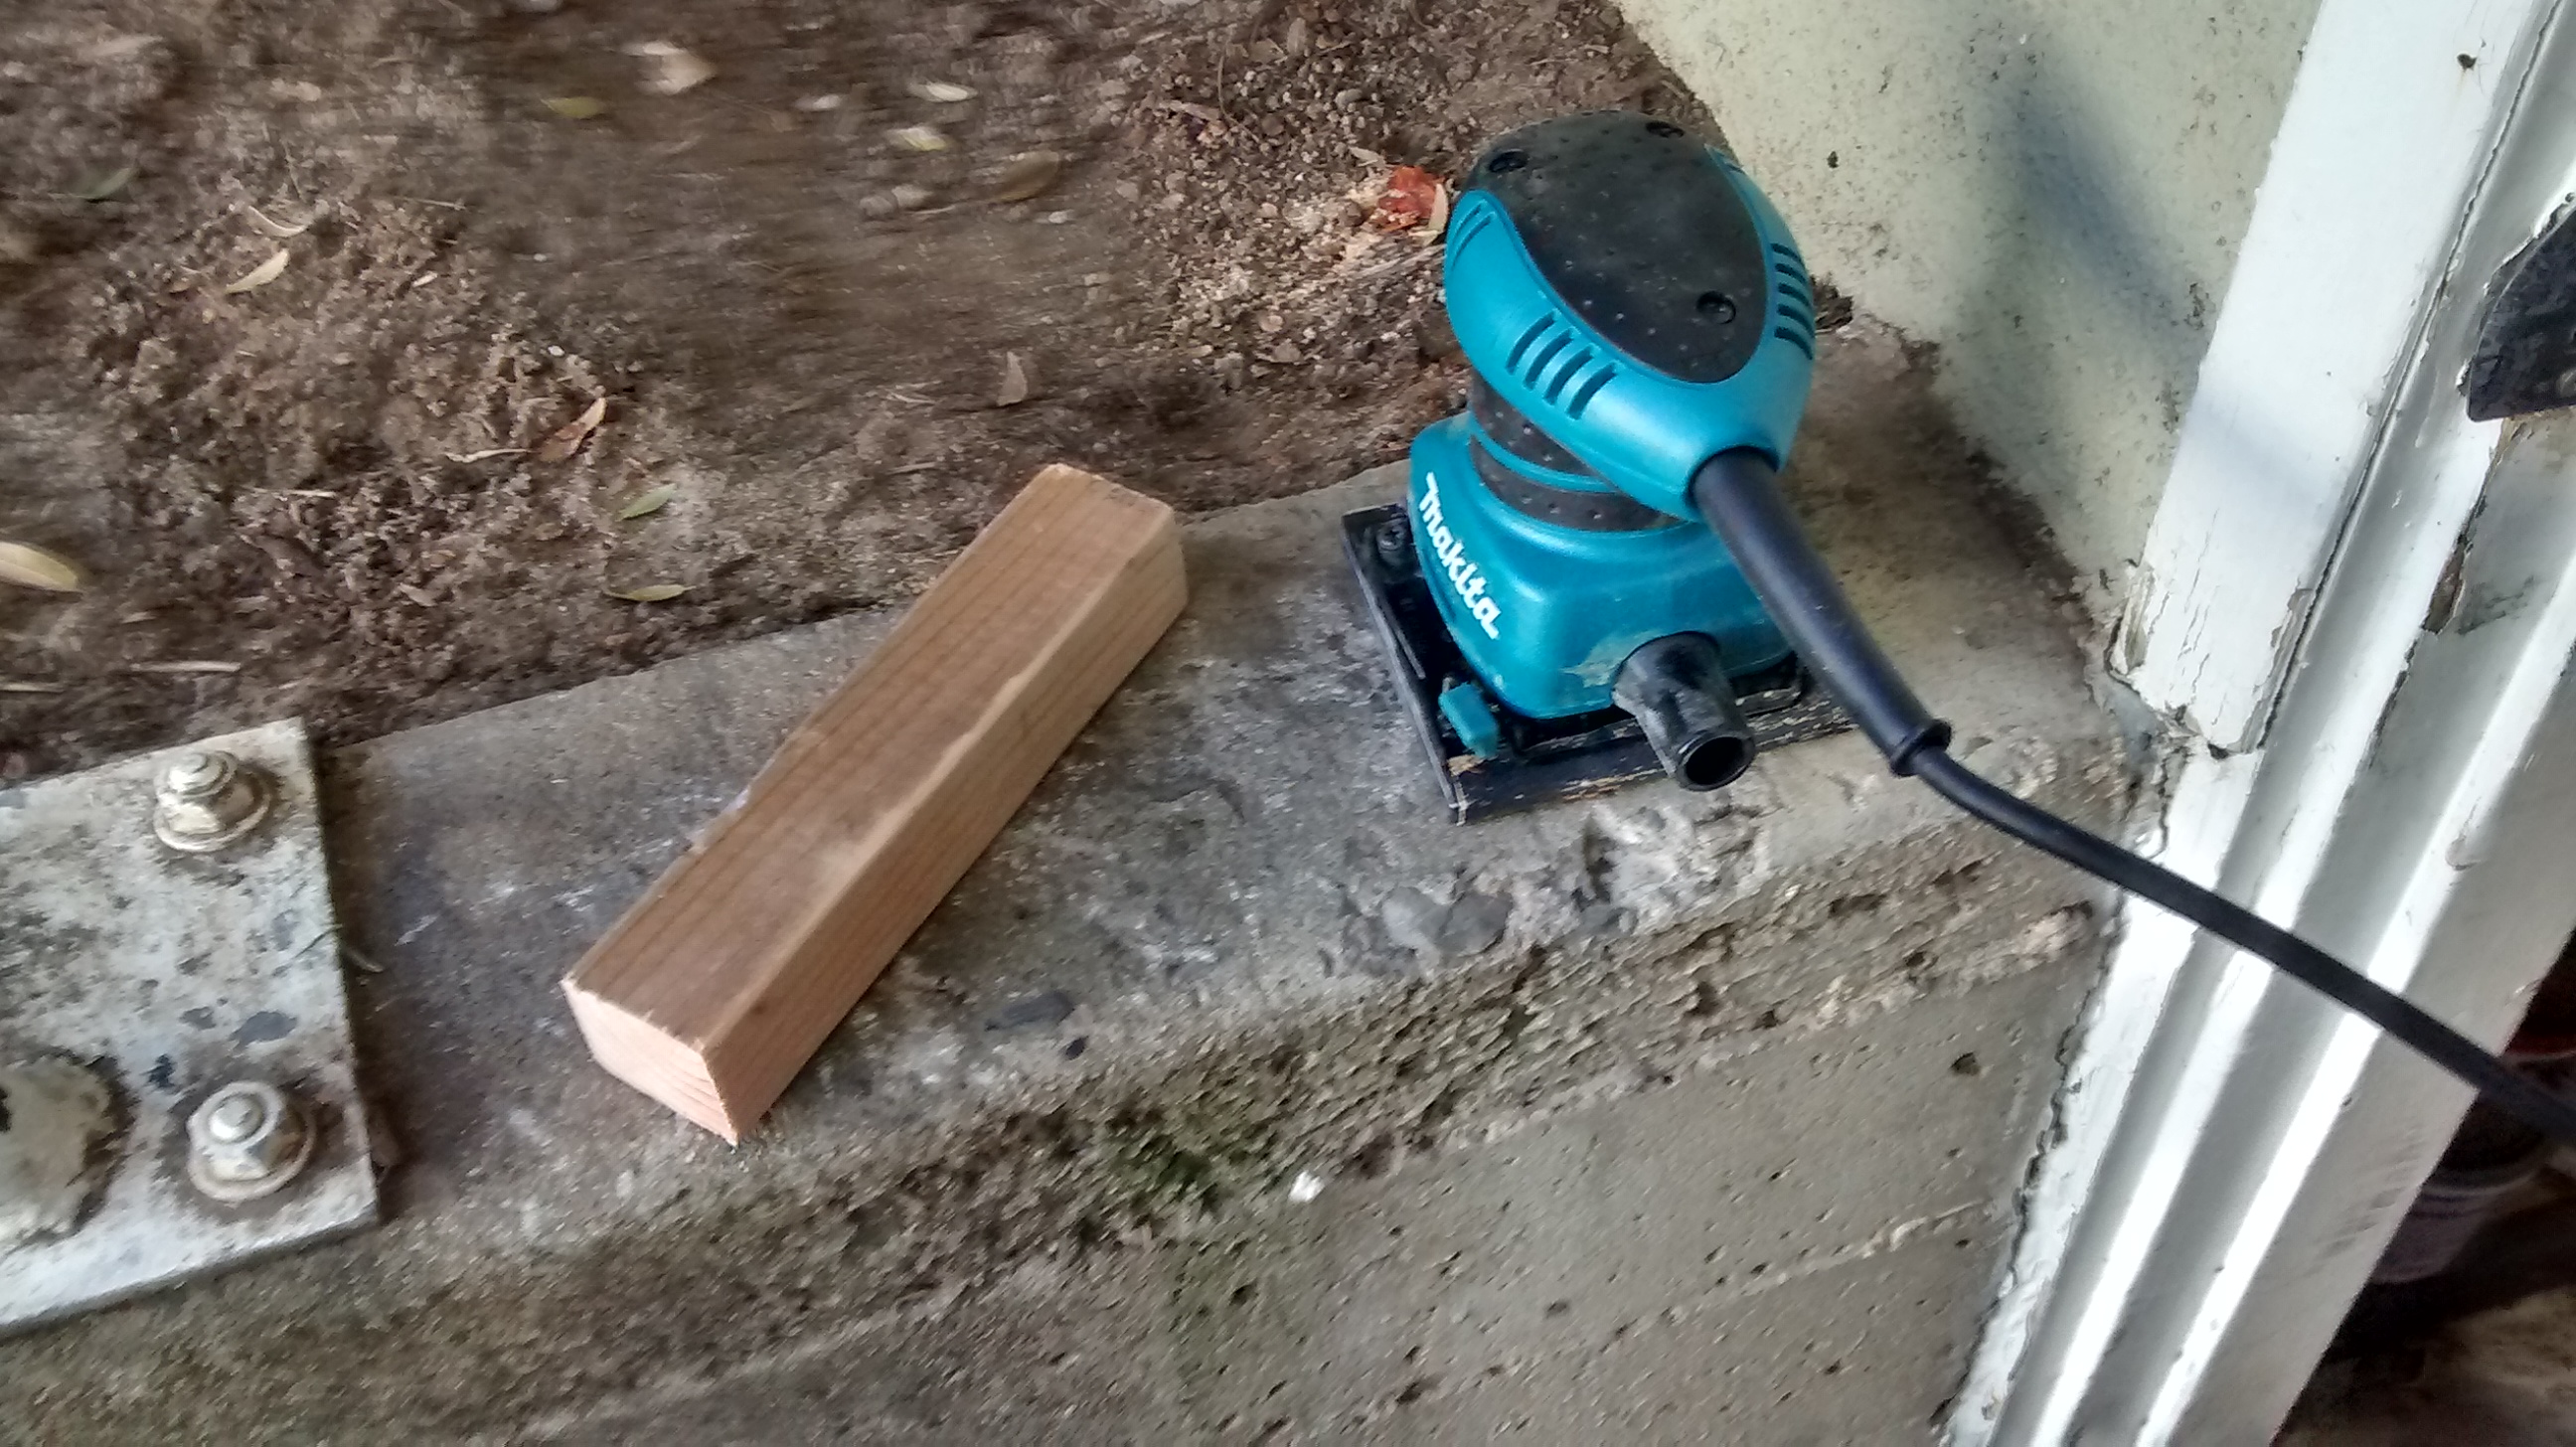
First you are going to need a base/handle. I got a 2 by 4, and cut it so that I got a perfect square (I had to measure the width first, because it wasn't exactly 2 inches, then measured out the length to be the exact same as the width). I then measured straight down, about 10 inches, and drew a line. I then cut it out using a circular saw. I then cut off about 2 inches off of the top to create space for the fire basin. Then I had a problem, two of my corners were rounded, while the other two were pointed, so I had to fix it. I got out my sander and sanded down the two pointed corners until they were rounded.
Pixels/papercraft
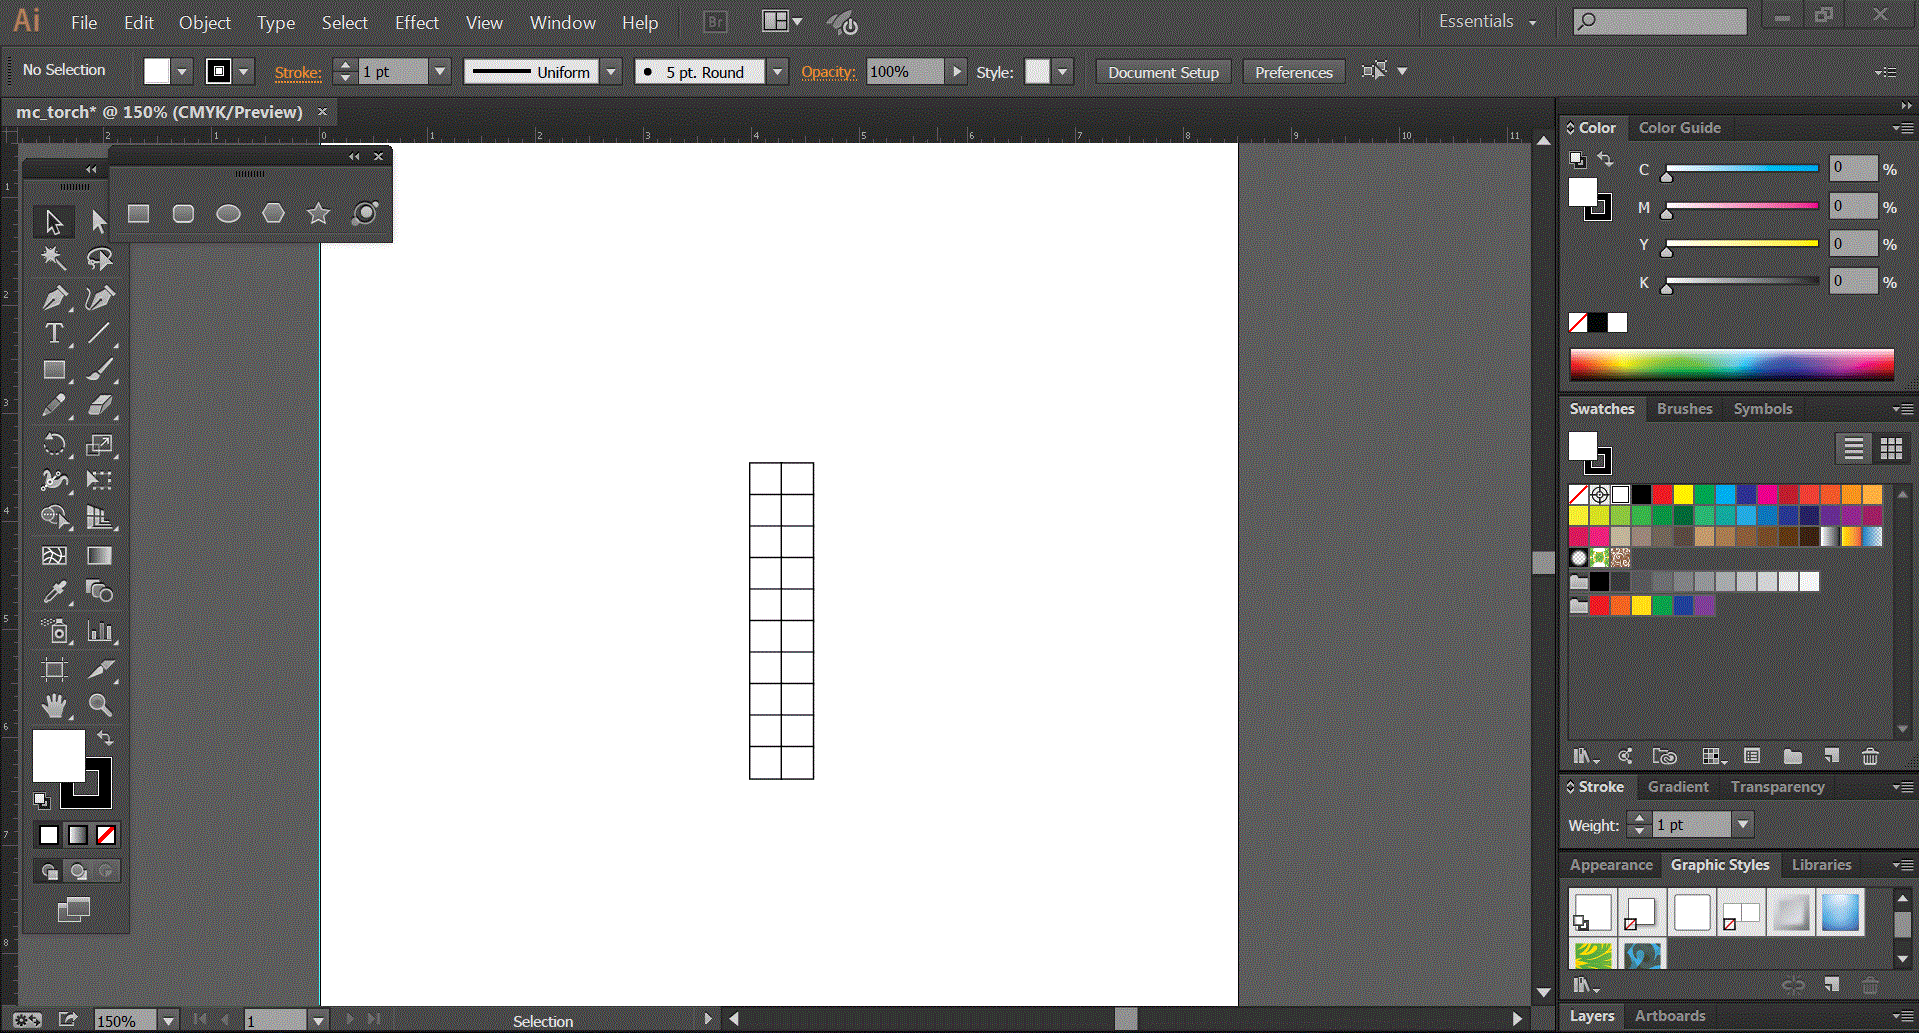
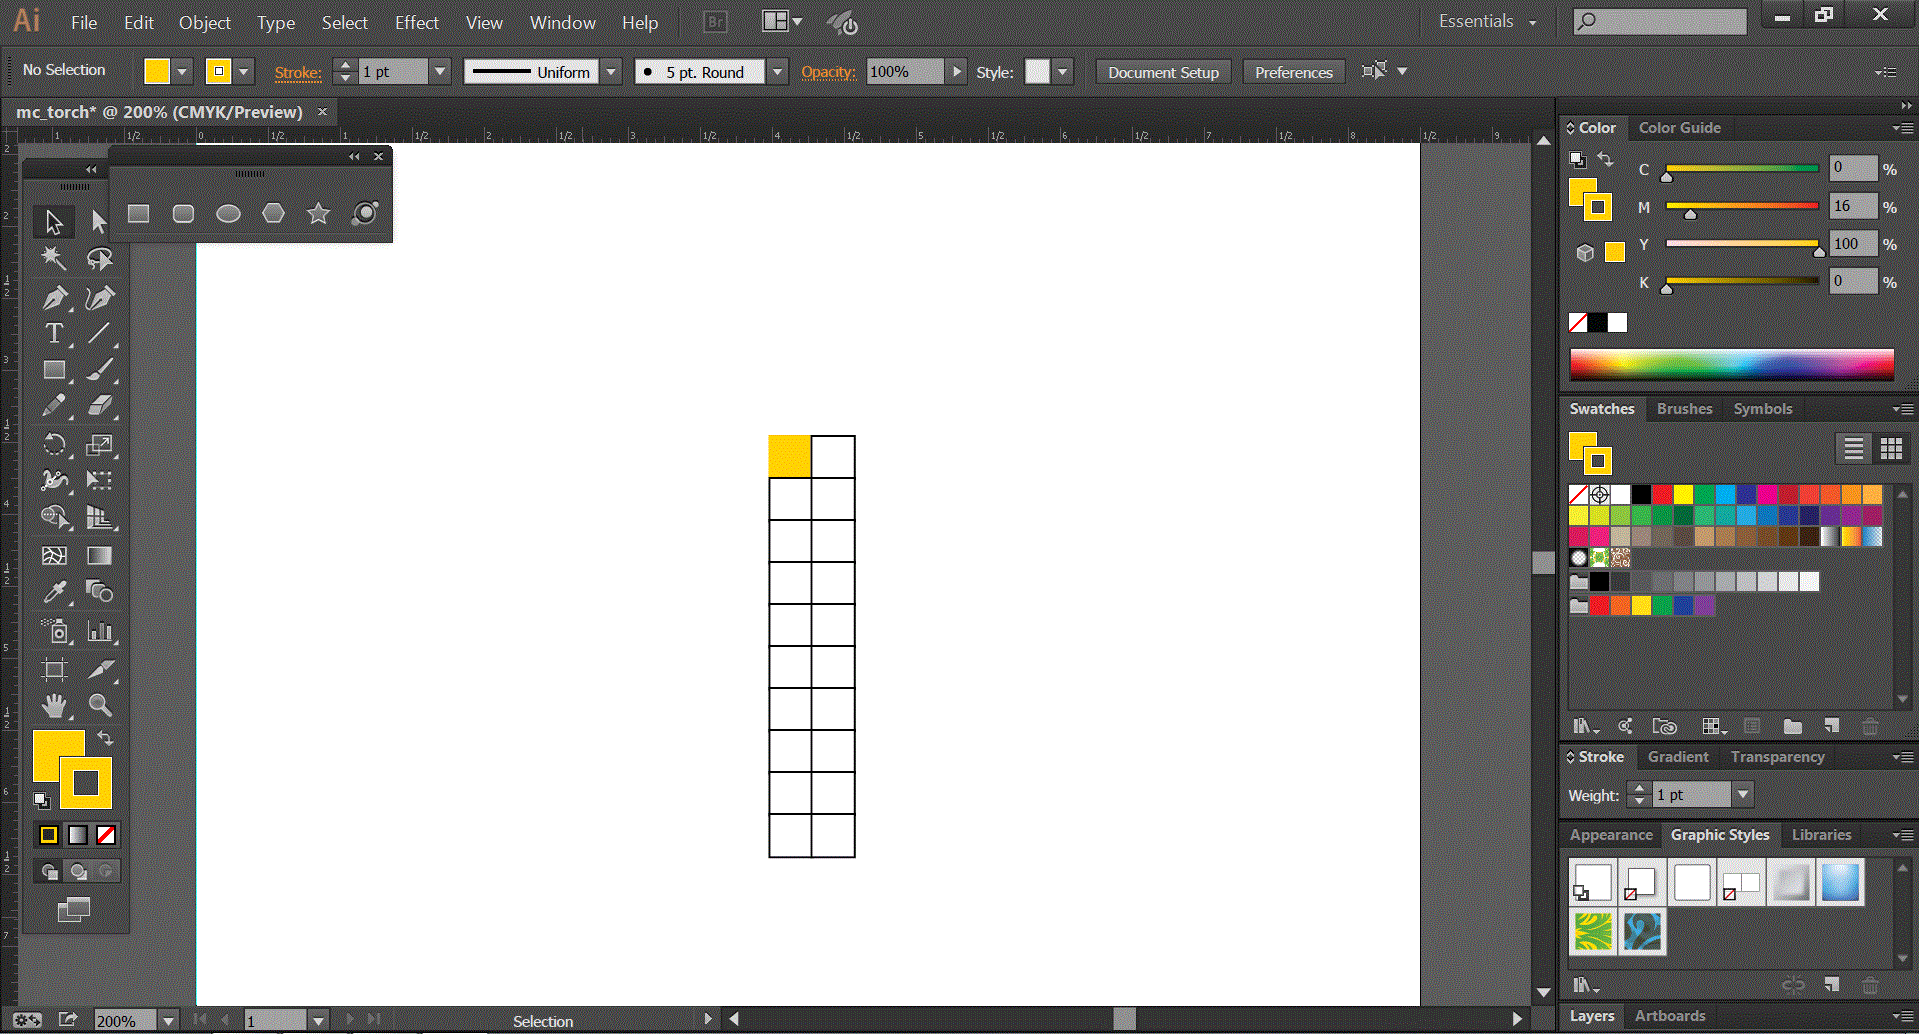
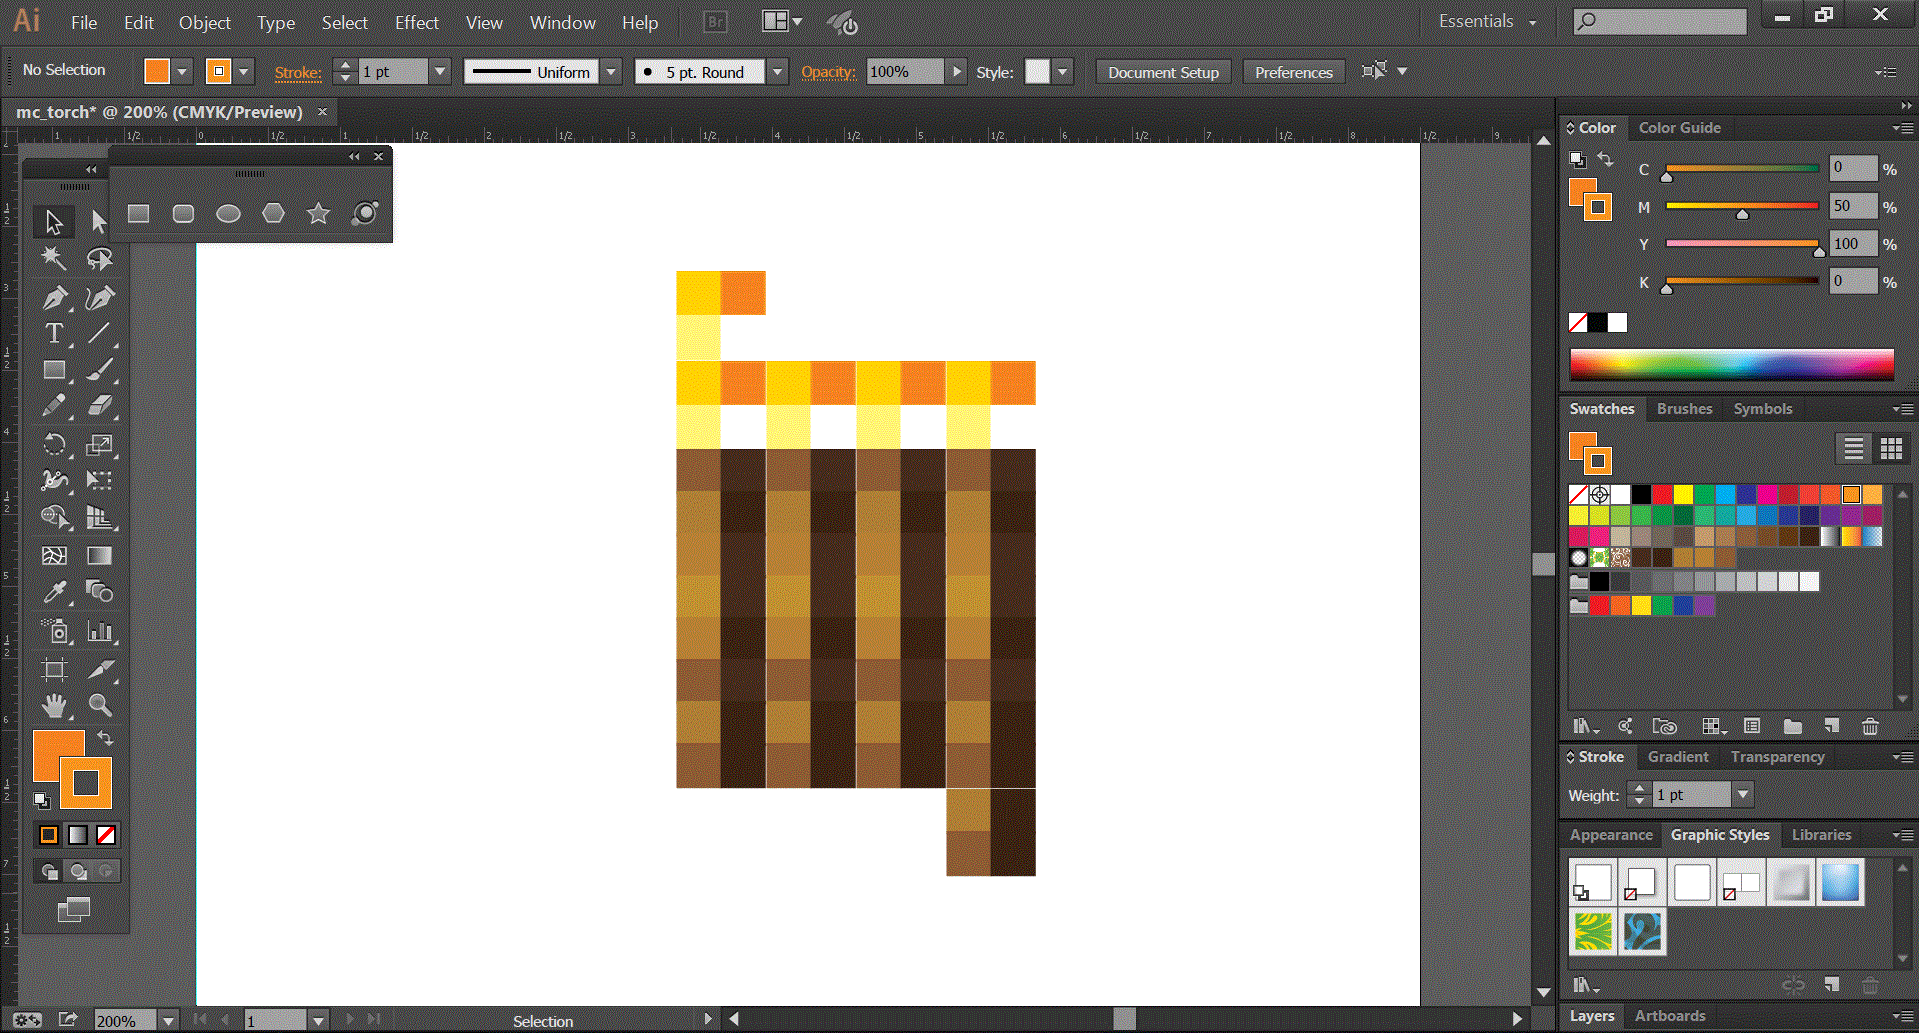
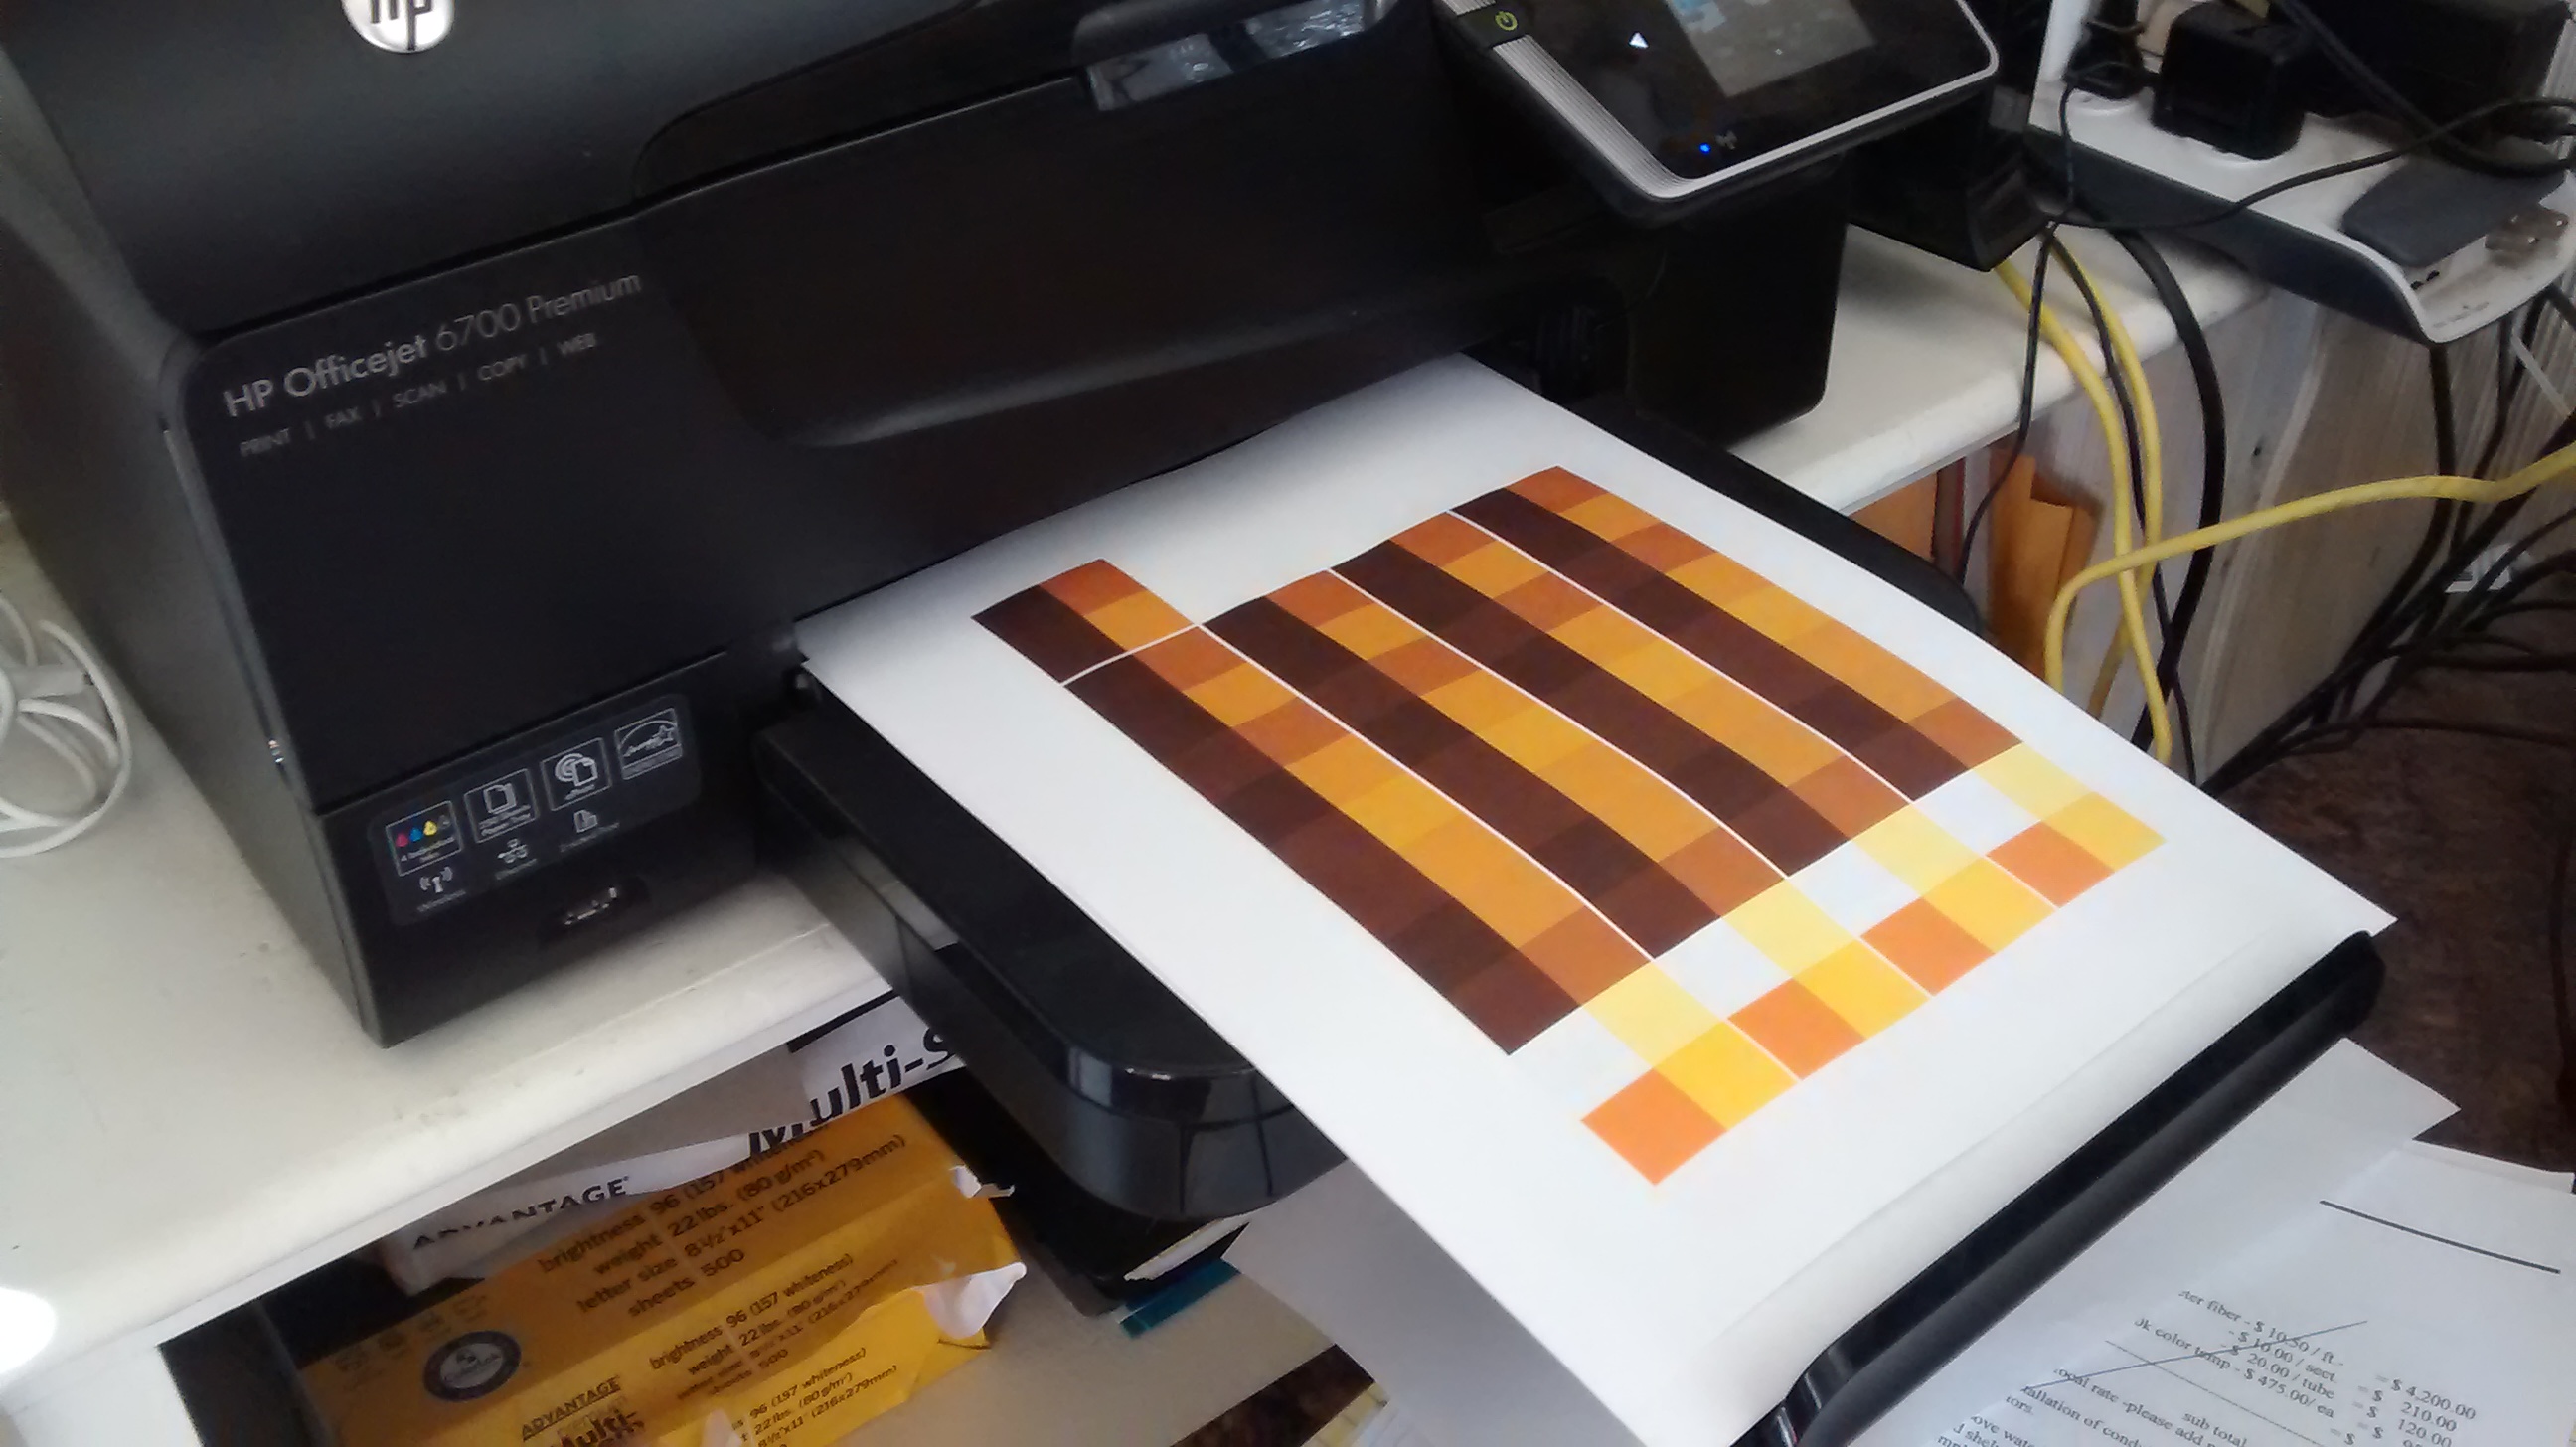
This is from my other Minecraft instructable, I used the same thing except I made it bigger.
"Now you are going to need some kind of drawing program. I find that Adobe Illustrator is probably the best one out there, so that is what I used. Now, I realize that Adobe Illustrator is quite a bit of money (I think that its like $15 a month or something) so instead of buying the program, I opted to just get the free 30 day trial. This gave me plenty of time to do this (and I would hope that it would take you less than 30 days to make something as simple as this).
You can get the free trial from here. Once you have gotten the program, open up Adobe Illustrator. Then create a new page (Ctrl/Command+N) and make sure that it is in the letter sized format, and I also recommend using CMYK mode because this is what printers use to print, so the colors will be the most accurate. Once you have your document you need to preferences, in the top right corner-ish, then to units on the right of the new window that pops up, then switch general to inches instead of points. For the actual torch, I googled an image and tried to replicate the minecraft torch as best I could. So, first thing first, a torch is 2 by 10 pixels. So with the 2/10 ratio, I changed that into a ratio of "width in inches/length in inches". I wanted my torch to be about 3 inches long, so to calculate the width that the torch should be I did 2/10=?/3. I turned out with .6 inches, so 2/10=0.6/3. My torch is going to be 0.6 inches wide, by 0.6 inches long, by 3 inches high. To start off, I went into Illustrator, got the rectangle tool, and clicked once in the middle of the page. I then entered 0.6 for the width, and 3 for the length, then enter. This will create a rectangle on your page that will be your guide. Then click on the top right corner of the new rectangle, and enter your pixel size, mine was 0.3 by 0.3, I just divided my width of .6 inches by 2 (the number of pixels in the width), which got me .3, then I knew that it had to be a square so I just made it 0.3 by 0.3. For now, It's okay to keep the pixels with a white fill and a black stroke, we'll change that later. Once I had my first pixel, I selected it with the black arrow, and then copied it (Ctrl+C), and the pasted on top of (Ctrl+F). You probably won't see any changes to your picture because the Ctrl+F command pastes the object that was copied, right on top of the object that was copied. The new pixel should be automatically selected when you paste it. While it is still selected use your right arrow key to move it over (to the right) 21 key presses (press the right arrow key 21 times). This is only if you are using the same dimensions as me, if you are not, you can use outline mode (Ctrl+Y) to help line up the two squares.DO NOT USE CLICK AND DRAG, IT WILL MAKE YOUR PICTURE INACCURATE, USING THE ARROW KEYS WILL NOT. You are then going to select the two pixels that you now have then Ctrl+C, Ctrl+F, and then down 21 times with the down arrow, then Ctrl+C, Ctrl+F, and down 21 times. Keep doing this until you have 10 pixels down and the pixels go down to bottom of the guide that you made. Now to color the pixels. I googled "minecraft torch layout in google images and found a picture from minecraftforum.net. I then used this as a guide. I tried to replicate the colors for each individual pixel using the swatch pallet and the color sliders above the swatch pallet, also, it is important to set the stroke as the same color as the fill for each pixel. Once I finished the first side, I selected all of it, then did Ctrl+C, Ctrl+F, and moved it over 45 times using the right arrow. Then, I selected everything, Ctrl+C, Ctrl+F, and moved it to the right 90 times (Yes, this can get tedious). Now your almost done with Illustrator! Now all you need to do is select the four of the top pixels (the flame pixels) out of one of your sides, Then copy and Ctrl+F, Then move it up 45 times. Then do the same with the bottom 4 pixels of a side. If you are confused, look at the last picture in this step above. All of the copying and pasting is so that we can fold the torch and make it 3 dimensional. Now save your file. You can choose the name but change the file type from .ai (only Illustrator compatible) to a .pdf (pretty much universal)"
Then you are going to want to measure the width and height of your wood, create a rectangle on your screen with the dimensions of the wood. Then group the whole torch (select everything then ctrl+g), and click on it, and drog one of the corners until it is to scale with the rectangle, then you can delete the rectangle.
Once your done with that you can print the .pdf.
Fire Basin
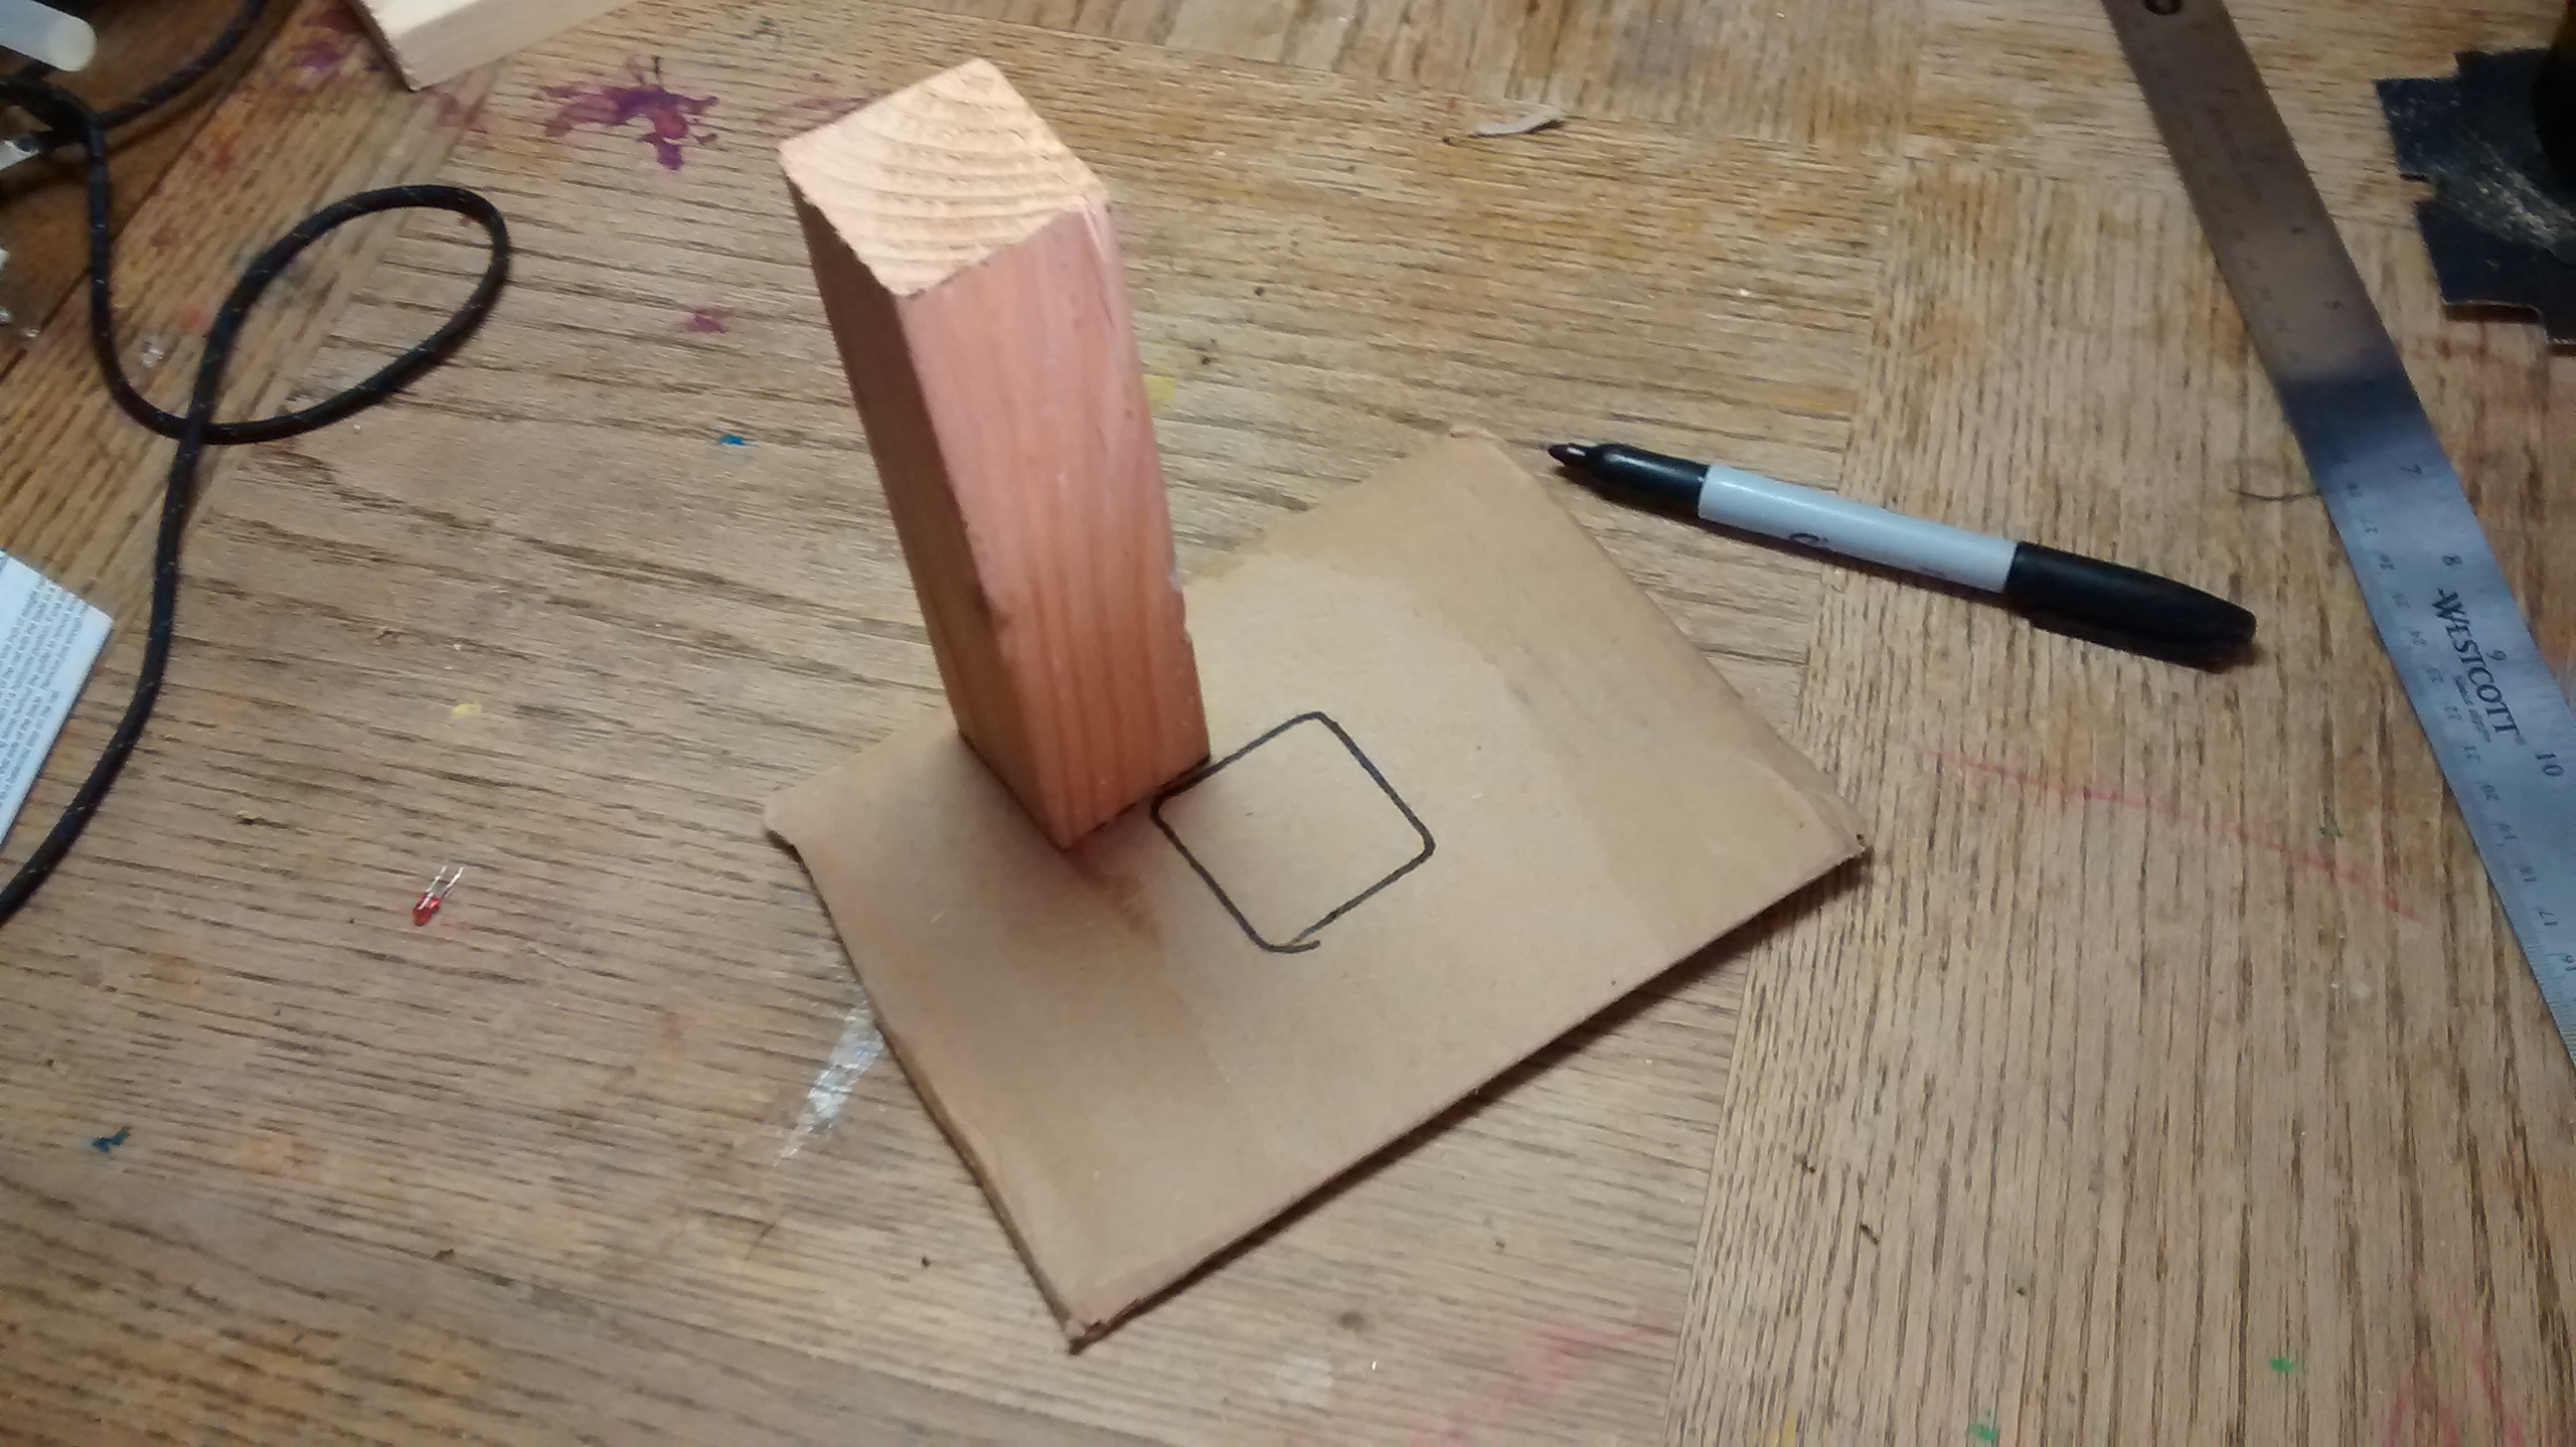
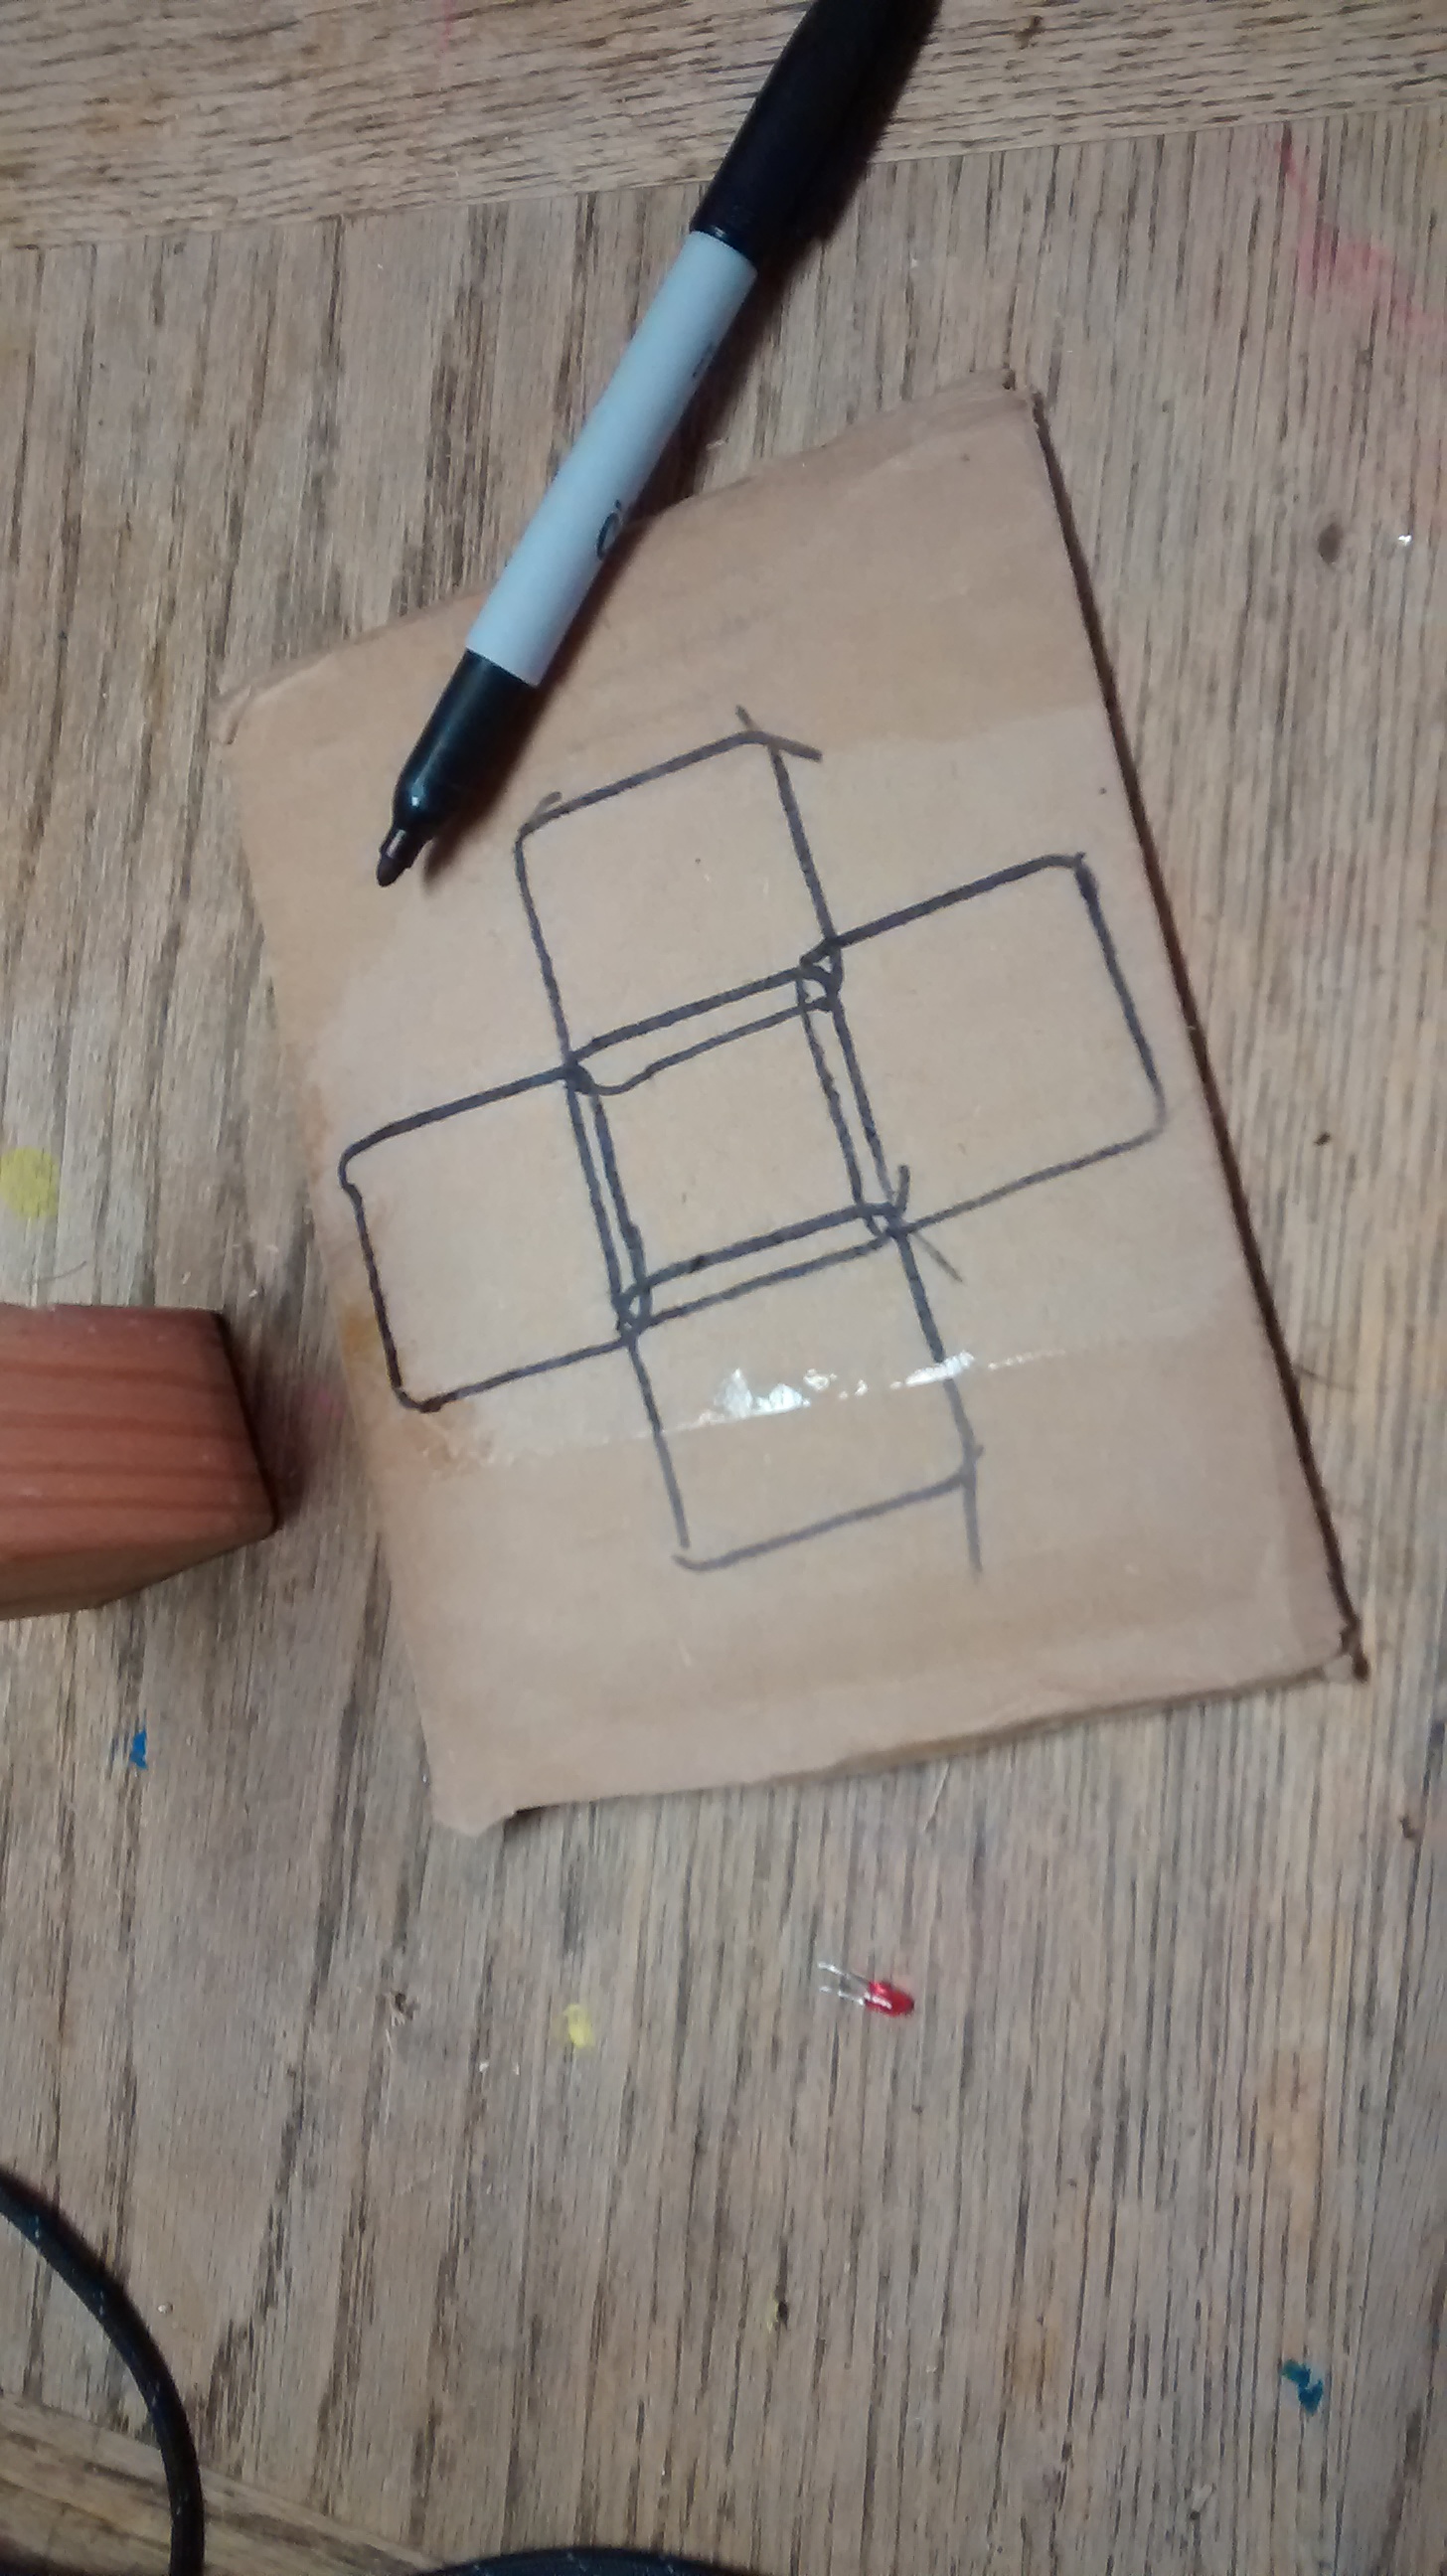
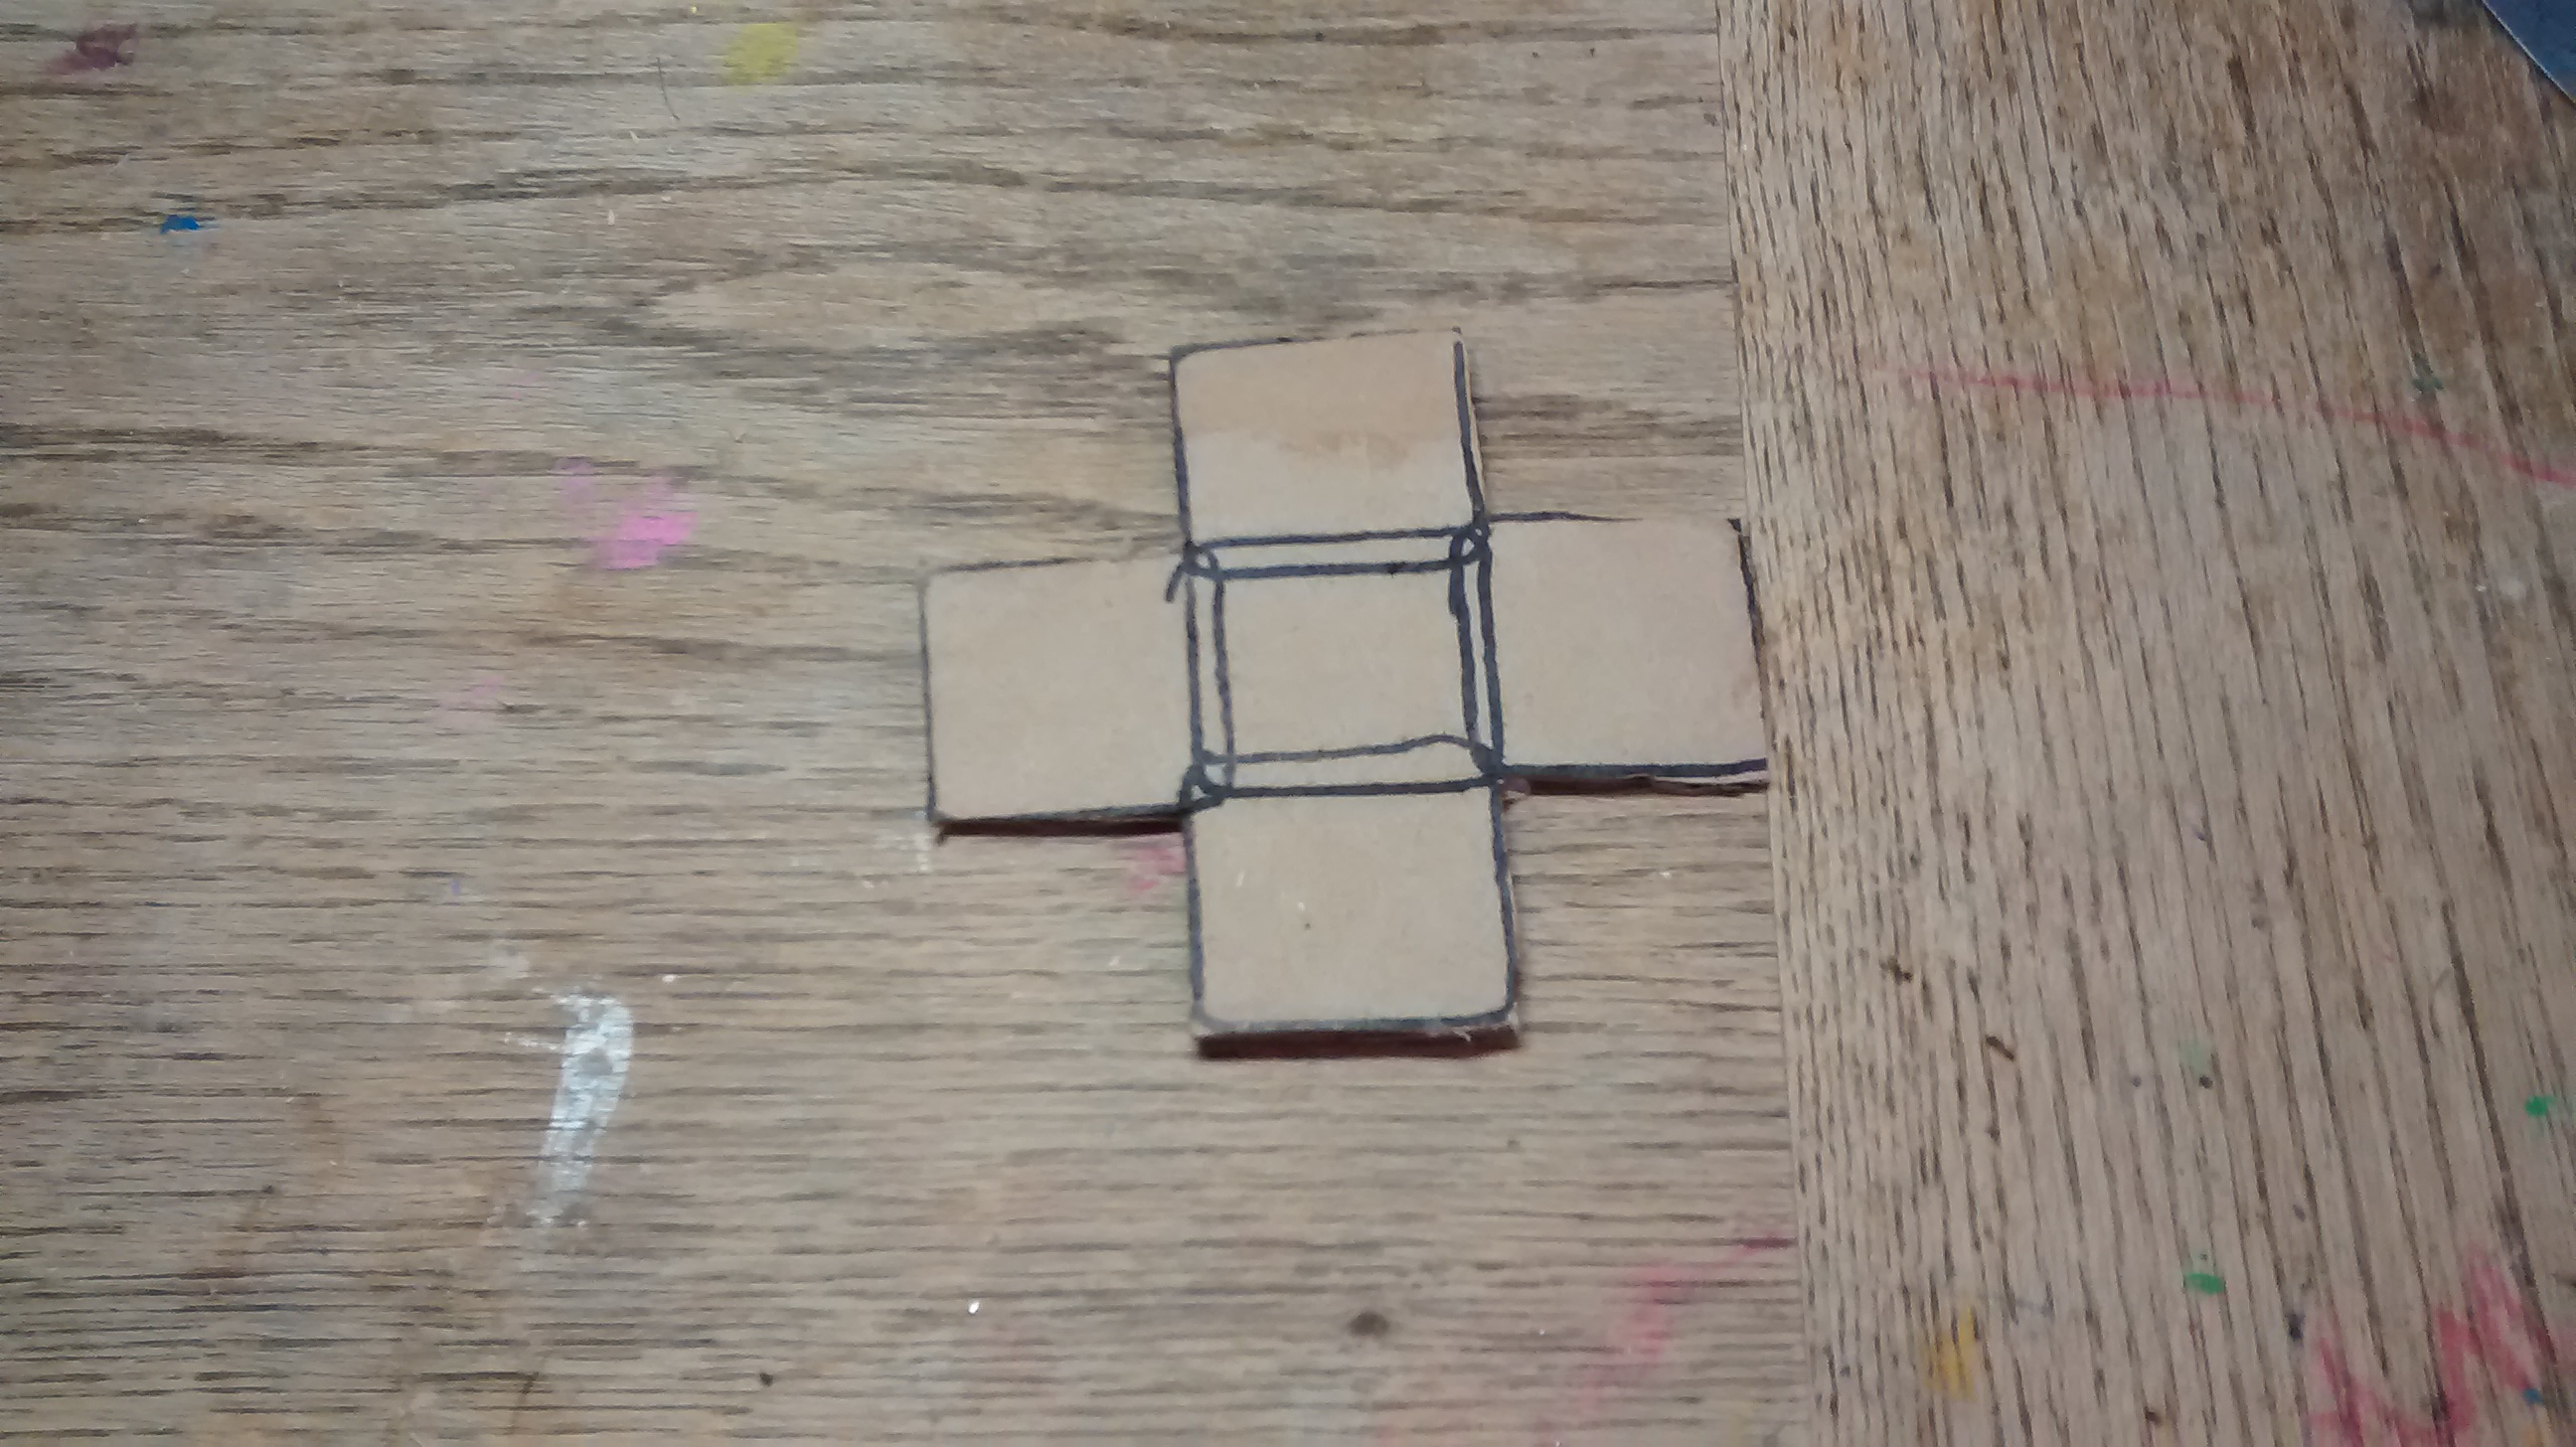
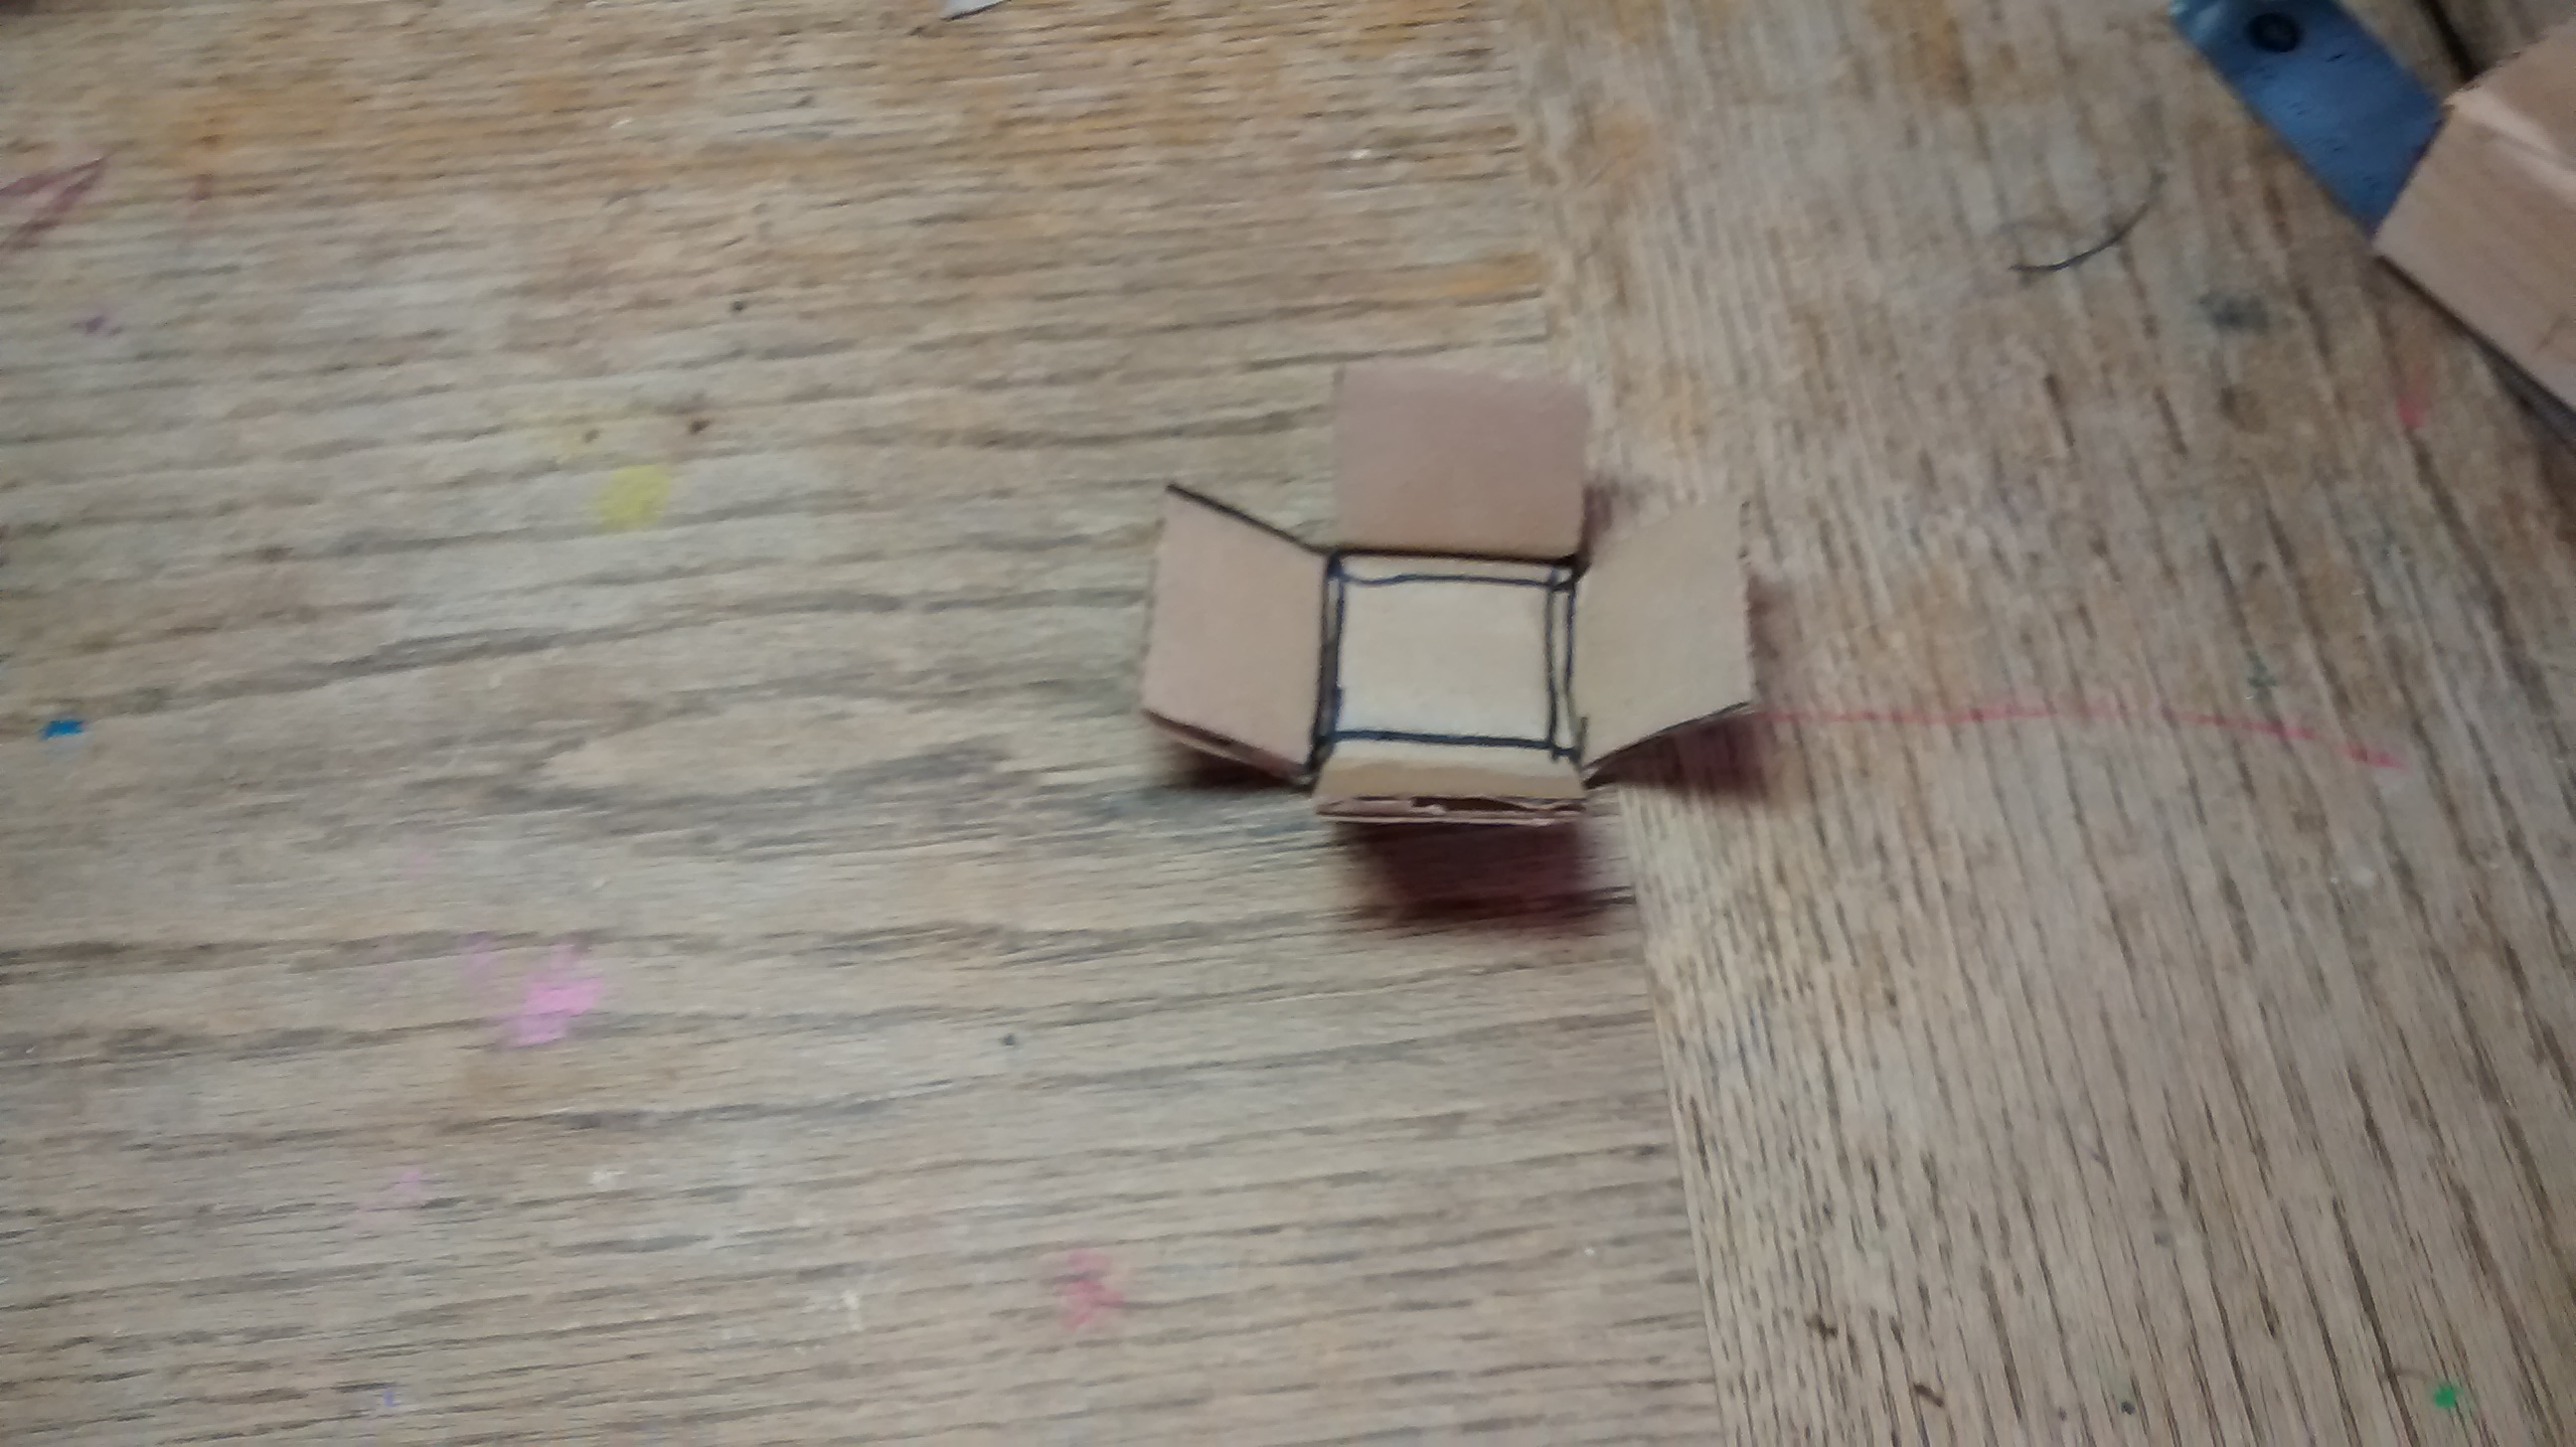
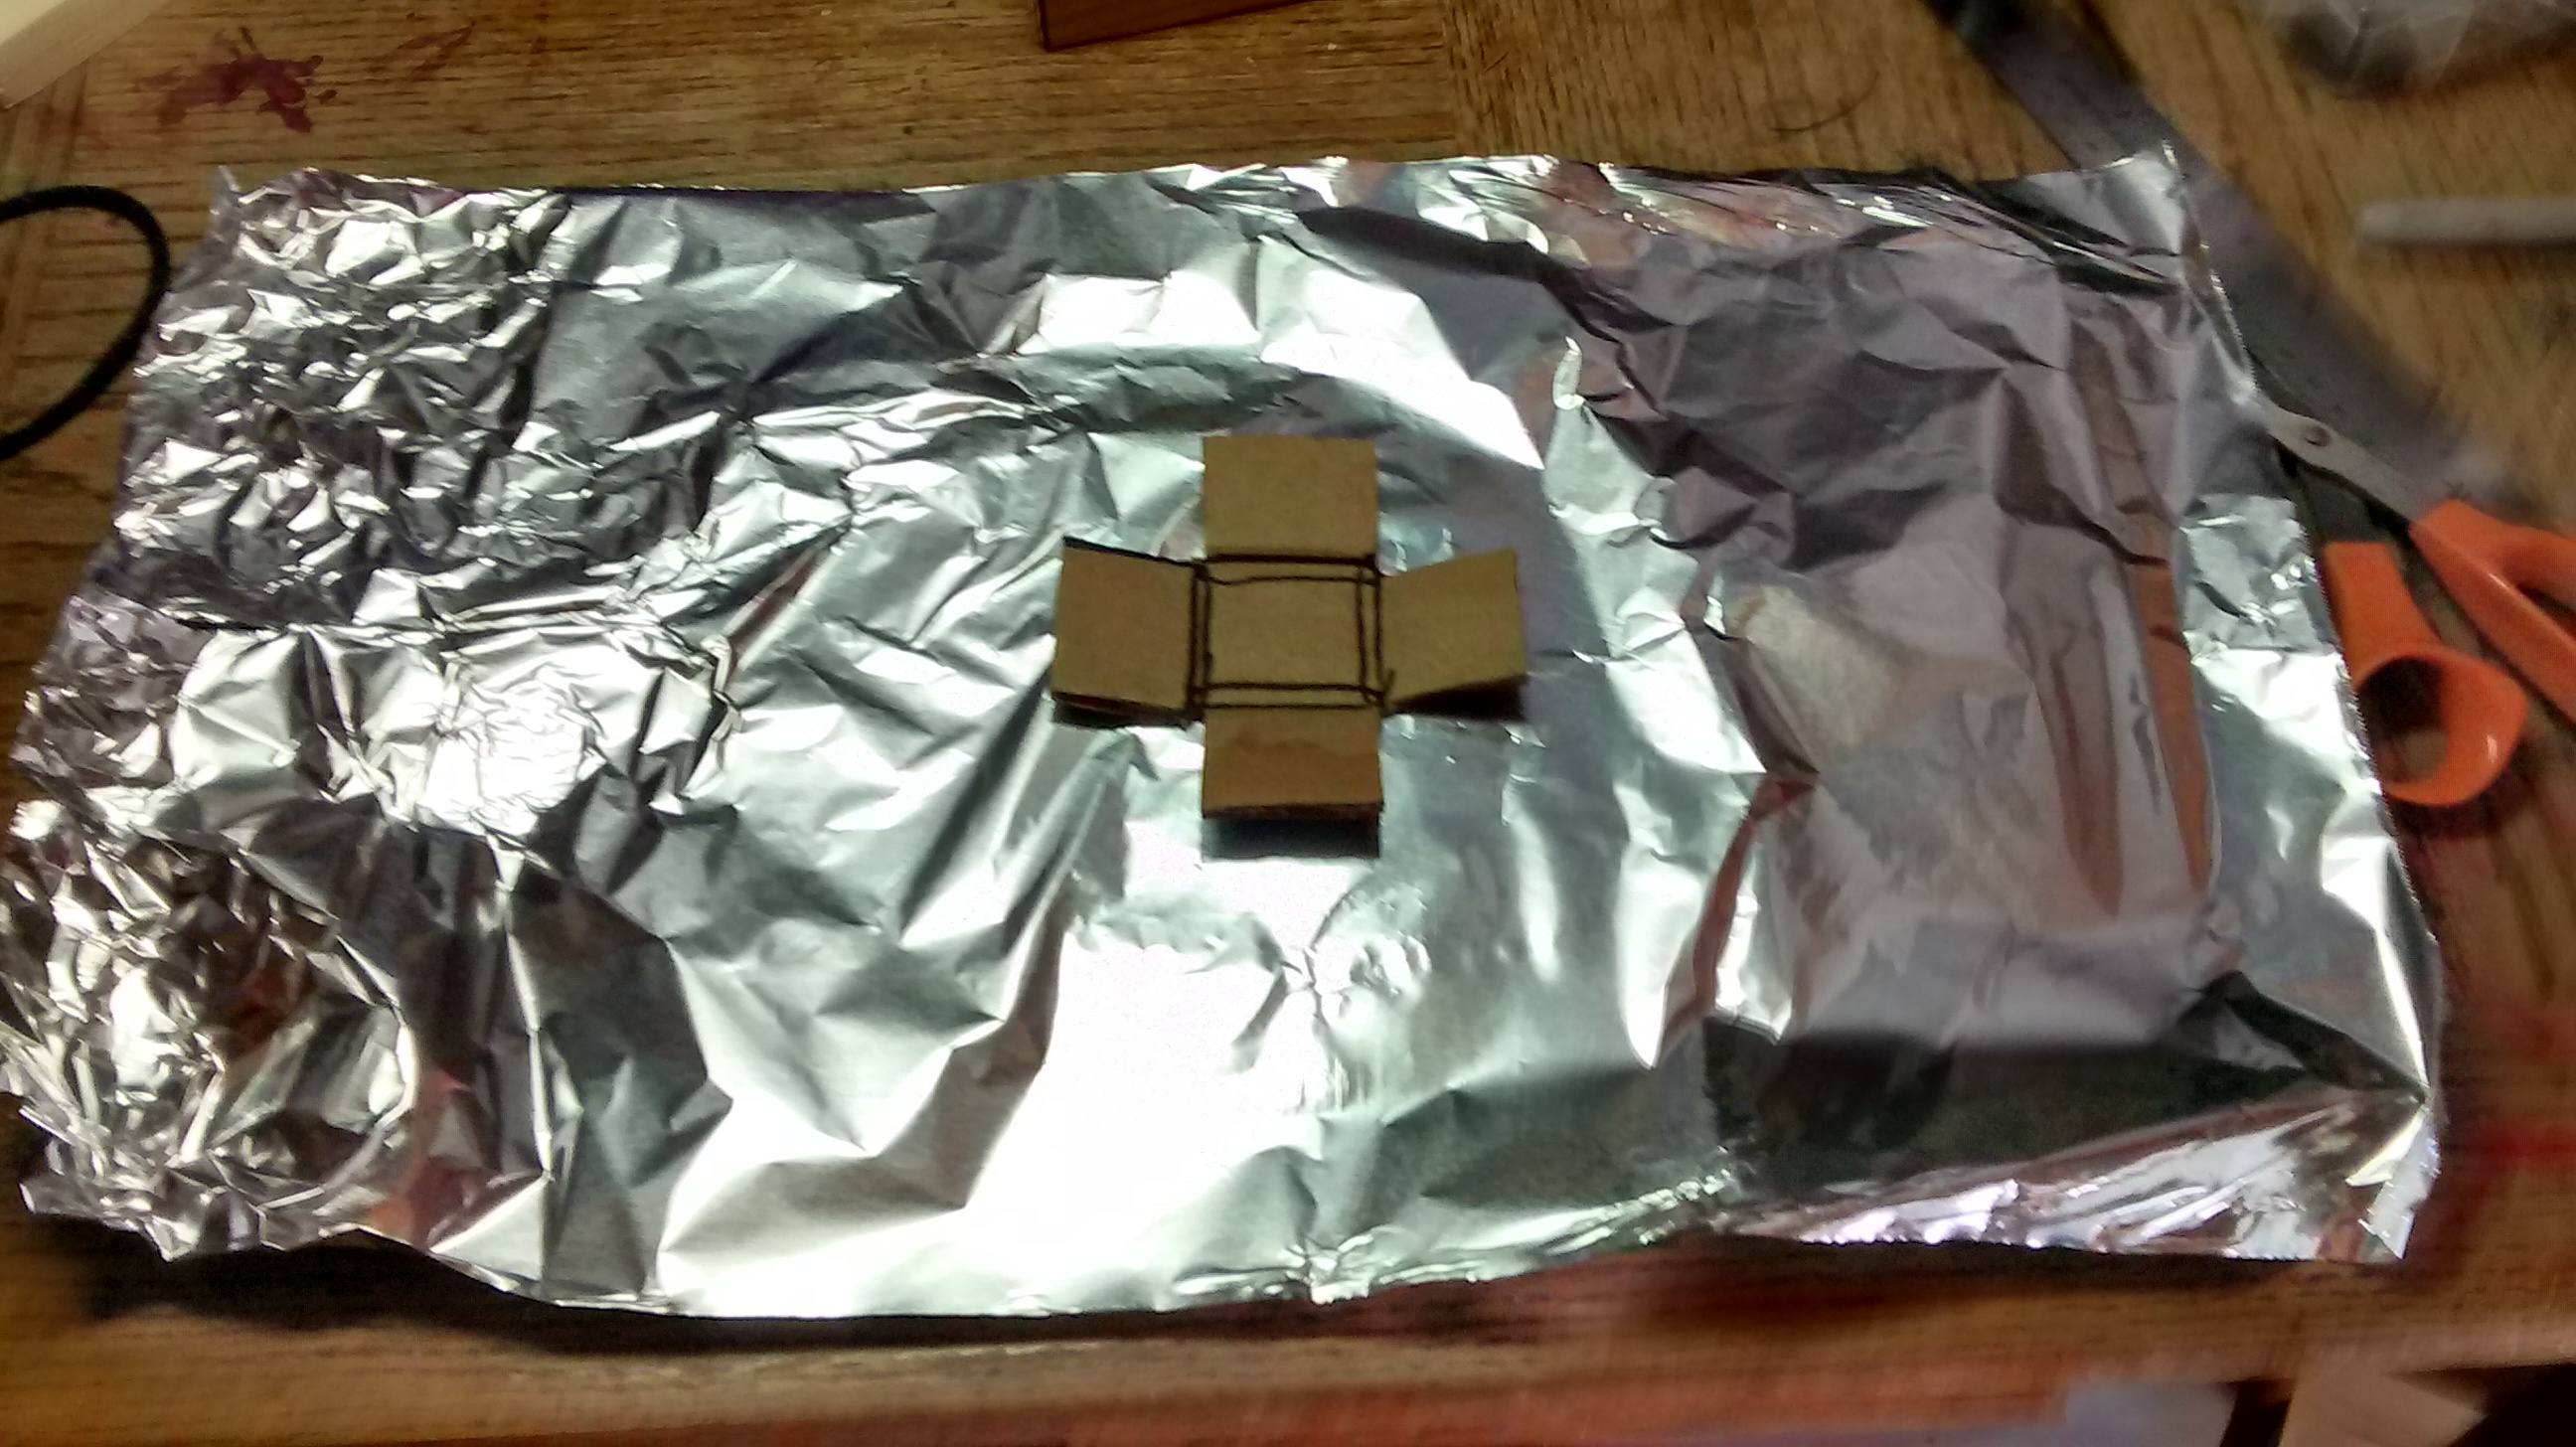
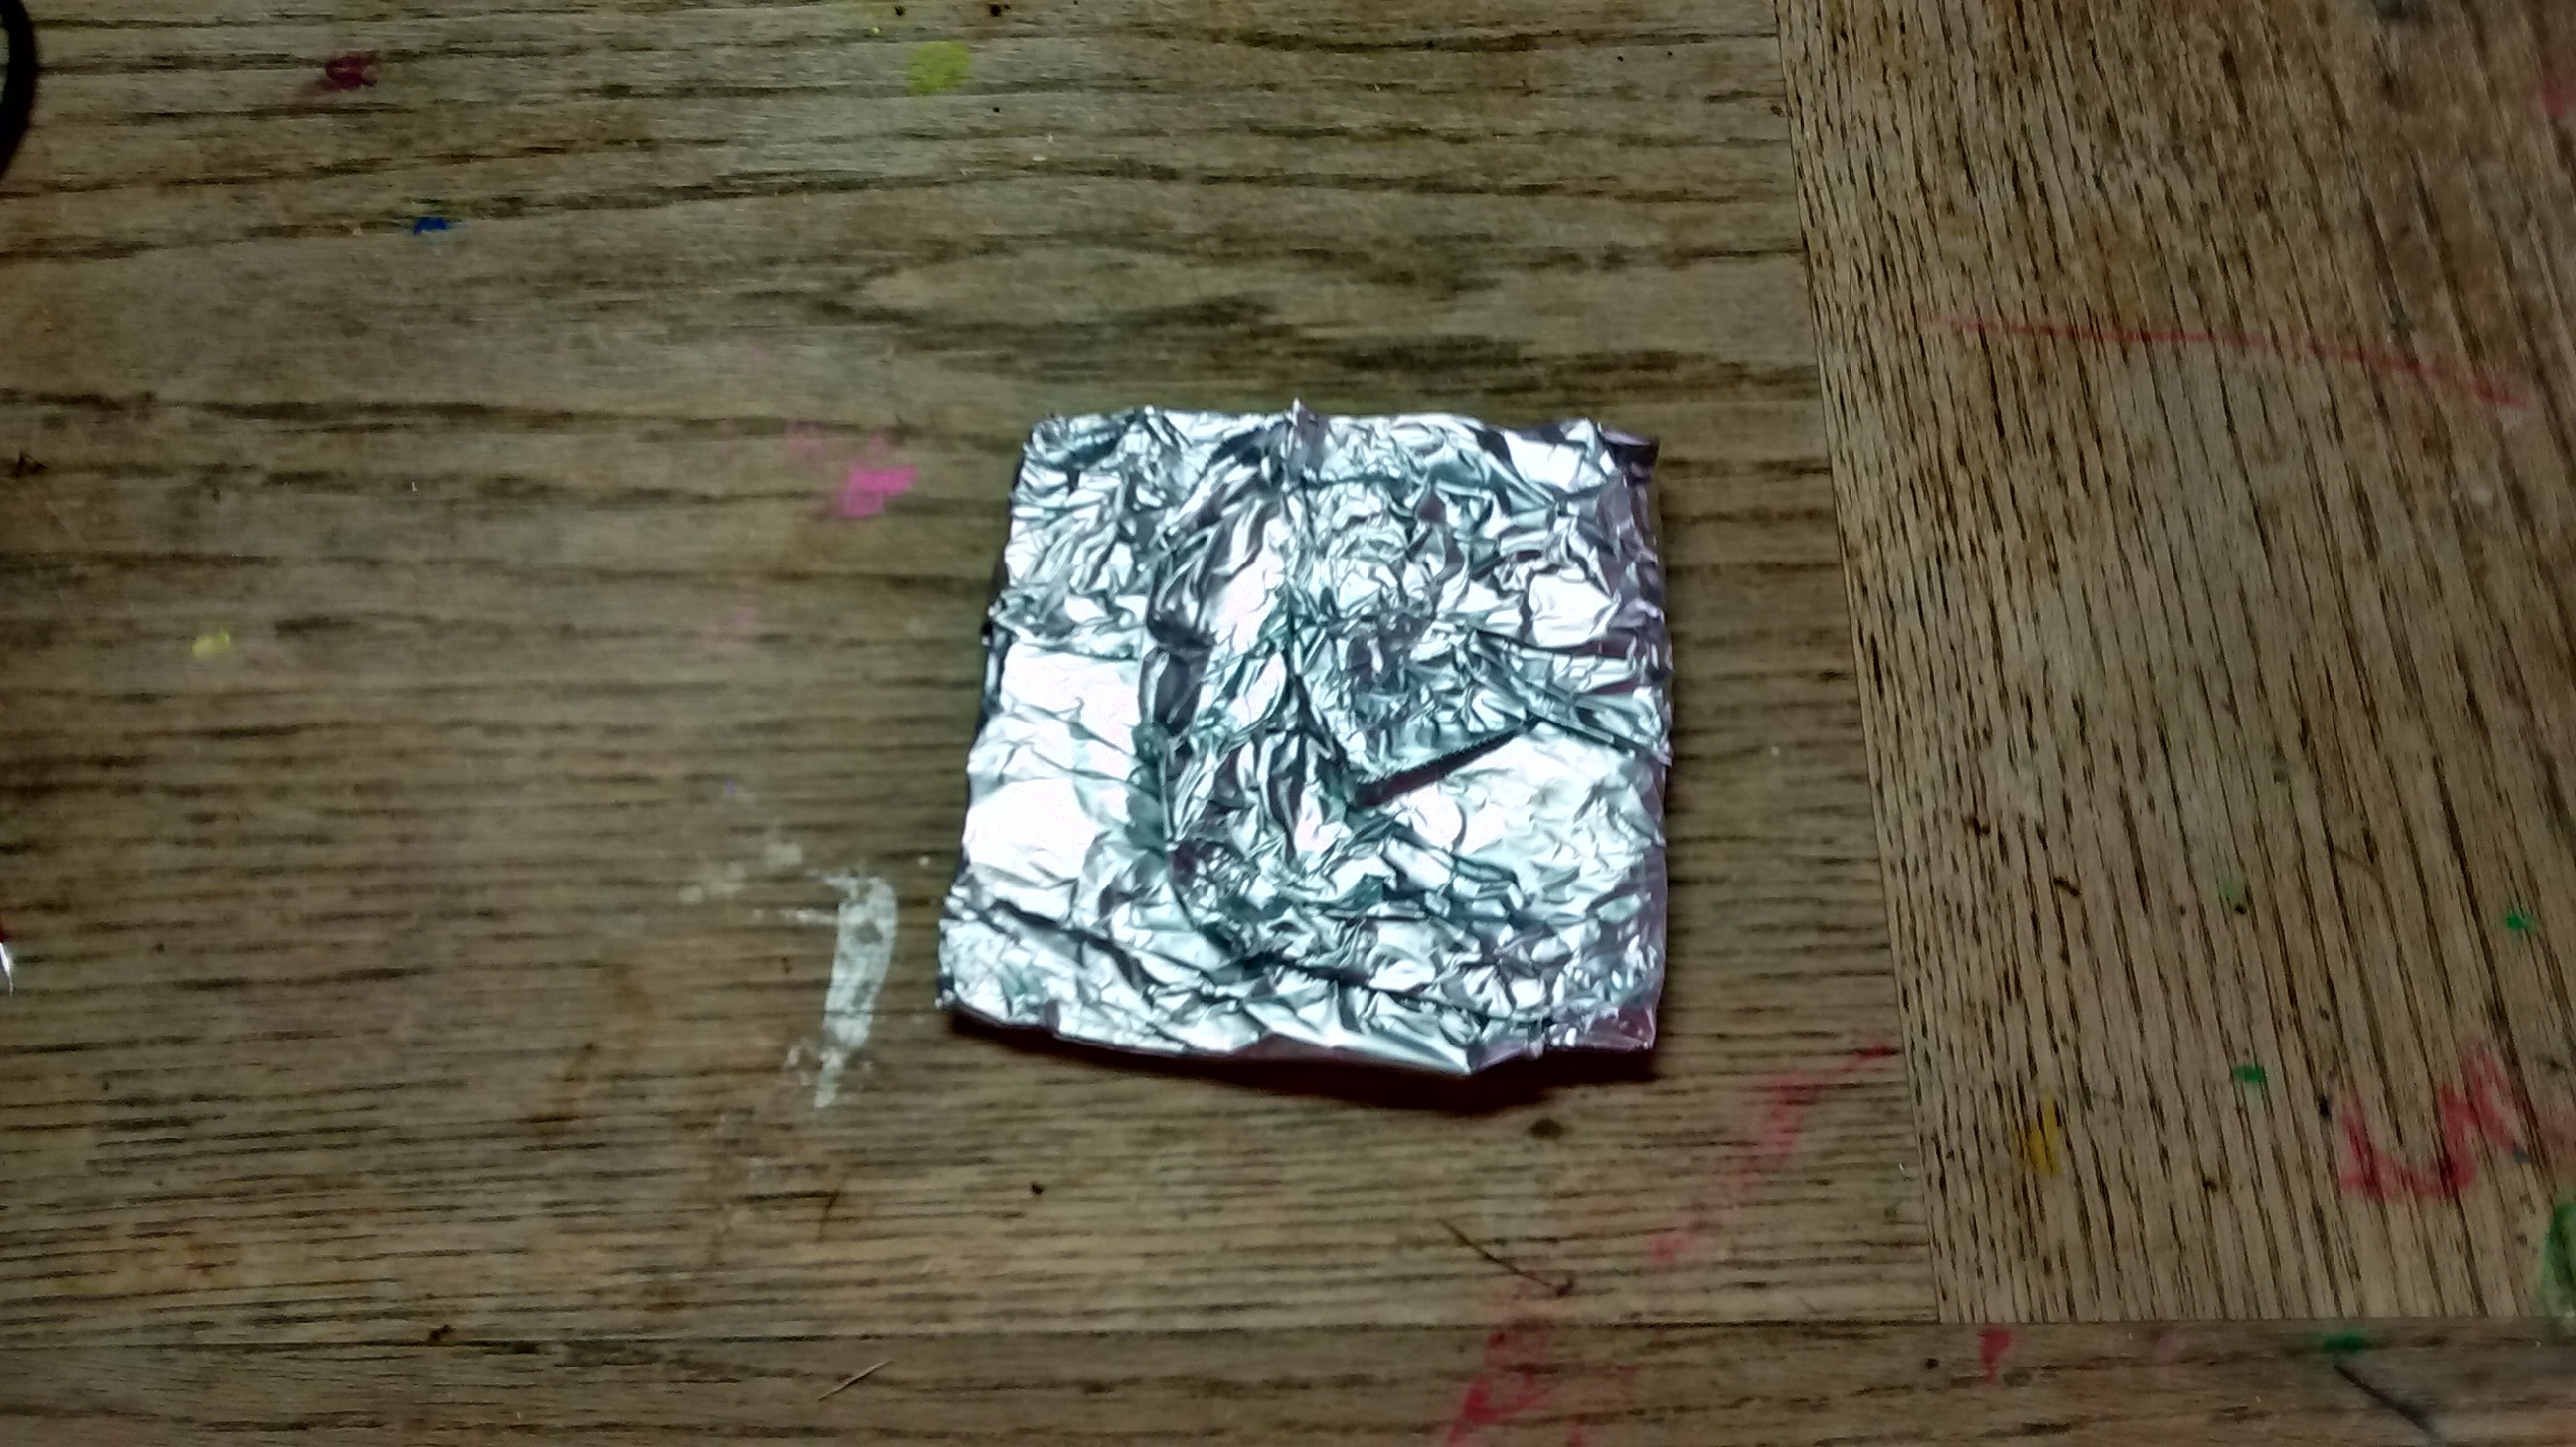
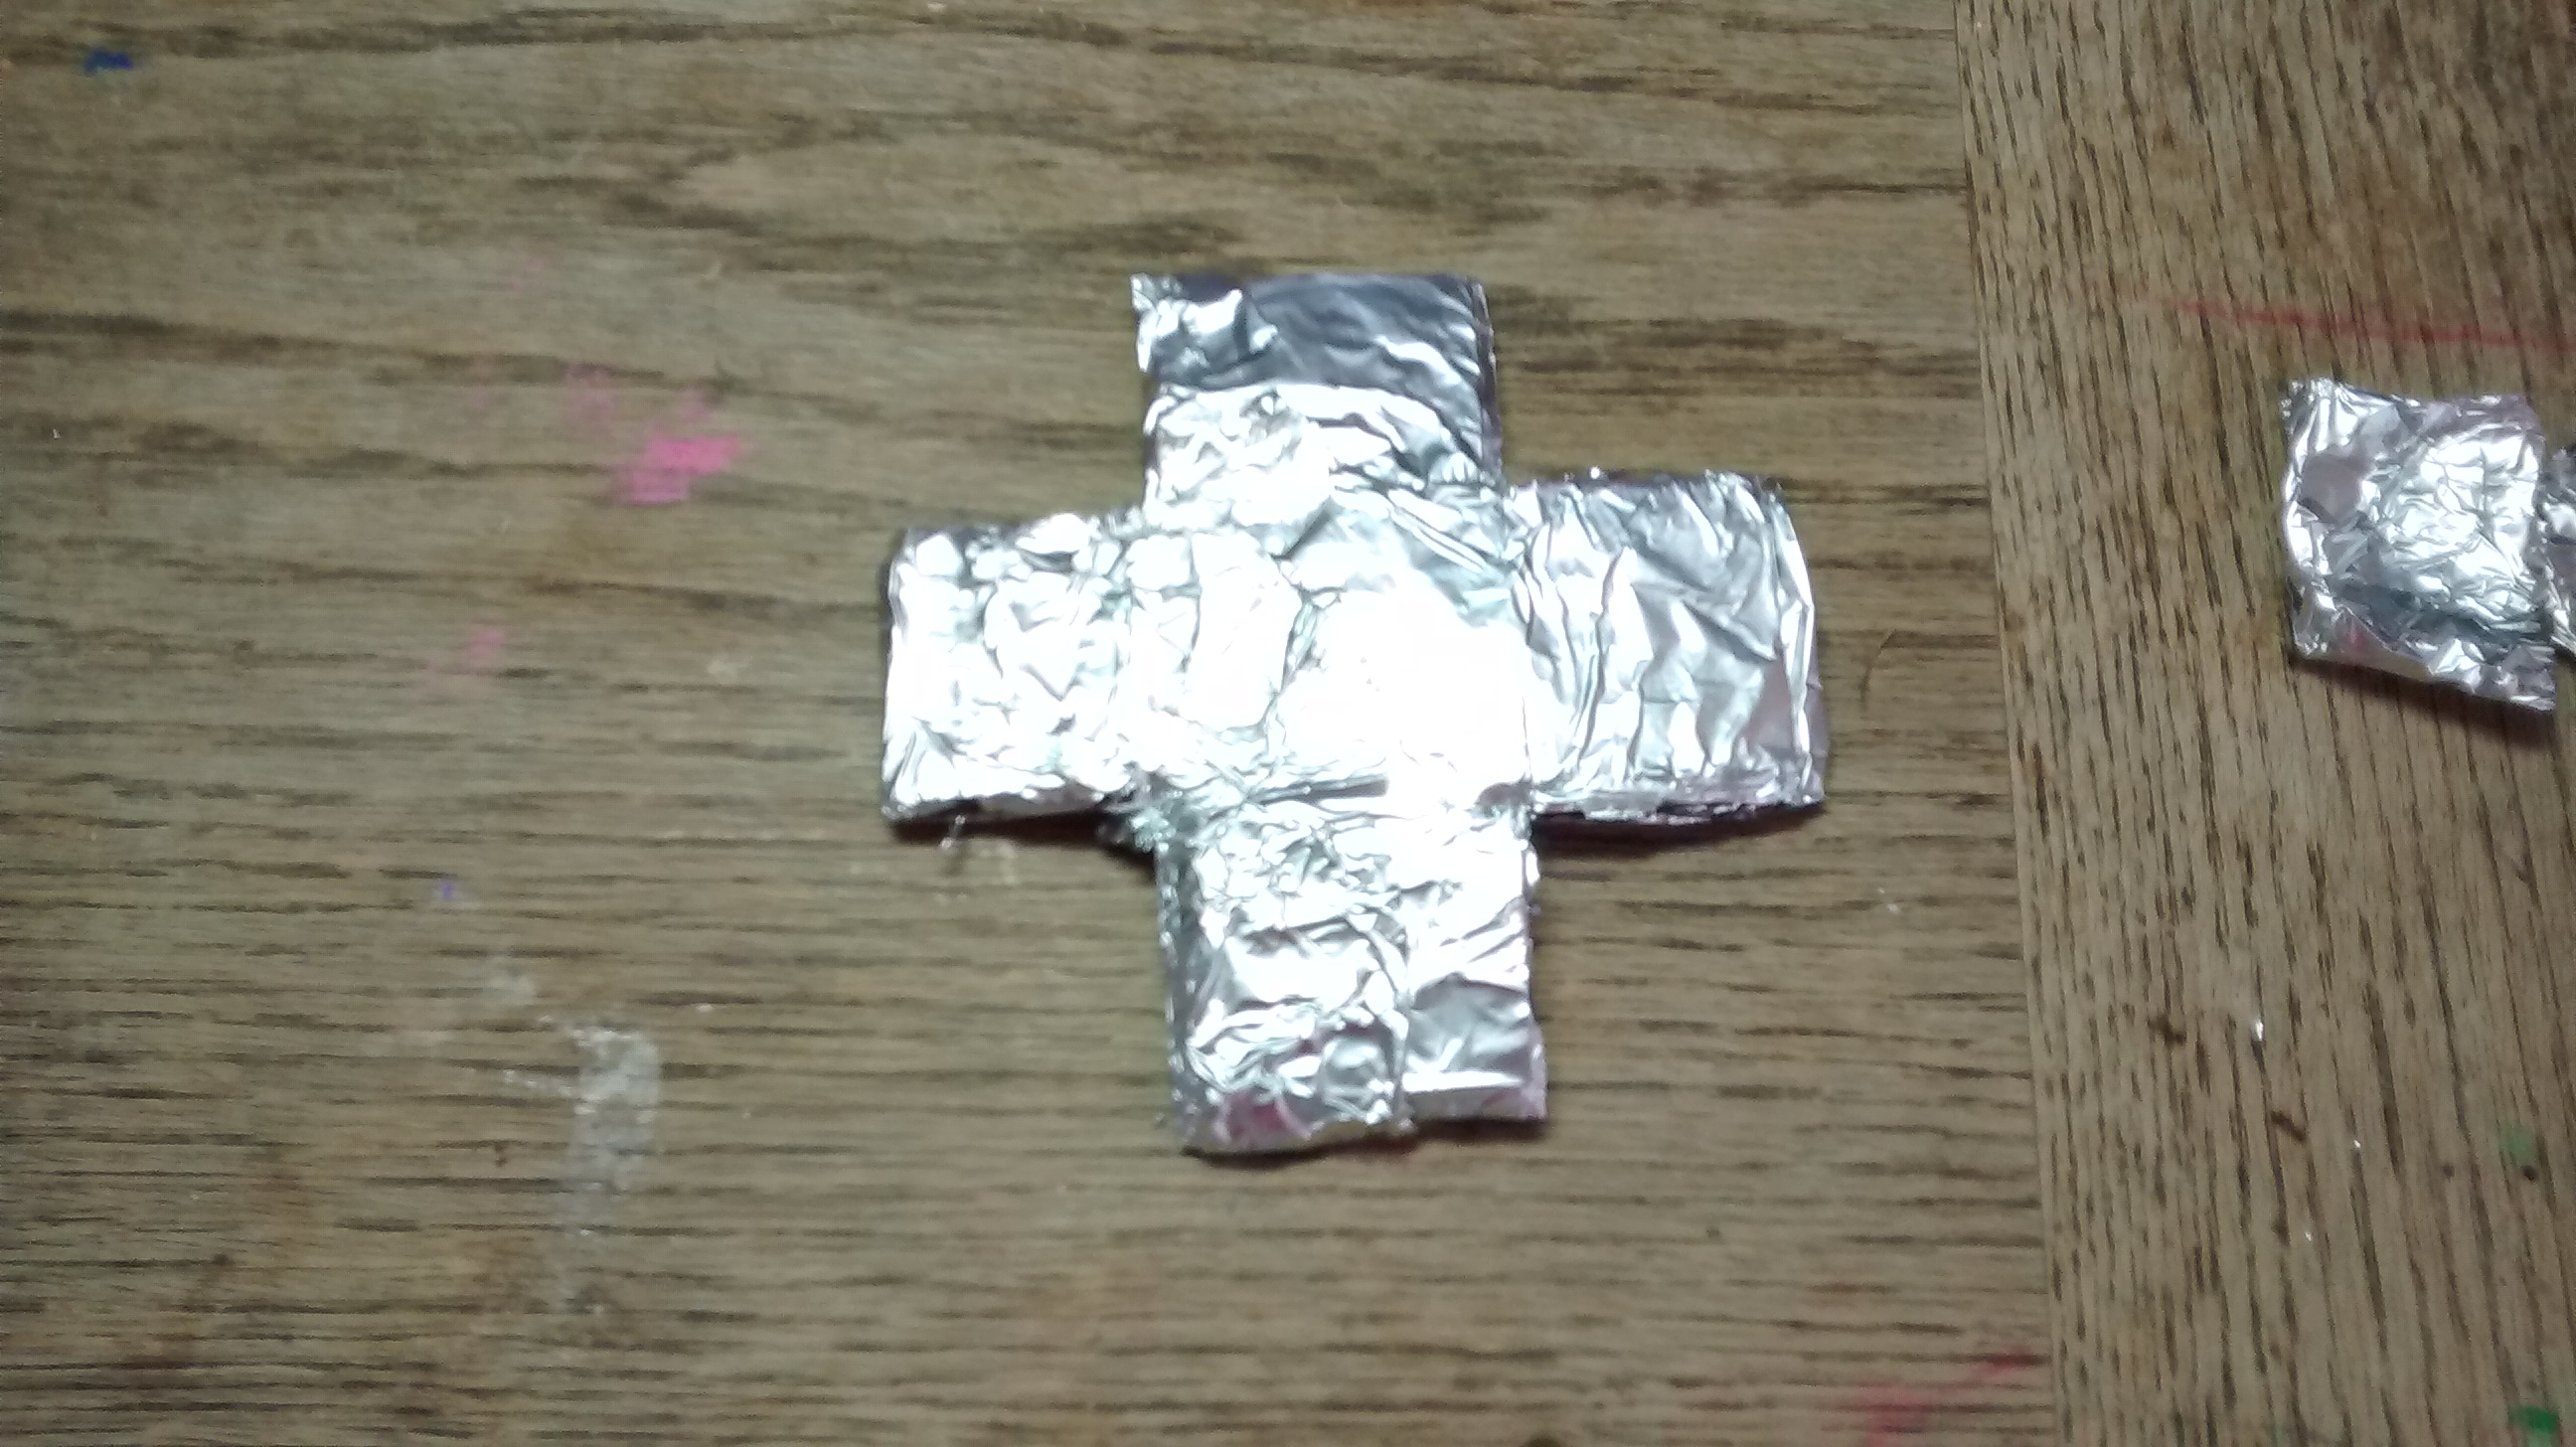
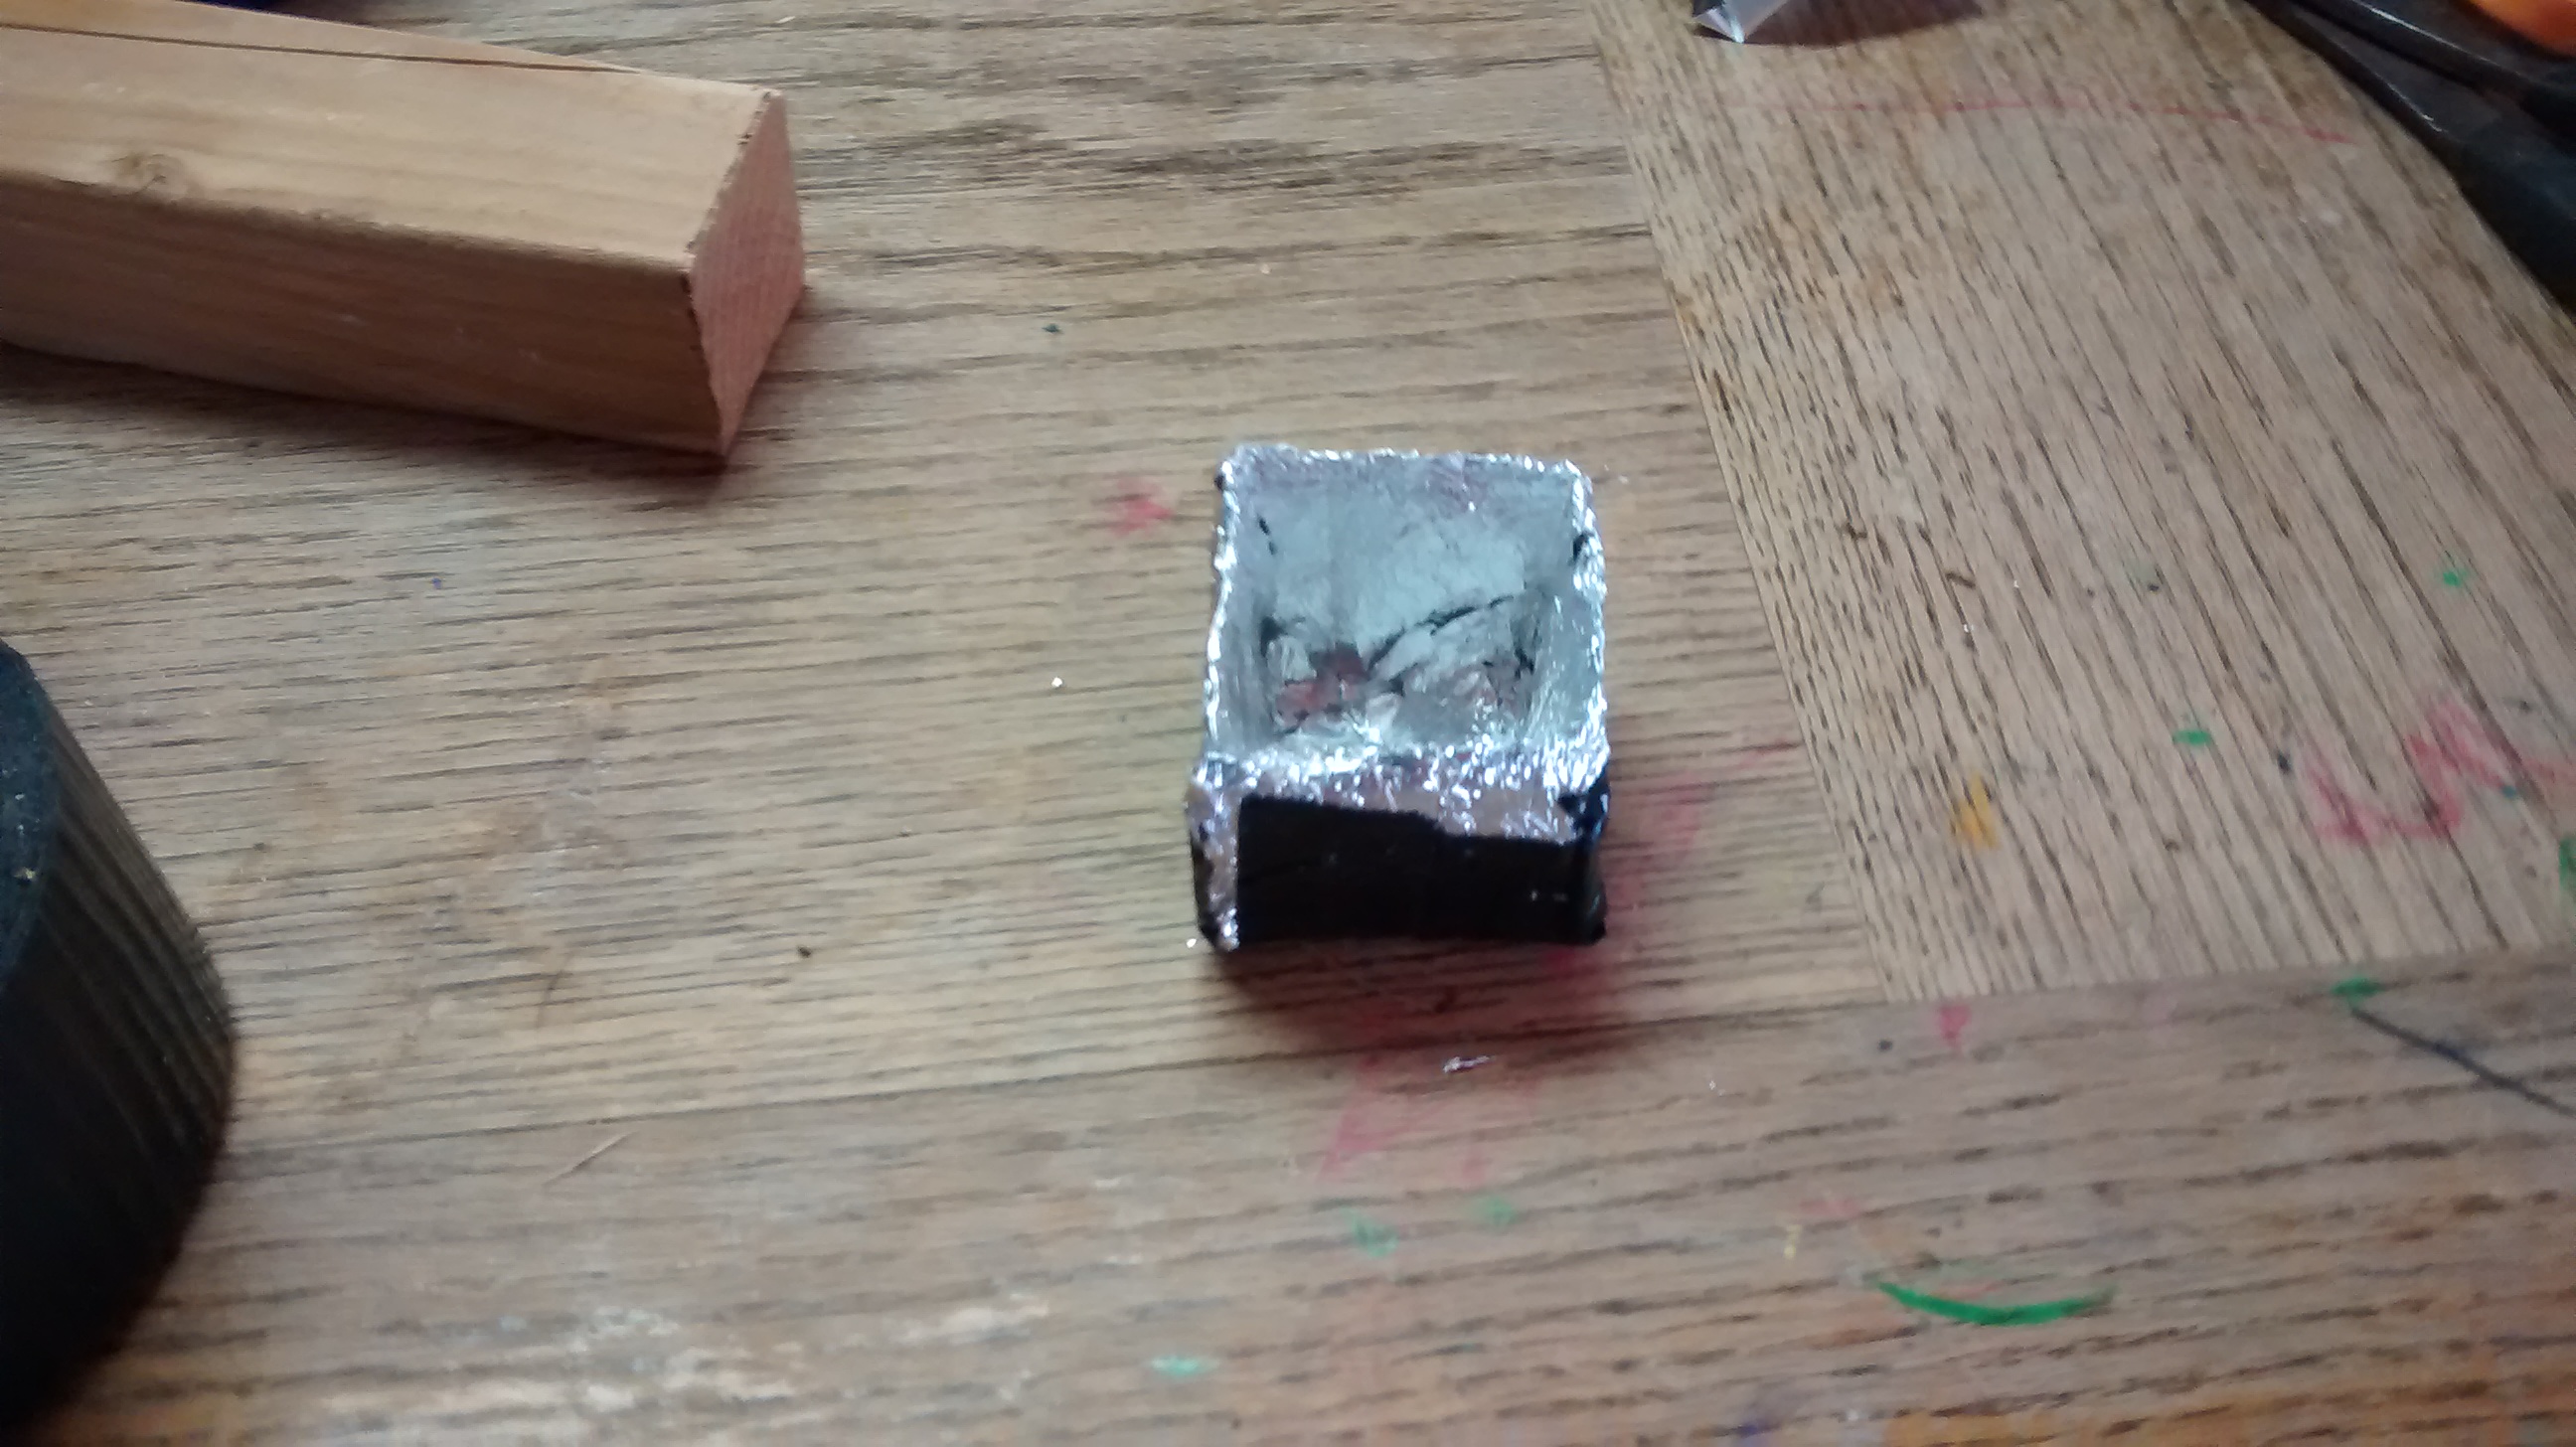
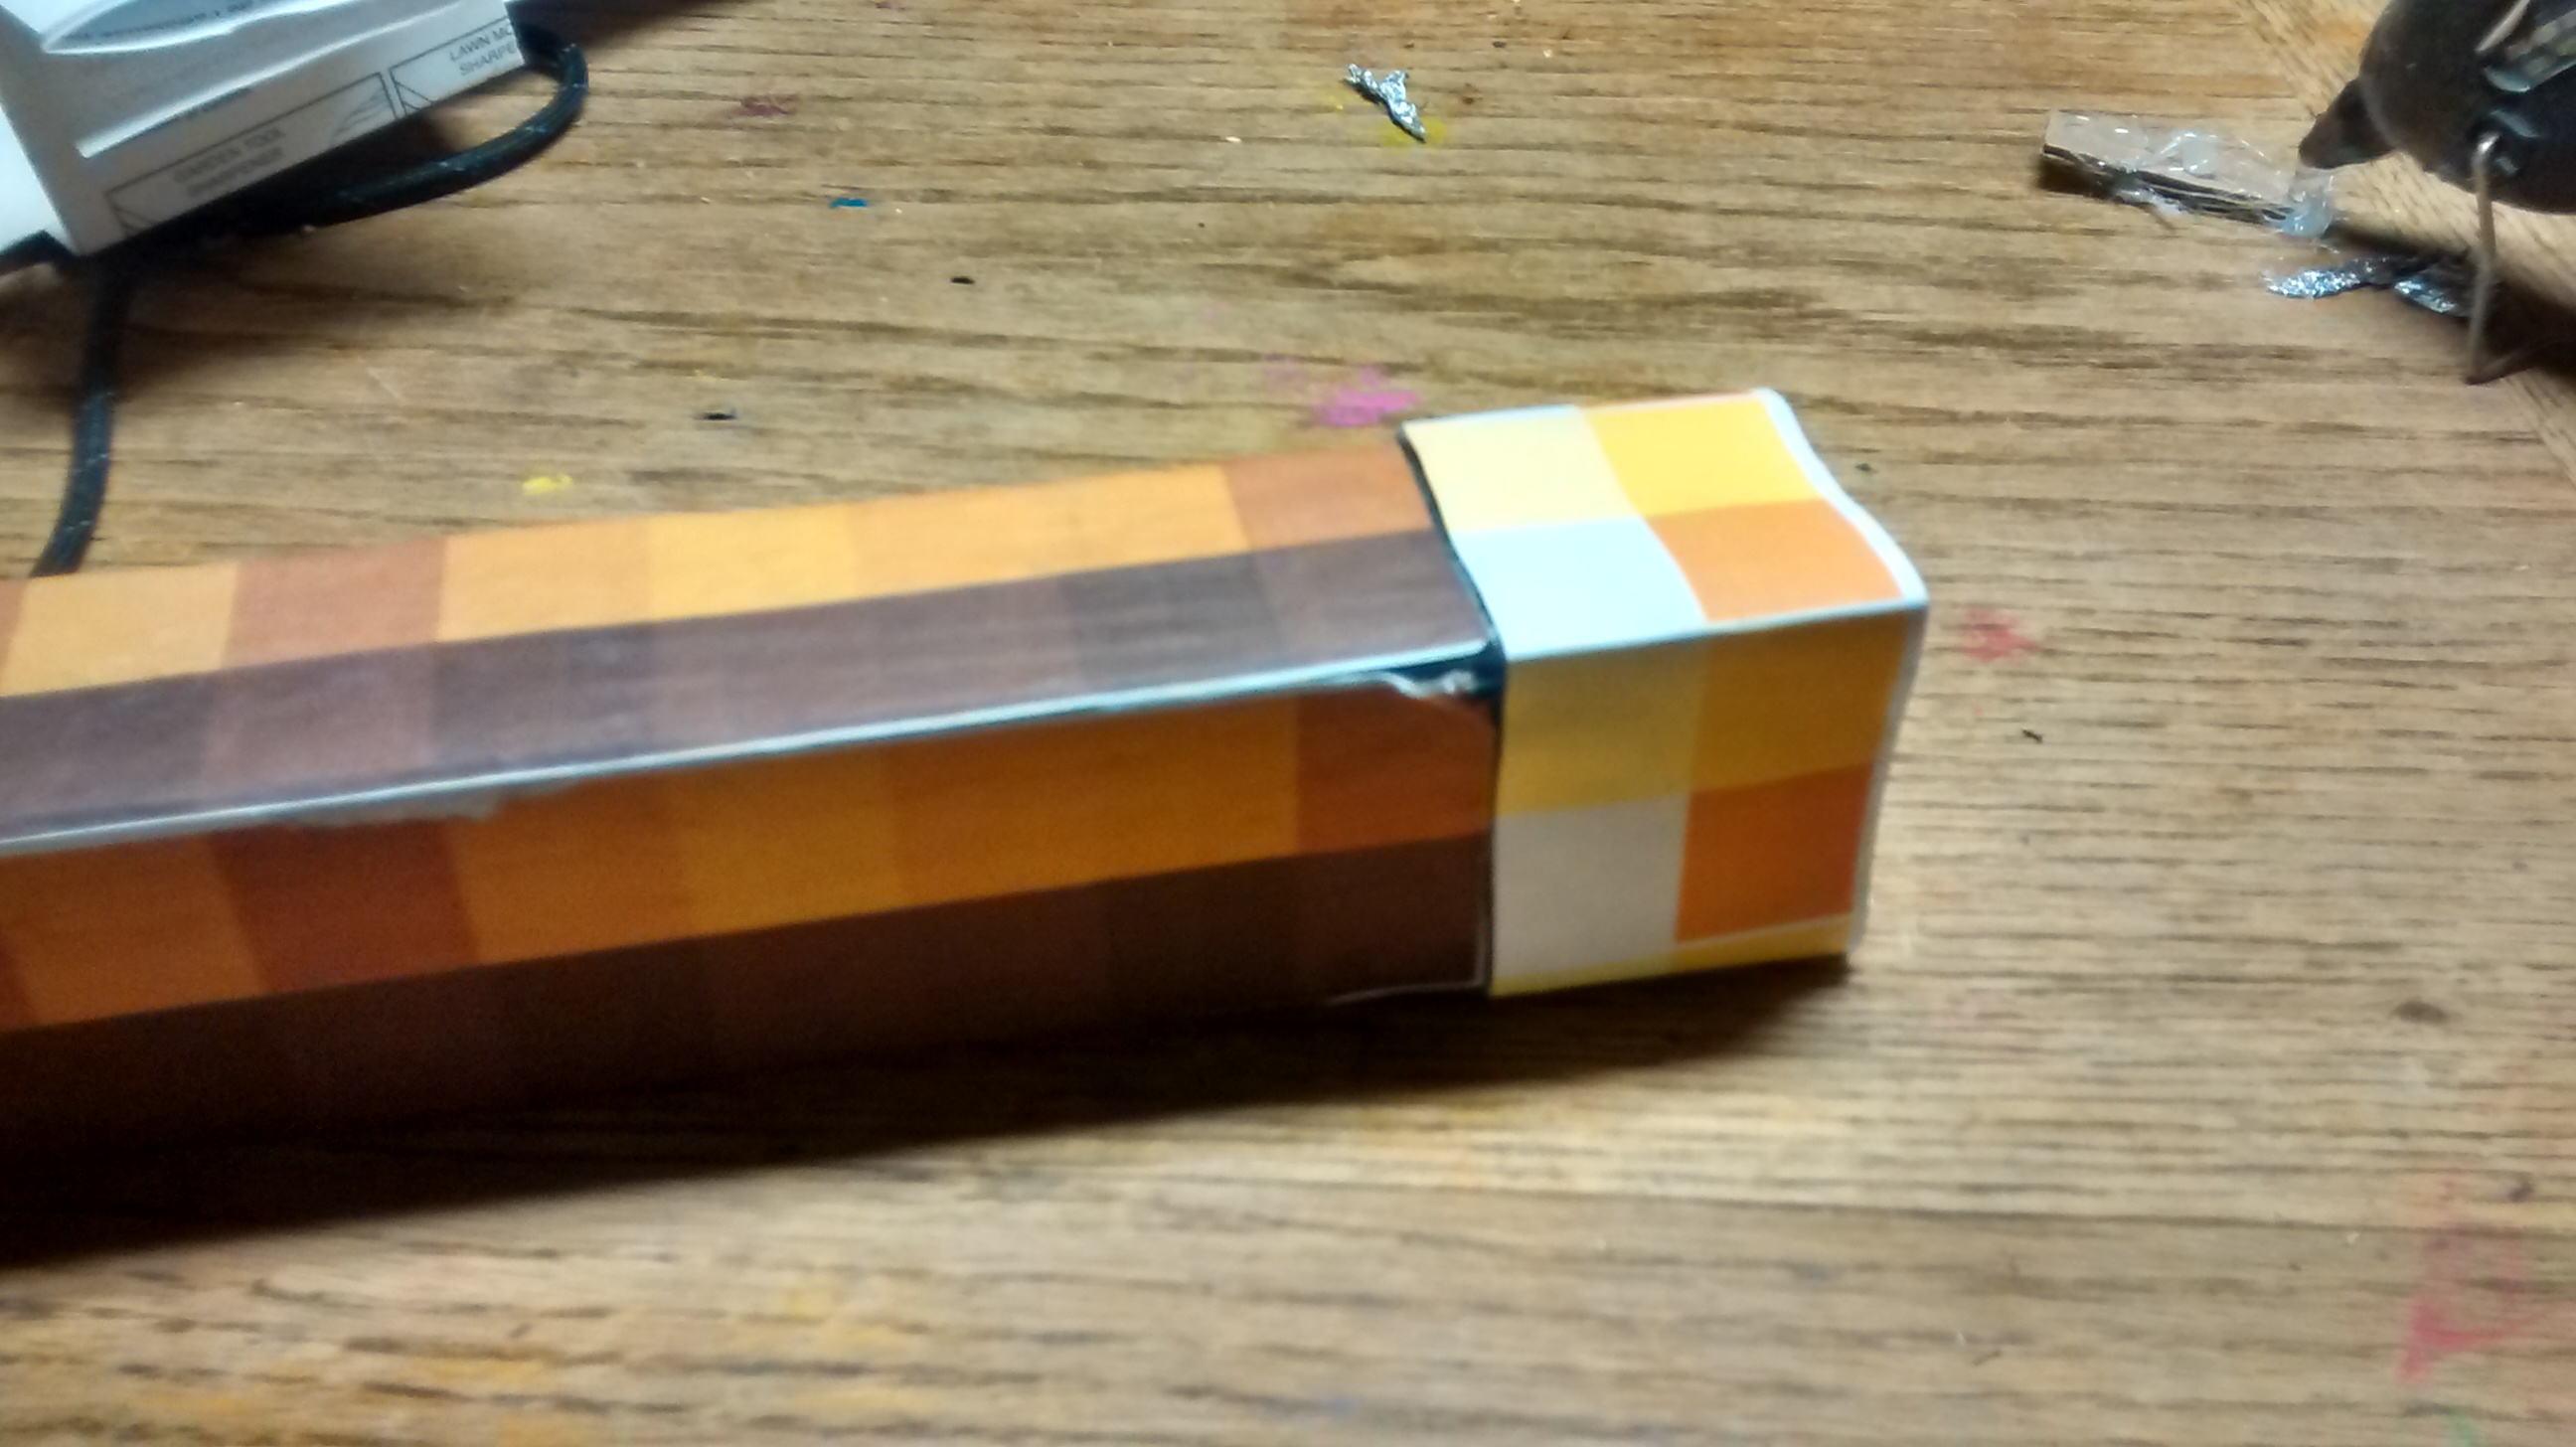
Now, create a basin outline (in cardboard, although something that isn't flammable would be preffered), that will fit on top of the torch. Above pictures how I did it, but you can find your own way (mine didn't work very well). Then cut out your basin outline, and fold the corners. I then wrapped the cardboard in tin foil in order to protect it. I then used duct tape to tape it together.
Attaching the Fire Basin and Main Body
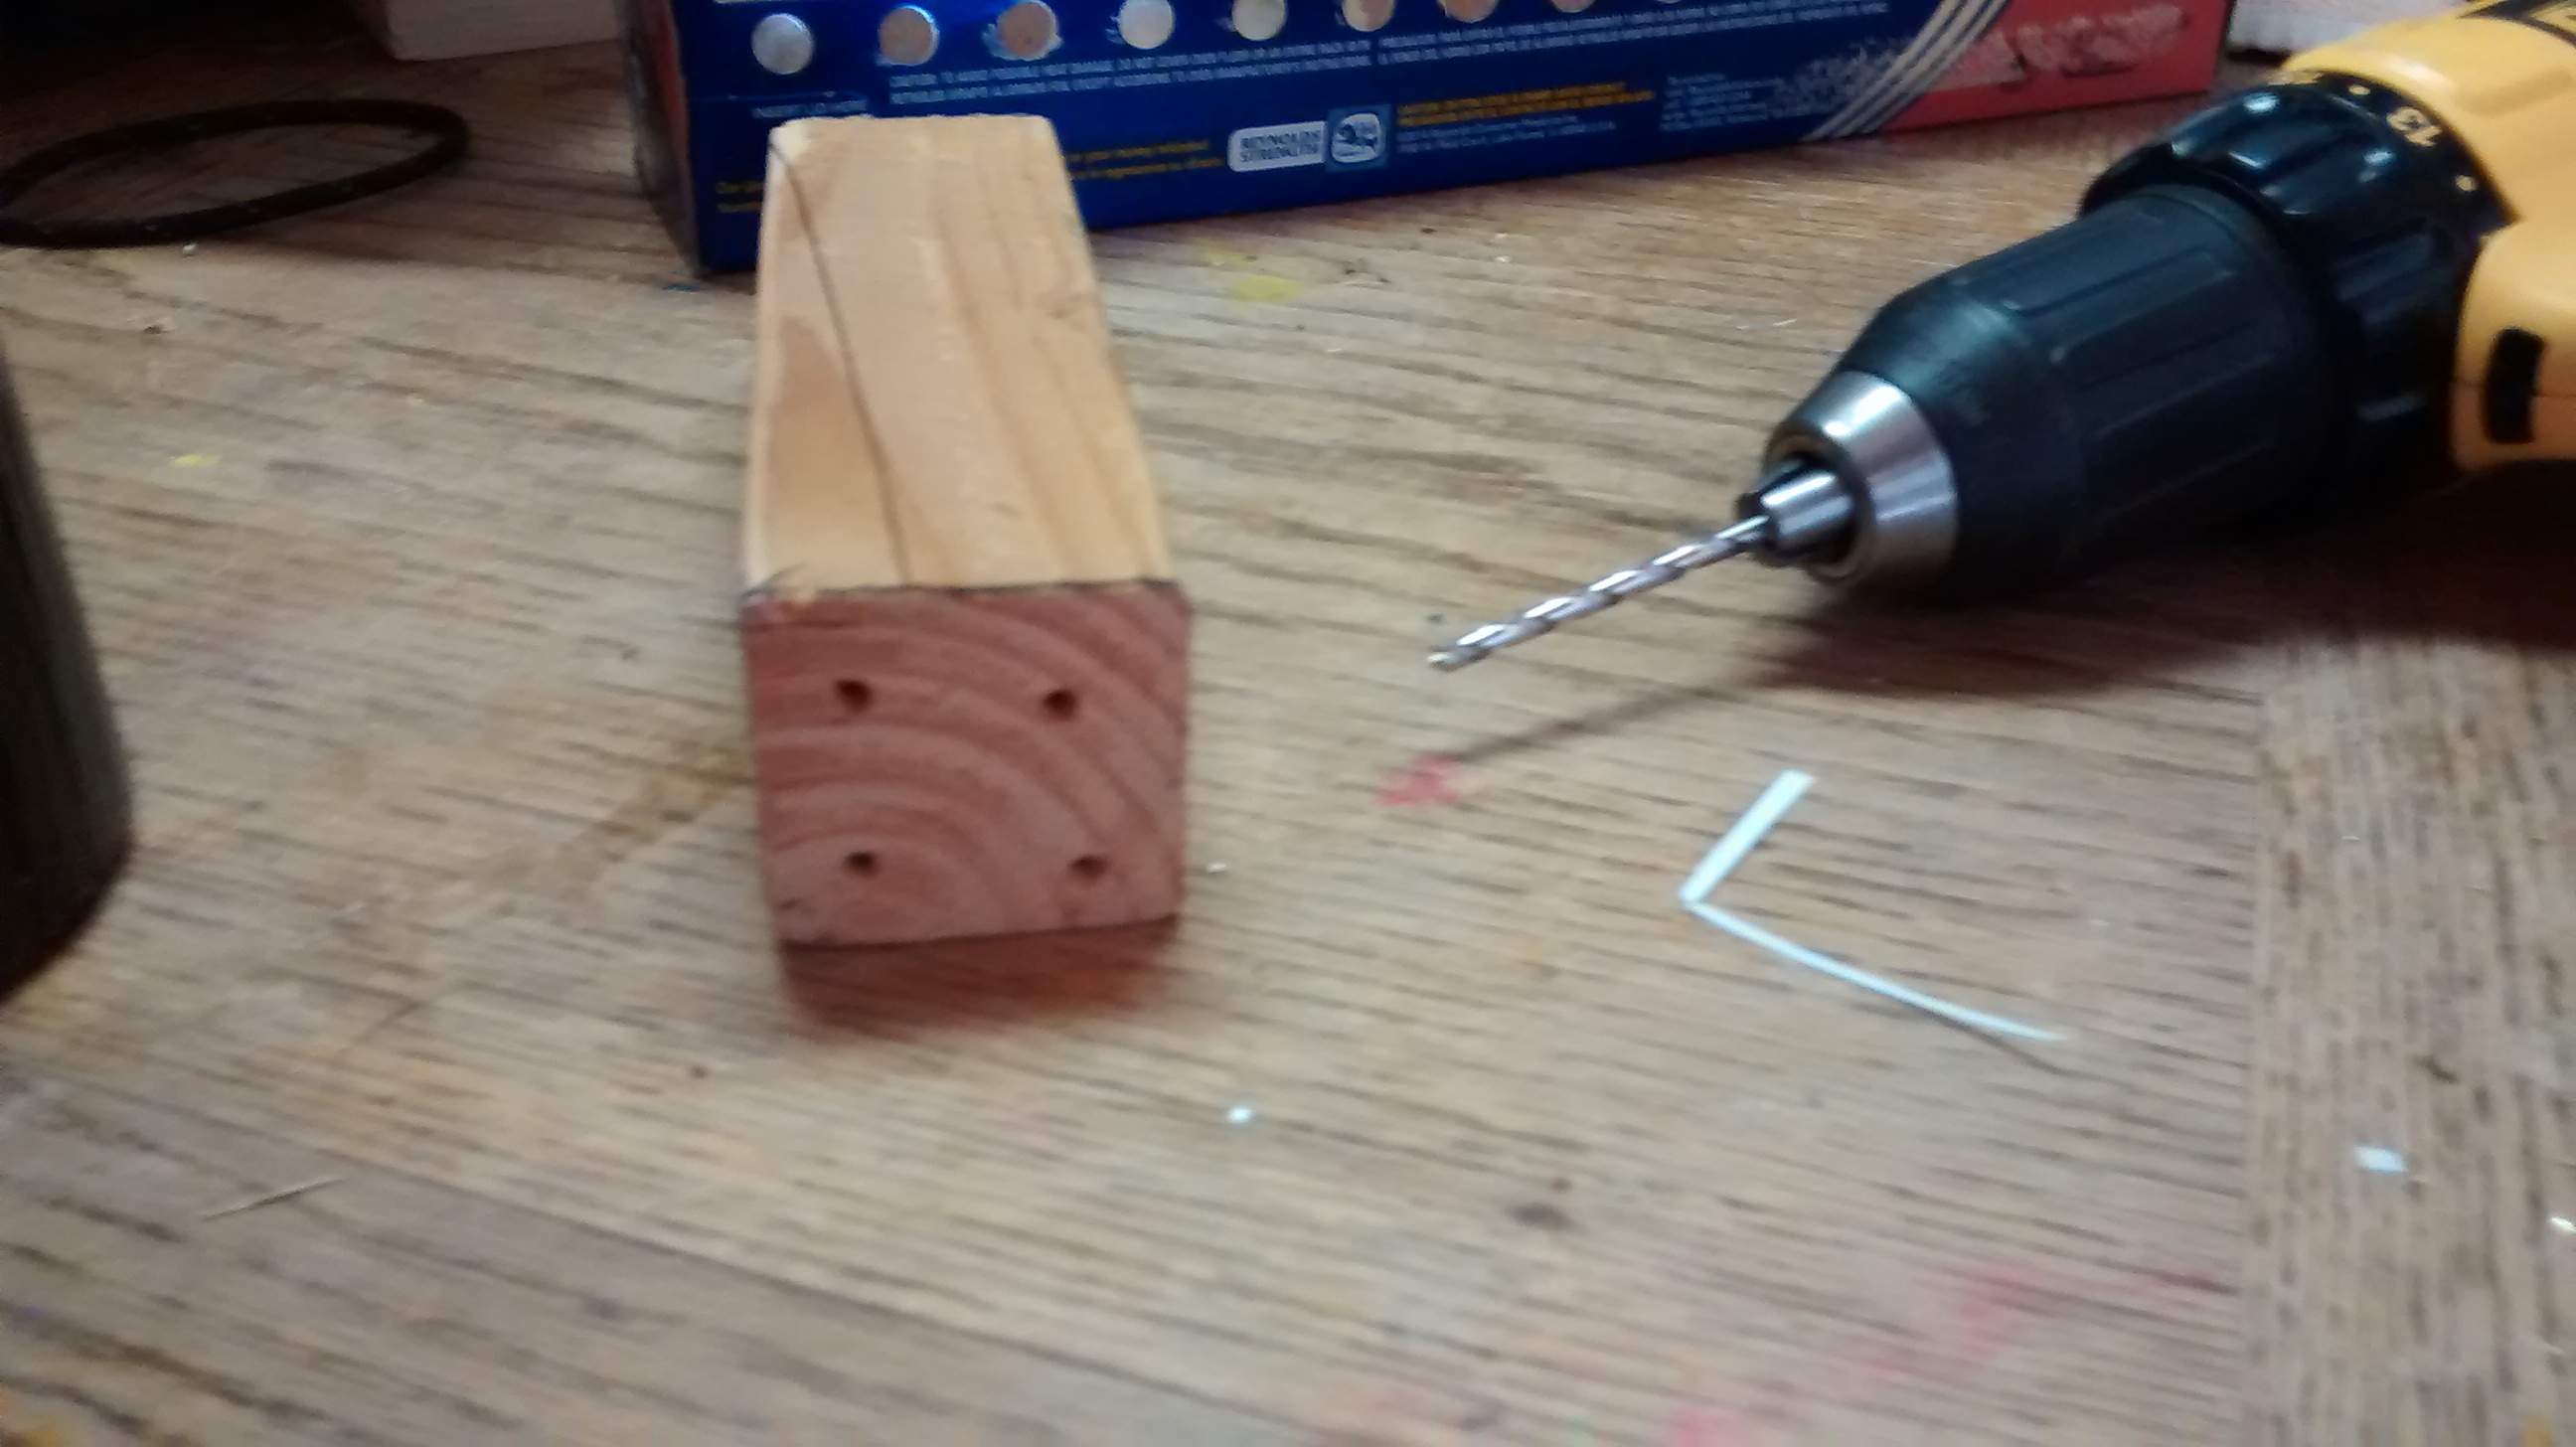
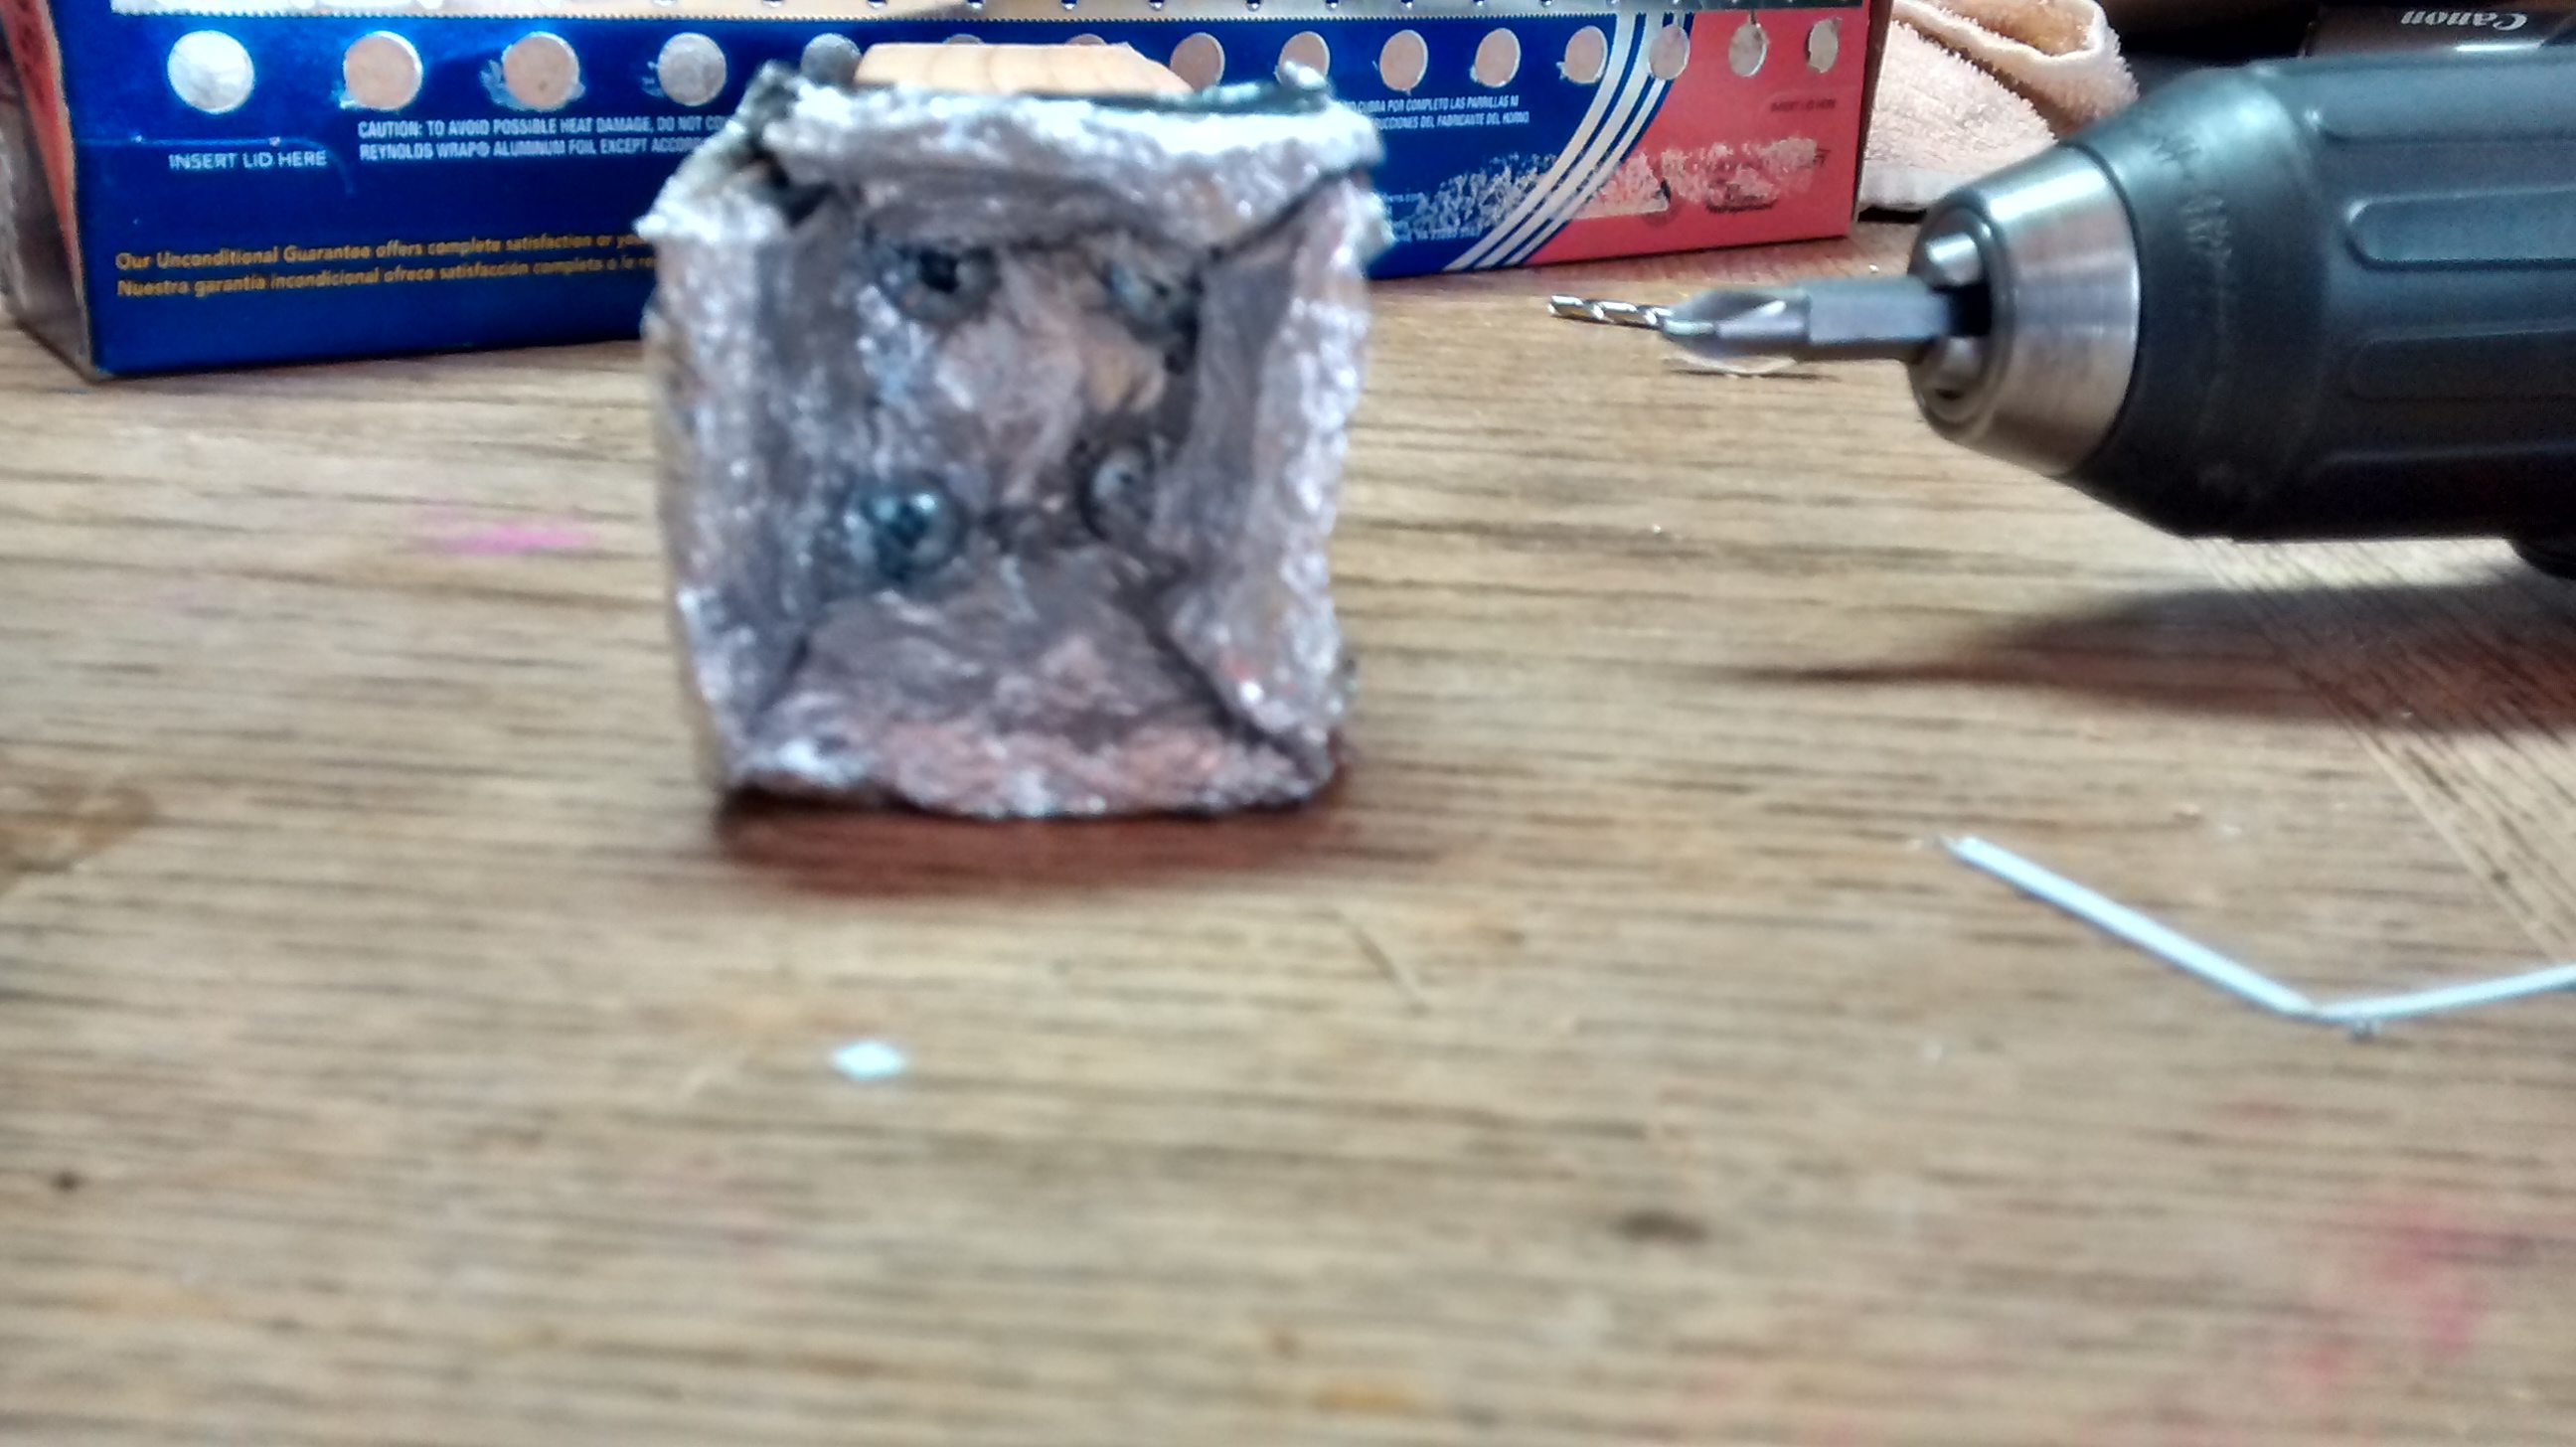
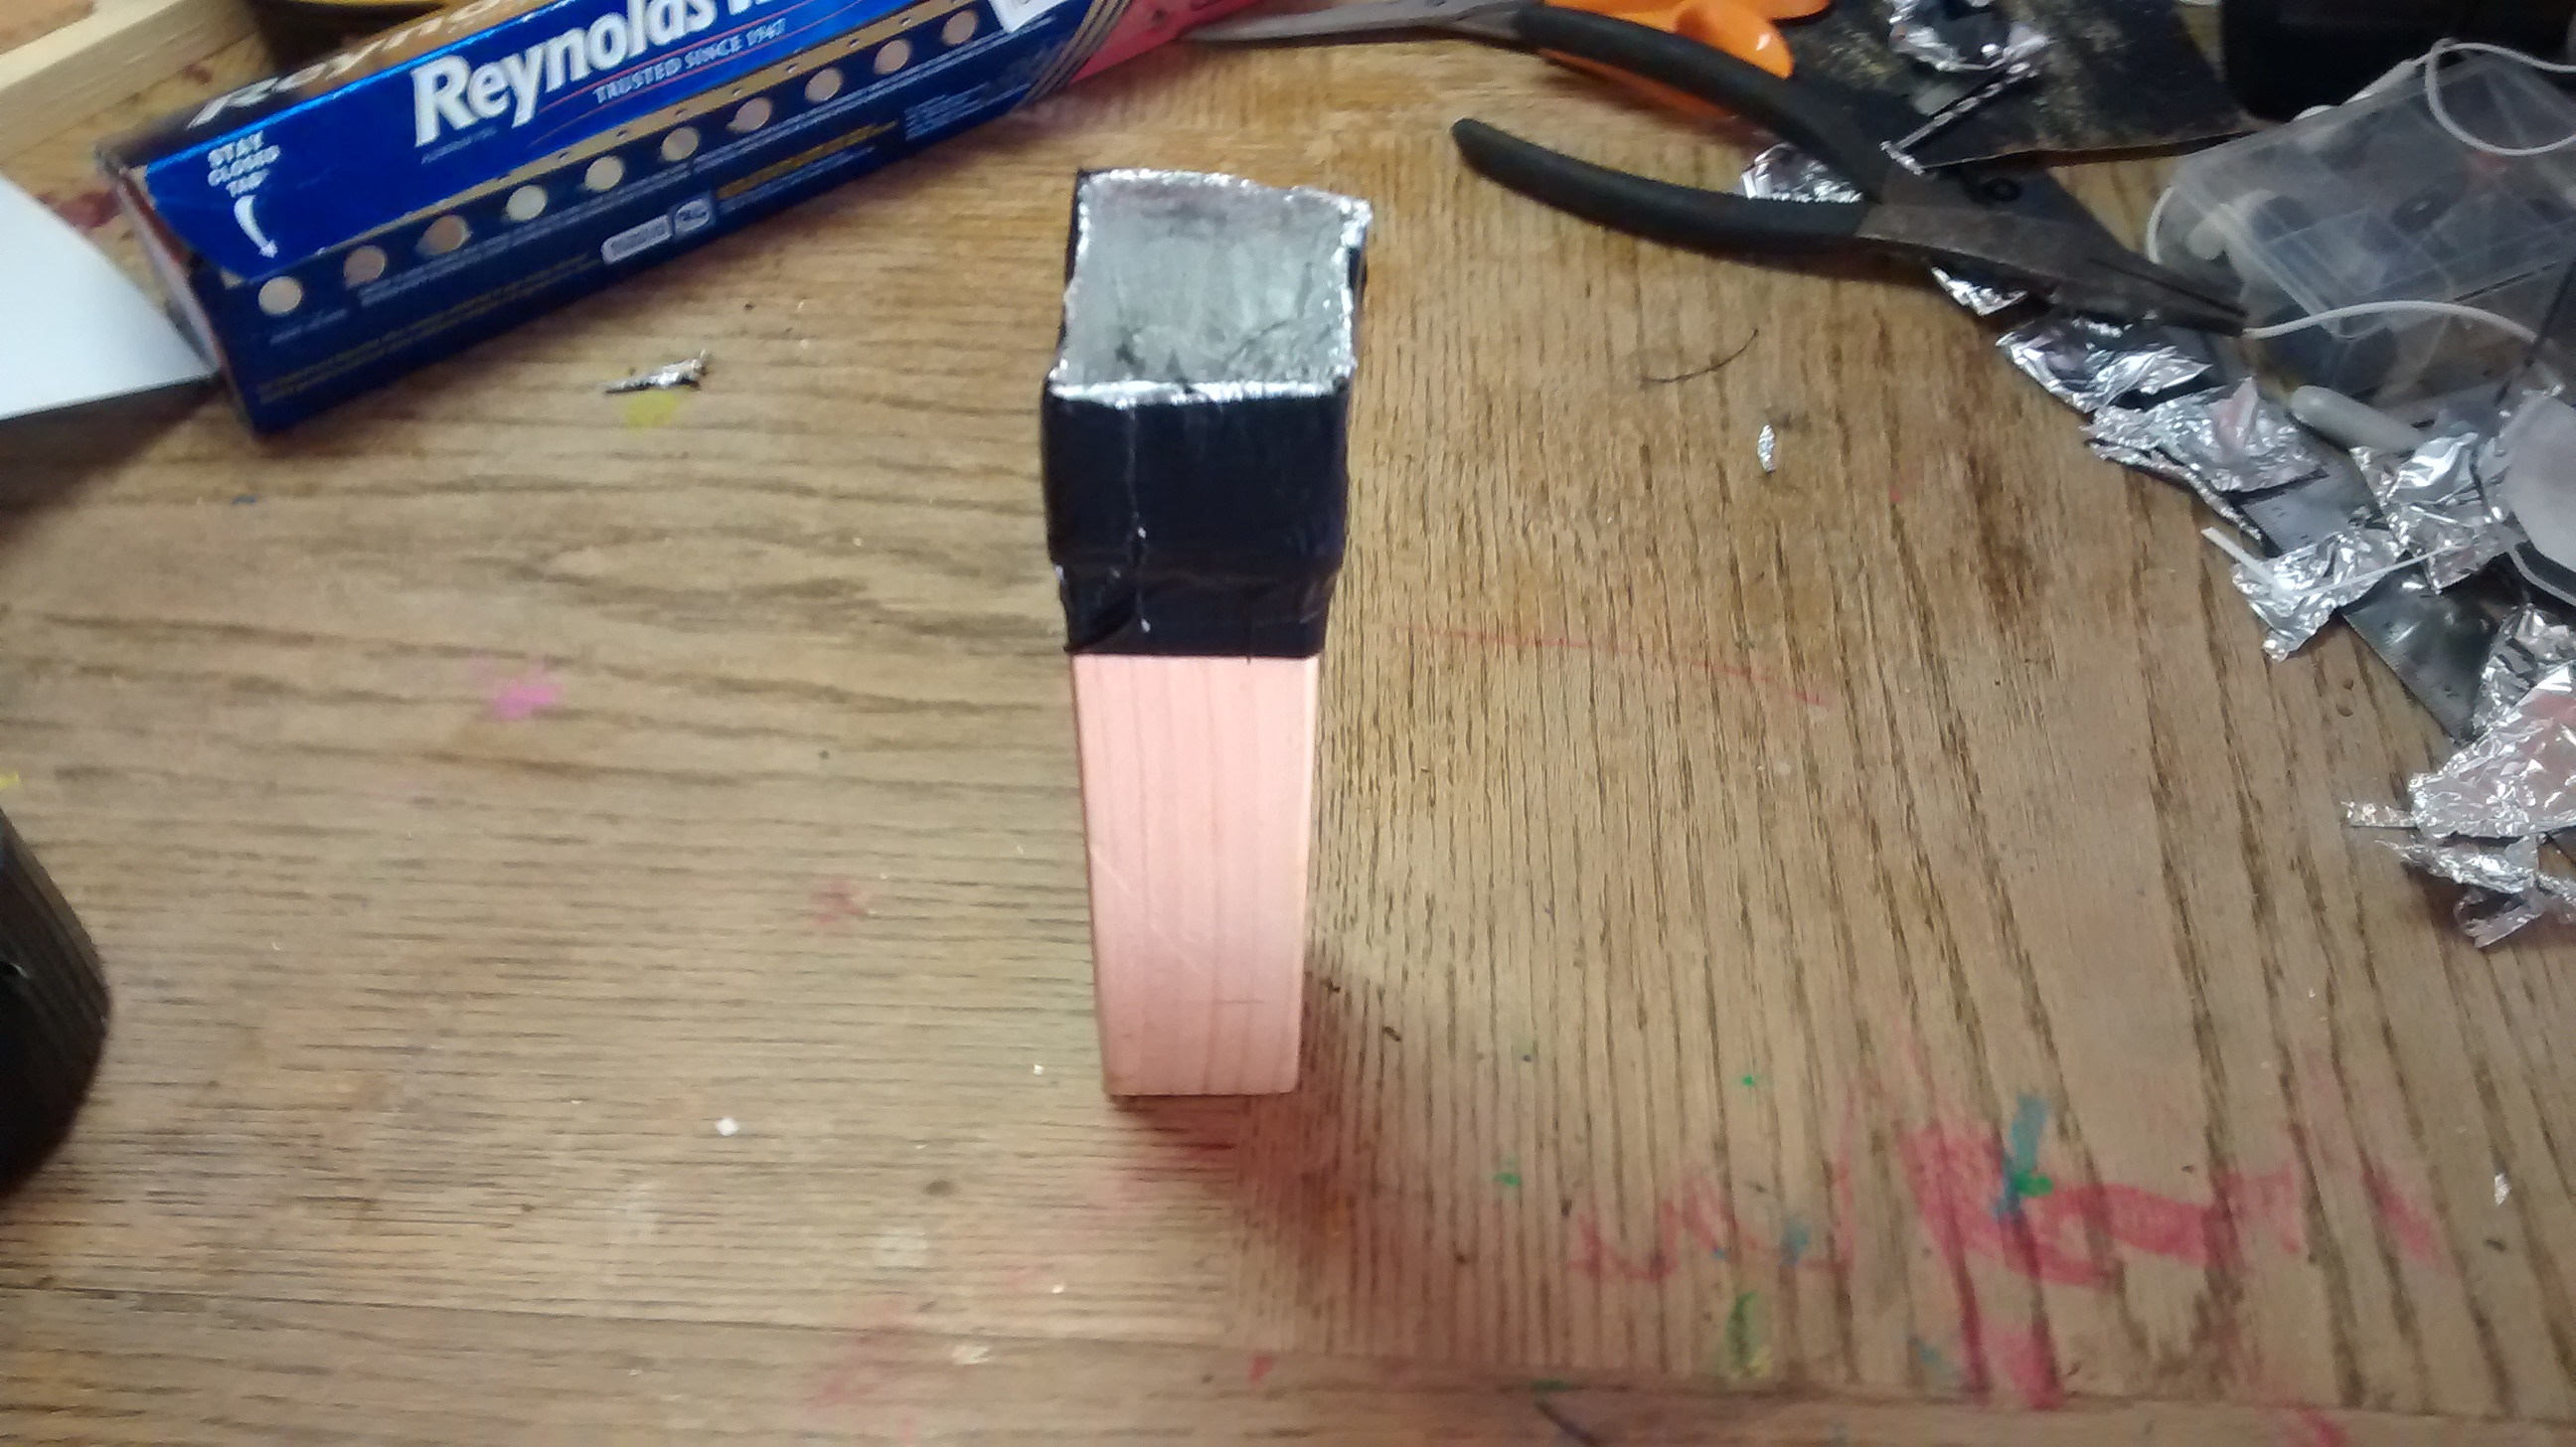
Now to attach the fire basin to the wood. I drilled four 'pilot holes', to guide where I would place the screws. I then put the fire basin on top, and drilled four screws through the basin and into the wood. I also added some duct tape.
Attatching the Paper Skin
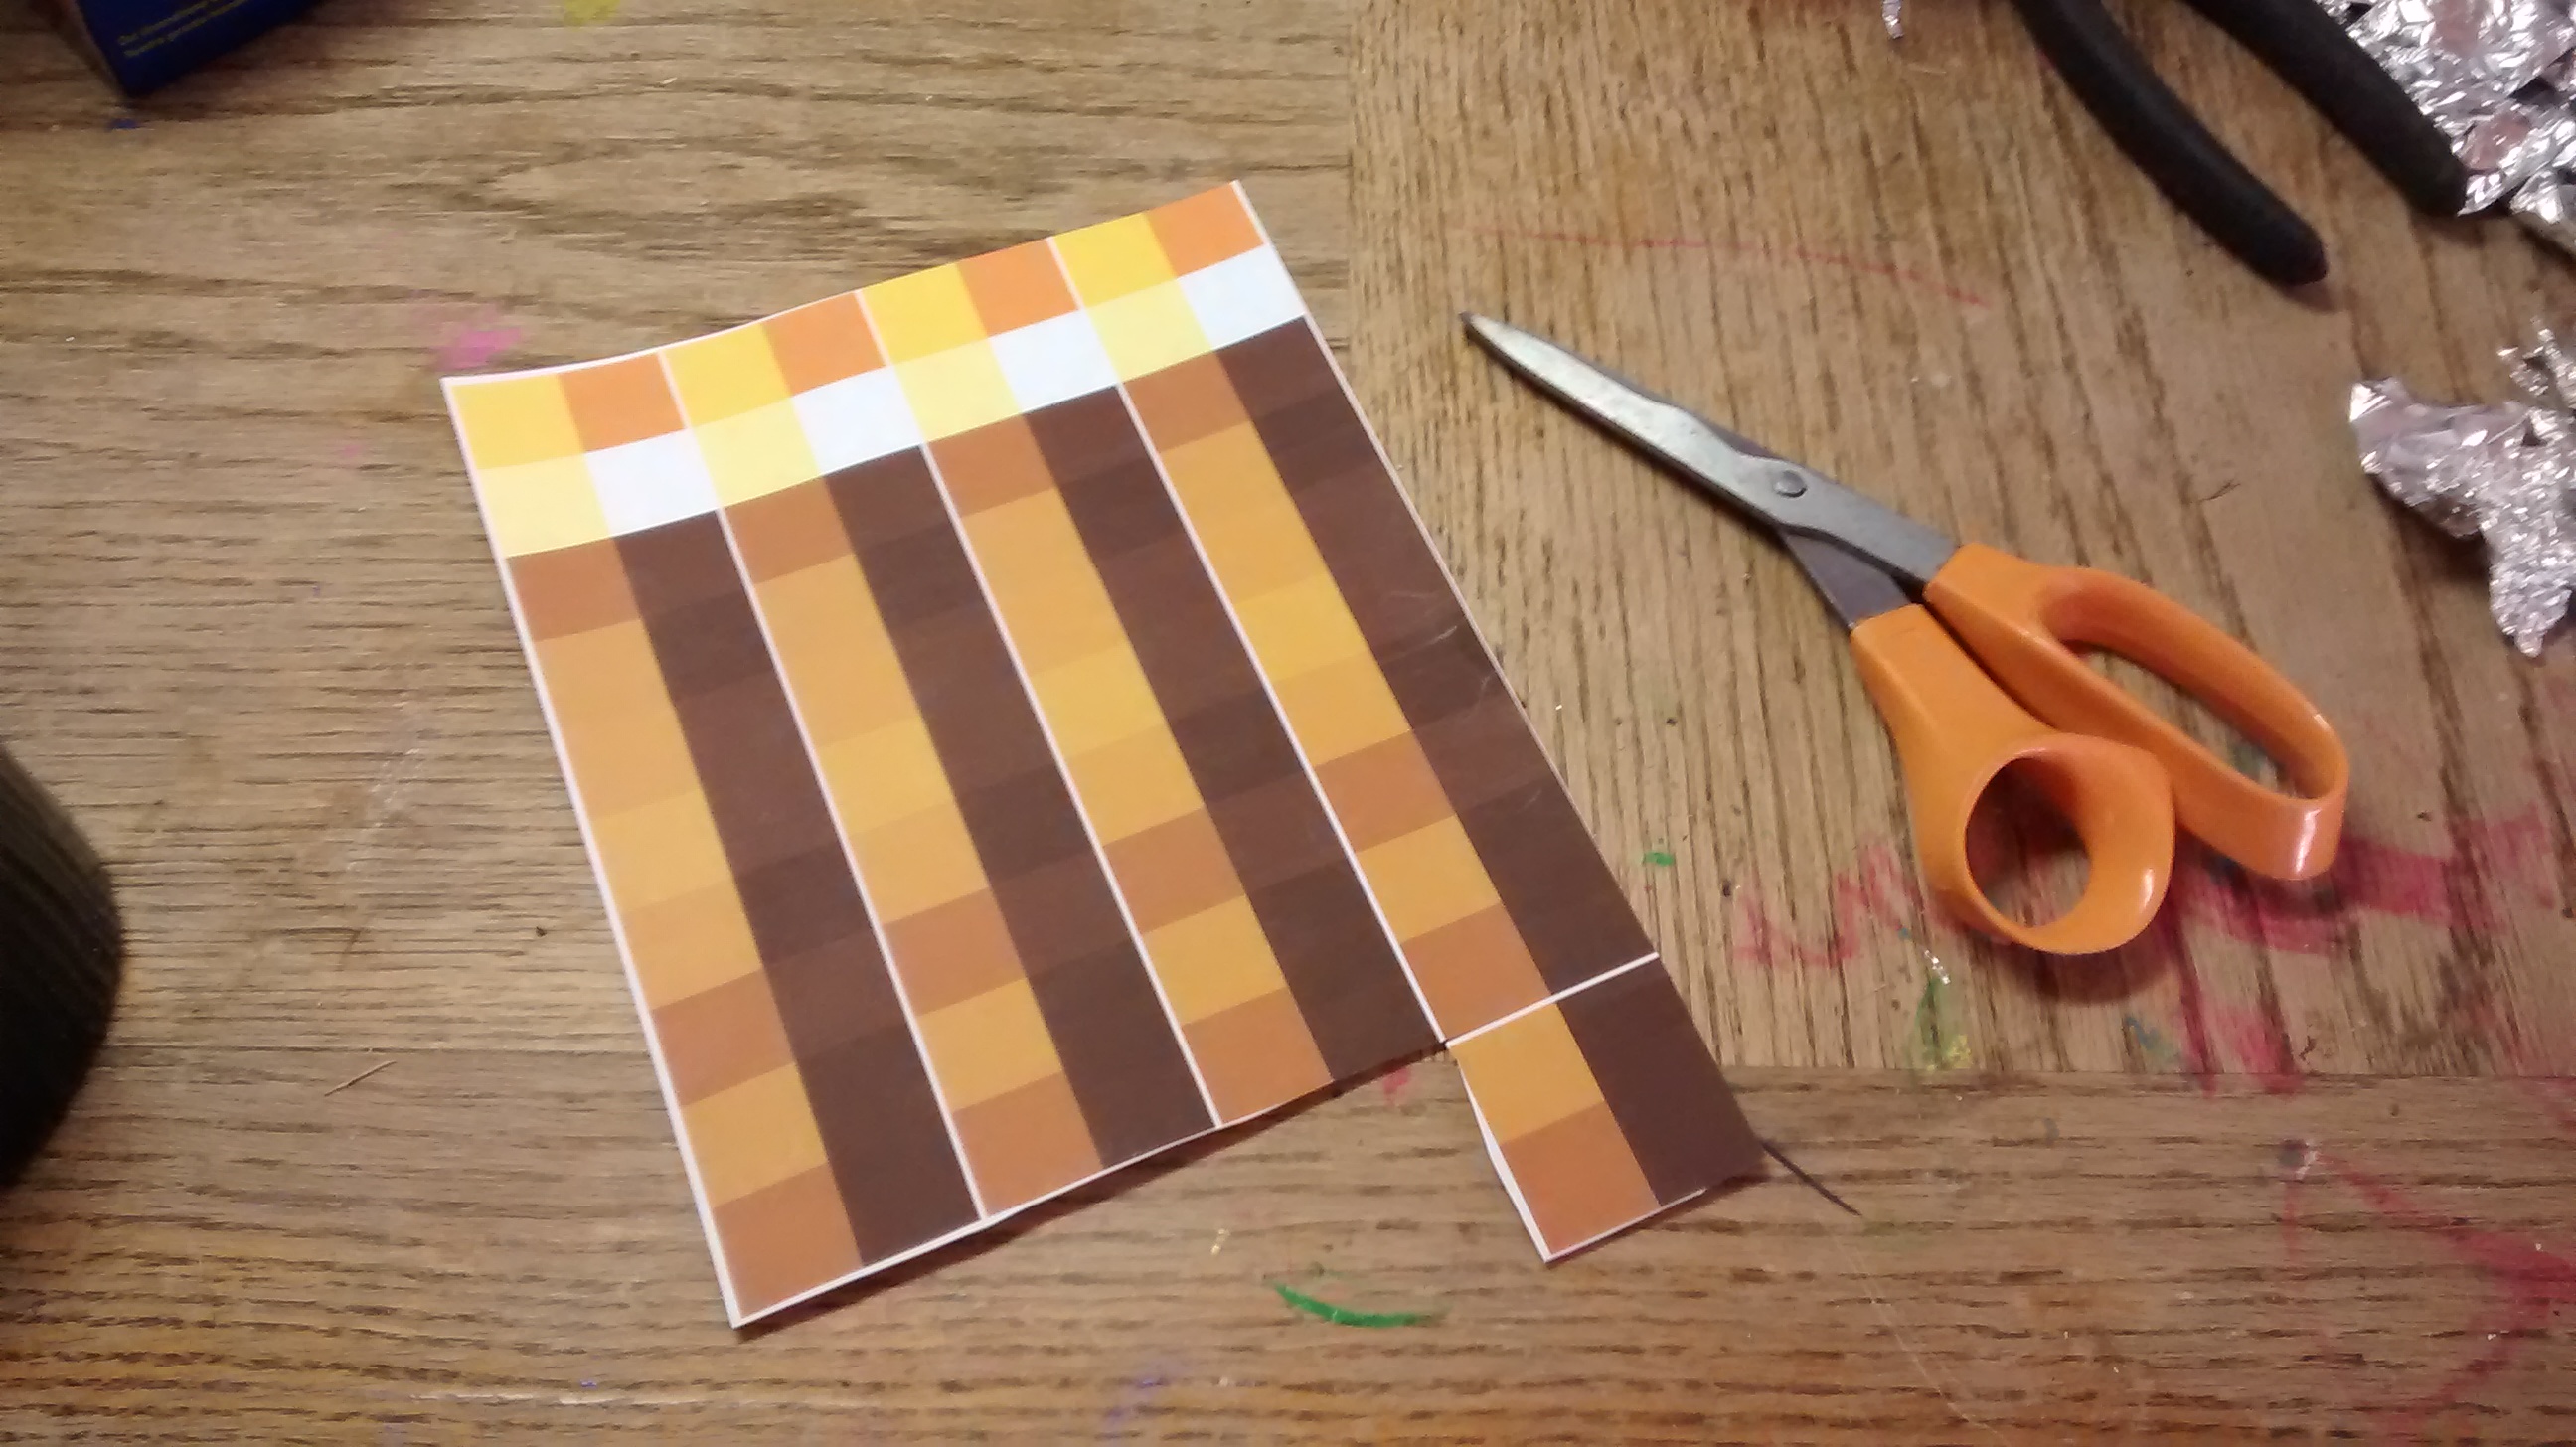
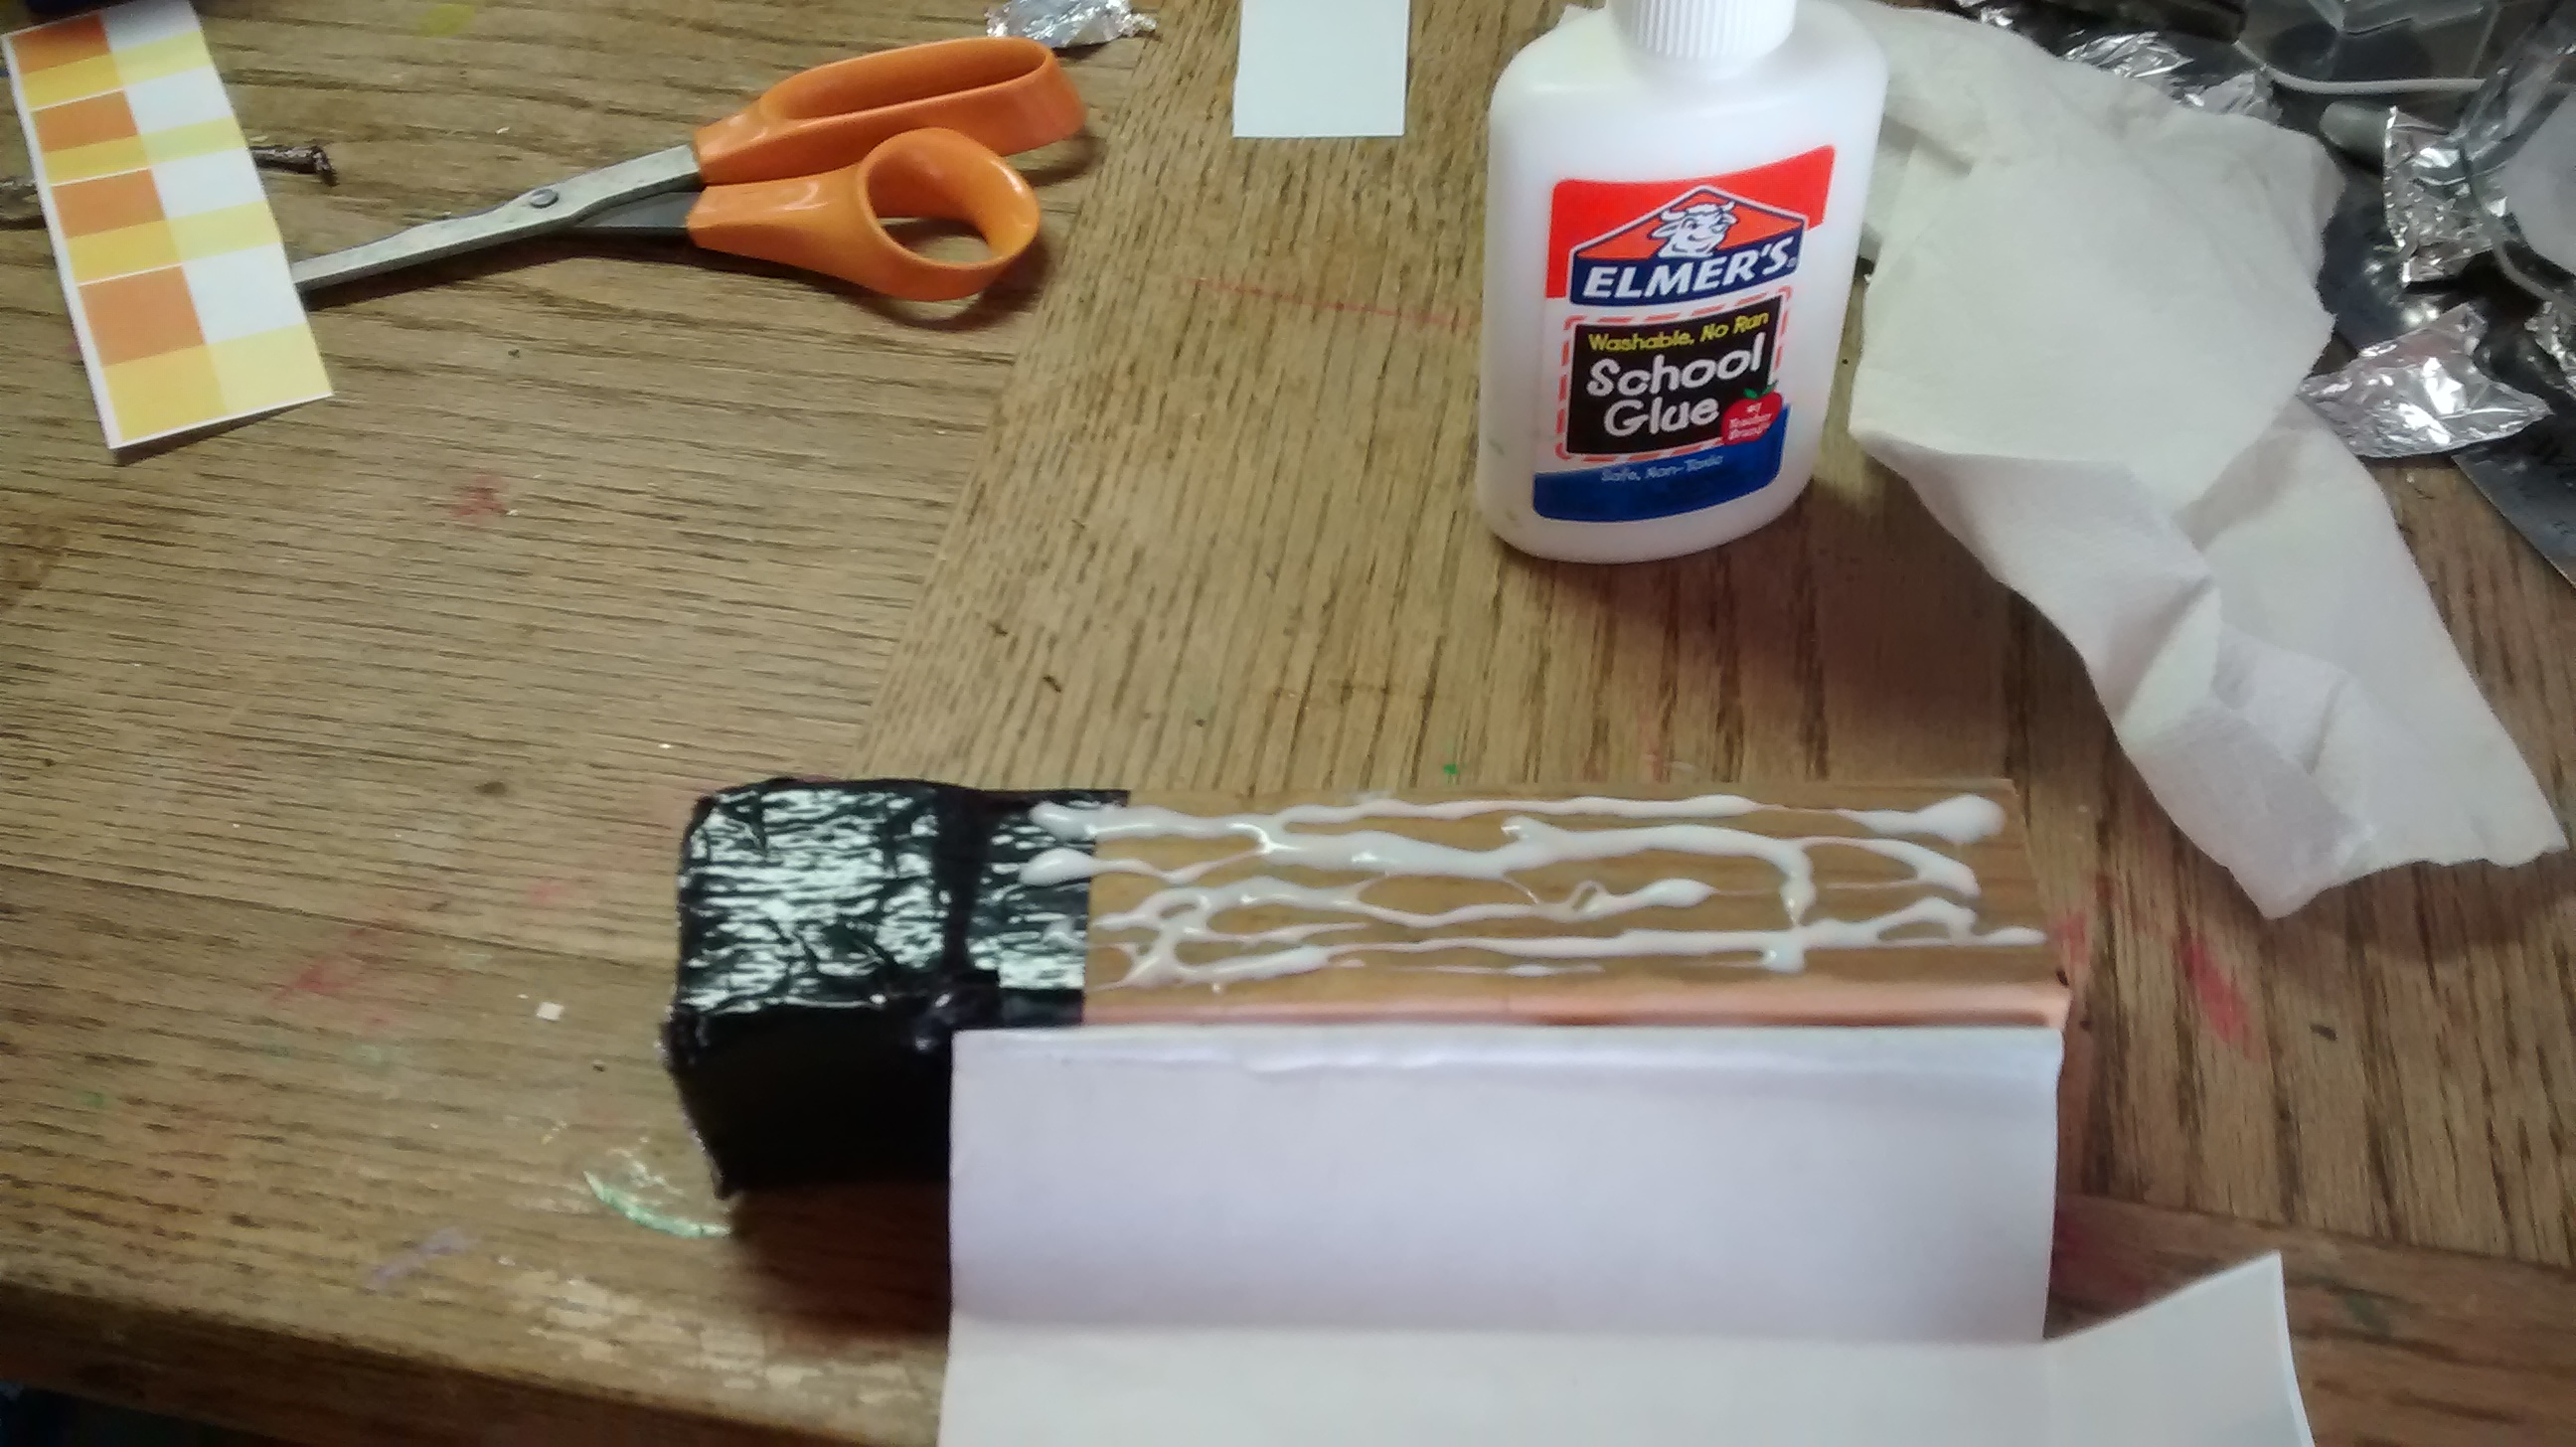
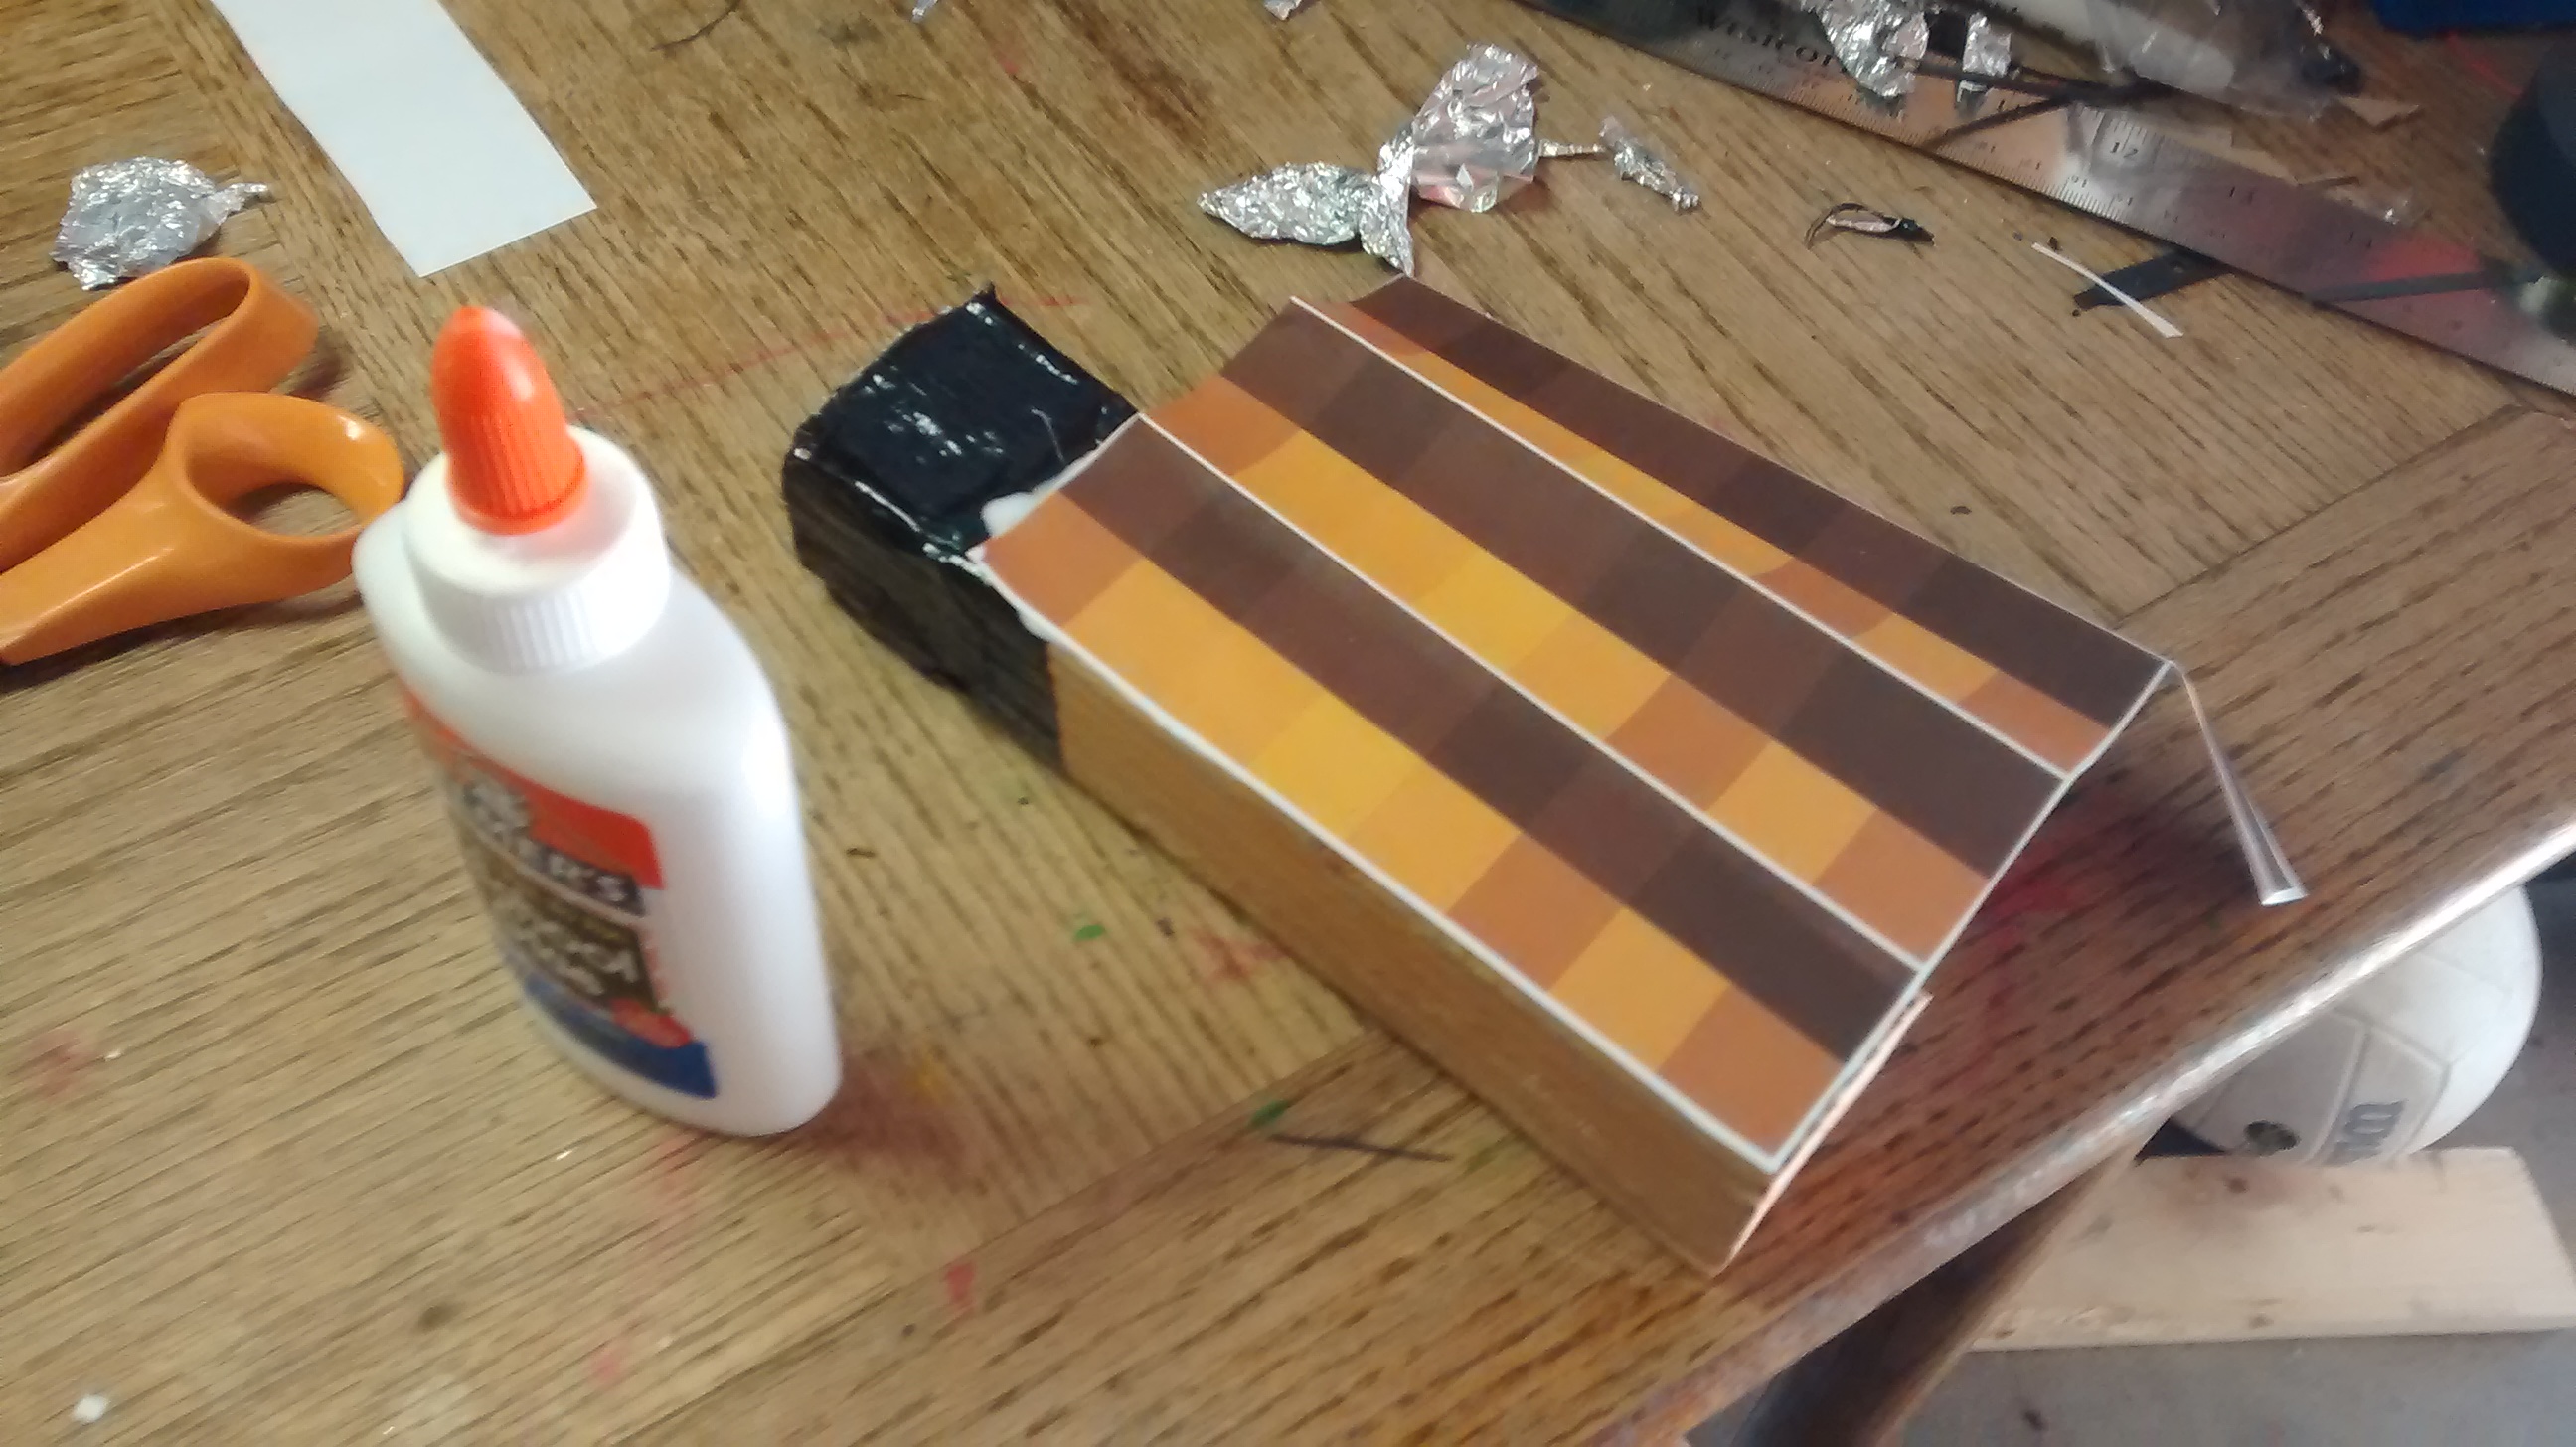
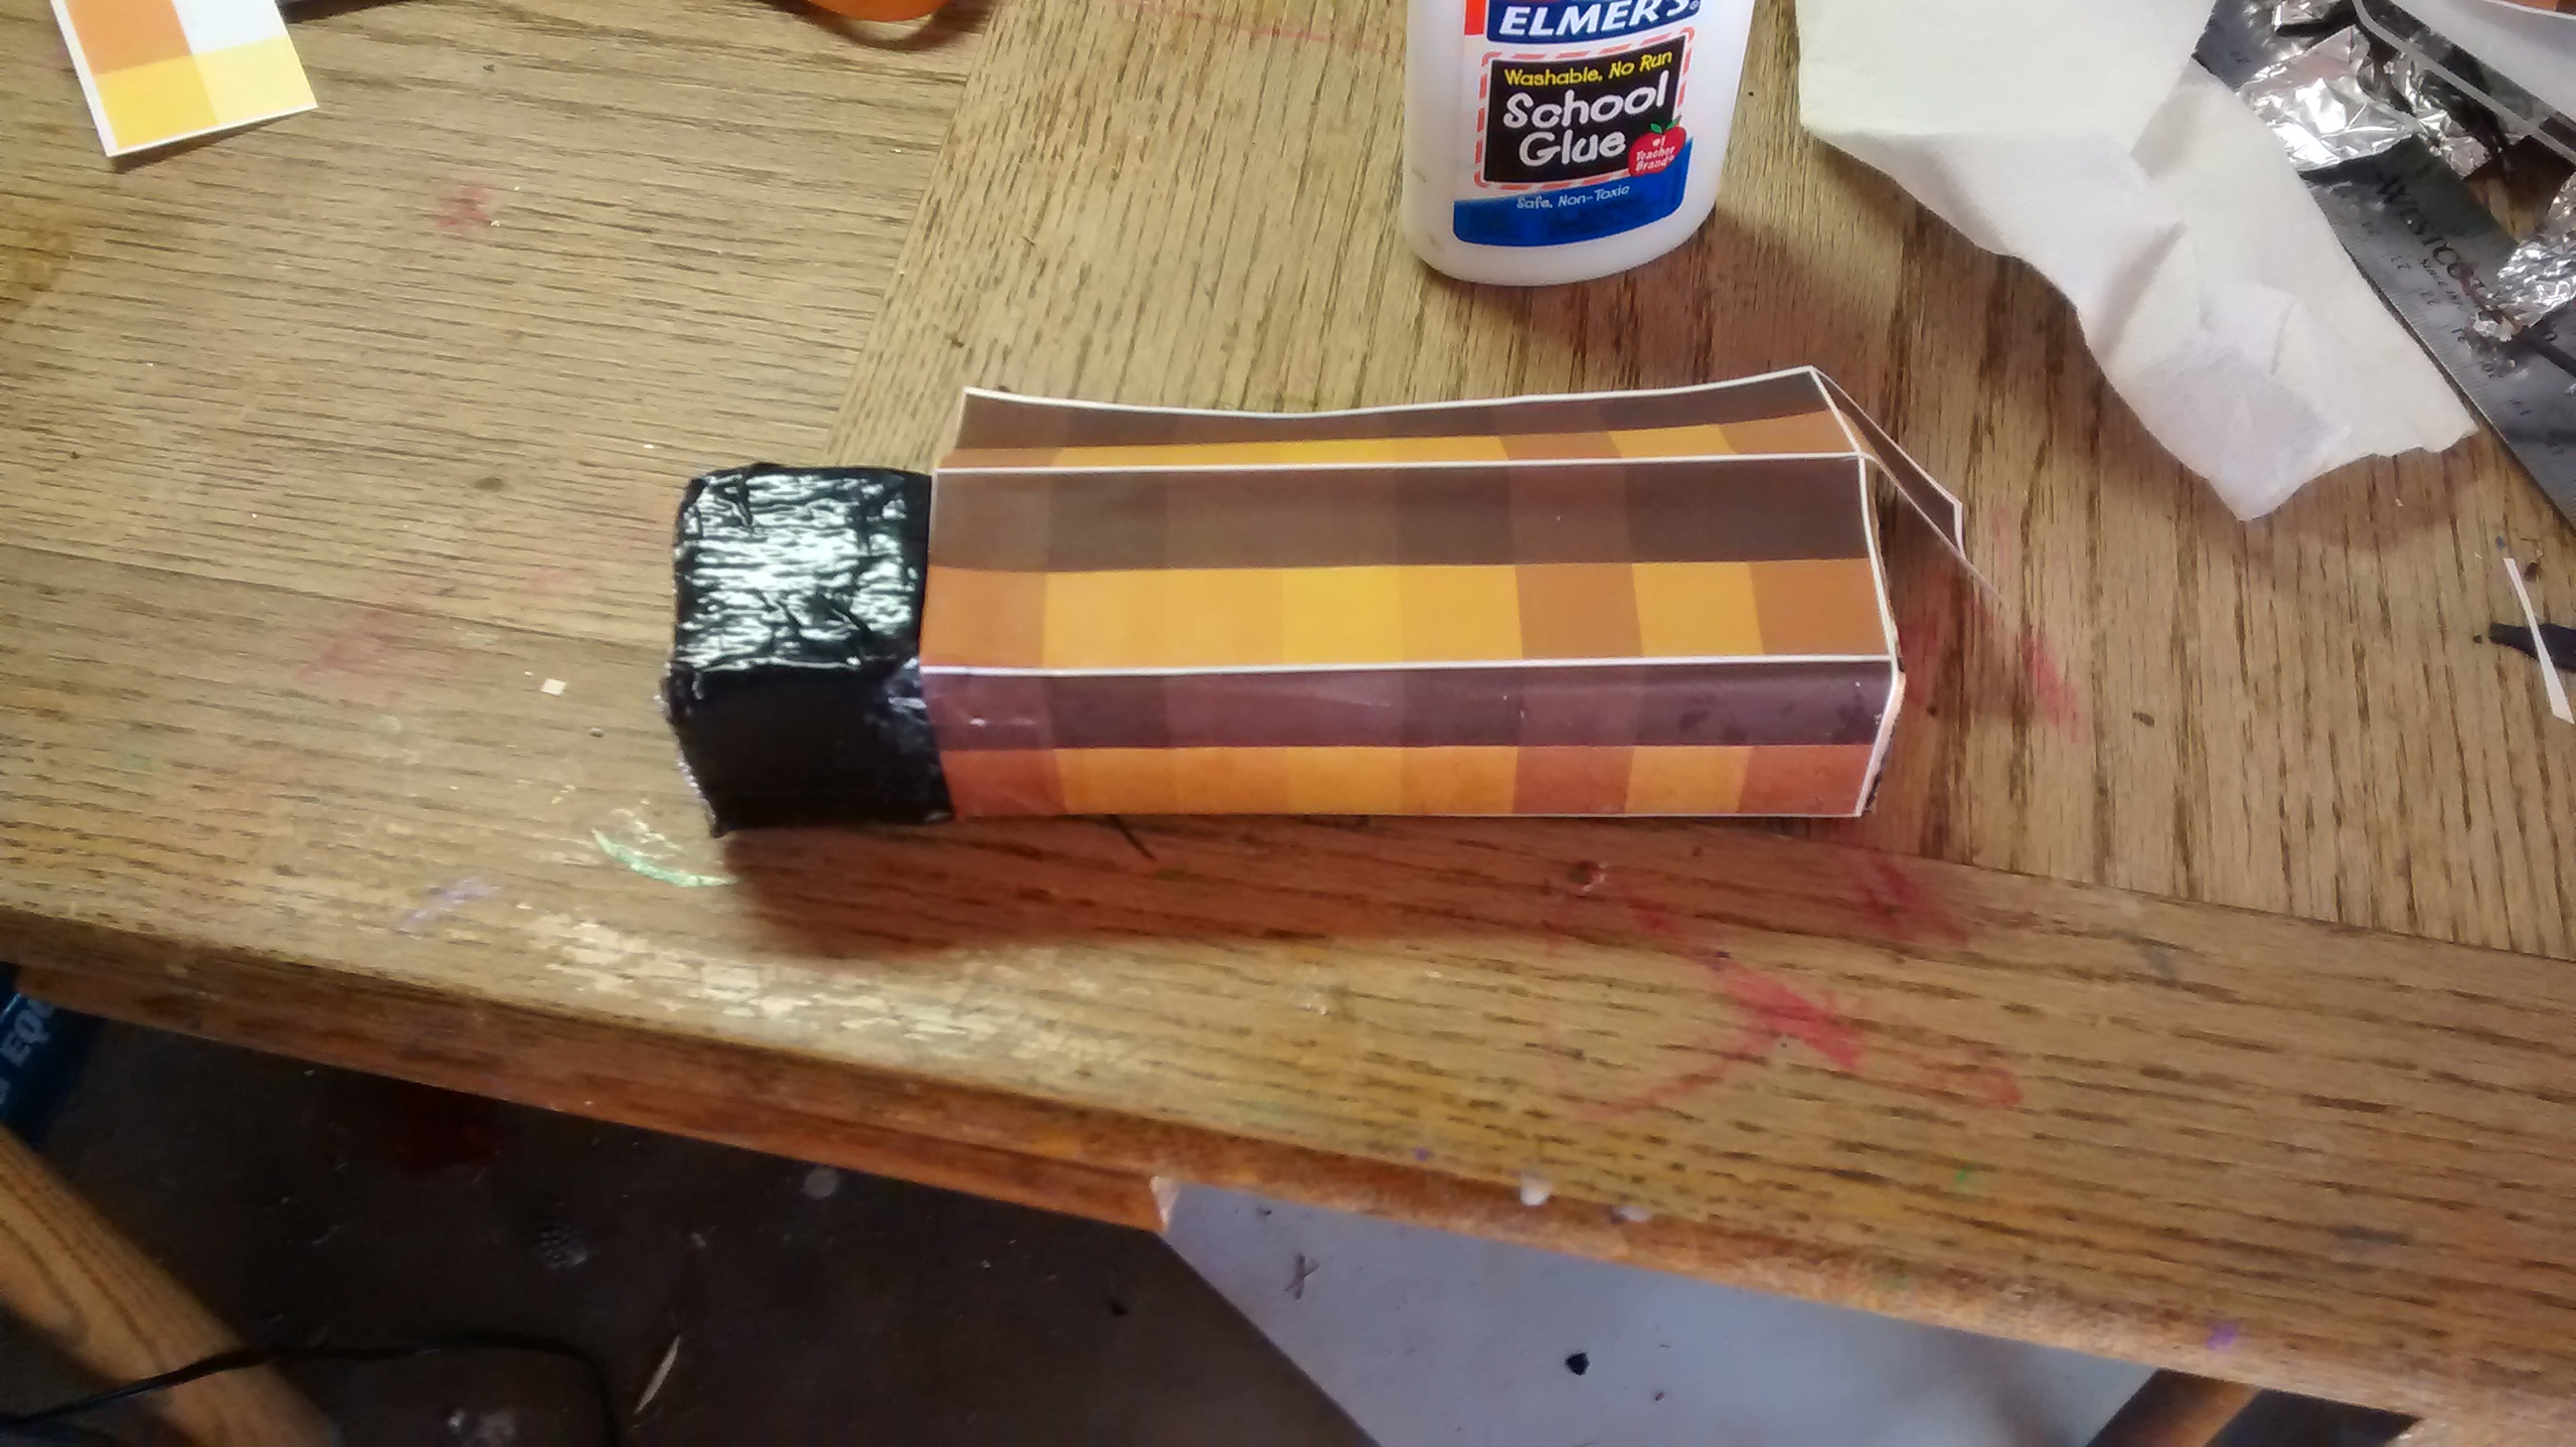

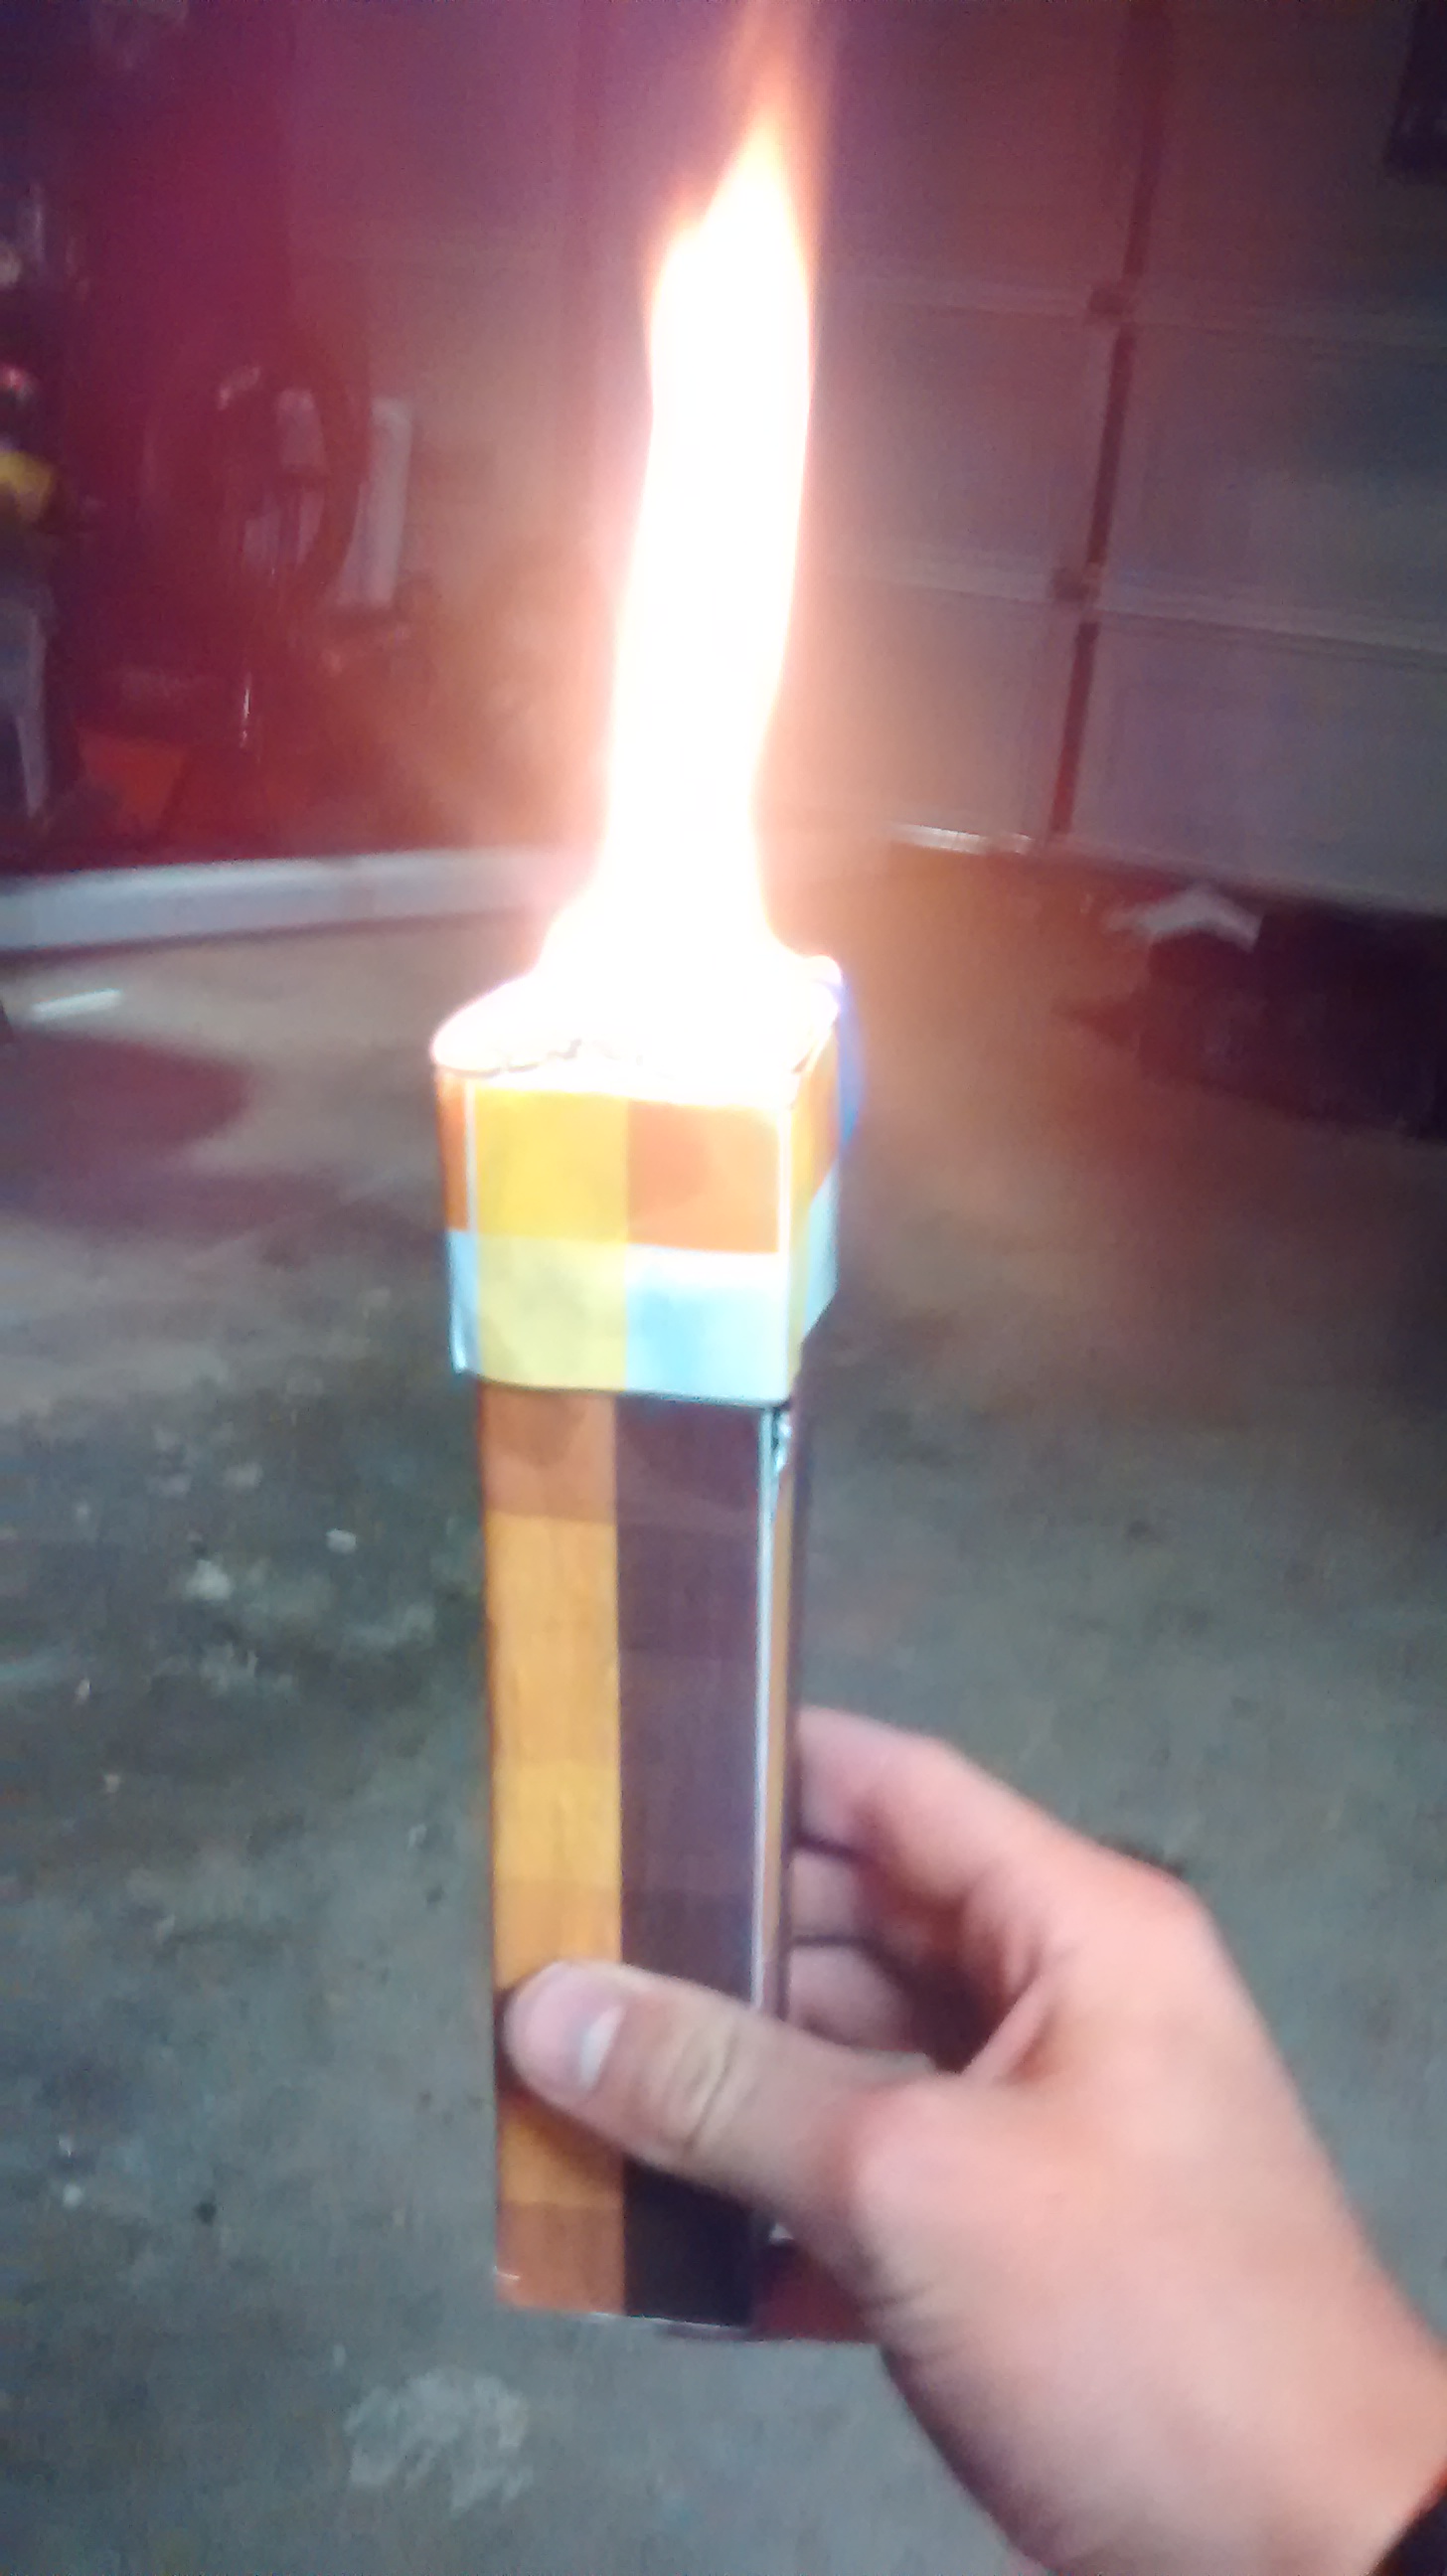
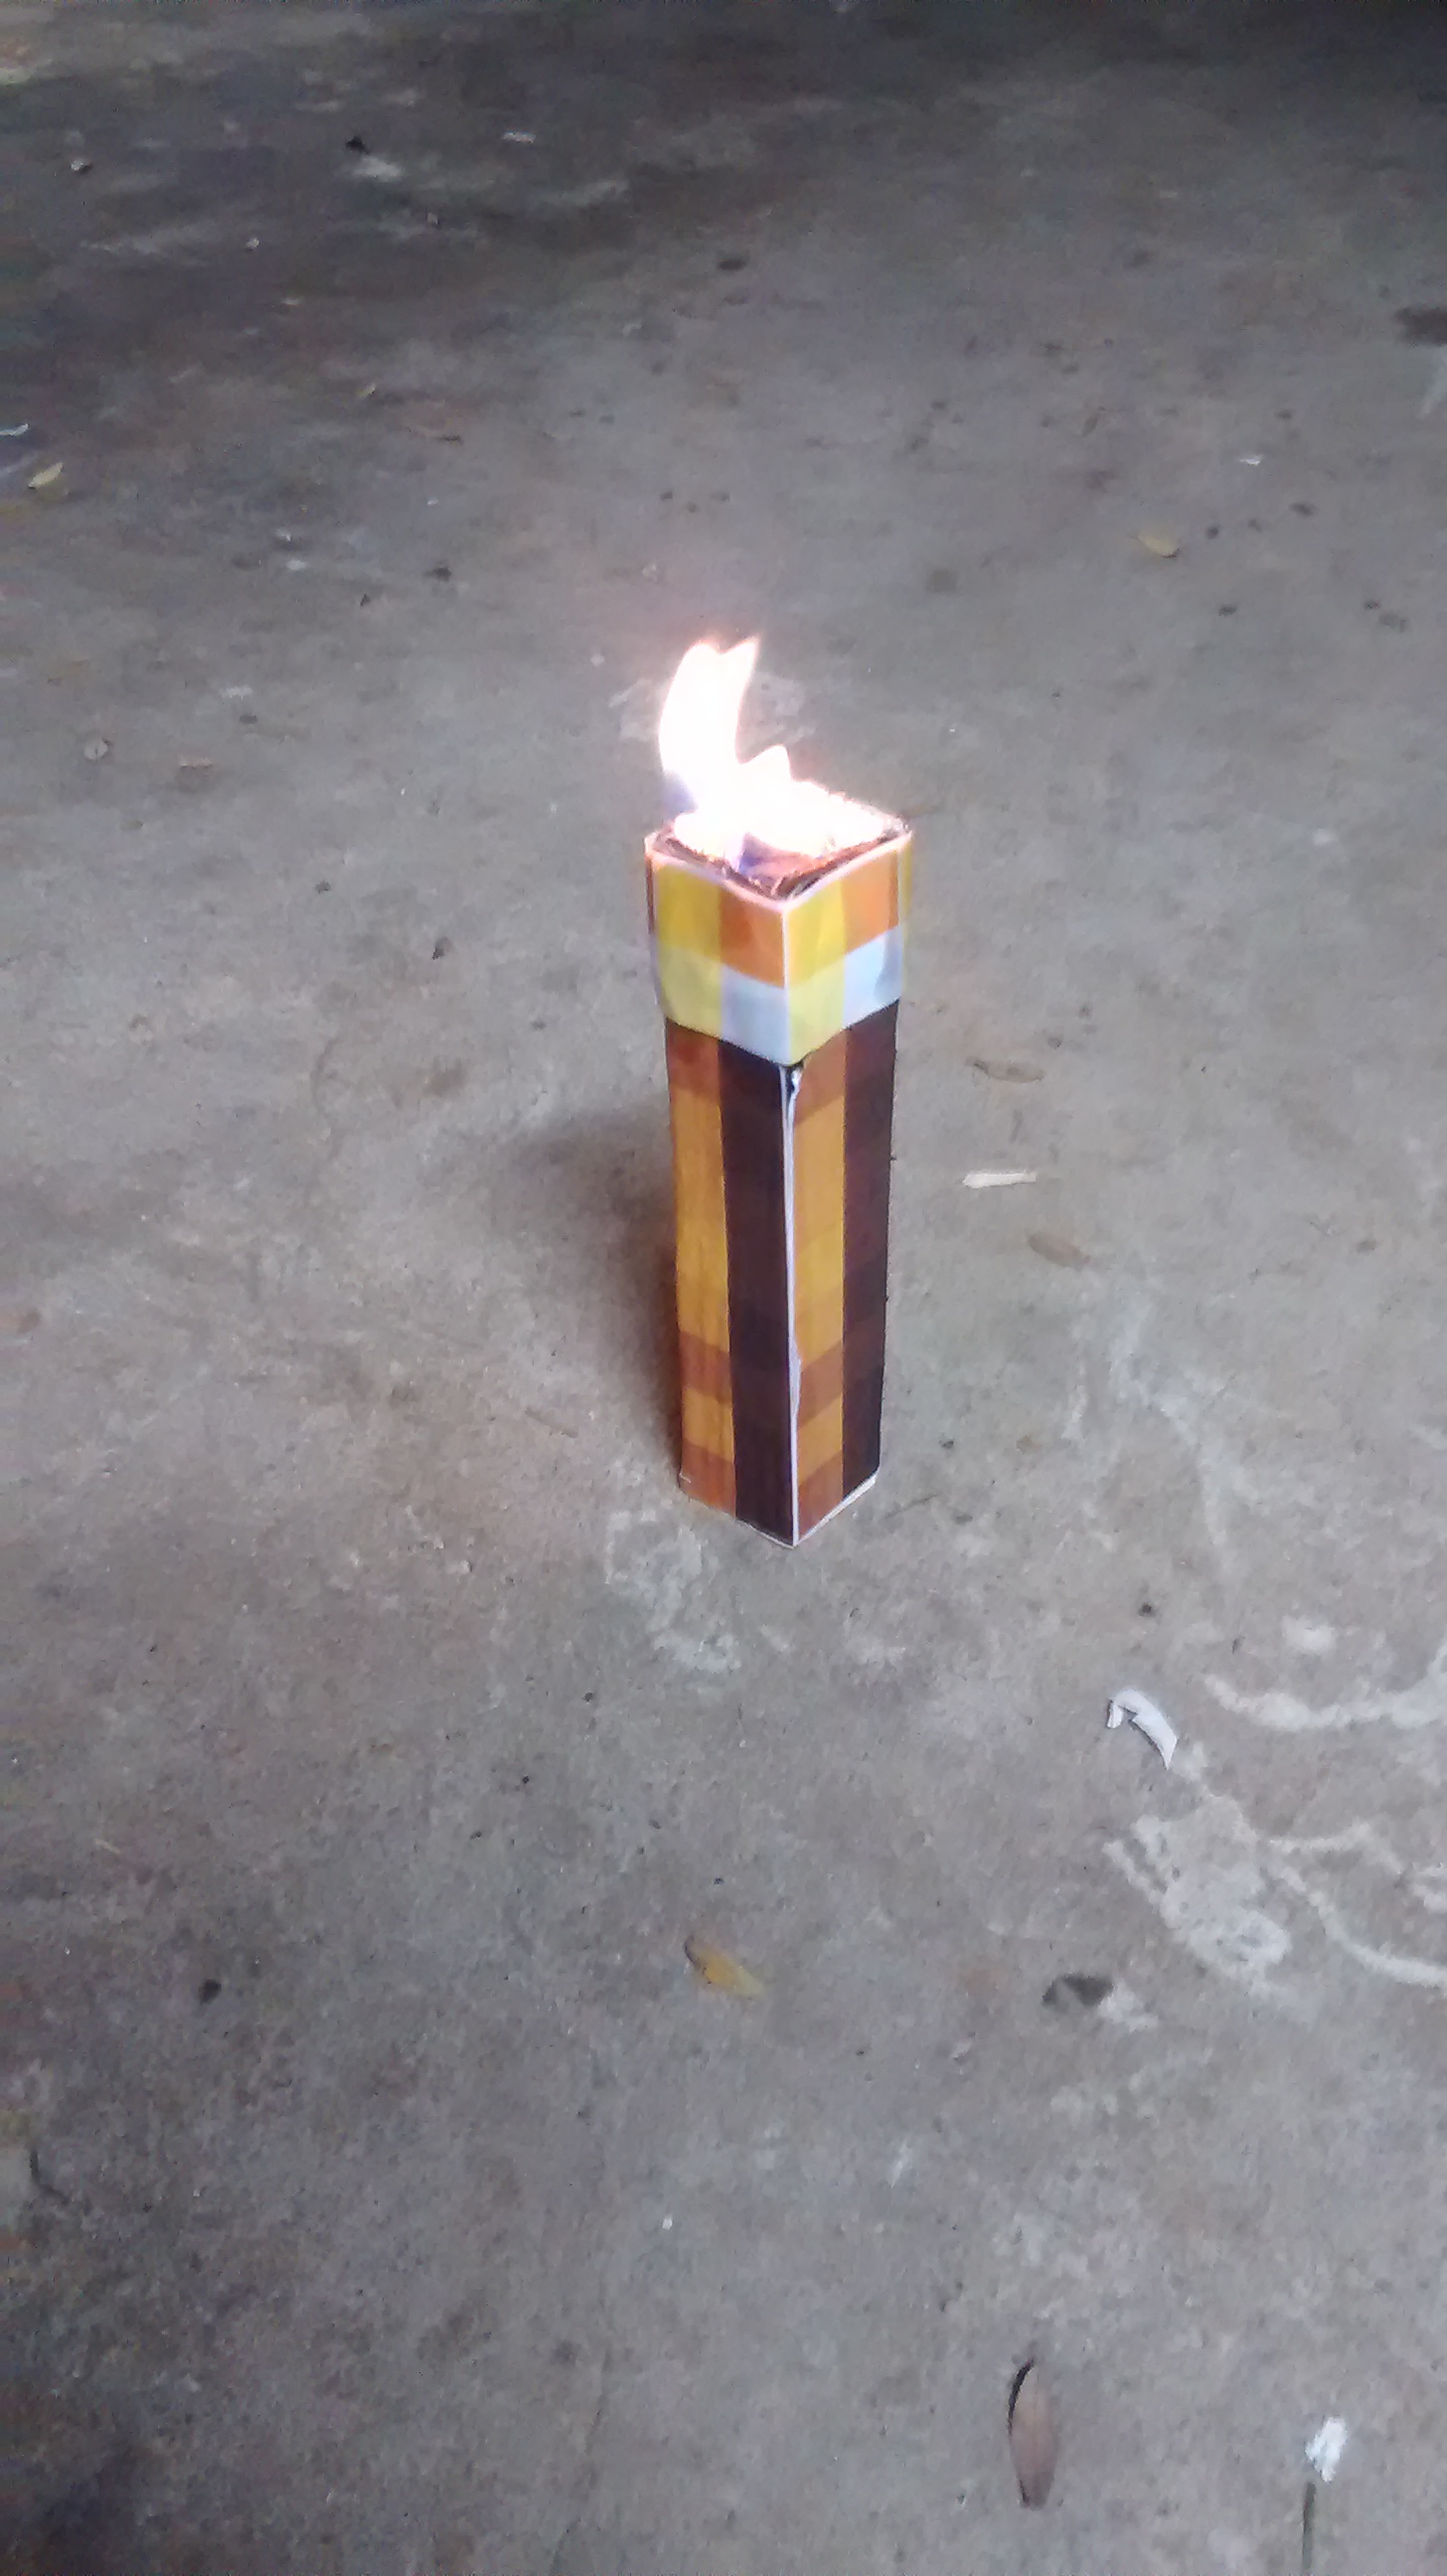
Now, if your measurements were right, You should be able to just cut out, fold and glue on the paper to the torch. I highly recommend against using hot glue, because the heat from the fire will likely melt it, creating a disaster. I did my torch, fire part, and the wood part separately because they needed to be aligned differently because the fire basin was protruding farther out than the rest of the torch.
Time for Fire: Stick and Coal
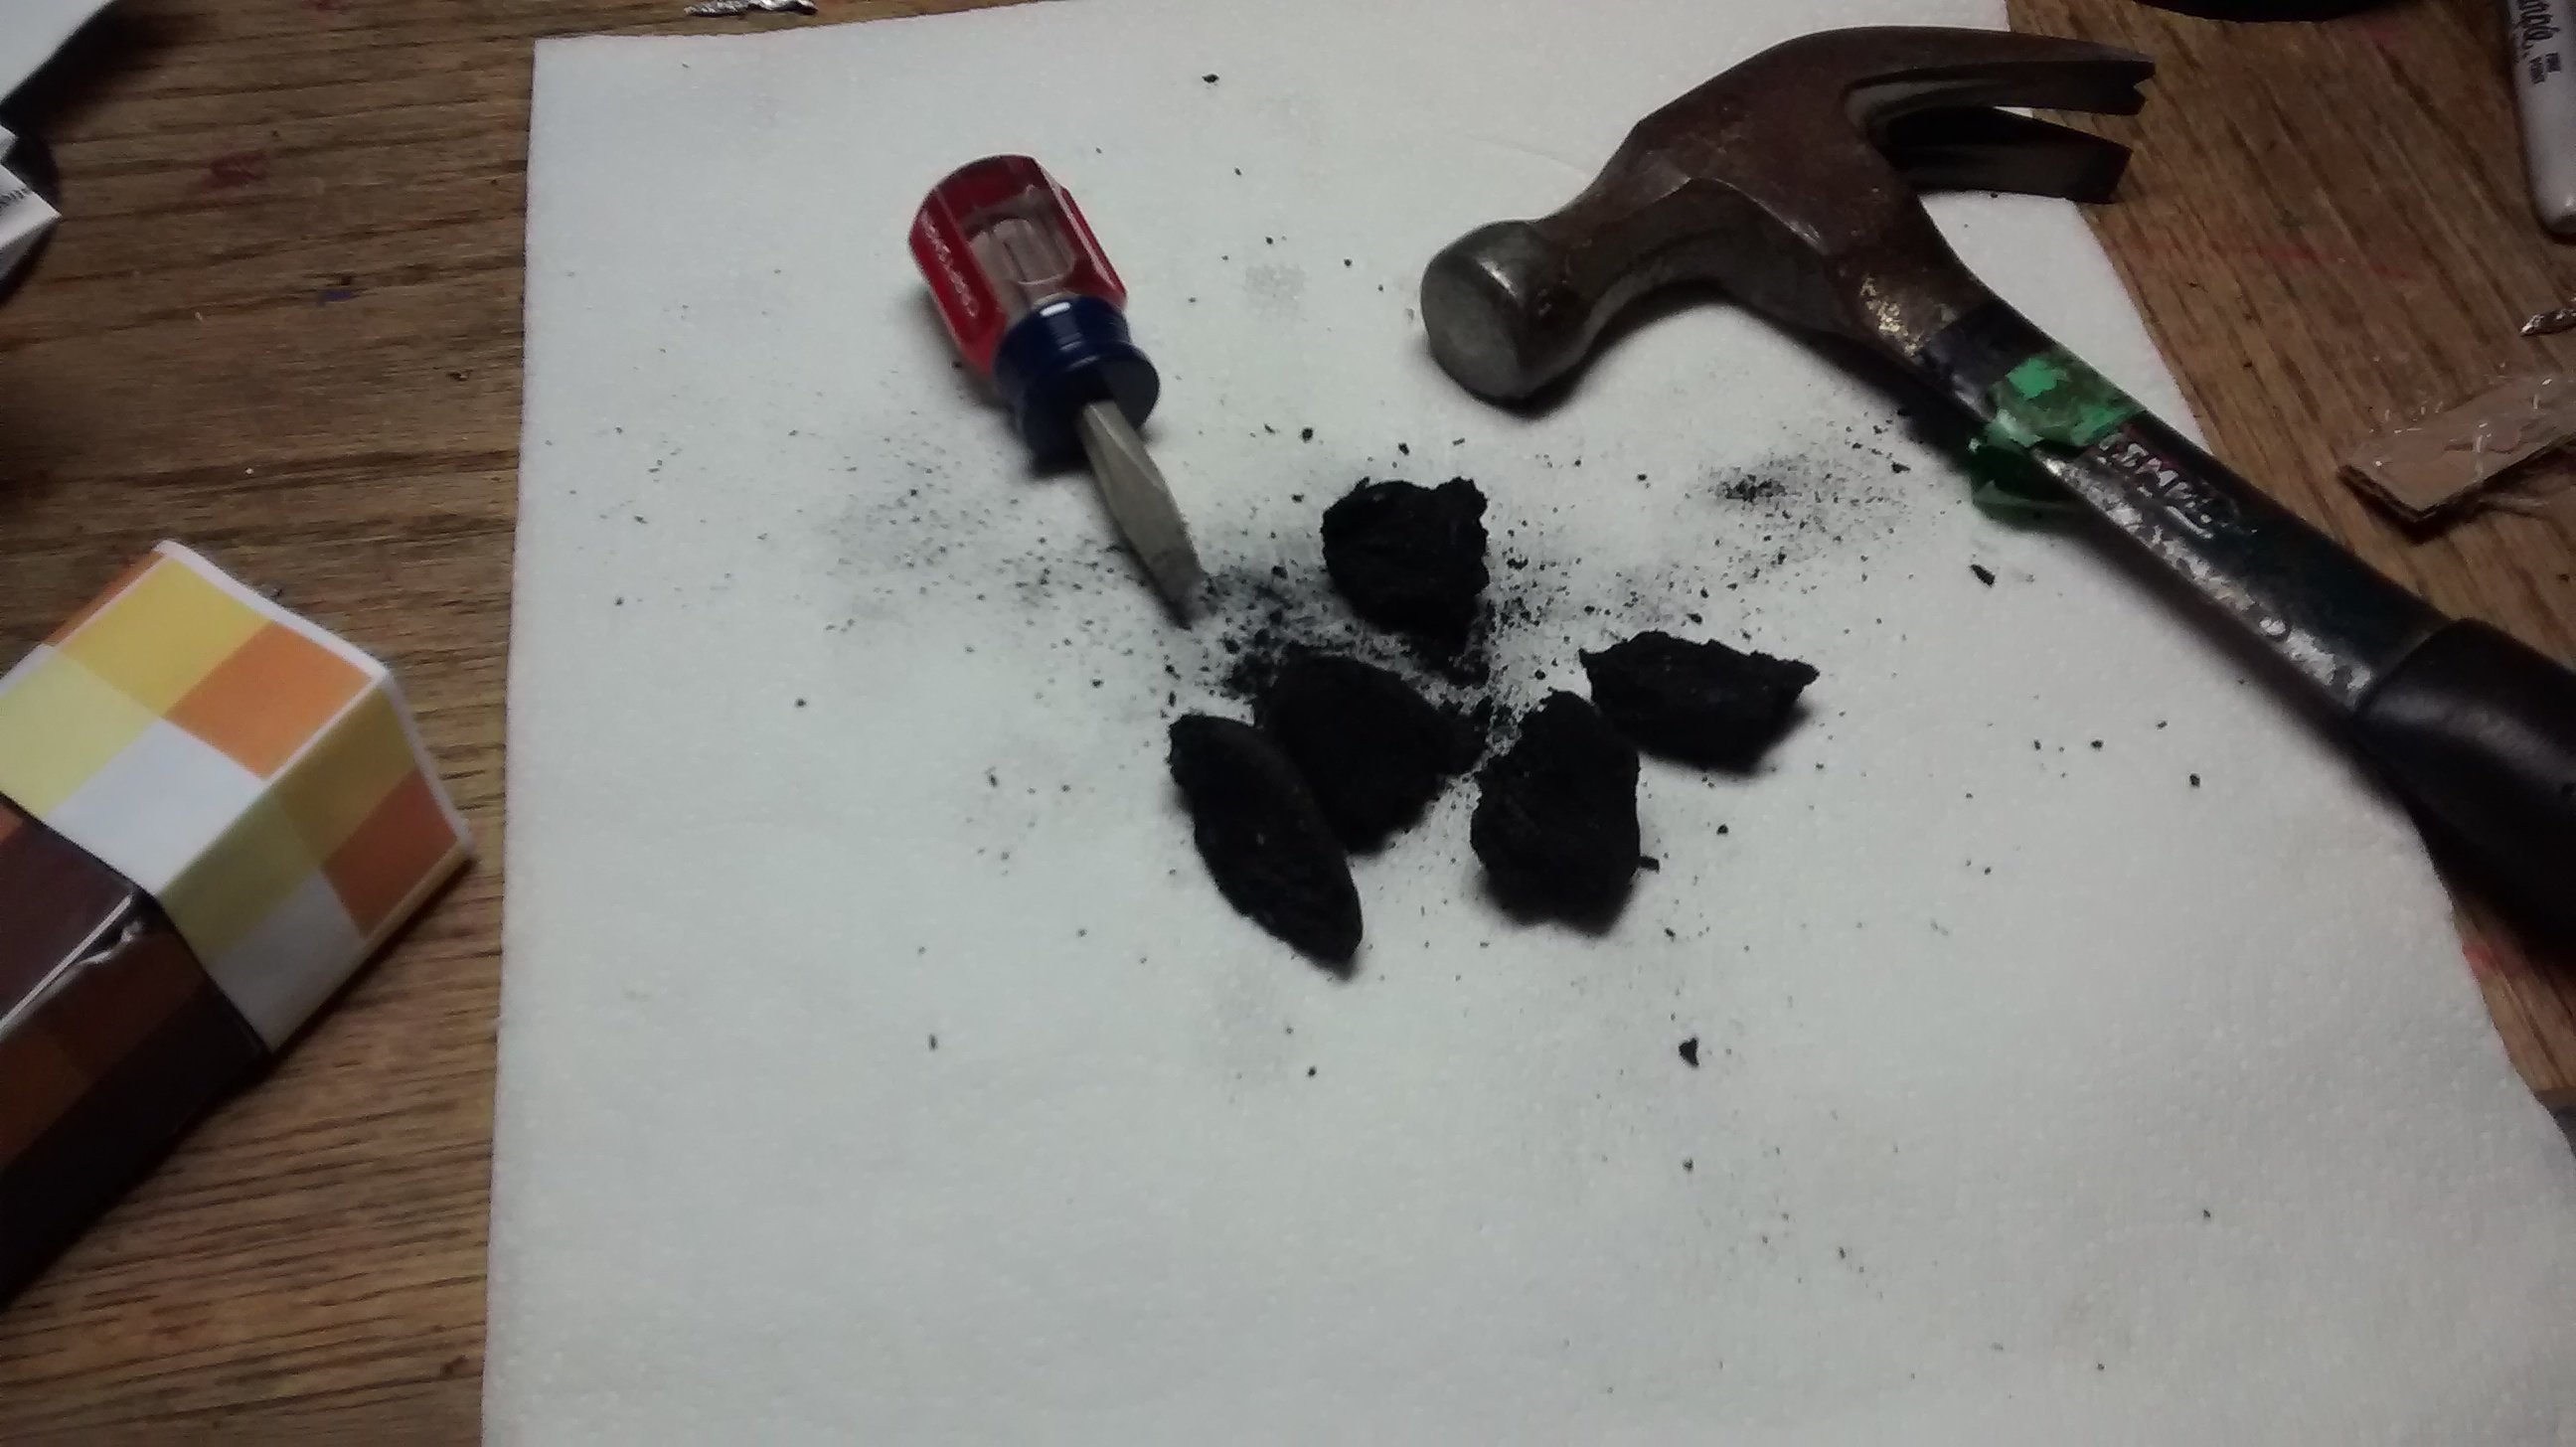
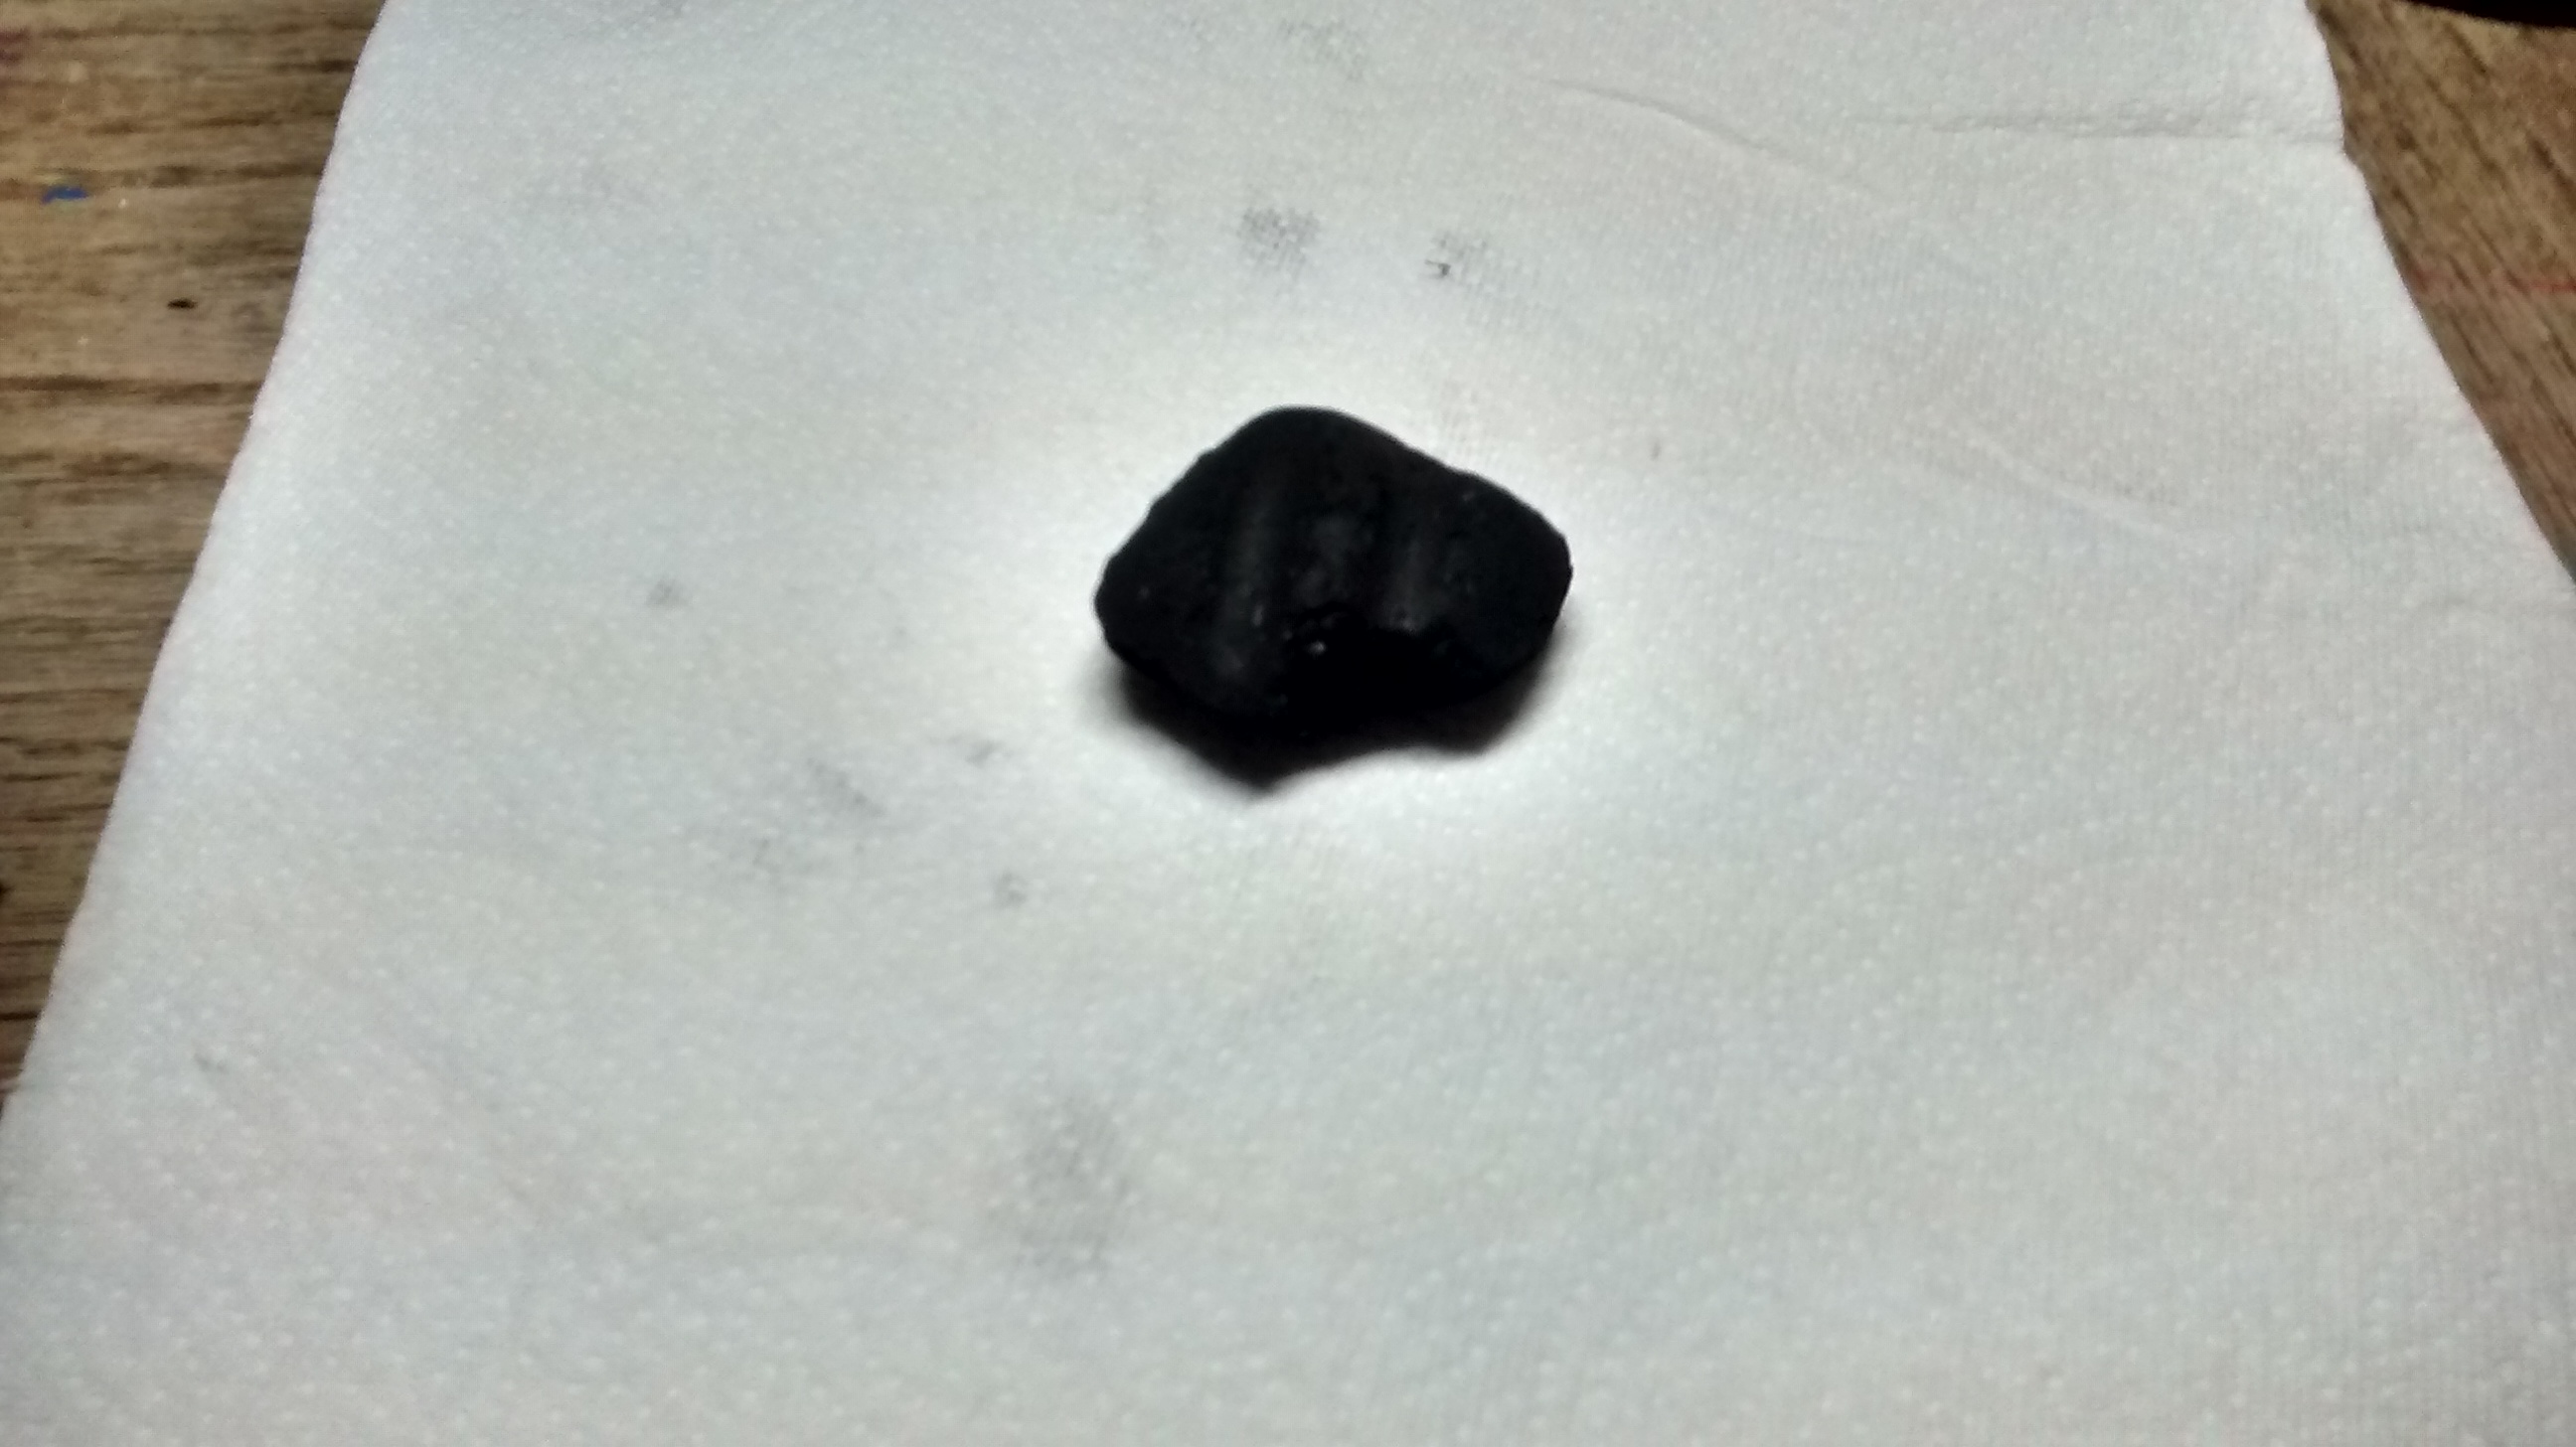
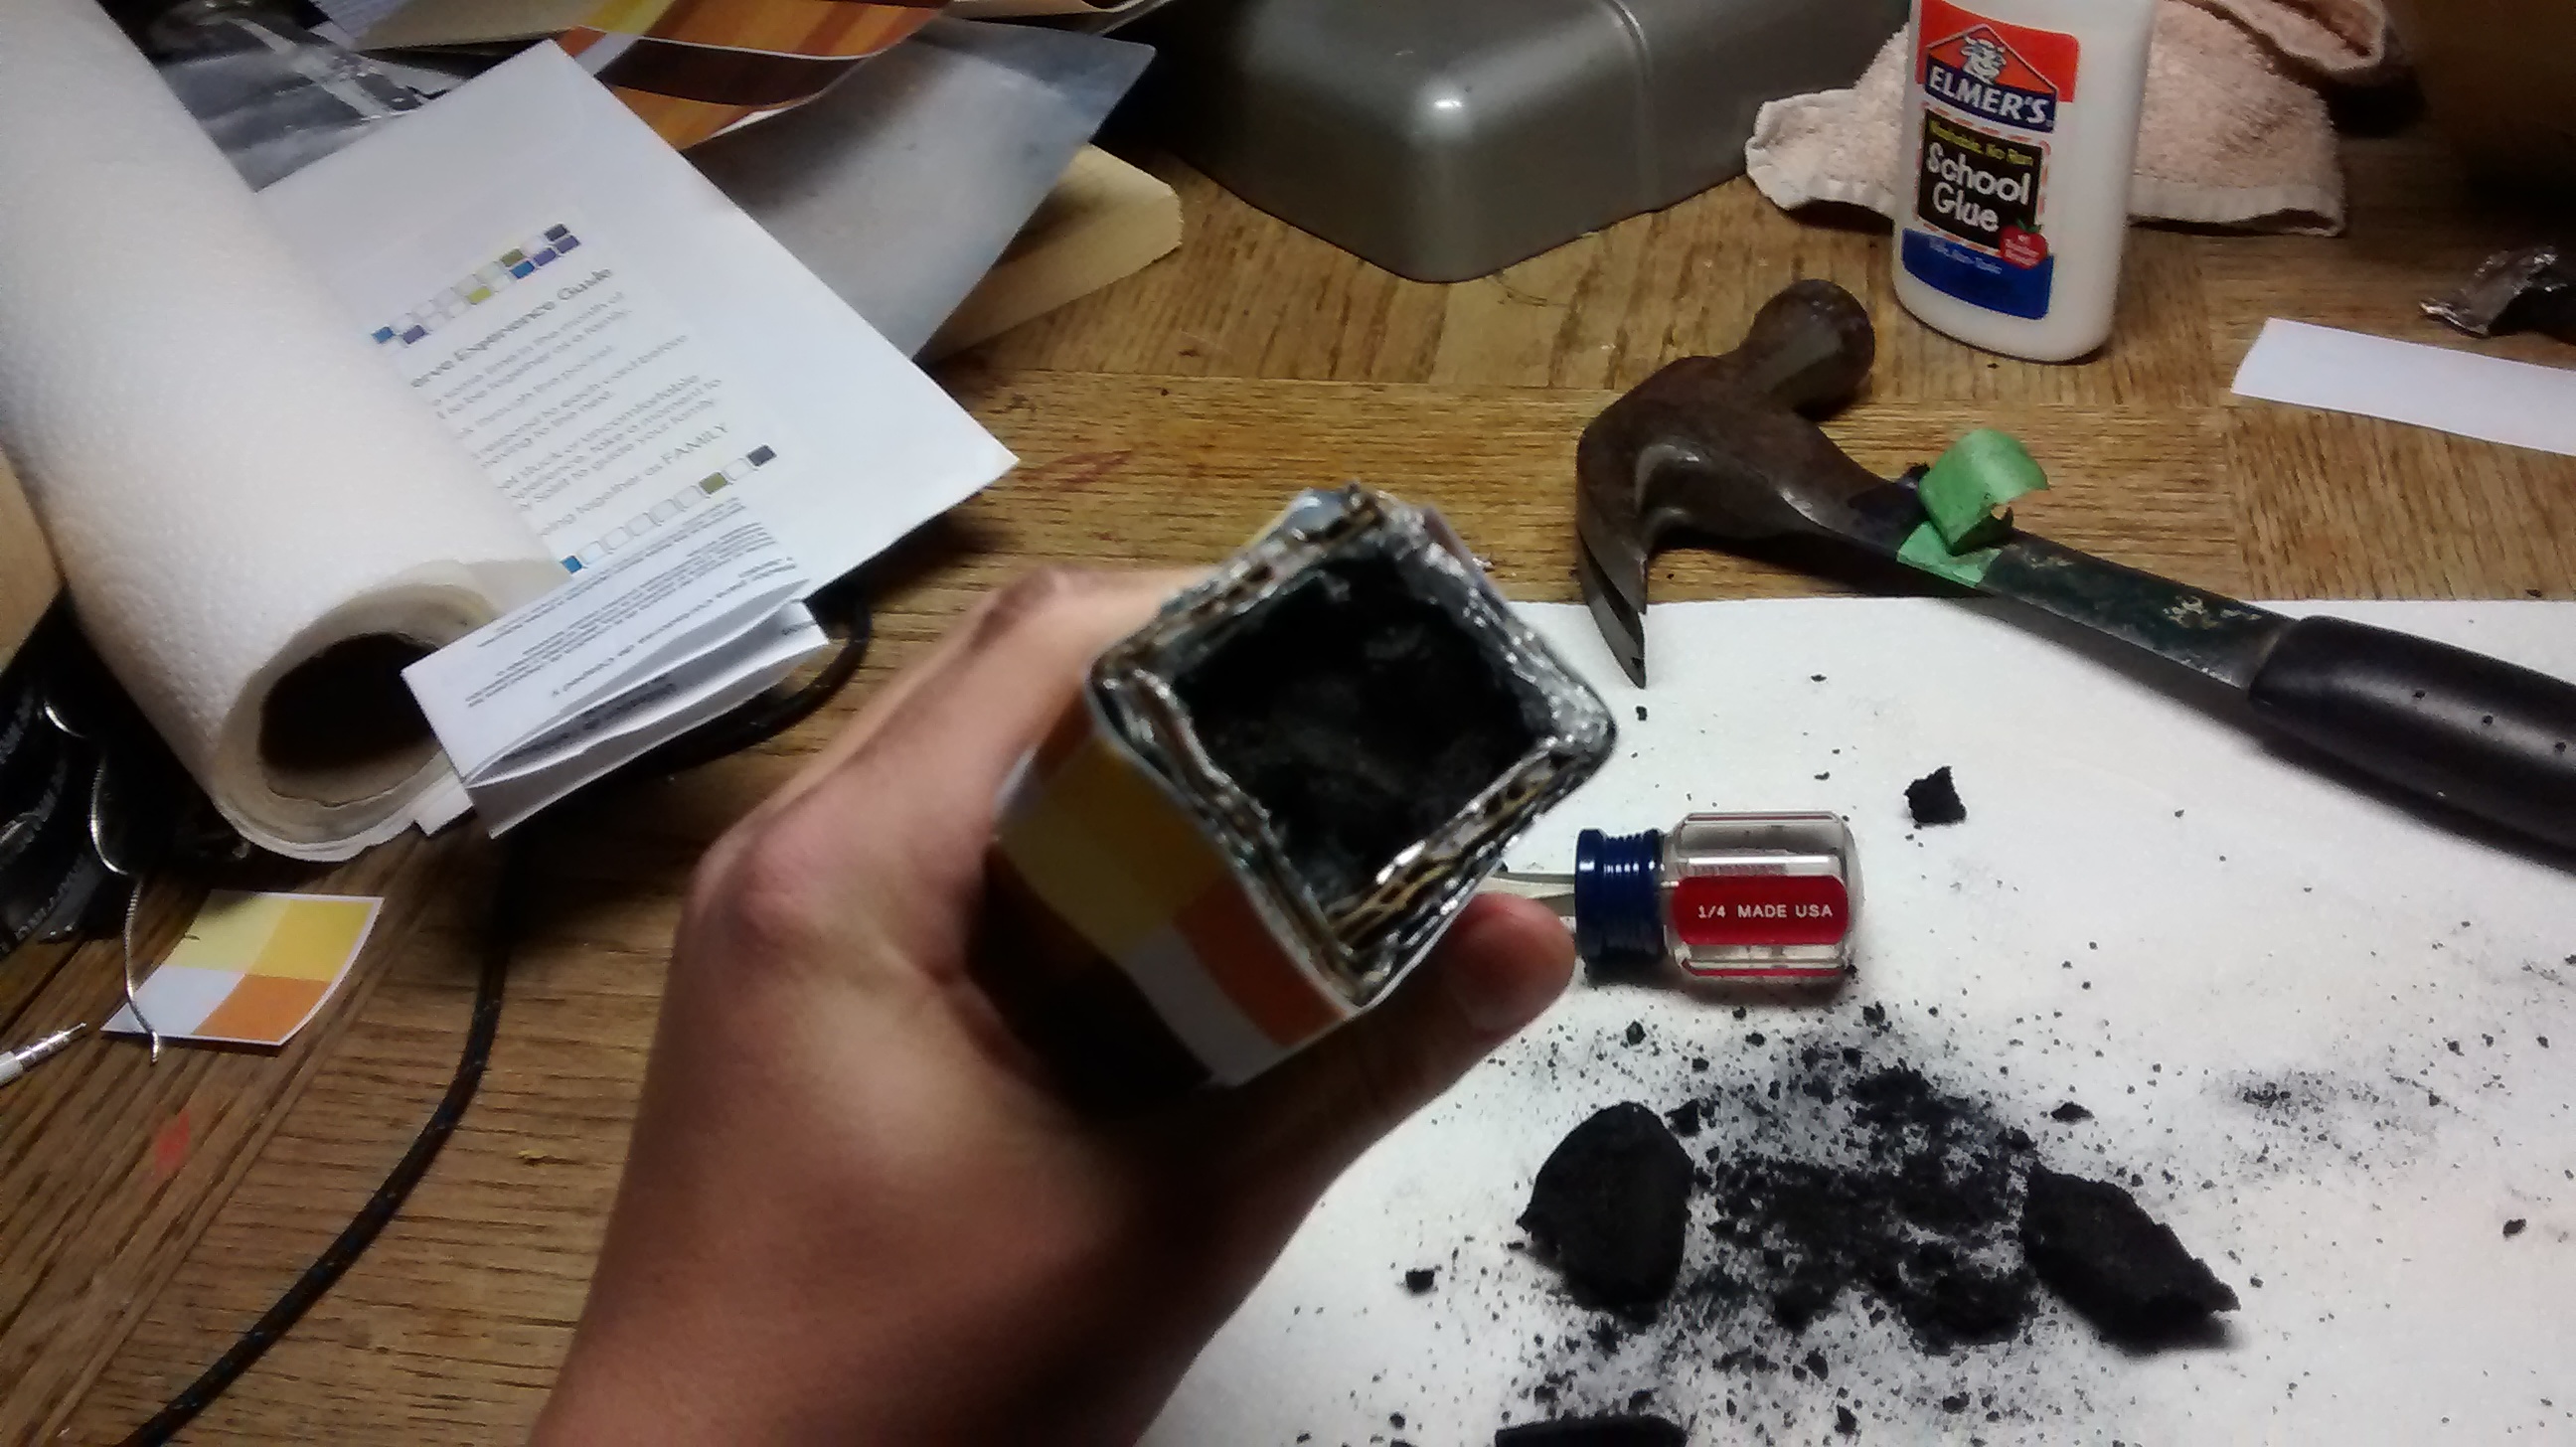
Now to prep the coal. You could use something other than coal, but in the spirit of minecraft, I used coal. Now, get some coal (if I'm honest, I used charcoal, but it still works in minecraft so it still should work in real life right?), I just got one piece of coal and then took a hammer and screw driver and smashed it into bits. I then put some of it into the fire basin. I also added some lighter fluid to help get the fire going.
FIRE!
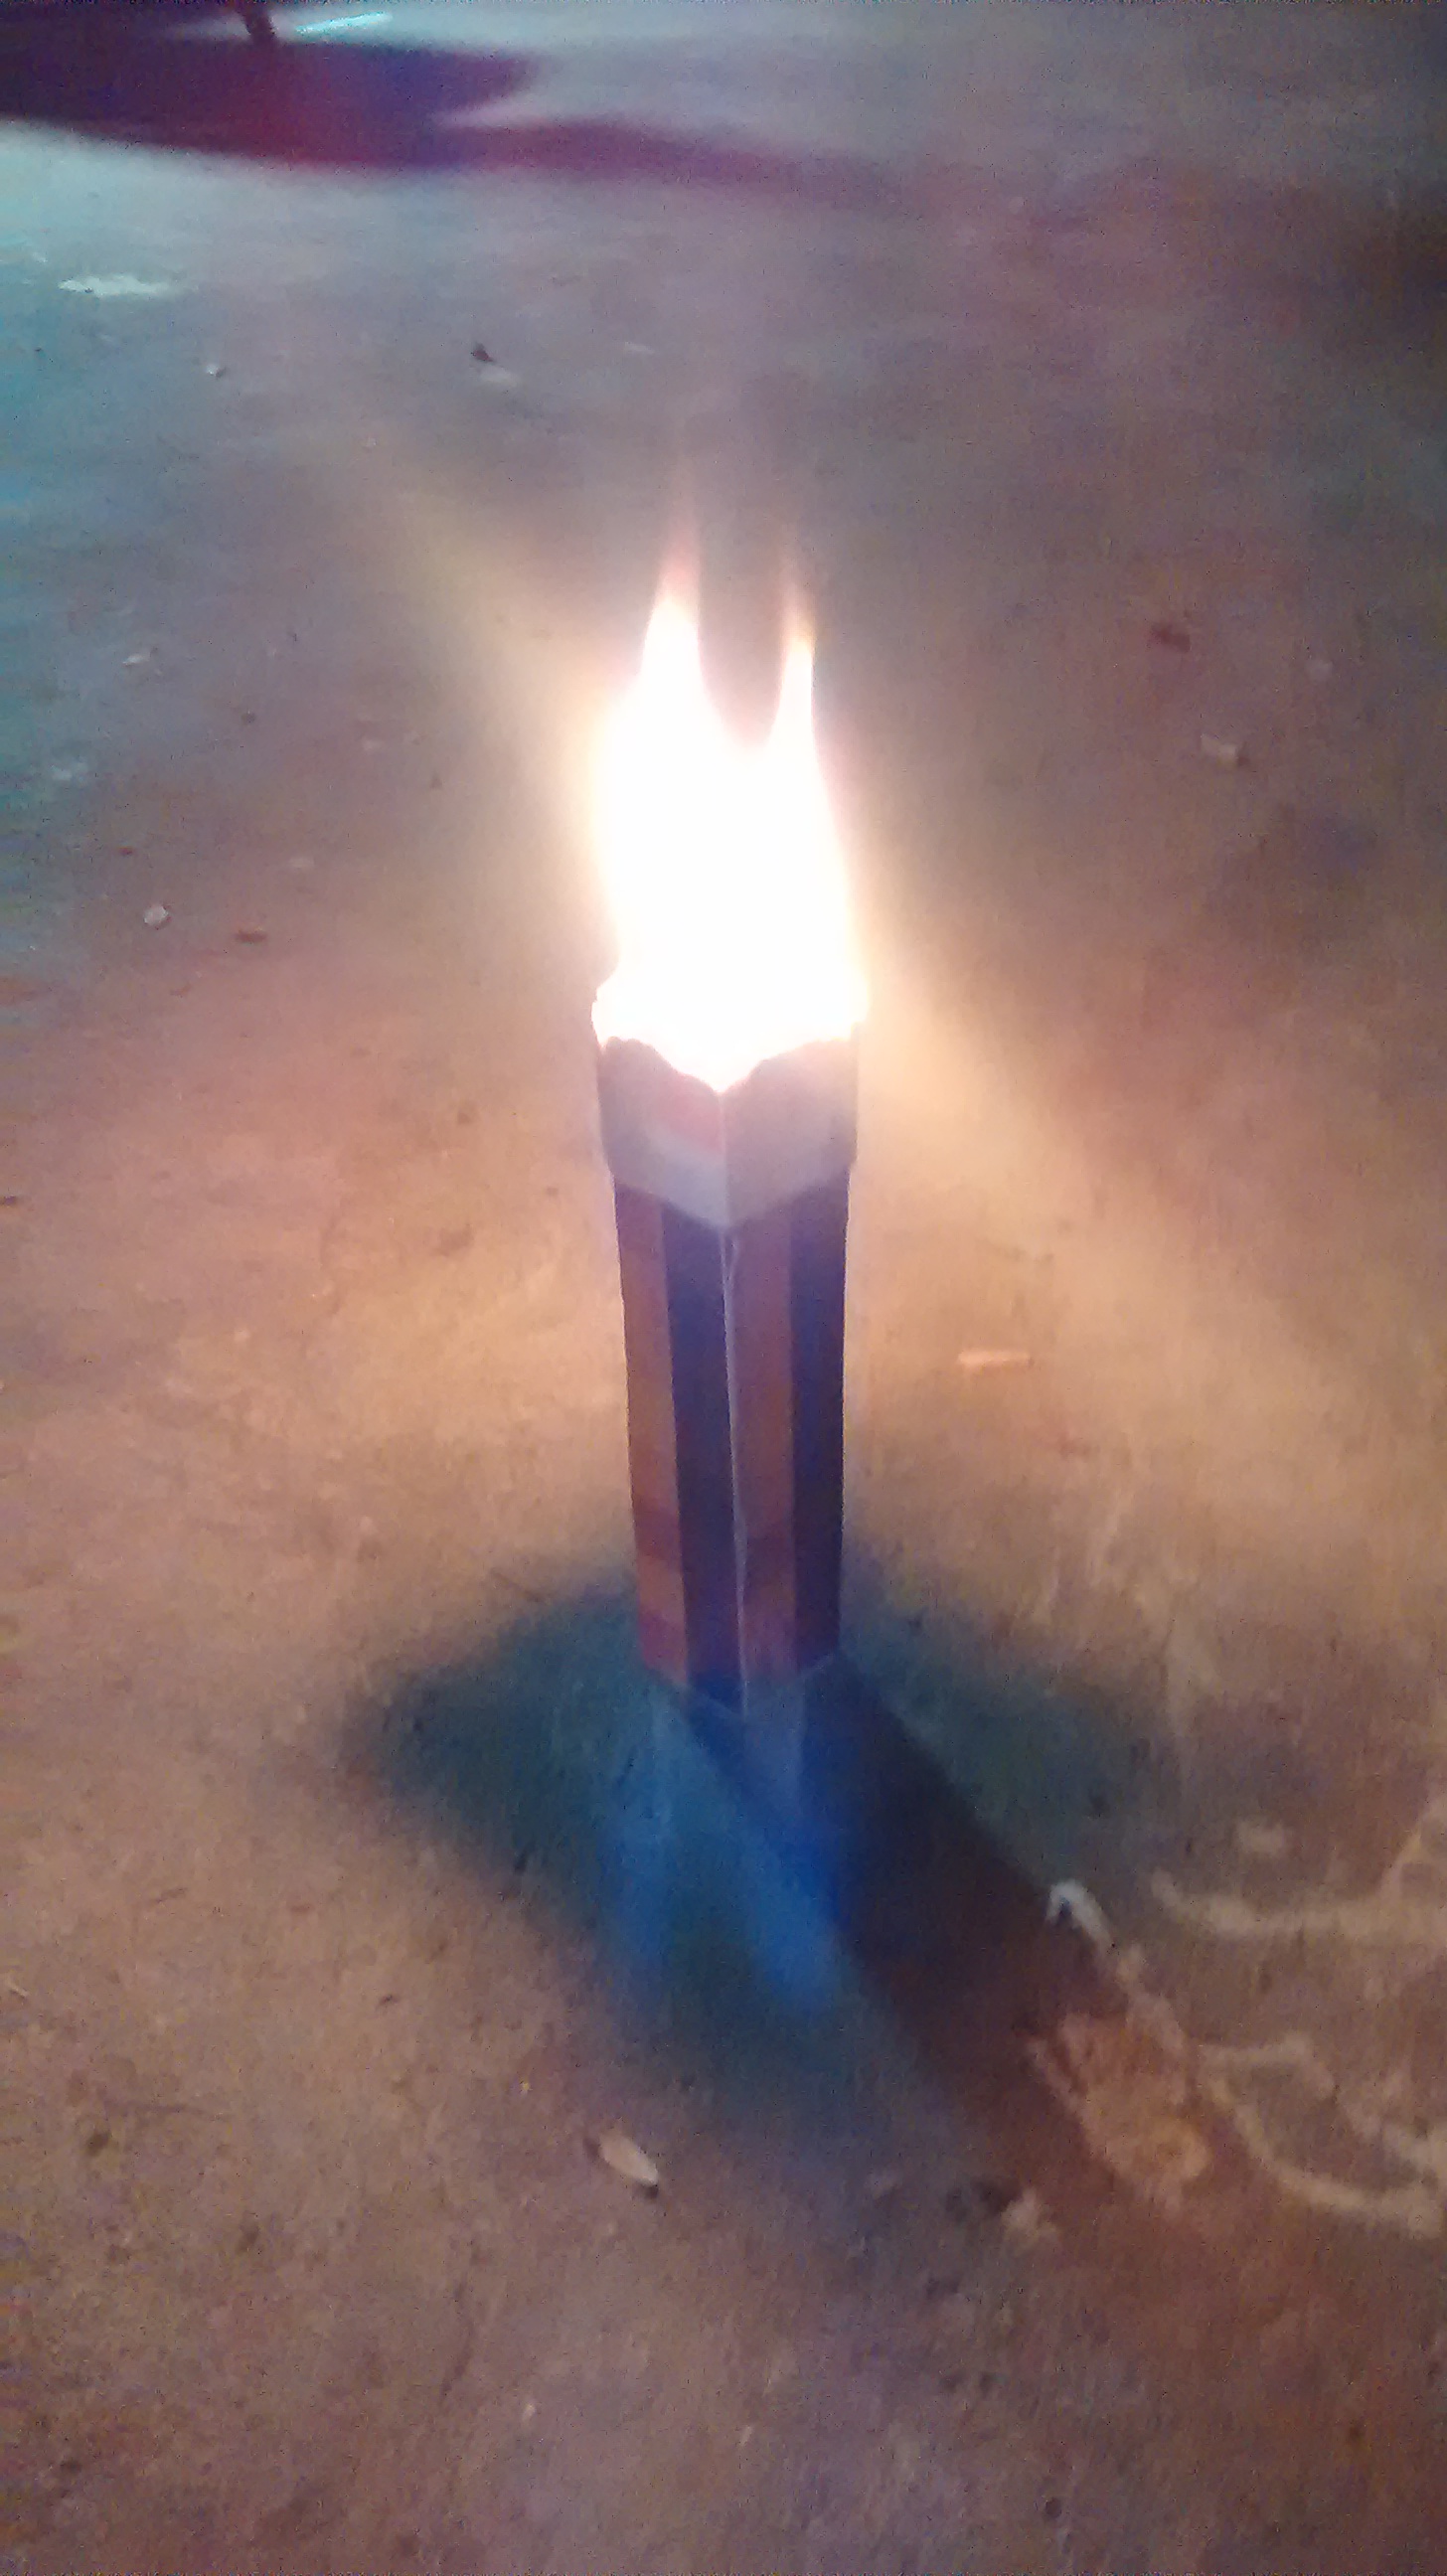
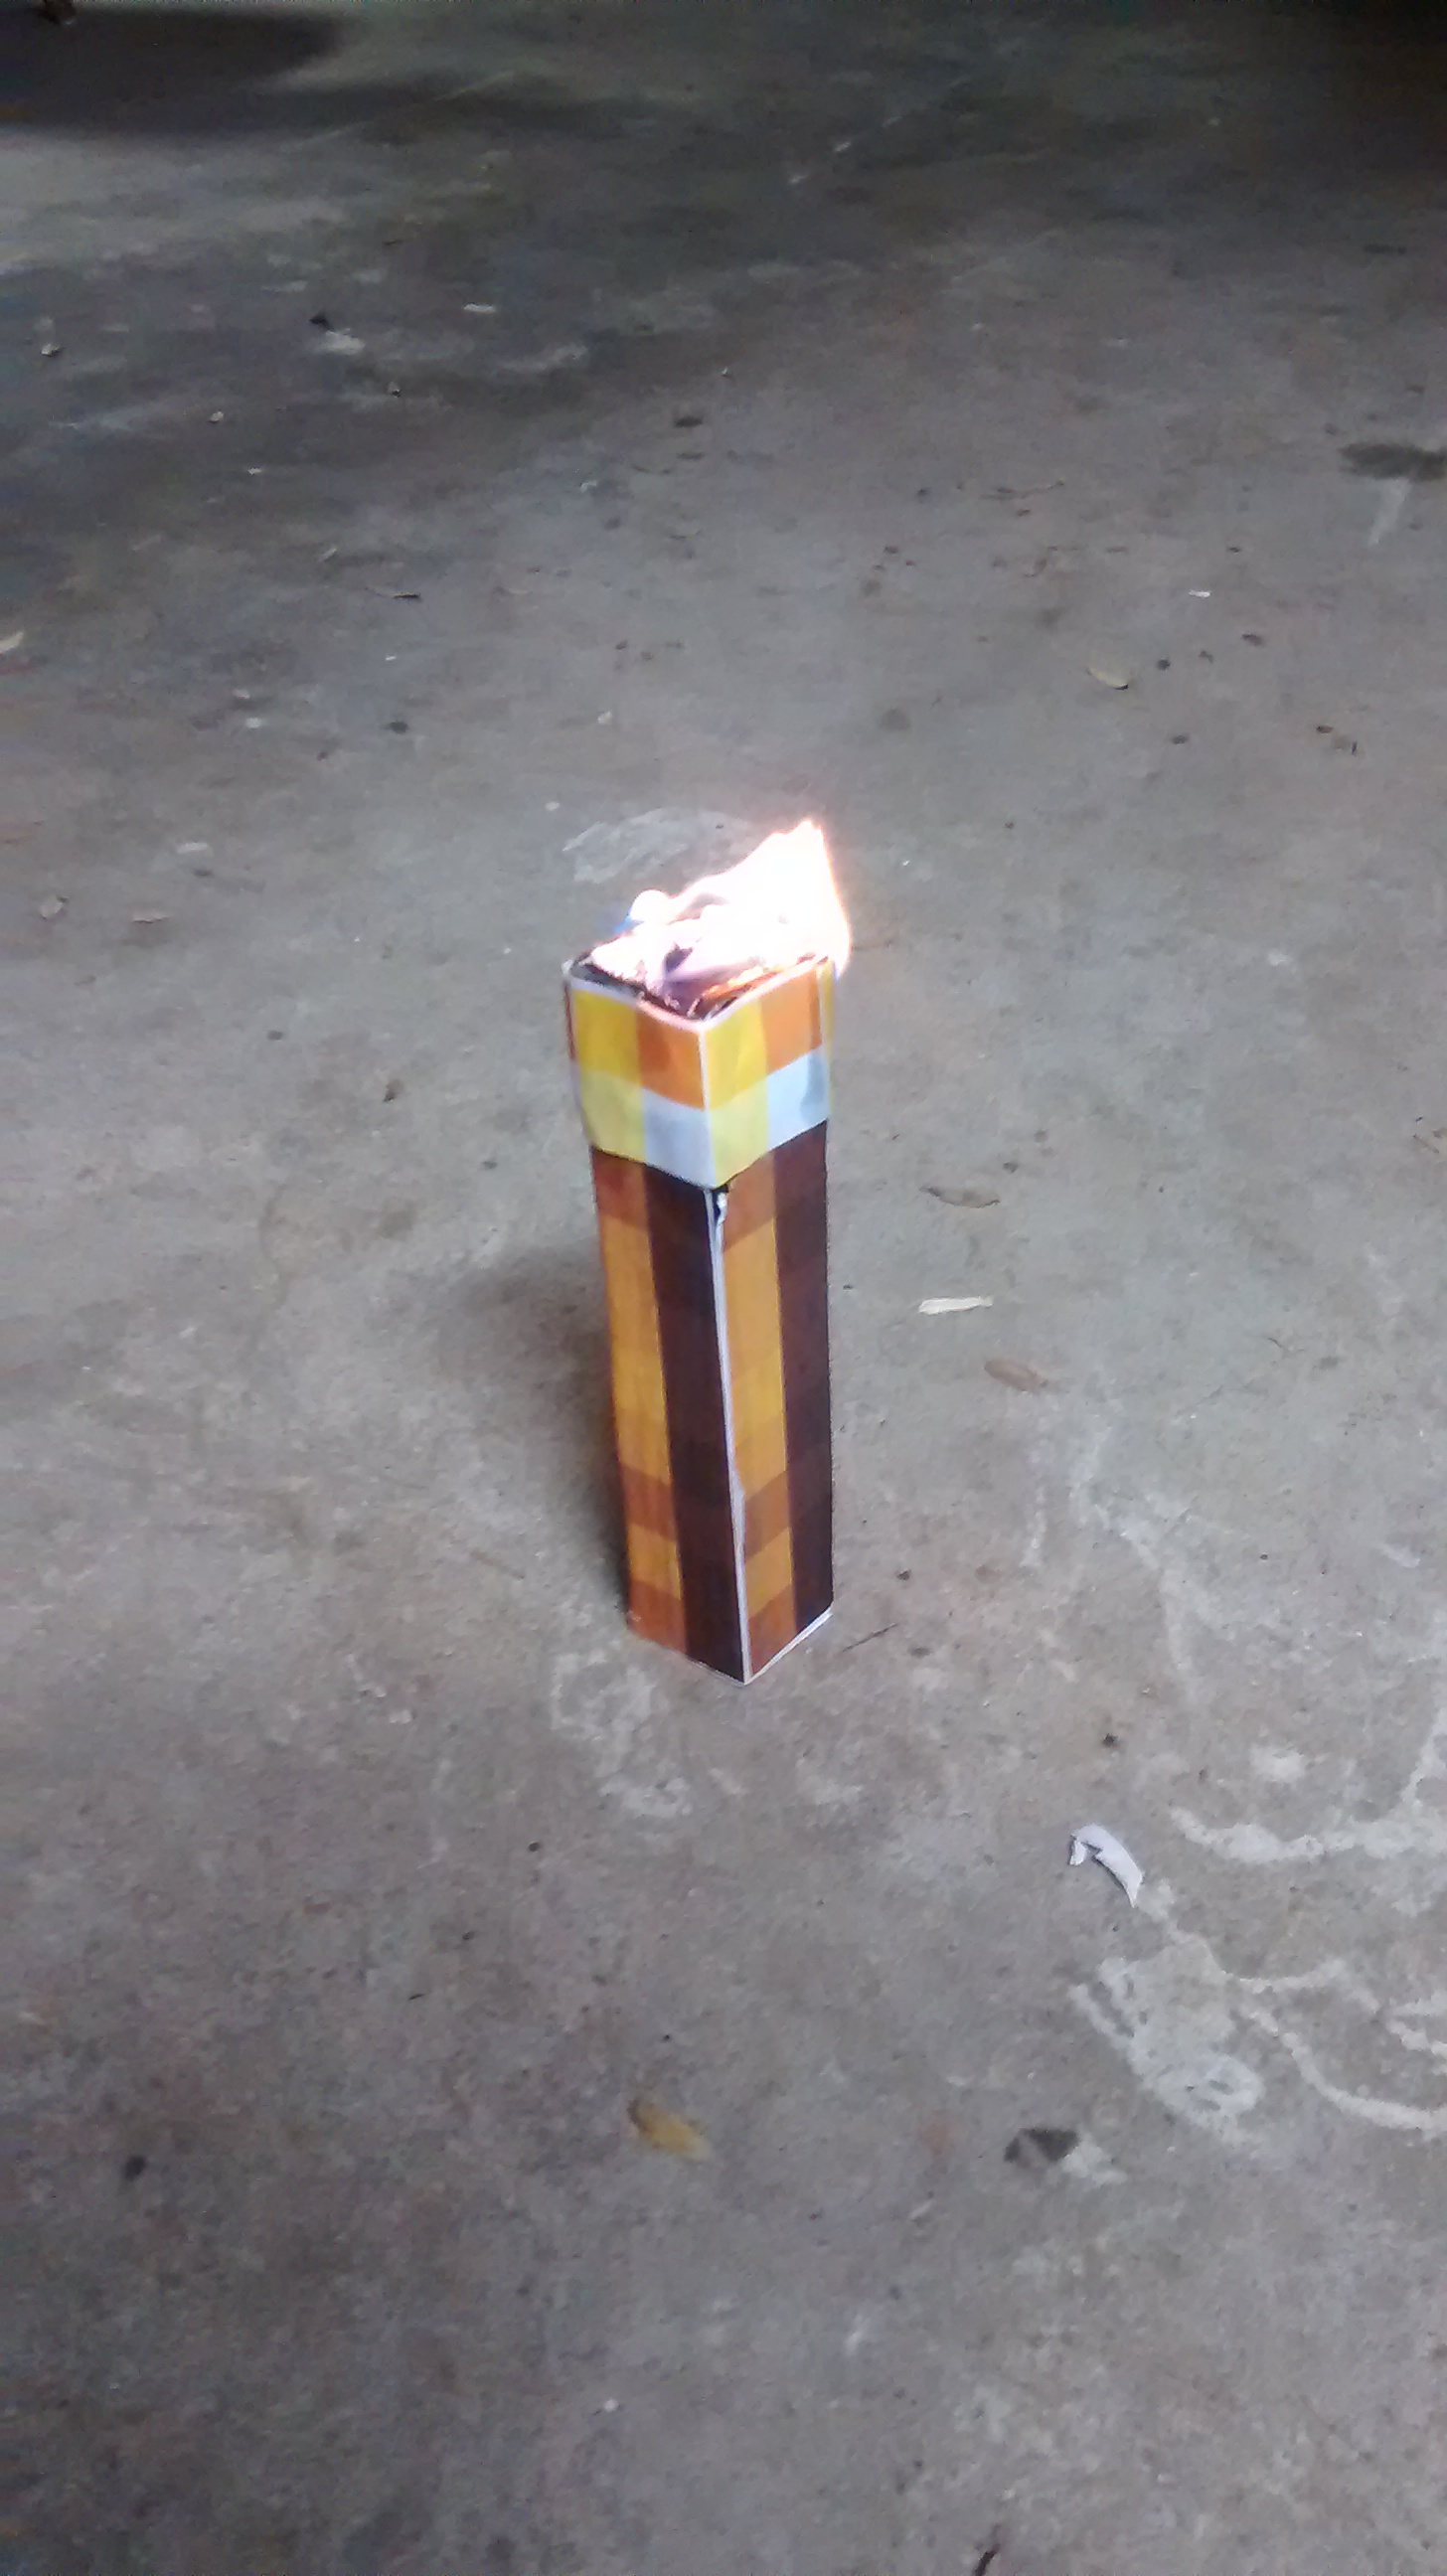
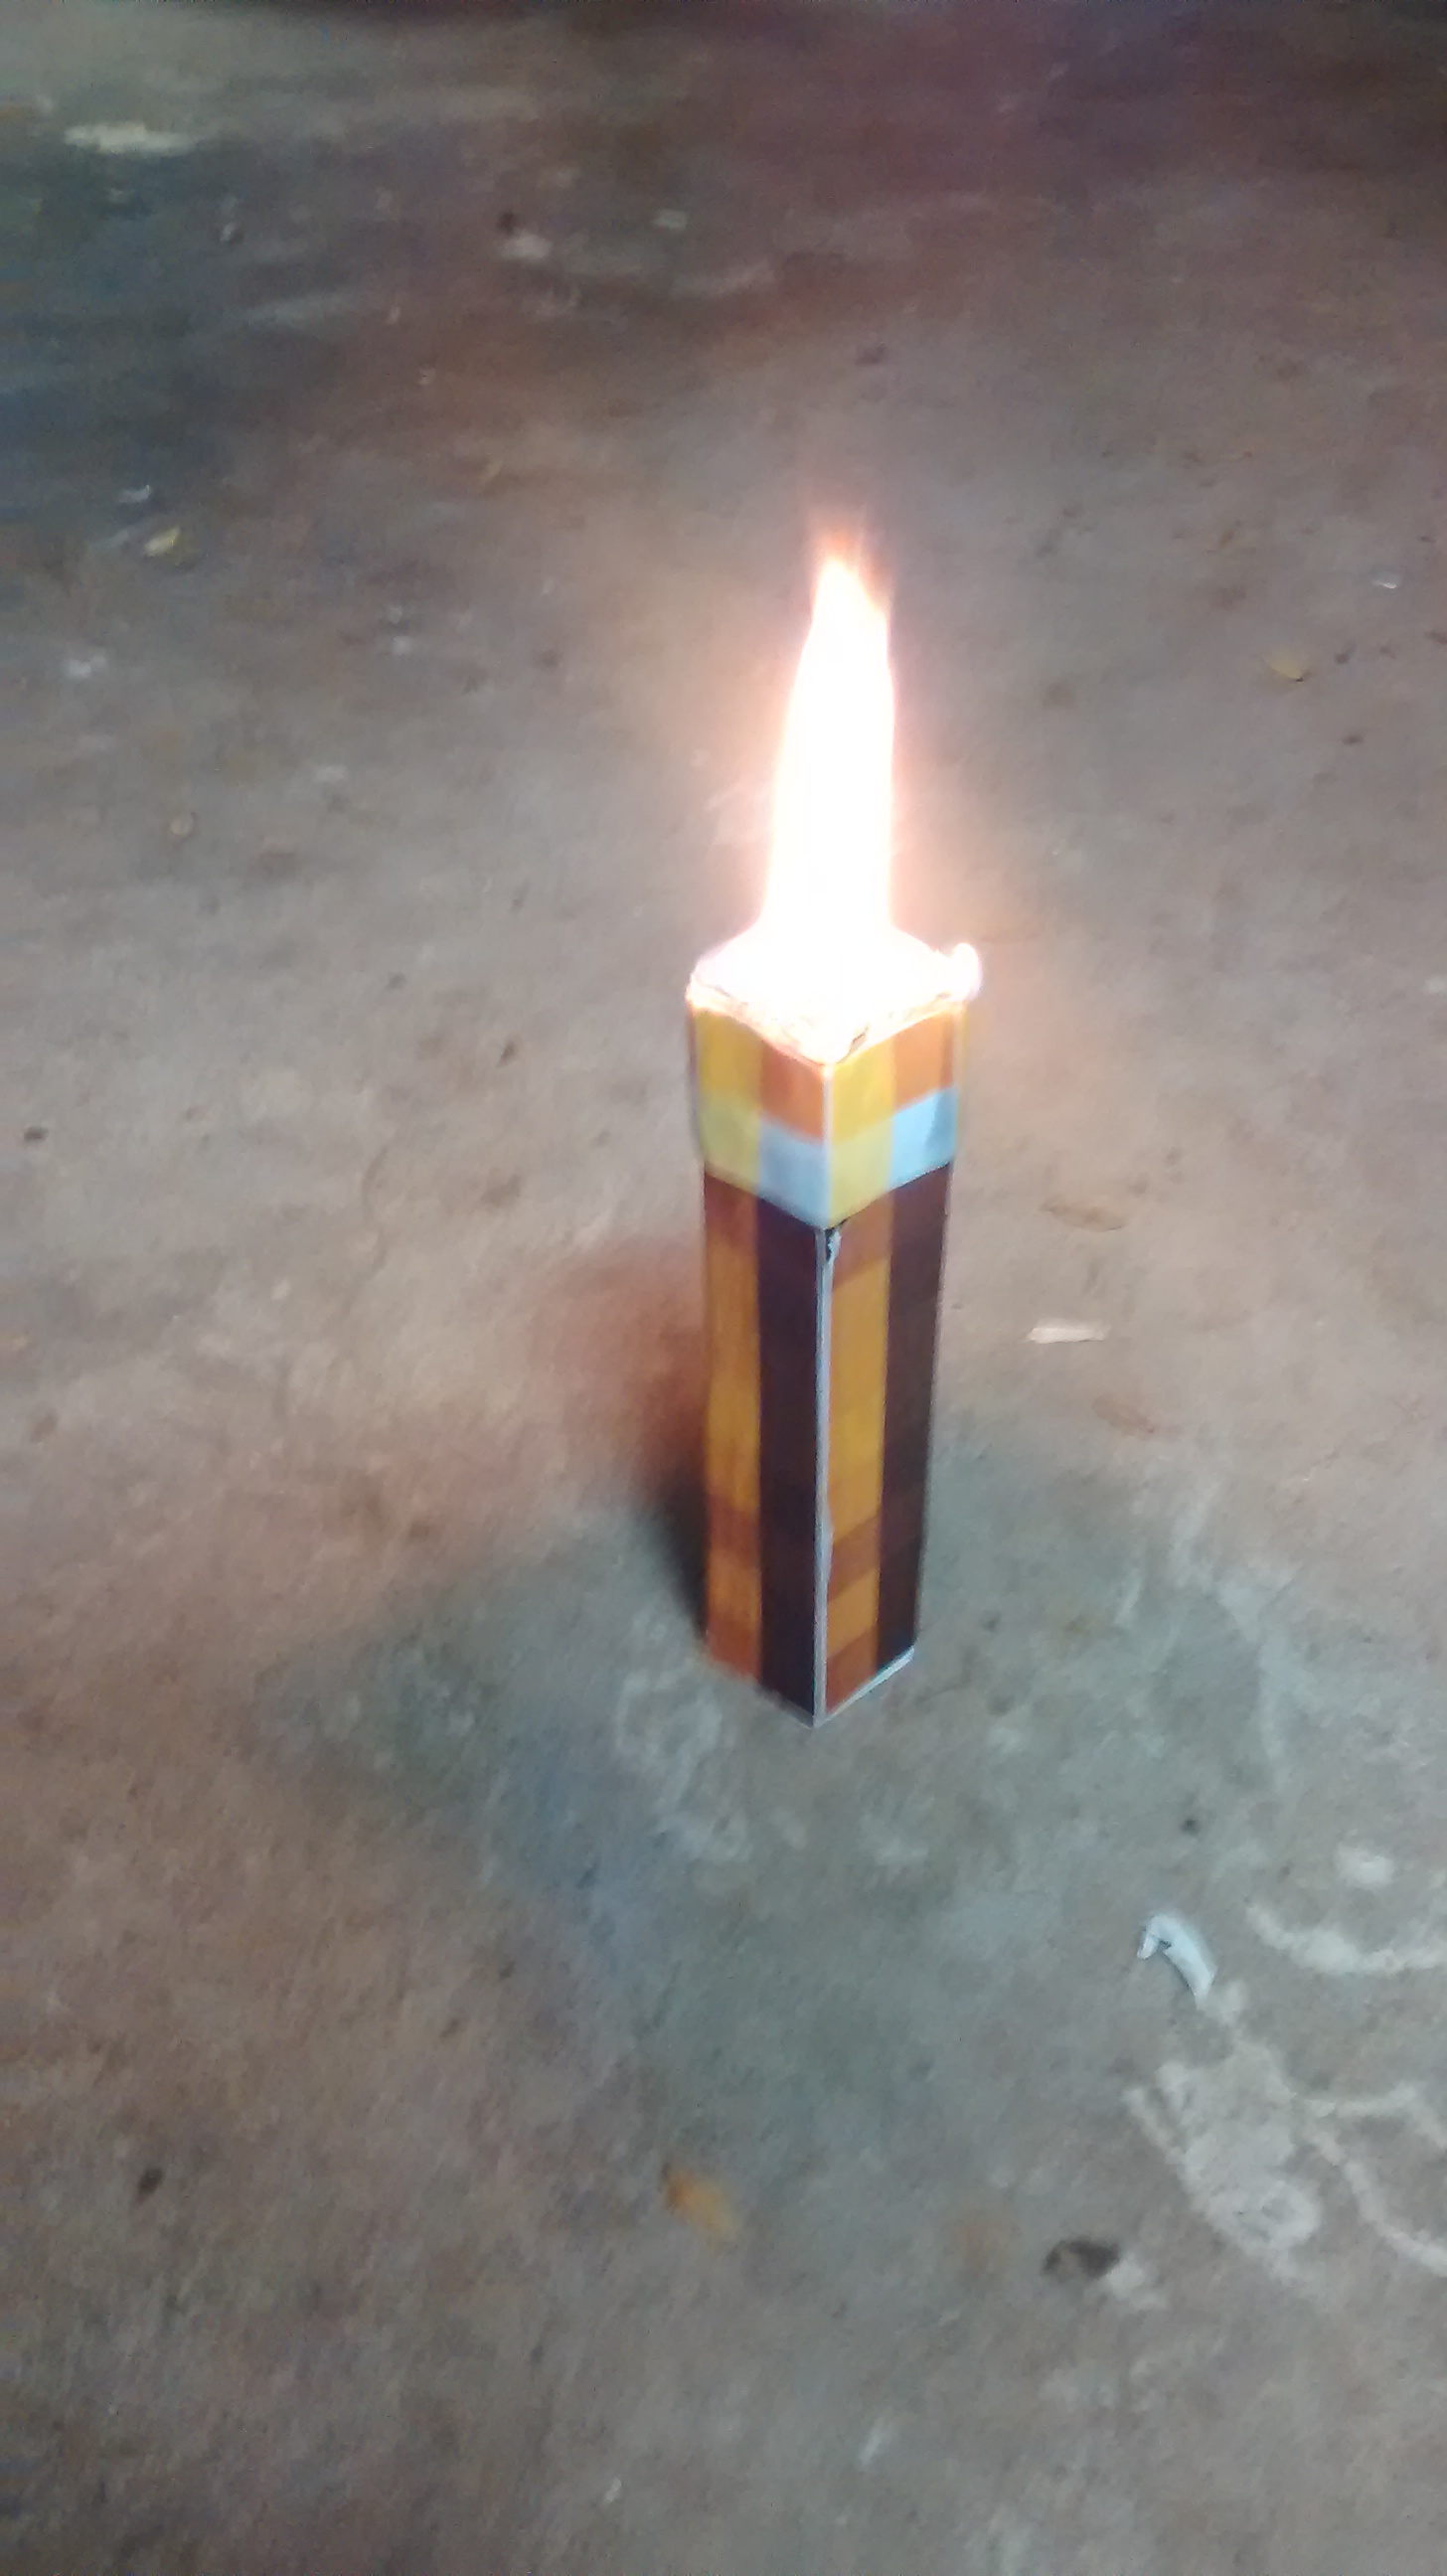
Now, just get a lighter and light the torch! BE VERY CAREFUL, FIRE IS DANGEROUS. Now, you can enjoy your minecraft torch, although, if you plan on using it often, I would recommend fireproofing the whole thing somehow. Yes, mine did light on fire a little bit (the paper), so be very careful and always have some water nearby to douse the fire if needed.