Minecraft Nether Portal IPod Dock
by Tomcat94 in Craft > Cardboard
15319 Views, 72 Favorites, 0 Comments
Minecraft Nether Portal IPod Dock

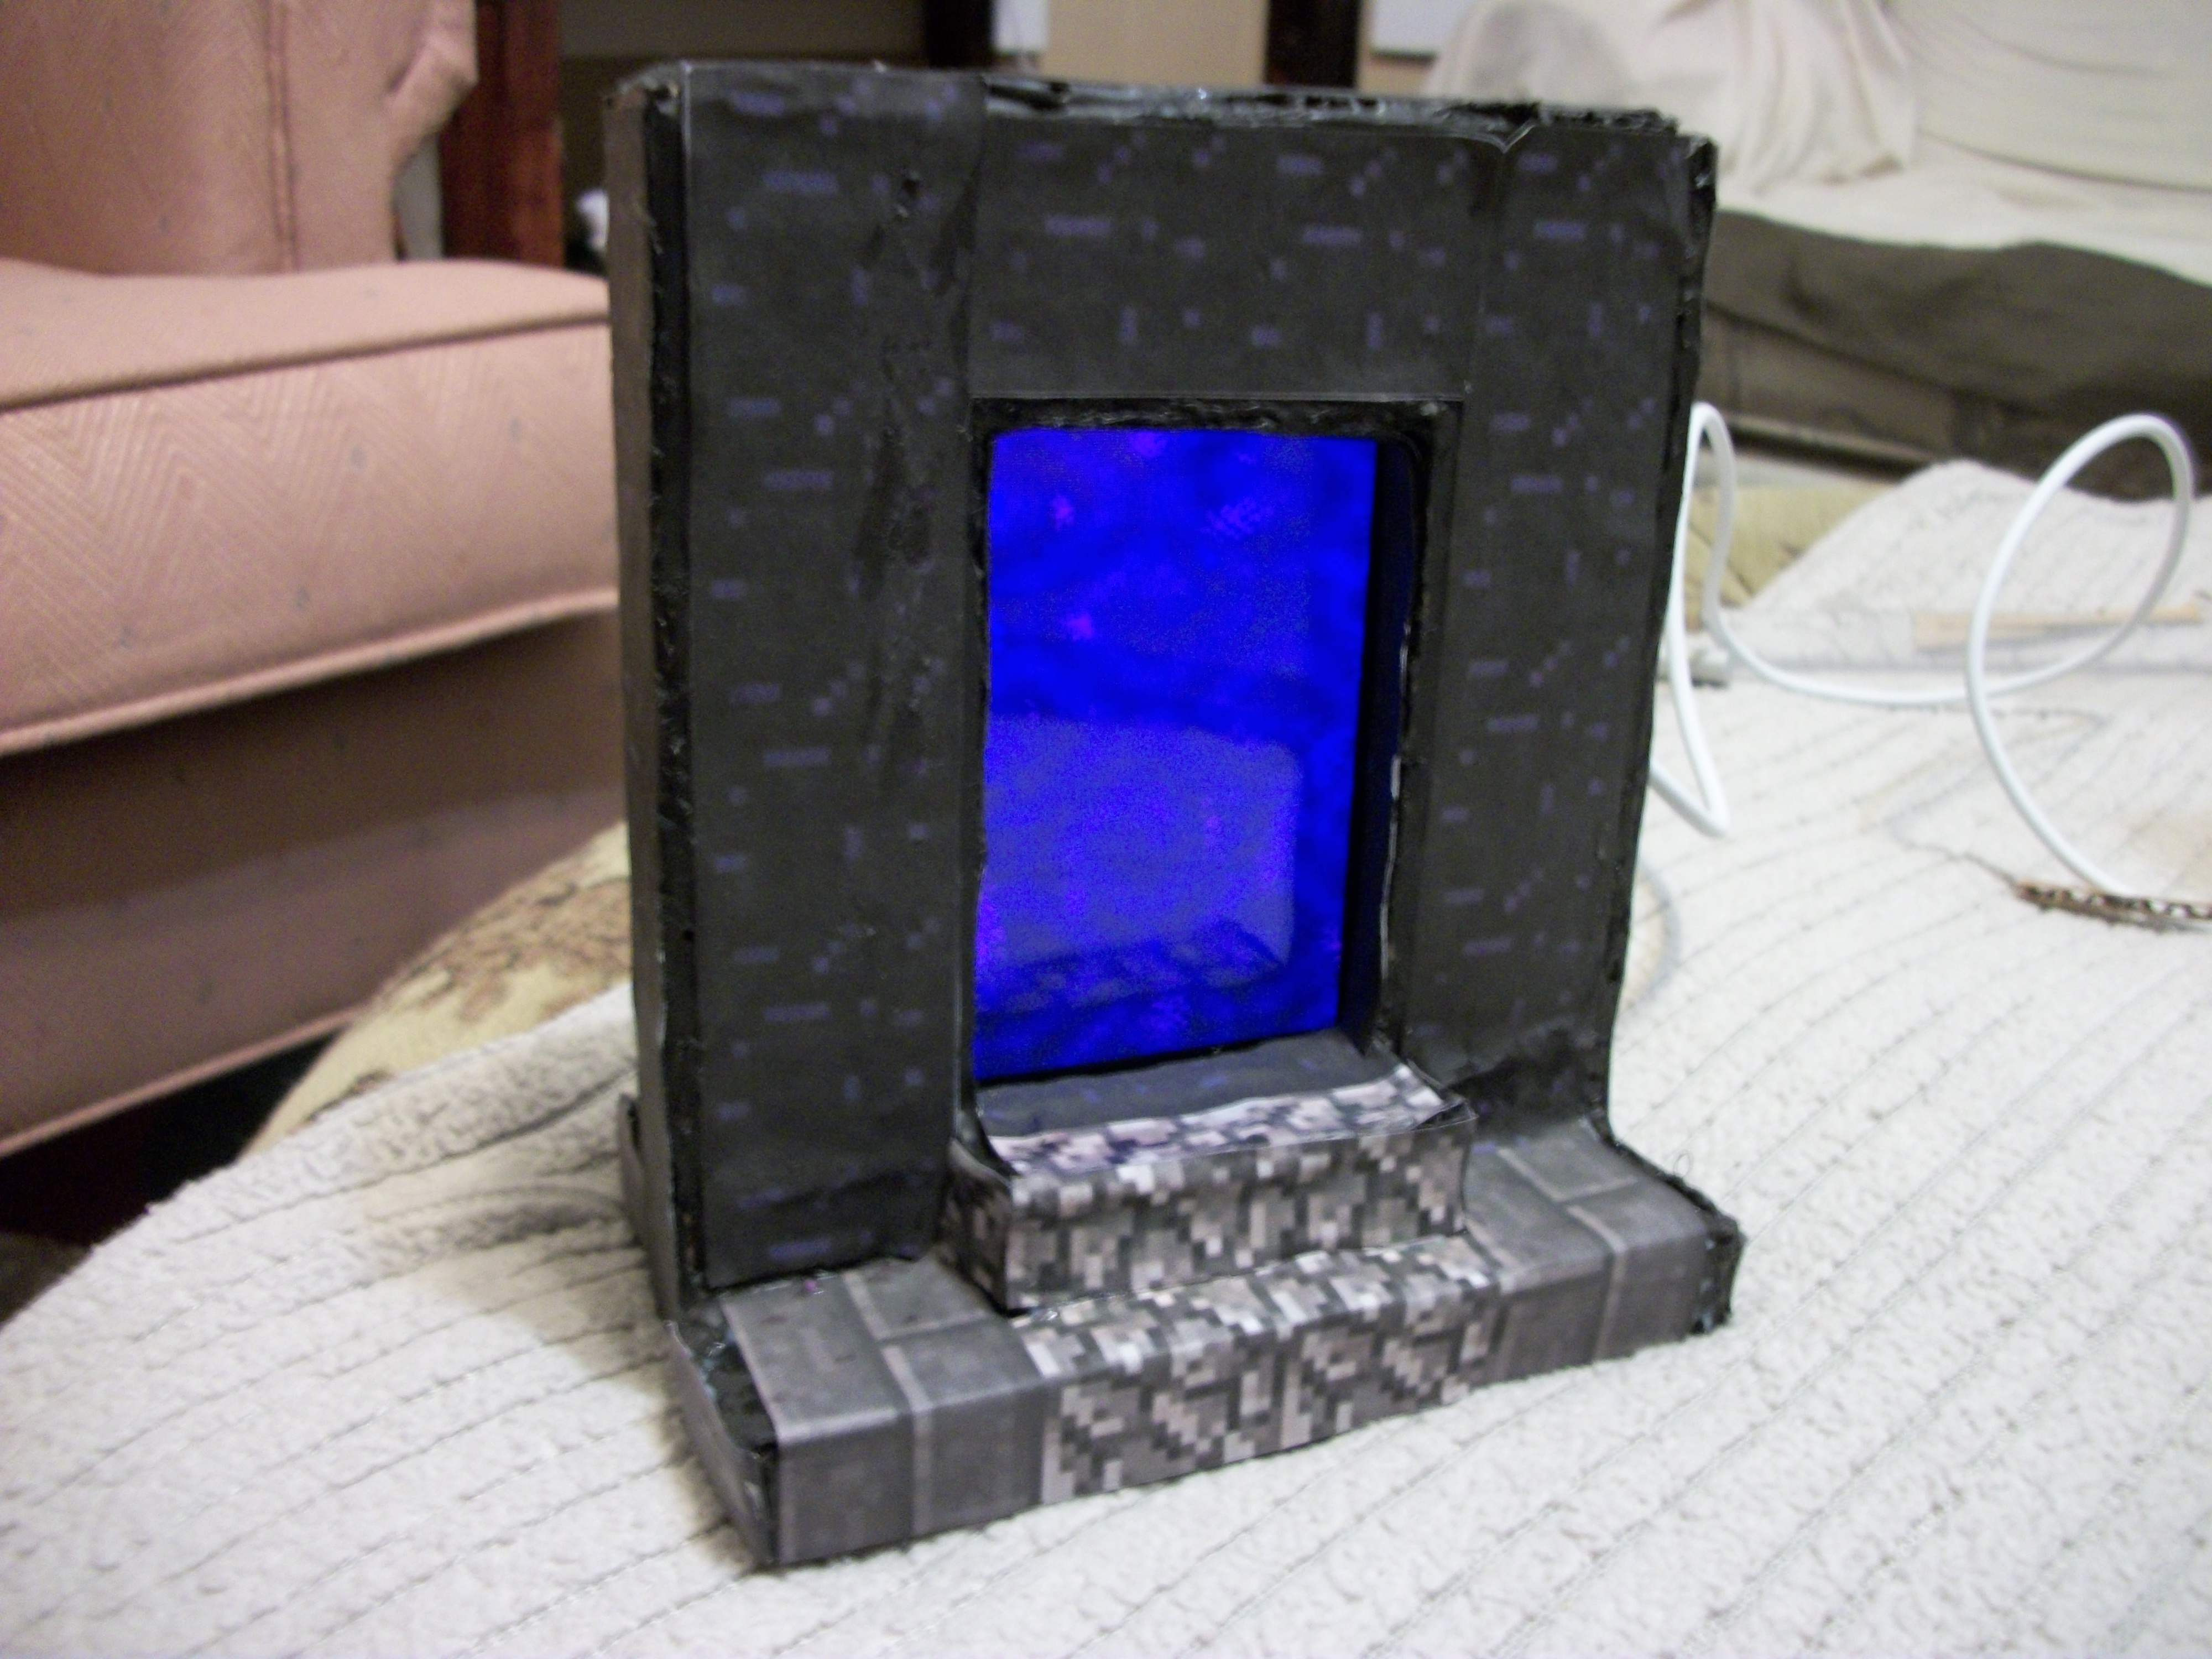
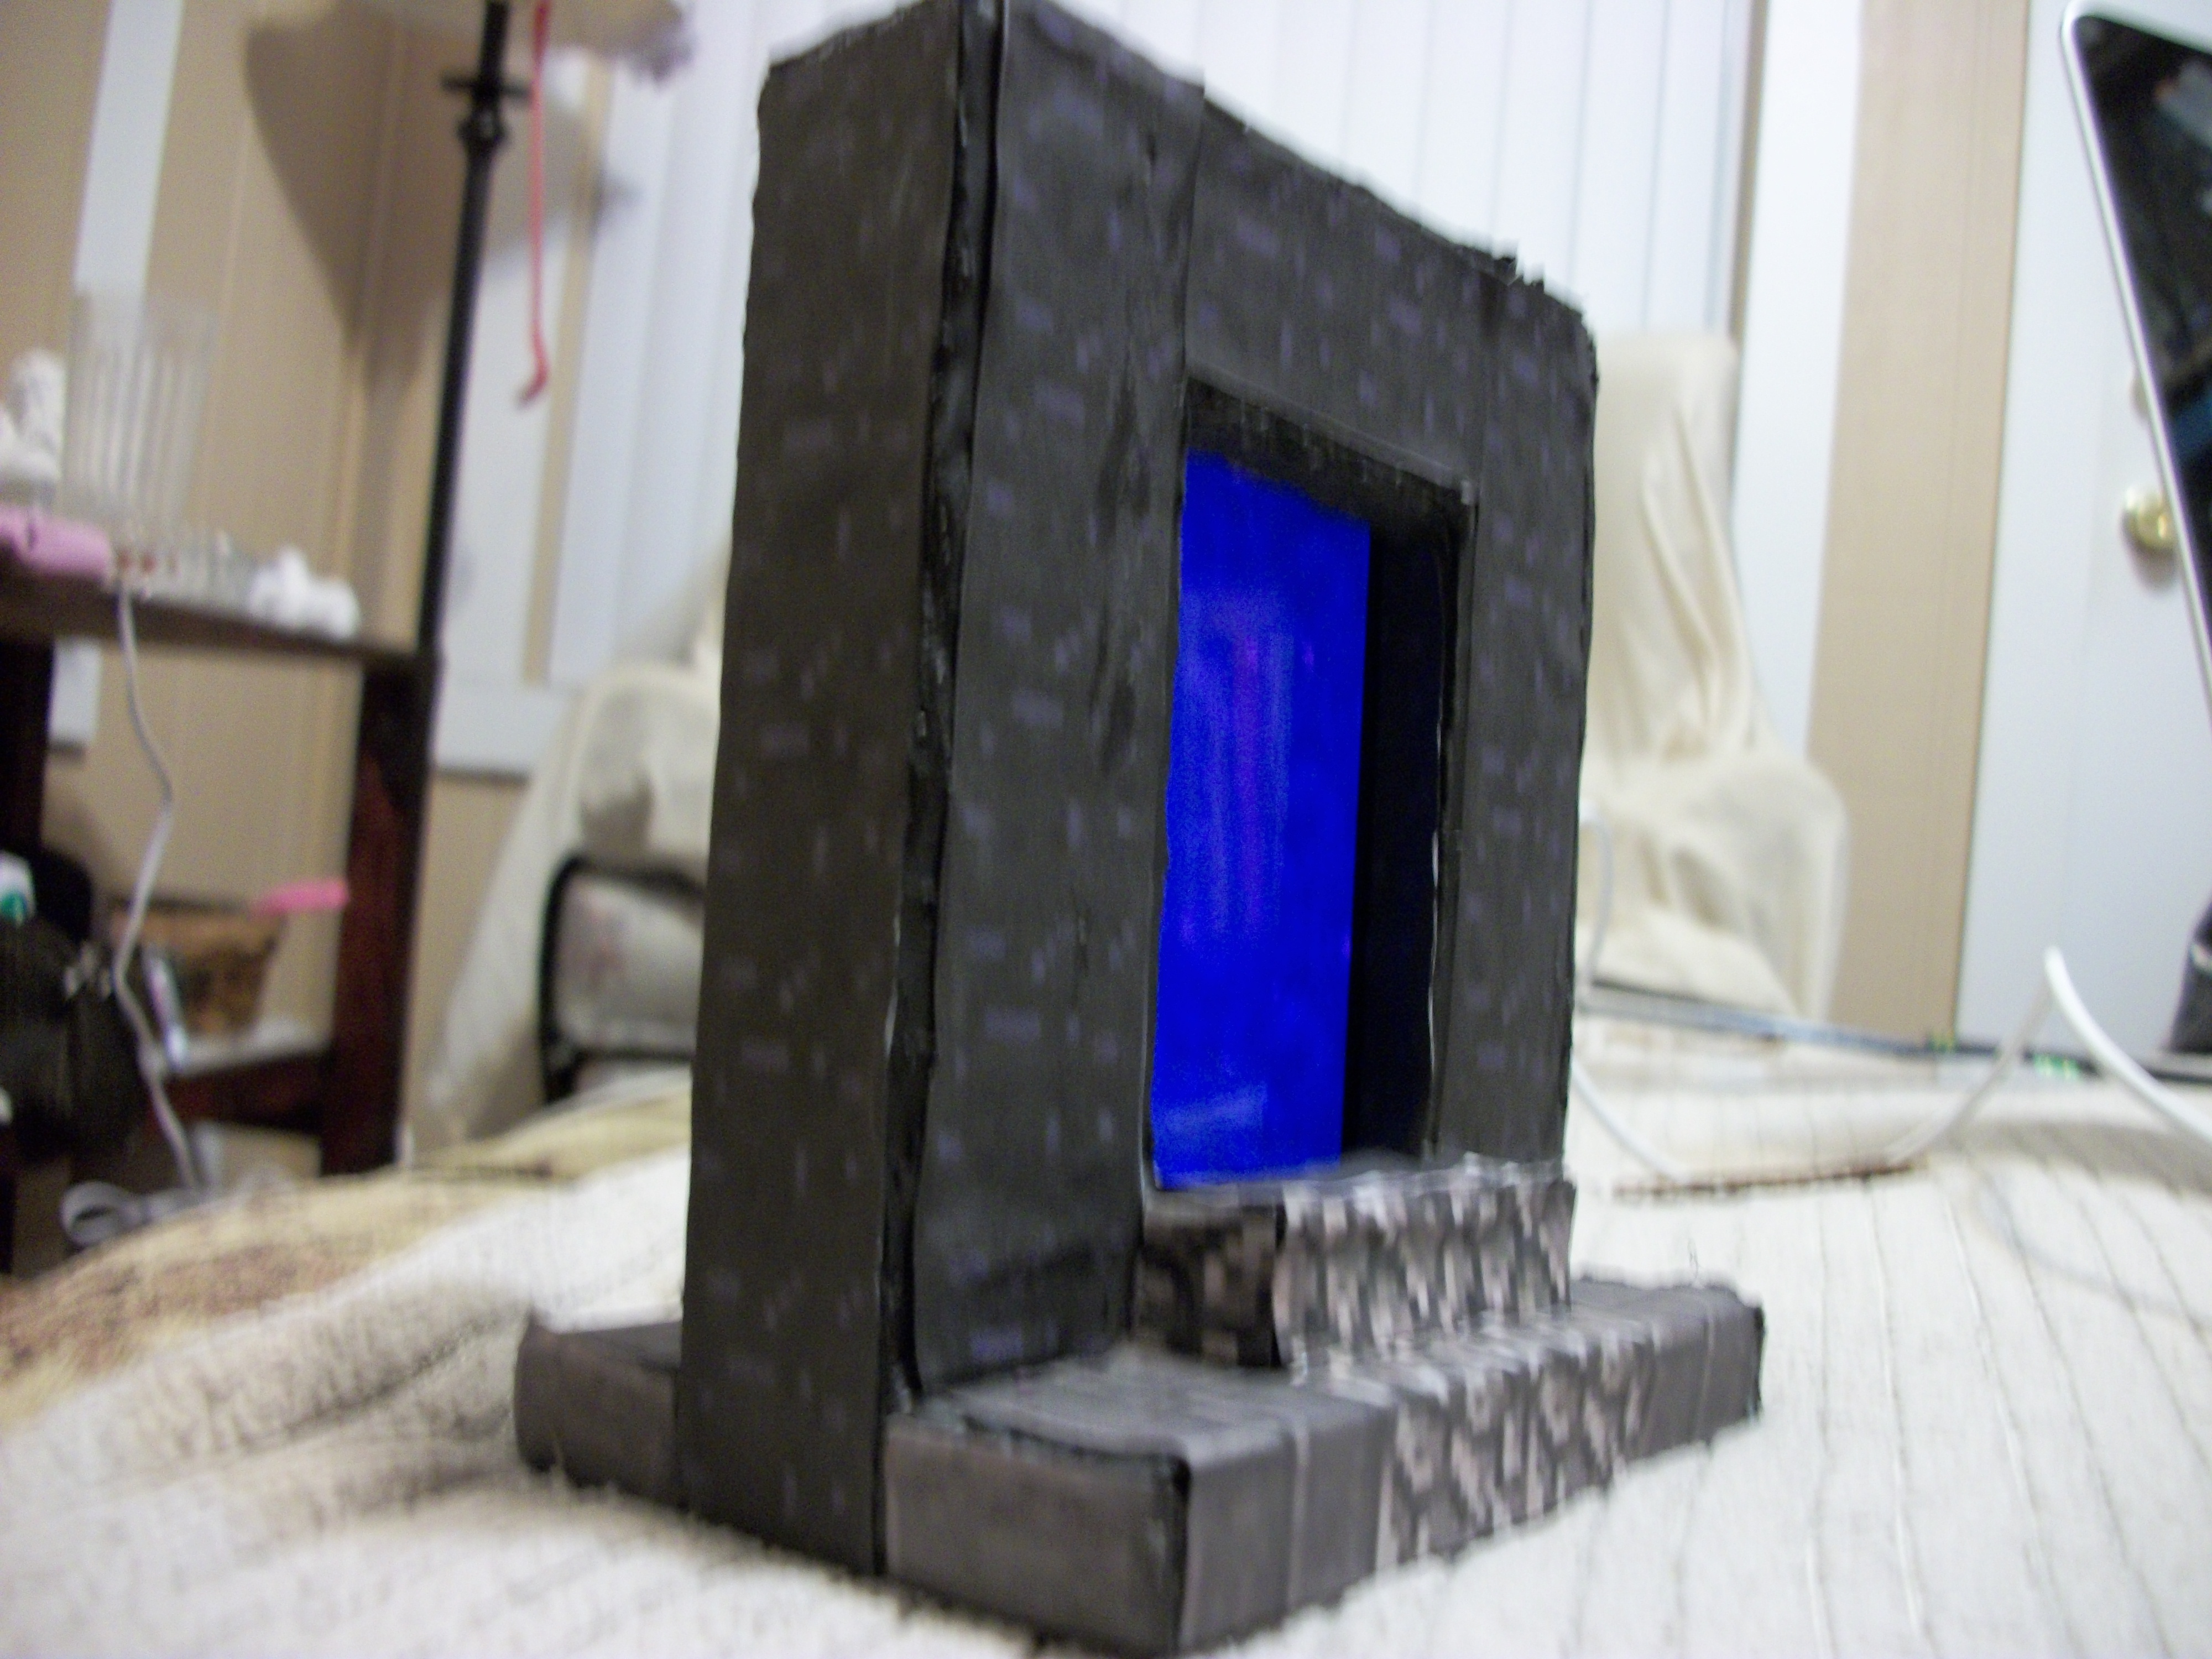
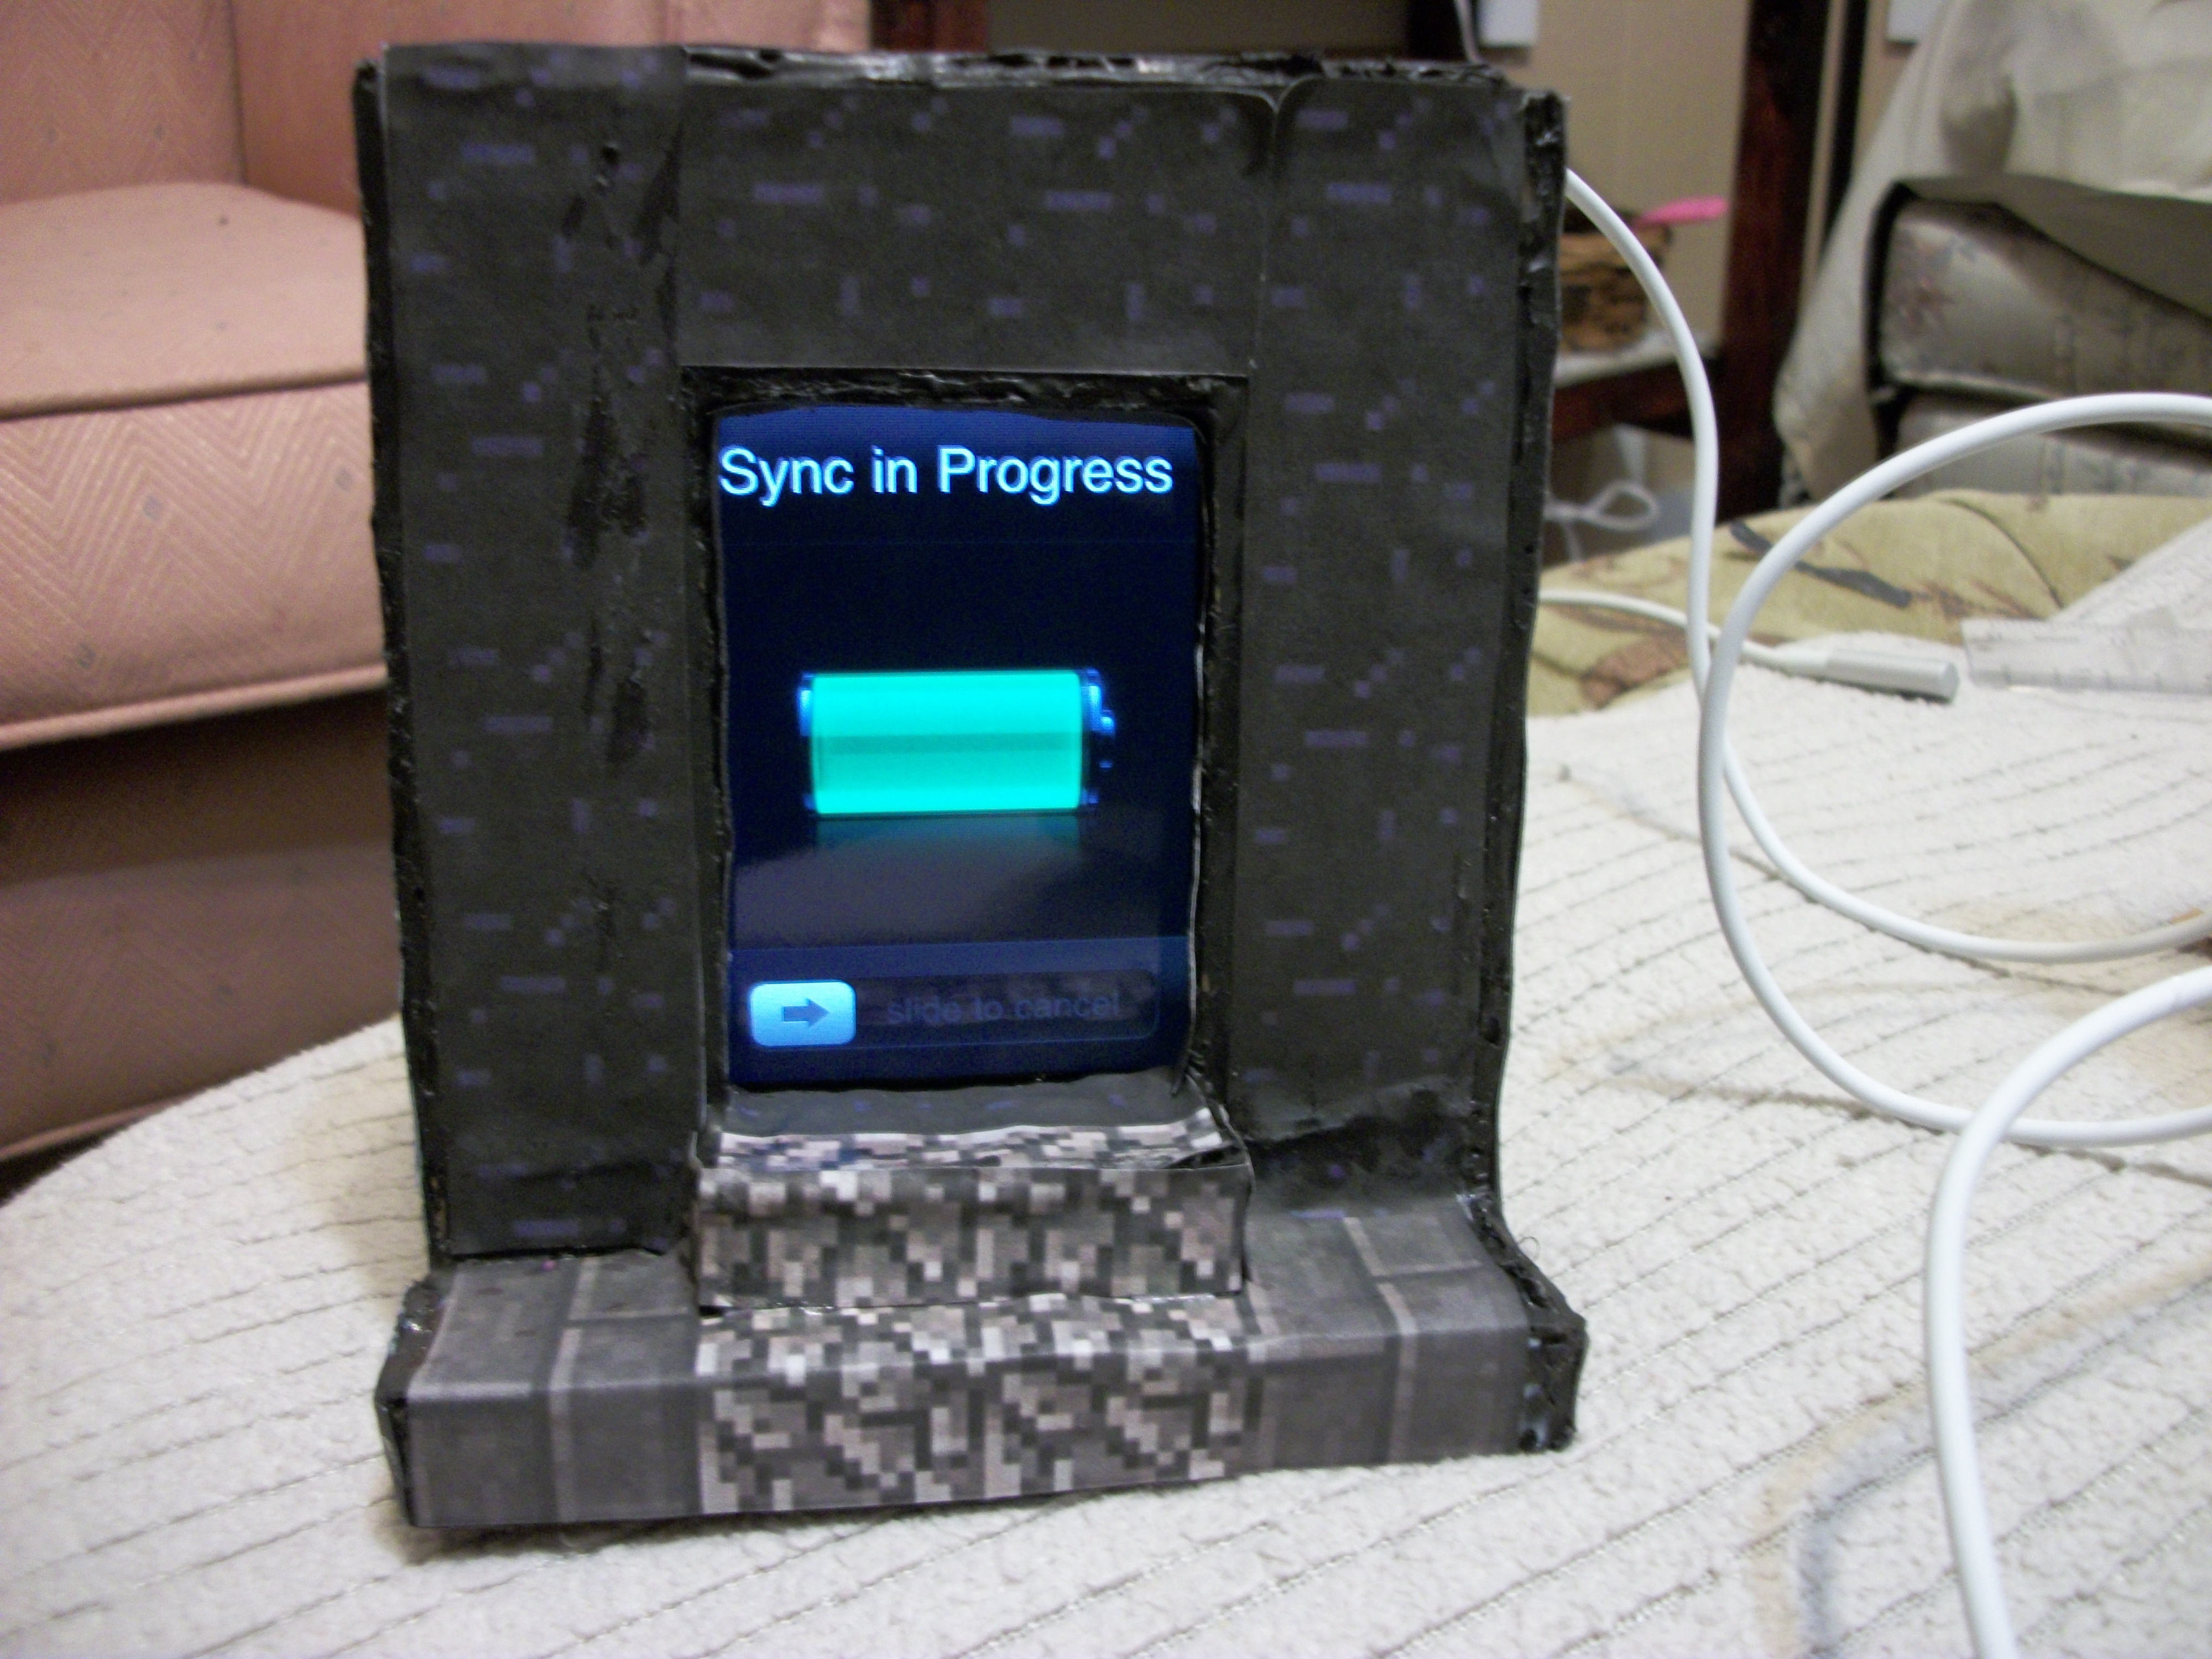
Hello, fellow instructables members!
Today, I'm here to show you my Minecraft Nether Portal iPod Dock that I made for the Game.Life 2 challenge.
I got the inspiration for this when I saw ThinkGeek's April Fool's joke from last year. I waited for someone to make something like it, but sadly, it never came around, so I took the initiative to make it myself.
Here is a video of it in action:
So, if you want to make one for yourself, read on!
Gathering Materials
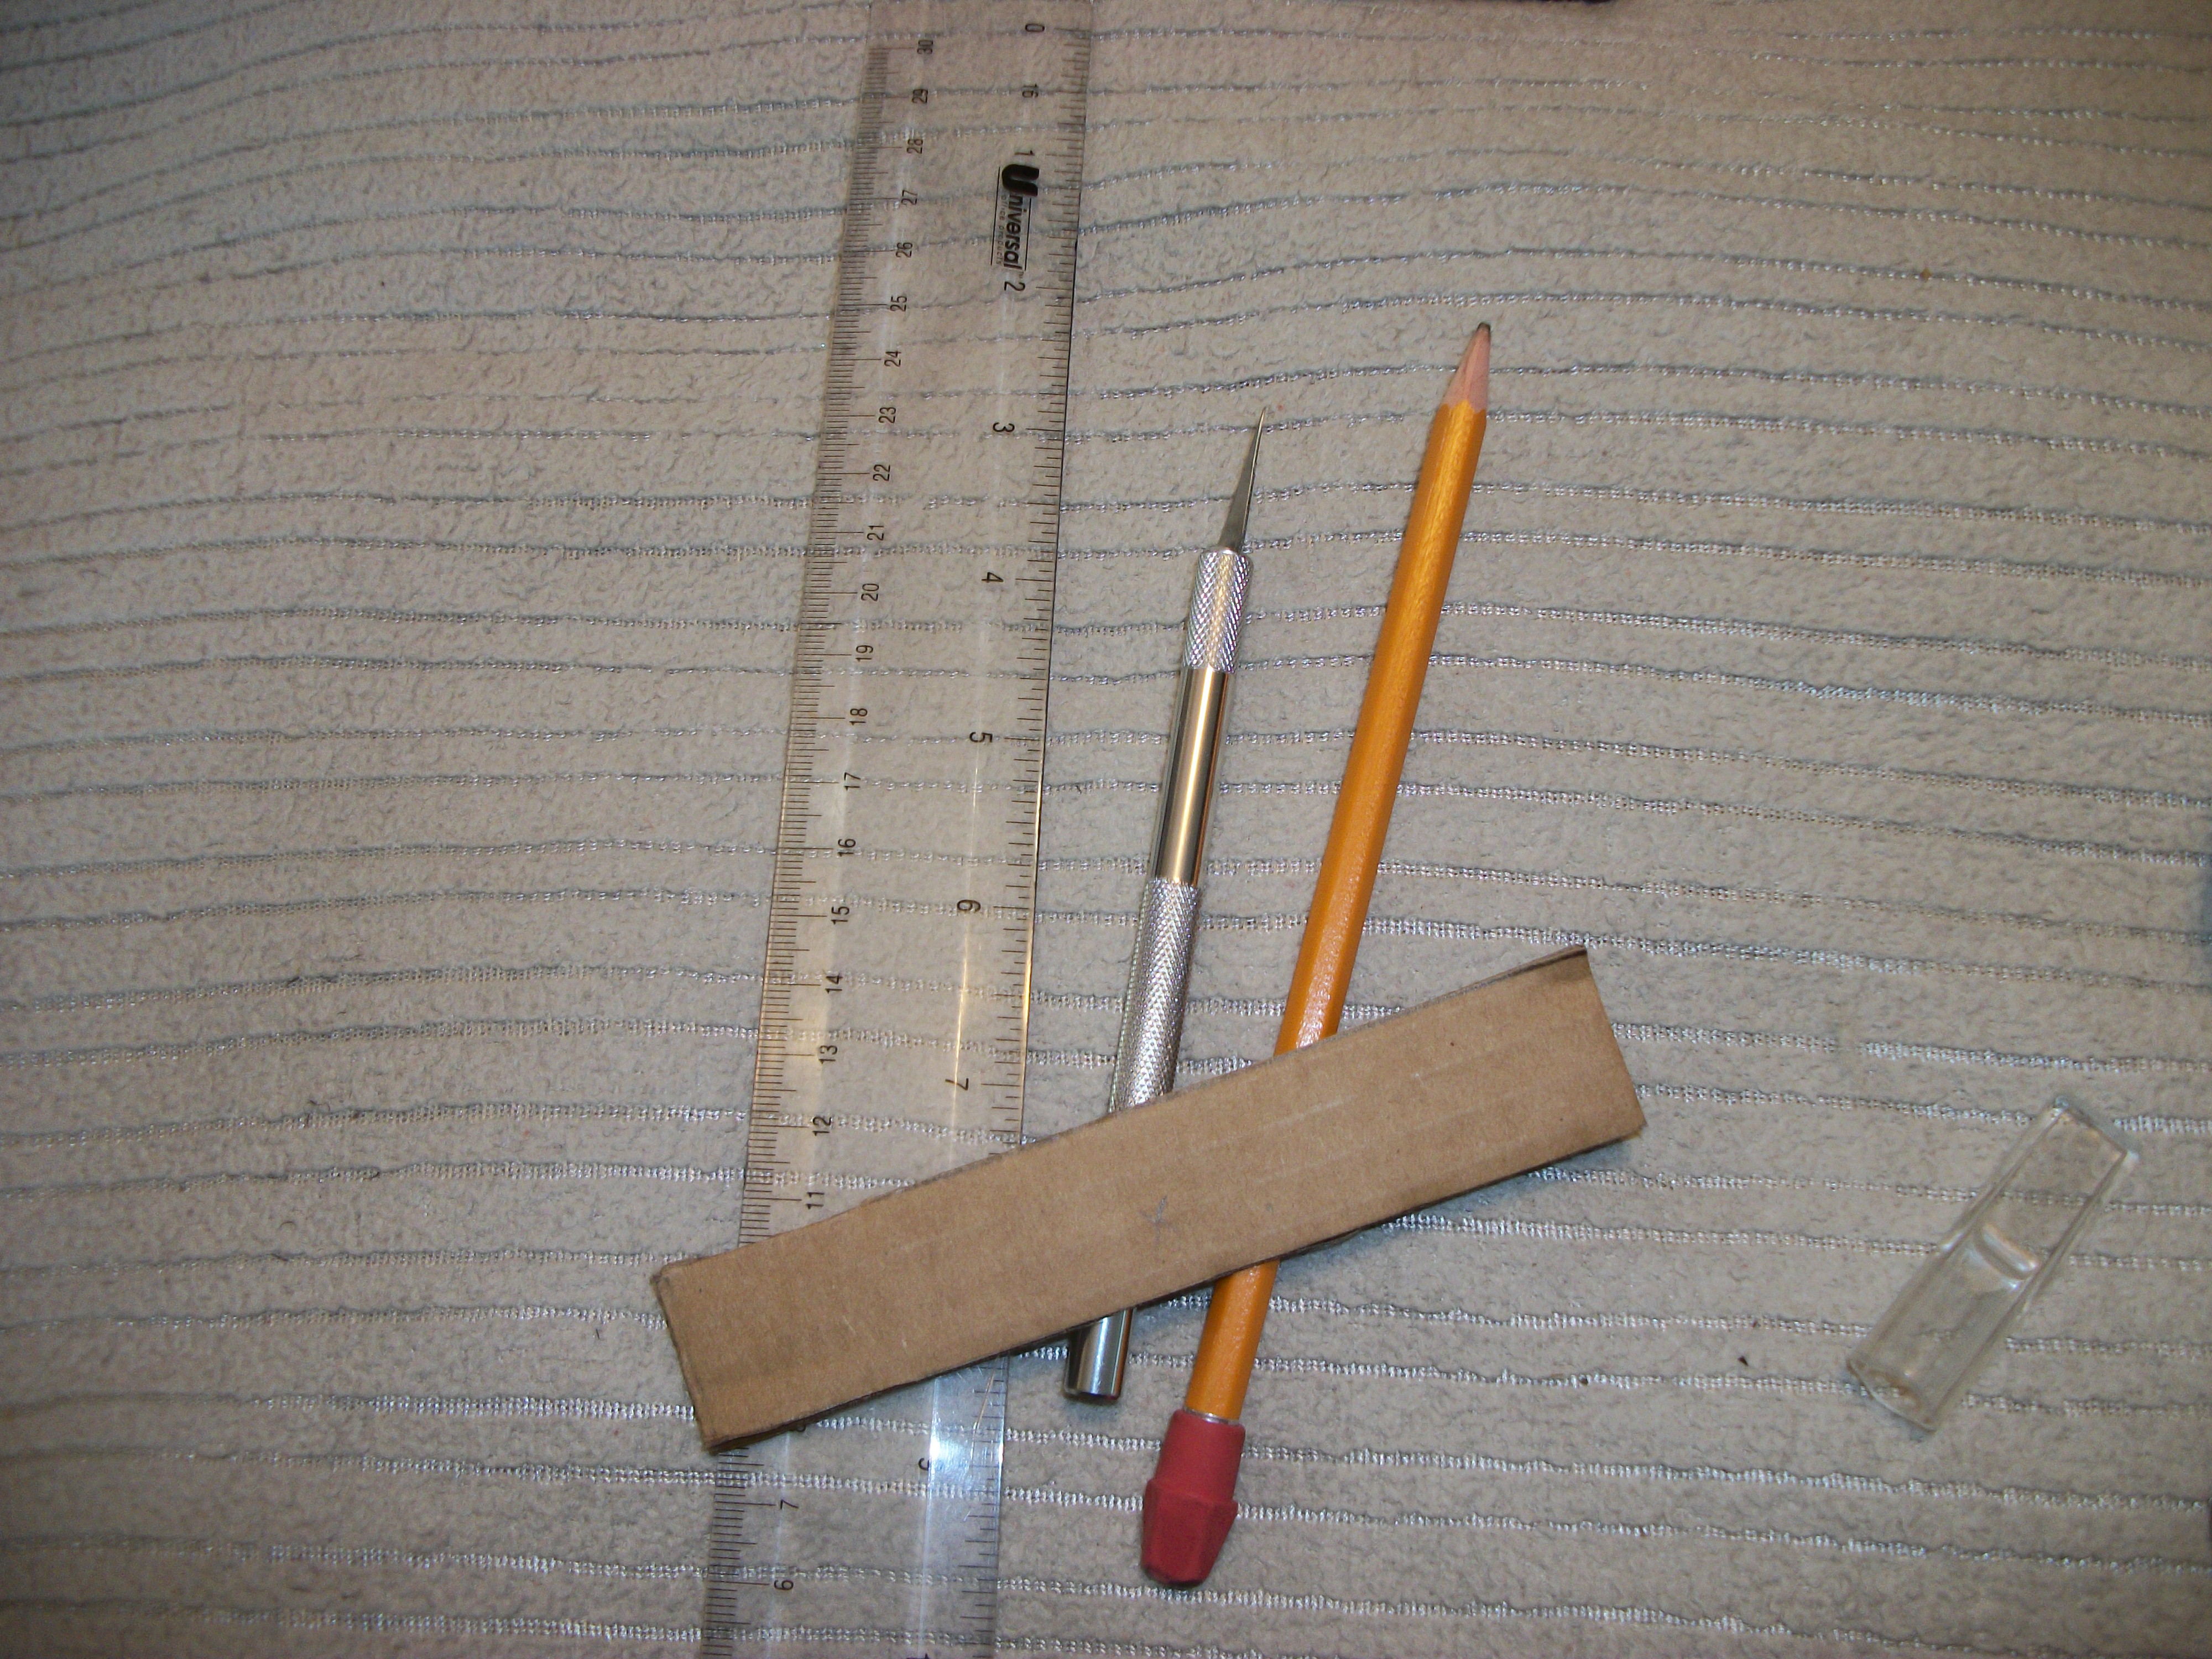
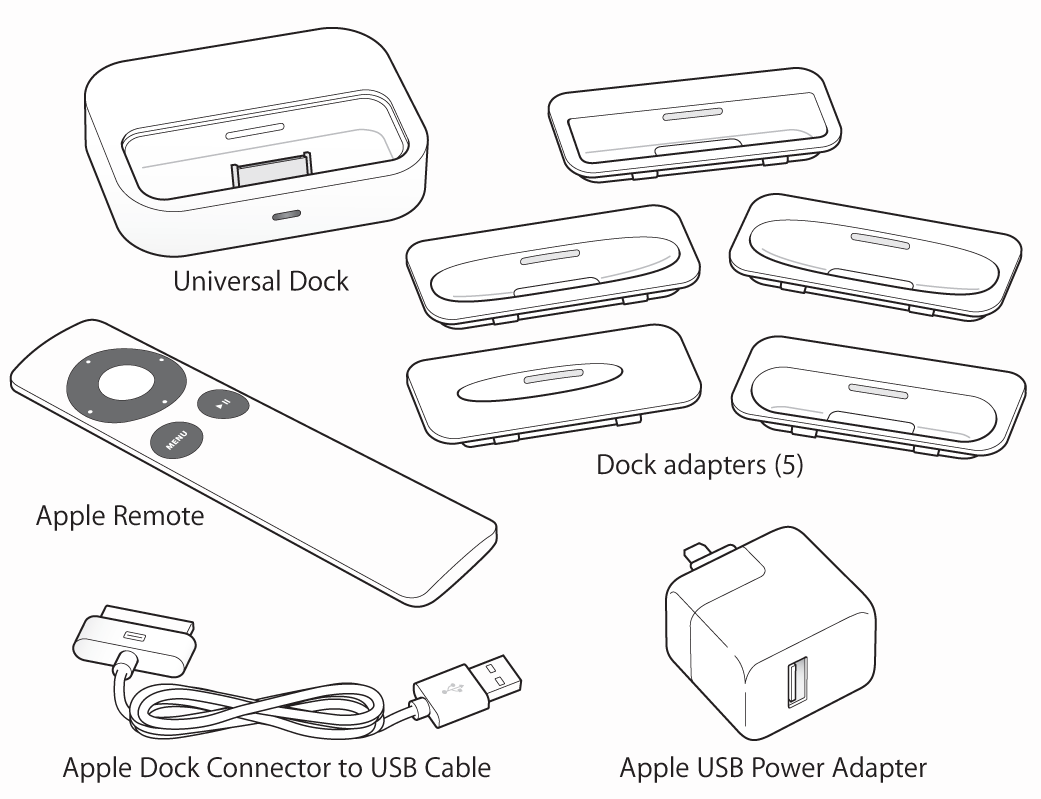
This time around, I kept a shoestring budget. As much as I would have loved to buy the materials to make this out of some high quality materials such as plexiglass, or use a 3D printer, I just did not have the money.
Anyway, enough about my lack of money. Here's what you'll need:
Tools and Materials
Cardboard
Ruler
Hot Glue Gun
X-Acto Knife
Pencil
Software
Google Sketchup (Optional)
iMovie (to make the video yourself)
iTunes (to sync the video to your iPod touch/ iPhone)
Photoshop (optional, used to make textures)
Hardware, etc
Computer
iPod Touch
iPod cable
iPod dock adapter (comes with every new iPod/iPhone product)
Printer (to print out the textures)
Planning
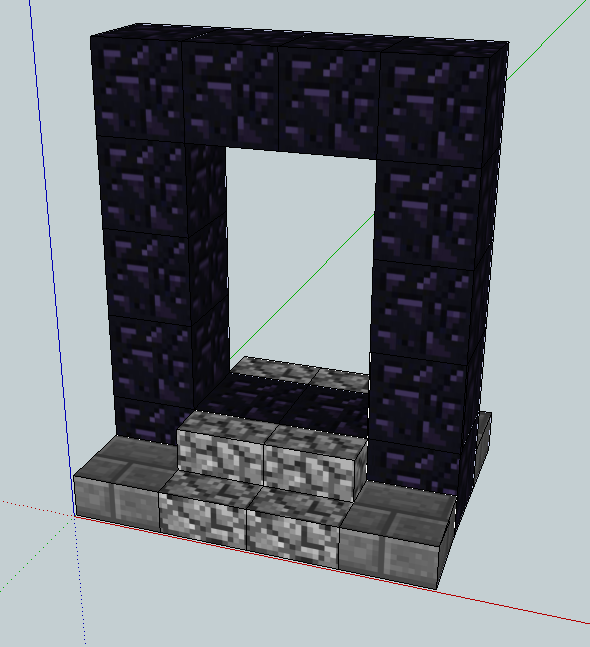
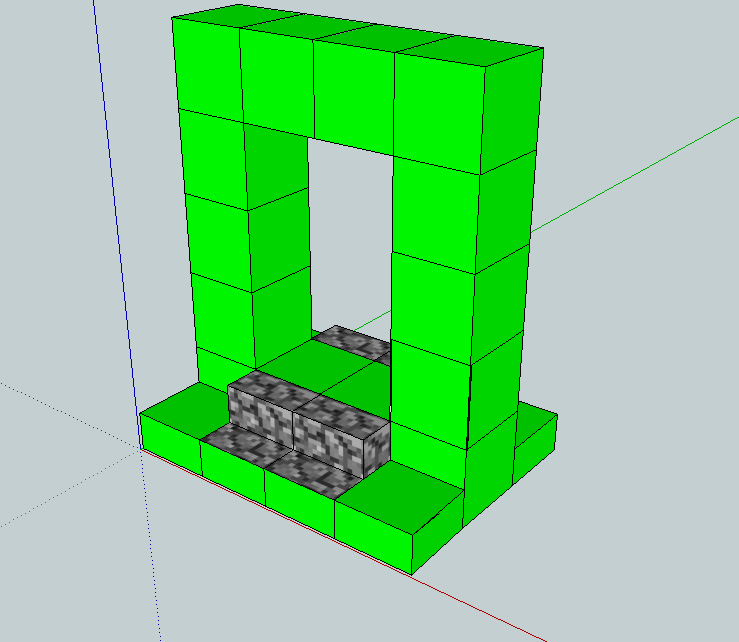
I used Google Sketchup to plan out what I would do. This allows you to easily keep track of what you'll be doing.
You can download the model for this project here. Feel free to use it however you wish.
The reason why I used this was because as I went along and made each piece for the dock, I painted each section green to show what I've done and what needs to be done. See the pictures below, and you'll better understand what I mean:
Cutting the Pieces
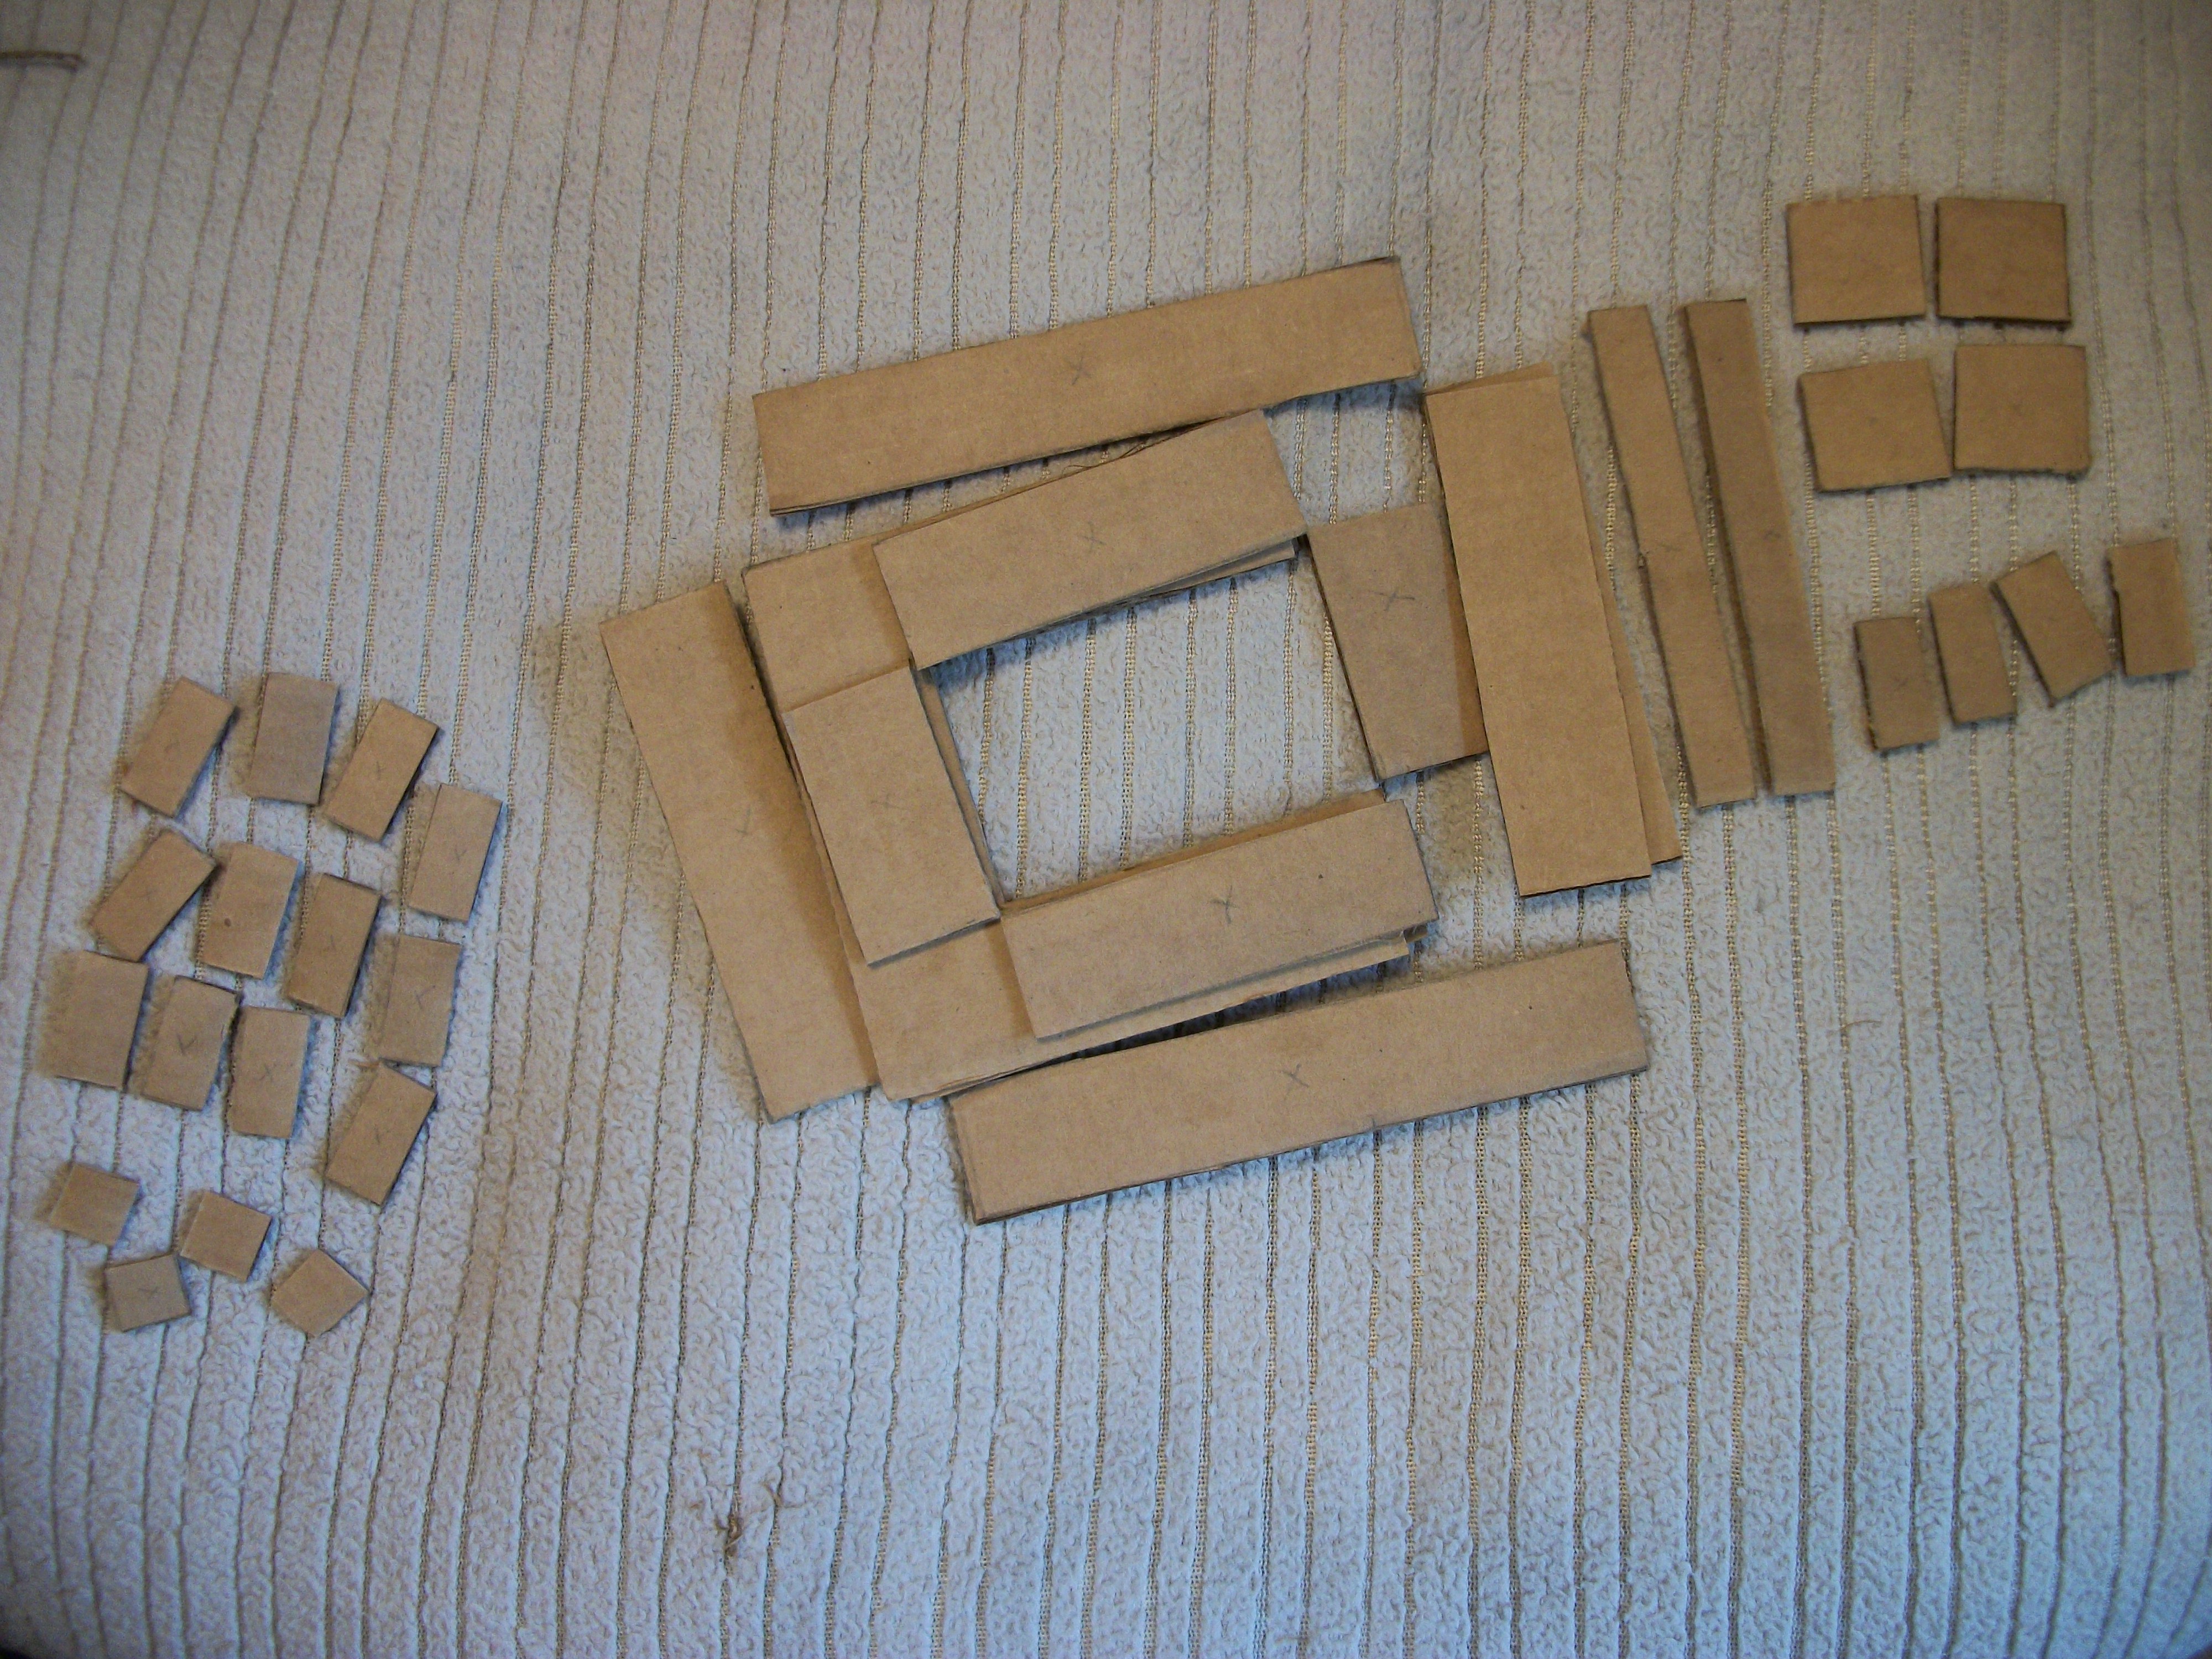
Cut the pieces out according to the model. Every block was made to be 1 inch exactly, so that is how each piece was drawn and cut.
Glue Together
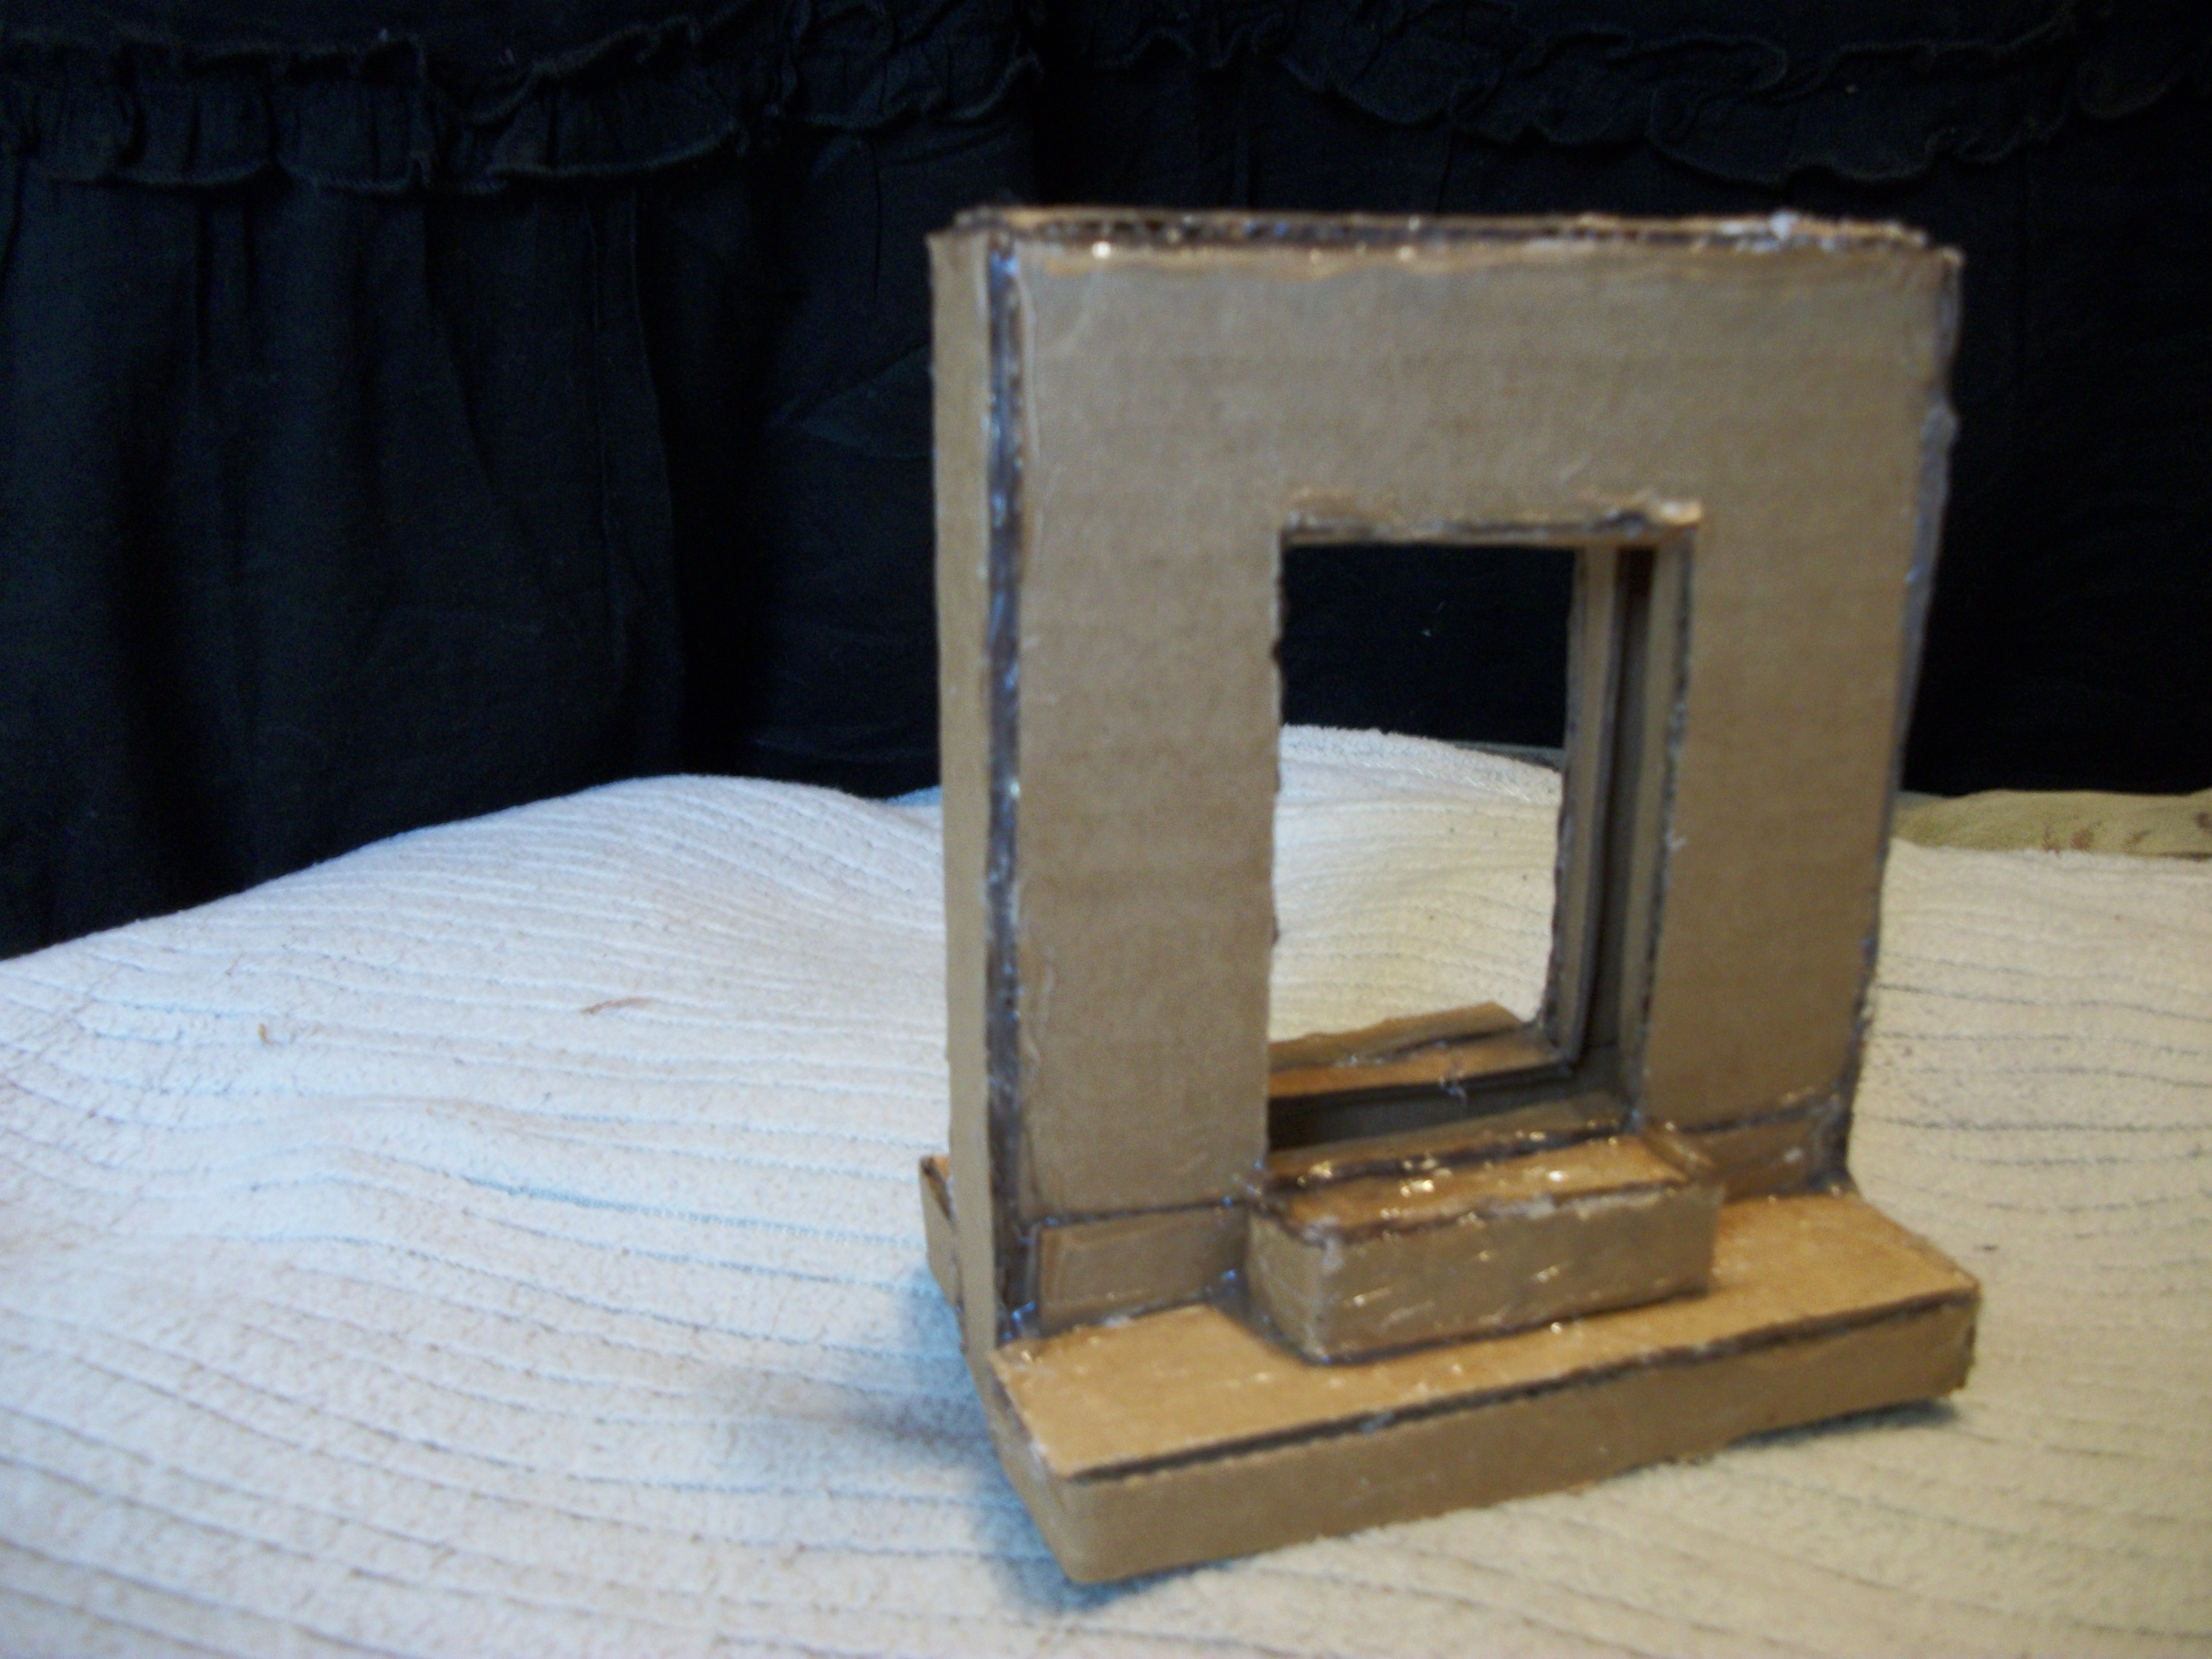
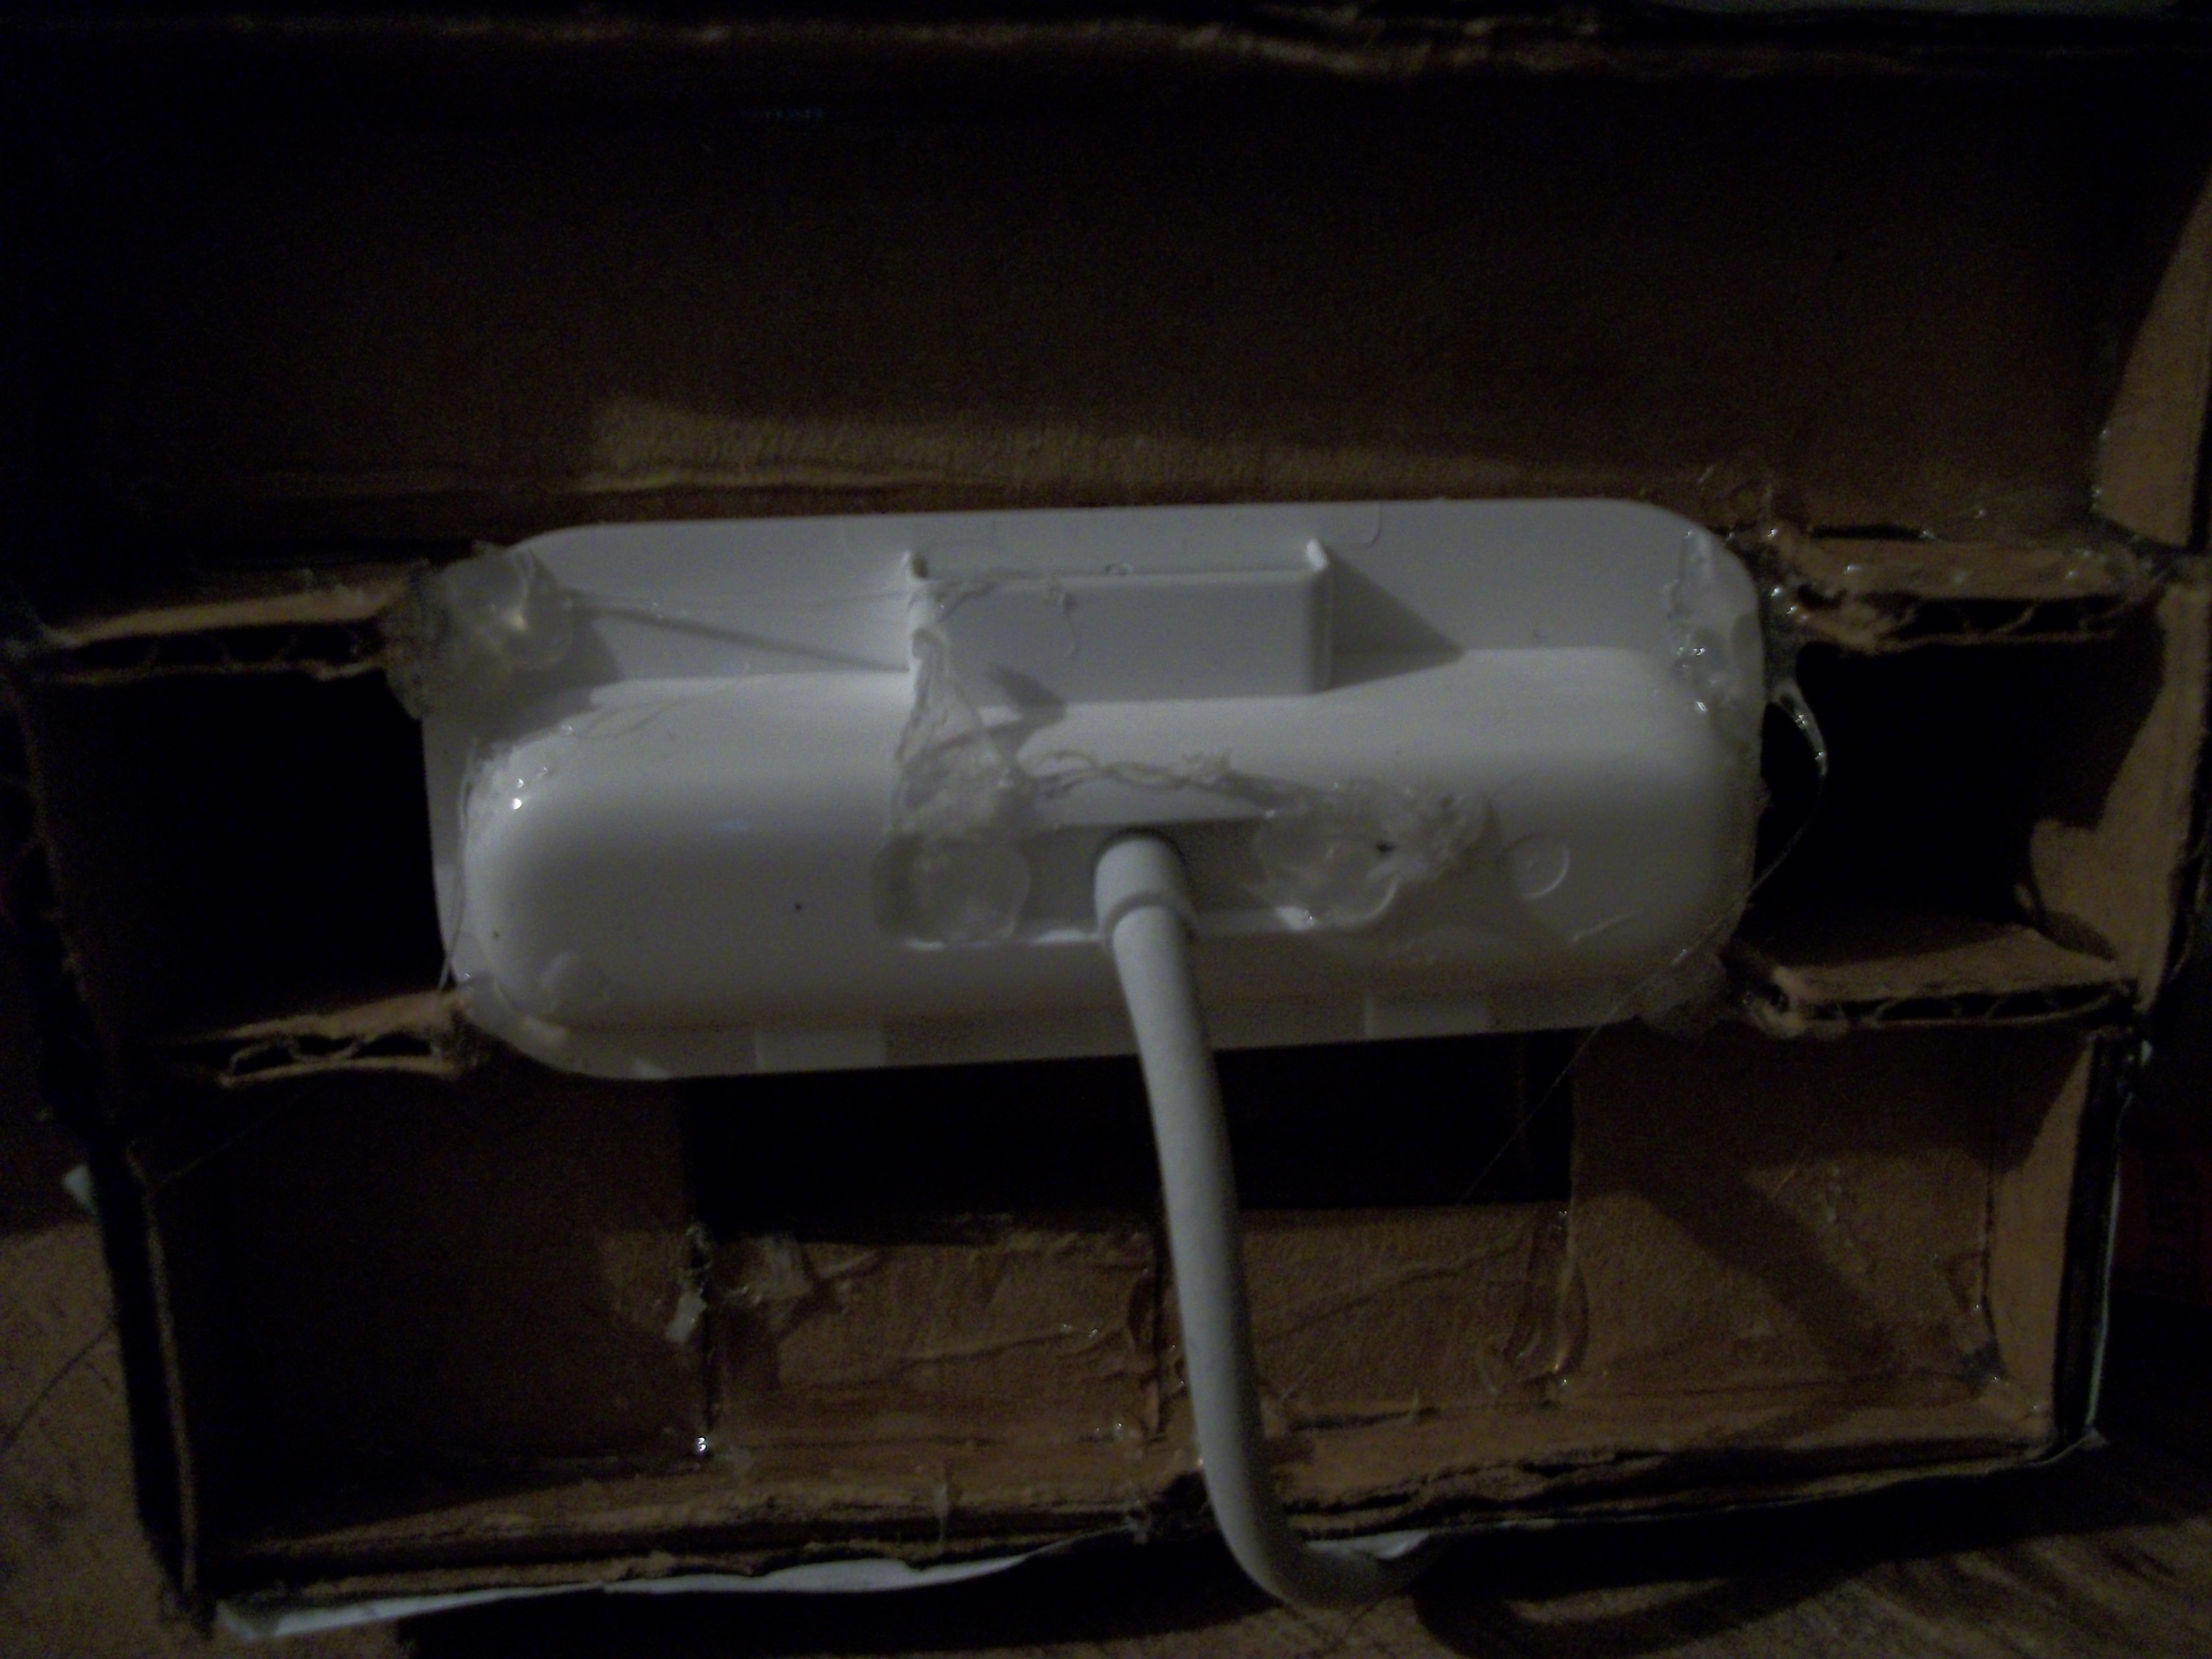
Glue the pieces together according to the model using the hot glue gun. Once you hot glue the pieces together, use the X-Acto knife to cut the excess off.
Once you've done this, glue the iPod dock adapter to the base as shown below.
Once you've done this, glue the iPod dock adapter to the base as shown below.
Print Out Textures
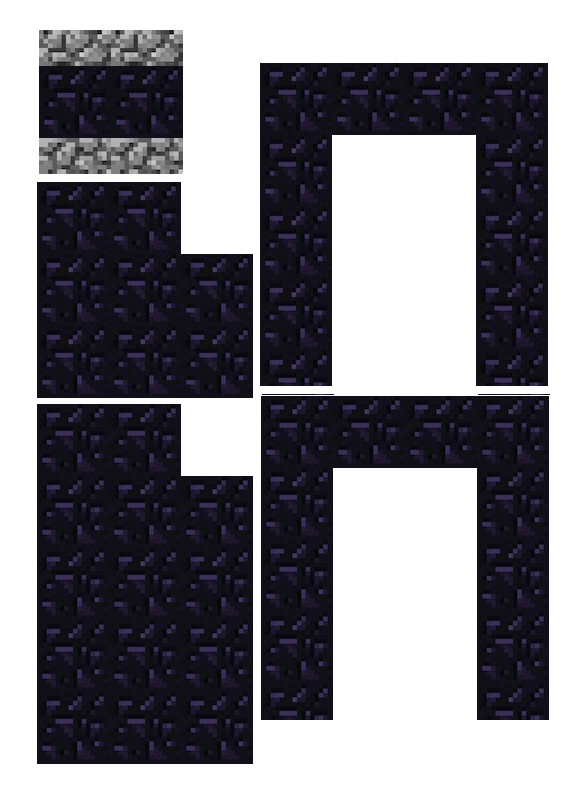
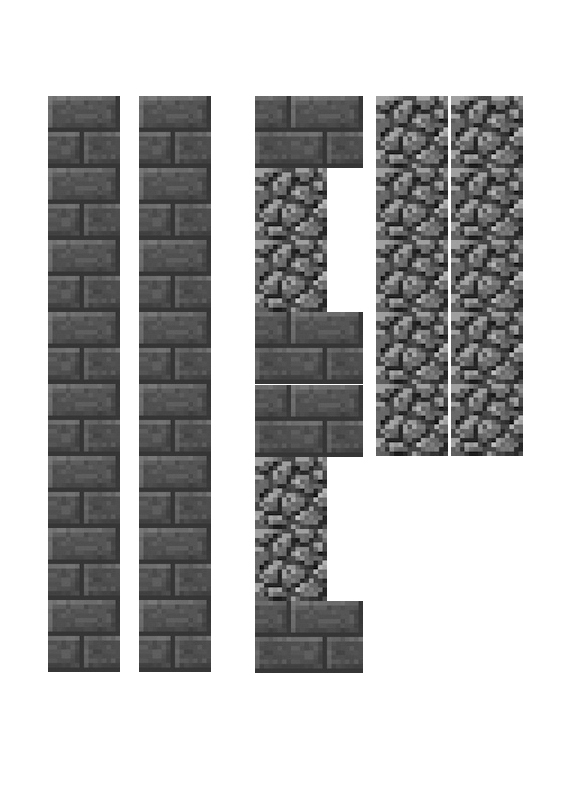
Download the images below. At their original resolutions, they should print in 1-inch squares.
Print them at about 110% just to be safe. Doing so will give you just enough room to cut it more in case they don't fit exactly on the model.
Paste the textures onto the dock as you see in the model with any adhesive of your choice.
Print them at about 110% just to be safe. Doing so will give you just enough room to cut it more in case they don't fit exactly on the model.
Paste the textures onto the dock as you see in the model with any adhesive of your choice.
Sync the Video to Your IPod

The video attached to this step is already converted to the right format for you to easily sync to your iPod touch/ iPhone.
To add the video, follow these steps:
I made the video myself by making a nether portal in minecraft, recording the screen with Quicktime, and cropping the video in iMovie.
To add the video, follow these steps:
- Download the video below
- Go to iTunes
- Connect your iPod touch
- Click File > Add to Library
- Browse to the video on your hard drive
- Double click the file
- By default, this will import the video to your Movie section of iTunes.
- Sync your iPod
- Done
I made the video myself by making a nether portal in minecraft, recording the screen with Quicktime, and cropping the video in iMovie.
Downloads
Done!

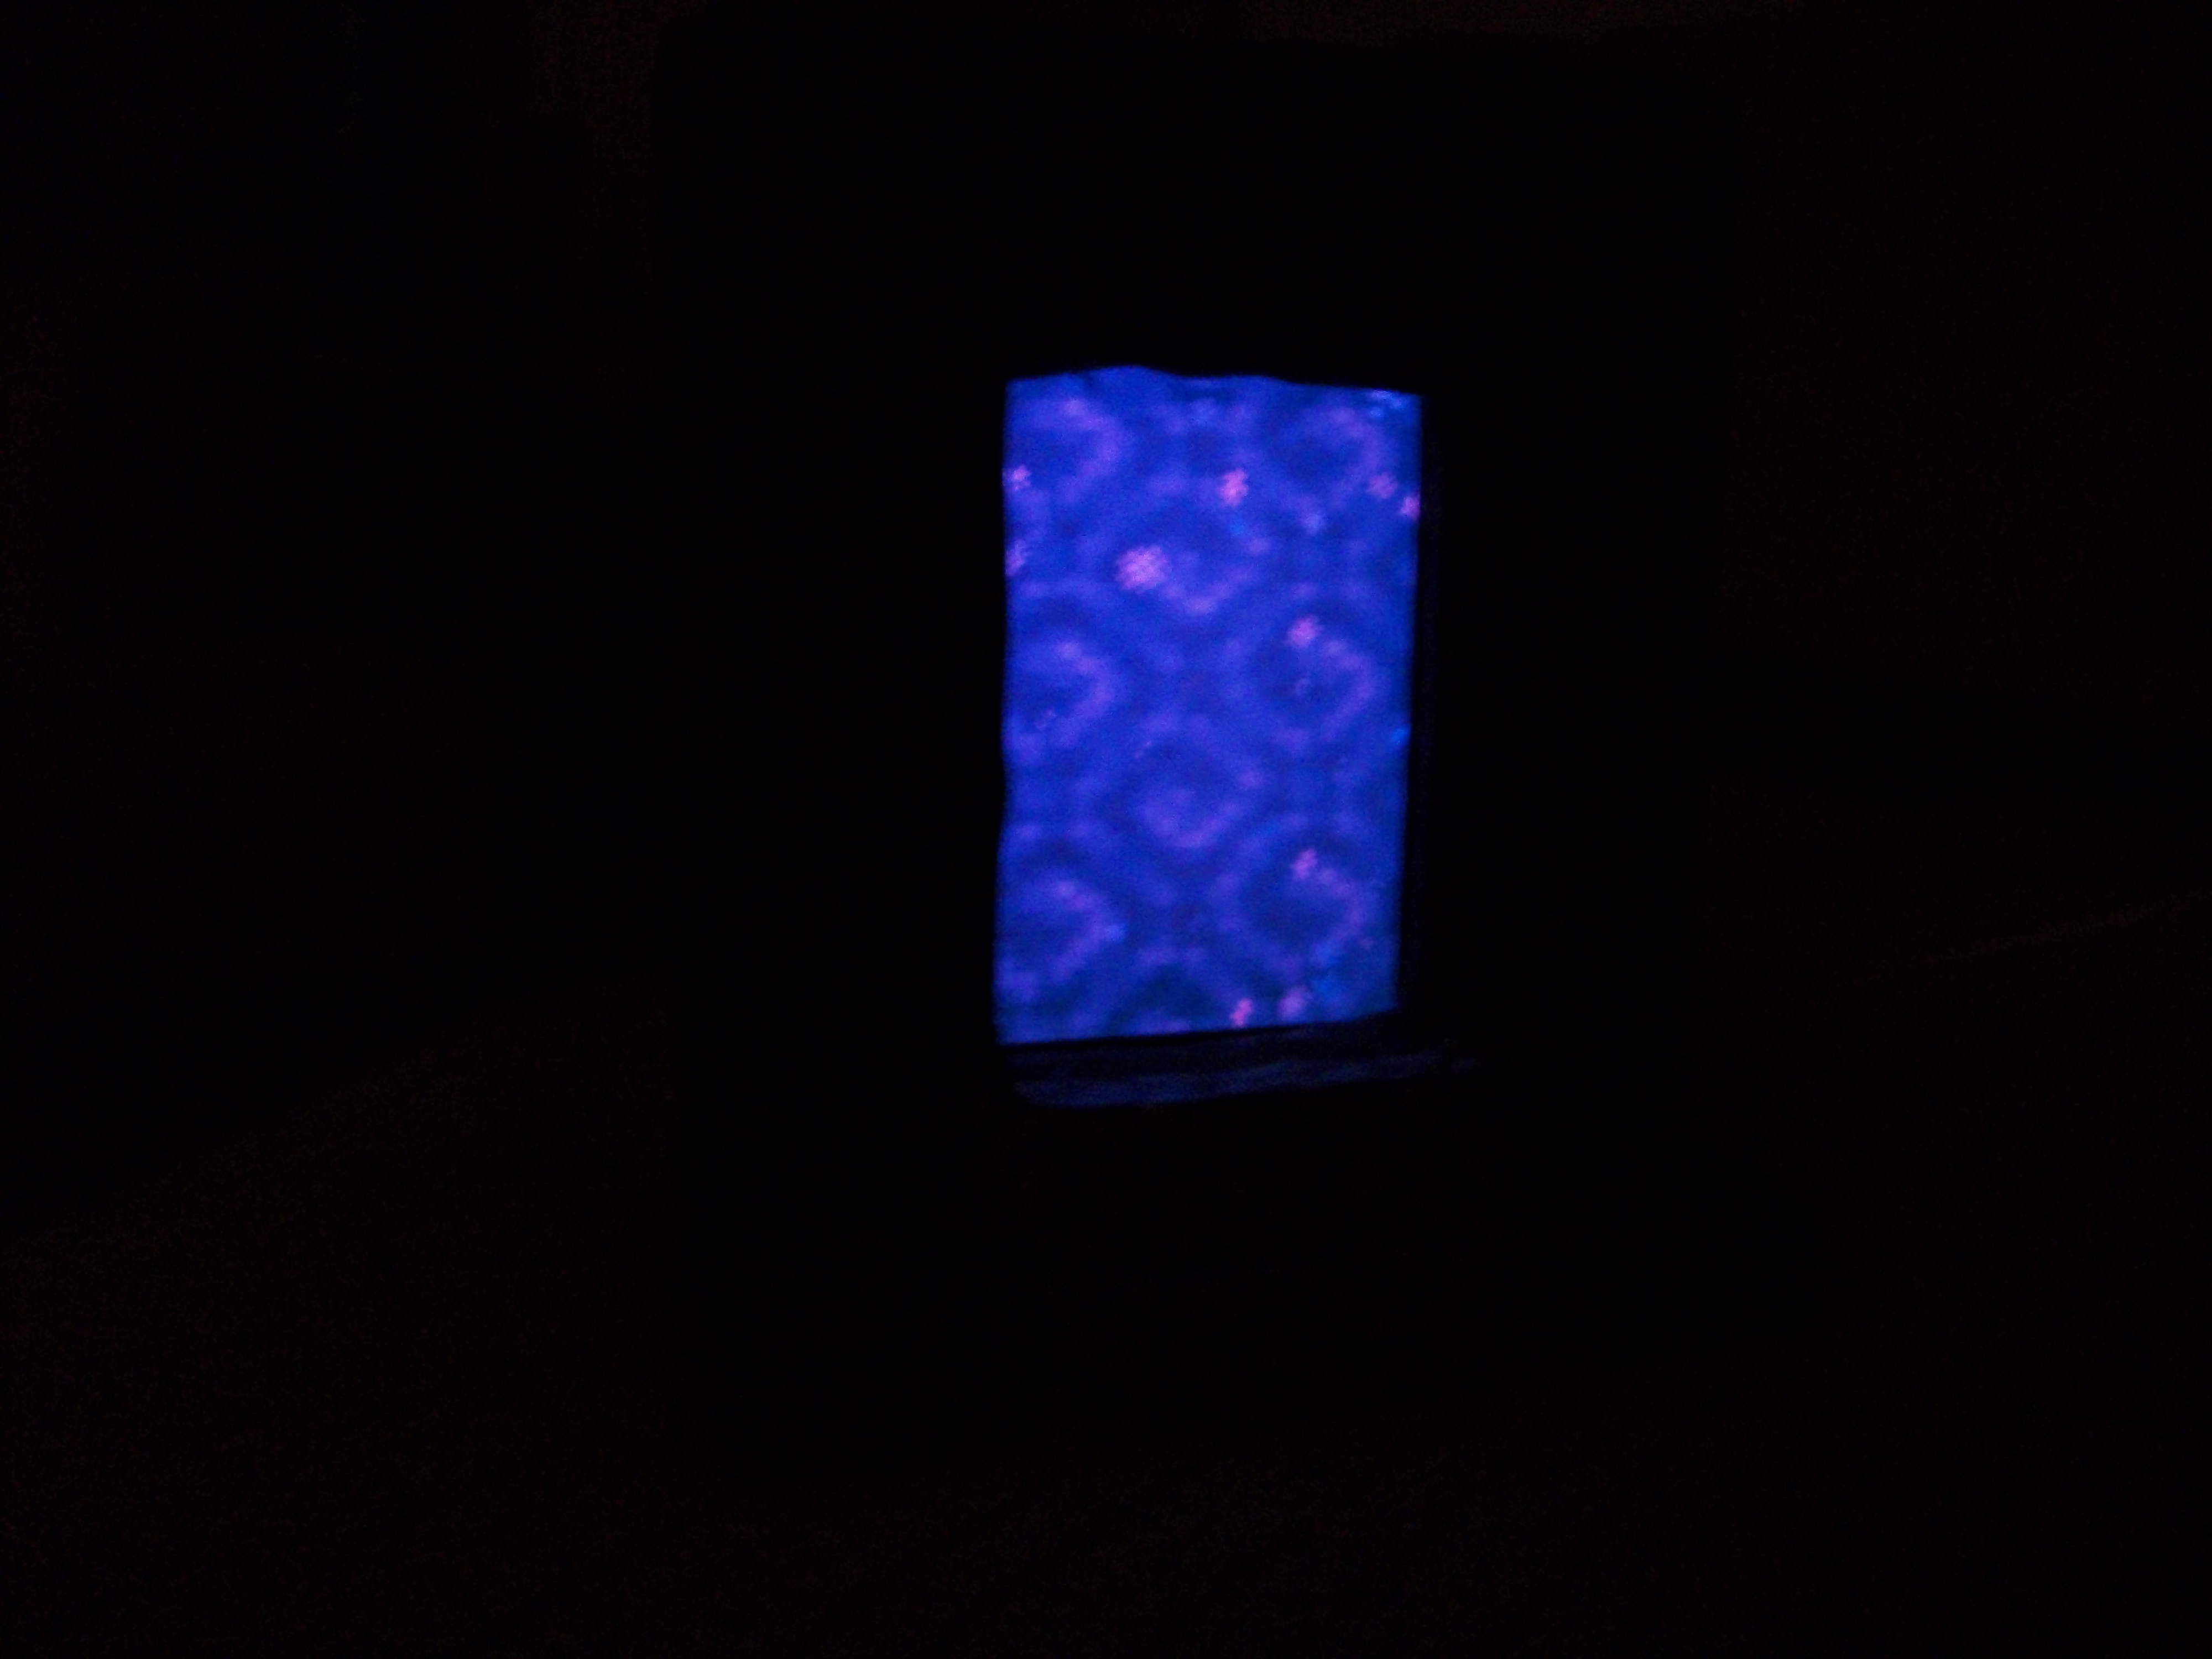
Enjoy your new Nether Portal Dock! Just plug it in, scroll to the nether portal video, and amuse your friends!