Minecraft Bathroom With Shower
by betoolabboud in Design > Digital Graphics
1384 Views, 0 Favorites, 0 Comments
Minecraft Bathroom With Shower

Today I have pieced together a functioning bathroom in Minecraft using some Redstone tips online. Read on to find out how to make a nice realistic bathroom for your Minecraft roleplay.
(This had inspiration from other tutorials and was created for the purpose of a school project)
Supplies
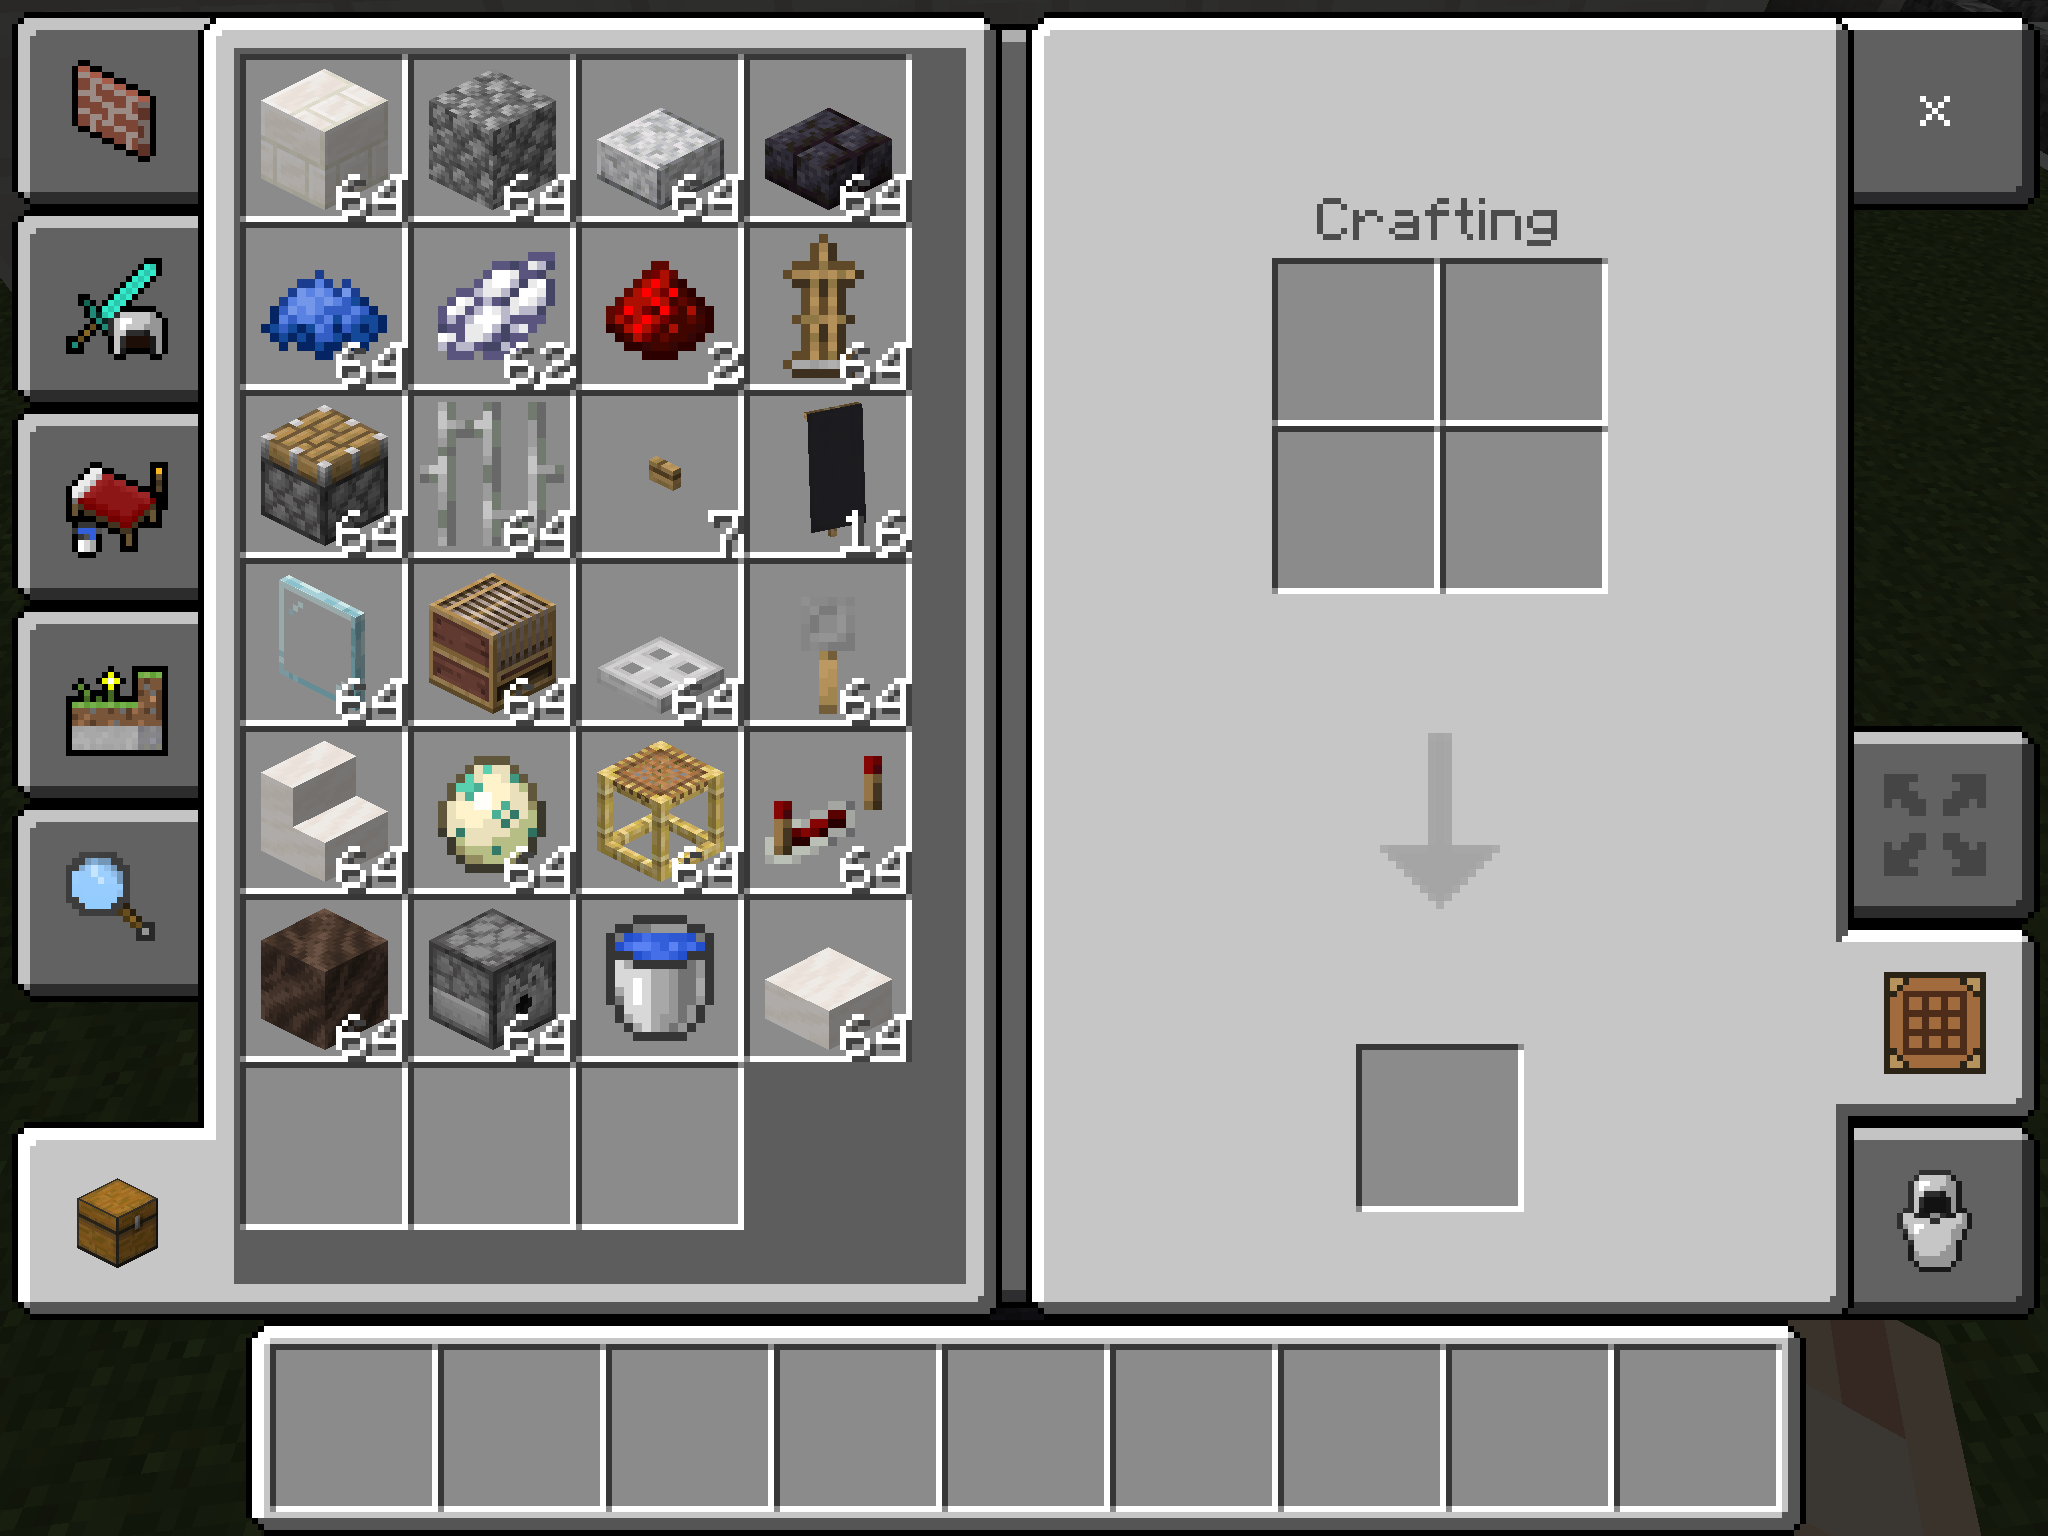
These are the supplies you will be needing for this build.
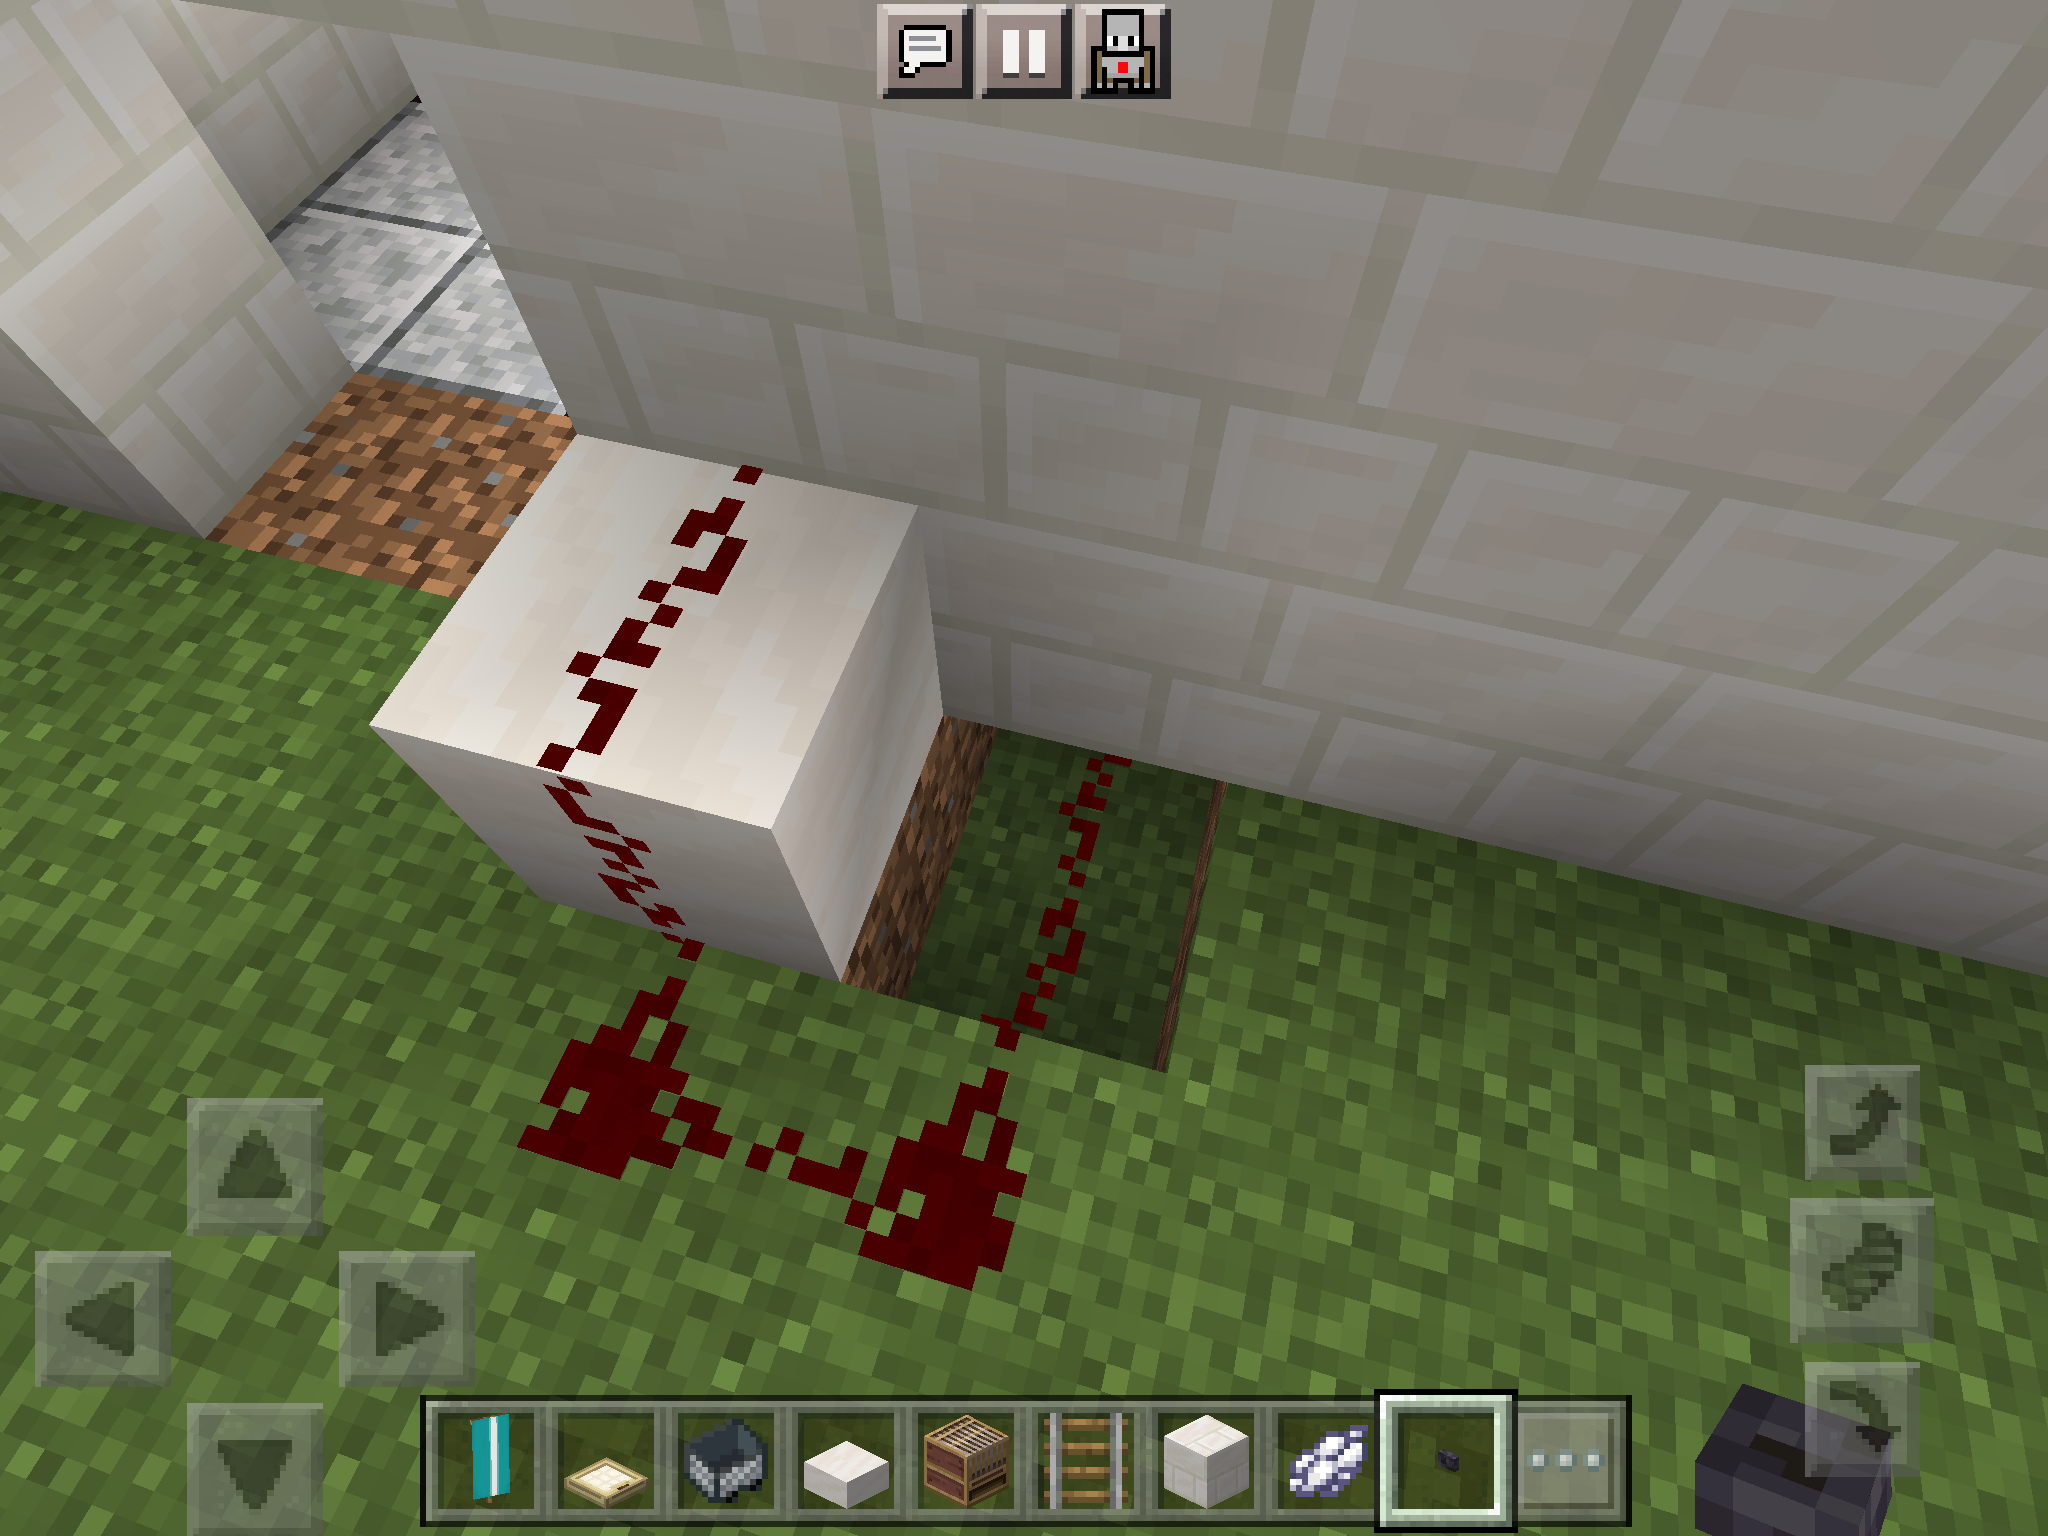
The Flooring
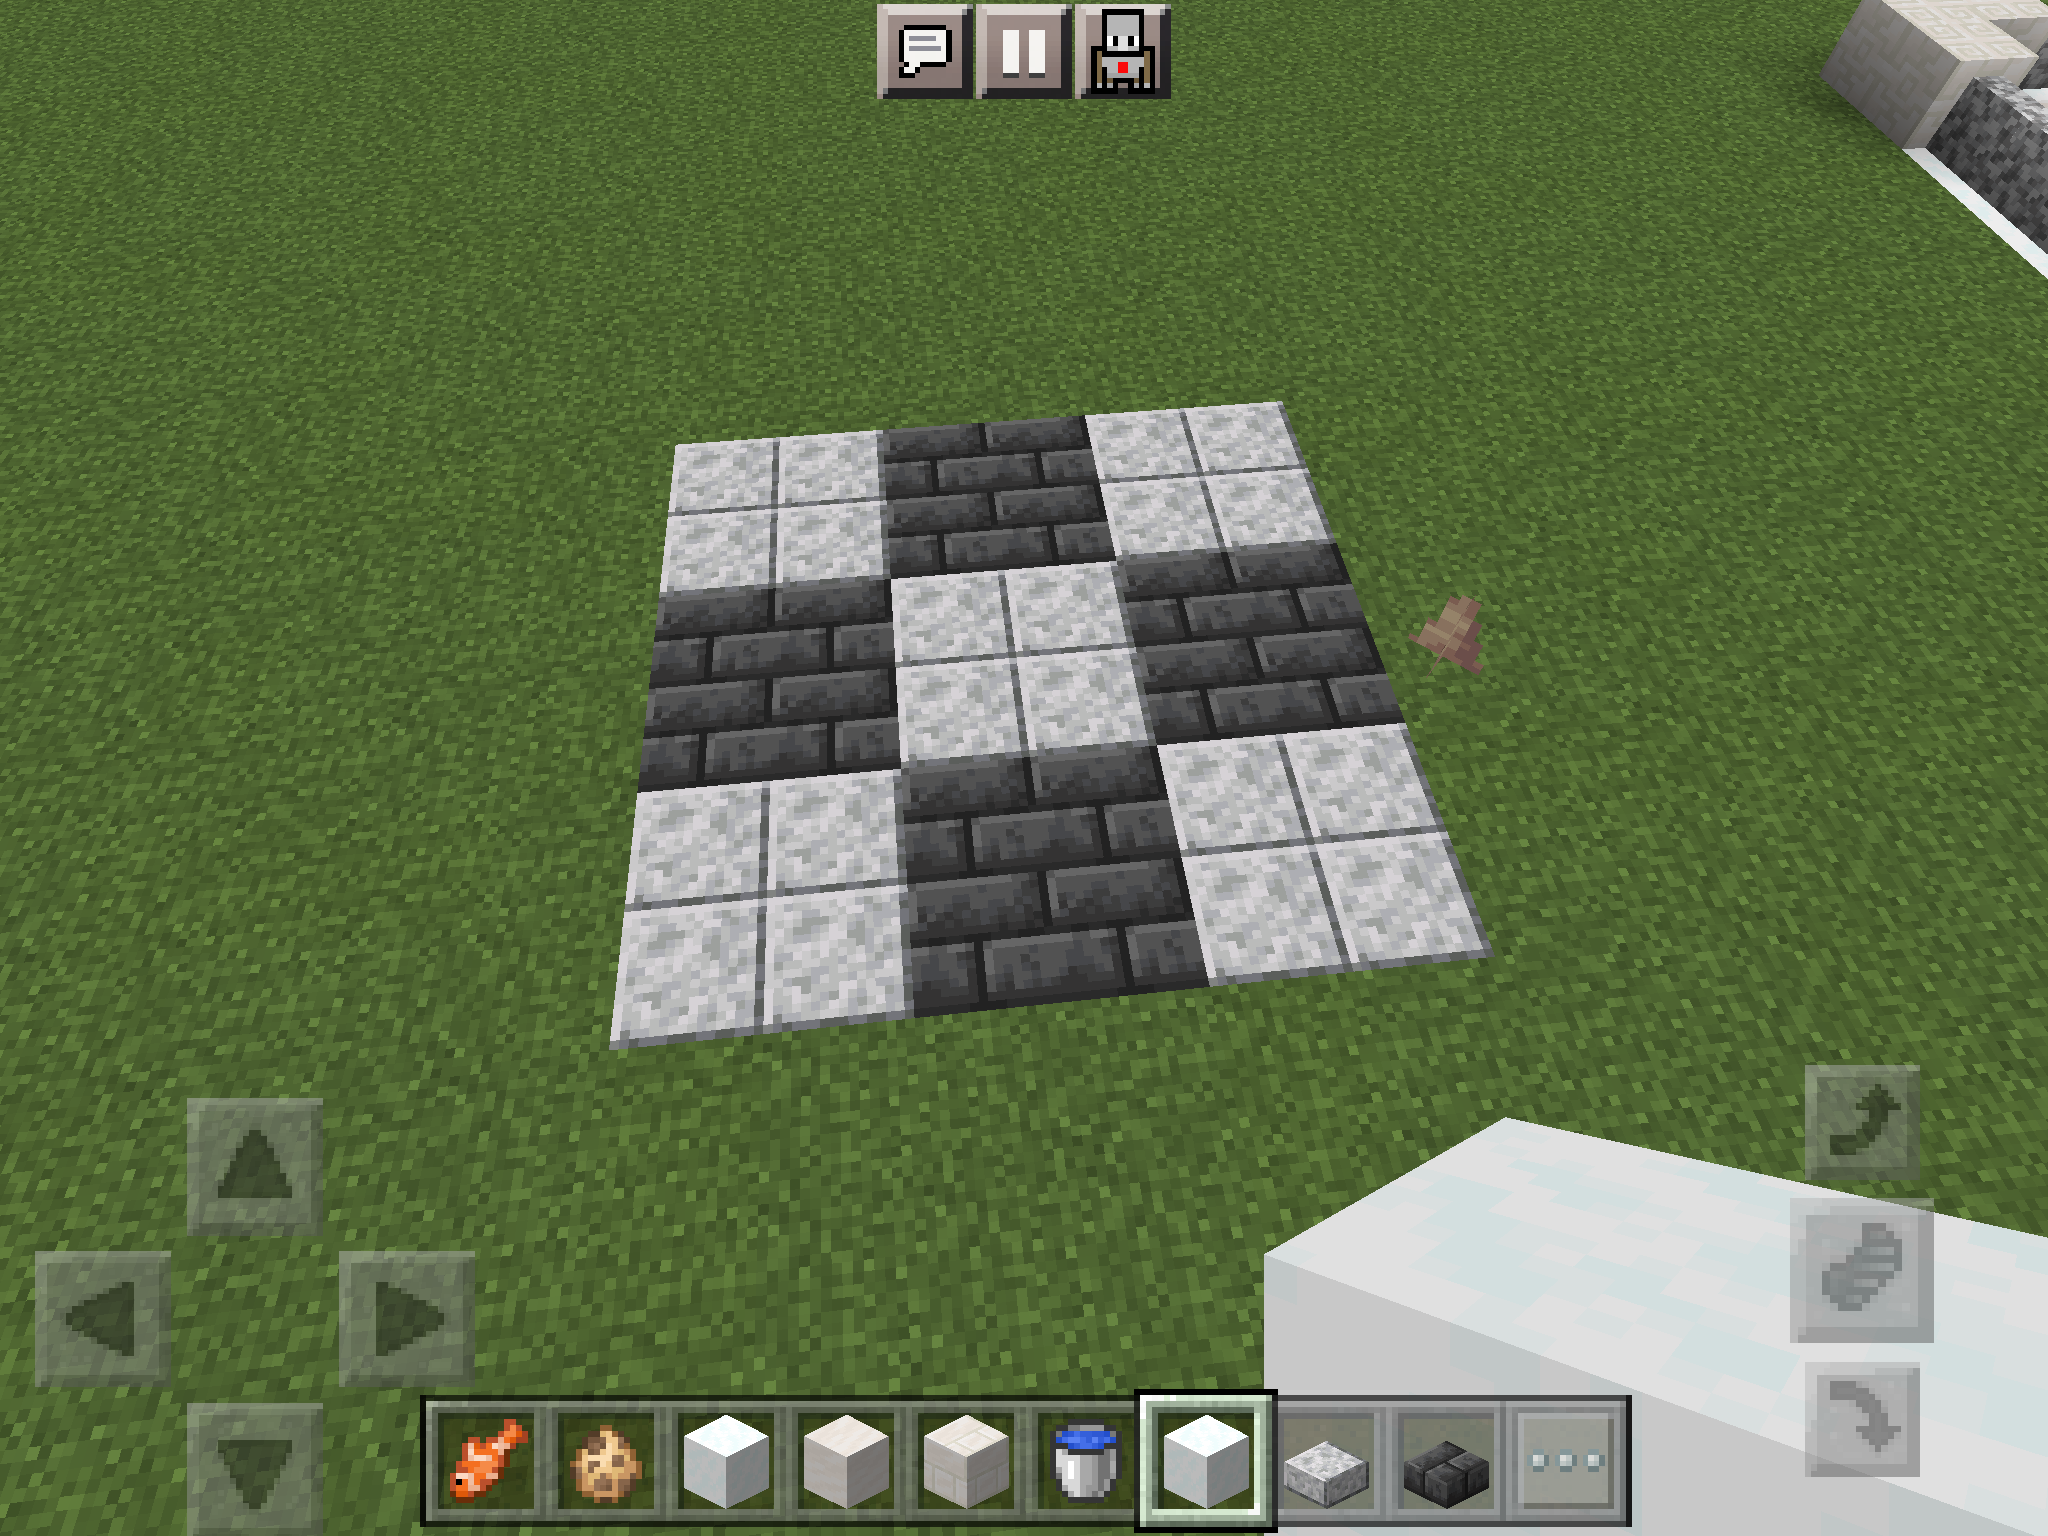
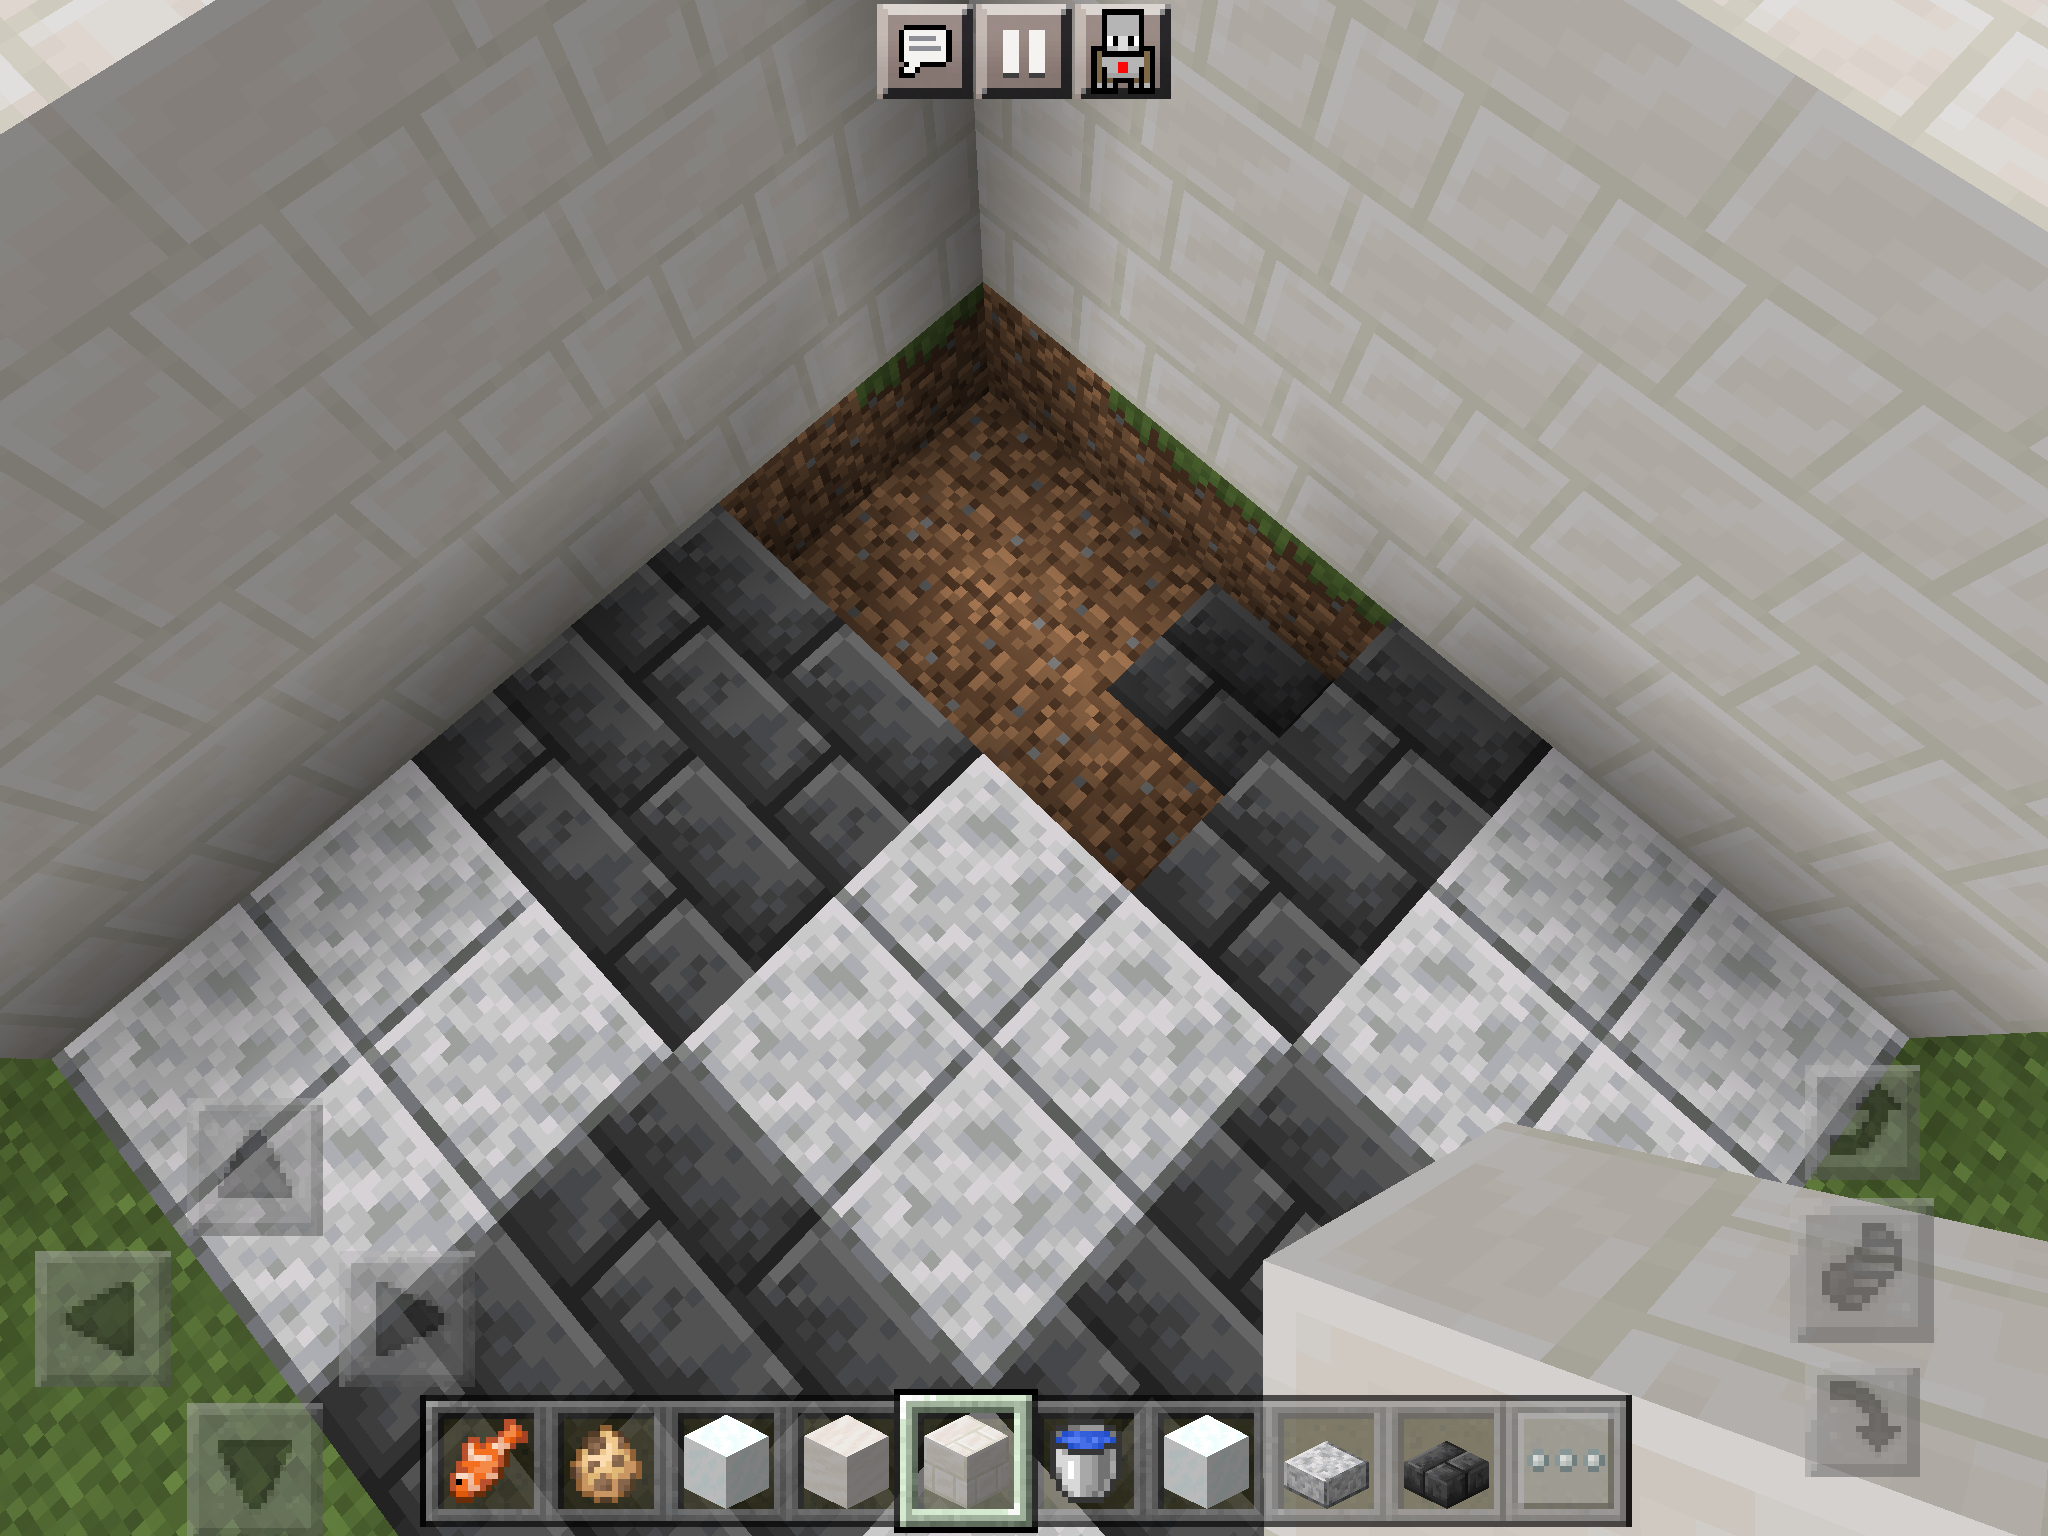
Dig a 6 by 6 hole in the ground and put in flooring with the blocks of your choice. Then dig a 2 by 3 hole in the corner of the floor like seen in the photo.
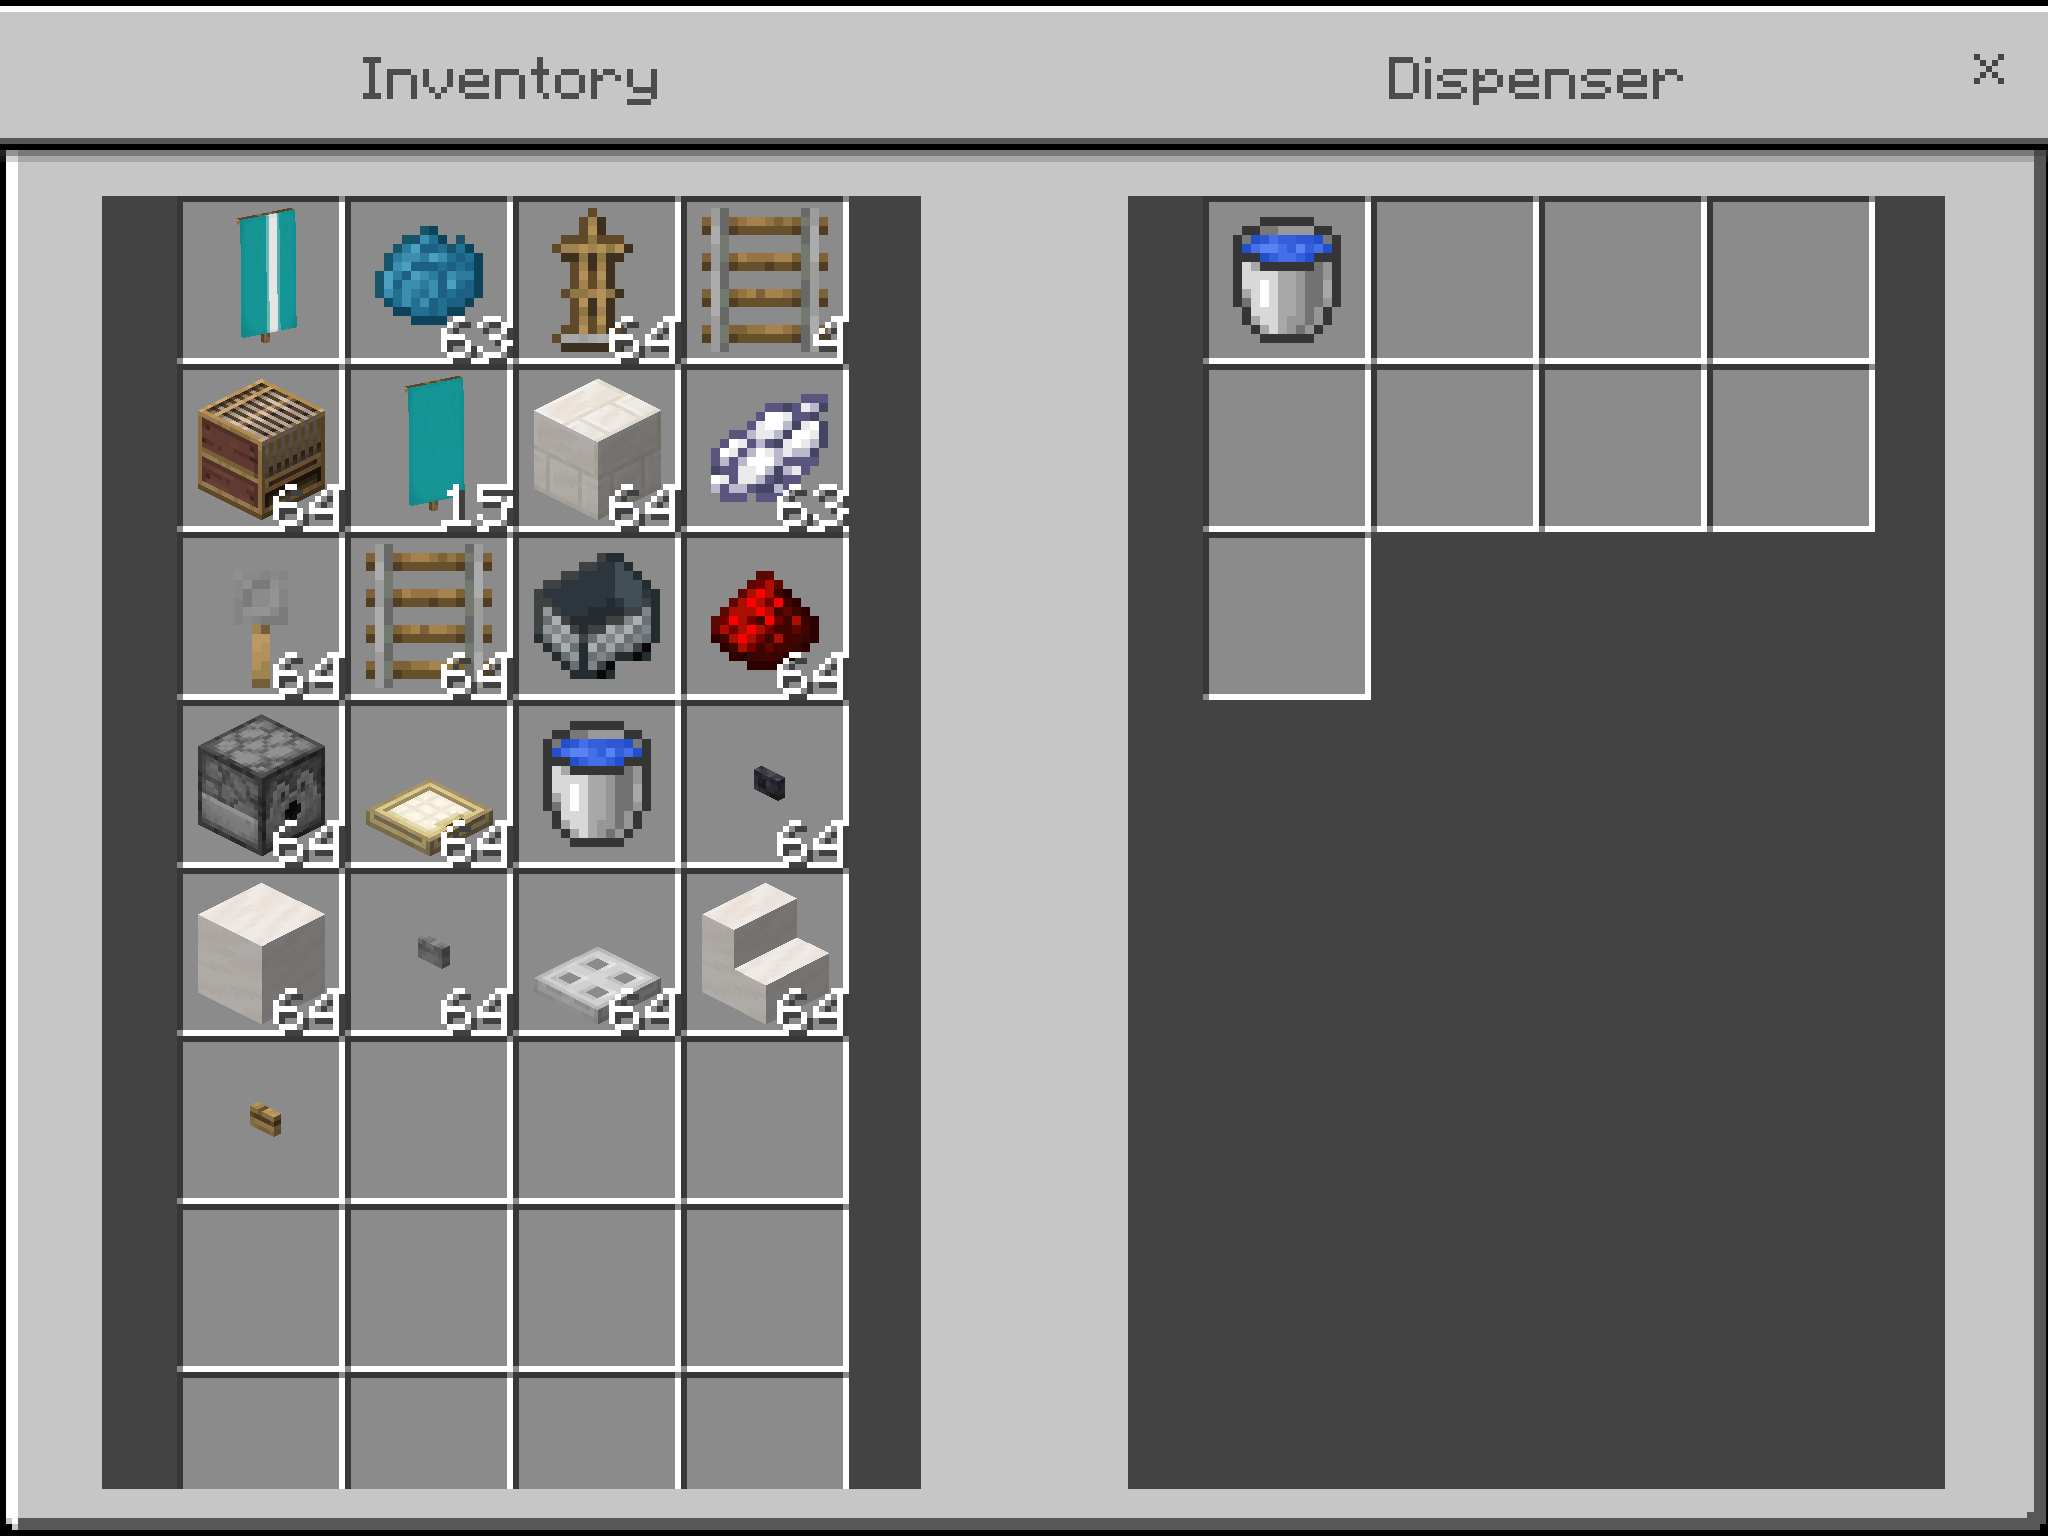
Set Up the Bottom Water Dispensing
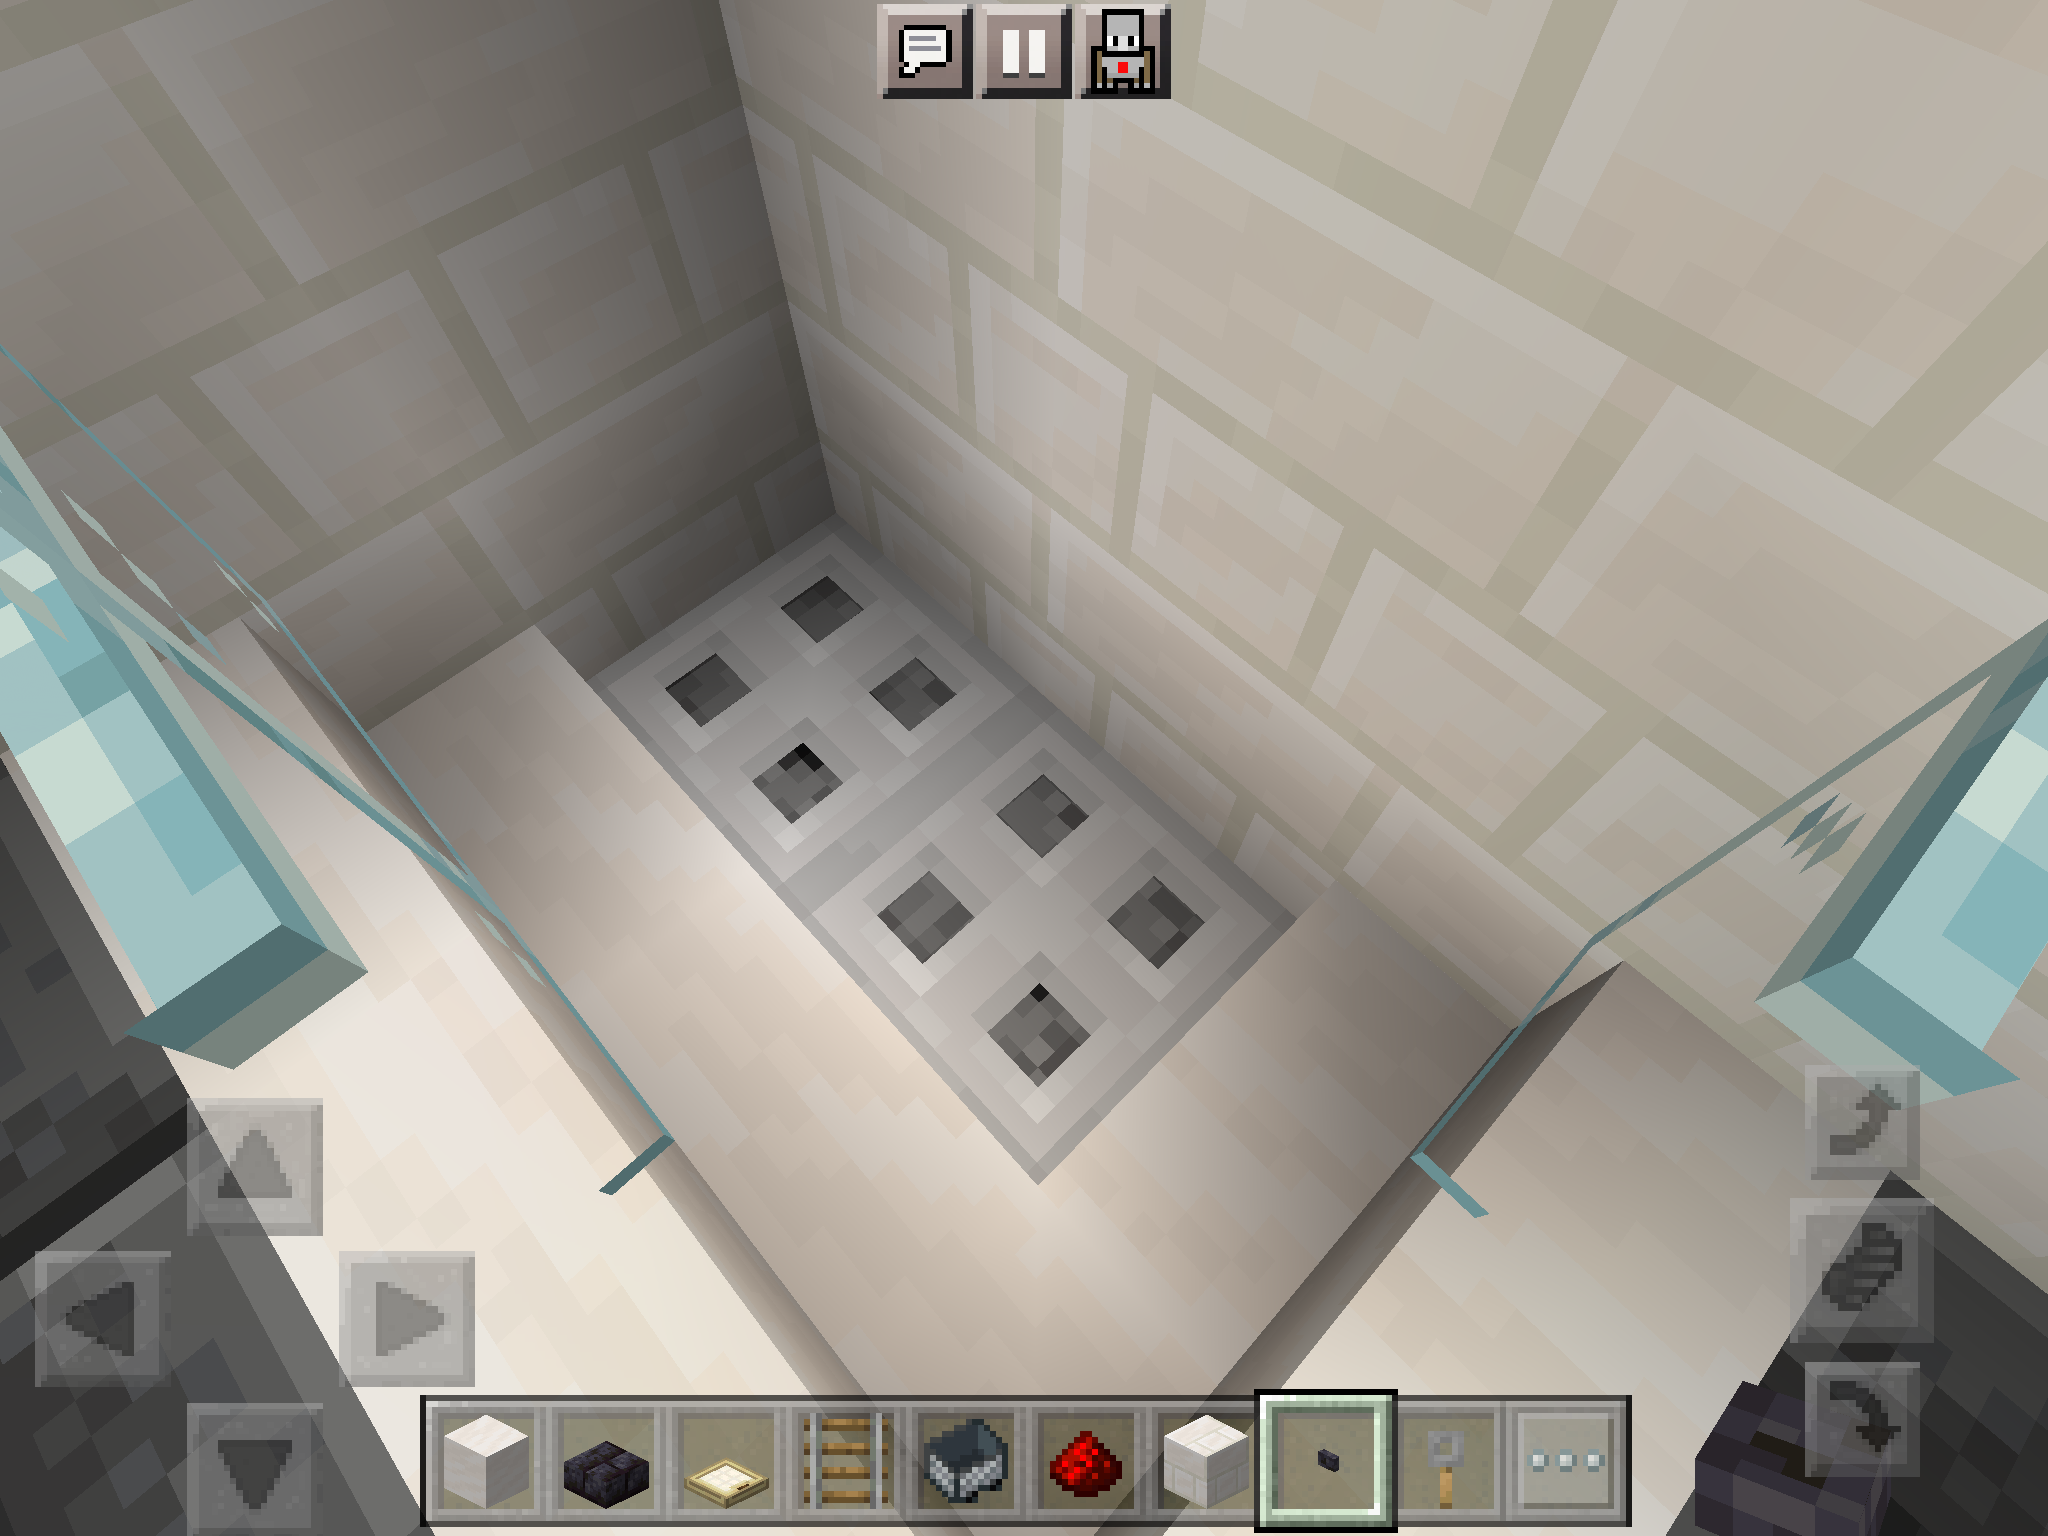
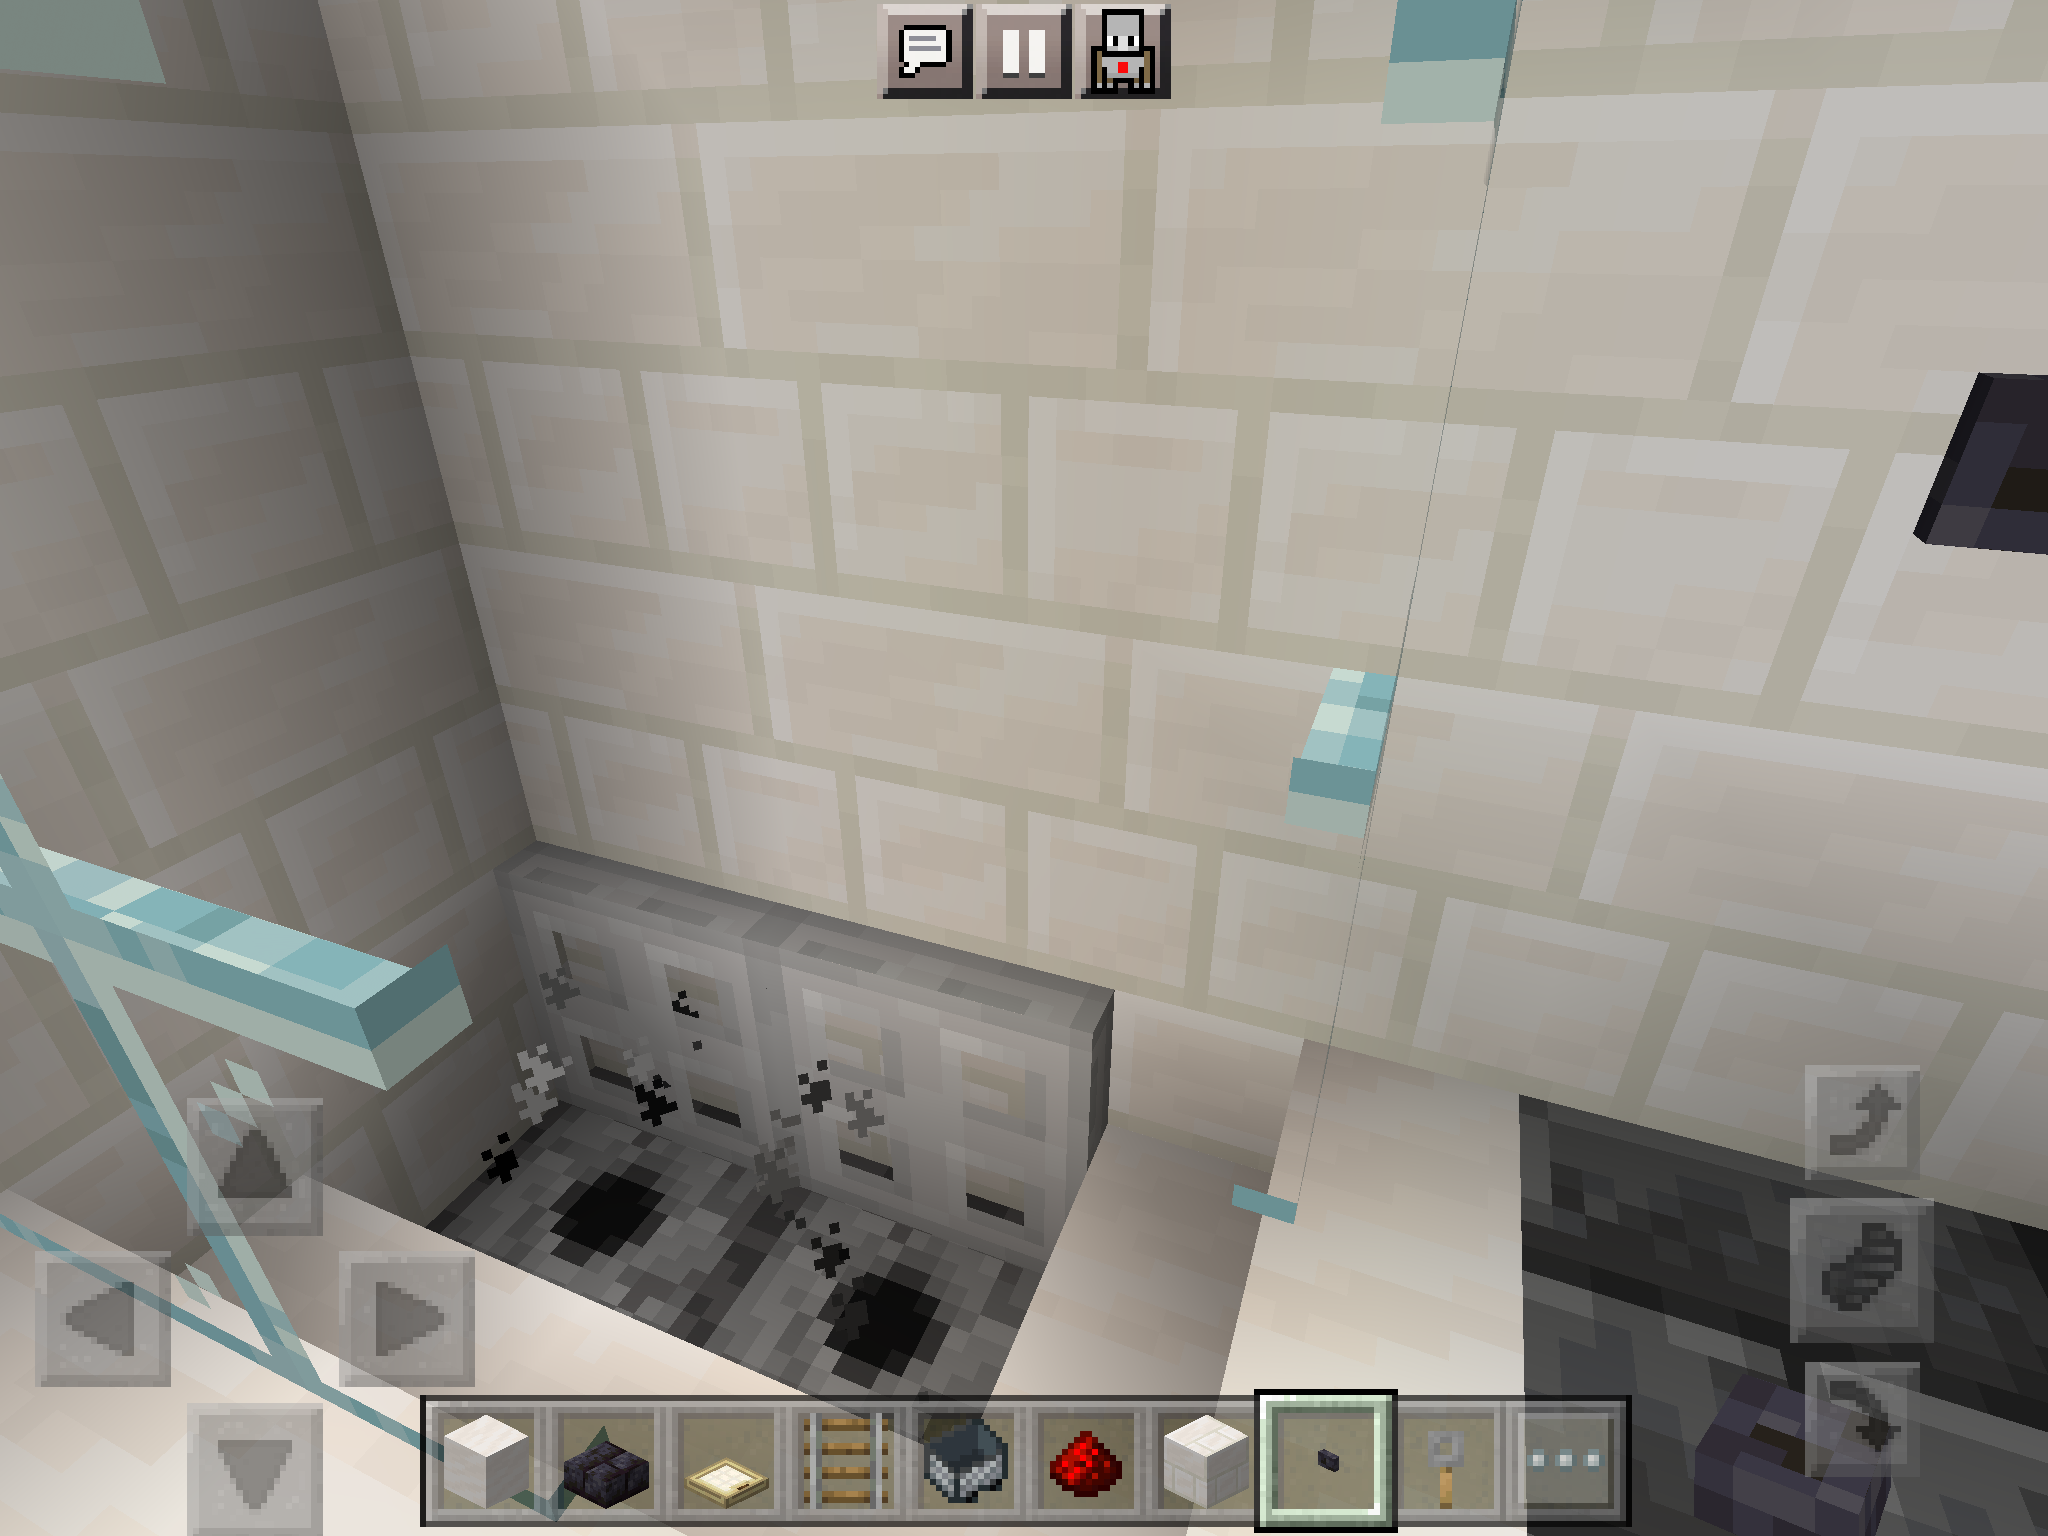
In the hole in the corner, dig it a block deeper and add 2 dispensers facing up and 1 water bucket in each. And put two iron trapdoors on top as such. Make sure when they open they look like the second photo.
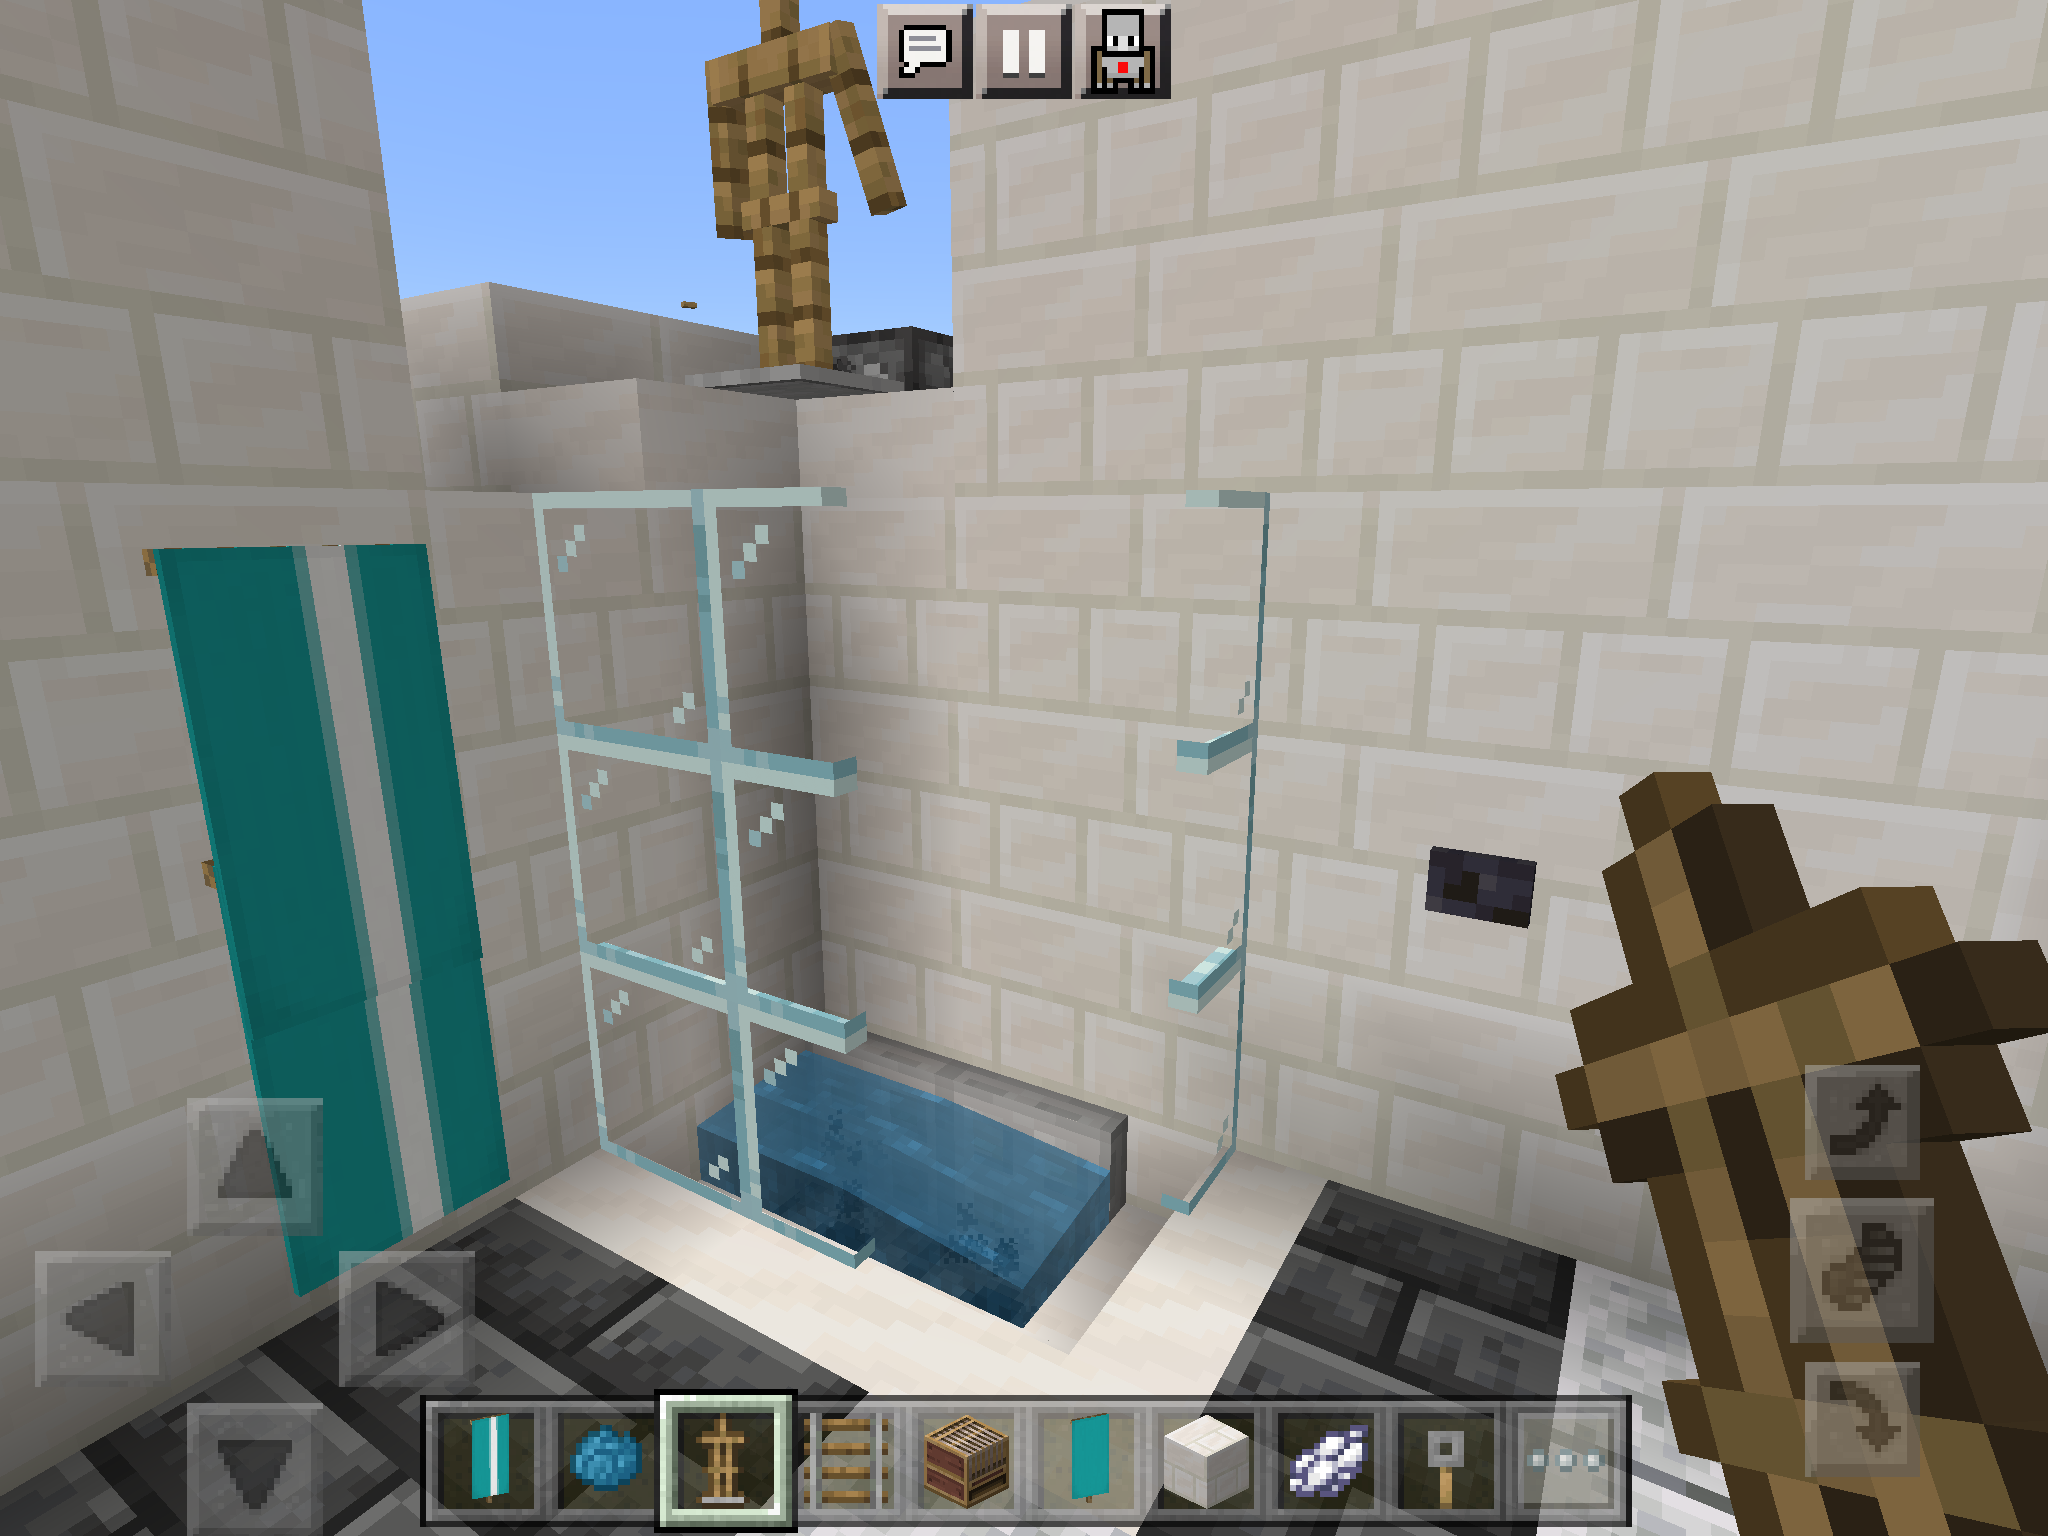
Add Glass Walls
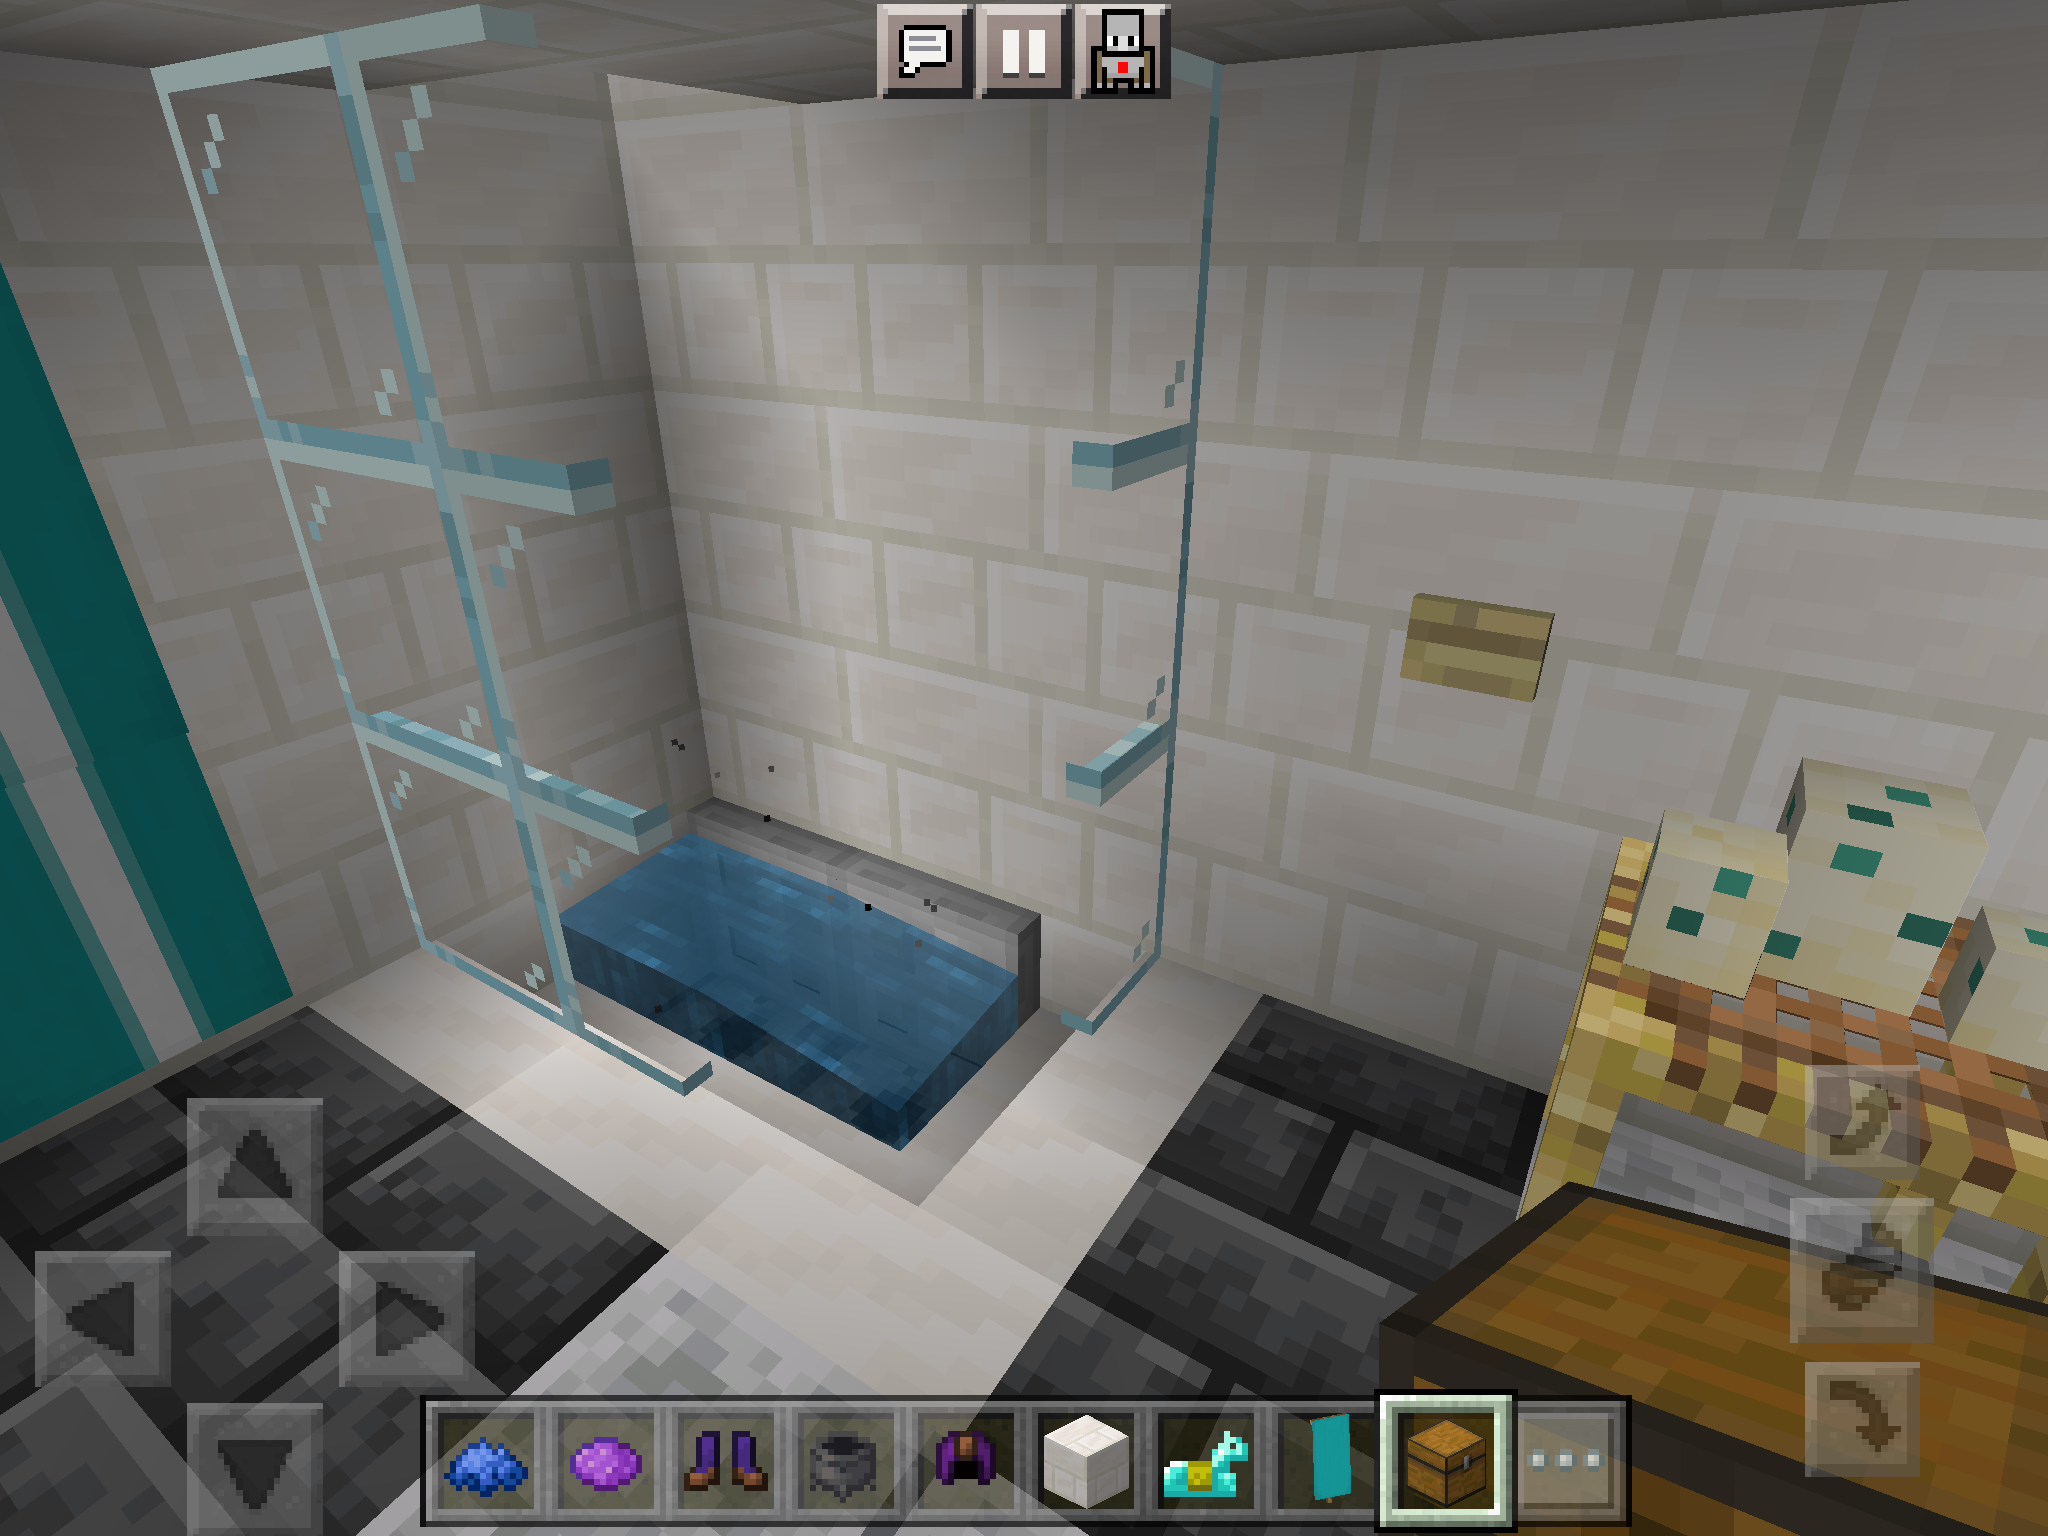
You can use any kind of button you want but make sure to put it right beside the glass wall. Then beside it, this step is optional, but you can make a banner look like a mirror.
Making the Mirror
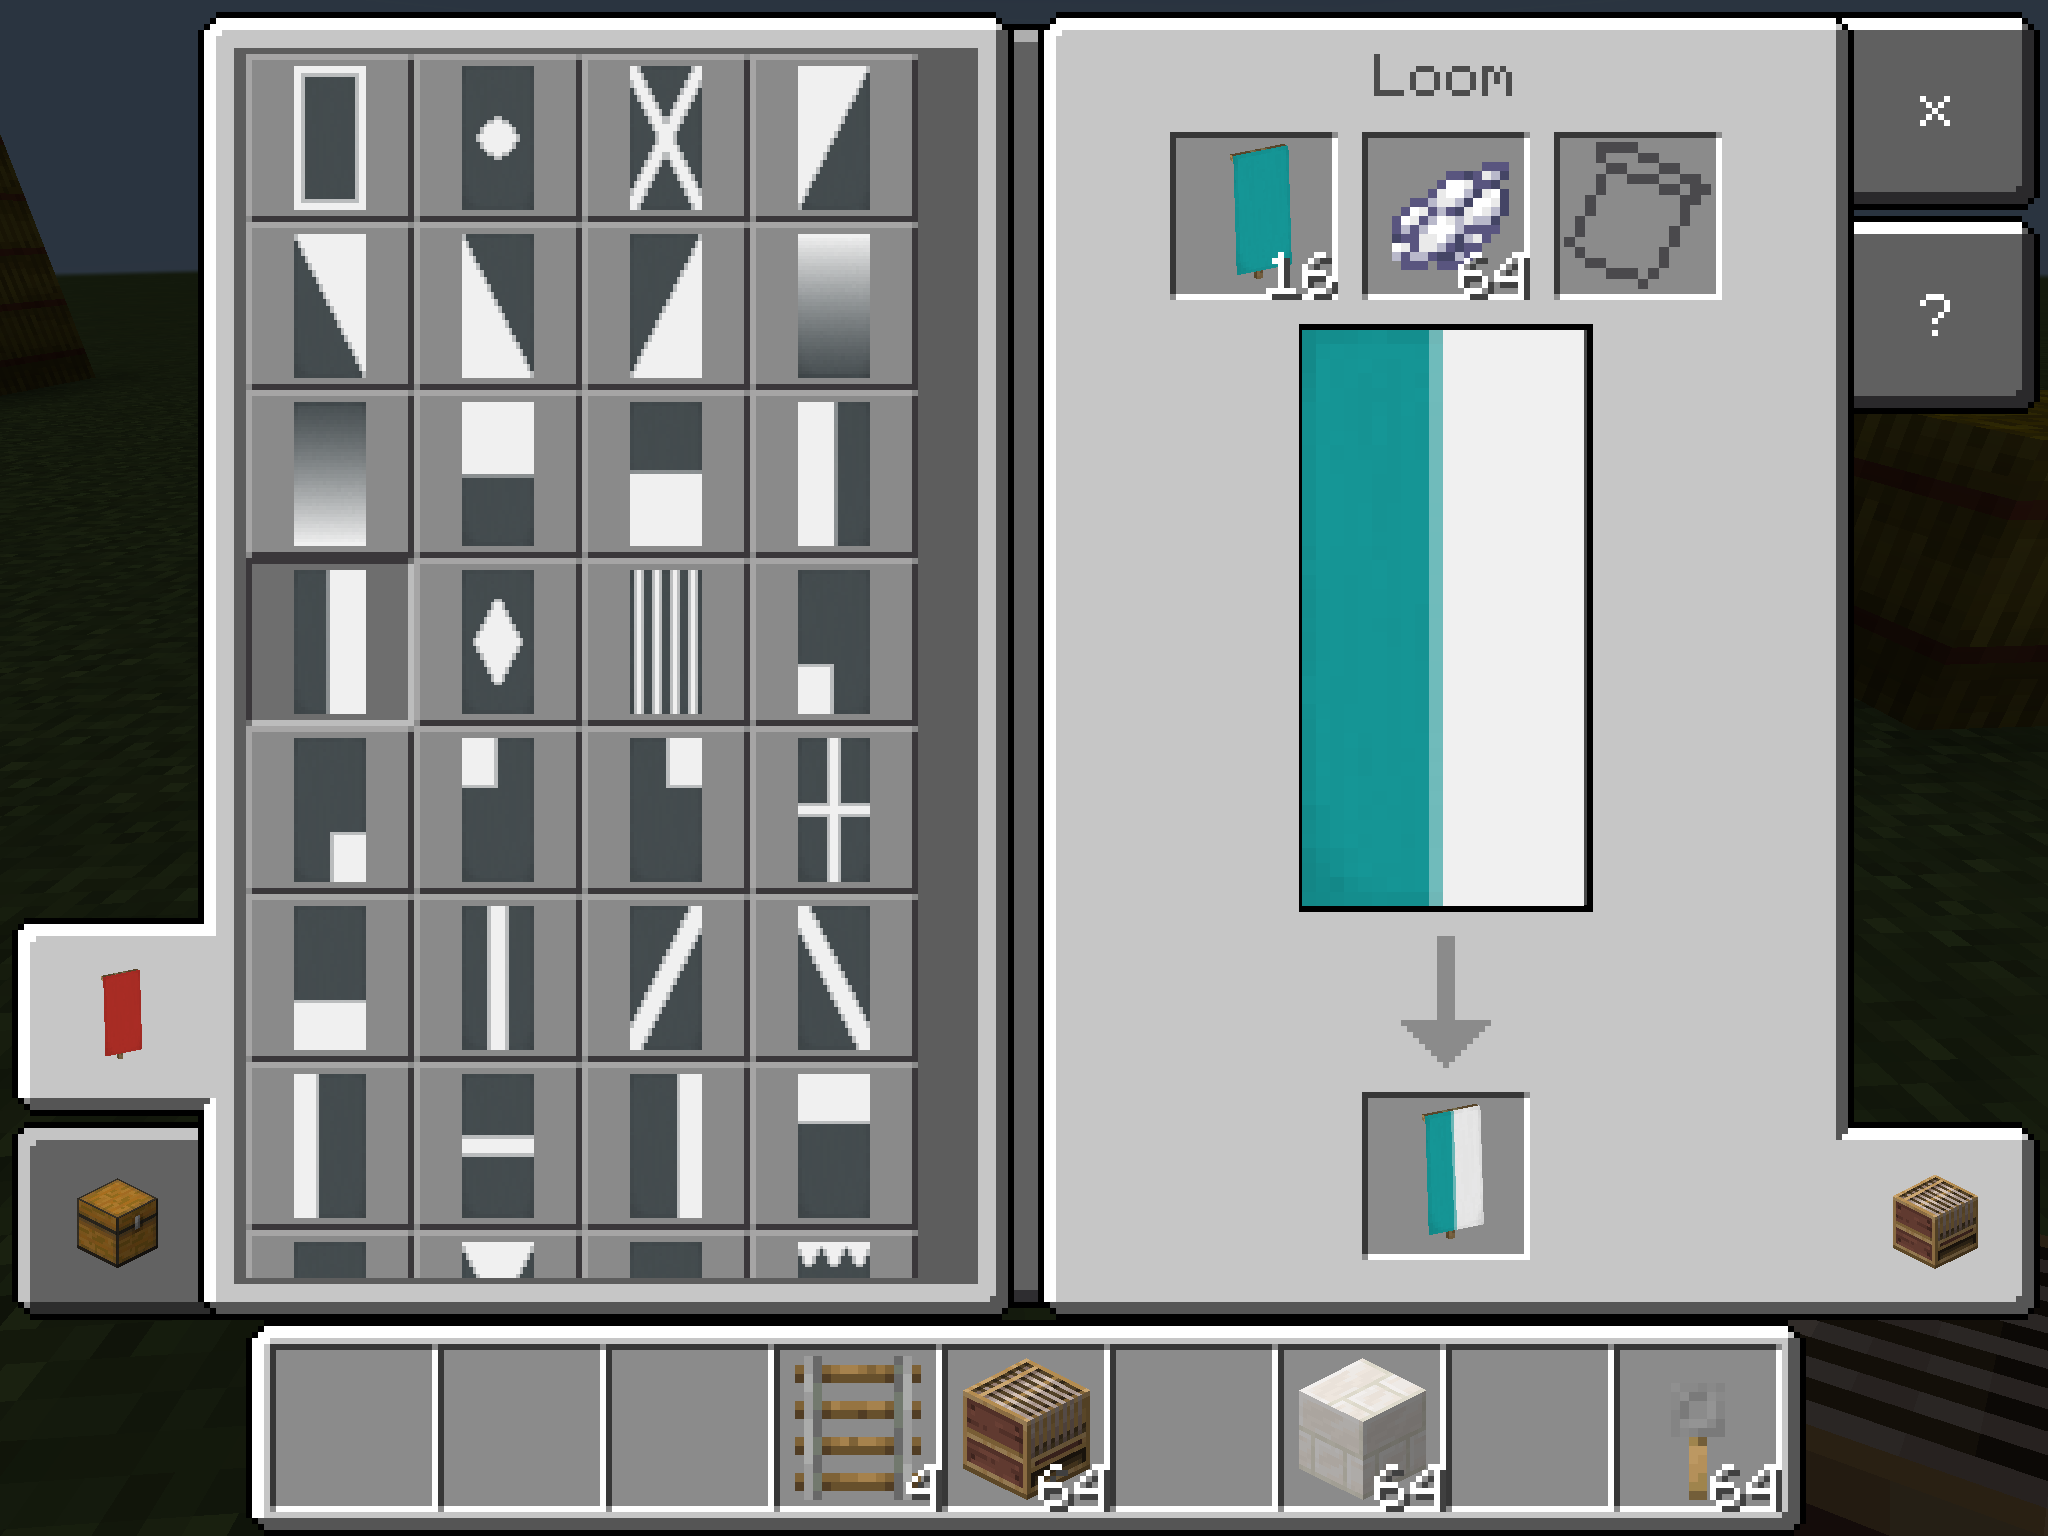
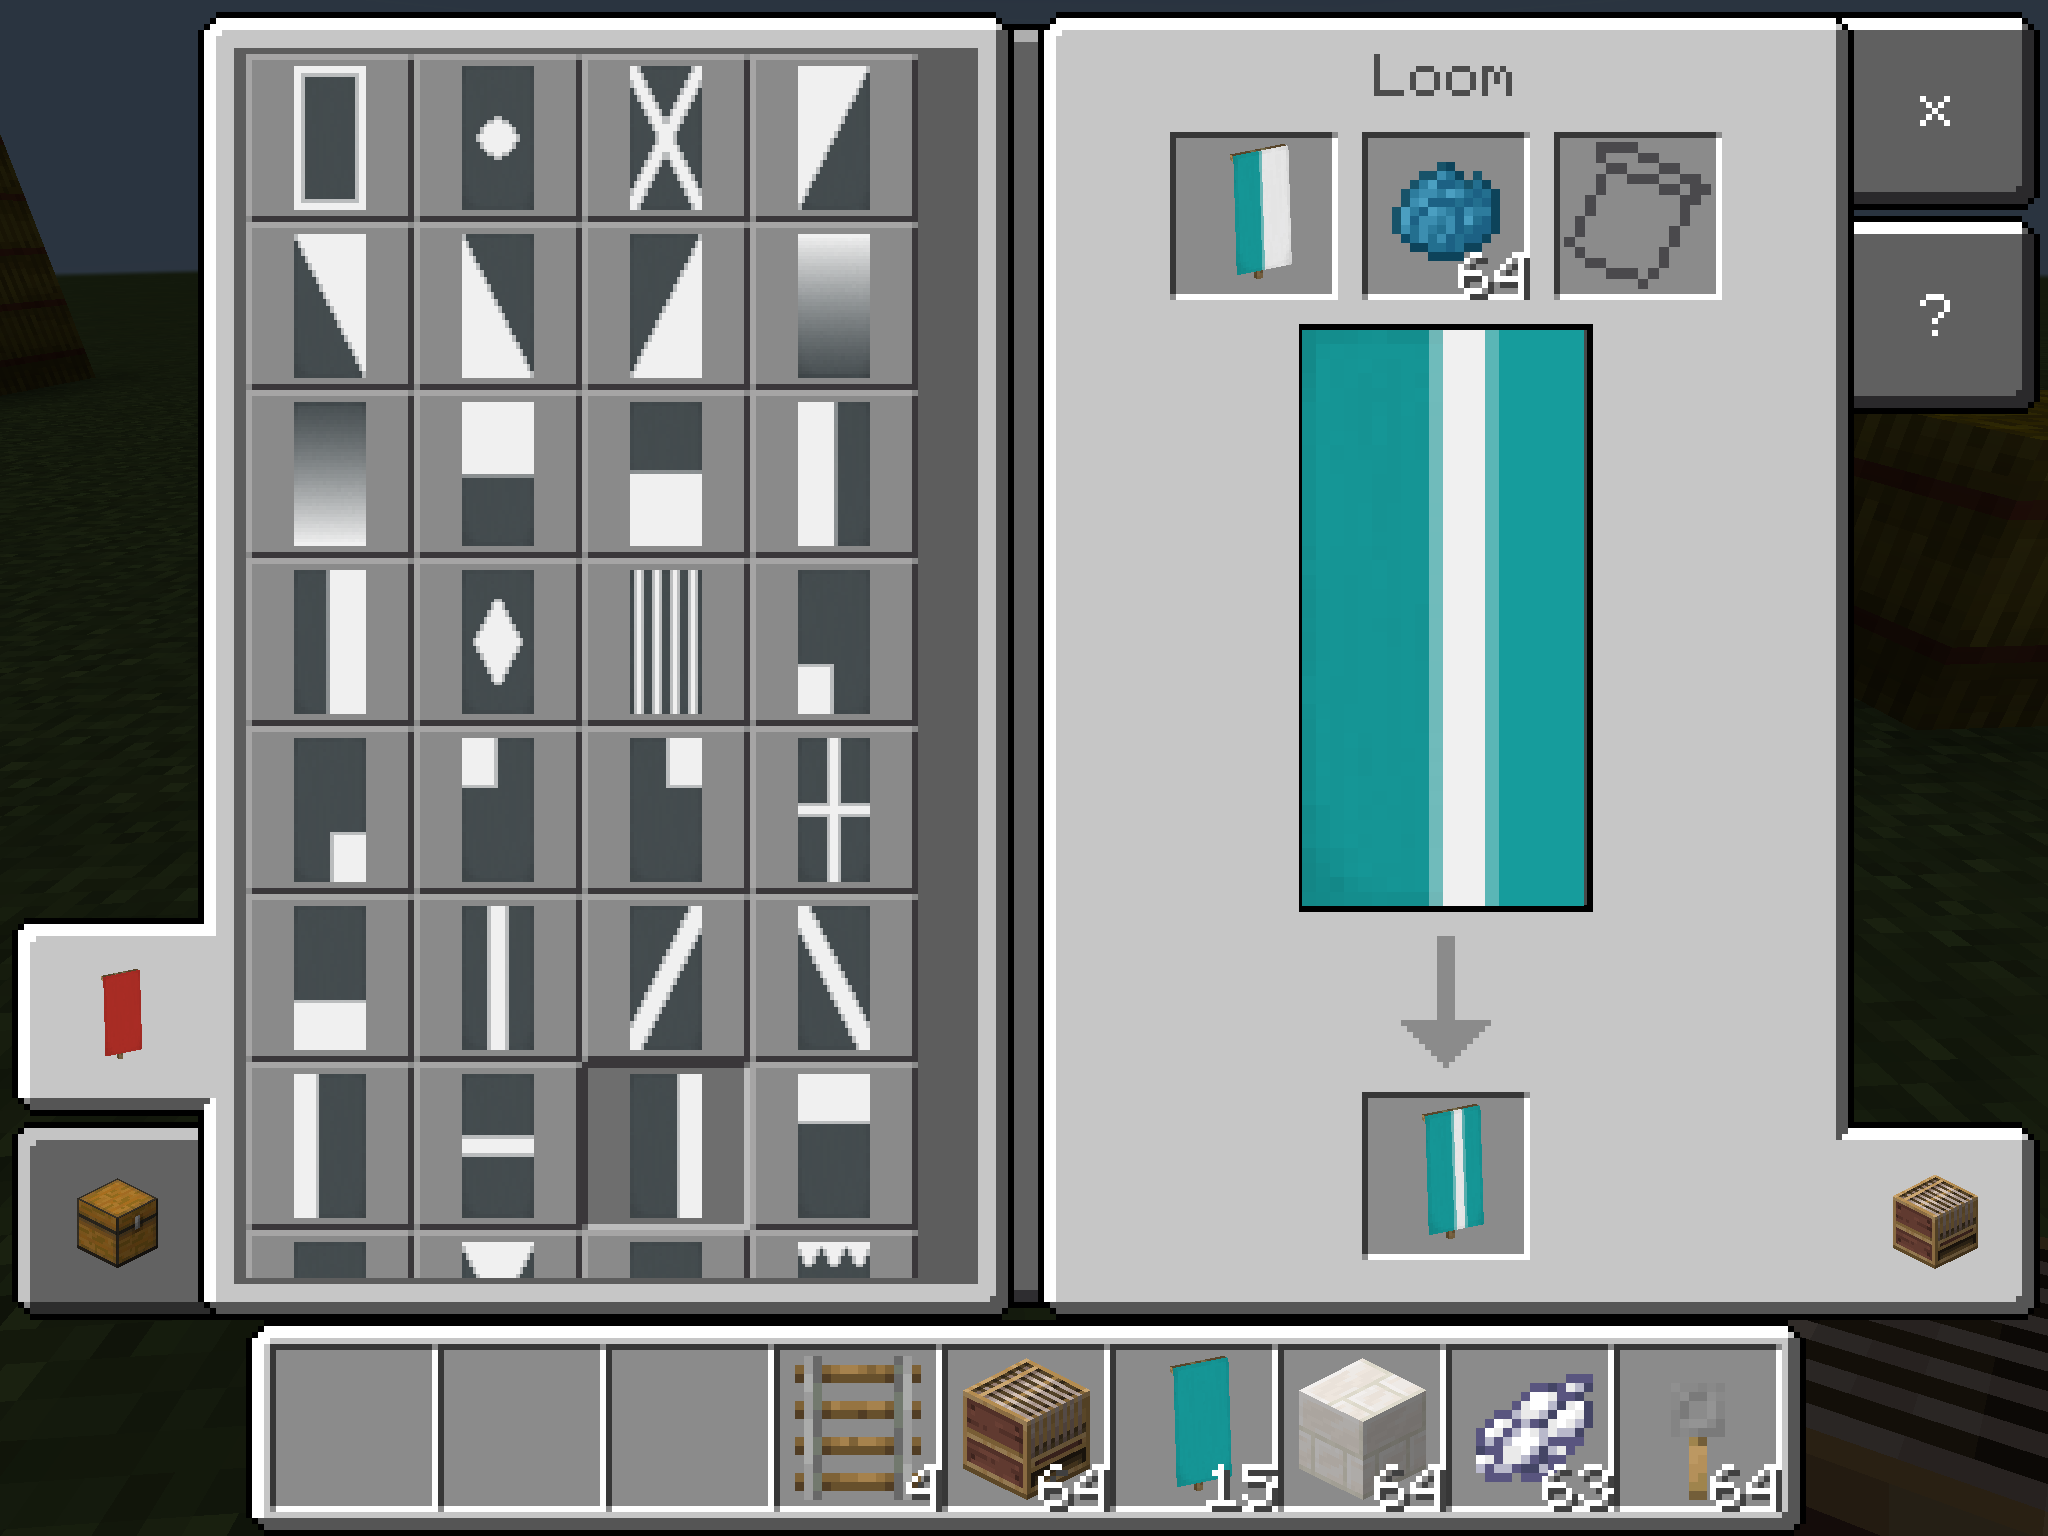
Follow the images above to create a mirror-like look. You need white dye, cyan dye, and a cyan banner.
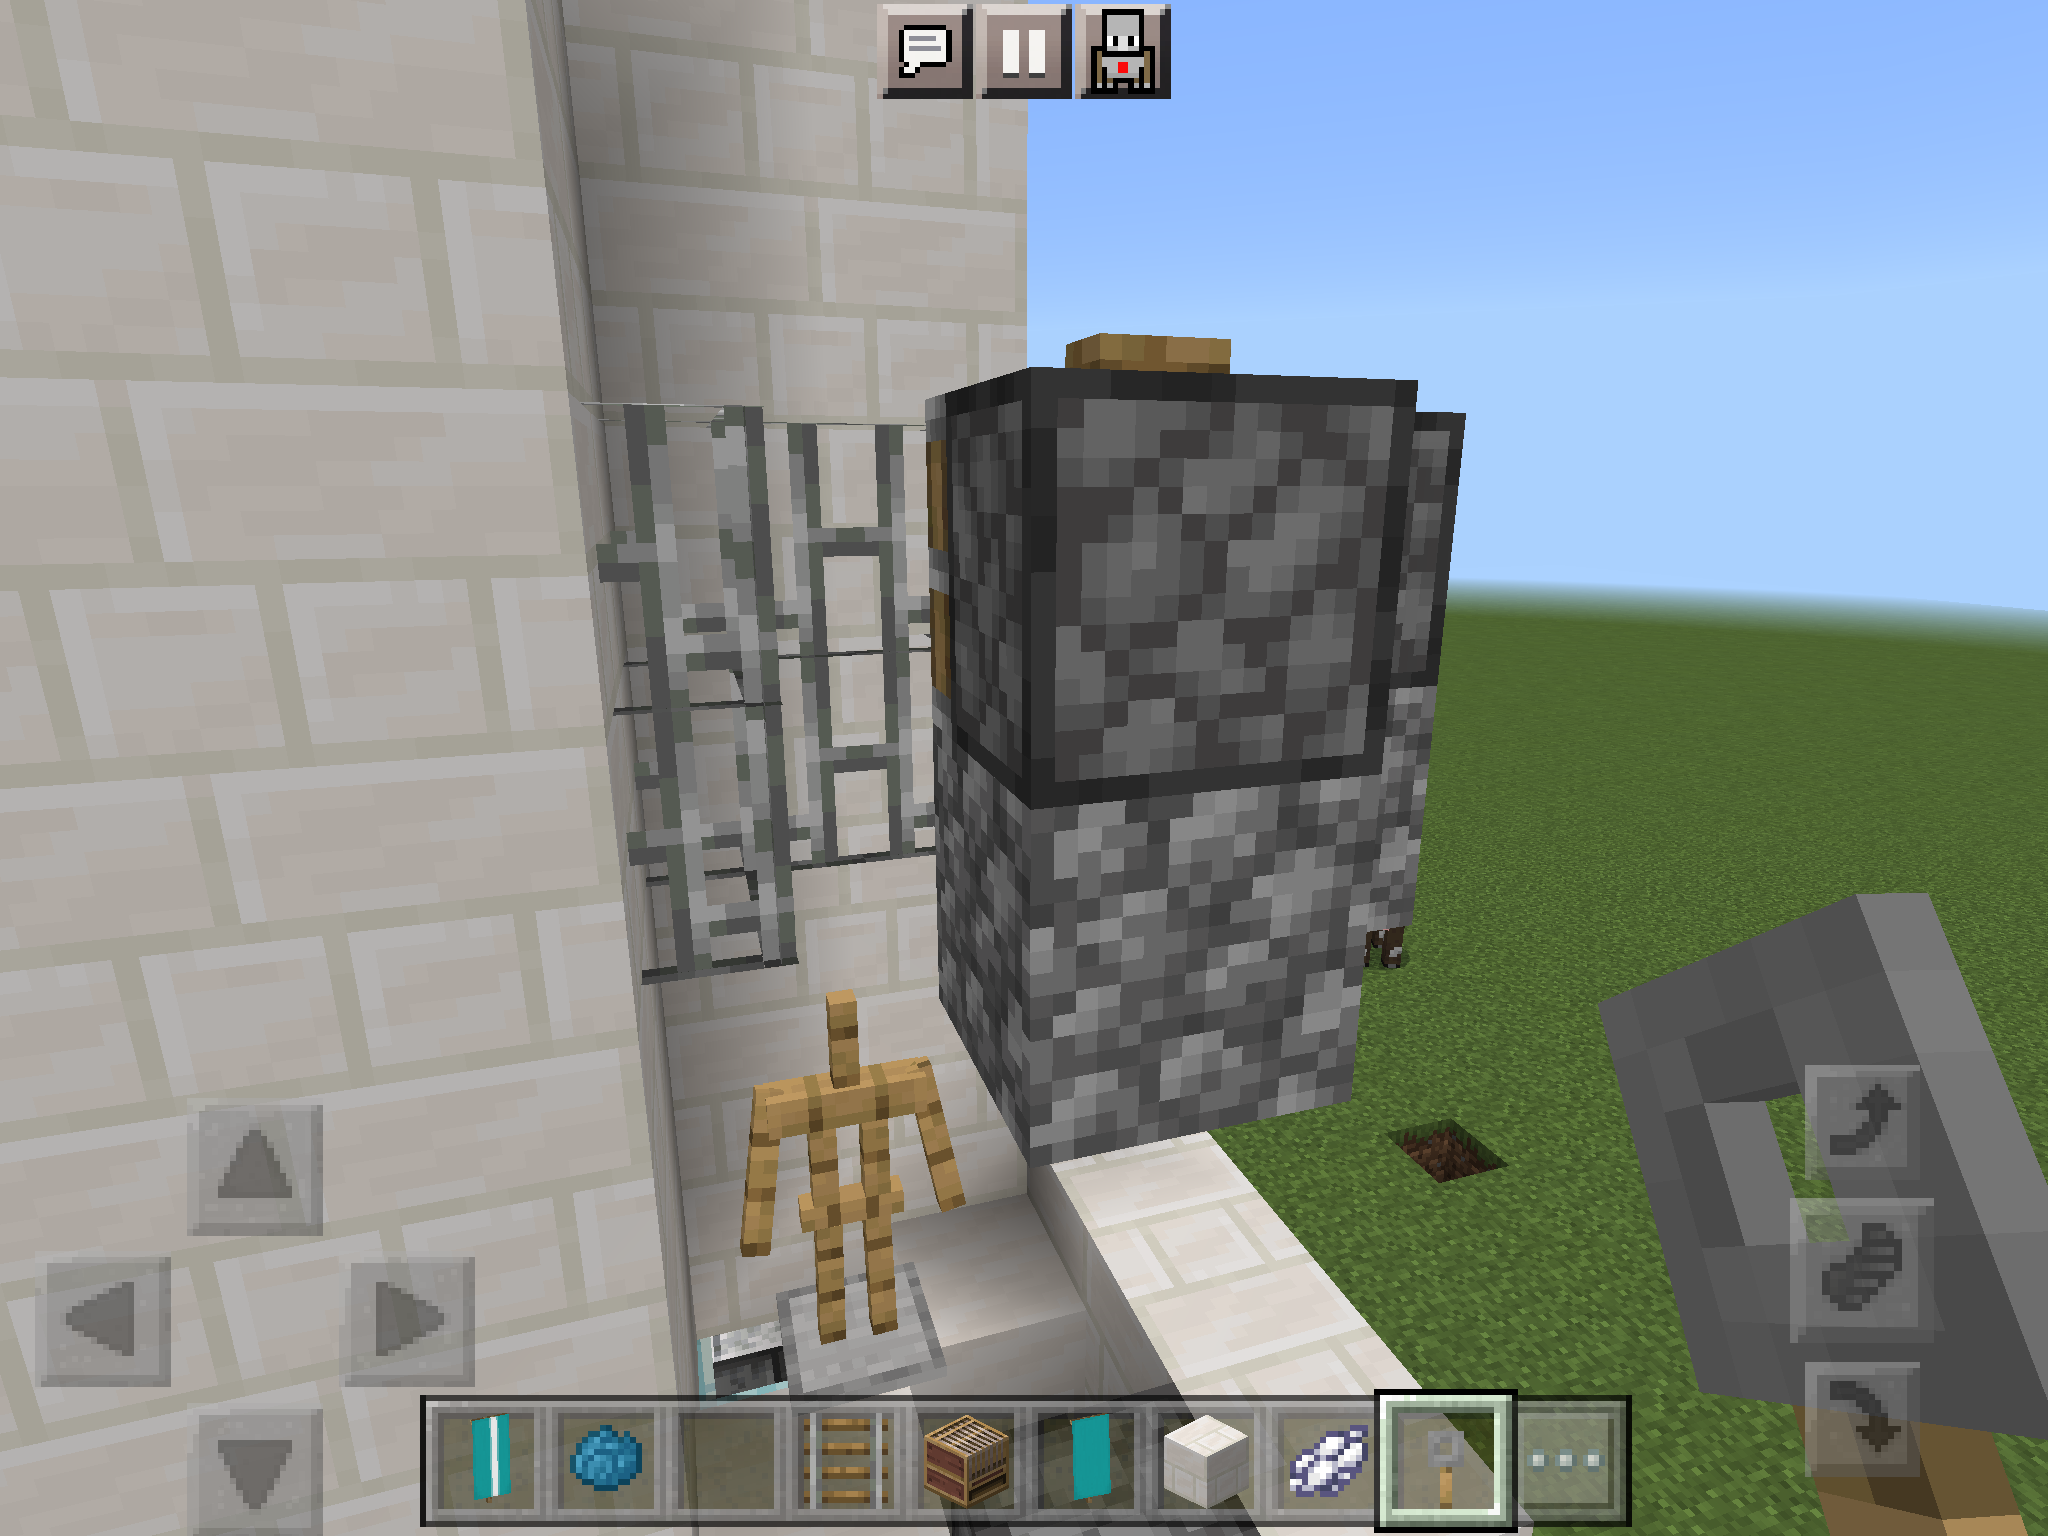
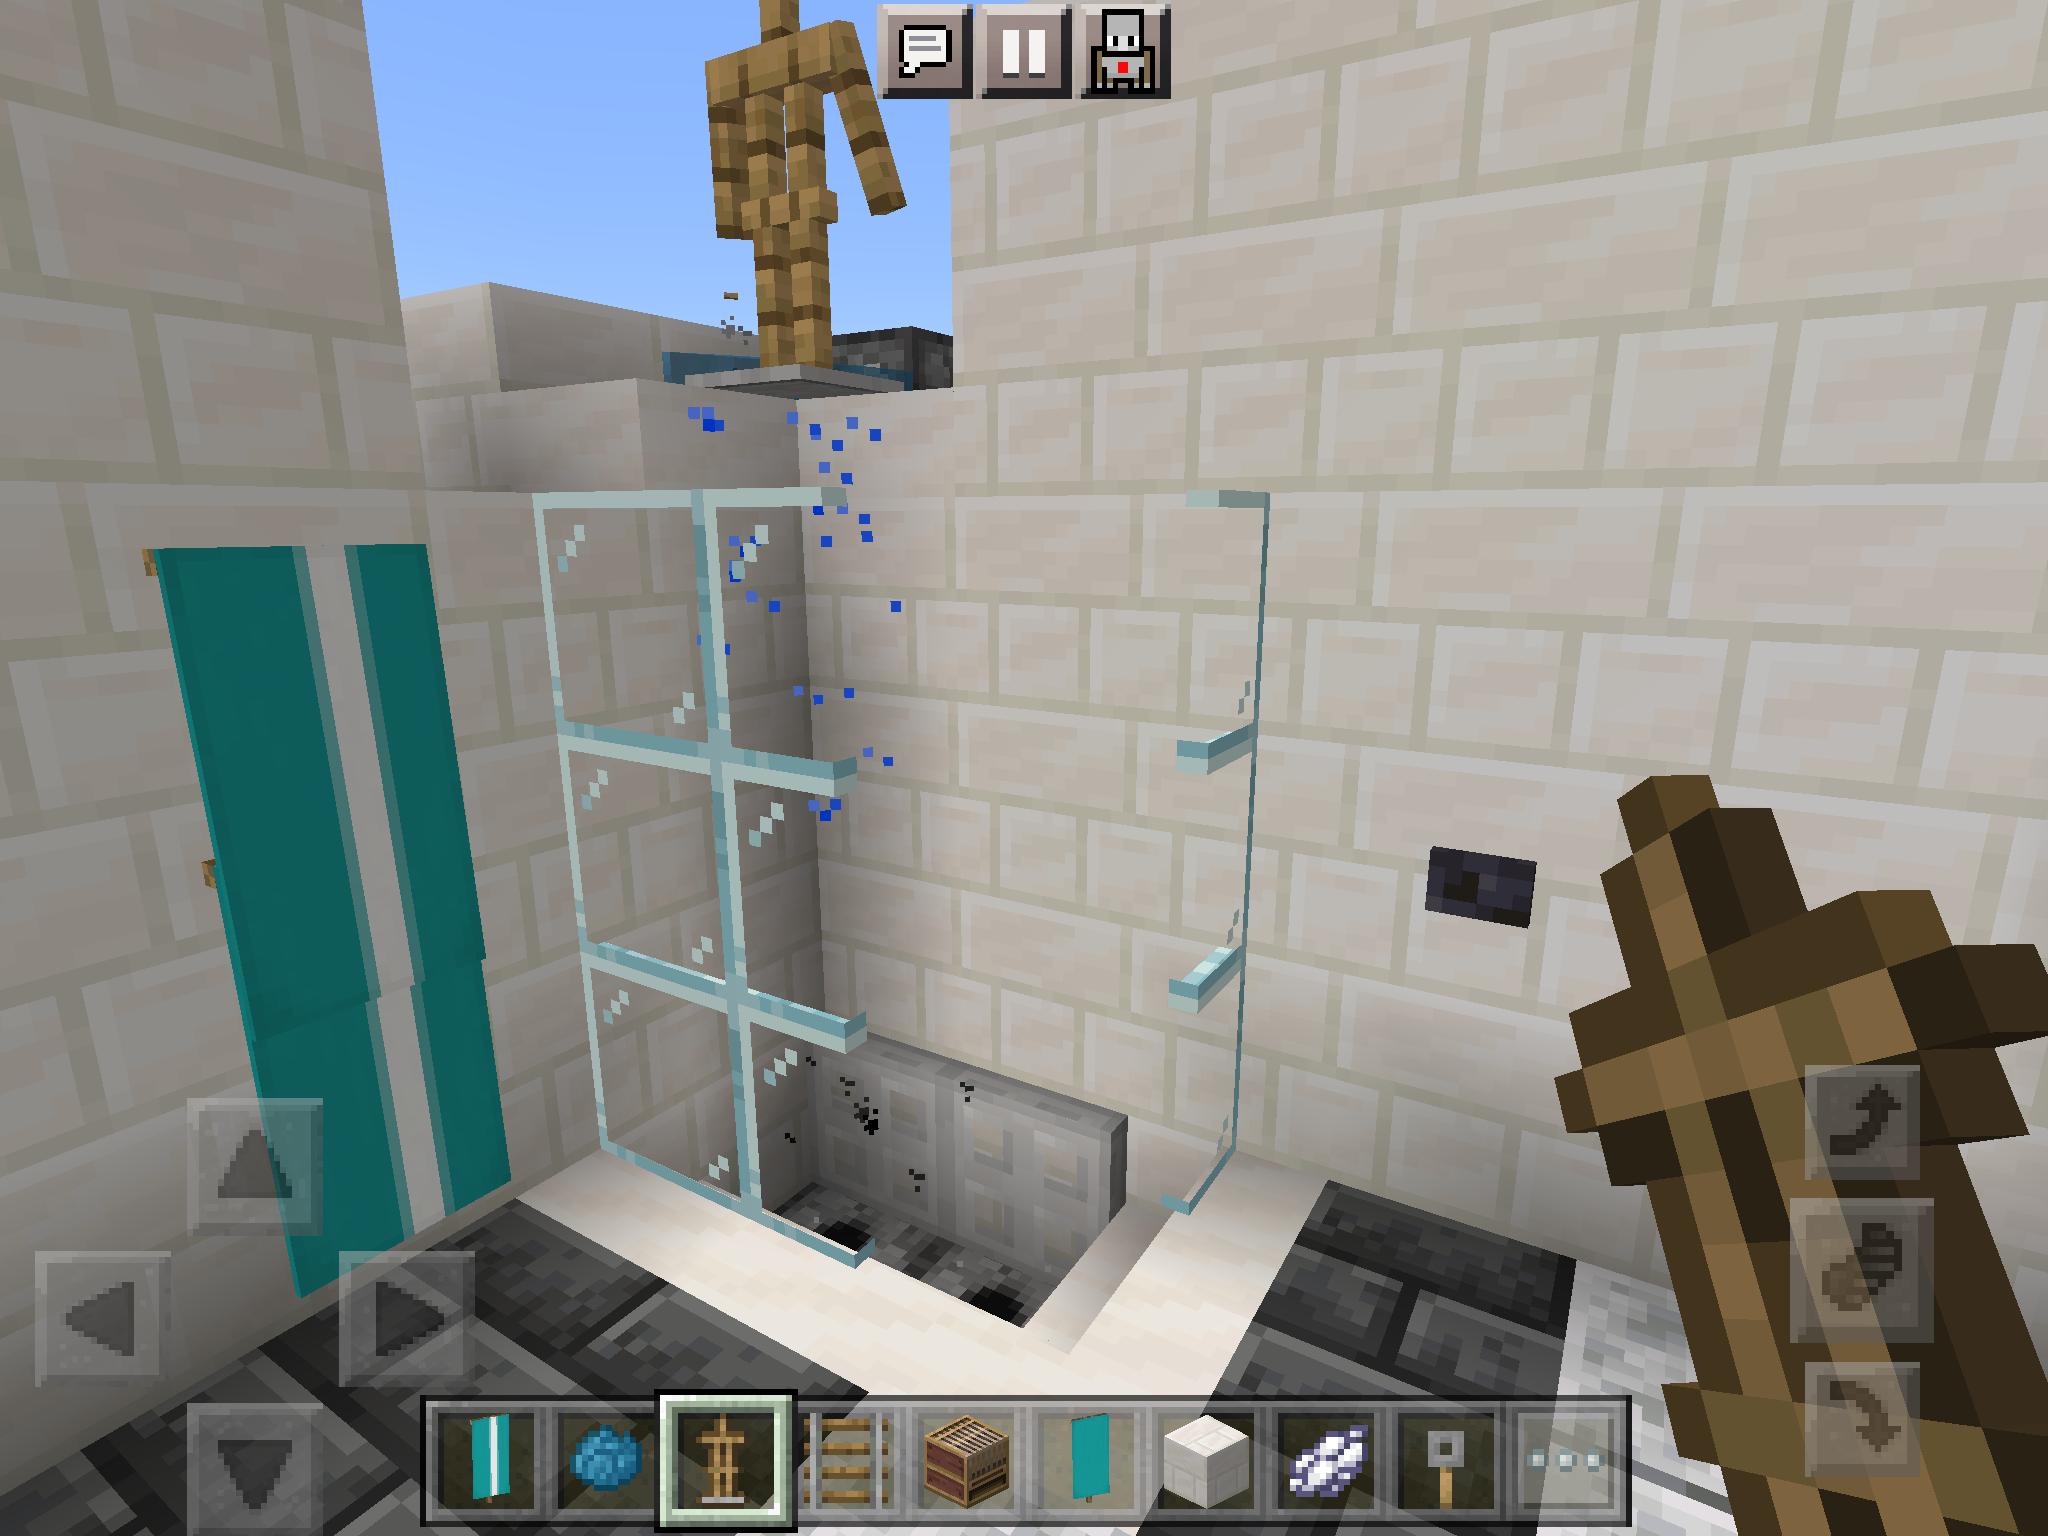
Coding the Shower
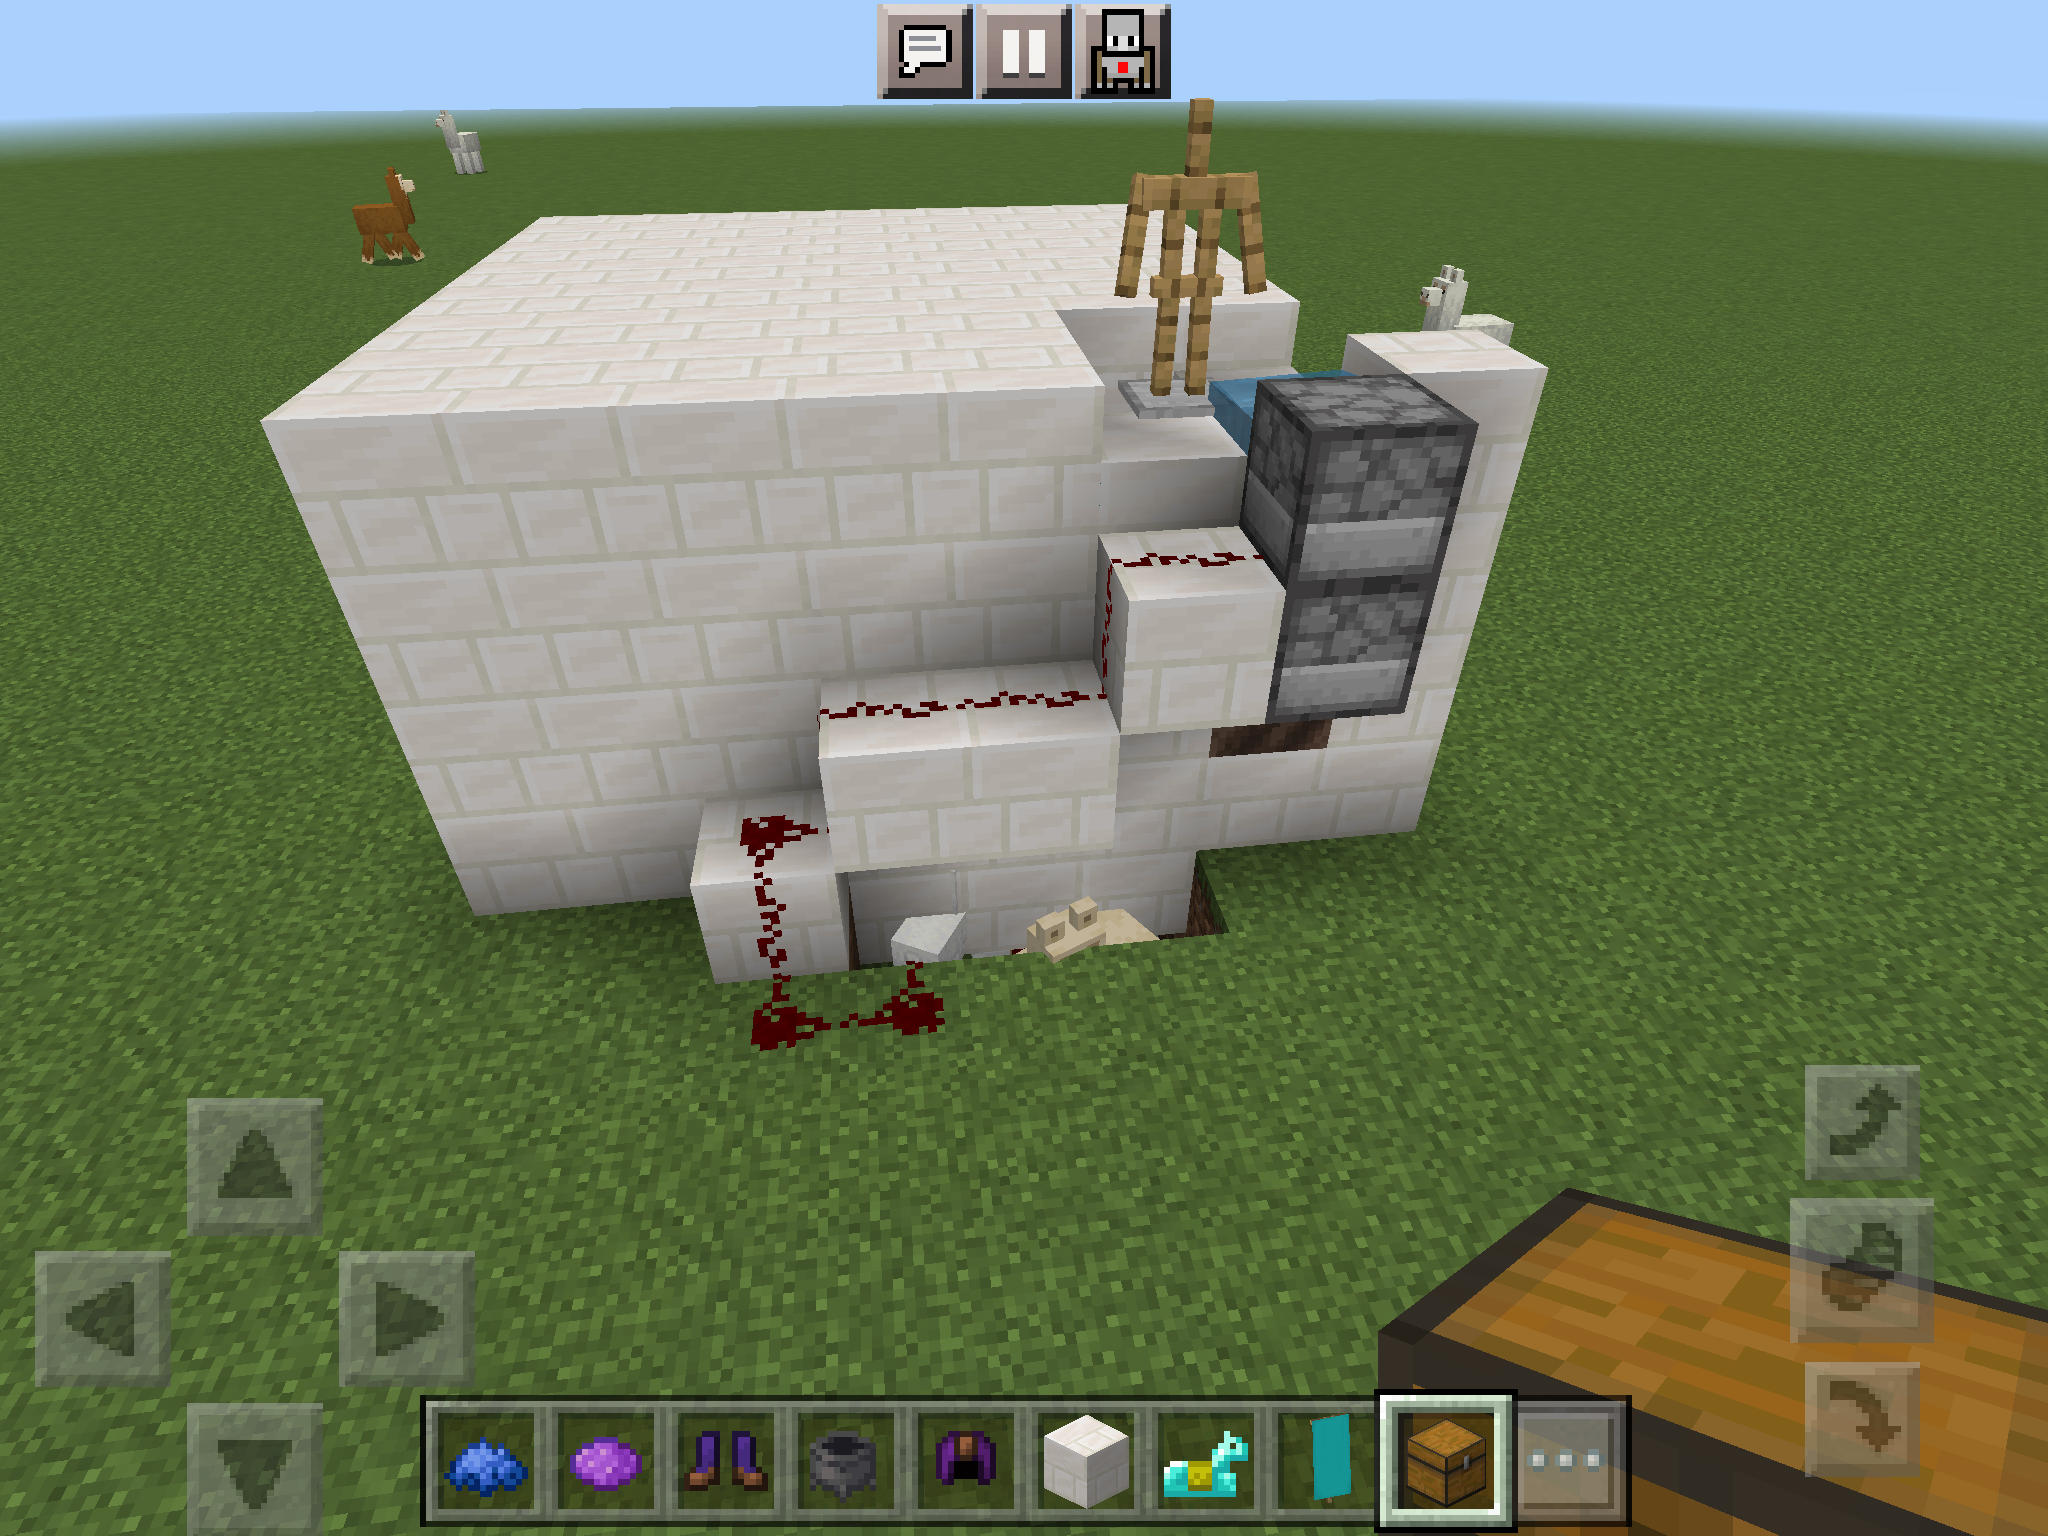
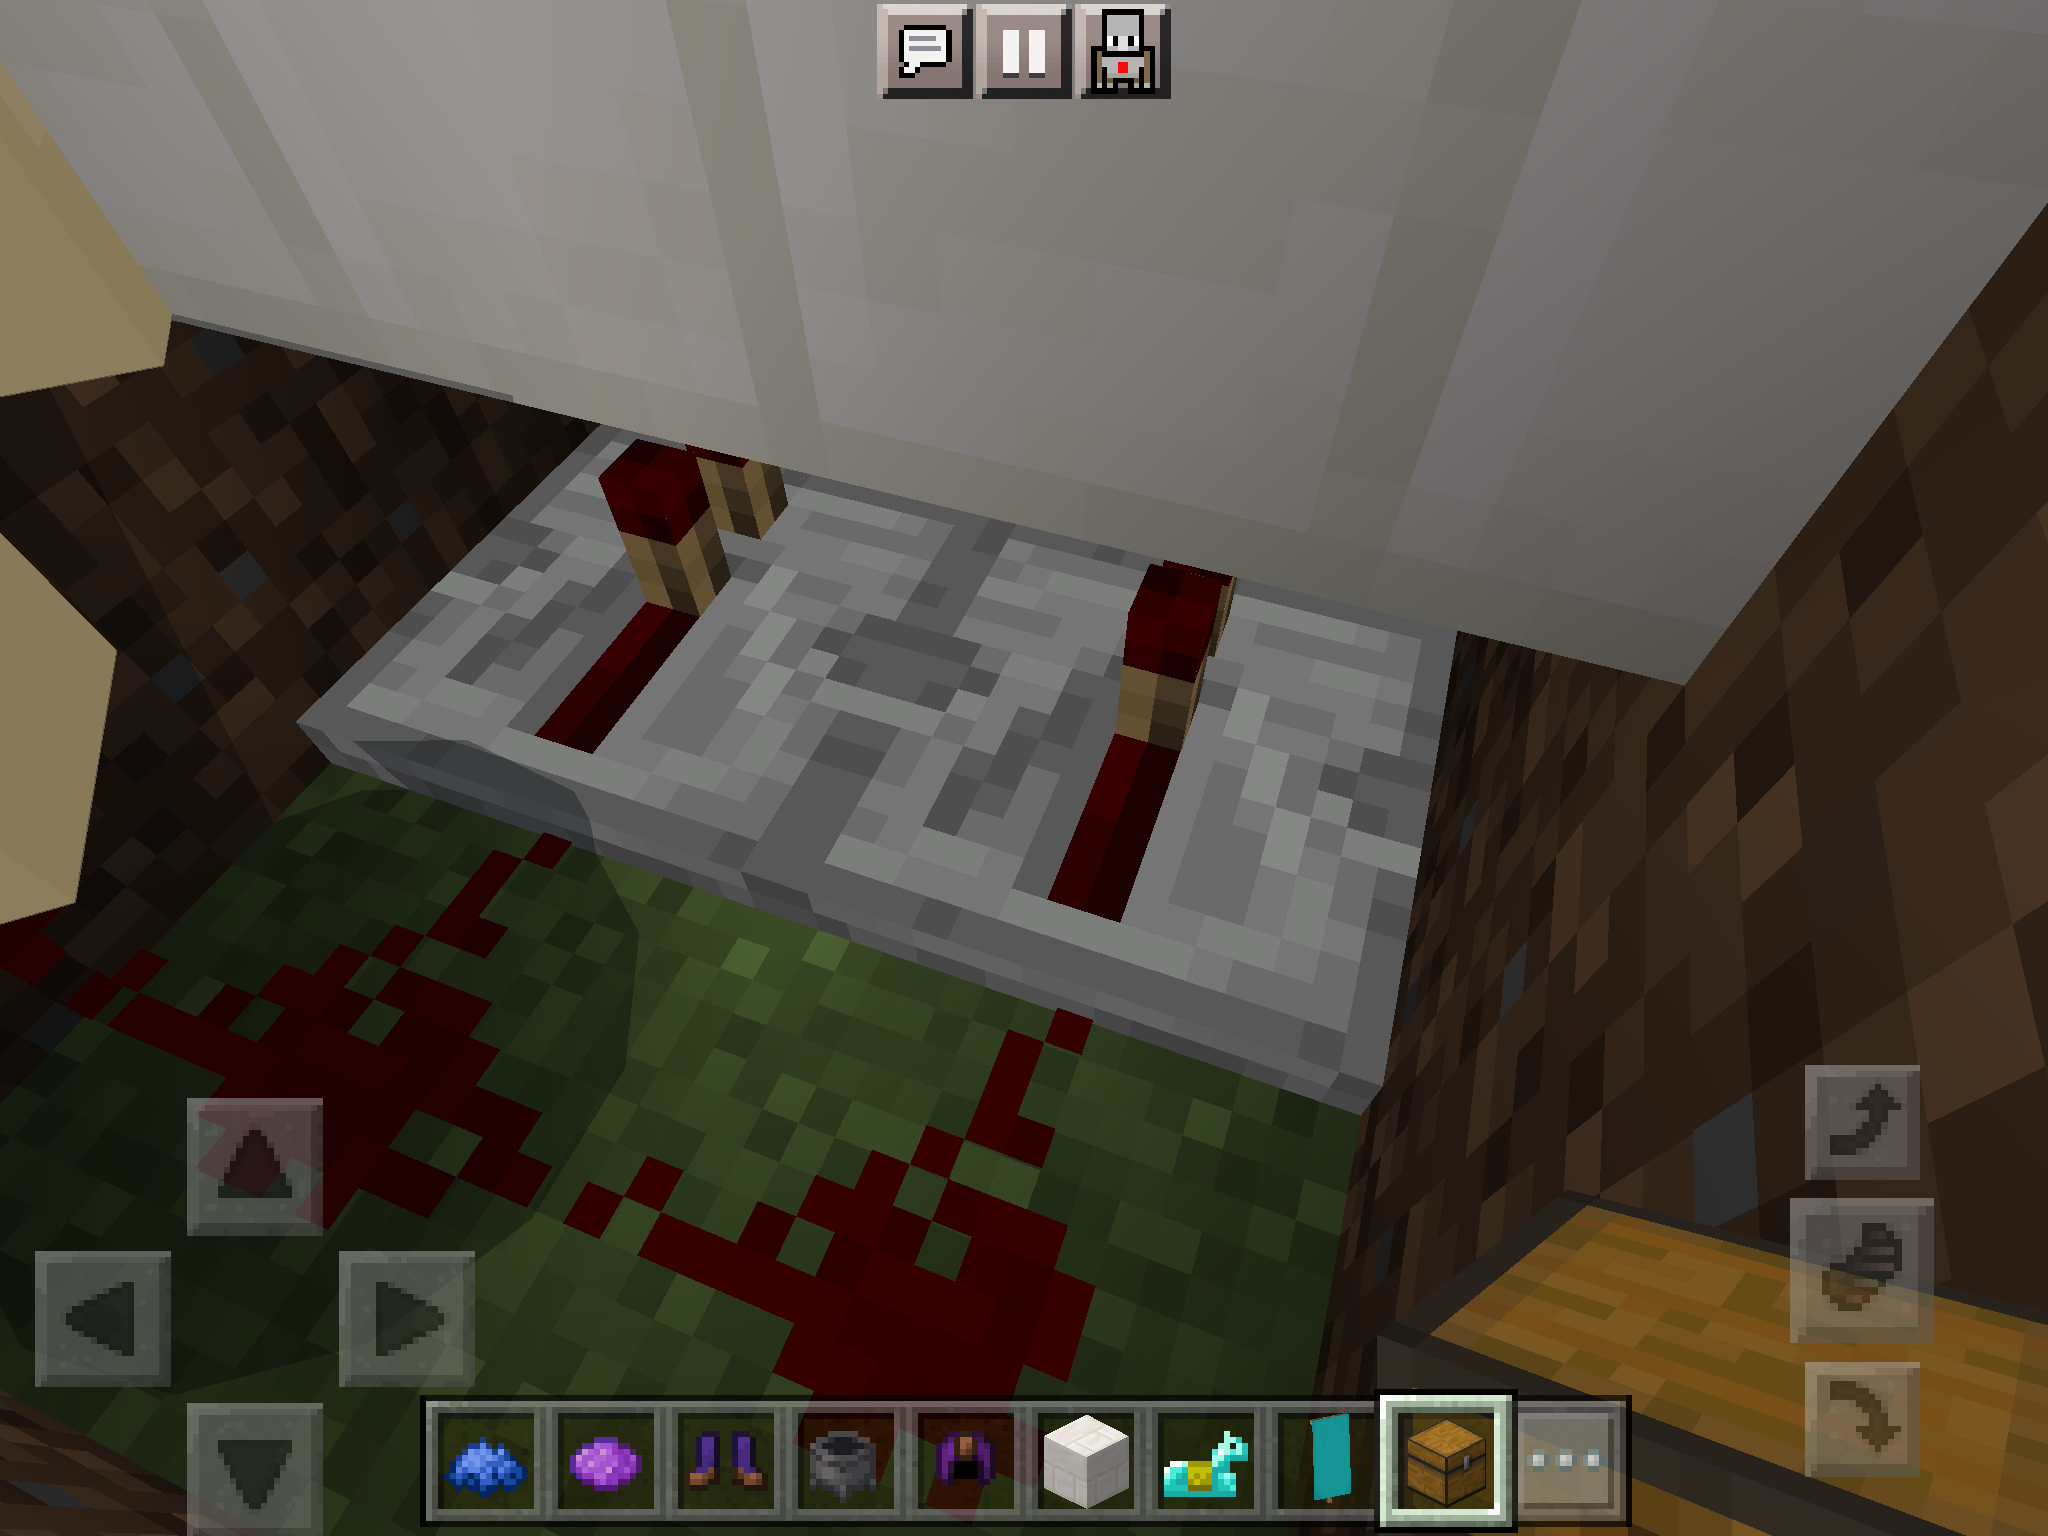
Copy the steps as followed. Make sure to dig a one block deep hole where shown. Use a redstone repeater in the hole and put redstone to connect it to the dispensers outside. The dispensers are facing towards where you see the armour stand (its purpose will be explained). Put 1 water bucket in each dispenser and soul sand underneath them.
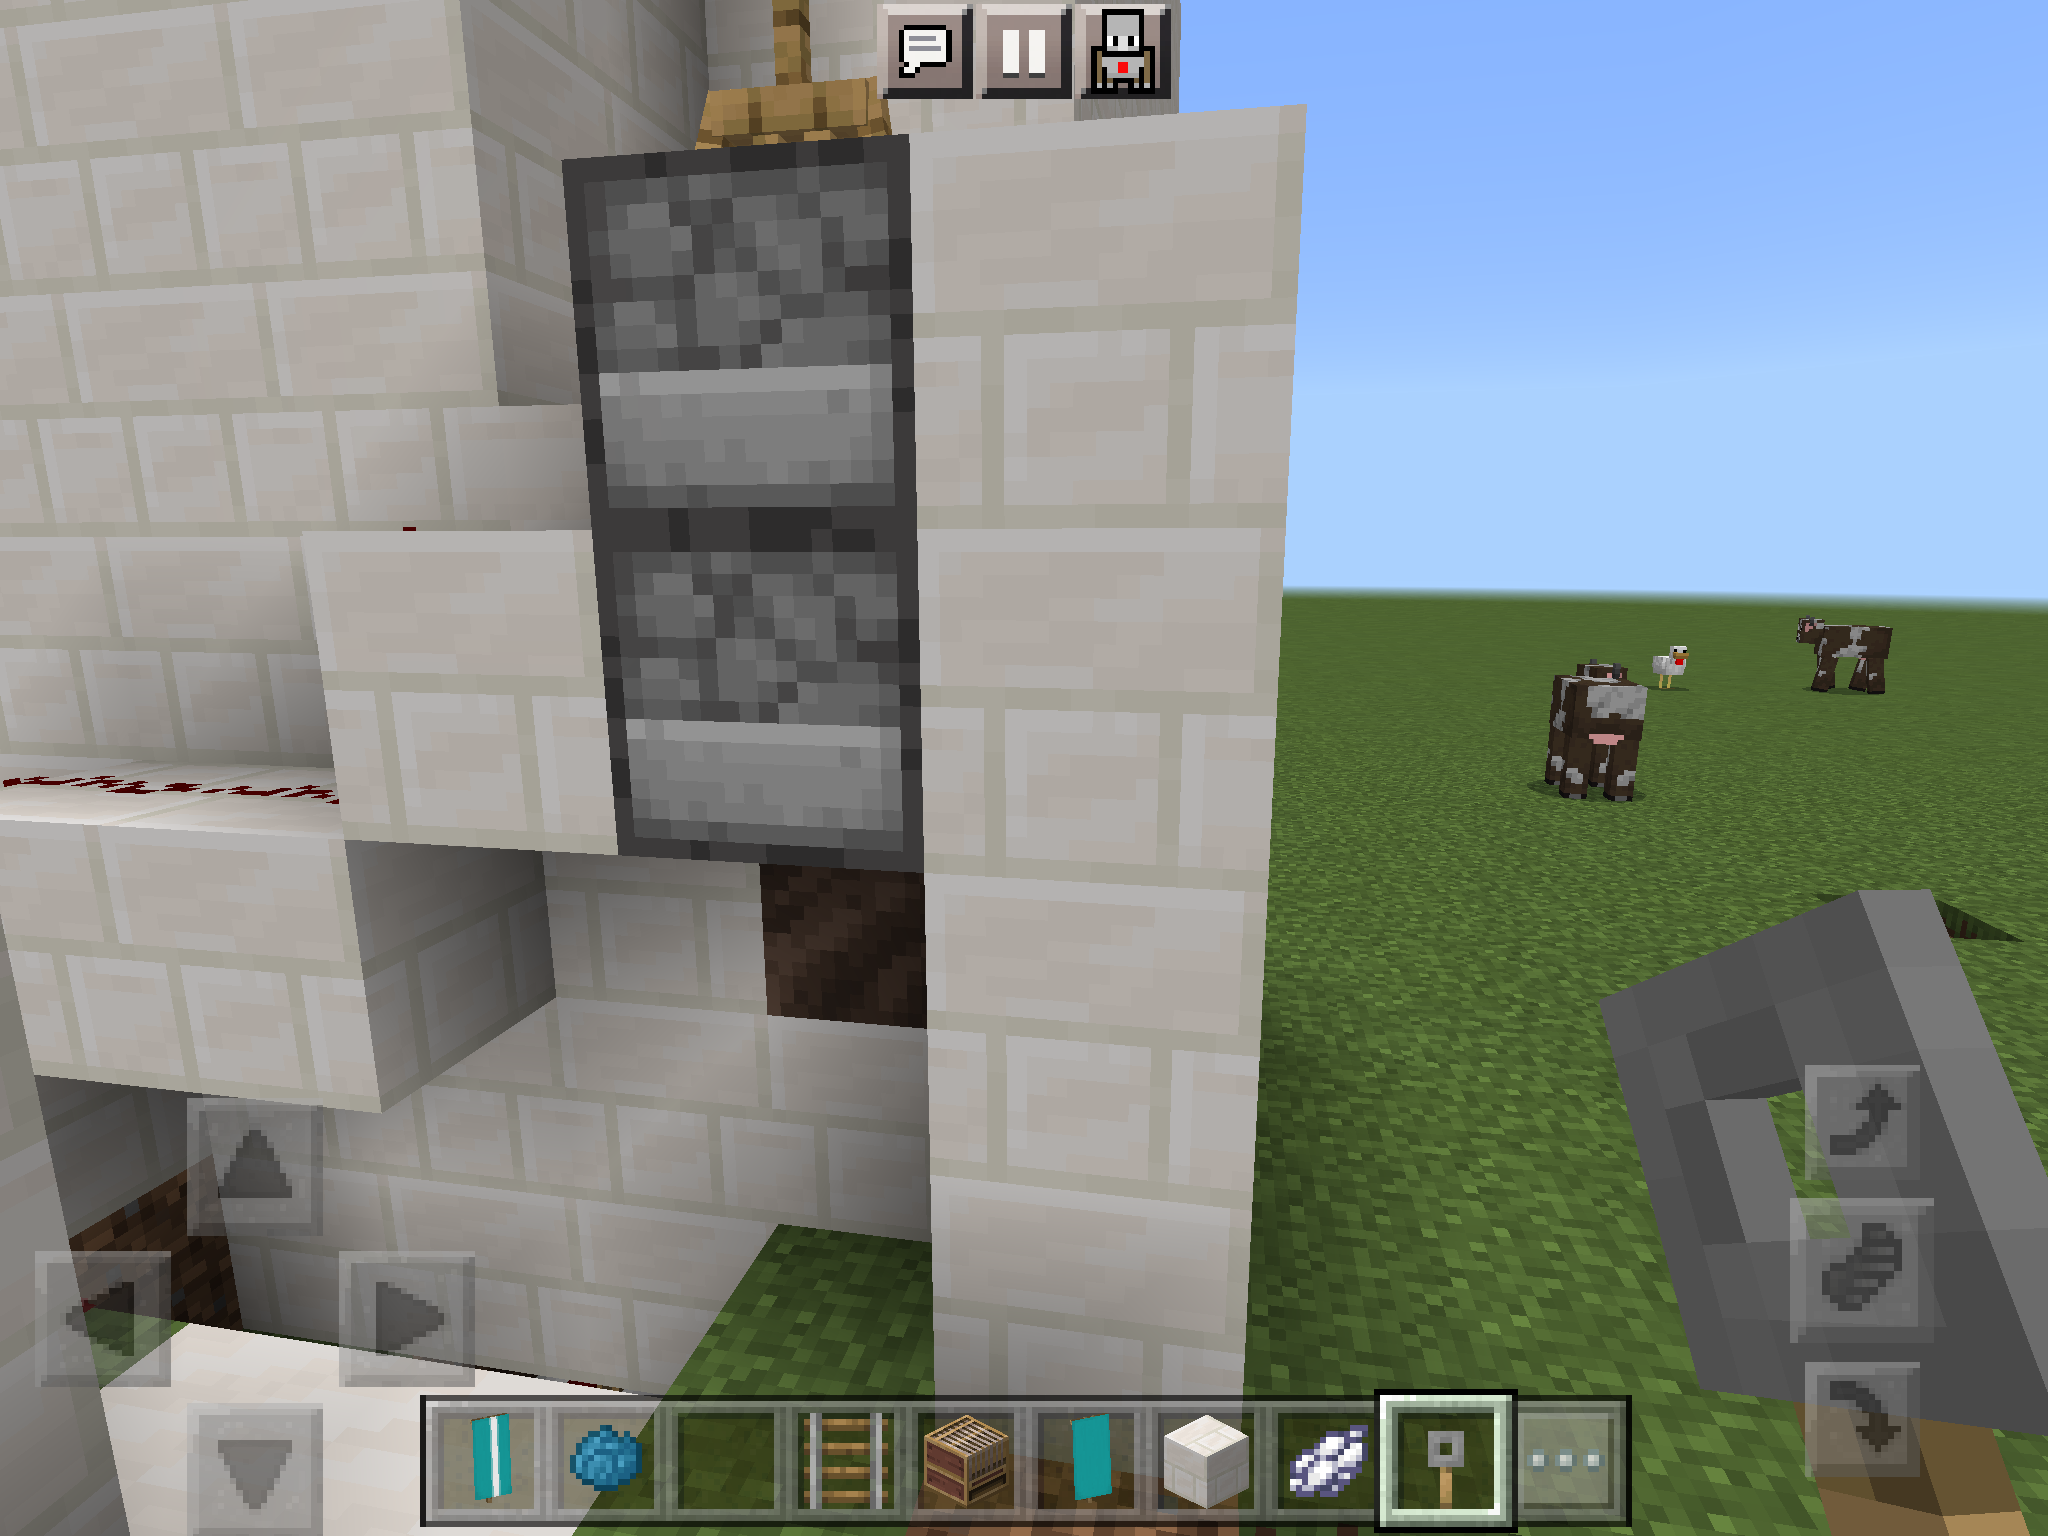
Then add wall barrier as seen in third picture so no water leaks when it is turned on.
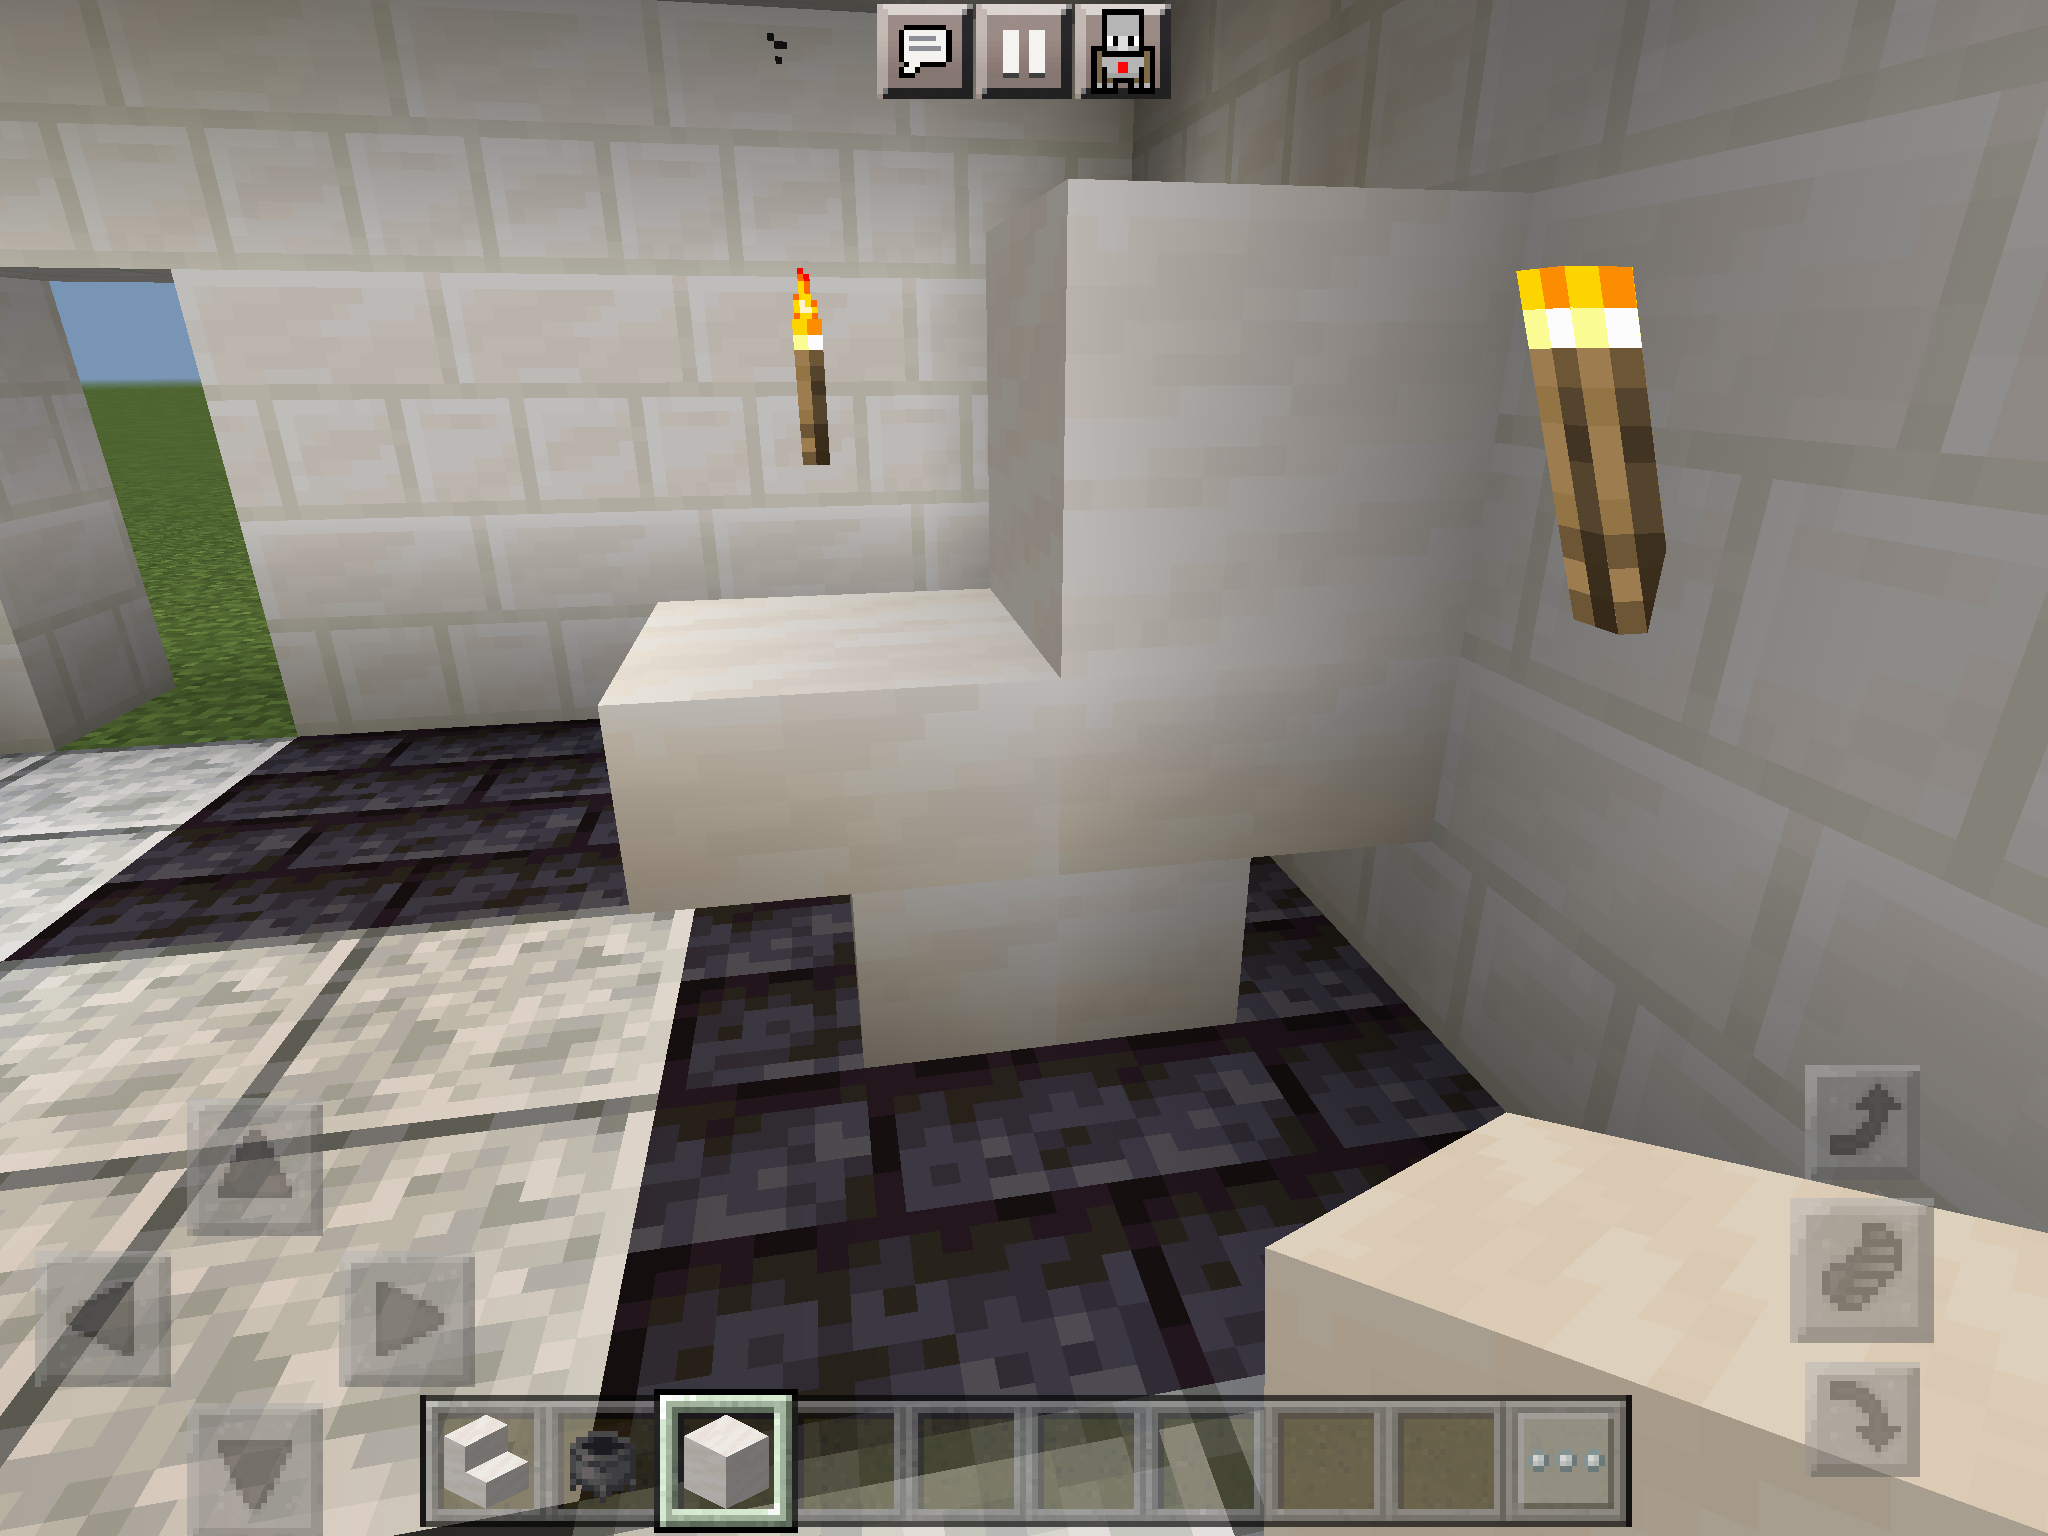
Add Slabs
Ignore the armour stand in the photo and replace the full blocks it is touching with slabs. Then in the next step set up armour stands.
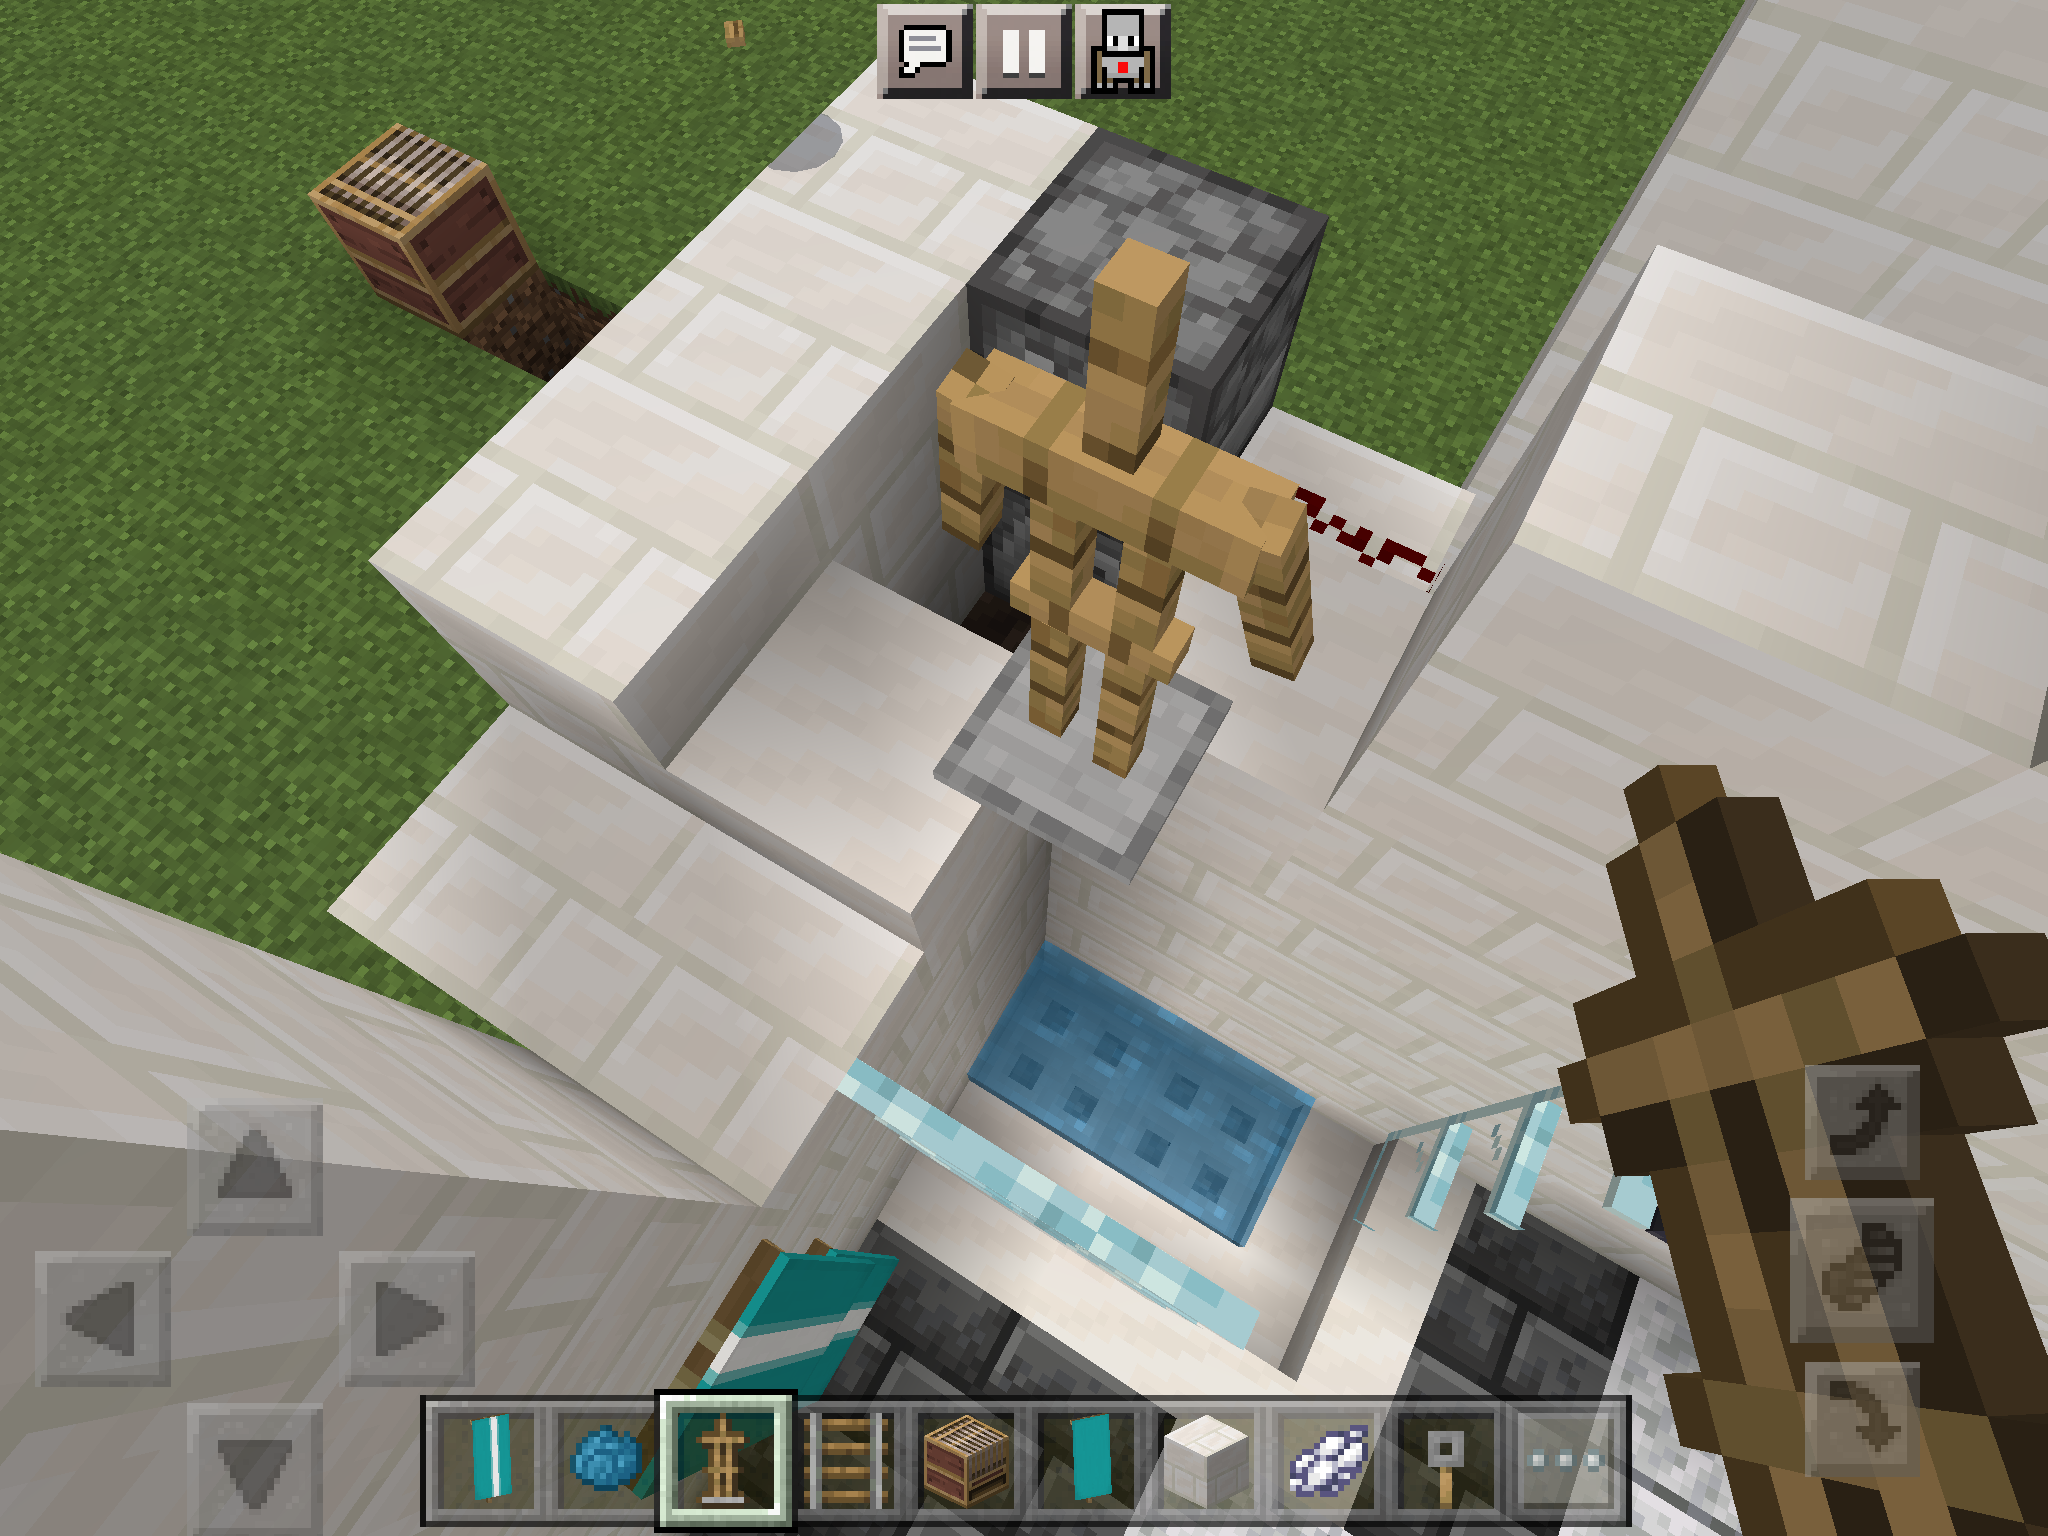
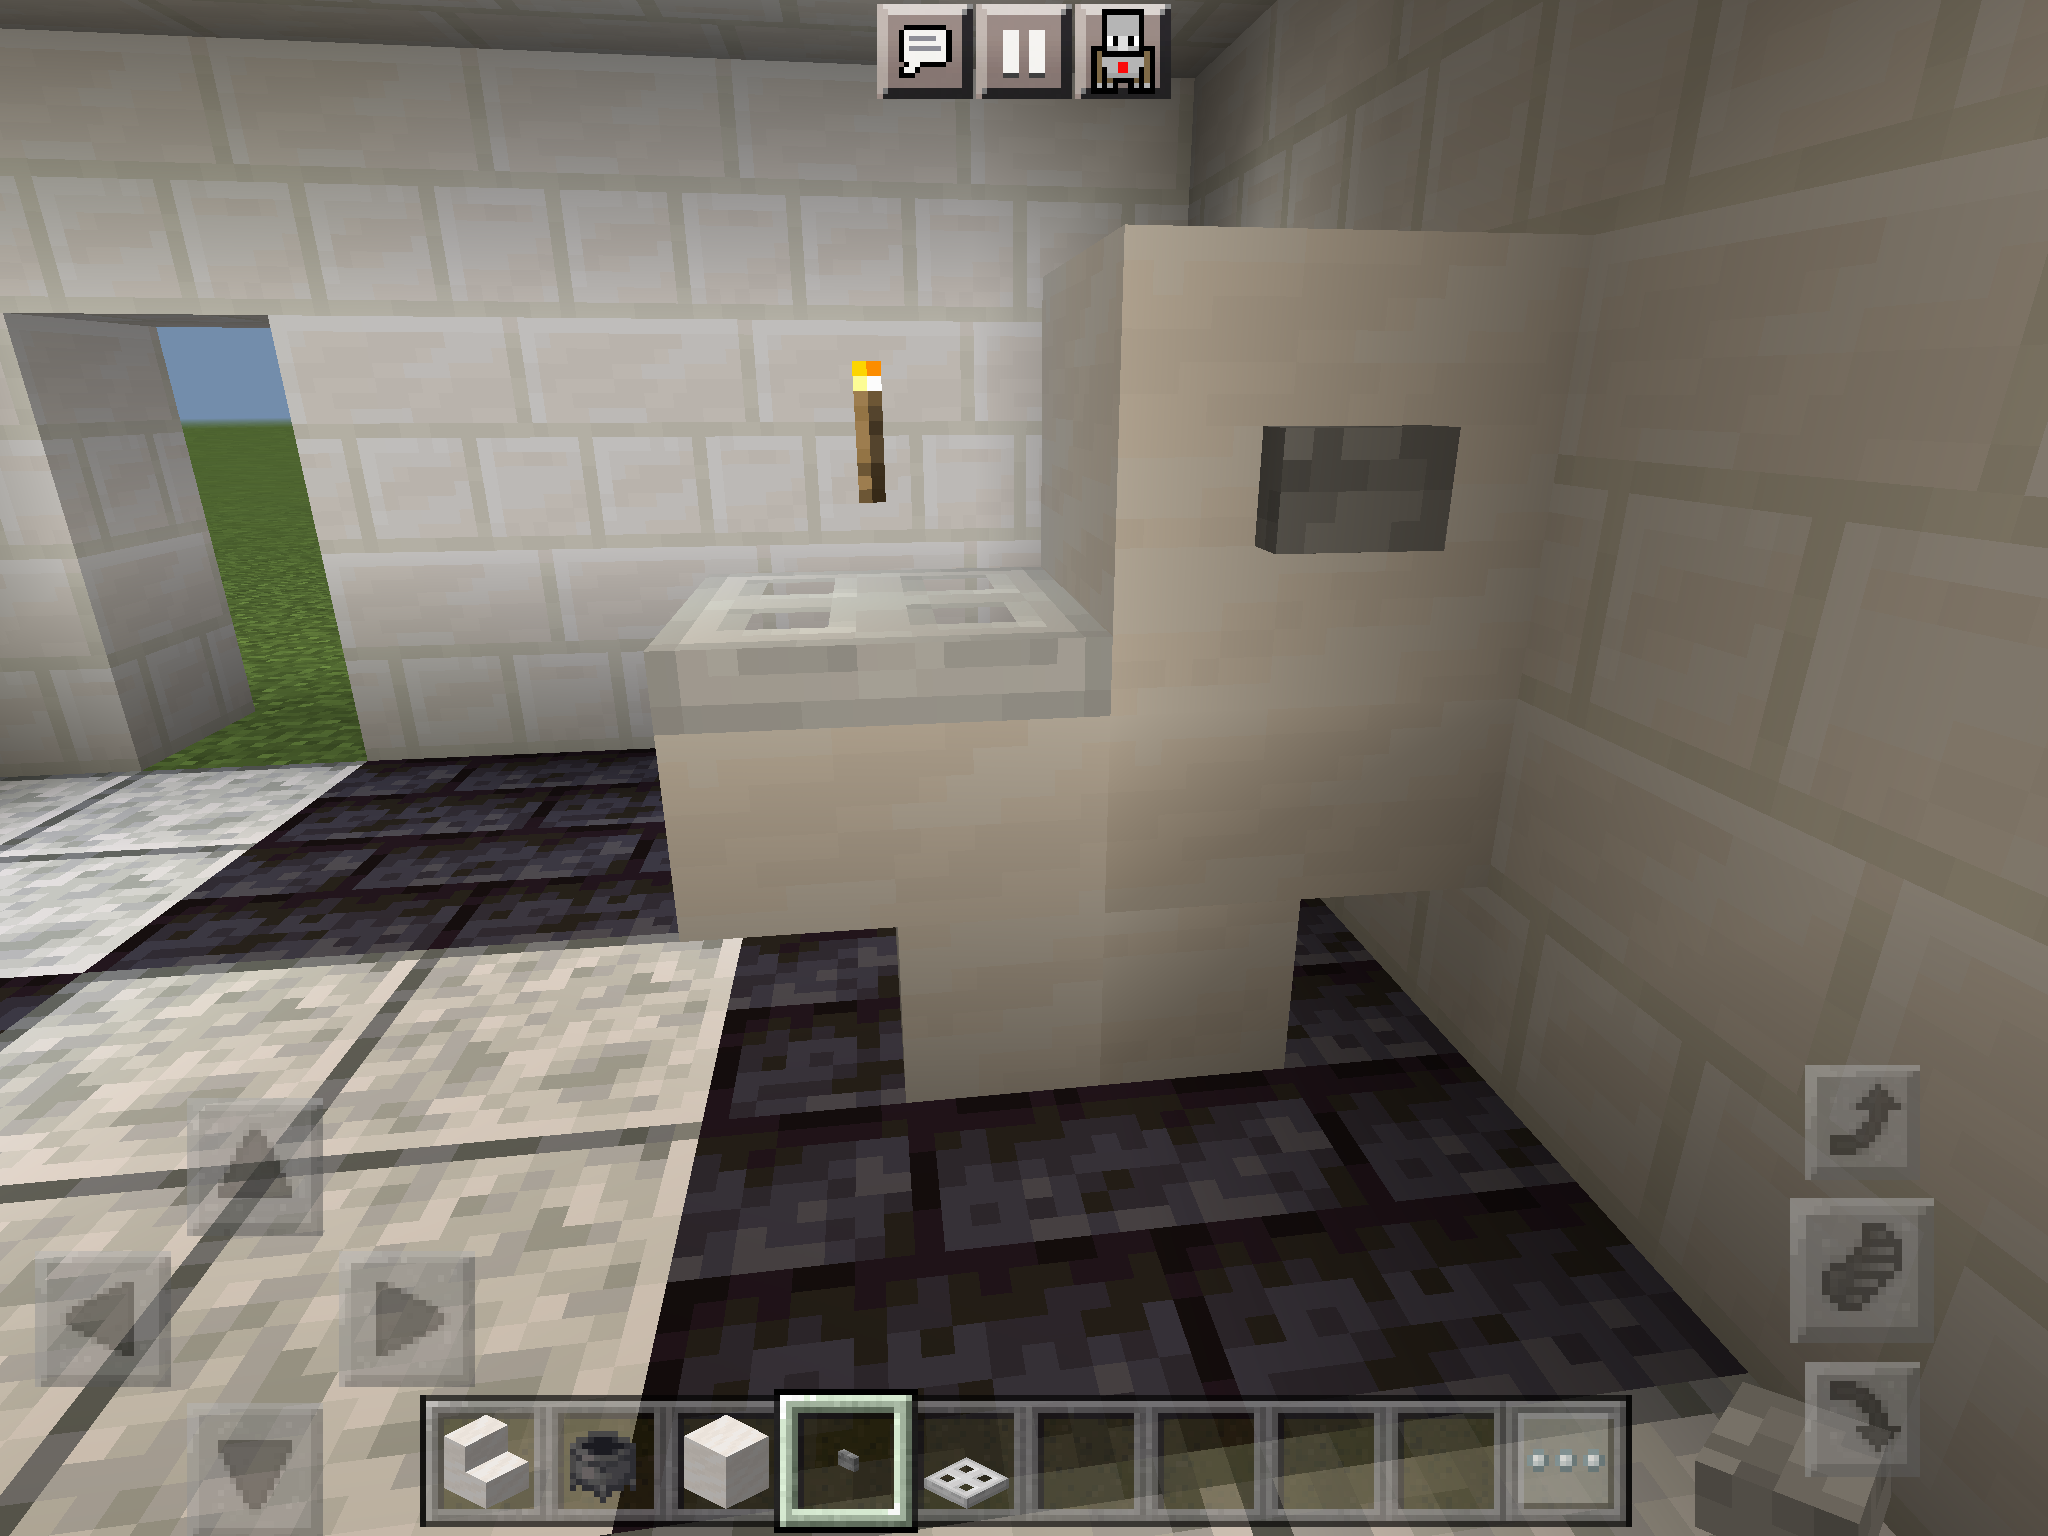
Set Up Armour Stands to Control Water Flow
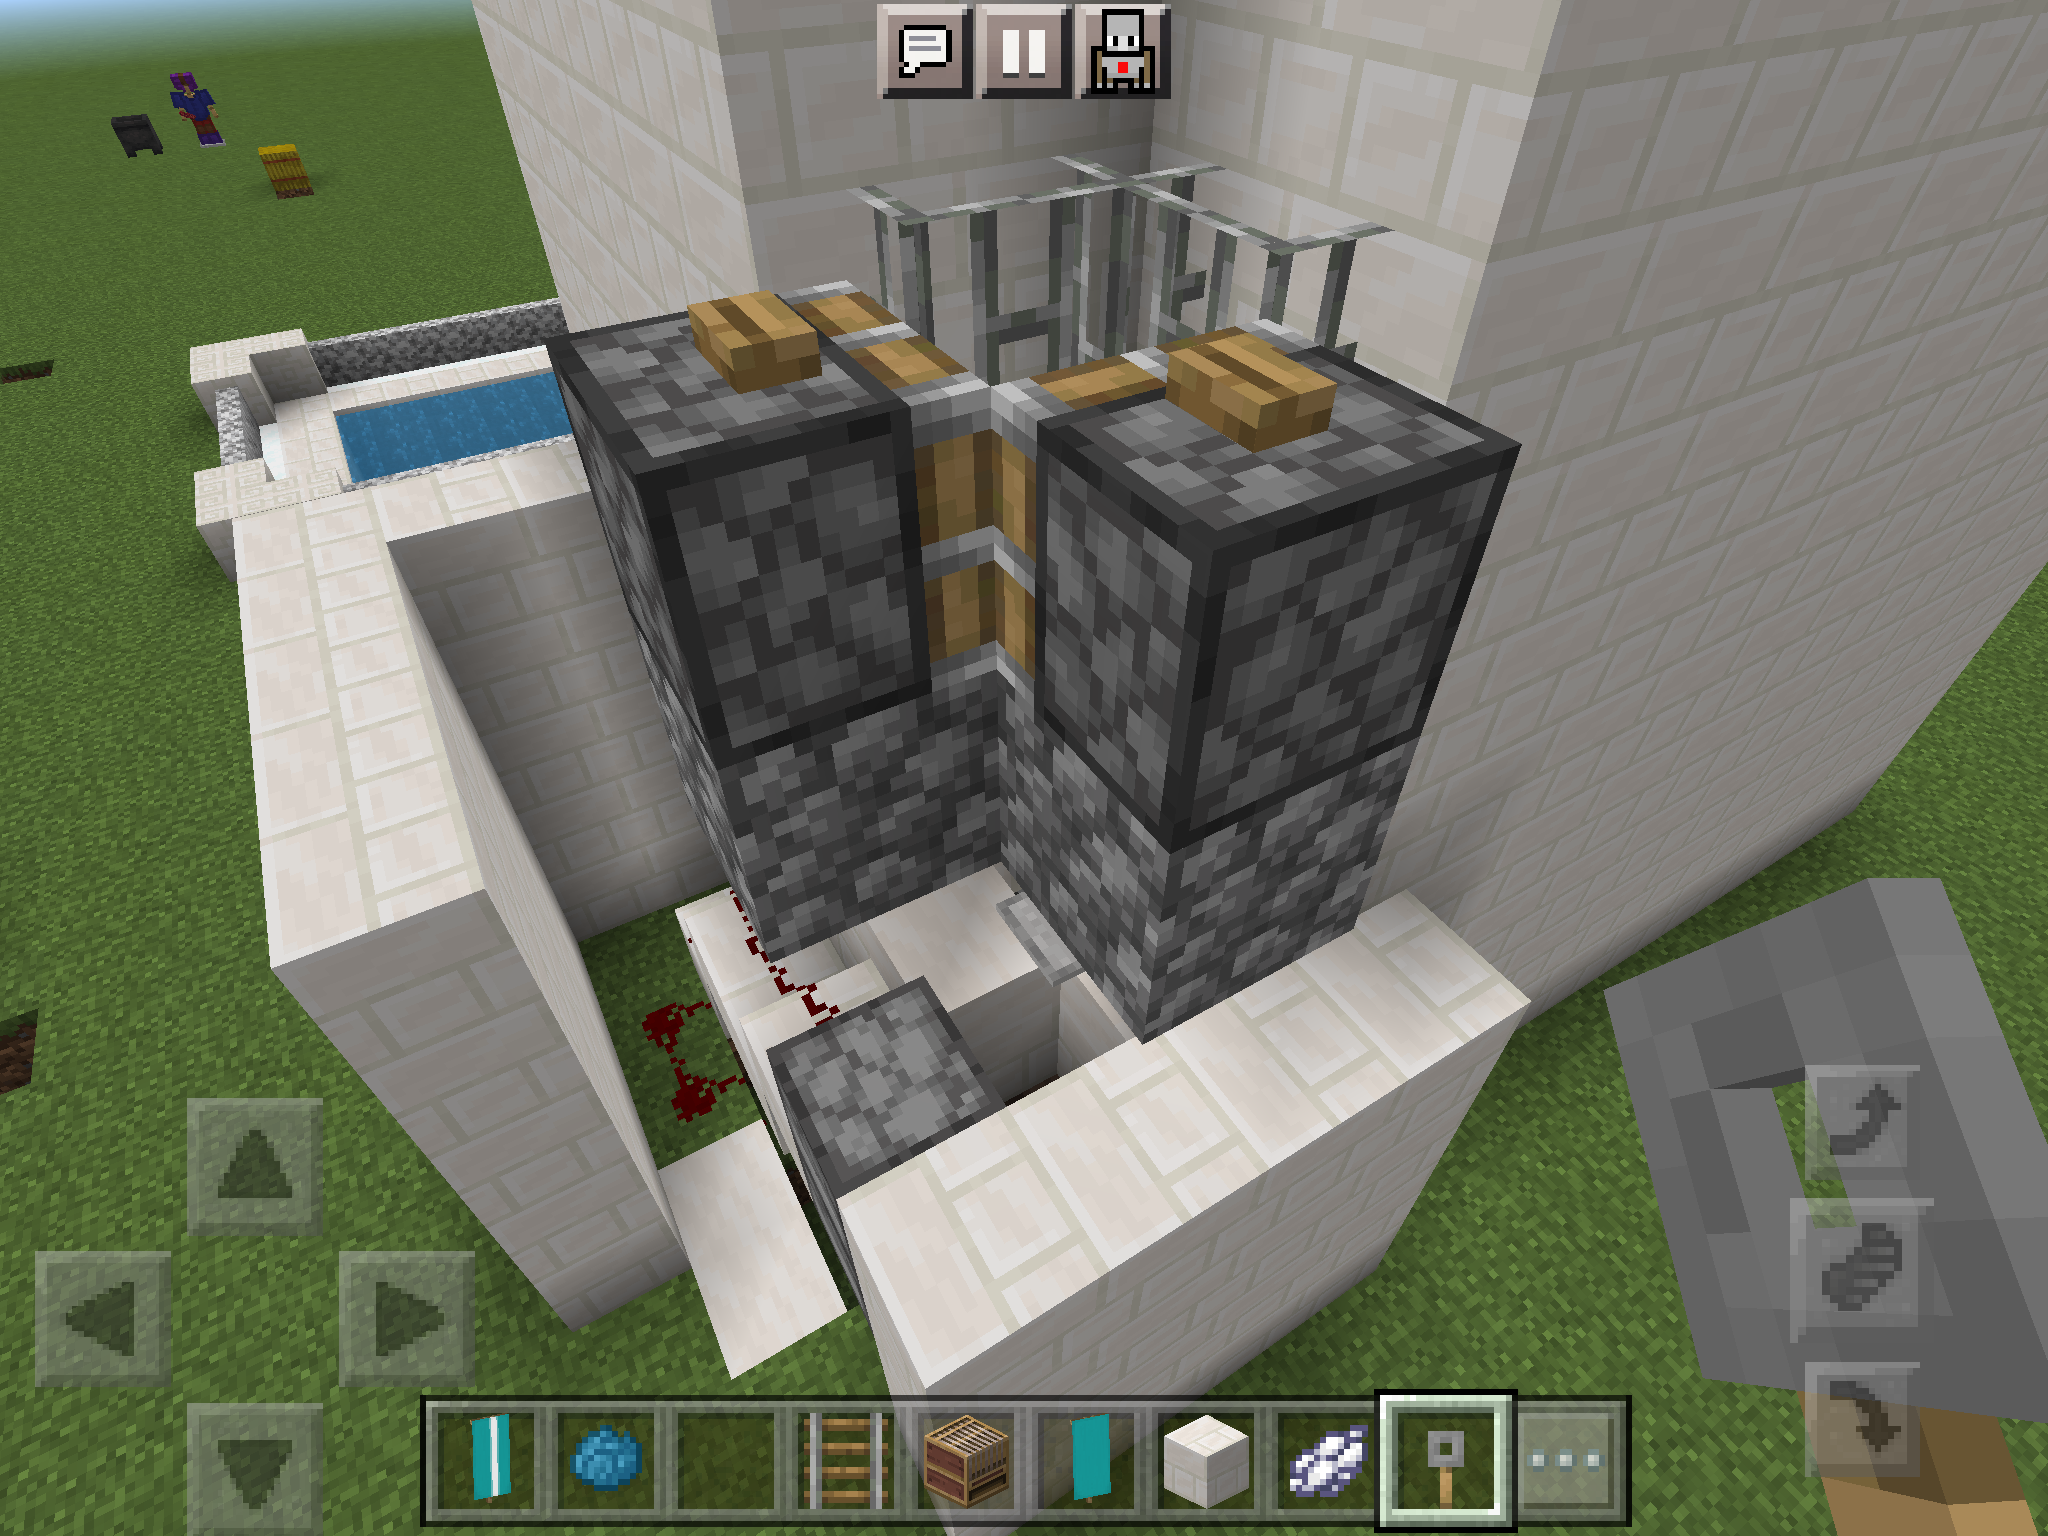
Build this (you can destroy these extras later) and add an armour stand on a block between the pistons. Click the buttons one by one, I recommend using 3 or 4 armour stands, you'll see why.
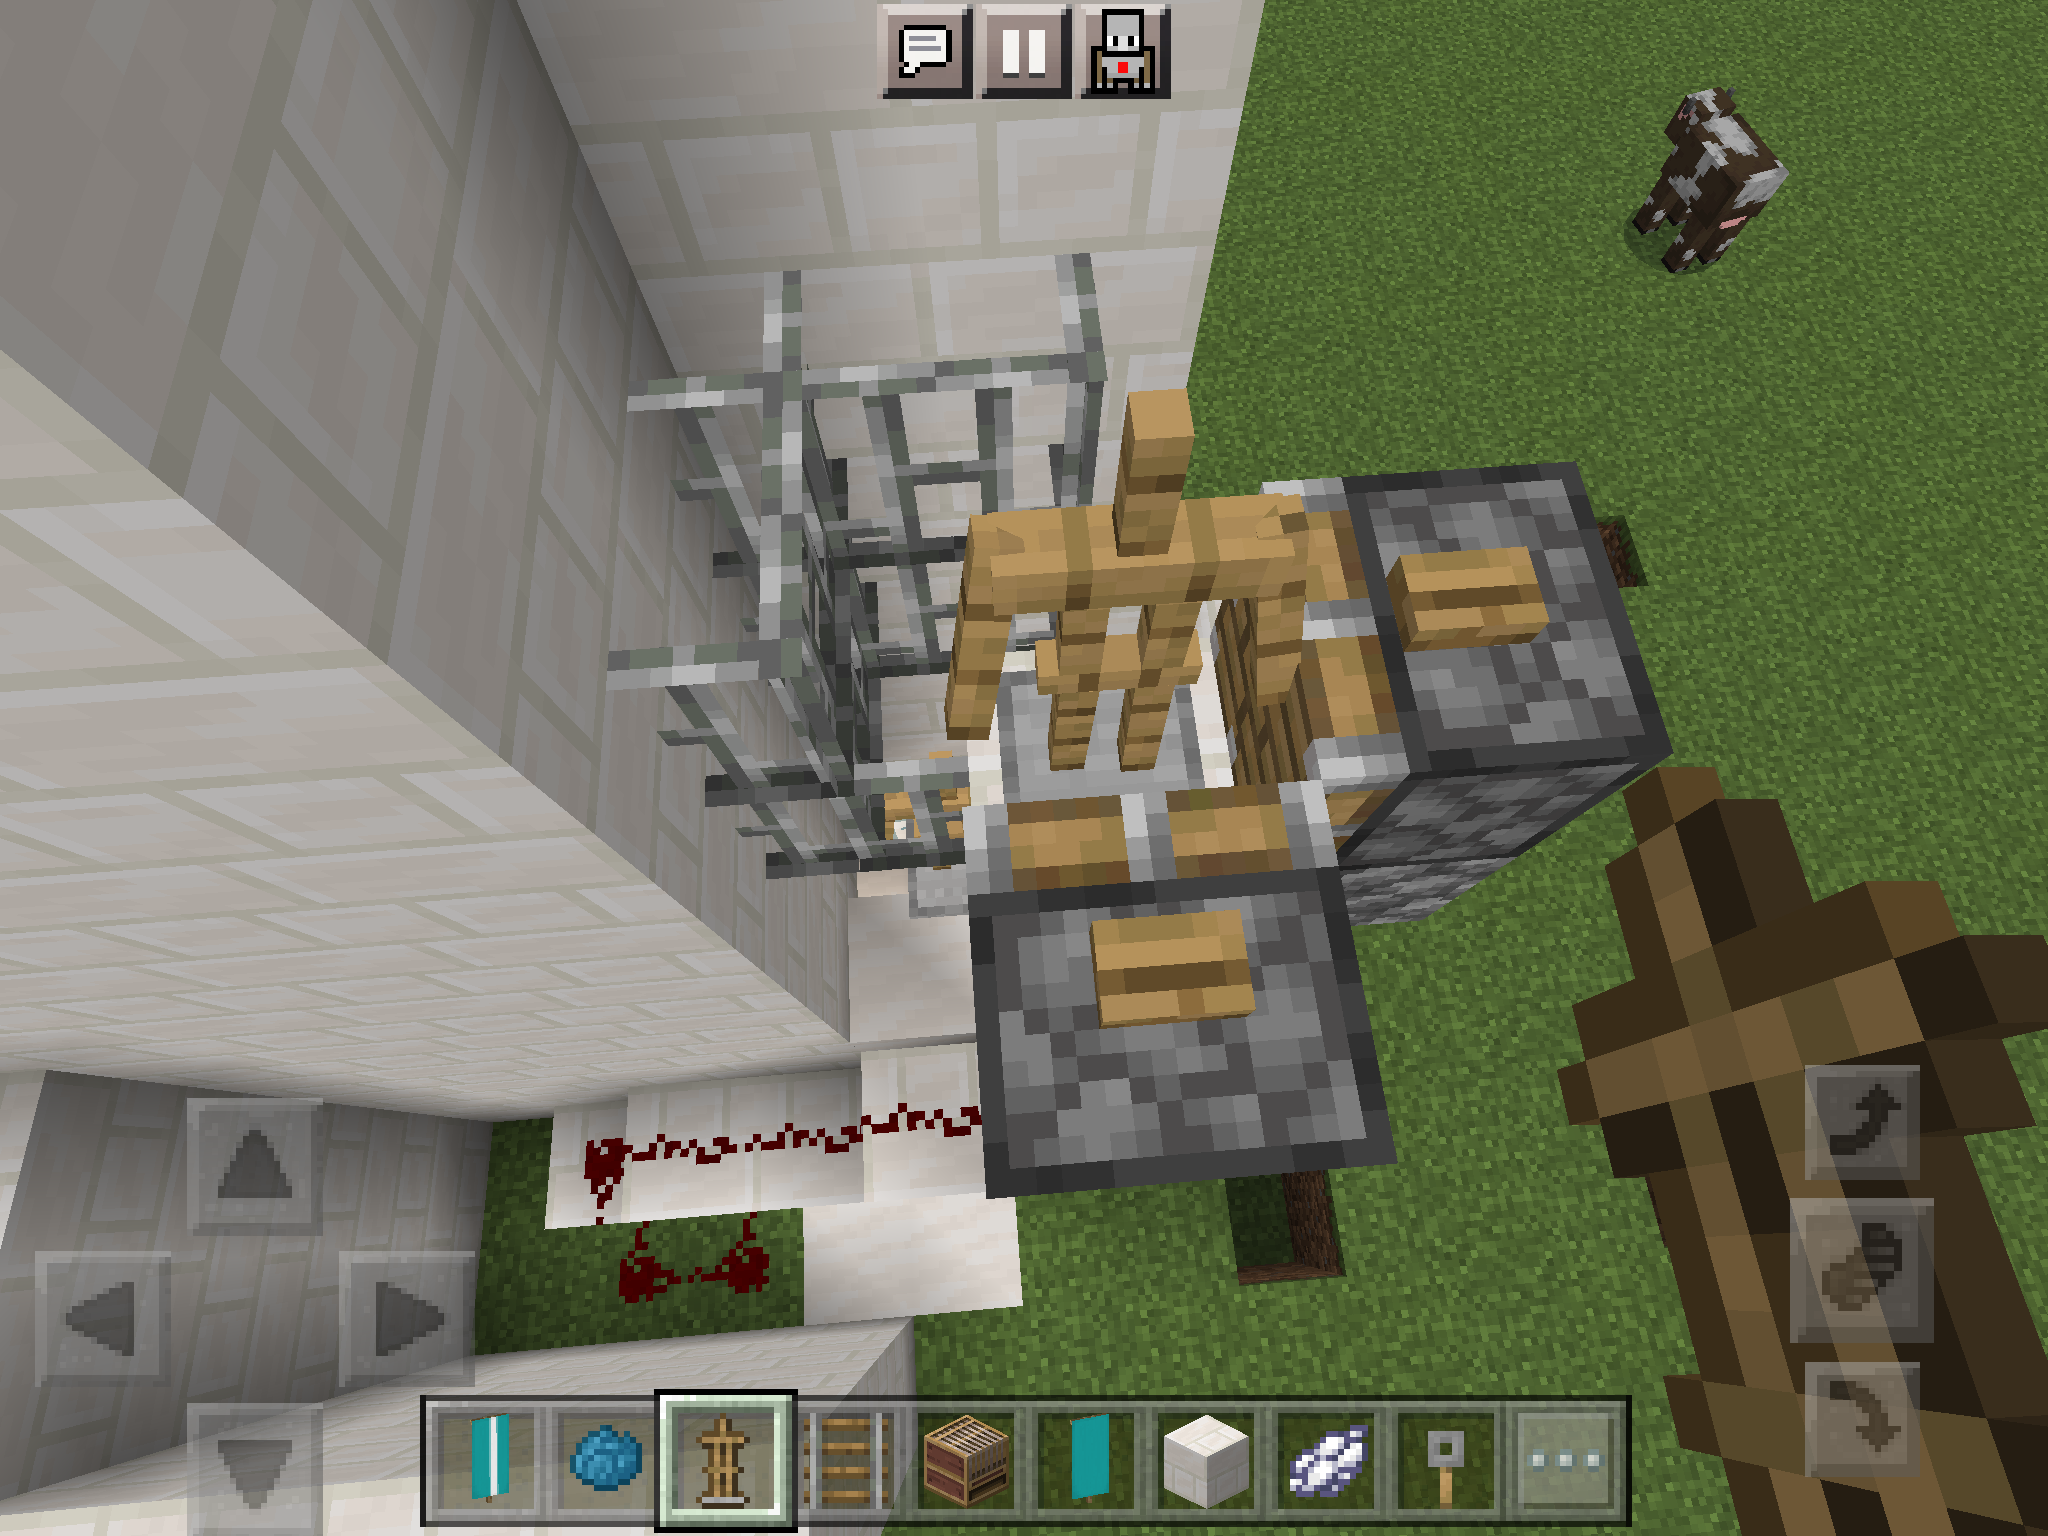
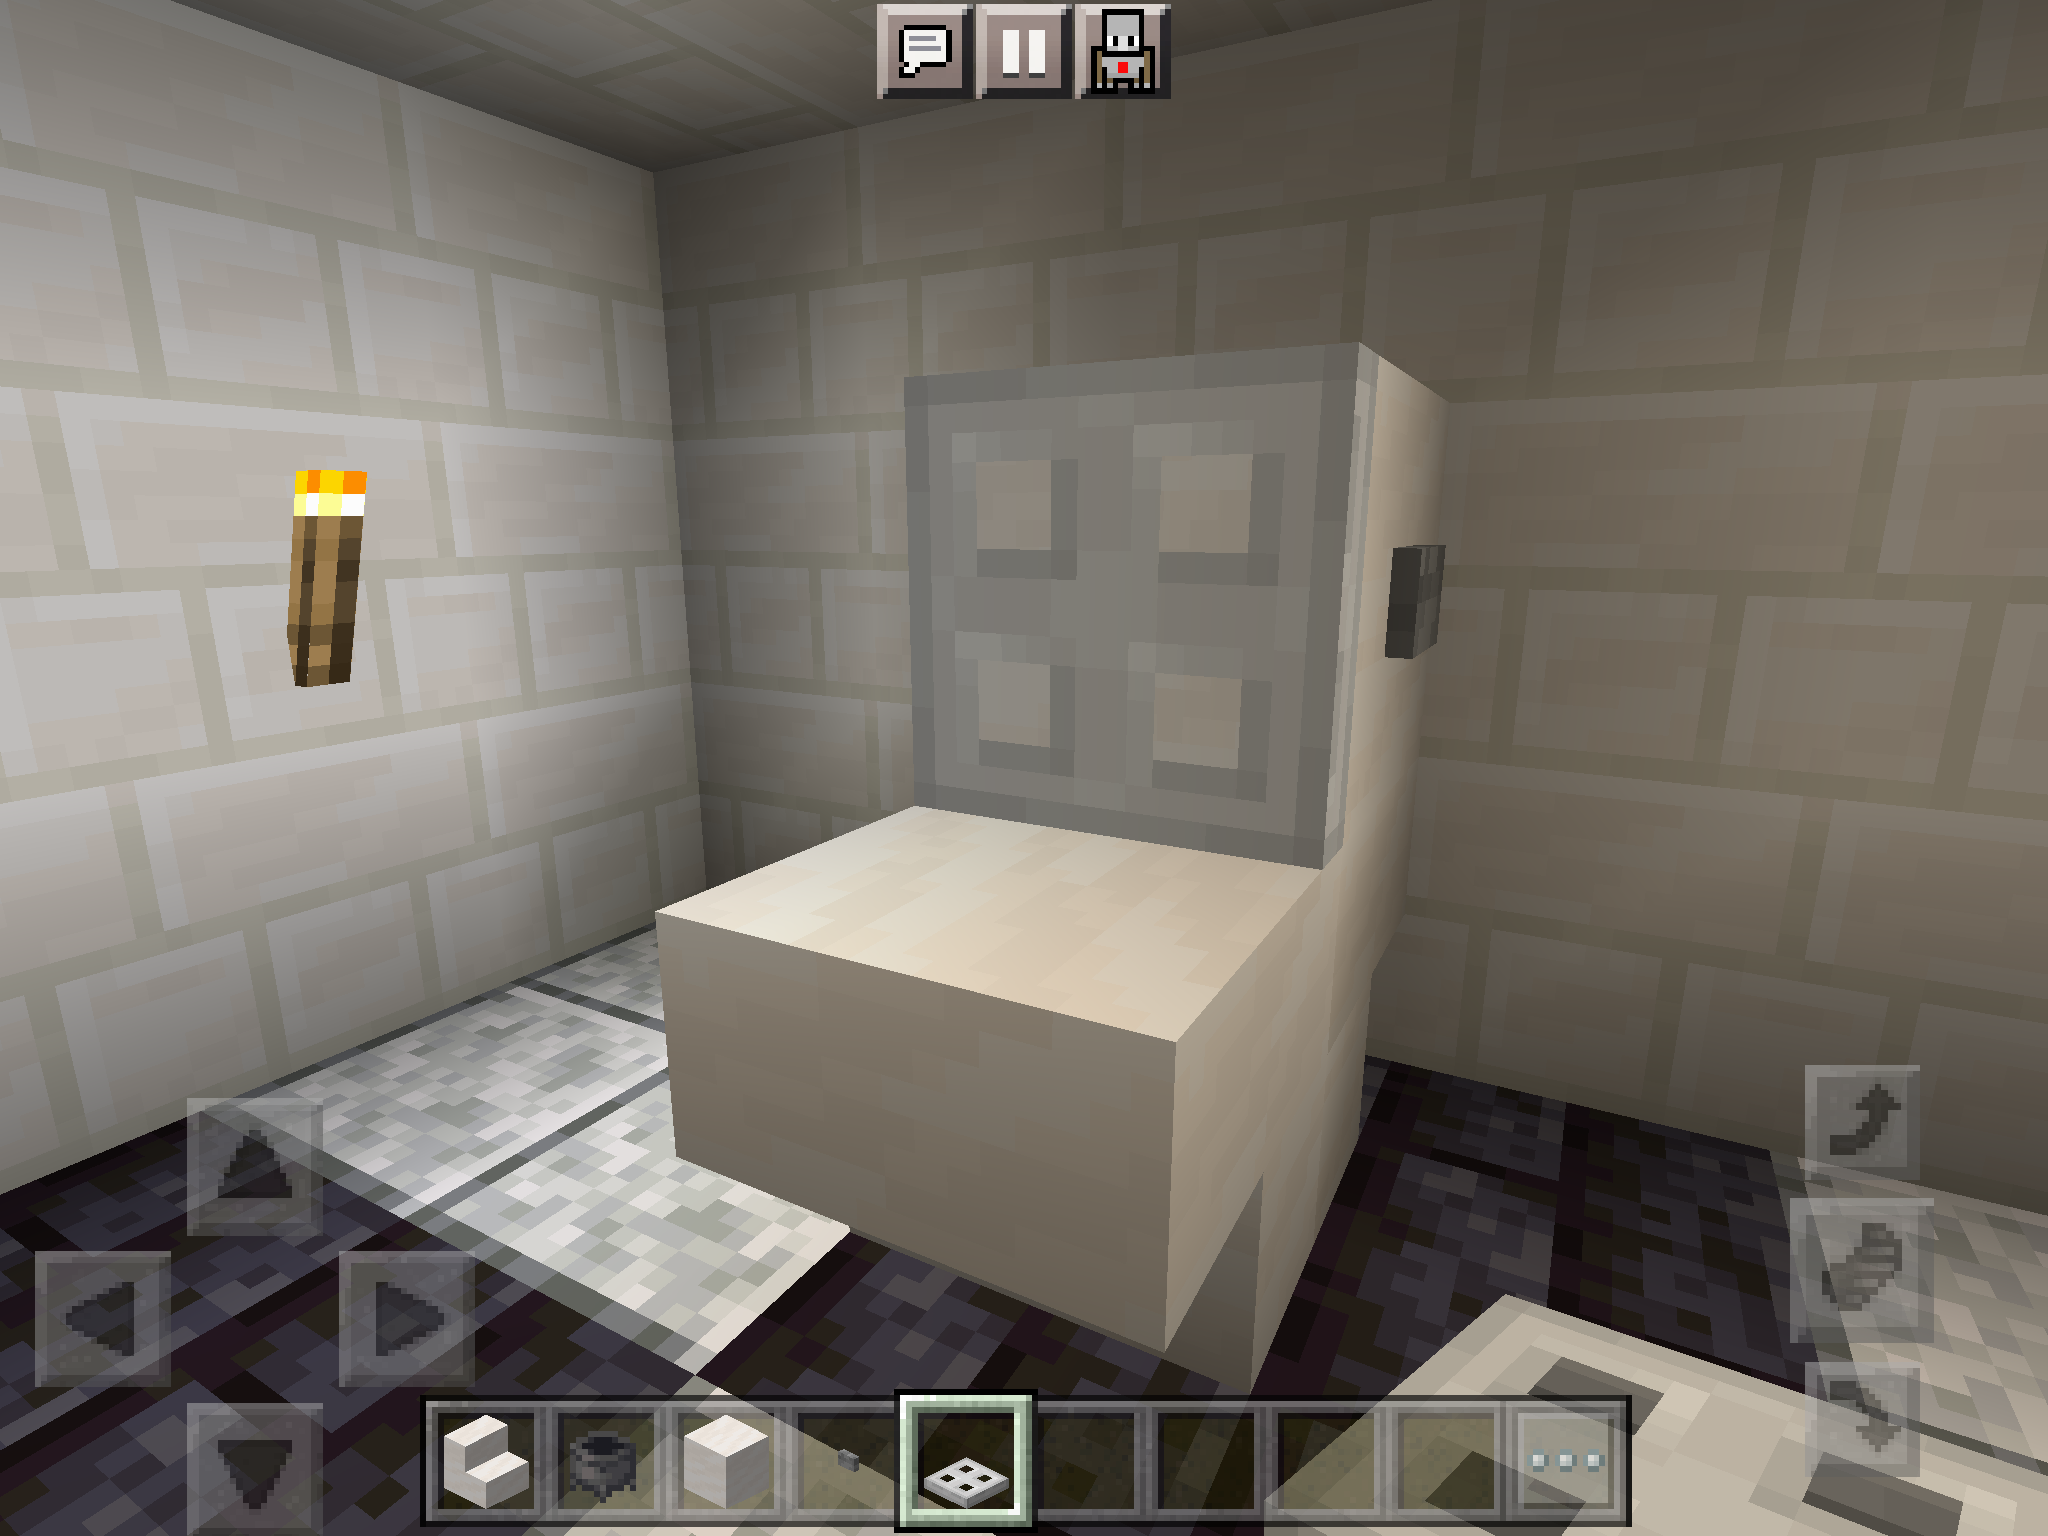
Activate Shower
Pressing the button once makes water come out of the bottom. Pressing it again drains the bottom and makes water come down from the top.
Finish Up the Shower Head

Feel free to add a roof to cover up the redstone, or build walls around the redstone. Be careful not to push the armour stands off, as they are controlling the water flow, so if they move, the water will come pouring down heavily.
Create the Toilet
Use stairs of any material and place them like this. Add an iron trapdoor on the seat as well as a button of your choice on the side and you have a toilet!
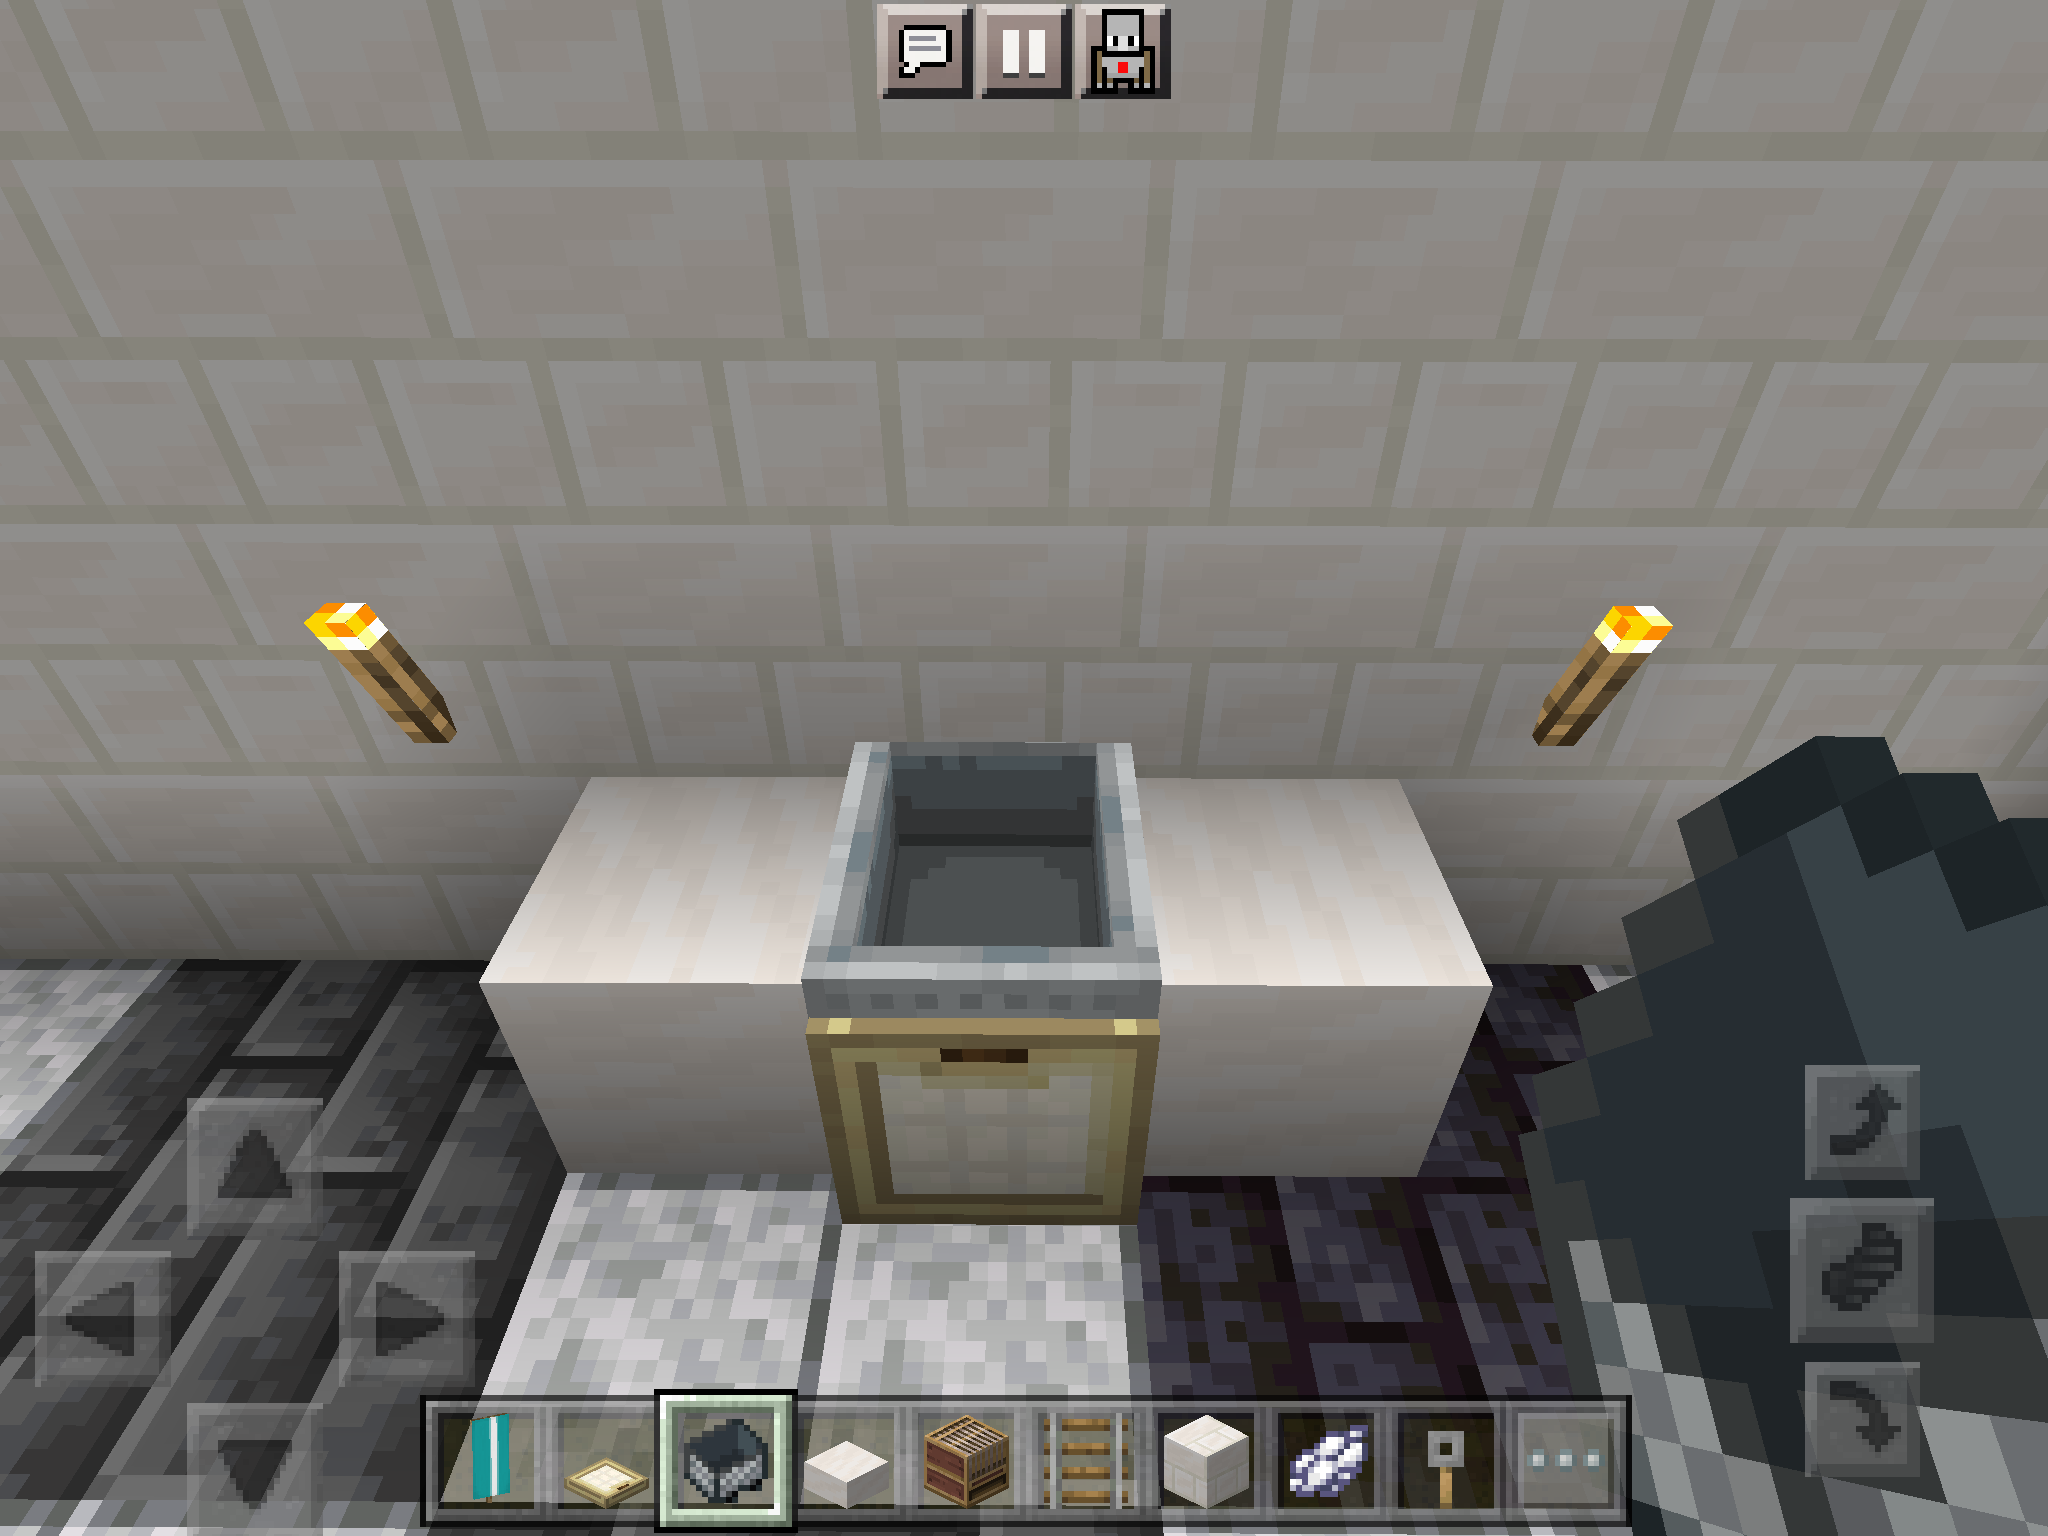
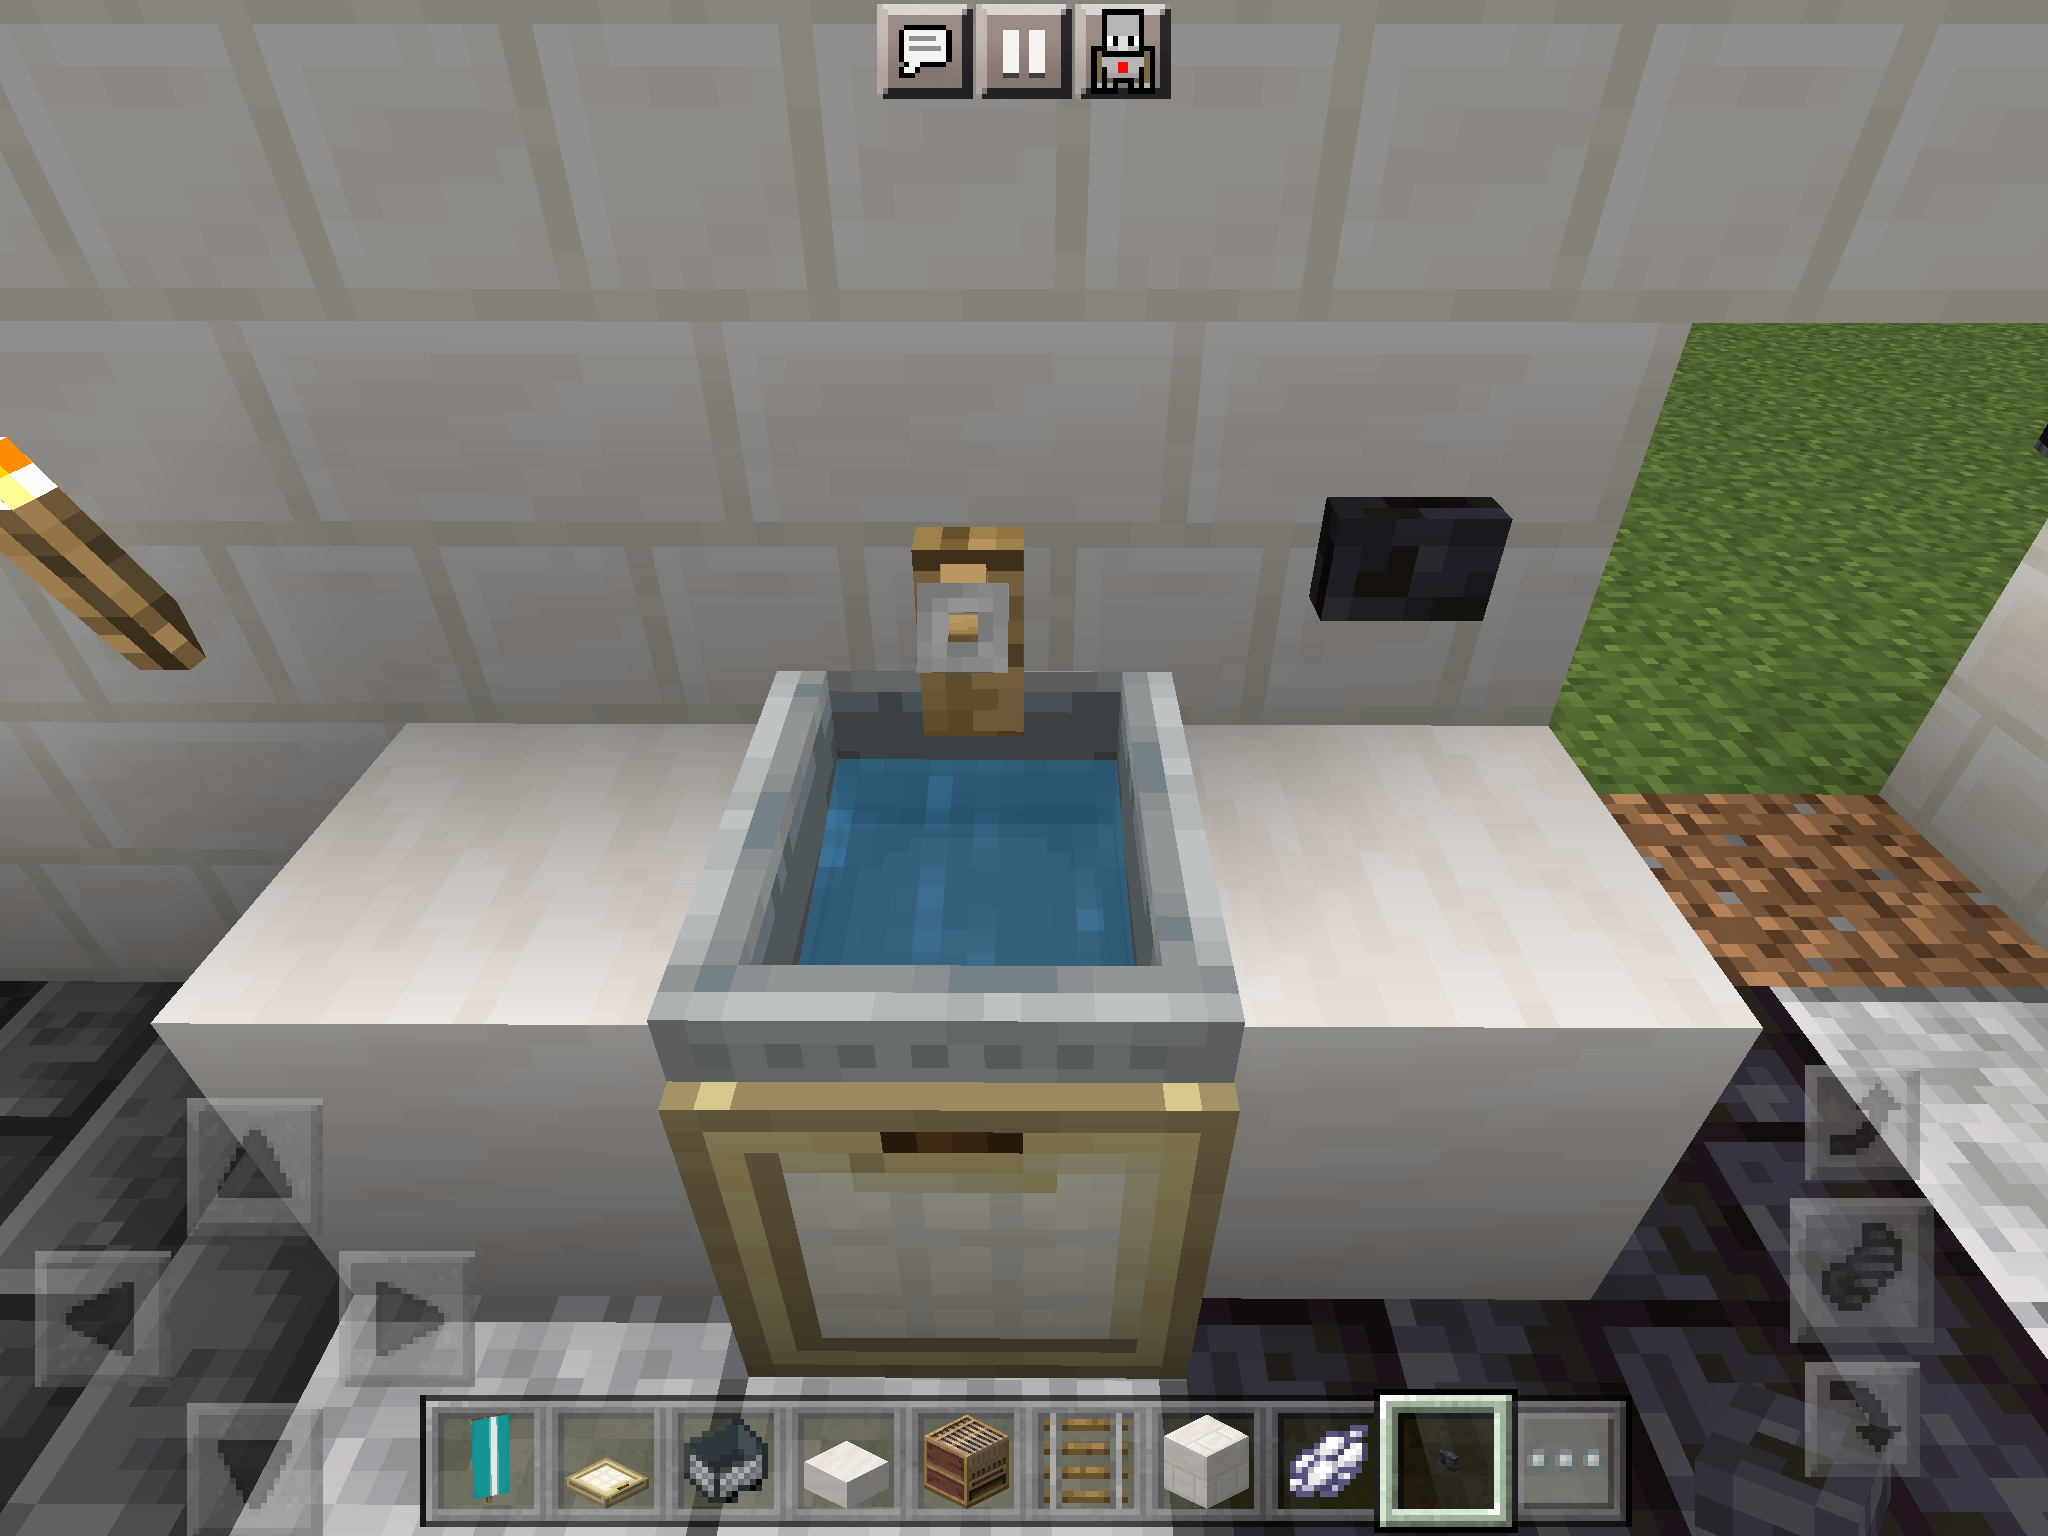
Making the Sink
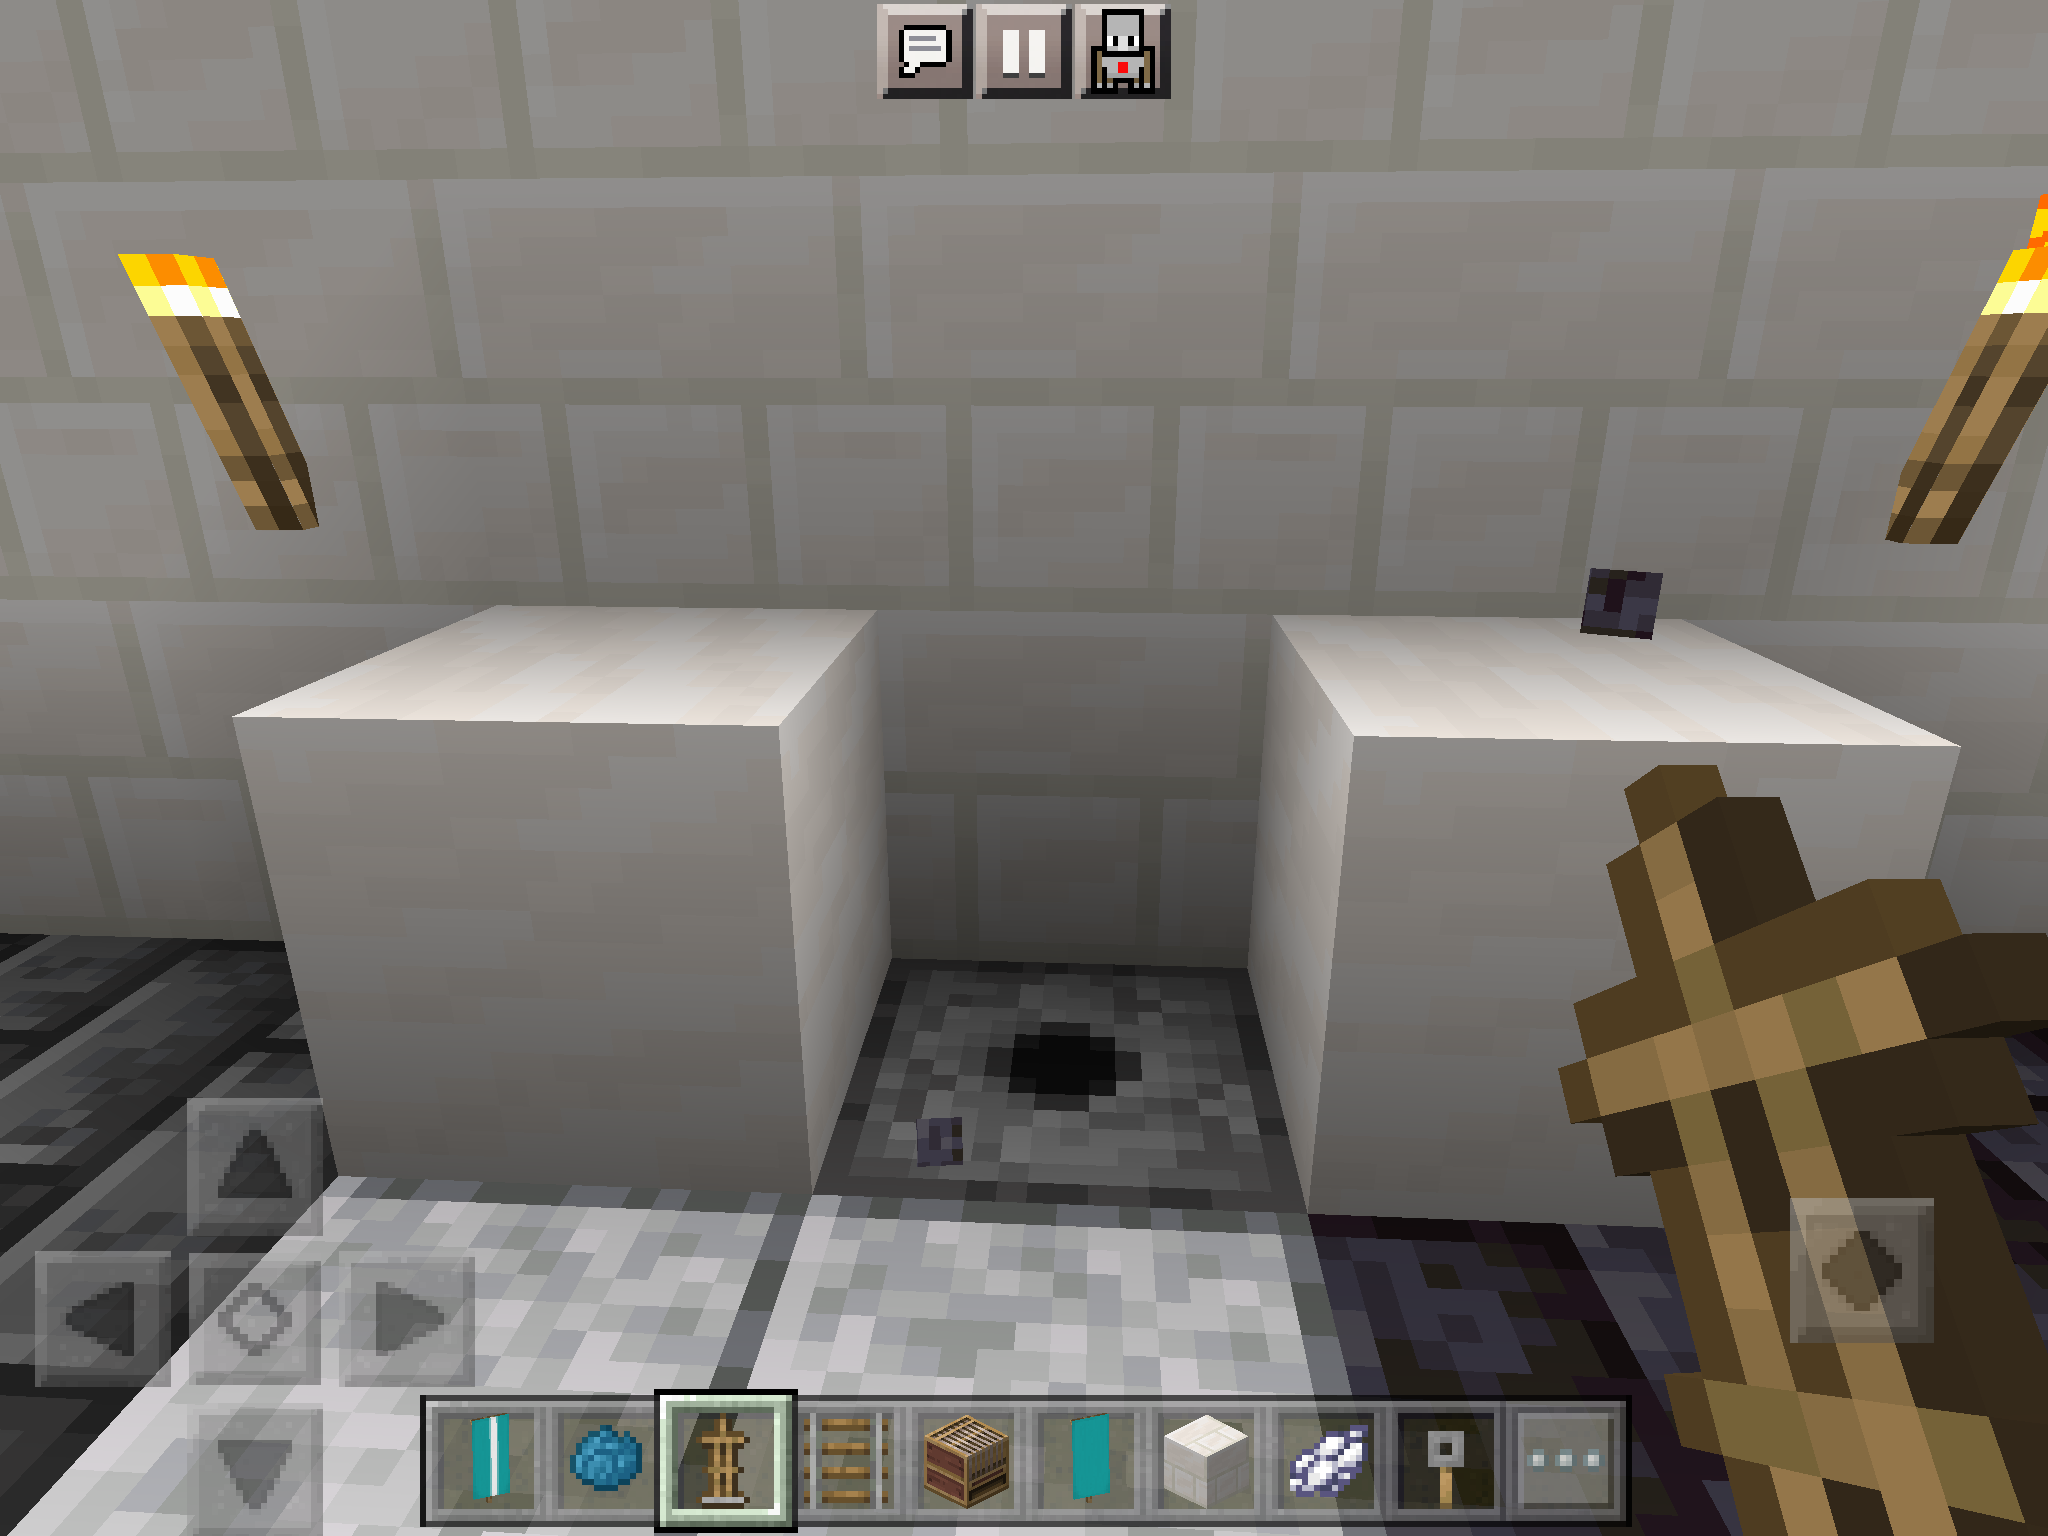
First add blocks of your choice and dig one block down in the middle. Put a dispenser there and a water bucket inside the dispenser. Next place any slab on the dispenser and put any trapdoor like shown above.
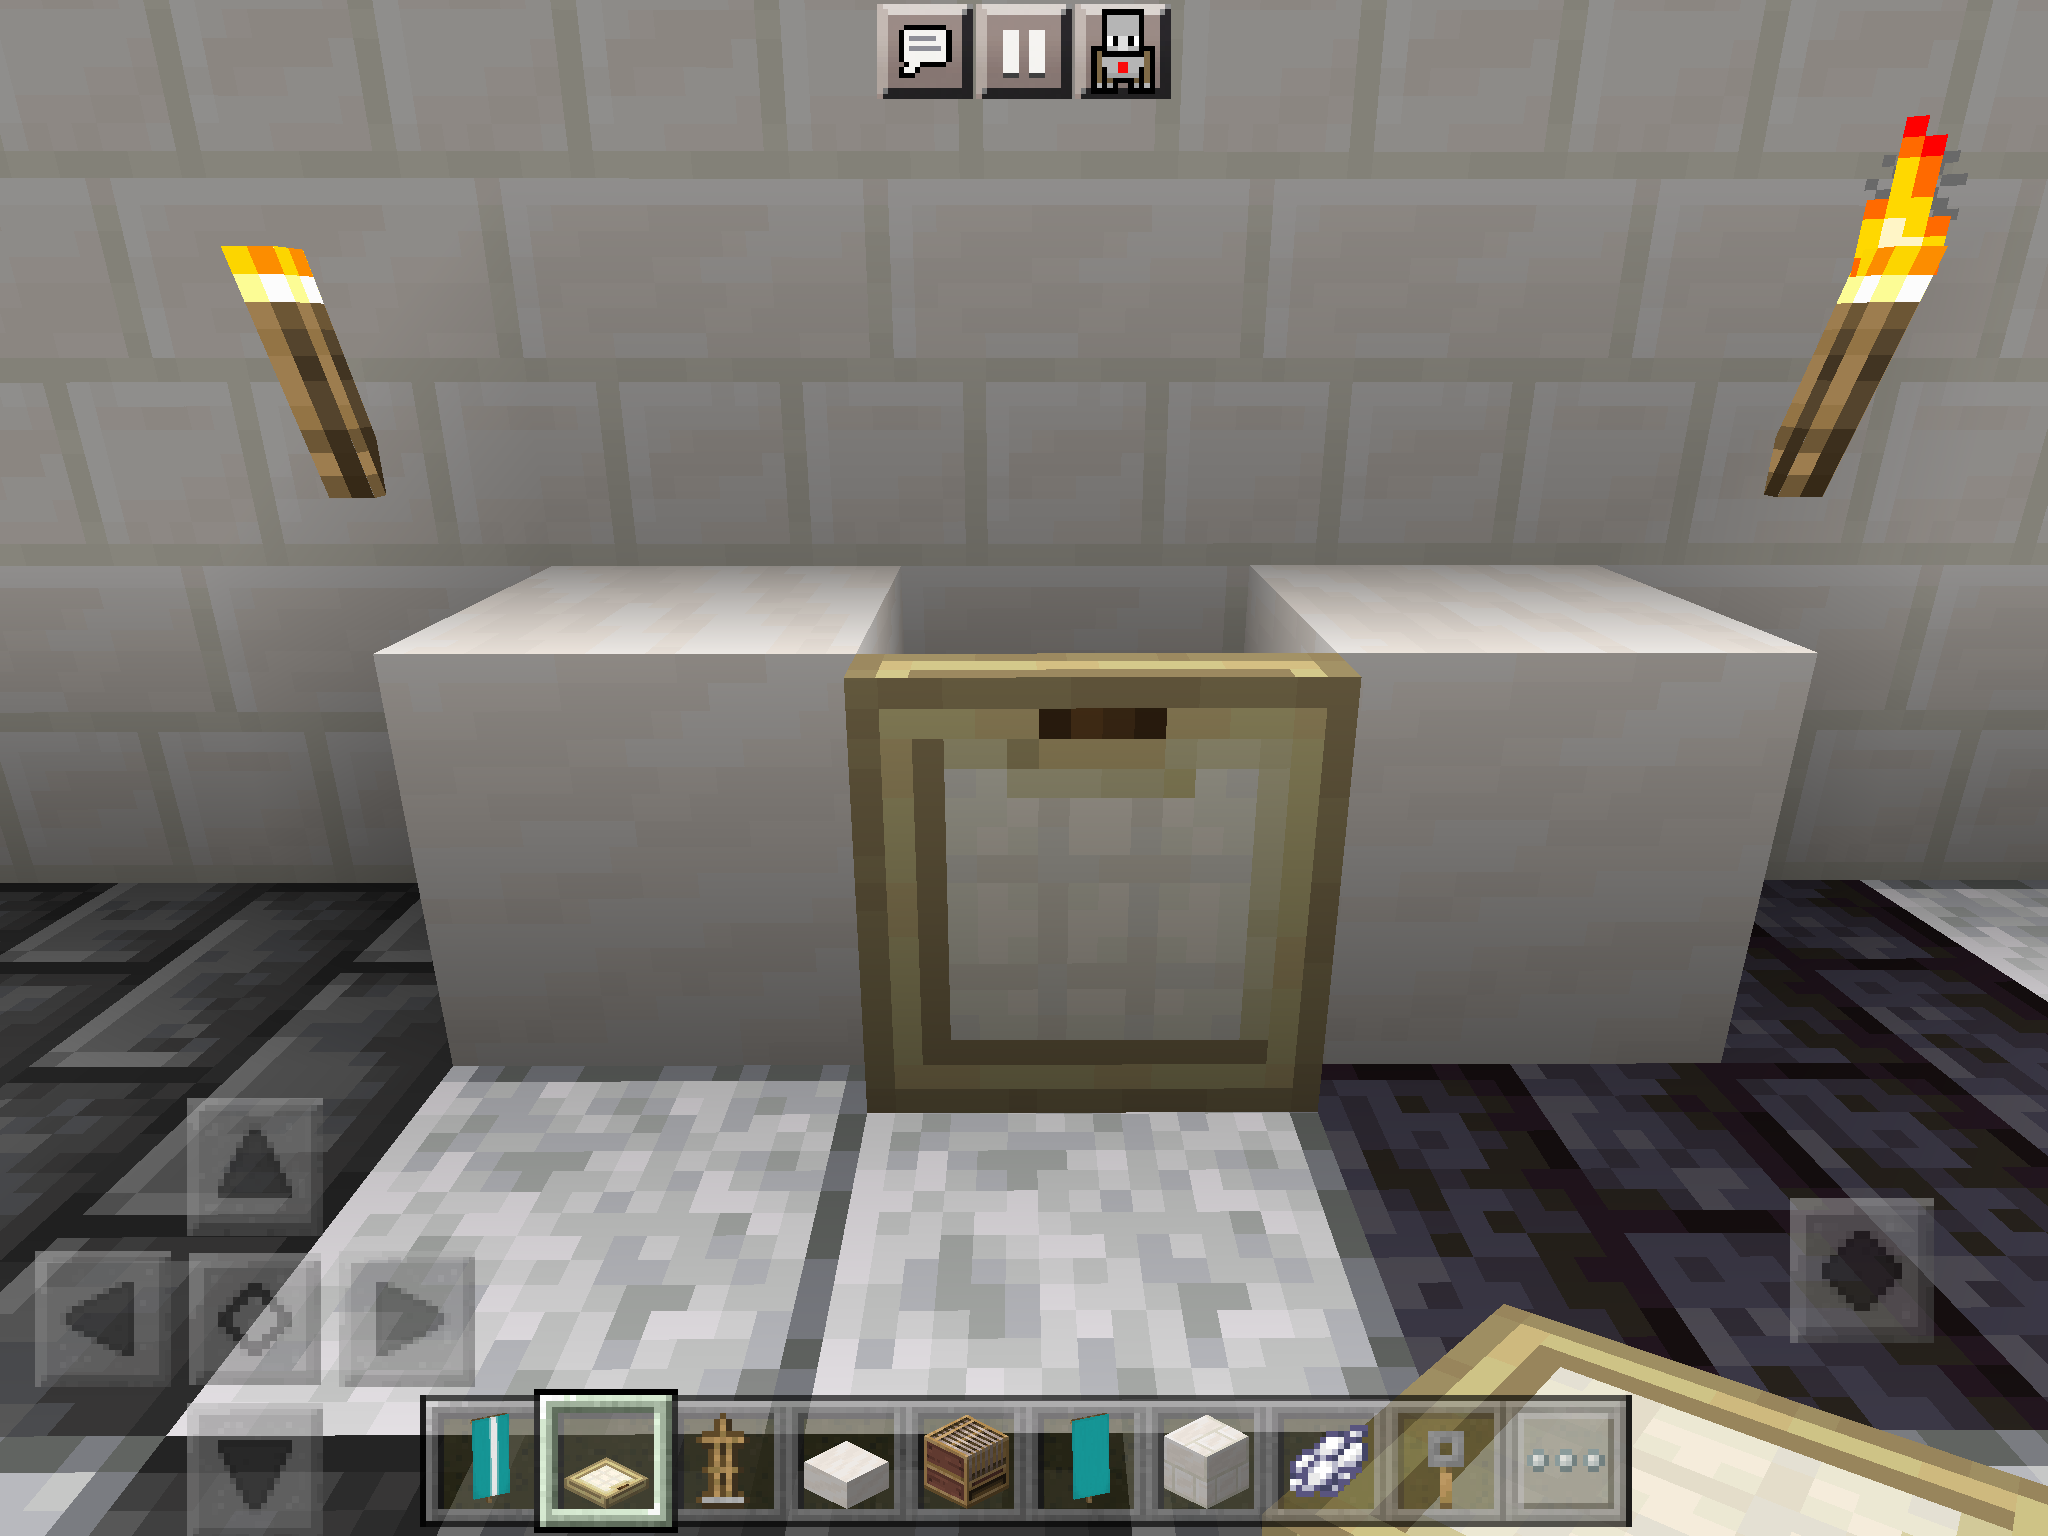
Add the Sink Part
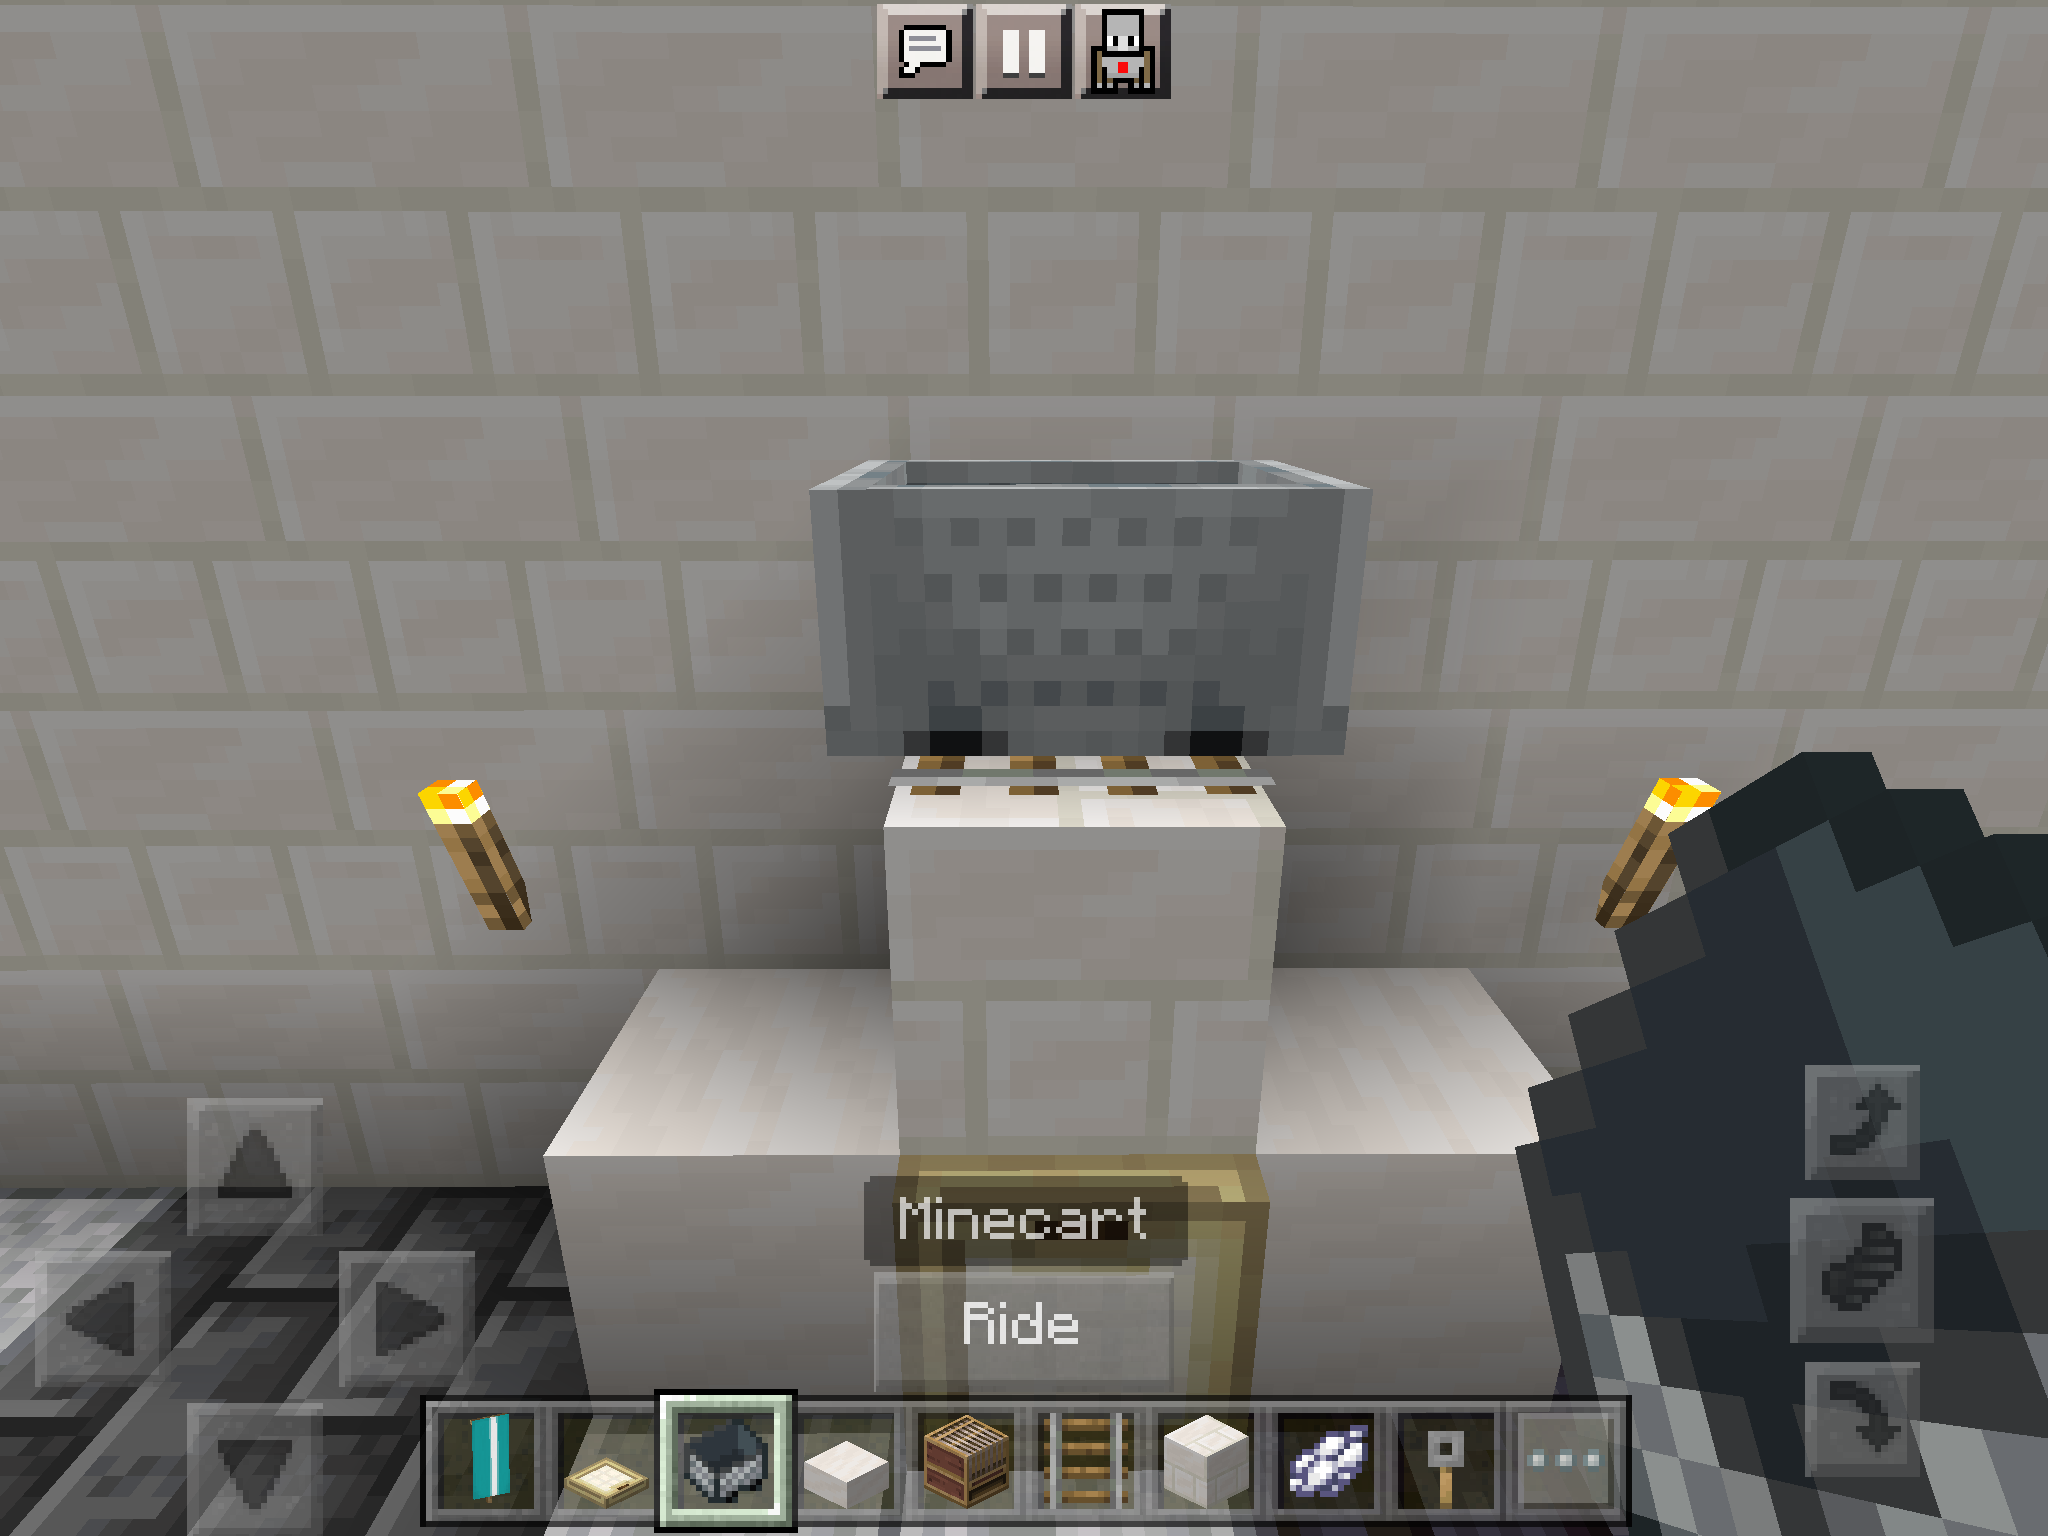
Add any random block on top (you will be removing the block after) and place a rail on it. Put a mine-cart on top then remove the block underneath it. You may retrieve the fallen rail now. If the mine-cart does not look satisfactory, you can try and add another one.
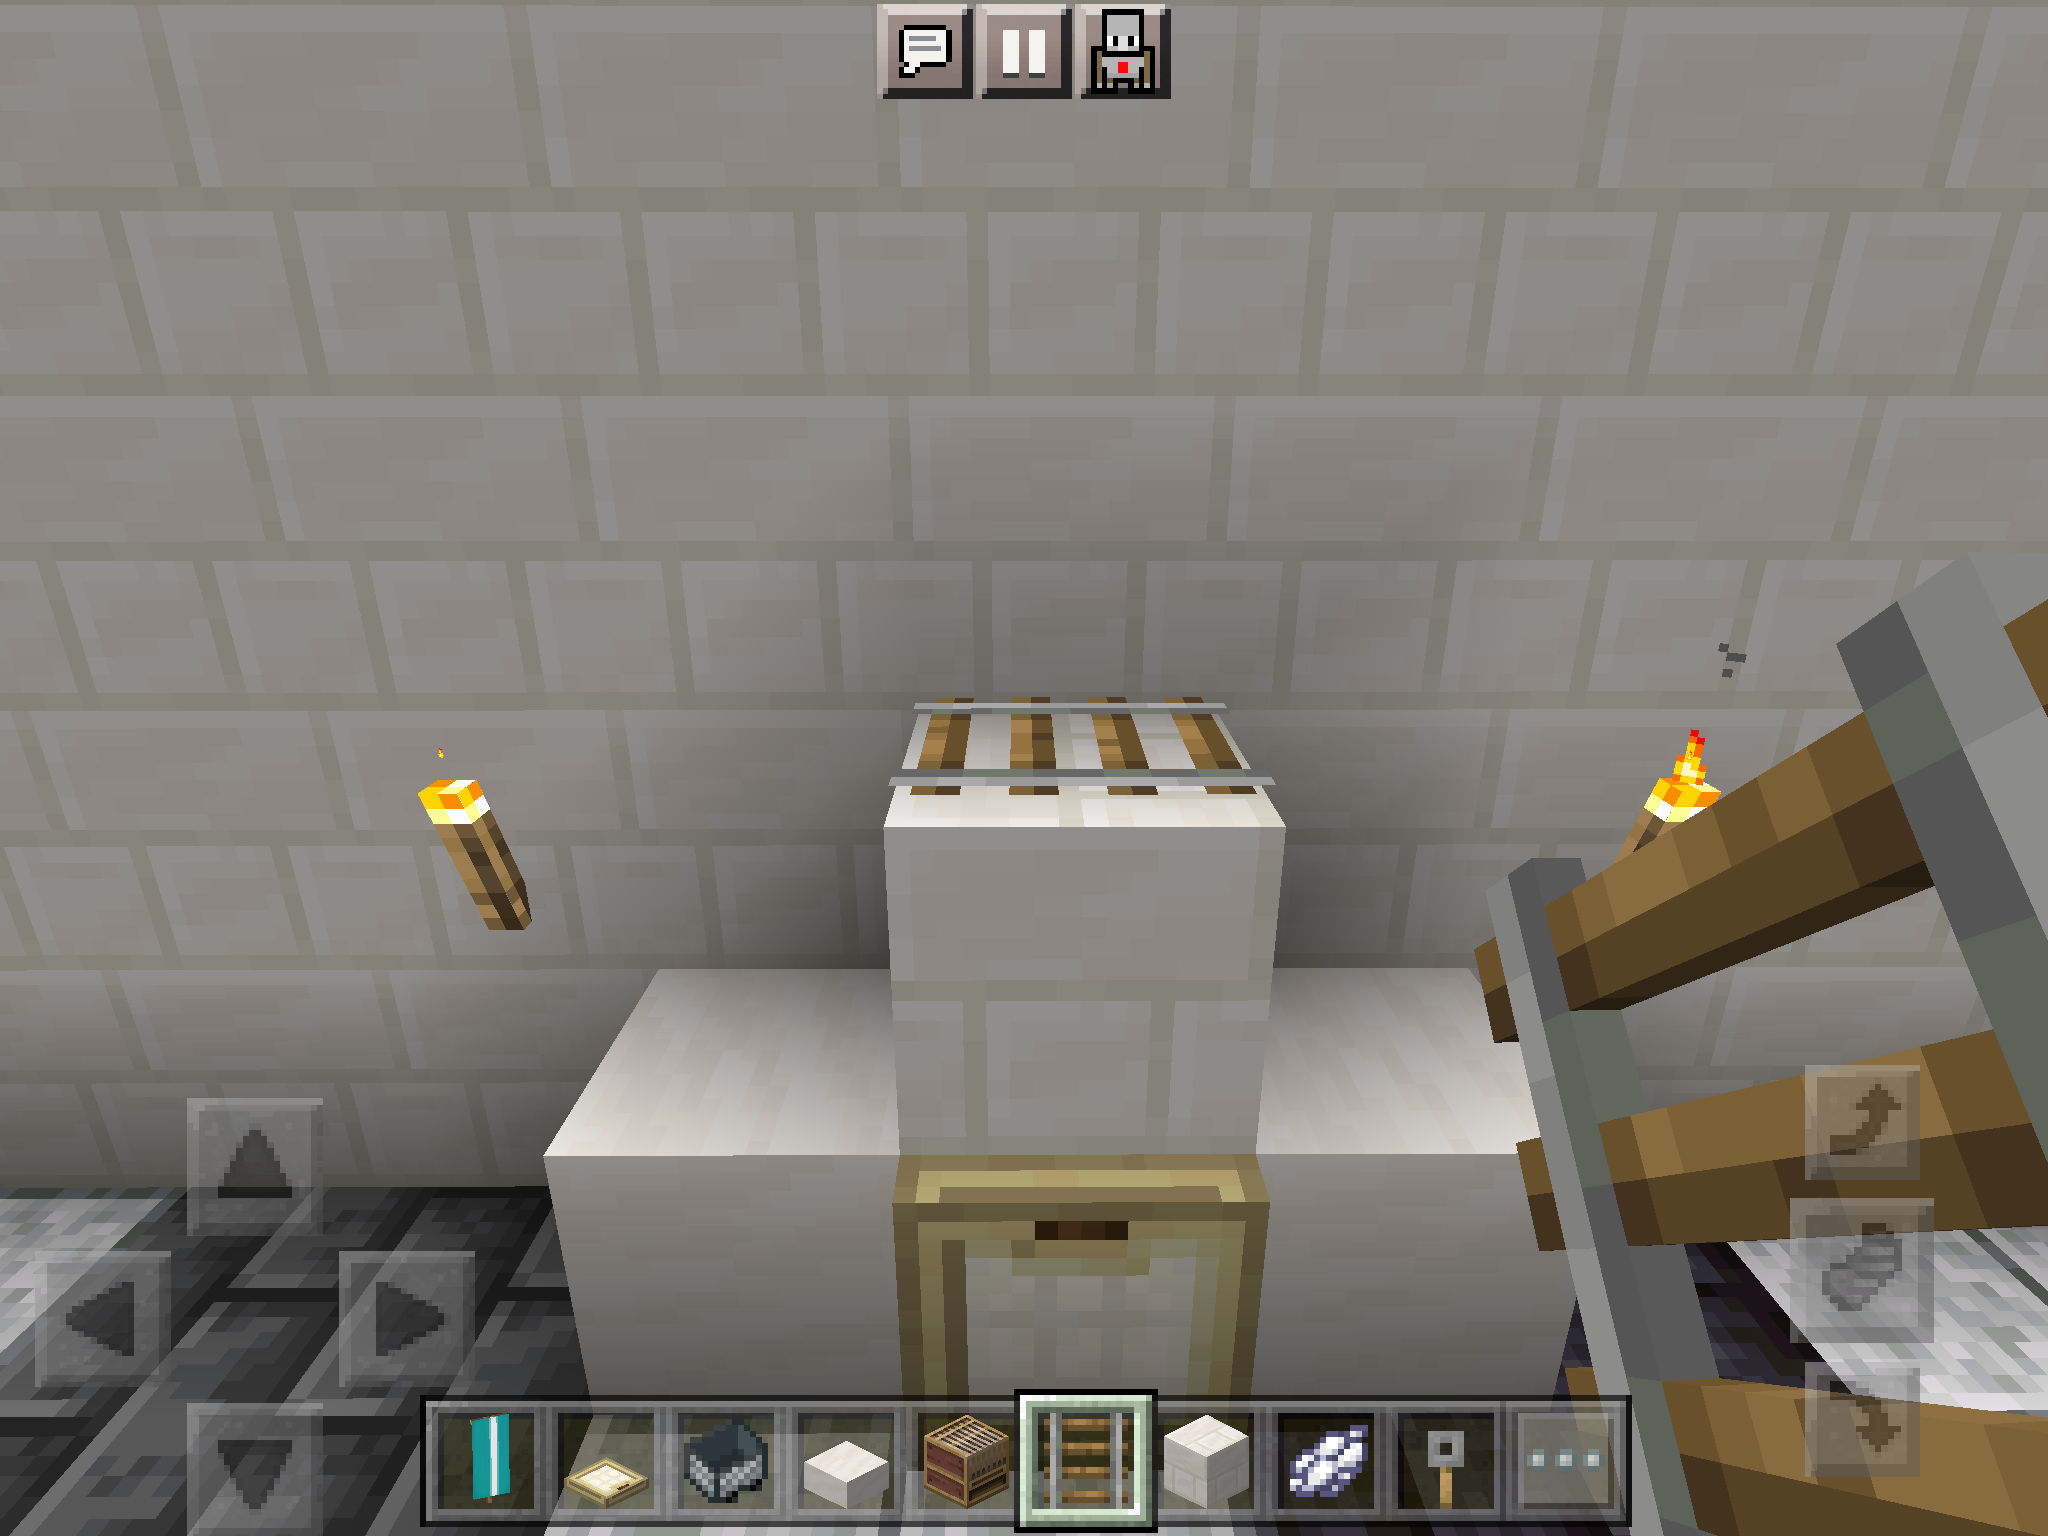
Add the Faucet and Redstone
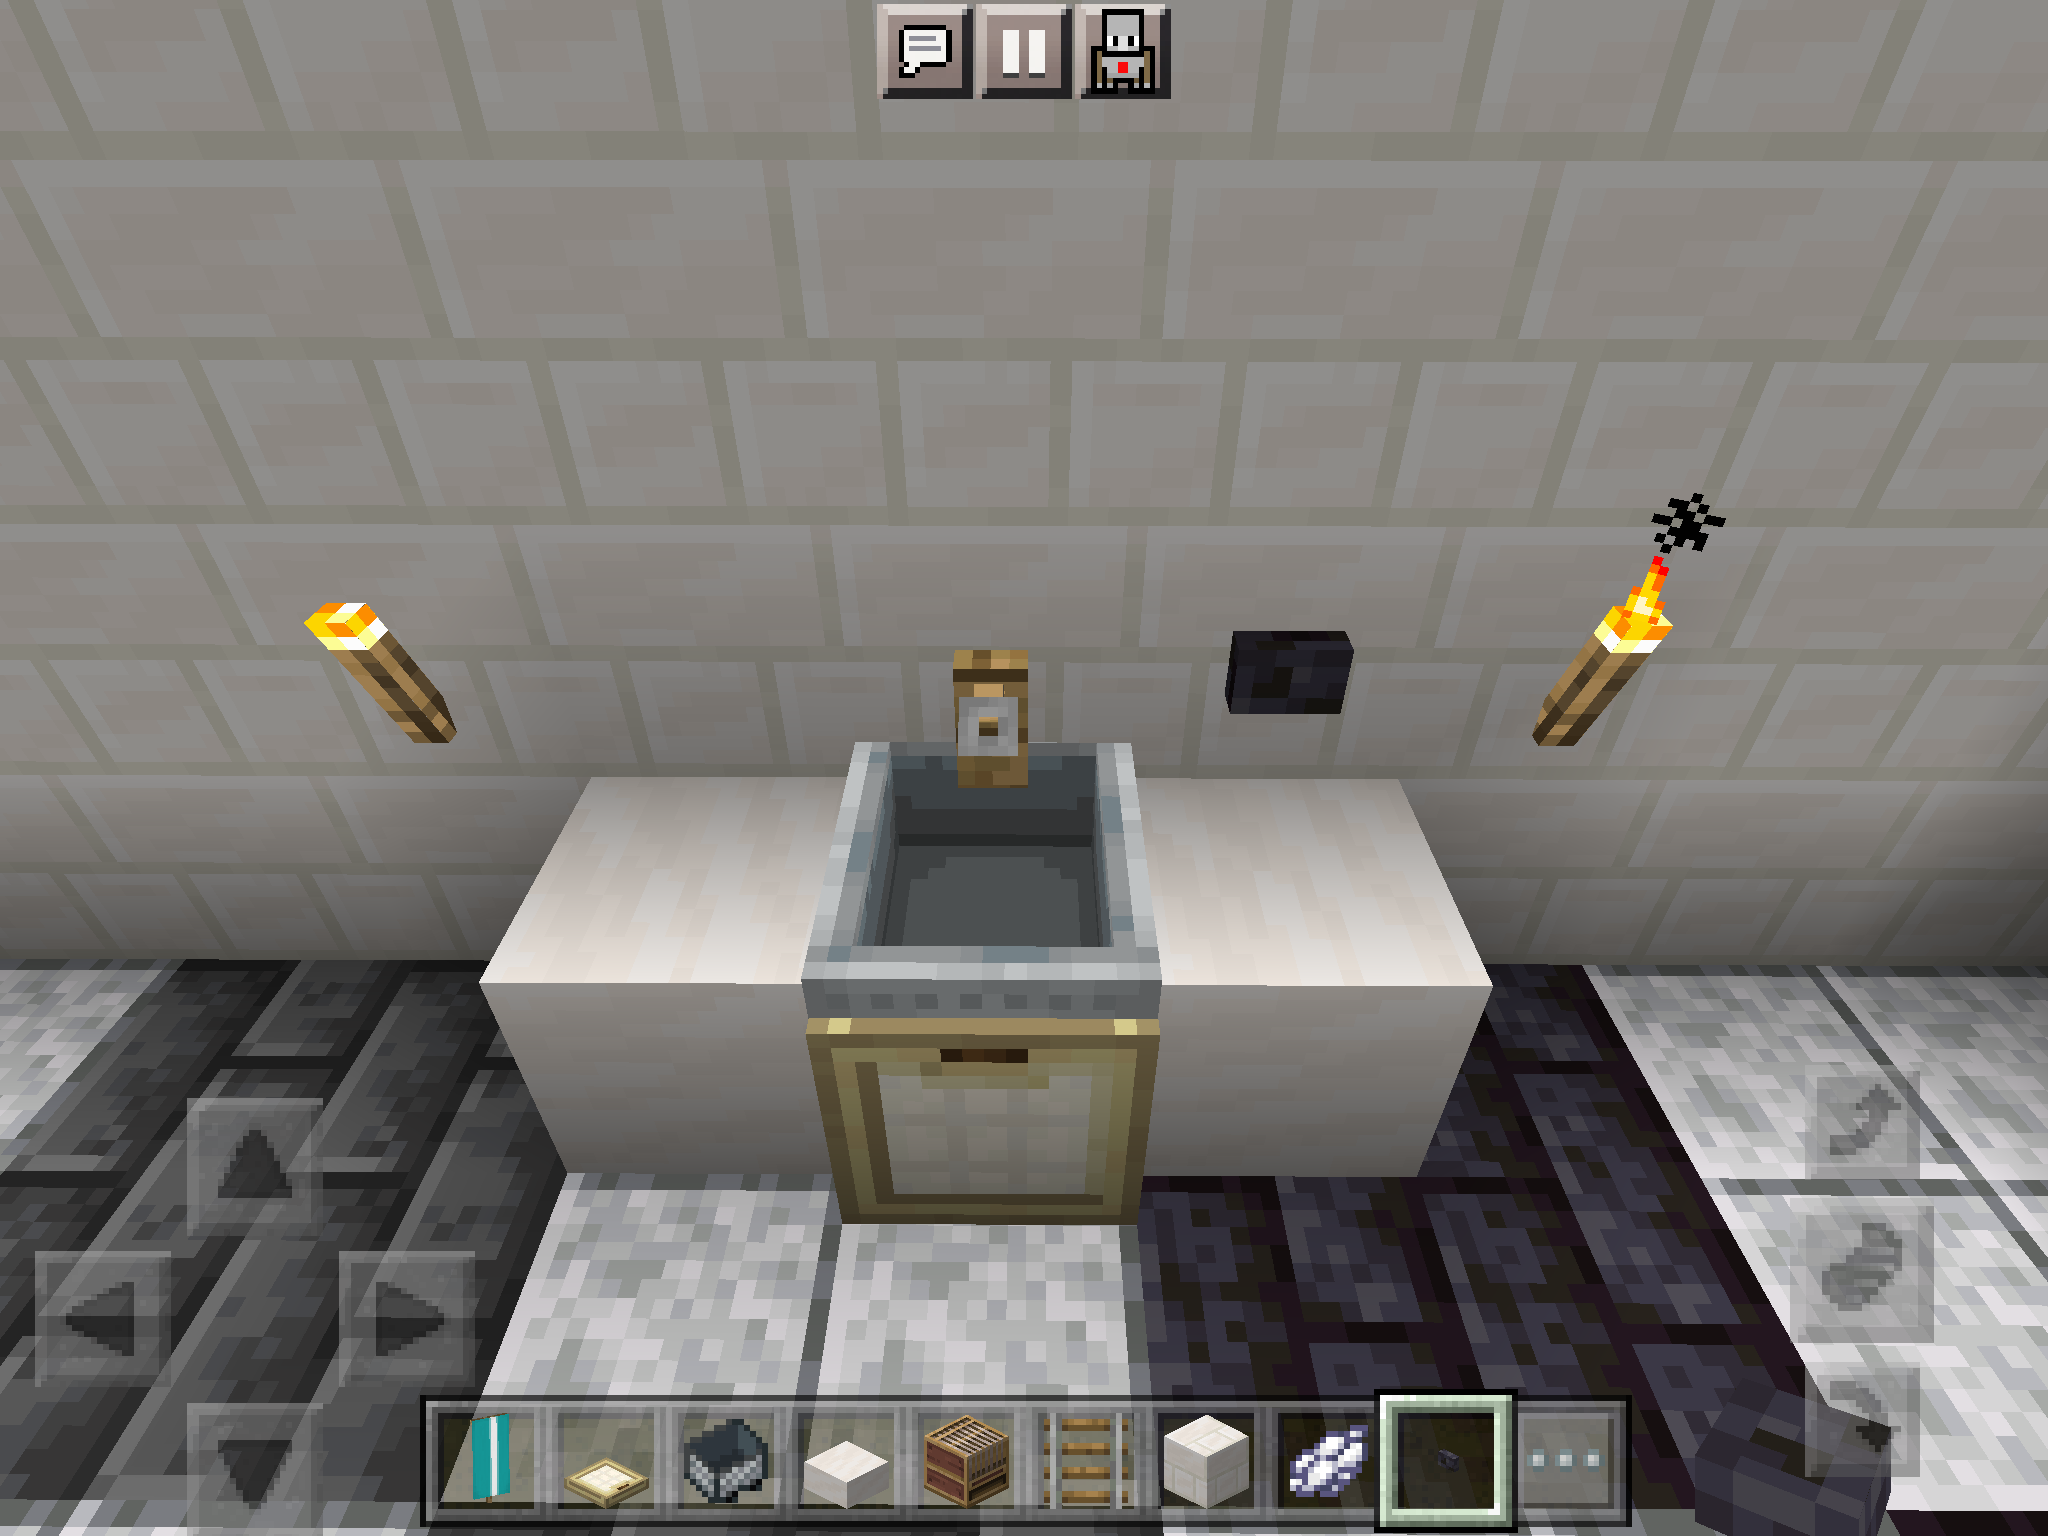
We will use a hook to look like a faucet, then replicate the redstone placement, and make sure the block outside is directly opposite to the button. Dig down and connect the redstone to the dispenser.
Fully Functioning!
Now your sink, as well as your entire bathroom, is functioning! Congratulations.