Minecraft
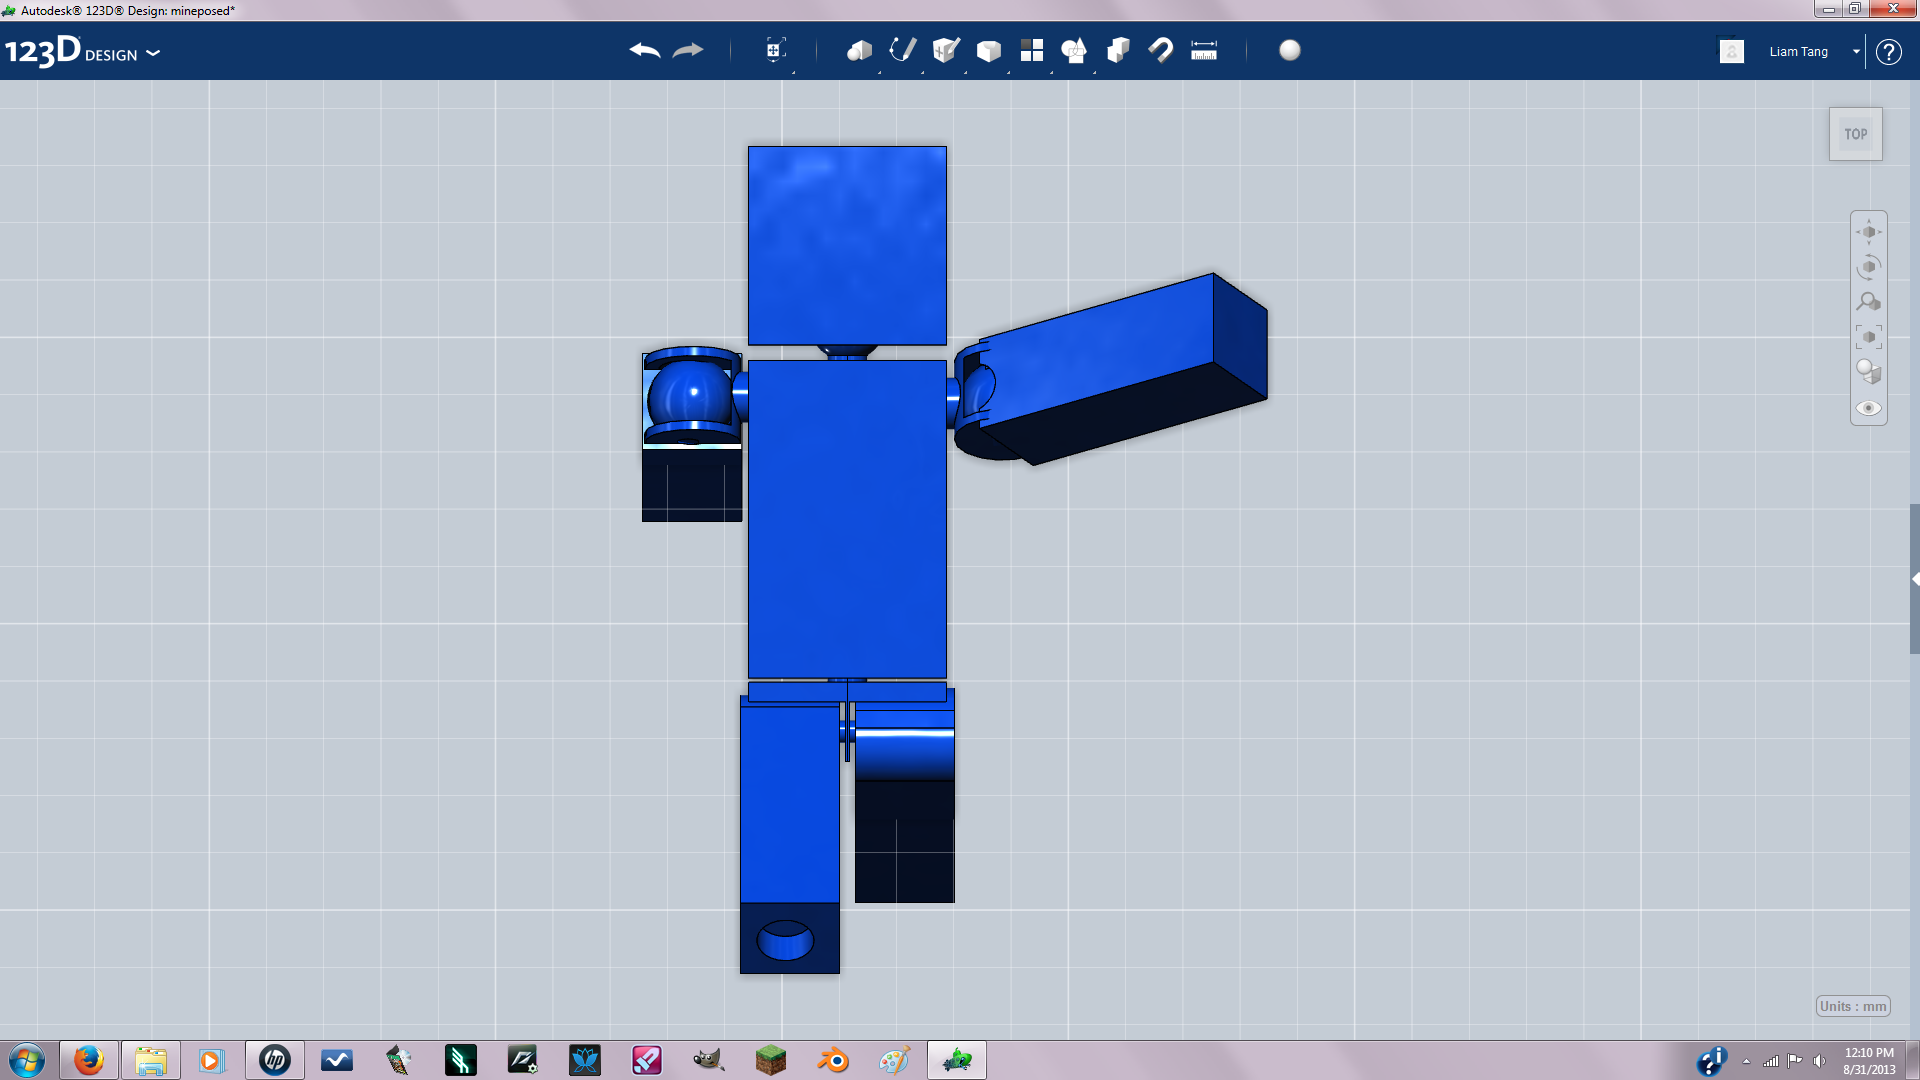
In this tutorial I show how I designed a minecraft mini-figure.
Edit: this model needs a lot of tweaking before it can actually be printed. I recommend using this i'ble as a guide for your own model rather than trying to print this model.
Edit: this model needs a lot of tweaking before it can actually be printed. I recommend using this i'ble as a guide for your own model rather than trying to print this model.
First Lets DO Dimensions
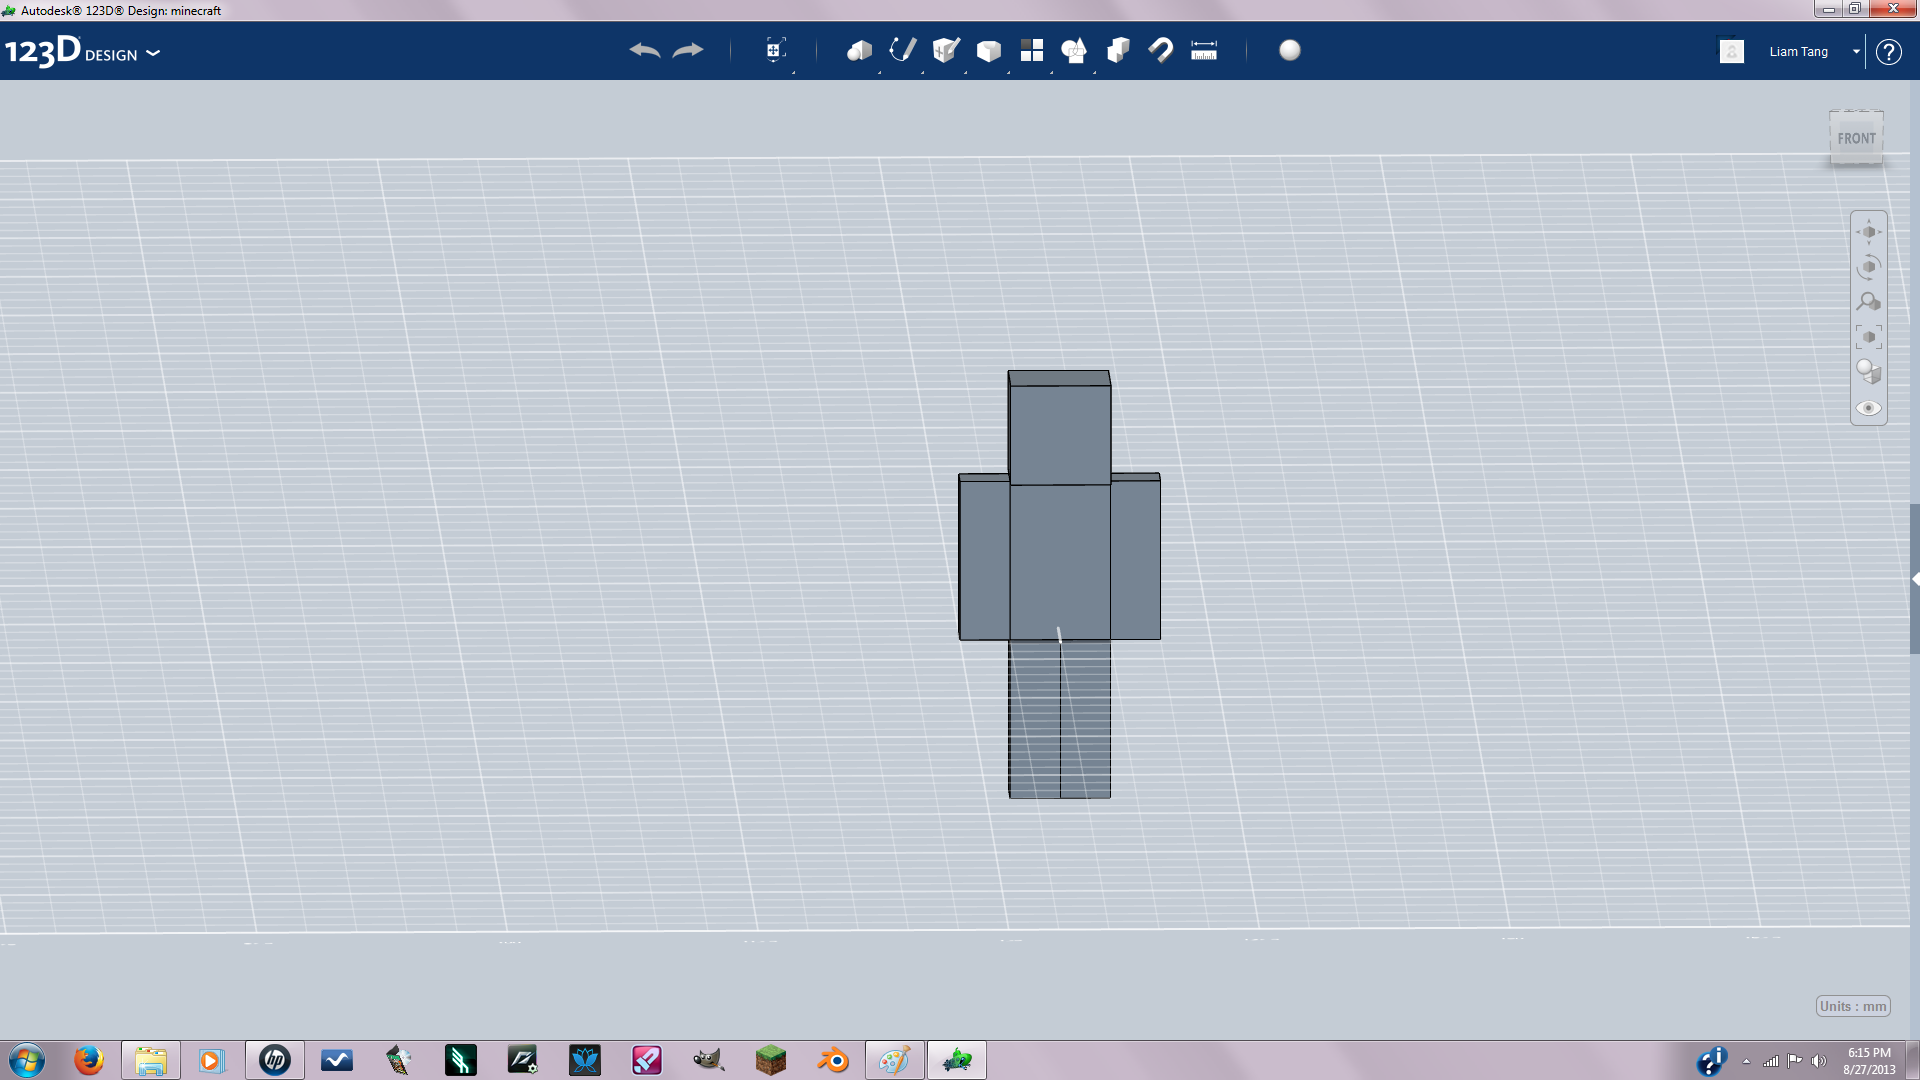
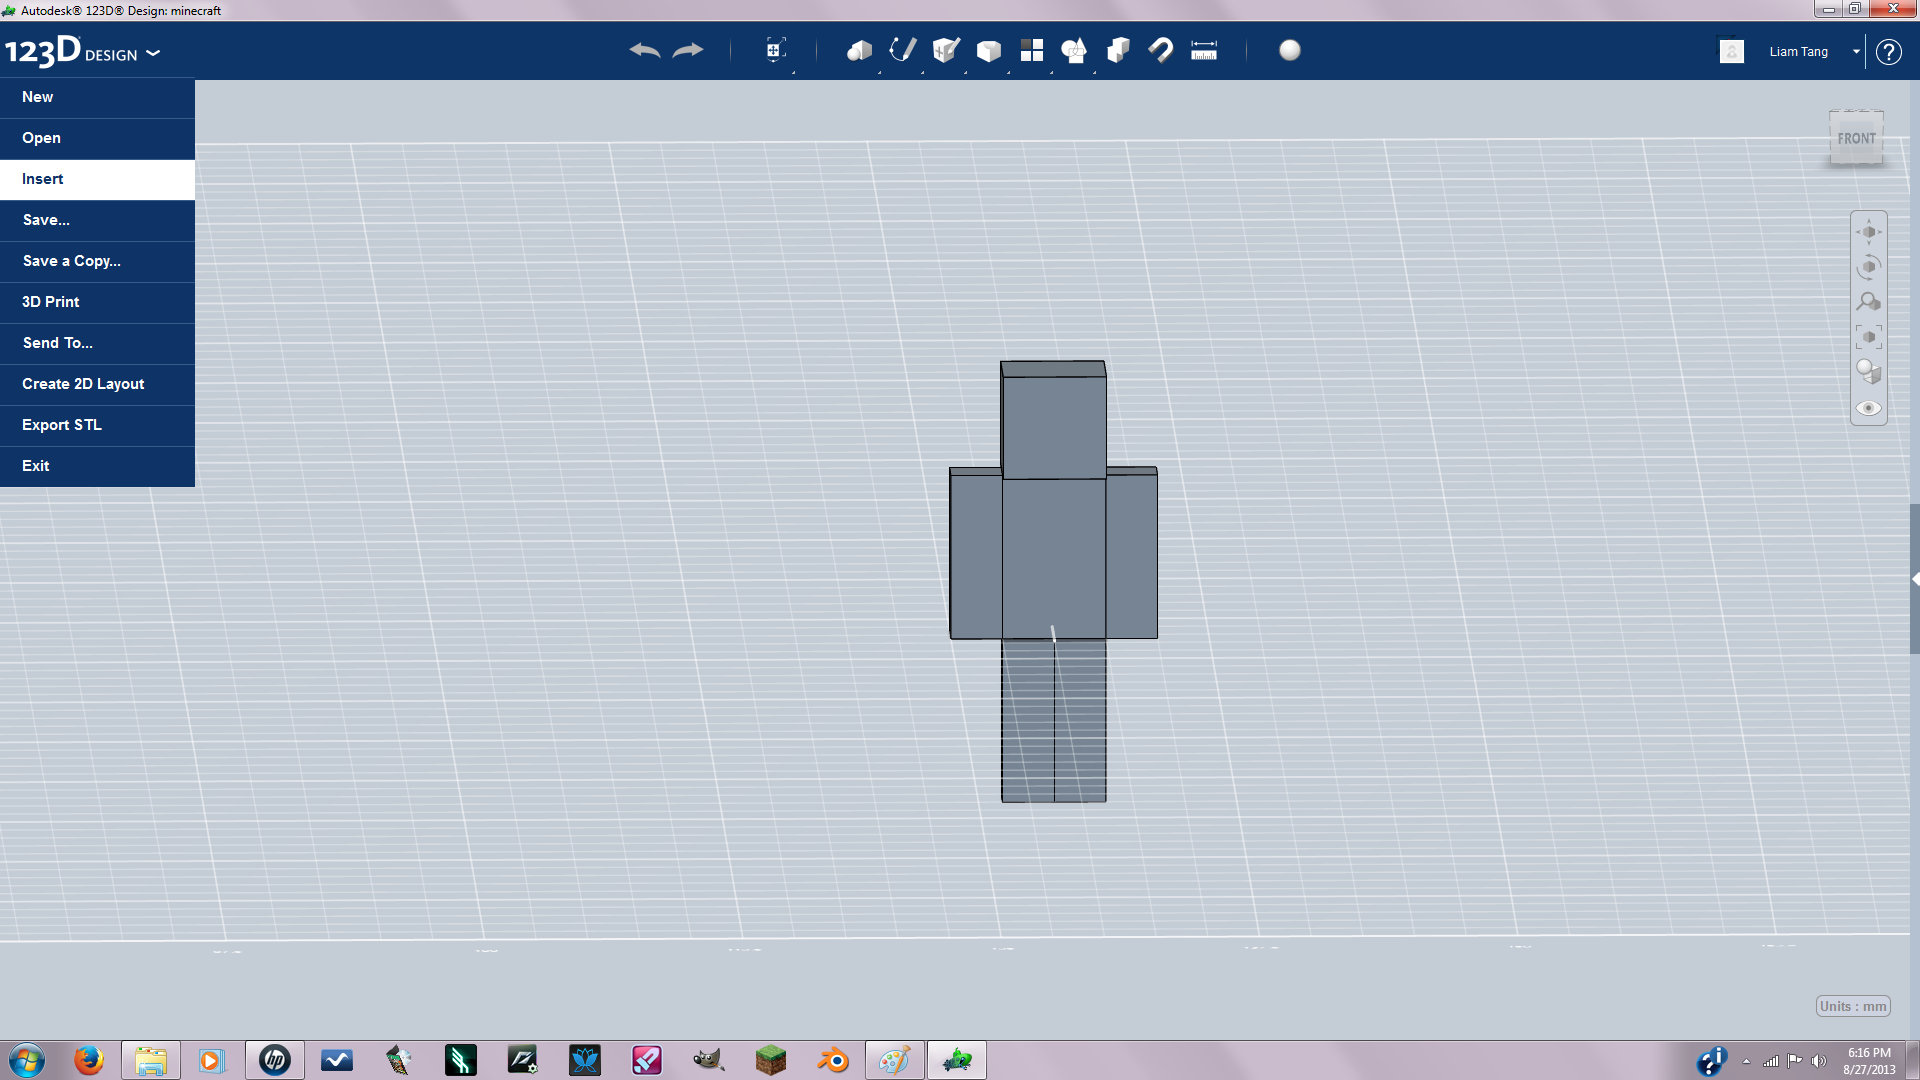
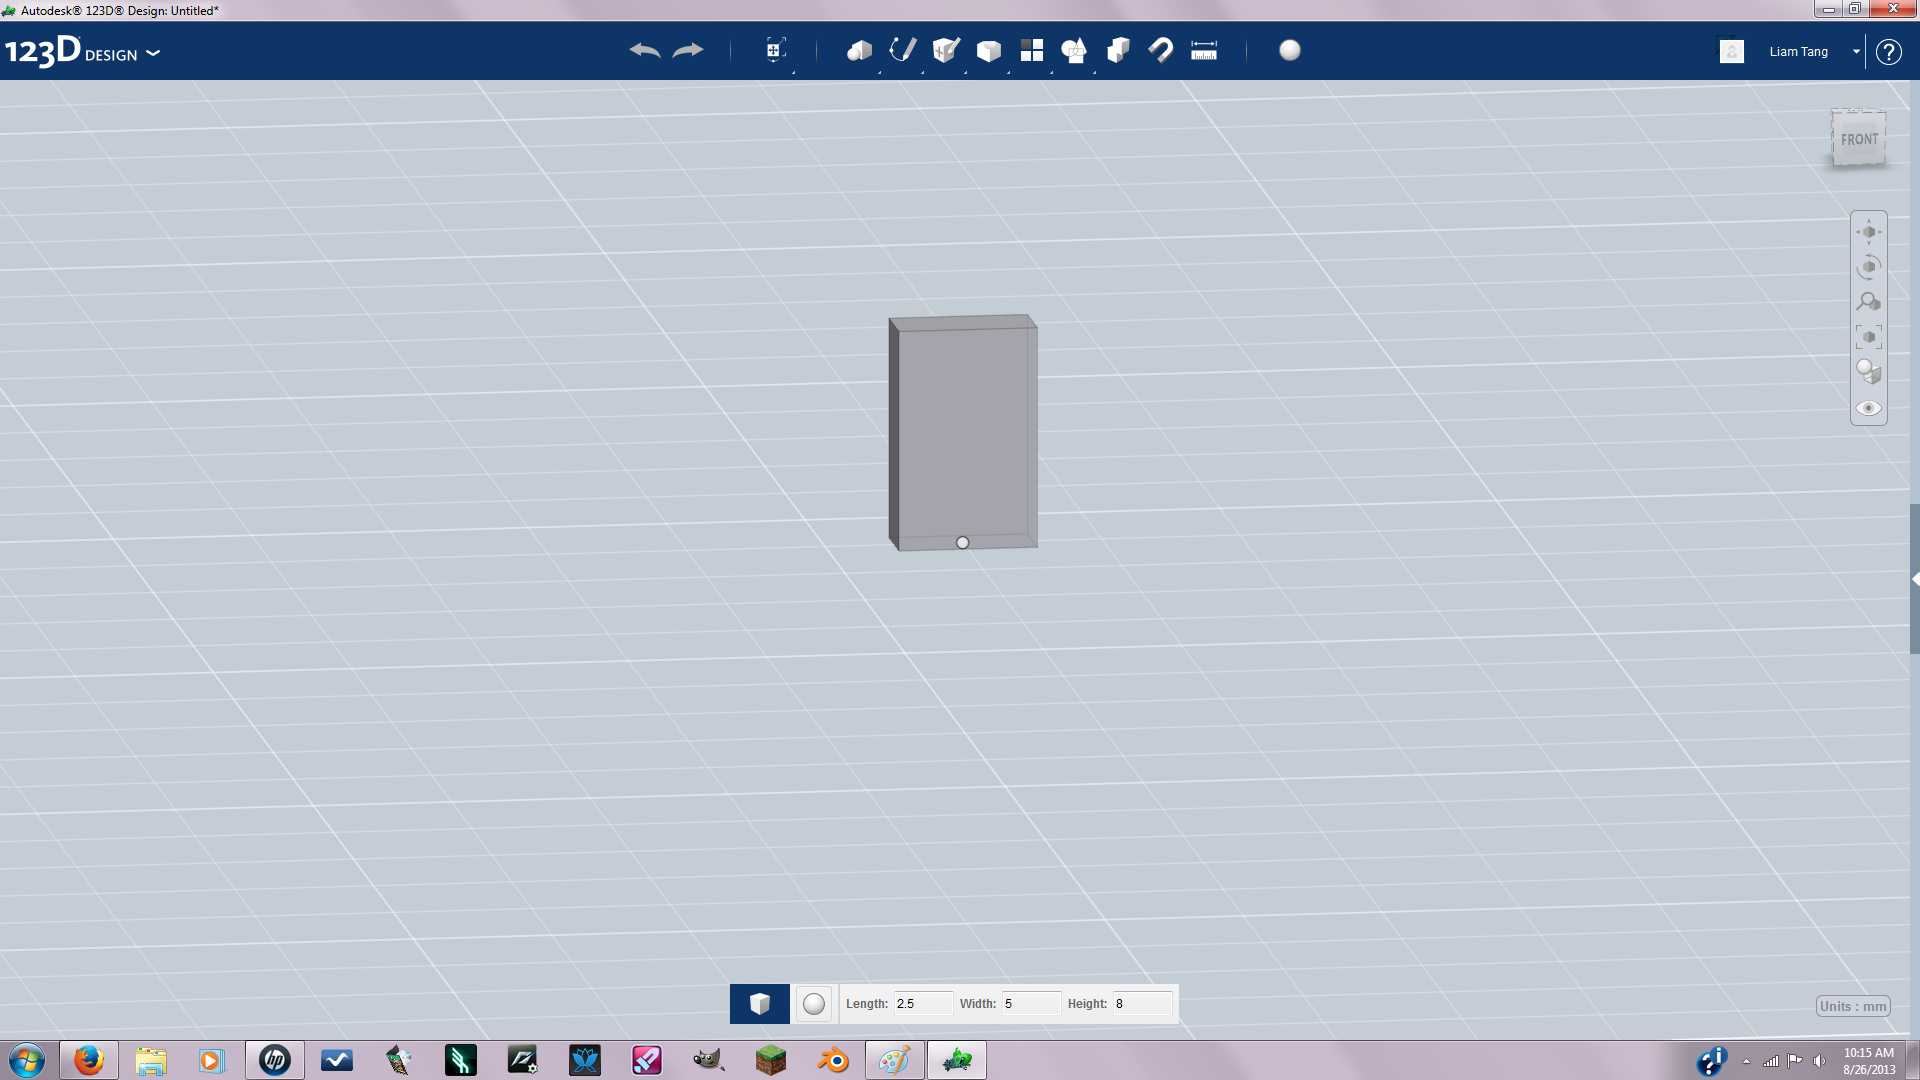
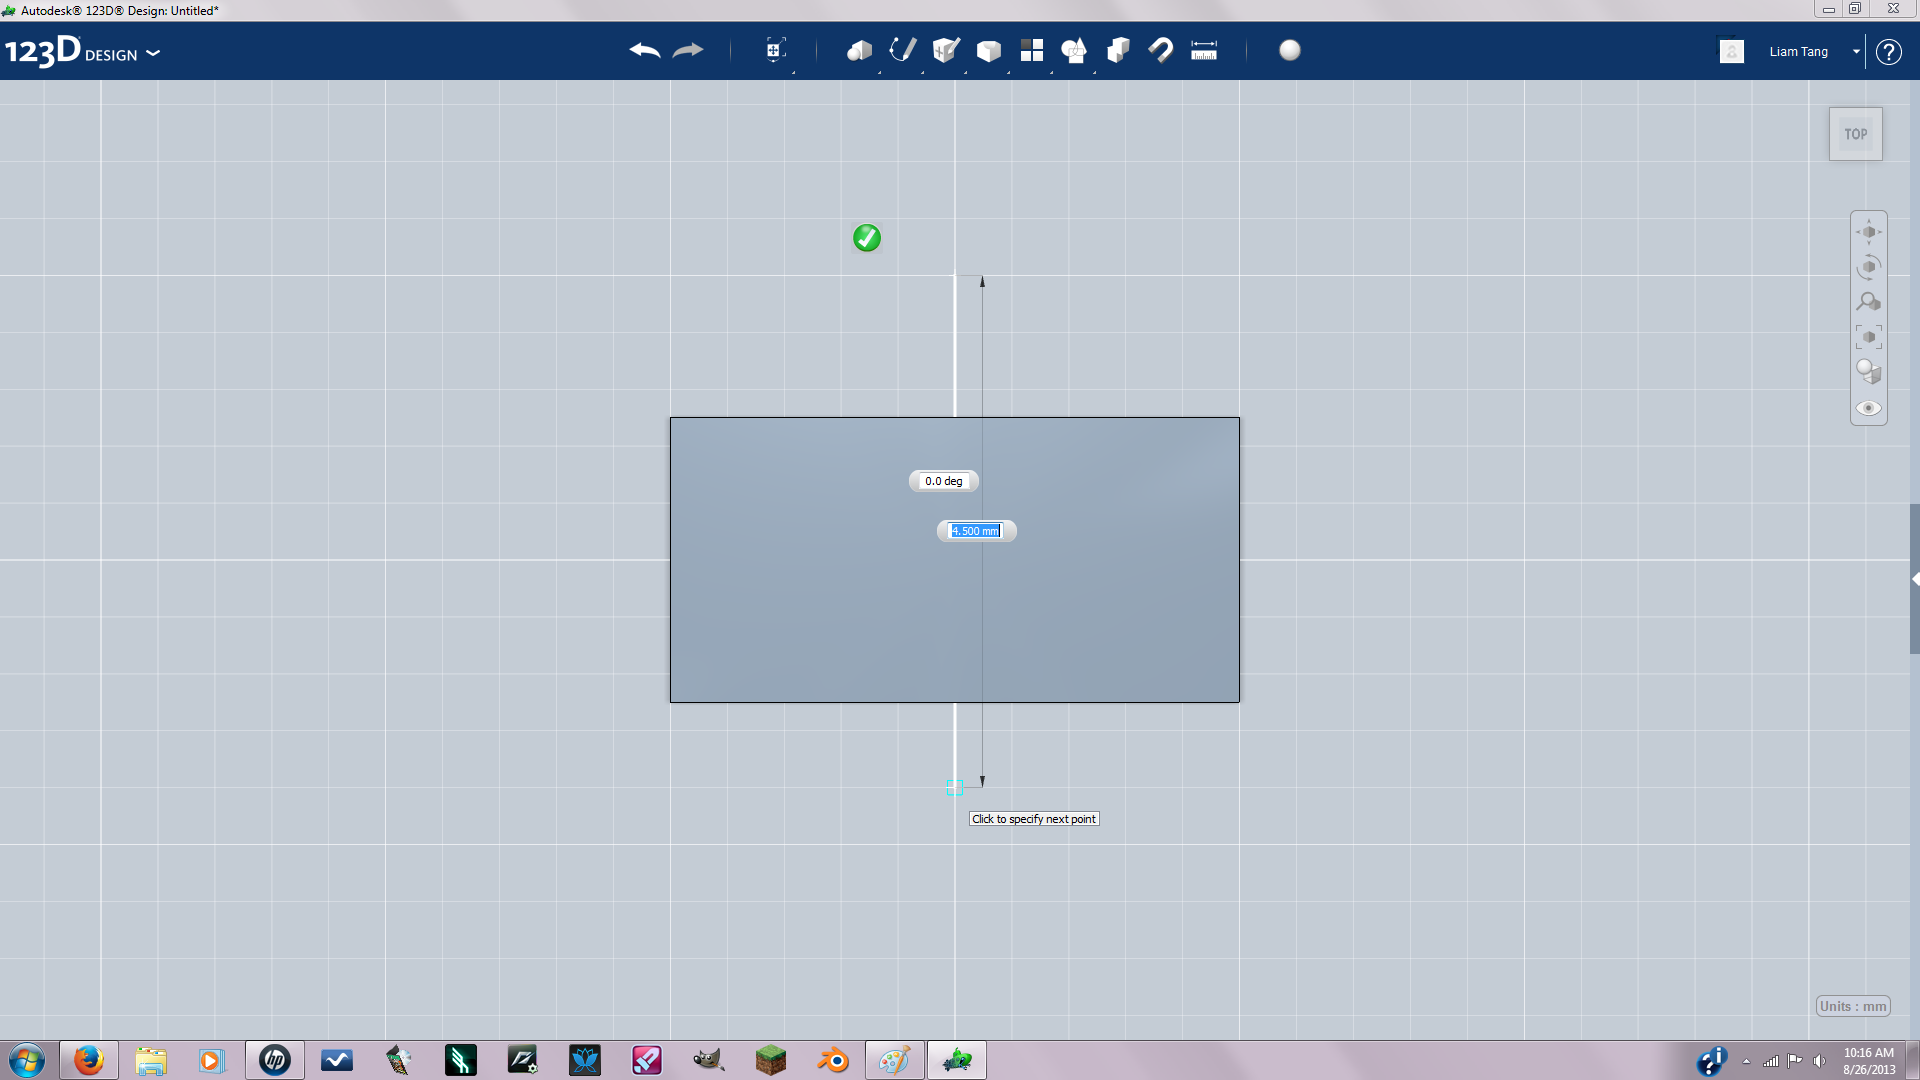
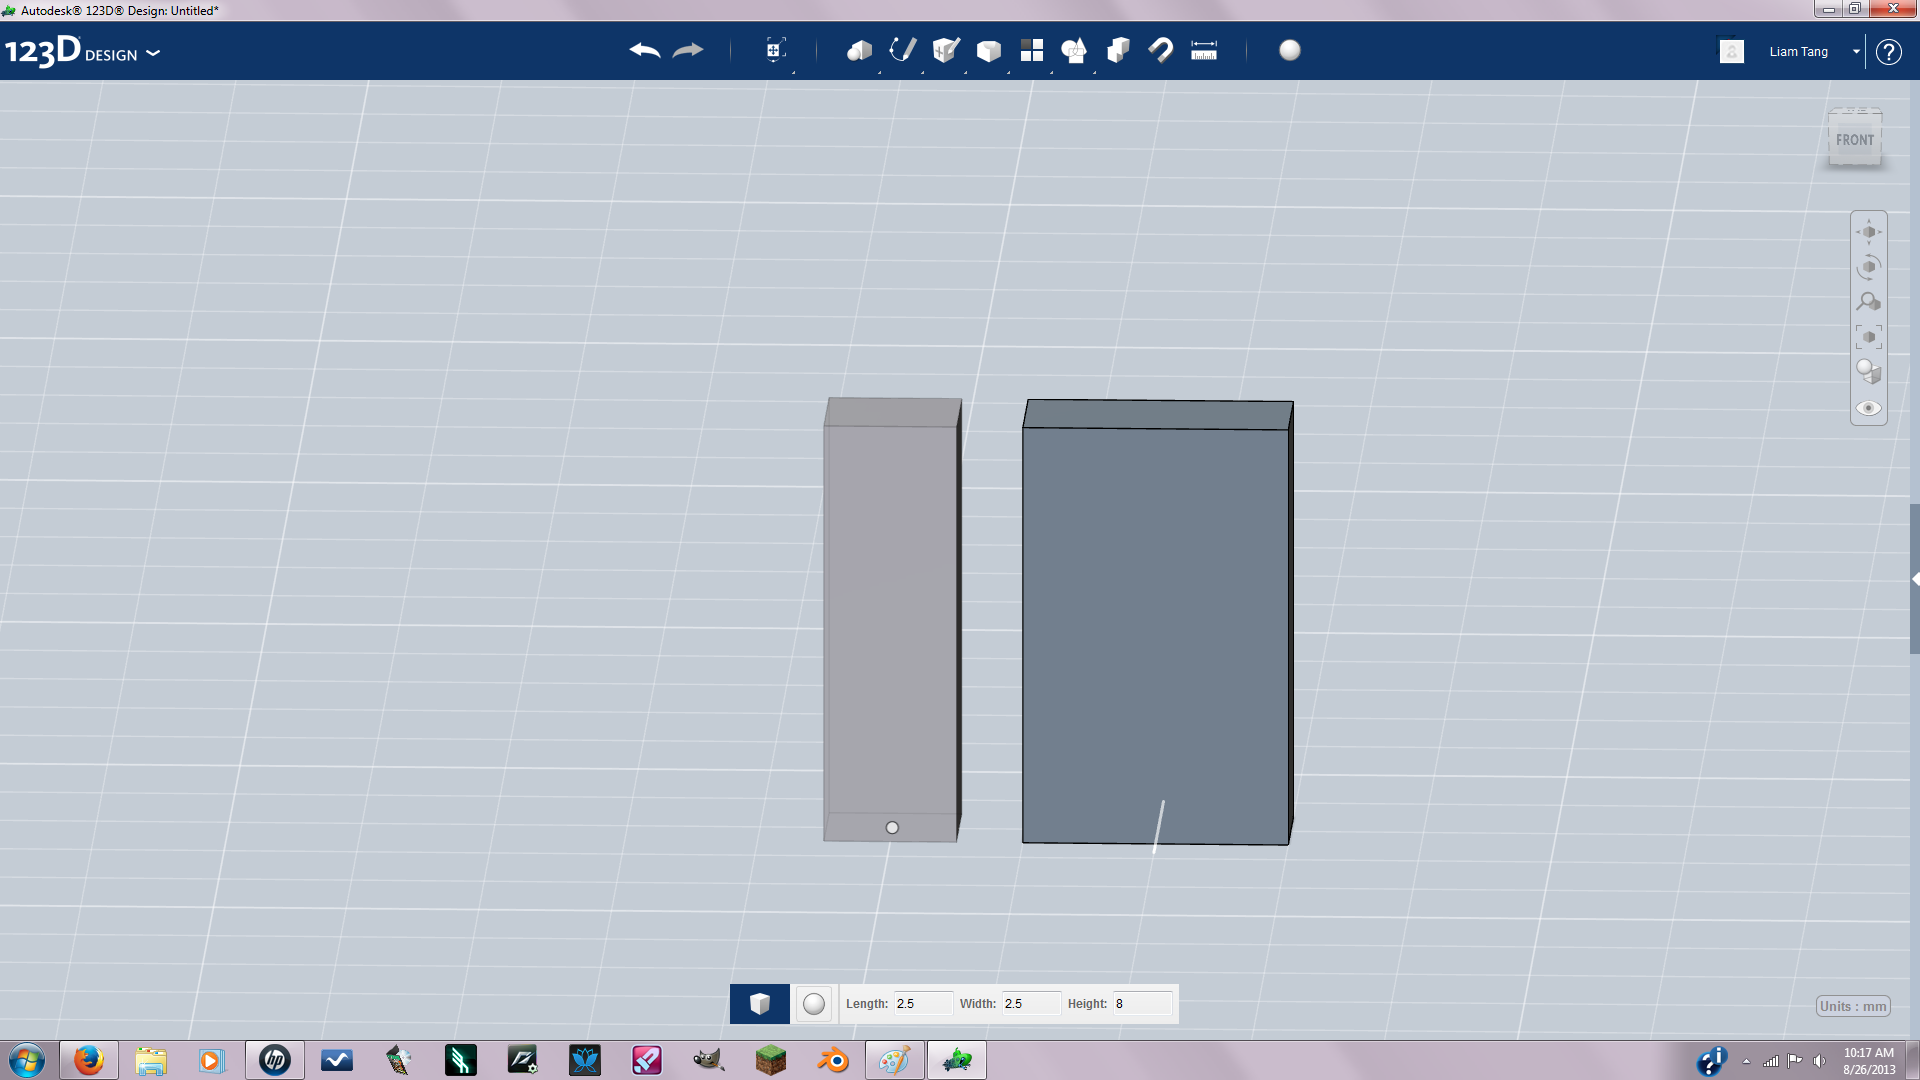
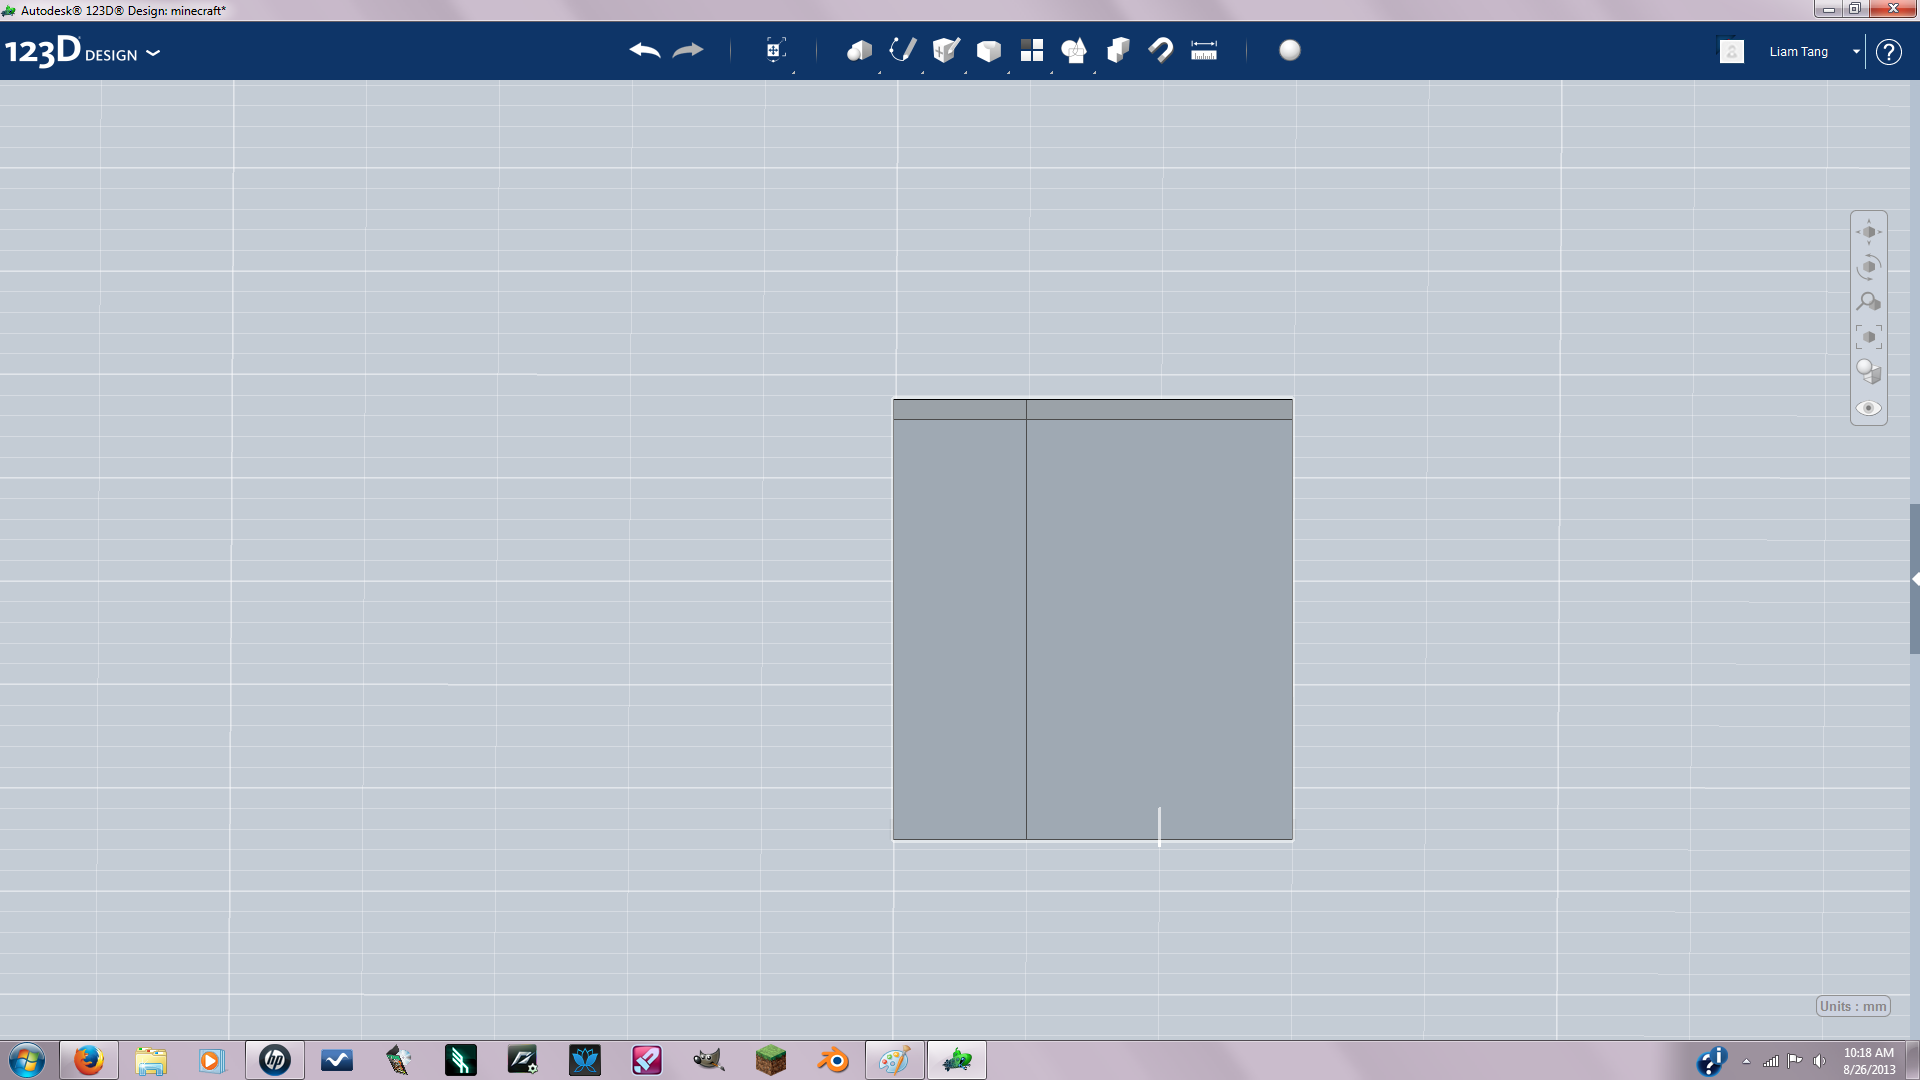
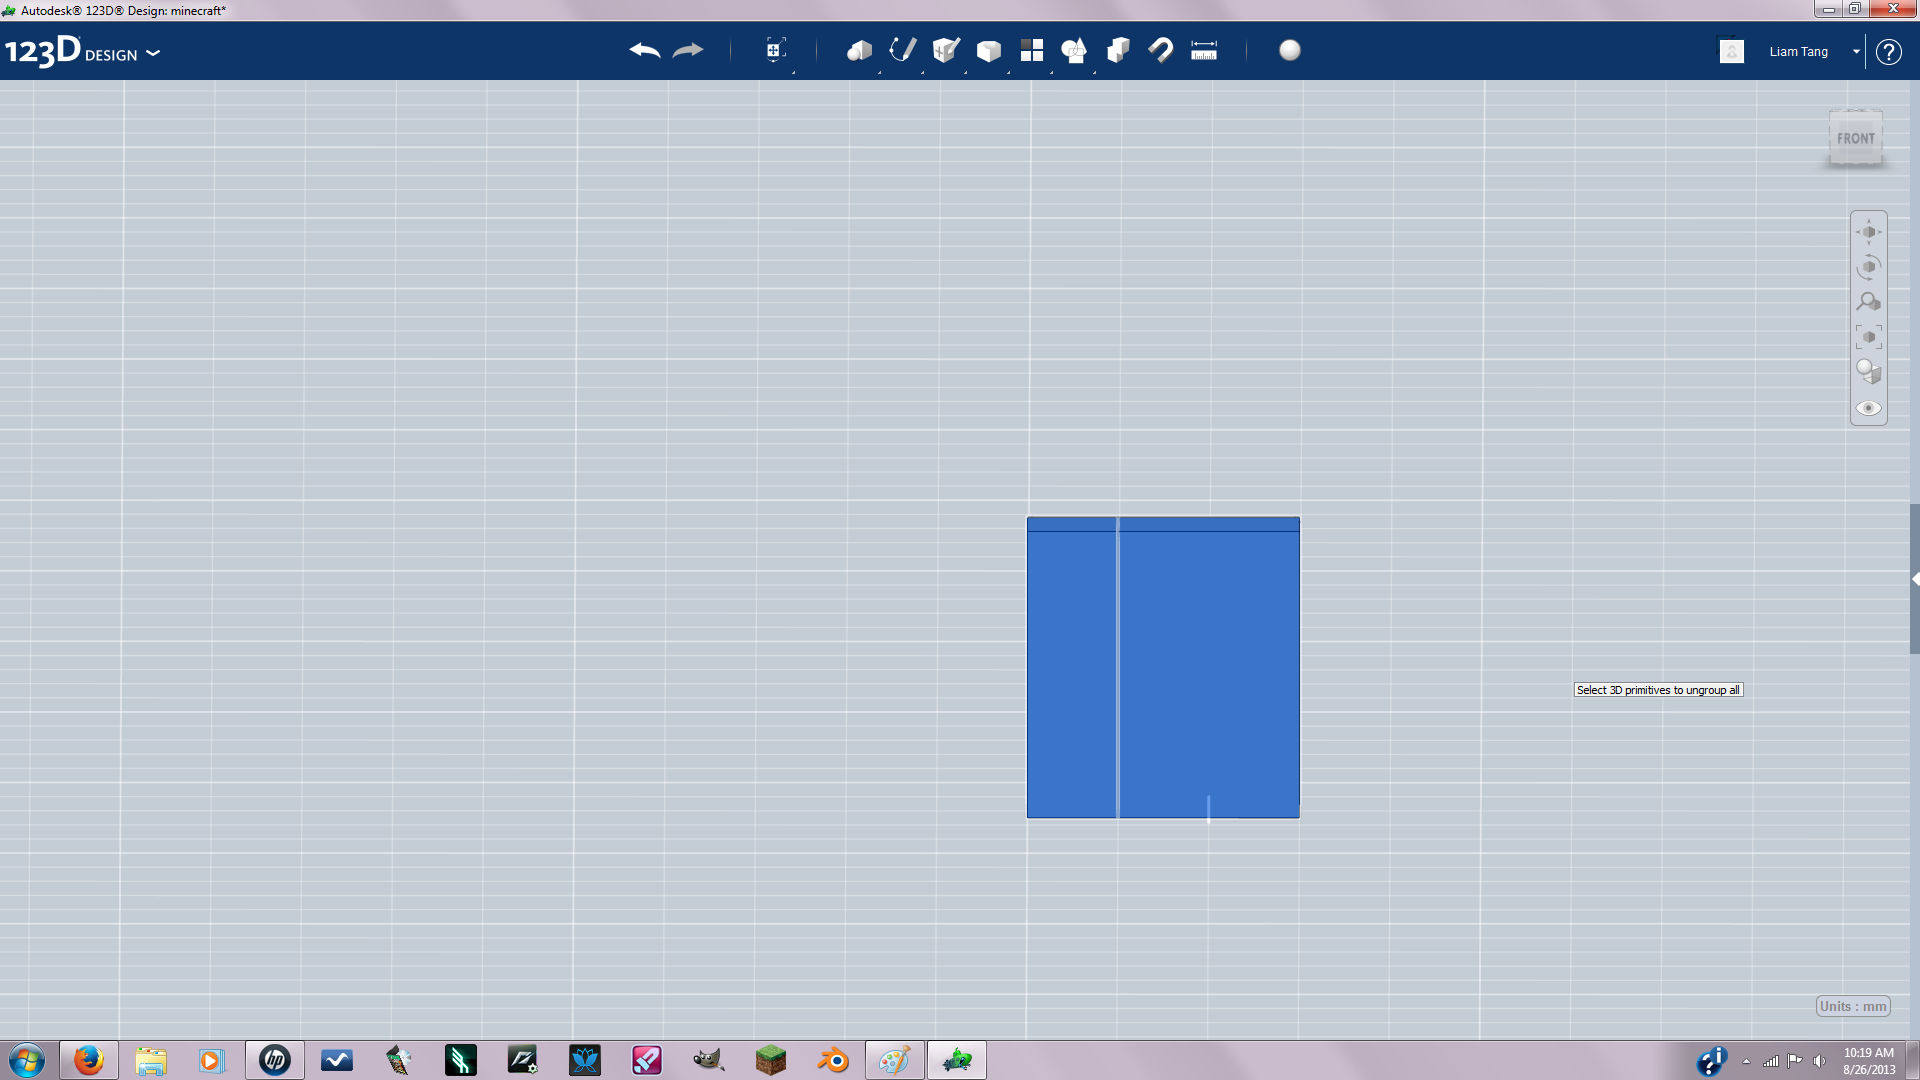
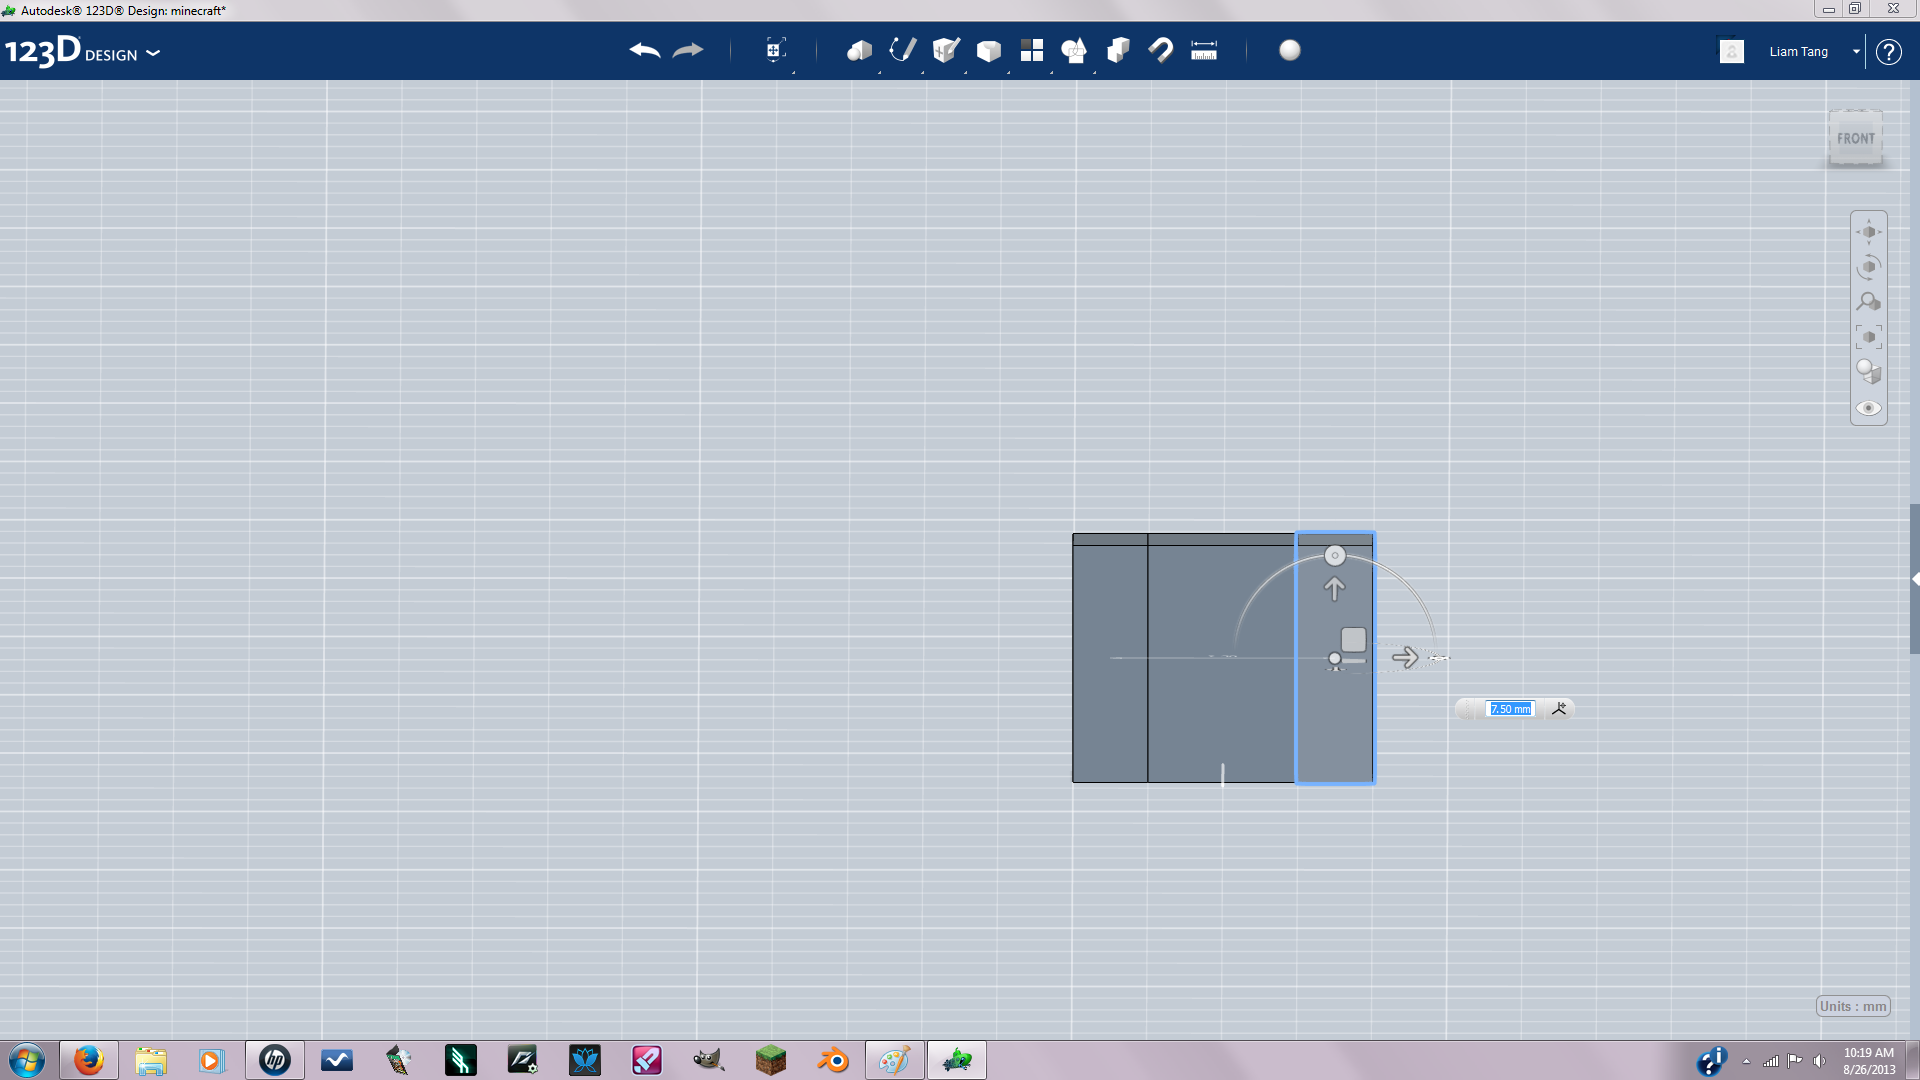
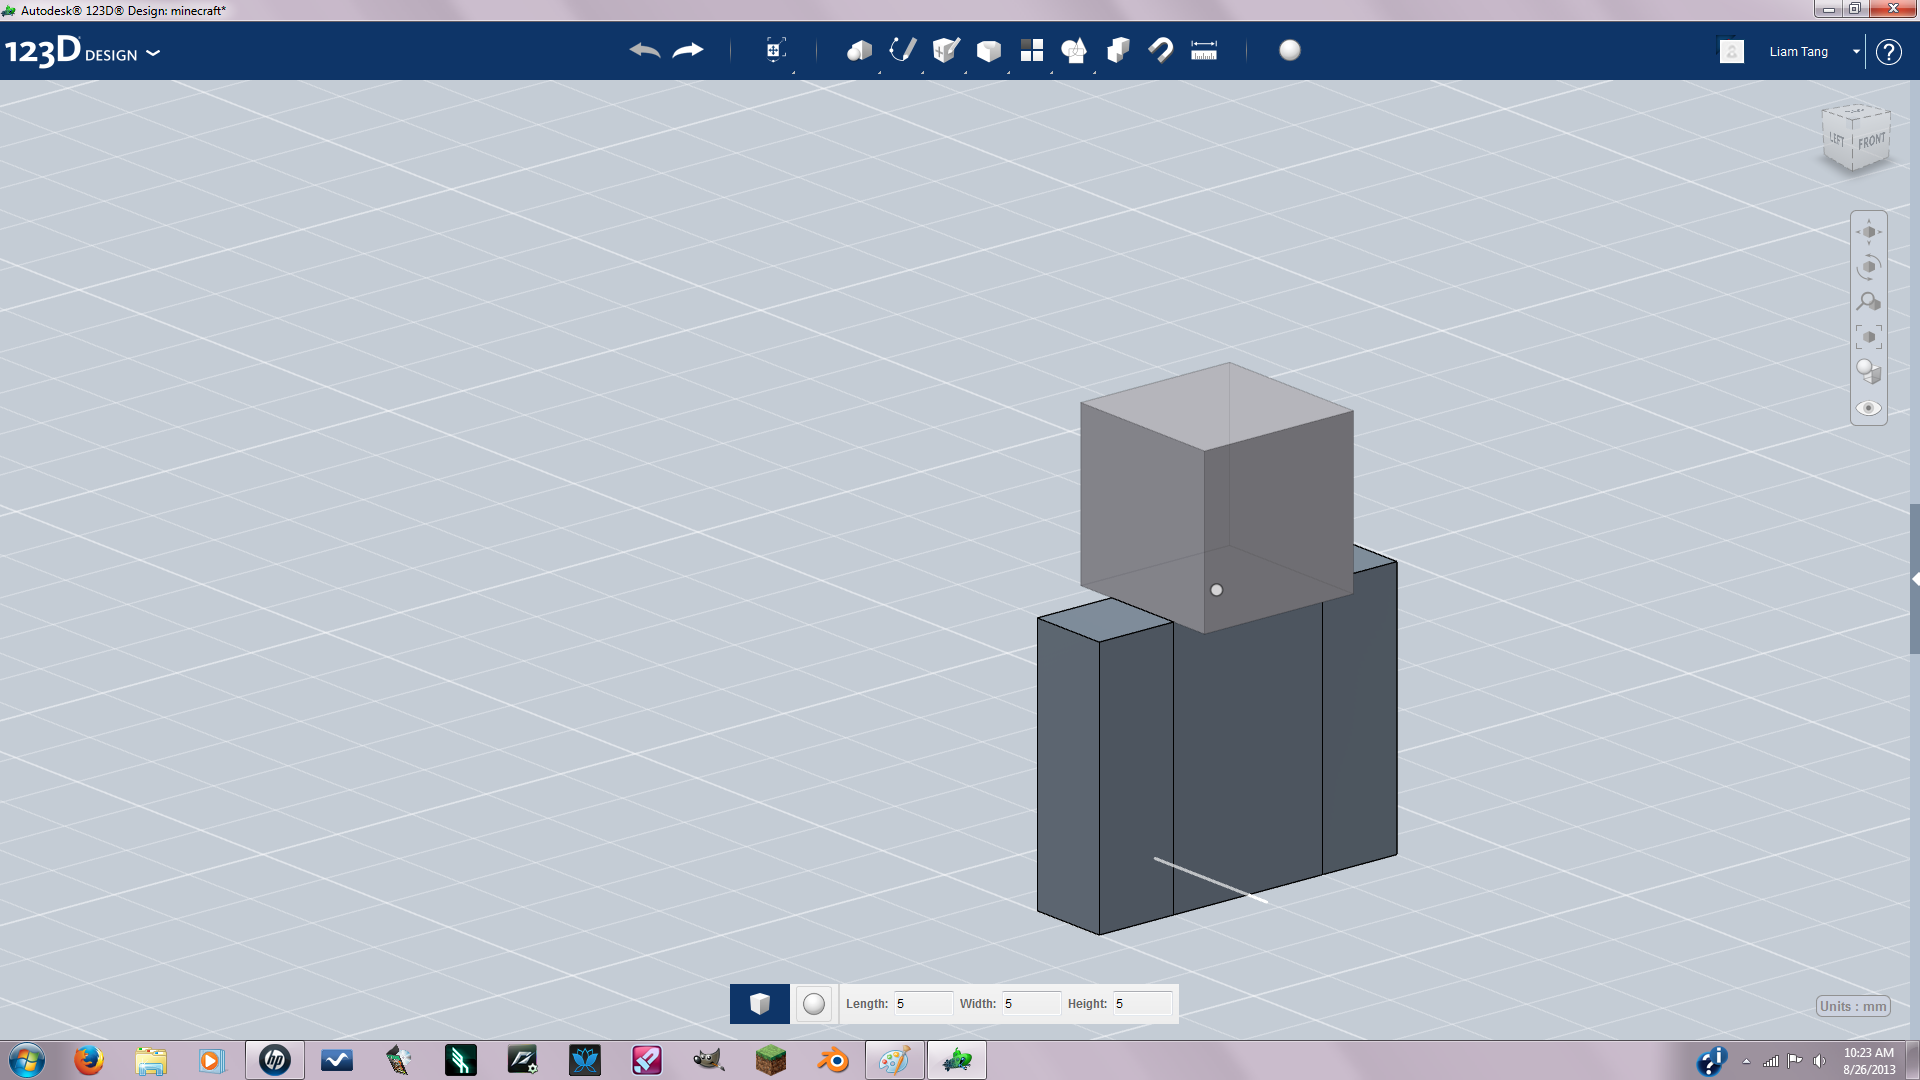
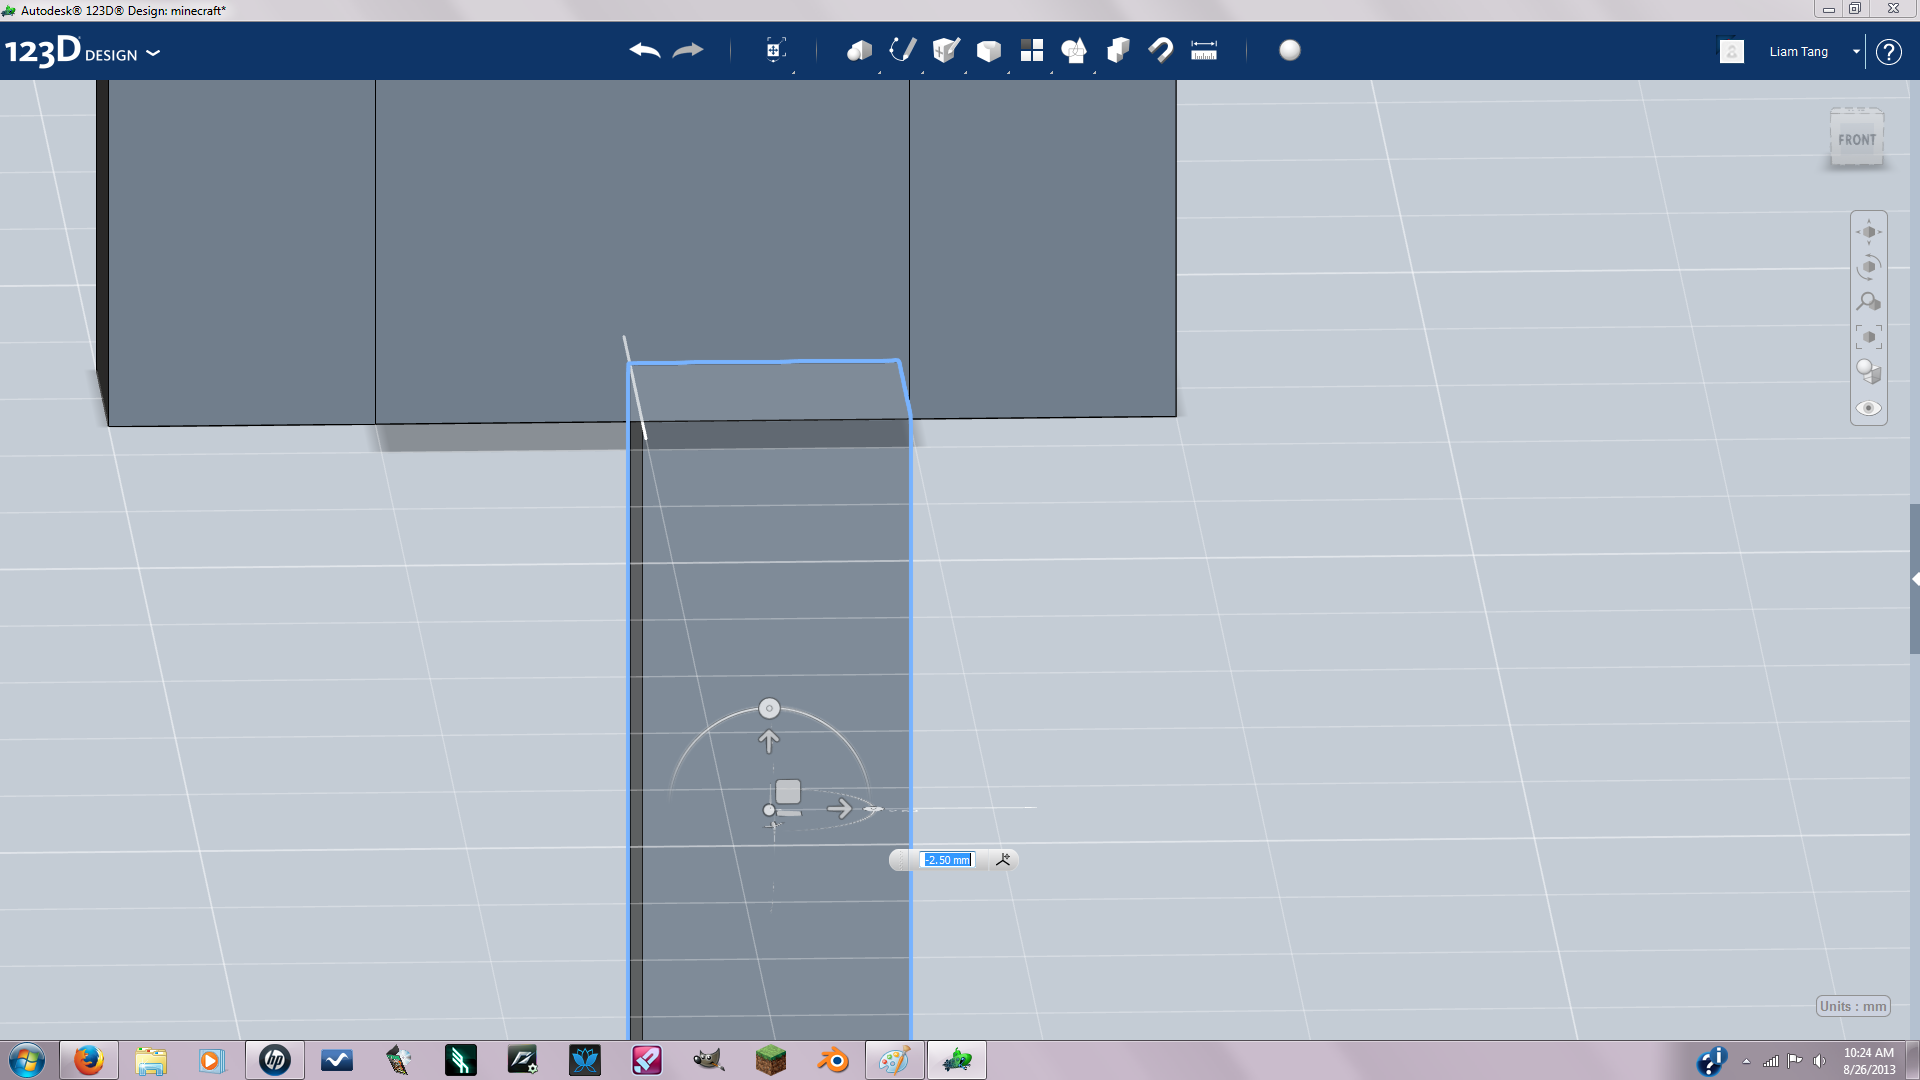
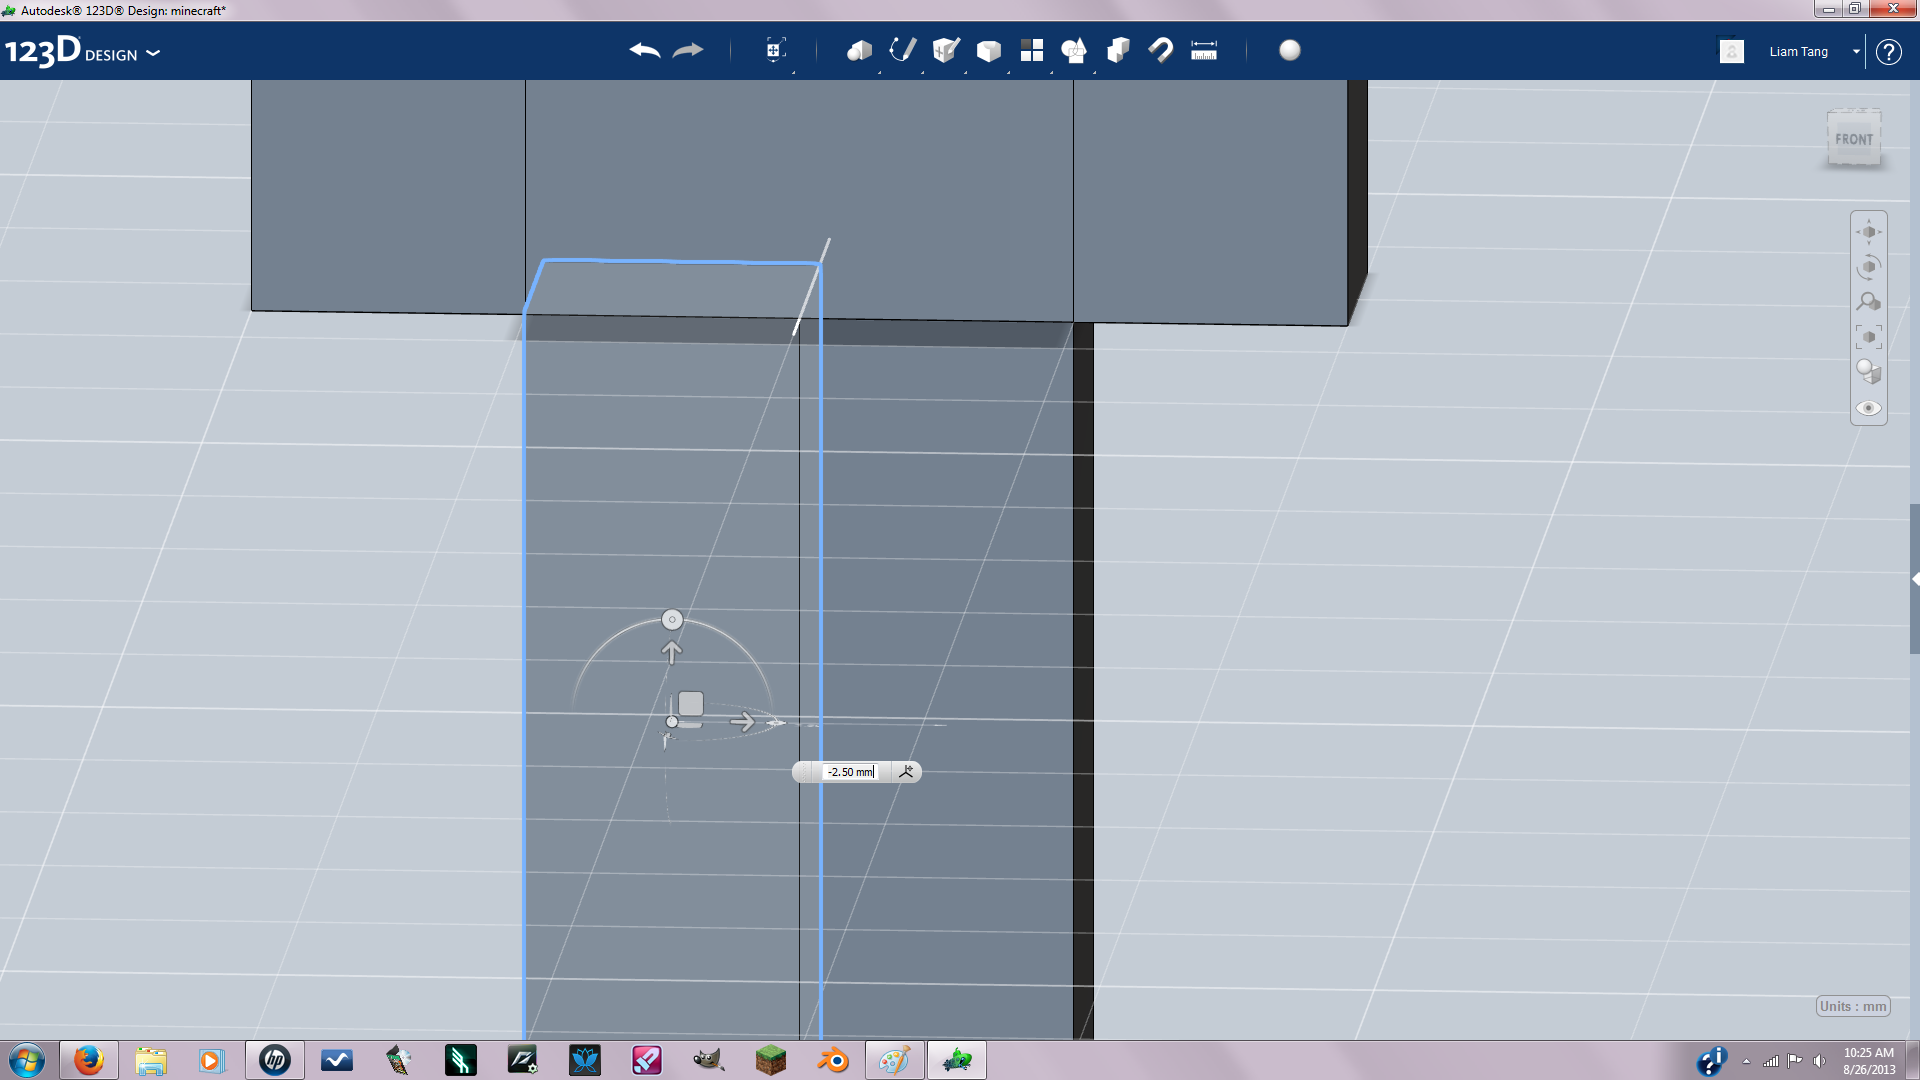
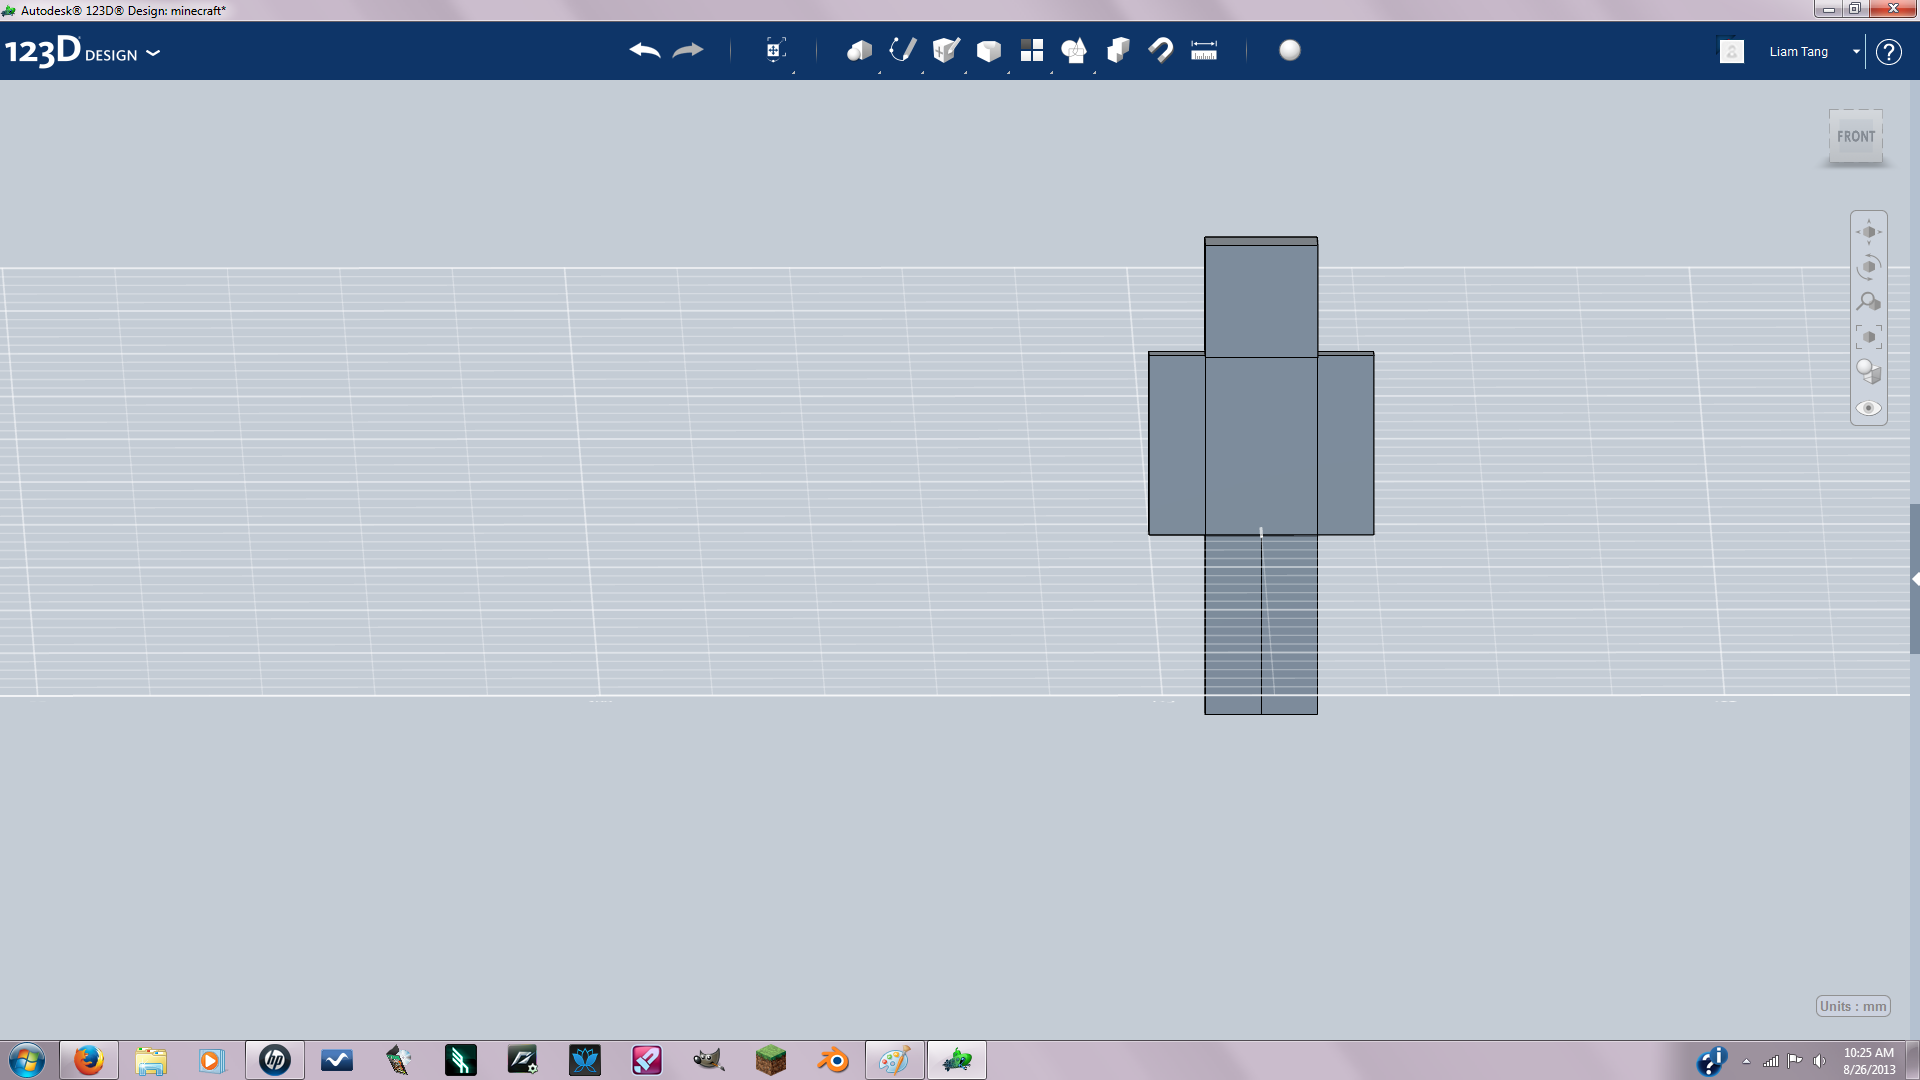
So just follow along in the pics not much to explain in this step. (To copy press CTRL + C To paste press CTRL + V)
Use the snap tool to snap the pieces into place. to make identical arms and legs you can either copy and paste after you make one or just make four solids with the same dimensions.
The body has:
Length 2.5
height 8
width 5
arms and legs:
length and width 2.5
height 8
head:
height, length and width are 5
Joint for Arms
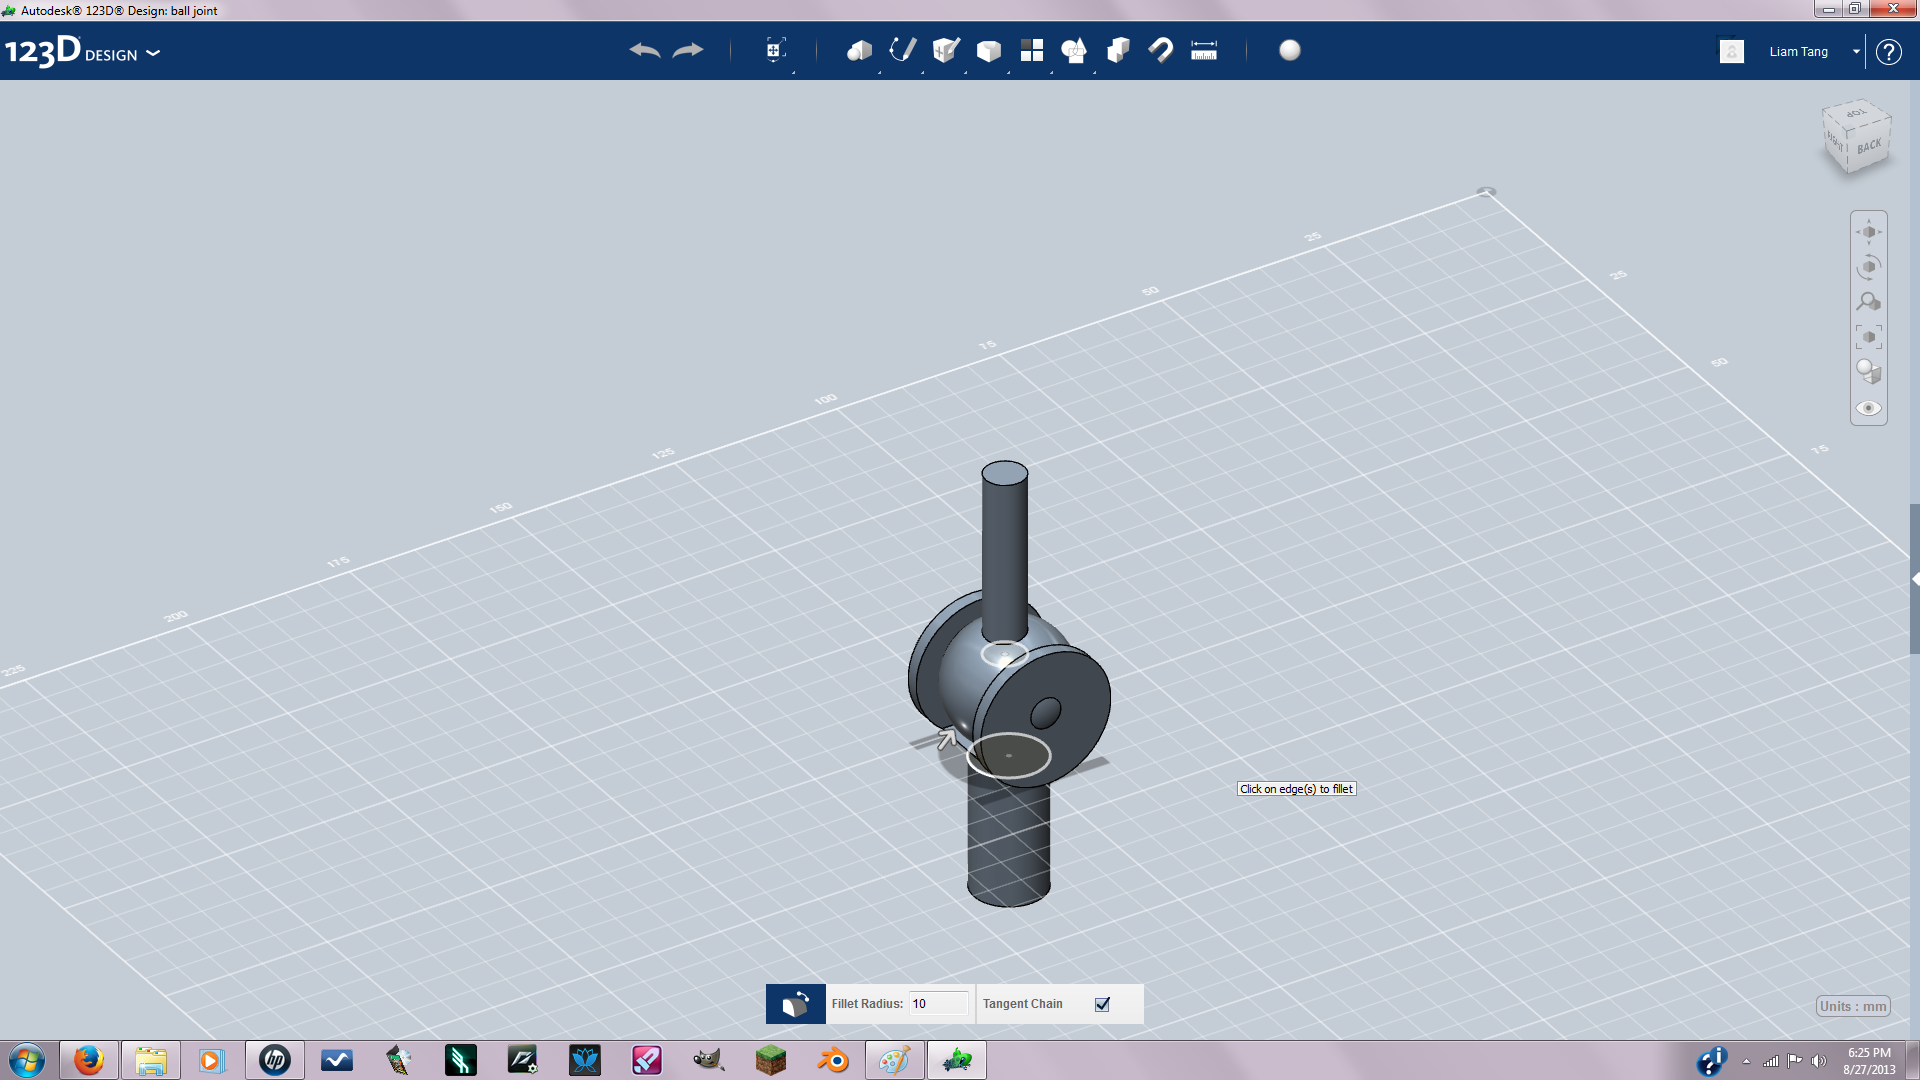
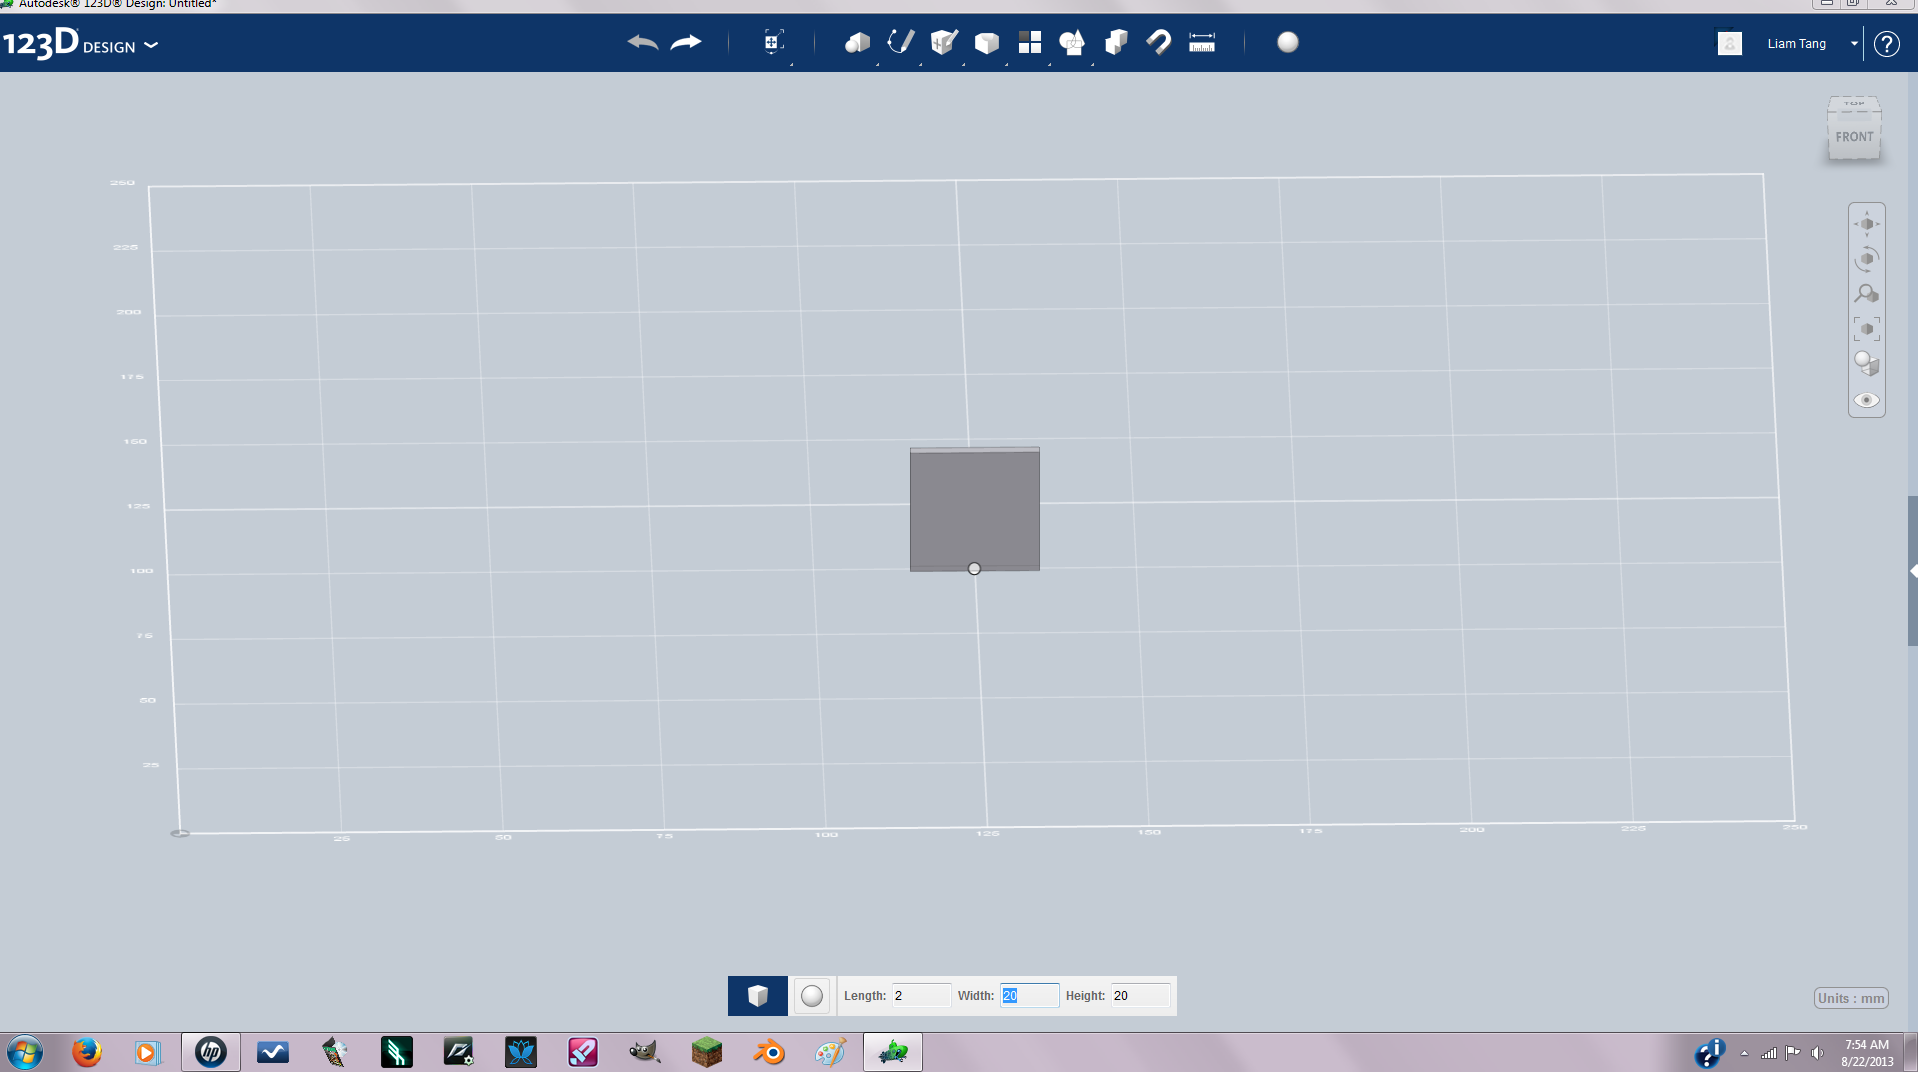
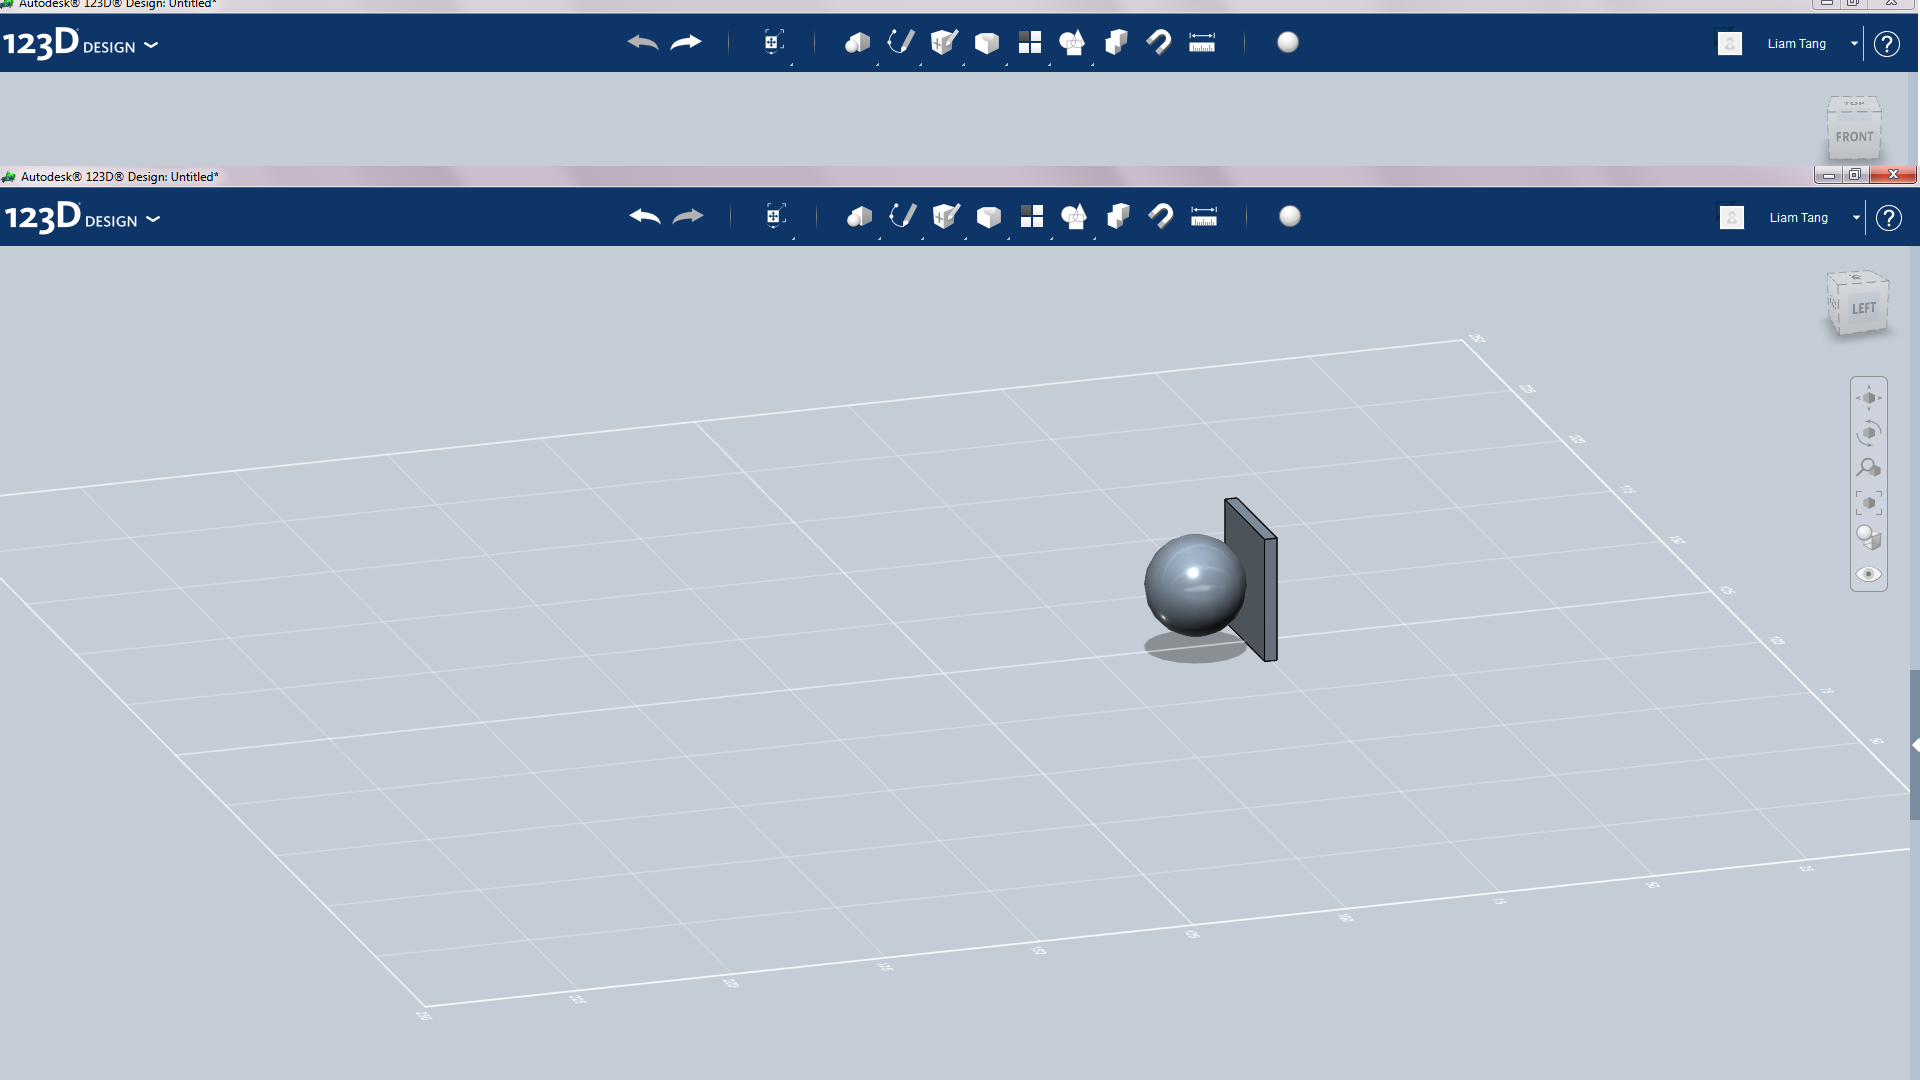
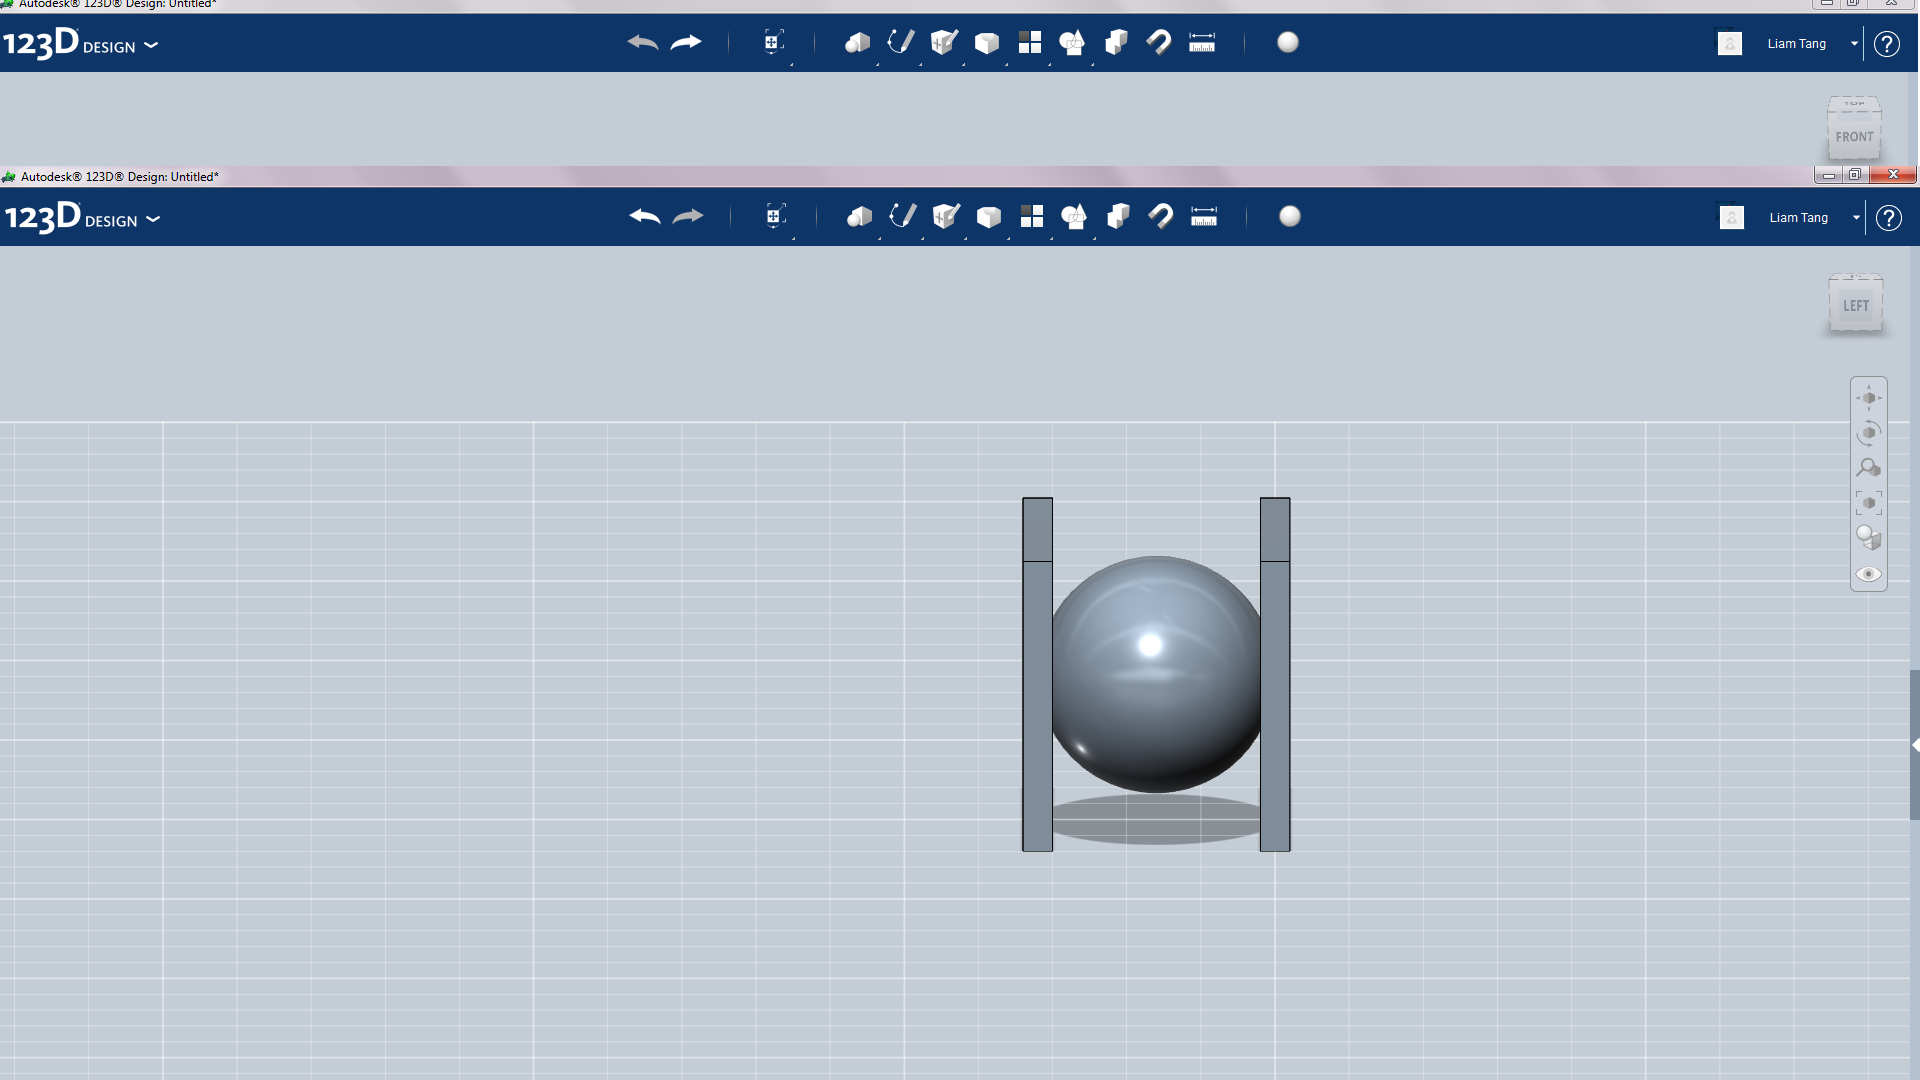
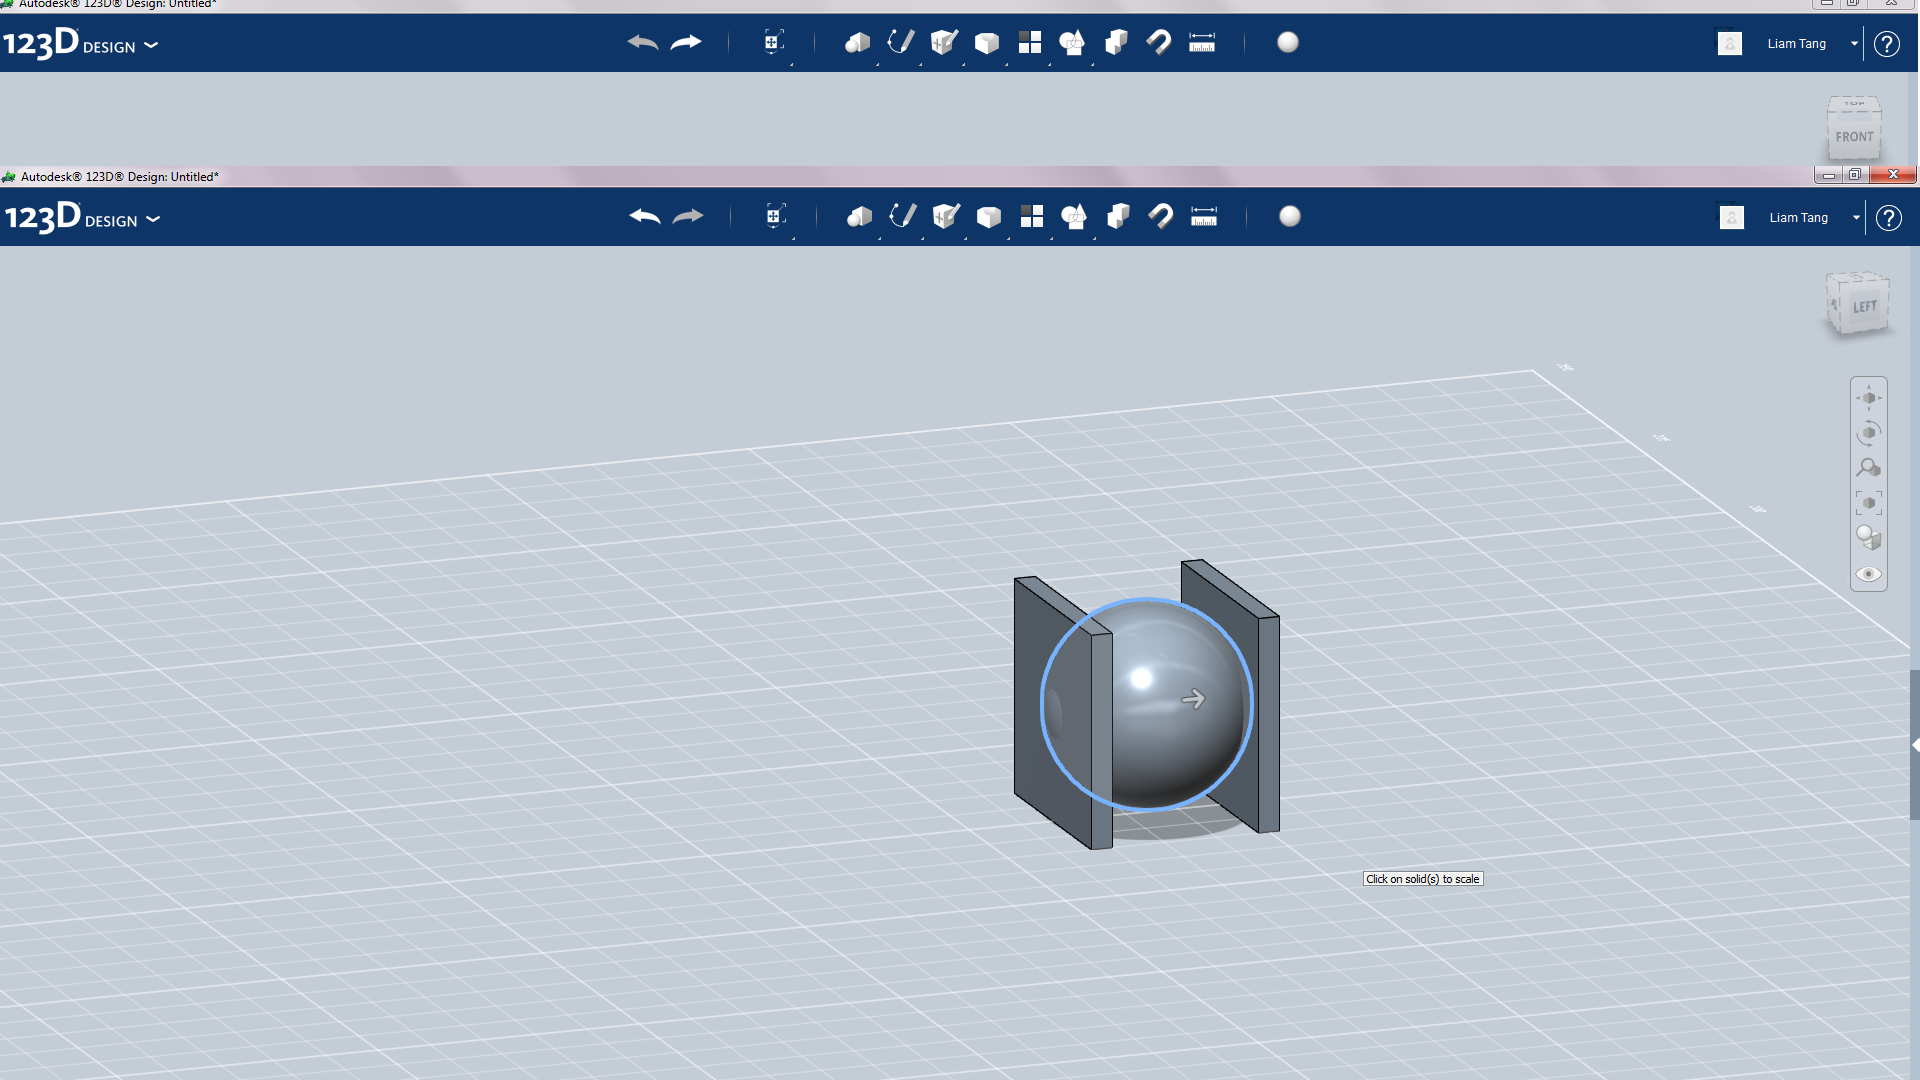
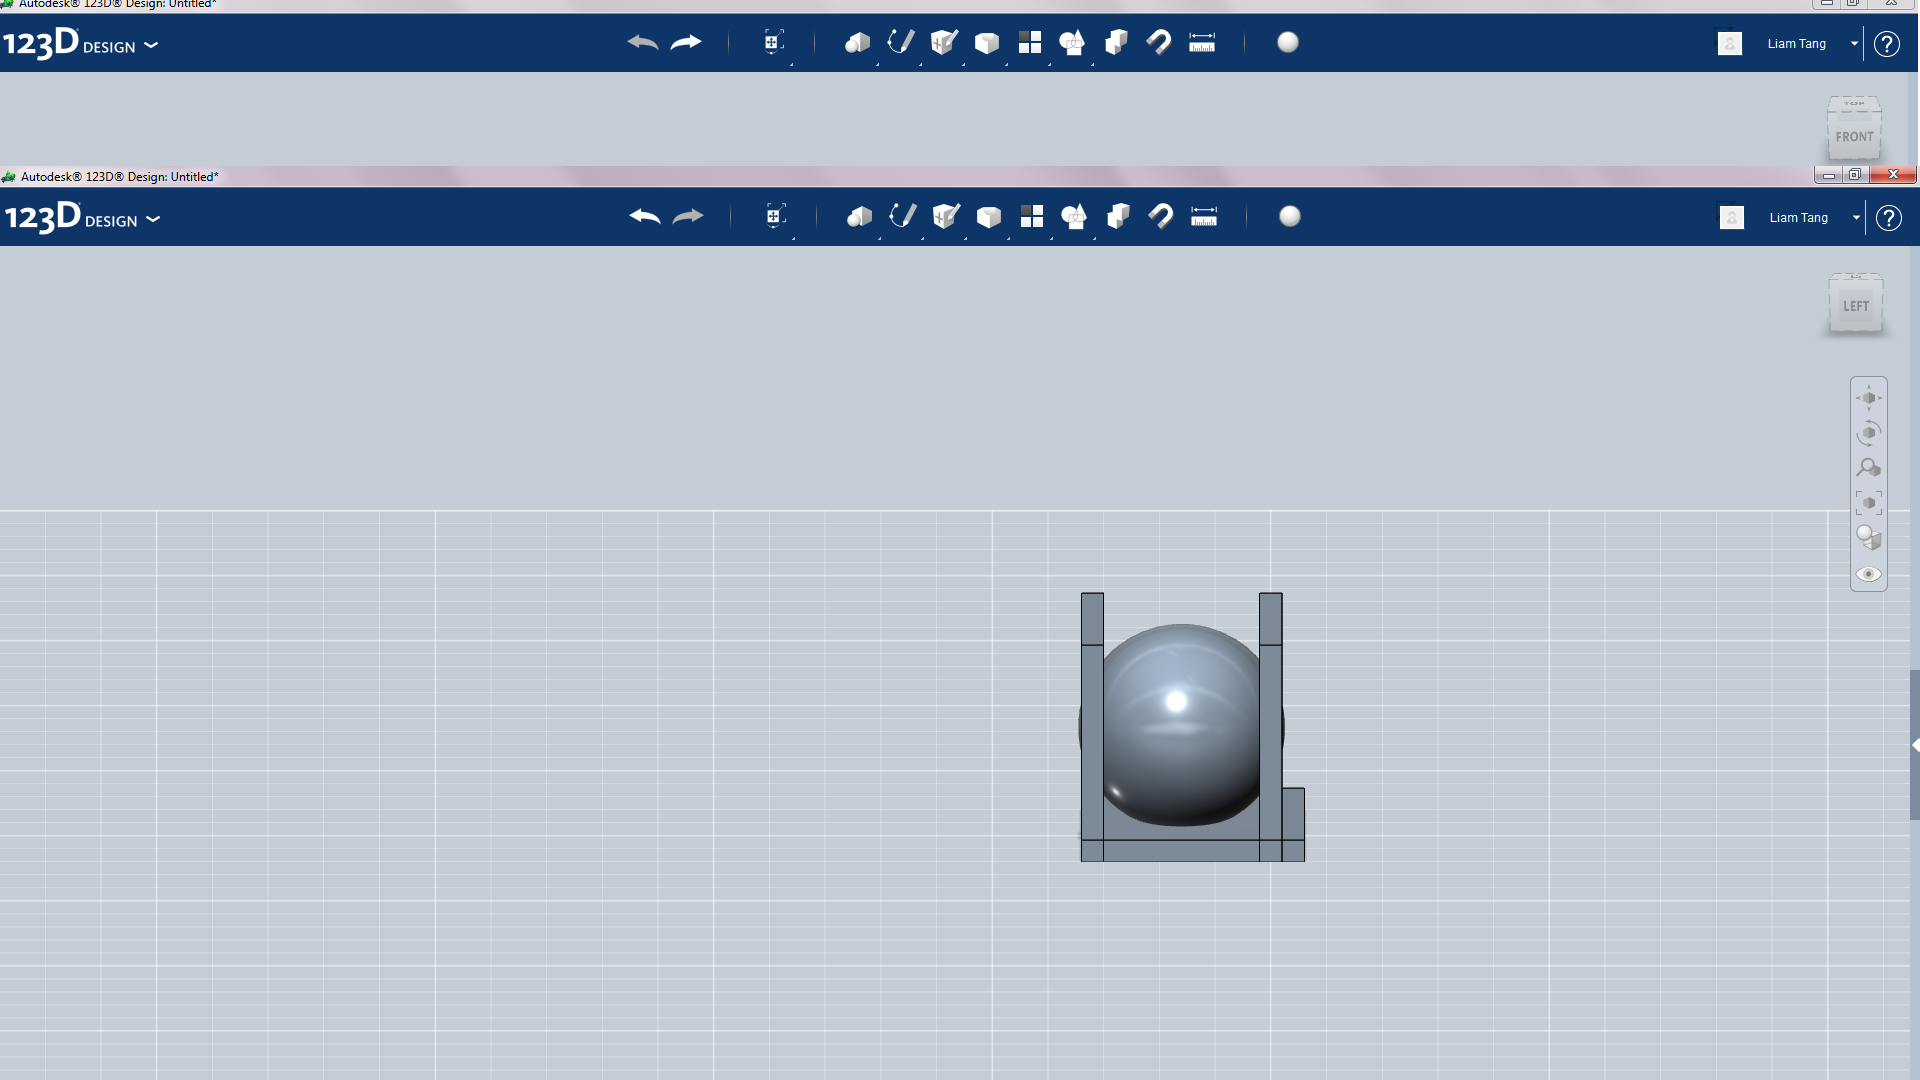
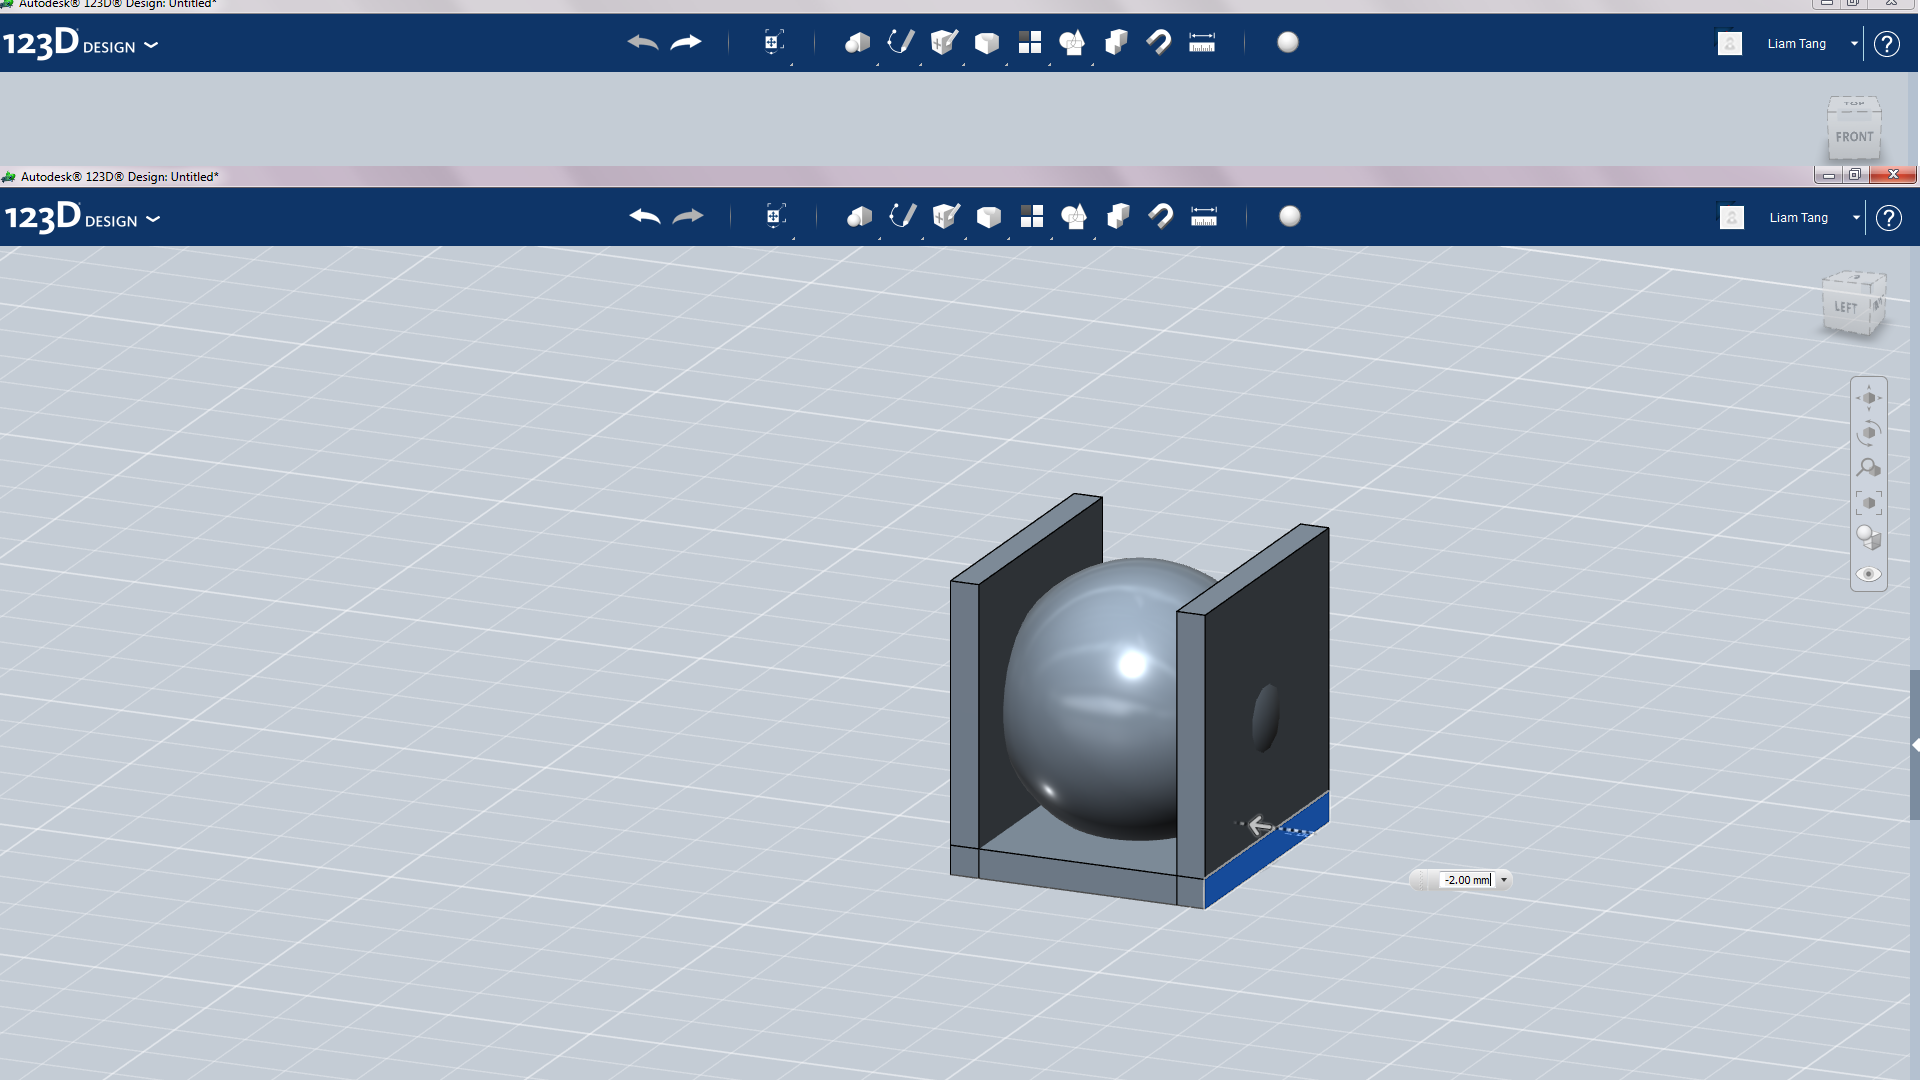
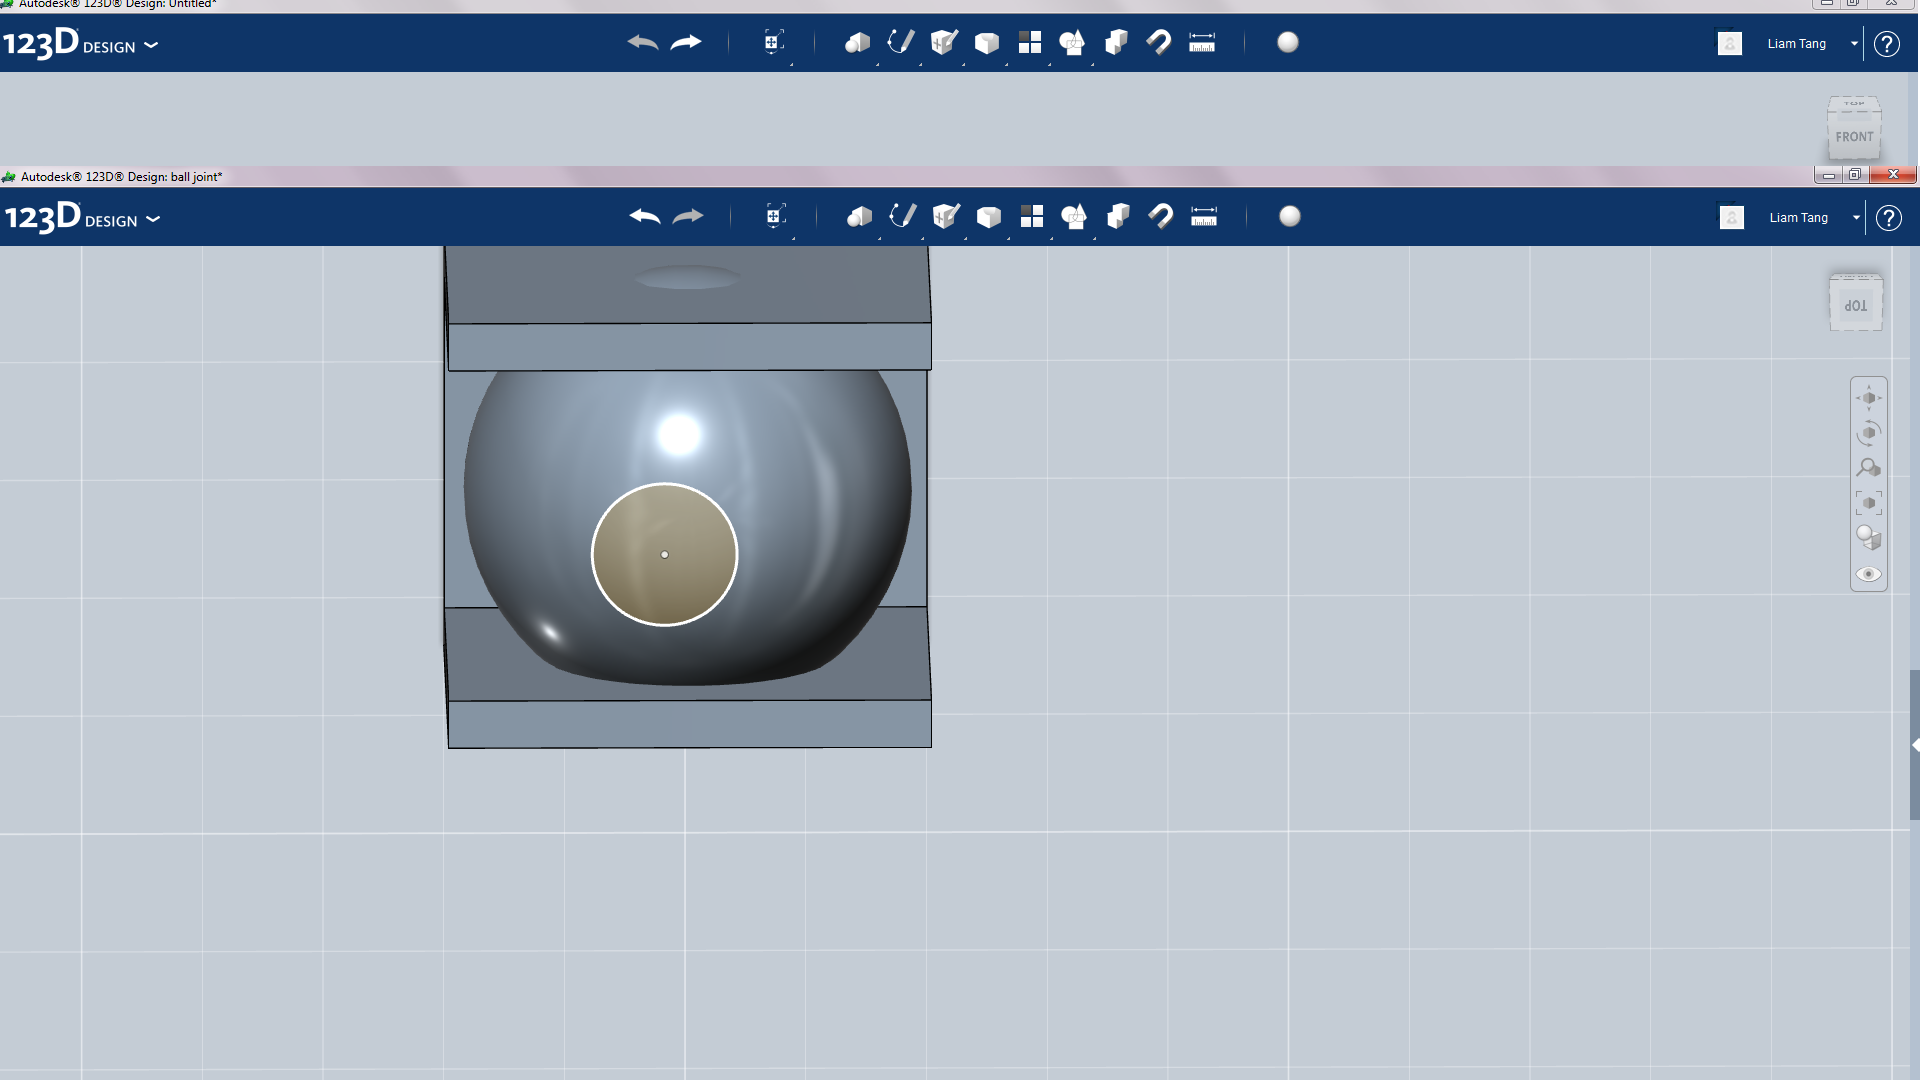
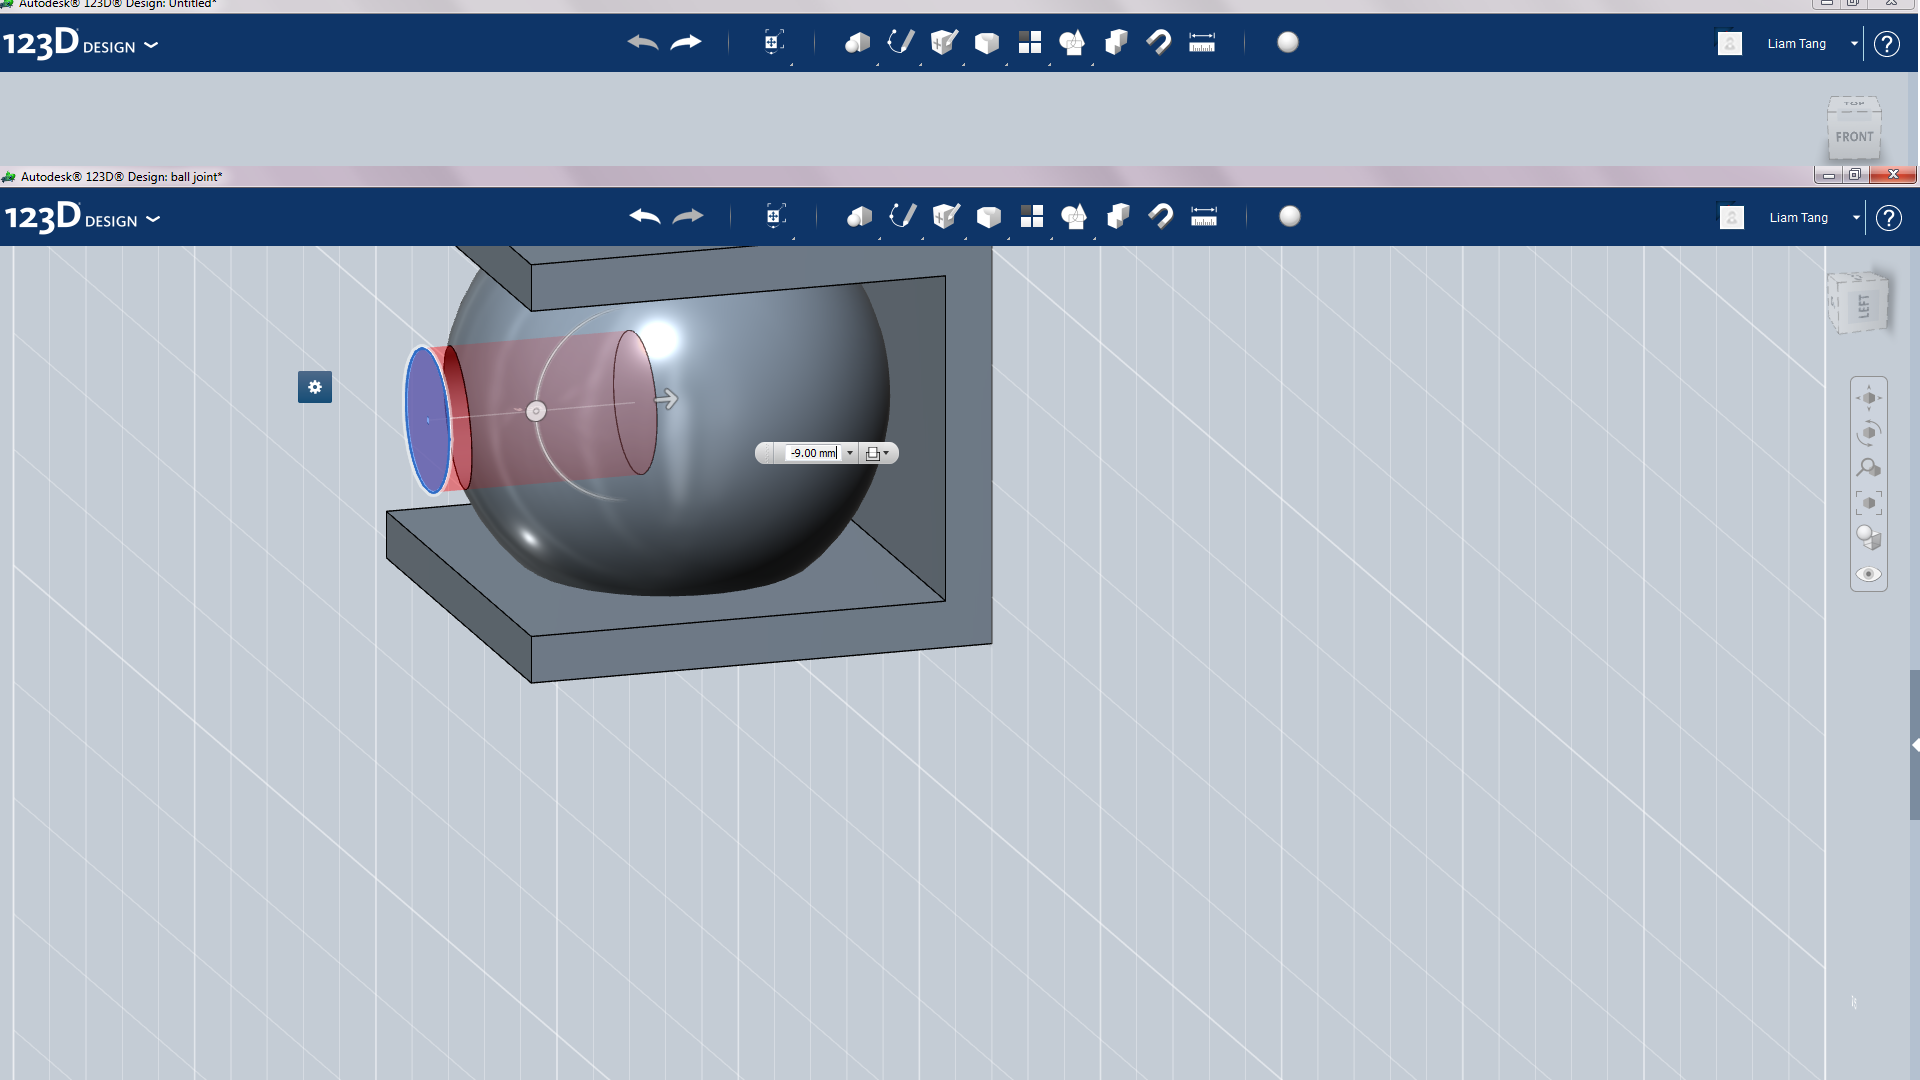
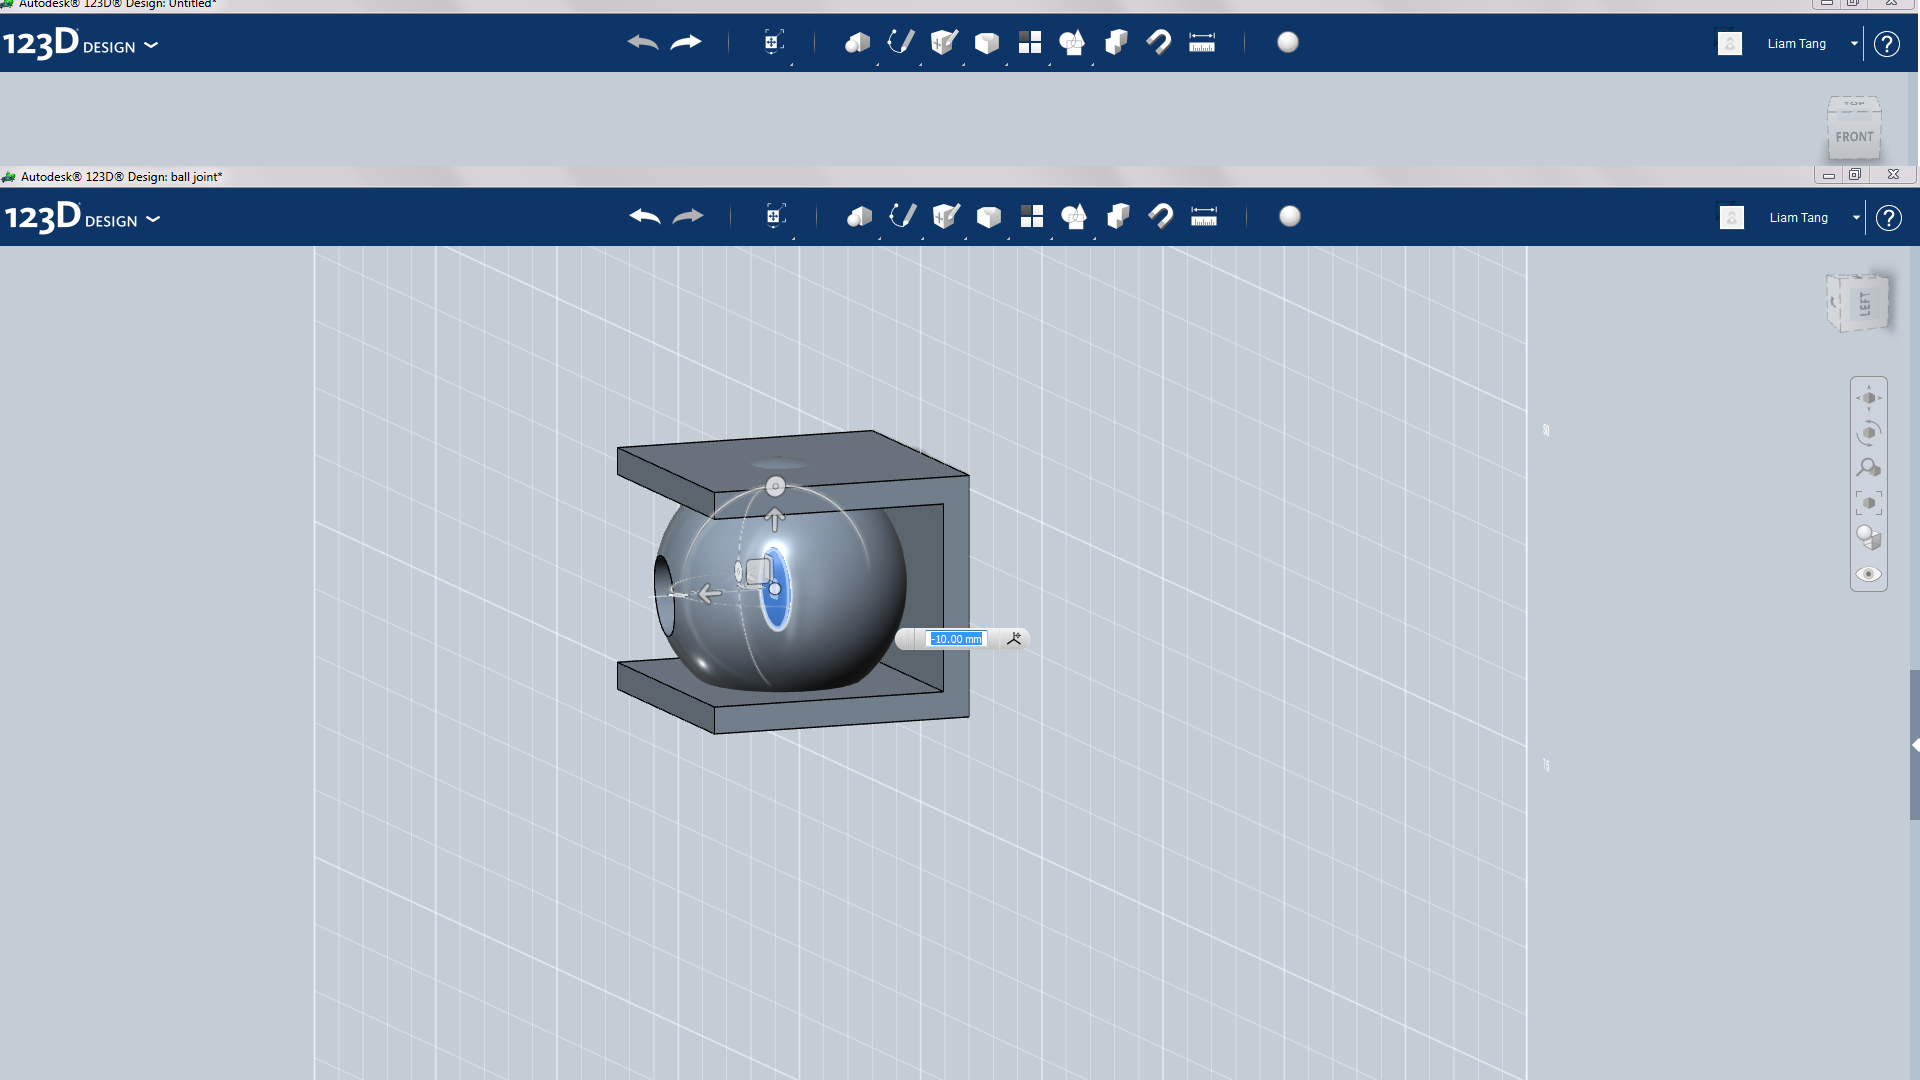
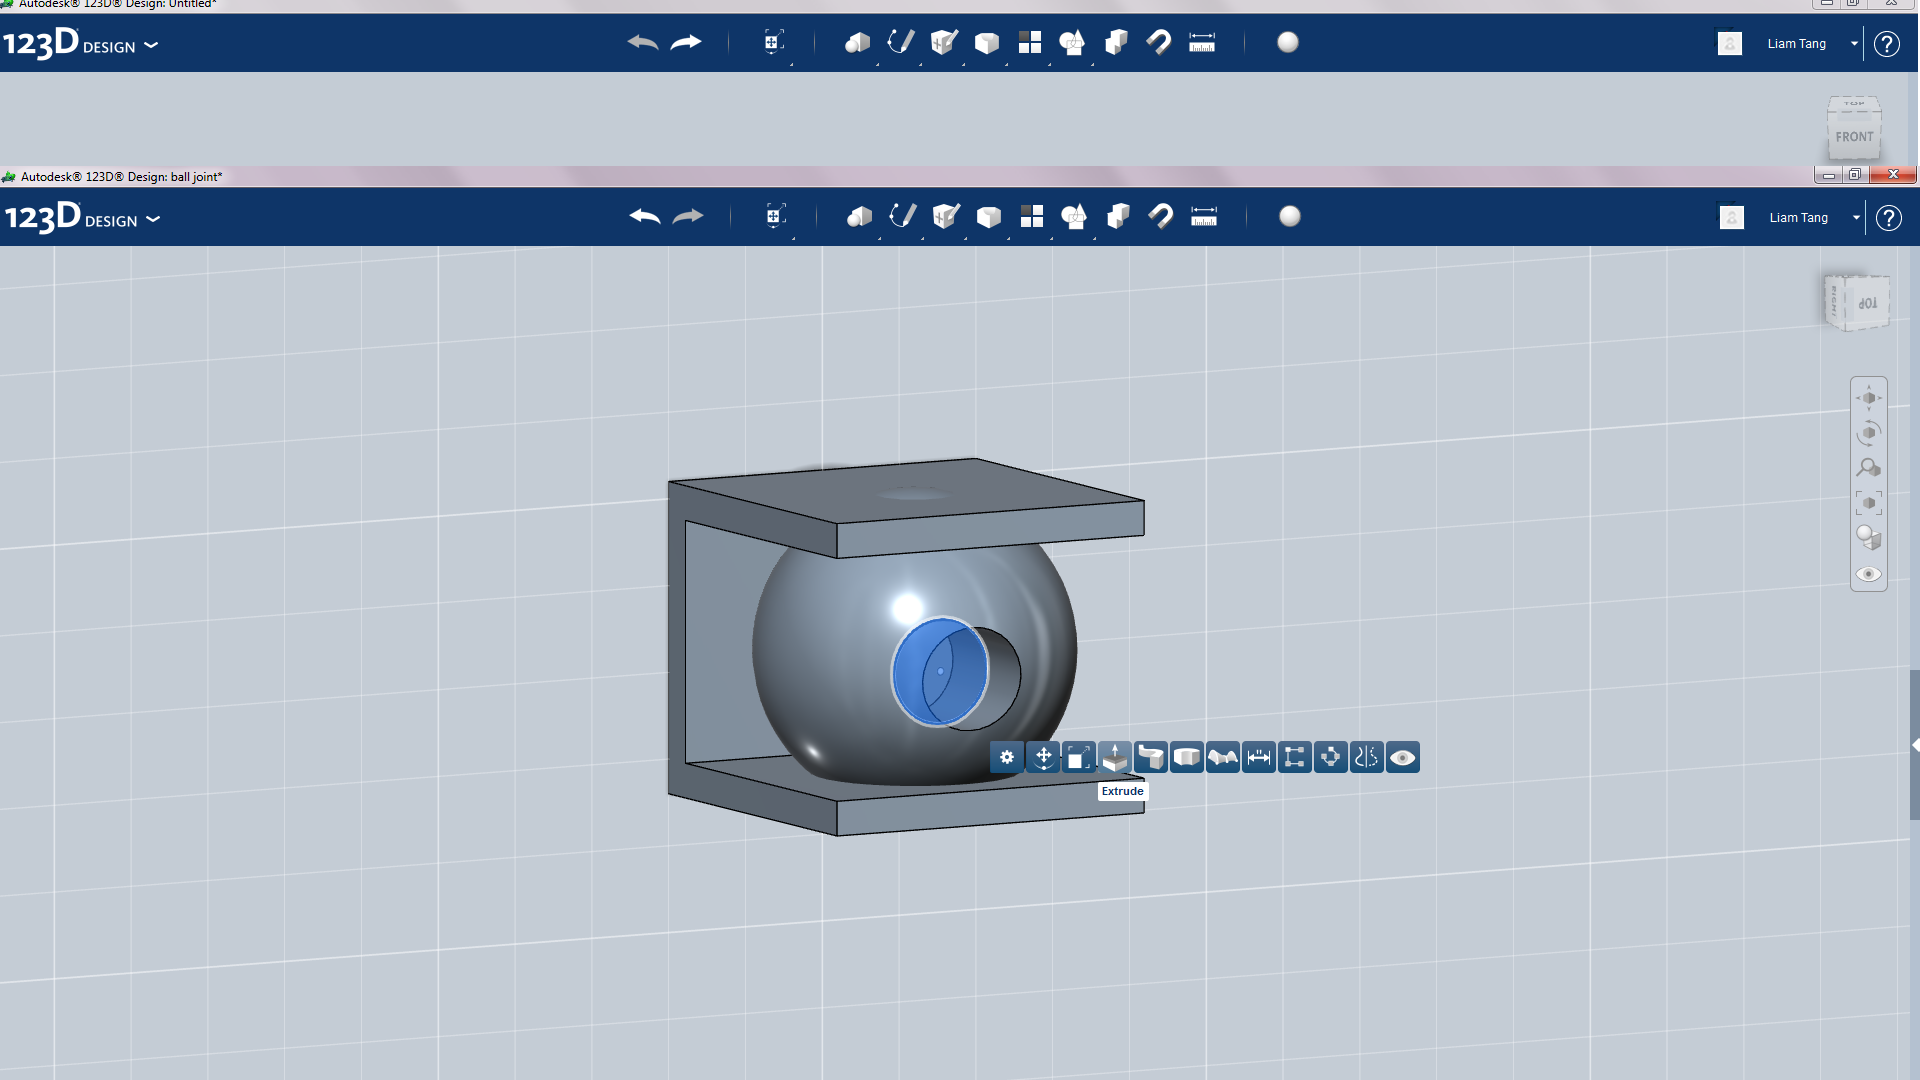
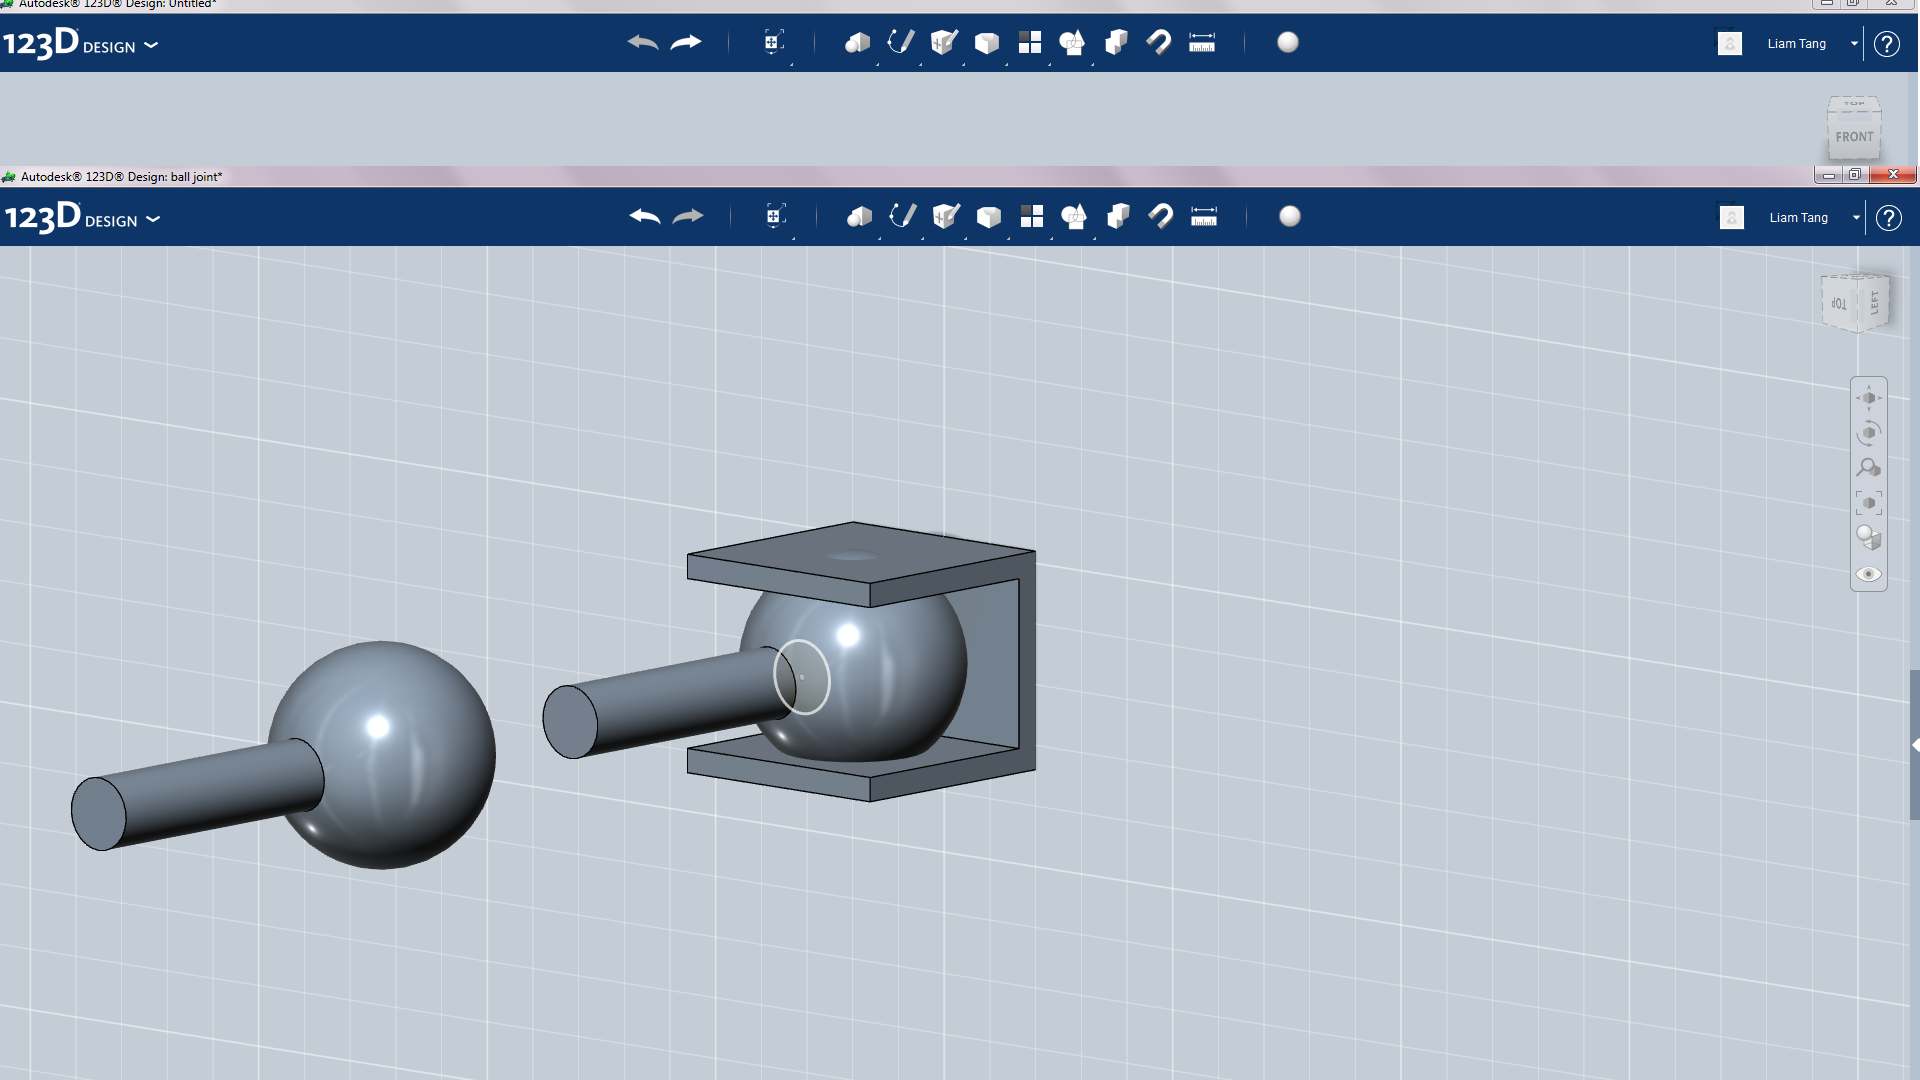
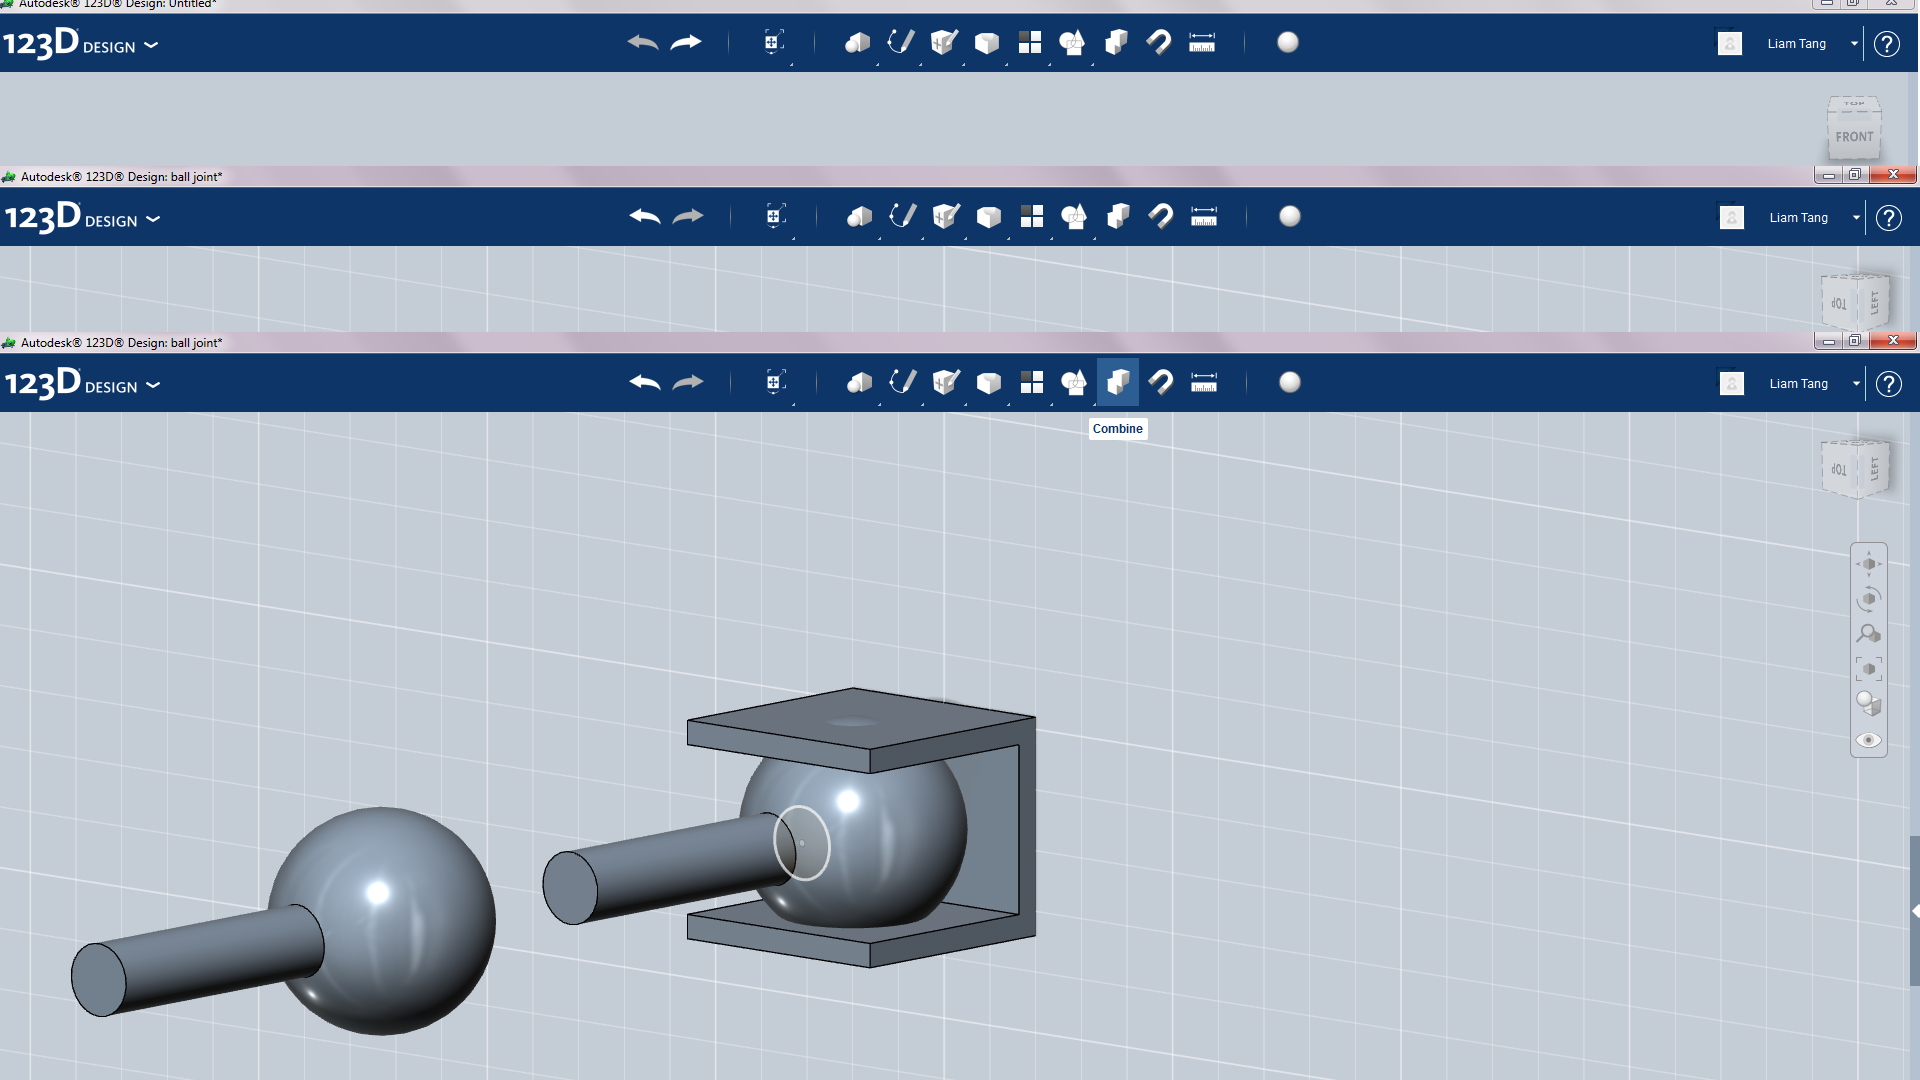
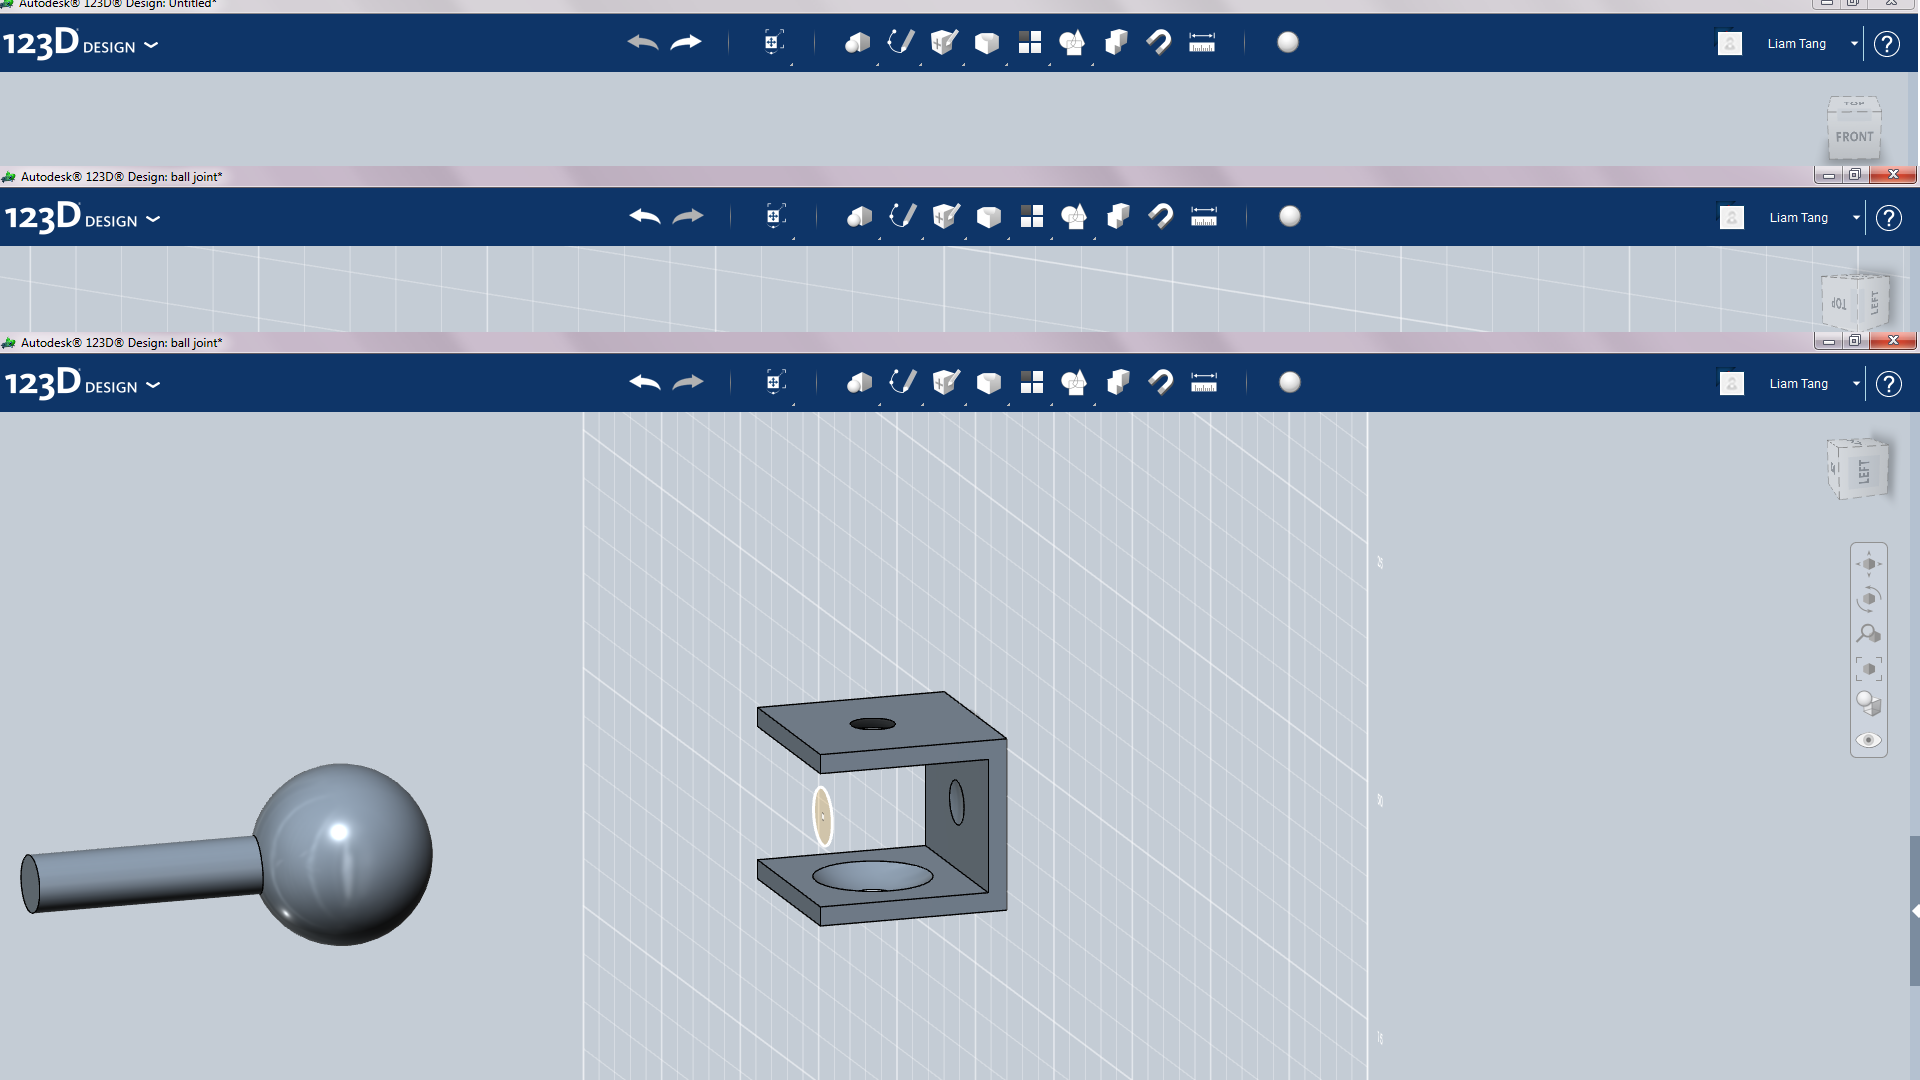
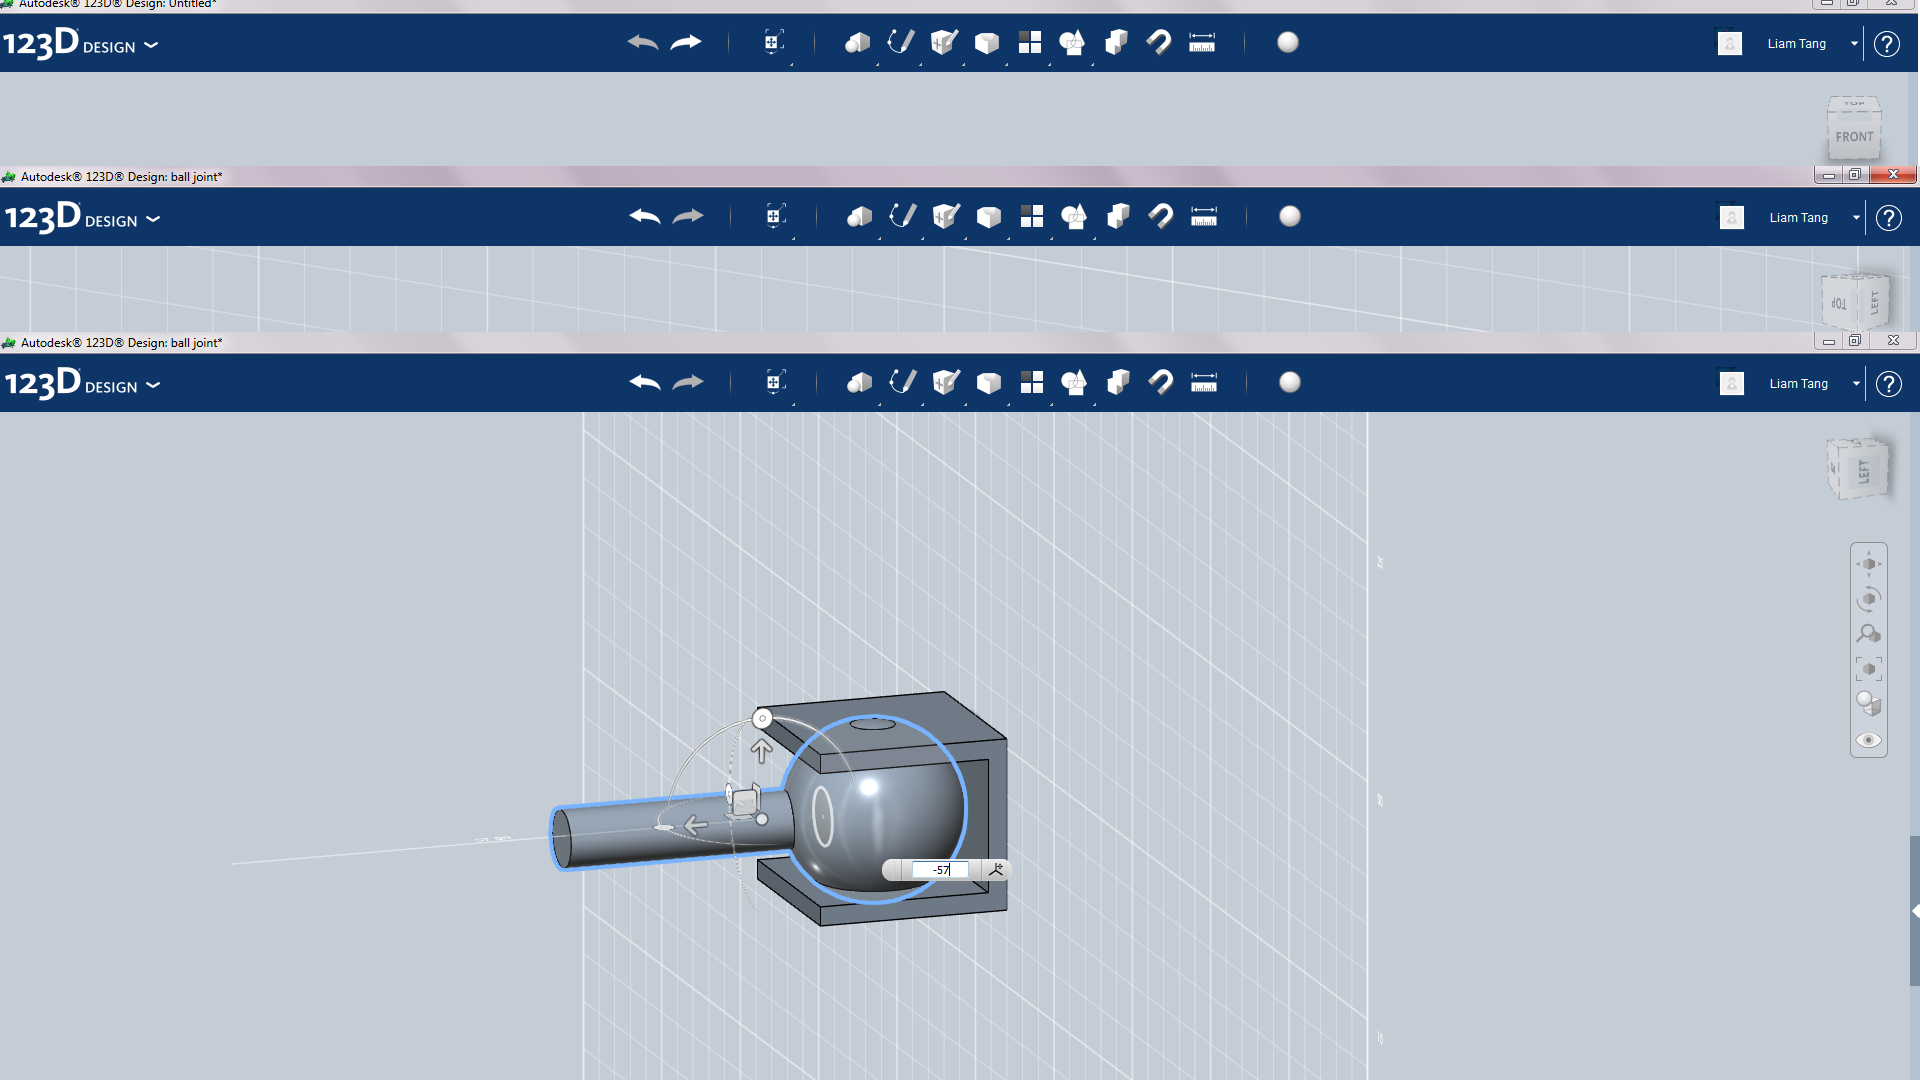
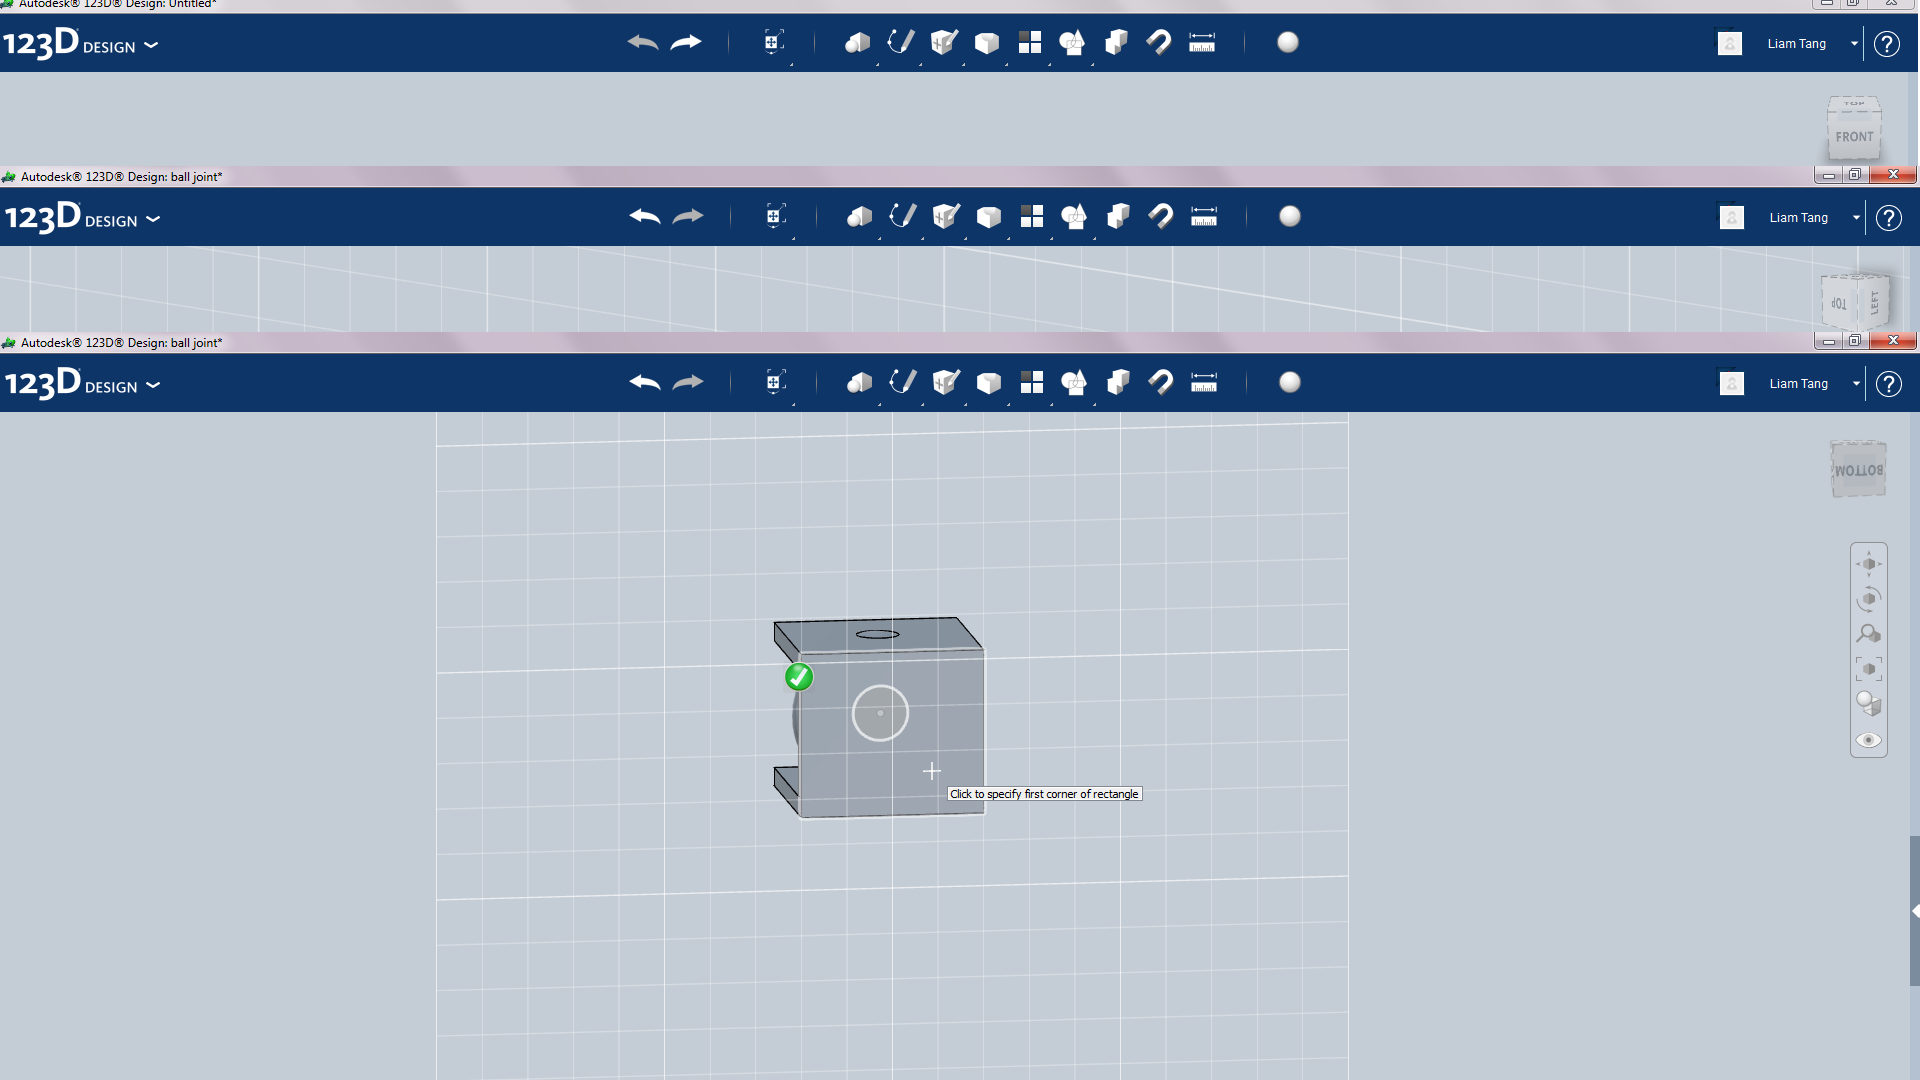
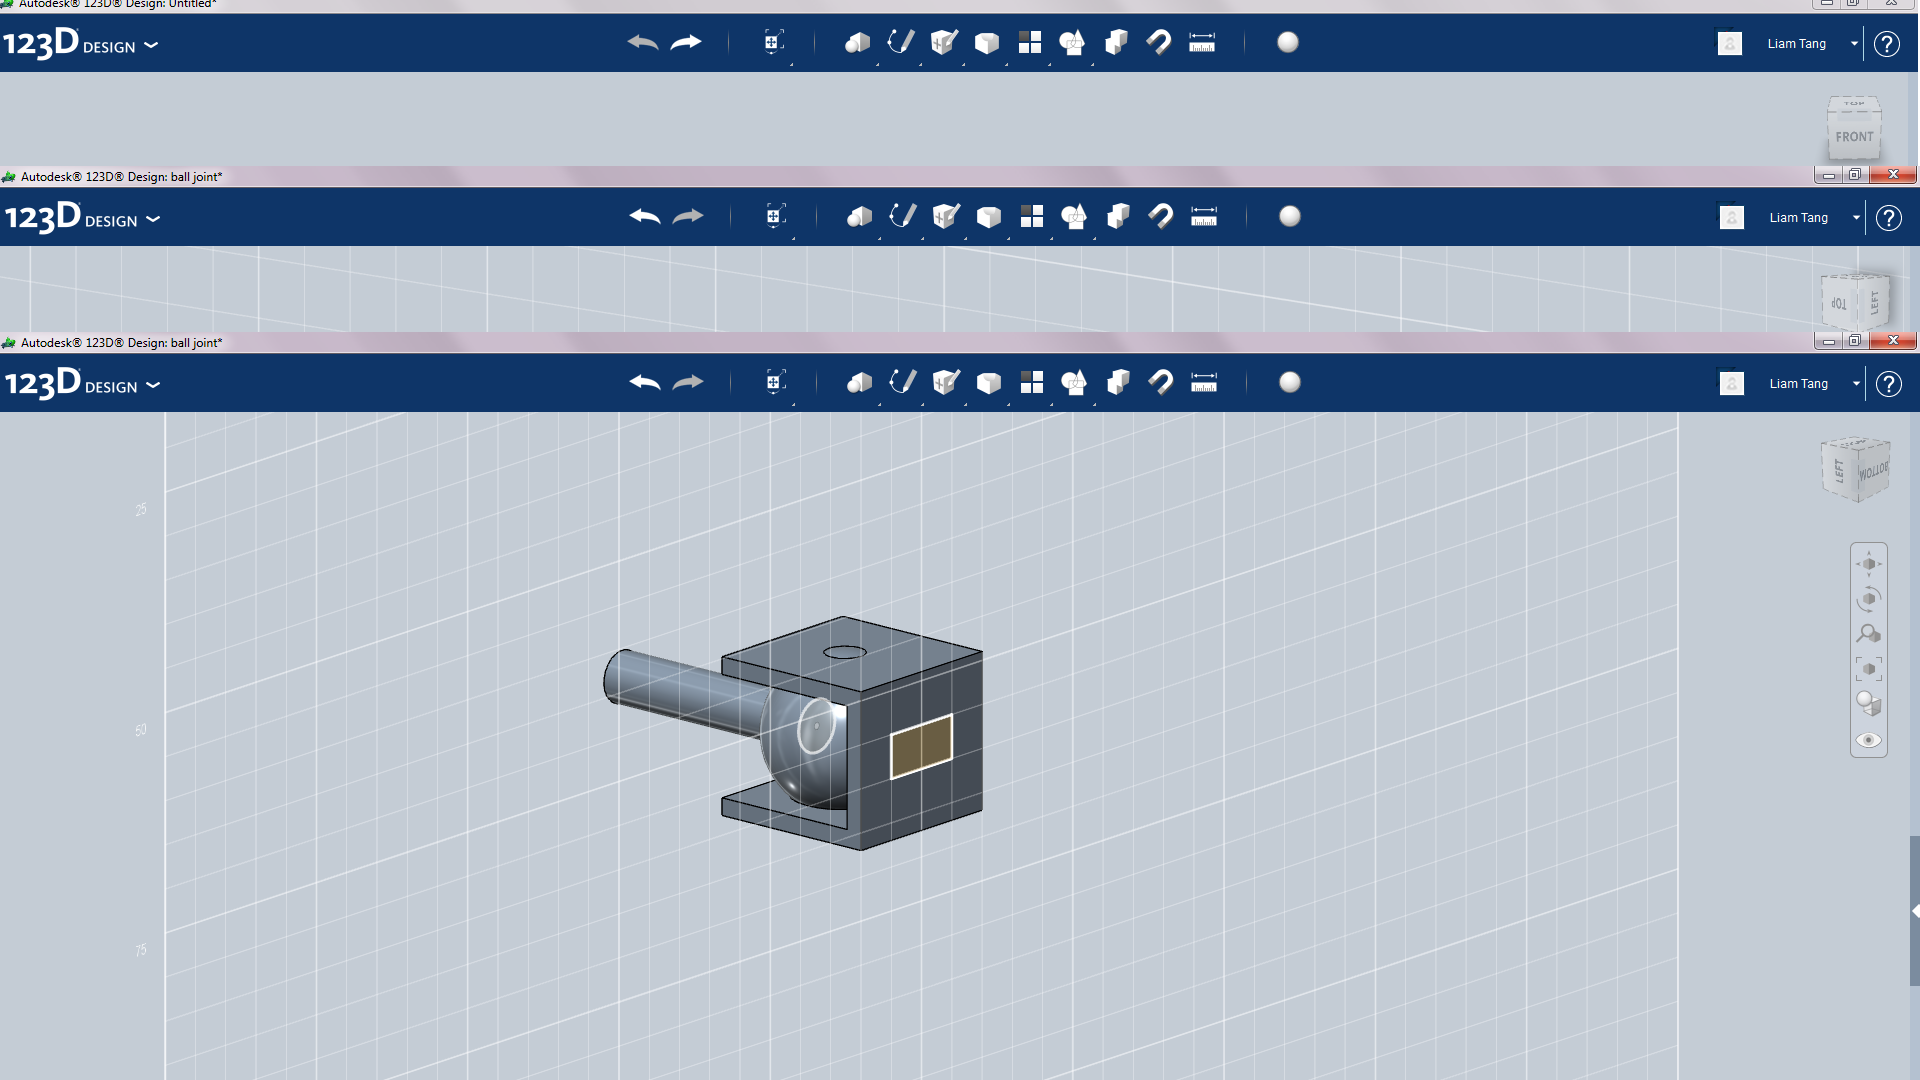
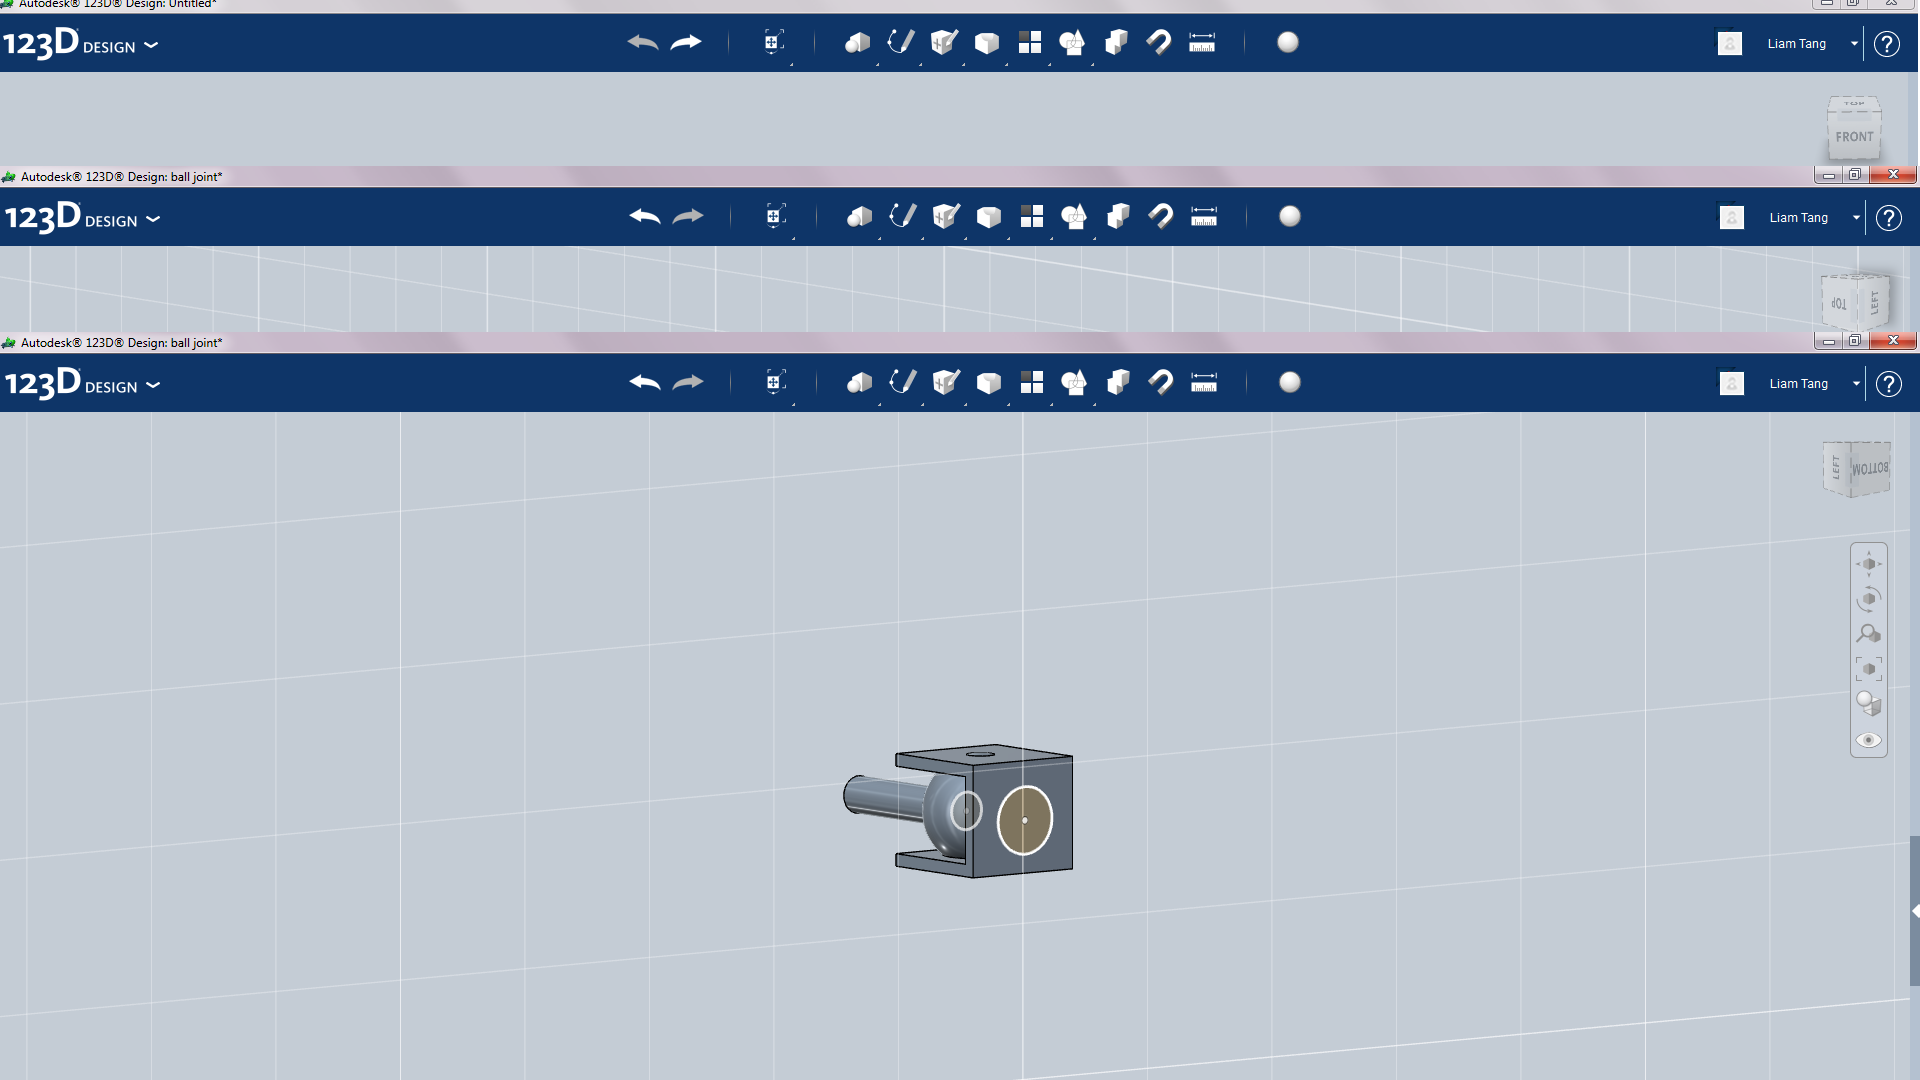
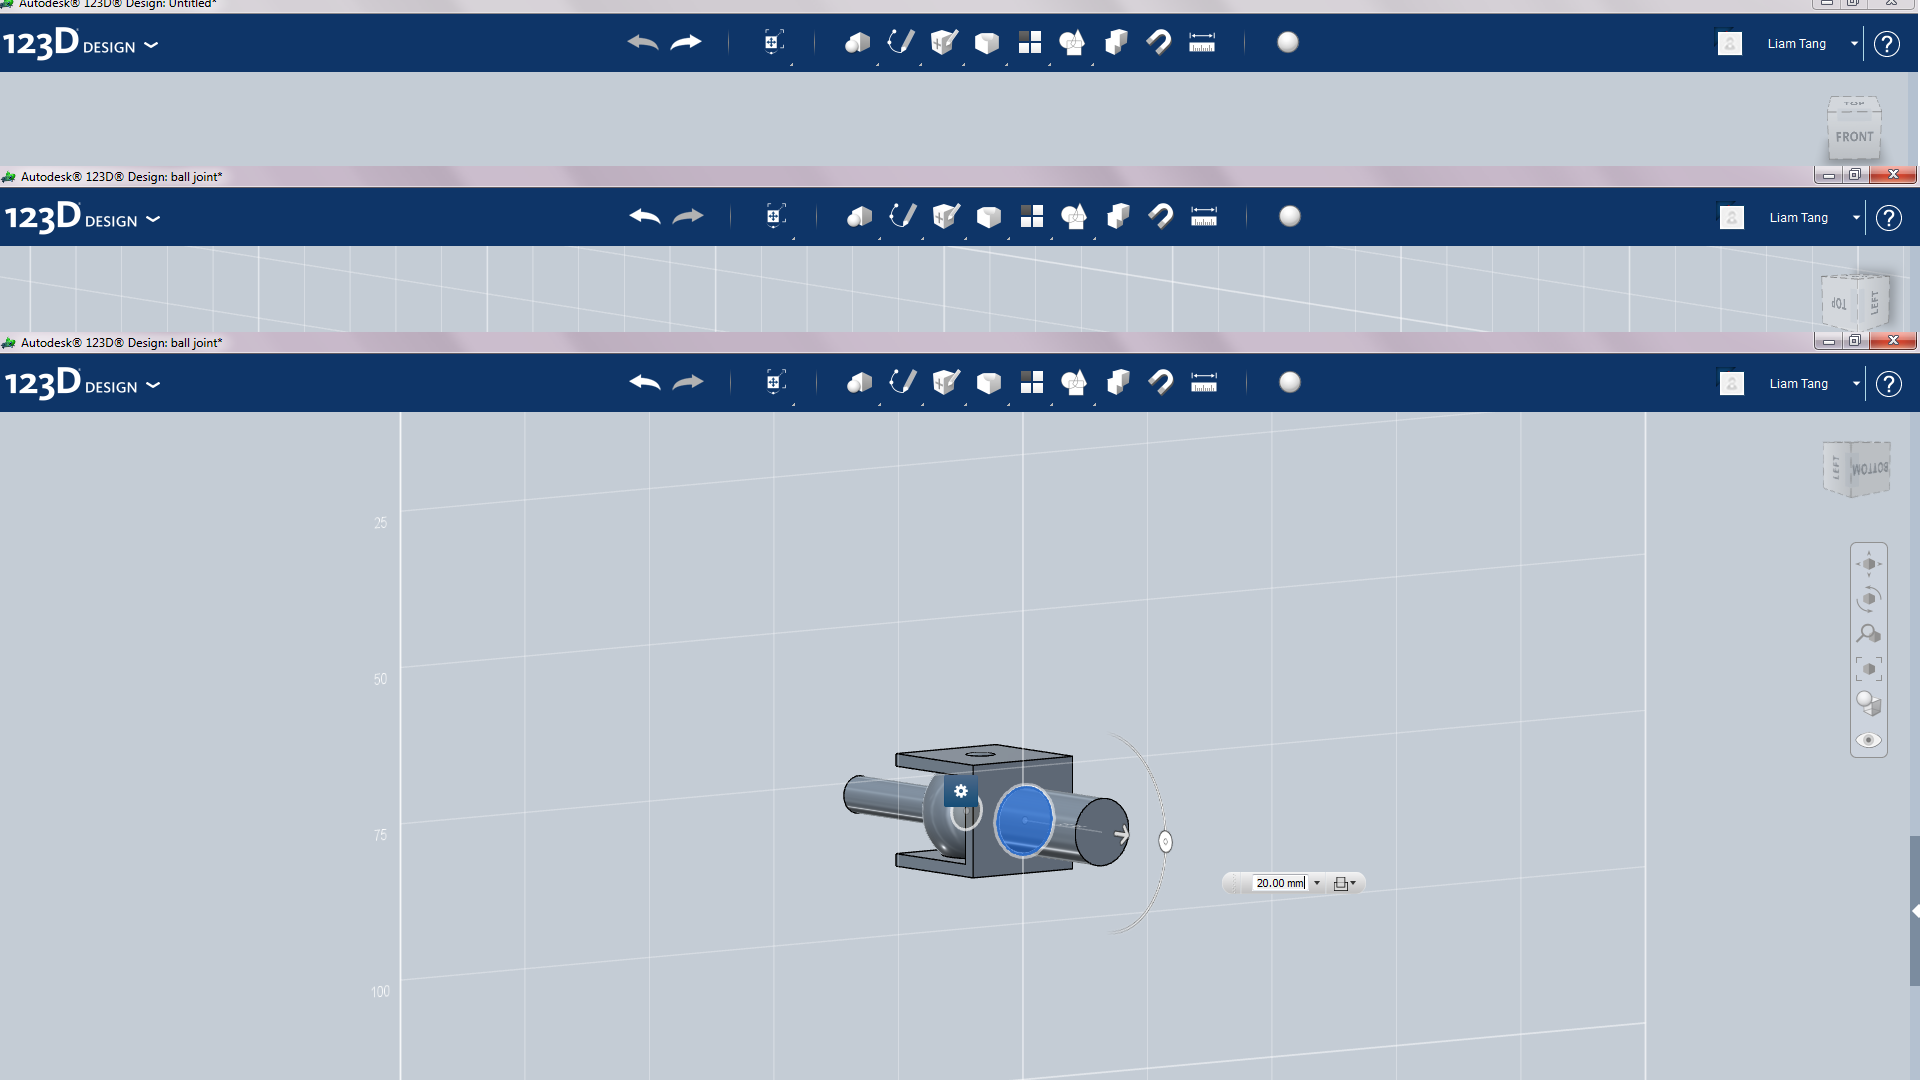
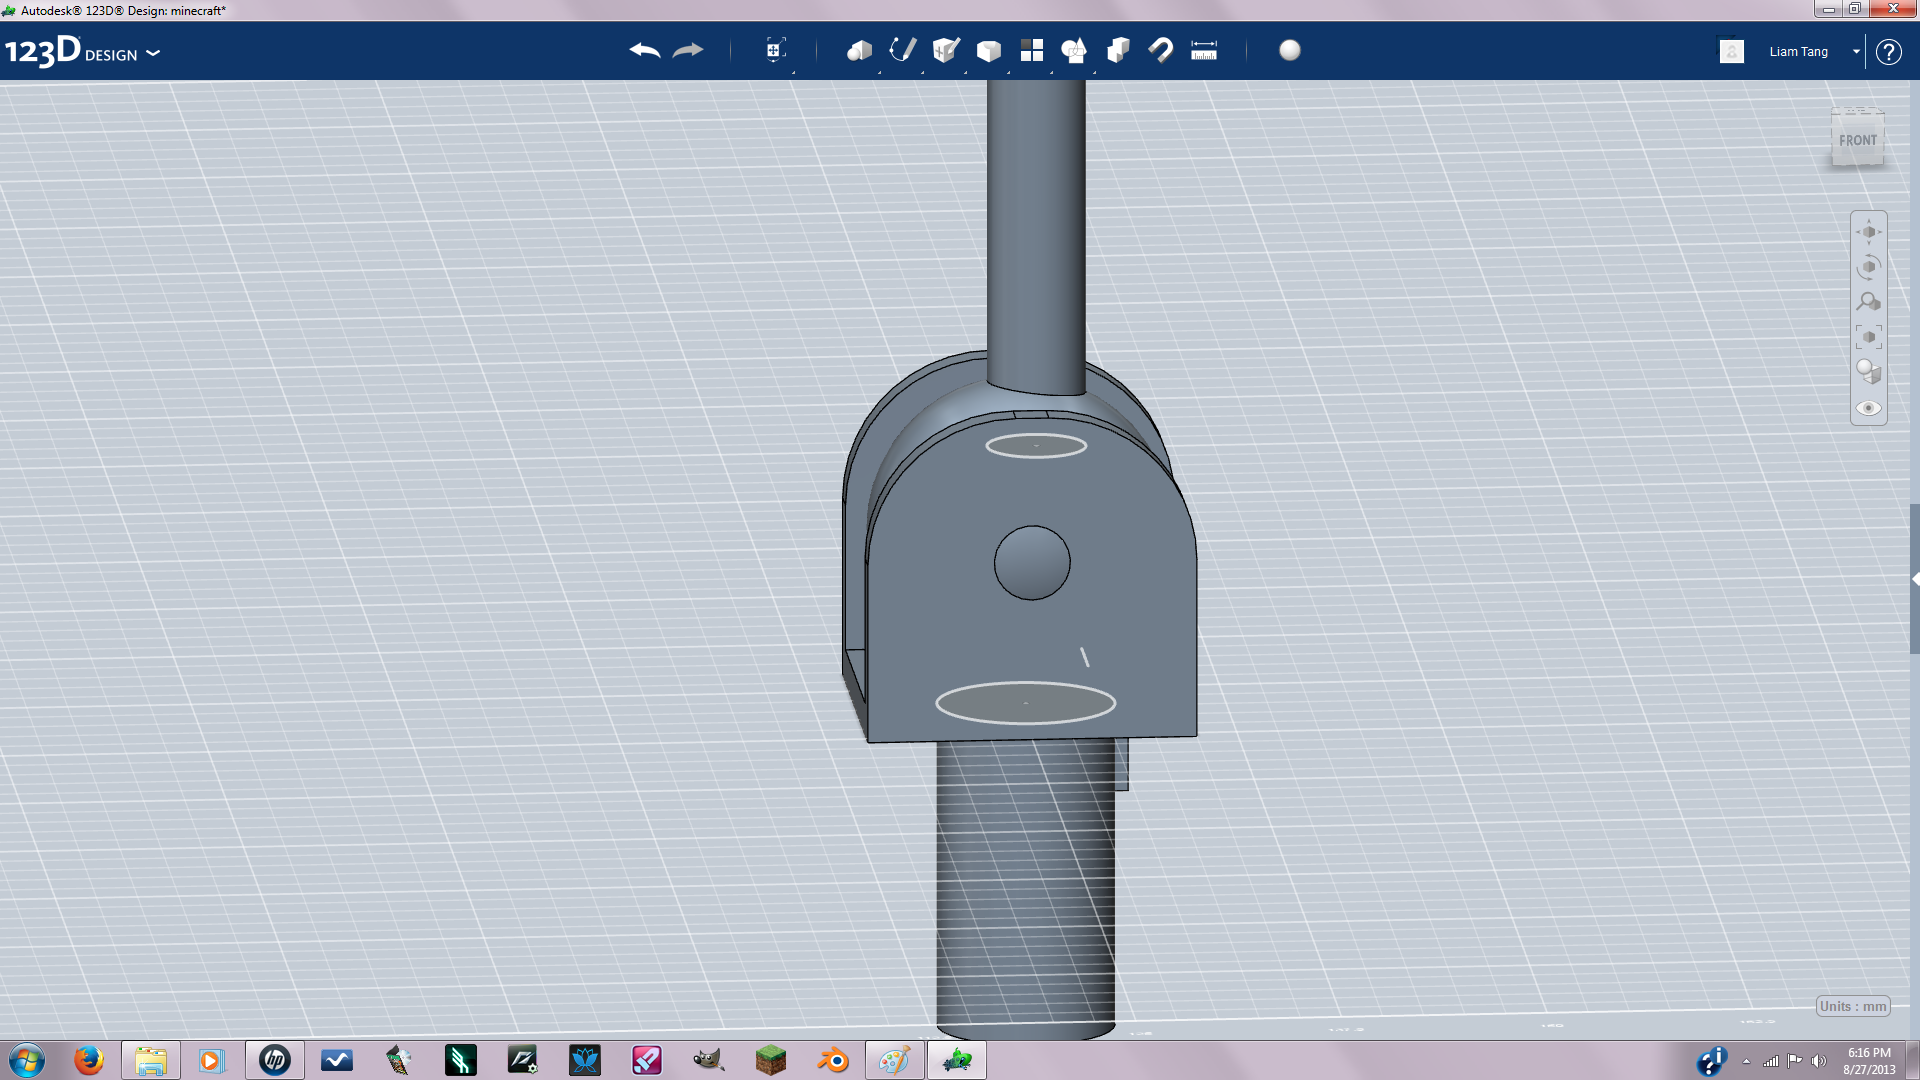

First create a new solid with the dimension in pic2. the copy and paste(copy=CTRL+c paste=CTRL+v) and rotate 90 degrees. Then add a sphere. Next copy and paste the final wall(you should end up with something like pic 7). You want to make the sphere just a little bit bigger then the brackets that hold it. Okay, now switch to top view and sketch a circle on the center of the sphere, and negative extrude. Then move the same sketch back so it is now inside where you just negative extruded. Now you just want to extrude the circle sketch into a cylinder. Now you should have something that looks like pic 15. Now copy and paste the ball with cylinder and move it out 57mm(pic 12). There should still be a ball and cylinder in the bracket. Now find combine in your toolbar and click on it, then click on the sphere part then the bracket part and make sure the combined is set to subtract then click on an empty space to confirm the combine. It should now look like pic 7. Next just move the other sphere part back in the bracket-57mm. Next just extrude a cylinder on the back of the bracket. Then fillet the edges so It looks like pic one and 21
Inserting
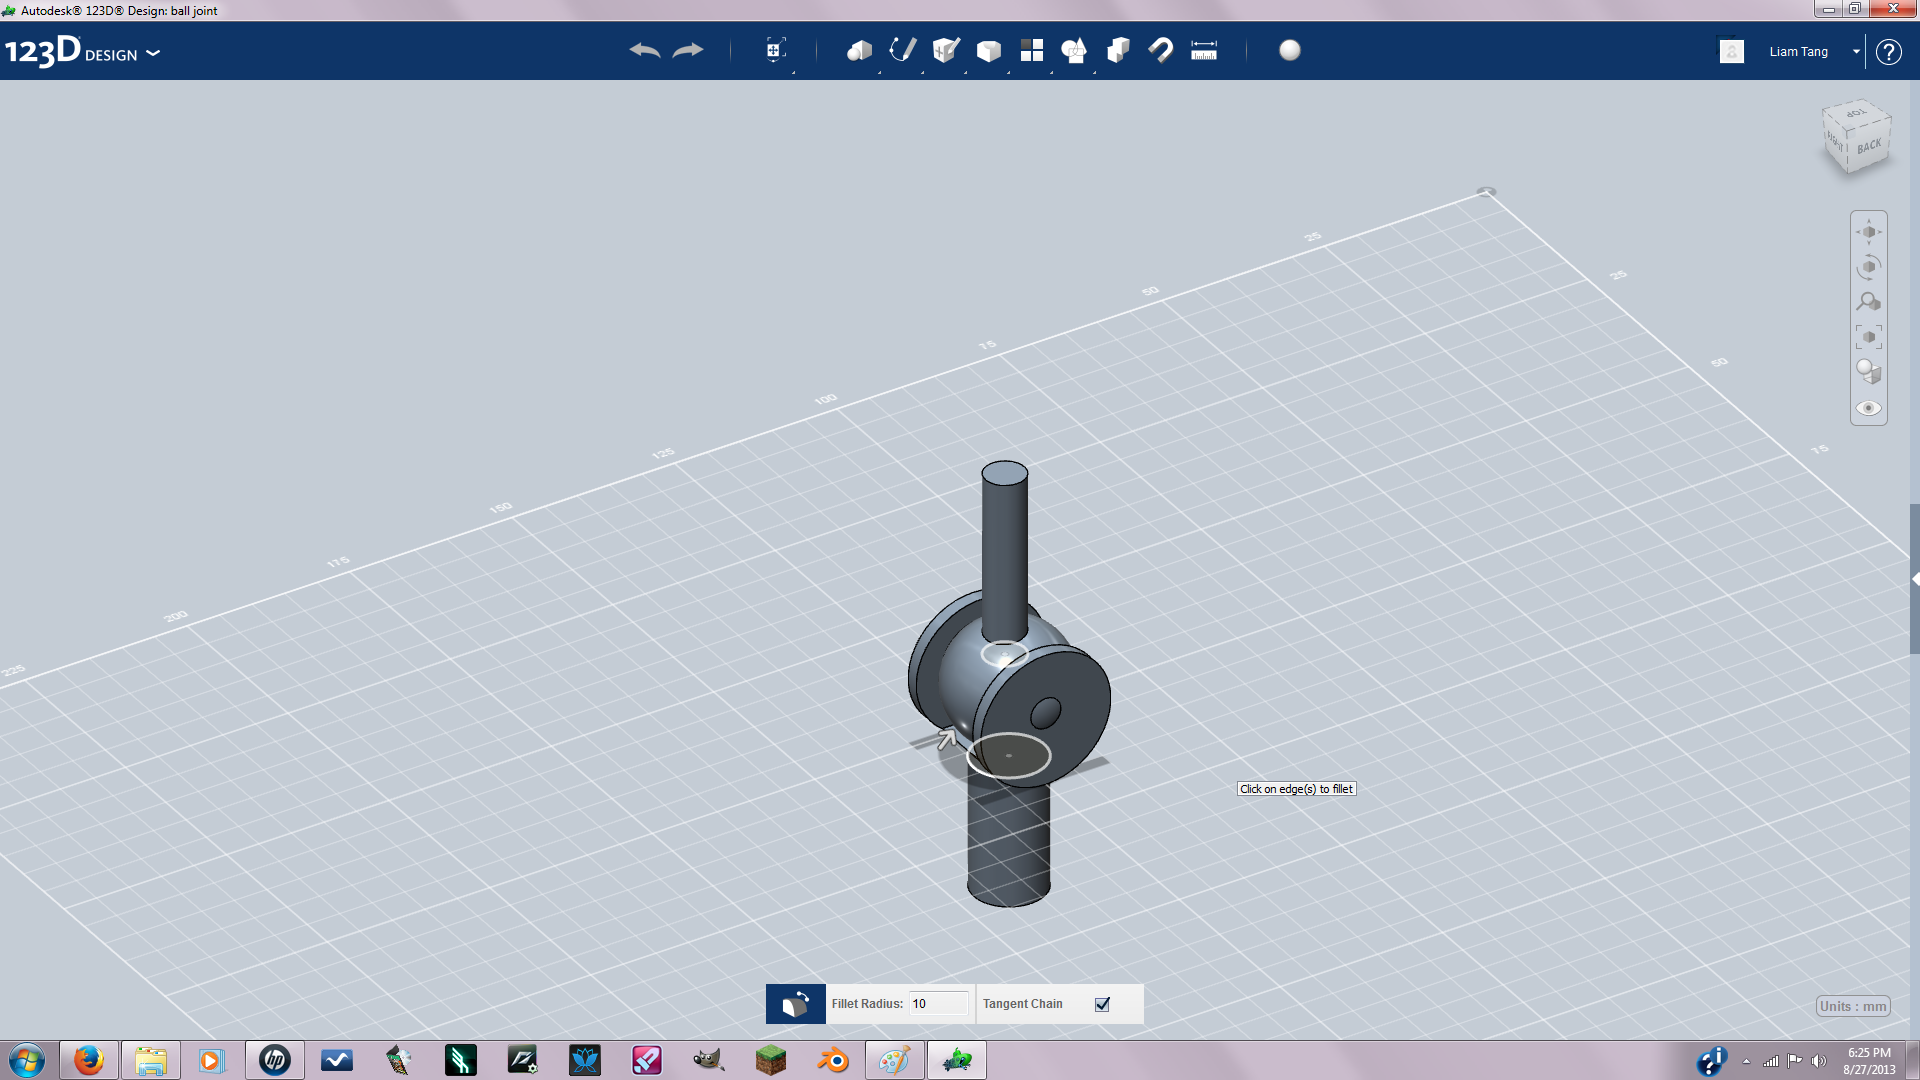
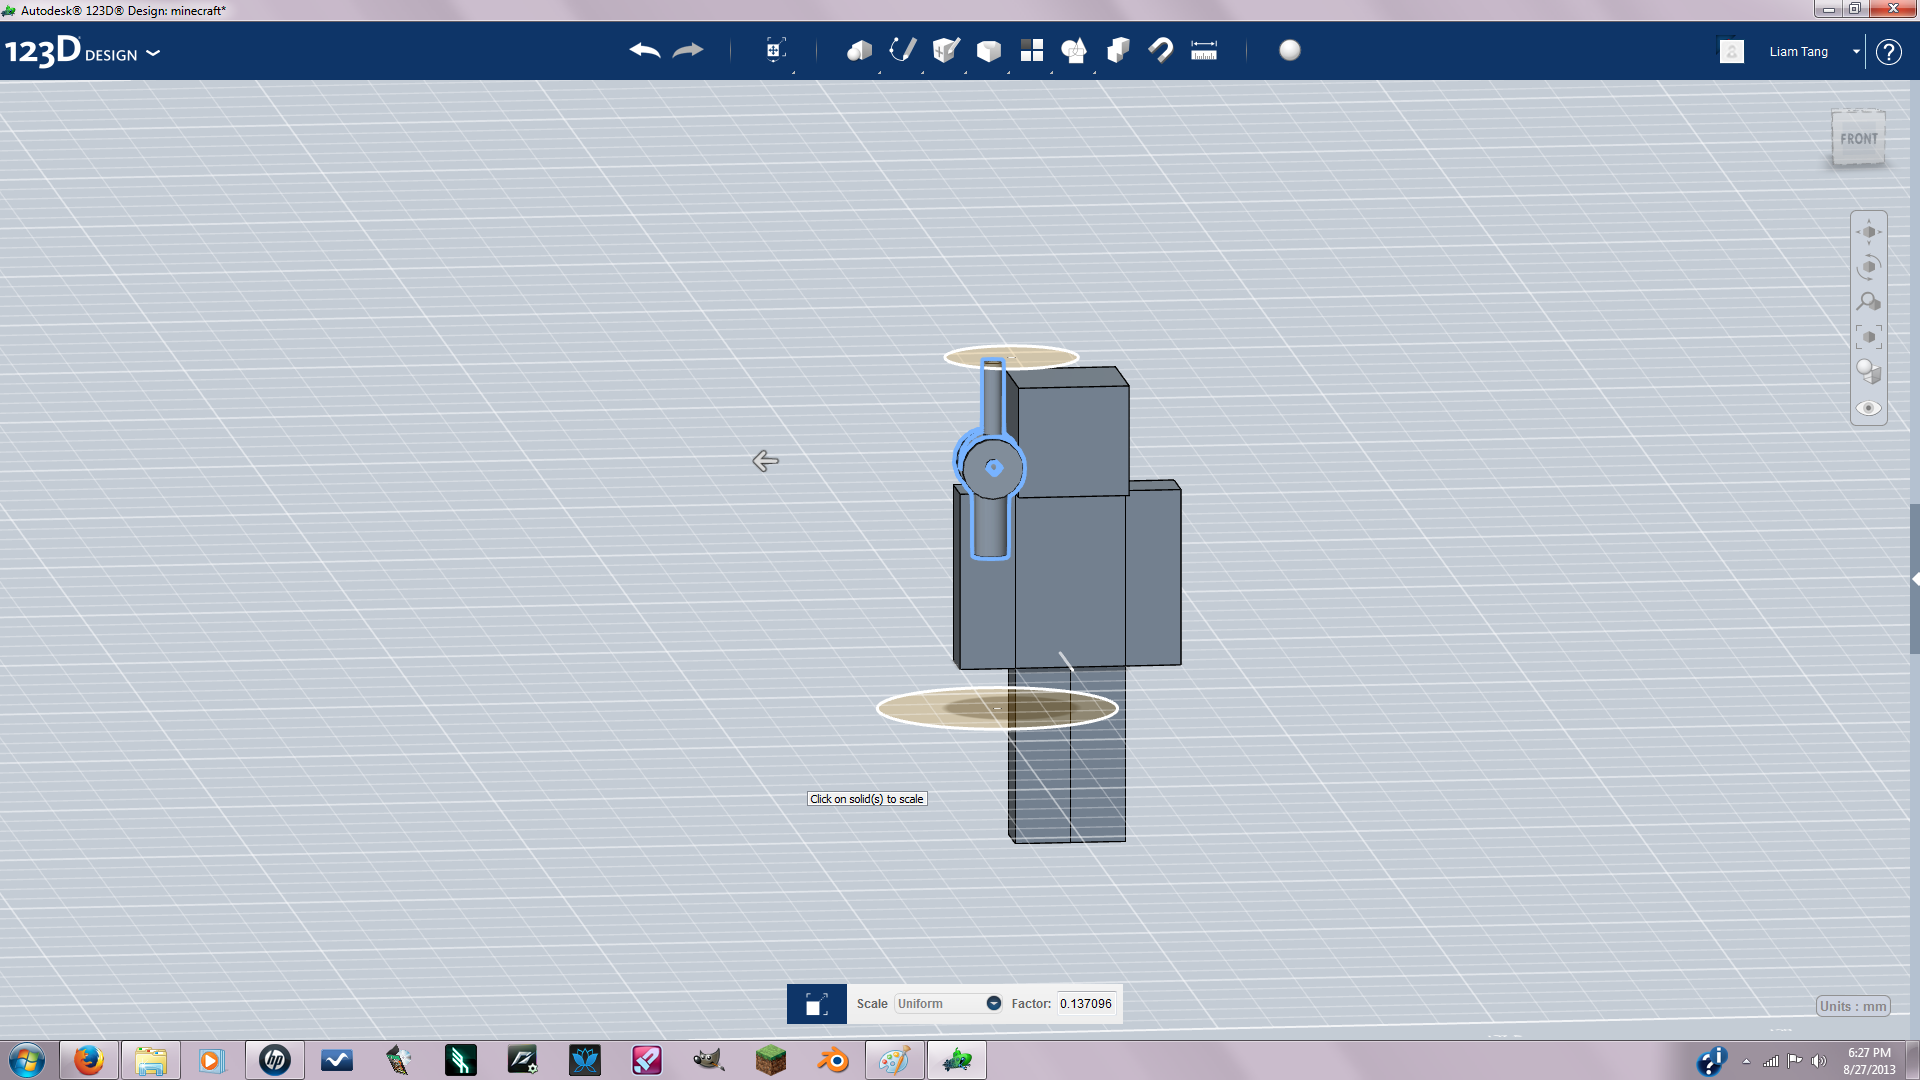
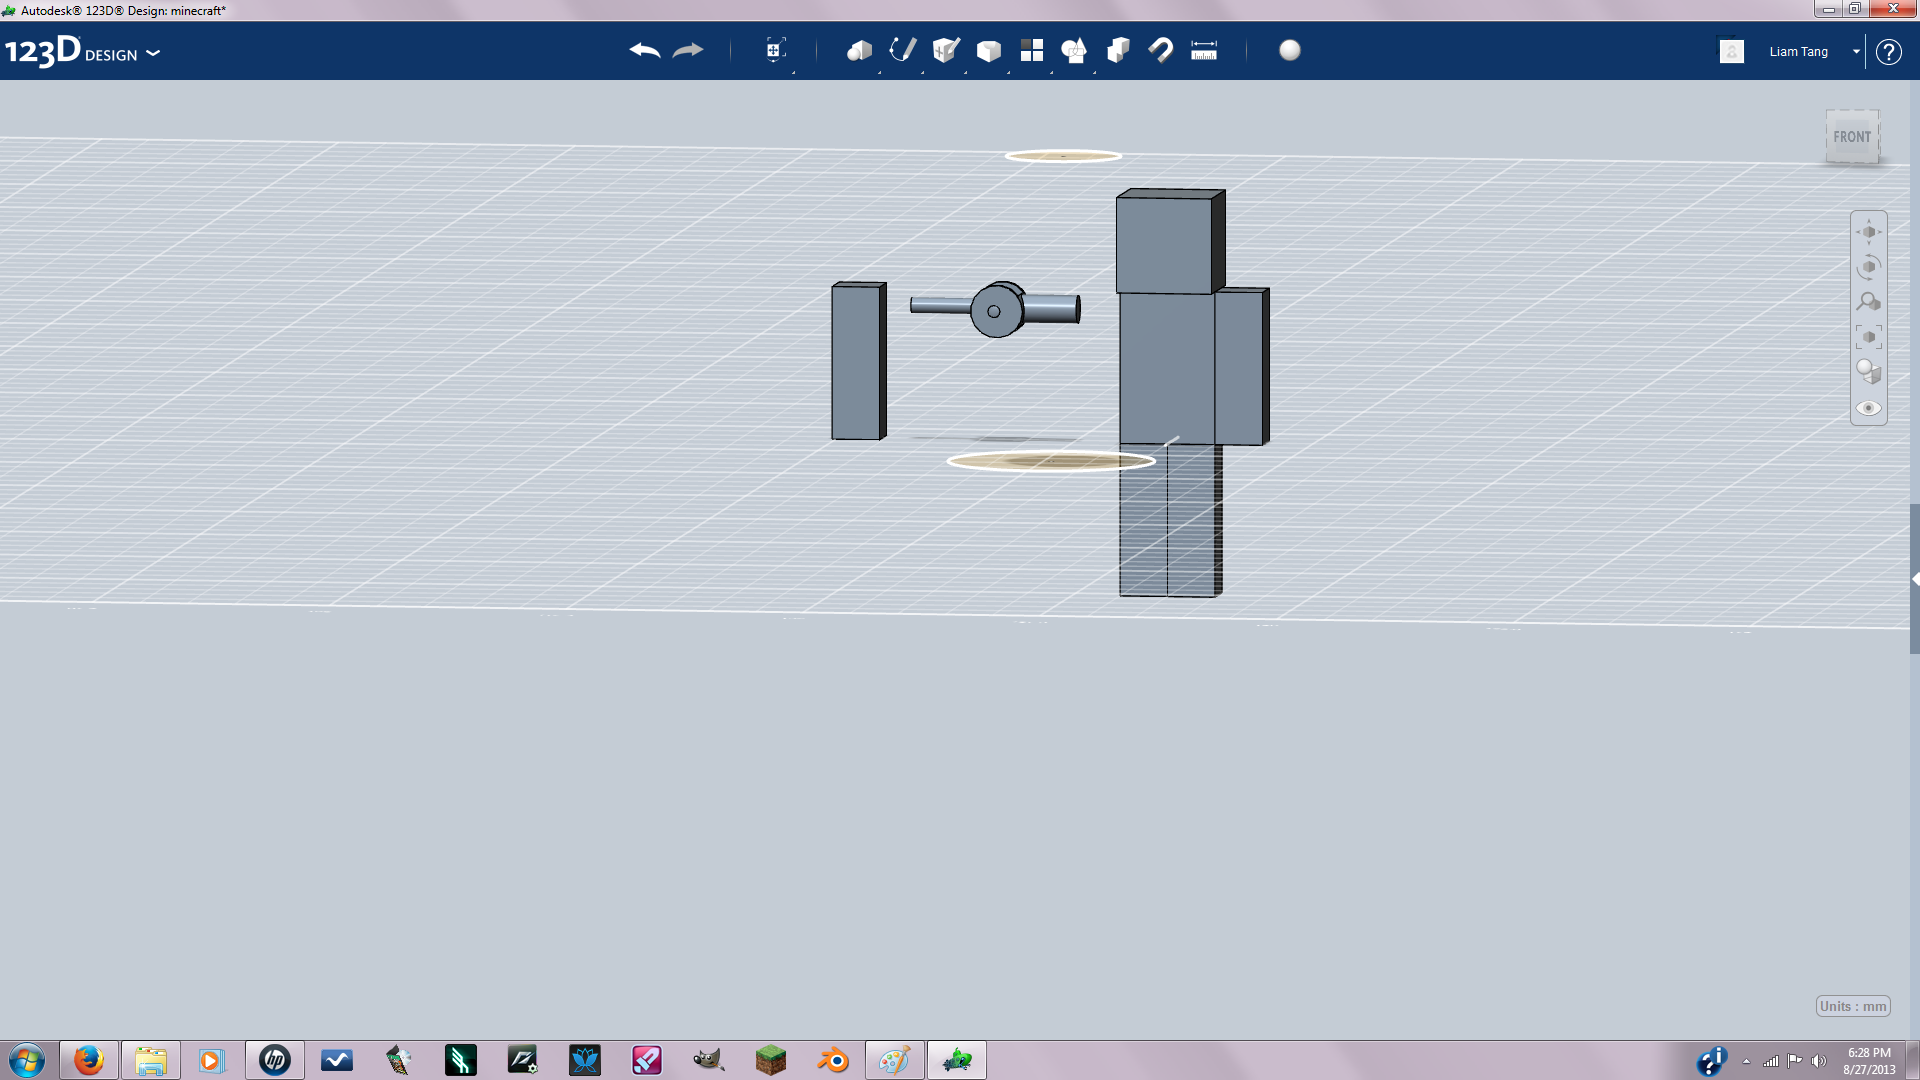
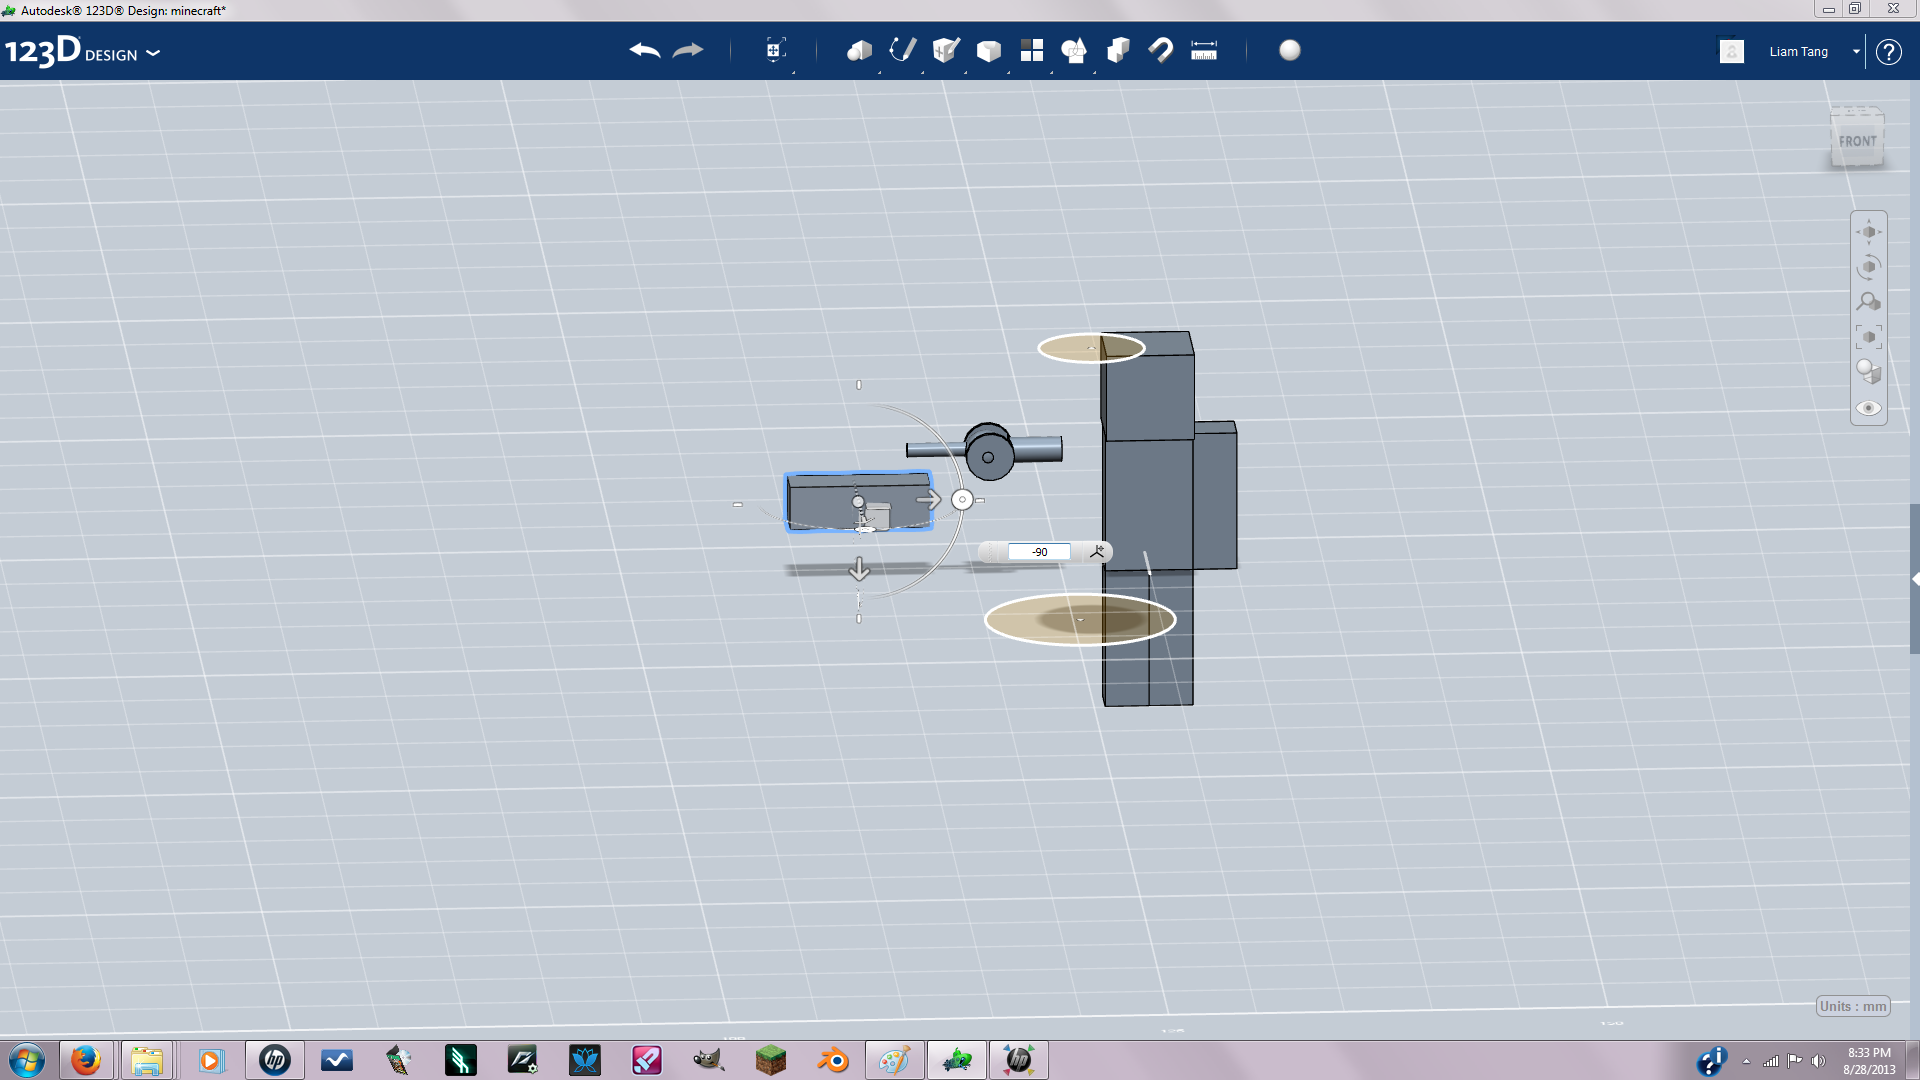
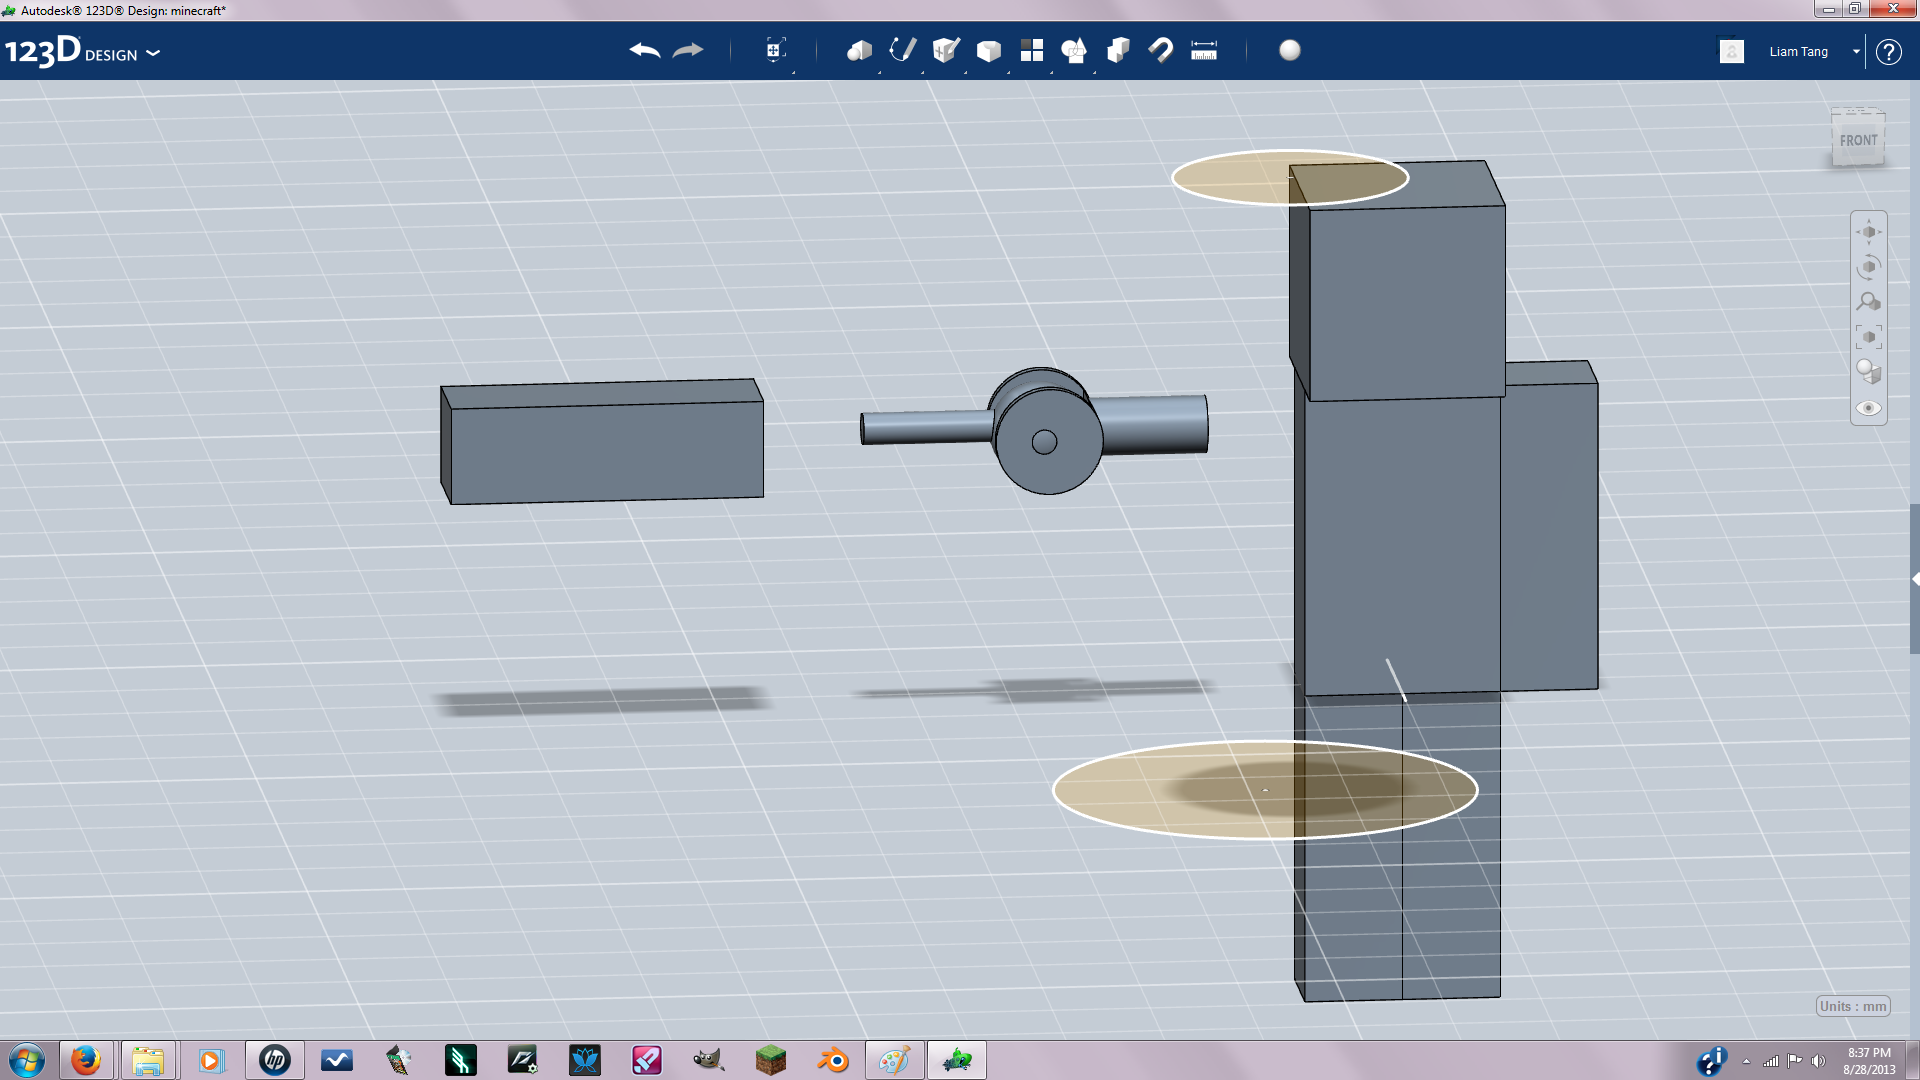
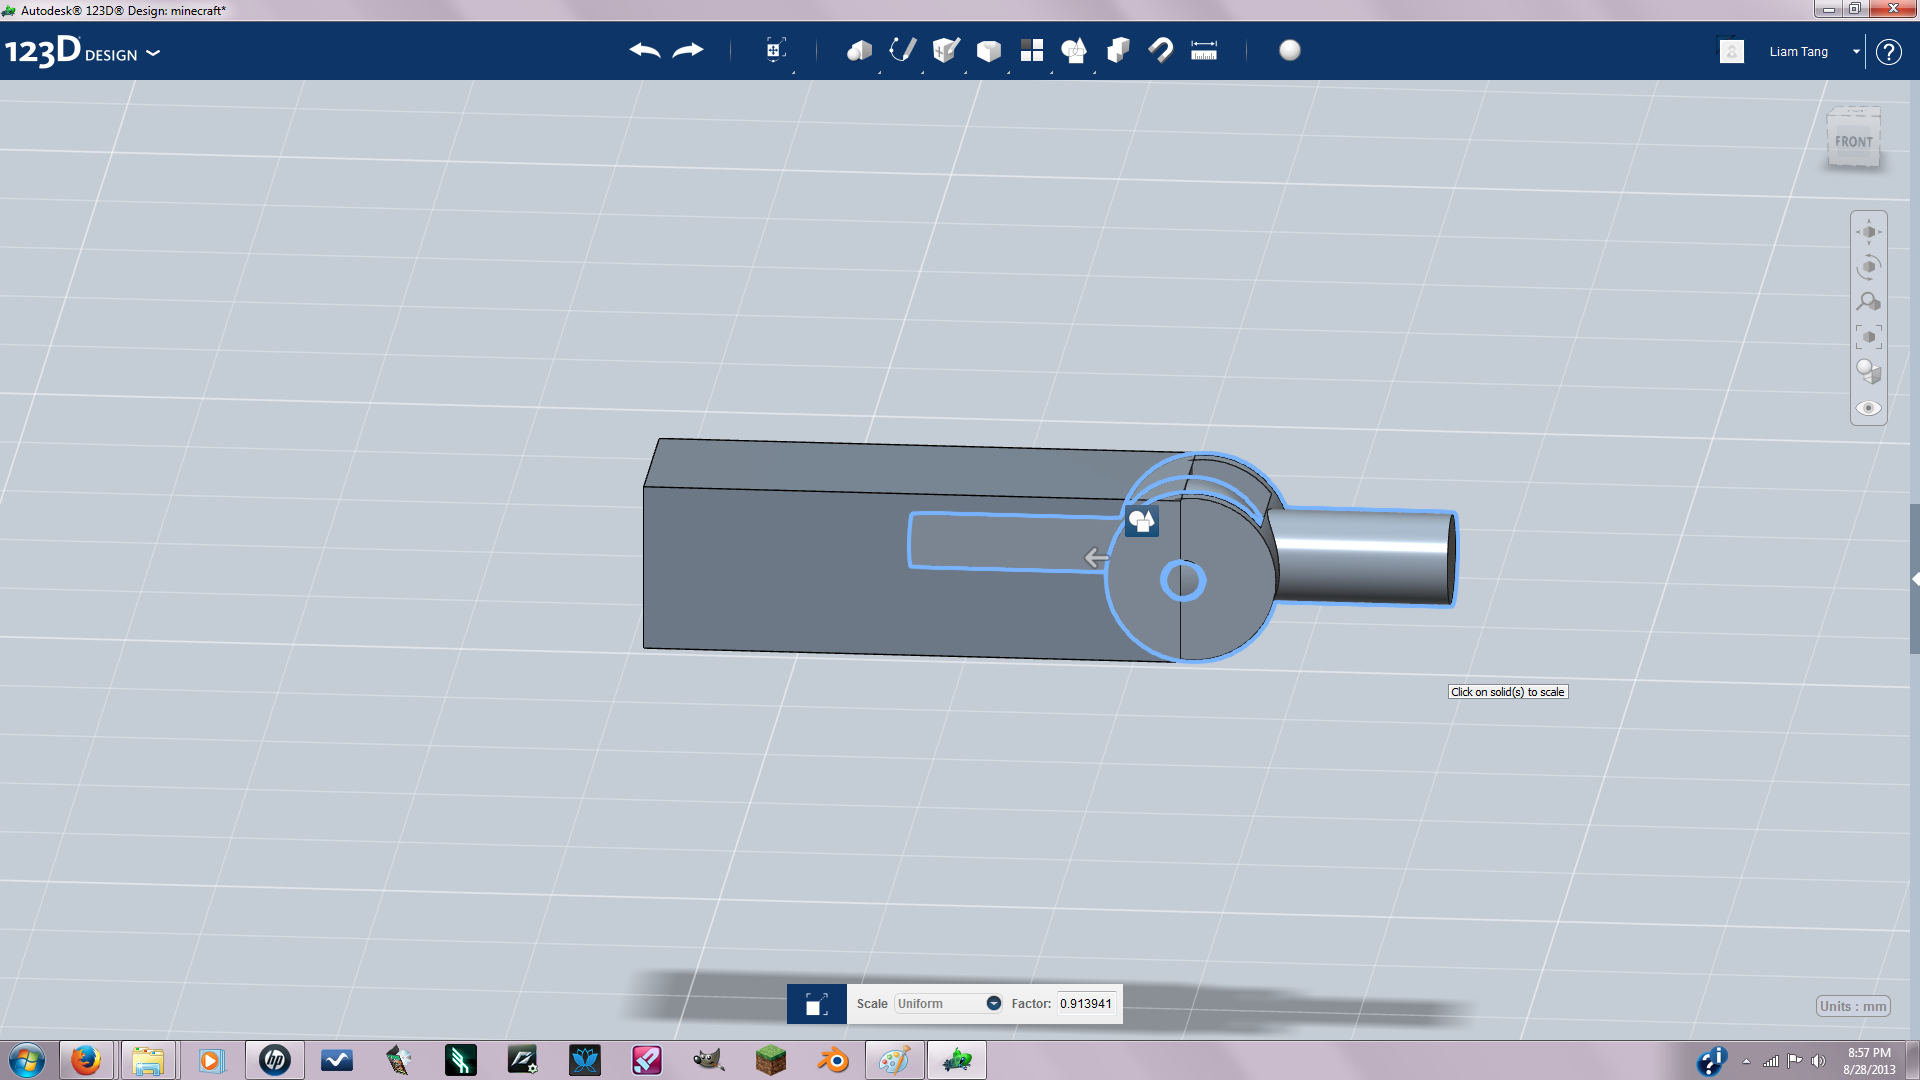
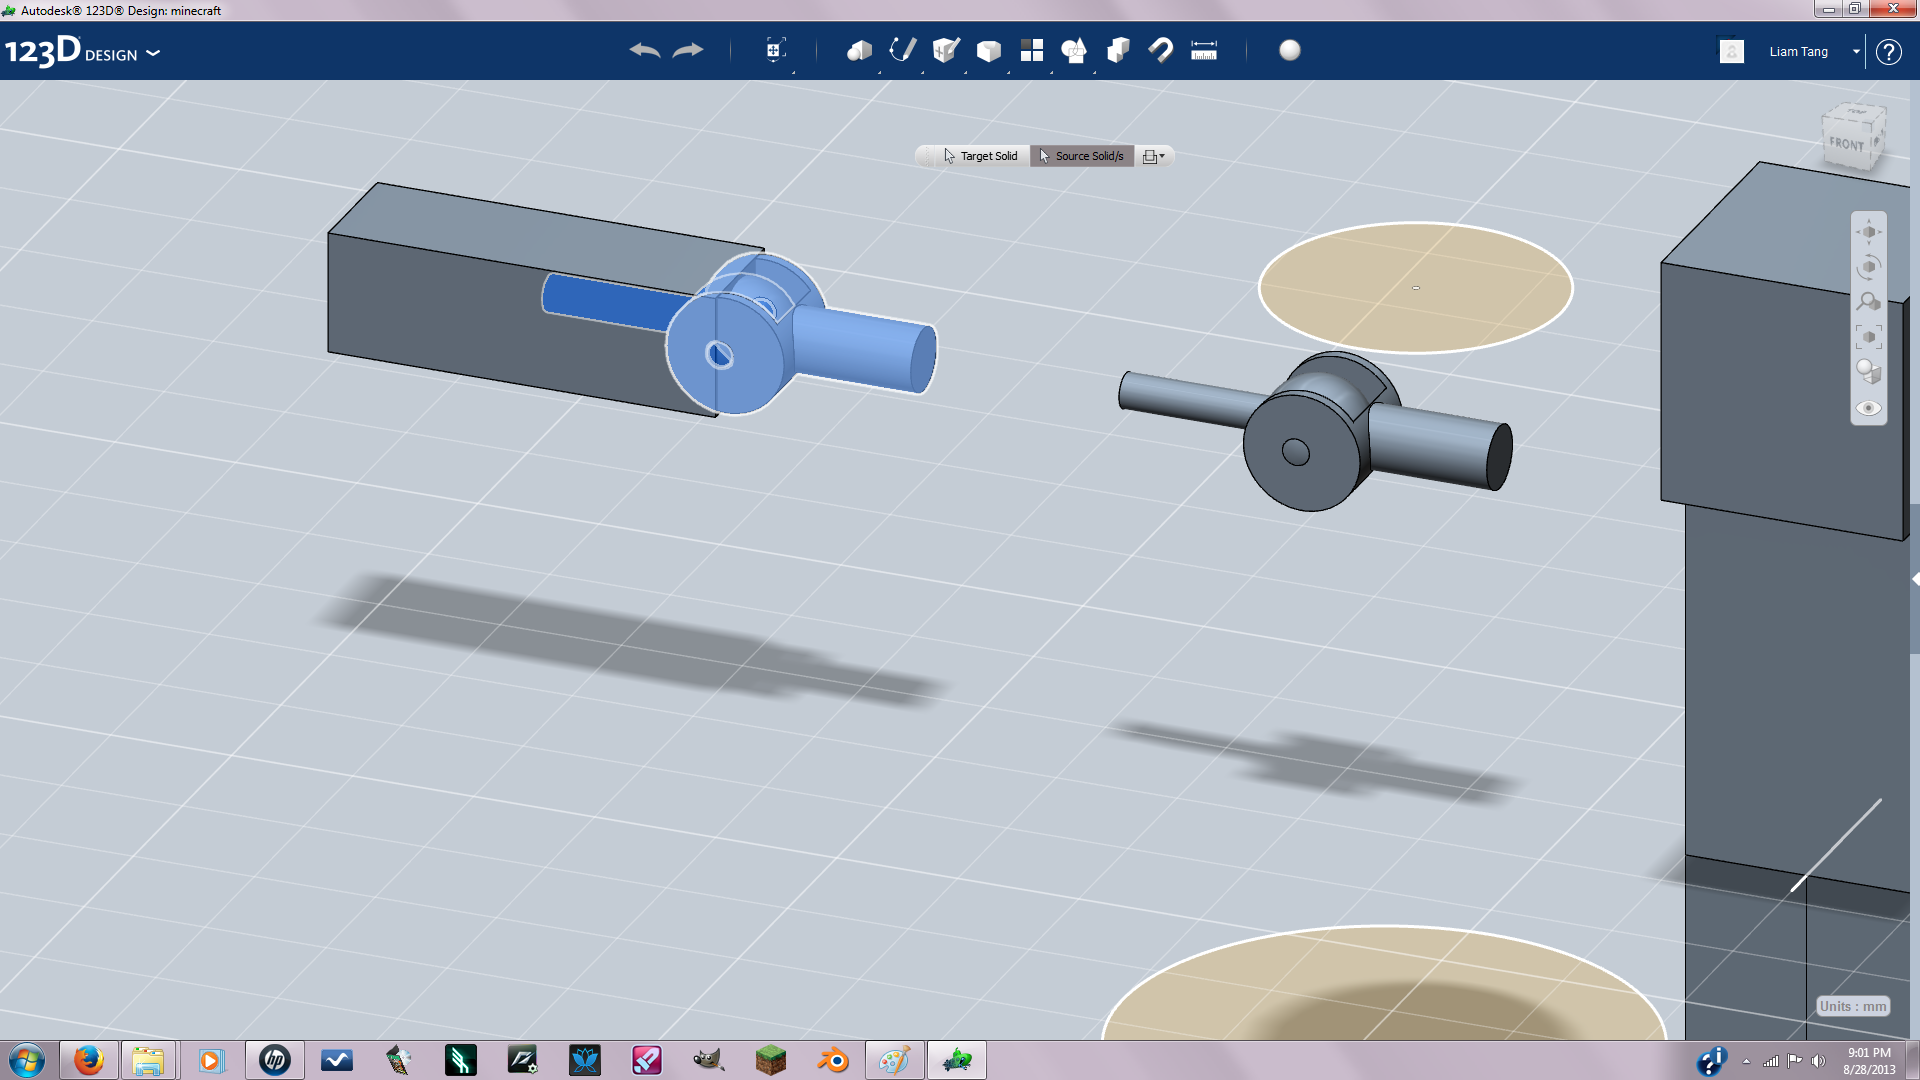
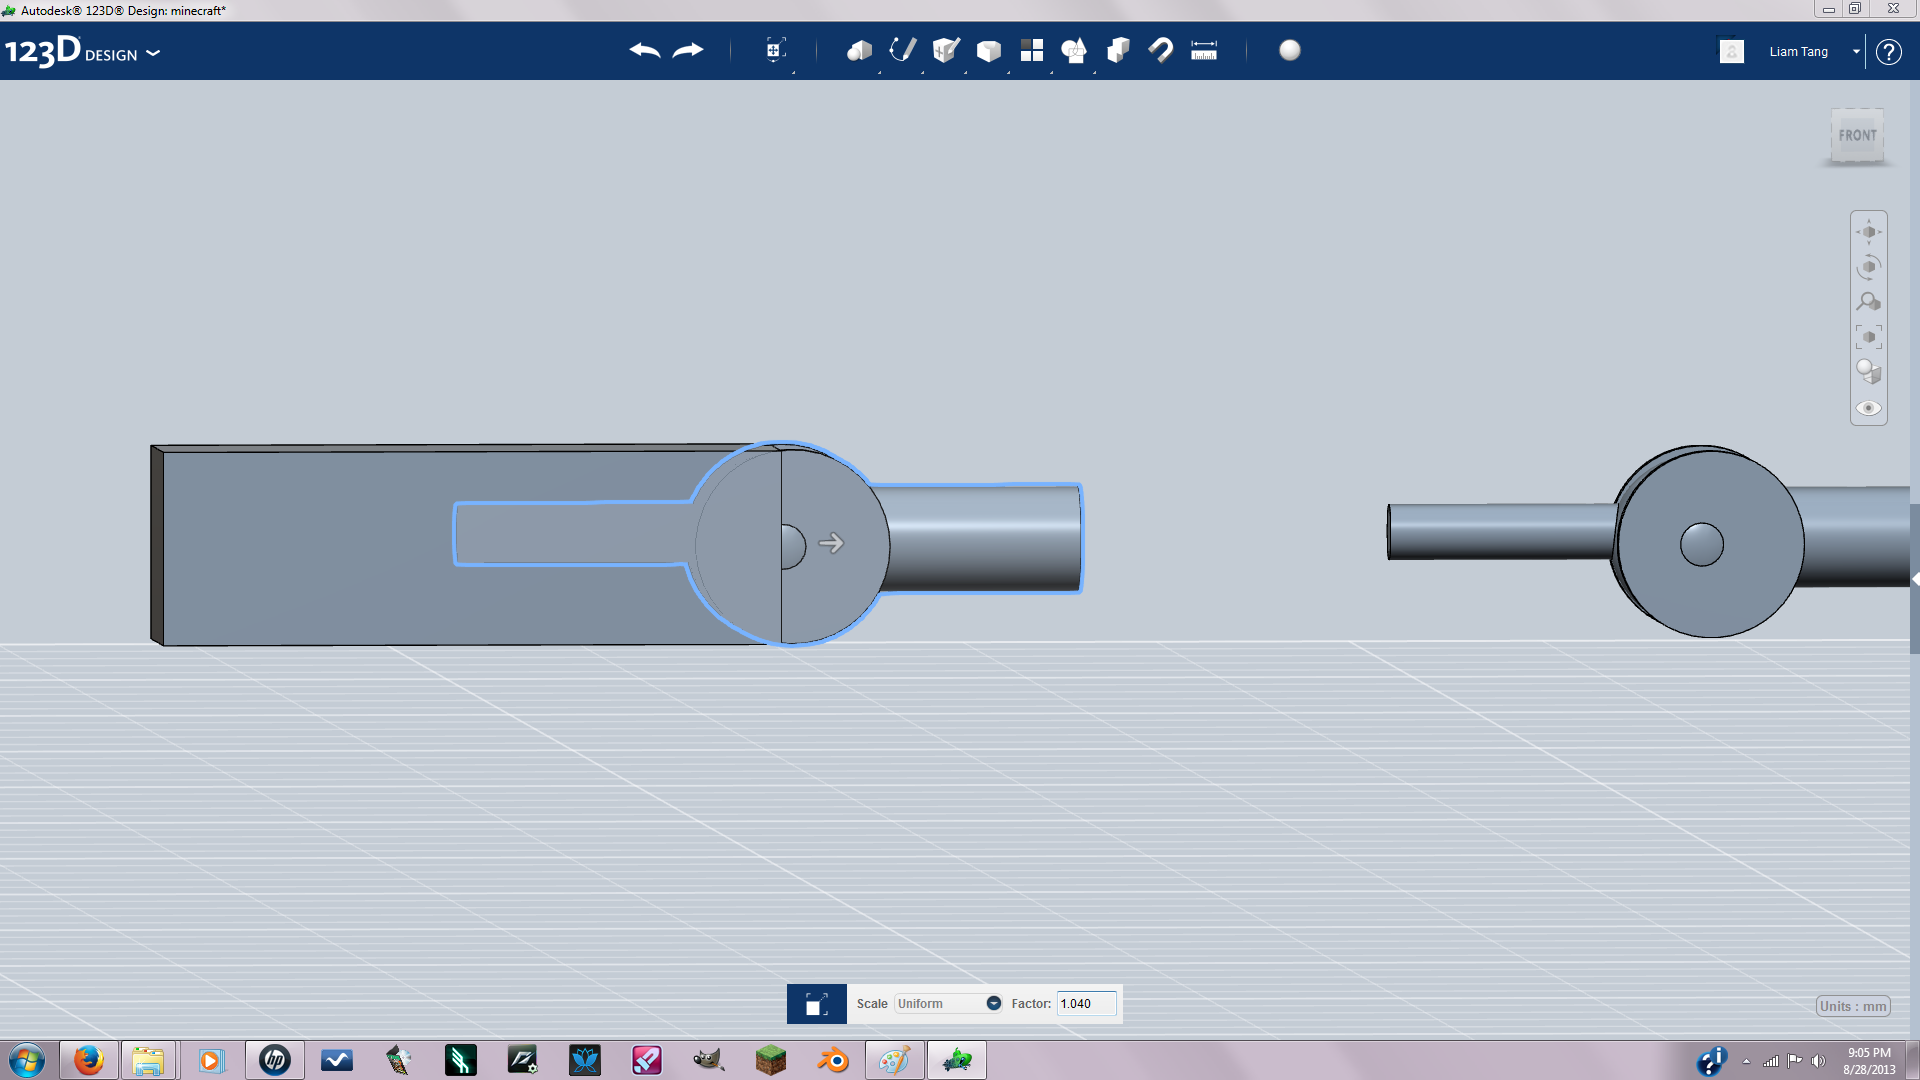
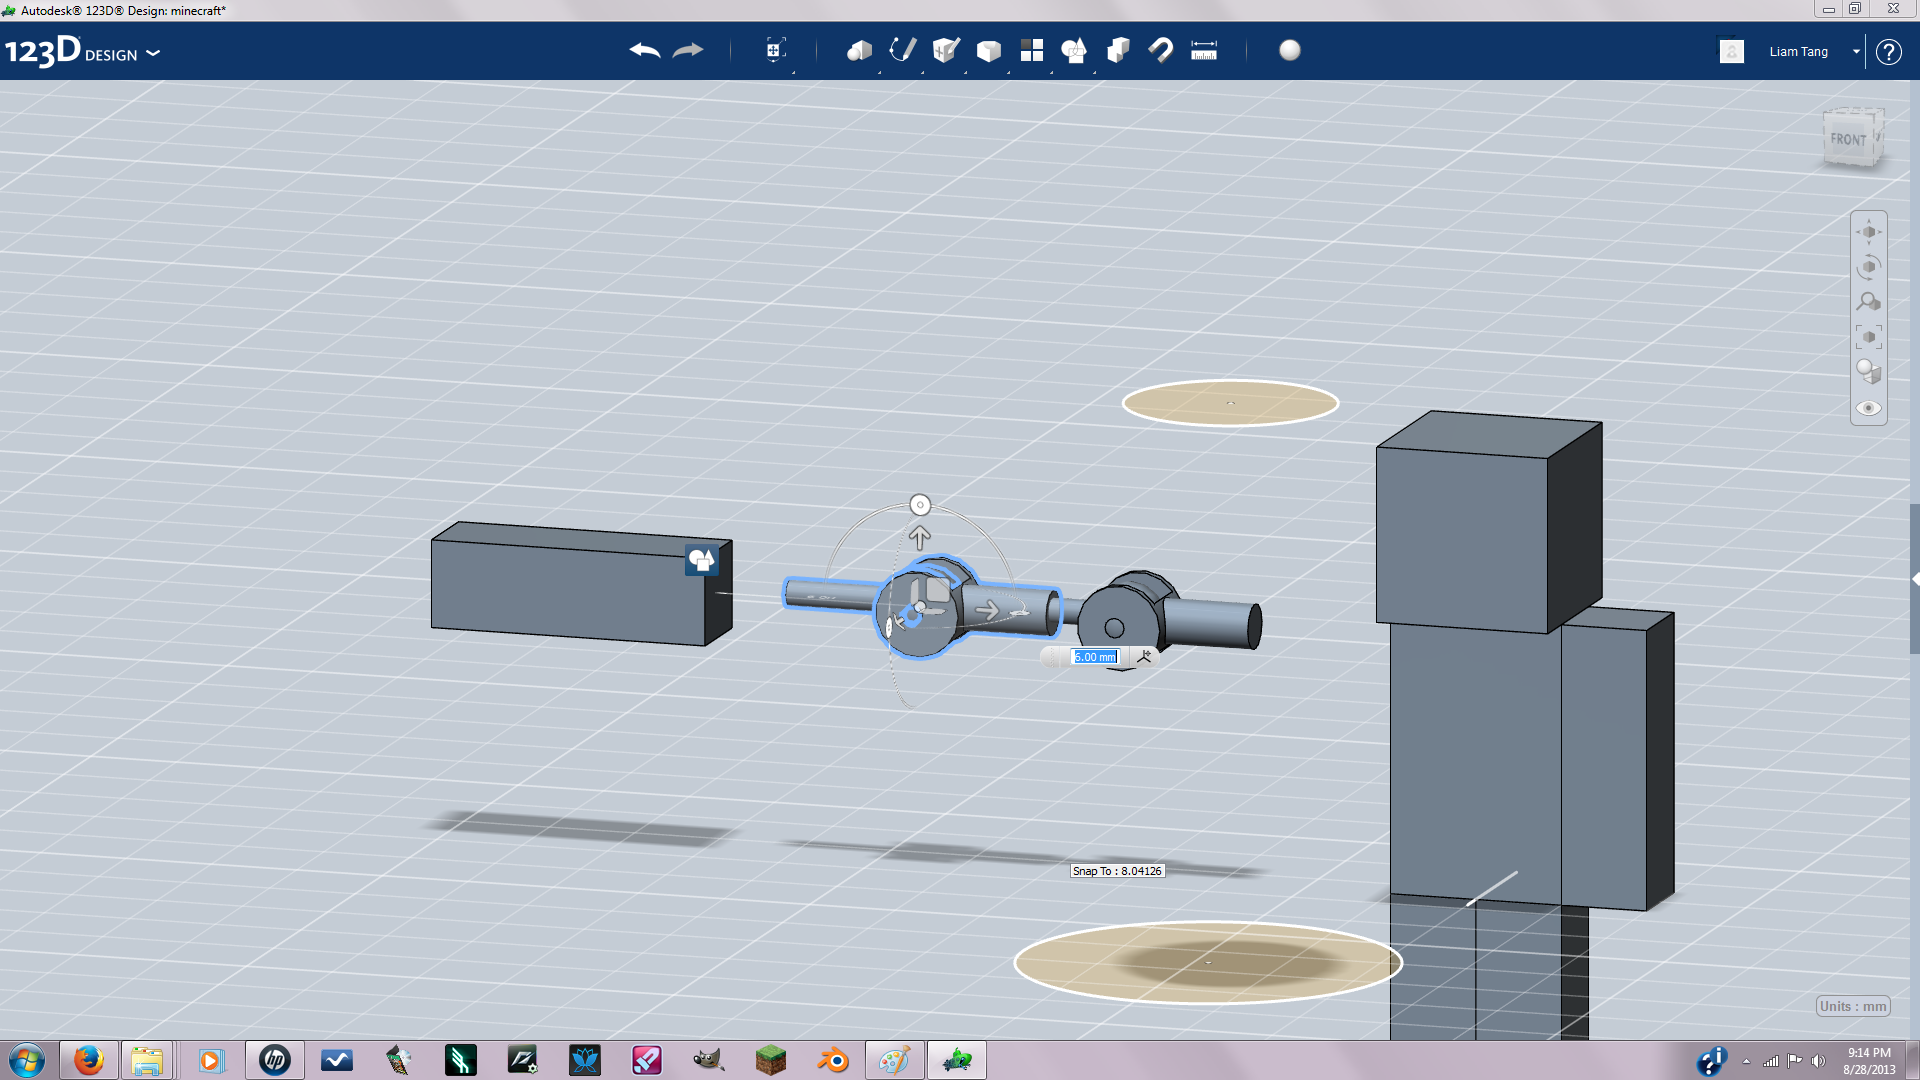
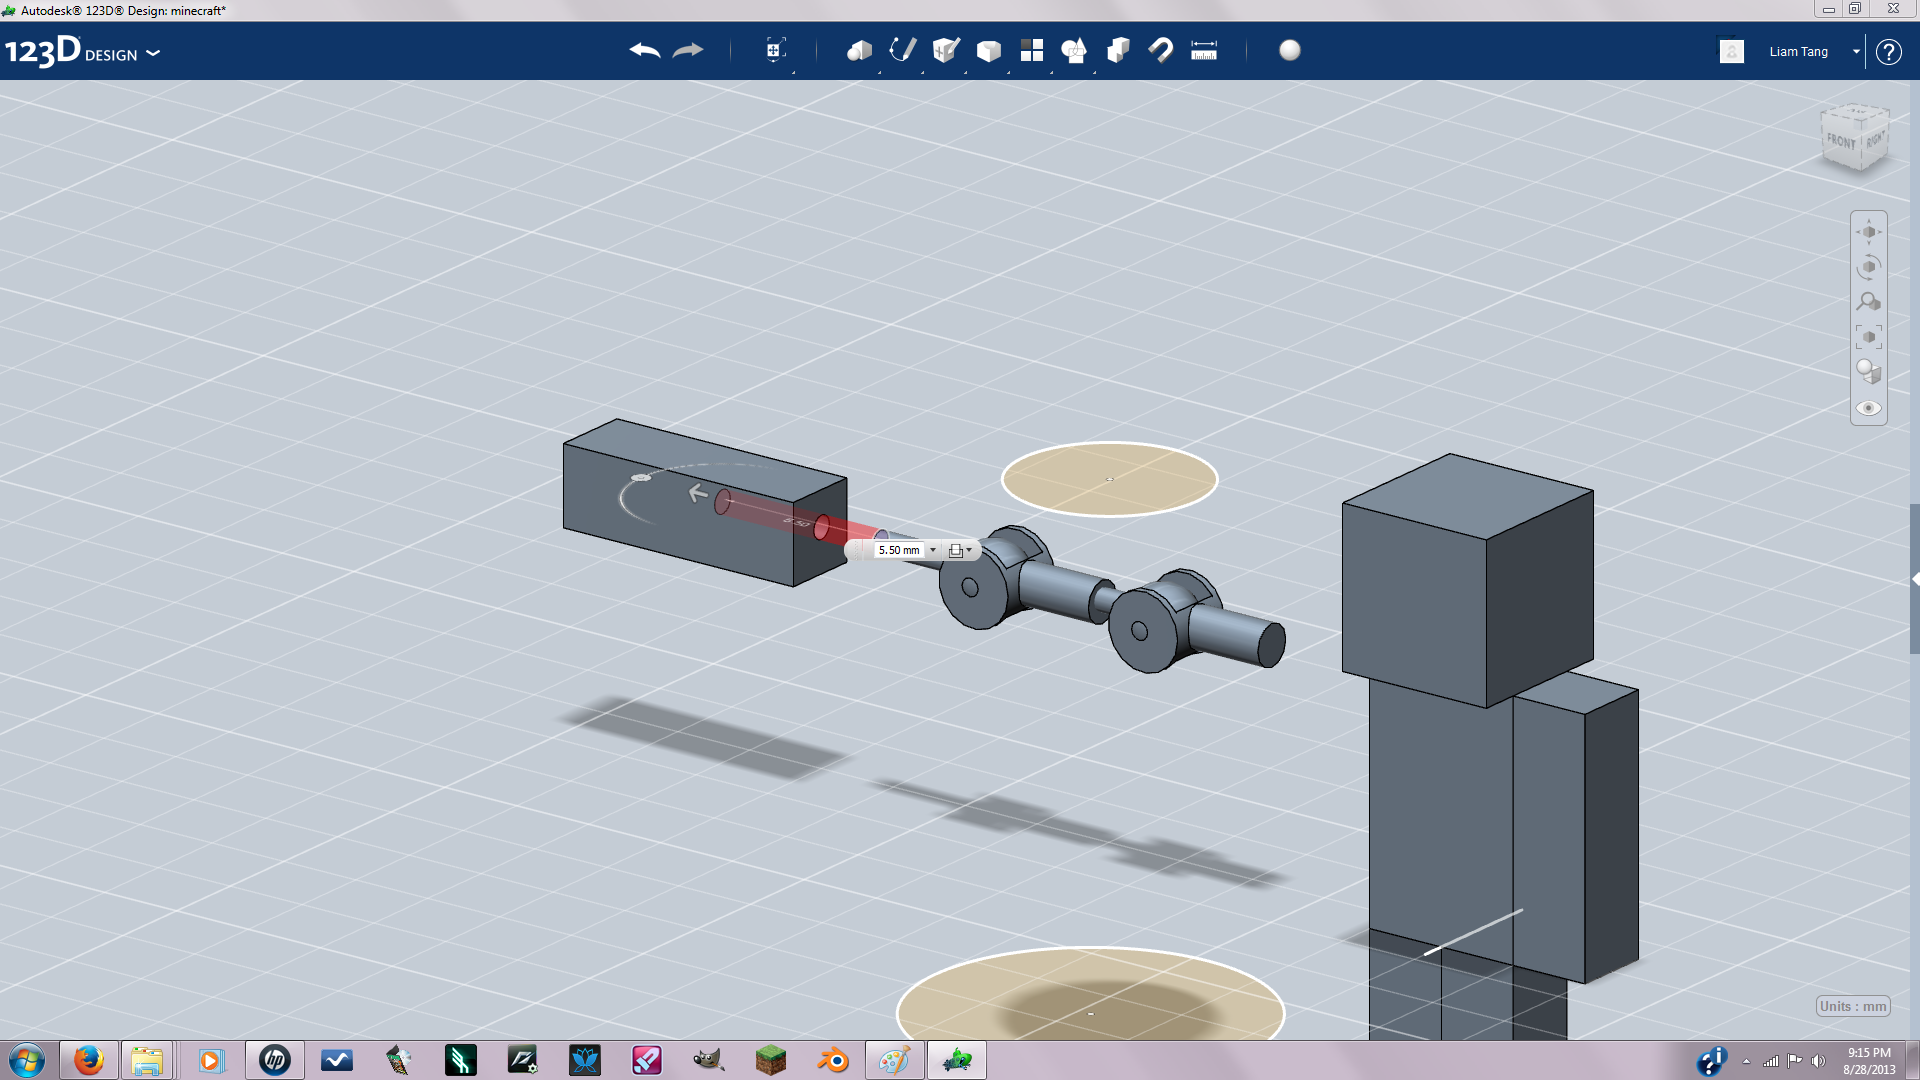
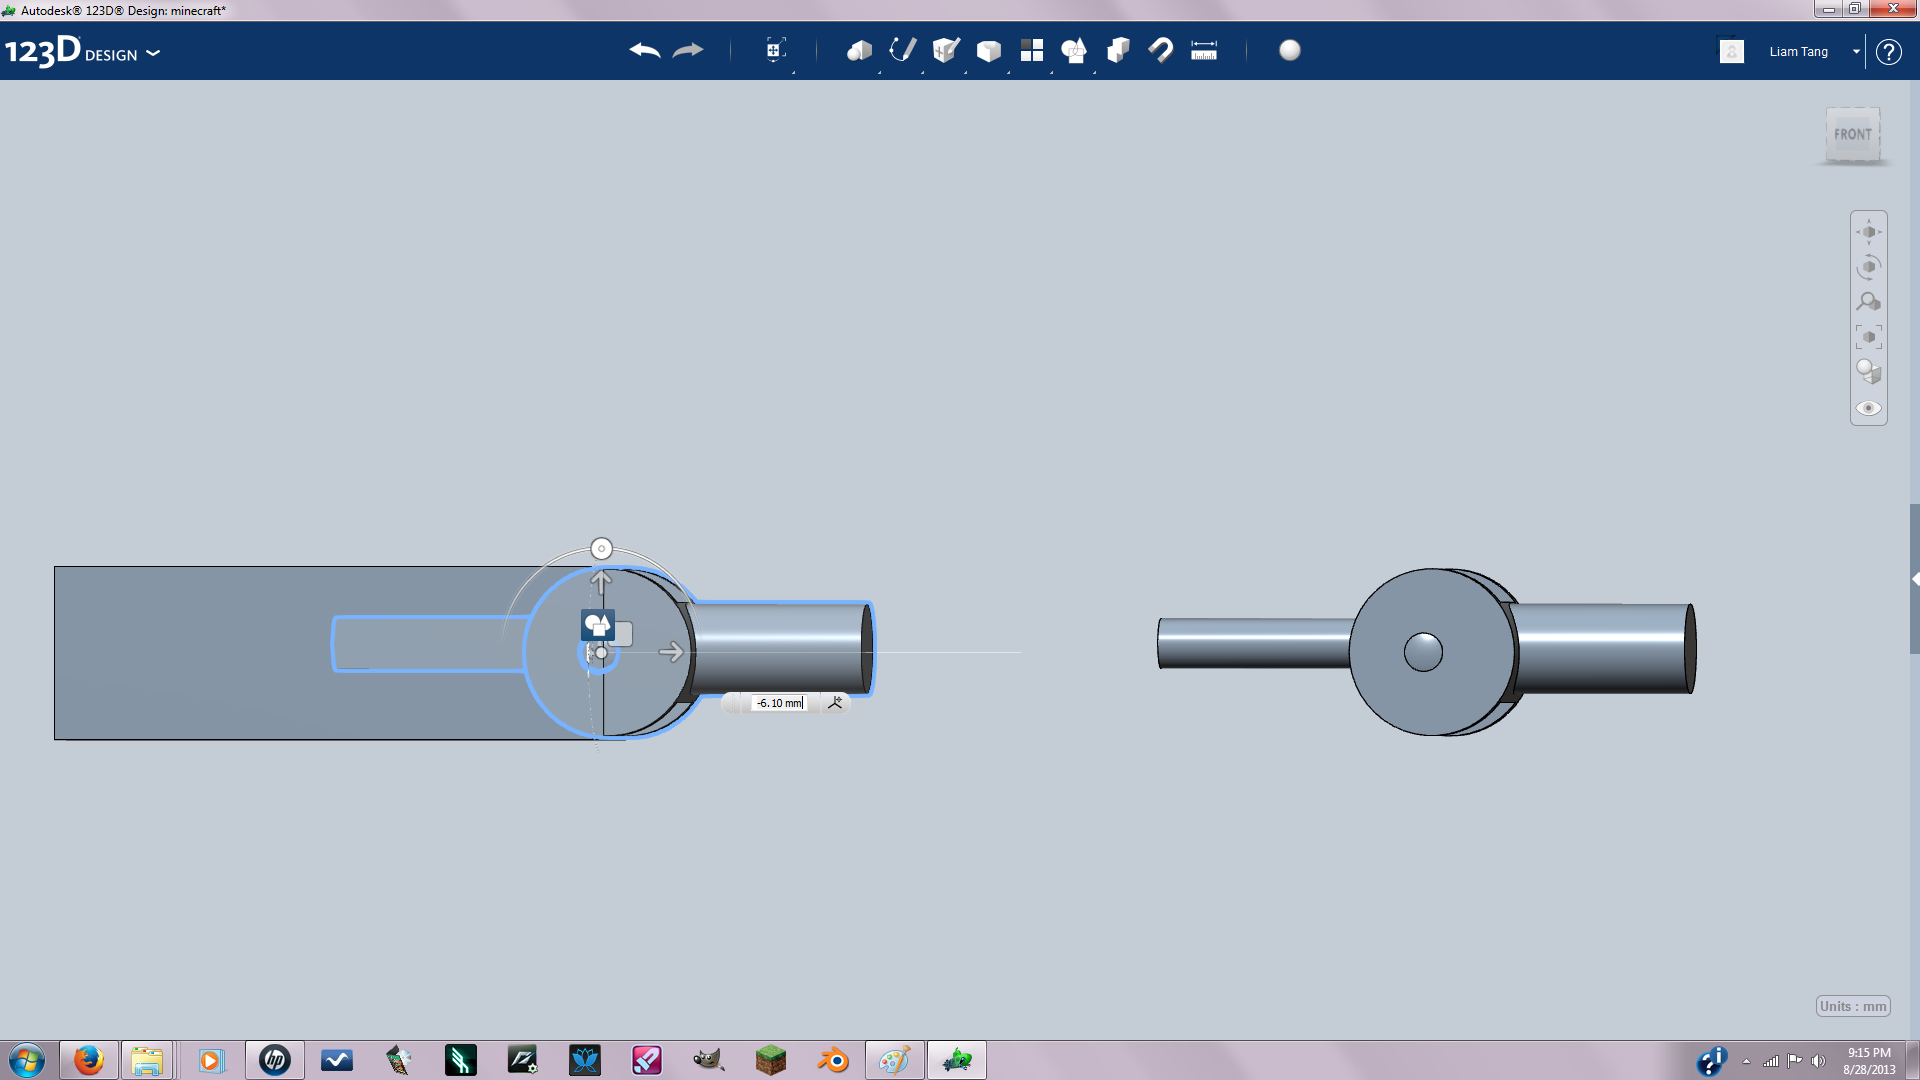
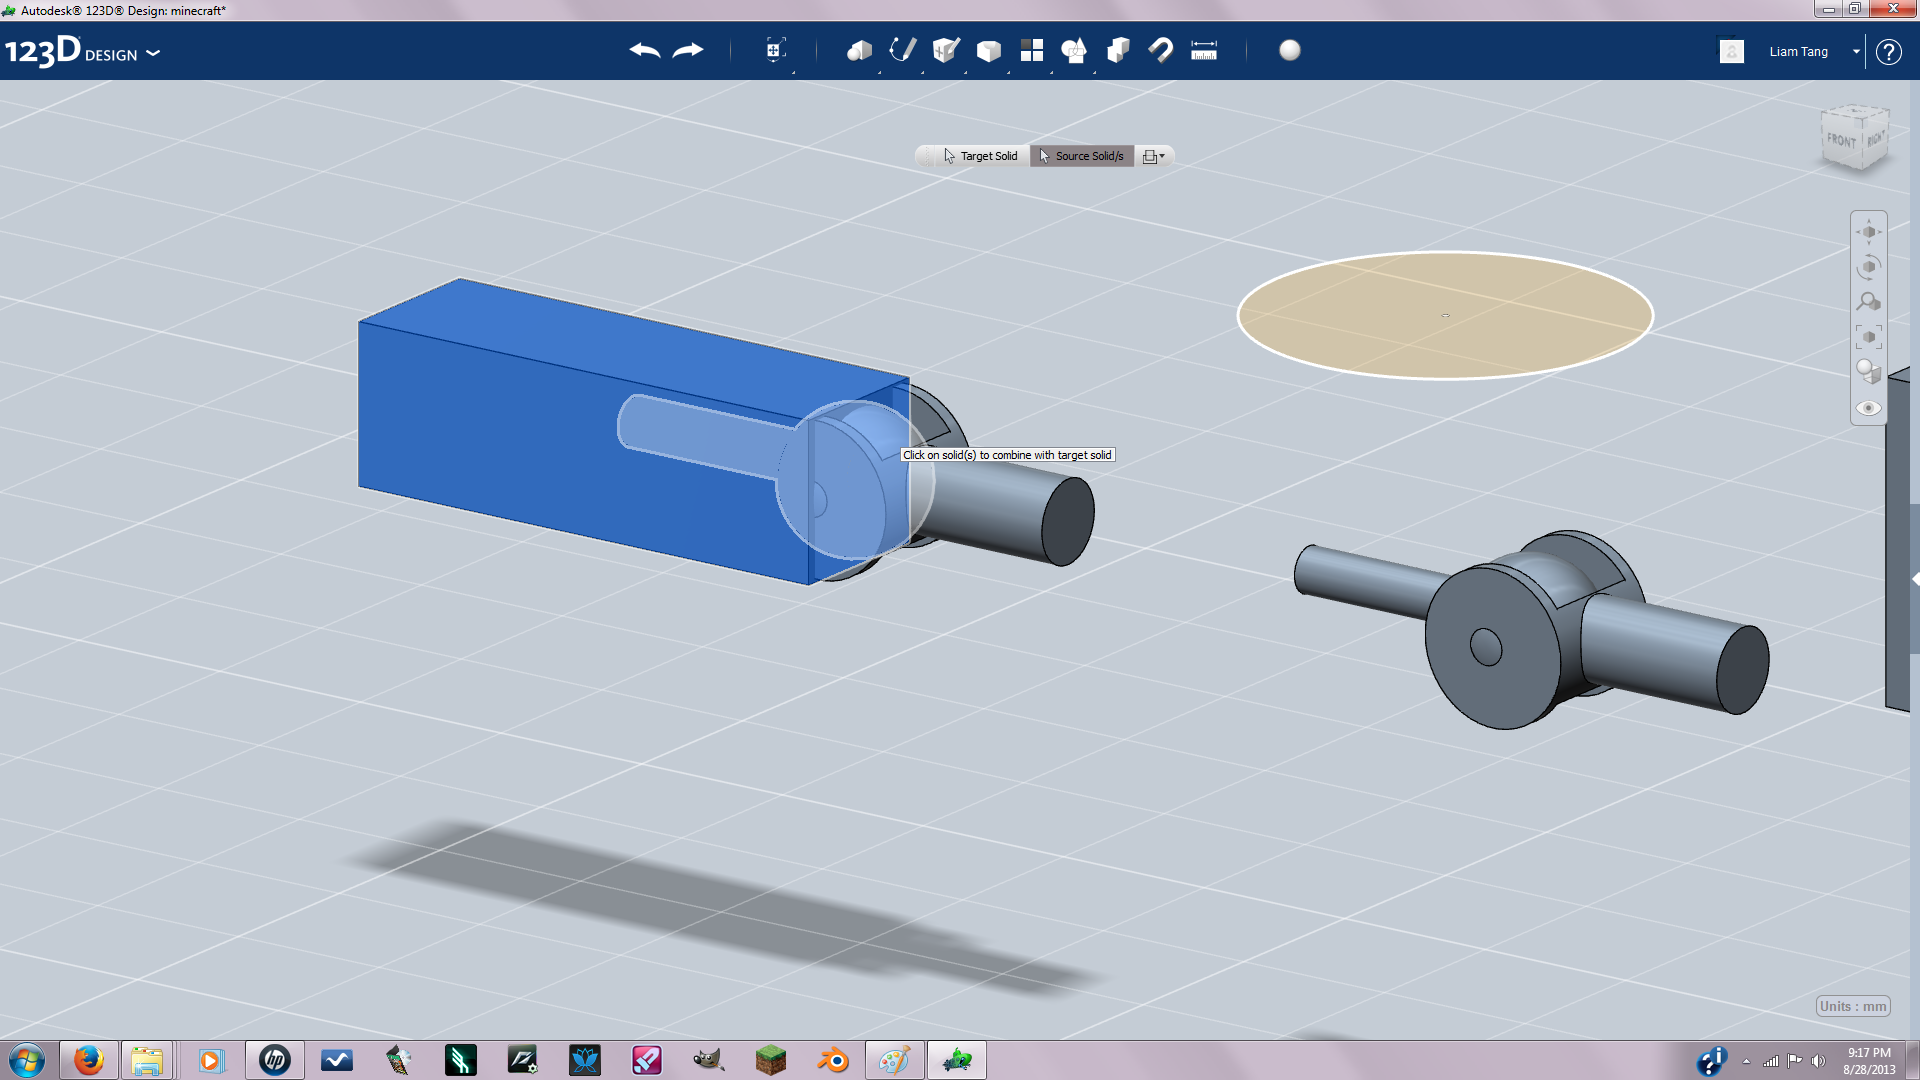
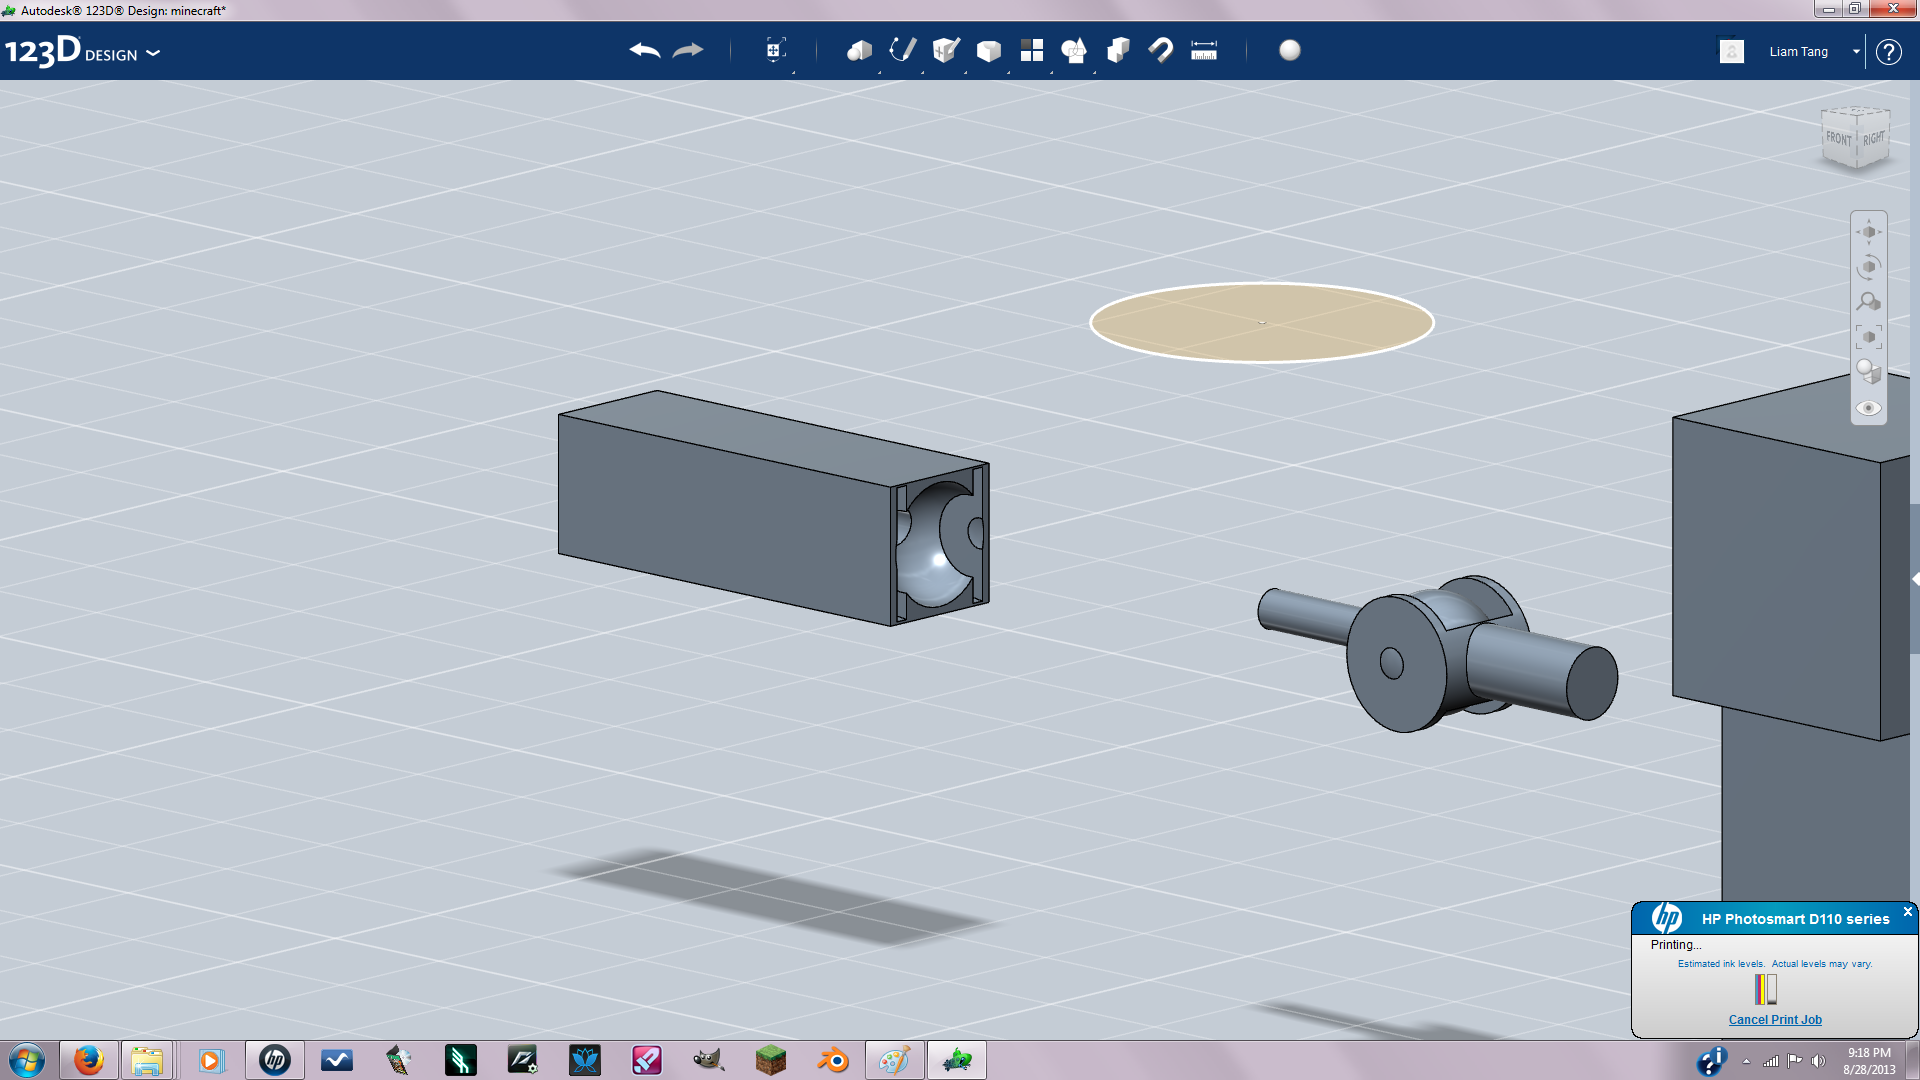
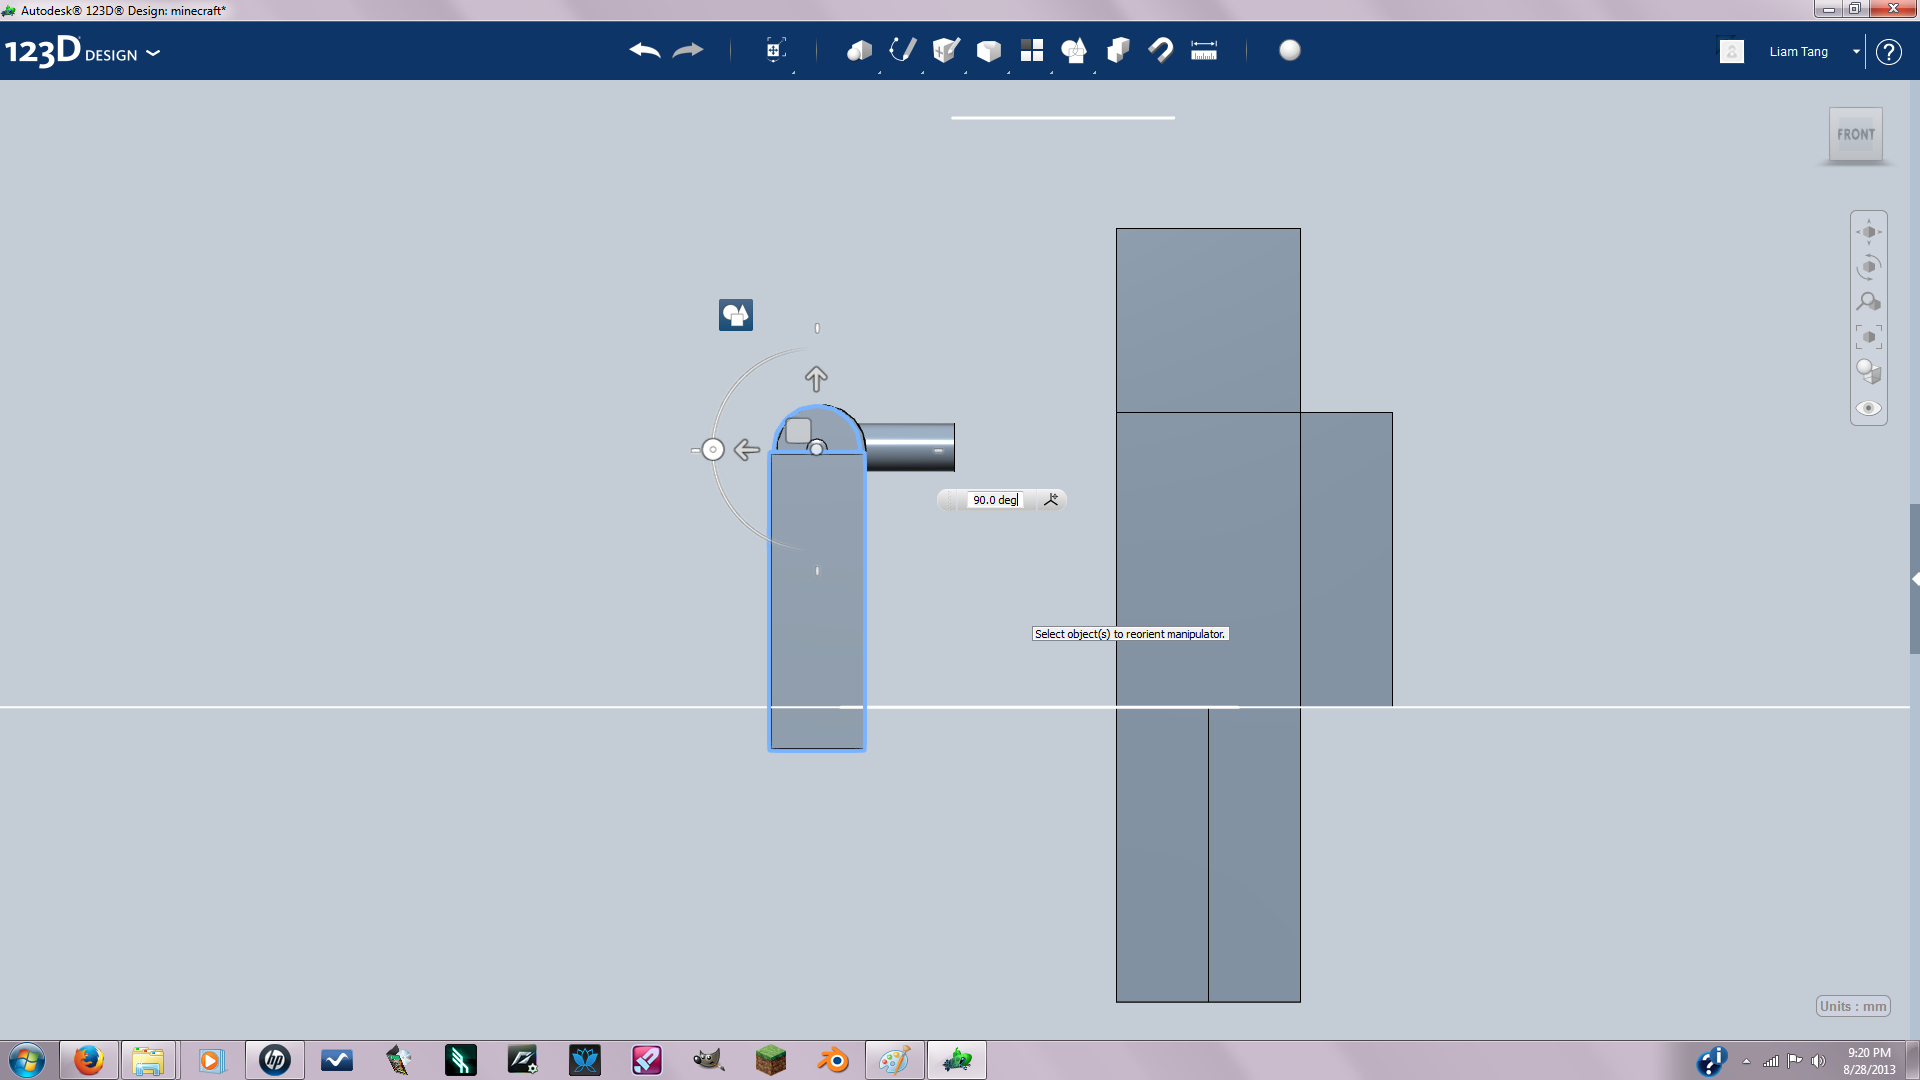
Make sure you have your minecraft mini-figure file open and not your joint file. Hover your mouse over the 123d symbol and select insert and then select your joint file. You should now have the minecraft guy and the joint in your 3d workspace. Now scale the joint down in uniform scale with the scaling factor of 137096(seen in picture 4). Position things like pic 5. Now position the joint as seen in pic 6 and adjust the scale to make the joint fit snugly. Next copy and paste using CTLR +C and CTLR+ V. Join the two joint parts as seen in pic 7, not the two joints but the just the parts that of the joint in the arm. Next move the joined joint piece out of the arm seen in pic 9, Then extrude, make sure extrude is set to cut, the bottom face of the cylinder through the arm(pic 10). Now move it back(pic11)
Now you want to subtract the joint that's in the arm. To do this click on combine in your toolbar set it to subtract, then click on the arm then the joint and click in an empty space to confirm your action. Your arm should look like pic13. Now rotate the arm 90 degrees and the half the joint 90 degrees(pic14).
Now you want to subtract the joint that's in the arm. To do this click on combine in your toolbar set it to subtract, then click on the arm then the joint and click in an empty space to confirm your action. Your arm should look like pic13. Now rotate the arm 90 degrees and the half the joint 90 degrees(pic14).
Trouble Shooting the Arm
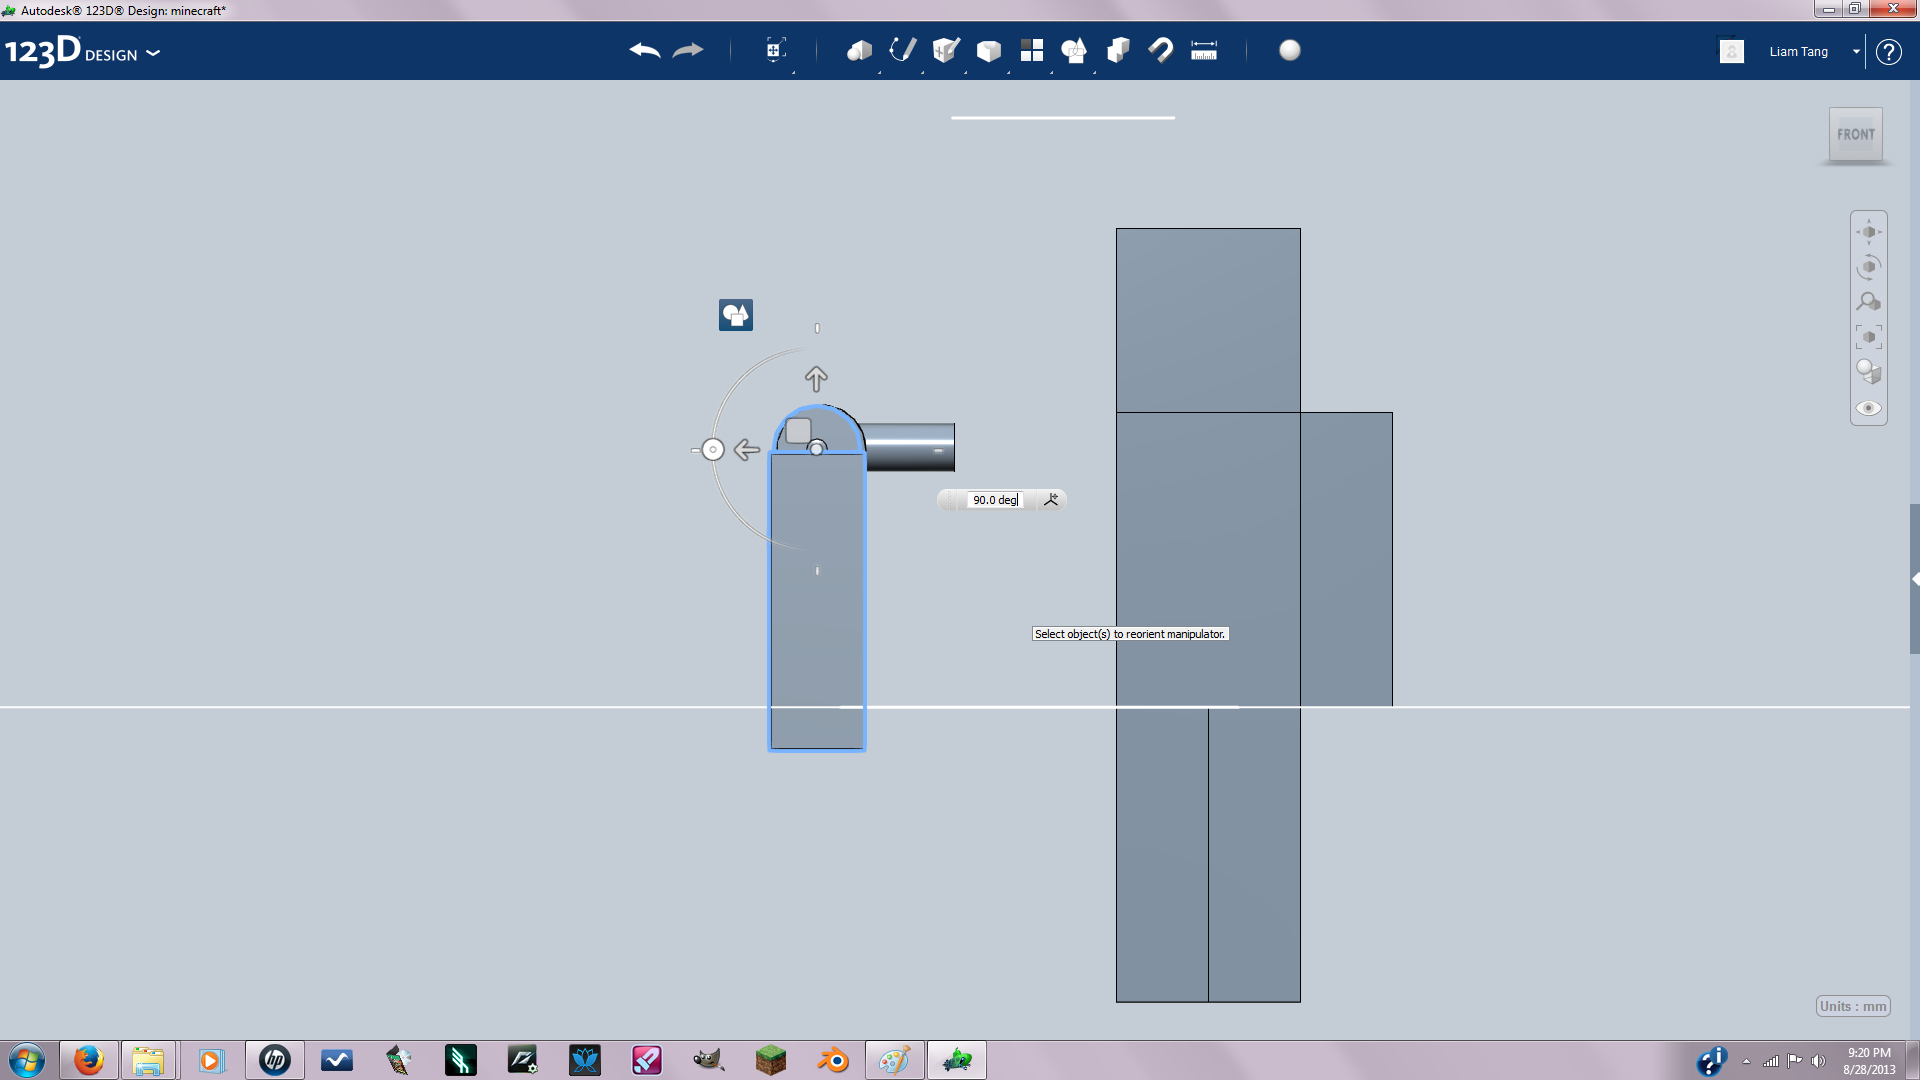
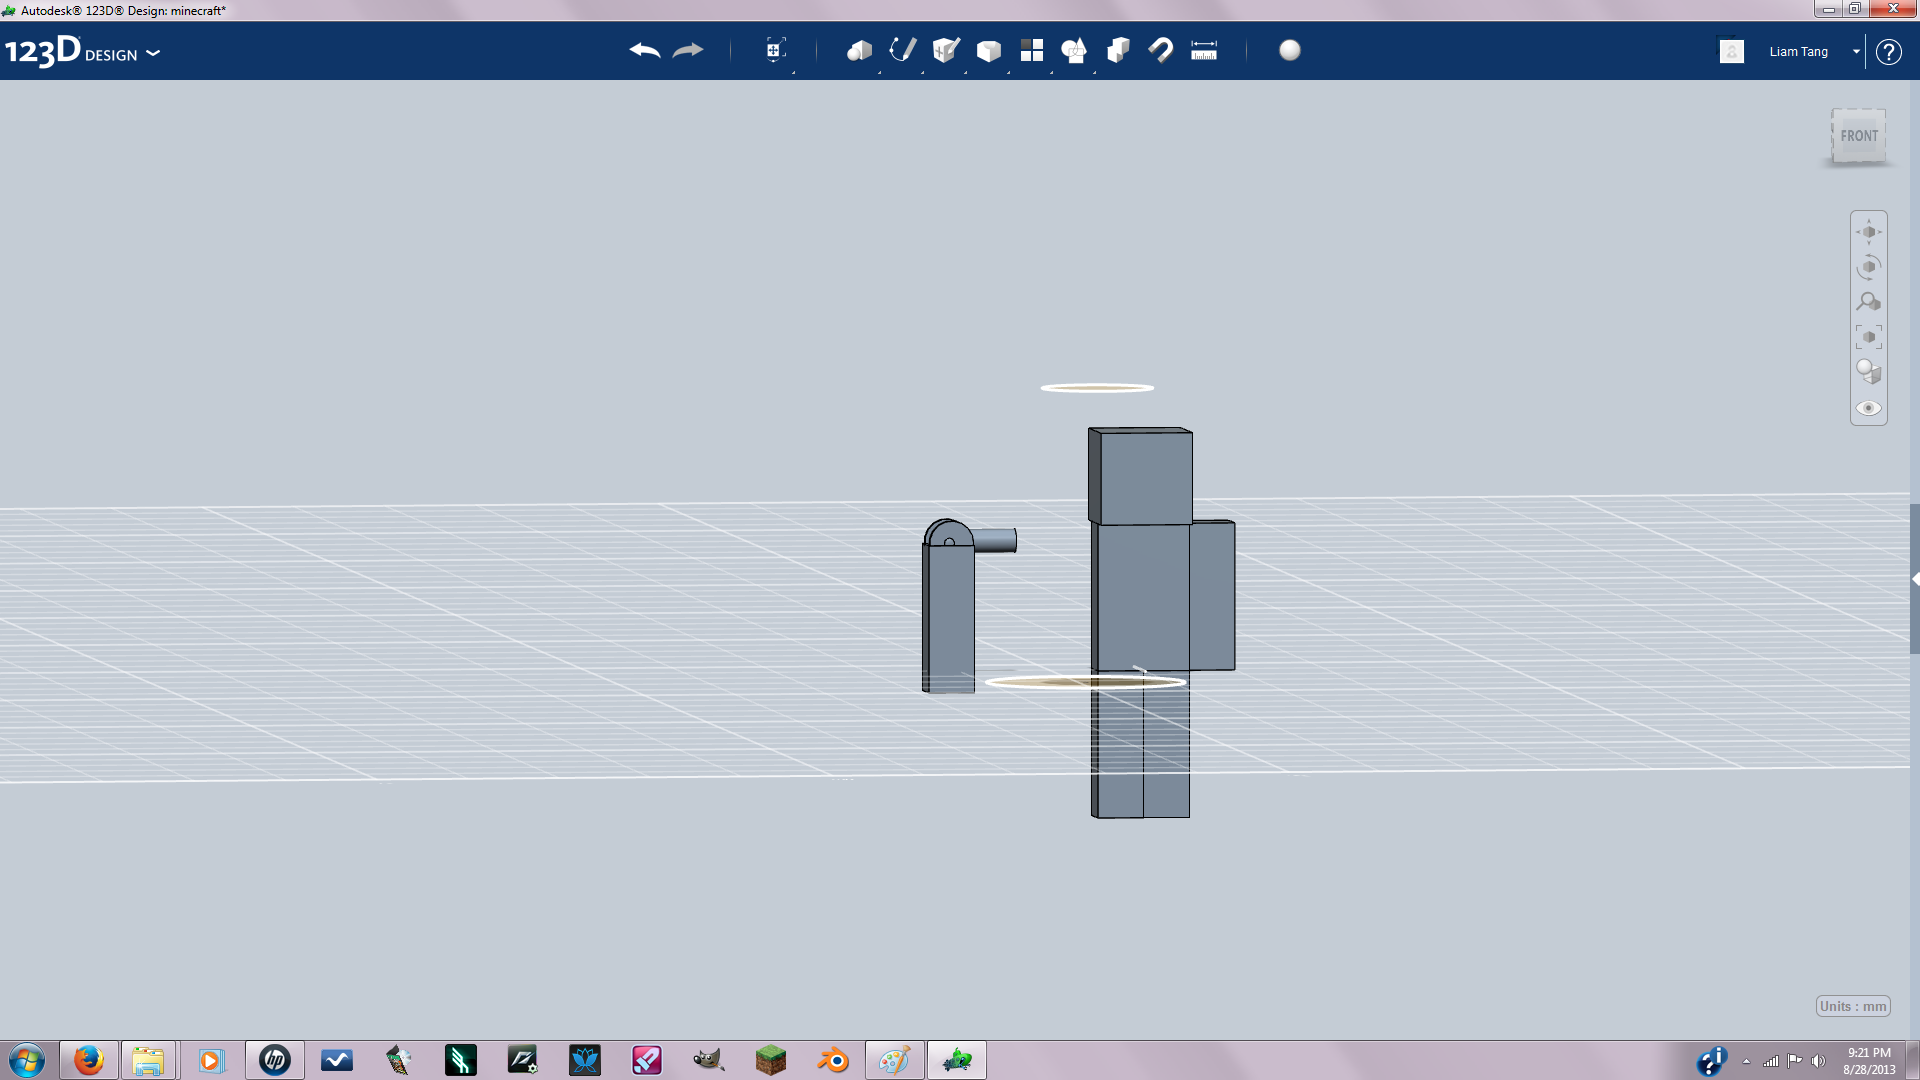
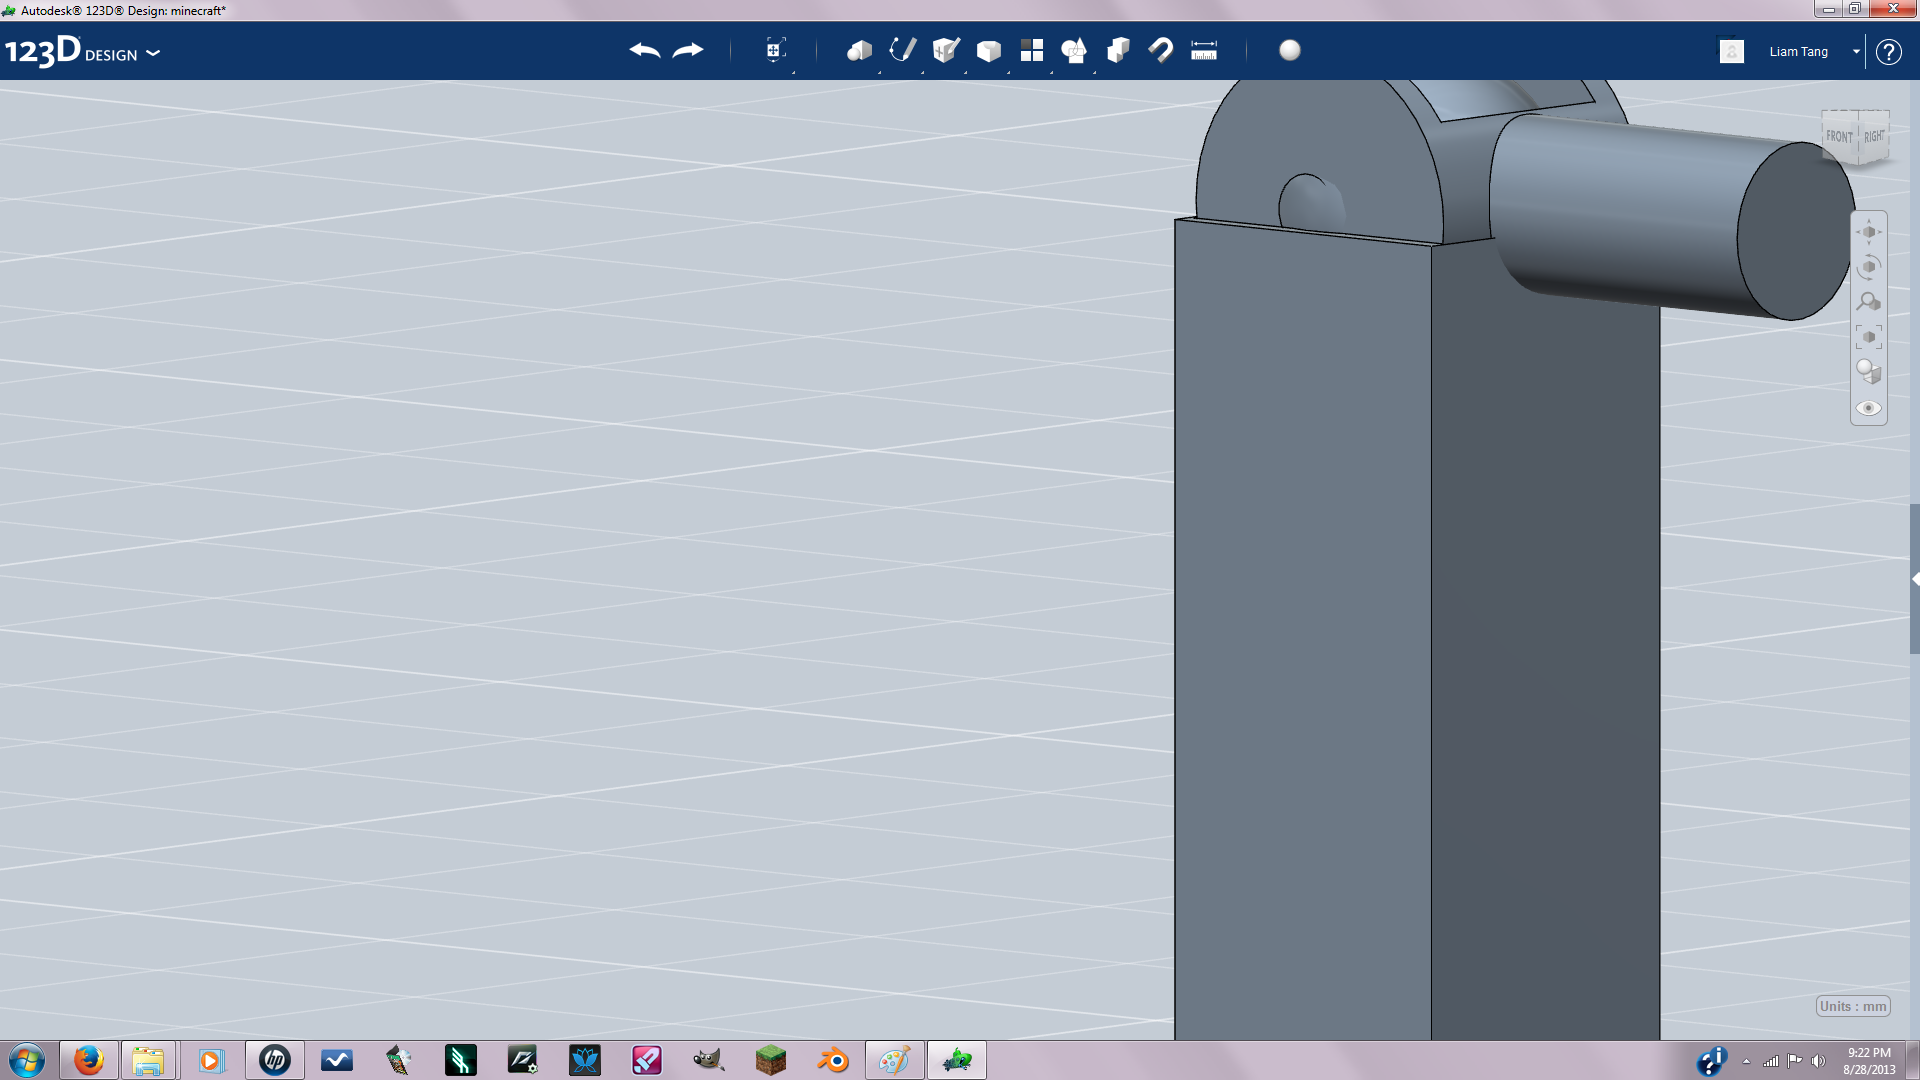
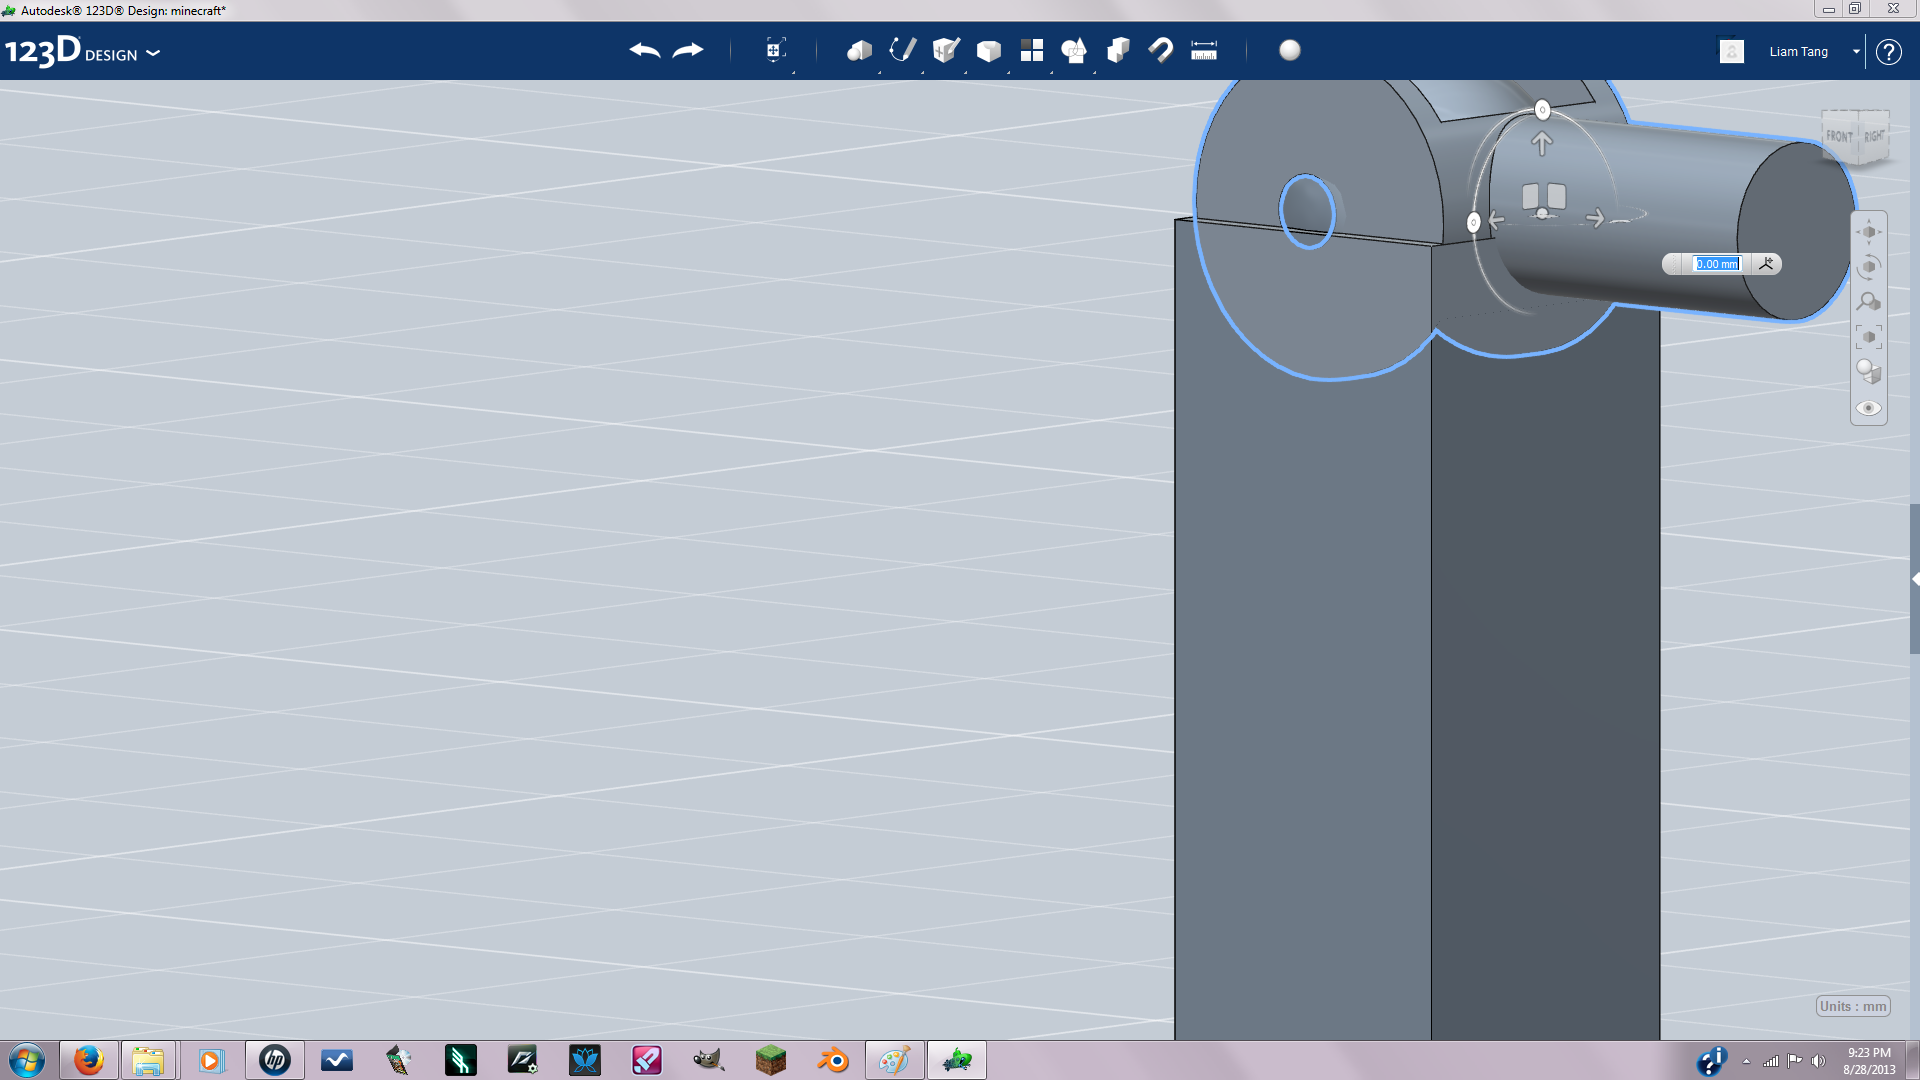
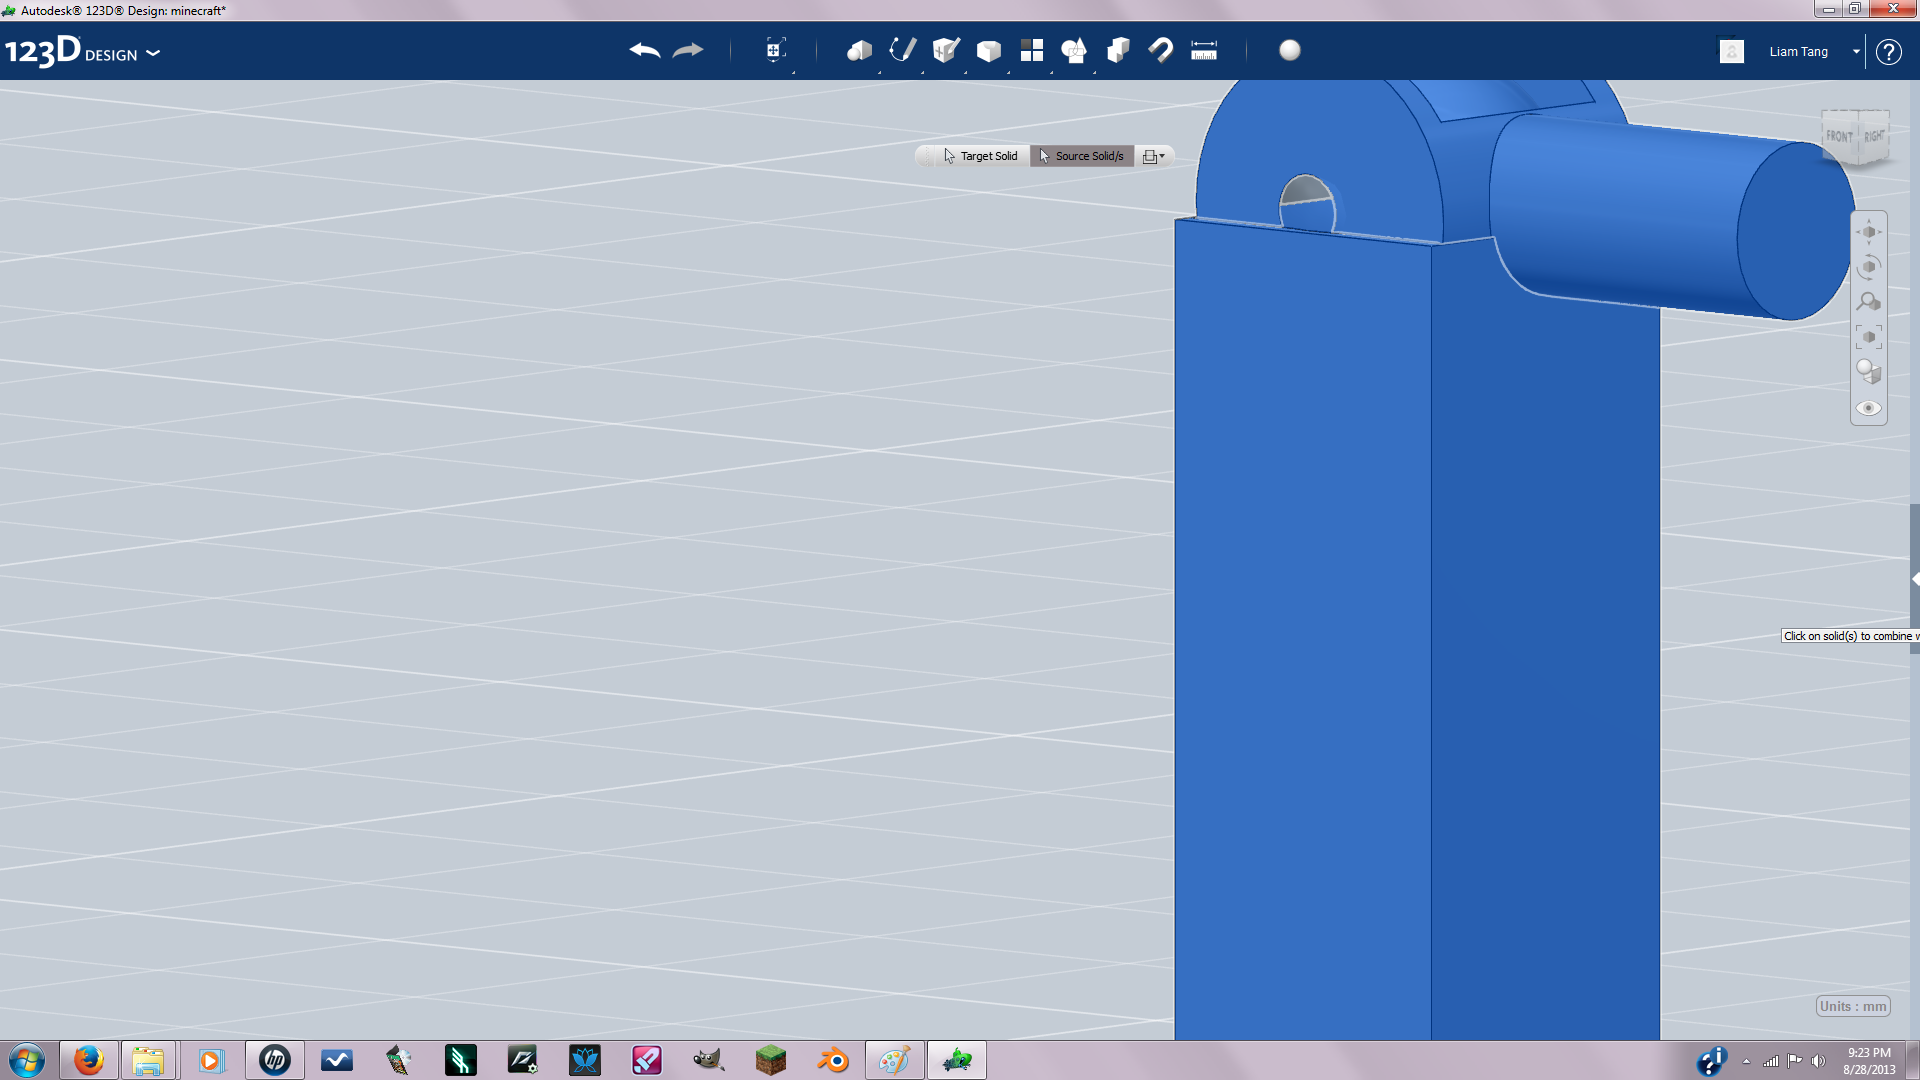
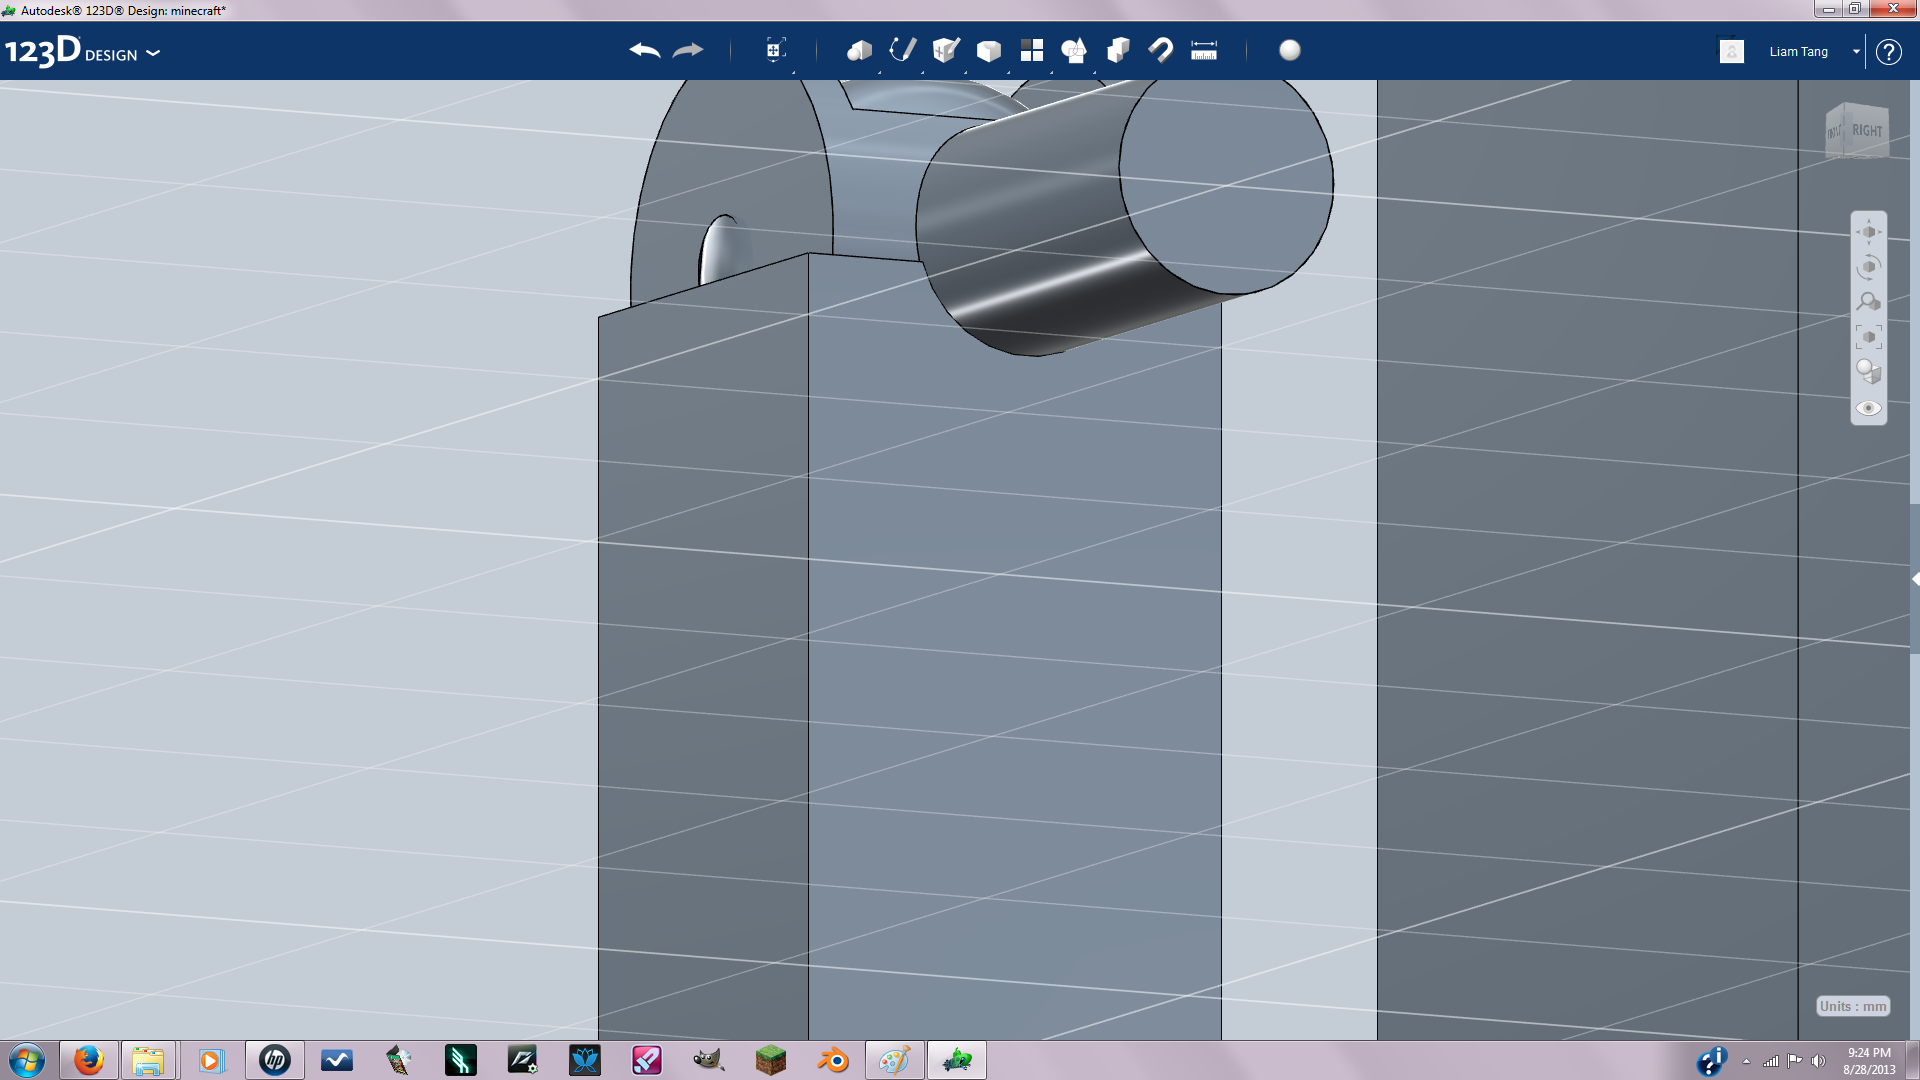
So now that the arms is rotated 90 degrees on it's joint you can see part of the arms overlapping with the bigger cylinder on the joint. To fix this you need to copy and paste the bracket part of your ball joint. but don't move it anywhere just click on your bracket part and press CTRL+C then CTRL+V and click on empty space to confirm. Now click on combine in your toolbar then set it to subtract and click on the arm then the bracket piece. Now your joint and arm is no longer overlapping.
Positioning the Arm
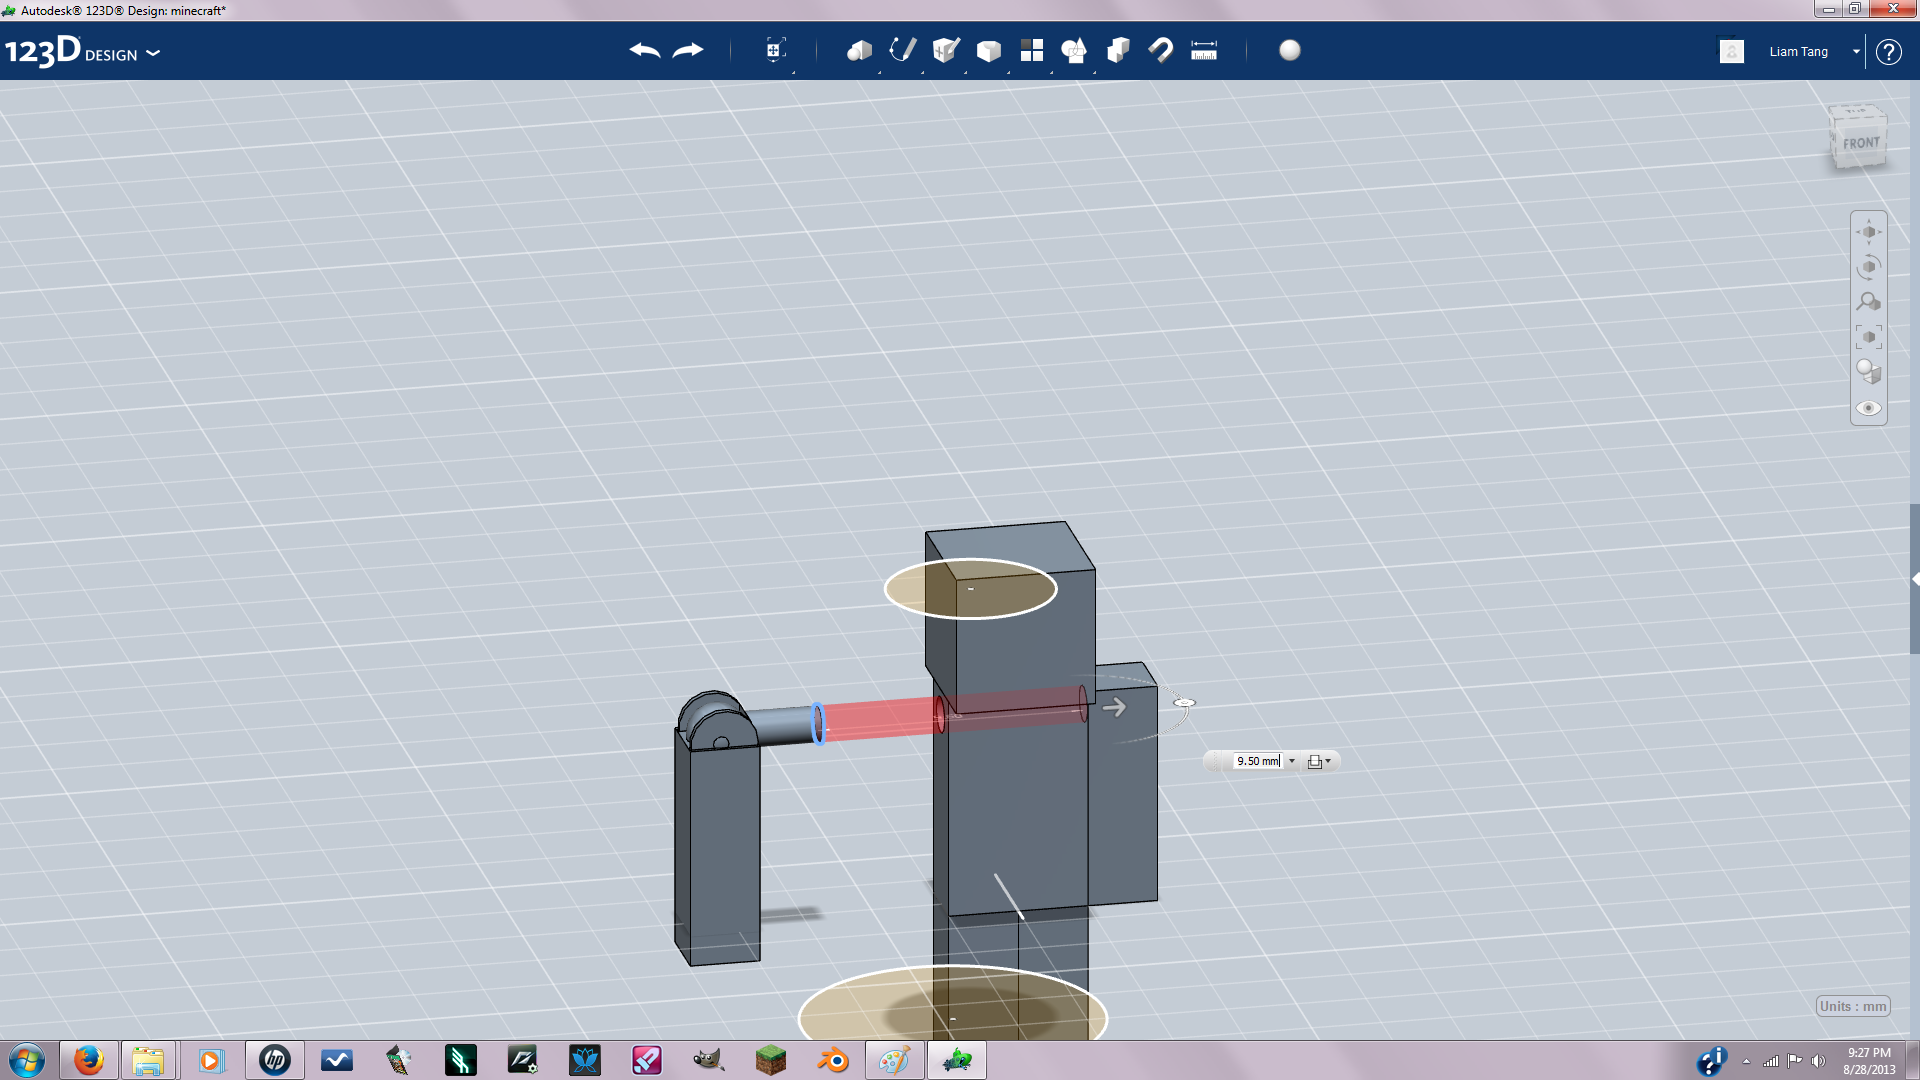
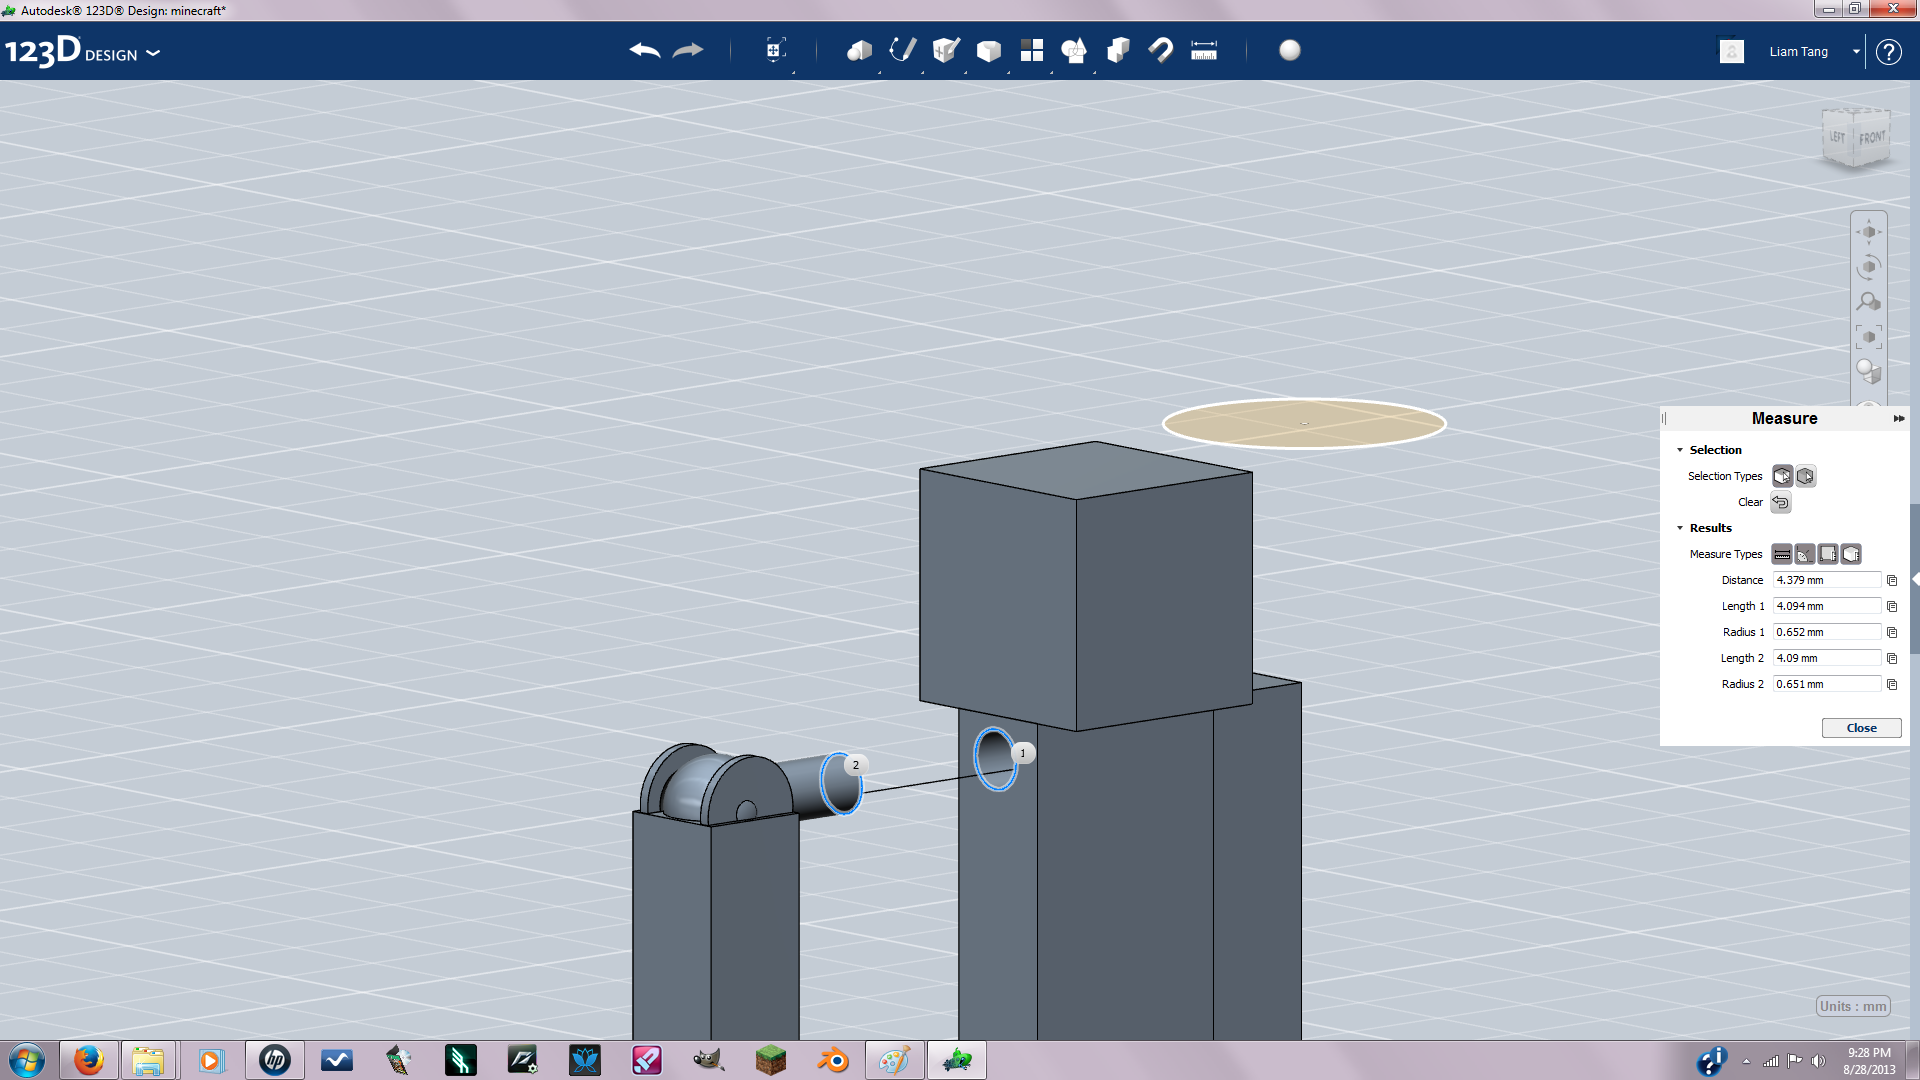
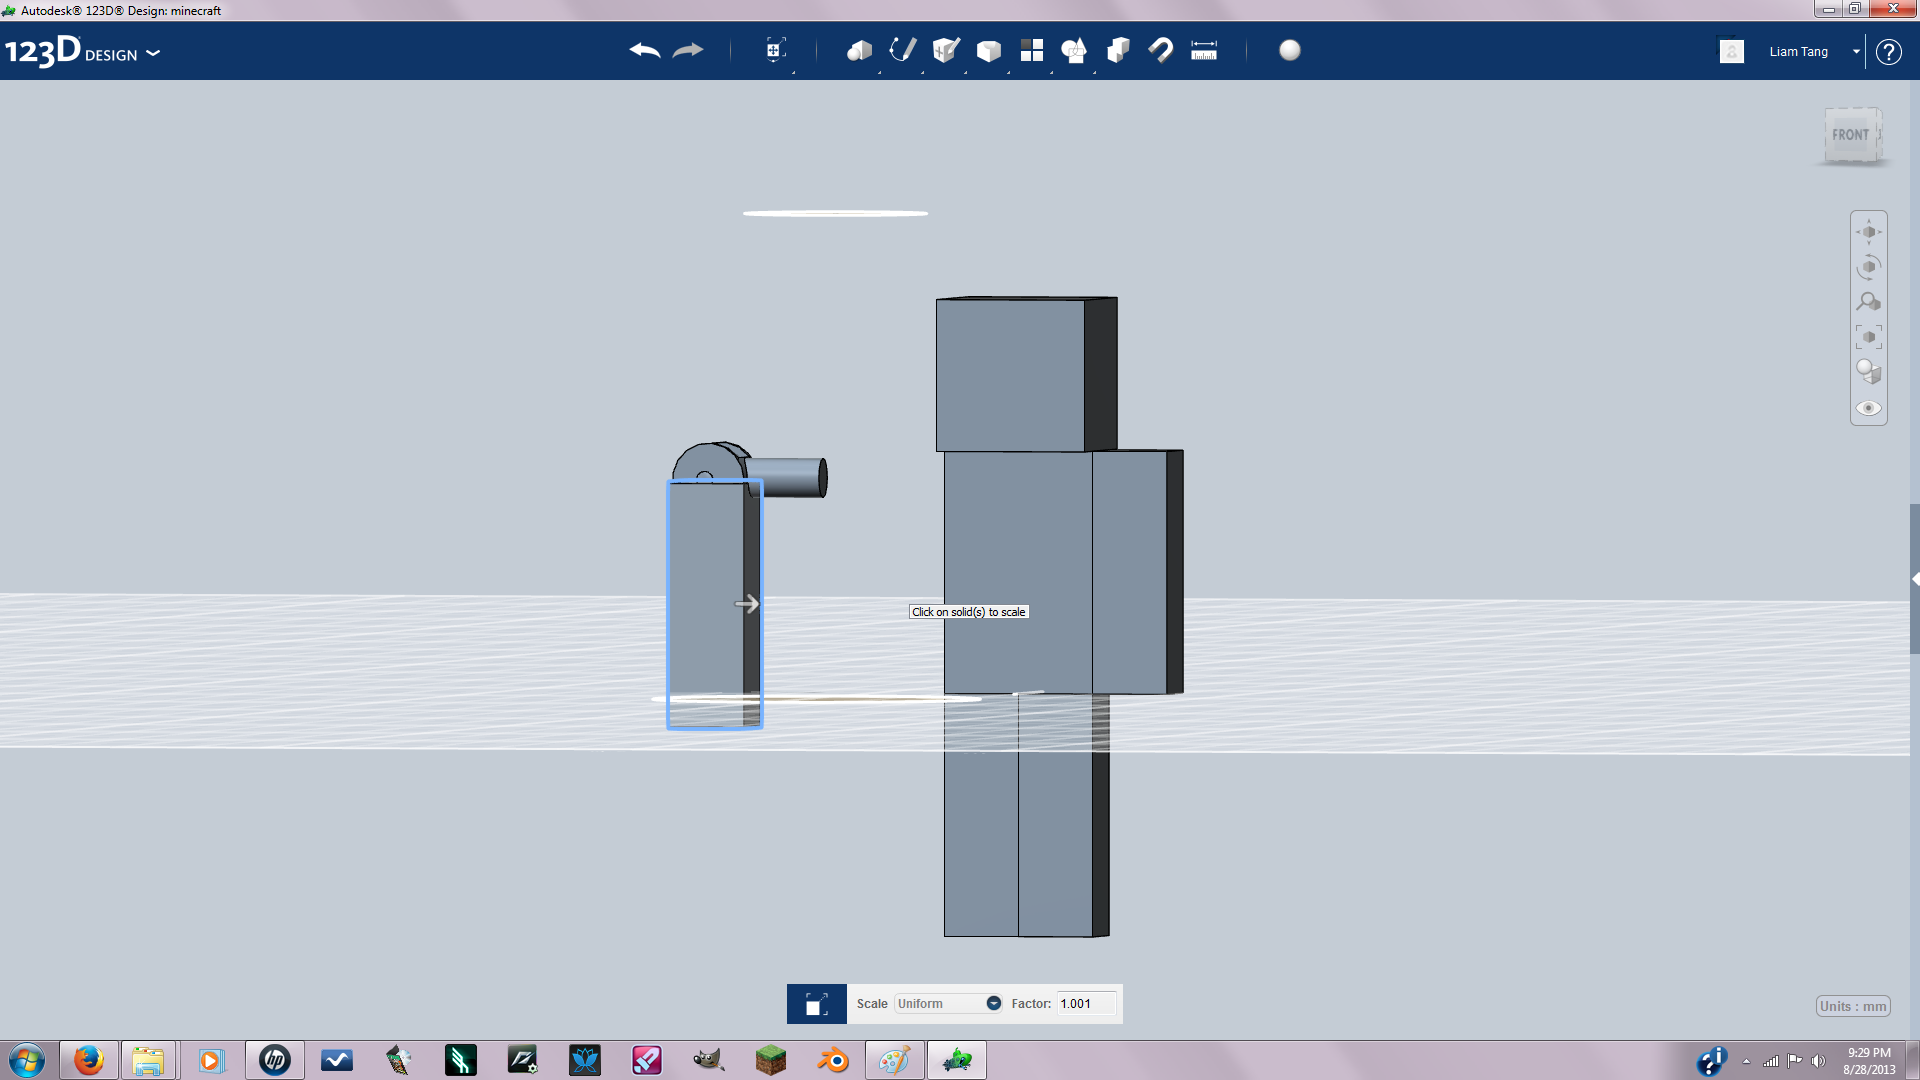
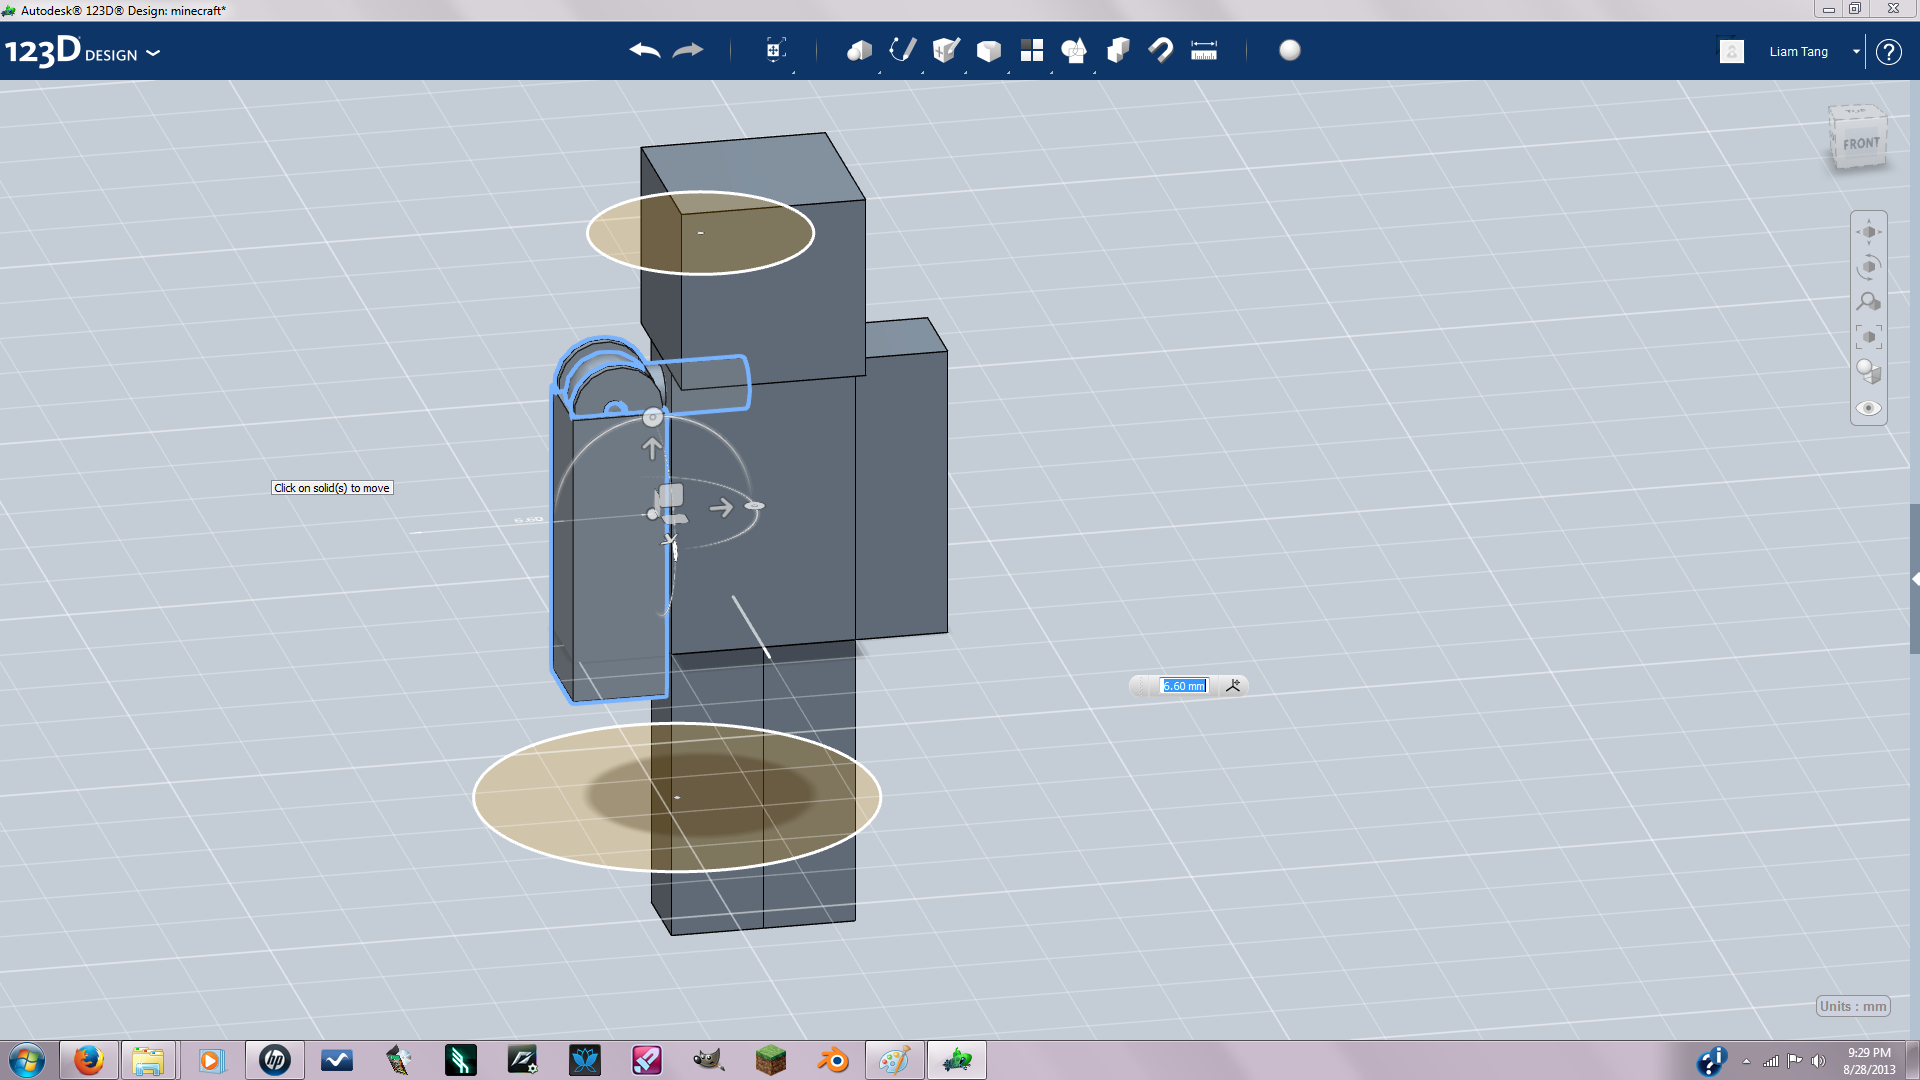
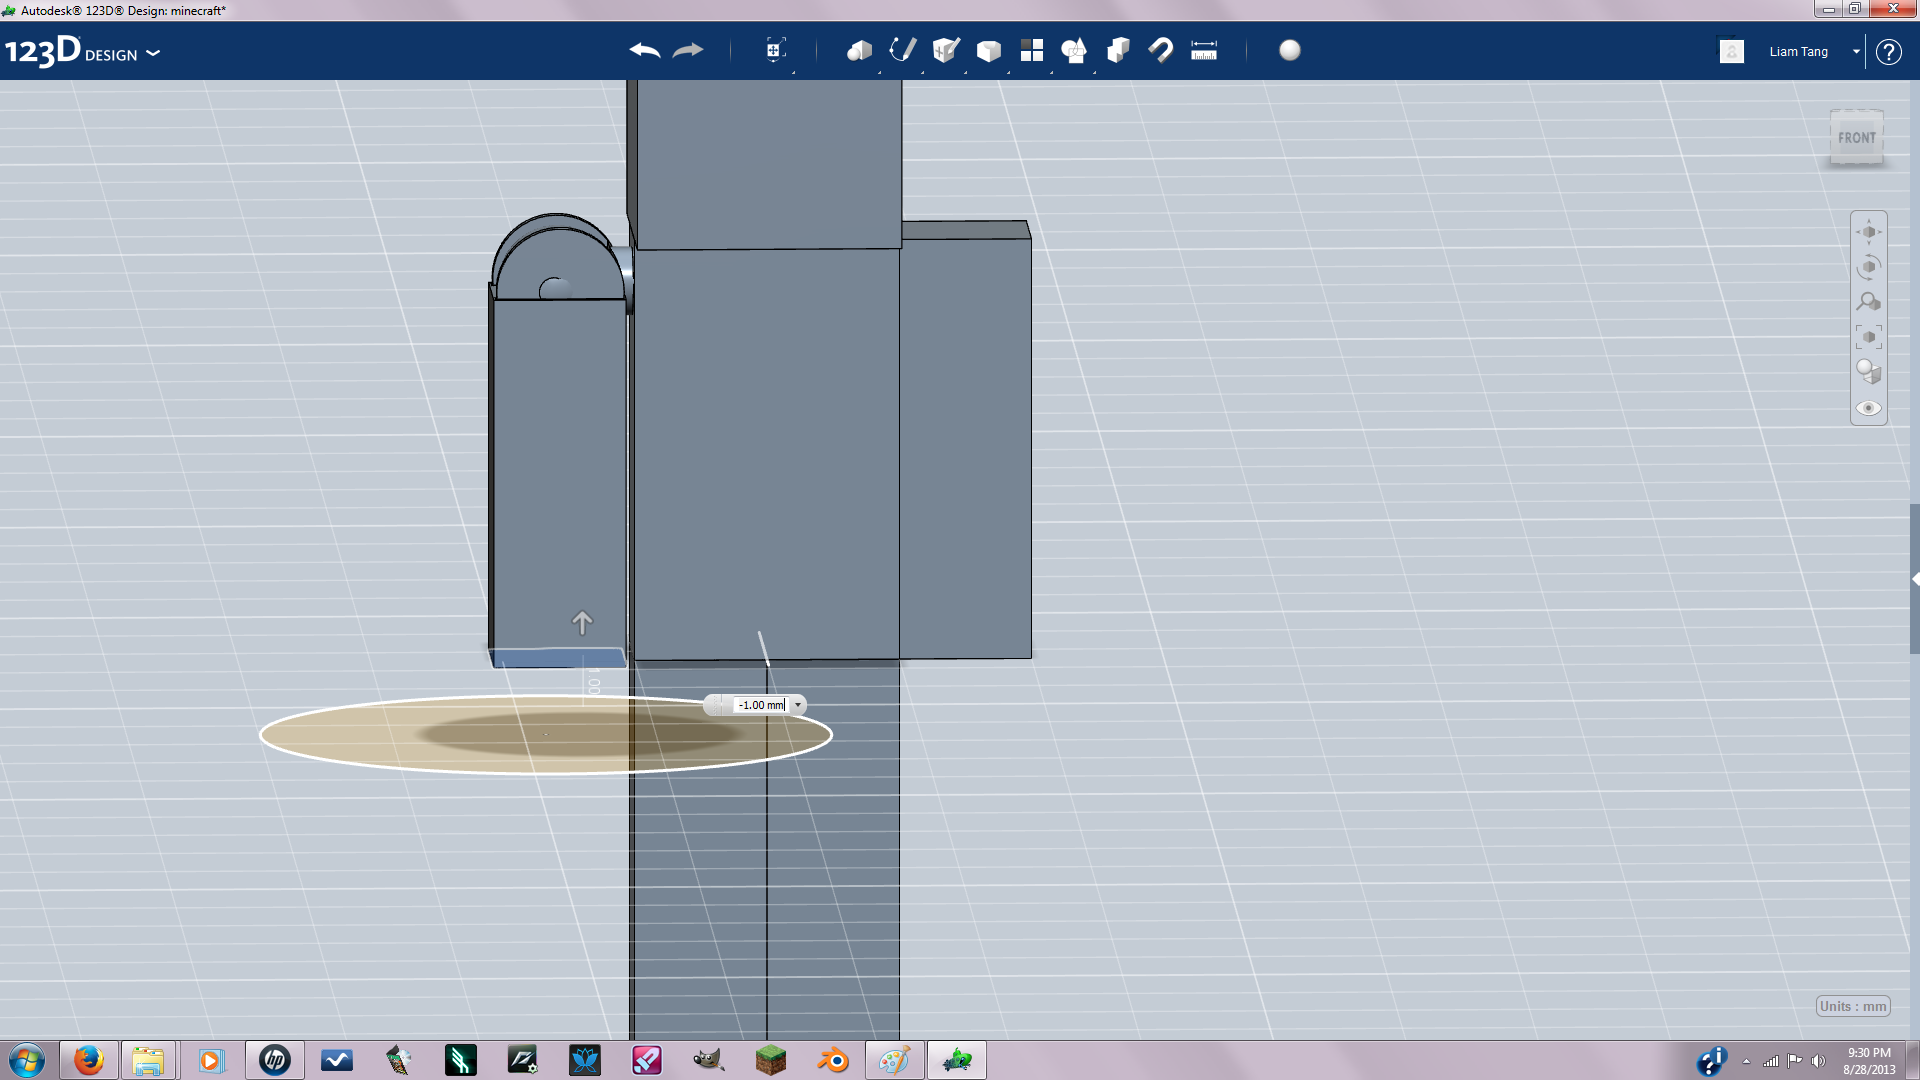
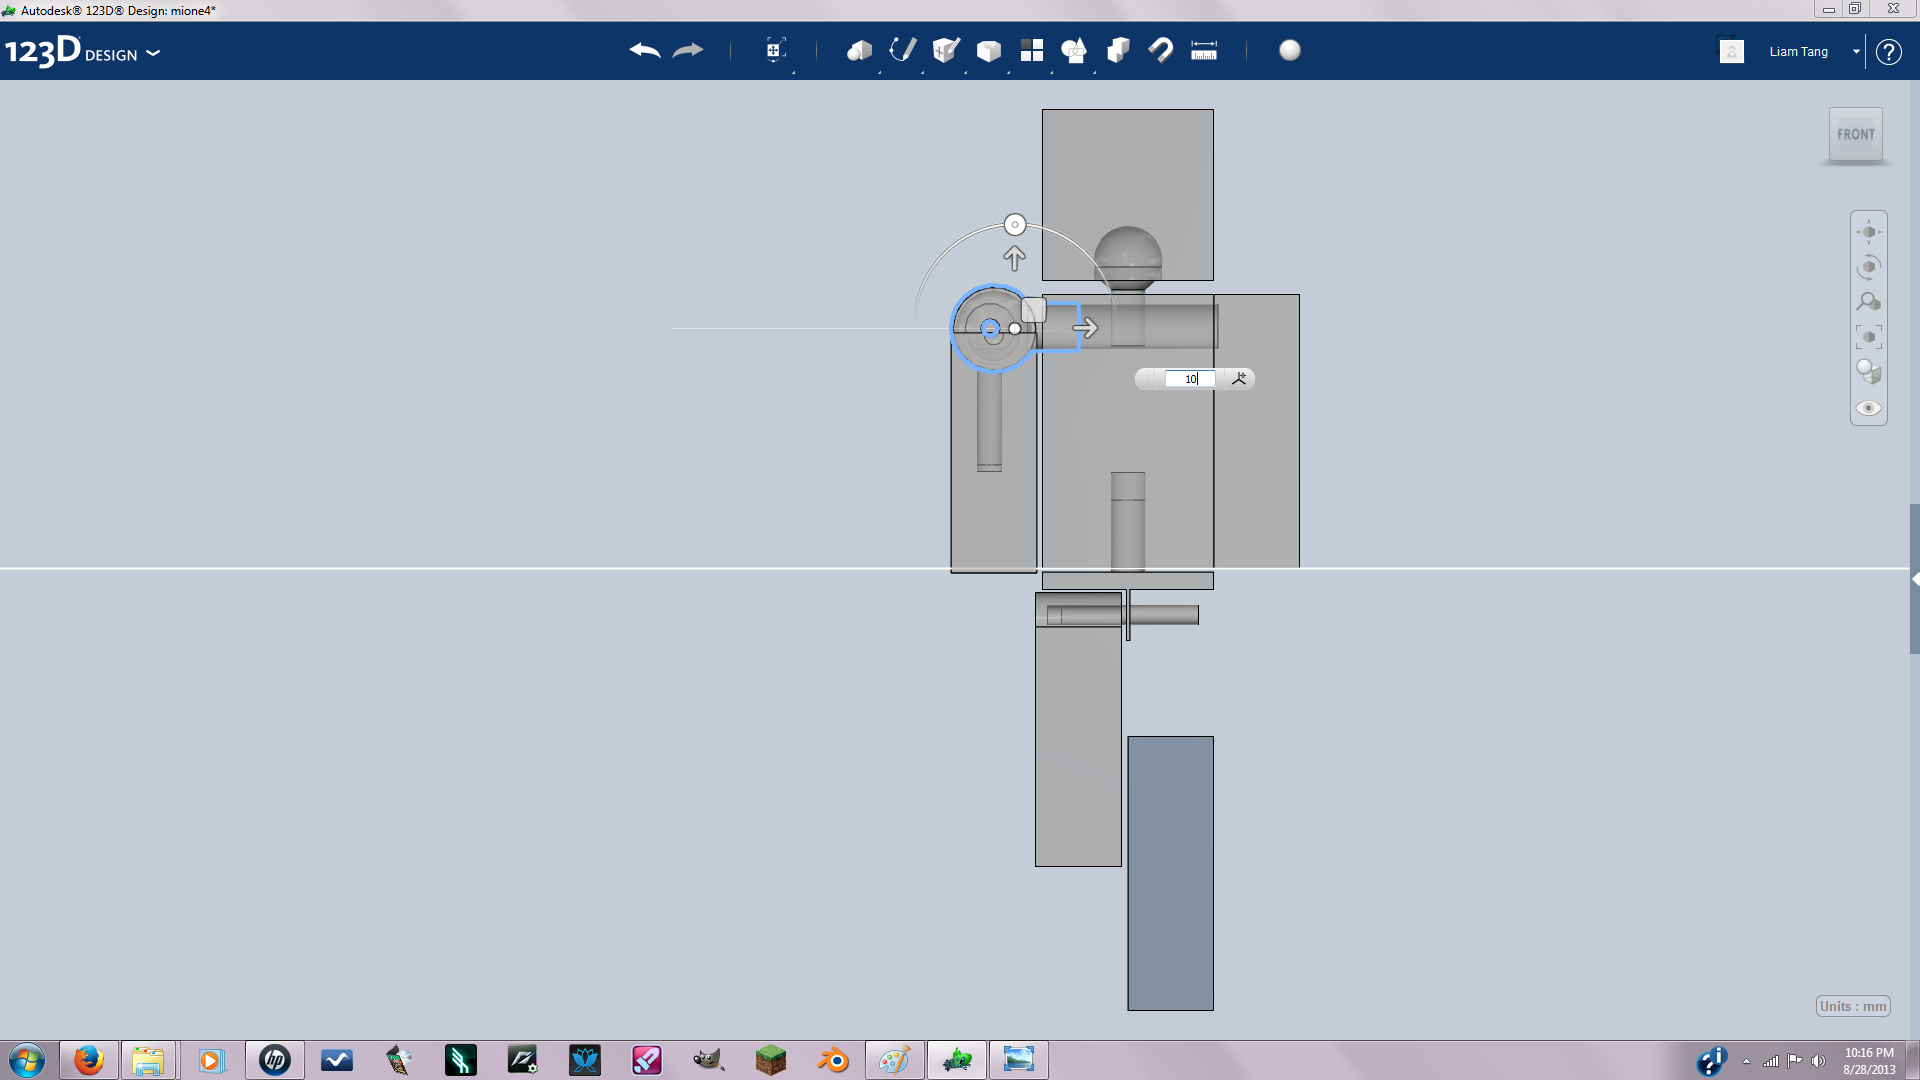
Now were going to position the arm and make sure the joints work. Extrude set to cut(pic1). Next using the measuring tool I made sure the cylinder on the joint would fit in the body when printed. You want to make sure you make all the joint pieces just a little bit smaller then the place there going to be inserted, to make sure they fit when printed. Then I scaled my arm up by .001 for the same reason stated above. Now I just moved the arm into place, and using the push pull tool I adjusted the arm to make it just about waist height.
Creating the Hip Joint
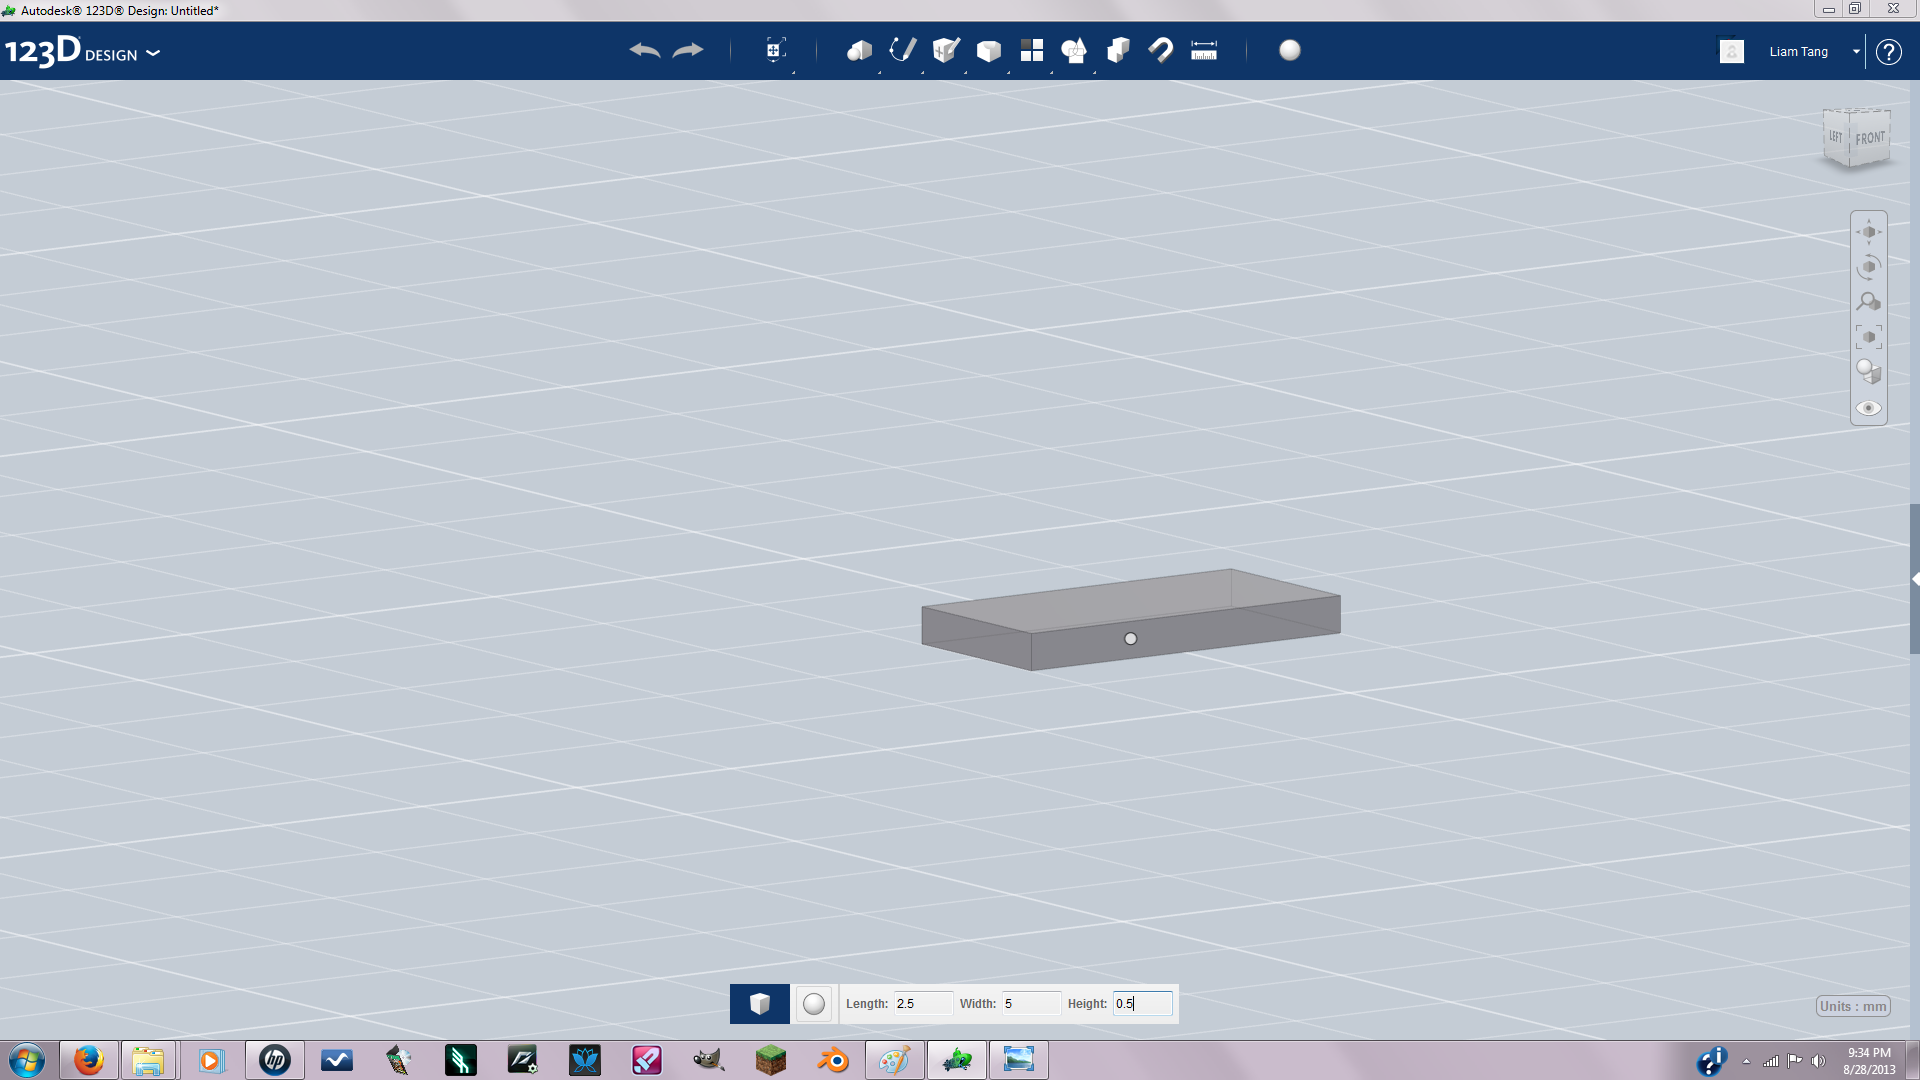
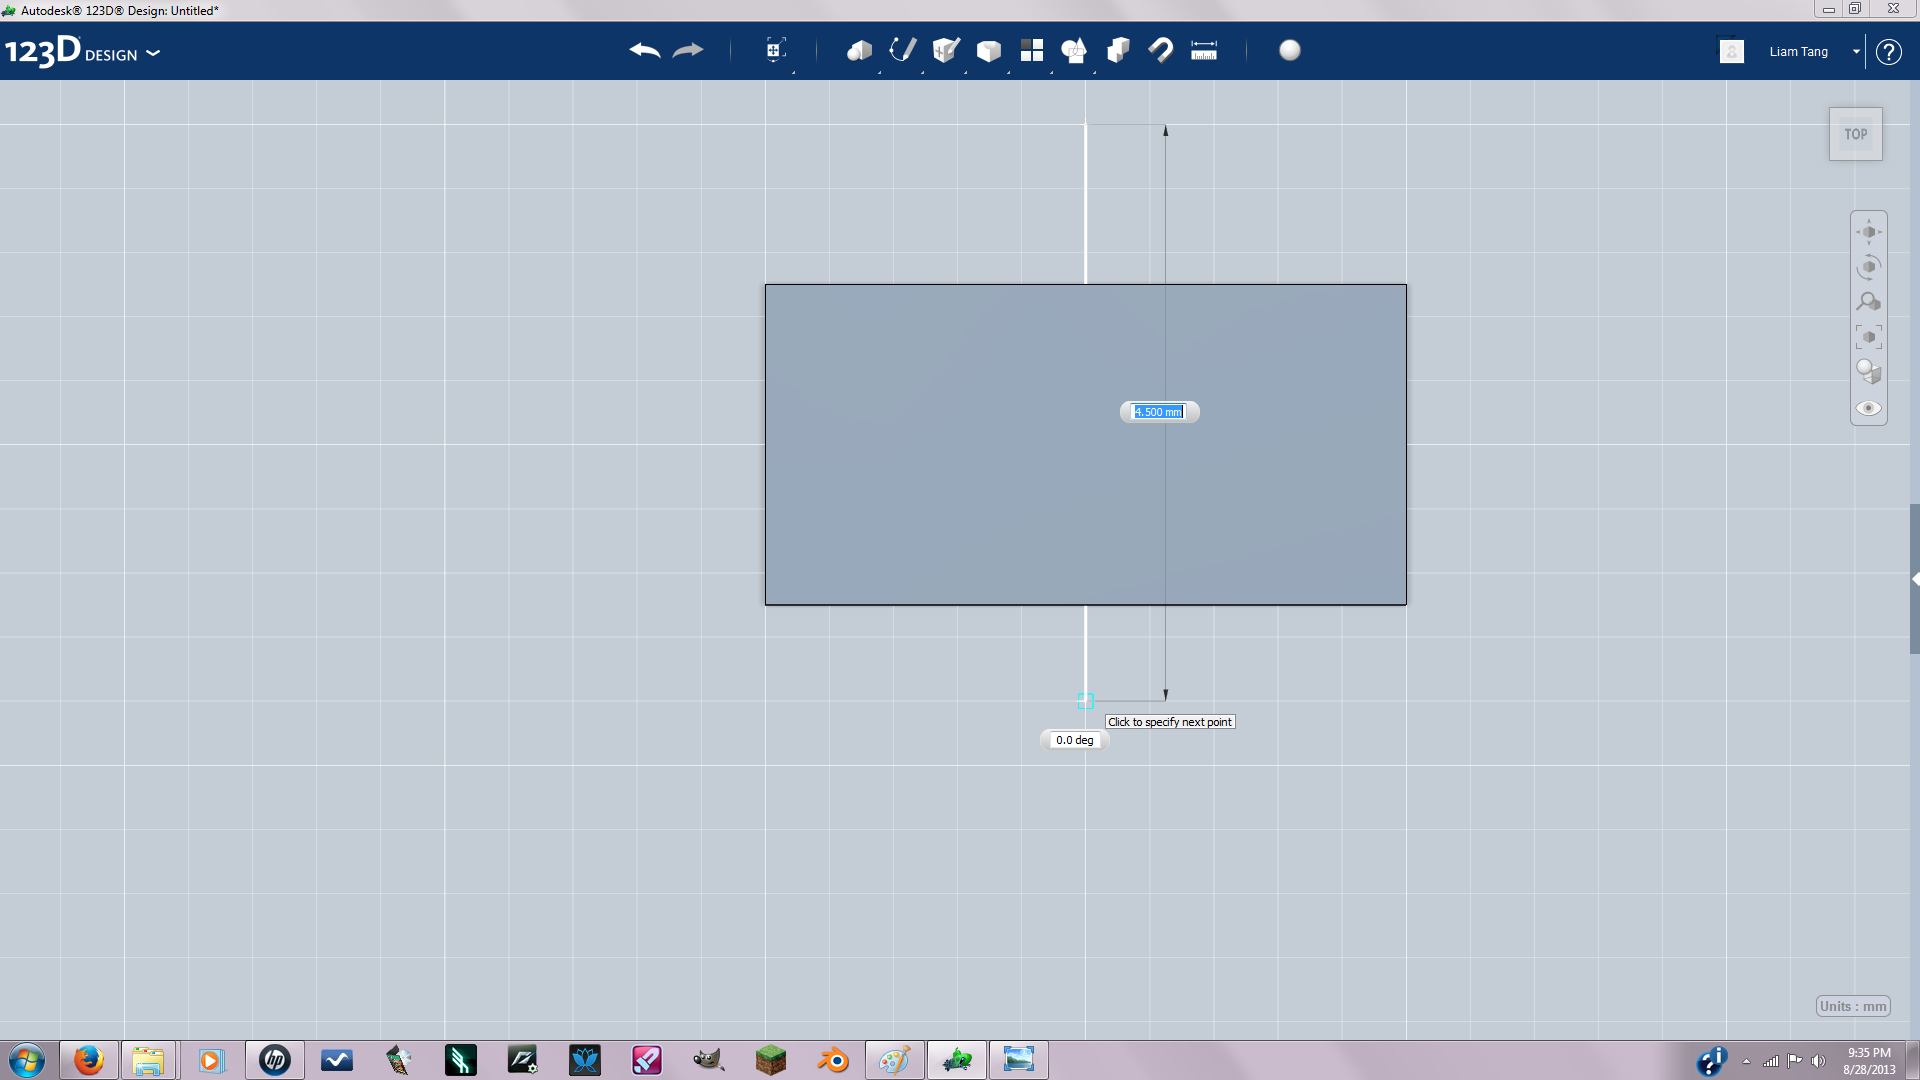
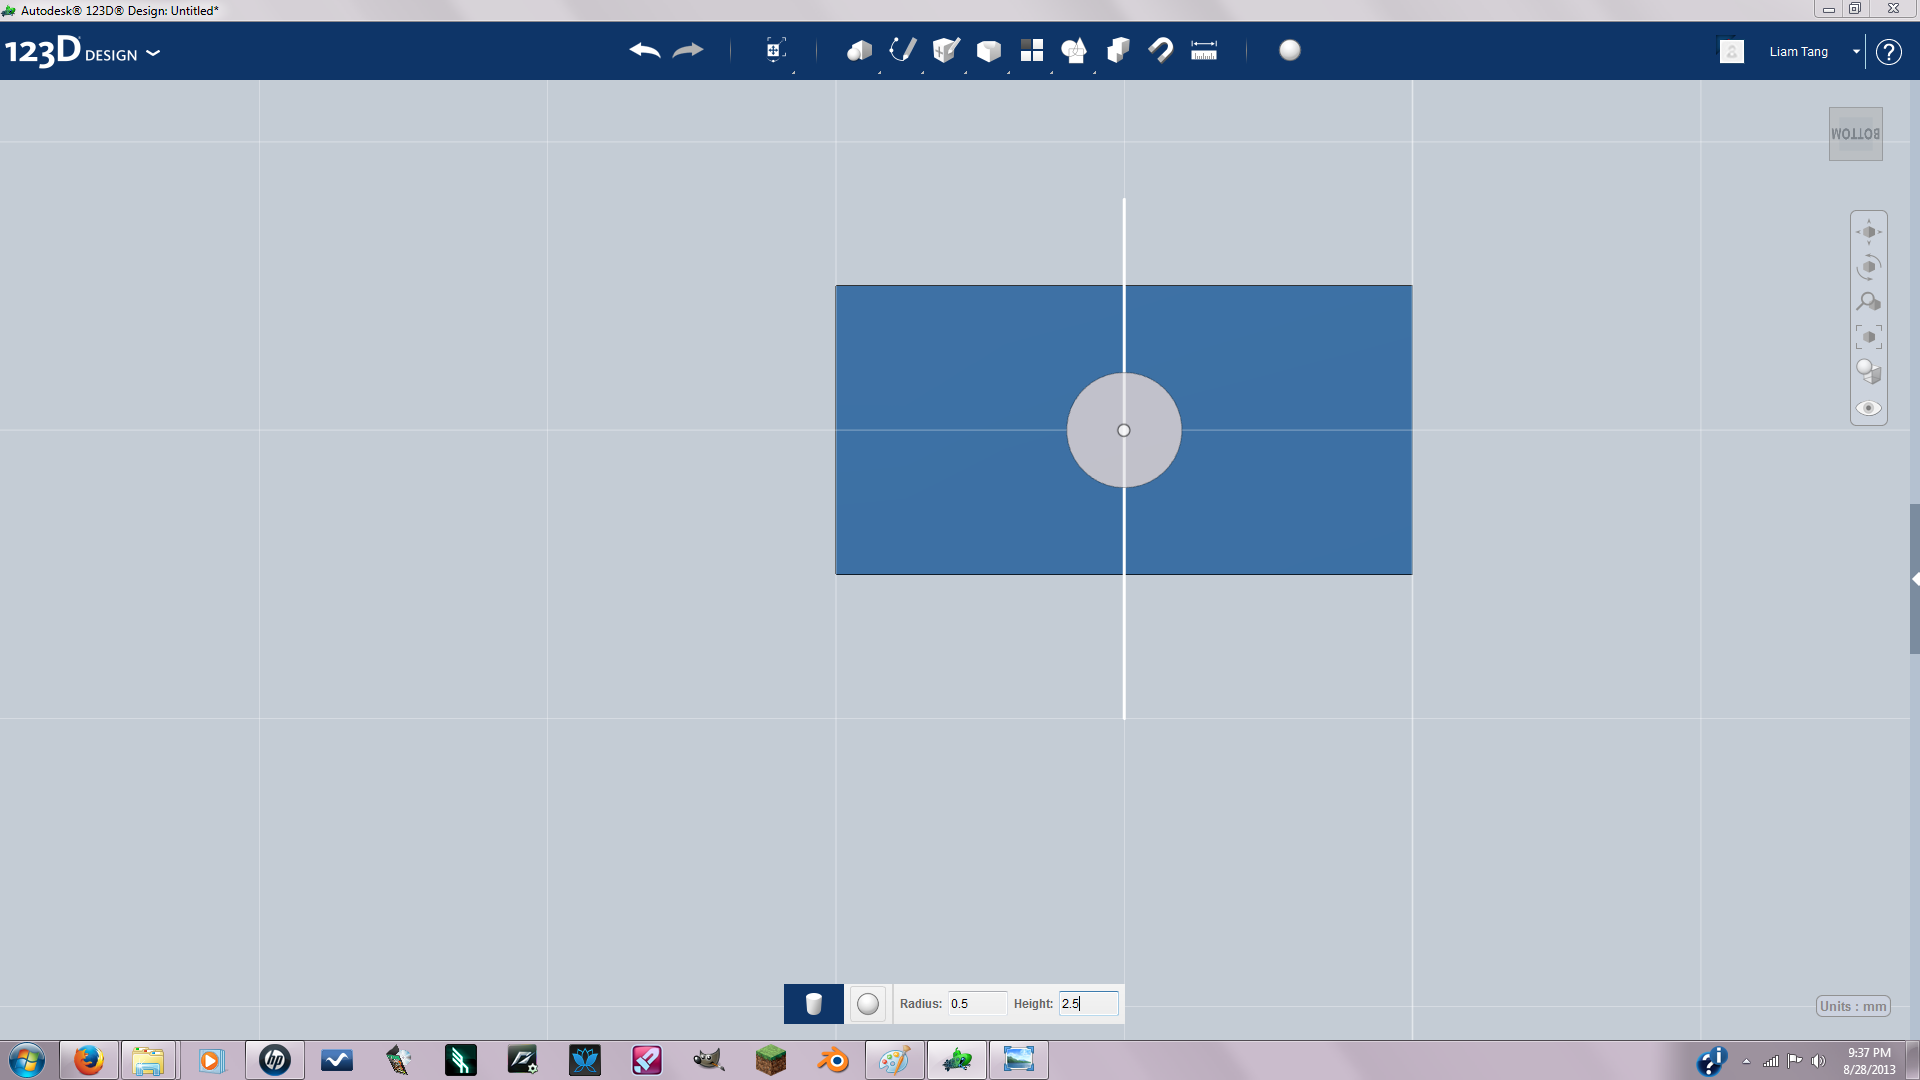
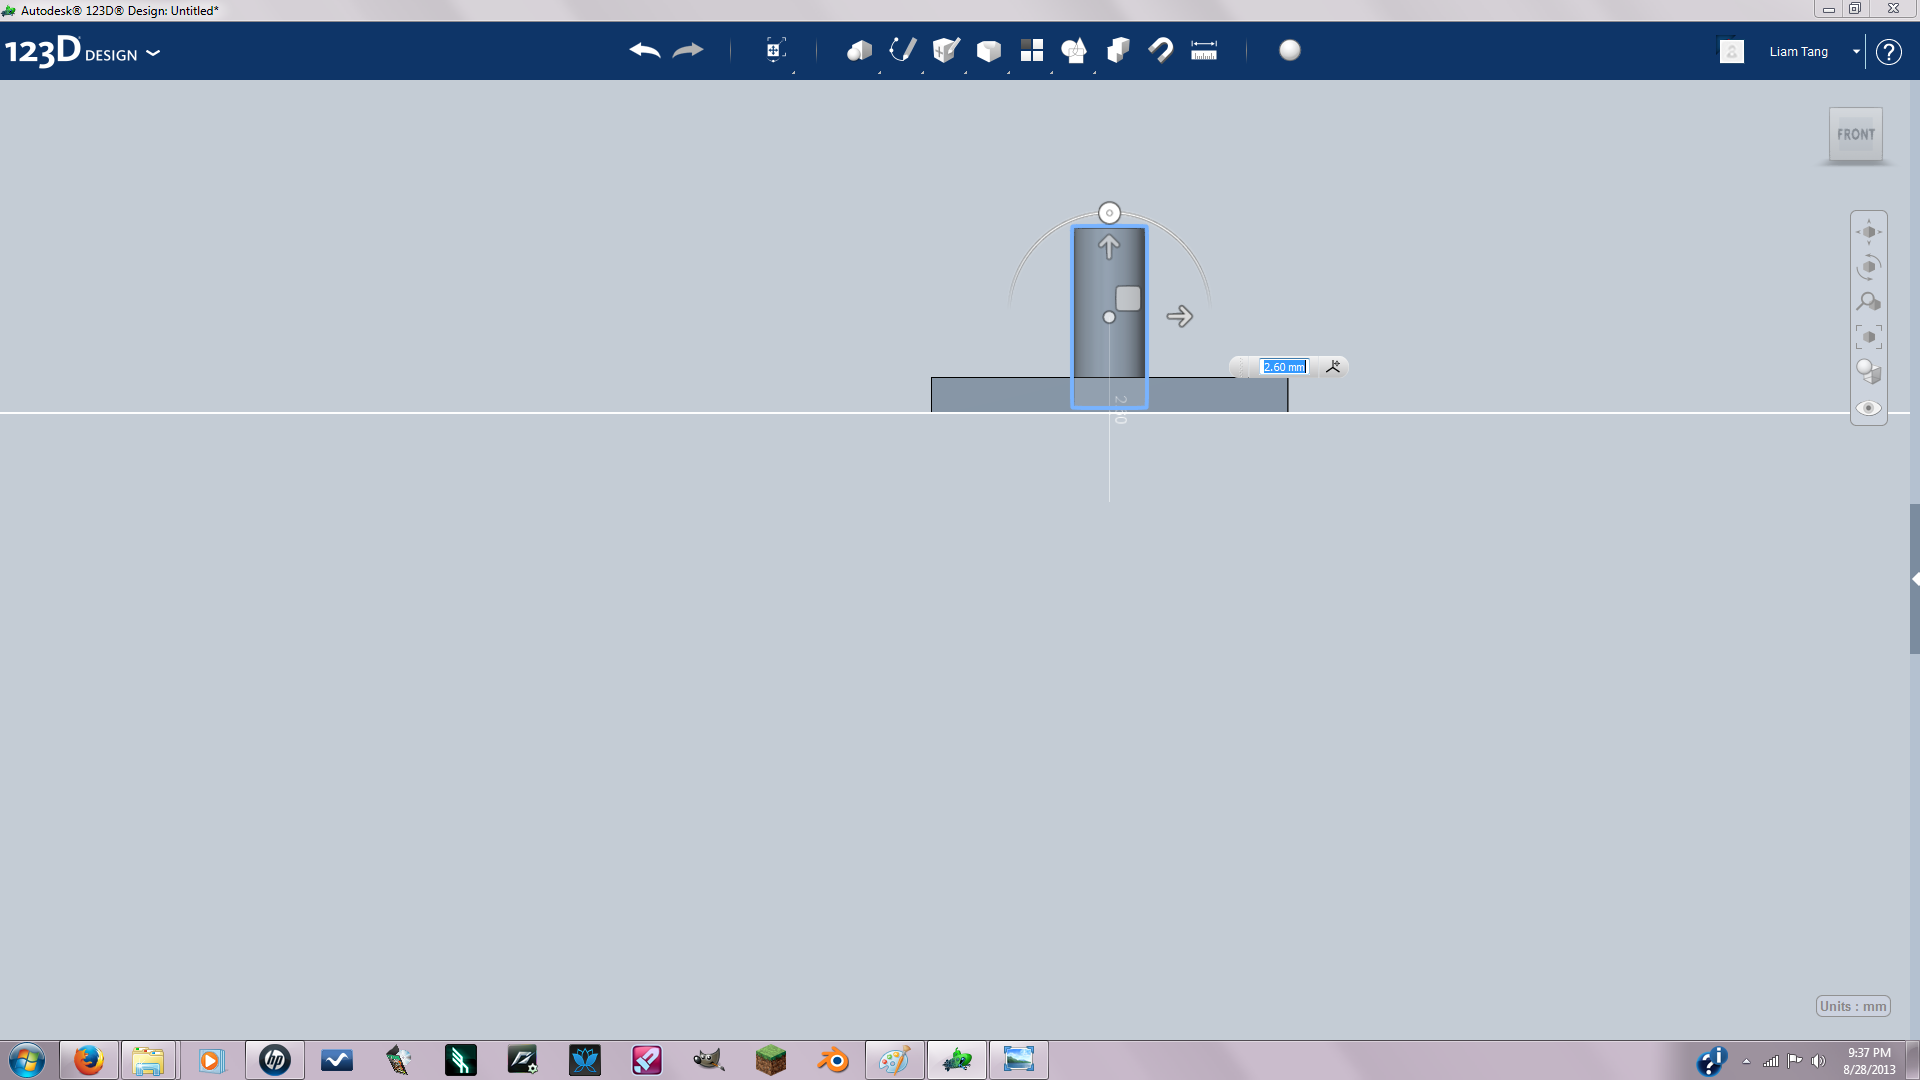
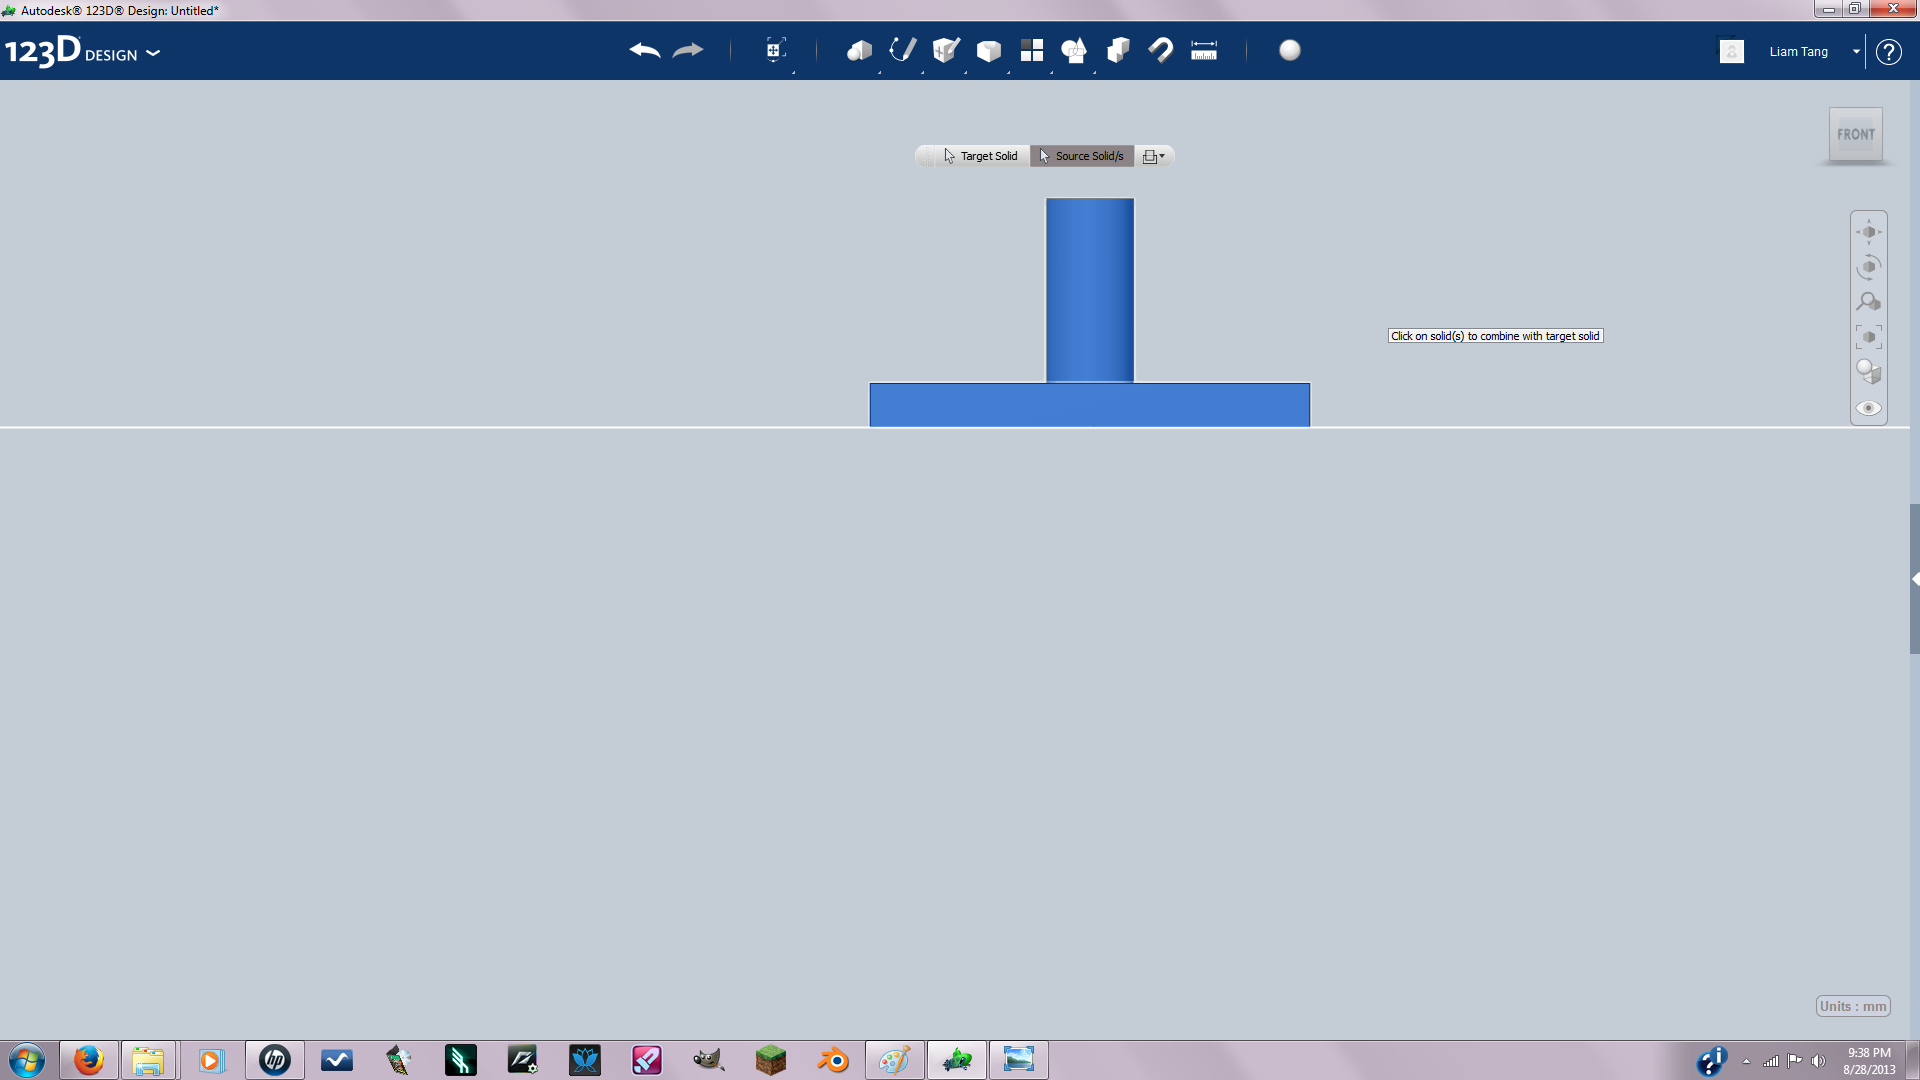
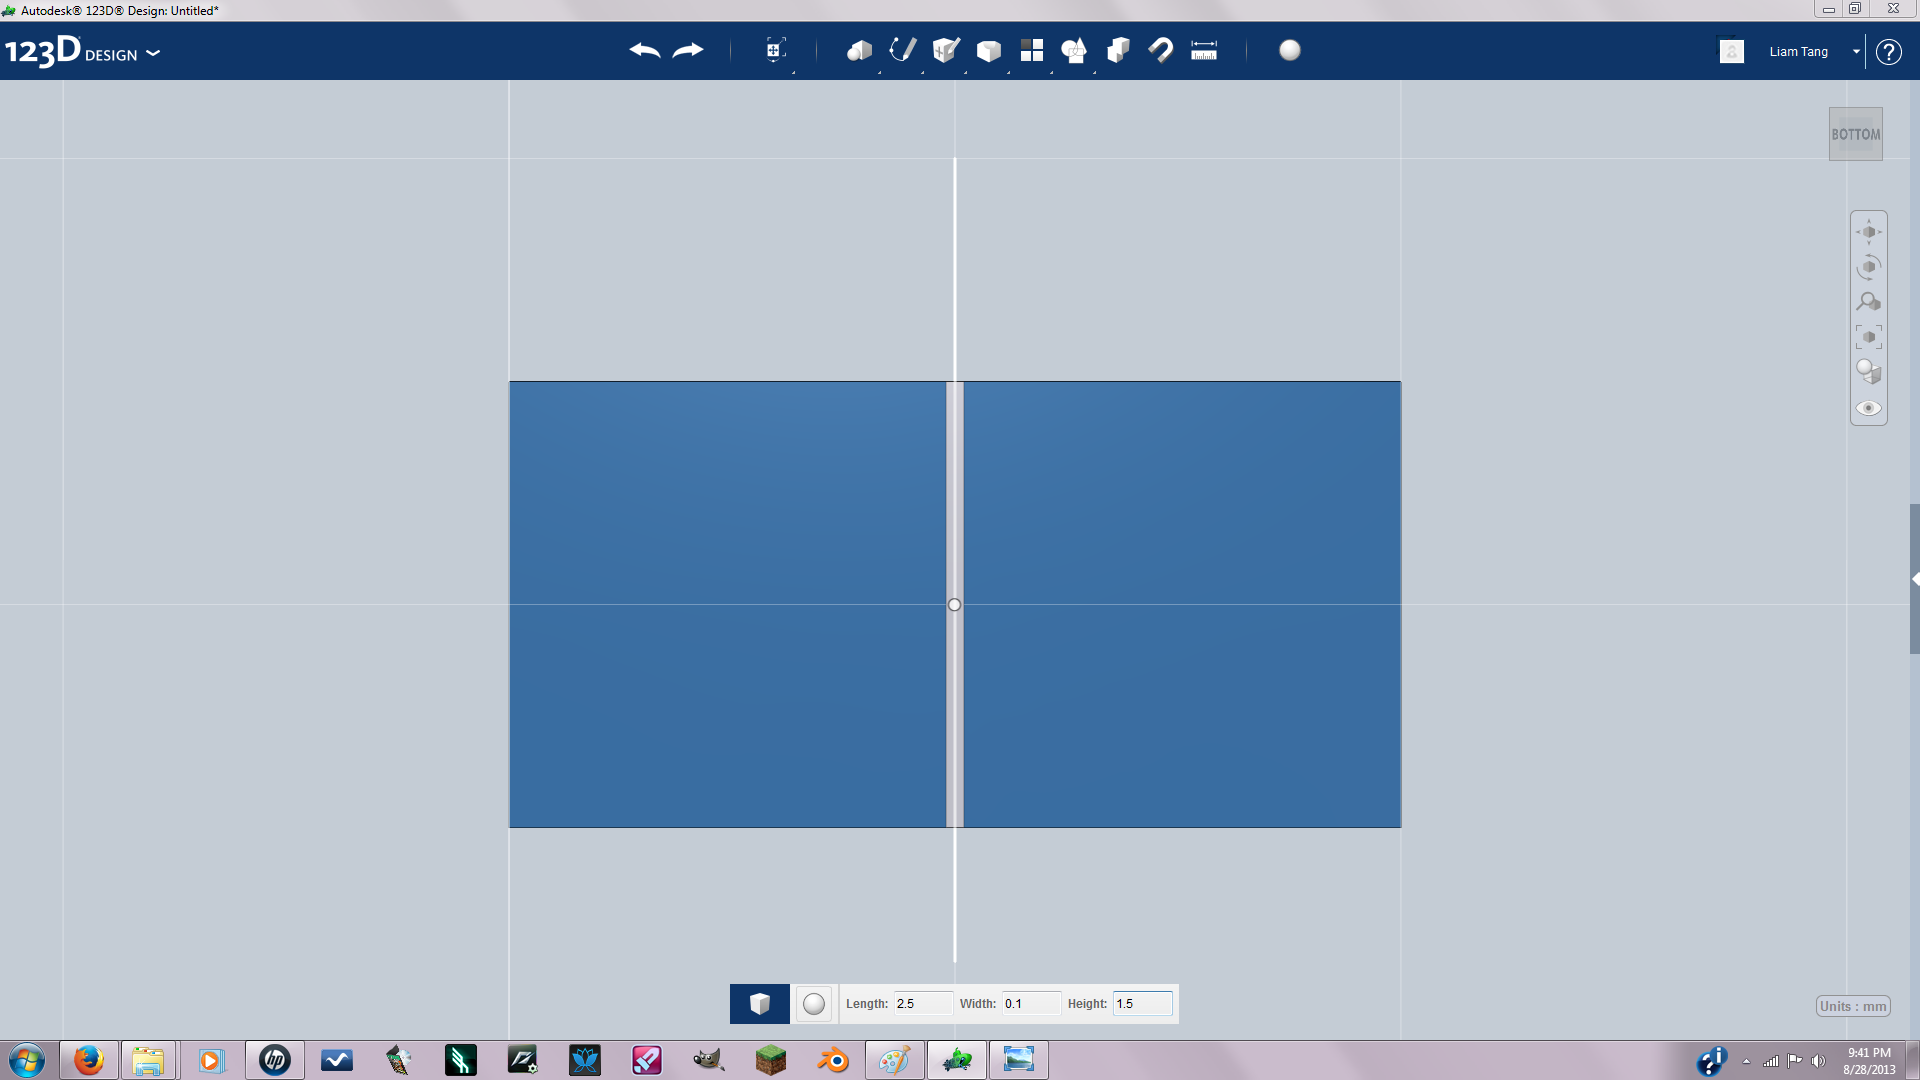
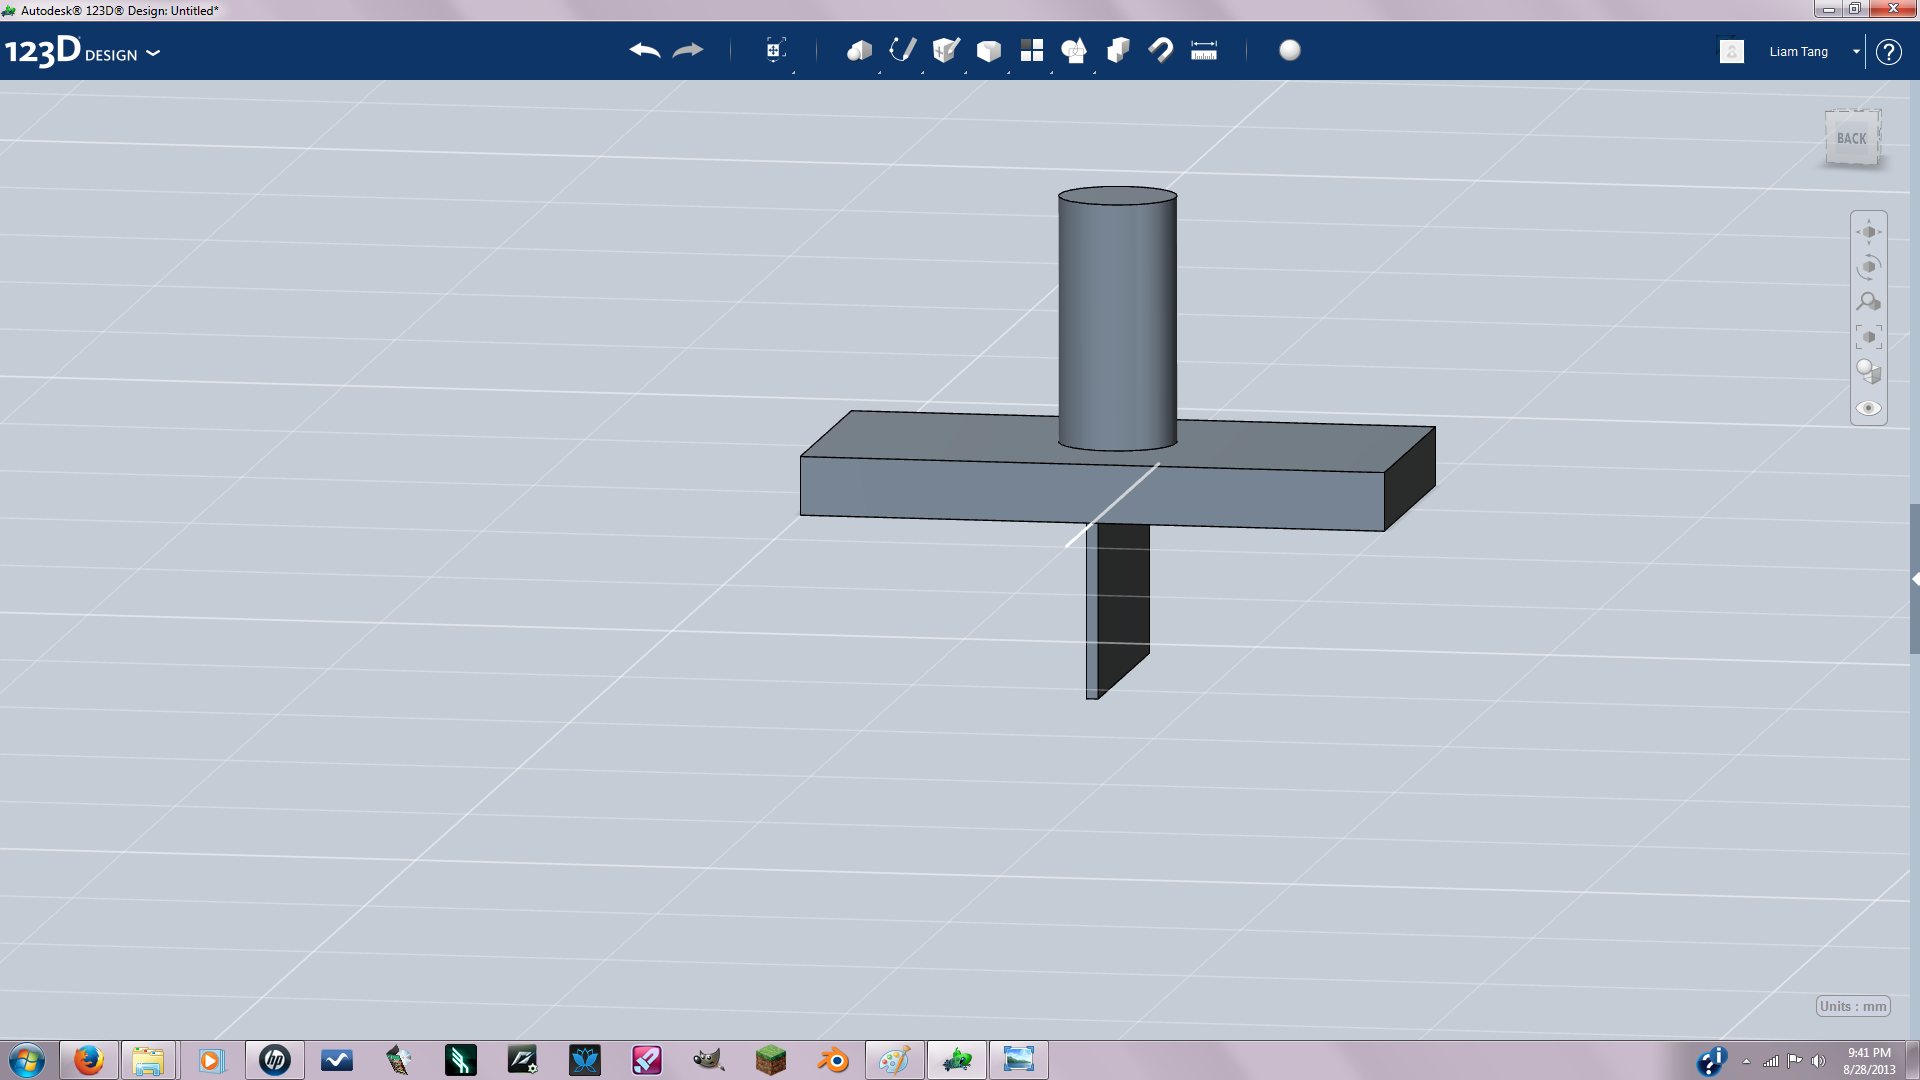
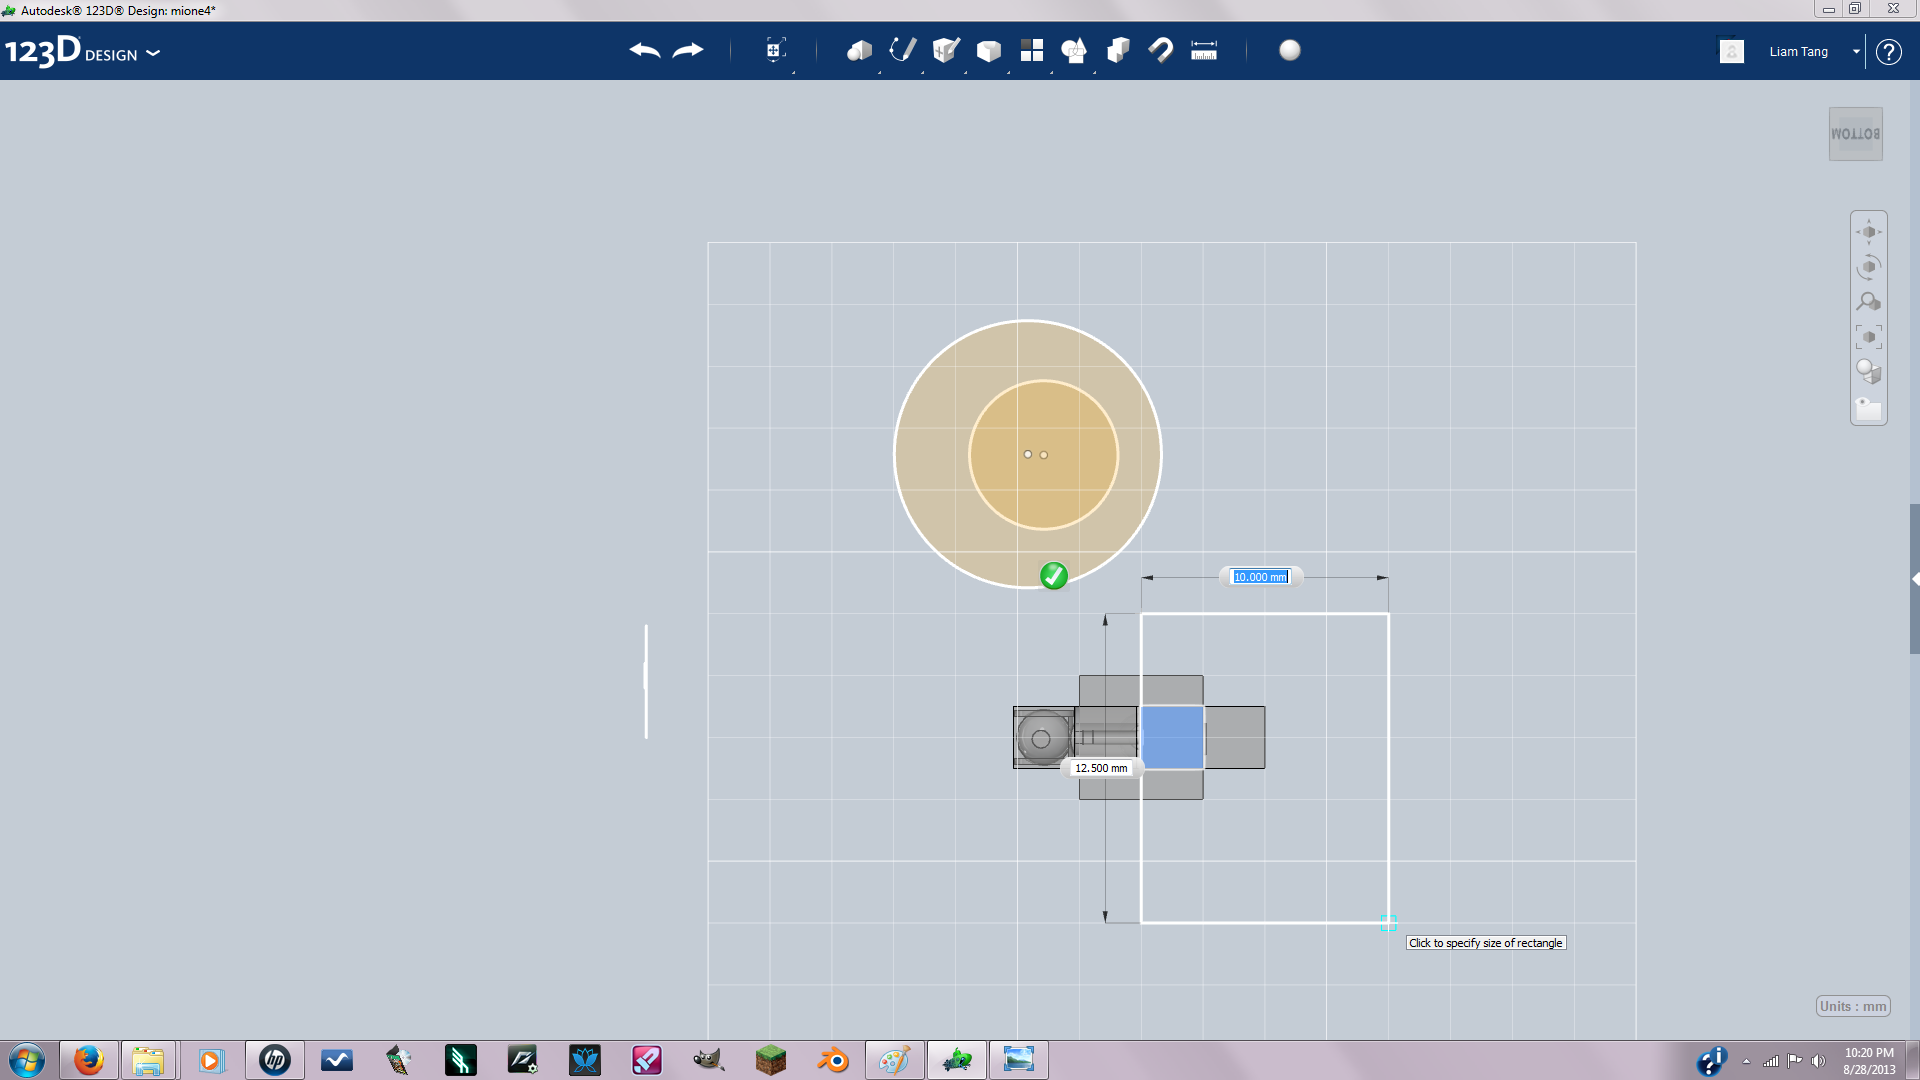
This step Is pretty easy. All I did was create the cube solid(pic1) then flipped to top view and added a cylinder right in the center(pic3), then I moved the cylinder down so it intersected with the cube solid and combined the two using the combine tool and clicking in both objects then click on empty space to confirm(pic4) then I flipped to bottom view and added a new cube solid with the dimensions in pic6 then I just joined the whole thing.
Put It in Its Place
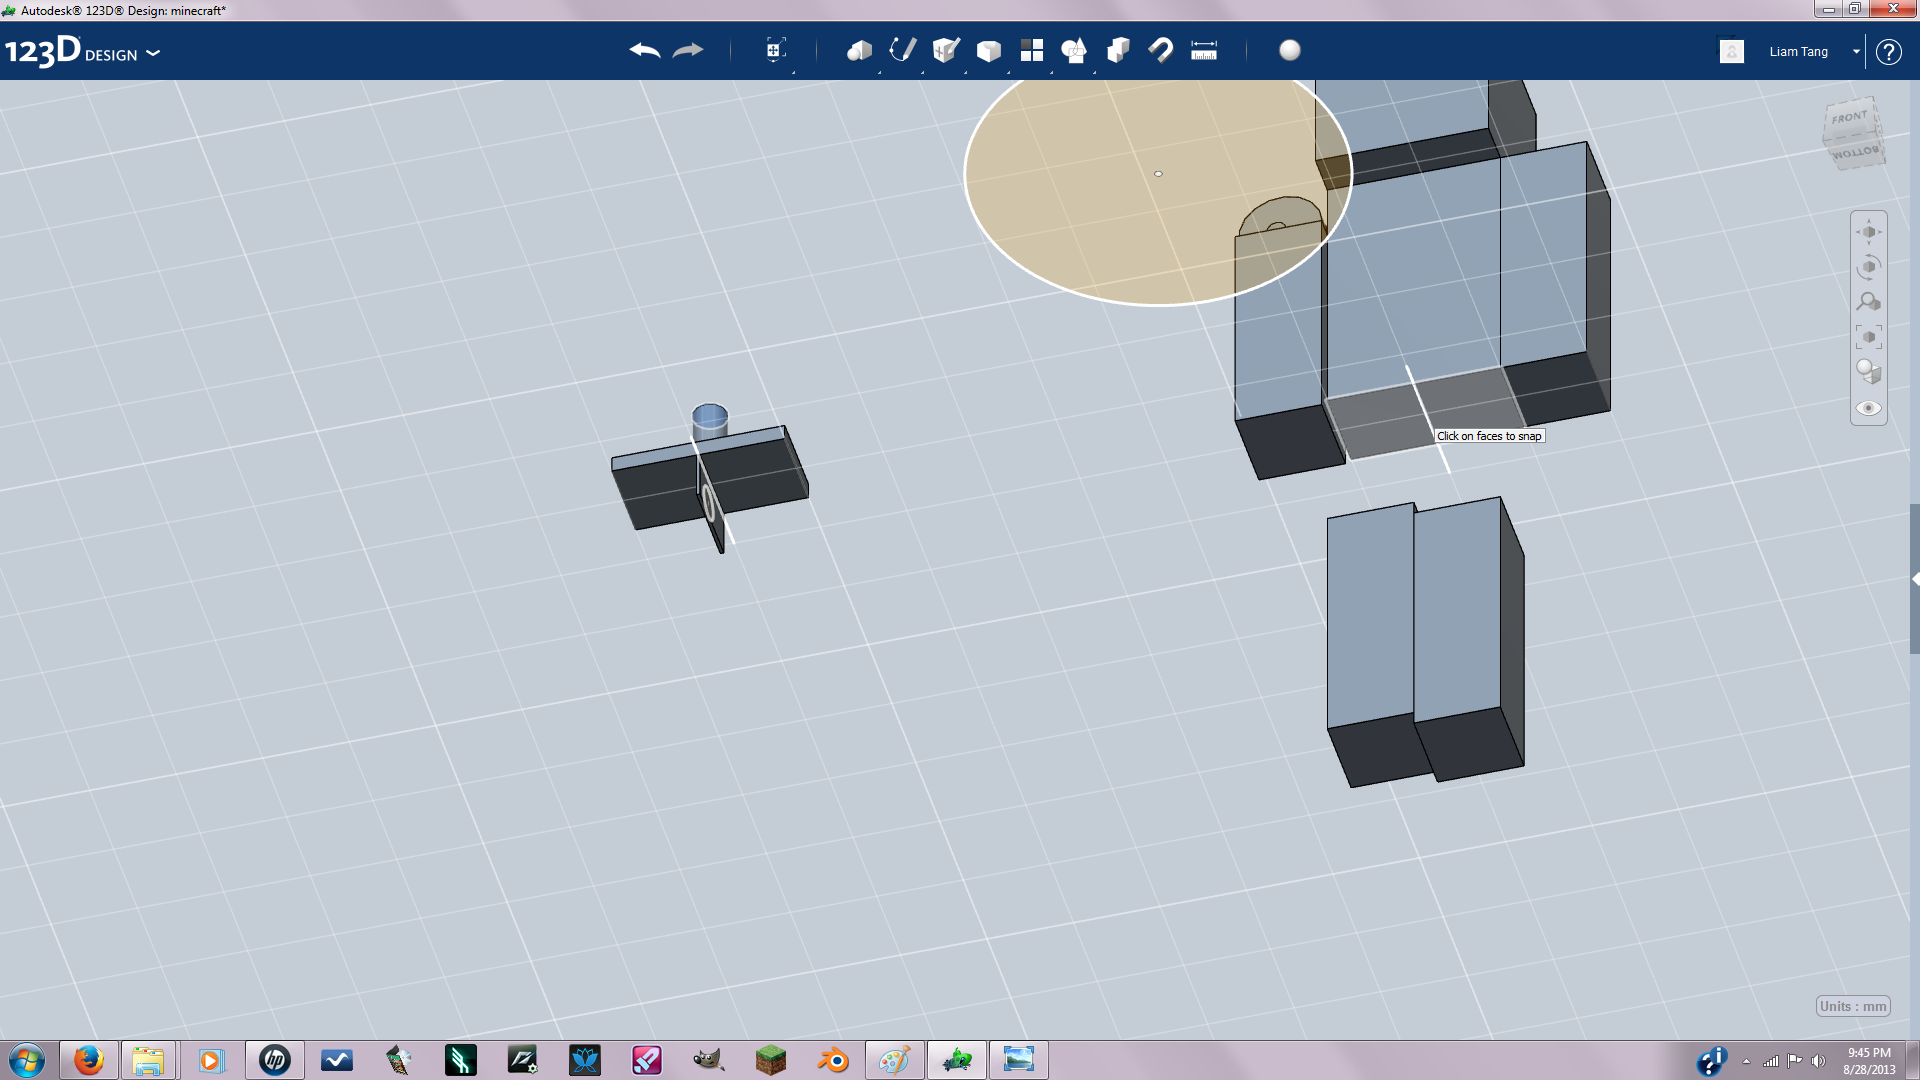
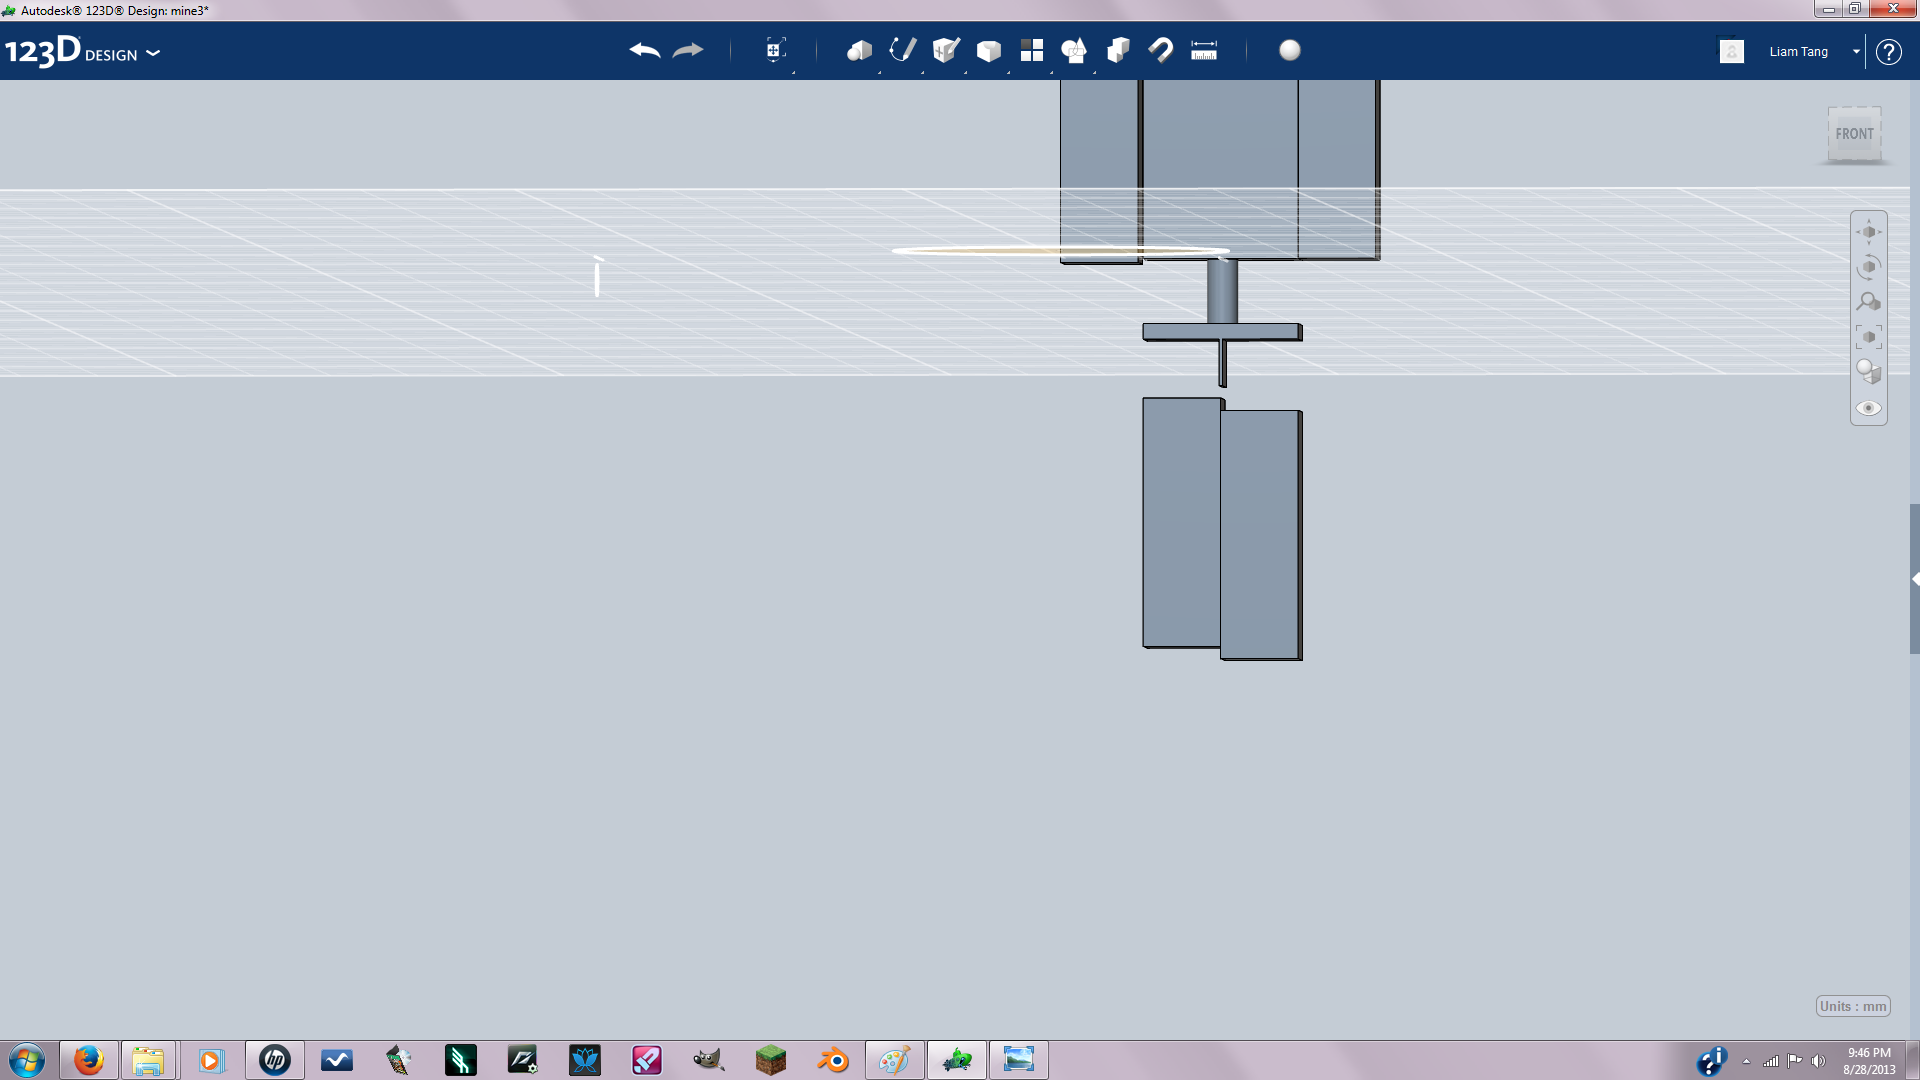
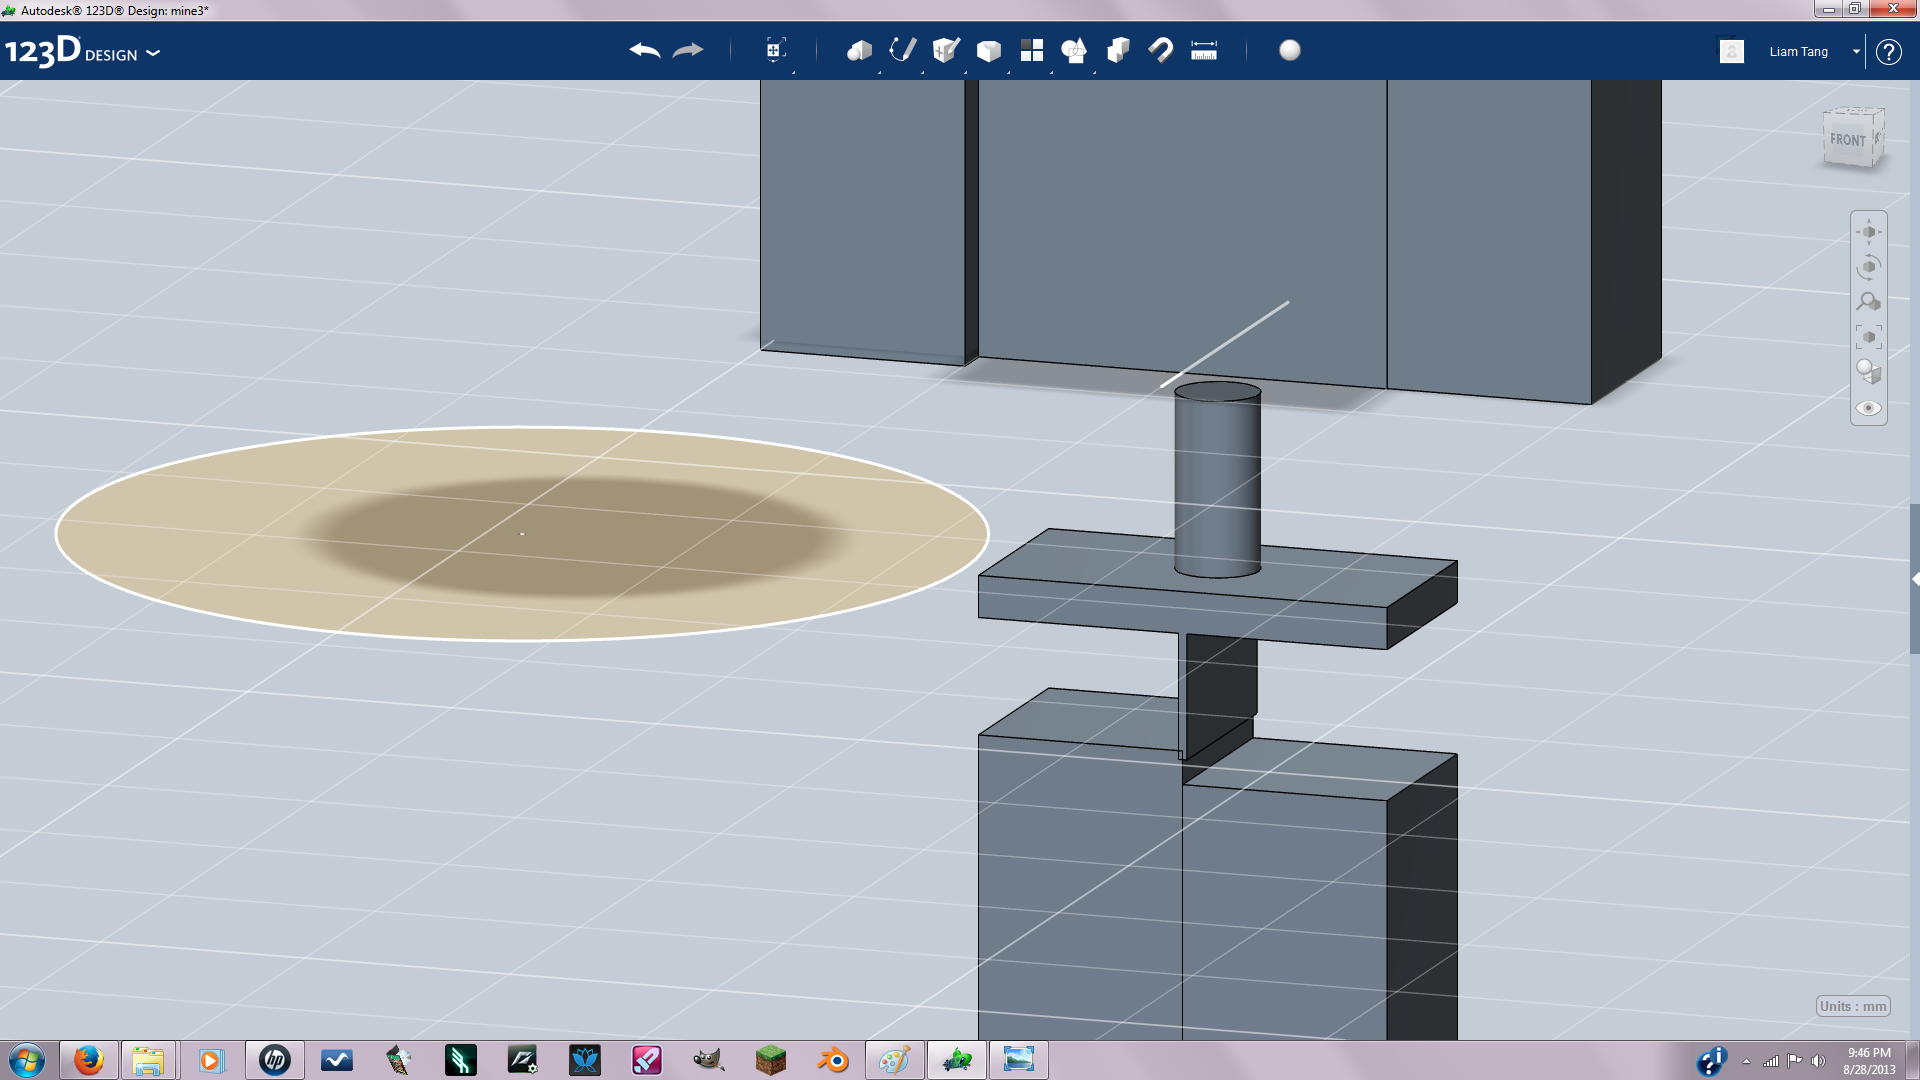
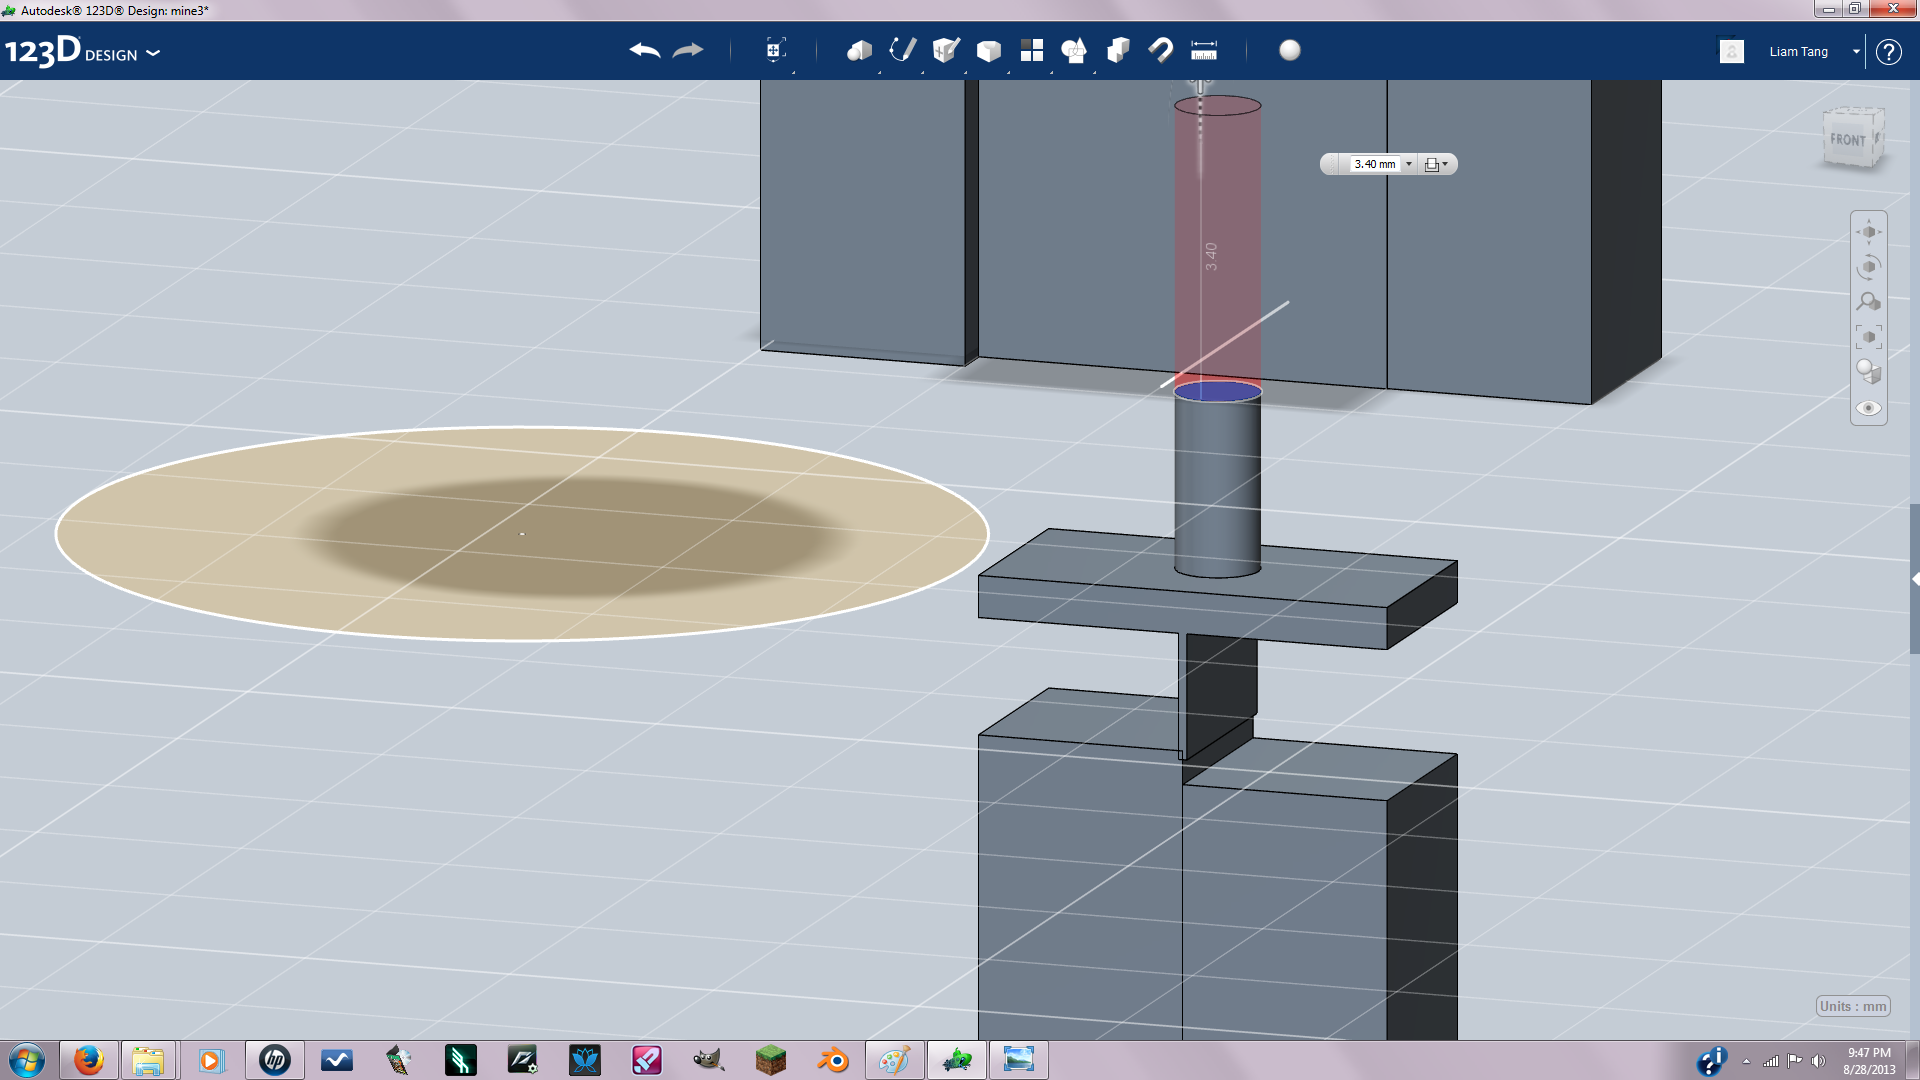
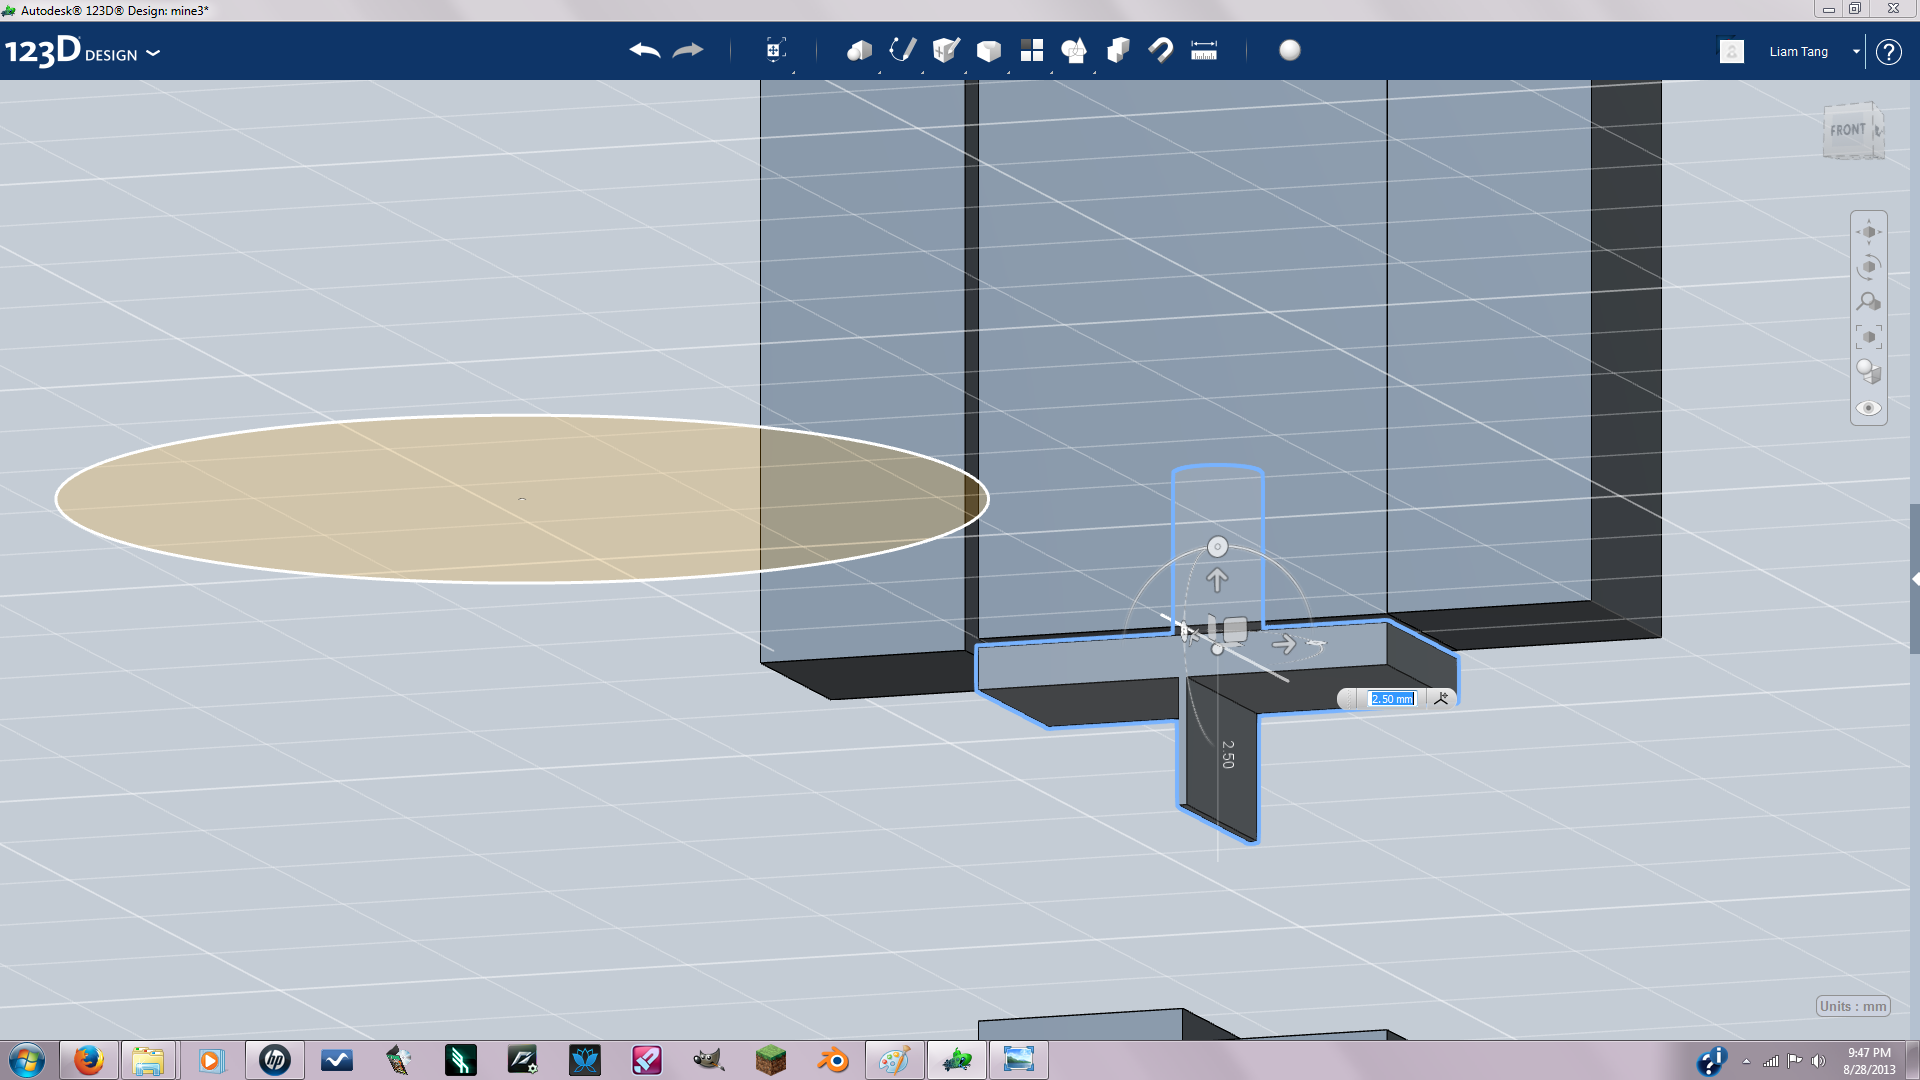
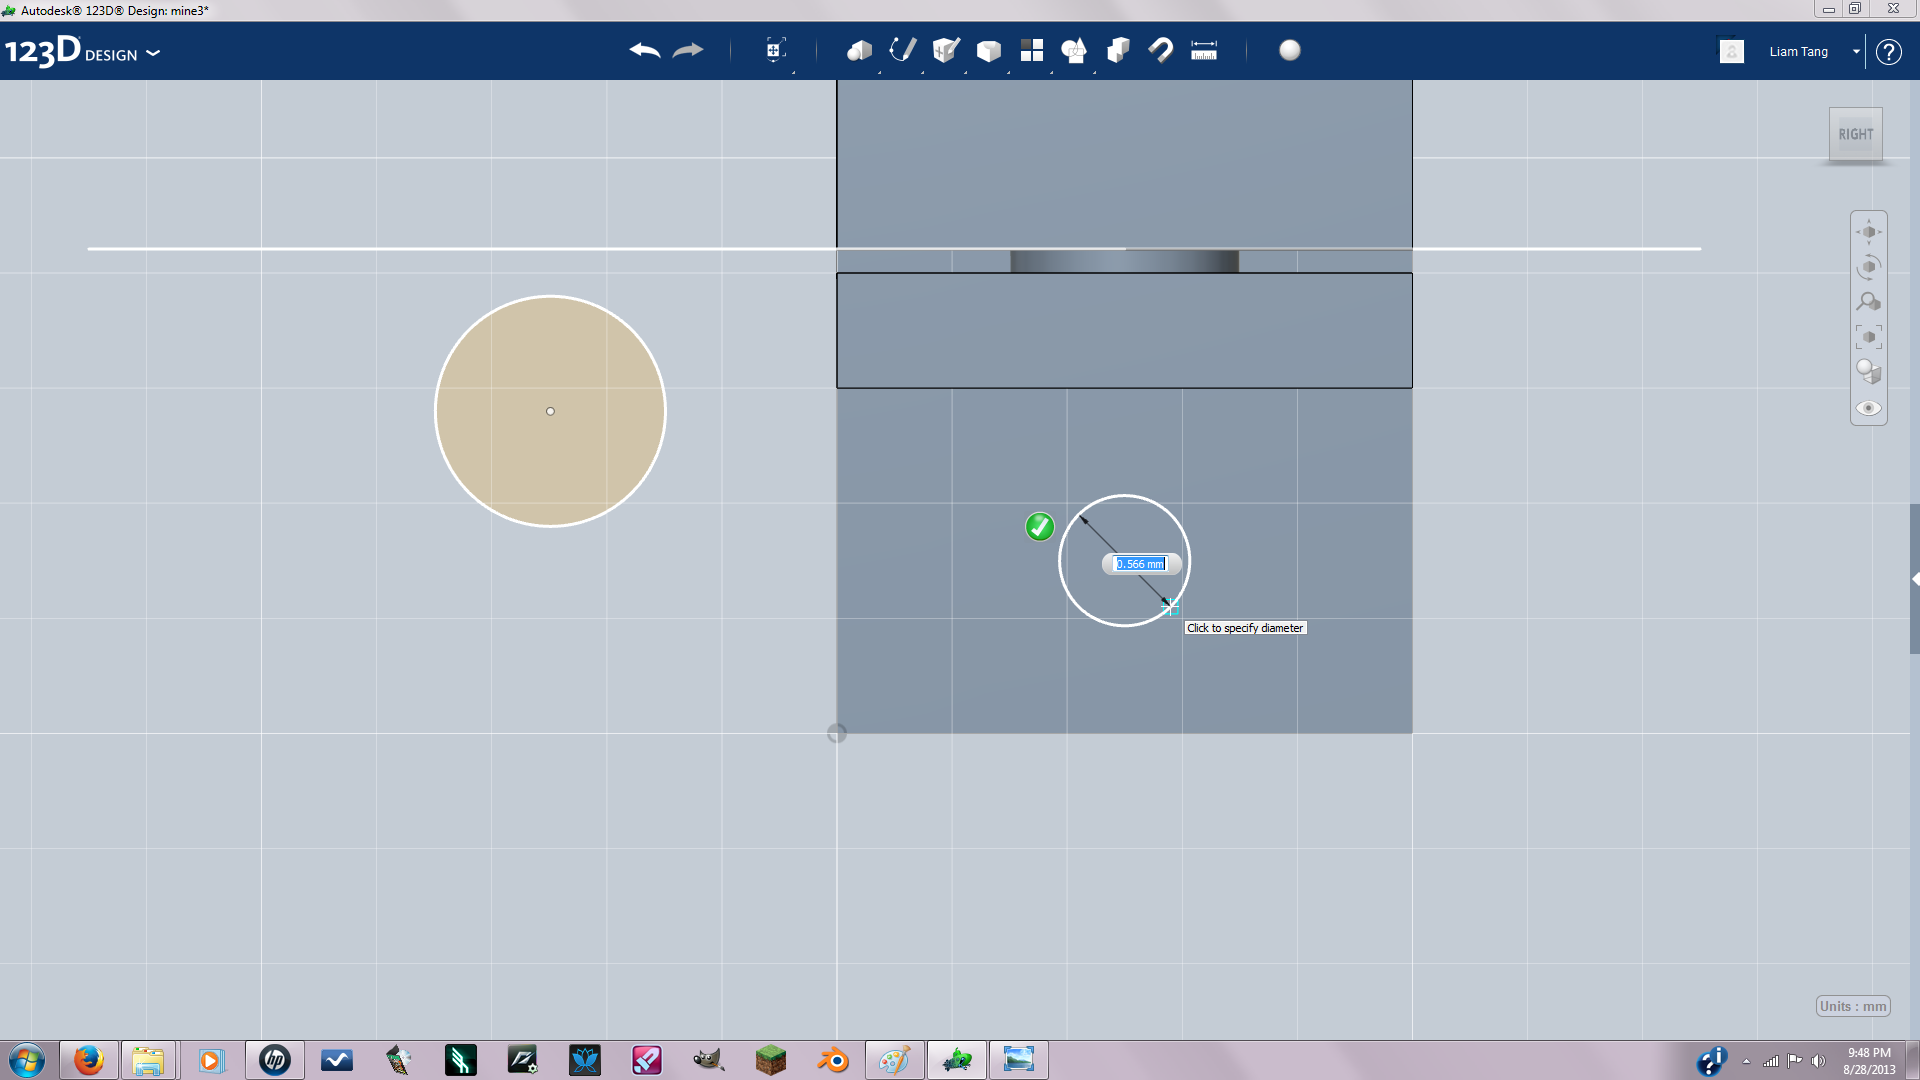
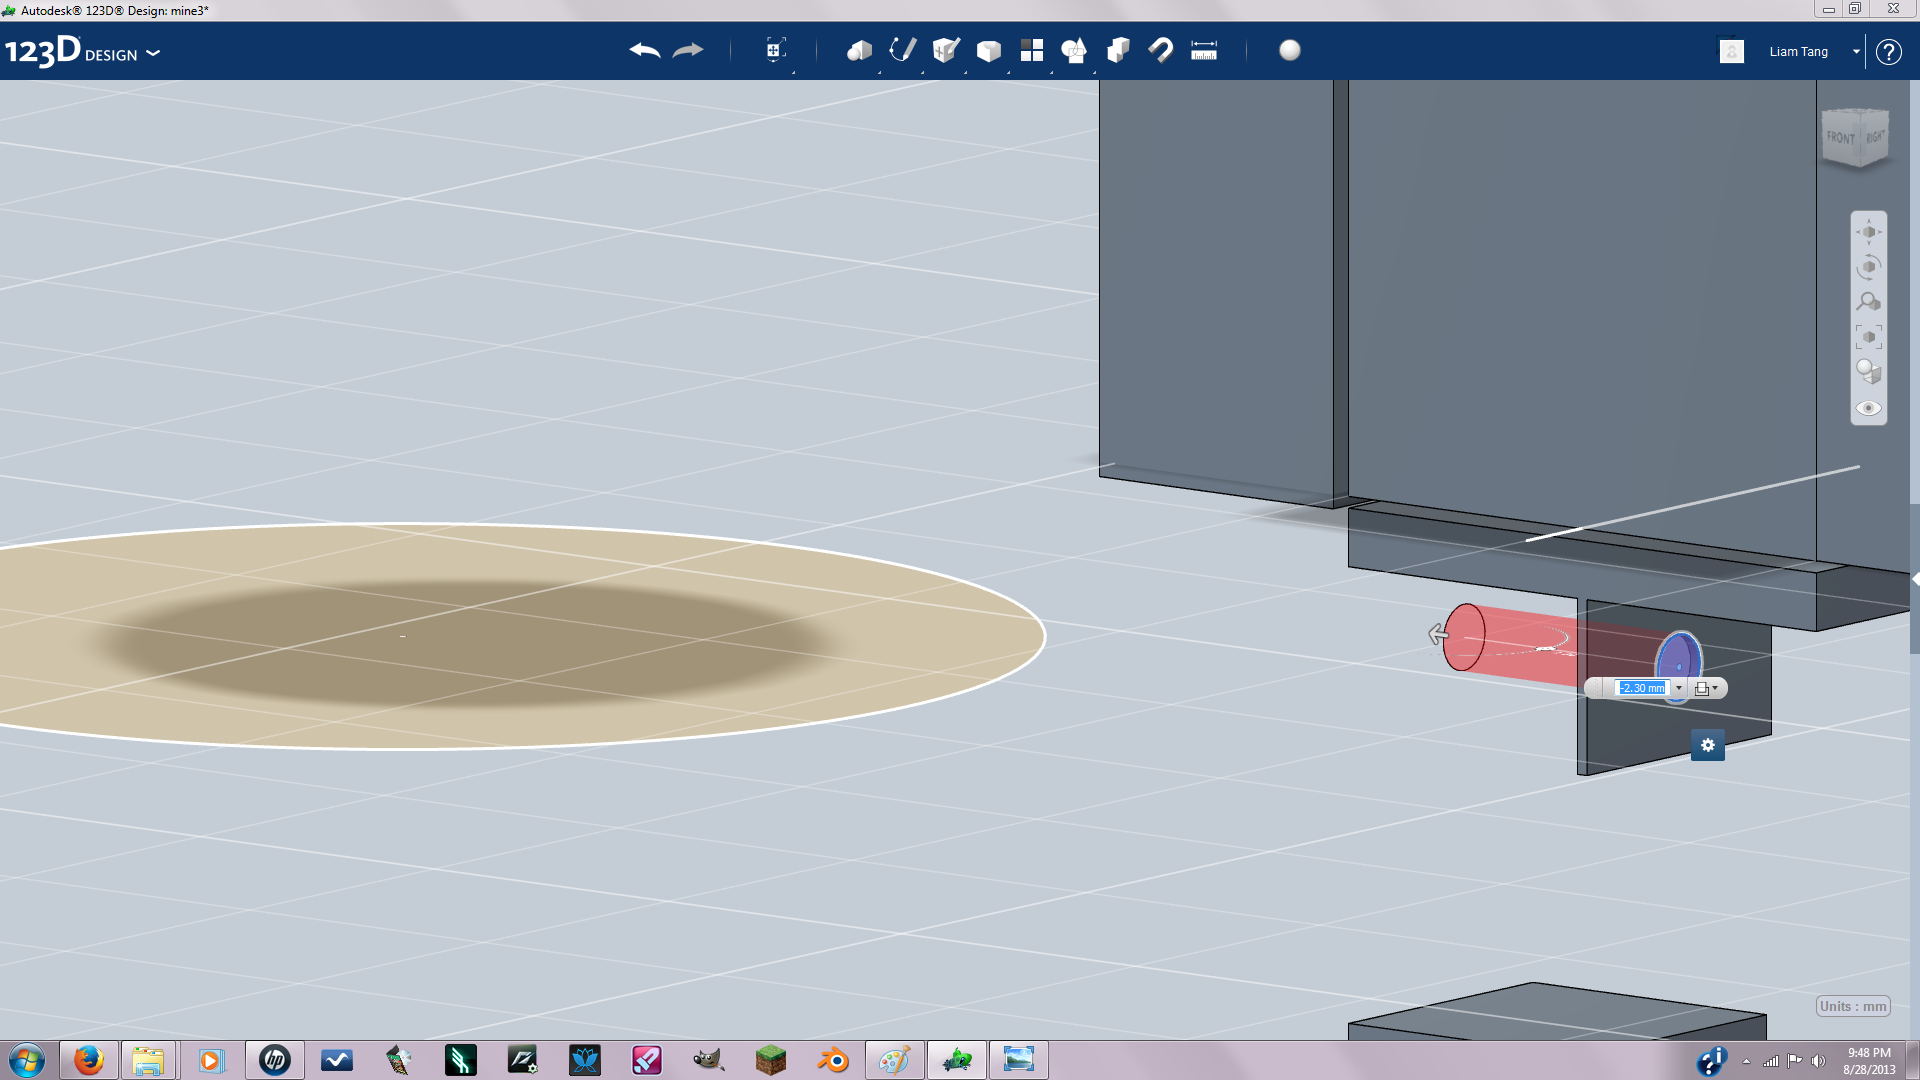
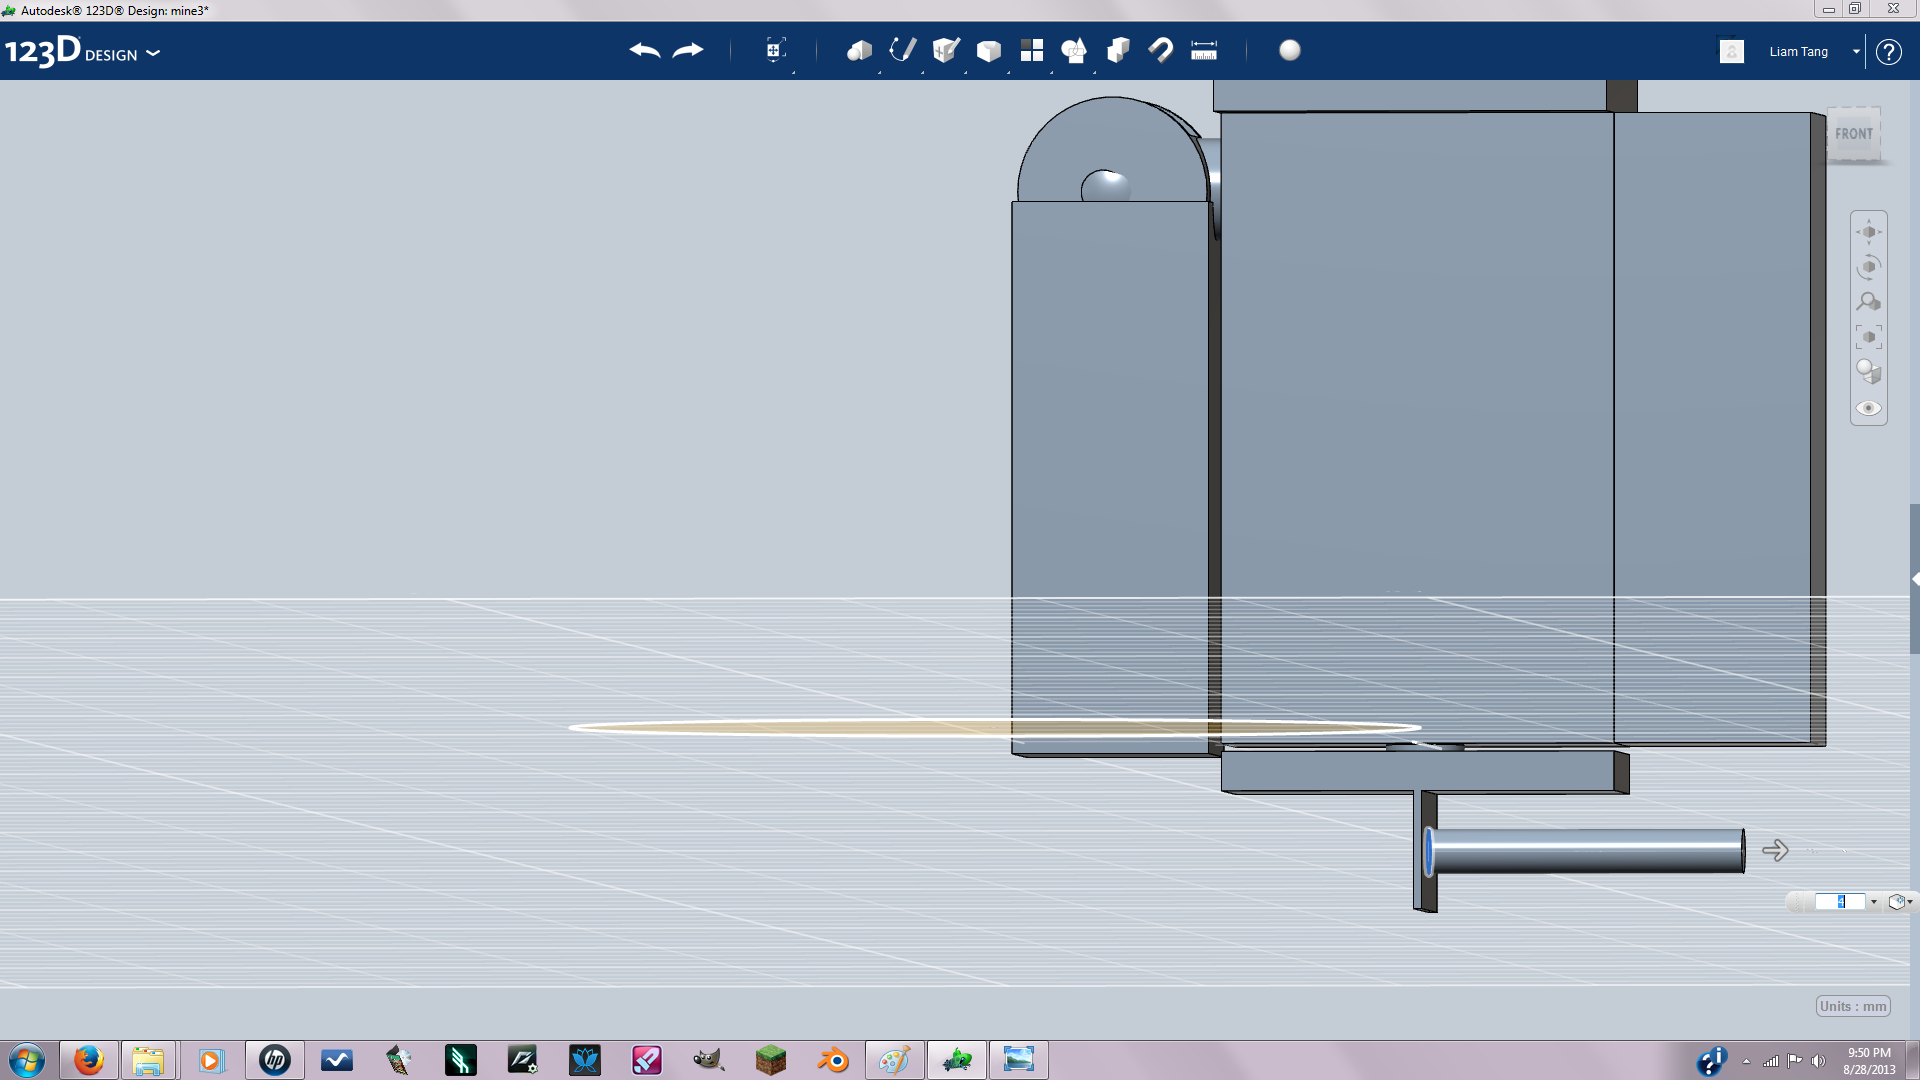
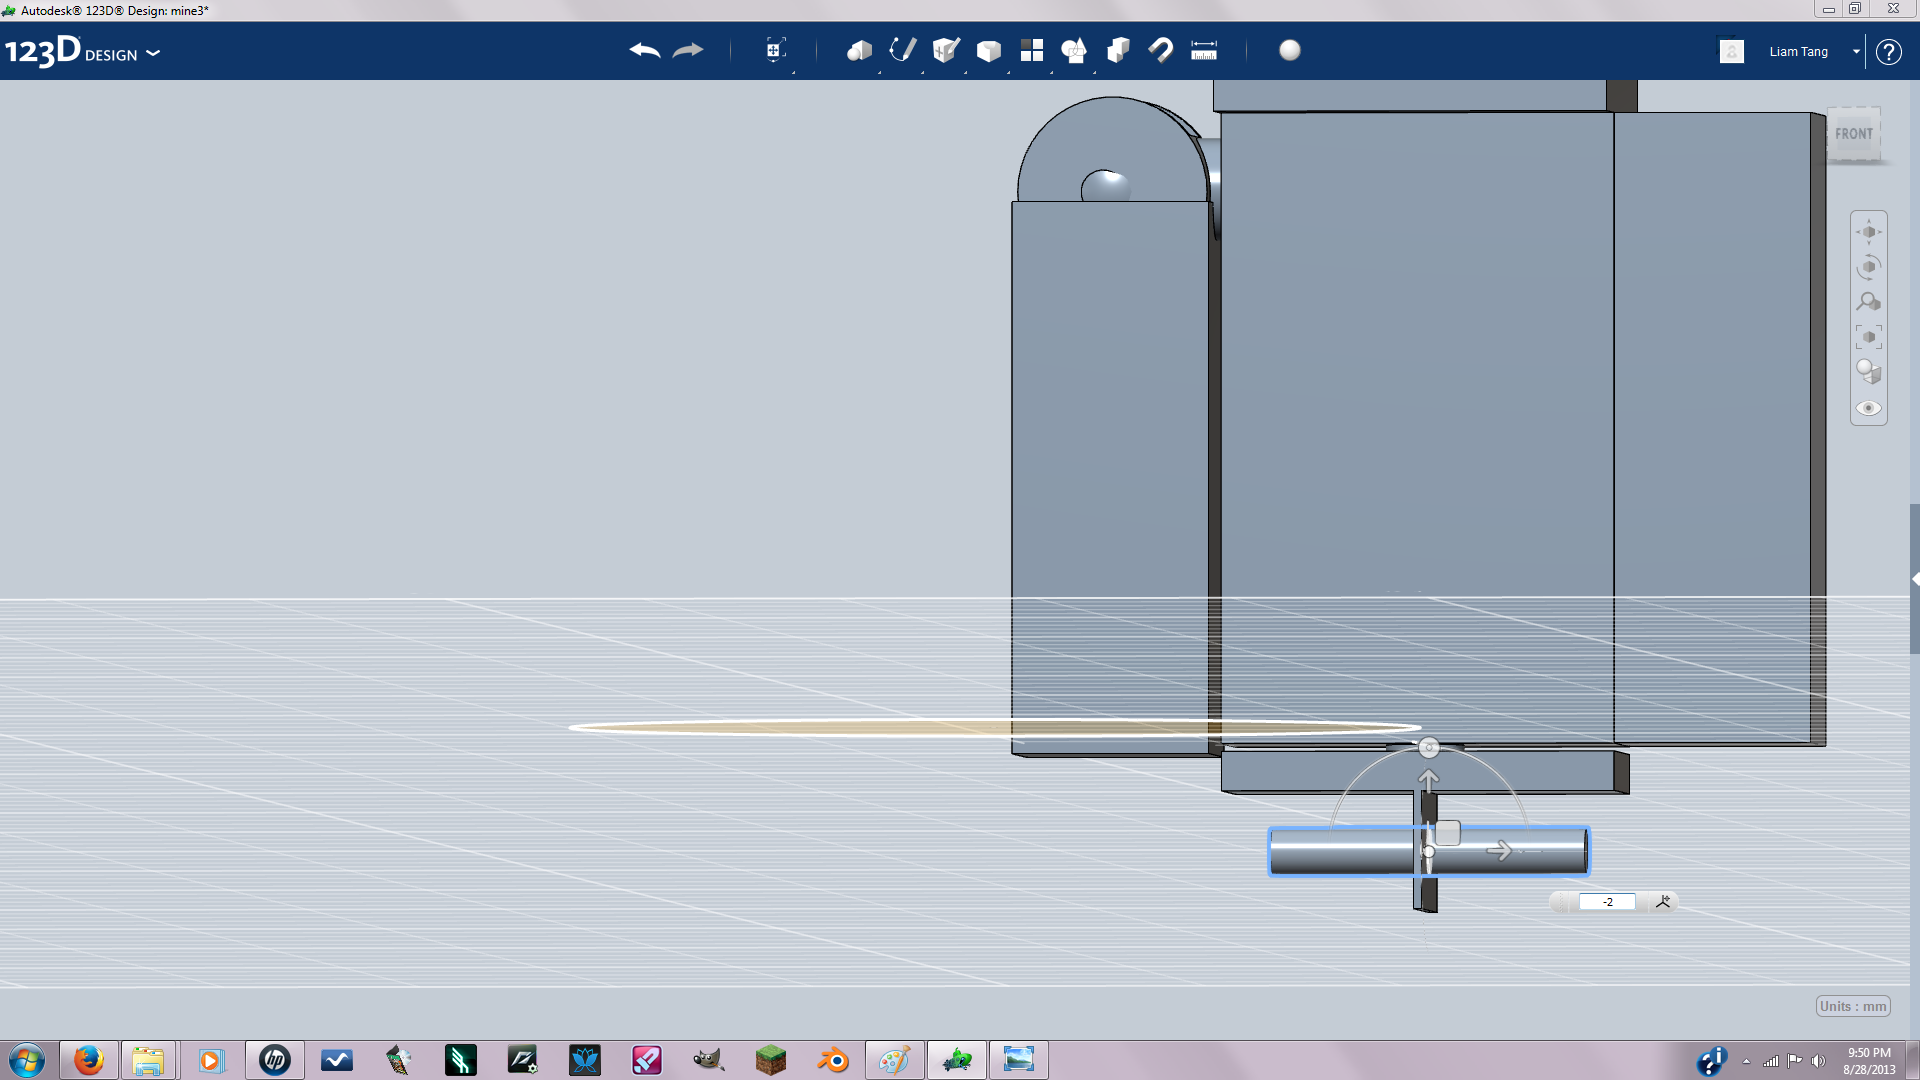
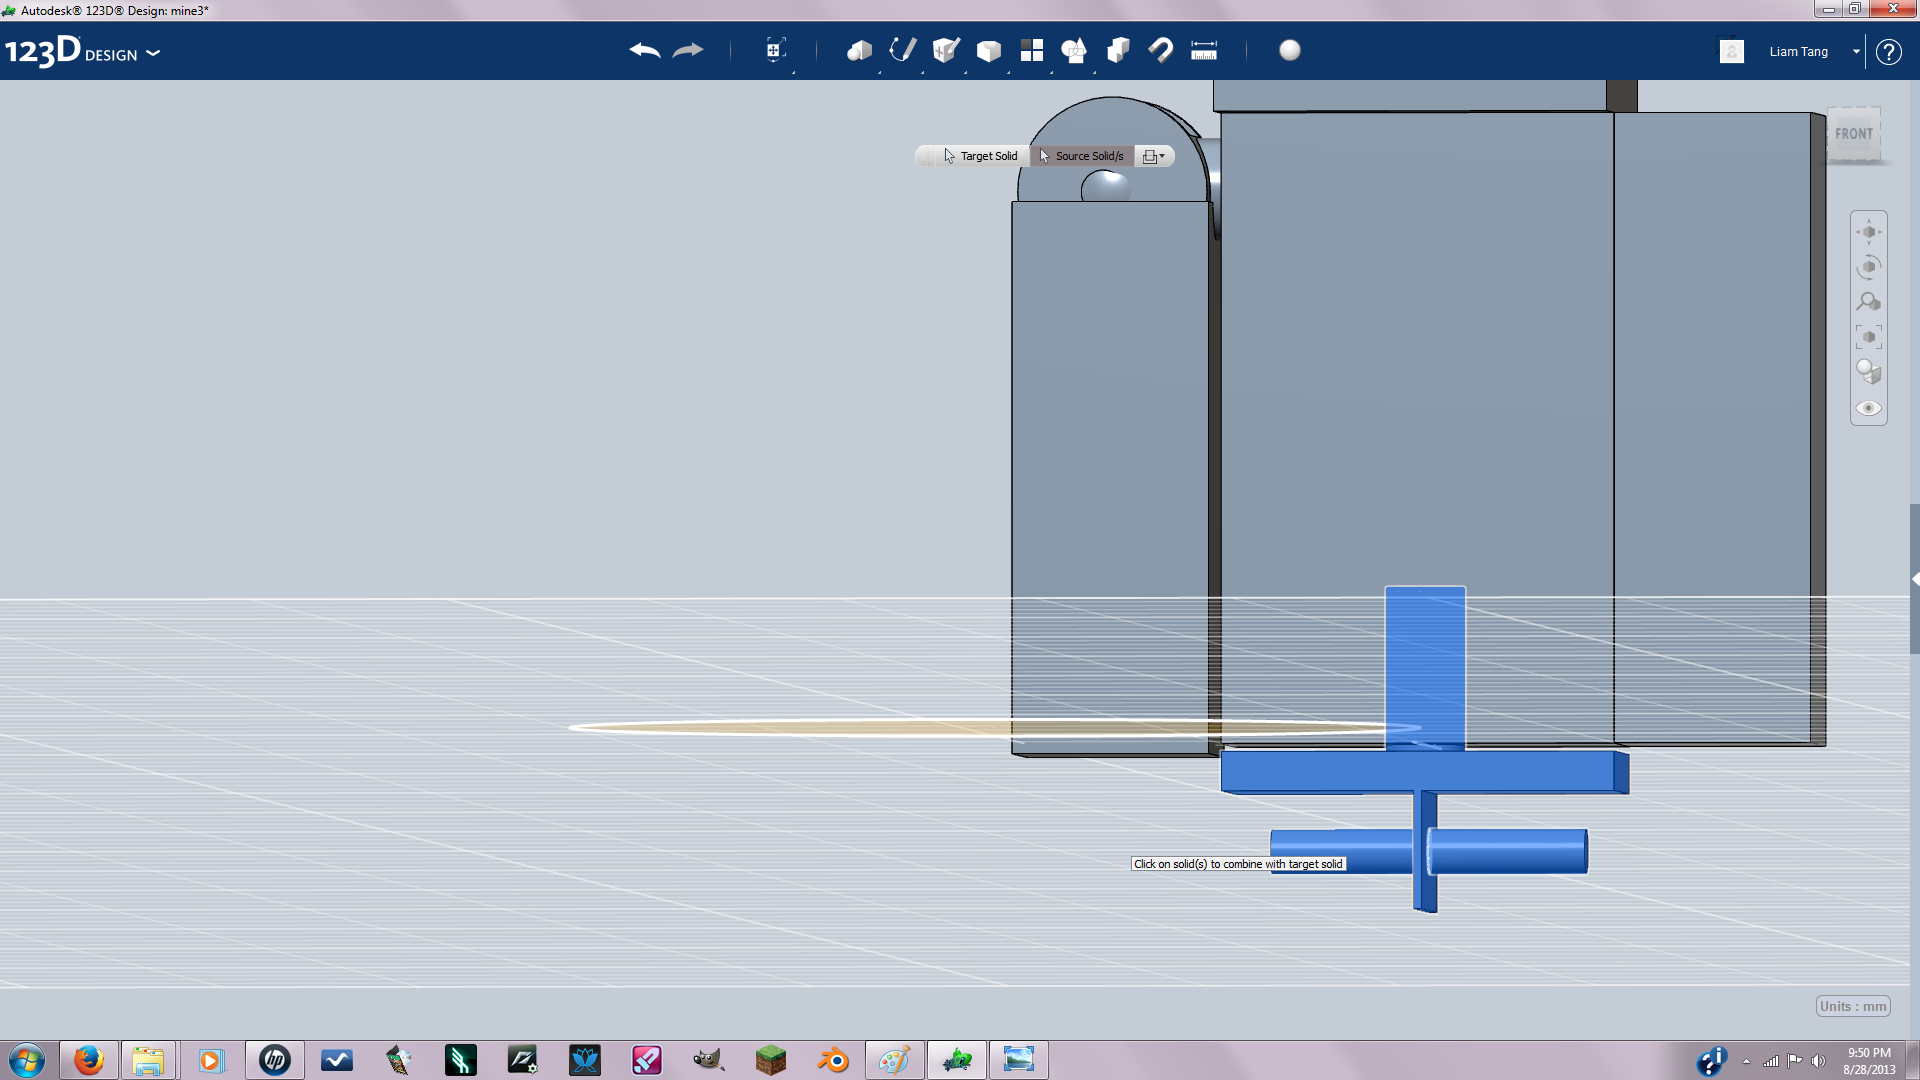
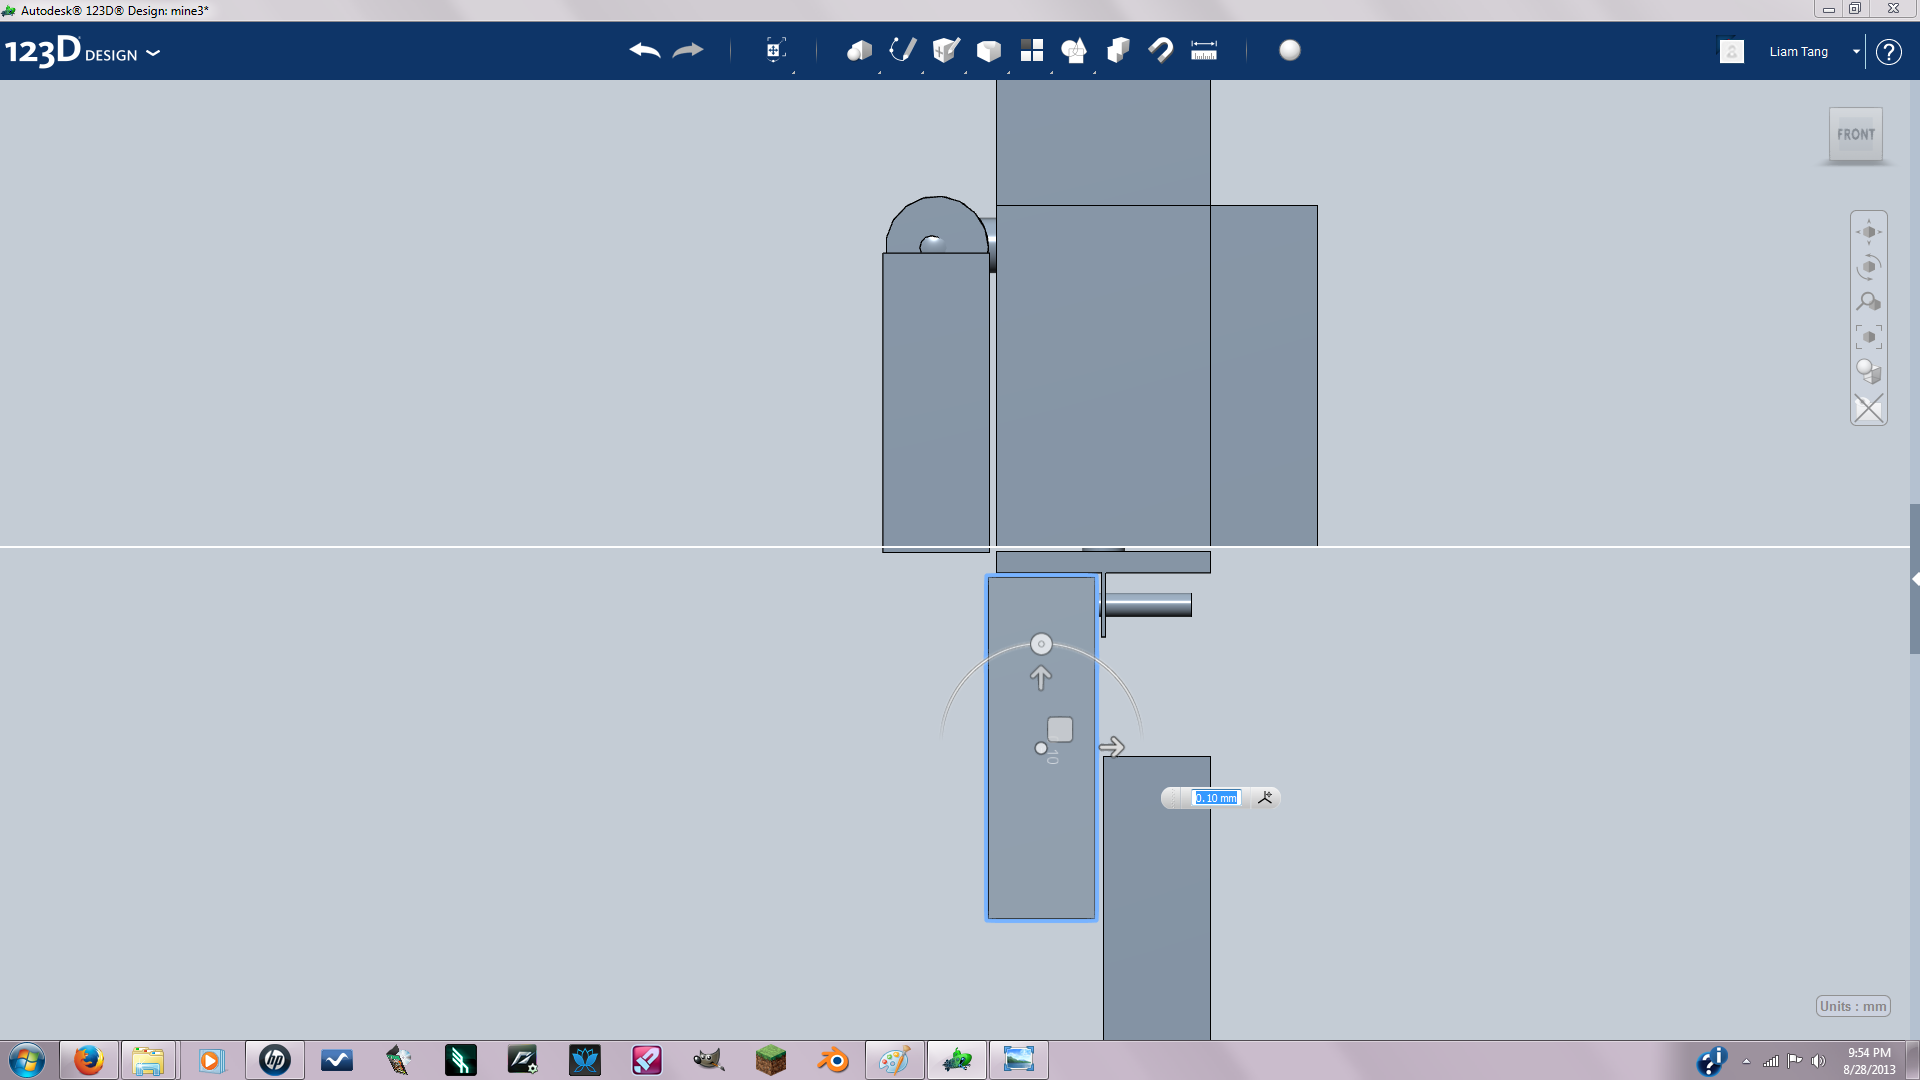
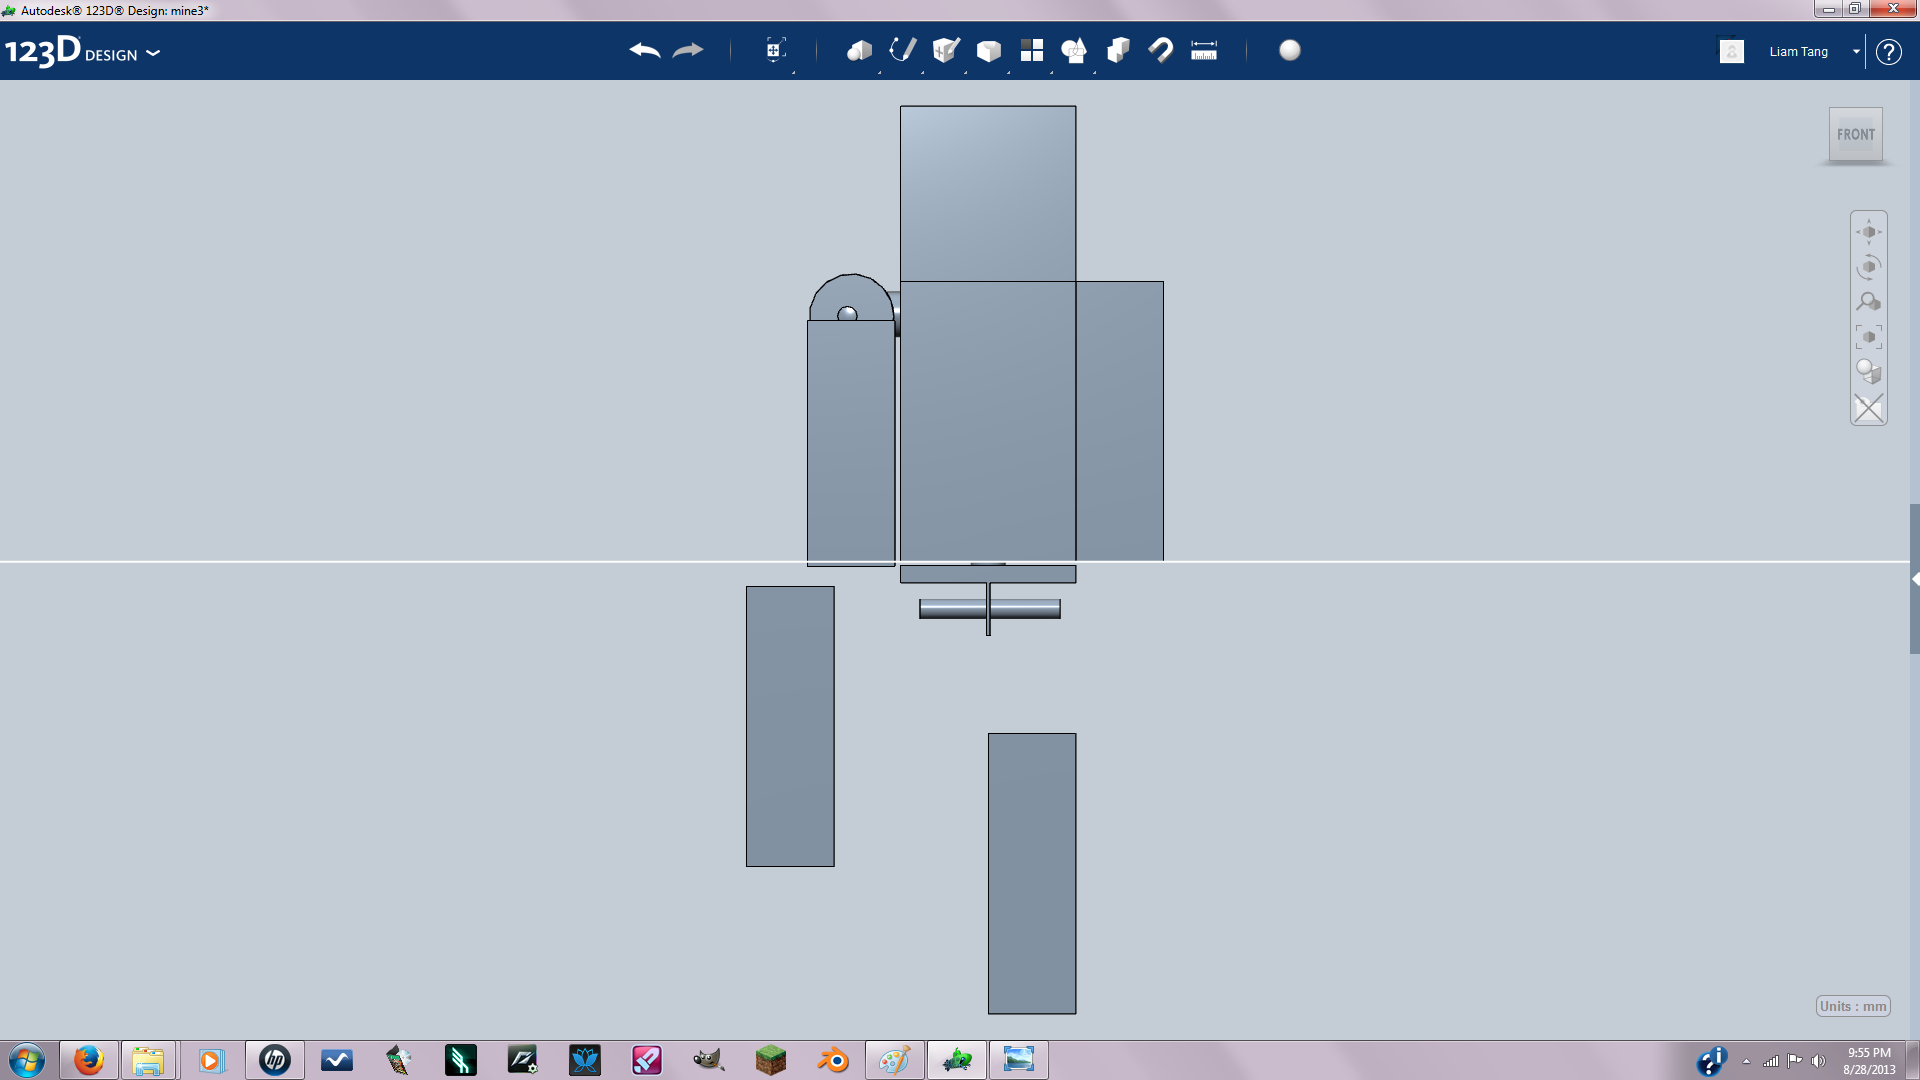
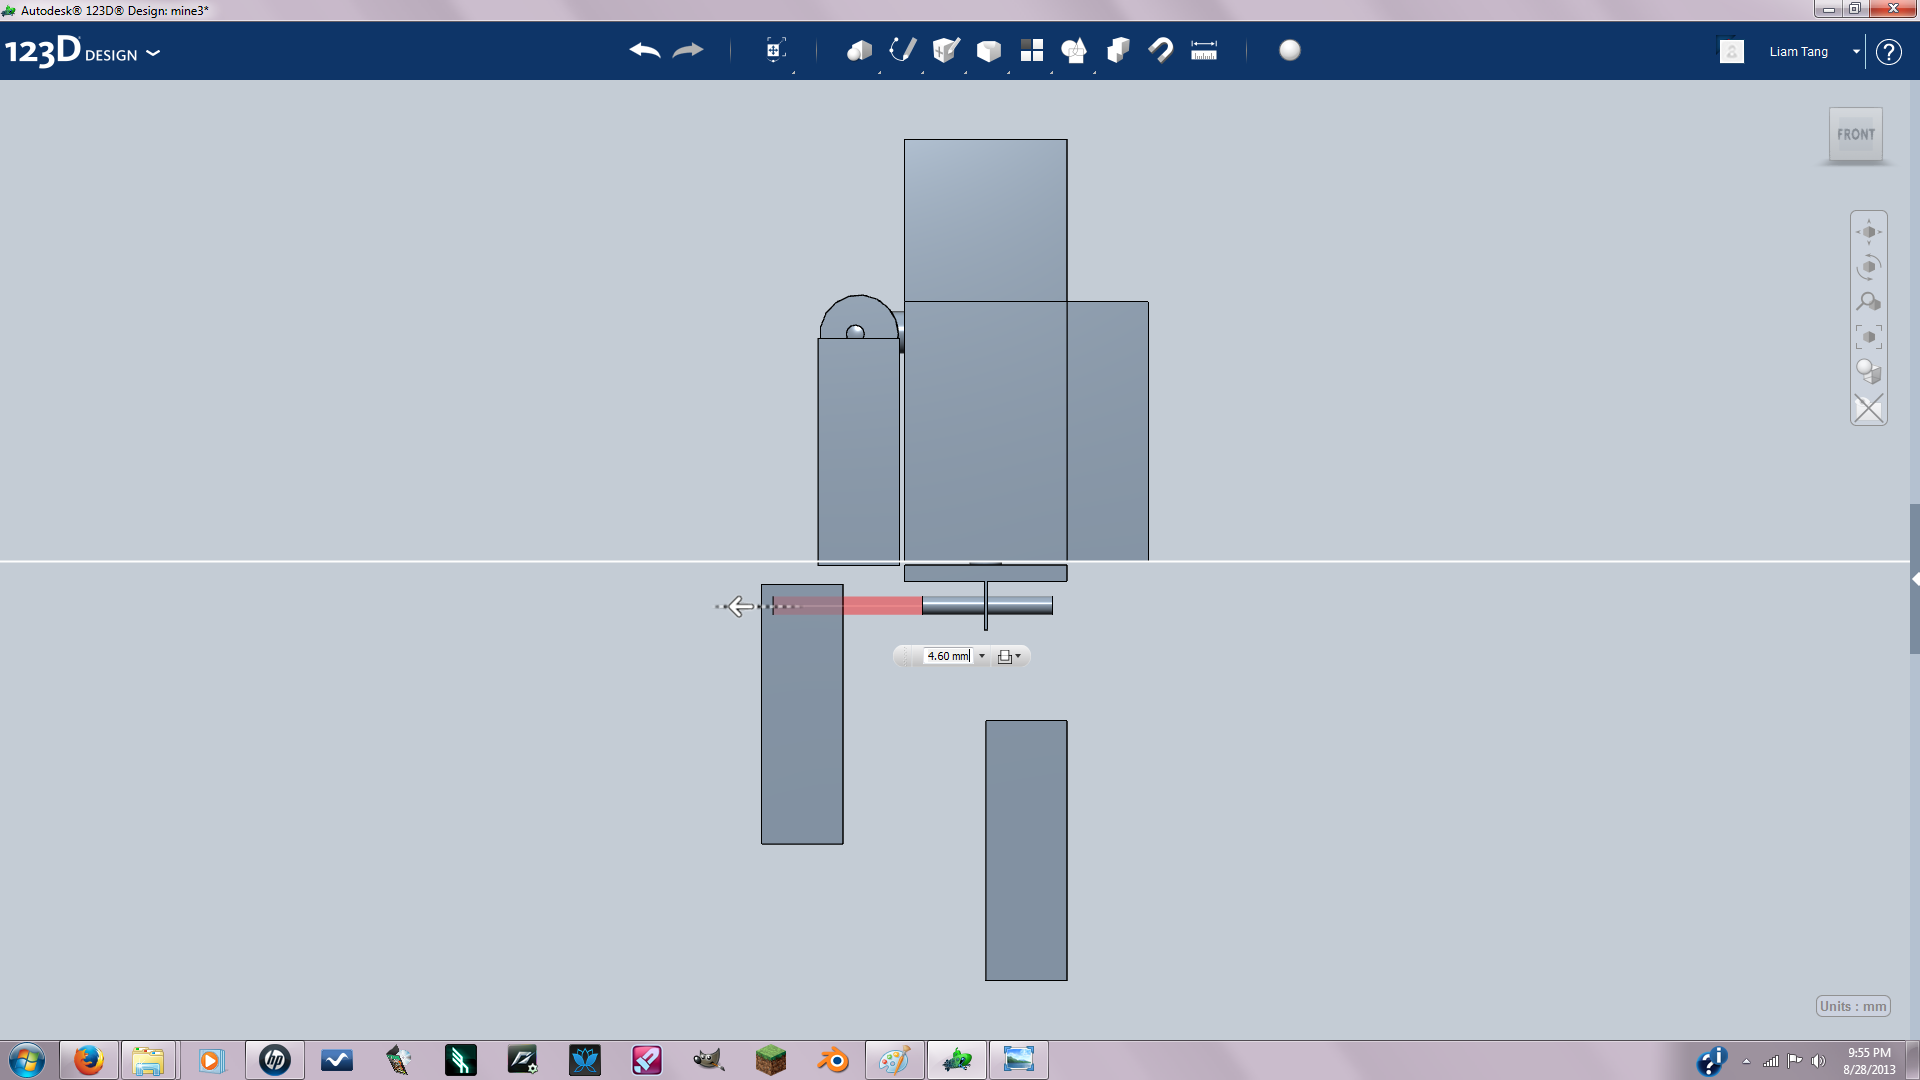
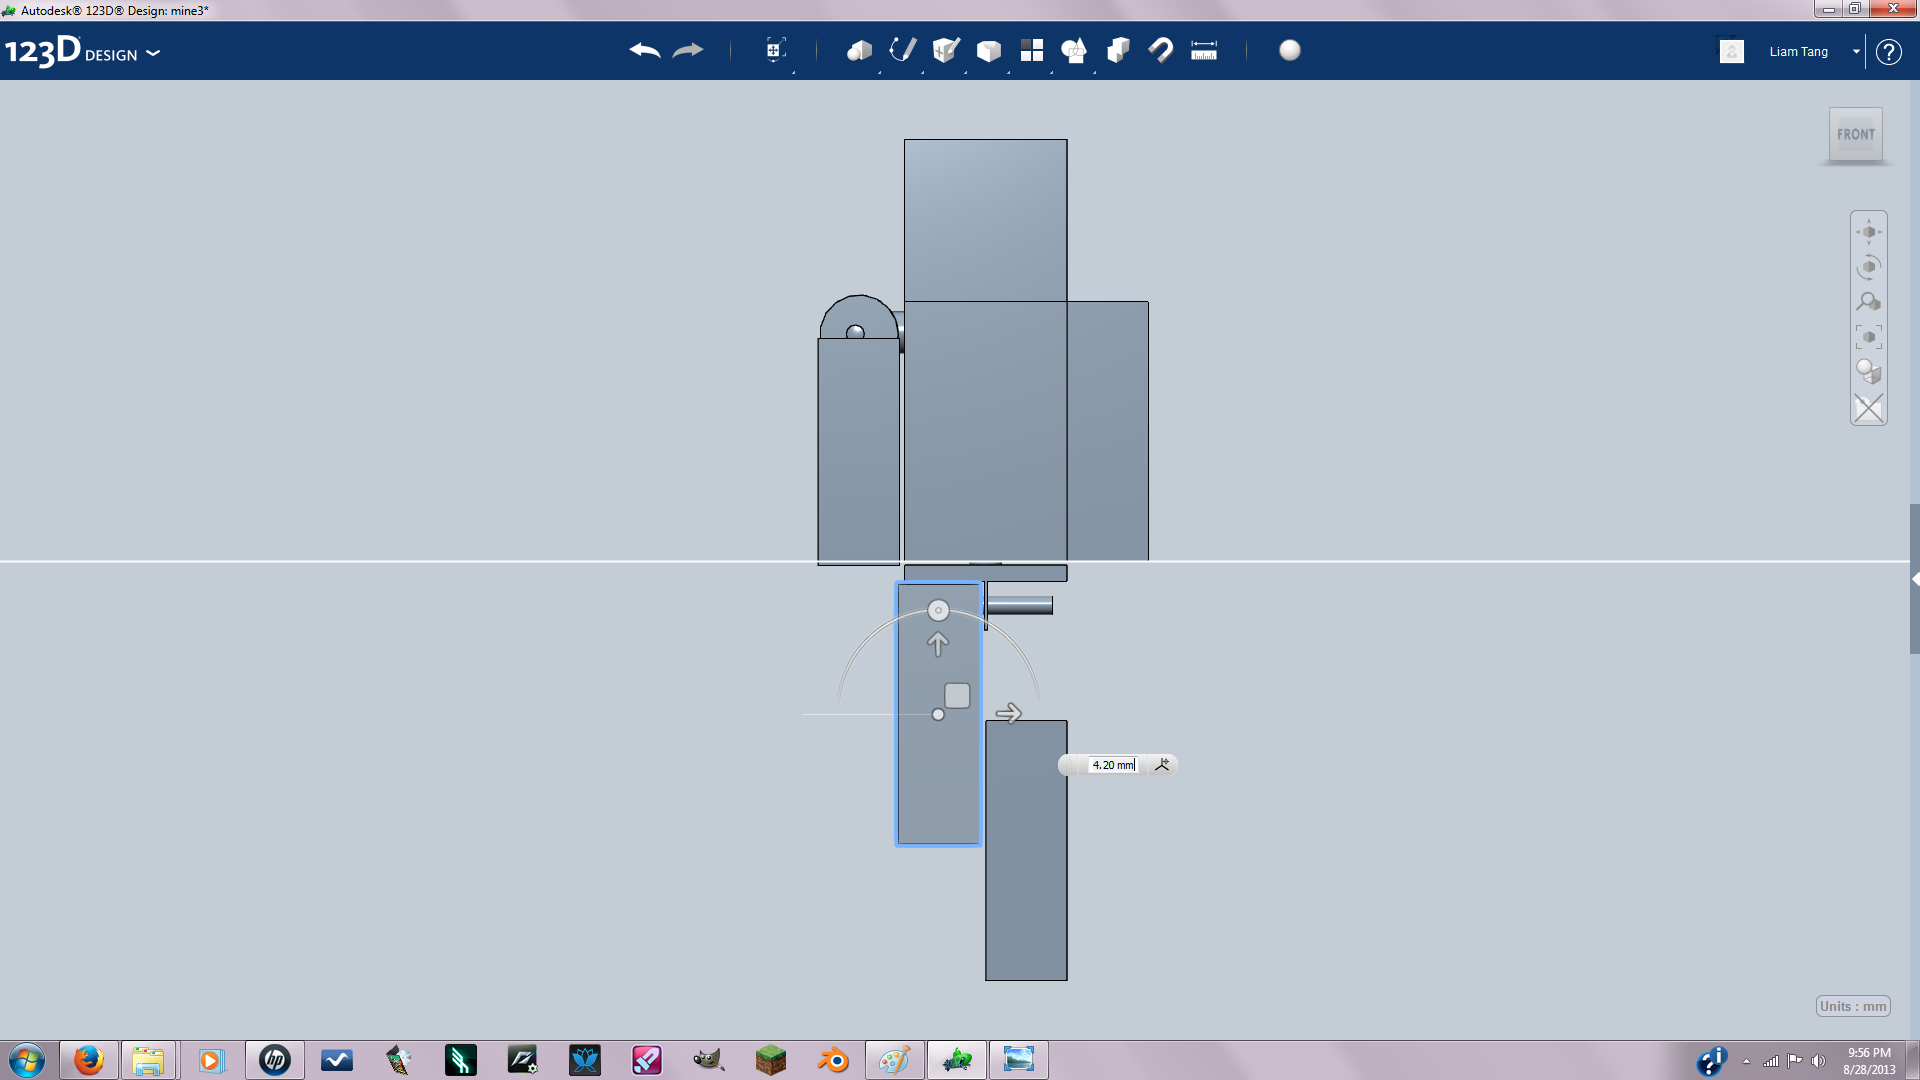
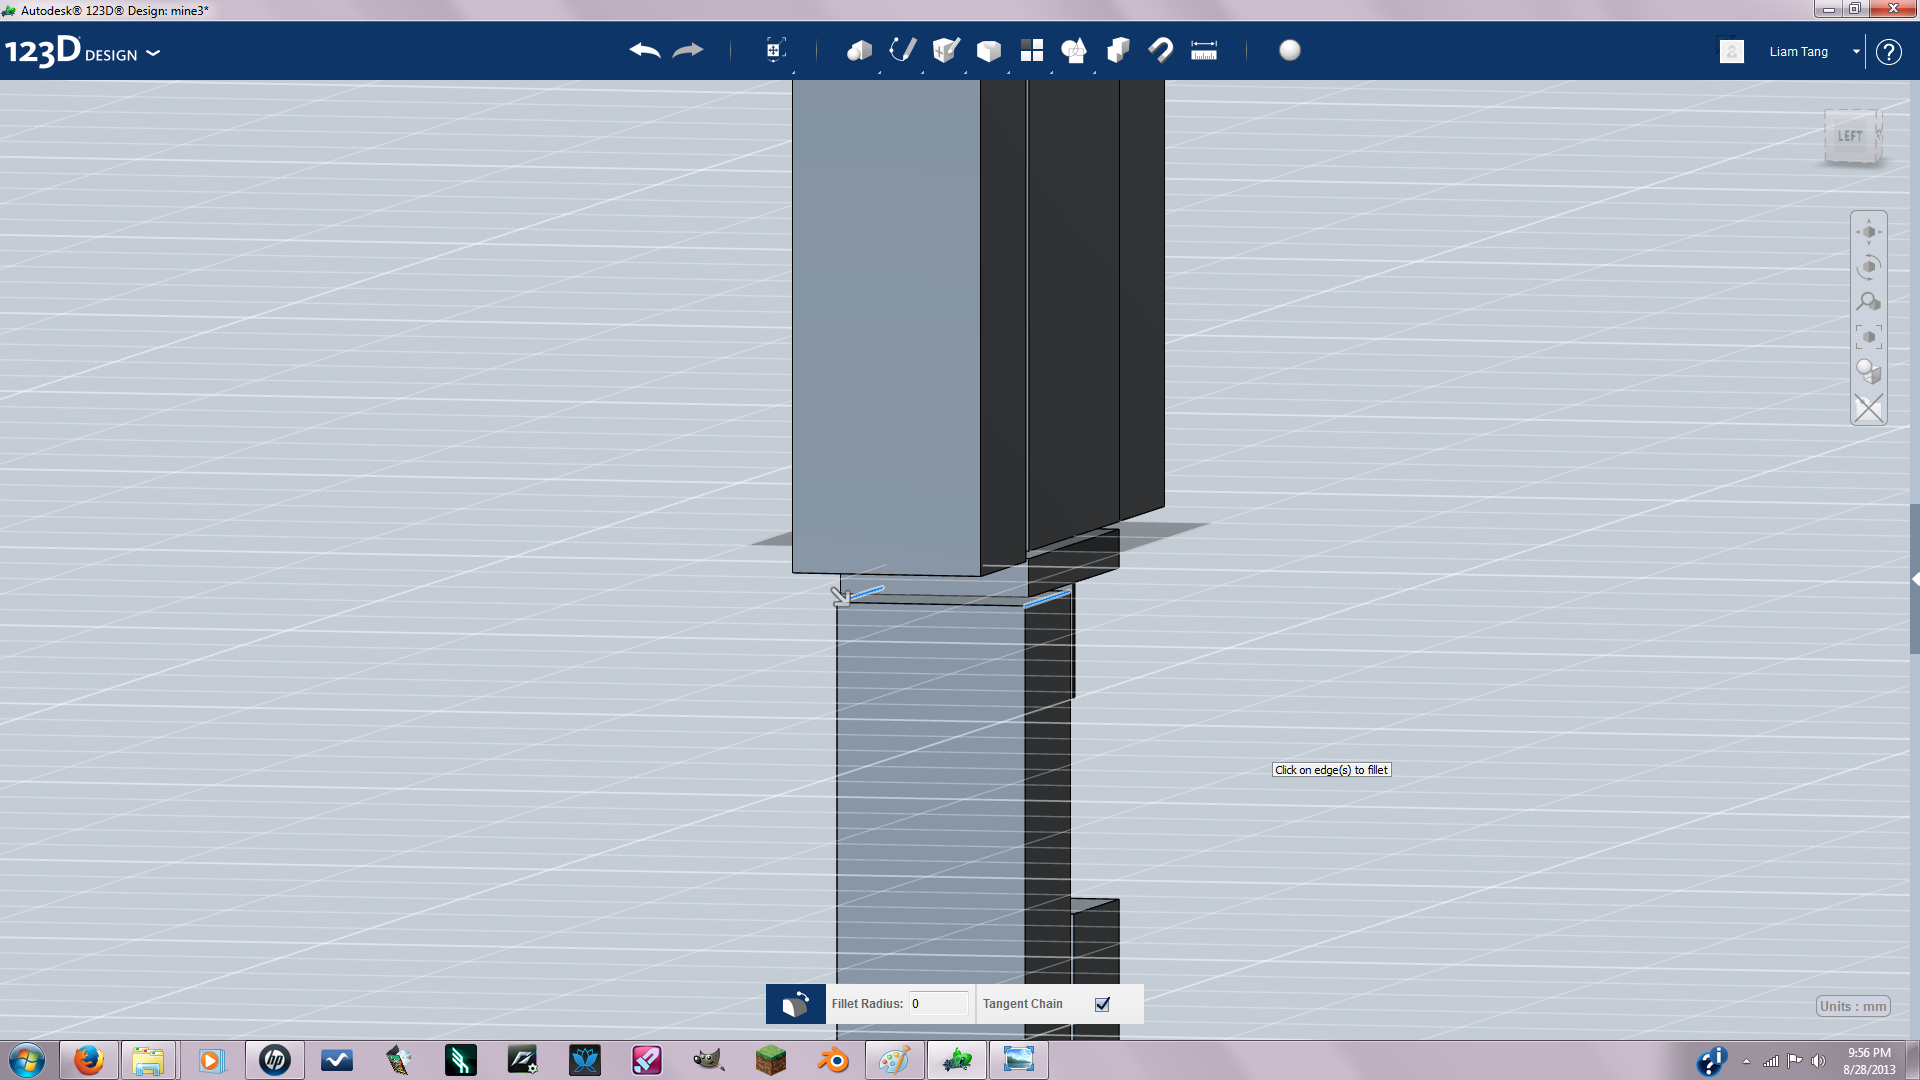
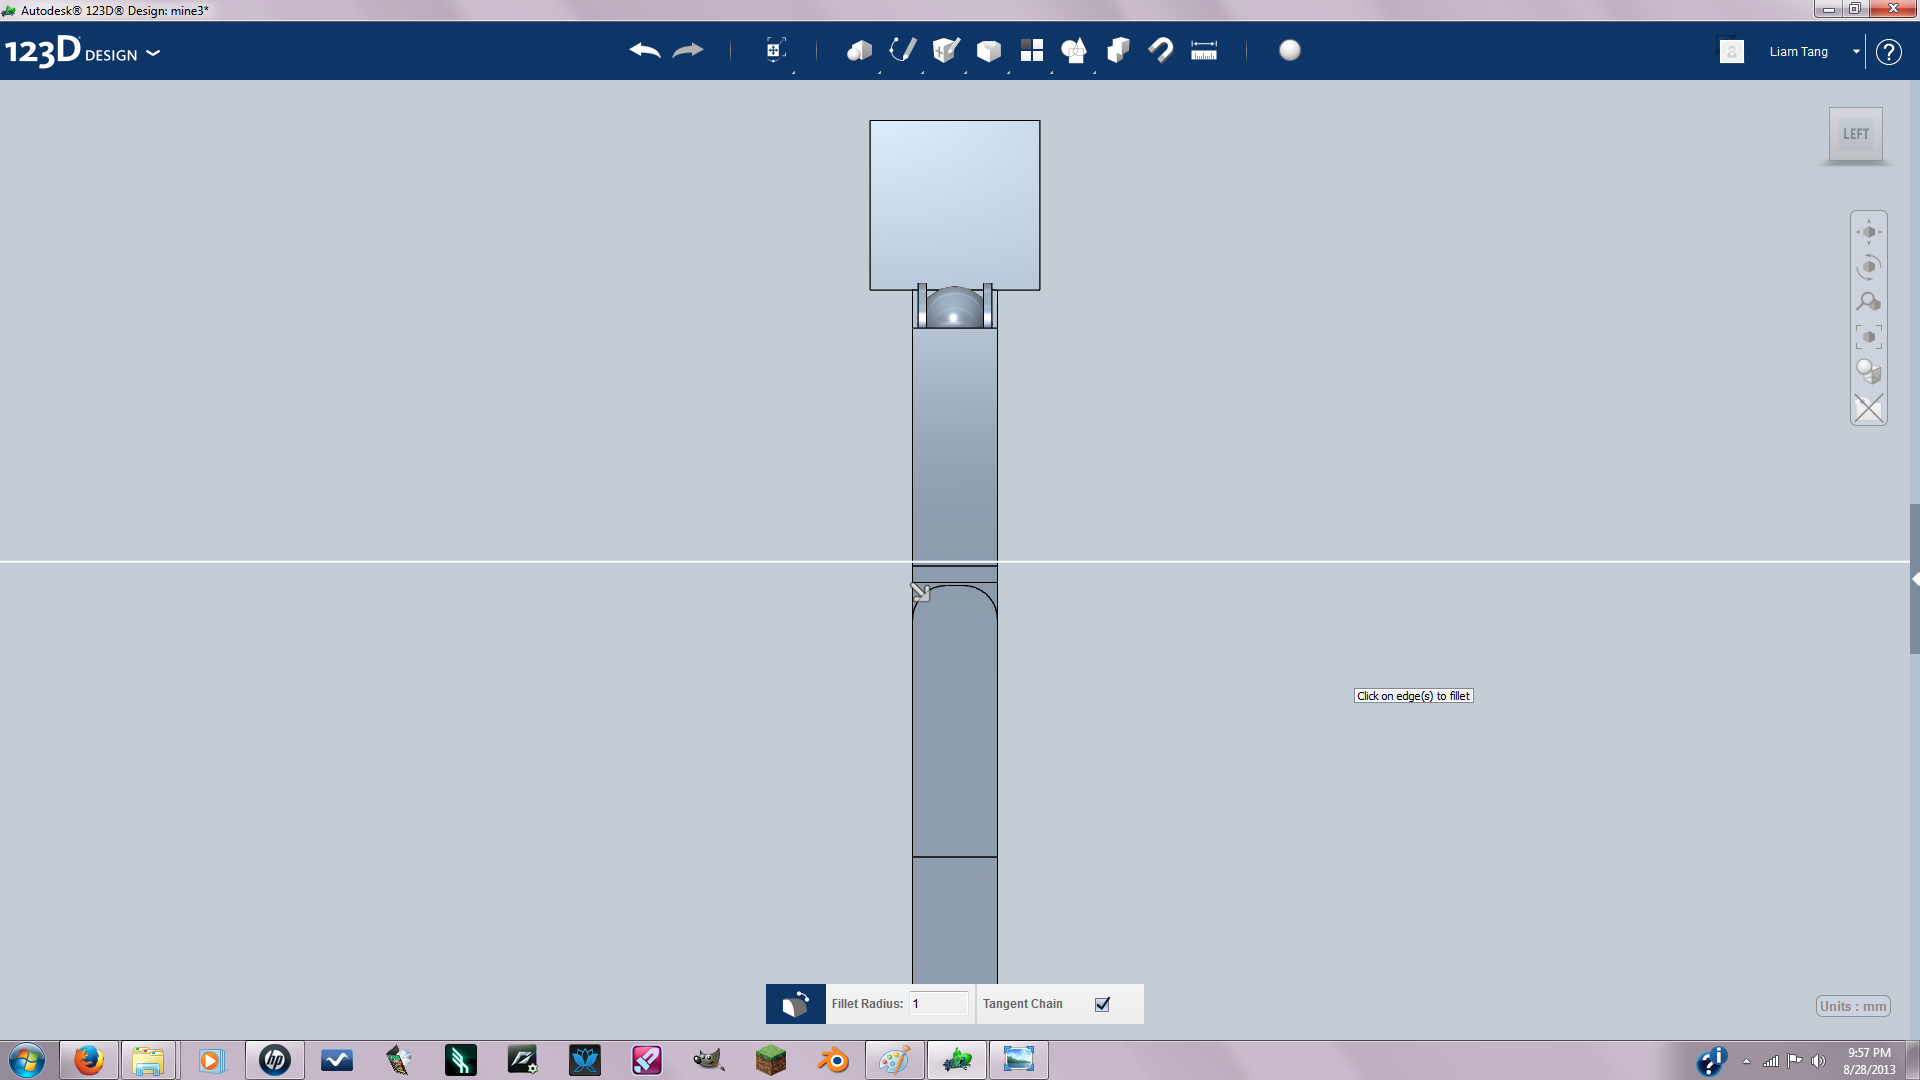
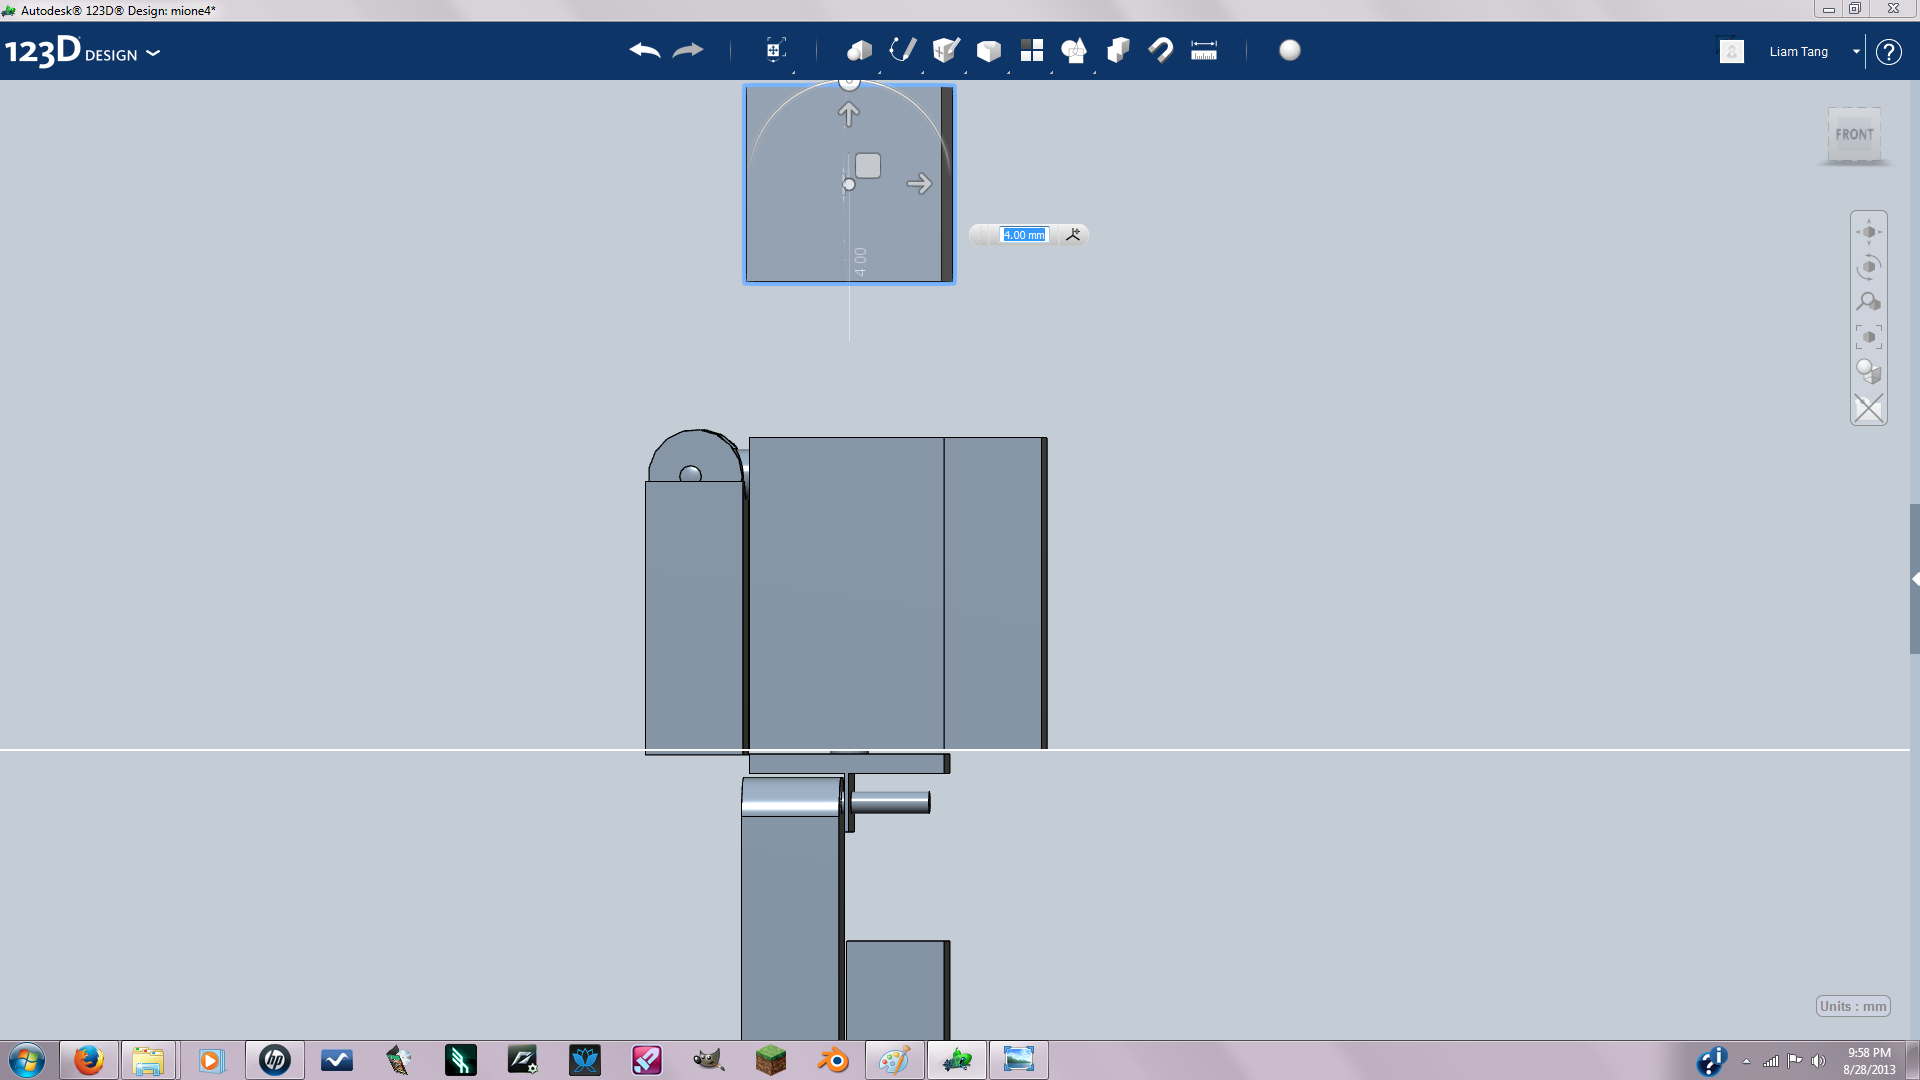
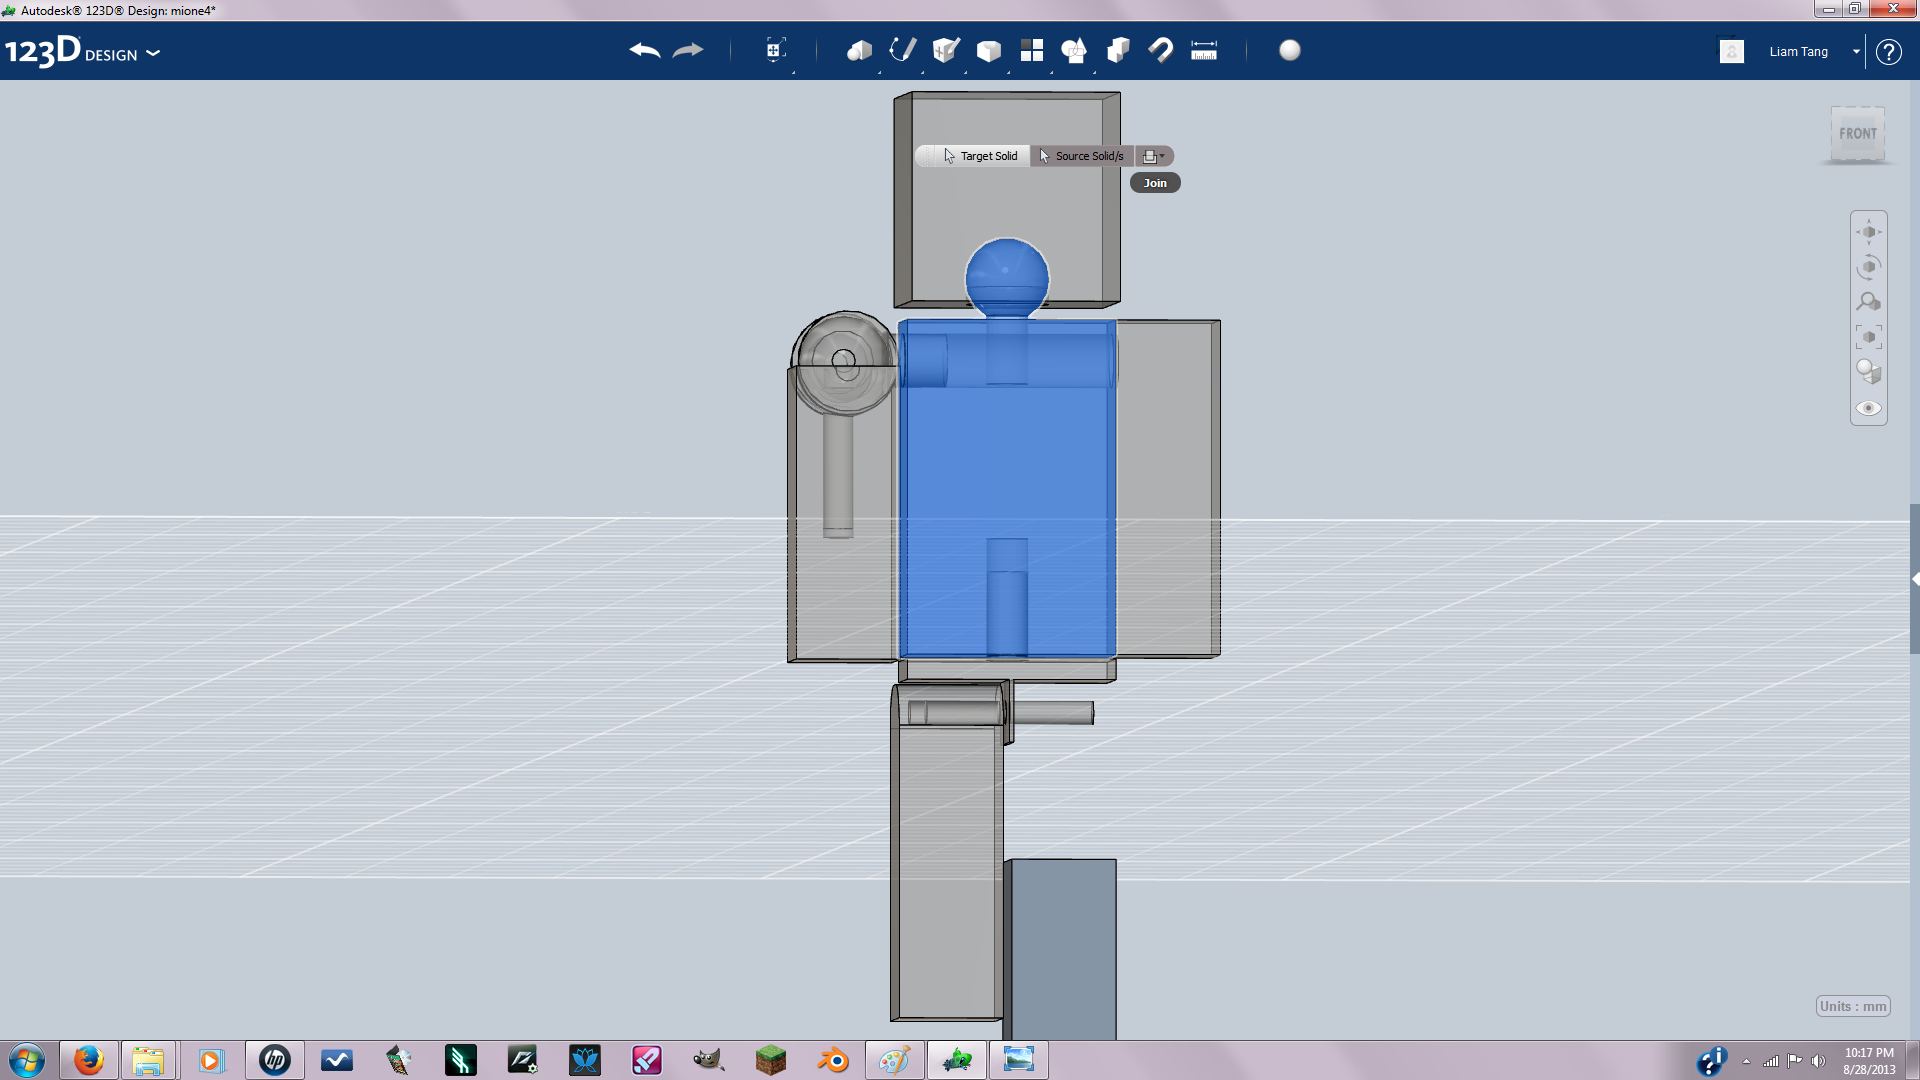
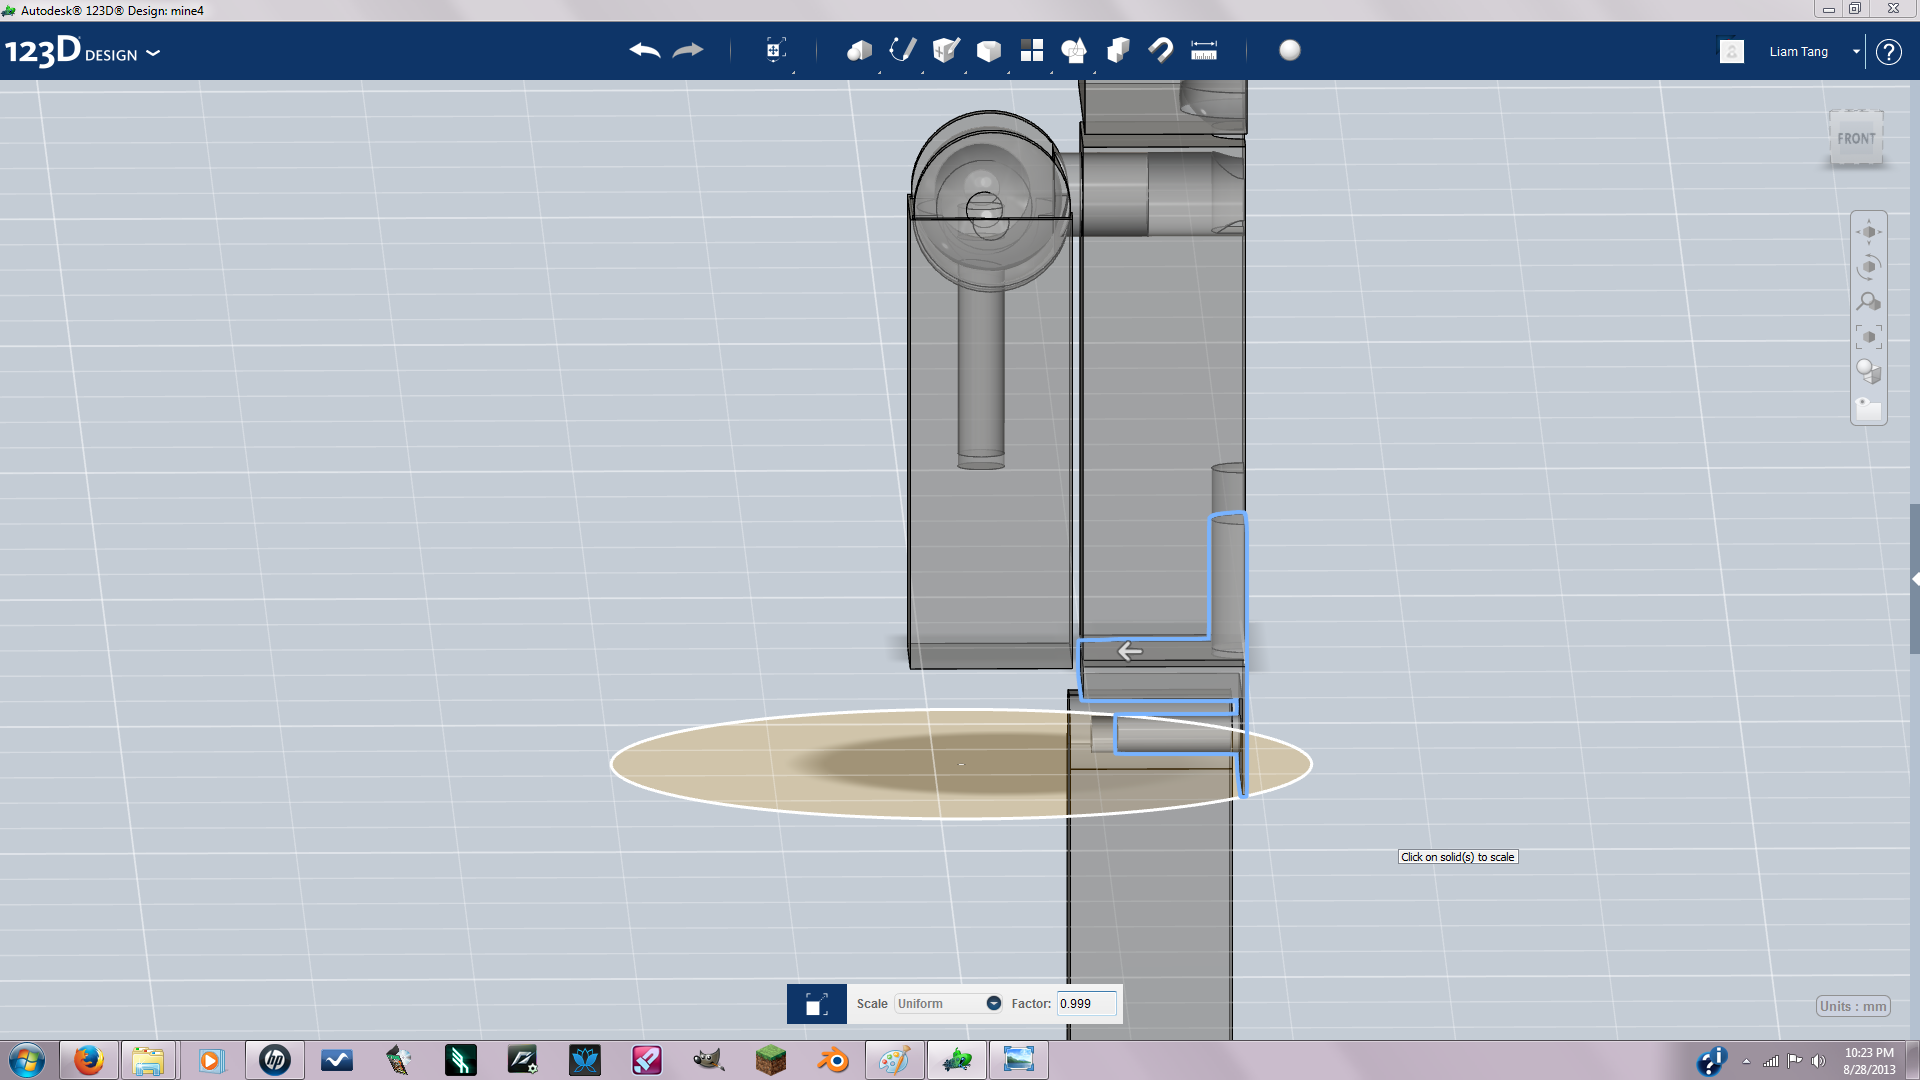
Snap the waist joint onto the bottom of the body. Then move it down a little bit and extrude(set to cut) up into the body to create a hole, then move the waist up into the hole. Now sketch a hole on the side of the waist joint with radius 0.556 mm. Then negative extrude through then positive extrude a cylinder then center it. Then join the two together. Now you should have something the thing highlighted in blue in picture 10. Now you want to position the leg next to the waist joint(pic12) and negative extrude or extrude set to cut three quarters of the way into the leg(pic13). Now position the leg onto the waist joint and fillet the edges by 1.
Head
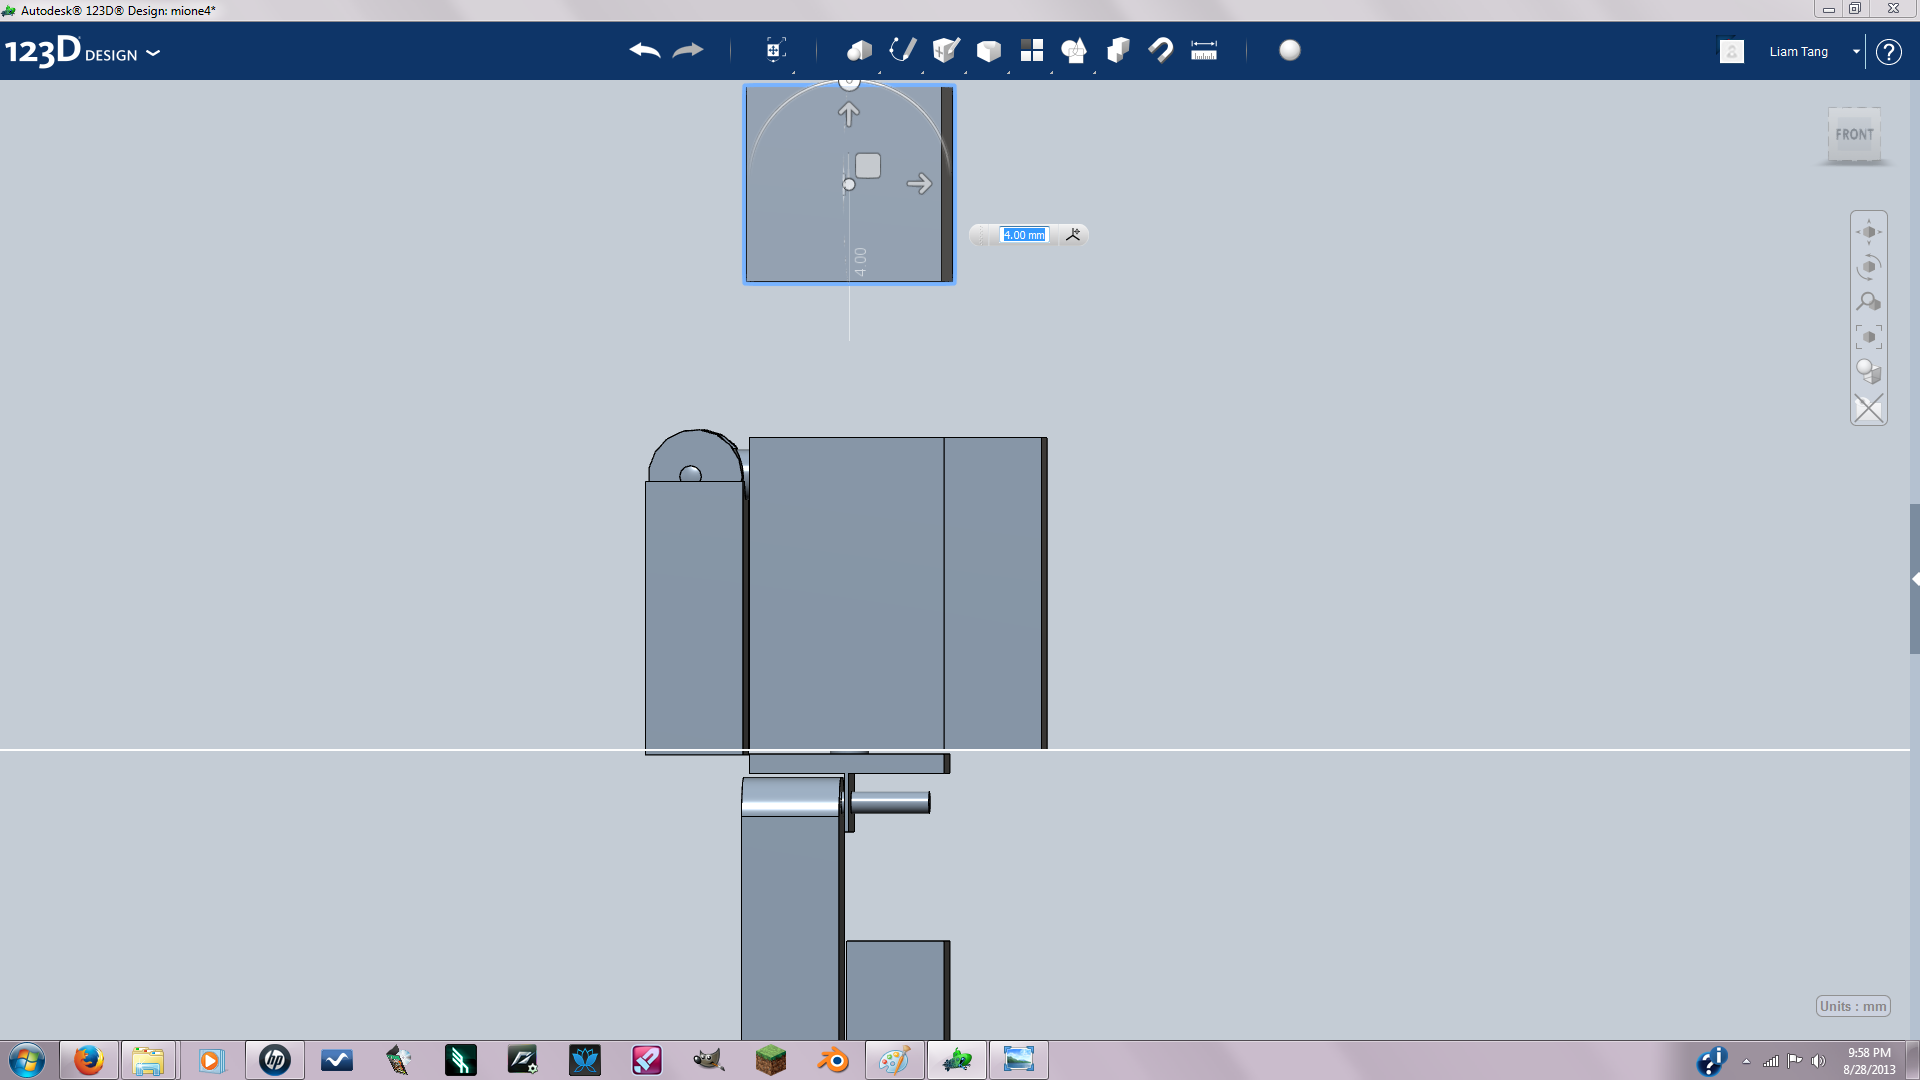
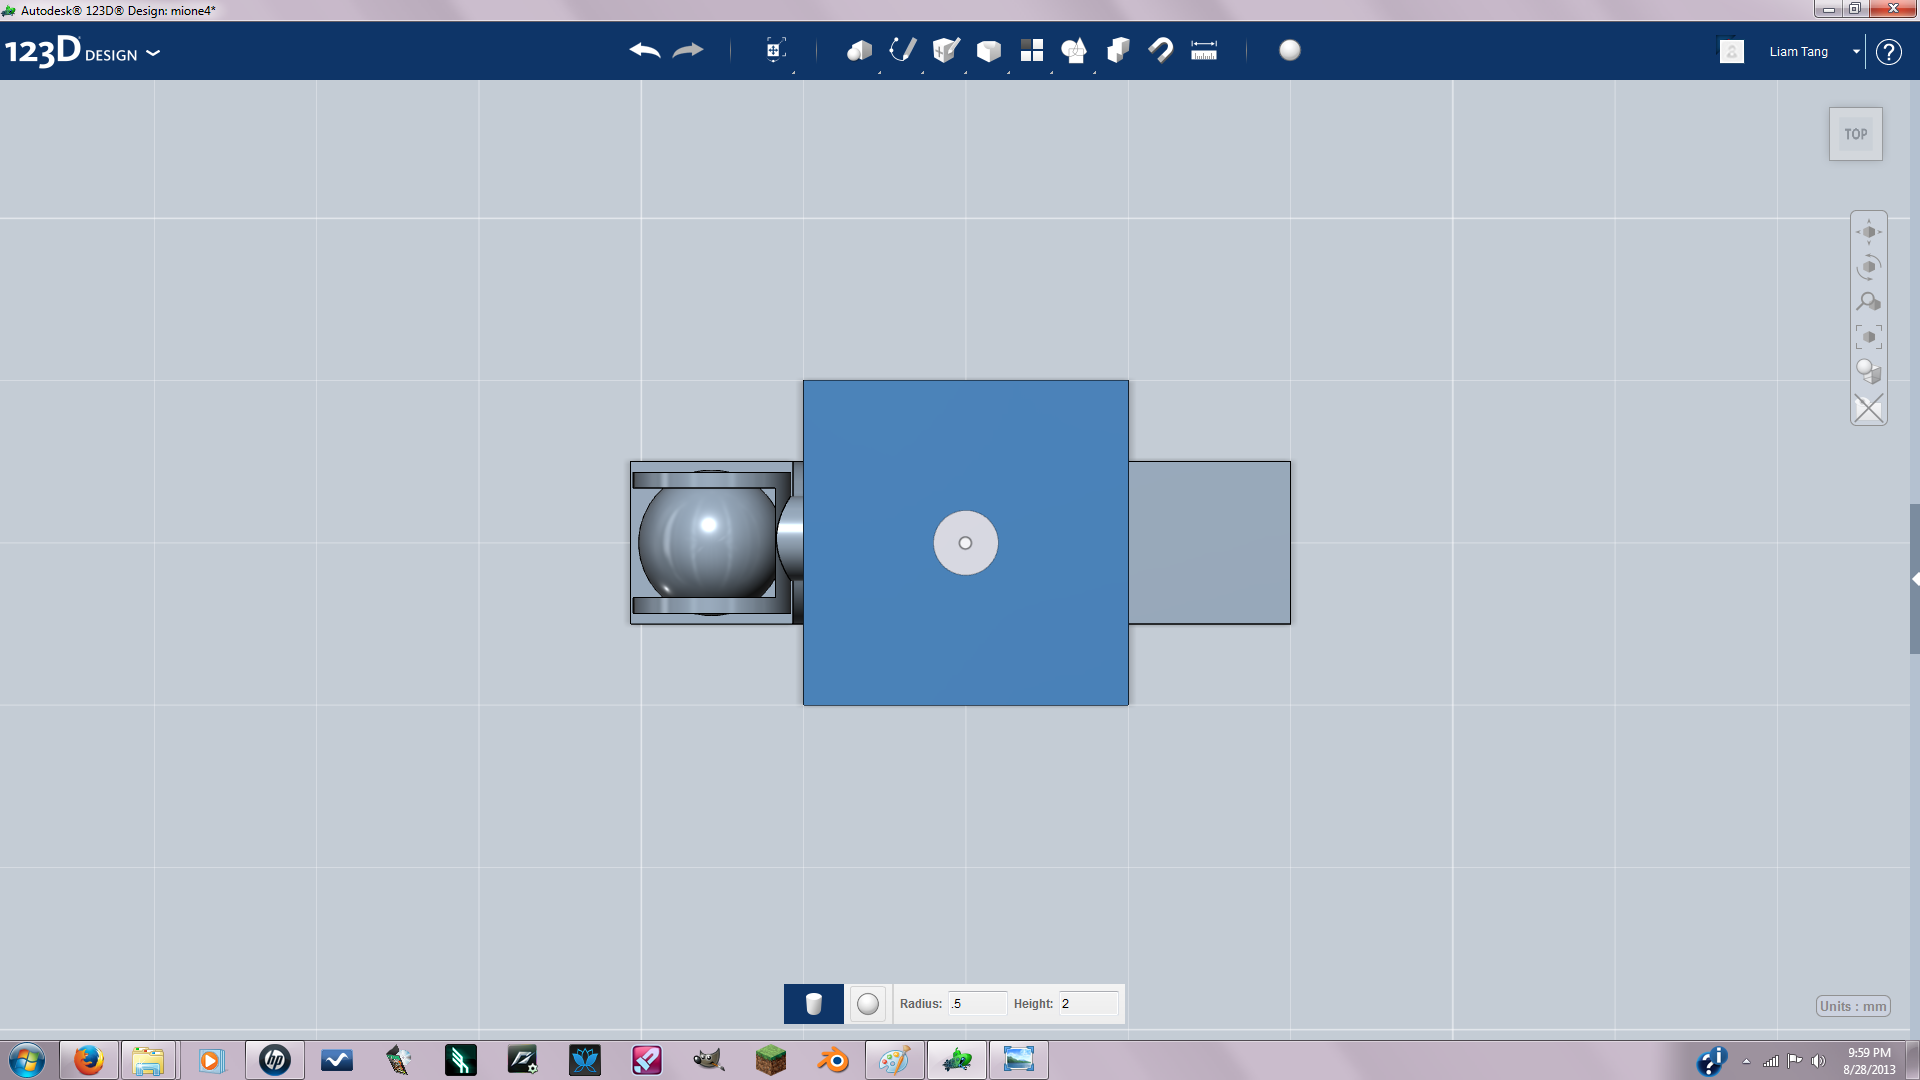
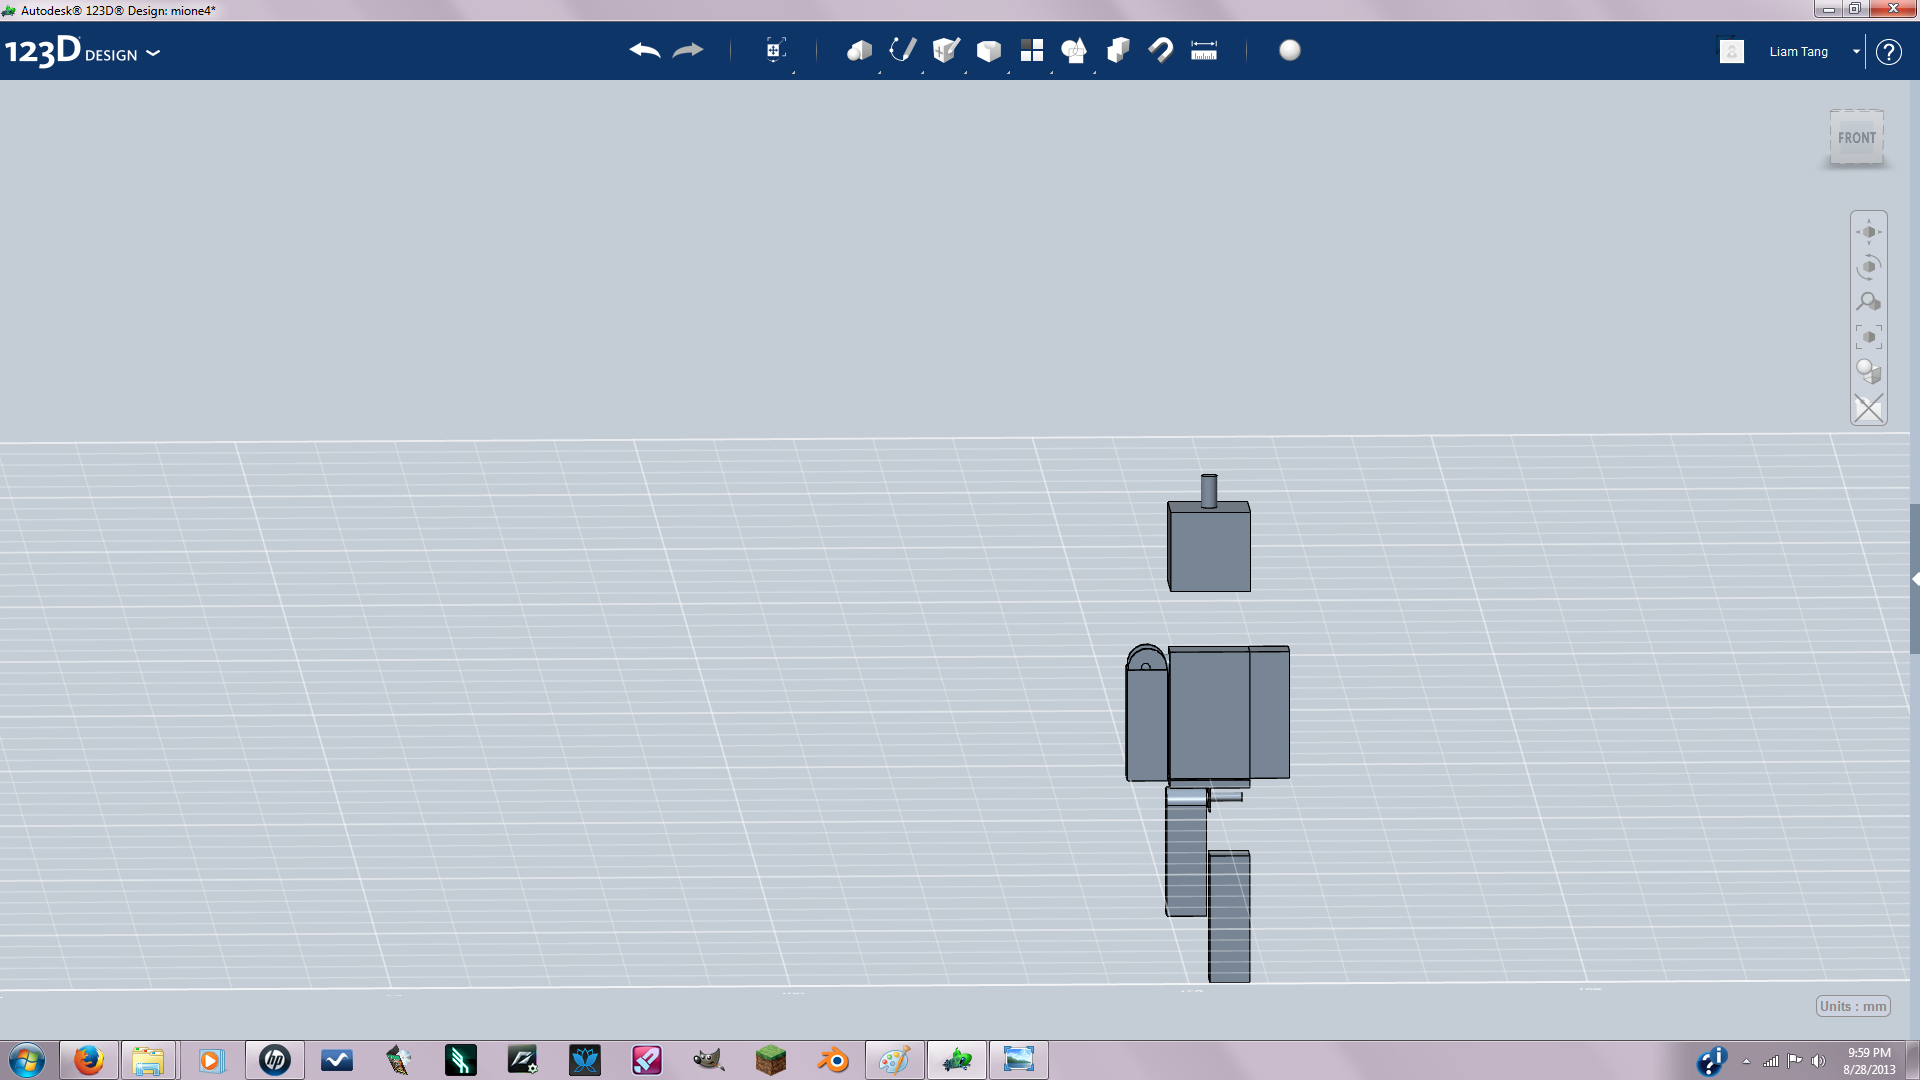
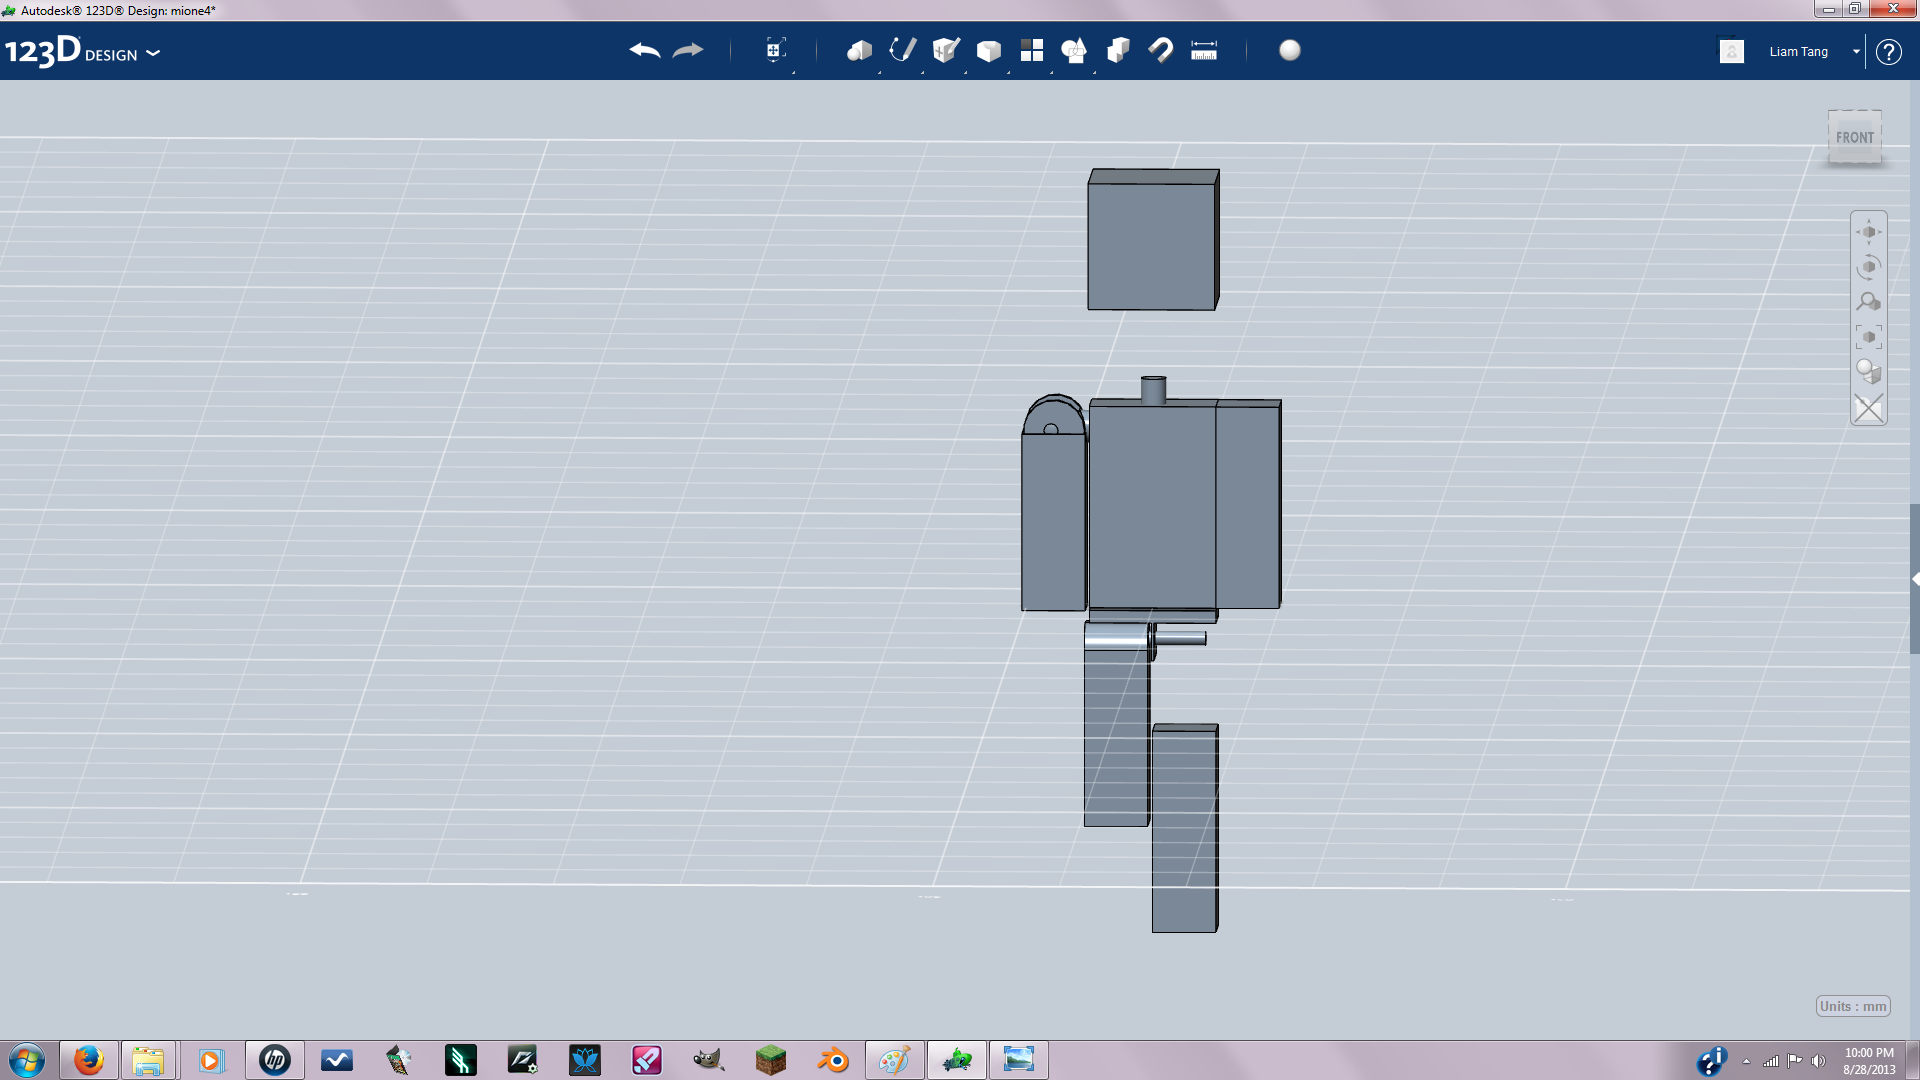
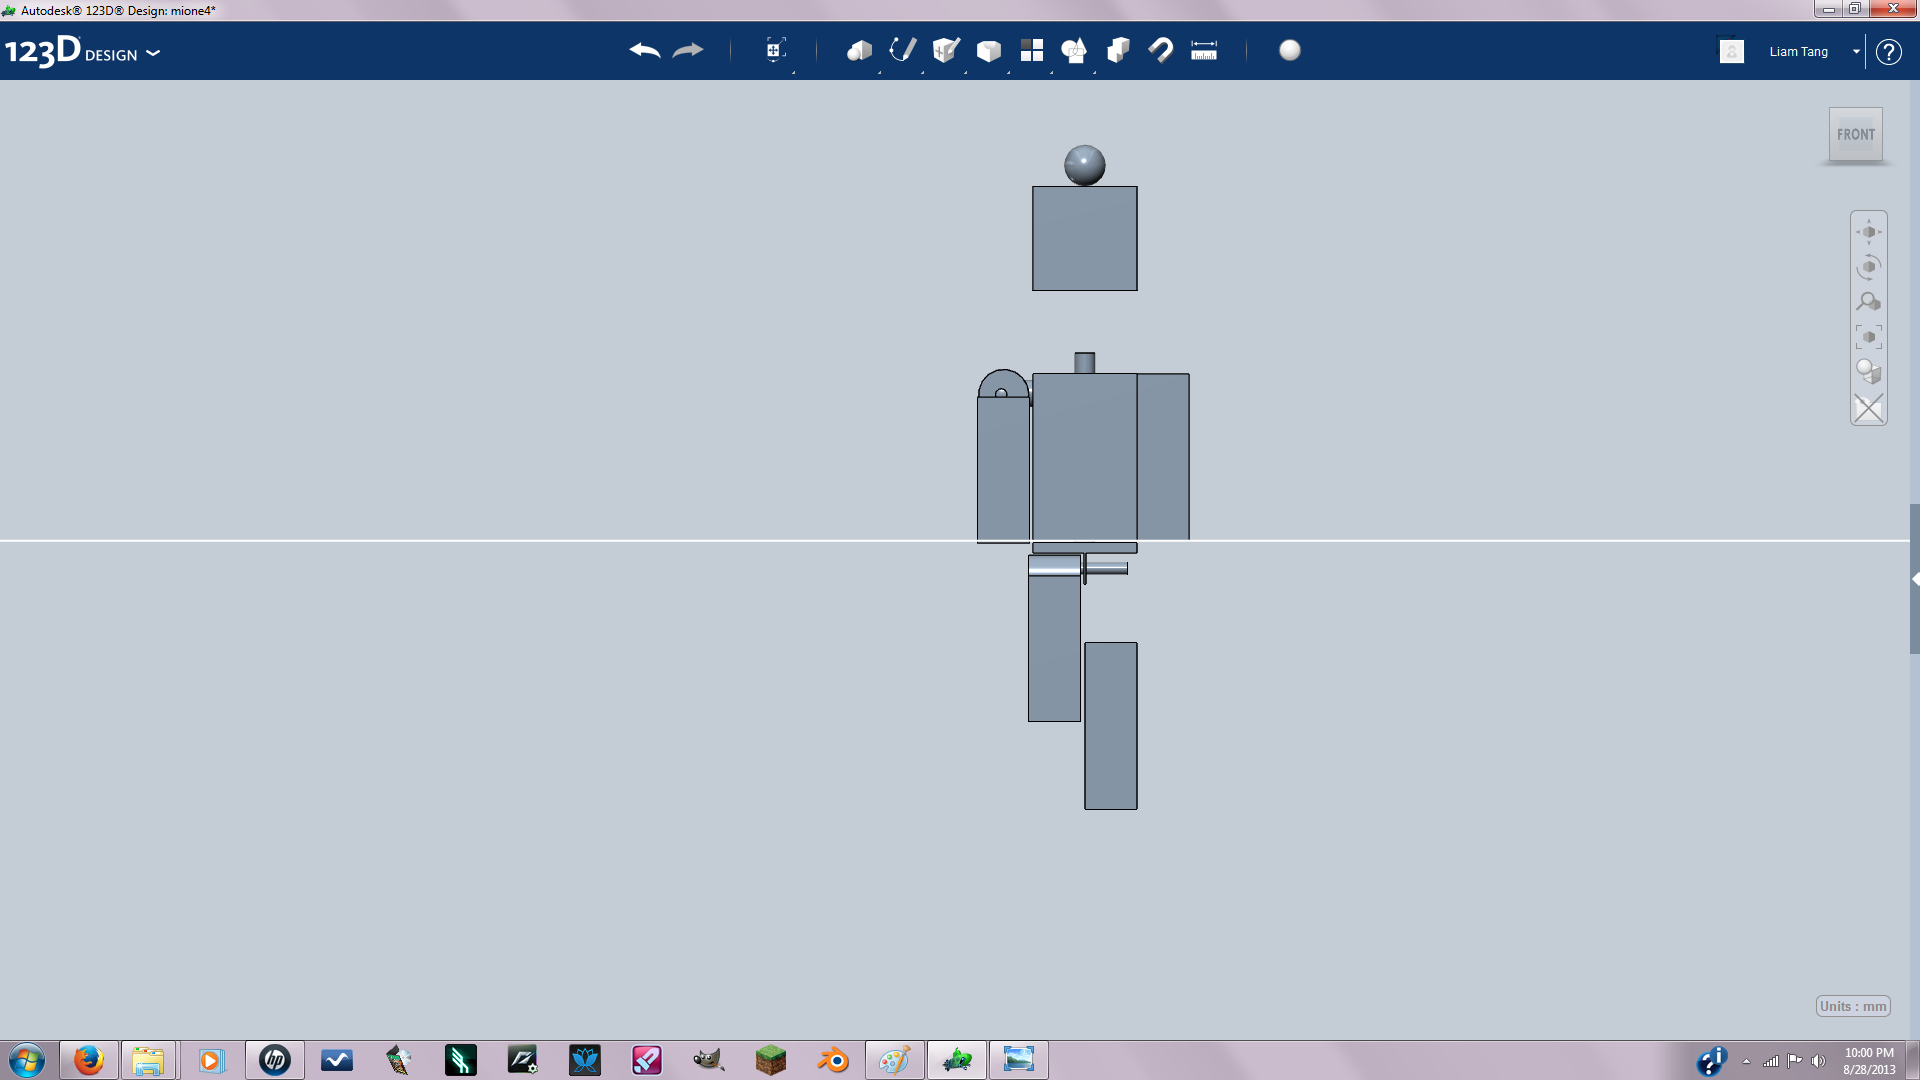
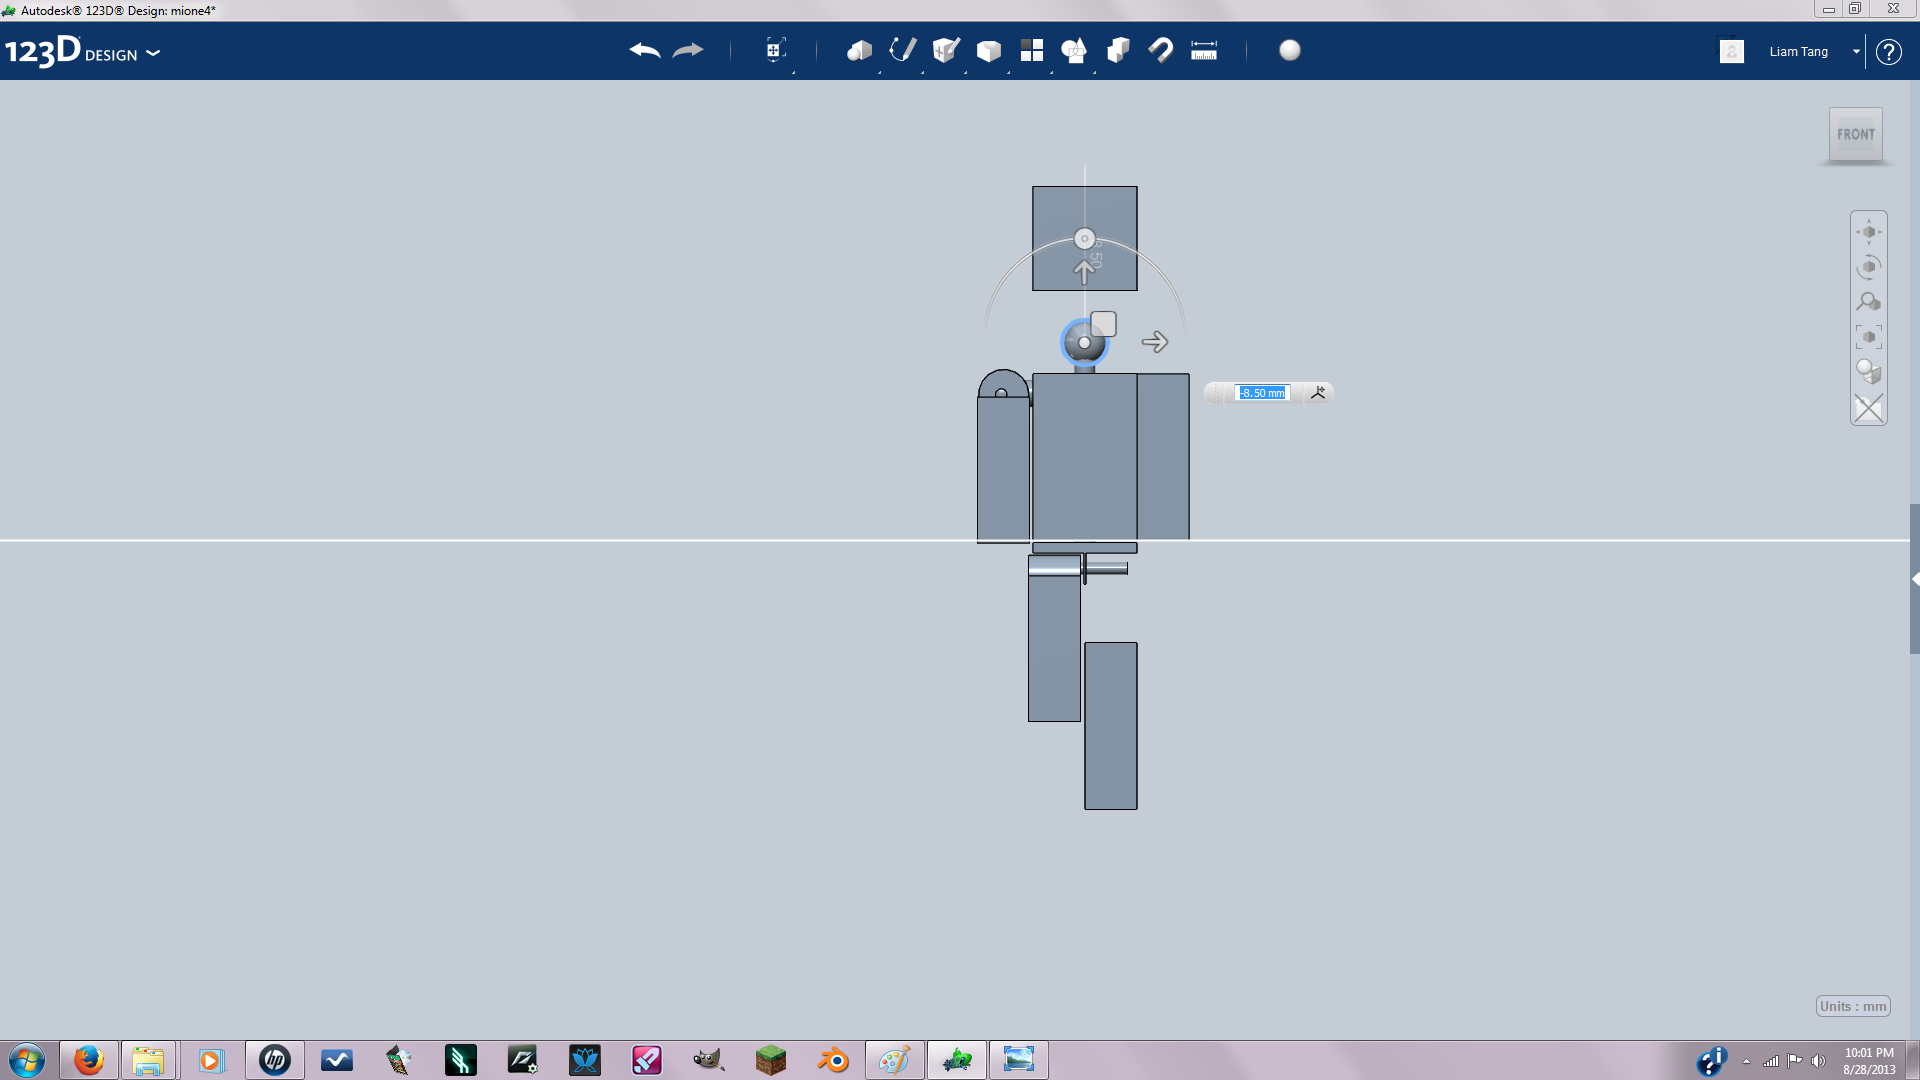
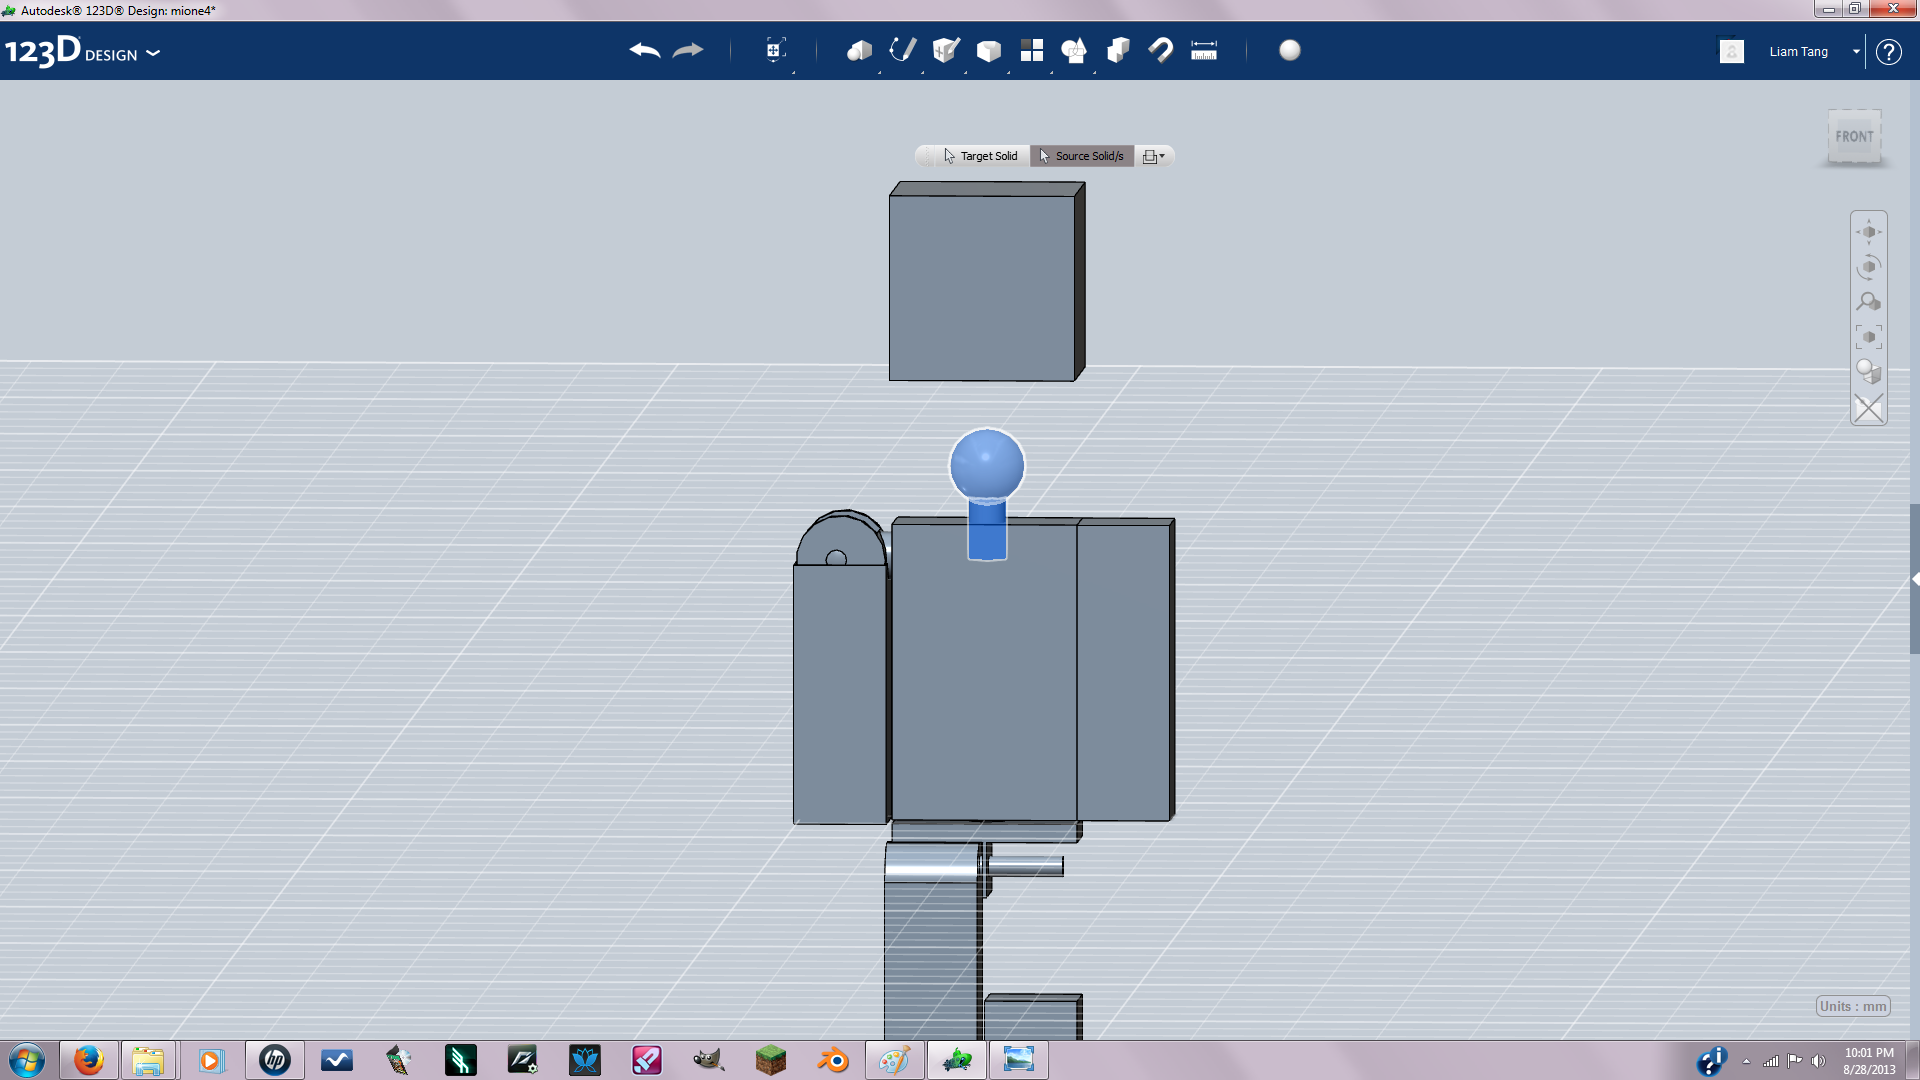
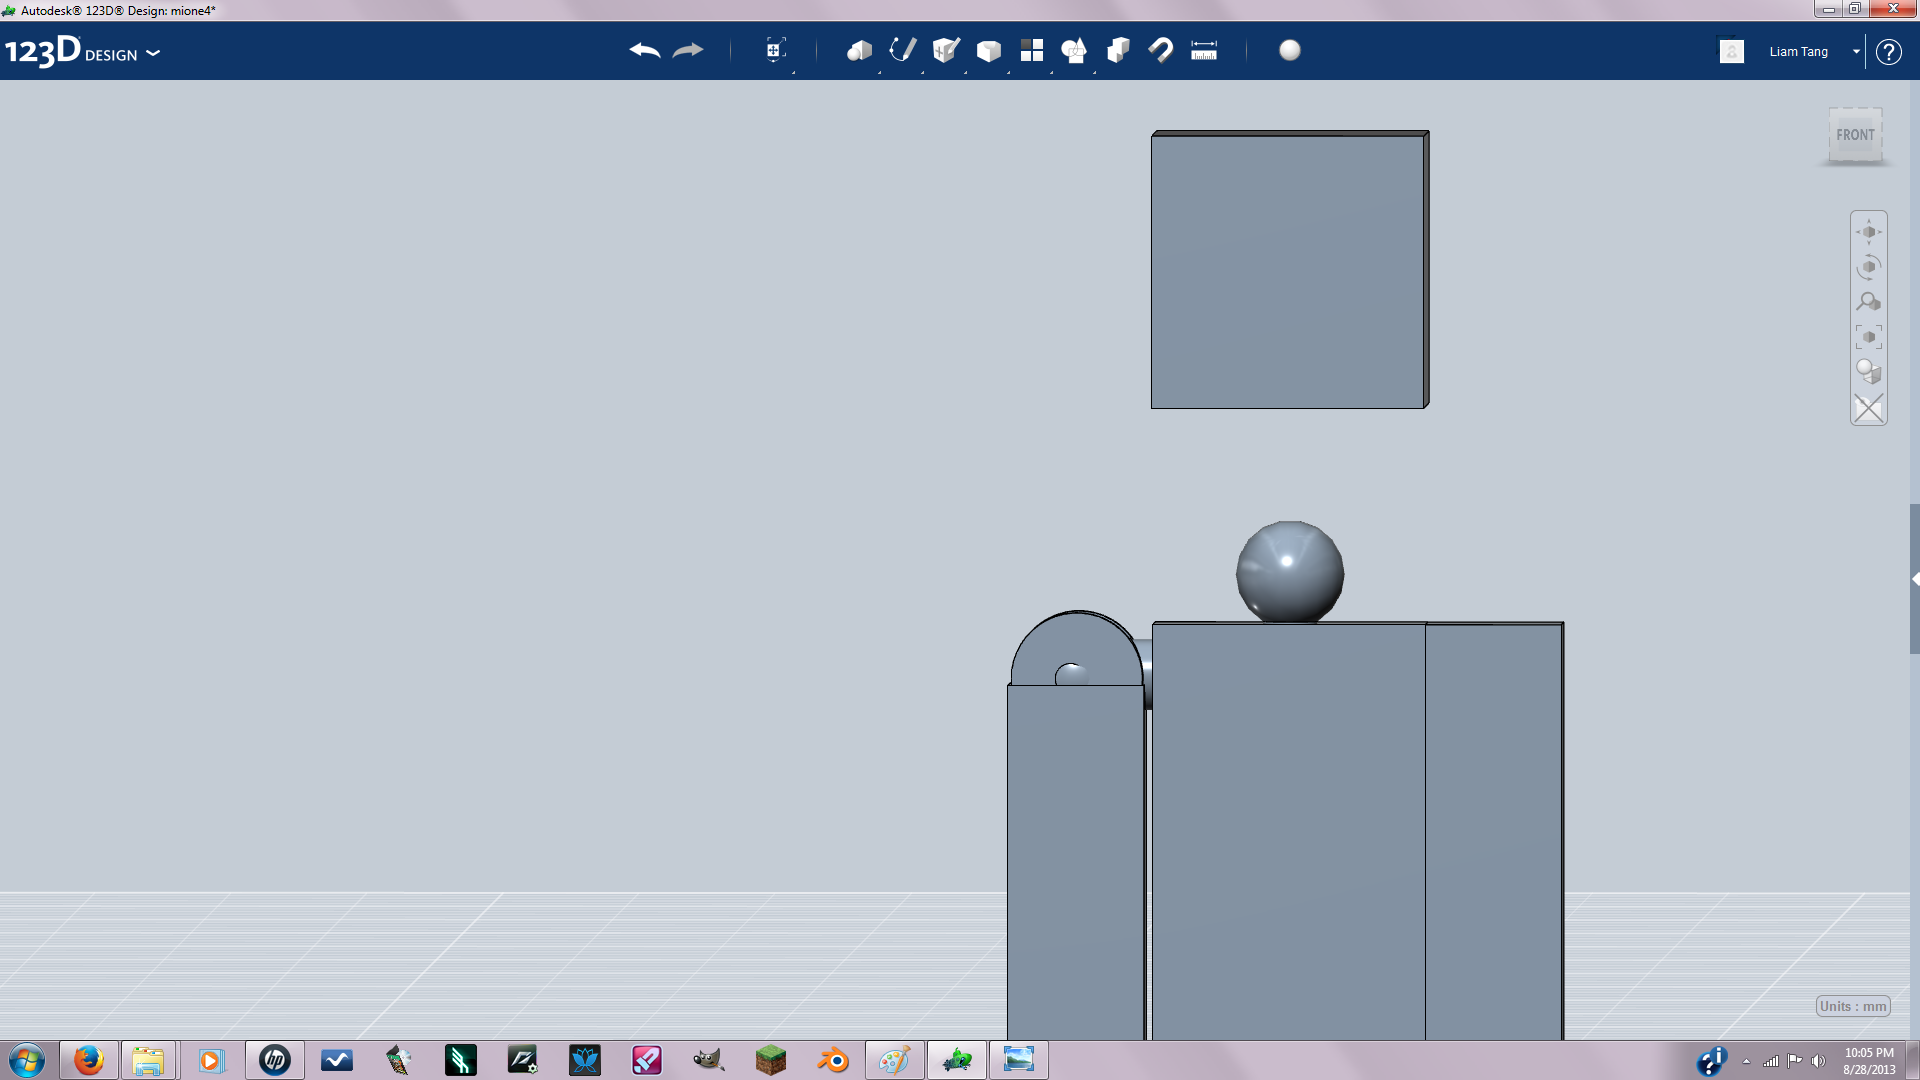
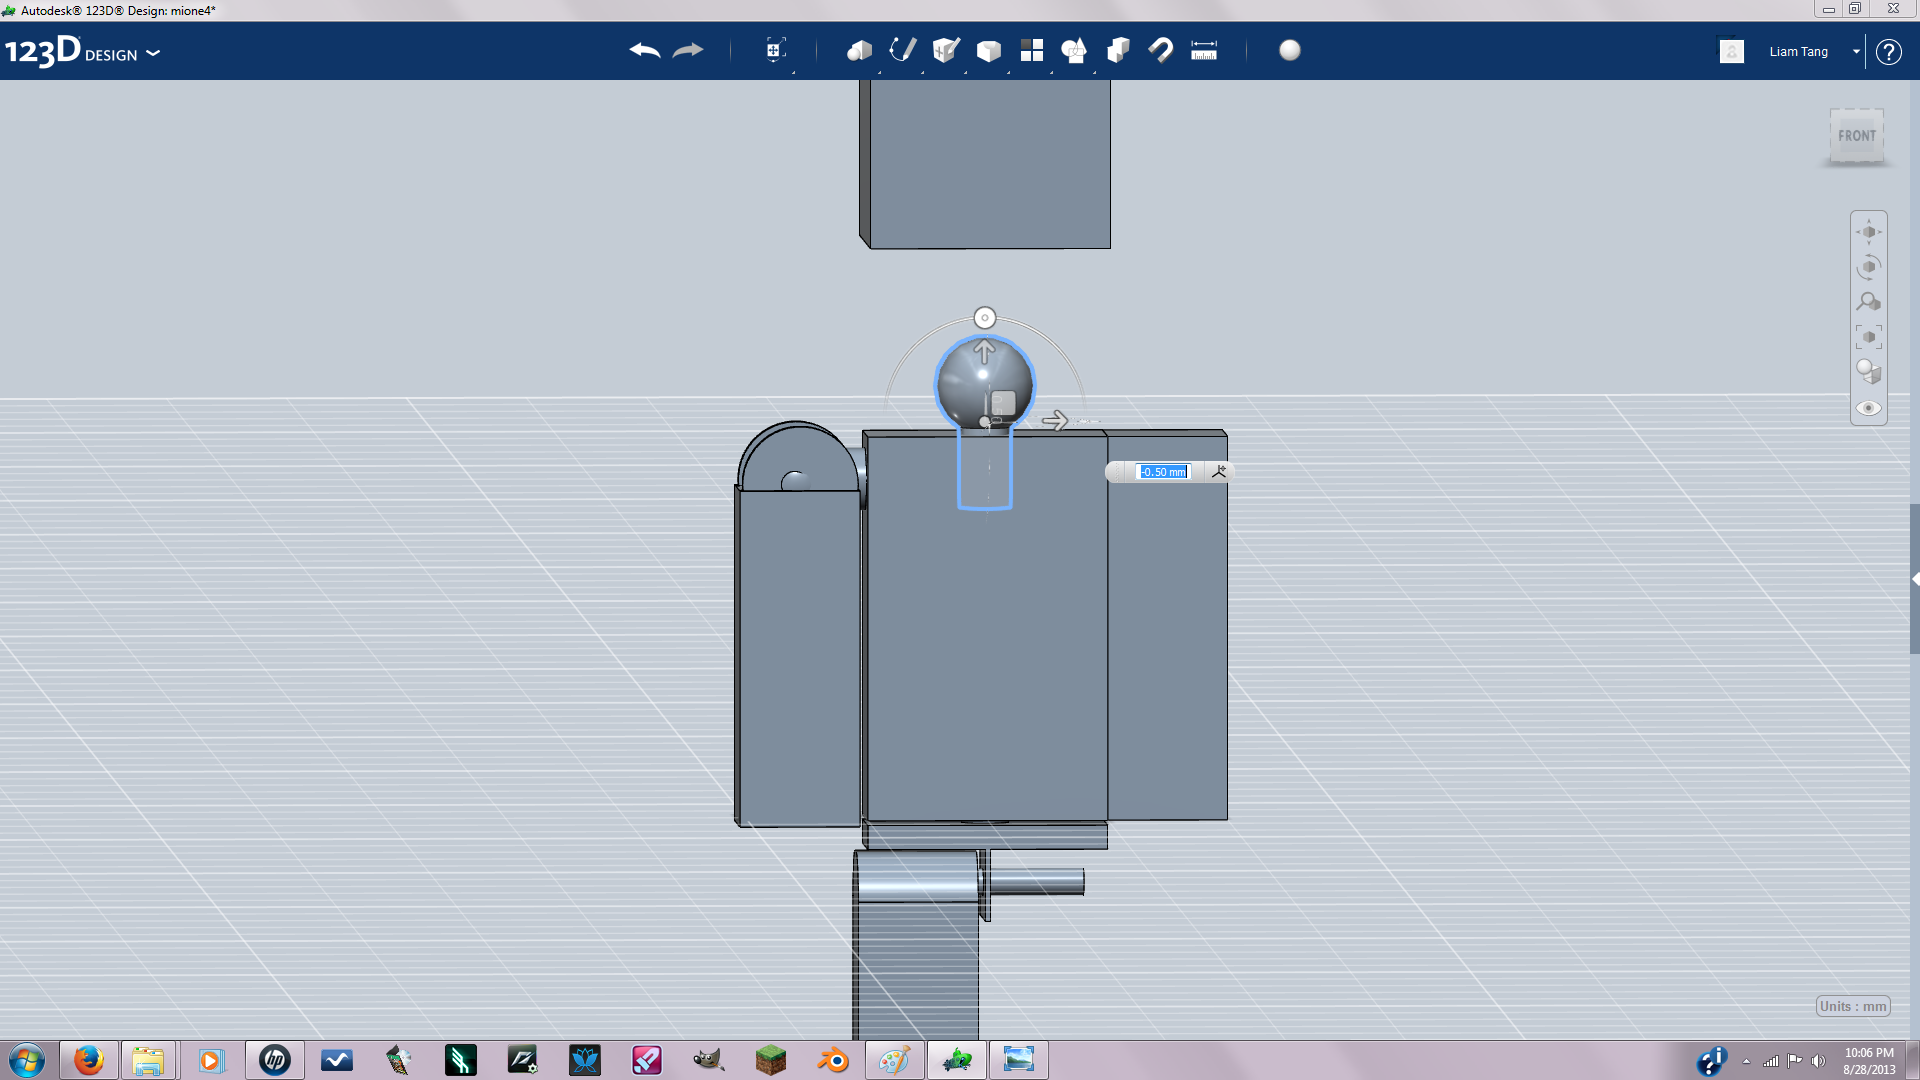
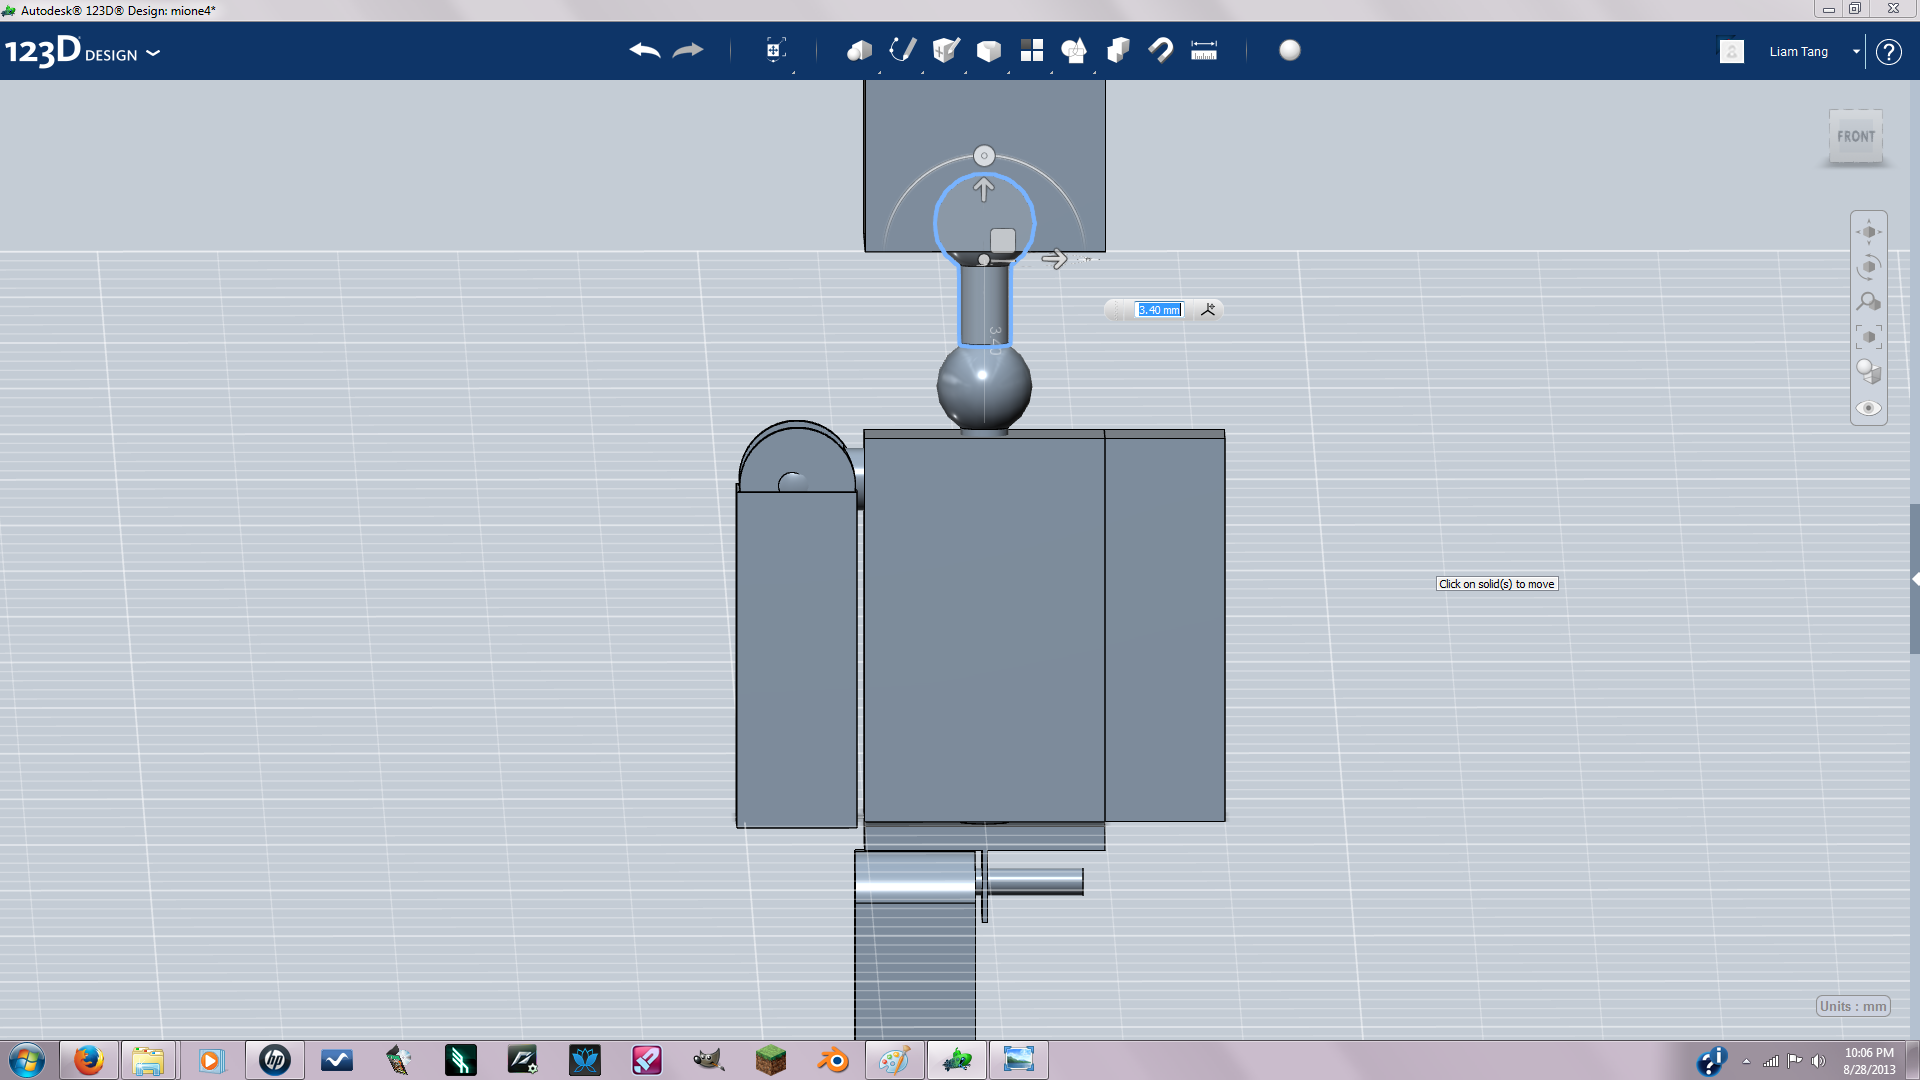
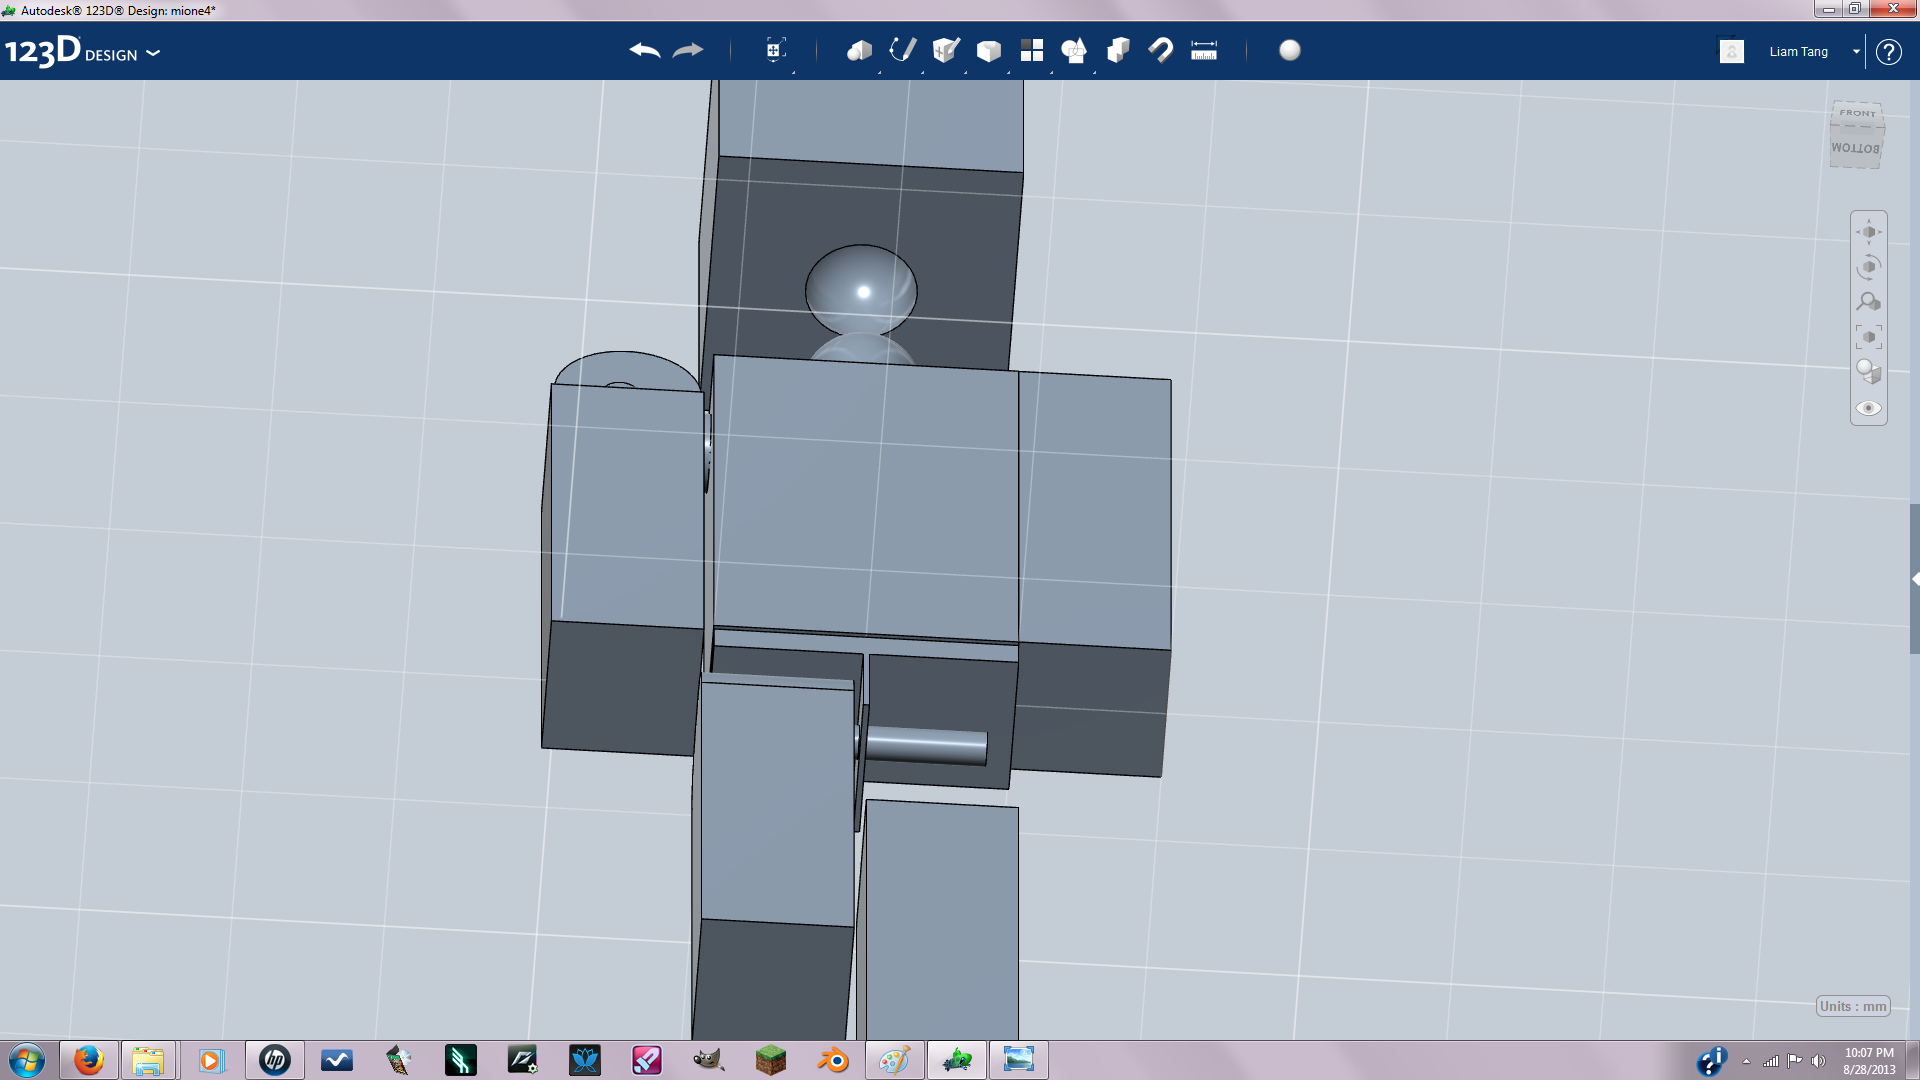
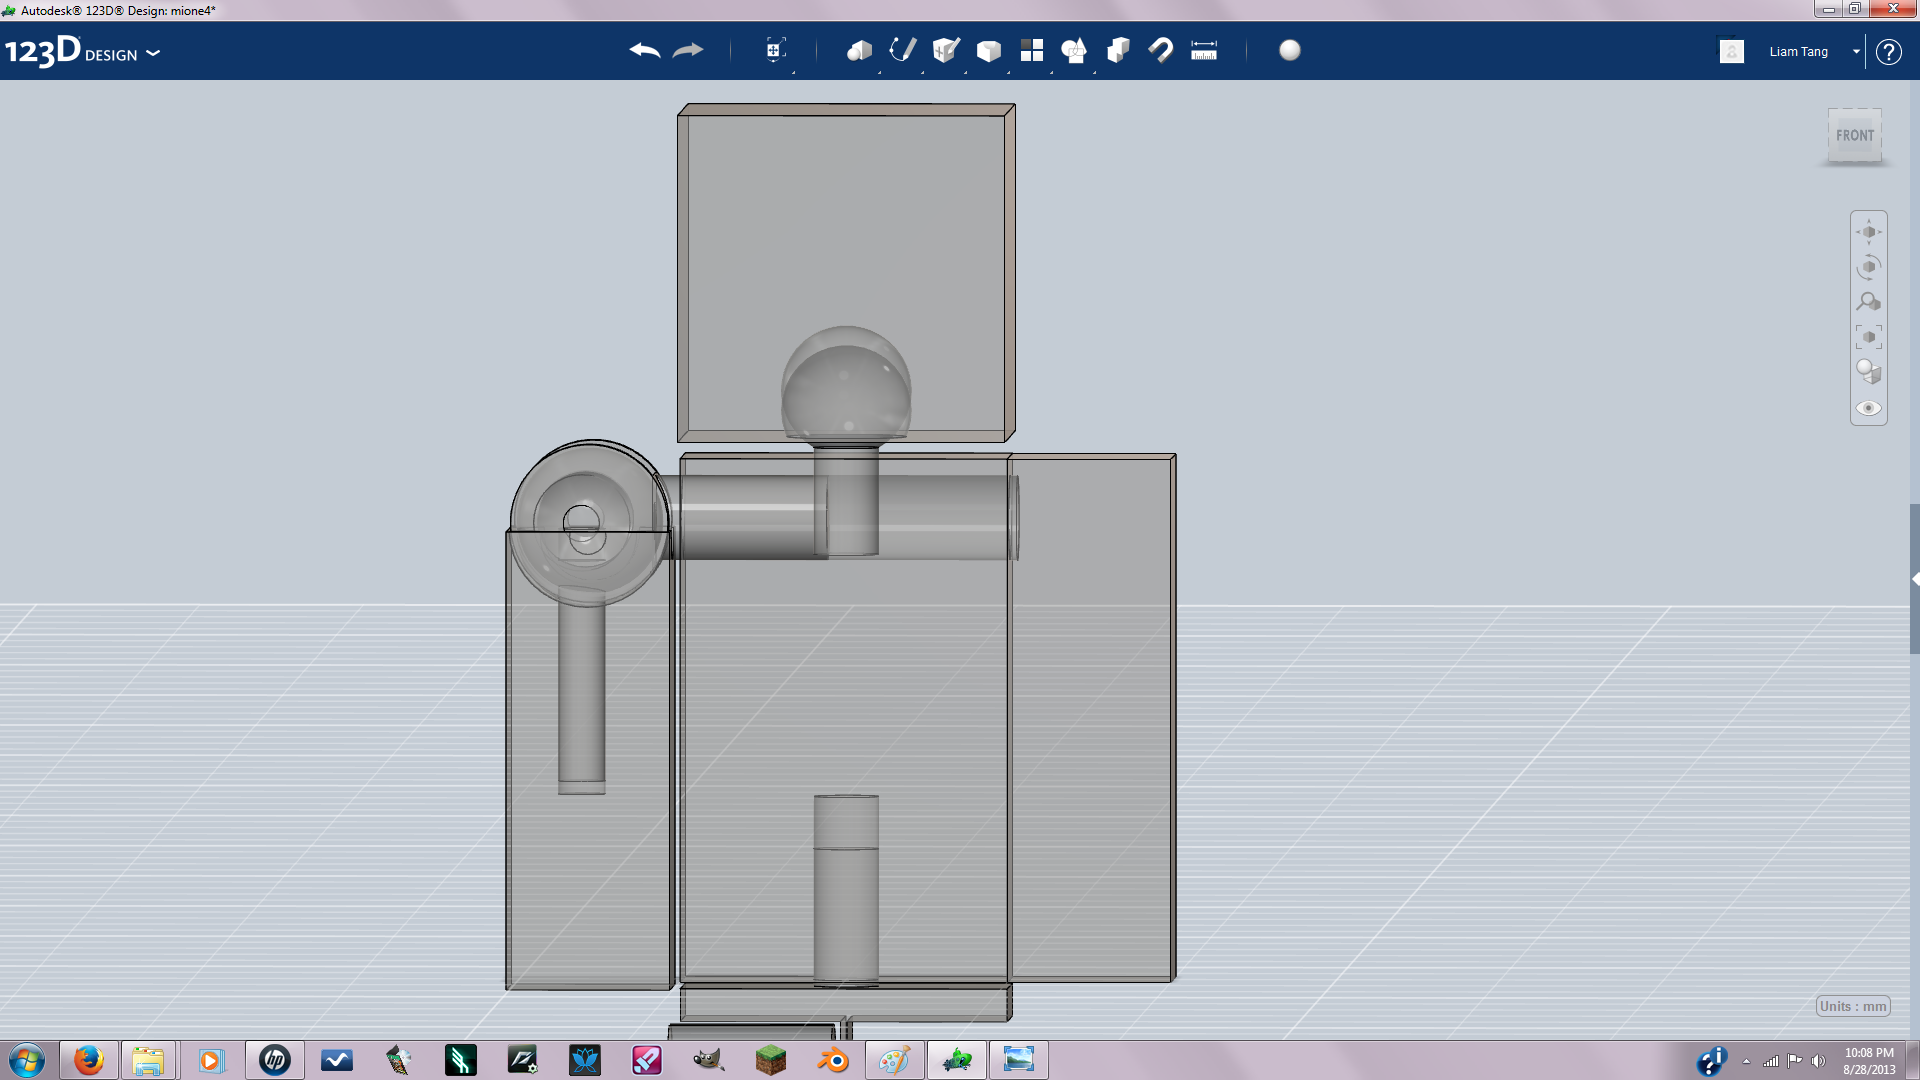
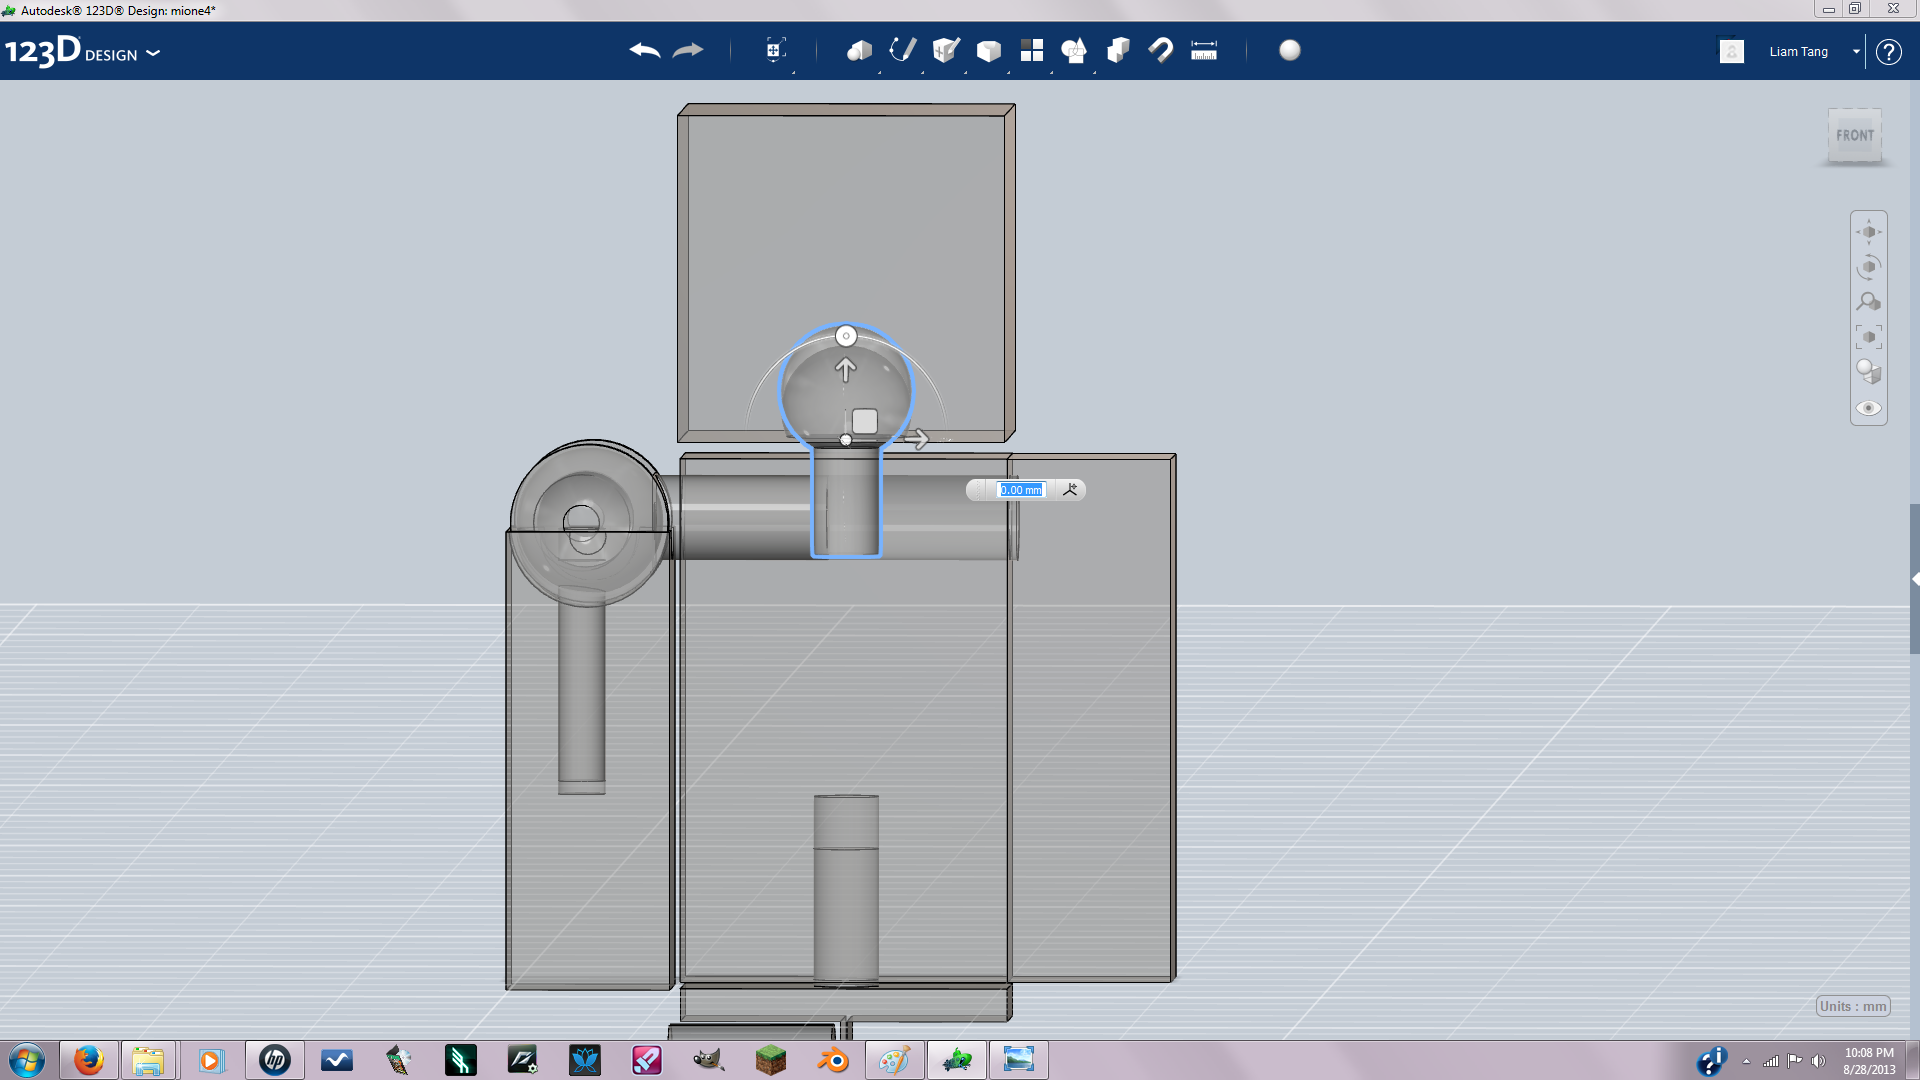
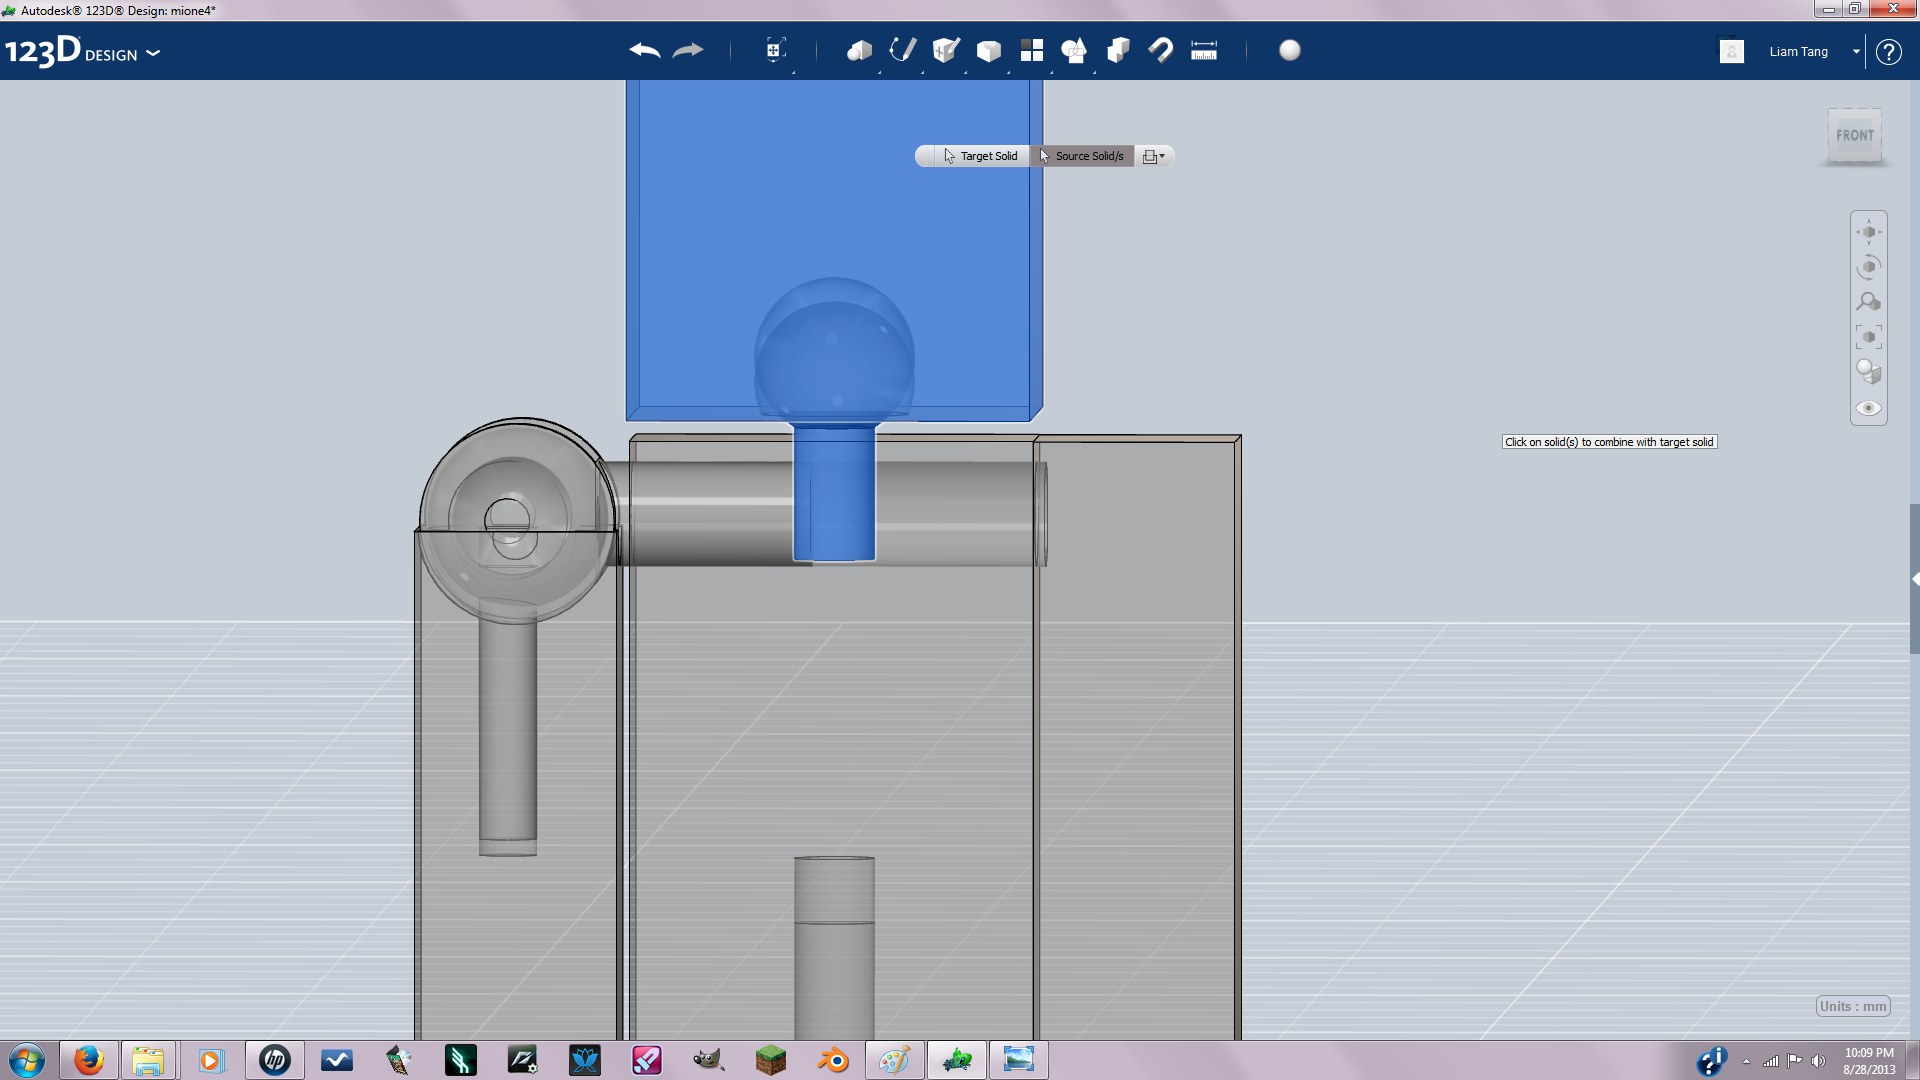
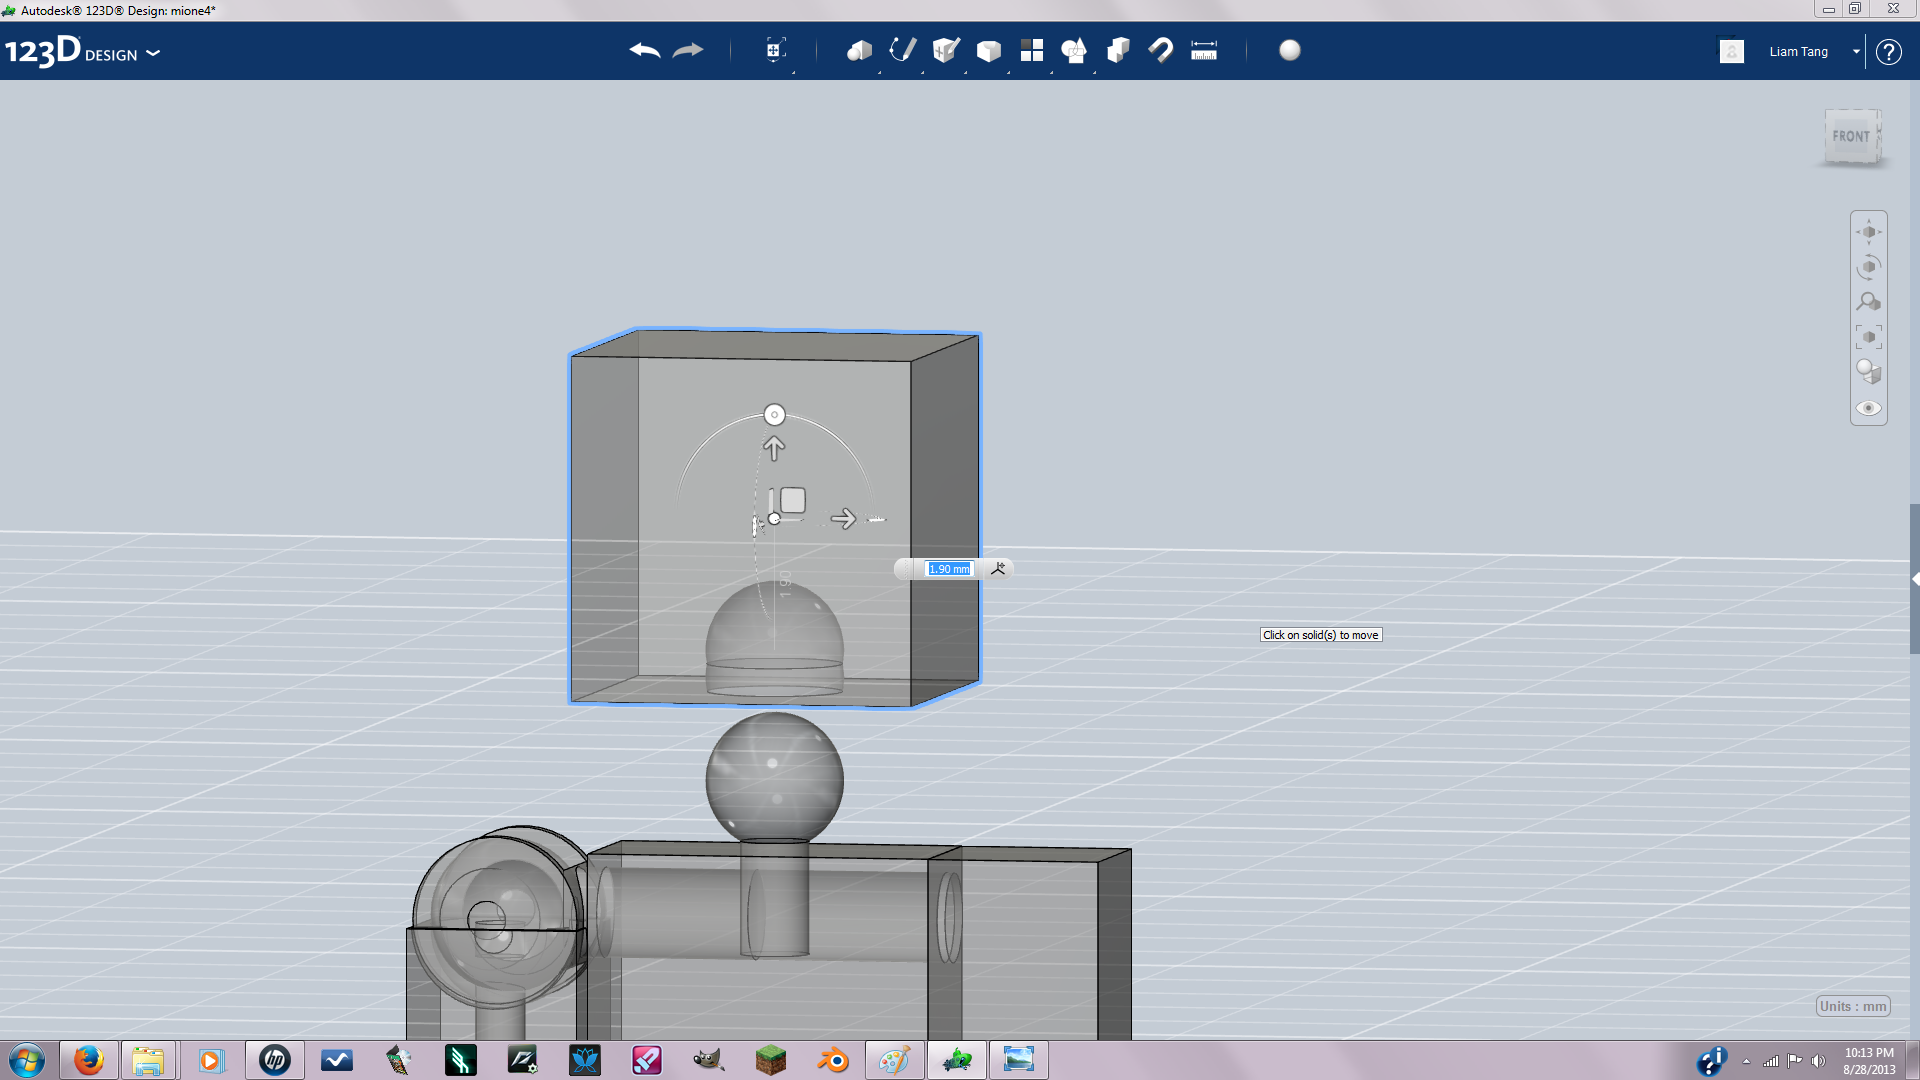
first move your minecraft head up about 4mm, then switch to top view and make a new solid, the cylinder with radius .5 and height 2 place it right in the middle of the head(pic2). Now move it from the head down to the torso but position it half into the torso(pic4).
Make a sphere (not sure what the size on sphere was but just look at pic 5 and make the size similar) Move the sphere down so its intersecting with the cylinder you just made(pic6), then join the cylinder and sphere. Now copy(CTRL+c) and paste (CTRL+V) the sphere and cylinder and move it up so its intersecting with the head(pic10) then combine set to subtract(pic11). Now move the head down on to the sphere but make go down just a little bit more than you created the joint for(pic12) now copy and paste the sphere and cylinder but dont move them and then combine the sphere and cylinder with the head set to subtract(pic14)
Make a sphere (not sure what the size on sphere was but just look at pic 5 and make the size similar) Move the sphere down so its intersecting with the cylinder you just made(pic6), then join the cylinder and sphere. Now copy(CTRL+c) and paste (CTRL+V) the sphere and cylinder and move it up so its intersecting with the head(pic10) then combine set to subtract(pic11). Now move the head down on to the sphere but make go down just a little bit more than you created the joint for(pic12) now copy and paste the sphere and cylinder but dont move them and then combine the sphere and cylinder with the head set to subtract(pic14)
Trouble Shoot Maybe
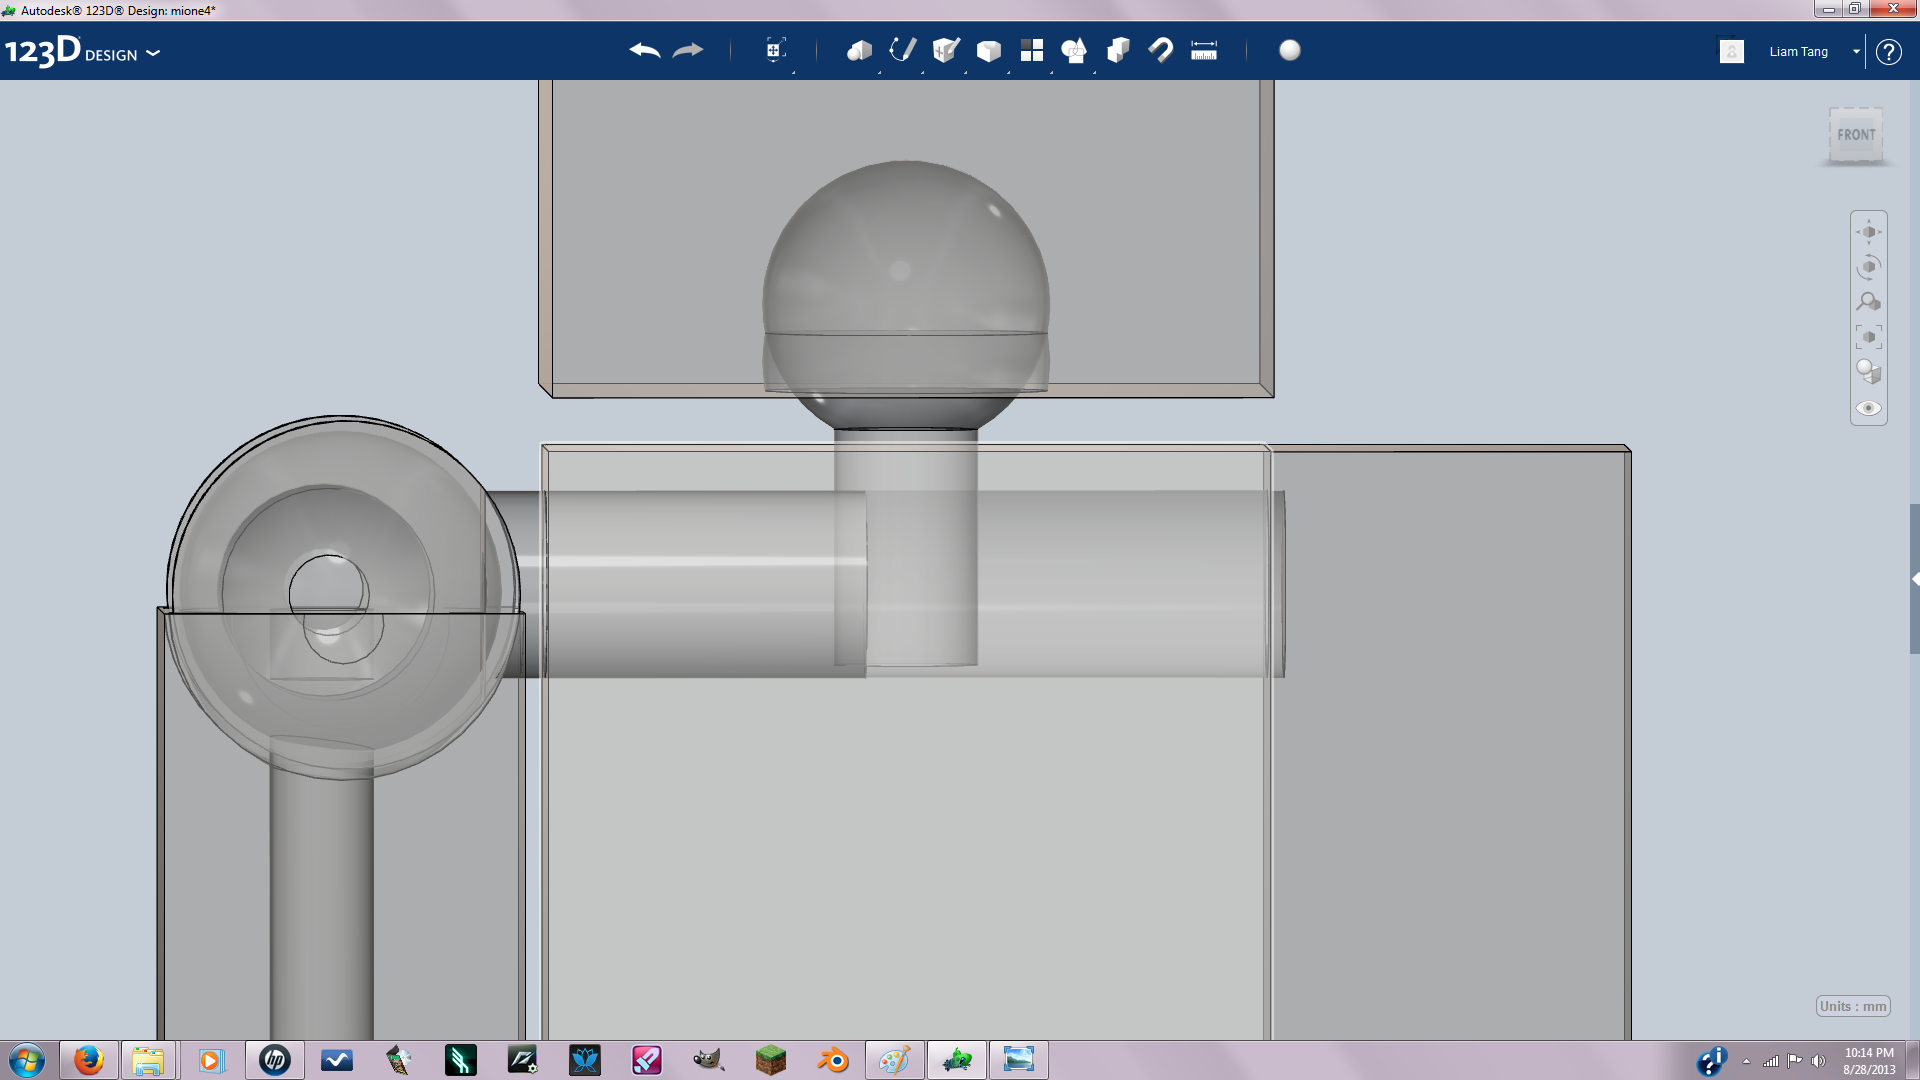
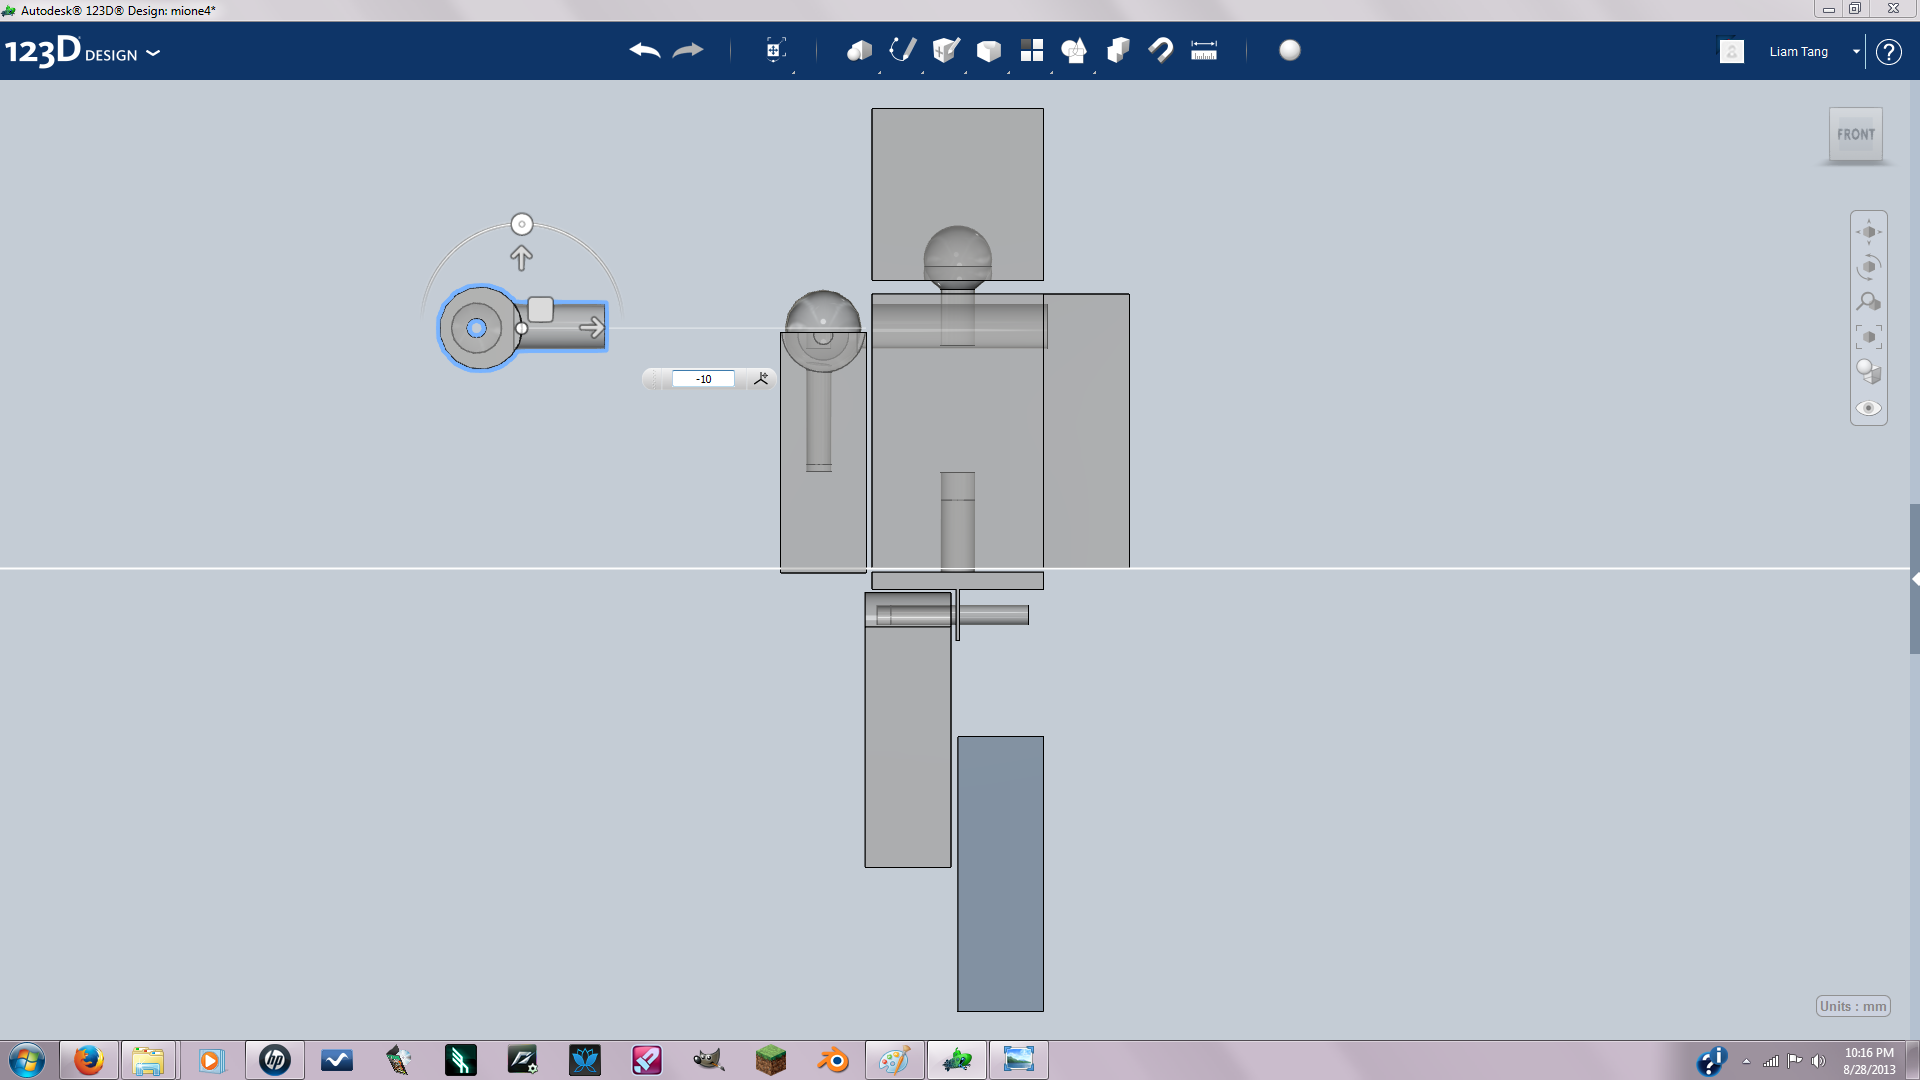
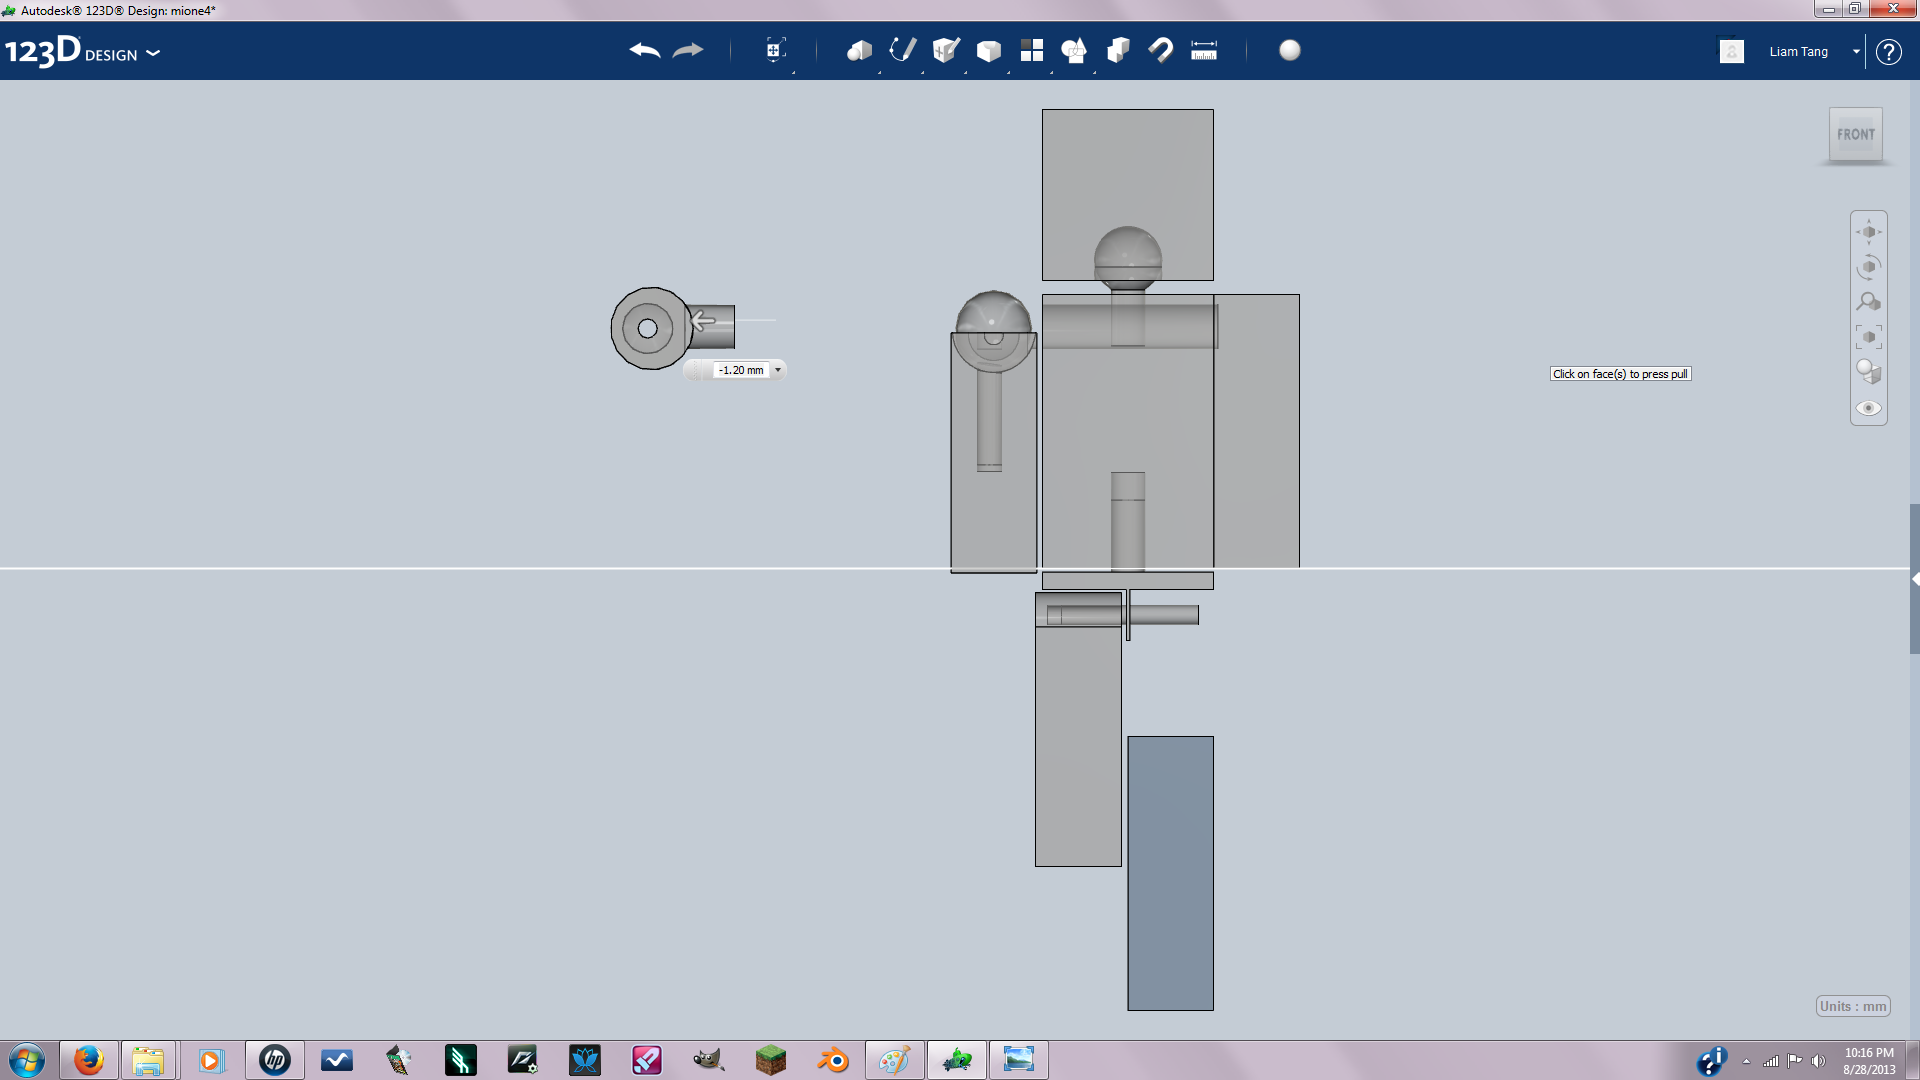
So you can see in picture 1 the arm joint is intersecting with the ball joint for the head so I just shortened the arm joint with the push/pull tool.
Gettingrid of Half the Body
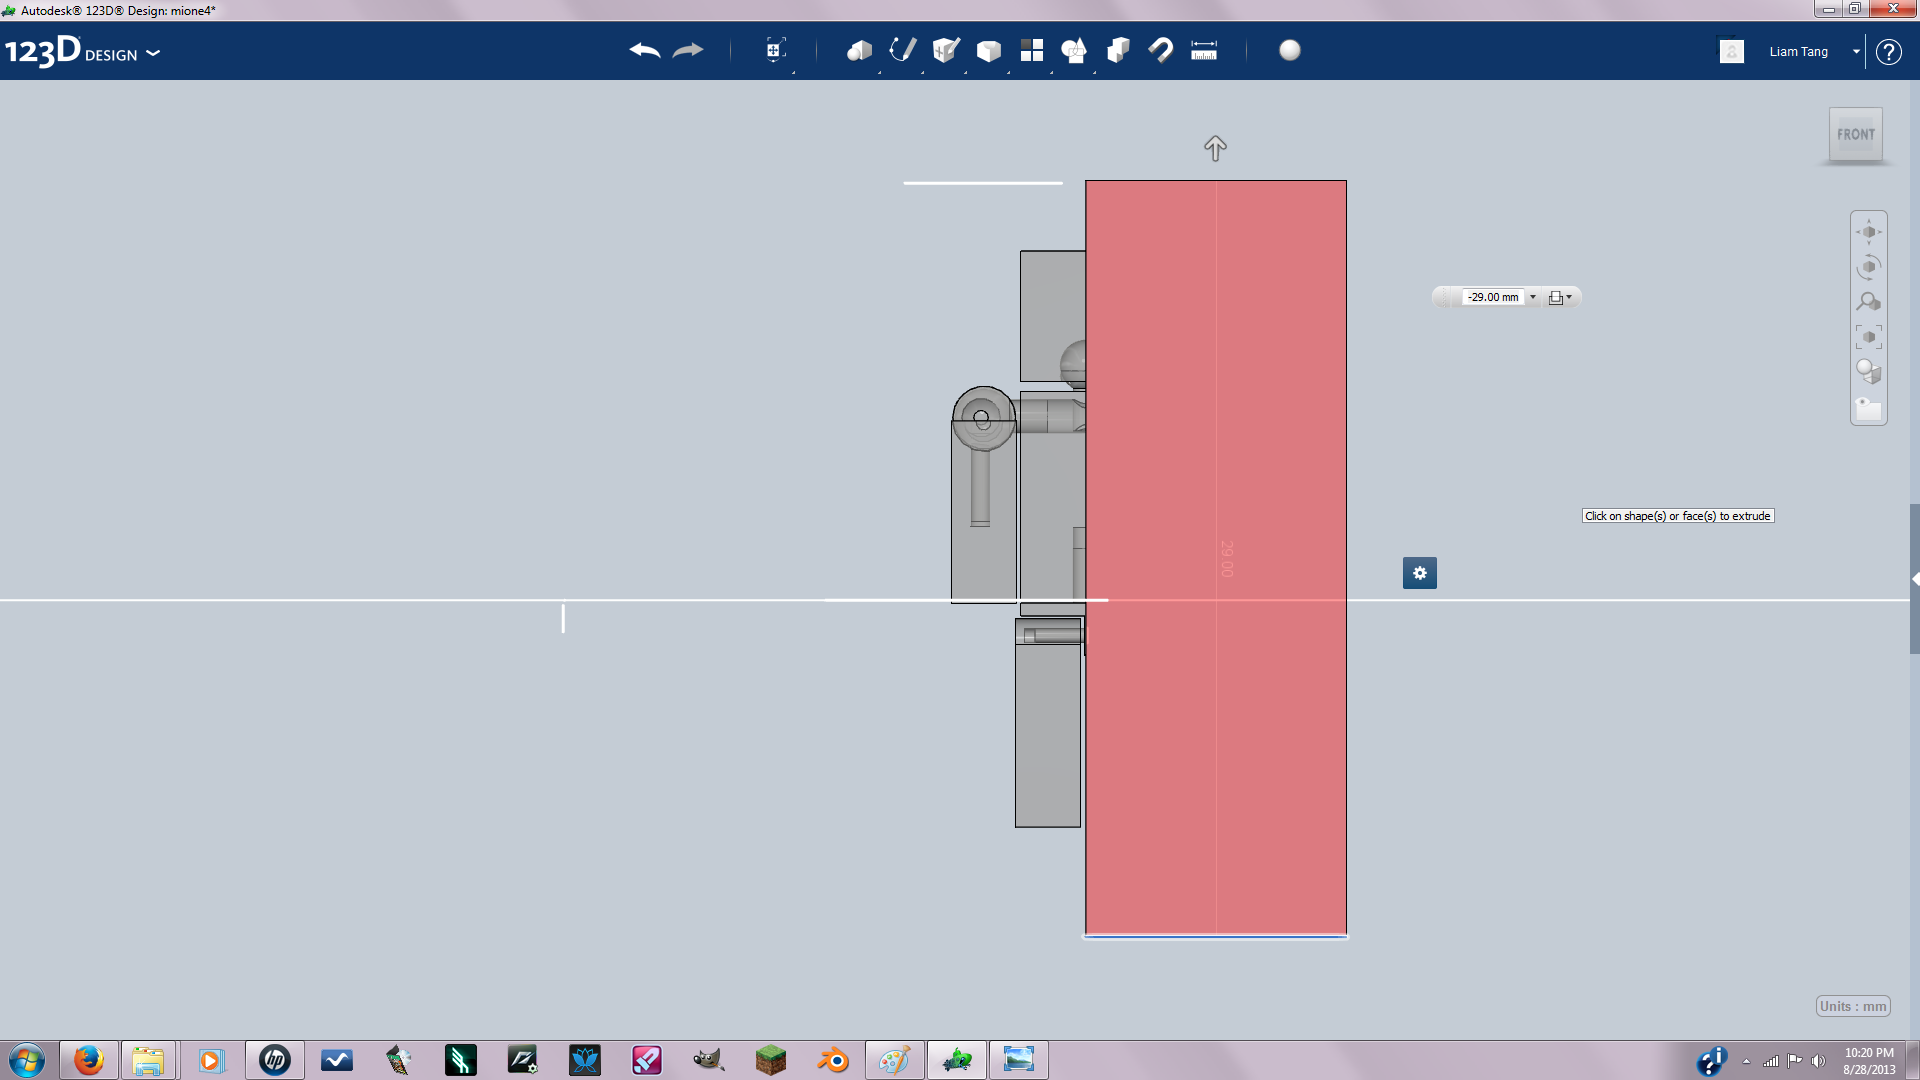
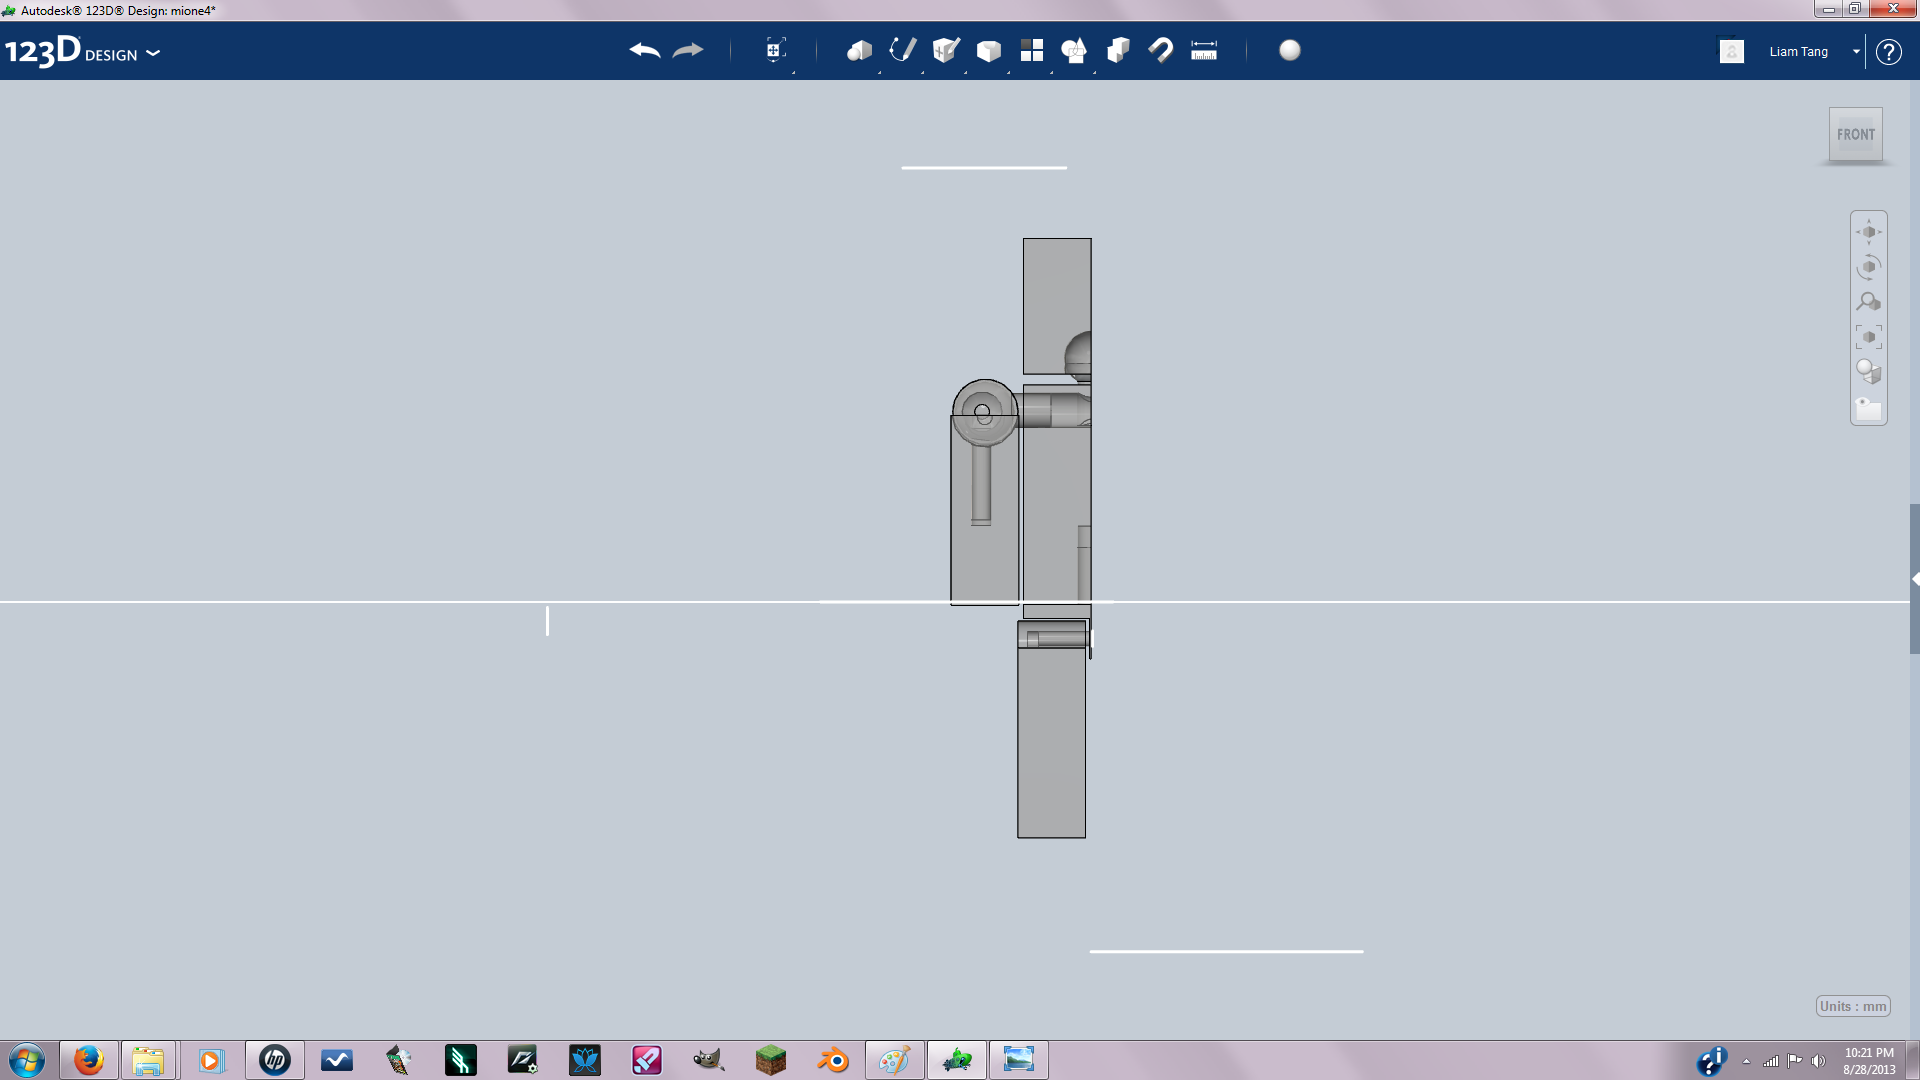
I used the negative extrude tool to get rid of half the body.
Using the Mirror
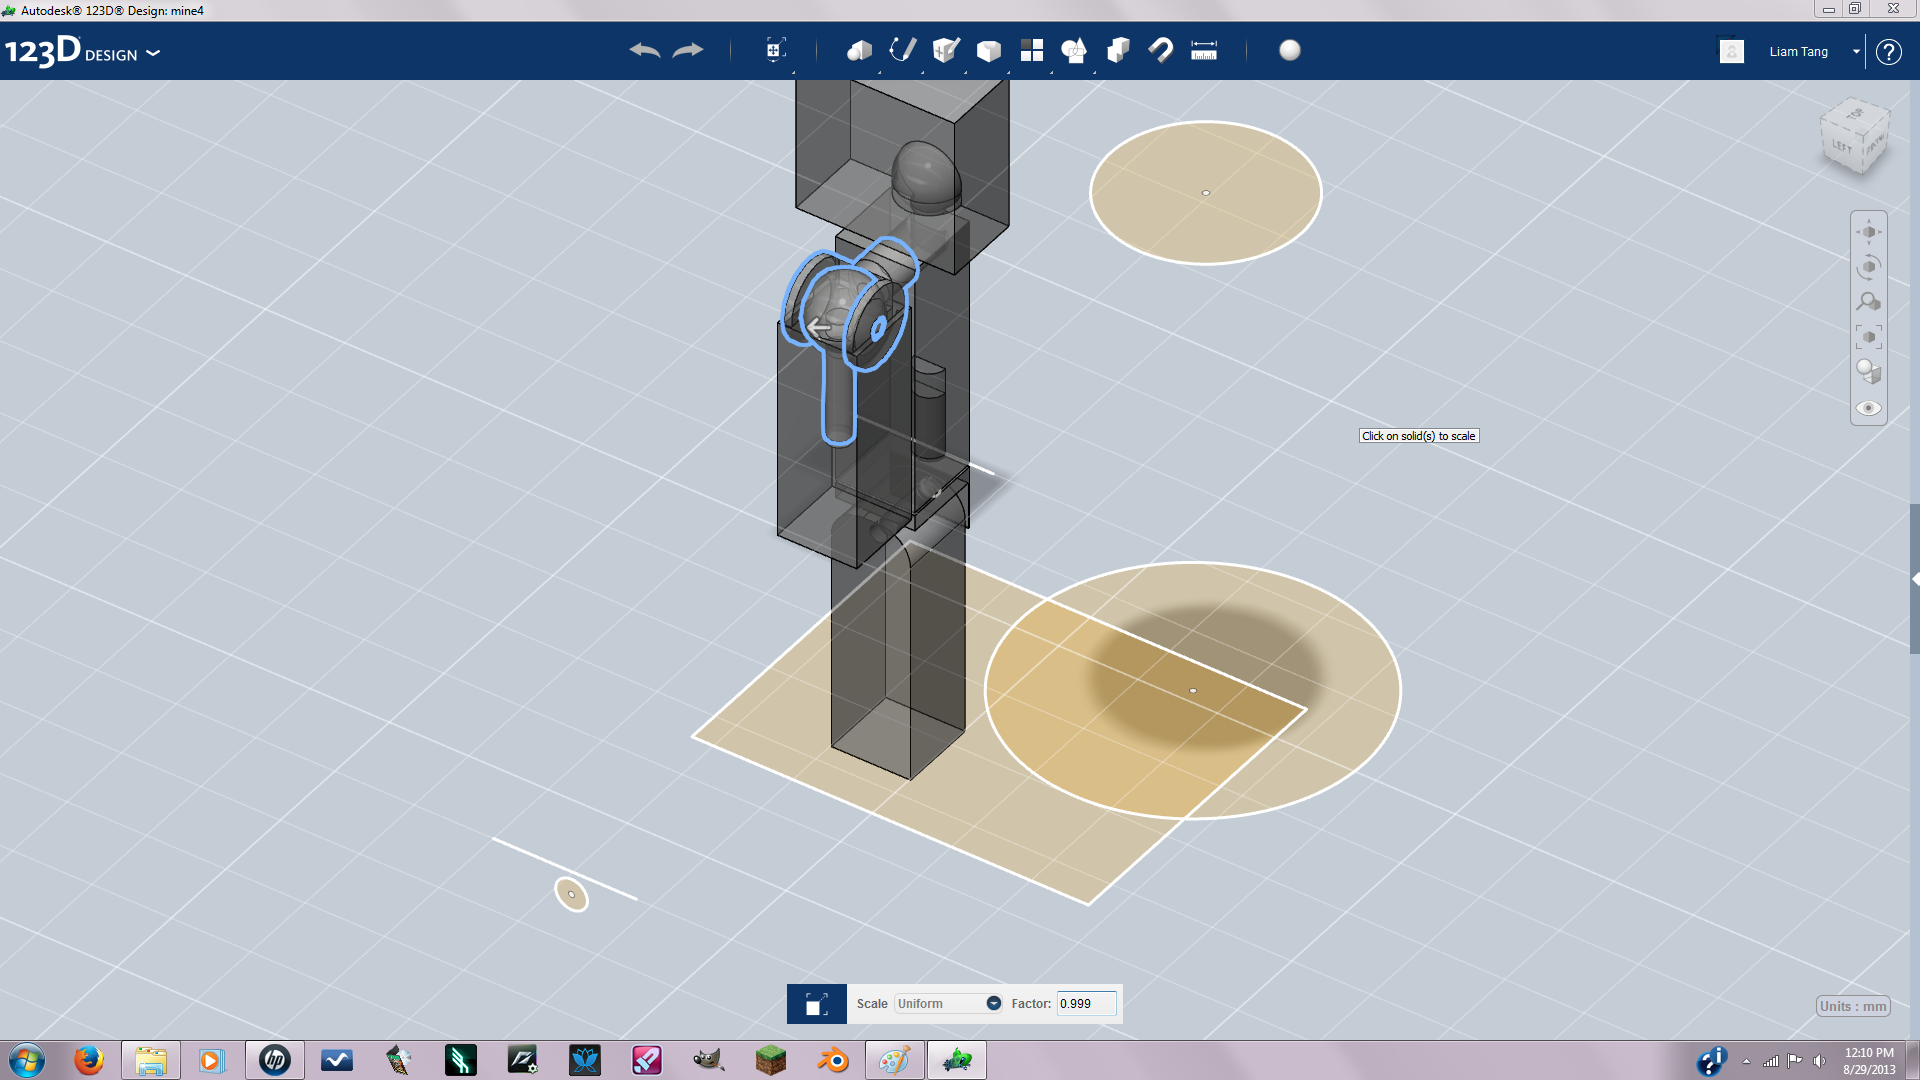
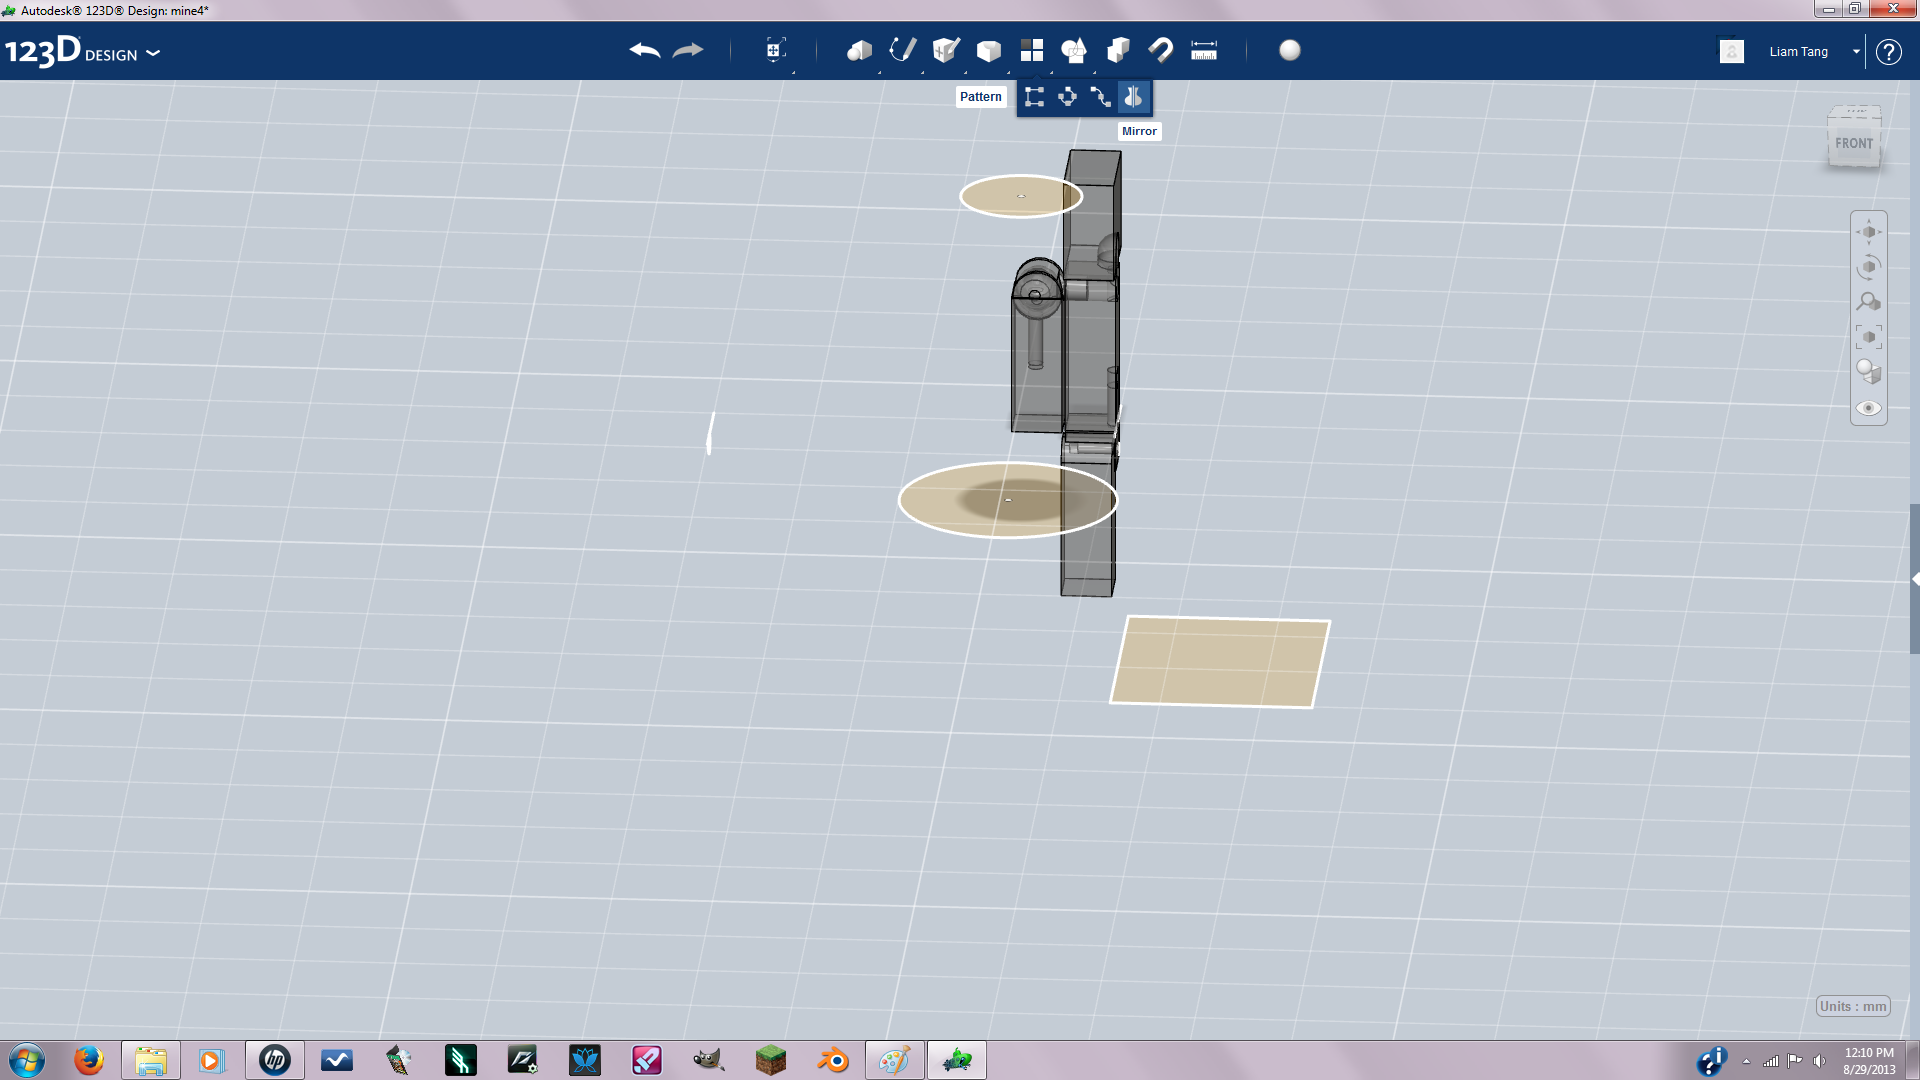
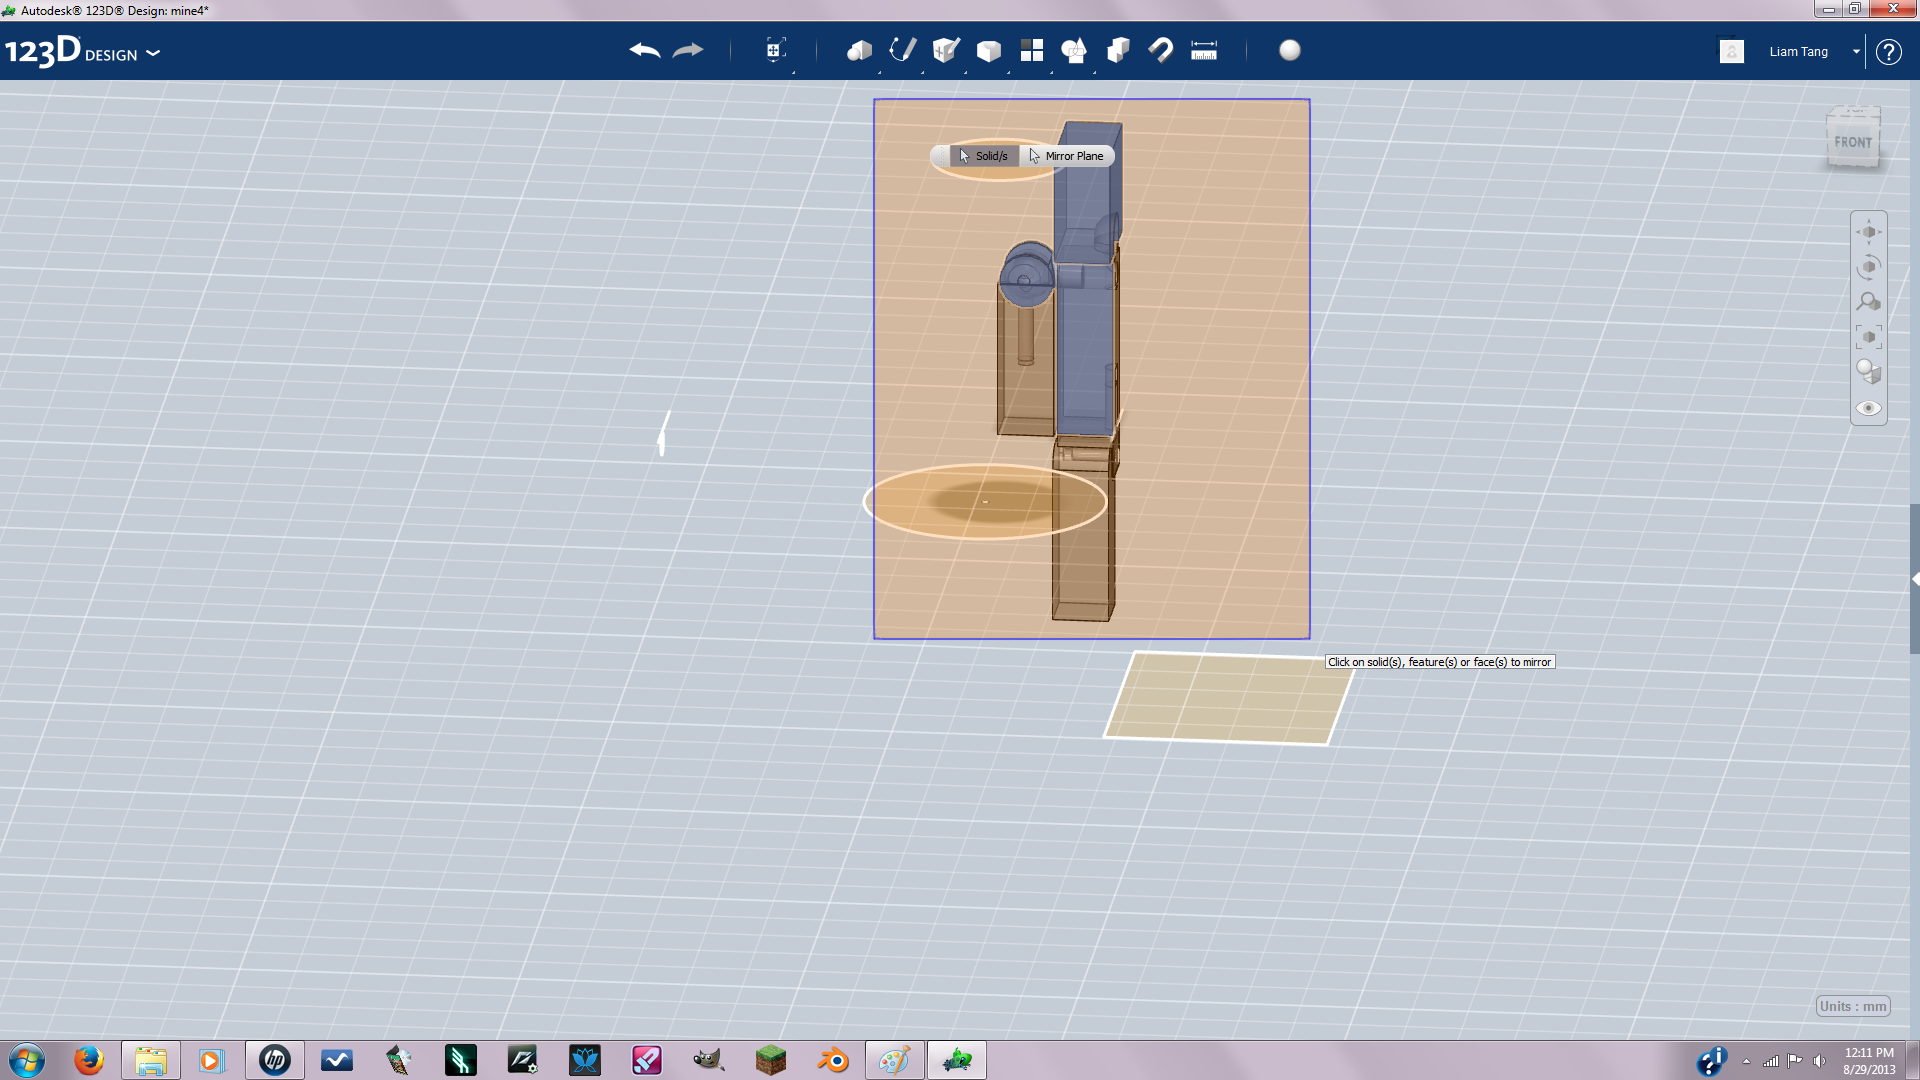
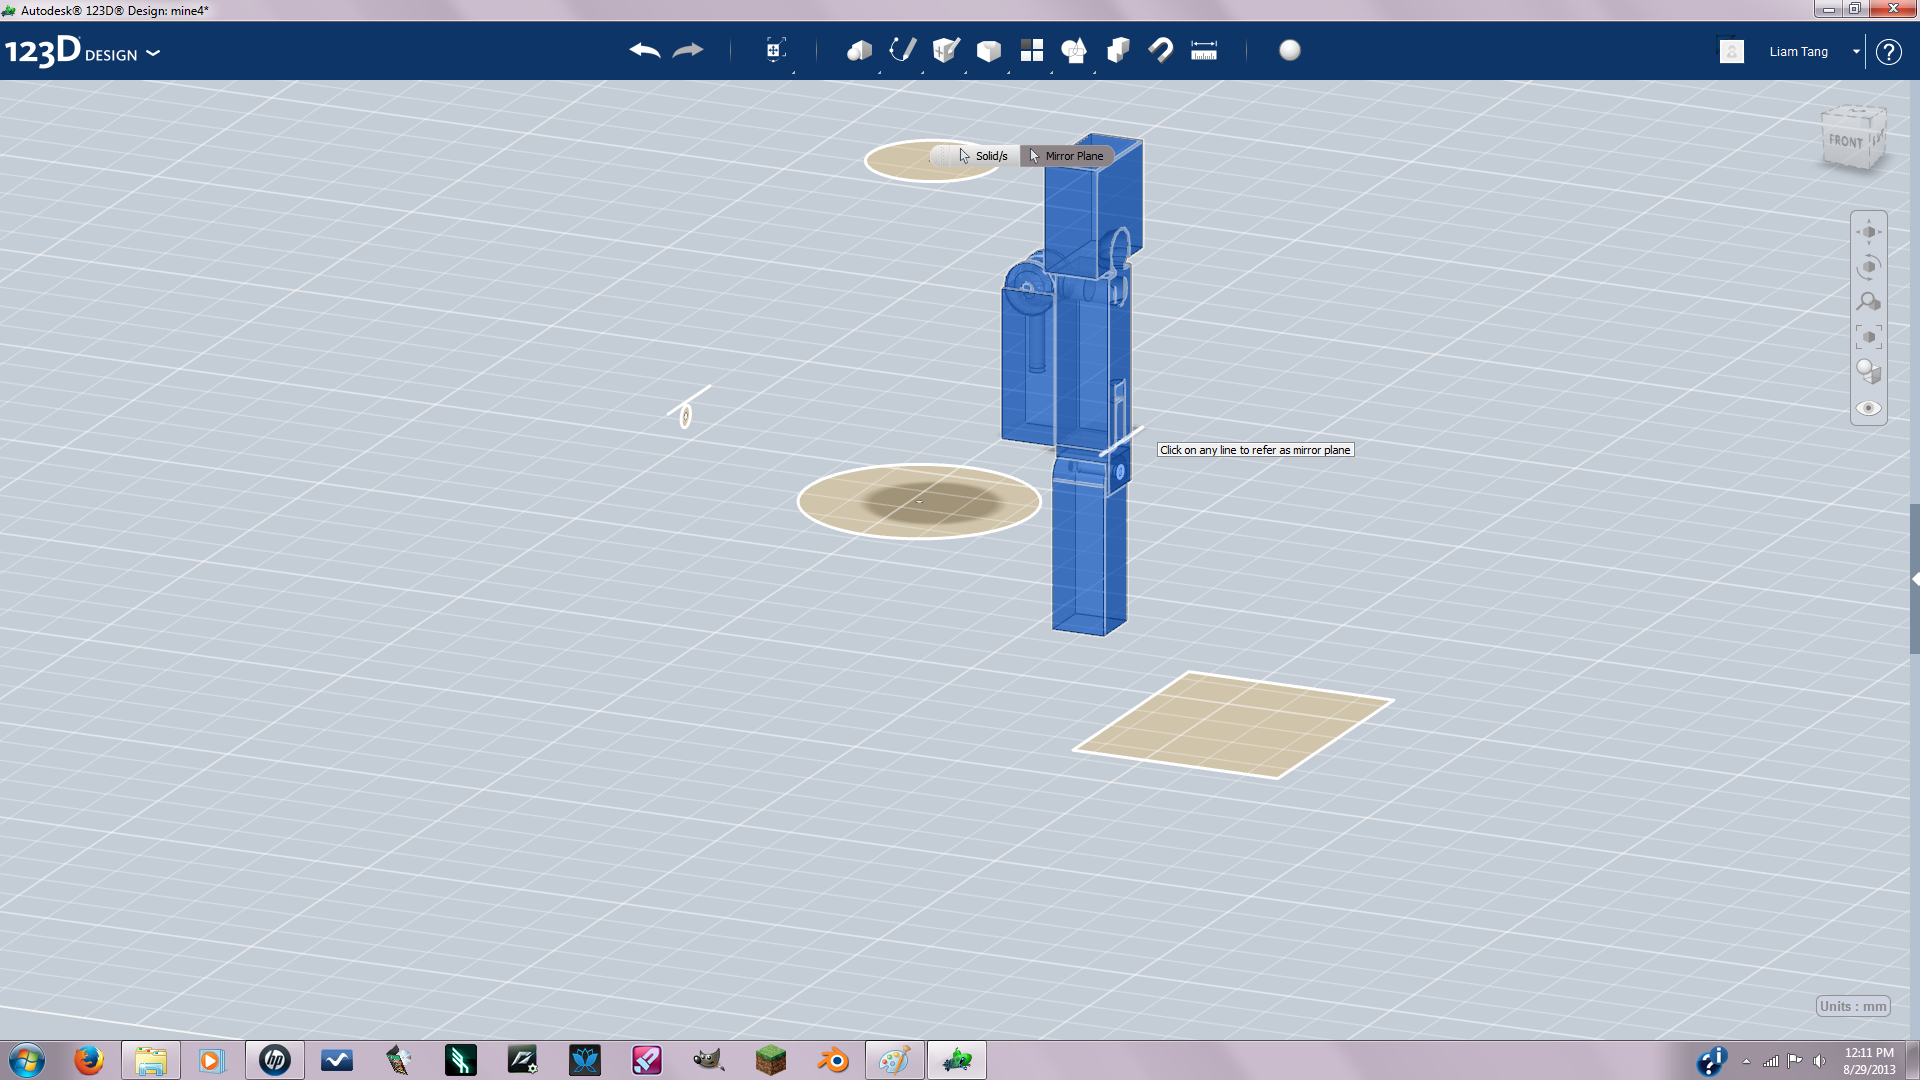
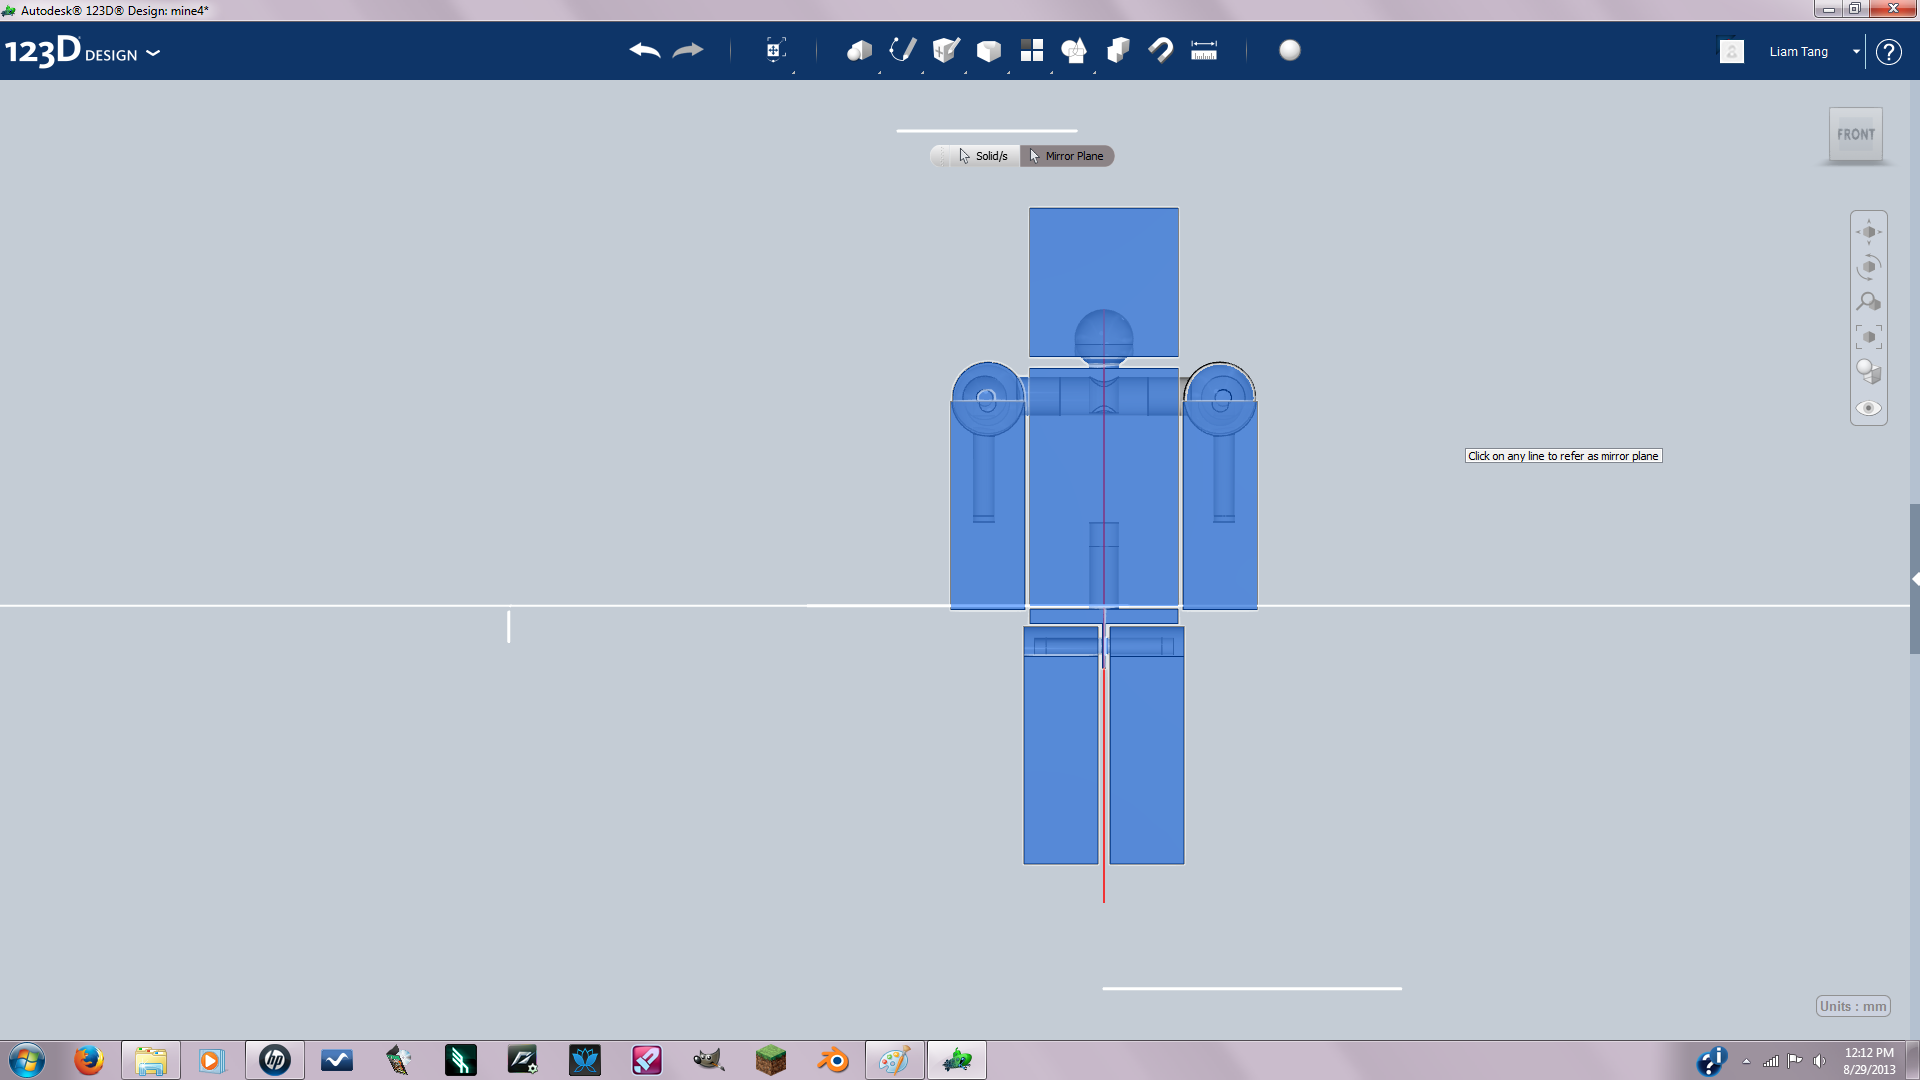
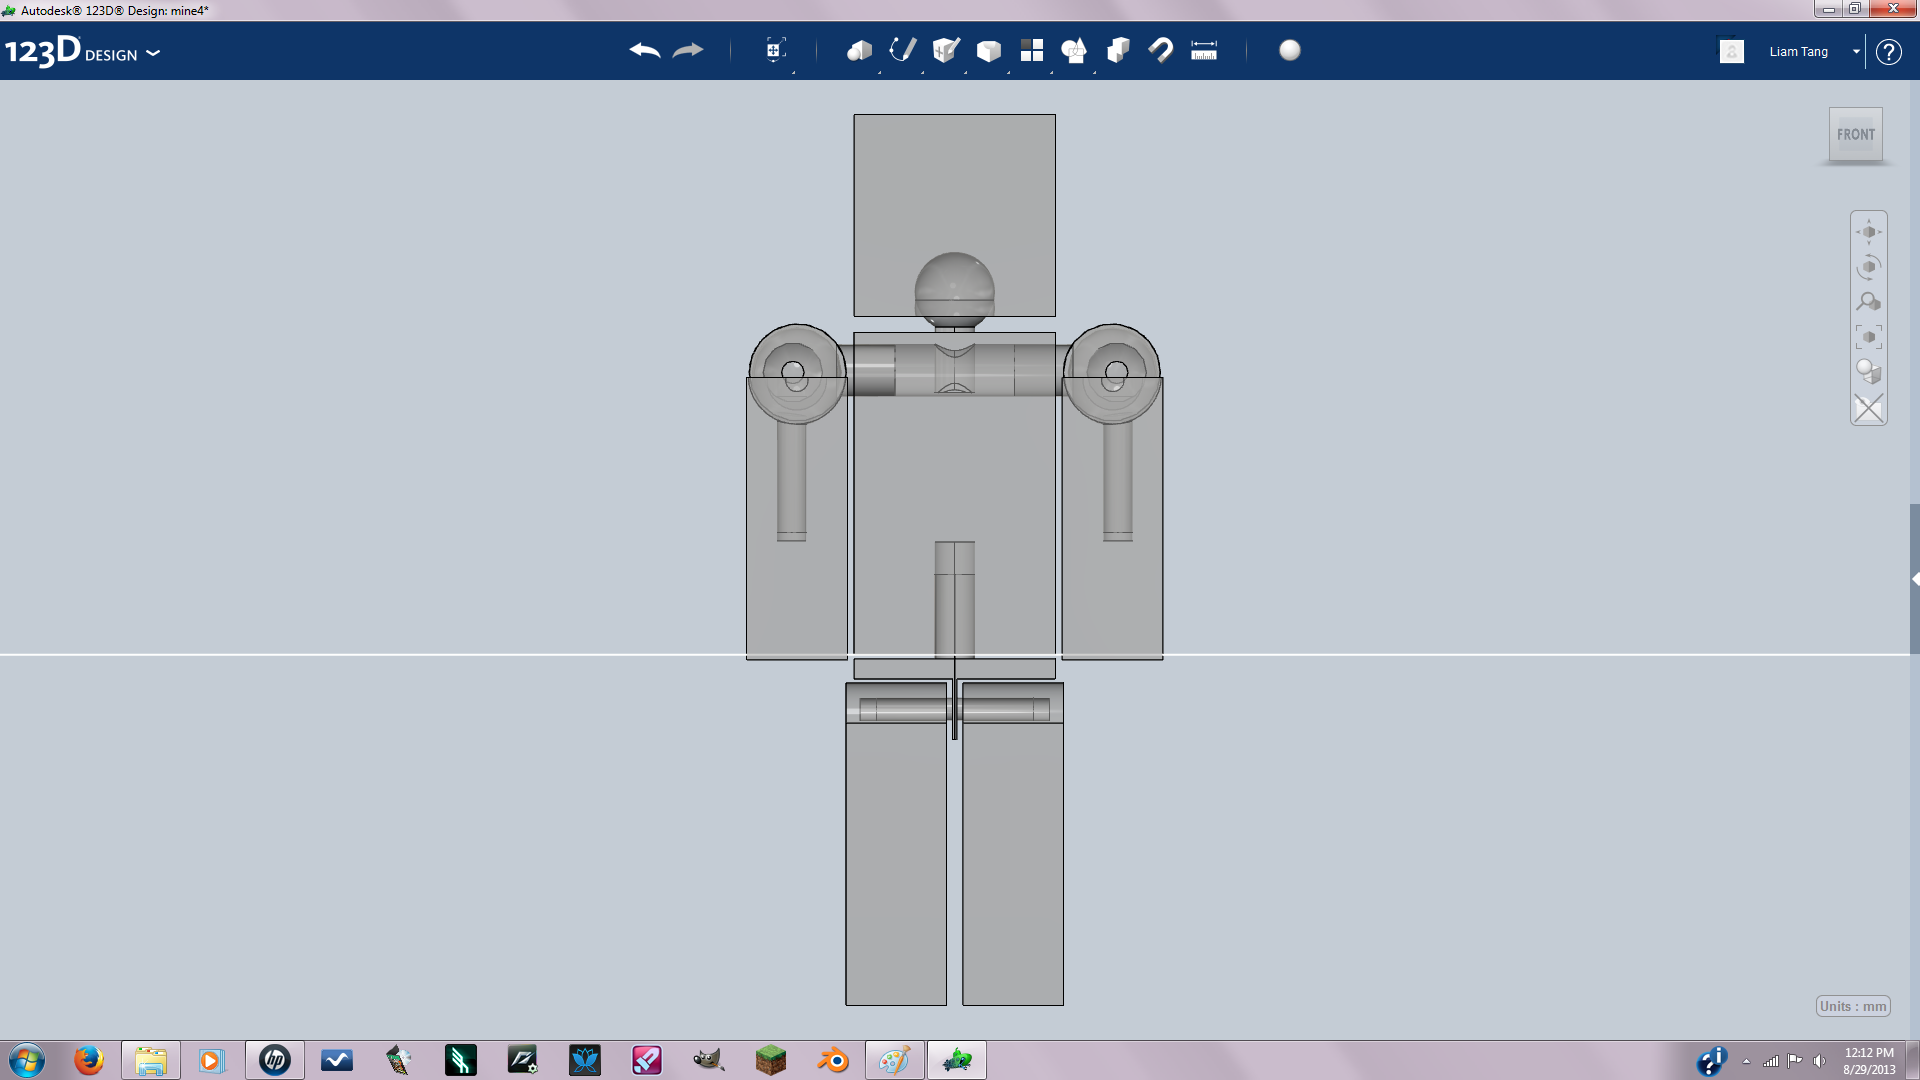
Then I used the mirror tool to mirror the body.
Measurements:Creating the Right Sized Mini-Figure
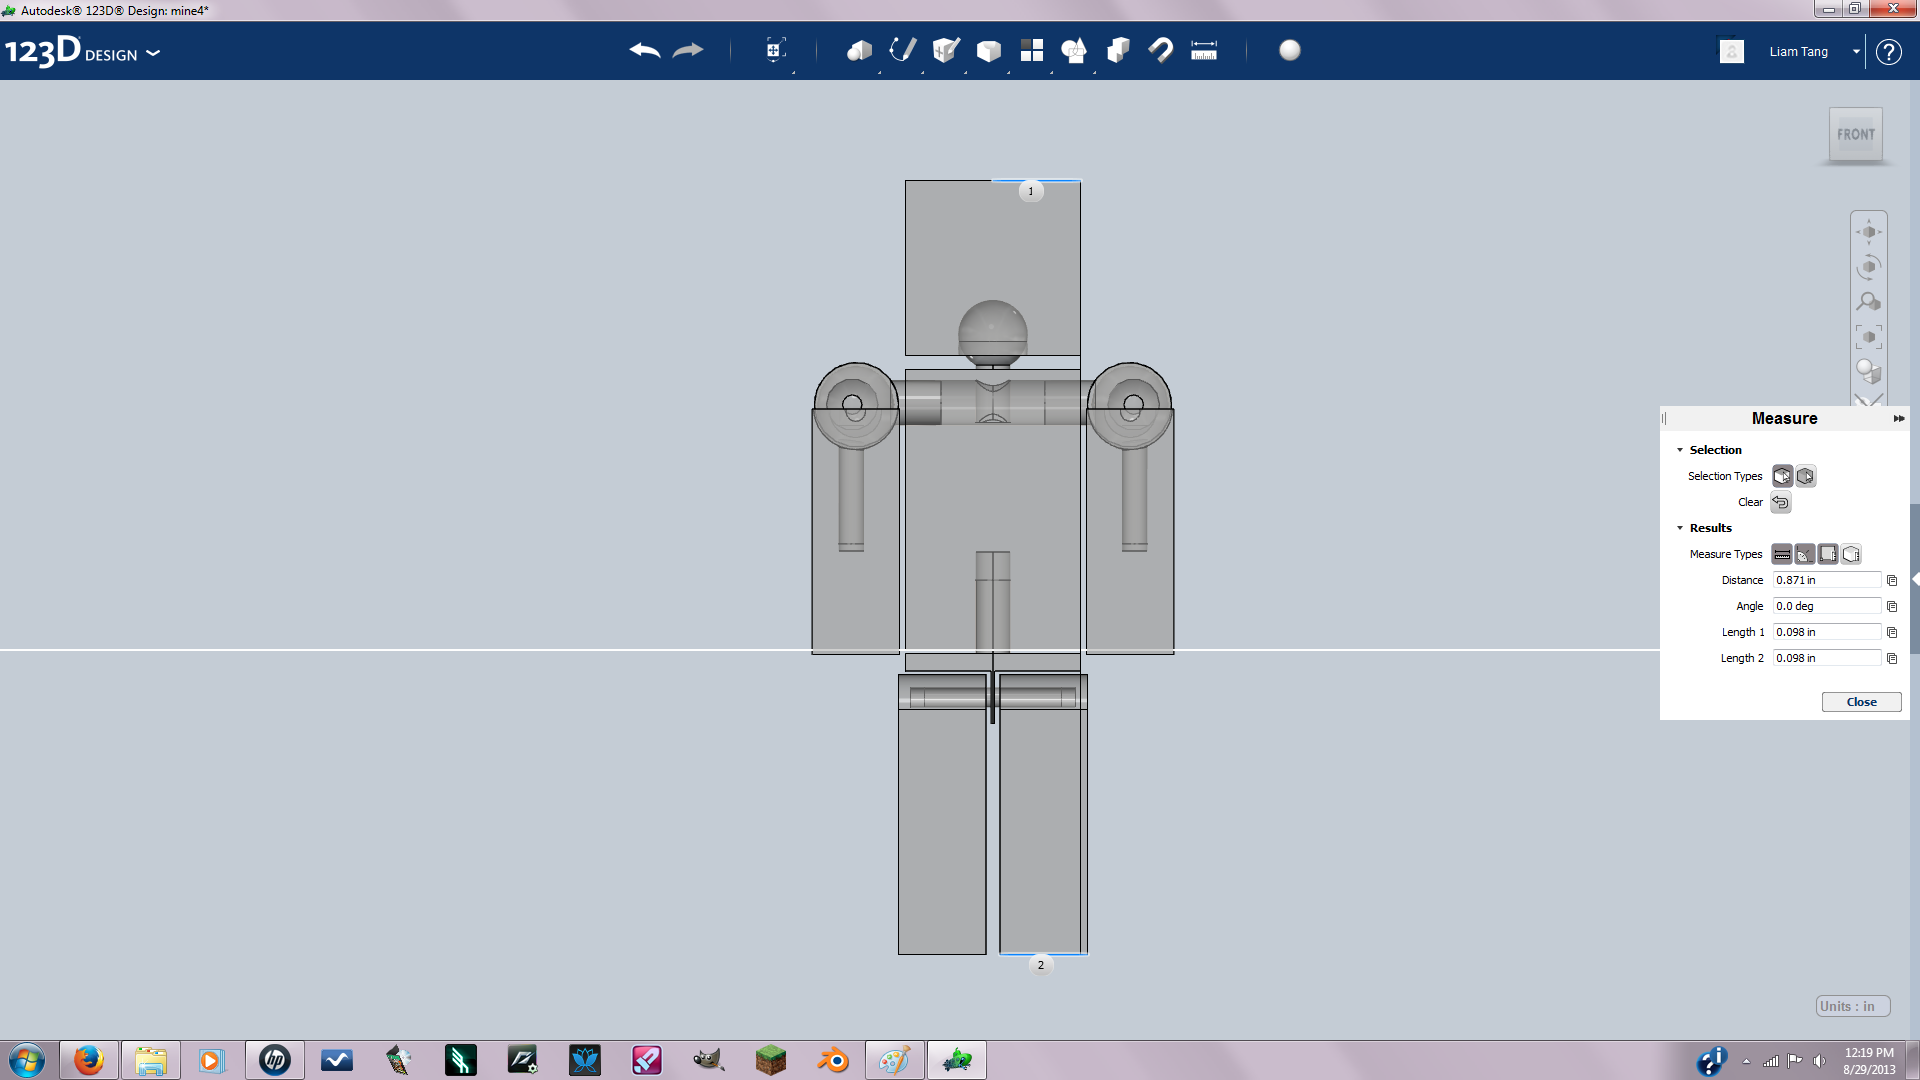
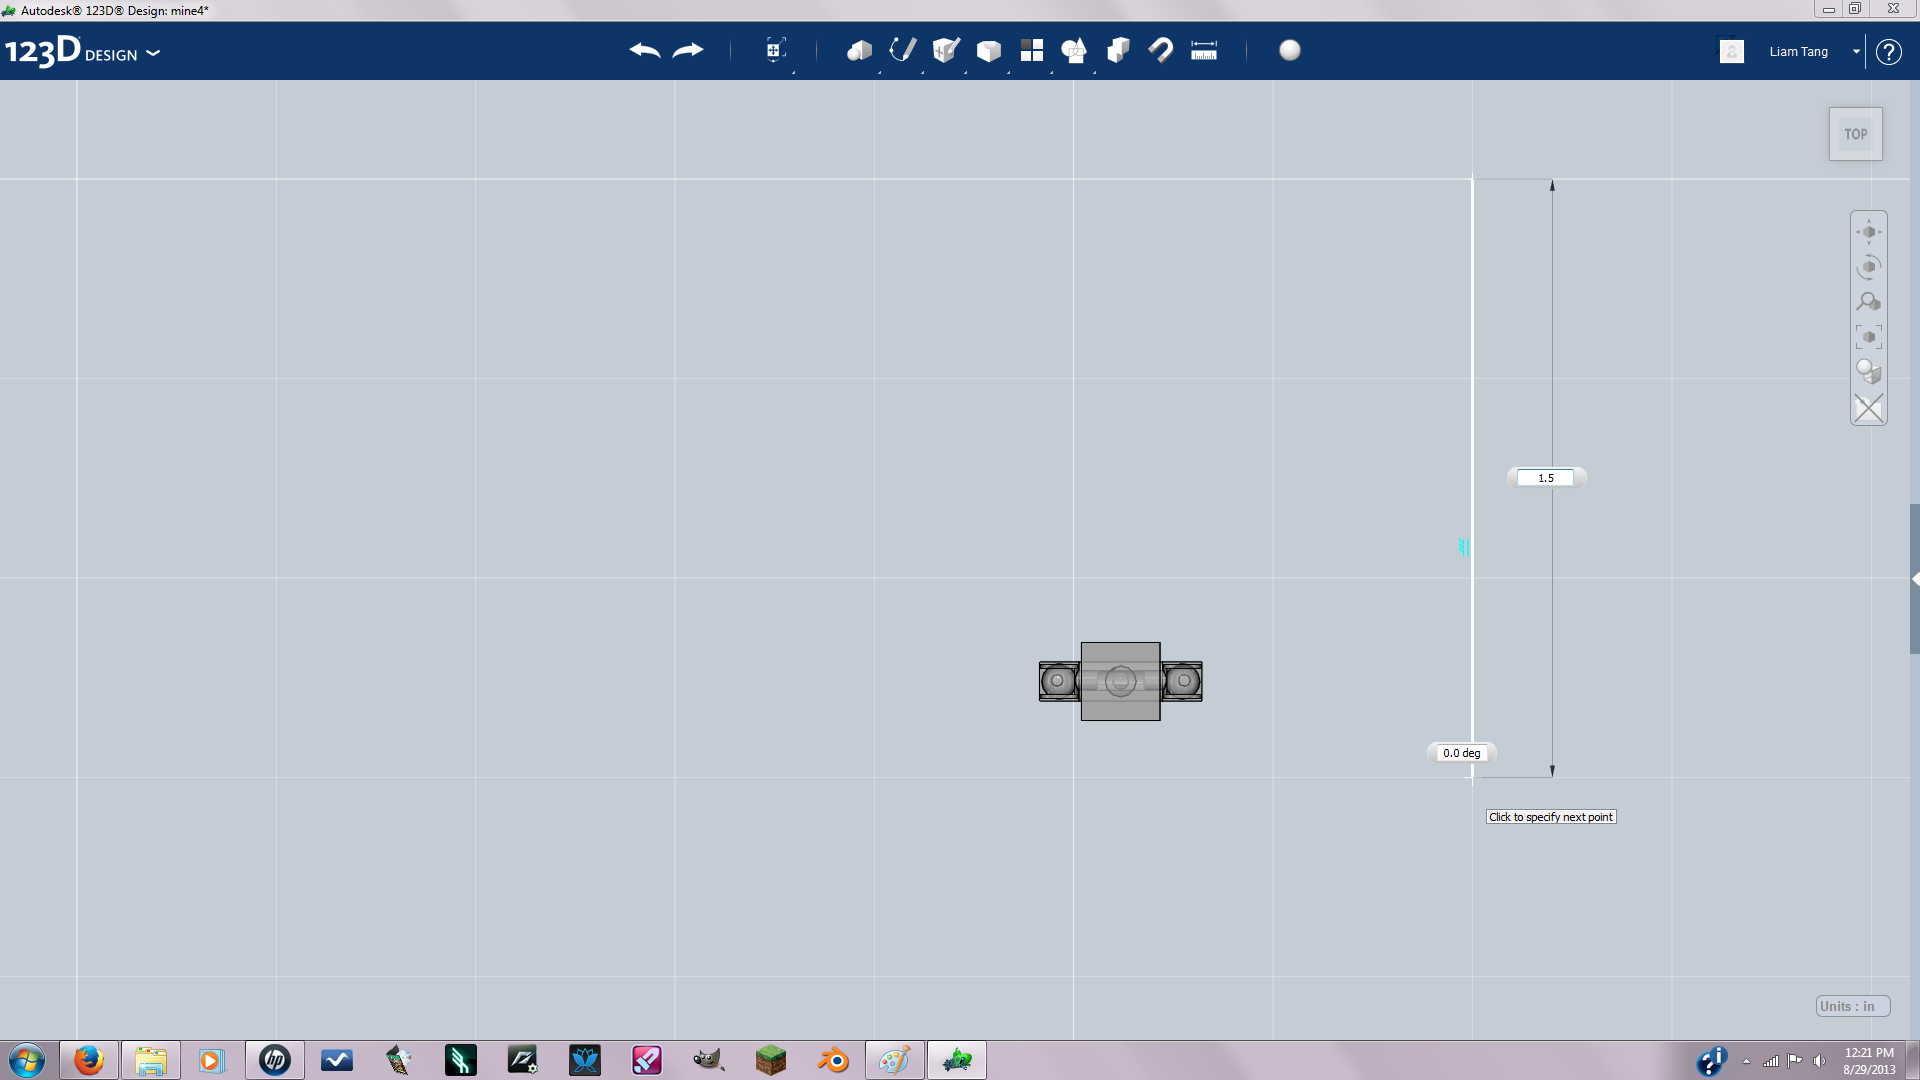
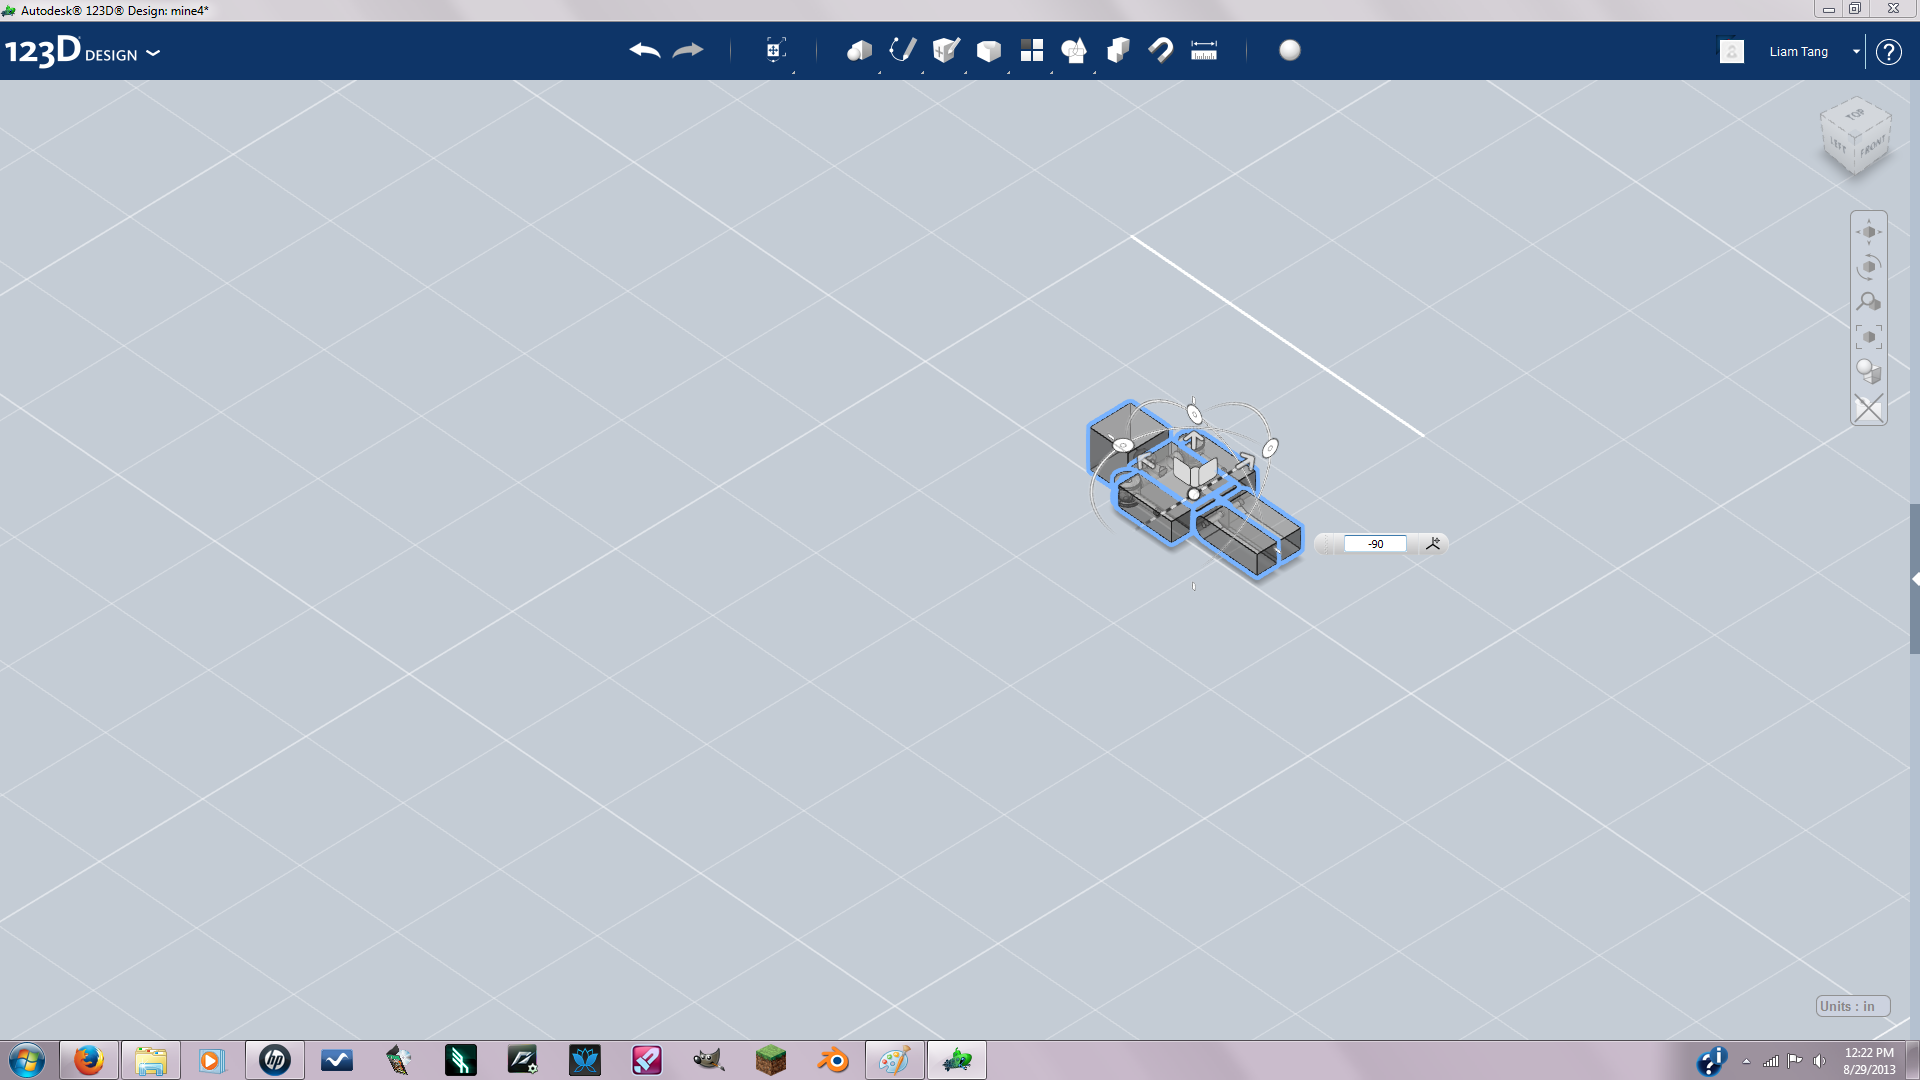
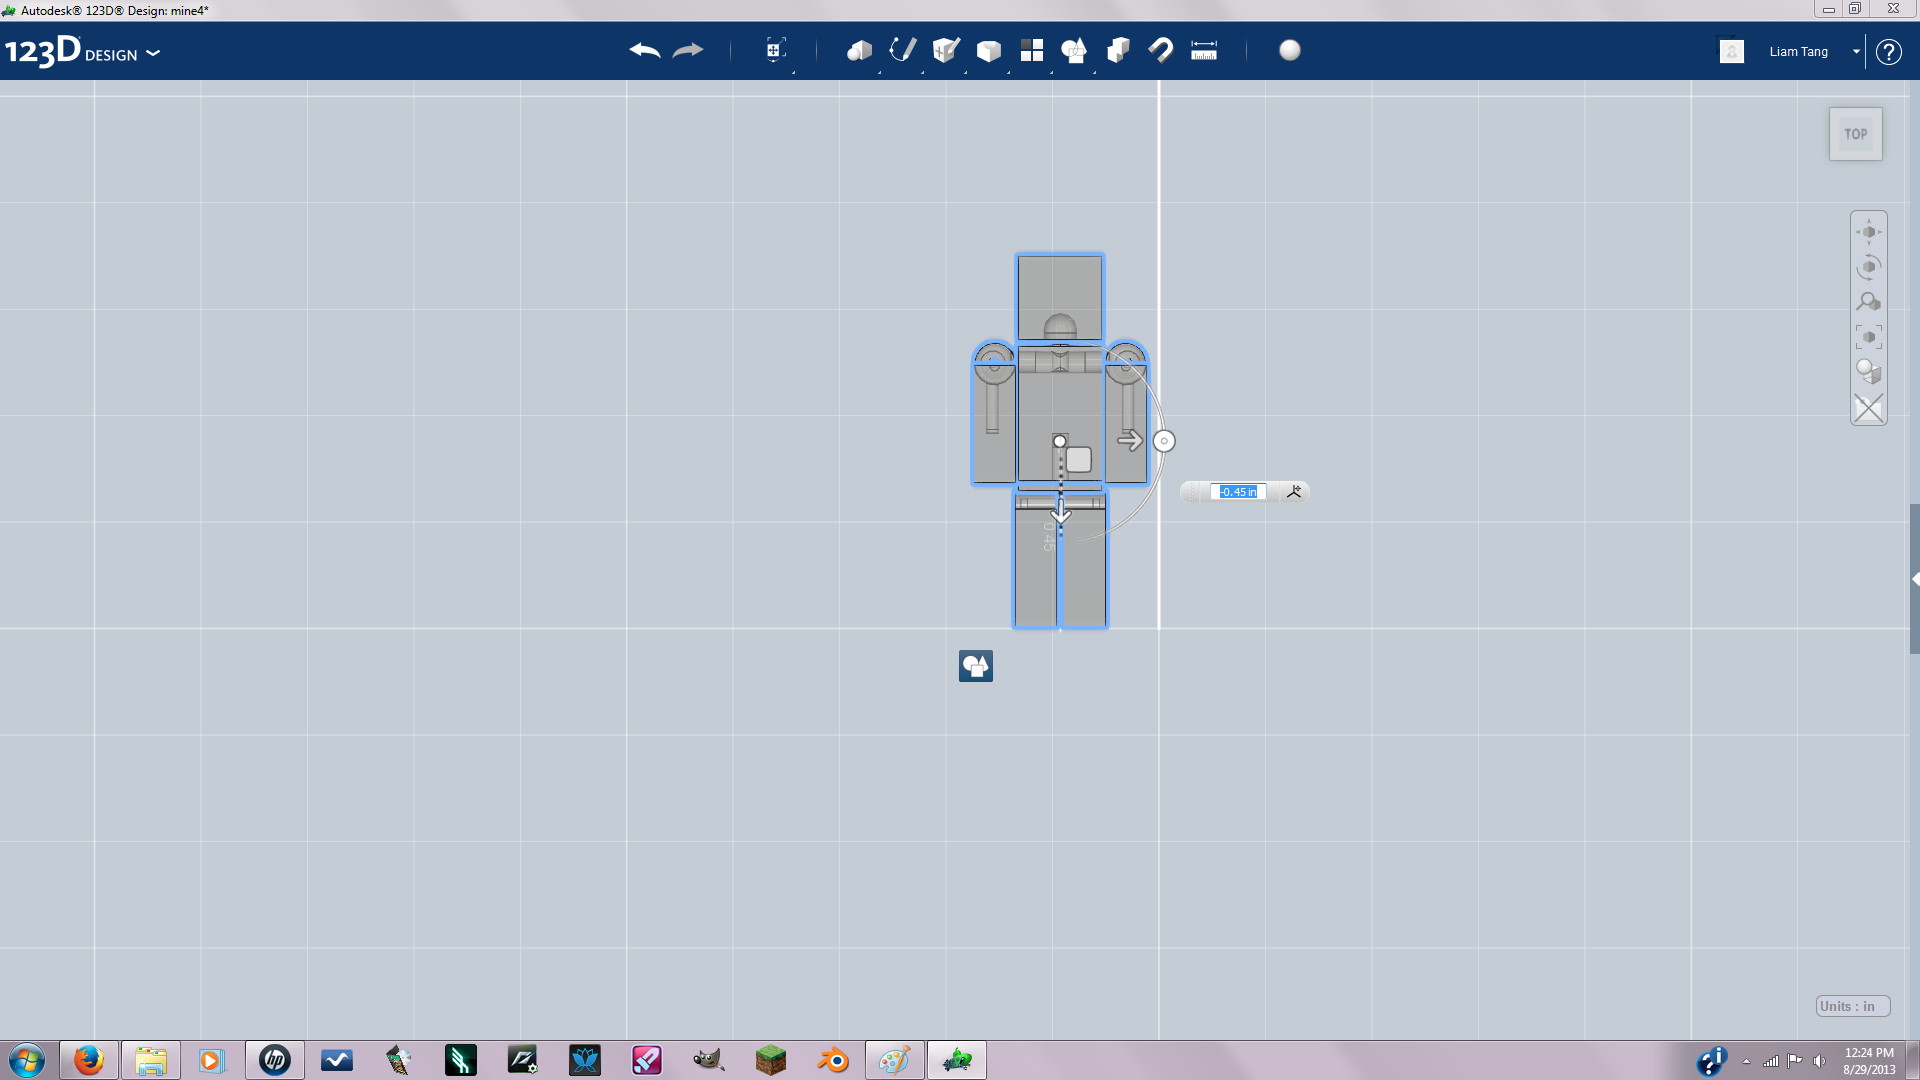
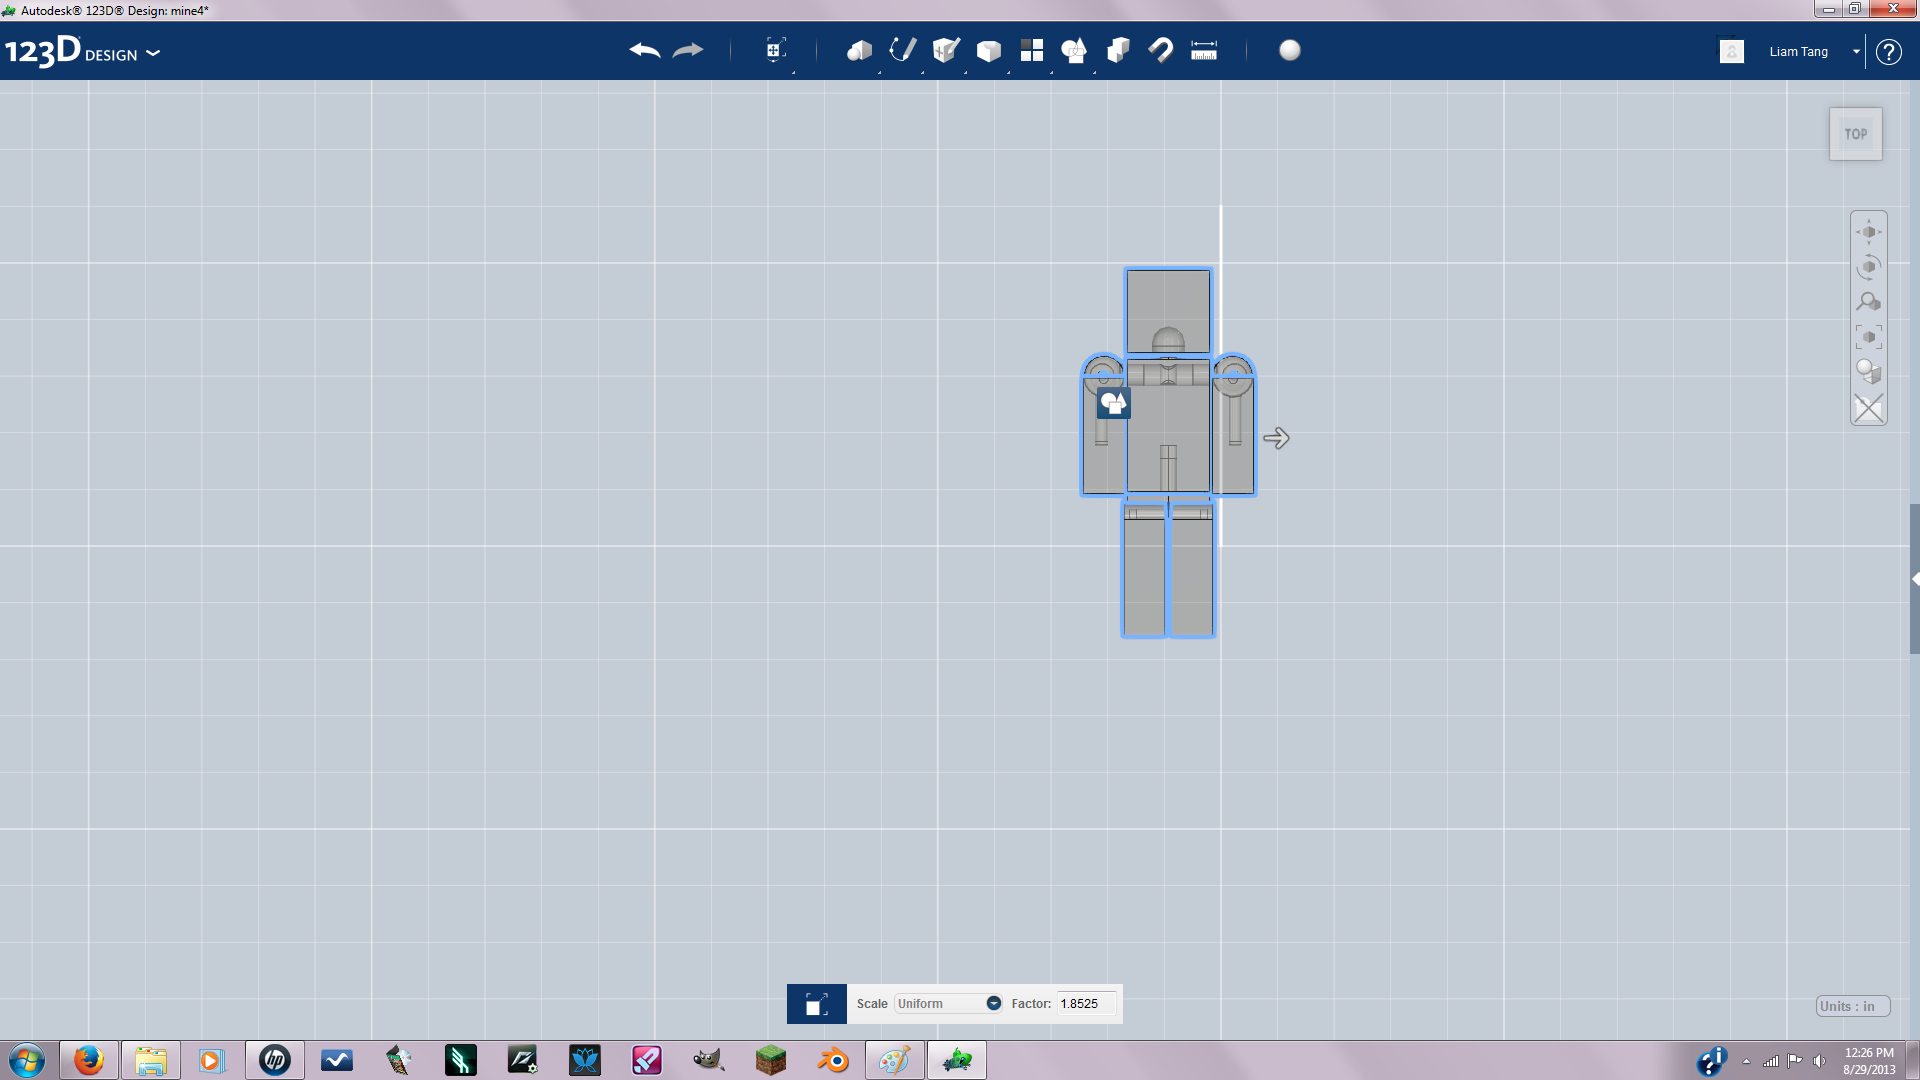
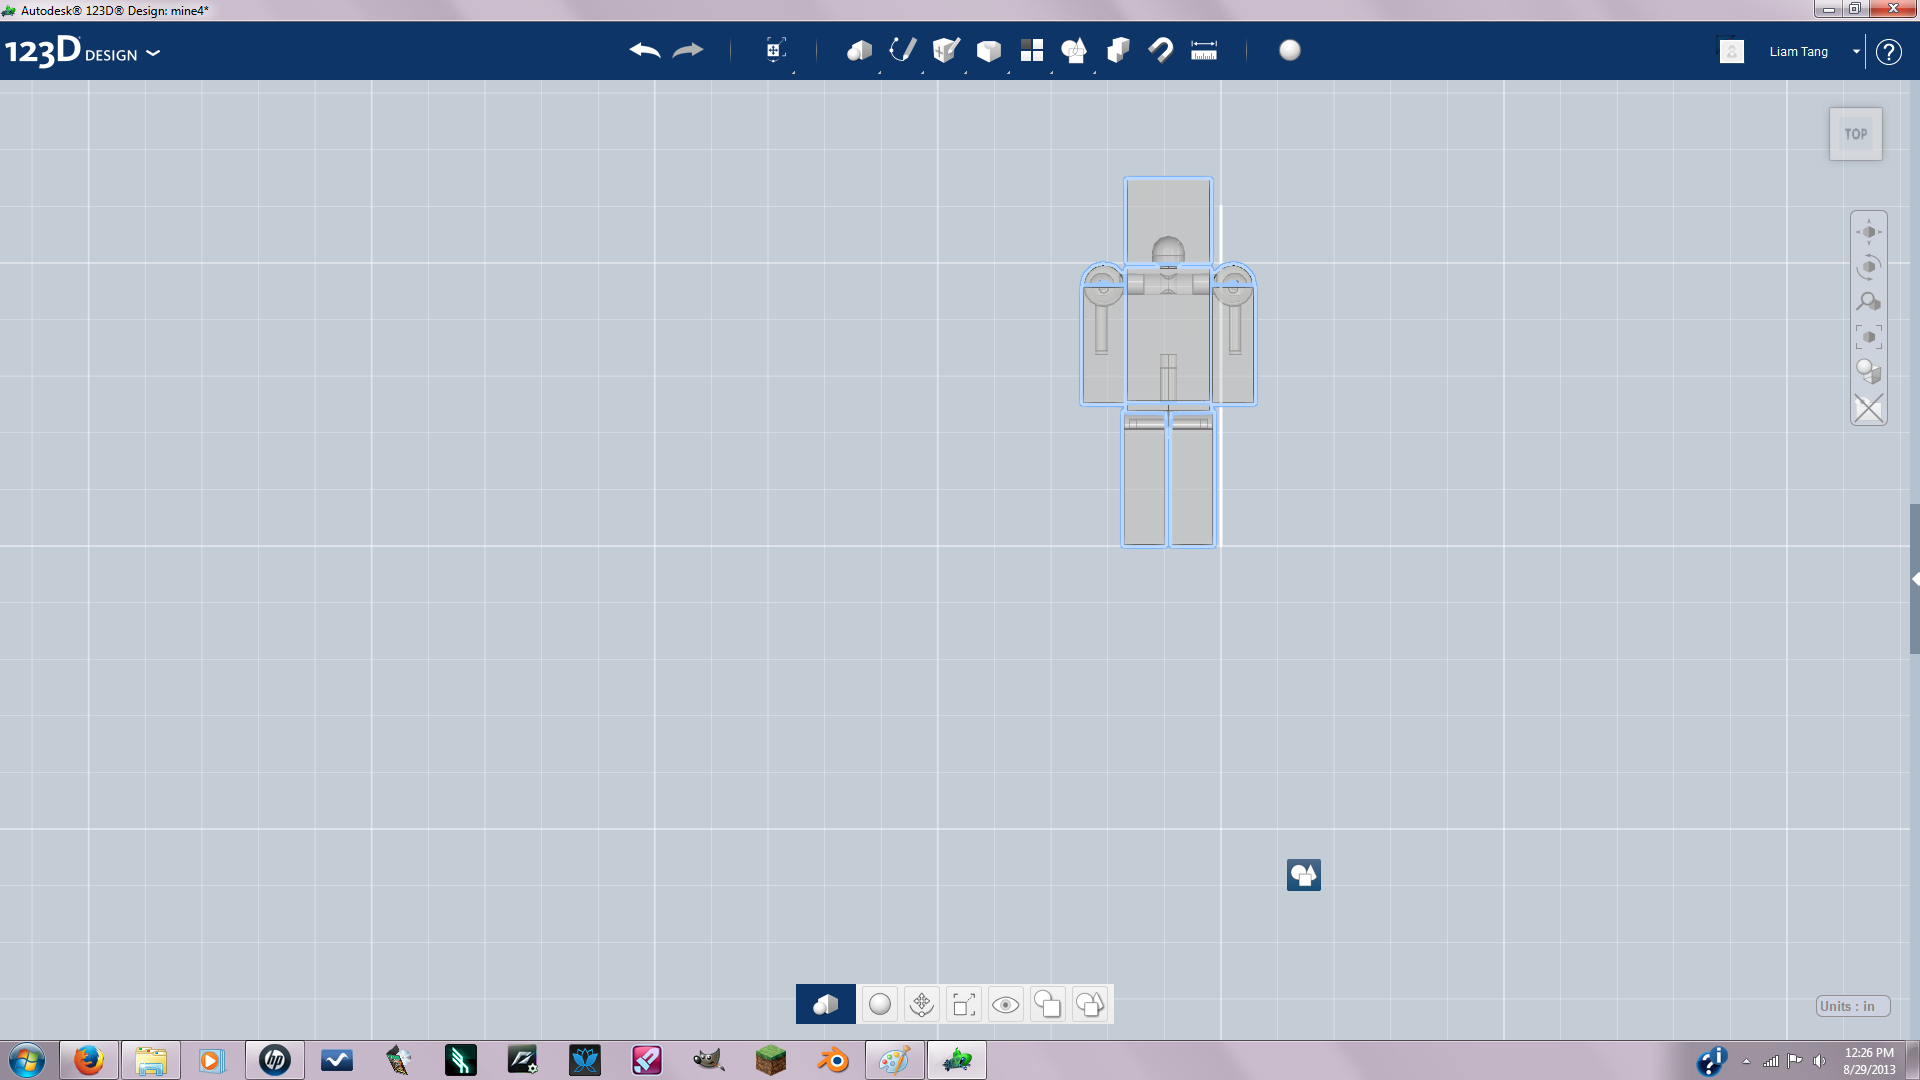
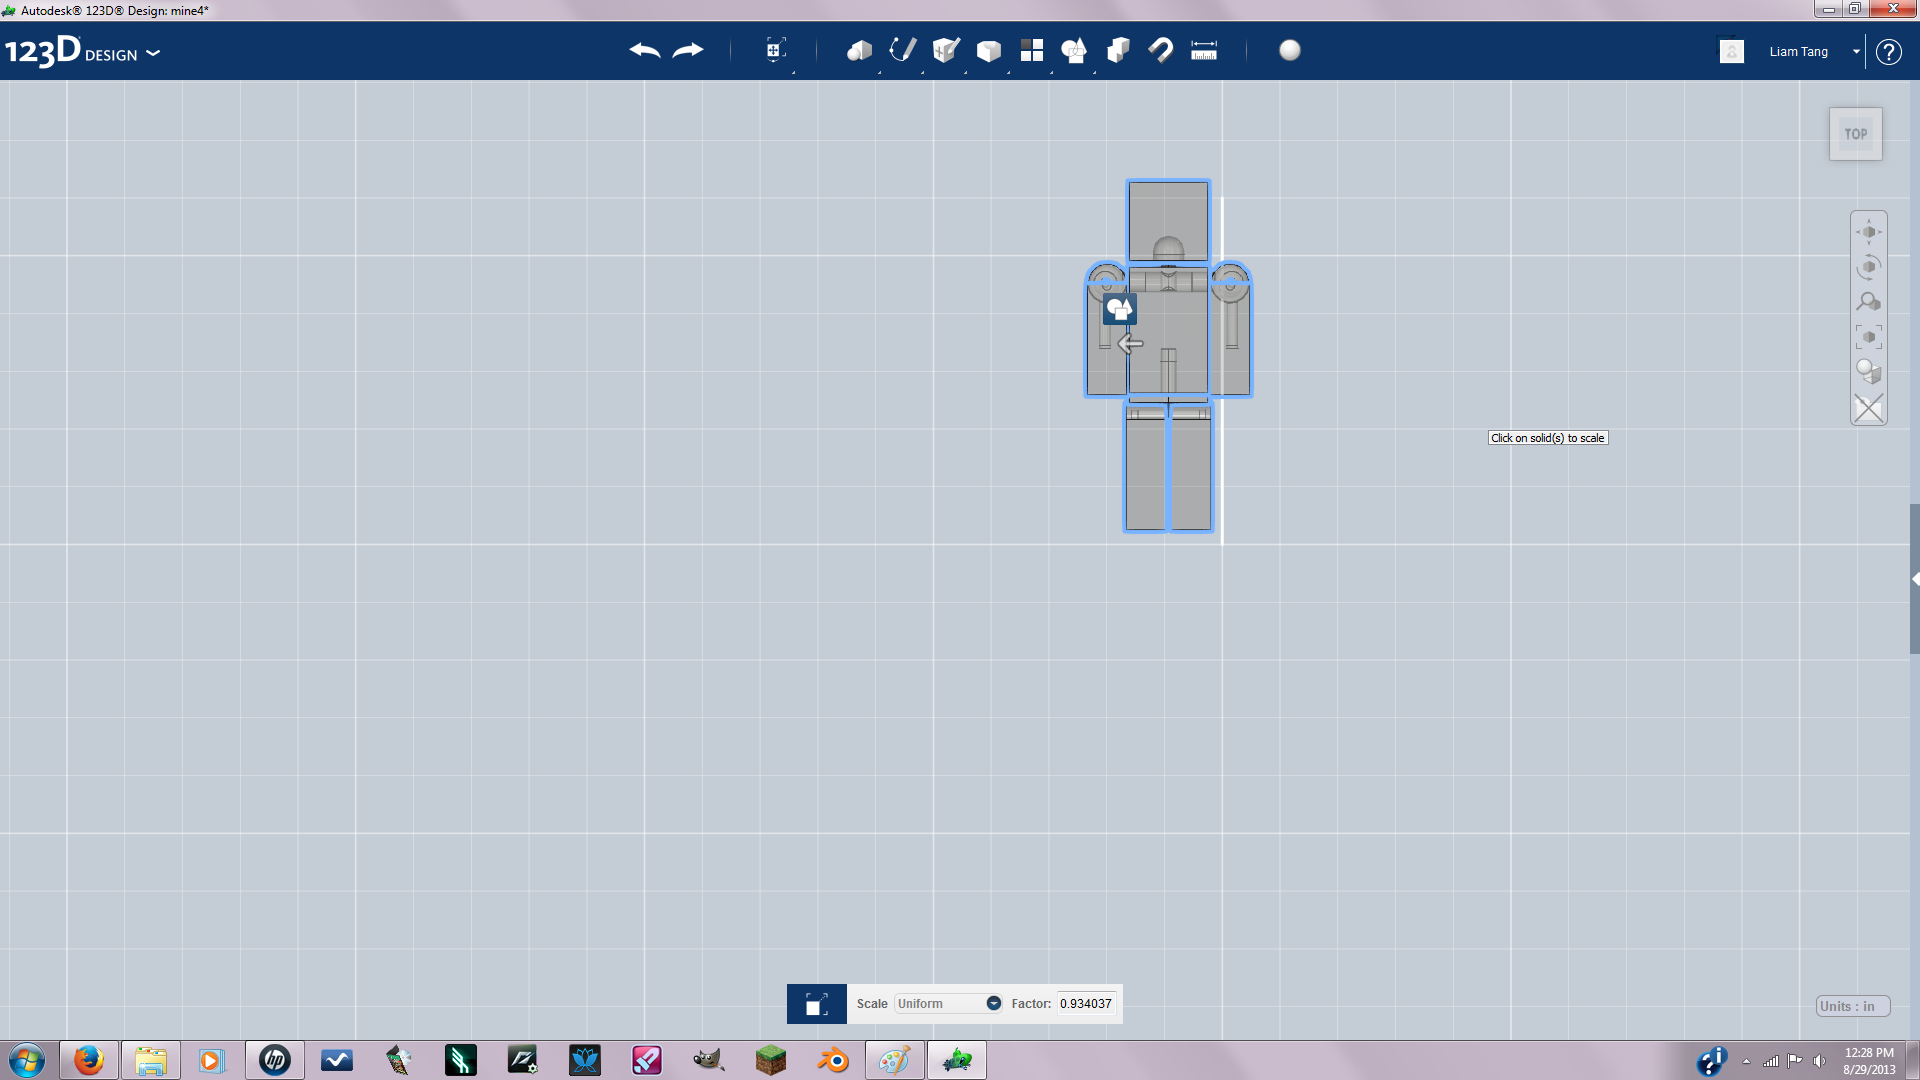
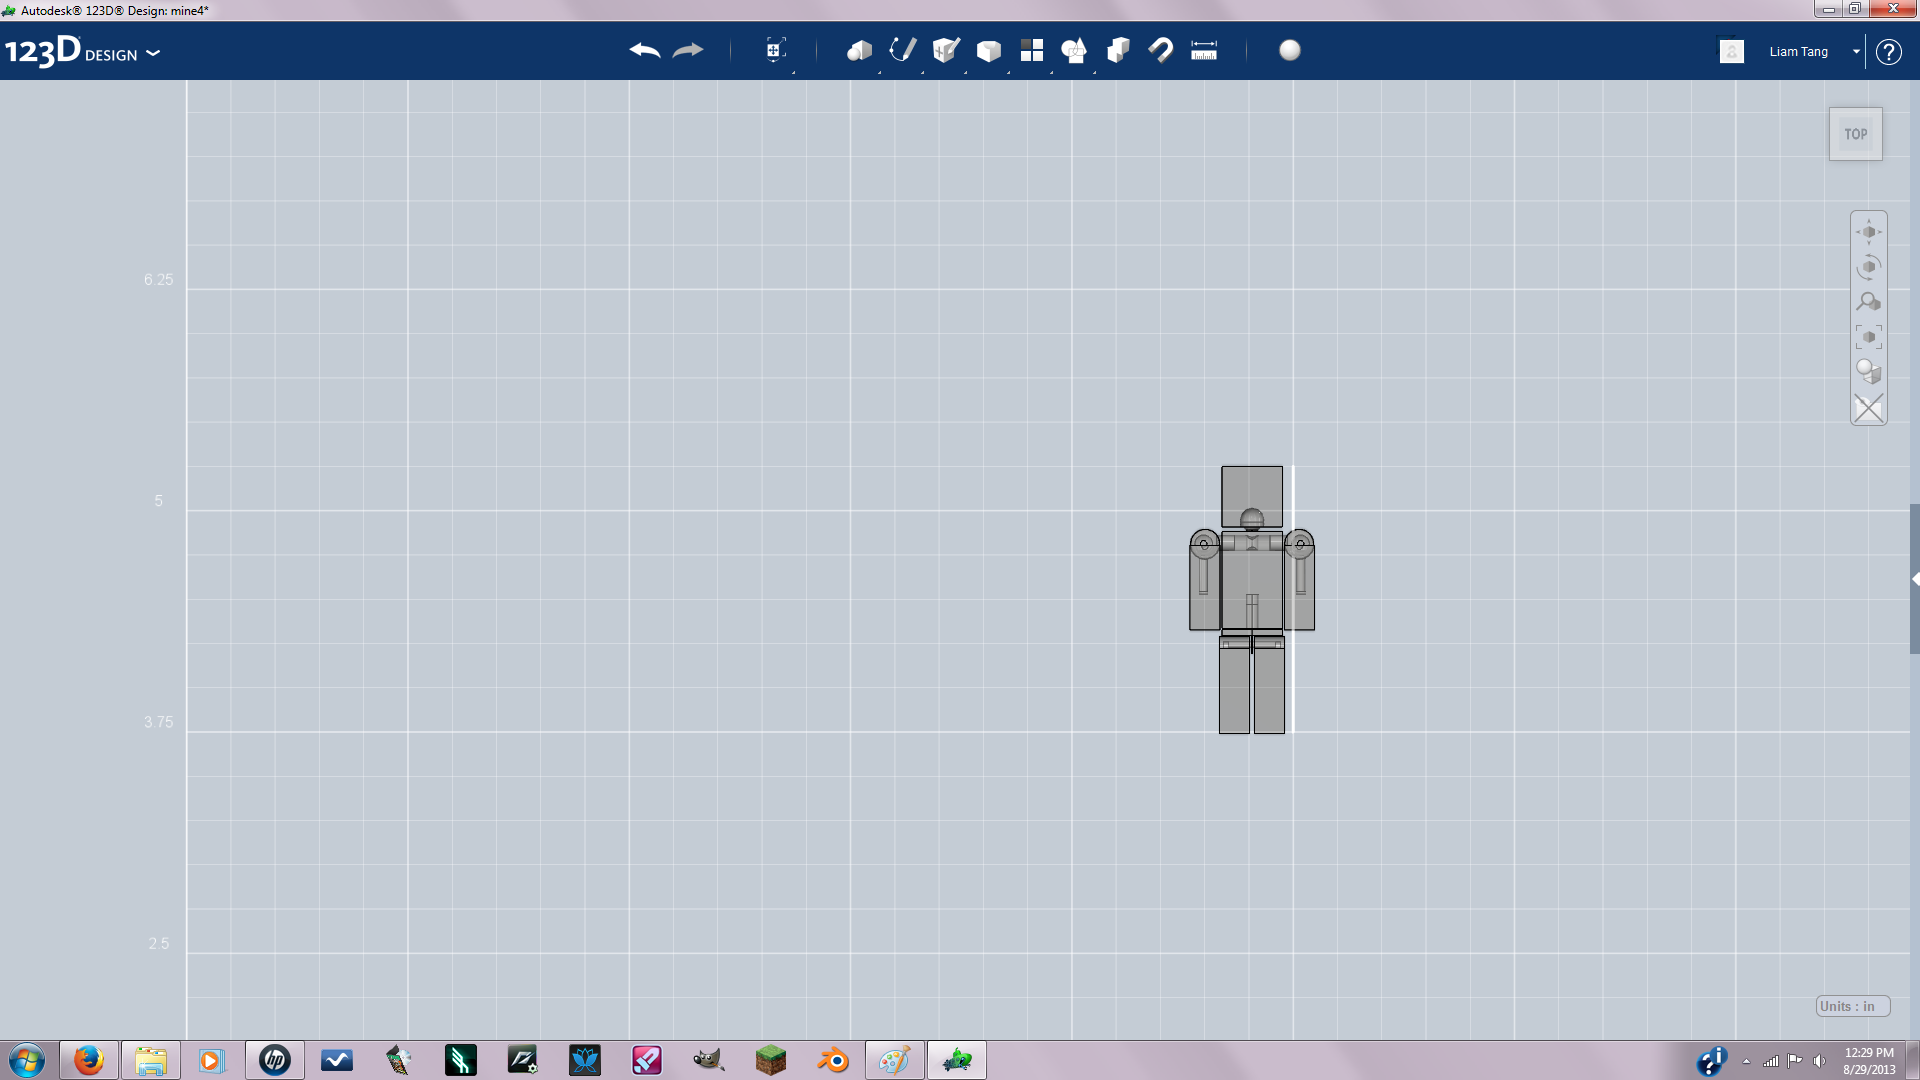
Now I used the sketch,scale, and measure tool to scale my mini-figure to the right size.
Pegs for Feet and Holes for Arms
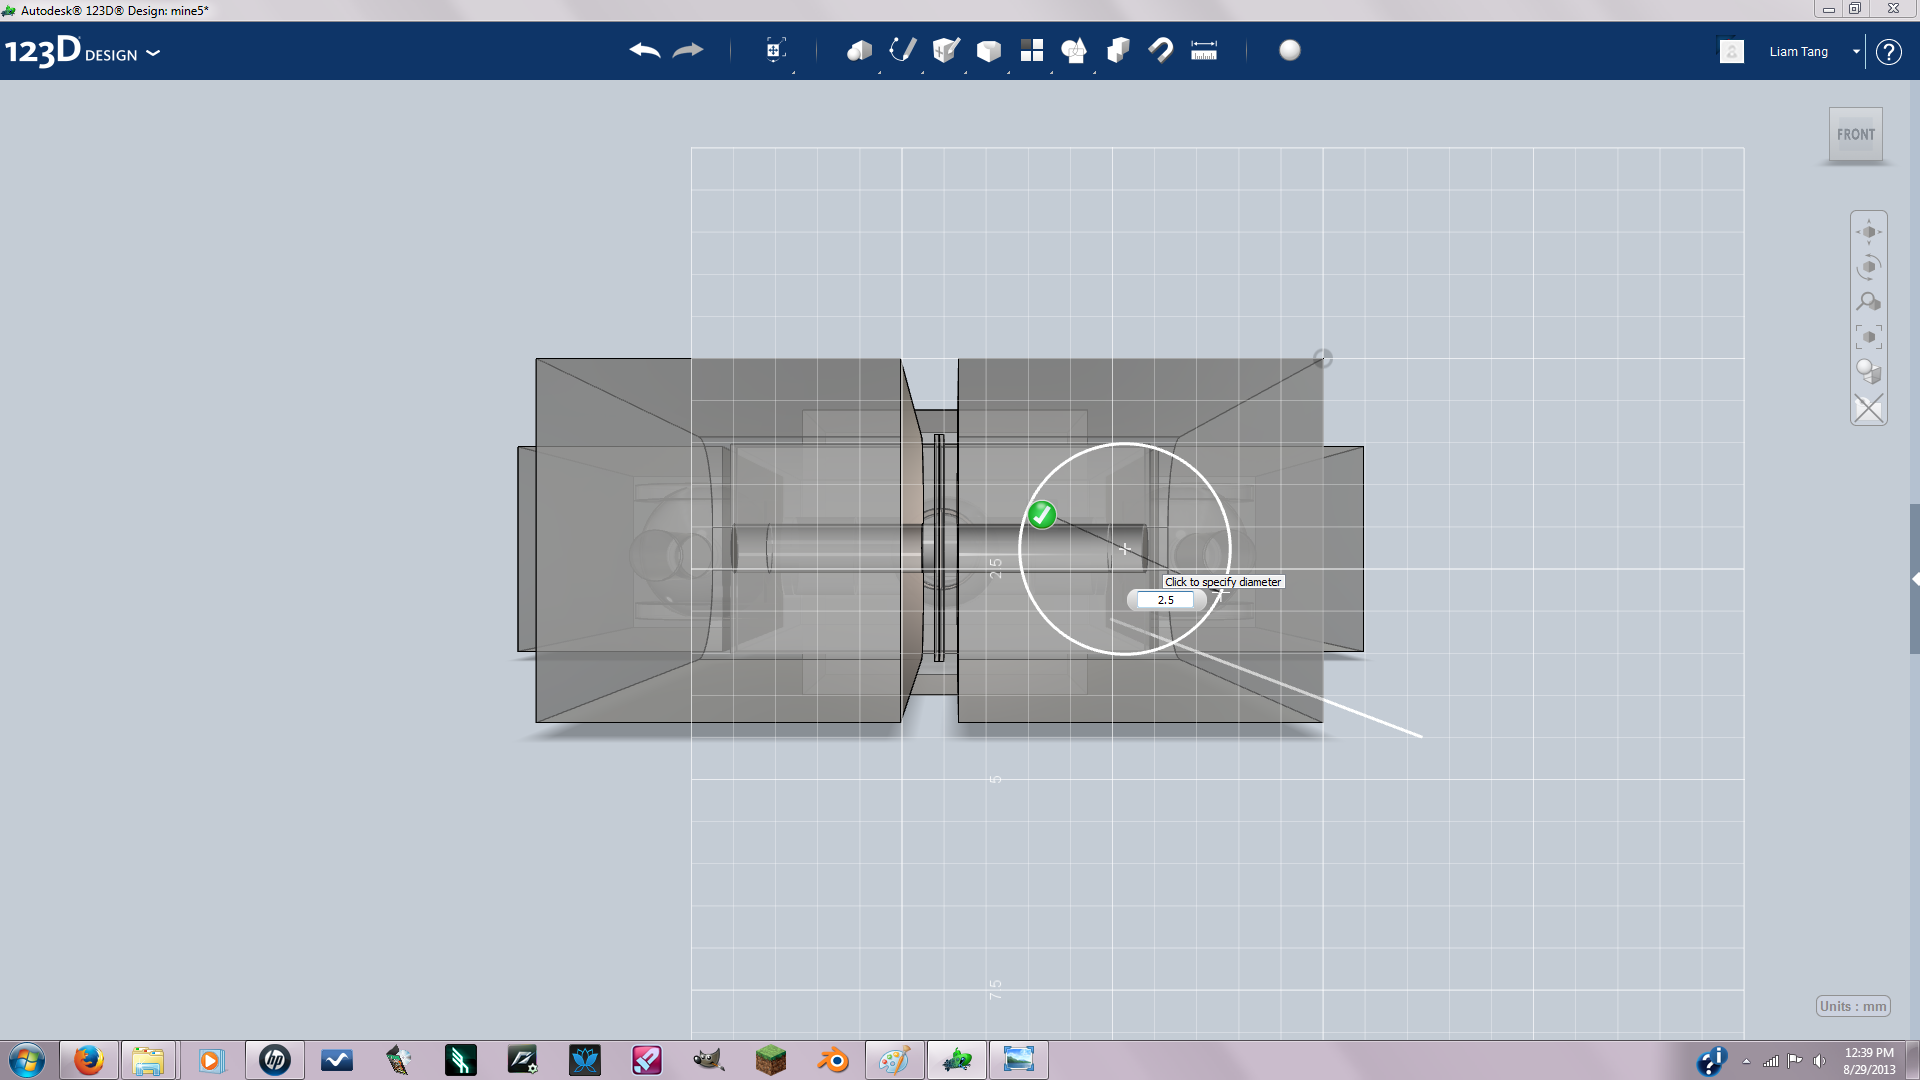
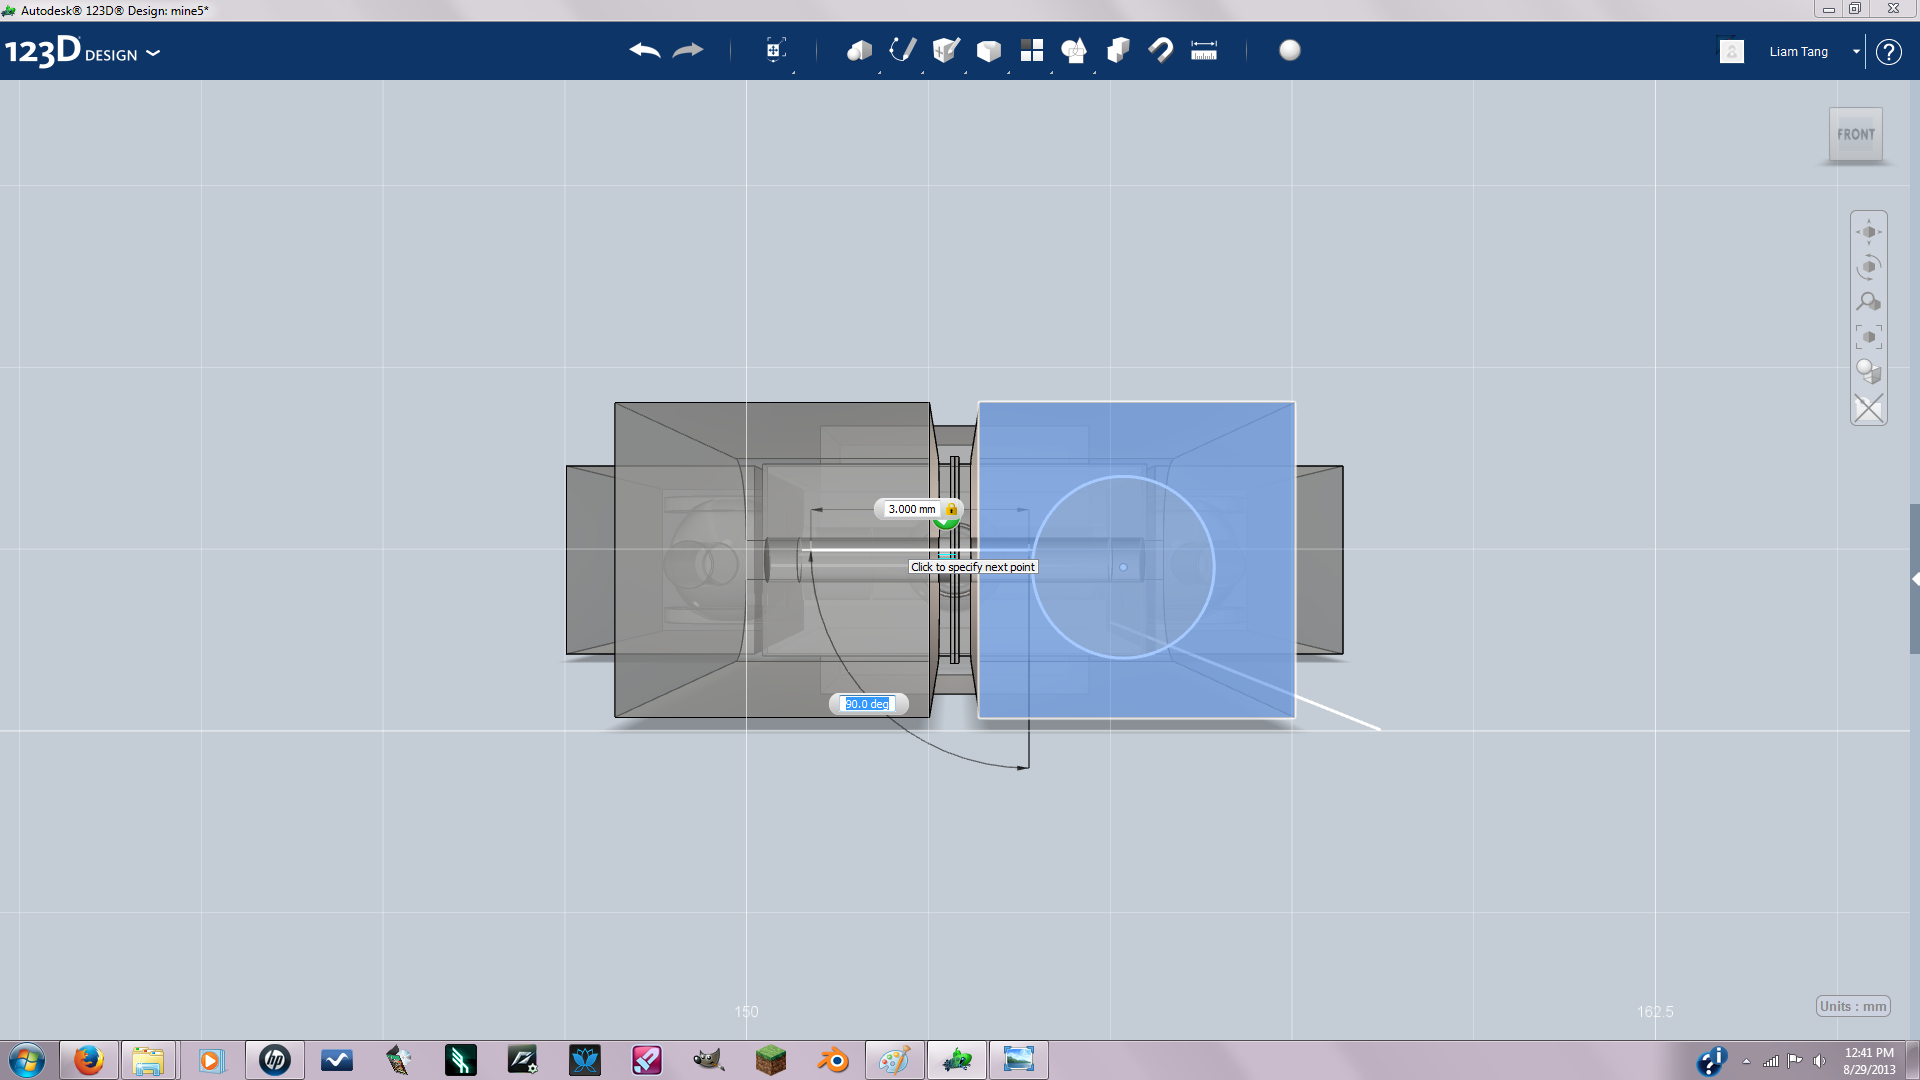
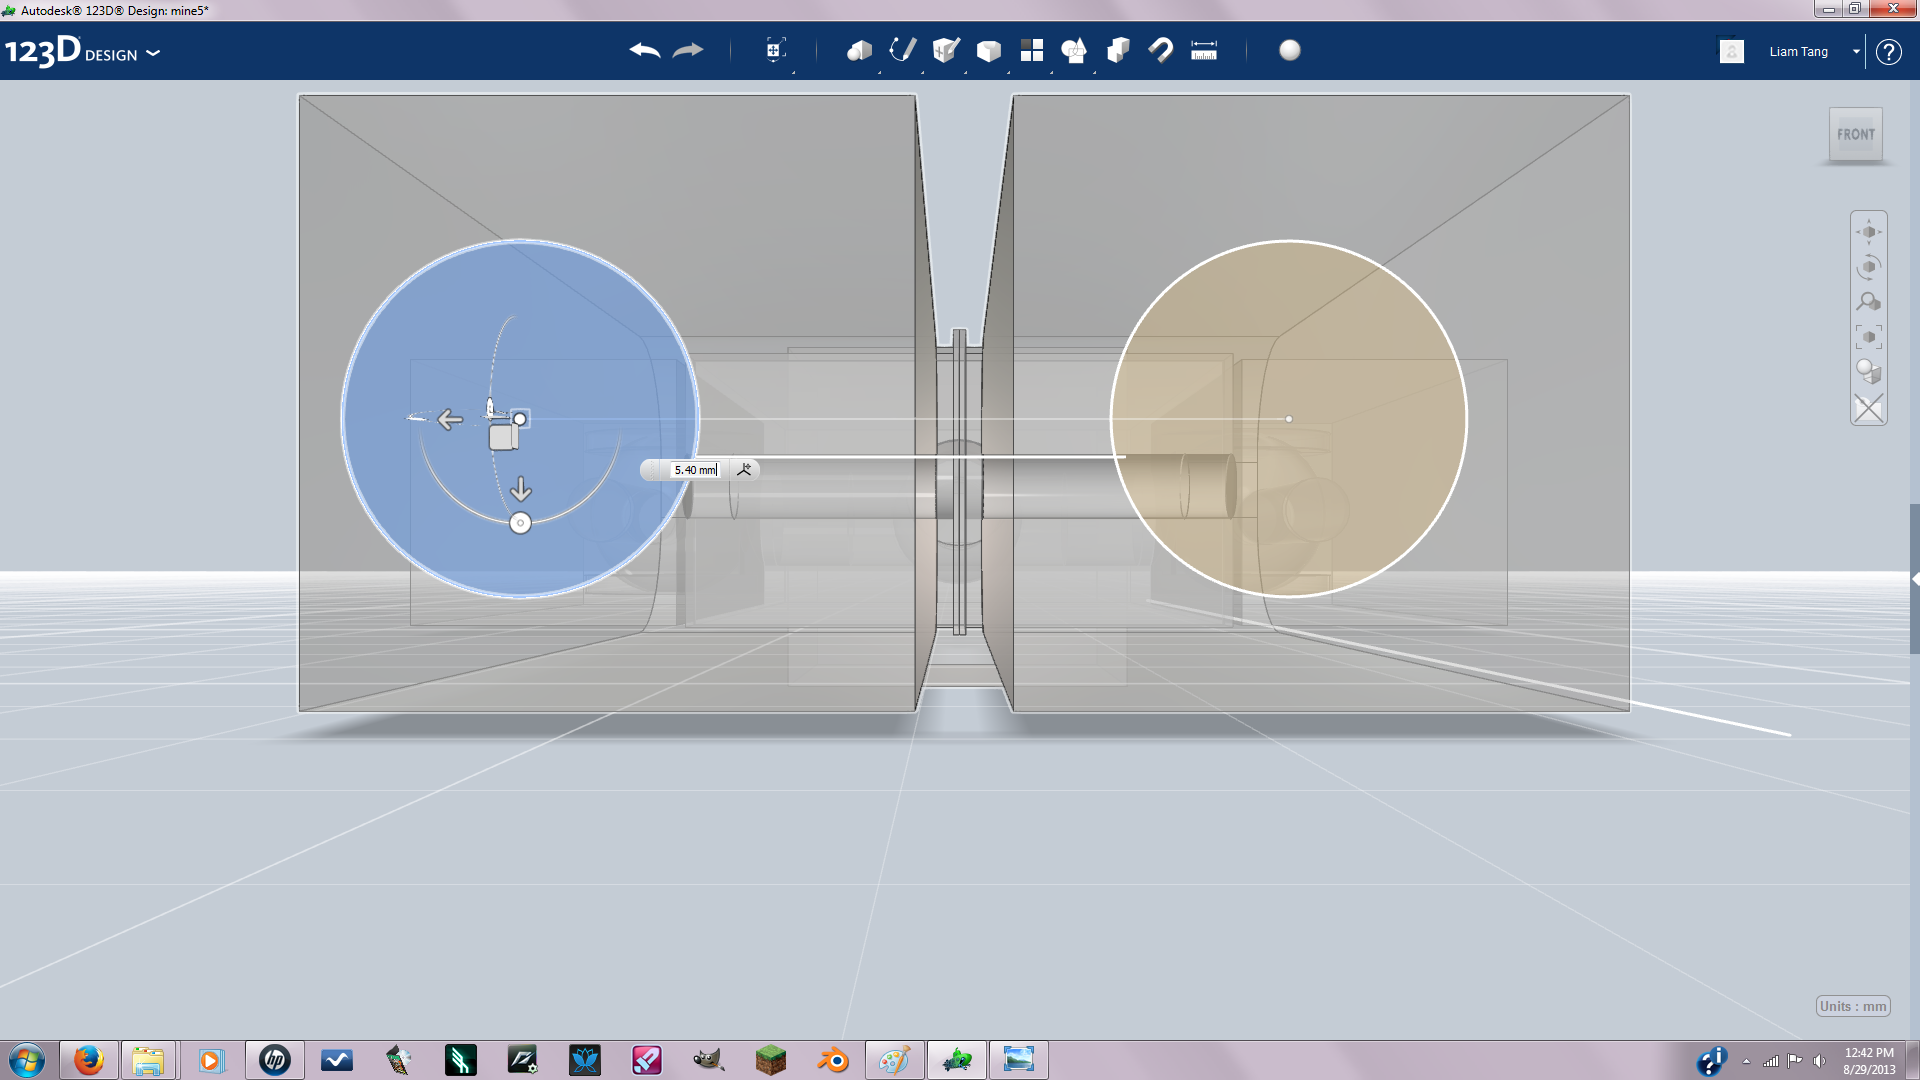
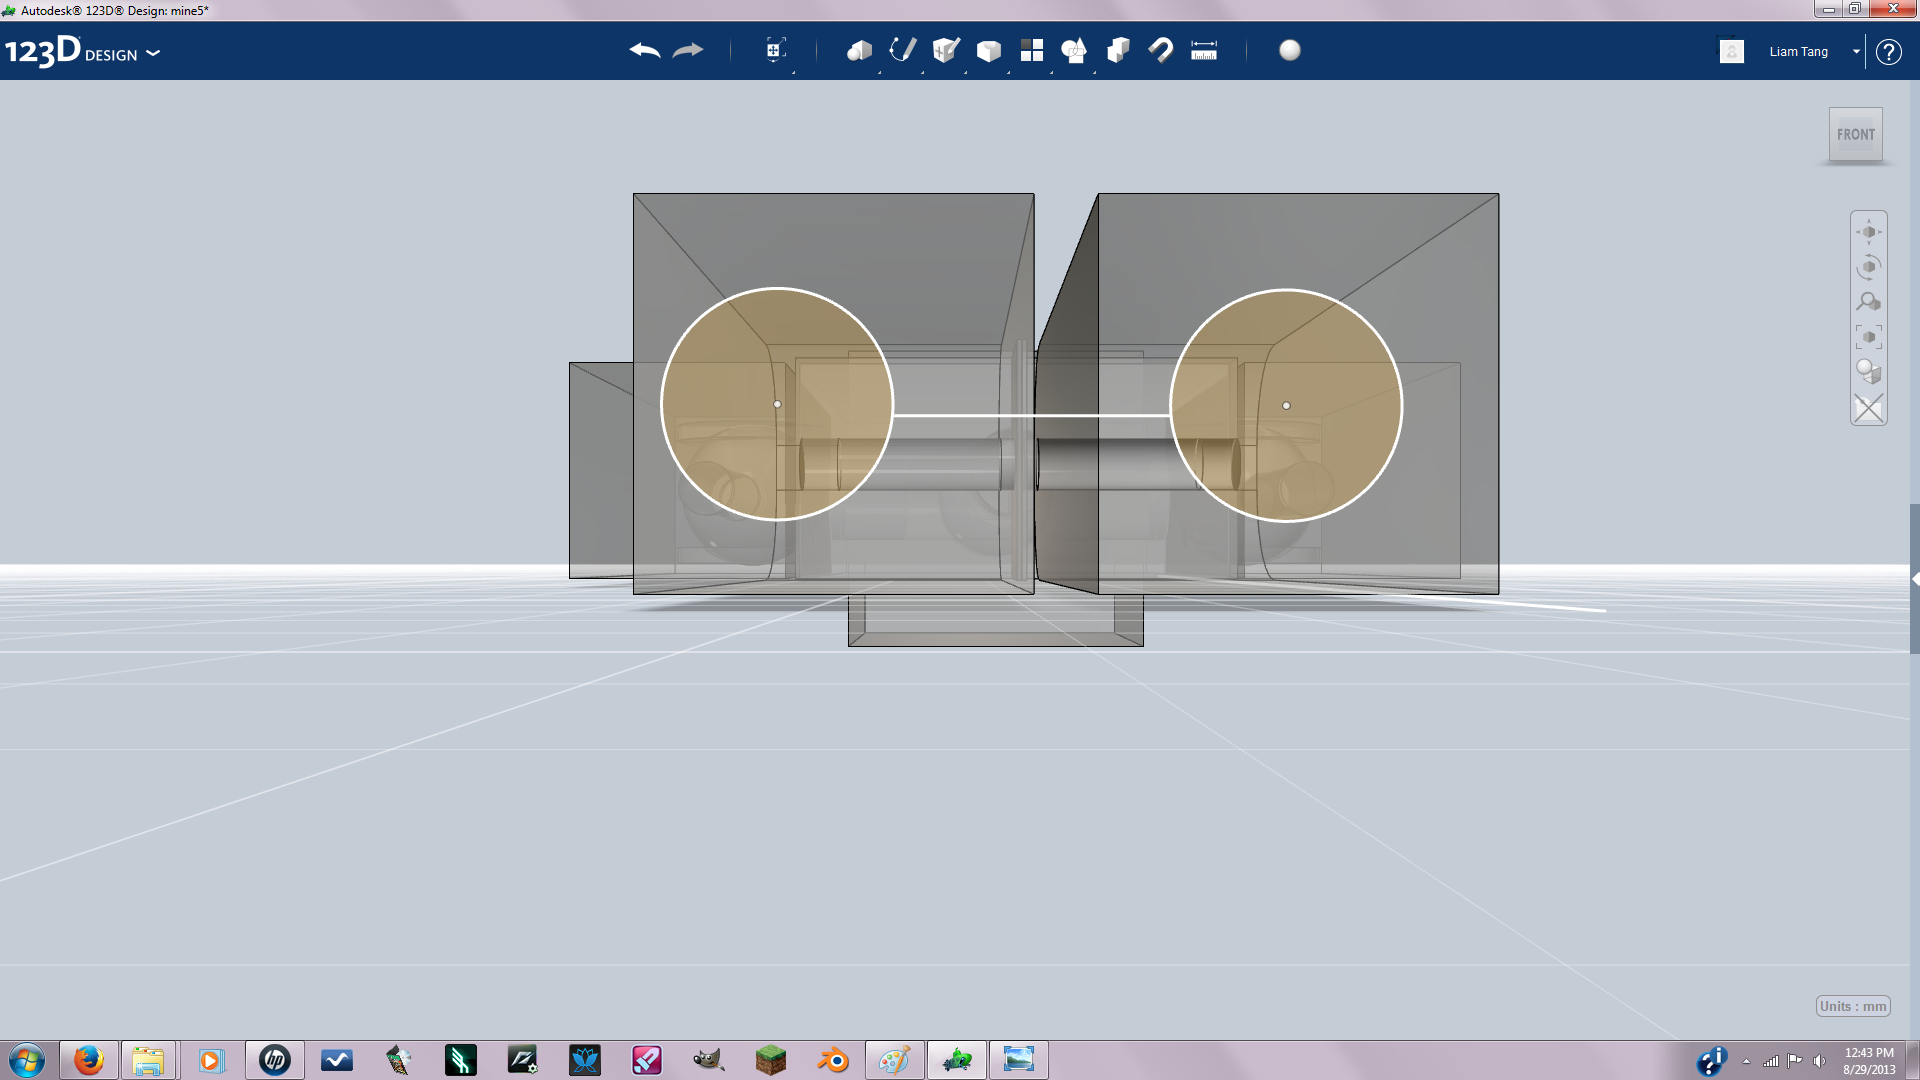
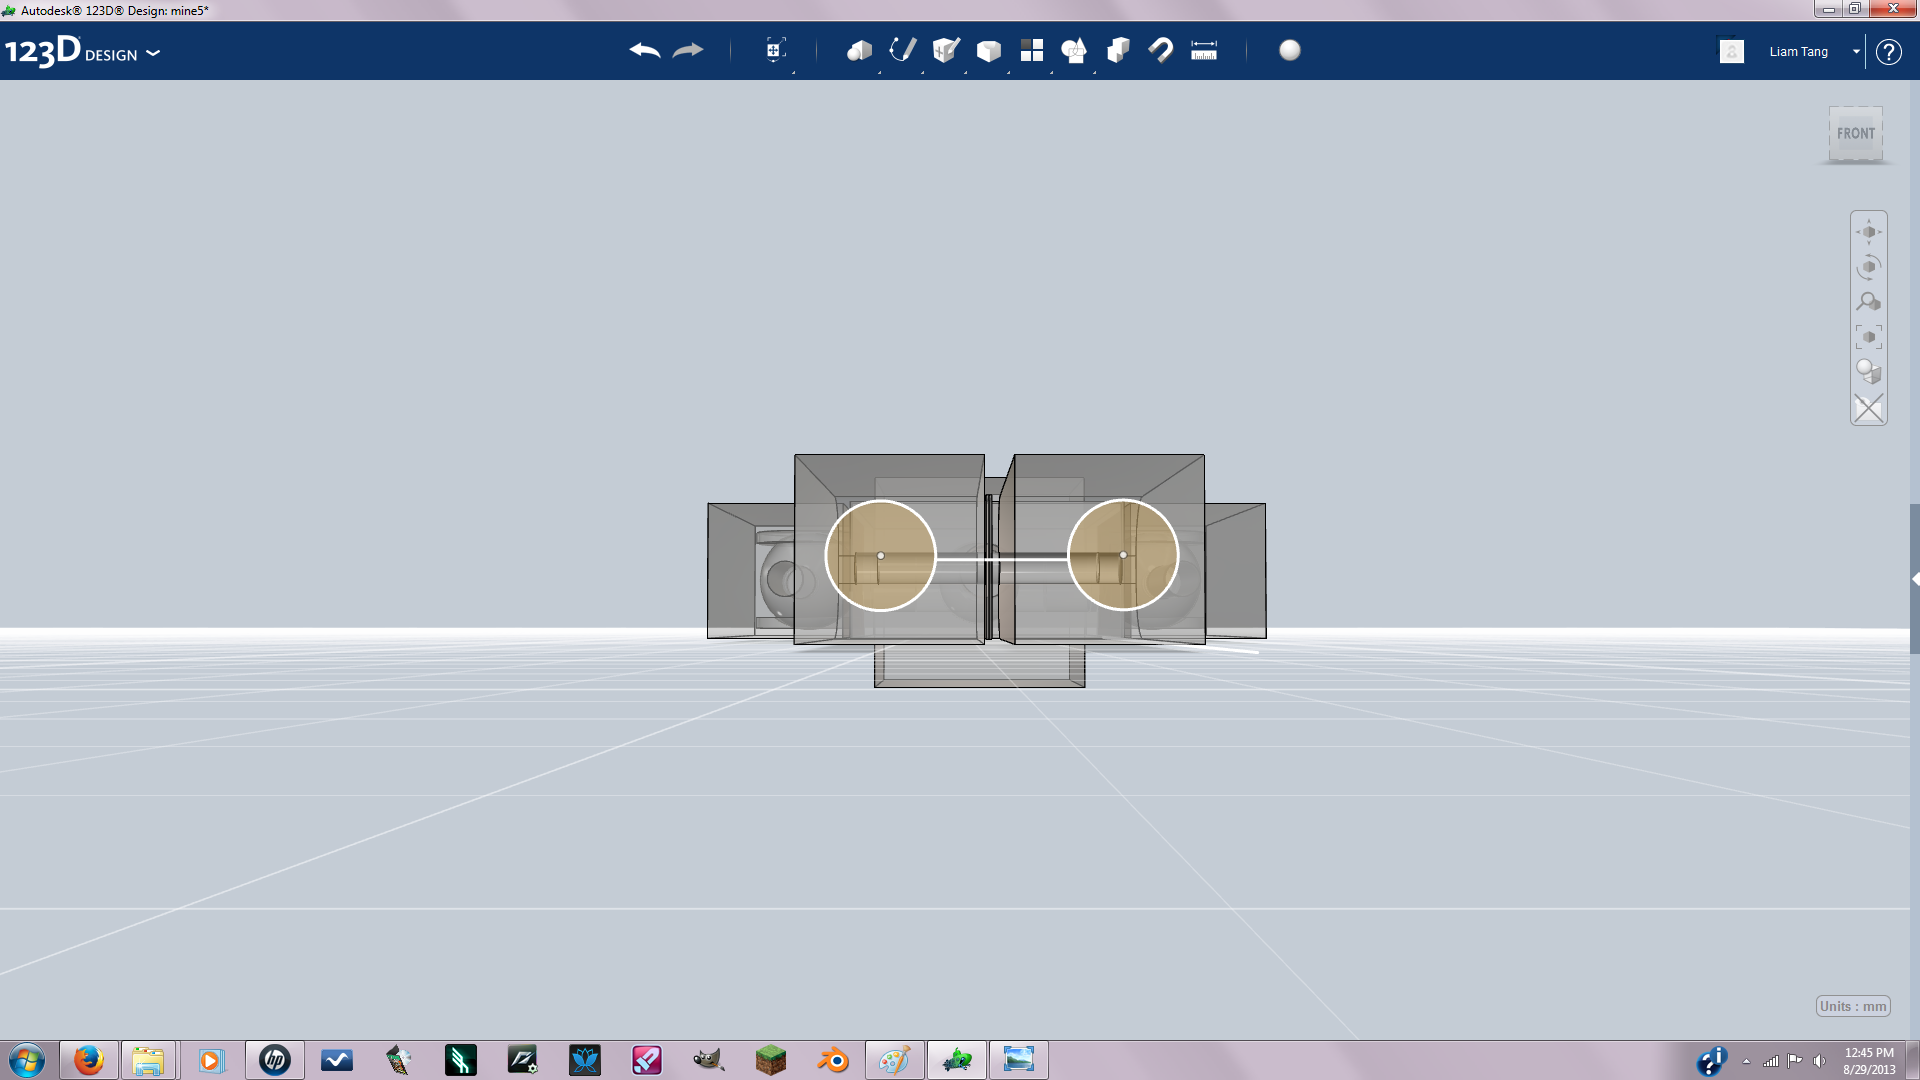
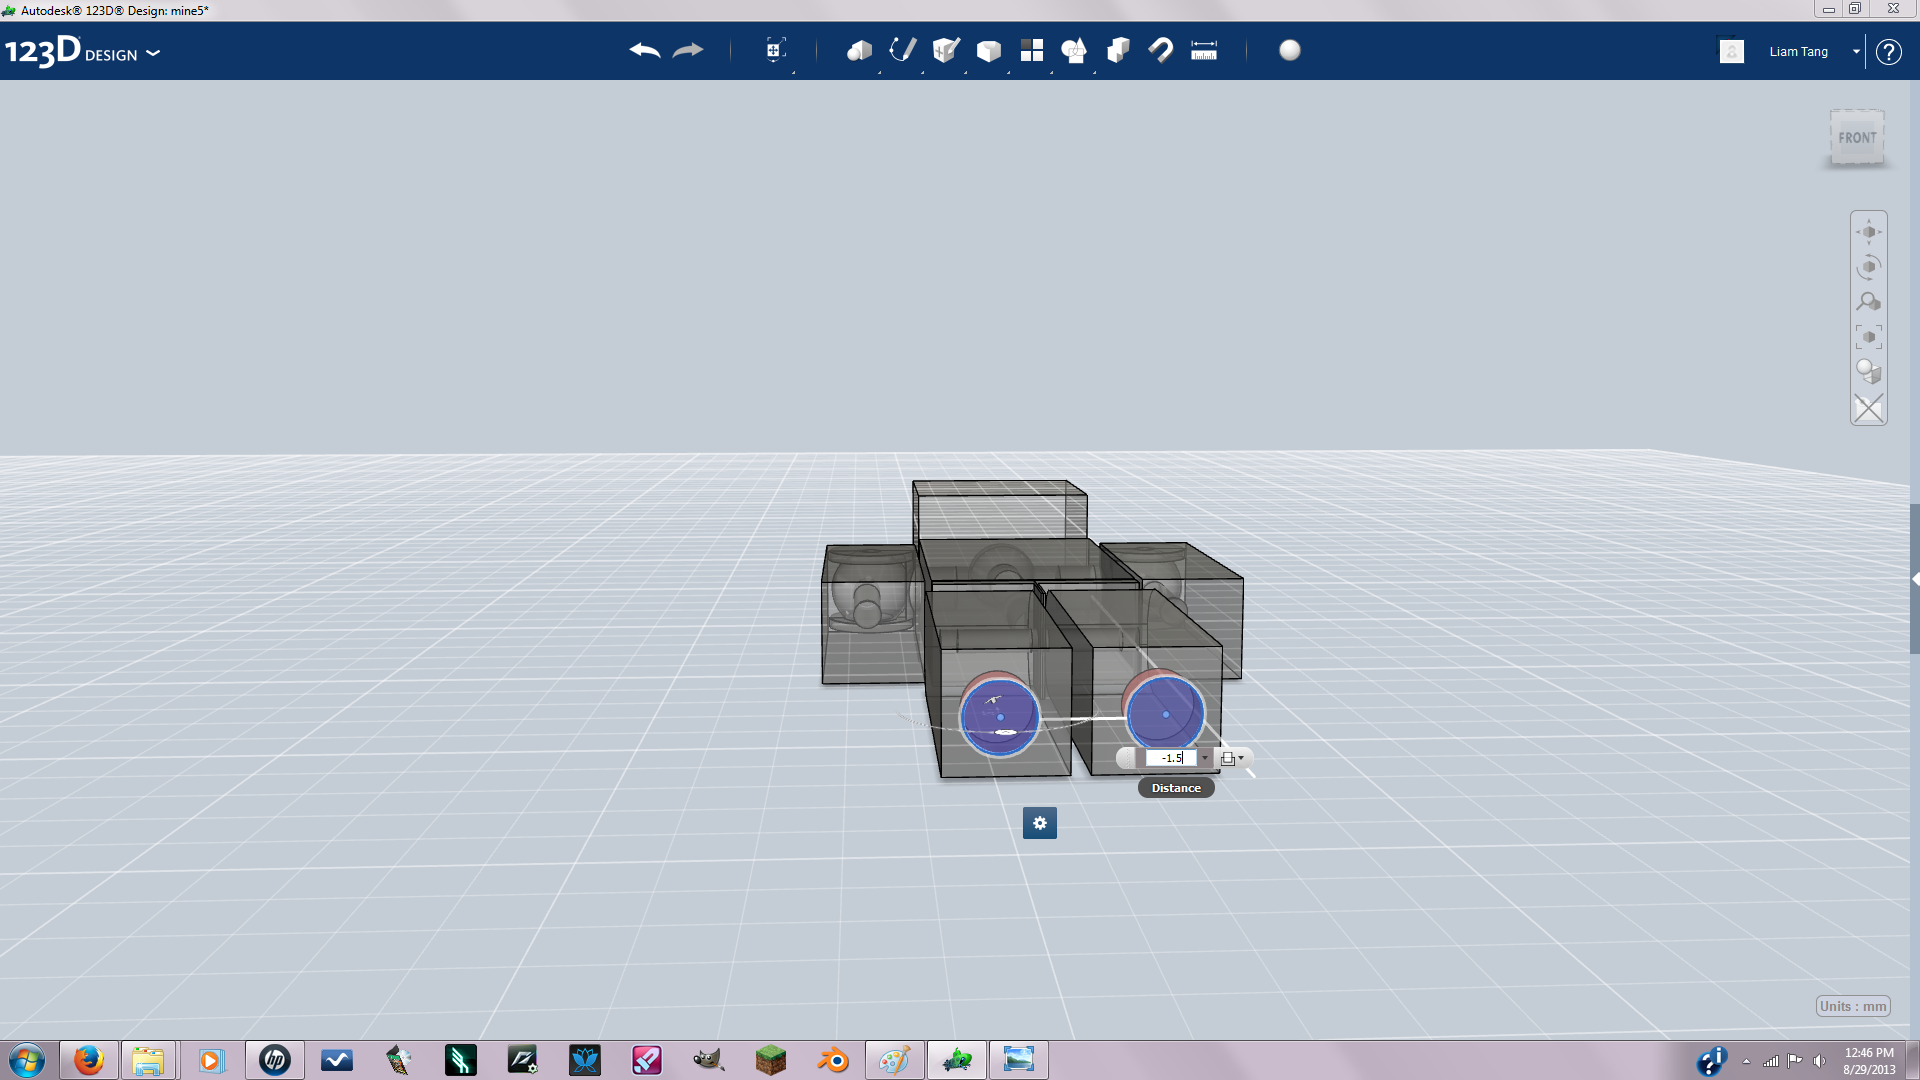
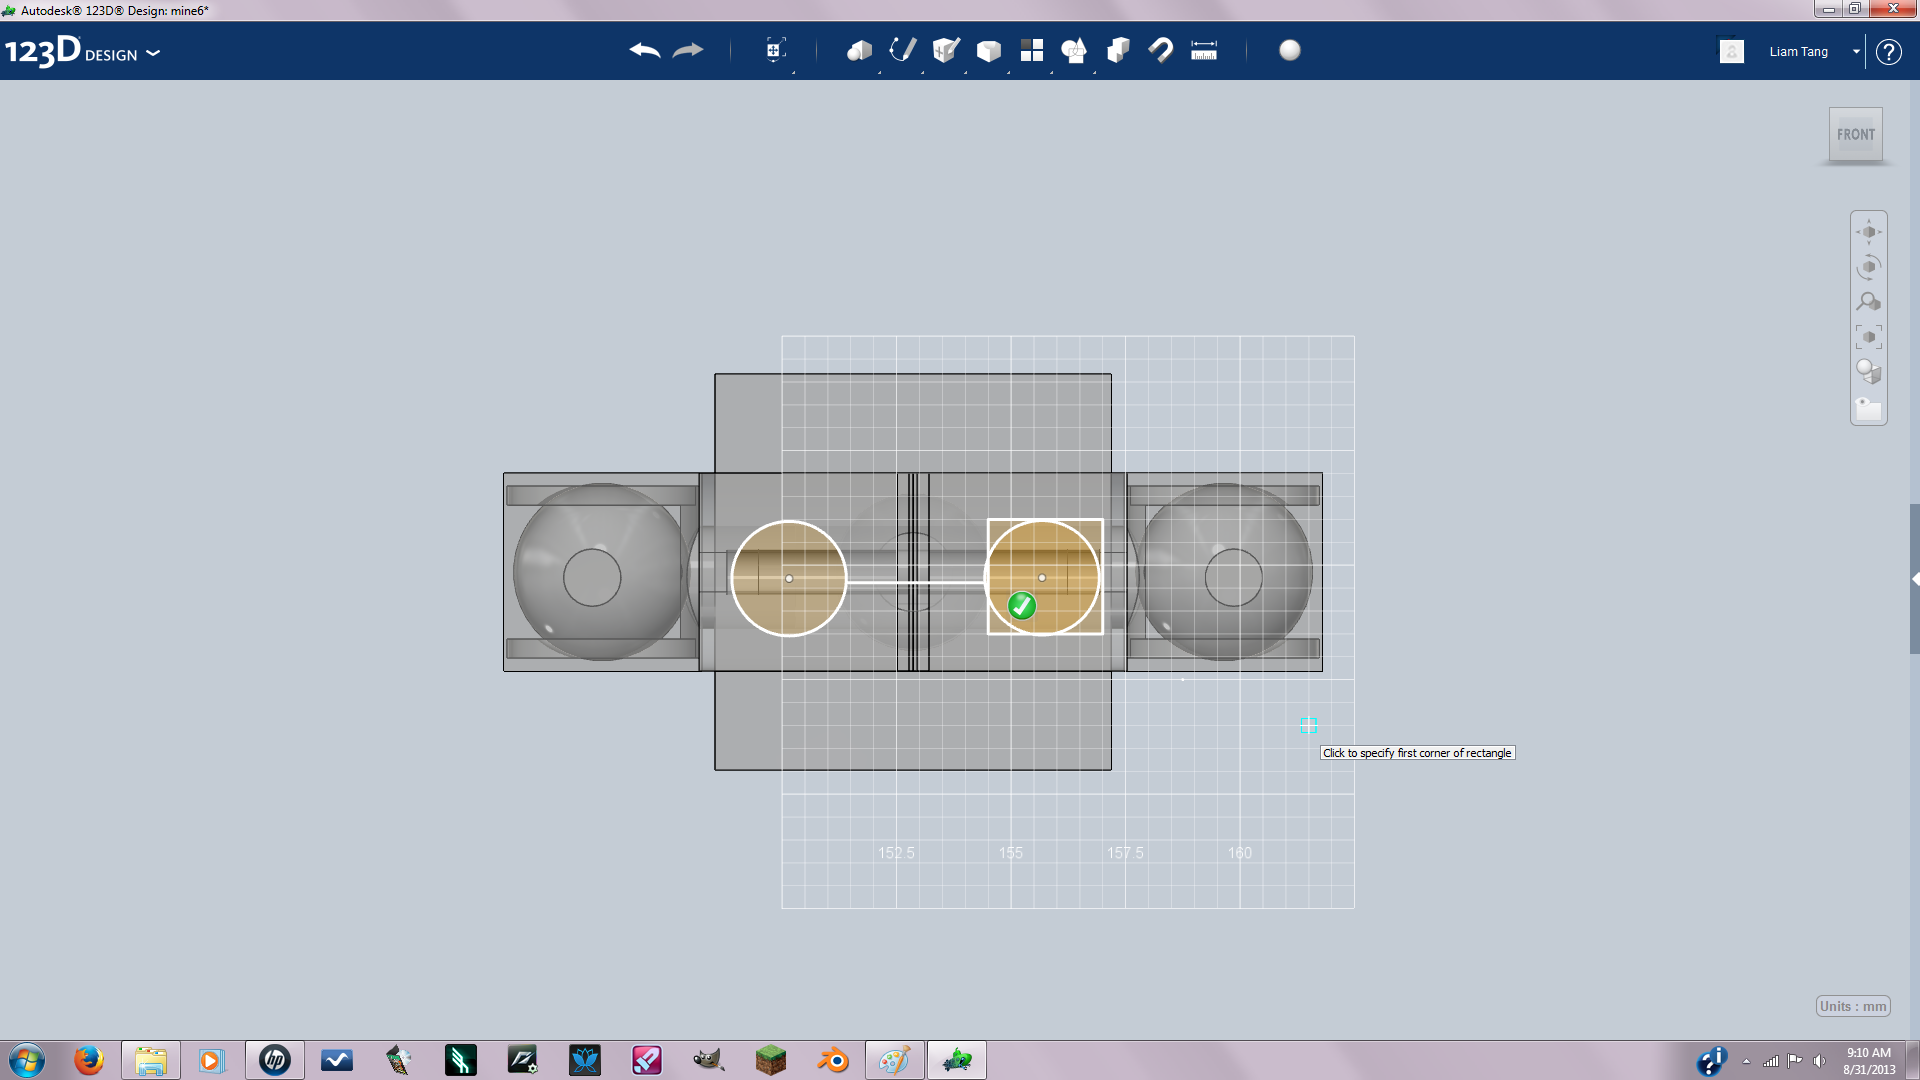
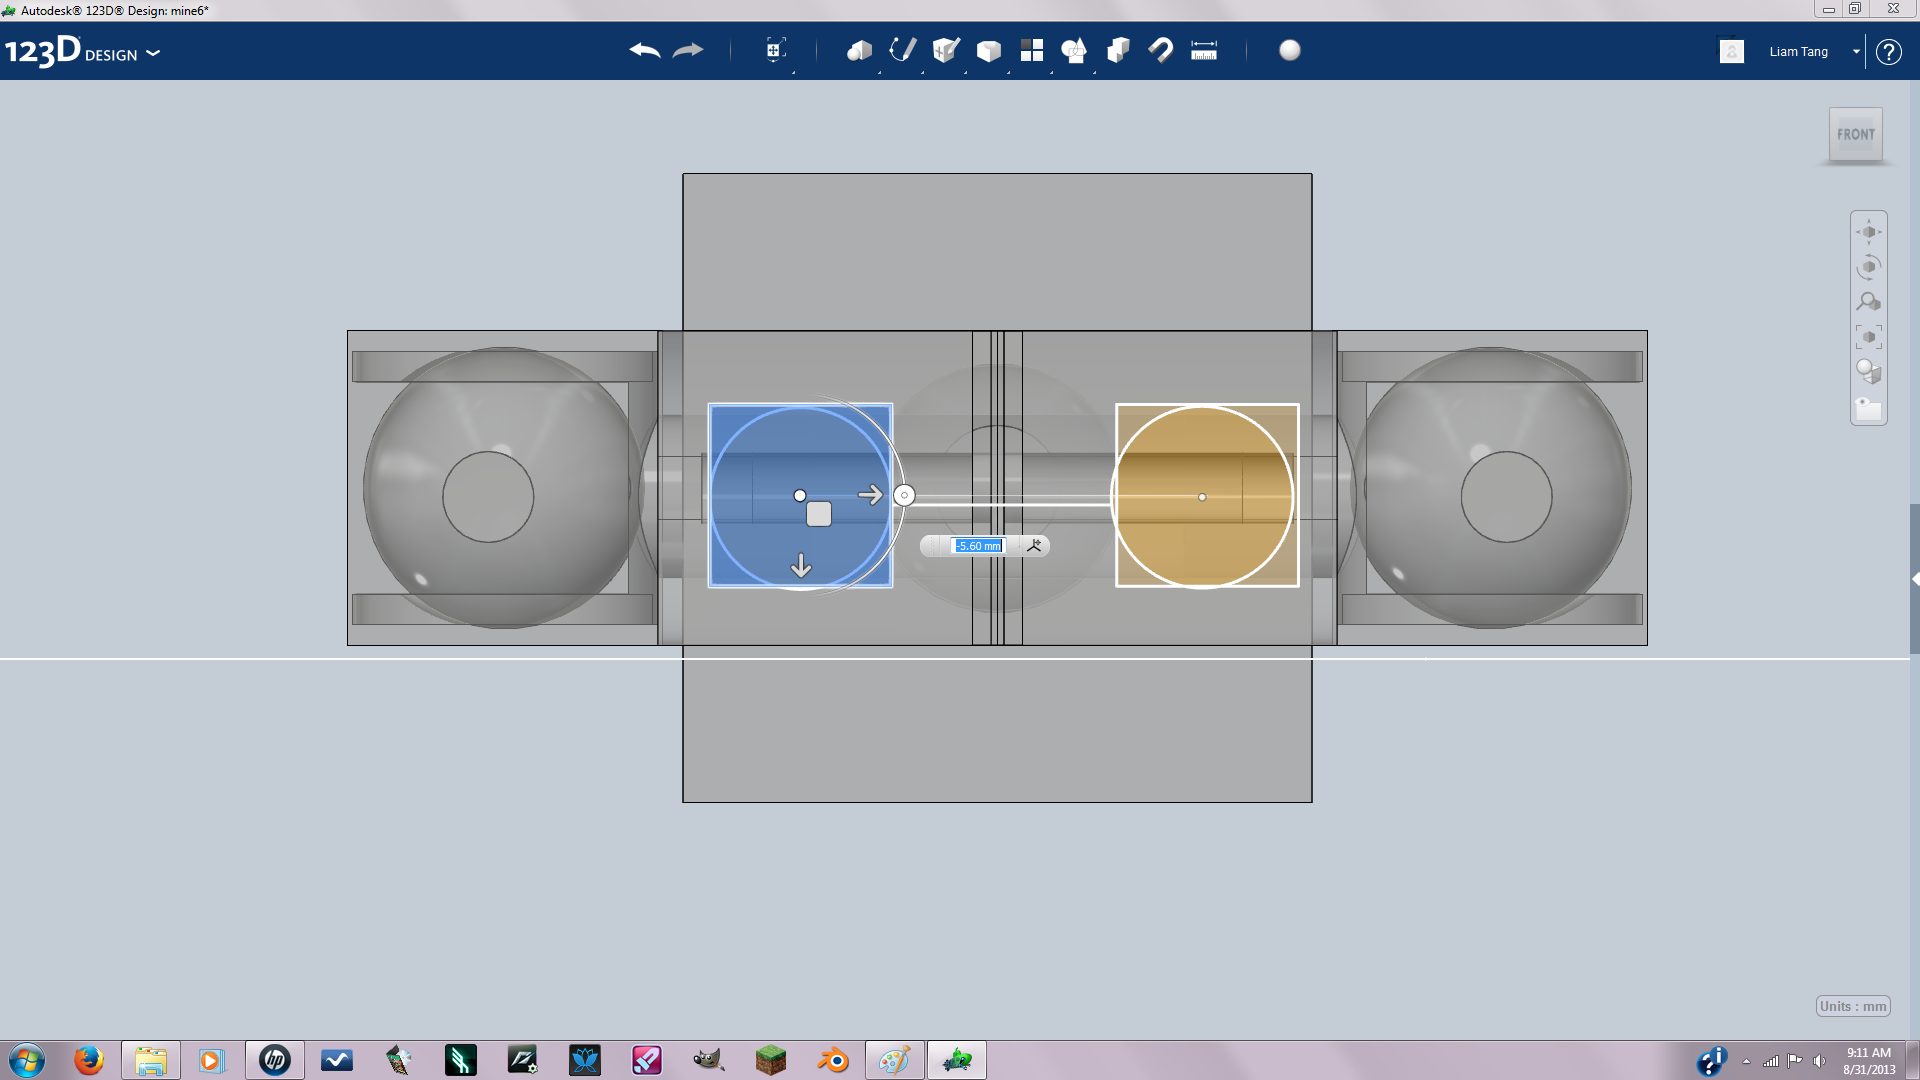
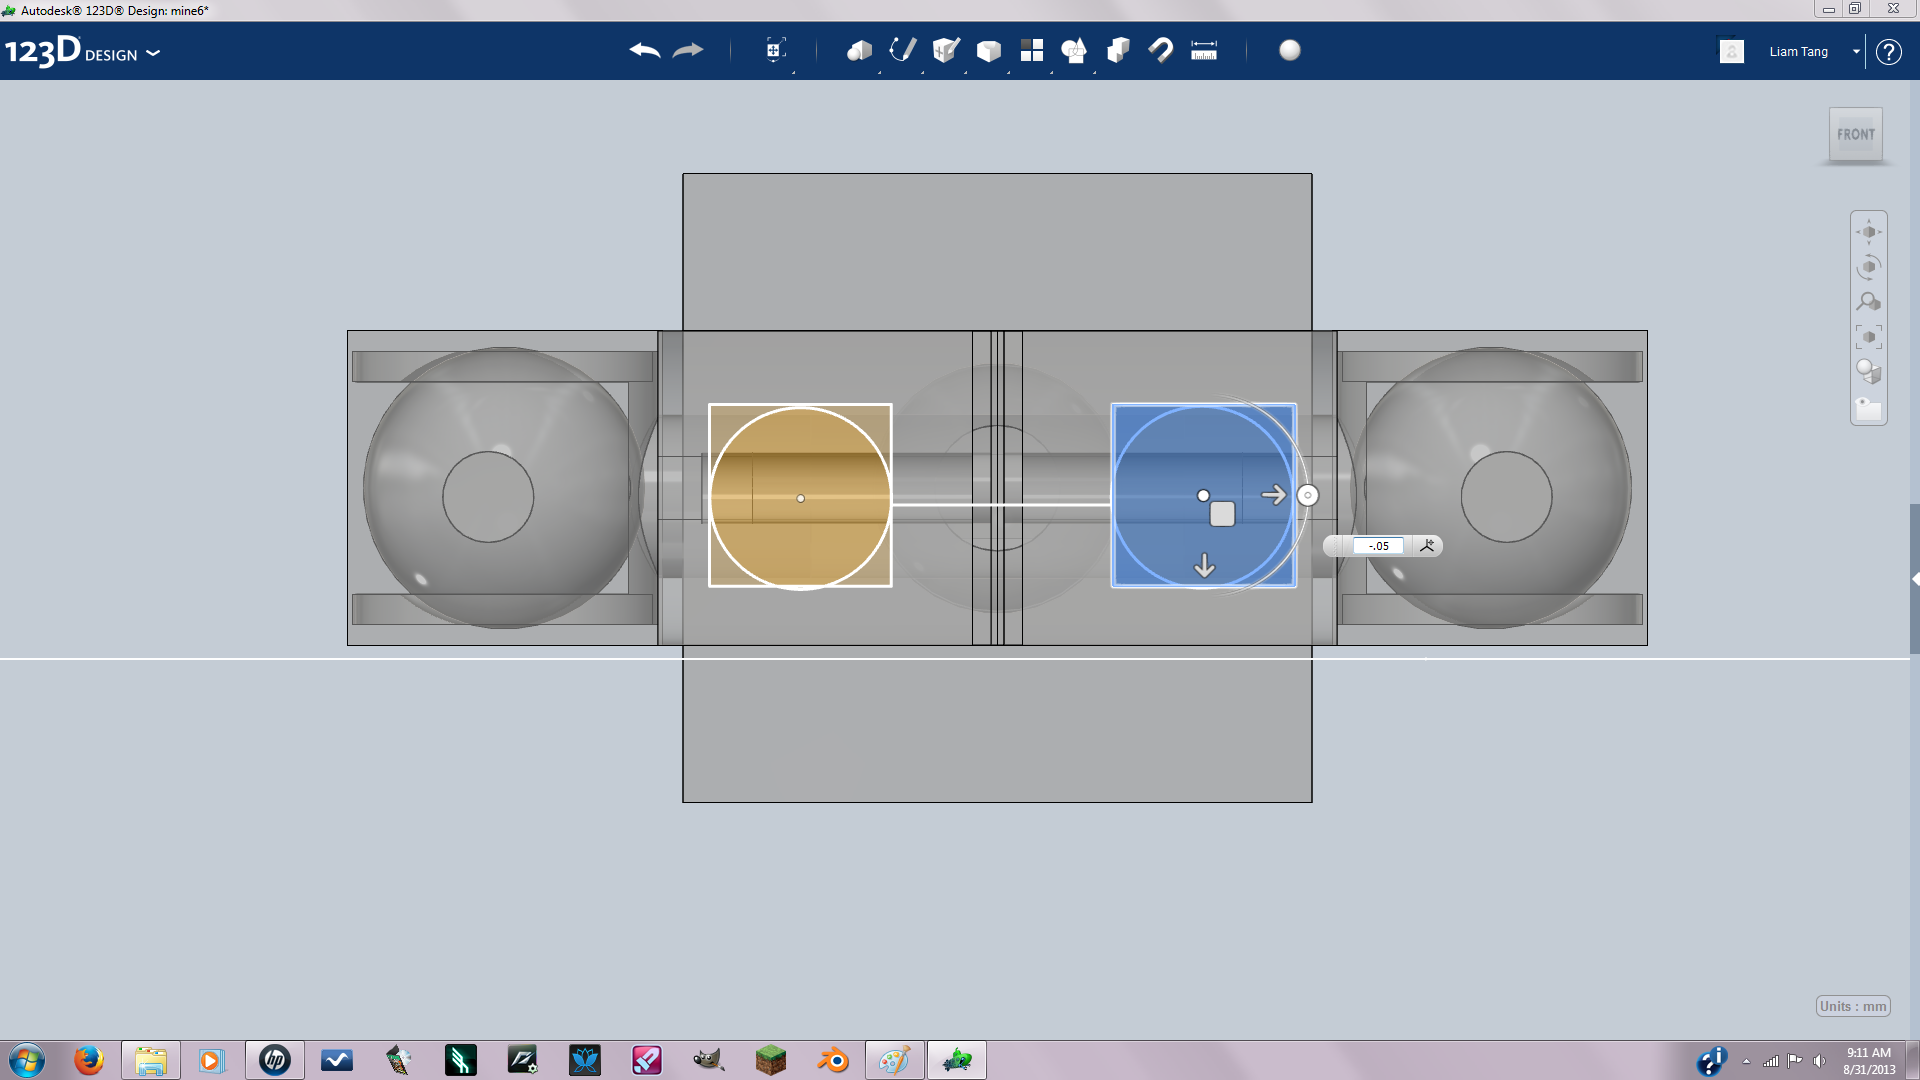
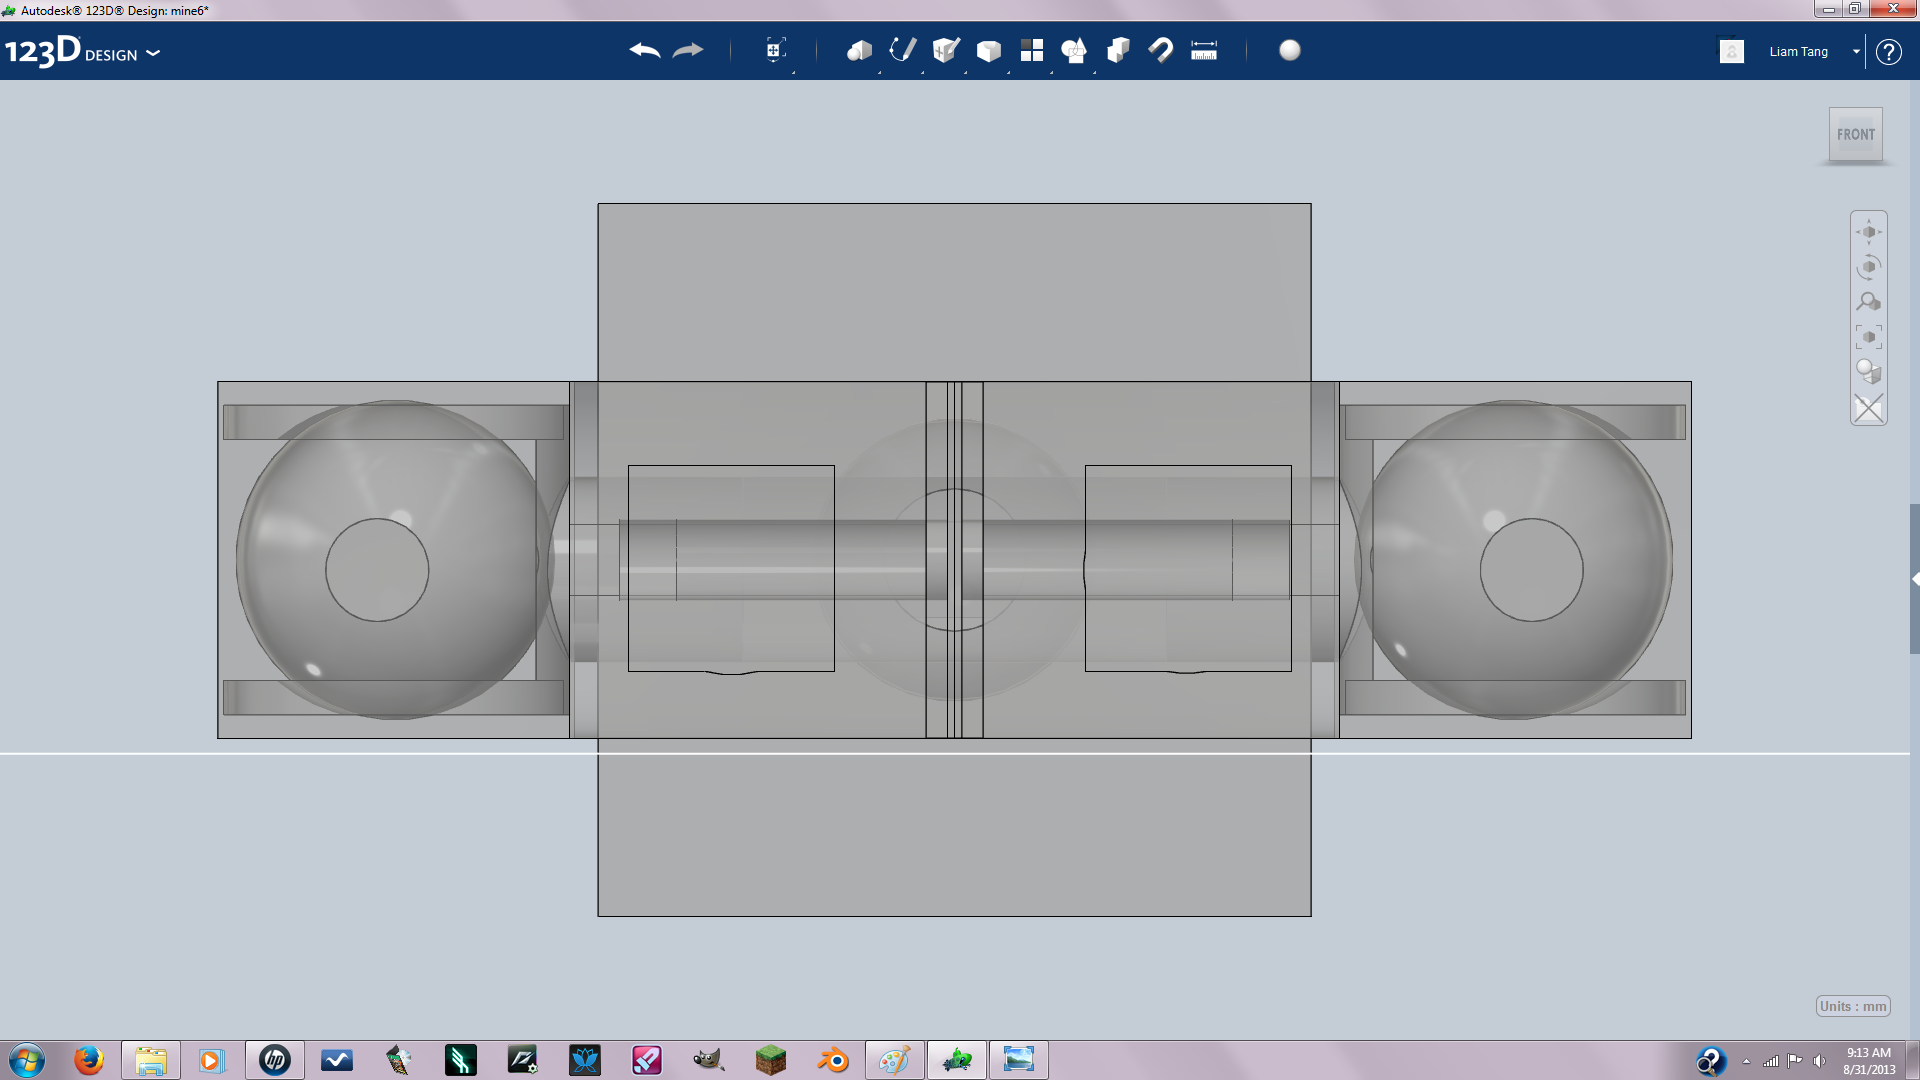
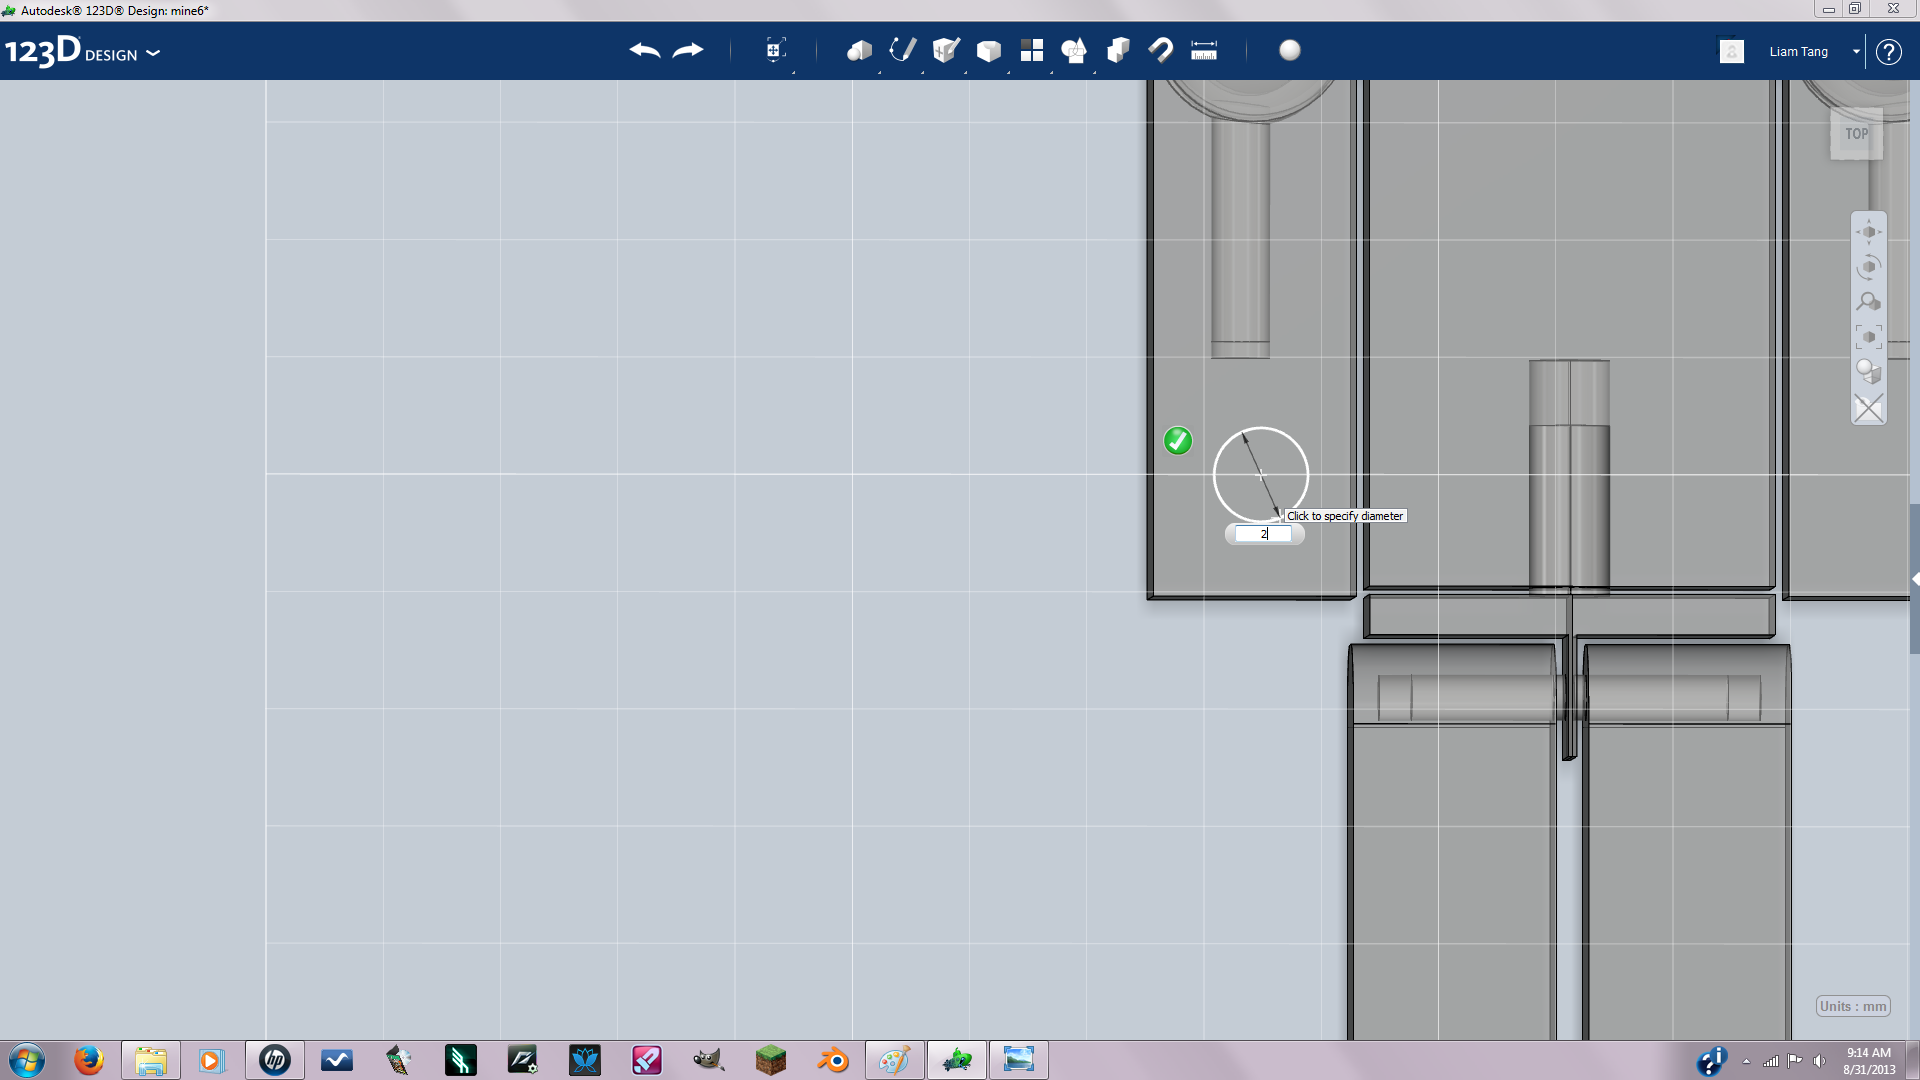
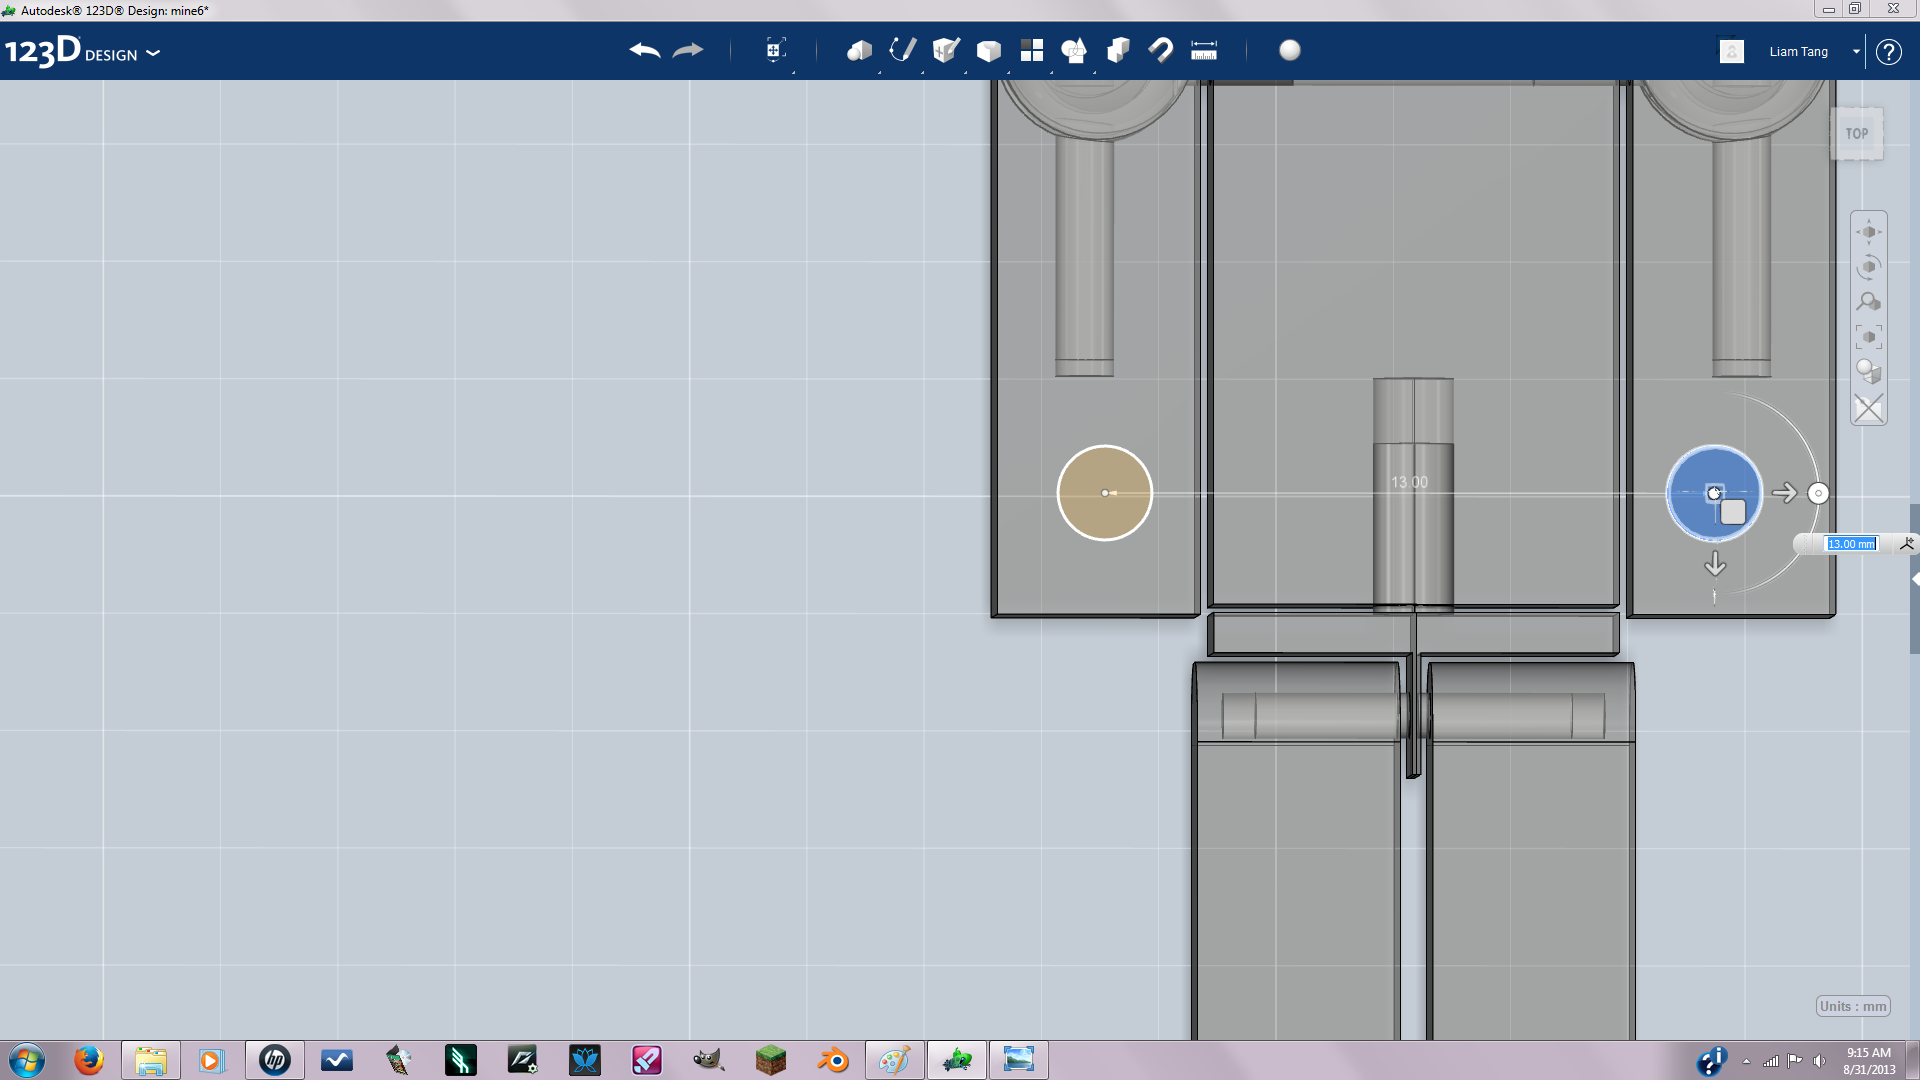
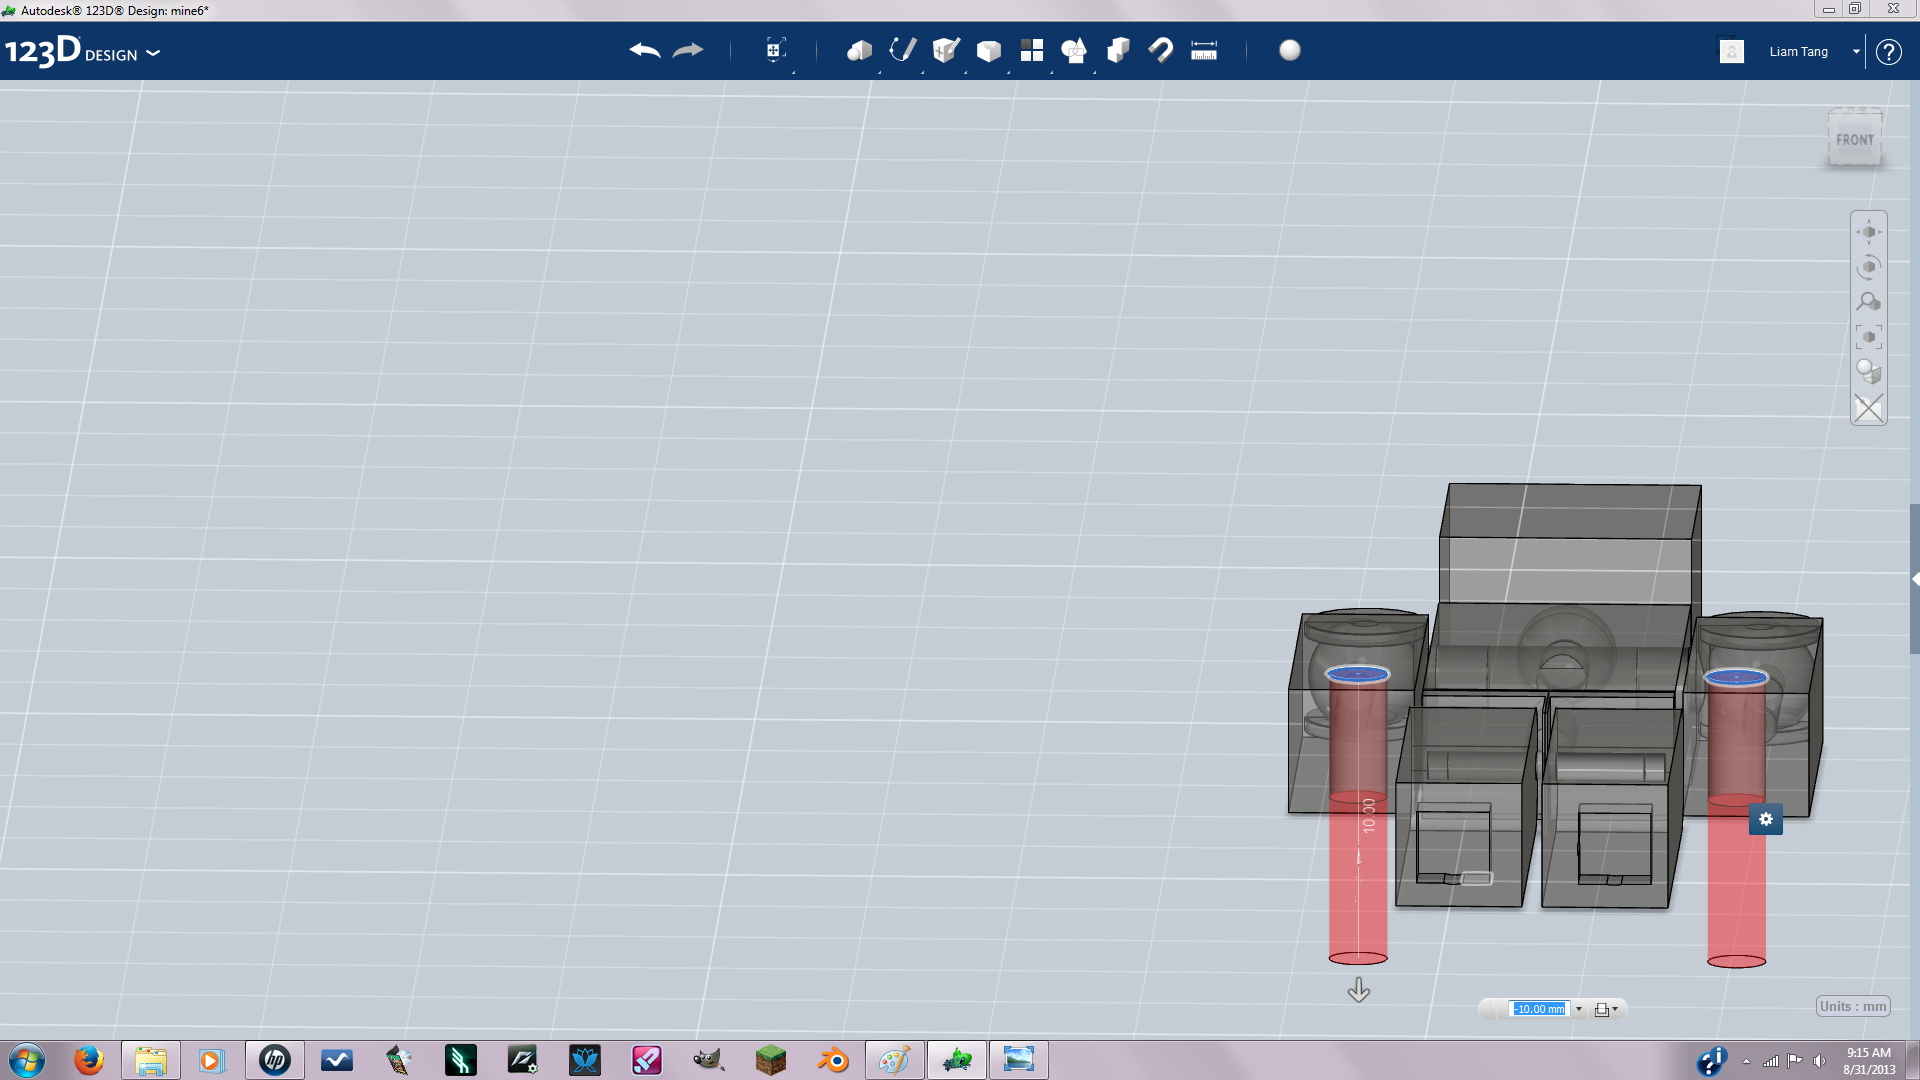
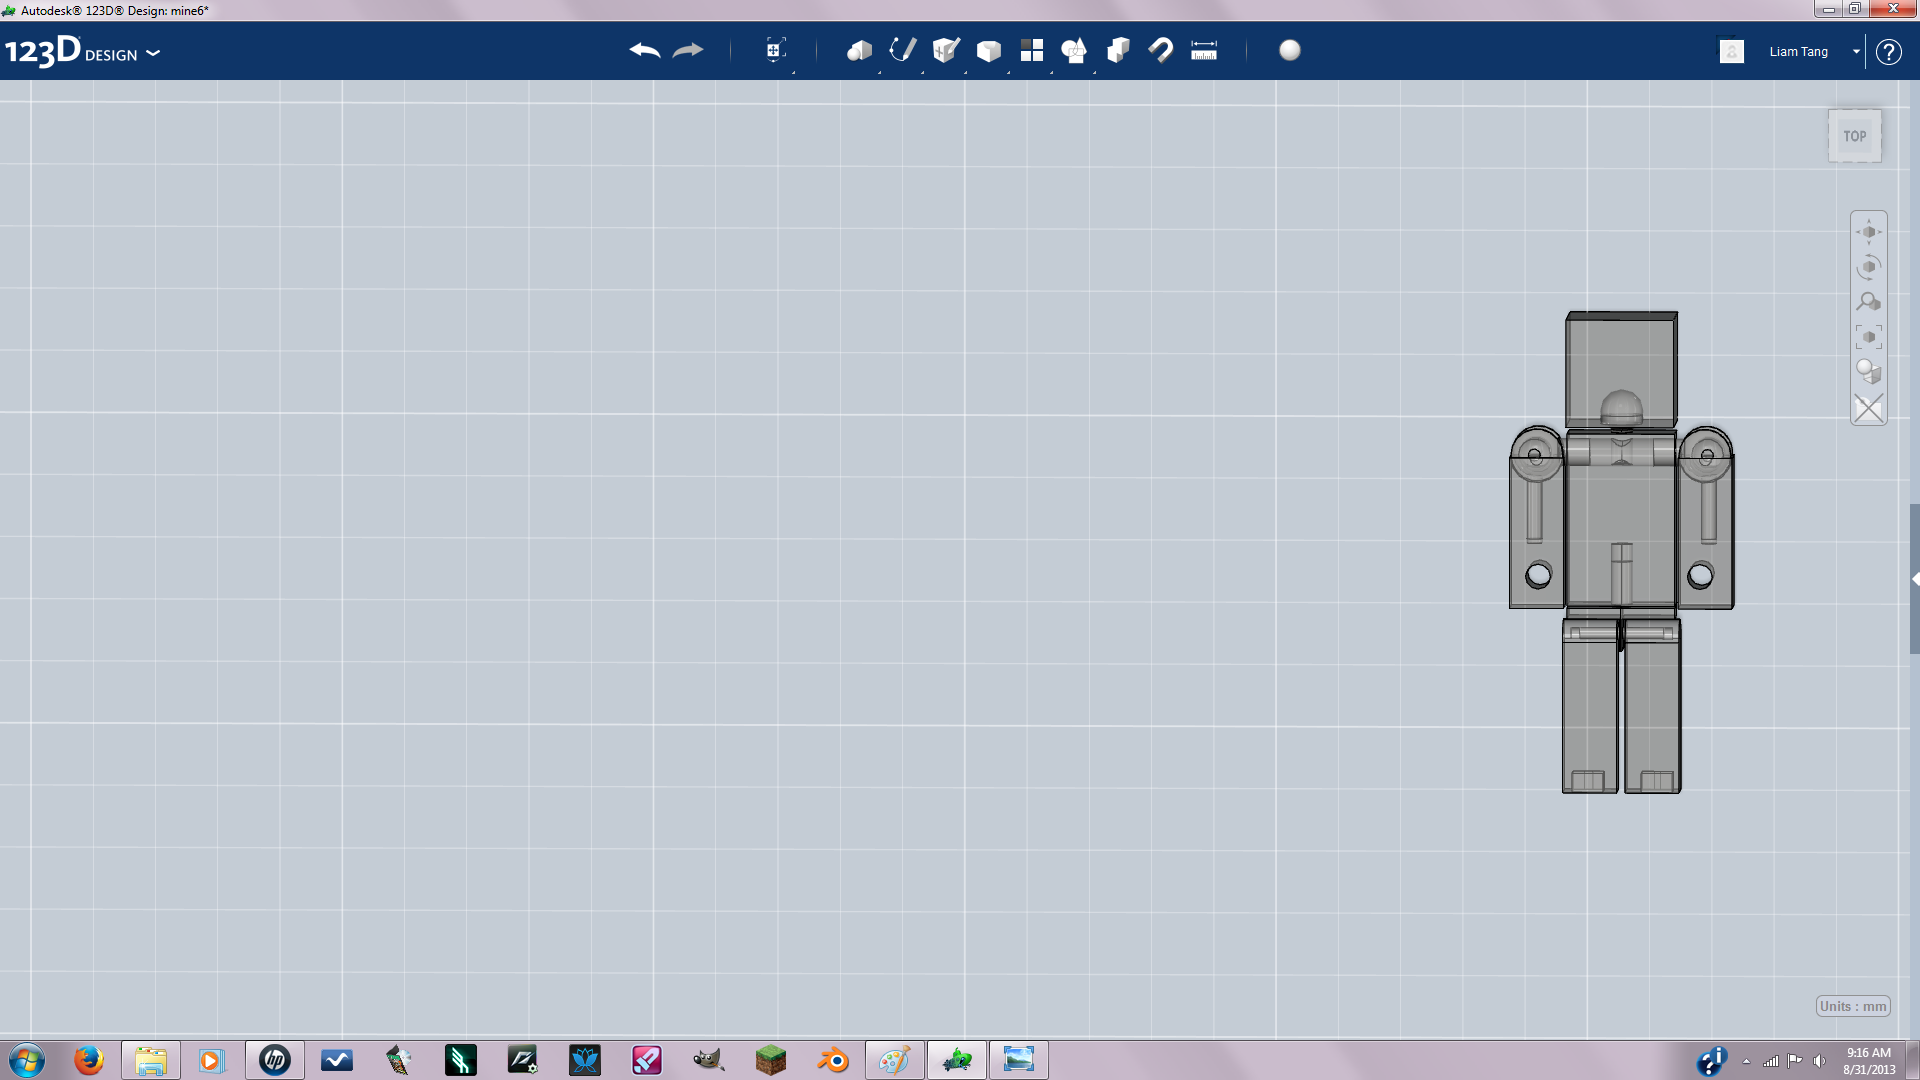
These are the peg holes. To create them I used negative extrude. The radius of the sketch should be 2.5 mm and the distance between the pegs should be 3mm.
Joining the Waist
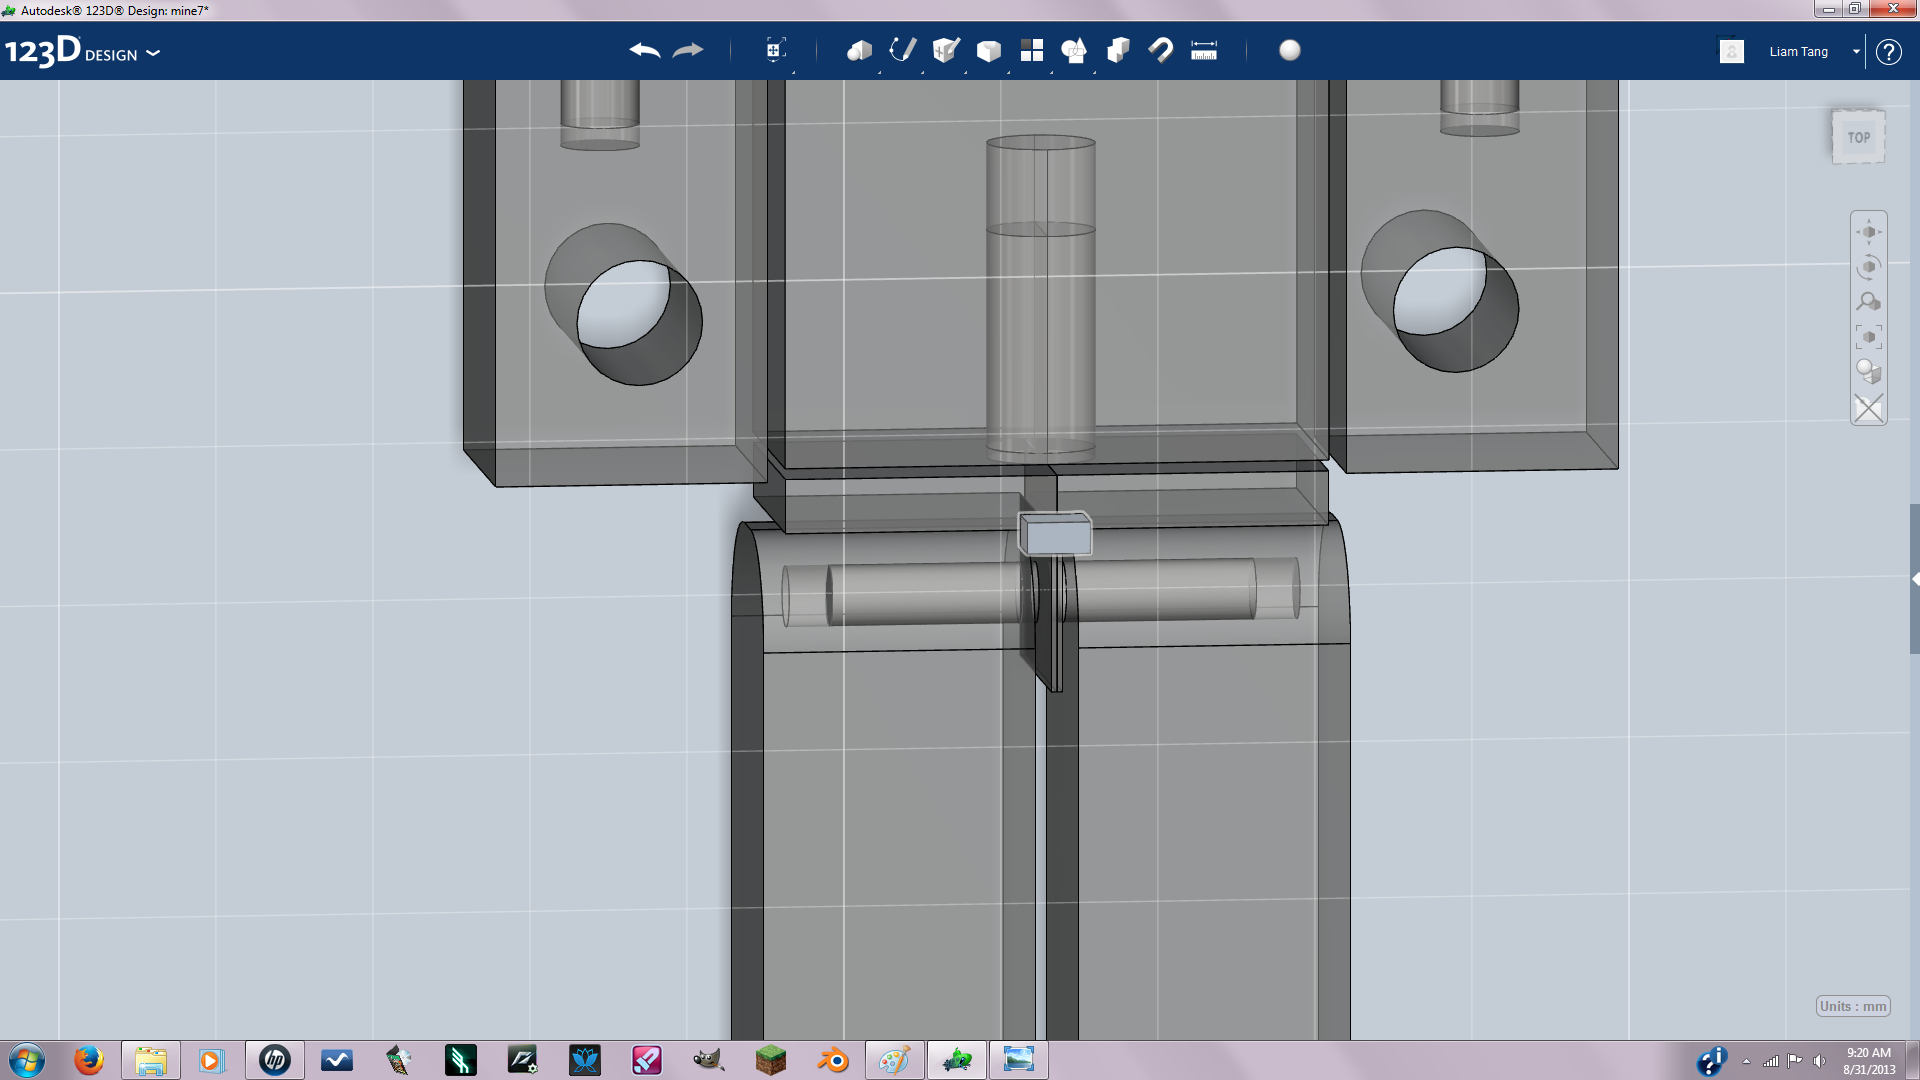
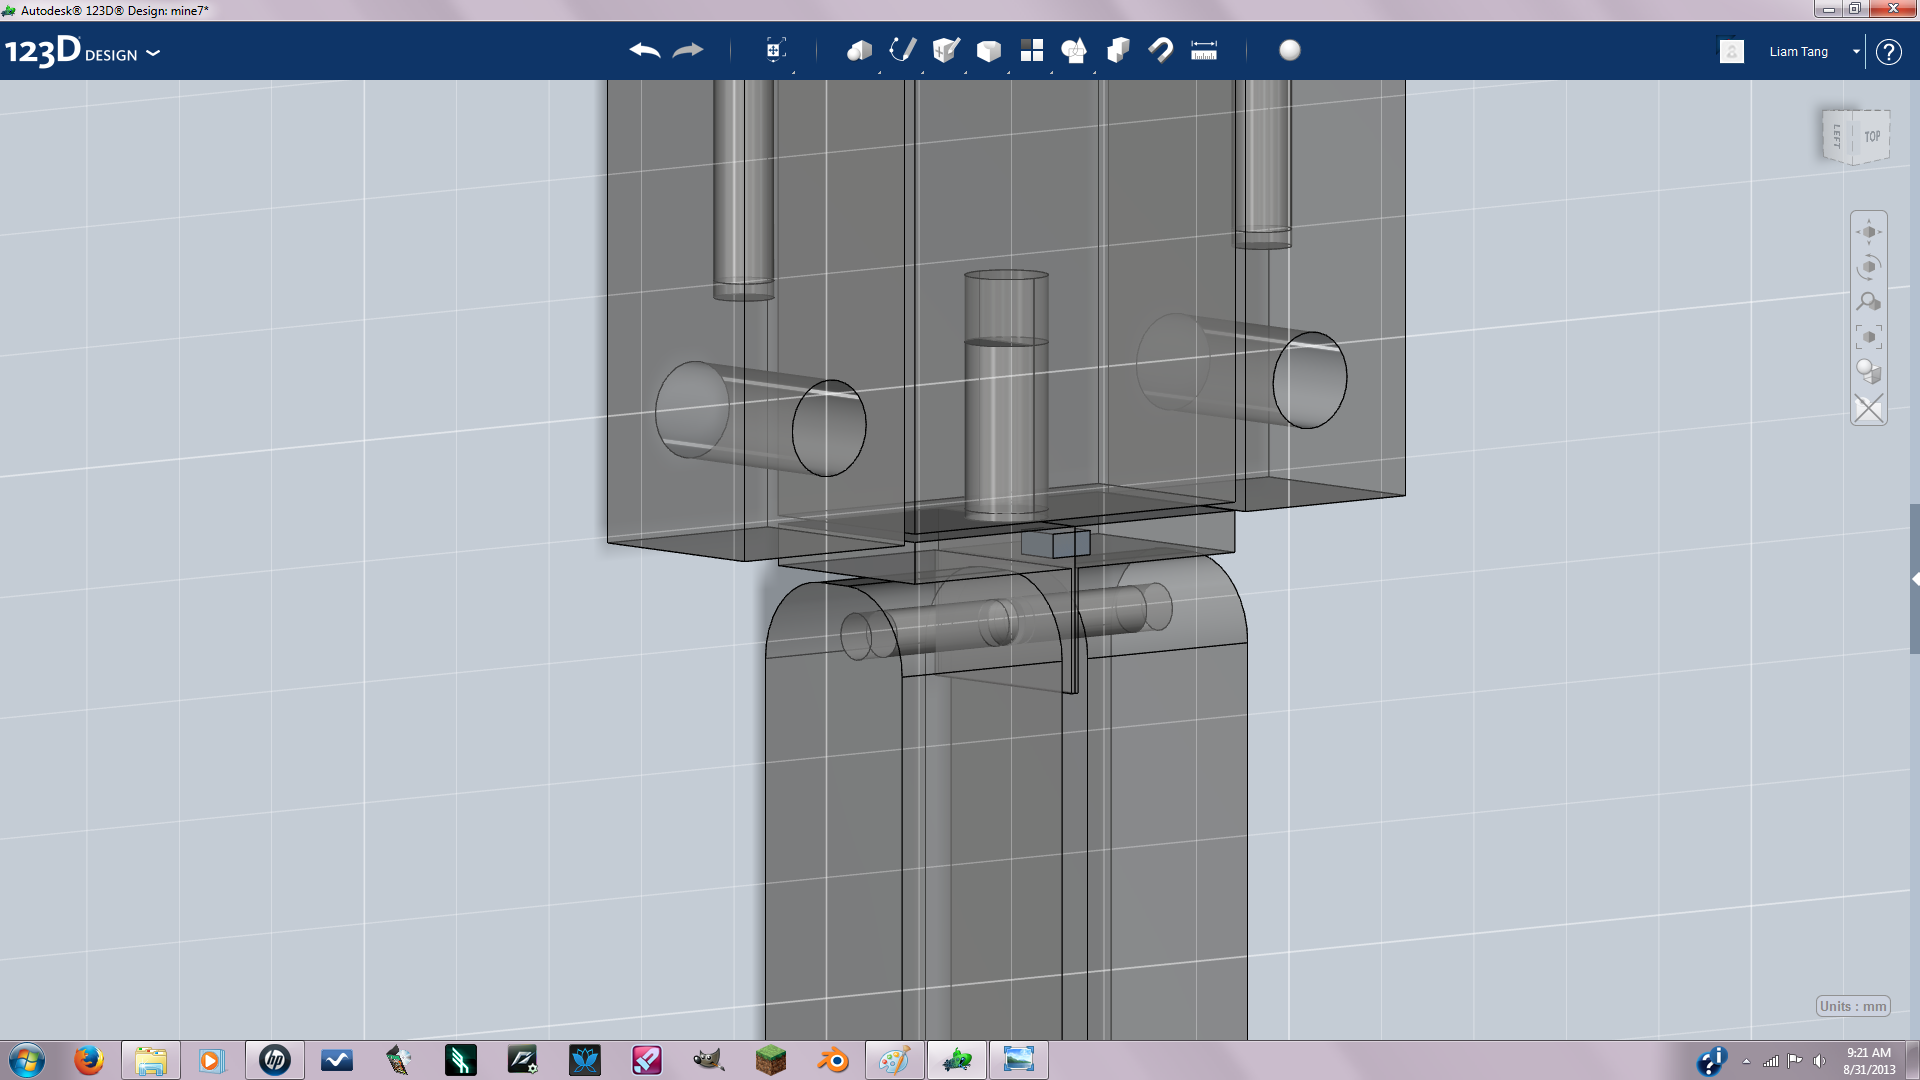
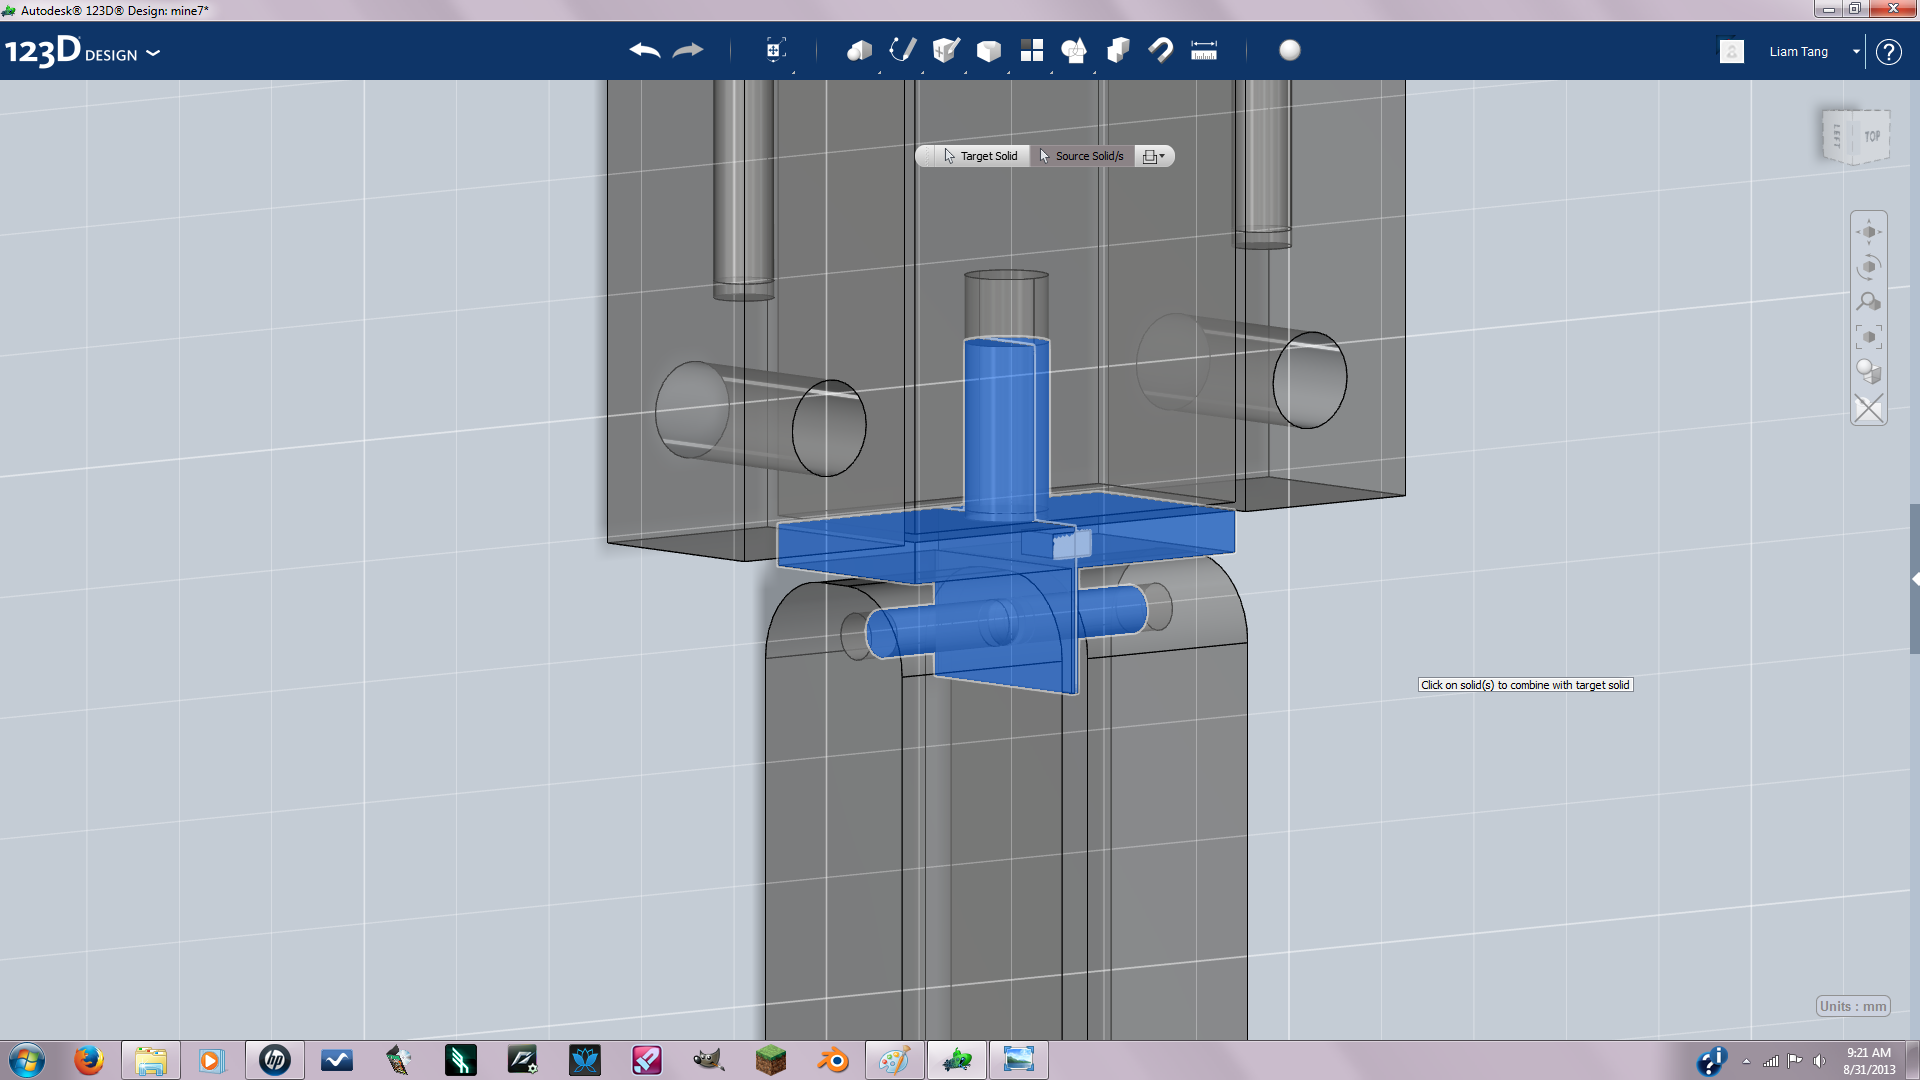
when we mirrored the body it made the waist piece two separate pieces. So I used the combine tool to join them.
Set Up for Printing
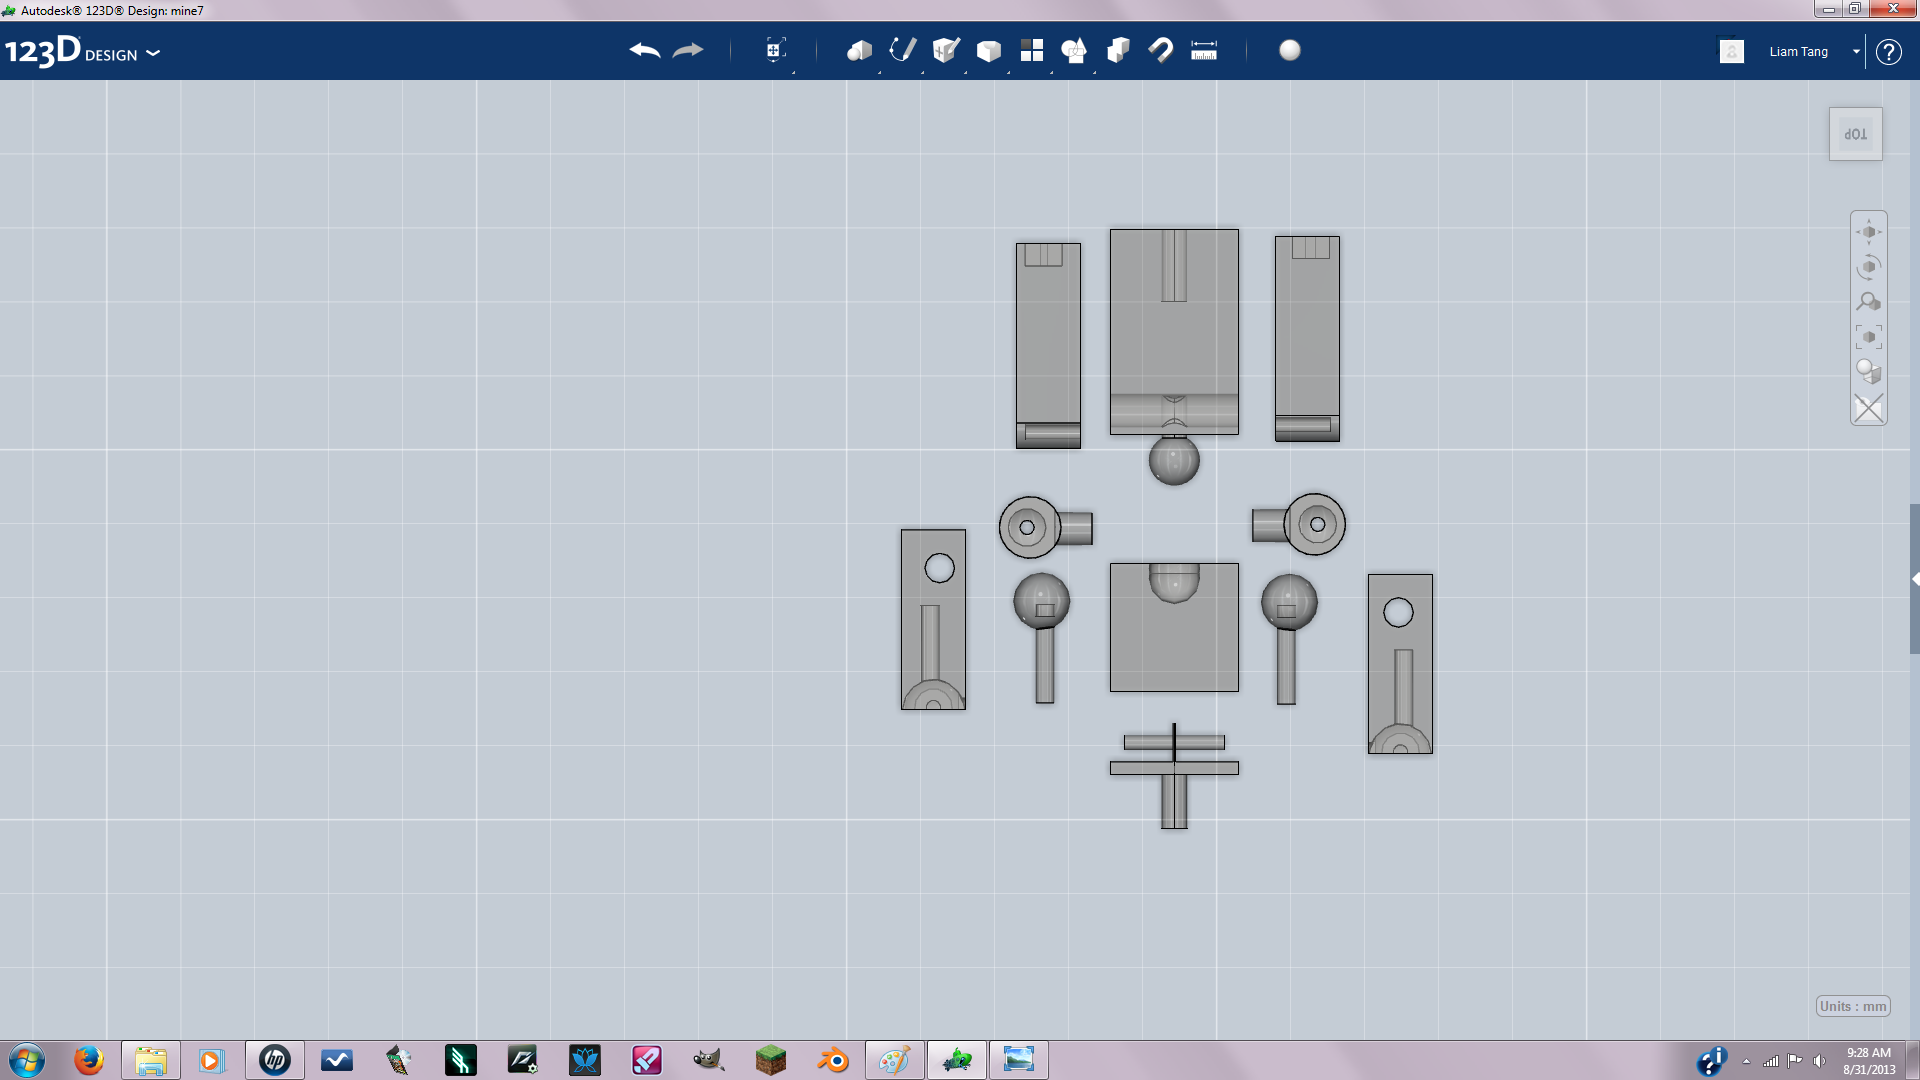
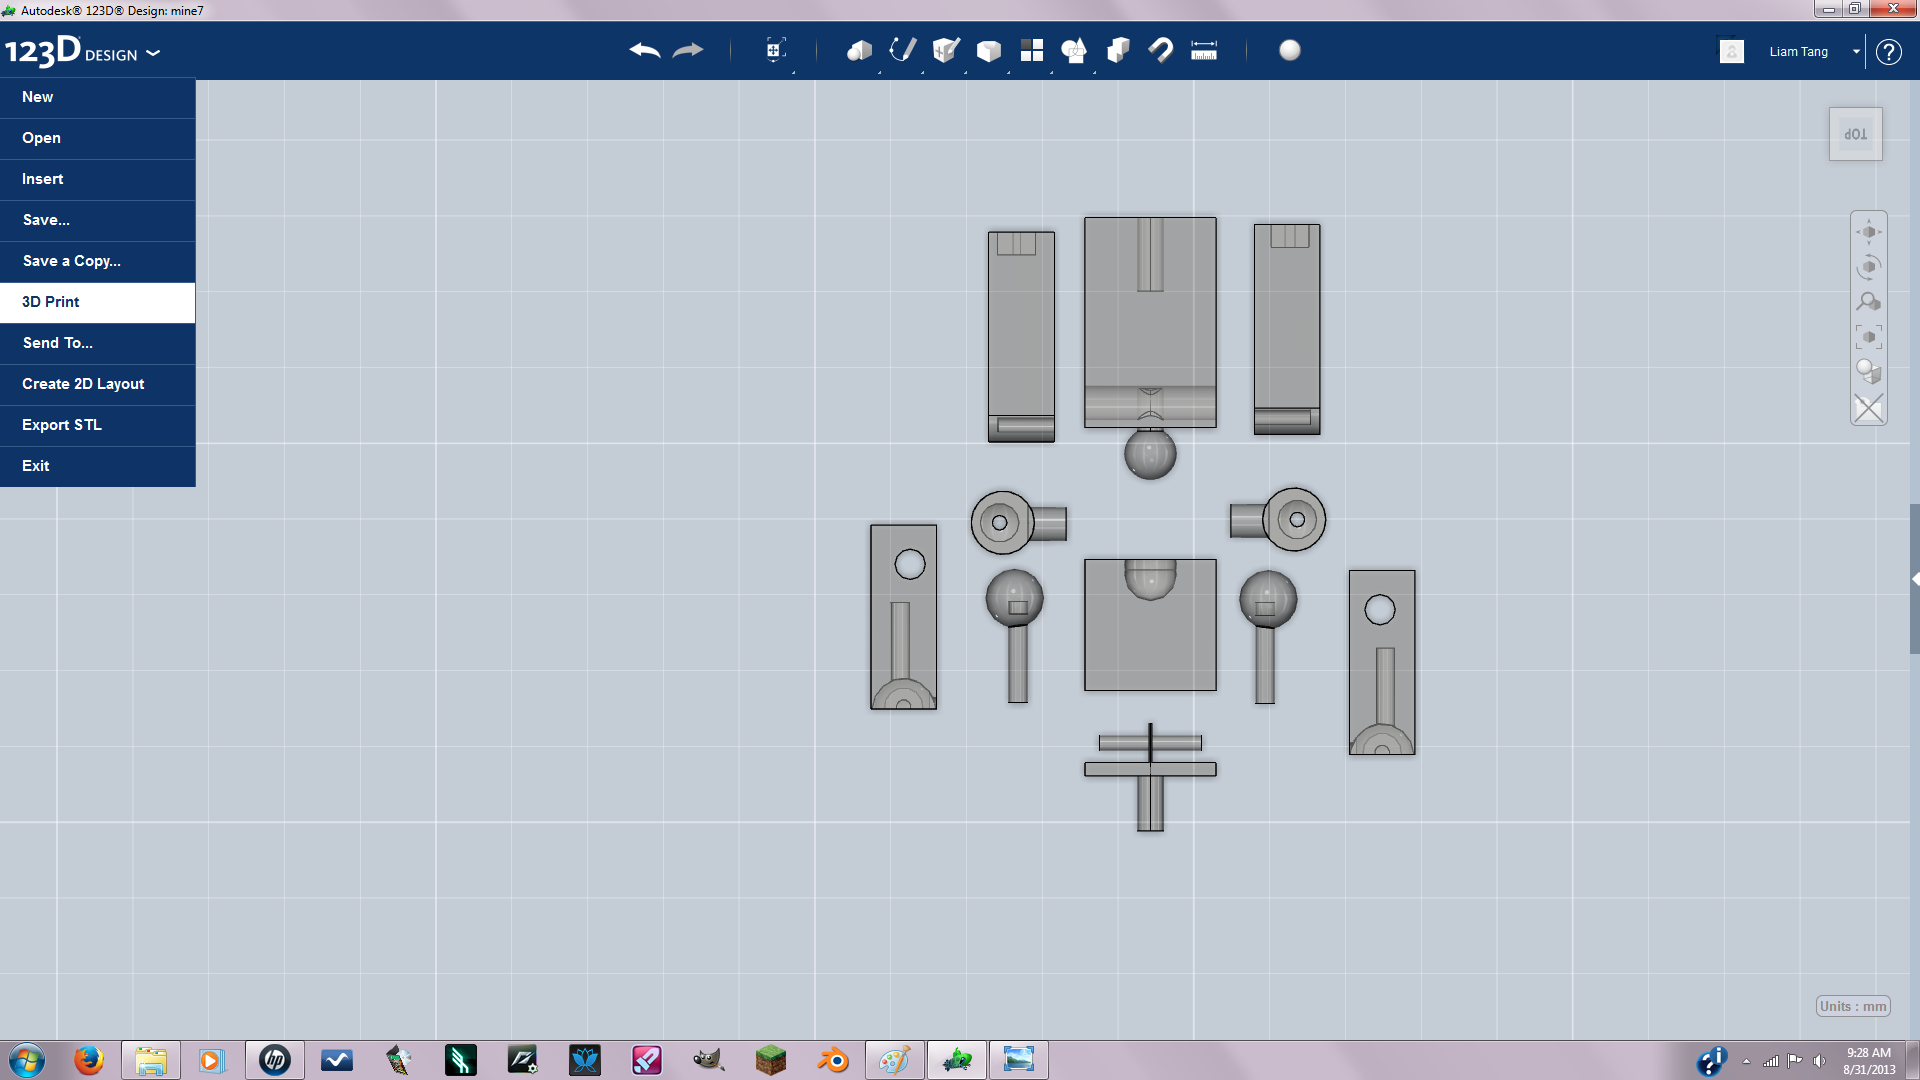
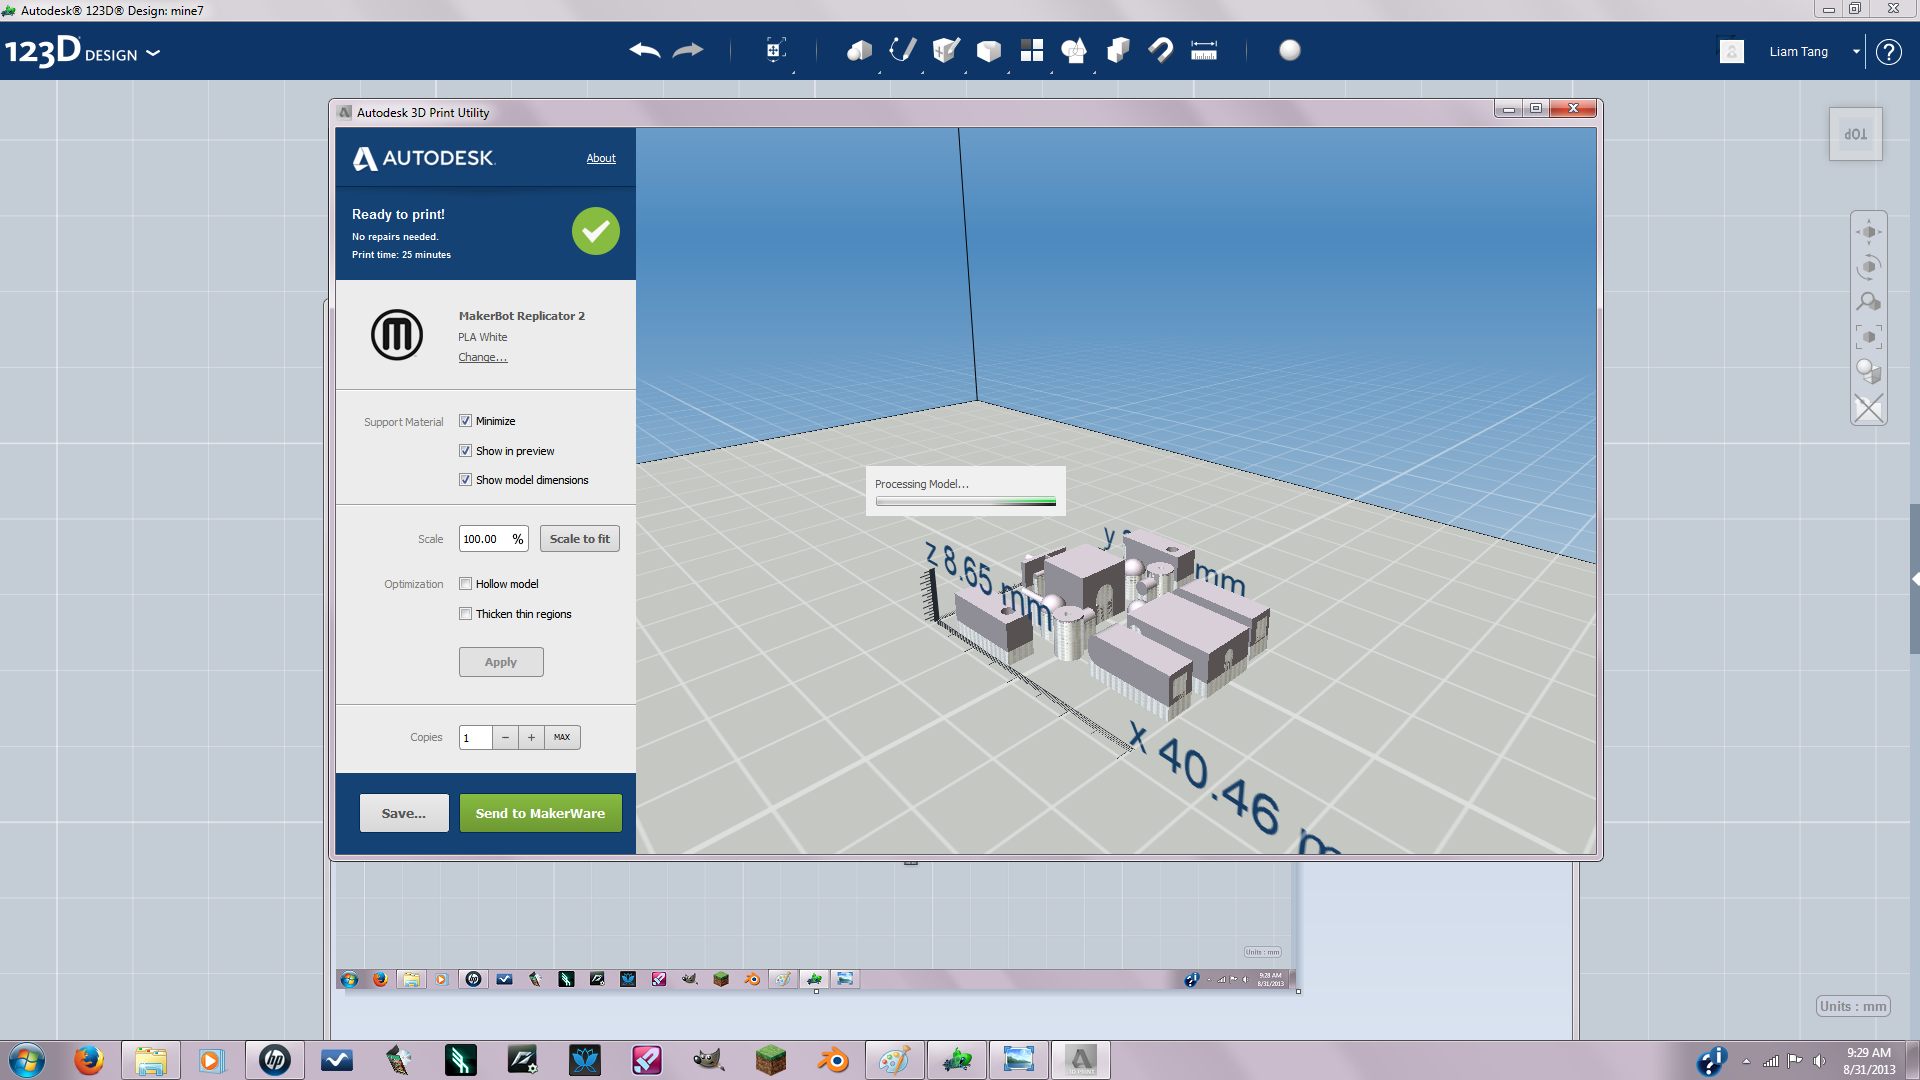
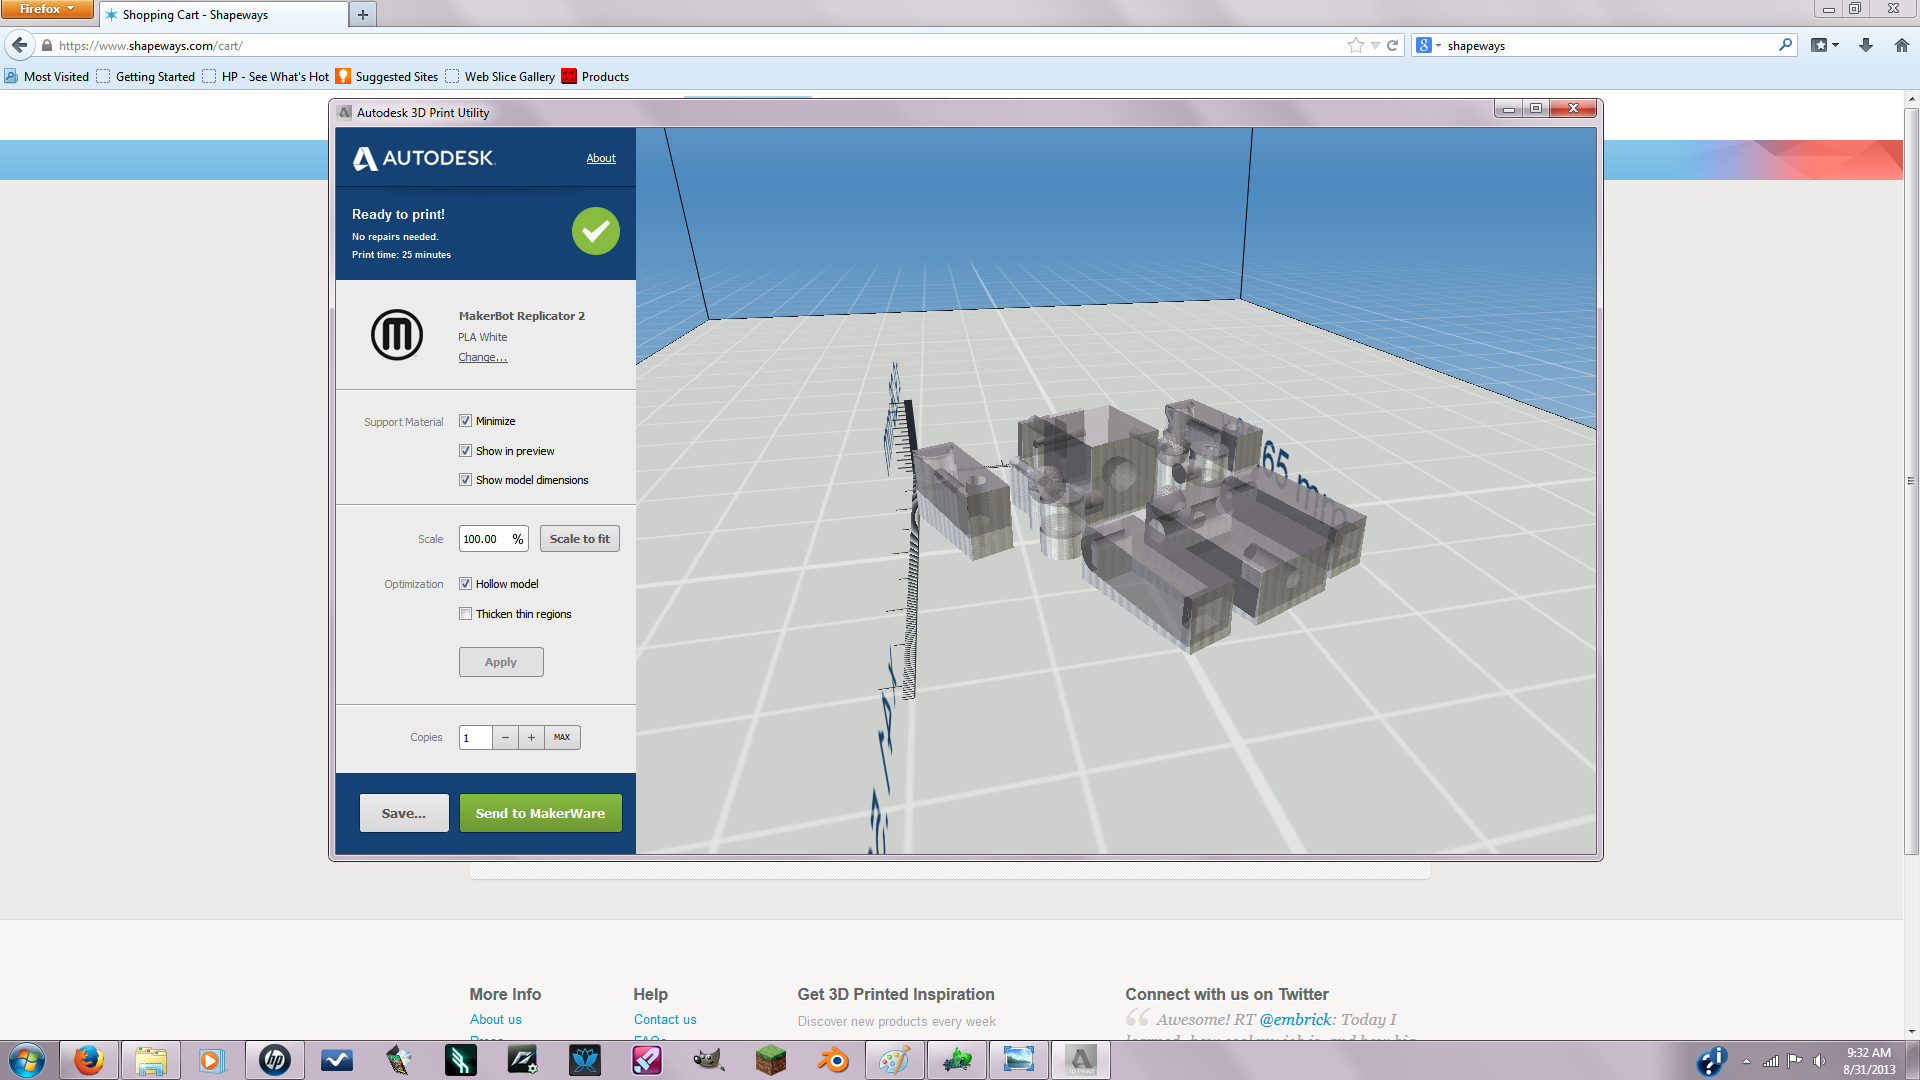
So now I laid all the parts out for printing so they wouldn't fuse when printing.
Sword Time
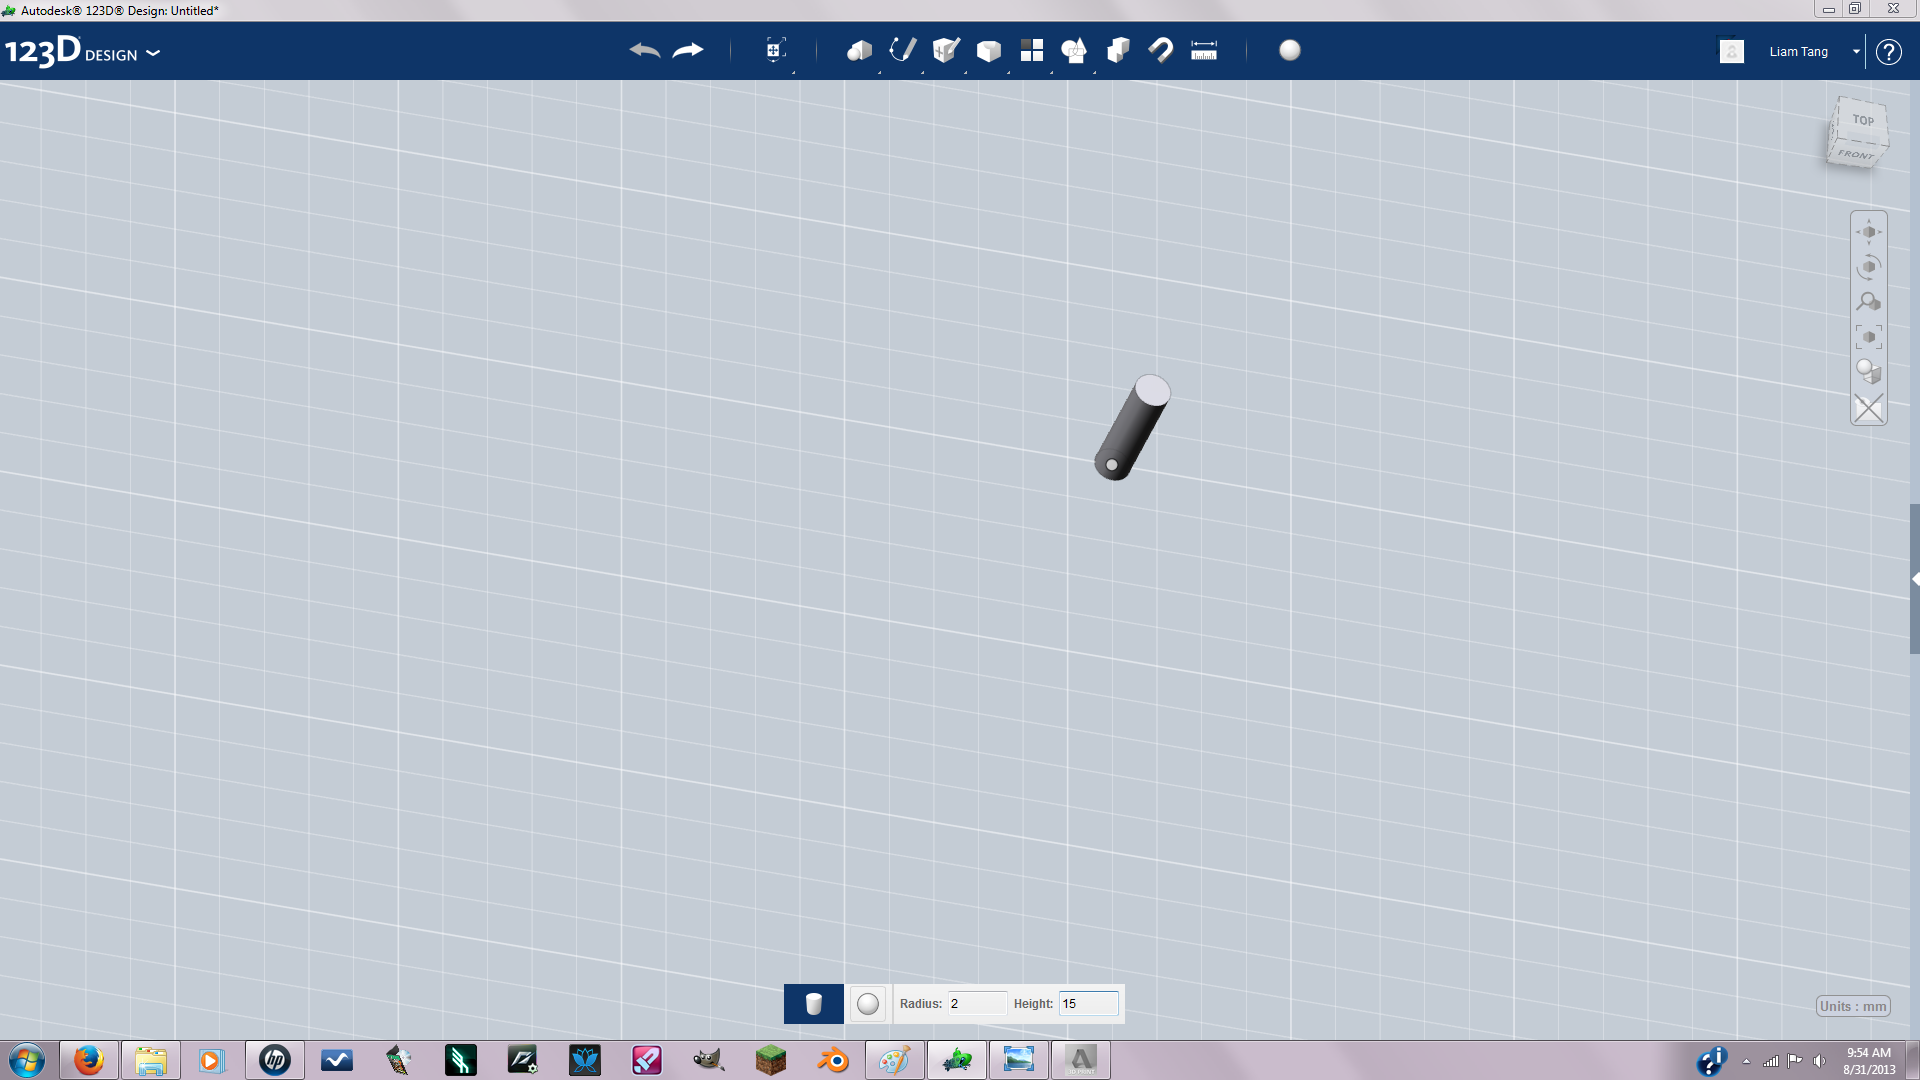
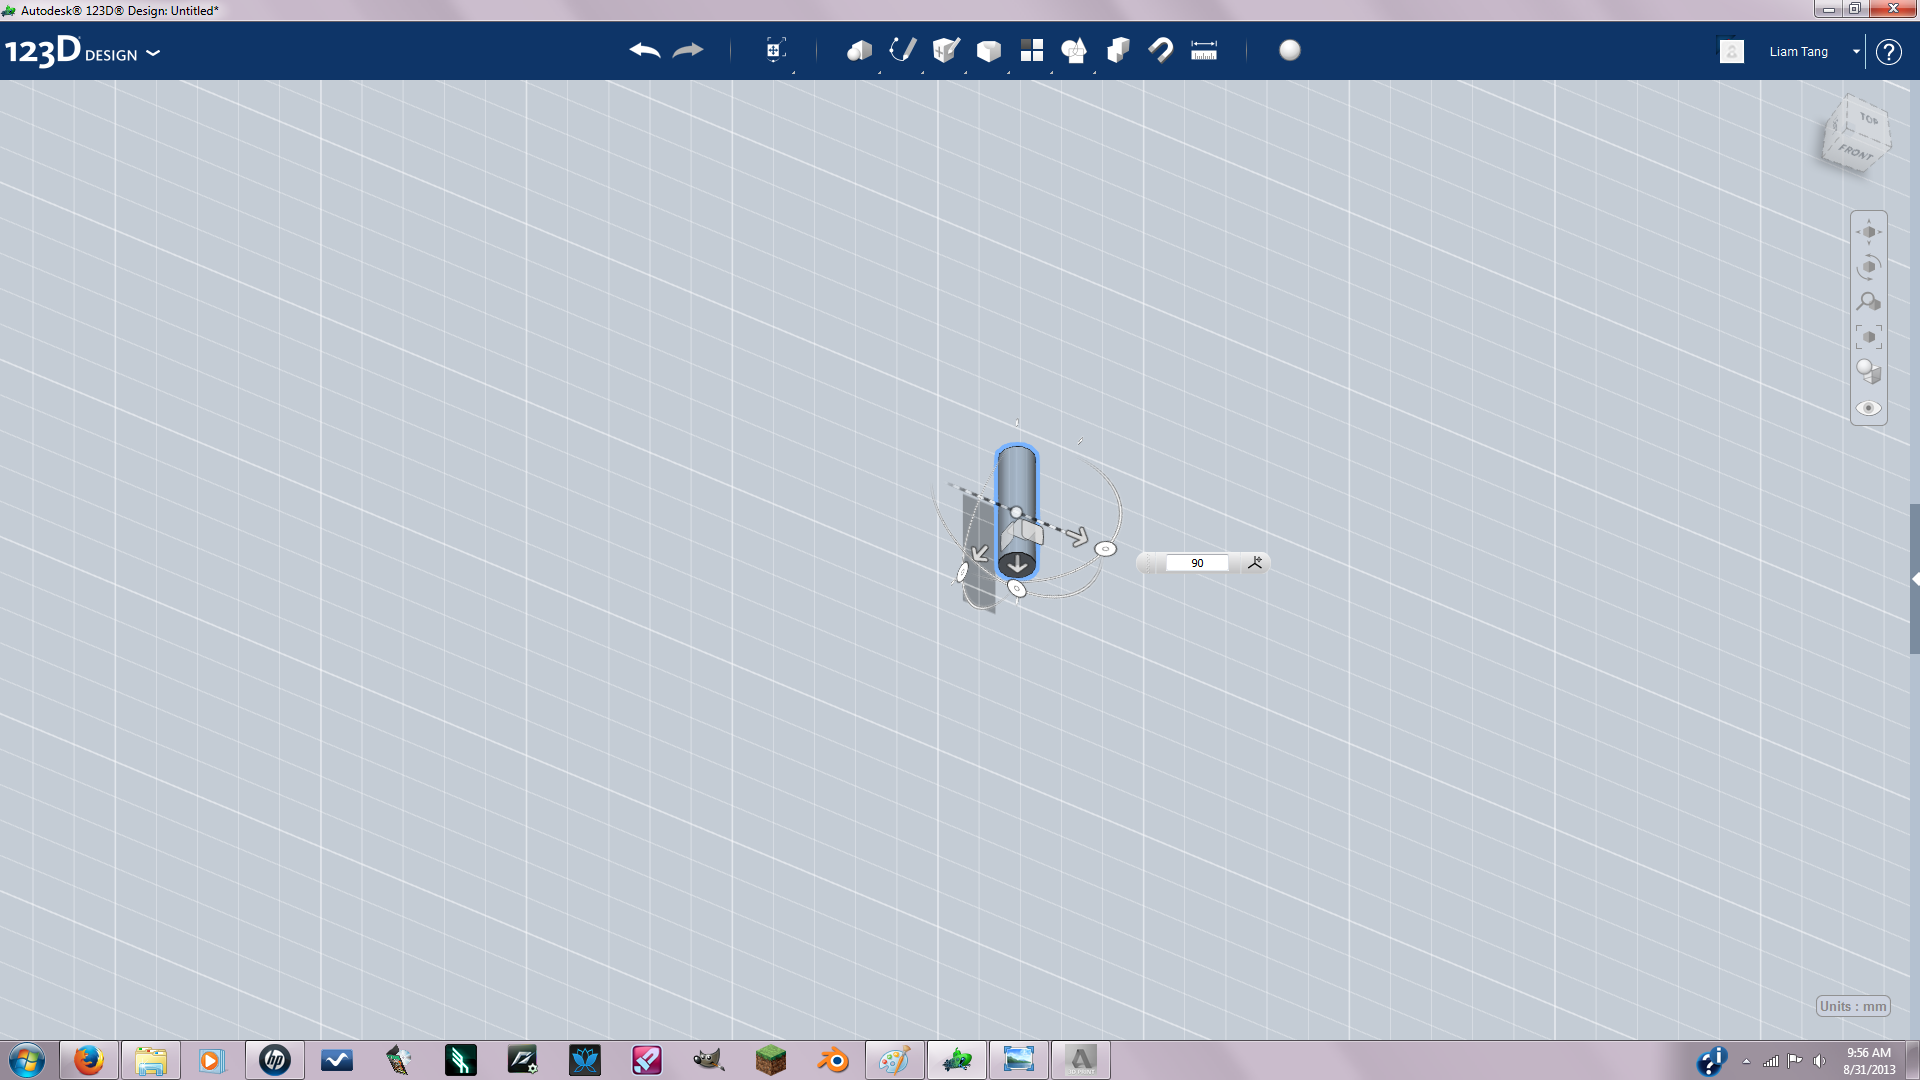
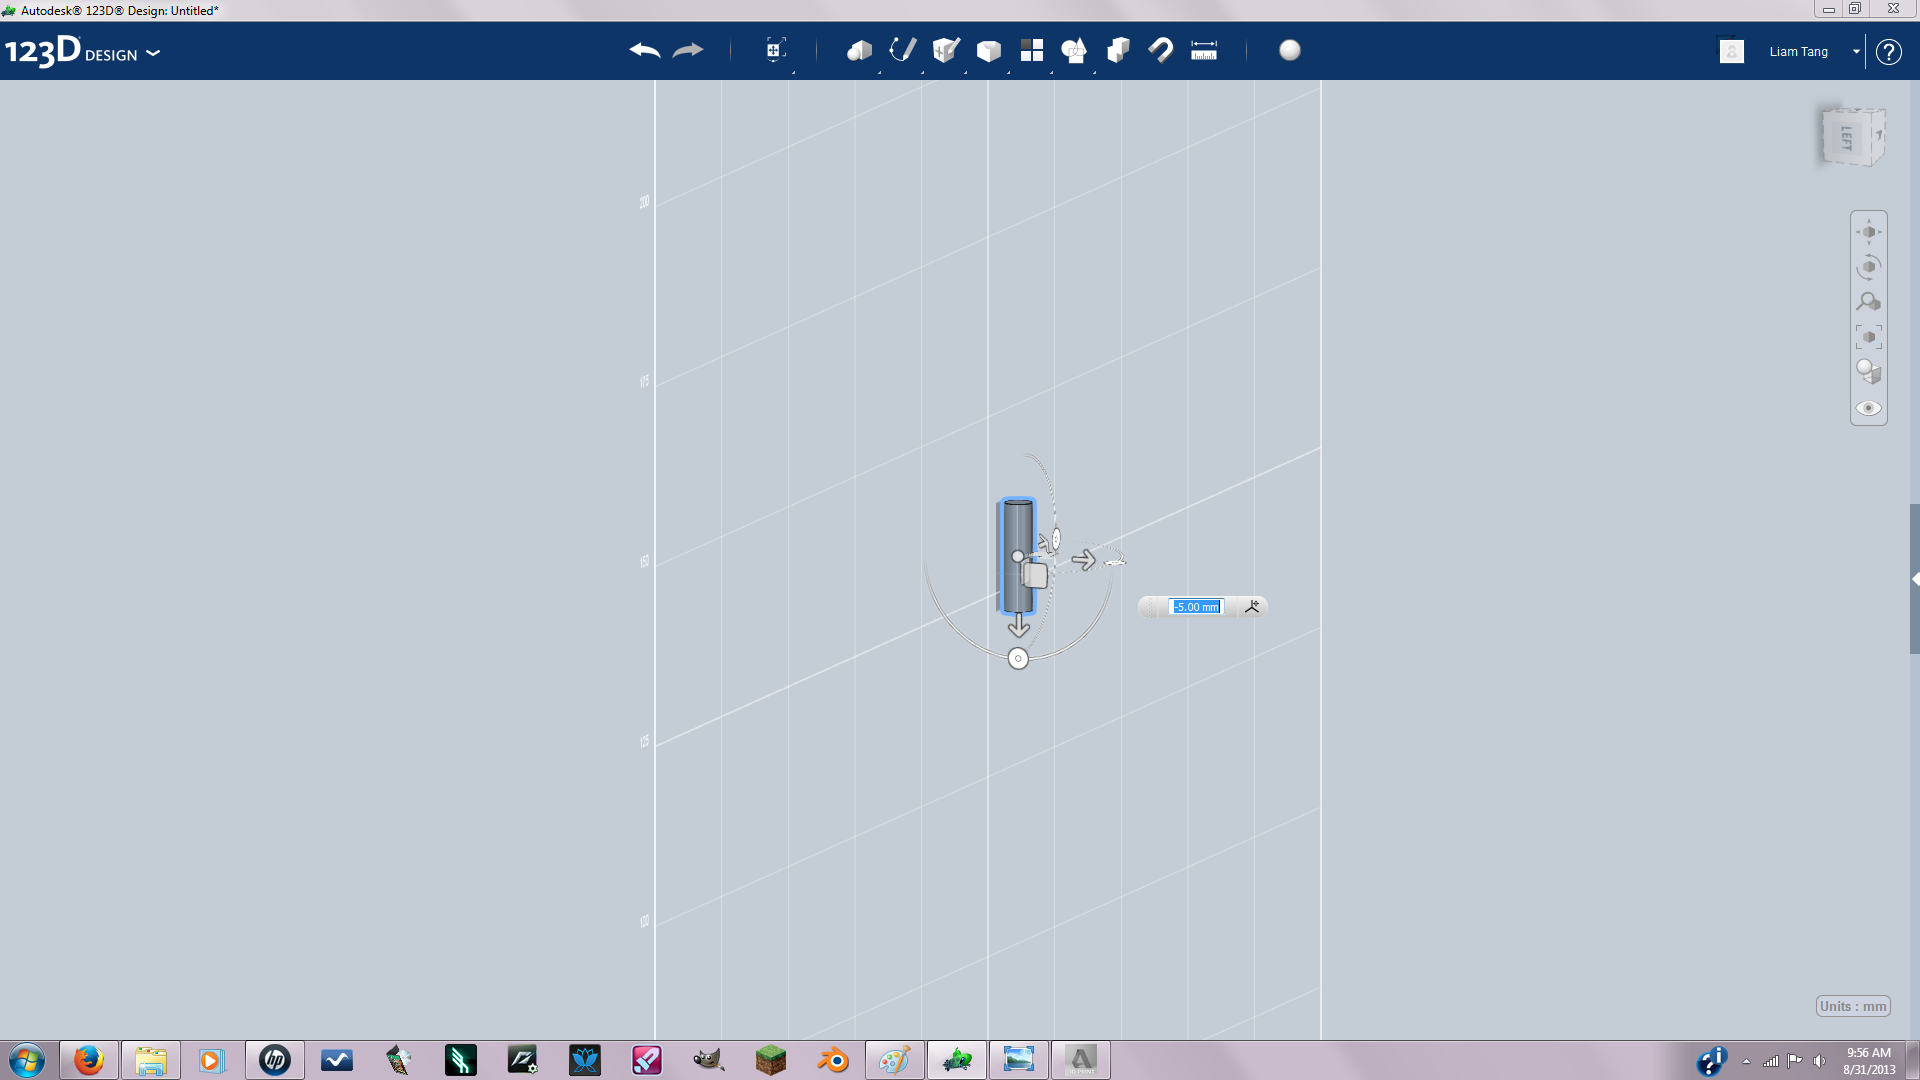
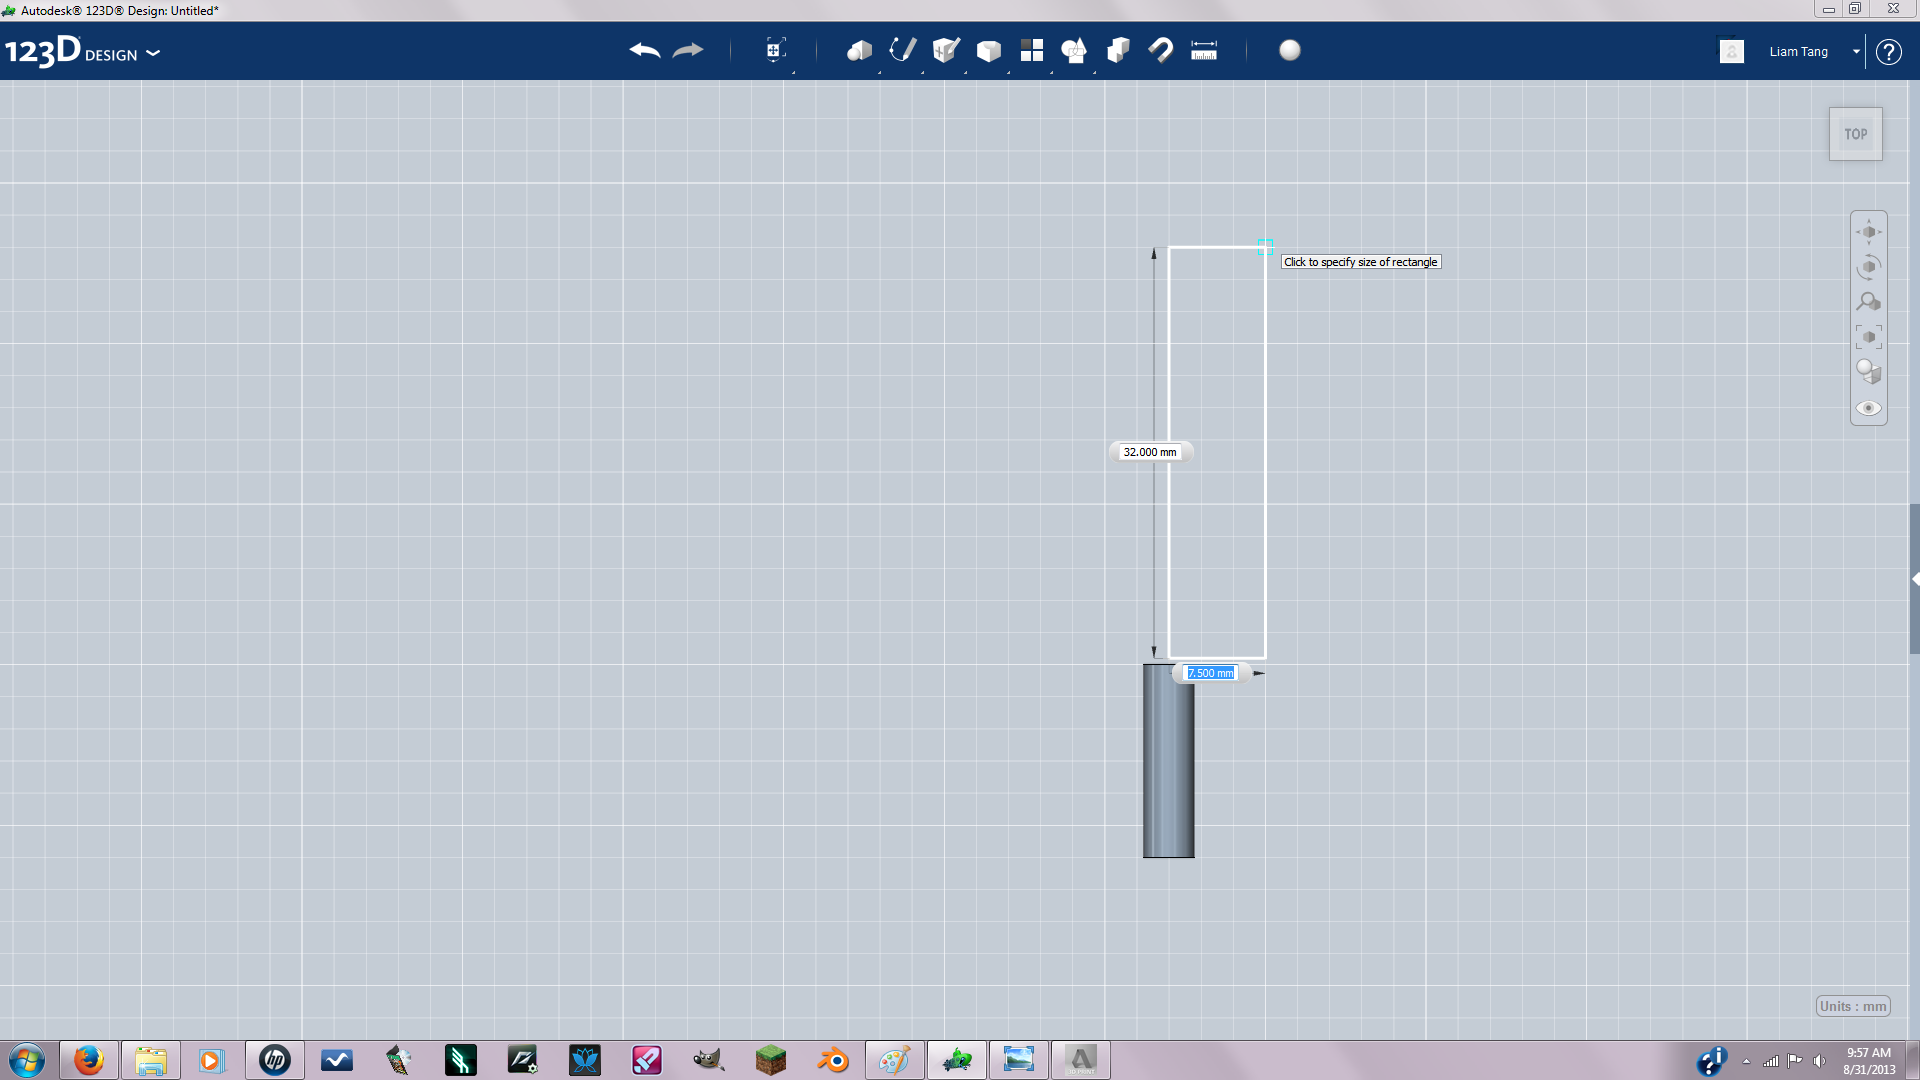
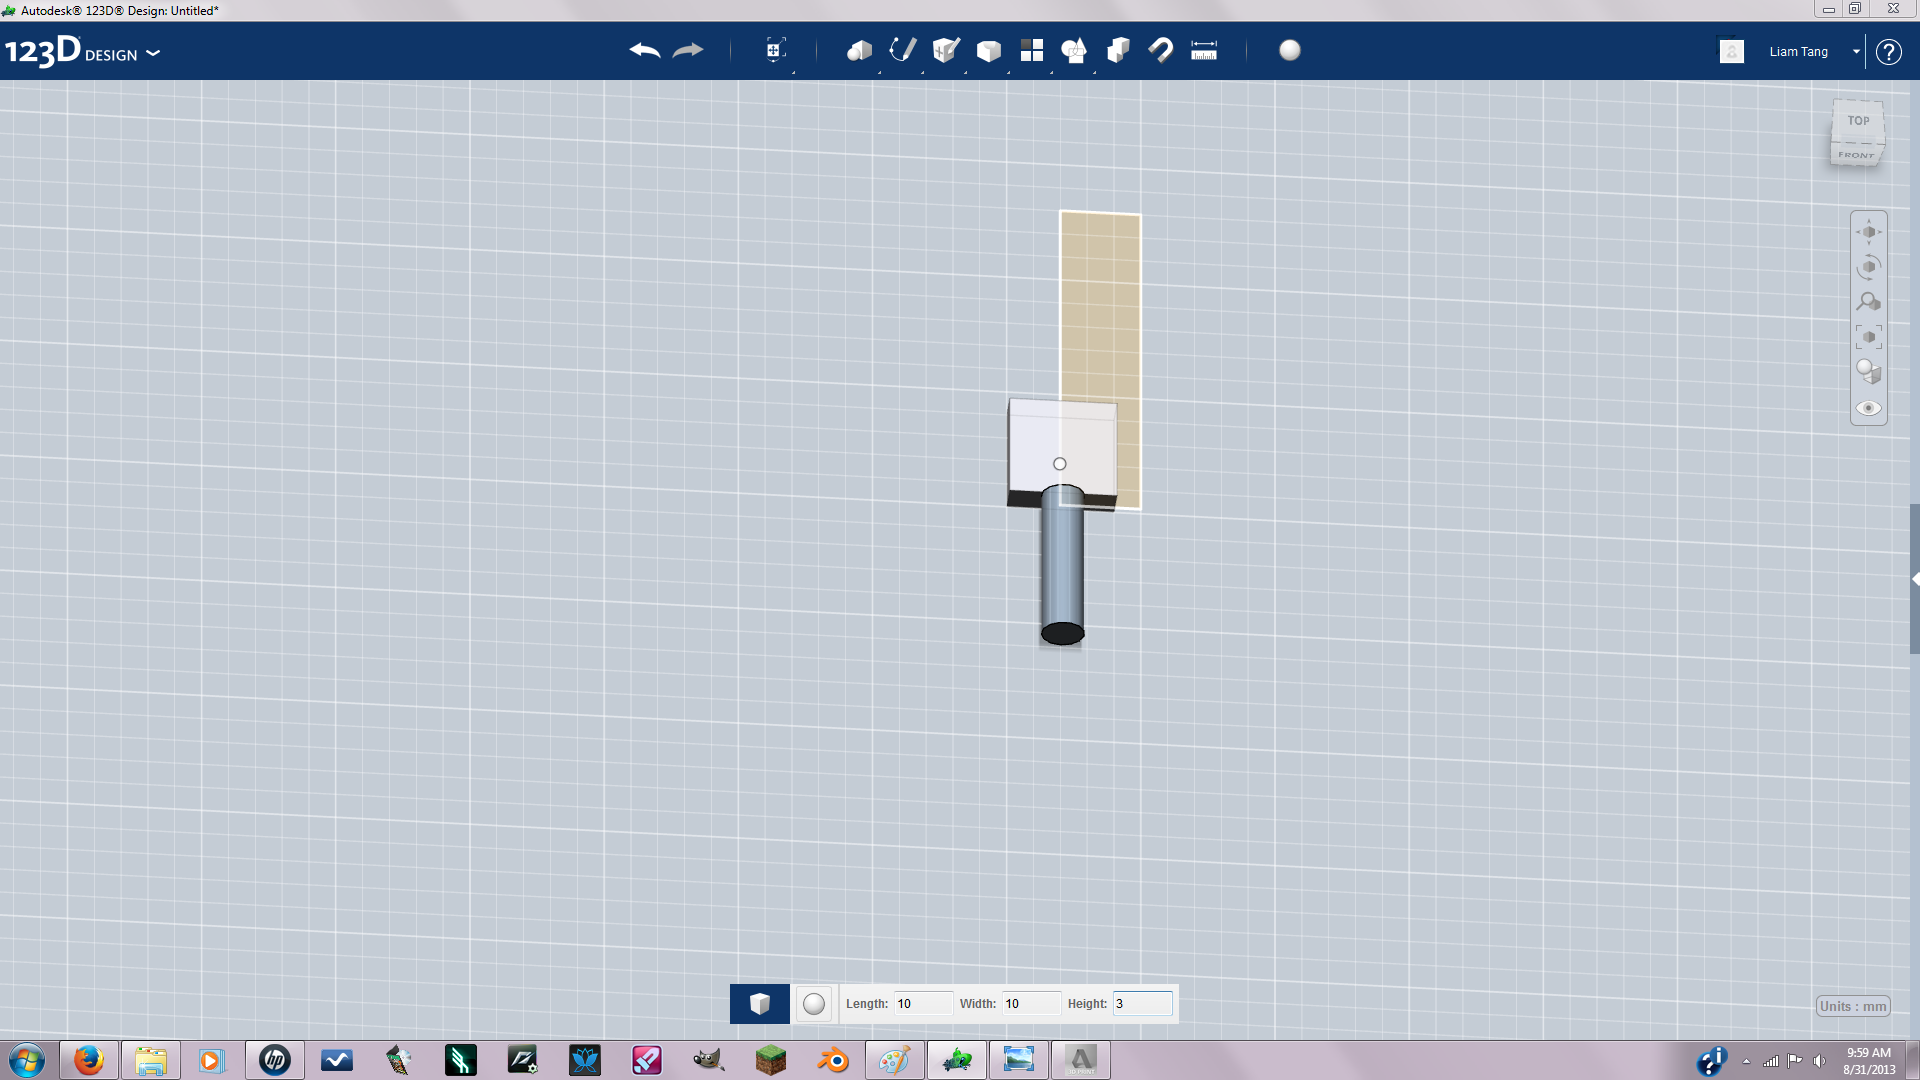
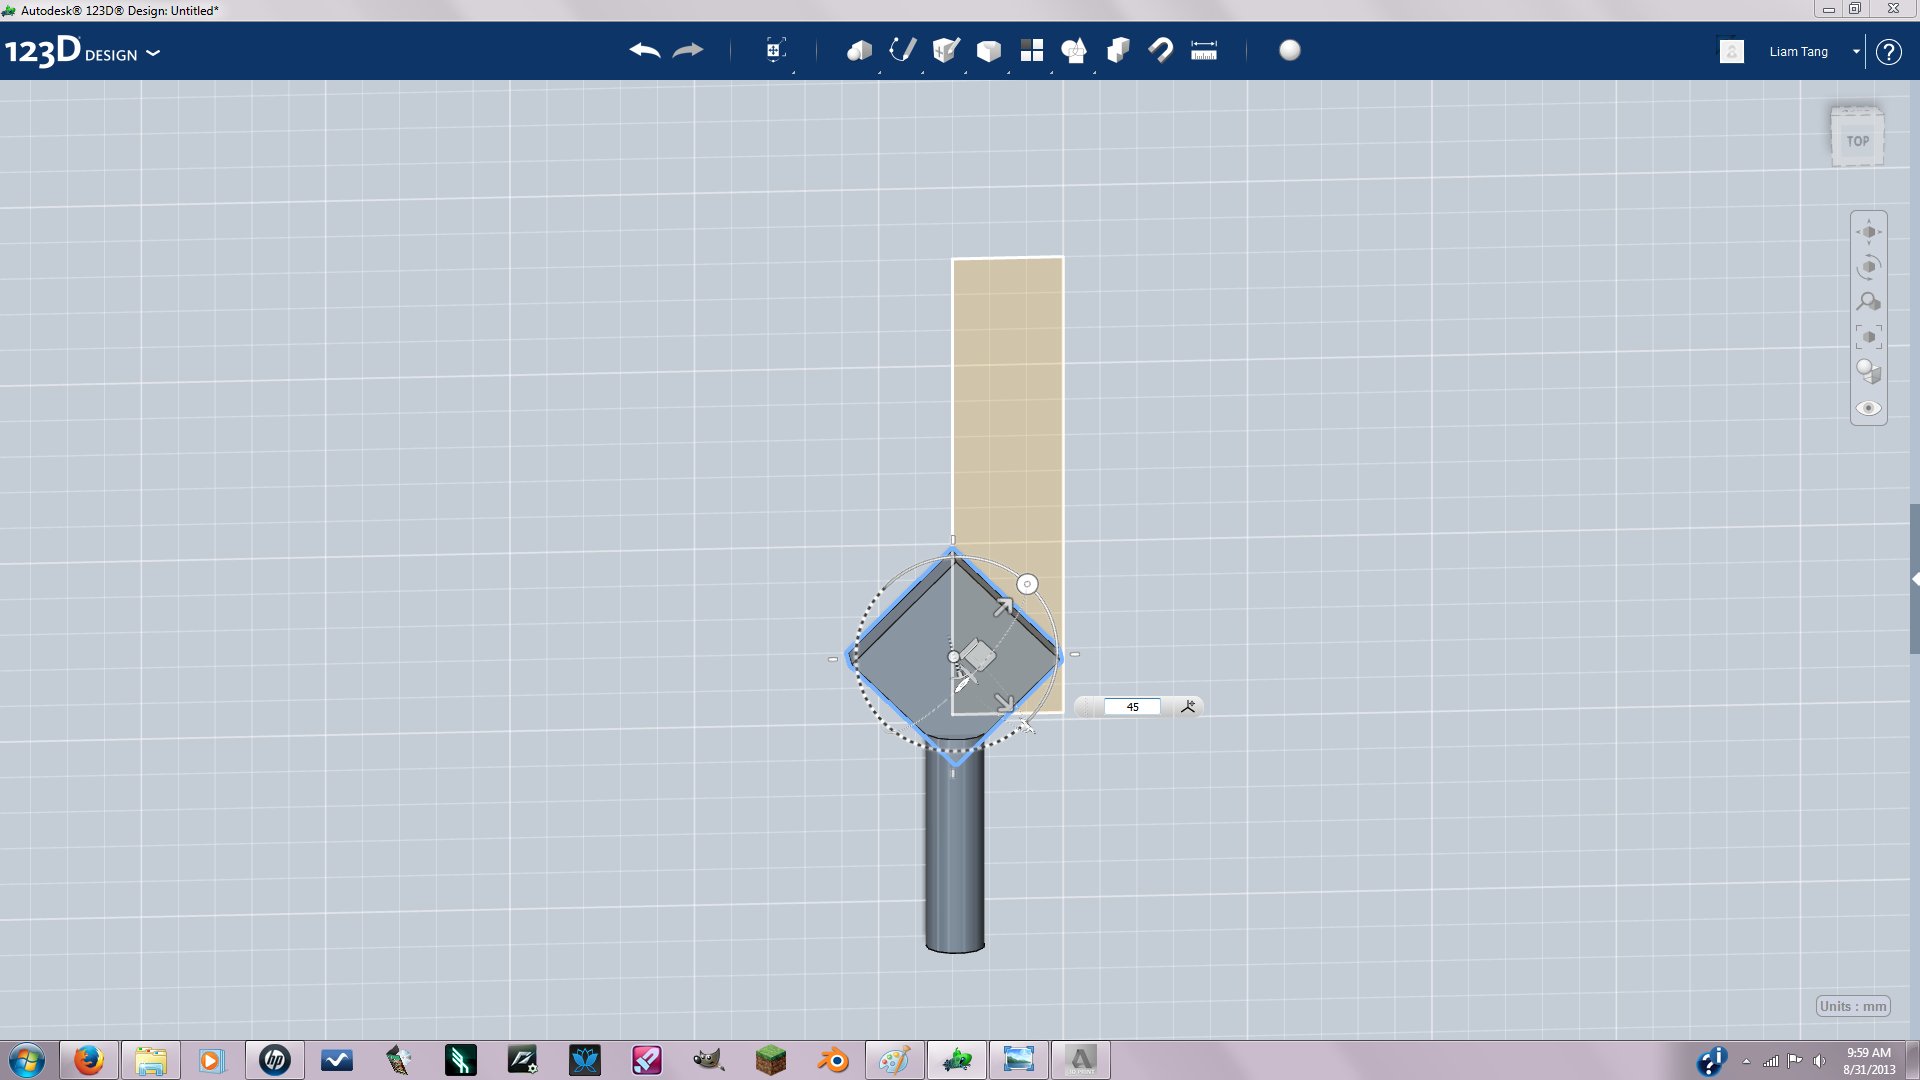
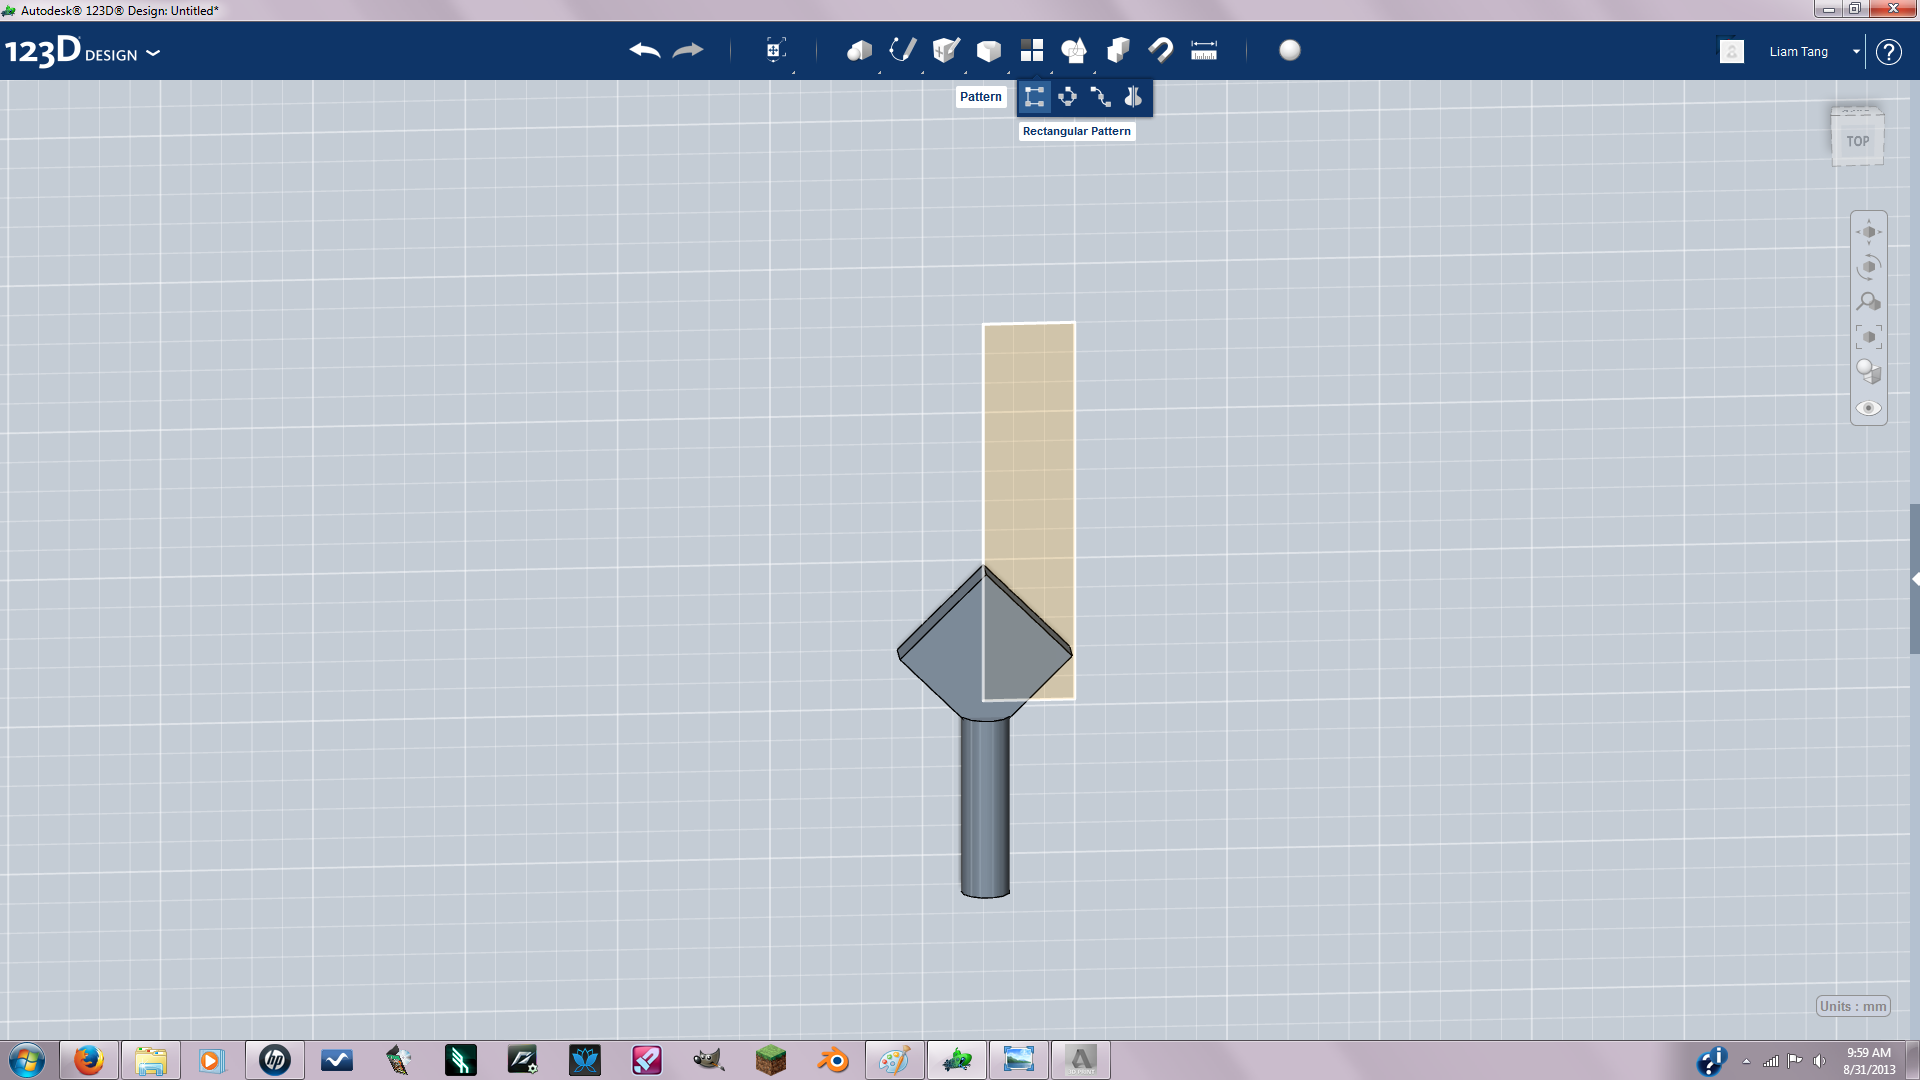
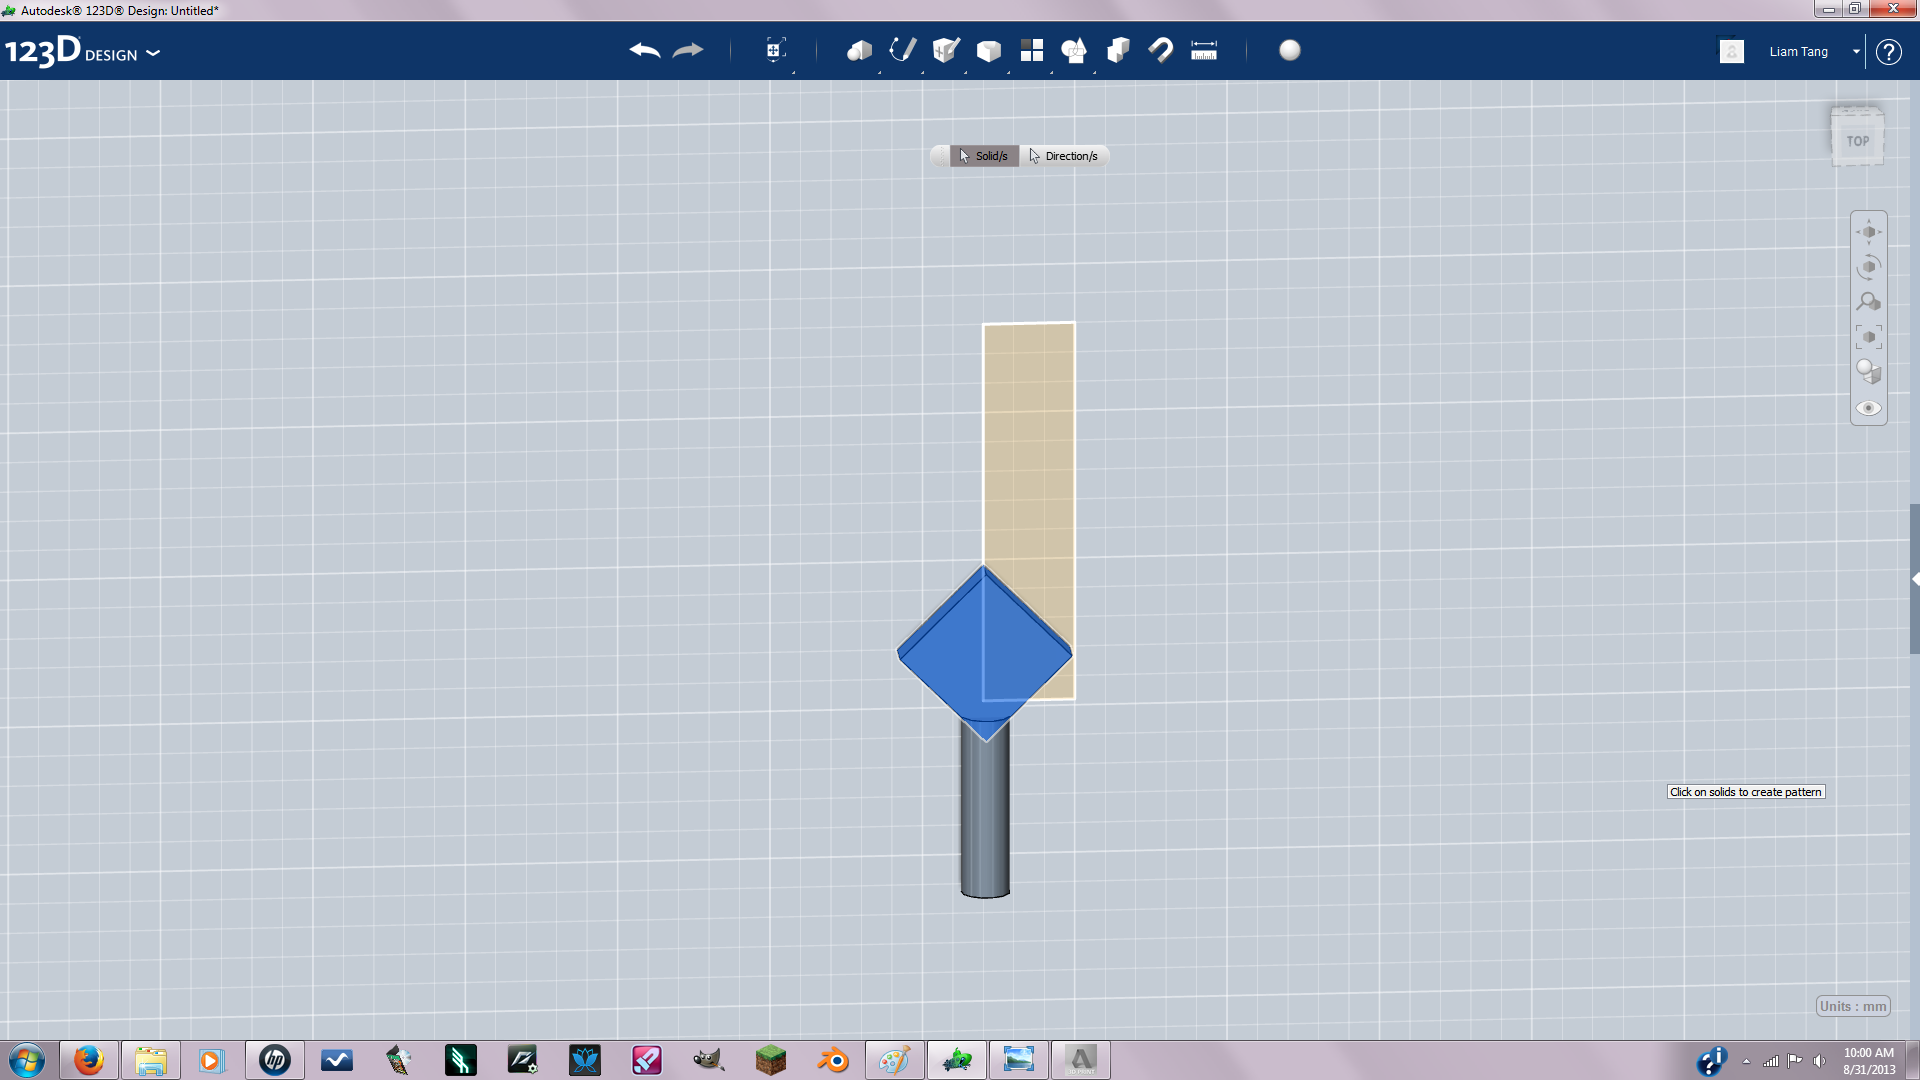
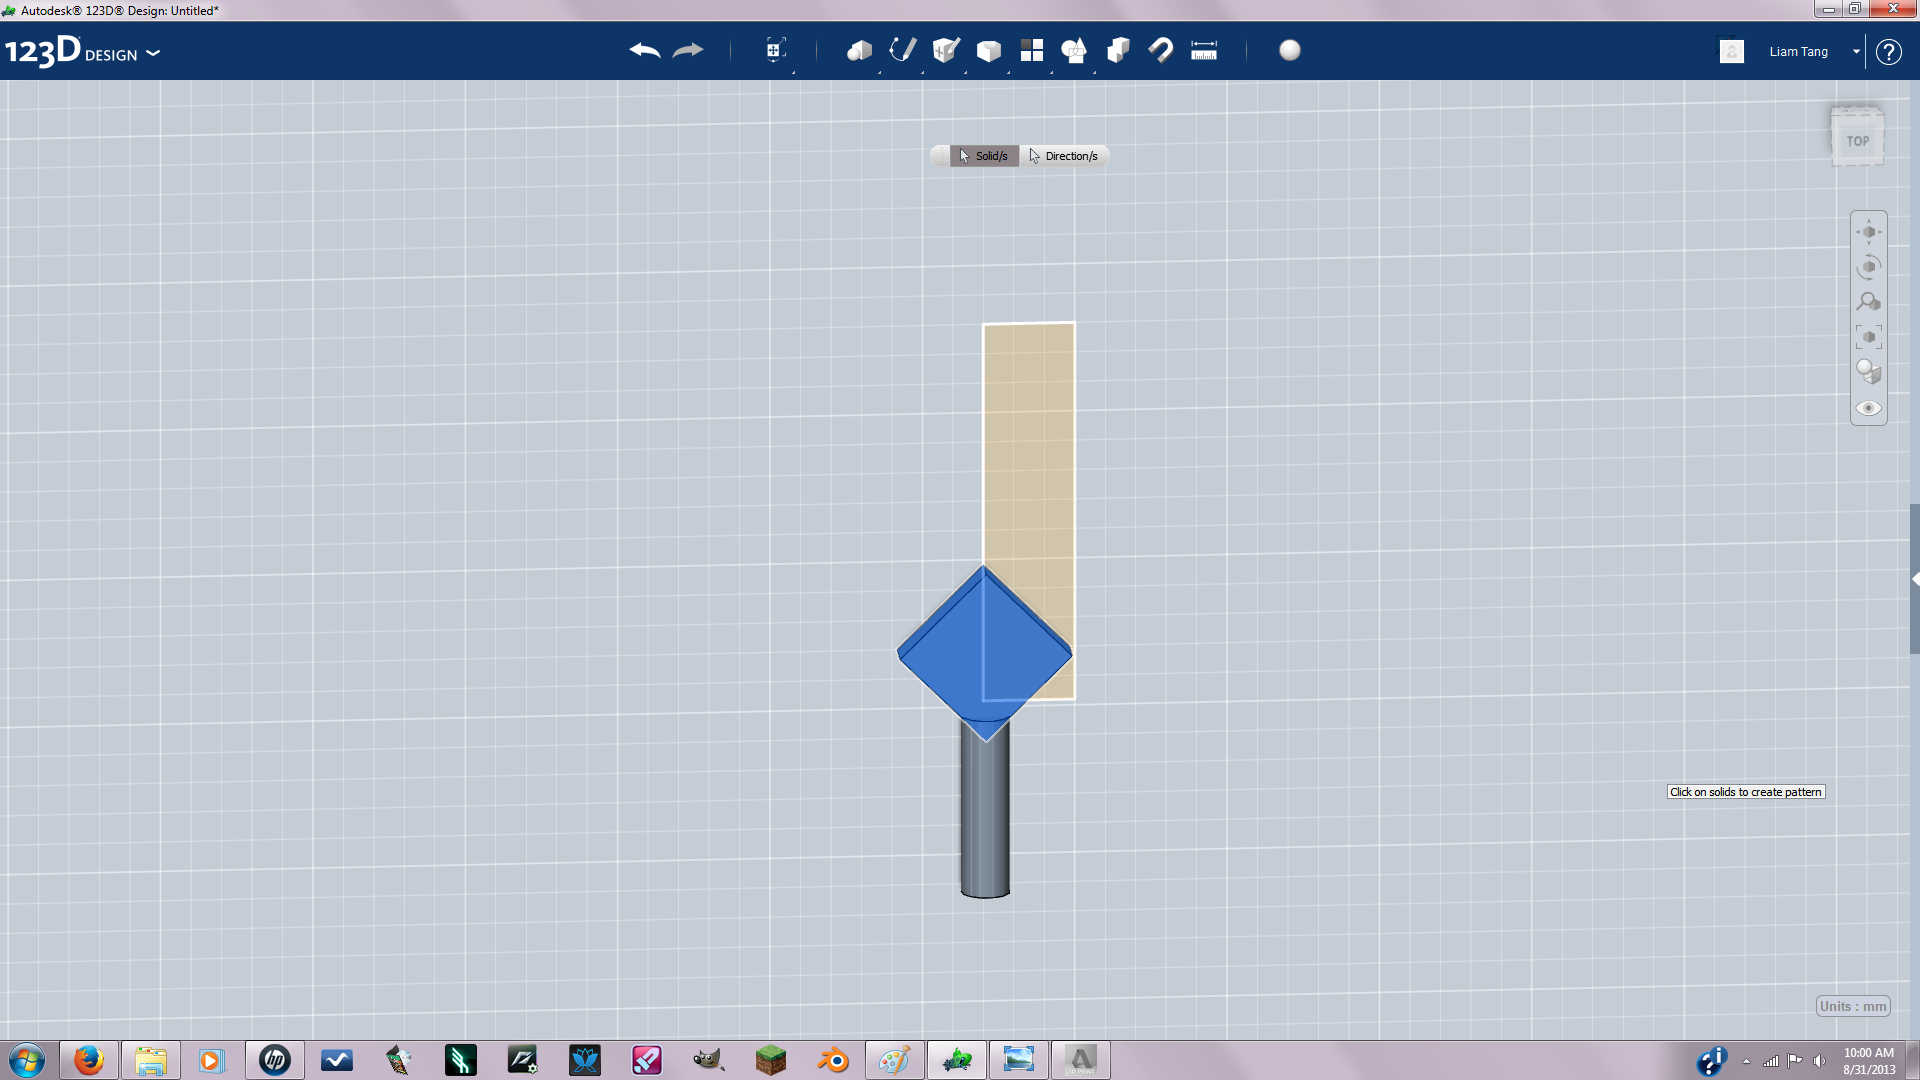
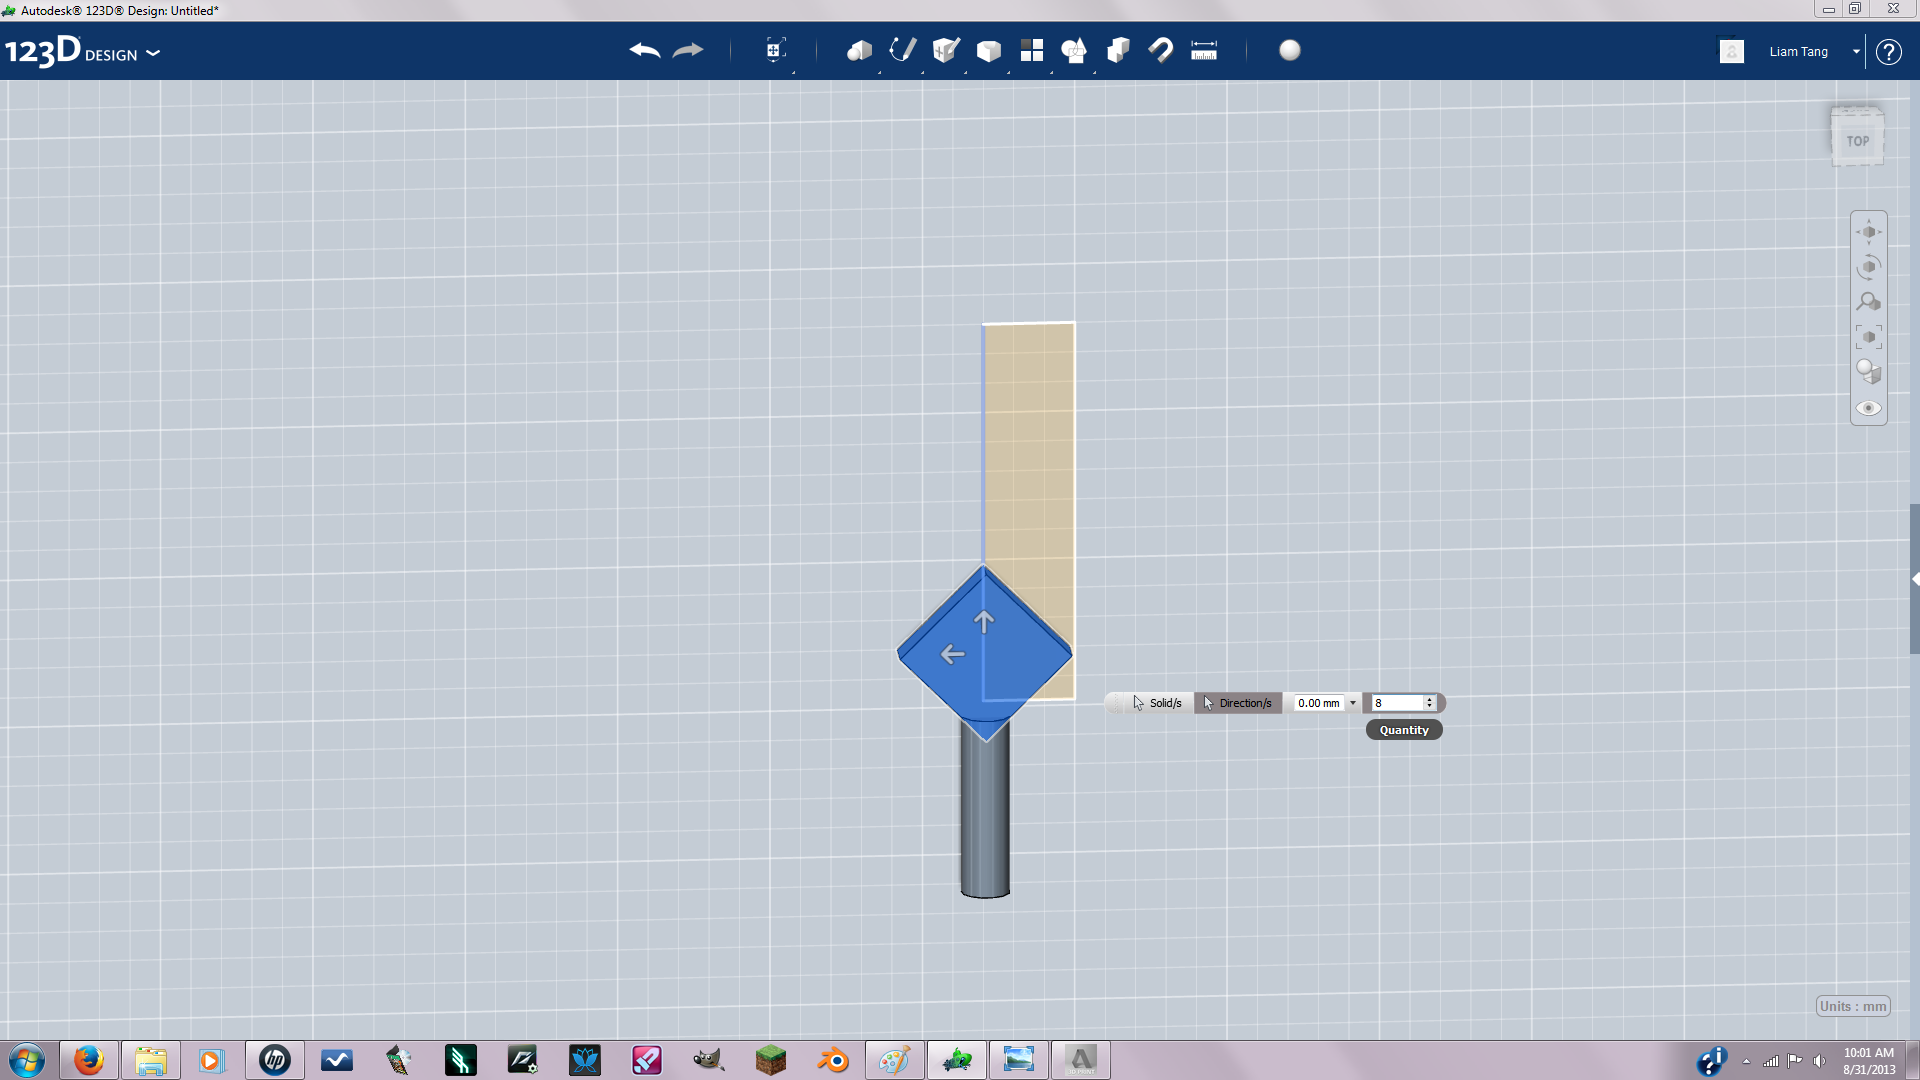
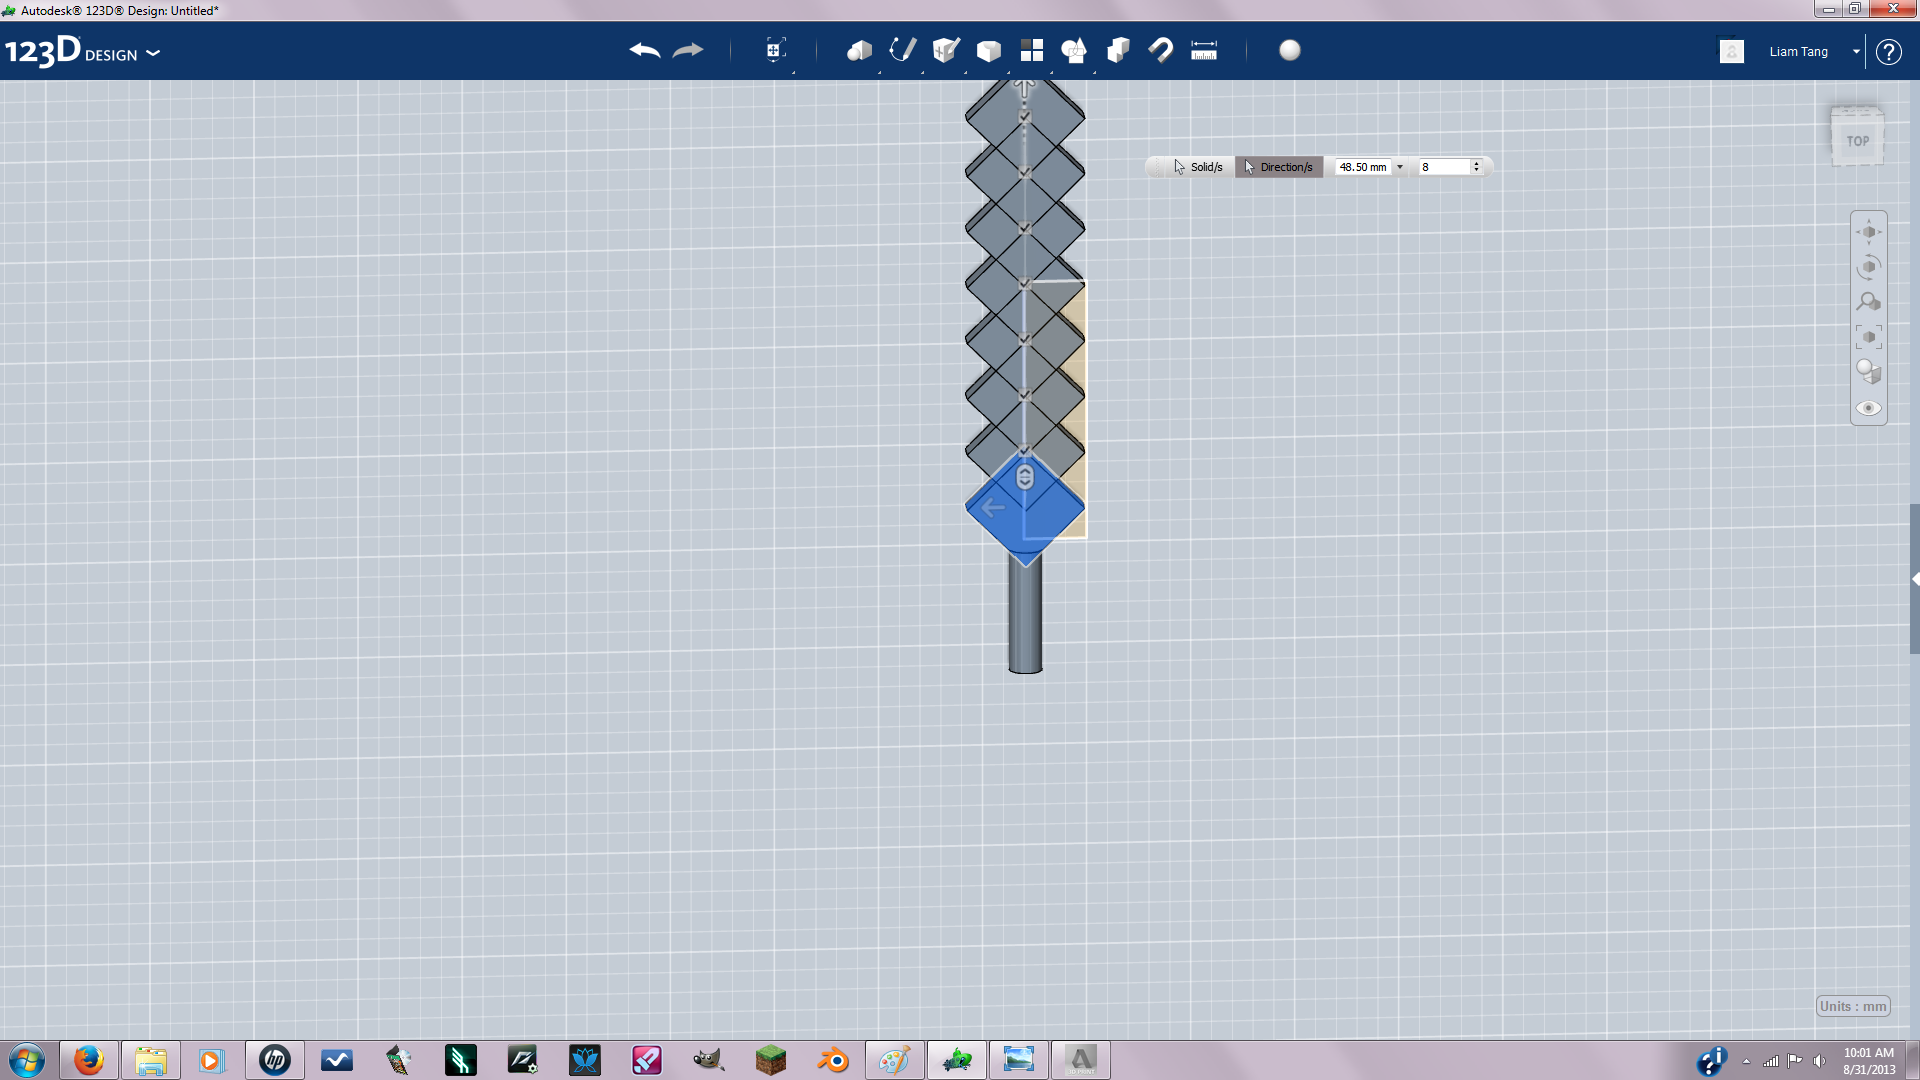
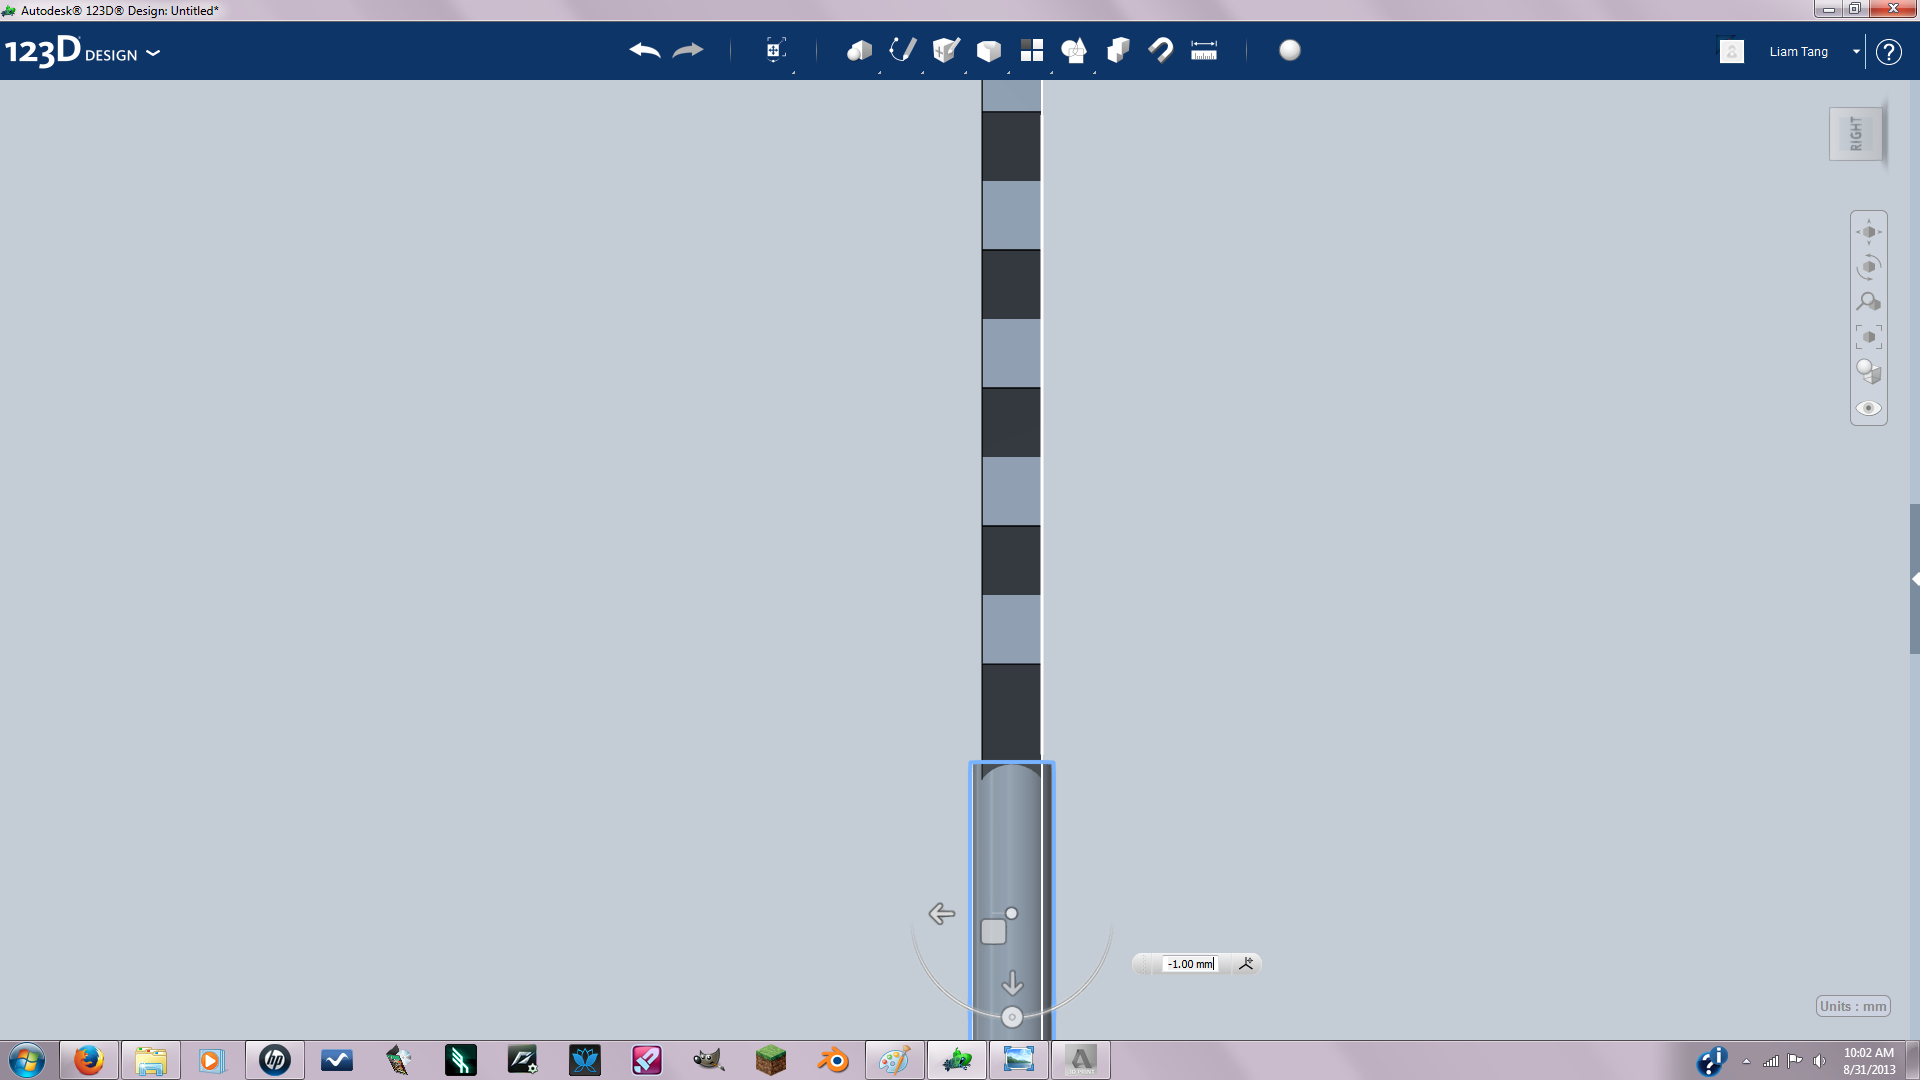
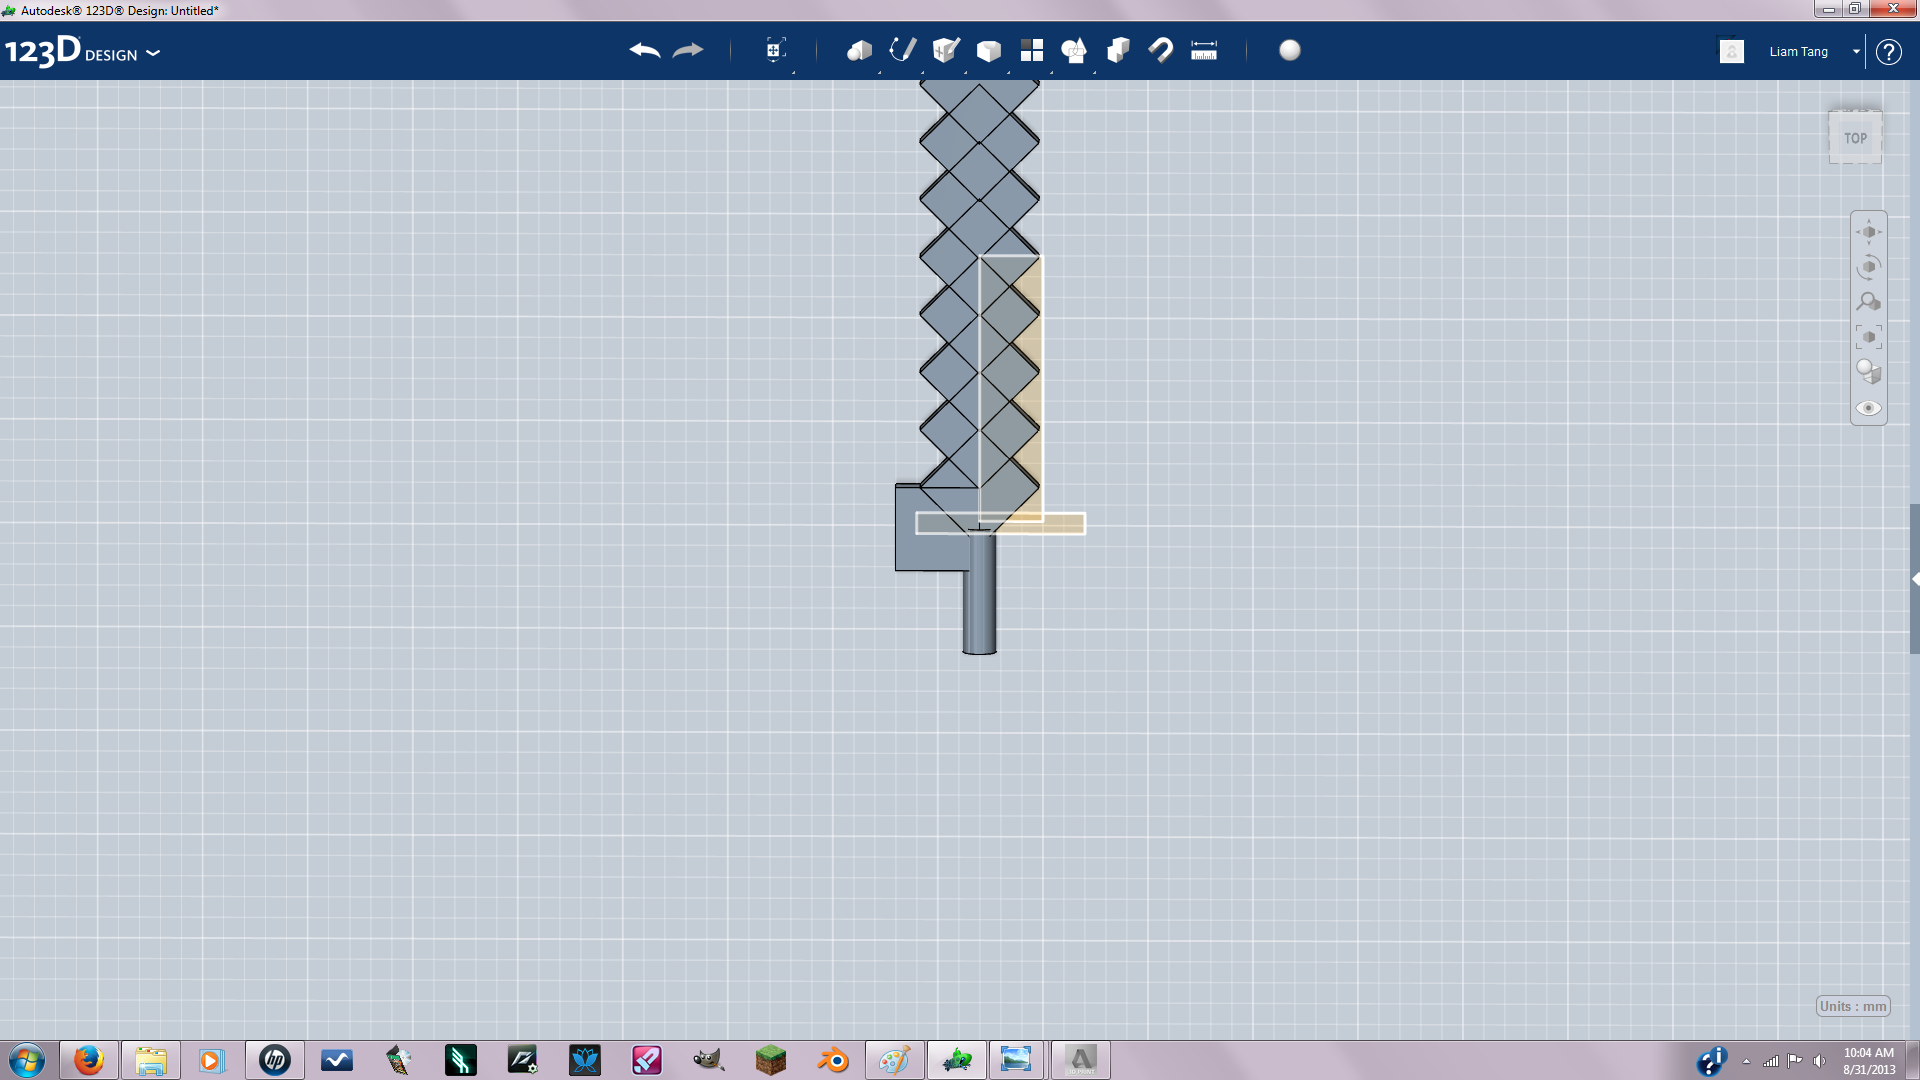
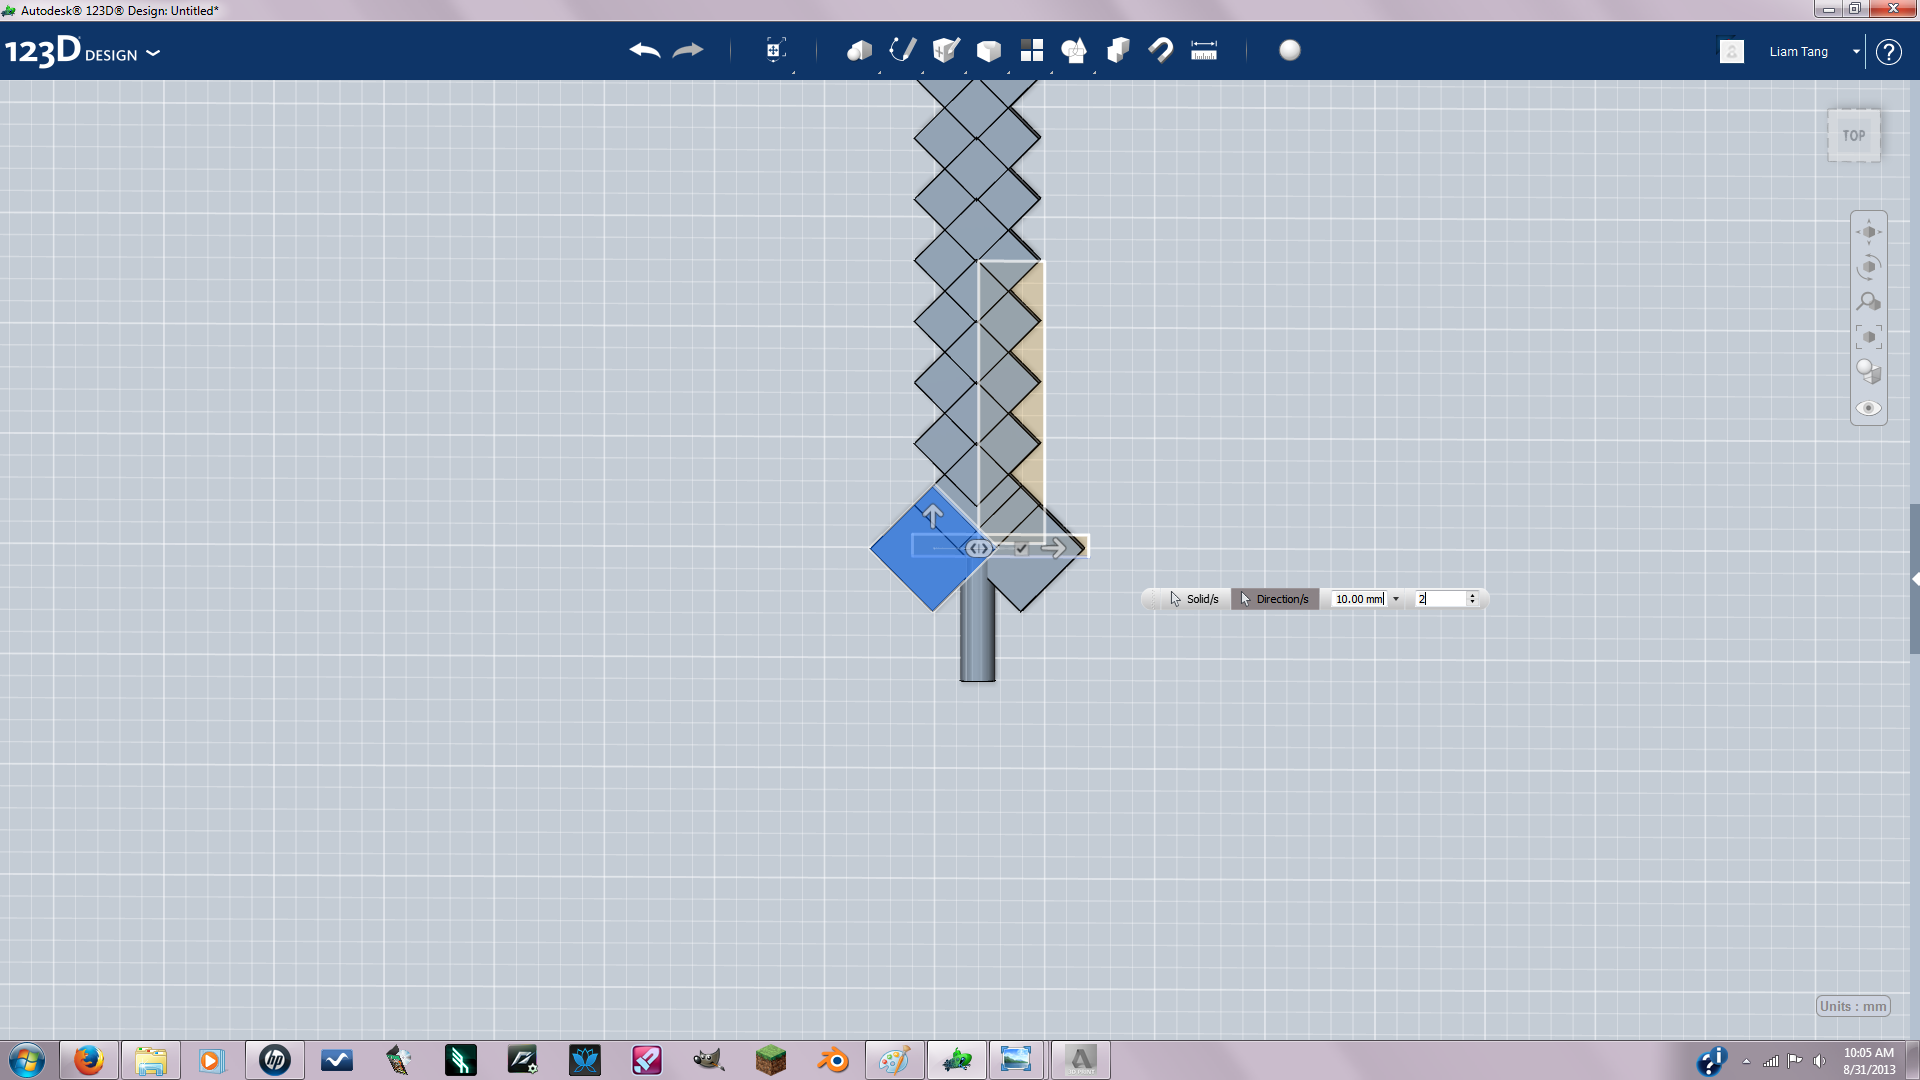
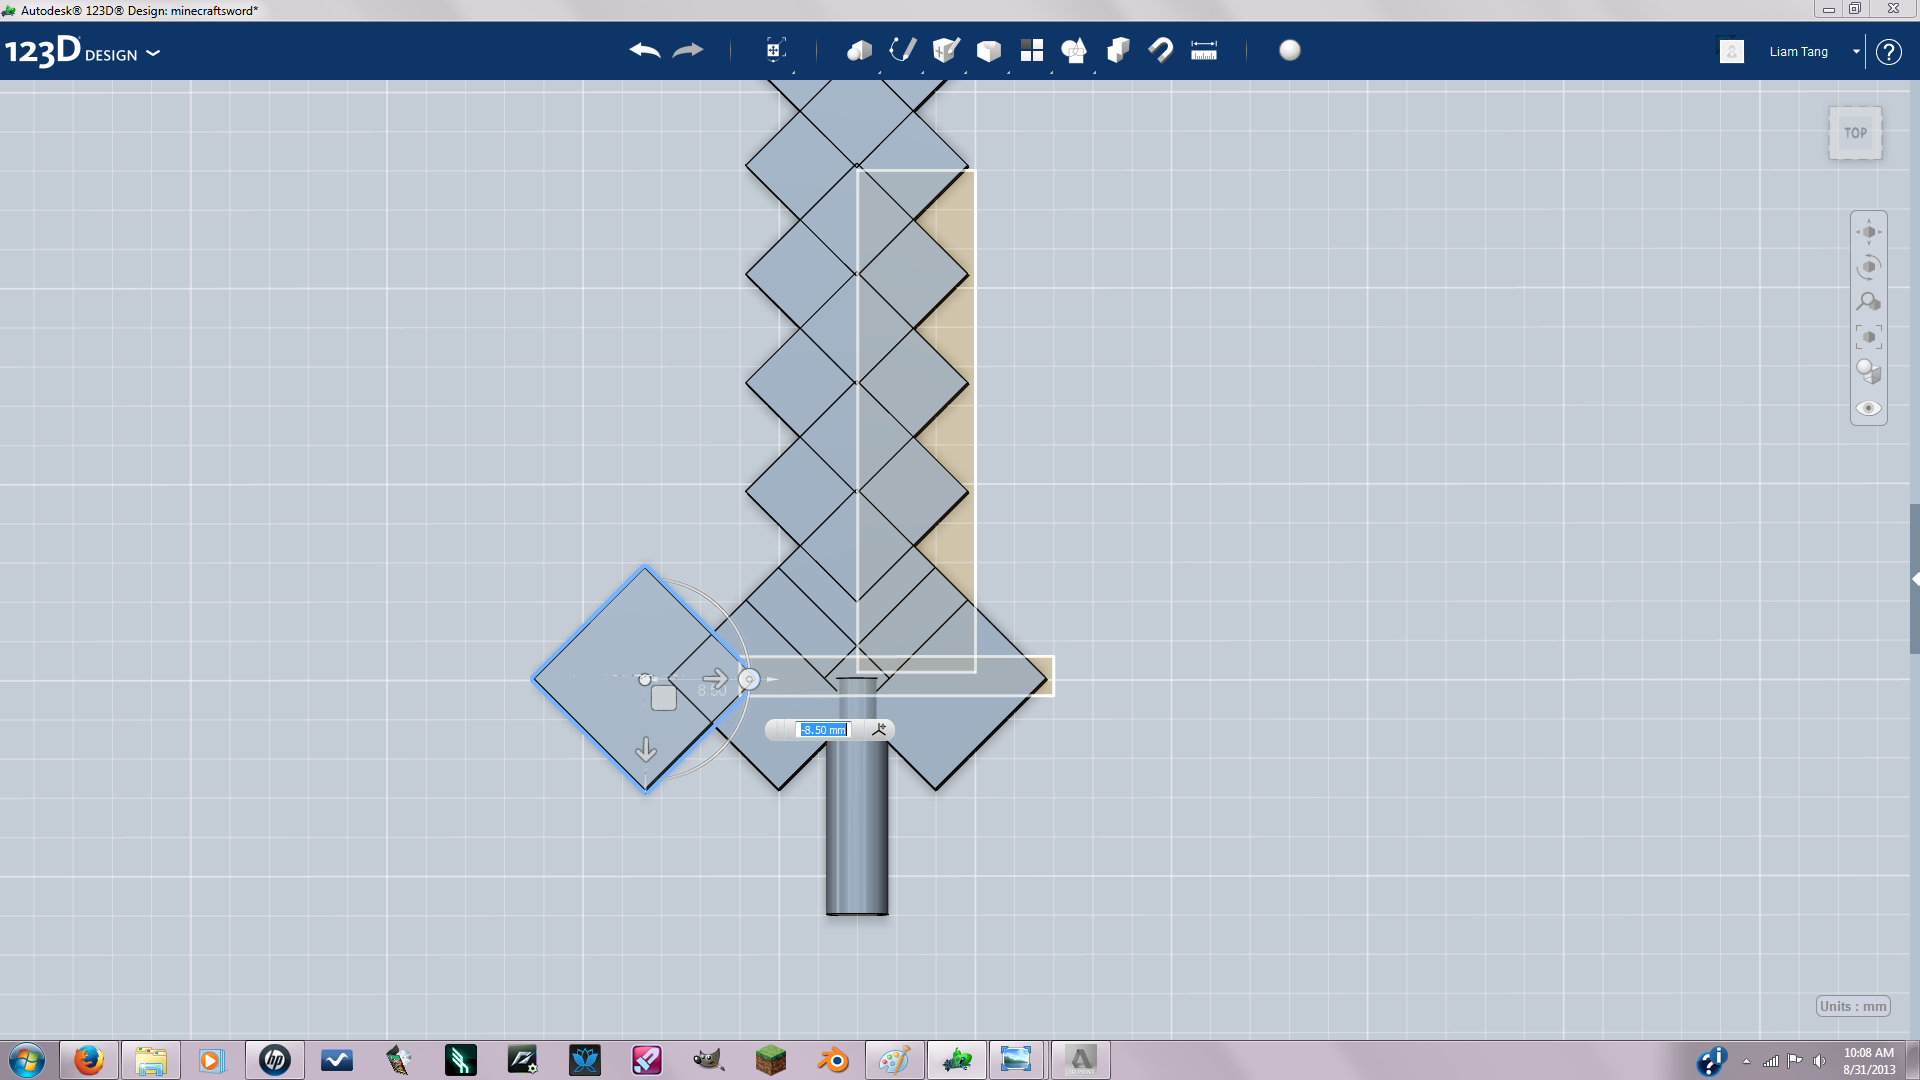
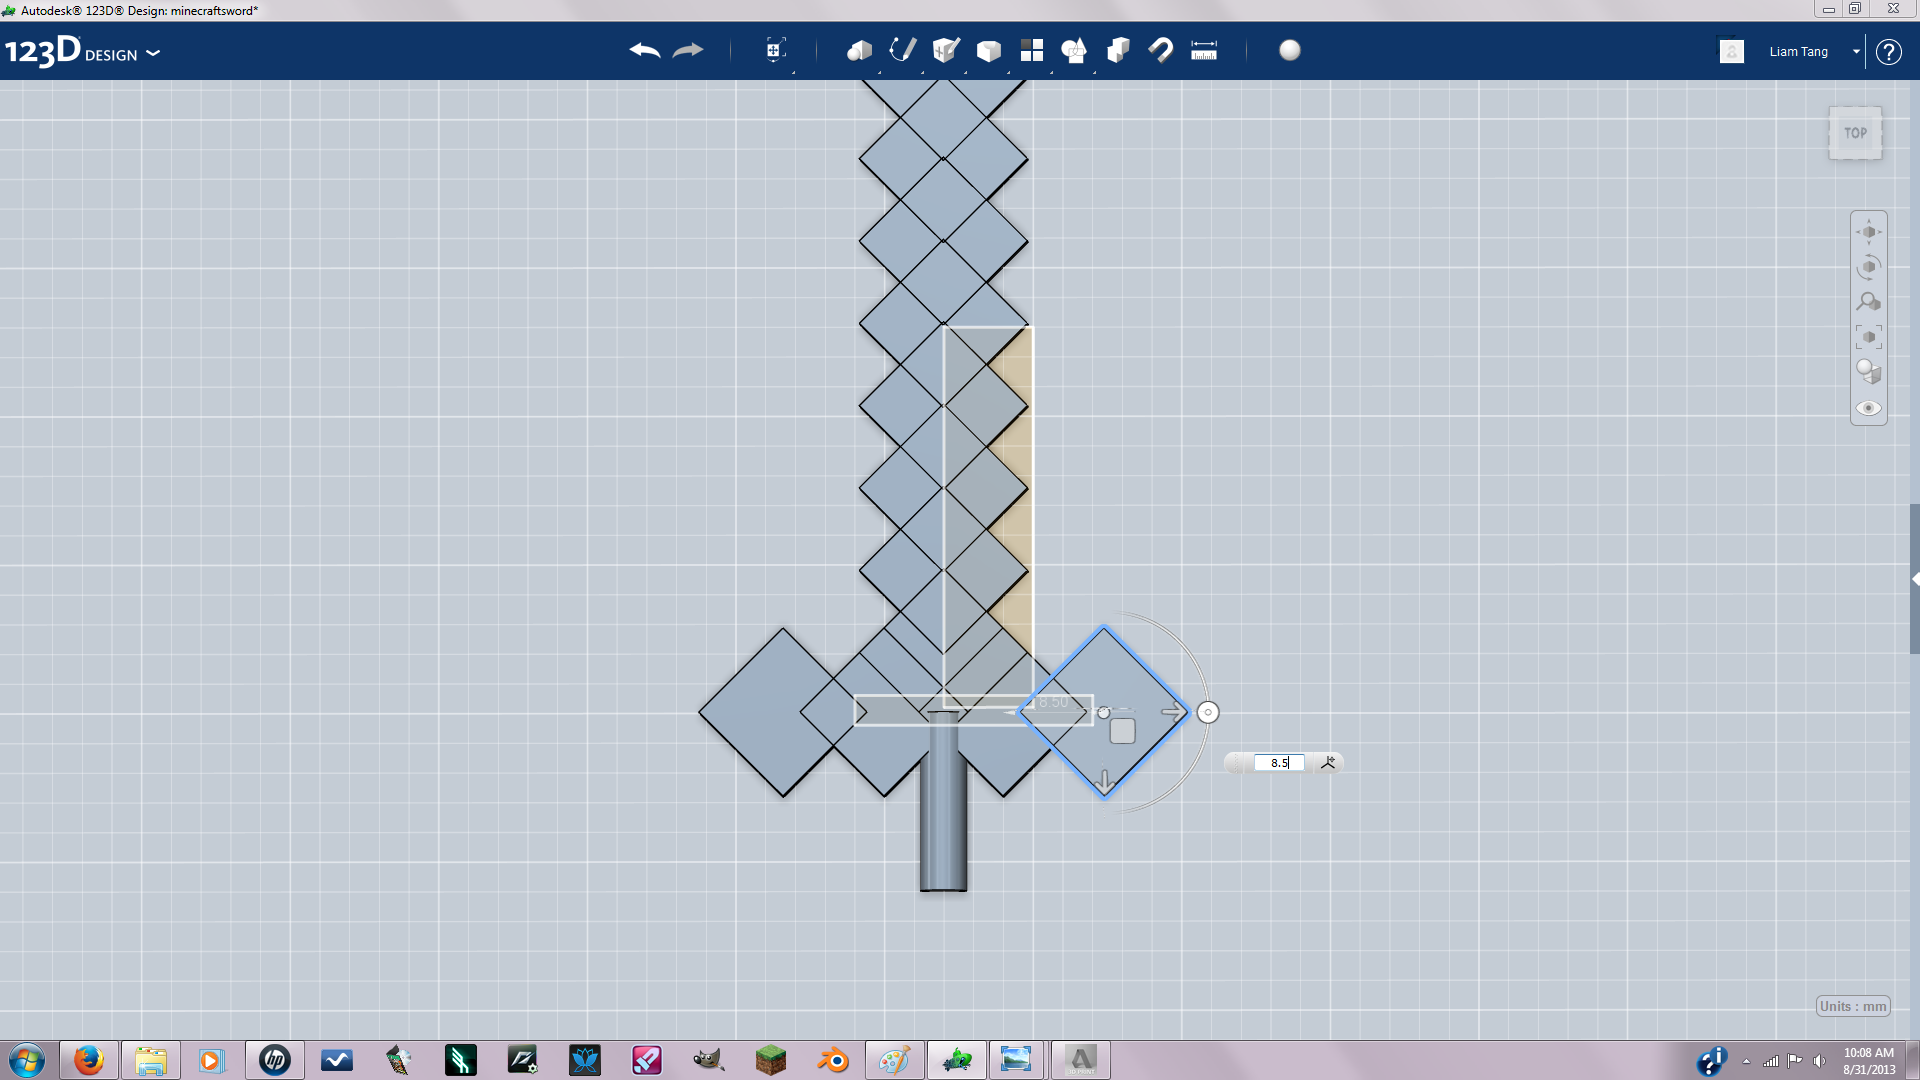
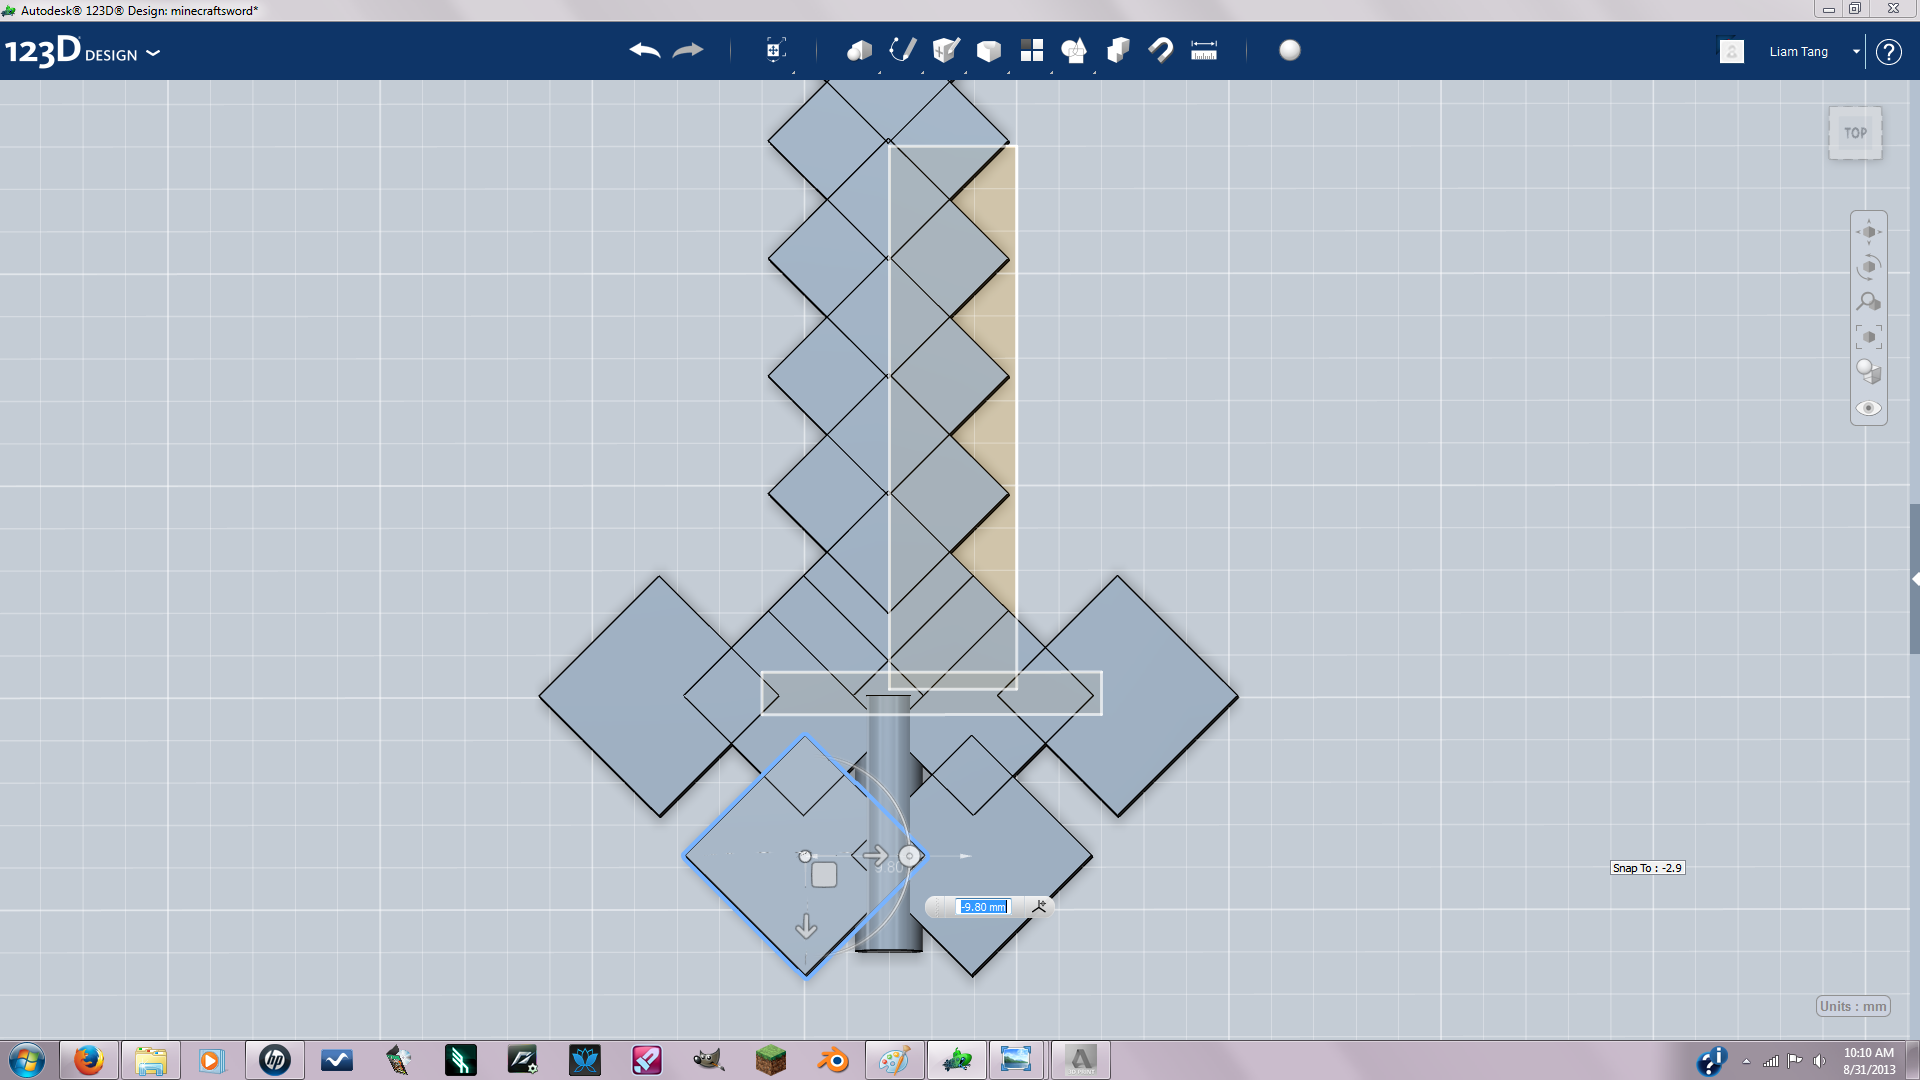
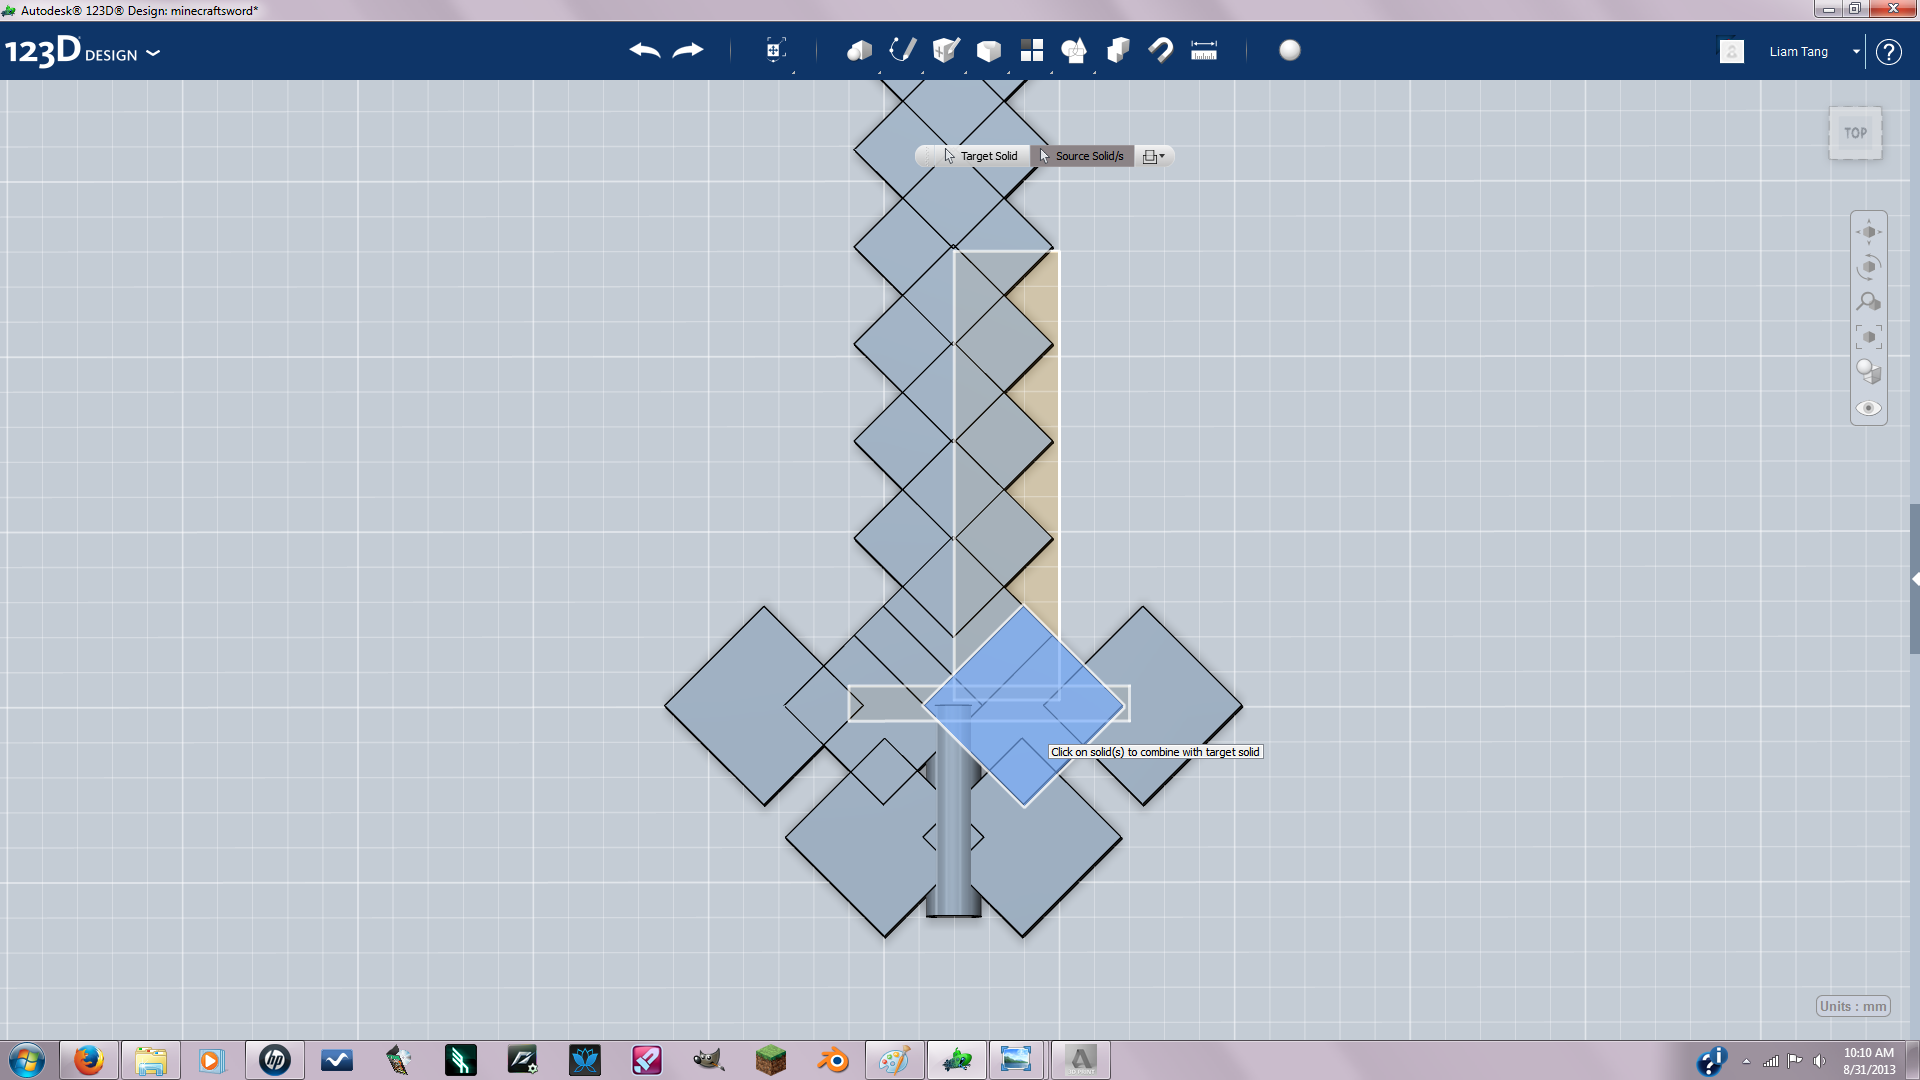
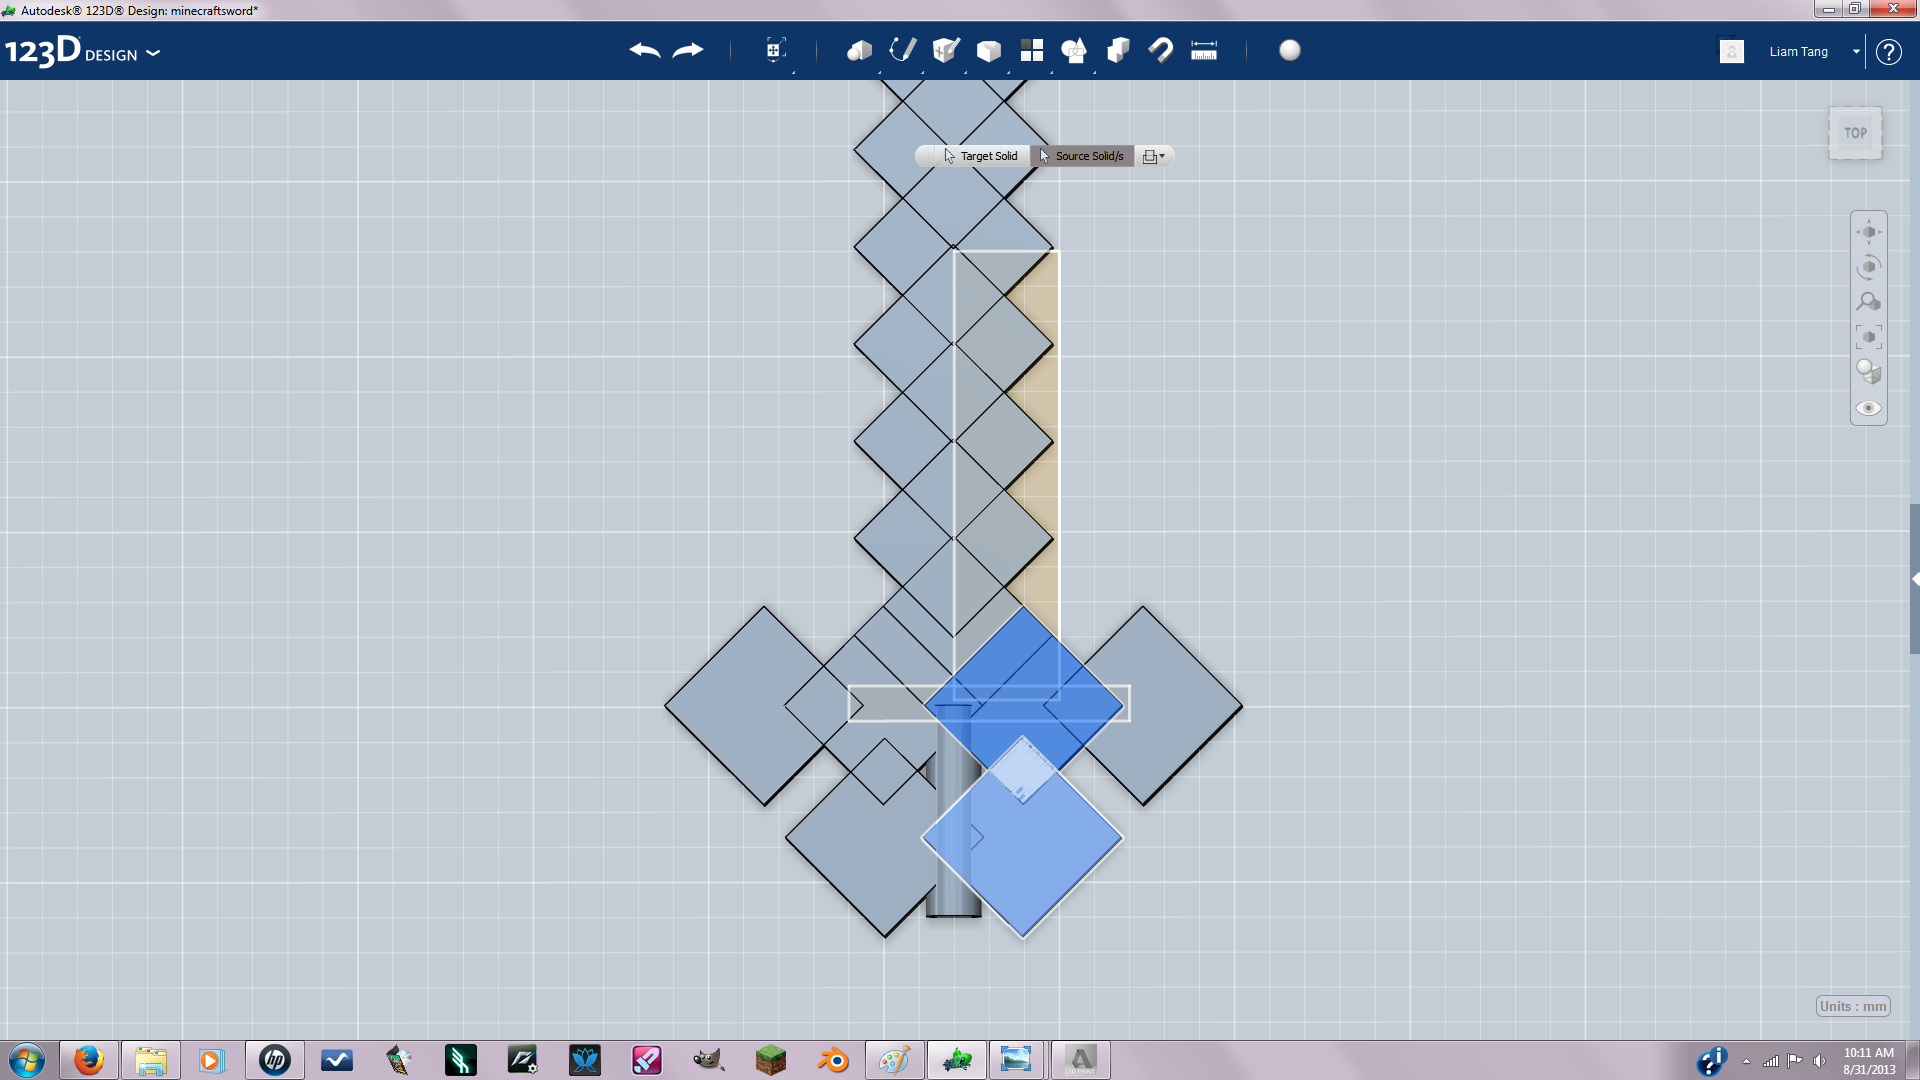
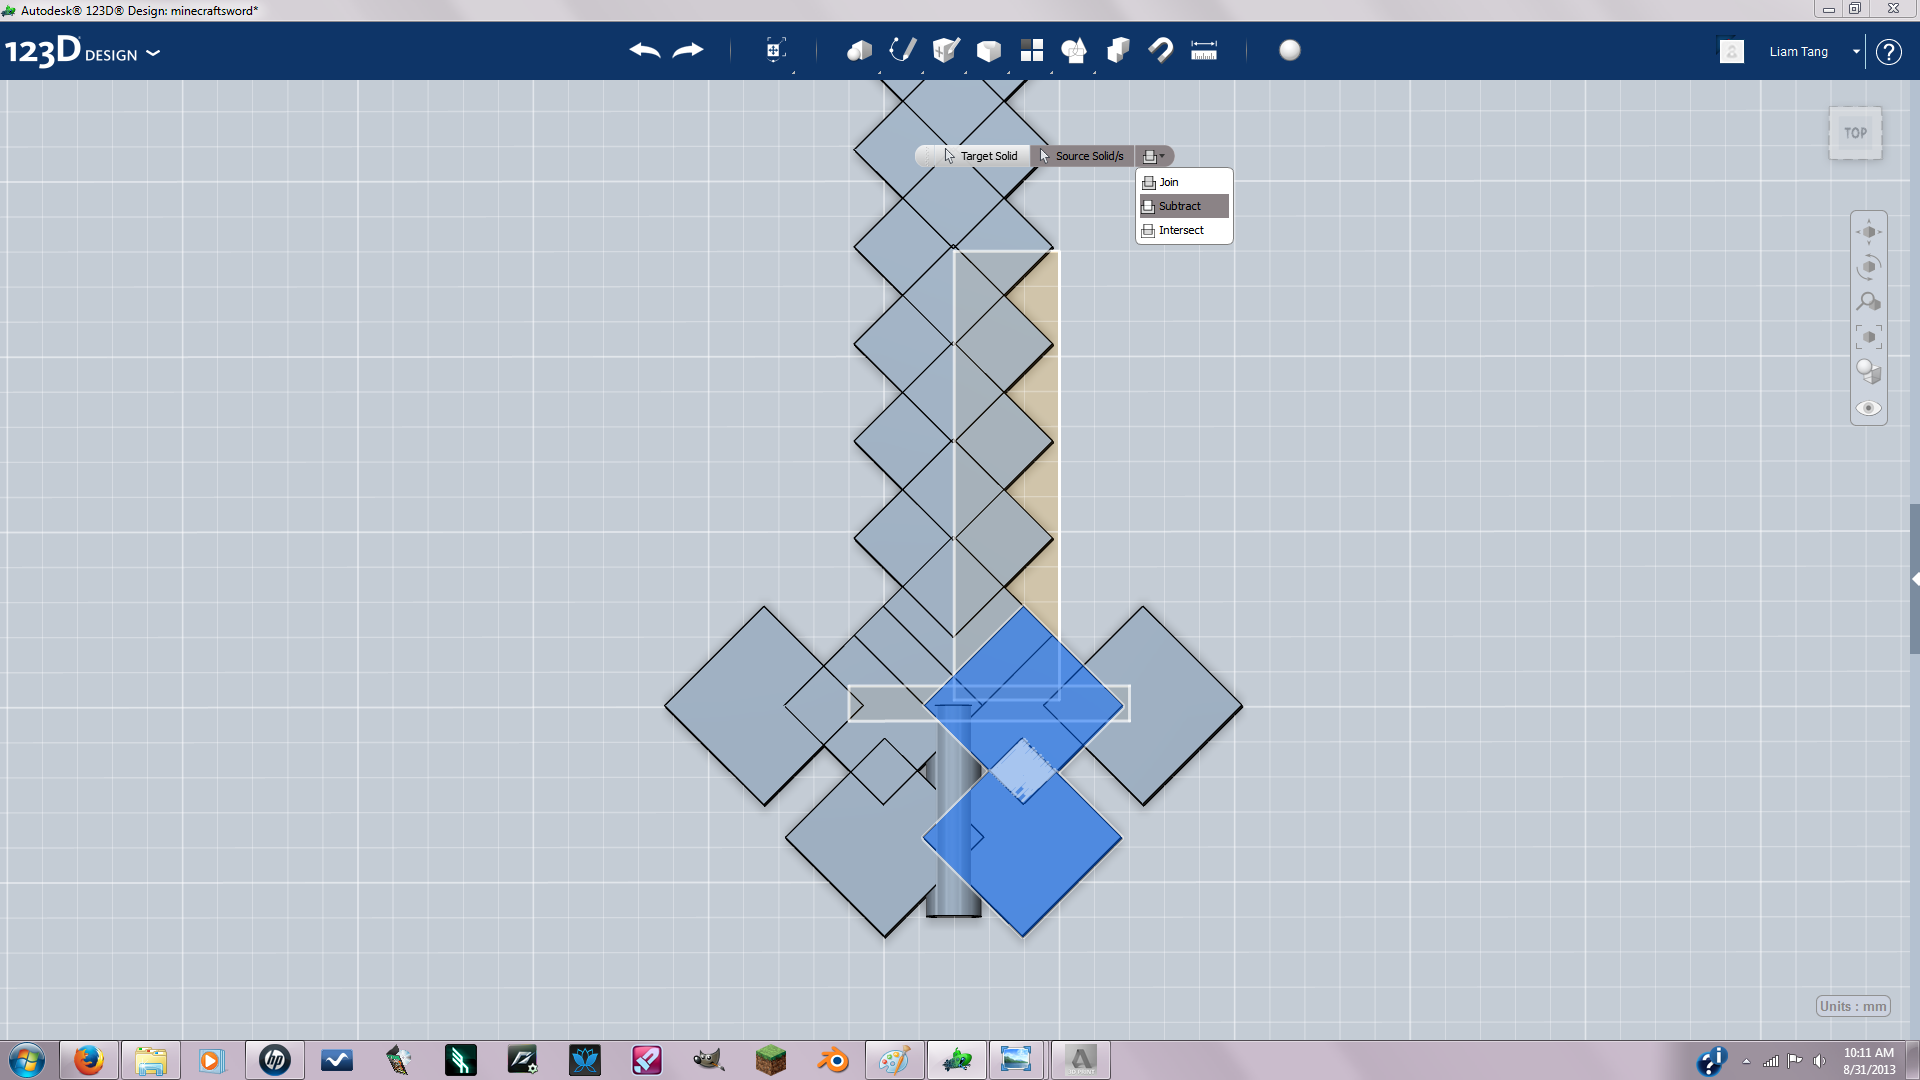
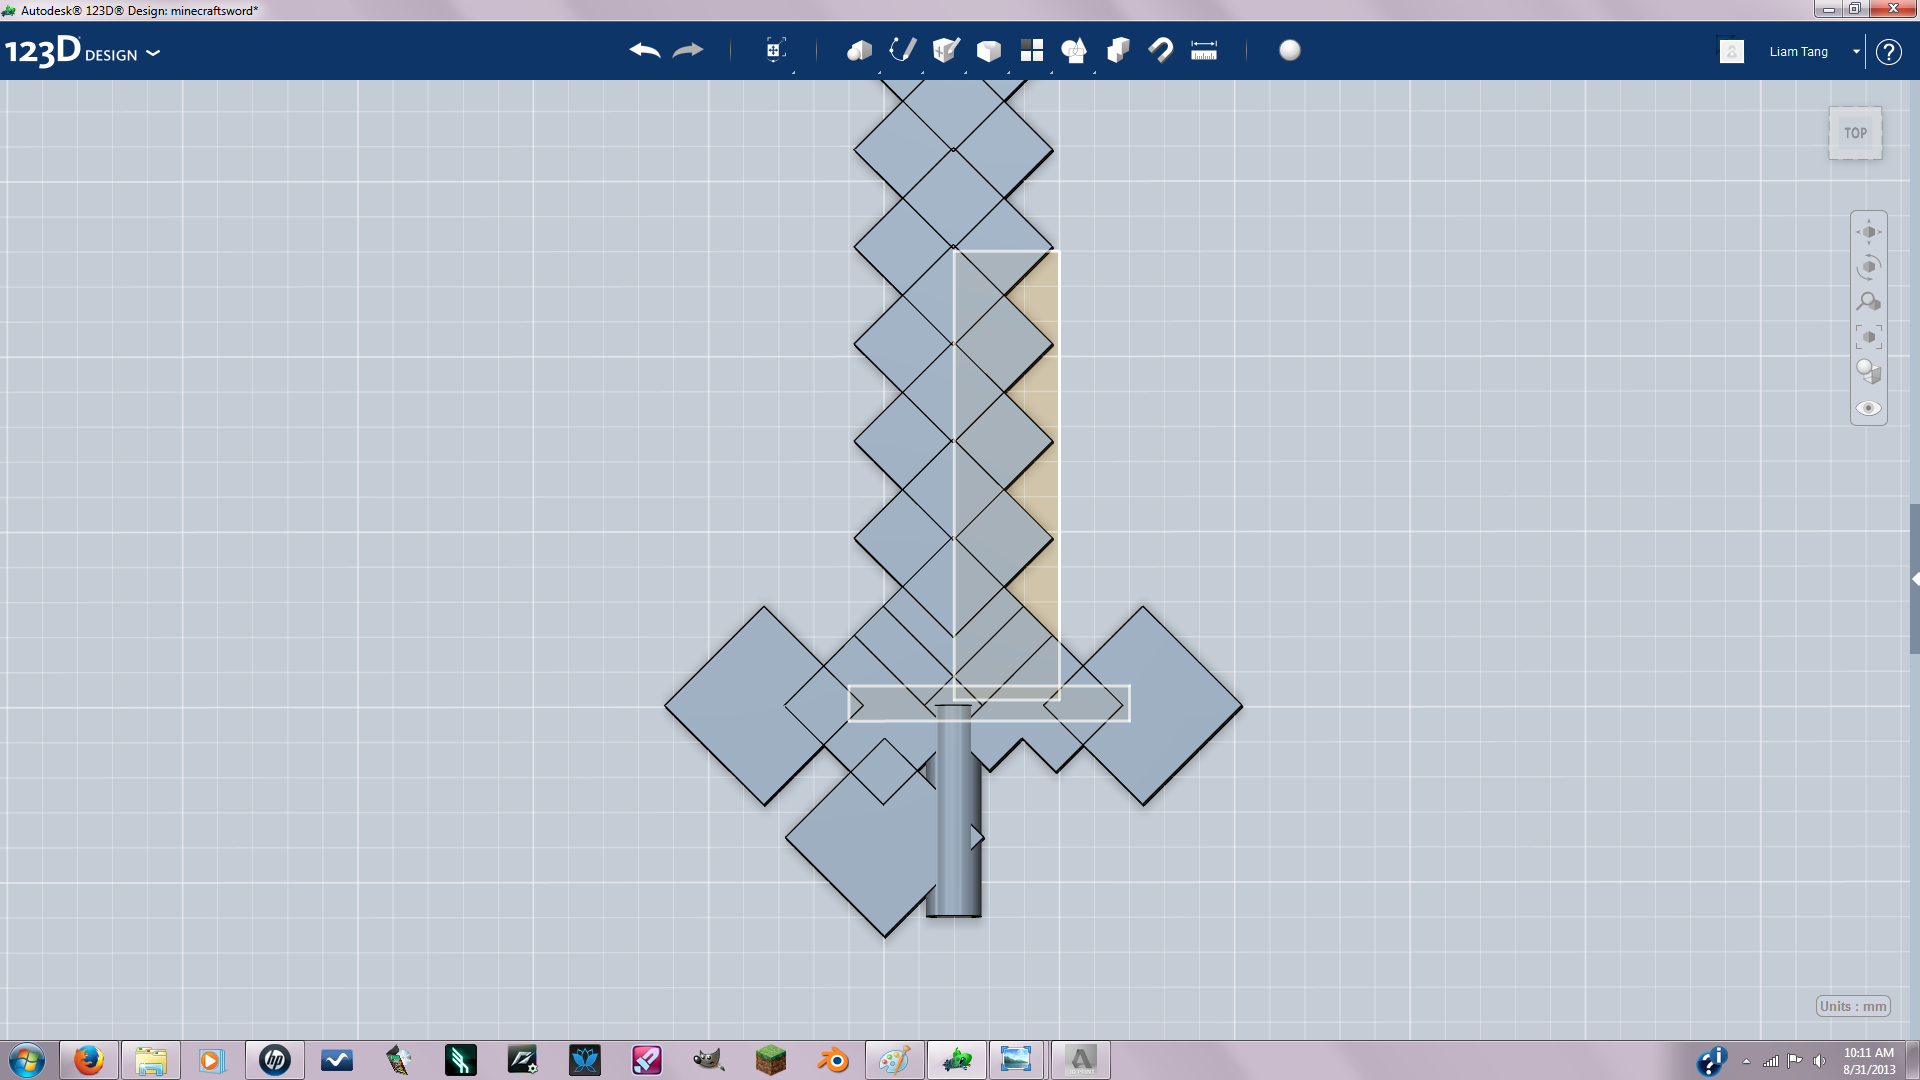
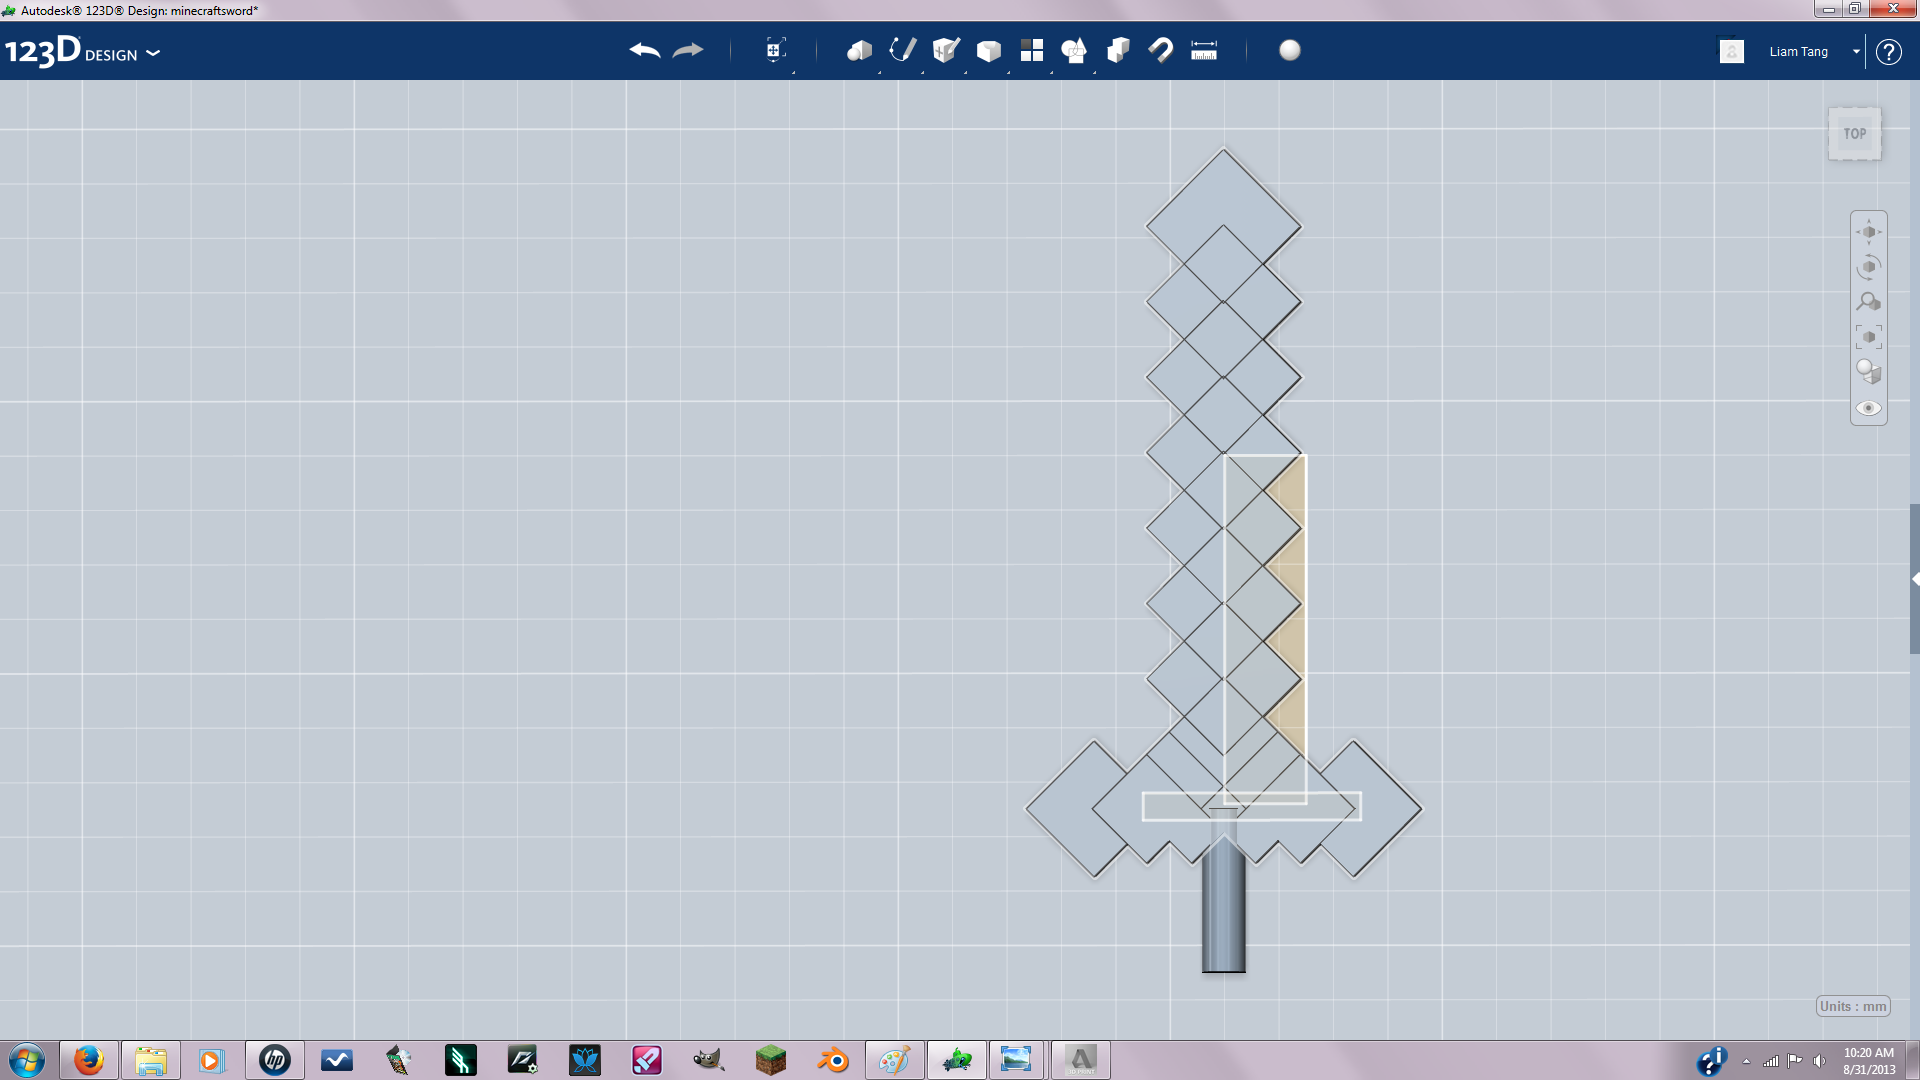
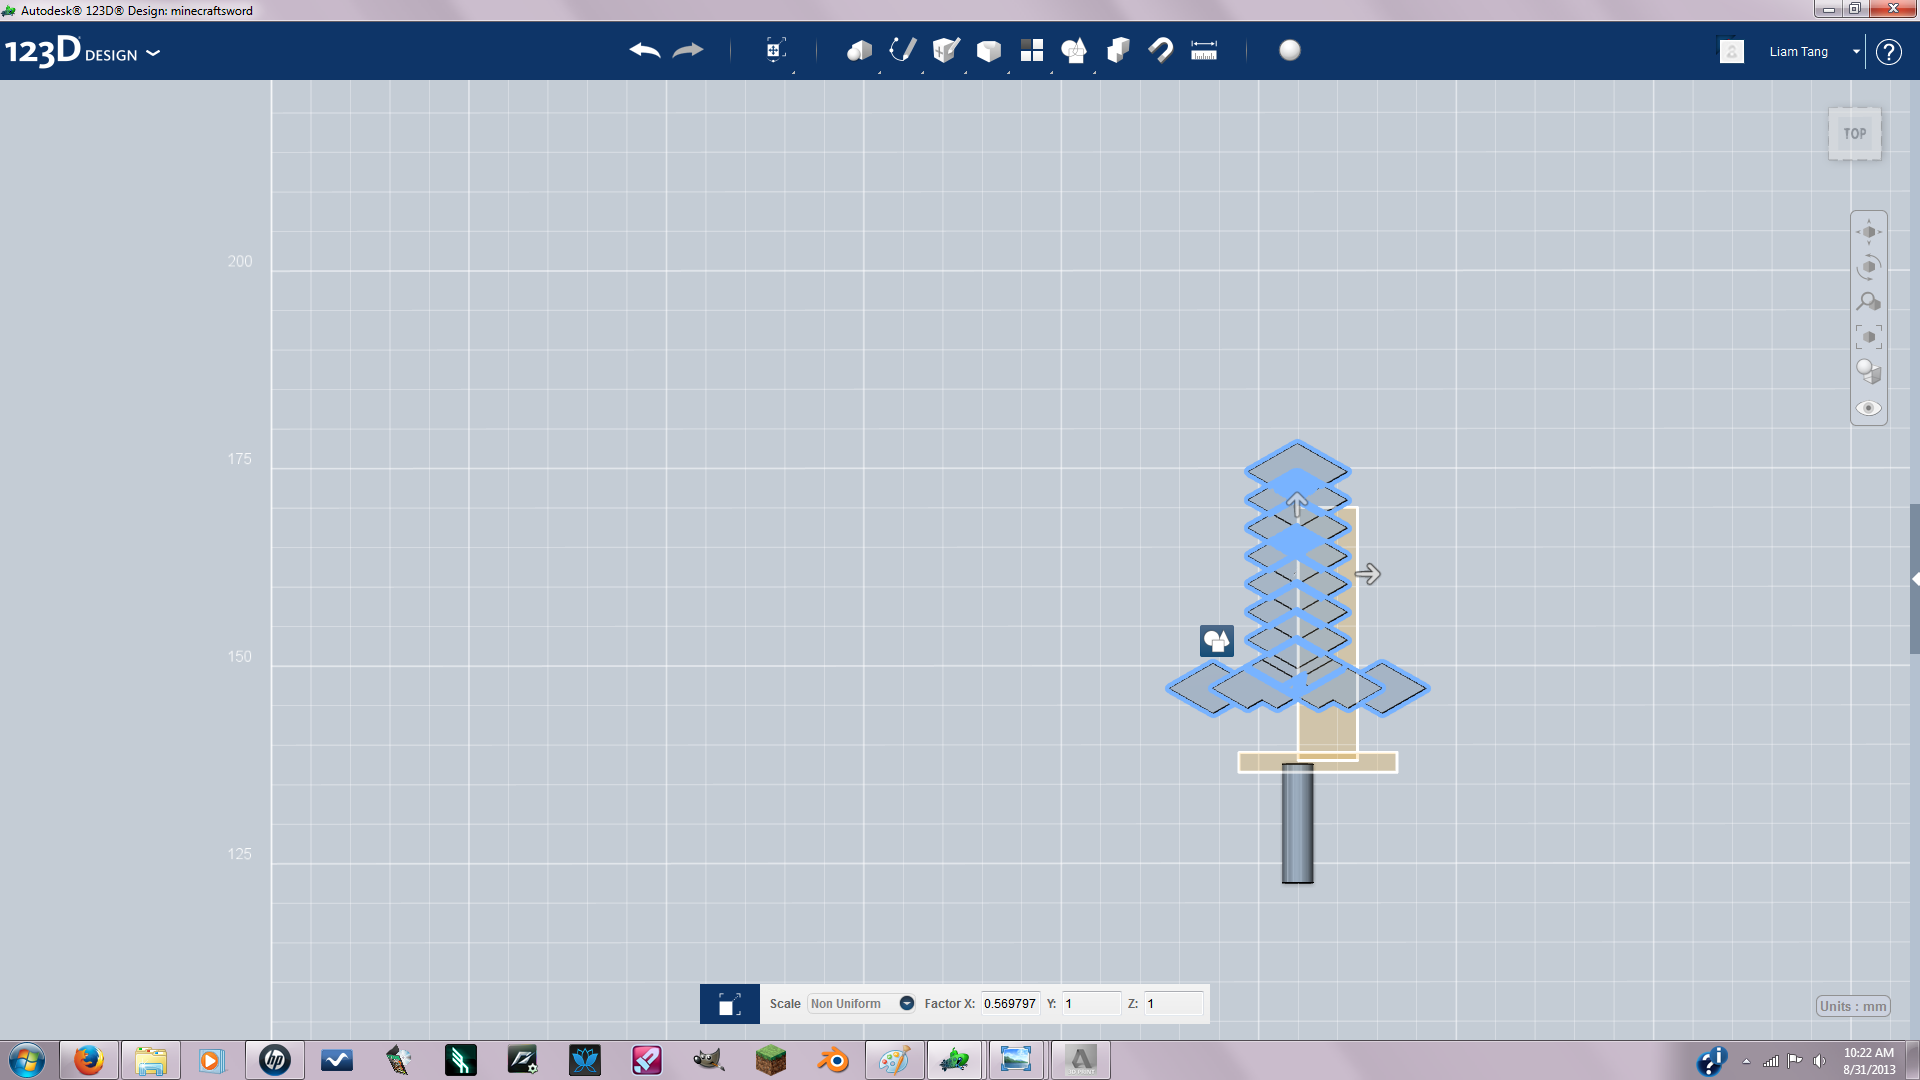
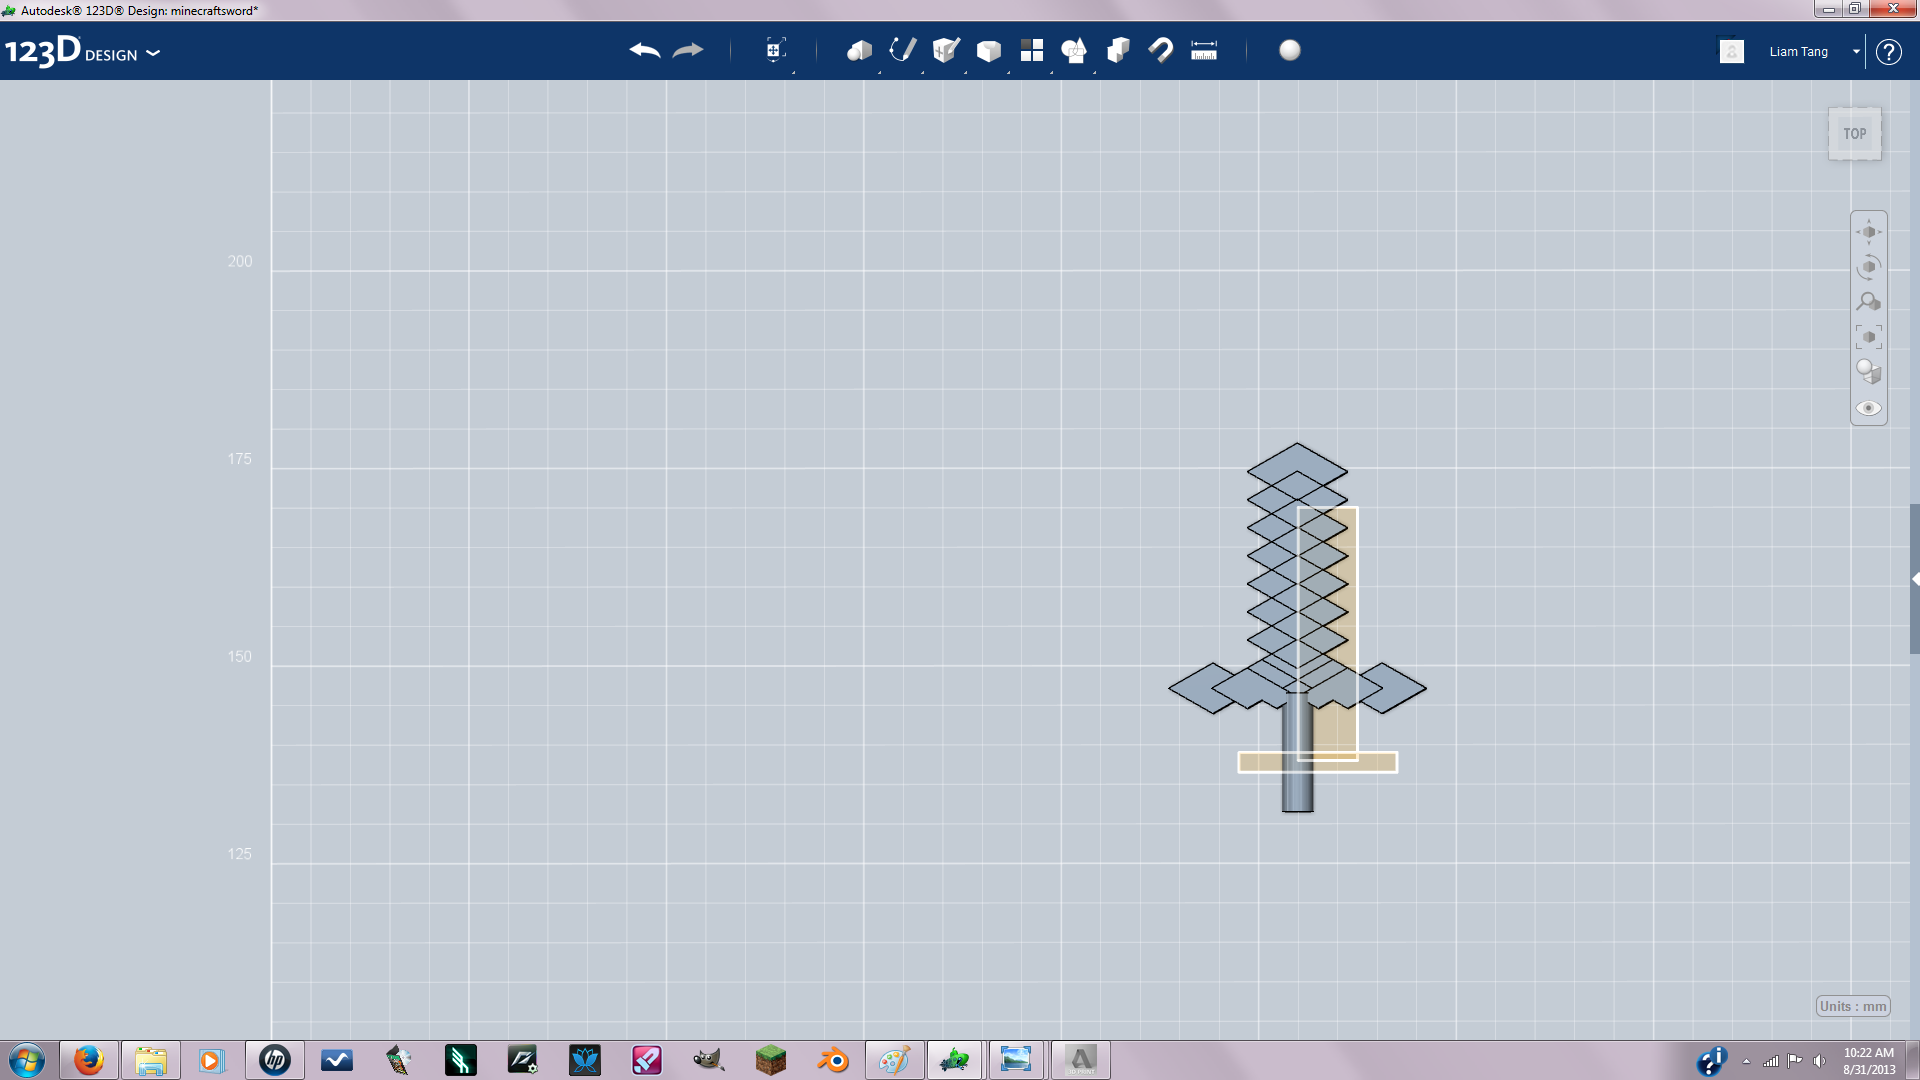
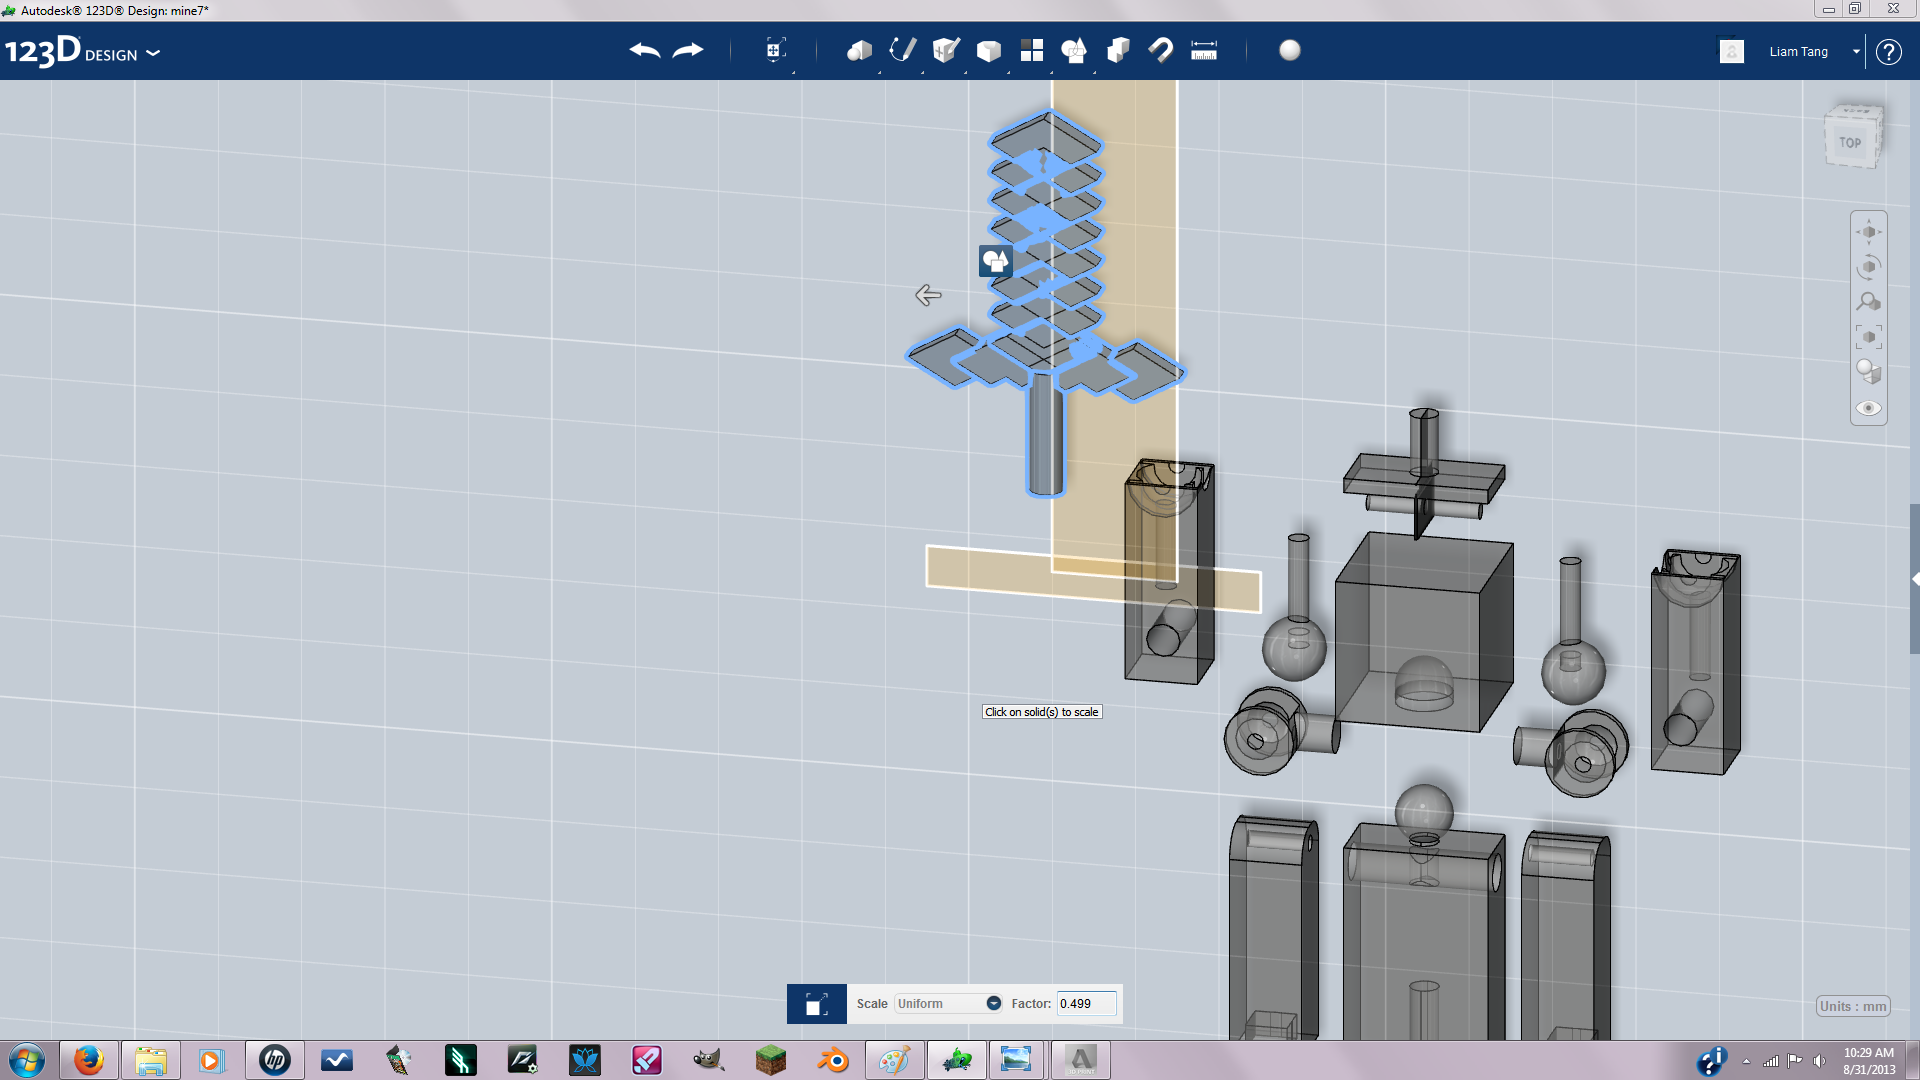
So I made a cylinder solid then a sketched a path using rectangle sketch. Then I created a square solid and positioned it at the path. then I used the path tool to make the blade. Then I used another path for the hilt.