Mincraft Mini-figure V2
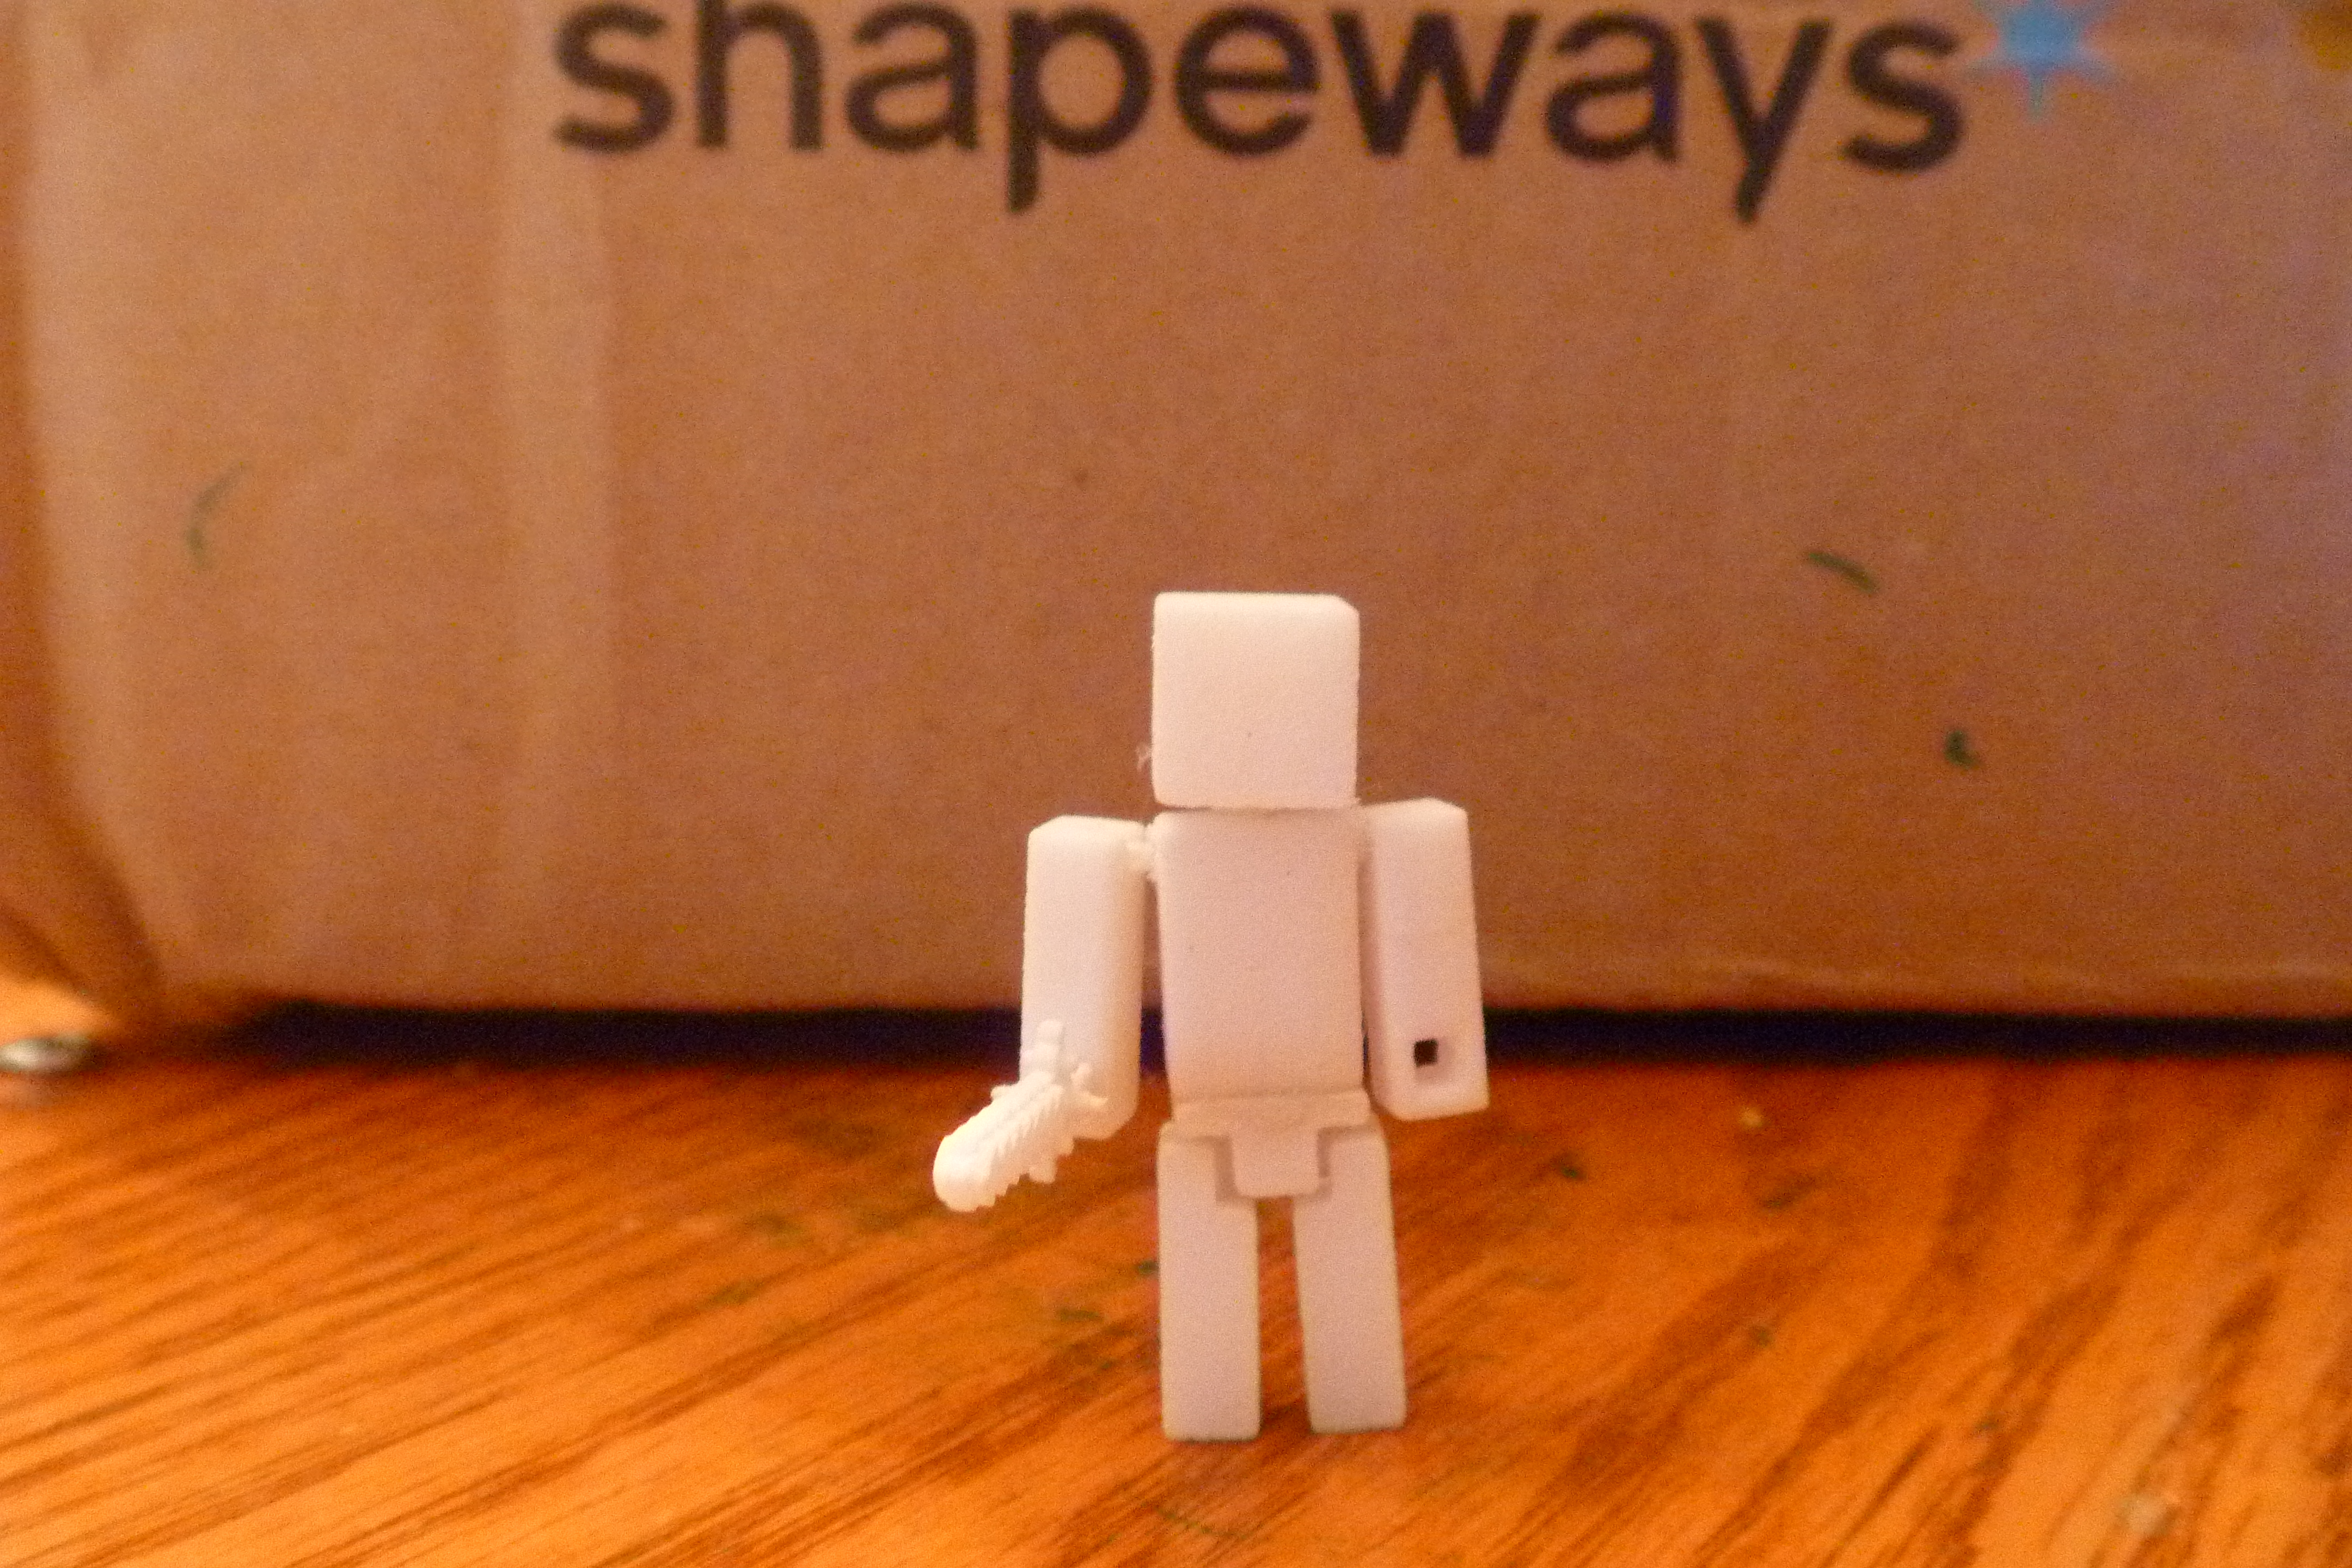
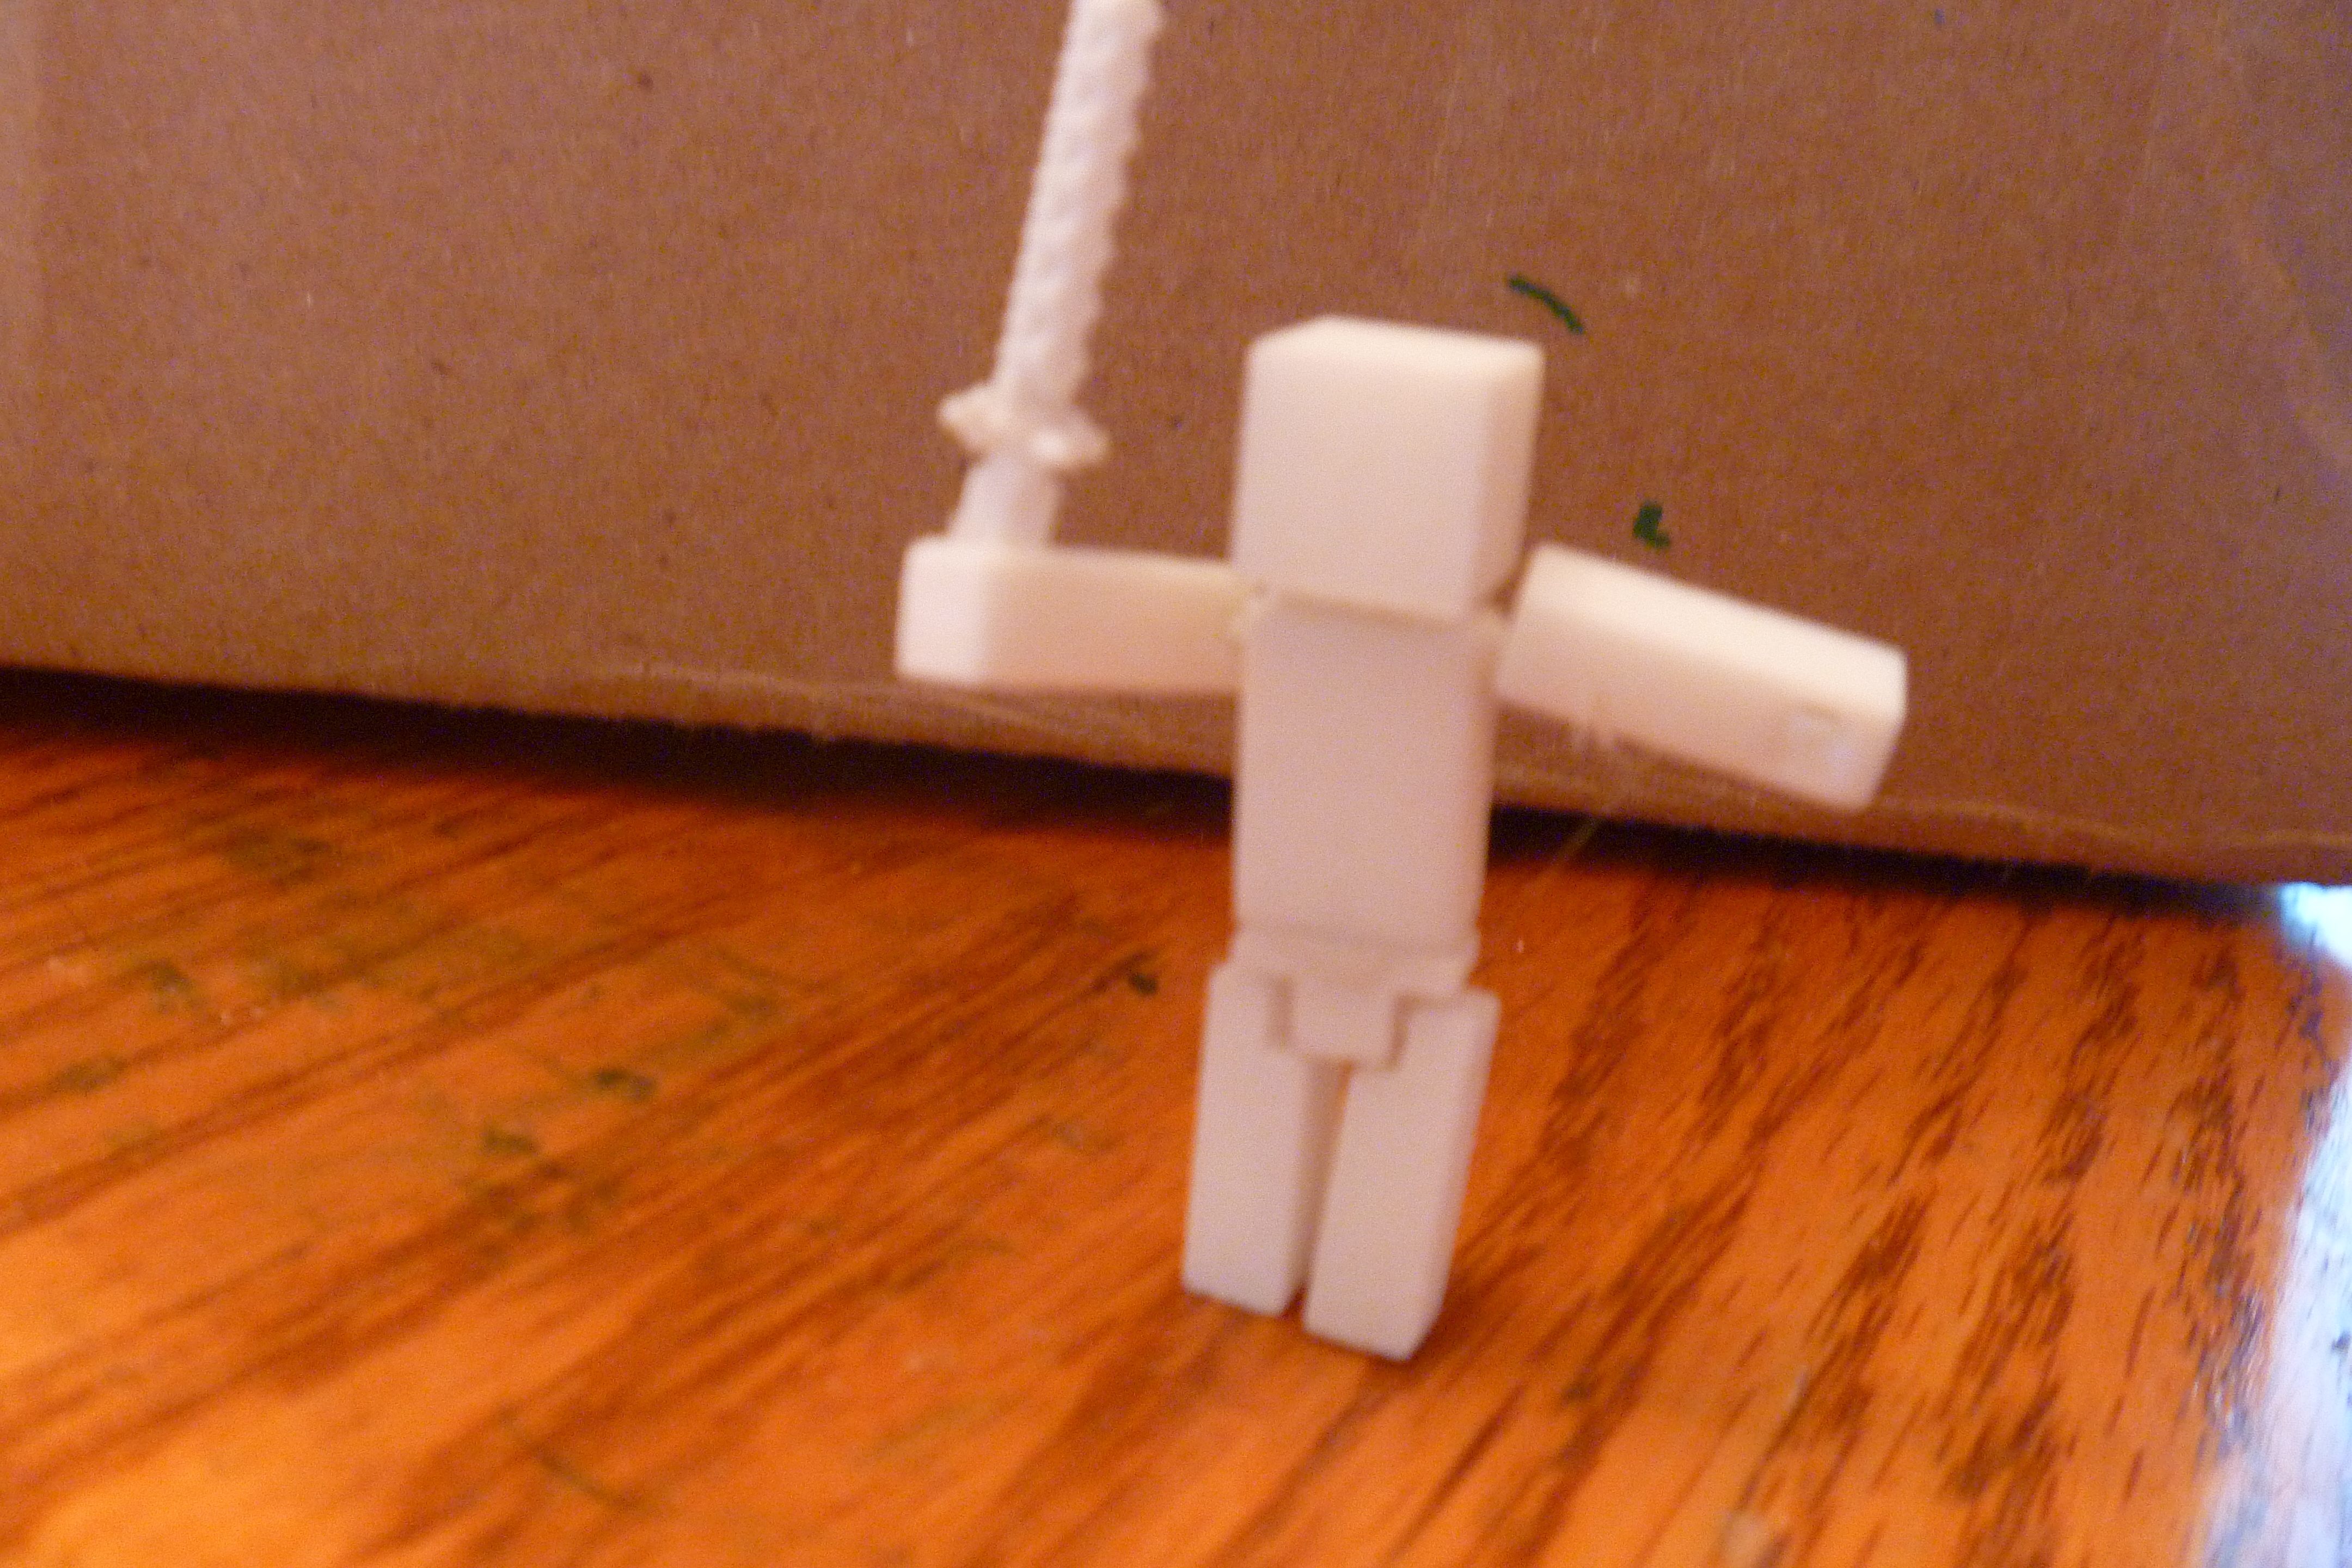
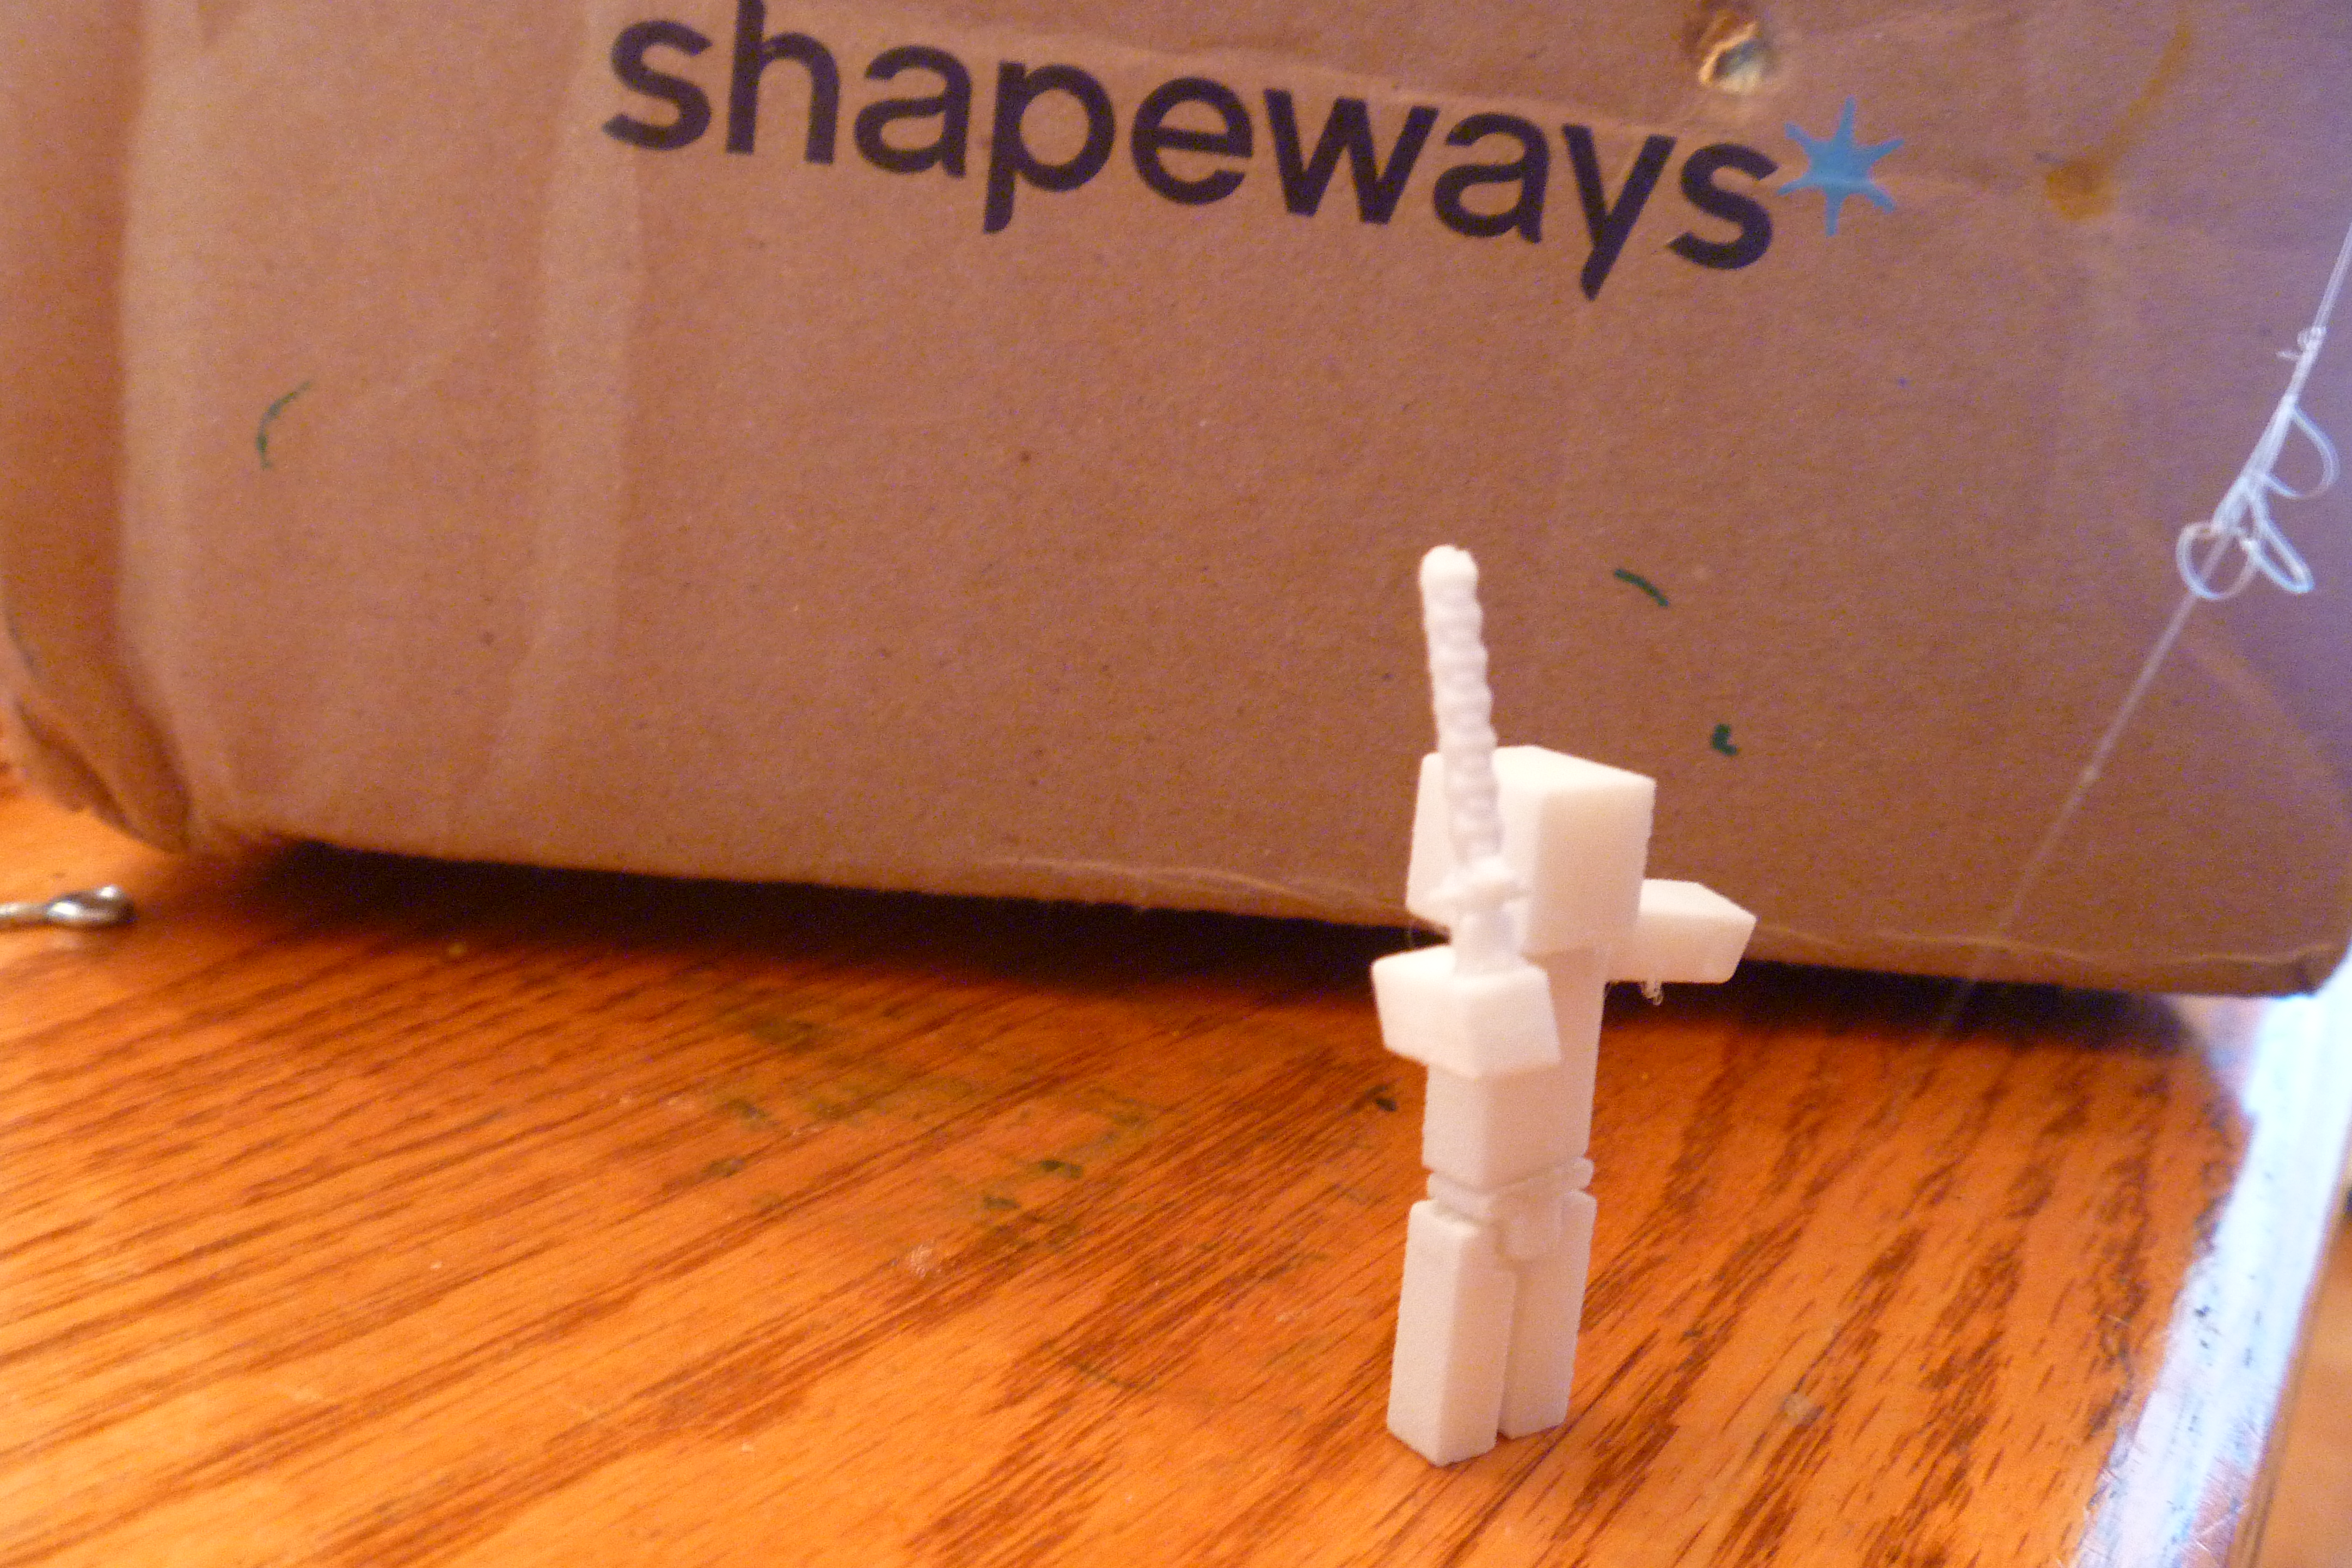
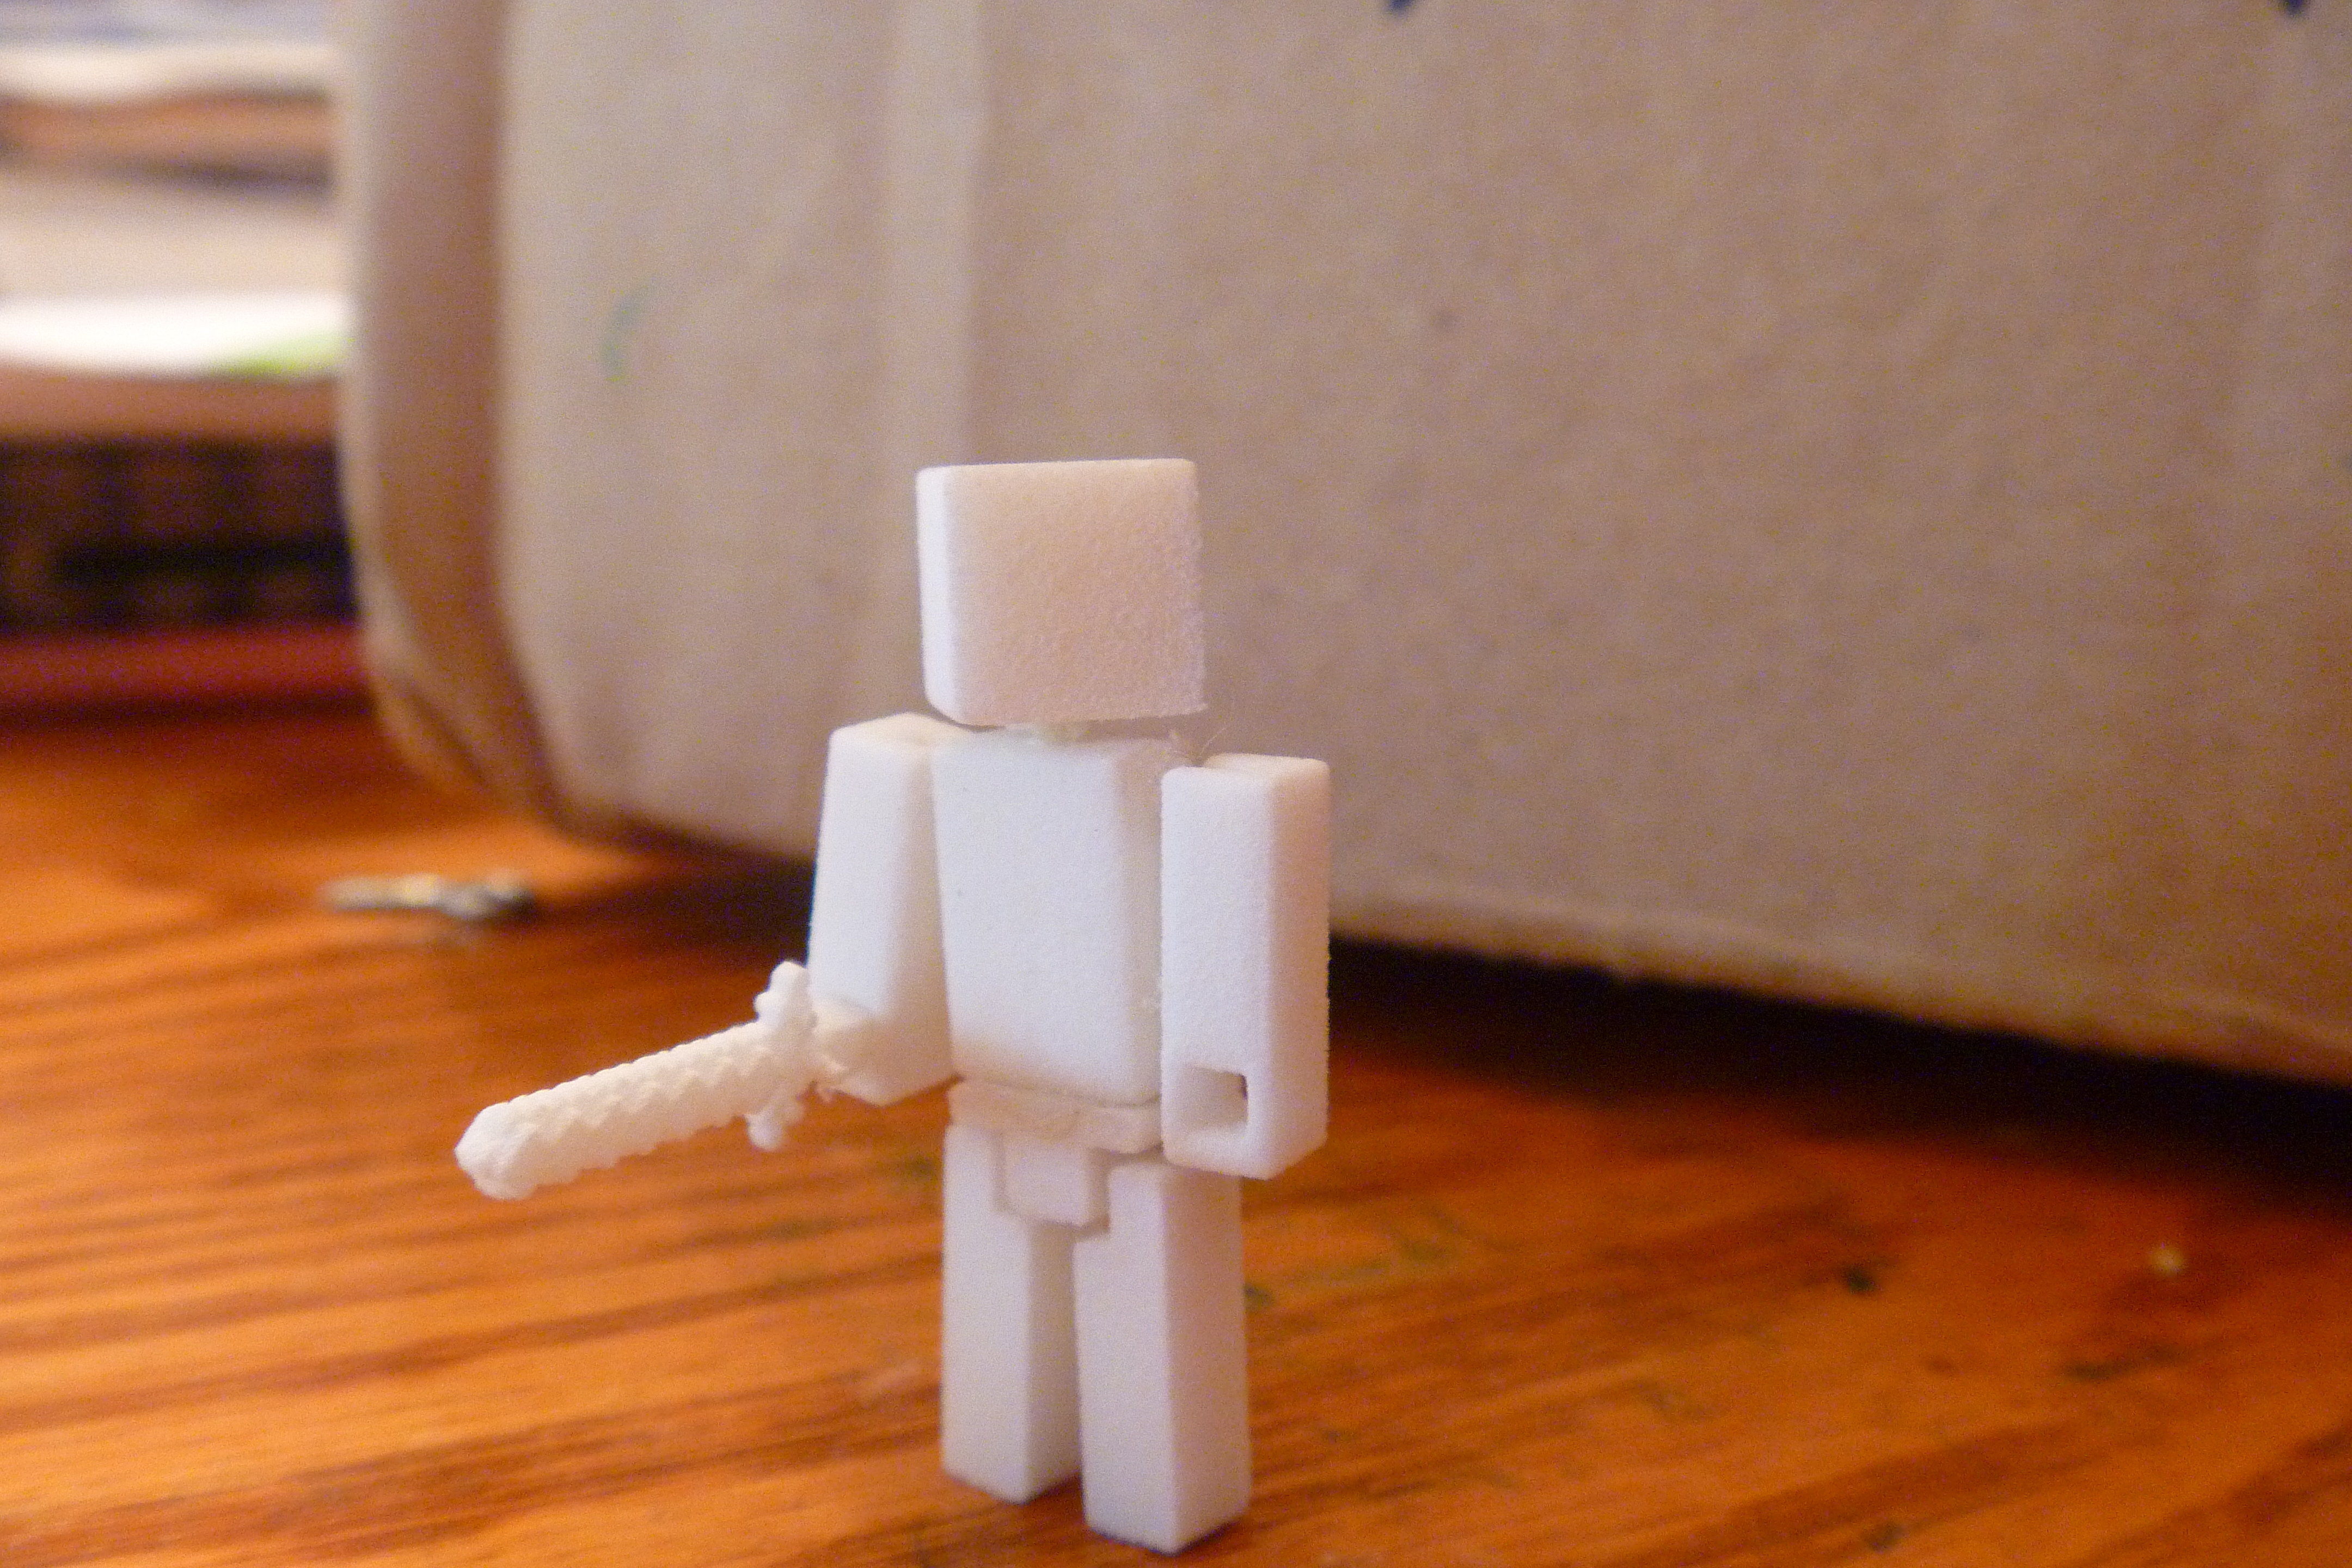
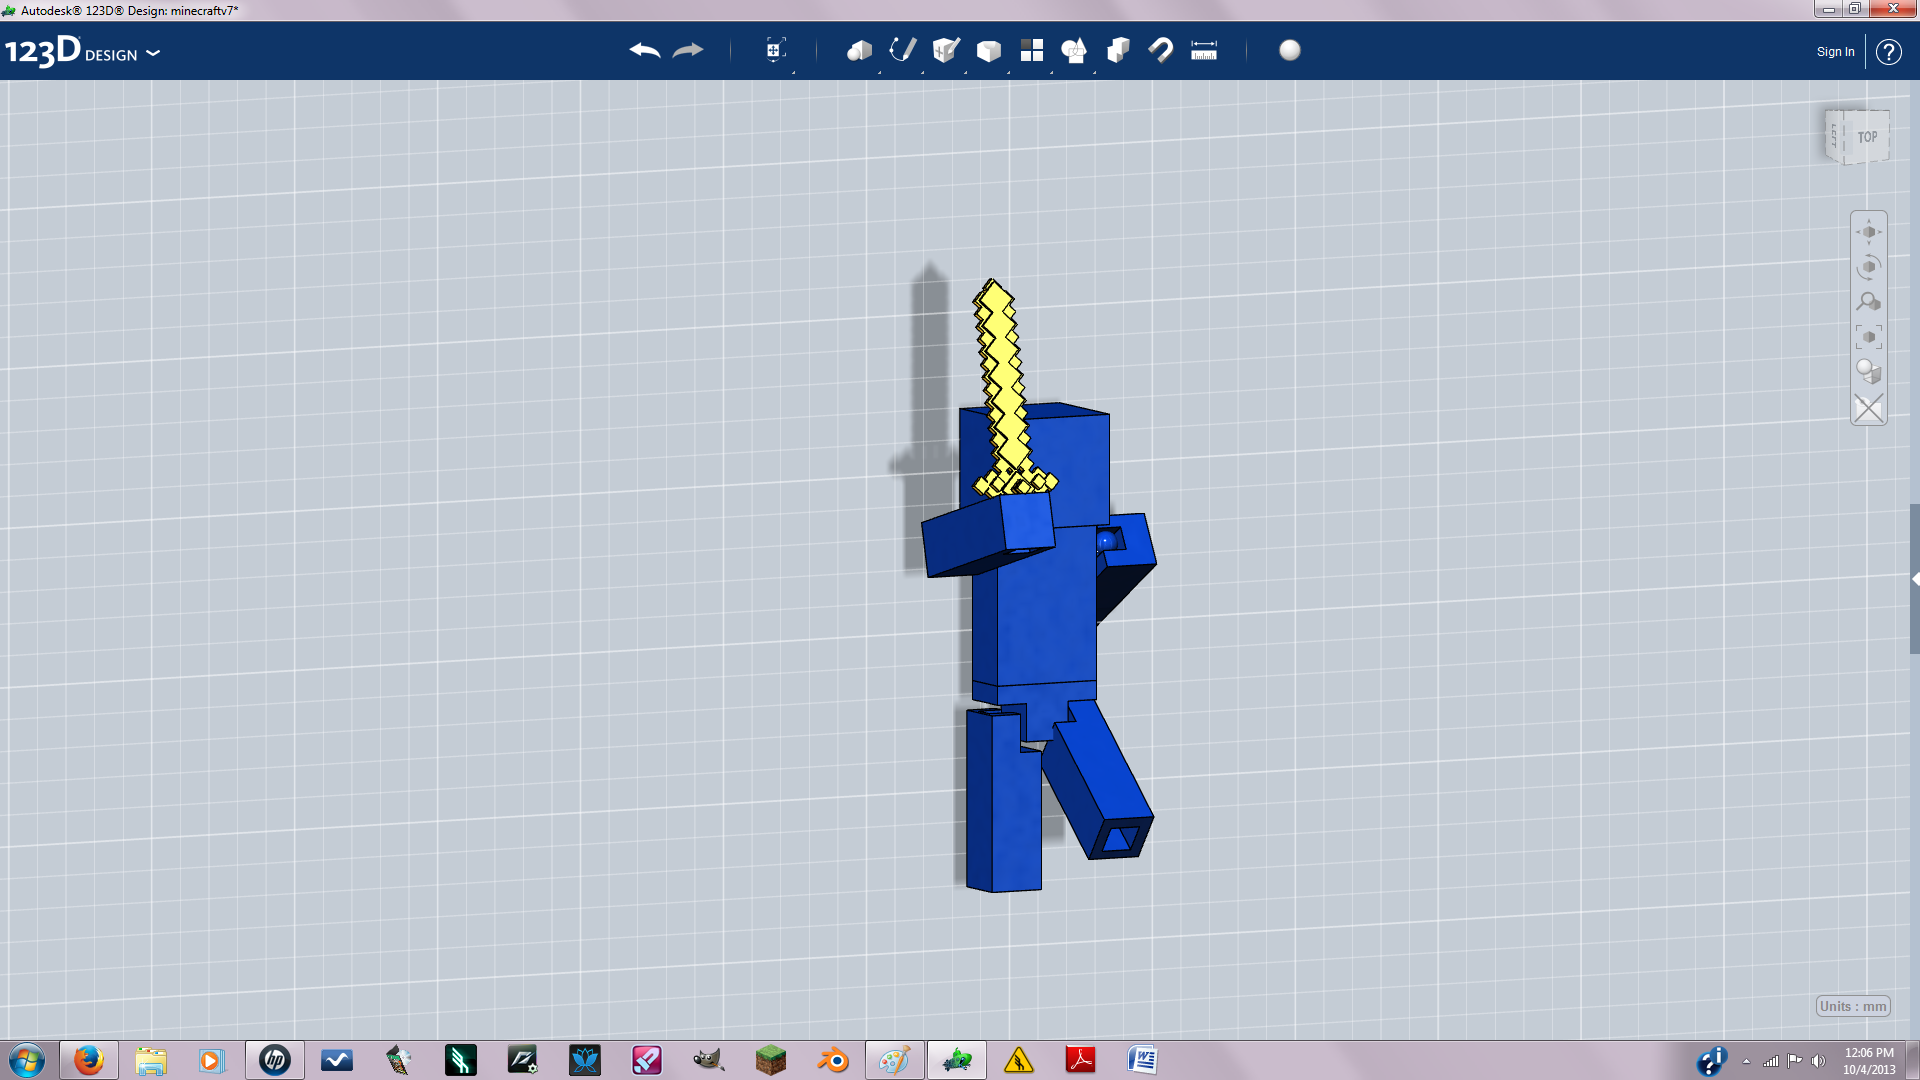
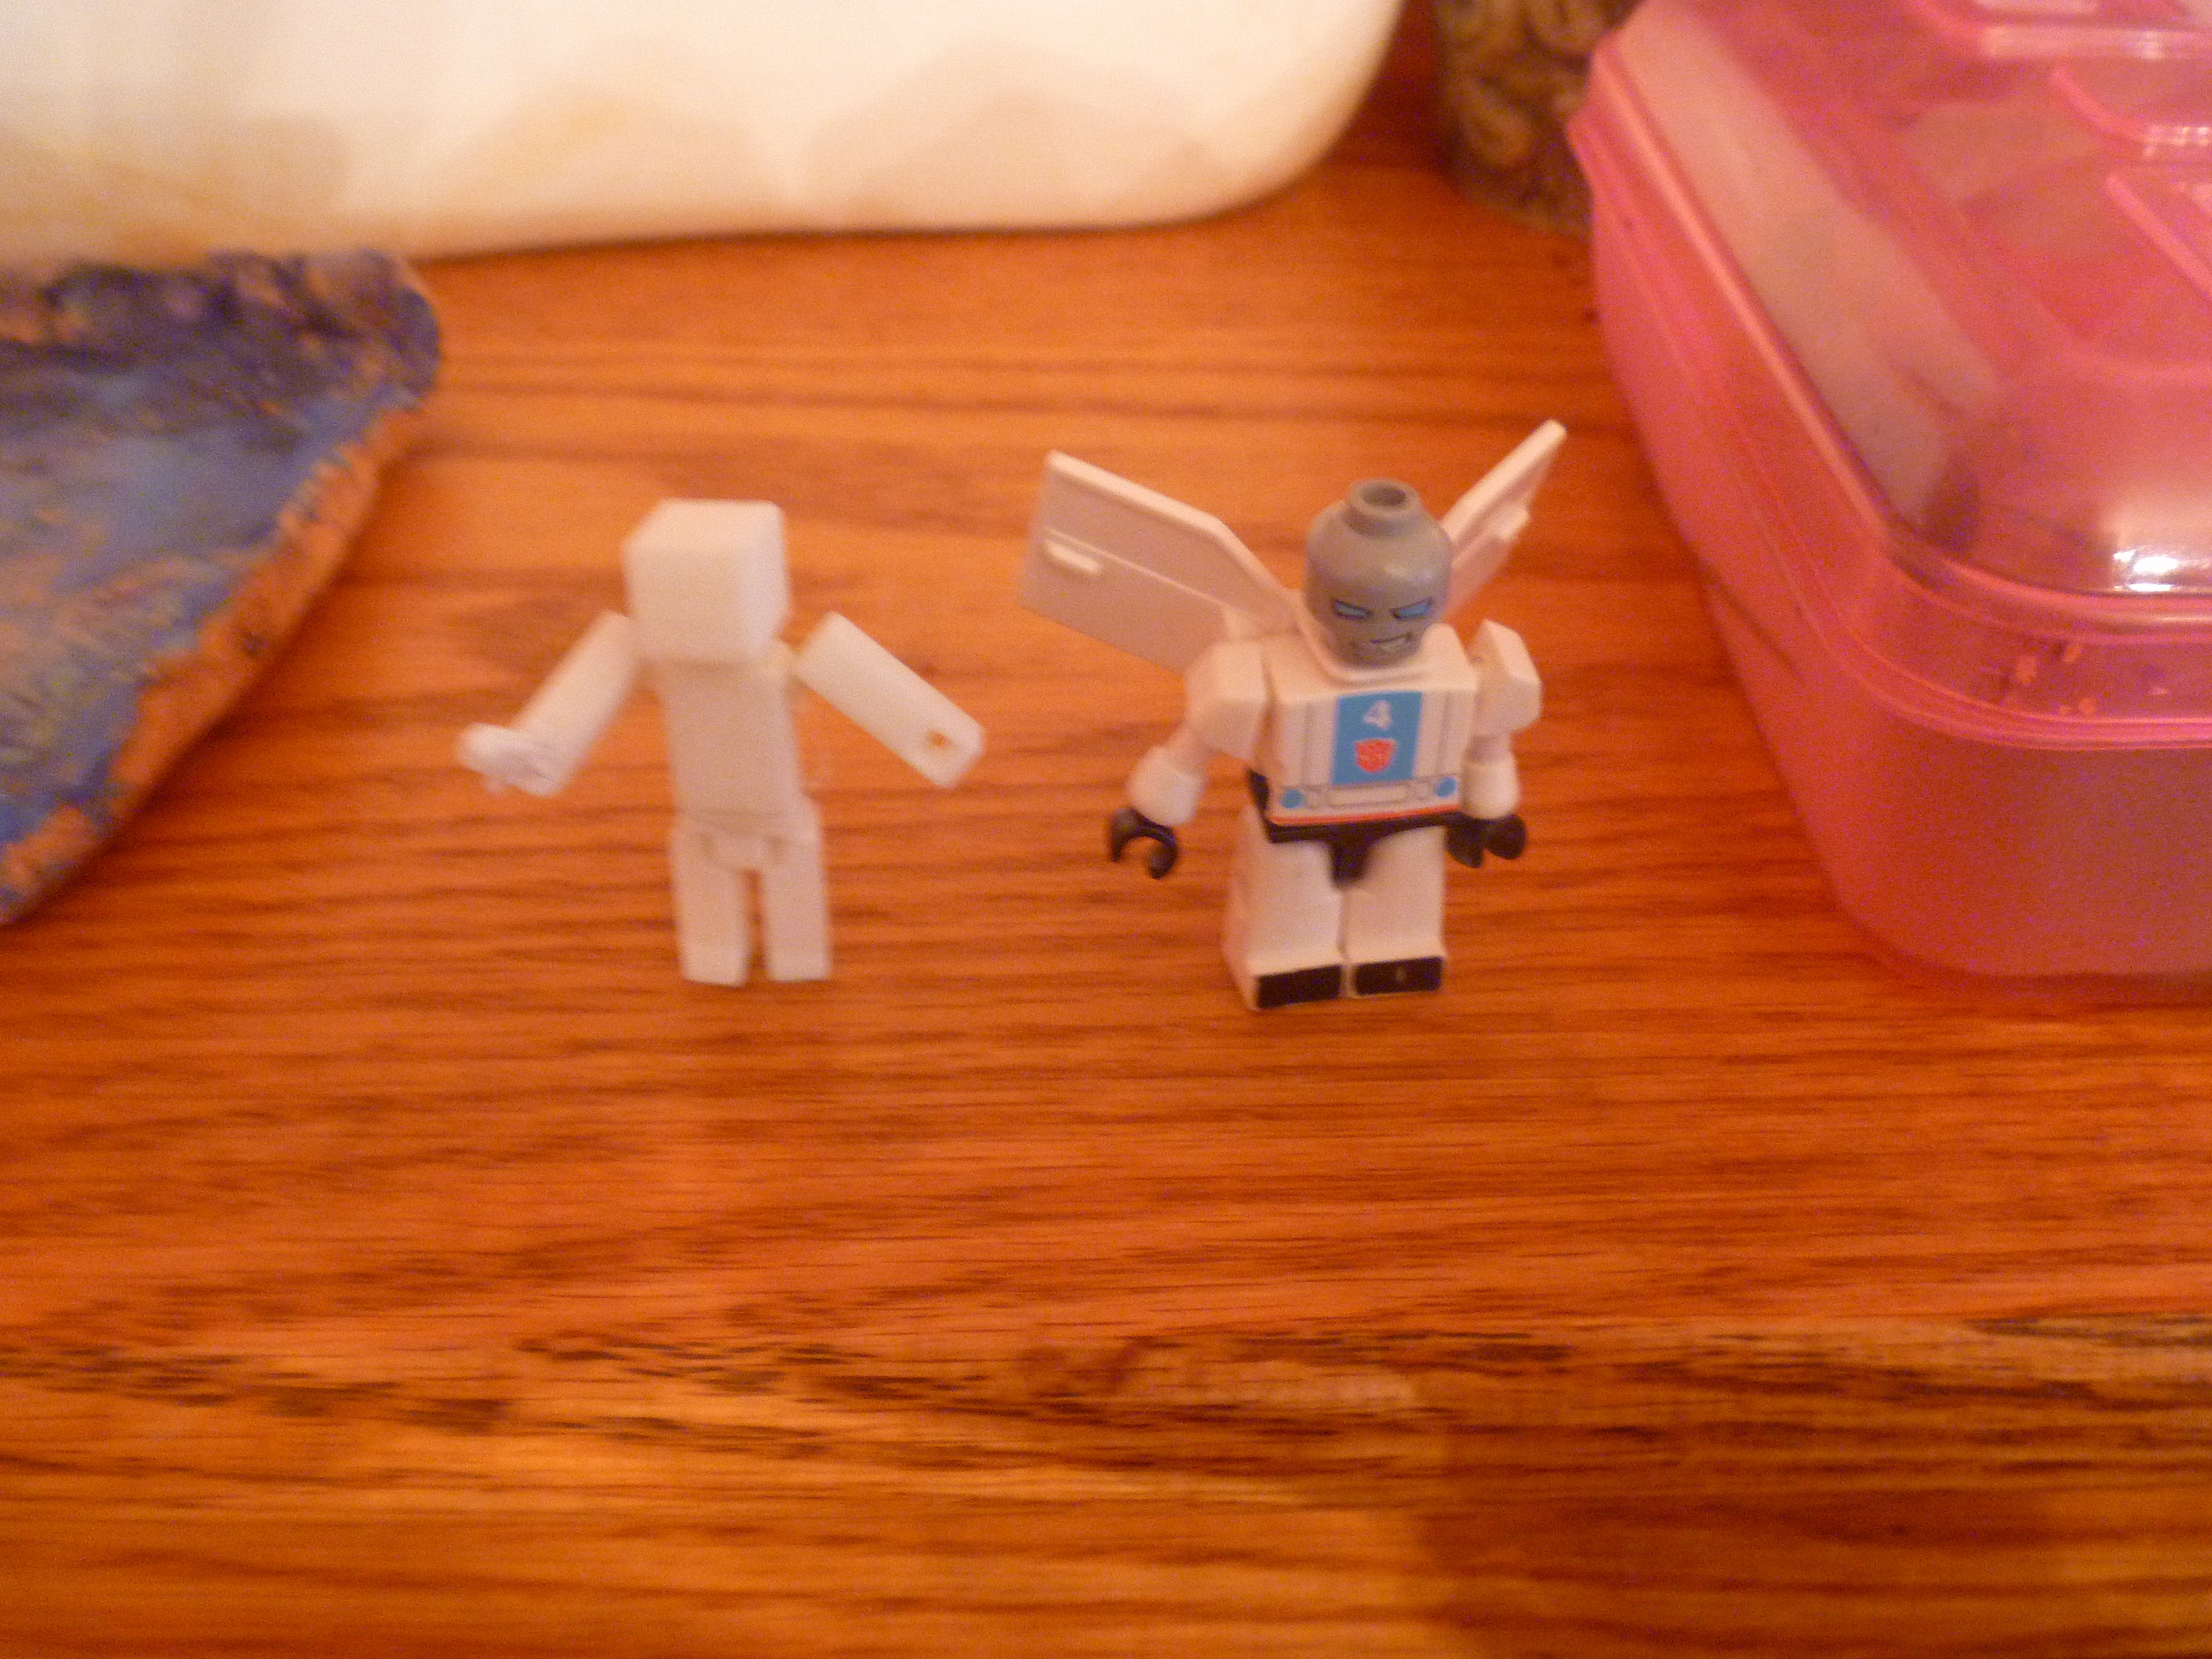
In this Instructable I'll show you how to design a articulated Minecraft mini-figure. Everyone loves Minecraft and Legos so why not combine them.
My first mini-figure was okay but I like this one better(here's the link for the first one) . The first one would have been a pain to optimize for 3d printing. When I created it I had no idea that there was a minimum thickness for walls and wires. This model required minimum tweaking. I also changed the joints to snap fit ball joints for better articulation.
Before I start you should note that when I was taking screenshots I didn't know about the minimum thickness requirement. So some of the measurements must be tweaked.
Also always take into account a 1mm rod won't fit into a 1mm hole: so you must take into account tolerance. When you make the ball joints they are supposed to slide into the body so make sure the square holes are a little bit bigger then the joint.
I would recommend reading this article on designing snap fit joints here. Unlike the what I said above snap fit joints don't need to be different sizes. They should just fit together perfectly.
This mini-figure has six points of articulation. There's a head joint, two arm joints, two leg joints, and the waist should pivot.
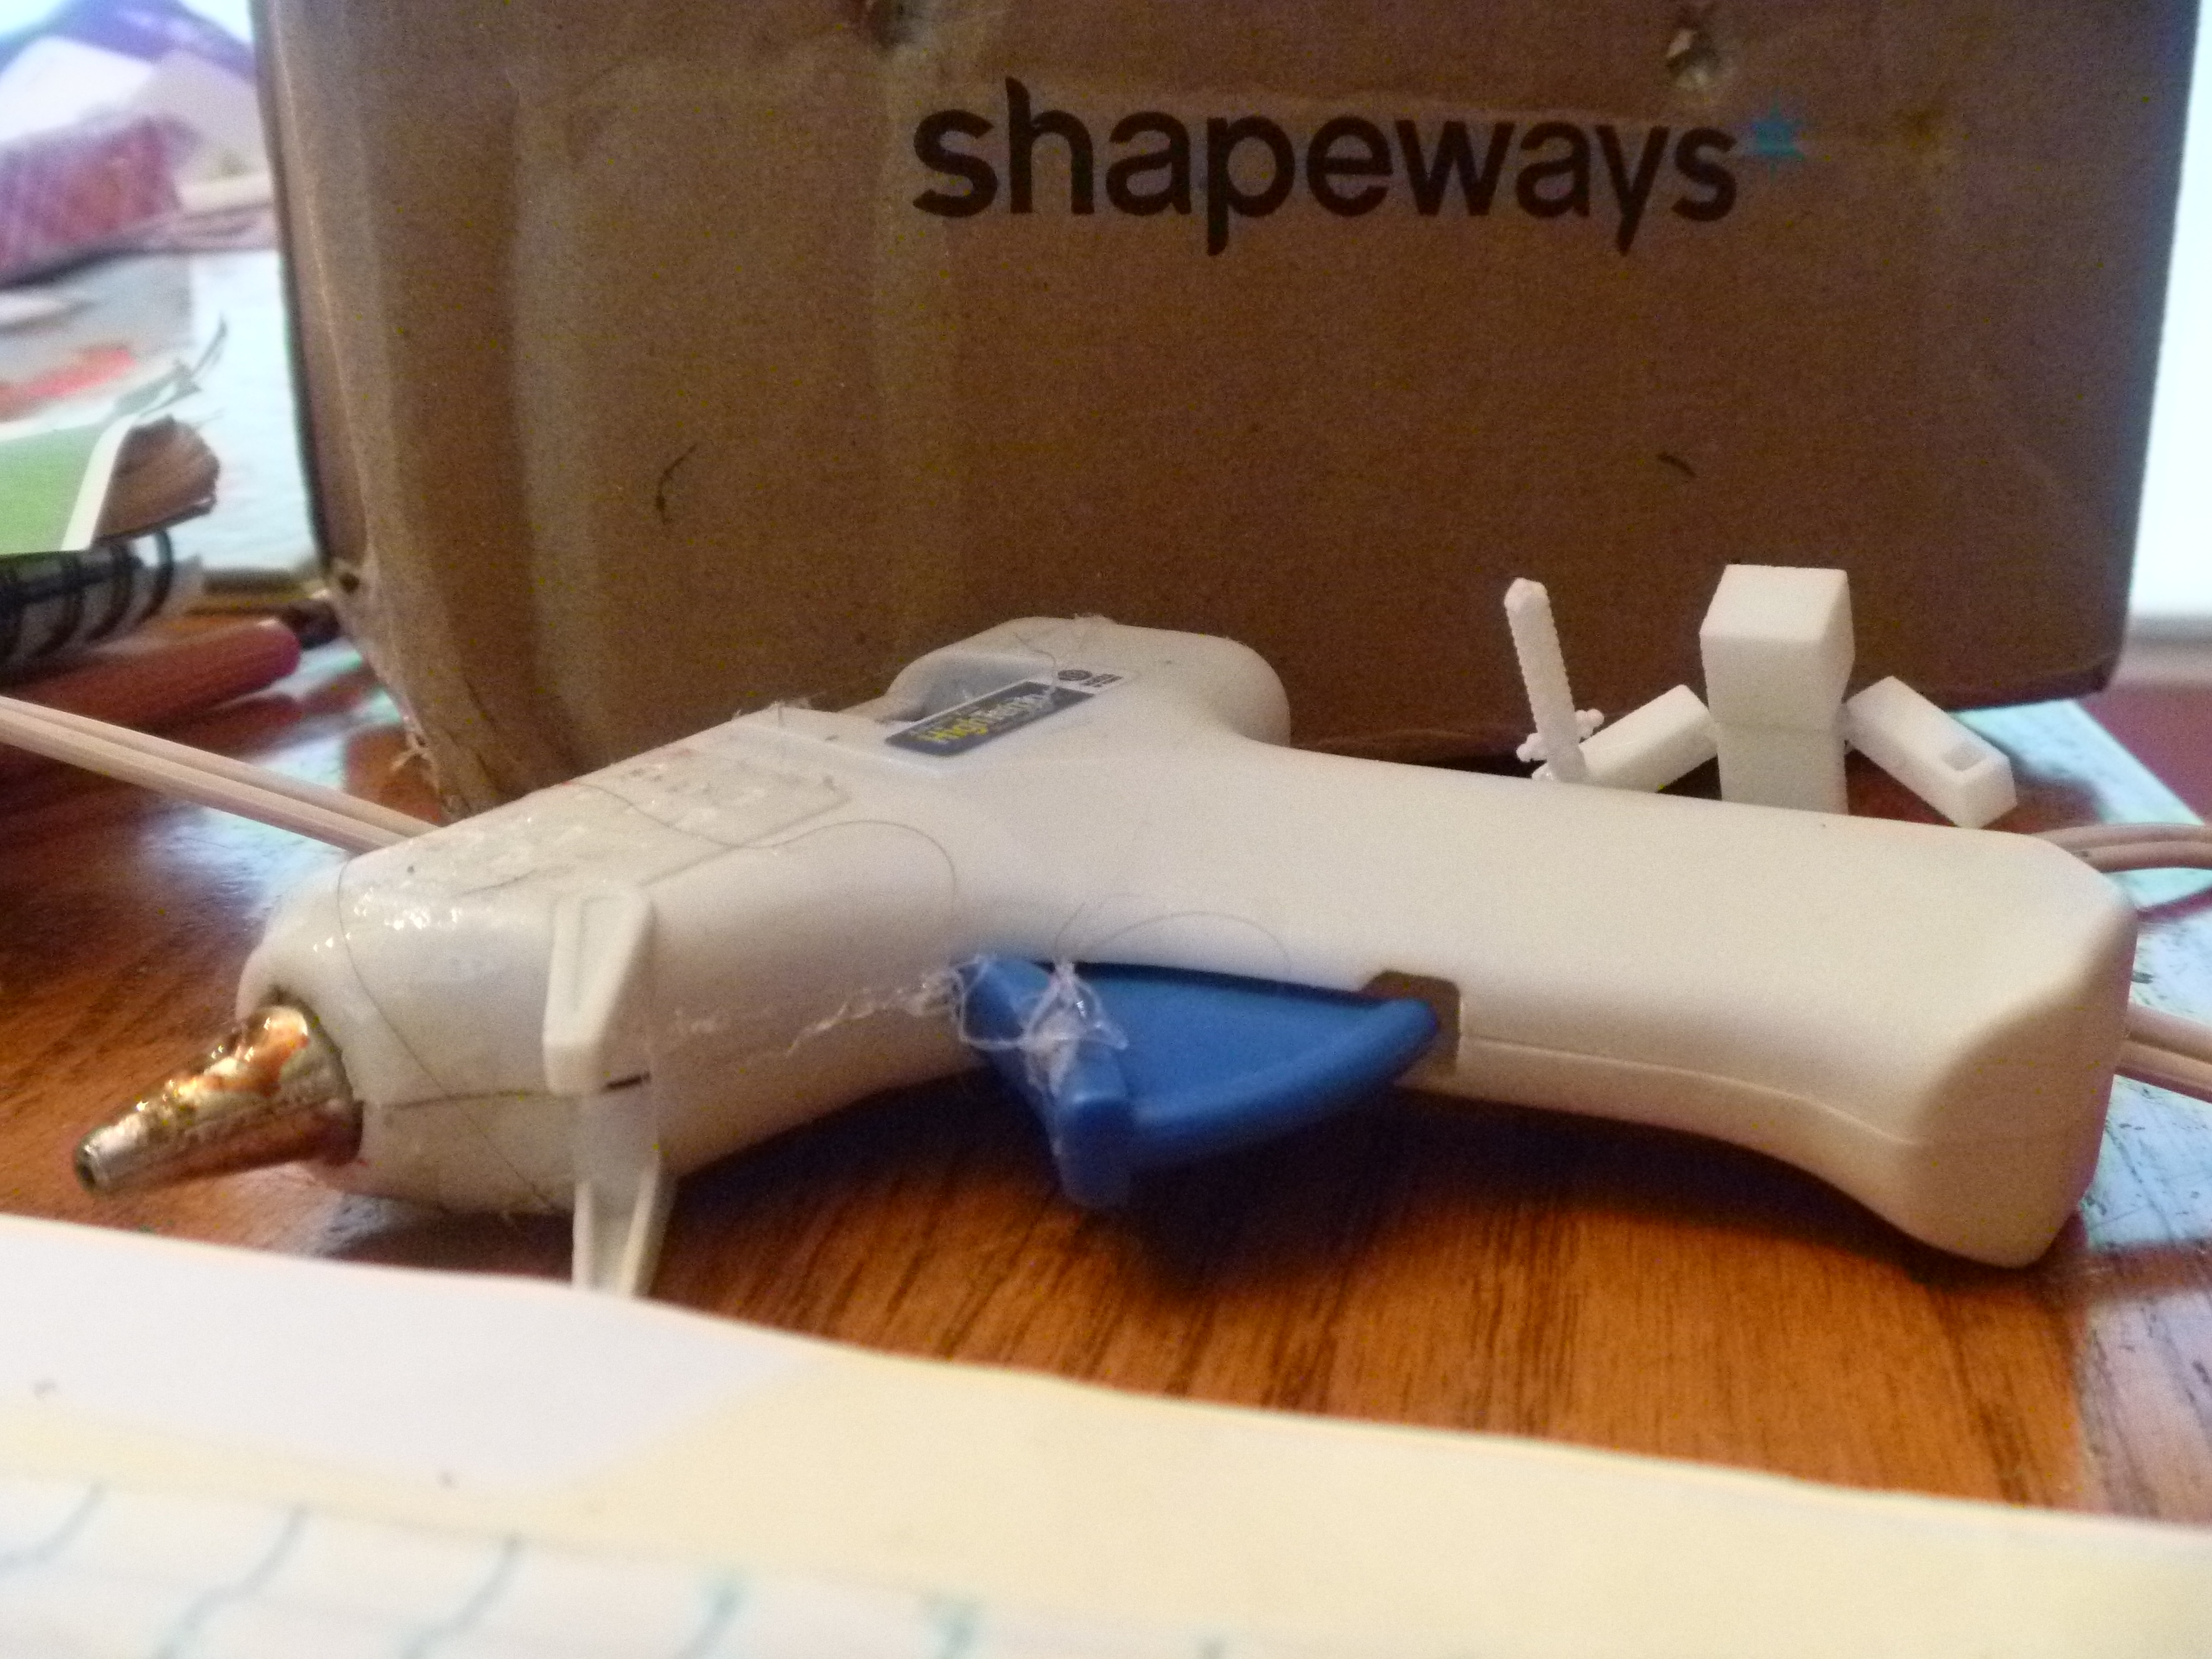
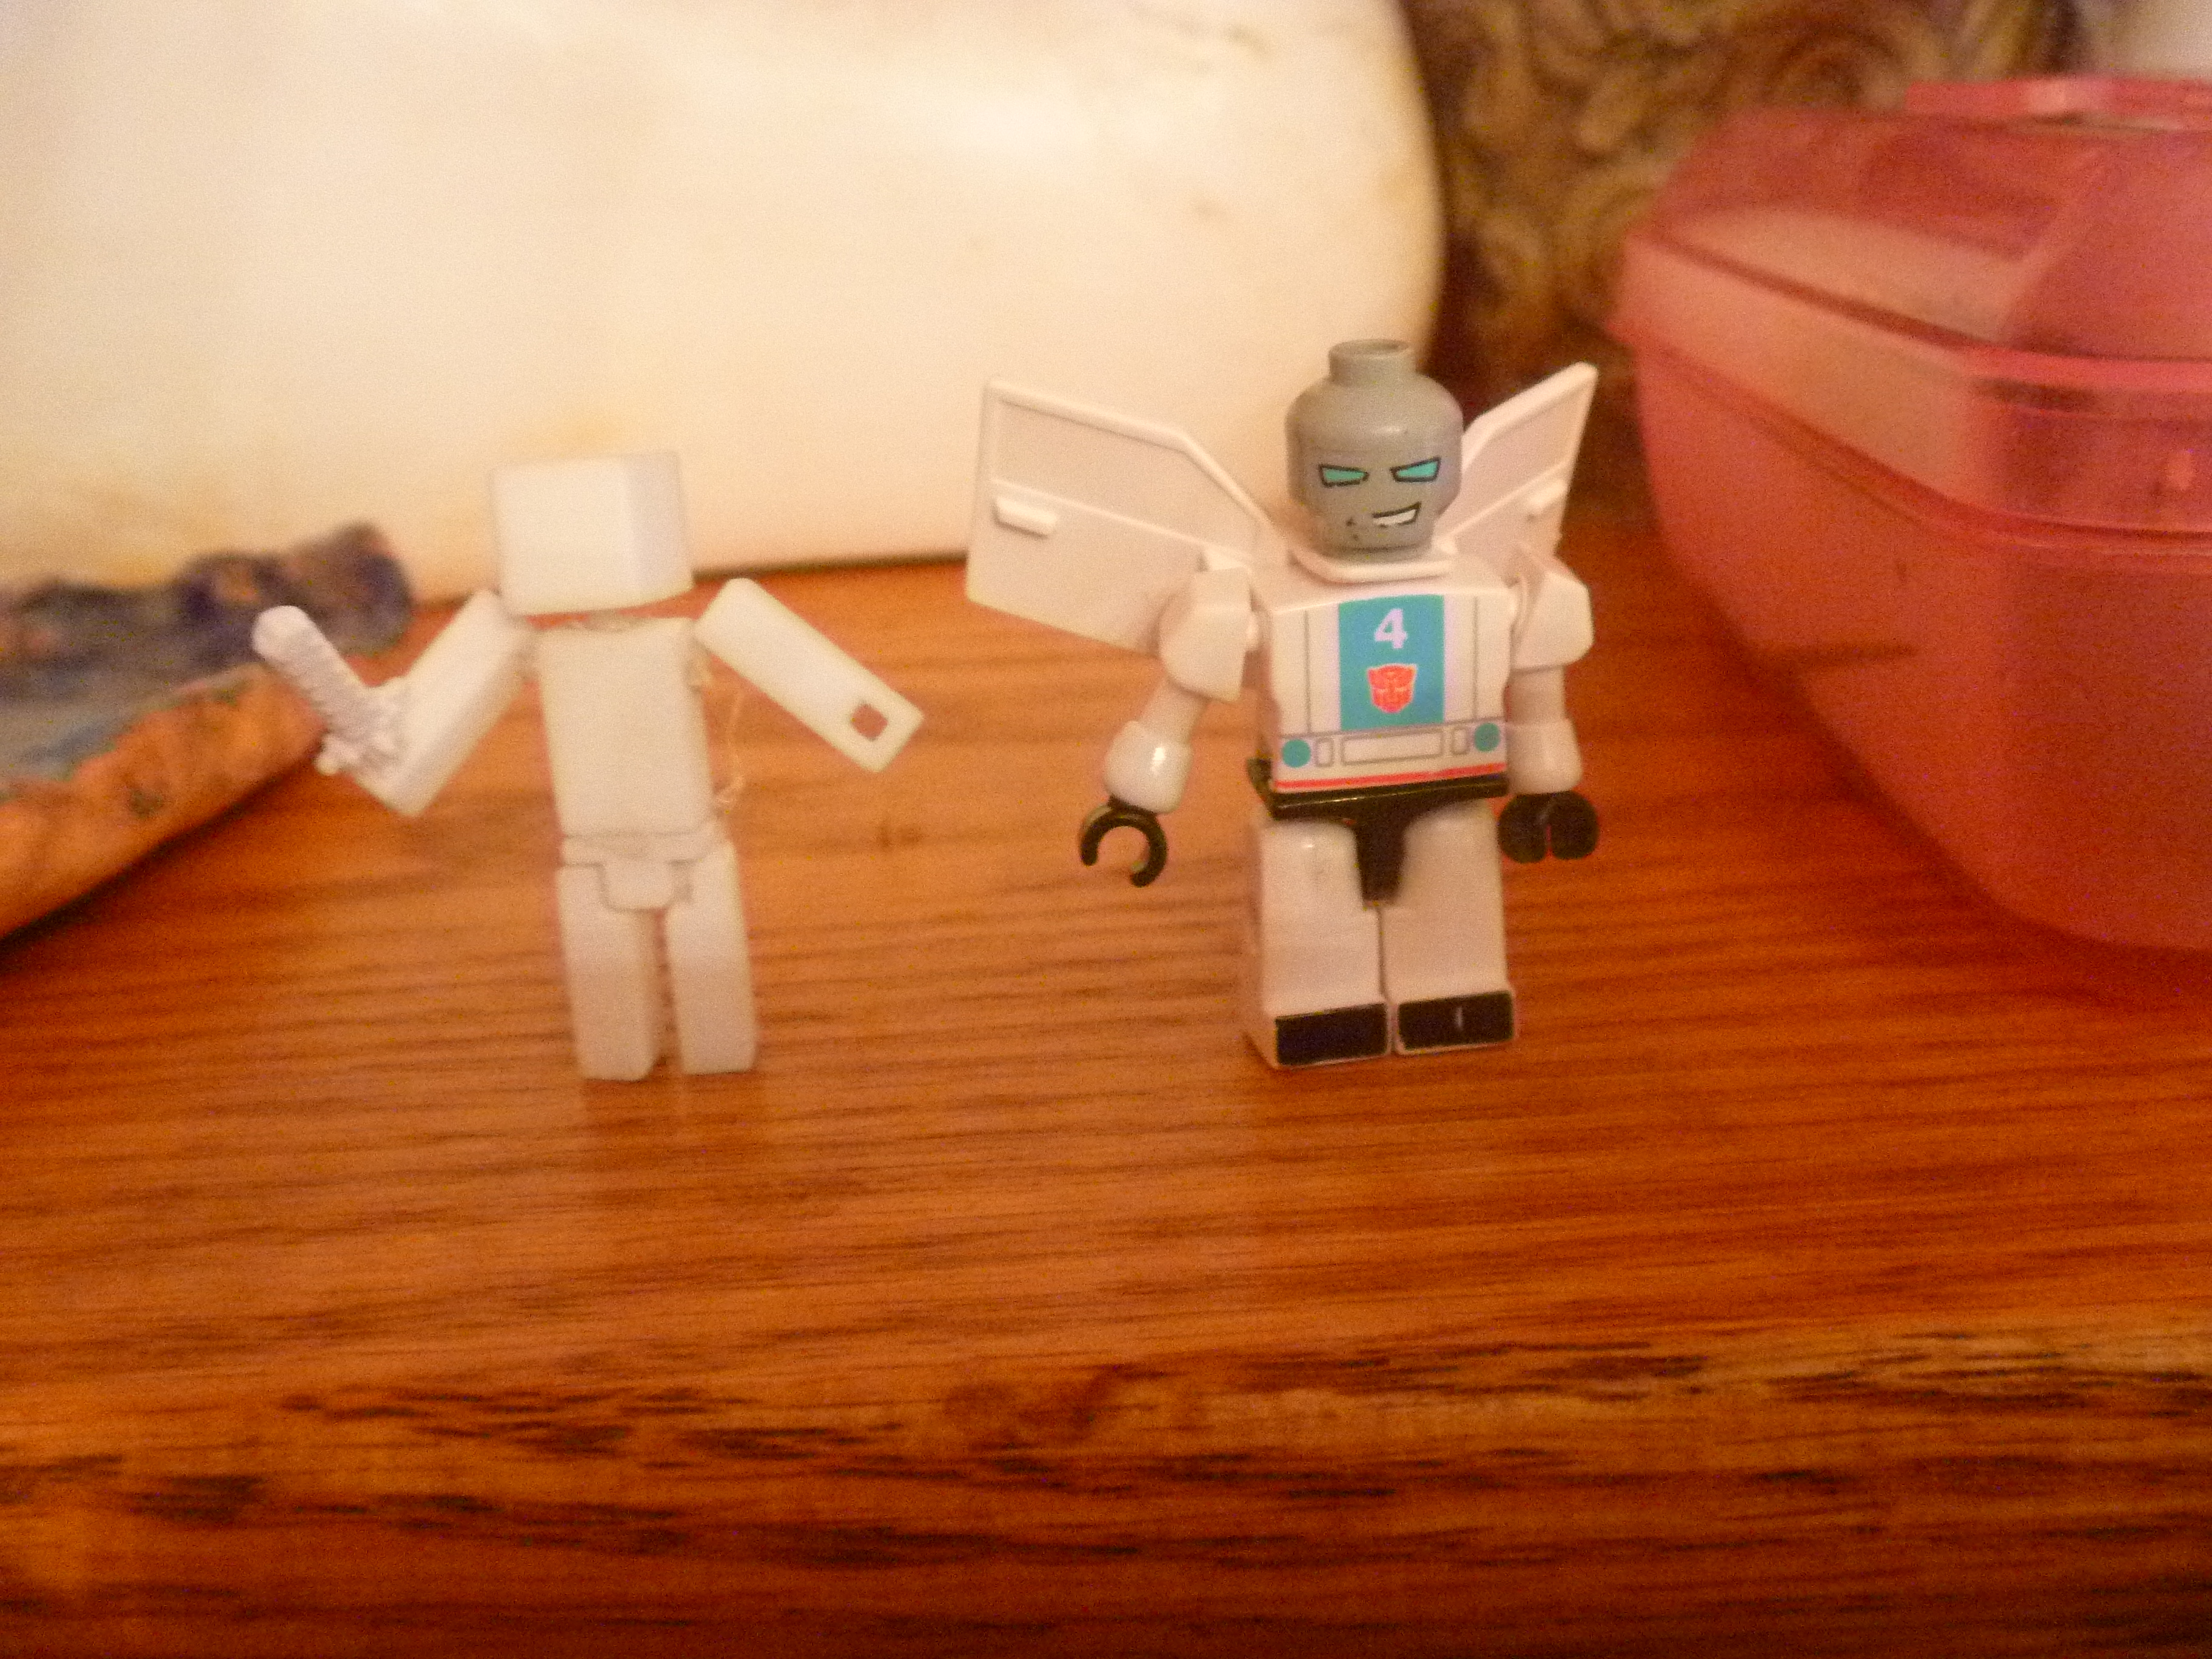
The mini-figure turned out nice. It was smaller then I imagined it would be, and the ball joints would not slide into the body like I was hoping so I had to break out the glue gun. I glued the ball joints to the body and waist, then glued the waist to the body, and the sword to the hand. After that it worked out pretty well. He stills needs some tweaking(That means look out for version 3).
Link to model click here.
Dimensions
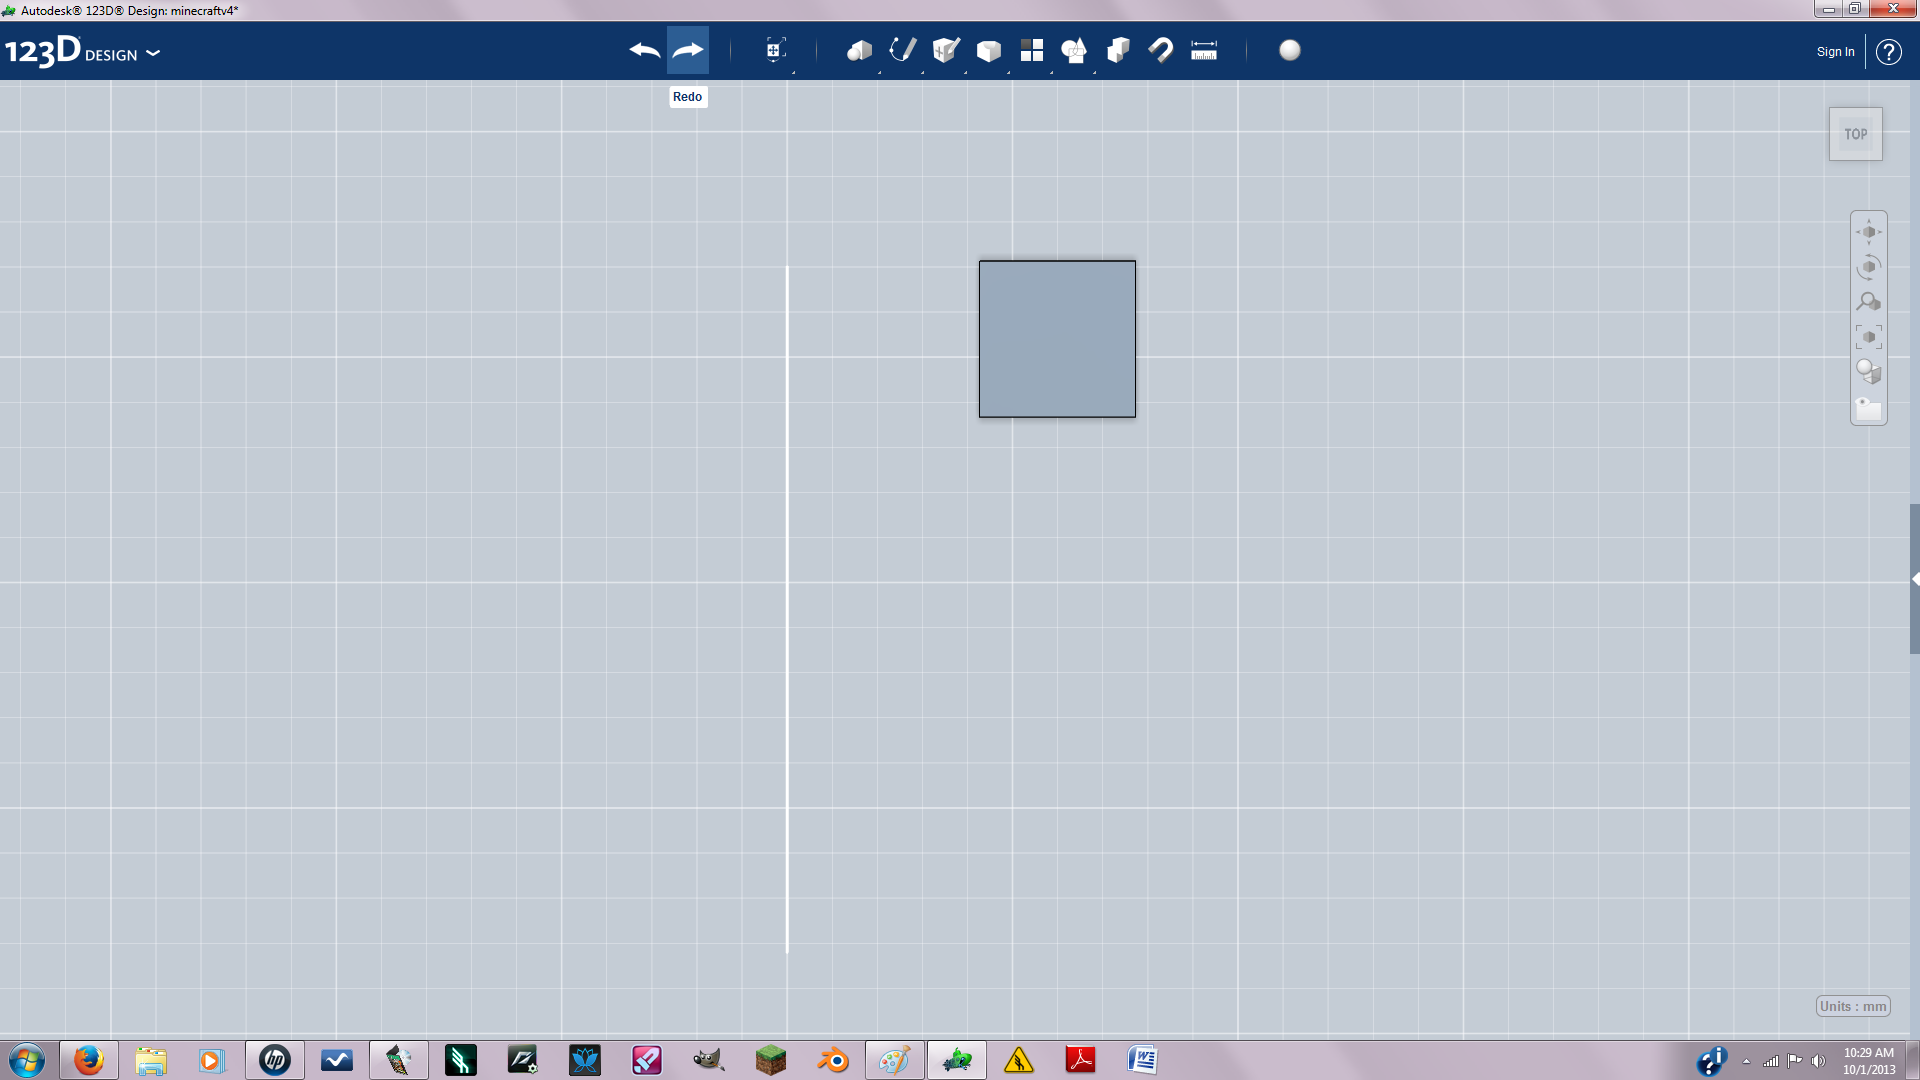
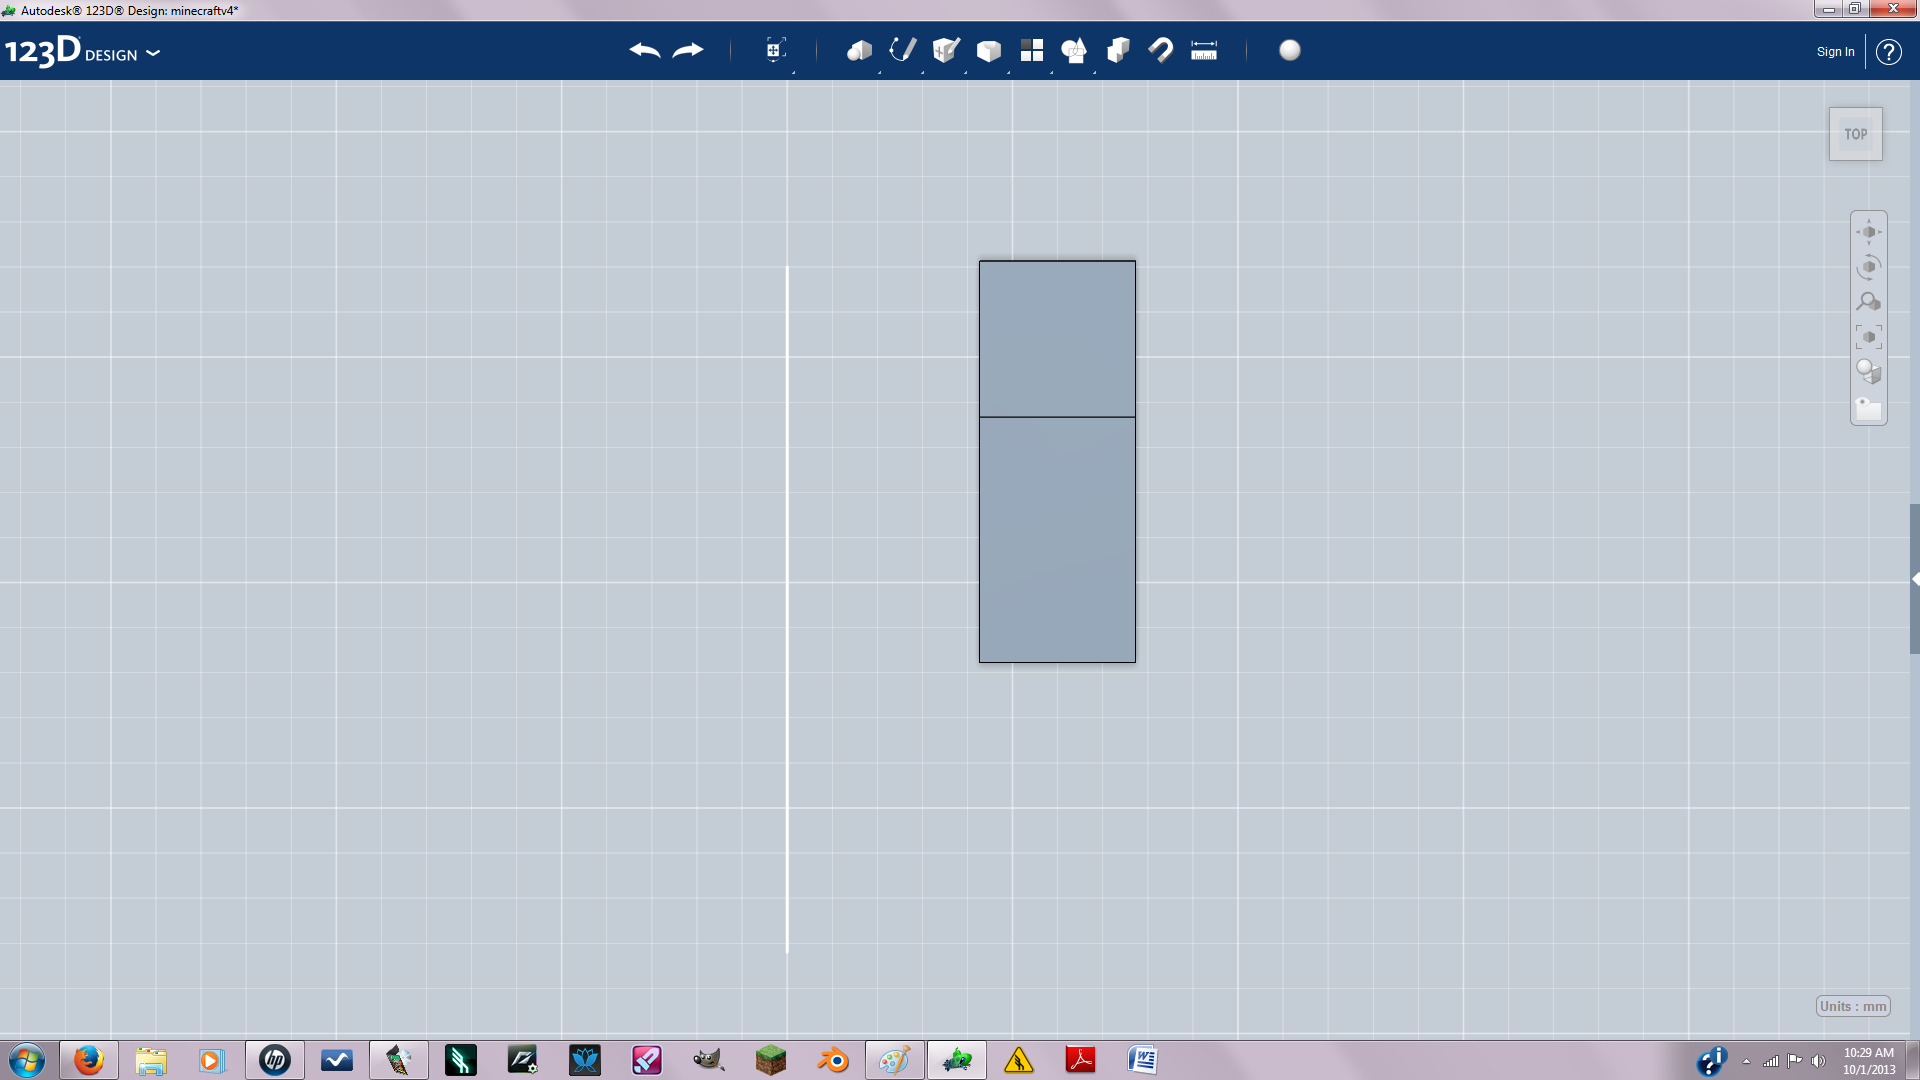
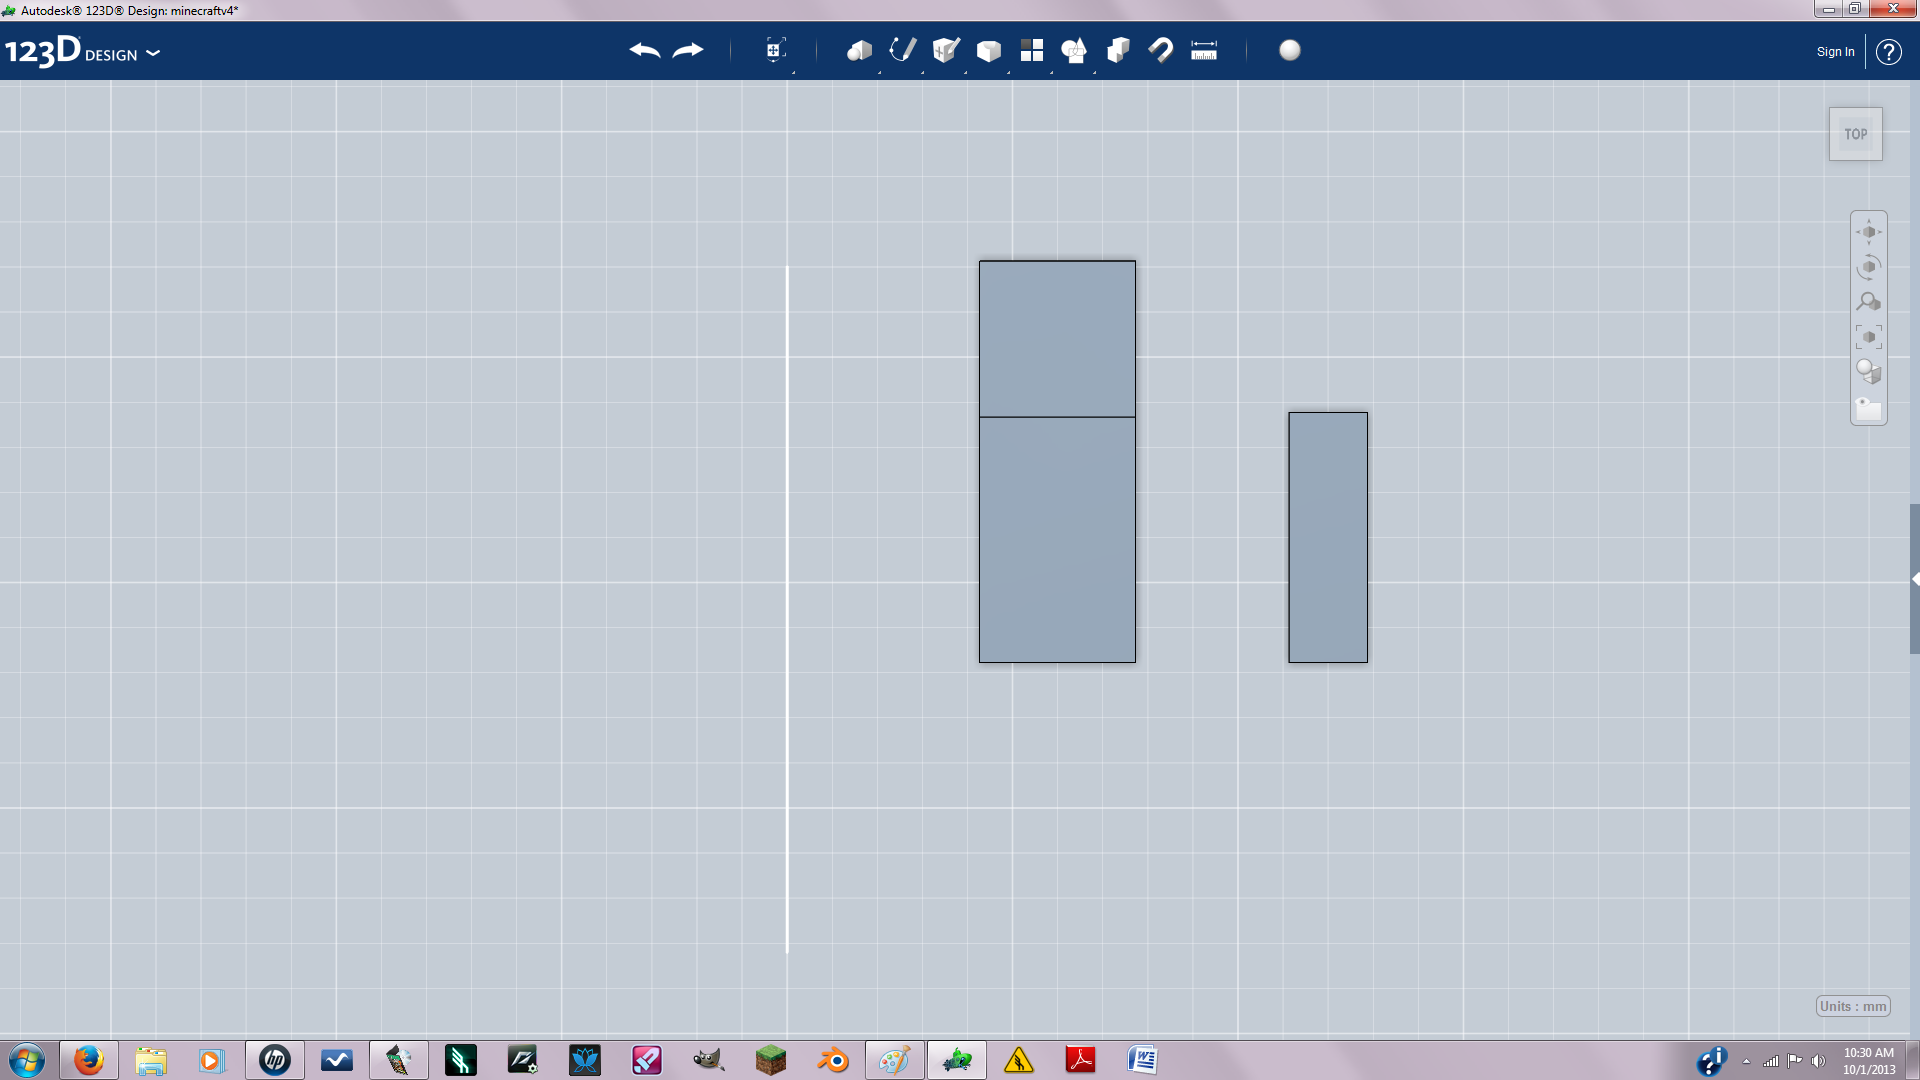
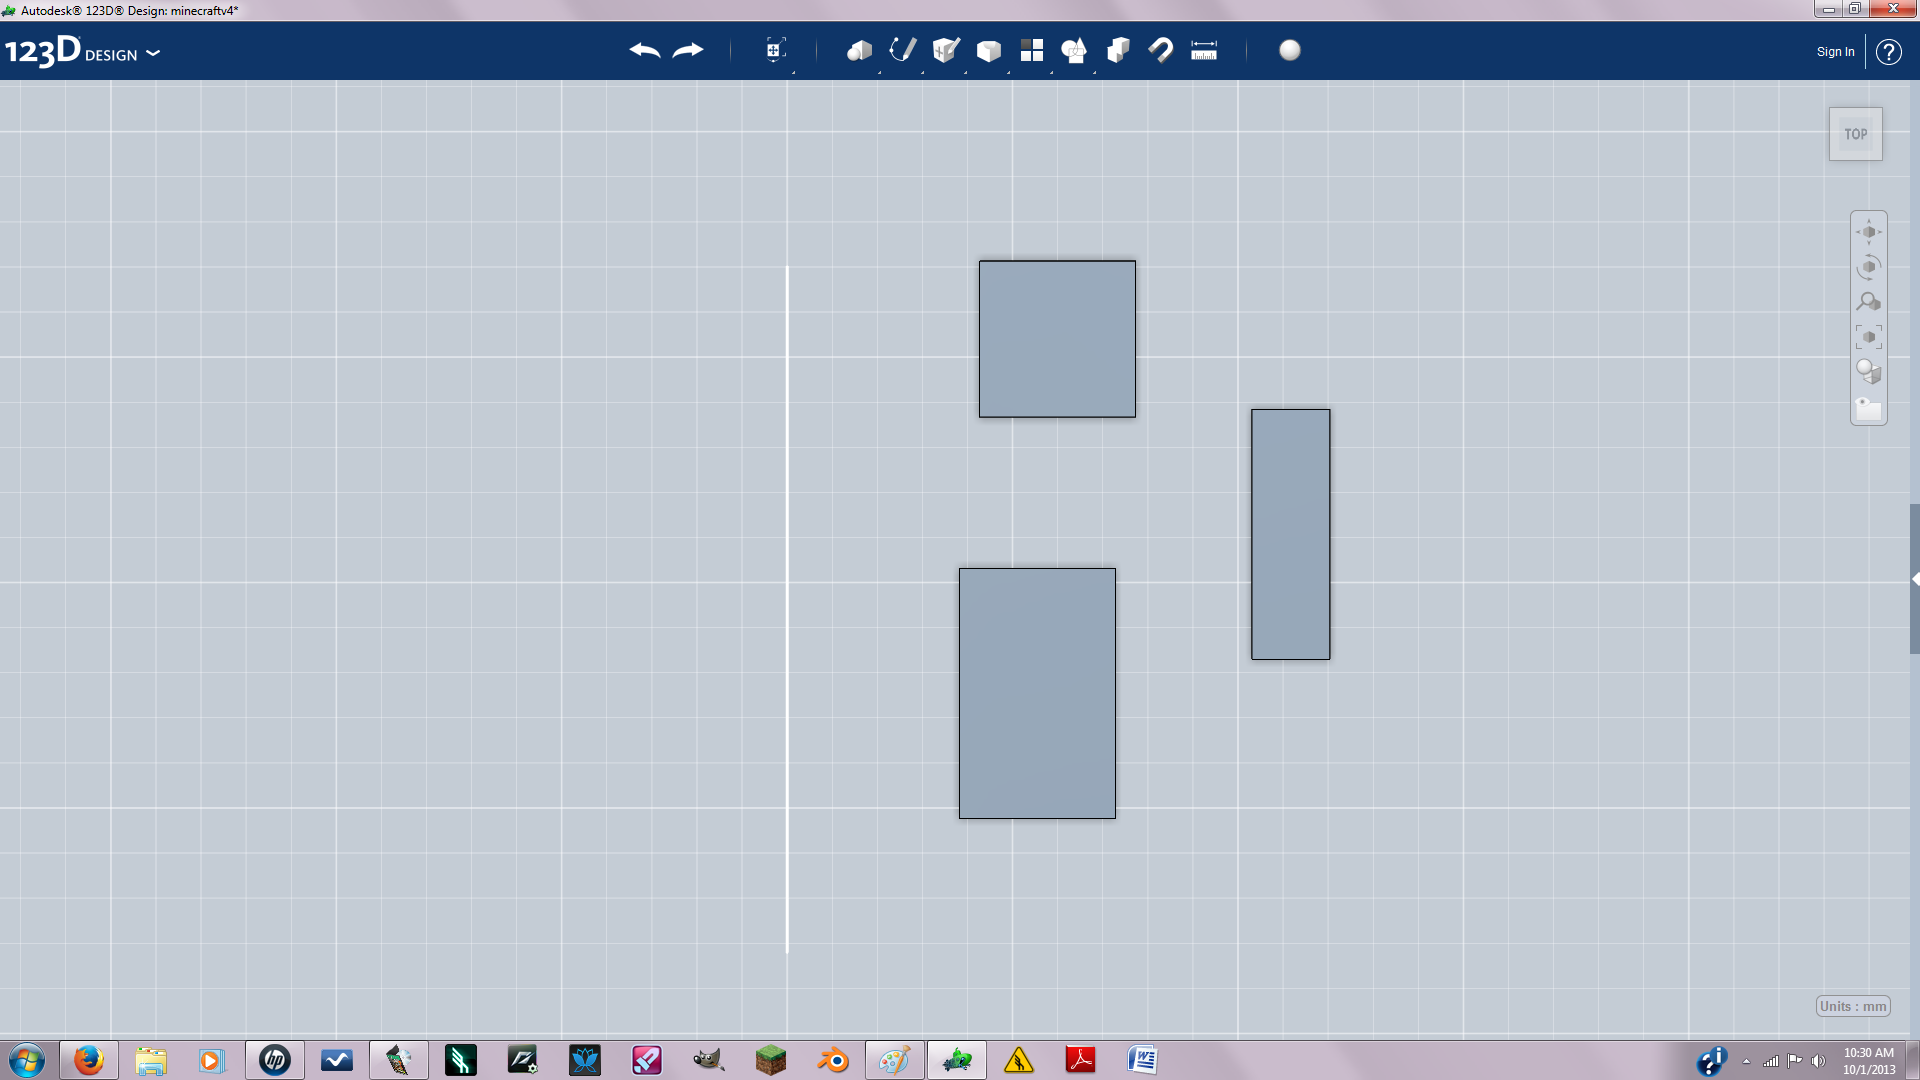
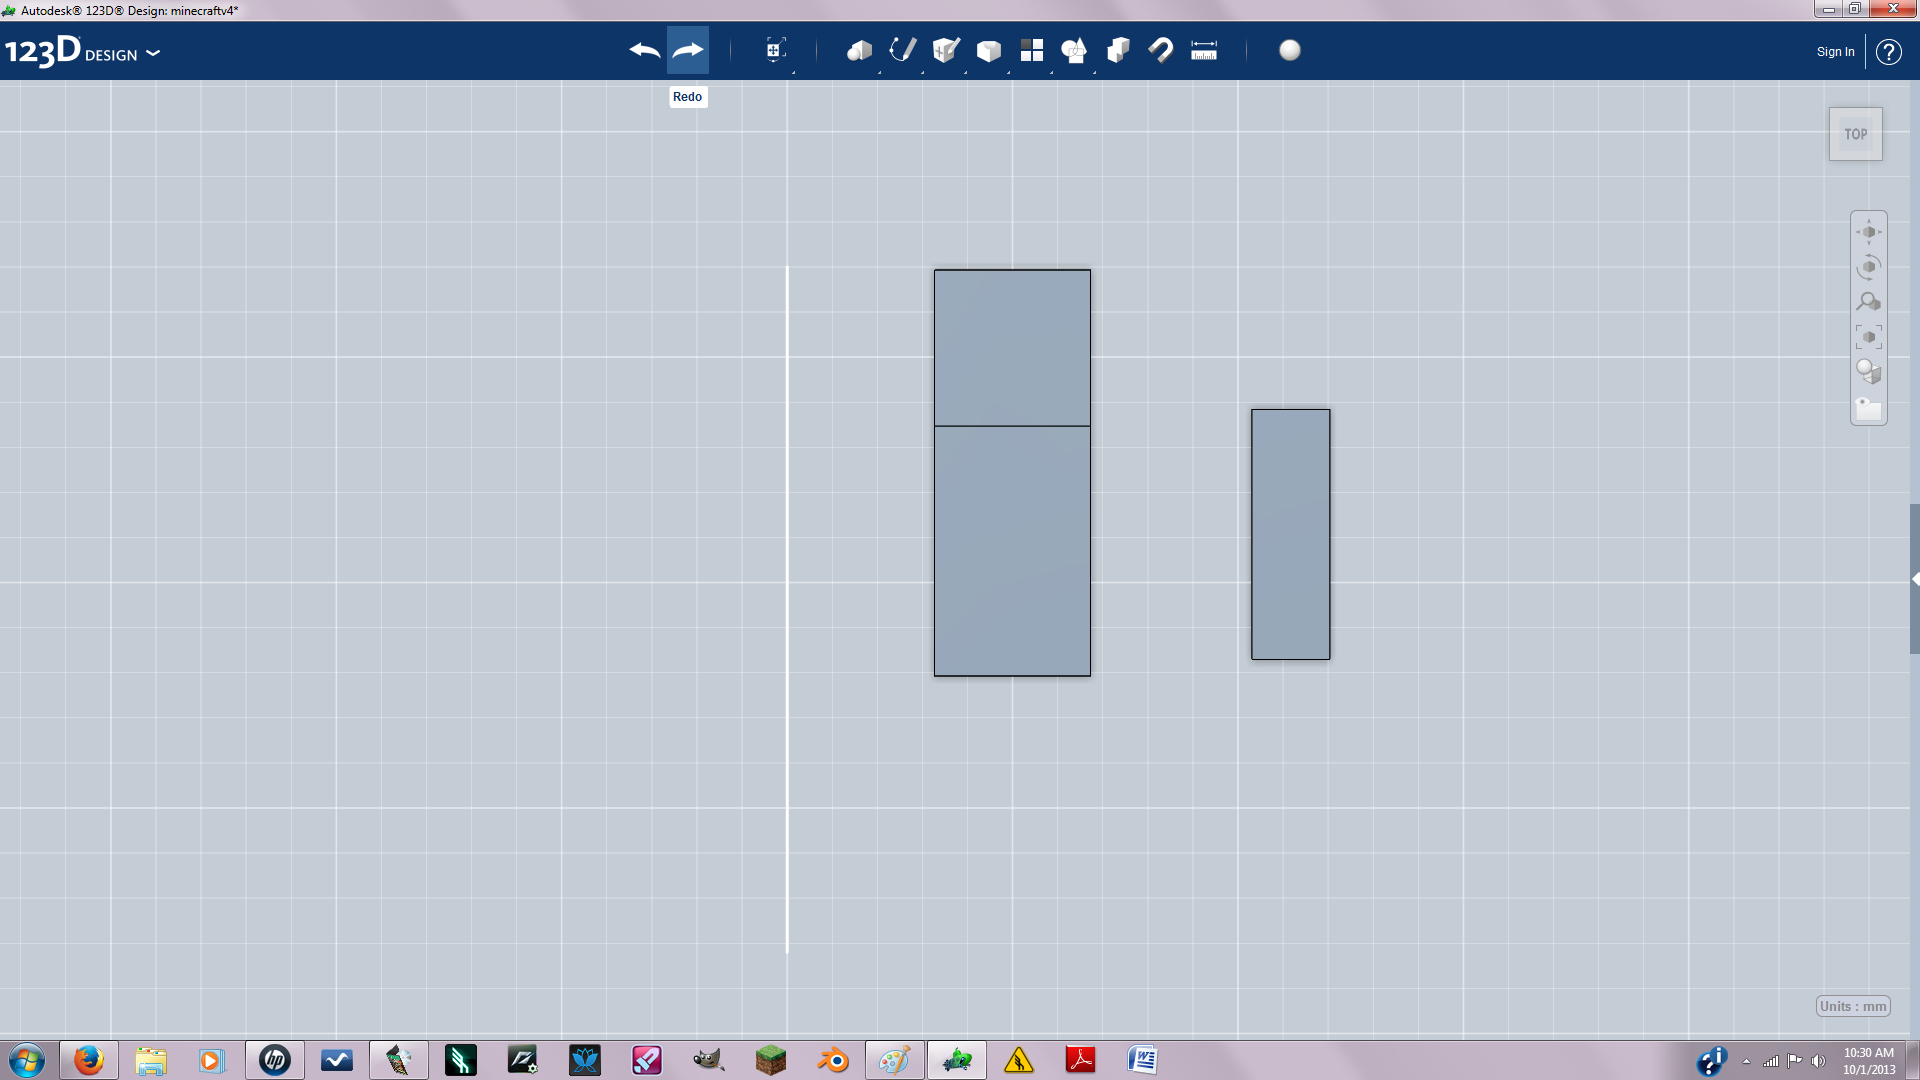
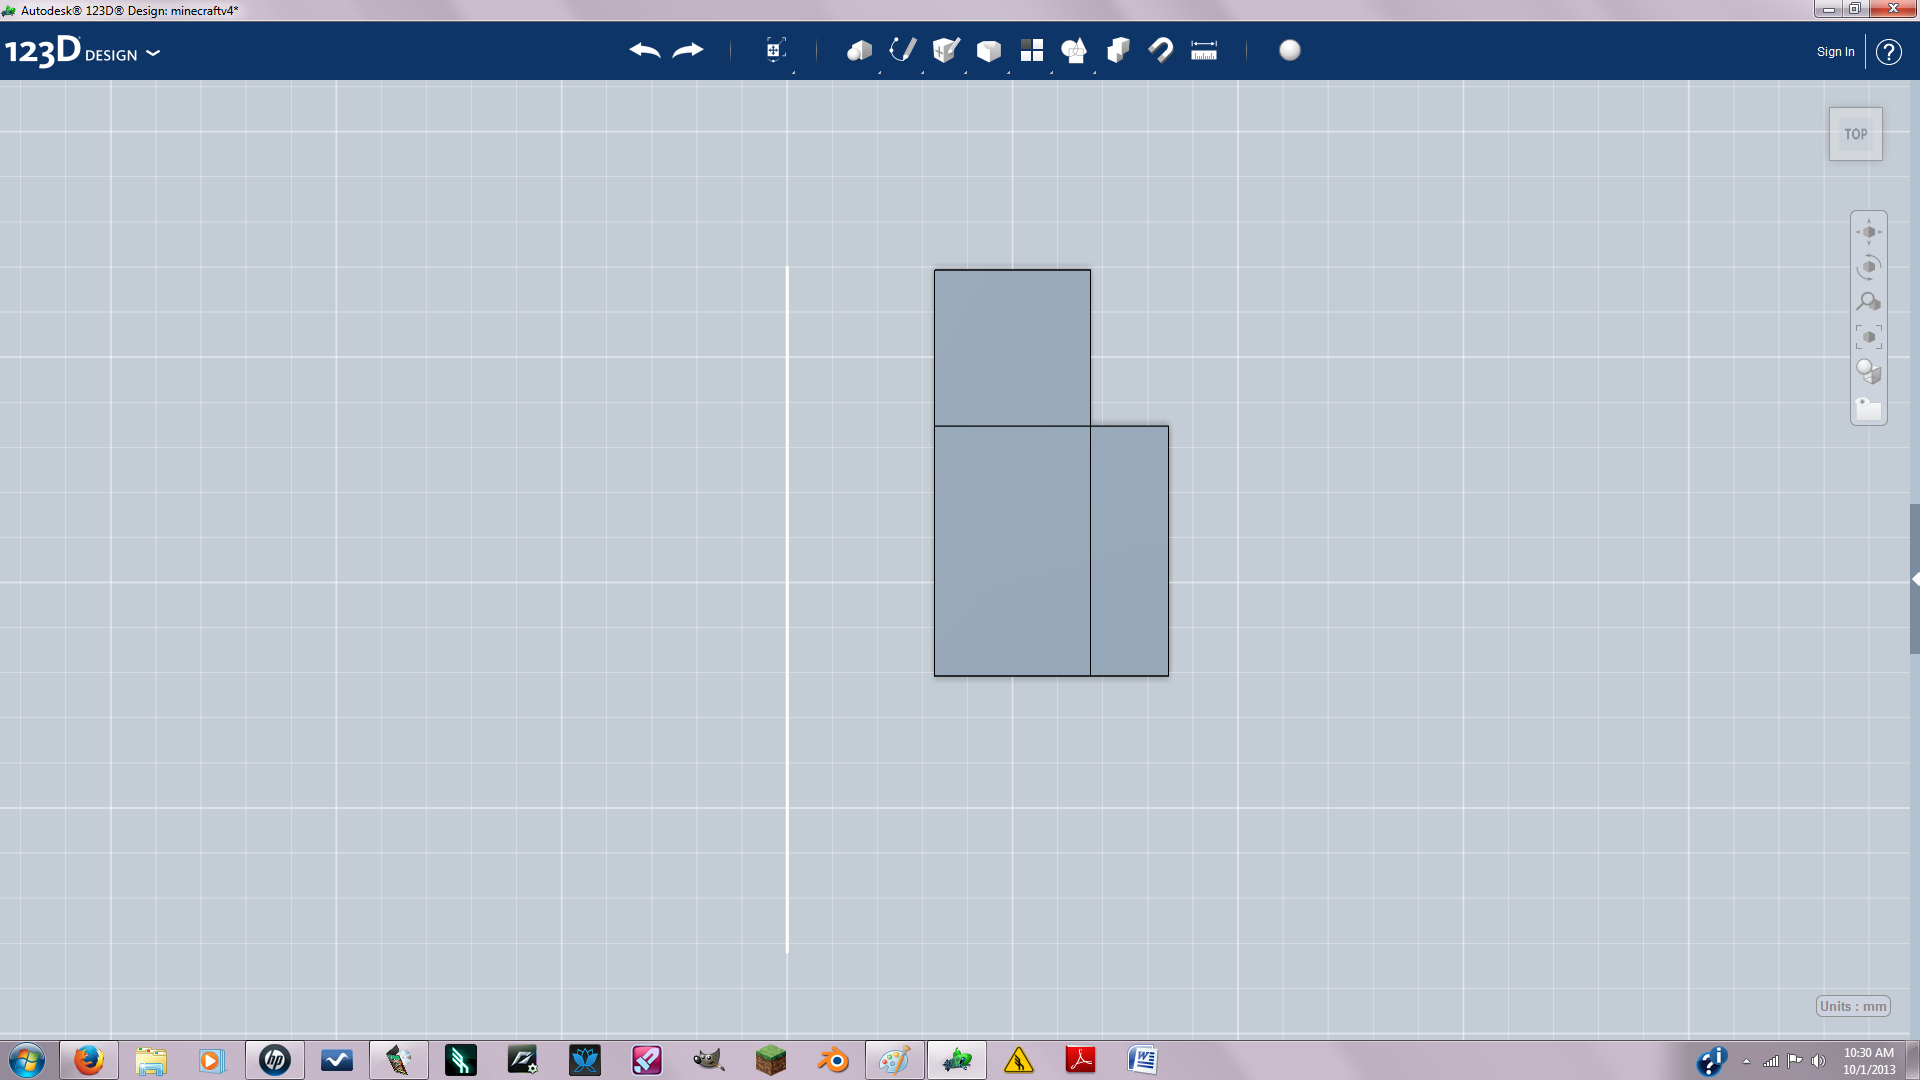
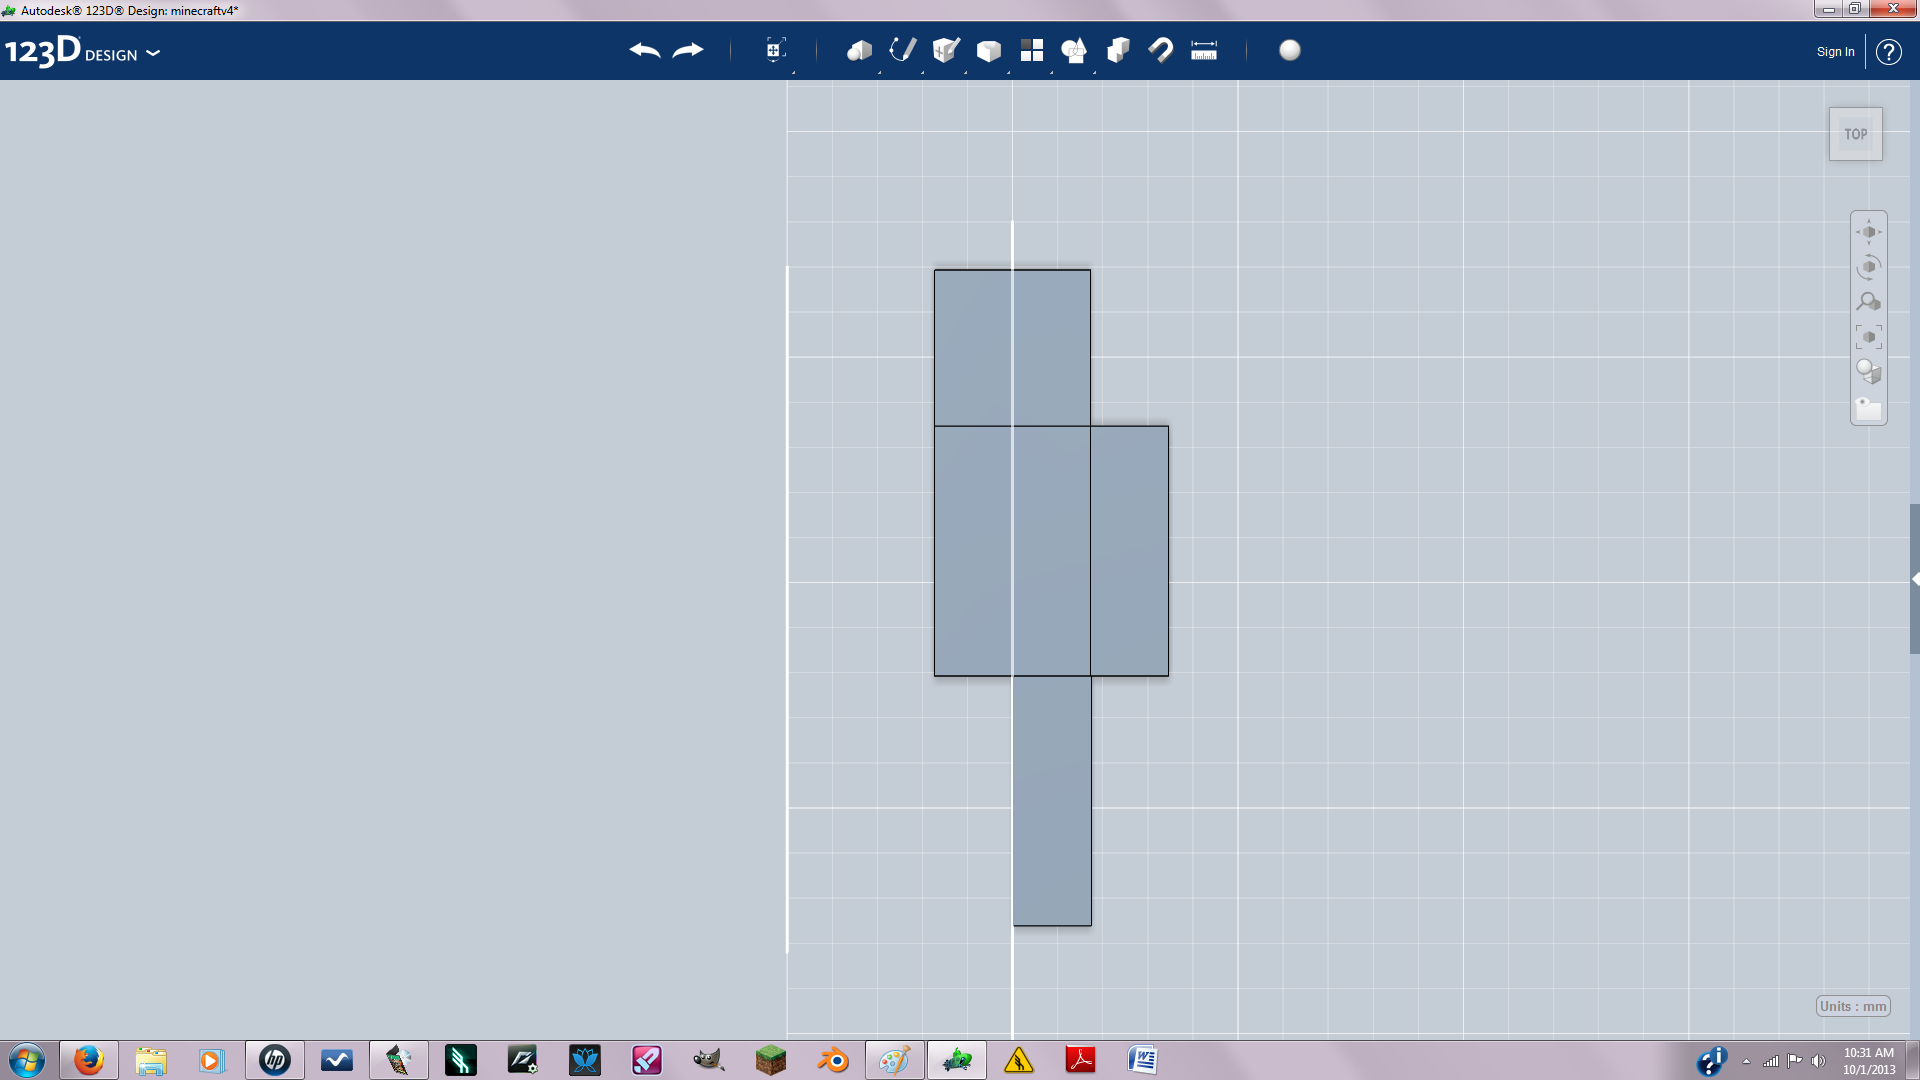
First you must create the dimensions.
The heads Length,Width, and Height is 8.659mm.
The arms and legs have a width of 4.329, length of 13.854, and height of 4.329.
The body is two arms or legs put together.
After you make the dimensions this snap them together.
The heads Length,Width, and Height is 8.659mm.
The arms and legs have a width of 4.329, length of 13.854, and height of 4.329.
The body is two arms or legs put together.
After you make the dimensions this snap them together.
Then the Ball Joint
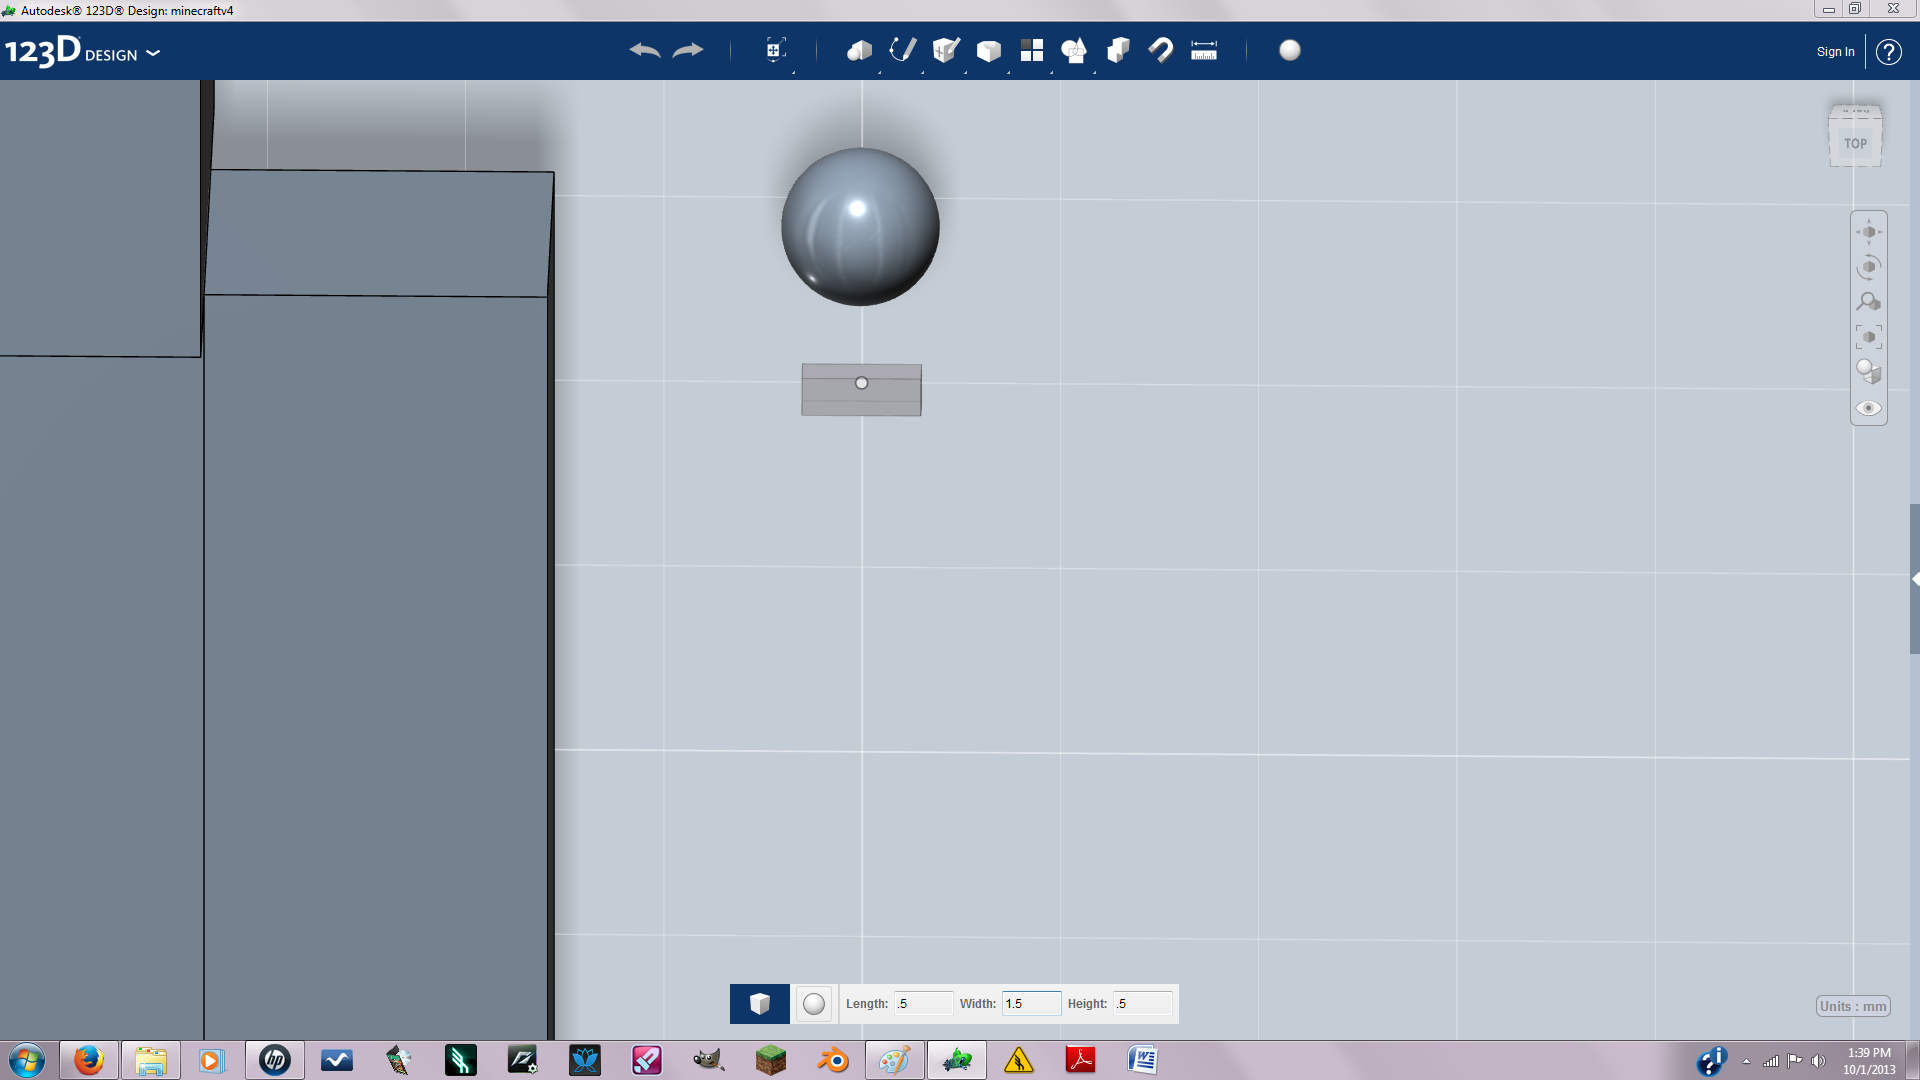
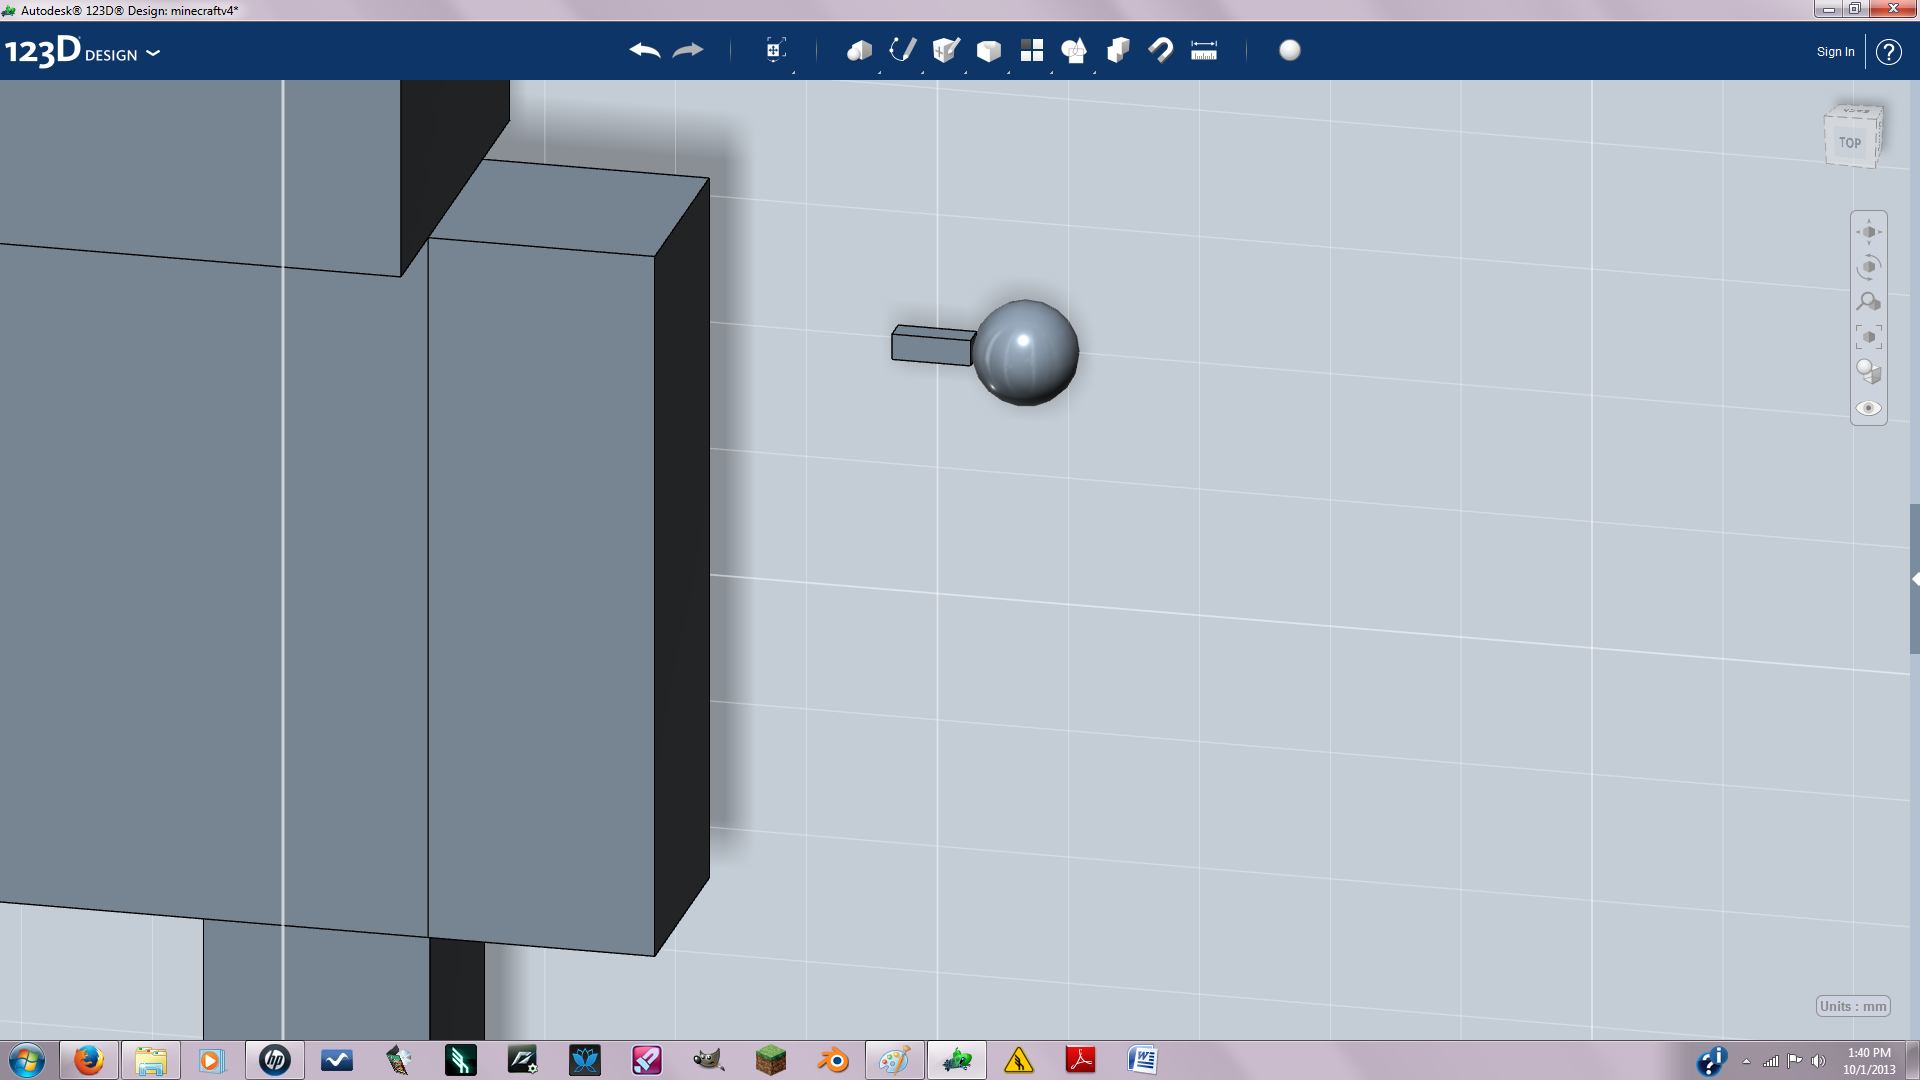
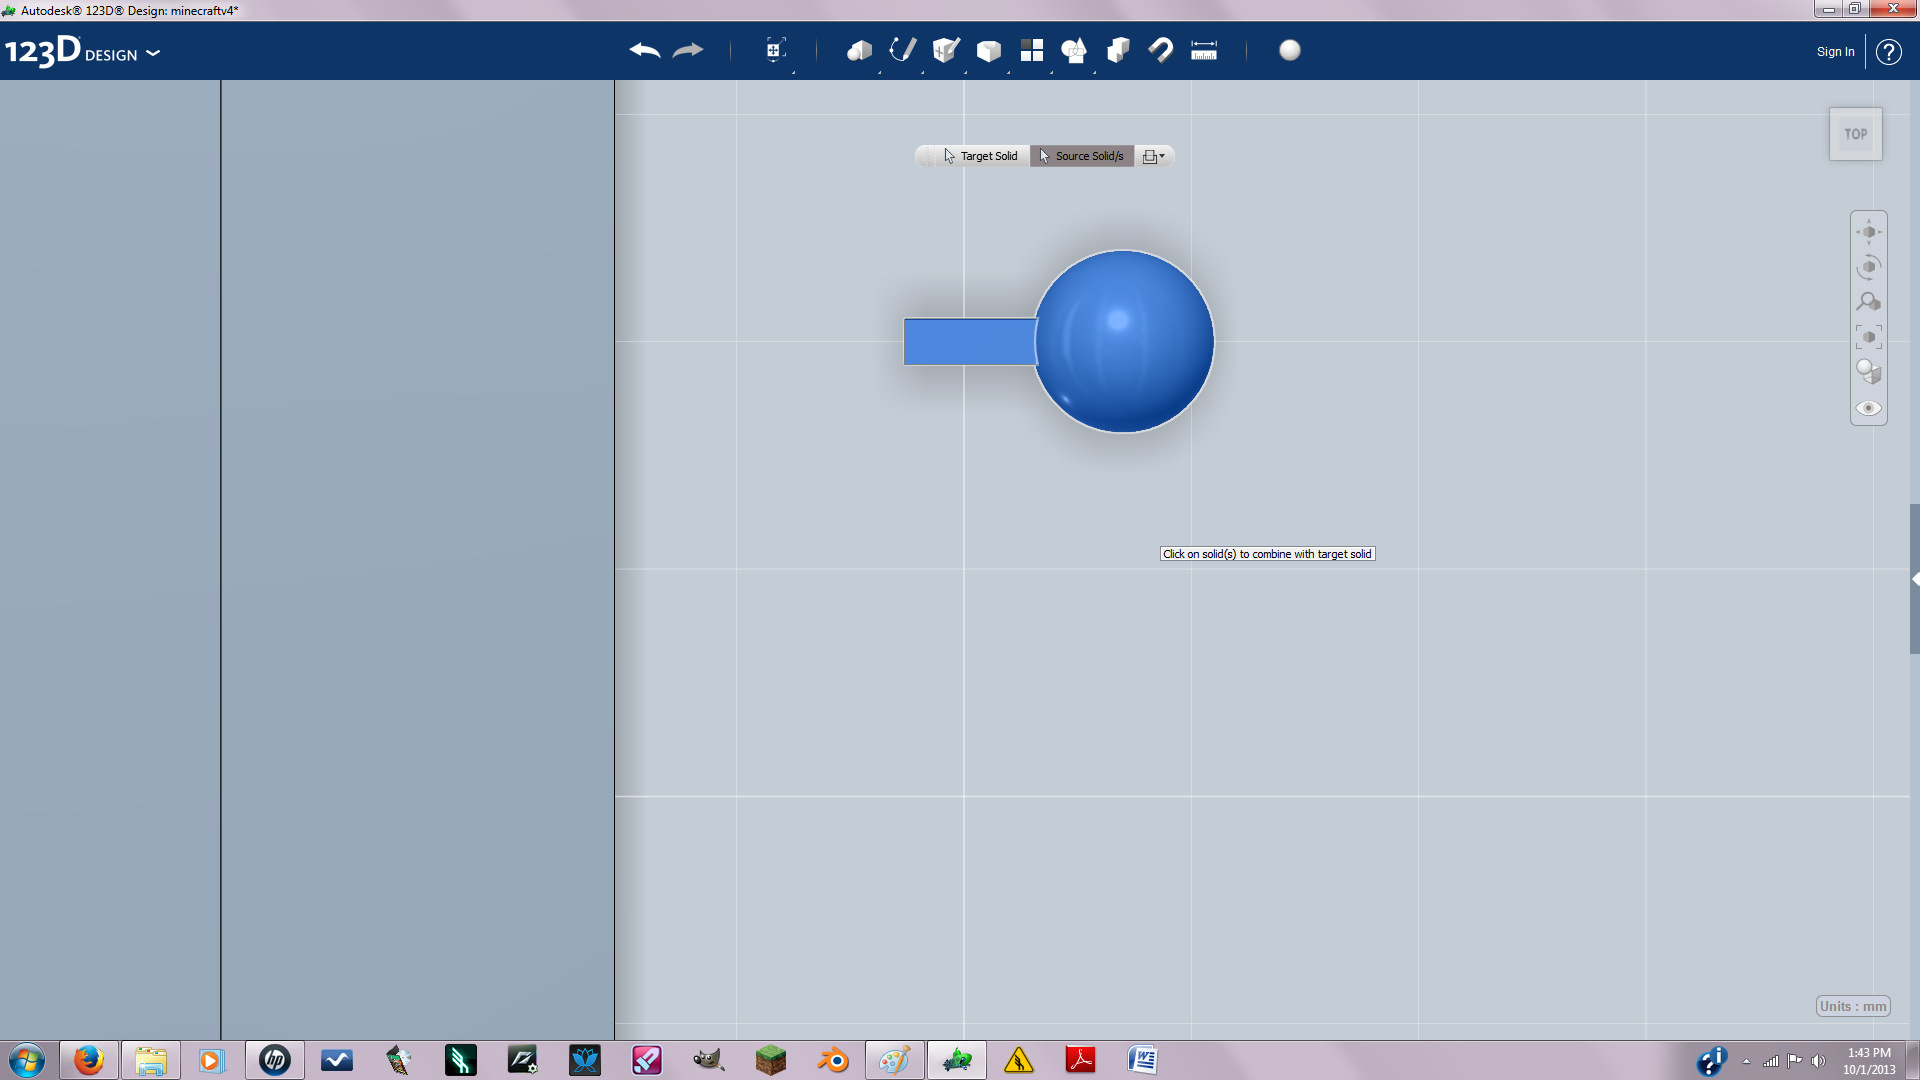
The ball joint is made a ball with a radius of 1. And a rectangle with L .5, W 1.5, and H .5. Snap them together and join. Note if you are printing from shapeways the minimum wire thickness is .8 to 1 mm. So instead of .5 for L and W you should make it .8 or 1 mm.
Creating the Joint for the Arm
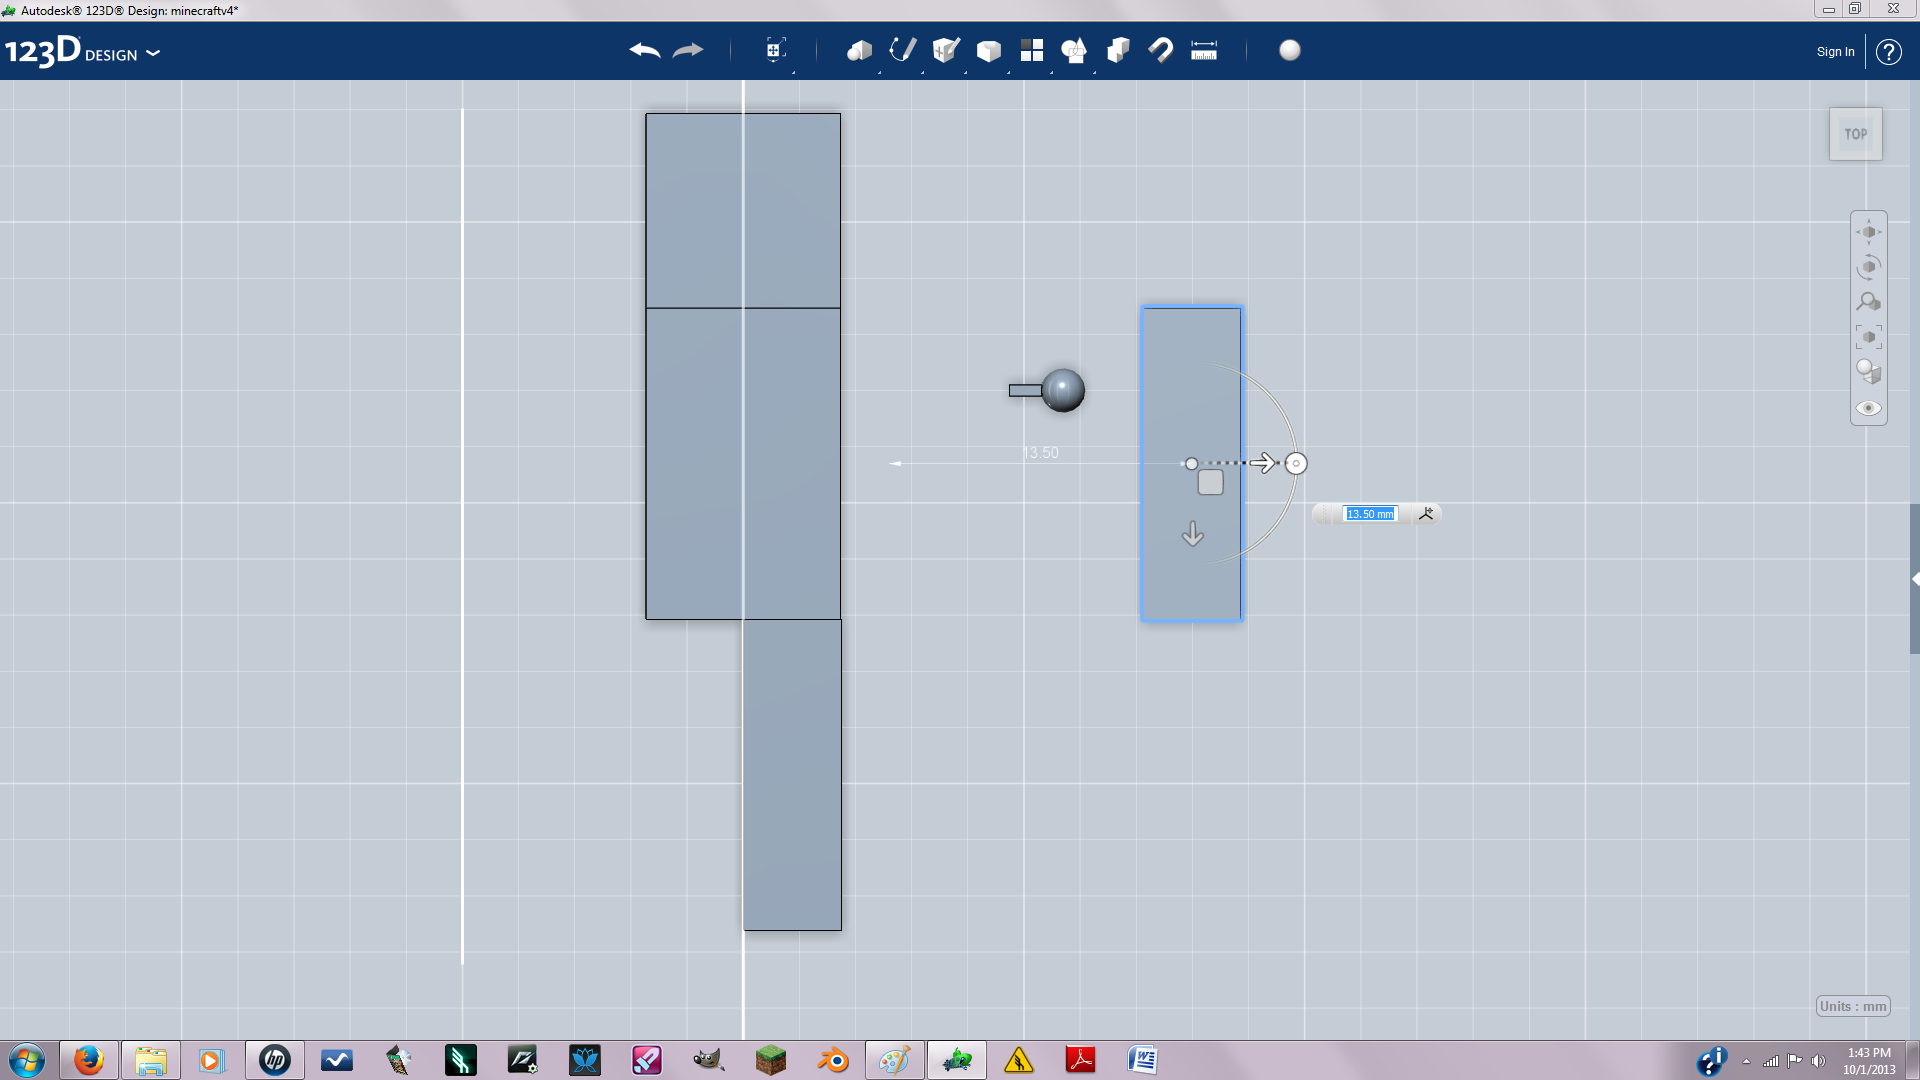
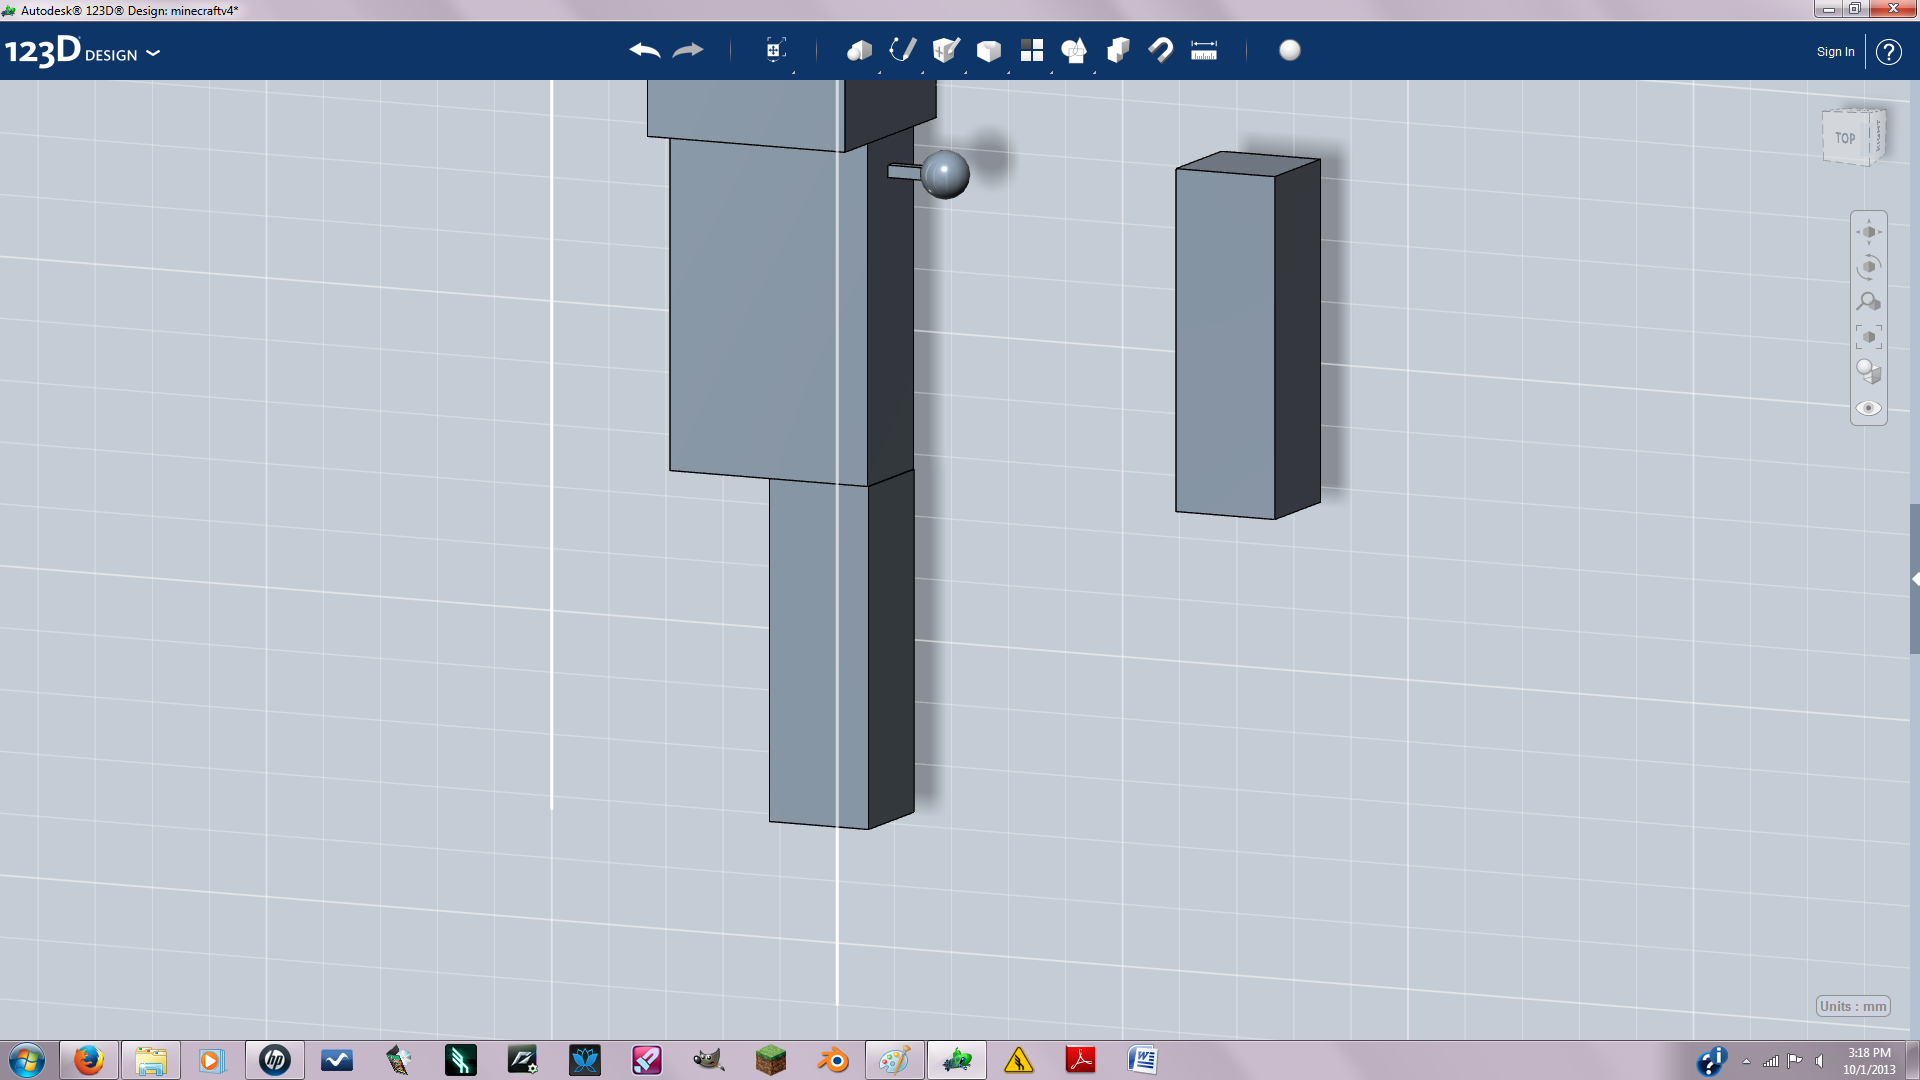
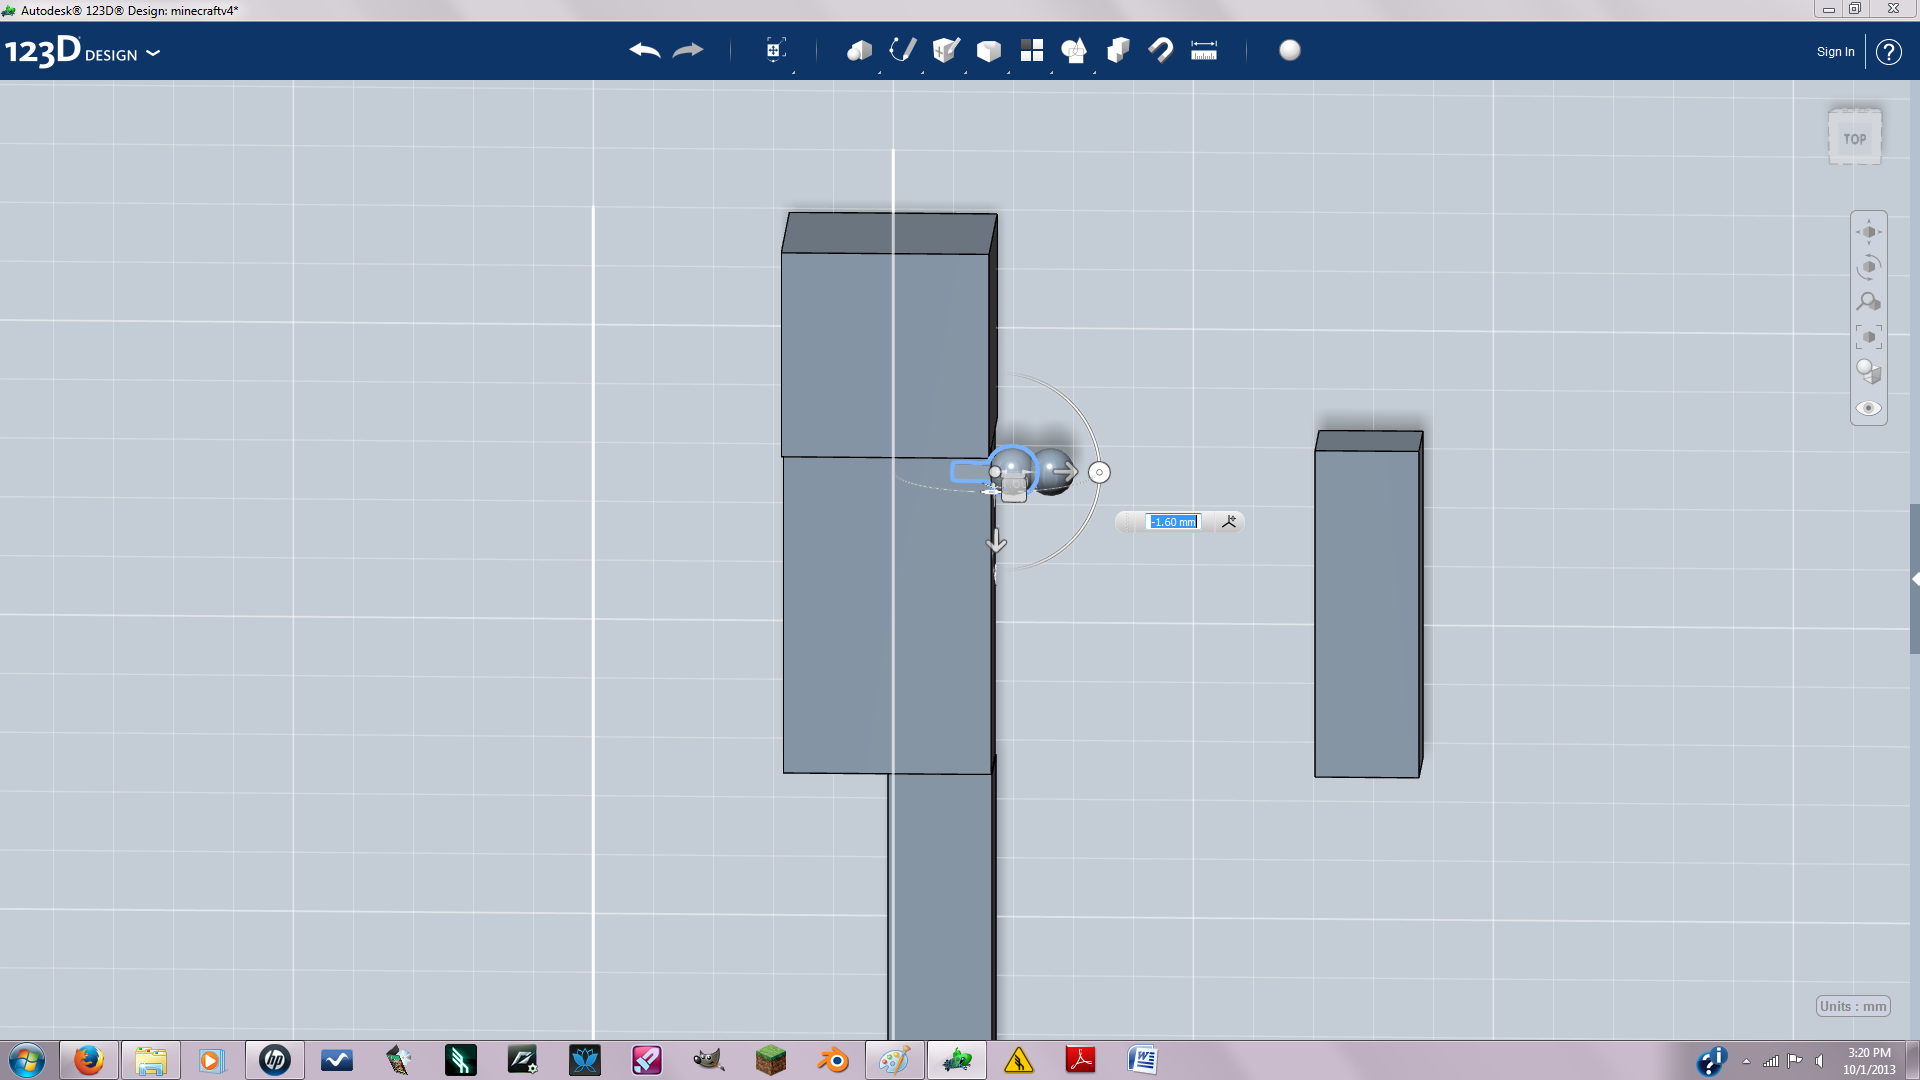
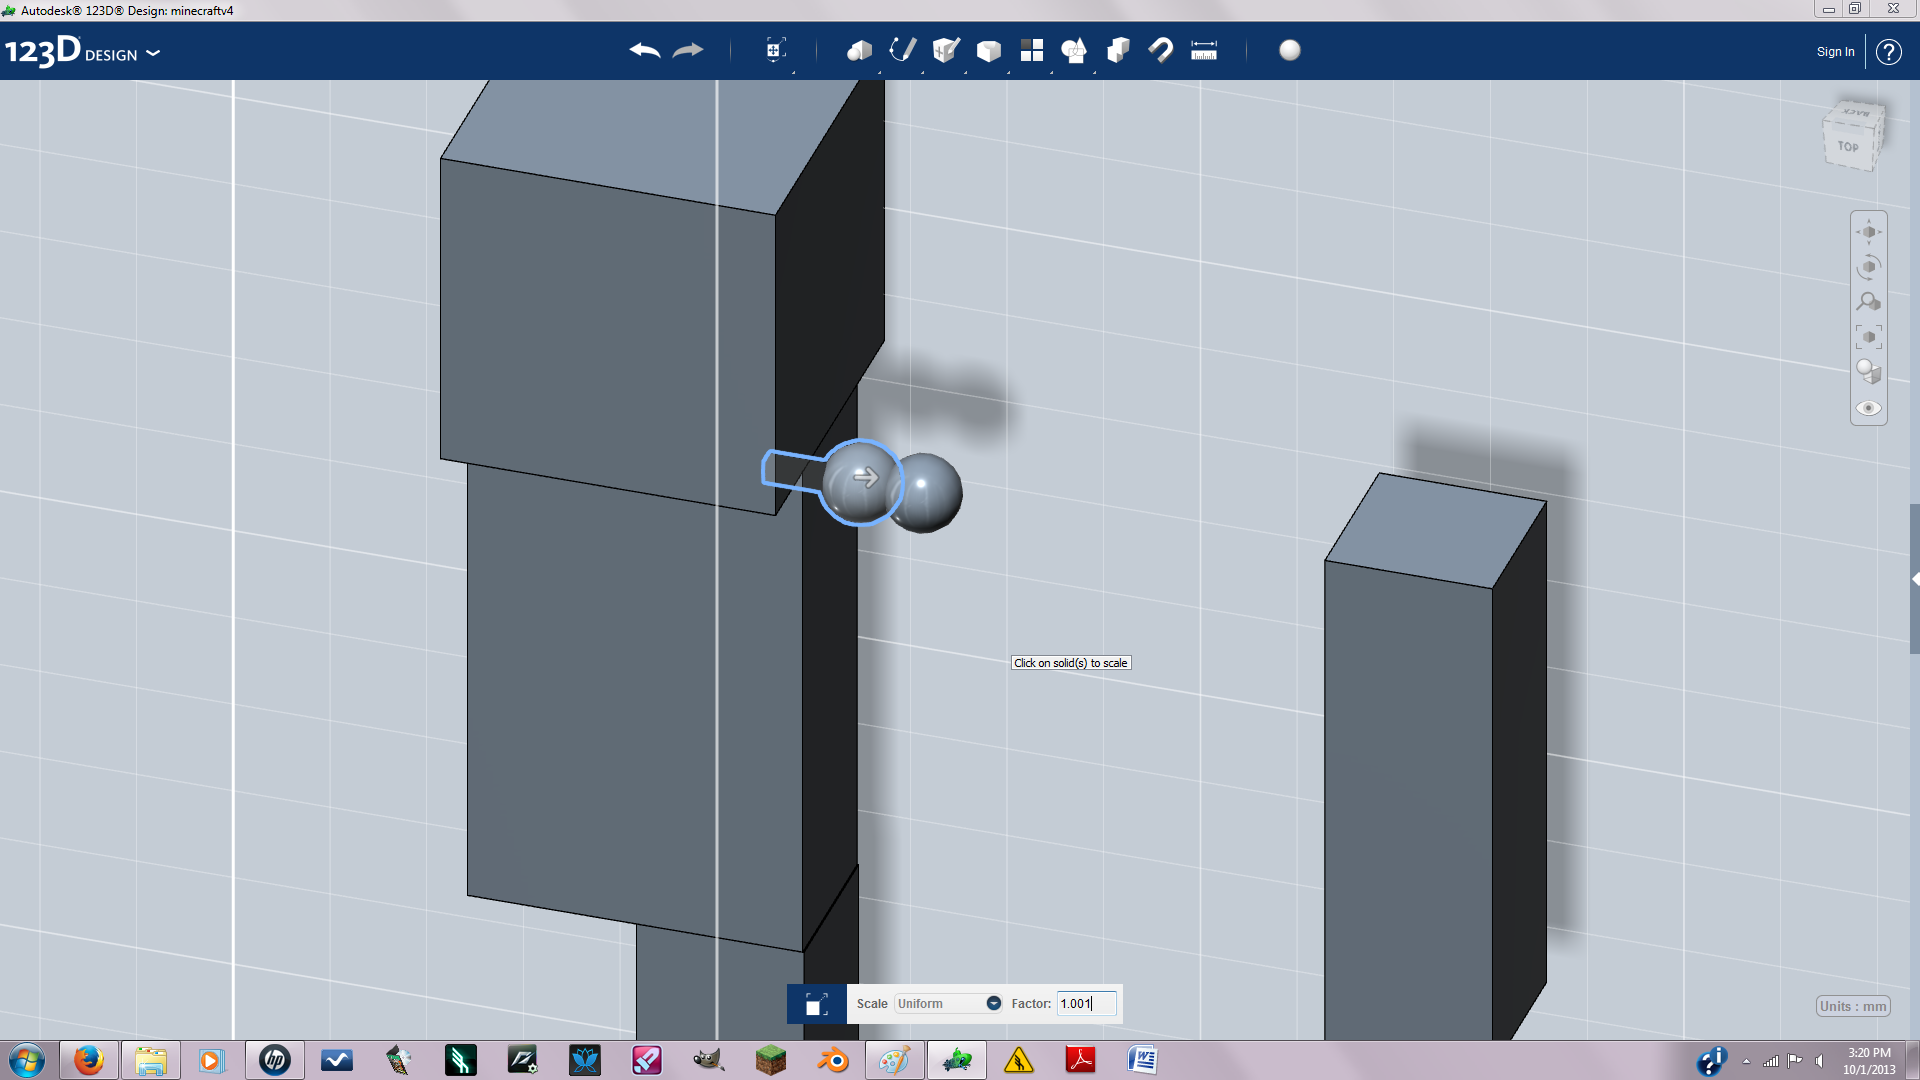
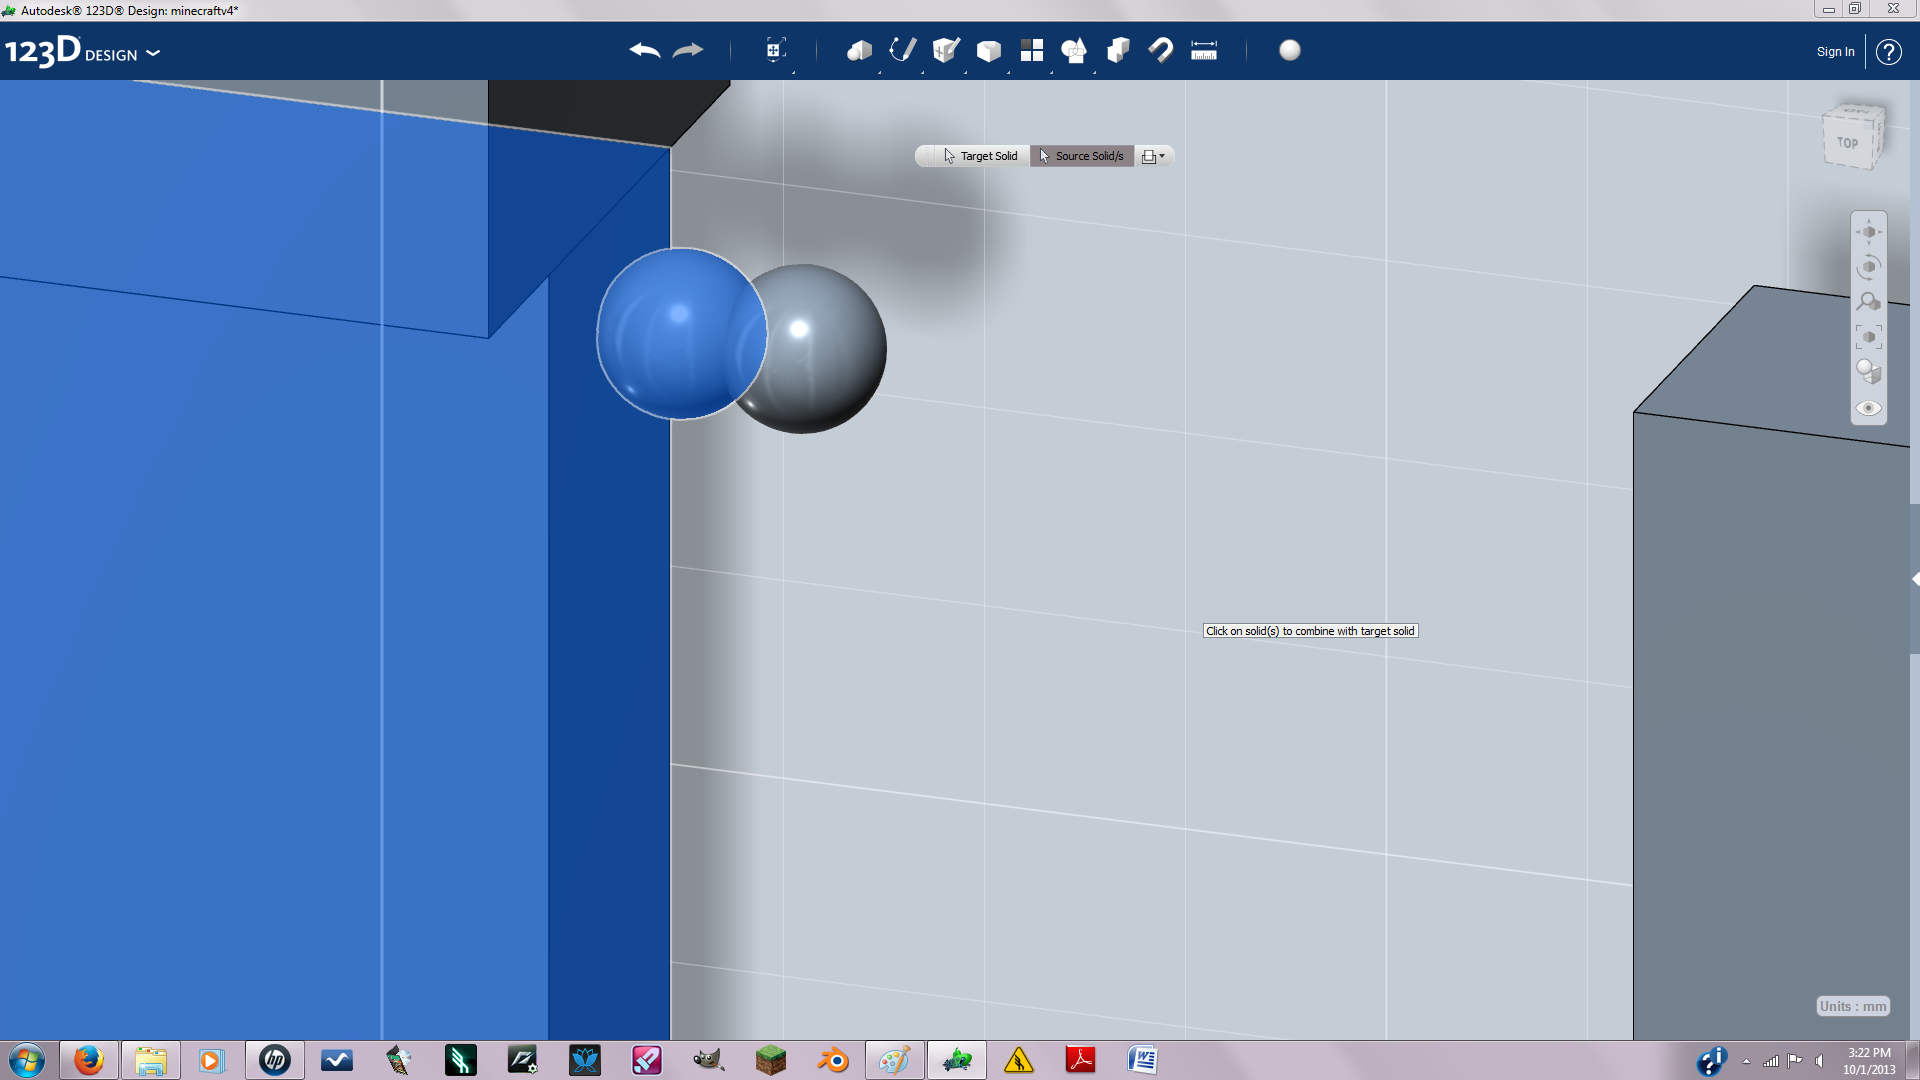
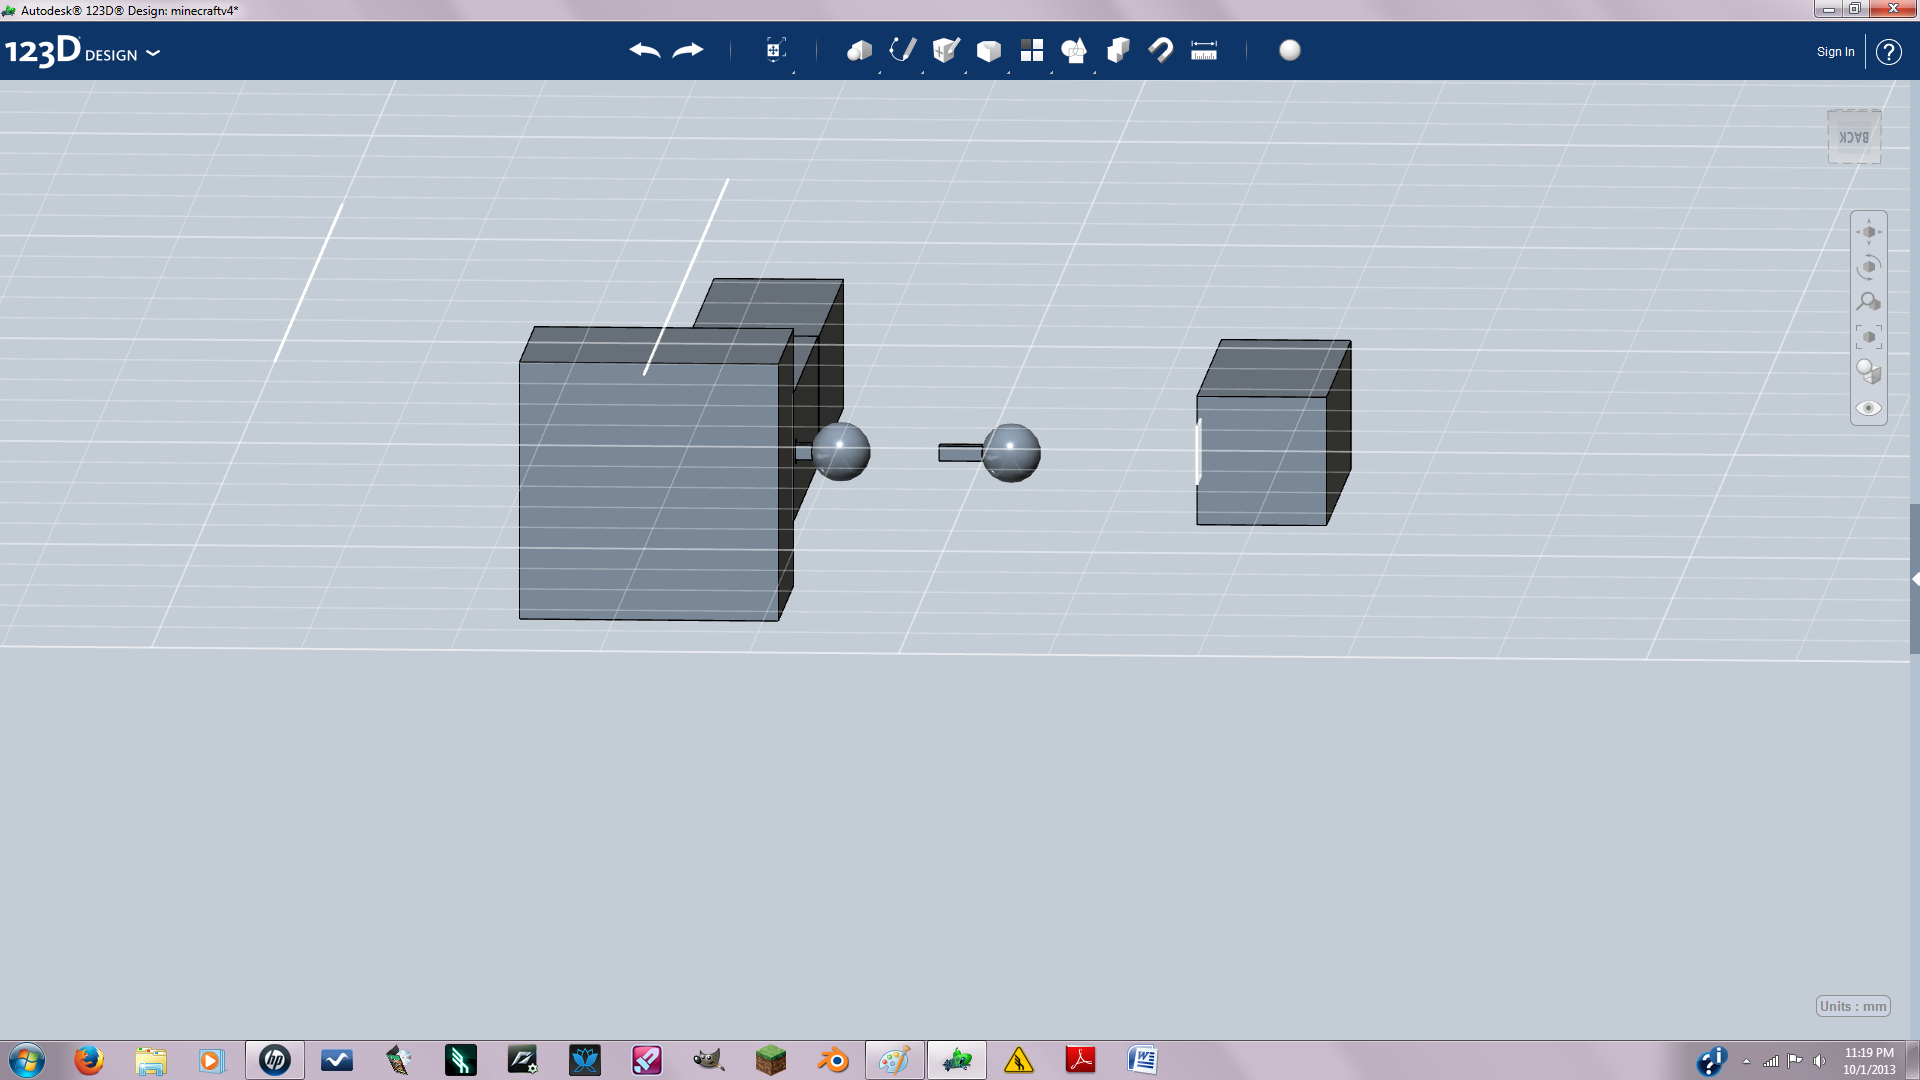
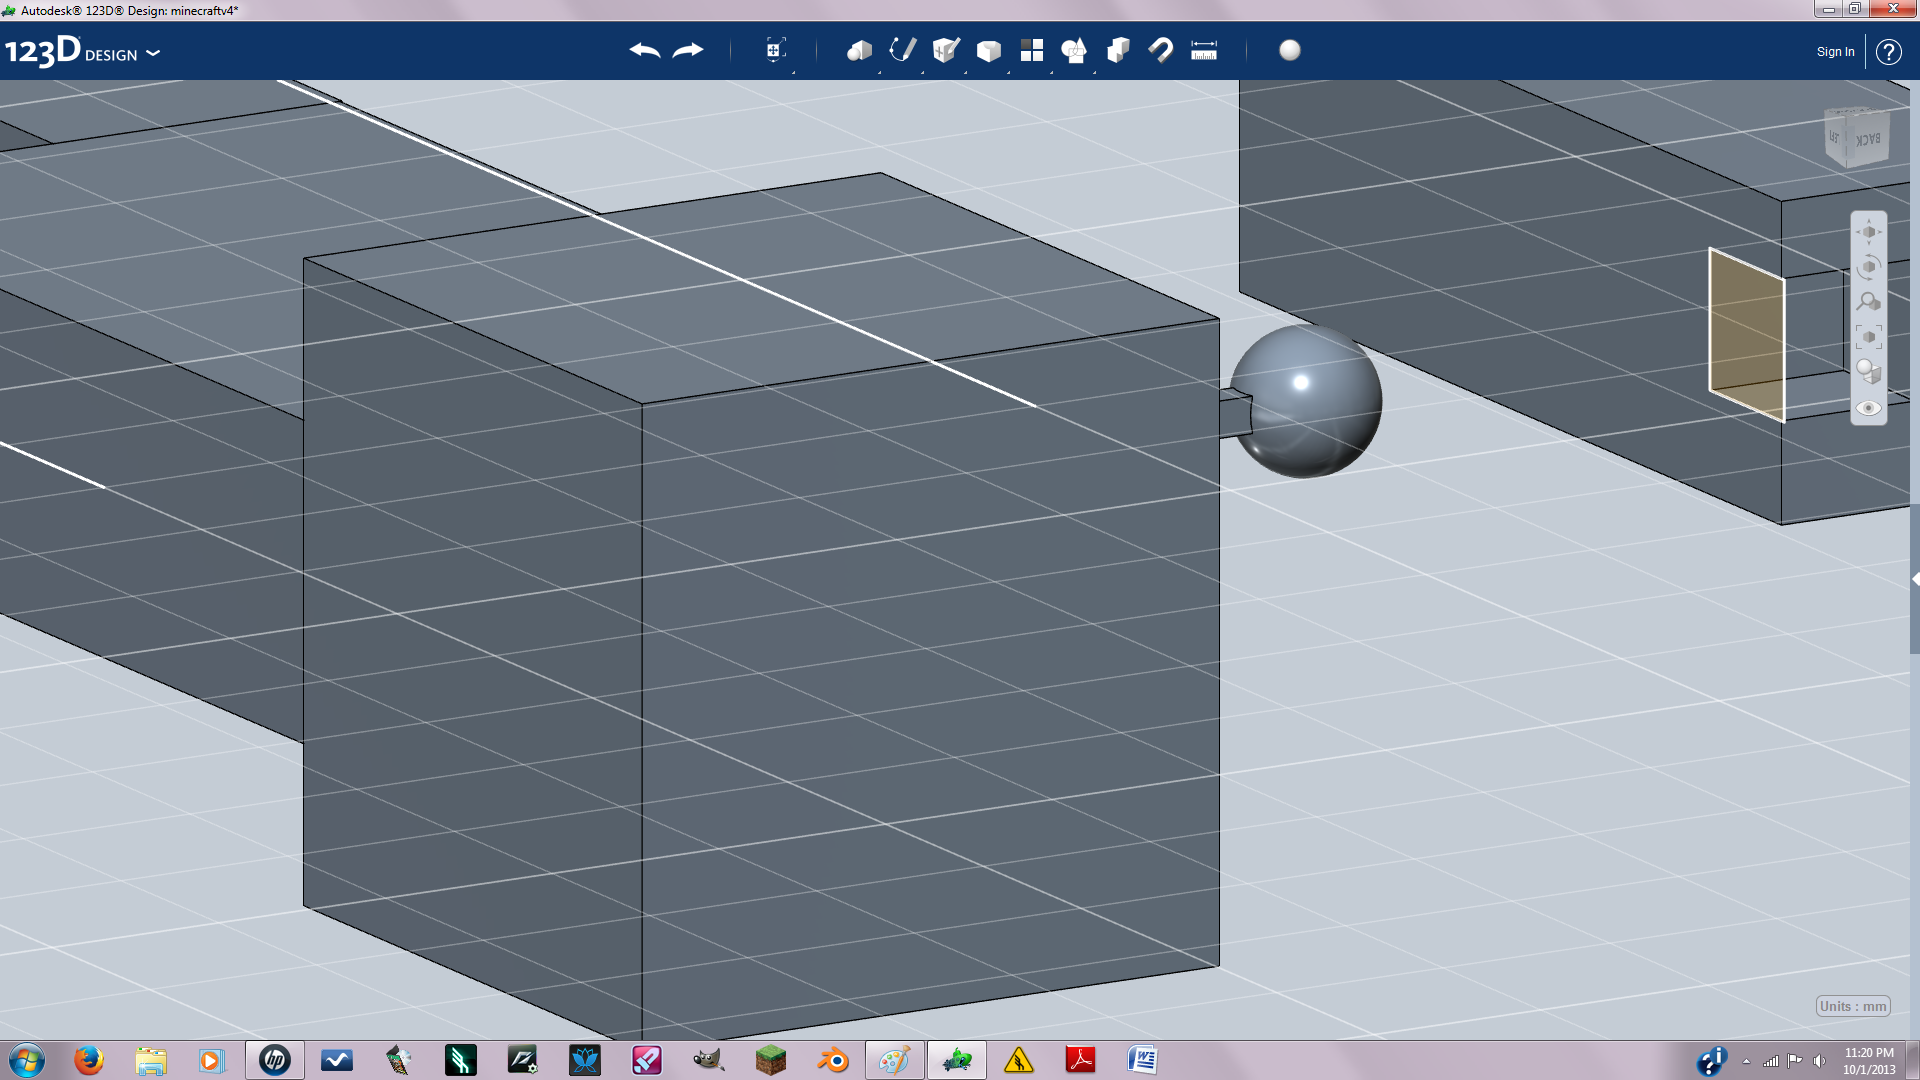
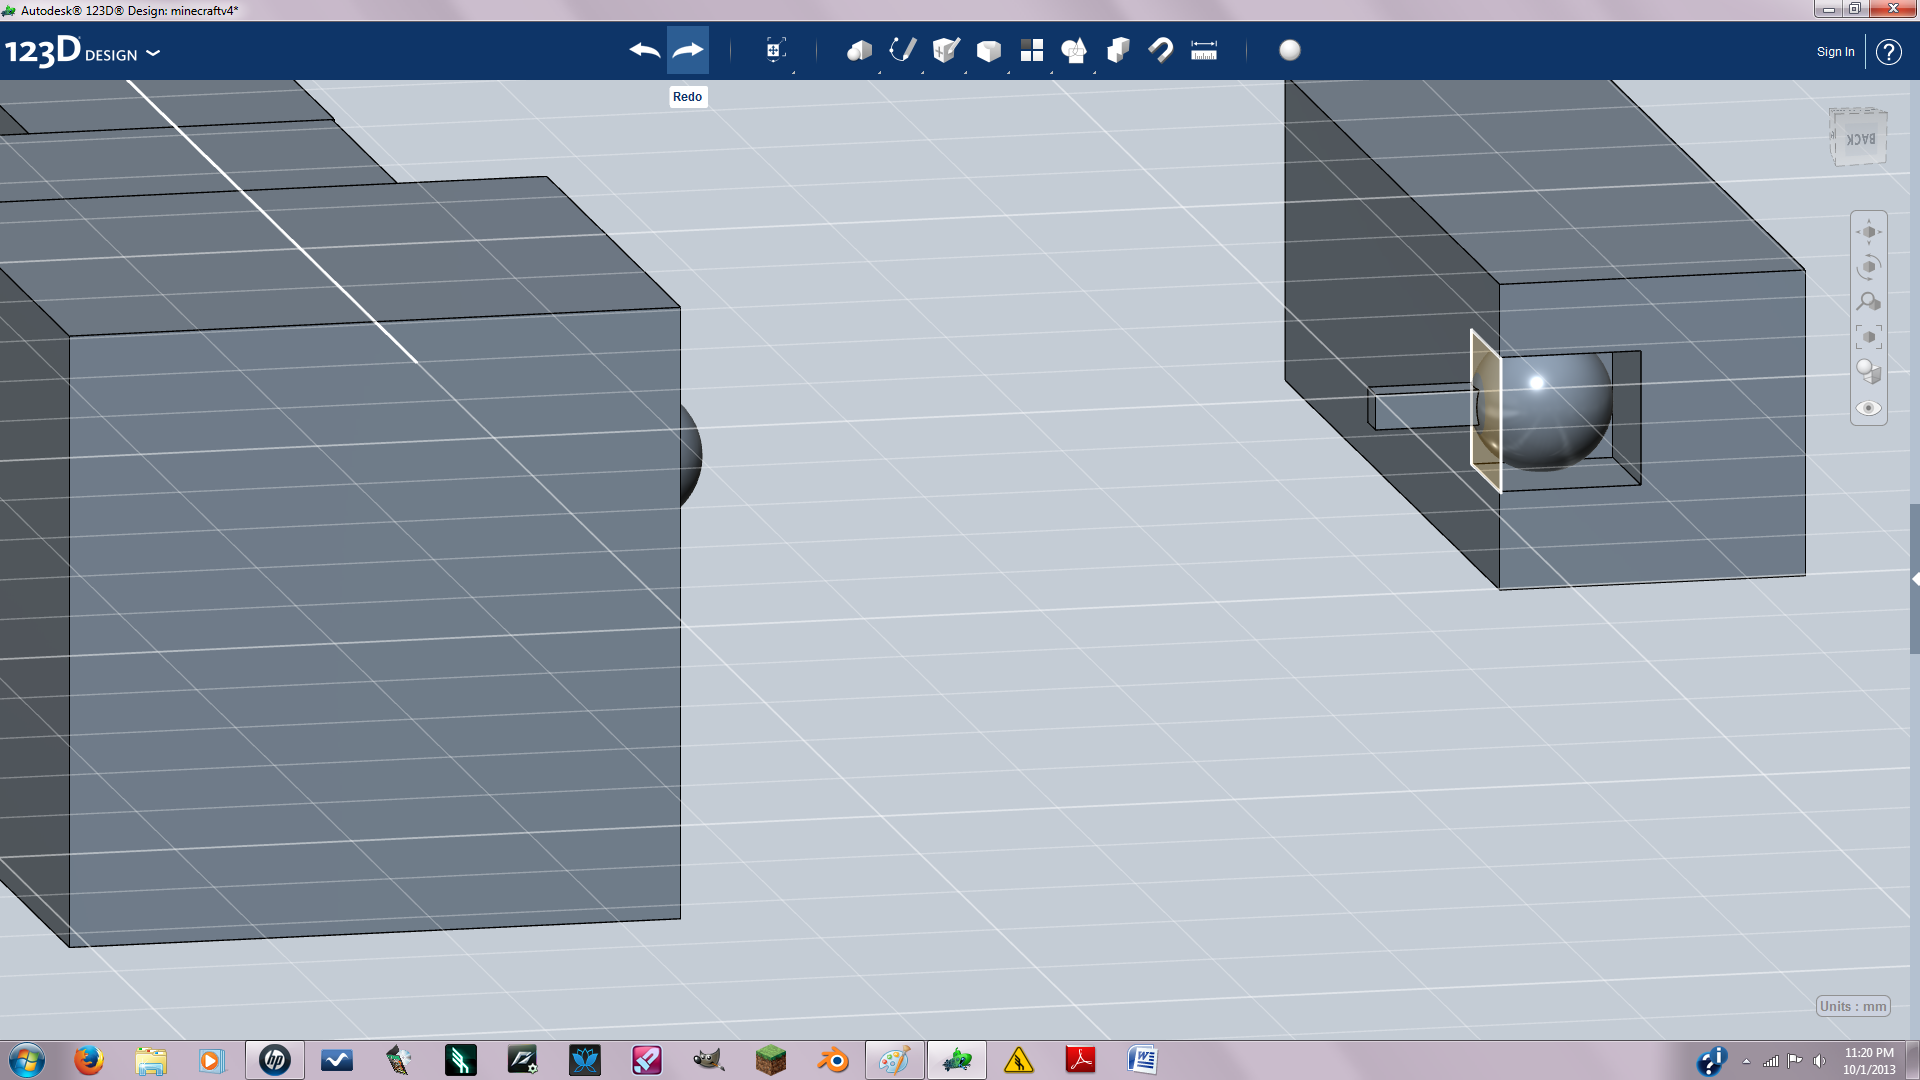
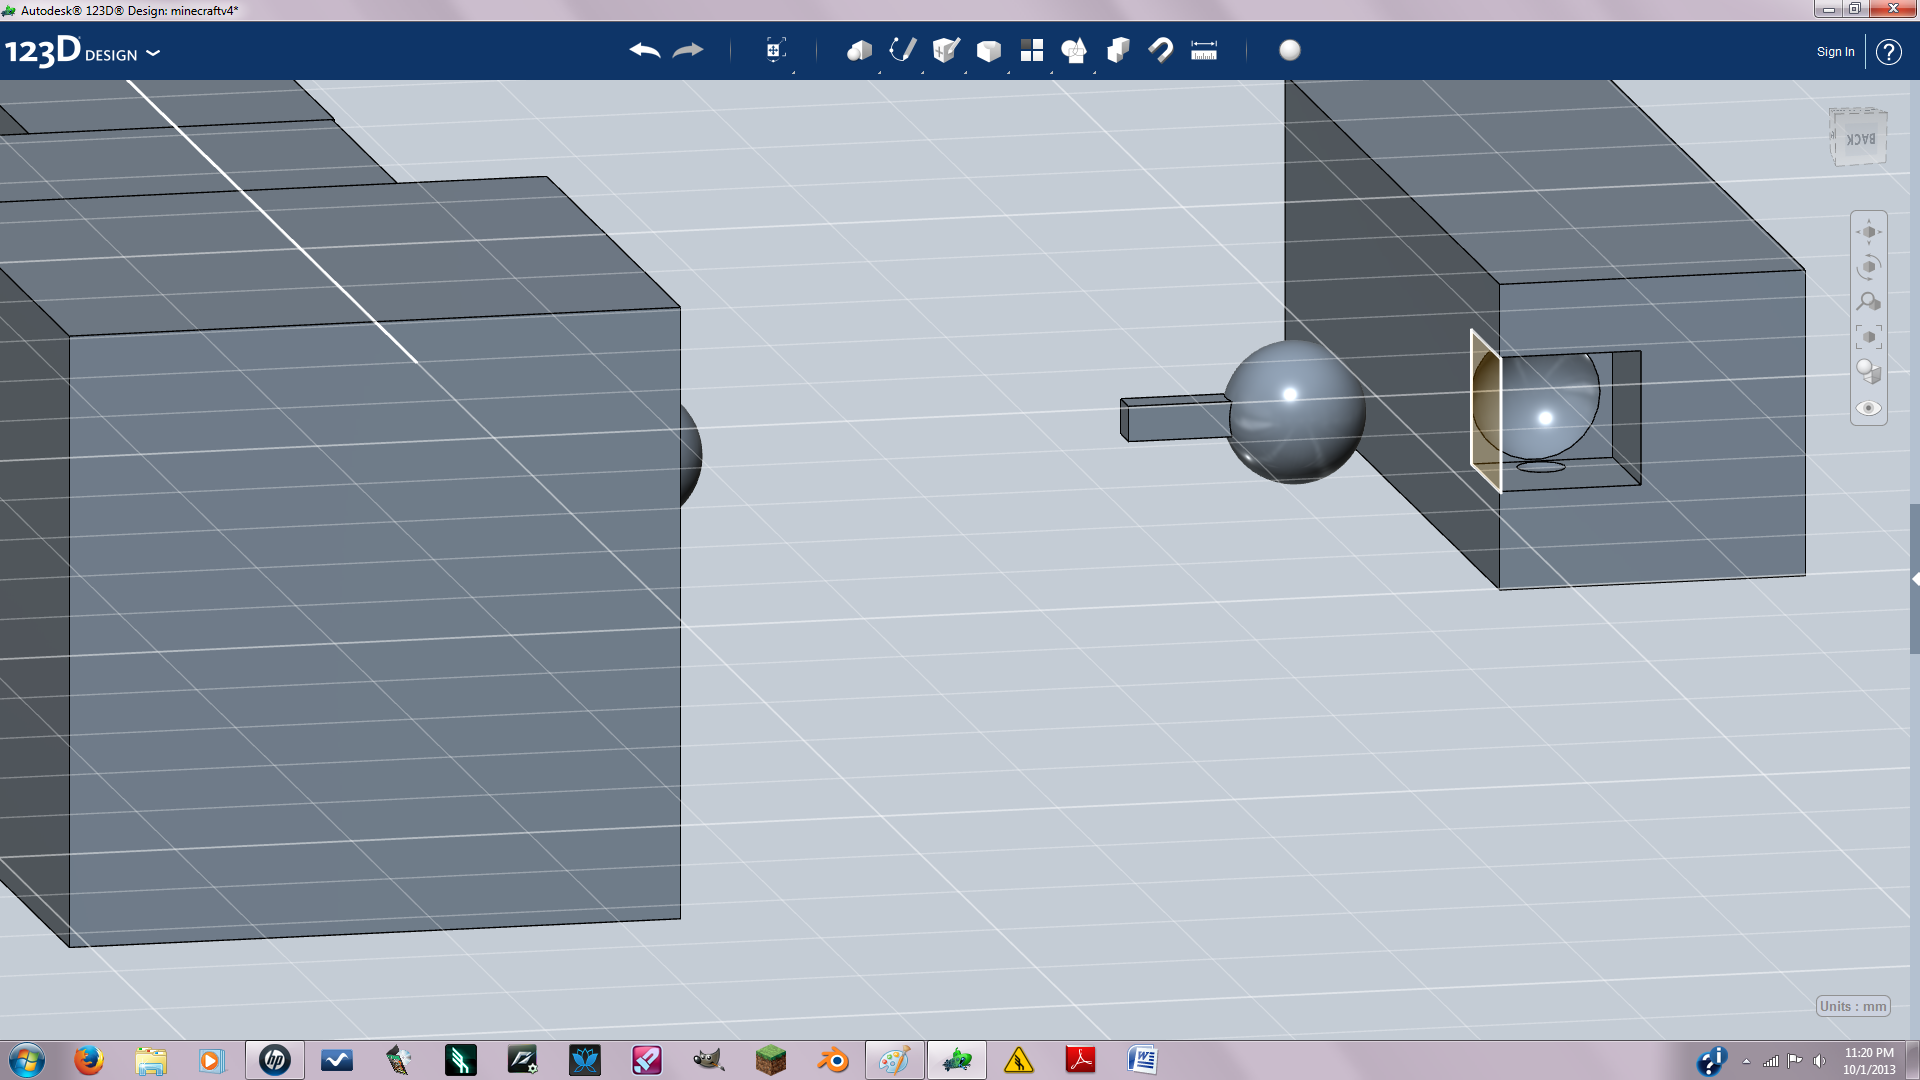
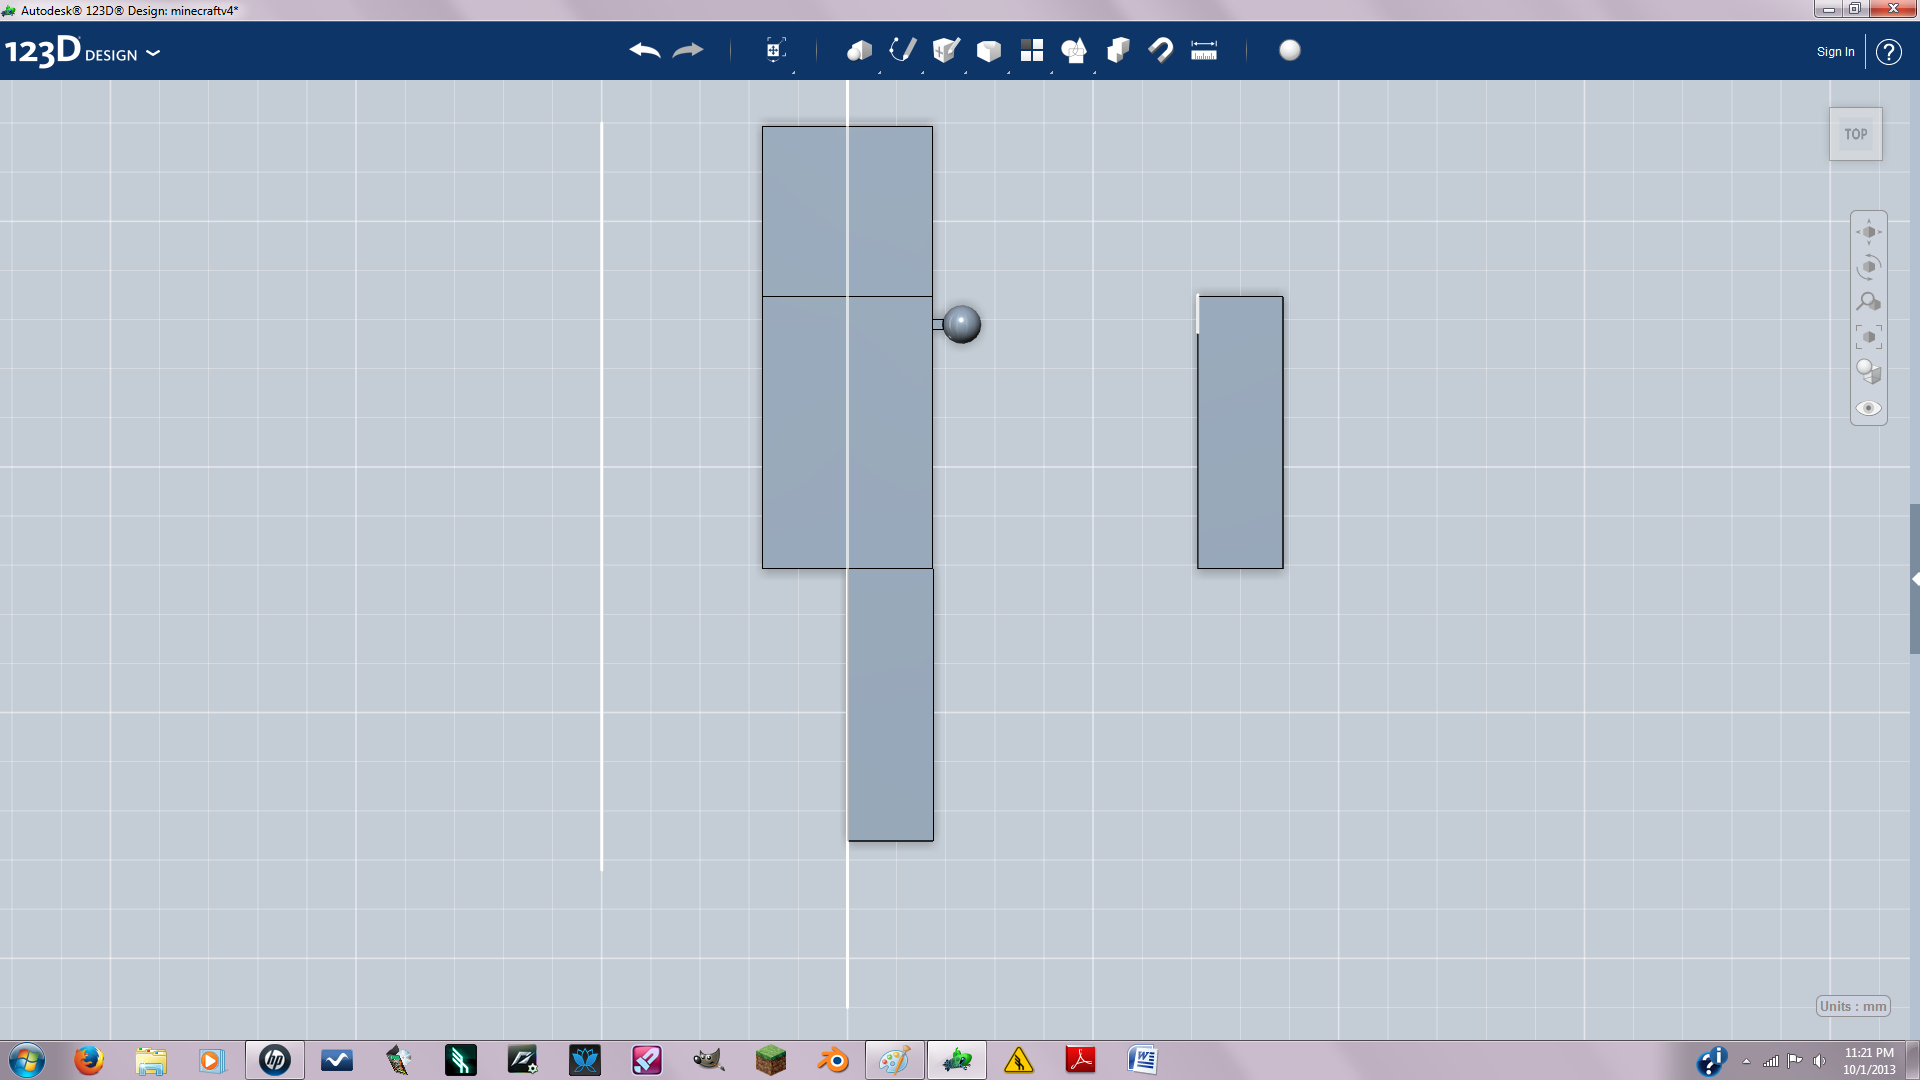
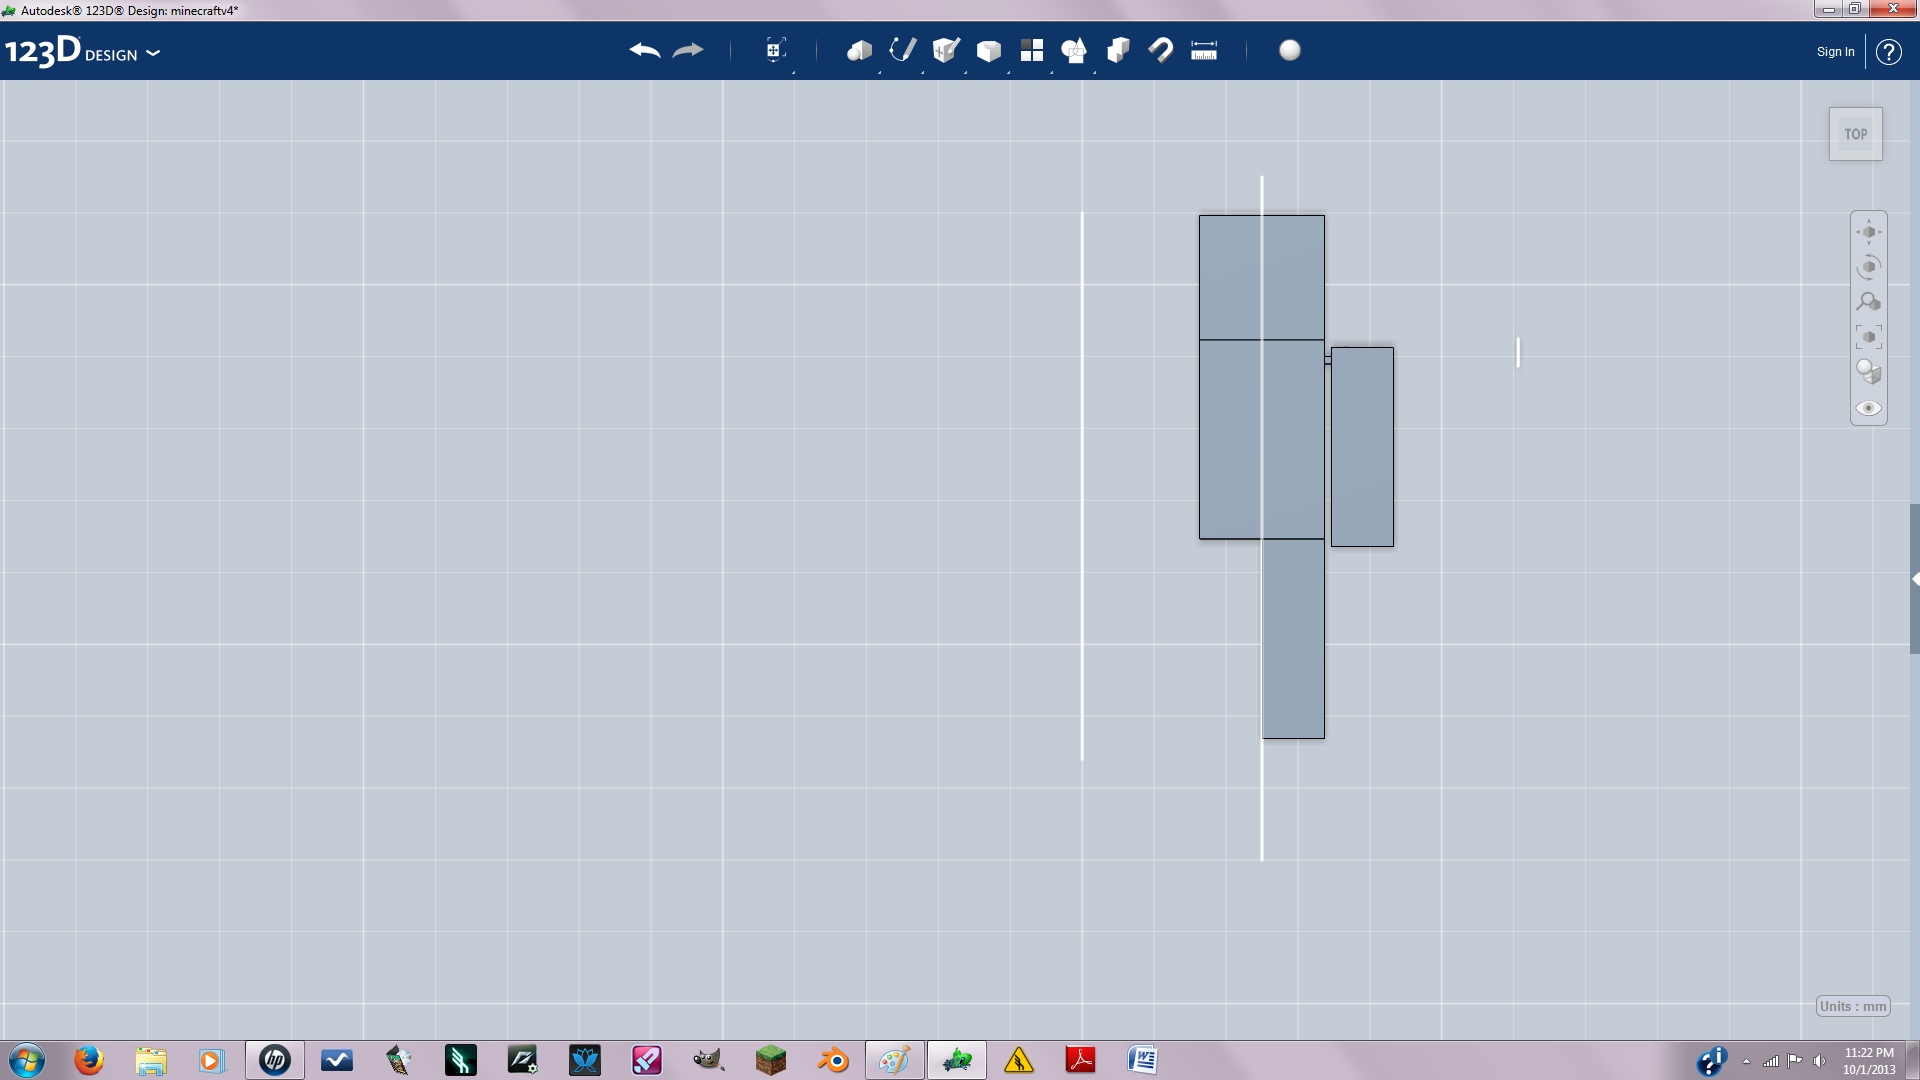
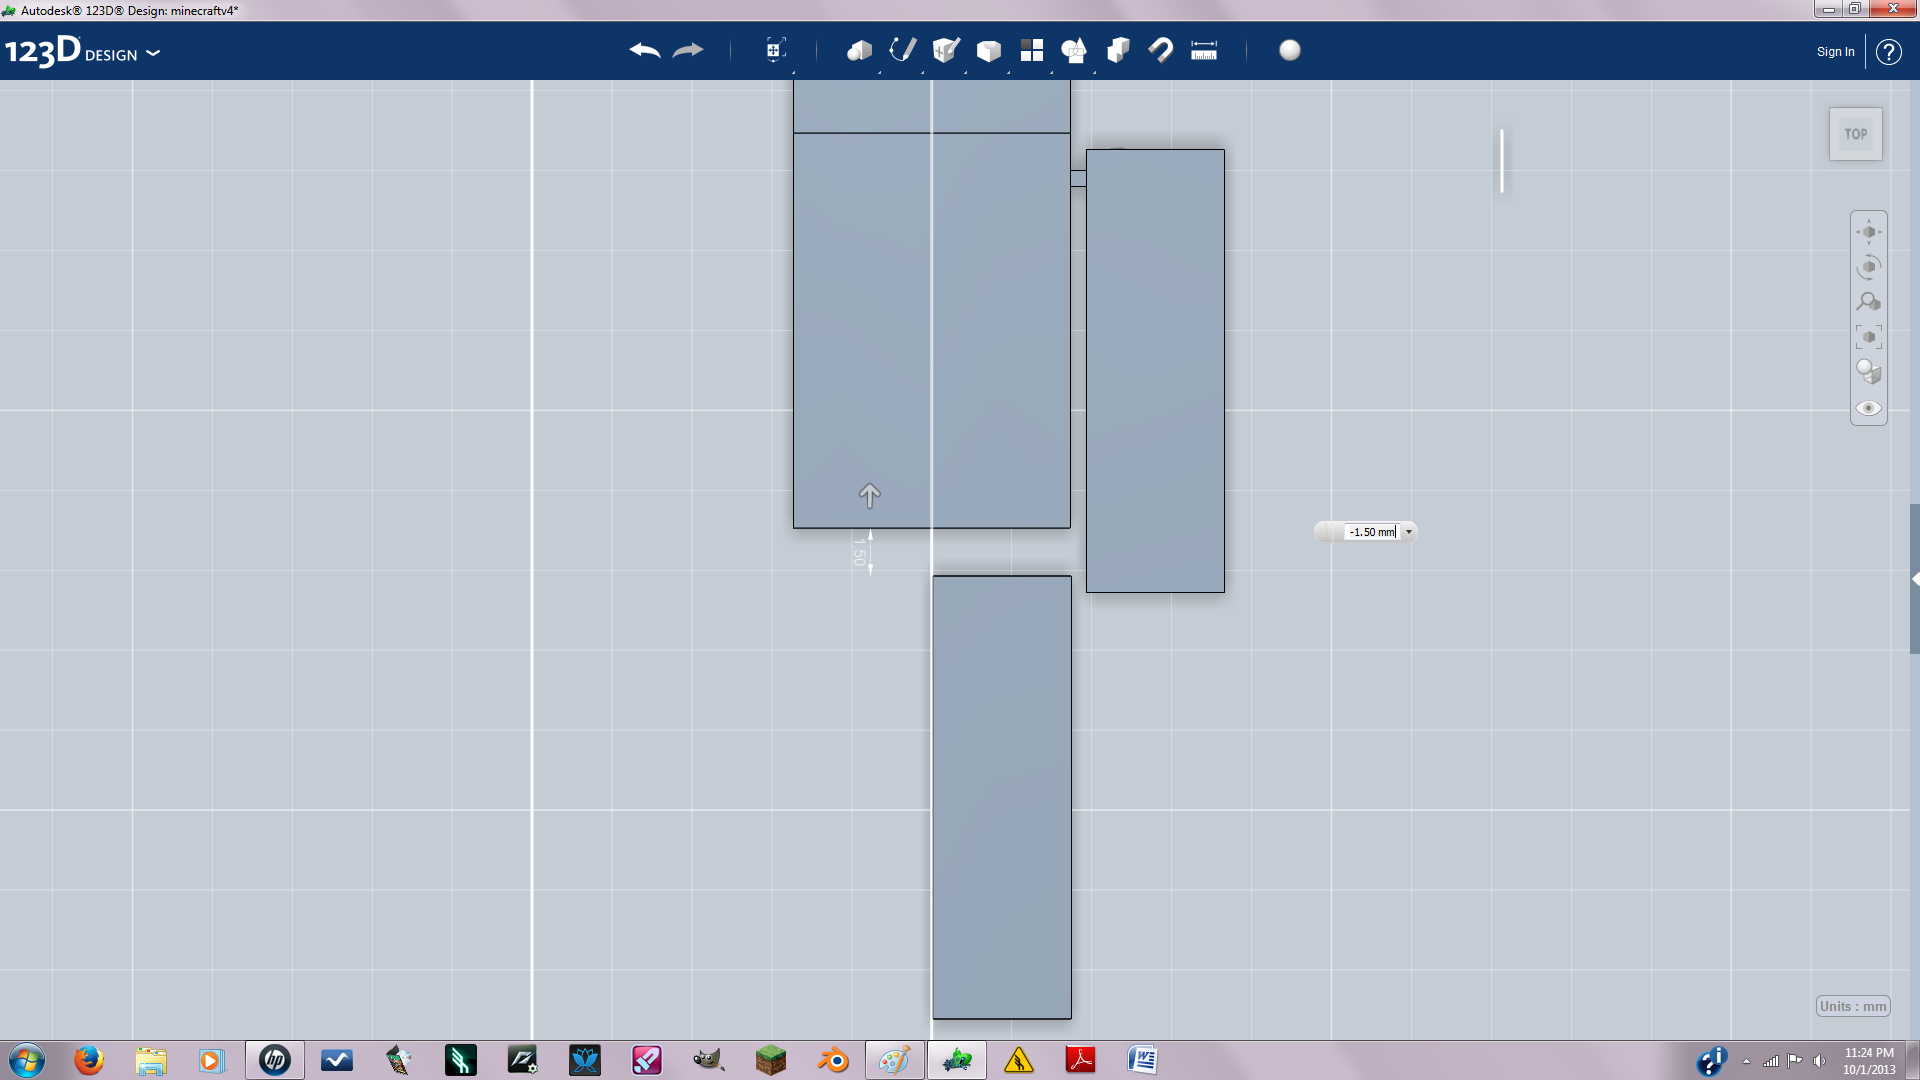
So basically what I did was align the non-ball shaped end of the joint with the body and copy and paste, then scale it up .001 mm. Position the scaled up ball joint in the body and subtracted, this creates the hole that connects the body to the ball joint.
Now your going to make the connection between the arm and joint. Sketch a square positioned on the uppermost part of the arm facing the body. The square should be just a little bit smaller then the circumference of the ball joint. Negative extrude the sketch to create a square hole. Copy and paste the ball joint then snap the joint into the square hole and subtracted the joint from the hole. Now just position the joint and arm.
Now your going to make the connection between the arm and joint. Sketch a square positioned on the uppermost part of the arm facing the body. The square should be just a little bit smaller then the circumference of the ball joint. Negative extrude the sketch to create a square hole. Copy and paste the ball joint then snap the joint into the square hole and subtracted the joint from the hole. Now just position the joint and arm.
Creating the Waist and Leg Joints
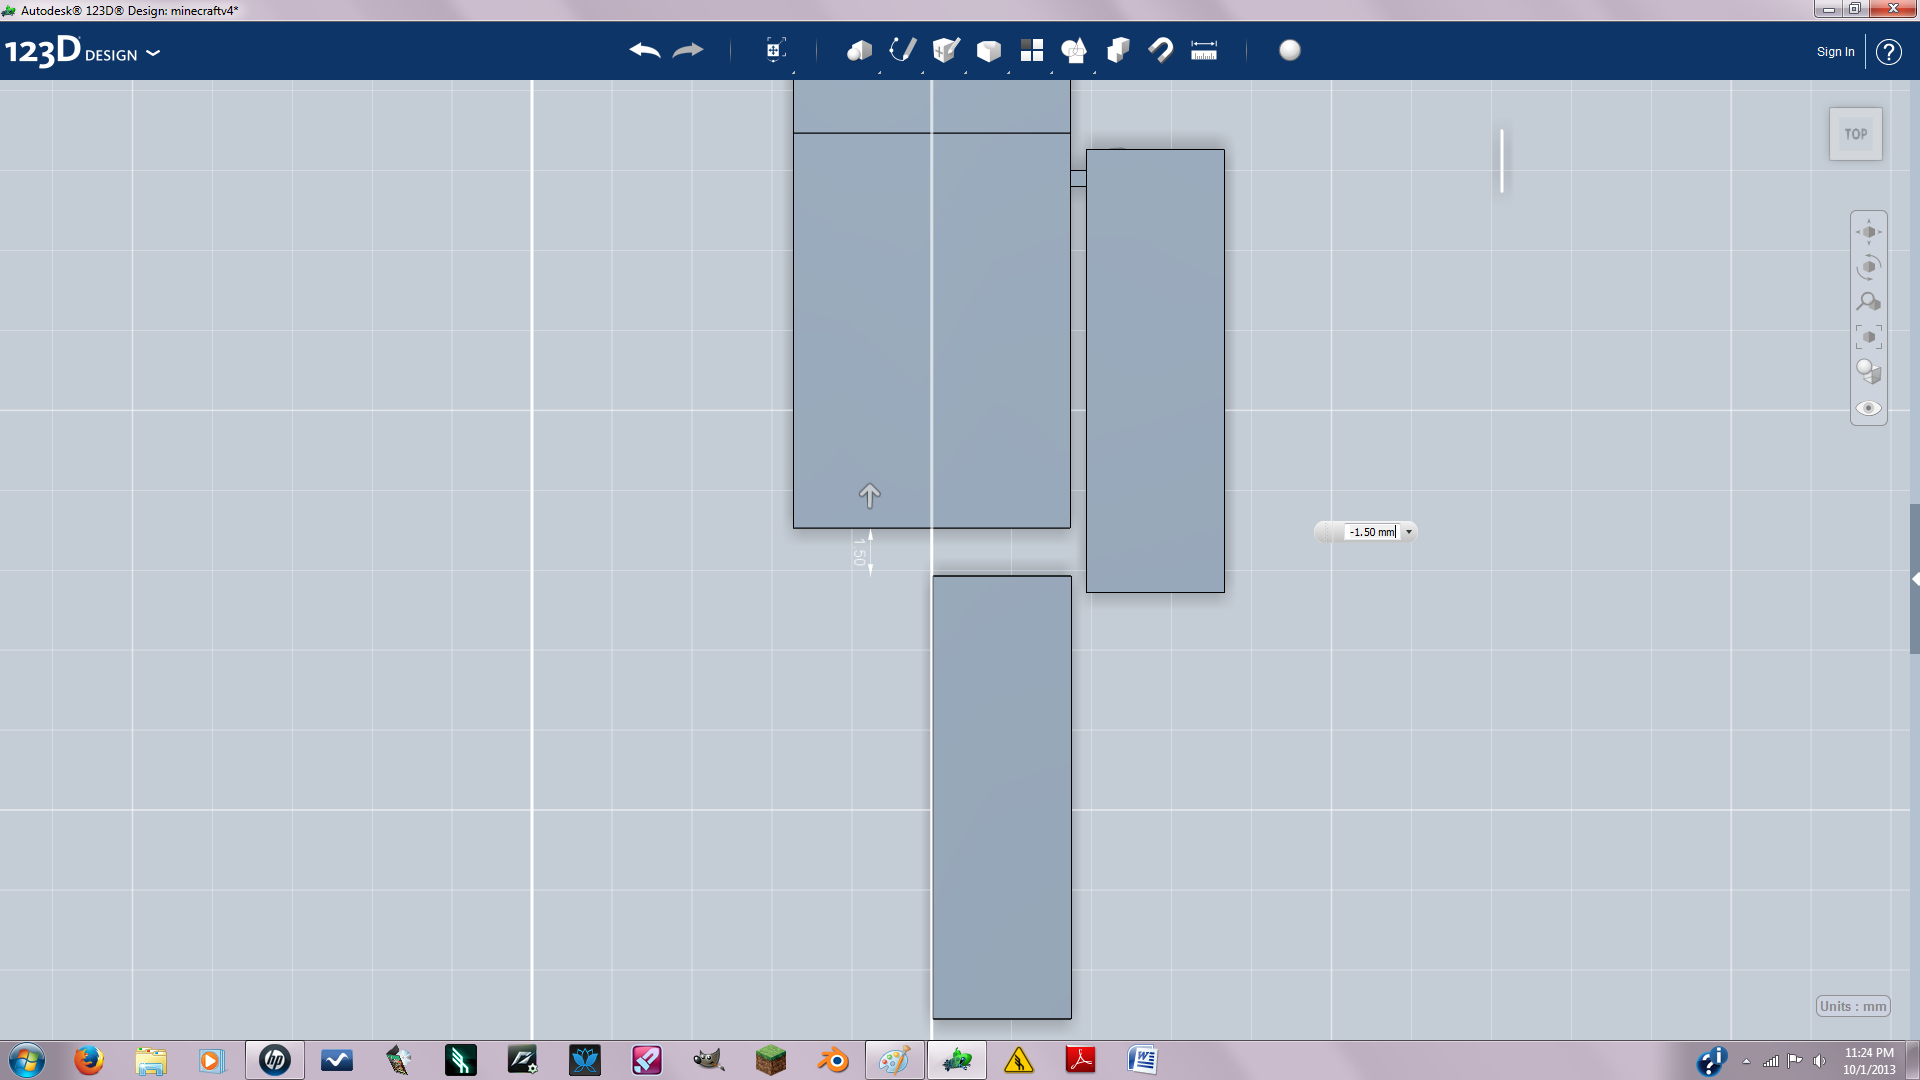
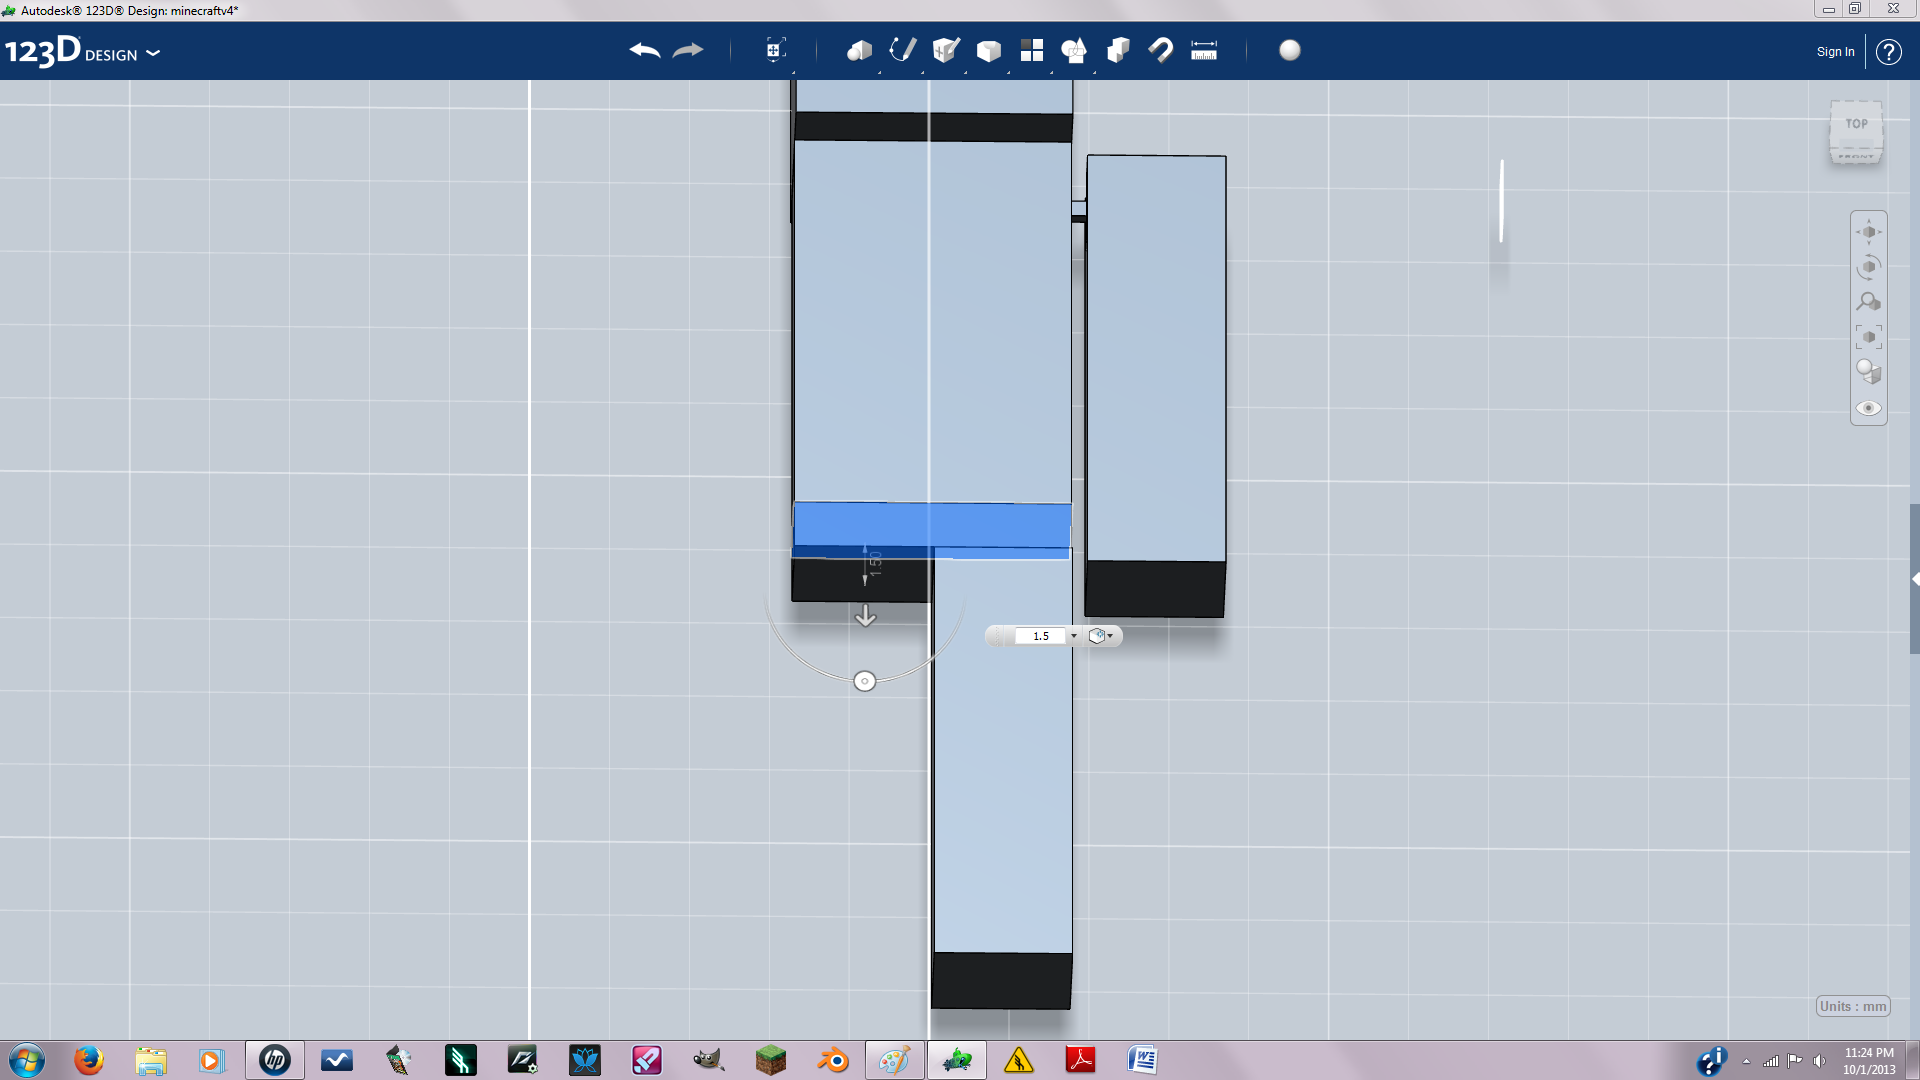
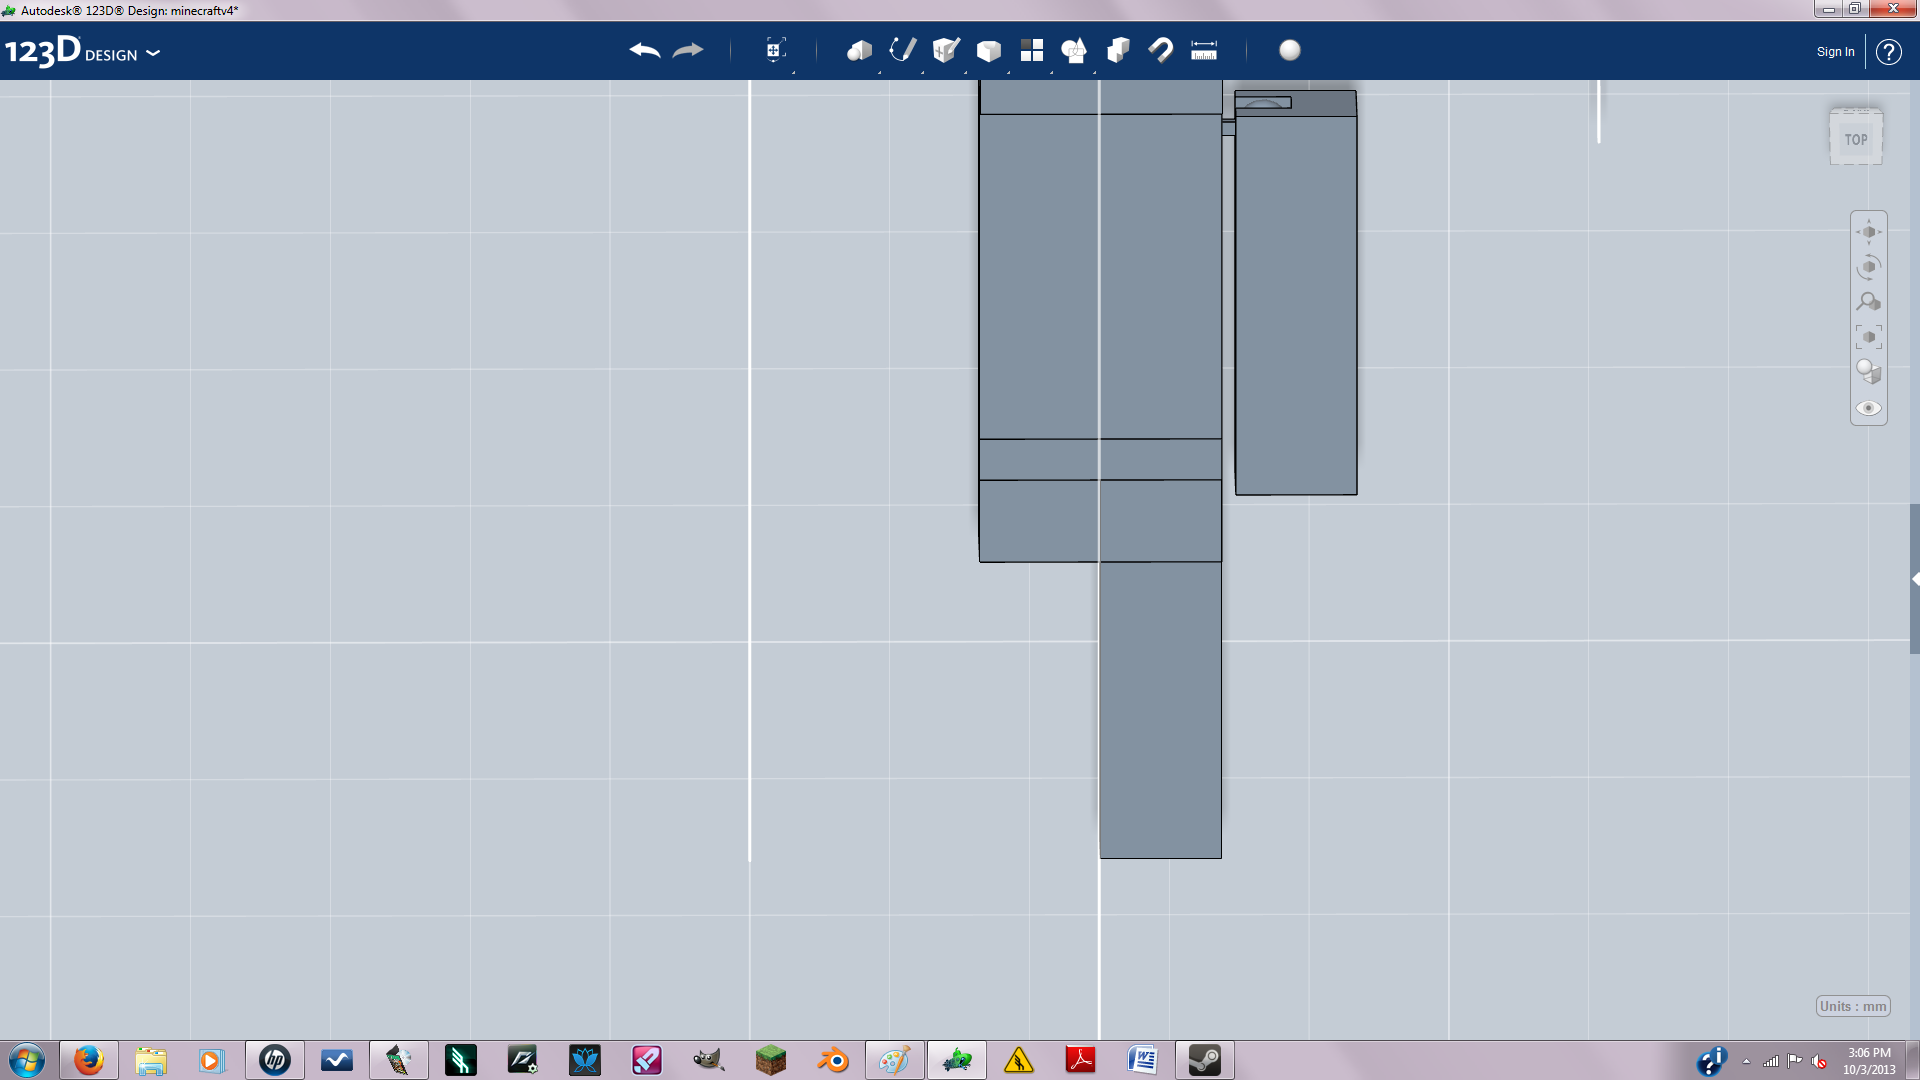
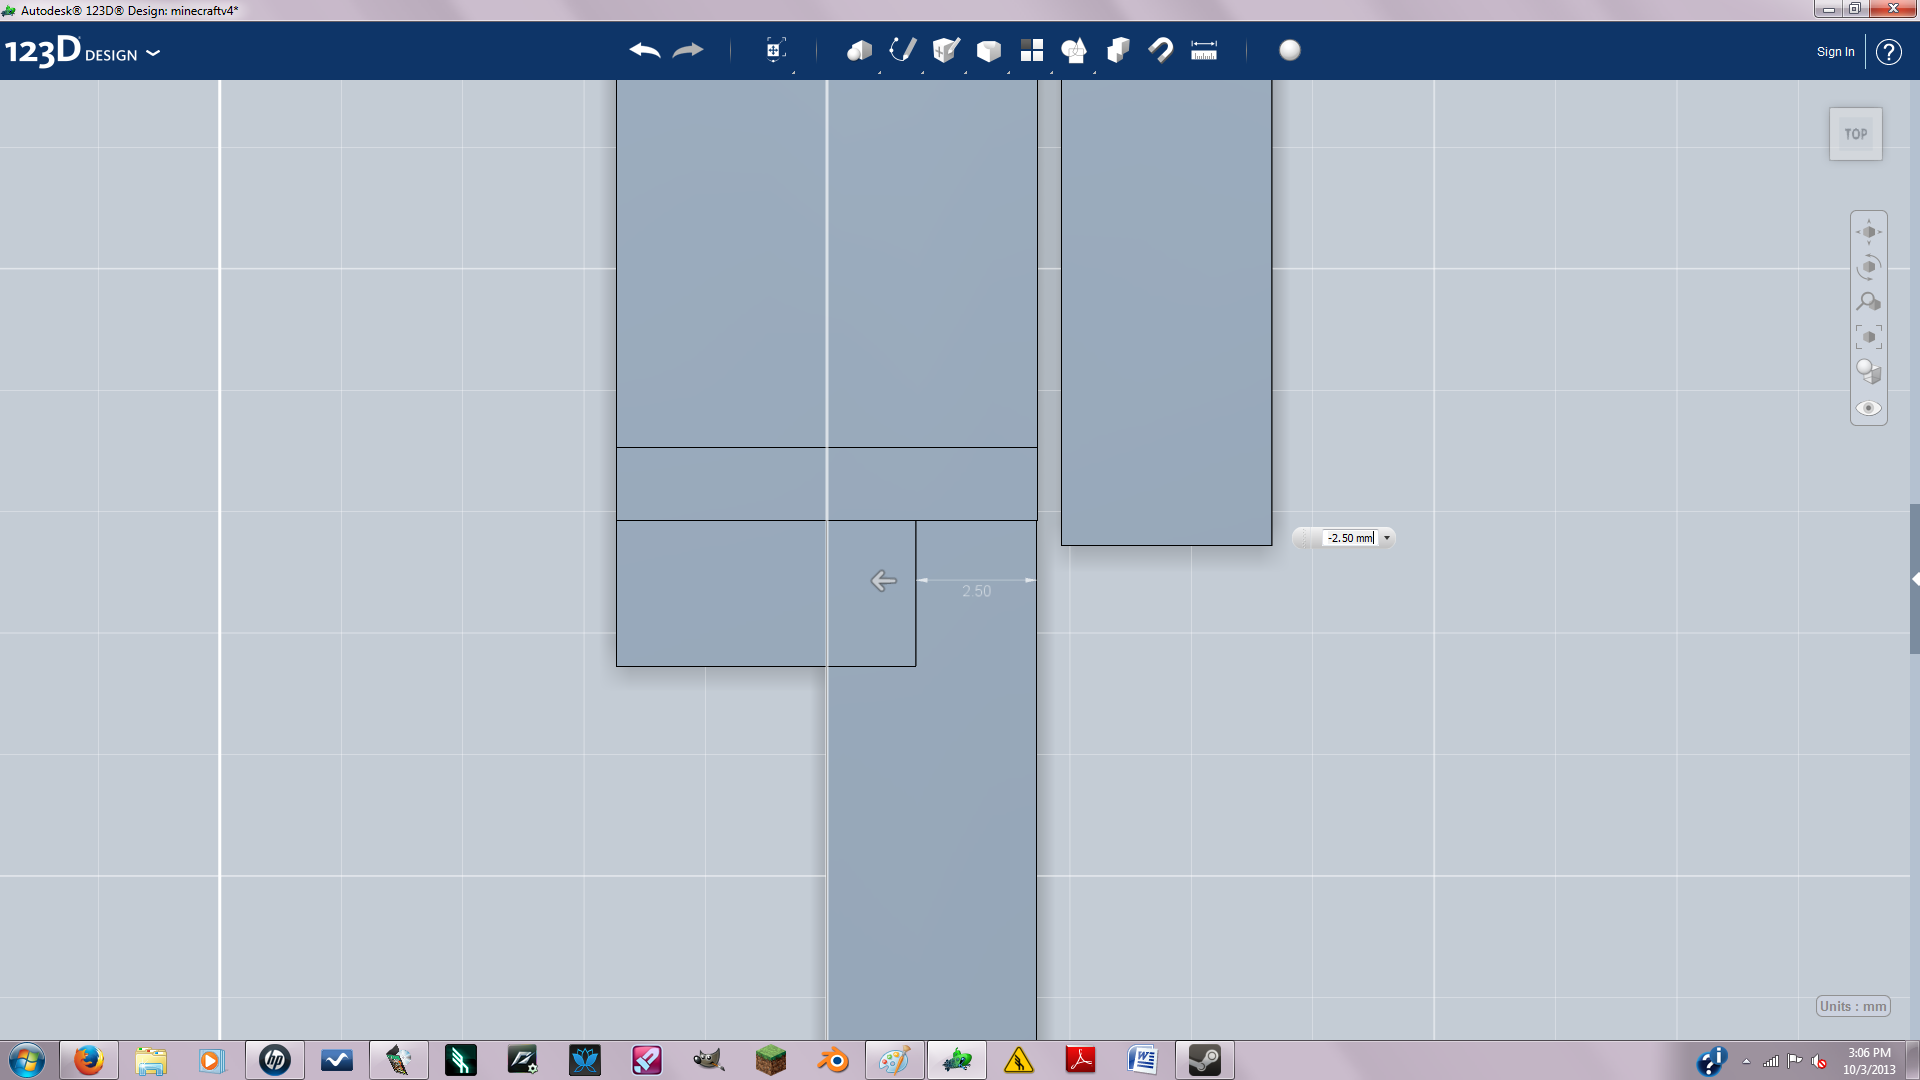
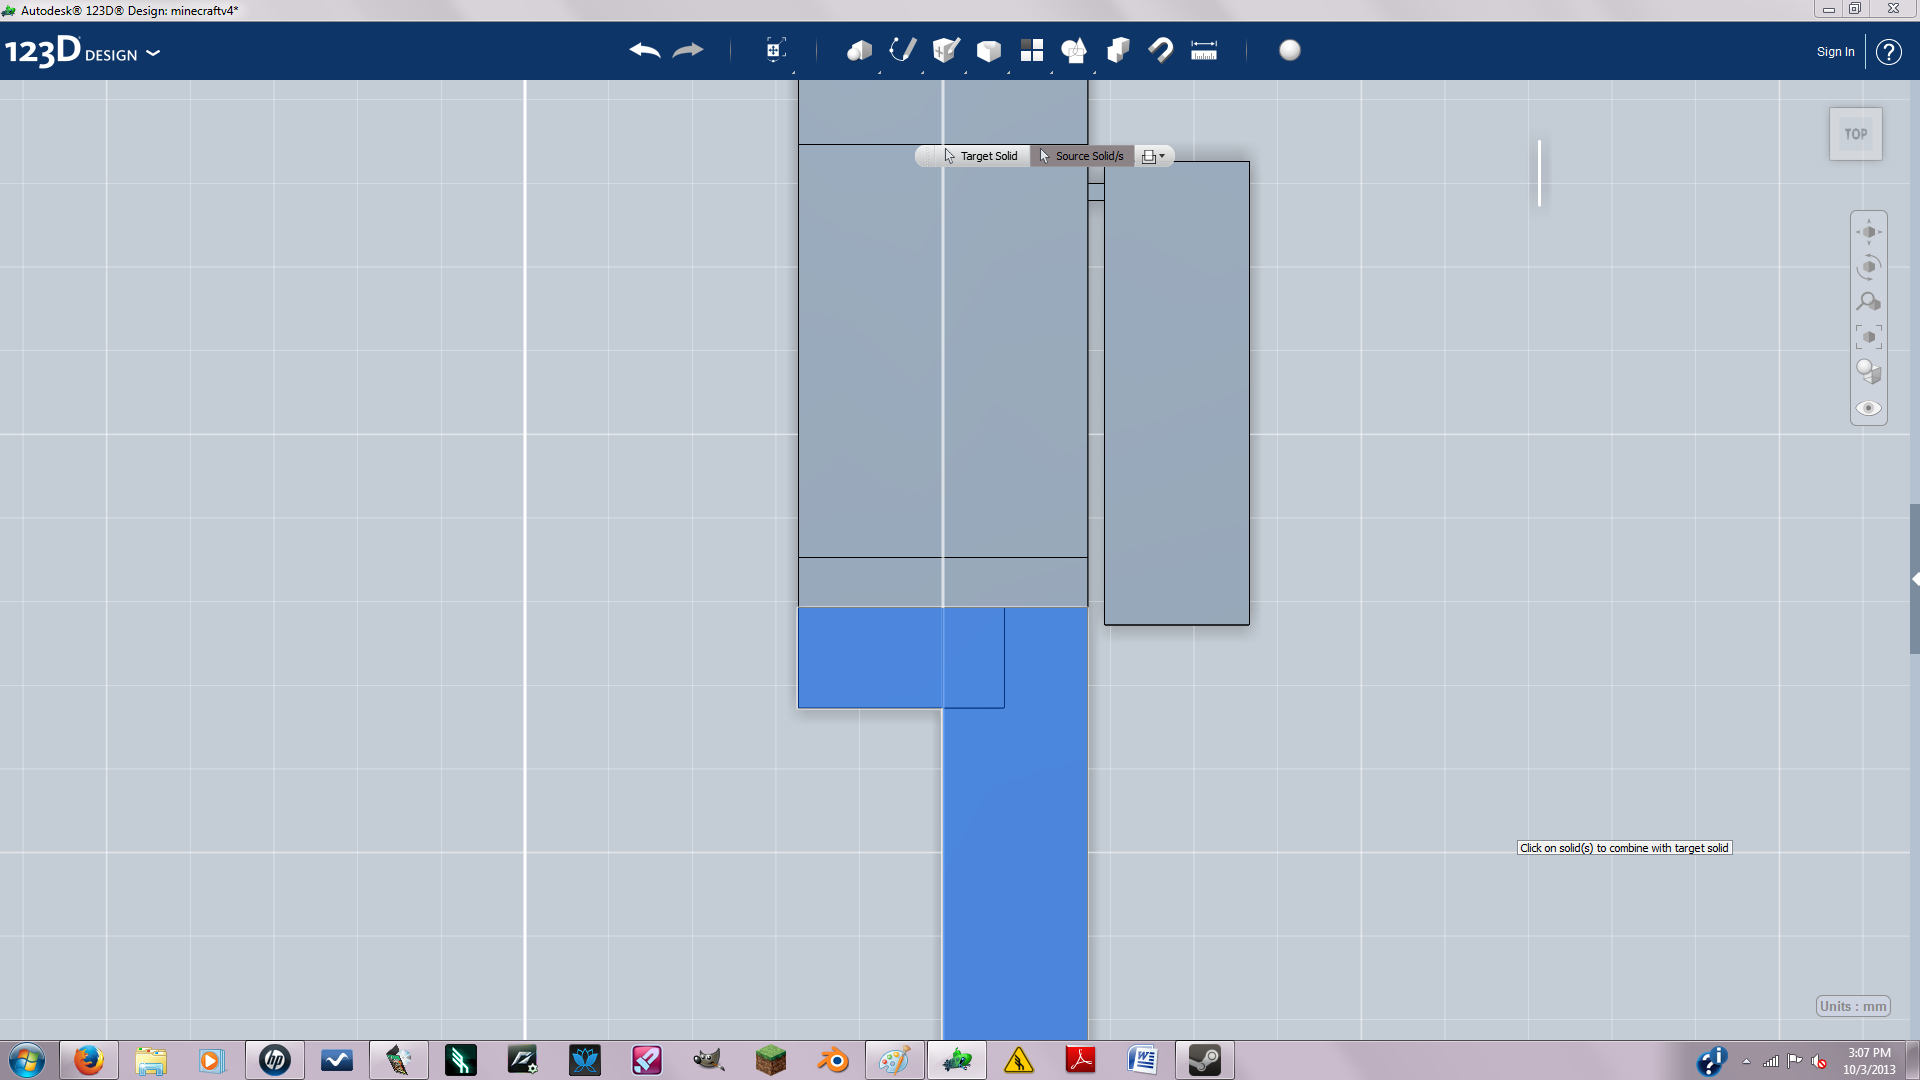
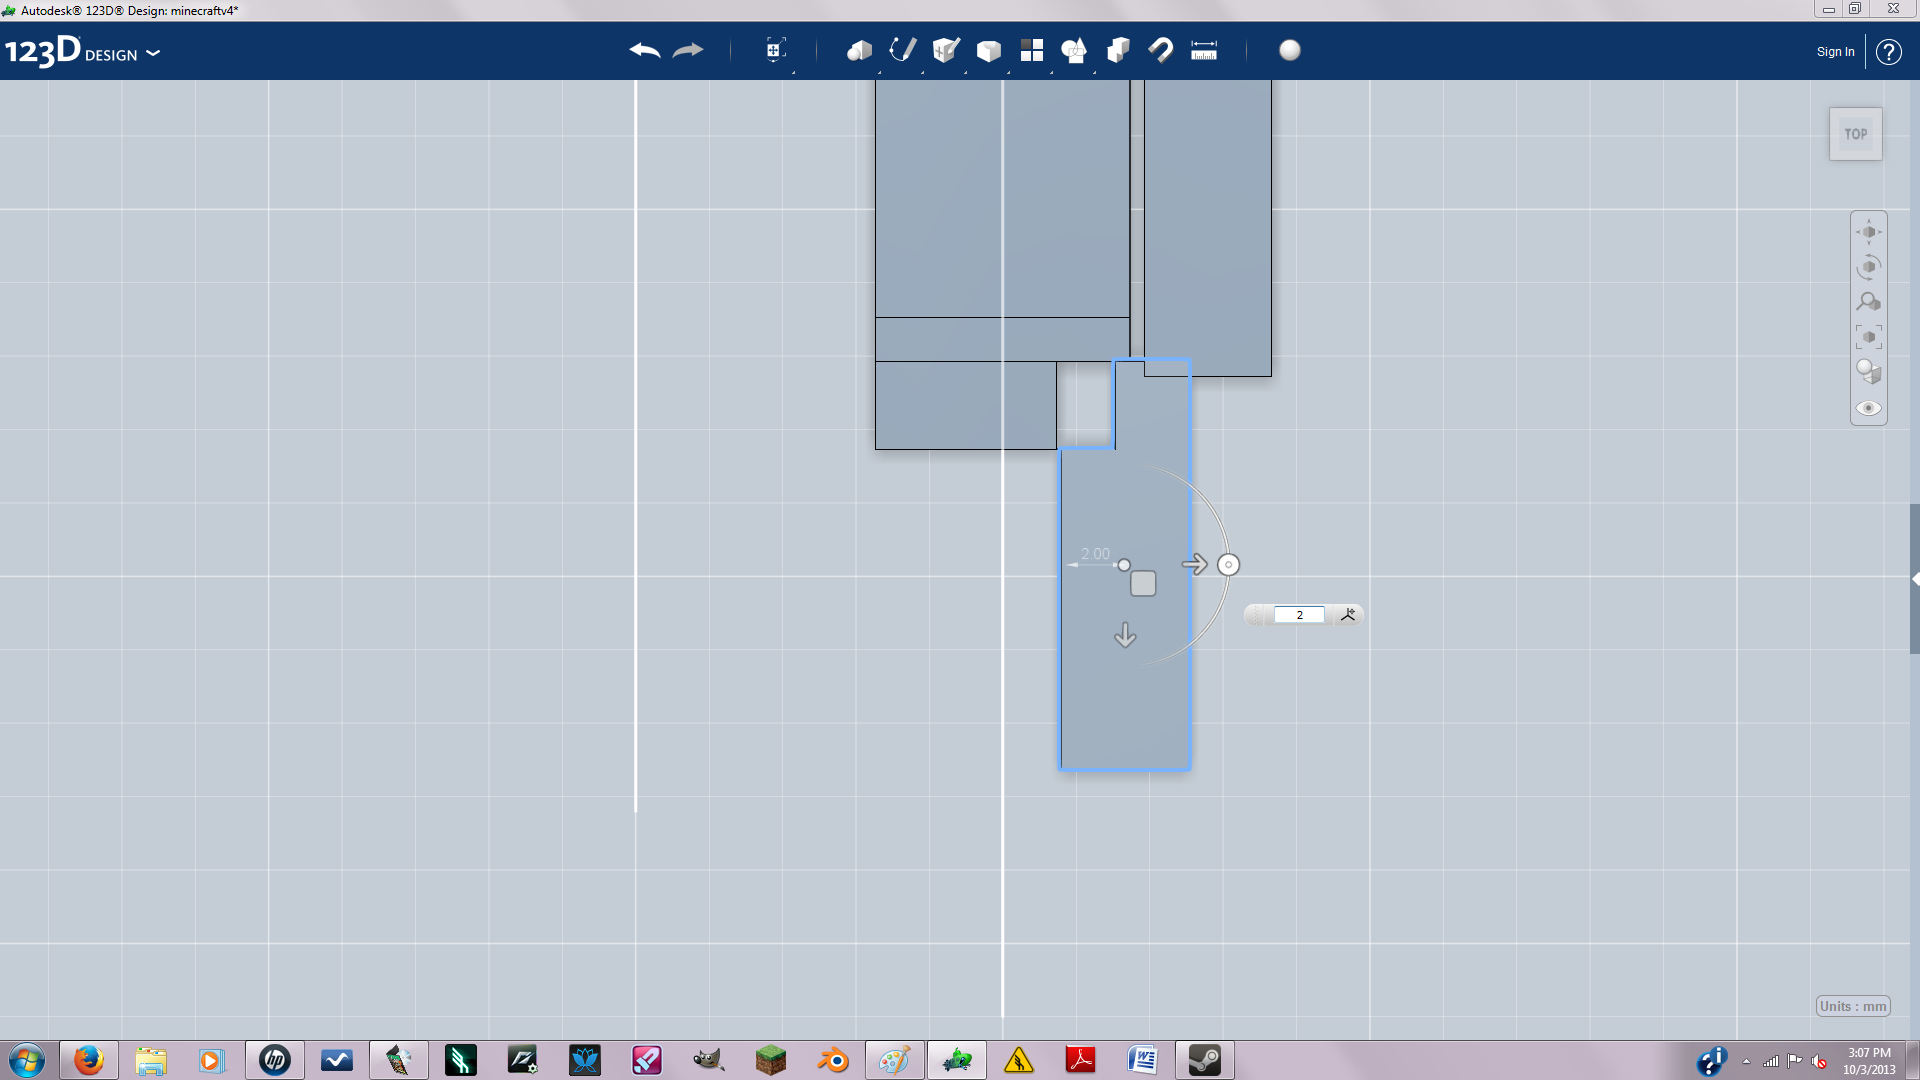
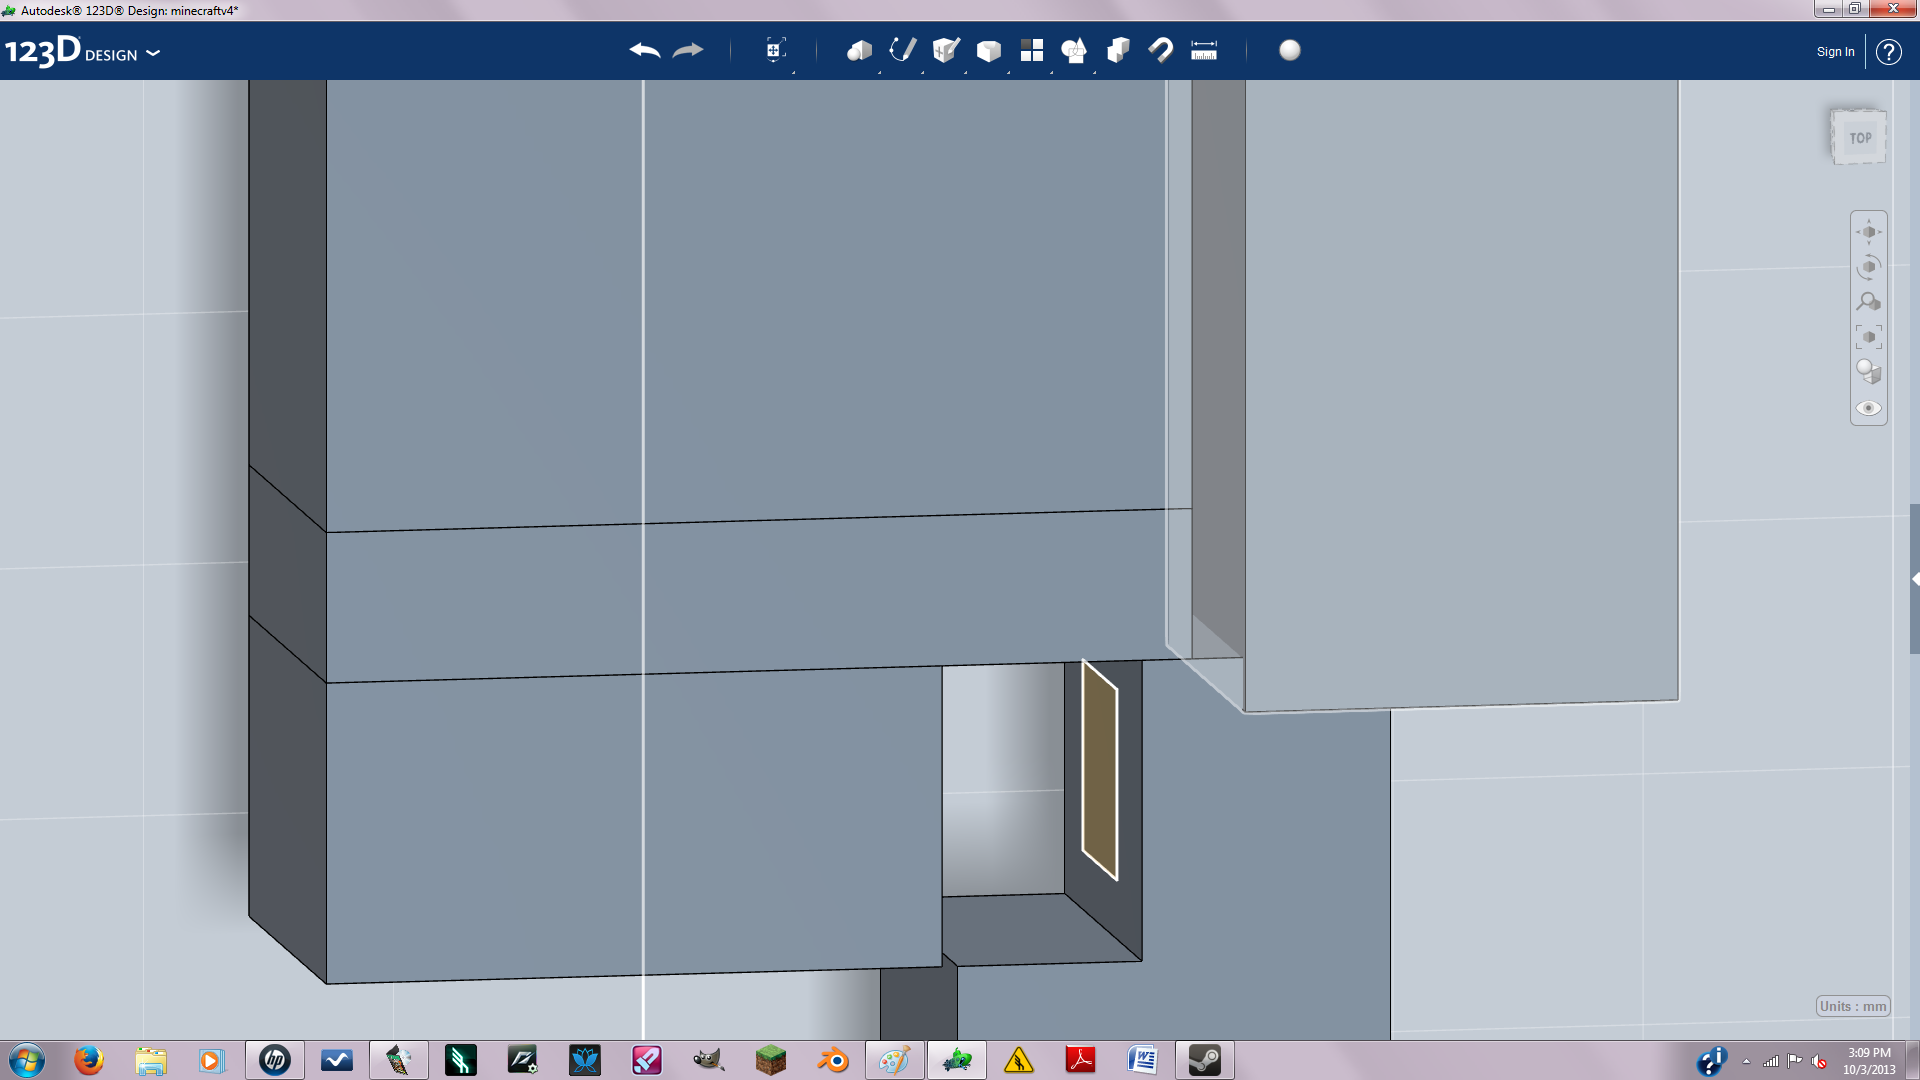
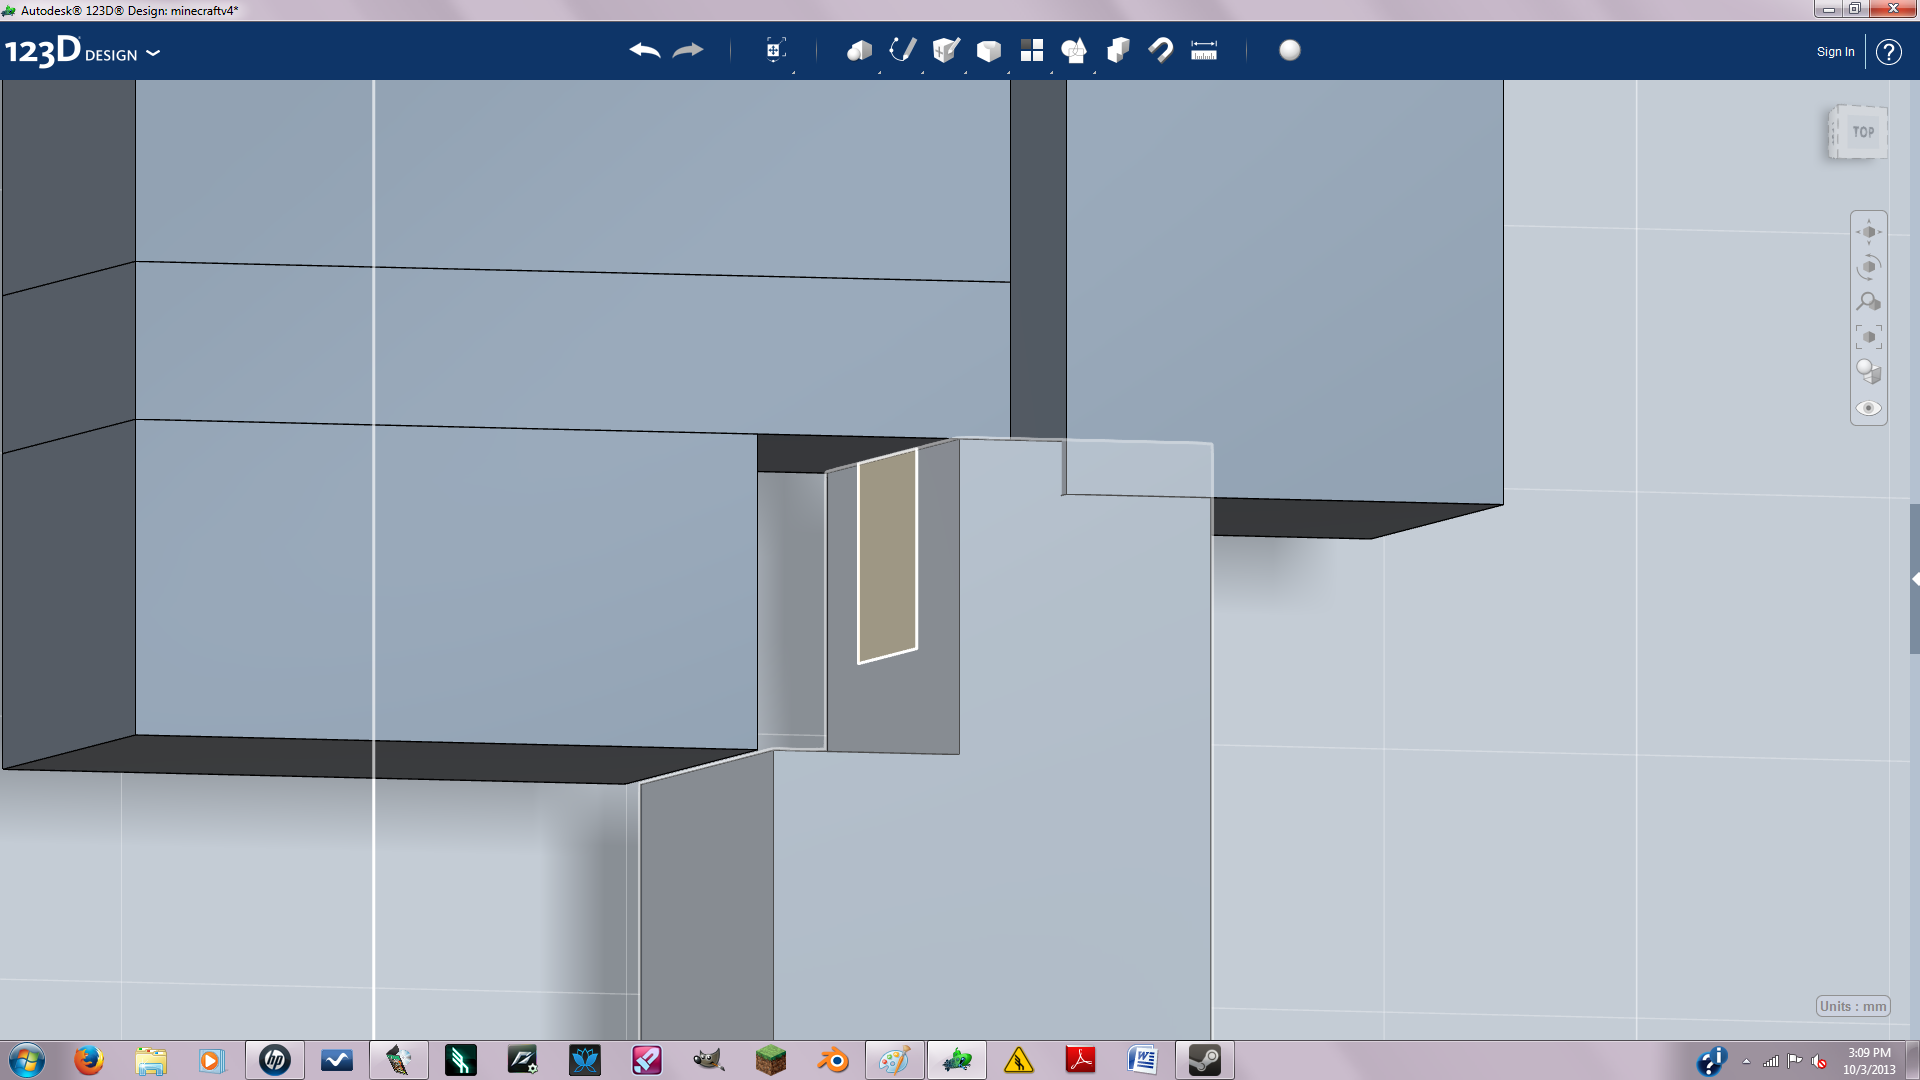
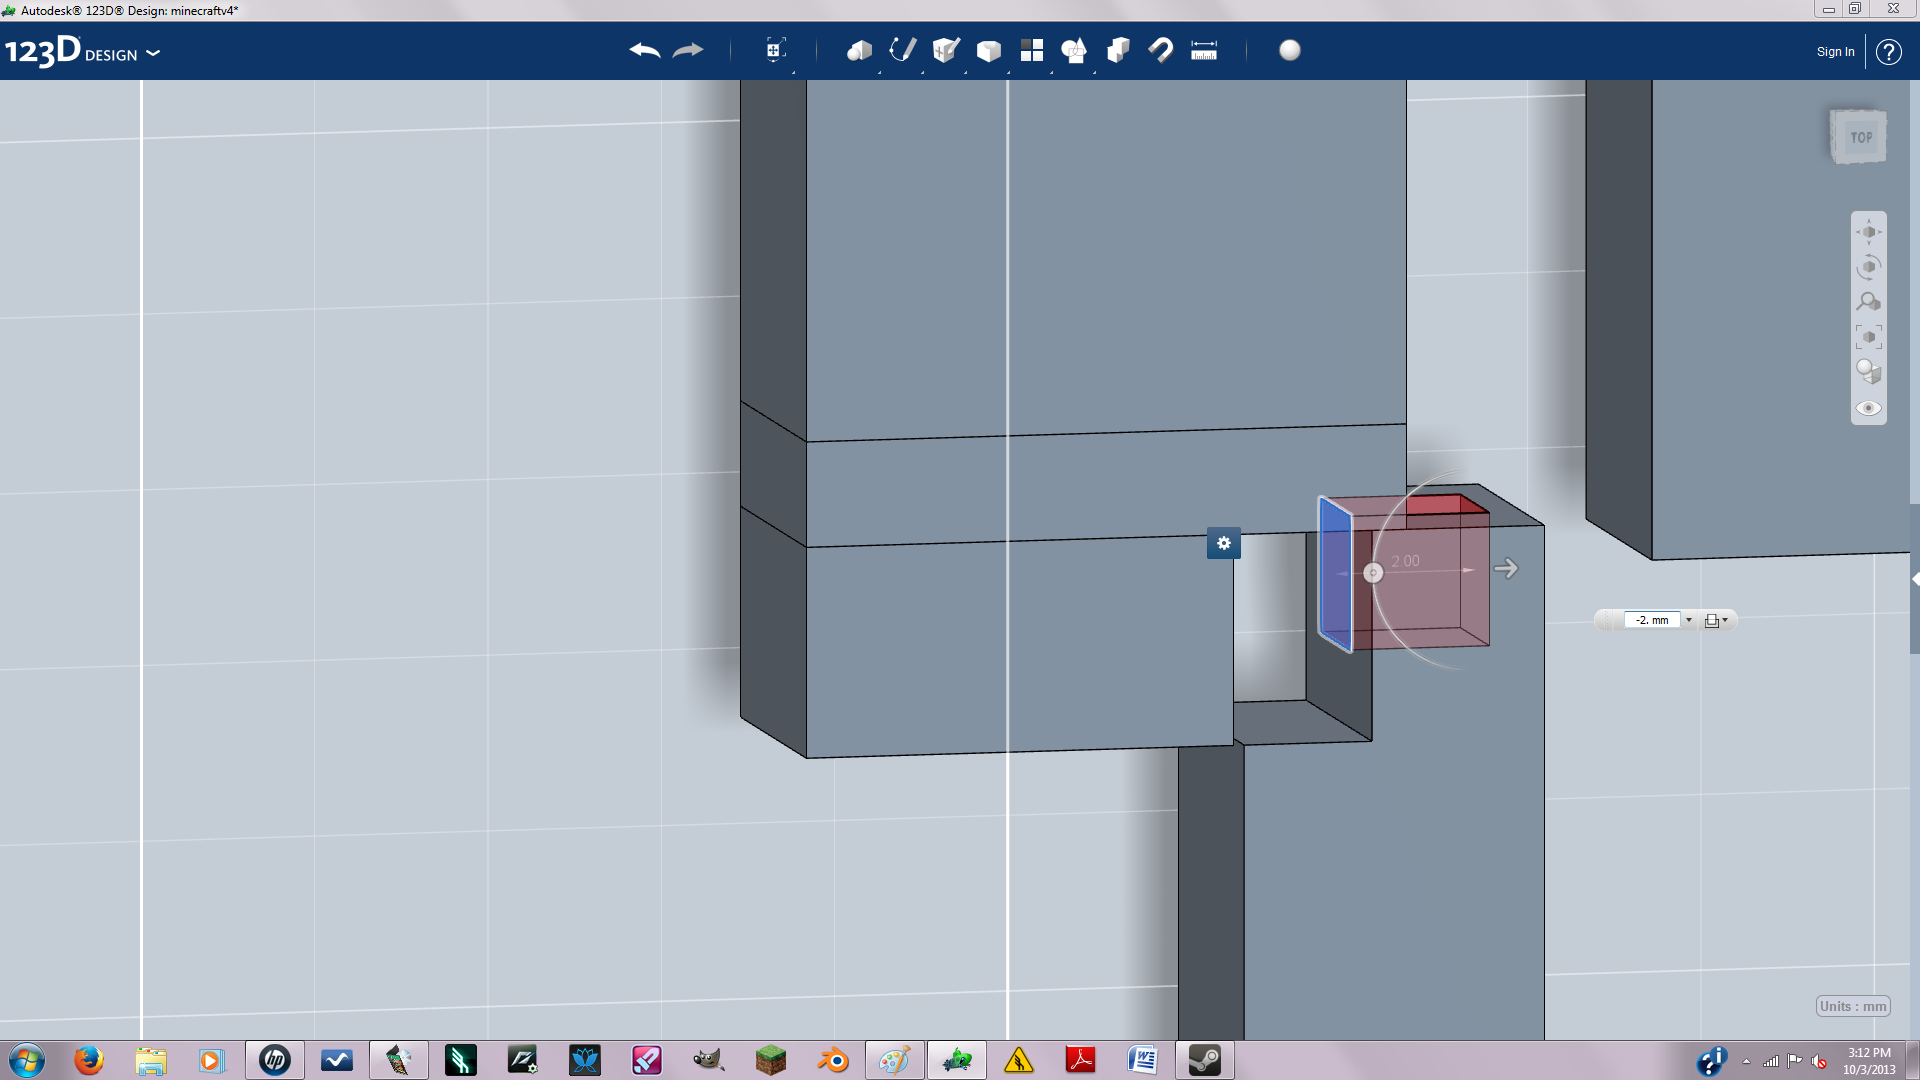
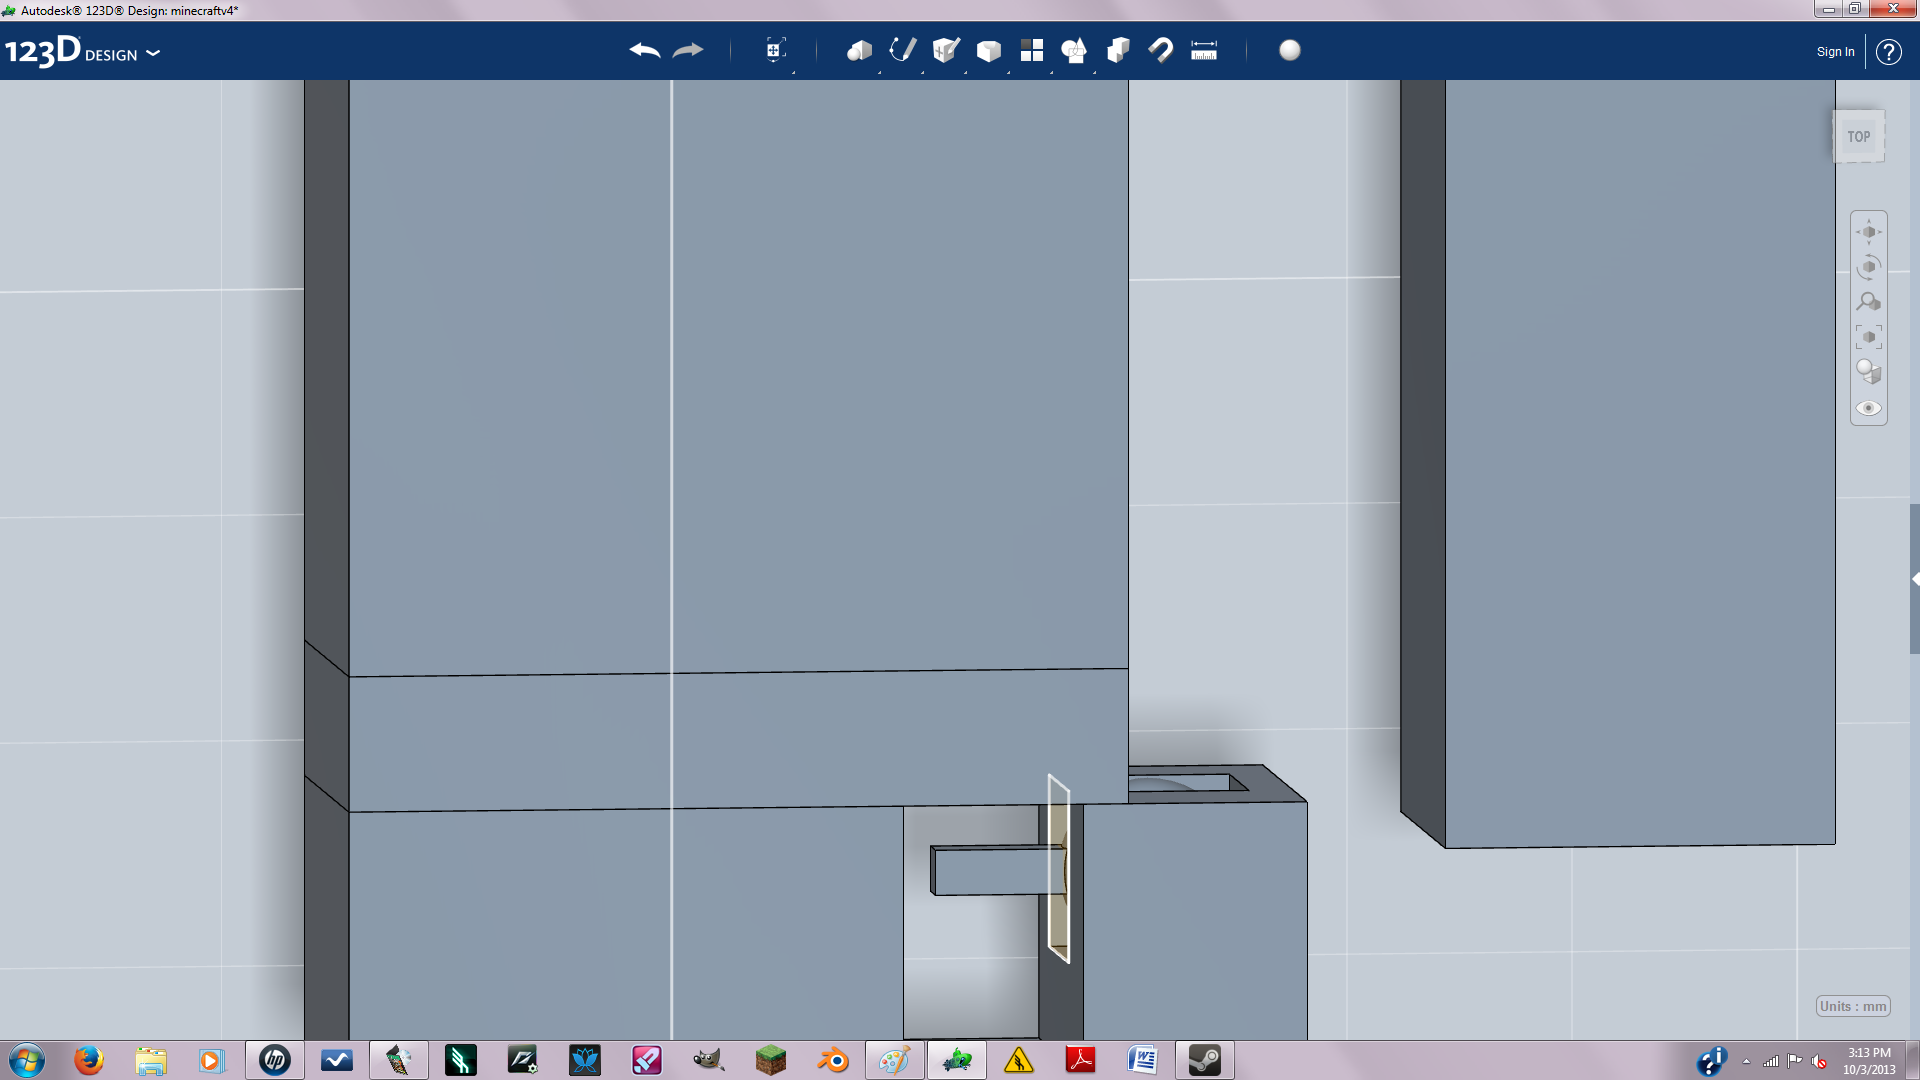
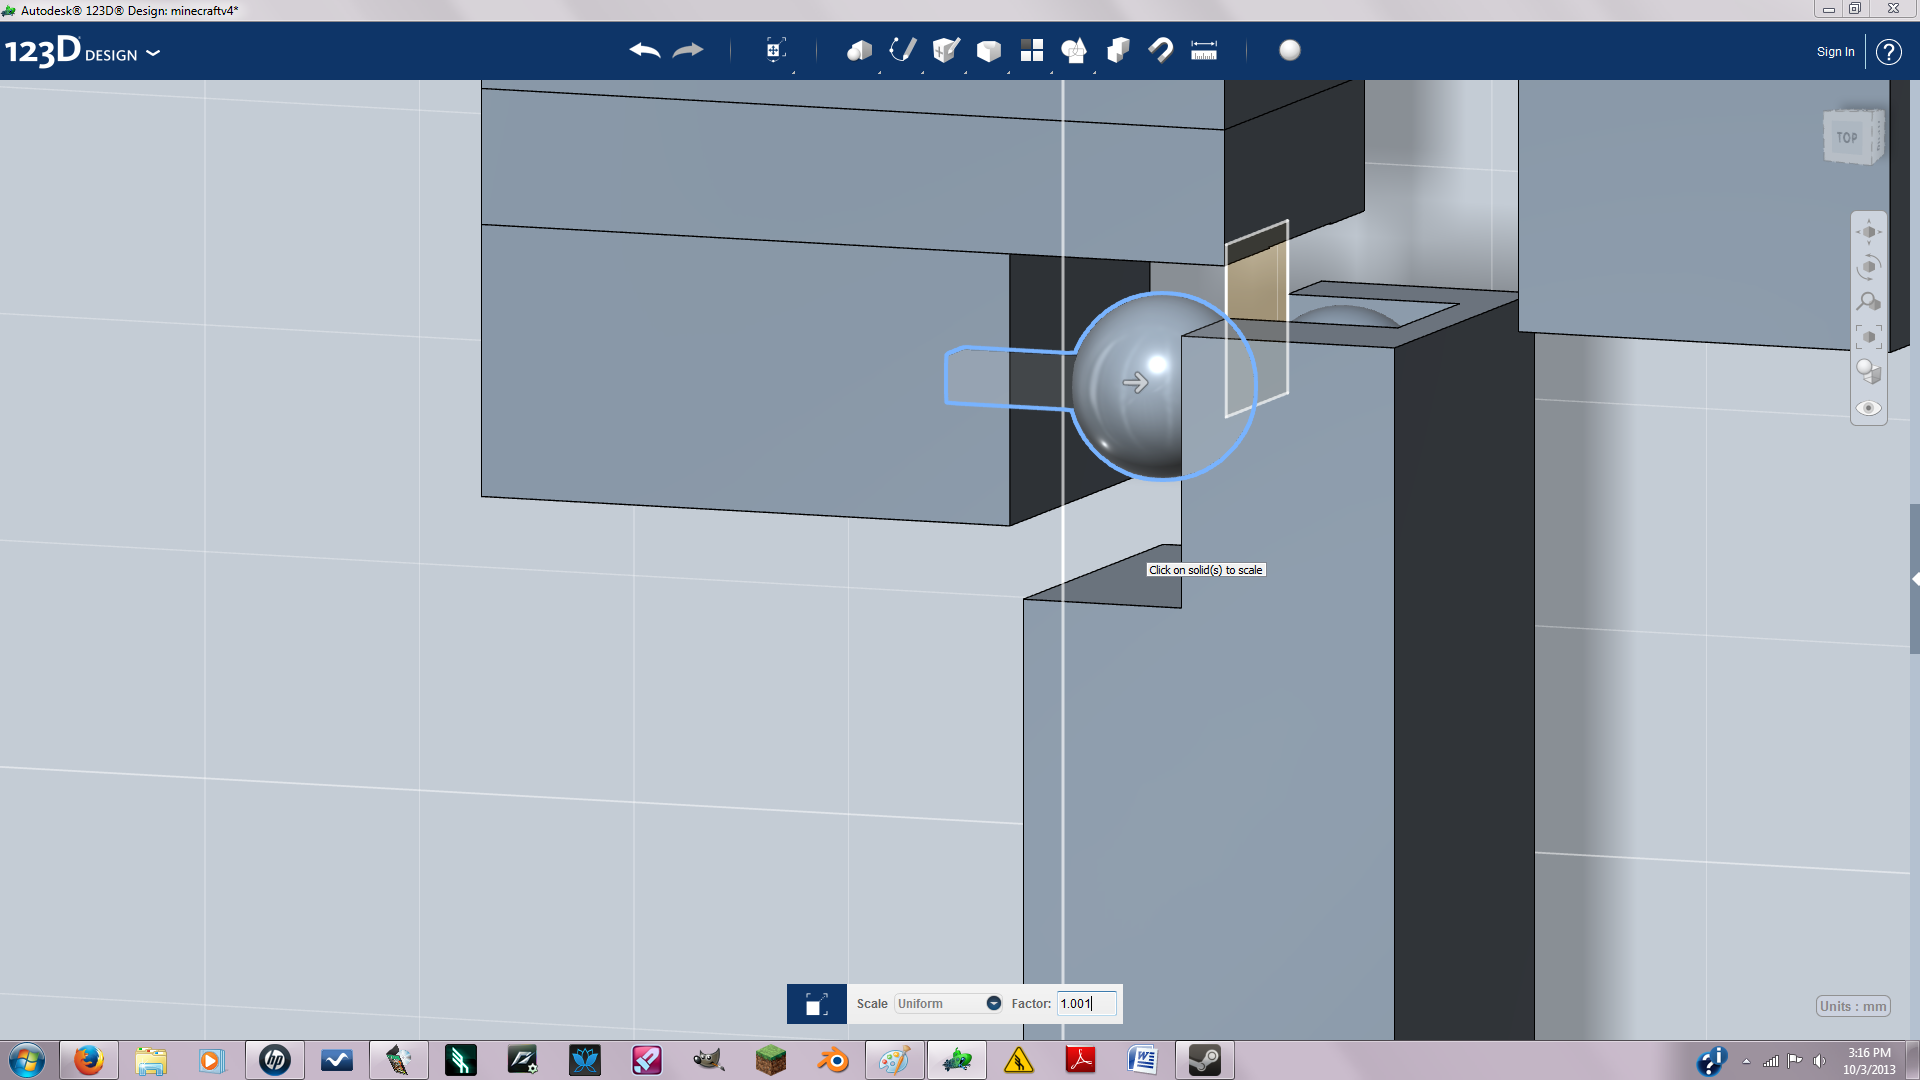
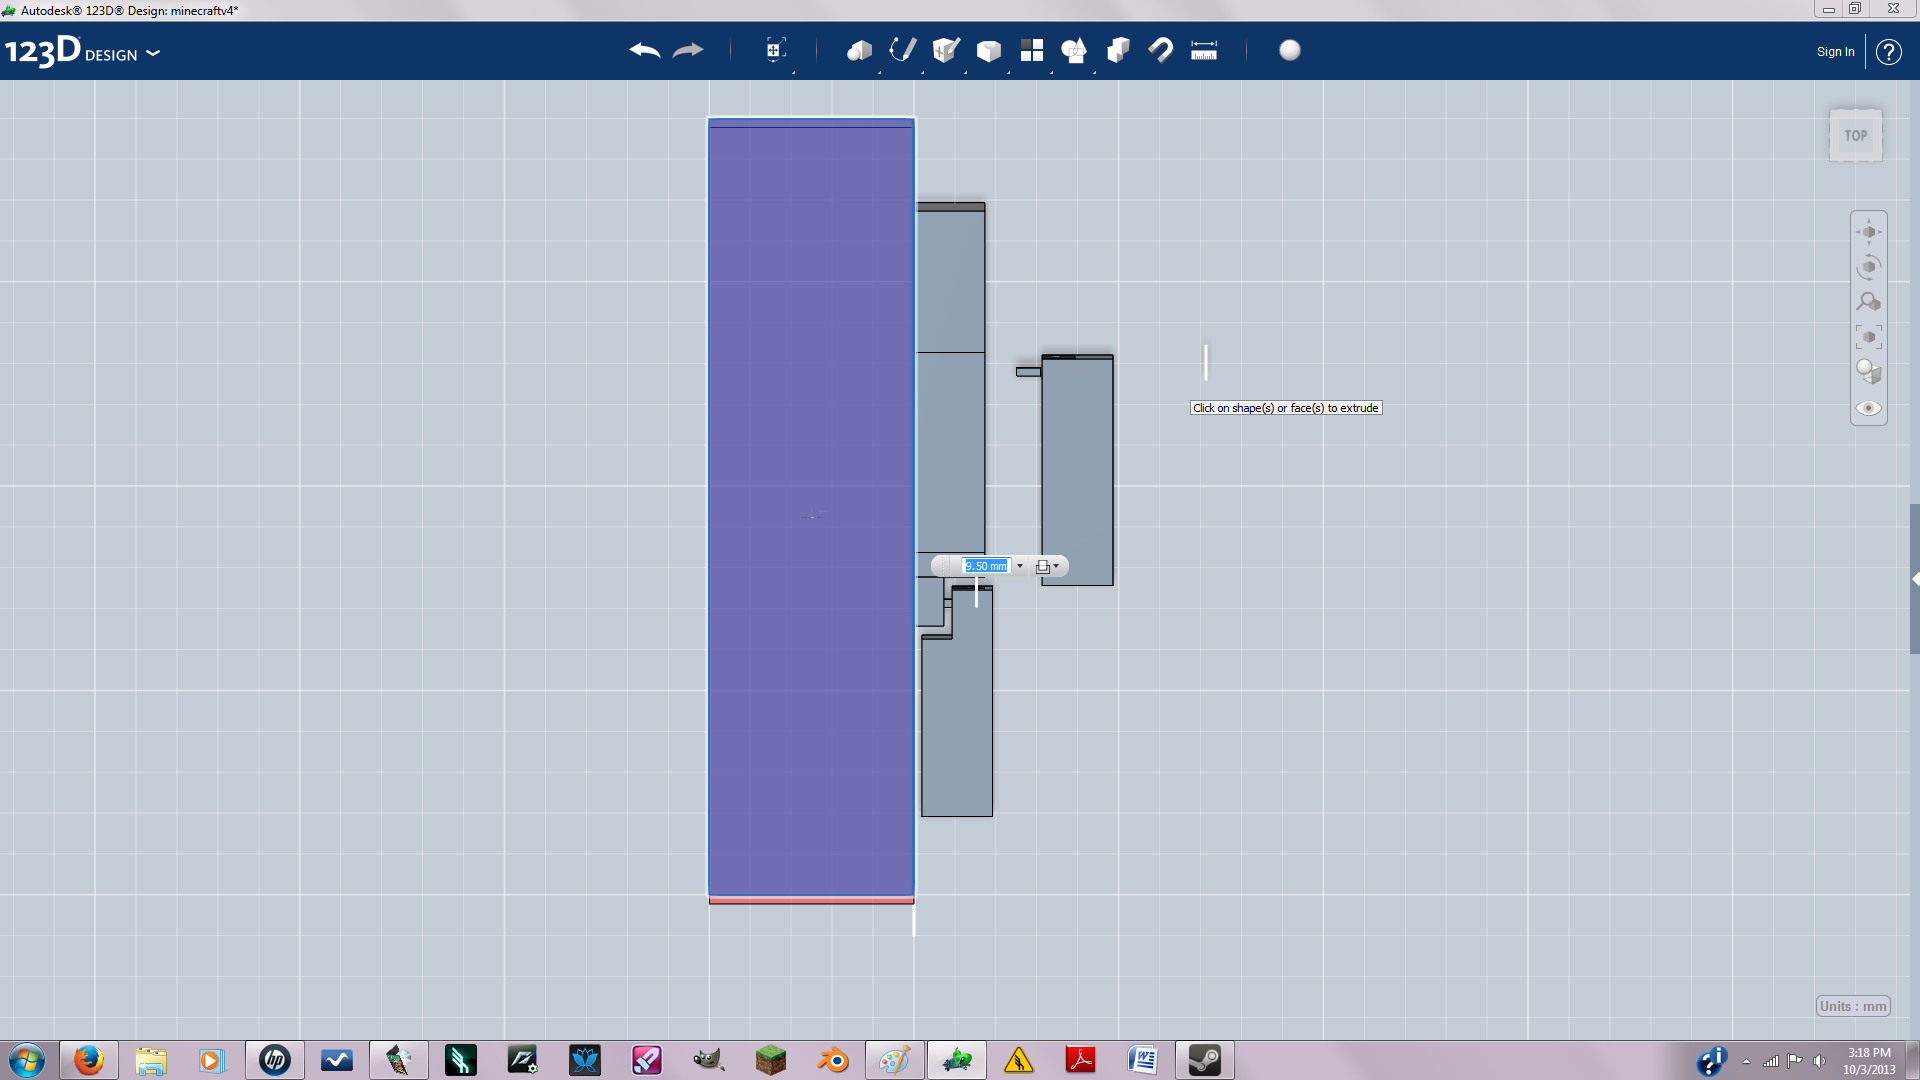
To make the waist I extruded a new solid from the bottom of the body. The new solid and the leg should overlap. Copy and Paste the leg. To copy press CTRL+C. To paste press CTRL+v. Then subtract the leg from the waist. You should still have a leg left because you copy and pasted. Now negative extrude the side of the waist into the leg about half way.
Making the leg joint is the same as the arm joint.
Making the leg joint is the same as the arm joint.
Connecting the Waist and Body
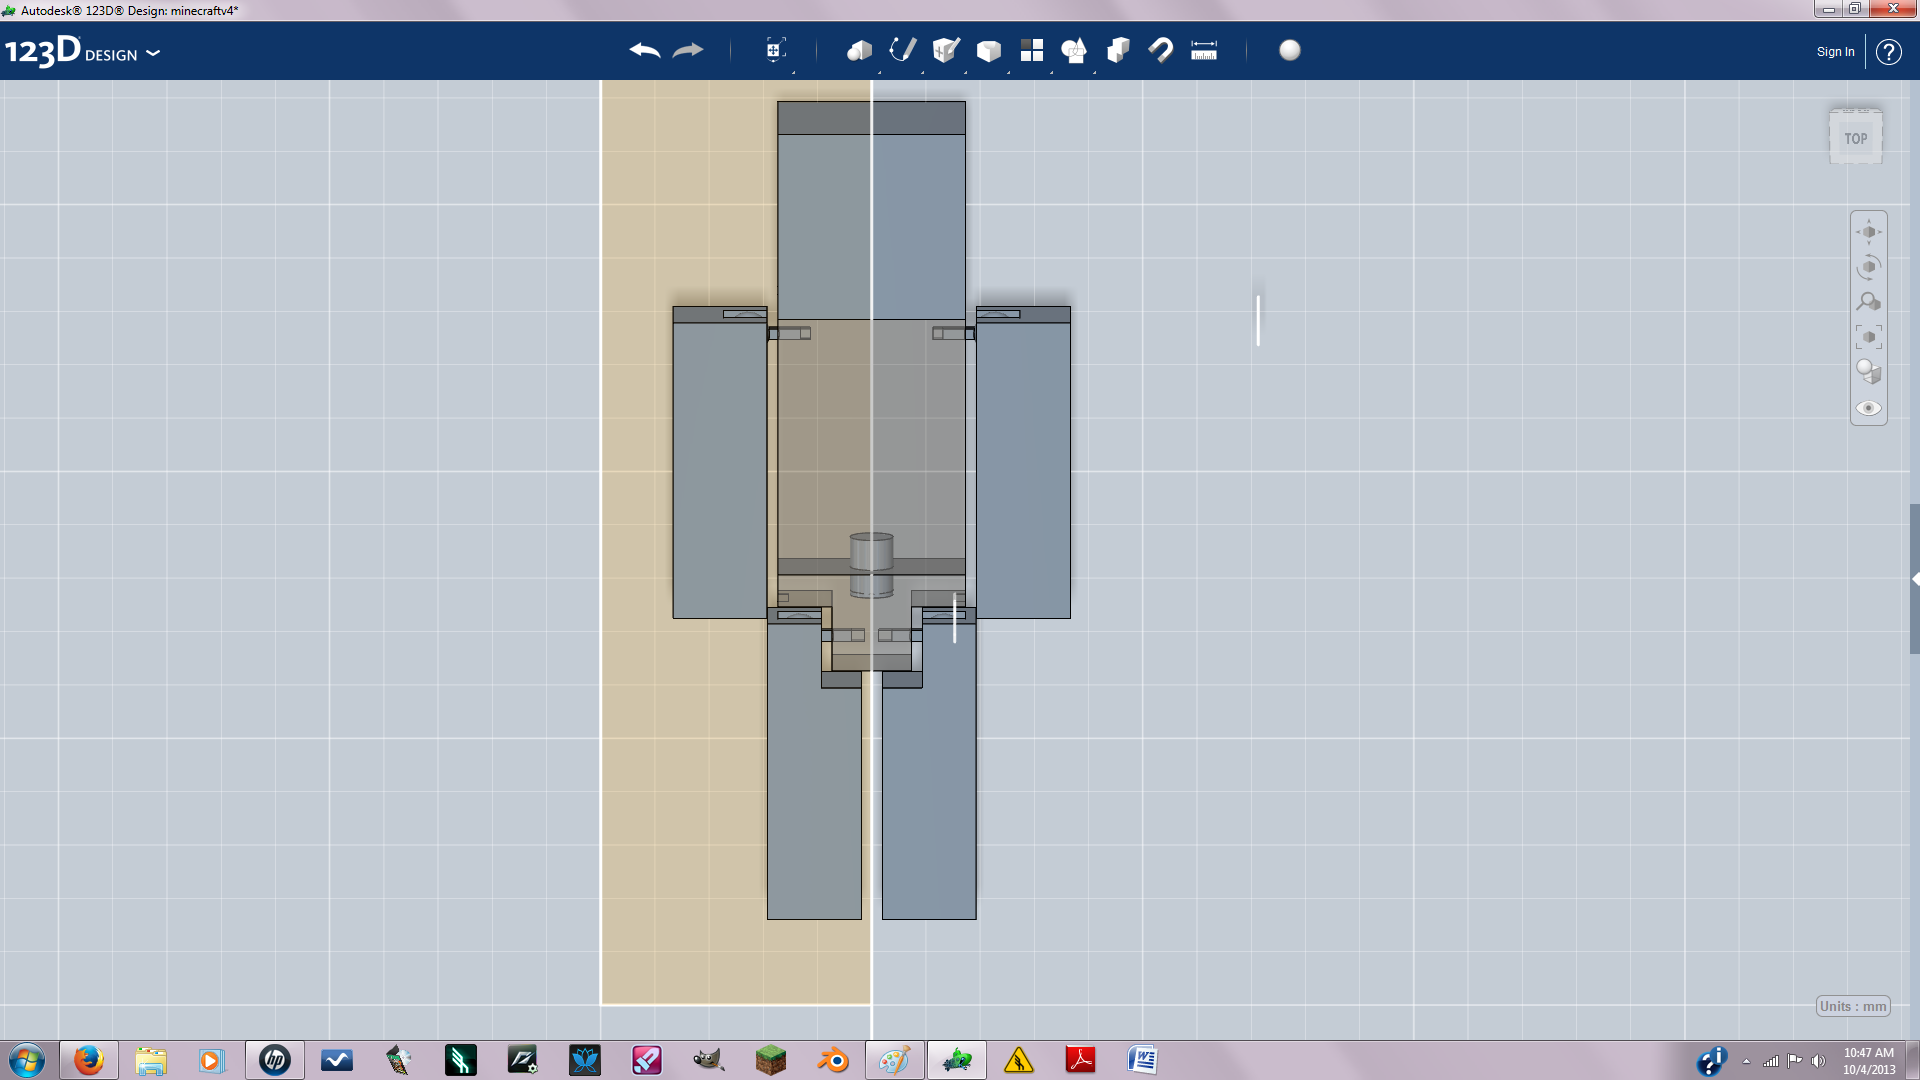
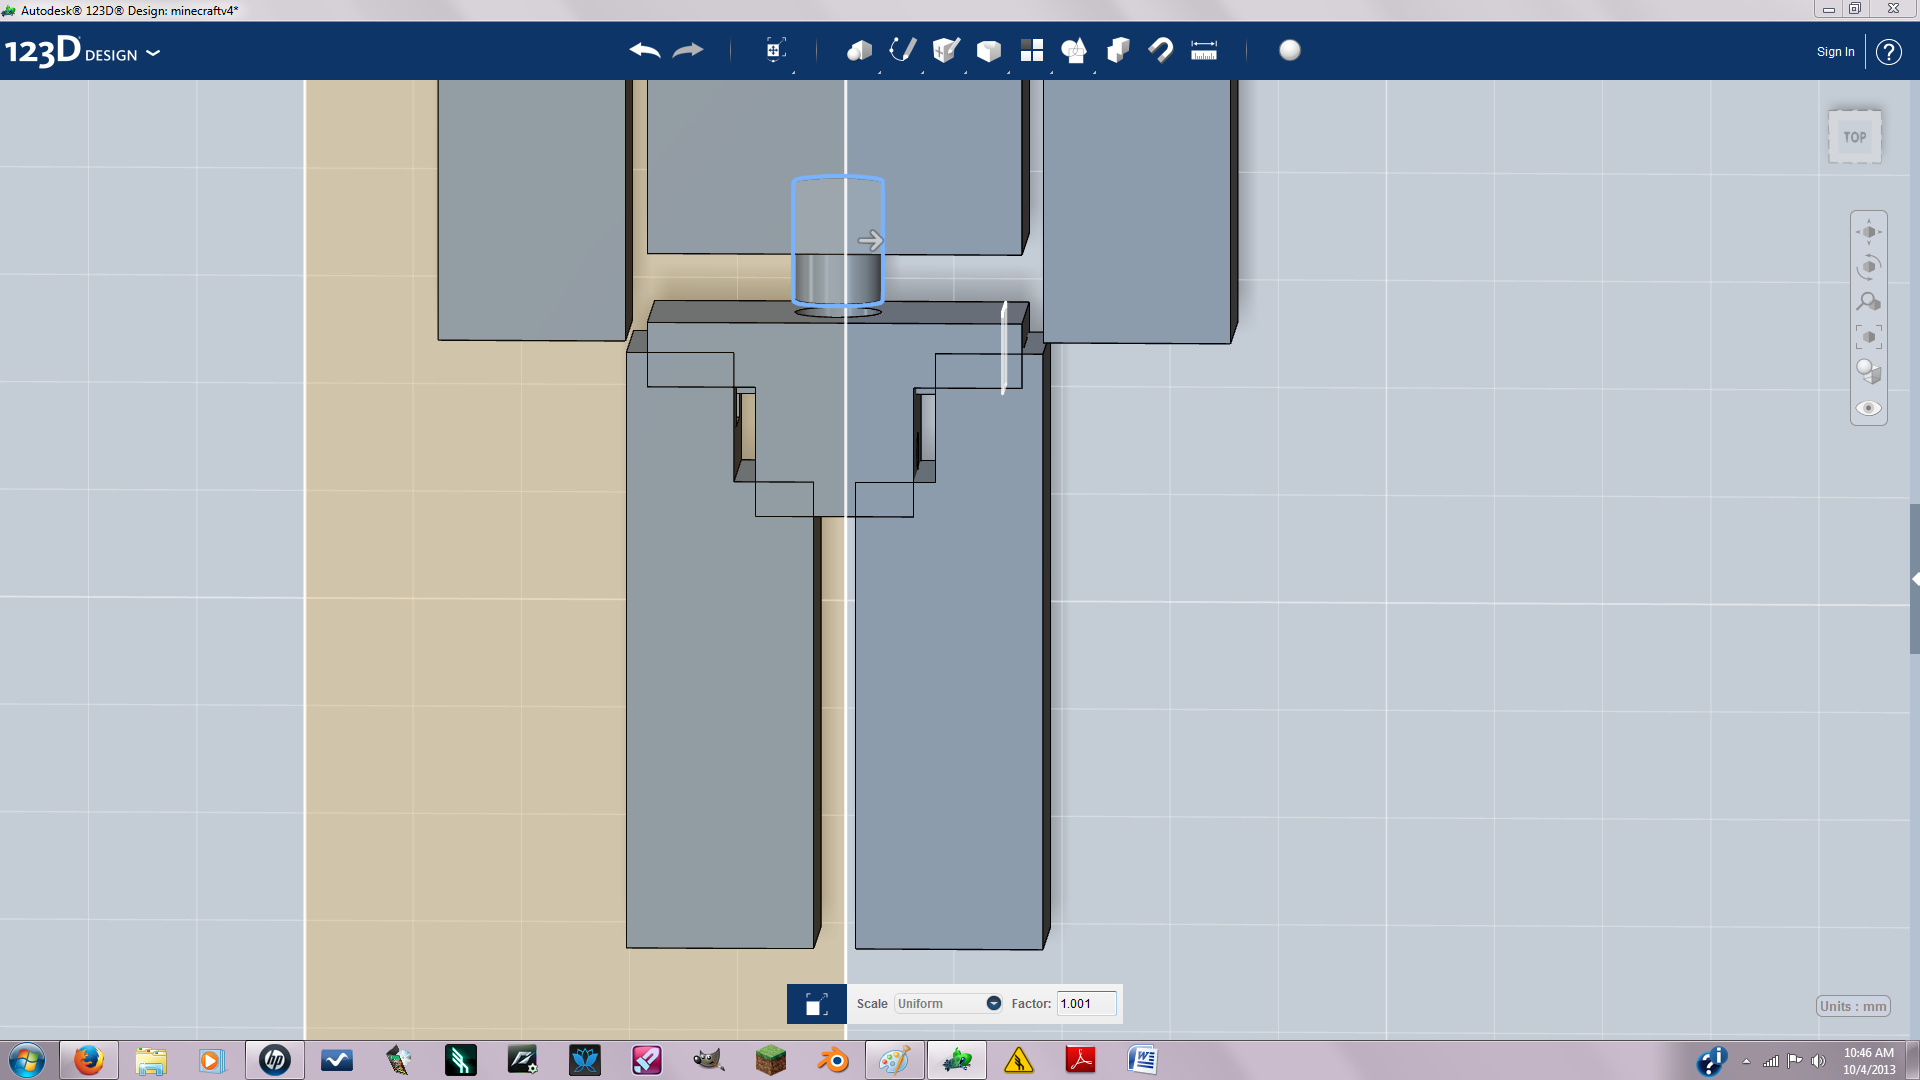
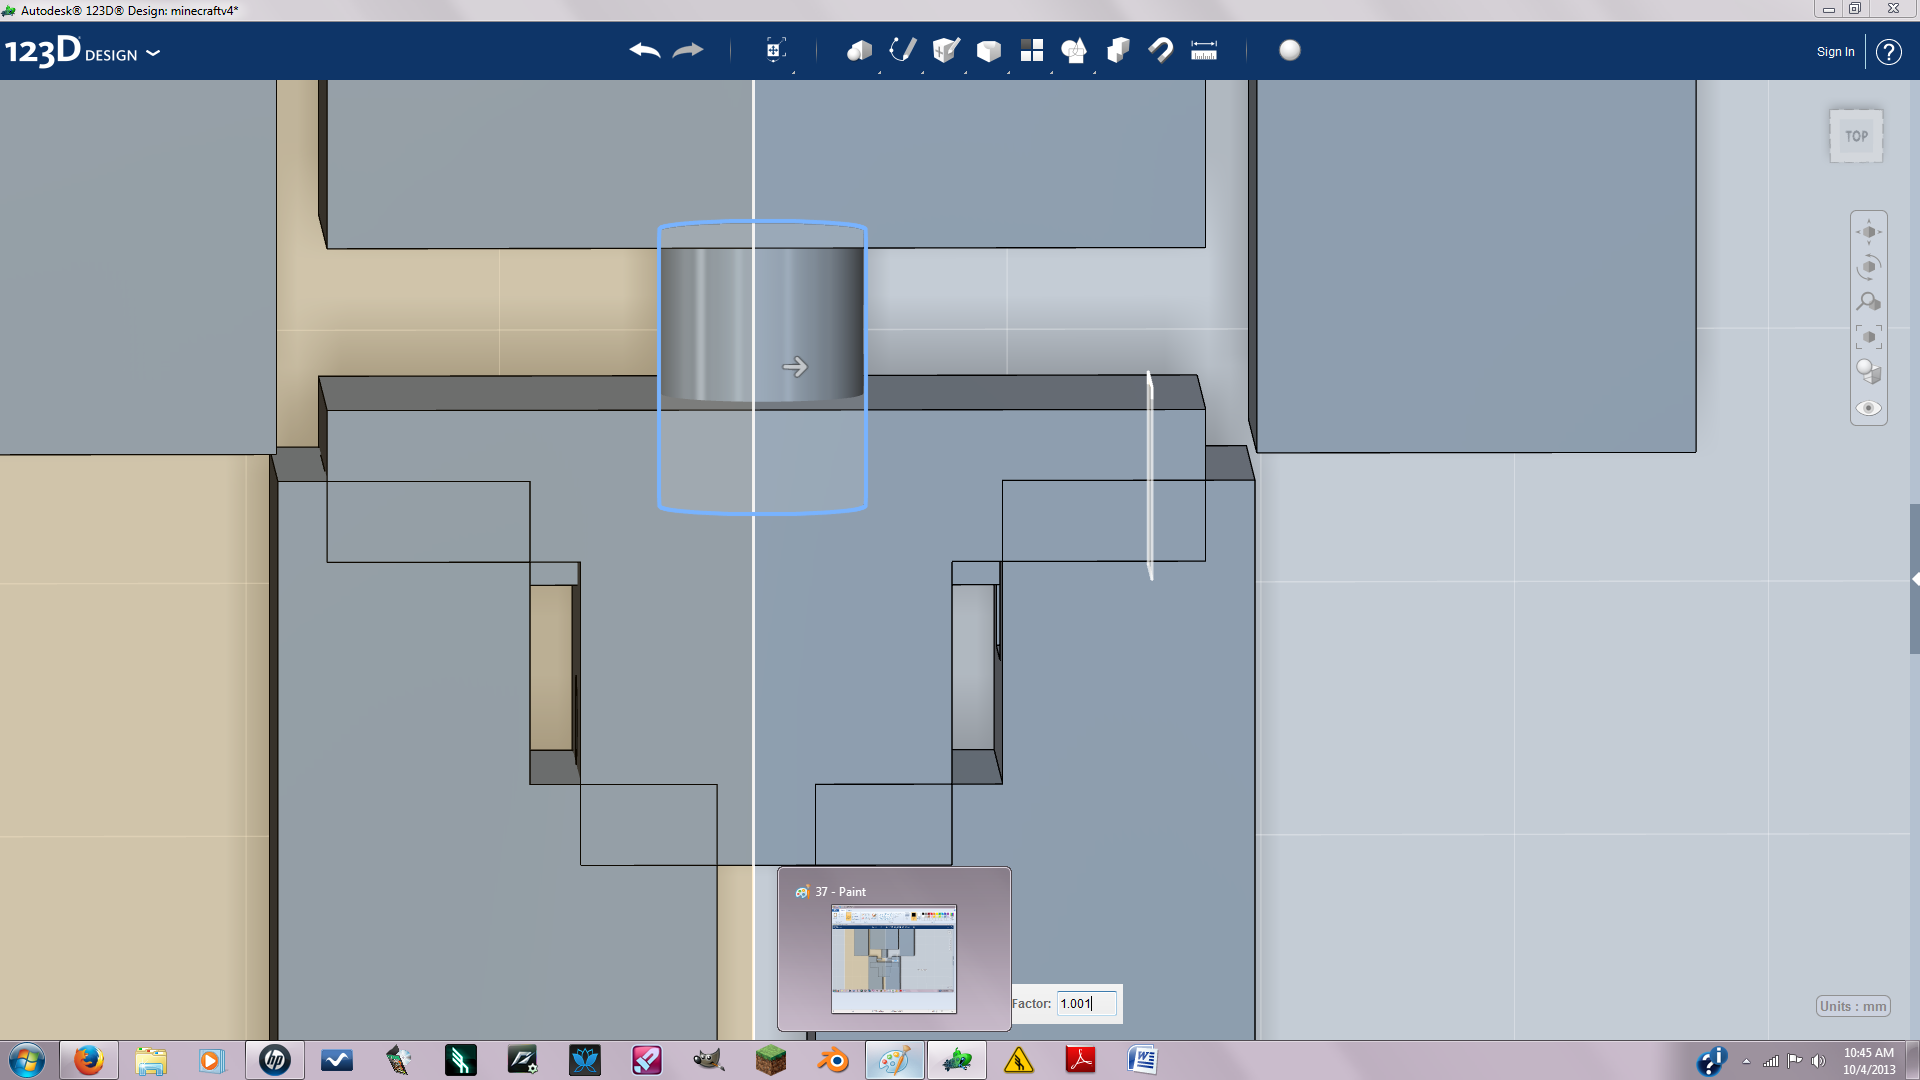
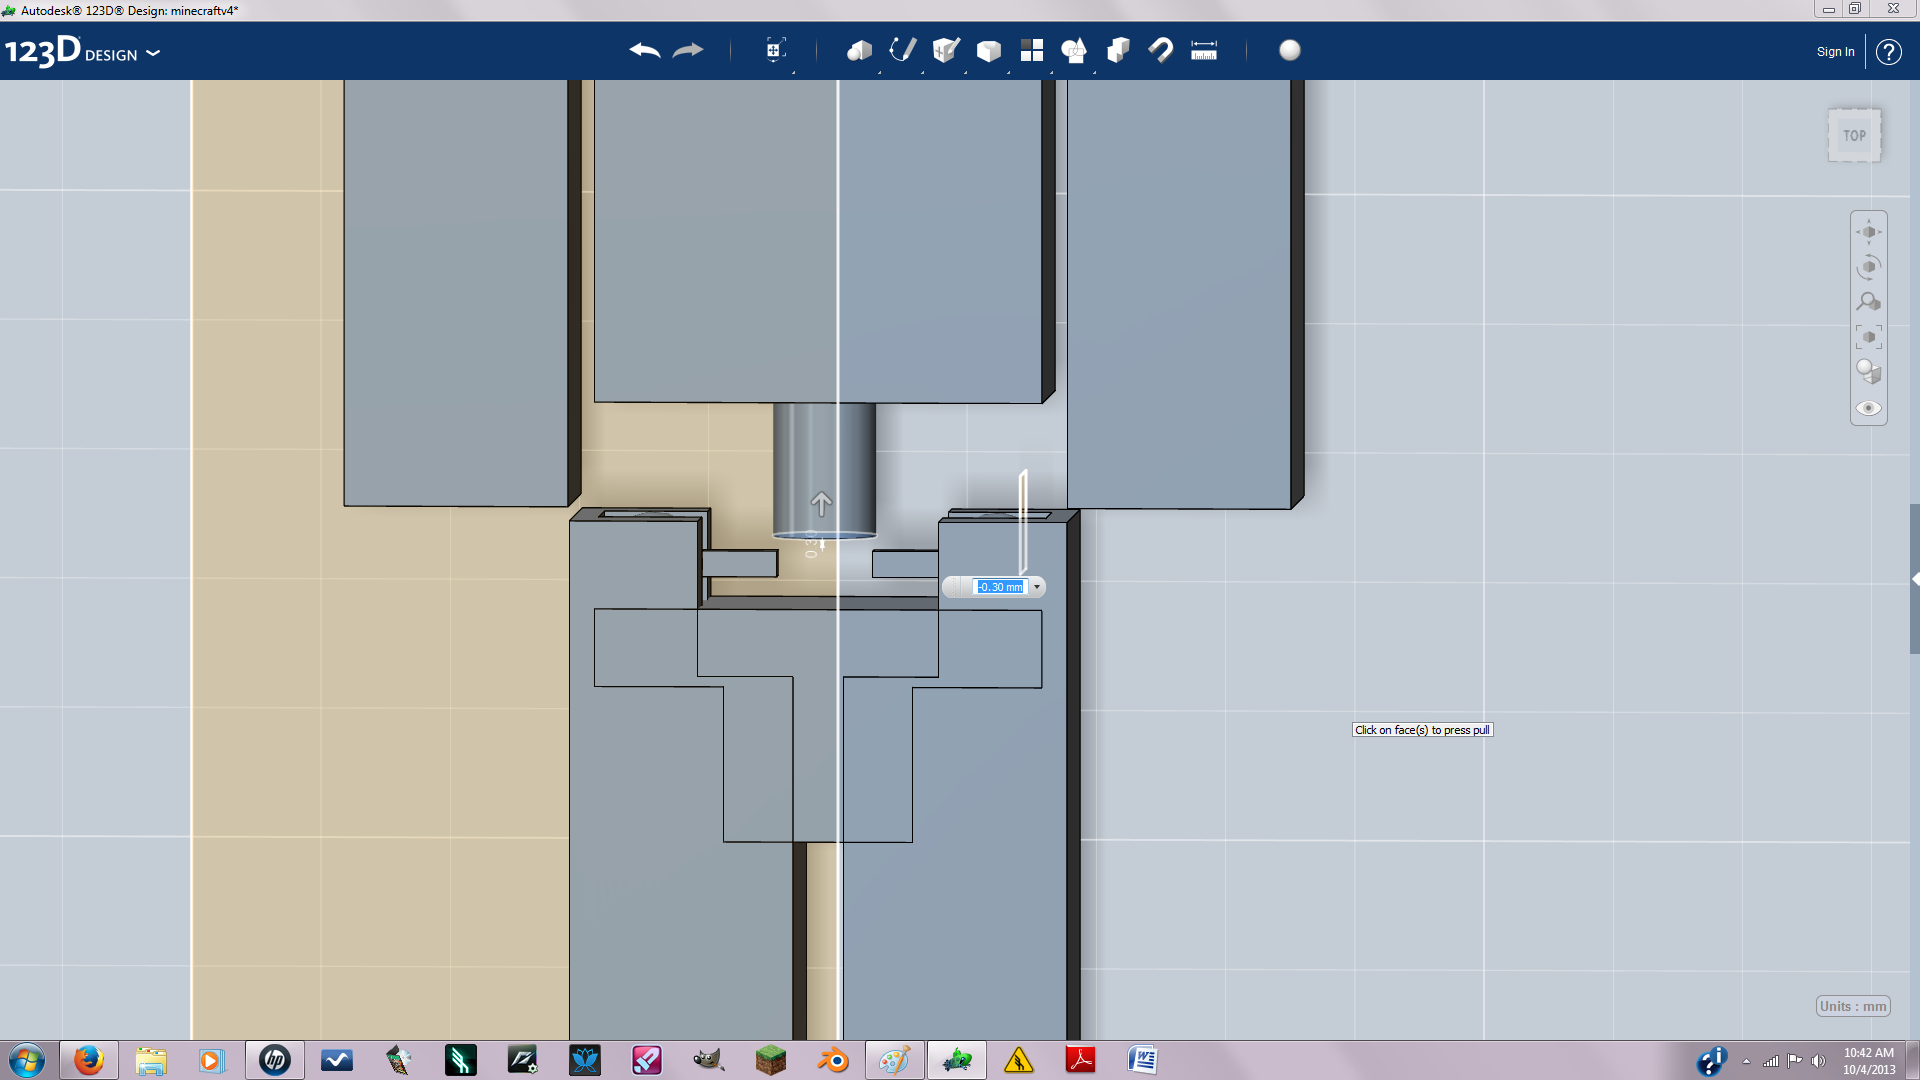
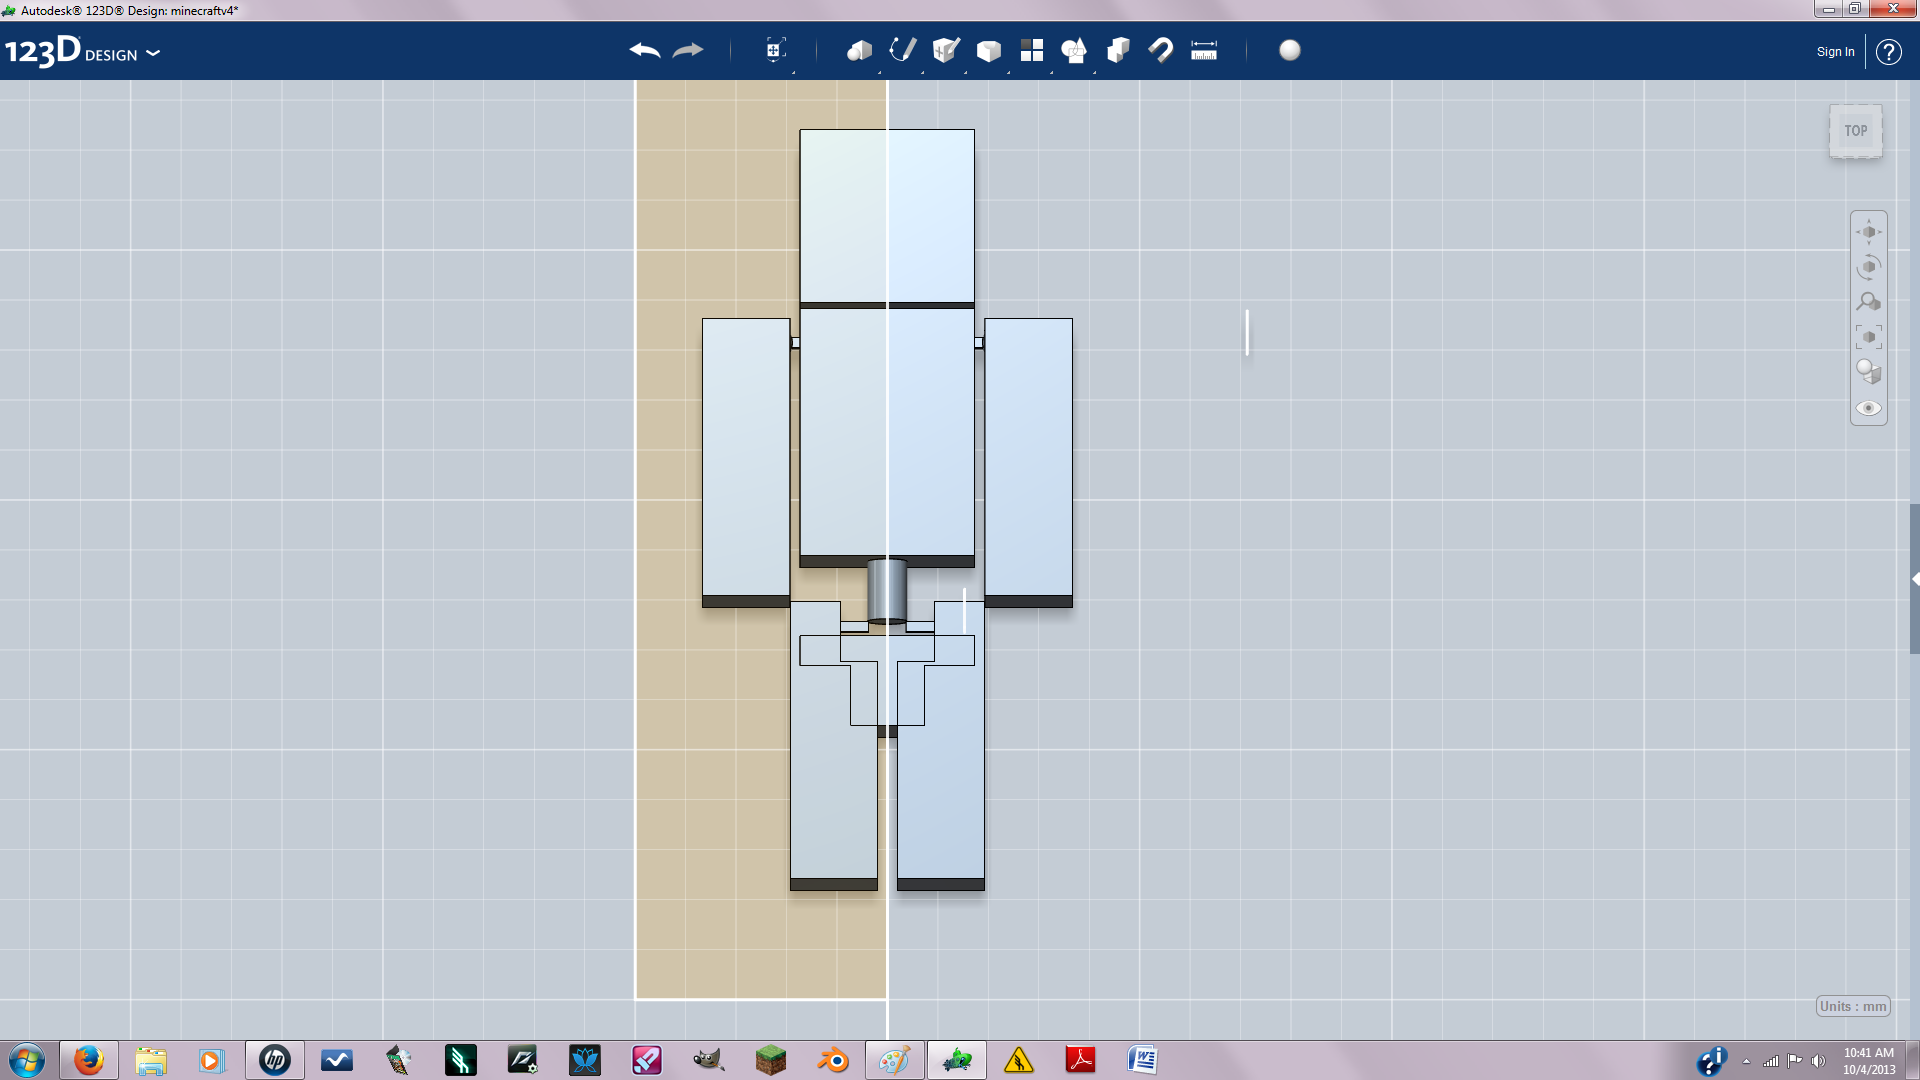
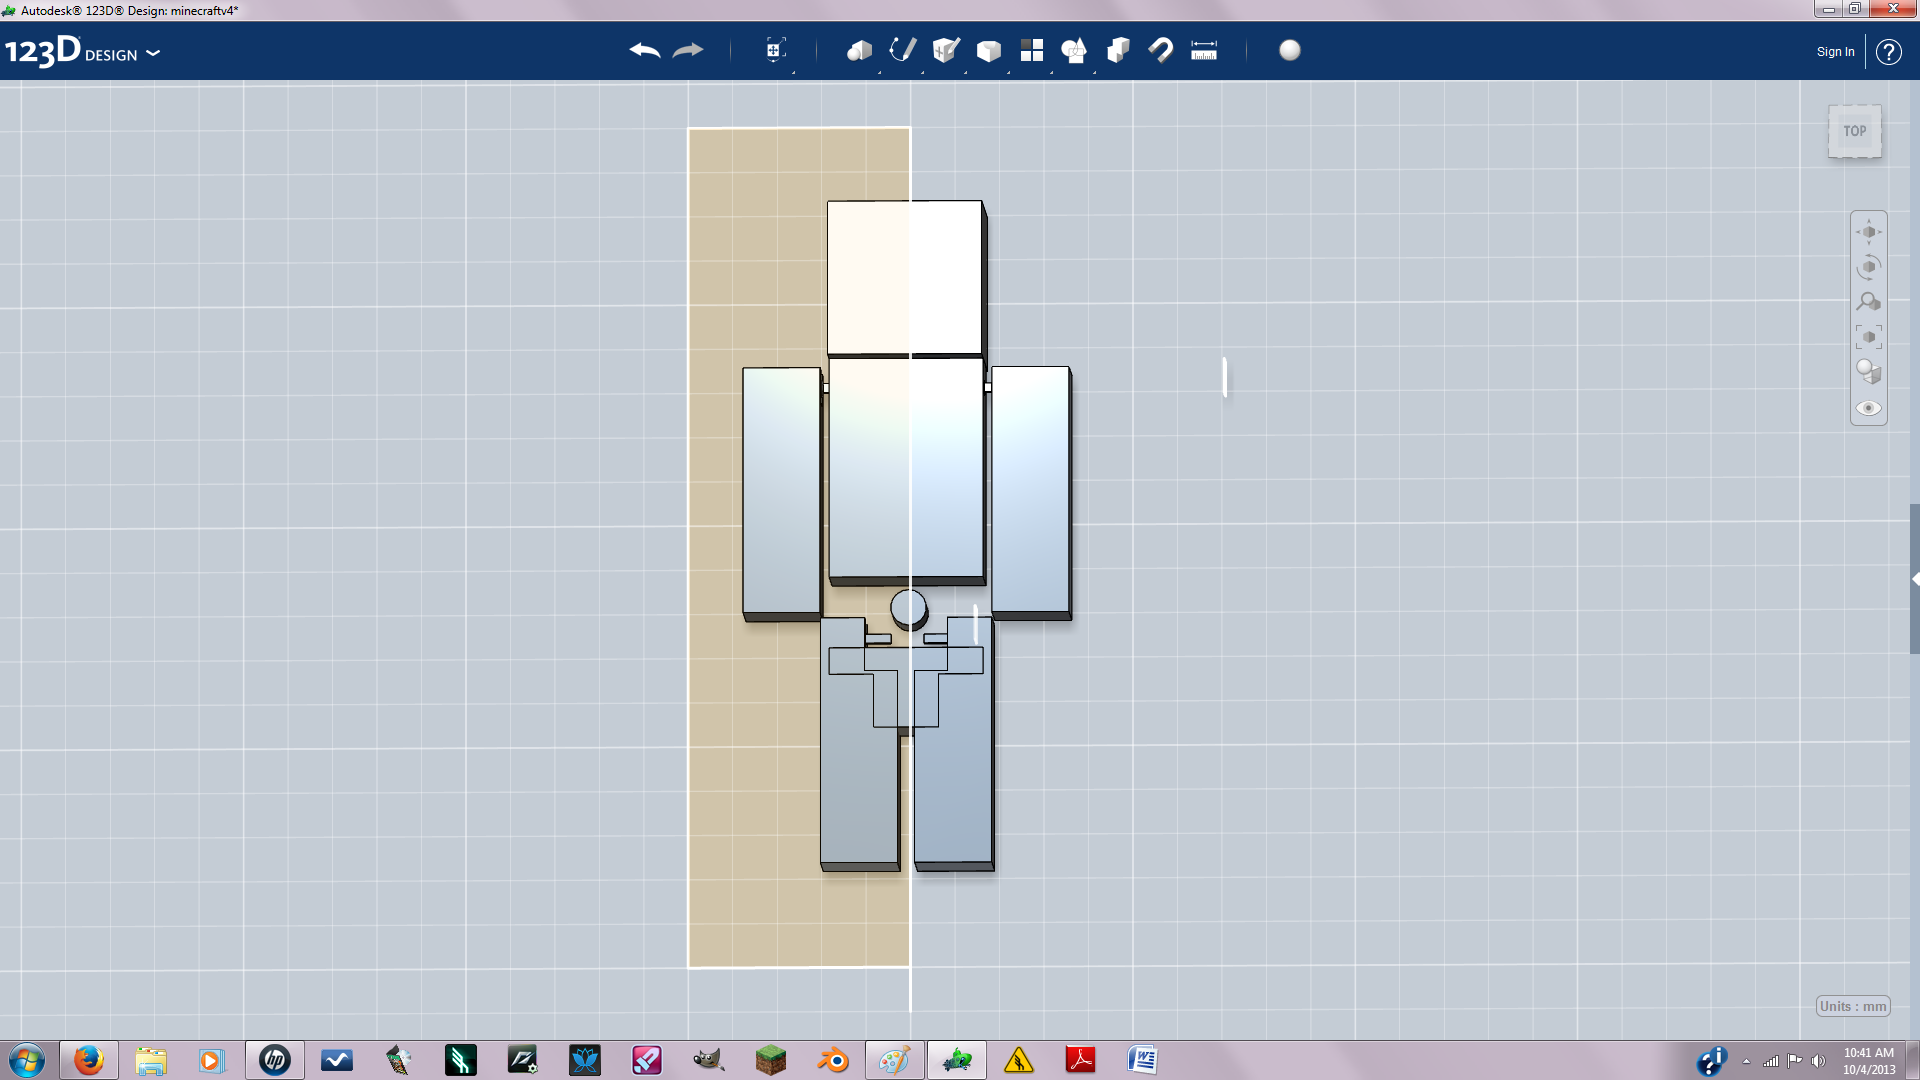
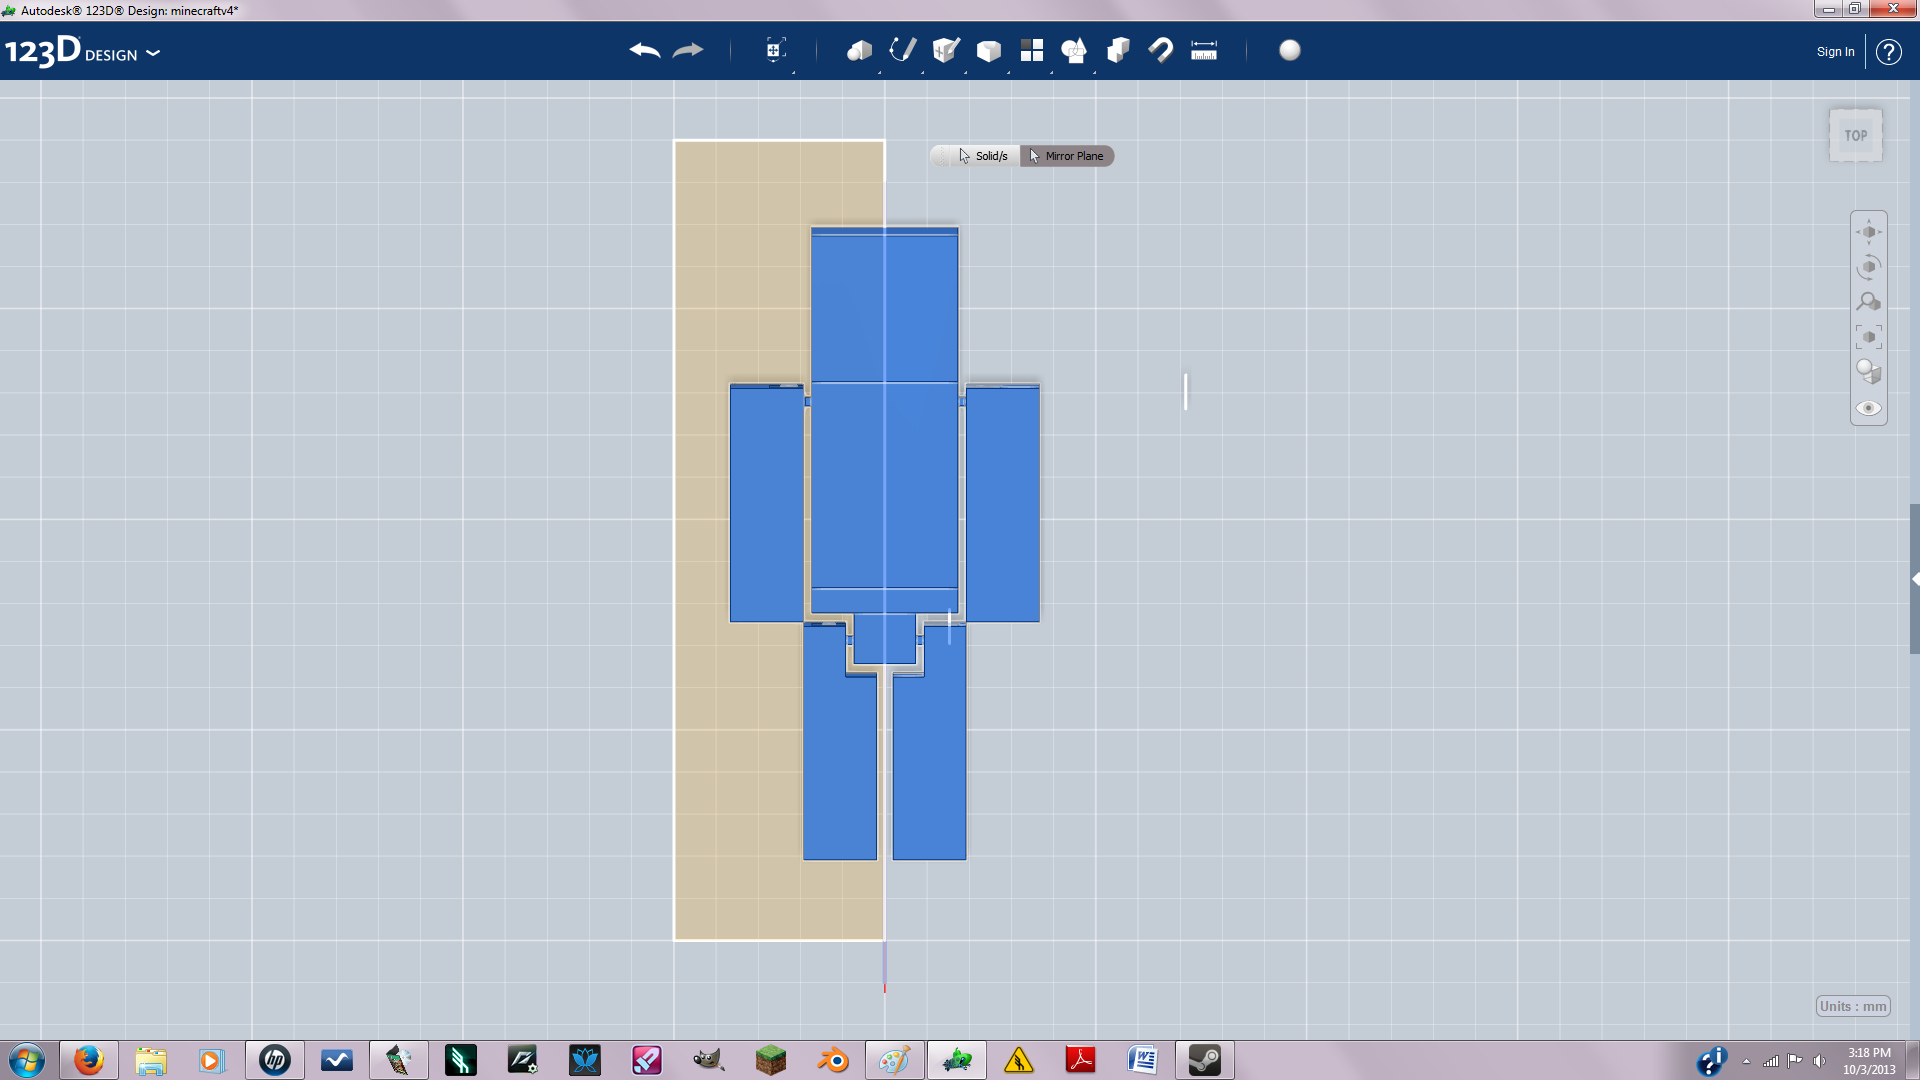
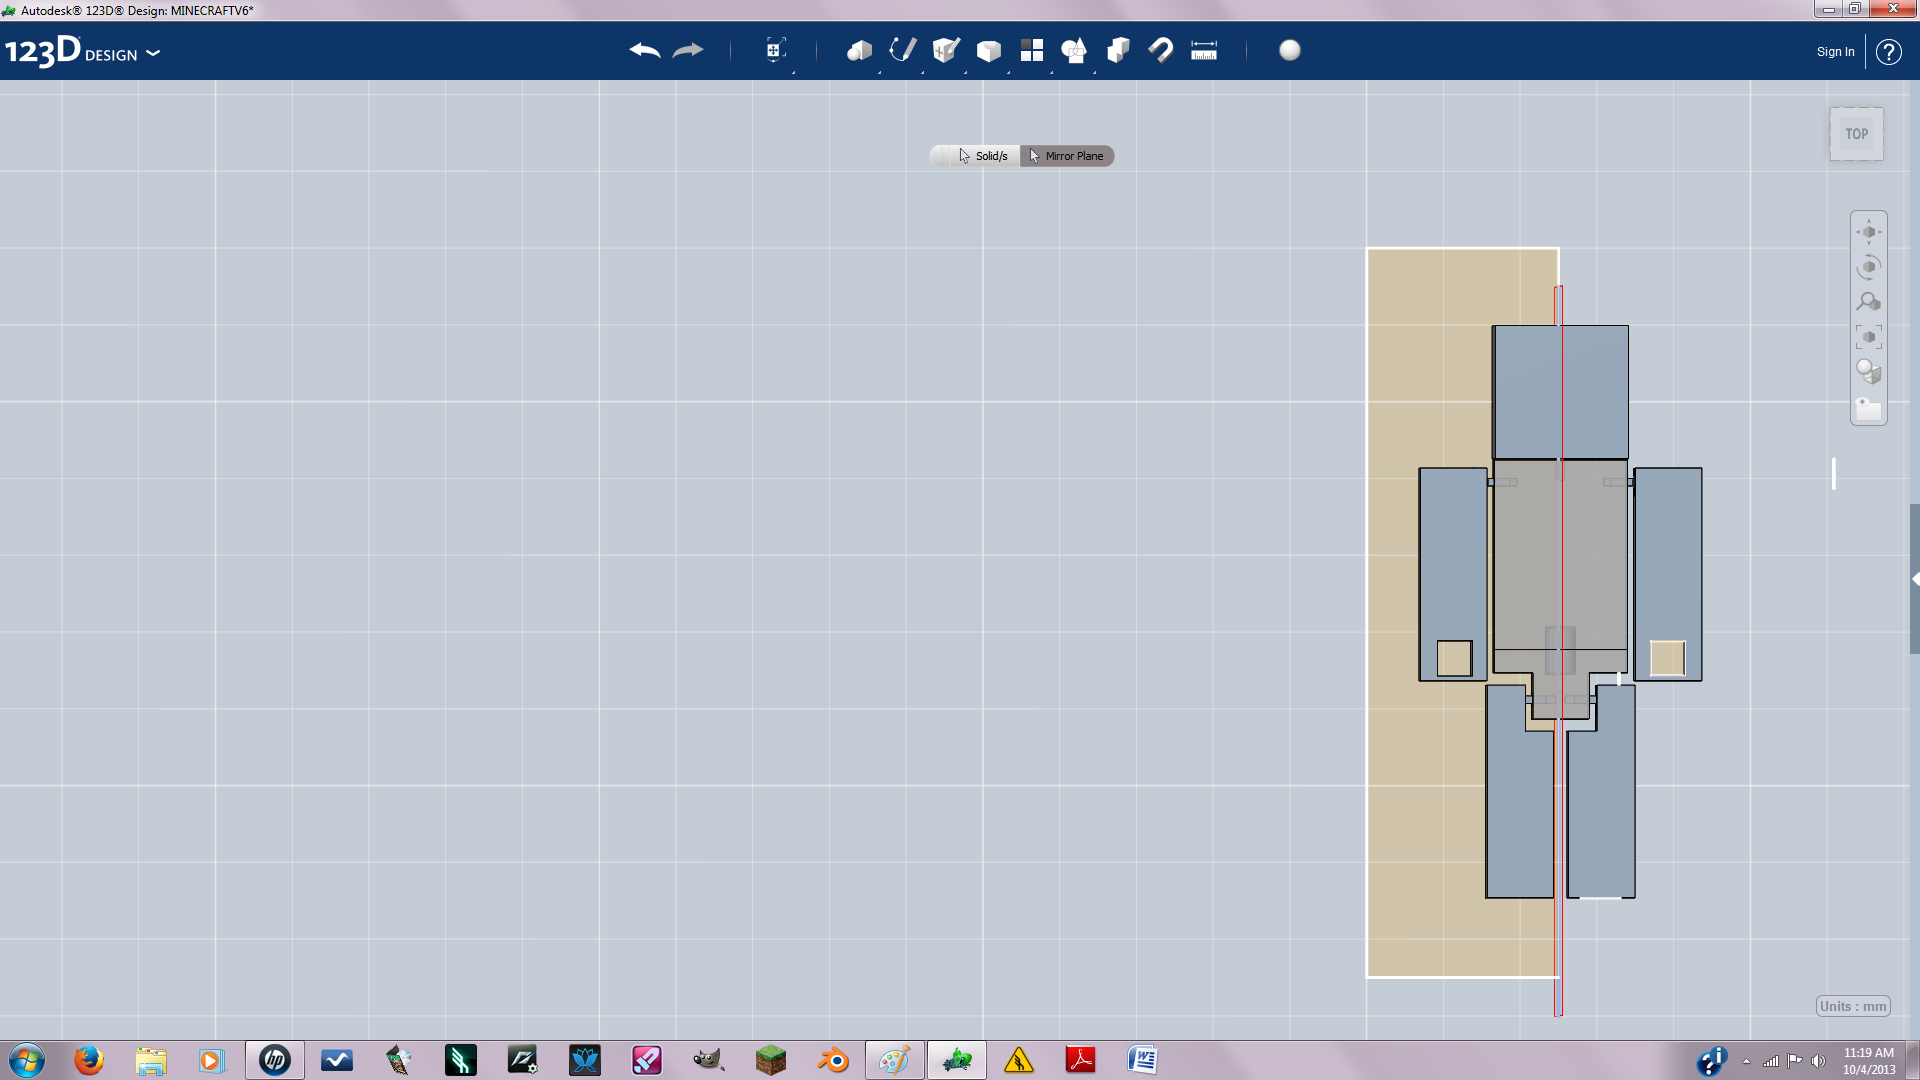
To mirror your model create a sketch line through the middle of the model. Make sure only half the model is there. Then select the mirror tool and select everything you want to mirror then select the mirror plane(the sketch through the middle acts as the mirror plane). After mirroring the the model I created the waist joint. All it is , is a cylinder inserted half into the body and half way into the waist and subtracted.
Then I copy and pasted, and subtracted. Remember you have to account for tolerance so make sure the cylinders radius fits into the waist and body. If not then copy and paste the cylinder, the scale the copy up by .01 mm and subtract it from the waist and body.
Then I copy and pasted, and subtracted. Remember you have to account for tolerance so make sure the cylinders radius fits into the waist and body. If not then copy and paste the cylinder, the scale the copy up by .01 mm and subtract it from the waist and body.
The Head Joint
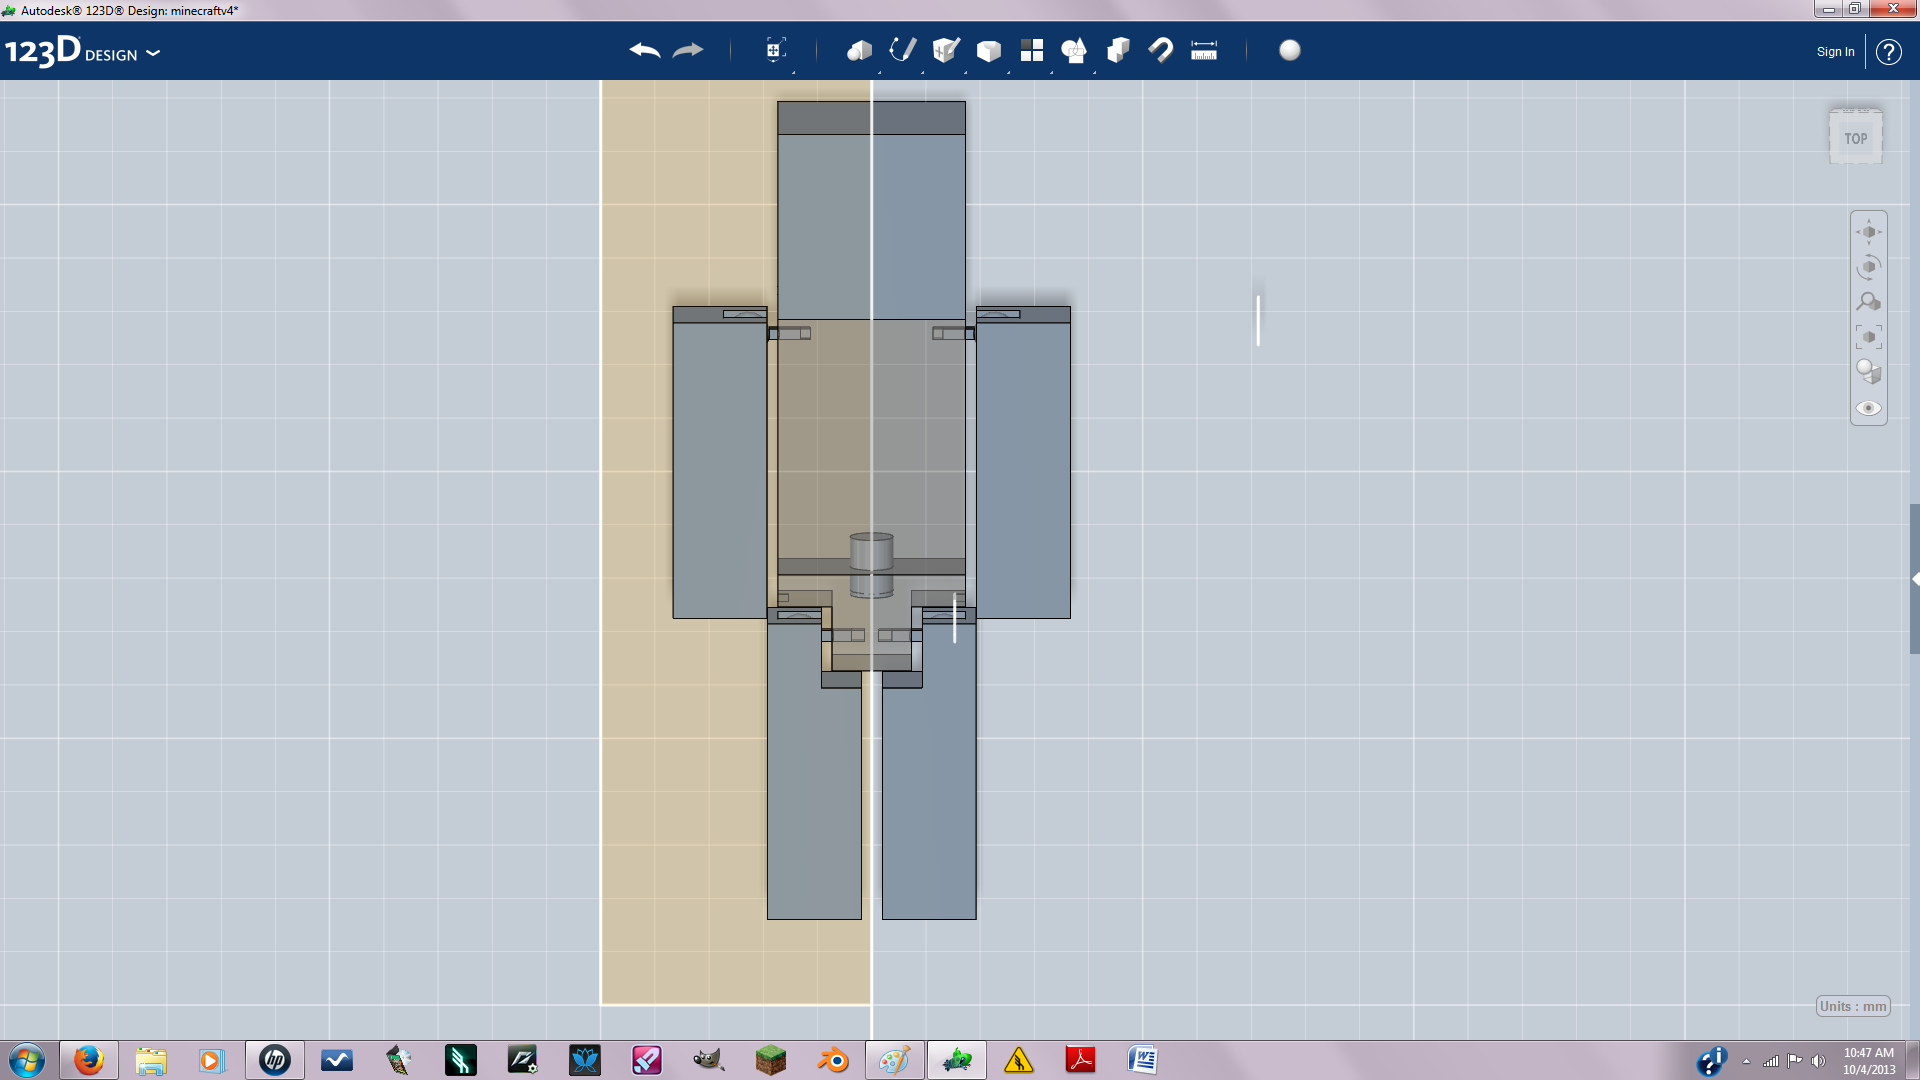
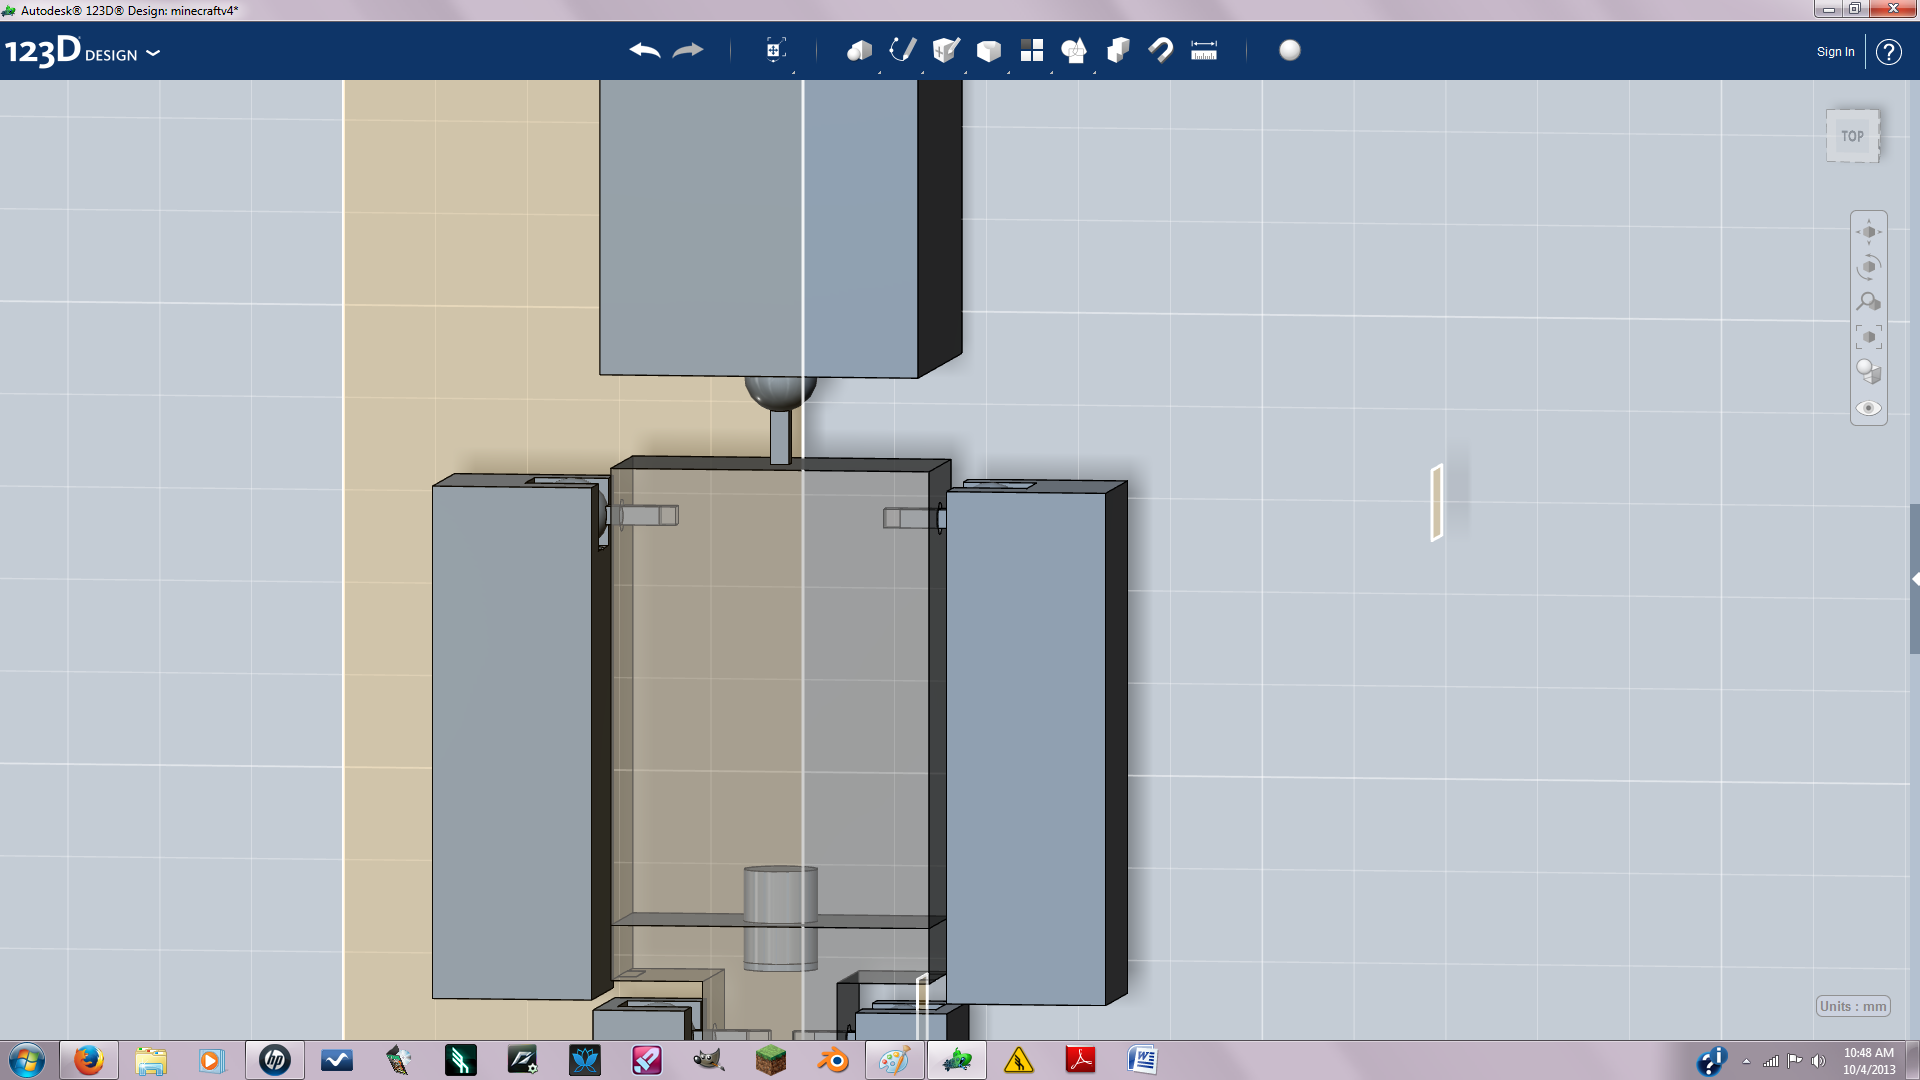
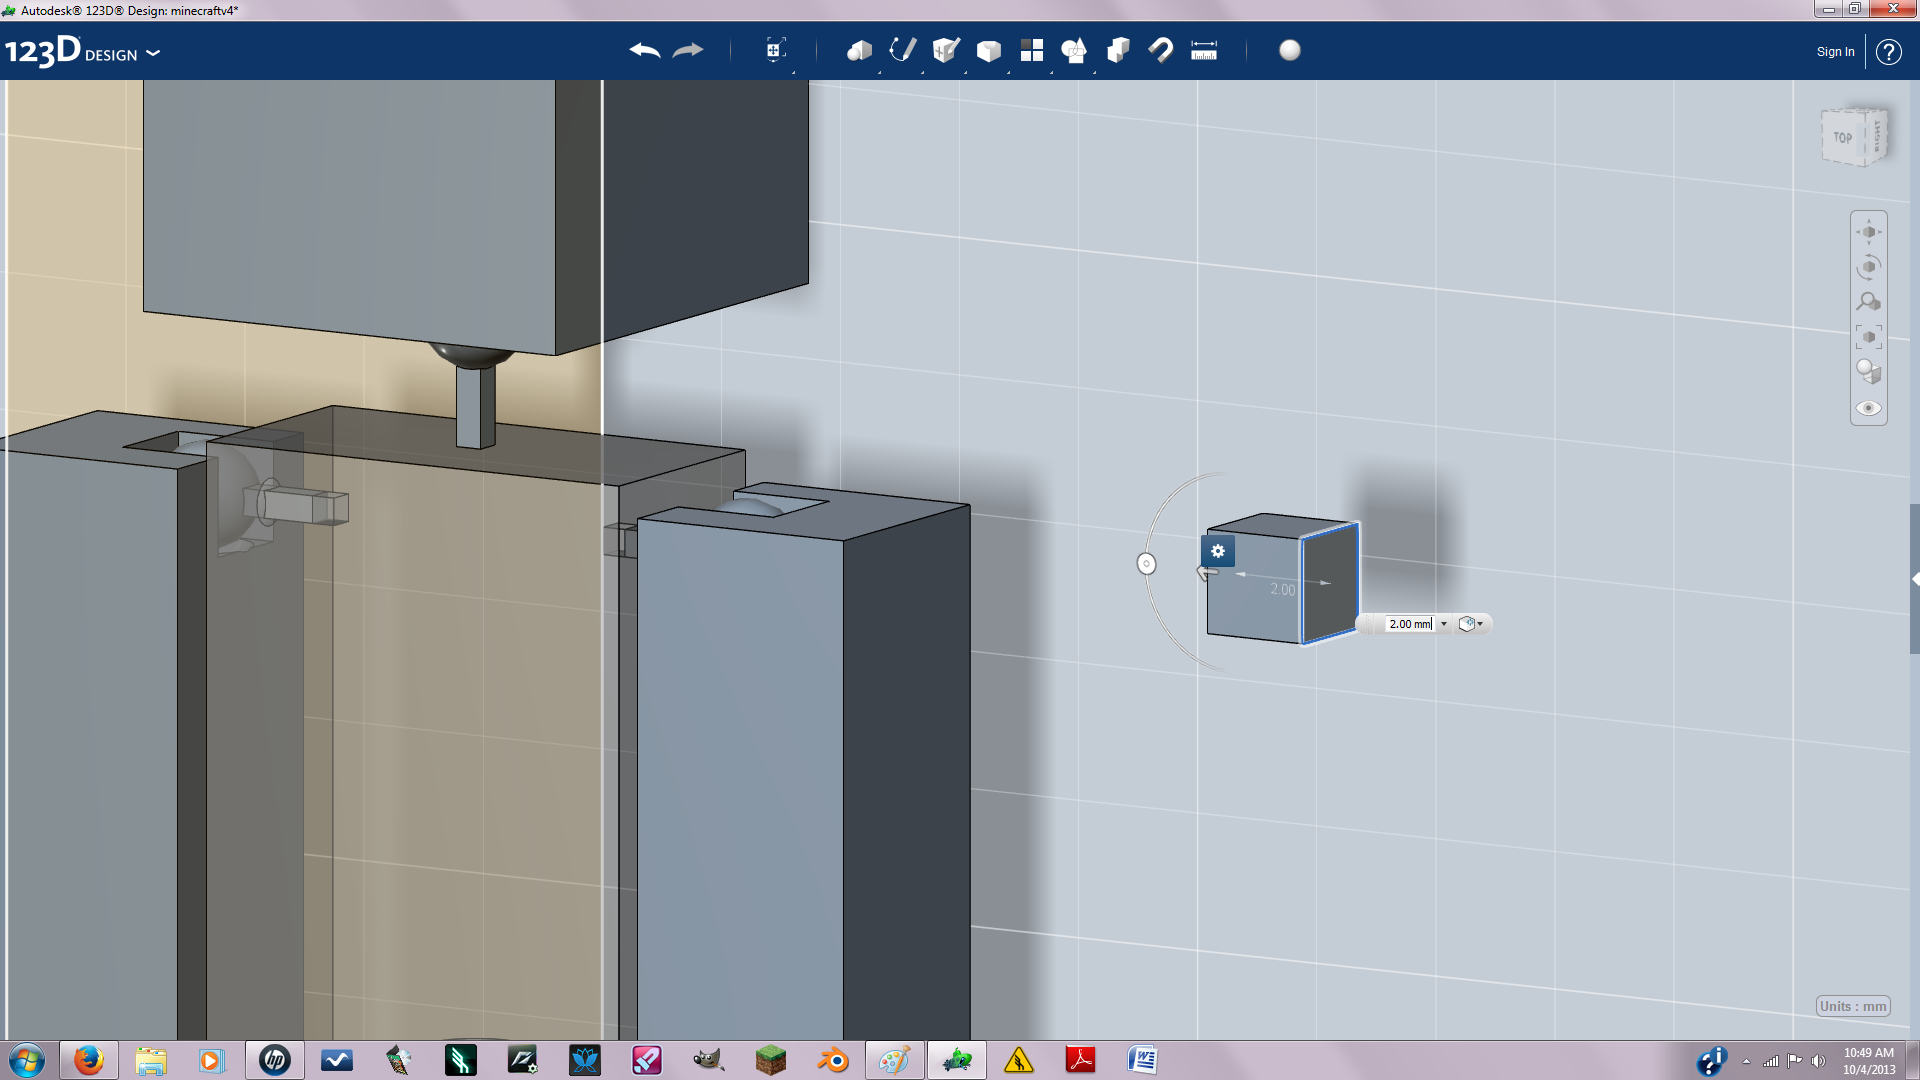
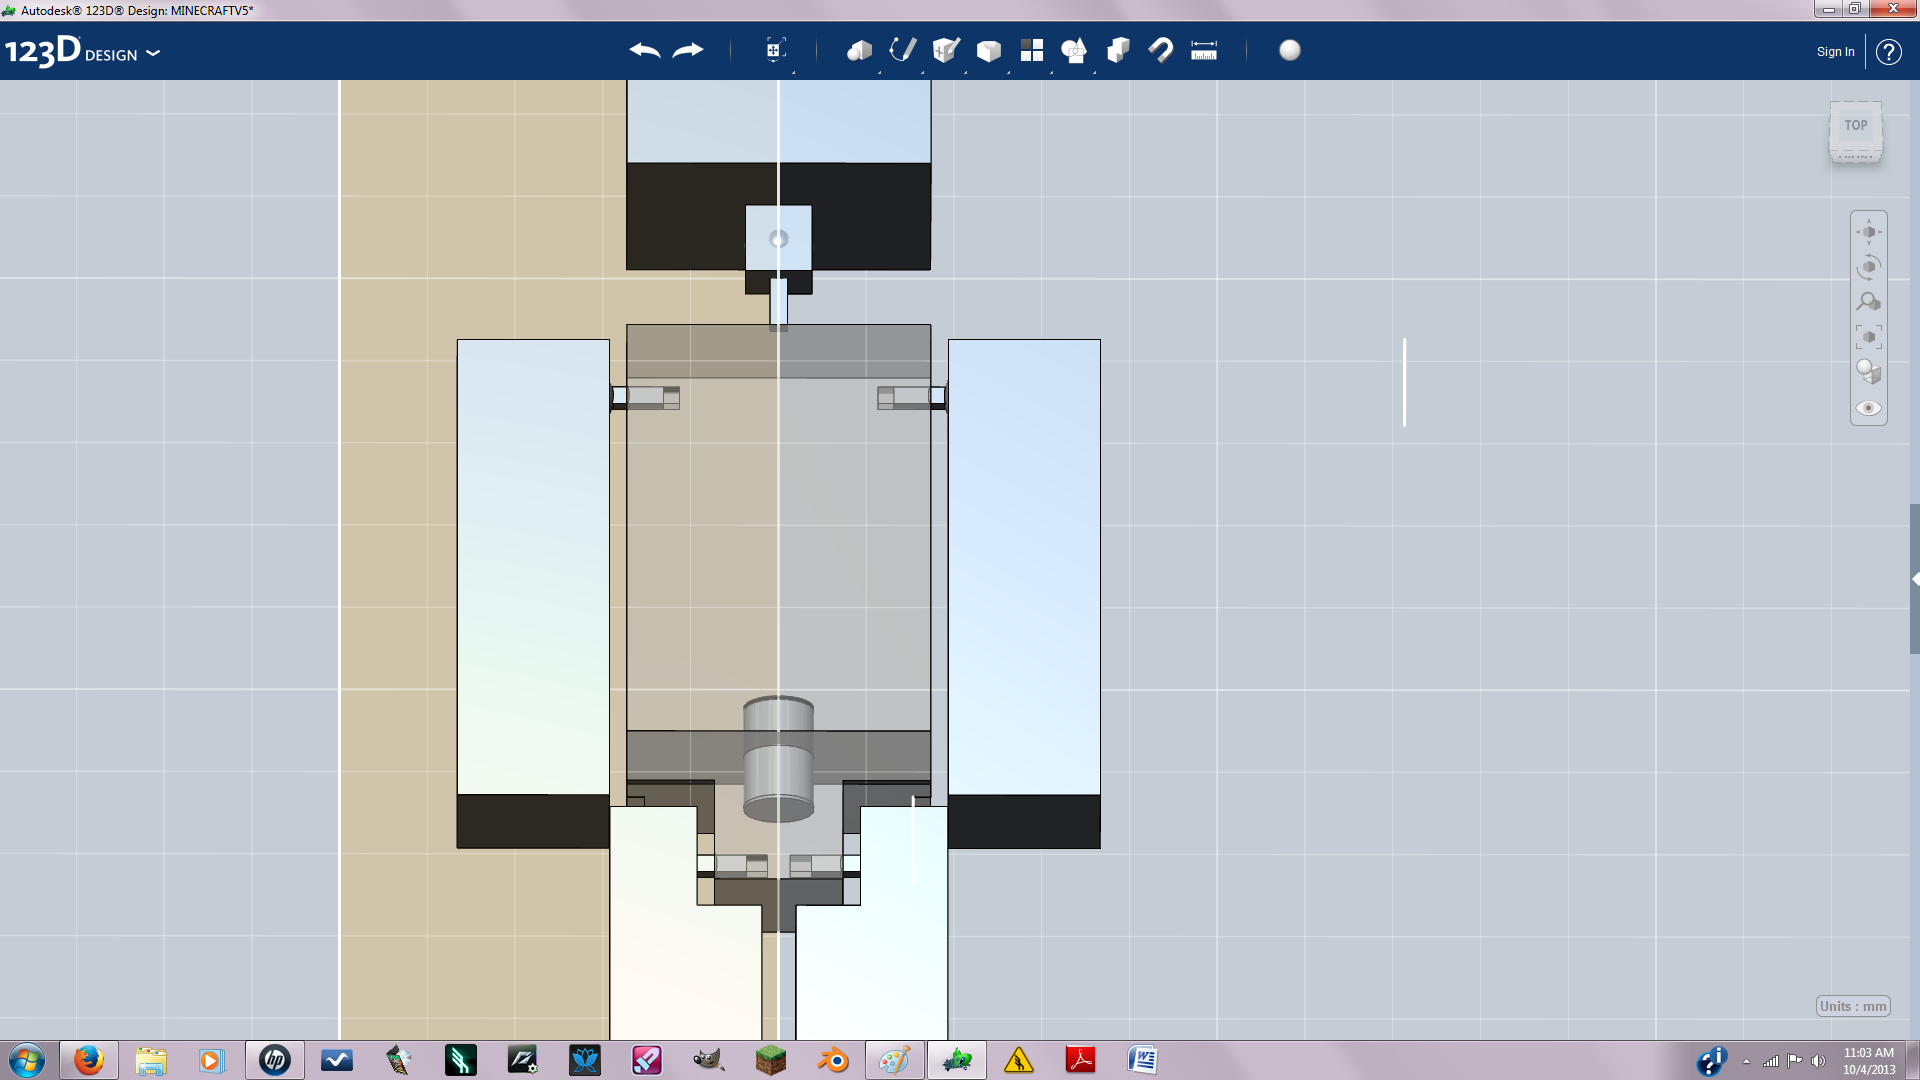
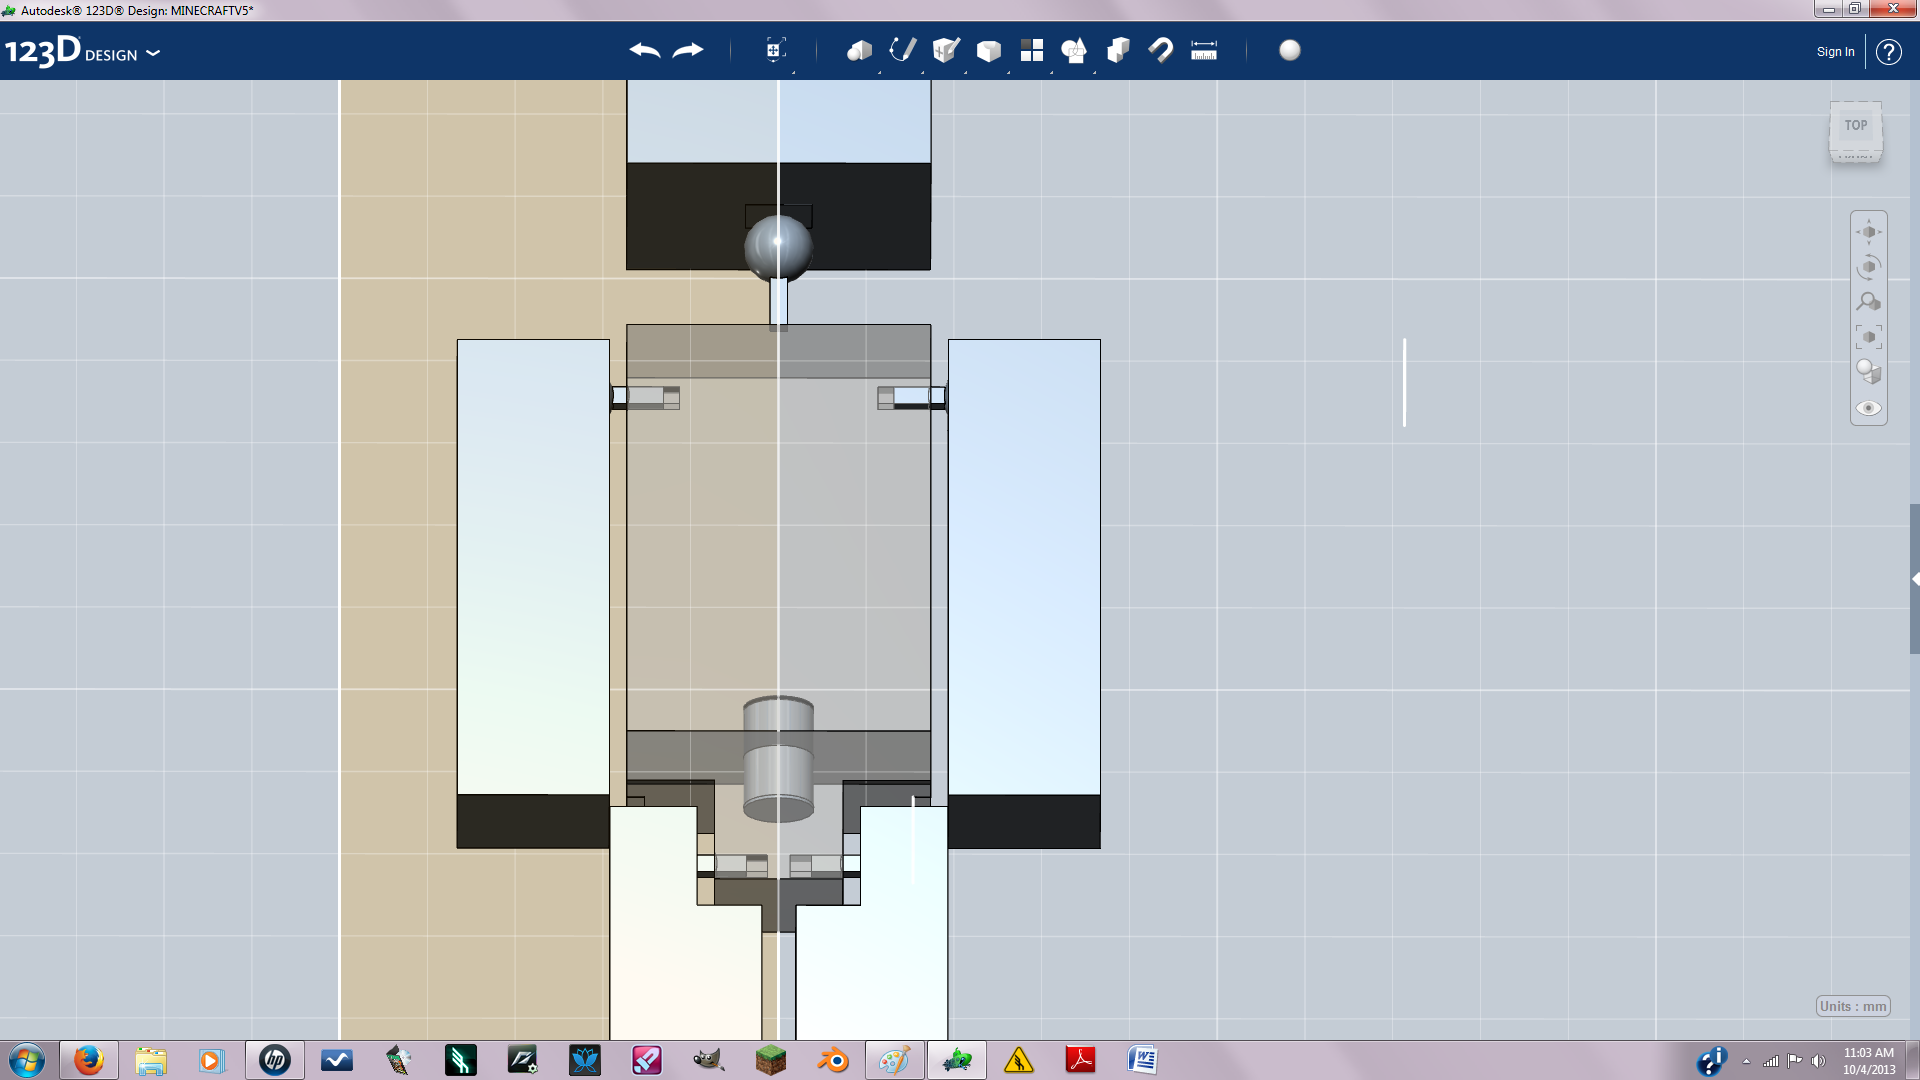
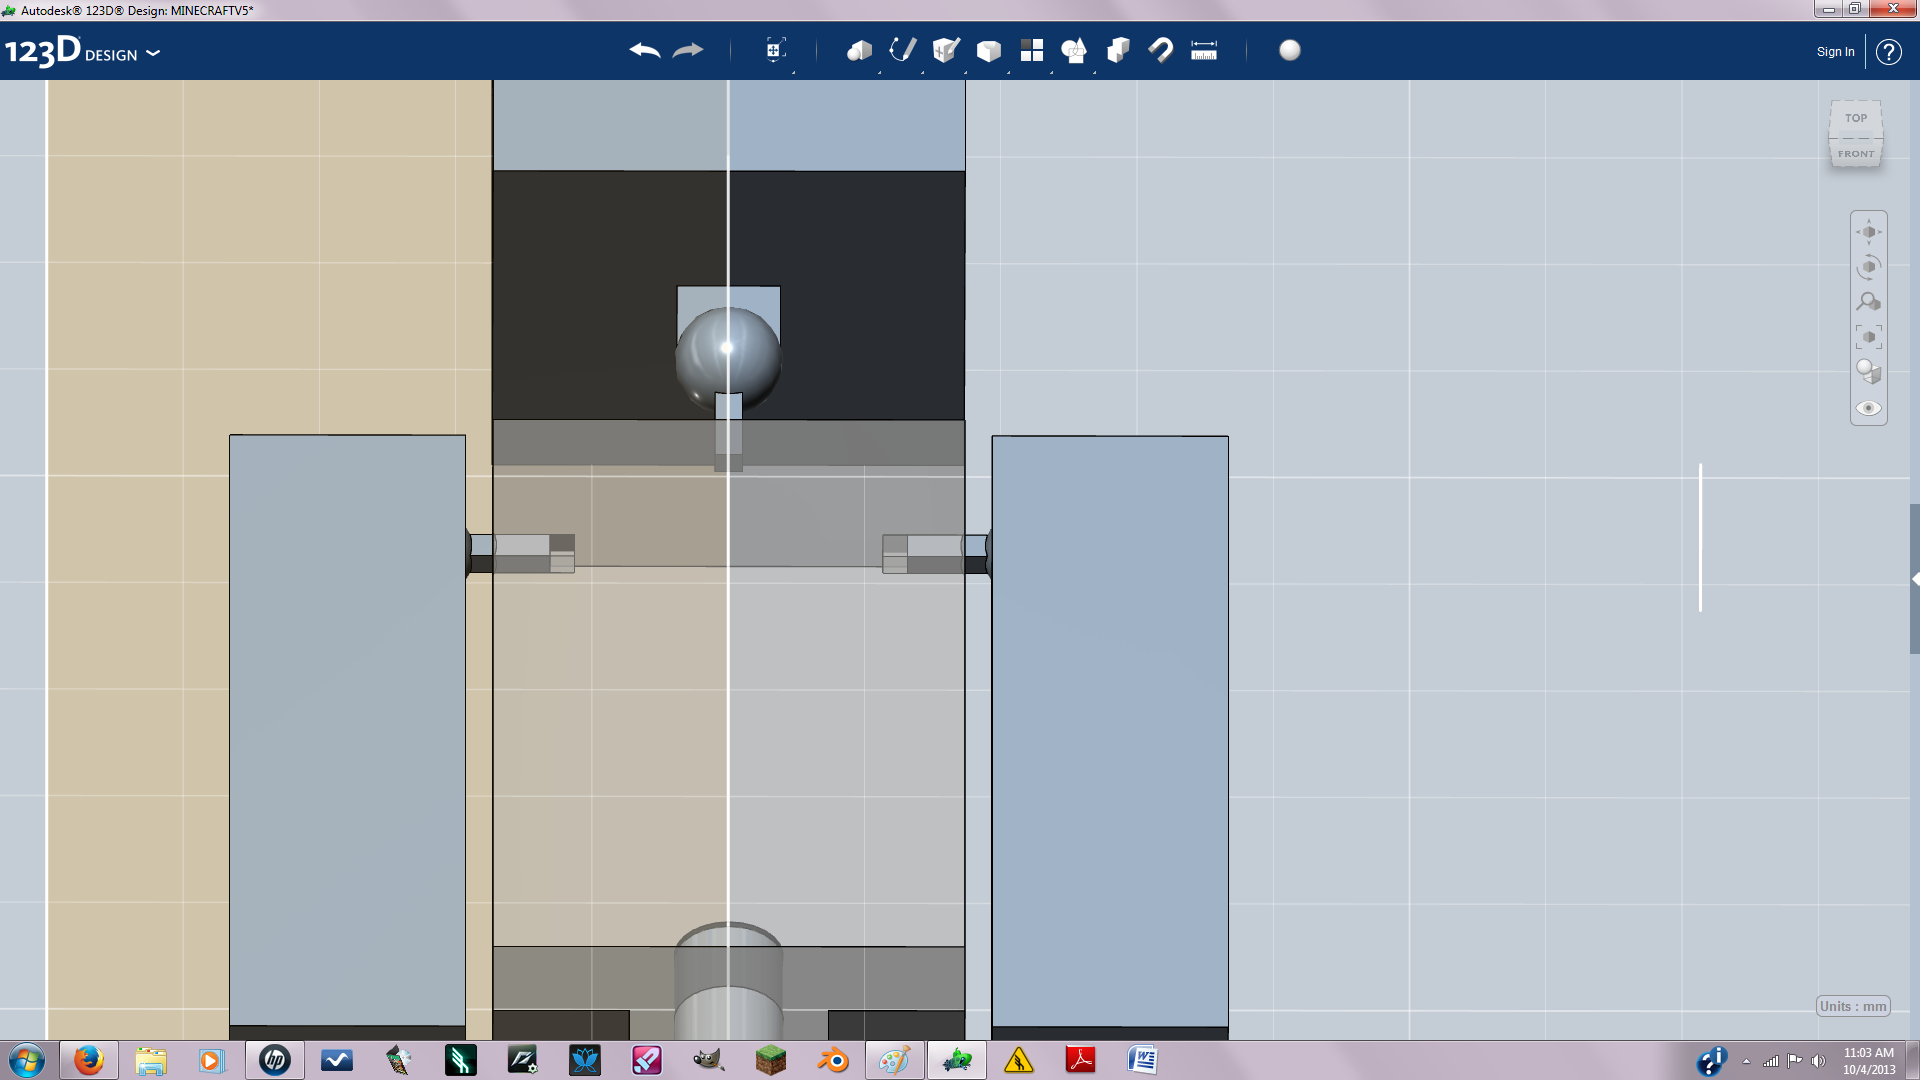
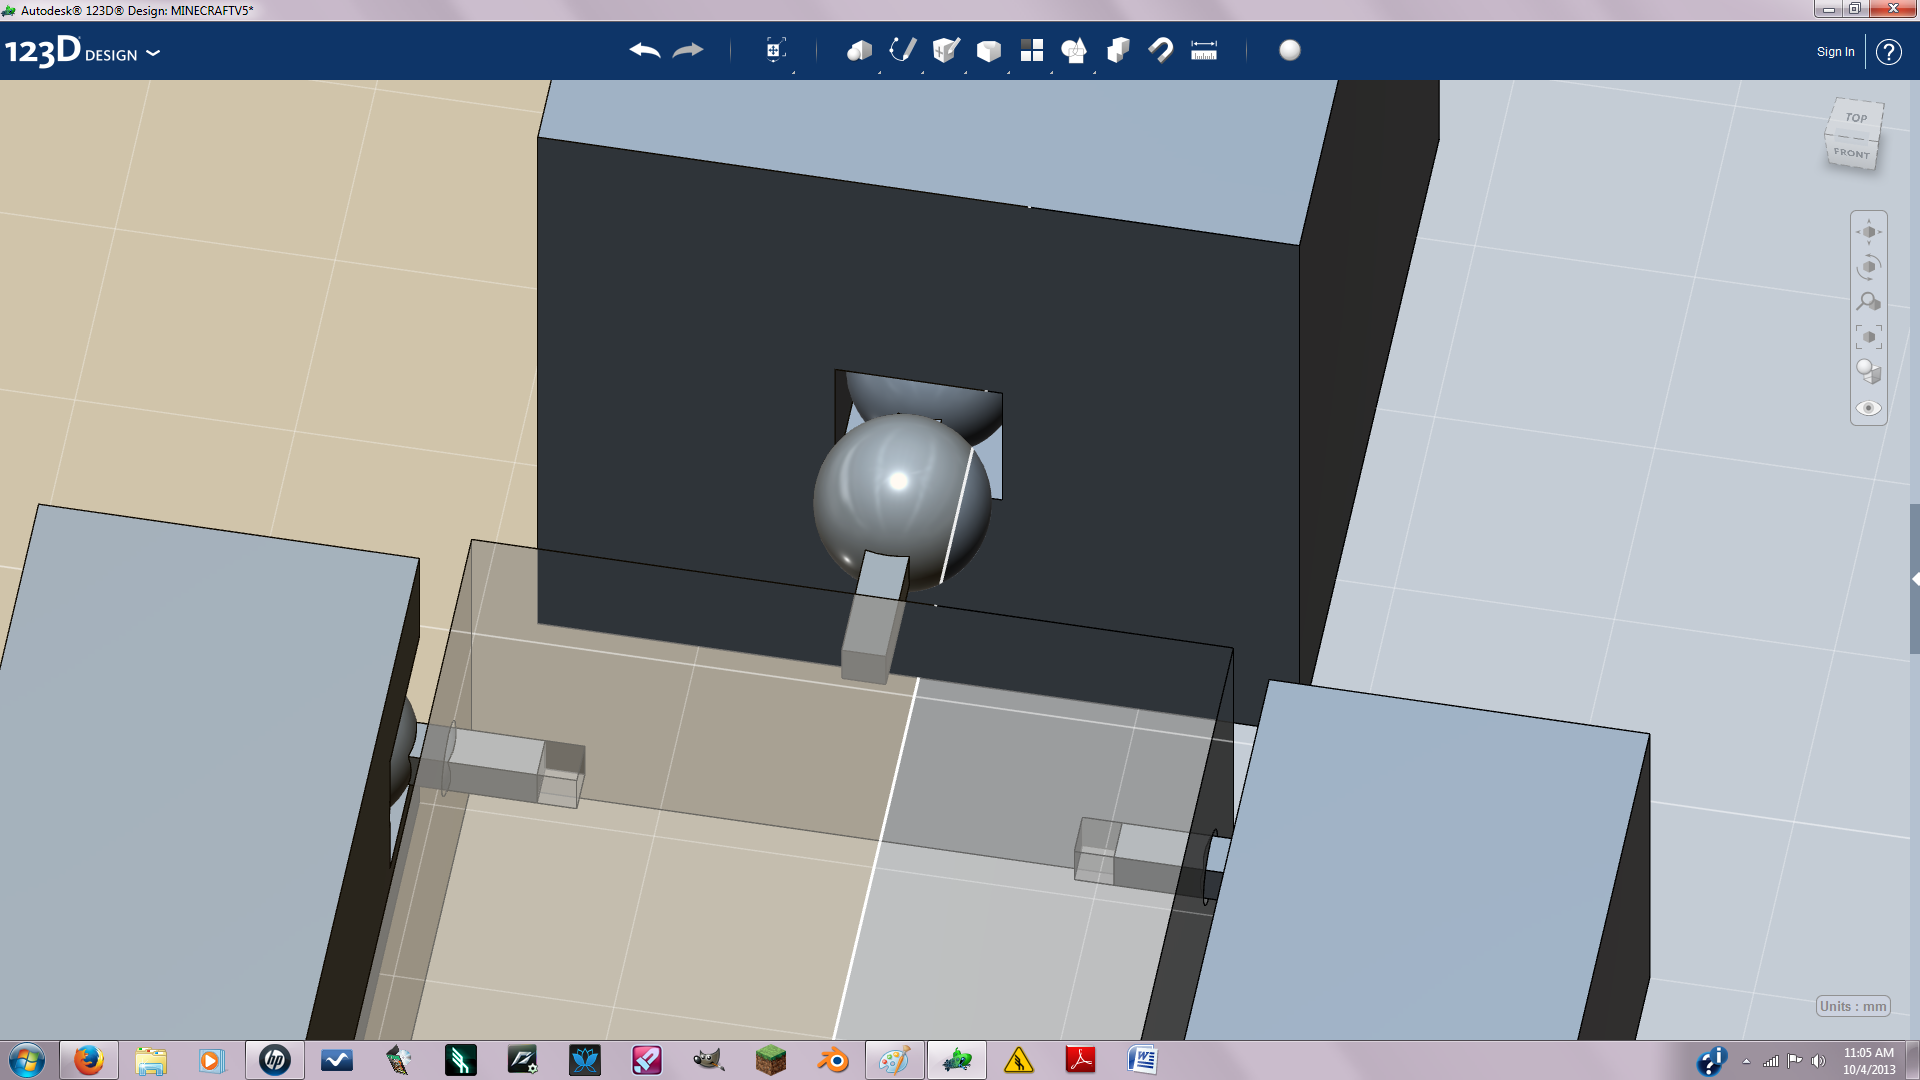
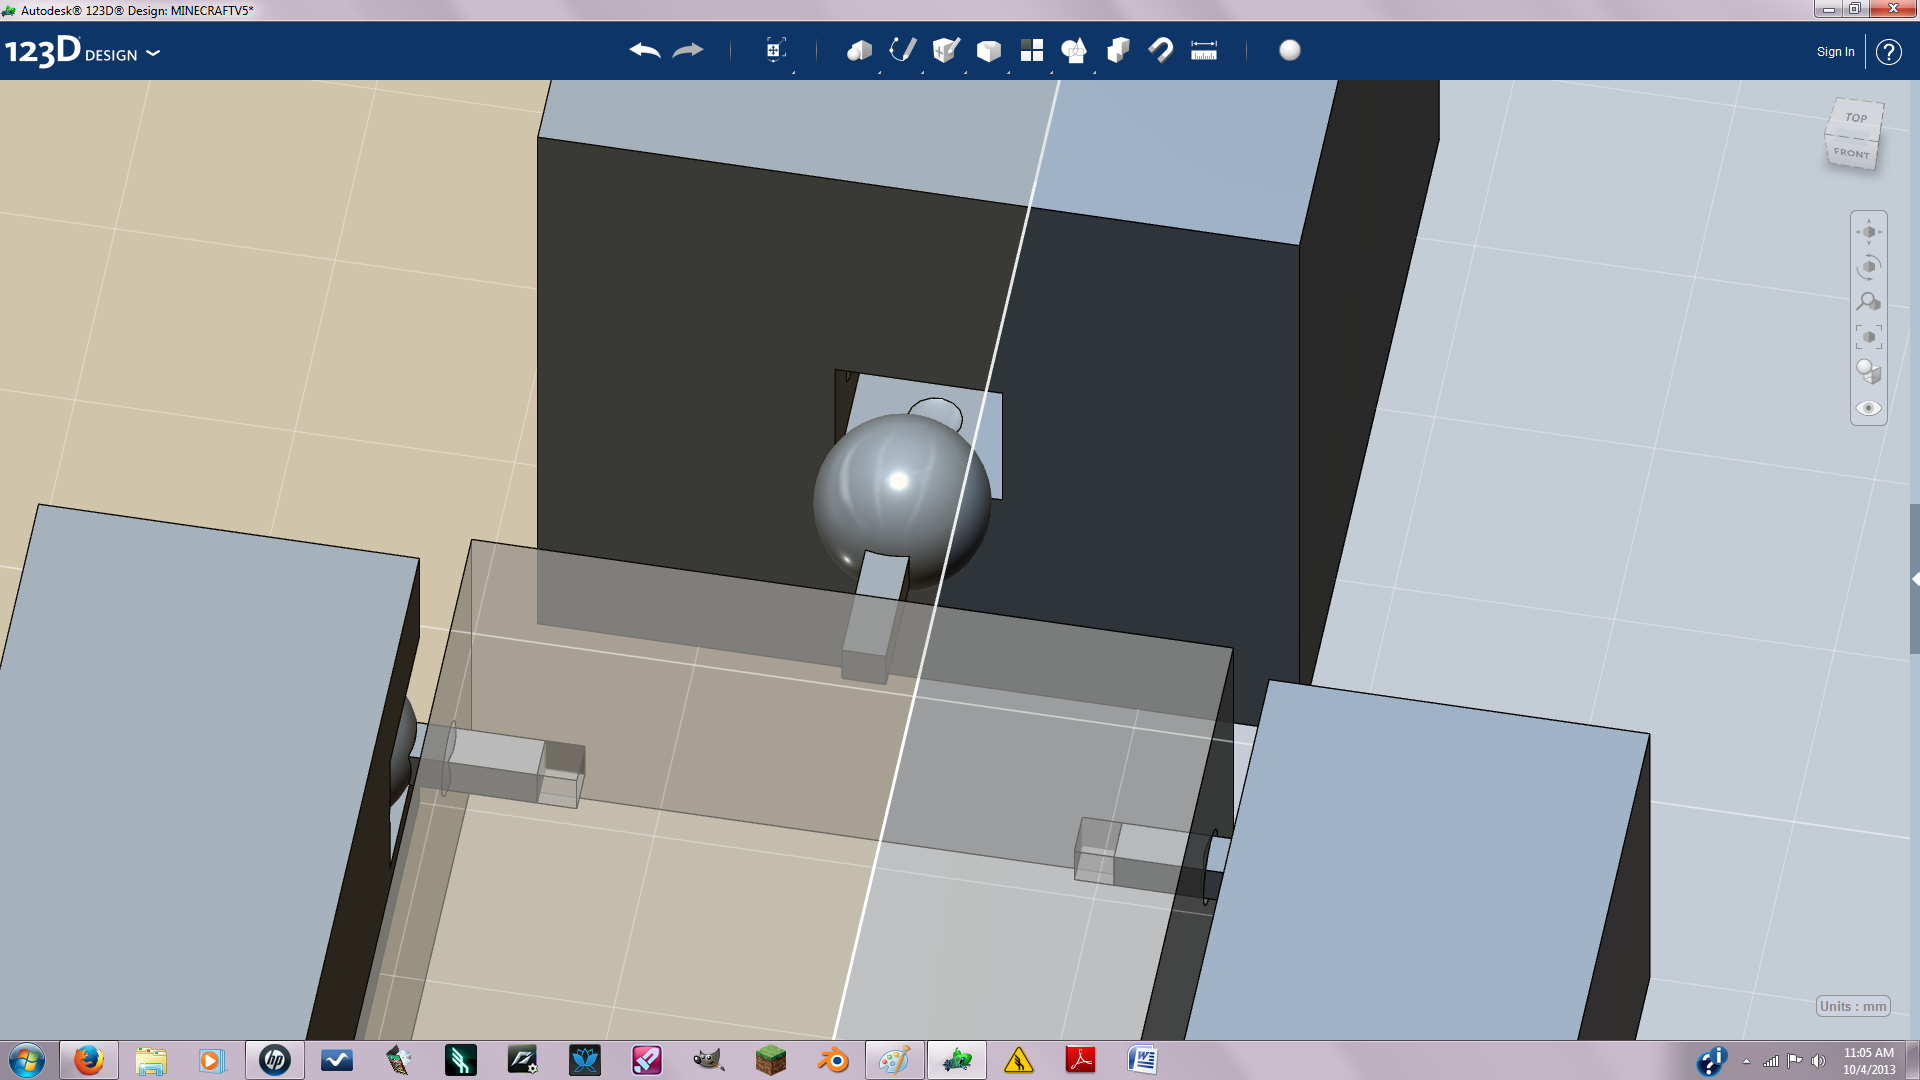
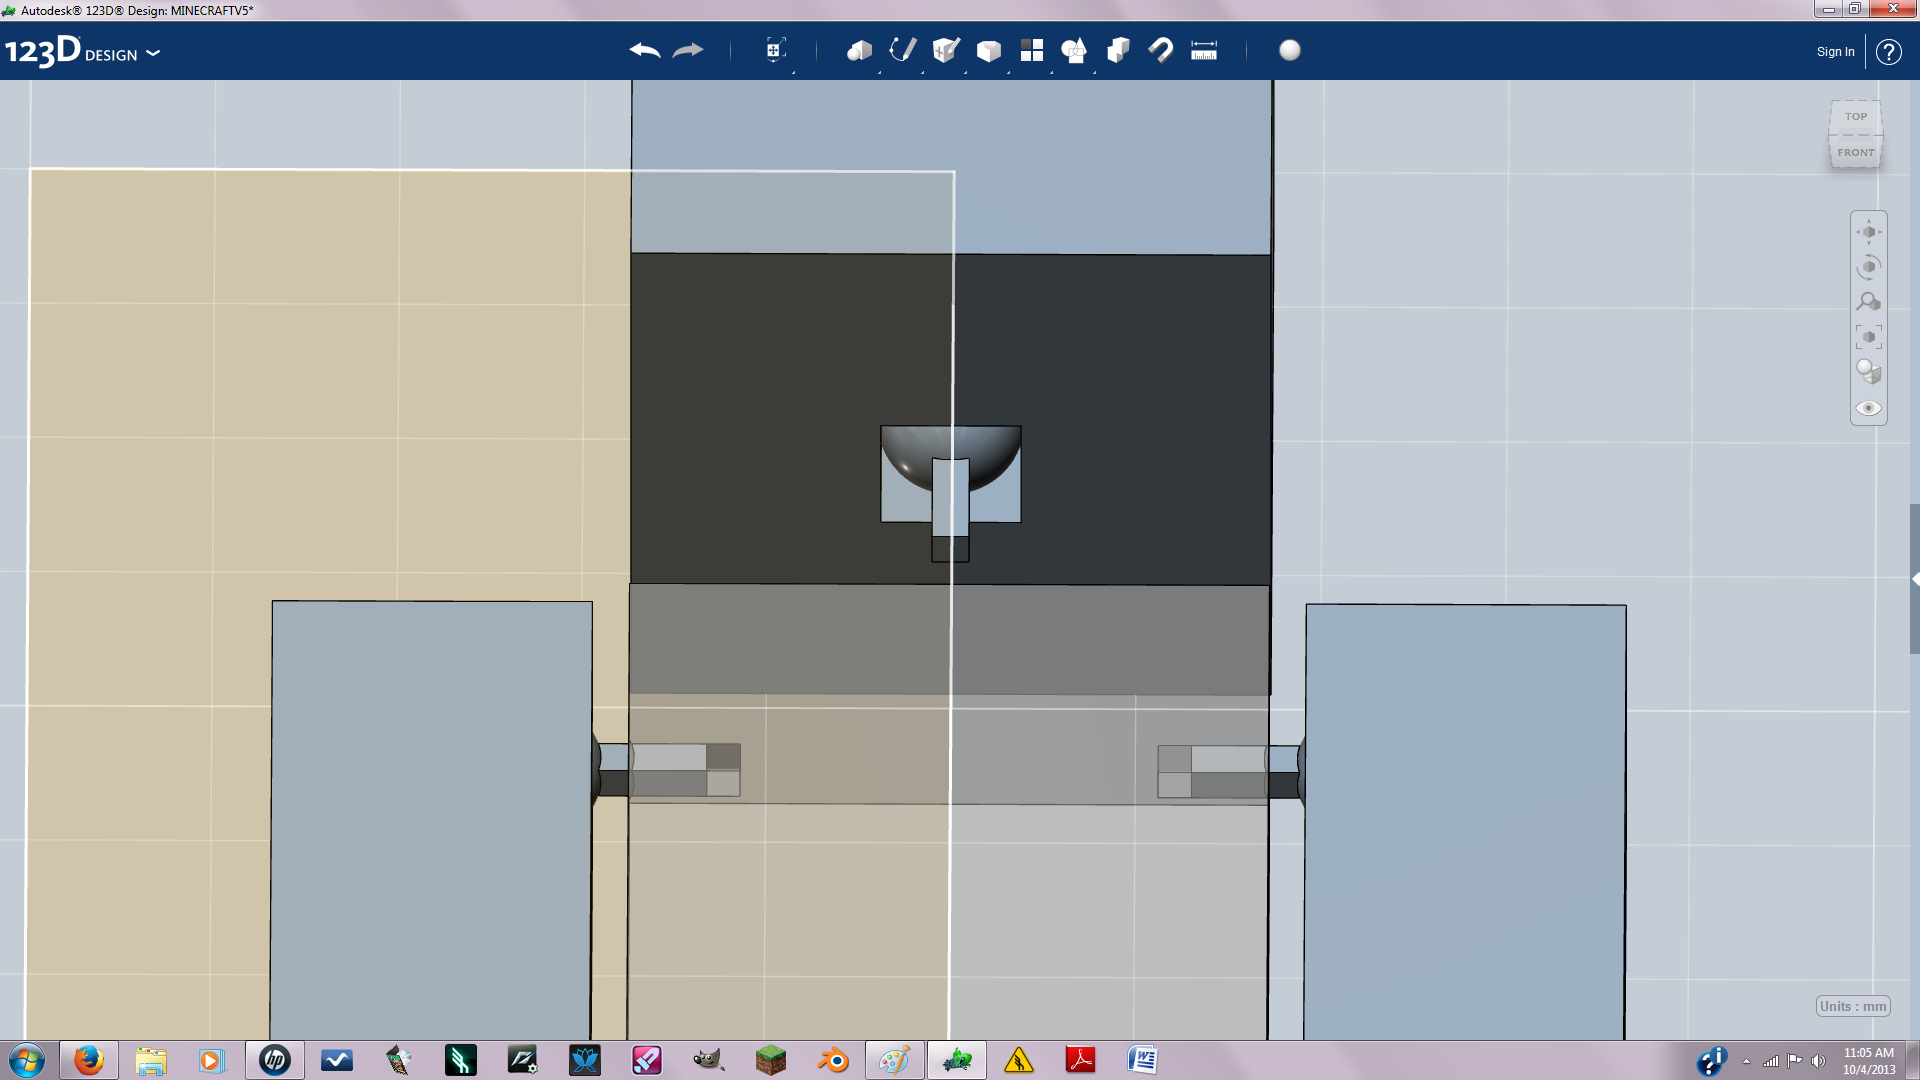
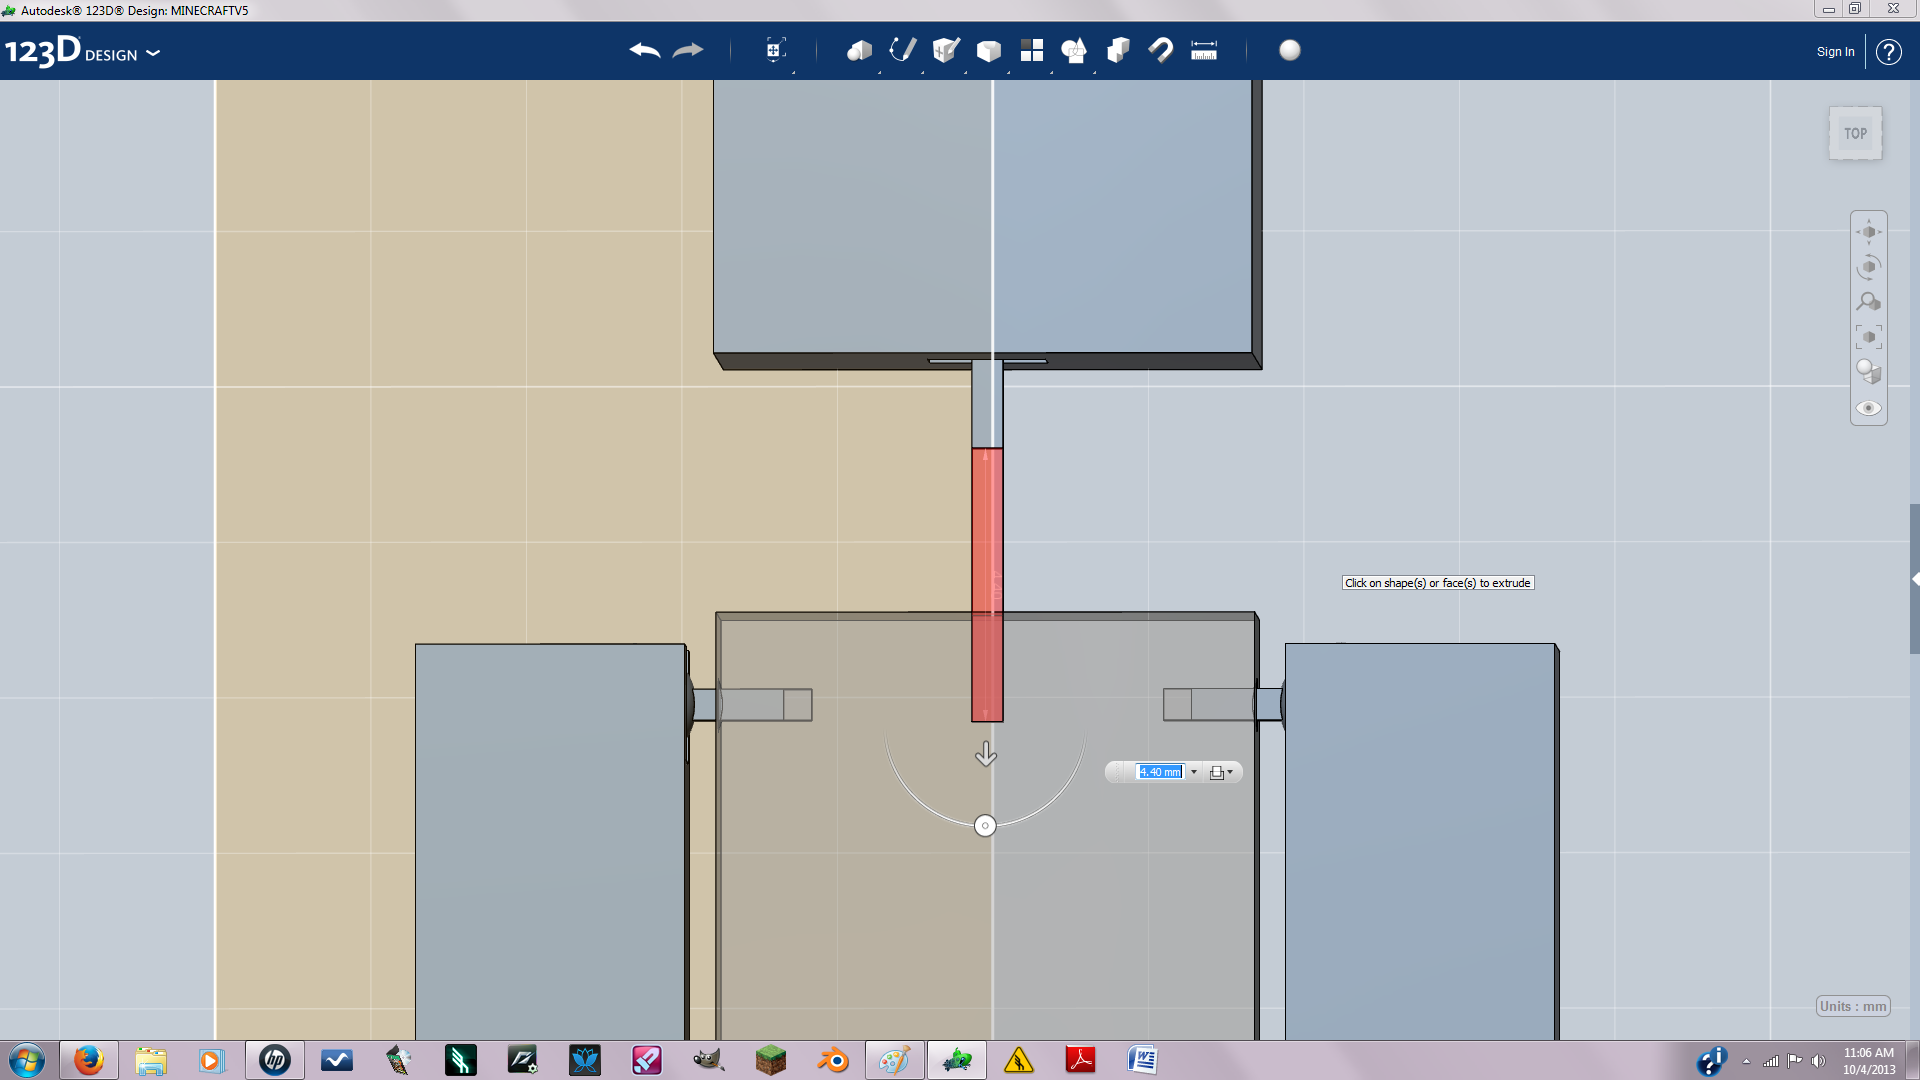
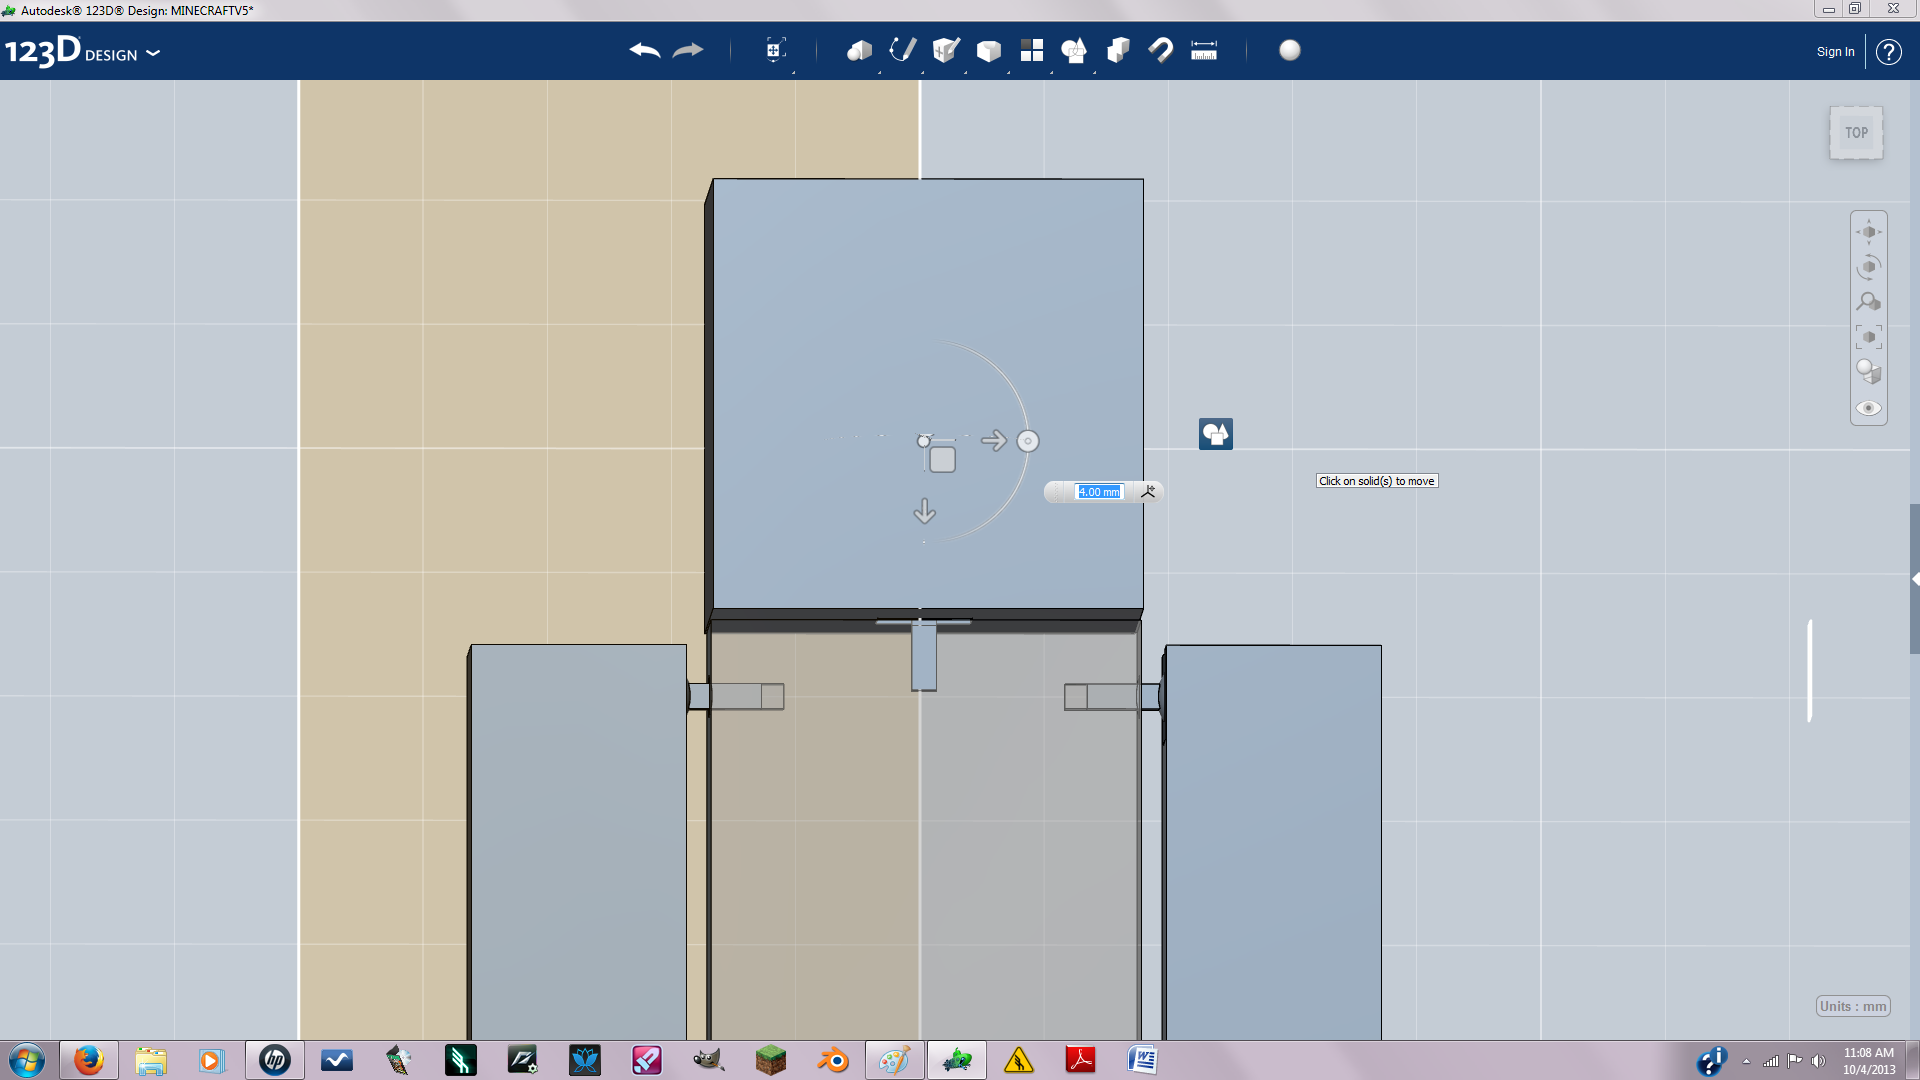
The head joint is the same as the arm and leg joints. Except instead of using a sketch to make a square hole I used a solid so it would snap to the heads center. Just move the solid up into the head and use your combine tool to subtract.
Pegs
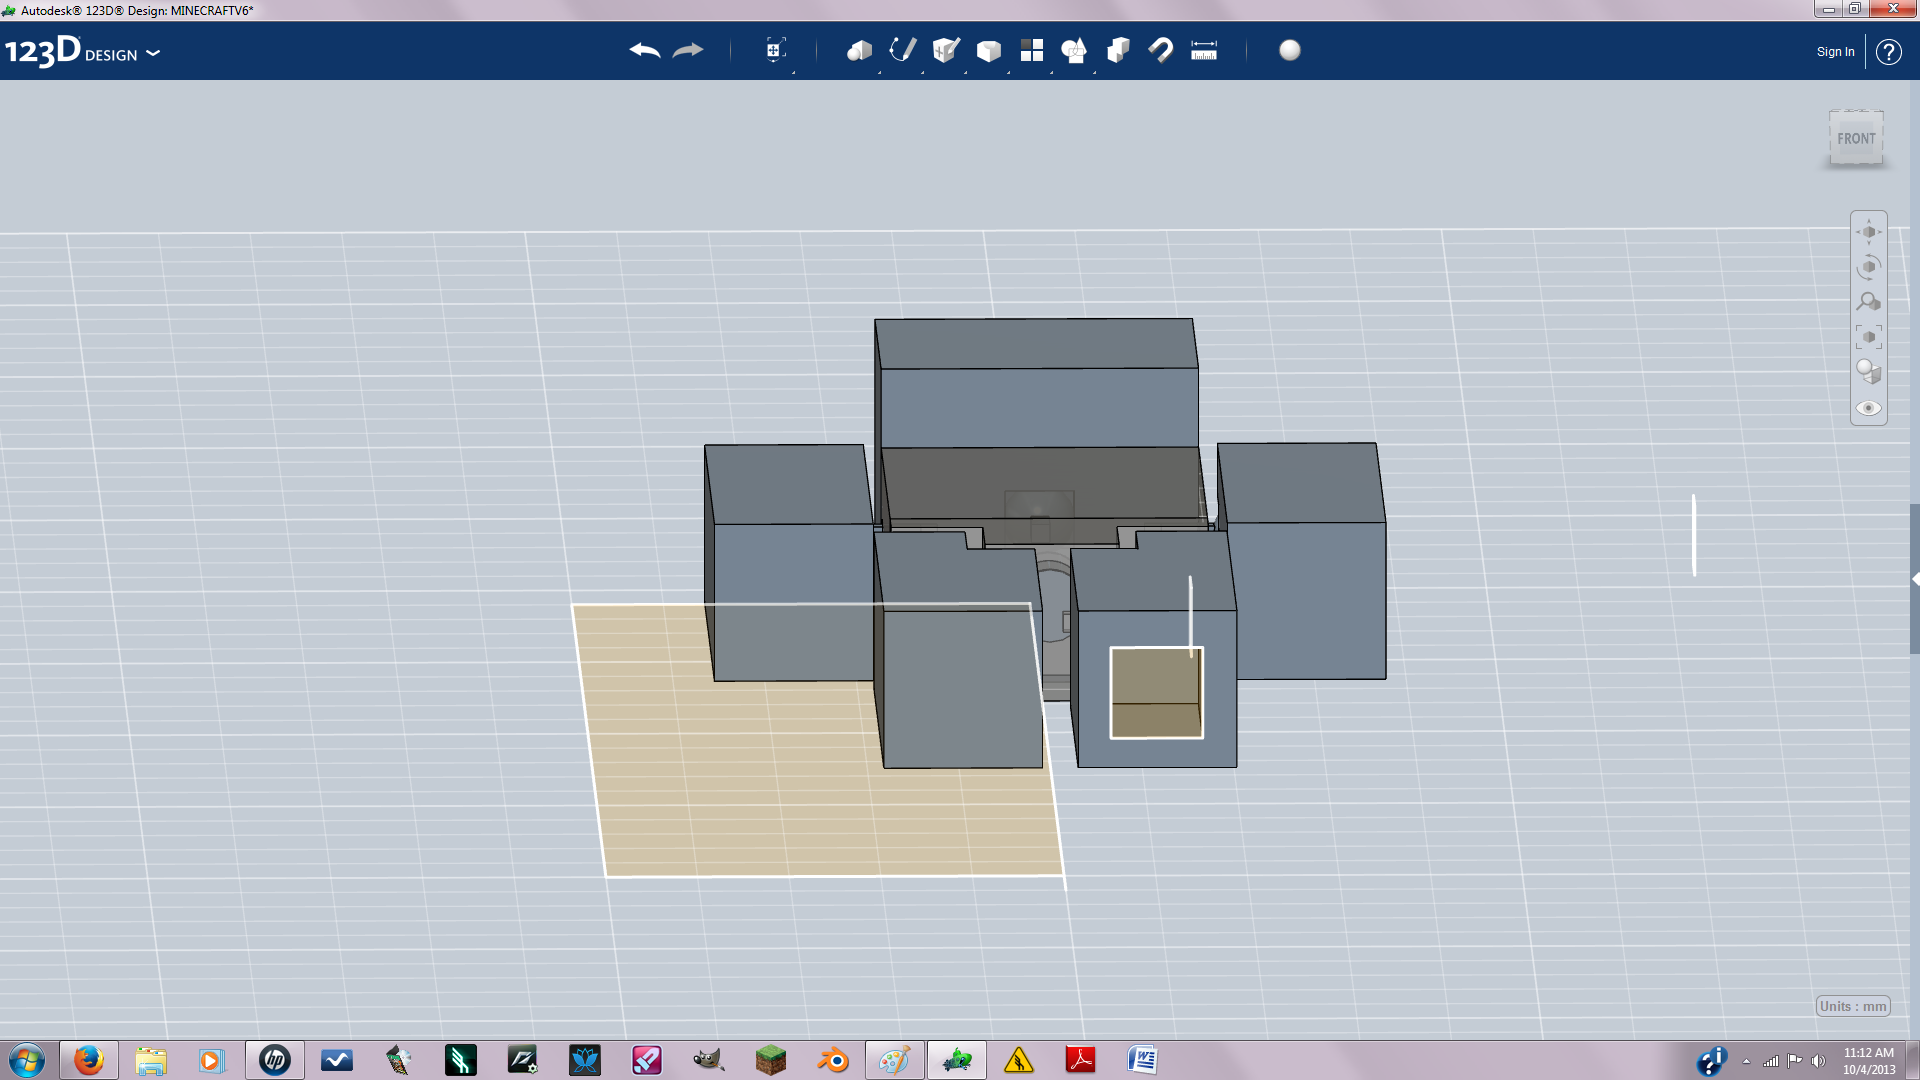
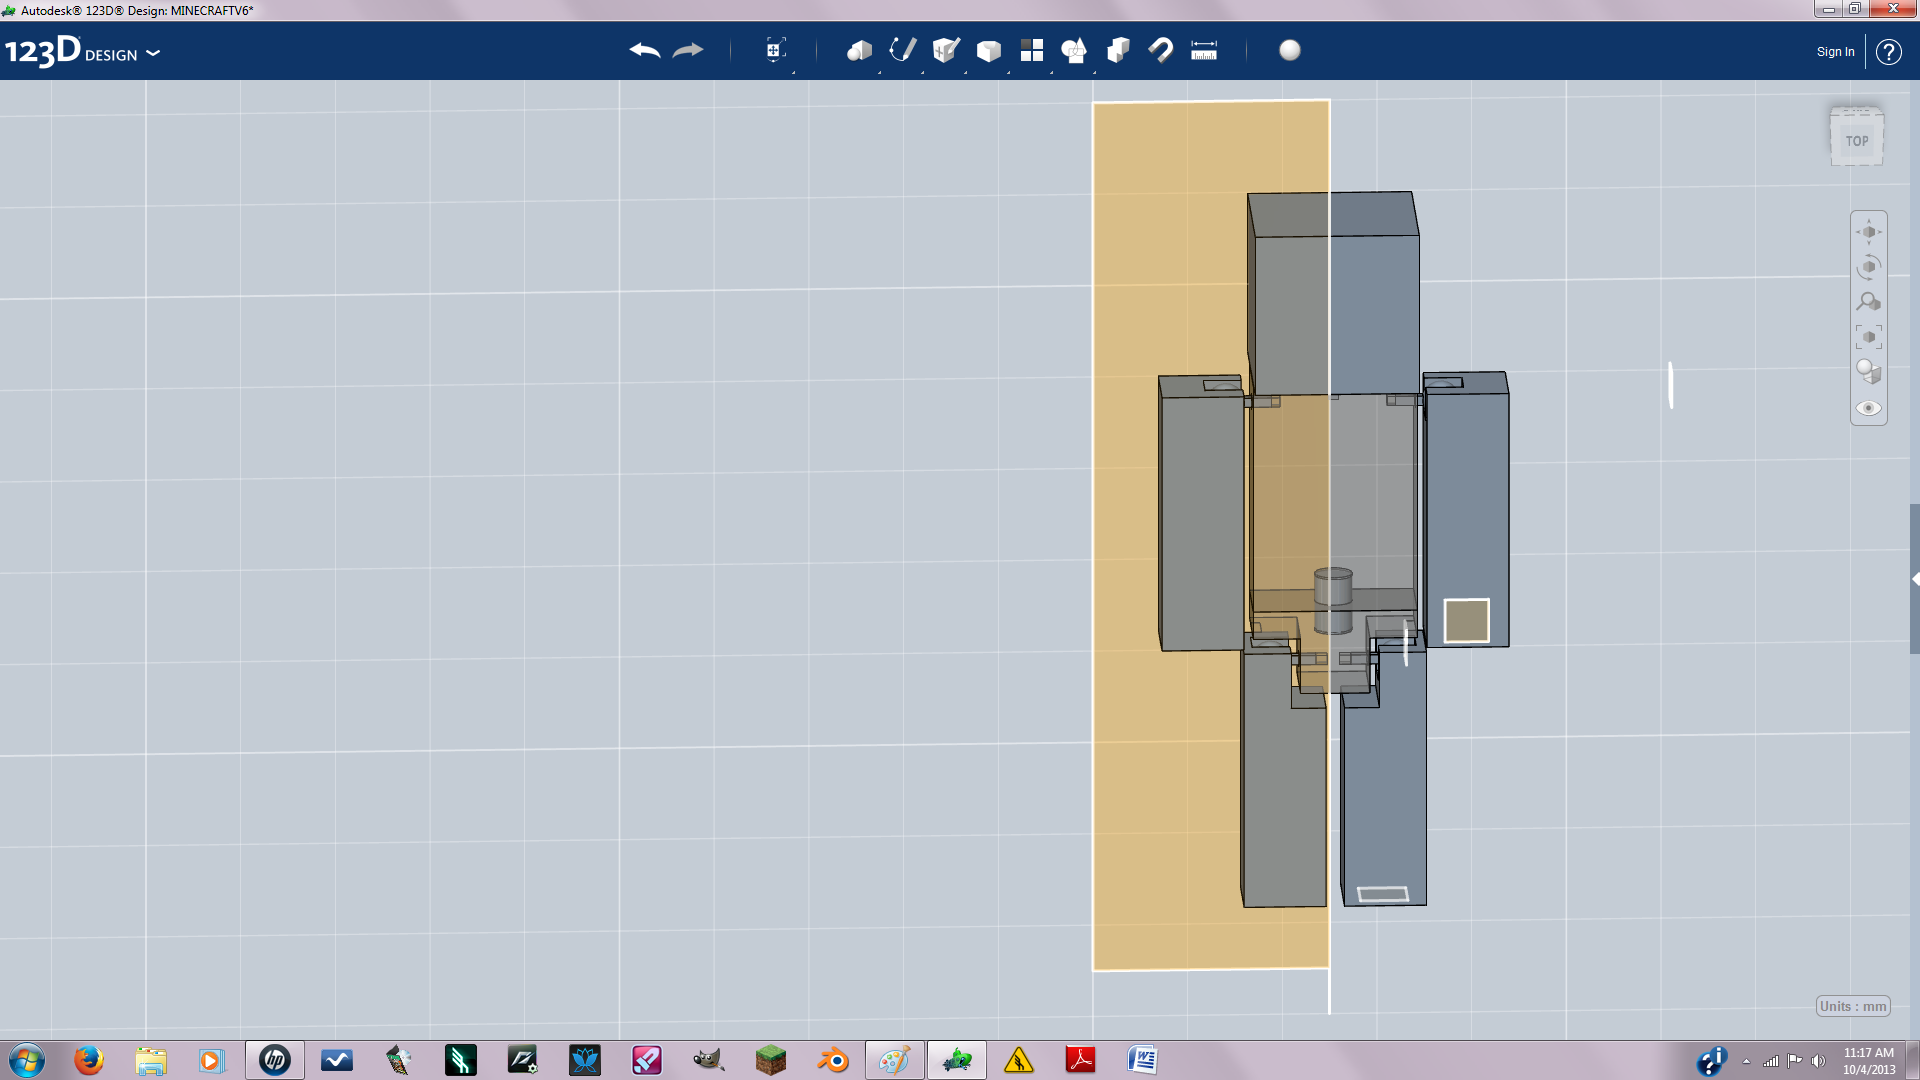
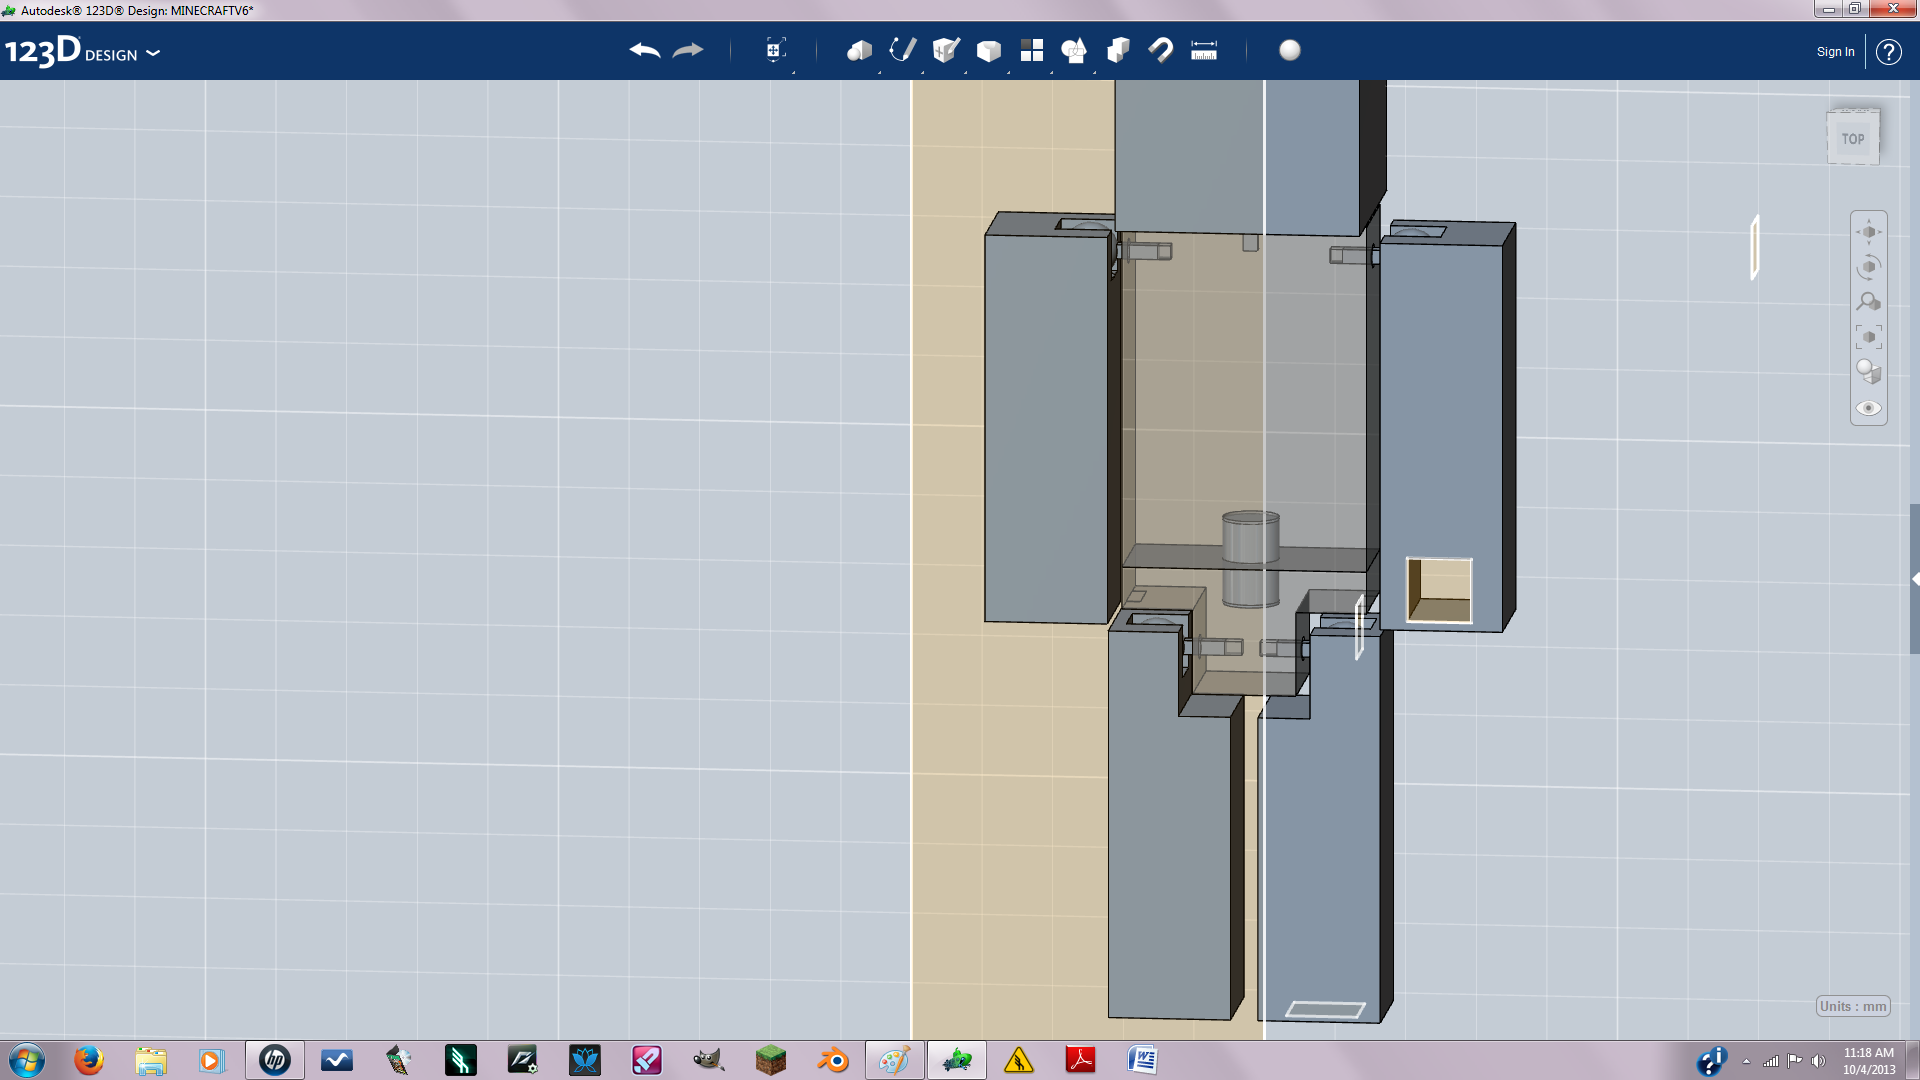
Here I'm just creating peg holes( you know so it's compatible with Legos). I used sketches to negative extrude to create the holes. The feet peg holes are 2.5 mm by 2.5mm. And the hands are 2.3 mm by 2.3 mm. To make easier you can do the peg holes on just one side of the model then delete the other side of the model and mirror it again.
When positioning the peg holes keep in mind the minimum wall thickness.
When positioning the peg holes keep in mind the minimum wall thickness.
The Sword
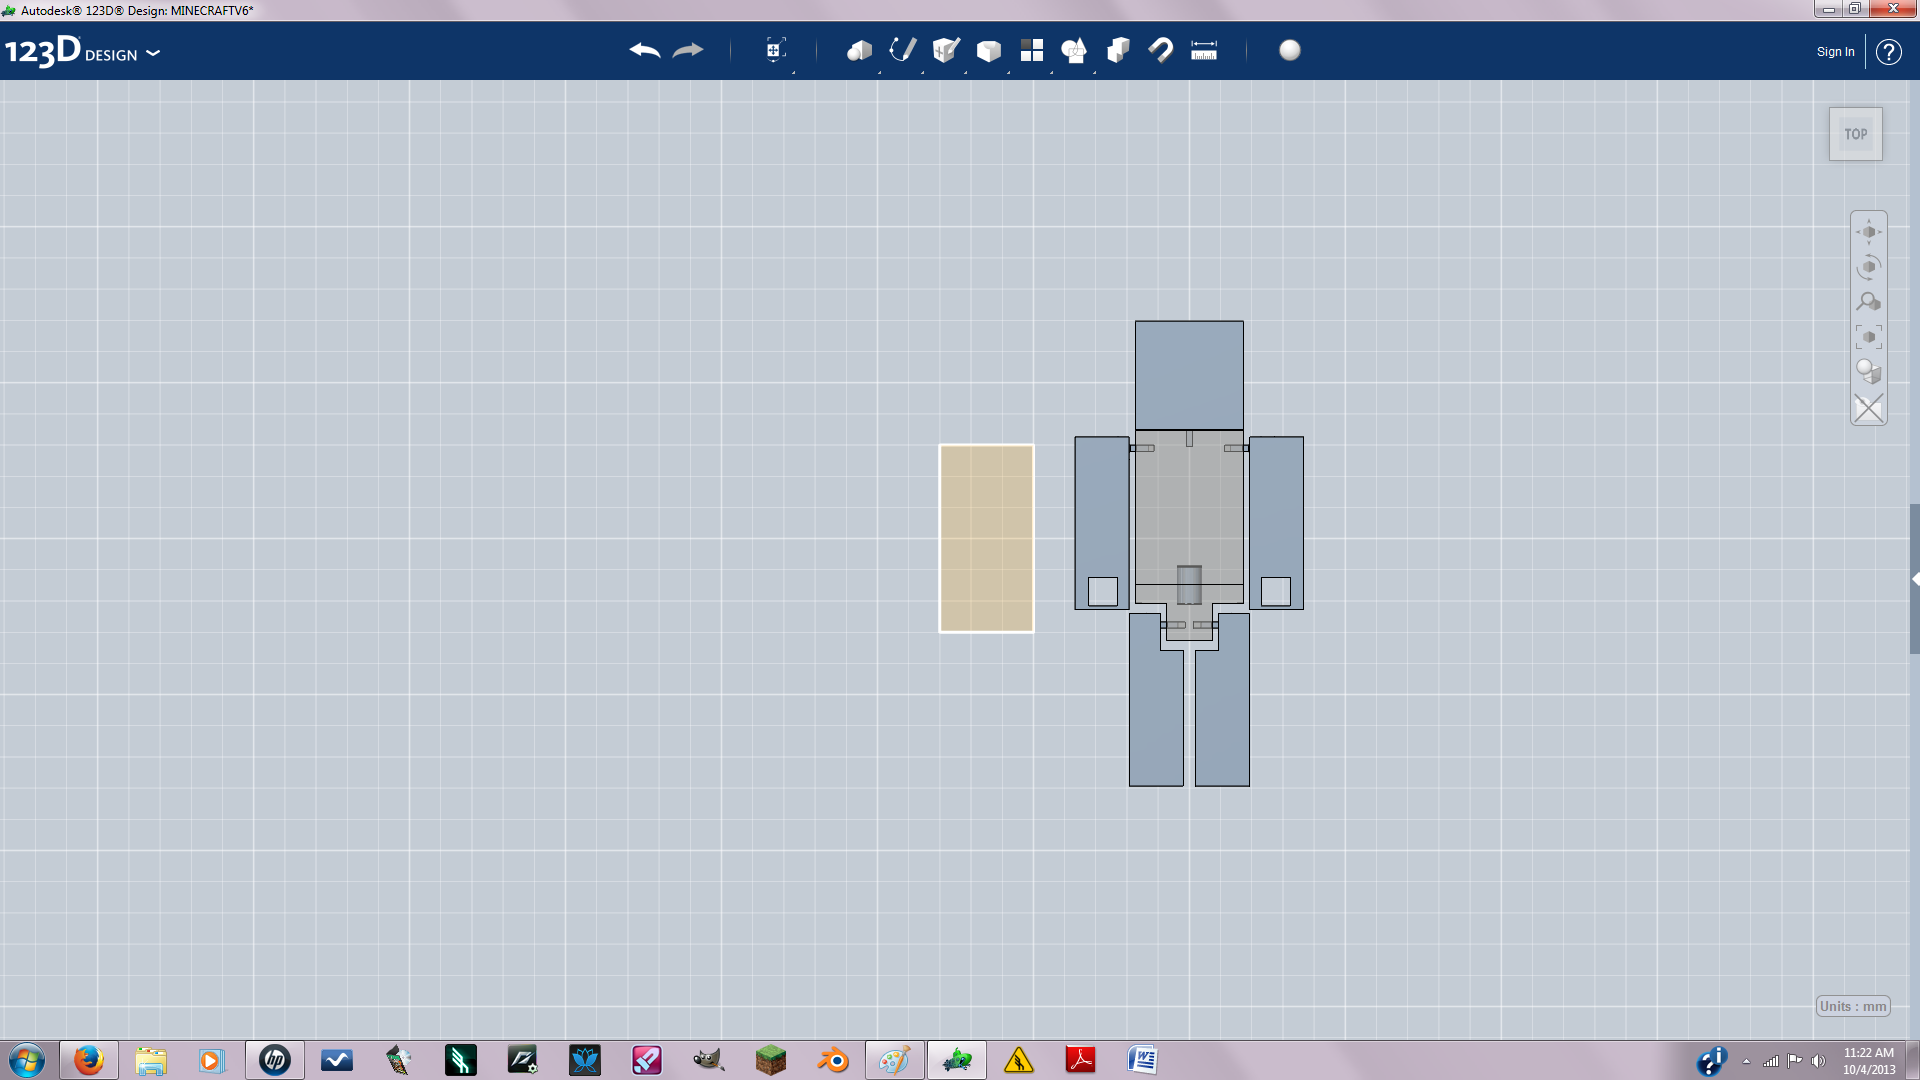
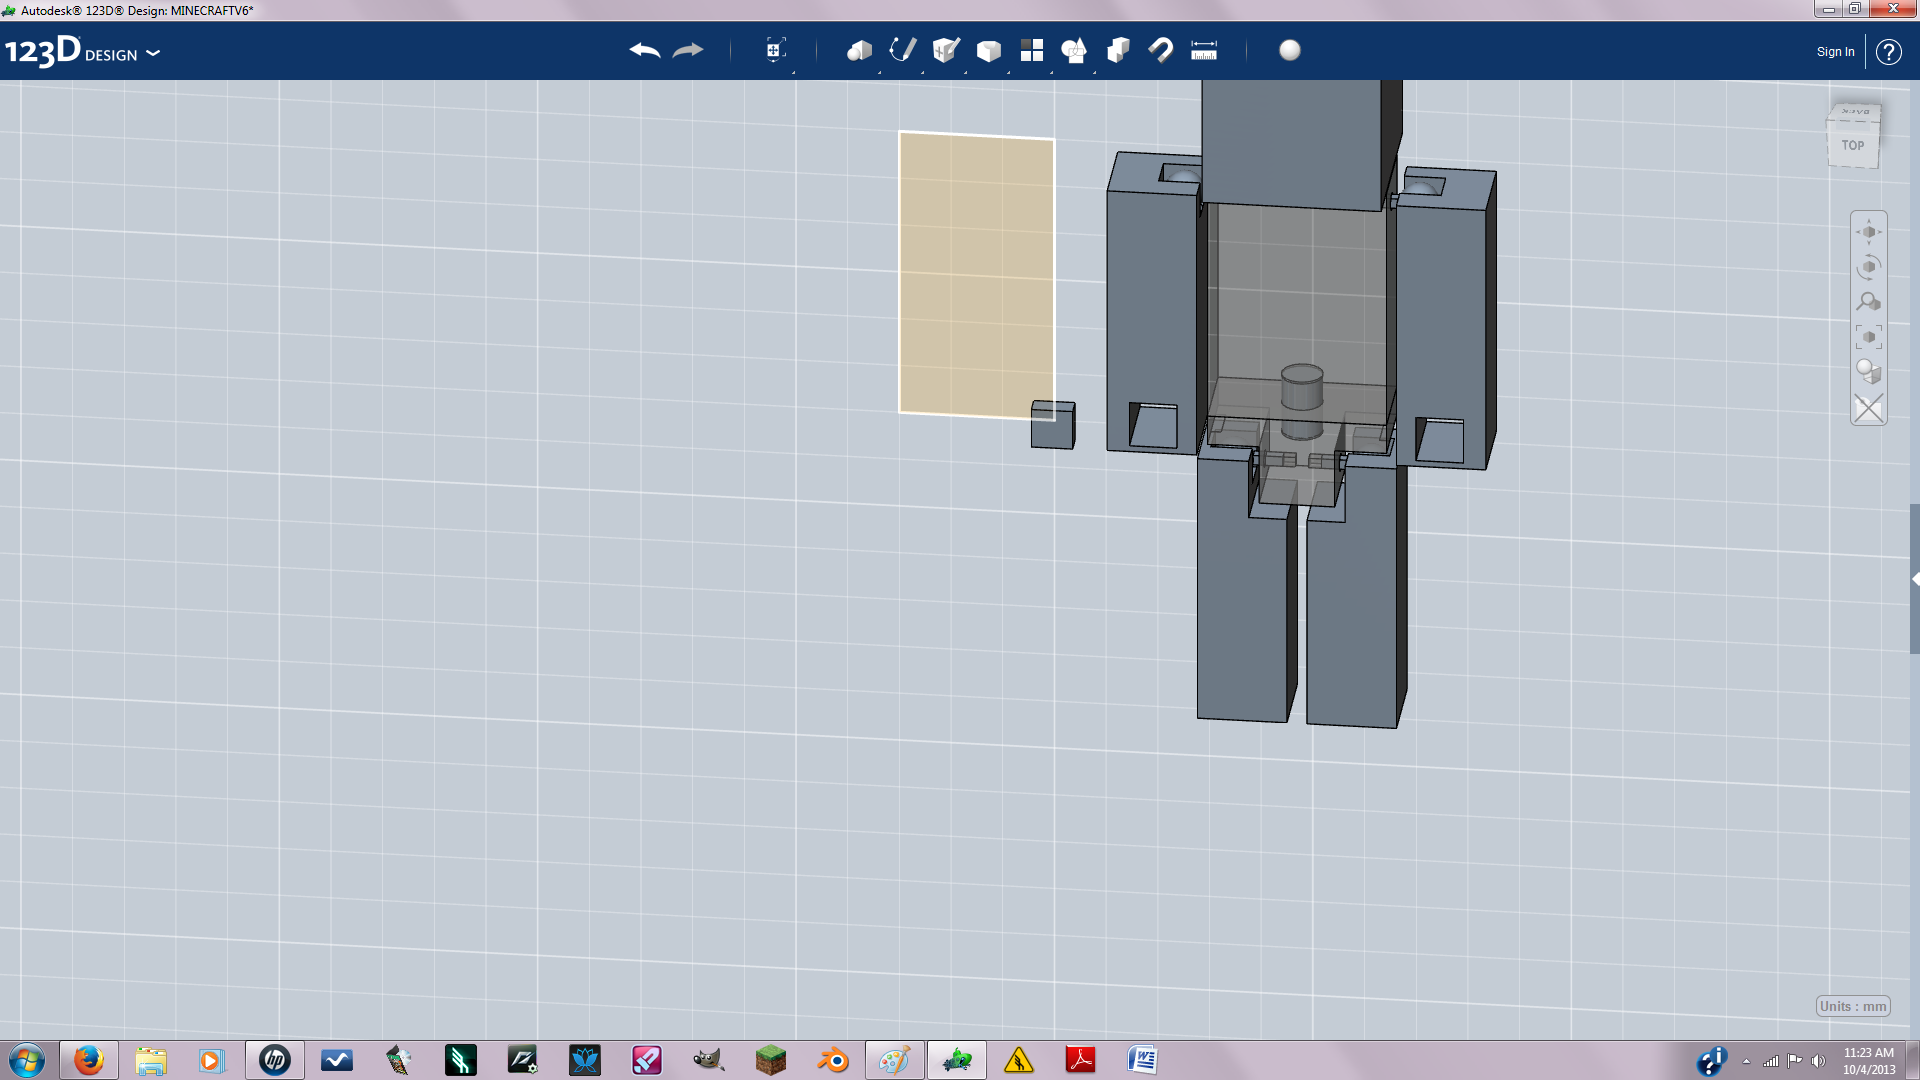
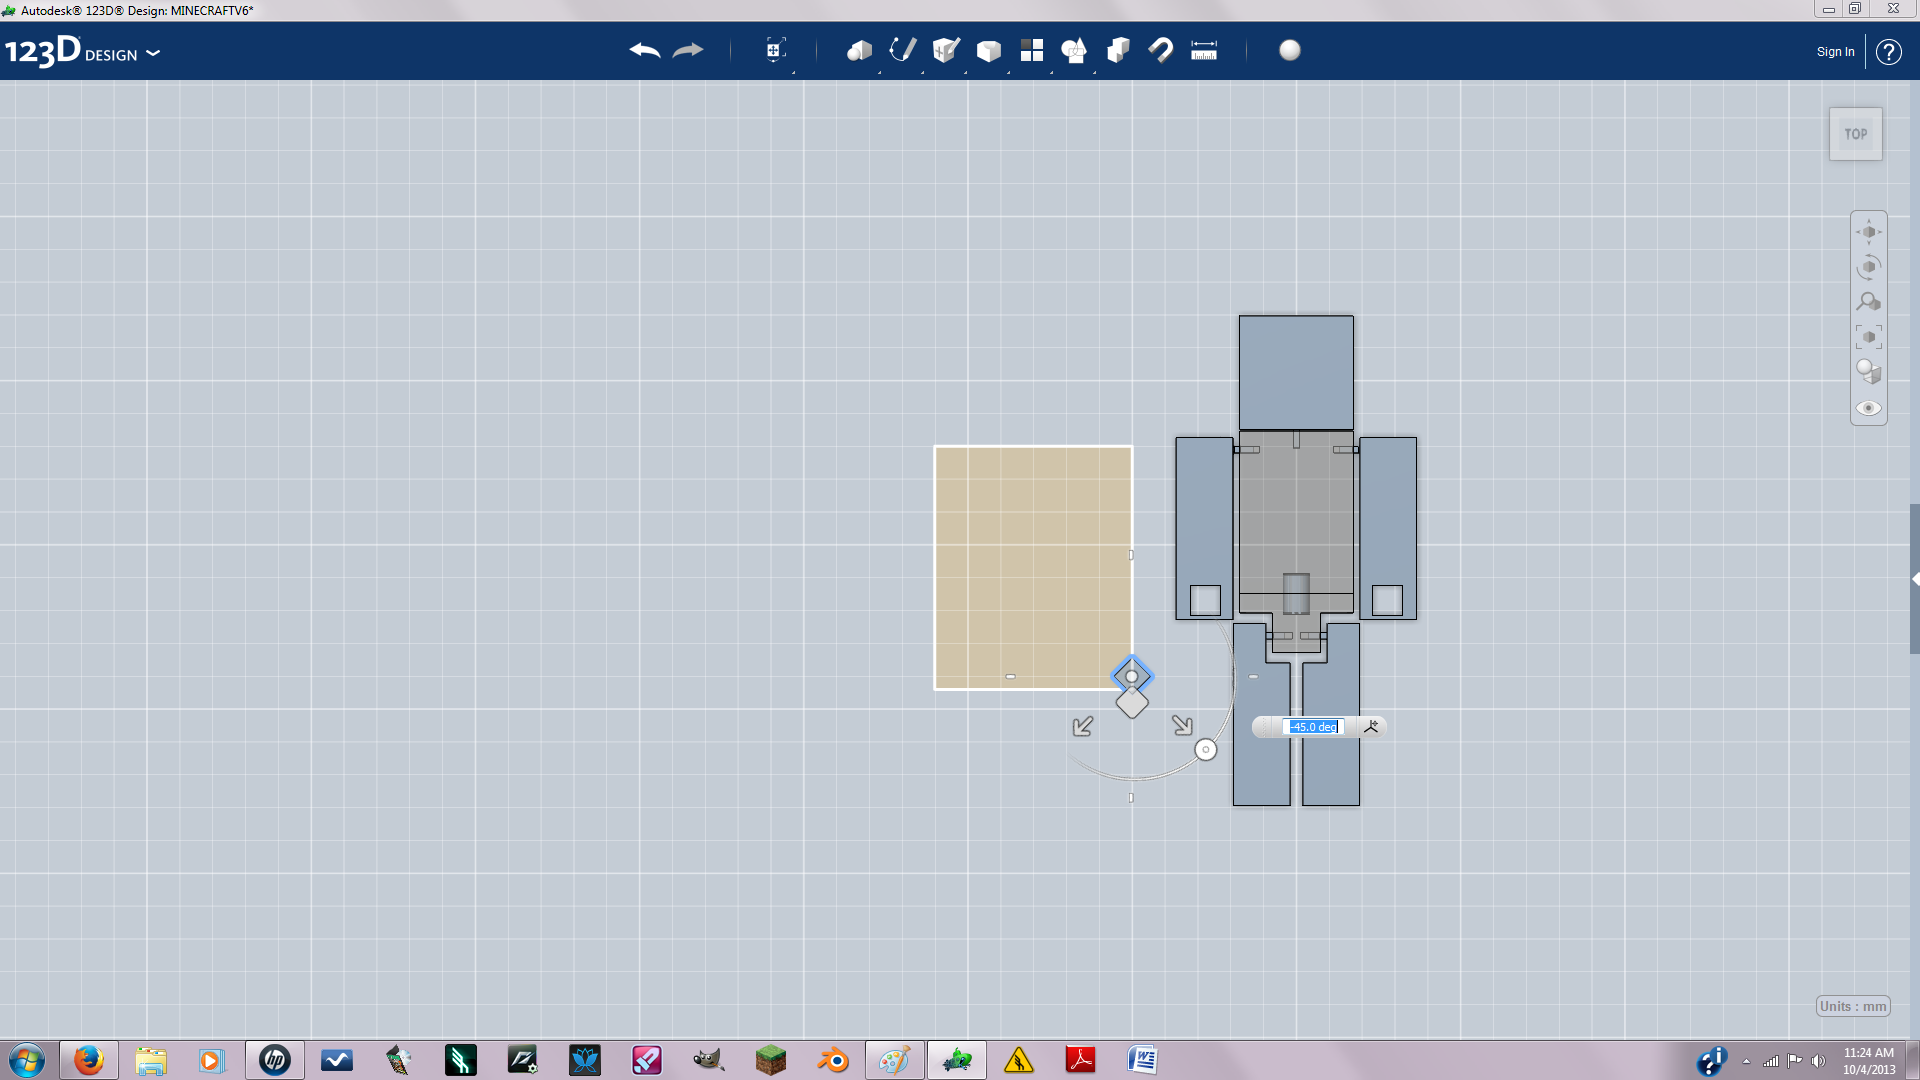
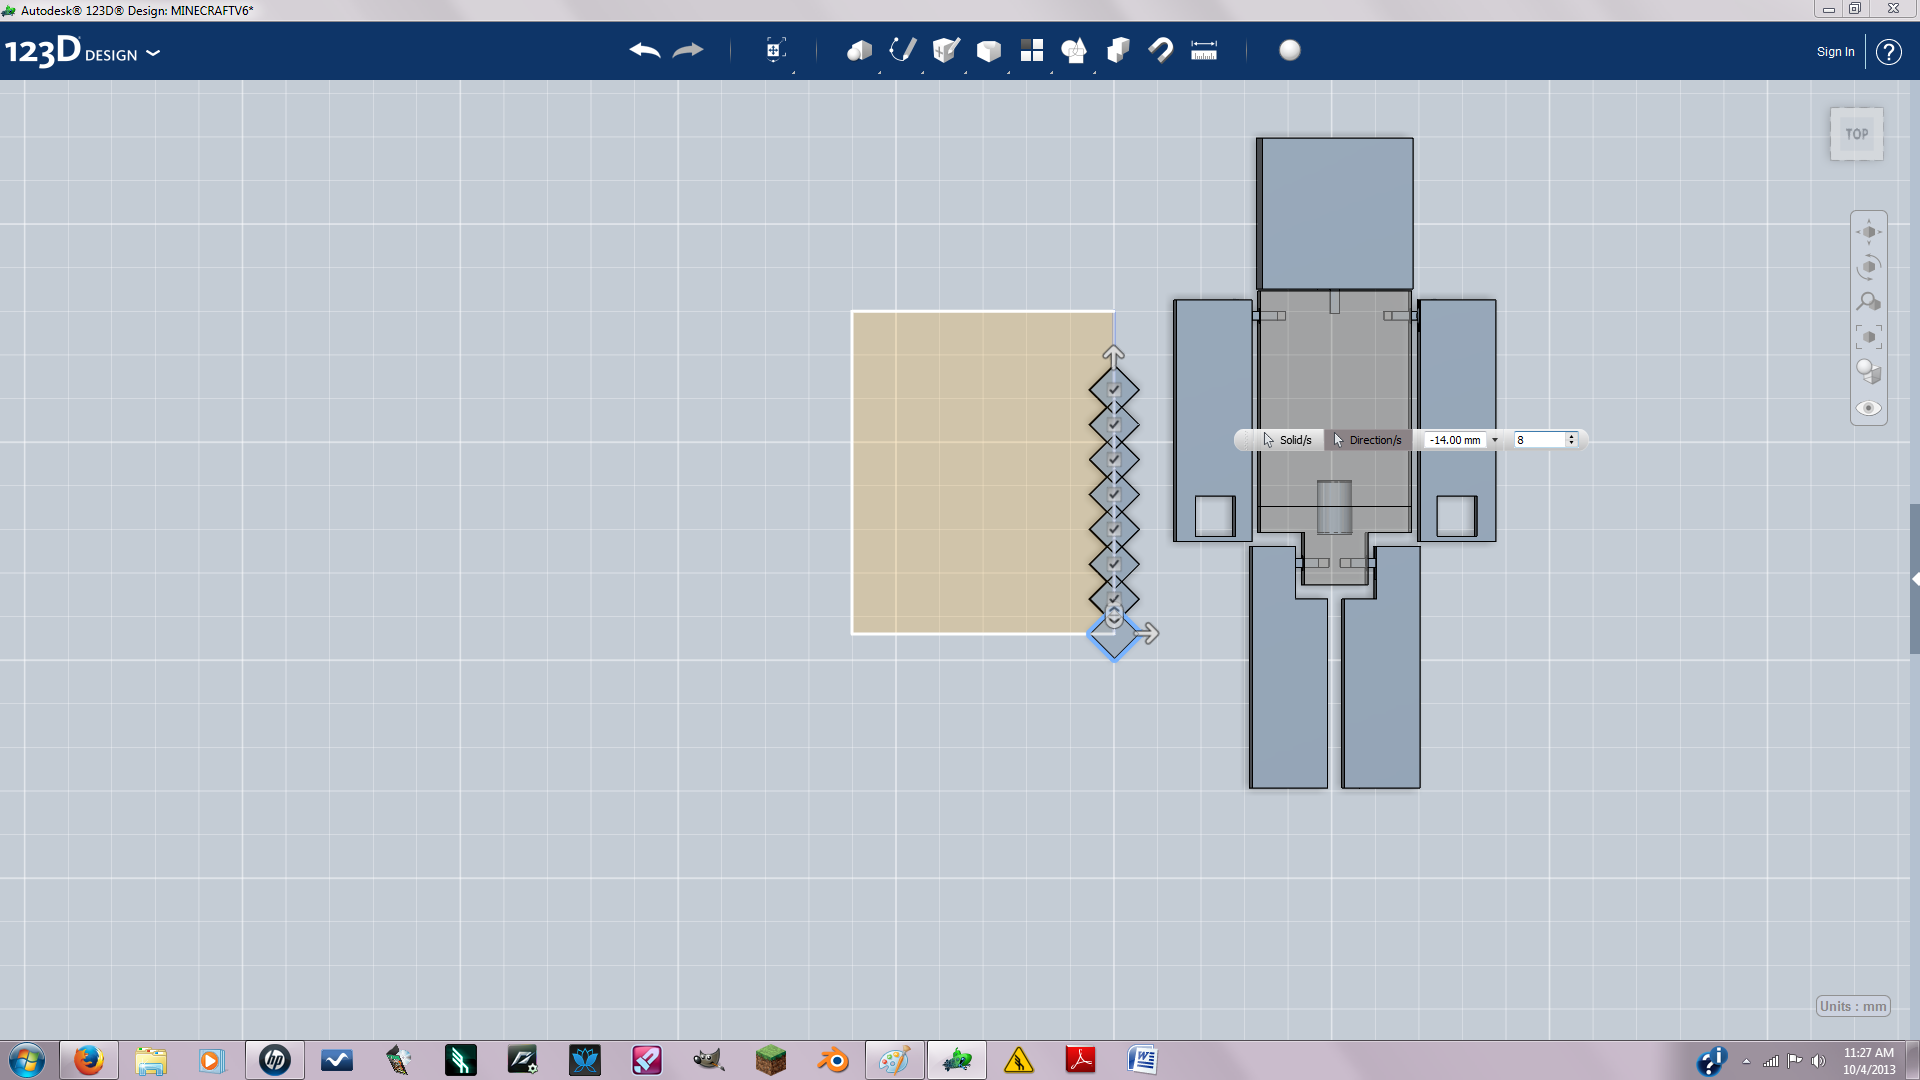
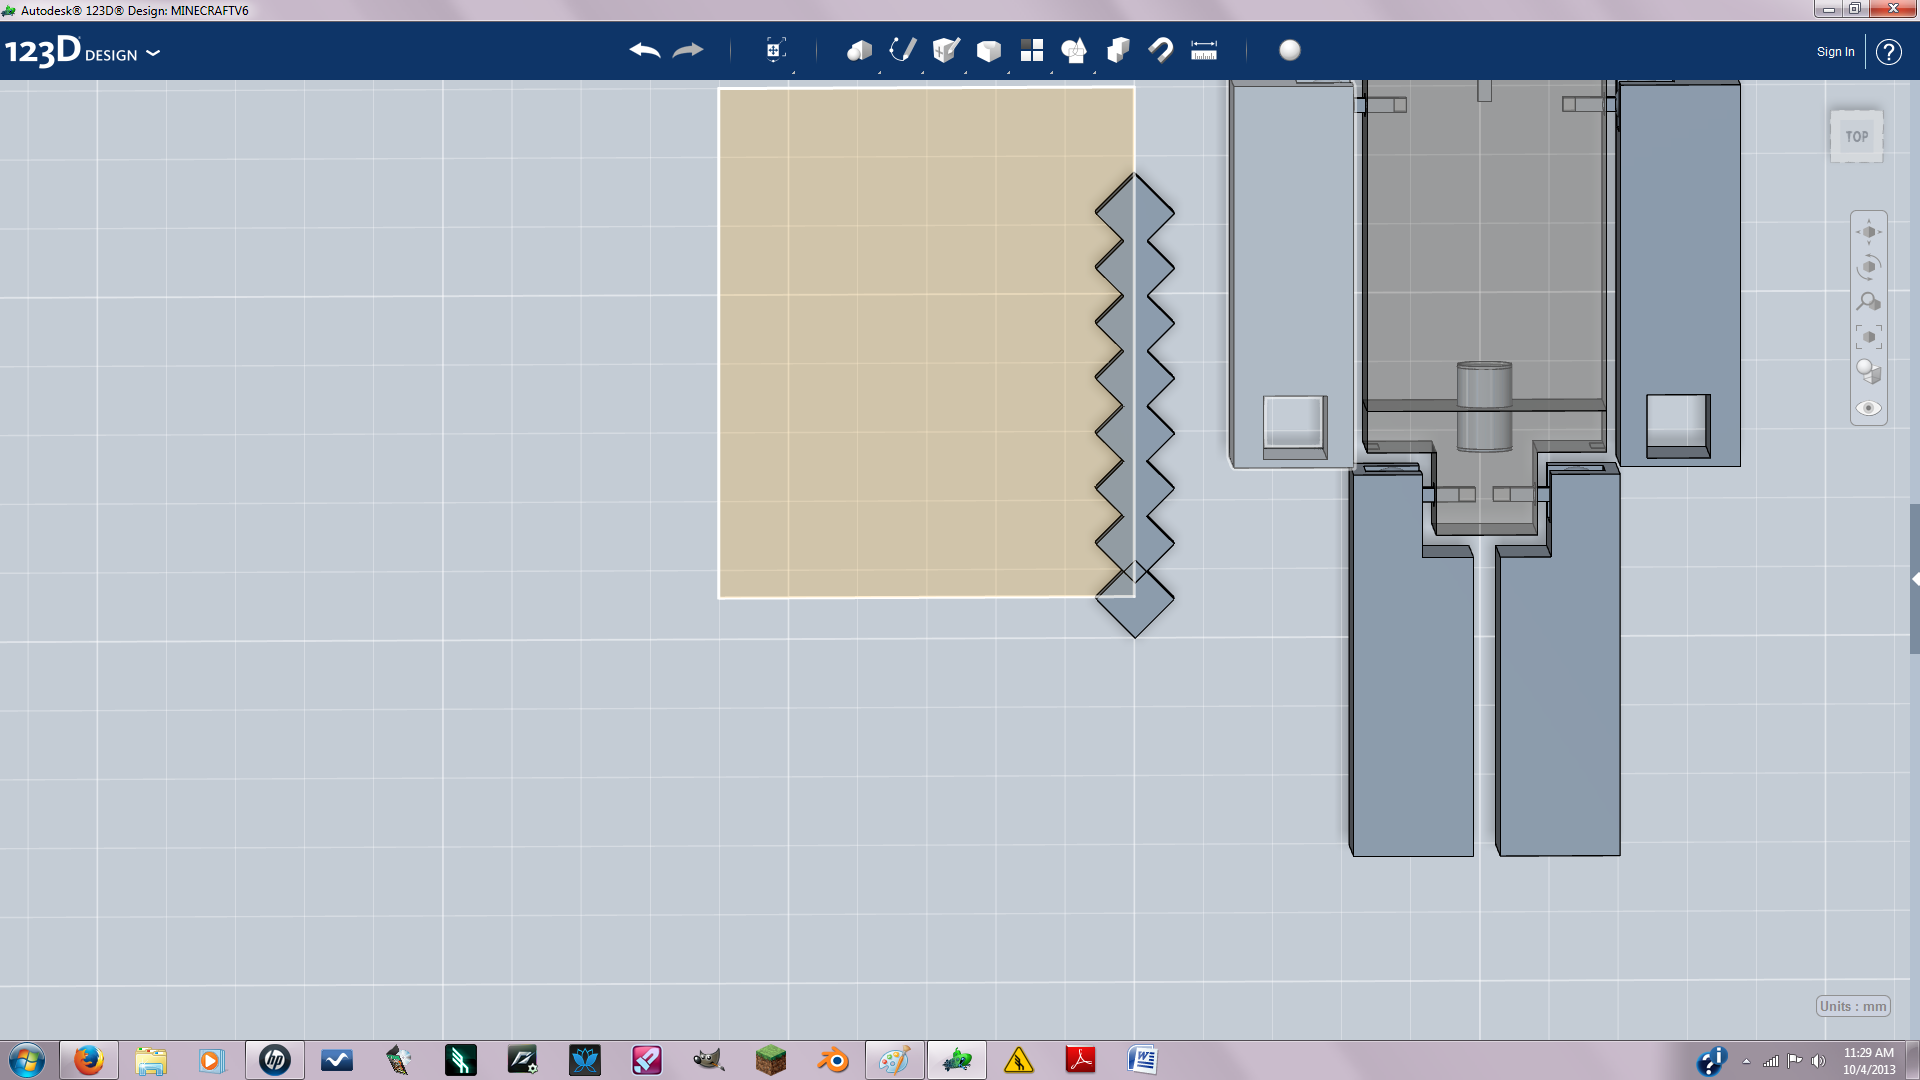
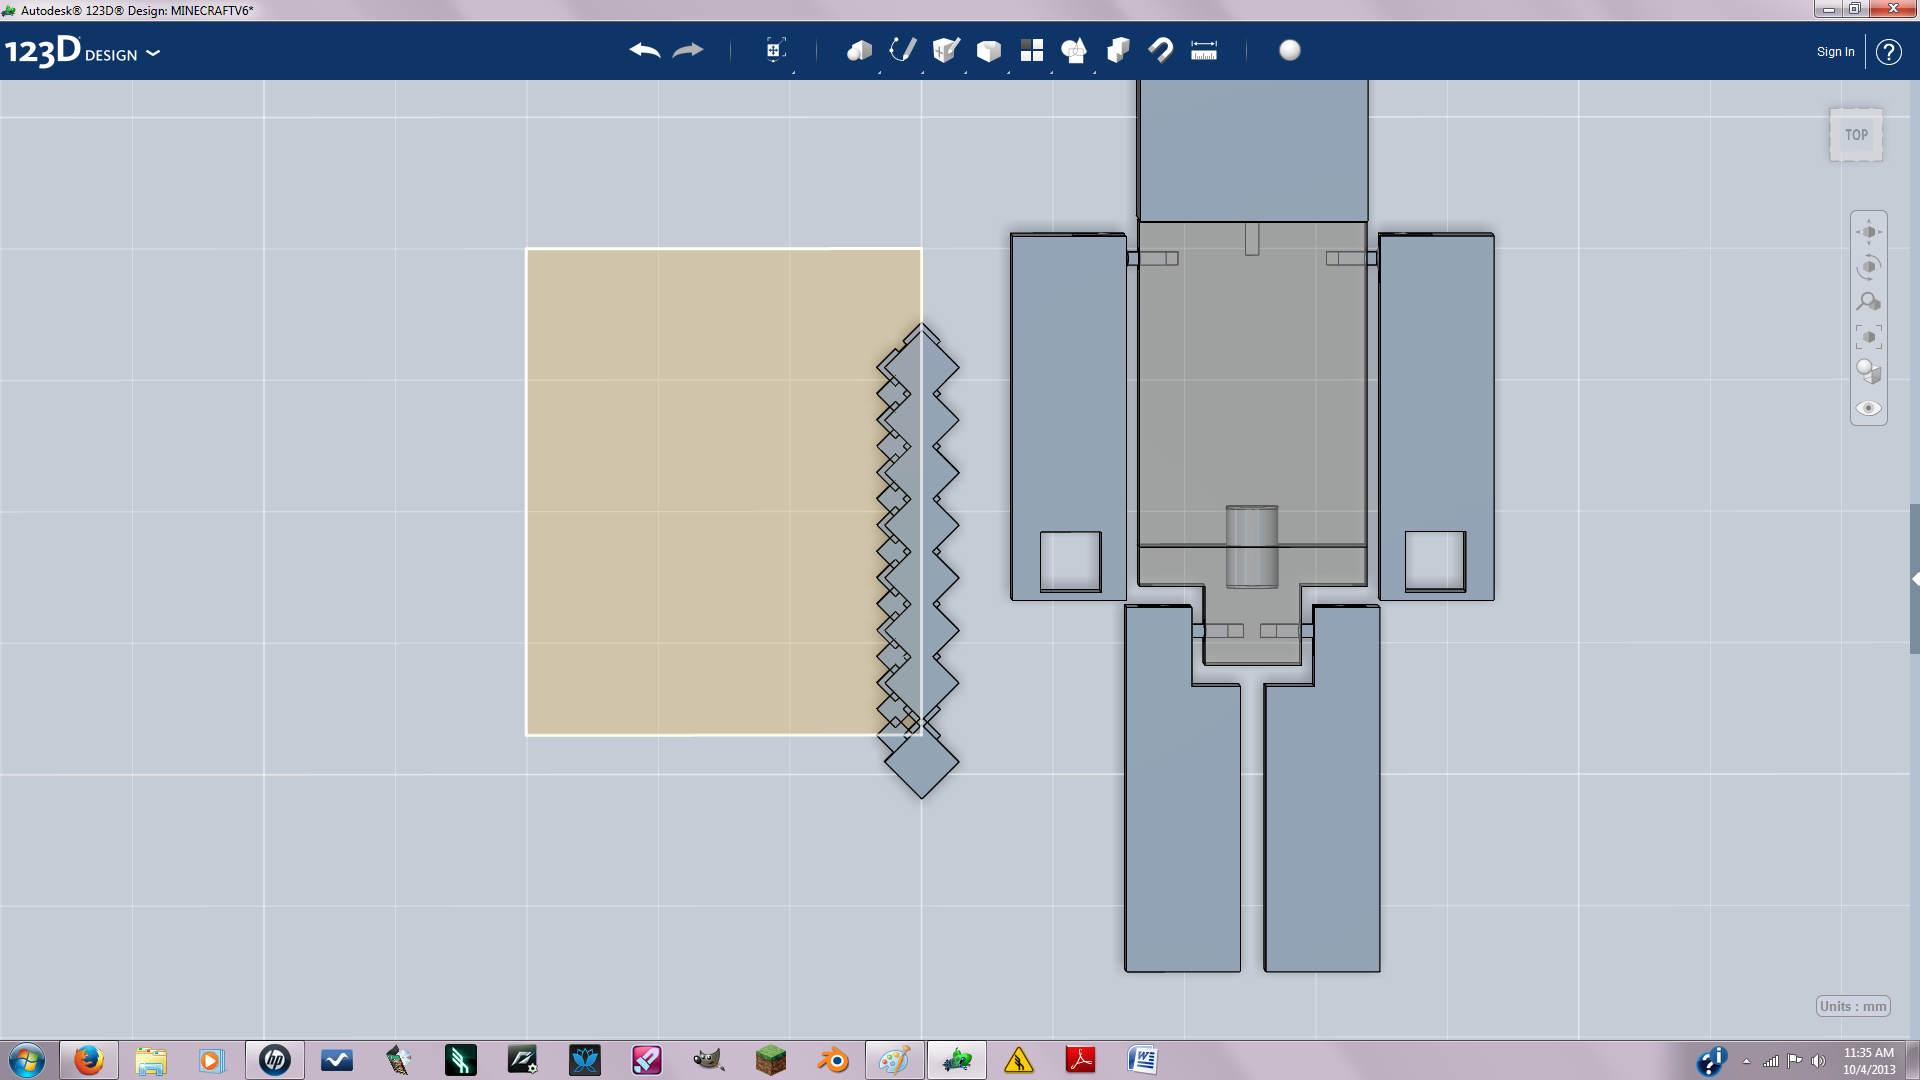
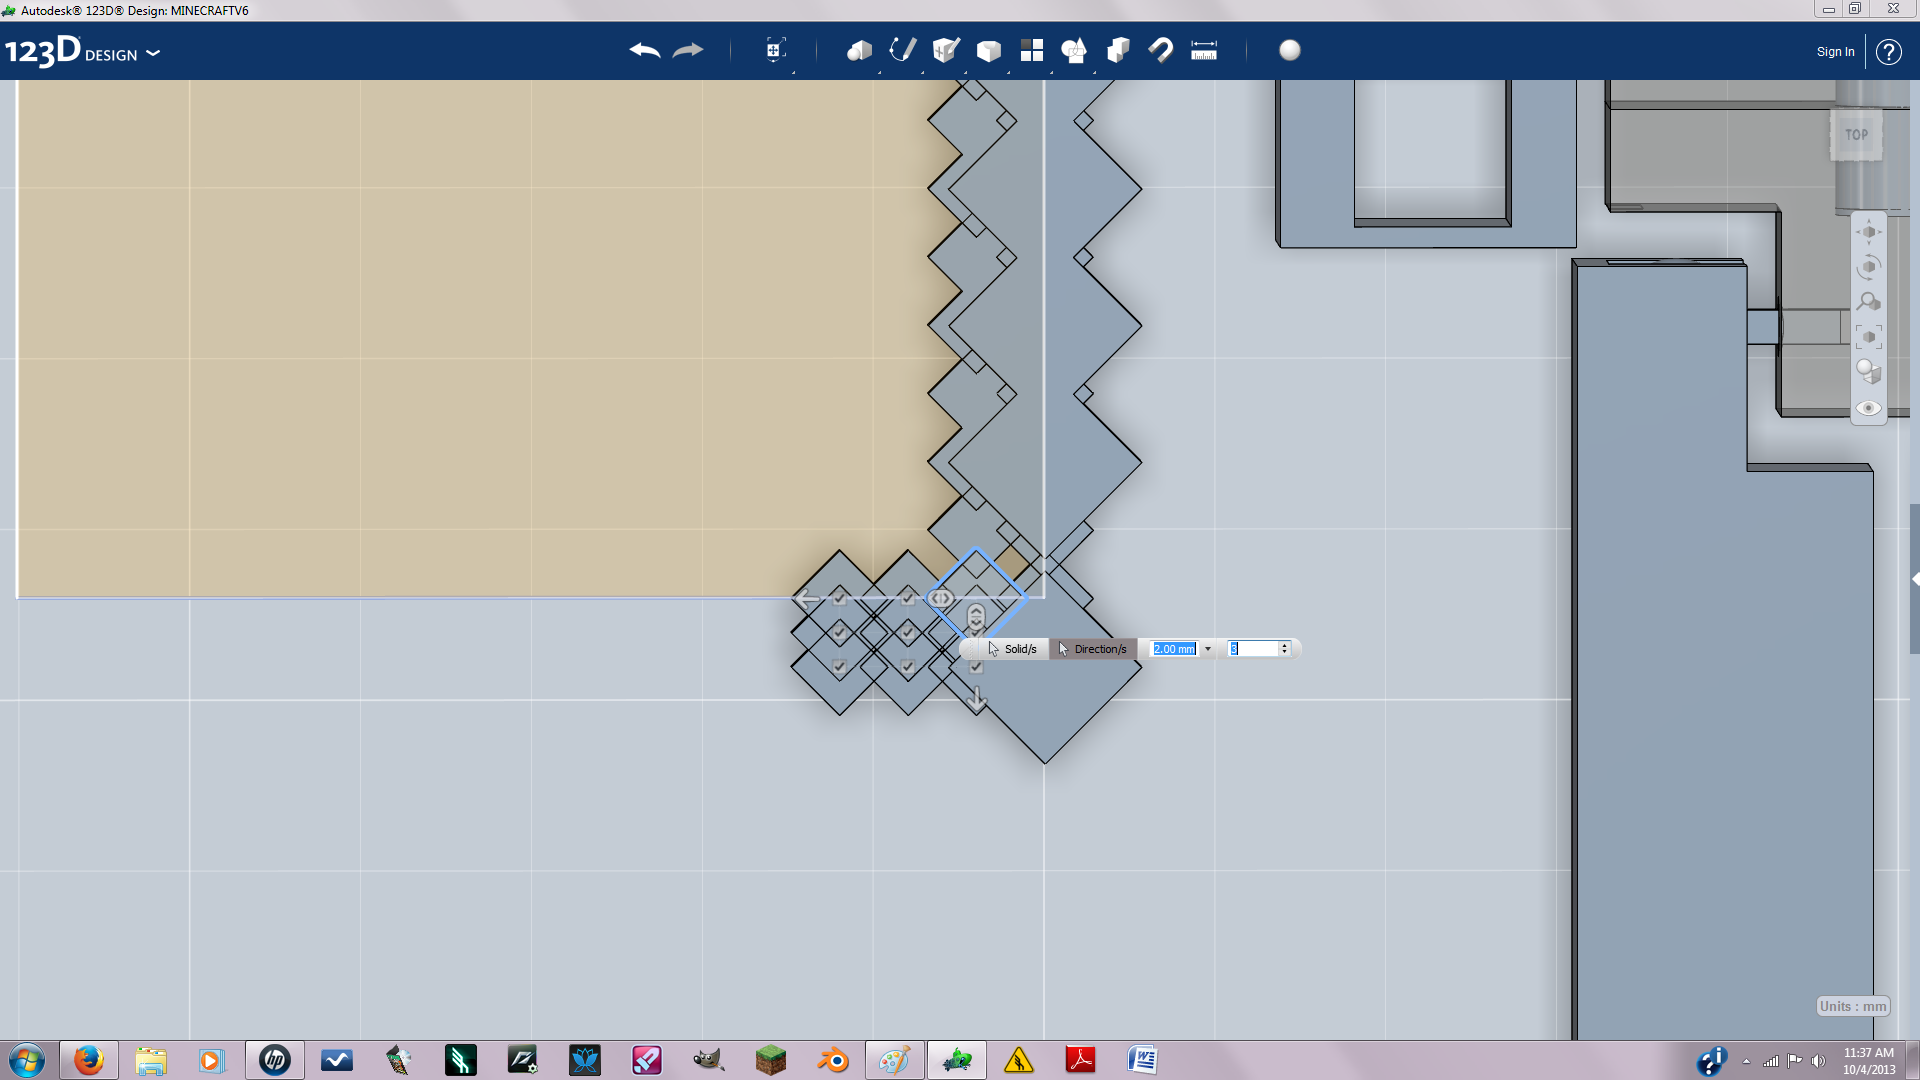
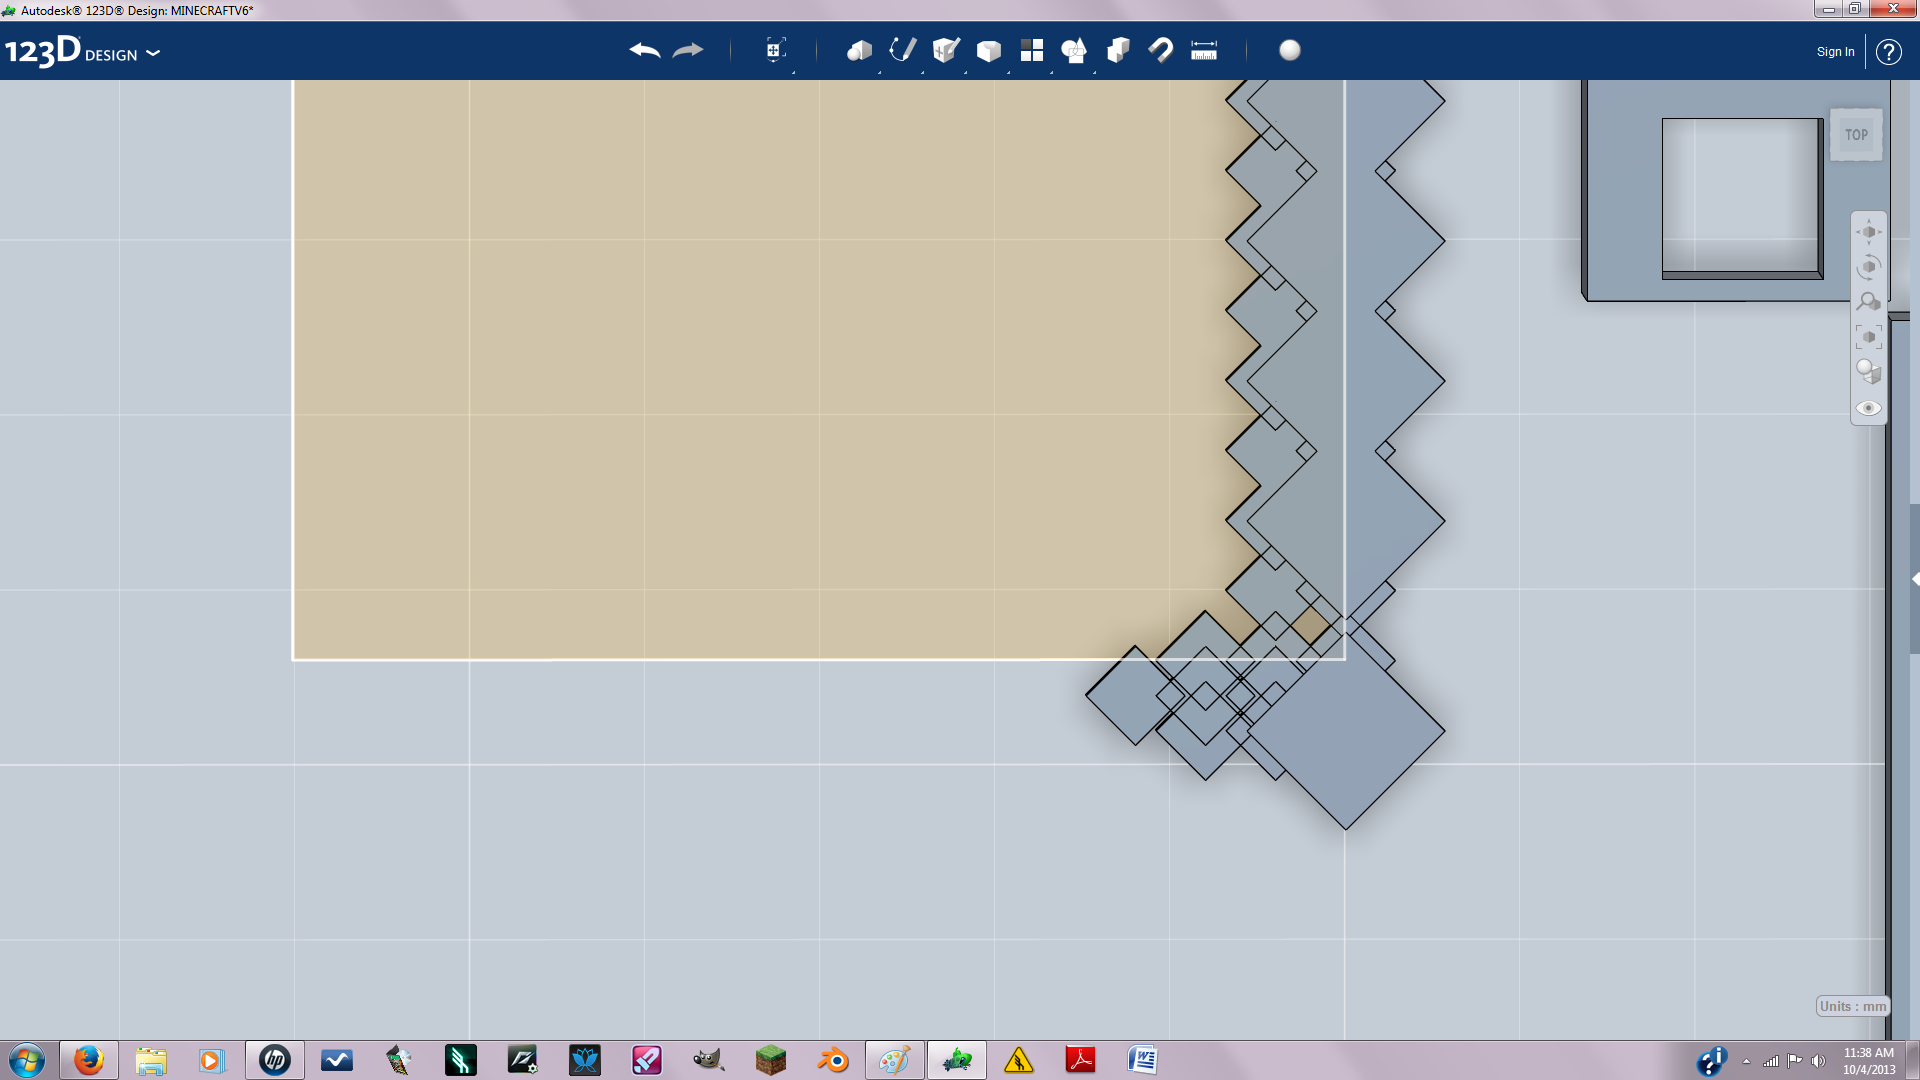
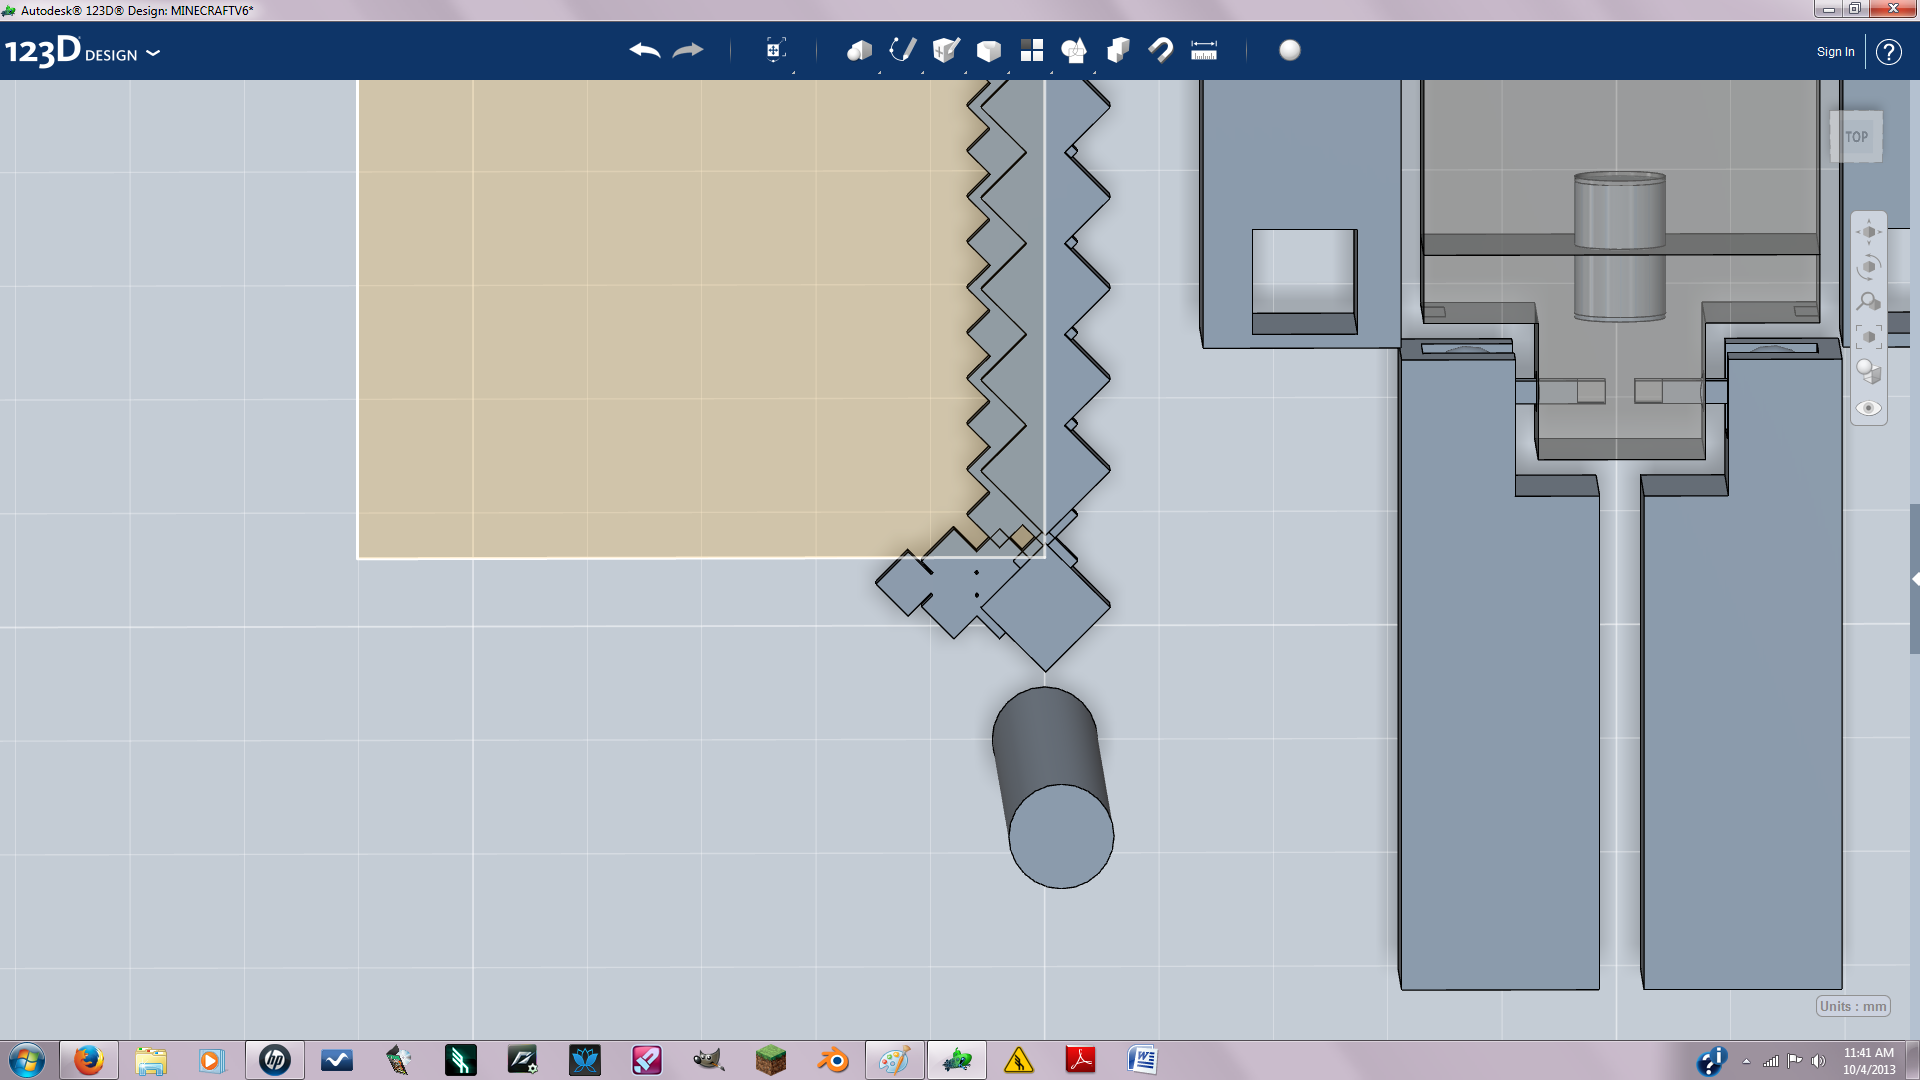
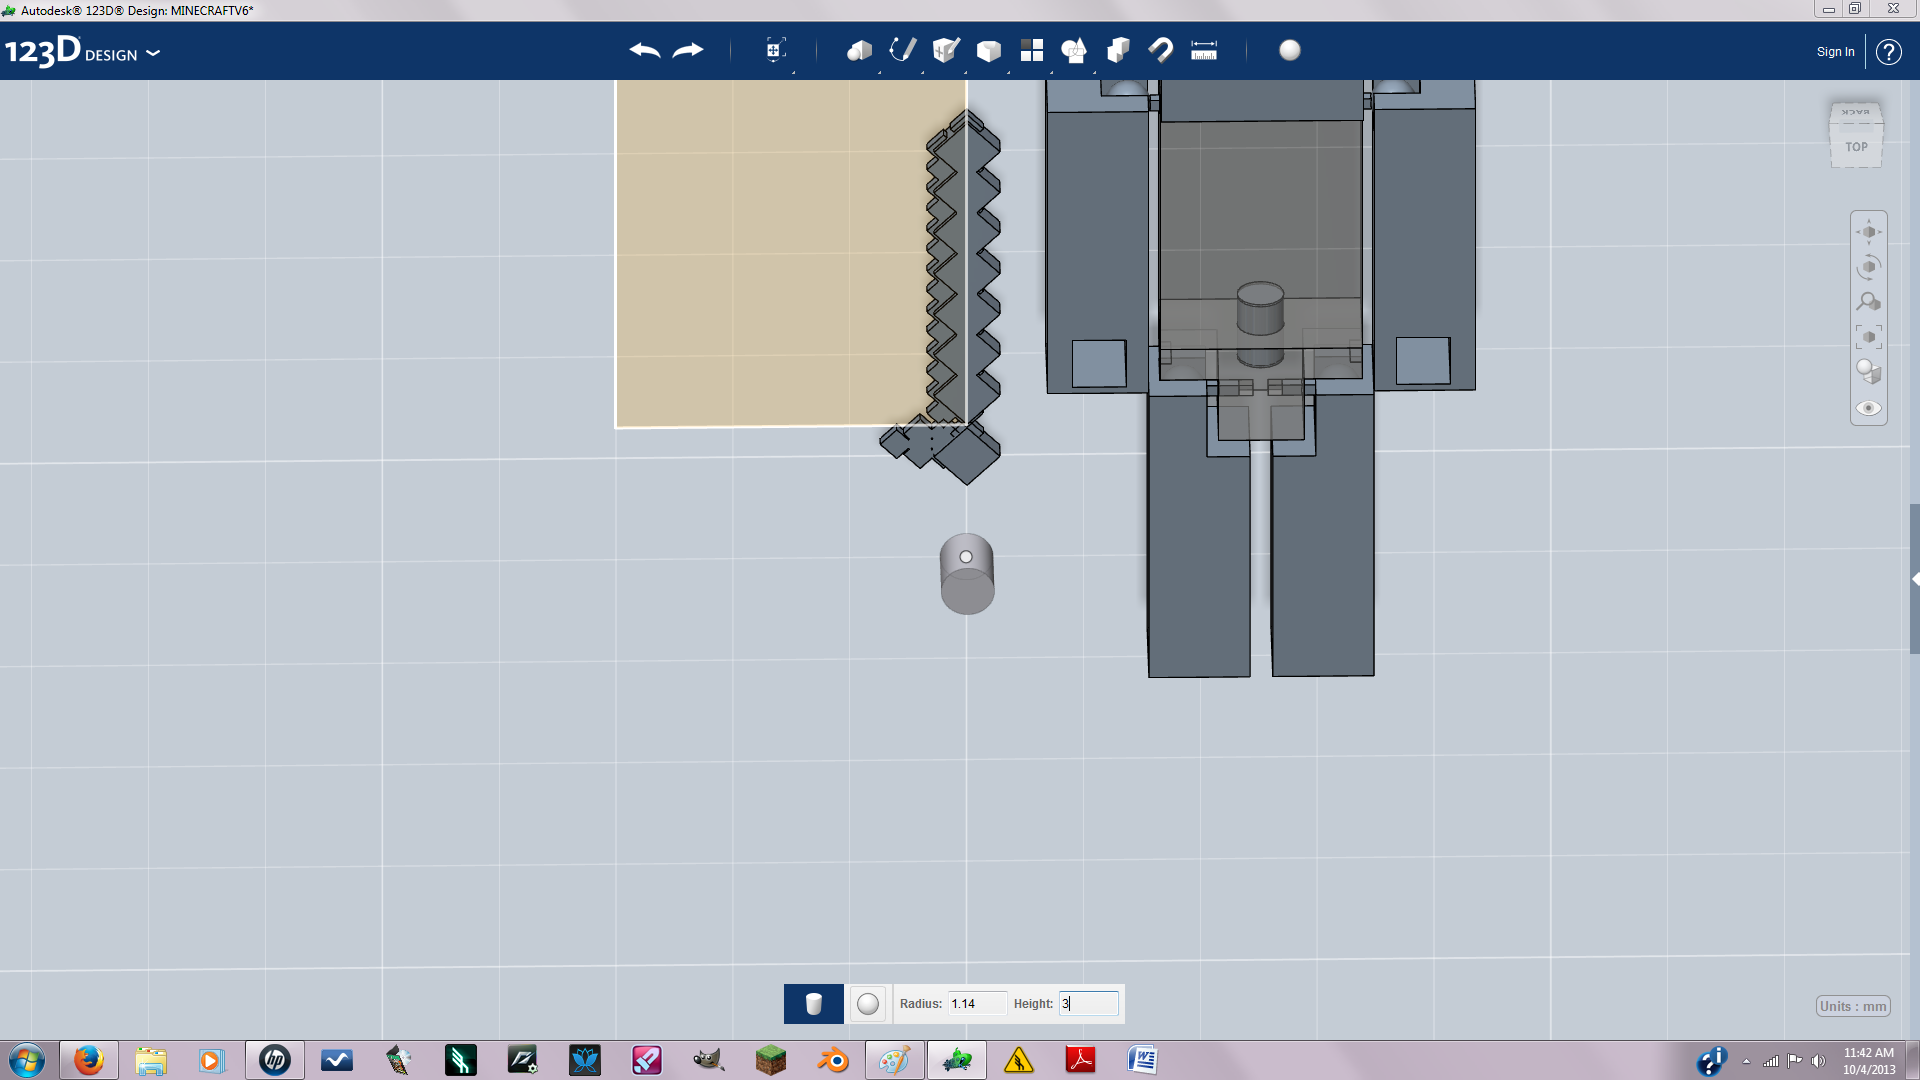
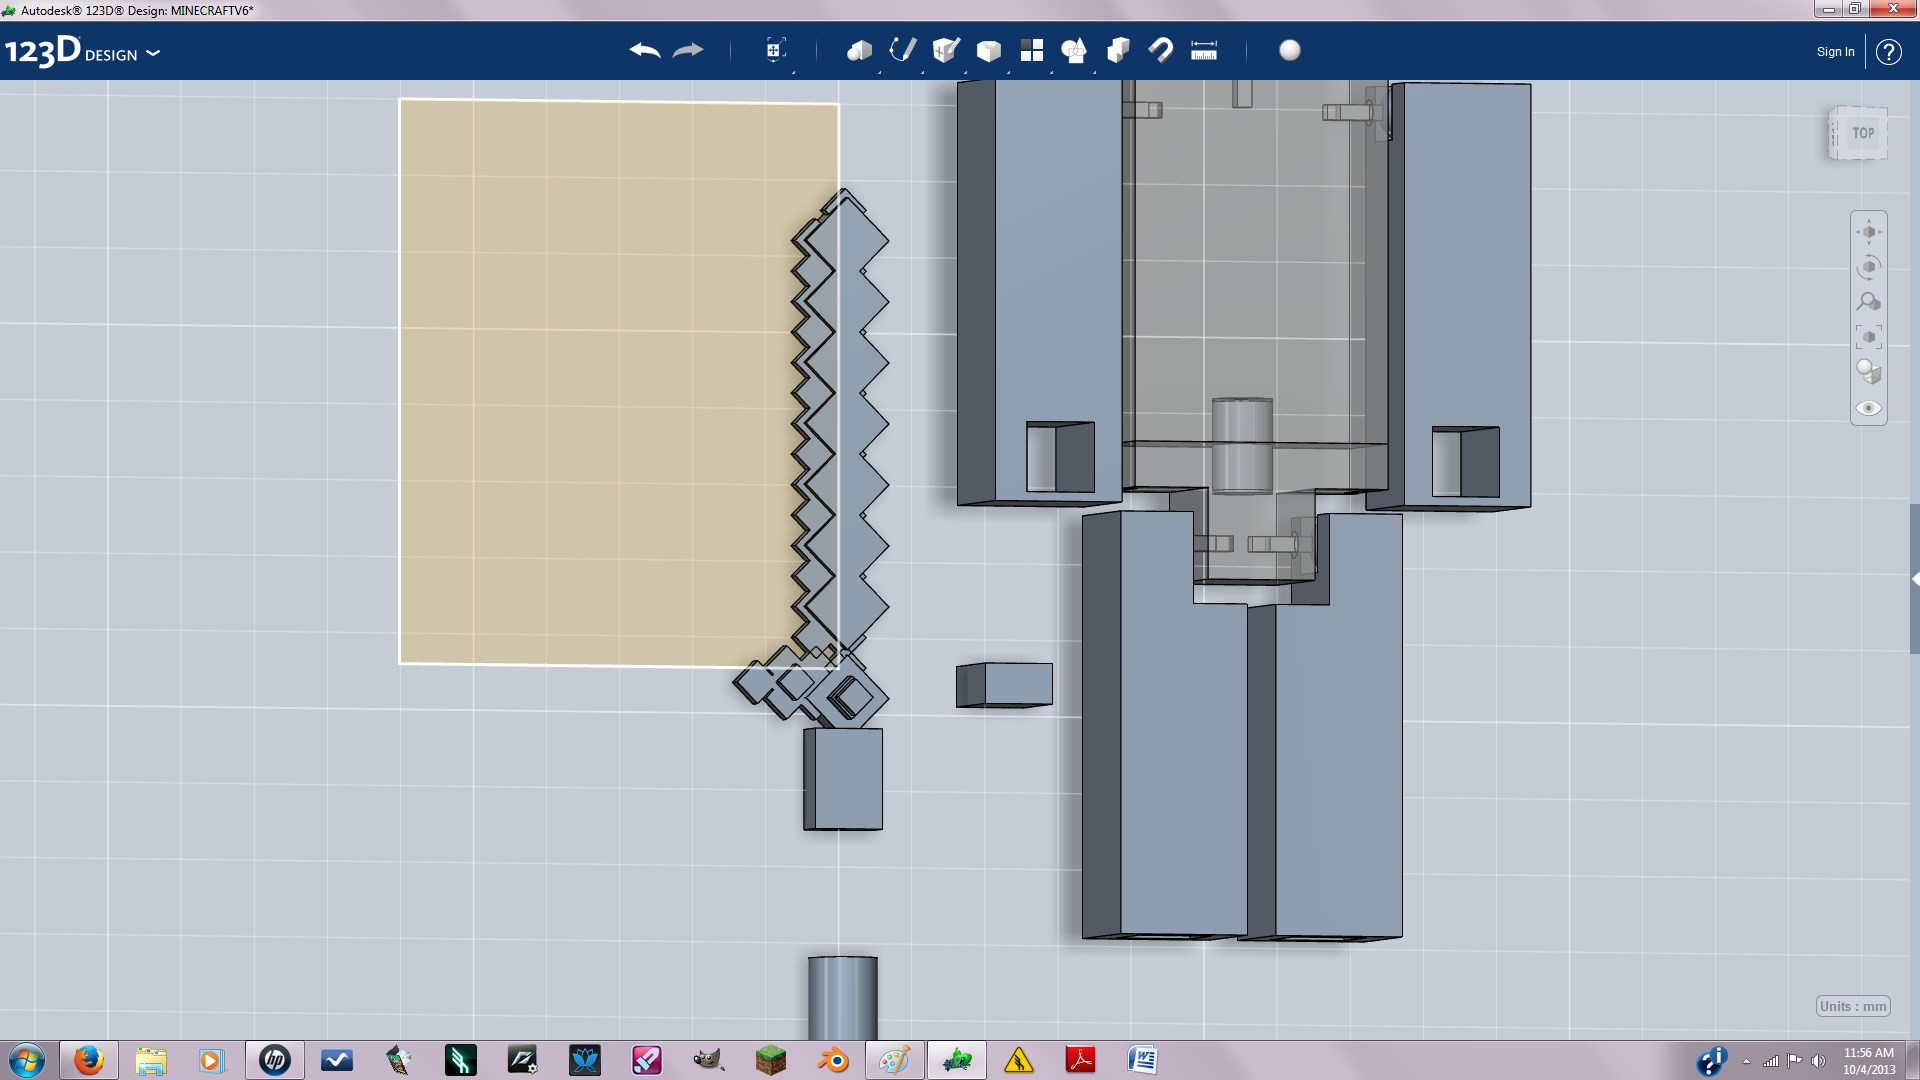
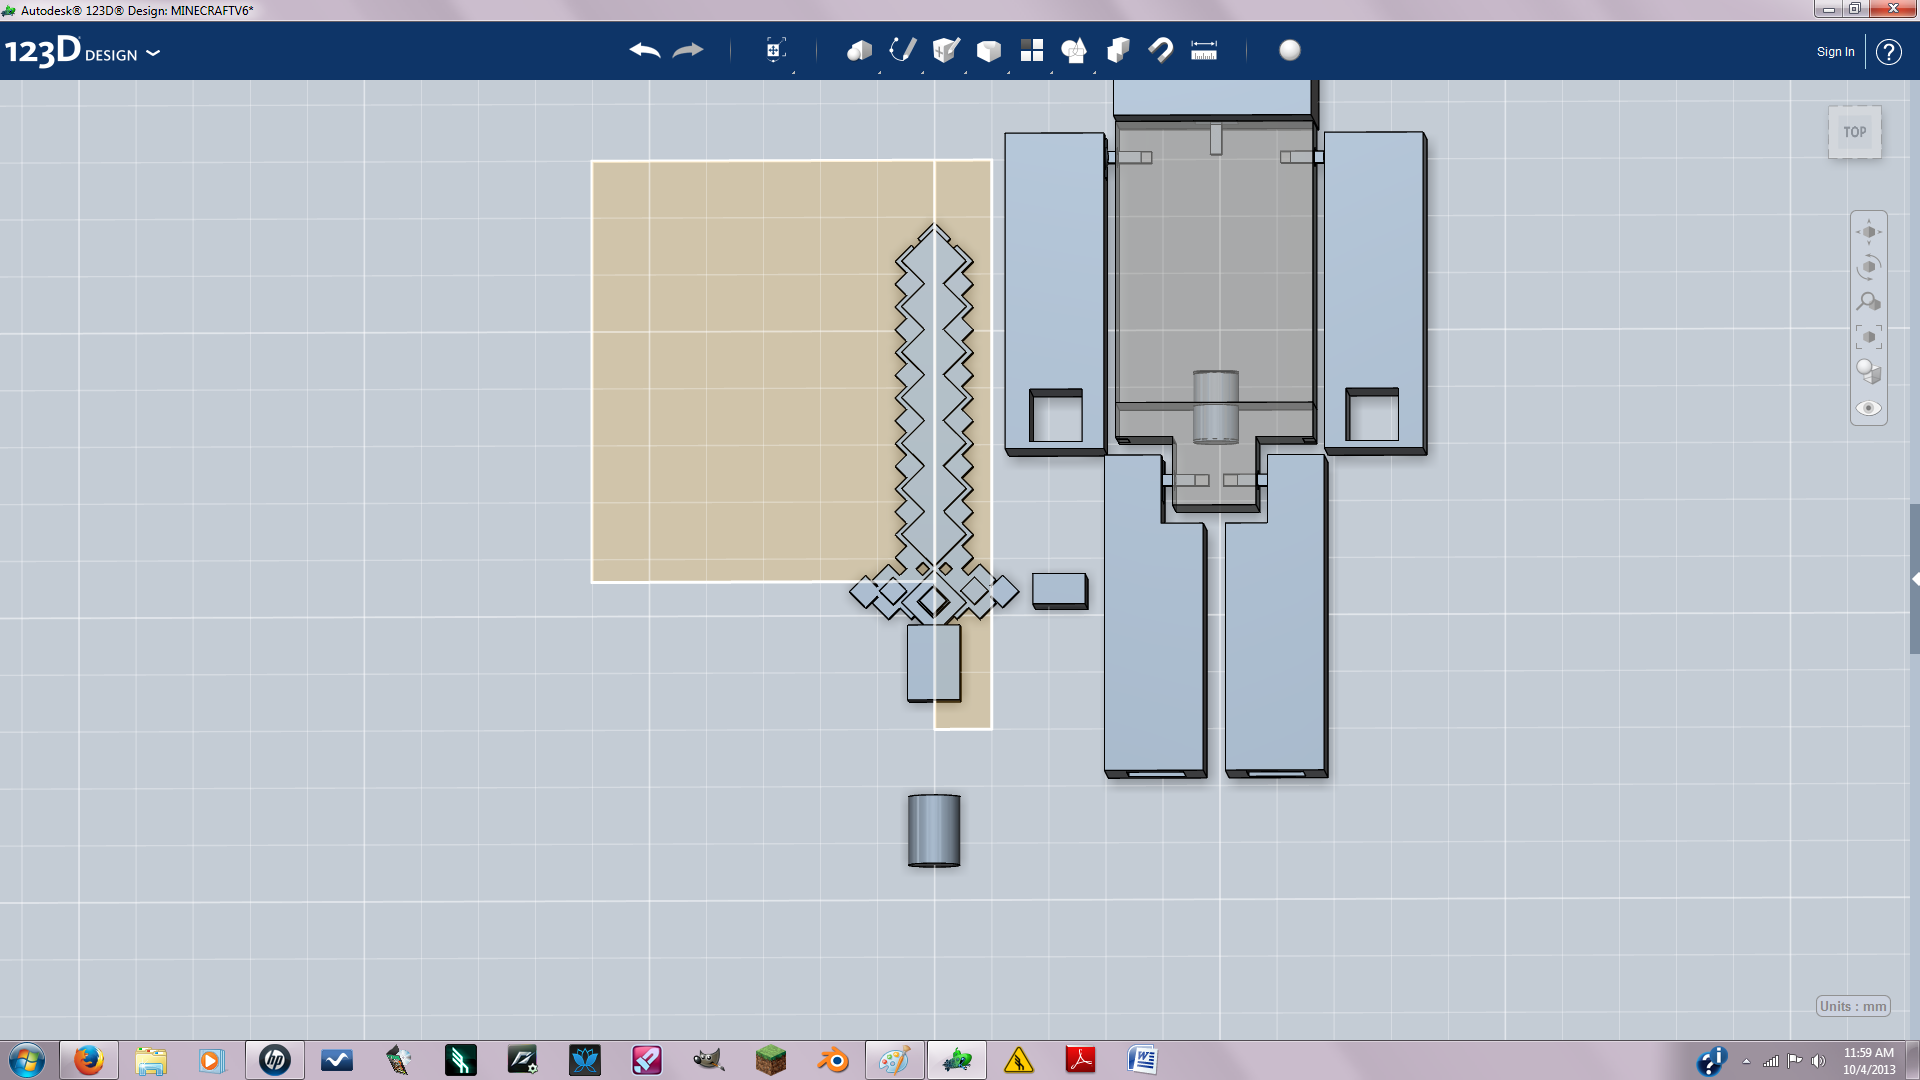
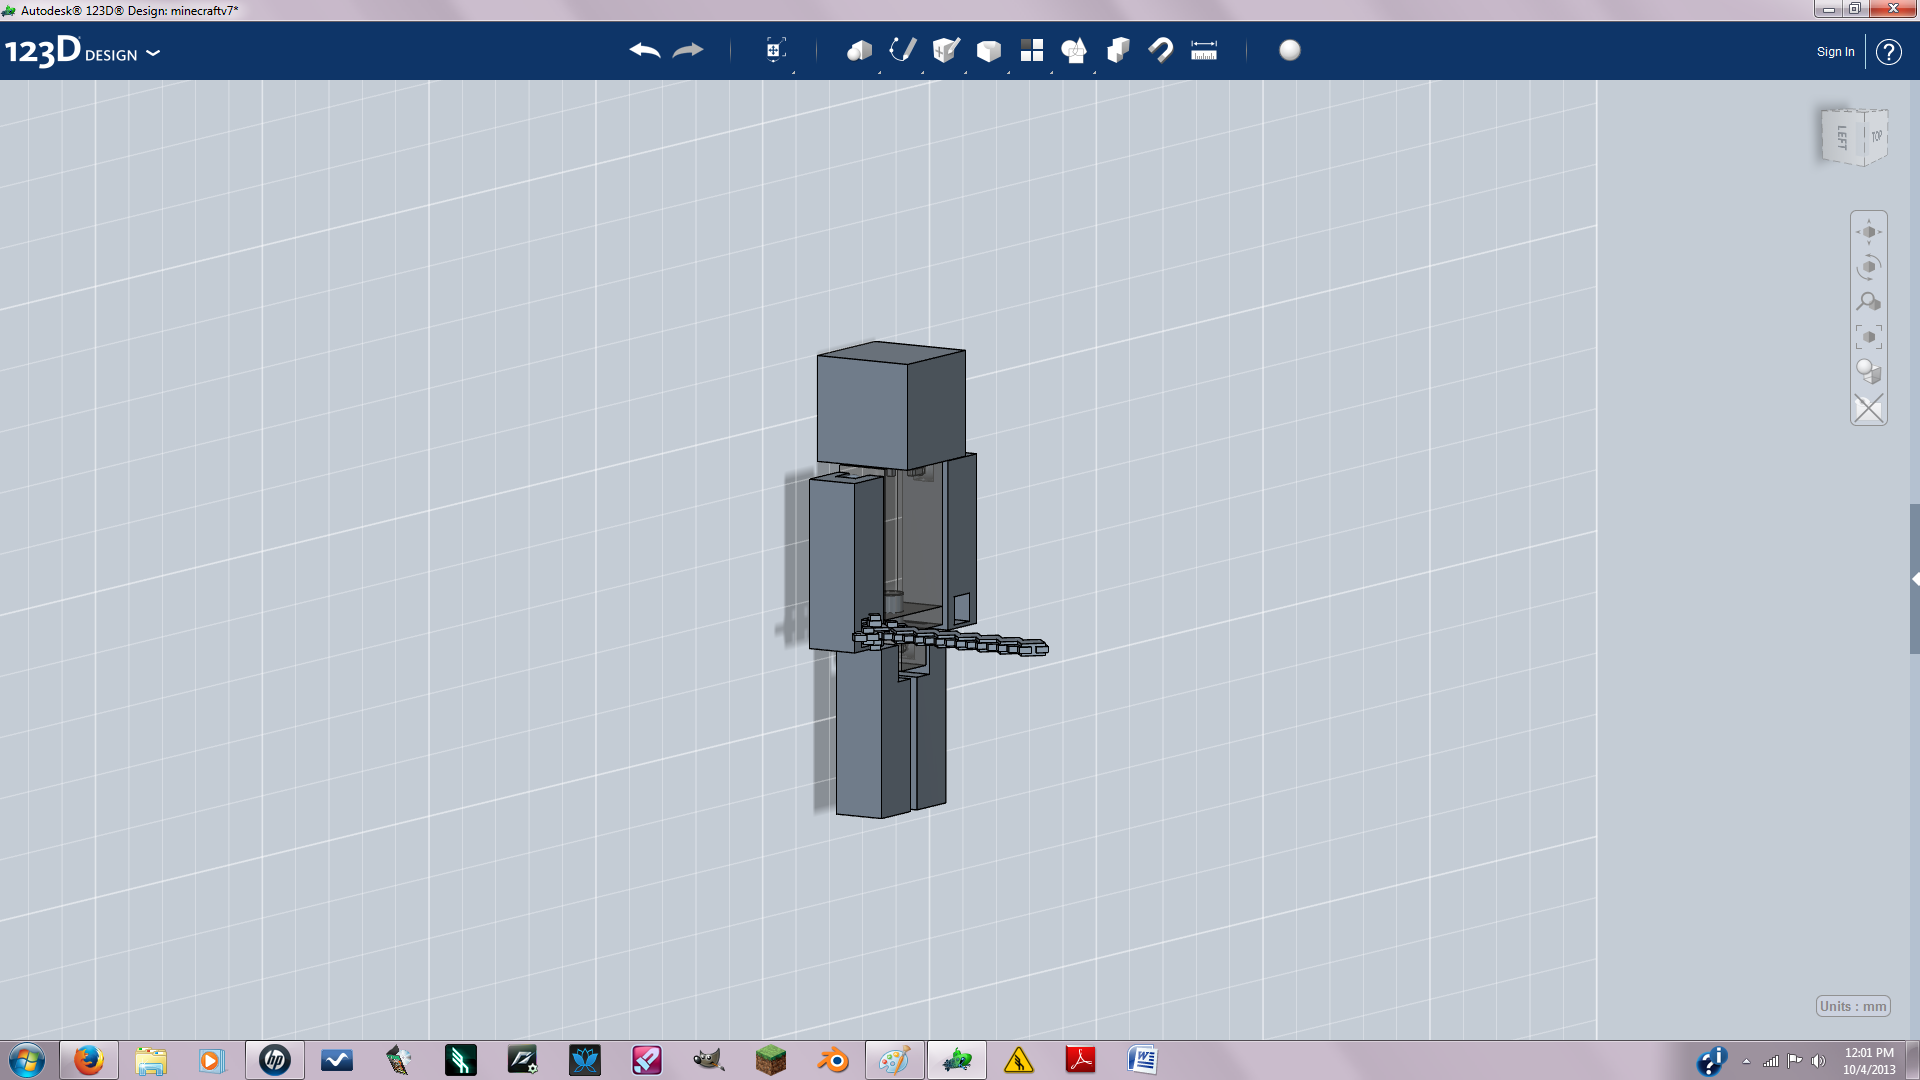
To make the sword I used the rectangle pattern tool. First I created a new solid that reassembled a pixel. Turn 45 degrees so it's diangled. Then I created a new sketch. The solid should be positioned right on the corner of the sketch. Then you select the pattern tool and sorta drag the pattern out so it creates your sword blade. Join the sword blade together and copy and paste then scale the copy down and position on one side of the blade. The hilt was created by making another pixel square and copy and pasting as needed. Now just mirror the sword. The handle for the sword is just a 2.29 mm rectangle.
Dissassemble
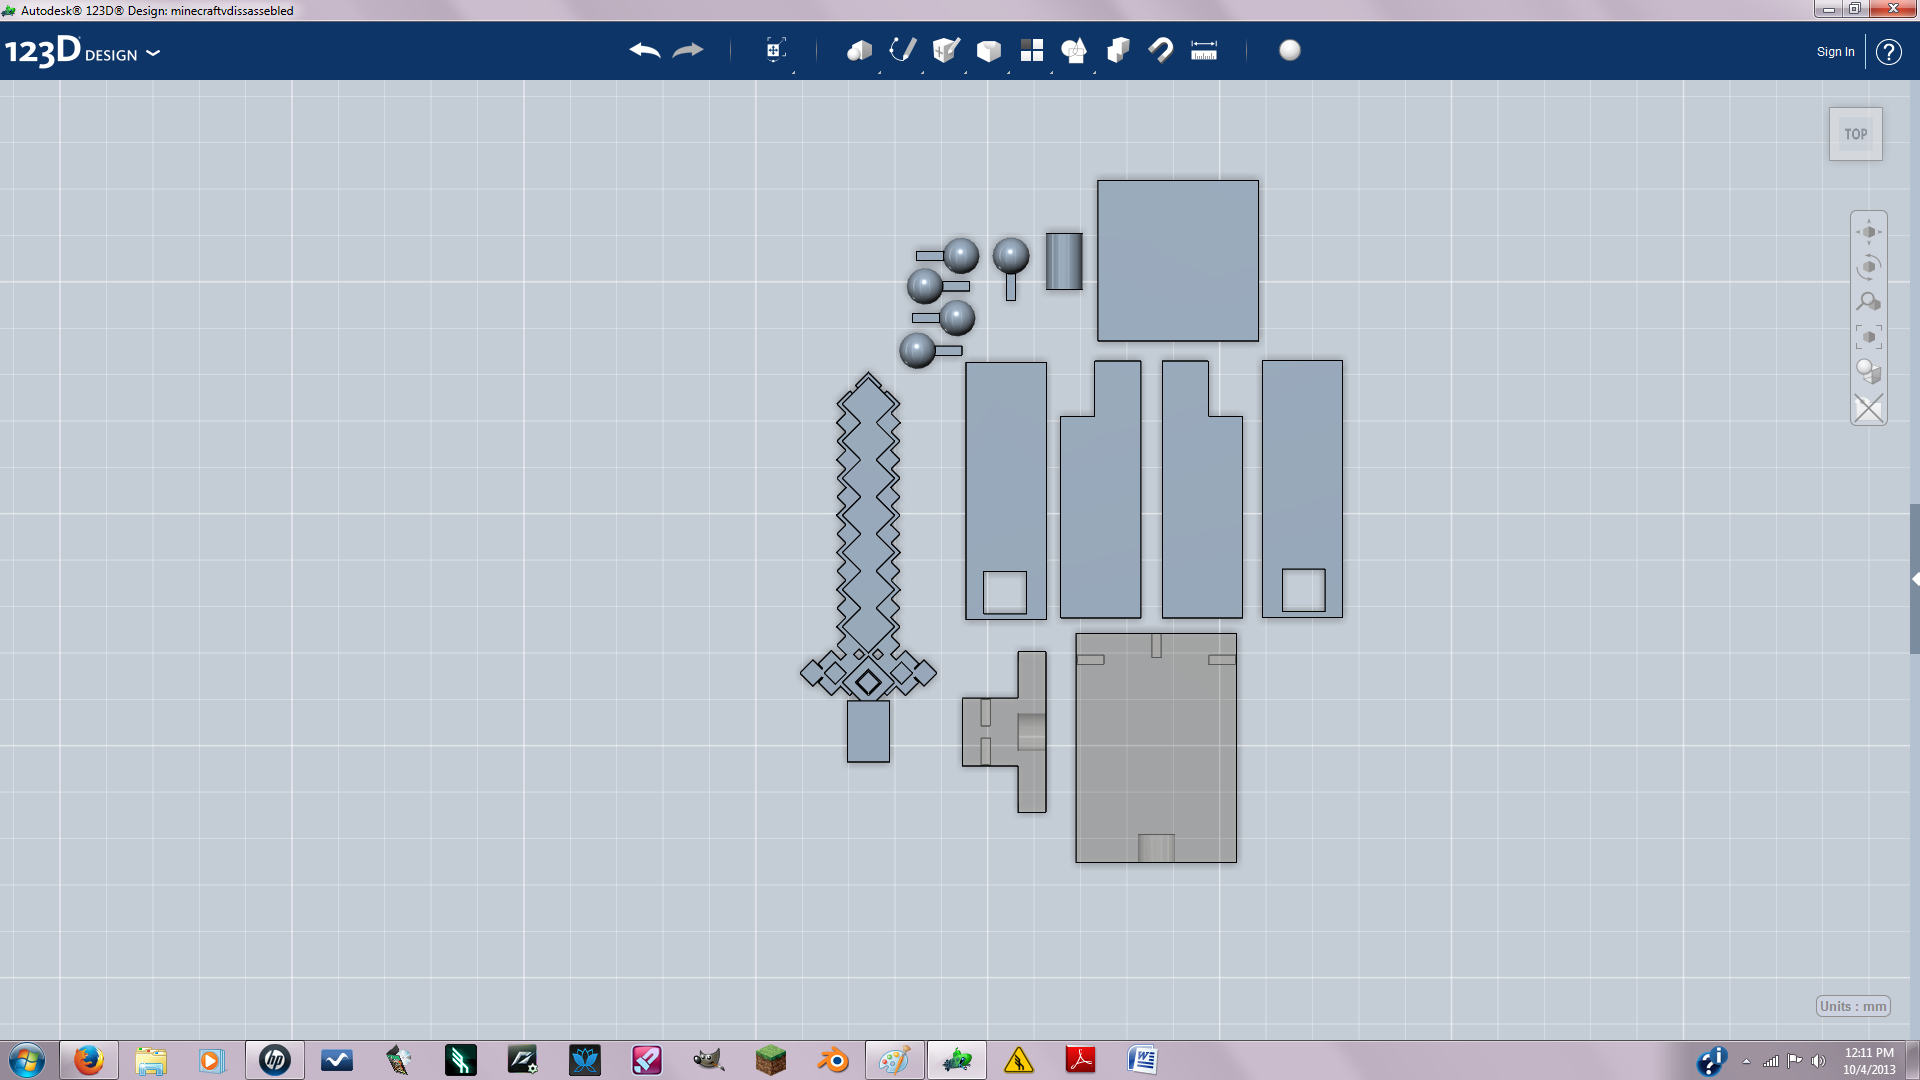
Here I just disassembled the model so it could be printed without the joints fusing together.
Troubleshooting for Shapeways
.JPG)
.JPG)
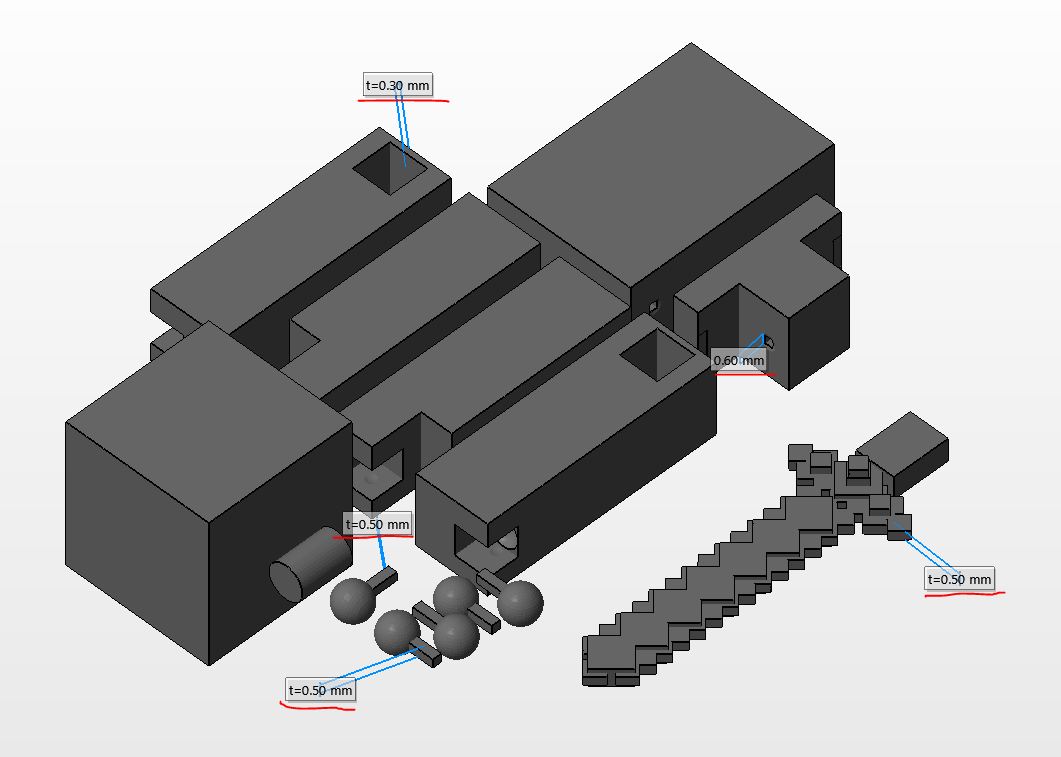
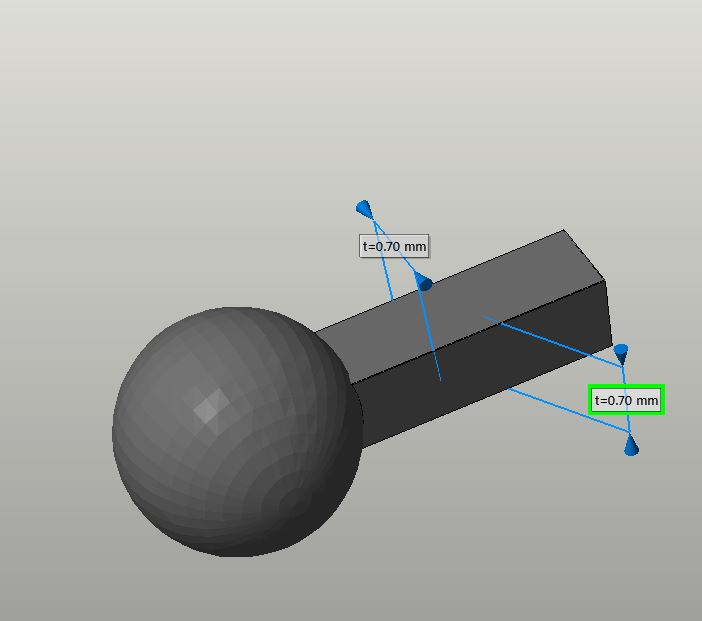
When I went to print it on Shapeways I ran into some problems. The minimum wall thickness for white strong and flexible plastic is .7 mm. And the minimum wire thickness is 1 to .8 mm. The rectangular shape that sticks out of the ball joints needs to be scaled to .8 mm without making the ball bigger. What you do is select the push pull tool and then select all four outside faces on the ball joint and pull out .3 mm. Your ball joint should now be fixed.
The sword blade and hilt was also to small so I just scaled the blade and hilt out some.
The hands wall thickness in the front was also too small so I used the push pull tool and pulled it back .4mm then pulled the face across from it back .4mm.
The sword blade and hilt was also to small so I just scaled the blade and hilt out some.
The hands wall thickness in the front was also too small so I used the push pull tool and pulled it back .4mm then pulled the face across from it back .4mm.
Pictures of Test Print
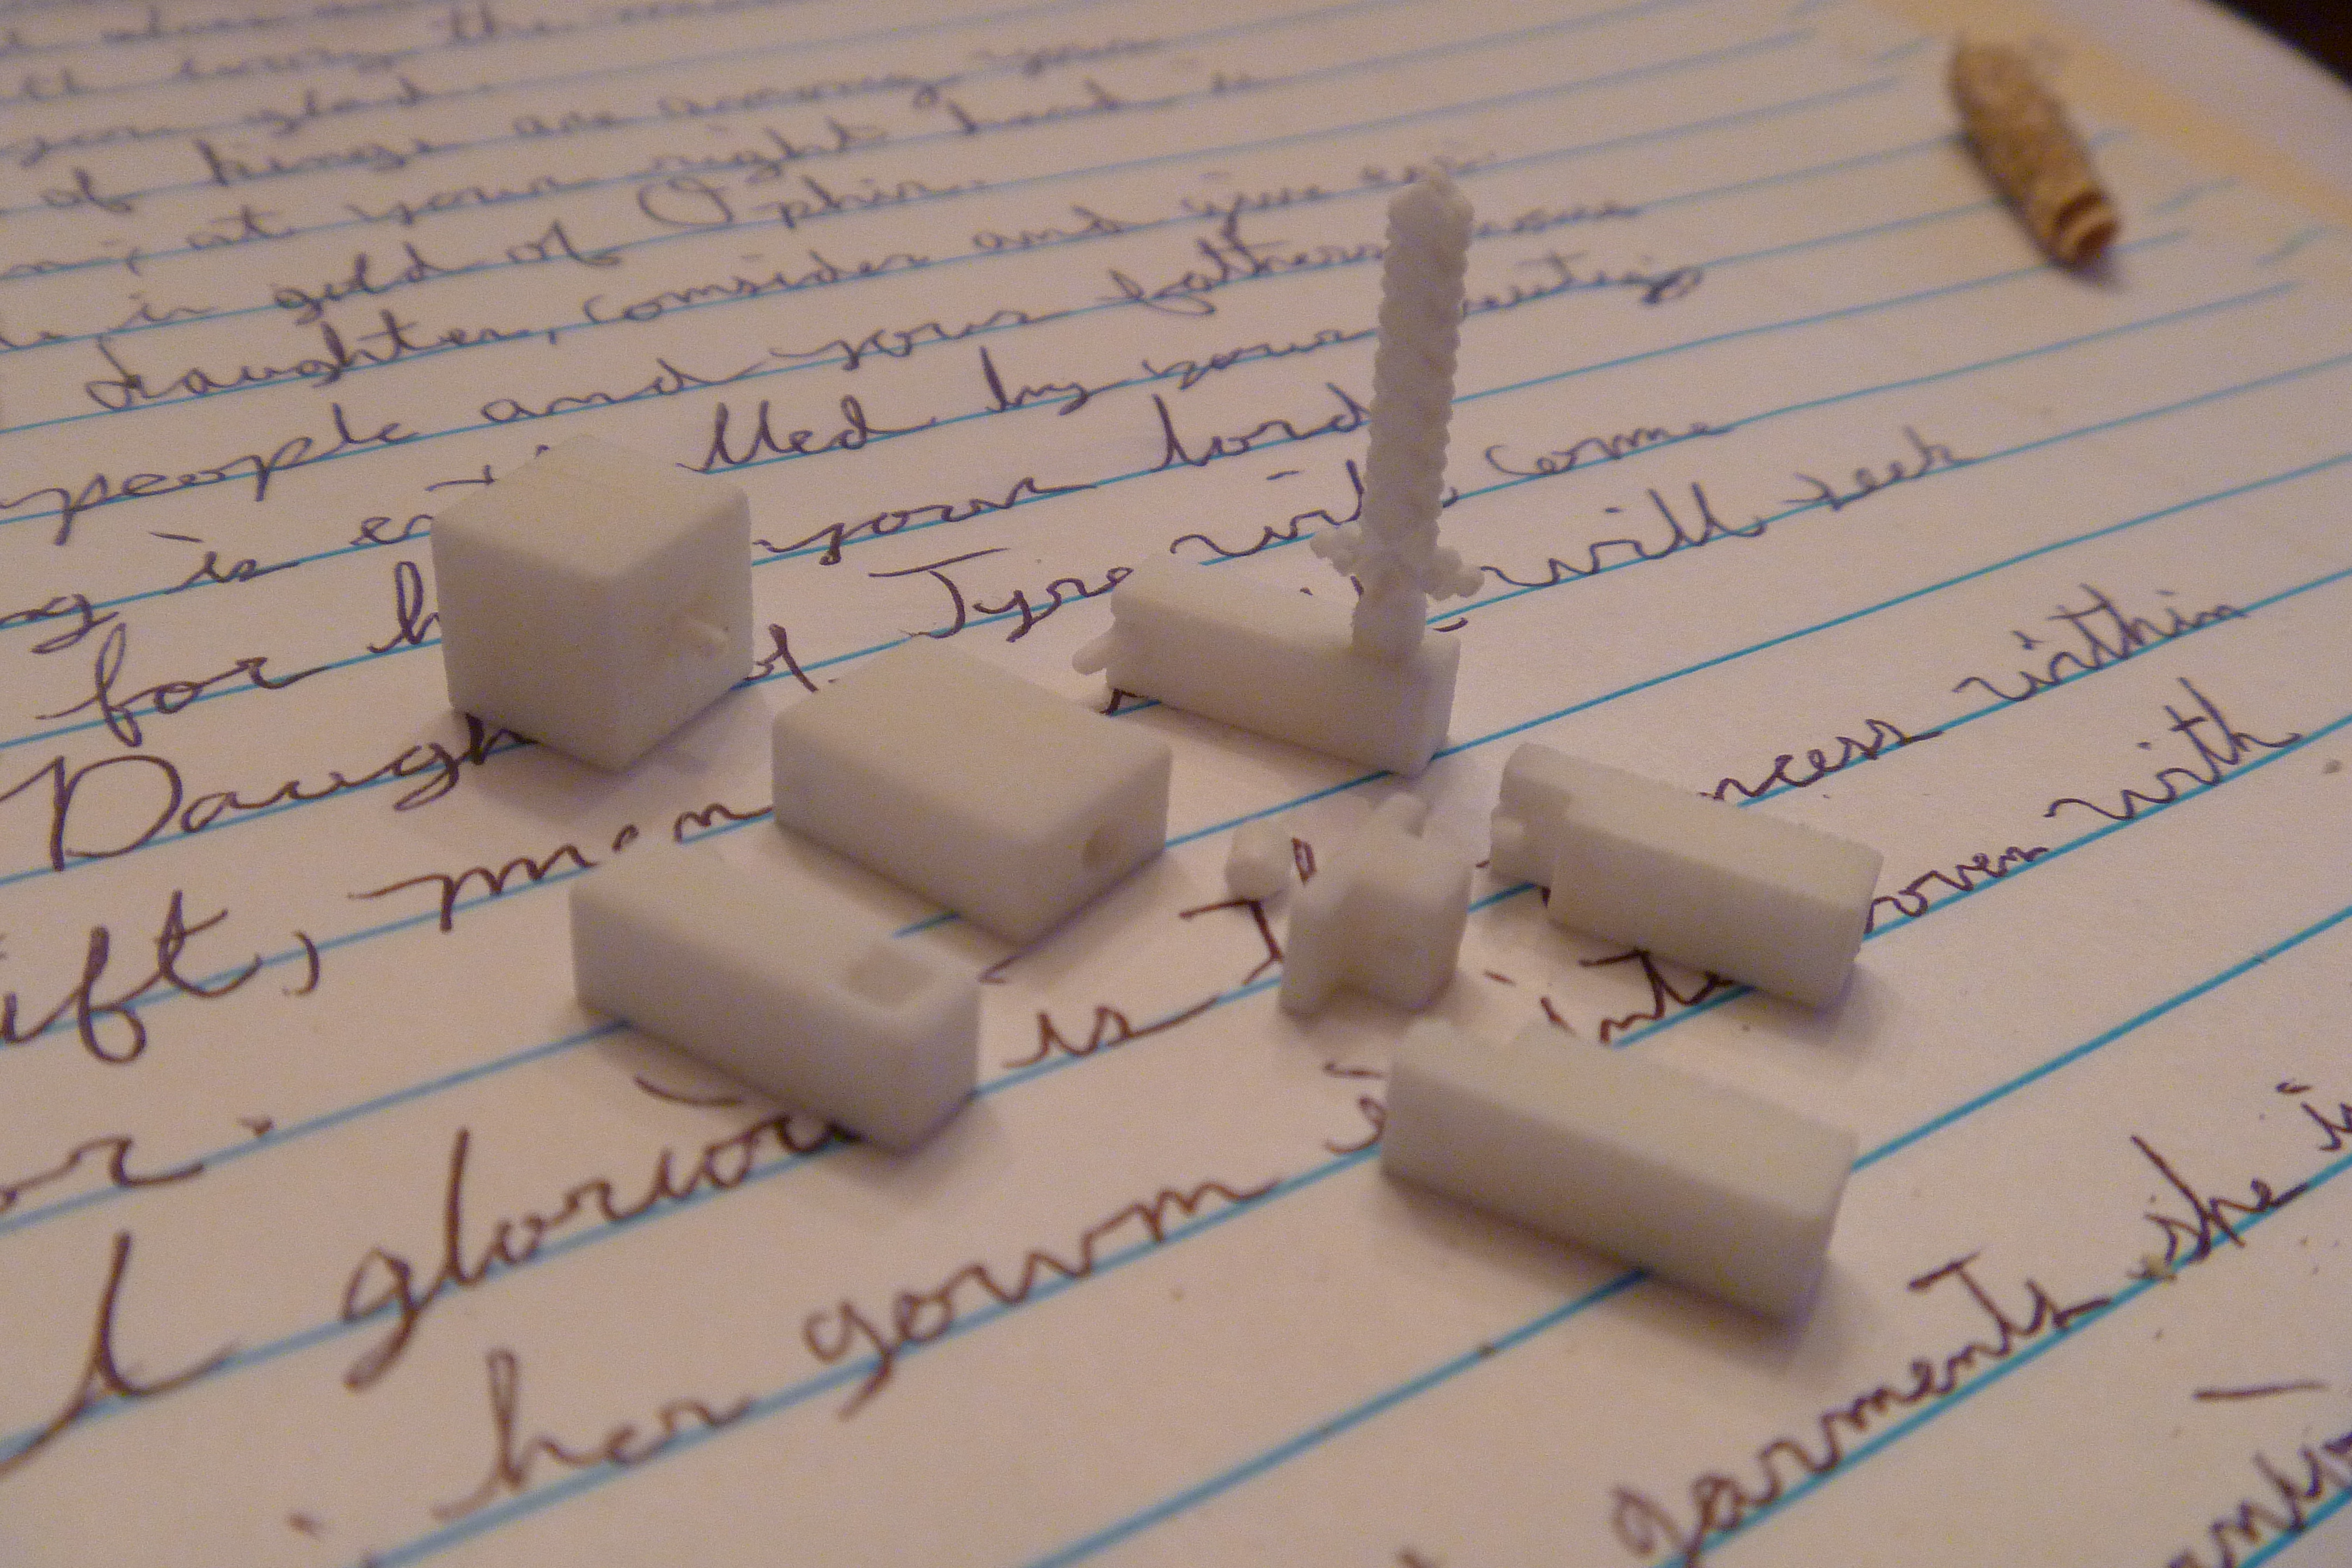
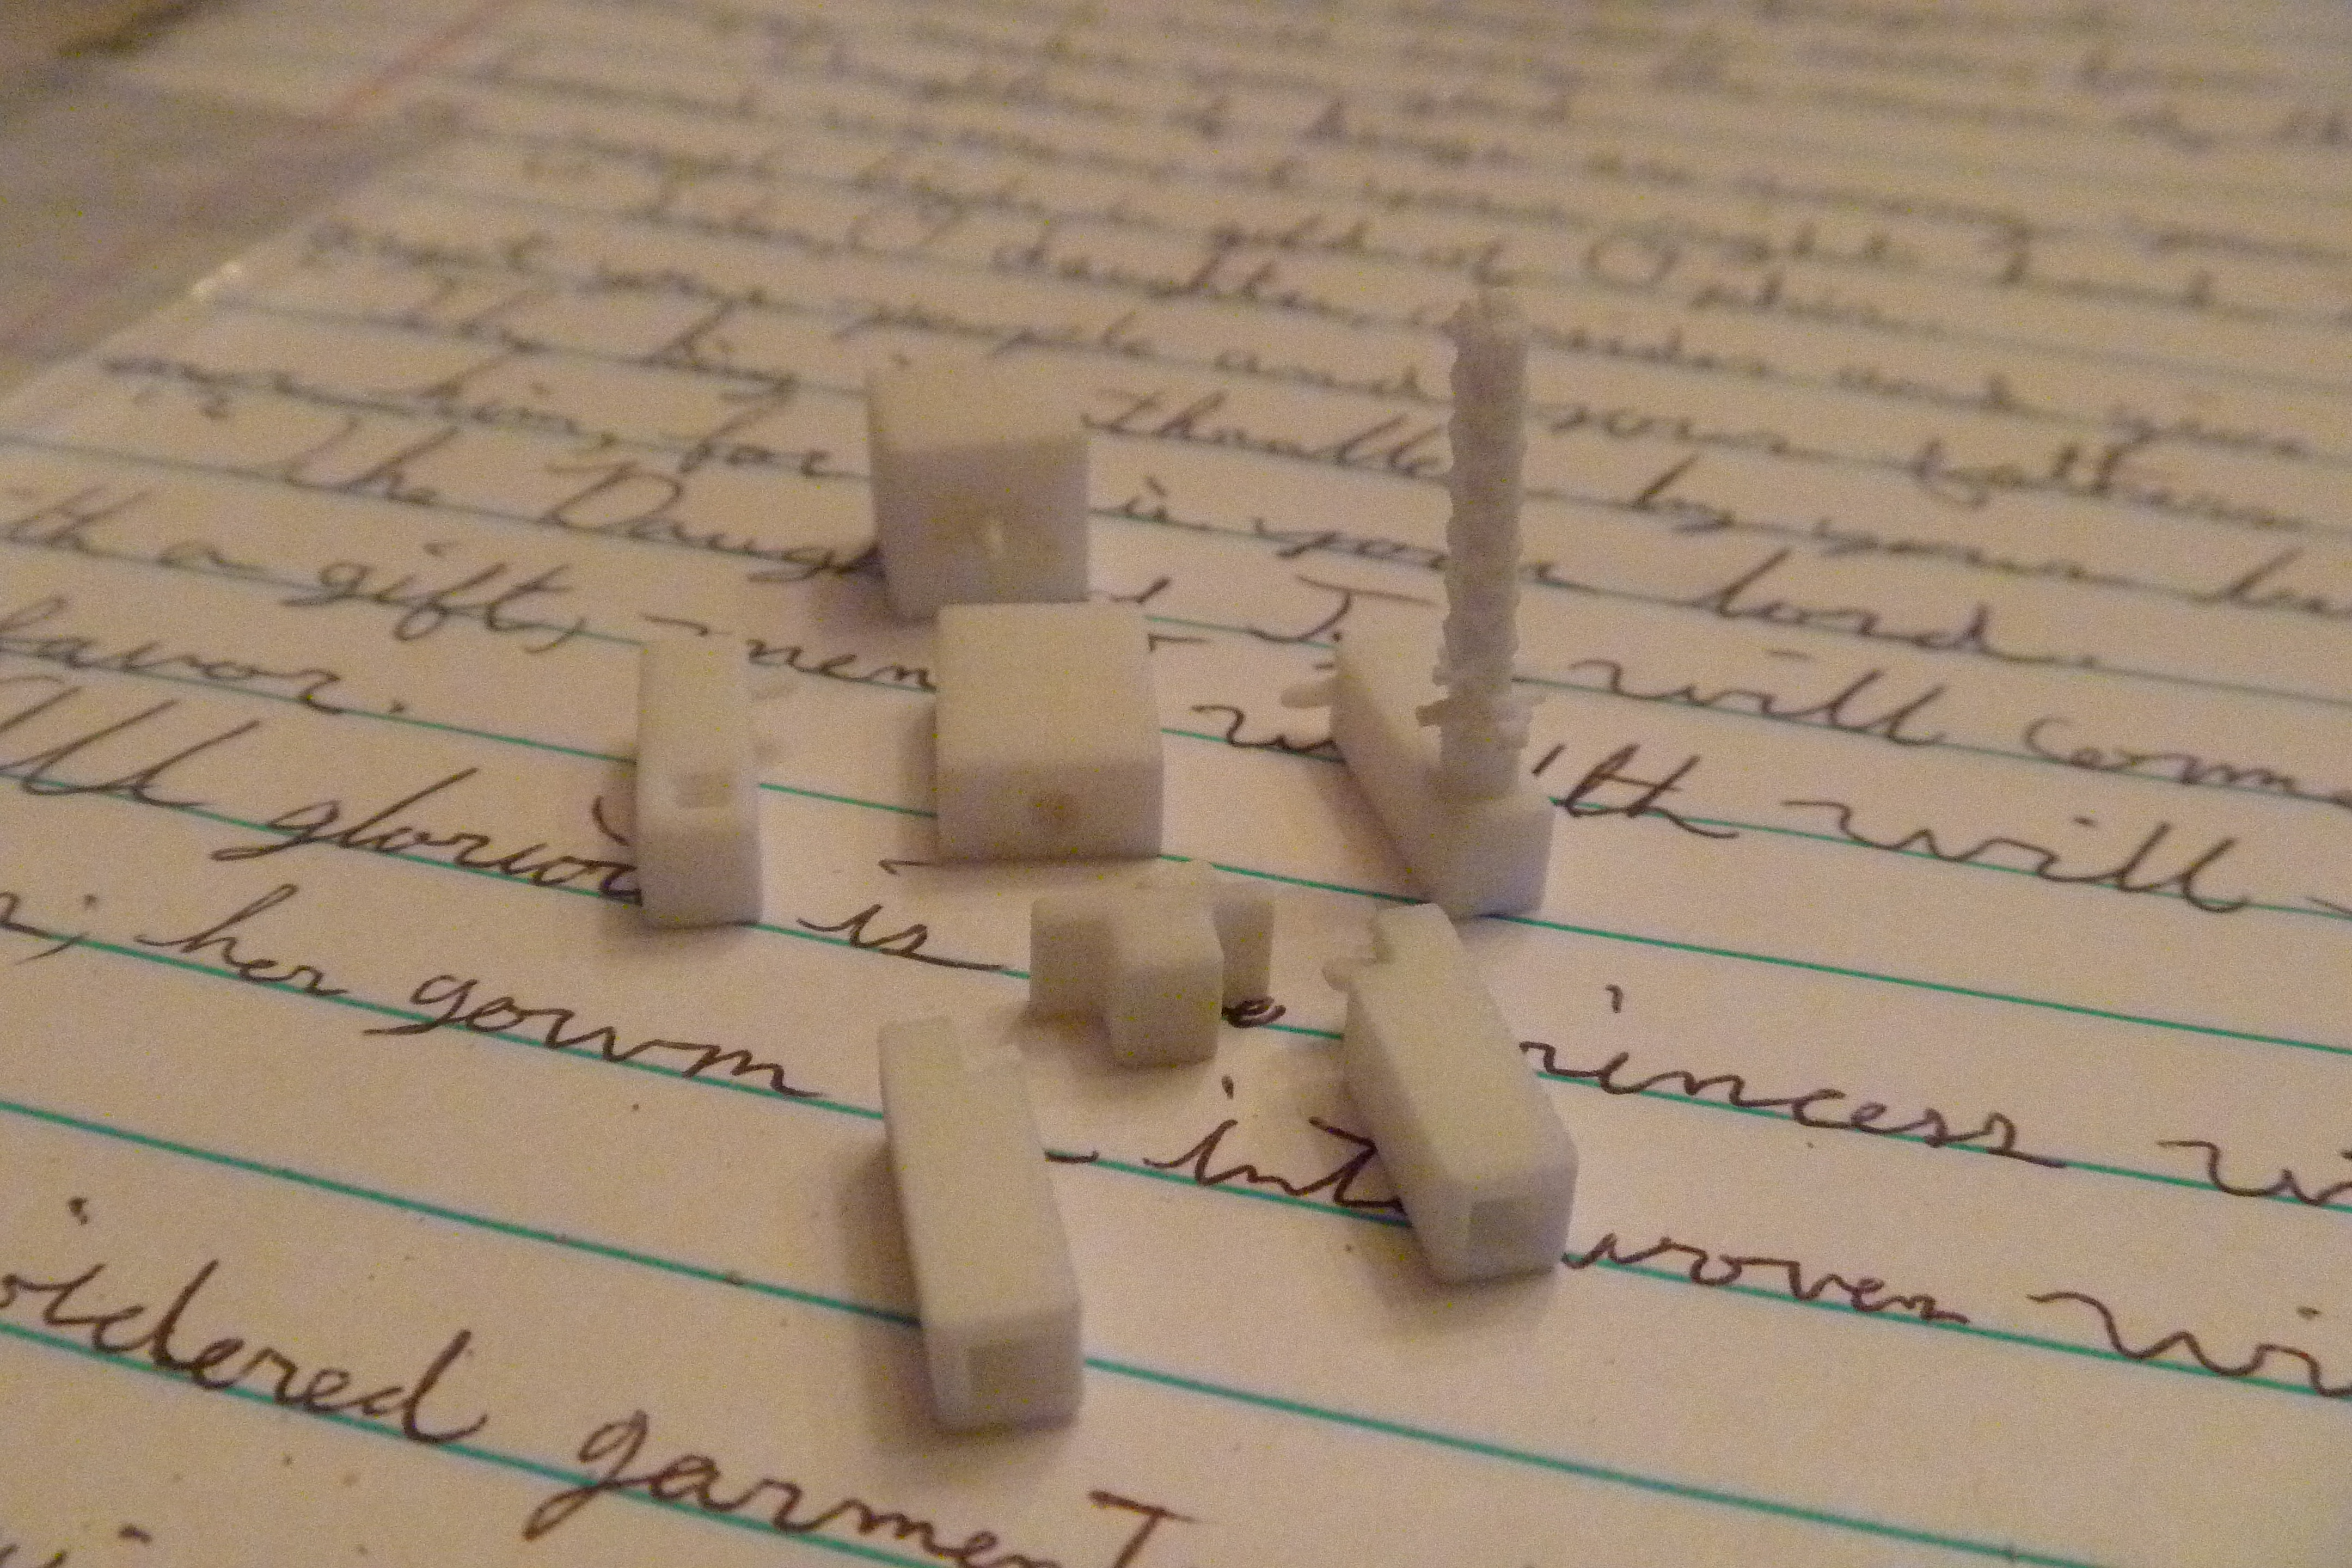
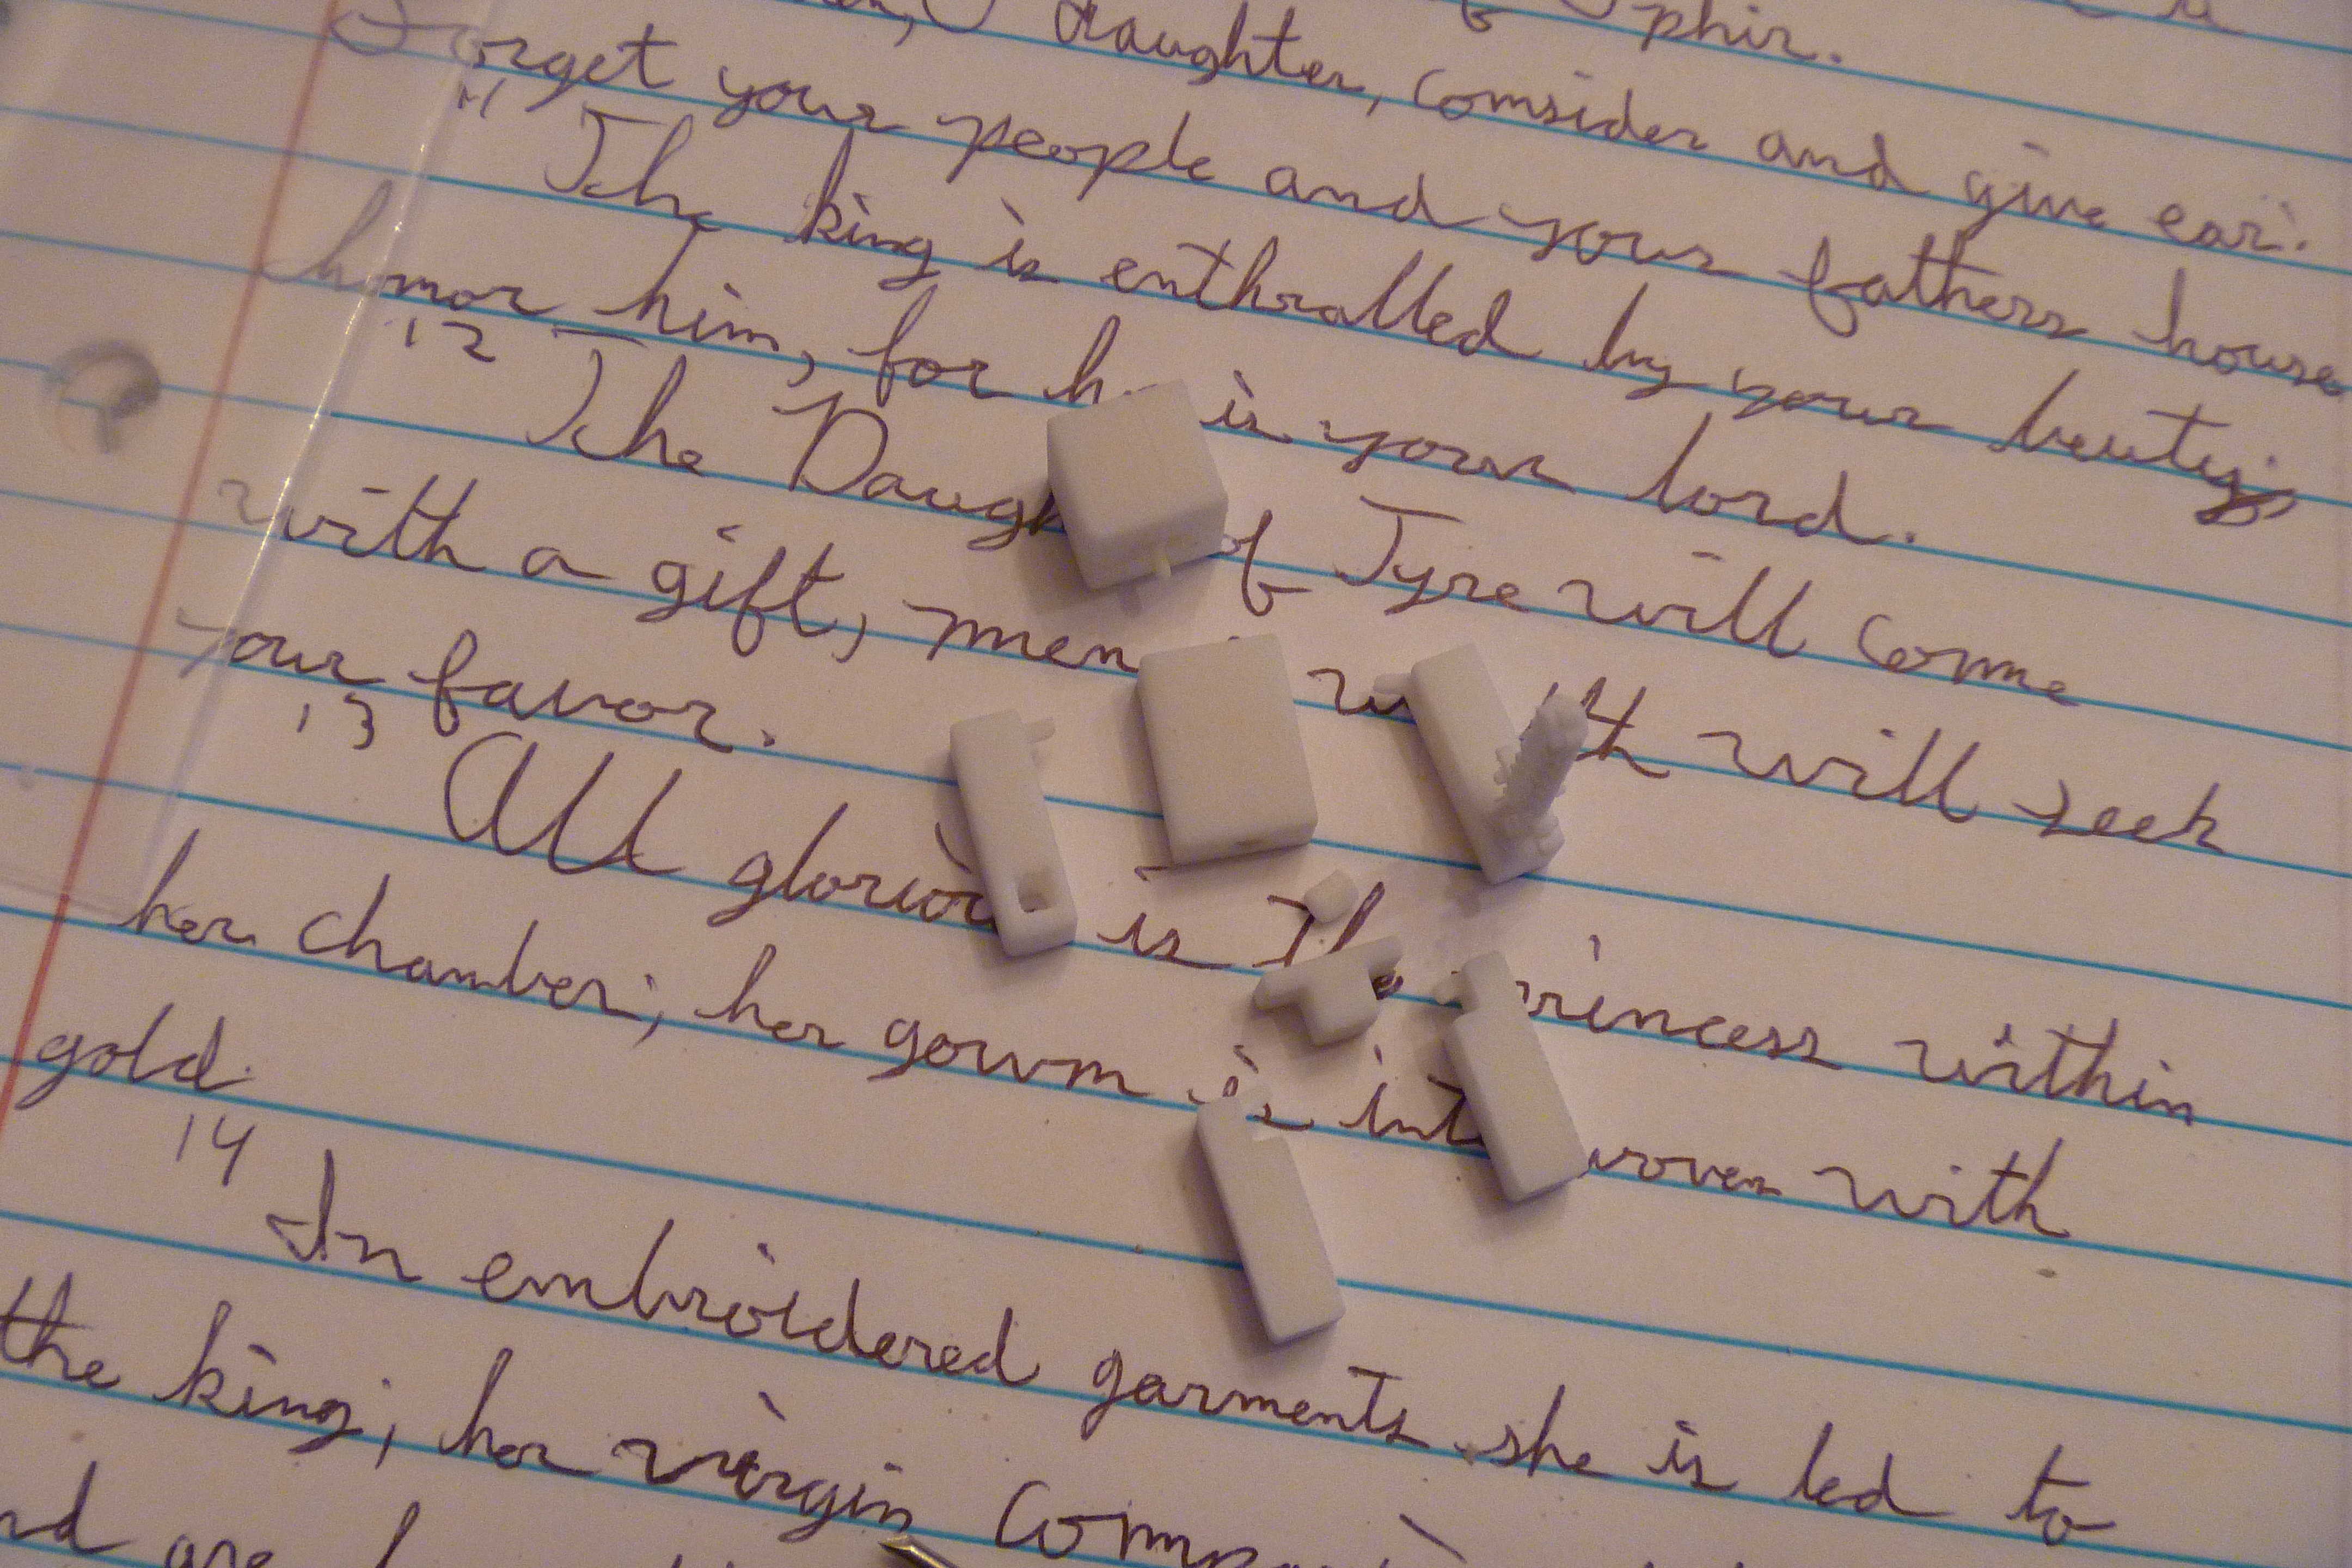
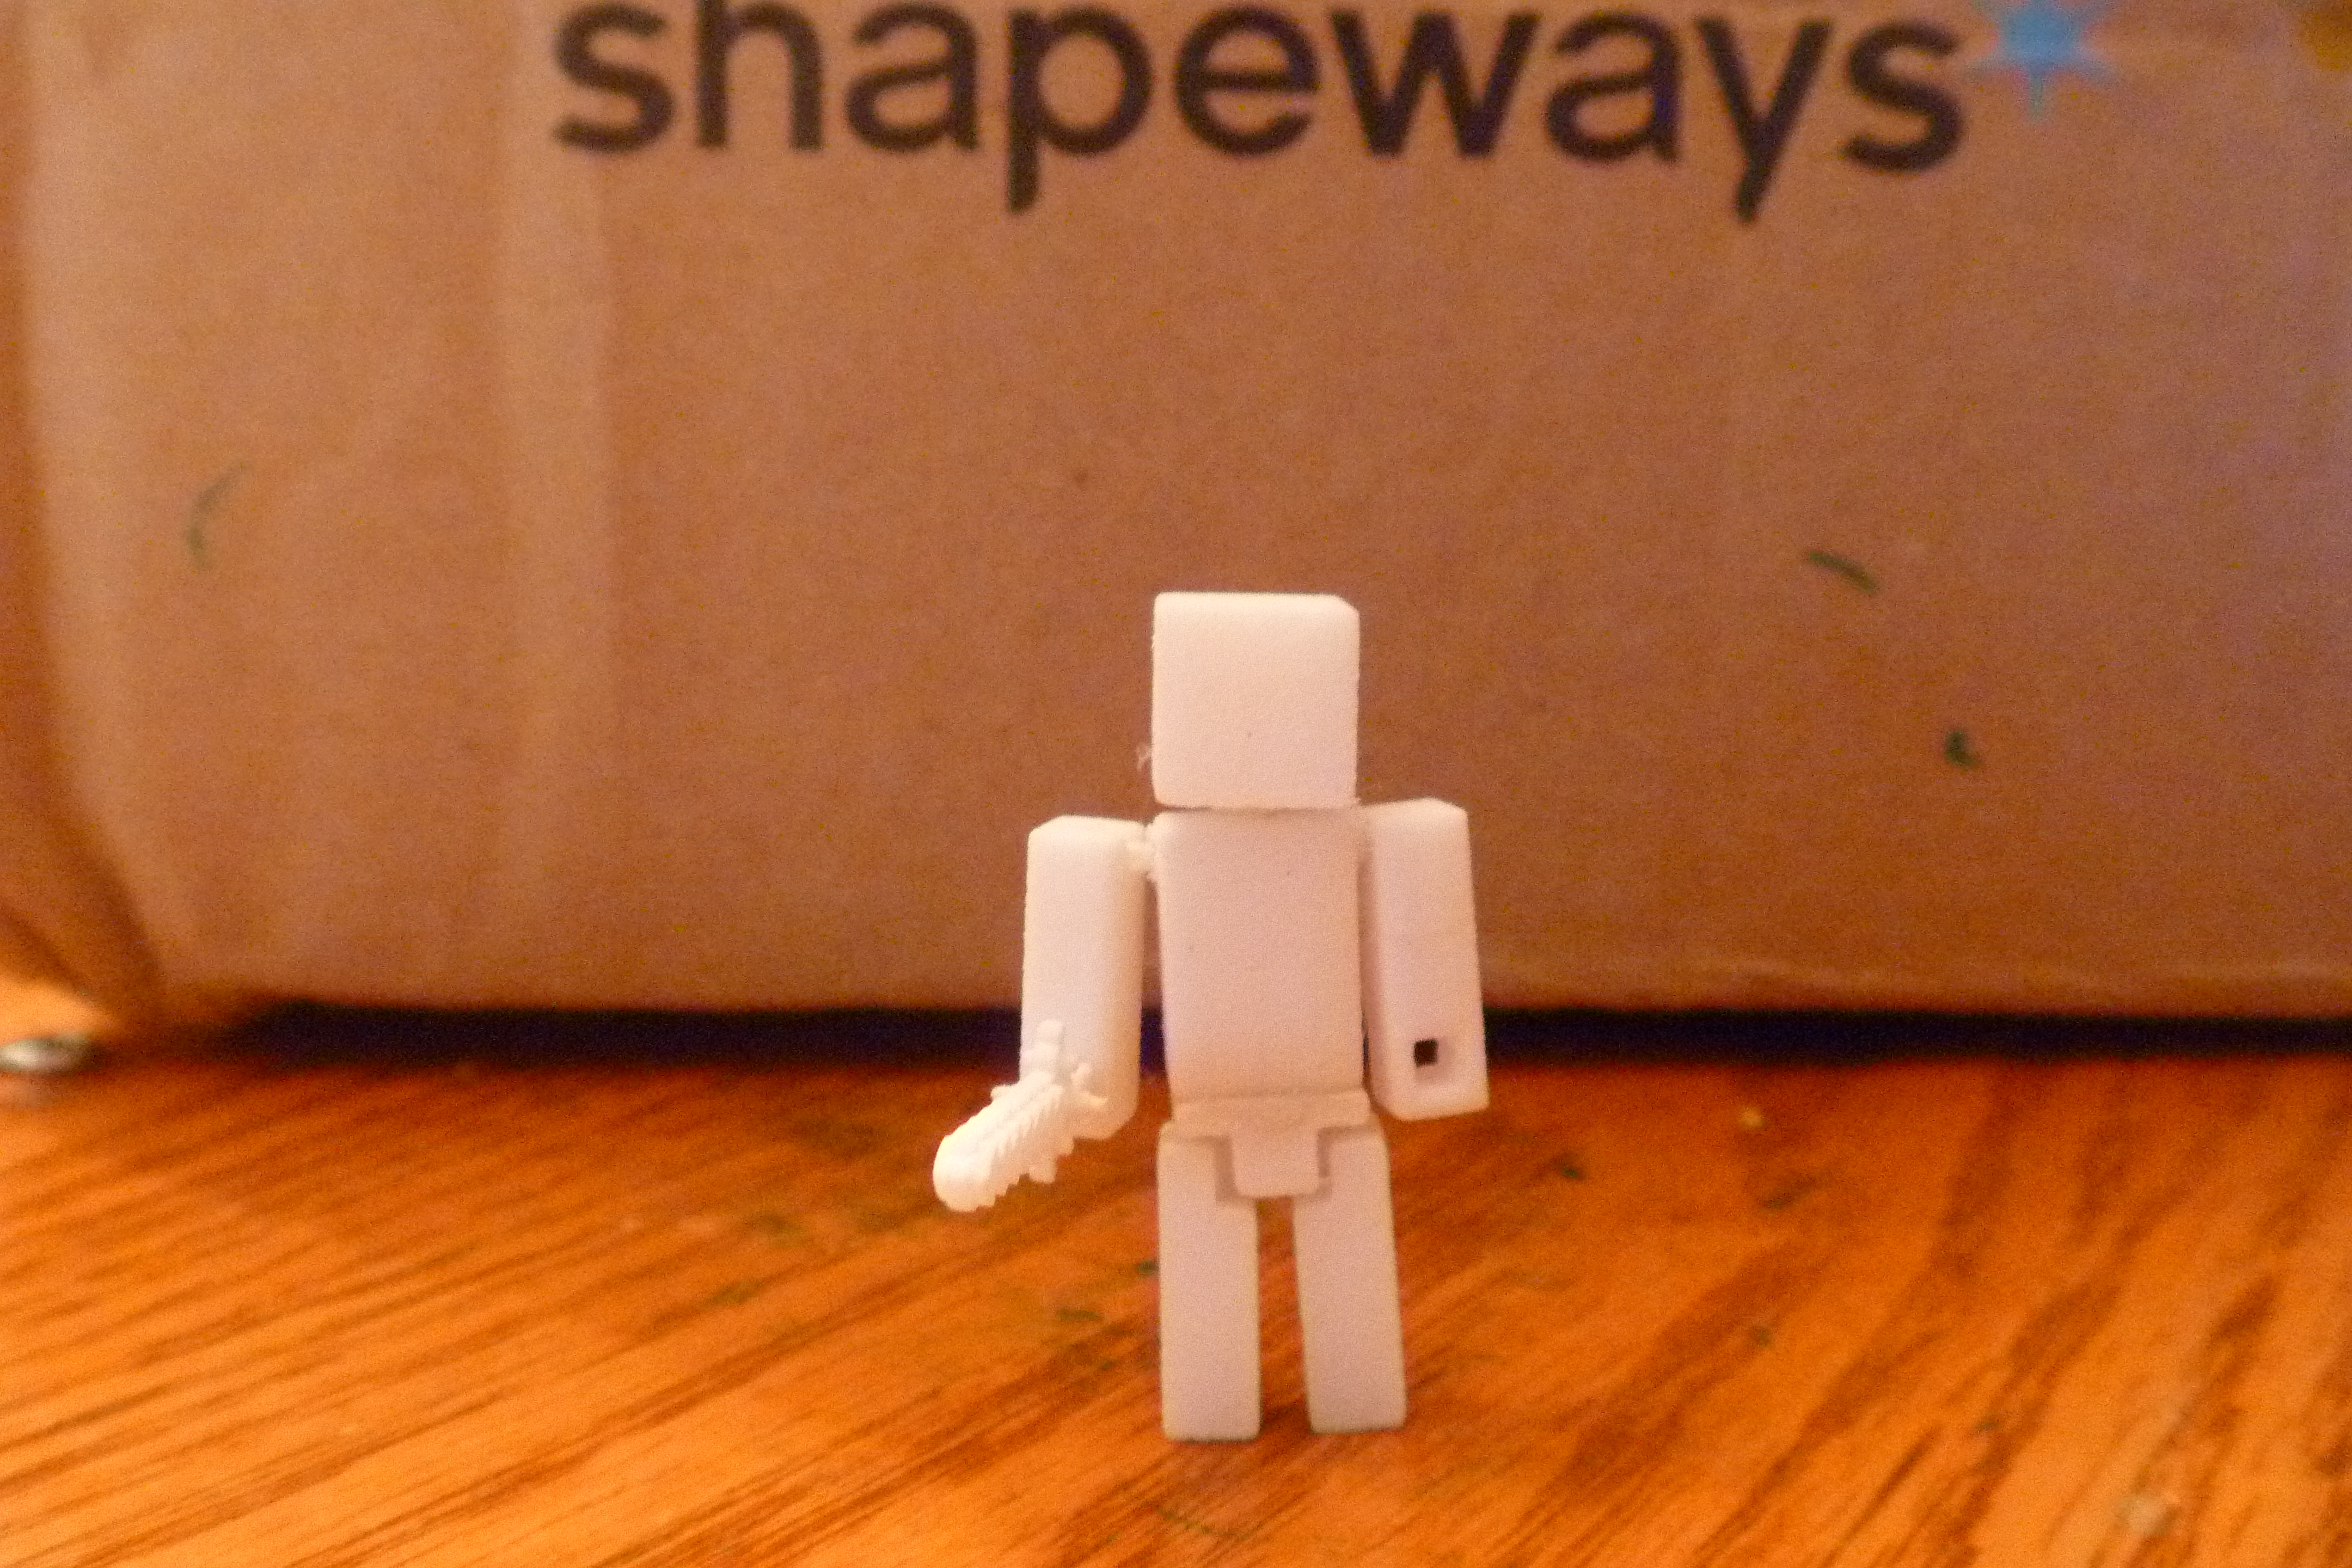
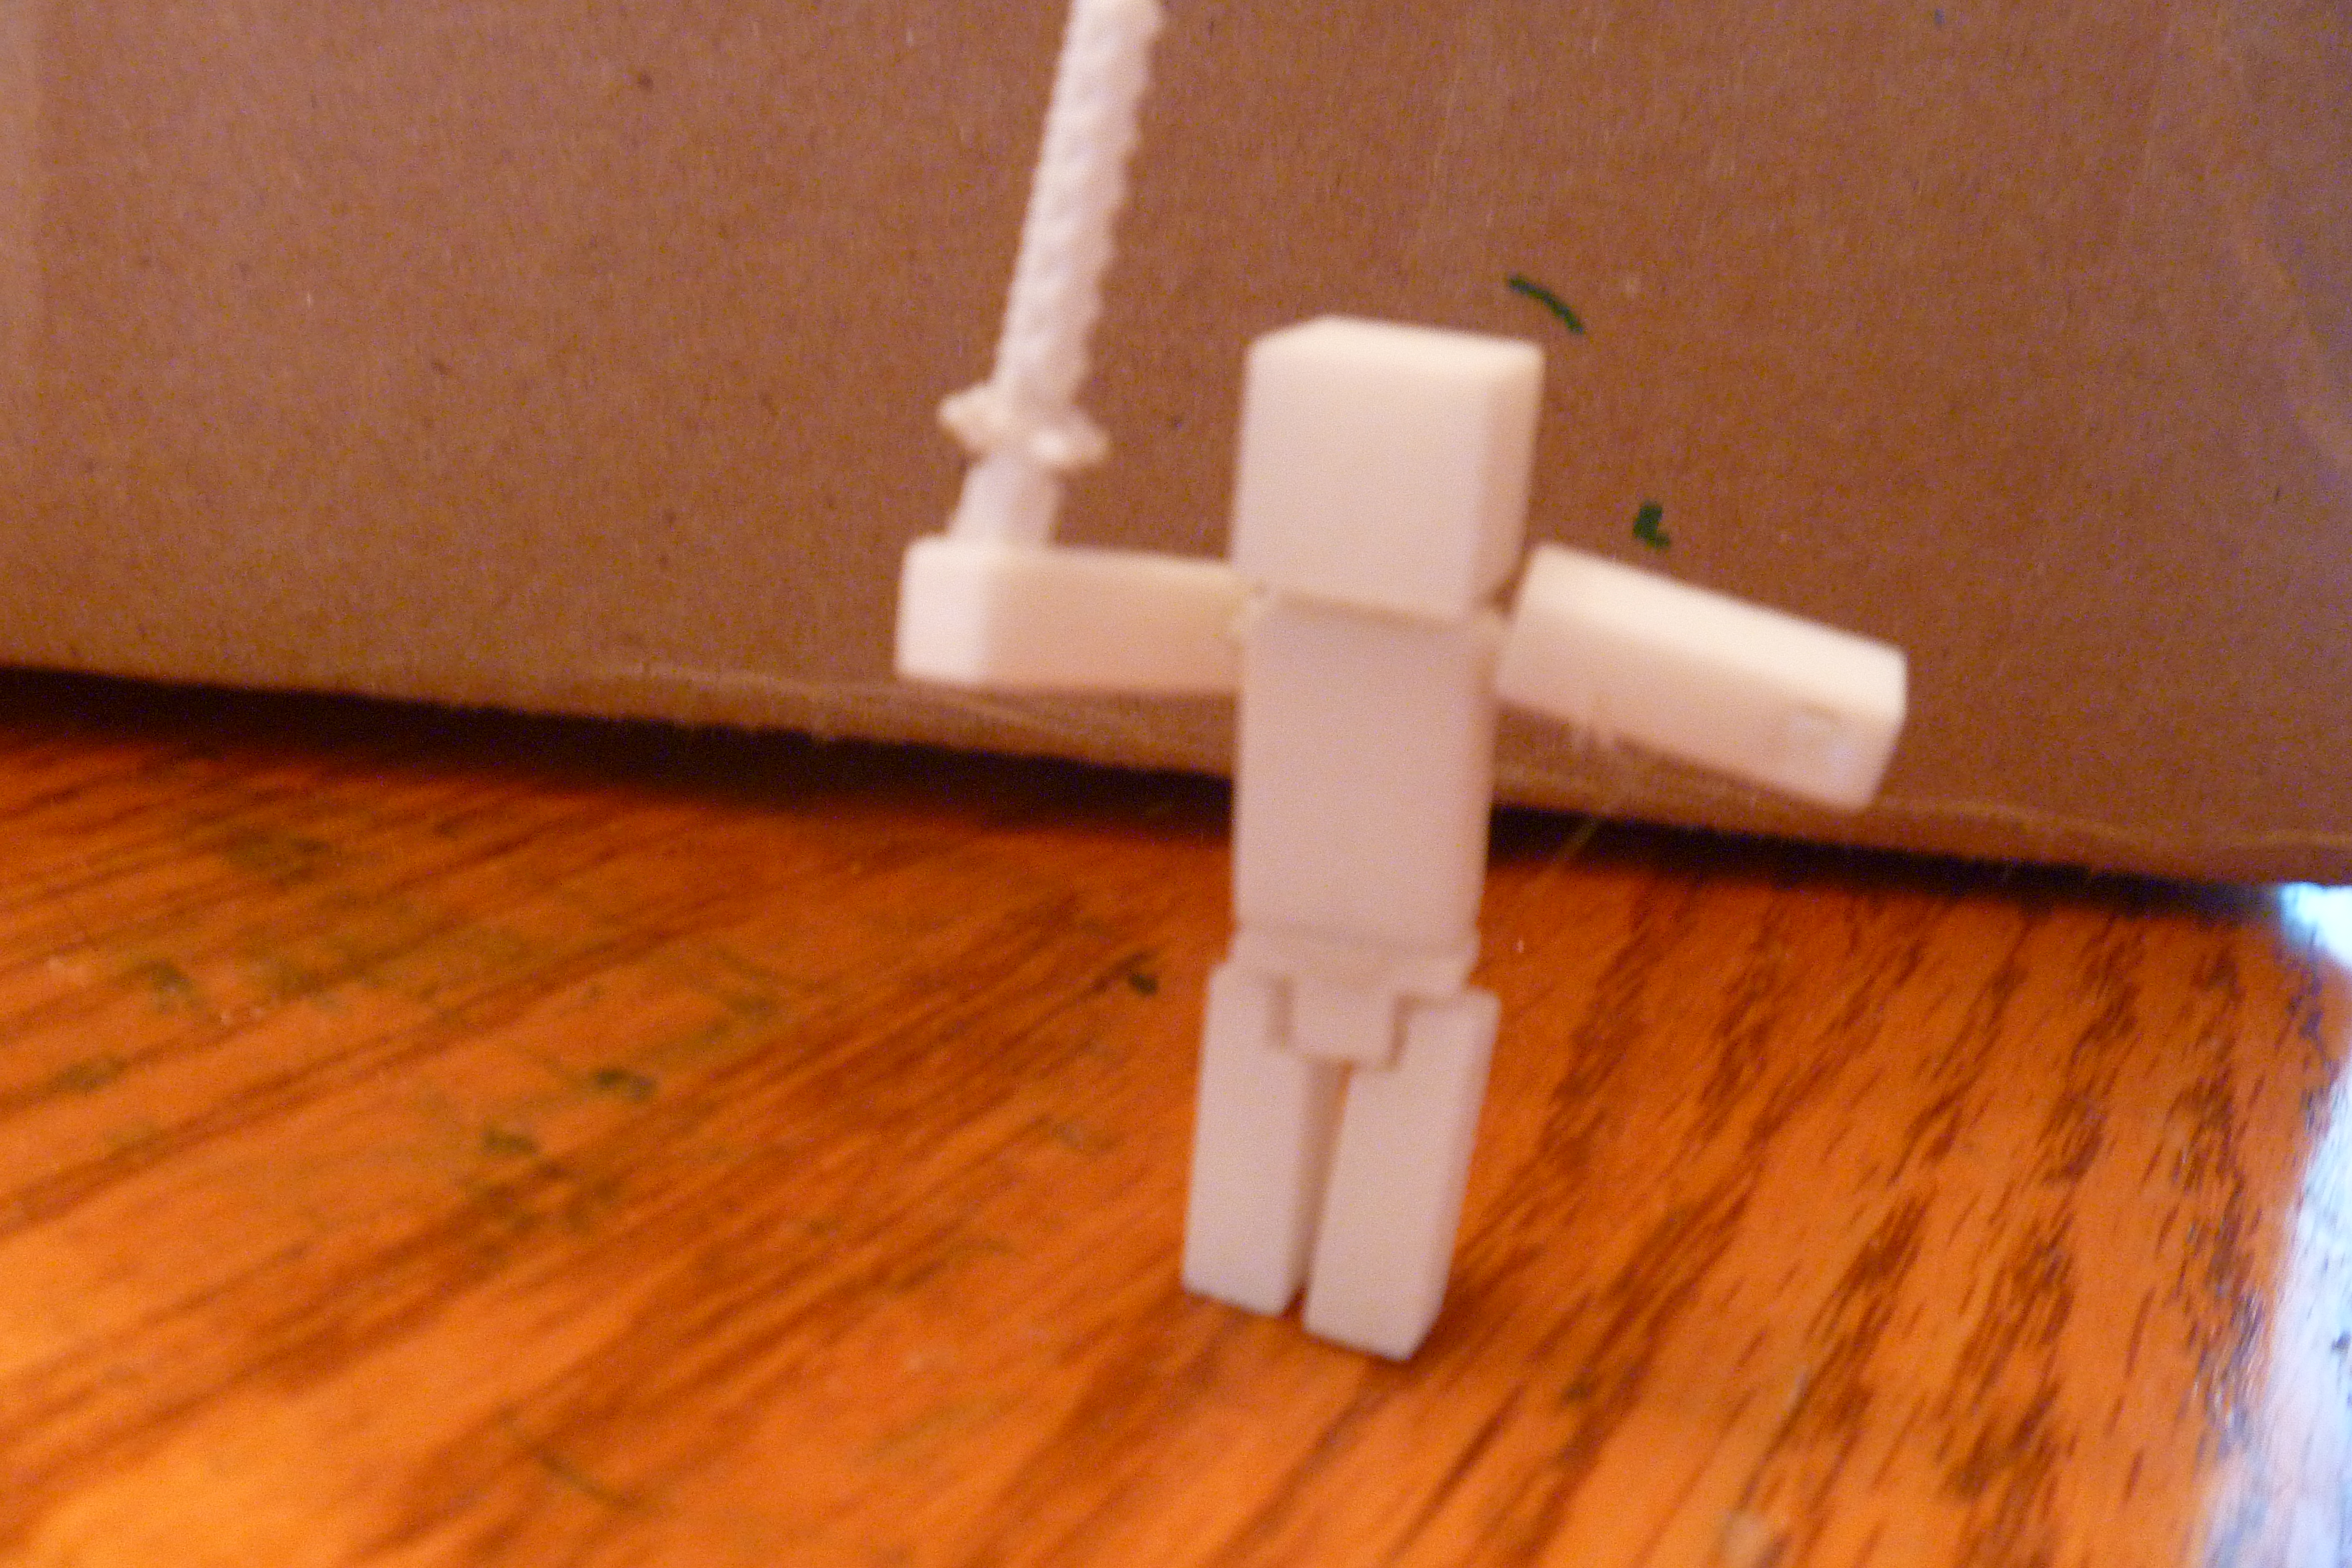
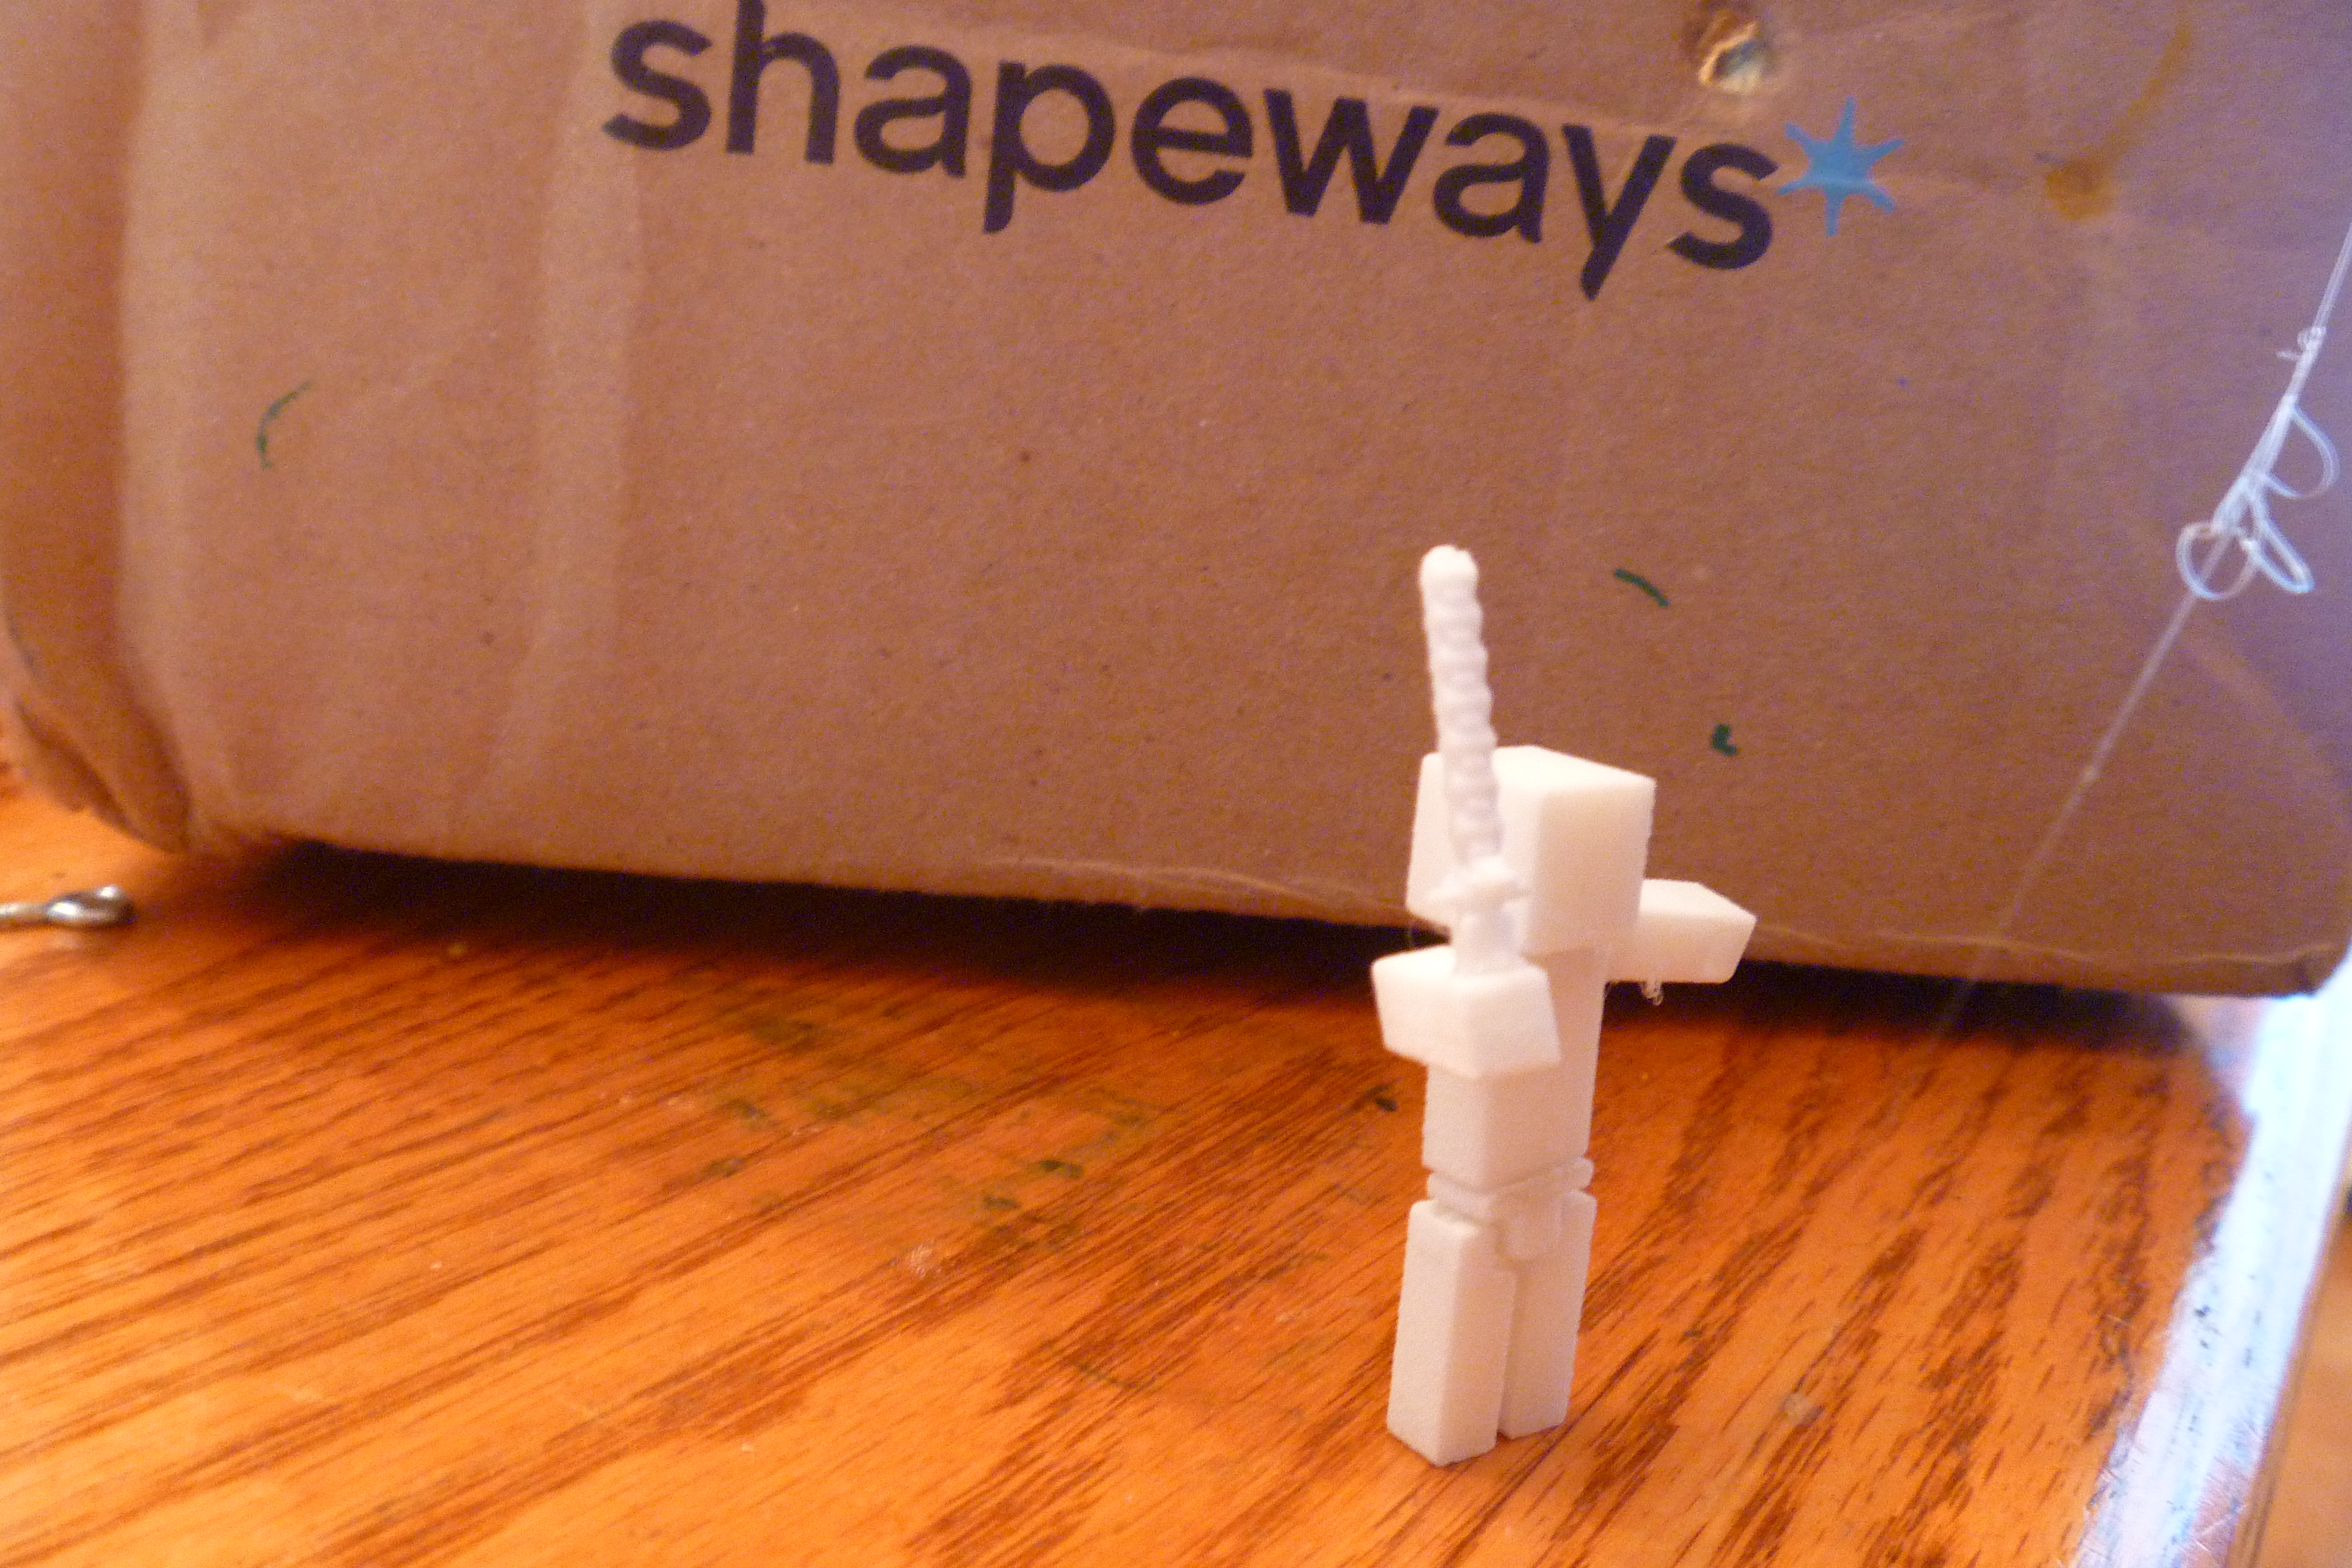
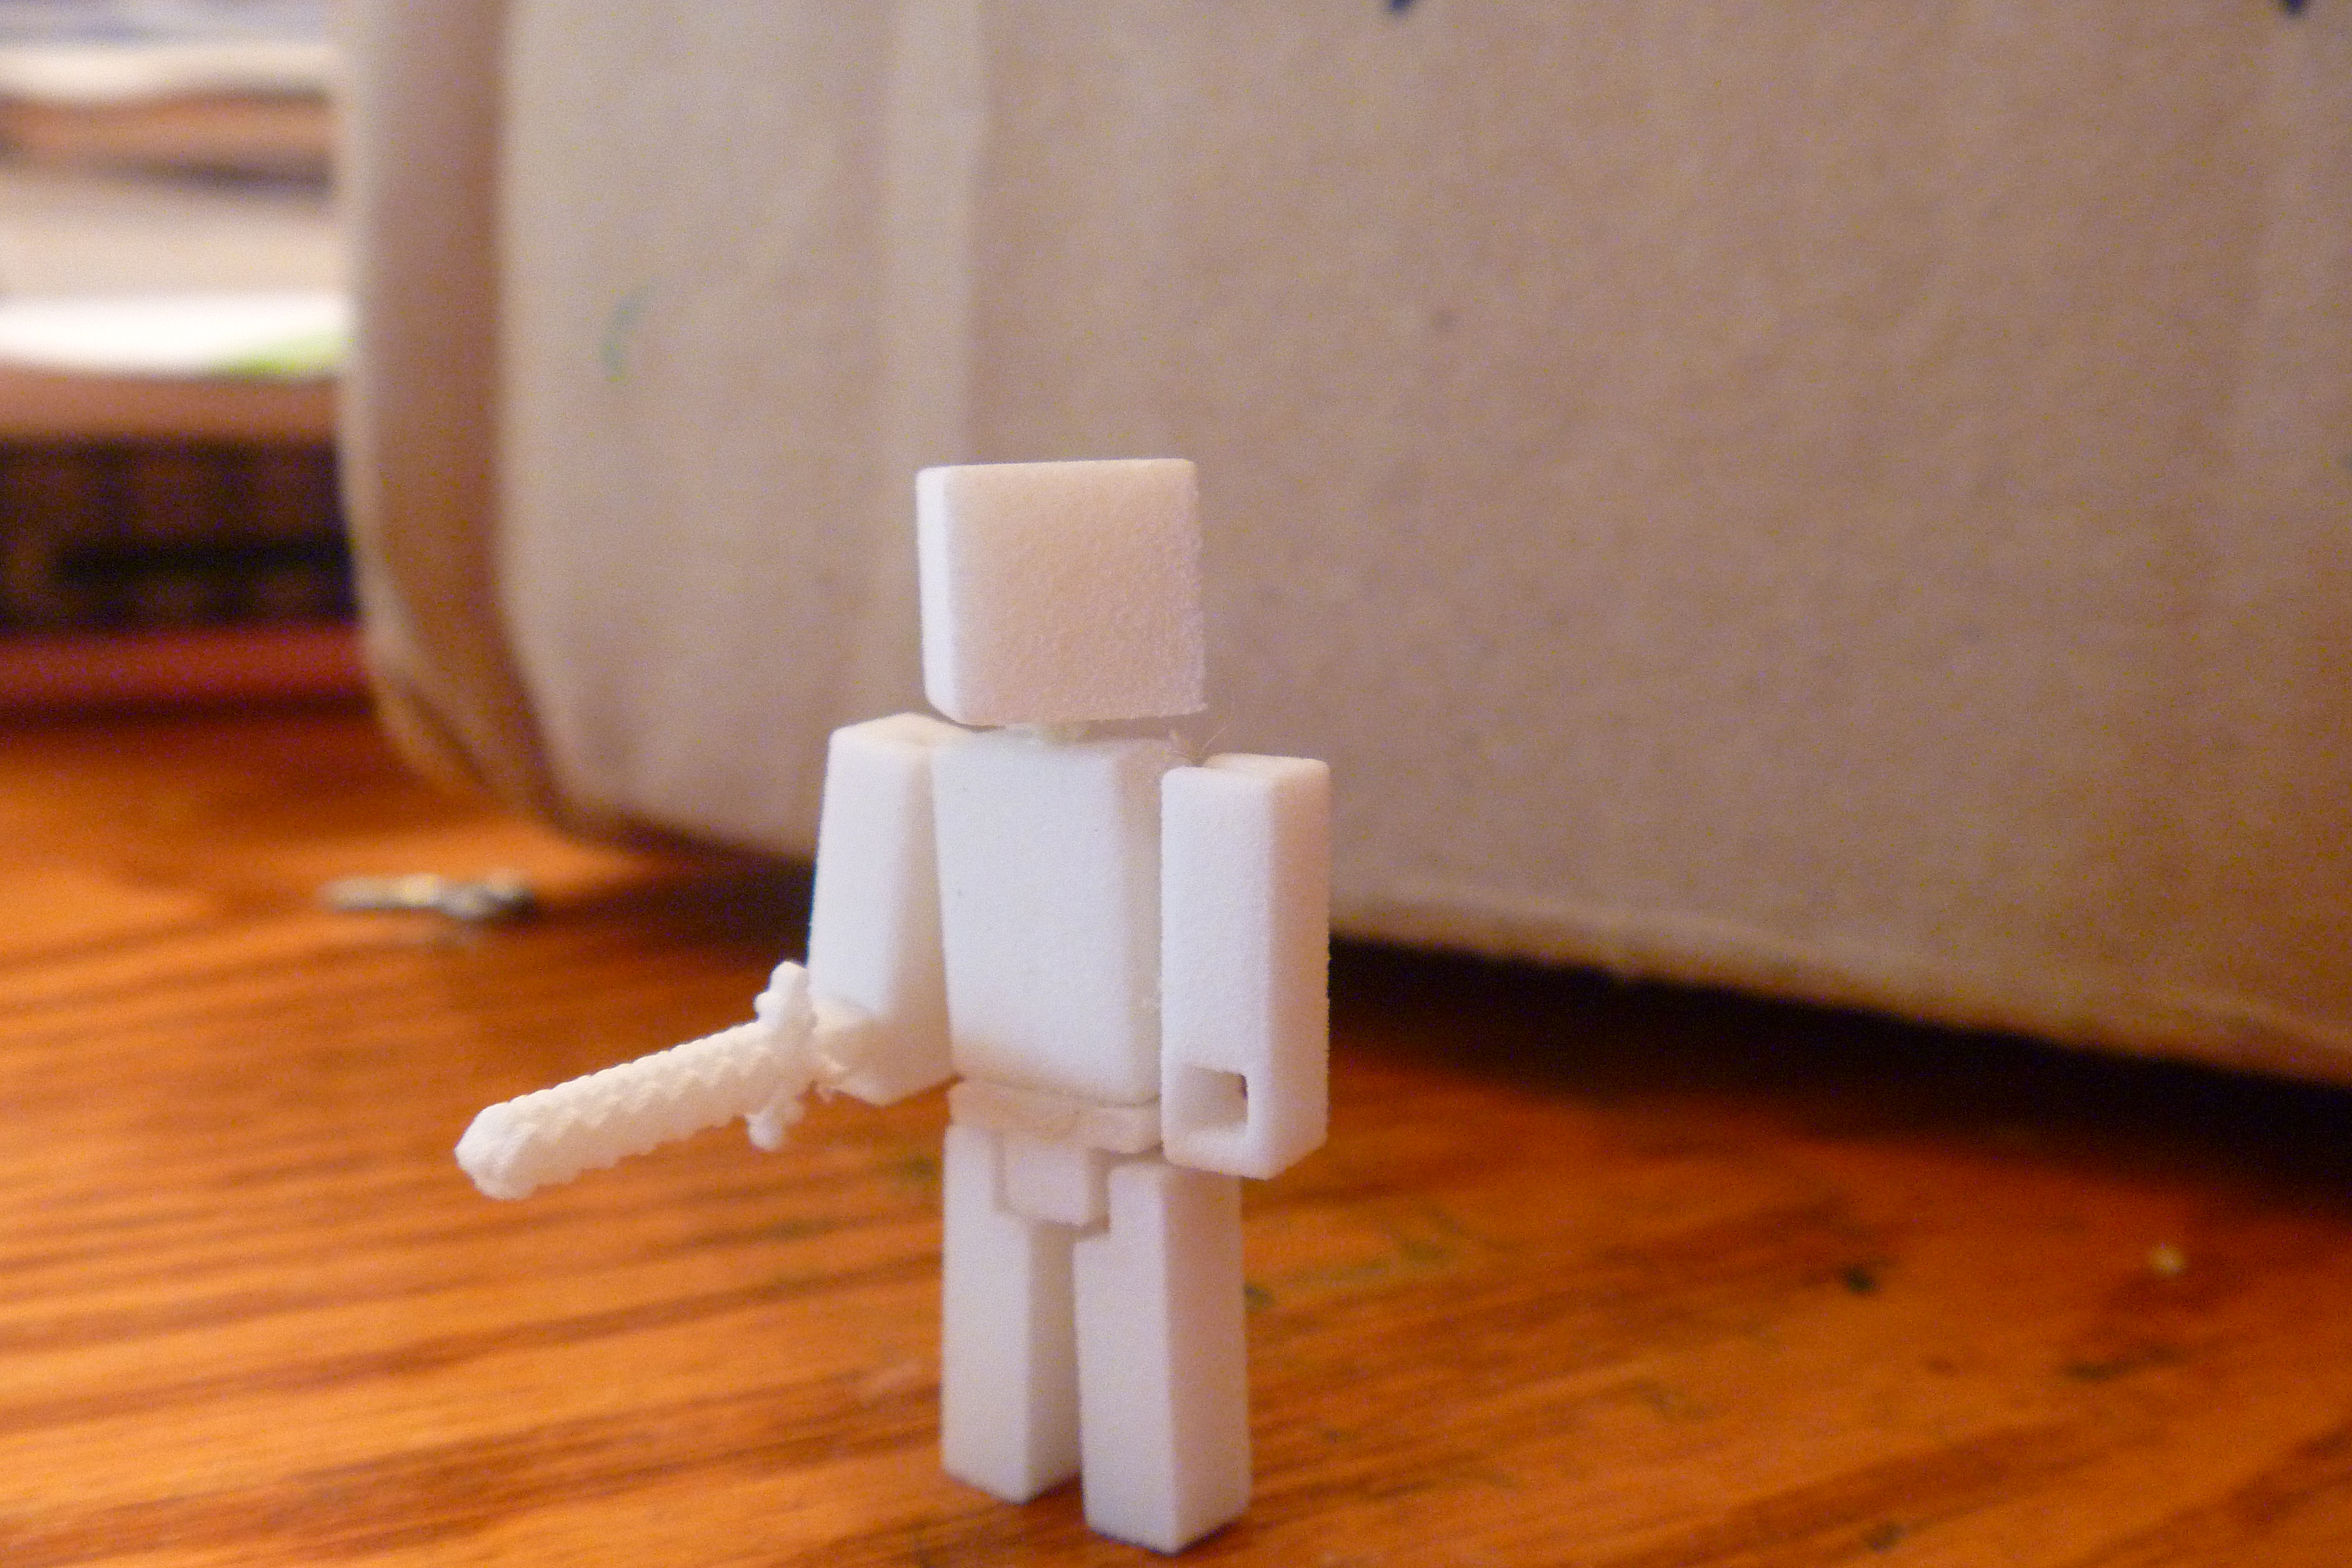
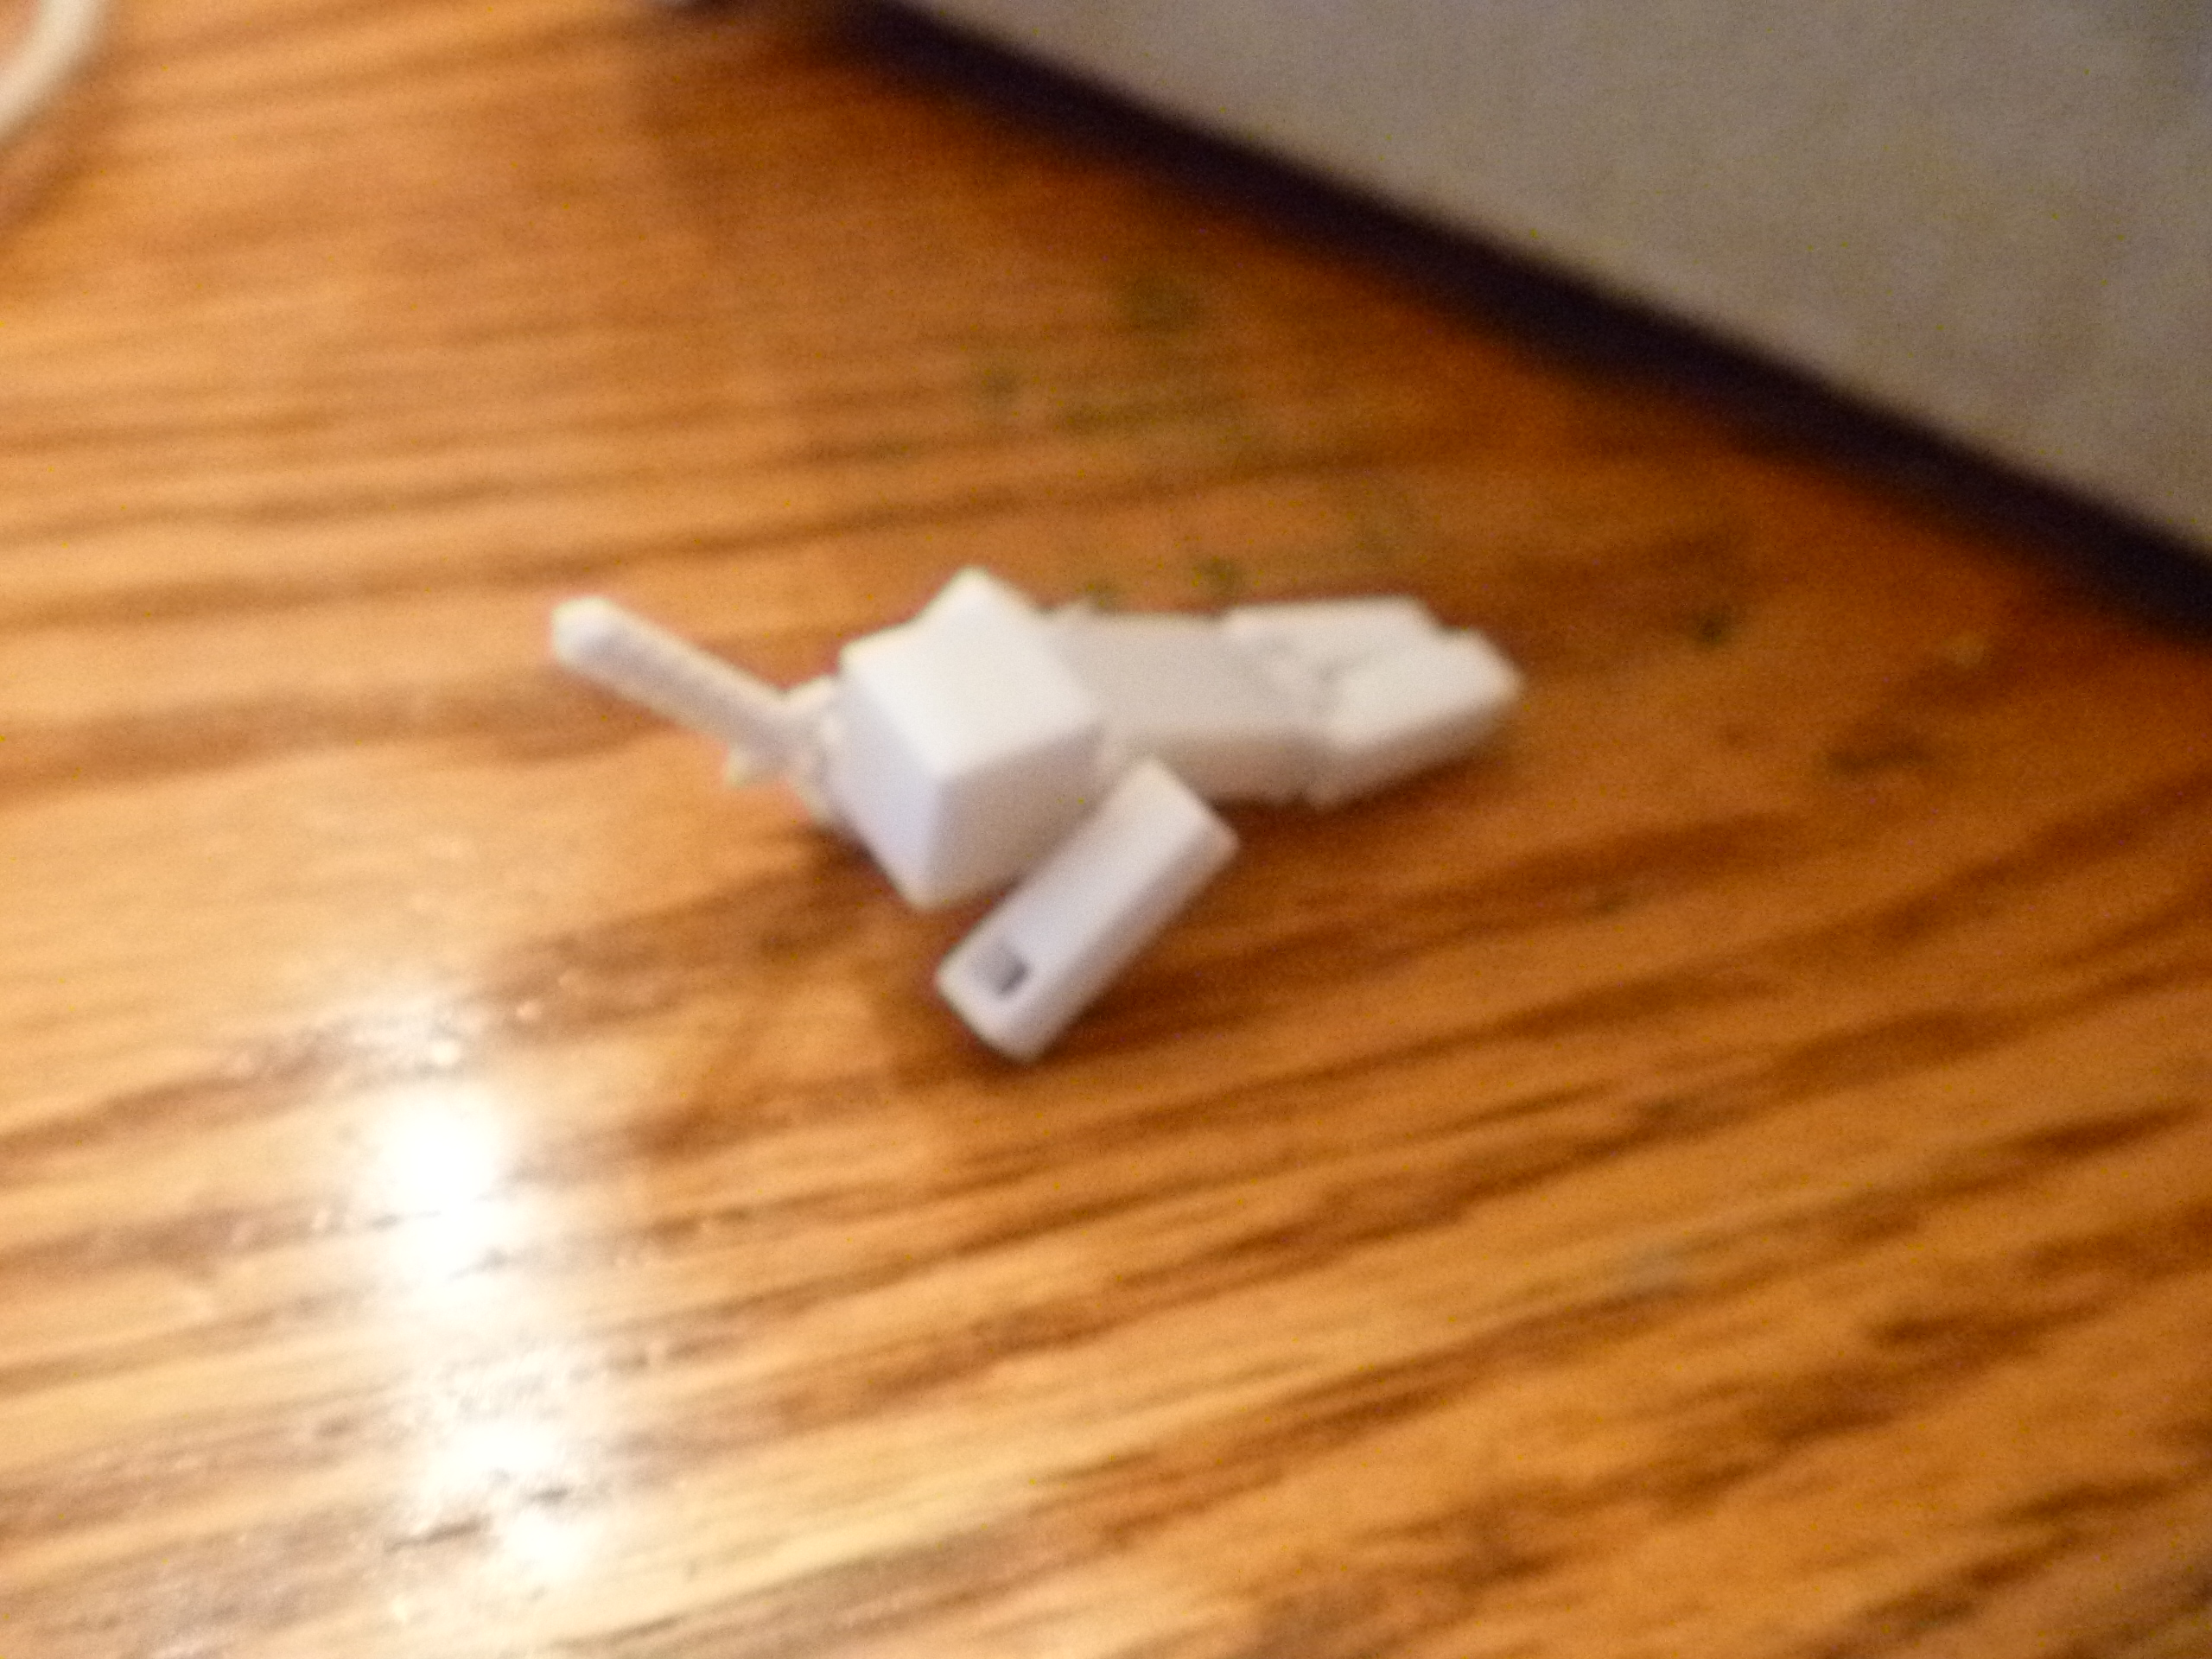
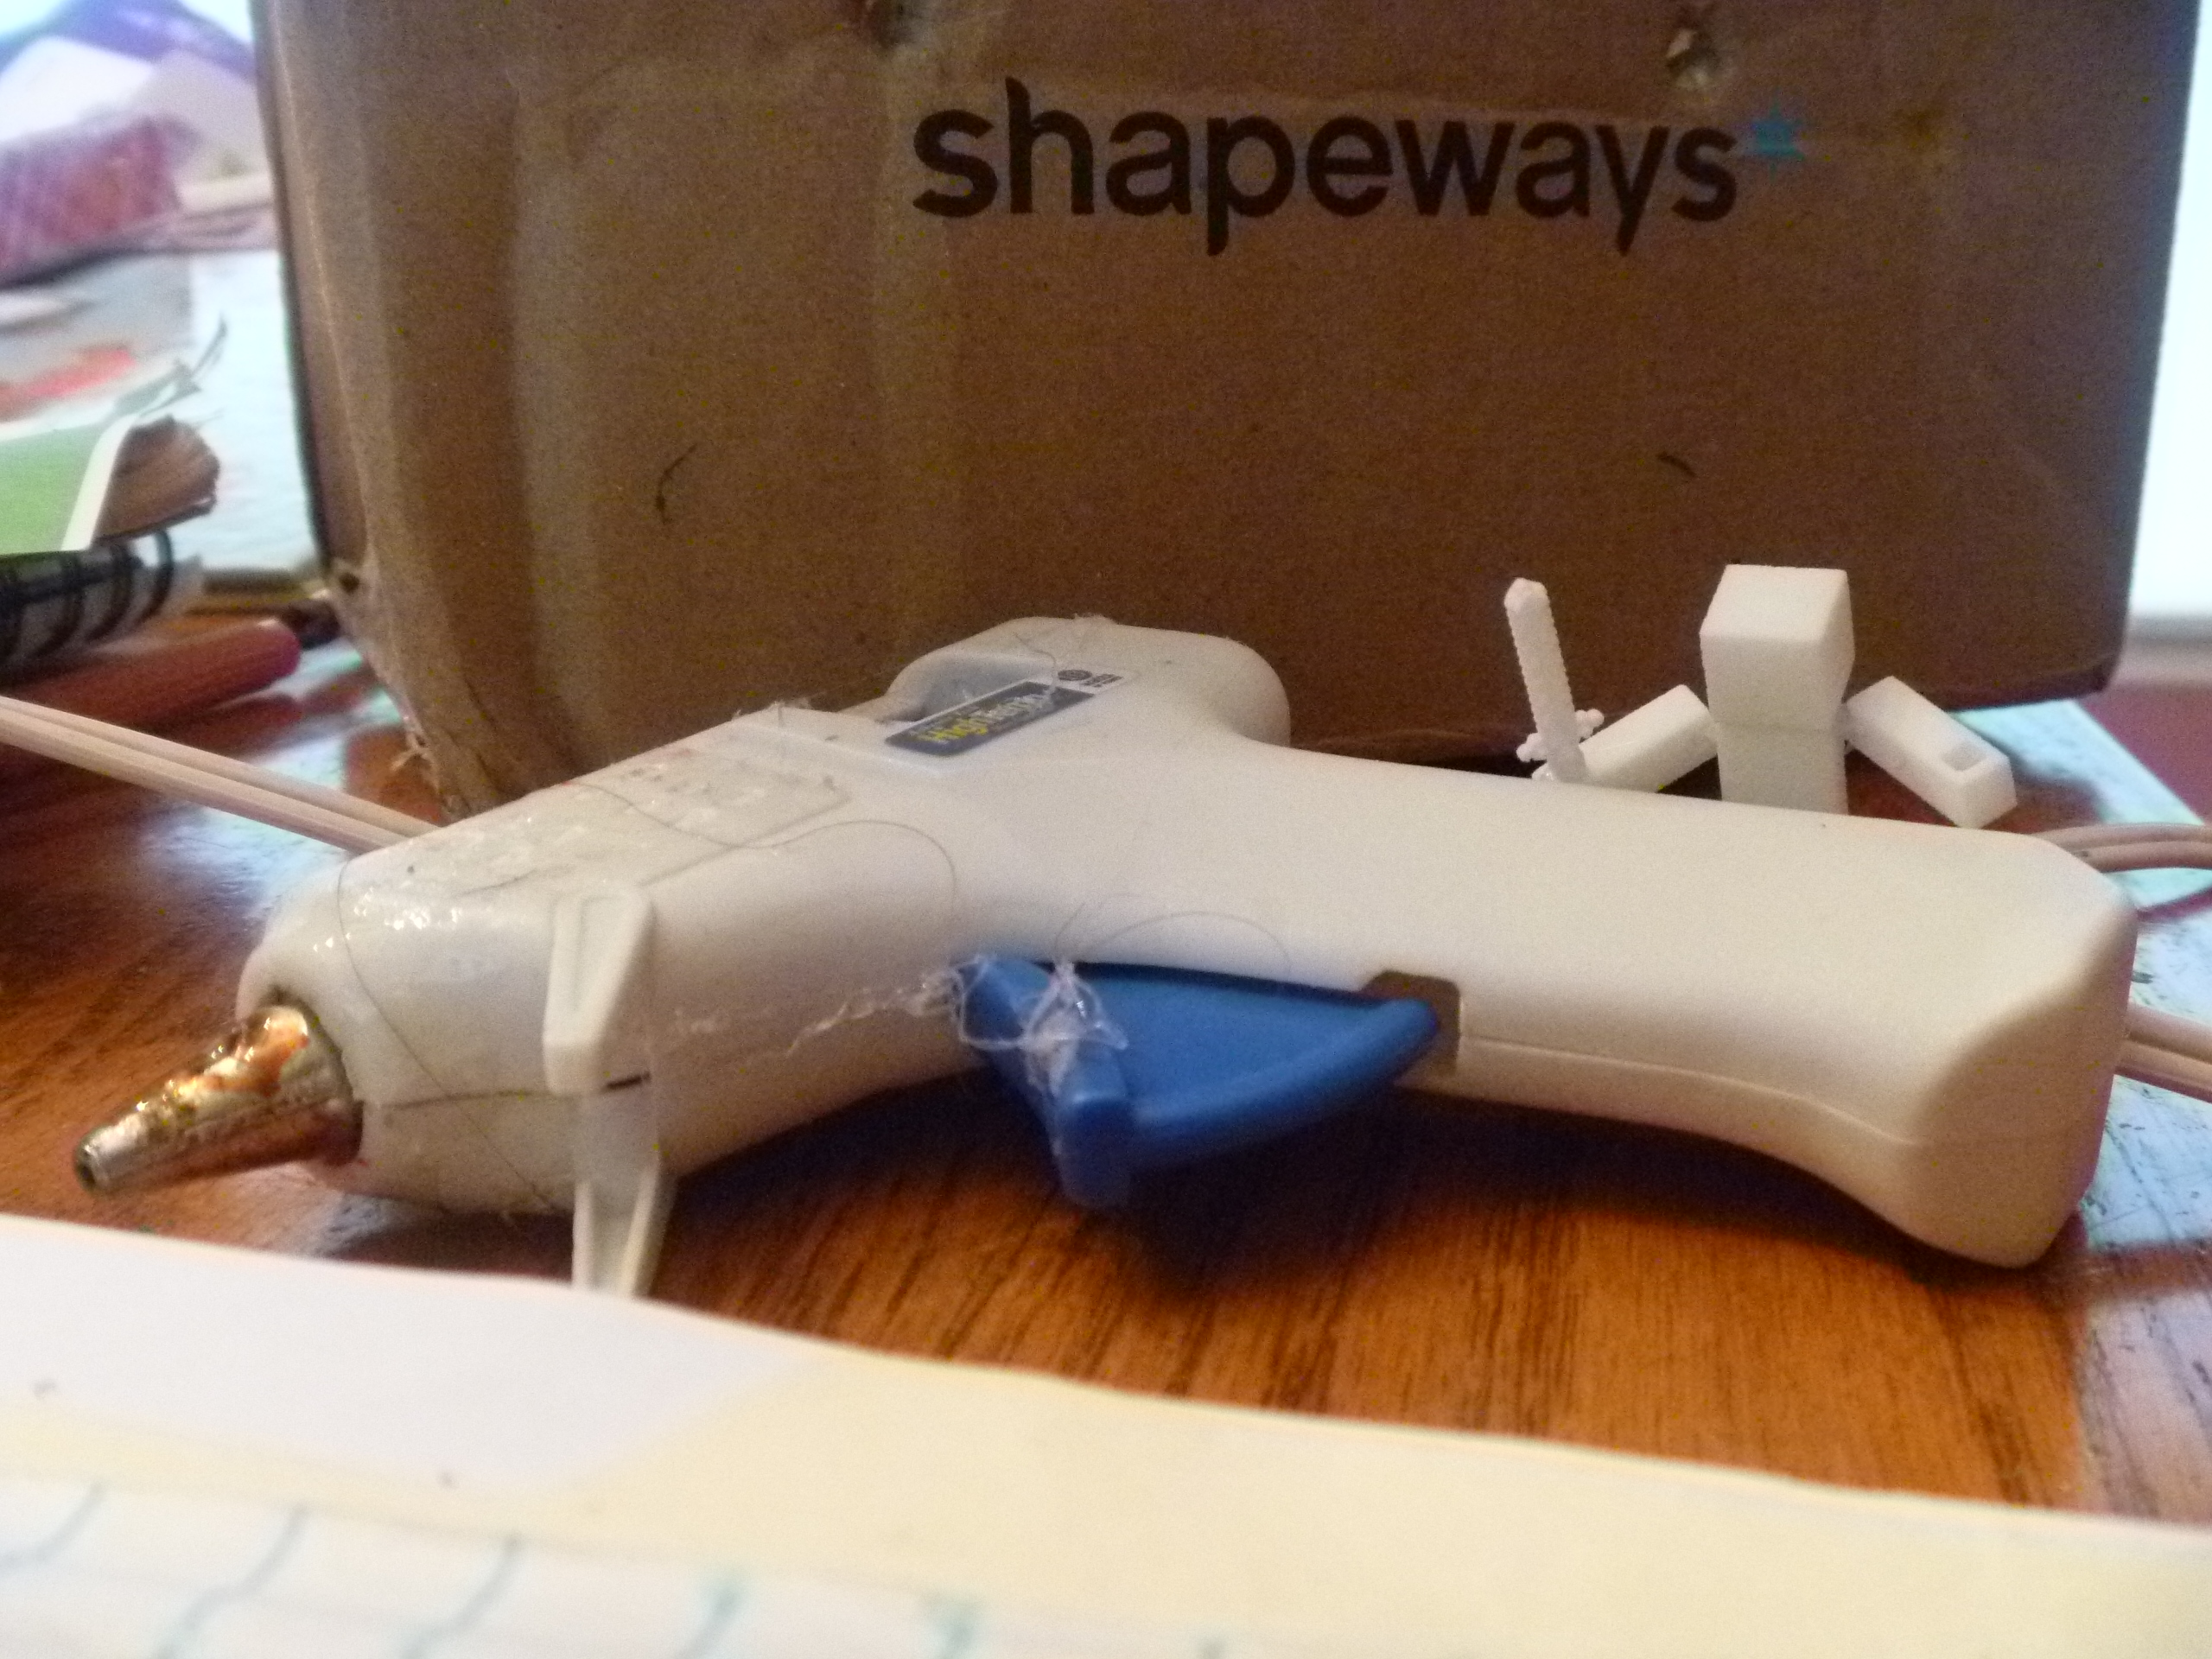
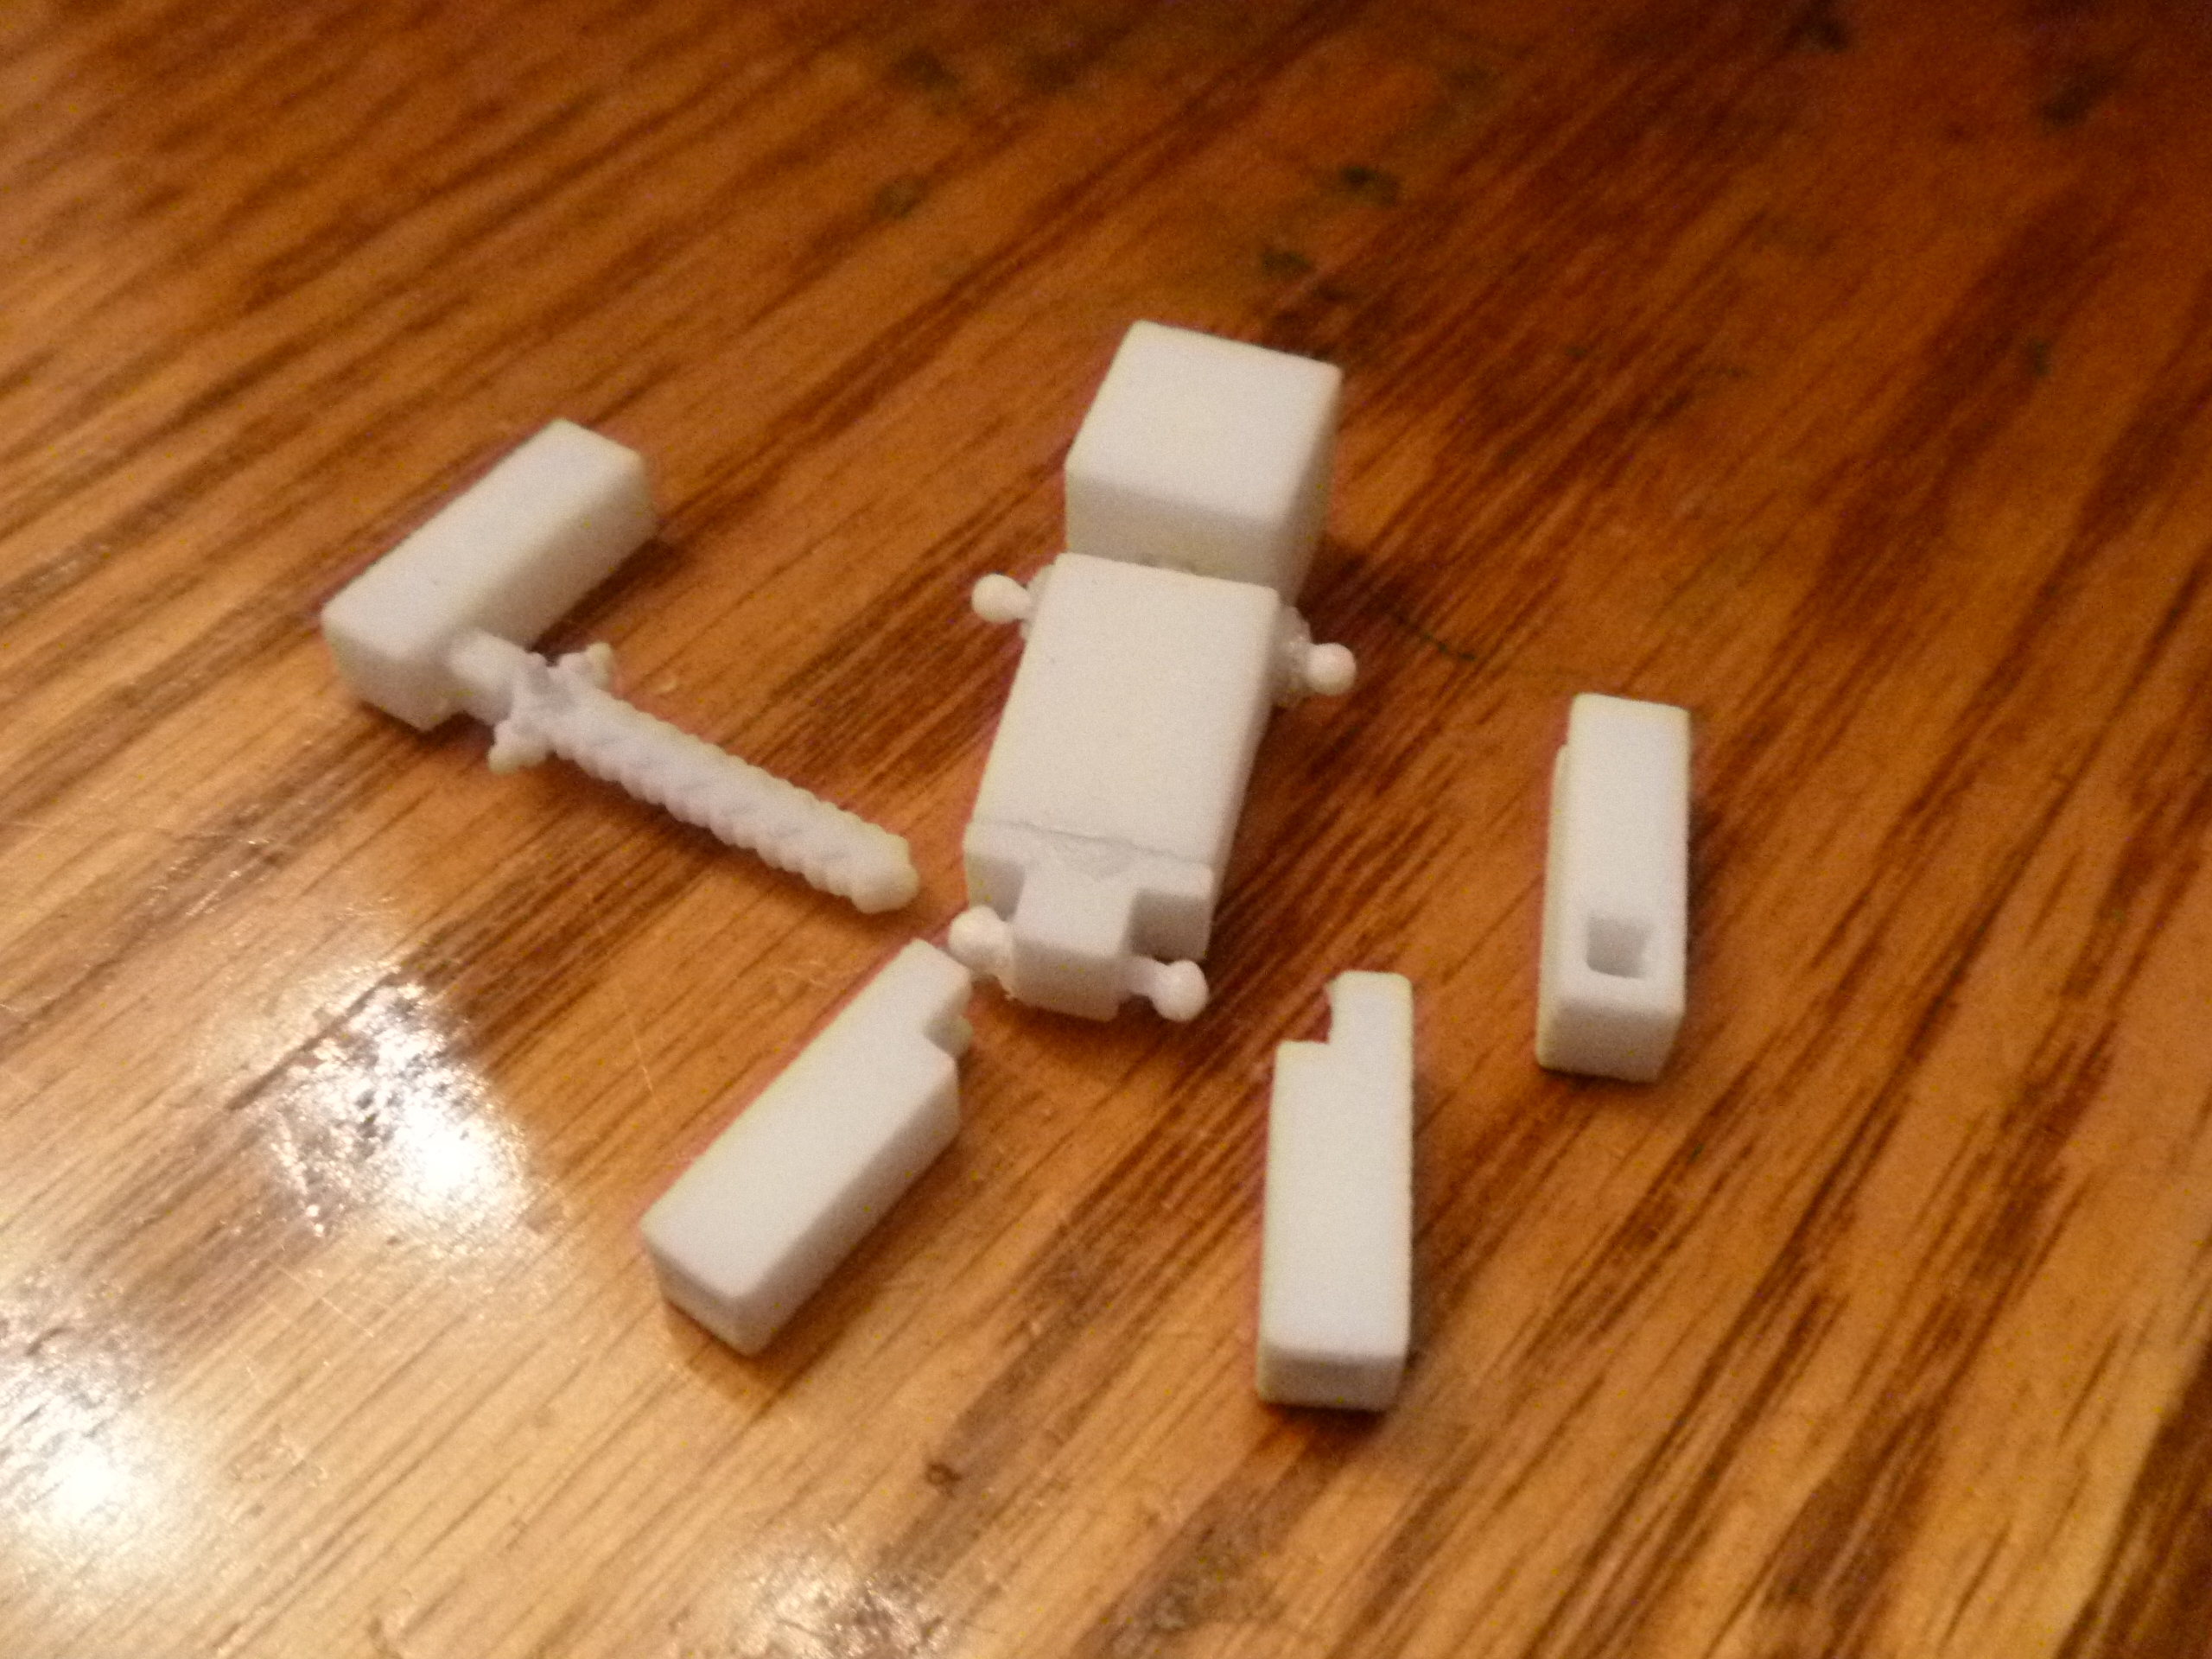
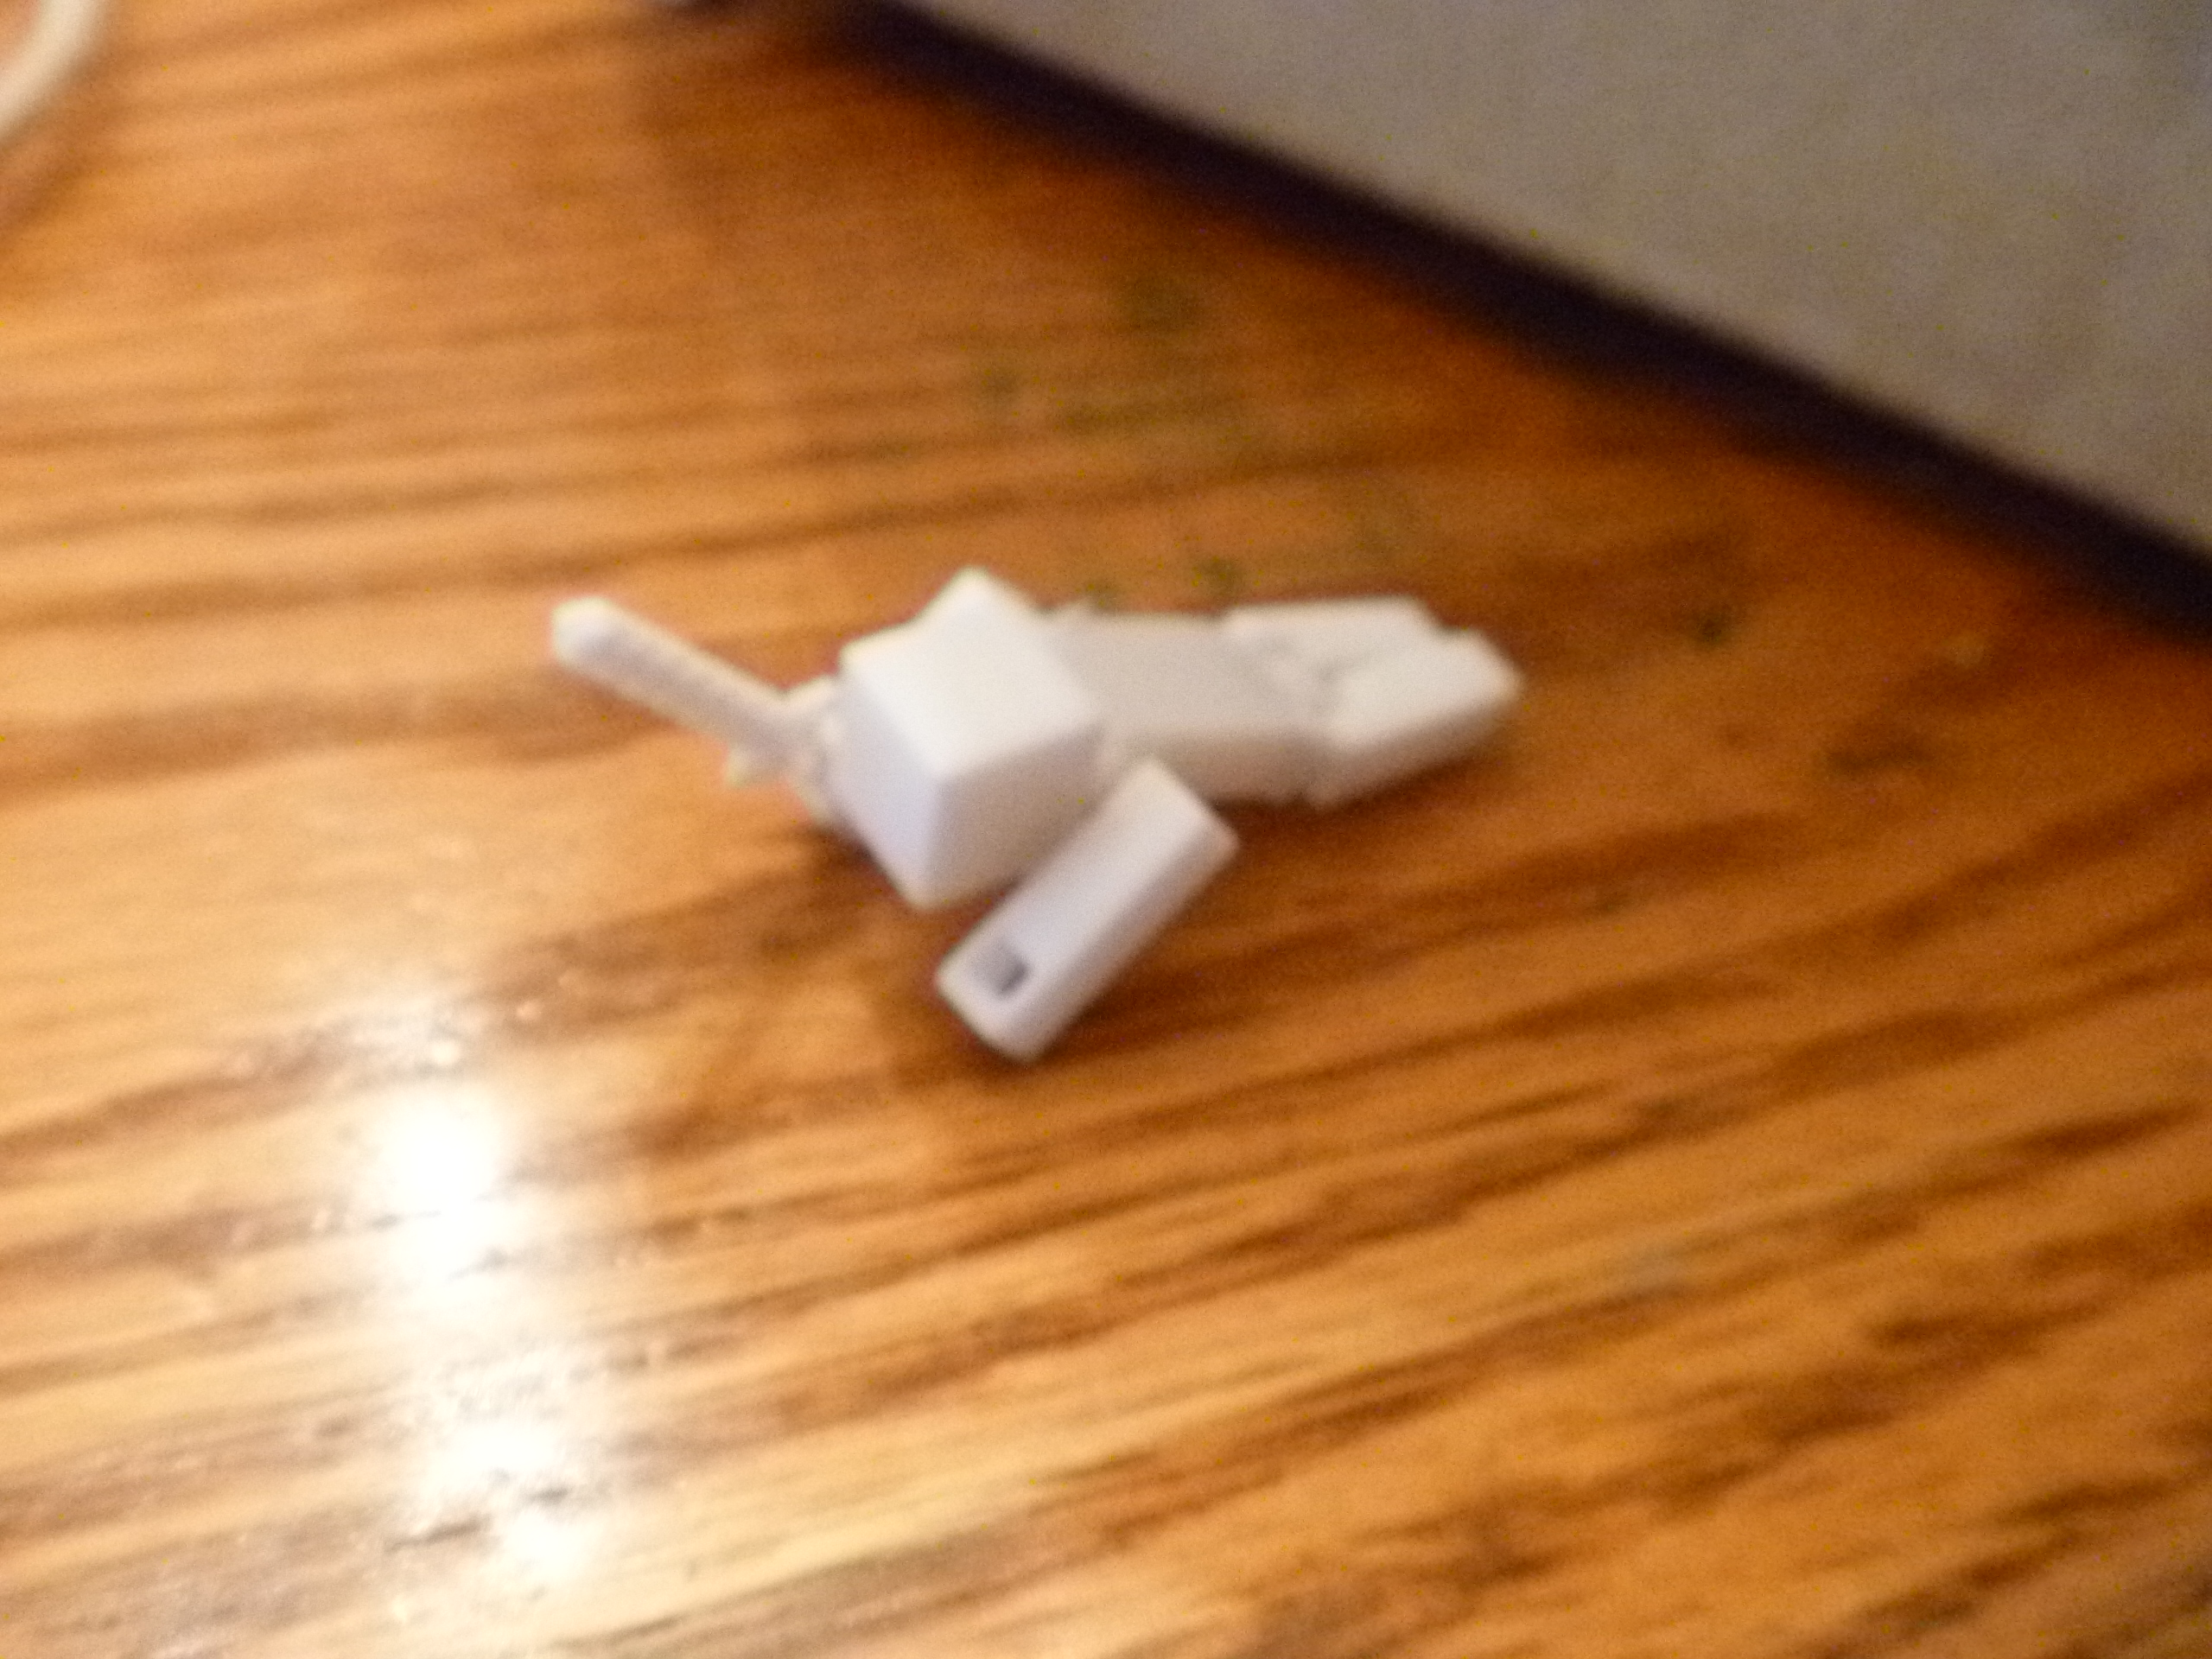
Here's all the pictures of the print right out of the box, and assembled. I would suggest scaling the model up a little before ordering. He turned out pretty small, like really small. So small that I had to hot glue gun the joints to the body, and the waist joint didn't really work, so hot glued that to the body too.
All in all I like the way it turned out, with a little bit of tweaking he will be sales worthy on Shapeways.
All in all I like the way it turned out, with a little bit of tweaking he will be sales worthy on Shapeways.