Miguel's Train

Do you want to make this cool gadget!? If you love trains, this fun project is meant for you!
Our design revolves around Circuit Playground Express (CPX). The CPX is a circuit board that is capable of playing sounds, lighting up, activating other devices like a servo motor and other operations via an initiating action like pressing a button.
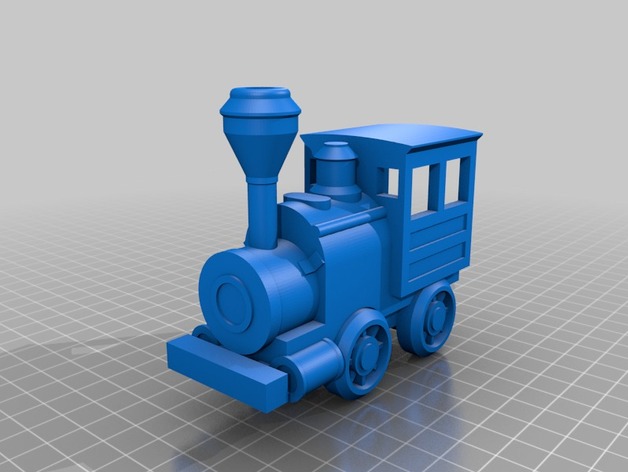
This train gadget will light up, play a "choo-choo" train sound effect, and spin the conductor around on top, thanks to the servo motor which fits nicely into the top of the train. It’s the perfect size to place on a desk and easy to use, with the flick of a switch and press of a button.
Downloads
Supplies


3D Print Parts
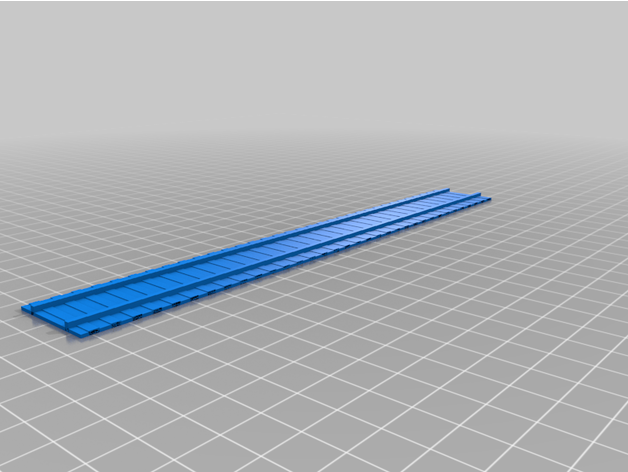
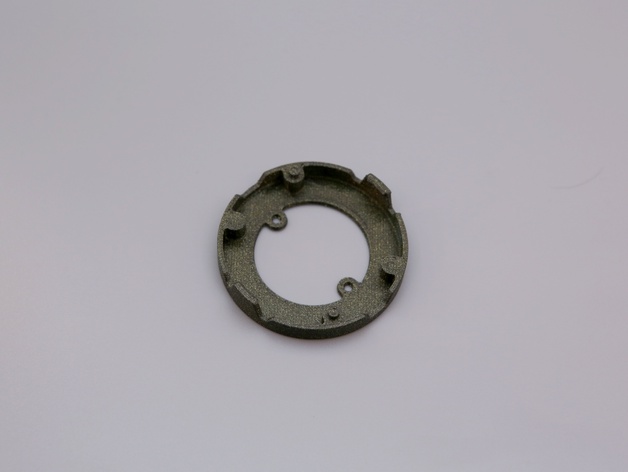
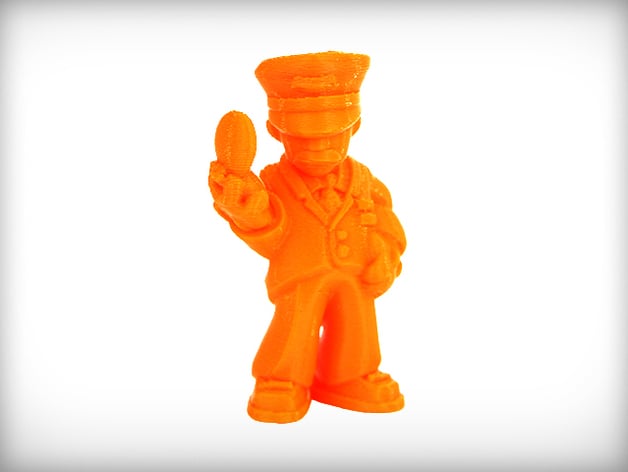
- Select the specific parts to 3D print from Thingiverse that need to be printed for the design: this includes the “Toy Train, “HO Scale Railroad Track Section,” “Circuit Playground Express Snap Fit Mount,” and “Miguel the Conductor”


- Import designs into Tinkercad (do one at a time, not all on the same design board).
First import the train file and adjust to the size you want.
- Cut one square hole into the top hood of the train to fit the servo motor in
- Import CPX mount into design and attach it to the back of the train
- Make room for the battery at the bottom of the train
Second import track file and make sure it’s a big enough size to fit the train
- Cut out a small hole in the middle of the track for access to the battery “on/off” switch.
Third, import the conductor file into the project plane
Once you've found all the parts you need:
- Export your 3D printed designs from Tinkercad and save them as STL files on your computer
- Using Makerbot, download the file
- Prepare the printer with the material (make sure to select "sketch" when choosing the printer settings)
- Connect the file to the 3D printer and print the product(s)
- After printing, be sure to cut away any supports or extra material using wire cutters on the design for neater appearance
Coding Preparation
- Plug in your Circuit Playground Express(CPX) to your computer
- Download the Mu editor to your computer
- https://codewith.mu
- Download the CircuitPython Bootloader
- https://circuitpython.org/board/circuitplayground_express/
- Drag the CircuitPython bootloader onto the desktop file “CPLAYBOOT.” which will cause it to change to “CIRCUITPY”
- Download the CircuitPython Library
- https://circuitpython.org/libraries
- Extract the zip file
- Find “adafruit_circuitplayground” and “adafruit_motor” in the lib folder
- Copy and paste only these folders into “CIRCUITPY”
- Once this is completed you are ready to start coding in CircuitPython!
Coding Your CPX Board
- Once all the necessary files are downloaded, open up Mu Editor
- Make an account, choose CircuitPython as your code.
- When you’re on the main screen, click on “Load” in the toolbar
- Once here you want to open open up the “CIRCUITPY” file that's on your desktop and load the file named “code.py”
- Now you can start writing your code to tell the software what to do!
- This is where you will code the CPX board to light up, play sounds (using the piano feature, you can sound out the stranger things theme song to code it into the board), and make the servo motor spin.
Assembly
- Gather all printed materials (this should include the train, conductor, and track)
- Hot glue the battery to the bottom of the train
- Hot glue the train to the train track
- Connect the CPX board to the back of the train
5.Place the motor into the roof of the train and tuck the wires inside the train.
6.With the hot glue gun, attach the conductor (Miguel) to the white, circle disk in your kit which will allow him to spin. Then, glue the disk to the motor (which should already be placed inside the top of the train).
7.Once everything is in place, tuck all wires in for a finished, neater look.
You've Finished!
After designing, printing, coding, and assembling, you have finally completed "Miguel's Train"! I hope you enjoyed putting together this fun desk gadget! Feel free to leave any suggestions, ideas, or comments for future projects. Keep on engineering!
