Migrate LogMeIn Hamachi 2 From Windows 7 to Windows 10 (and Install It)
by neumanngregor in Design > Software
5842 Views, 3 Favorites, 0 Comments
Migrate LogMeIn Hamachi 2 From Windows 7 to Windows 10 (and Install It)


This is a very short and easy tutorial on how to migrate your LogMeIn Hamachi 2, if you don't know what it is go to (https://secure.logmein.com/products/hamachi/), on the short it is a VPN (Virtual Private Network) tool that connects you and your frends in a virtual LAN (Local Area Network) that's AES (Advanced Encryption Standard) 256bit encrypted. The free version supports only 5 people in each network, but you can have multiple networks at the same time ;).
• STEP 1: Backup your configuration from Windows 7
Go to service configuration folder of hamachi that is located :
C:\Windows\ServiceProfiles\LocalService\AppData\Local\
And copy to a safe location the folder called :
LogMeIn Hamachi
Go to user interface cnfiguration folder :
C:\Users\%UserName%\AppData\Local\
And copy to a safe location the folder called :
LogMeIn Hamachi
DO NOT MIX THEM UP JUST BECAUSE THEY HAVE THE SAME NAME !!!
• STEP 2: Install hamachi 2 under Windows 10, there is a trick to it, start setup normally and when it reaches the
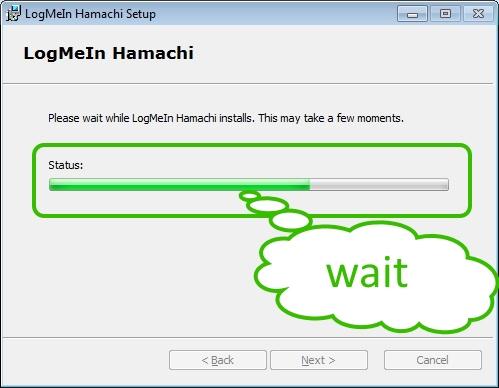
Status: Installing driver ... and it stays there (look at image 3) you go to the following folder
C:\Program Files (x86)\LogMeIn Hamachi
there is a file called
hamdrv.inf
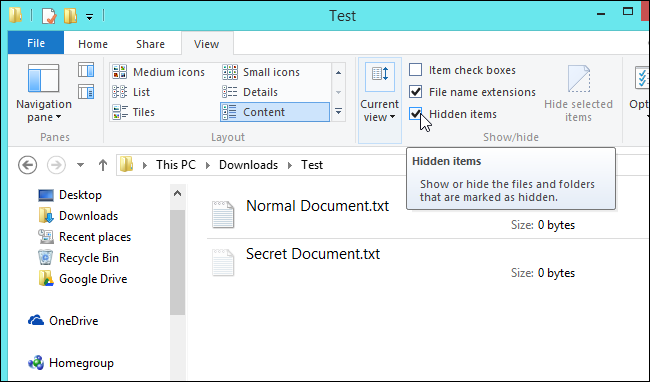
IF YOU DON'T SEE IT ENABLE VIEW HIDDEN FILES ! (see image 4)
now, while the setup is still running right click it and choose Install.
After you do that a small window will appear saying installation complete.
The progress bar from the installation shud be going forward until it reaches the end, if this is not the case repeat the step before this, until it works.
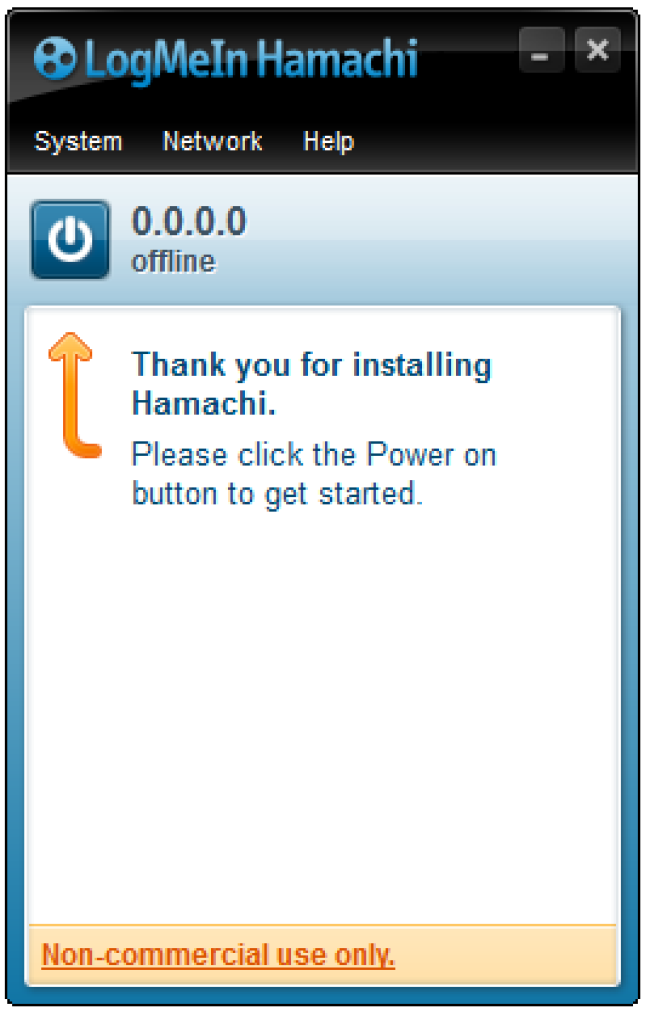
• Now start hamachi and then stop it, power button in interface, the one the arrow points at (see image 5), then right clck the icon in tray are, it looks like (image 2) and choose Exit. After this you need to stop the hamach tunneling service, open a Admin command prompt (right click start menu icon and choose it), now in there we need to type the following:
net stop "LogMeIn Hamachi Tunneling Engine"
• Now we replace the new created files with the saved ones. Go to service configuration folder:
C:\Windows\ServiceProfiles\LocalService\
and there overwrite the folder called:
LogMeIn Hamachi
with the saved one. Now we need the user interface configuration folder:
C:\Users\%UserName%\AppData\Local\
and there overwrite the folder called:
LogMeIn Hamachi
• Now go back to the Admin command prompt window and type the following:
net start "LogMeIn Hamachi Tunneling Engine"
• THAT'S ALL! I lied a little, it took you little more that you hoped but now you have it migrated to windows 10.