Middle of Earth Instructable
by Anabellamendoza in Craft > Books & Journals
174 Views, 1 Favorites, 0 Comments
Middle of Earth Instructable
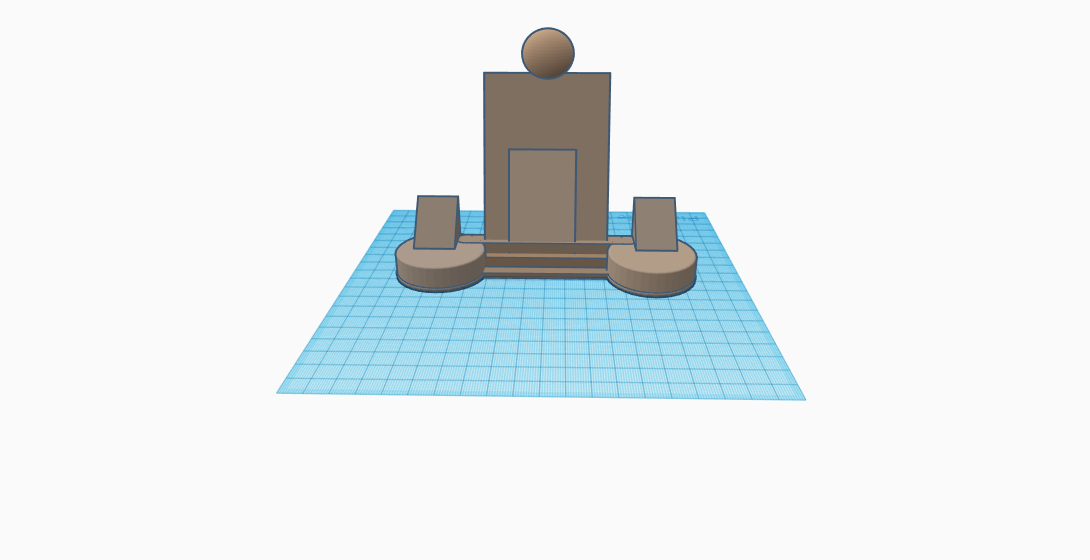
This is the monument of the "Middle of the earth" and today we are going to improve it!,as you can see it's pretty simple, so we are going to be adding details to the monument and to the landscape.We are going to be using the app called Tinkercad, it has a lot of tools that will help us to make a better work.Im going to be showing all the steps and explaining them below.
Editing the Structure
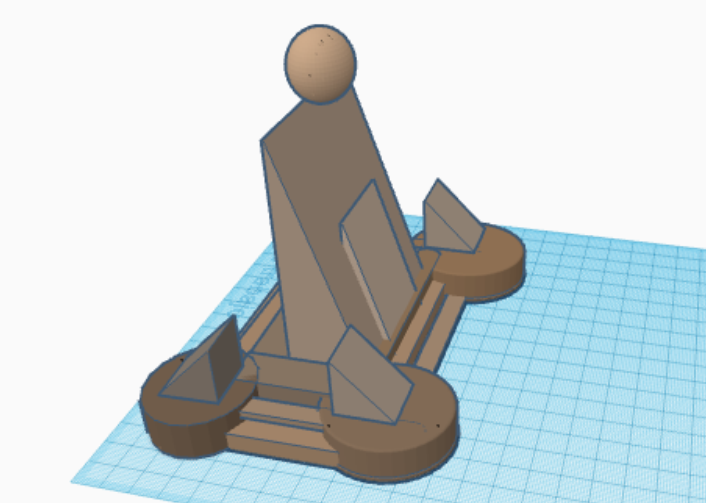
So first of all we are going to be adding more details to the stairs of the monument
In the back we have nothing, so we are going to click "insert" and in "simple shapes" we have the rectangle,we select it and drag it, then we click the shape and get edit the form until it matches, and we surround the back to give a 3D look.
Improving the Structure
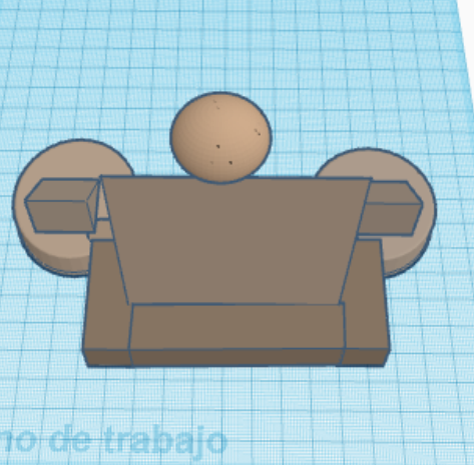
Now that we have made the monument a 3D shape, we have to add more details, we are going to add the columns , so we click in "Shapes", we click the shape"Cylinder"and we move it in the right place, then by clicking on the top of it we edit the size, so it looks equal, when we have one done, we copy it and paste it on the other side.then we change the color.
Adding the Final Touches to the Structure
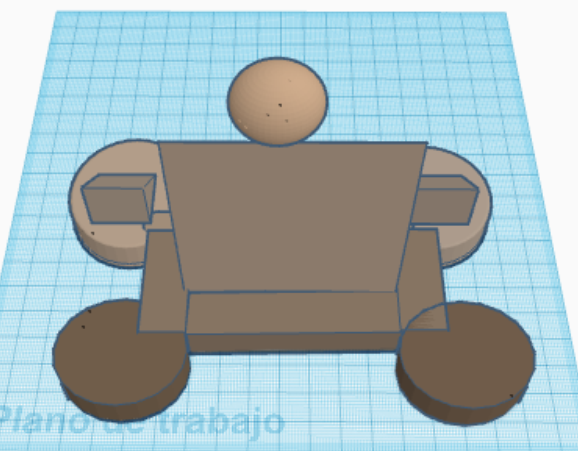
Now, we are going to add the little columns, we are going to copy the ones we already had on the front and we are going to move them to the back where we are going to rotate them.
Adding Stairs
Now that our basic structure is done, we have to add the stairs, we start by clicking in "shapes", where we found a section of shapes called "house building",there we will found a shape called"popsicle stick", we click it and put it on our work, we change the size and move it to the area between the columns, then we copy it and by clicking on the top of it we move it upper so it looks like a stair, we make the same process between the others columns.
Adding a Walkway
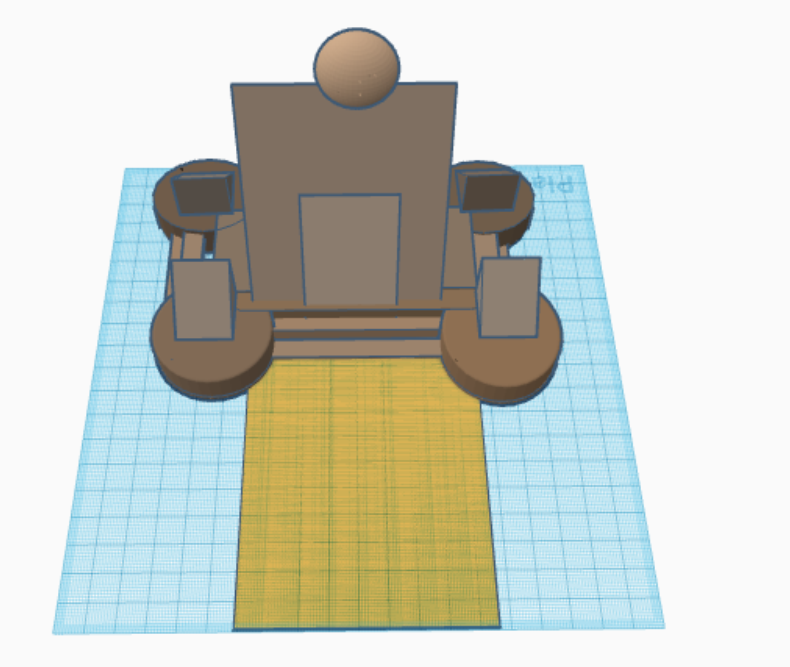
Our work has progressed a lot, but we still need to add a environment, so we will start by making a walkway to the monument, we go to shapes and we click"cube",, then we edit the size and we make thinner, so it looks like a human walkway.
Improving the Enviorement
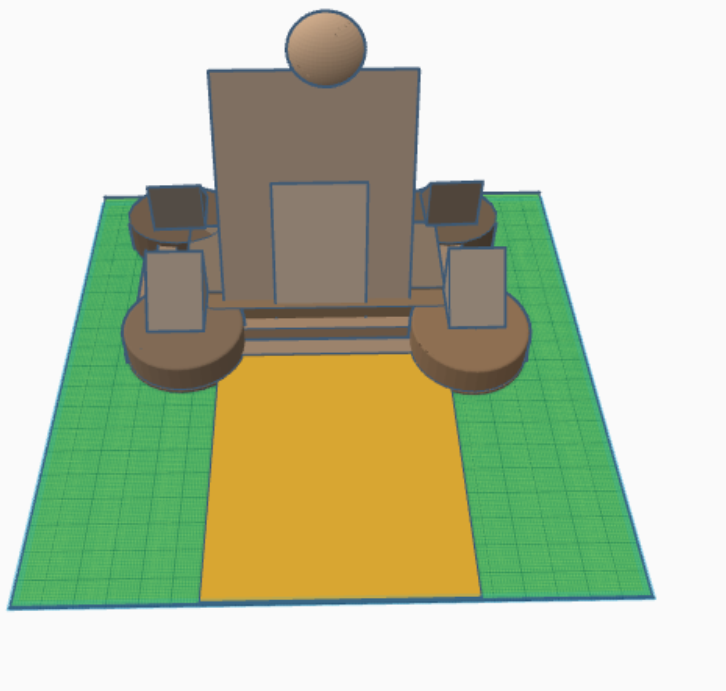
Now we will add a floor to the project,we repeat the anterior process "we go to shapes and we click "cube"then we edit the size and we make thinner , according to this size" Finally we change the color and we have our flour done.
Making Trees!

Now we are going to decorate! we go to shapes and we click "shapes", then we select the cylinder shape and we edit it until it fits and has the shape of a tree, then we select the shape called"cone" and by clicking on the top of it we can put it upper.
Final Touches
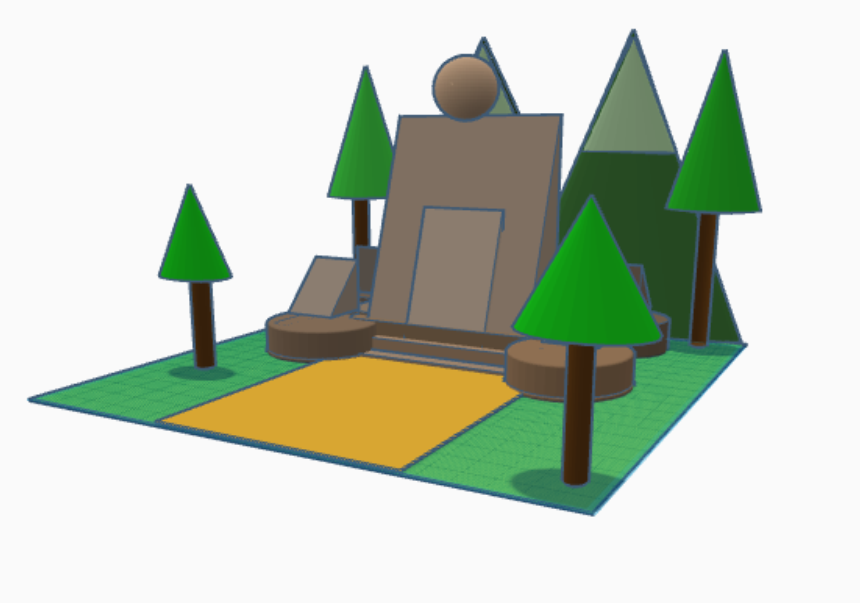
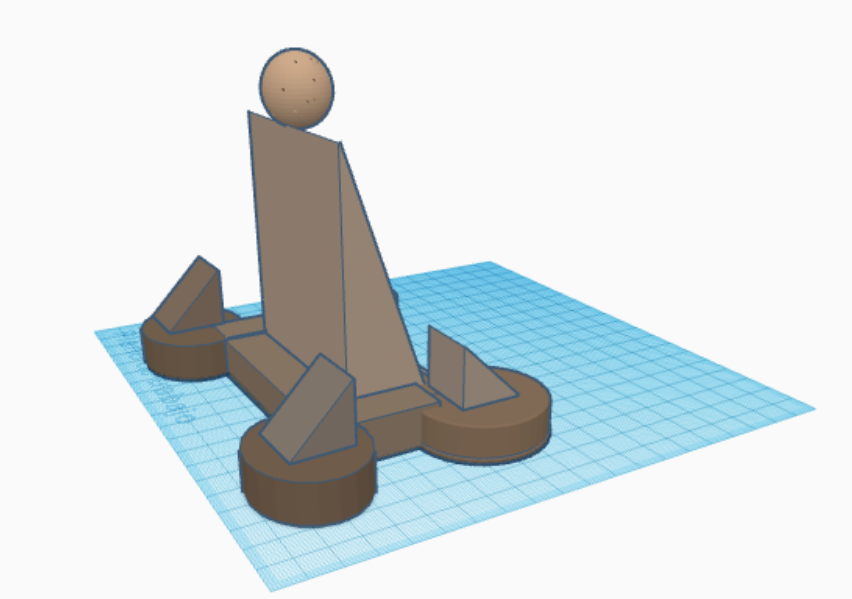
Now we will add the final touch!we will put mountains in the back, we go to "shapes" and select "cone", by dragging the corners we can change the shape, we change the color and we drag it to the back so they look like mountains in the distance,we repeat the same process with the snow, the only change is that we make it littler and we are done!We have improved our work!.