Midbar (Raspberry Pi Pico)
by Nick Programmer in Circuits > Microcontrollers
629 Views, 2 Favorites, 0 Comments
Midbar (Raspberry Pi Pico)
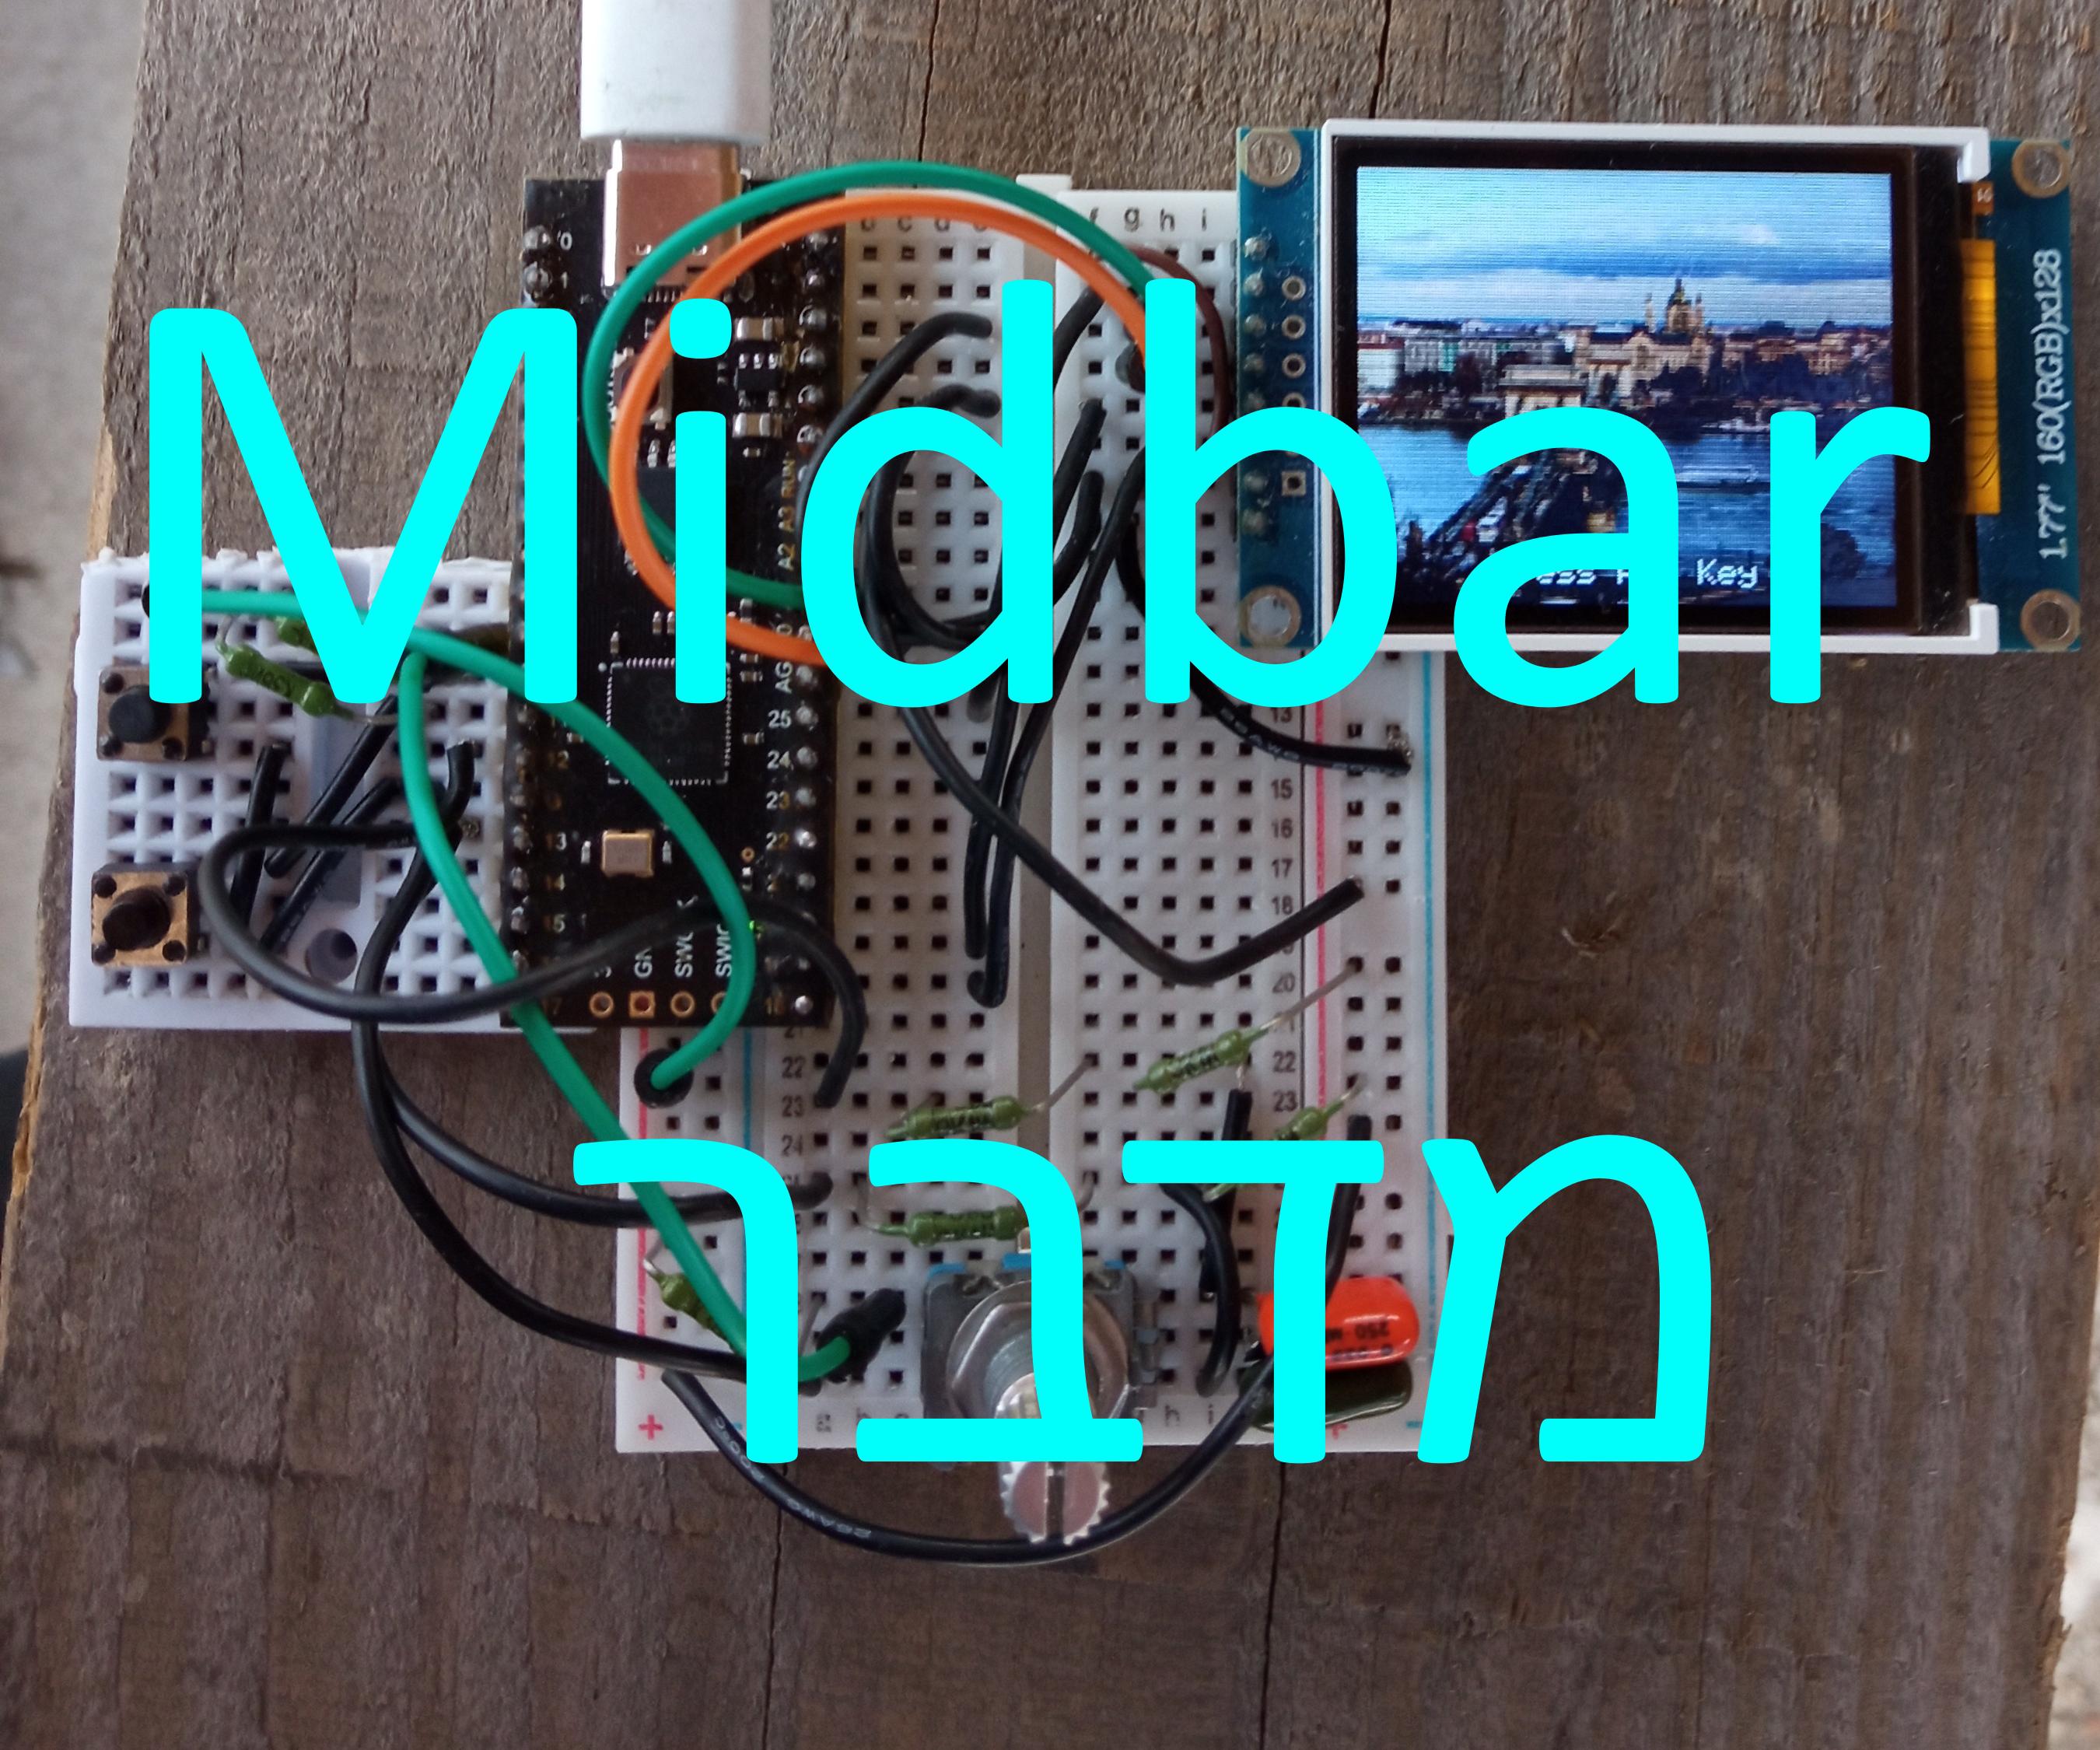
Midbar[מדבר - desert] is a series of high protected encrypted storages. This version of Midbar is based on Raspberry Pi Pico. You can store your phone numbers, notes, credit cards, logins or just select one of encryption modes to encrypt text or anything else.
The Northstrix allowed me to remake this Midbar project for another display with my own preview screens.
I changed all the interface for another screen, also I changed main menu.
The original version - https://www.instructables.com/Midbar-Raspberry-Pi-Pico-Version/
More Midbar projects - https://www.instructables.com/member/Northstrix/
Supplies
- Raspberry Pi Pico x1
- 1.8 Inch TFT LCD with ST7735 x1
- EC11 Rotary Encoder x1
- PS/2 Keyboard x1 *Optional
- PS/2 Port x1 *Optional
- 4.7k resistors x7
- 100nf capacitors x2
- Buttons x2
3DES + AES + Blowfish + Serpent in CBC Mode
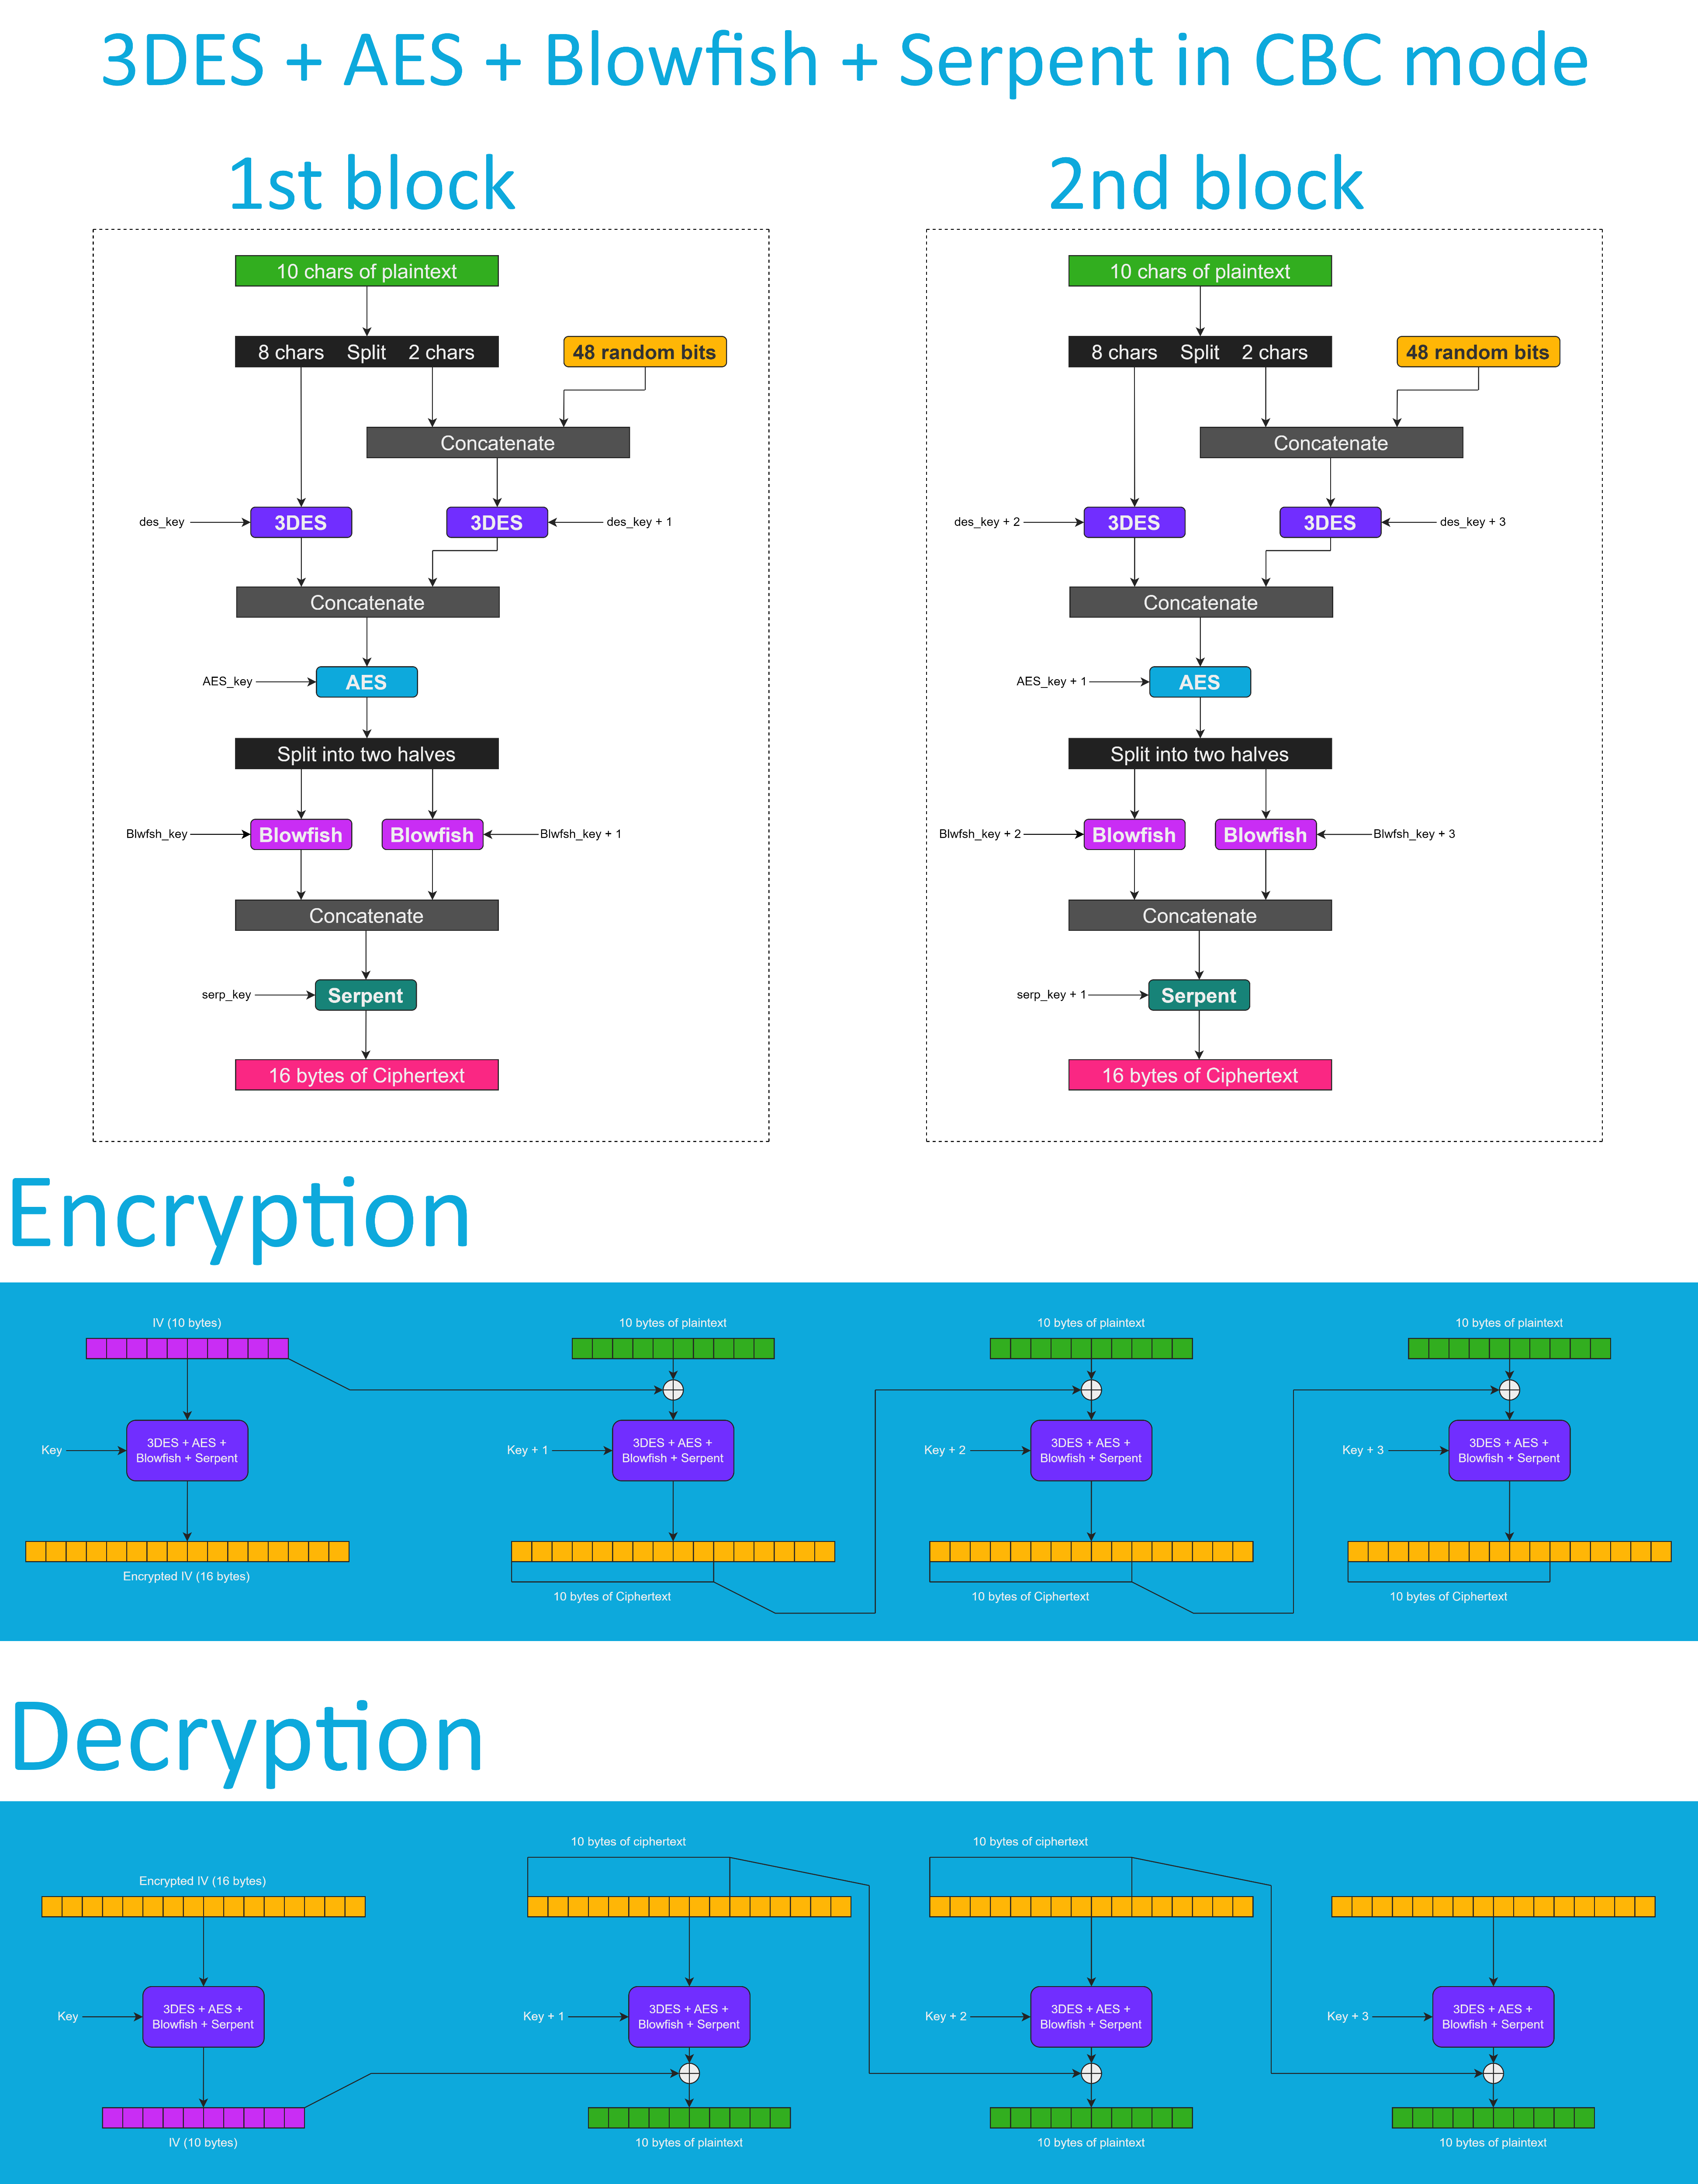
Don't get me wrong - the "3DES + AES + Blowfish + Serpent" encryption algorithm ain't exactly what I would call "cryptographically weak," but operating it in a weird derivation of the ECB mode wasn't the best idea that I had. Although that wouldn't've allowed the attacker to produce the legitimate ciphertext by swapping the blocks within the ciphertext, an attacker could still make a legitimate ciphertext by replacing the nth block of the ciphertext N1 with the nth block of the ciphertext N2. To fix that vulnerability (instead of just notifying the user that the decrypted ciphertext might've been forged), I made the "3DES + AES + Blowfish + Serpent" encryption algorithm work in CBC mode. So, if an attacker replaces a block of ciphertext, it spoils not just that block but also the subsequent one.
I'll be honest with you, the bit-flipping attack "kinda works," but I doubt that it would ever go unnoticed because of the "HMAC-SHA256"-based integrity verification feature.
And by the way, out of all encryption algorithms utilized by this version of Midbar, the "3DES + AES + Blowfish + Serpent" is the only algorithm that works in CBC mode. Beware of it!
Configure Arduino IDE *Optional
If you've never flashed the Raspberry Pi Pico before you need to configure the Arduino IDE first.
Configuring IDE isn't a part of this tutorial. You can read about it here https://www.tomshardware.com/how-to/program-raspberry-pi-pico-with-arduino-ide
Download Firmware
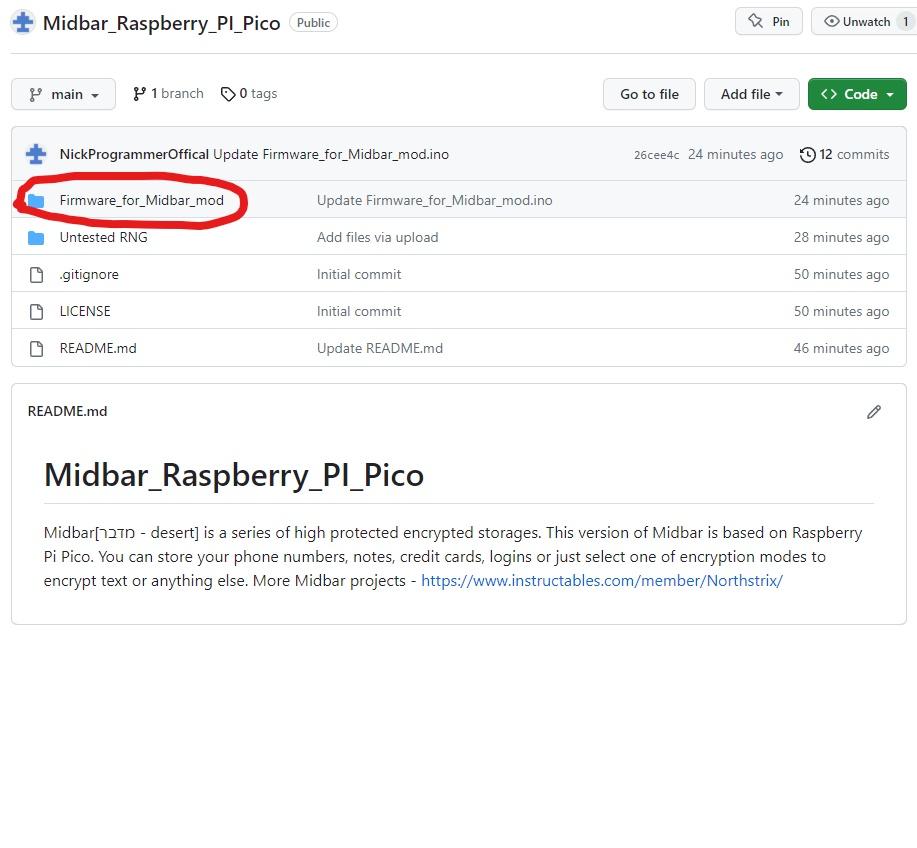
You can download the firmware on my GitHub.
Download and Install the Libraries
Navigate to Sketch > Include Library > Manage Libraries...
Find these libraries below.
Download and Install these libraries - LittleFS; PS2KeyAdvanced; EncButton2; Arduino_GFX_Library;
Install Arduino-pico-littlefs-plugin
The primary purpose of the arduino-pico-littlefs-plugin is to let you upload the files into the RPI's flash memory. In this tutorial, the purpose of this tool is to format the RPI's flash.
Download the file called PicoLittleFS-0.2.0.zip from https://github.com/earlephilhower/arduino-pico-littlefs-plugin/releases/tag/0.2.0
And then extract the content of the archive into the "...\Arduino\Tools\" folder.
After that, restart the Arduino IDE.
Change the "Flash Size" to the "2MB (Sketch: 1MB, FS: 1MB)"
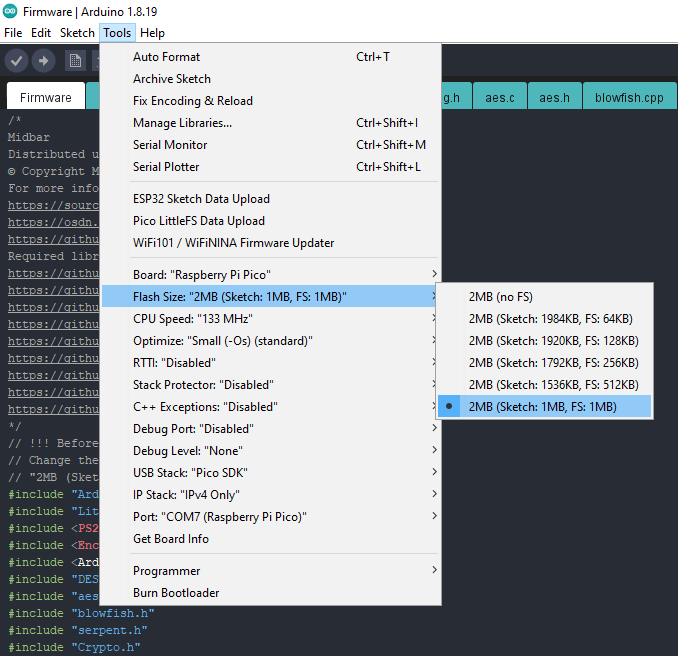
Midbar needs memory allocated for the file system to function.
To allocate the memory for the file system, click "Tools" -> "Flash Size" -> "2MB (Sketch: 1MB, FS: 1MB)"
Format Raspberry Pi Pico's Built-In Flash Memory
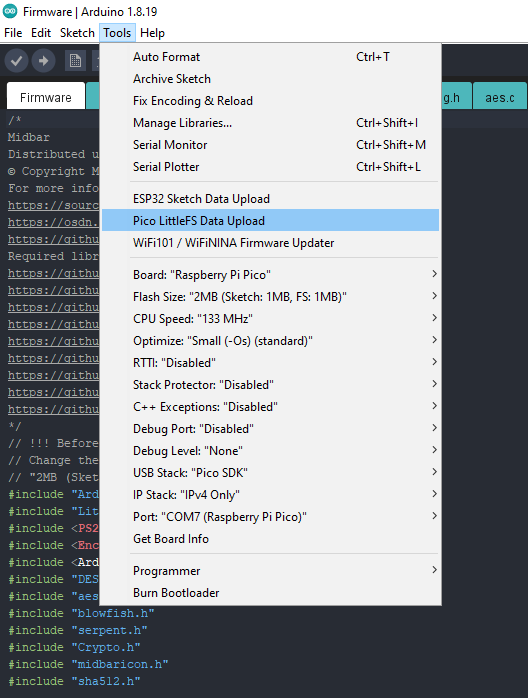
Click "Tools" -> "Pico LittleFS Data Upload." Then click "Yes" in the pop-up window. The program is going to format the RPI's flash memory.
Generate Keys
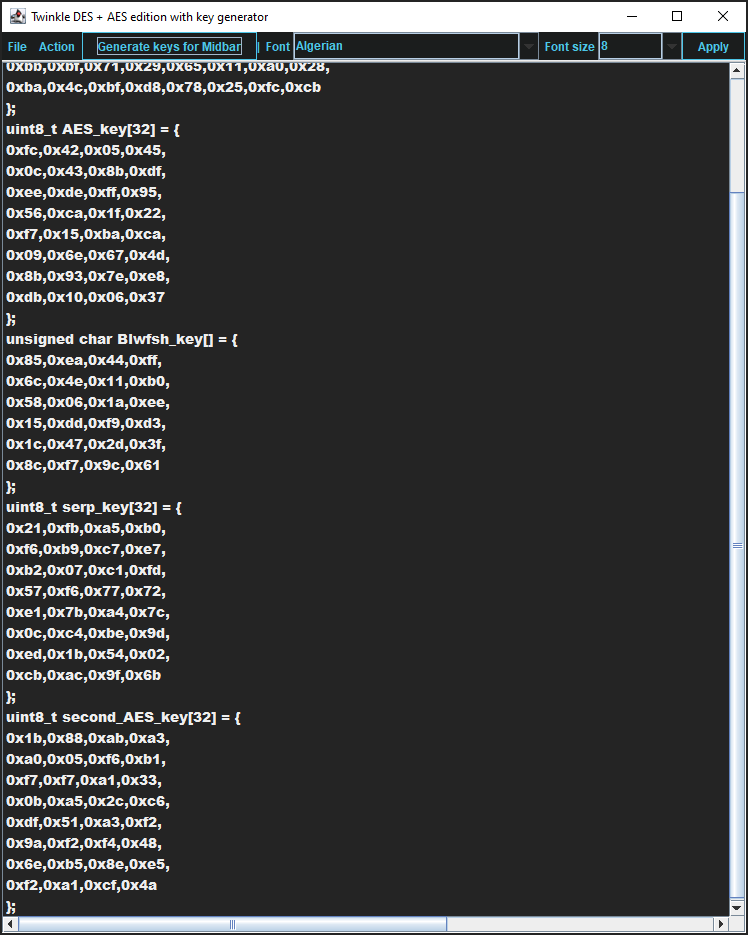
To make the unauthorized deciphering of your data computationally infeasible - It is crucial to generate your own keys and never reuse them
It's entirely up to you how to generate the keys. I can only offer you an option to do so.
I've modified one of my previous projects to work as a random number generator, the generated output seems "random enough" for me, but I haven't run any tests. So, I can't guarantee that it's random.
Use it at your own risk!
To generate the keys - launch gen.exe from the "Untested RNG" folder and click the "Generate keys for Midbar"button. The background turns from dark gray to light gray when you press that button.
Modify the Firmware
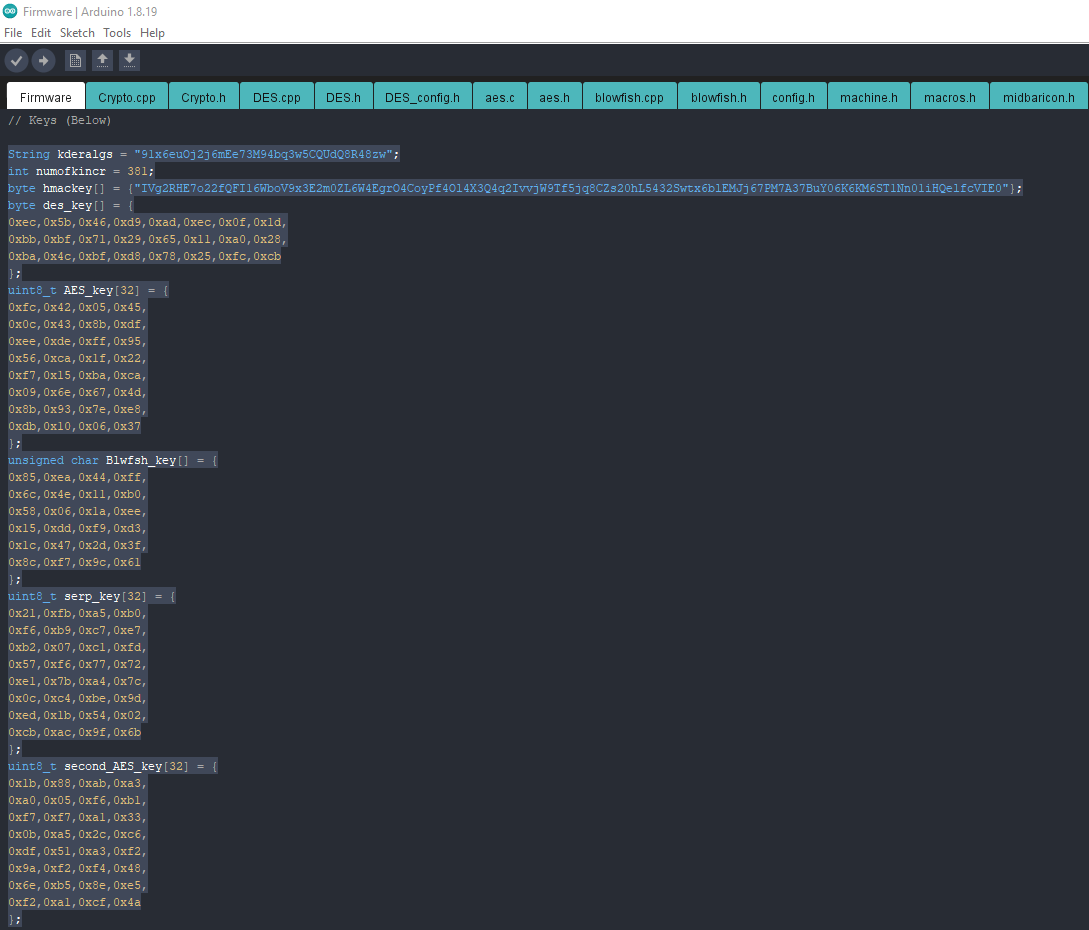
Open the "Firmware_for_Midbar_mod.ino" file from the "Firmware_for_Midbar_mod" folder, and then replace my keys with those you've generated.
Flash Raspberry Pi Pico
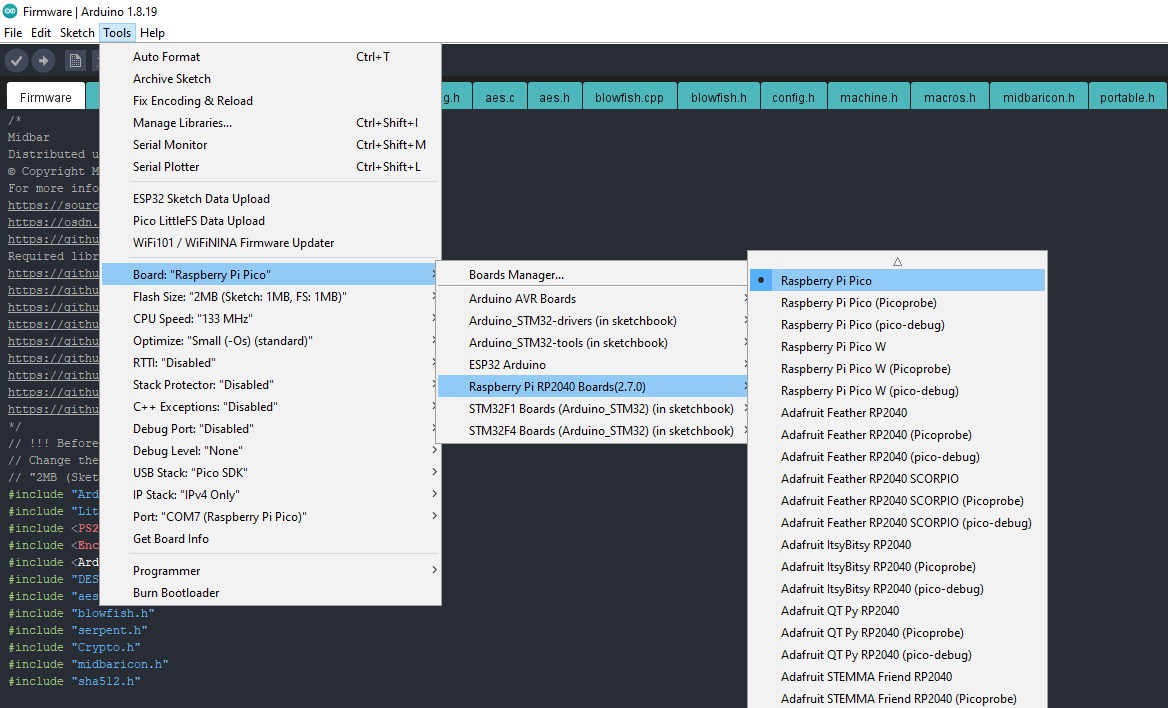
Upload the firmware from the "Firmware_for_Midbar_mod" folder into the Raspberry Pi Pico.
Assemble the Midbar
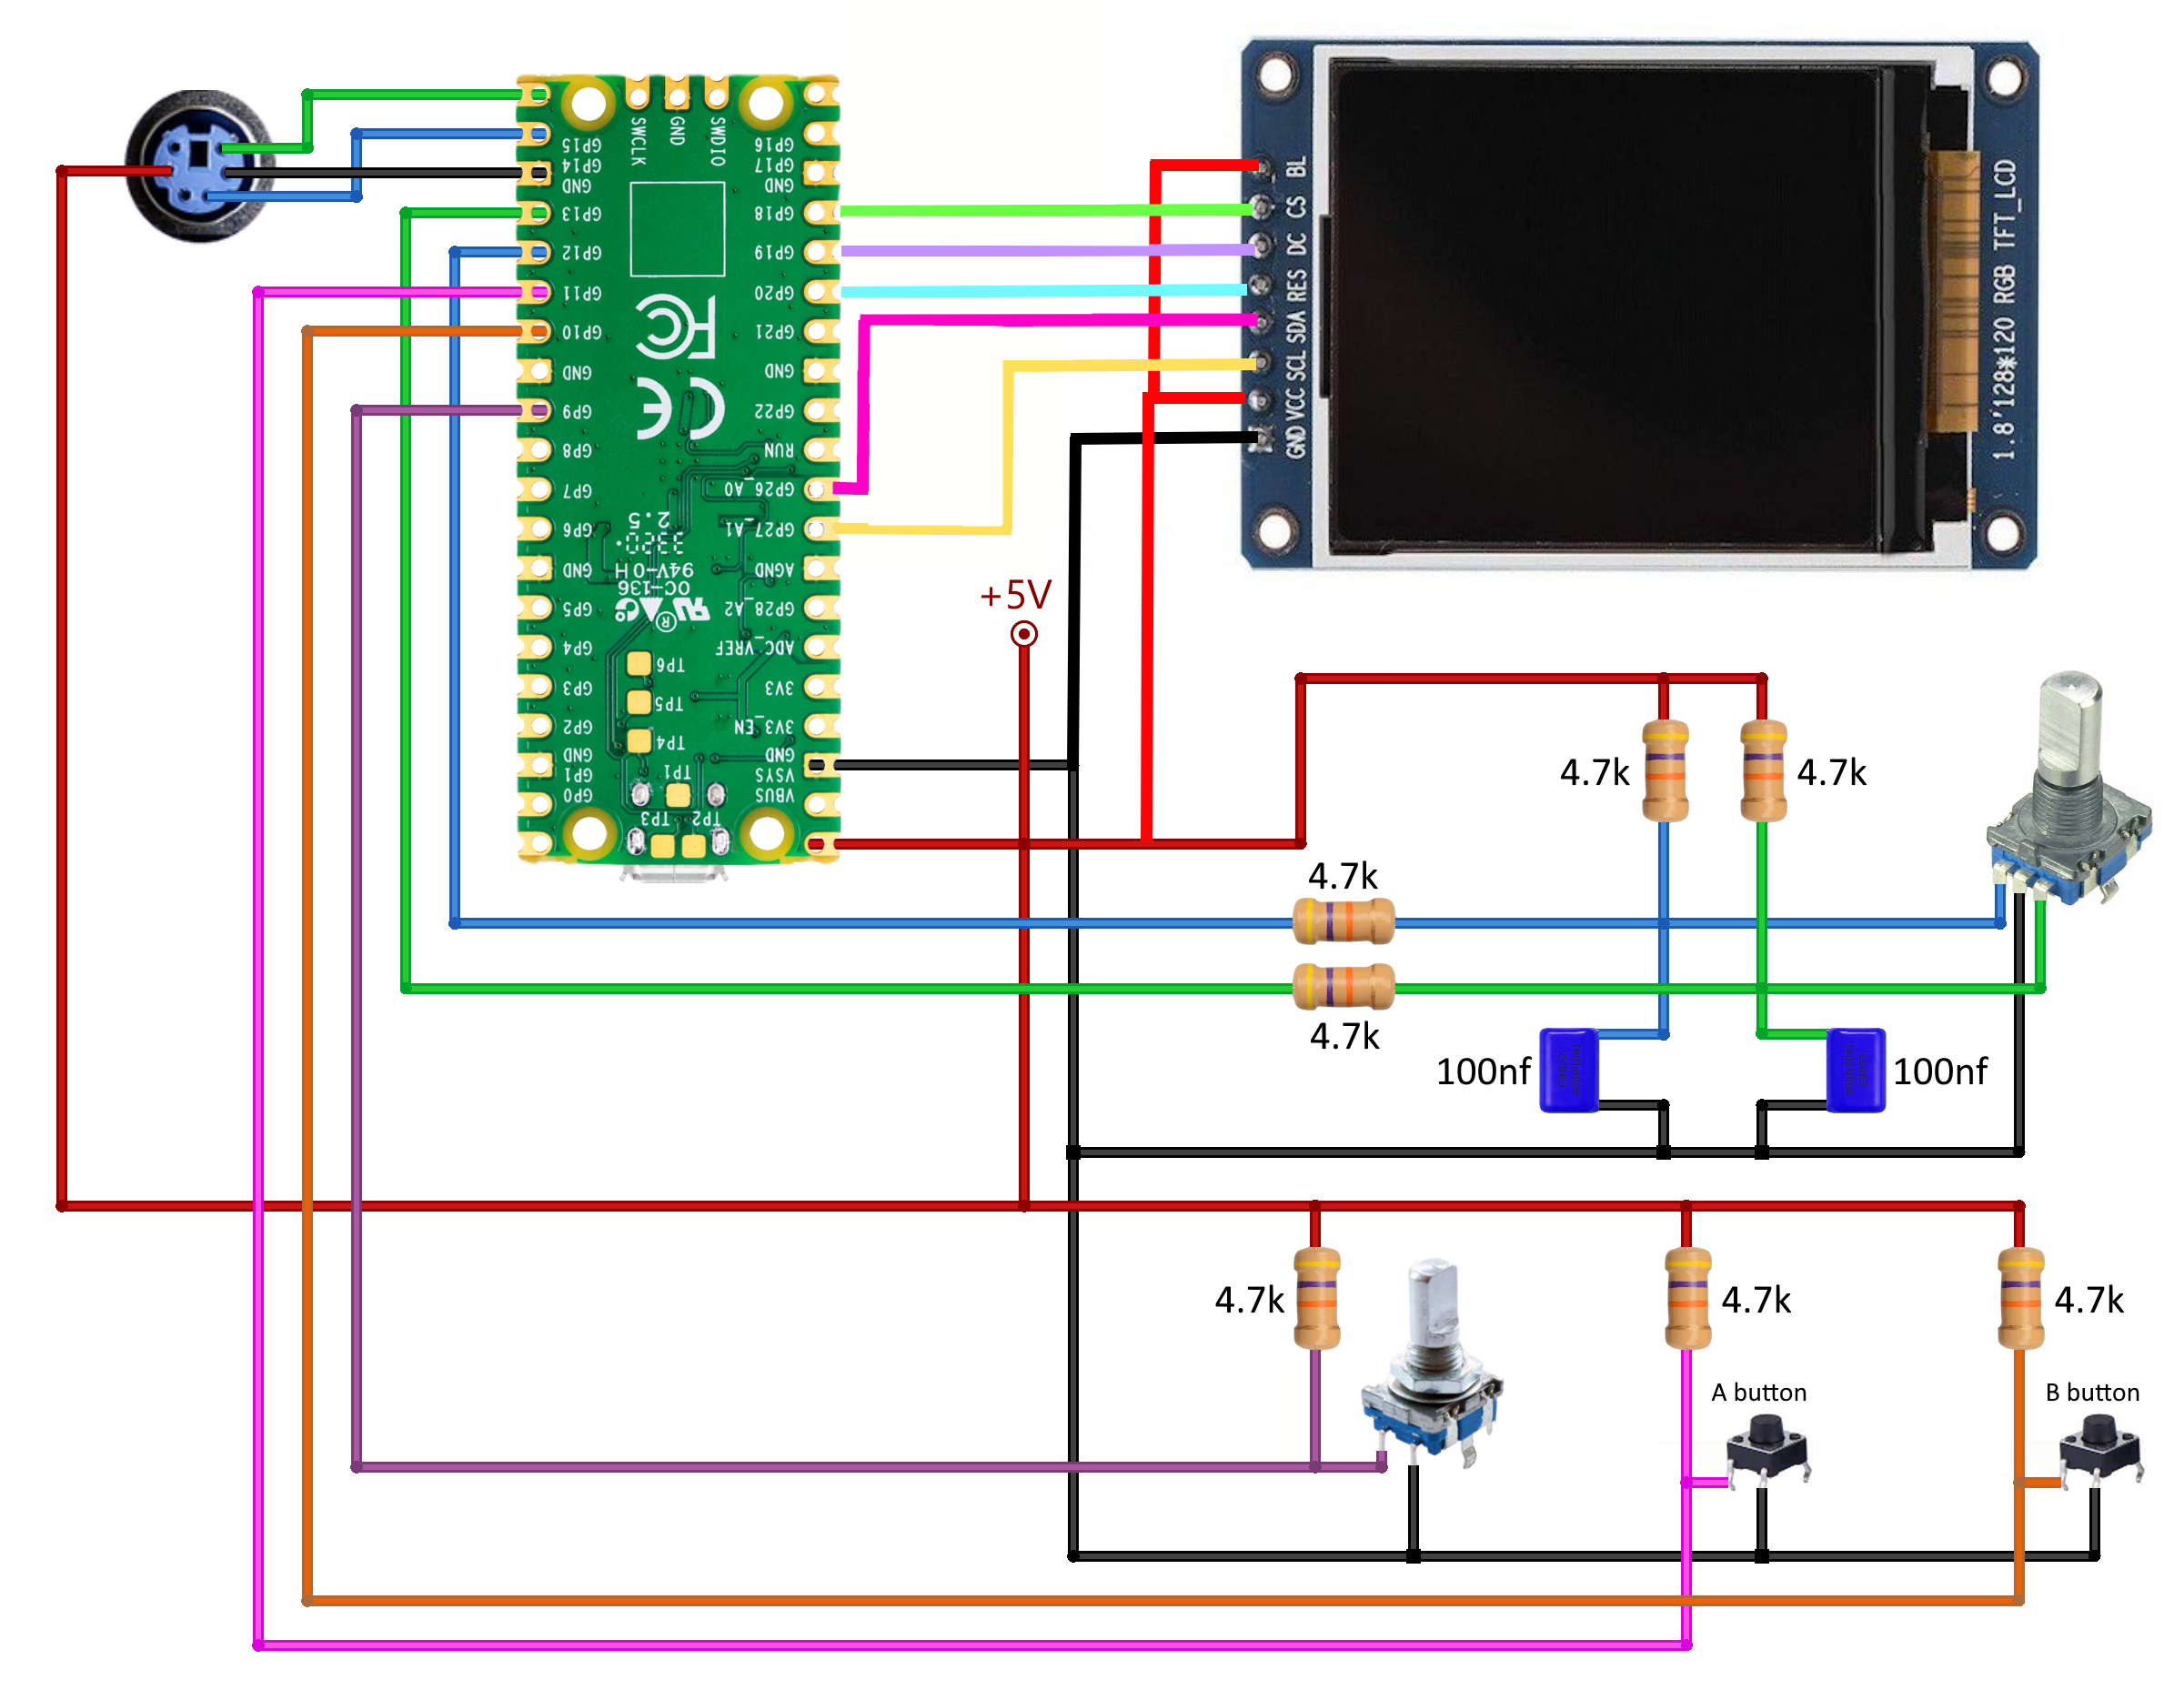
Assembling the Midbar shouldn't be hard. In my opinion, the most tangled part of the process is to connect the encoder with its periphery the right way.
I have a "Black" version of Raspberry PI Pico. It has different pinout therefore you'll need to change TFT_CS1, TFT_DC1, TFT_RST1 values to pins which are on the picture above.
As for the possible component replacements:
- You can replace 4.7k resistors with 4.7k - 10k resistors;
- And you can replace the capacitors with 22nf - 100nf capacitors.
Power the Midbar Up
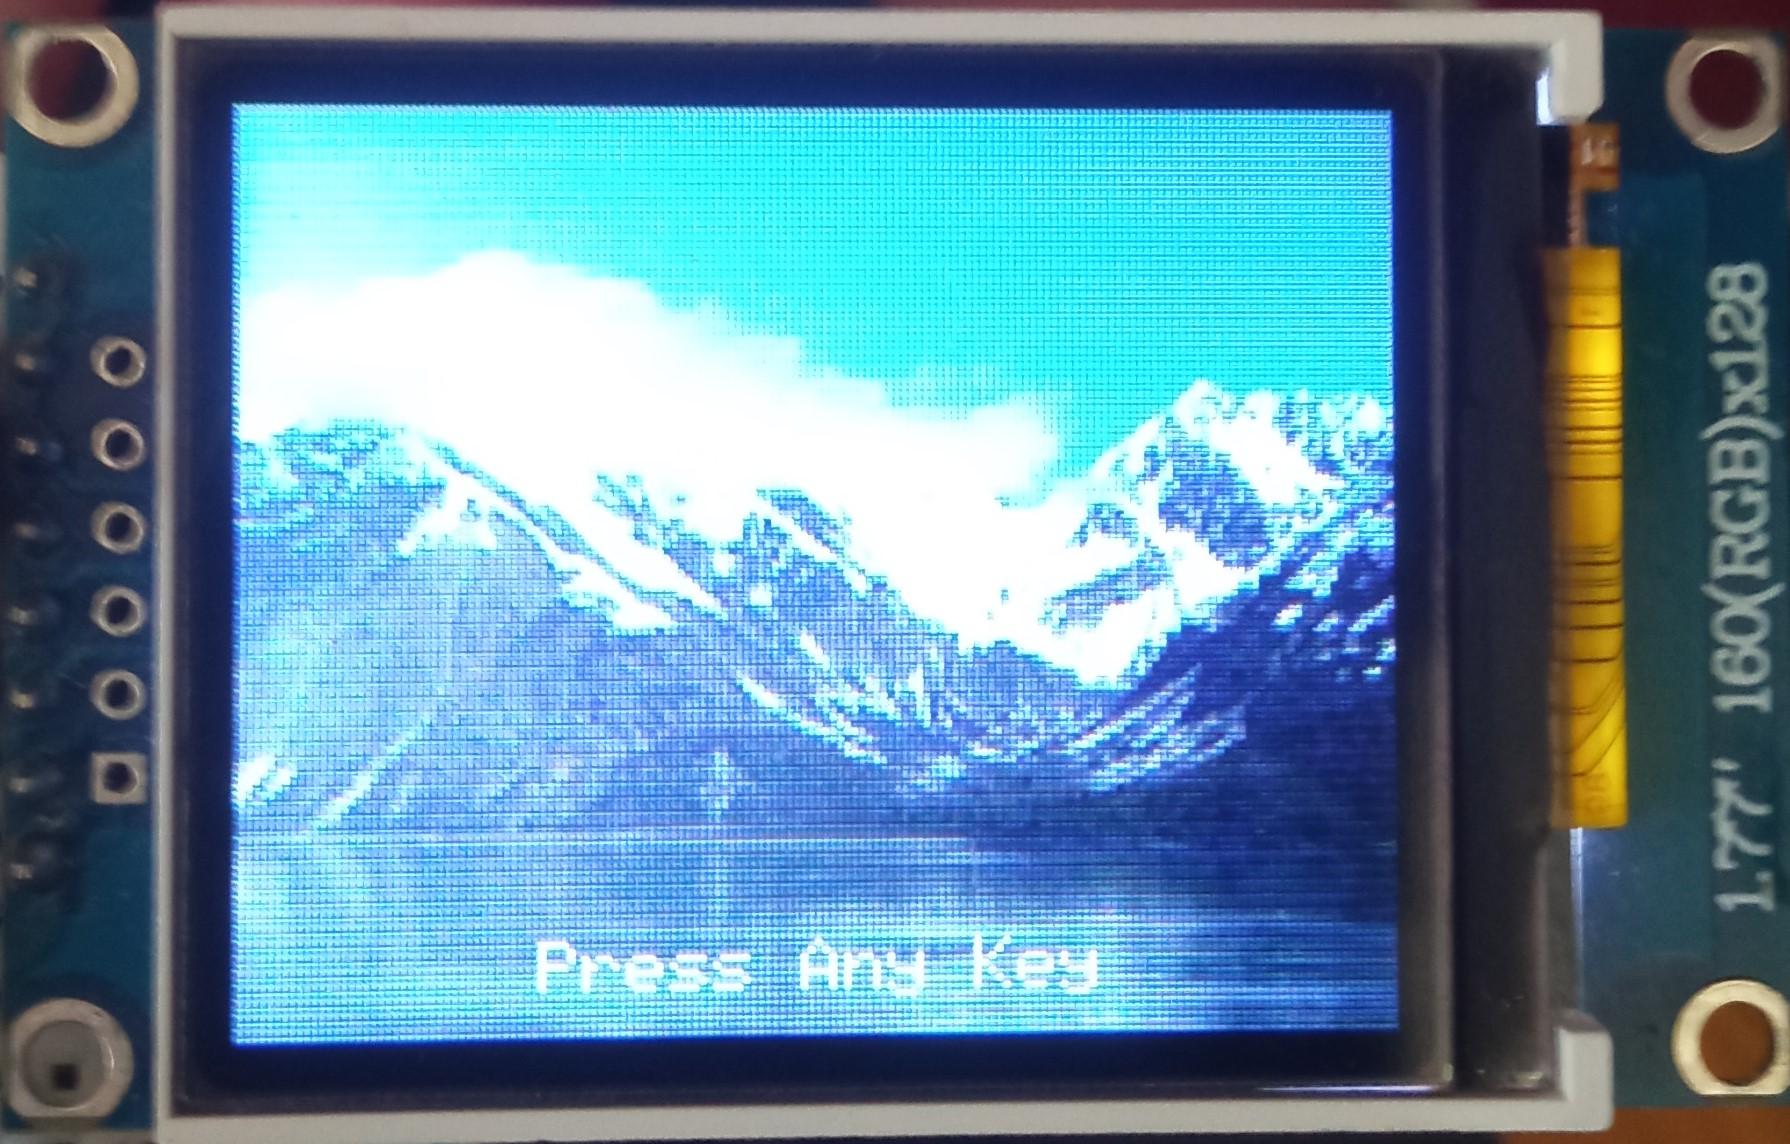
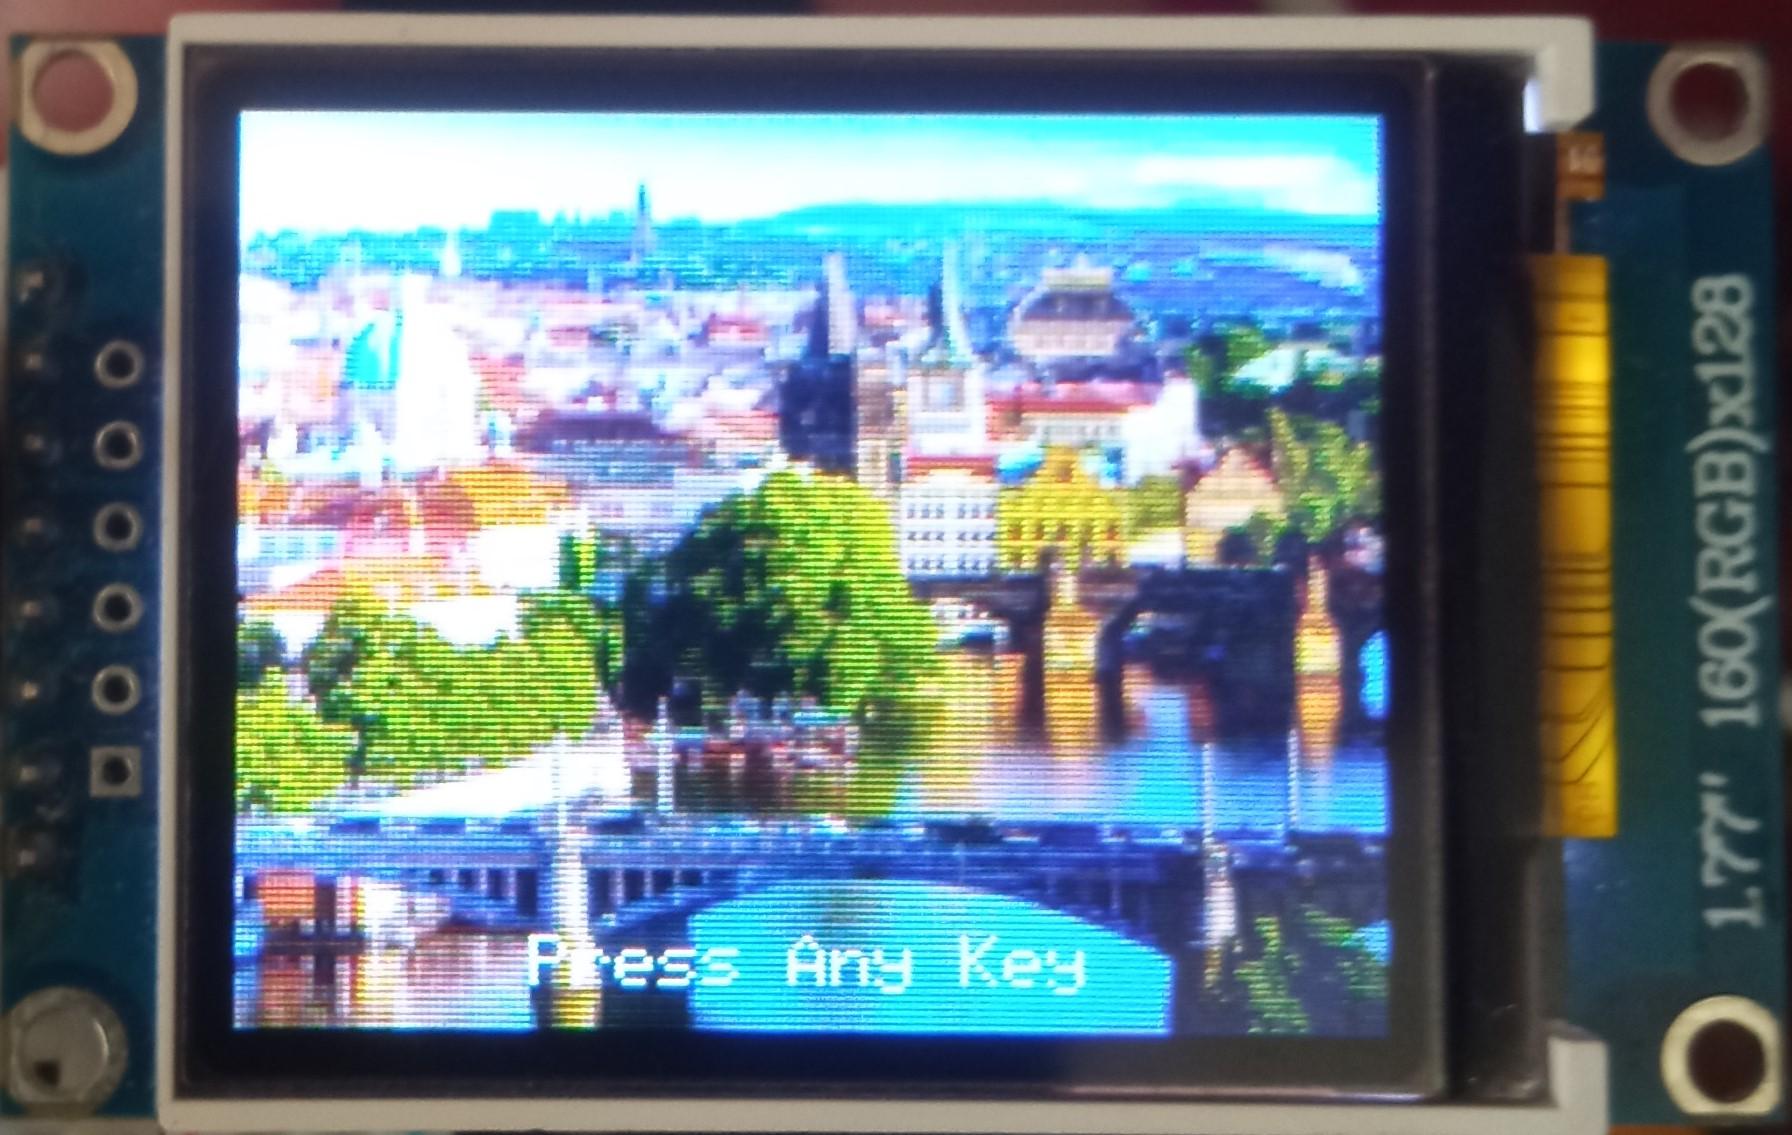
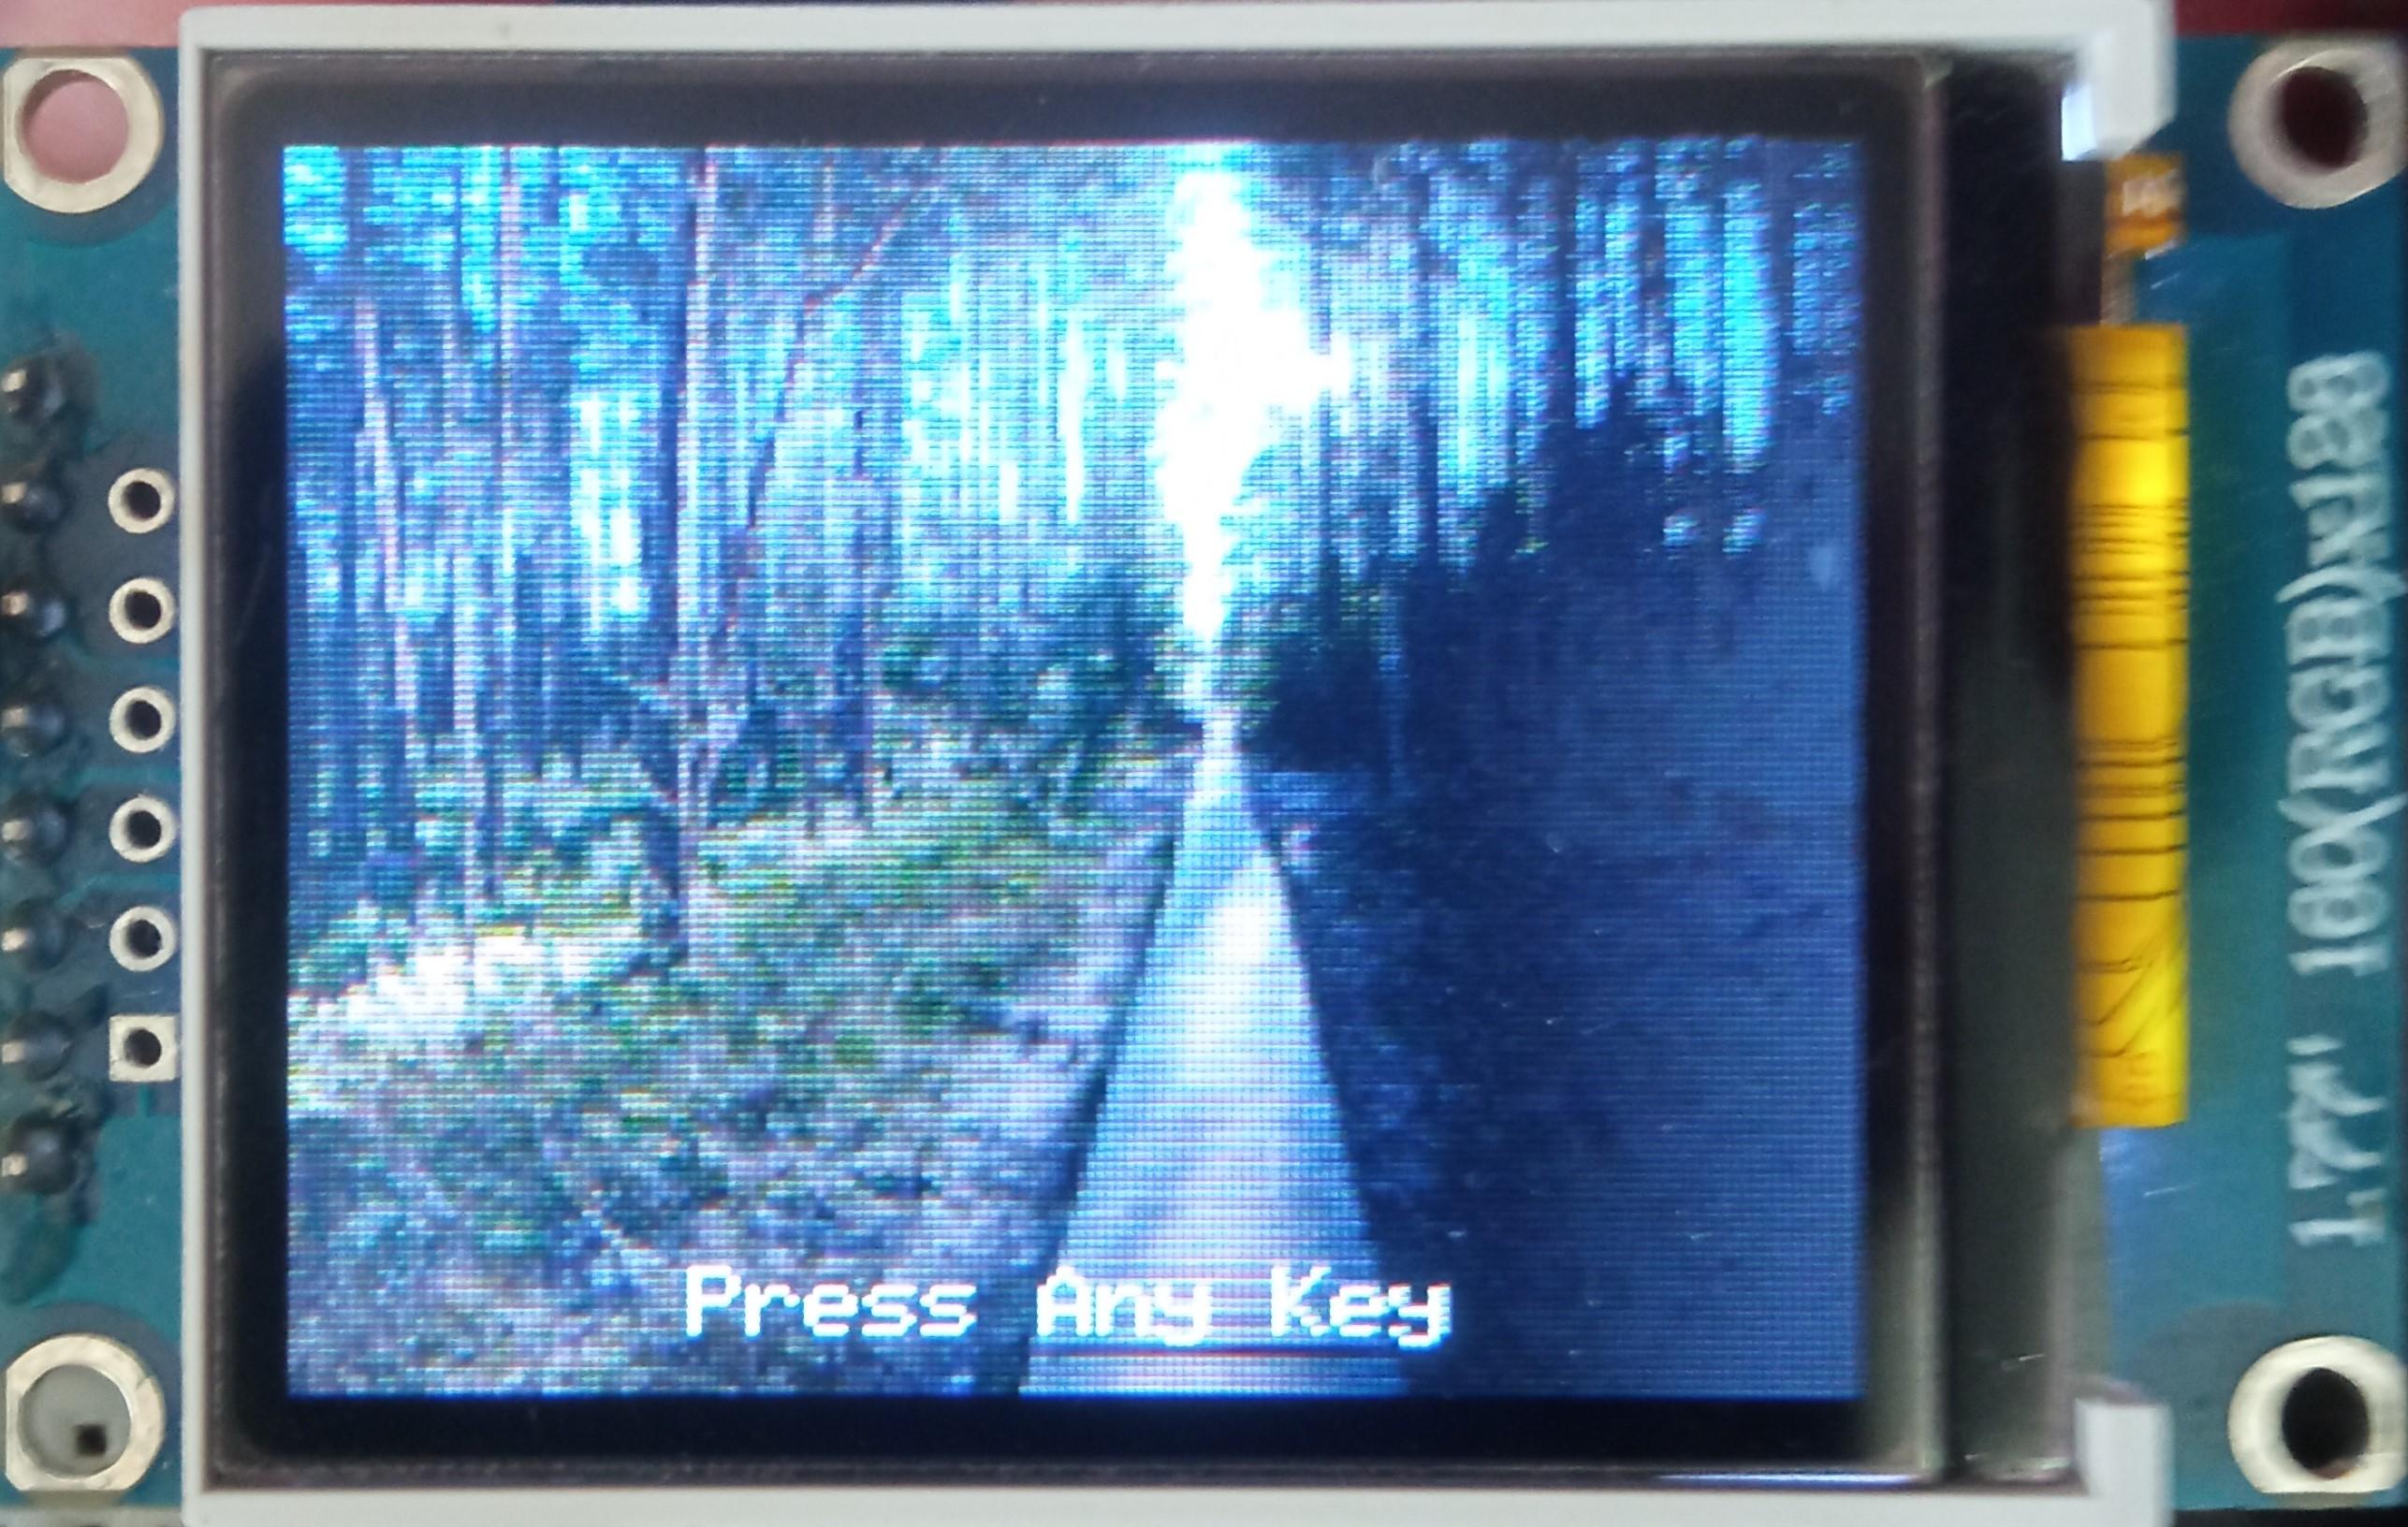
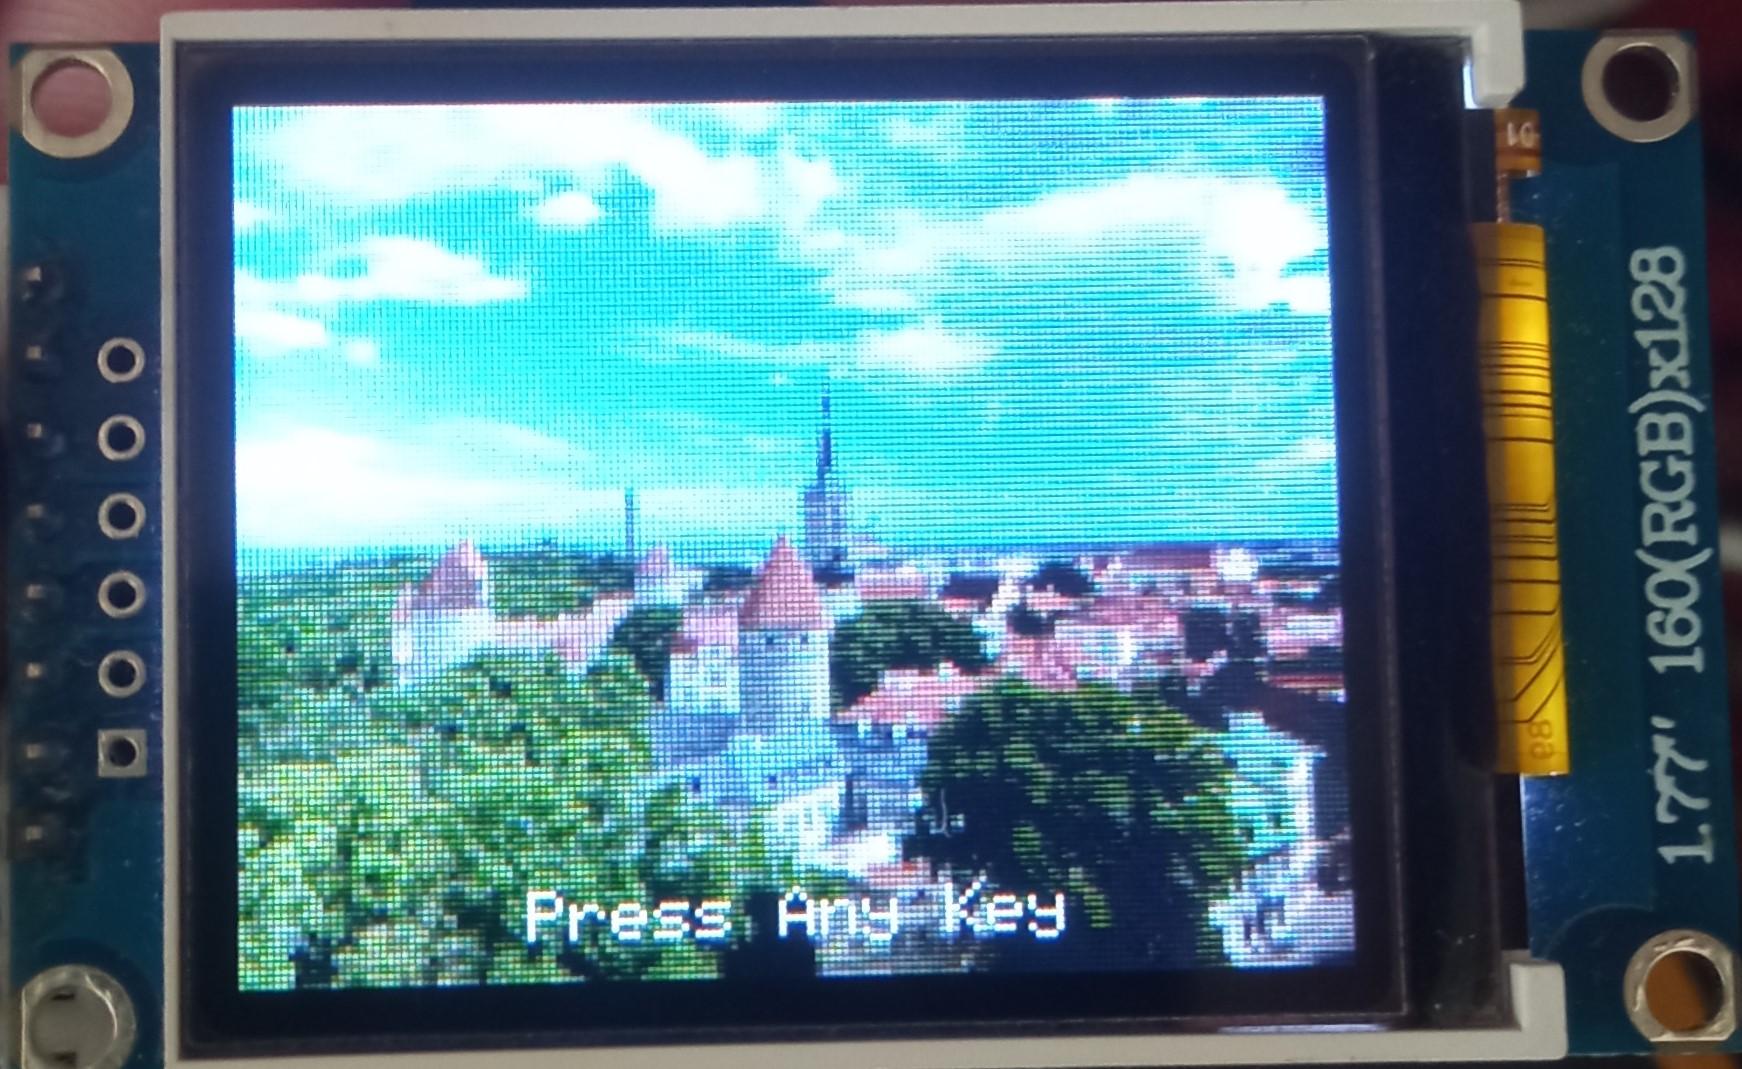

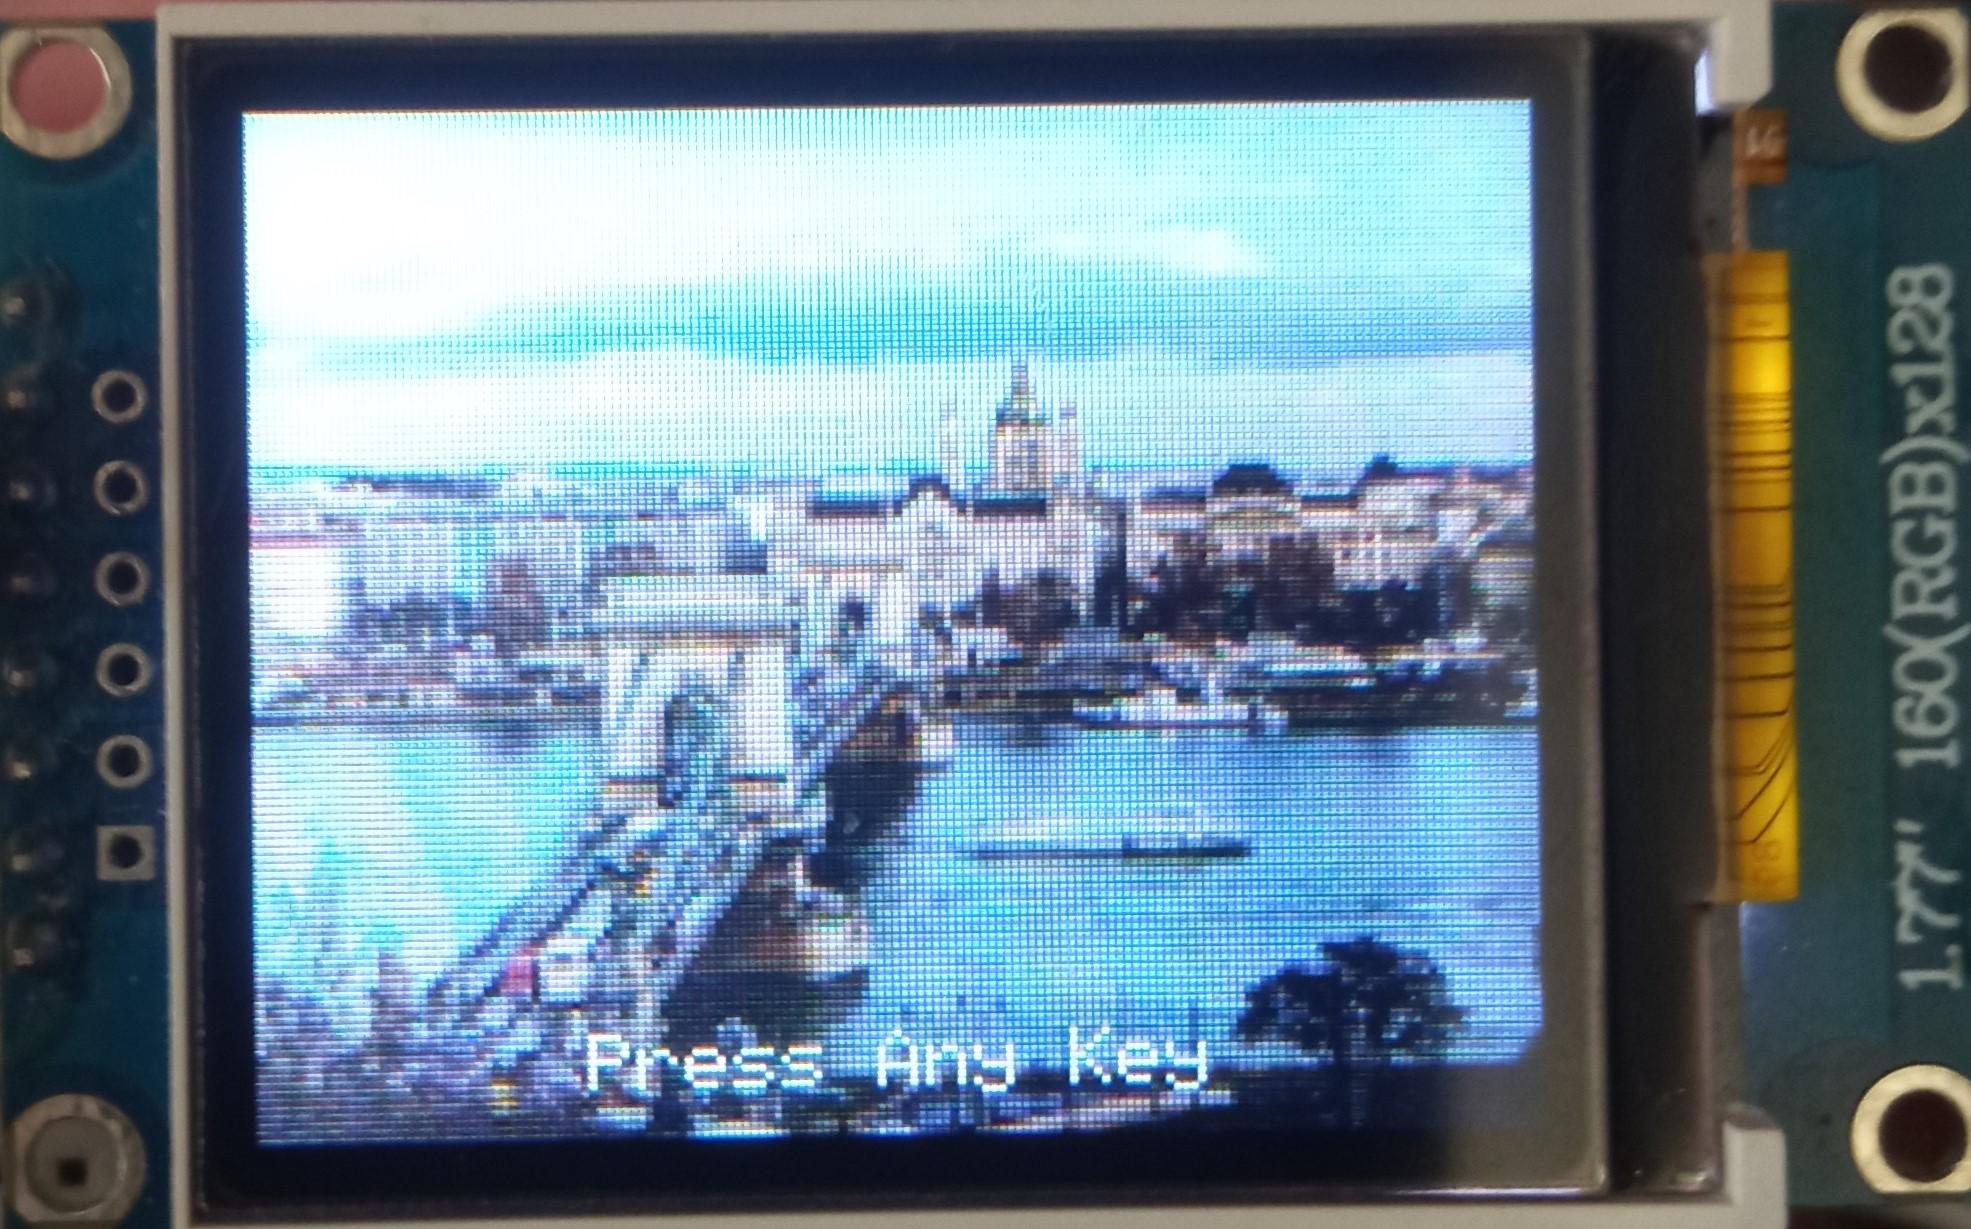
Press any key to get to the next tab.
Set the Master Password
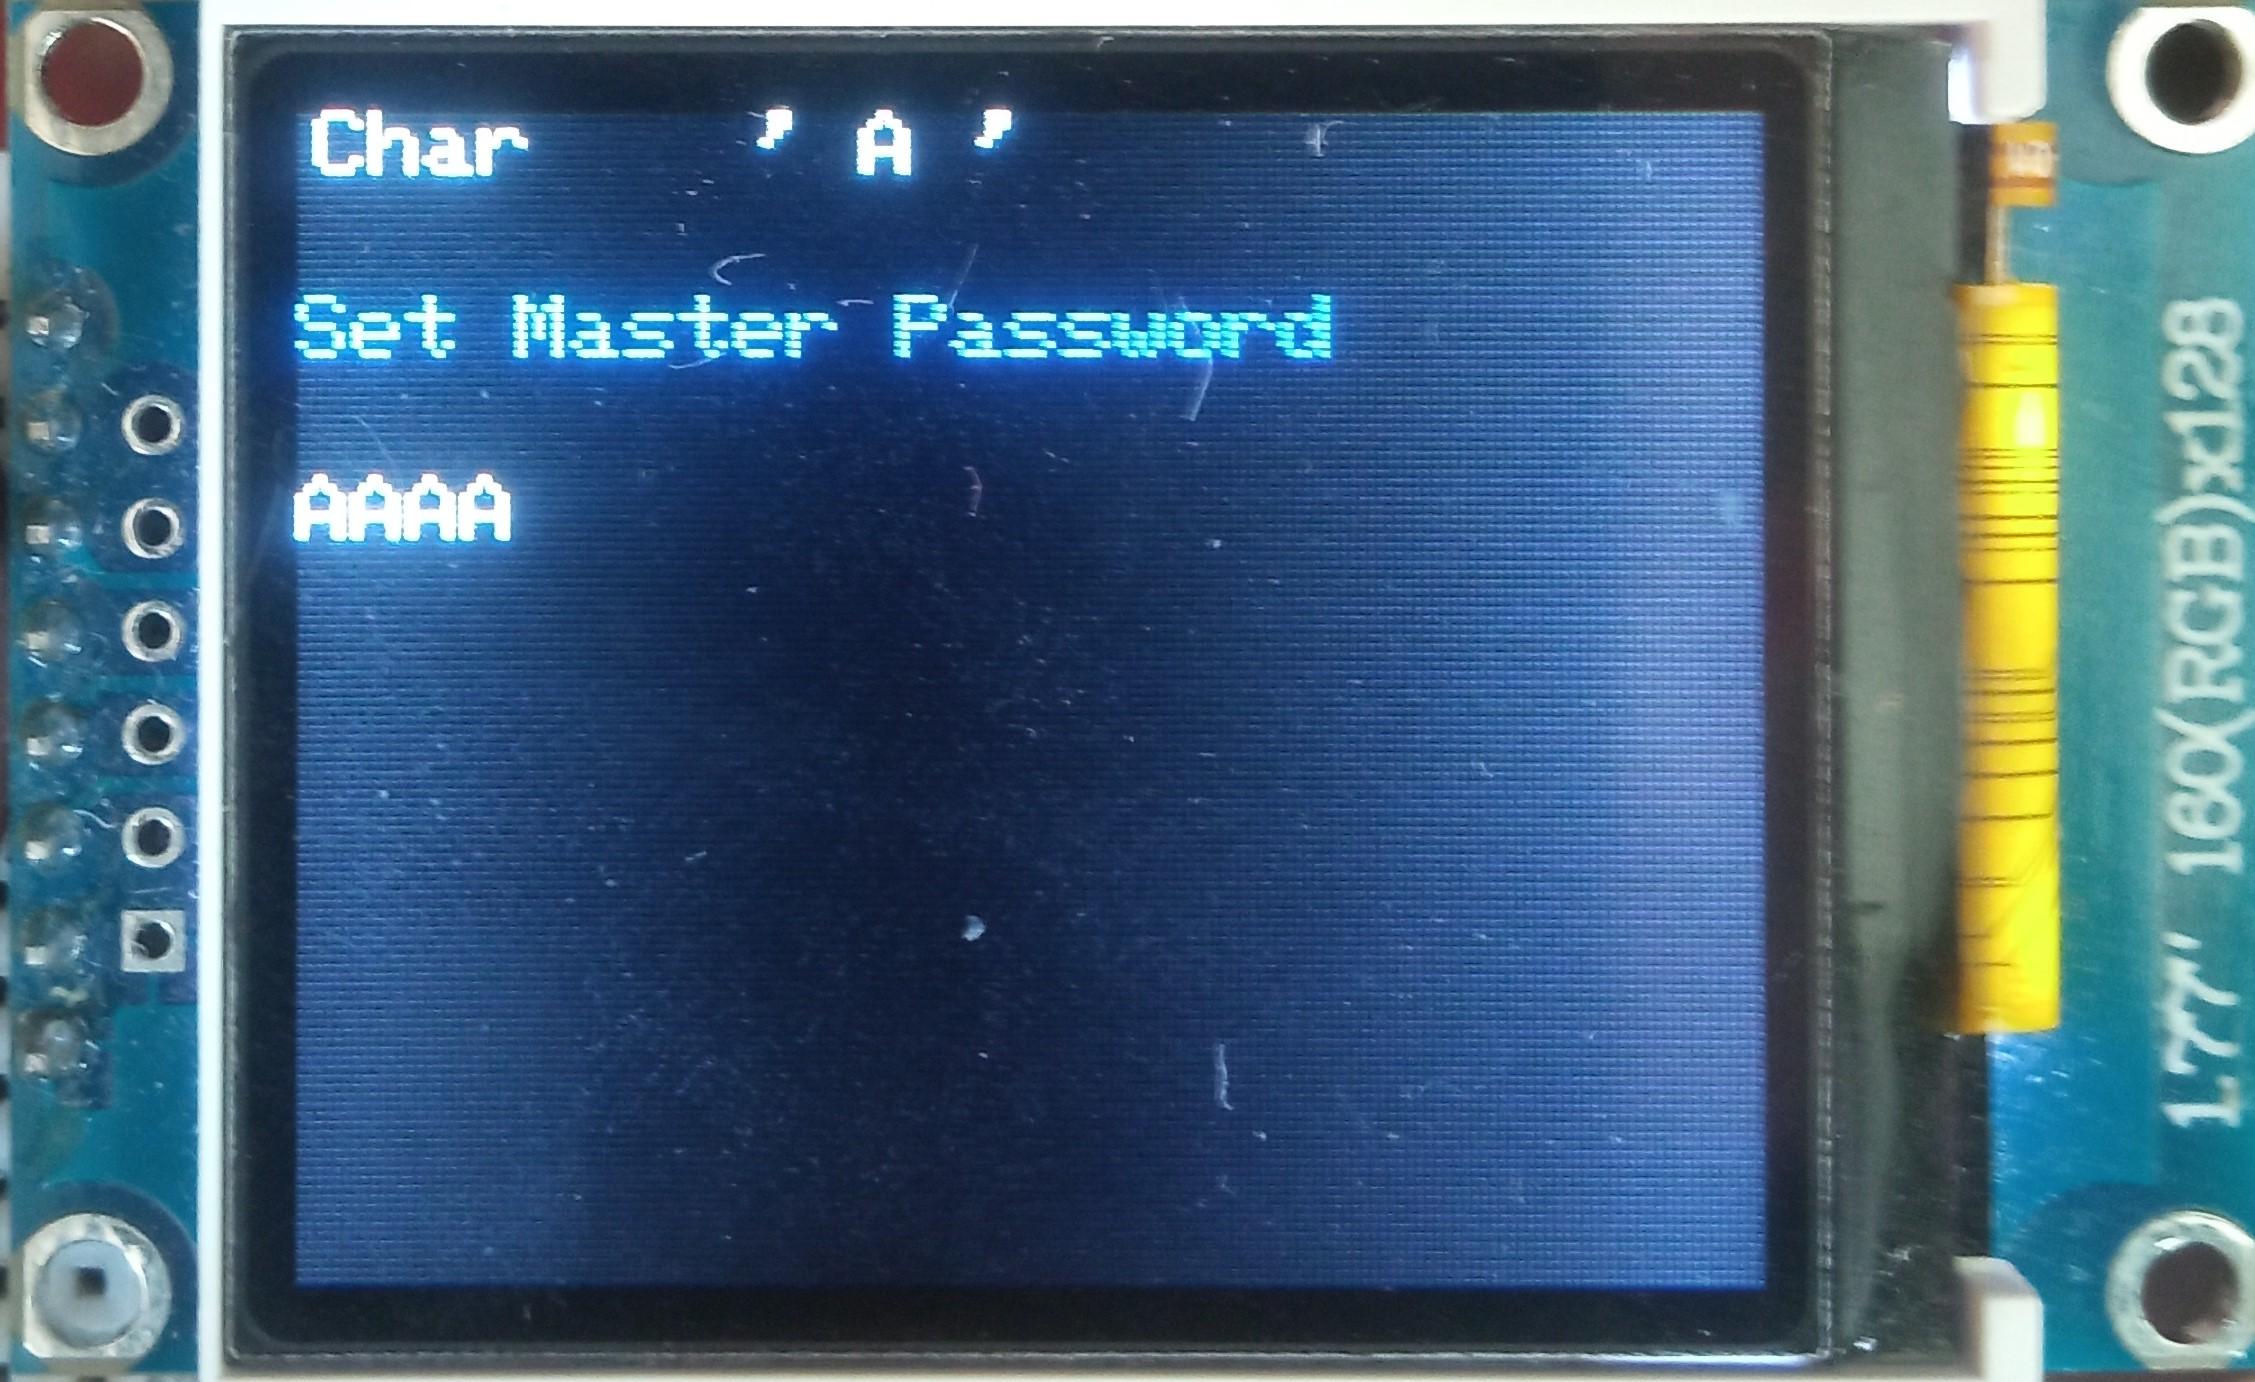
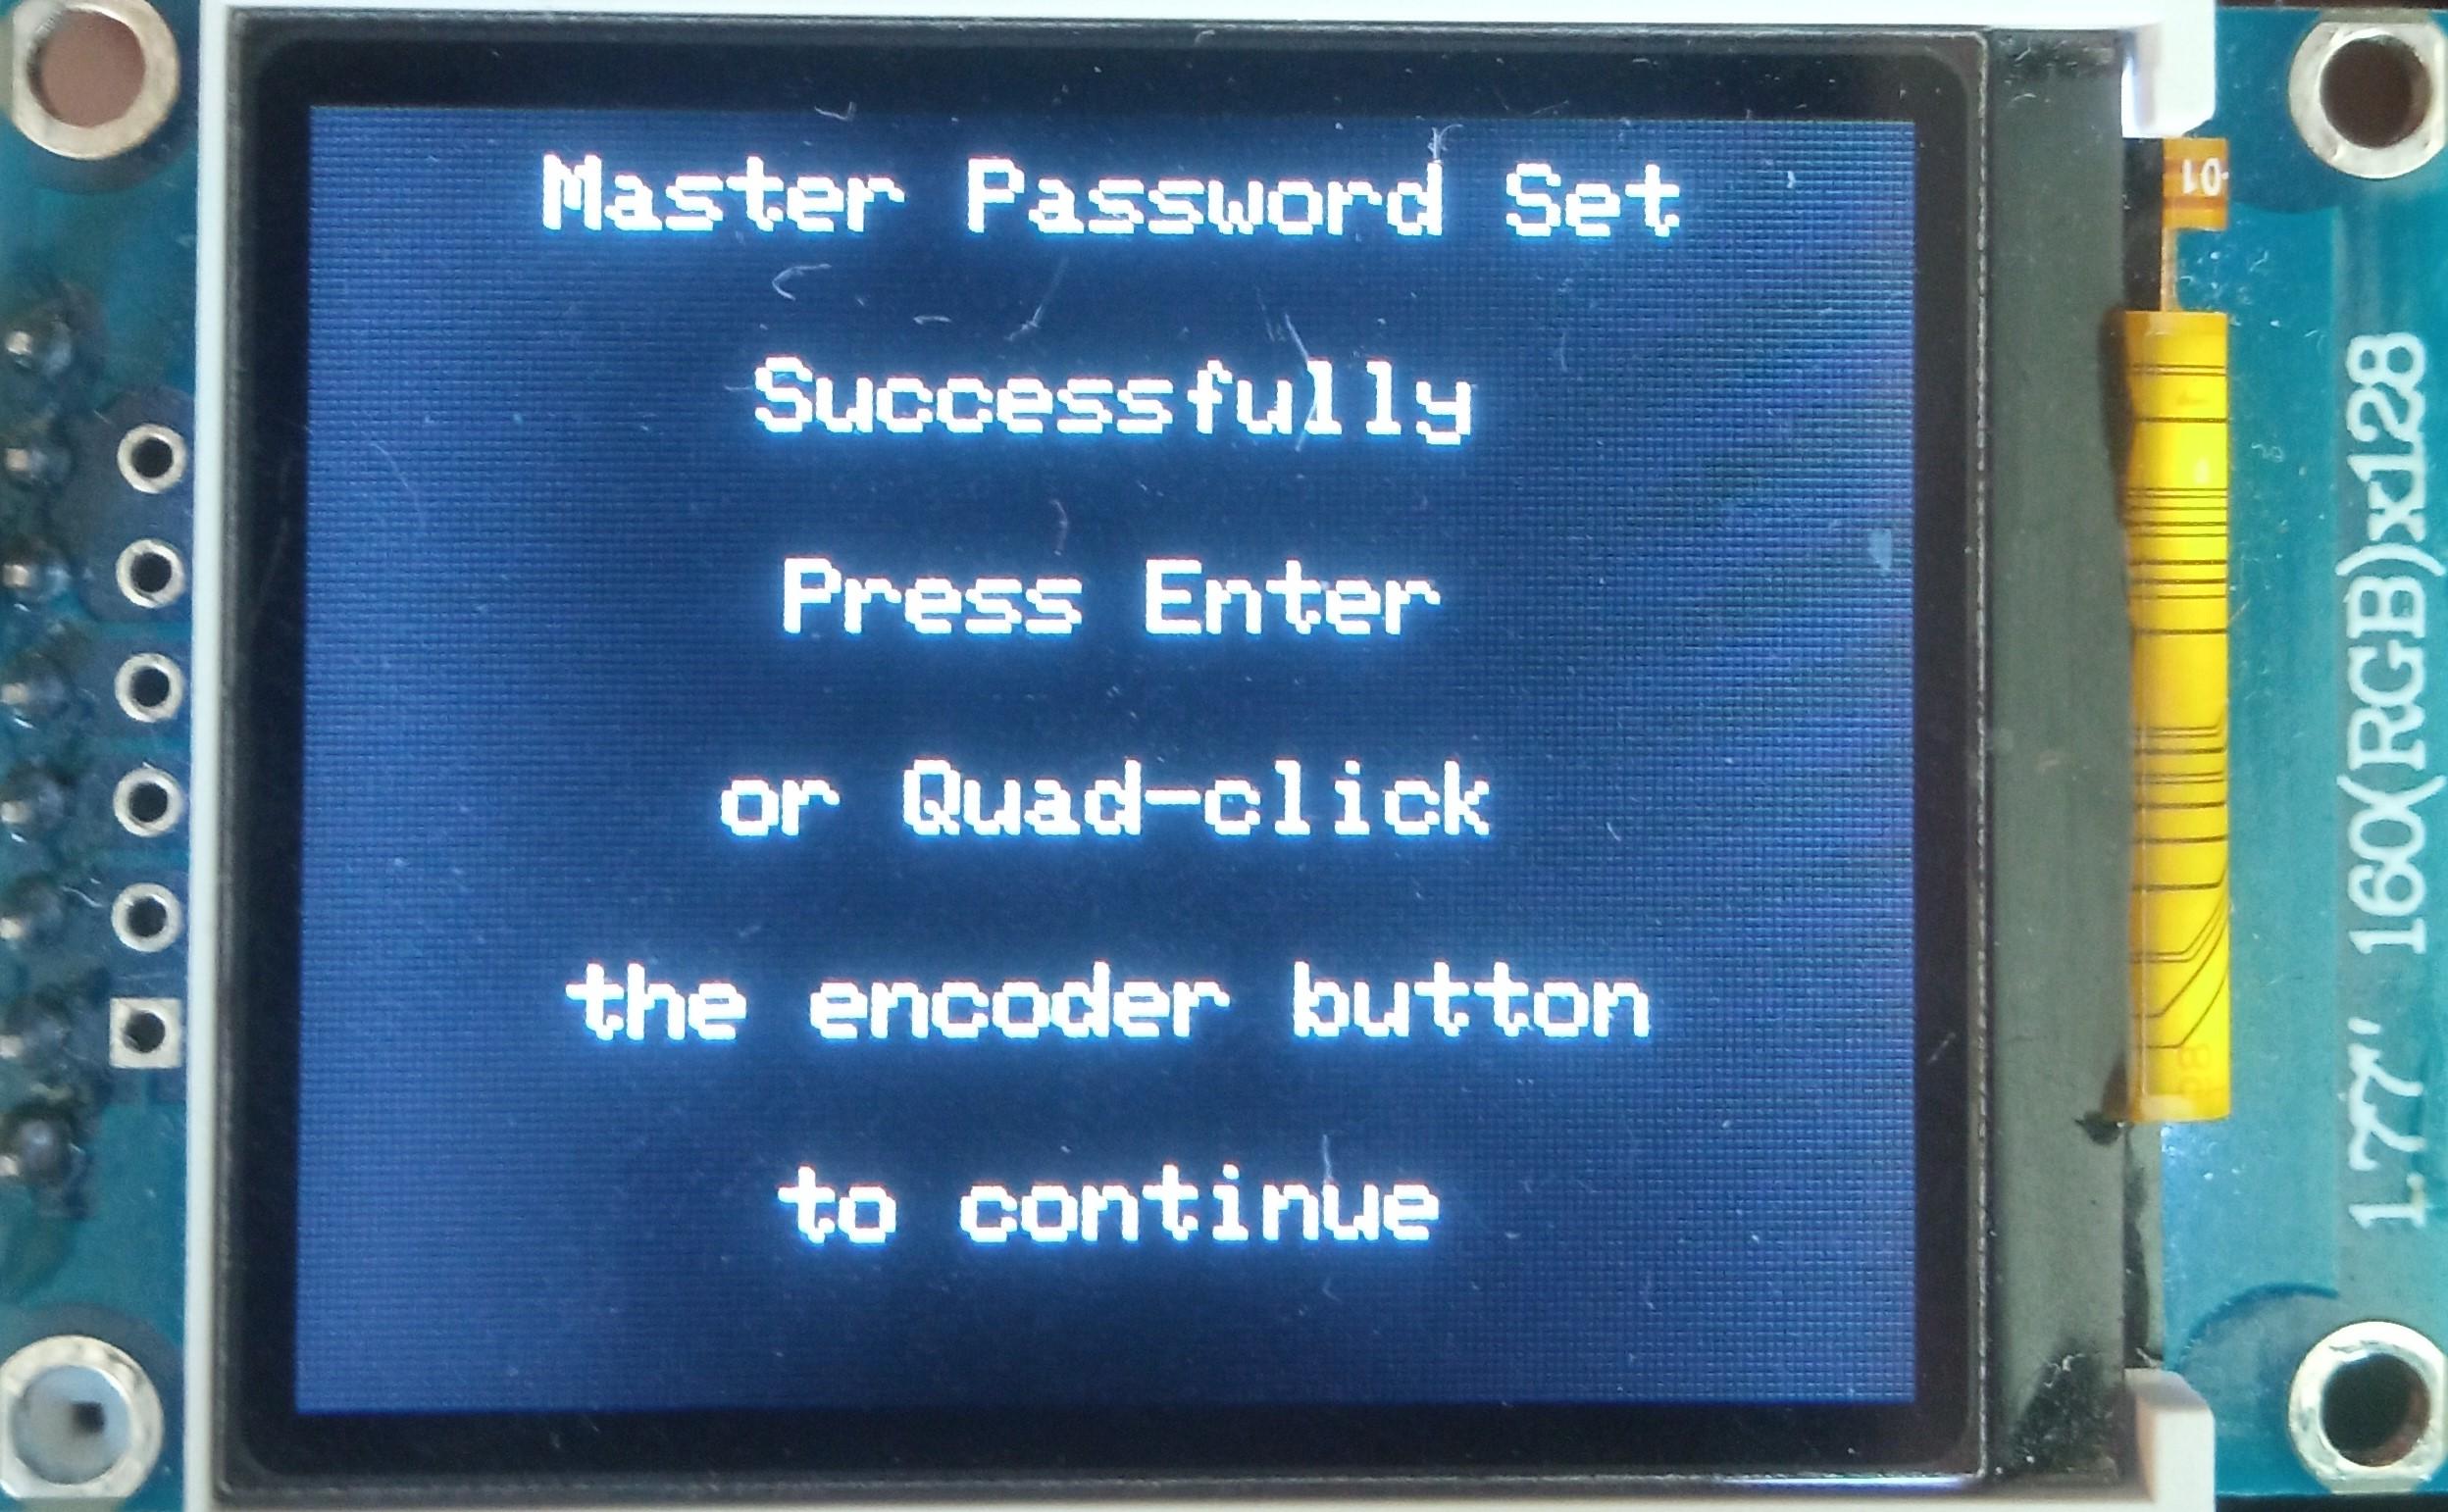
To use the Midbar, you first need to set the master password.
You can only enter the master password using the encoder and PS/2 keyboard.
And remember that you can't change your master password without performing the factory reset first!
Midbar won't be able to decrypt your data without your master password because the keys for the encryption algorithms are partially derived from it. Perhaps, it won't even unlock without the correct master password.
When you're done entering your master password, either quad-click the encoder button or press the "Enter" on the PS/2 keyboard.
After you've unlocked the vault and got to the main menu:
- Either turn the rotary encoder to the right or press the "↓" (DOWNWARDS ARROW) key on the PS/2 keyboard to go down the menu.
- Either turn the rotary encoder to the left or press the "↑" (UPWARDS ARROW) key on the PS/2 keyboard to go up the menu.
- Press either the "A" button or the "Enter" key on the PS/2 keyboard to open the selected menu.
- While in the submenu, press either the "B" button or the "Esc" key on the PS/2 keyboard to return to the main menu.
While entering a text in a tab:
- Either quad-click the encoder button four or press "Enter" on the PS/2 keyboard to continue;
- Either quintuple-click the encoder button (click it five times in quick succession) or press the "Esc" button on the PS/2 keyboard to cancel the current operation.
*If the hex value decreases when you rotate the encoder to the right, I would advise you to swap the wires connected to the GP12 and GP13 pins.
And by the way, pressing the "Caps Lock," "Num Lock," or "Scroll Lock" buttons makes the keyboard unresponsive until you either reconnect it or disconnect the RPI from the power source.
Add Login
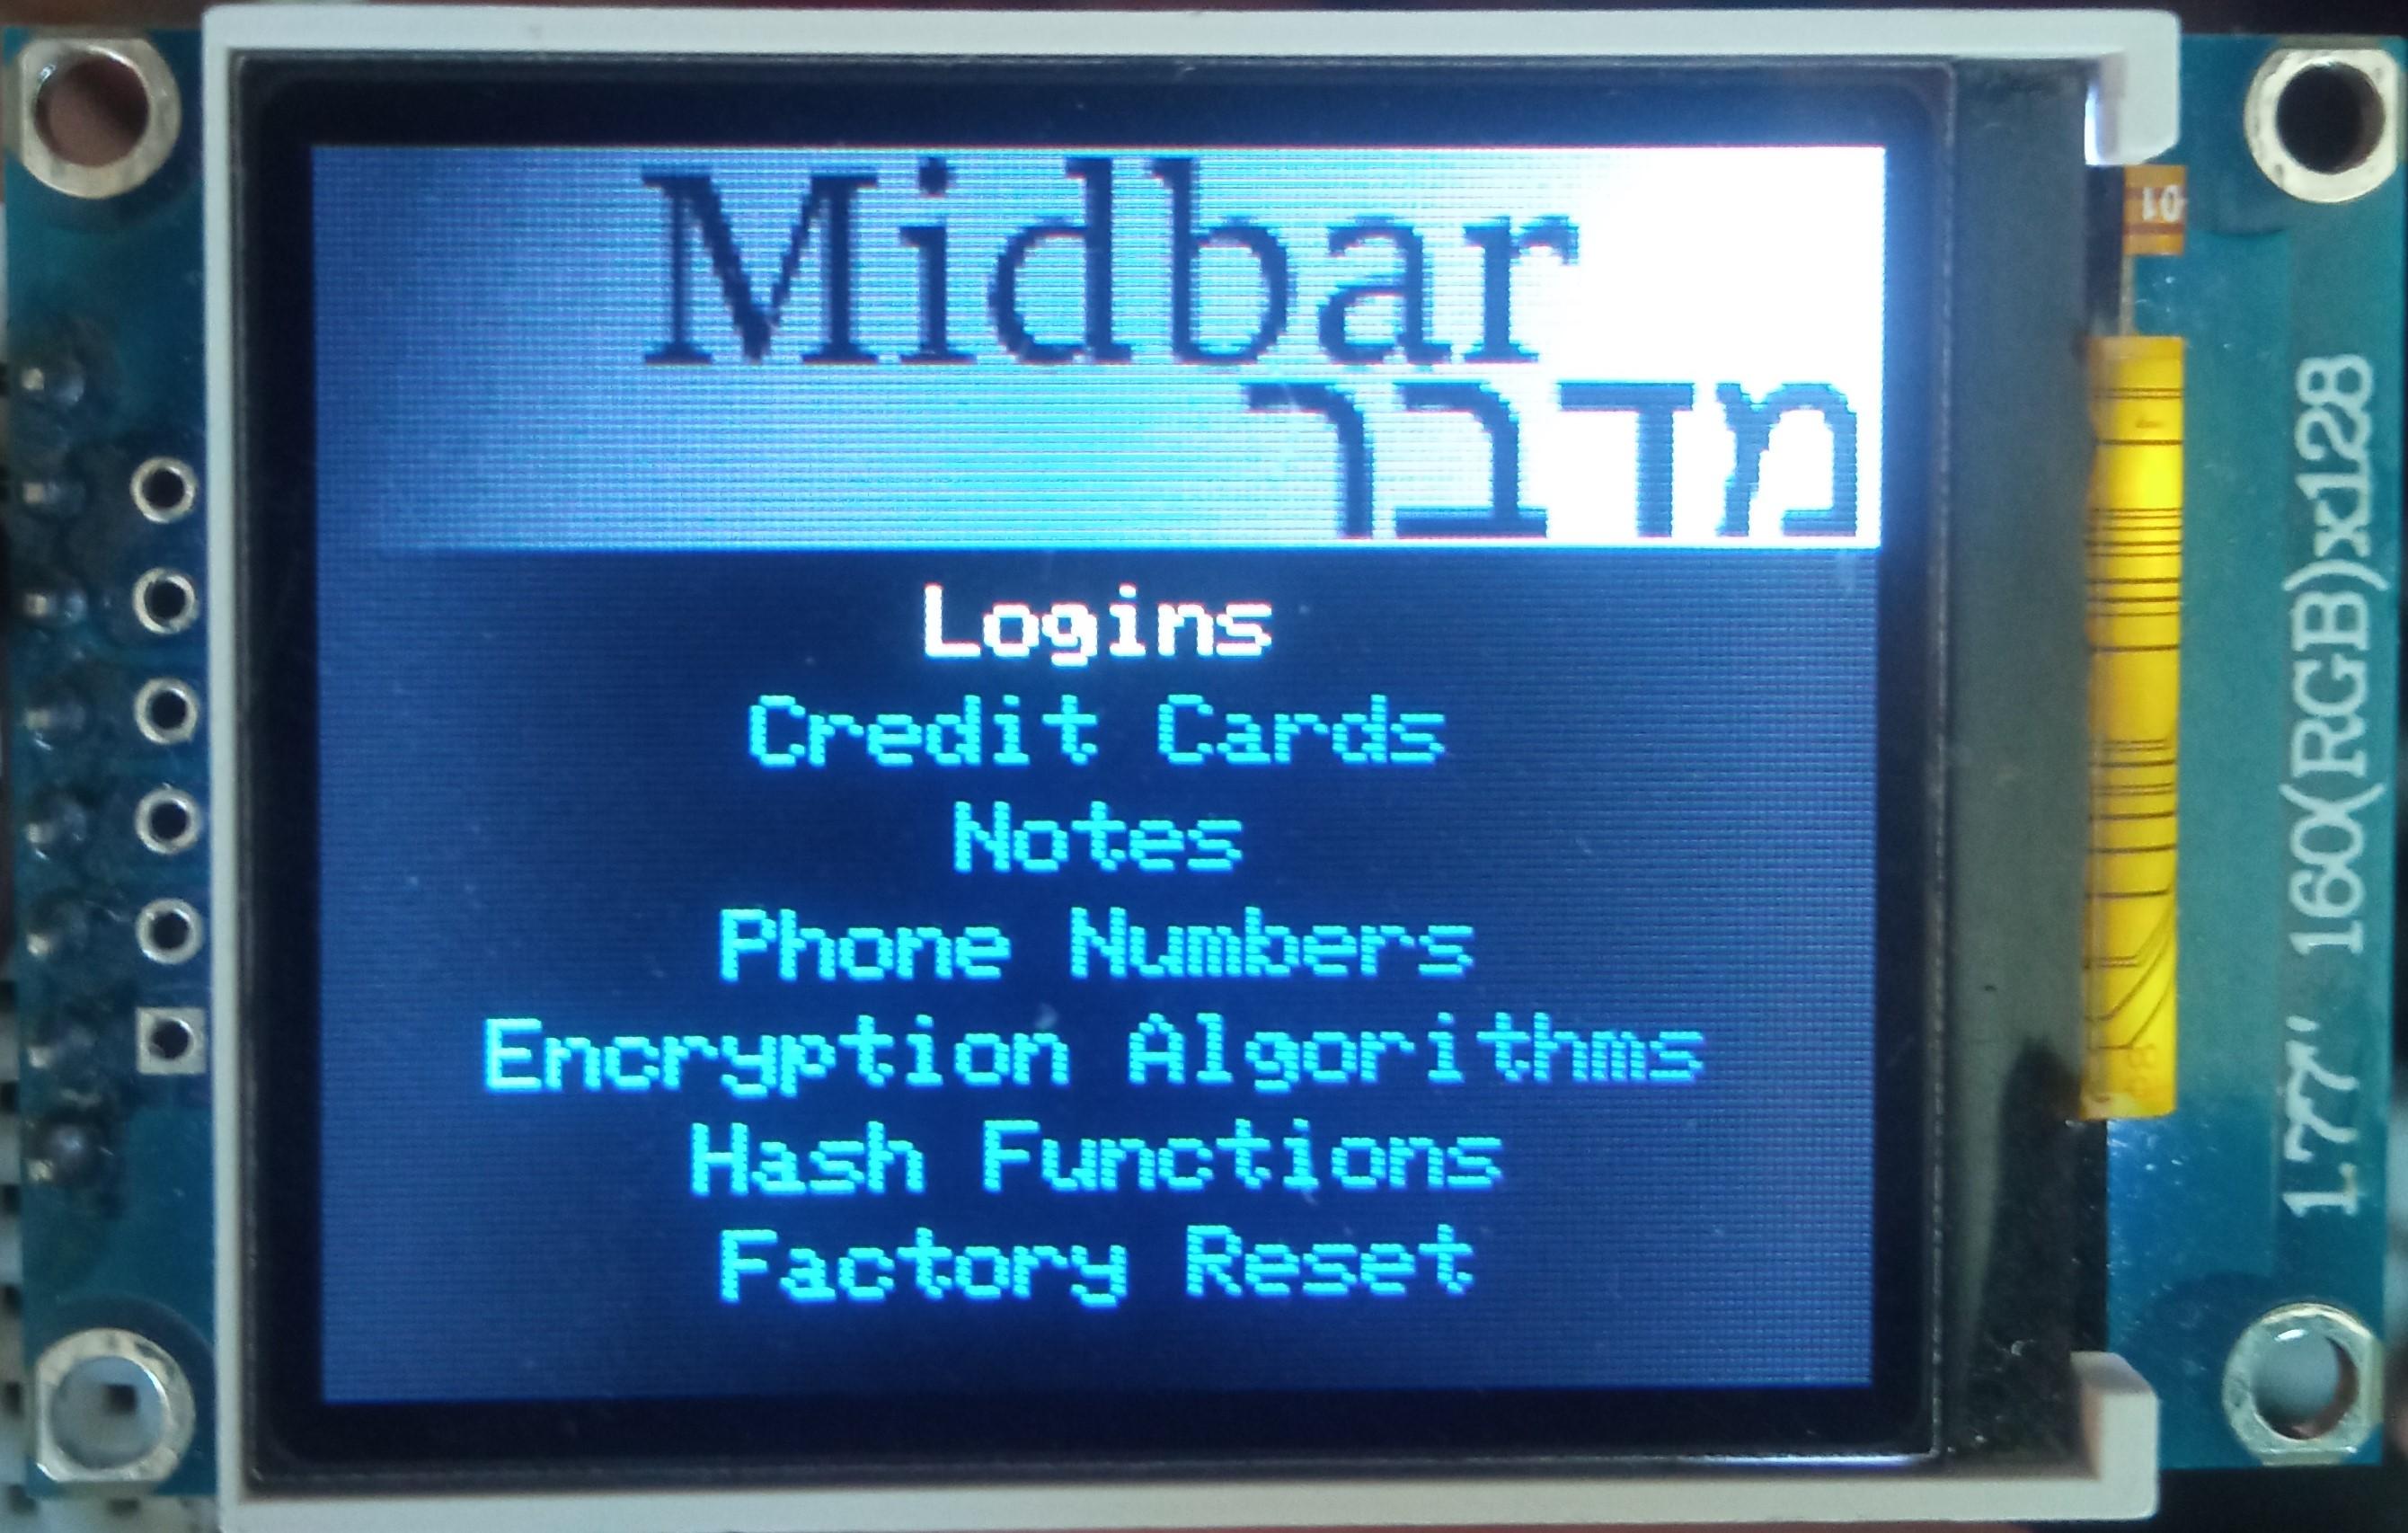
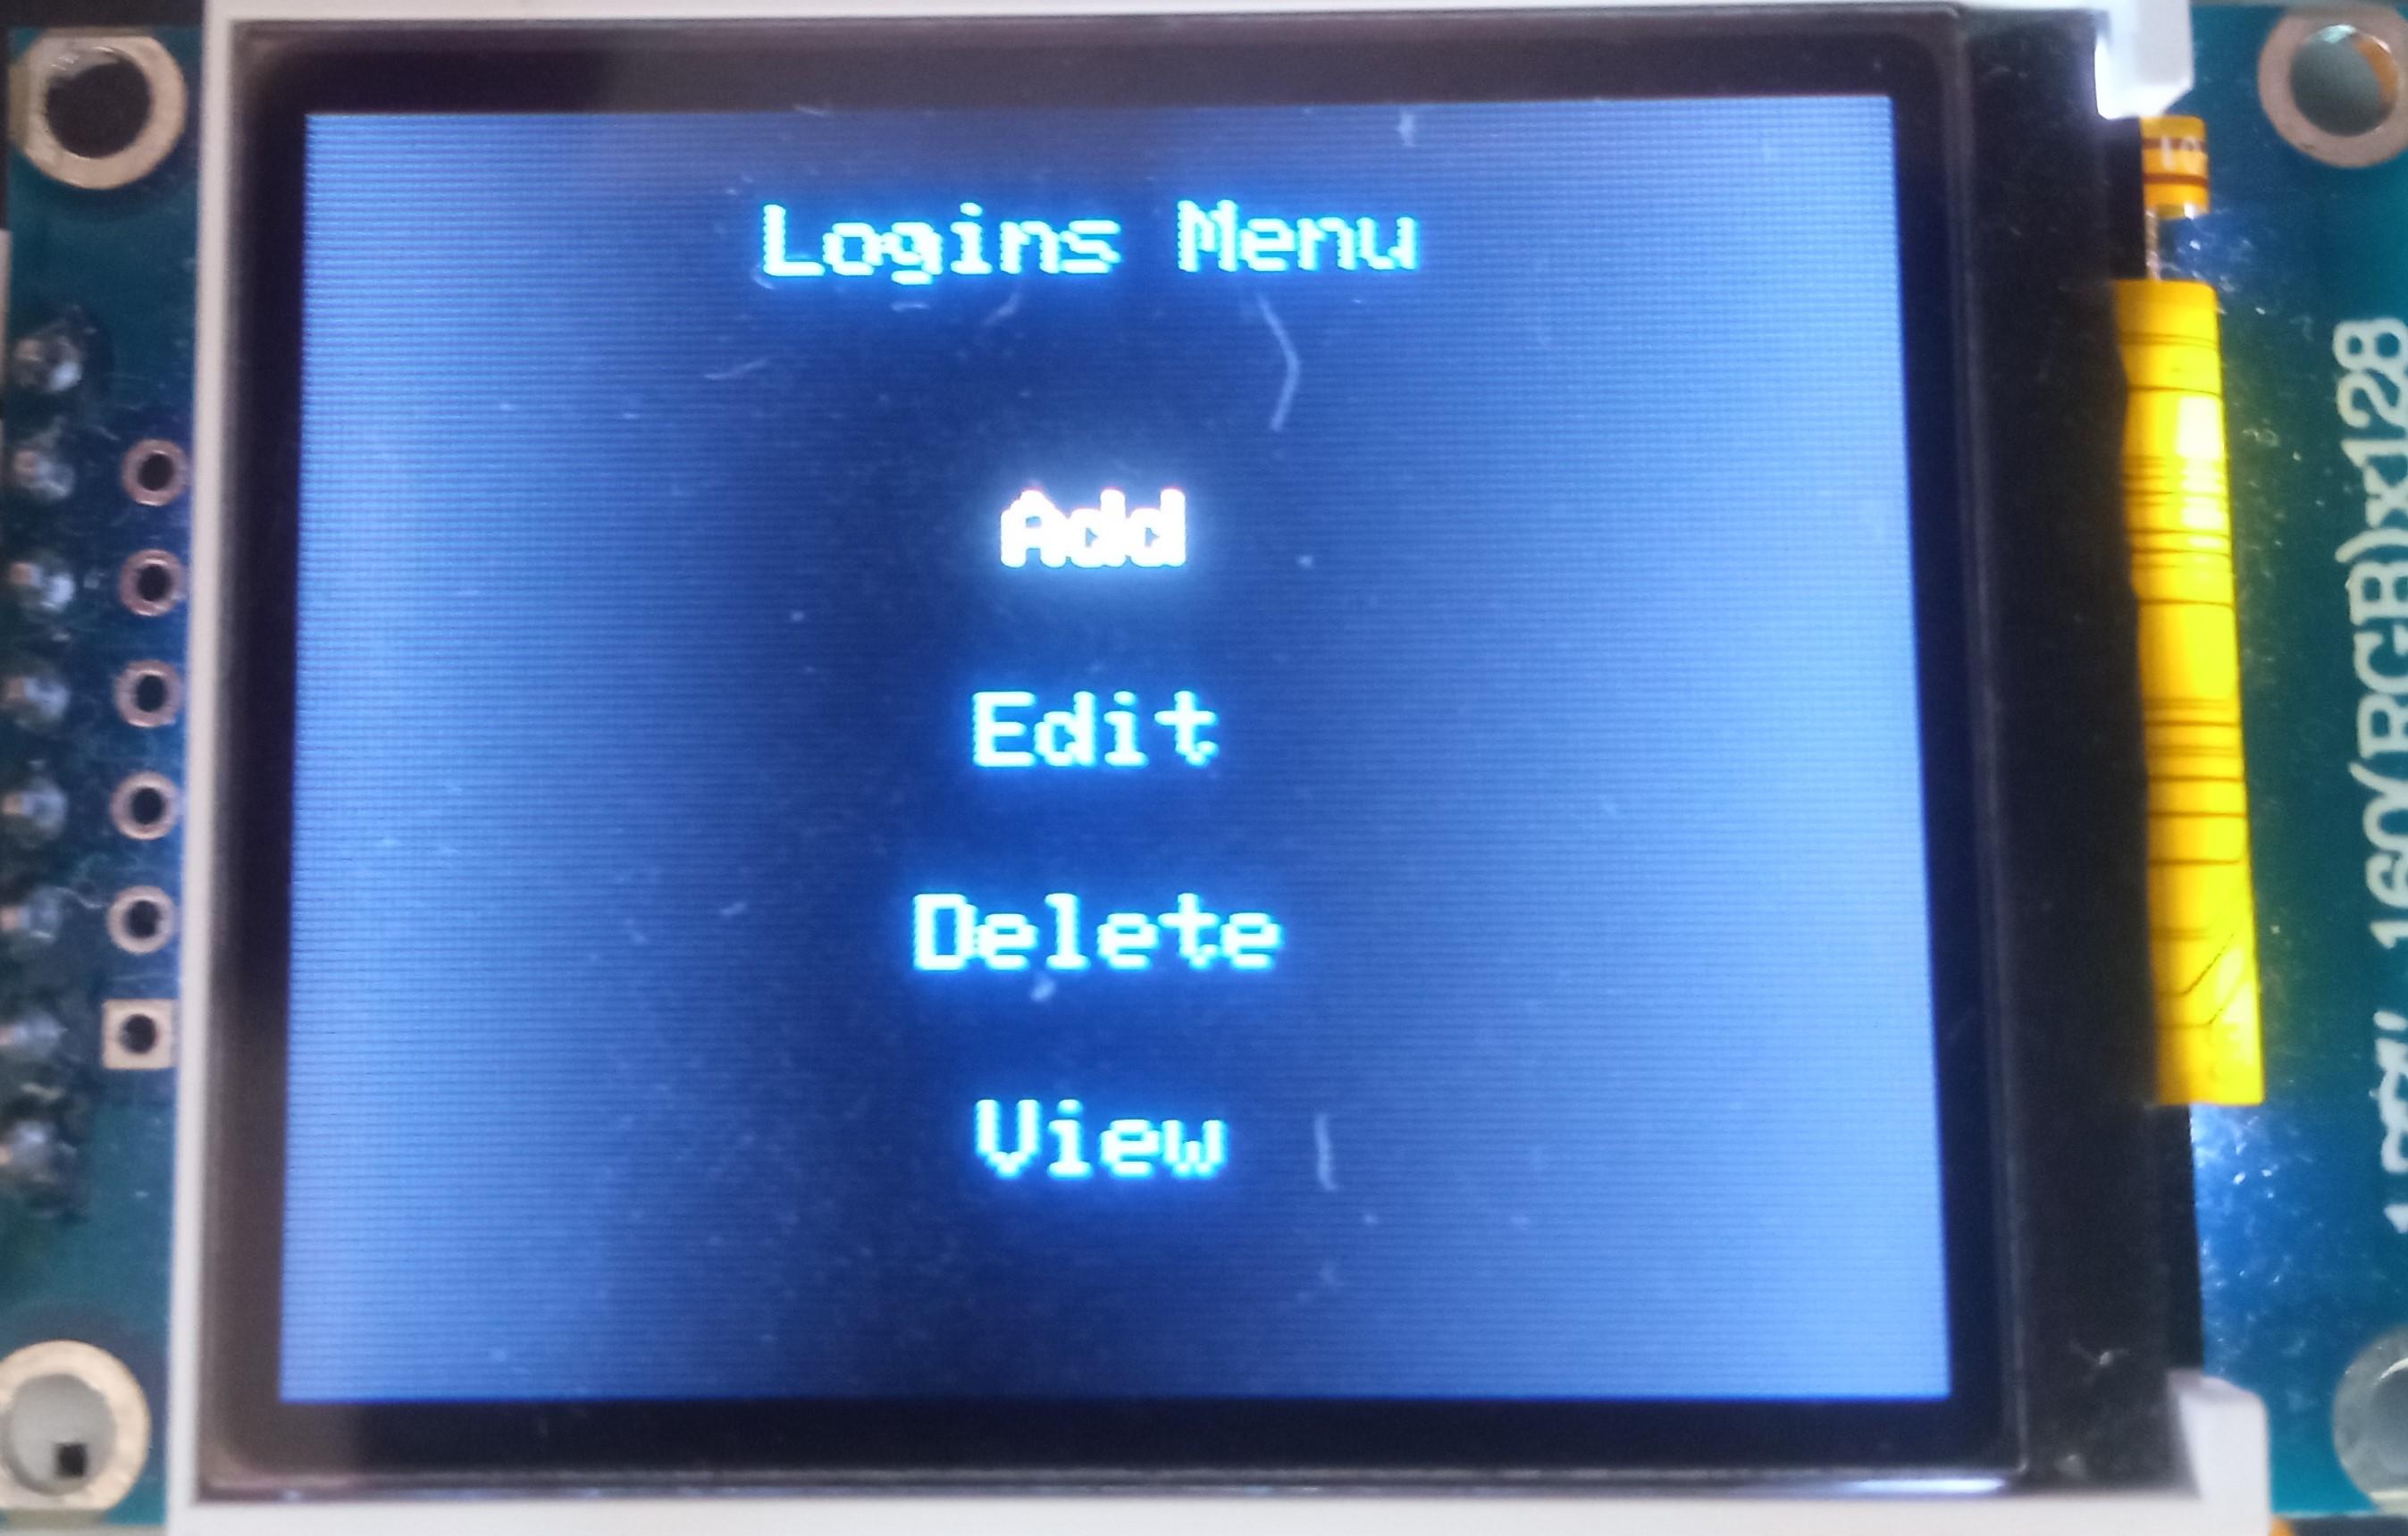
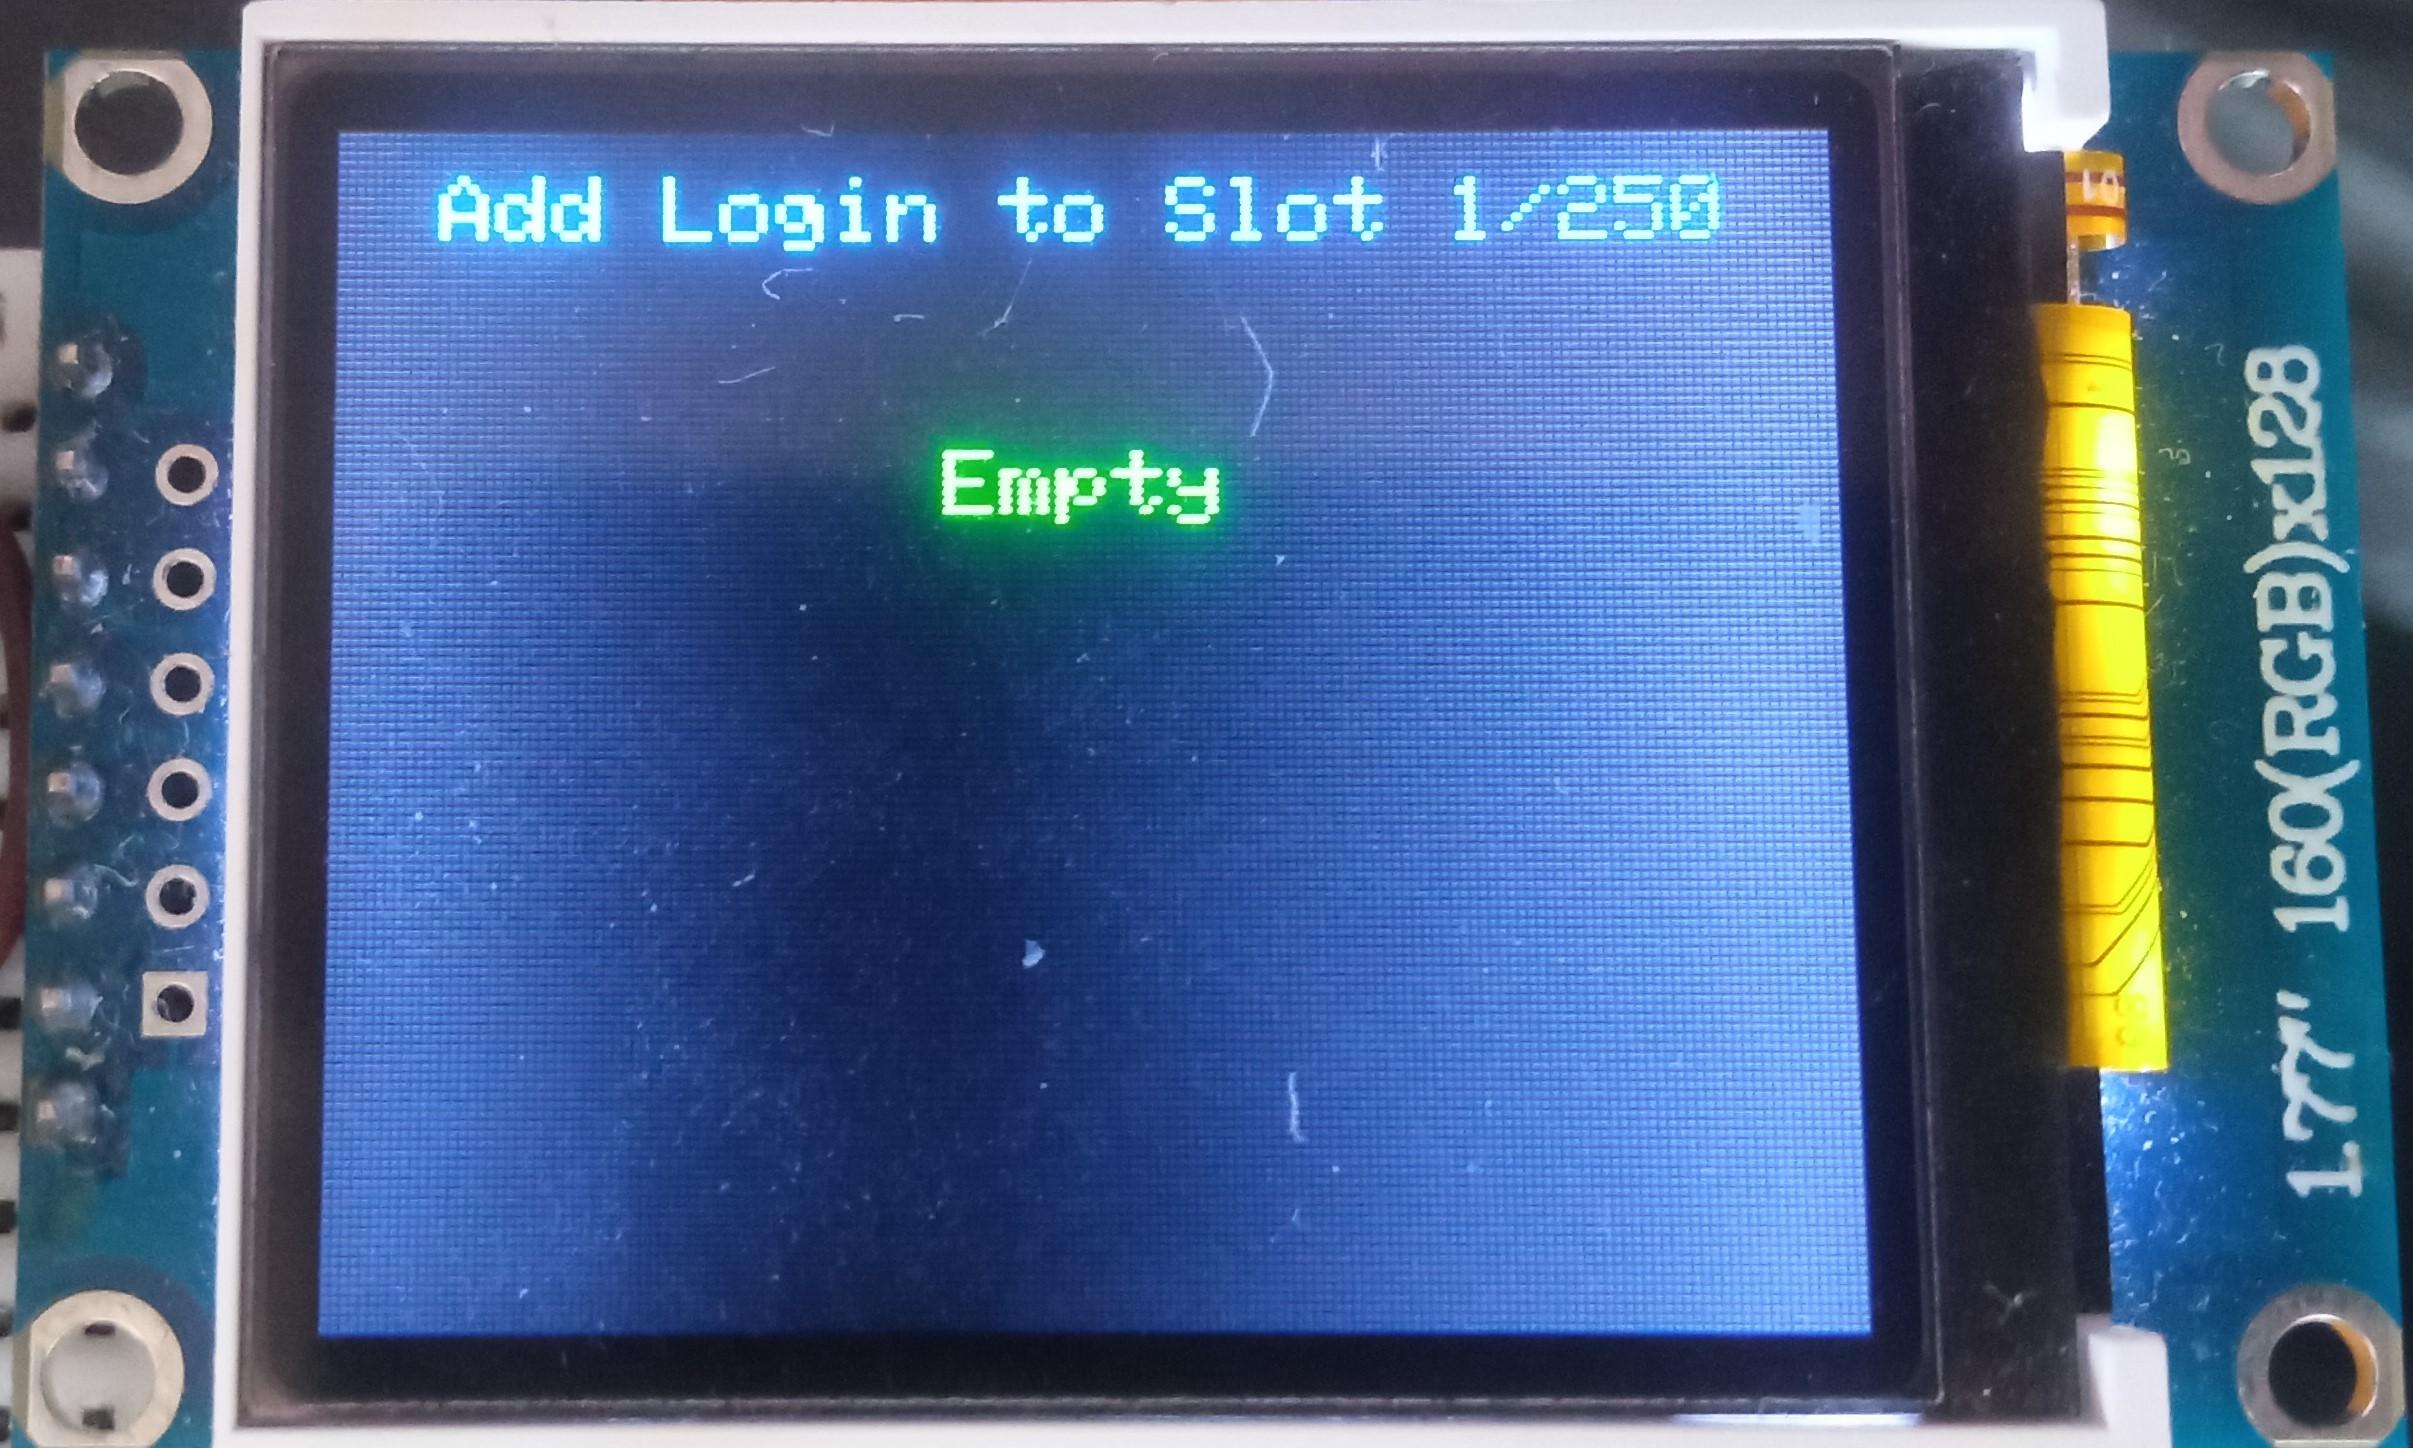
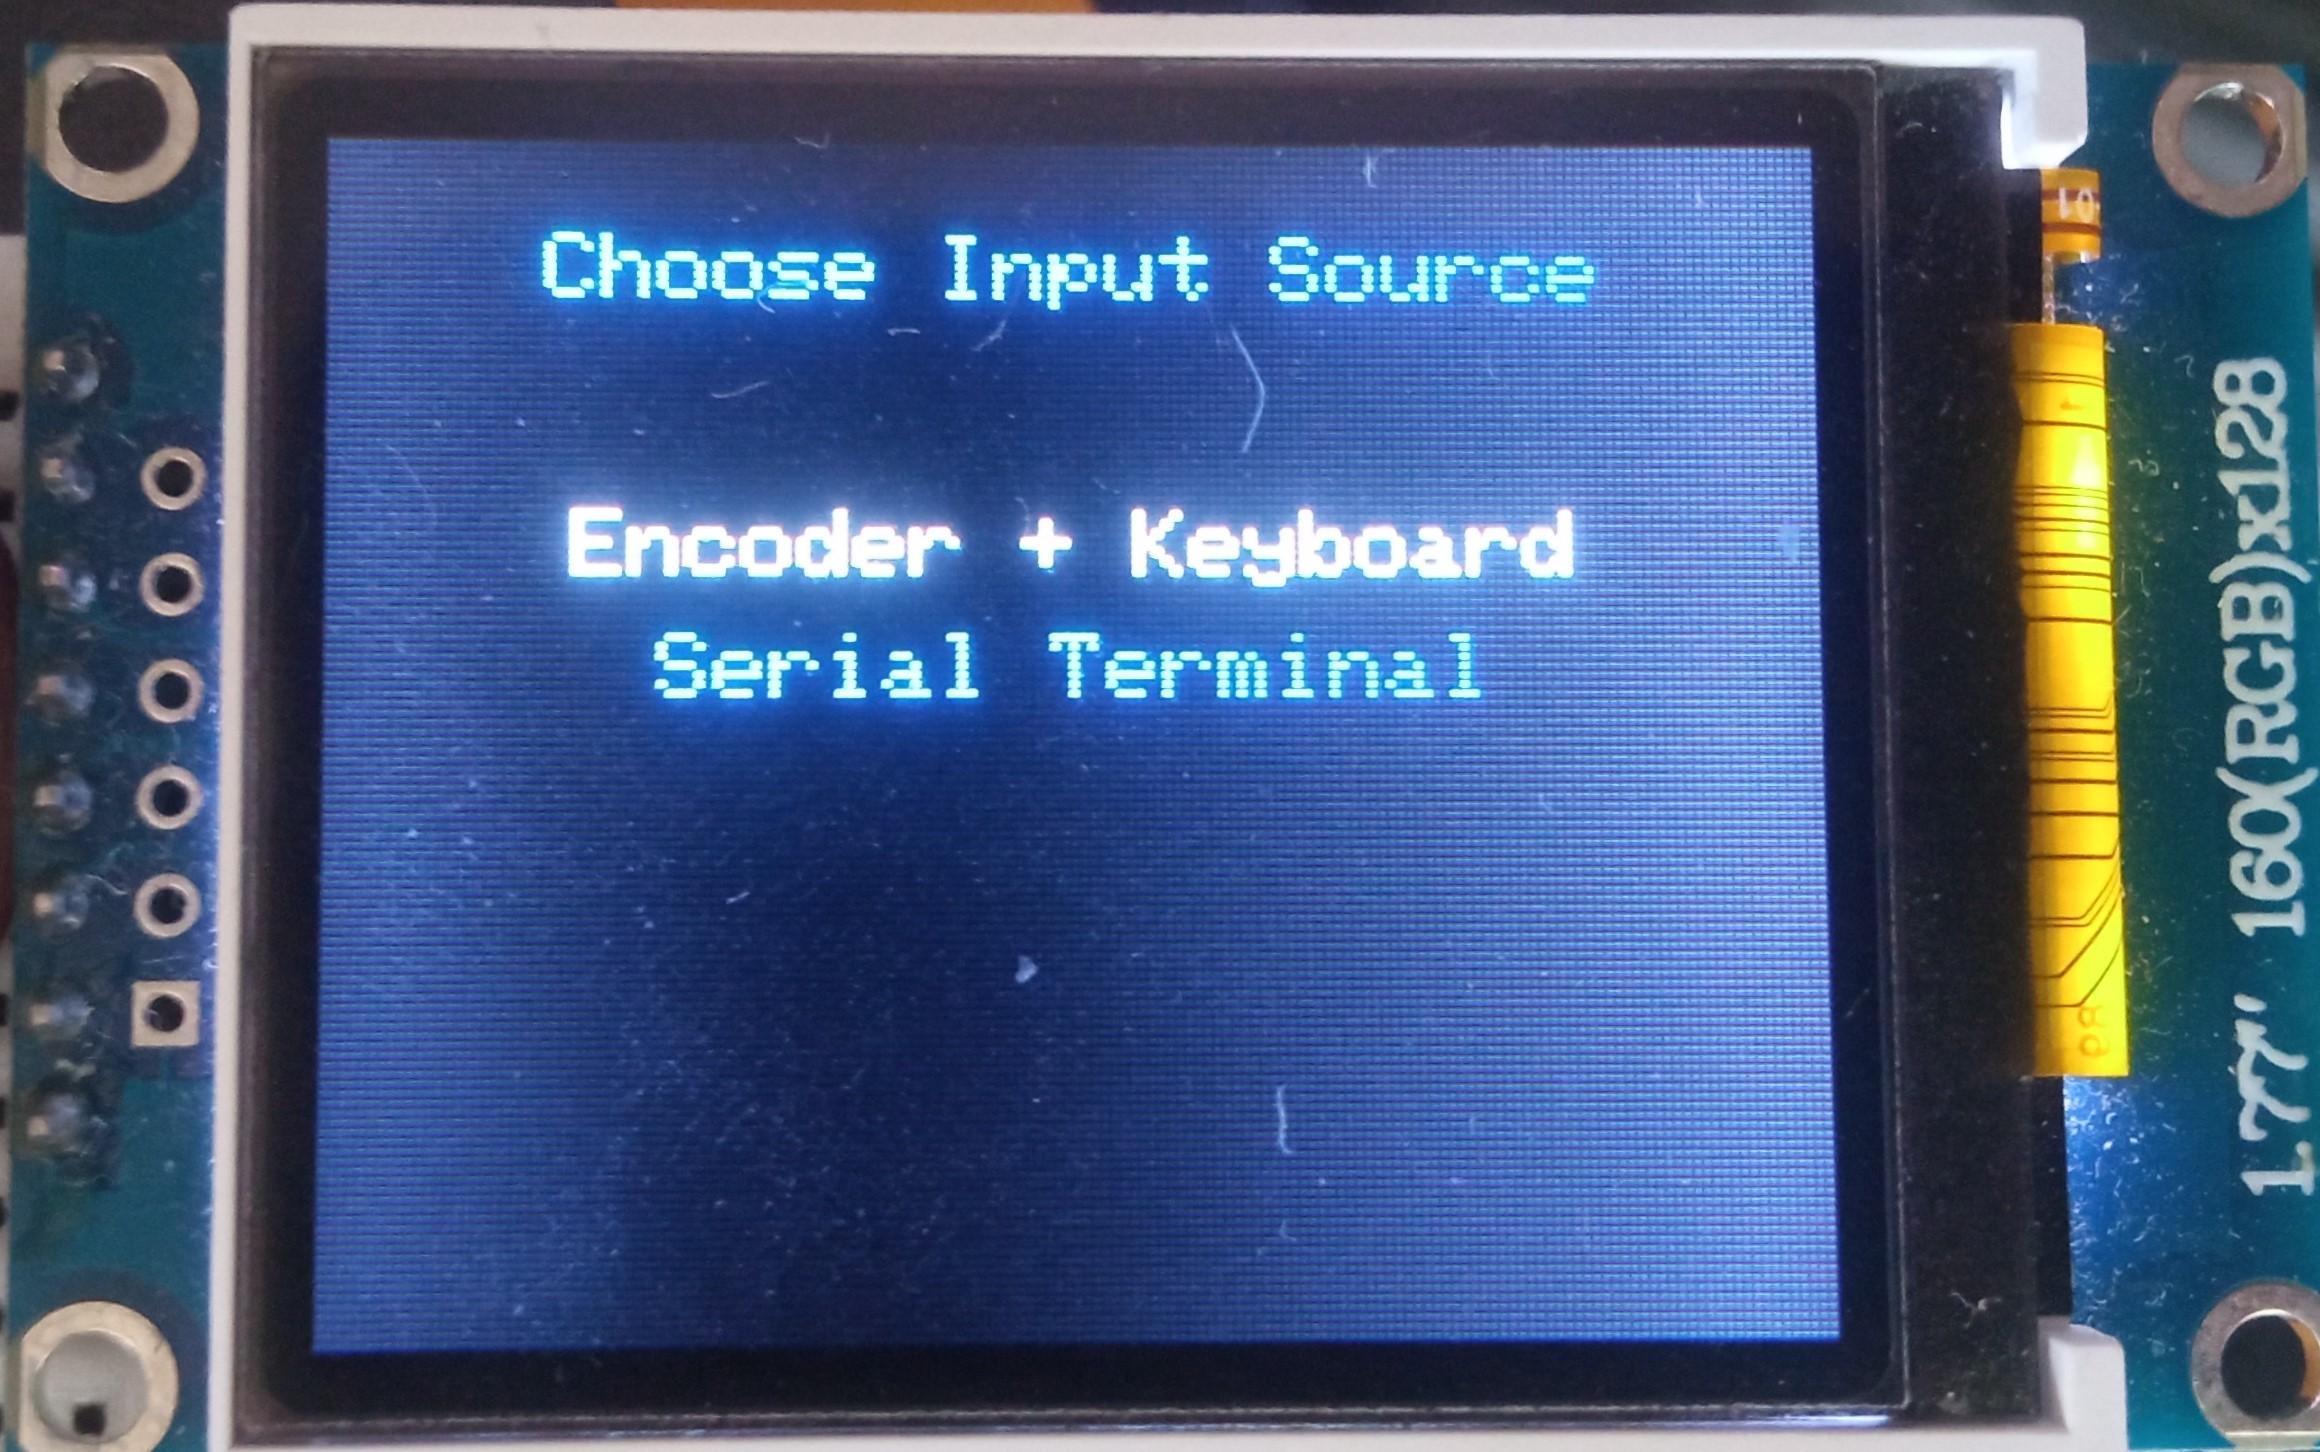
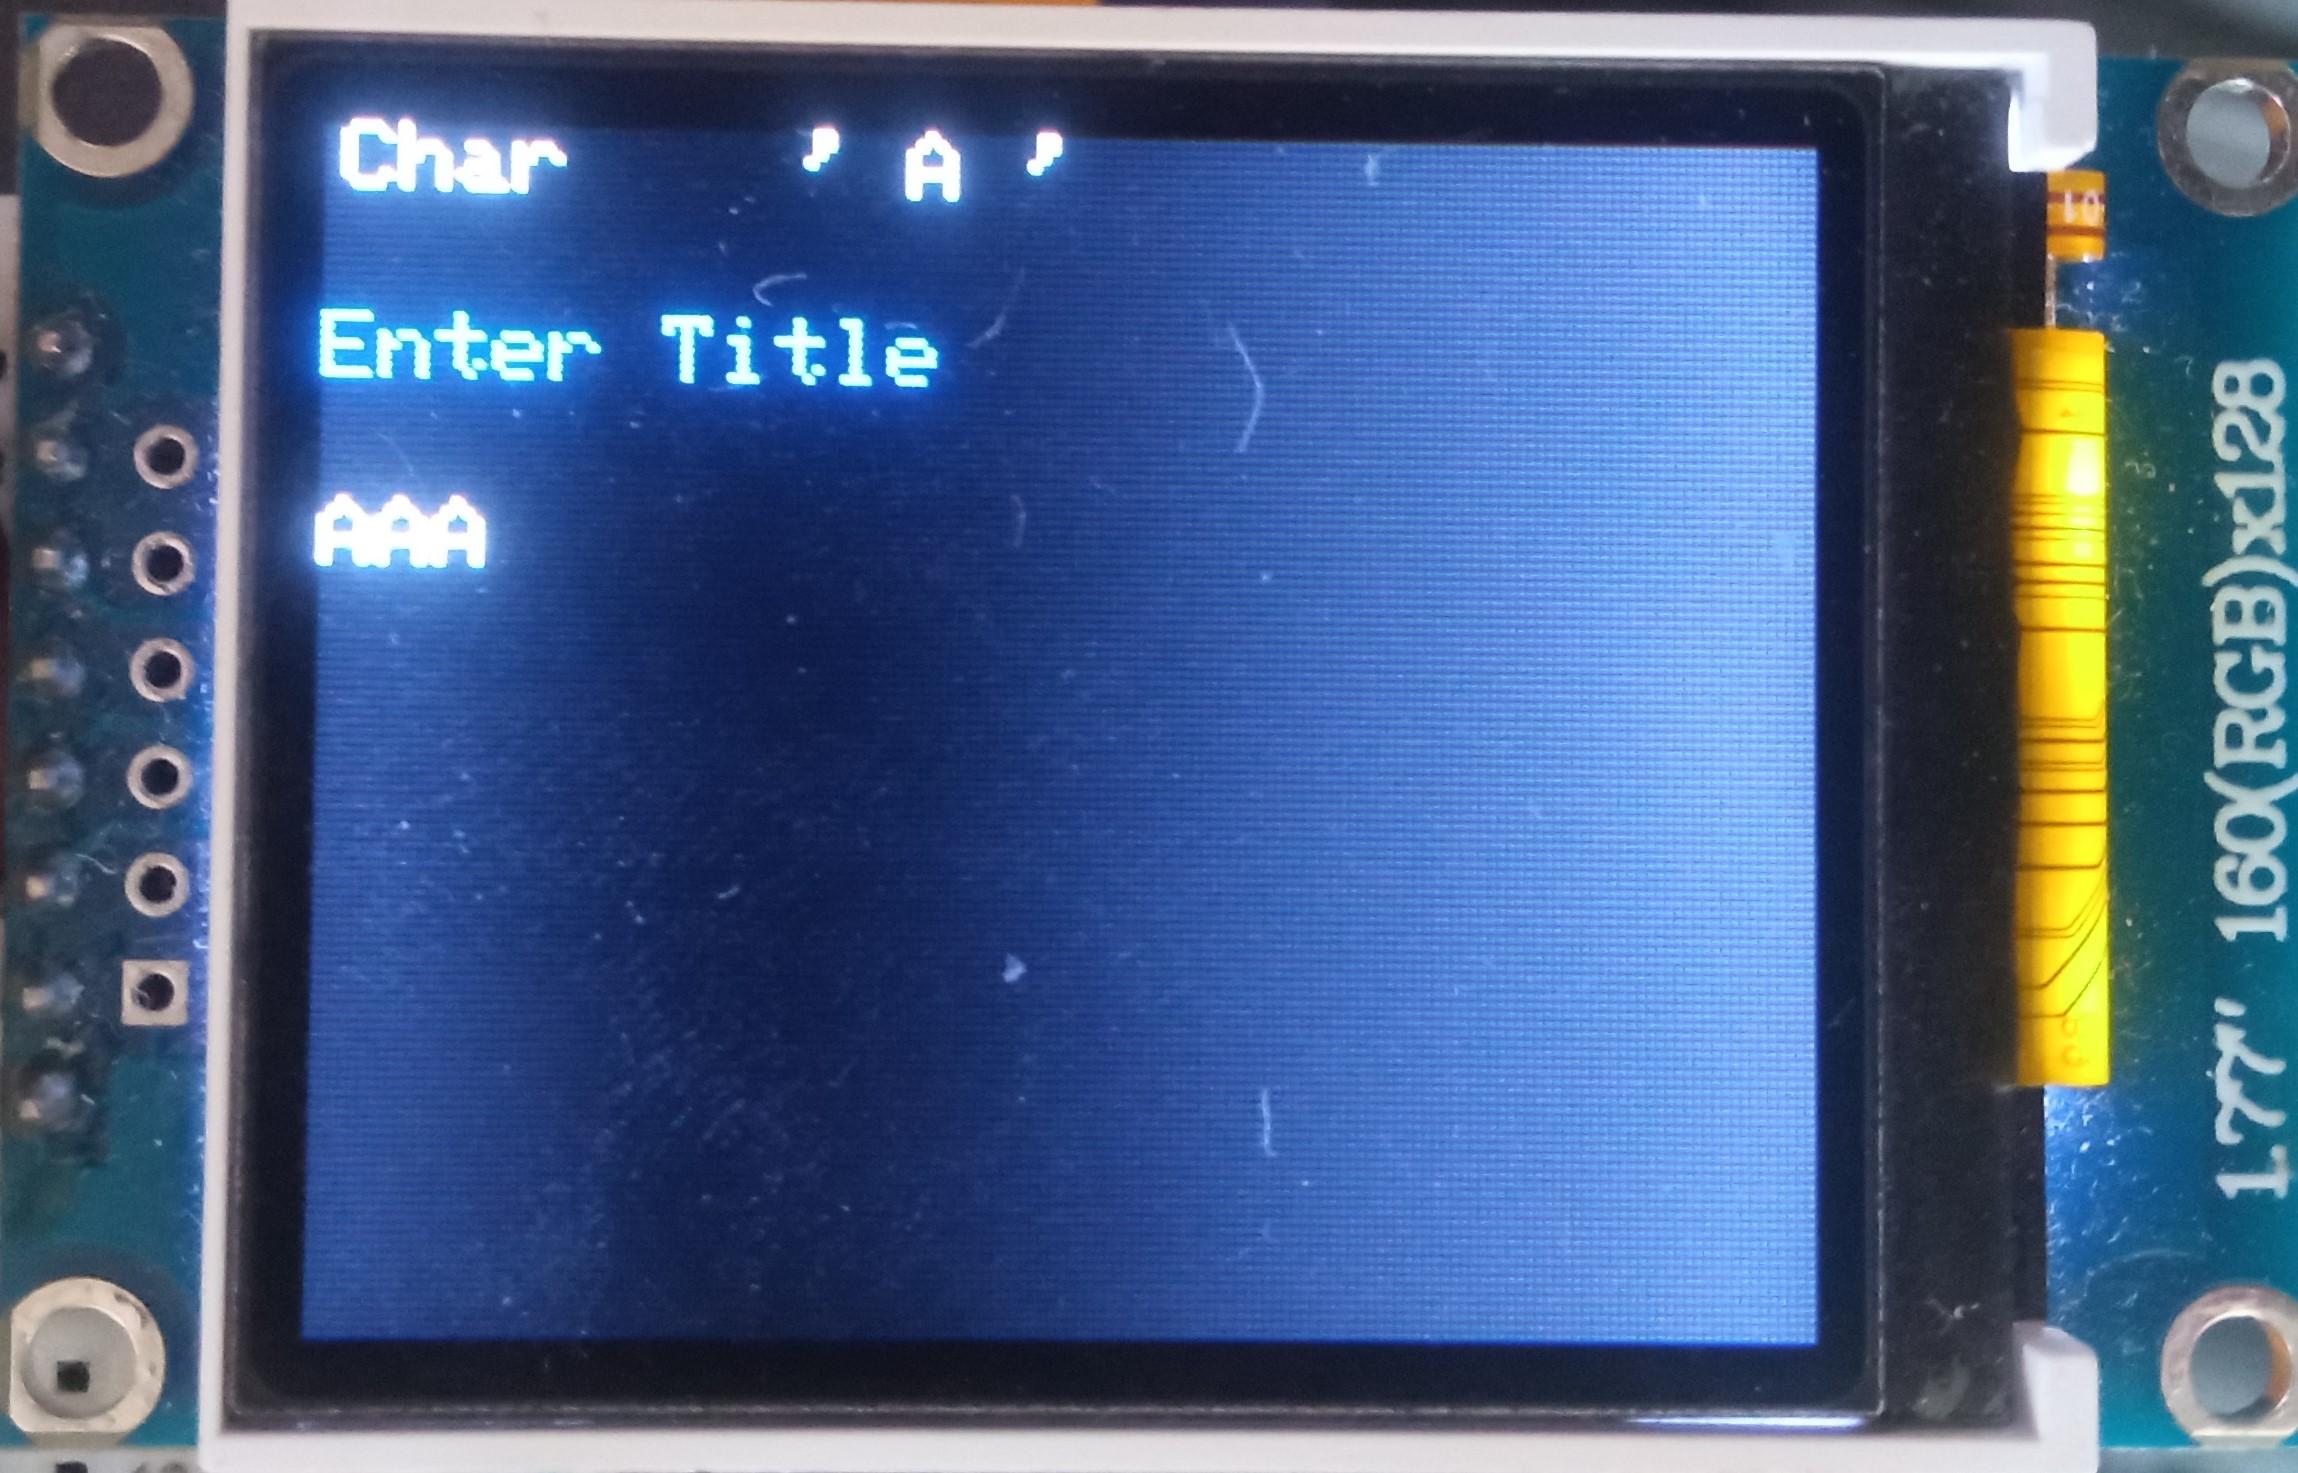
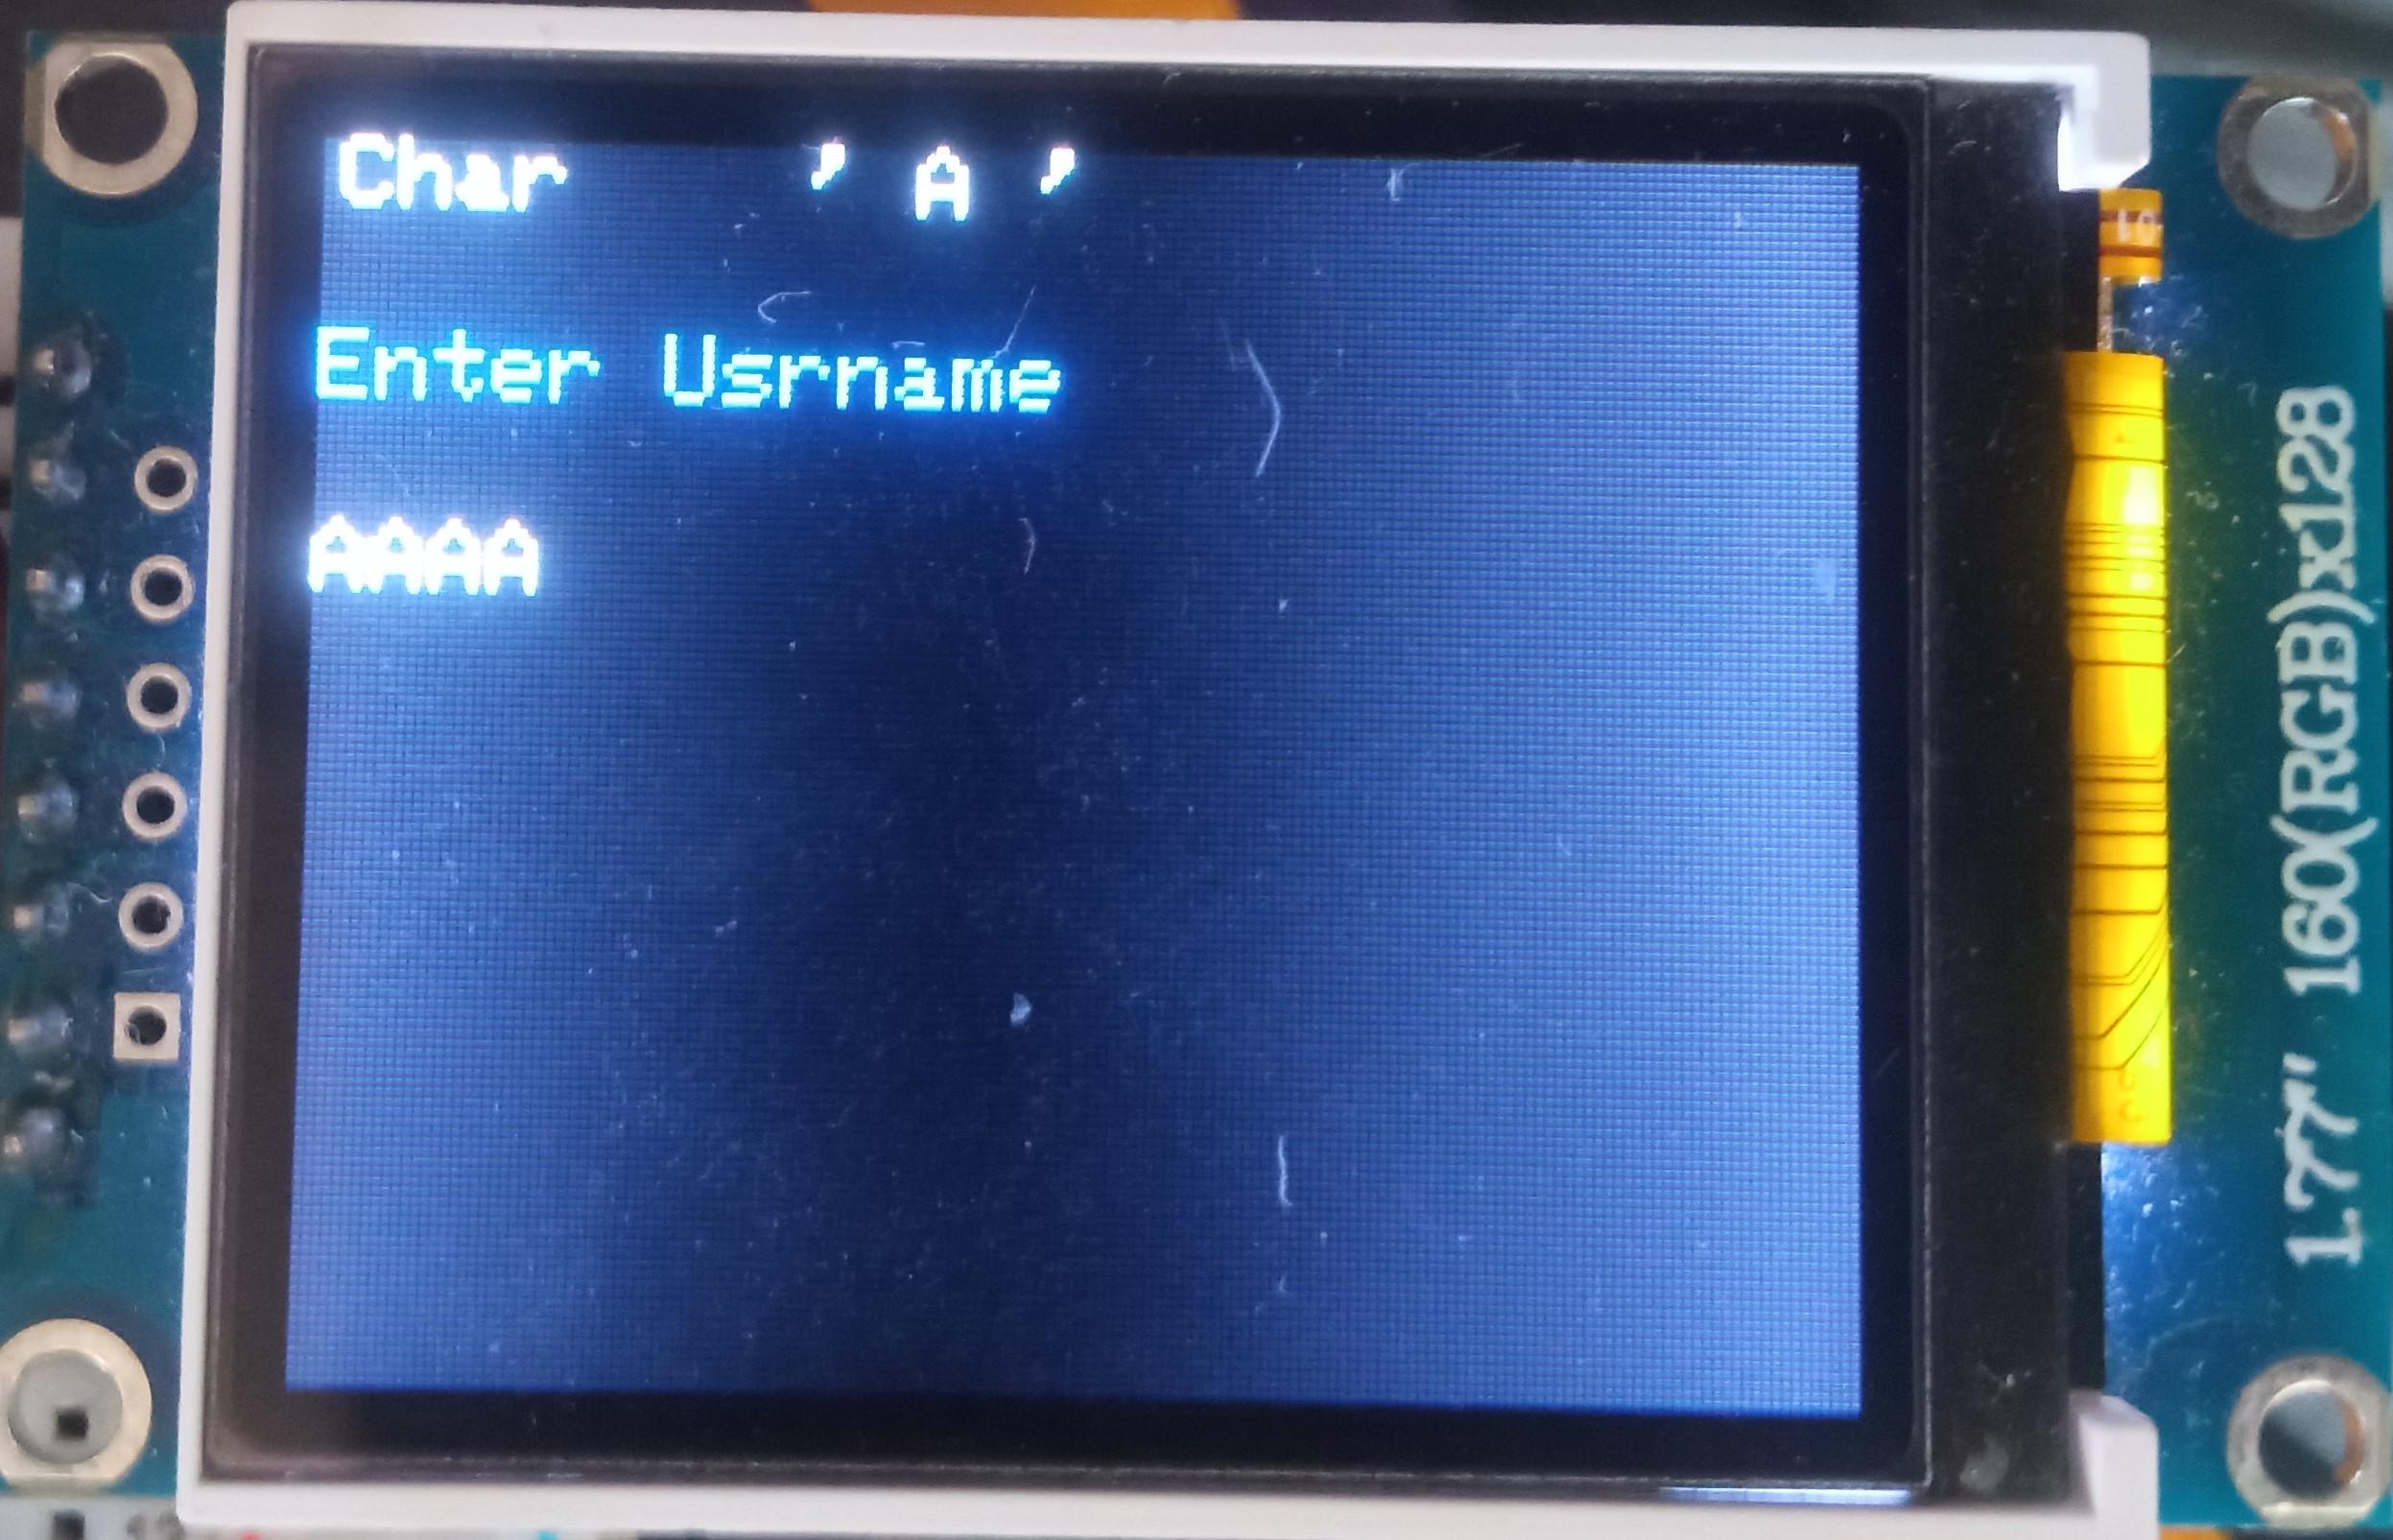
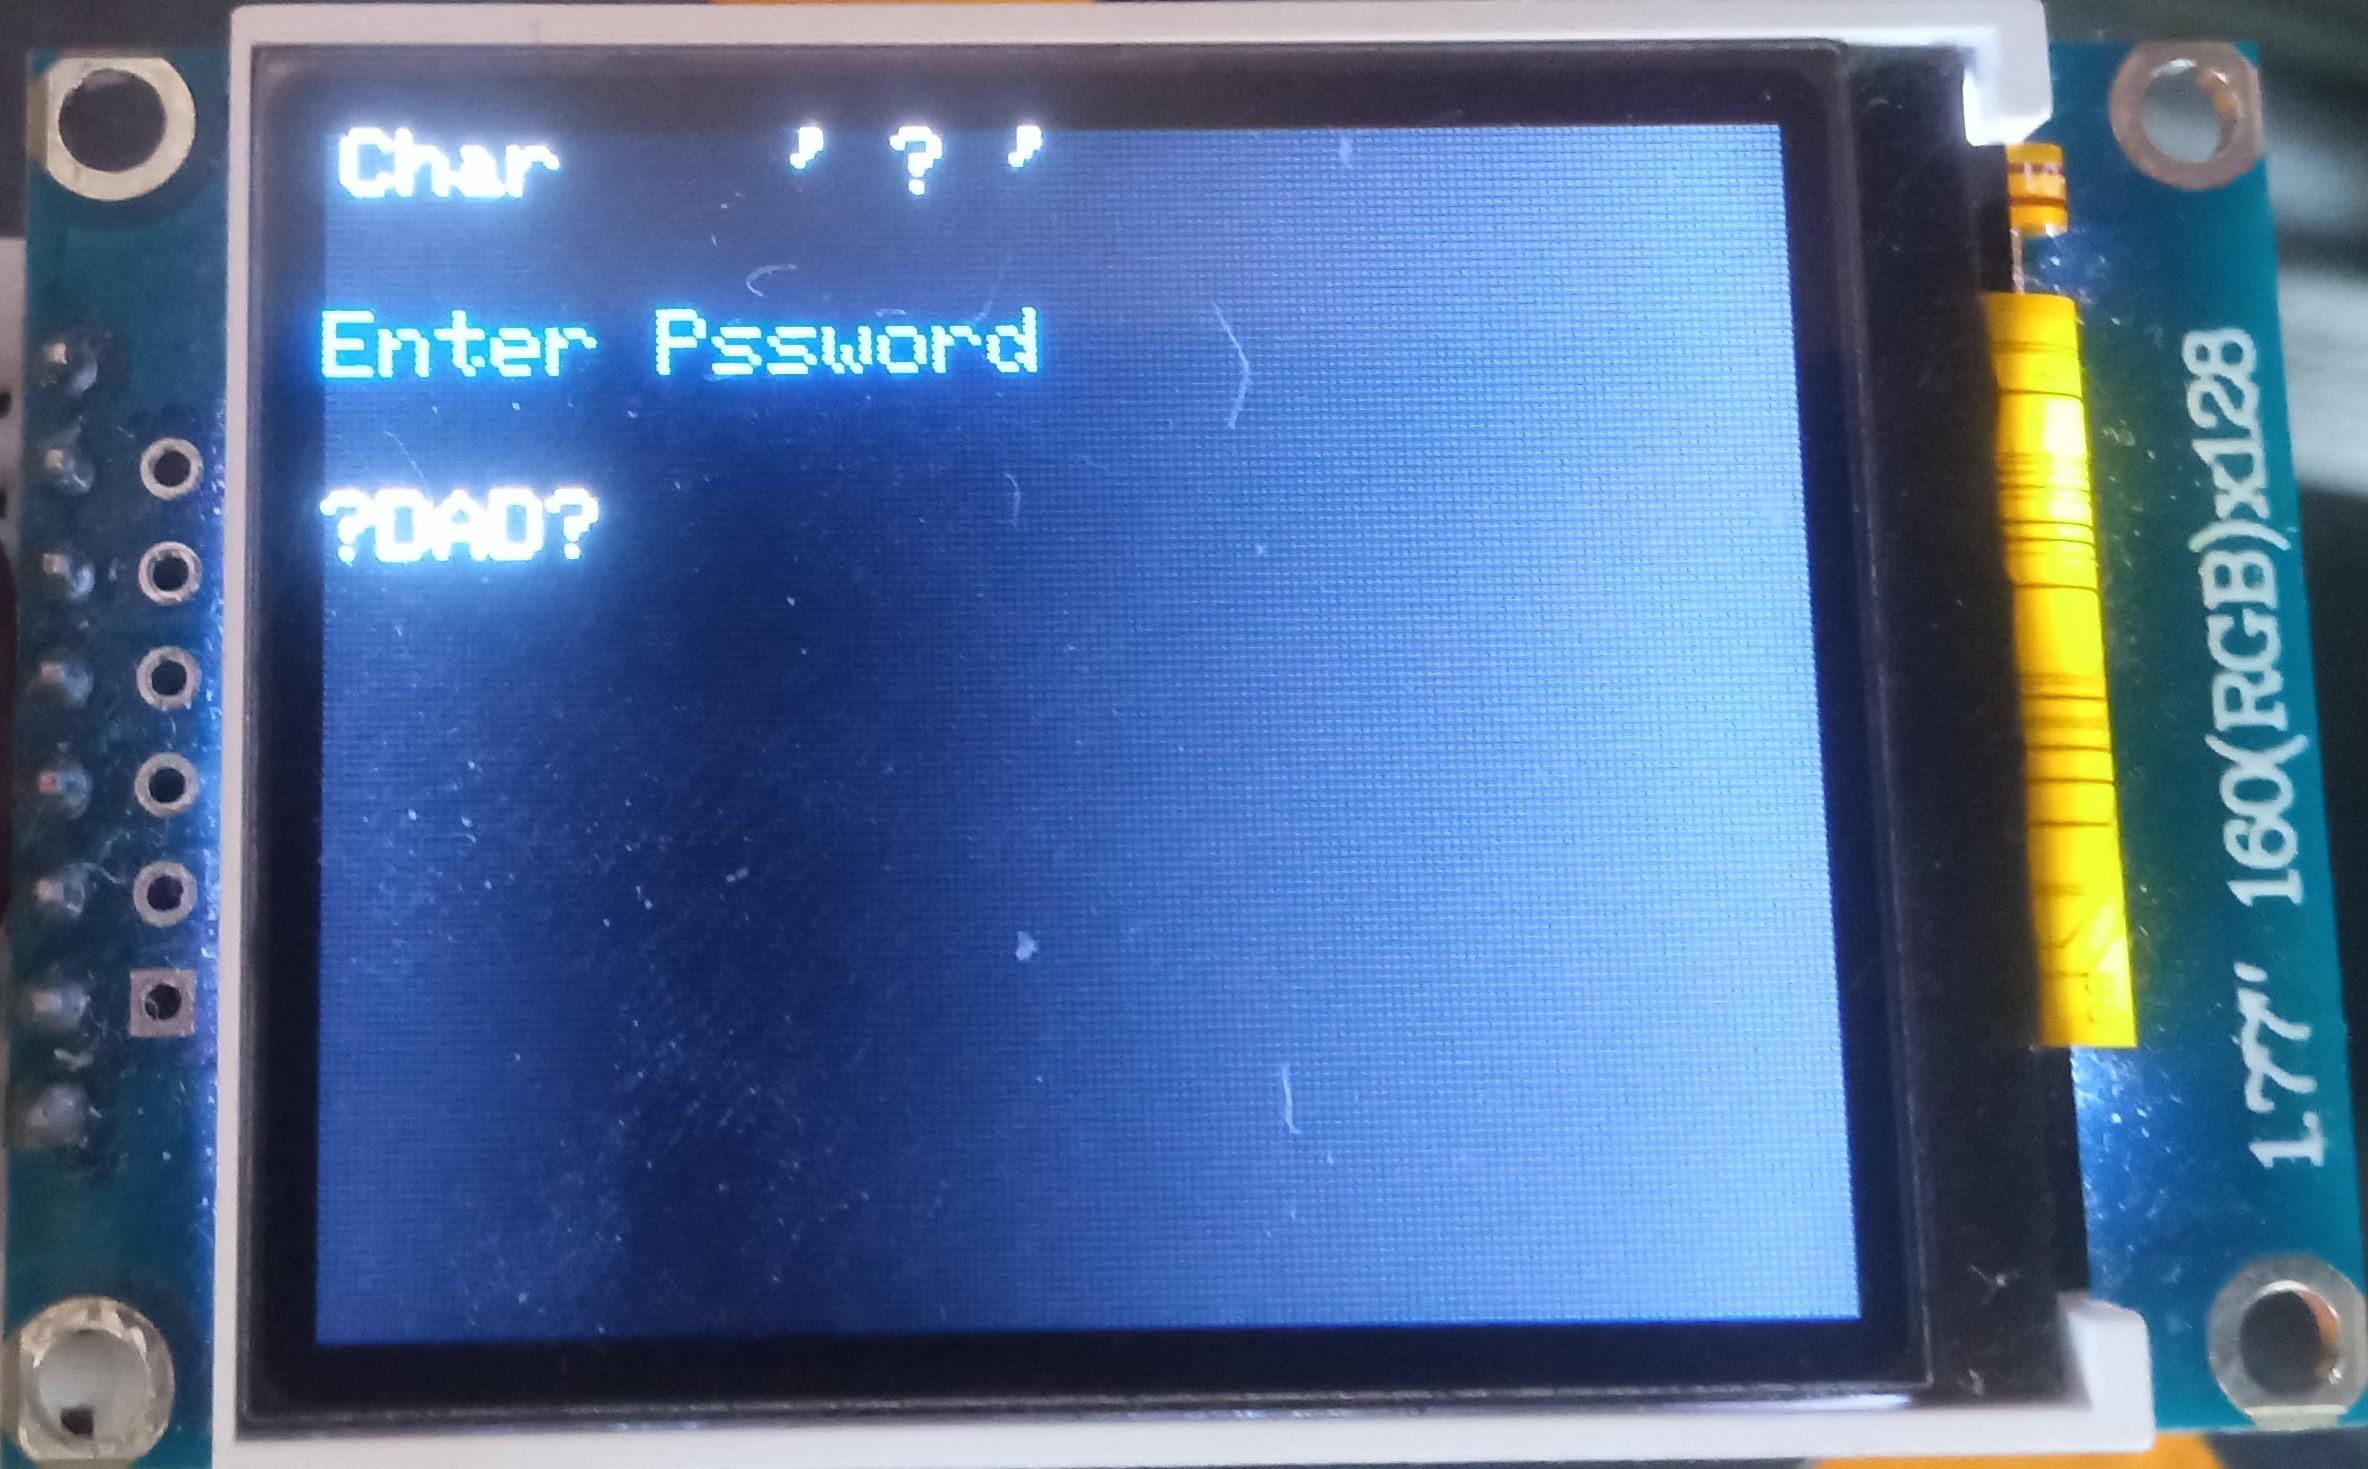
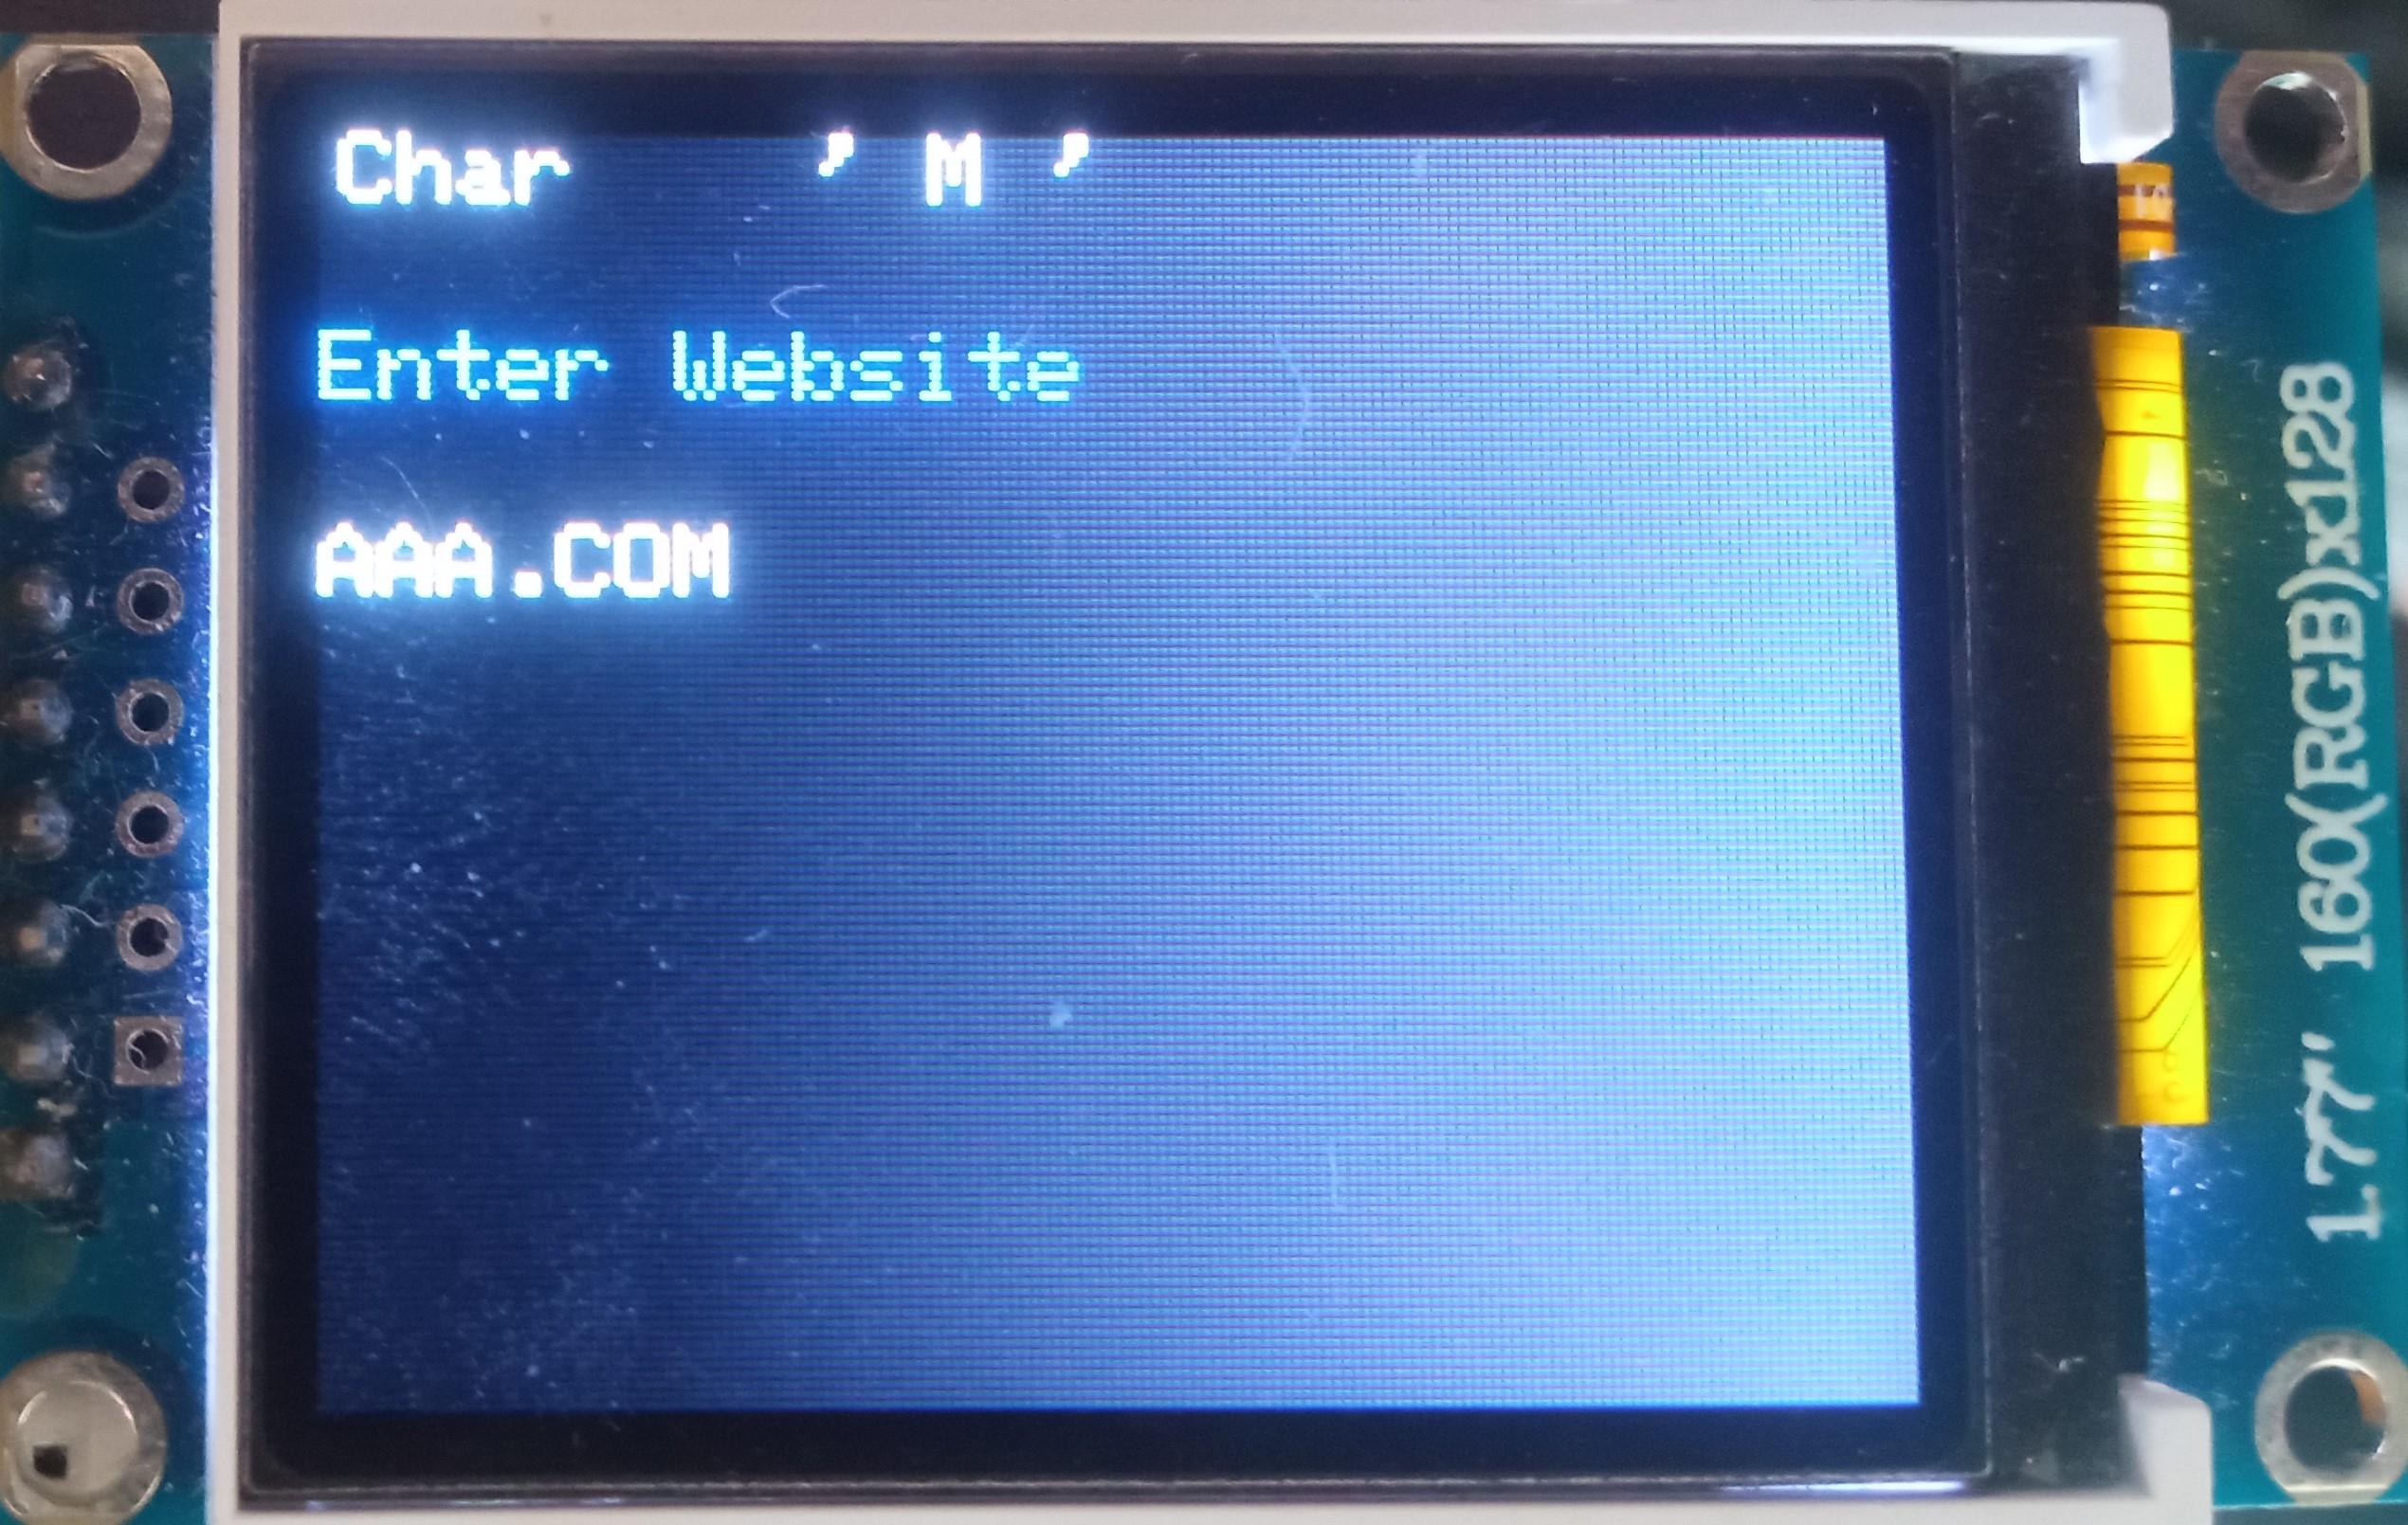
The vault capability from the Midbar V2.5 is intact. The Raspberry Pi Pico version of Midbar utilizes the 3DES + AES + Blowfish + Serpent encryption algorithm with an integrity verification feature alongside the LittleFS to keep your data safe and organized.
To add a login from the encoder and PS/2 keyboard:
- Select the "Logins" line in the main menu;
- Press either the "A" button or the "Enter" key on the PS/2 keyboard;
- Select the "Add" line;
- Press either the "A" button or the "Enter" key on the PS/2 keyboard;
- Choose the slot you want to put the login to either by rotating the encoder or by pressing the "←" (Leftwards Arrow) and "→" (Rightwards Arrow) keys on the PS/2 keyboard;
- Press either the "A" button or the "Enter" key on the PS/2 keyboard;
- Select the "Encoder + Keyboard" line;
- Press either the "A" button or the "Enter" key on the PS/2 keyboard;
- Enter the title;
- Either quad-click the encoder button or press "Enter" on the PS/2 keyboard;
- Enter the username;
- Either quad-click the encoder button or press "Enter" on the PS/2 keyboard;
- Enter the password;
- Either quad-click the encoder button or press "Enter" on the PS/2 keyboard;
- Enter the website;
- Either quad-click the encoder button or press "Enter" on the PS/2 keyboard.
According to the tests I've conducted - Raspberry Pi Pico can encrypt and decrypt a 10000-character long string without any problems using the 3DES + AES + Blowfish + Serpent encryption algorithm. So, technically, you can put 10 000 characters into a field of a record.
*All credentials demonstrated here are entirely fictitious. Any similarity to actual credentials is purely coincidental.
Edit Login
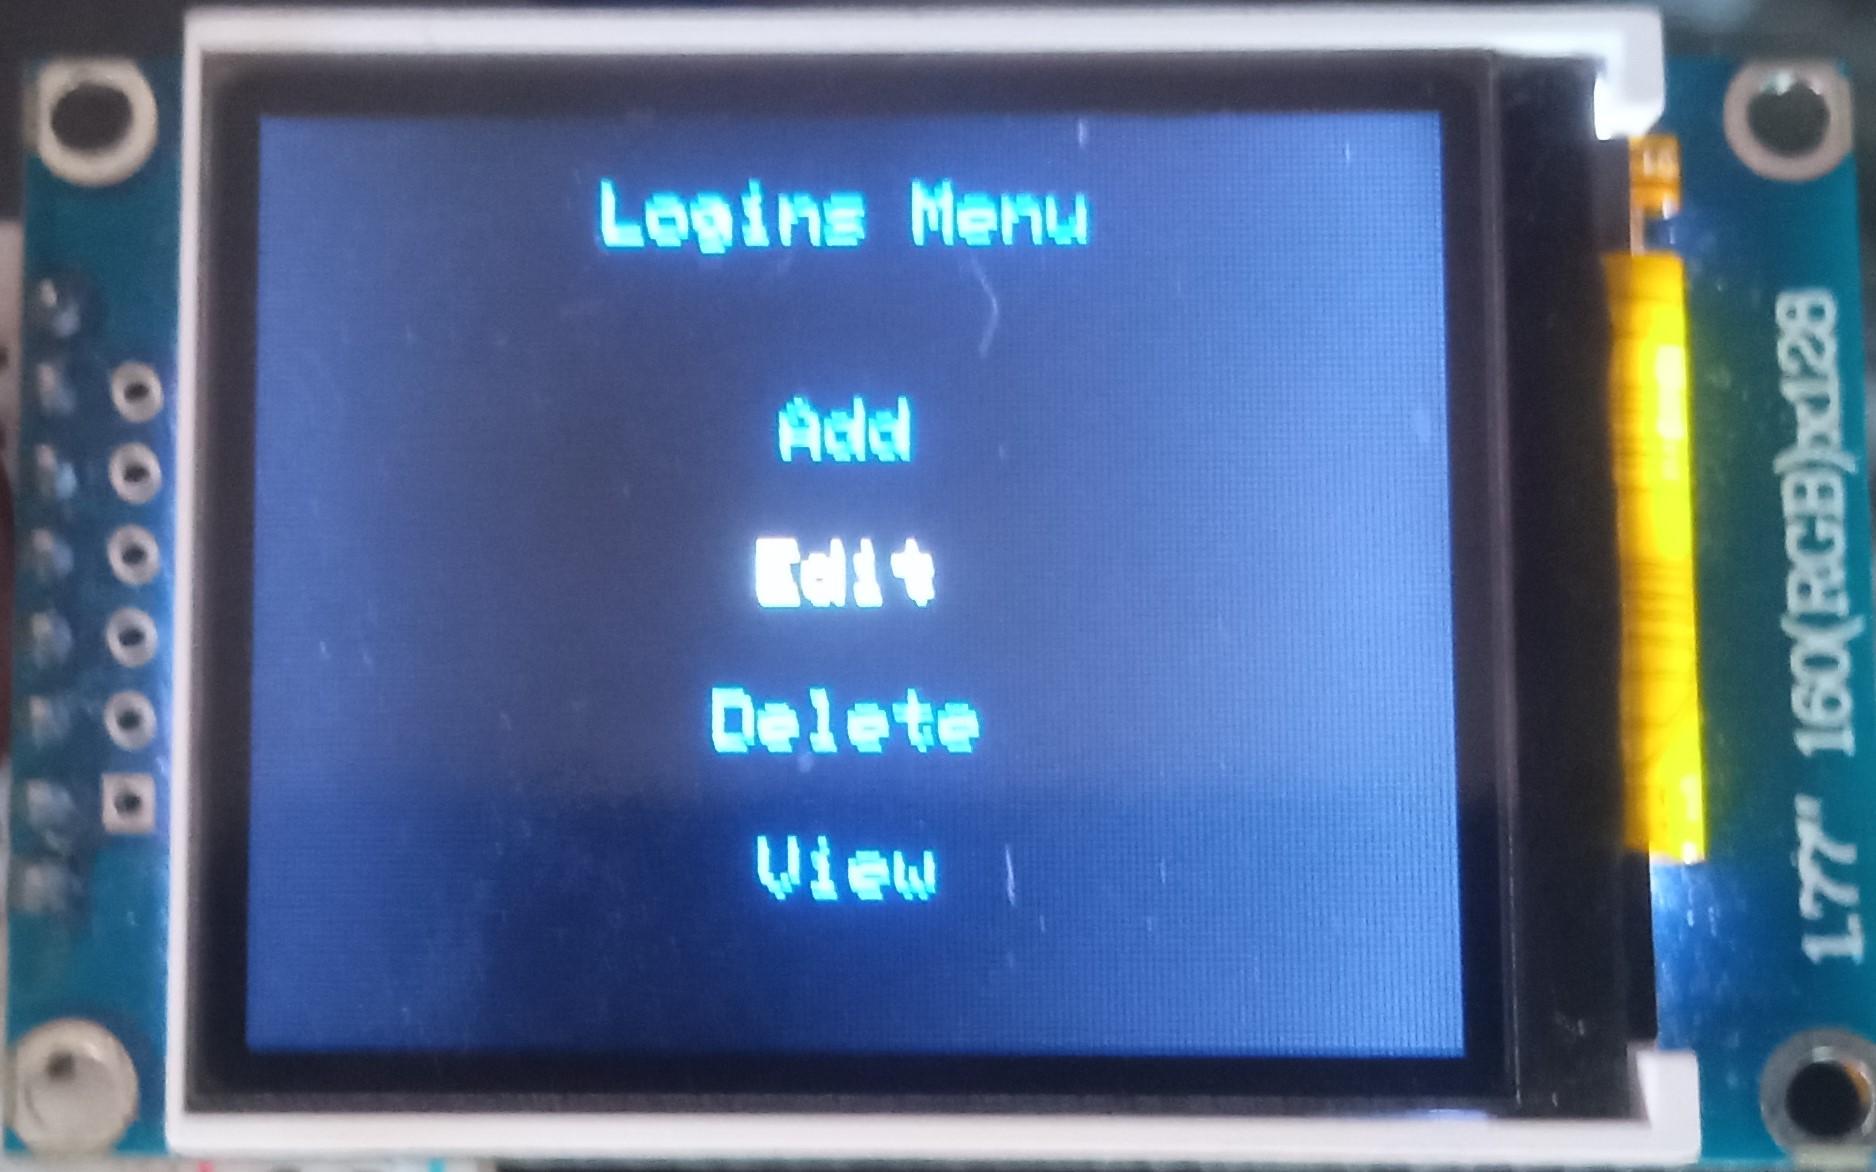
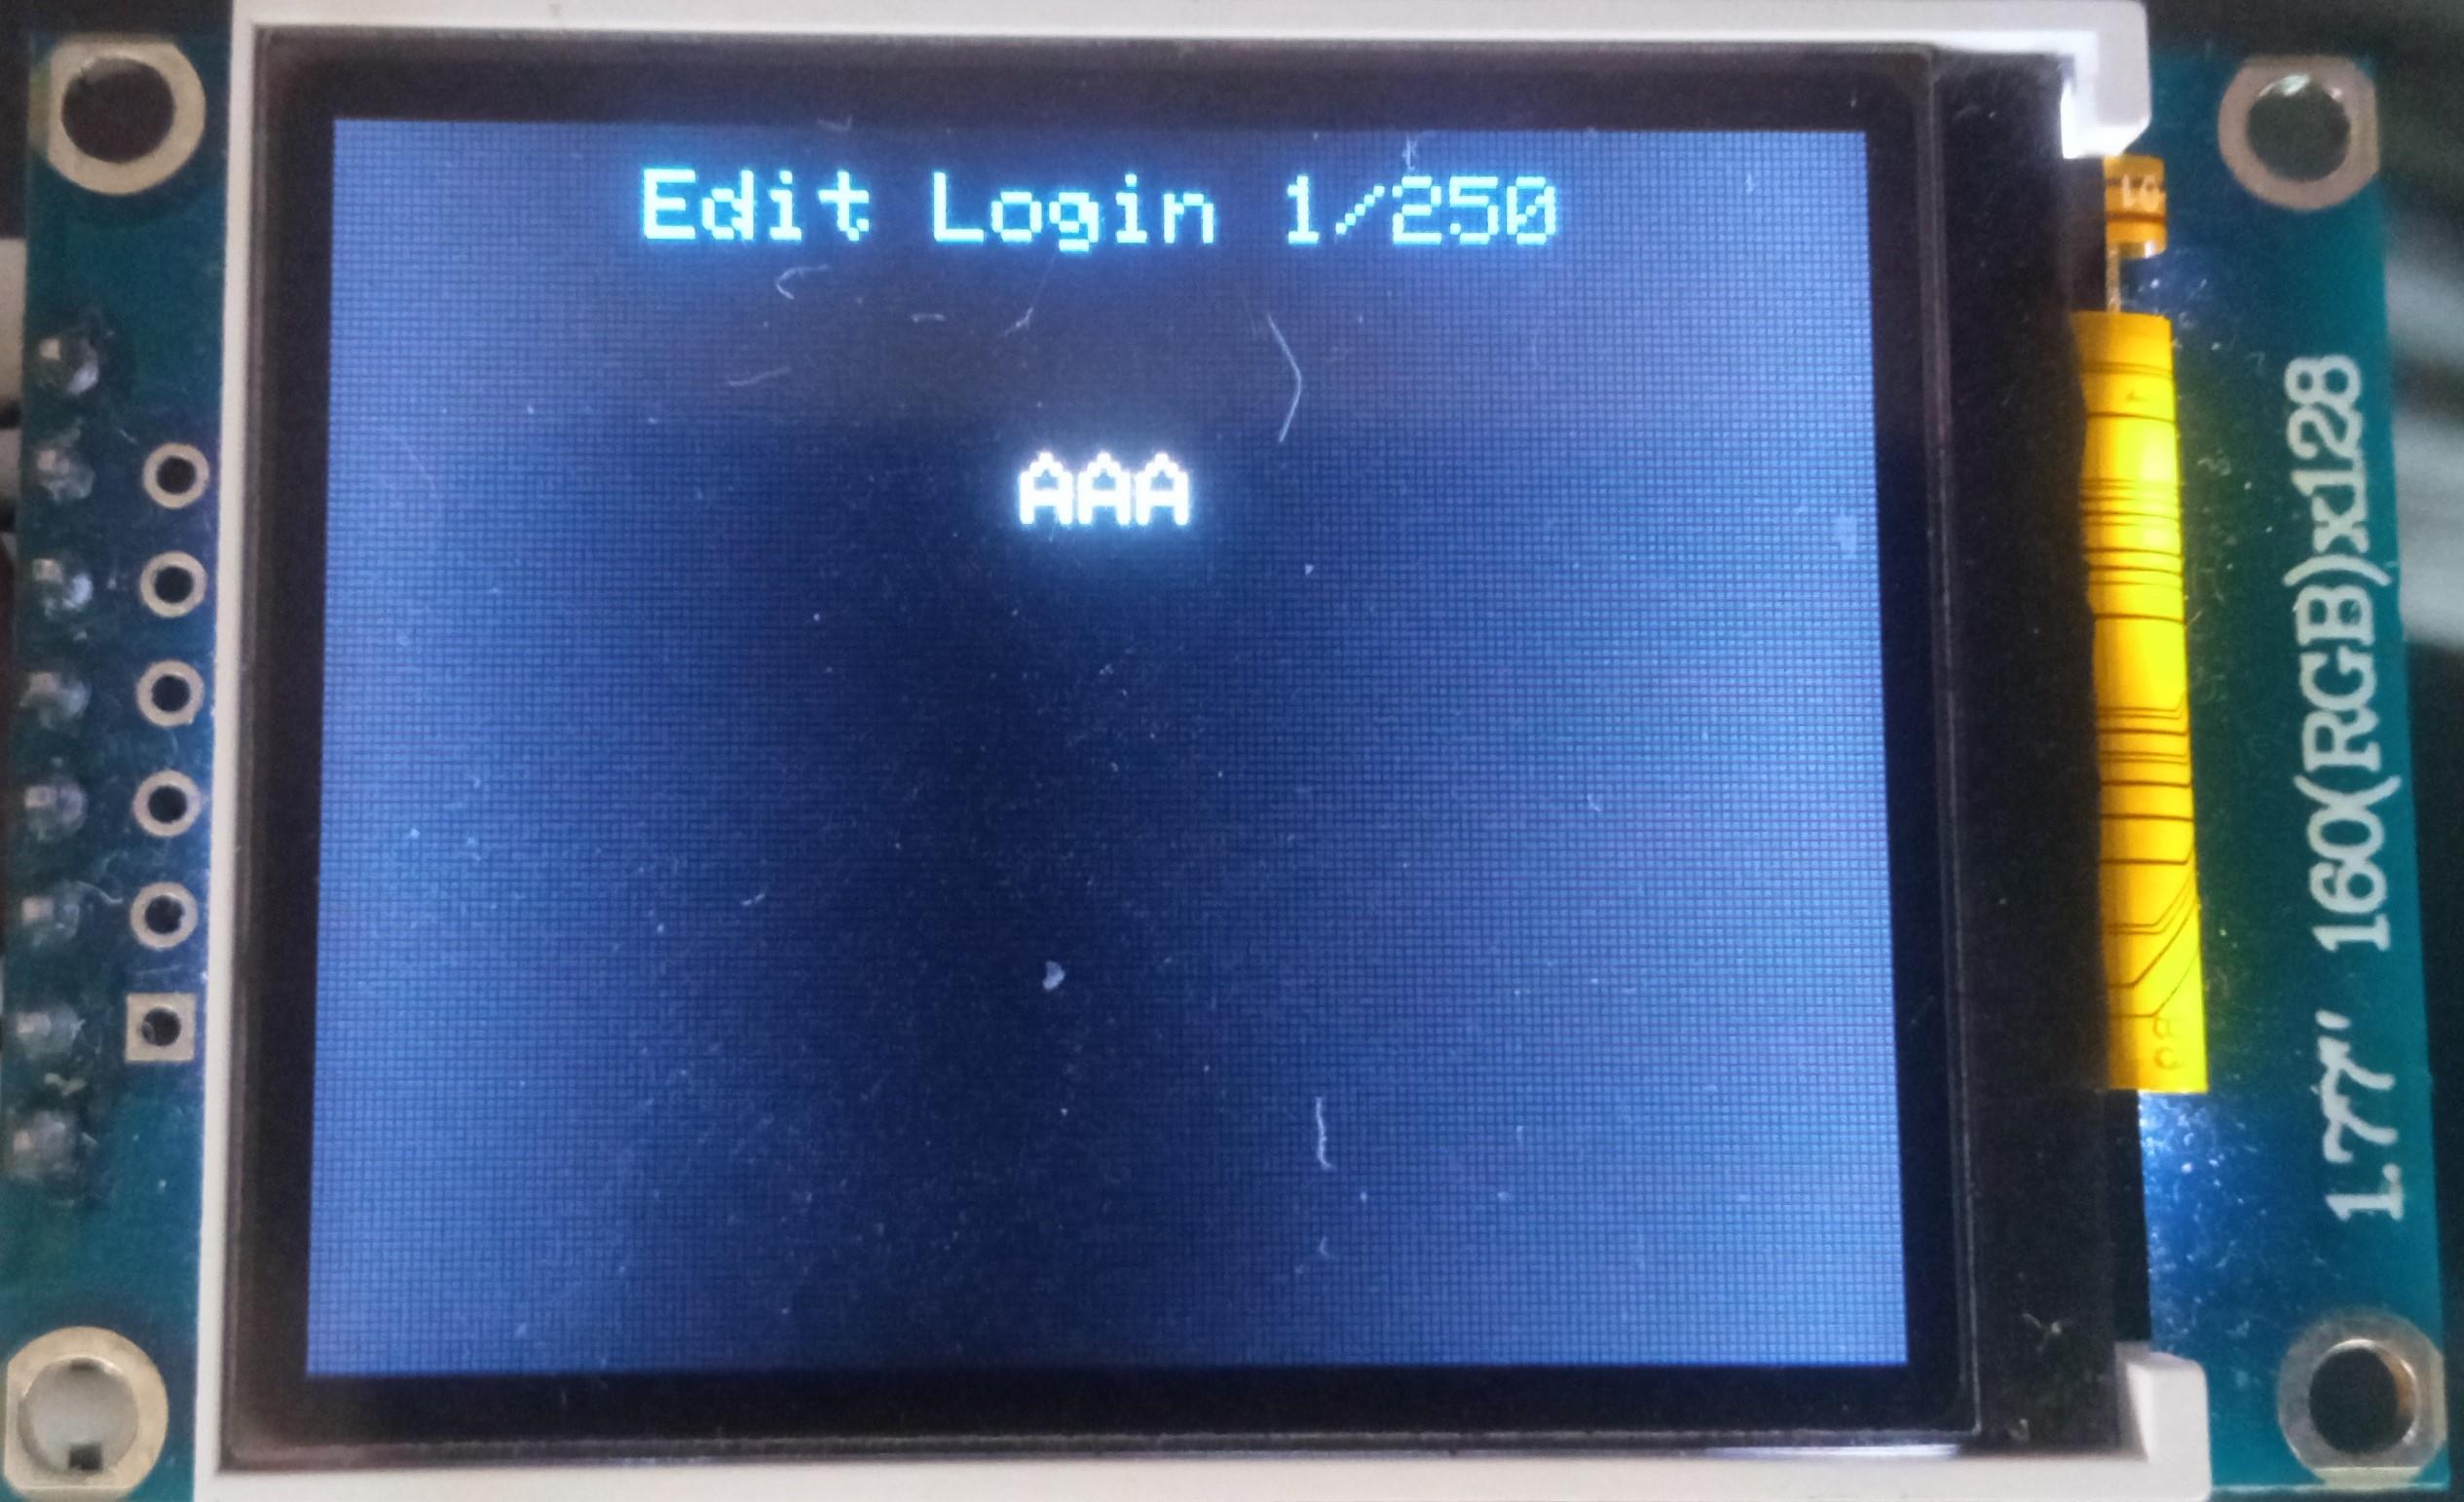
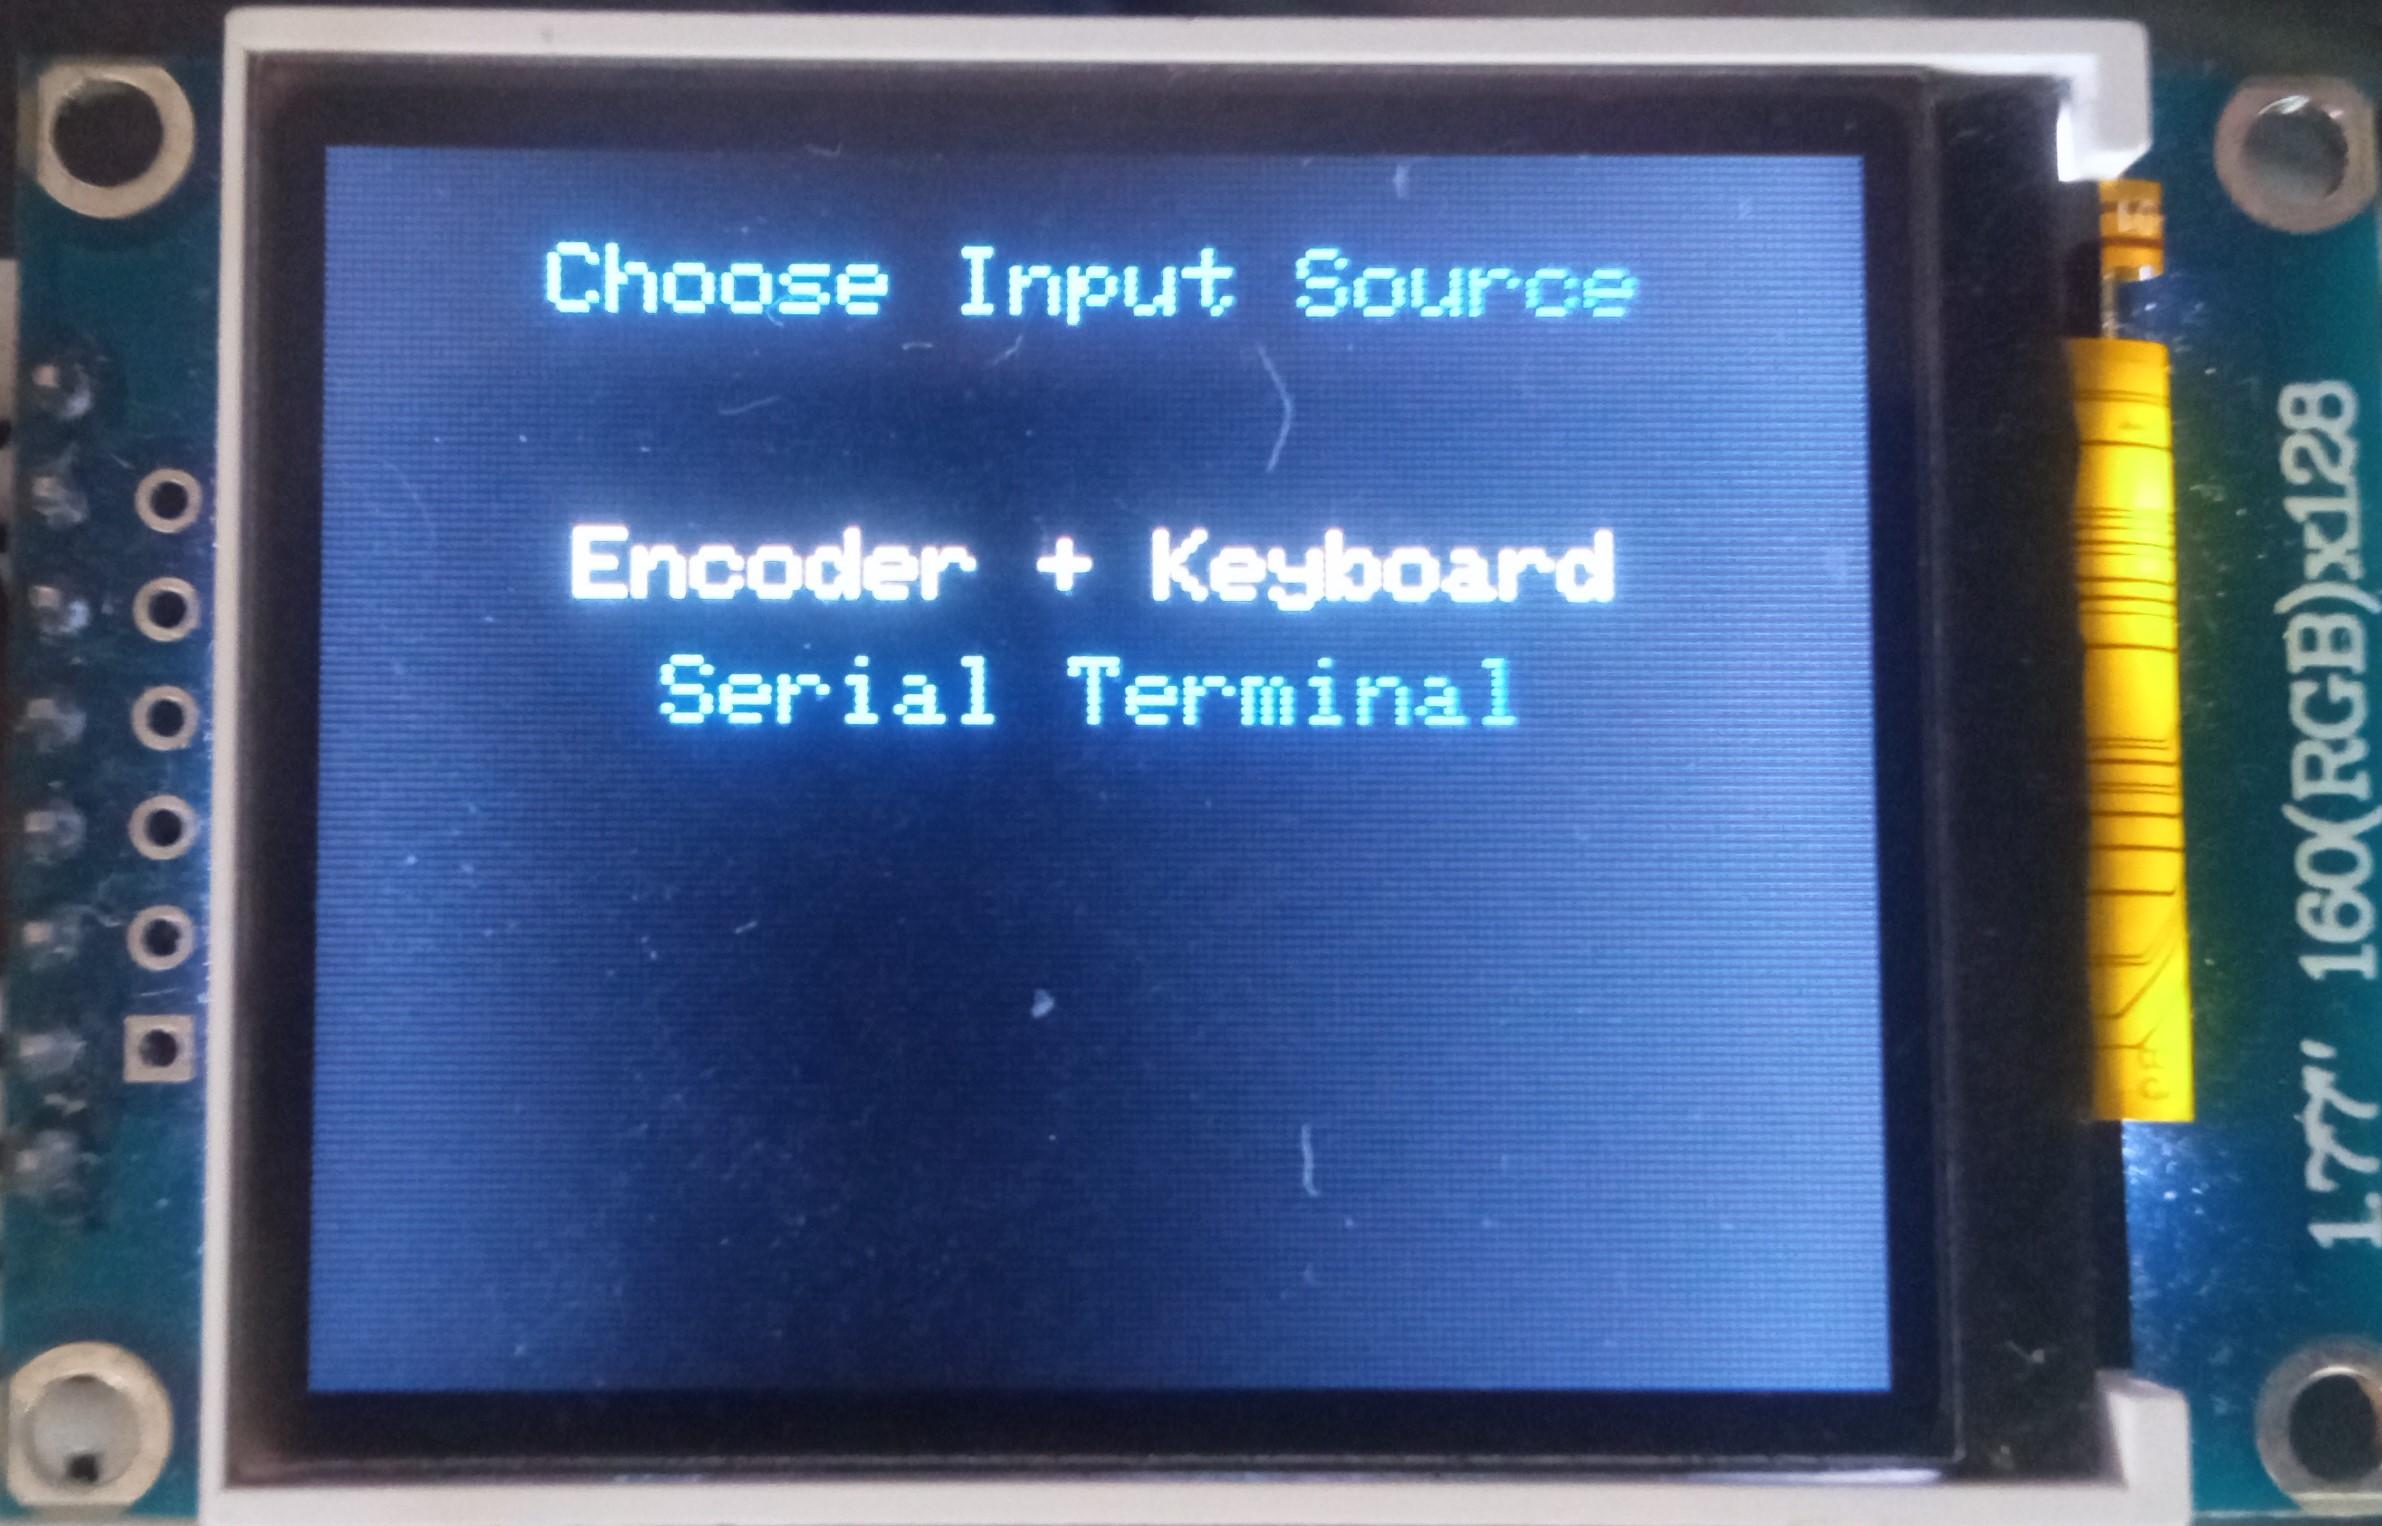
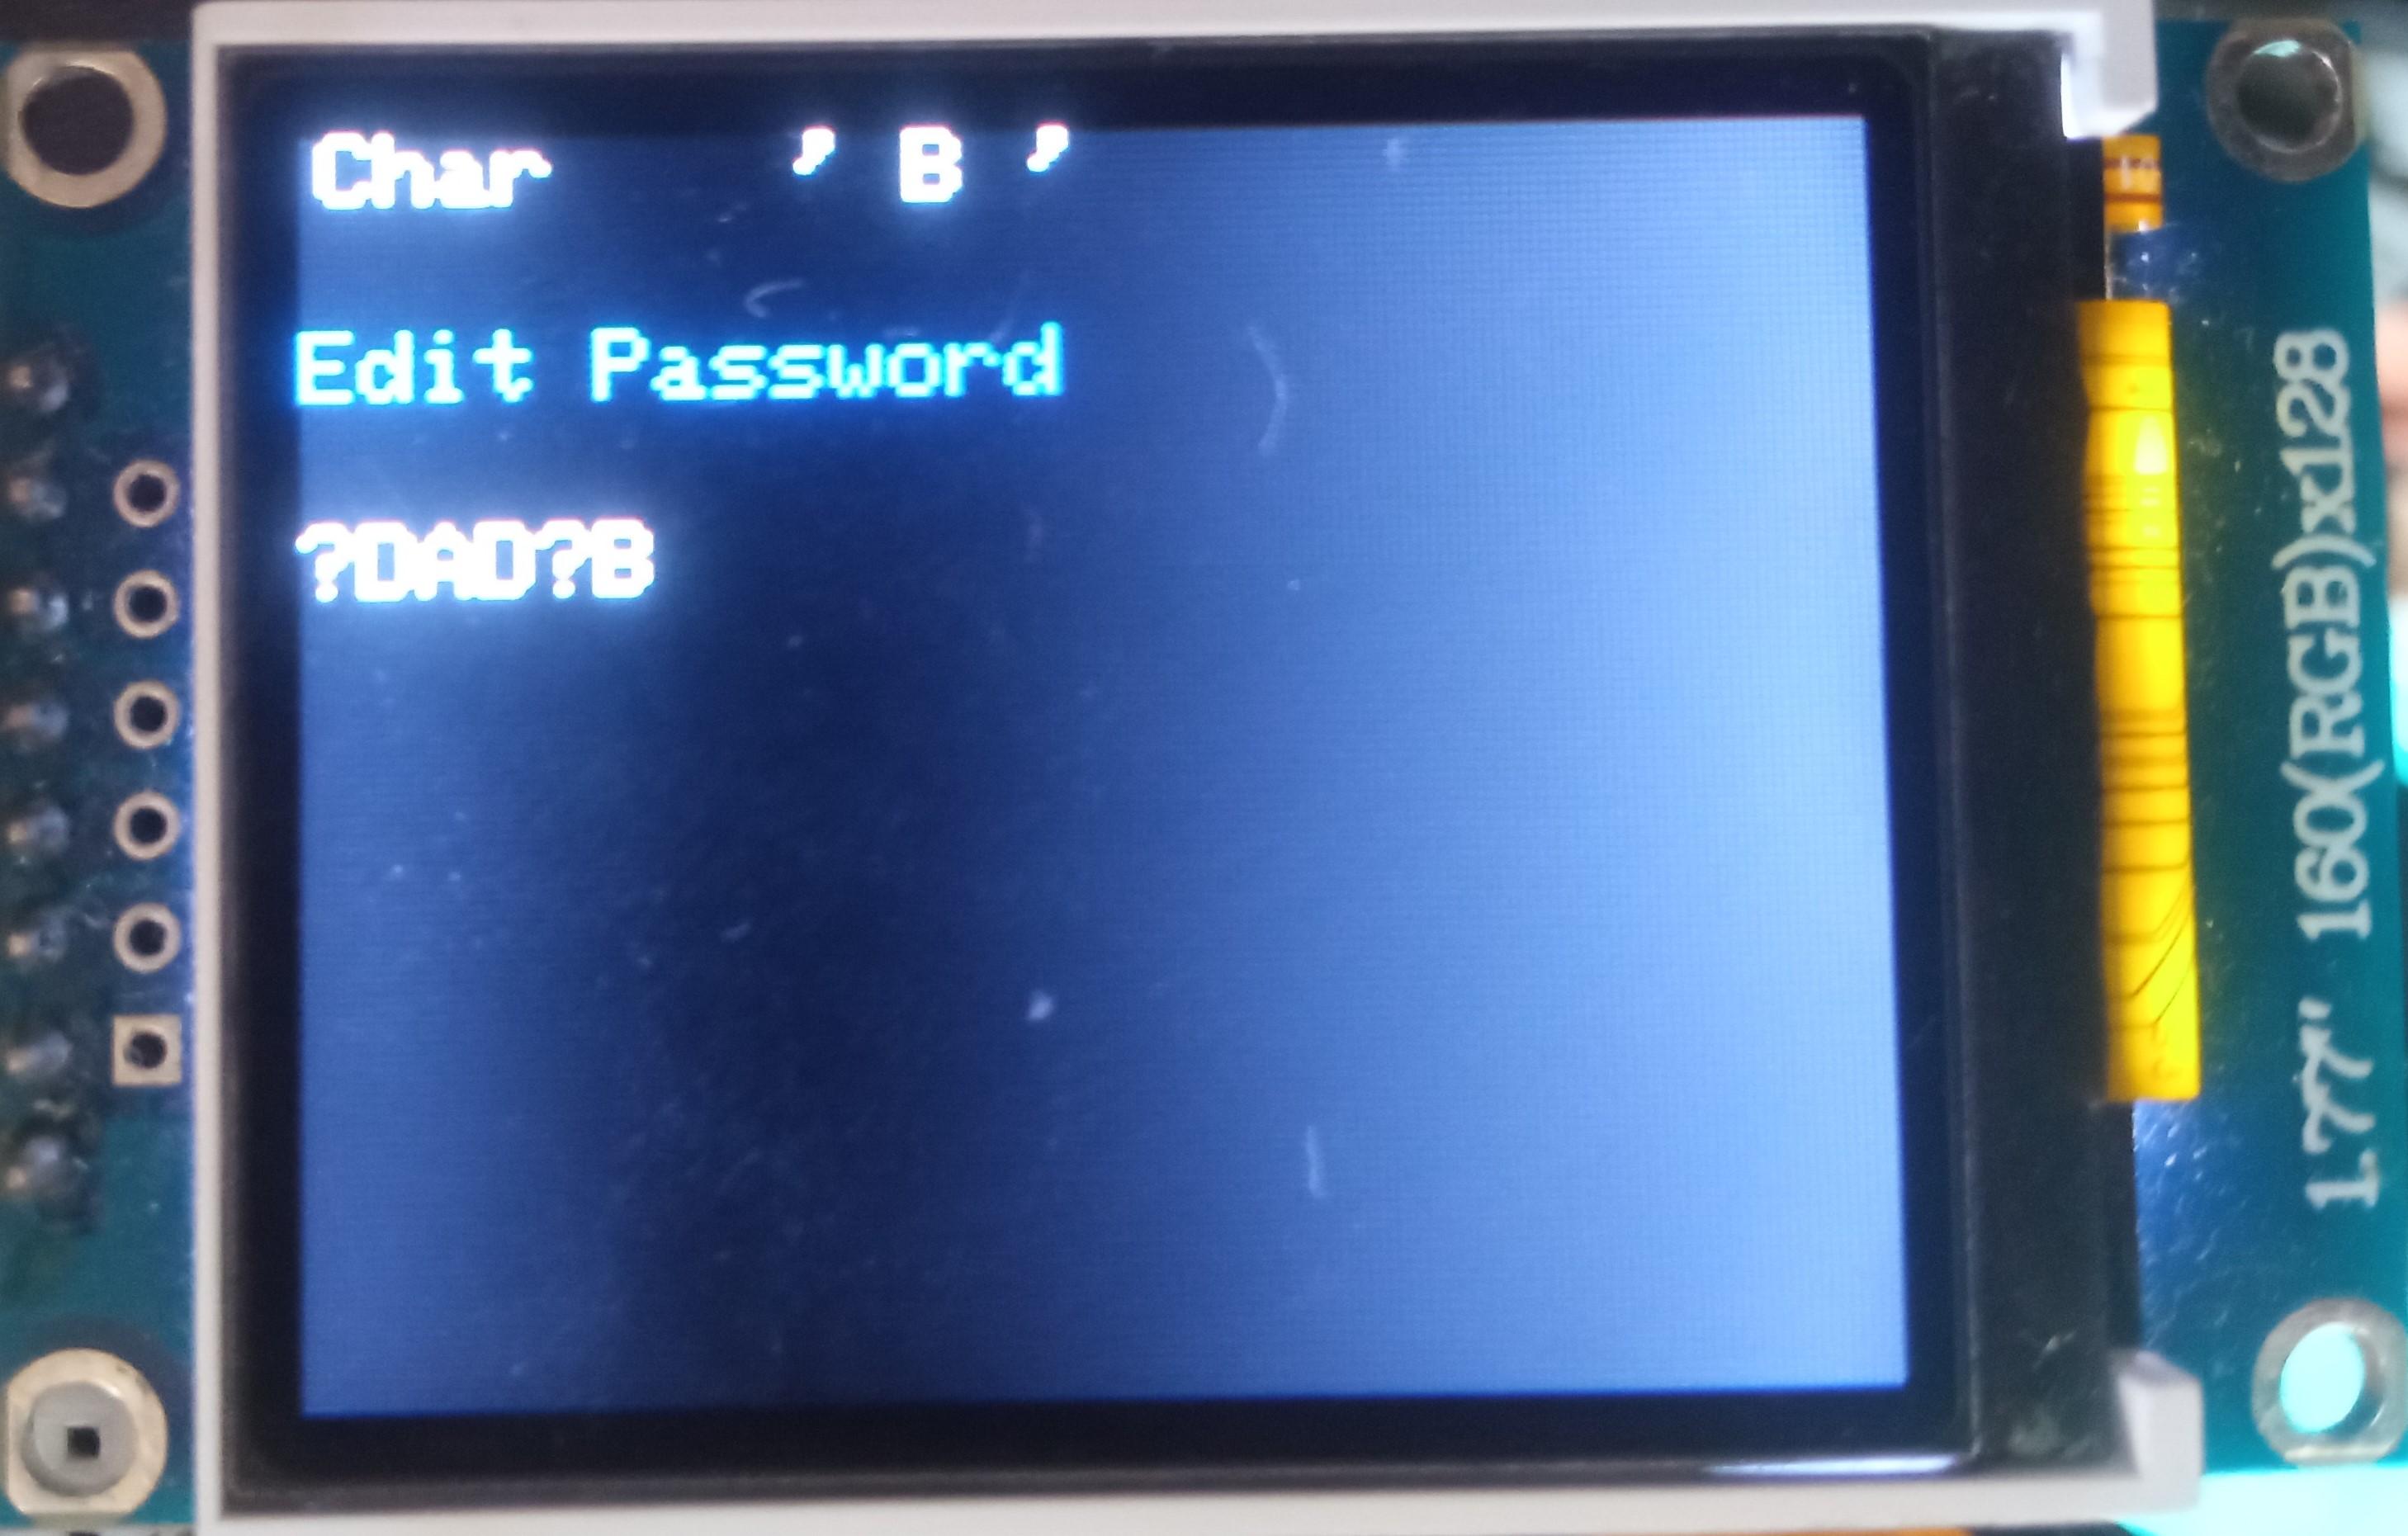
To edit a login:
- Select the "Logins" line in the main menu;
- Press either the "A" button or the "Enter" key on the PS/2 keyboard;
- Select the "Edit" line;
- Press either the "A" button or the "Enter" key on the PS/2 keyboard;
- Select the login you would like to edit either by rotating the encoder or by pressing the "←" (Leftwards Arrow) and "→" (Rightwards Arrow) keys on the PS/2 keyboard;
- Press either the "A" button or the "Enter" key on the PS/2 keyboard;
- Select the input source;
- Press either the "A" button or the "Enter" key on the PS/2 keyboard;
- Depending on the chosen input source, either enter the new password you'd like to set on the encoder and PS/2 keyboard or paste it to the Serial Terminal;
- Depending on the chosen input source, either quad-click the encoder button (or press "Enter") or press the "Send" button in the Serial Terminal.
*All credentials demonstrated here are entirely fictitious. Any similarity to actual credentials is purely coincidental.
Delete Login
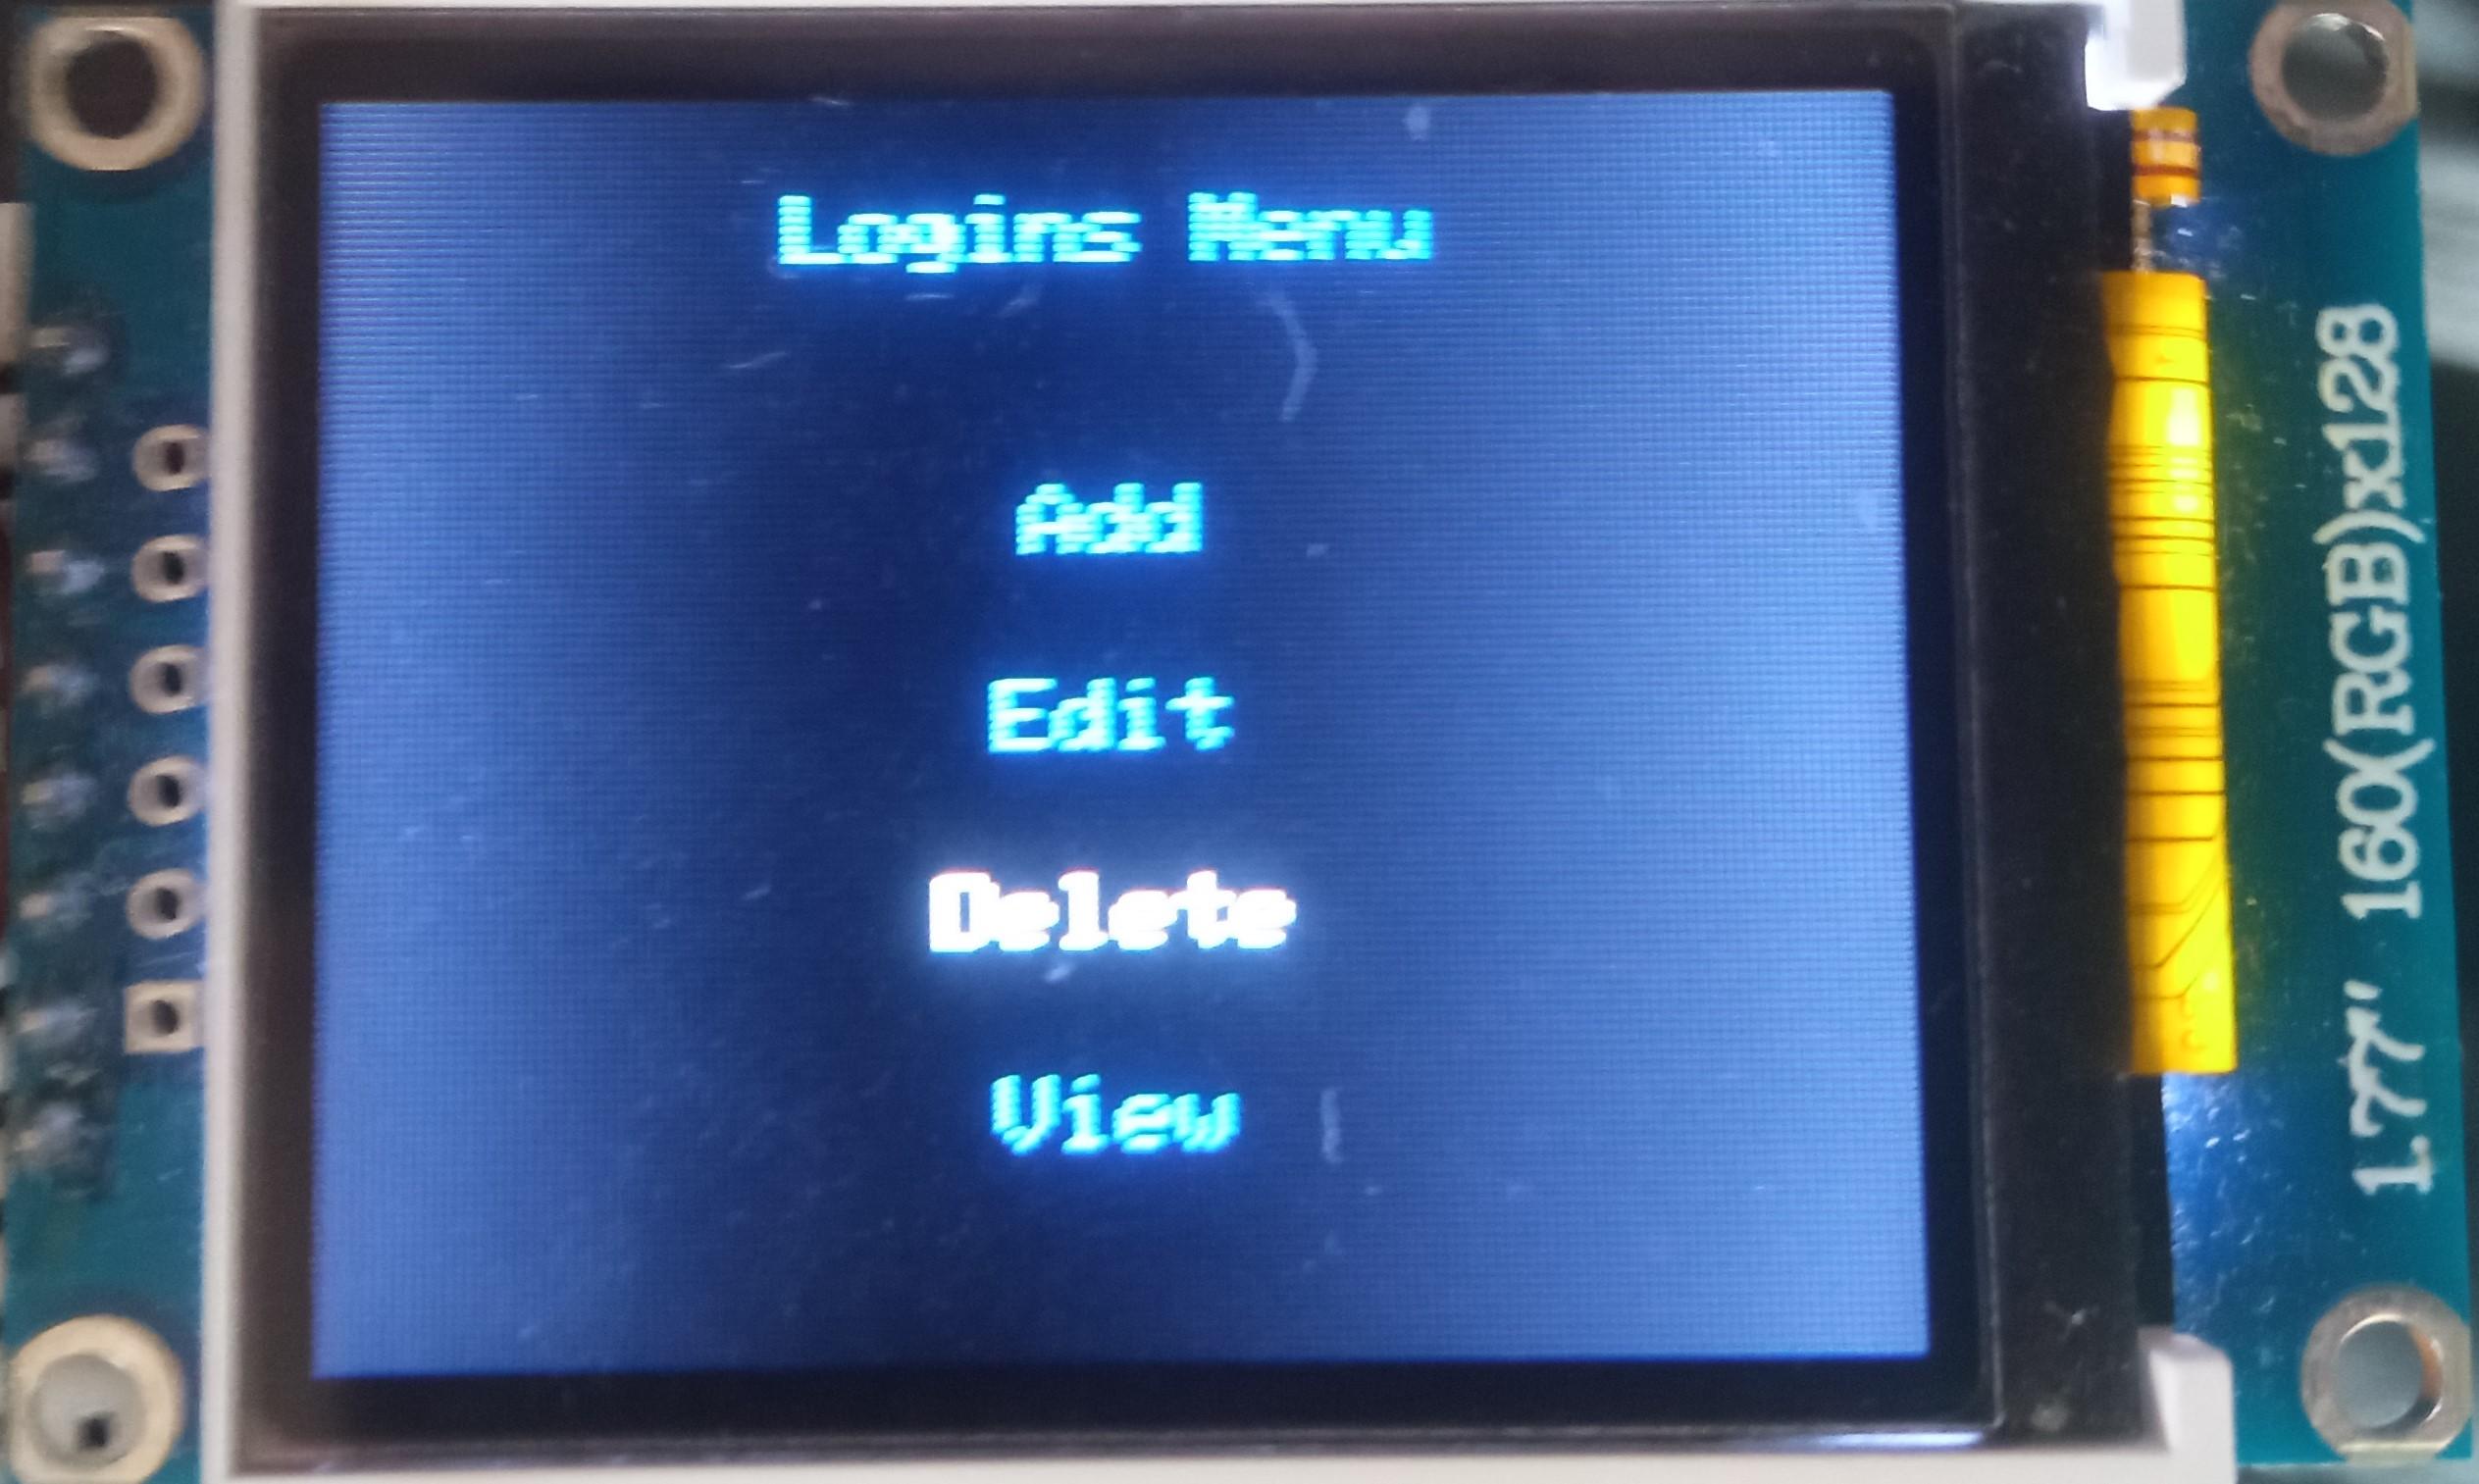
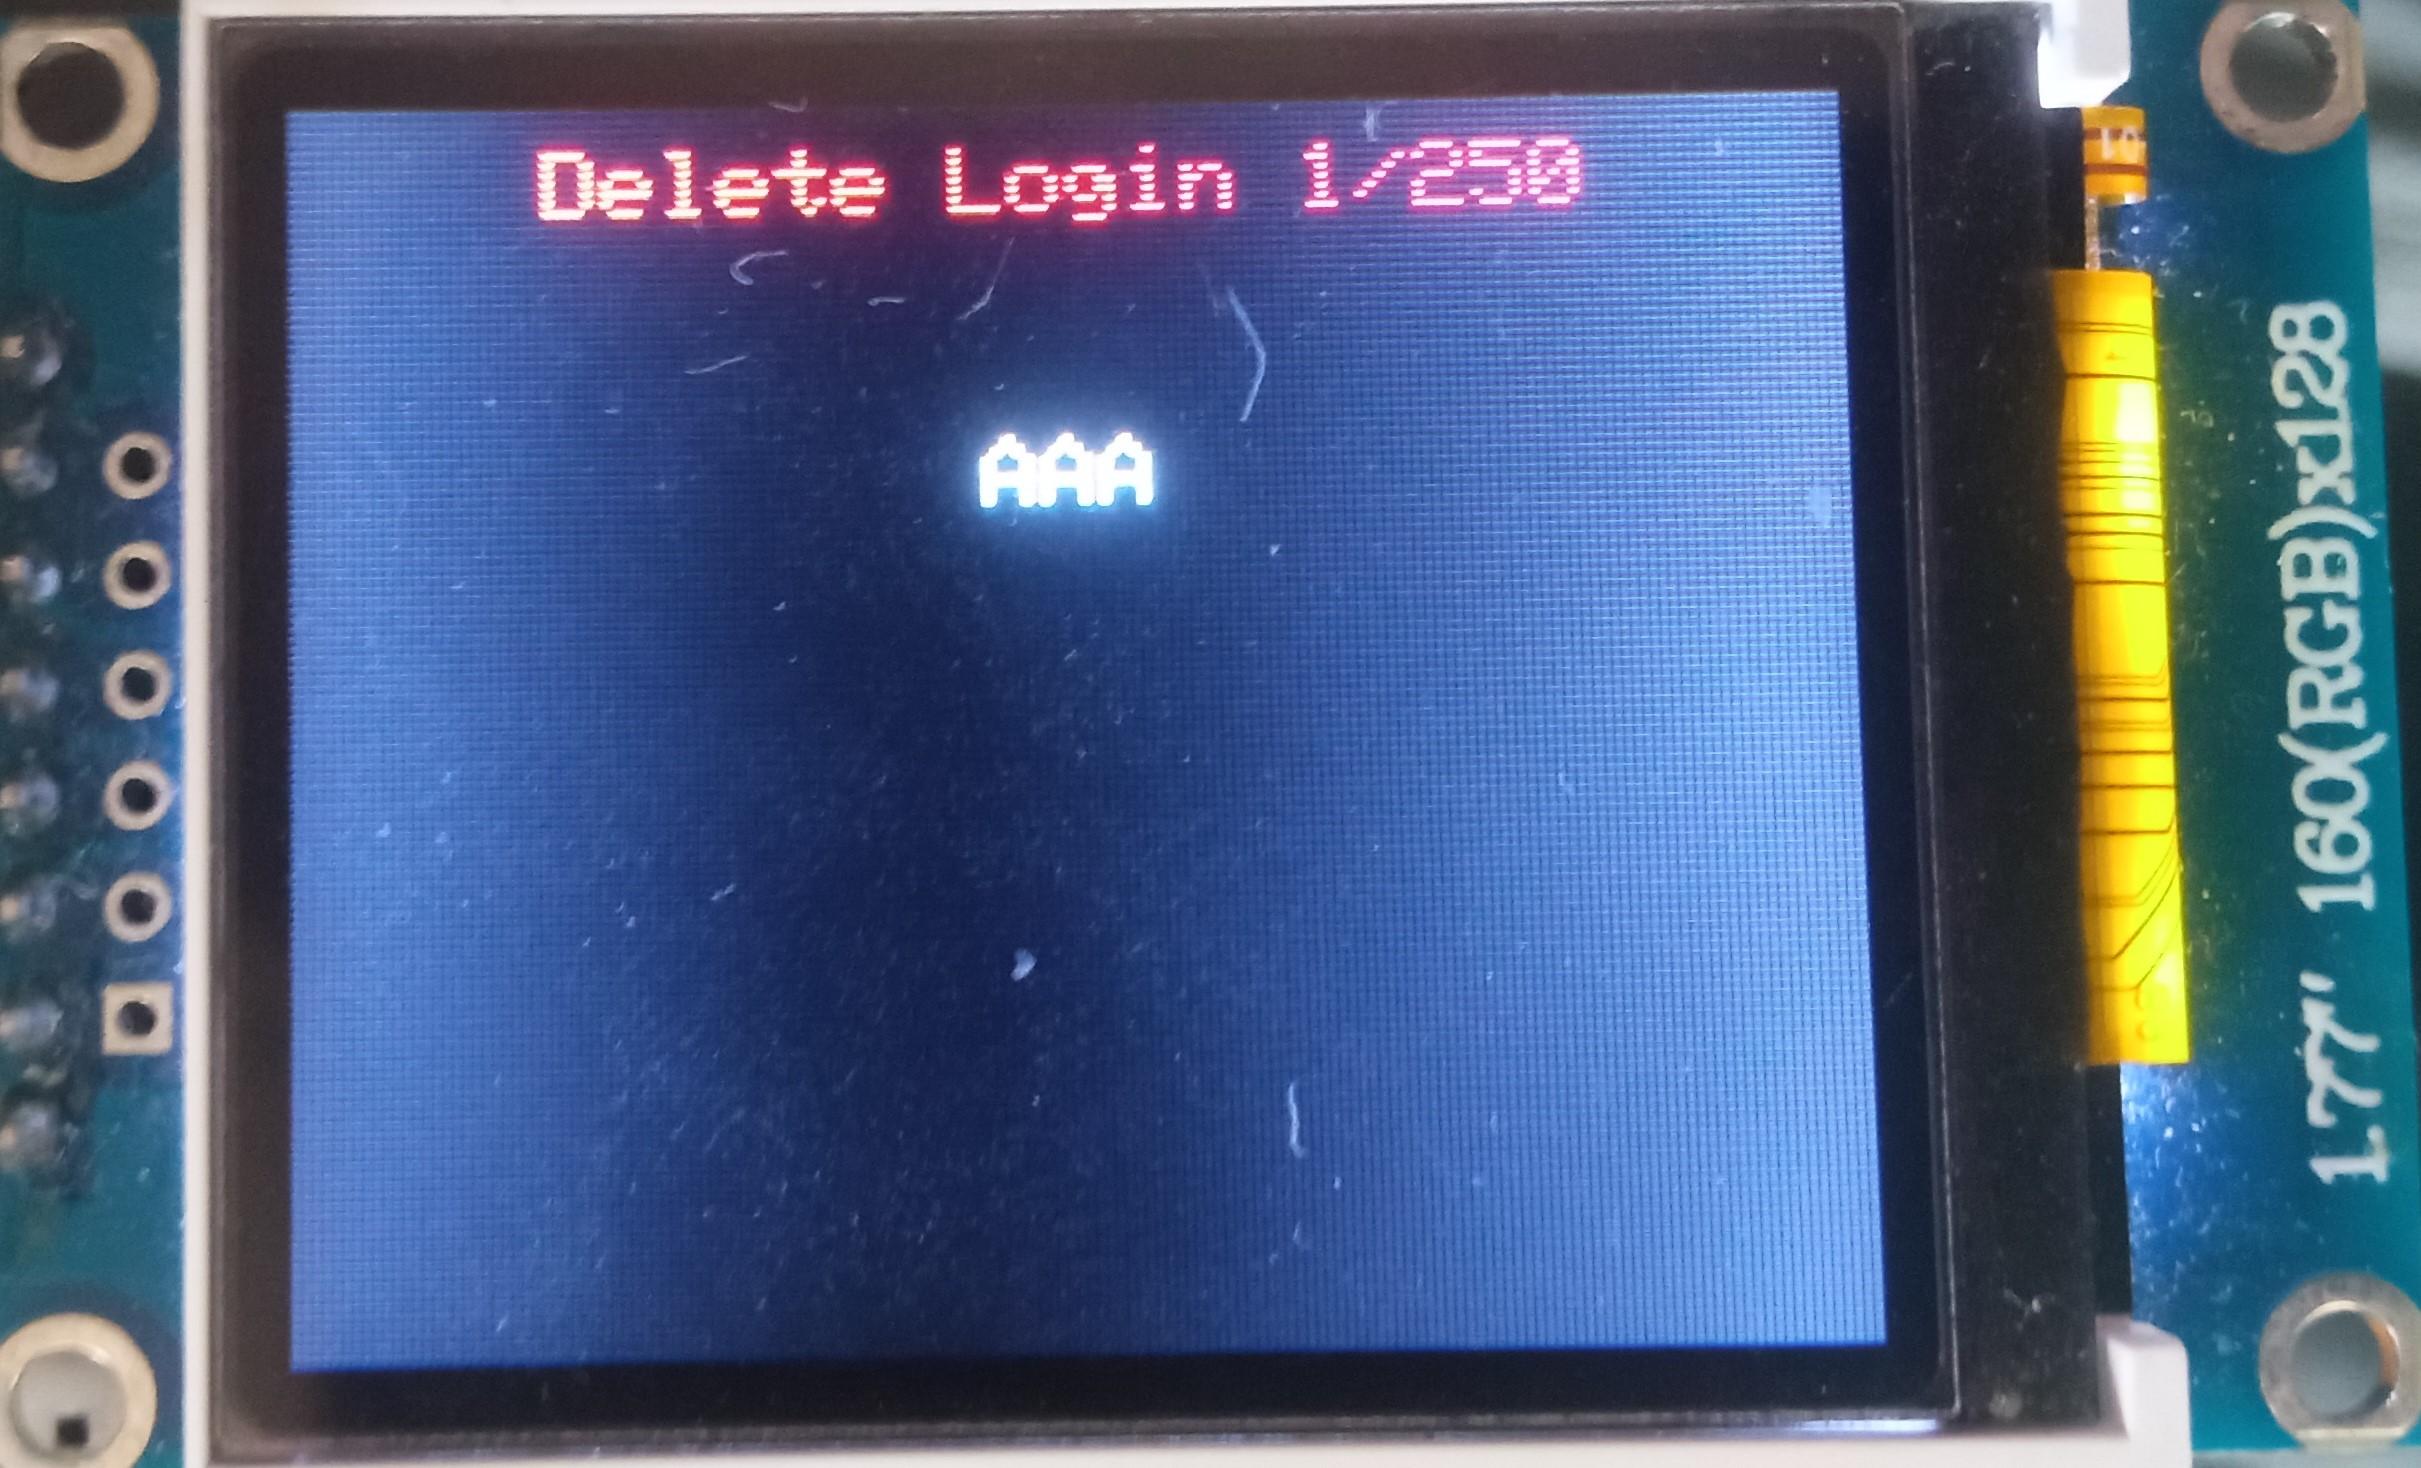
To delete a login:
- Select the "Logins" line;
- Press either the "A" button or the "Enter" key on the PS/2 keyboard;
- Select the "Delete" line;
- Press either the "A" button or the "Enter" key on the PS/2 keyboard;
- Select the login you would like to delete either by rotating the encoder or by pressing the "←" (Leftwards Arrow) and "→" (Rightwards Arrow) keys on the PS/2 keyboard;
- Press either the "A" button or the "Enter" key on the PS/2 keyboard.
The process of working with records of other types is very similar to the process of working with logins.