How to Use the ESP32 CYD to Securely Store Your Data
by Northstrix in Circuits > Microcontrollers
5653 Views, 15 Favorites, 0 Comments
How to Use the ESP32 CYD to Securely Store Your Data
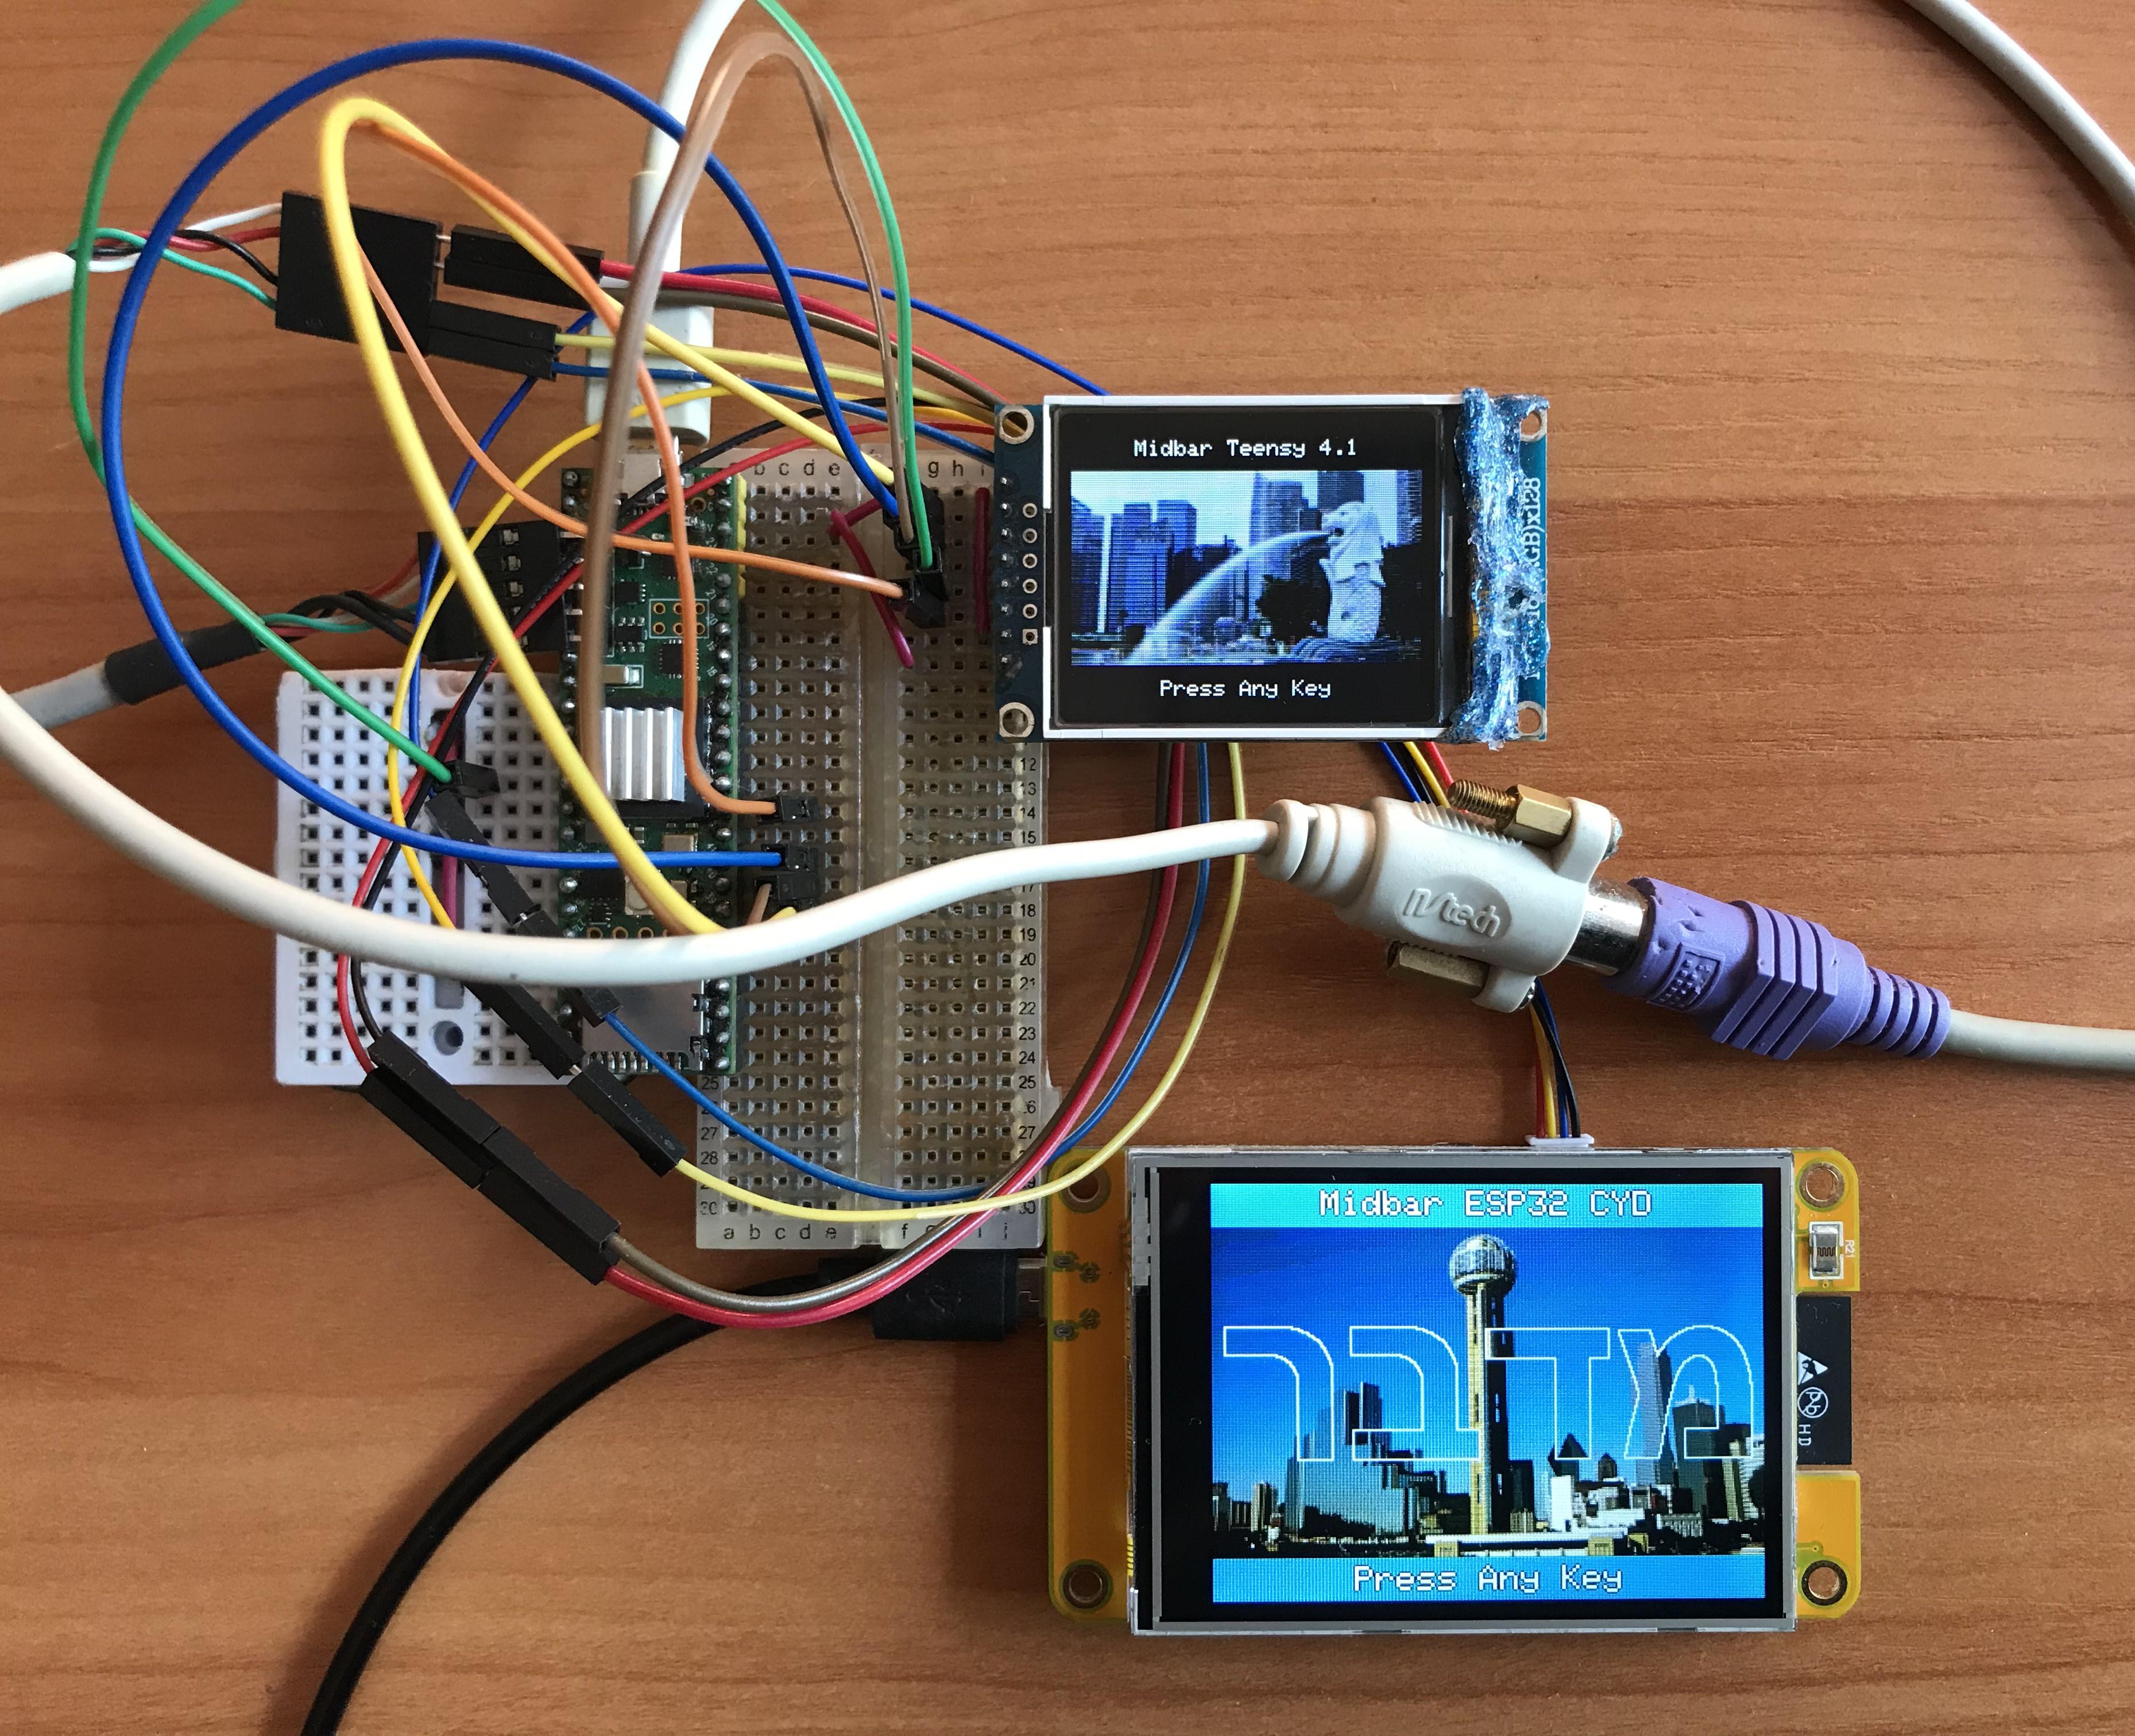
The ESP32 ESP32-2432S028R (Cheap Yellow Display or CYD for short) is a convenient development board that features the ESP32, 320x240px TFT LCD with a touch screen and a built-in SD card slot.
When I got my hands on that board, I ported the
Electronic-Shelf-Label-Management-System project to it, and modified the TetrisWithNunchuck project to work with the Nintendo 64 Controller, producing the ESP32-Tetris-With-Nintendo-64-Controller project.
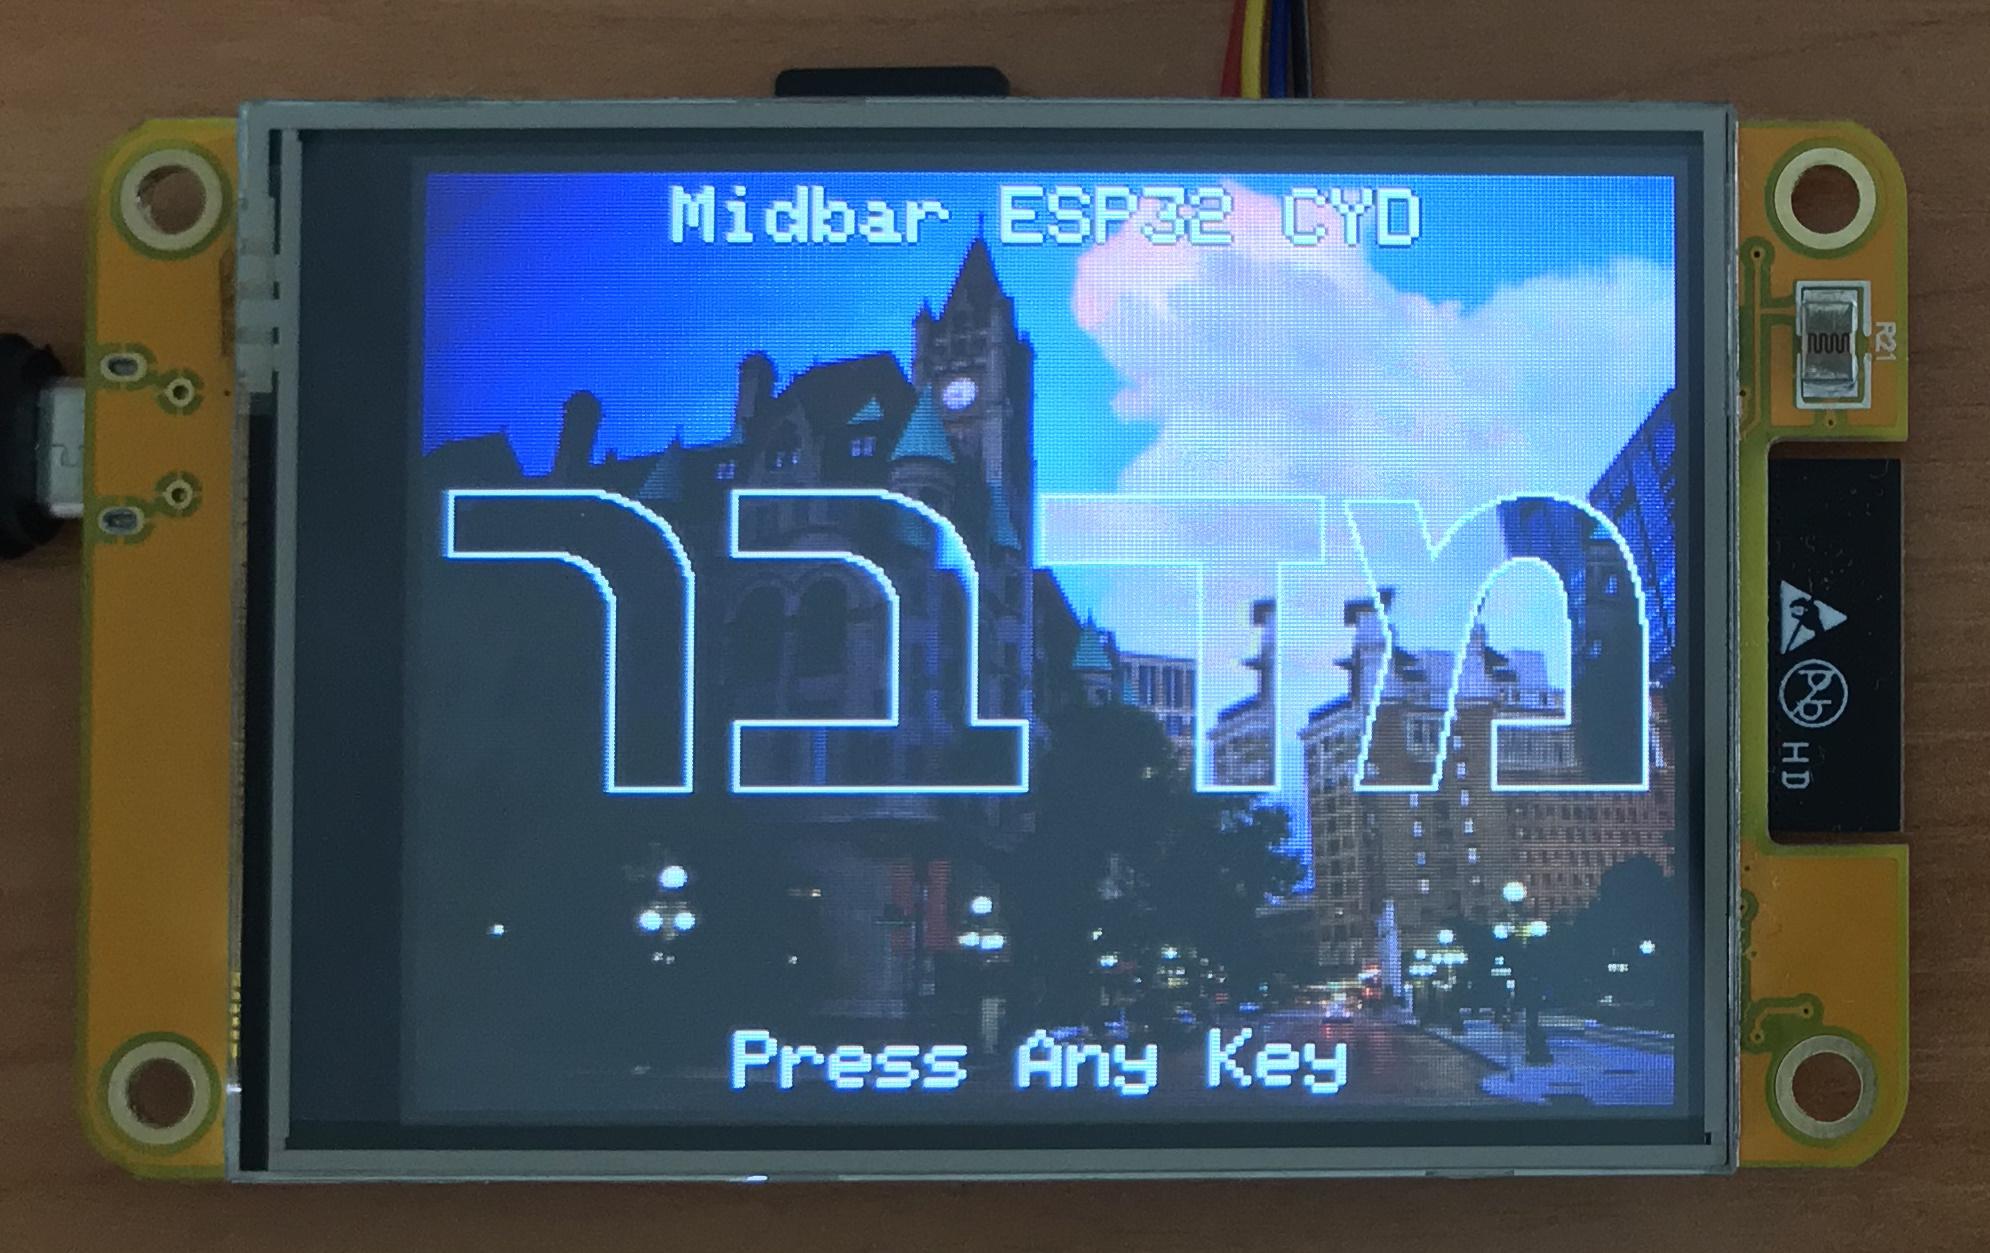
However, I've decided to go even further and make an advanced data vault that would utilize the capabilities of the ESP32 CYD. To do so, I took the firmware from the Midbar (Teensy 4.1 Version) V3.1 and adapted it to work on the ESP32.
Without further ado, let me present you with the result of that endeavor.
This tutorial is also available on Medium.
Supplies
- ESP32-2432S028R x1
- PS/2 Keyboard x1
- PS/2 Port x1
Prepare the Development Environment
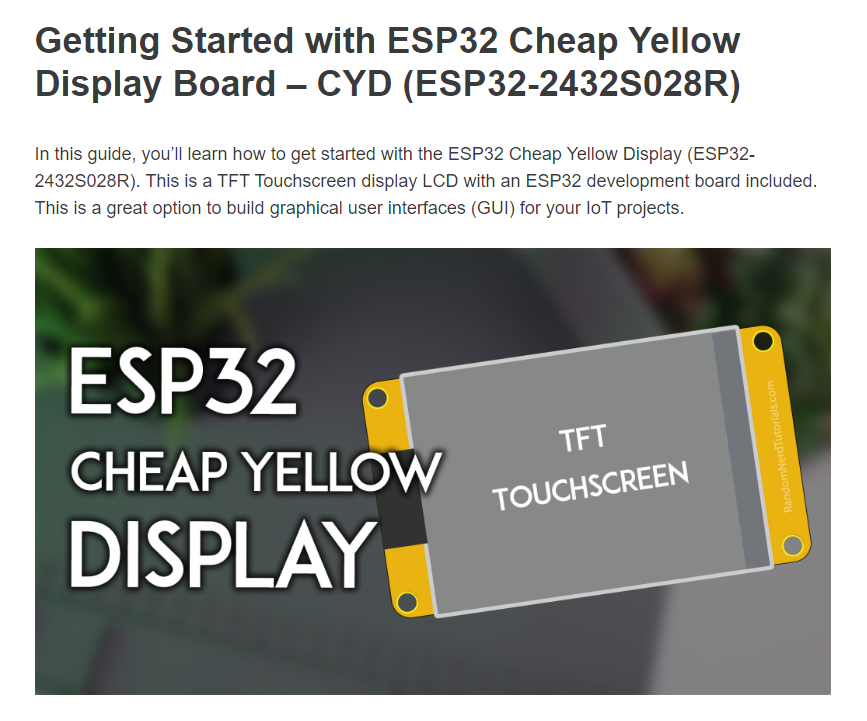
To flash the ESP32 CYD, you need to configure the Arduino IDE, install the necessary libraries, and put the “User_Setup.h” file where it should be. You can read how to do all of that at https://randomnerdtutorials.com/cheap-yellow-display-esp32-2432s028r/
Install the Required Libraries
Download the archives with the following libraries:
- PS2KeyAdvanced: https://github.com/techpaul/PS2KeyAdvanced
- PS2KeyMap: https://github.com/techpaul/PS2KeyMap
And then either unpack the content of each archive into the "…\Arduino\libraries" folder or open the Arduino IDE, click on "Sketch" -> "Include Library" -> "Add .ZIP Library…" and select each archive with the library.
Download Firmware
You can download the archive with firmware from one of these sources:
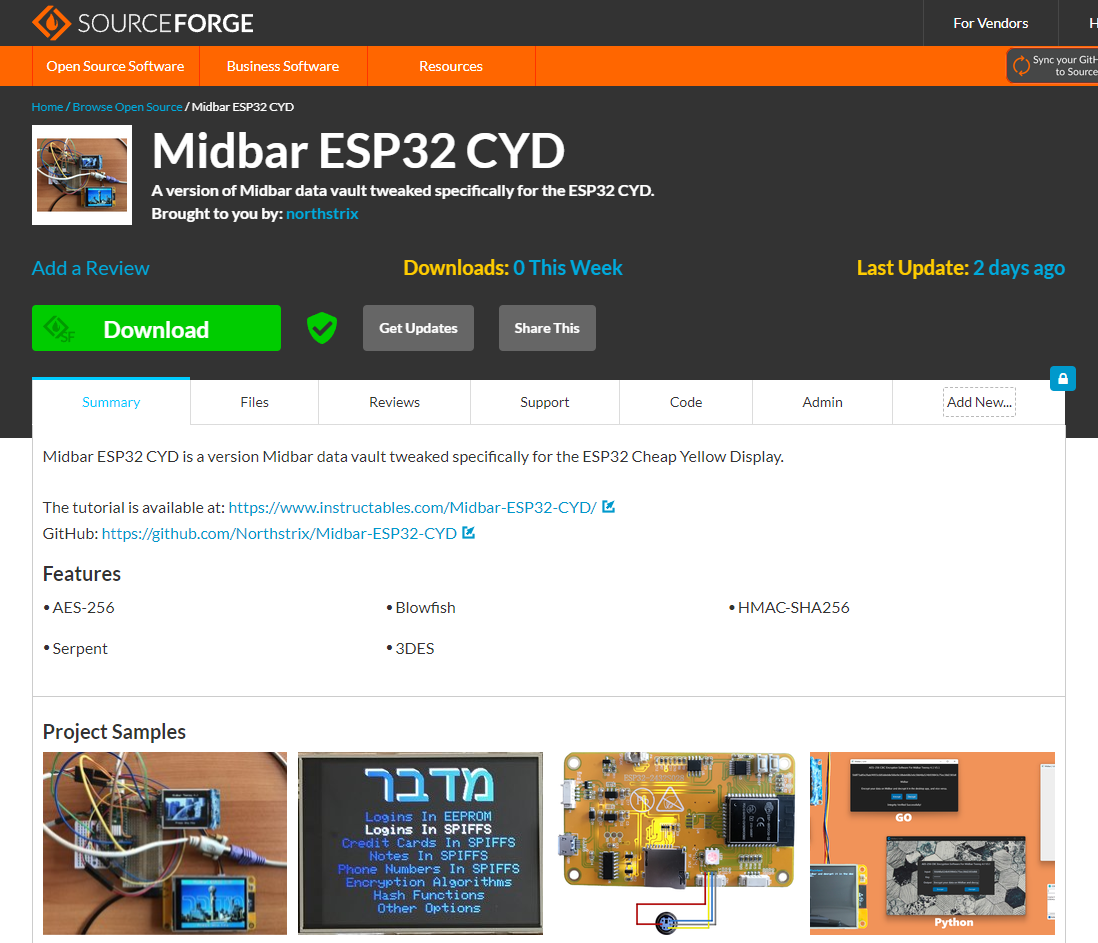
https://sourceforge.net/projects/midbar-esp32-cyd/
https://github.com/Northstrix/Midbar-ESP32-CYD
If you only need the firmware, then download the archive from SourceForge. If you also want the project photos, as well as the additional code samples, then download the archive from GitHub.
Install ESP32 Filesystem Uploader
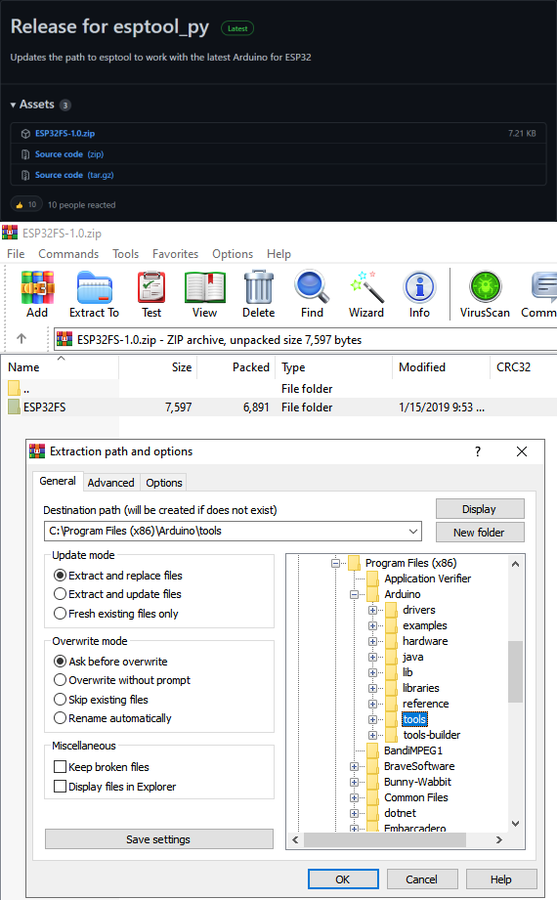
The primary purpose of the ESP32 Filesystem Uploader is to let you upload files into ESP's filesystem. In this tutorial, the purpose of this tool is to upload an empty SPIFFS image into ESP.
Download the file called ESP32FS-1.0.zip from https://github.com/me-no-dev/arduino-esp32fs-plugin/releases/
And then extract the content of the archive into the "...\Arduino\Tools\" folder.
After that, restart the Arduino IDE.
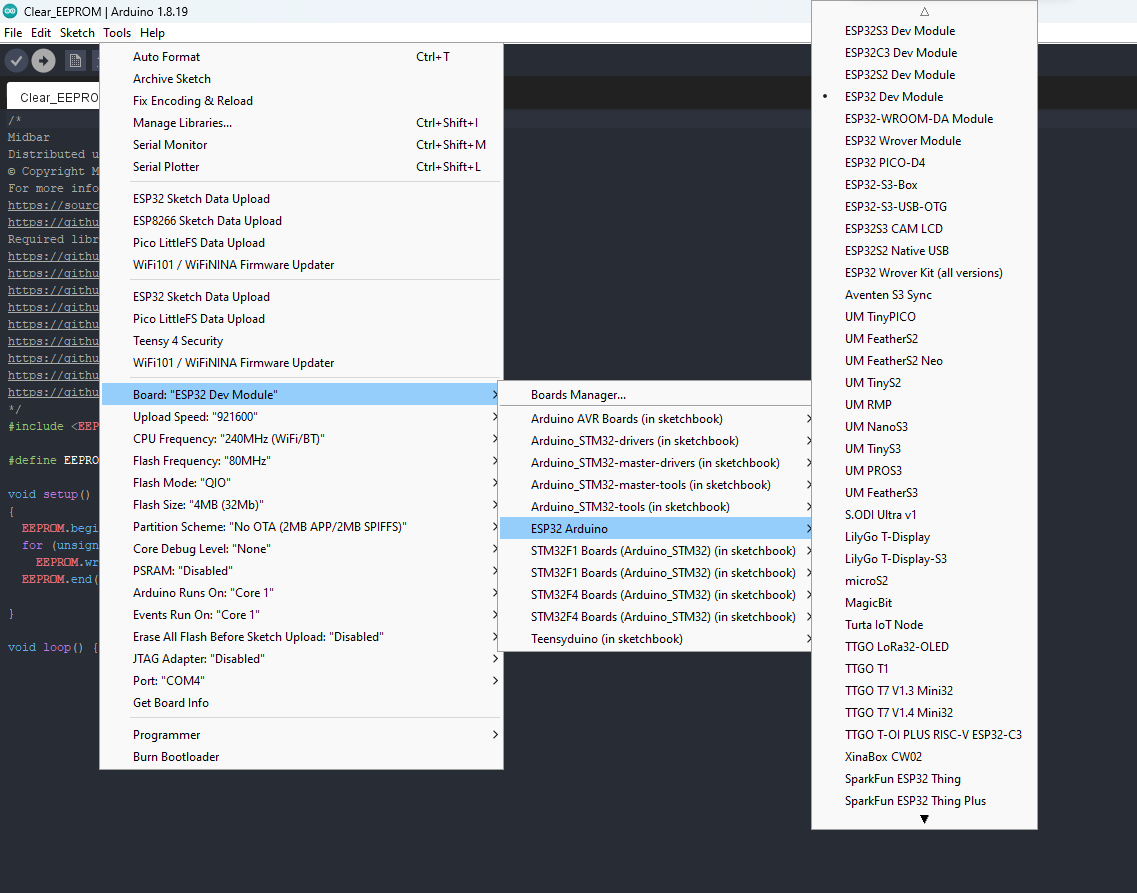
Switch the Partition Scheme to the "No OTA (2MB APP/2MB SPIFFS)"
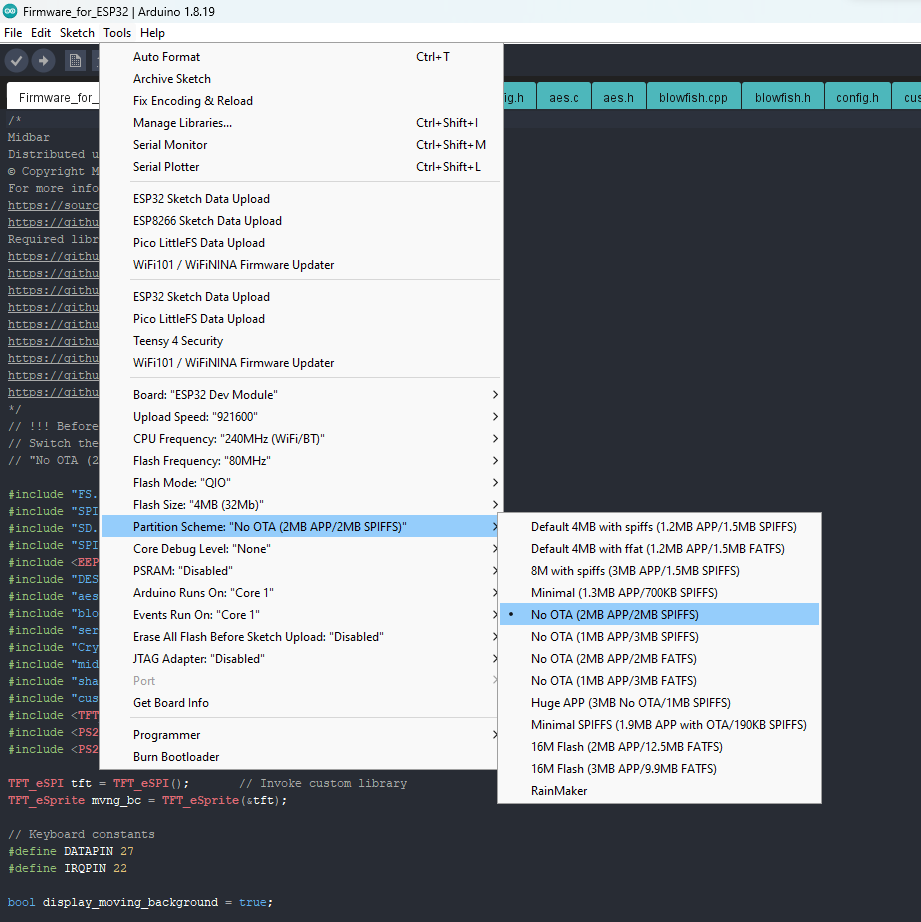
Switch the partition scheme to the "No OTA (2MB APP/2MB SPIFFS)" before you continue working with ESP32 because the firmware for the board is too big for the default partition.
Format ESP32 Flash Memory
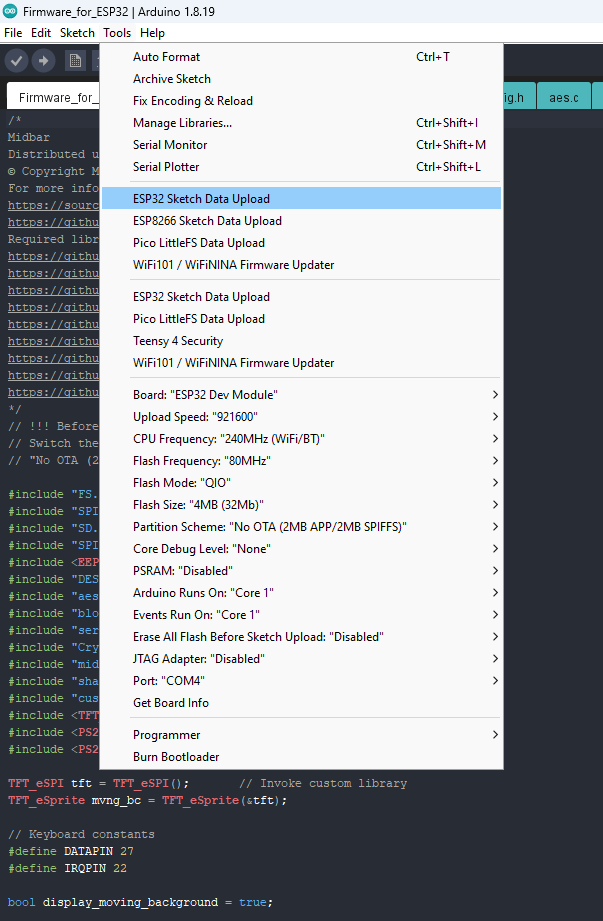
To format the ESP32 Flash memory:
- Connect the ESP32 CYD to the computer;
- Click on "Tools" menu -> "ESP32 Sketch Data Upload" line;
- Click Yes in the pop-up window.
The program is going to format the built-in flash memory.
Clear EEPROM
To use Midbar, you first need to clear EEPROM.
To do so, upload the firmware from the "...\V1.0\Clear_EEPROM" folder into ESP32.
Generate Keys
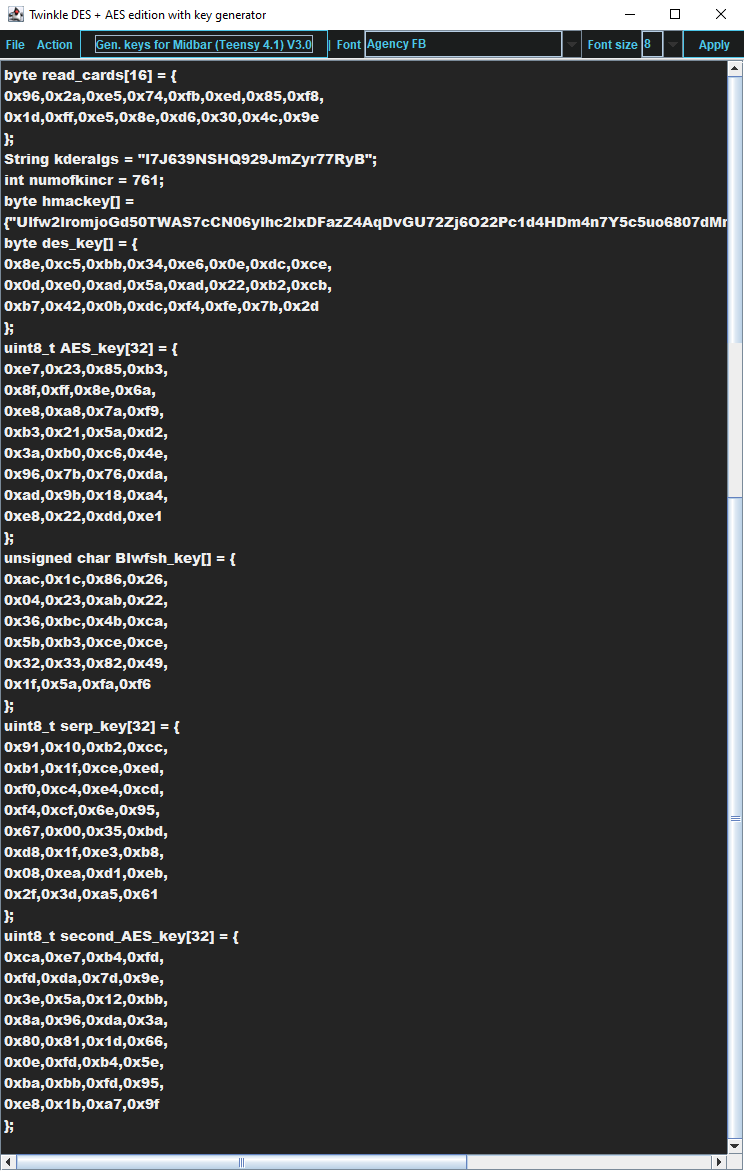
To make the unauthorized deciphering of your data computationally infeasible - It is crucial to generate your own keys and never reuse them.
It's entirely up to you how to generate the keys. I can only offer you an option to do so.
I've modified one of my previous projects to work as a random number generator, the generated output seems "random enough" for me, but I haven't run any tests. So, I can't guarantee that it's random.
Use it at your own risk!
Since this version of Midbar was derived from the Midbar (Teensy 4.1 Version) V3.1, it's compatible with its software, so you can use the key generator from the Midbar (Teensy 4.1) V3.0 (that's compatible with Midbar (Teensy 4.1 Version) V3.1) to generate the keys for that version of Midbar.
To generate the keys for Midbar - launch gen.exe from the "...\V1.0\Compatible Software\Untested RNG" folder and click the "Gen. keys for Midbar (Teensy 4.1) V3.0" button. The background turns from dark gray to light gray when you press that button.
Modify Firmware
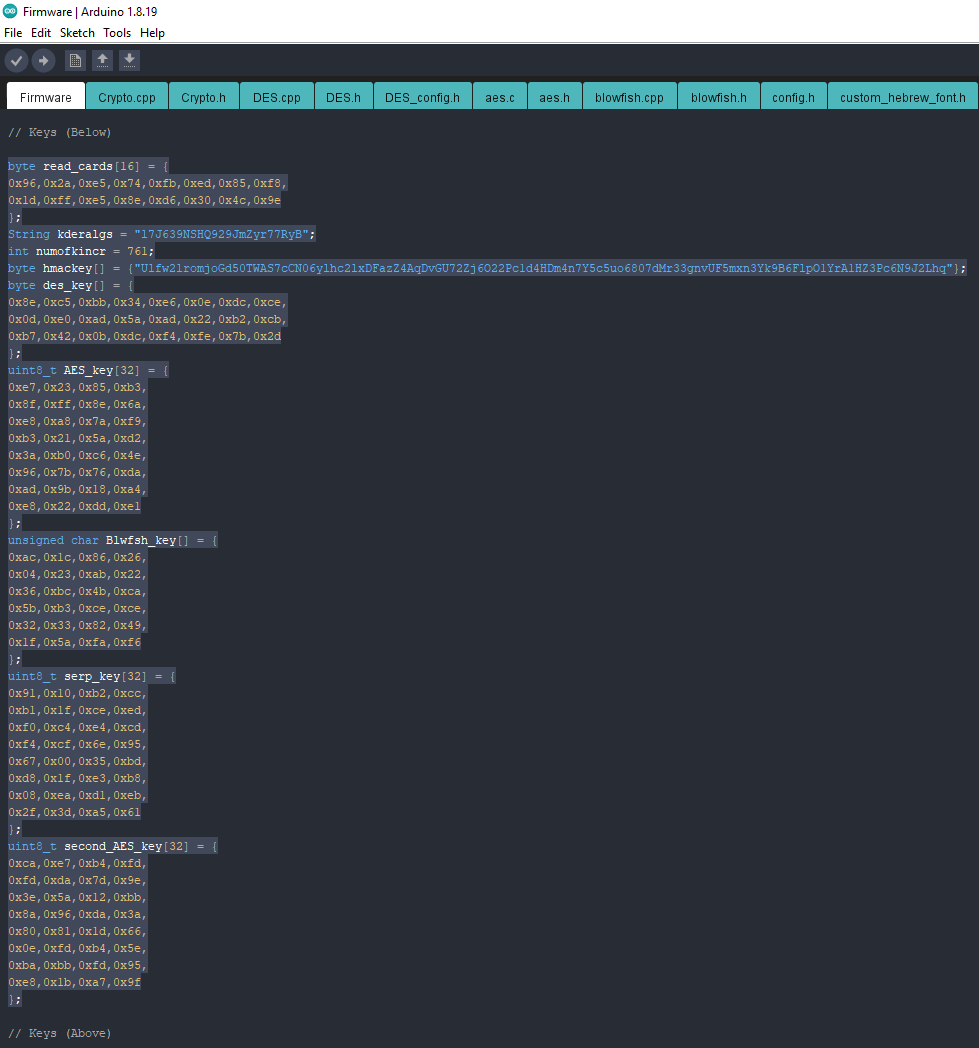
Open the "Firmware_for_ESP32.ino" file from the "...\V1.0\Firmware_for_ESP32" folder and then replace my keys with those you've generated.
You can also tweak some parameters in the following lines:
#define MAX_NUM_OF_RECS 999
// Max. number of chars for each field for the logins stored in EEPROM
#define MAX_NUM_OF_CHARS_FOR_USERNAME 52
#define MAX_NUM_OF_CHARS_FOR_PASSWORD 52
#define MAX_NUM_OF_CHARS_FOR_WEBSITE 56
// You can repartition the field sizes as long as the sum of all three values is 160
uint16_t colors[4] = { // Purple, Yellow, Green, Blue
0xb81c, 0xfde0, 0x87a0, 0x041c
};
const uint16_t current_inact_clr = colors[3];
const uint16_t stripe_on_the_right_and_oth_opts_color = colors[0];
const uint16_t five_six_five_red_color = 0xf940;
Upload the Modified Firmware Into ESP32 CYD
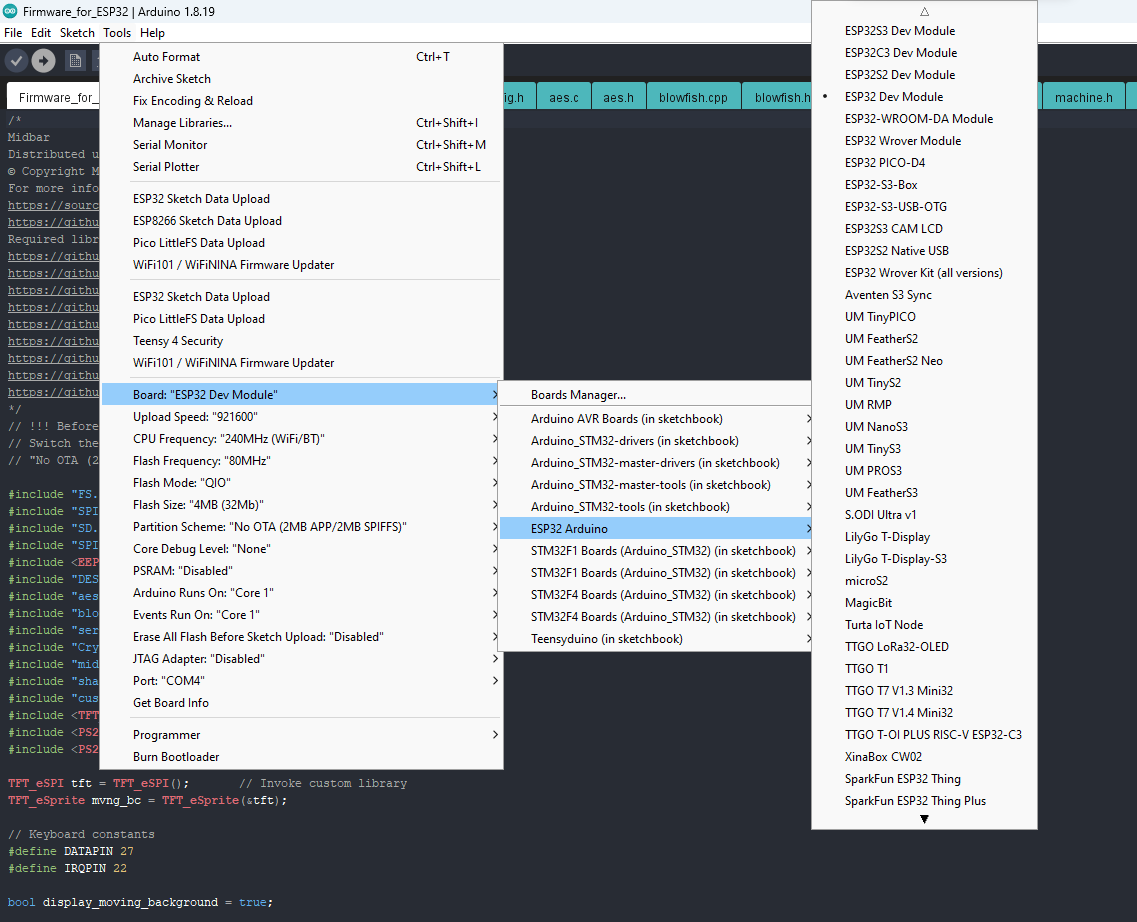
Upload the modified firmware from the "...\V1.0\Firmware_for_ESP32" folder into the ESP32 CYD.
Assemble the Device
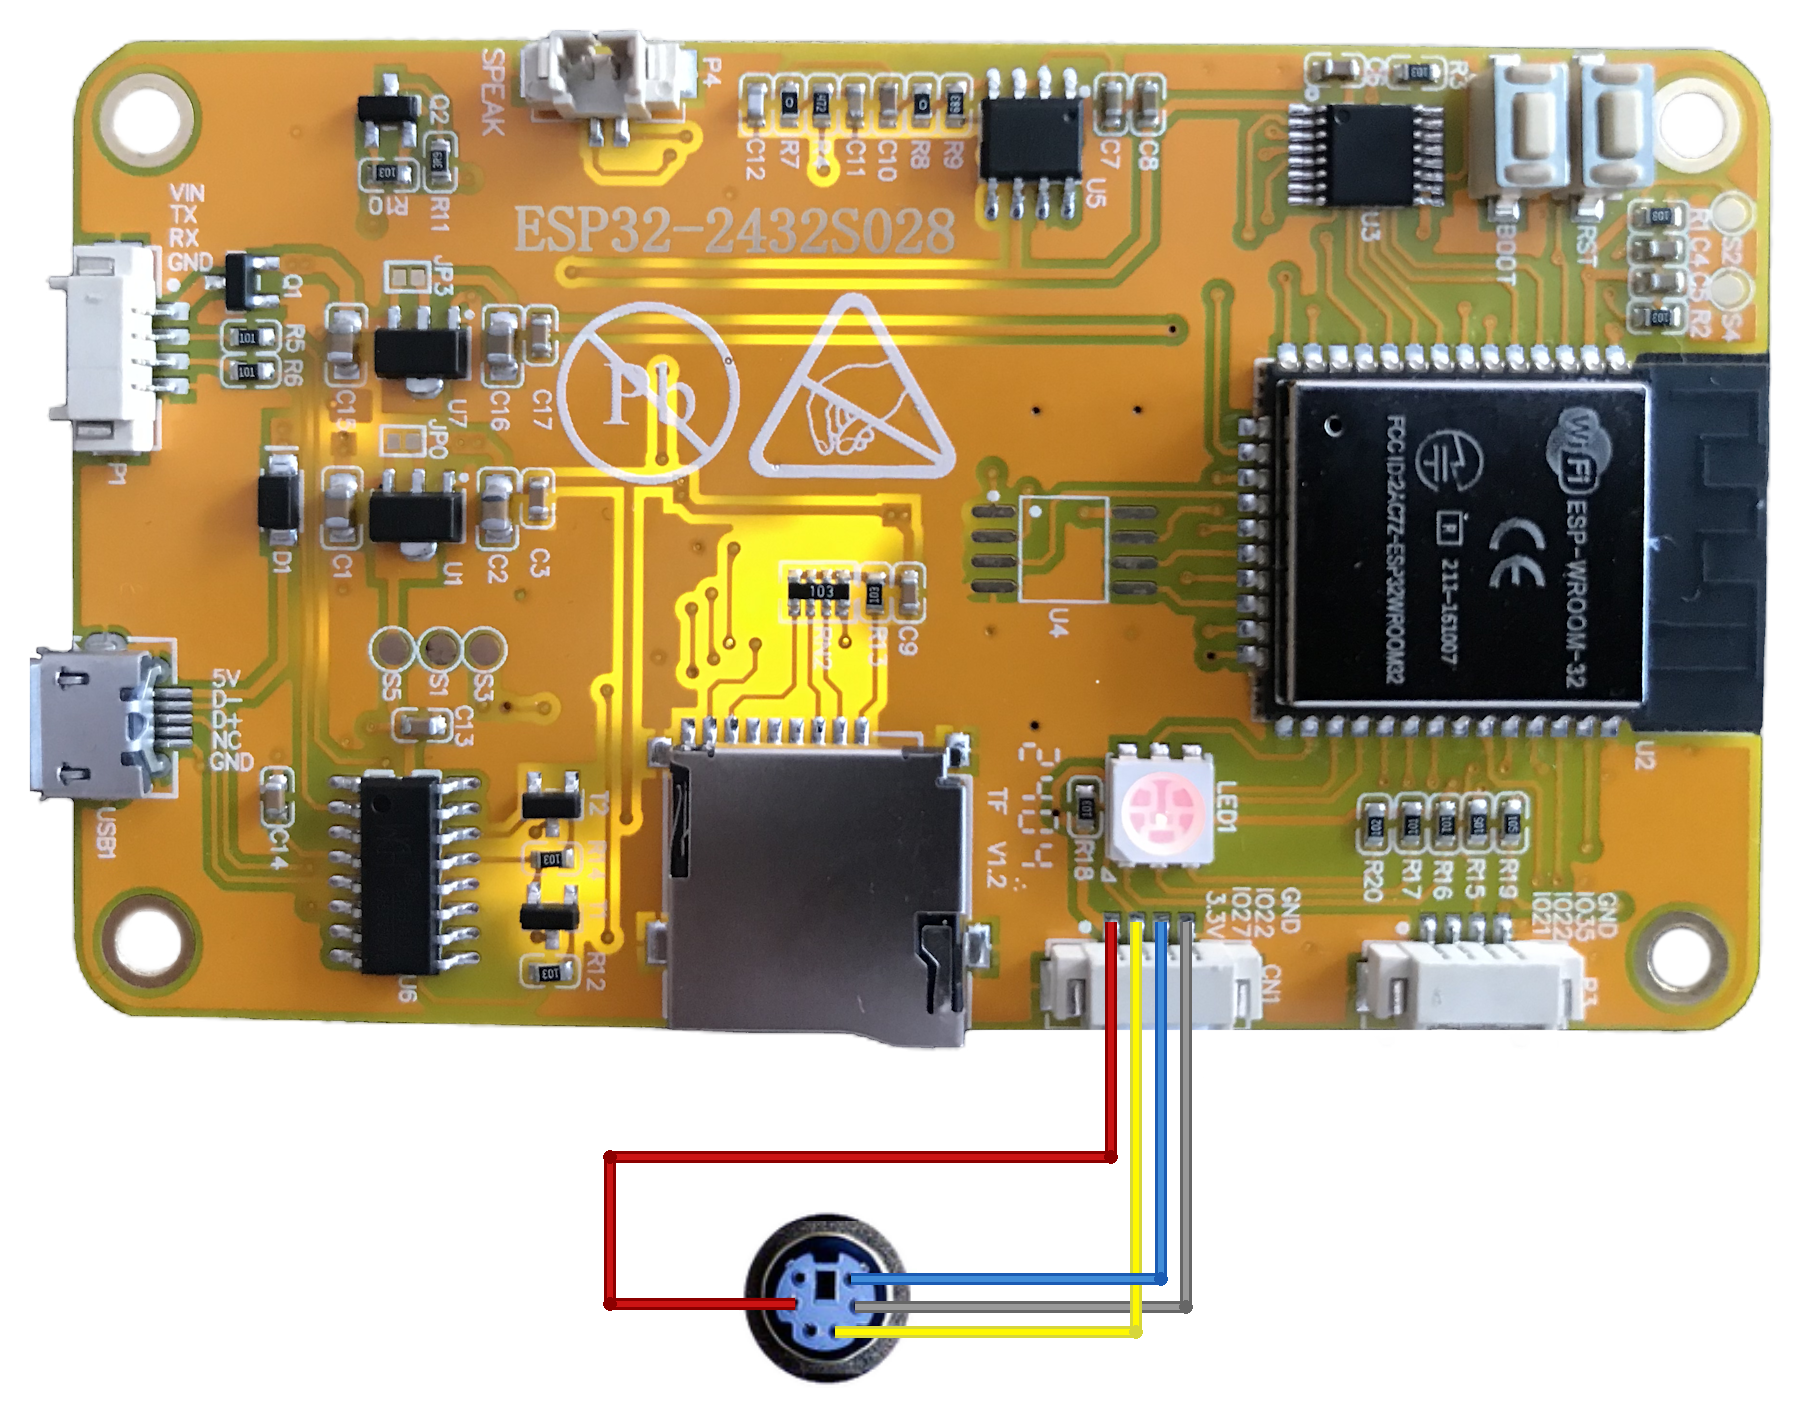
At that point, simply connect the PS/2 port to the board and plug a keyboard into it.
If the keyboard won't work, try connecting it to the 5V (VIN pin).
Power Up the Device


Supply the power to the ESP32 CYD via the USB cable or VIN and GND pins.
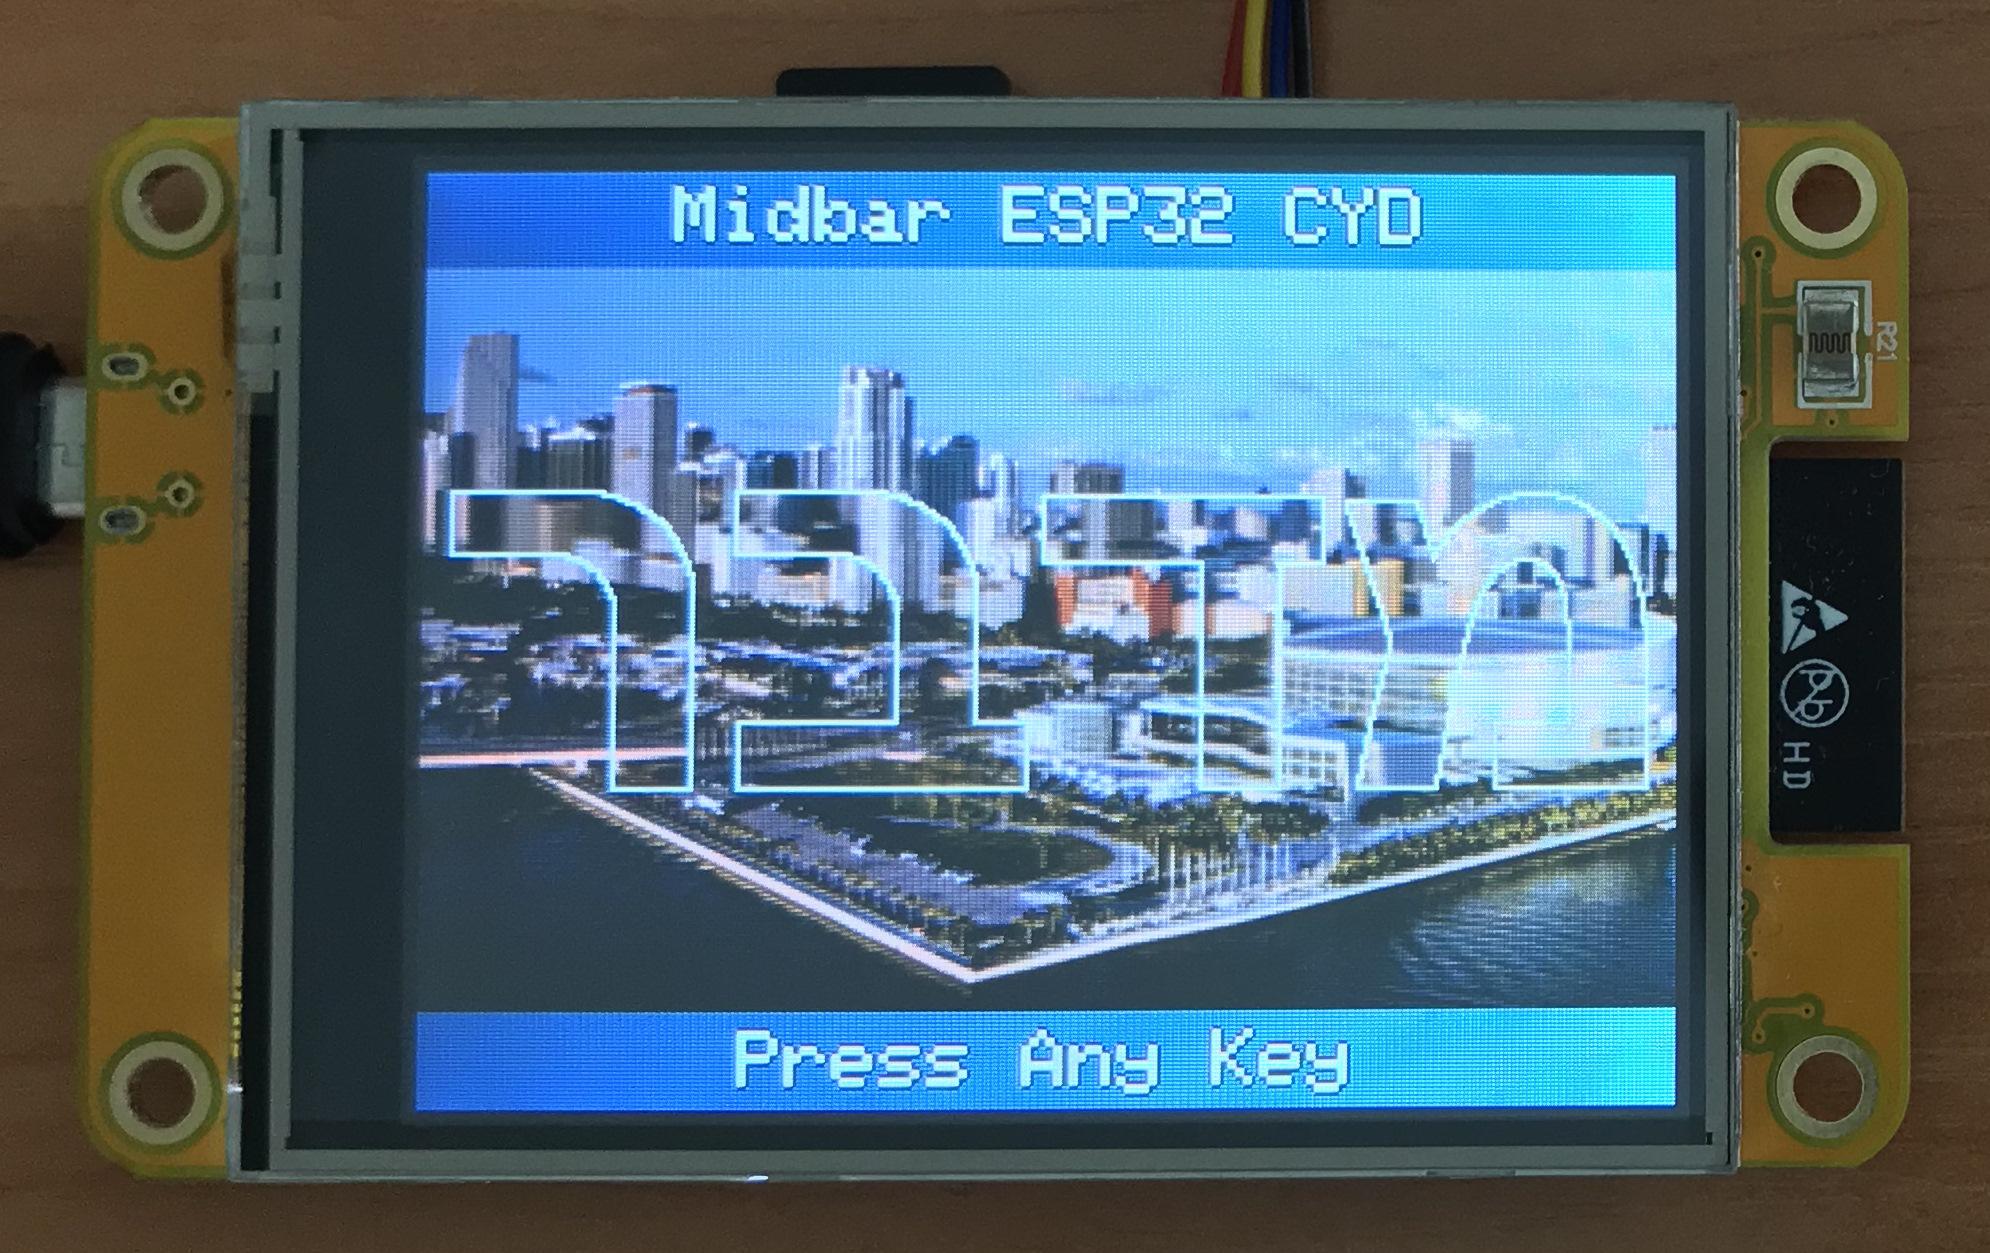
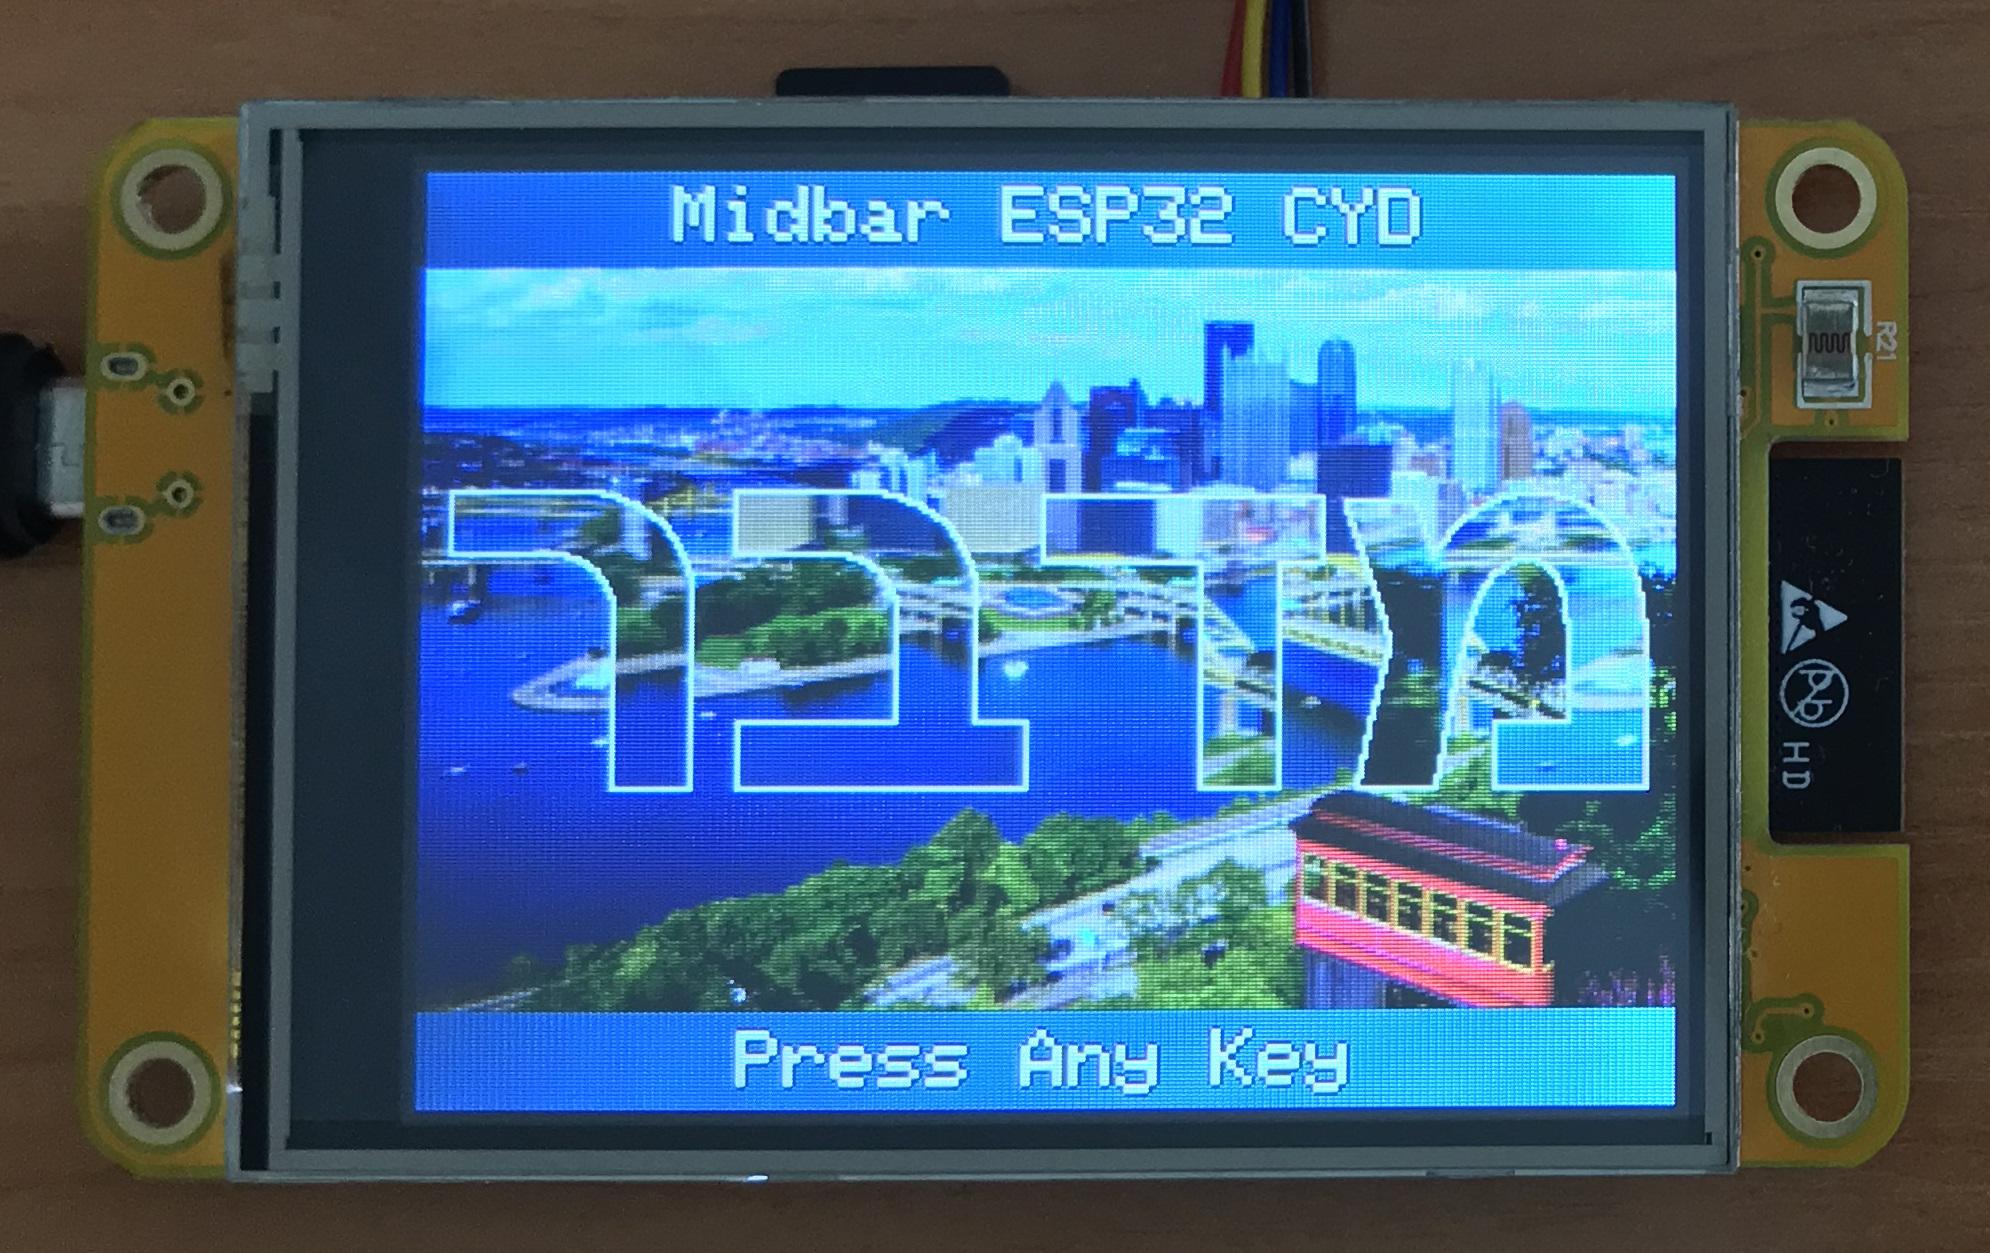
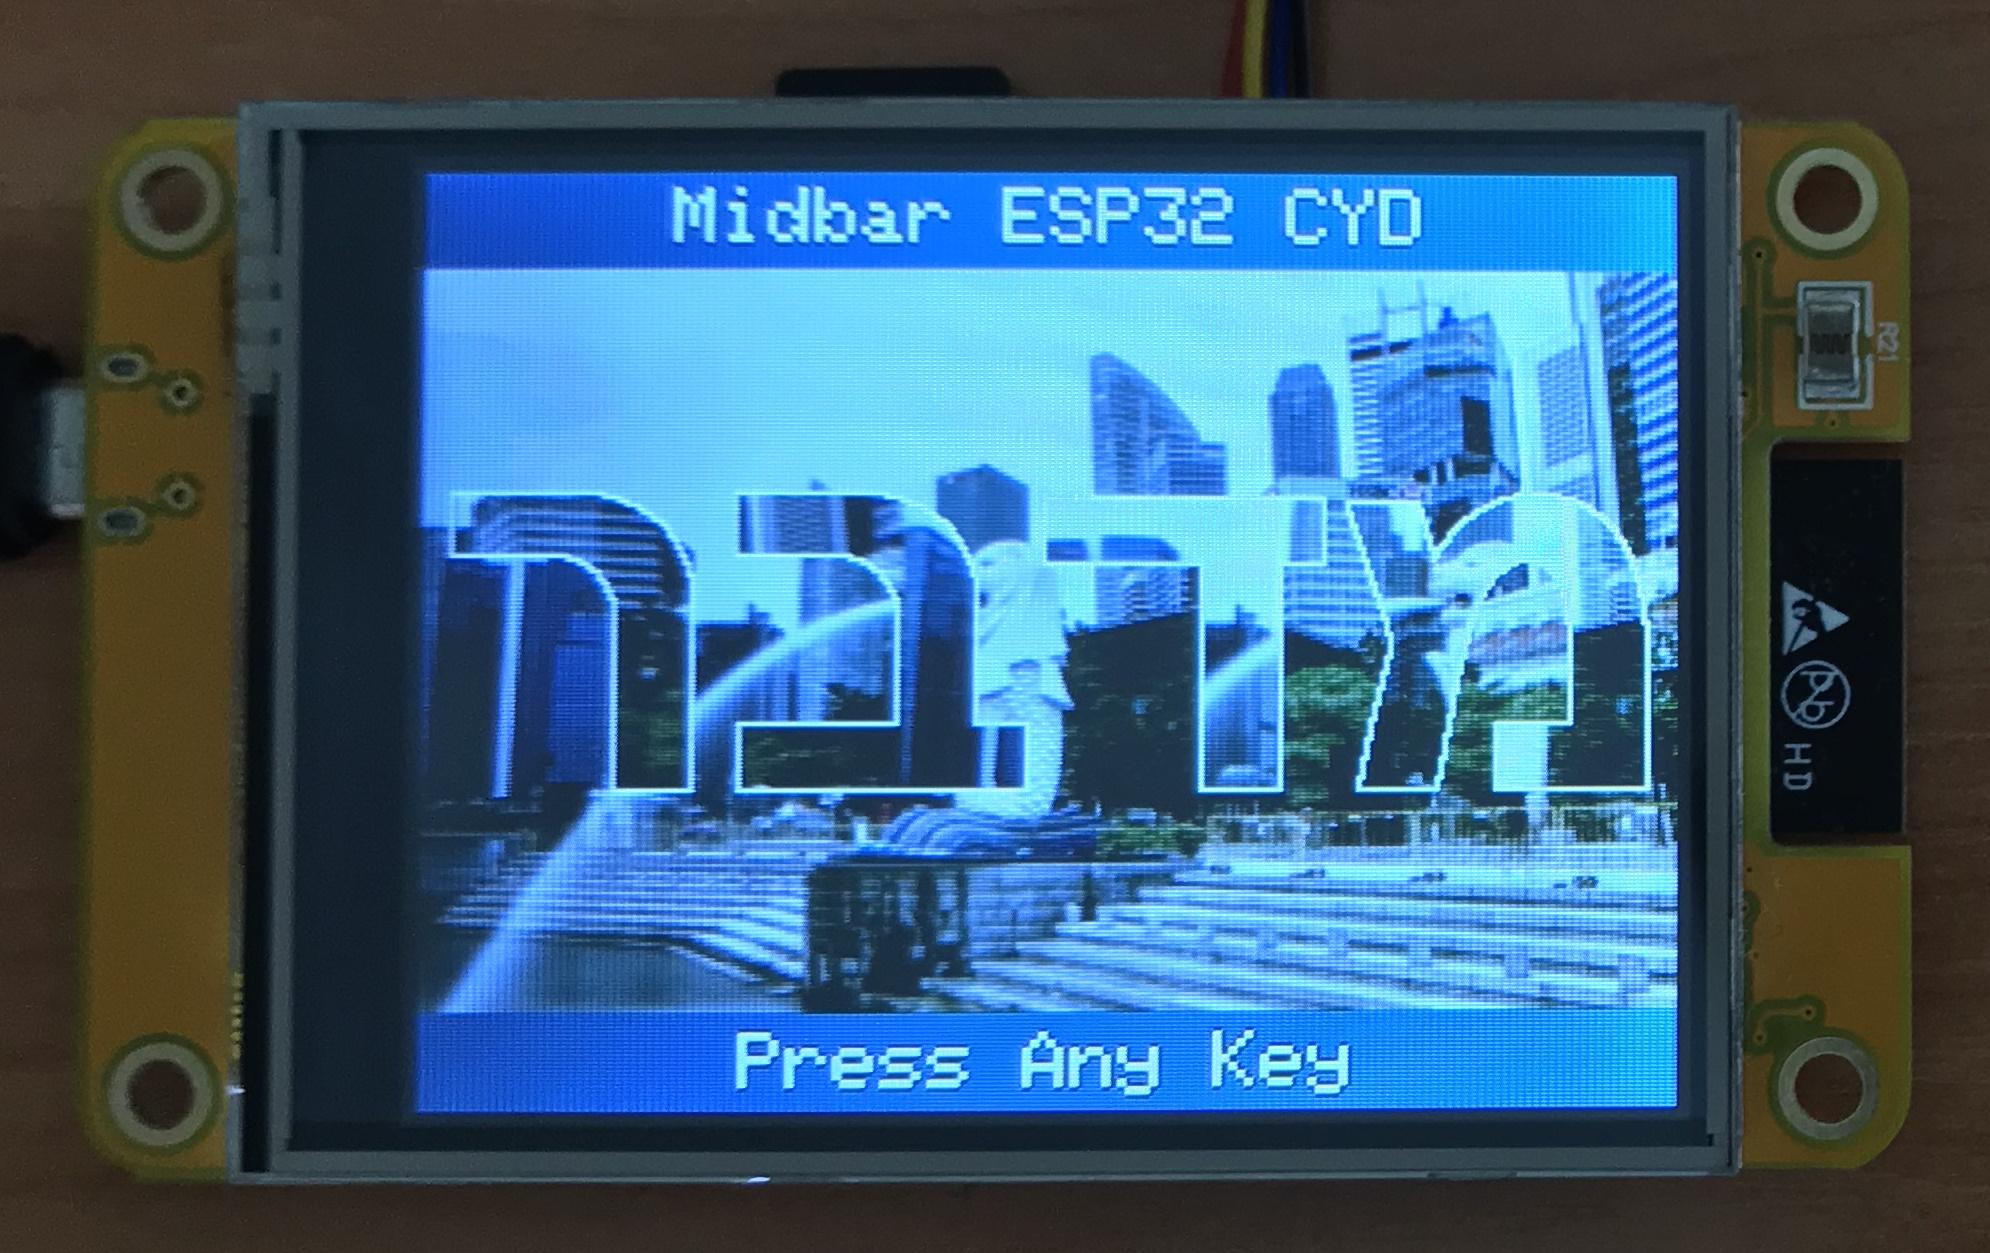
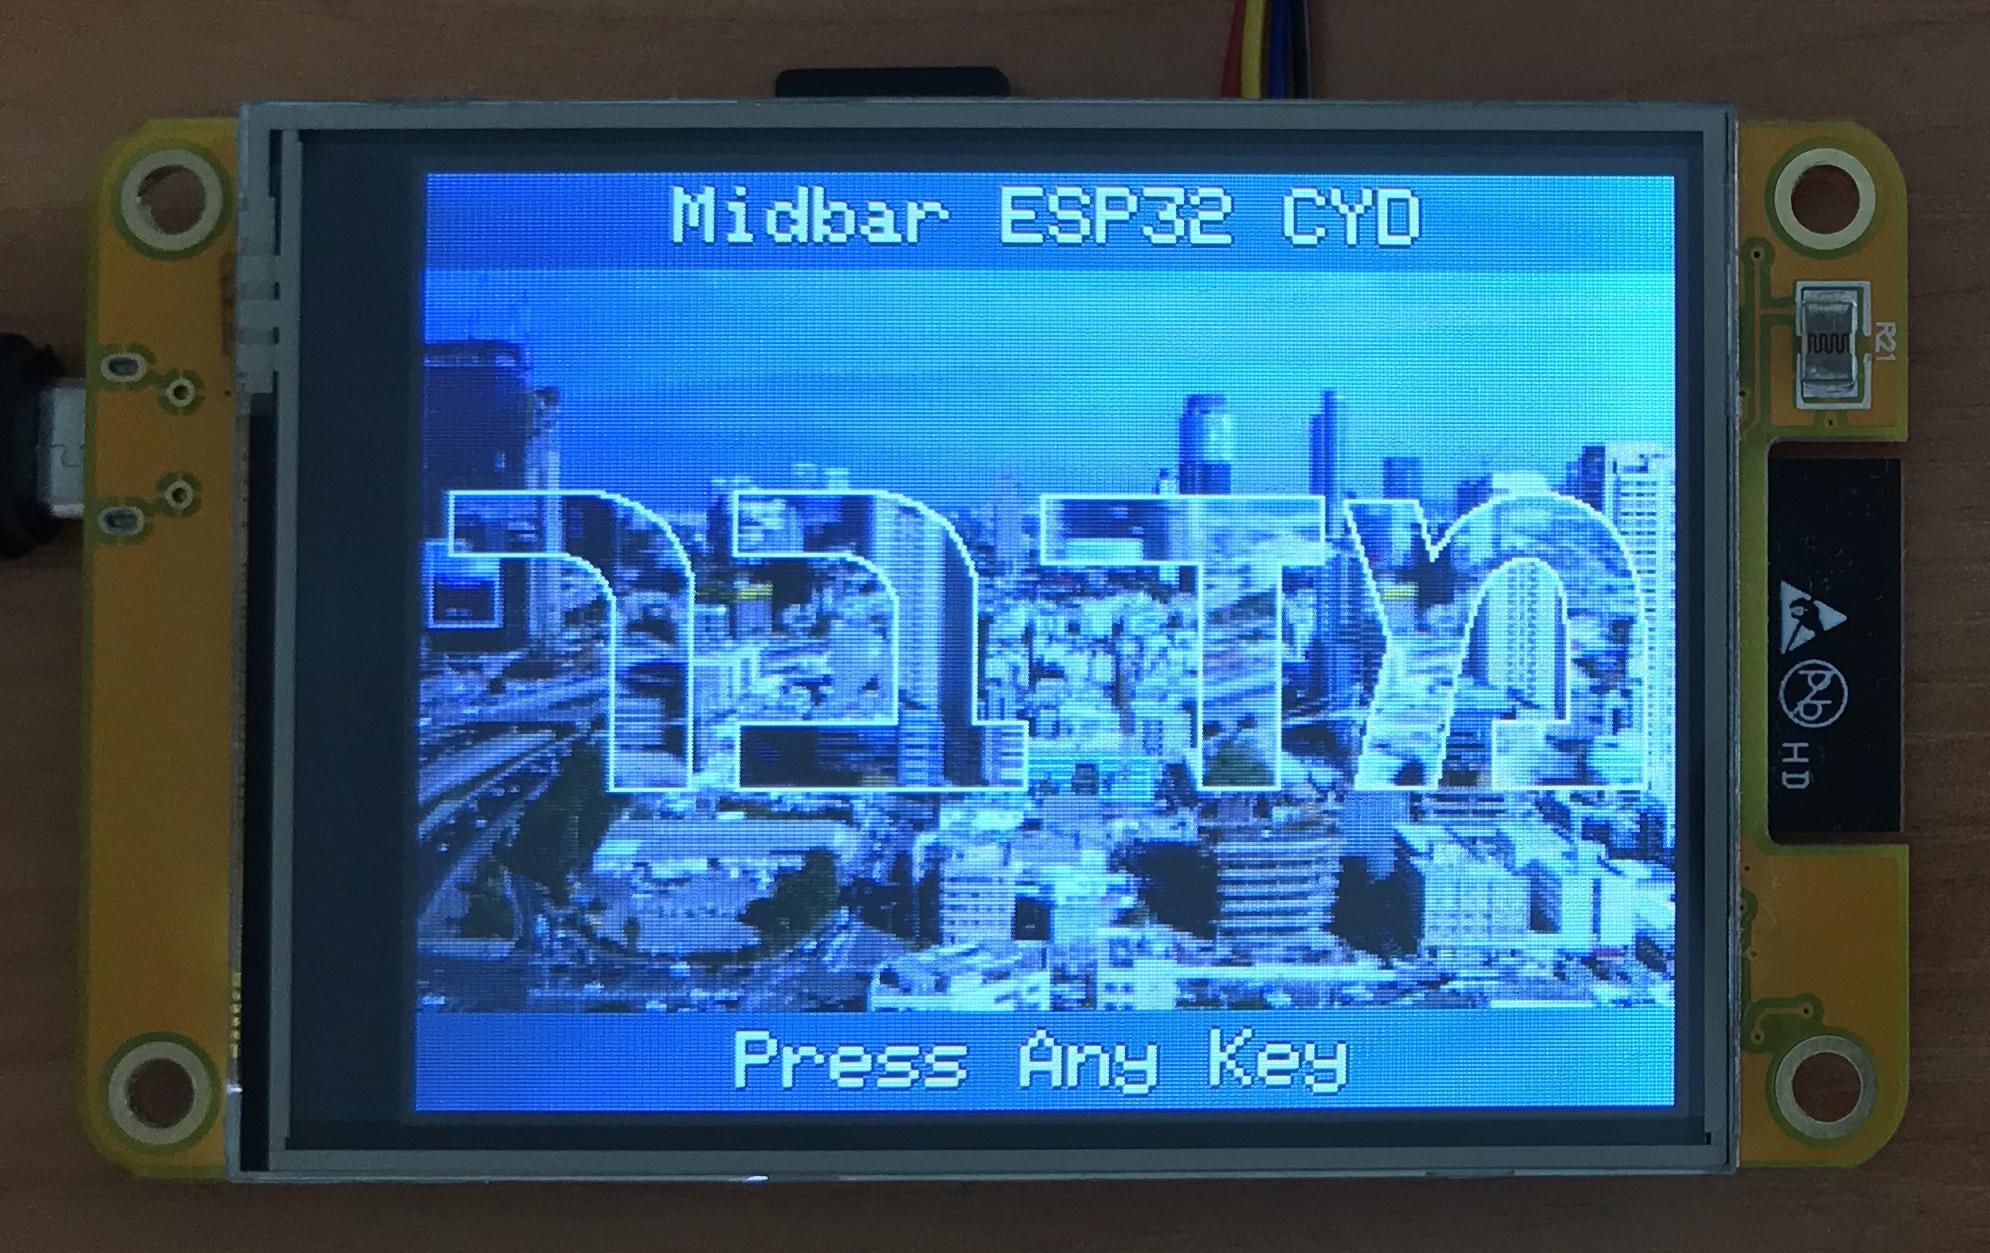
Credit for photos:
Photo by Talena Reese from Pexels
Image by Volker Glätsch from Pixabay
Image by krystianwin from Pixabay
Photo by Alejandro Luengo on Unsplash
Image by apriltan18 from Pixabay
Rome:
Photo by Nicole Reyes on Unsplash
Photo by Javier Quiroga on Unsplash
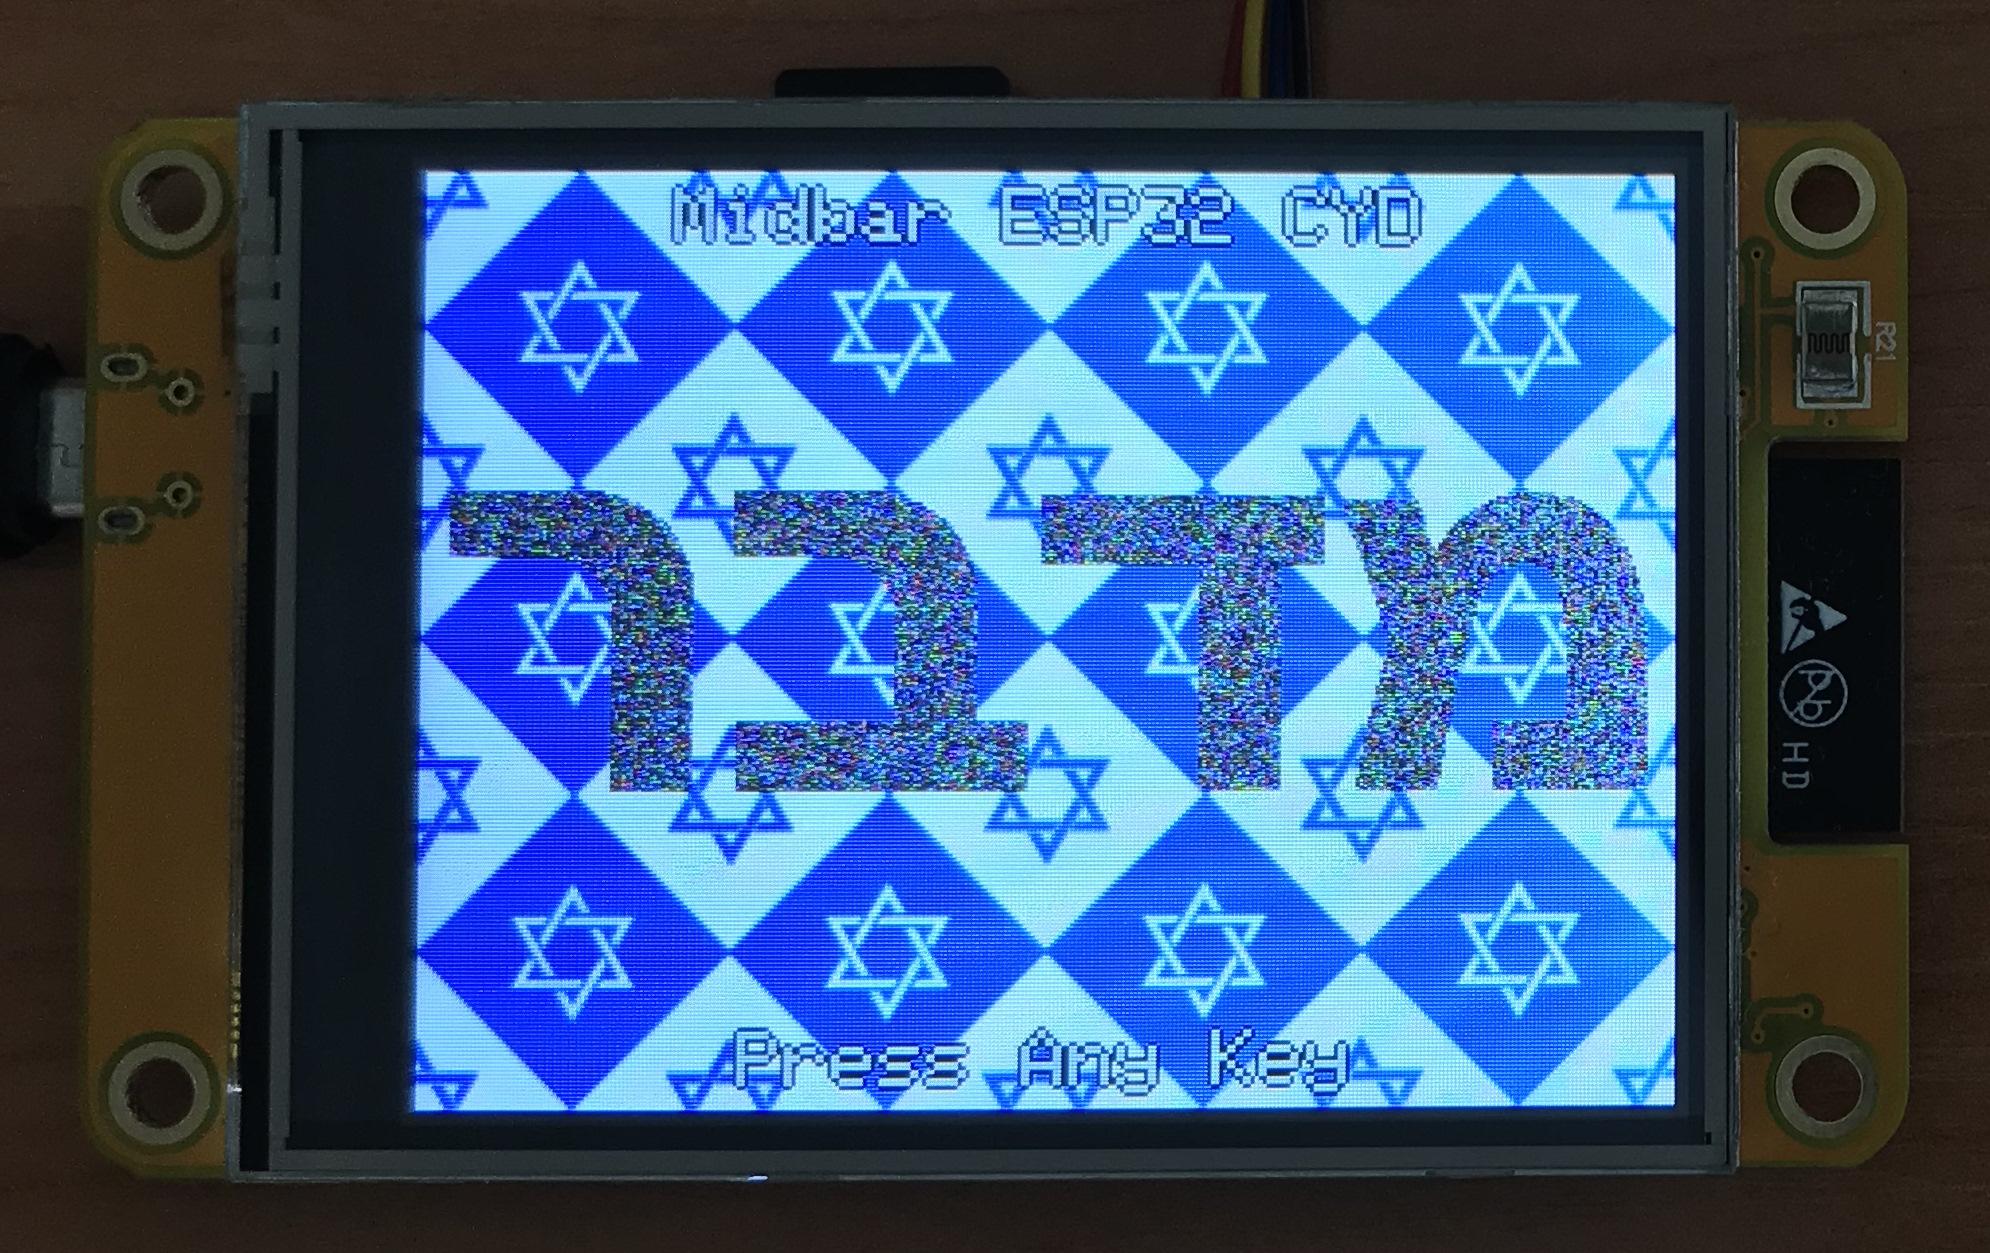
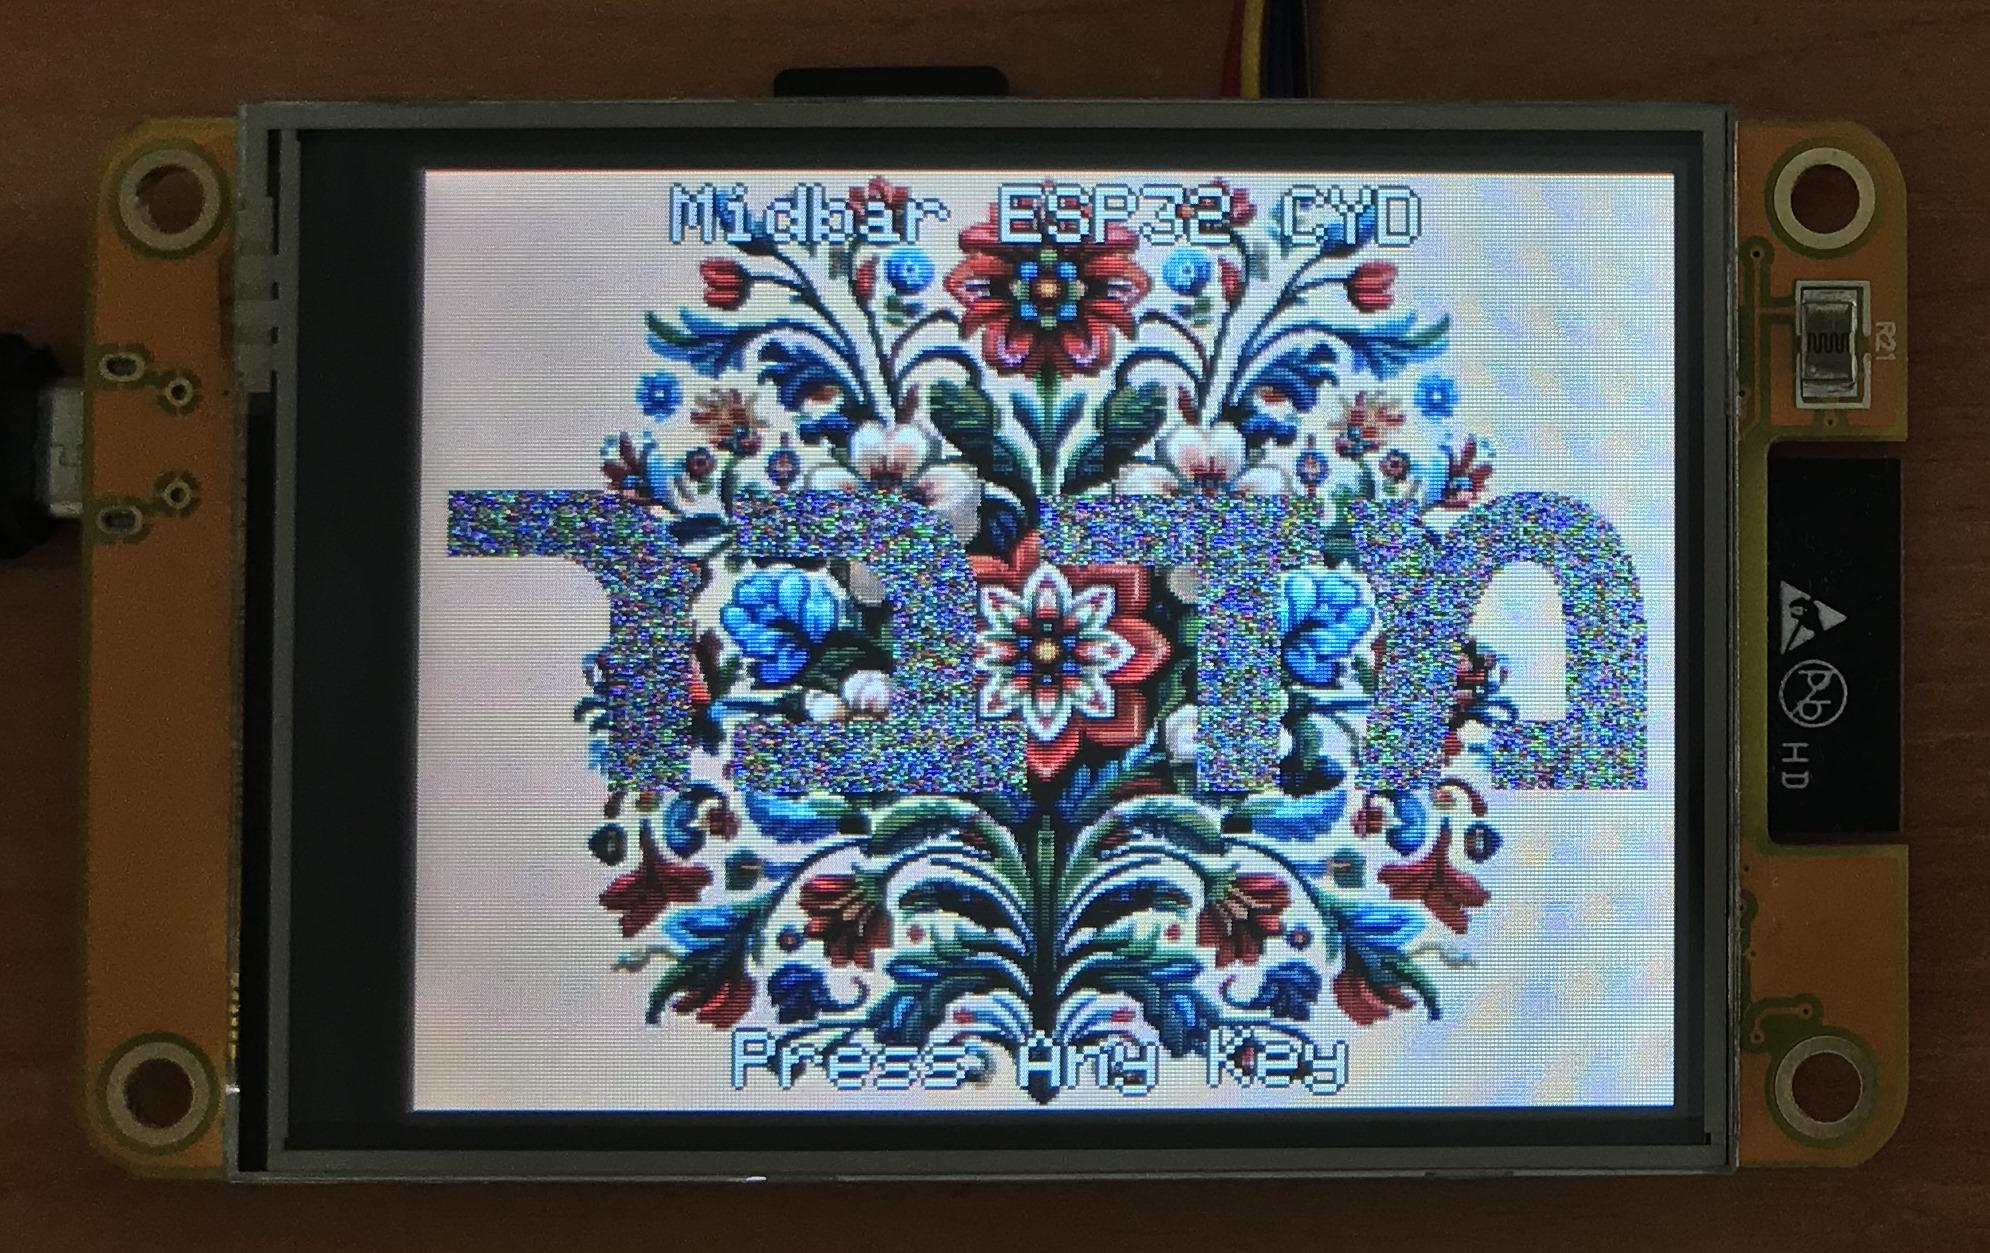
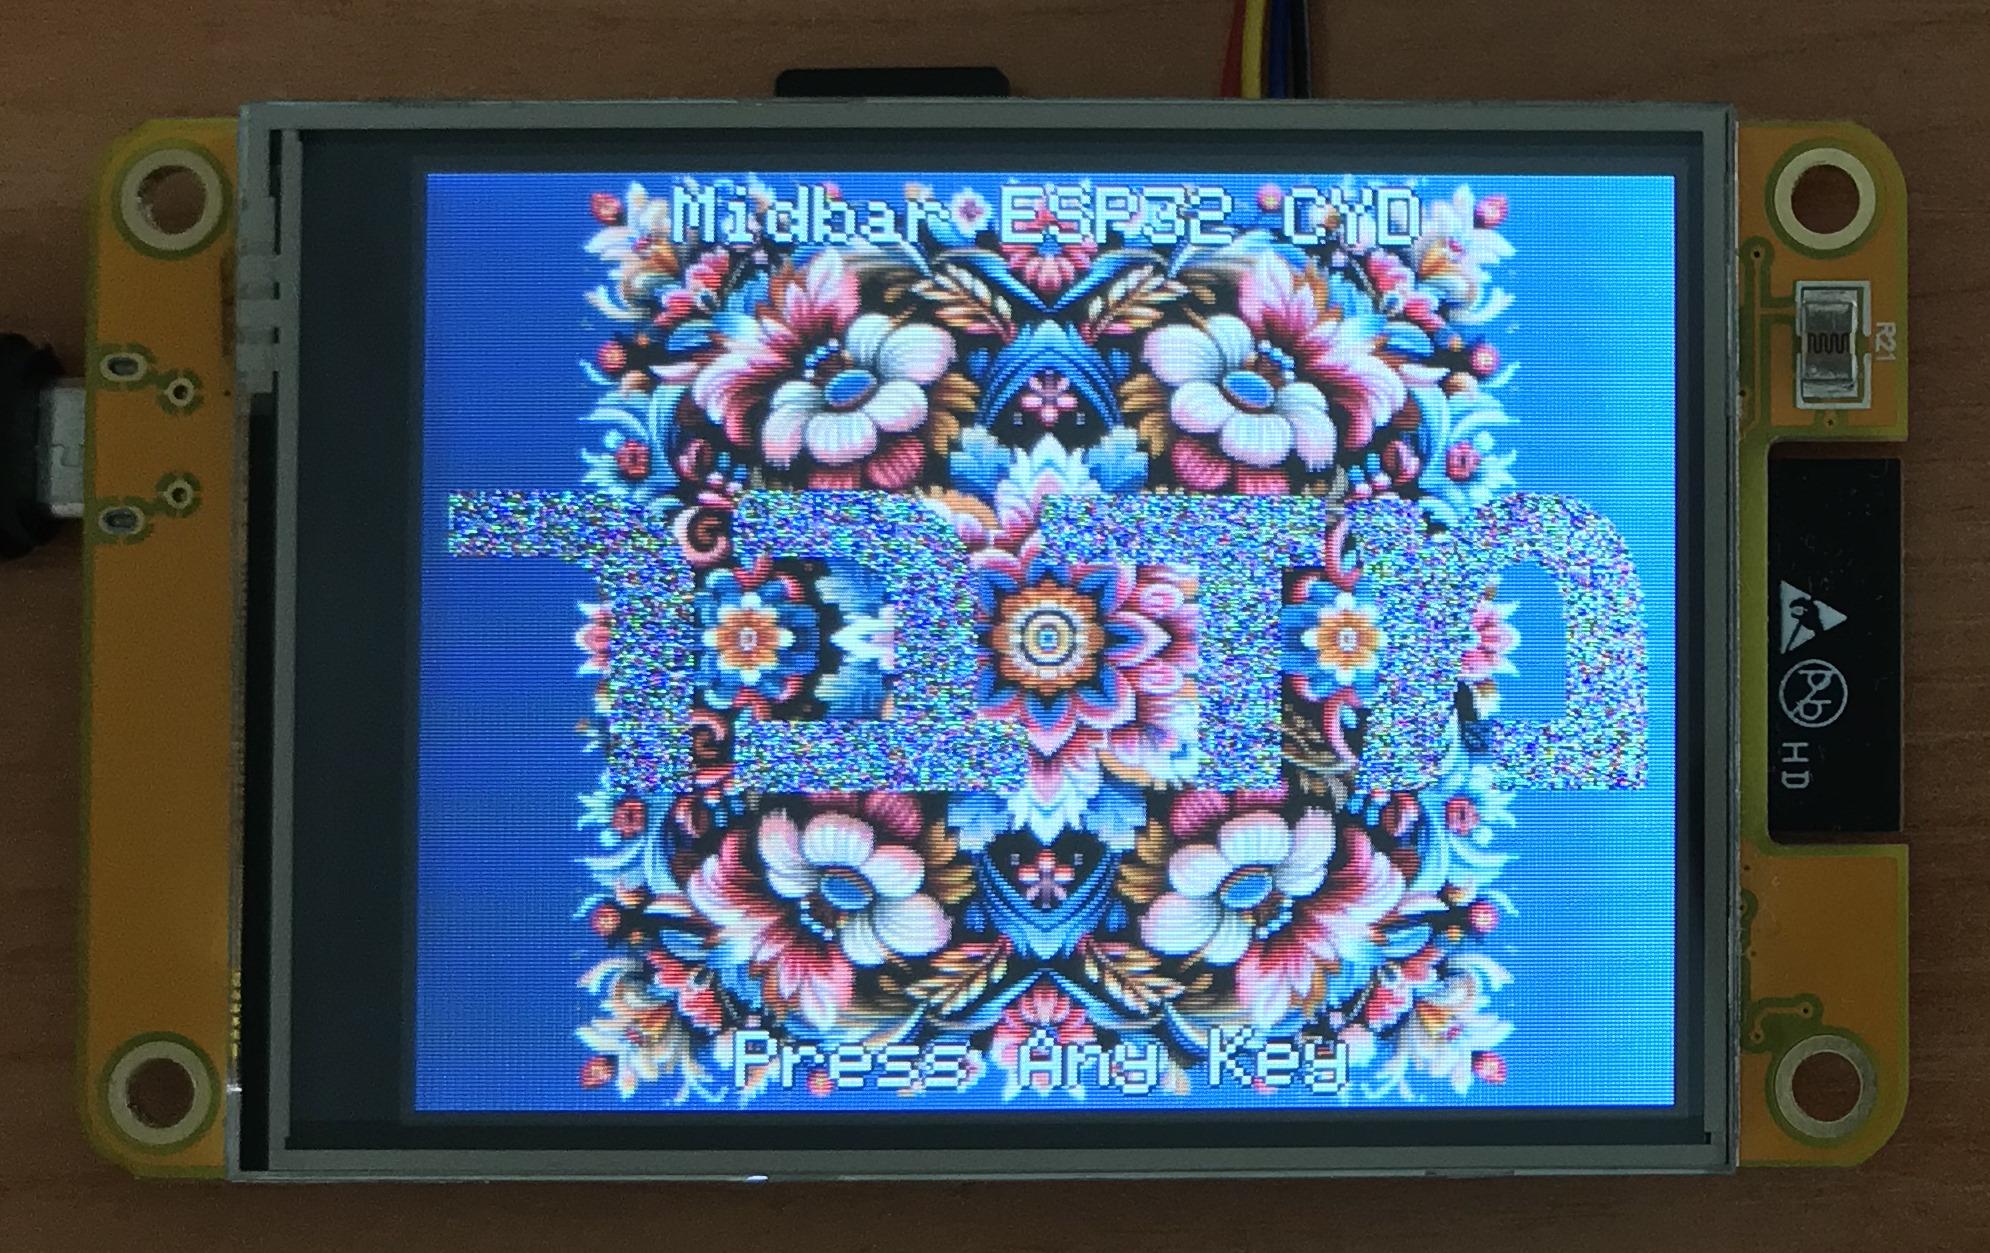
*As for the origin of the patterns:
I made an 80x80px pattern myself. The flower patterns were generated by Bing Image Creator in December 2023.
P.S. Ignore the SD card inserted into the ESP32 CYD's built-in slot. It's not needed for this project.
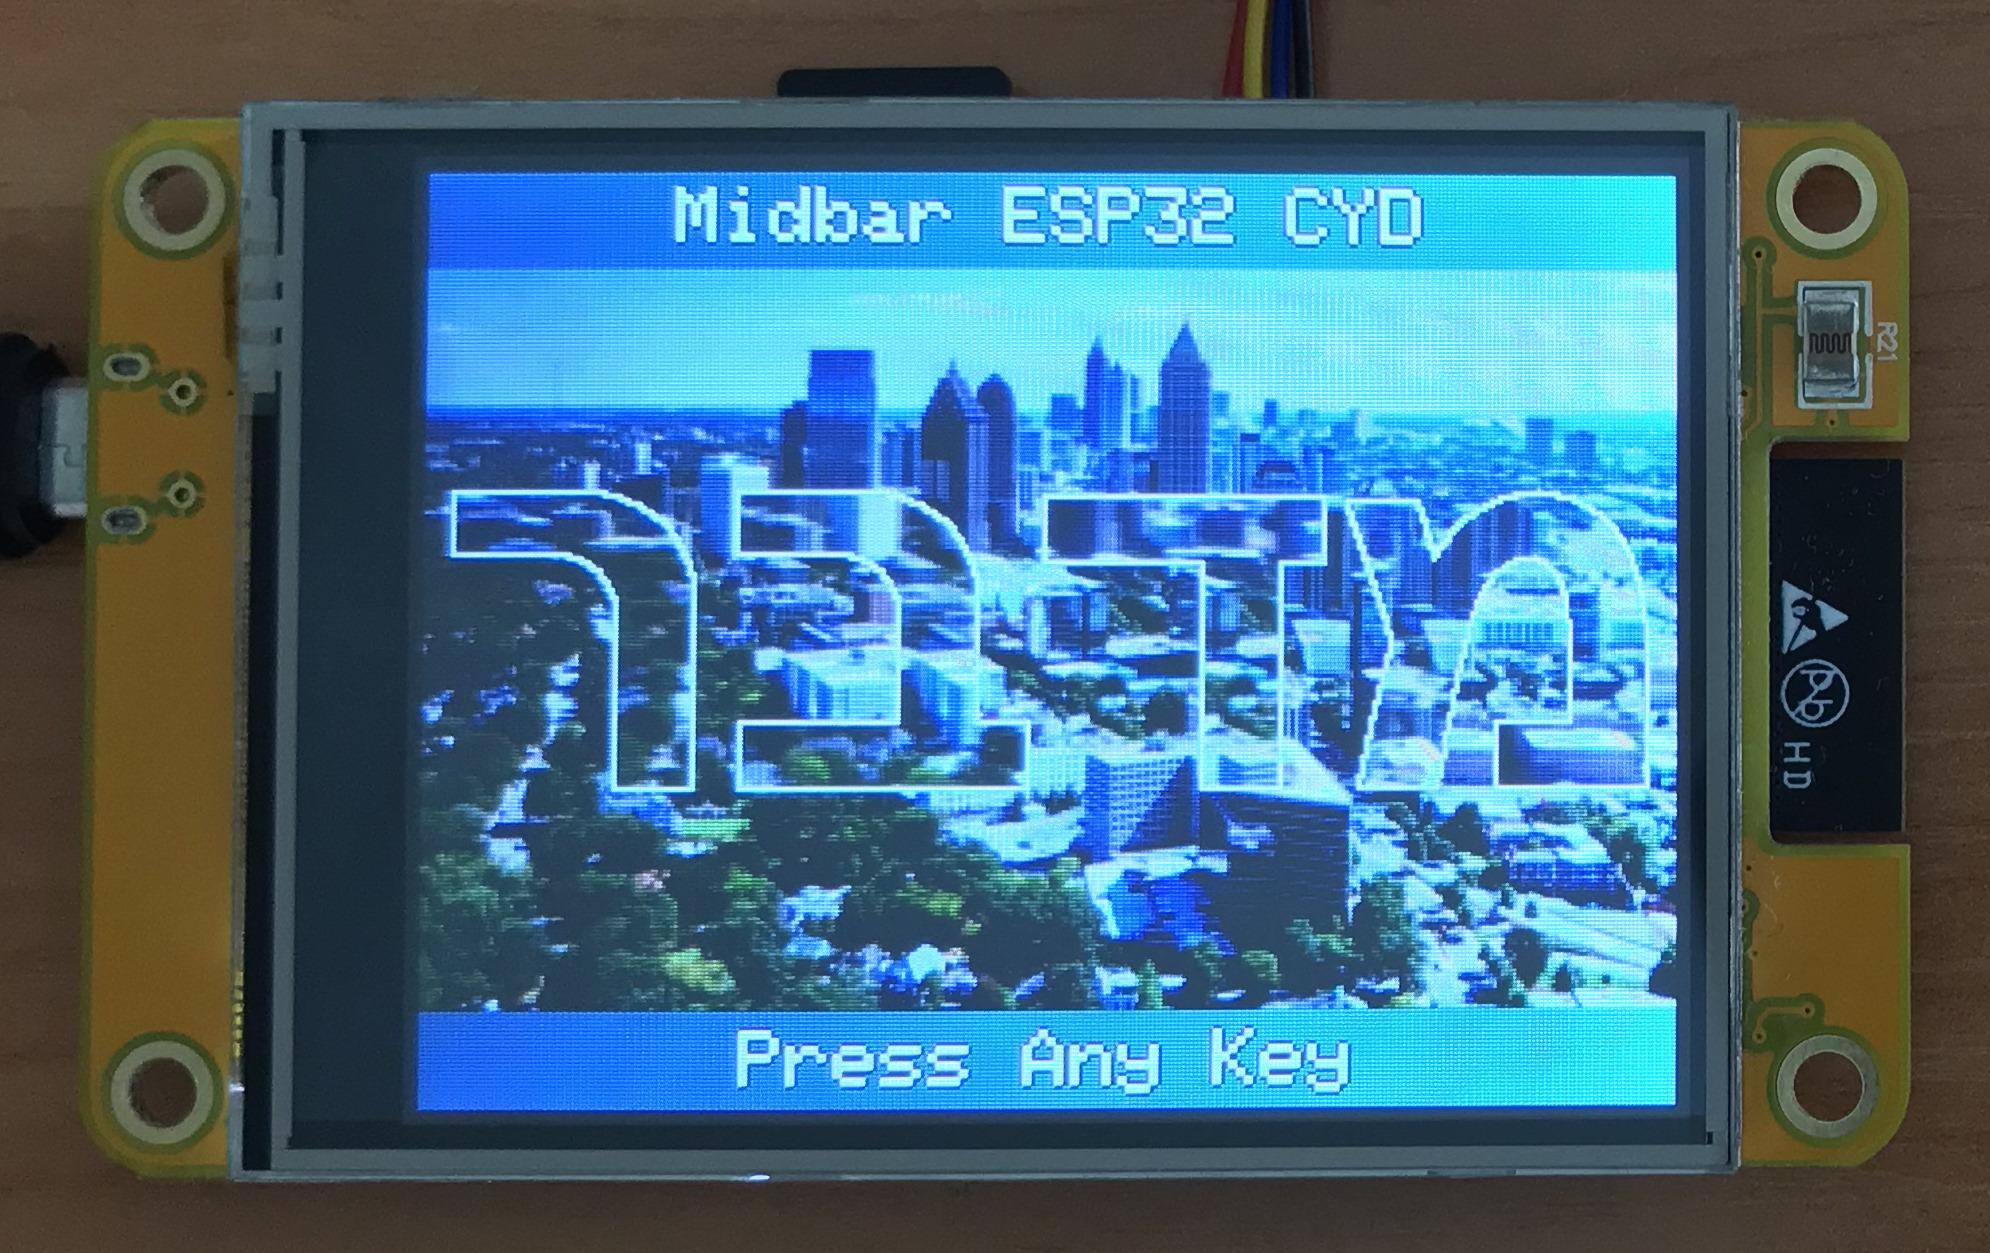
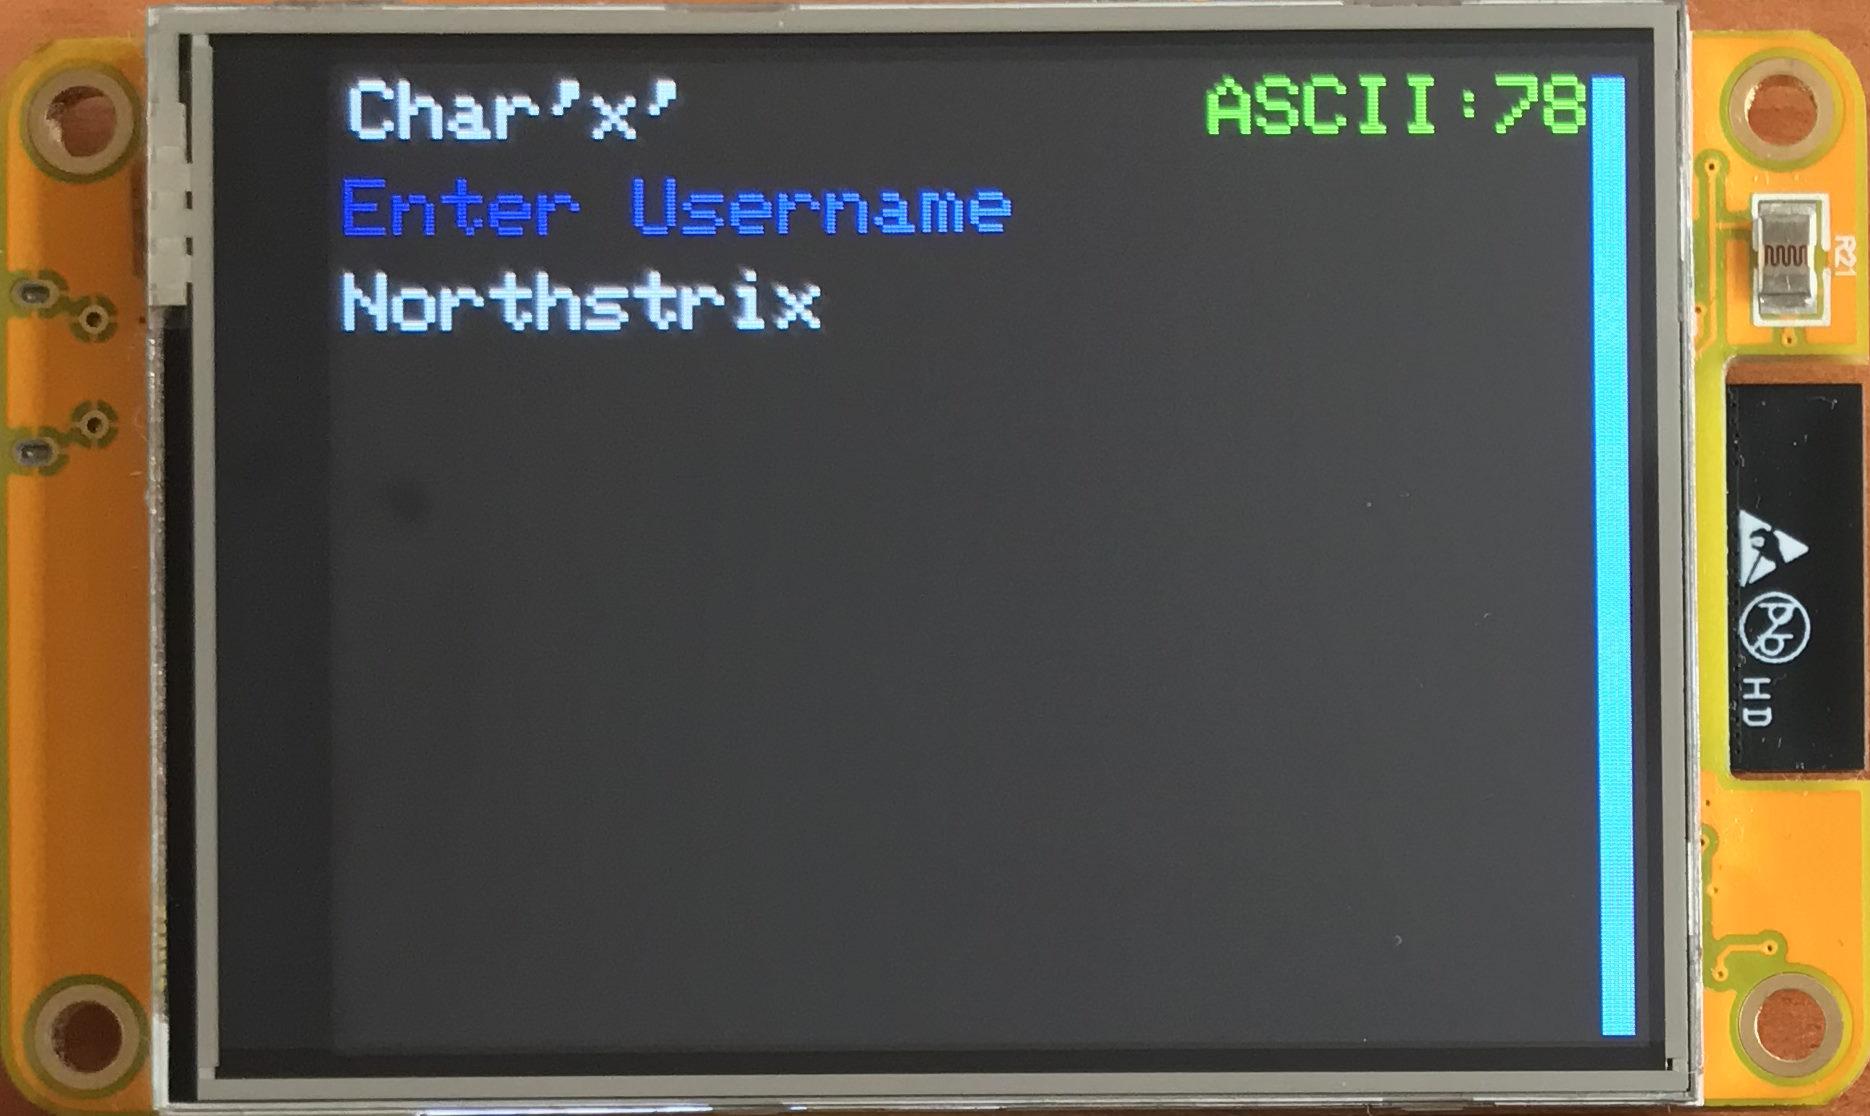
Set Master Password
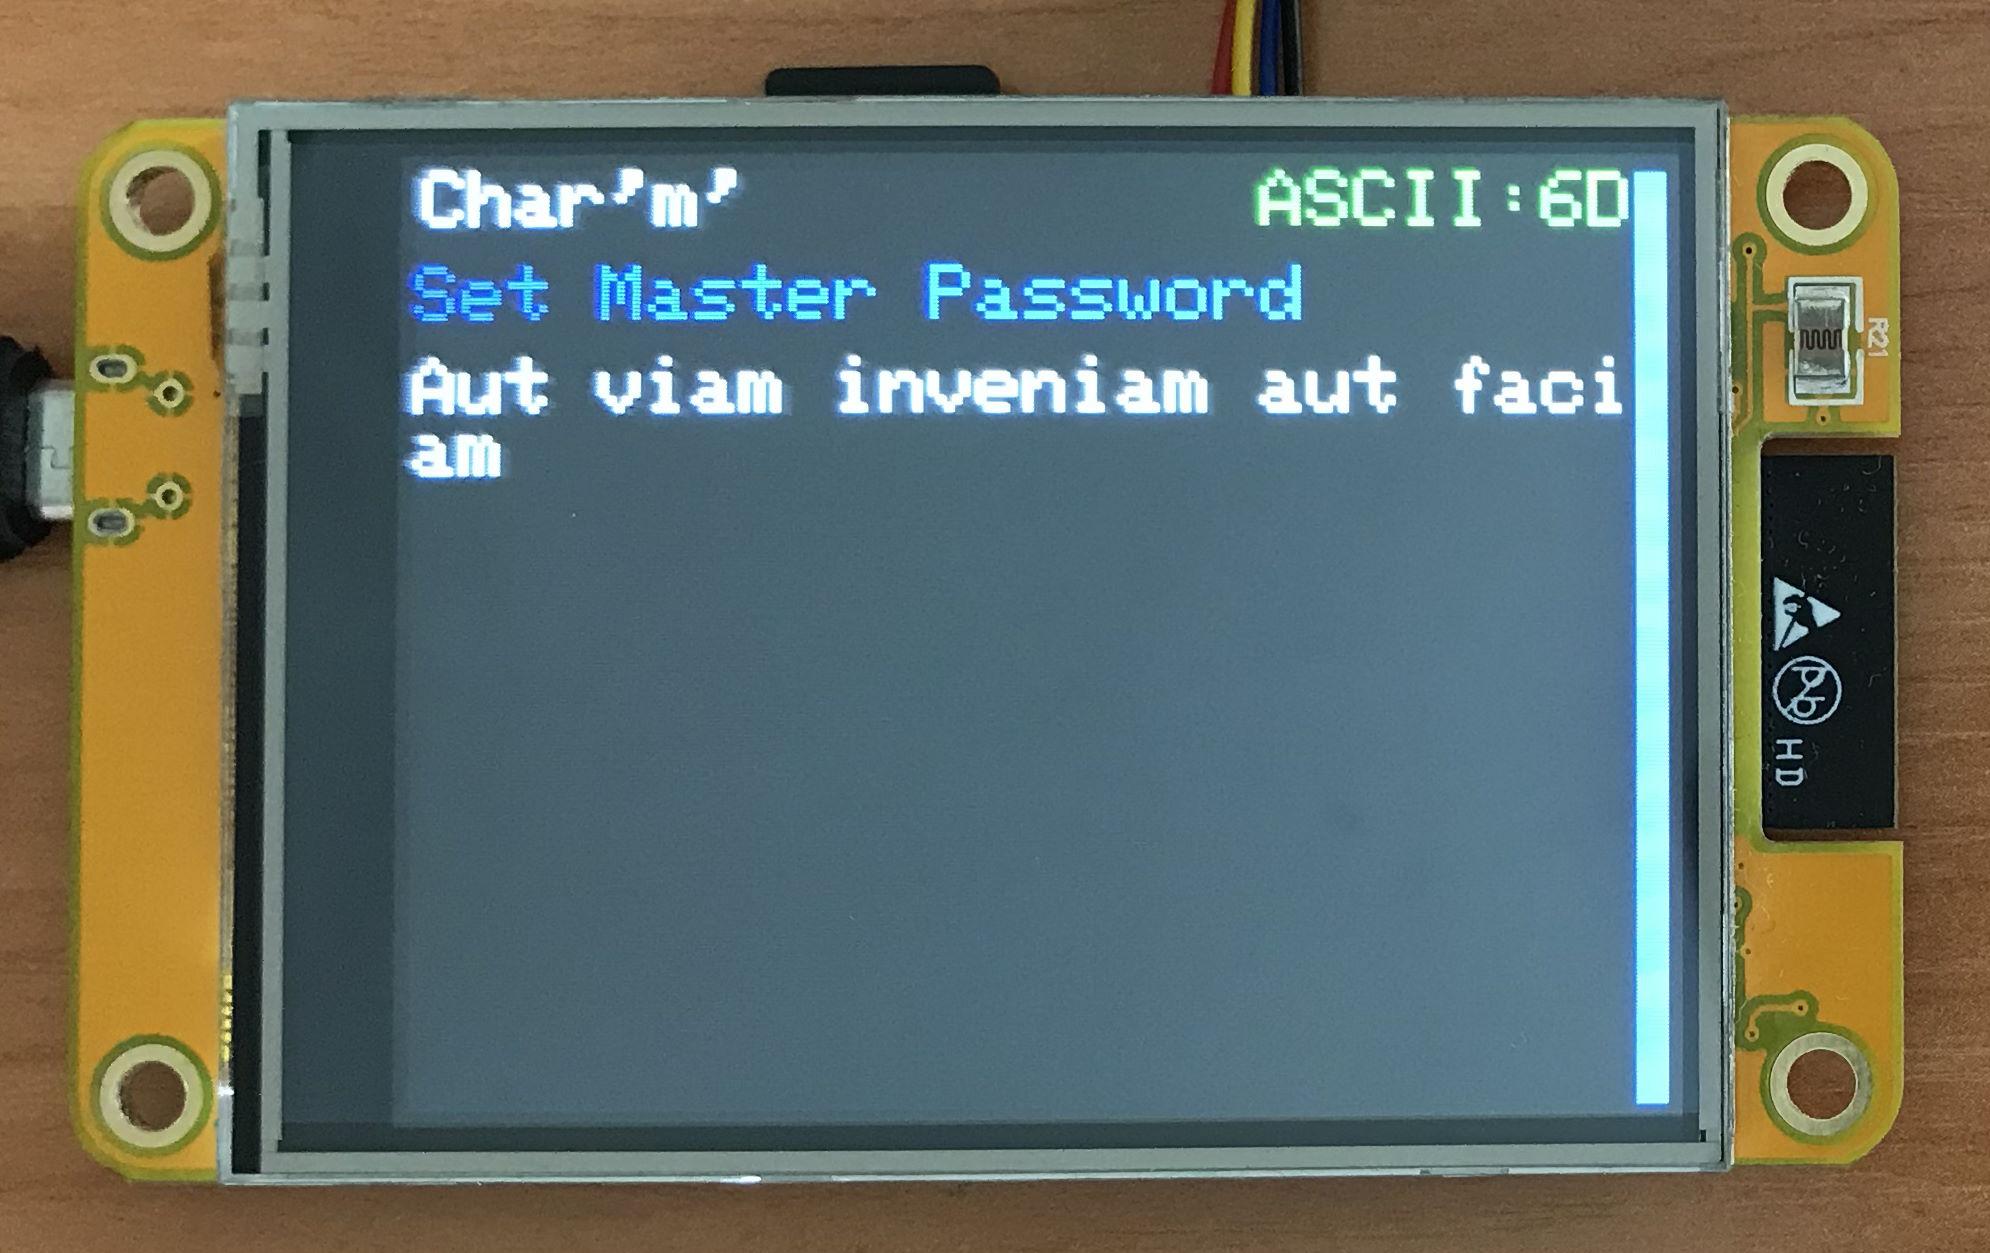
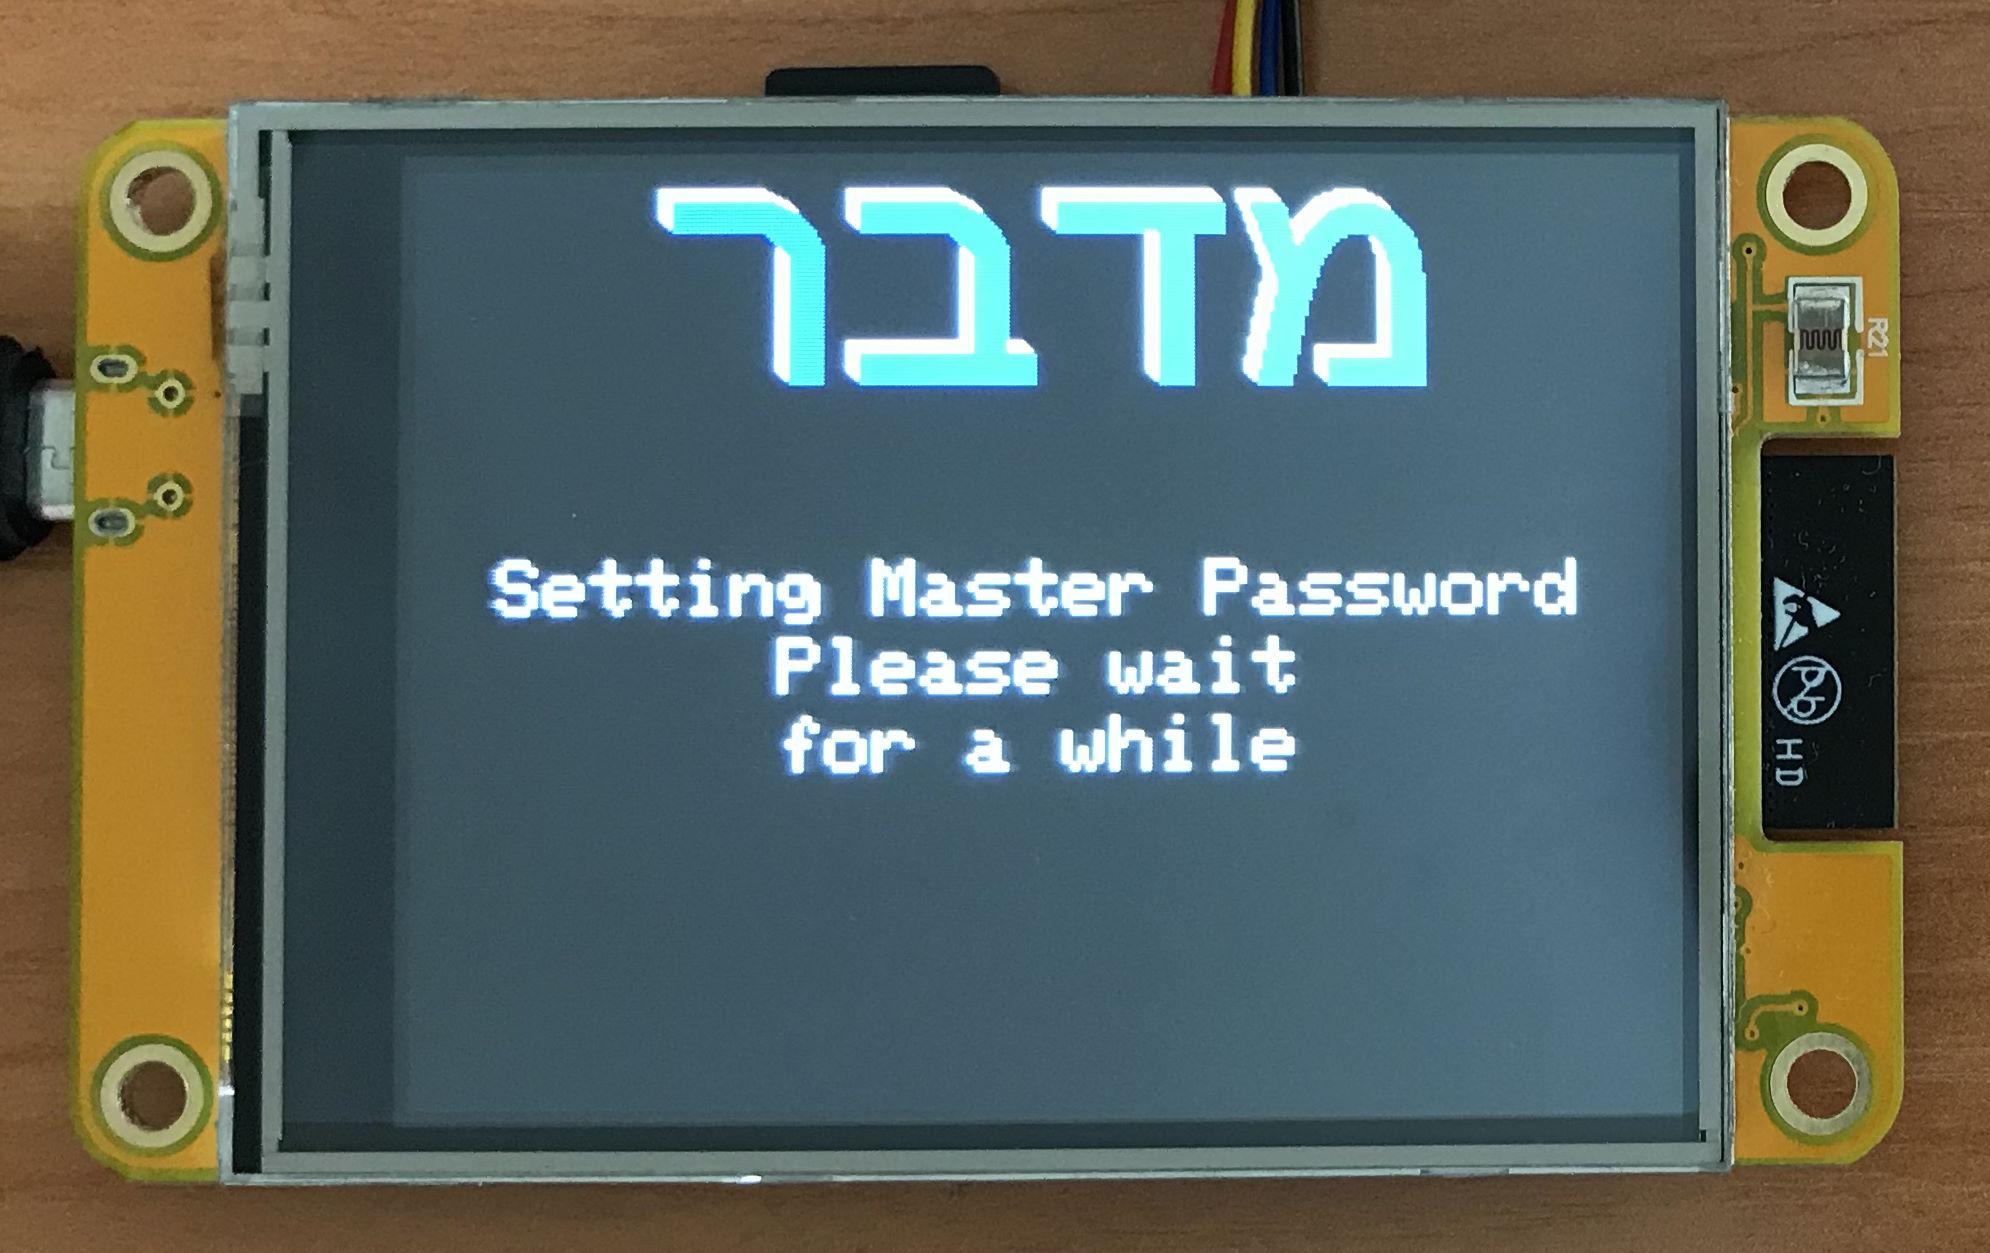
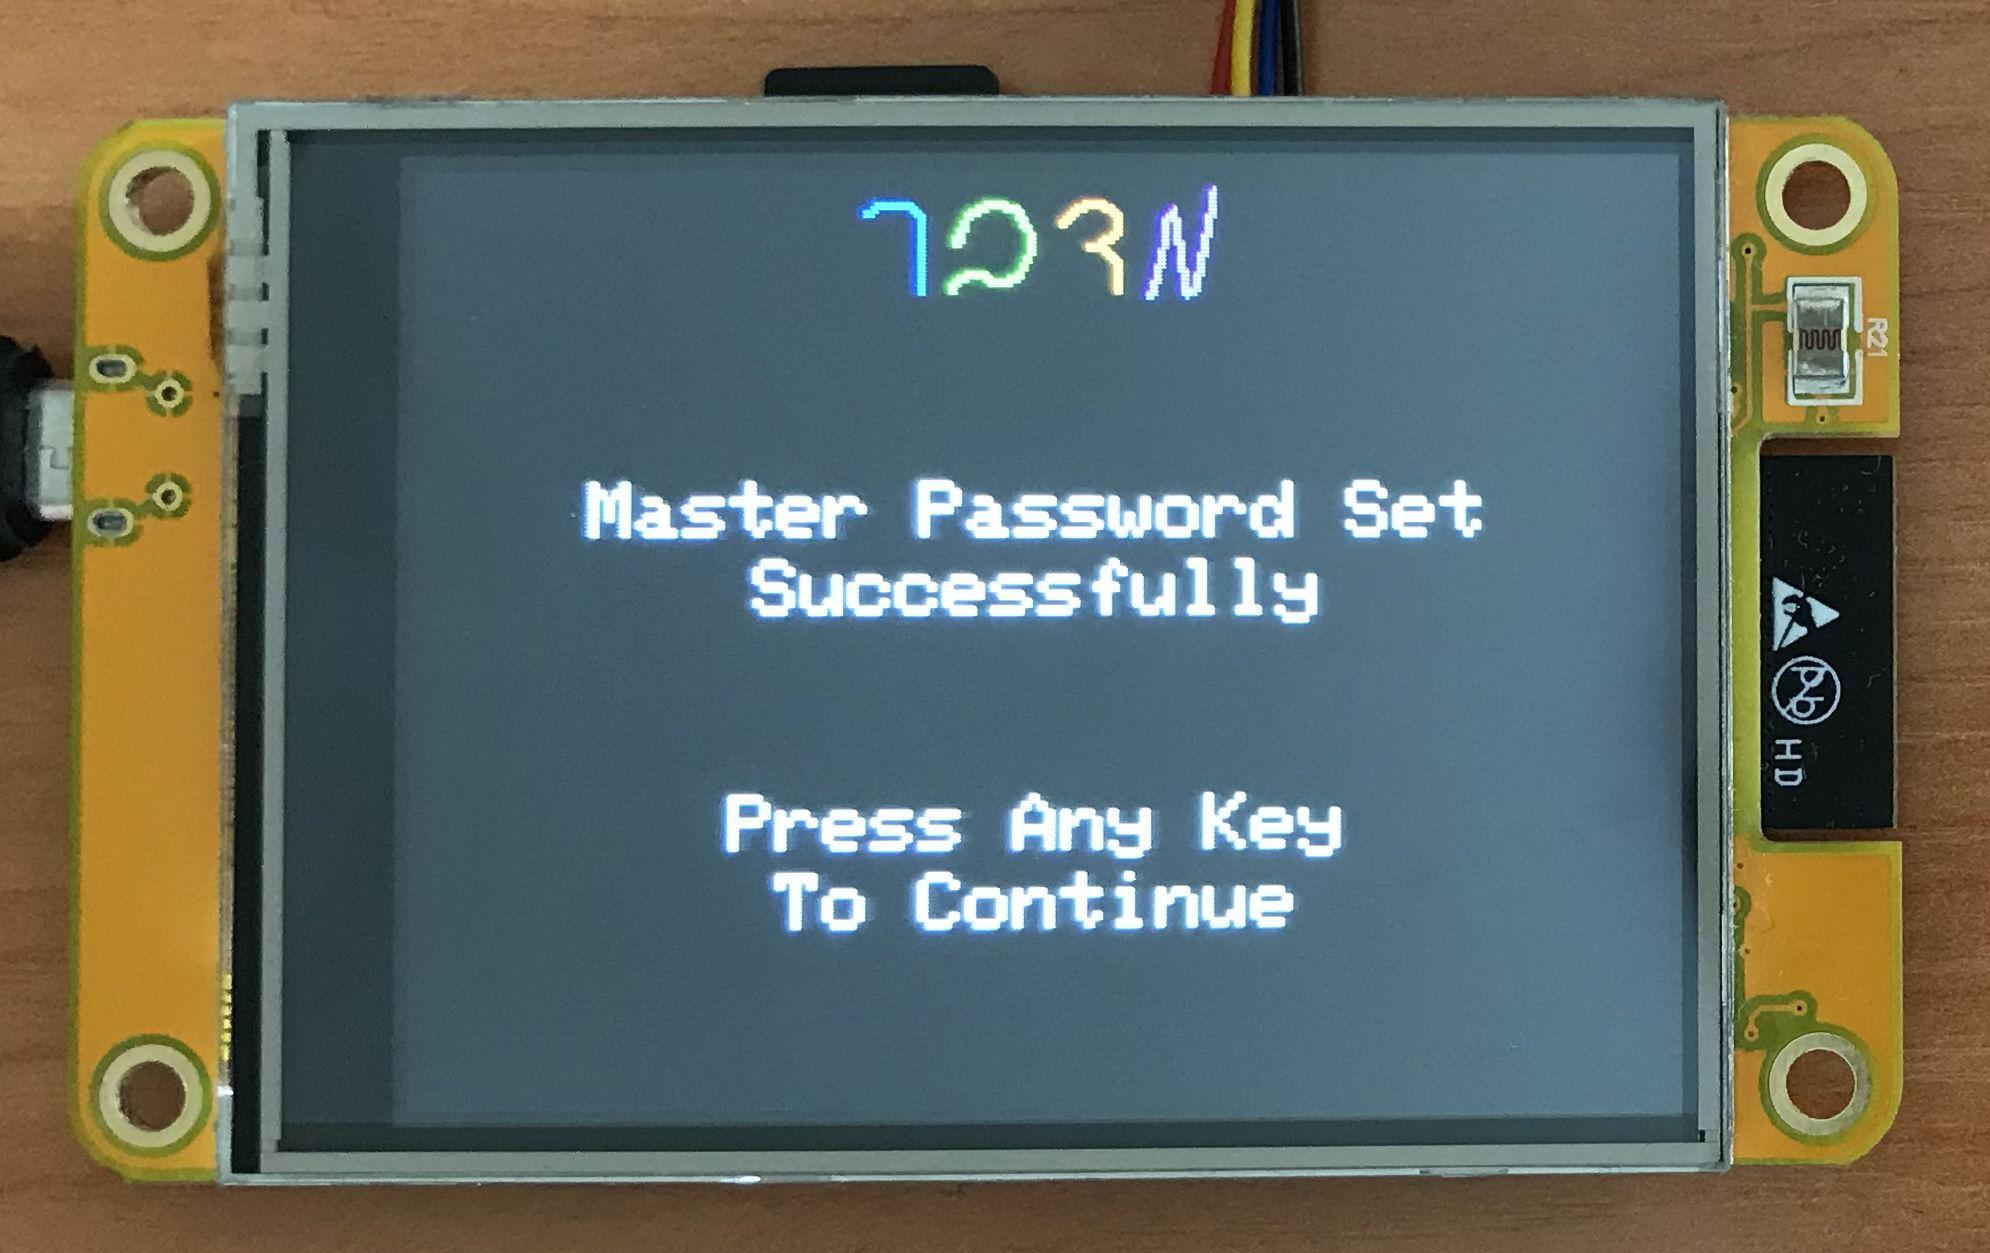
To use the Midbar, you first need to set the master password.
You can't change your master password without performing the factory reset first!
Midbar won't be able to decrypt your data without your master password because the keys for the encryption algorithms are partially derived from it. Perhaps it won't even unlock without the correct master password.
When you're done entering your master password, press either the "Enter" or the "ESC" key on the PS/2 keyboard.
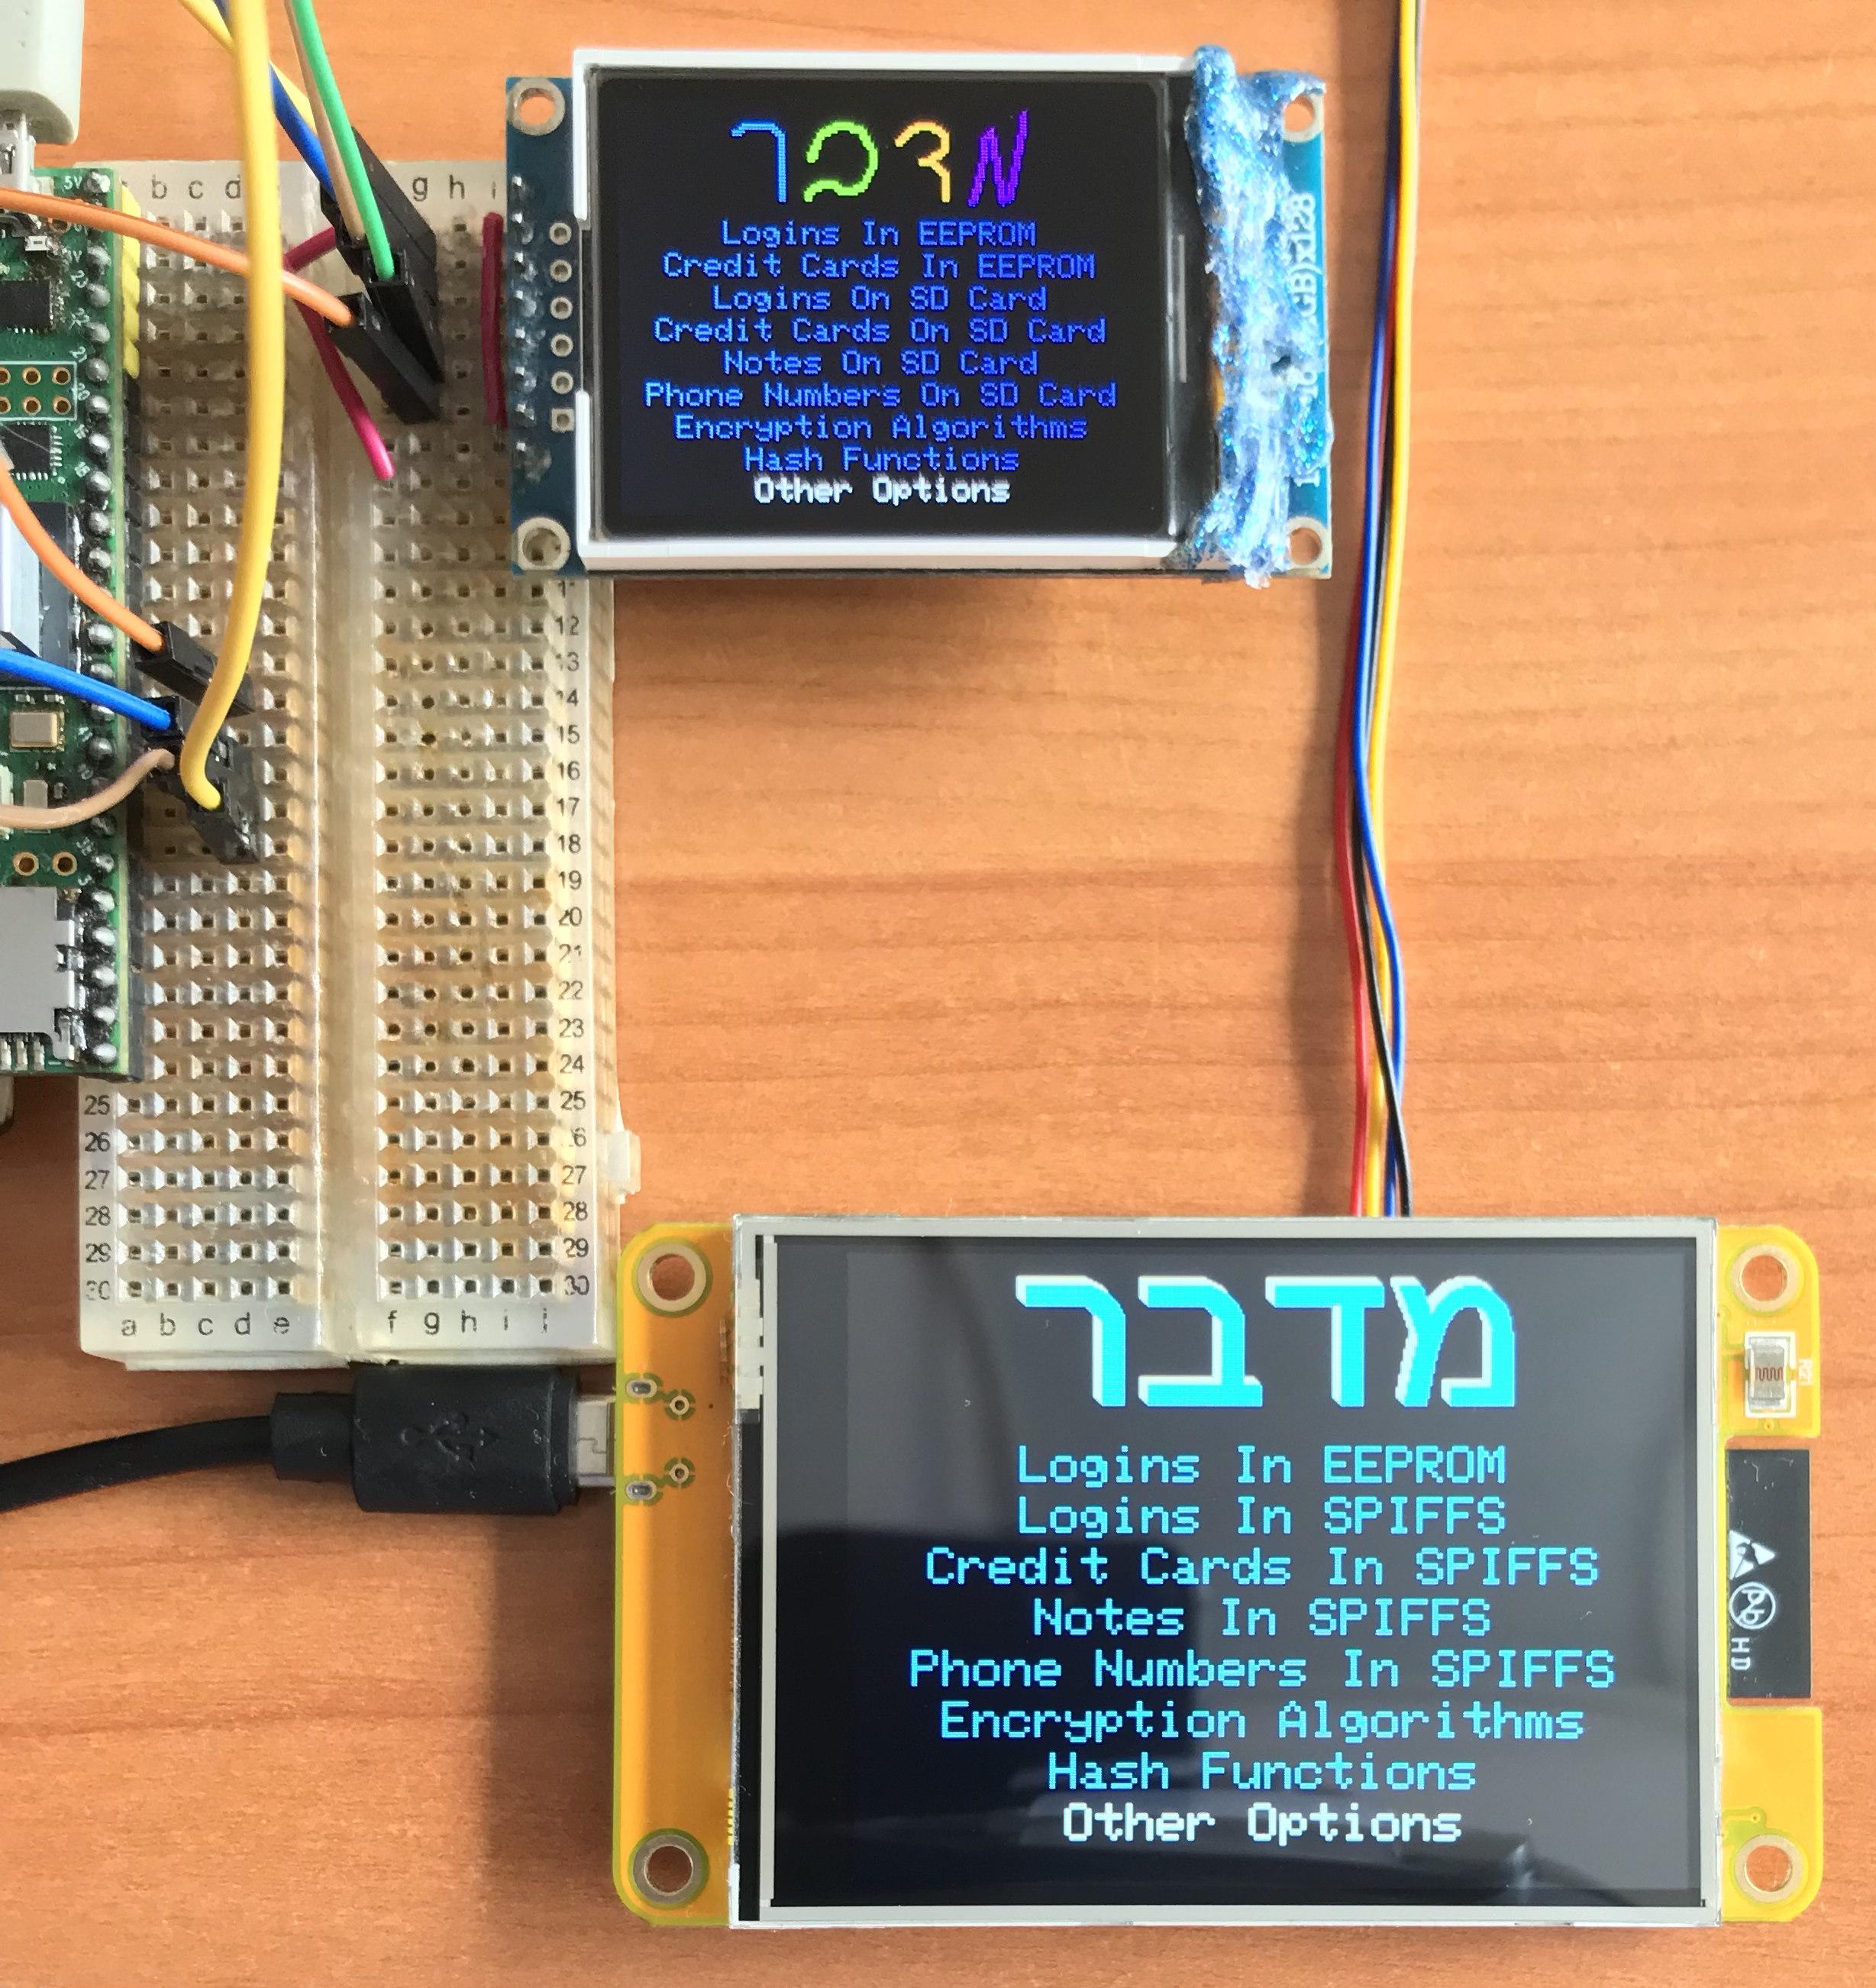
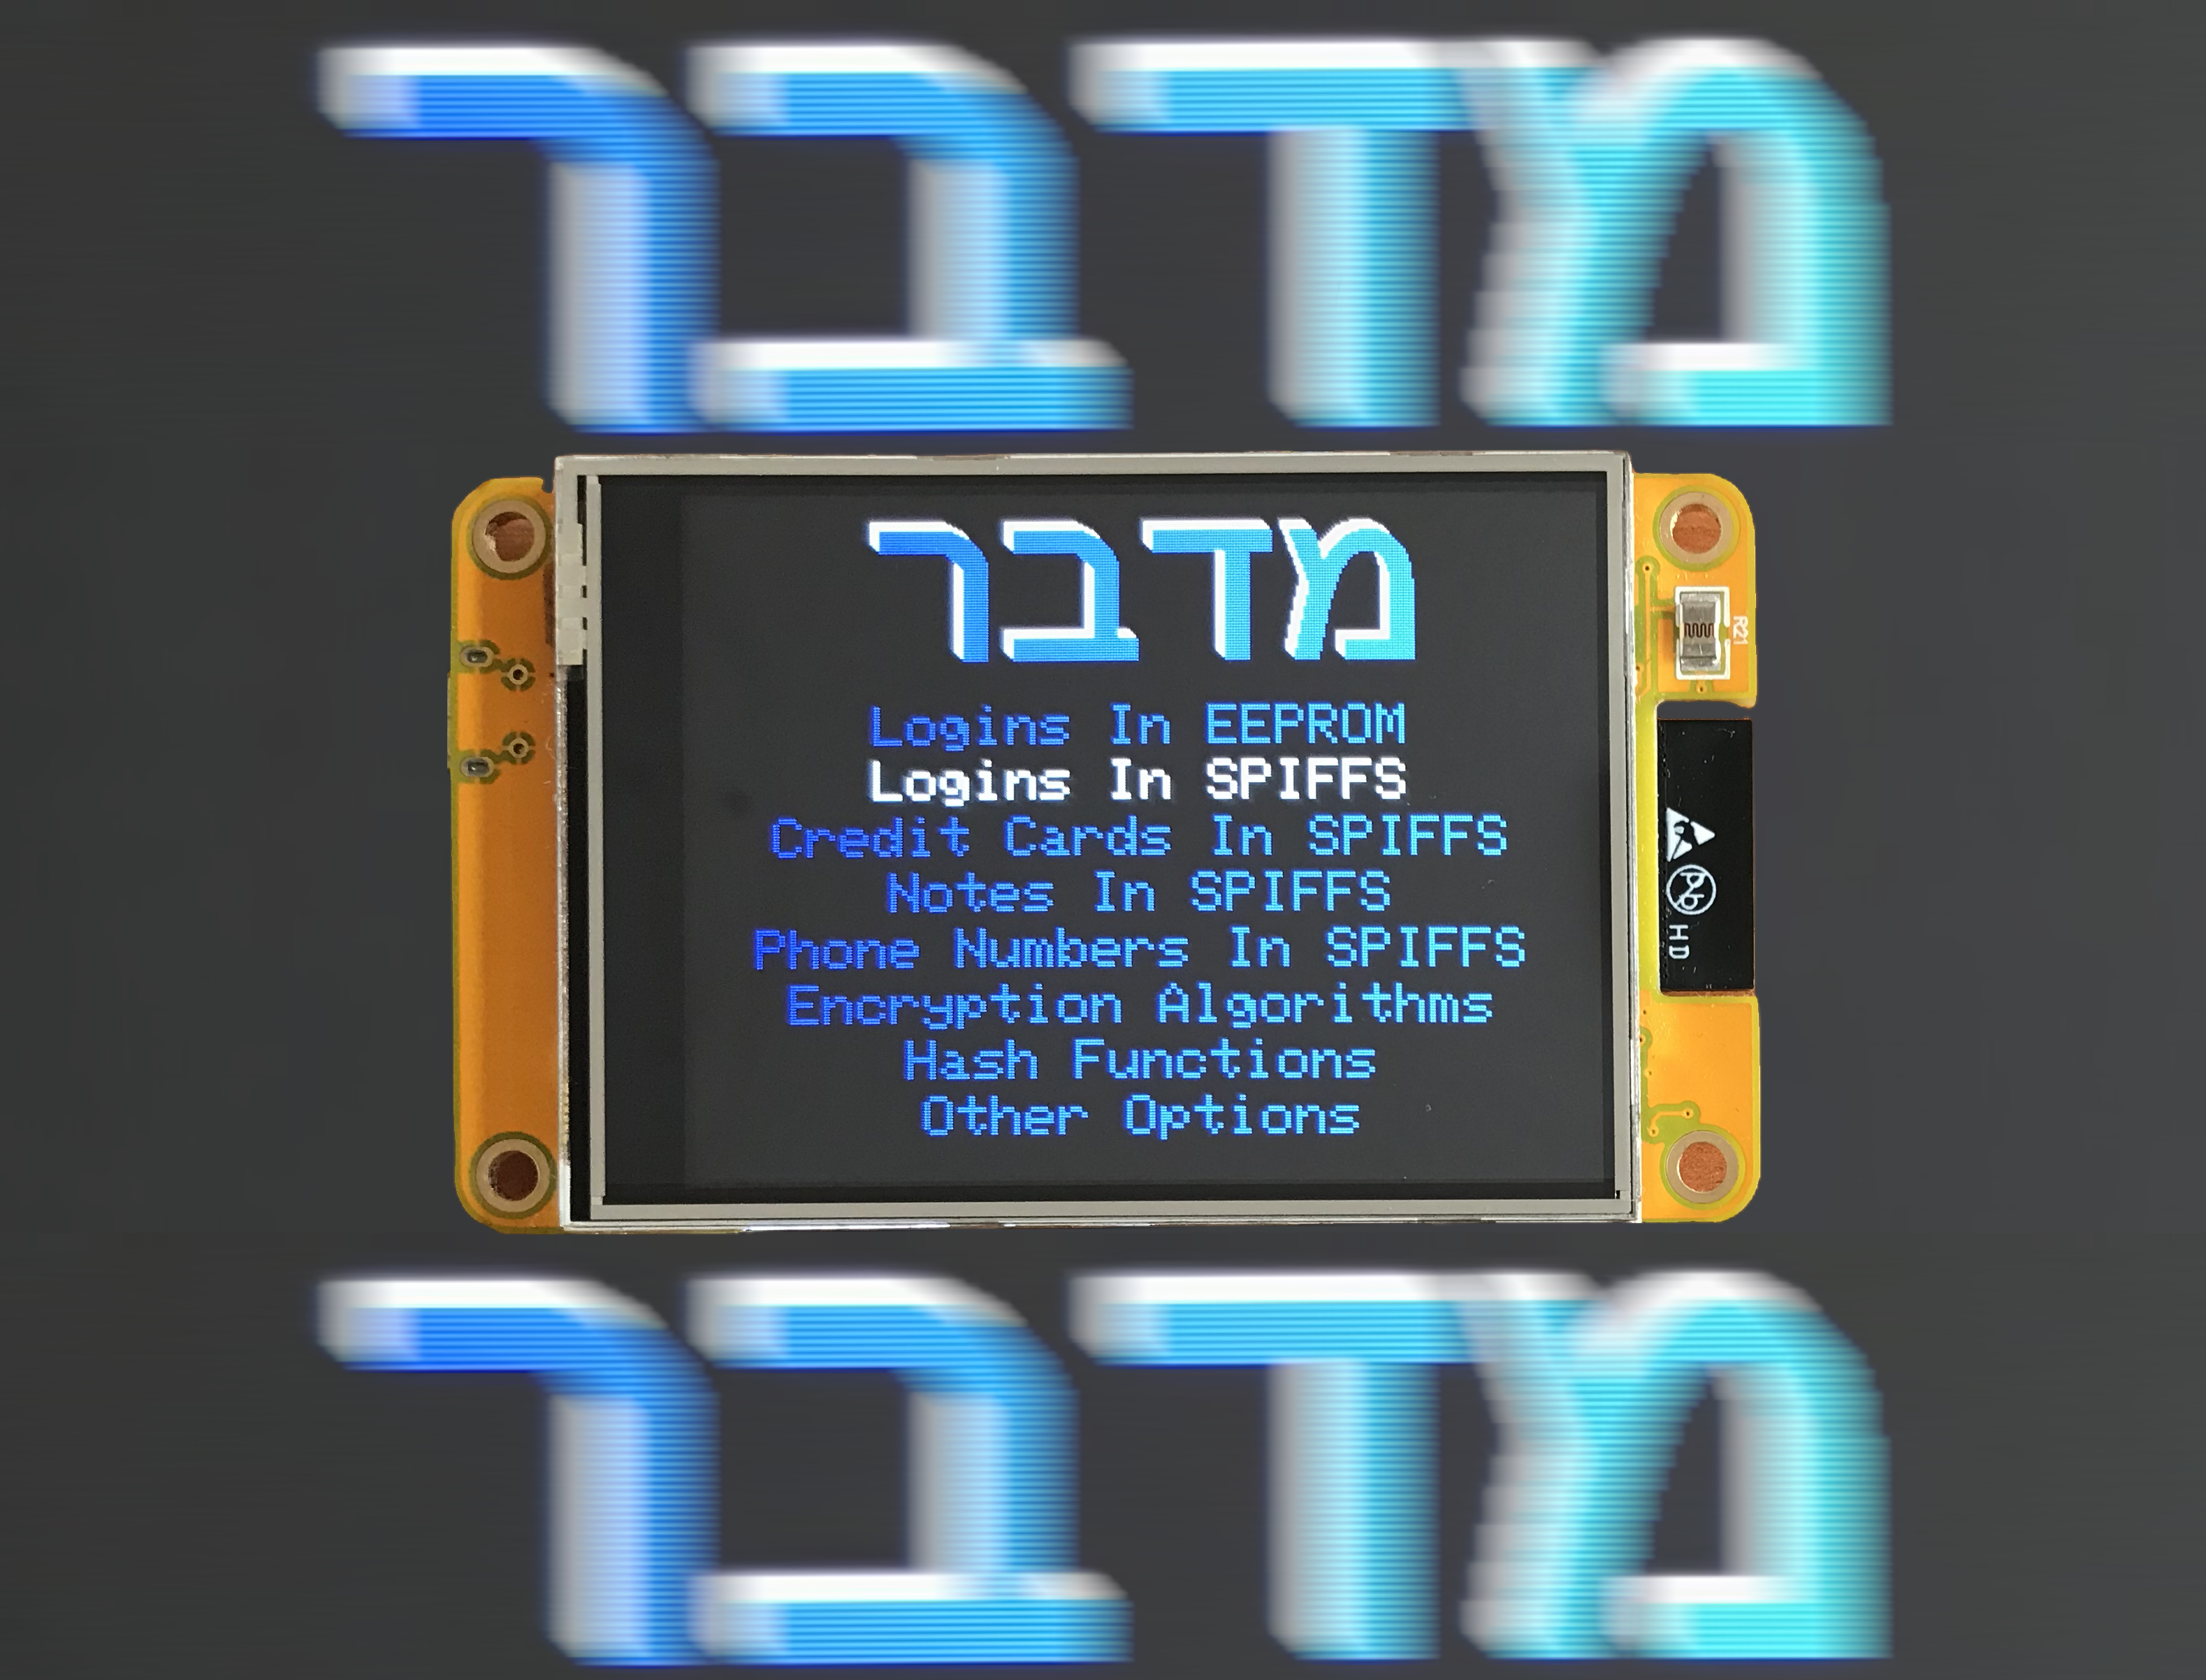
After you've unlocked the vault and got to the main menu:
- Press the "↓" (DOWNWARDS ARROW) key on the PS/2 keyboard to go down the menu.
- Press the "↑" (UPWARDS ARROW) key on the PS/2 keyboard to go up the menu.
- Press either the "Enter" key on the PS/2 keyboard to open the selected menu.
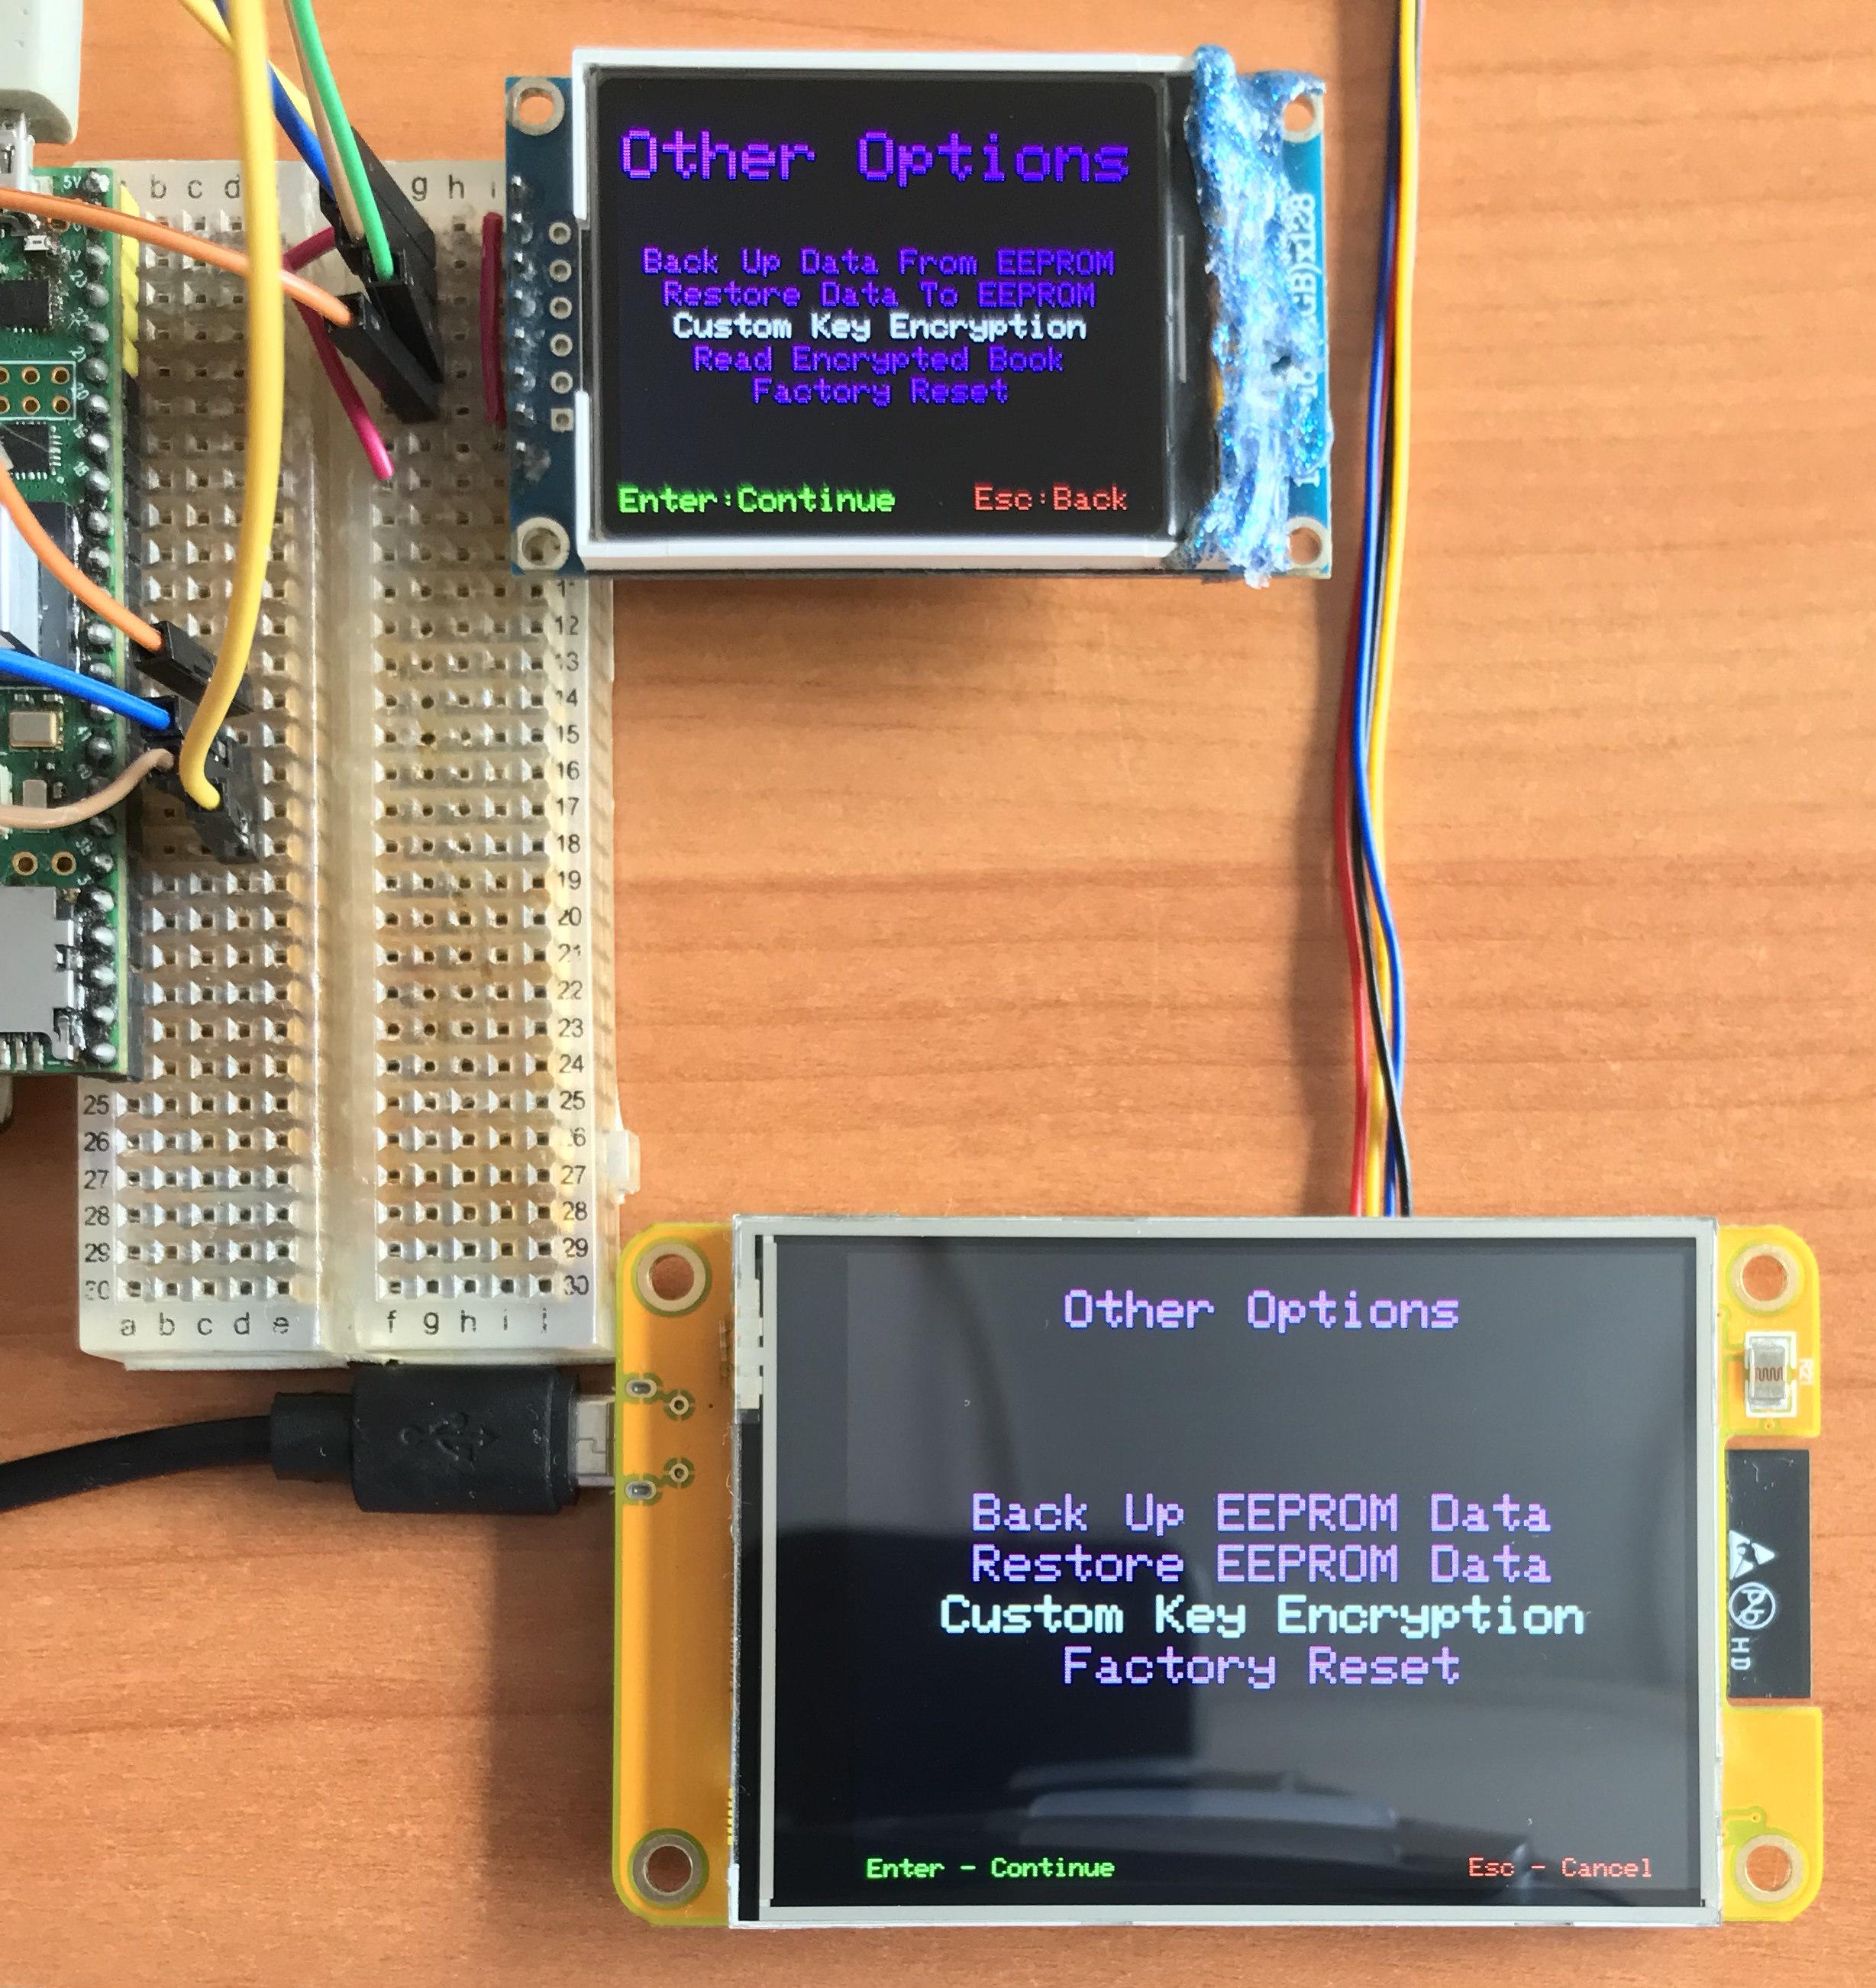
- While in the submenu, press either the "Esc" or the "Backspace" key on the PS/2 keyboard to return to the main menu.
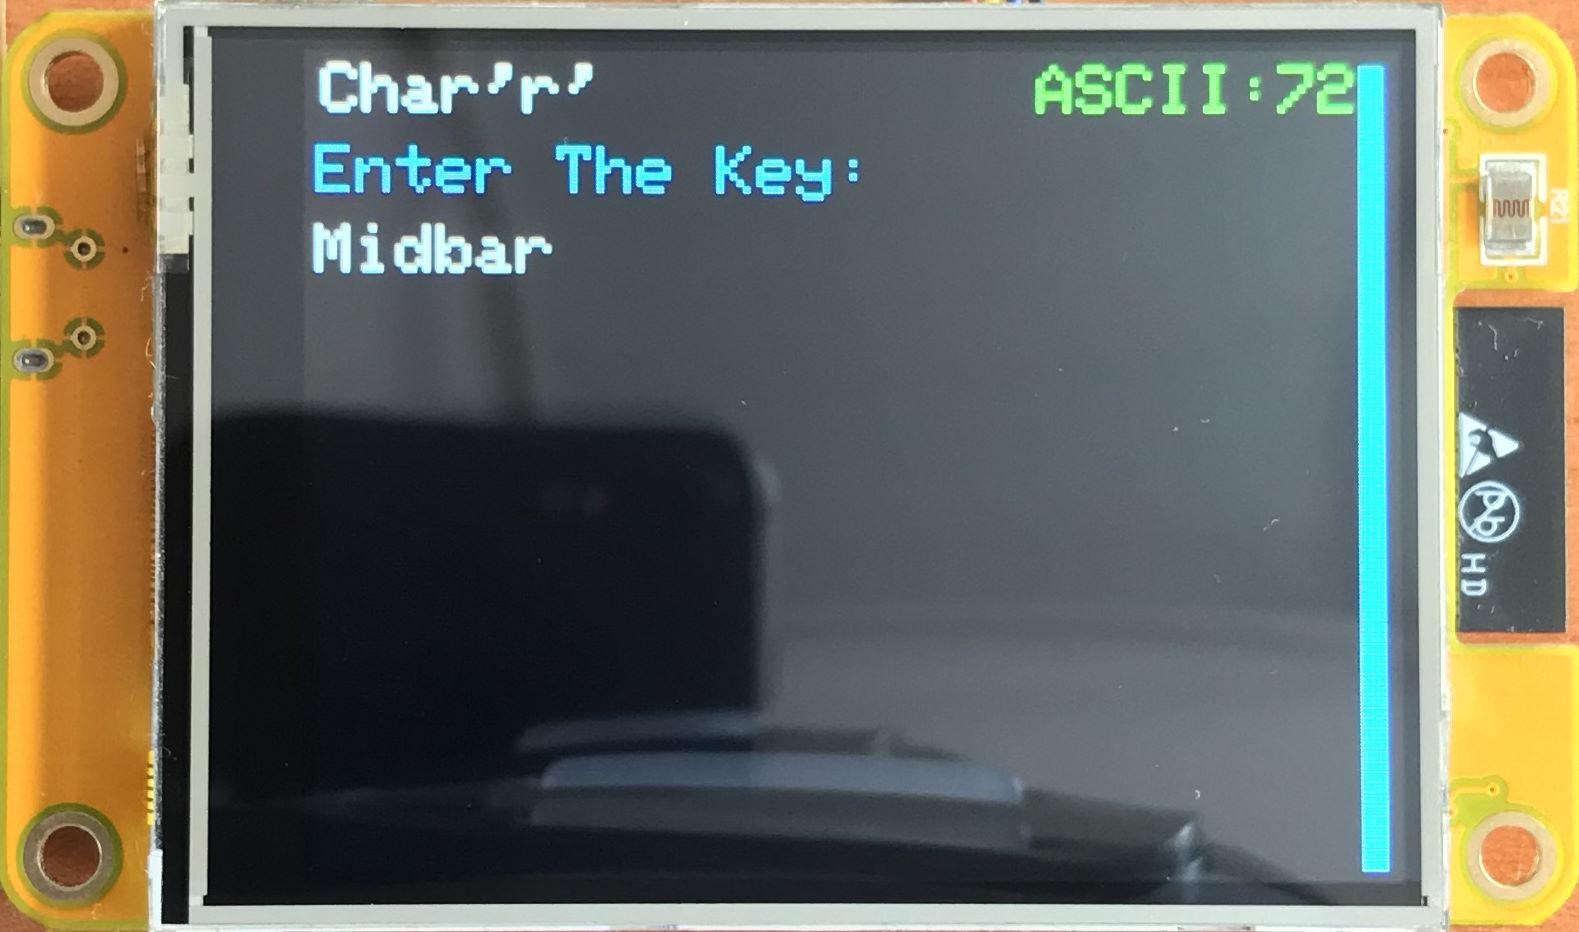
While entering a text in a tab:
- Press "Enter" on the PS/2 keyboard to continue.
- Press the "Esc" button on the PS/2 keyboard to cancel the current operation.
Benefit From the Secure Data Storage
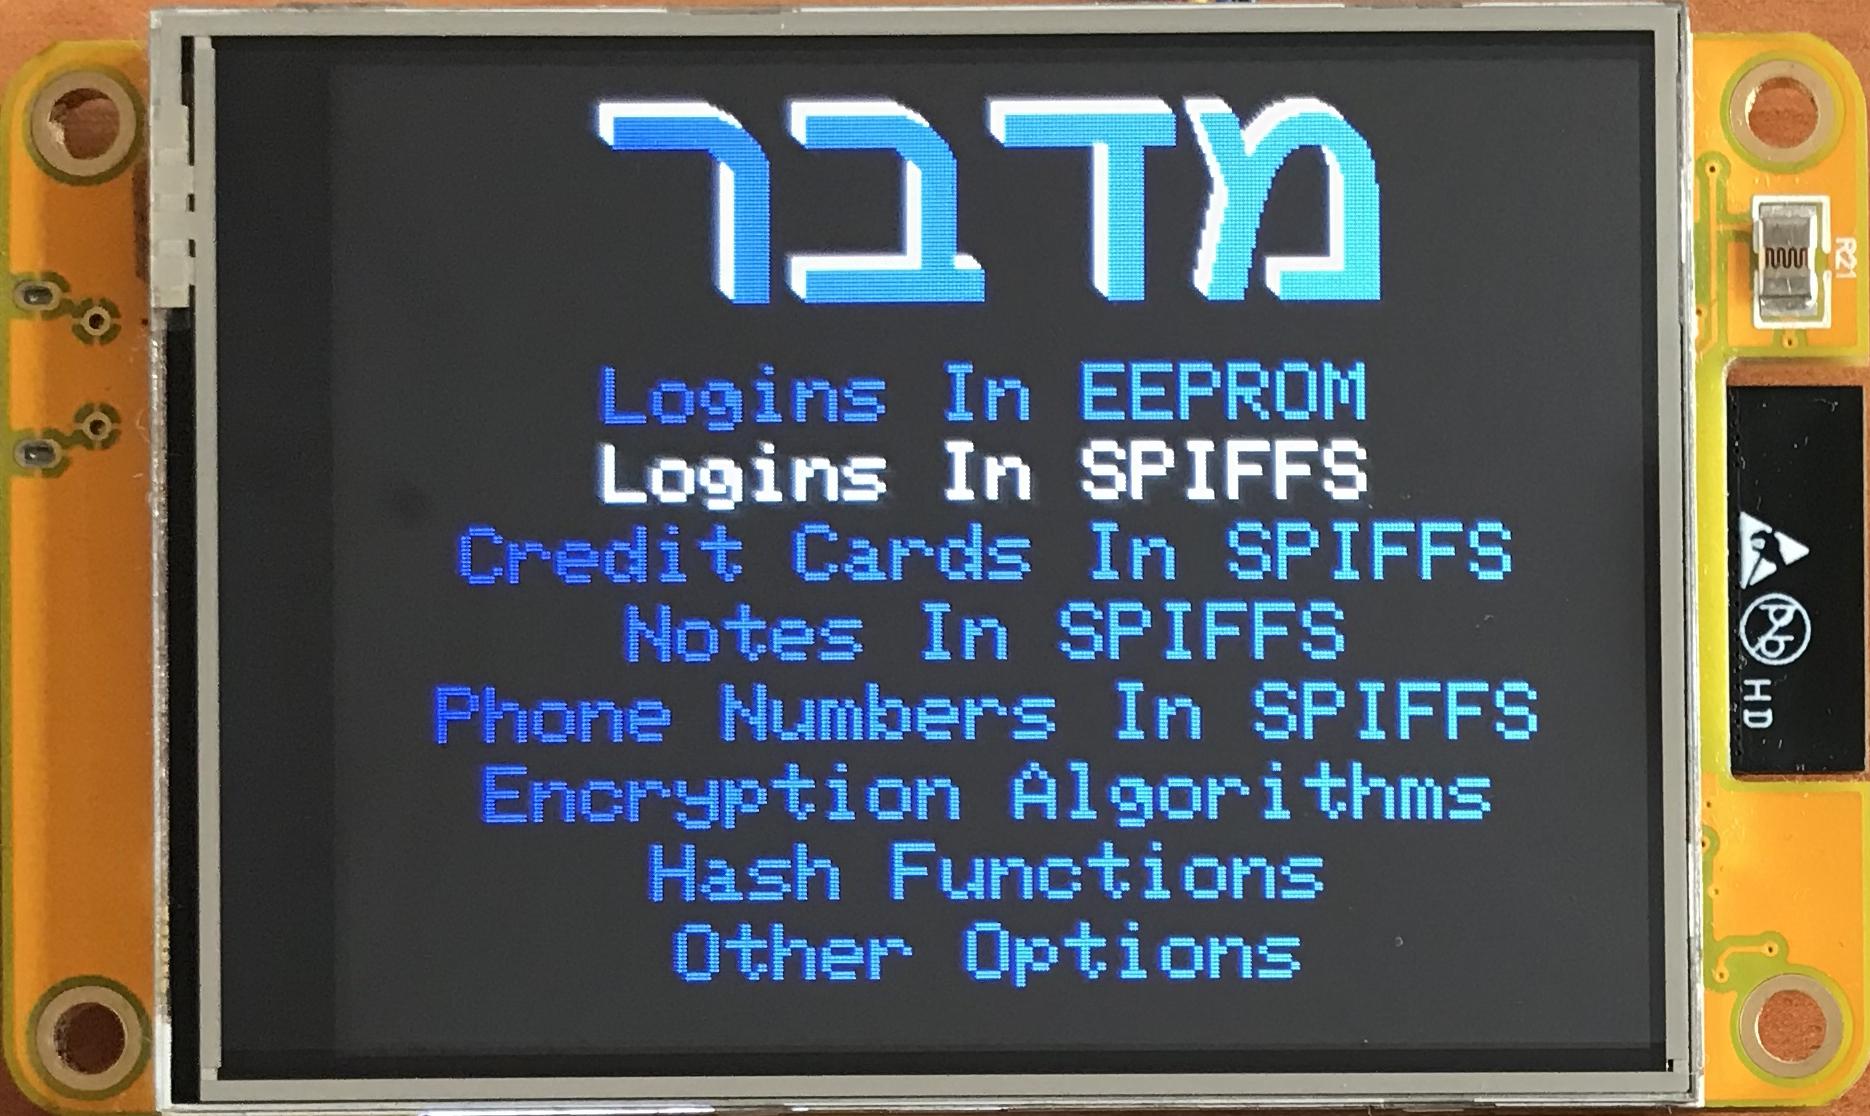
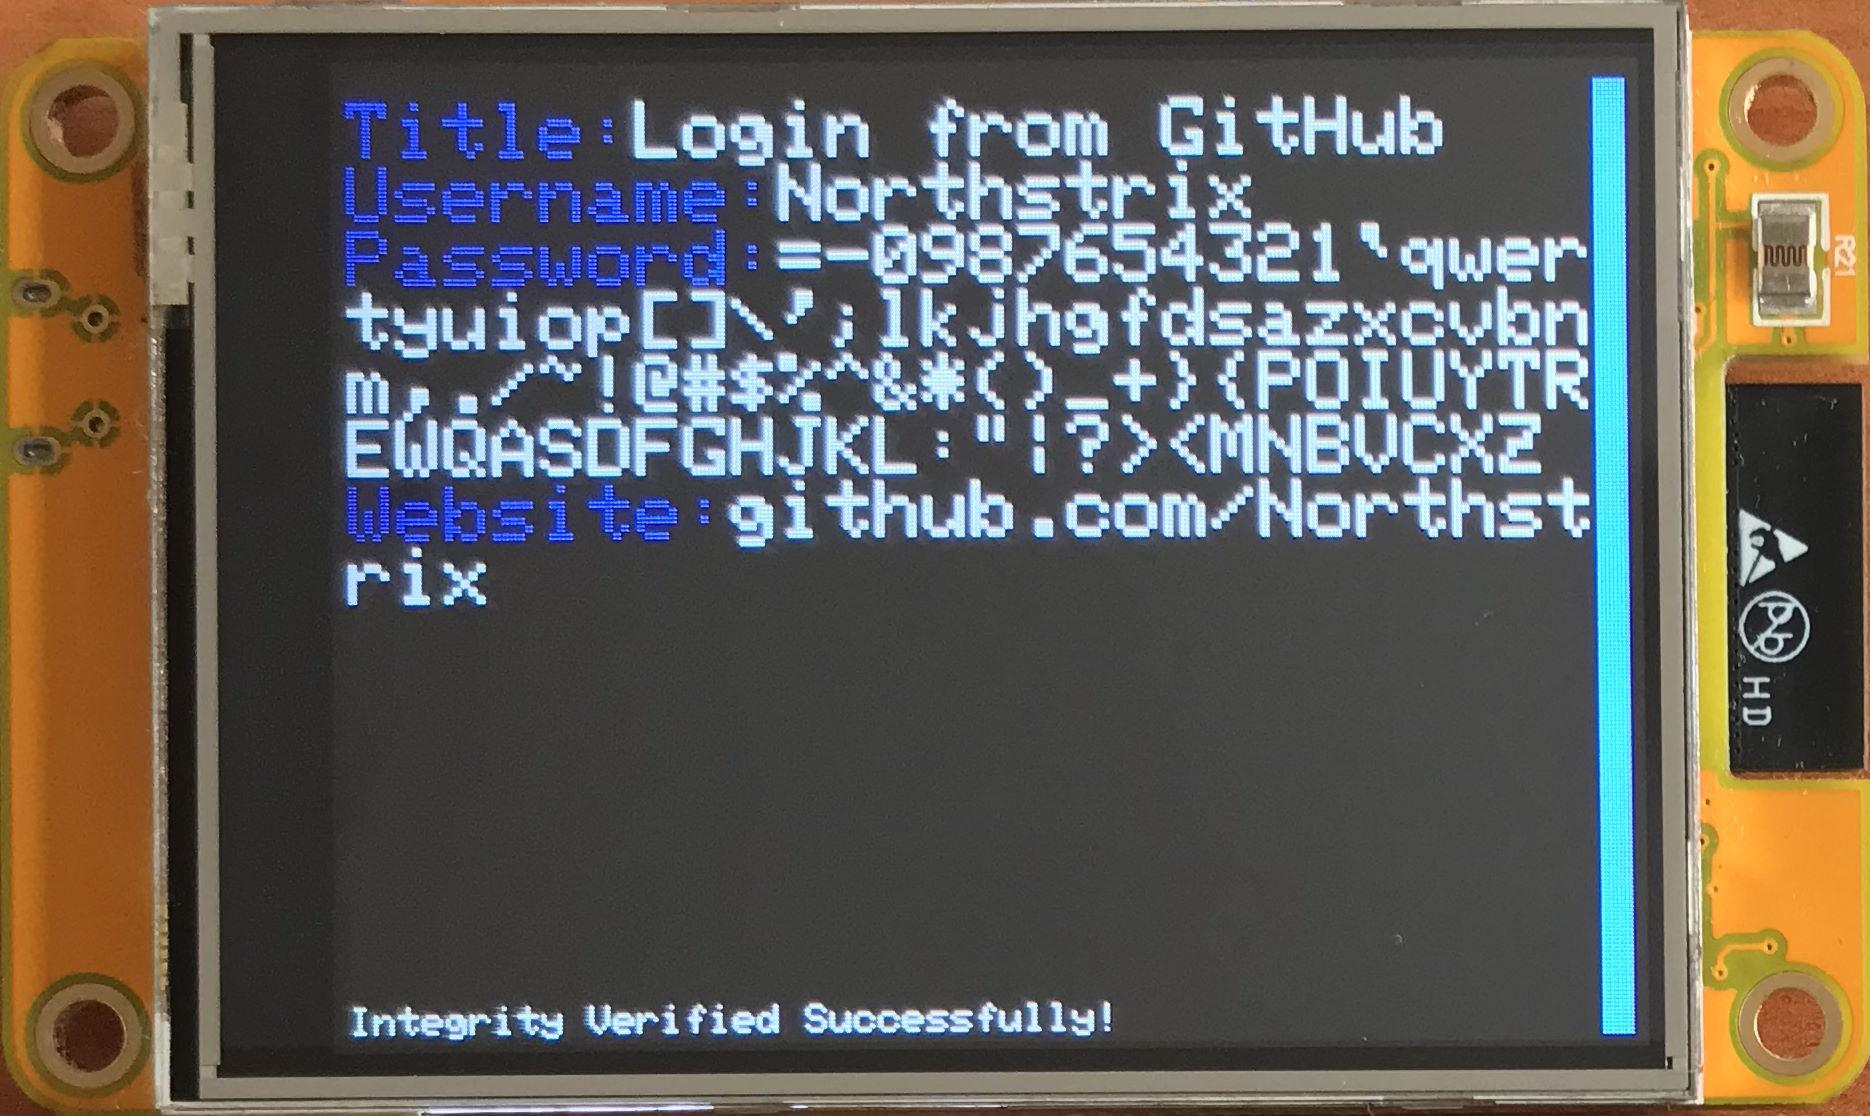
Finally, when you've configured Midbar, you can start benefitting from its primary function: secure data vault.
You can use Midbar to store your login credentials, credit card details, notes, and phone numbers in the ESP32's built-in Flash. You can also store two login credentials in the ESP32 EEPROM.
Note that the maximum amount of characters that would fit into each field of a record stored in the EEPROM is defined in the following code segment:
// Max. number of chars for each field for the logins stored in EEPROM
#define MAX_NUM_OF_CHARS_FOR_USERNAME 52
#define MAX_NUM_OF_CHARS_FOR_PASSWORD 52
#define MAX_NUM_OF_CHARS_FOR_WEBSITE 56
// You can repartition the field sizes as long as the sum of all three values is 160
The records stored in Flash aren't affected by this limitation. There, you should be able to put up to 650 characters into each field (and even more, though I wouldn't recommend it).
Make Use of the Data Encryption Capabilities
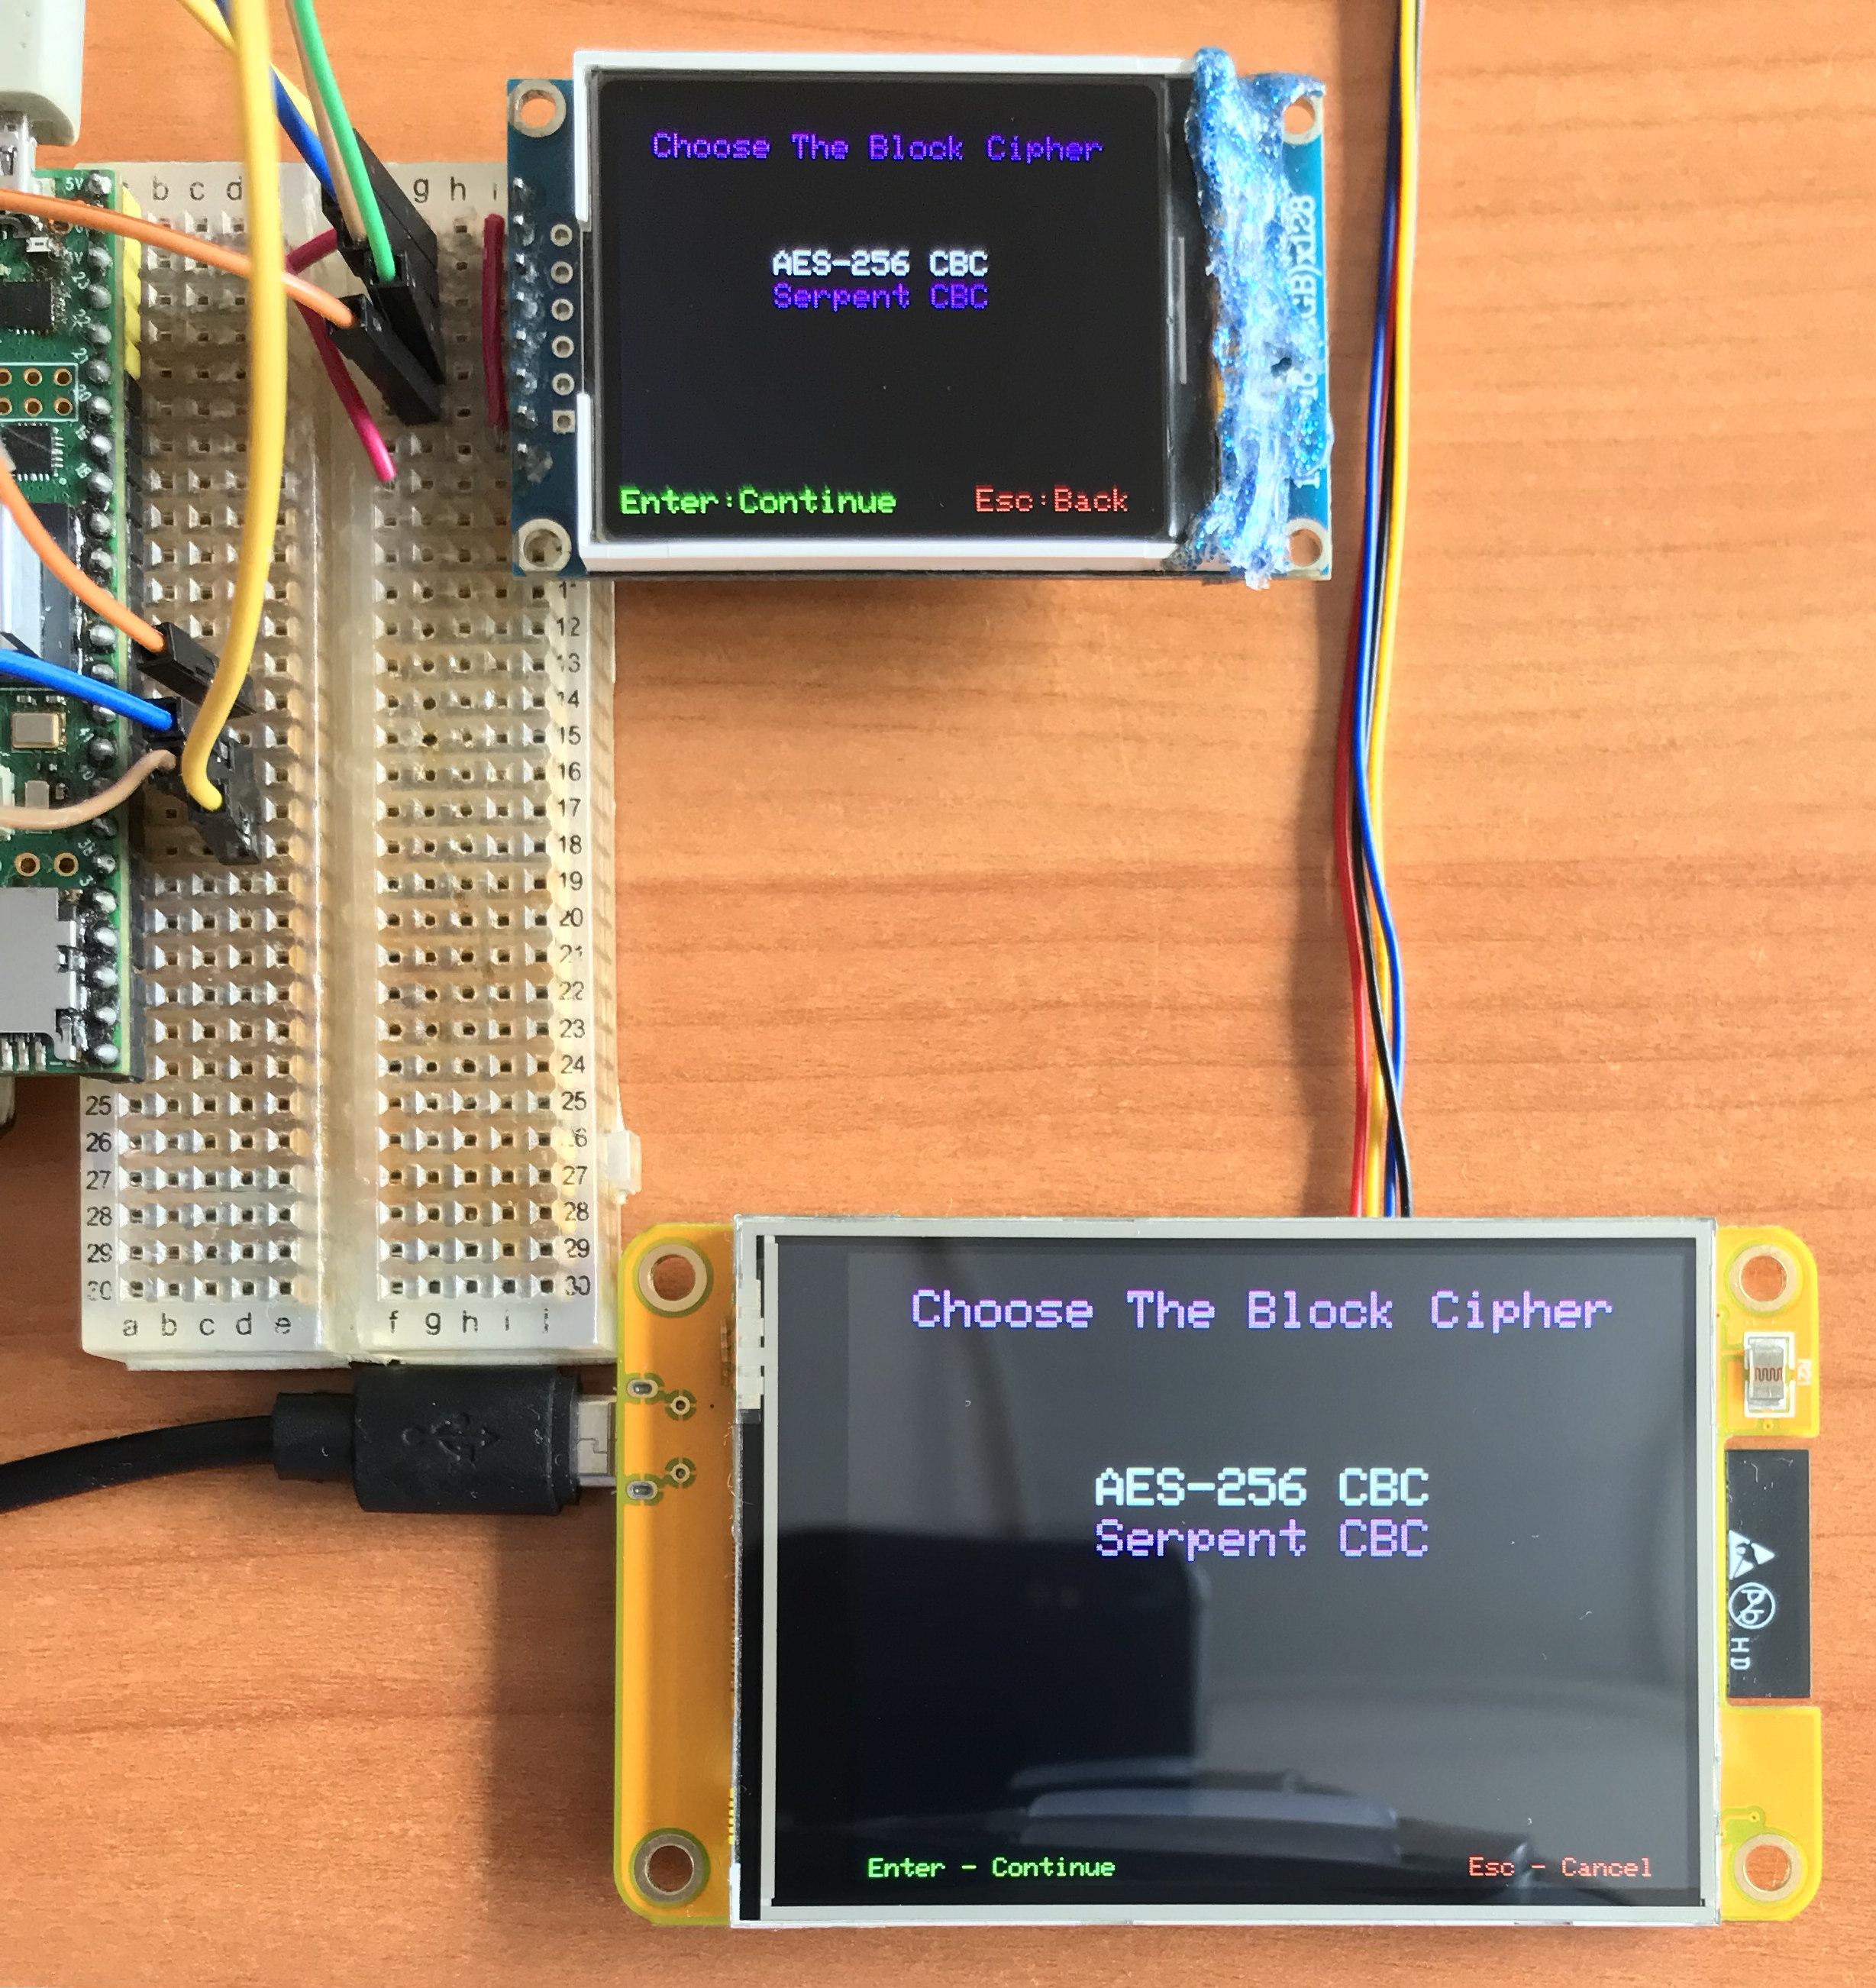
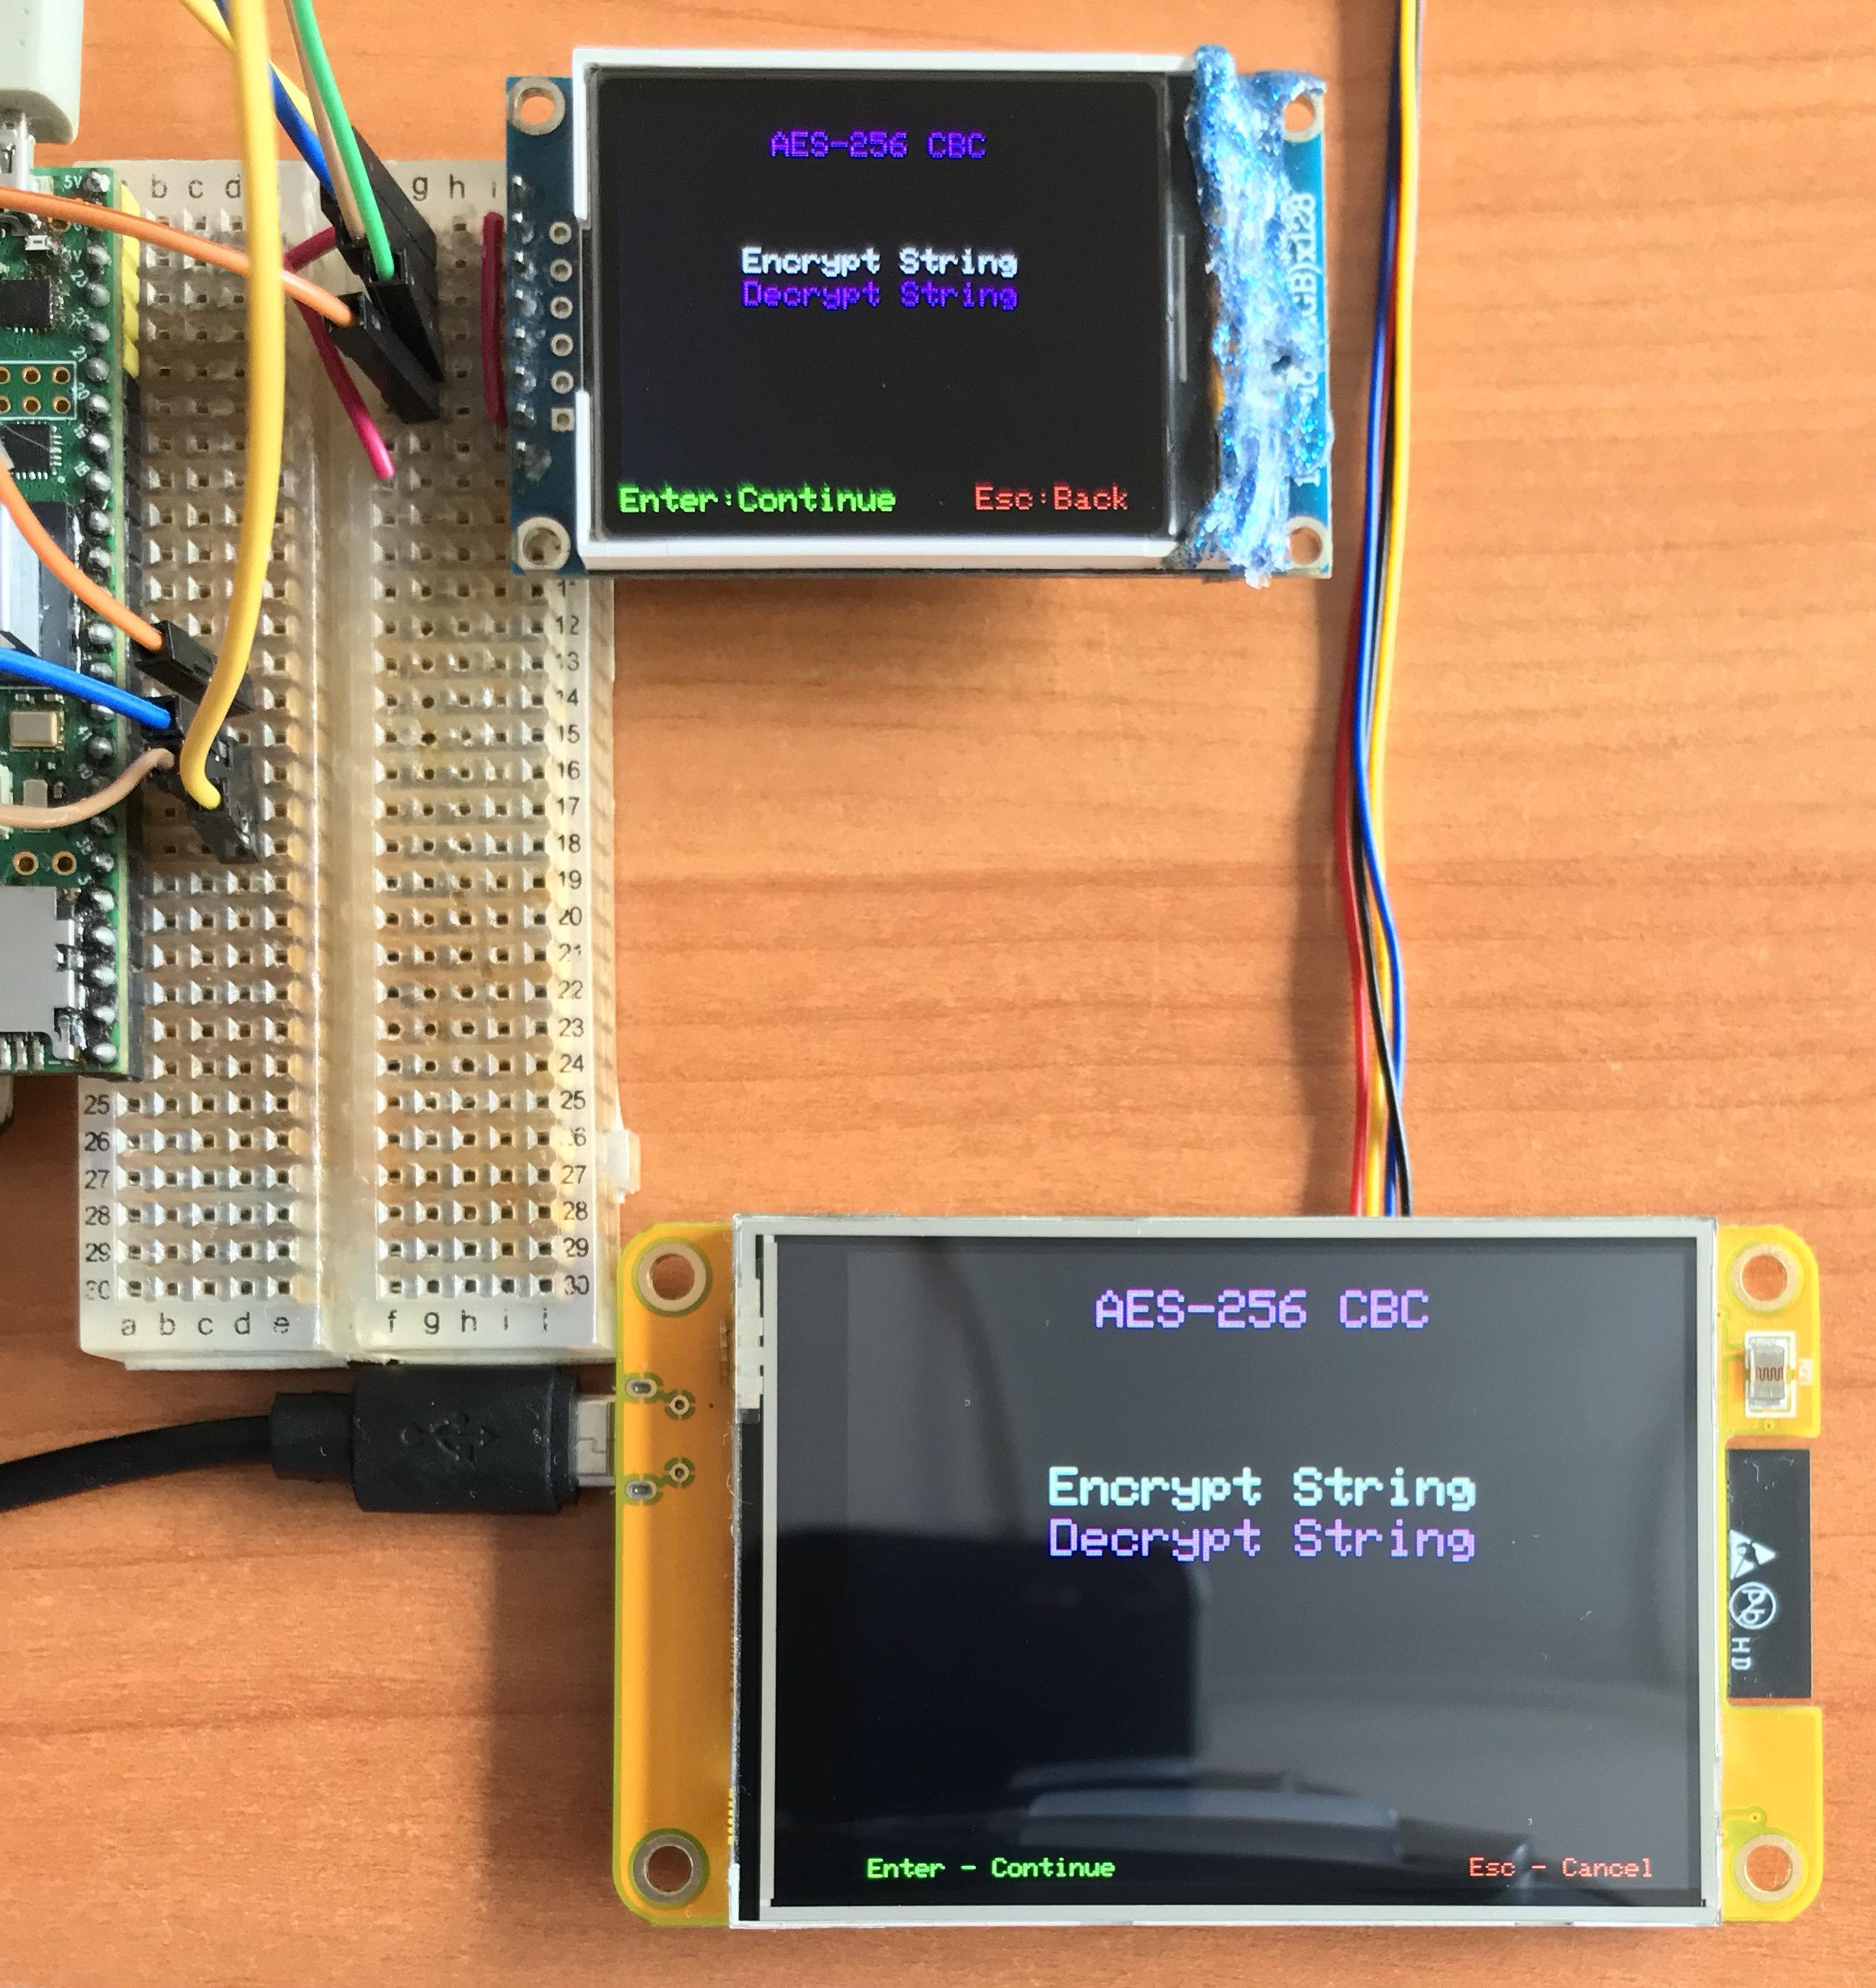


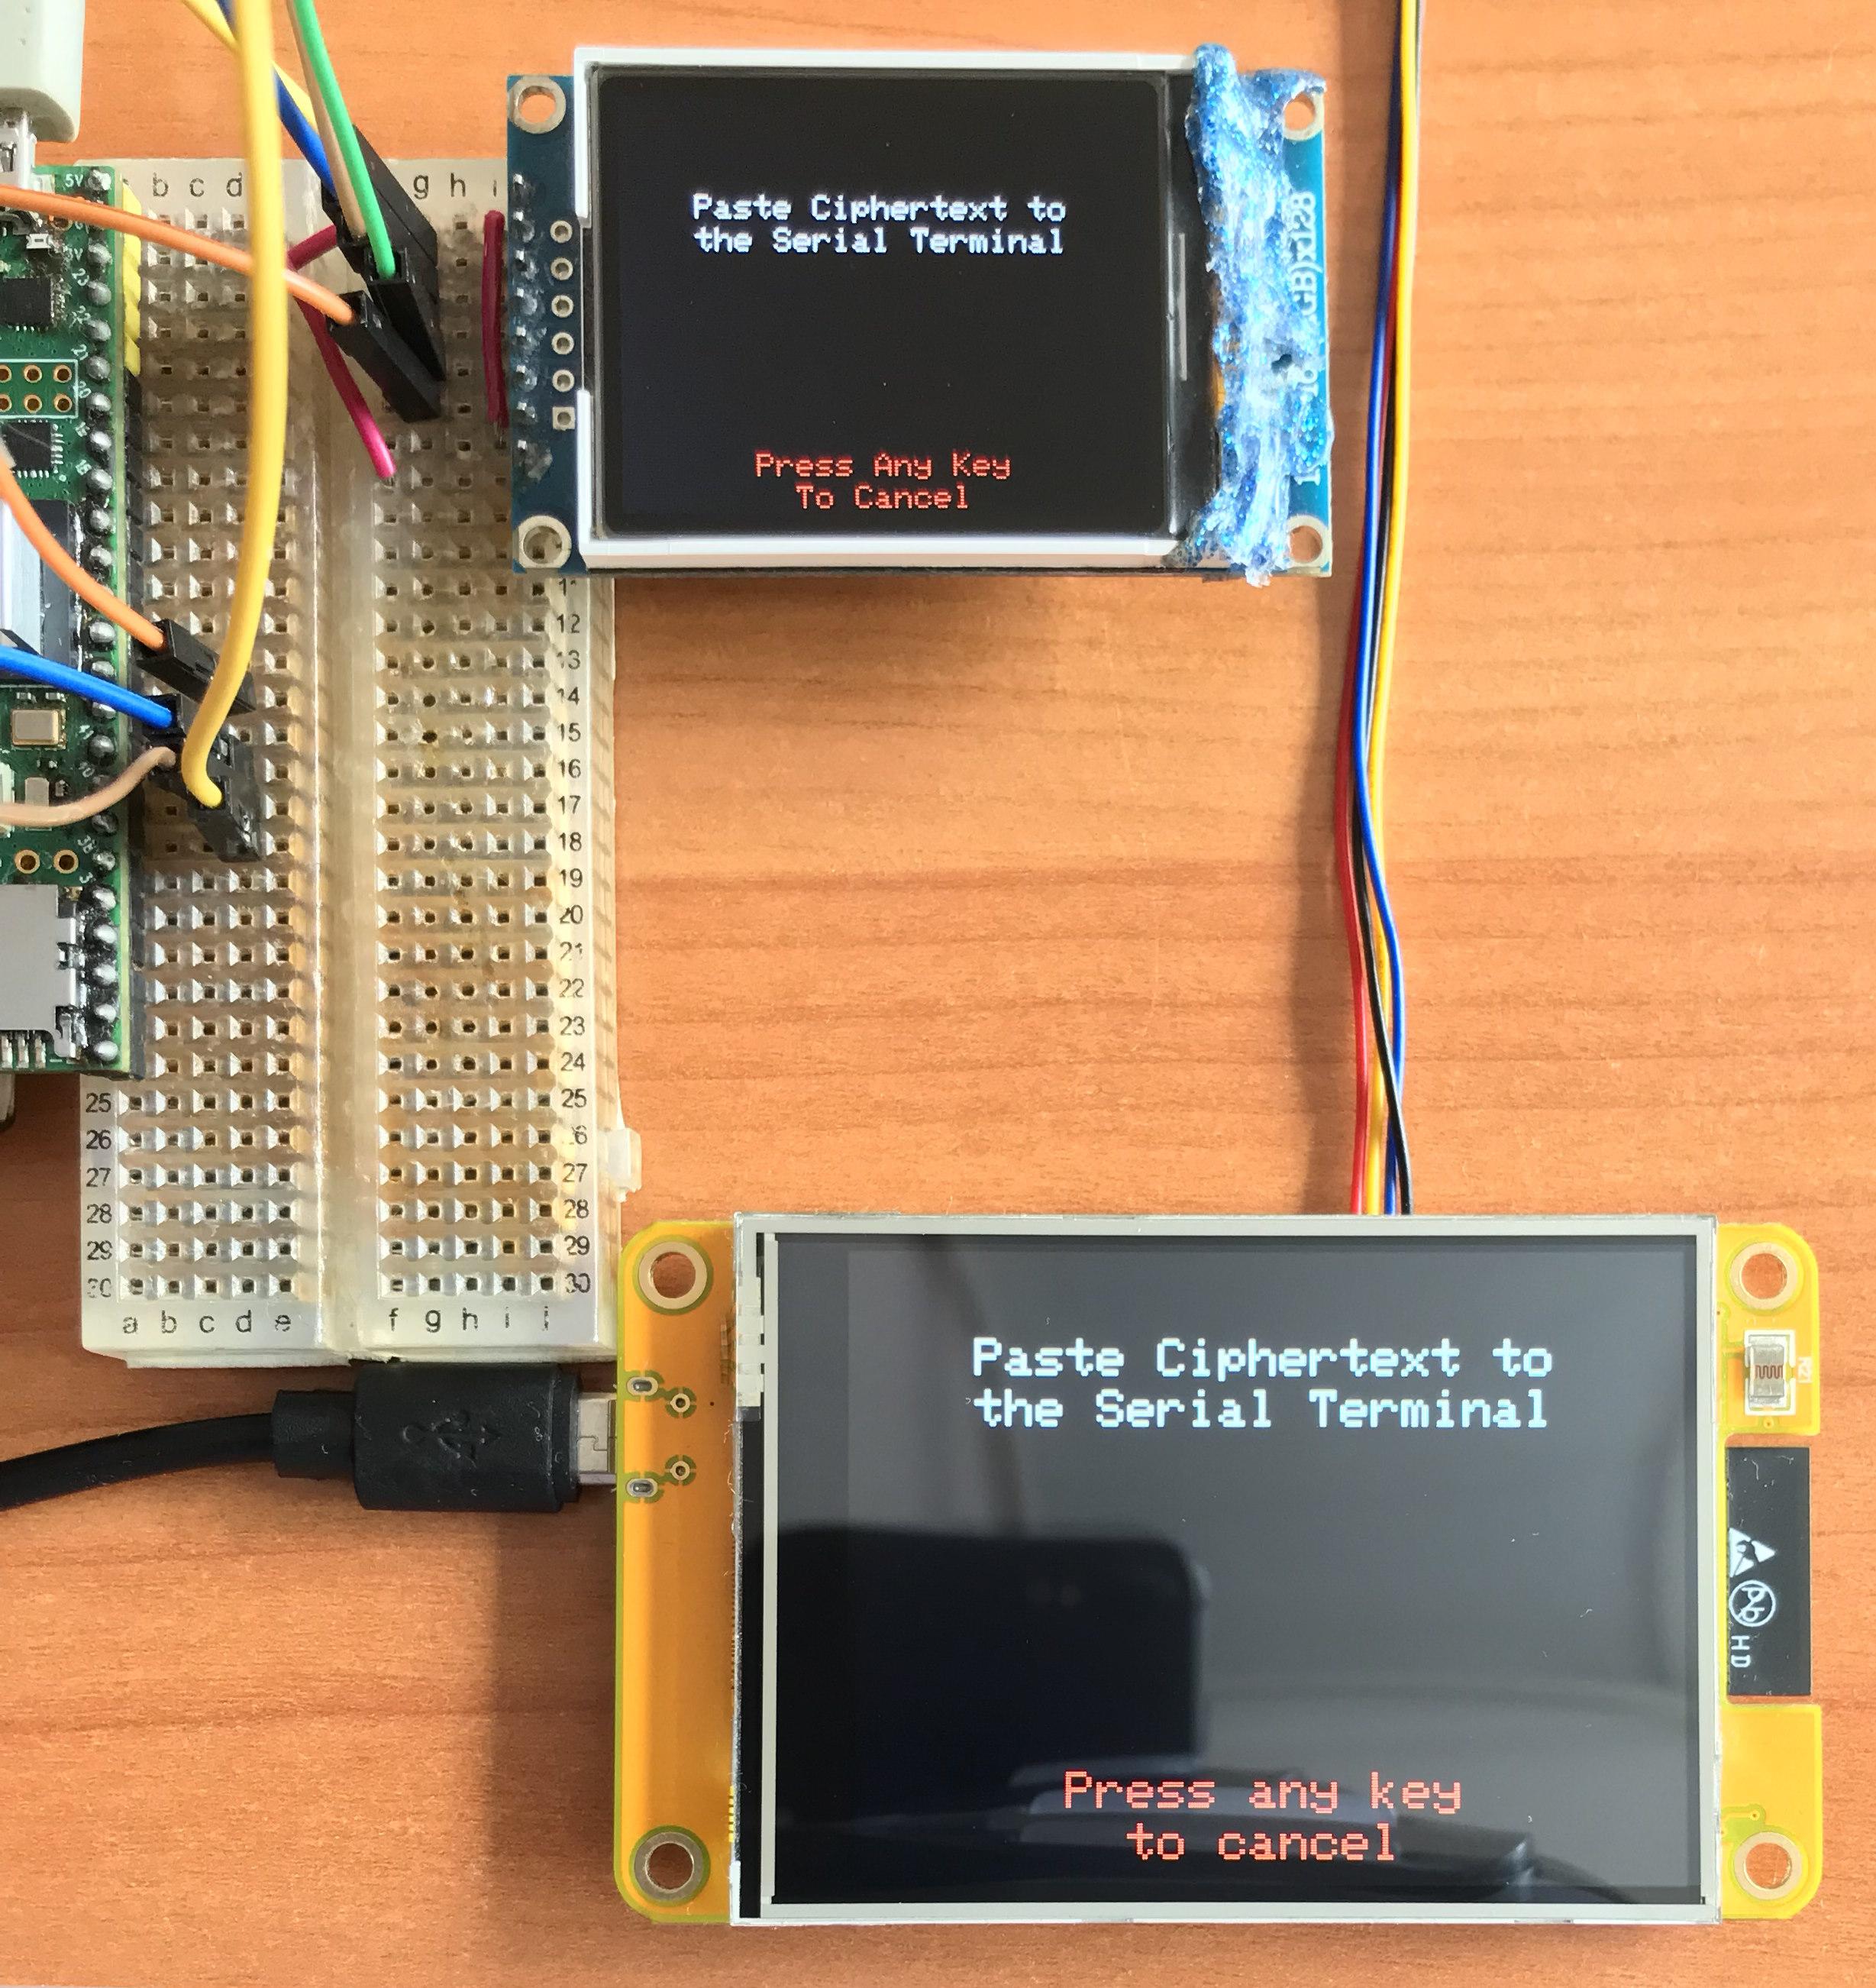
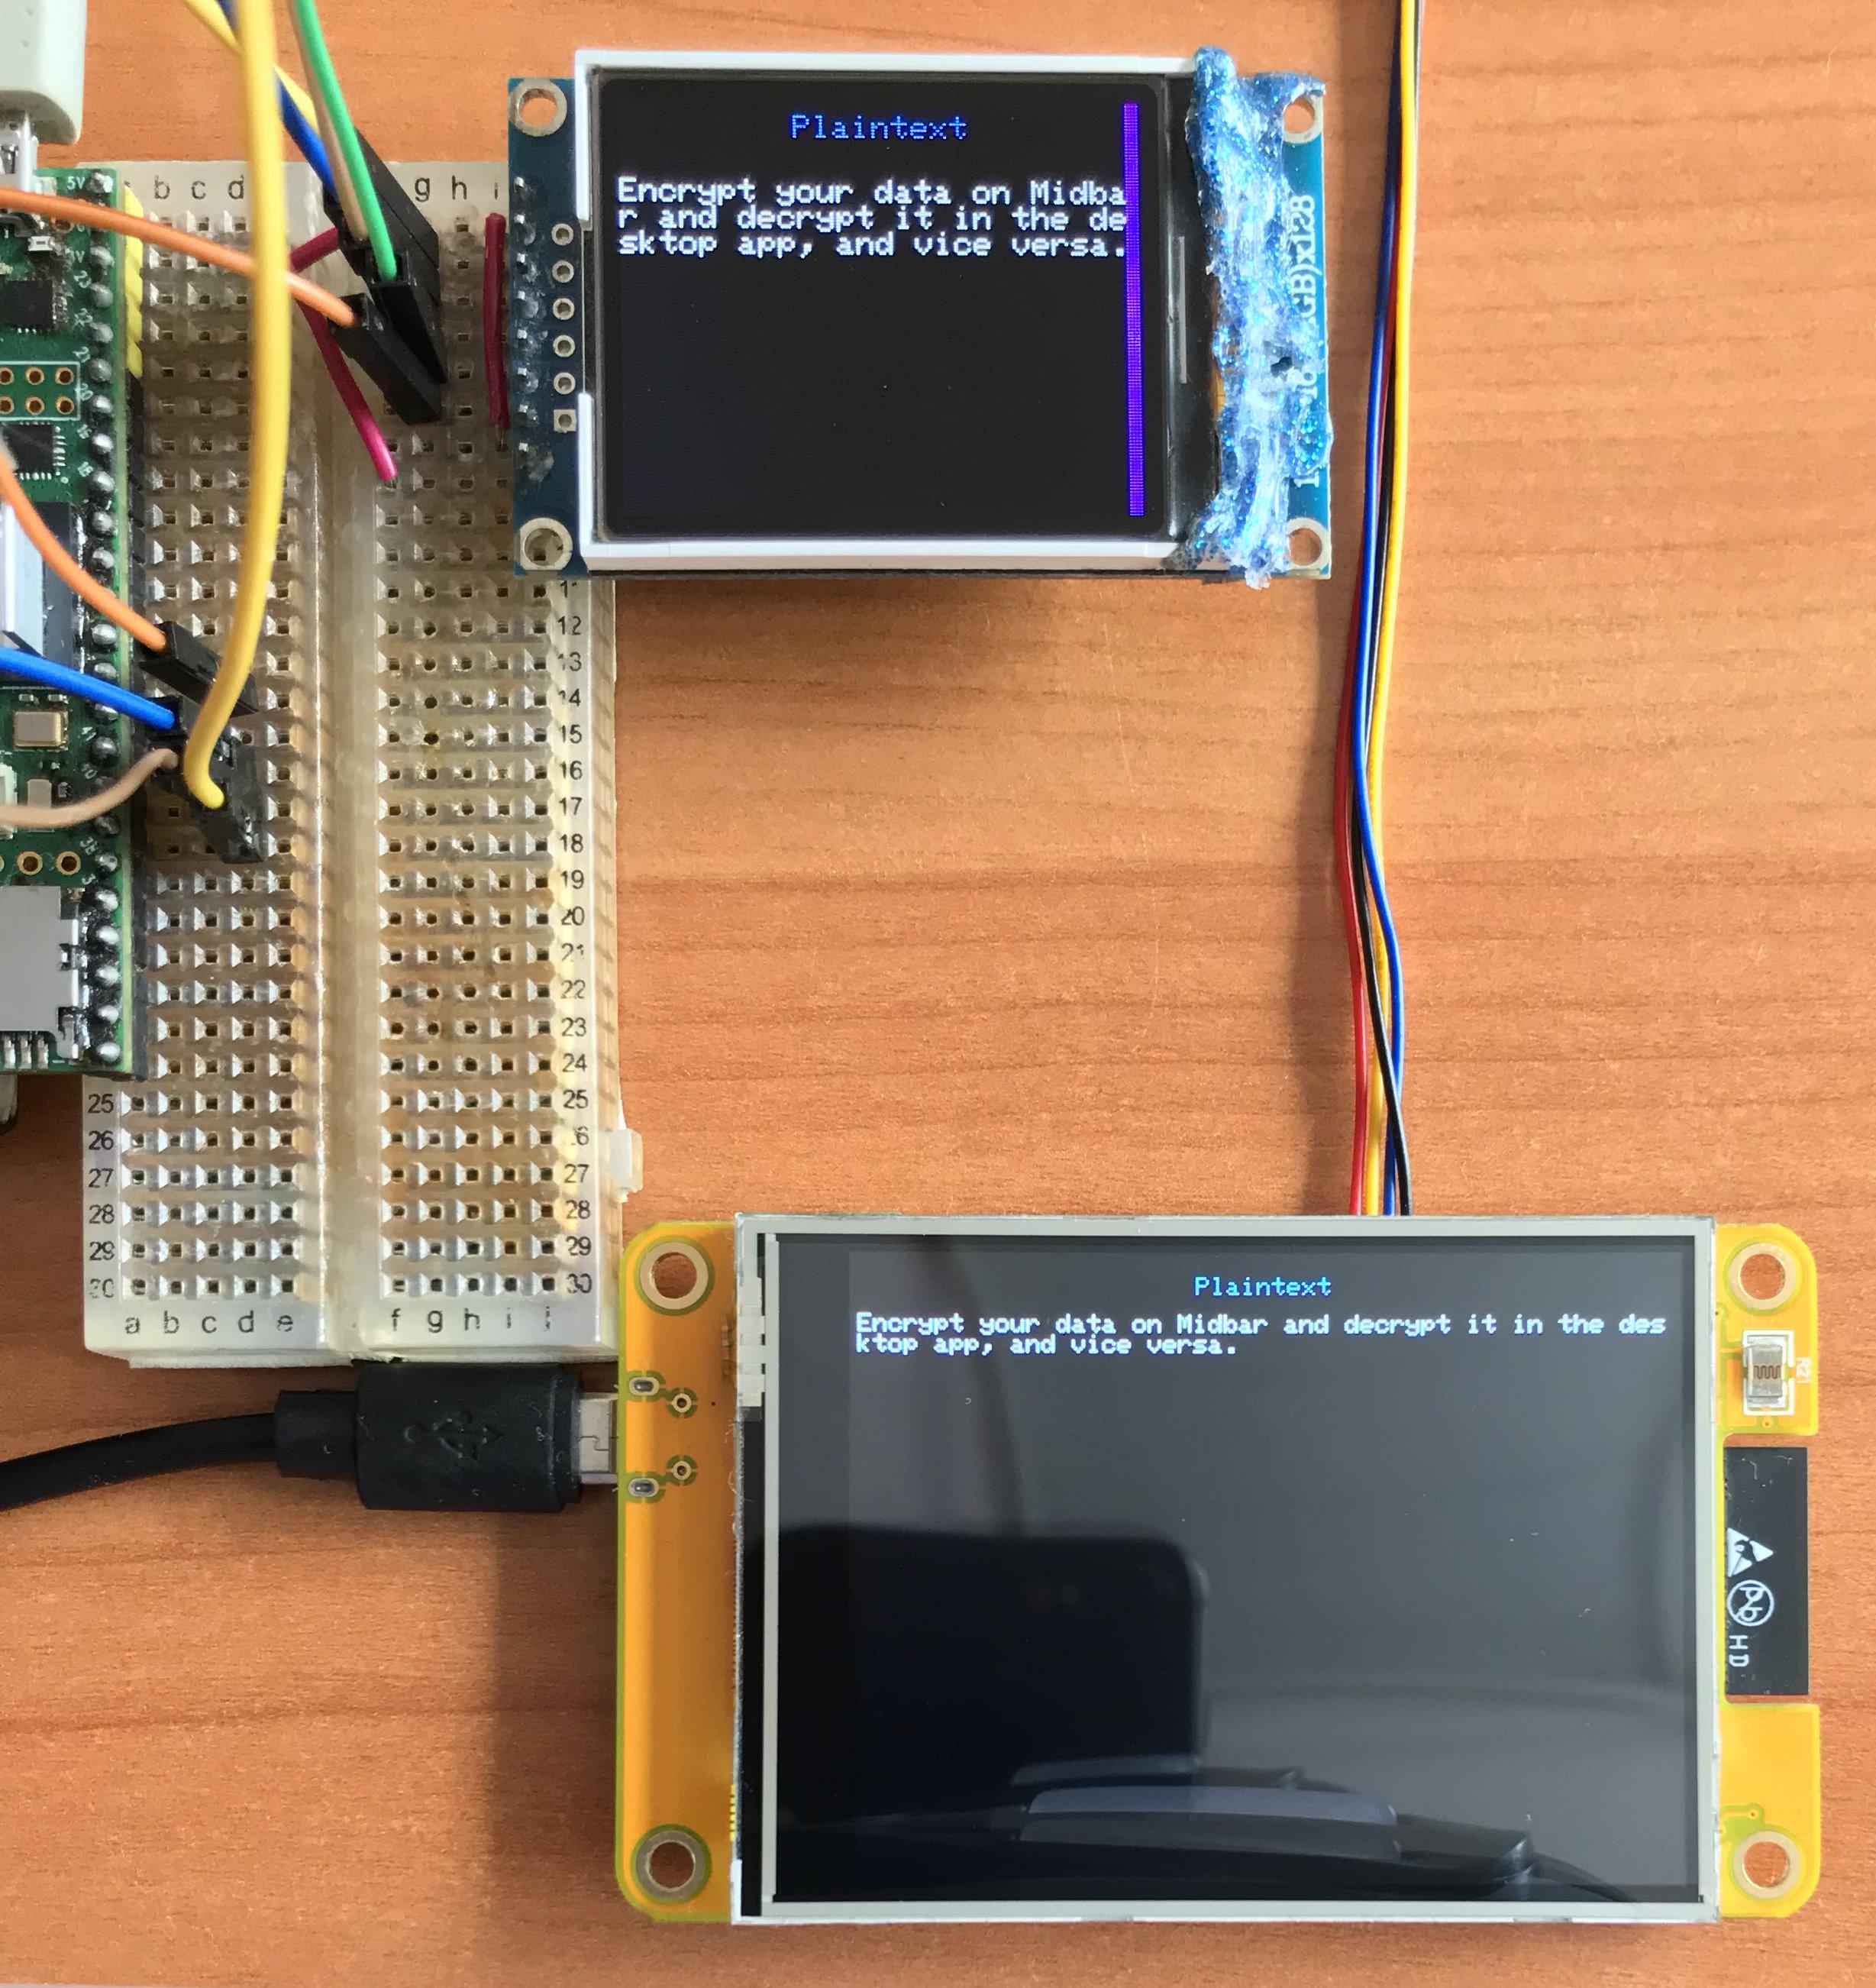
Aside from its primary vault functionality, Midbar also allows you to encrypt and decrypt strings using various encryption algorithms.
The encryption algorithms from the "Encryption Algorithms" menu encrypt and decrypt data using the keys from the vault memory, so to decrypt a string that's been encrypted that way, you'll need a vault with the same cryptographic keys and the same master password.
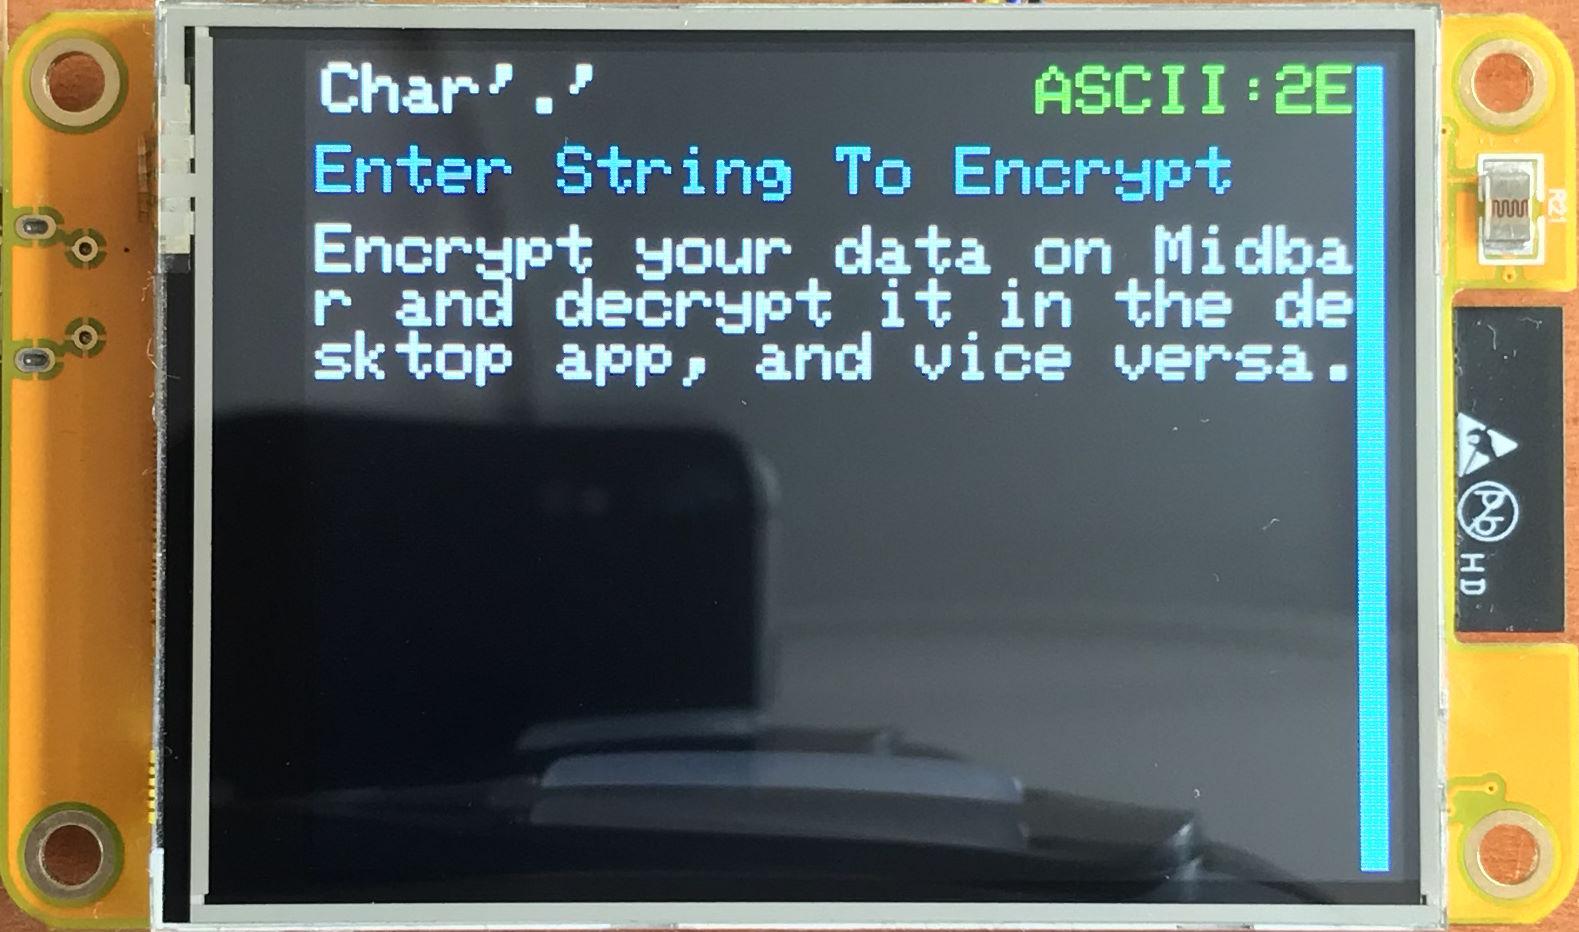
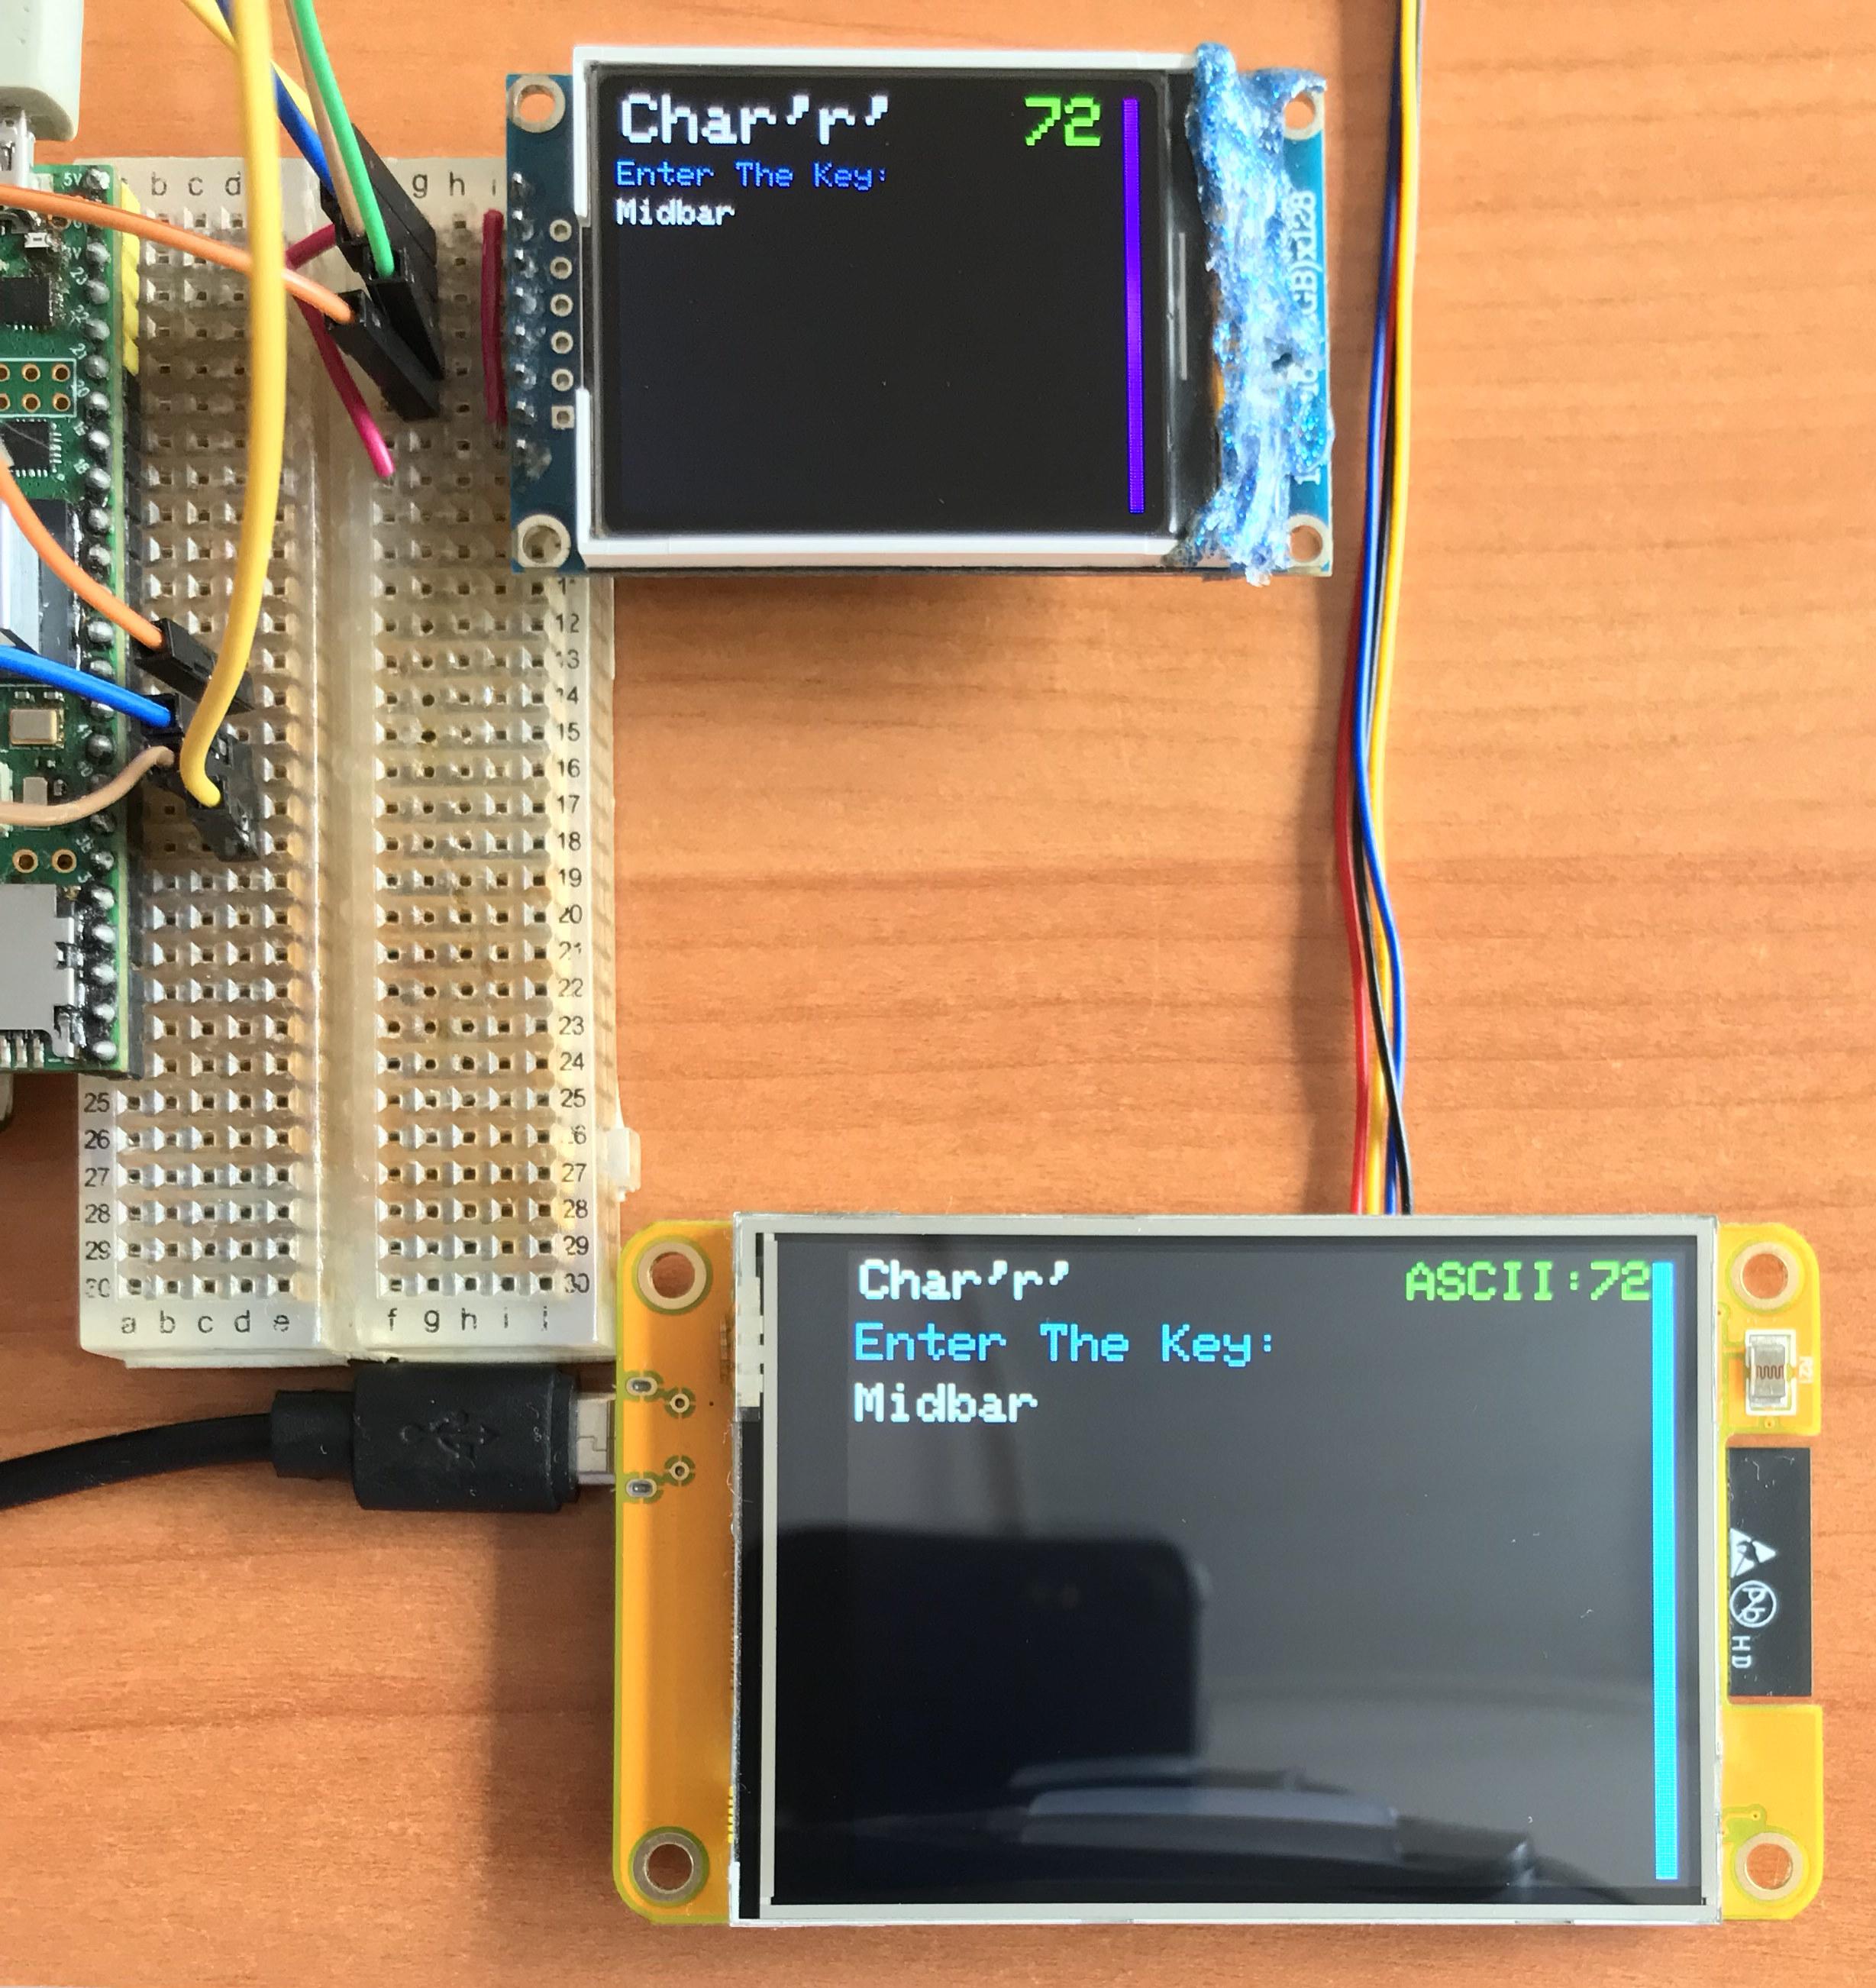
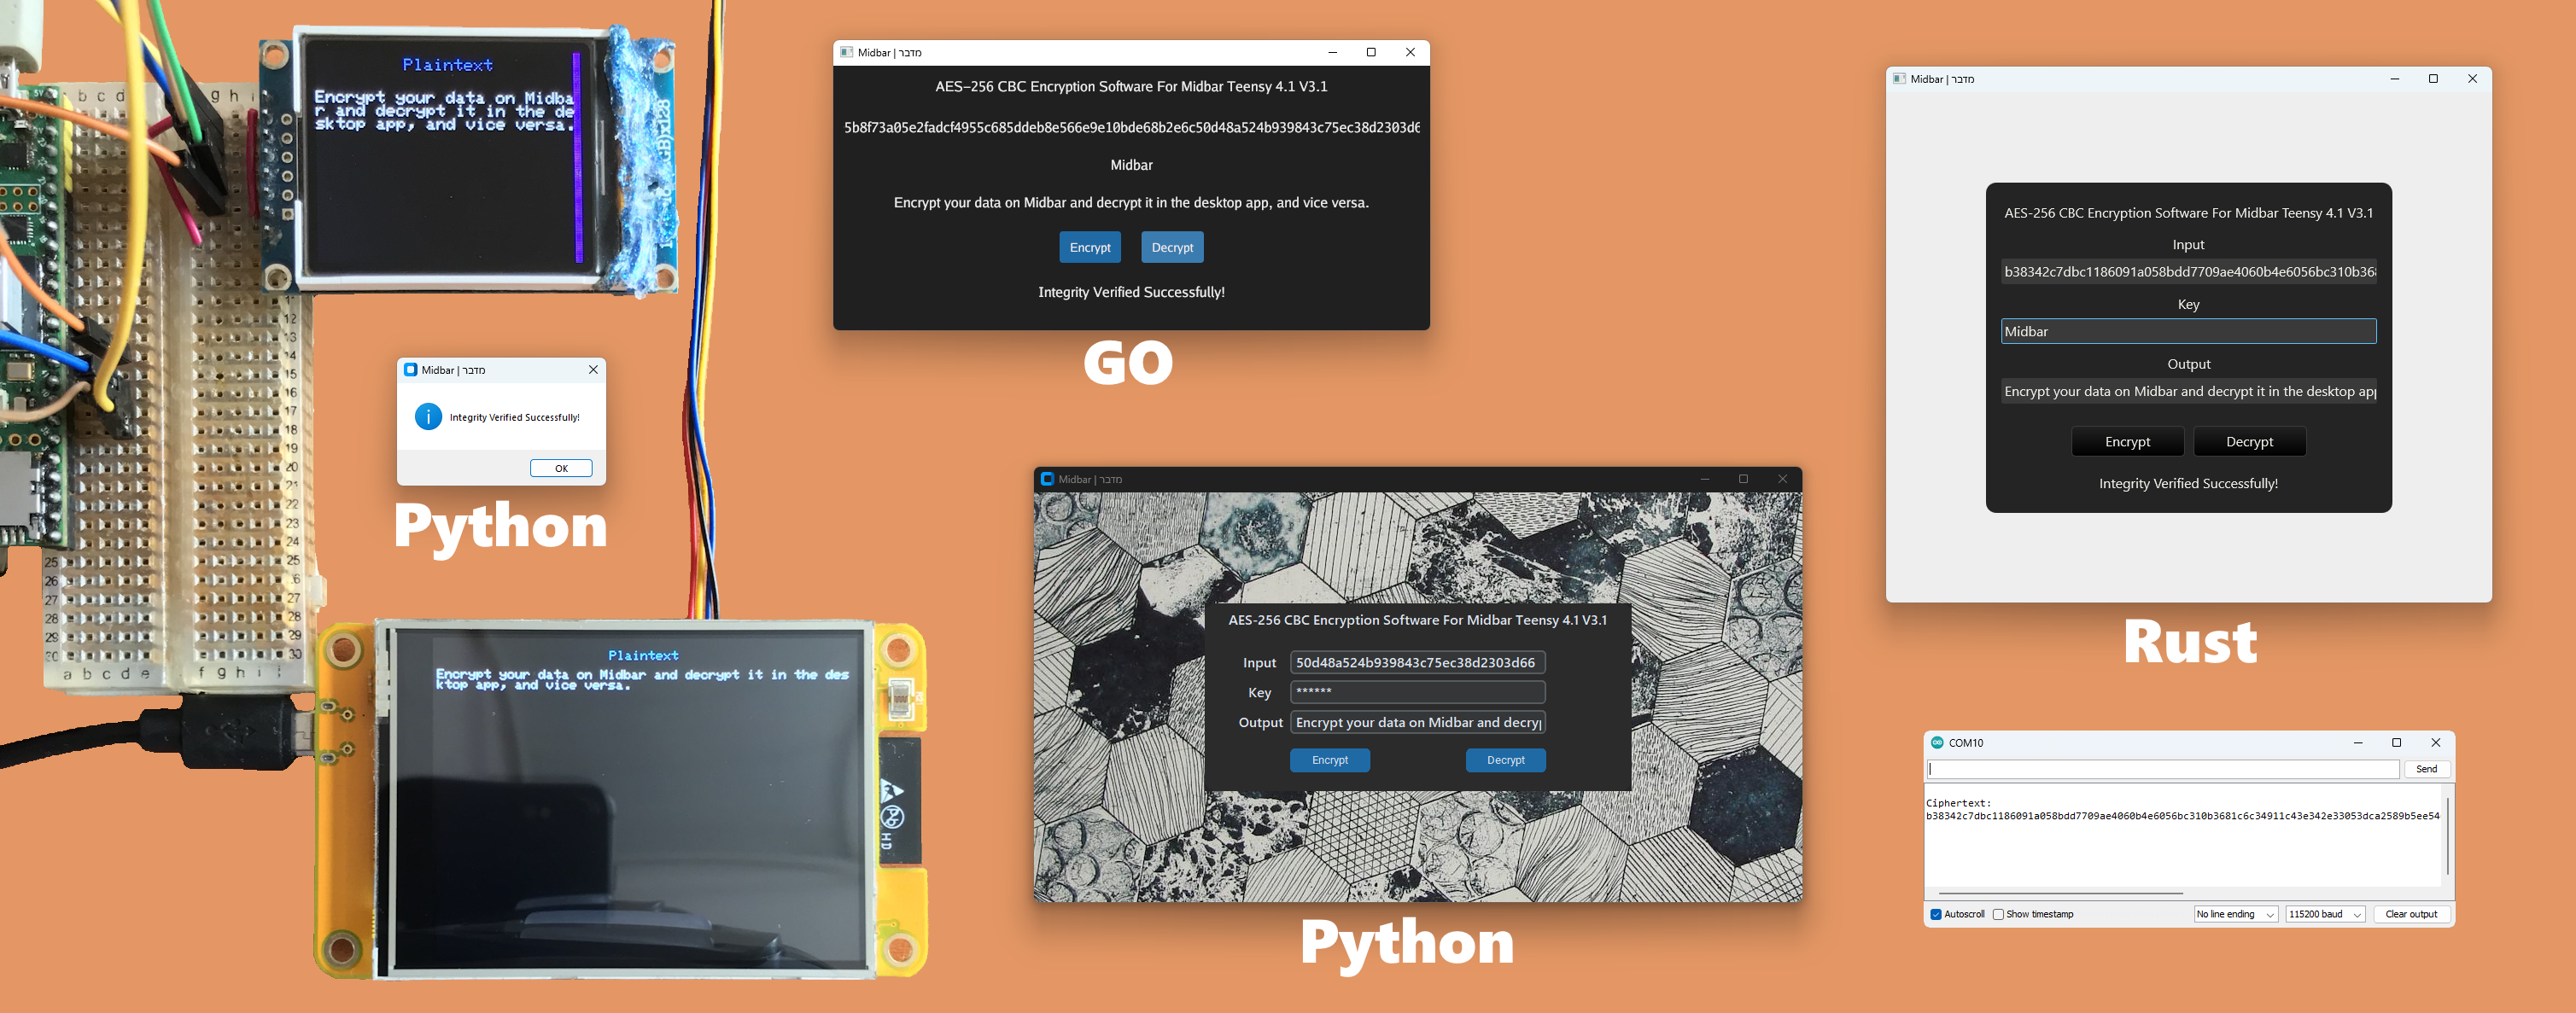
Encryption algorithms from the "Other Options" -> "Custom Key Encryption" menu enable you to encrypt your strings using the key that you manually enter at the time of encryption and later decrypt these strings on the Midbar (Teensy 4.1) V3.1 or any of the available desktop apps, and vice versa.
Enjoy the Result
Midbar is a functional and easy-to-use data vault that securely stores your valuable data in the ESP32's Flash memory and employs advanced cryptographic features, such as superencryption and HMAC-SHA256-based data integrity verification. Additionally, this version of Midbar costs like several cups of coffee, making its advanced capabilities remarkably affordable.
I think it's also worth mentioning that Midbar's source code is distributed under the MIT license. That grants you the freedom to customize, adapt, and modify Midbar according to your needs and preferences. In other words, you can create your own version of Midbar or use it as a starting point for building new projects without the need for external permission.