Microsoft Project Siena for Dummies
by tobiiias in Circuits > Software
1996 Views, 8 Favorites, 0 Comments
Microsoft Project Siena for Dummies

We're gonna create the "HelloWorld"
Adding Your First Button
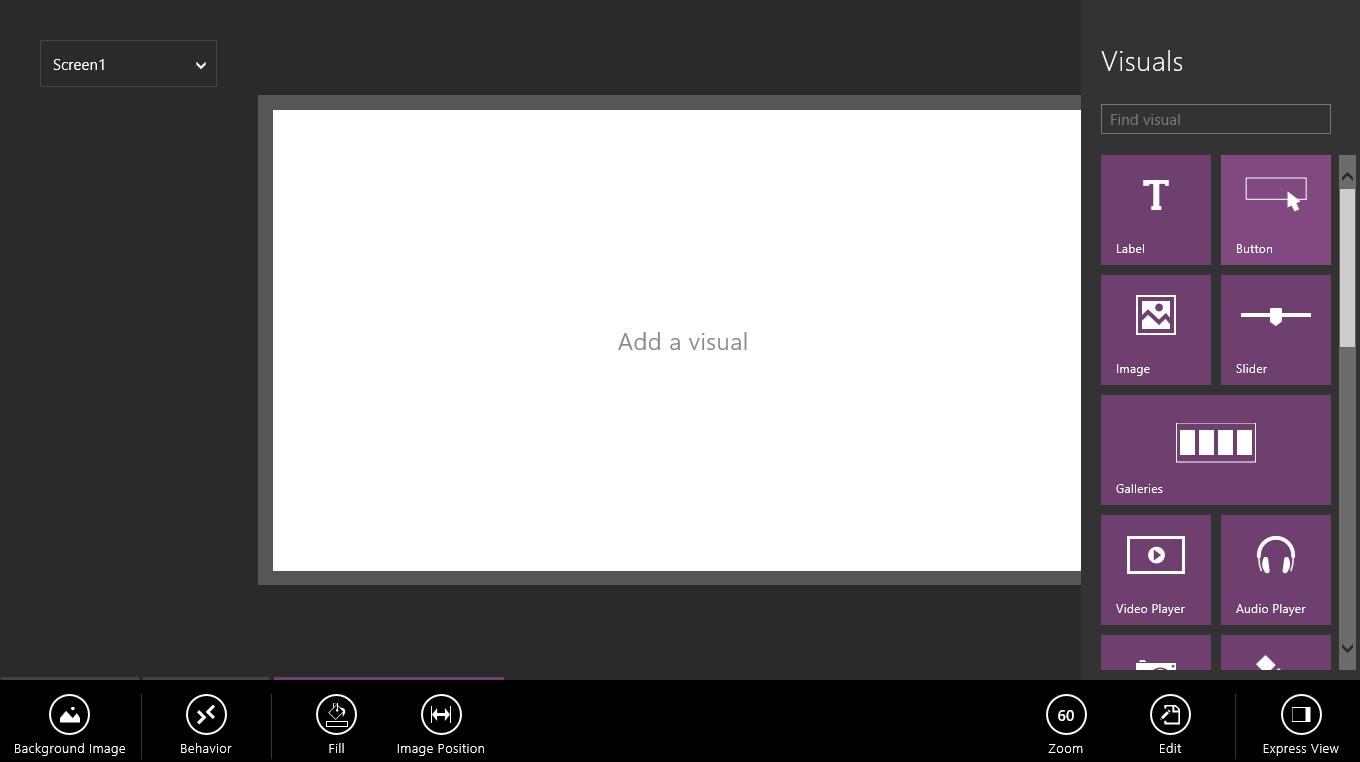
Click on the plus at the top right corner of the screen. Then press "Button"!
Screen 2
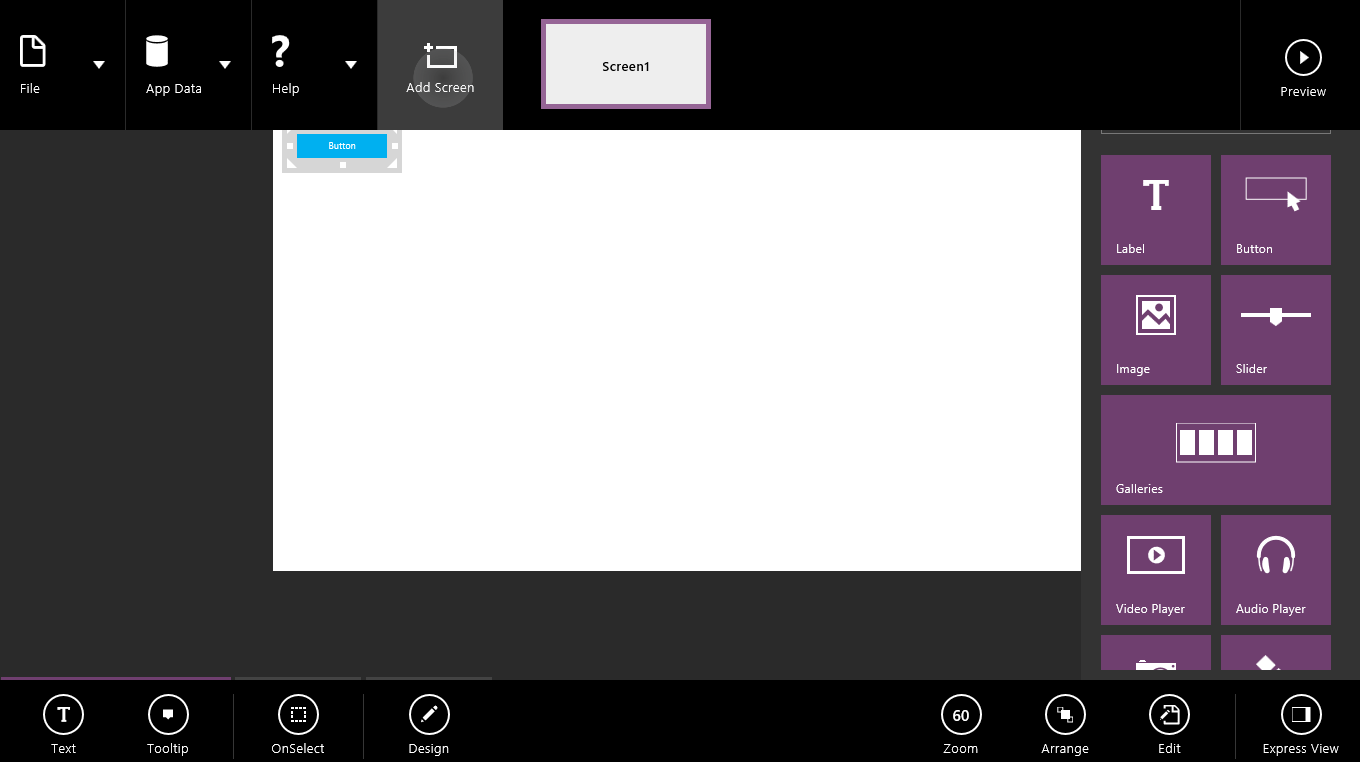
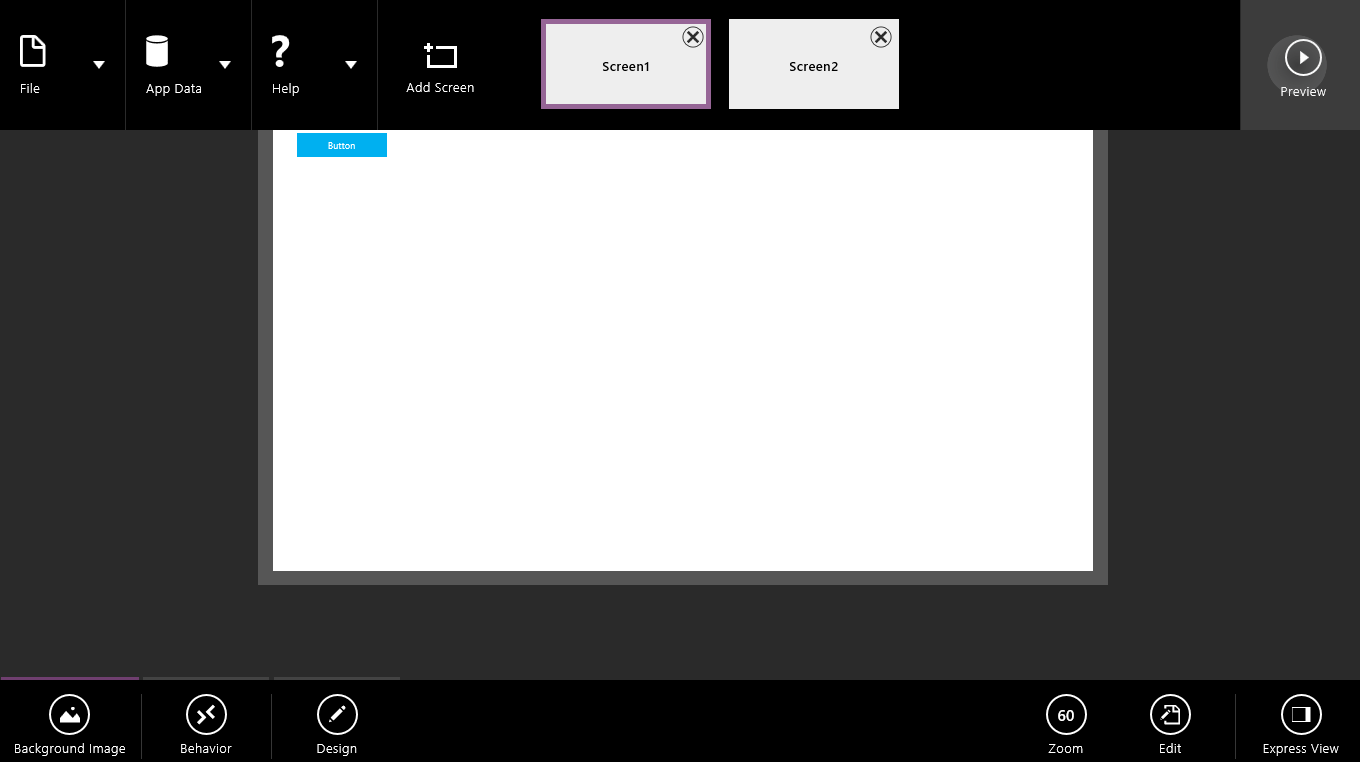
Now right click and press "Add screen"
Make the Button Work
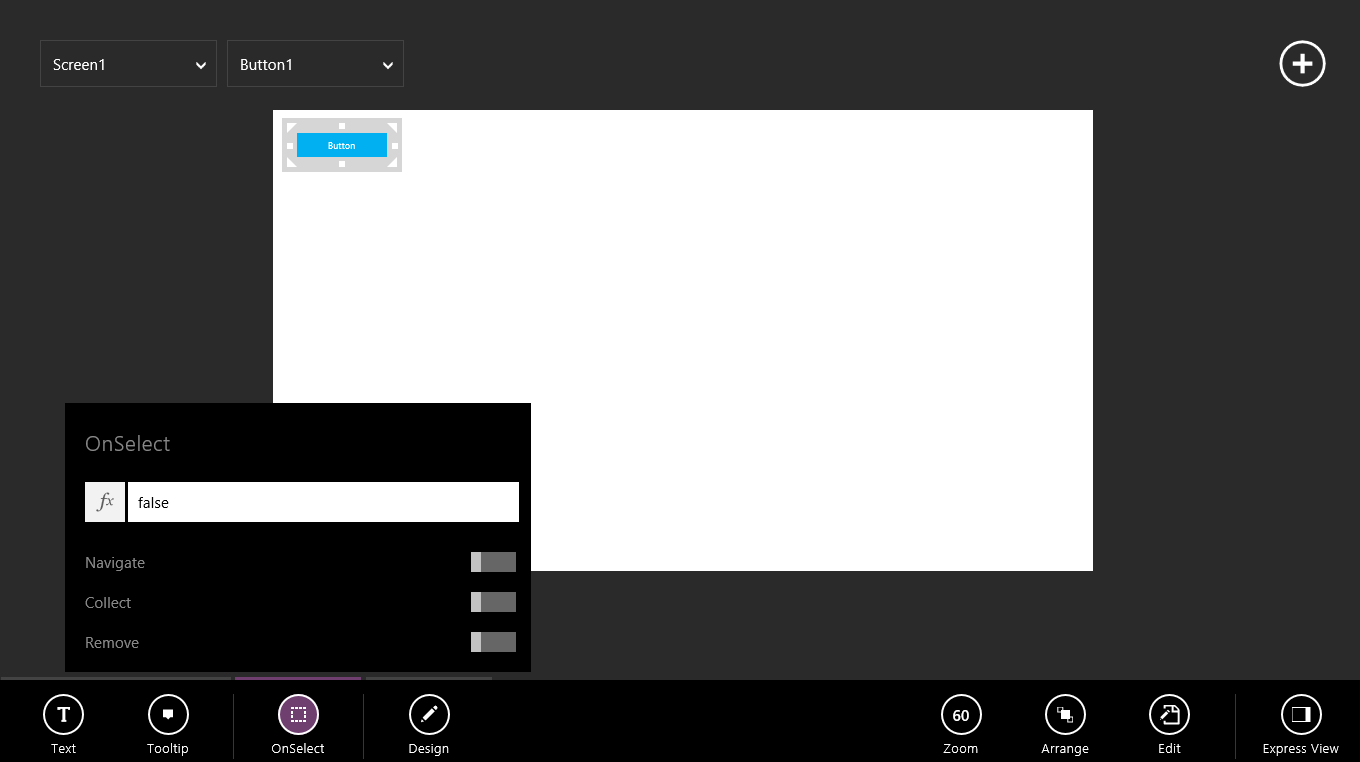
Go back to screen 1 and select the button then press "OnSelect"
Navigate
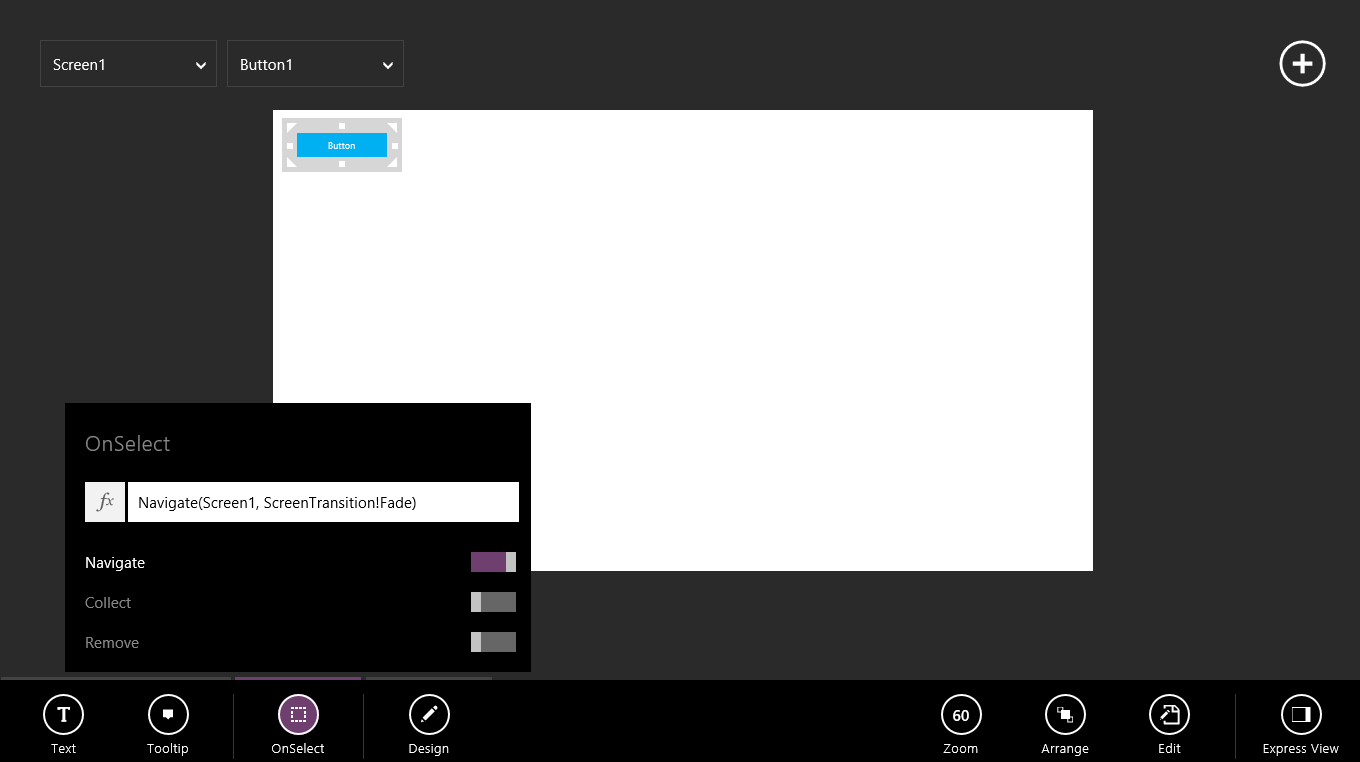
Now svipe navigate to the right and select "Screen 2"
"HelloWorld"
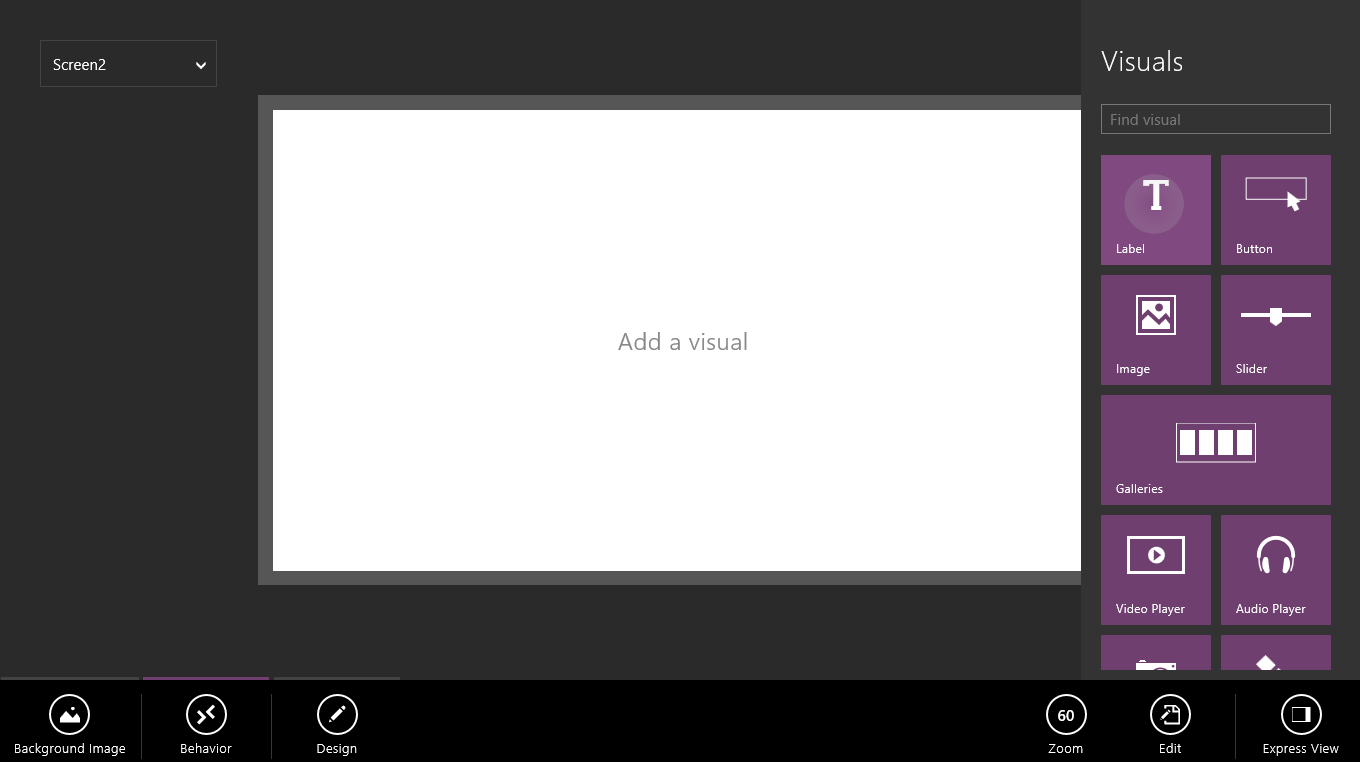
Go to Screen 2 and press the plus again. Now you have to select "Label".
"HelloWorld"
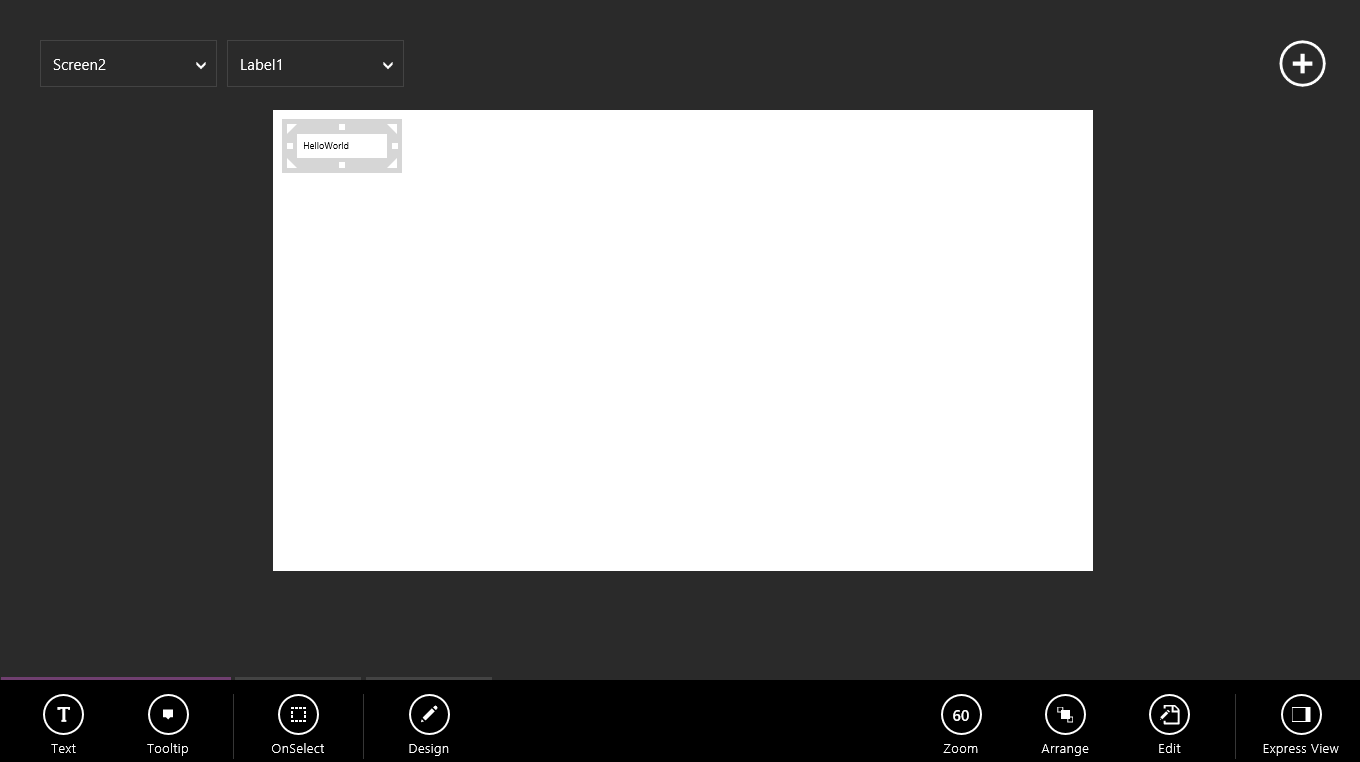
Double click on the label and change the text to HelloWorld!
The Magic Begins
Go to screen 1 watch the preview and press "Button"