Microsoft Paint: How to Cover an Element of a Picture ?
by apapa2 in Circuits > Microsoft
1509 Views, 1 Favorites, 0 Comments
Microsoft Paint: How to Cover an Element of a Picture ?
This instructable's aim is to describe a way to cover an element, in a picture, using Paint.
The illustrations show the interface of both:
- the Windows 10 version of Paint (the picture used as an example),
- the Windows 11 version (the interface used to demonstrate the instructions).
Supplies
- Microsoft Paint
Opening a Picture by Right-clicking on It
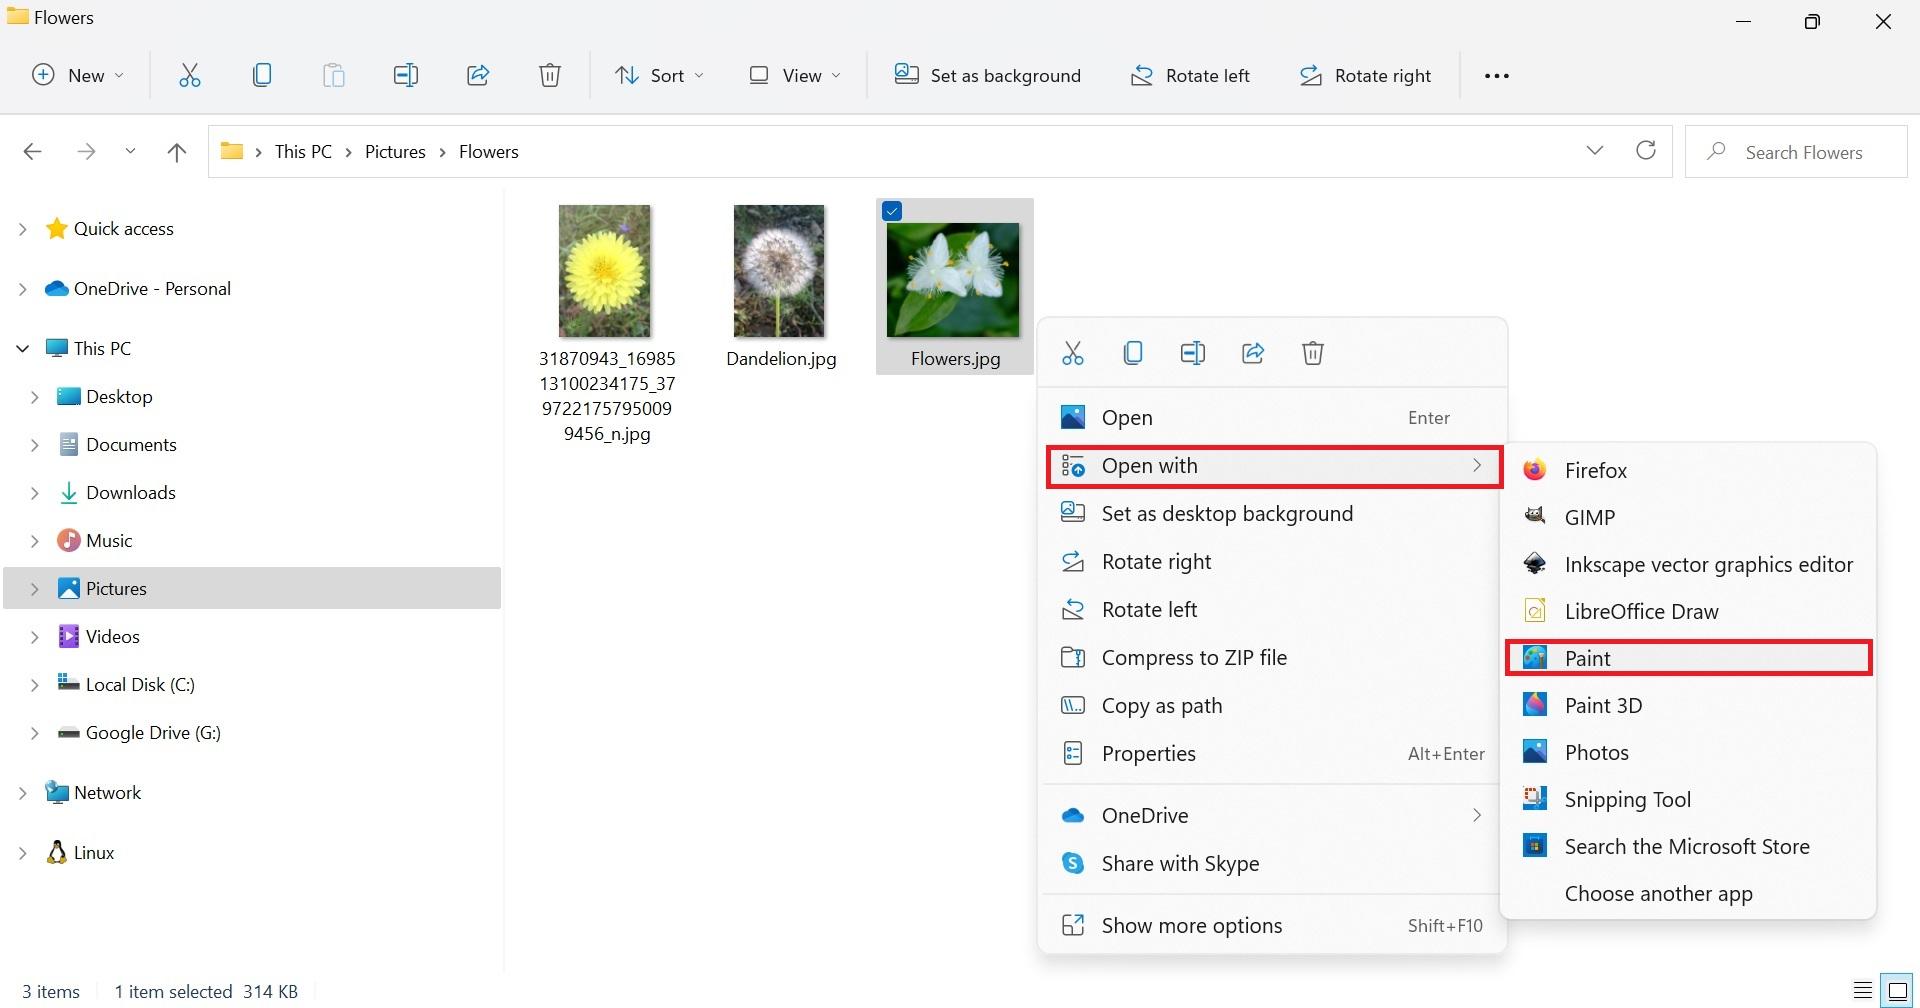
You can open a picture with Paint by right-clicking on it,
then by choosing "Open with",
then "Paint".
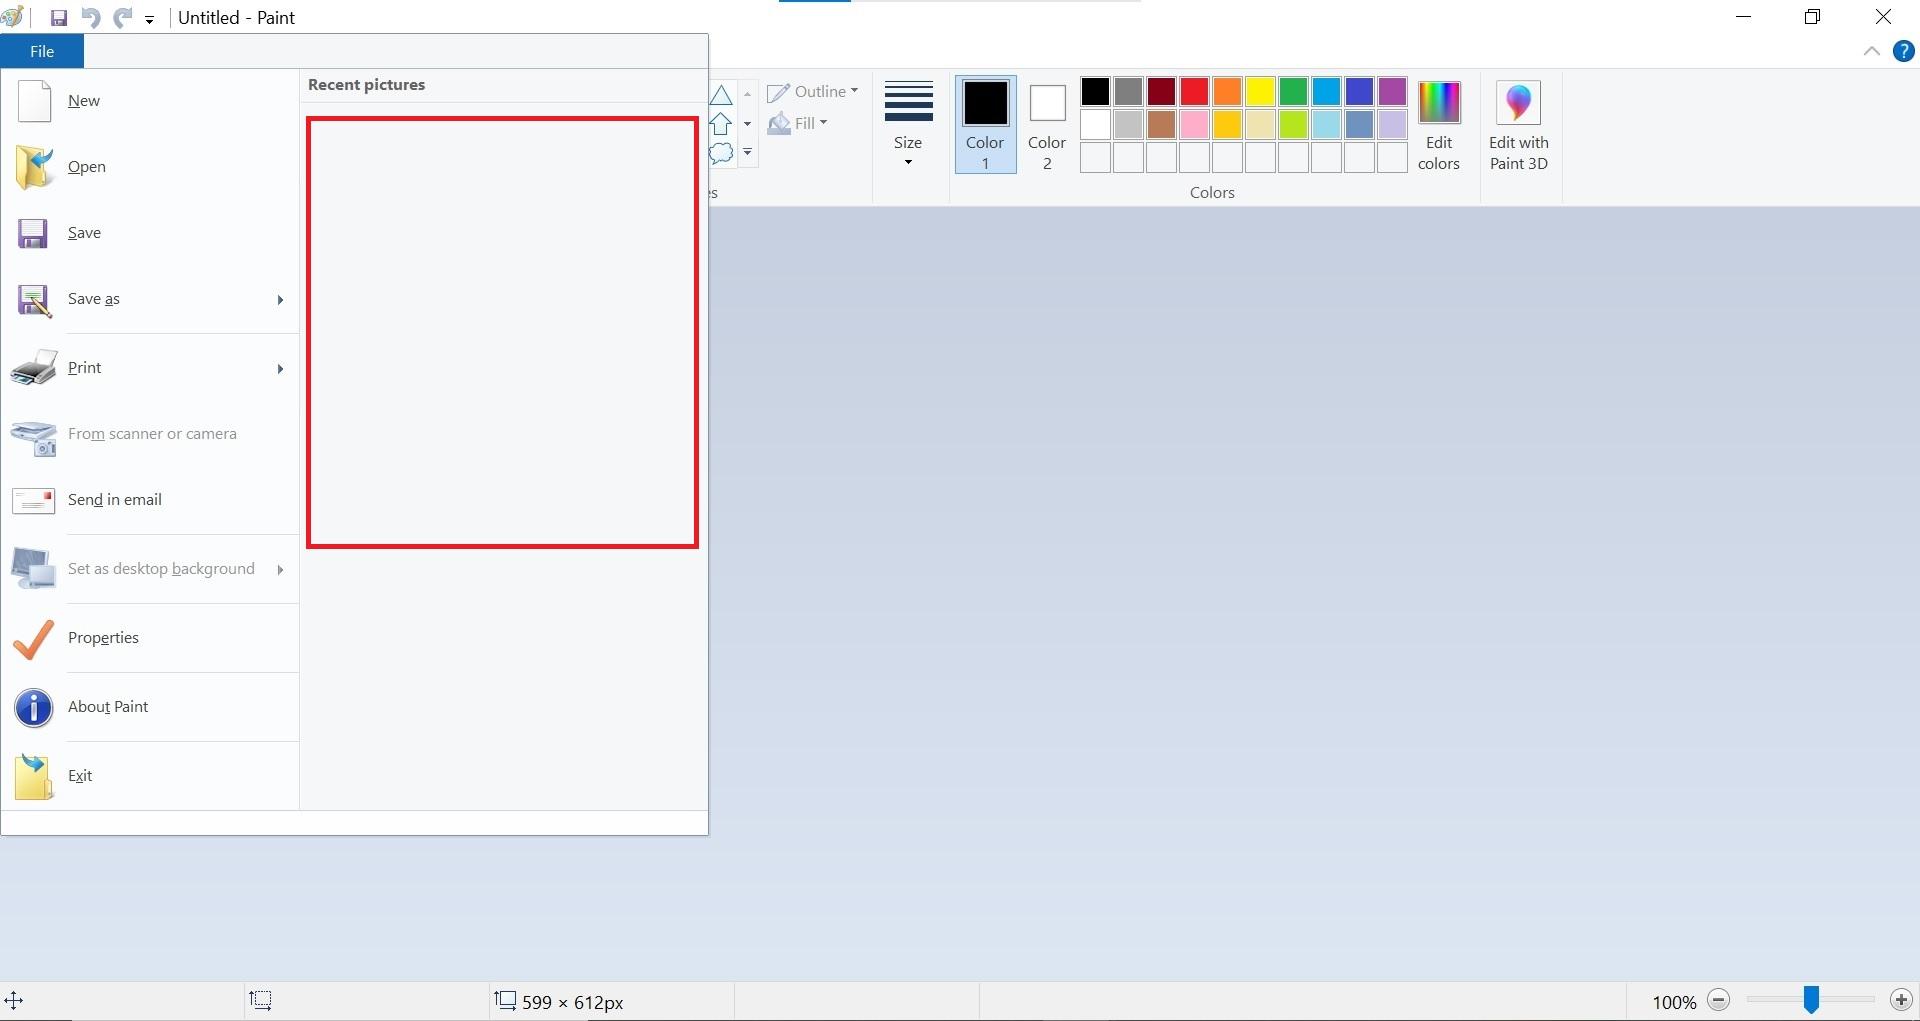
Color Picking
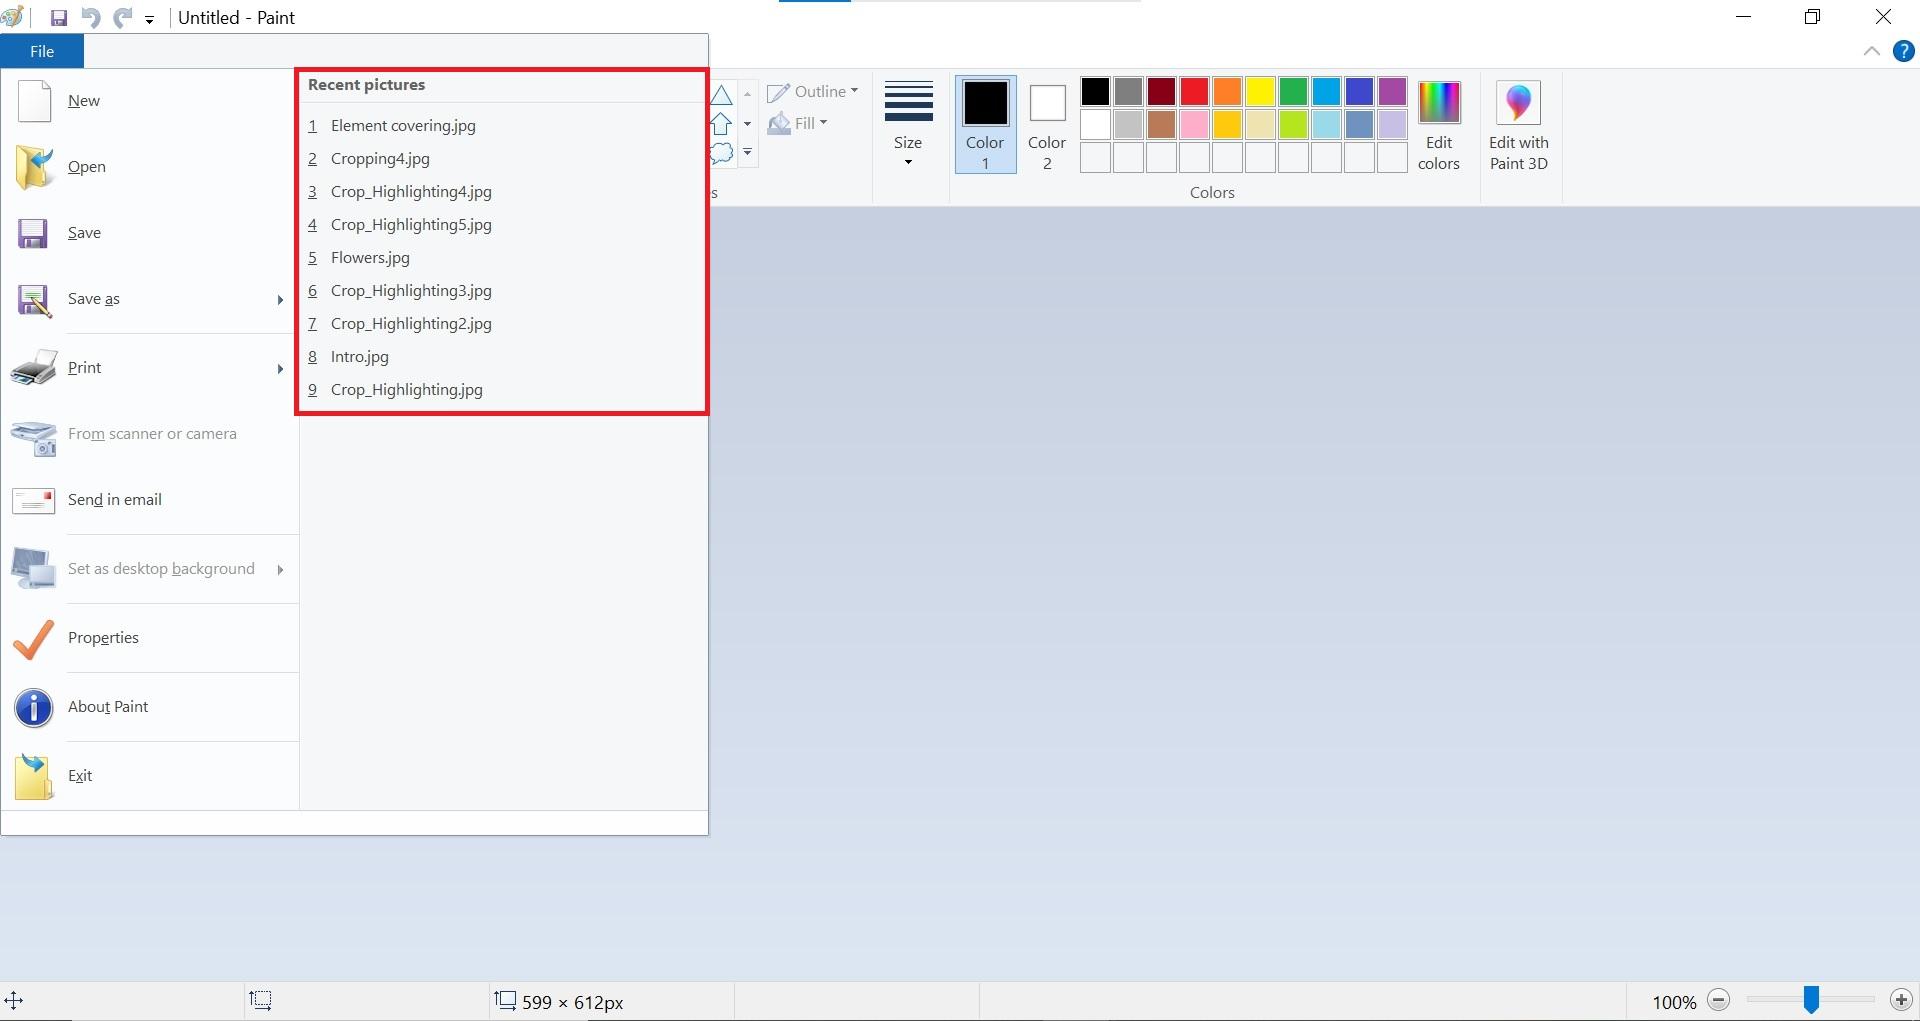


In this example, the intent is to erase the filenames highlighted in the picture.
To do so, the idea is to cover them with a rectangle
whose color is the same gray as the one surrounding the filenames.
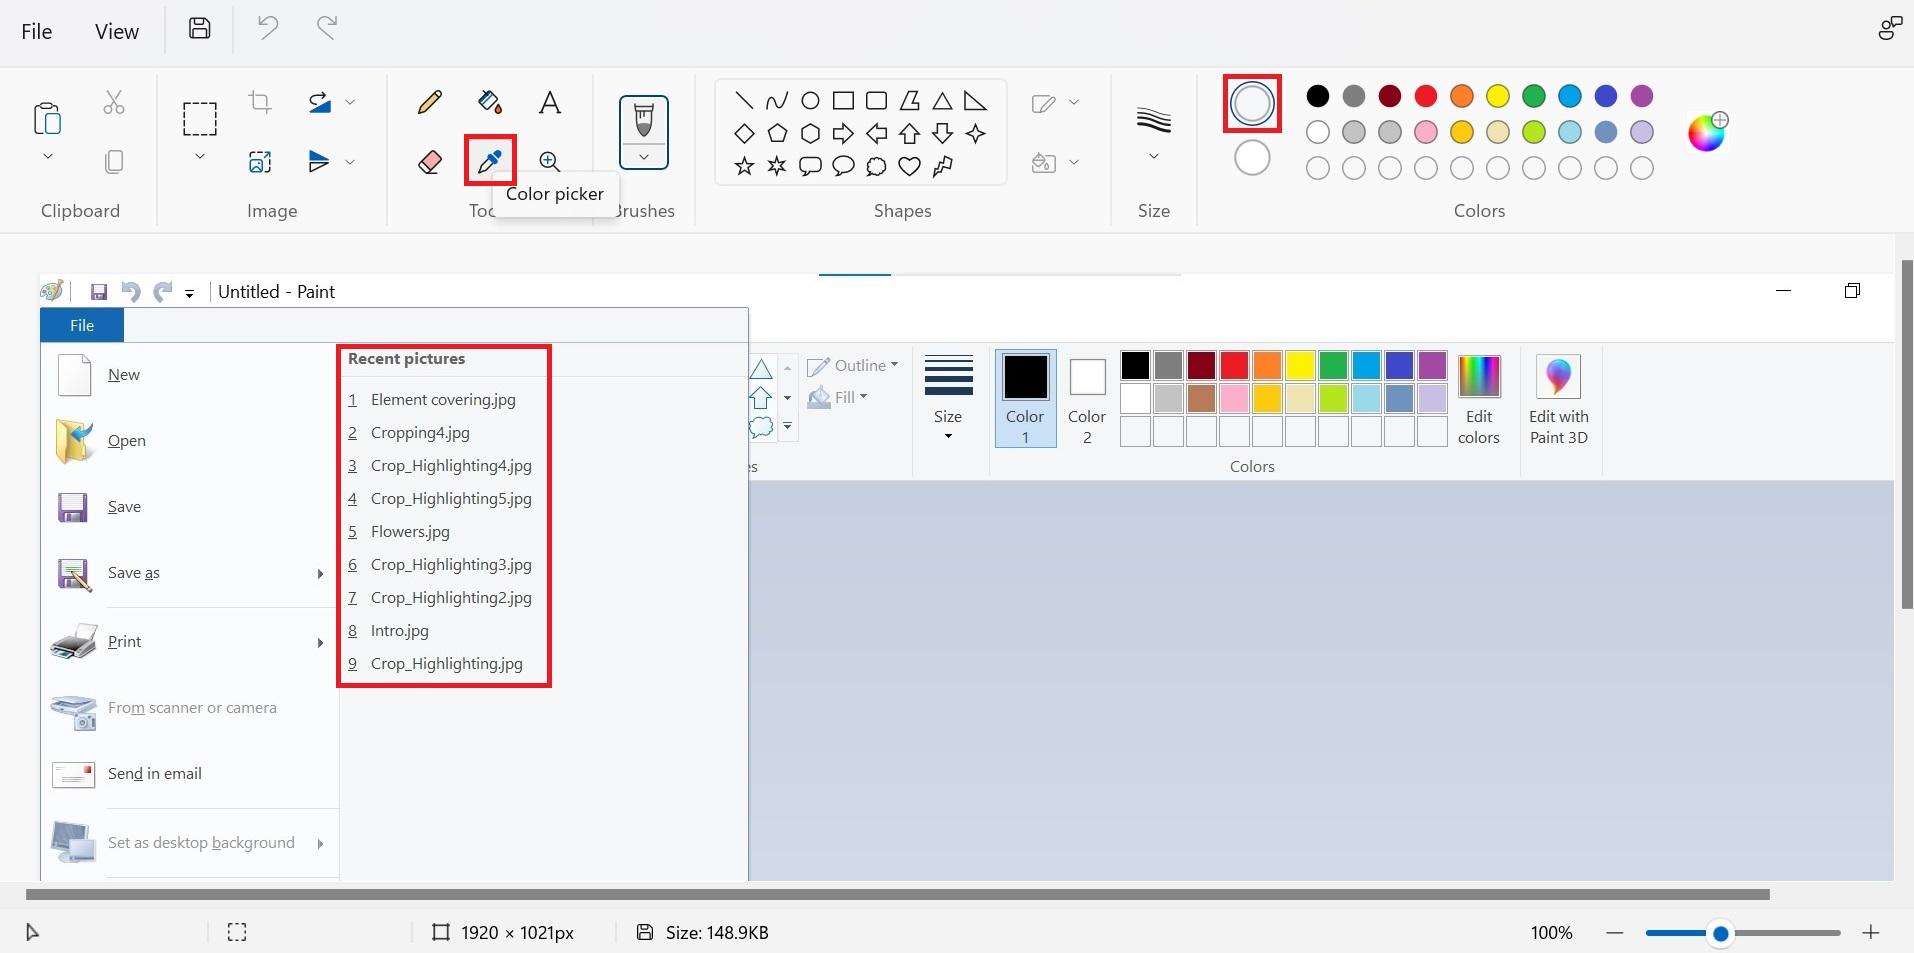
To use the right shade of gray, the color picker tool is used.
When done, we have the right color for the border of the rectangle,
but not yet for filling the inside of the rectangle.
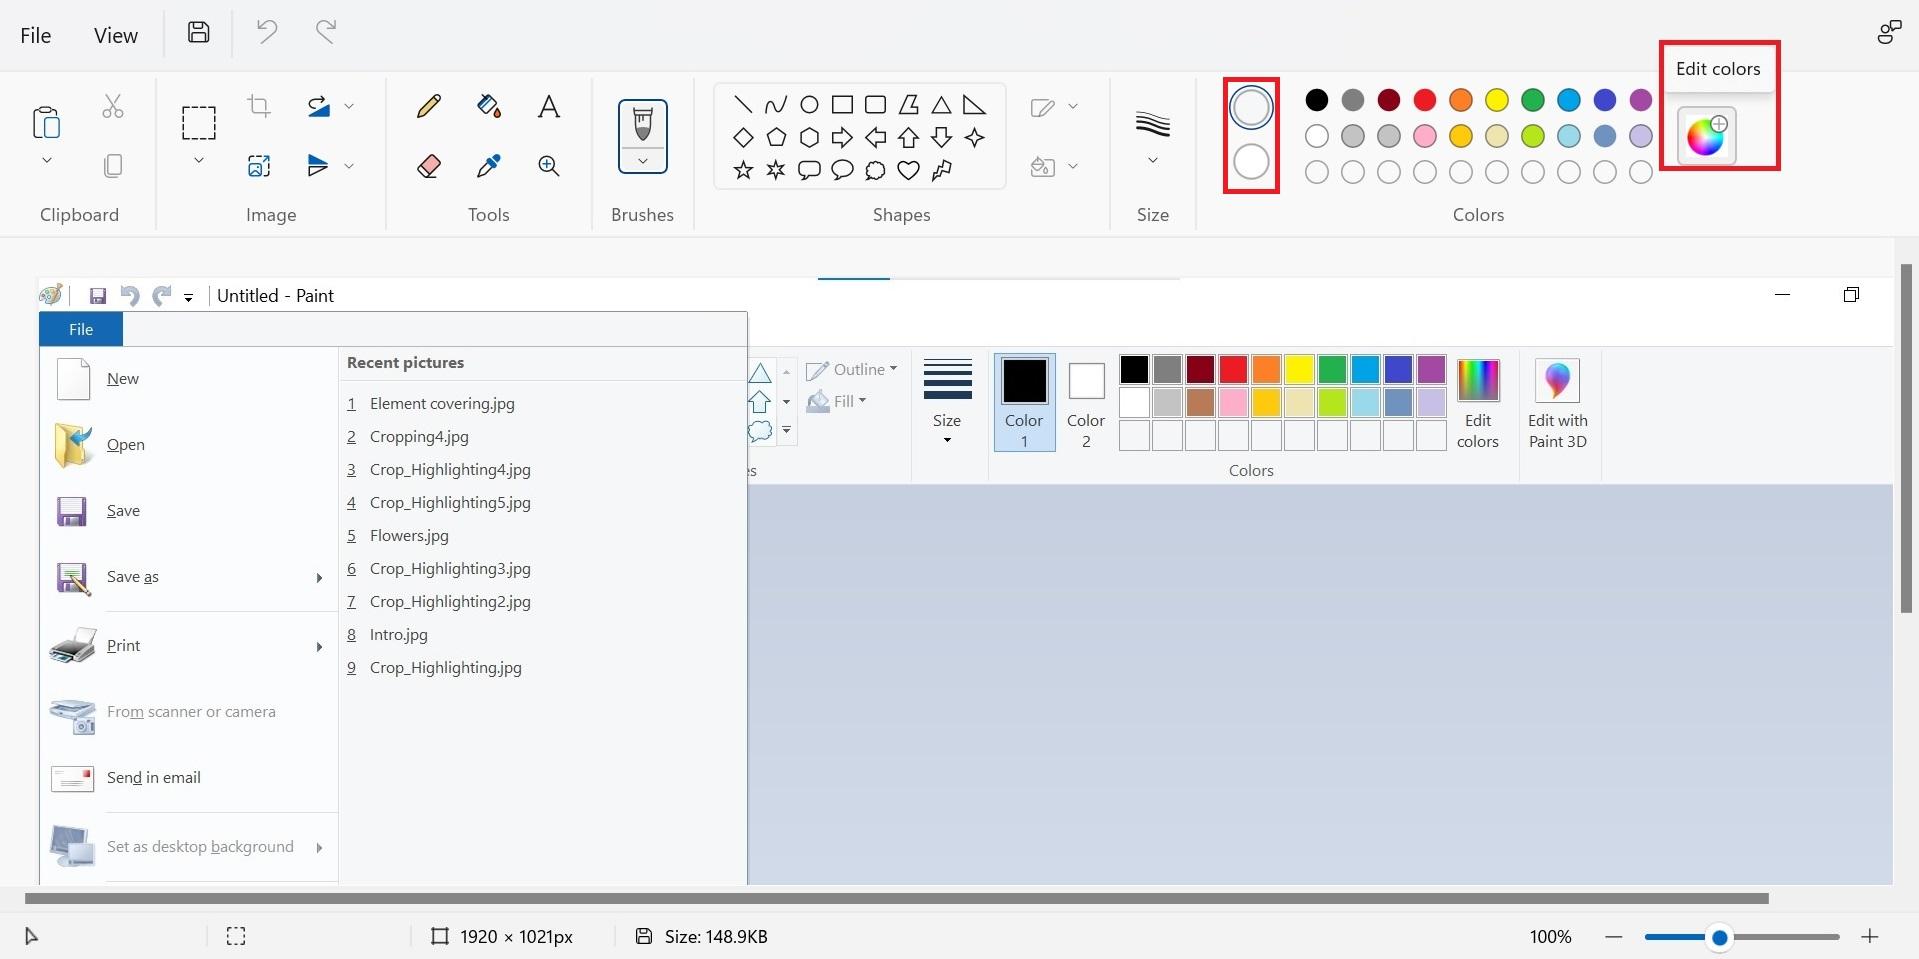
To do so, we need to add the picked up color to the custom colors.
The steps are:
- Click on "Edit colors", at the right of the menu.
- Click on "Add to Custom Colors".
The picked color is then added to the first square of custom colors,
and added to the third row of the palette.
Now, the picked color can be used to fill in the rectangle.
Covering the Recent Files Names With a Rectangle
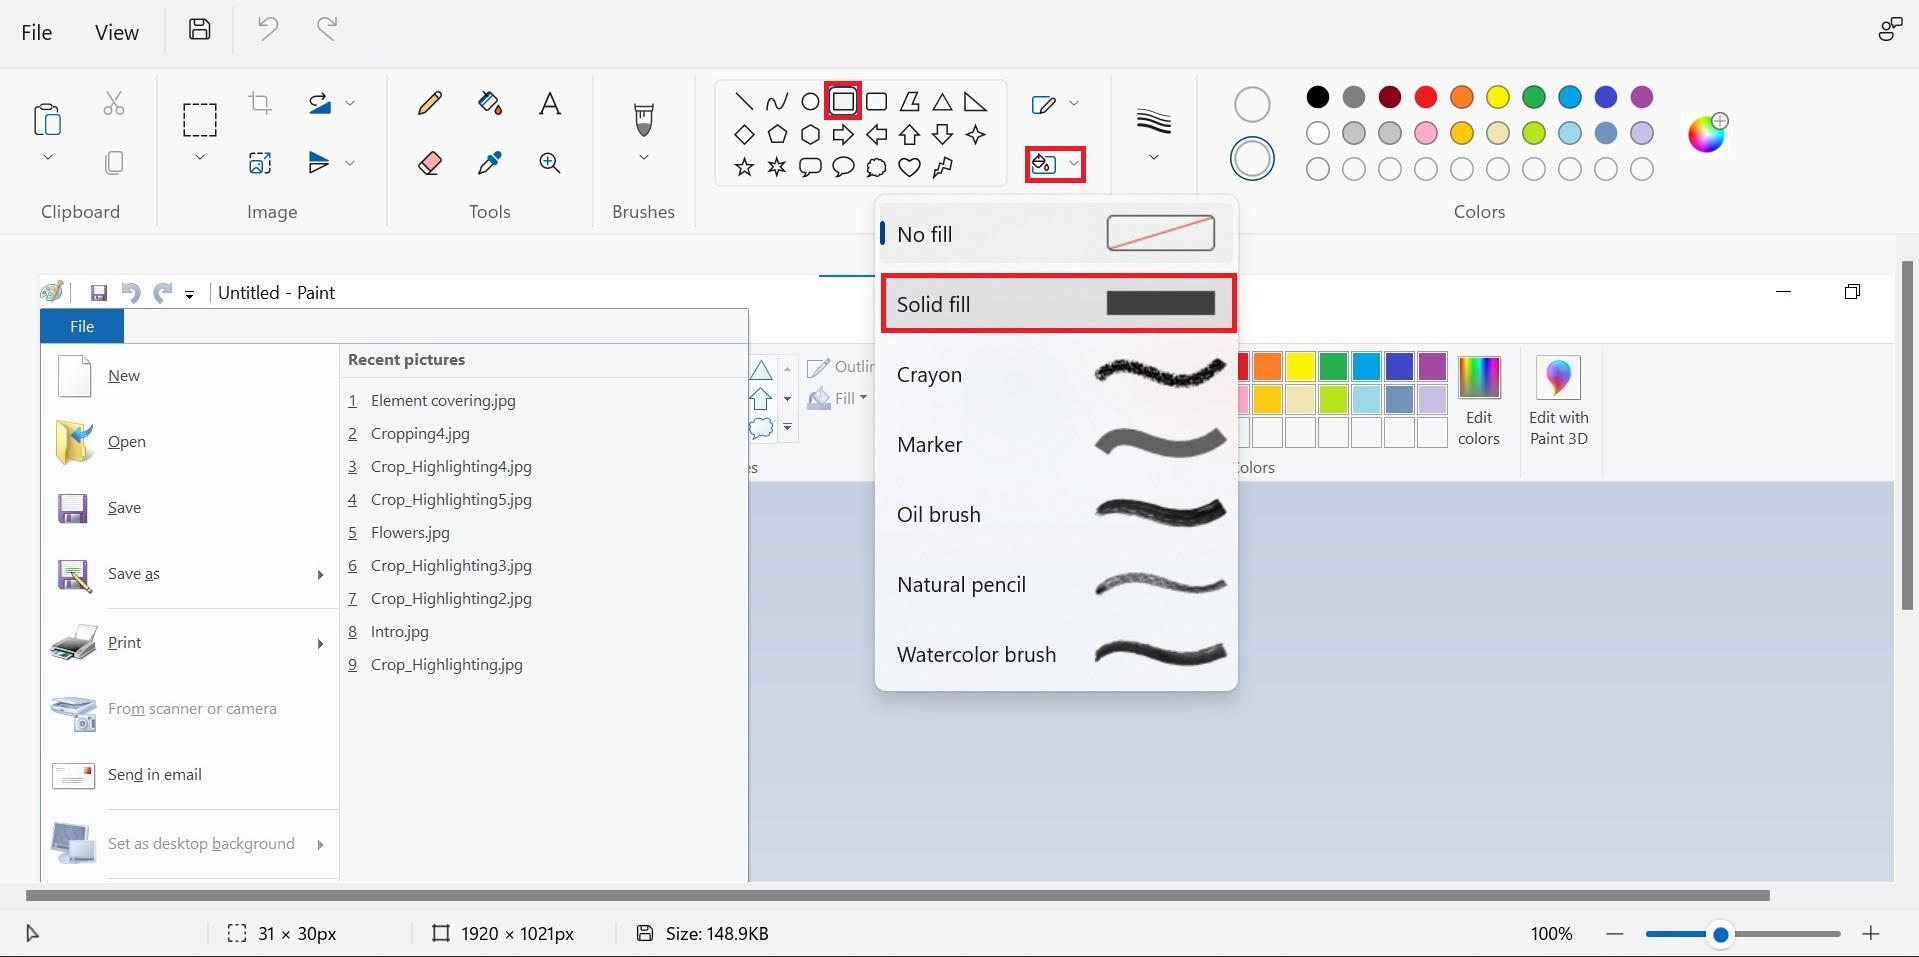
First, Make sure to choose "Solid fill" as the fill setting.
Then, click on the rectangle shape.
The rectangle you can now create should be able to cover the filenames seamlessly.