Microcontroller-based Digital Photo Frame
by Northstrix in Circuits > Raspberry Pi
1761 Views, 28 Favorites, 0 Comments
Microcontroller-based Digital Photo Frame
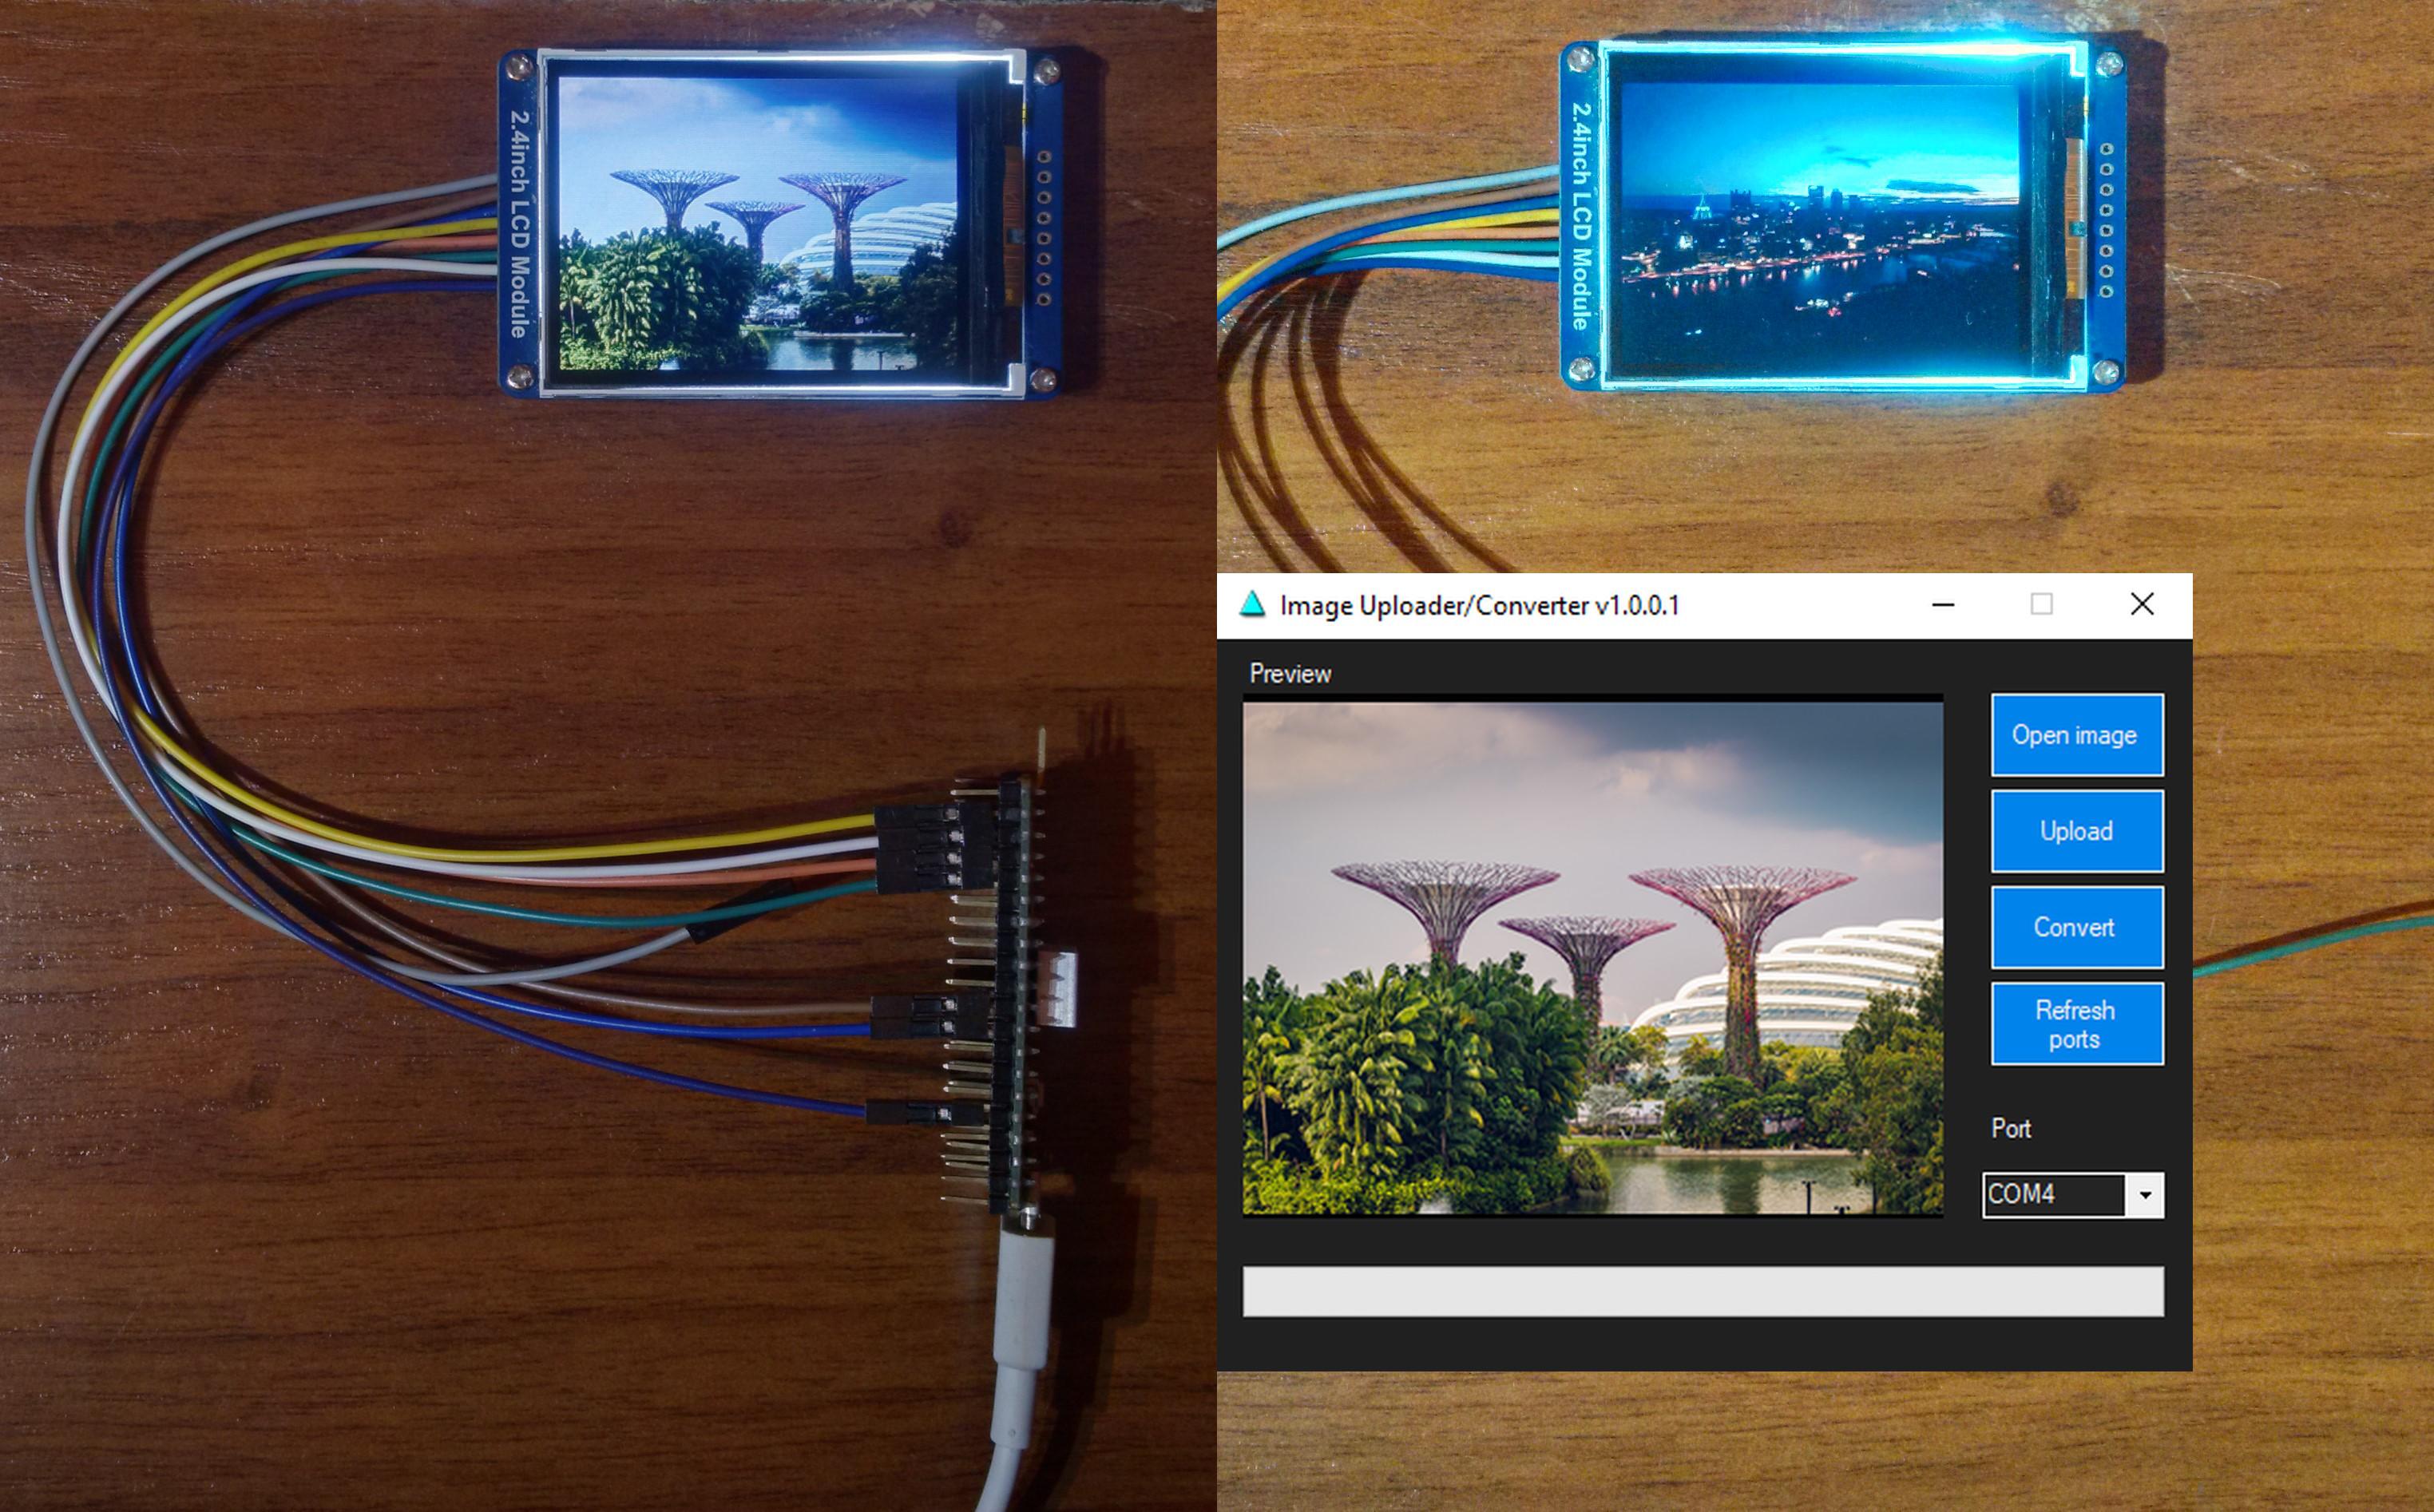
In this tutorial, I will show you how to build a digital photo frame on which you can then (almost) effortlessly display photos from your computer.
*More advanced and wireless version of digital photo frame can be found at https://www.instructables.com/DIY-Electronic-Shelf-Label-Management-System/
Supplies
- Raspberry Pi Pico/Compatible Microcontroller x1
- 2.4 Inch TFT LCD with ILI9341 x1
Prepare the Arduino IDE *Optional
If you've never flashed the Raspberry Pi Pico before you'll need to install and configure the Arduino IDE first.
Configuring IDE isn't a part of this tutorial, you can read about it here:
https://www.tomshardware.com/how-to/program-raspberry-pi-pico-with-arduino-ide
Download and Unpack the Archive With Code
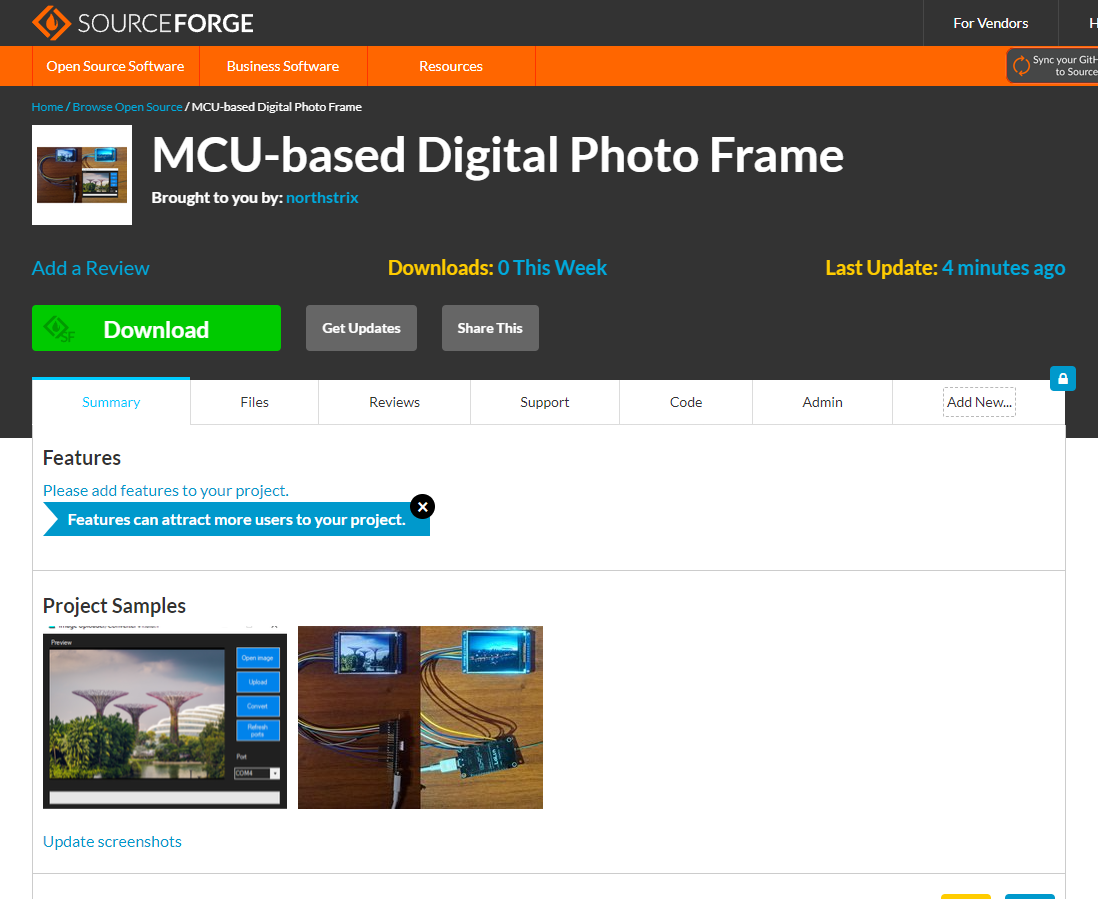
Download the archive with the microcontroller firmware and the Image Uploader/Converter software from SourceForge.
Here's the link for you: https://sourceforge.net/projects/mcu-based-digital-photo-frame/
Unpack the content of archive to any folder of your choosing after downloading it.
Install Required Libraries
Adafruit_ILI9341: https://github.com/adafruit/Adafruit_ILI9341
Adafruit-GFX-Library: https://github.com/adafruit/Adafruit-GFX-Library
Adafruit_BusIO: https://github.com/adafruit/Adafruit_BusIO
The process of unpacking libraries is typical. You can unpack the content of the archive into the folder: ...\Arduino\libraries. Or open the Arduino IDE, click to the Sketch -> Include Library -> Add .ZIP Library... and select every archive with libraries.
Other required libraries are already present in one way or another.
Flash the Microcontroller
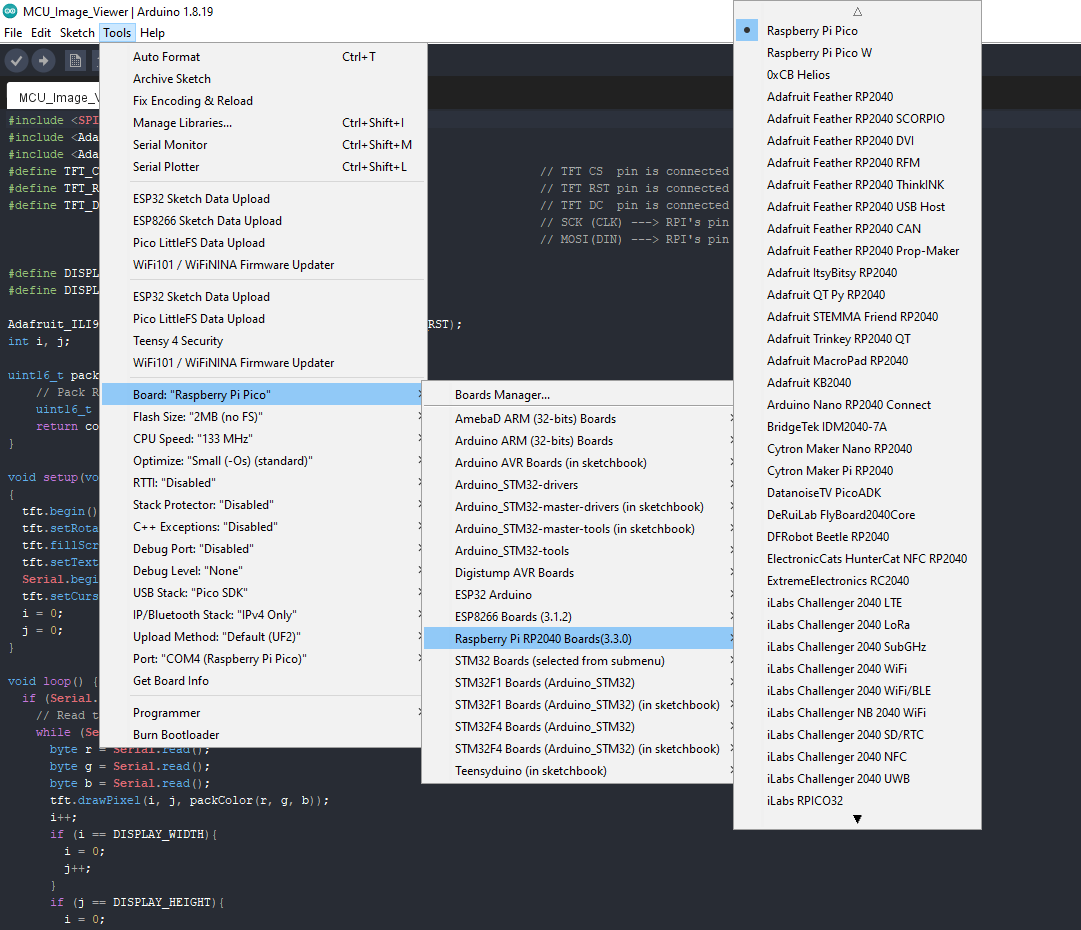
Upload the firmware from the "MCU_Image_Viewer" folder to the Raspberry Pi Pico.
Assemble the Circuit
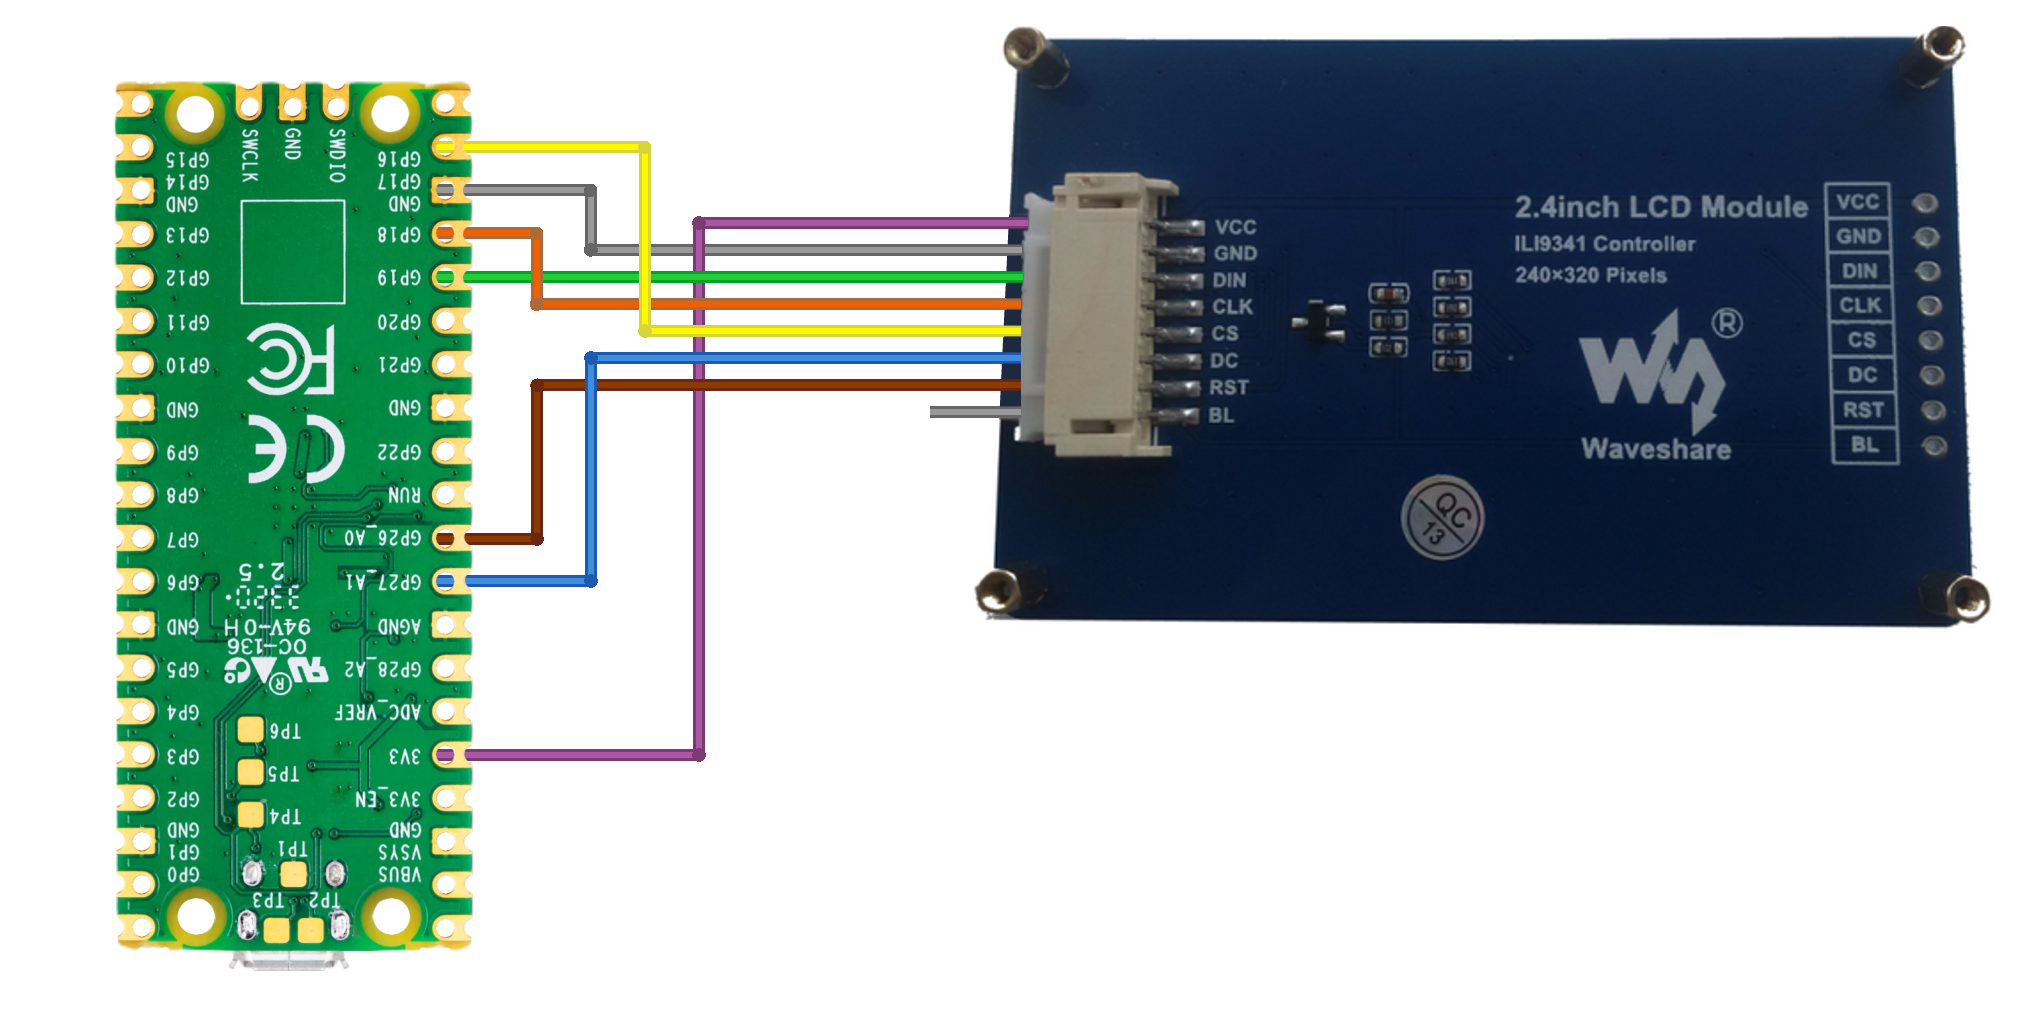
Simply connect the display with 2.4 Inch TFT LCD with ILI9341 to the Raspberry Pi Pico.
When it comes to the LCD's "BL" pin, different versions of the display have different requirements on what to do with it. Some versions specify that it must be connected to the +3.3V, some require it to be grounded, and others allow you to leave it unconnected.
Connect the Assembled Device to the USB Port of Your Computer
After uploading the firmware to the microcontroller and assembling the circuit, connect the device to the computer's USB port.
Launch the Image Uploader/Converter
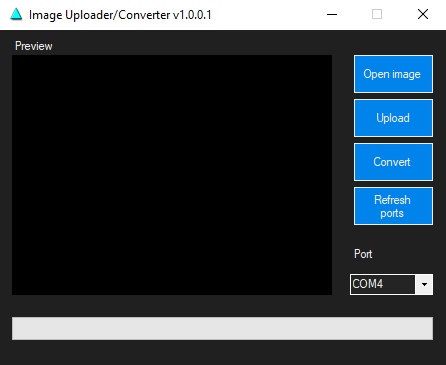
Launch the "ImageUploaderConverter.exe" file from the "Software_for_PC" folder.
Note that in order for this software to work you need to have .NET Framework 4.8 installed. You can get it from
https://dotnet.microsoft.com/en-us/download/visual-studio-sdks?cid=getdotnetsdk
Select the Image You Want to Display
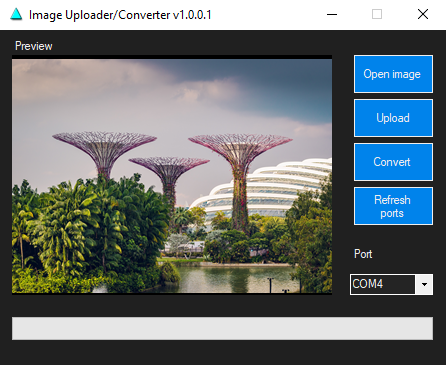
After launching the program, click the "Open image" button. In the pop-up window: navigate to the image you'd like to display; select it; and press the "Open" button.
If you need to, you can adjust the image by zooming it in and out.
When you're done adjusting the Image, click the "Upload" button to begin transferring the image to the microcontroller-based digital photo frame.
Wait Until the Images Fills the Display
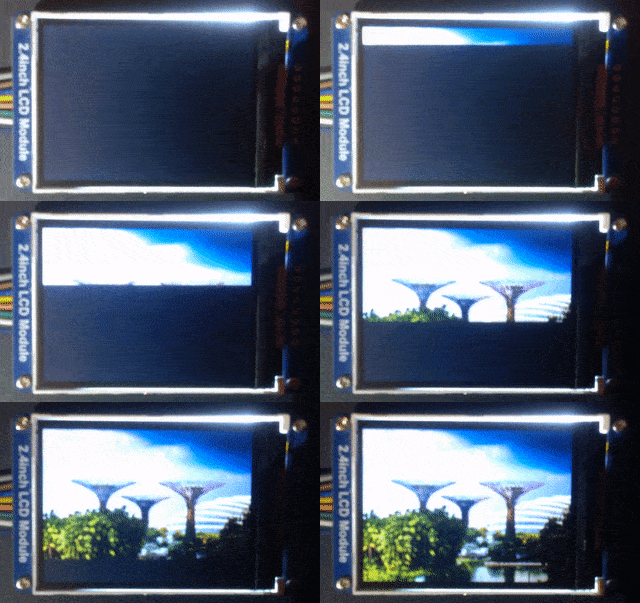
Wait until the display with ILI9341 connected to the microcontroller is filled with the chosen image.
The GIF demonstrated in this step is sped up 4 times.
Enjoy the Result
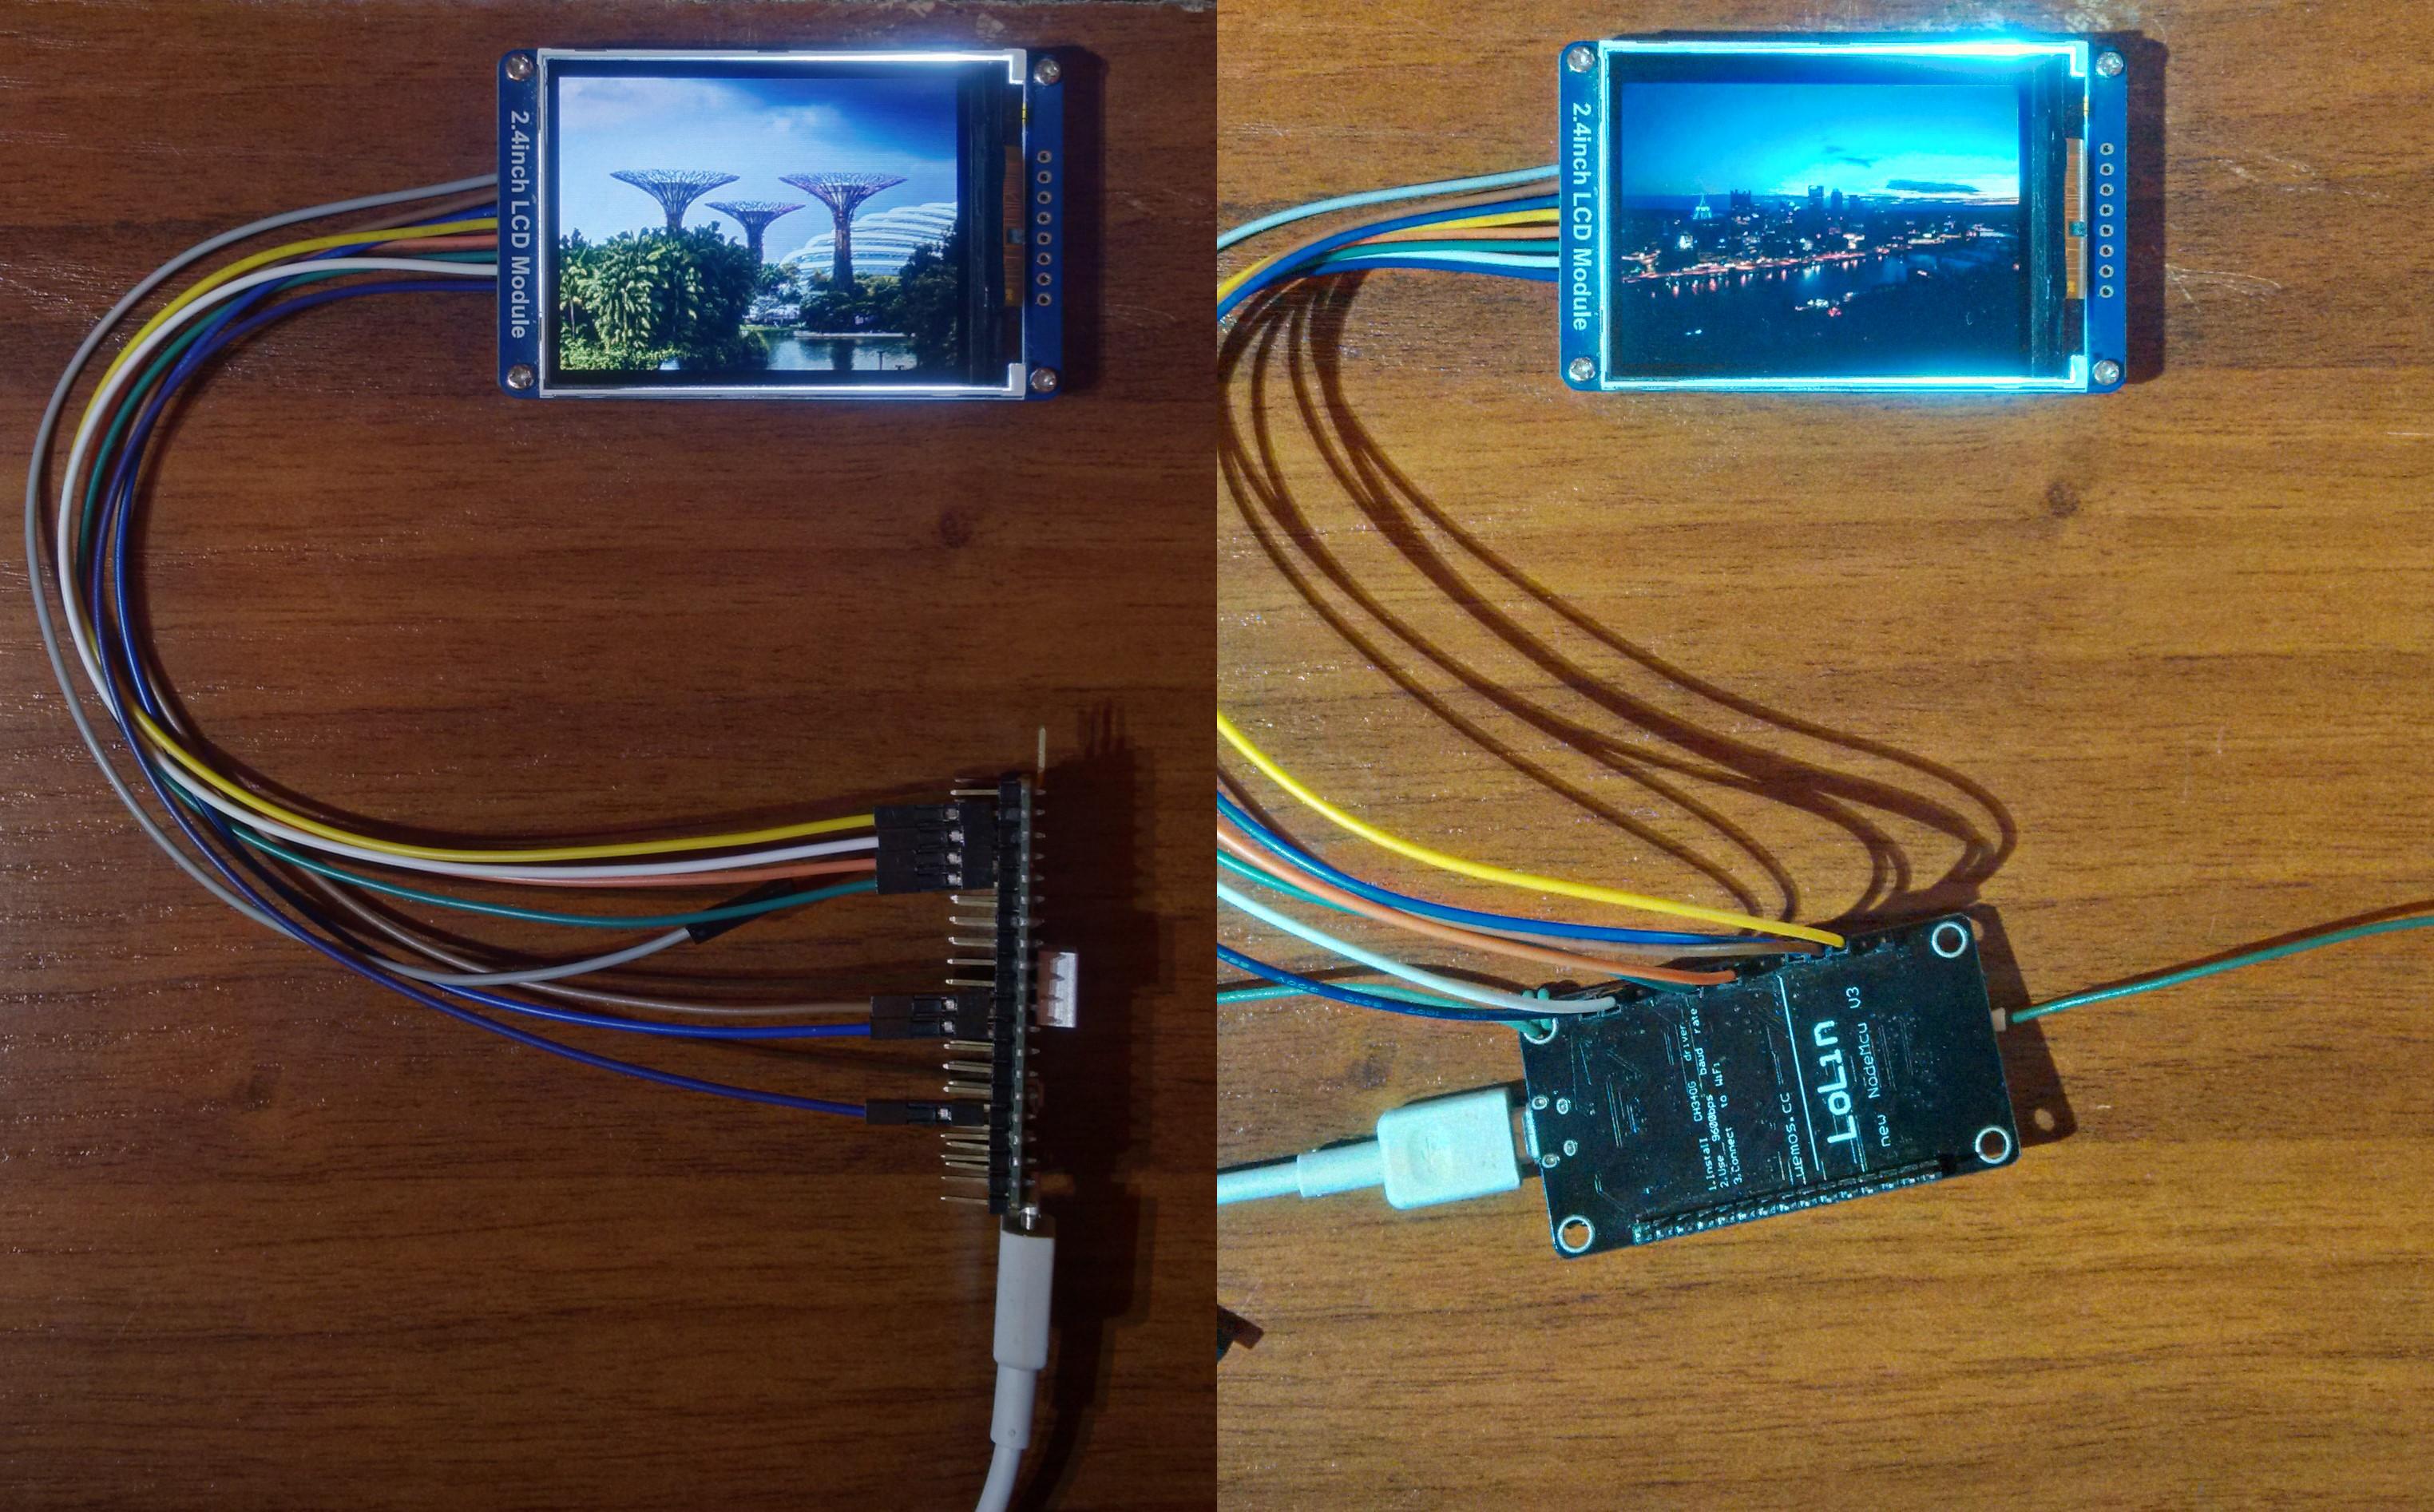
Well, that's basically it for a 15-minute DIY tutorial. I hope you find it useful.
And if you make your own Microcontroller-based Digital Photo Frame, please press the "I Made It!" button and share a couple of photos of it.
Credit for Software:
The Image Uploader/Converter software is based on Zak Kemble's LCD Image Uploader v1.0.0.0 from https://blog.zakkemble.net/lcd-image-viewer/
Credit for photos:
Photo by drew hugland on Unsplash
Photo by Daniel Welsh on Unsplash