Micro:bits Lights for Beginners
by tylerjean in Circuits > Microcontrollers
457 Views, 1 Favorites, 0 Comments
Micro:bits Lights for Beginners
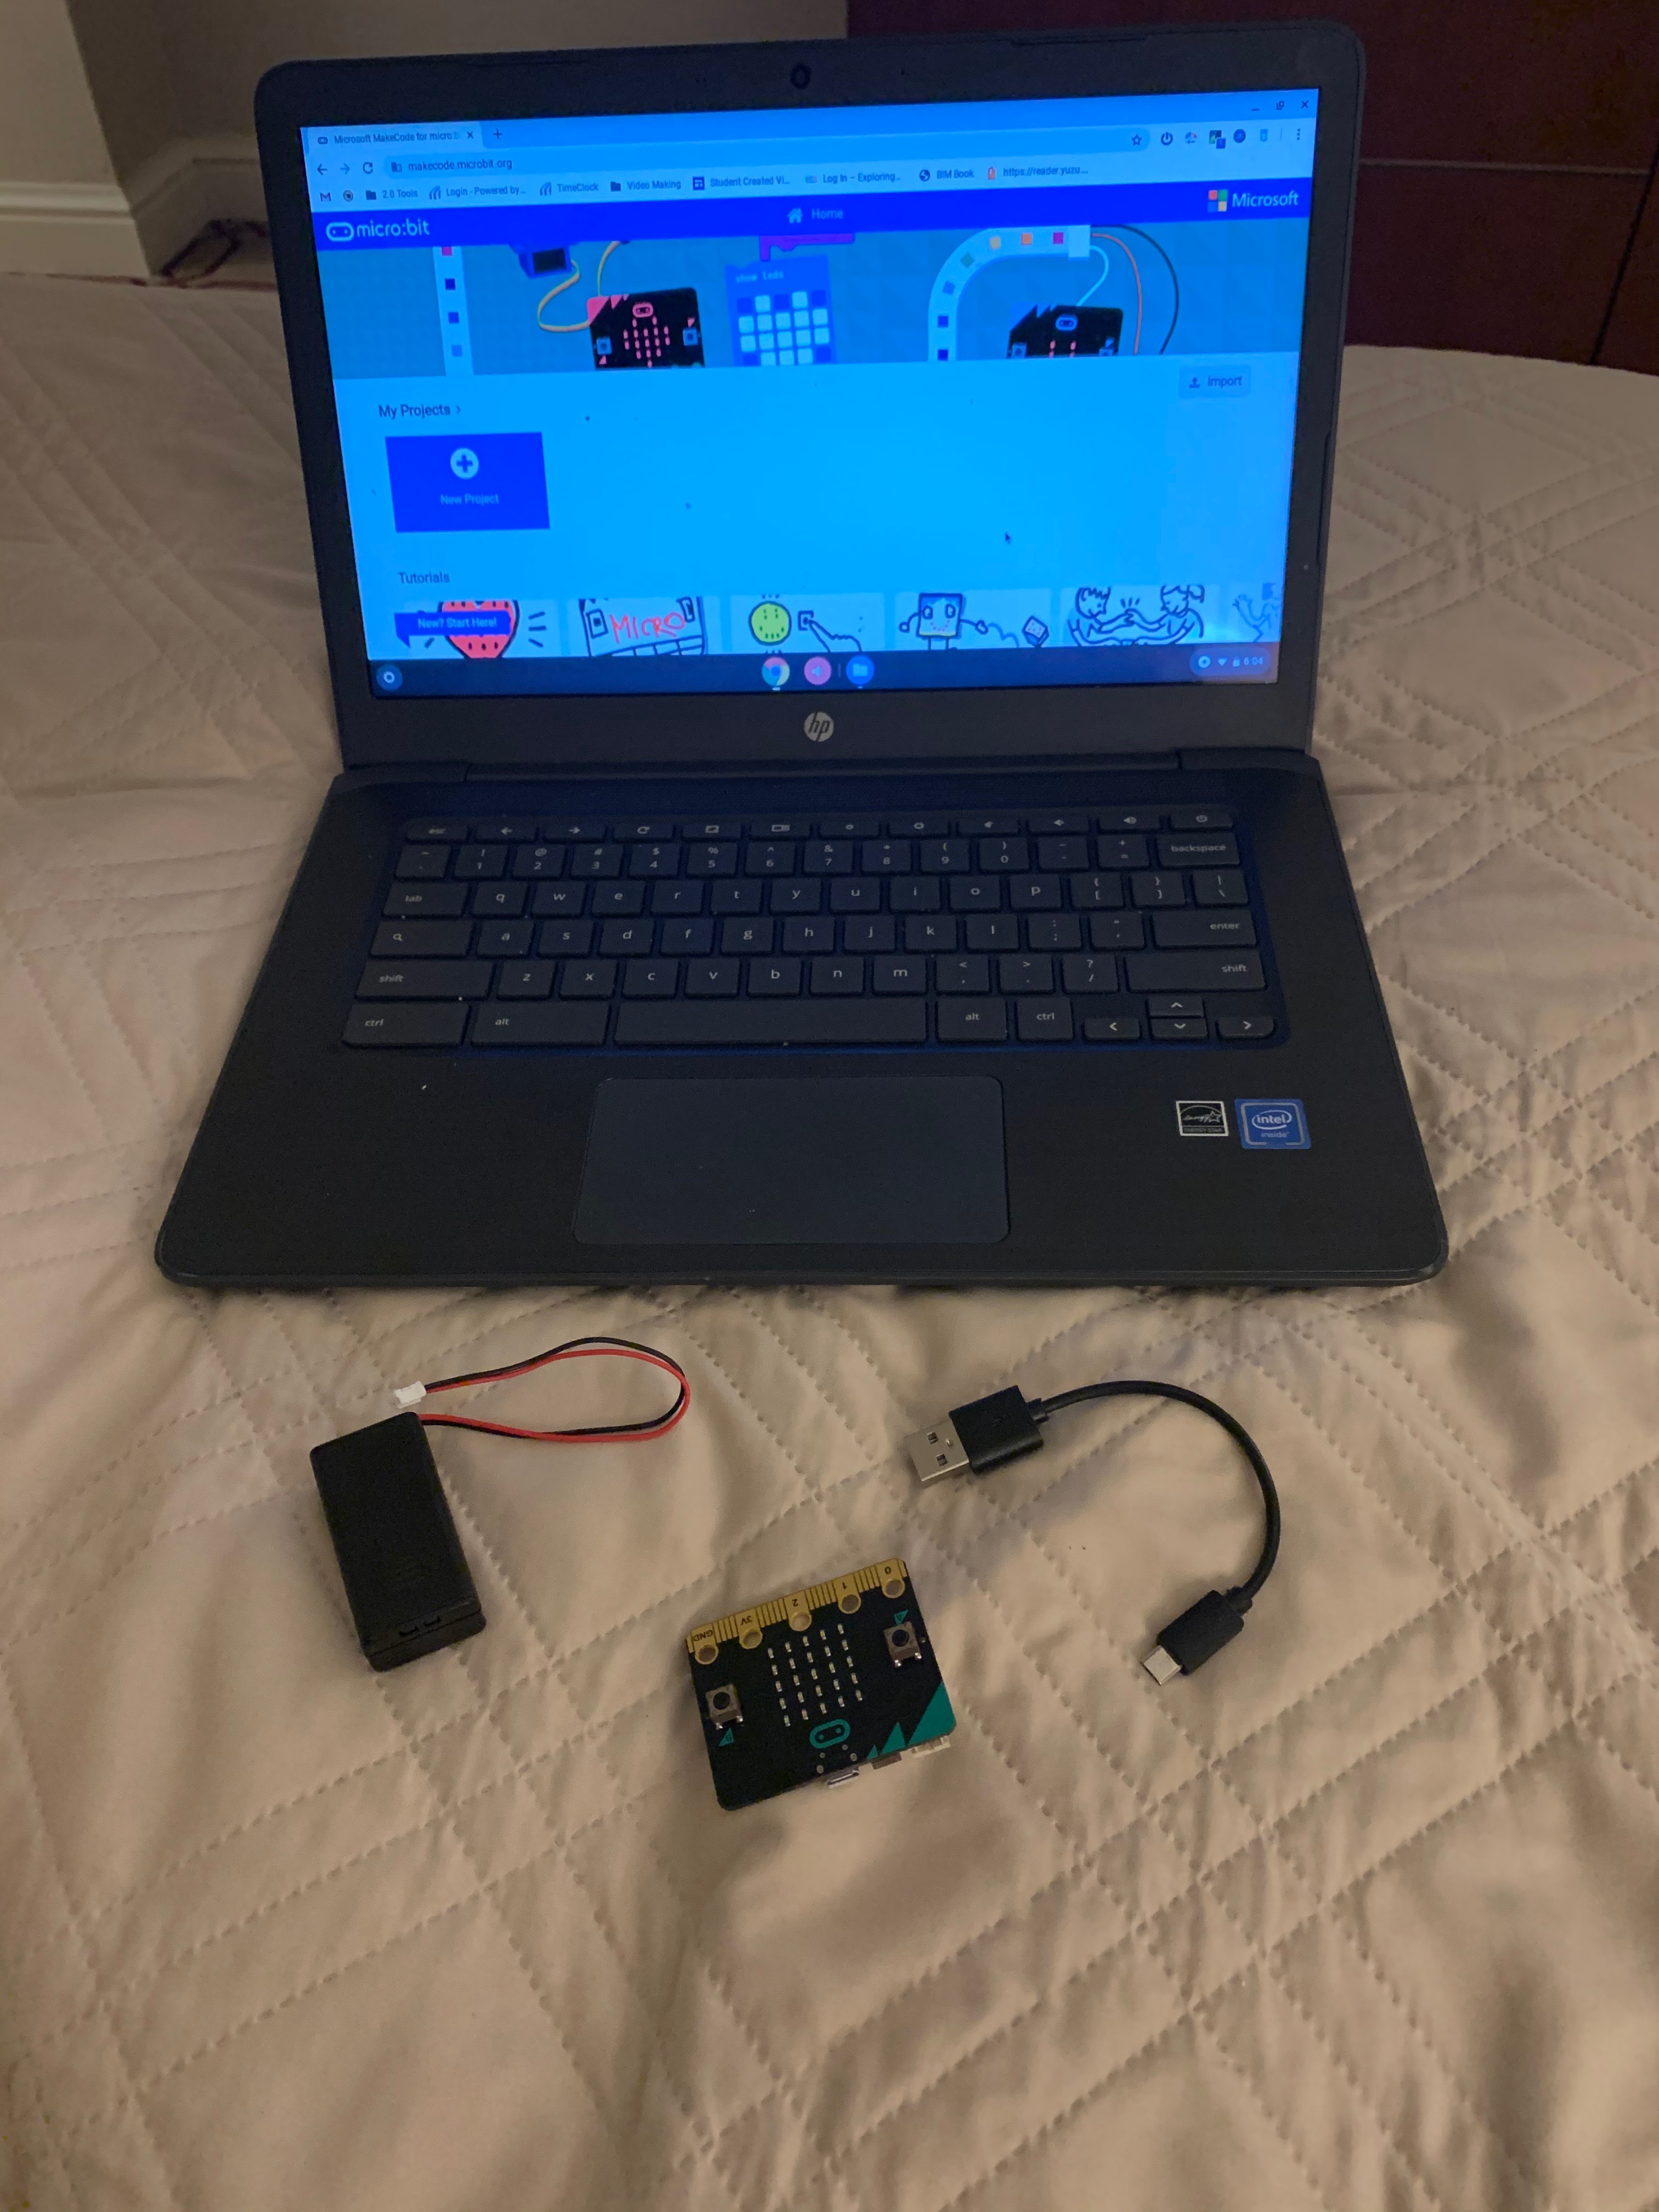
For this instructable you will need a Micro:Bit and a laptop, cannot be a Mac. If you are using a Mac an additional step is required or an adapter for a USB port is required.
Supplies
- Laptop (Non-Mac)
- Micro:bit
Get Connected
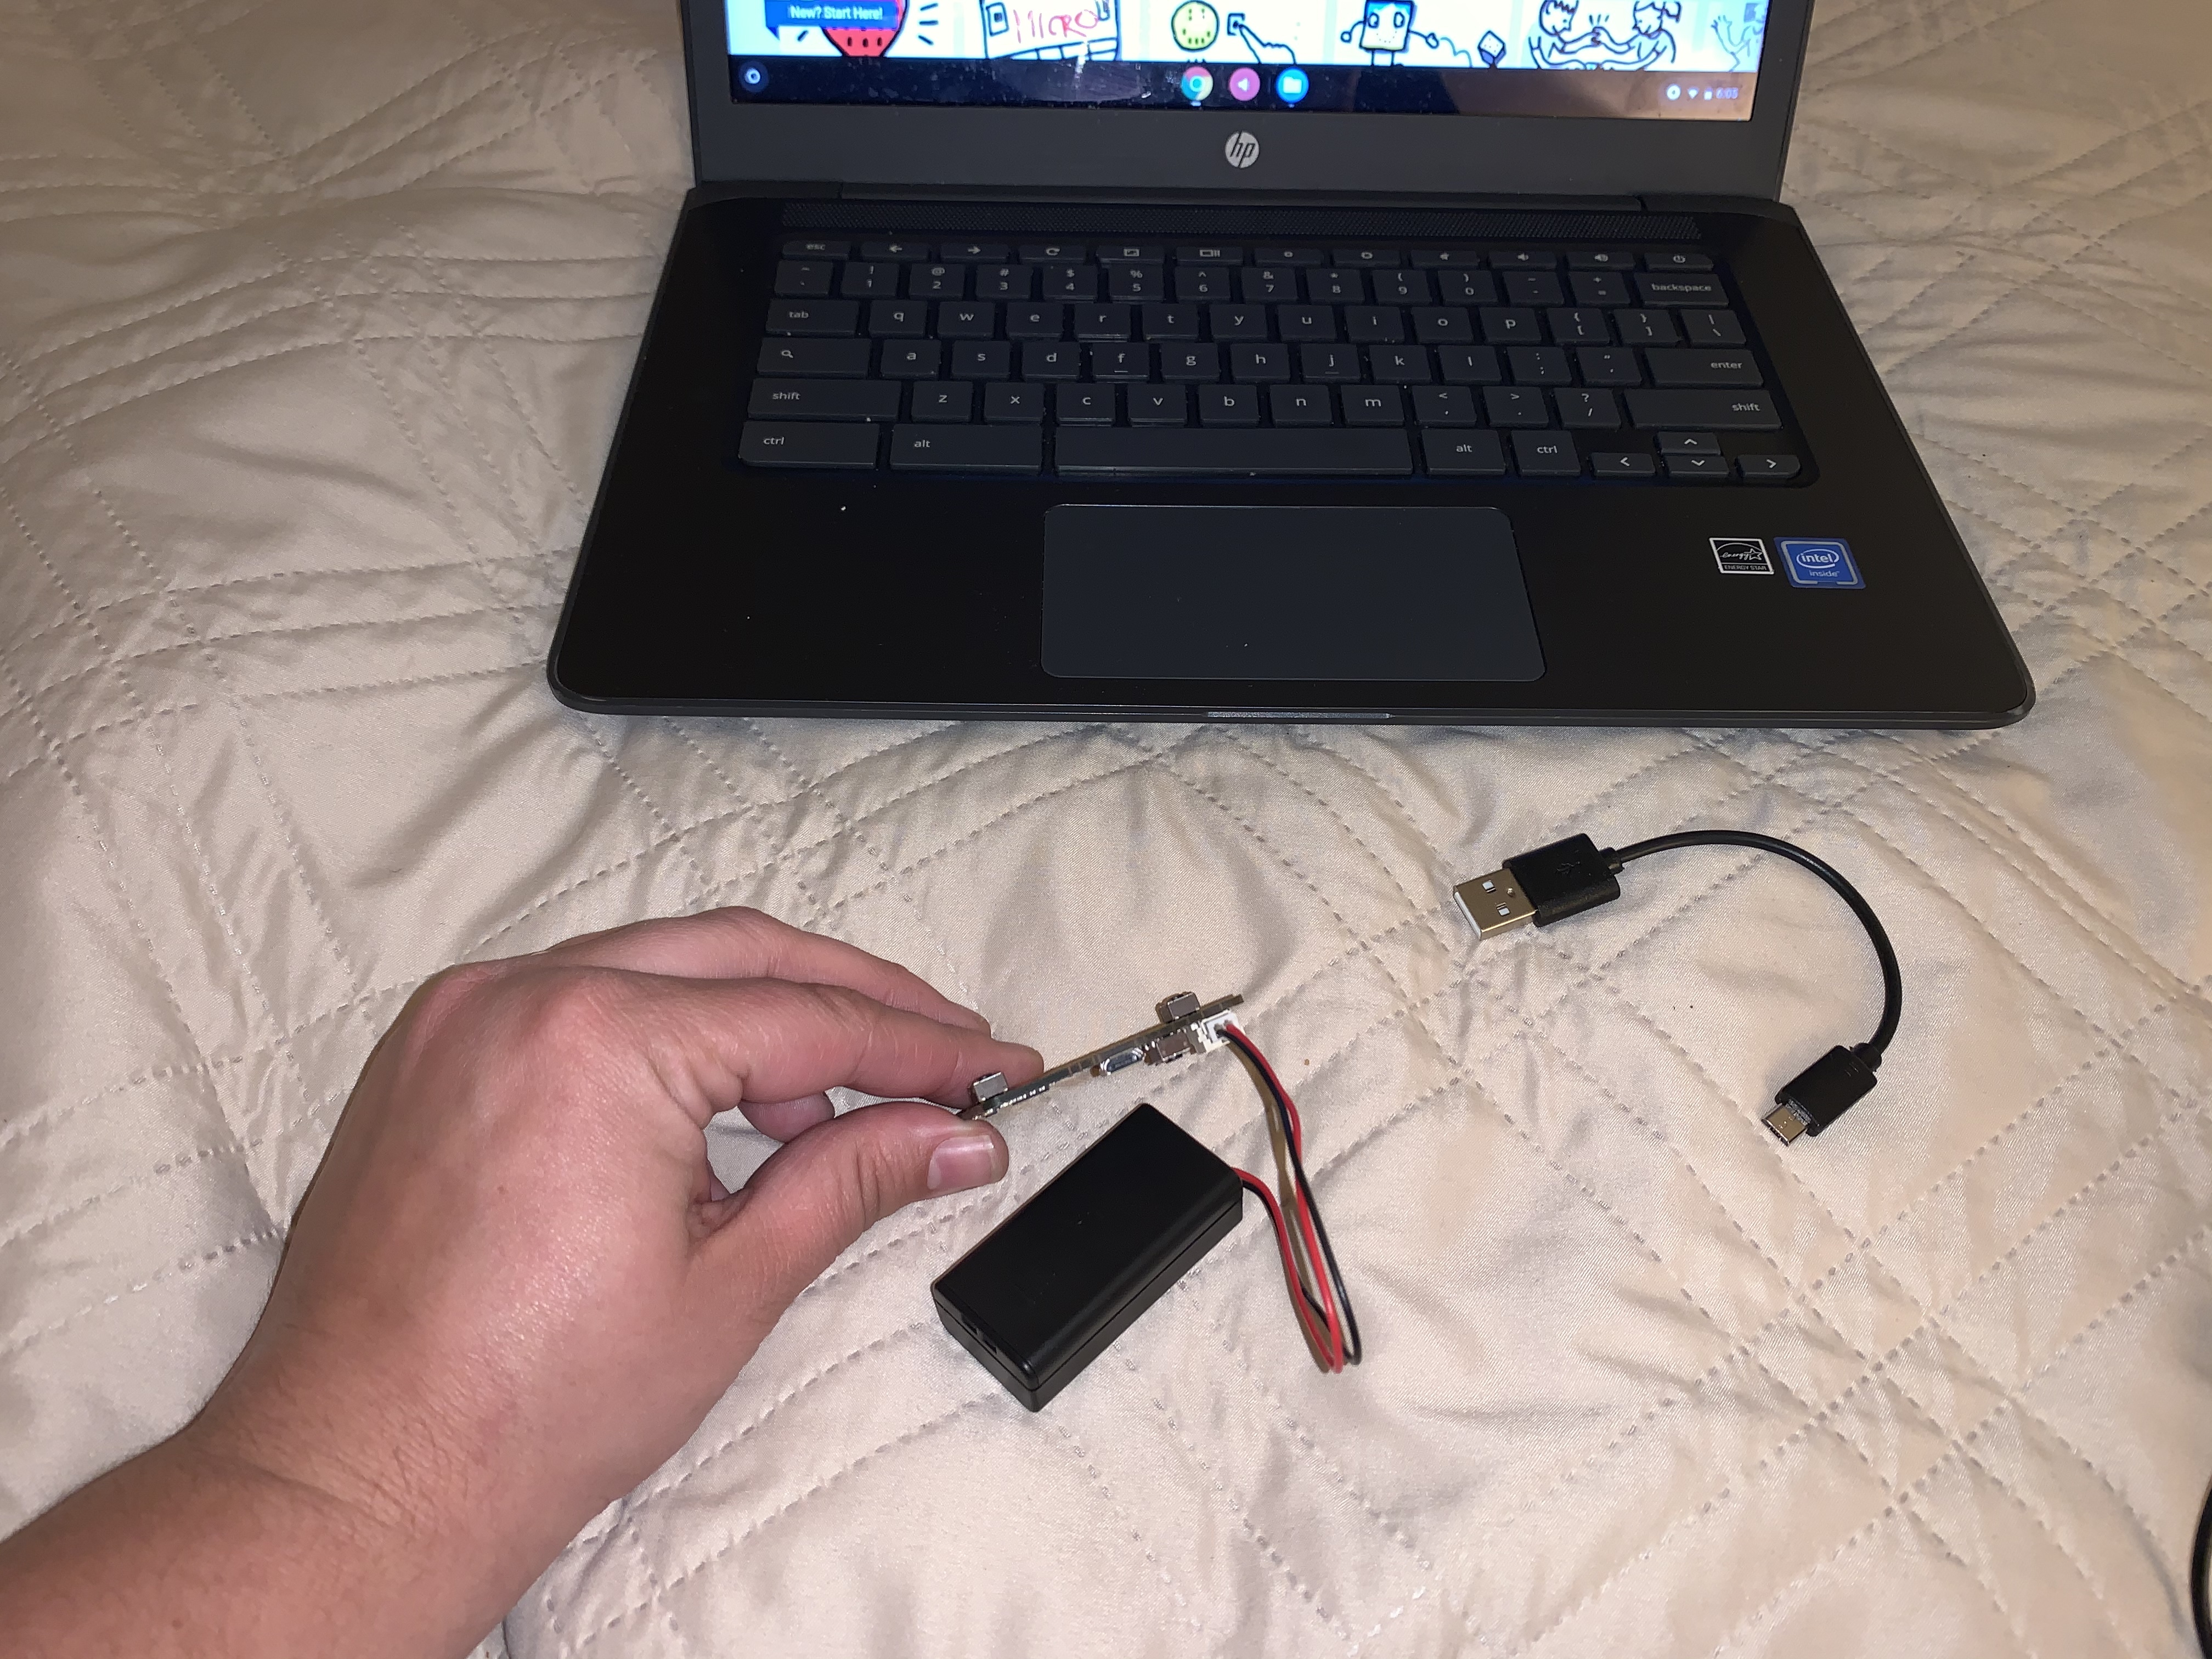
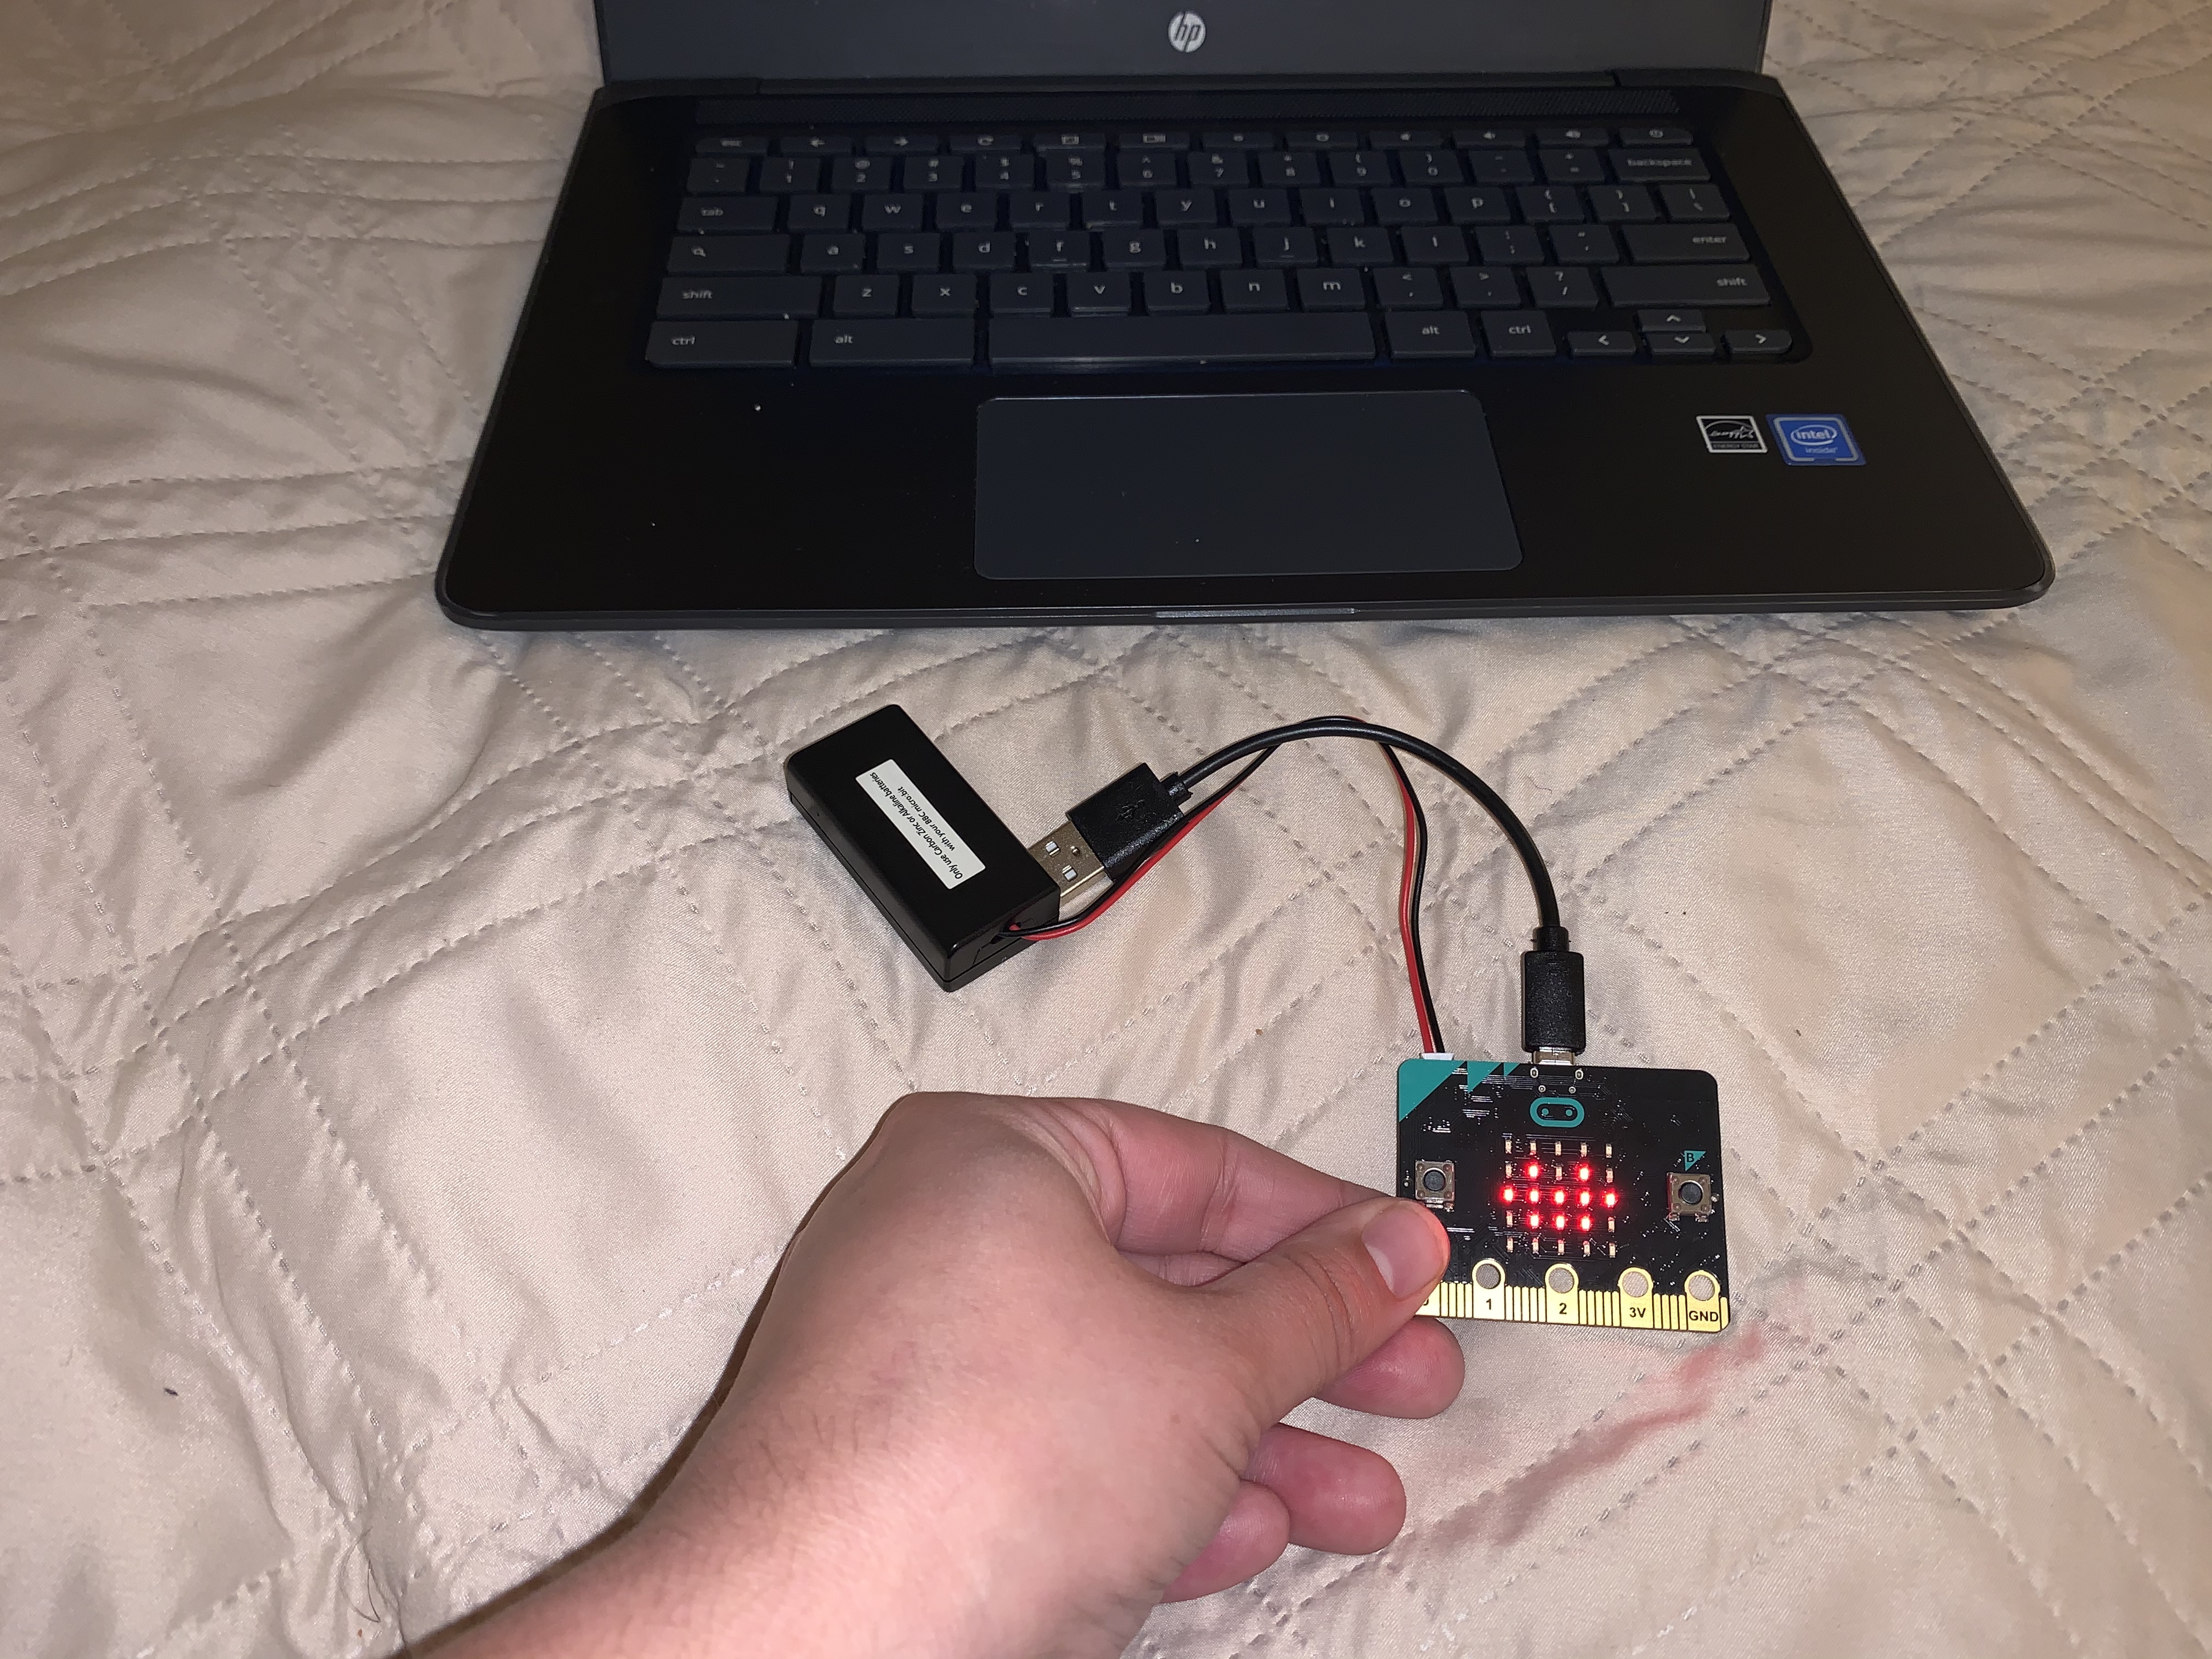
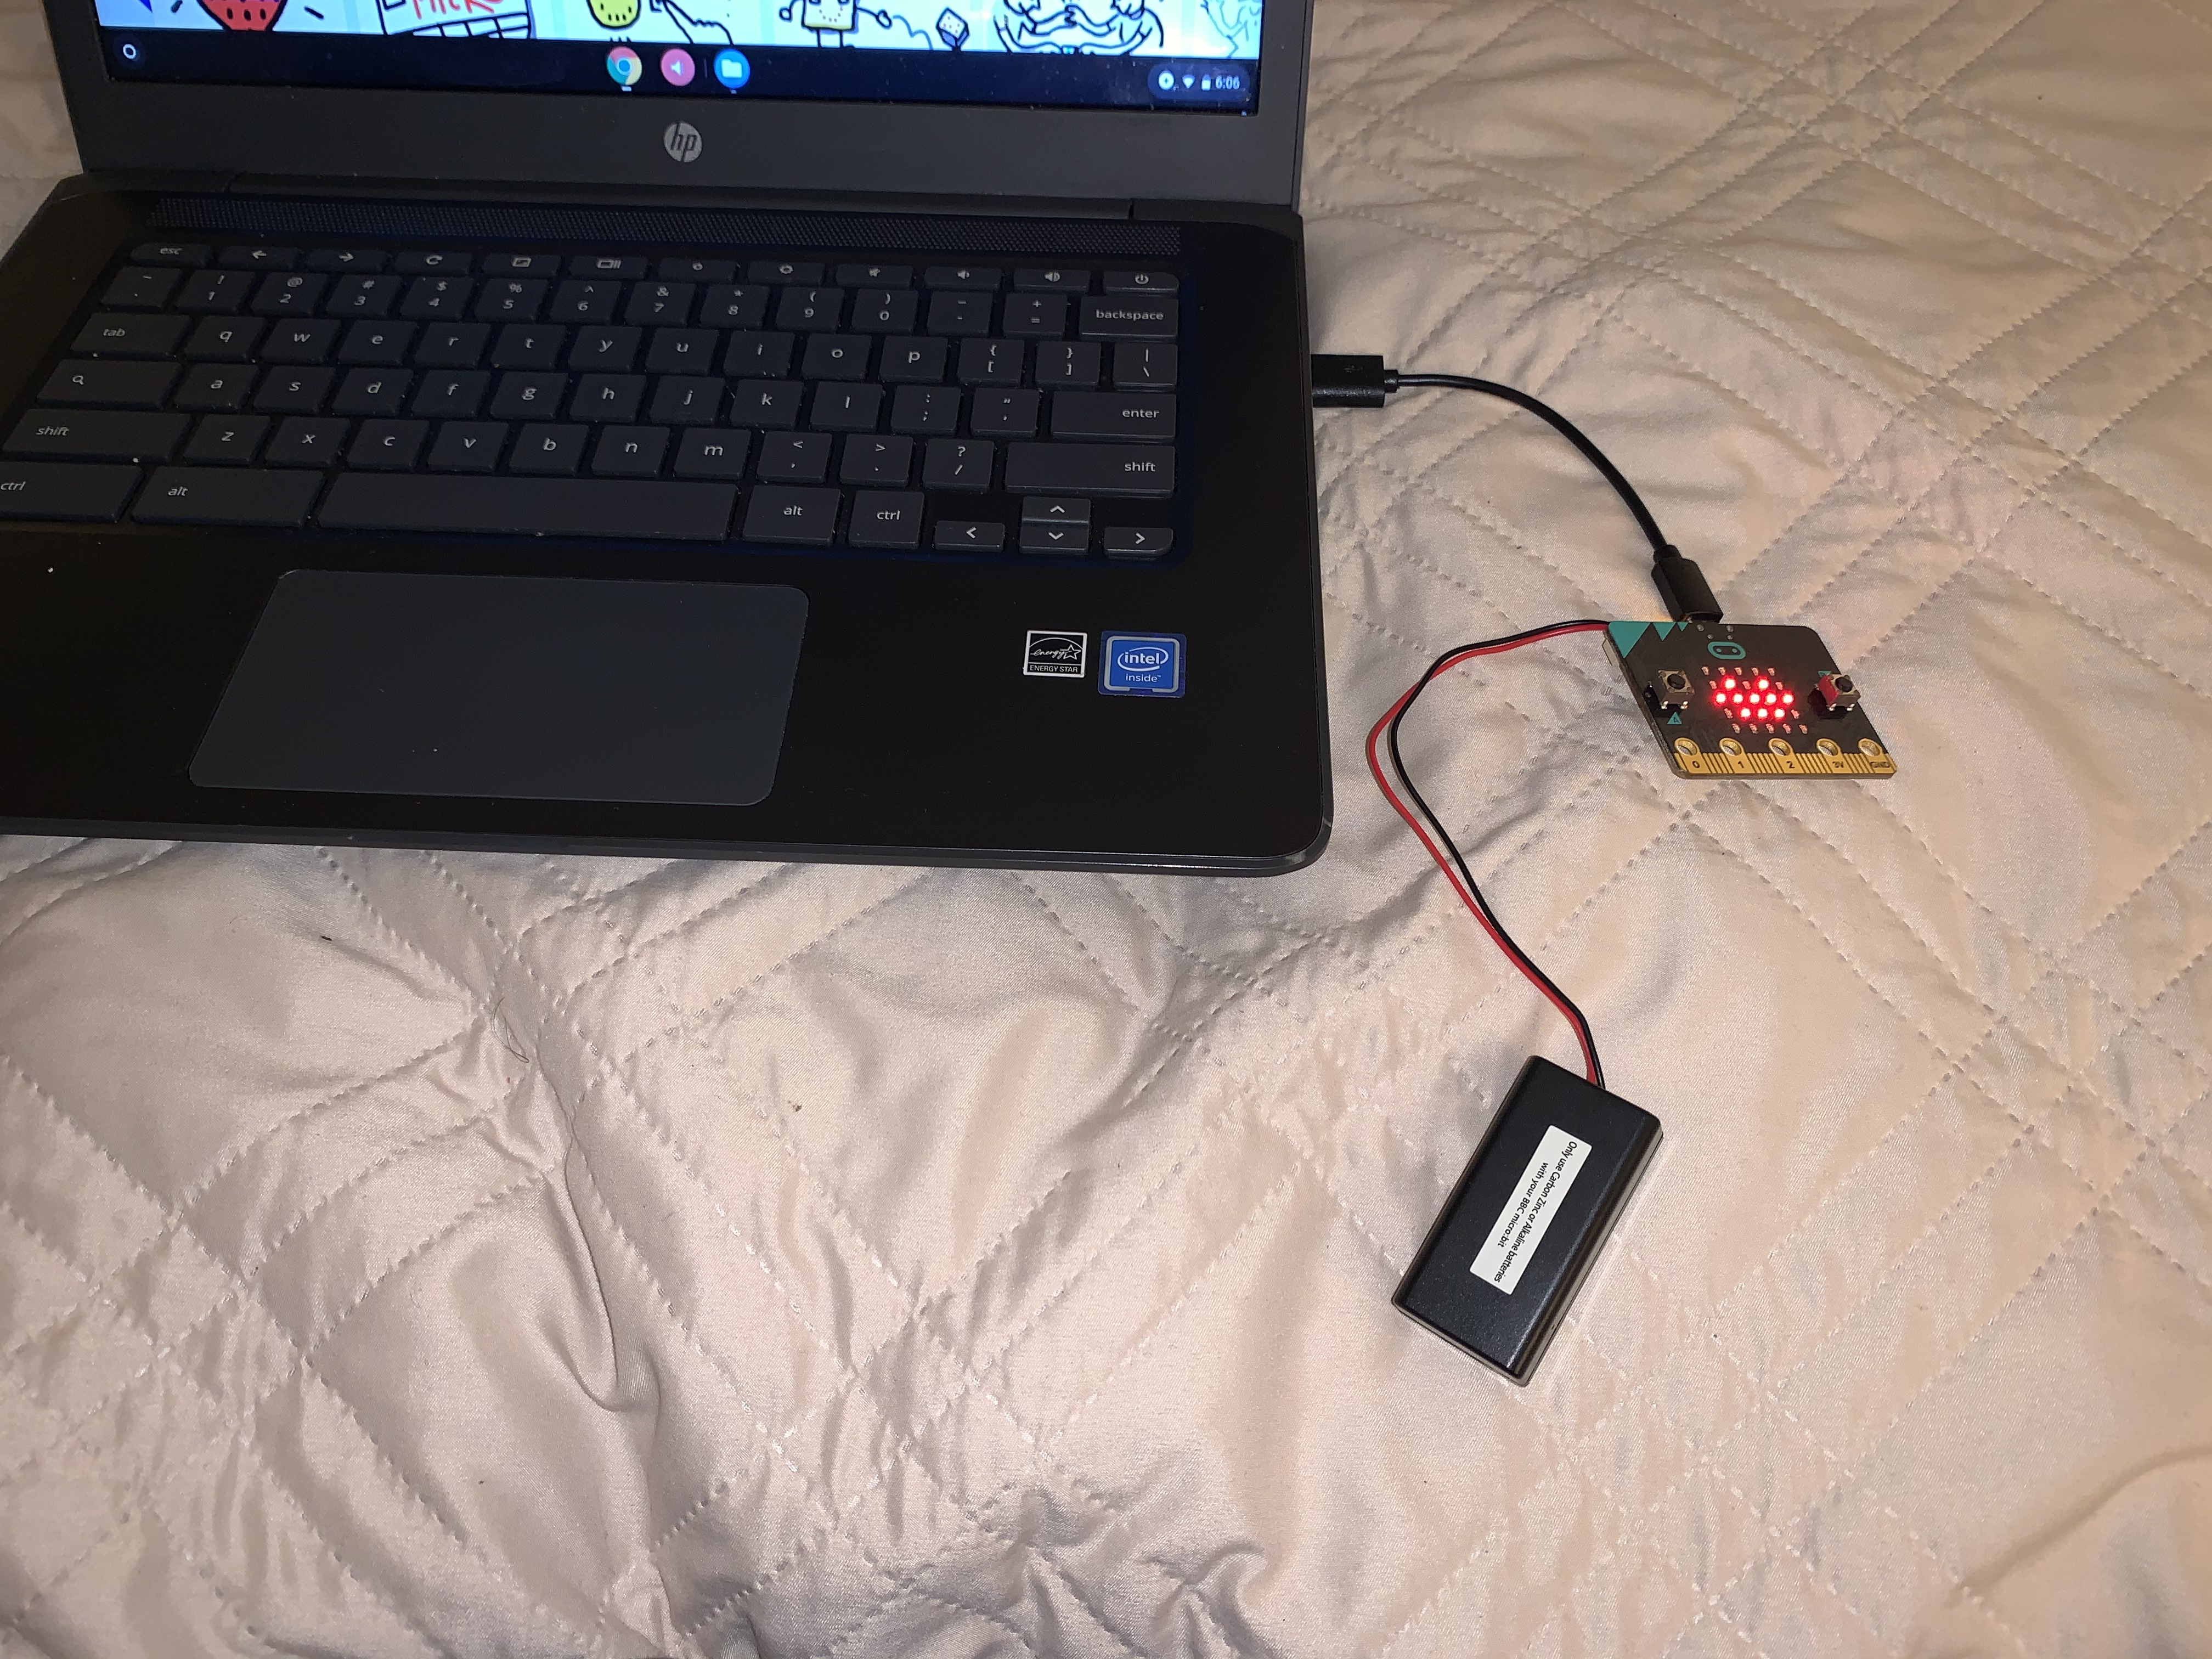
First you will locate the battery pack, it's the item with the red and black cords sticking out of it, and the small black box contains batteries. Plug the battery pack into the Micro:bit device. Next, you will take the USB cord, small and black, and plug it into the Micro:bit. Once both of these items are plugged into the Micro:bit, you will locate the USB port on your laptop and plug it in.
Website
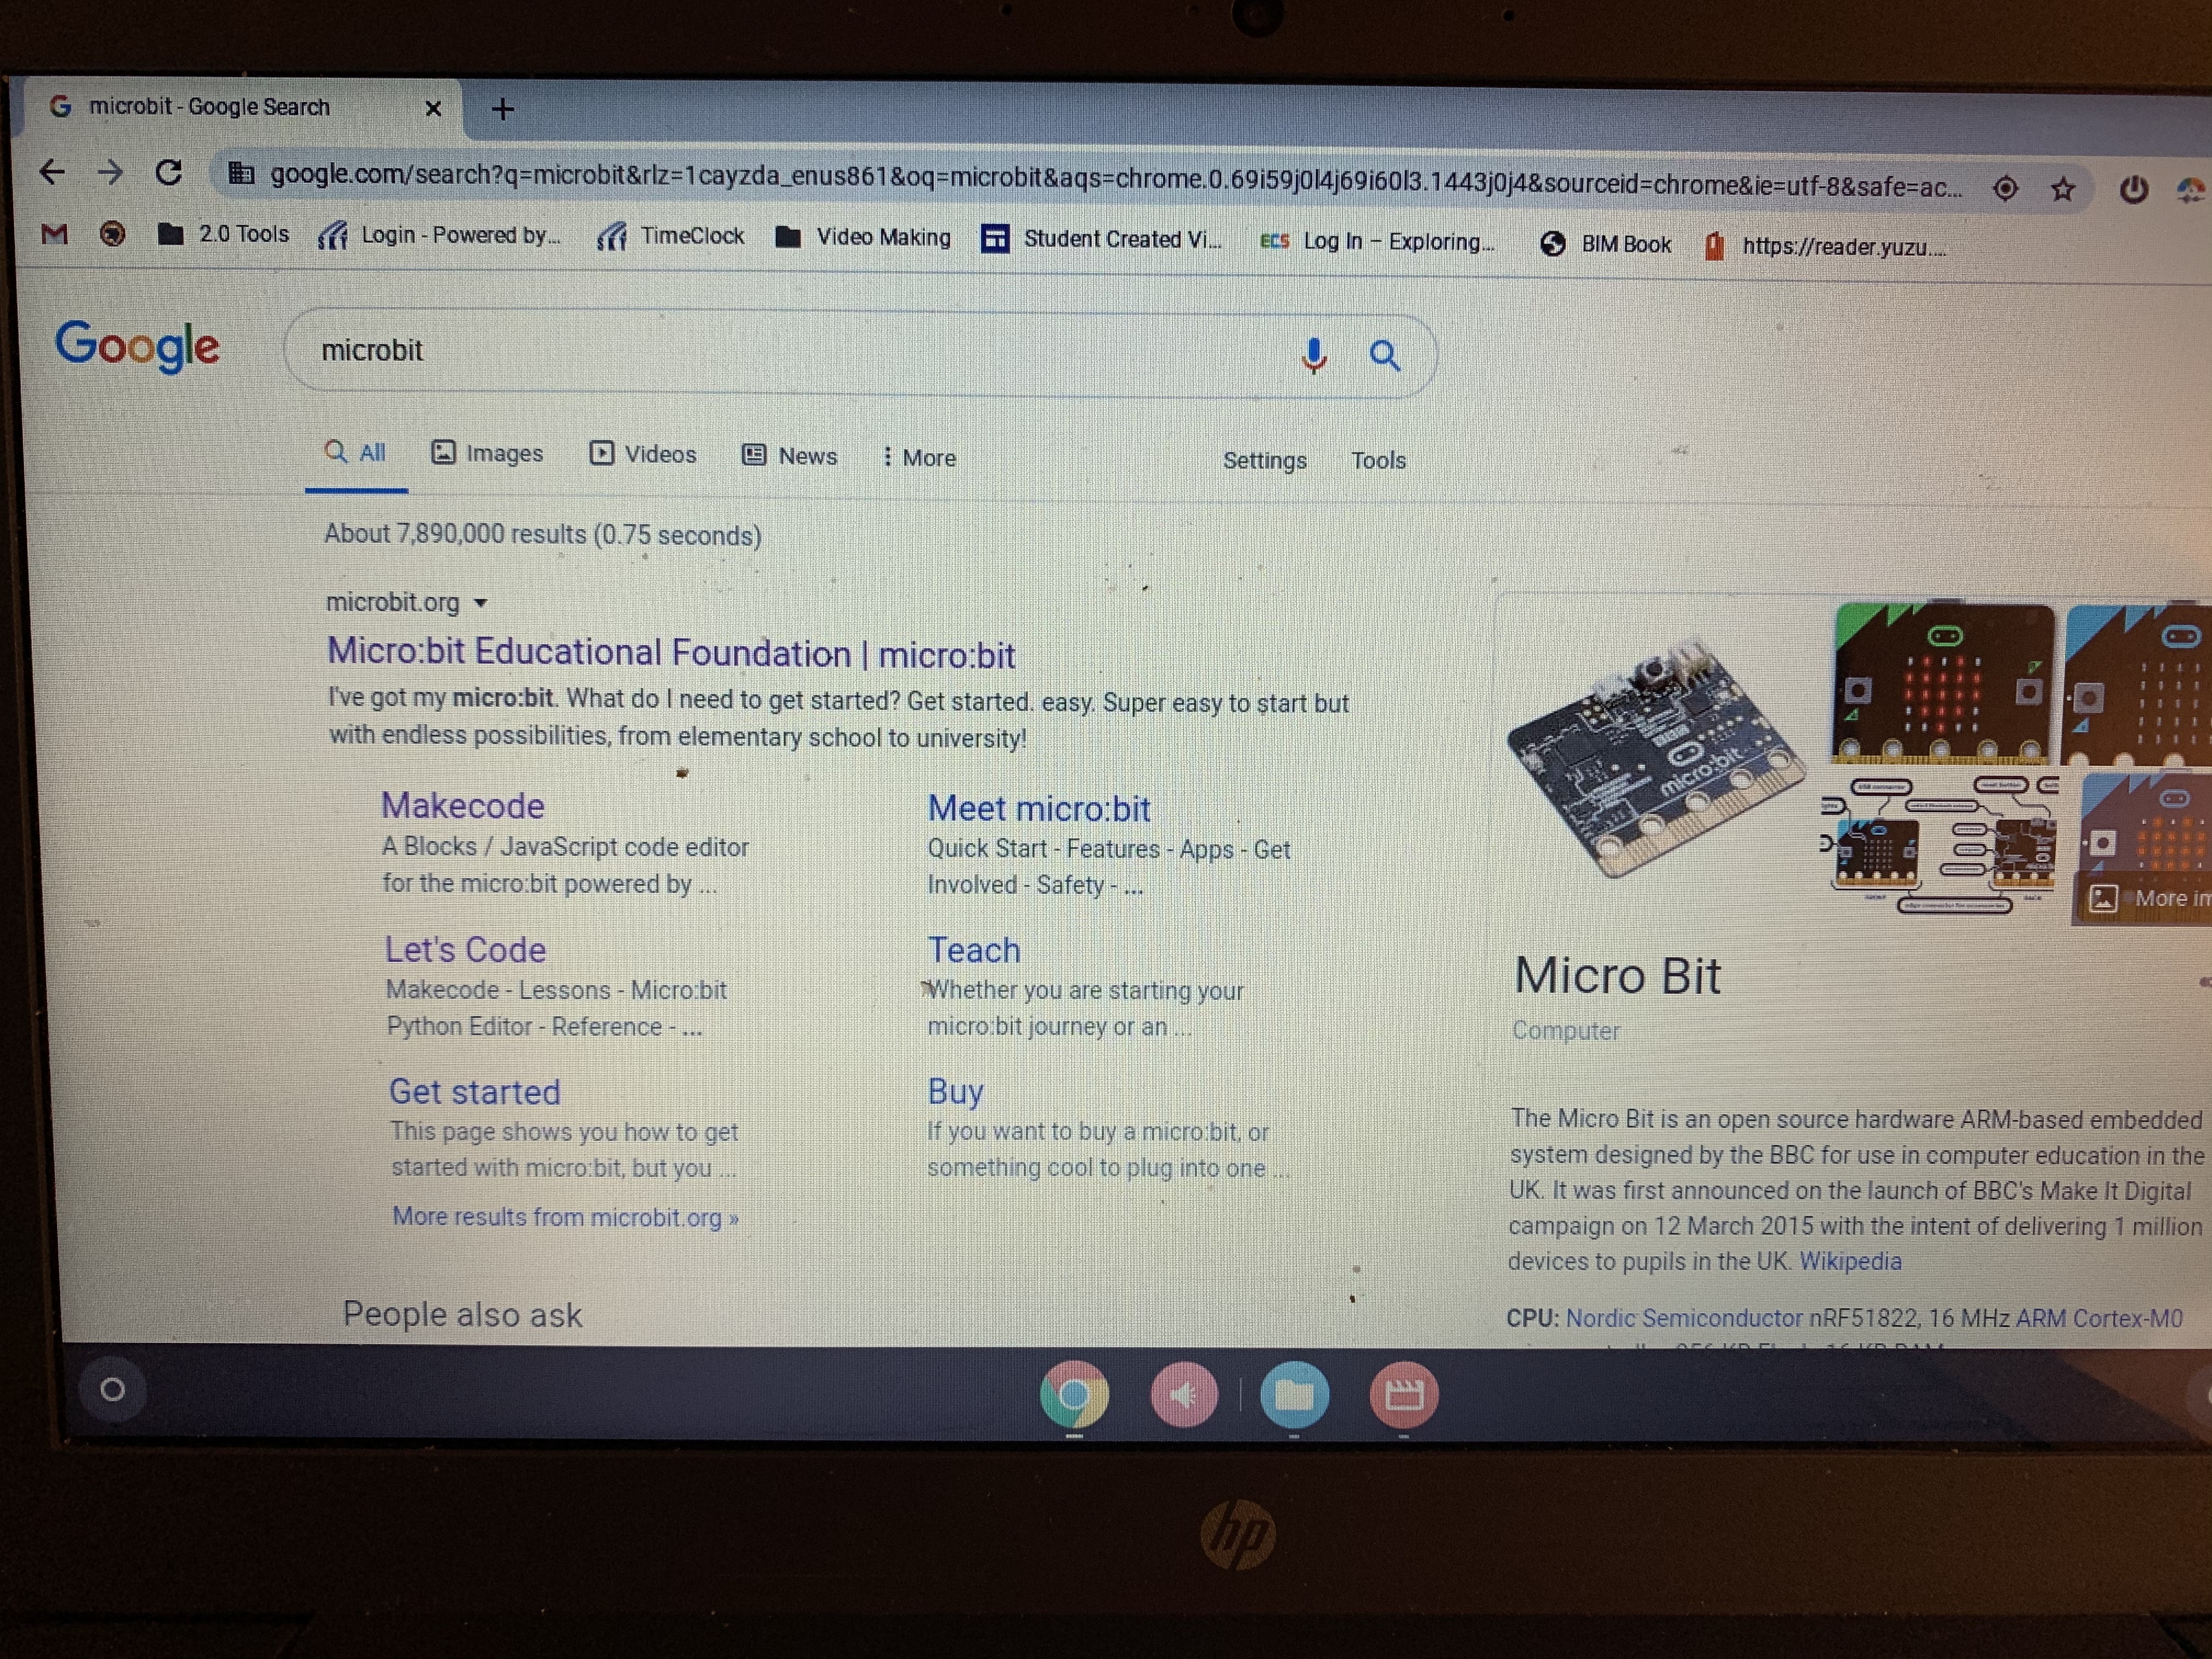
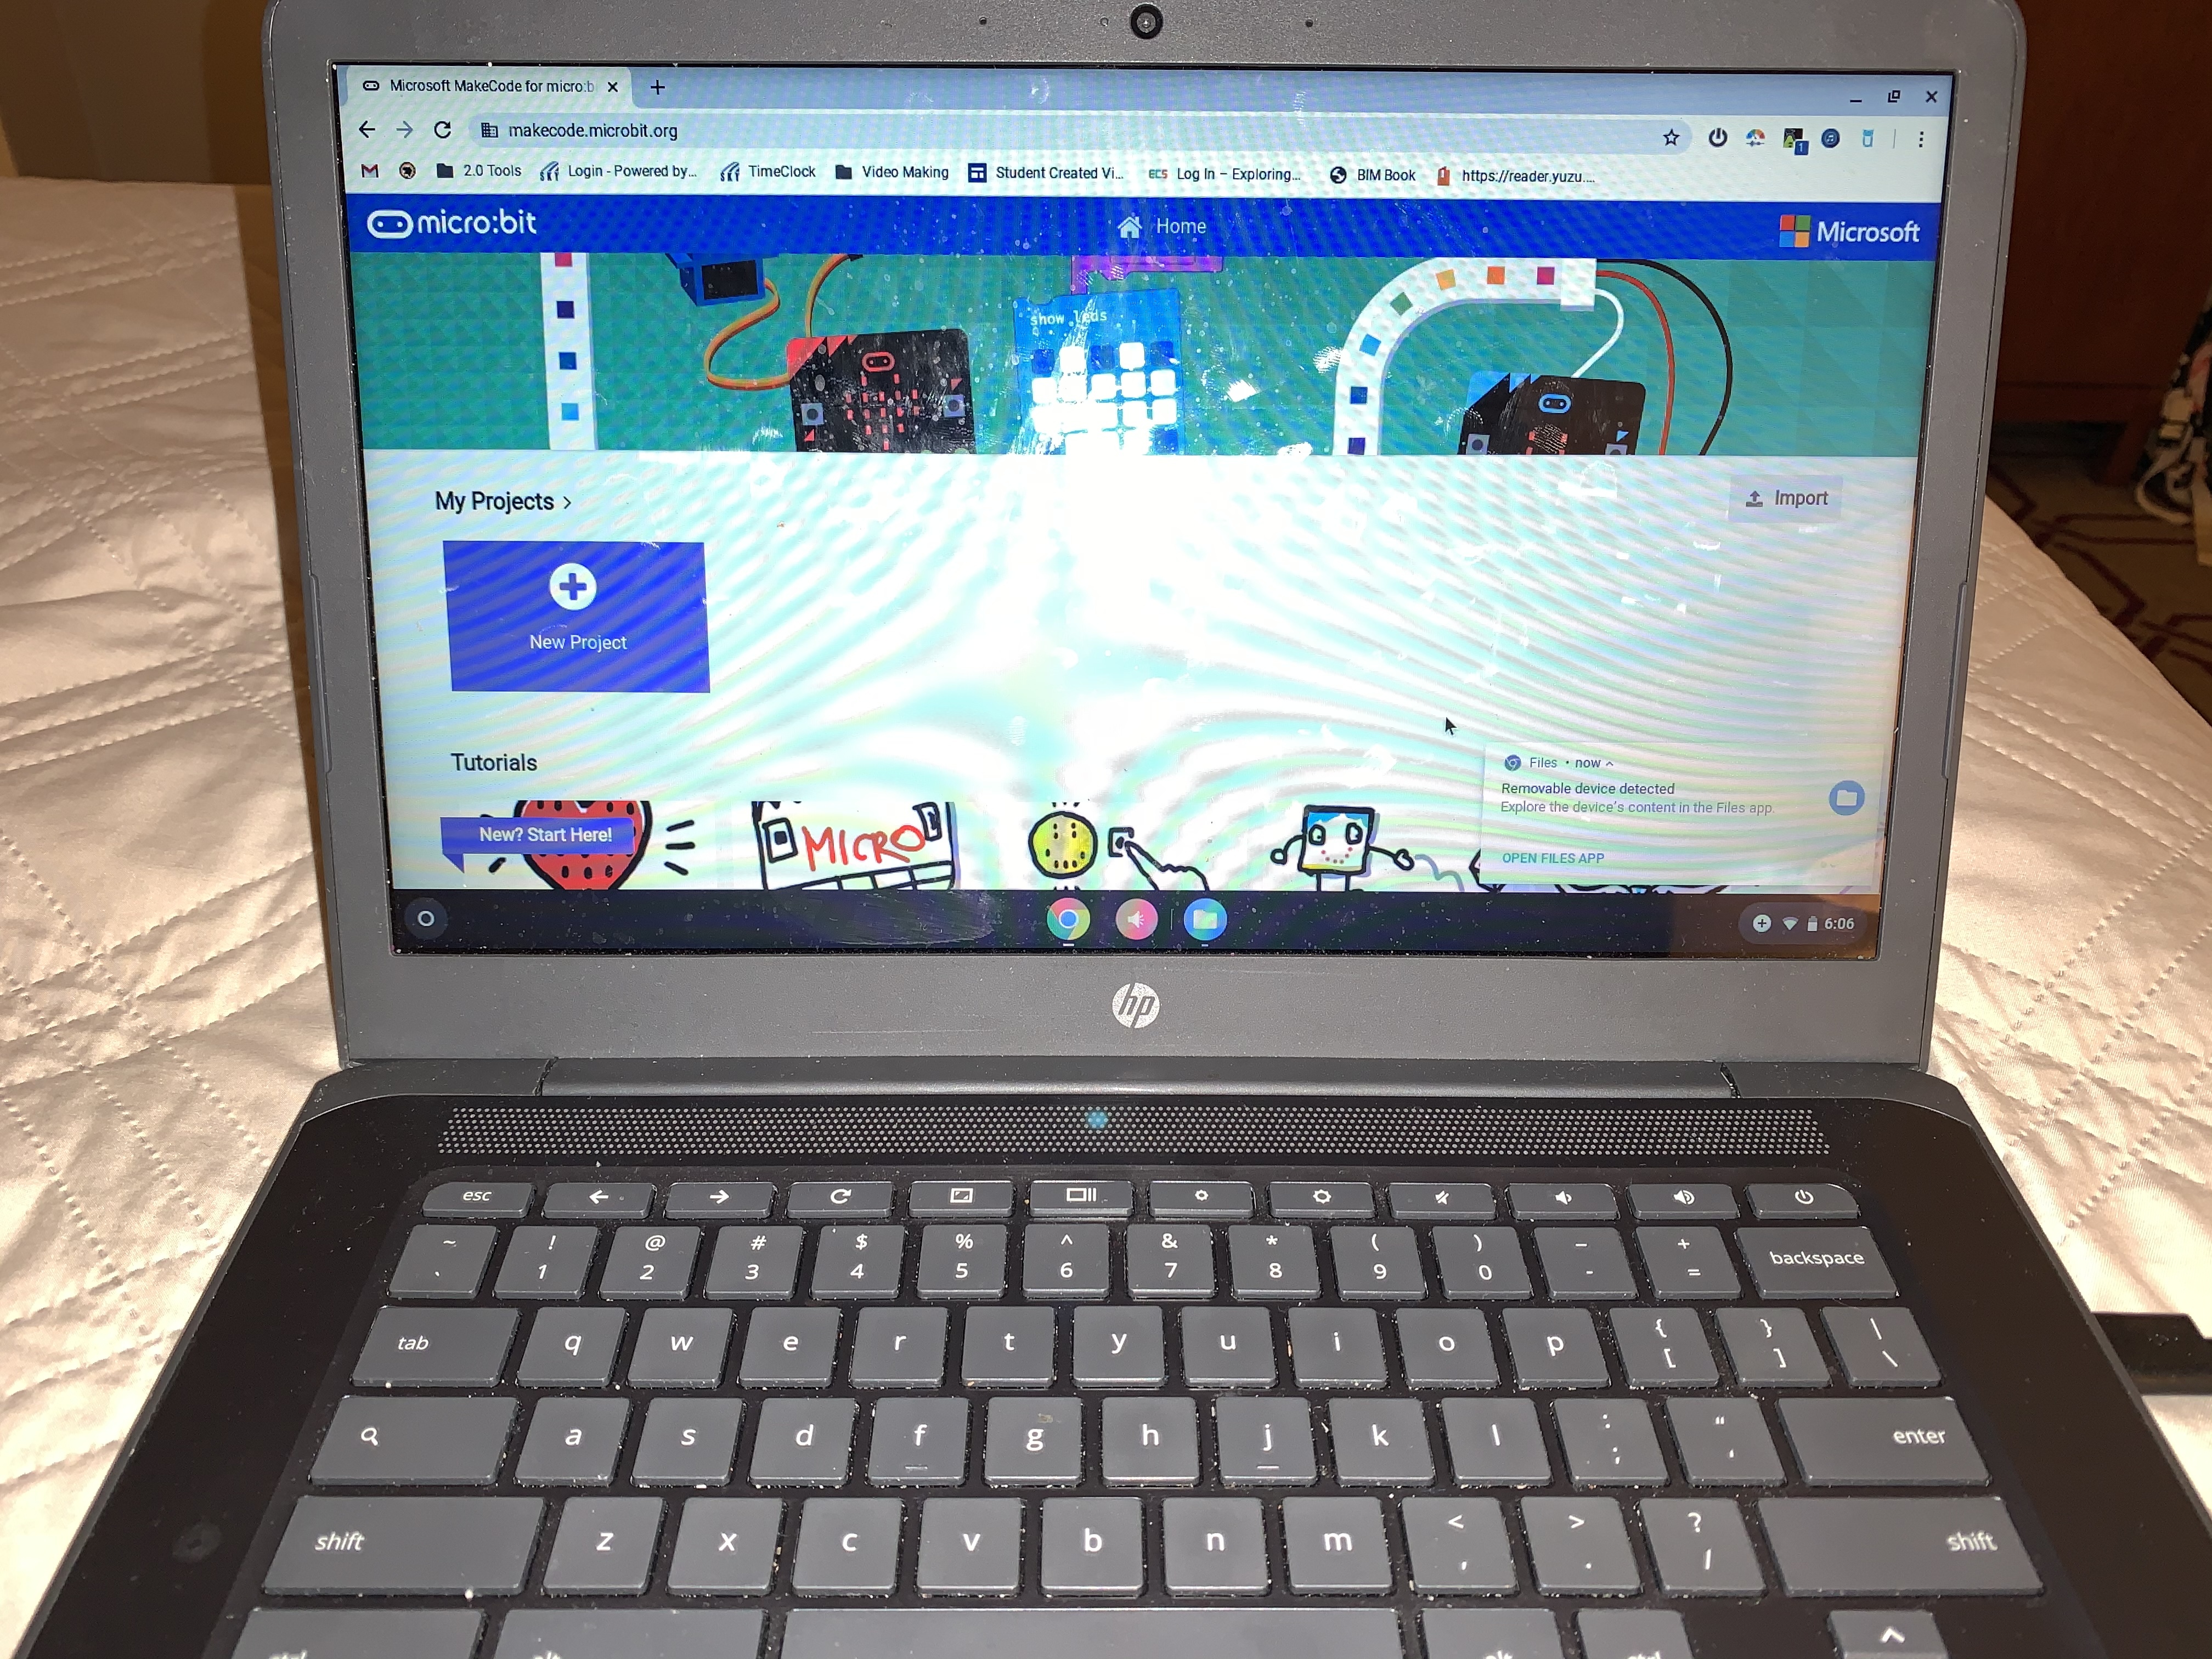
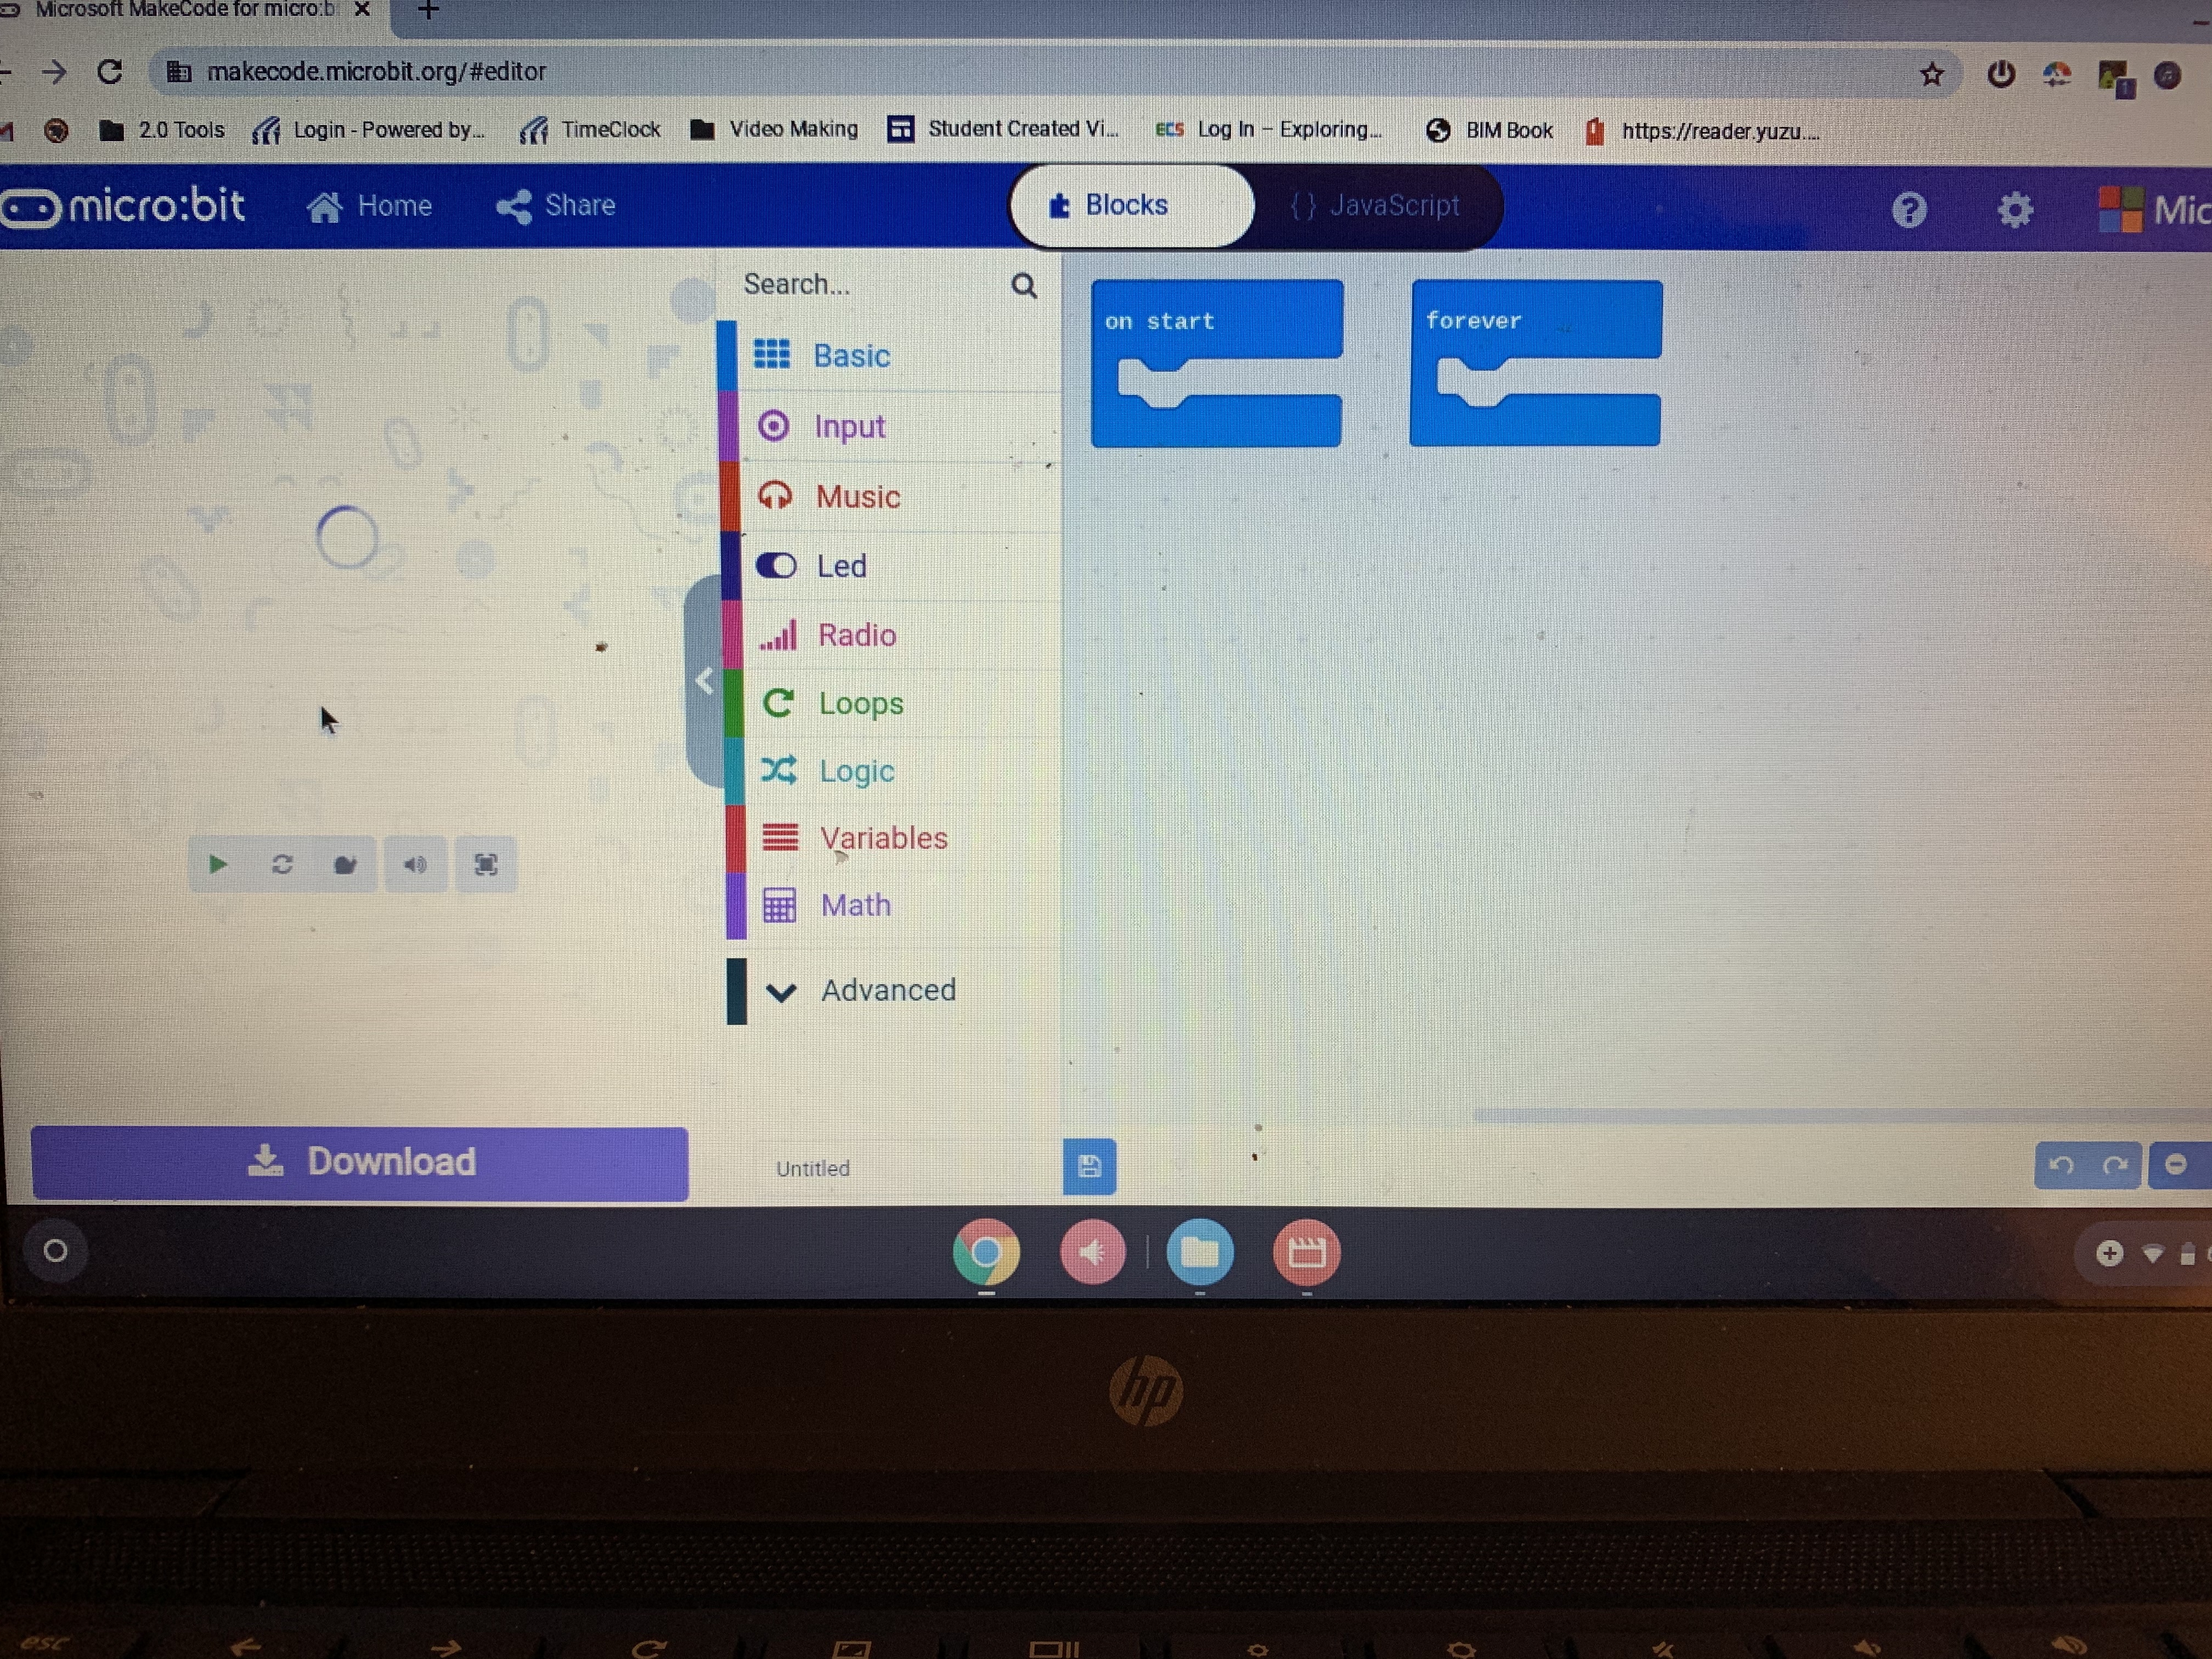
Next you will go to Google.com and Search, Micro:Bit. After the results have popped up you will see the microbit.org website. Click on the MakeCode link which is a direct route to the coding area. Once in you will see a screen that looks like picture #2. Click on "Create New Project". Once you've clicked that you are taking to a screen that looks like image #3, with blue coding blocks already put in the coding area.
Get Started
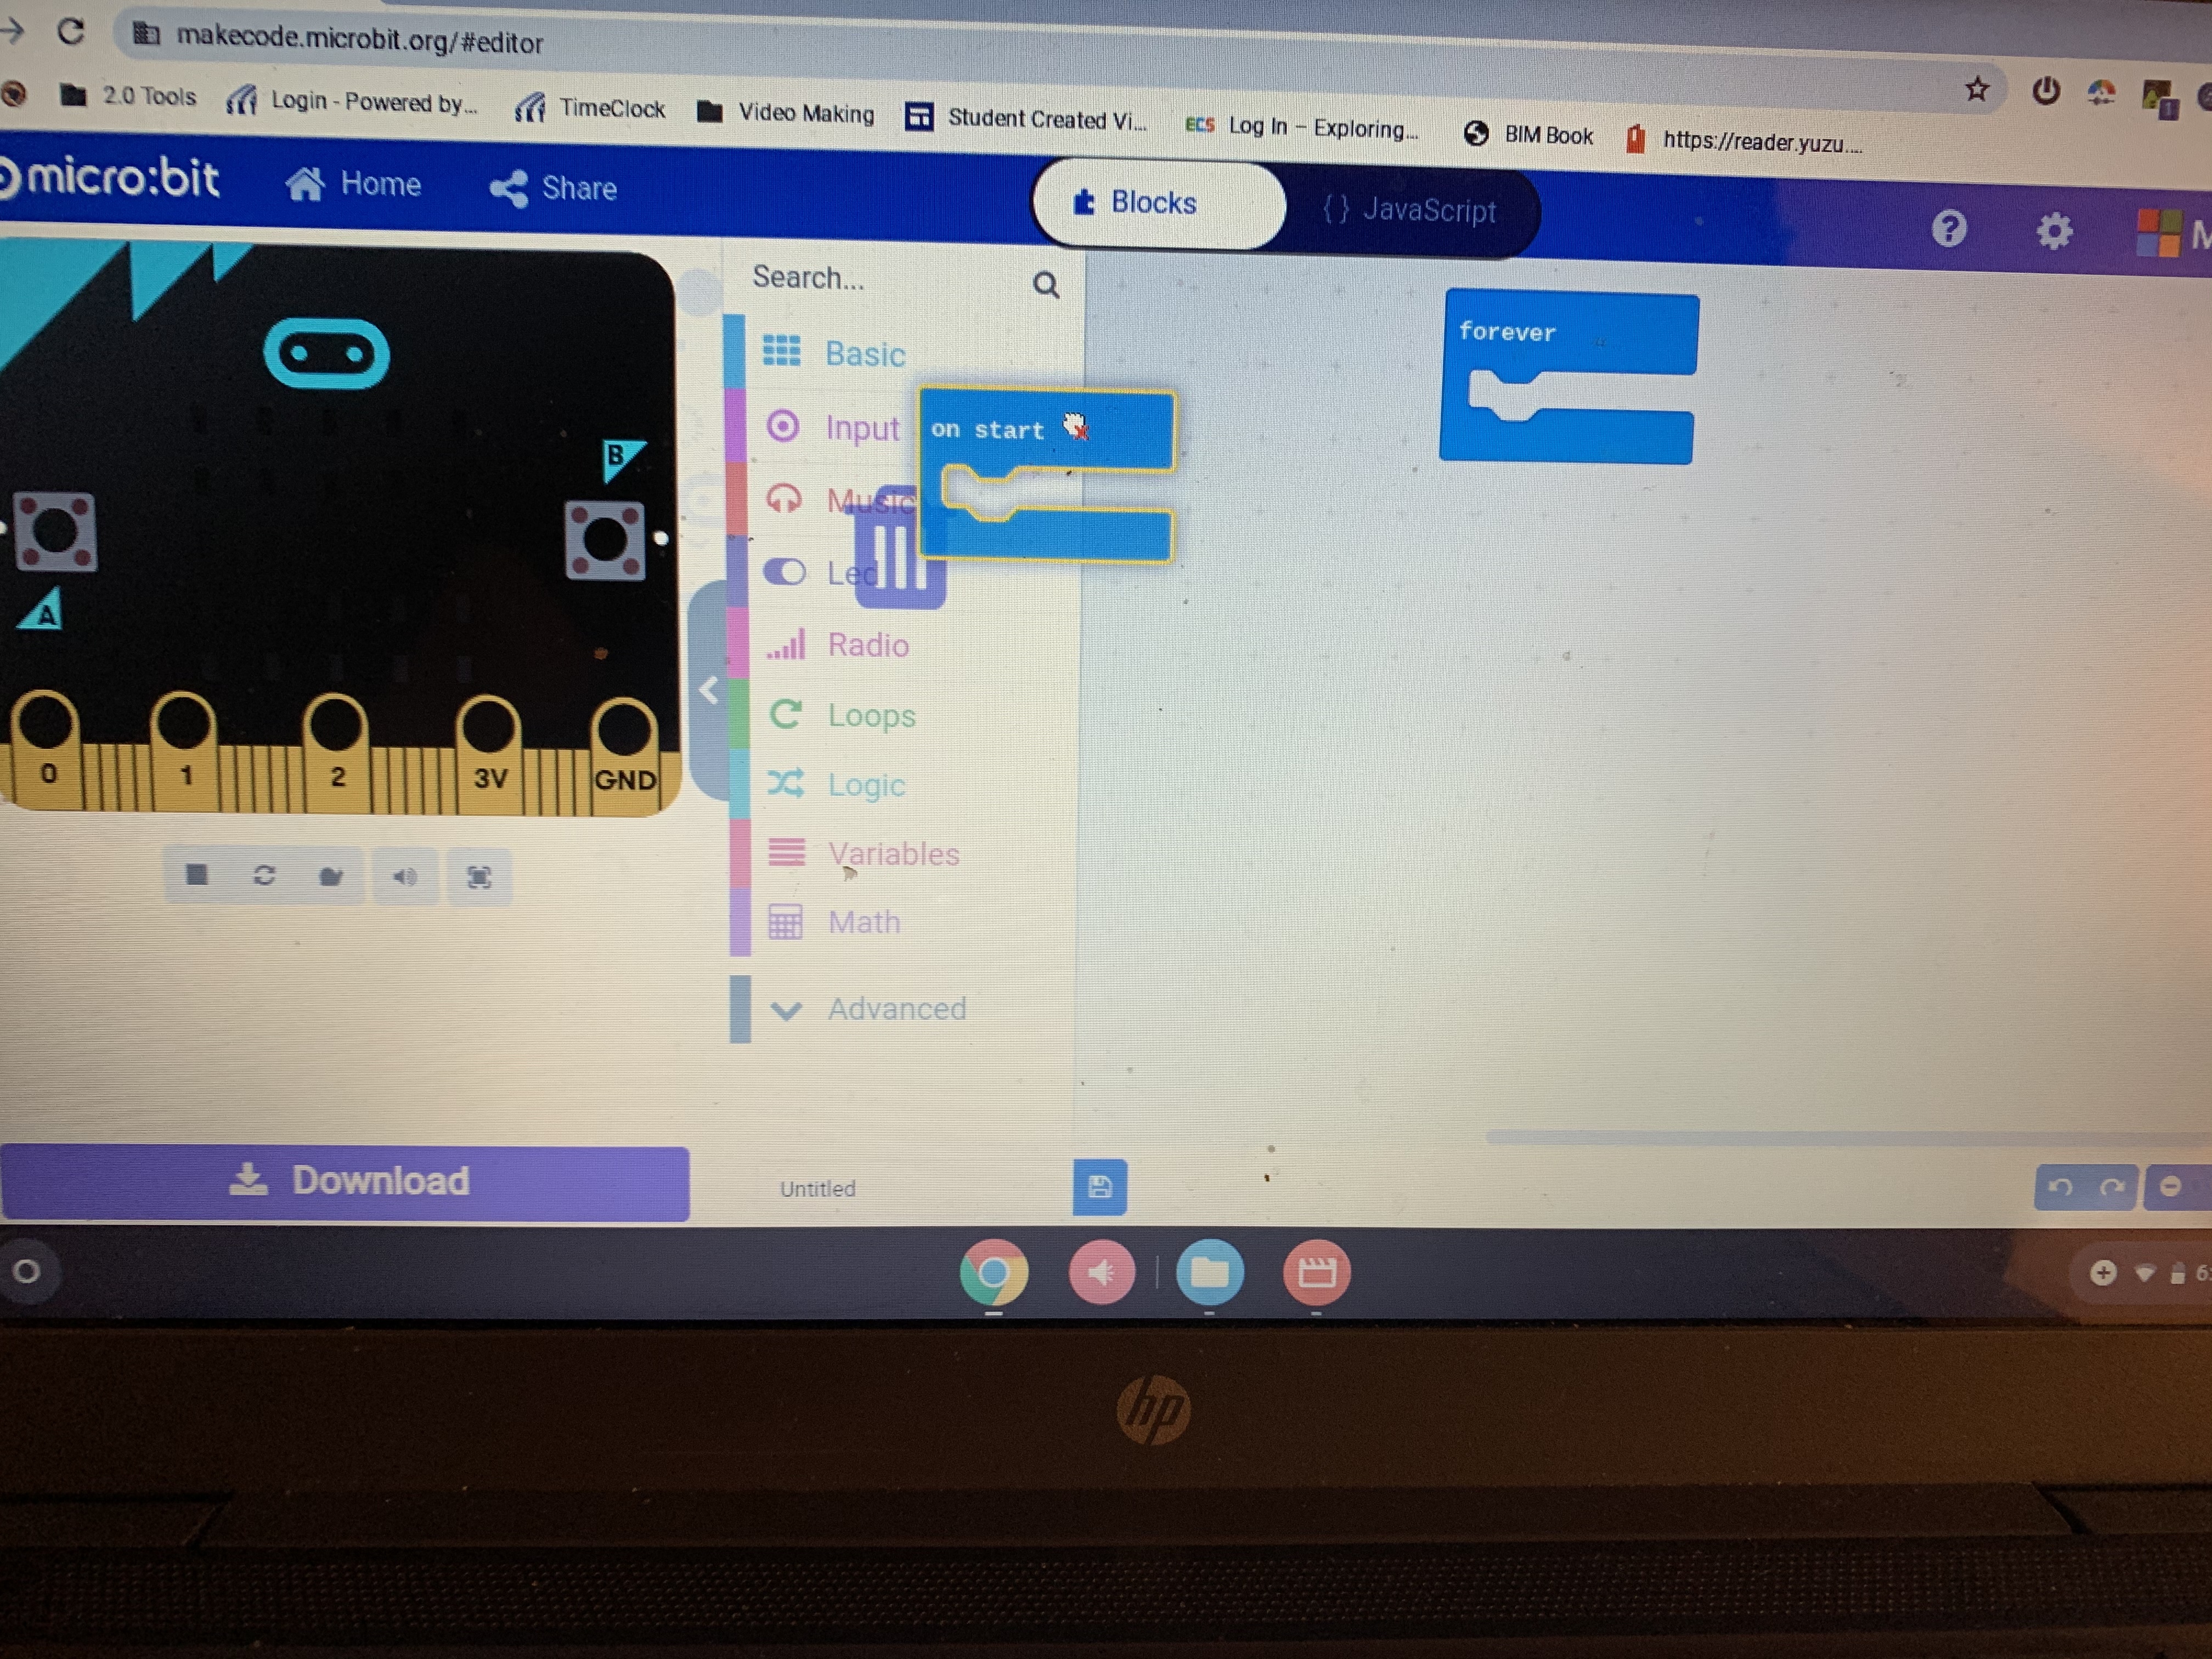
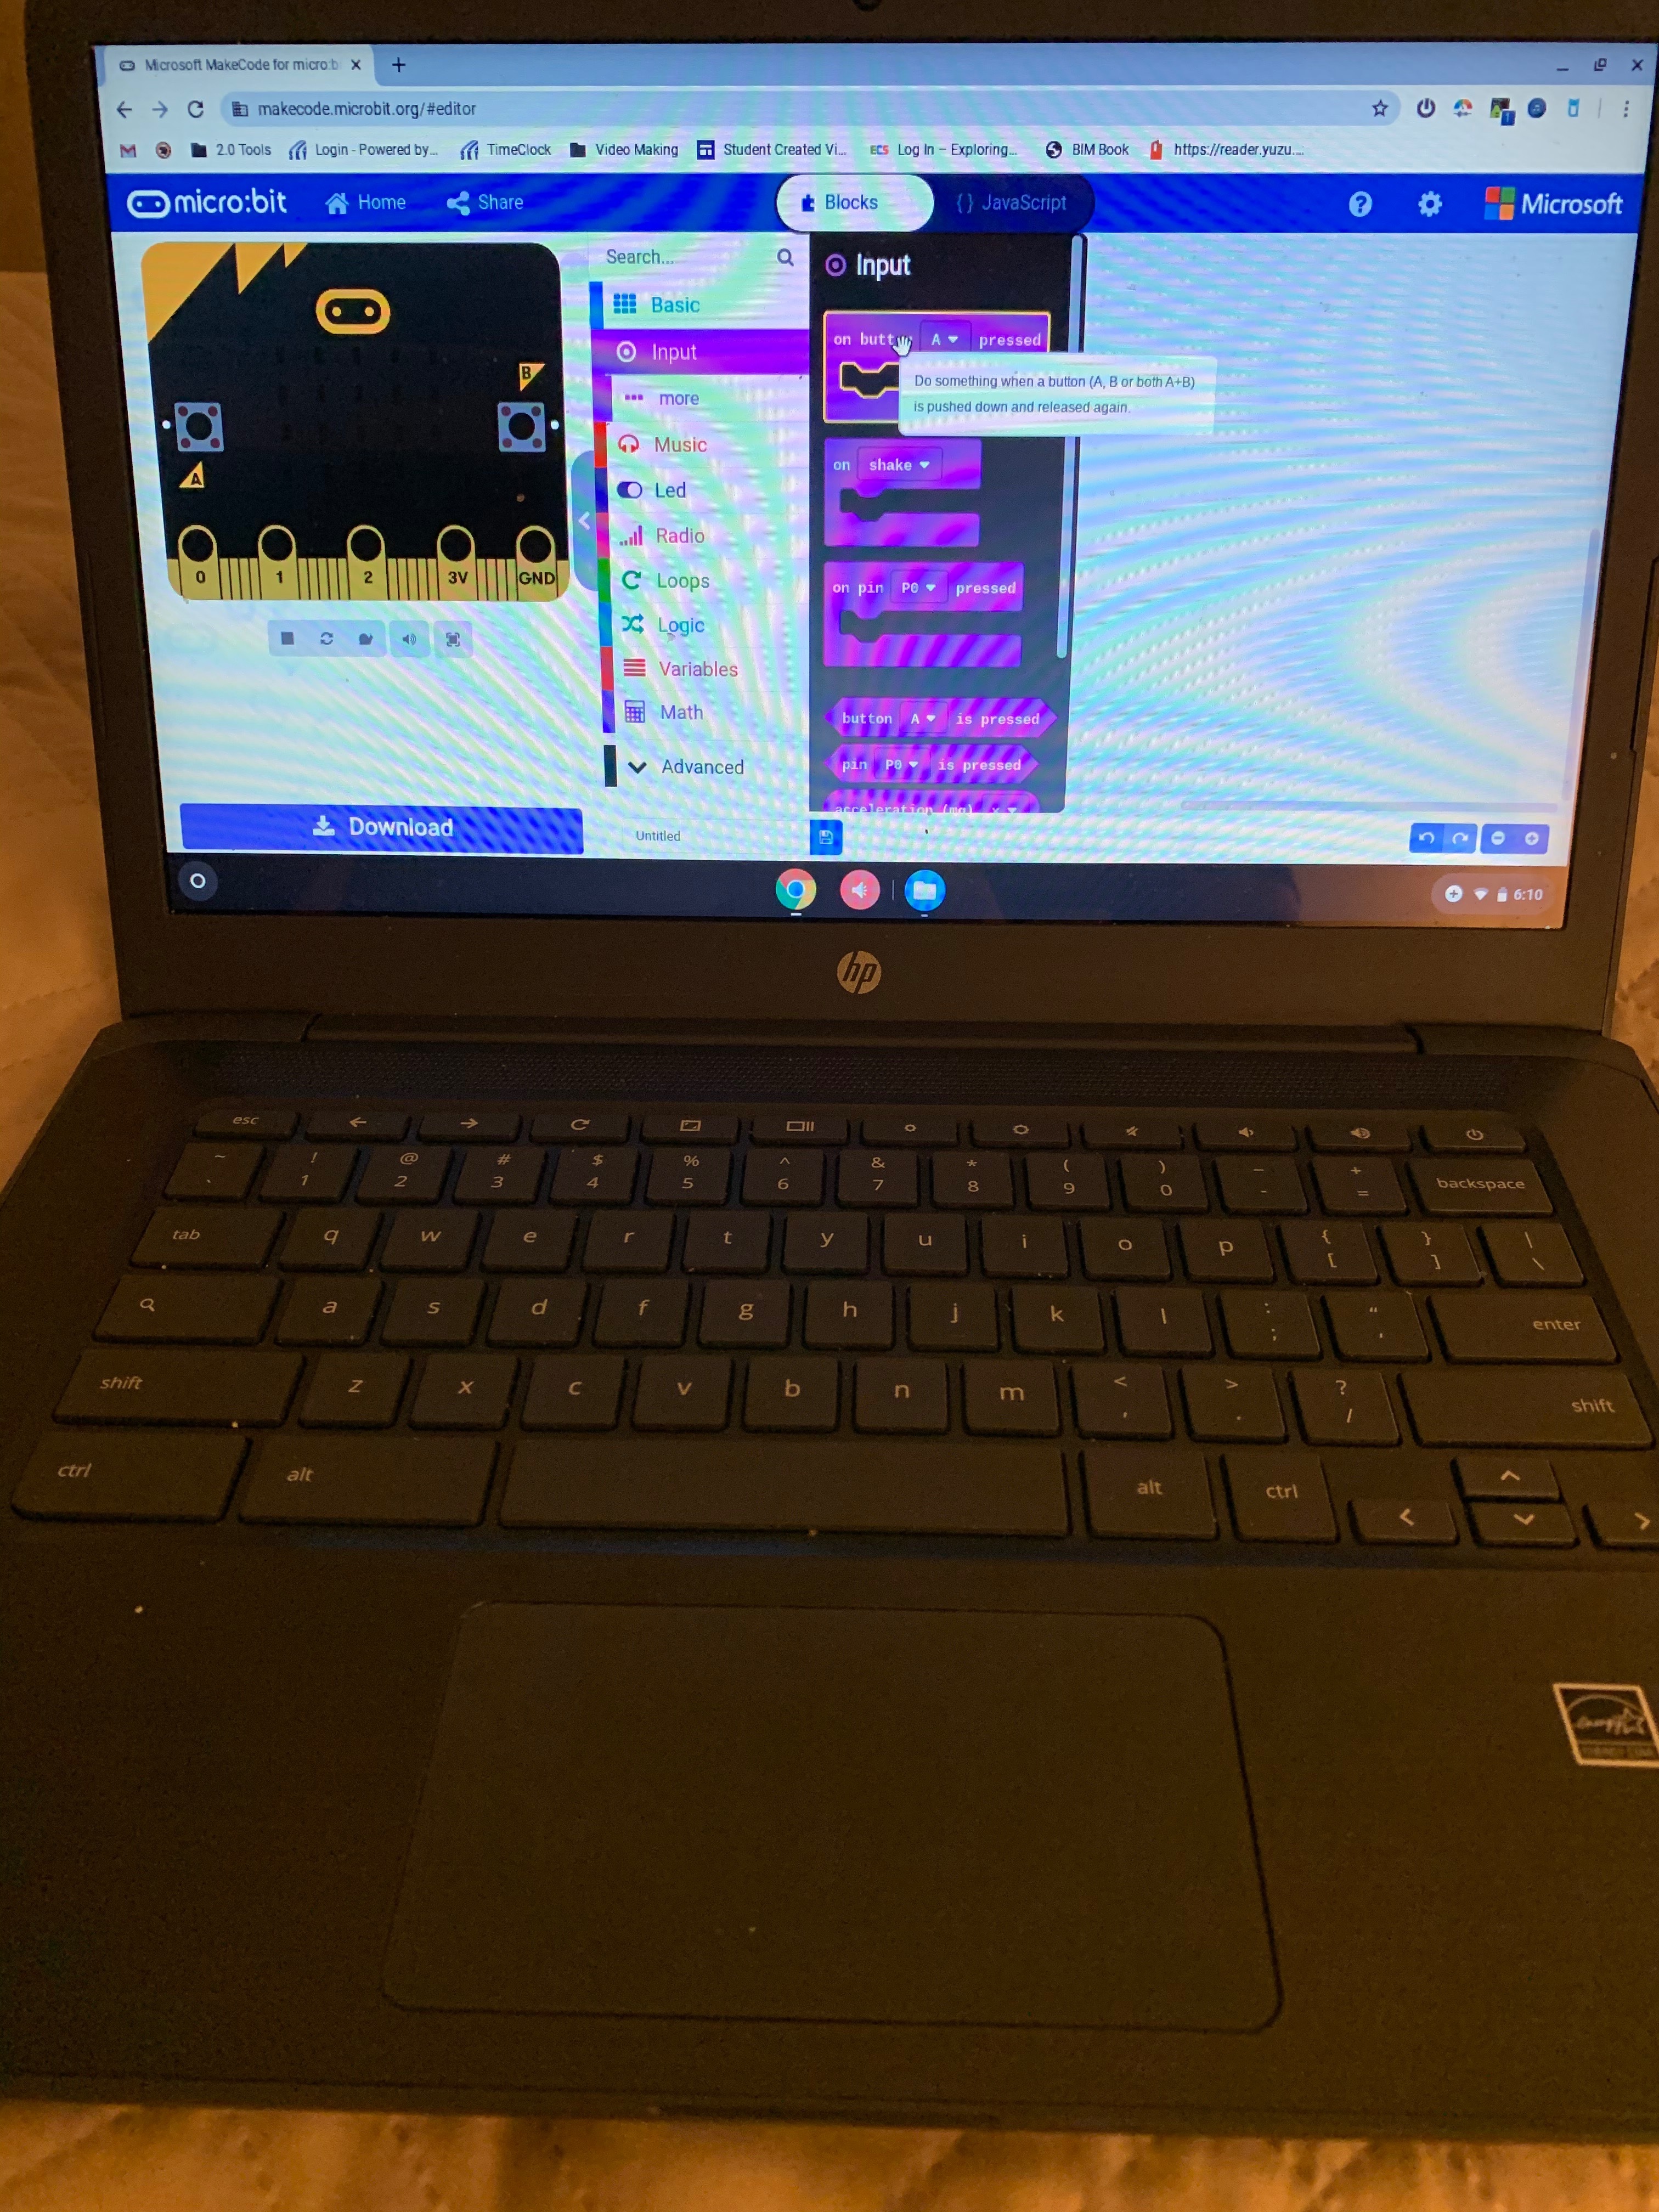
Remove the forever and on start blocks by clicking on them and dragging them back to the block menu. **Notice the trash cans pops up after you begin to drag it." In your menu bar then click input, and find the block that states "on button A press", click and drag to the work area. (Grey area to the right of the block menu)
Code
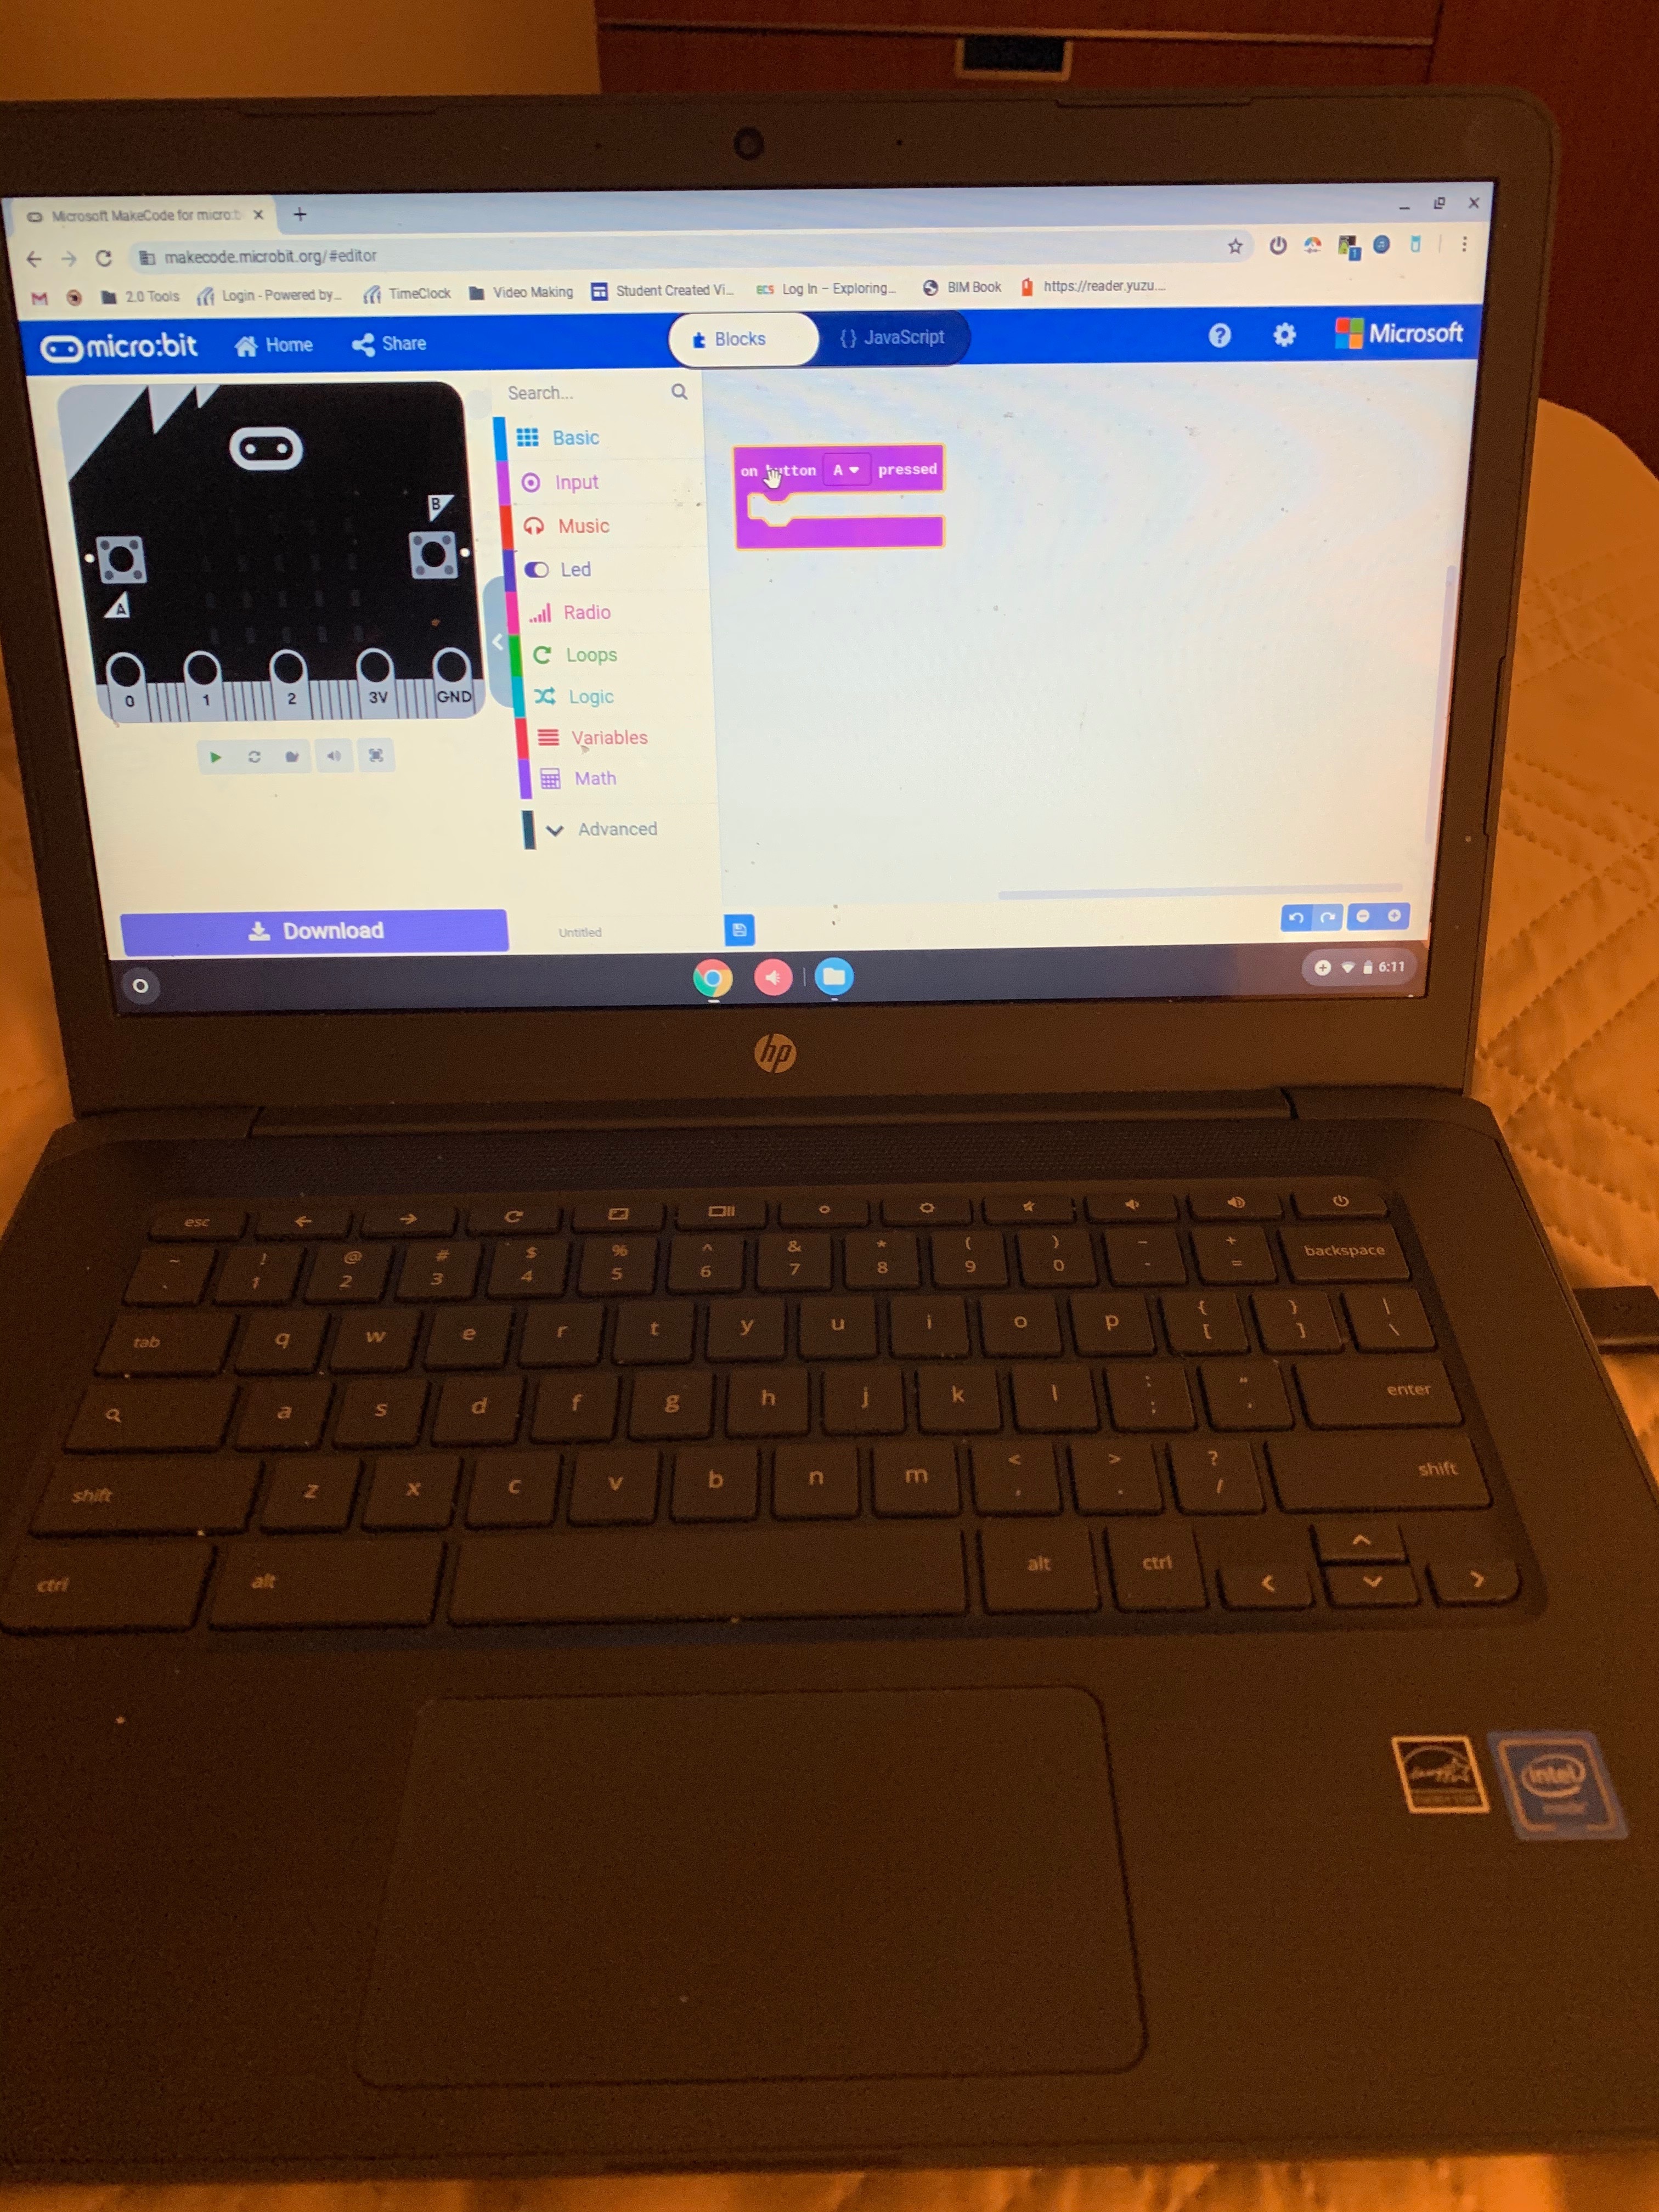
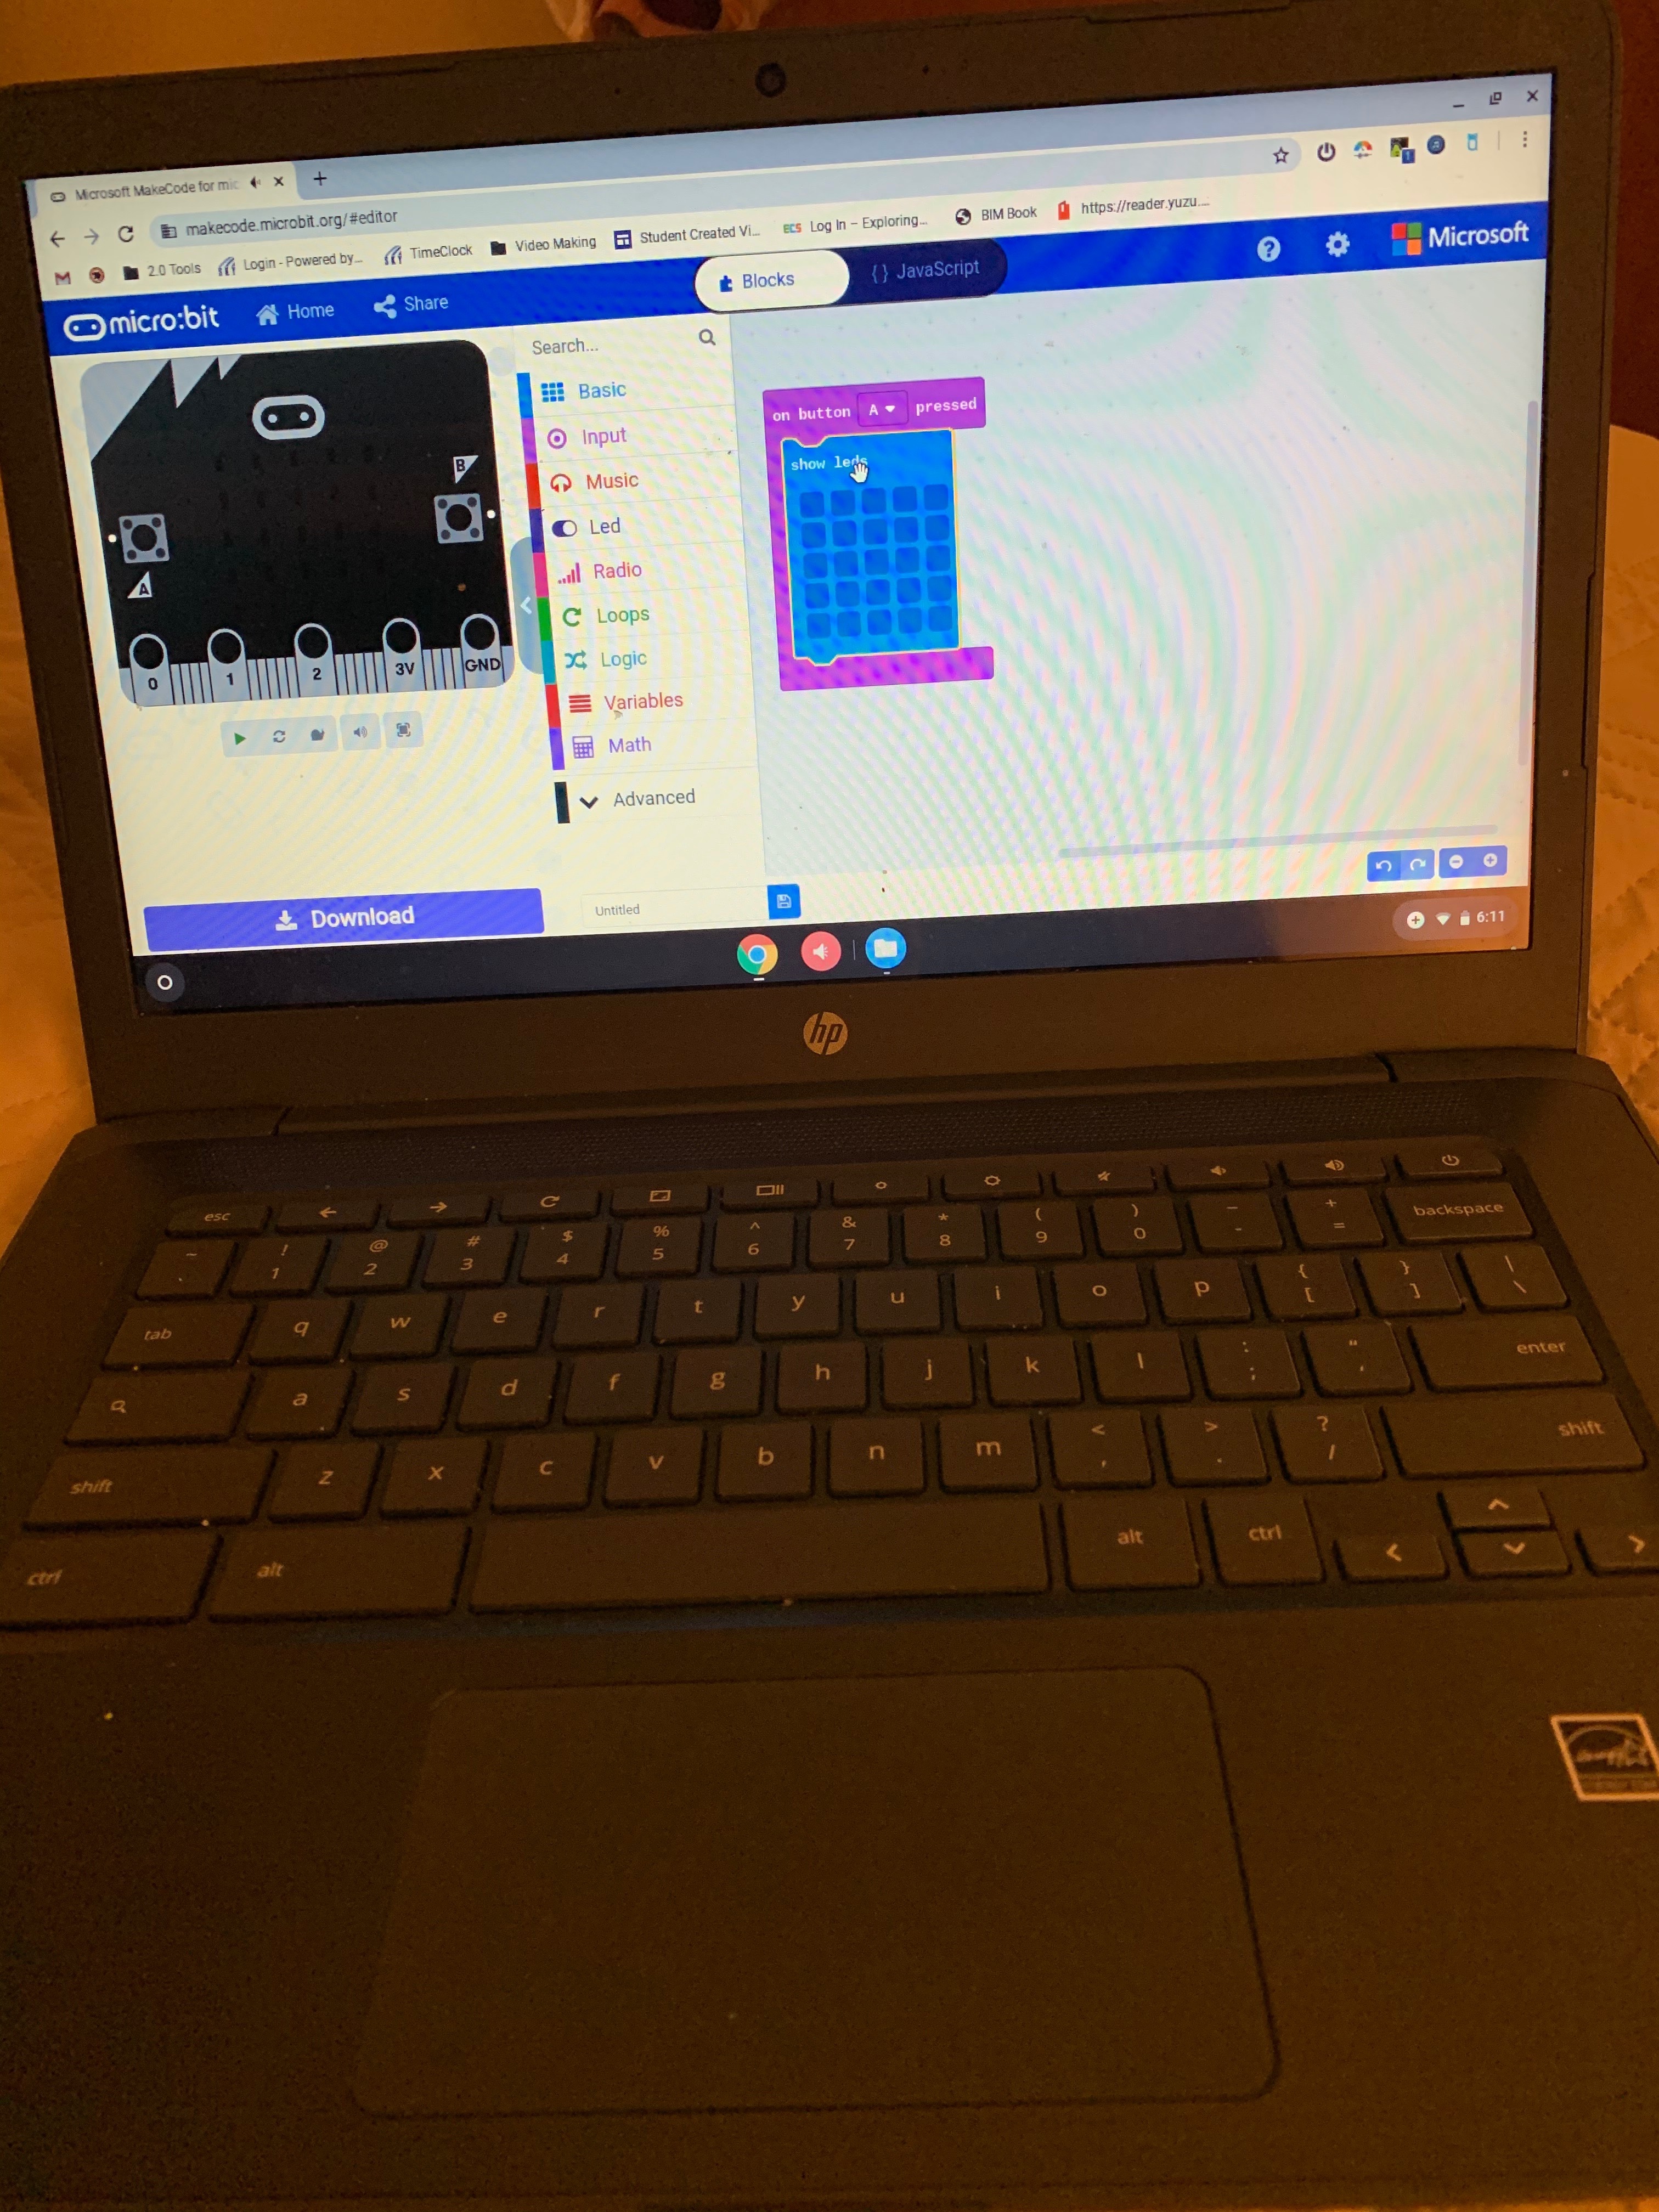
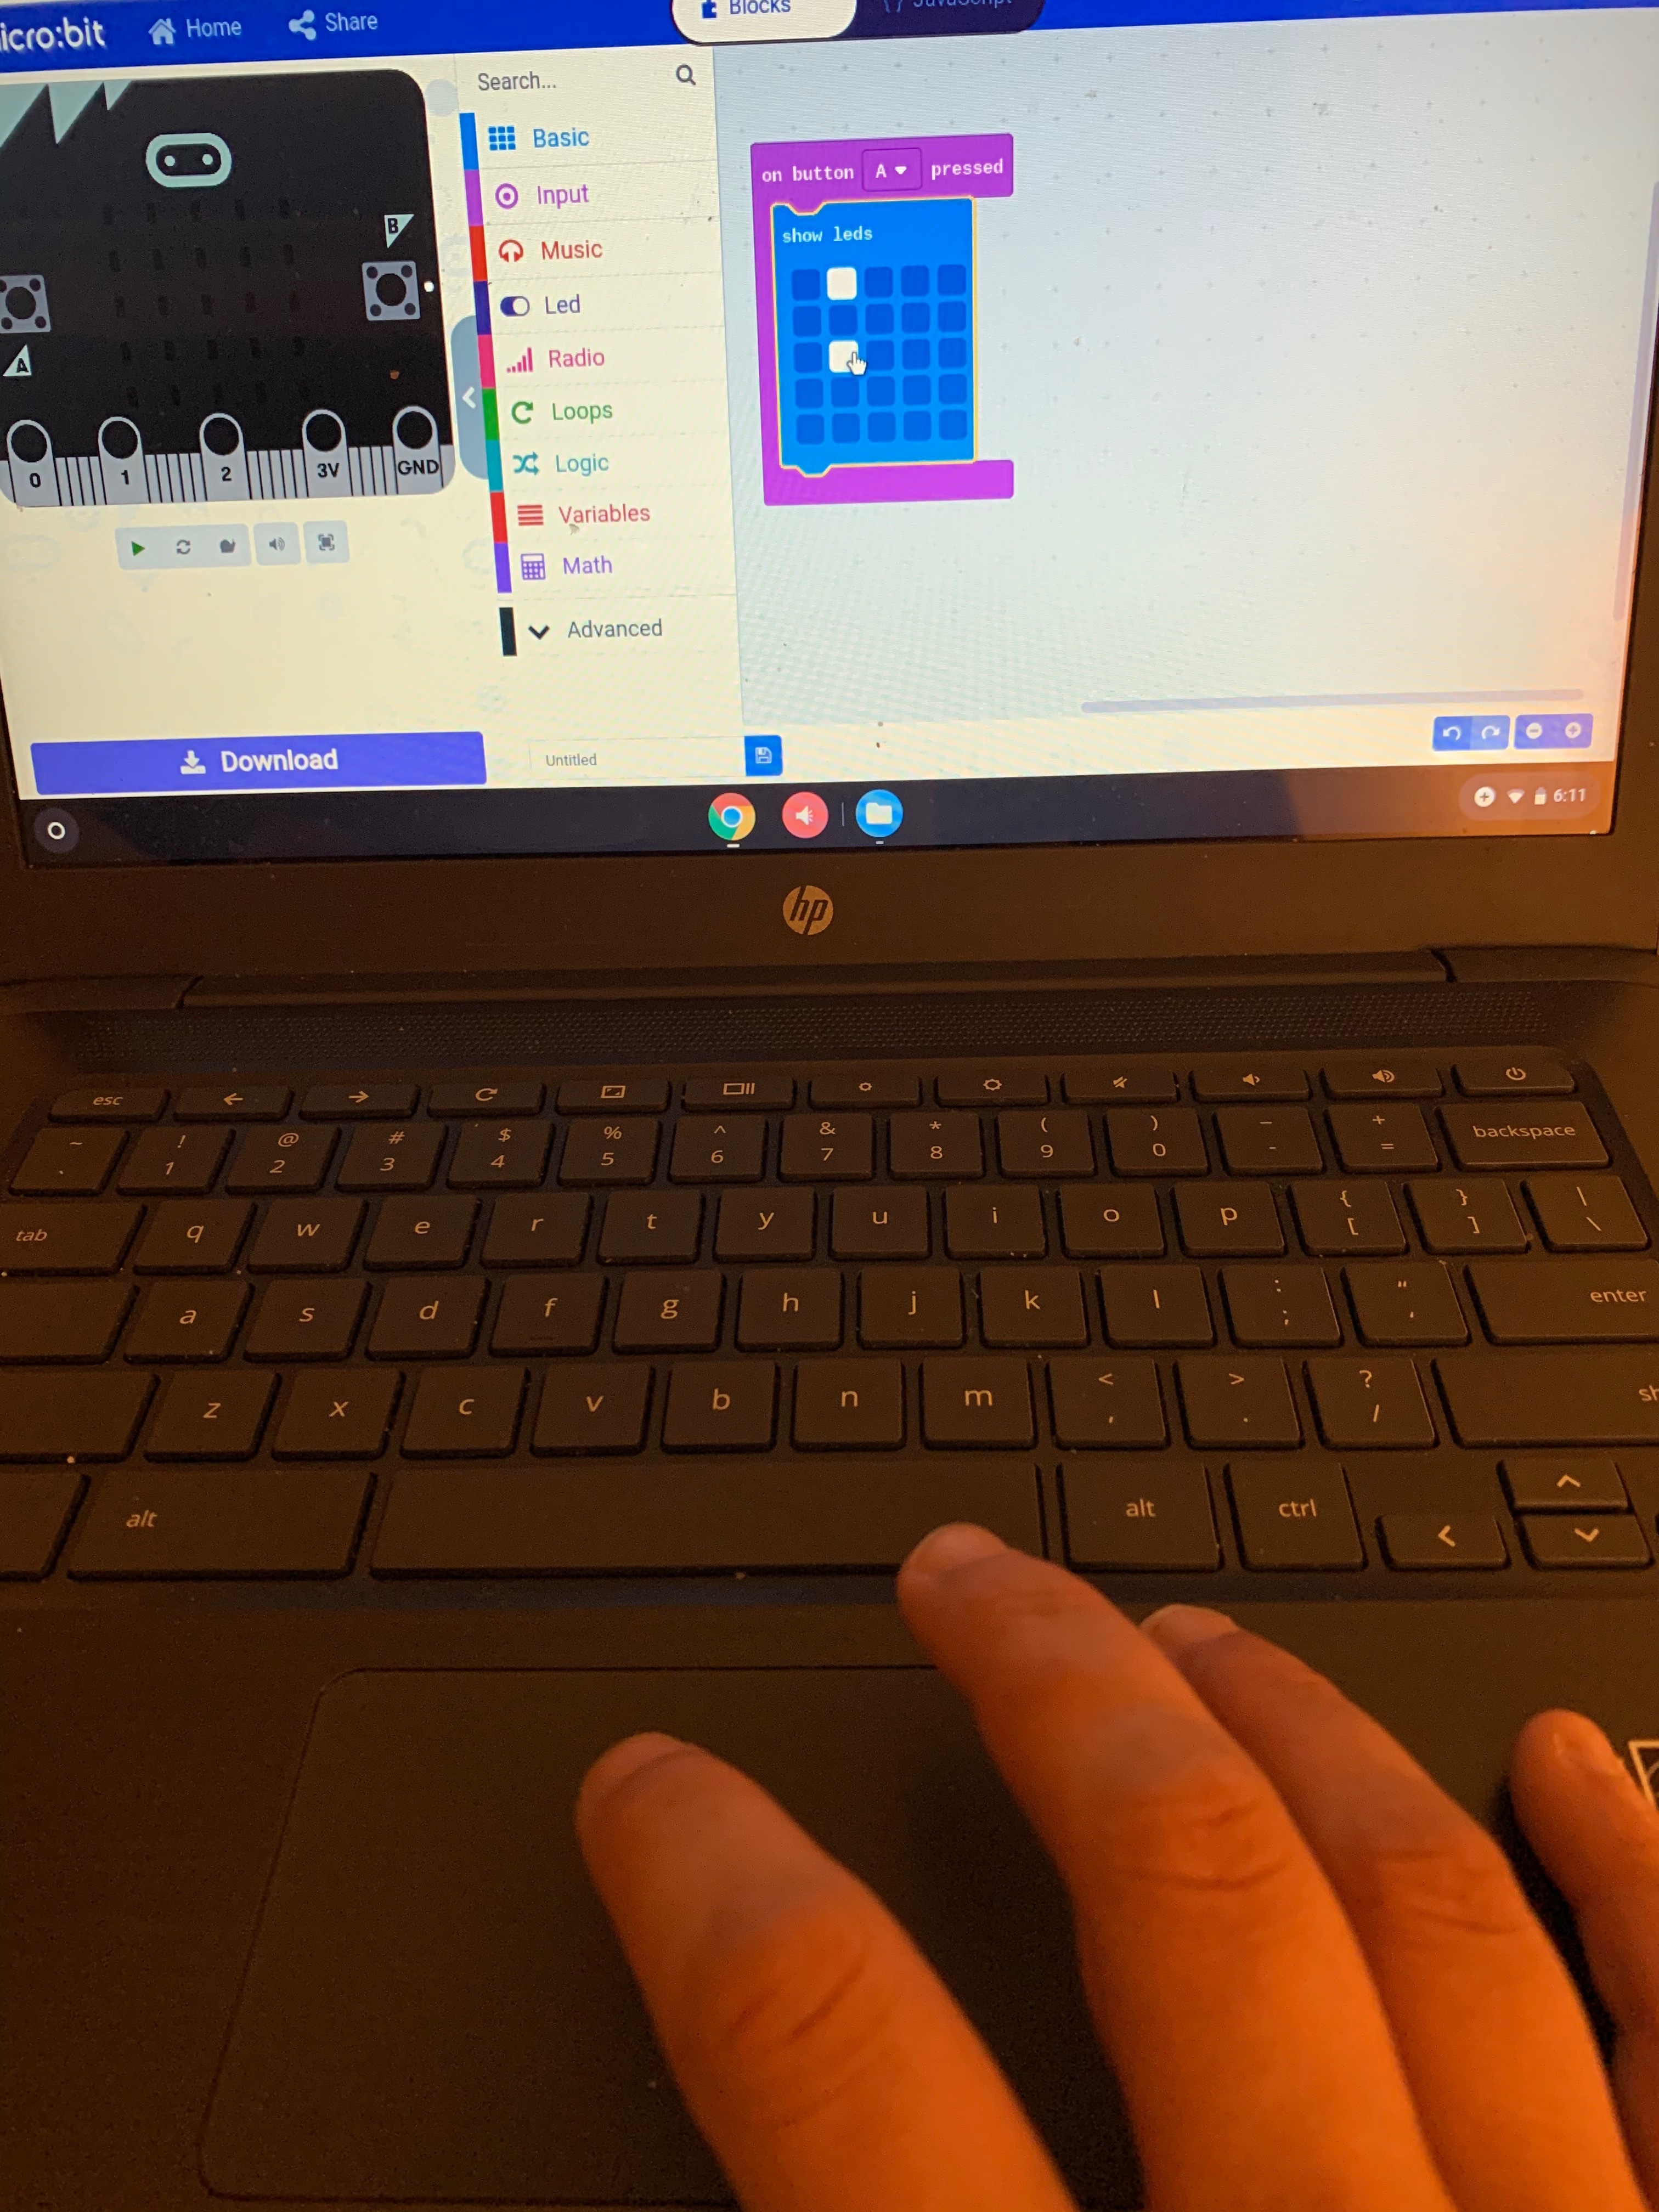
After completing the last step your worspace should look like picture 1. Go to the Basic menu and find the block that states, "Show LEDs" , drag it in the middle of your purple block, once you let go it will then place it perfect when it should go within the "on button a is pressed" block. Begin to click some of the little squares.
Download and Test
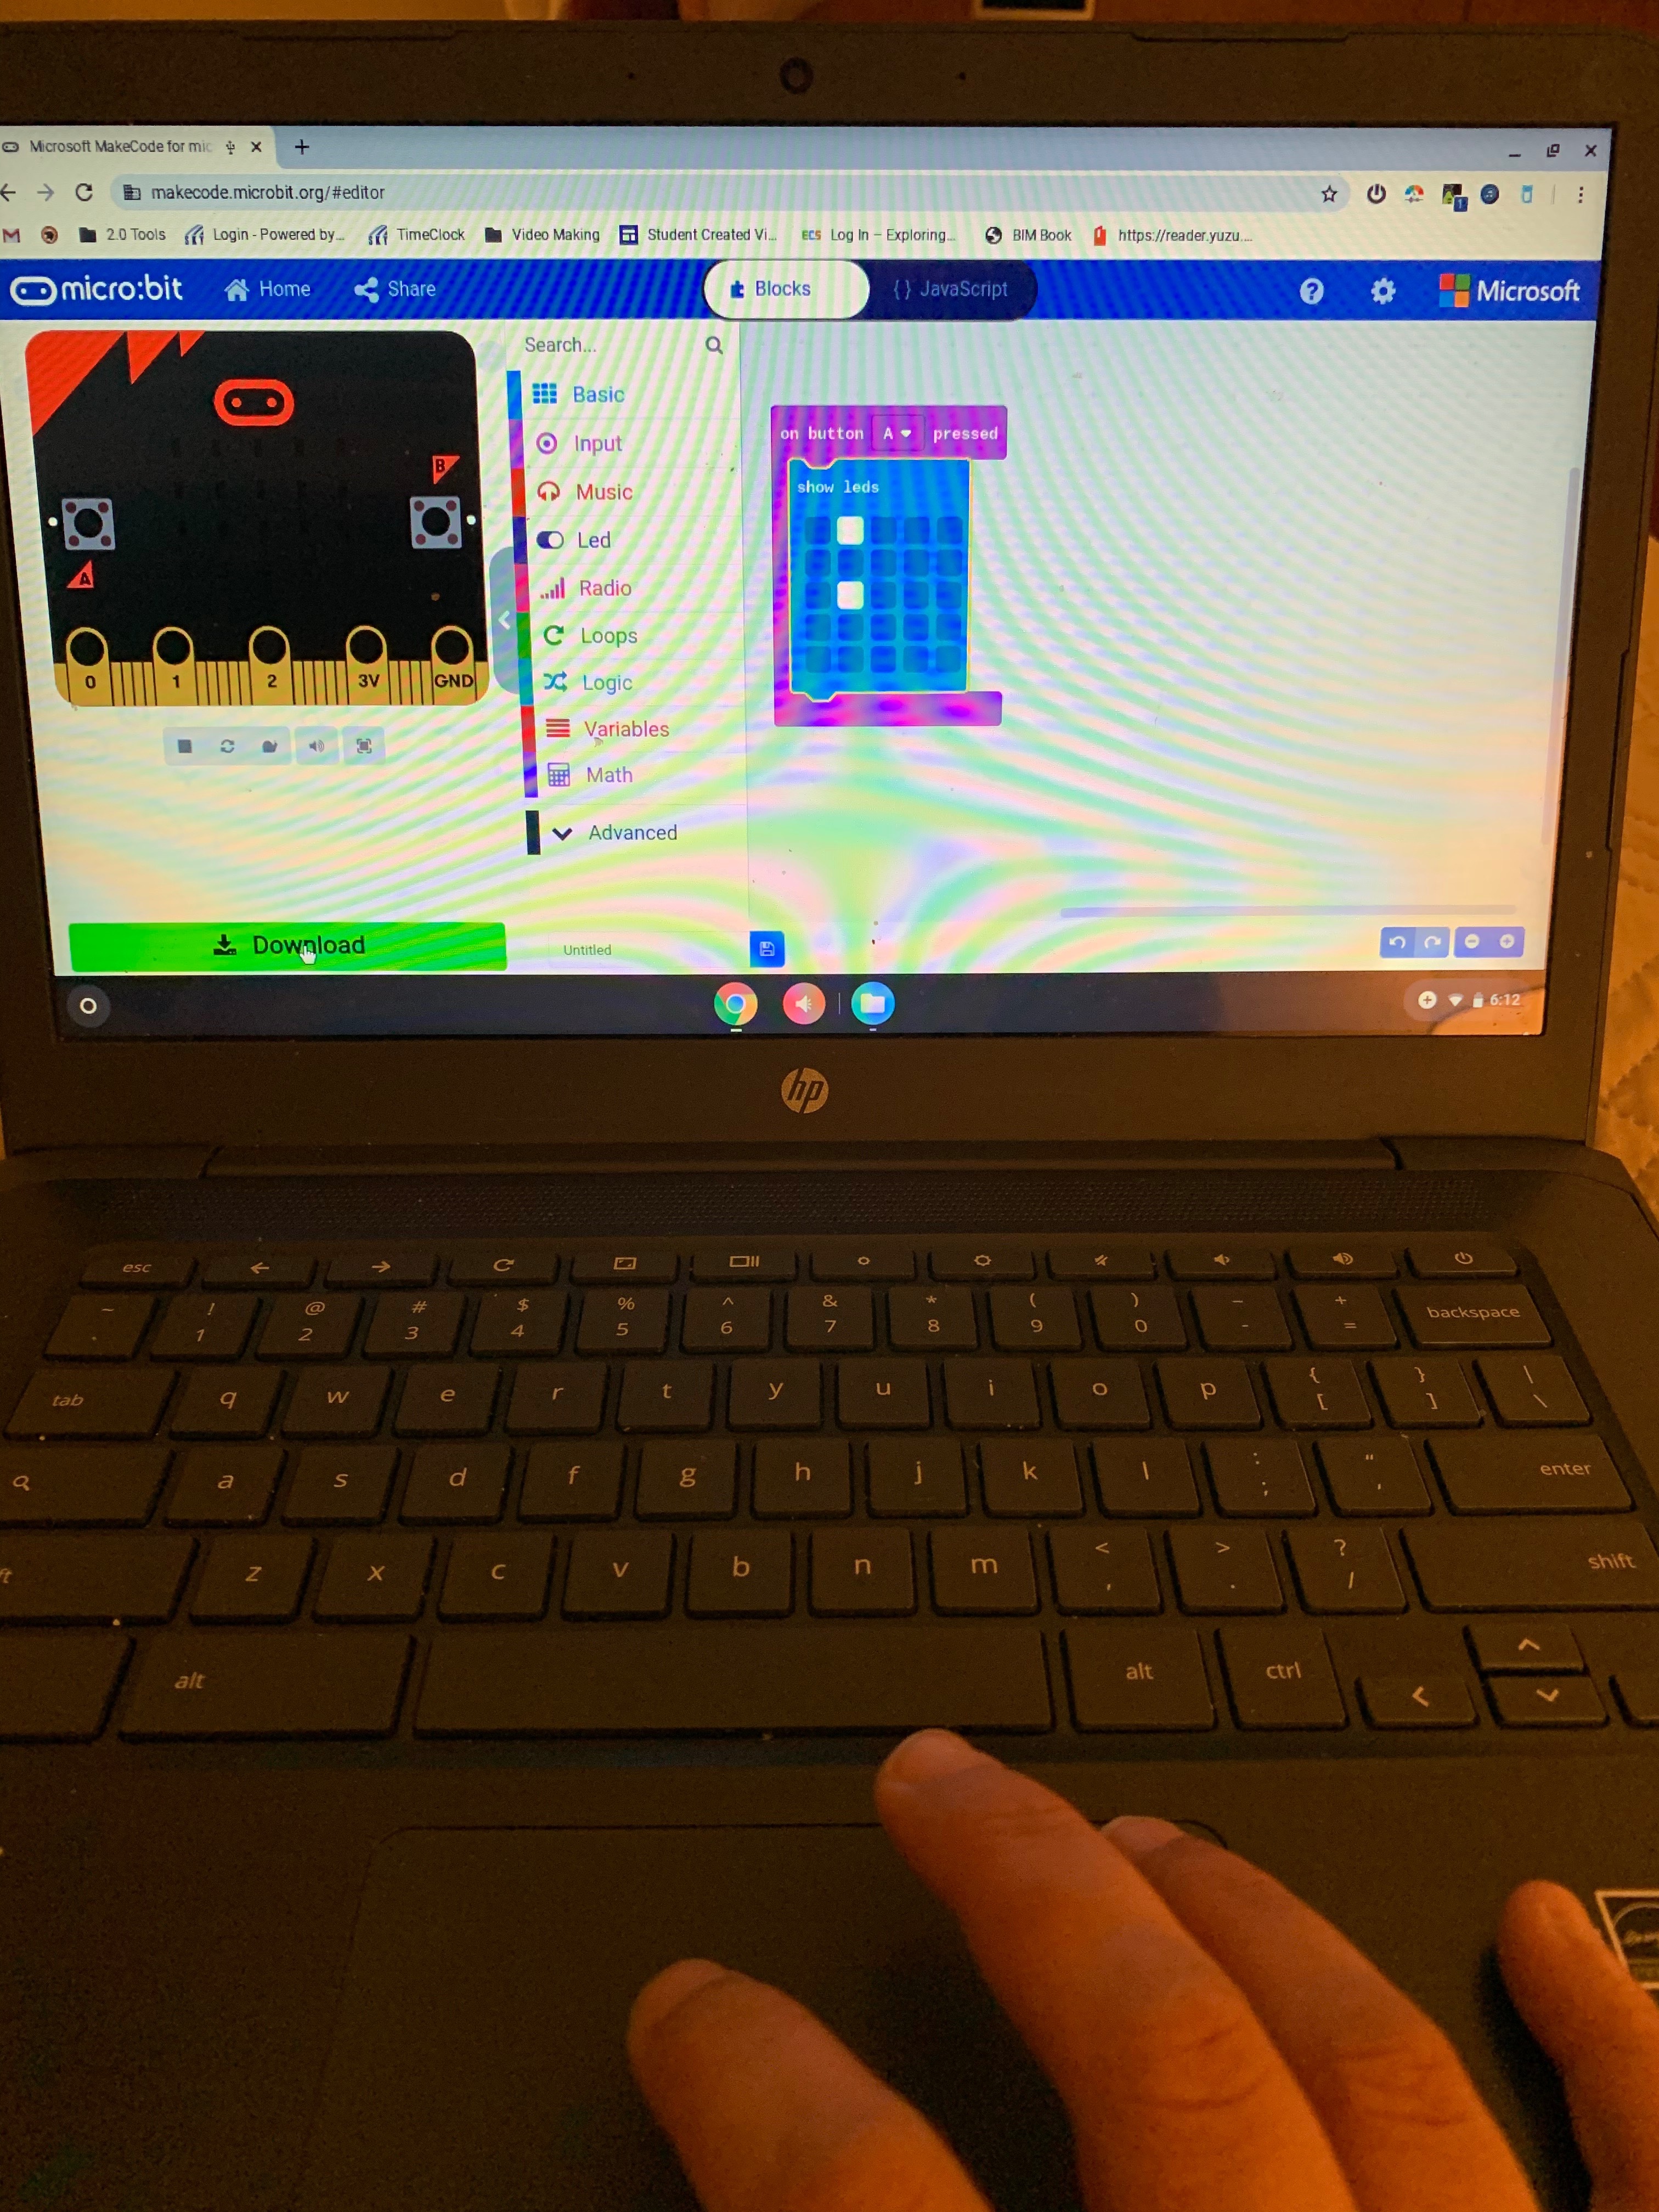
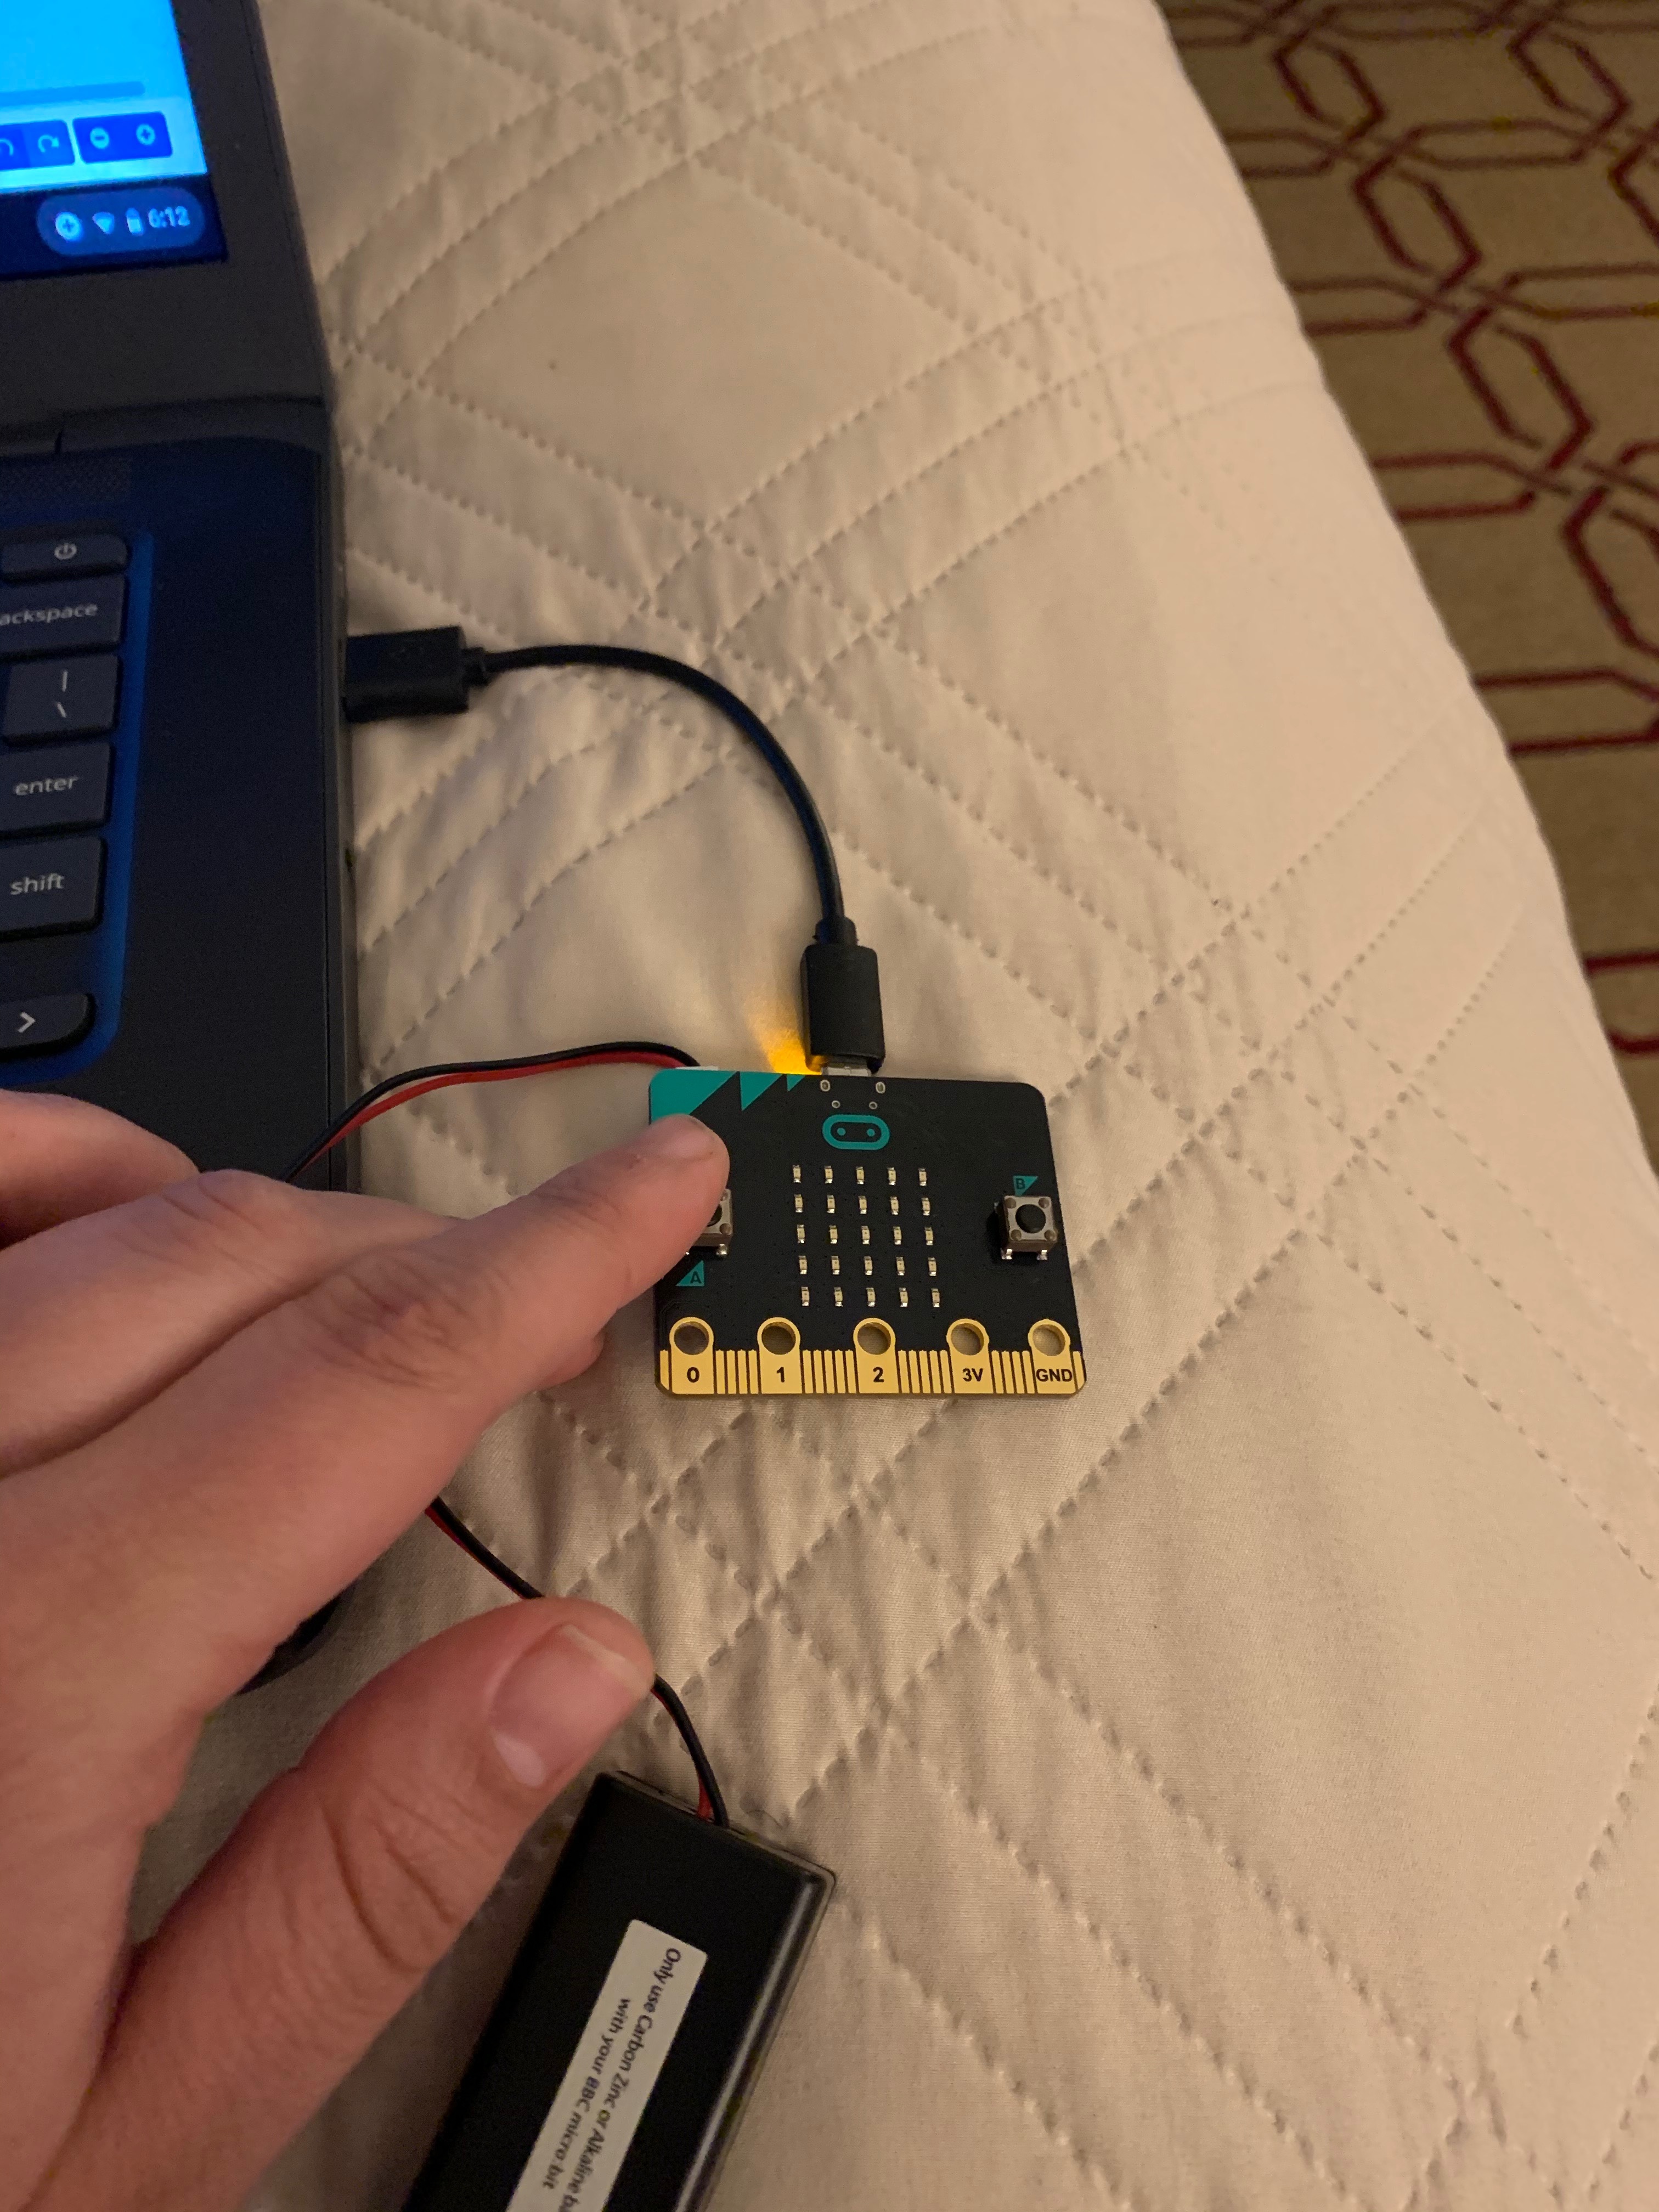
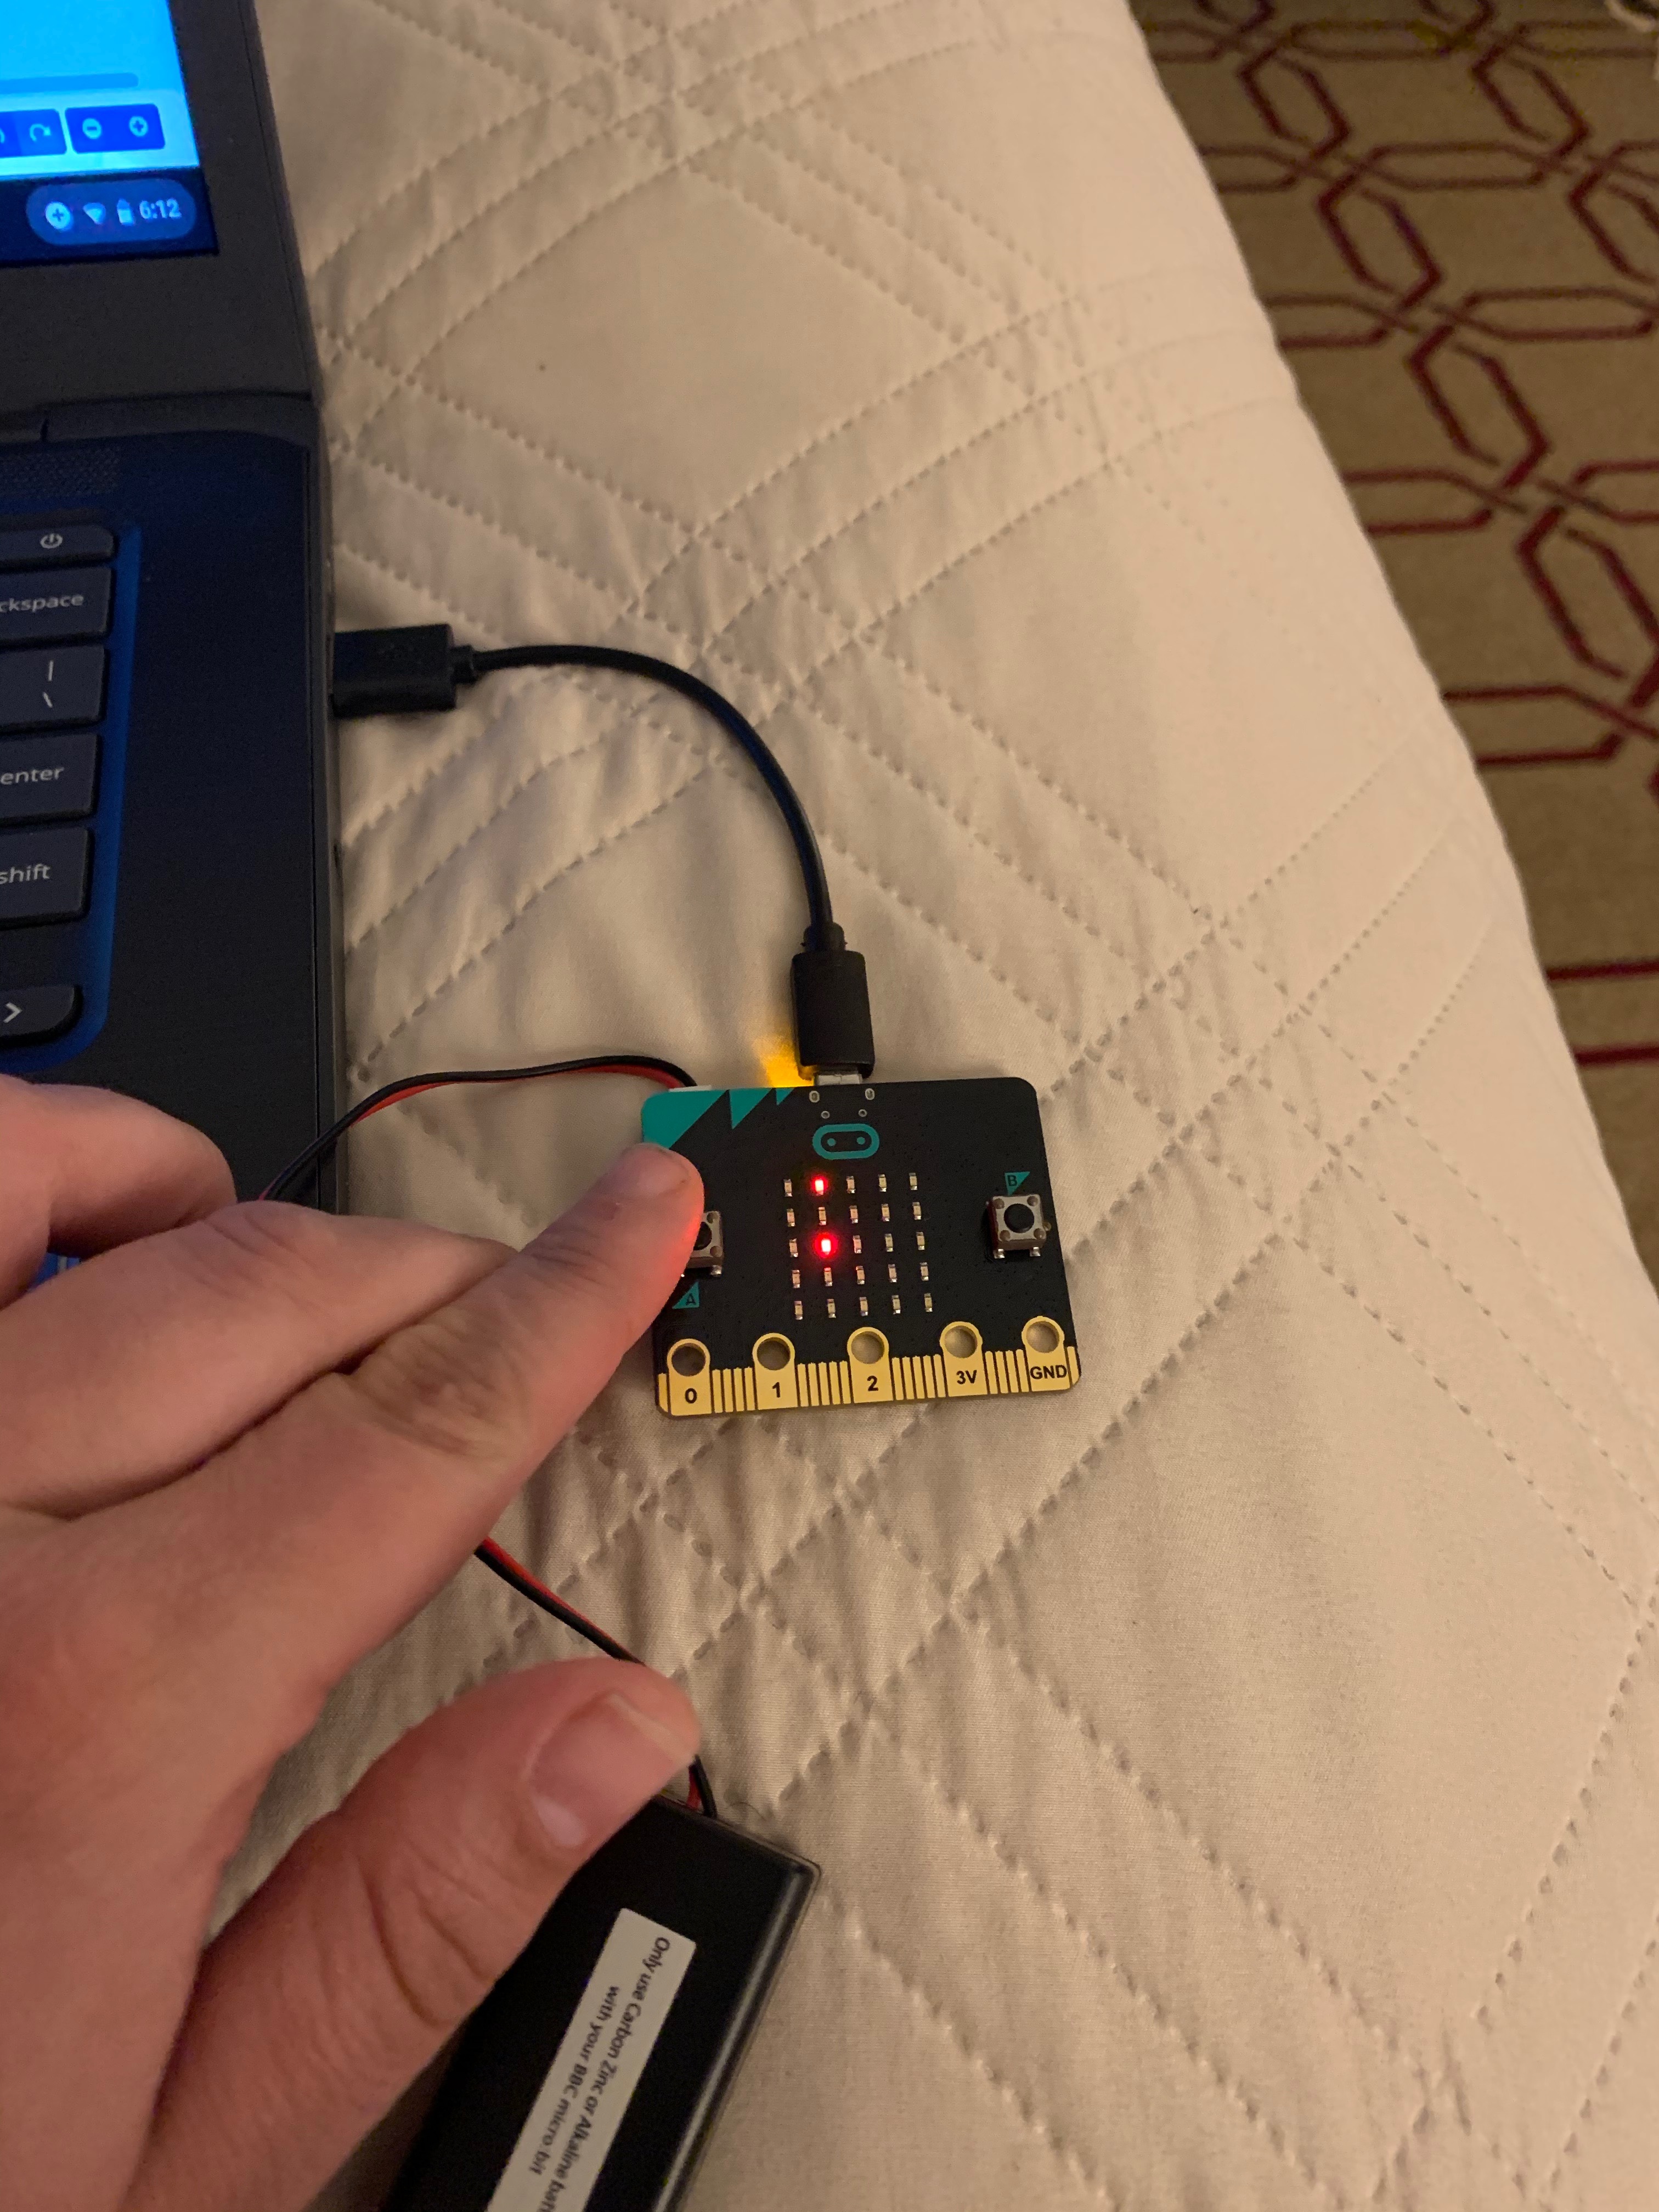
Once you have clicked on the desired lights you want lit when pressing "A" click on the download button. This action will download the code into the micro bit. Once it is done downloading press A on your Micro:bit. You should see your selected lights, light up. You can even unplug the Micro:bit from the laptop!