Micro:bit Triggered Minecraft Selfie Wall Project
by coffeechug in Circuits > Raspberry Pi
3063 Views, 3 Favorites, 0 Comments
Micro:bit Triggered Minecraft Selfie Wall Project
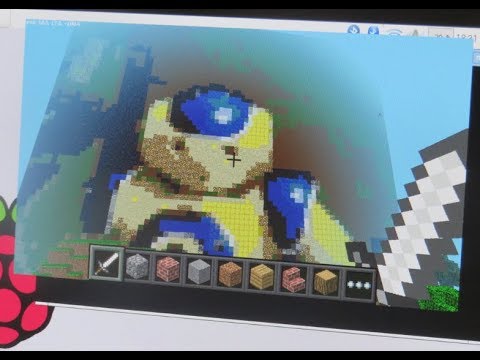
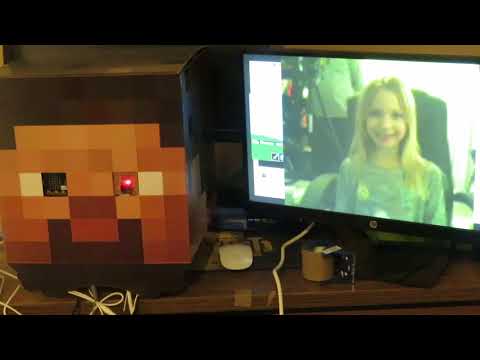
Welcome to my latest project to help demonstrate to students the power of coding and physical computing.
The first video is a quick overview of the project.
The second video is a complete step by step tutorial on how to copy this project and hopefully make it even better.
Enjoy!
If you like, then please give the YouTube channel a like and subscribe as well as on here on this site as well!
Gather Materials
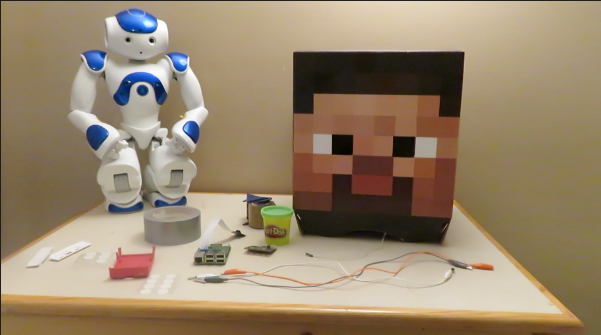
You will need the following:
1 Micro:bit kit
1 Raspberry Pi
1 Raspberry Pi Camera
1 male/female header cable for GPIO connection
3 Alligator clips
Velcro Dots(optional)
Duct Tape or Packing Tape
Minecraft Steve Head(optional)
Test Micro:bit With MakeCode
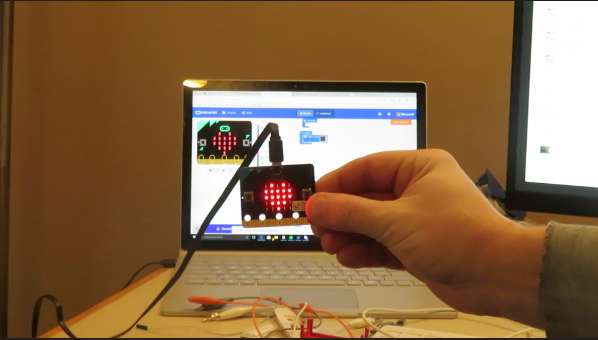
1. Head to MakeCode.com and choose Micro:bit platform
2. Download a preset image just to make sure the Micro:bit works and you understand how to use the Micro:bit
3. Once you have an image on the Micro:bit and you understand how to download(follow tutorial on website), then we can move to the Raspberry Pi.
Setup the Hardware
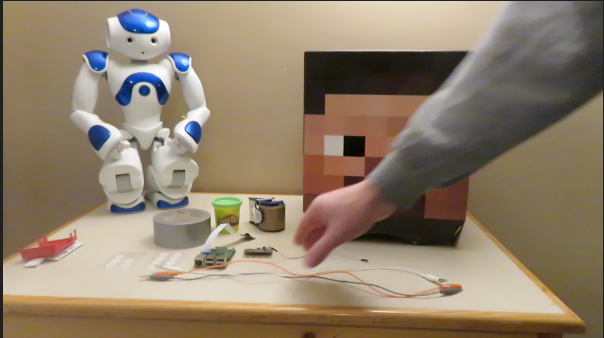
1. Setup your Raspberry Pi - keyboard, mouse, monitor, and power
2. Plug in the Raspberry Pi camera
3. Maker sure Camera is enabled in Configuration panel
Connect Micro:bit and Raspberry Pi
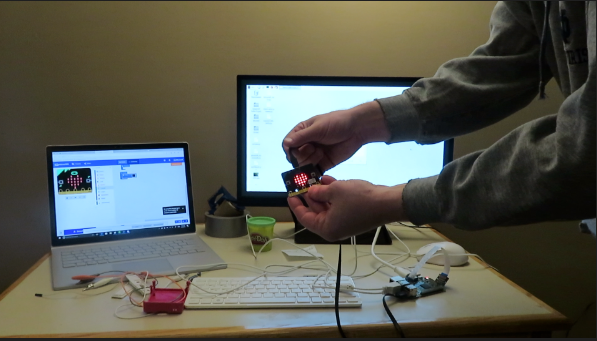
1. Plug Micro:bit to the Raspberry Pi
2. The screen should indicate that it is plugged in and therefore click OK
3. Make sure you see the Micro:bit in the File Manager
4. When plugged in the Micro:bit should be displaying the image from Step 2
Update the Pi and Install Mu
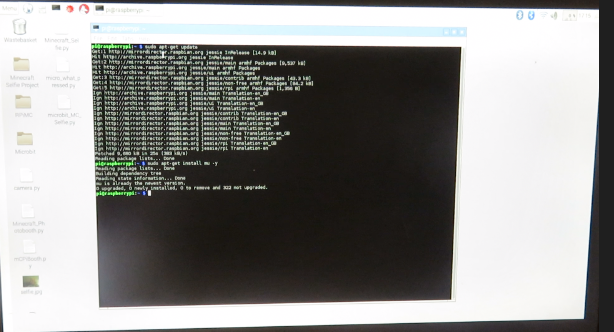
1. Open up Terminal on the Raspberry Pi and enter the following to update your Pi
sudo apt-get update
2. We also have to install a programming software called Mu. This is a Micro Python program designed for micro controllers like the Micro:bit. Install in Terminal using the following:
sudo apt-get install mu -y
Code Micro:bit in Mu
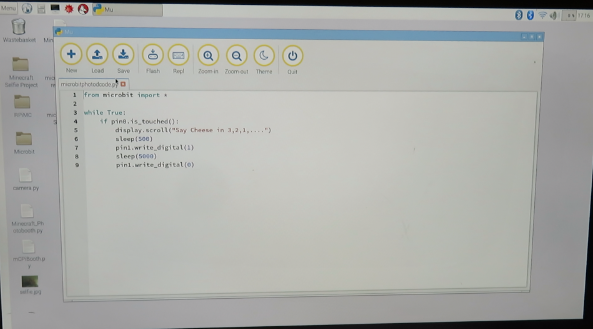
Open up Mu by going to Menu--> Programming --> Mu
Type in the following code in Mu
from micro:bit import *
while True:
if pin0.is_touched():
display.scroll("Say Cheese in 3,2,1,....!")
sleep(500)
pin1.write_digital(1)
sleep(5000)
pin1.write_digital(0)
Save this code to your Raspberry Pi
Click on Flash to import code to the Micro:bit
Wiring the Micro:bit to the Raspberry Pi
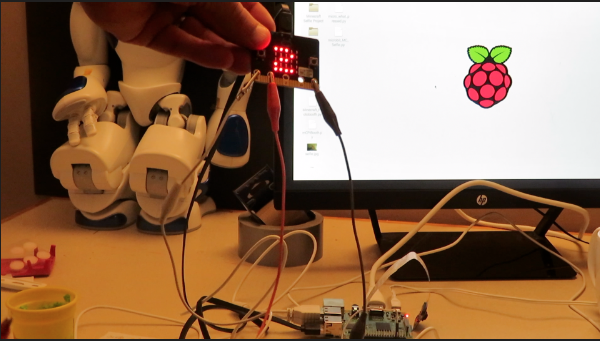
Add one alligator clip to Pin 0 on the Micro:bit
Add one alligator clip to Pin 1 on the Micro:bit
Add one alligator clip to GND on the Micro:bit
The alligator clip on Pin 1 needs to be attached to the male/female wire that is clipped to the male lead. The female lead of this wire goes to GPIO pin 4 on the Raspberry Pi
At this point I stick the Pin 0 alligator clip into Play-doh as my button. You can create any type of button you choose, but this is quick and easy.
You can test your Micro:bit if you have flashed the code. Nothing will happen except your message on the Micro:bit. Make sure this works because if your trigger is not working, then the next steps won't work either.
Coding in Python

Create a folder to store all the code for this project. You can add the Mu code if you wish to help stay organized.
0. Save this file in your folder. This helps to map pixels to the Minecraft world.
1. Open up Python 3
2. Click New File
3. Save File As whatever name you want.
4. Enter the following code
from picamera import PiCamera
from gpiozero import Button
from mcpi.minecraft import Minecraft
from time import sleep
from skimage import io, color
mc = Minecraft.create()
button = Button(4, pull_up=False)
## Taking a picture with Micro:bit
mc.postToChat("Press the Button!") sleep(2) button.wait_for_press()
with PiCamera() as camera:
camera.resolution = (100,80)
camera.start_preview()
sleep(3)
camera.capture('/home/pi/Desktop/Microbit/selfie.jpg')
camera.stop_preview()
mc.postToChat('fly up in air and look for shadow on the ground')
sleep(5)
### load selfie and map
selfie_rgb = io.imread("/home/pi/Desktop/Microbit/selfie.jpg")
map_rgb = io.imread("/home/pi/Desktop/Microbit/colour_map.png")
### Convert to Lab
selfie_lab = color.rgb2lab(selfie_rgb)
map_lab = color.rgb2lab(map_rgb)
### Mapping colours on colour map to Minecraft blocks ### First tuple is coordinates of colour map ### Second tuple is Minecraft block
colours={(0,0):(2,0),(0,1):(3,0),(0,2):(4,0),(0,3):(5,0),(0,4):(7,0),(0,5):(14,0),(0,6):(15,0),(1,0):(16,0),(1,1):(17,0),(1,2):(21,0),(1,3):(22,0),(1,4):(24,0),(1,5):(35,0),(1,6):(35,1),(2,0):(35,2),(2,1):(35,3),(2,2):(35,4),(2,3):(35,5),(2,4):(35,6),(2,5):(35,7),(2,6):(35,8),(3,0):(35,9),(3,1):(35,10),(3,2):(35,11),(3,3):(35,12),(3,4):(35,13),(3,5):(35,14),(3,6):(35,15),(4,0):(41,0),(4,1):(42,0),(4,2):(43,0),(4,3):(45,0),(4,4):(46,0),(4,5):(47,0),(4,6):(48,0),(5,0):(49,0),(5,1):(54,0),(5,2):(56,0),(5,3):(57,0),(5,4):(58,0),(5,5):(60,0),(5,6):(61,0),(6,0):(73,0),(6,1):(79,0),(6,2):(80,0),(6,3):(82,0),(6,4):(89,0),(6,5):(103,0),(6,6):(246,0)}
## Iterate over image and then over map. Find closest colour from map, and then look up that block and place
mc = Minecraft.create()
x, y, z = mc.player.getPos()
for i, selfie_column in enumerate(selfie_lab):
for j, selfie_pixel in enumerate(selfie_column):
distance = 300
for k, map_column in enumerate(map_lab):
for l, map_pixel in enumerate(map_column):
delta = color.deltaE_ciede2000(selfie_pixel,map_pixel)
if delta < distance:
distance = delta
block = colours[(k,l)]
mc.setBlock(x-j, y-i+60, z+5, block[0], block[1])
If you need explanation or want further help I pulled the ideas from here and here to merge into this project.
Downloads
Set Everything Up
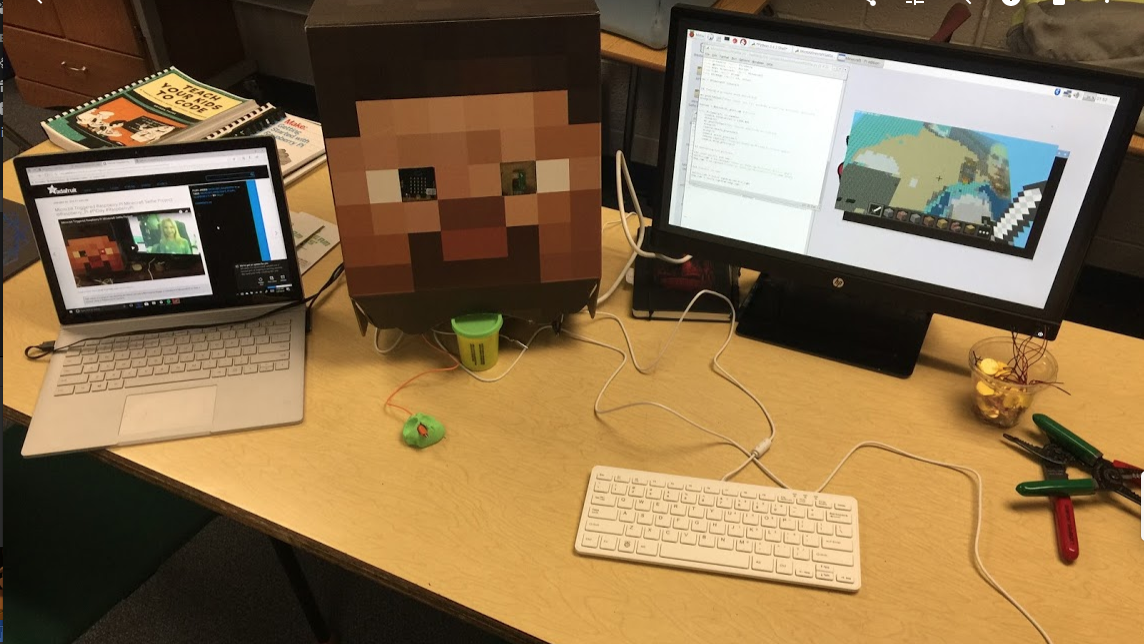
1. Save all programs.
2. Shut down Pi
3. Wire the Micro:bit and Raspberry Pi inside the Steve head using tape and velcro dots(see video around 19 minute mark)
4. Get everything into position and power up
Bringing It All Together
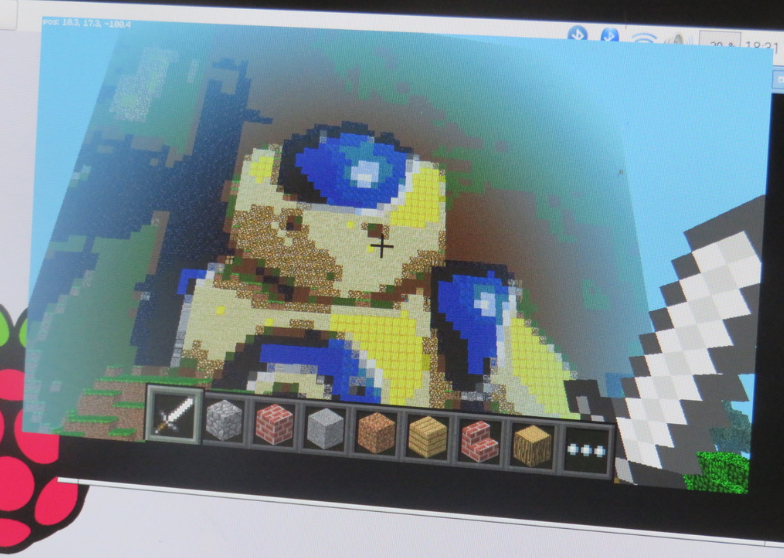
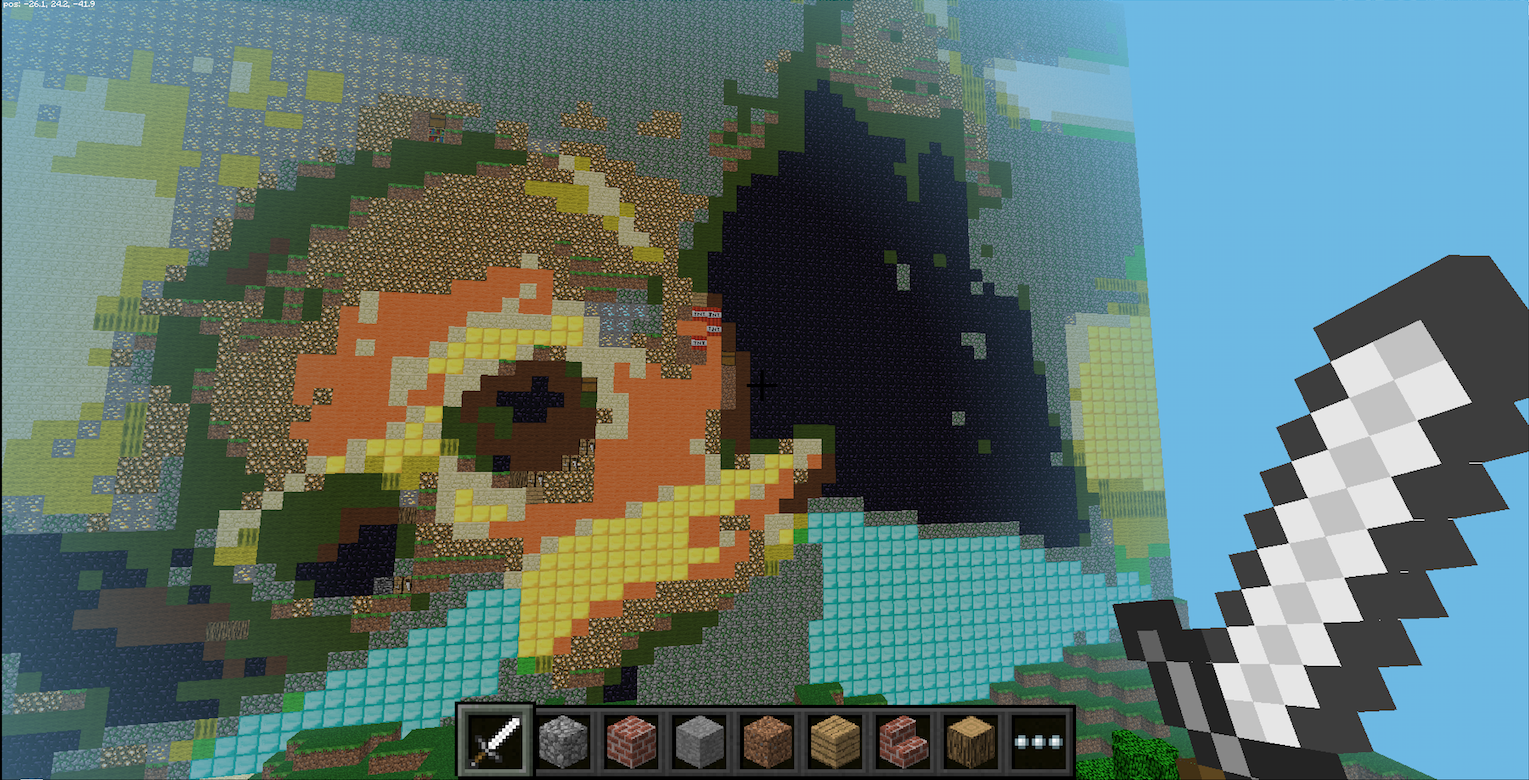
1. Open Up Minecraft
2. Open up Python program
3. Run the Python Program and open up Minecraft World
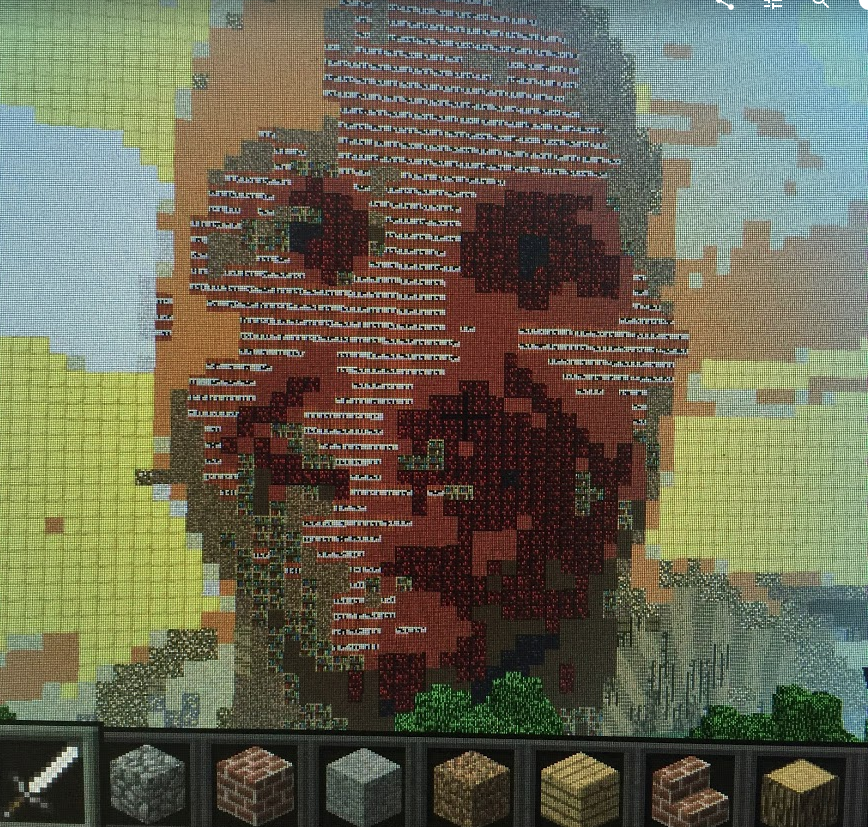
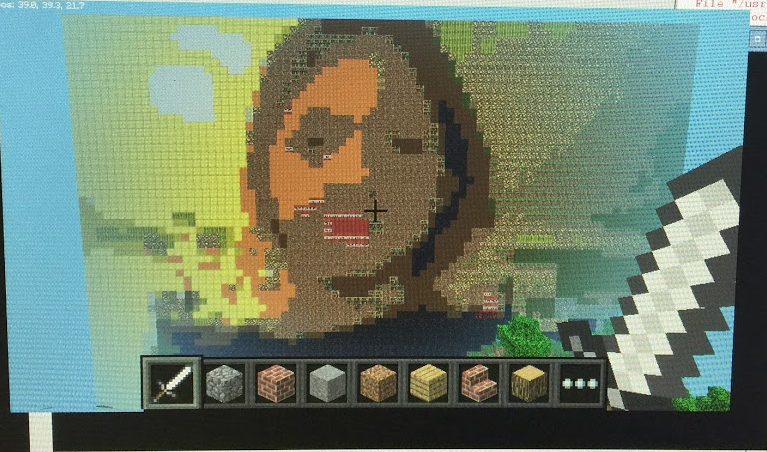
4. Follow instructions on screen and watch it print your selfie!
Please share your project prints, designs, and setups so I can learn and share with the students I teach.
Stay awesome everyone.