DIY an Infrared Thermometer for COVID-19 With MicroPython
by Lan_Makerfabs in Circuits > Microcontrollers
2295 Views, 12 Favorites, 0 Comments
DIY an Infrared Thermometer for COVID-19 With MicroPython
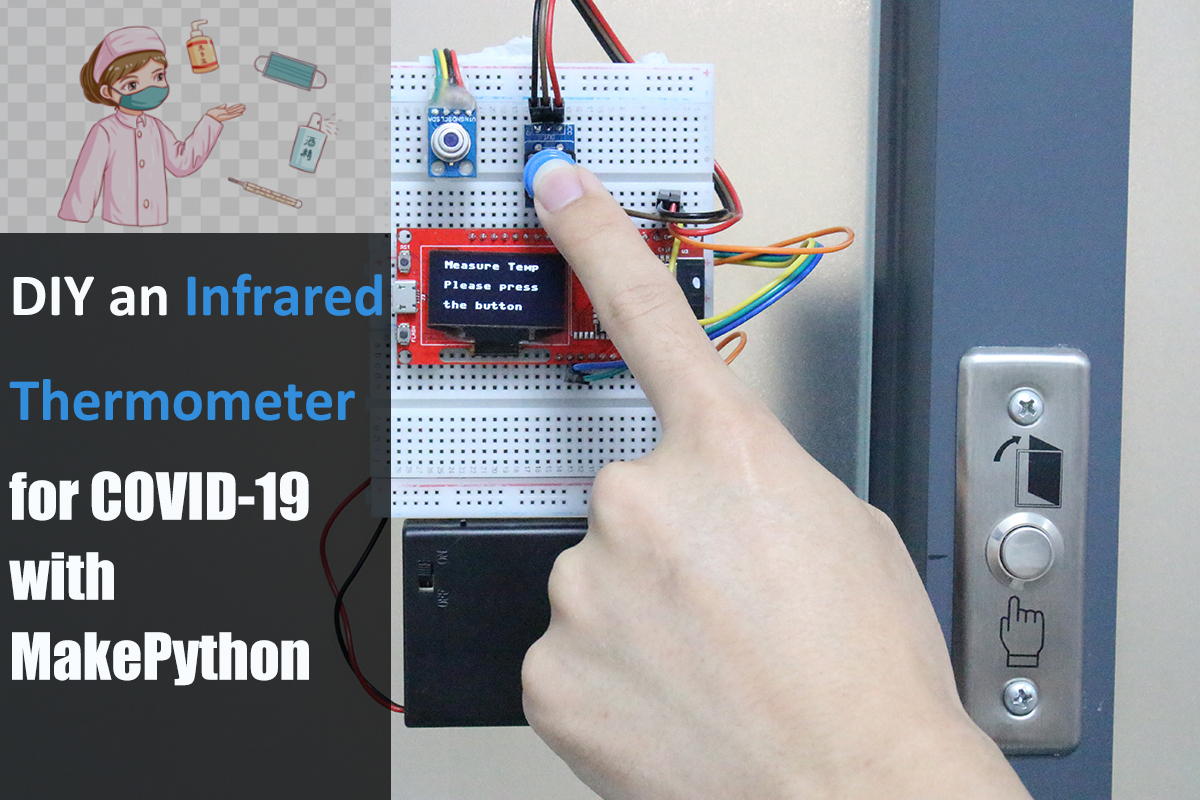
Due to the outbreak of Coronavirus Disease(COVID-19), the HR of the company needs to measure and register the temperature of each worker. This is a tedious and time-consuming task for HR. So I did this project: the worker pressed the button, this instrument measured the temperature, uploaded the data onto the Internet, and HR could go online and check everyone's temperature at any time.
Supplies
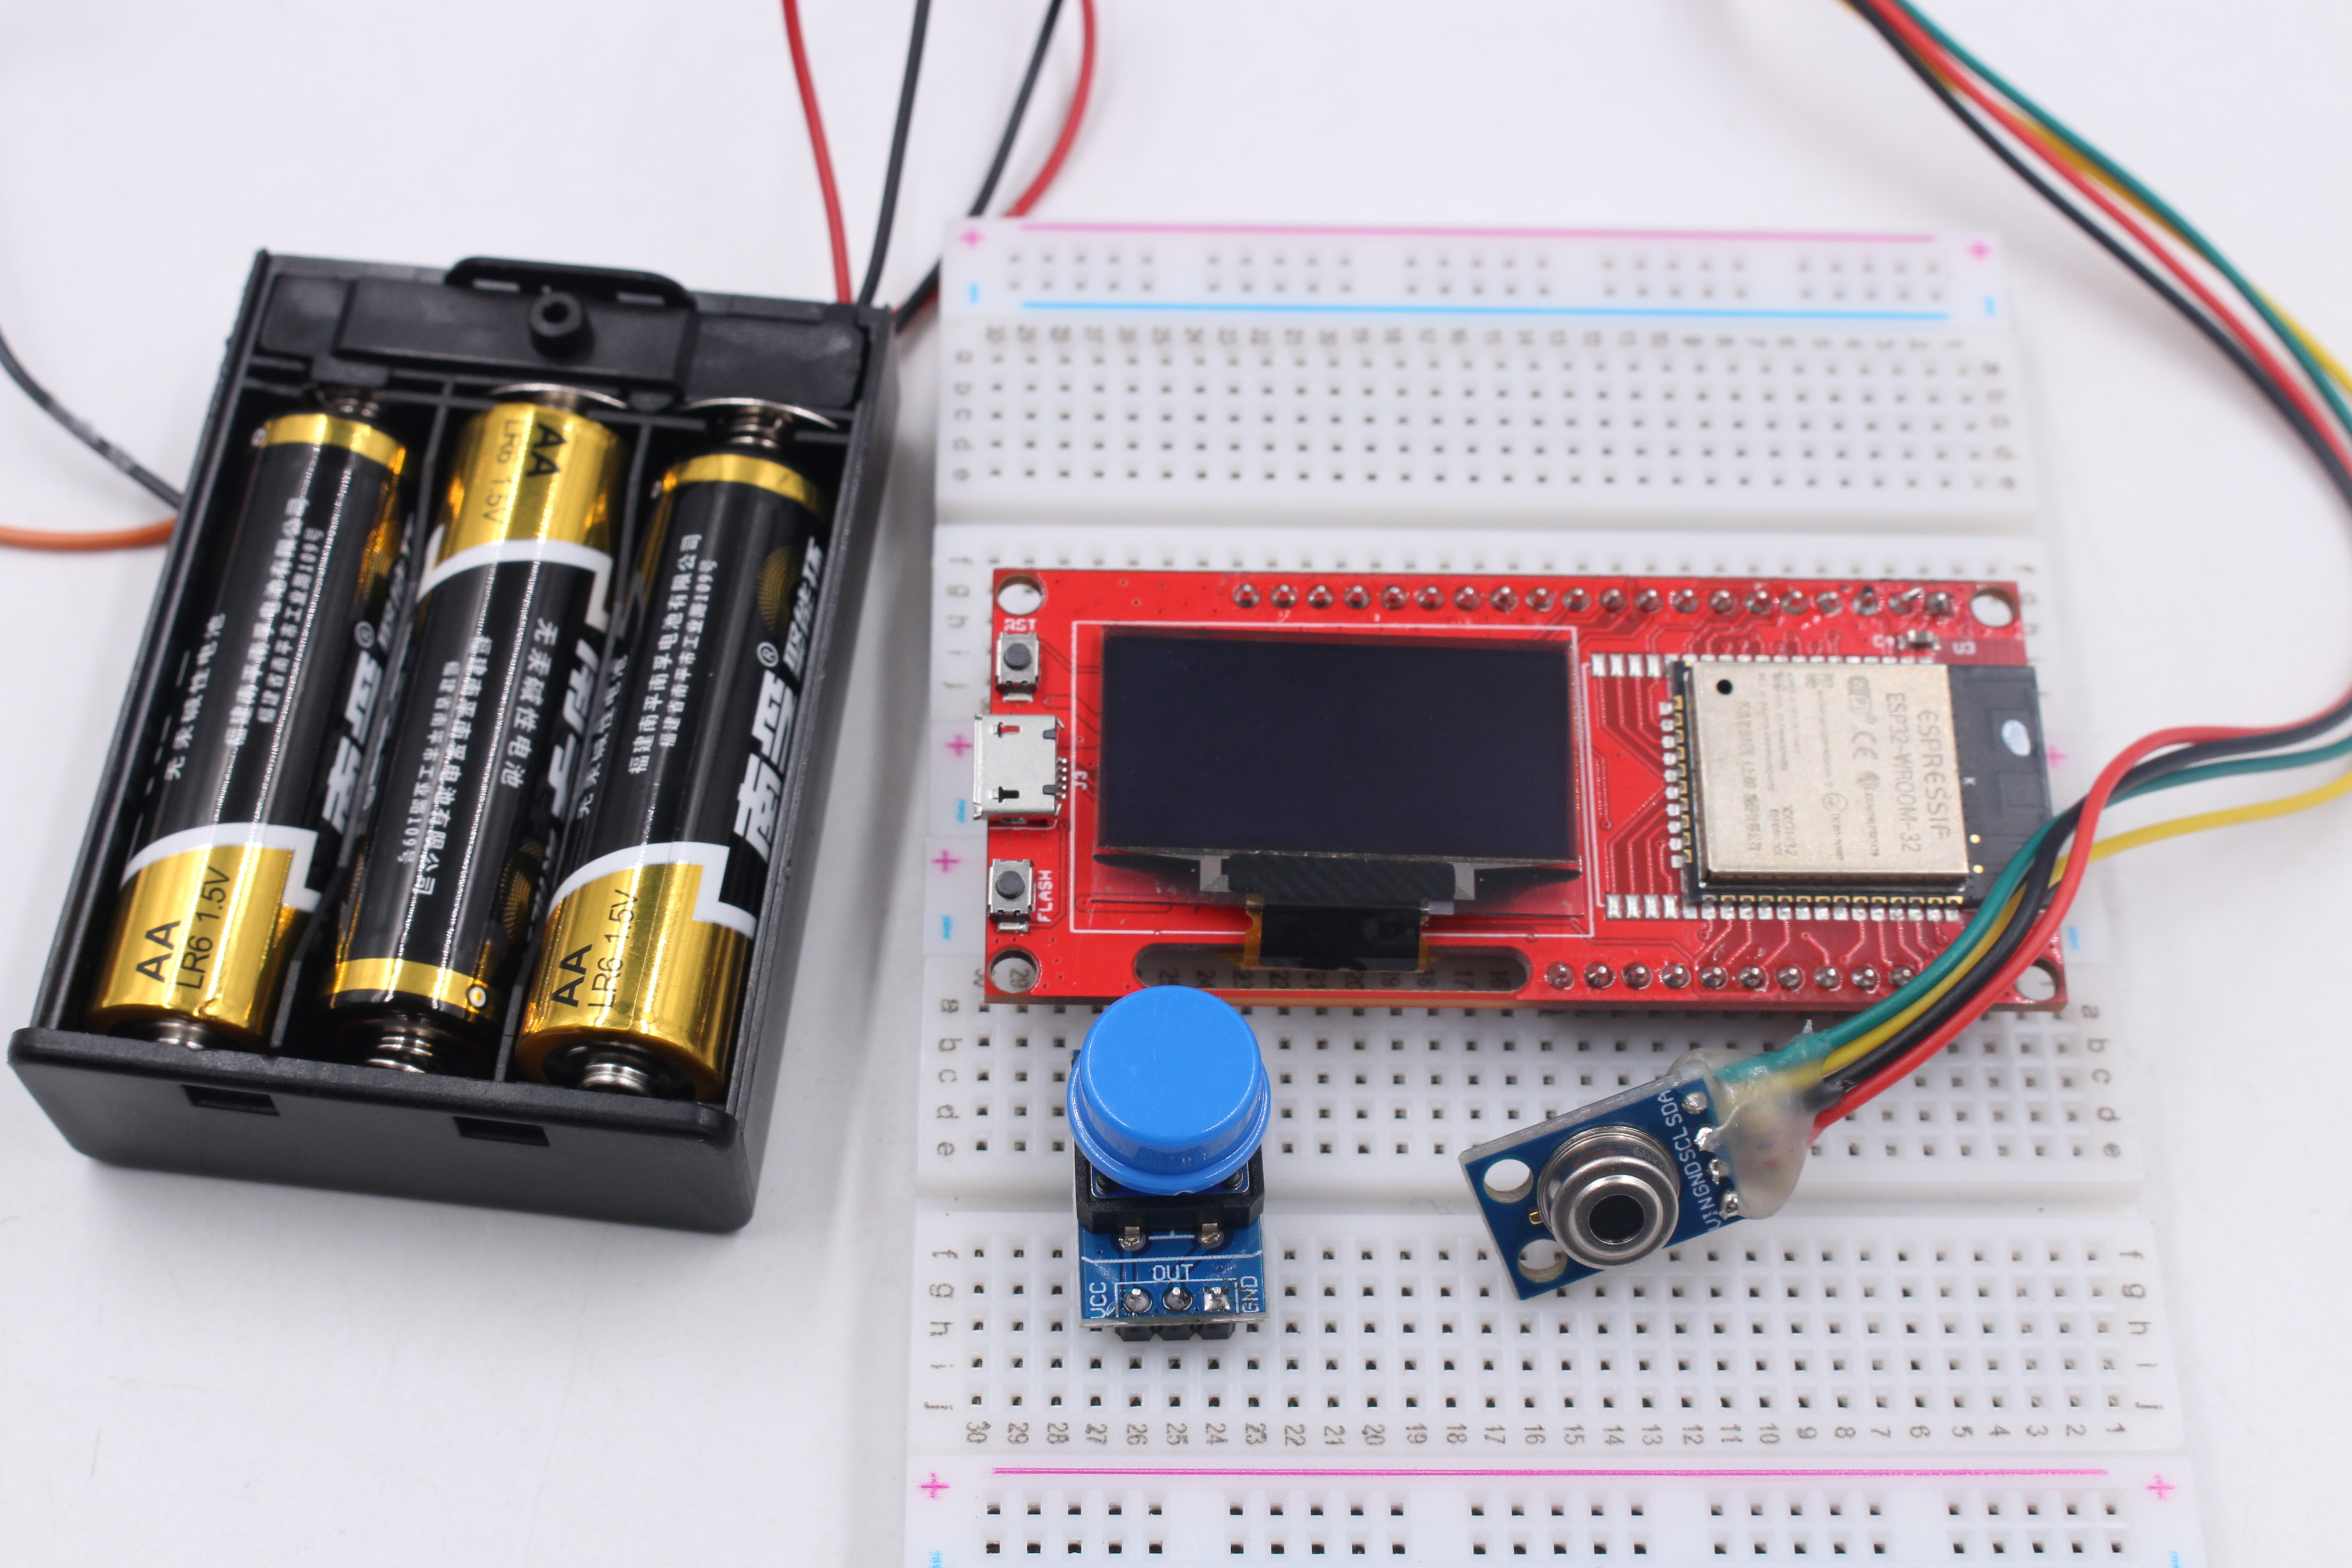
Hardware:
- MakePython ESP32
- MLX90614
- Button
- Battery
- Breadboard
MakePython ESP32 is an ESP32 board with an integrated SSD1306 OLED display, you can get it from this link: https://www.makerfabs.com/makepython-esp32.html.
Software:
- uPyCraft V1.1
Click this link to download uPyCraft IDE for Windows:
Wiring
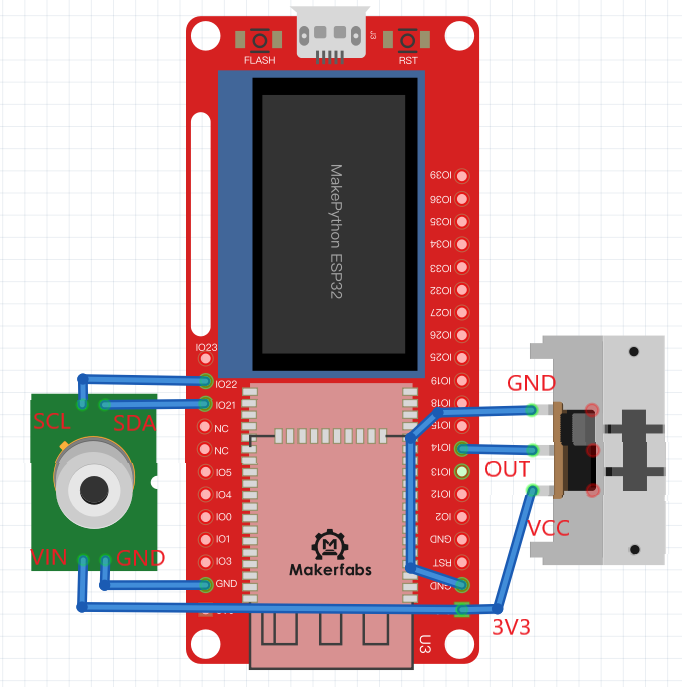
- The VIN pin of the MLX90614 is connected to 3V3 of MakePython ESP32, GND is connected to GND, SCL pin is connected to IO22 and SDA pin is connected to IO22 of the board.
- The VCC pin and GND pin of the button are connected to the 3V3 and GND of MakePython ESP32, and the OUT pin is connected to IO14.
- Connect MakePython ESP8266 to PC using the USB cable.
UPyCraft IDE
- If you haven't used uPyCraft, you can download the MicroPython ESP32 Dev Kit Guidance document with detailed instructions.
- You can skip this step if you've used it.
Downloads
Use ThingSpeak IoT


- Sign up an account in https://thingspeak.com/. If you already have one, sign in directly.
- Click New Channel to create a new ThingSpeak channel.
- Input name, Description, Select Field 1. Then save channel on the bottom.
- Click the API Keys option, copy the API Key, we will use it in the program.
Remotely monitor temperature on ThingSpeak, steps:
Code
Download and run the ssd1306.py, MLX90614.py driver file.
Make the following changes to the main.py file, then save and run.
- Modify SSID and PSW to connect WiFi
SSID='Makerfabs'
PSW='20160704'
- Modify the API KEY that you got in the previous step
API_KEY='RATU1SWM0MT46HHR'
This is the code to get the temperature and upload the data:
while True:<br>    if(button.value() == 1):
      Temp = sensor.getObjCelsius()	#Get temperature information
      oled.fill(0)
      oled.text('Temperature:',10,20)
      oled.text(str(Temp),20,40)
      print(Temp)
      oled.show()
      #Use API keys to write temperature data to a channel
      URL="https://api.thingspeak.com/update?api_key="+API_KEY+"&field1="+str(Temp)
      res=urequests.get(URL)
print(res.text)Install
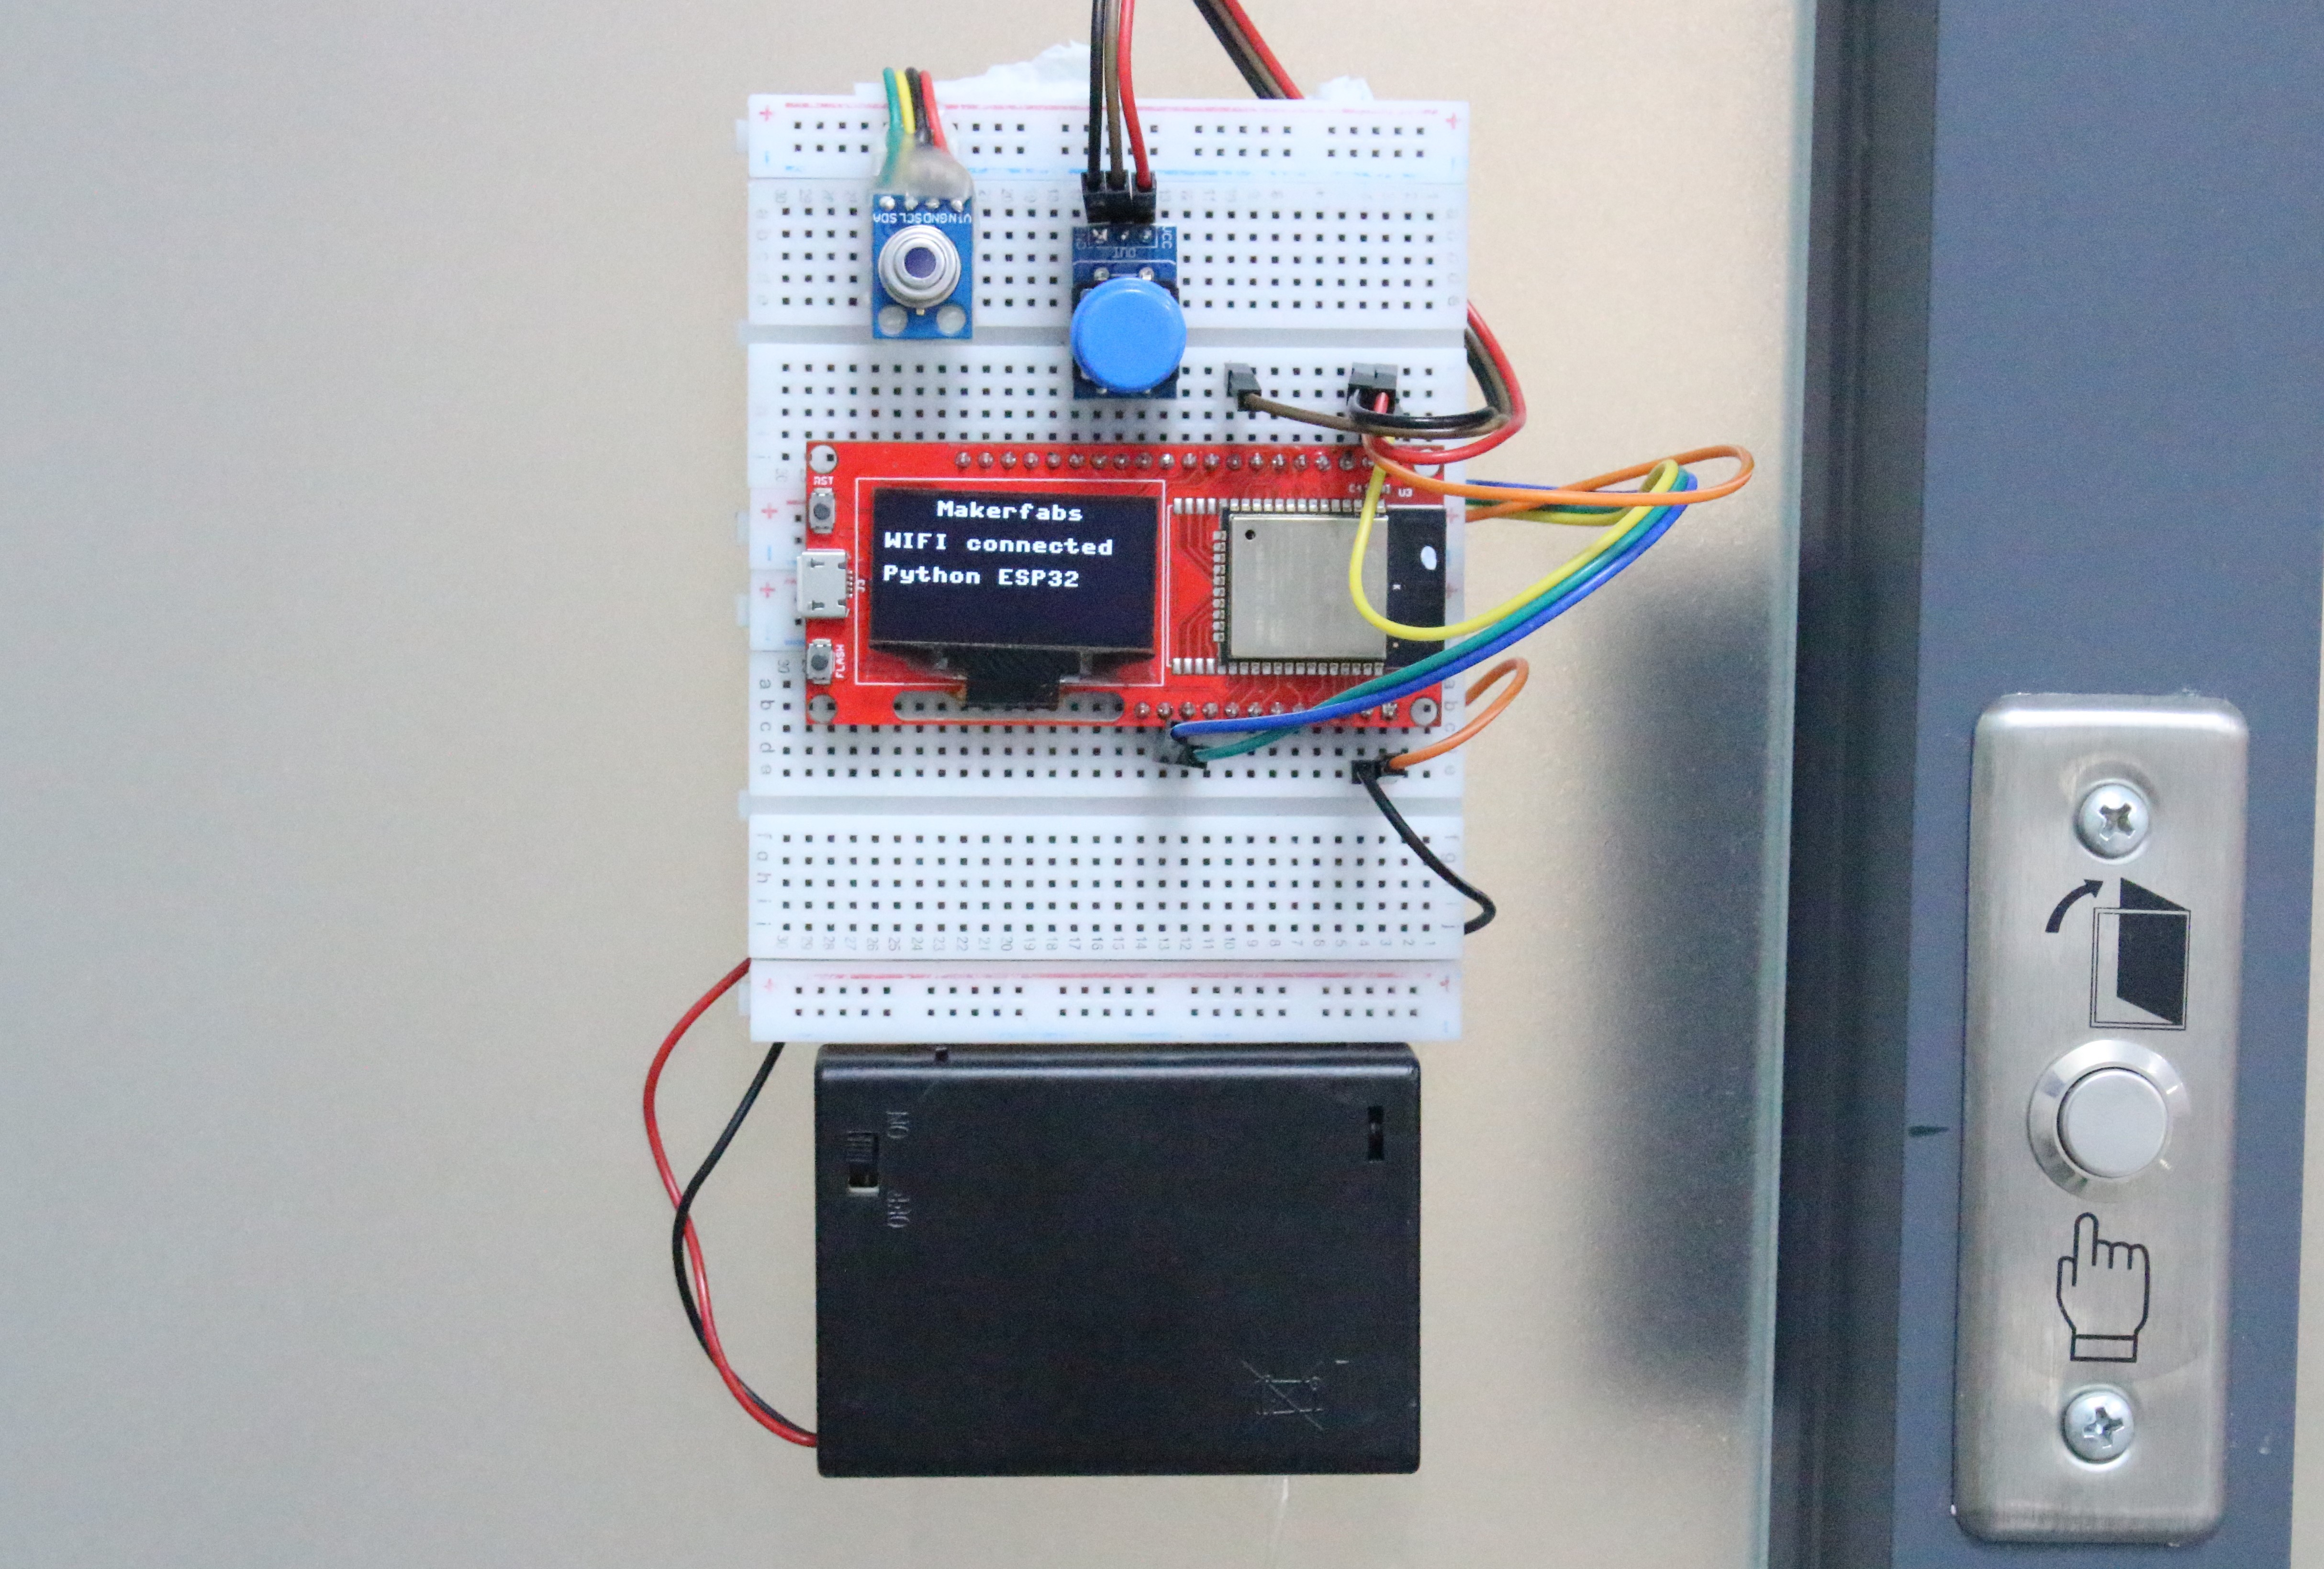
Fix the board to the door with double-sided tape, open the switch on the battery, the screen will prompt WiFi connection success.
Measure
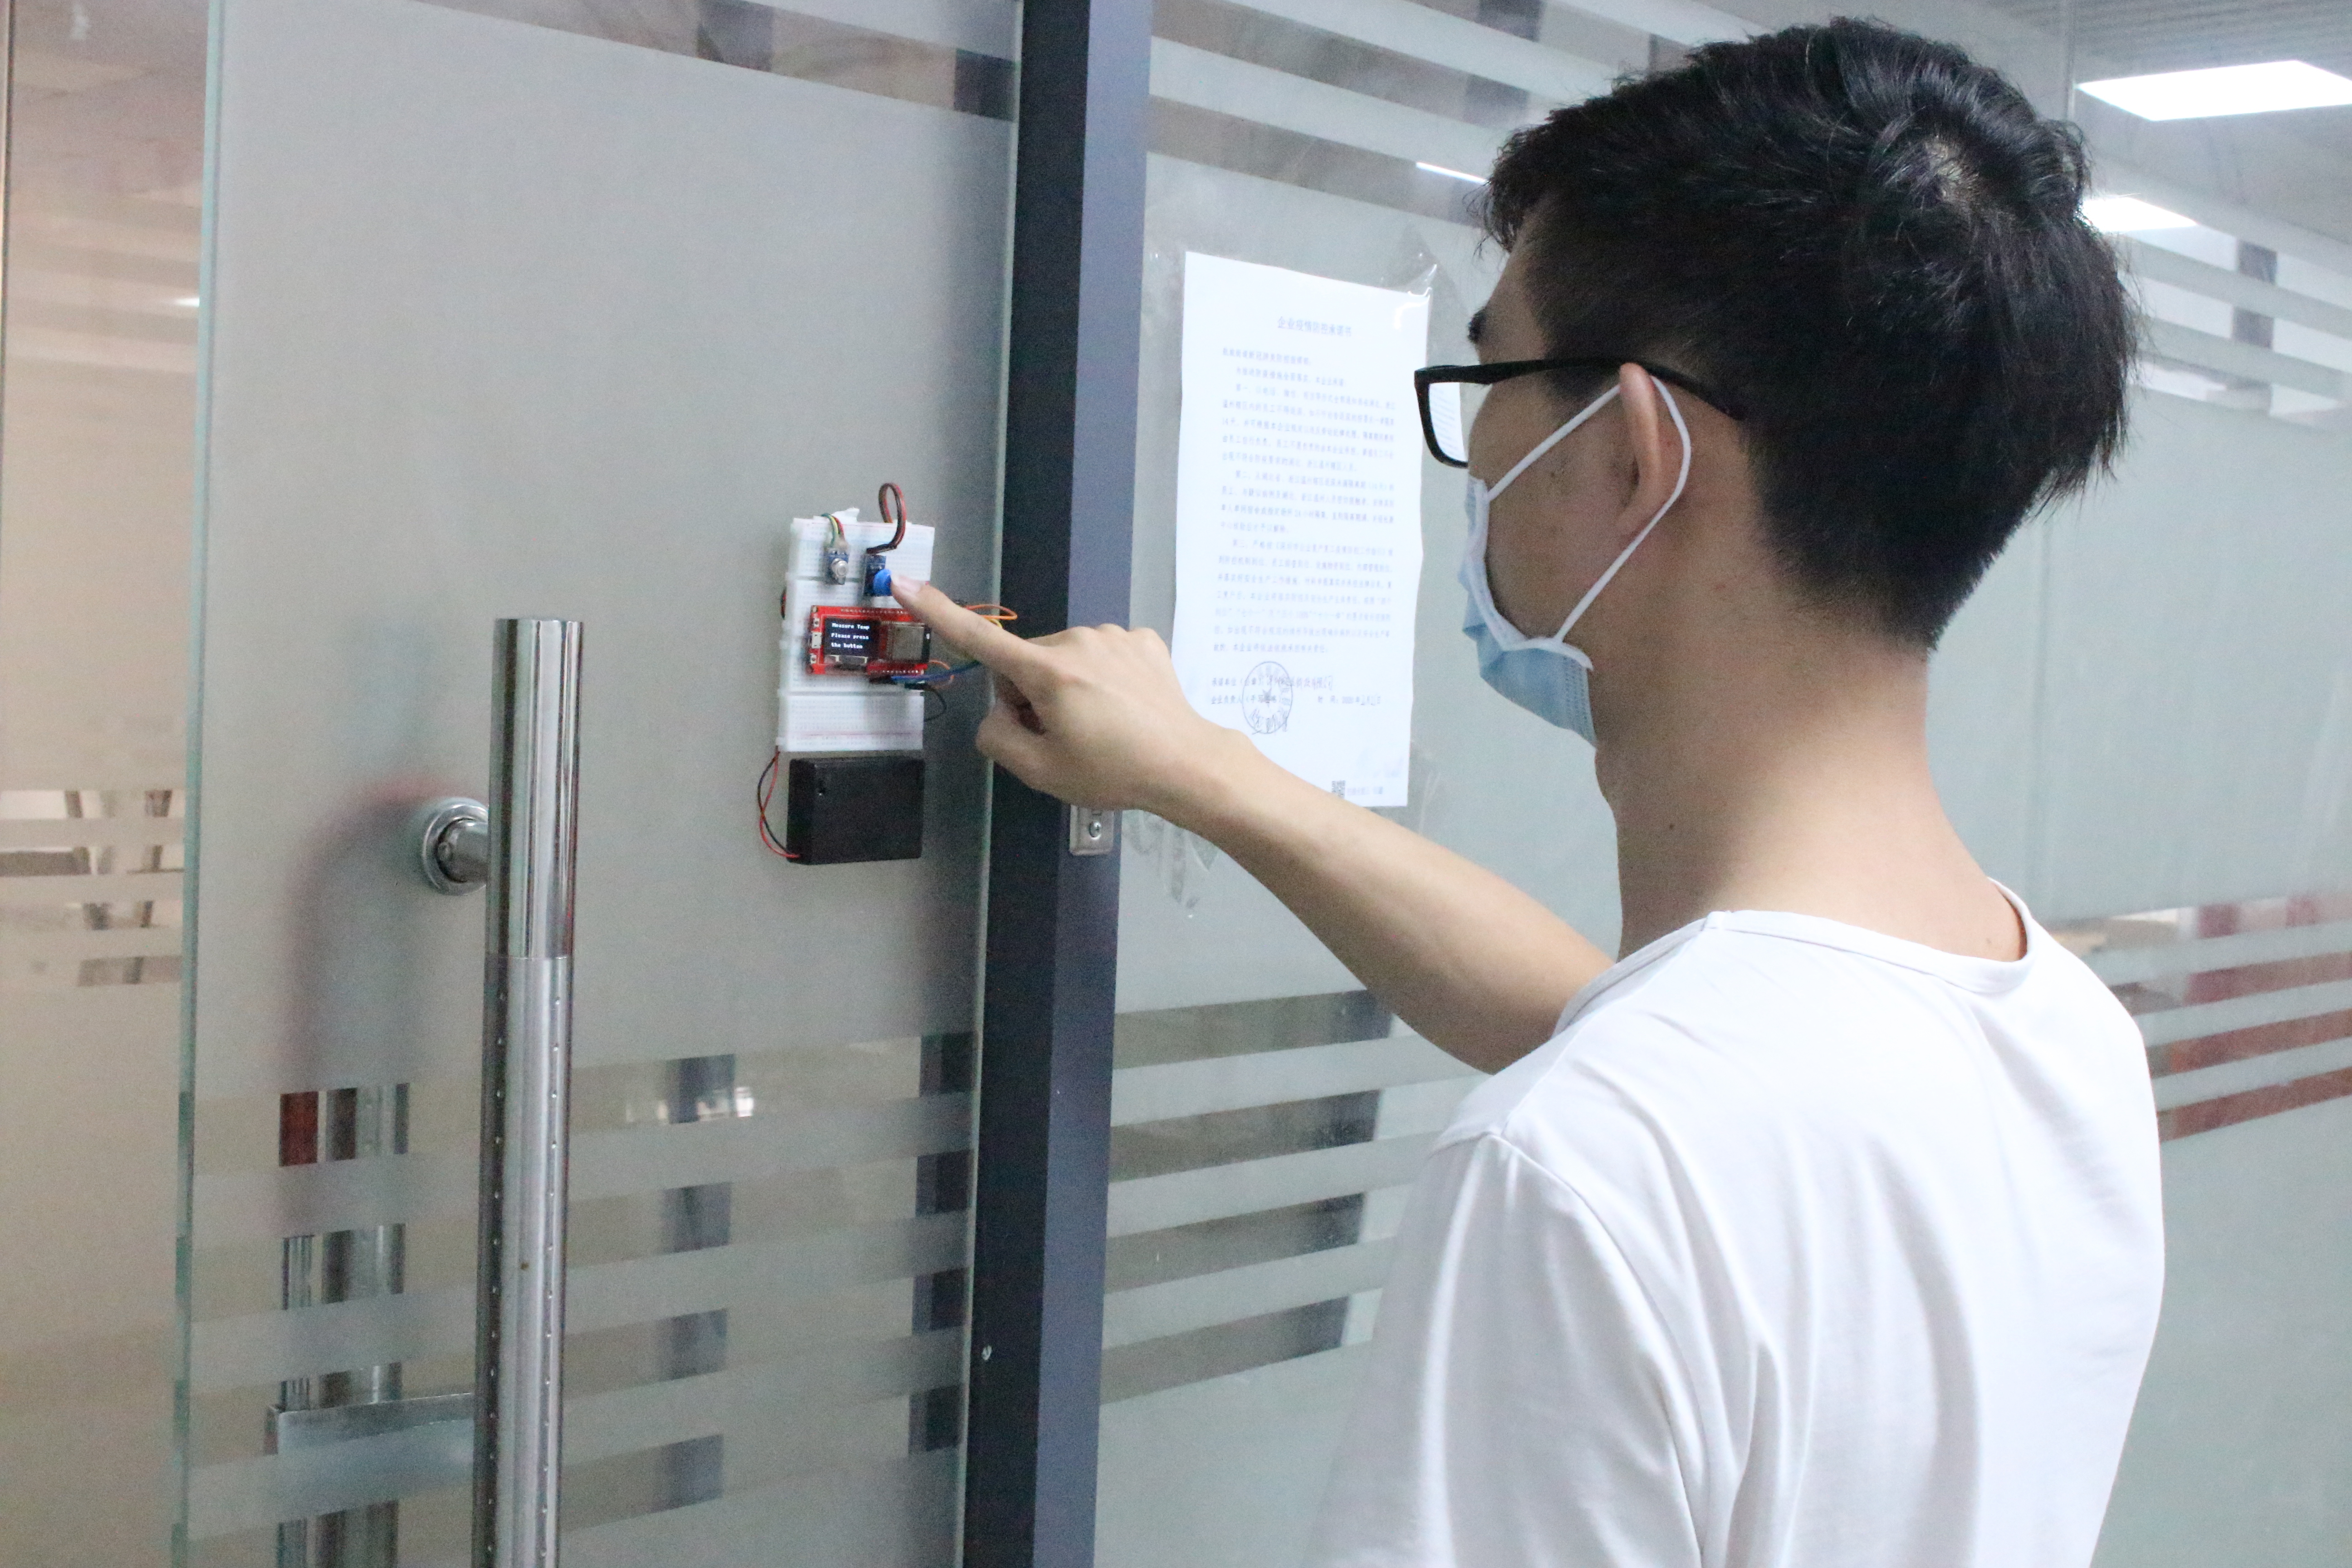
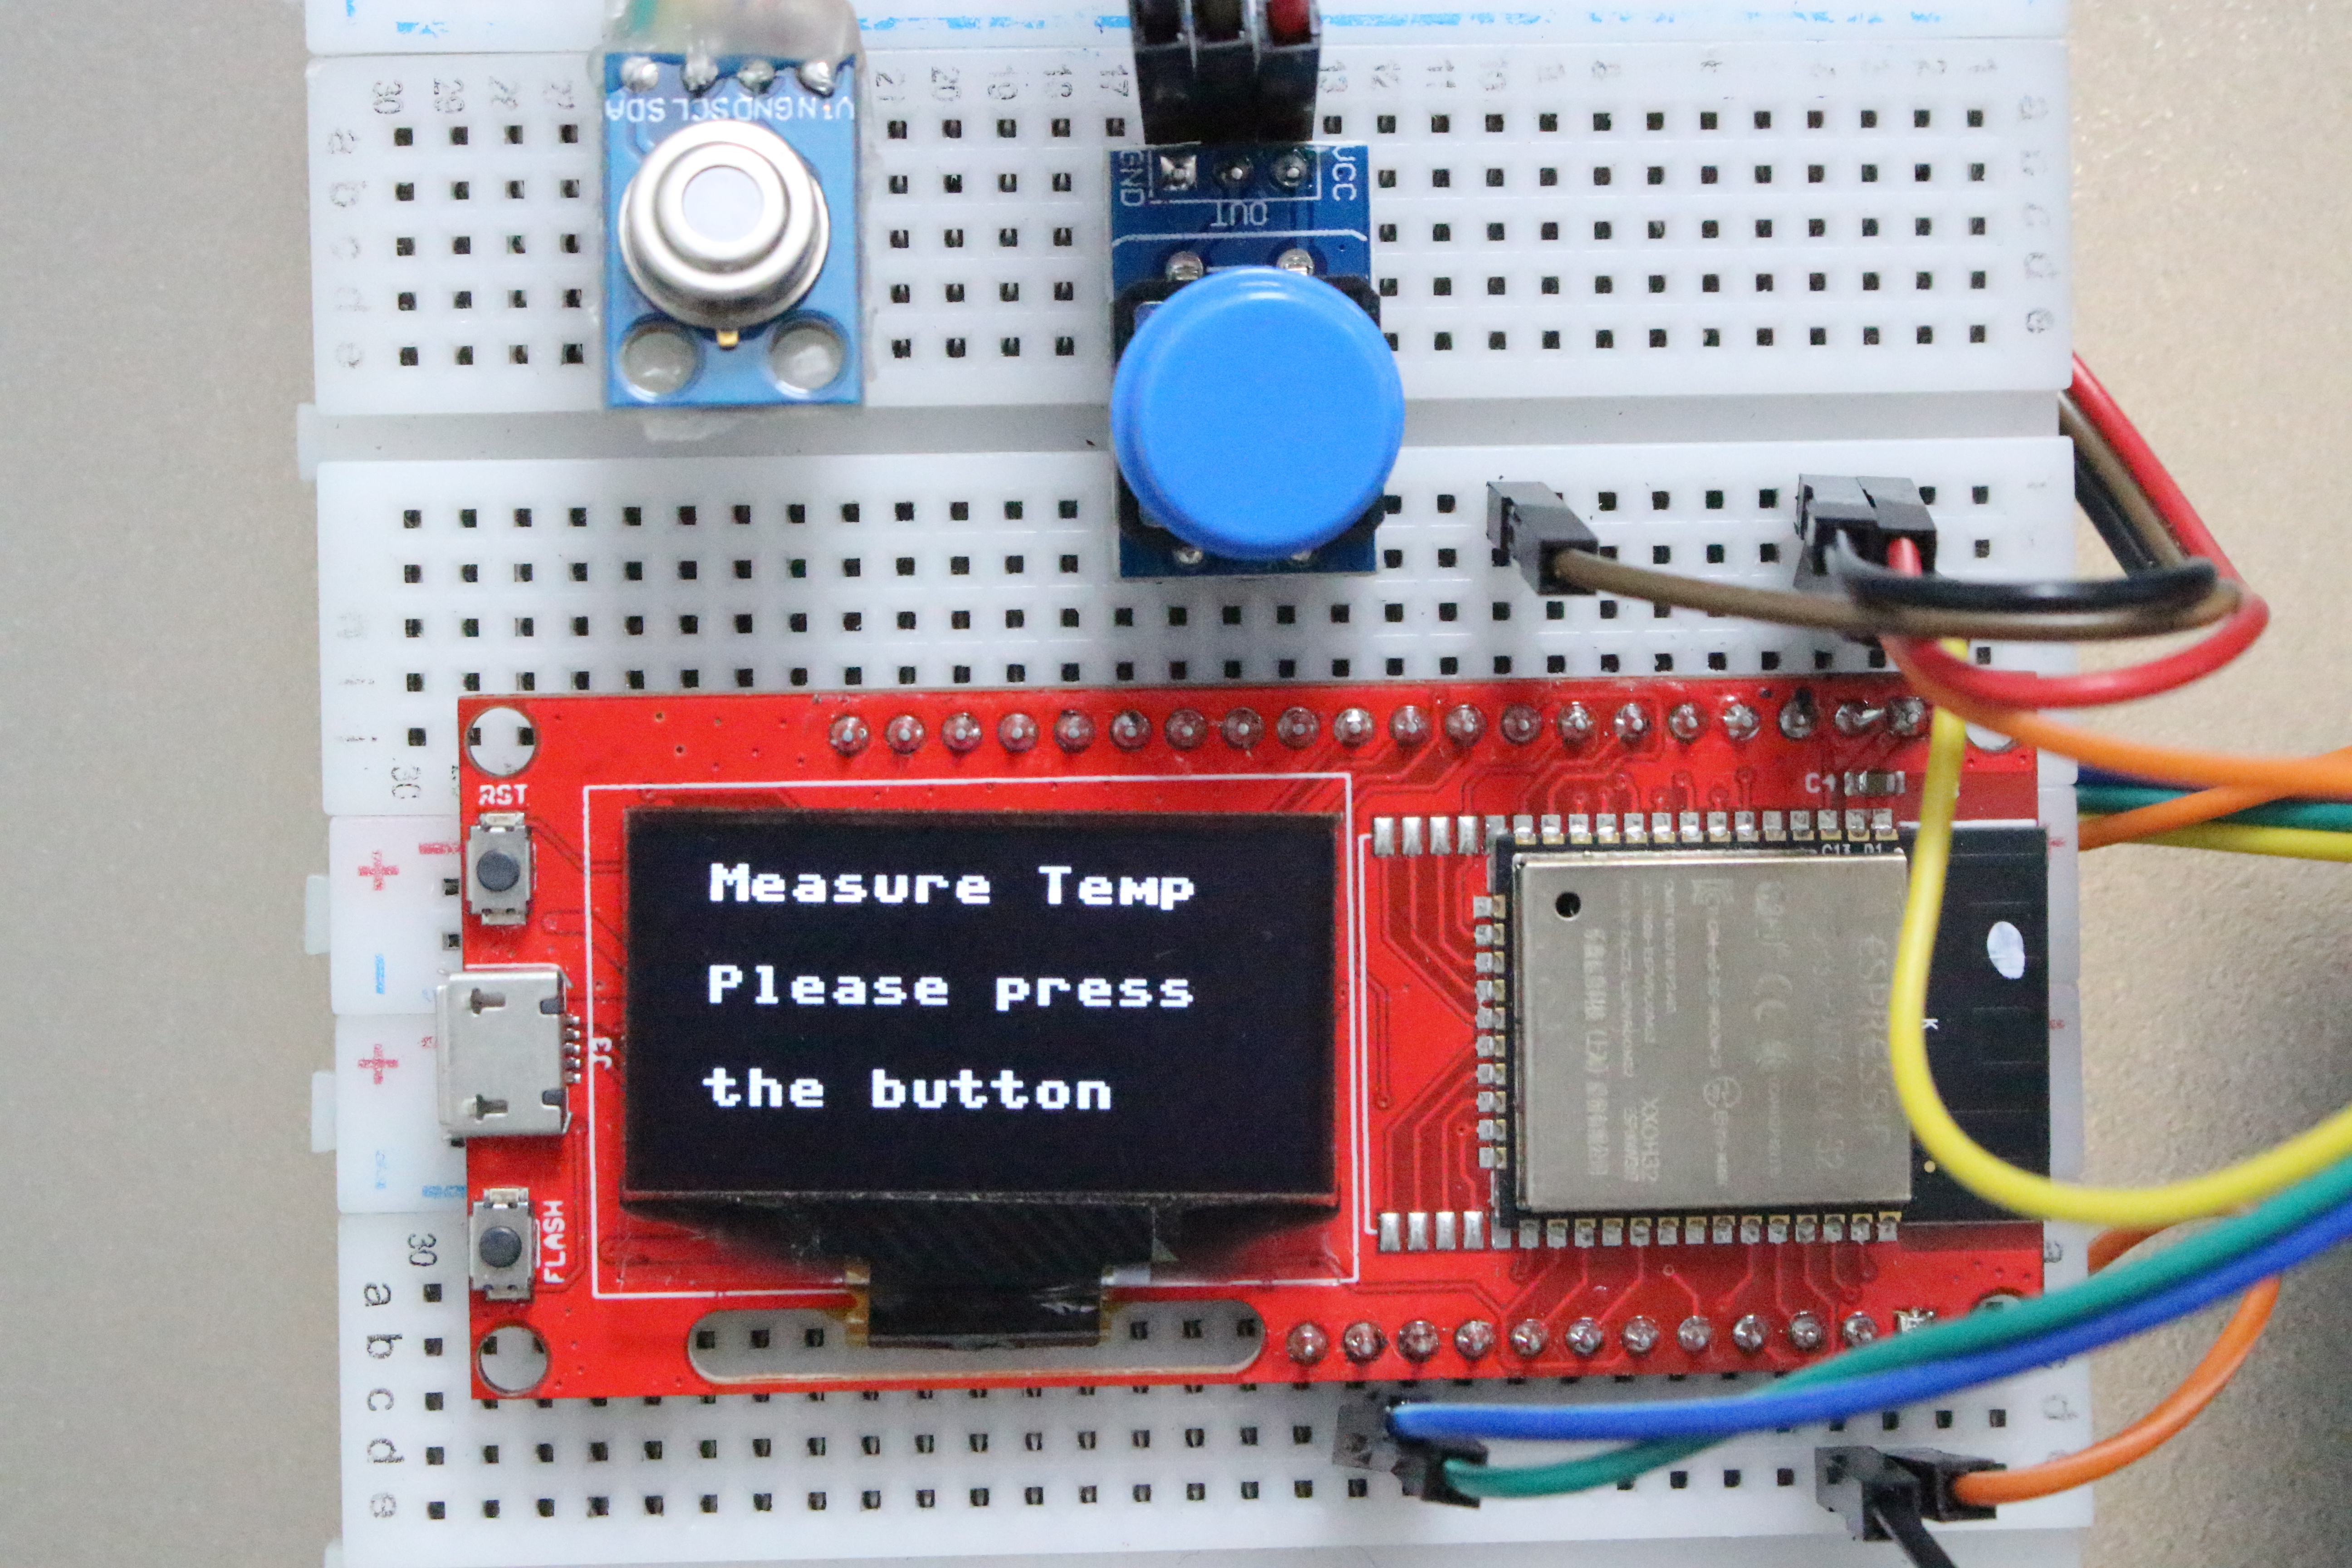
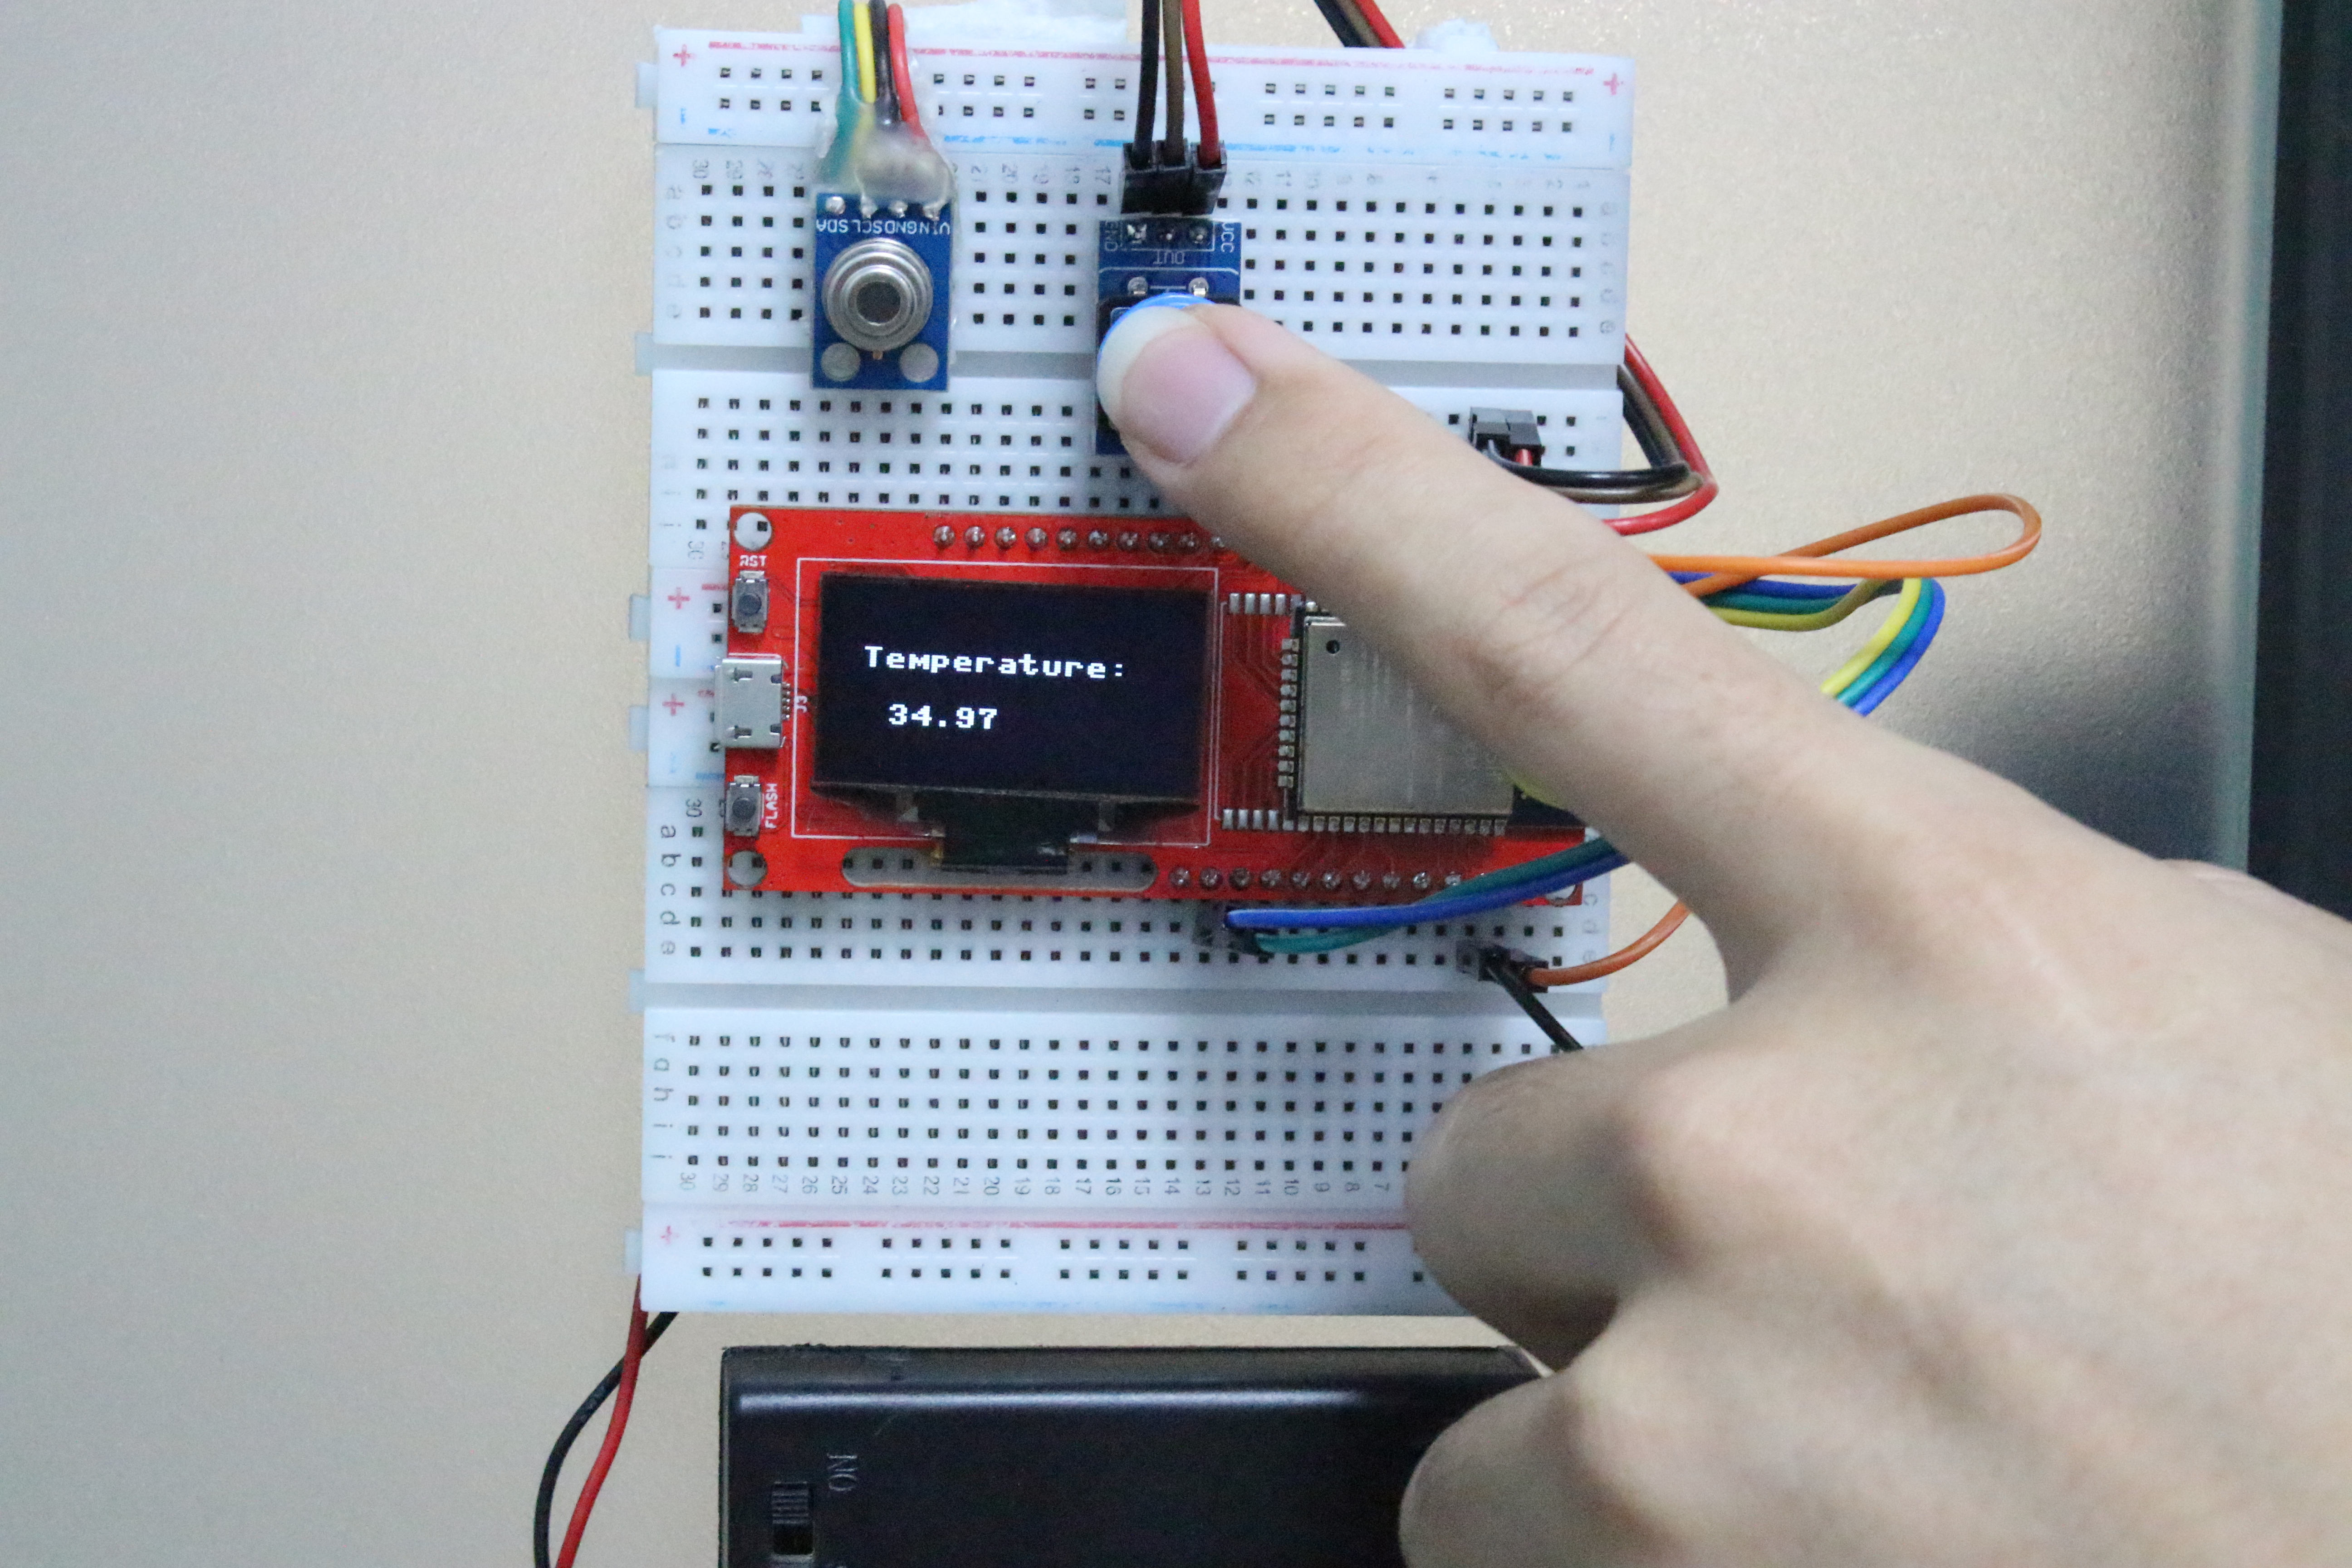
The screen says "Measure temp Please press the button", you get as close as possible to MLX90614, then press the button, it will show your temperature and upload the data to the website.
Complete
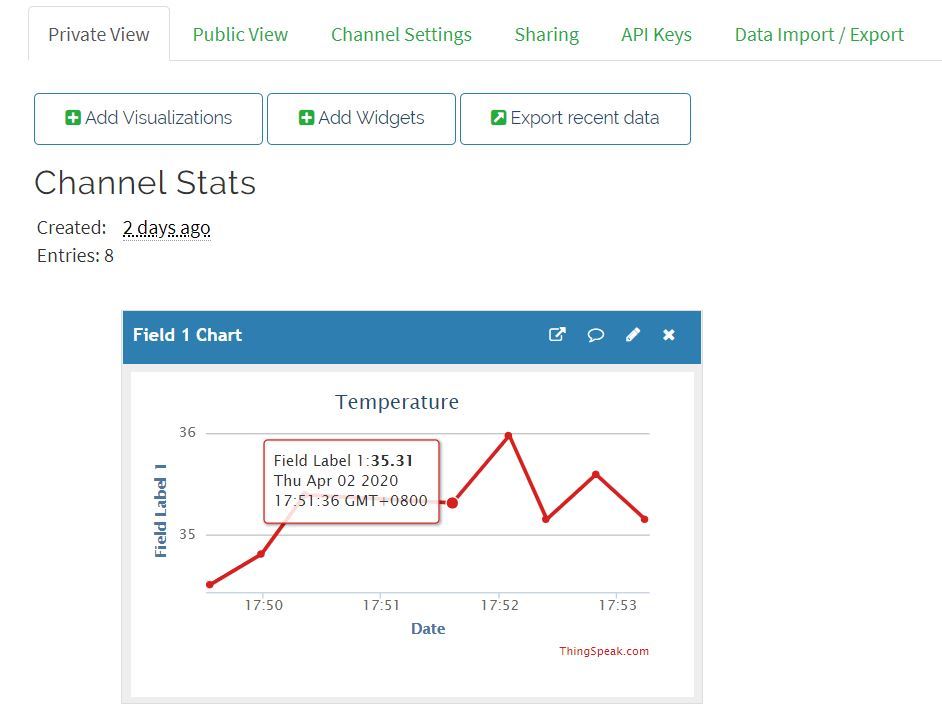
Go to https://thingspeak.com and you can see the measurements in Private View.
This project records your temperature and measurement time, which can also be used as an attendance record. Now HR can see your data by logging into the ThingSpeak web, which is very convenient.