Micro:Bot Driving and Turning EHMS
by Osasenaga in Circuits > Microsoft
348 Views, 0 Favorites, 0 Comments
Micro:Bot Driving and Turning EHMS
Today we are going to work on making your robot drive and turn.
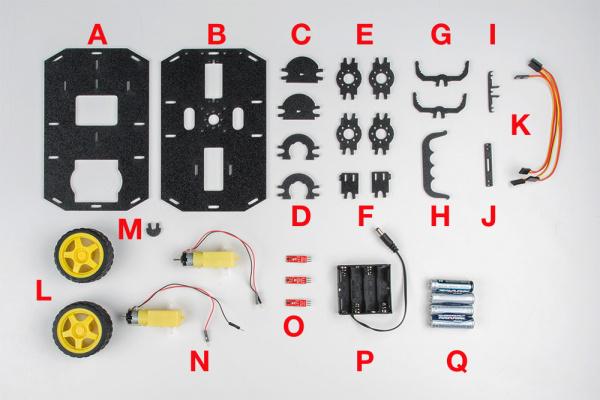
Supplies
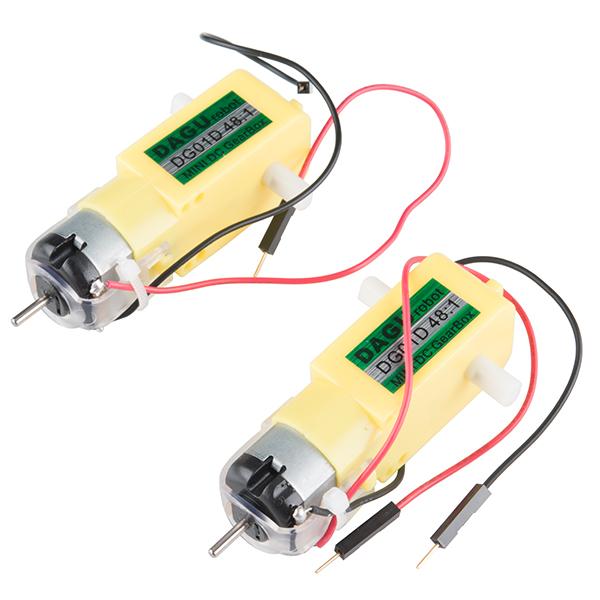
The yellow looking object is a Motor, A Motors take electrical energy and turn it into mechanical energy through putting a current through a coil of wire that creates a magnetic field. This then interacts with magnets in the motor, causing a push / pull effect. If you do that in a proper spacing and timing, then you can spin a shaft.
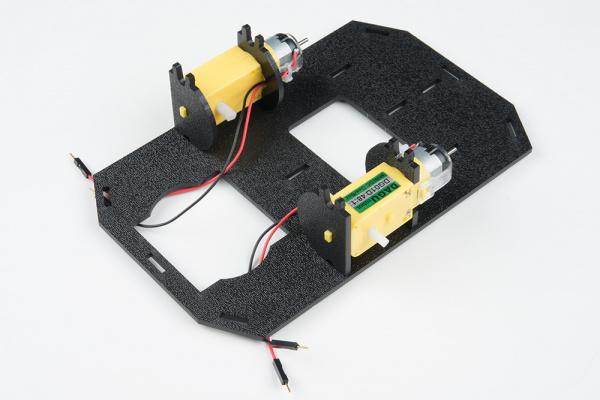
You put them on the Bottom Chassis plate (A) and use a Front Motor Mount (C) And a Rear Motor Mount (D), then install wheels/ tires.
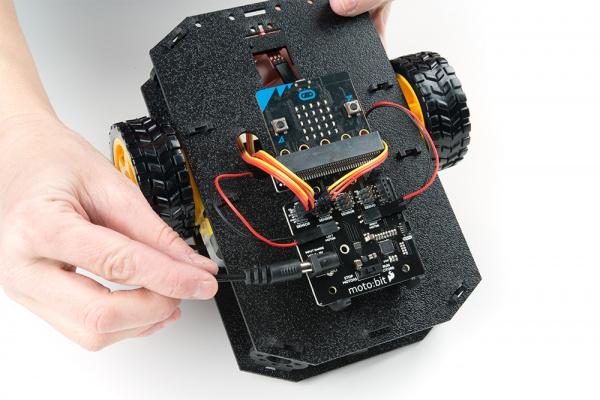
Robot Looks Like
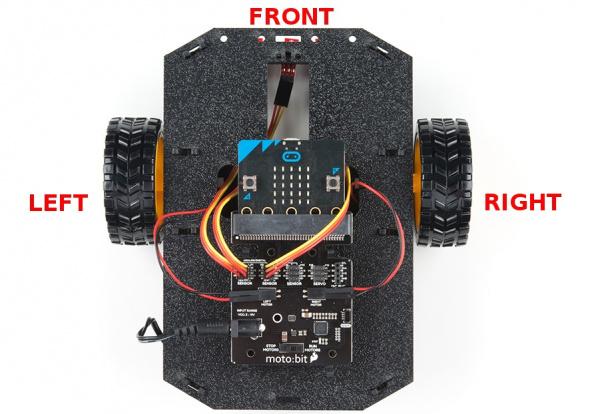
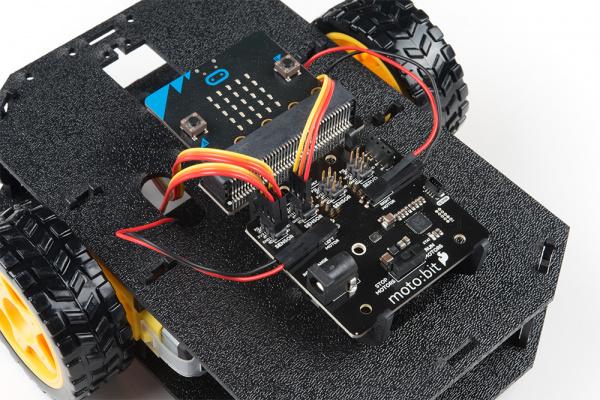
You should have a robot that looks like those picture on top after putting all the parts together.
Coding
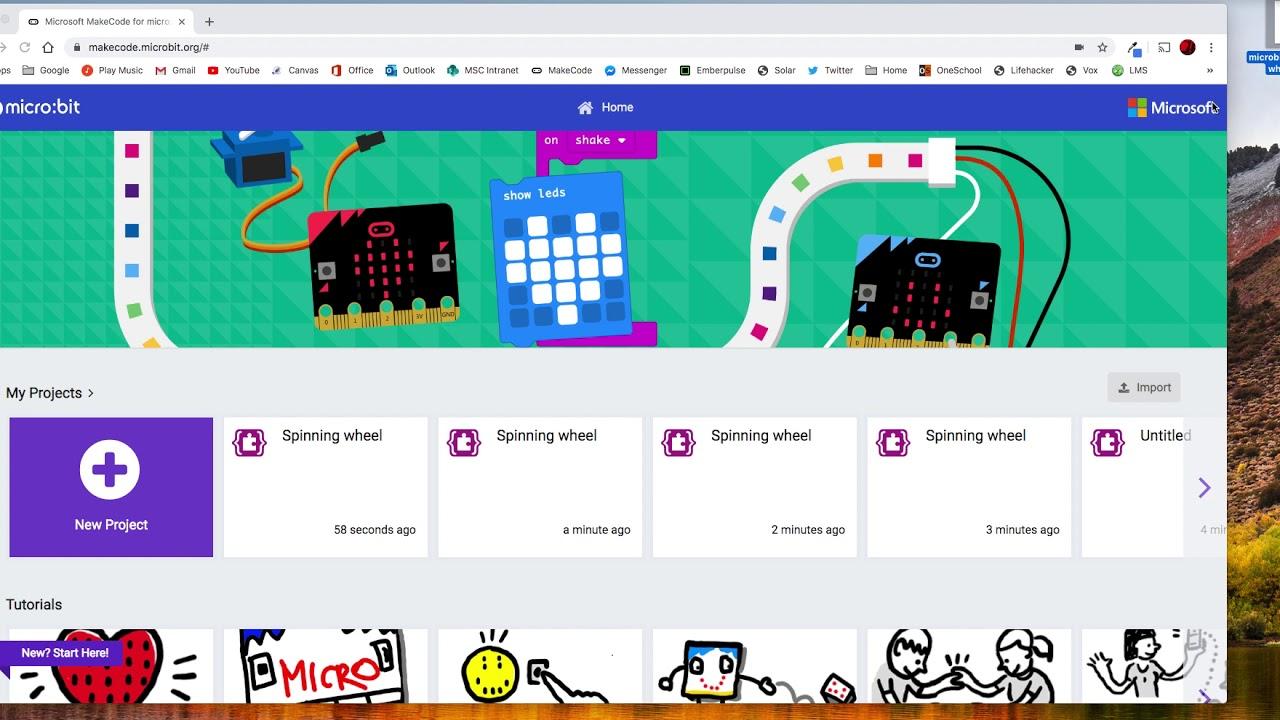
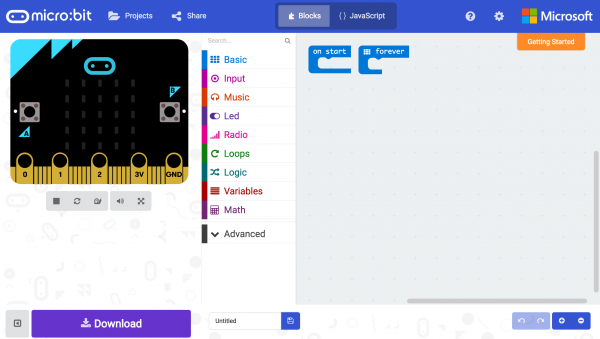
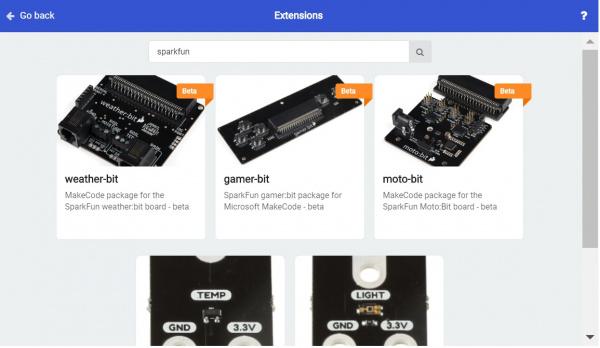
Go to Micro:bit and name it Driving And Turning then click on Extensions and on the search place search sparkfun or moto:bit and click moto bit and copy the code.
Uploading
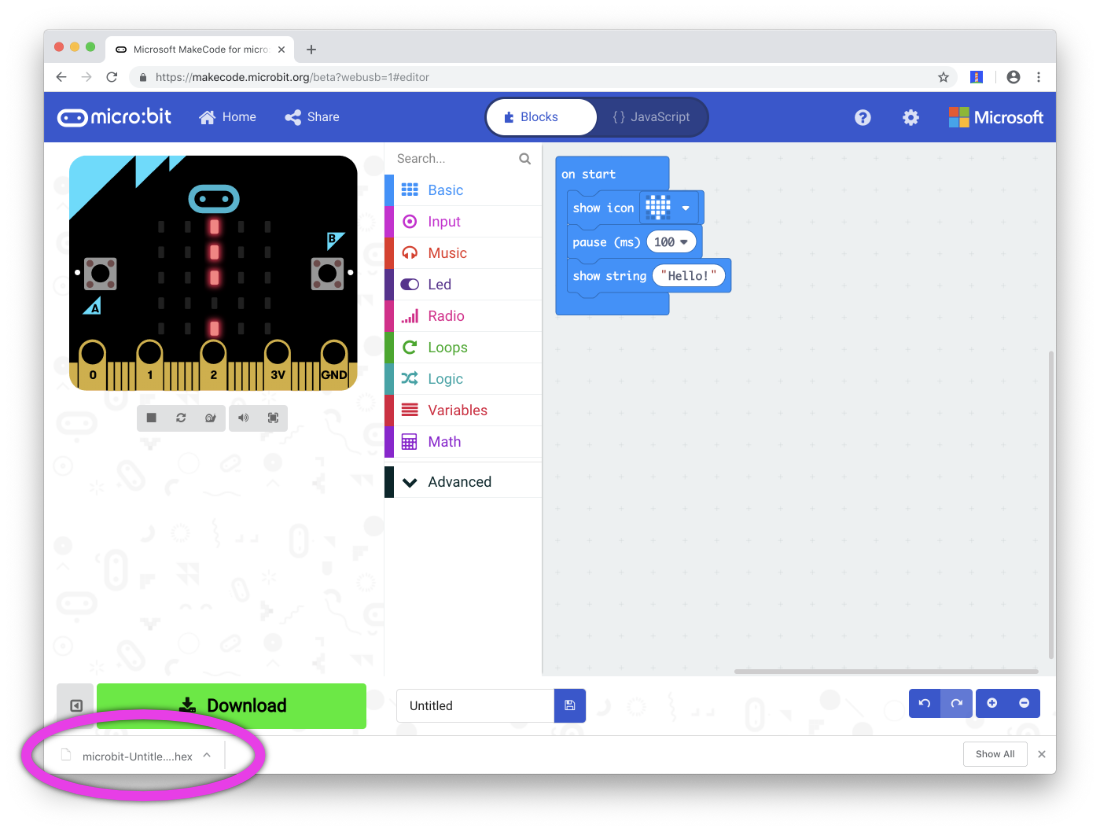
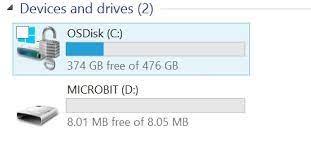
Download the code and then go to your files, if your Micro:bit is not connected to the app and then drag it to your Micro:bit file
What You Should See
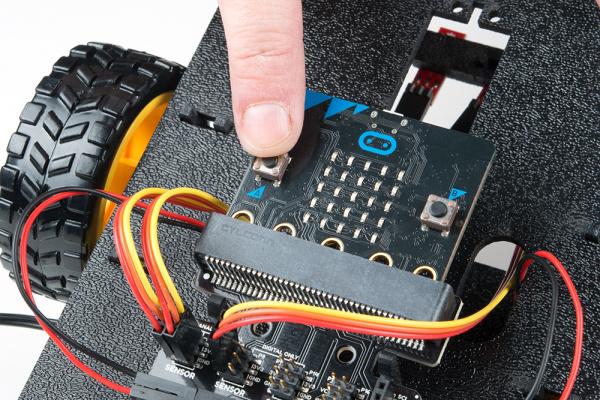
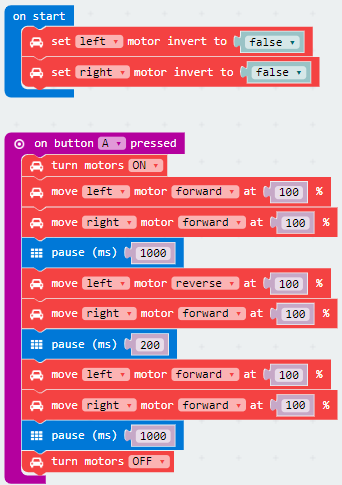
After downloading make sure the motors switch is changed from "STOP MOTORS" to "RUN MOTORS." Press the A button on your Micro:bit and your robot will drive forward for 1 second, pivot, and the drive forward for another second before stopping. Pressing the button again will have the robot repeat the sequence.
A Video of What It Should Look Like After the Code
Thank you for seeing this. Made In EHMS