Micro SD Card File Management
by TigerFarmPress in Circuits > Arduino
3040 Views, 9 Favorites, 0 Comments
Micro SD Card File Management
The SD card file management techniques in this instructable can be used in projects that require persistent data, data that is maintained when your project is powered off and available when powered back on. As well, the data is portable in that the card can be removed from the adapter and plugged into your computer, for use on your computer; for from the computer to the Arduino.
When I first began using an SD card adapter, I referred to the excellent getting started instructable, Micro SD Card Tutorial. My instructable includes the connections options for a Nano and a Mega2560 Arduino. And, as I am a programmer, I developed and tested a program that demonstrates the following functionality in one program, tested on a Nano and a Mega2560 Arduino.
Adapter Functionality
Programs can be written to manage, and read, directories and files on an micro SD card:
- Write files
- Read files
- Check if a file exists
- Get file information such as size
- Delete files
- Create file directories (folders)
- Check if a folder exists
- Delete folders
Sample Usages
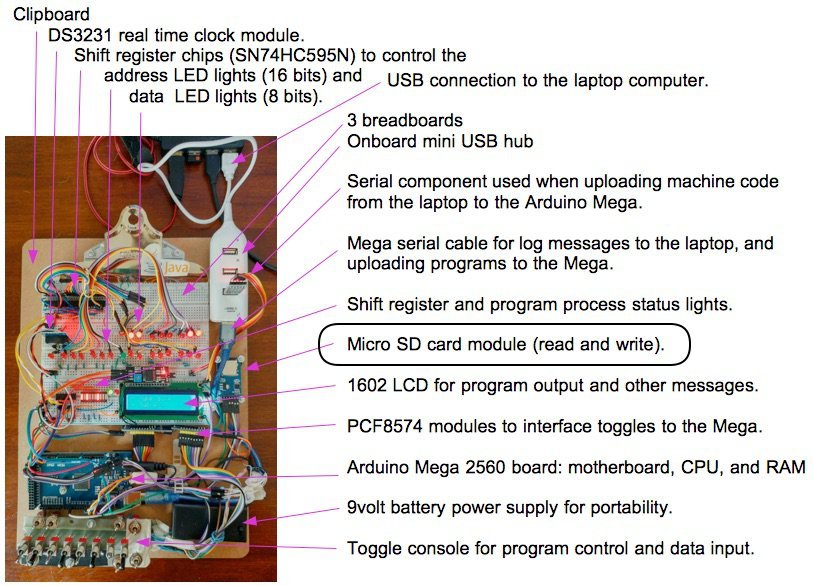
You can use an SD card adapter to store lists of data such as recording values gathered during periodic time intervals. I use an adapter to store programs on my Altair 8800 emulator computer, to load and run (see above photo). The SD card functions as the computer emulator's SSD/hard drive.
Requirements
This instructable requires that you have the Arduino IDE installed. You are also required to have the basic skills to download an Arduino sketch program from the links in this project, create a directory for the program (directory name, same as the program name). Once downloaded, the next steps are to load the program into the IDE, view it, and edit it. Then, upload the program through a USB cable to your Arduino board.
Supplies
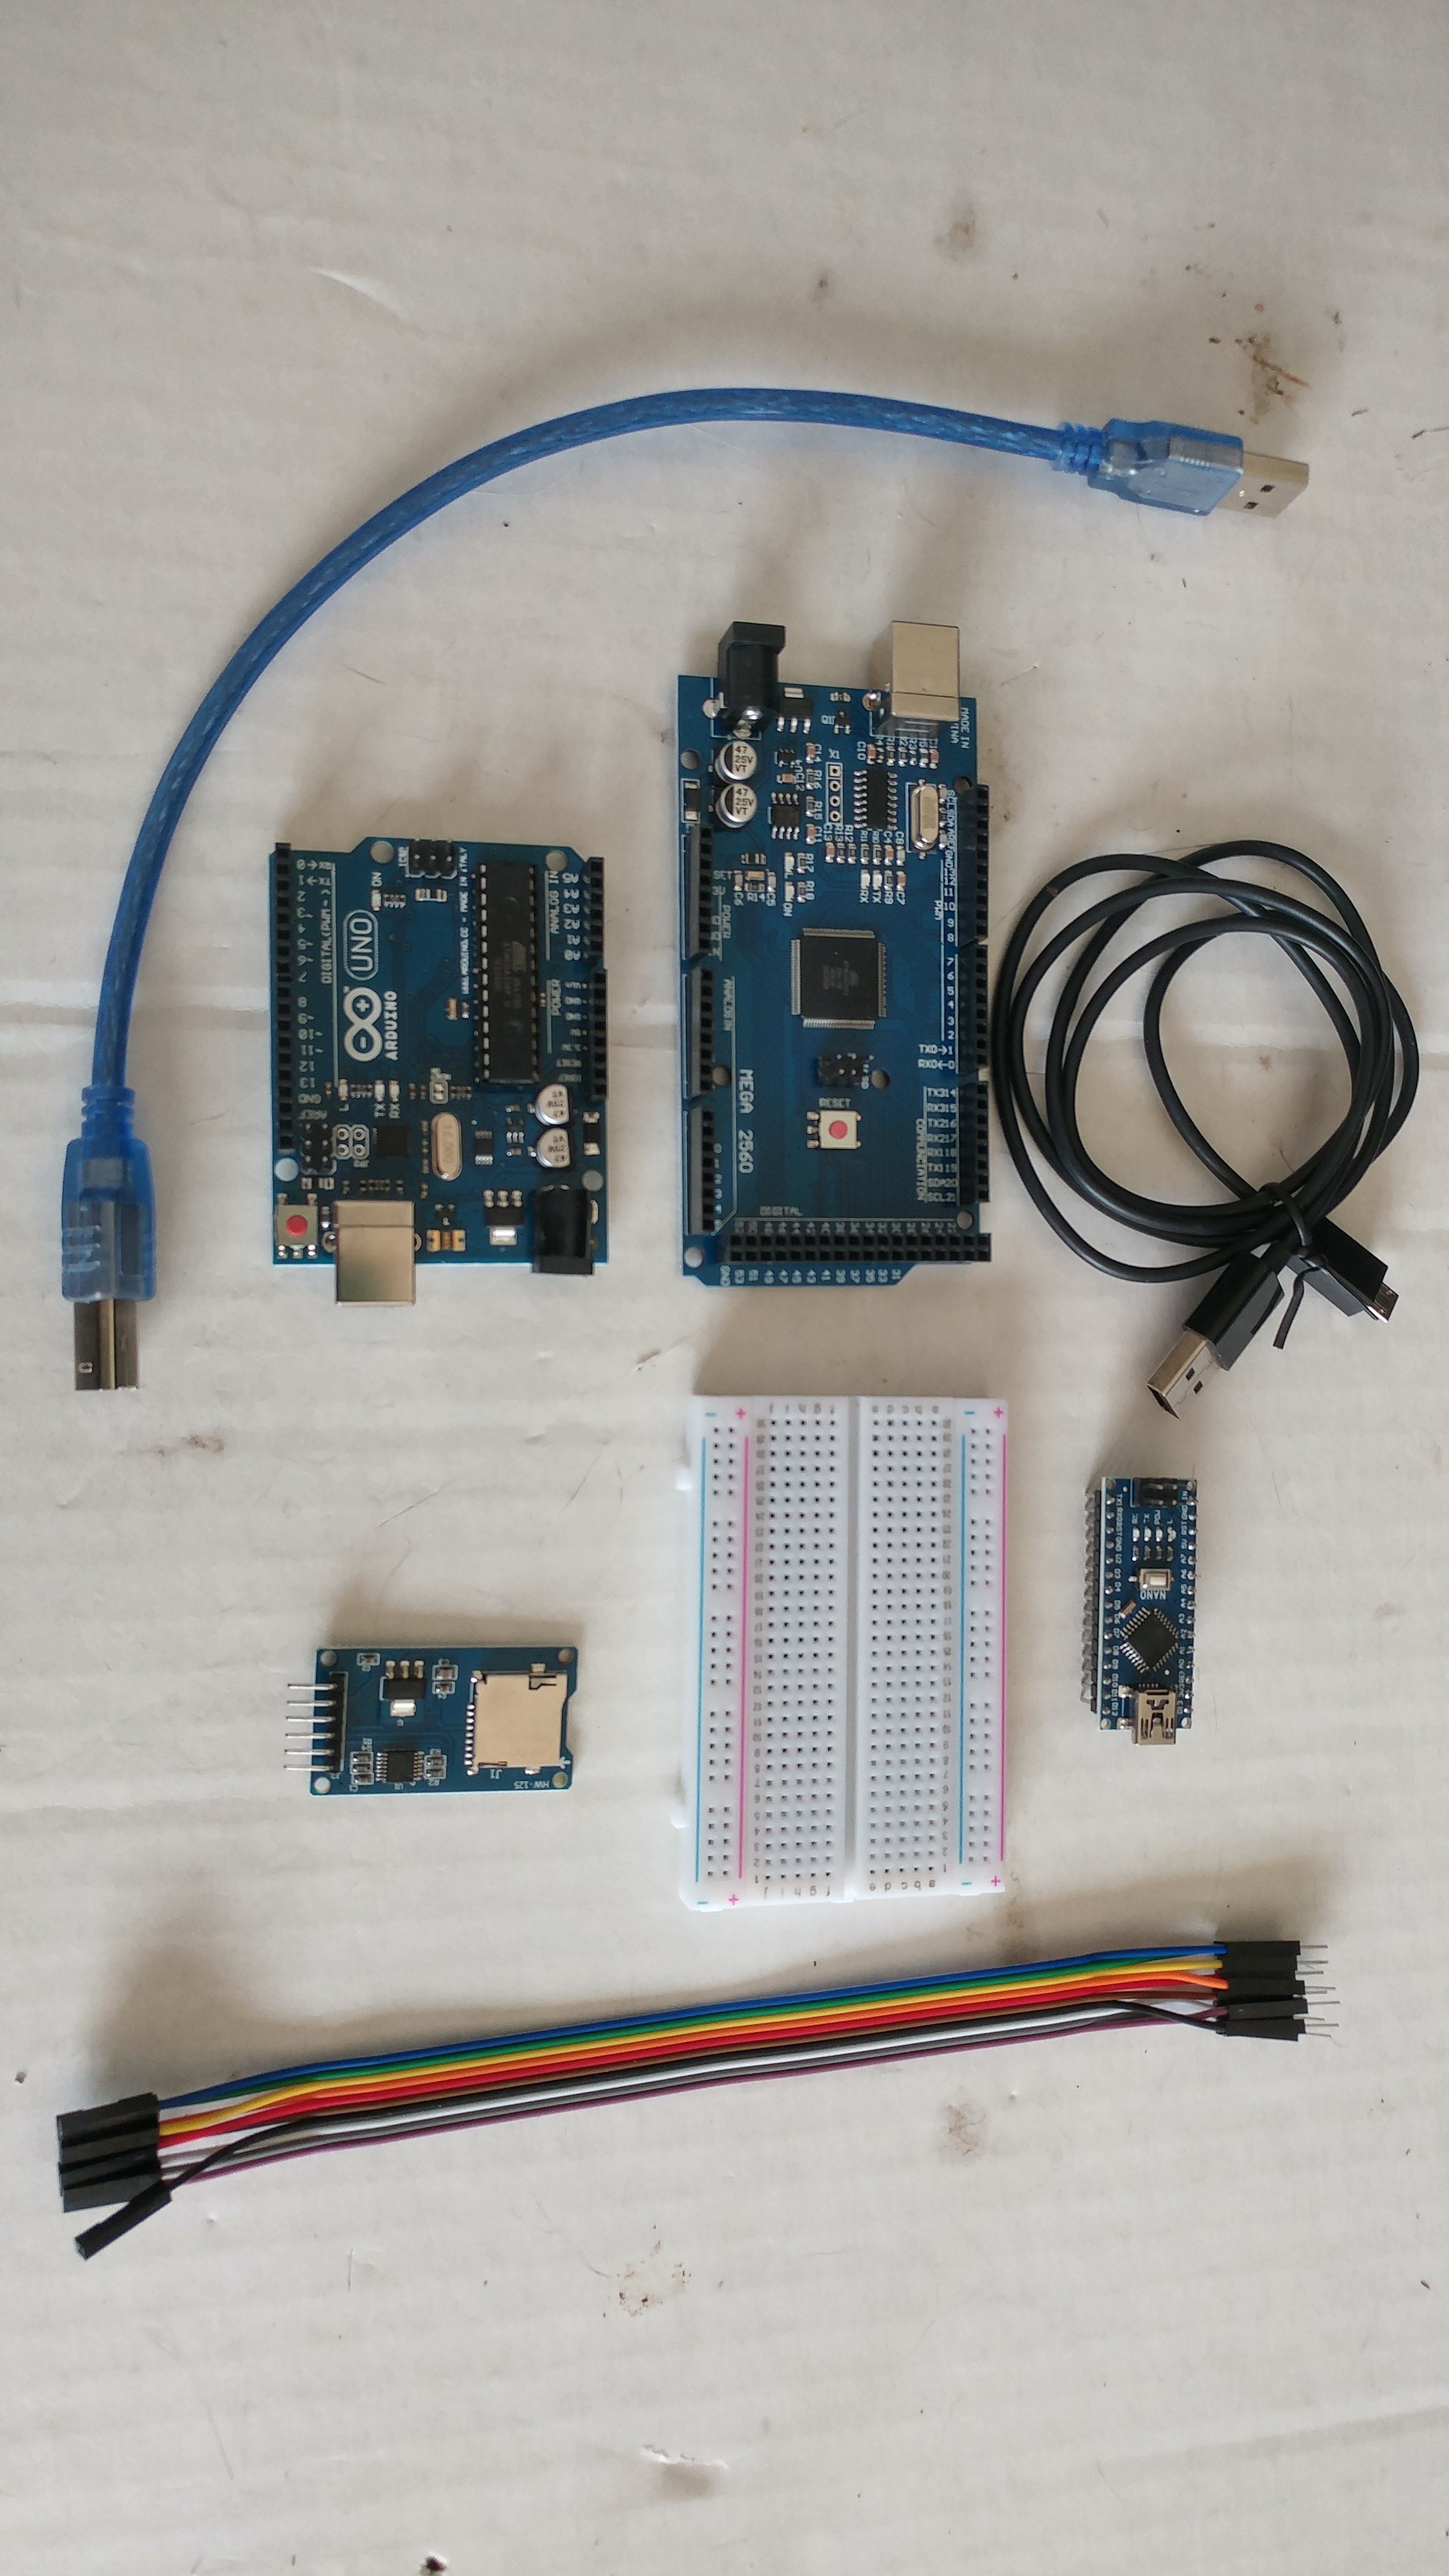
- Arduino ATmega2560 (Mega), Uno, or Nano ATmega328P microcontroller board with a USB cable to connect to your computer.
- Micro SD card adapter
-
Breadboard wires or wire cables (male to female)
I bought the parts on eBay, mostly from Hong Kong or China distributors. US distributors may have the same or similar parts for reasonable prices and faster delivery. The China parts take from 3 to 6 weeks to be delivered. The distributors I've used have all been reliable.
Approximate costs: $15 for a Mega, $3 for a Nano, micro SD card adapter for $1.
Test the Arduino Nano or Mega
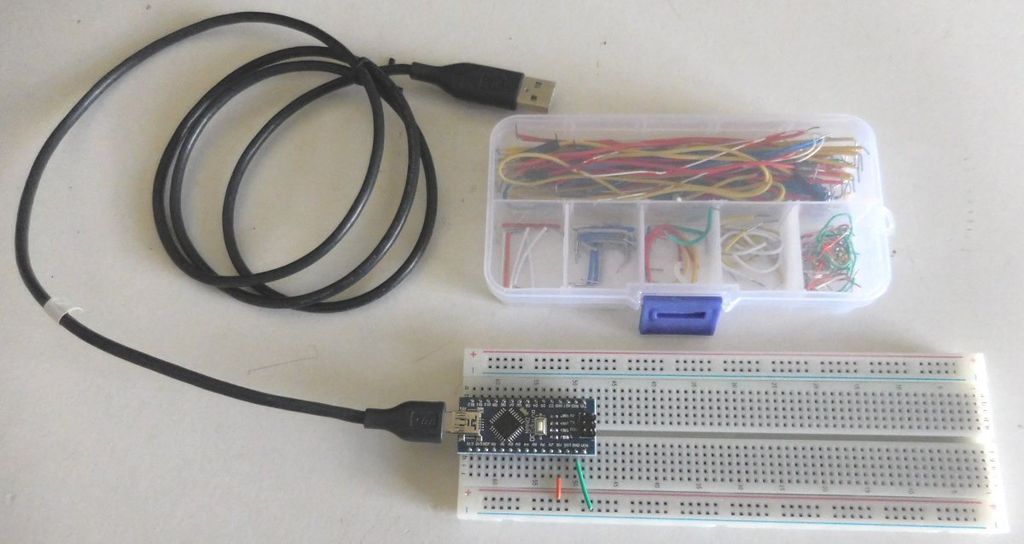
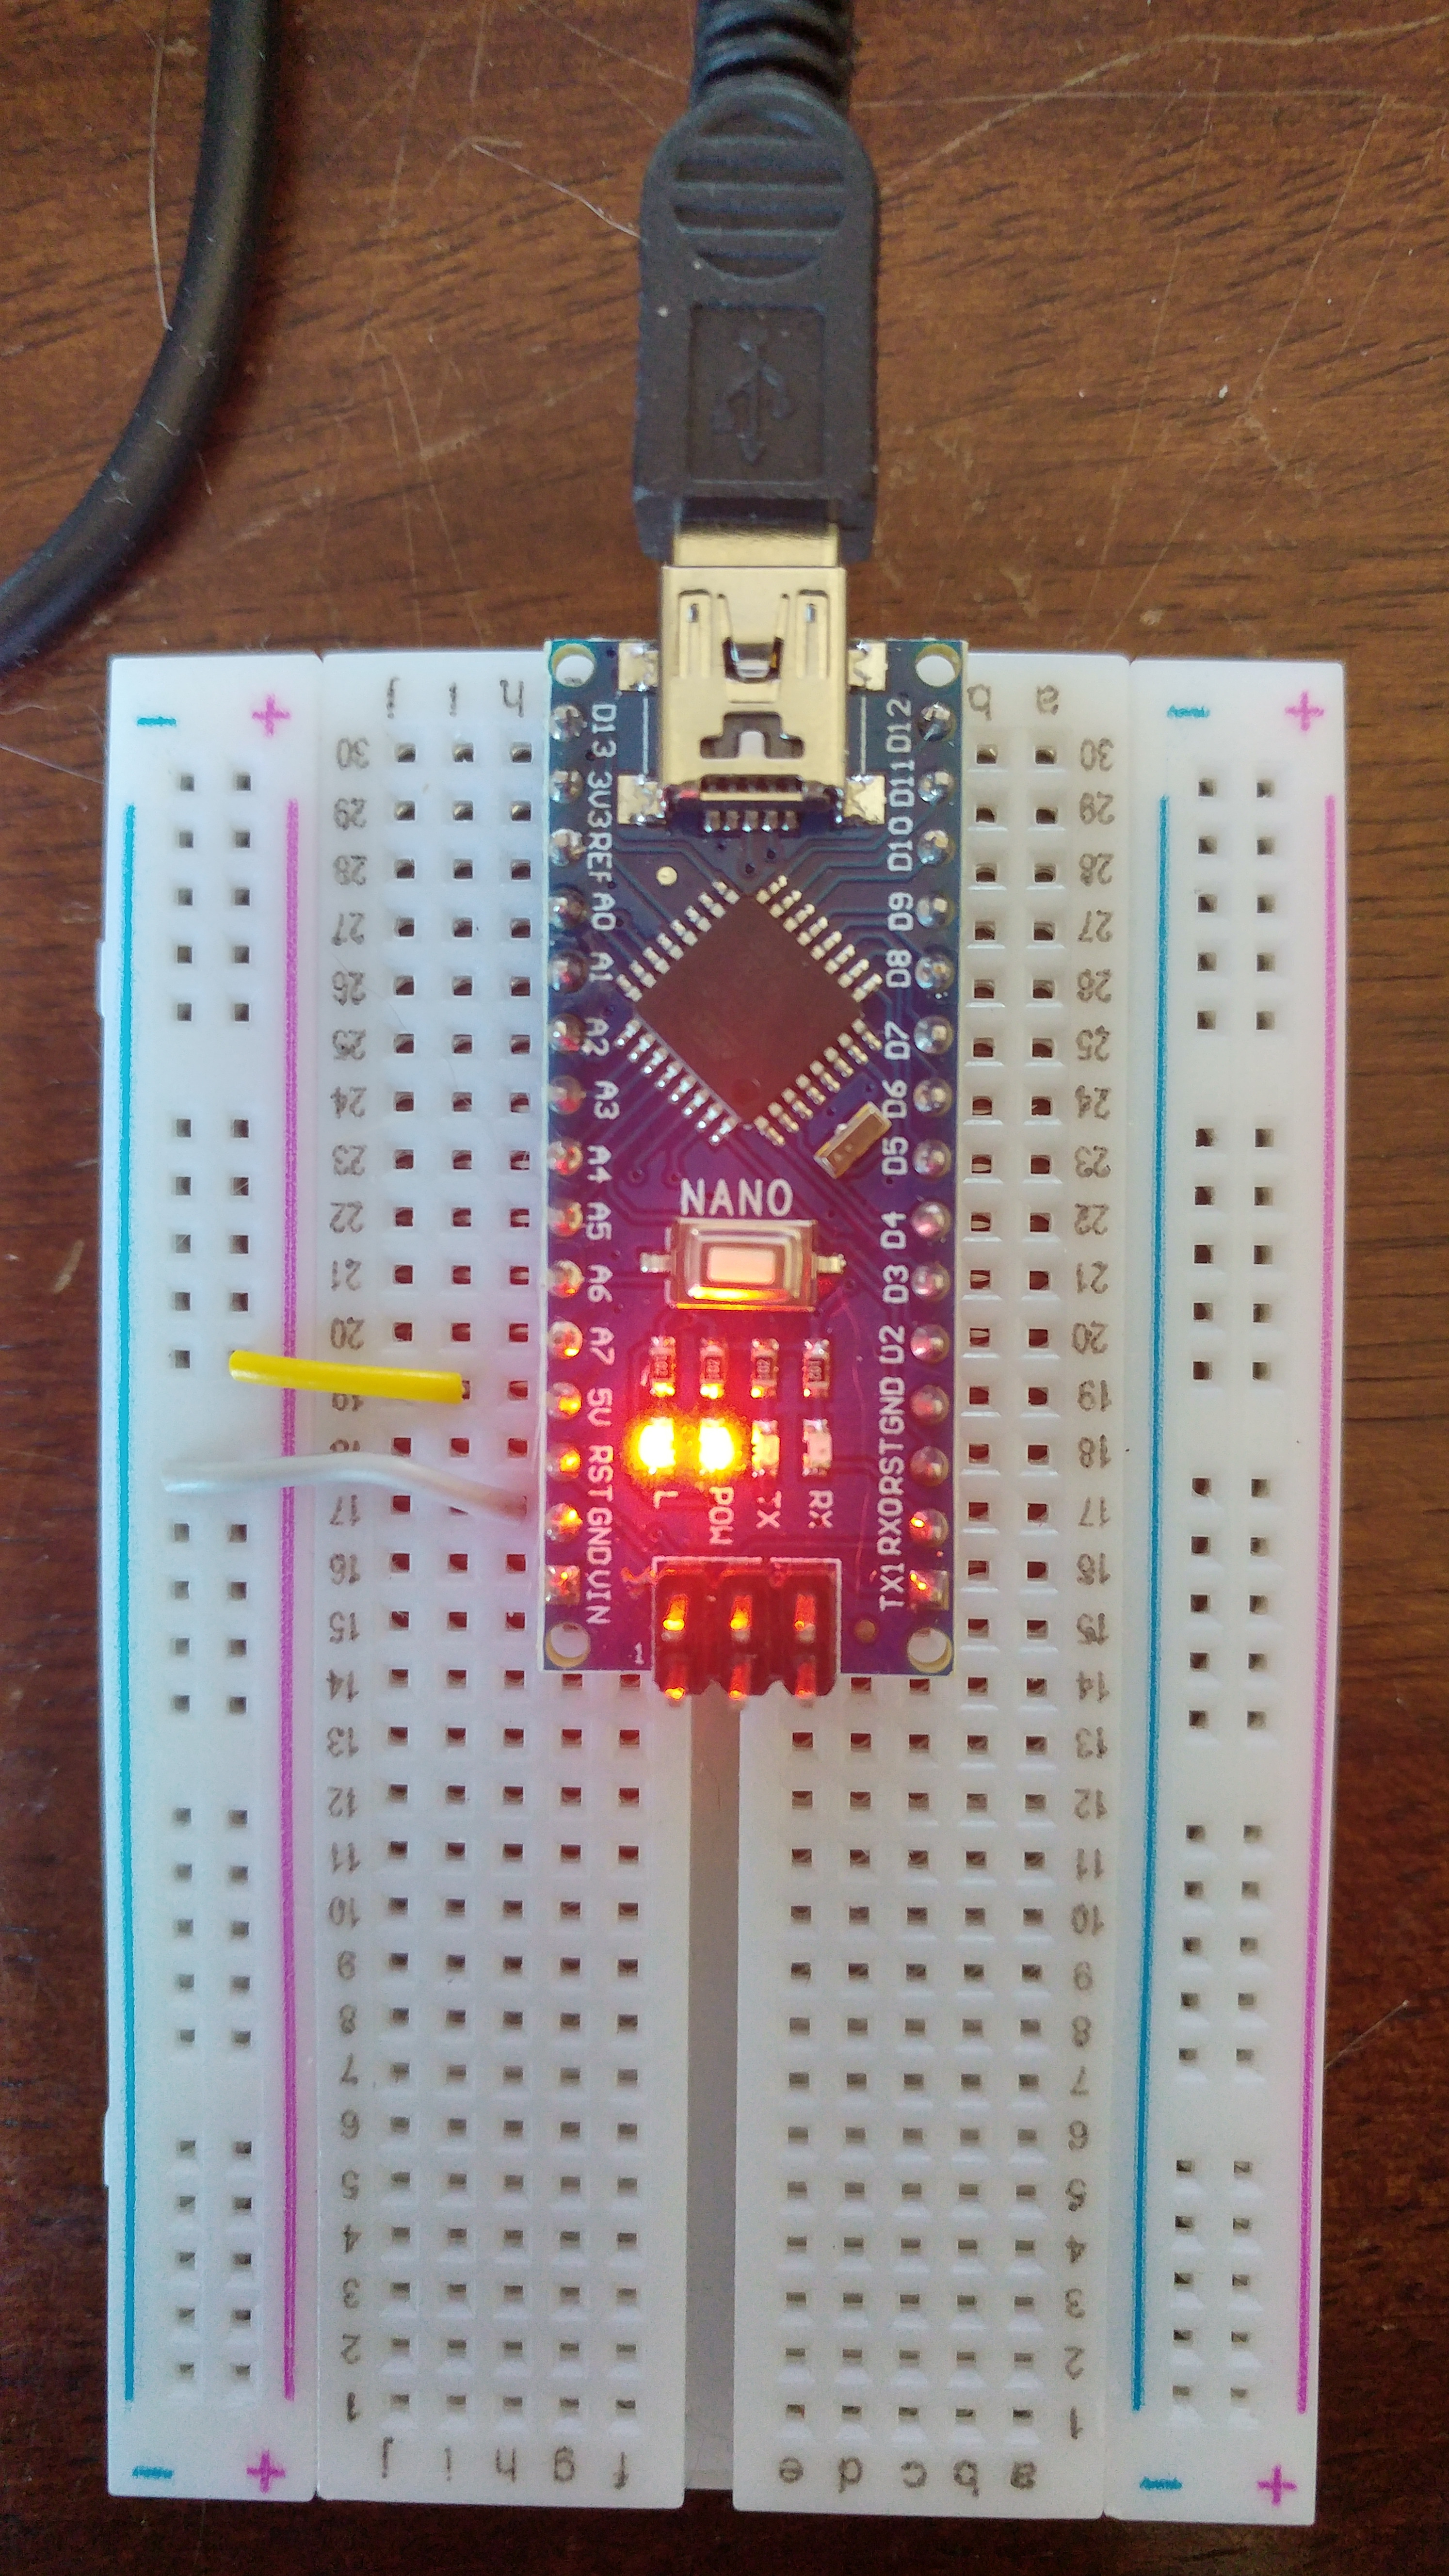
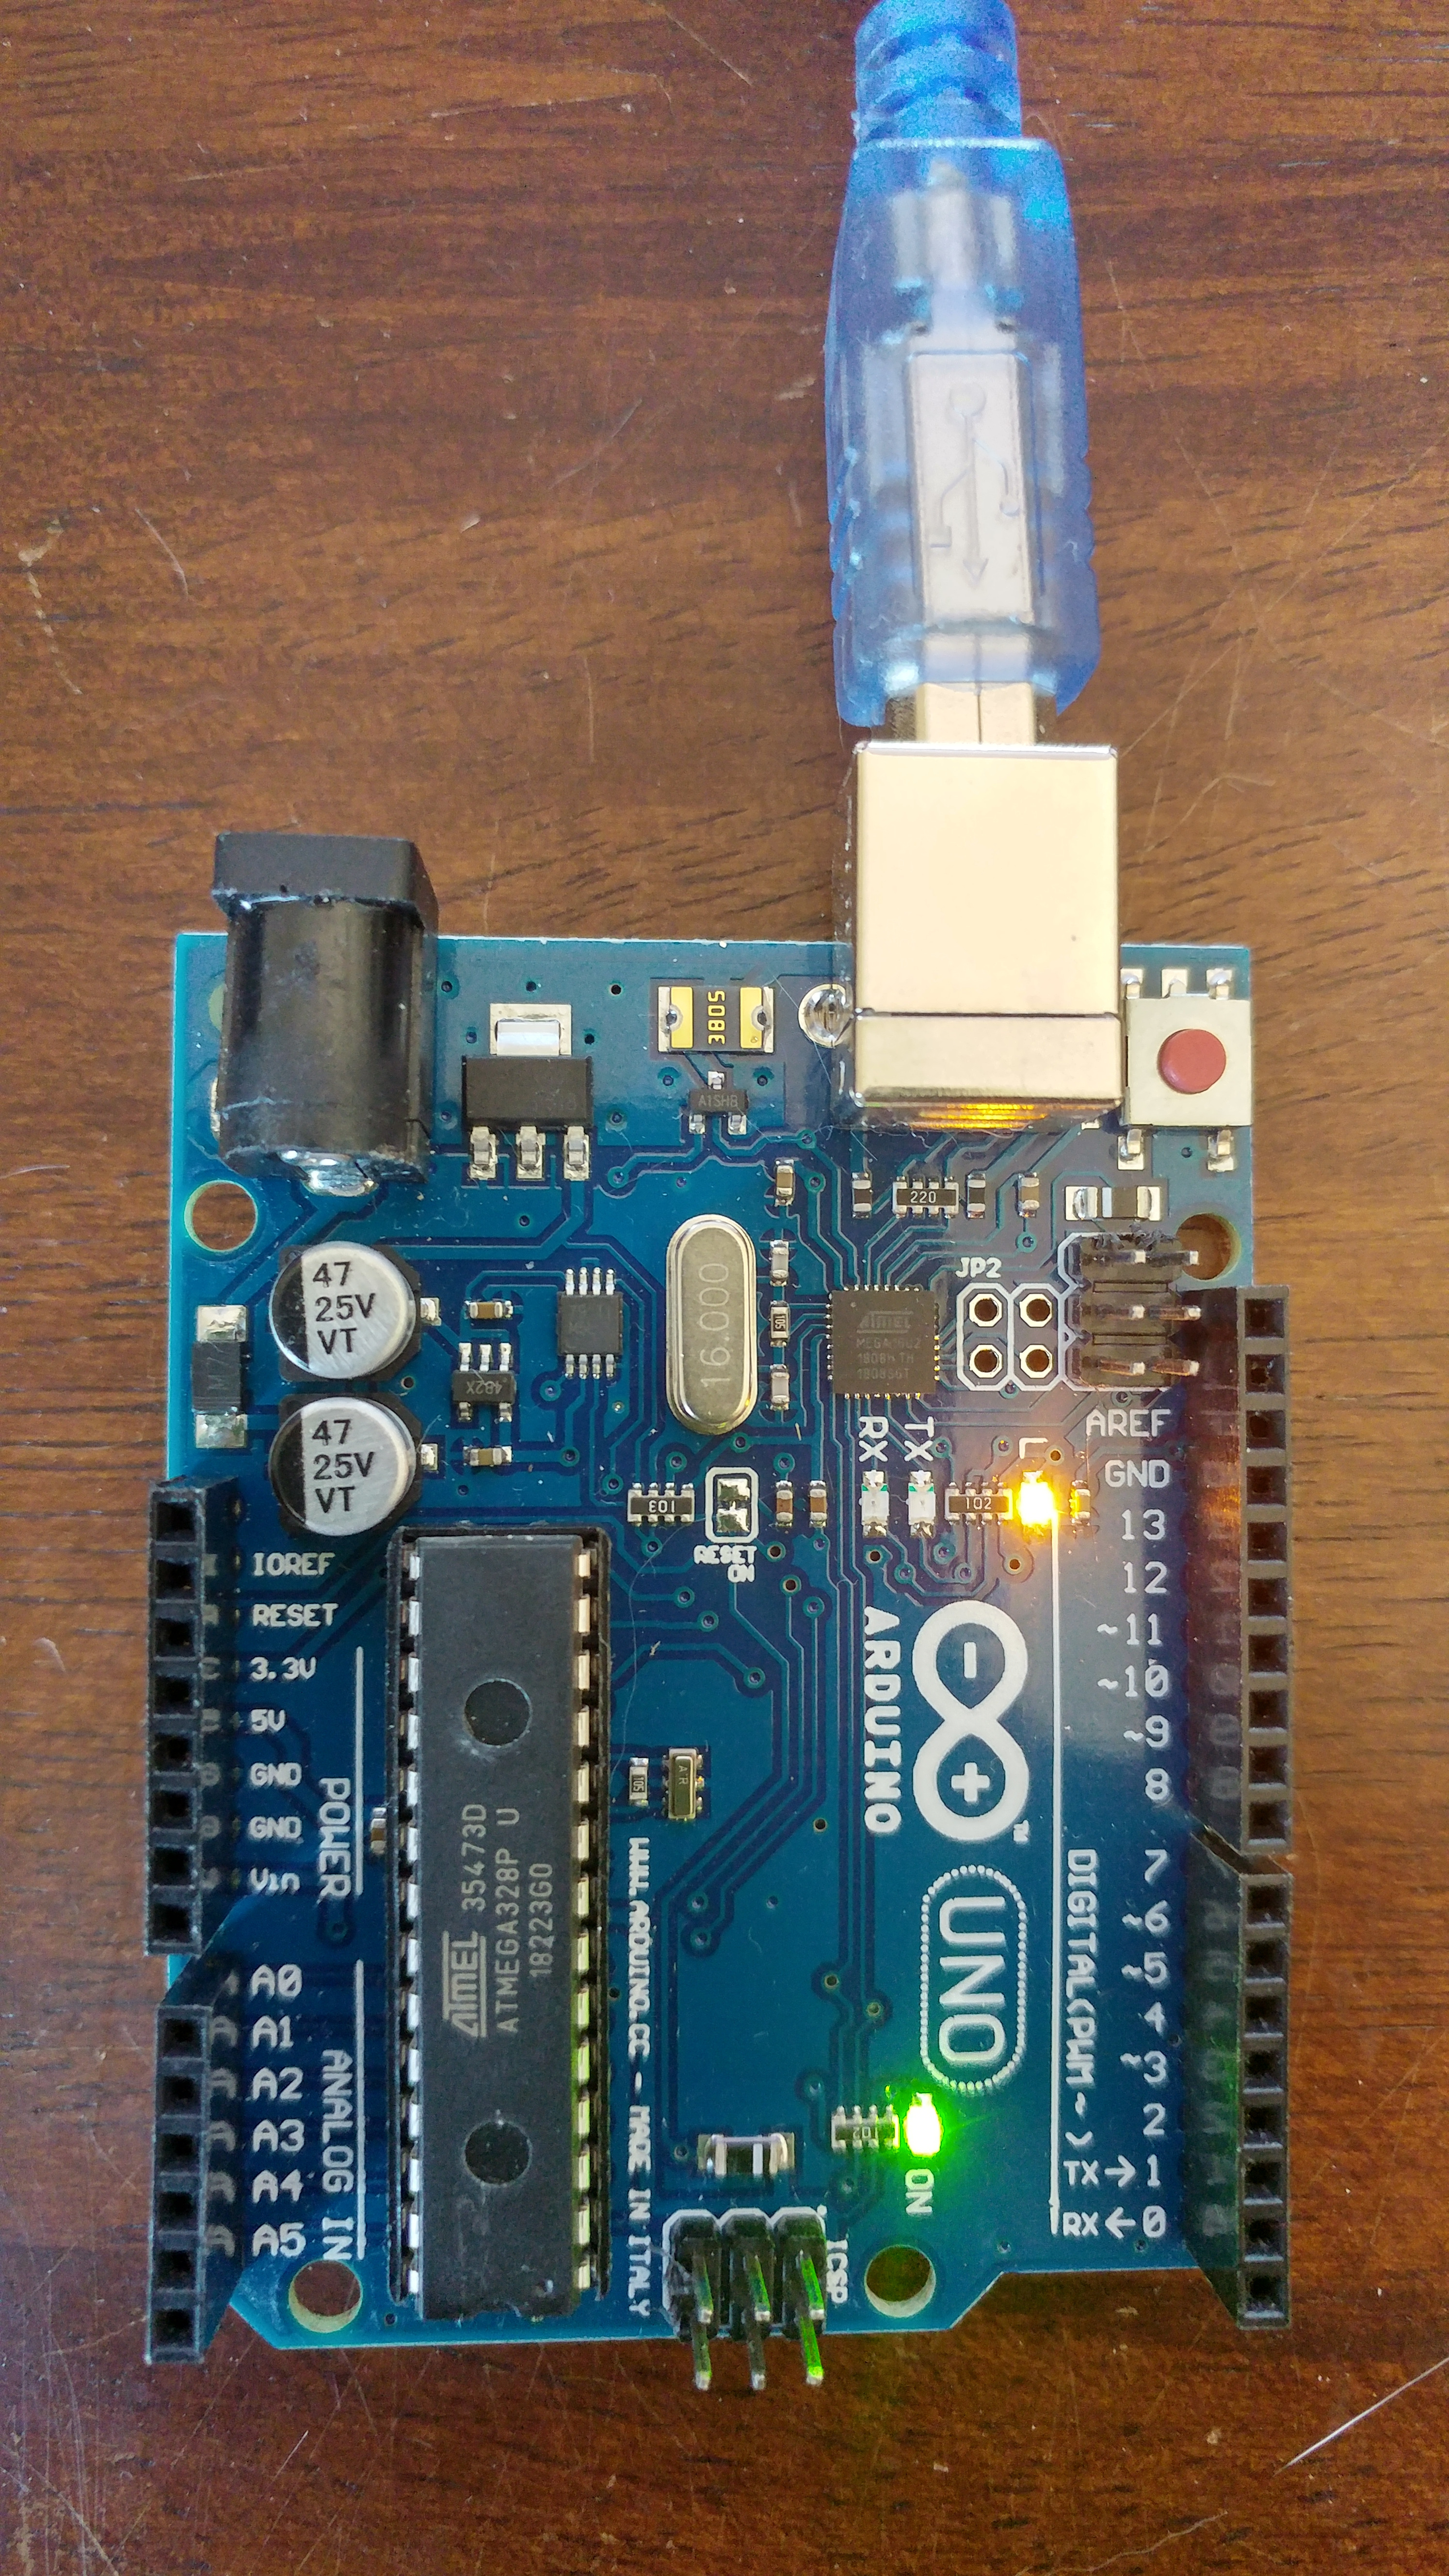
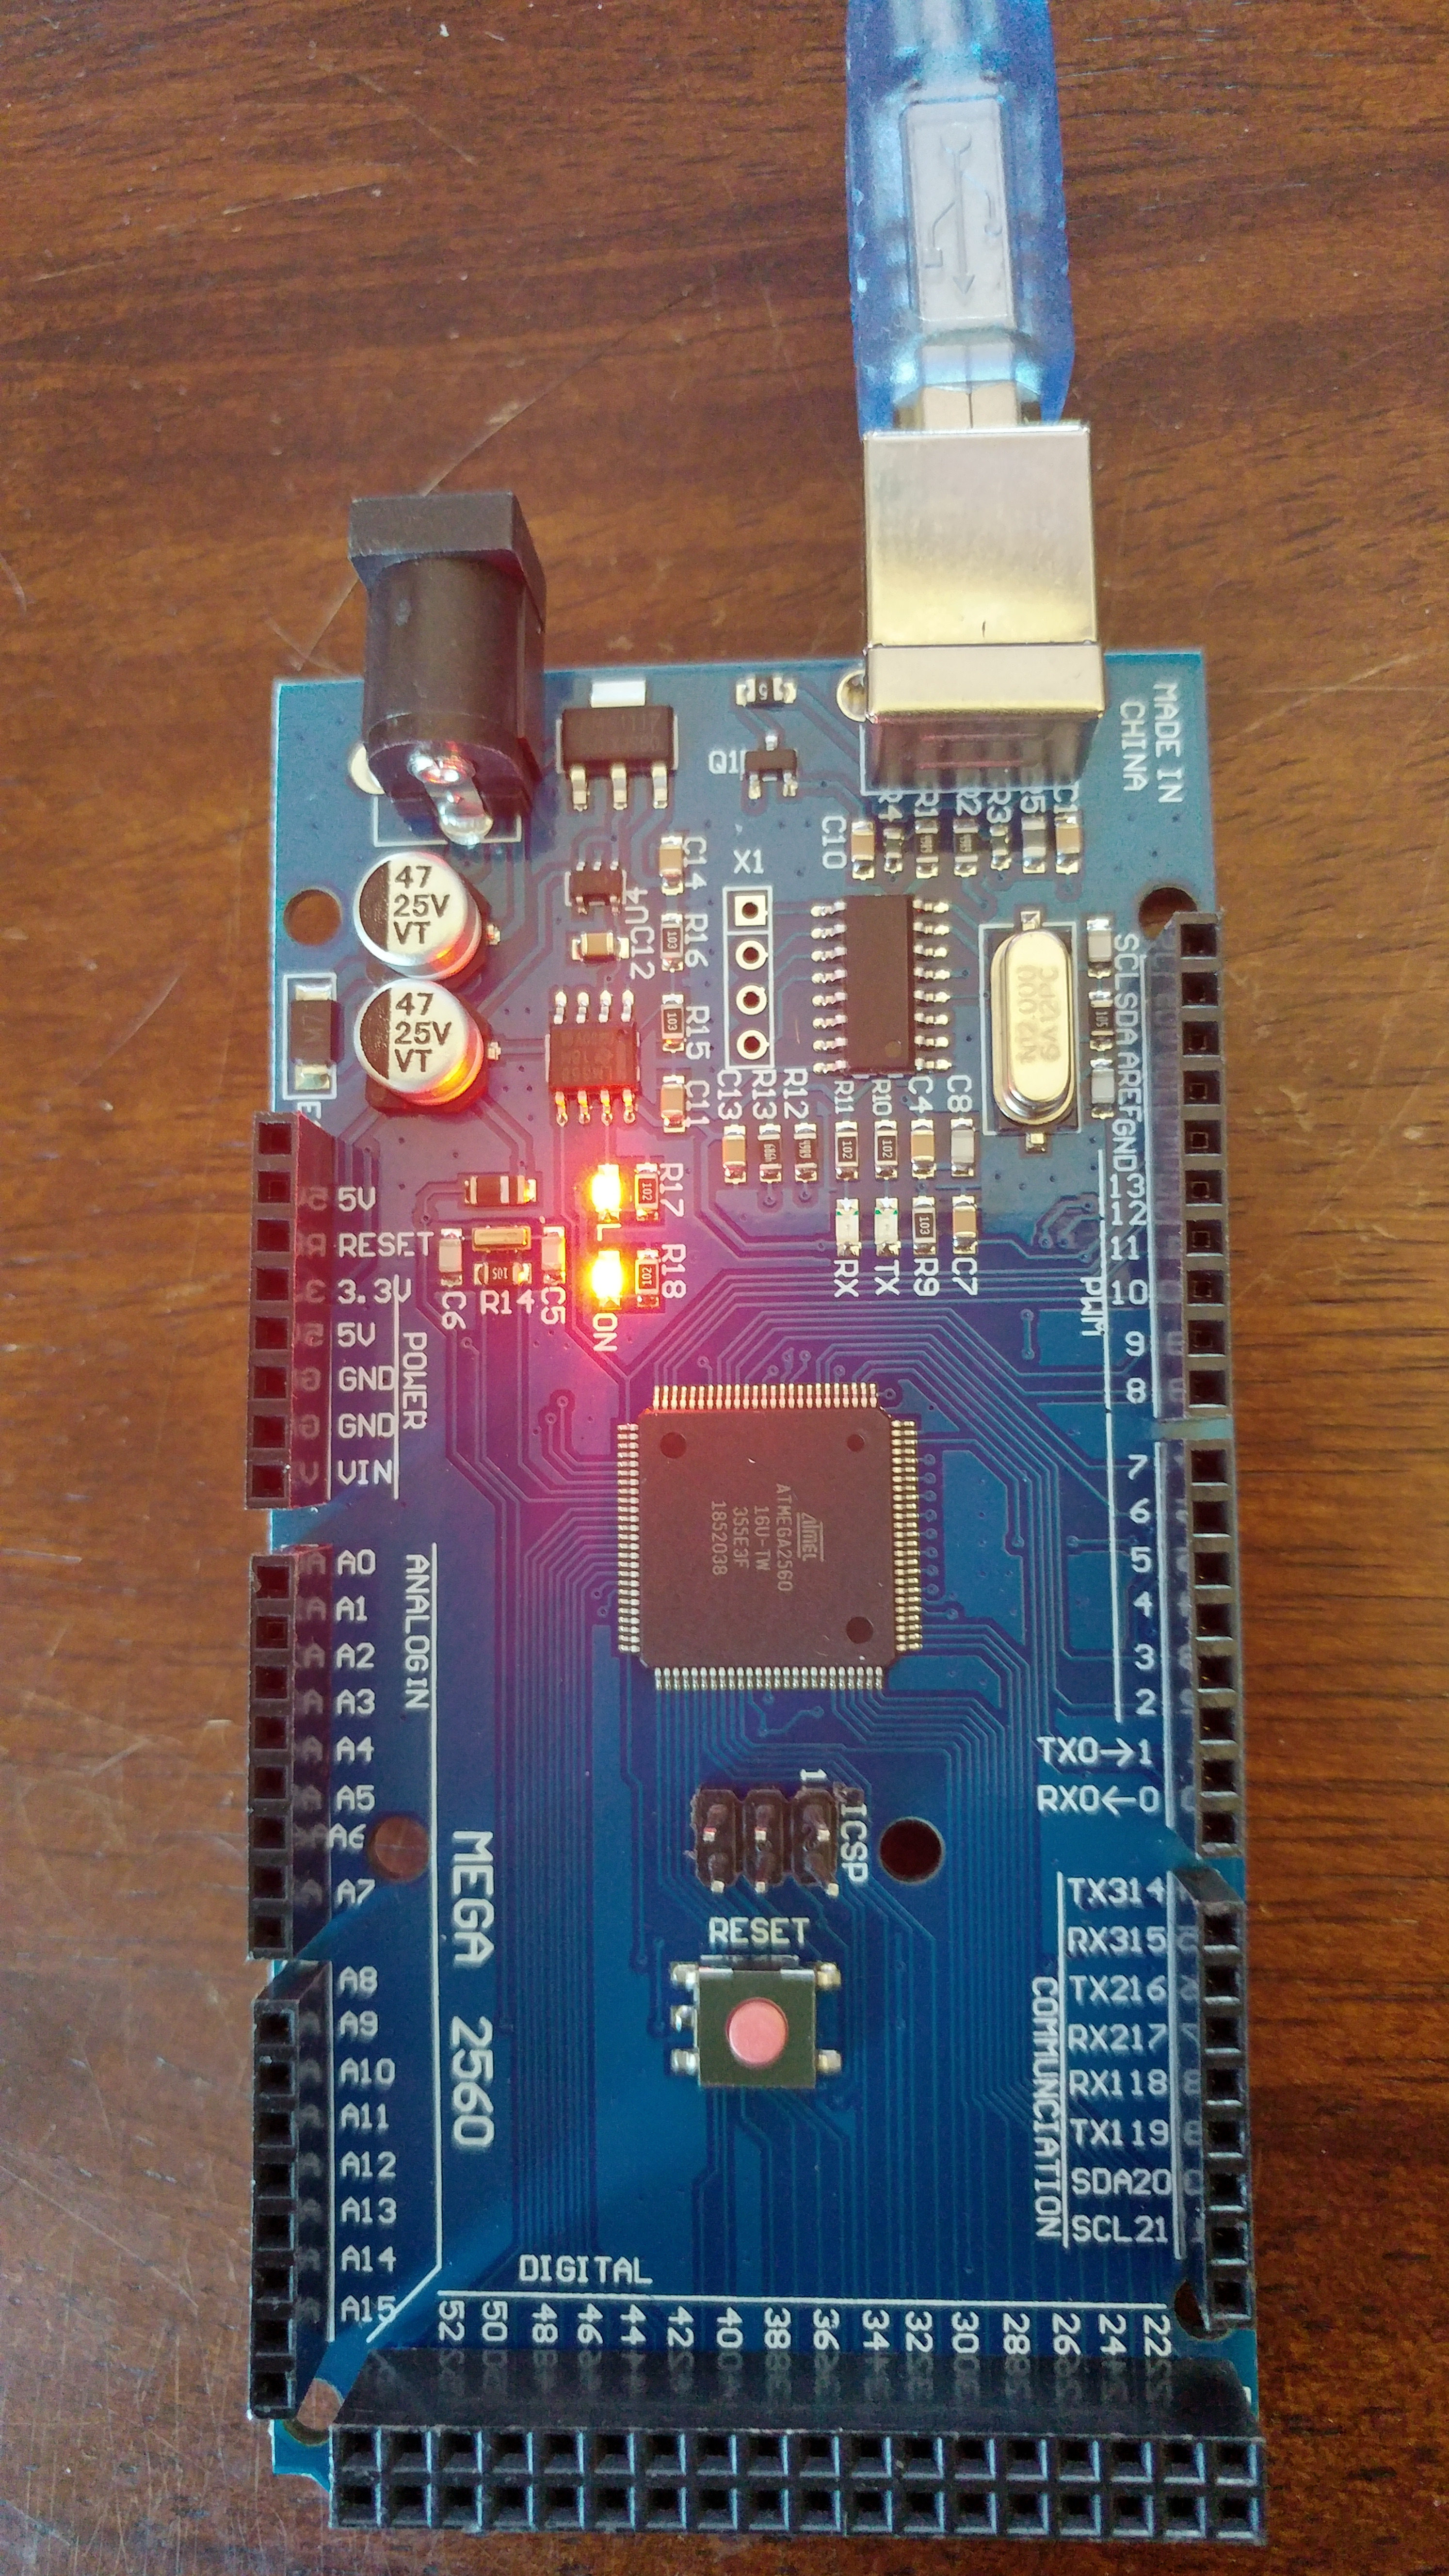
If you are using an Arduino Nano, plug it into the Breadboard. Connect power and ground from the Arduino to the breadboard's power bar. Connect the Arduino 5V+ pin to the breadboard's positive bar. Connect the Arduino GND (ground) pin to the breadboard's negative (ground) bar. The power bar can be used to power the SD adapter. If you using an Arduino Mega or Uno, using a breadboard is optional because you can wire the adapter directly to the Arduino.
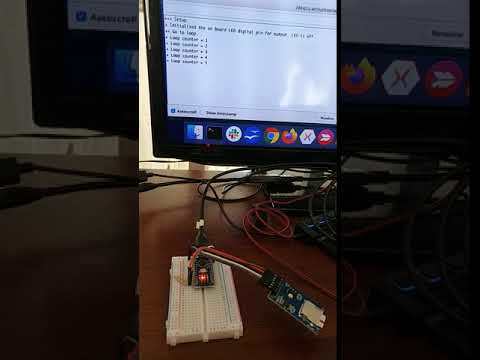
Download and run the basic Arduino test program: arduinoTest.ino. While running the program, the onboard LED light will turn on for 1 second, turn off for 1 second, and continuously cycle. Also, messages are posted which can be viewed in the Arduino IDE Tools/Serial Monitor.
+++ Setup.
+ Initialized the on board LED digital pin for output. LED is off.
++ Go to loop.
+ Loop counter = 1
+ Loop counter = 2
+ Loop counter = 3
...
Note, you can use this program to test your Nano, Mega, or Uno, they all have the same pin number for the onboard LED light.
Wire Up the Micro SD Card Adapter and Test
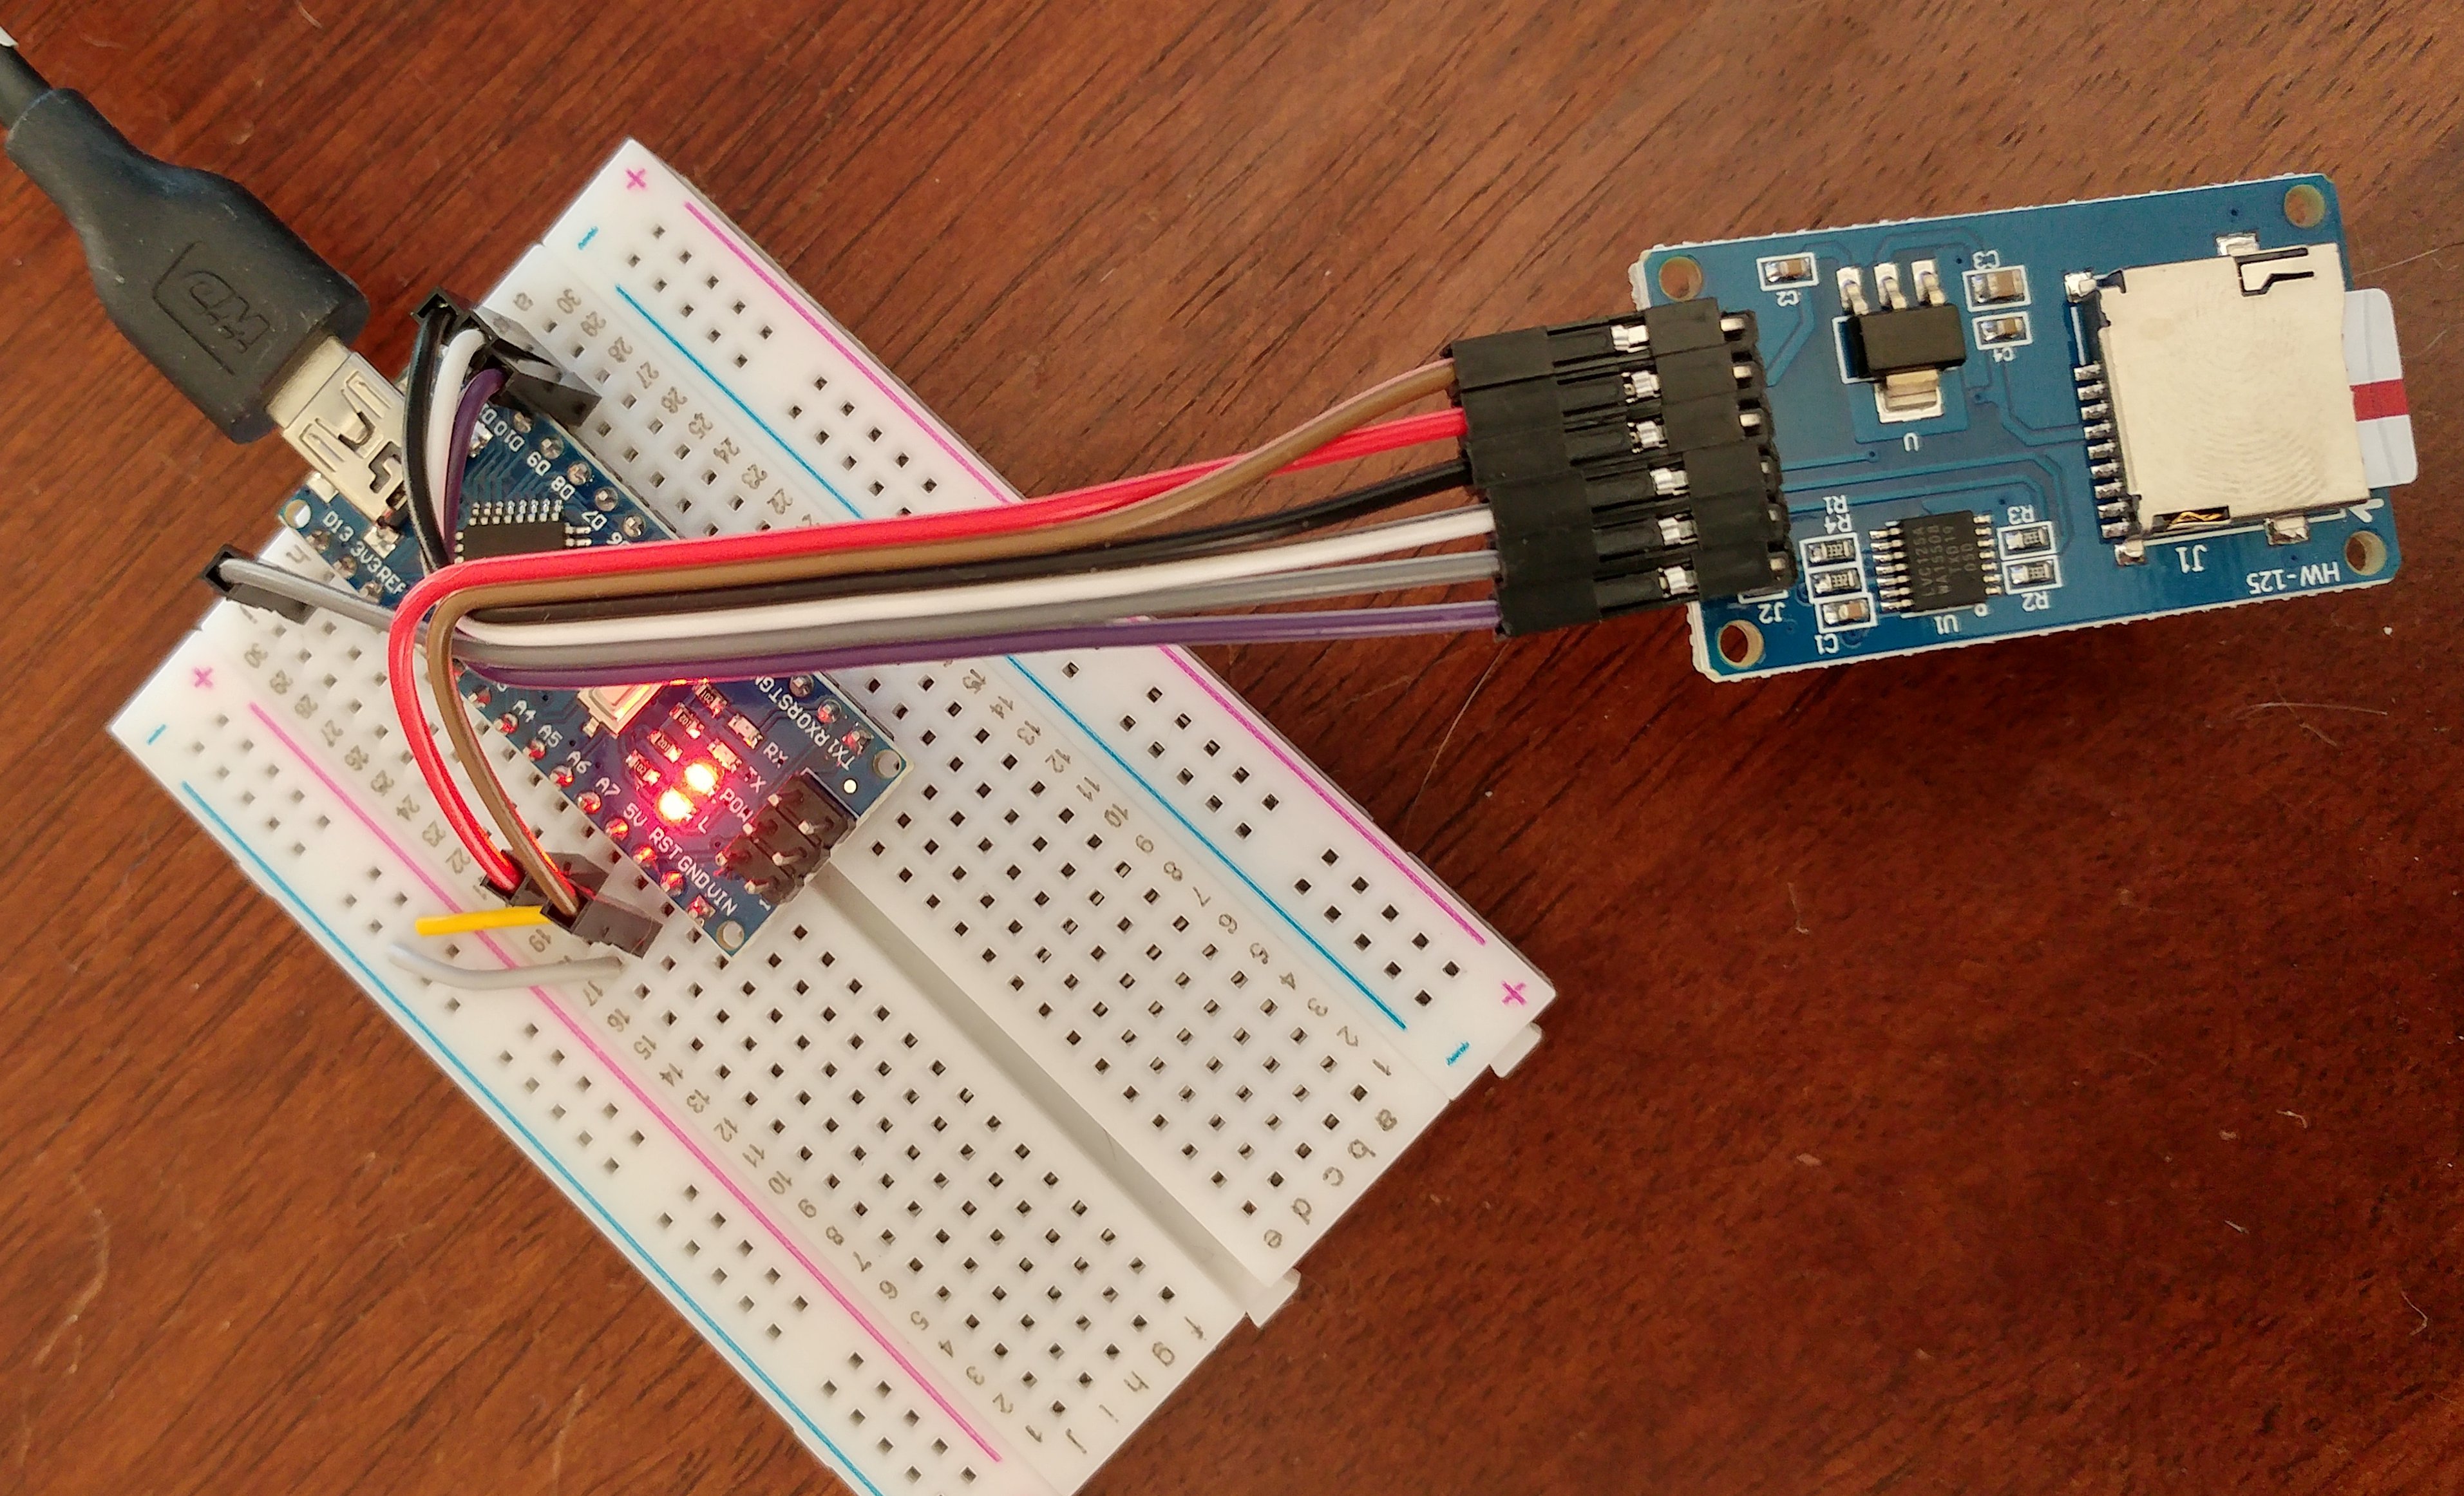
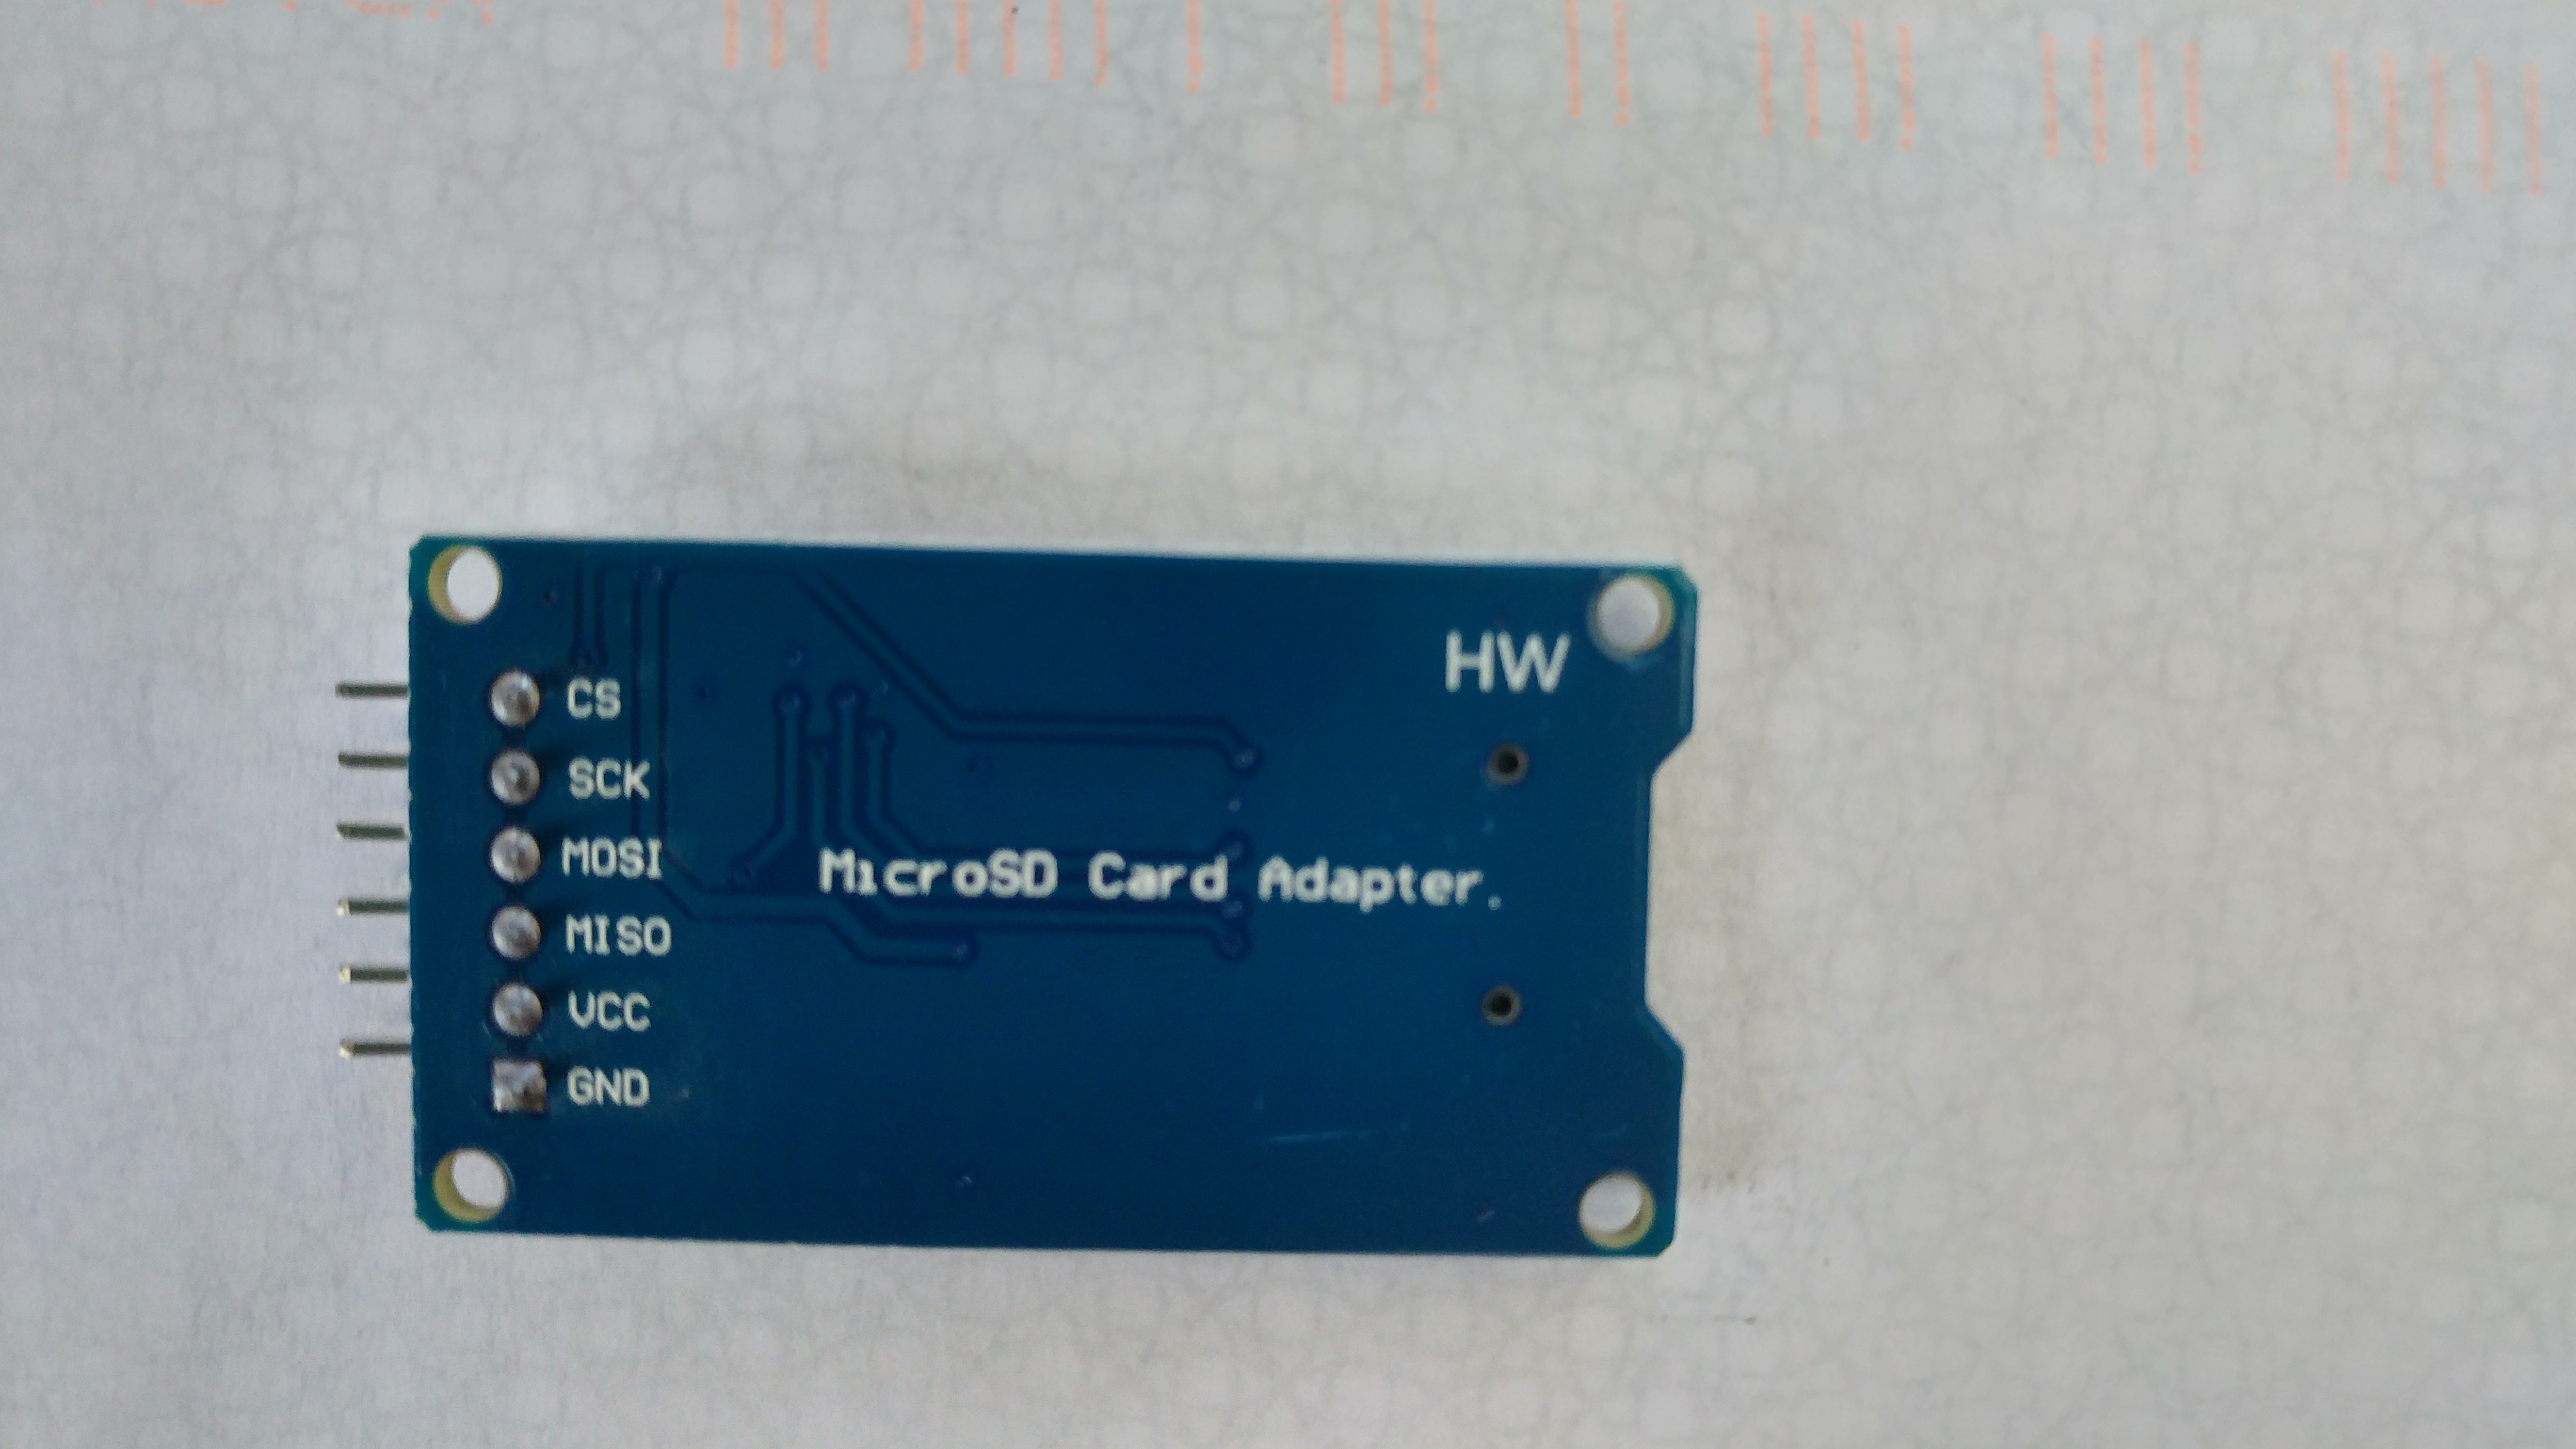
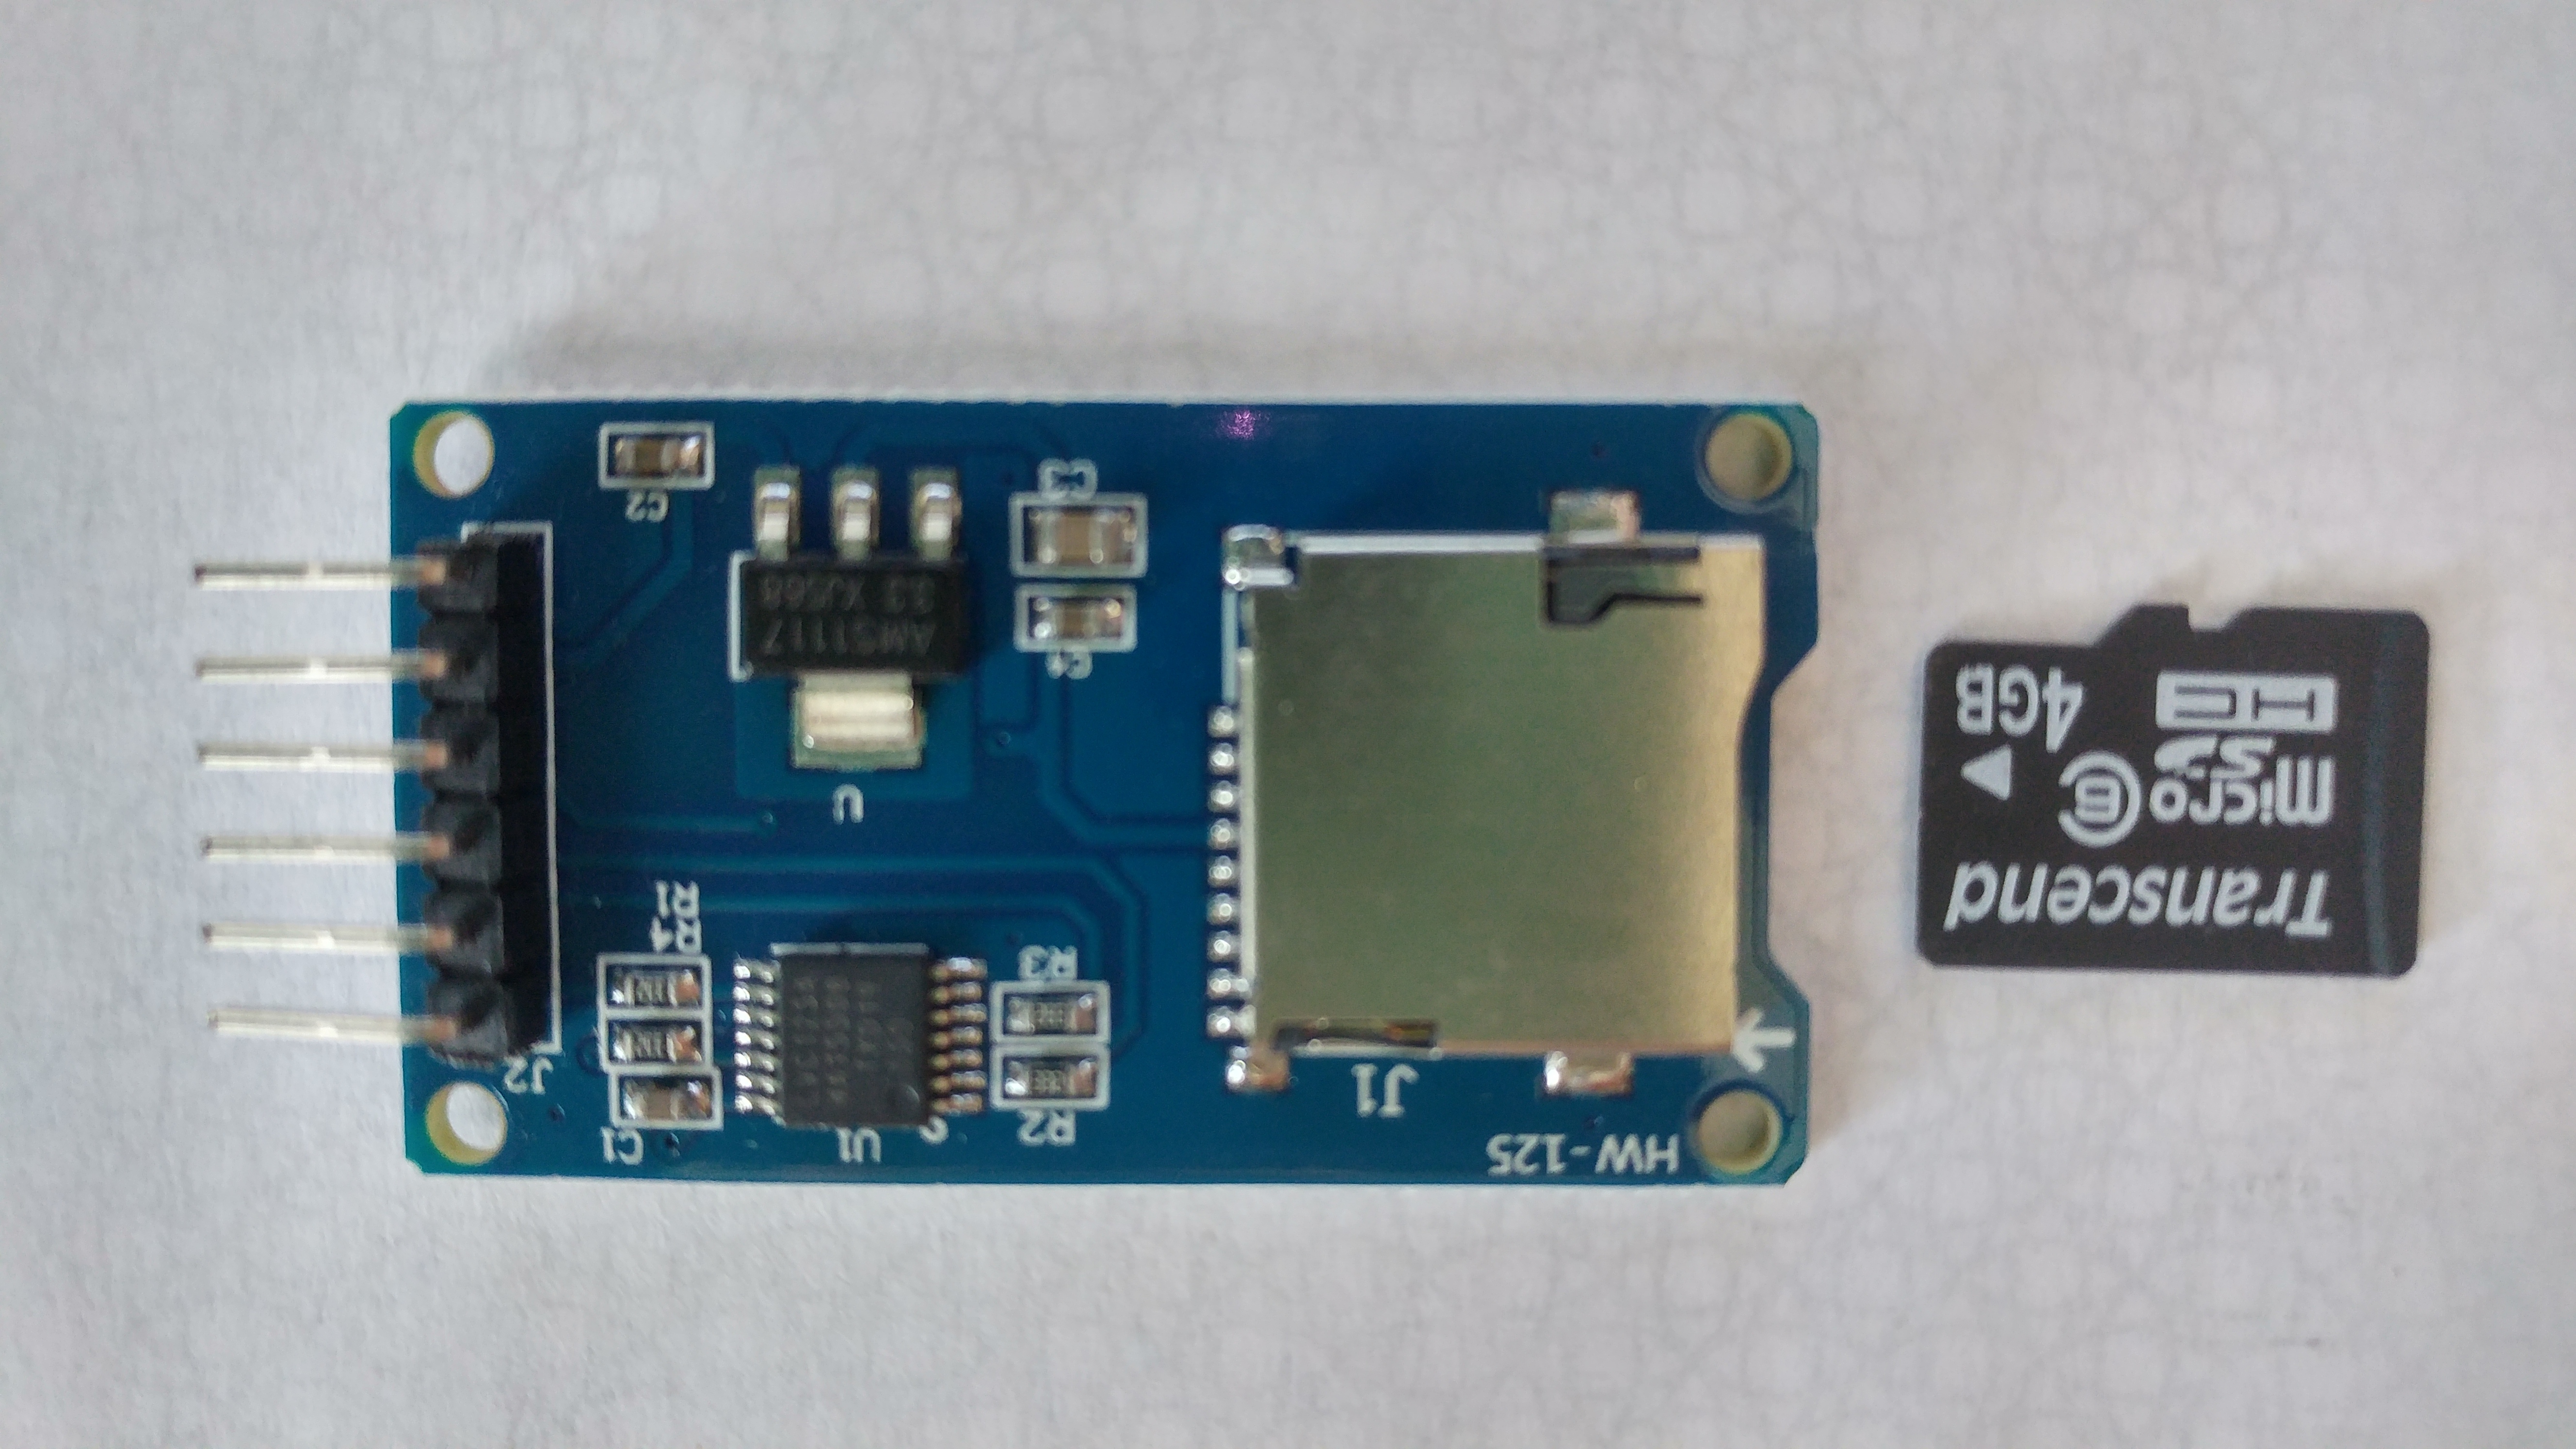
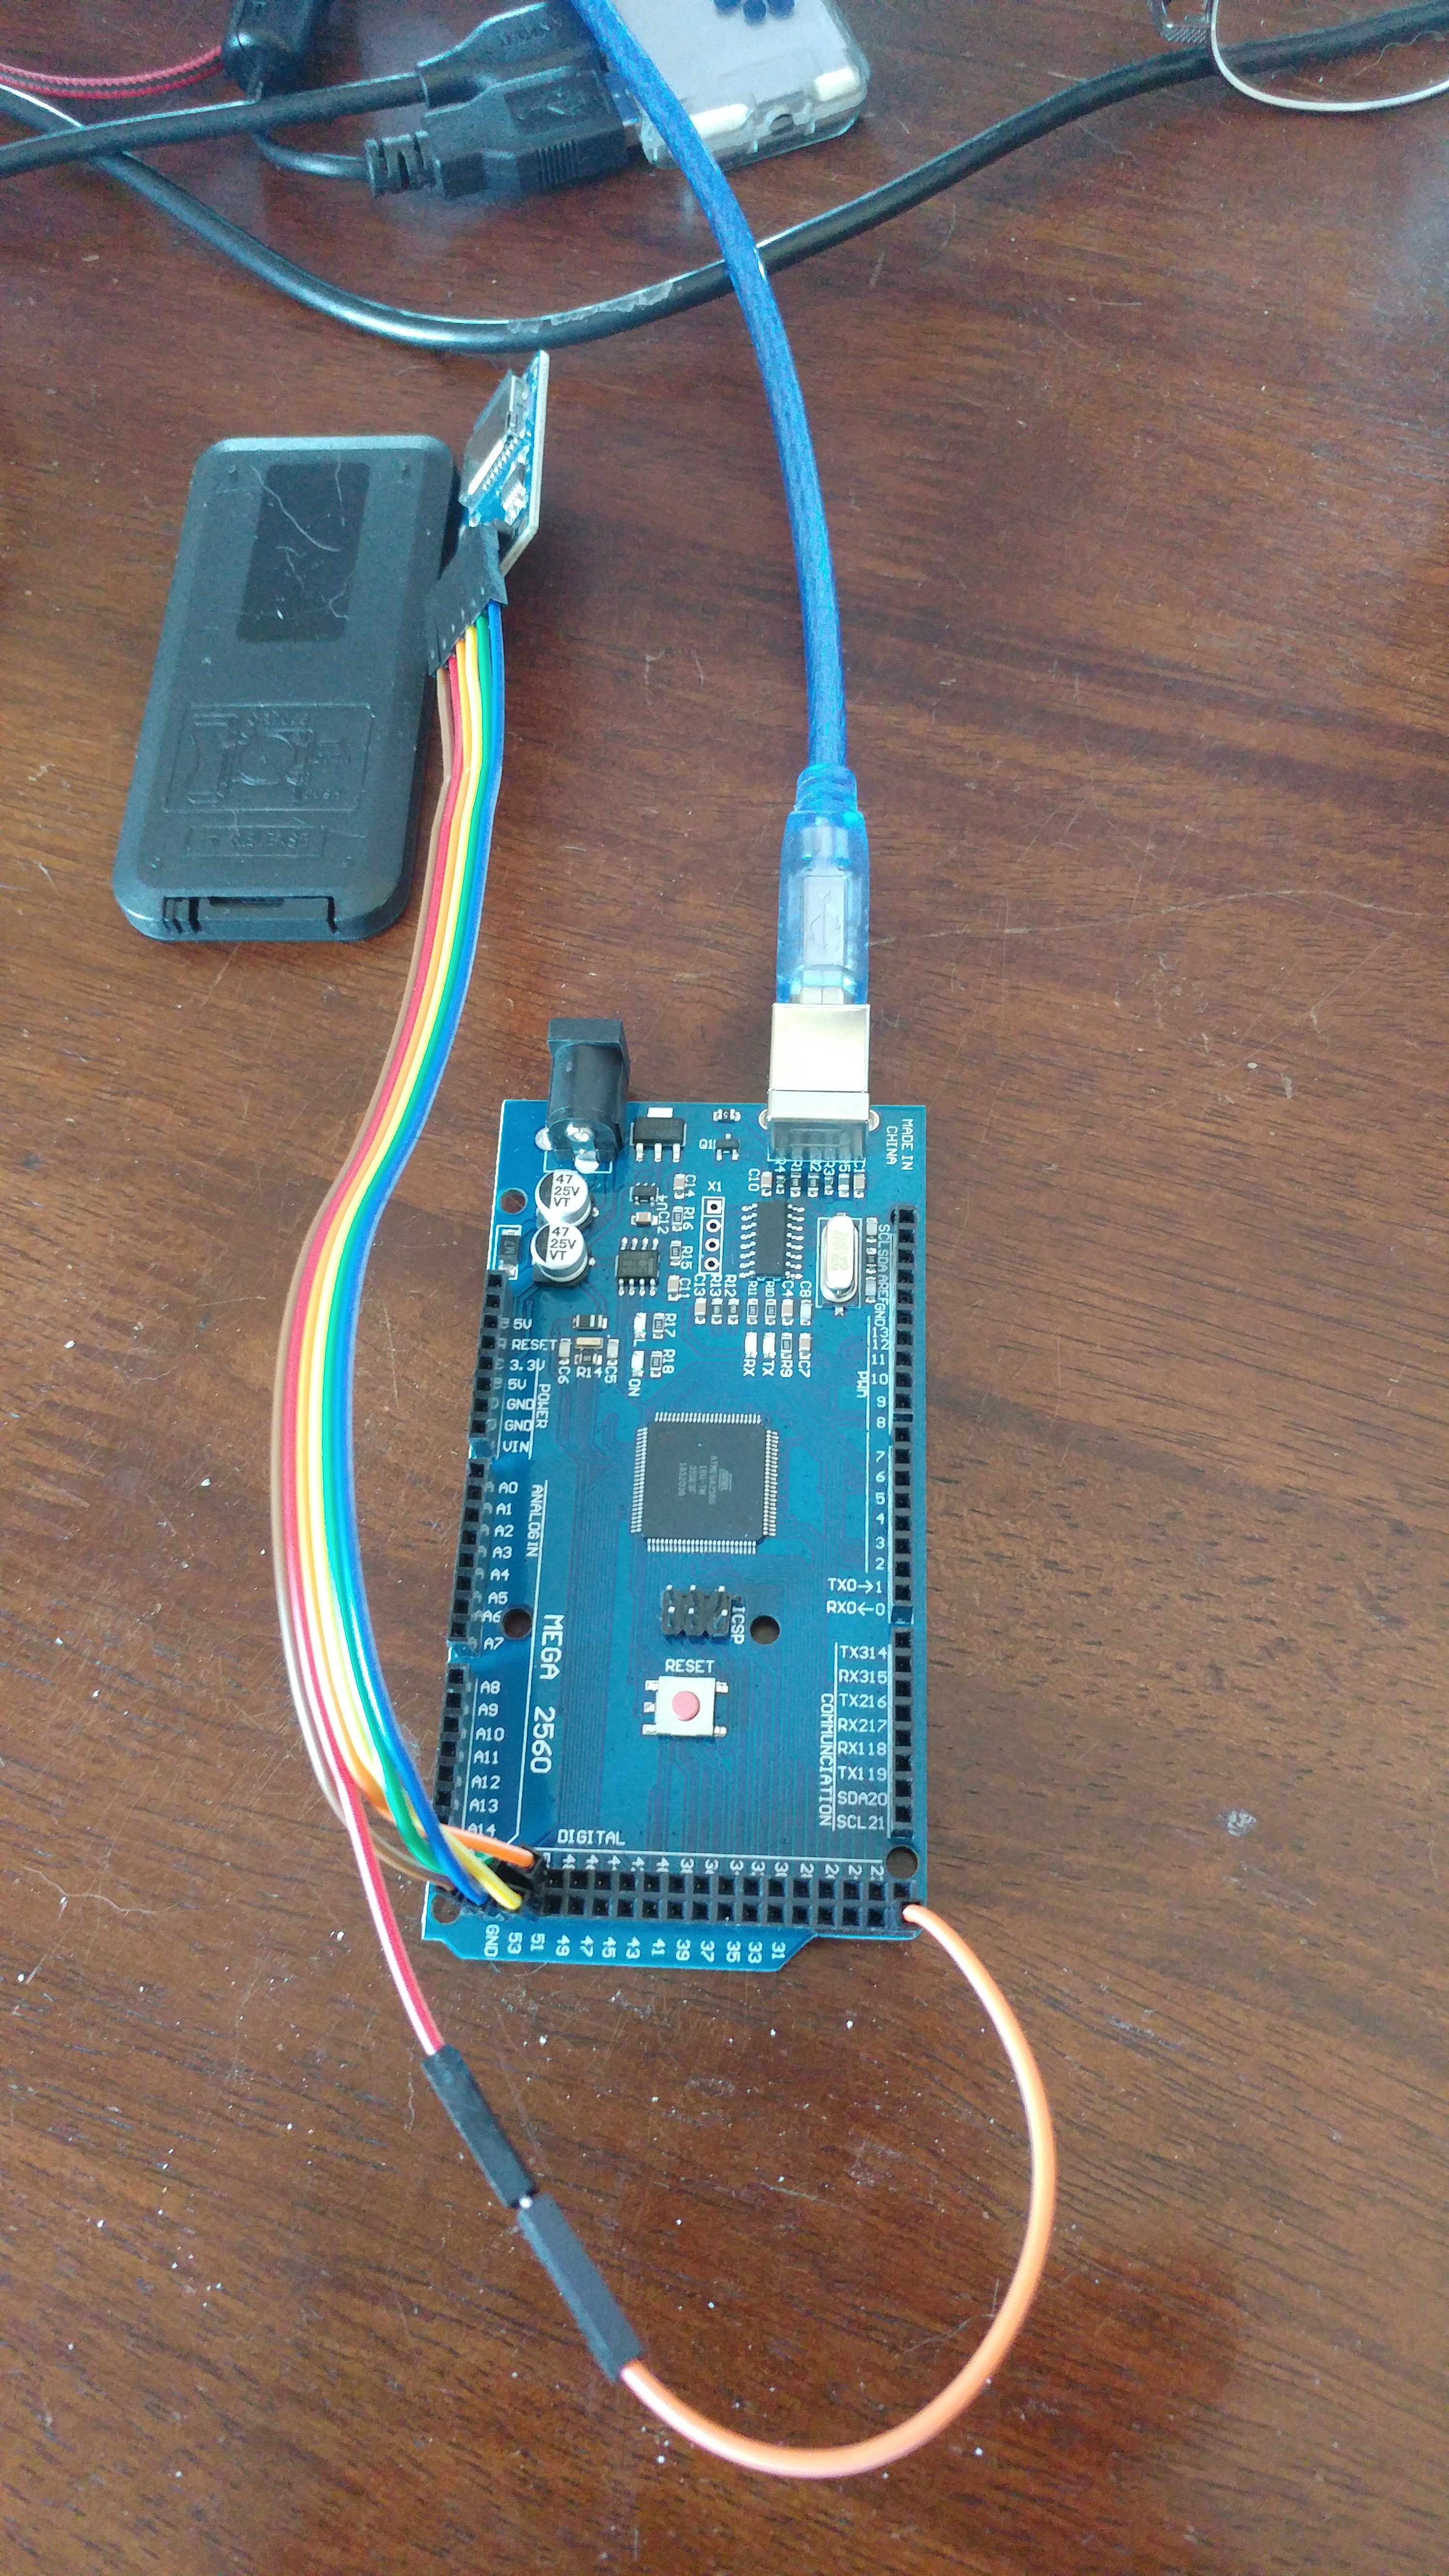
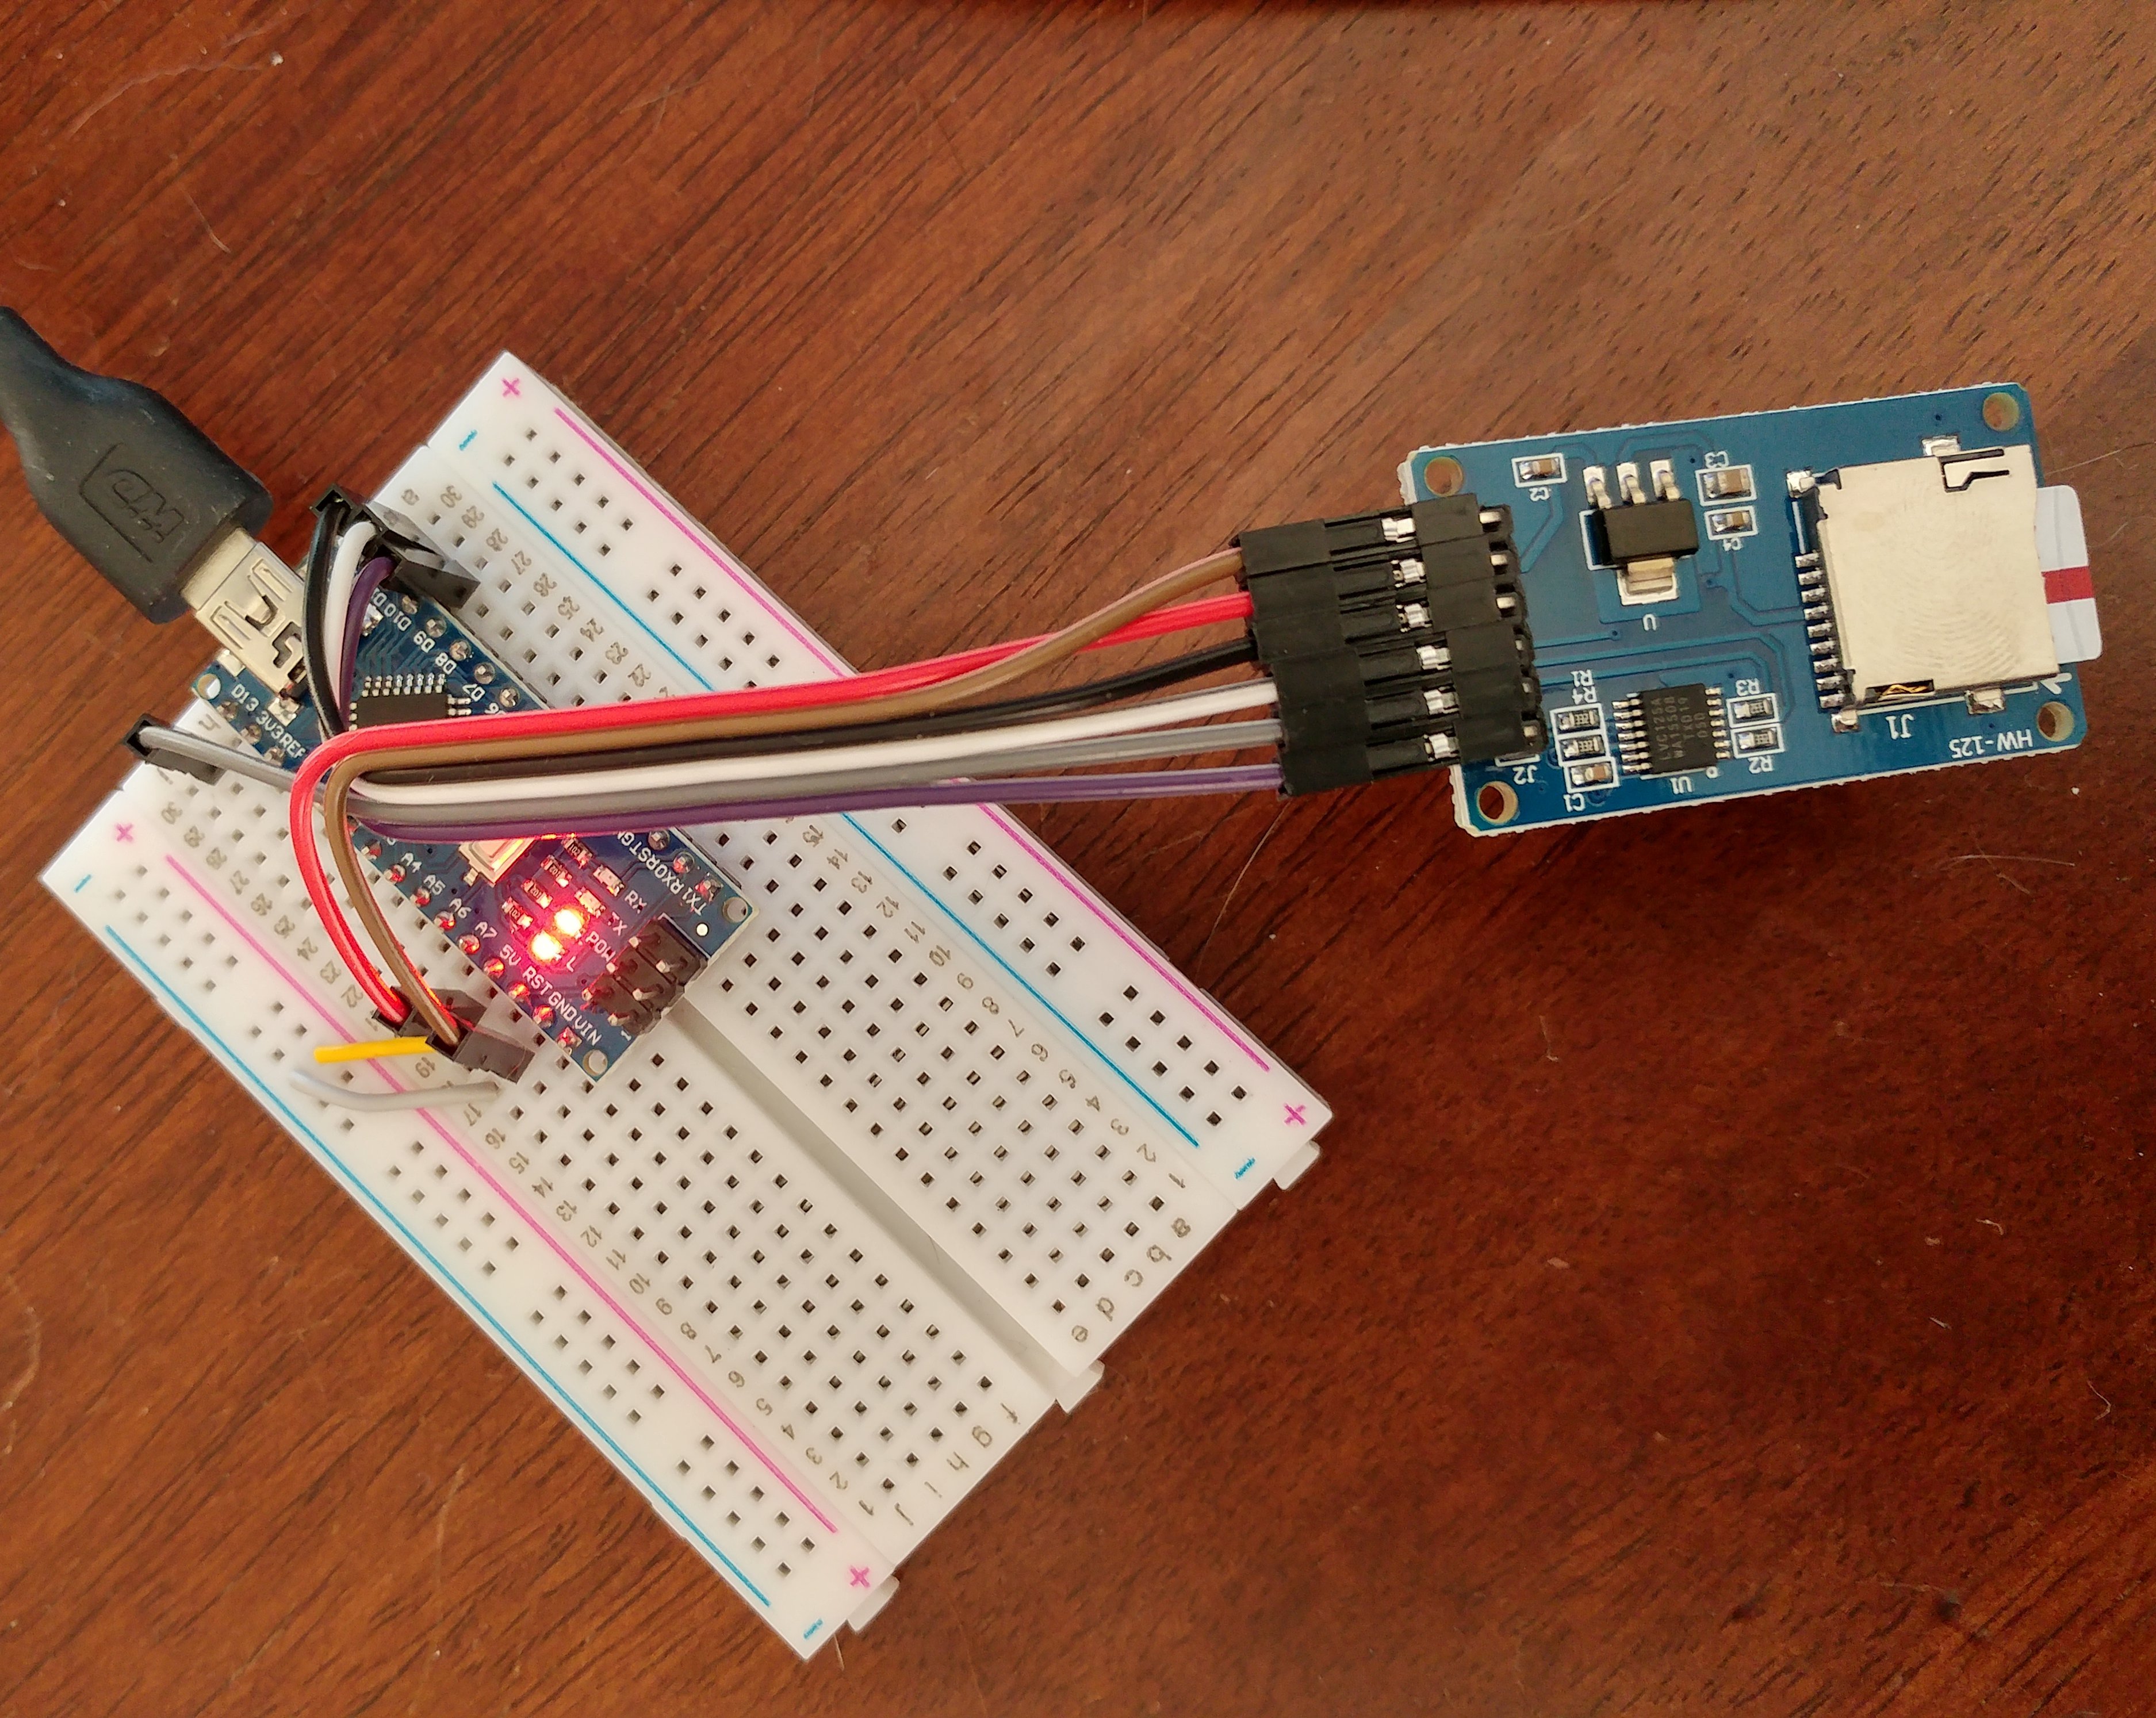
Wire up the micro SD card adapter to manage files for persistent data storage. If you are using a Nano, you can use cable wires to plug the adapter onto the breadboard as in the above photo. Or, you can plug the adapter into the breadboard and use wires to connect the Nano pins 10 to 13 to the adapter pins as outlined below. If using a Mega, plug the male side of the wires into the Mega pins (pins 50 to 53) and the female side of the wires to the adapter (as in the above photo).
Also connect the power from the Arduino to the adapter.
   Mega  Nano or Uno - SPI module pins
Pin 53   10          - CS : chip/slave select pin
Pin 52   13          - SCK  : serial clock
Pin 51   11          - MOSI : master out slave in
Pin 50   12          - MISO : master in slave Out
Pin 5V+  5V+         - VCC  : can use 3.3V or 5V
Pin GND  GND         - GND  : ground<br>
Pin function descriptions,
- CS : chip/slave select pin. Can be any digital pin to enable/disable this device on the SPI bus.
- SCK : serial clock, SPI: accepts clock pulses which synchronize data transmission generated by Arduino.
- MOSI : master out (Arduino), slave in, SPI: input to the Micro SD Card Module.
- MISO : master in (Arduino in), slave Out (SD apapter out), SPI: output from the Micro SD Card Module.
In the Arduino IDE, install the SD library, if it is not already installed. Select Tools/Manage Libraries. Filter your search by typing in ‘SPI’ or 'SD'. I have the SD library by Arduino, SparkFun version 1.2.3, installed. If you don't, install the recent version. Note, the adapter pins are declared in the SPI library for SCK, MOSI, MISO, and CS.
SPI Master/Slave notes with relationship to the SD adapter CS pin and the SD library:
- The Ardunio pin, that connects to the SD adapter CS pin, is called the slave select(SS) pin. The SD library uses pin 10, pin 53 on the Mega, as the default SS pin.The library supports only the Arduino device as the master.
- You can use any Arduino digital pin, to connect to the SD card adapter select pin (CS). If you use a pin other than the default SS pin, make that pin as an output pin by adding: pinMode(otherPin, OUTPUT);. And set the pin to low
- When the Arduino's slave select (SS) pin is set to low, the SD adapter will communicate with the Arduino. The Arduino is the master, and the SD adapter is the slave.
- When it's set high, the SD adapter ignores the Arduino (the master).
- Selectivity allows you to have multiple SPI devices sharing the same Ardunio bus lines(pins): MISO, MOSI, and CLK.
Download and run the basic test program: sdCardTest.ino. This program was tested successfully with a Mega and a Nano.
File and Directory Program Statements
Initialization: include libraries, declare Arduino SS pin that is connected to the adapter CS pin, declare file objects, and initialize the Arduino connection to the adapter.
#include <SPI.h>
#include <SD.h>
const int csPin = 10;  // For Mega, pin 53.
File myFile;
File root;
SD.begin(csPin)
File functions: check if a file exists, open for write and write, print an open file's name and size, open a file for reading, read until end of file and close the file, amd delete a file.
if (SD.exists("F1.TXT")) { ... }

myFile = SD.open("F1.TXT", FILE_WRITE);
myFile.println(F("Hello there,"));

Serial.print(entry.name());
Serial.print(entry.size(), DEC);

myFile = SD.open("F1.TXT");
while (myFile.available()) { Serial.write(myFile.read()); }
  myFile.close();

SD.remove("F1.TXT");
Directory functions: open a directory for listing/processing, open next file in a directory (can be used to list files in a directory), rewind (file cursor) to the first file in the directory, create a directory, check if a directory exists, and delete a directory.
root = SD.open("/");<br>File entry =  dir.openNextFile();
root.rewindDirectory();

SD.mkdir("/TESTDIR");
if (SD.exists("/TESTDIR")) { ... }
SD.rmdir(aDirName);
Reference links:
SPI reference: https://www.arduino.cc/en/Reference/SPI
SD card library reference: https://www.arduino.cc/en/reference/SD
SD Card Format Note
Your card needs to MS DOS fat format.
On Mac, use the disk utility to format the disk: Applications > Utilities > open Disk Utility.
Depending on your card, I used one of the following.
Click on the SD card, example: APPLE SD Card Reader Media/MUSICSD.
Click menu item, Erase.
Set name, example: MUSICSD.
Select: MS-DOS (Fat).
Click Erase. The disk is cleaned and formatted.
Or,
Select: APPLE SD Card Reader Media in the left options.
+ Click Erase on the top option.
+ In the popup, set field values,
++ Name: Micro32gig
++ Format: MS-DOS(FAT)
++ Scheme: Master Boot Record
+ Click Erase in the popup. Card will formatted for use in the SD card module.
Use the SD Card Adapter in Projects
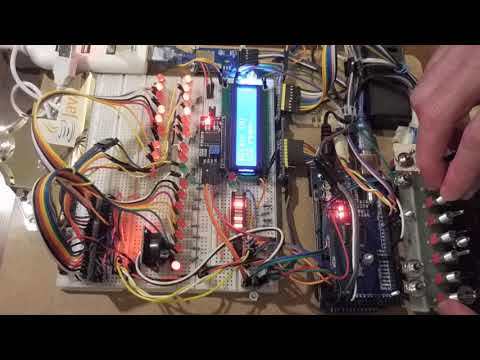
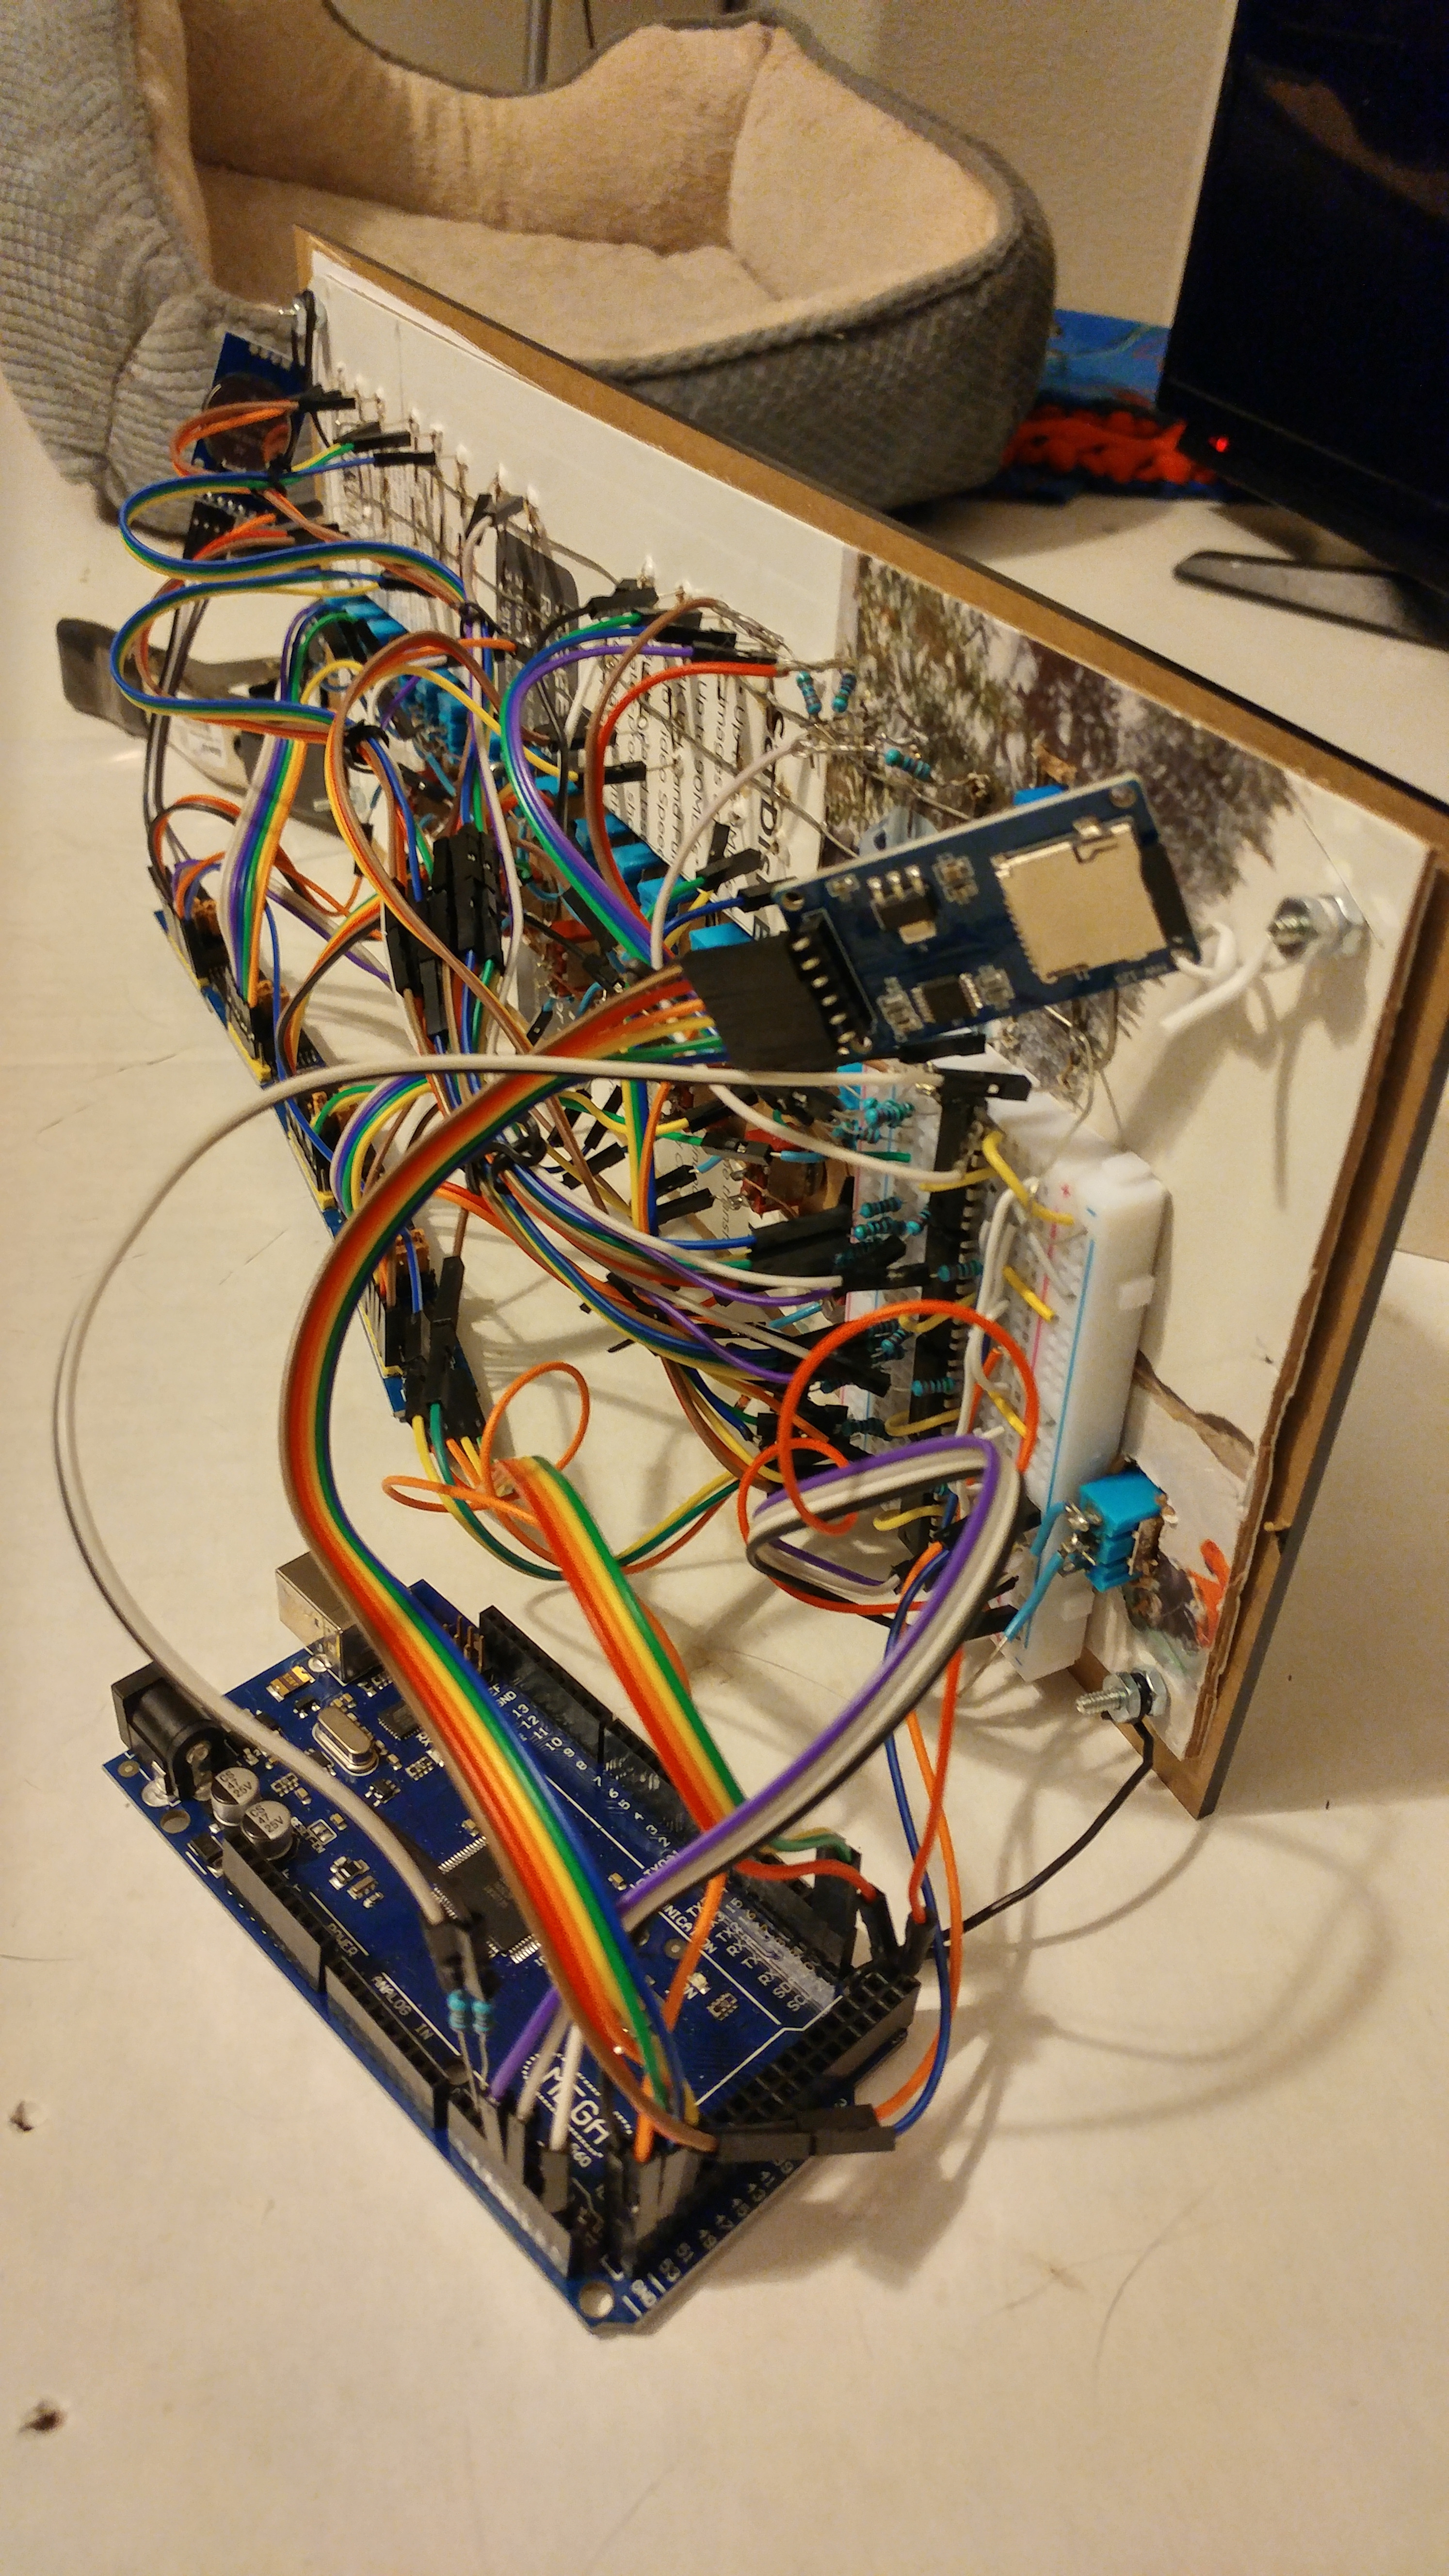
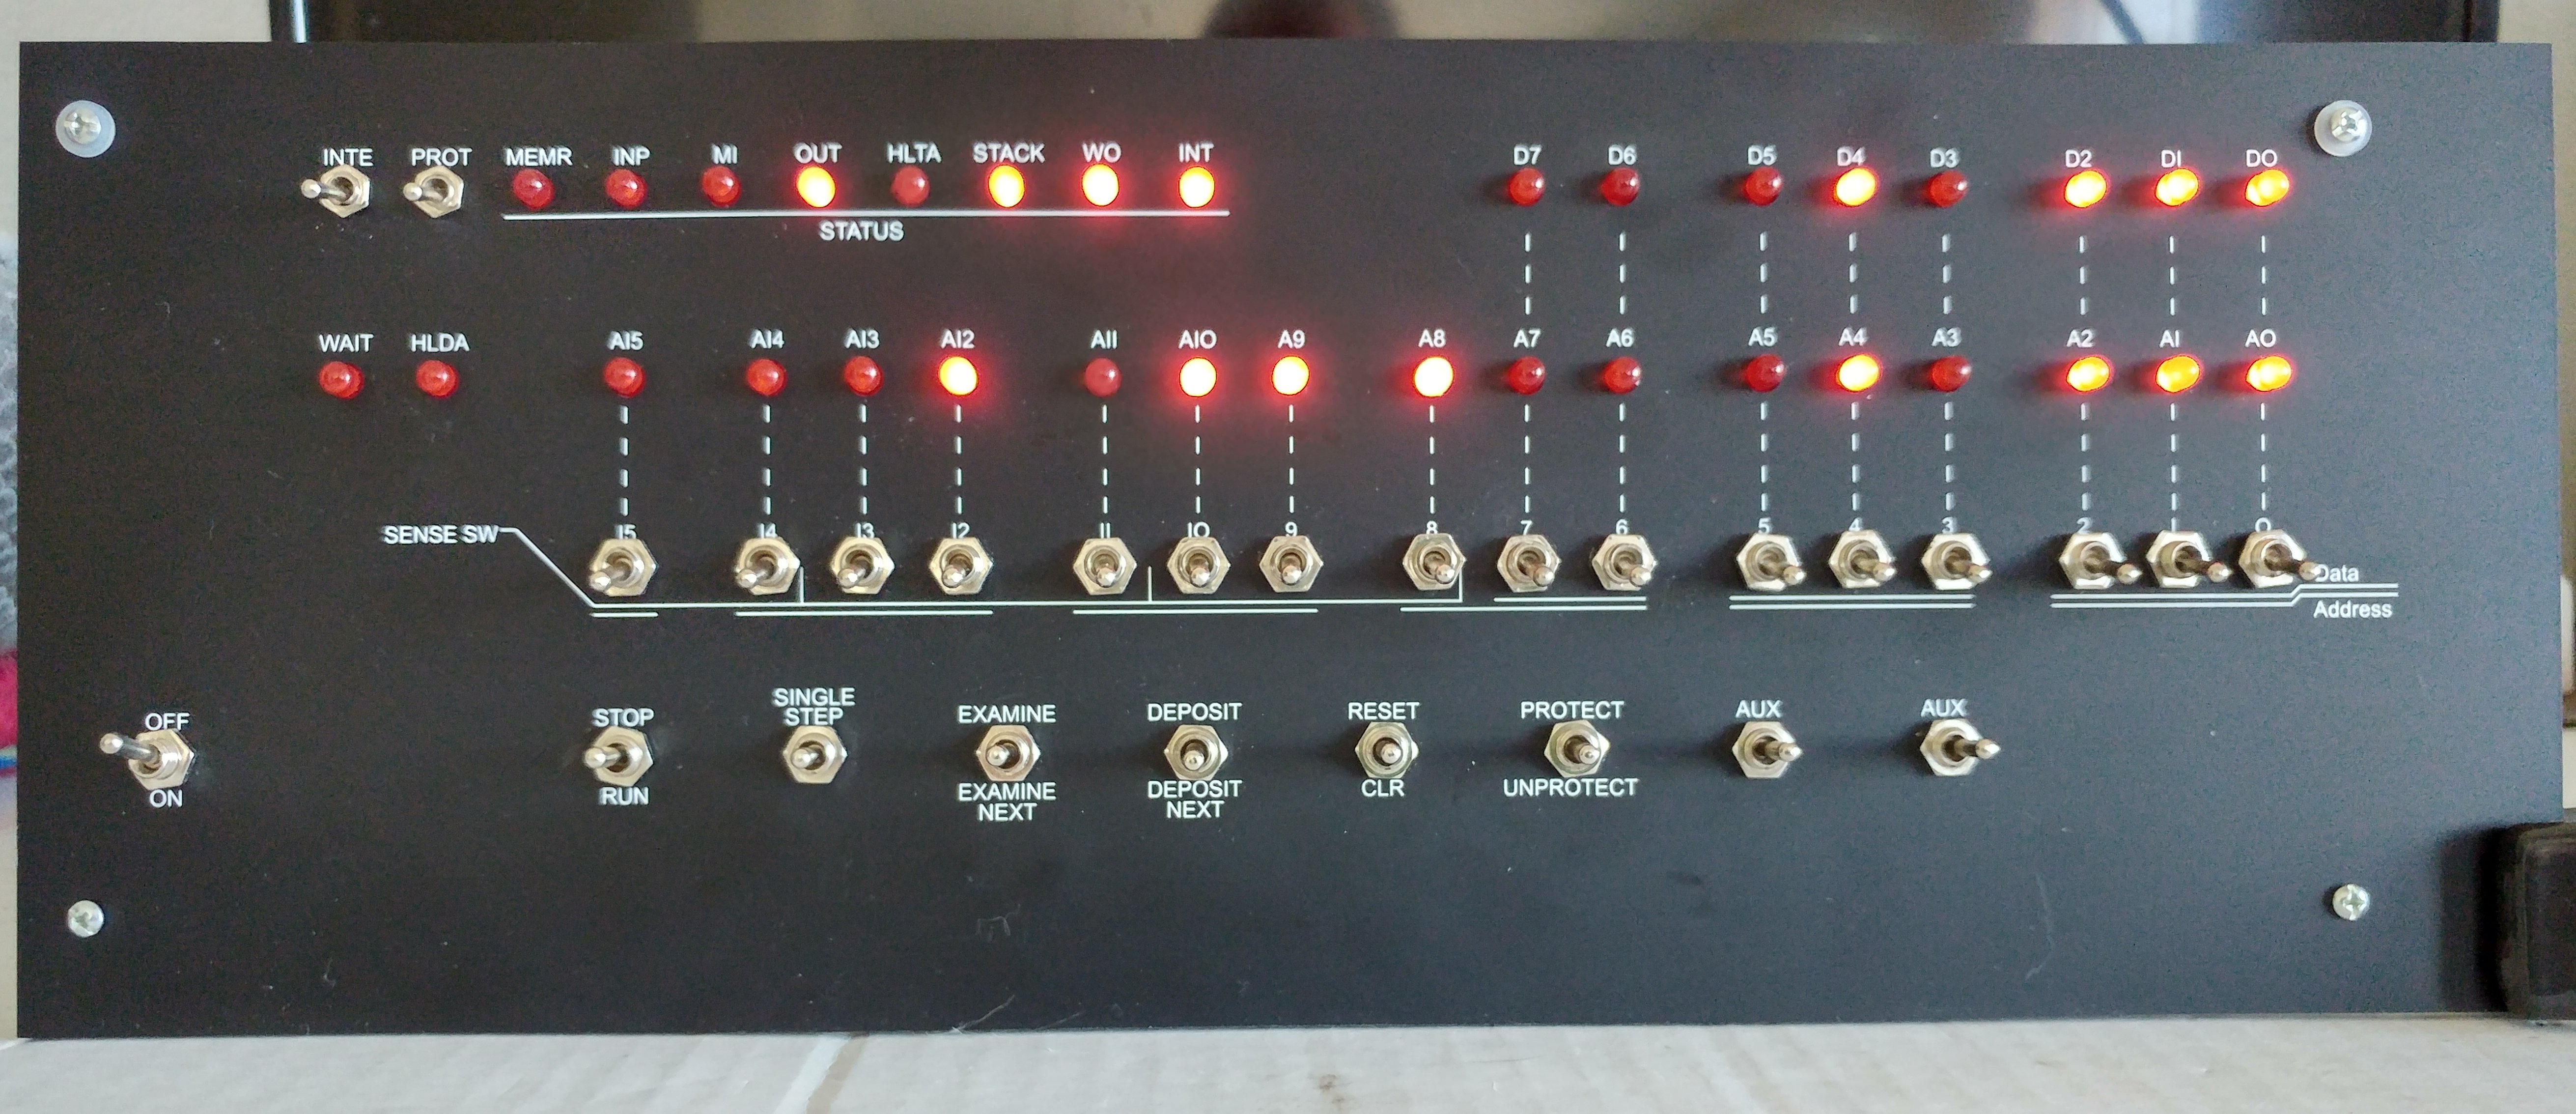
I use the adapter in my Altair 8800 emulator tablet and desktop models. The video shows the adapter used to load a game program into the the tablet's memory to be run. In the photos, the SD card adapter is connected to the Altair desktop model's Mega. The other photo is the Altair's desktop front panel with LED lights and toggles.
The SD card adapter is useful, and straight forward to add to any project, whether the project is basic or as complex a computer emulator.
Enjoy Arduinoing.