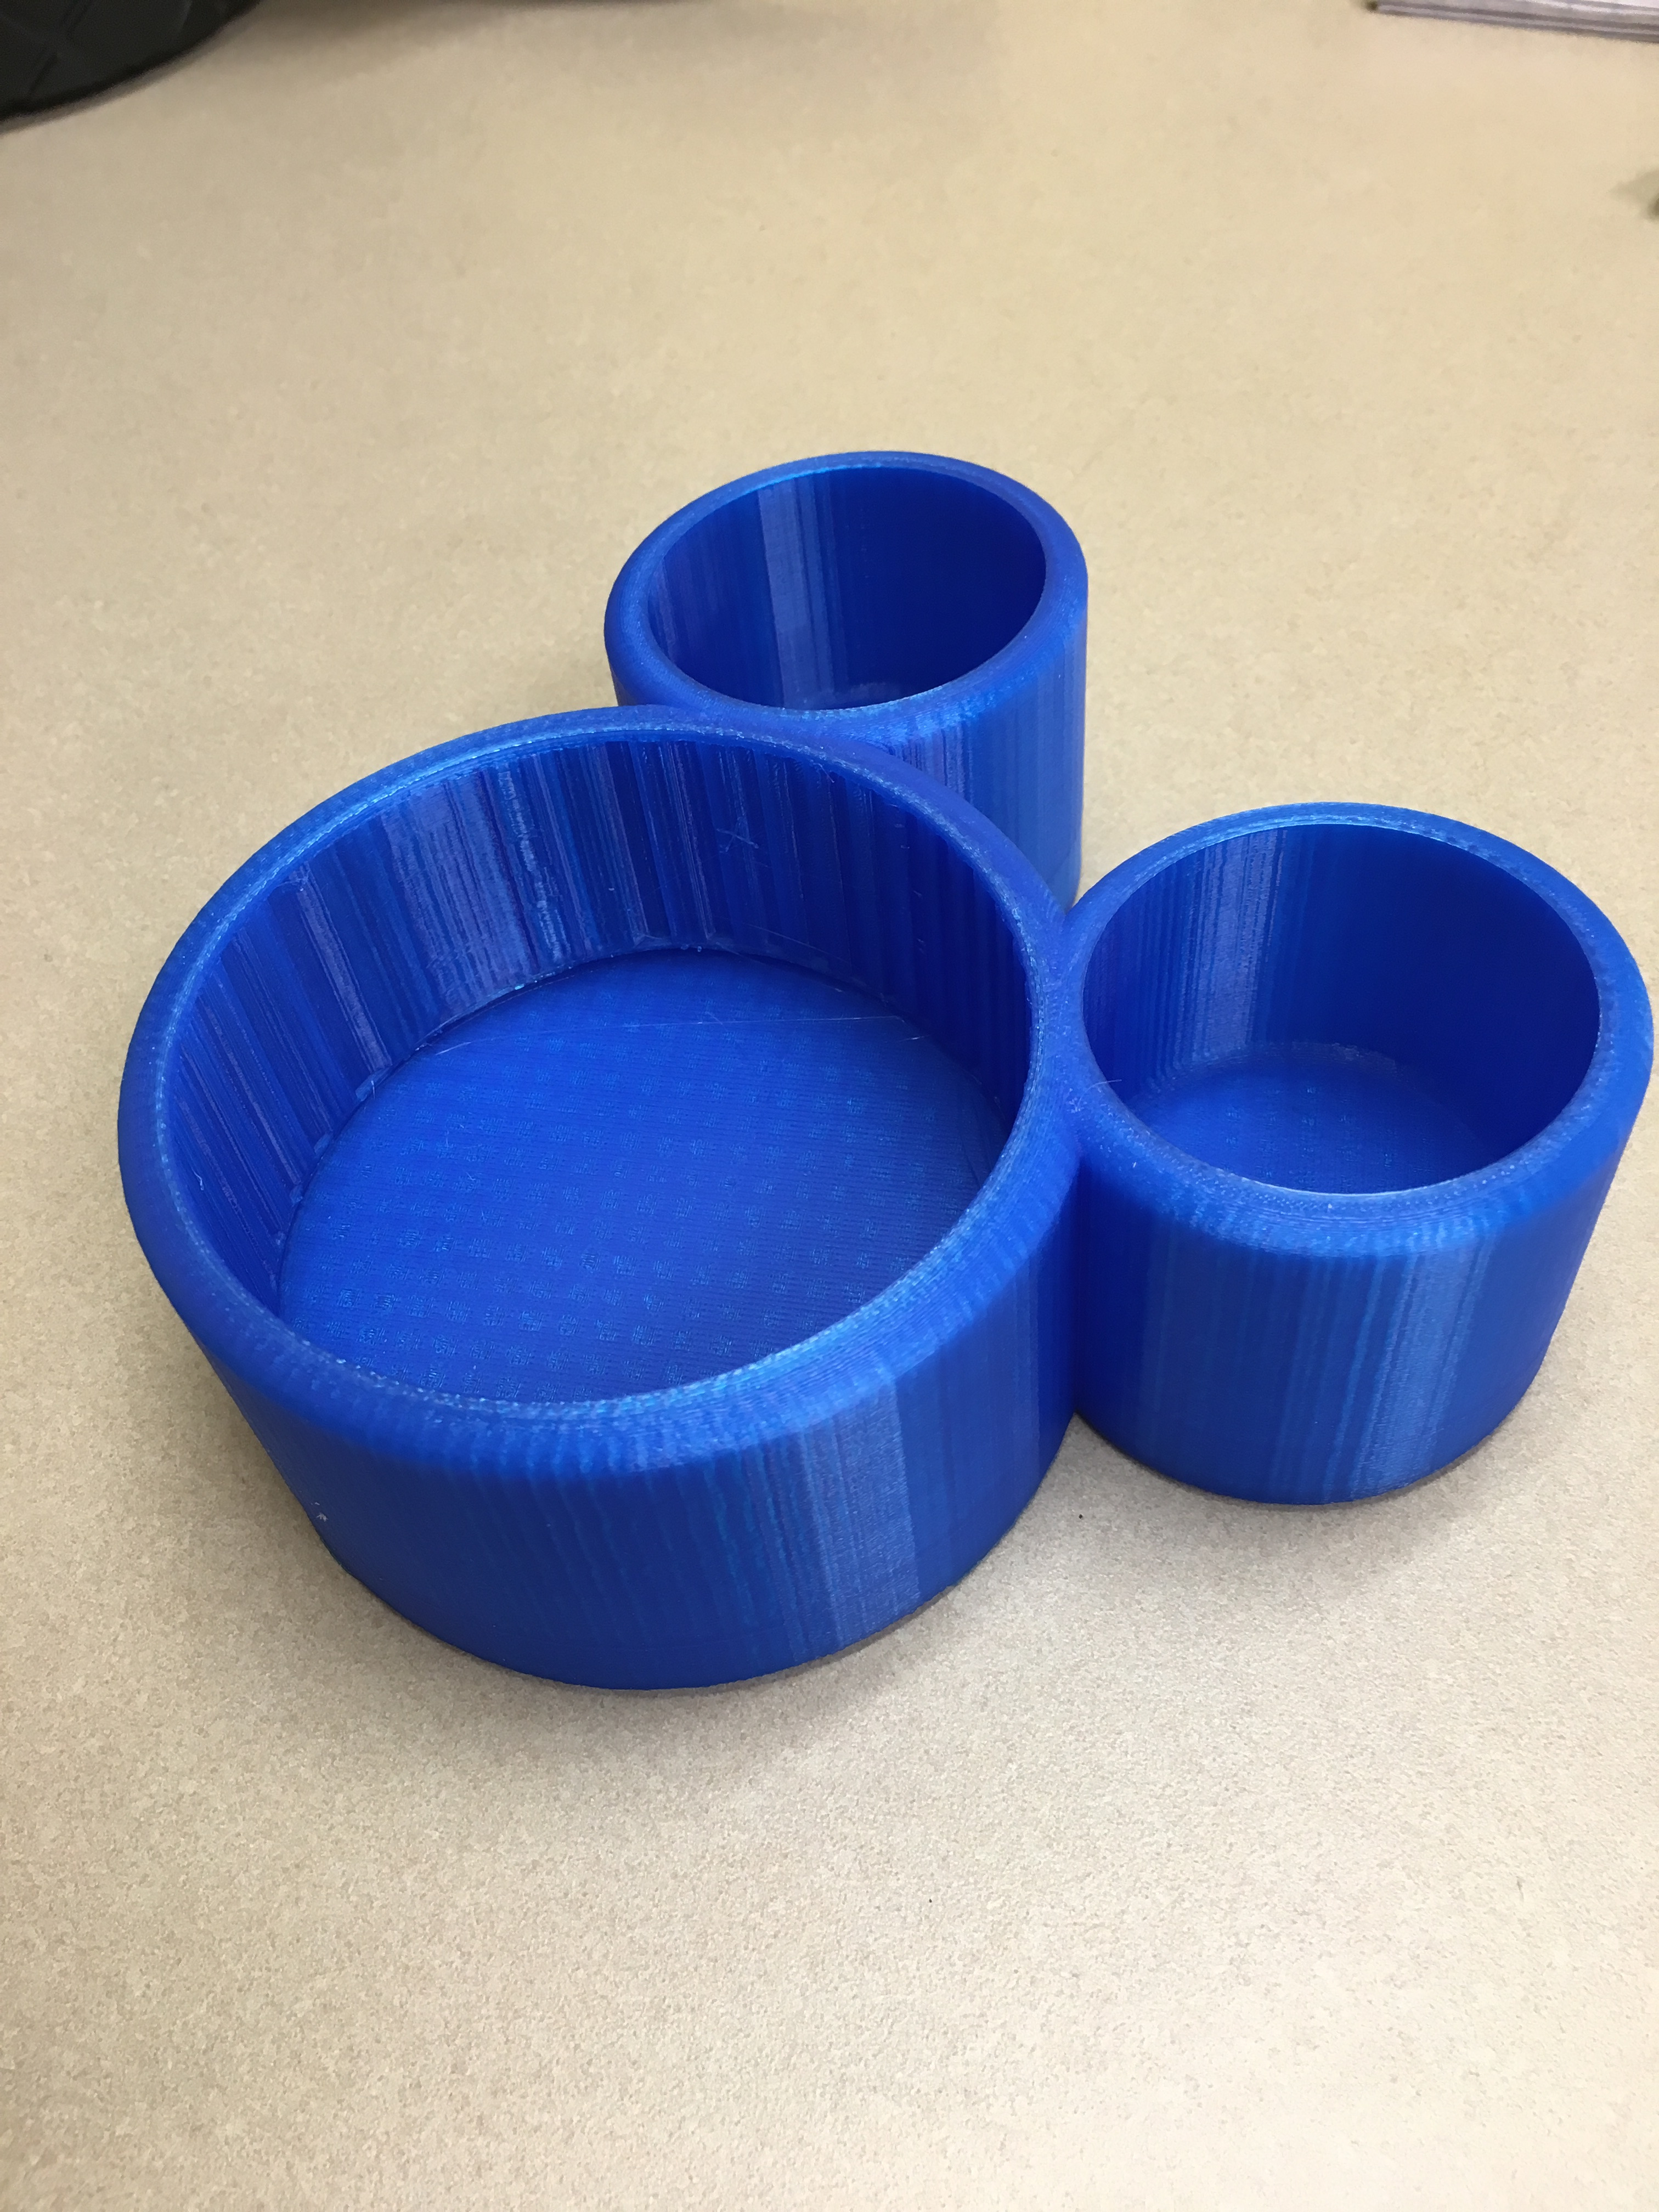
Mickey Mouse 3D Printed Pot
by techknowman1010 in Workshop > 3D Printing
853 Views, 1 Favorites, 0 Comments
Mickey Mouse 3D Printed Pot
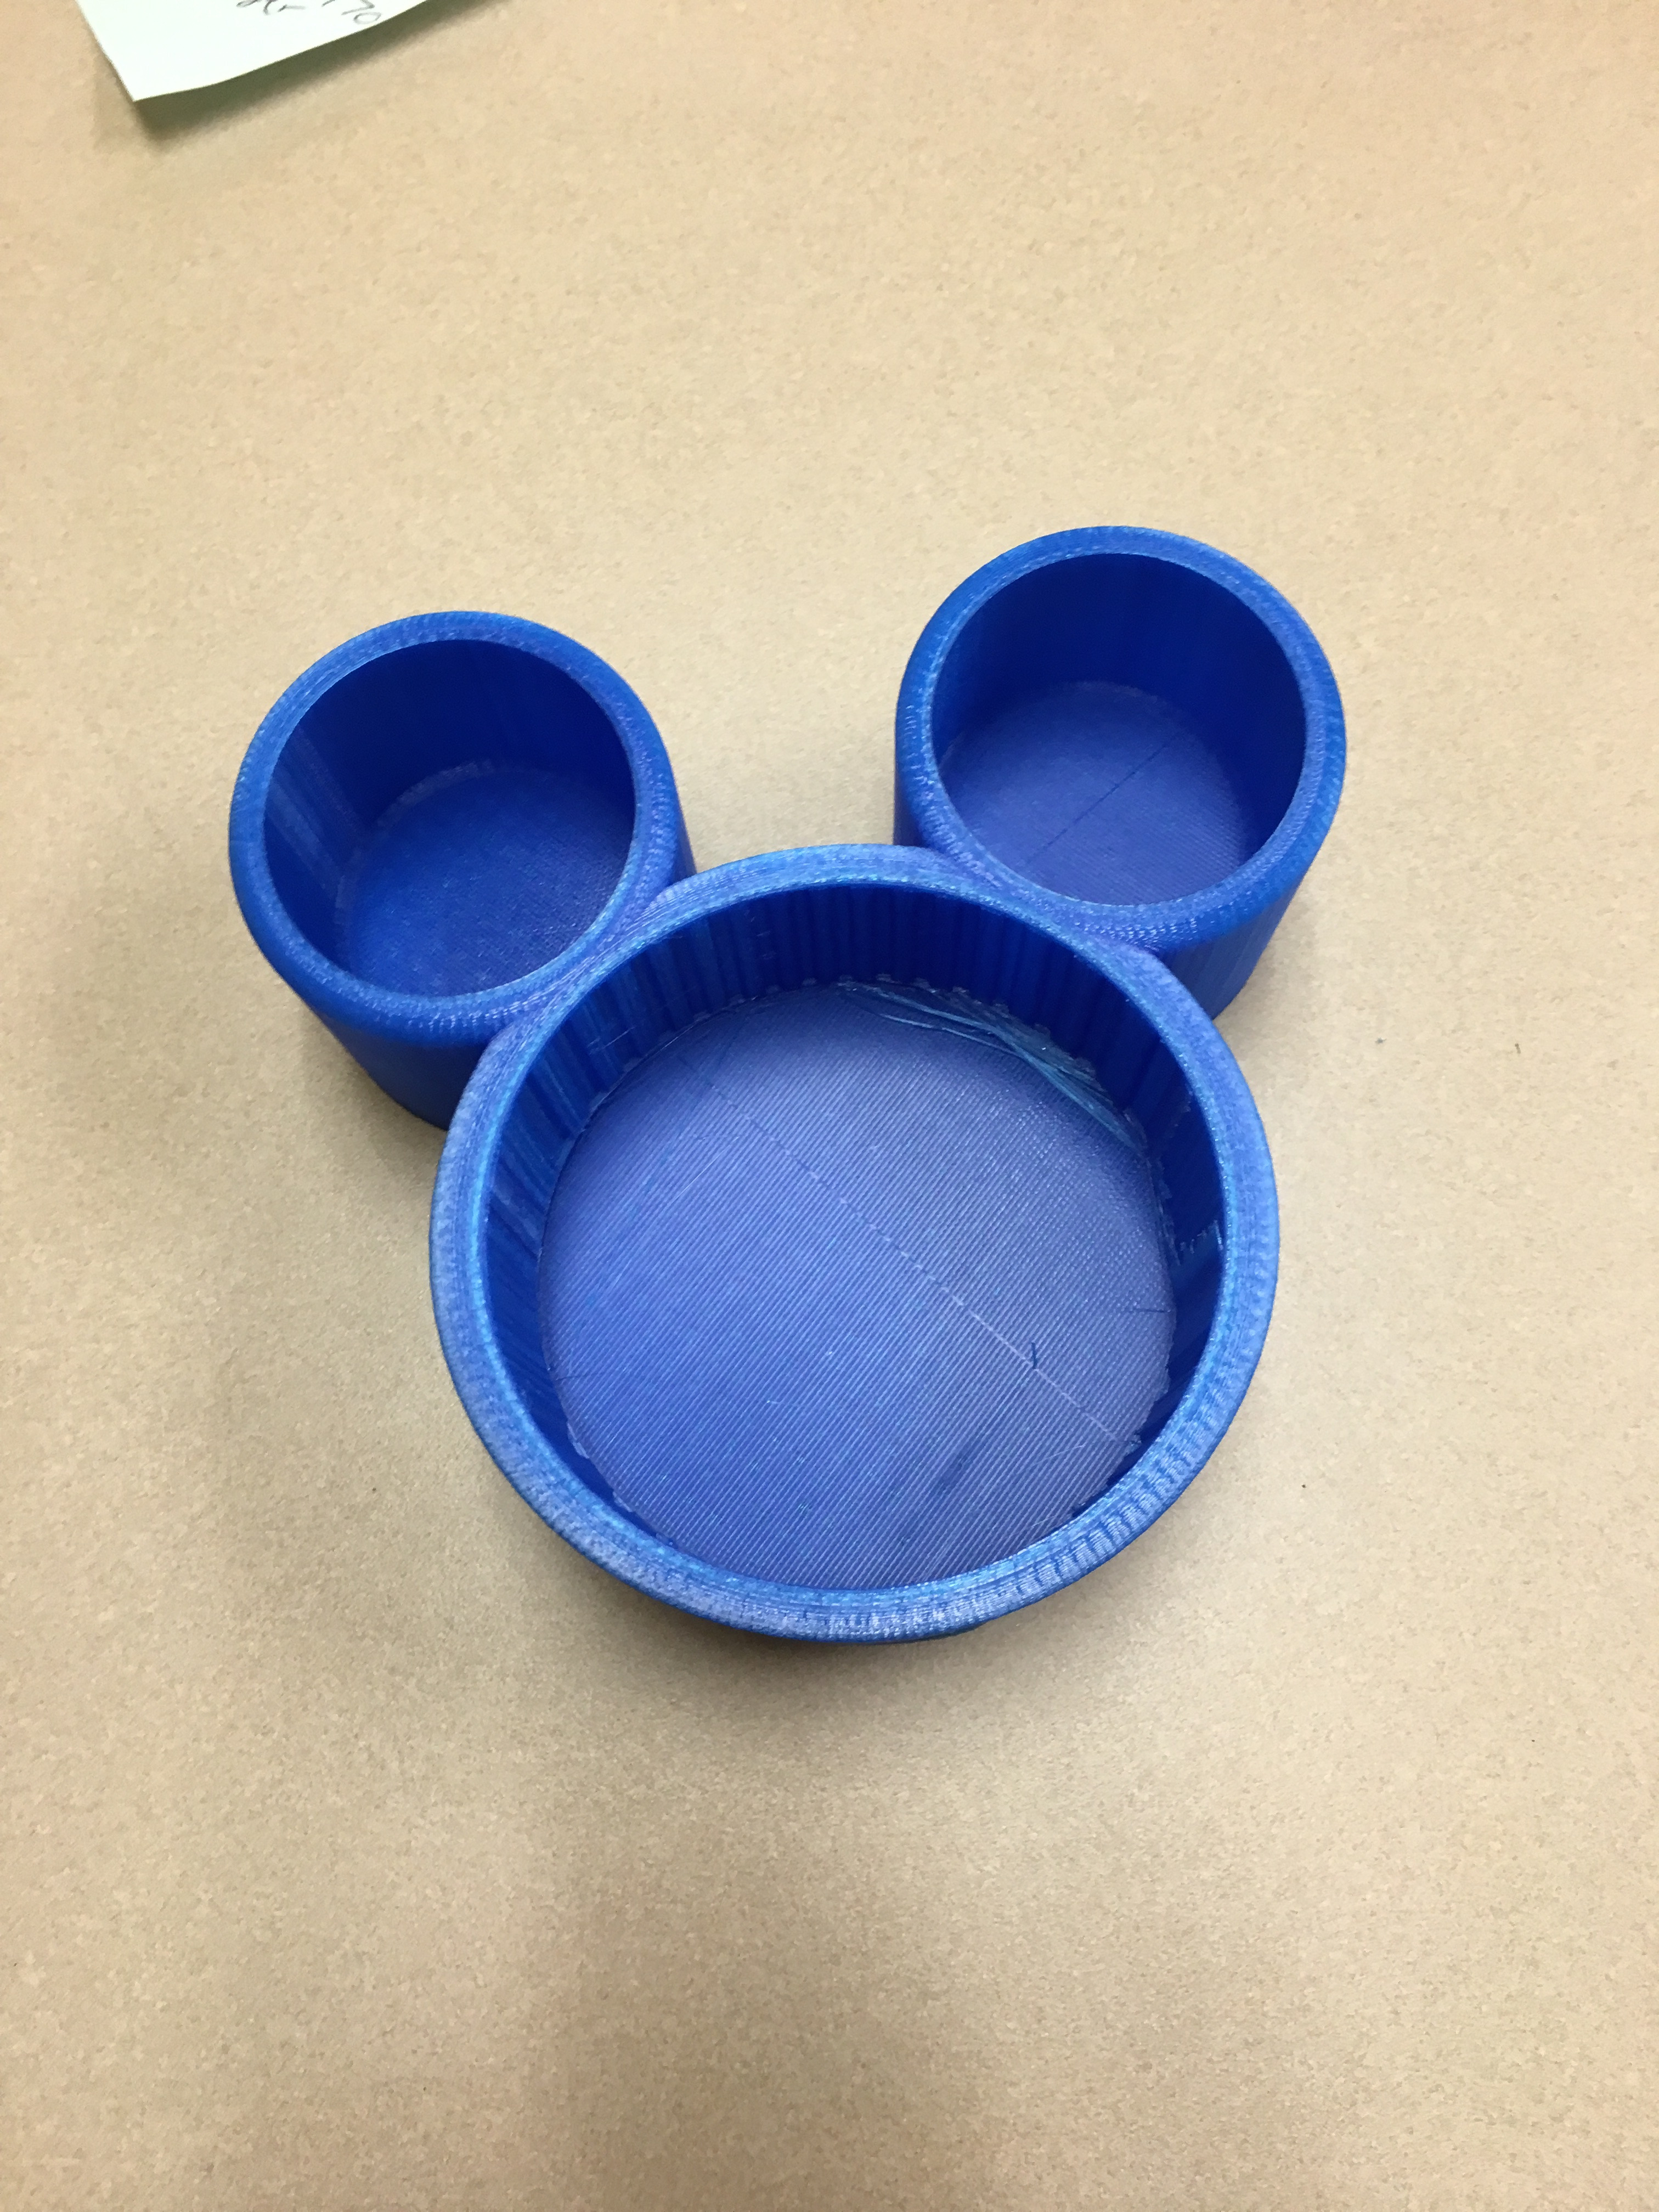
Greetings! This pot was designed and printed with the child friendly factor in mind. It's simple in design, so let's get started.
Getting Started
Navigate to https://www.tinkercad.com/
Join or sign in
Create a new design
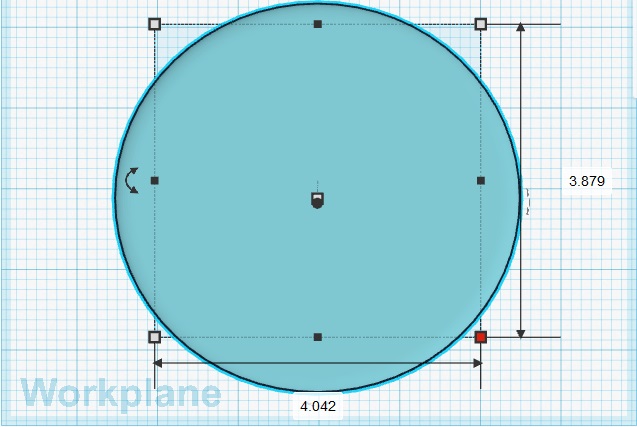
Edit the grid from millimeters to inches
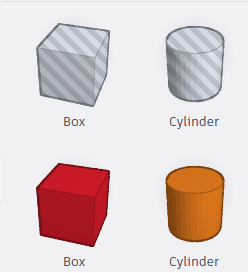
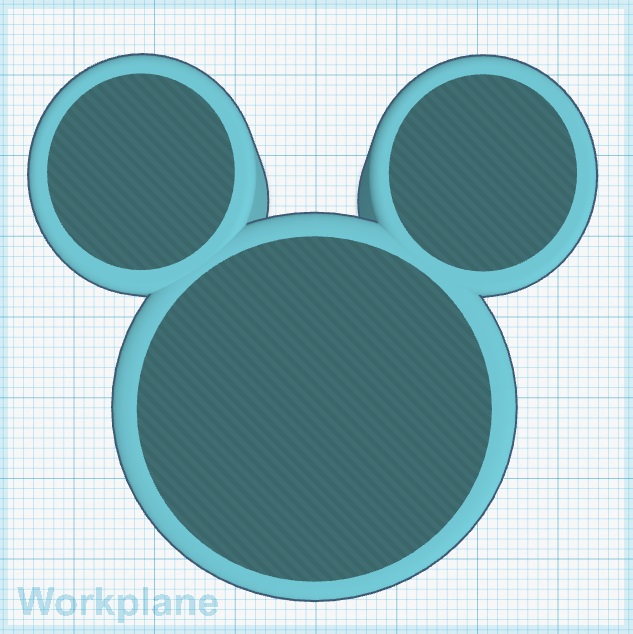
Drag a cylinder onto the work plane
Manipulate the length and width to preference ( I used 4.042" x 3.879")
Adjust the height to preference ( I used 2")
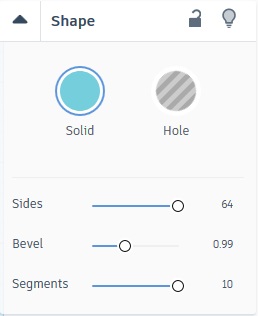
The sides, bevel, and segments were adjusted as well
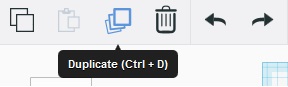
Duplicate
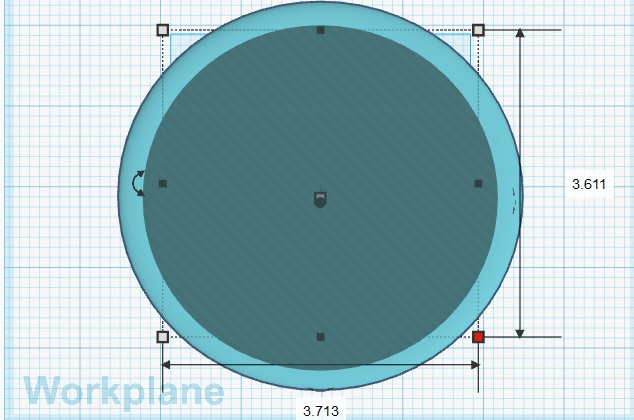
Duplicate the cylinder and turn it into a hole. Adjust the length and width to preference (I used 3.713" x 3.611")
Adjust the hole height accordingly with the cylinder. (I used 1.5" for a .5" thick base)
More Cylinders
Drag a cylinder onto the work plane.
Move the cylinder (ear) into the other cylinder (head)
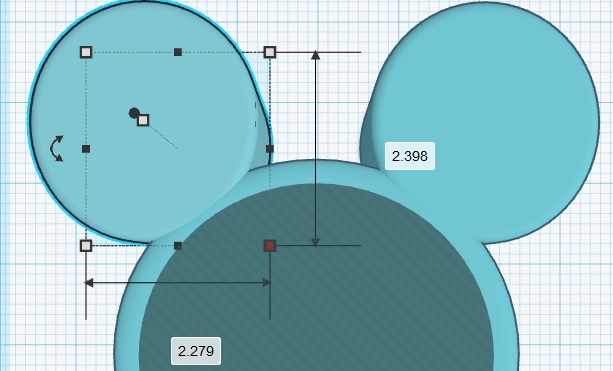
Adjust the length and width to preference ( I used 2.279" x 2.398")
Adjust the height to preference (I used 2")
Duplicate and move the other cylinder (ear) into the other cylinder (head)
Duplicate and turn the cylinder into a hole
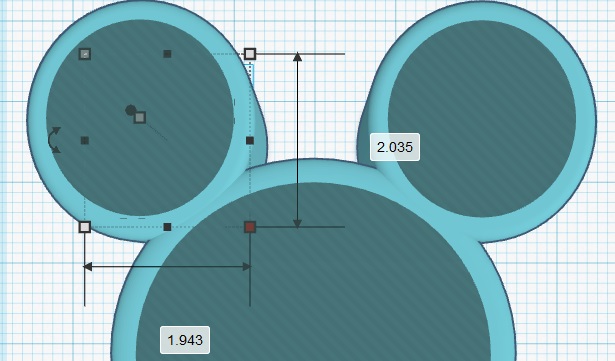
Adjust the length and width to preference (I used 1.943" x 2.035")
Adjust the hole height accordingly with the cylinder (I used 1.5" for a .5" thick base)
Duplicate the hole and drag it into the other cylinder (ear)
Group
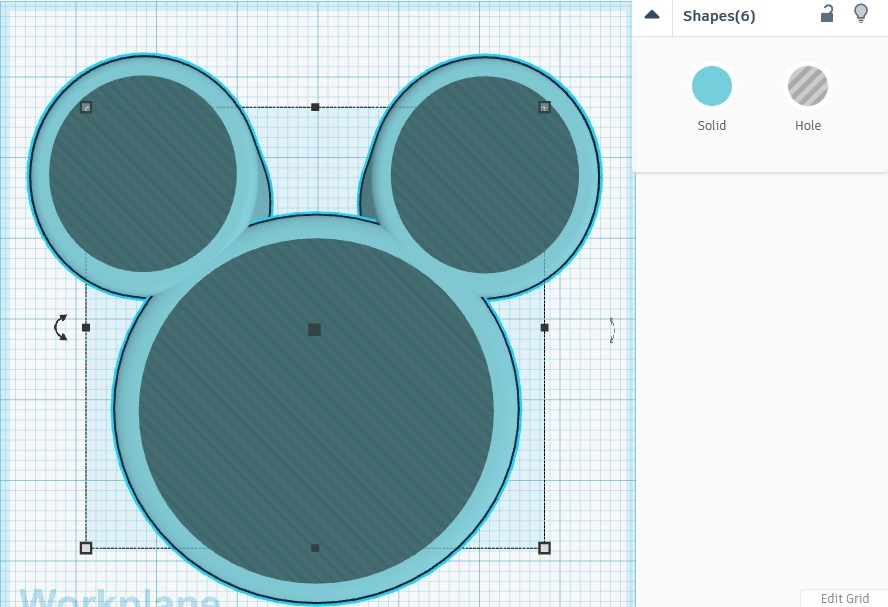
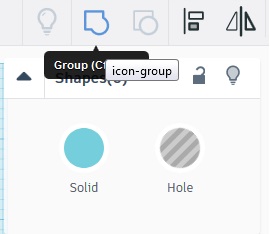
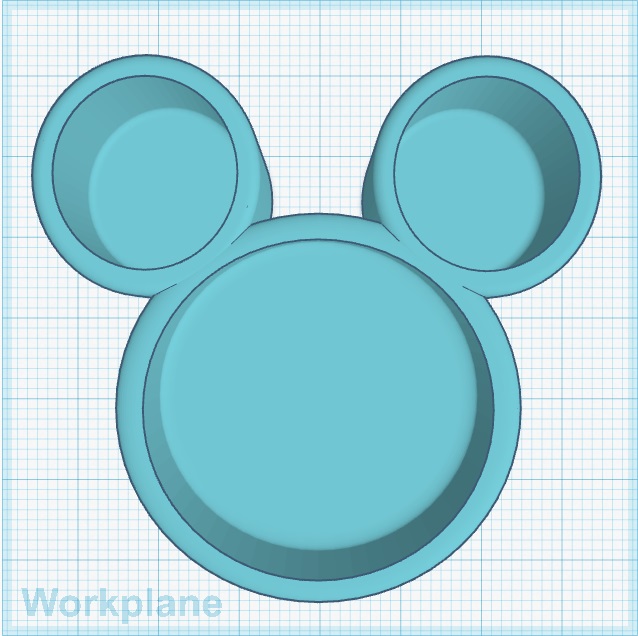
All the shapes in the work plane are separate objects. Make sure all 6 shapes are selected and click Group. This will turn all the shapes into one object.
Finished Product
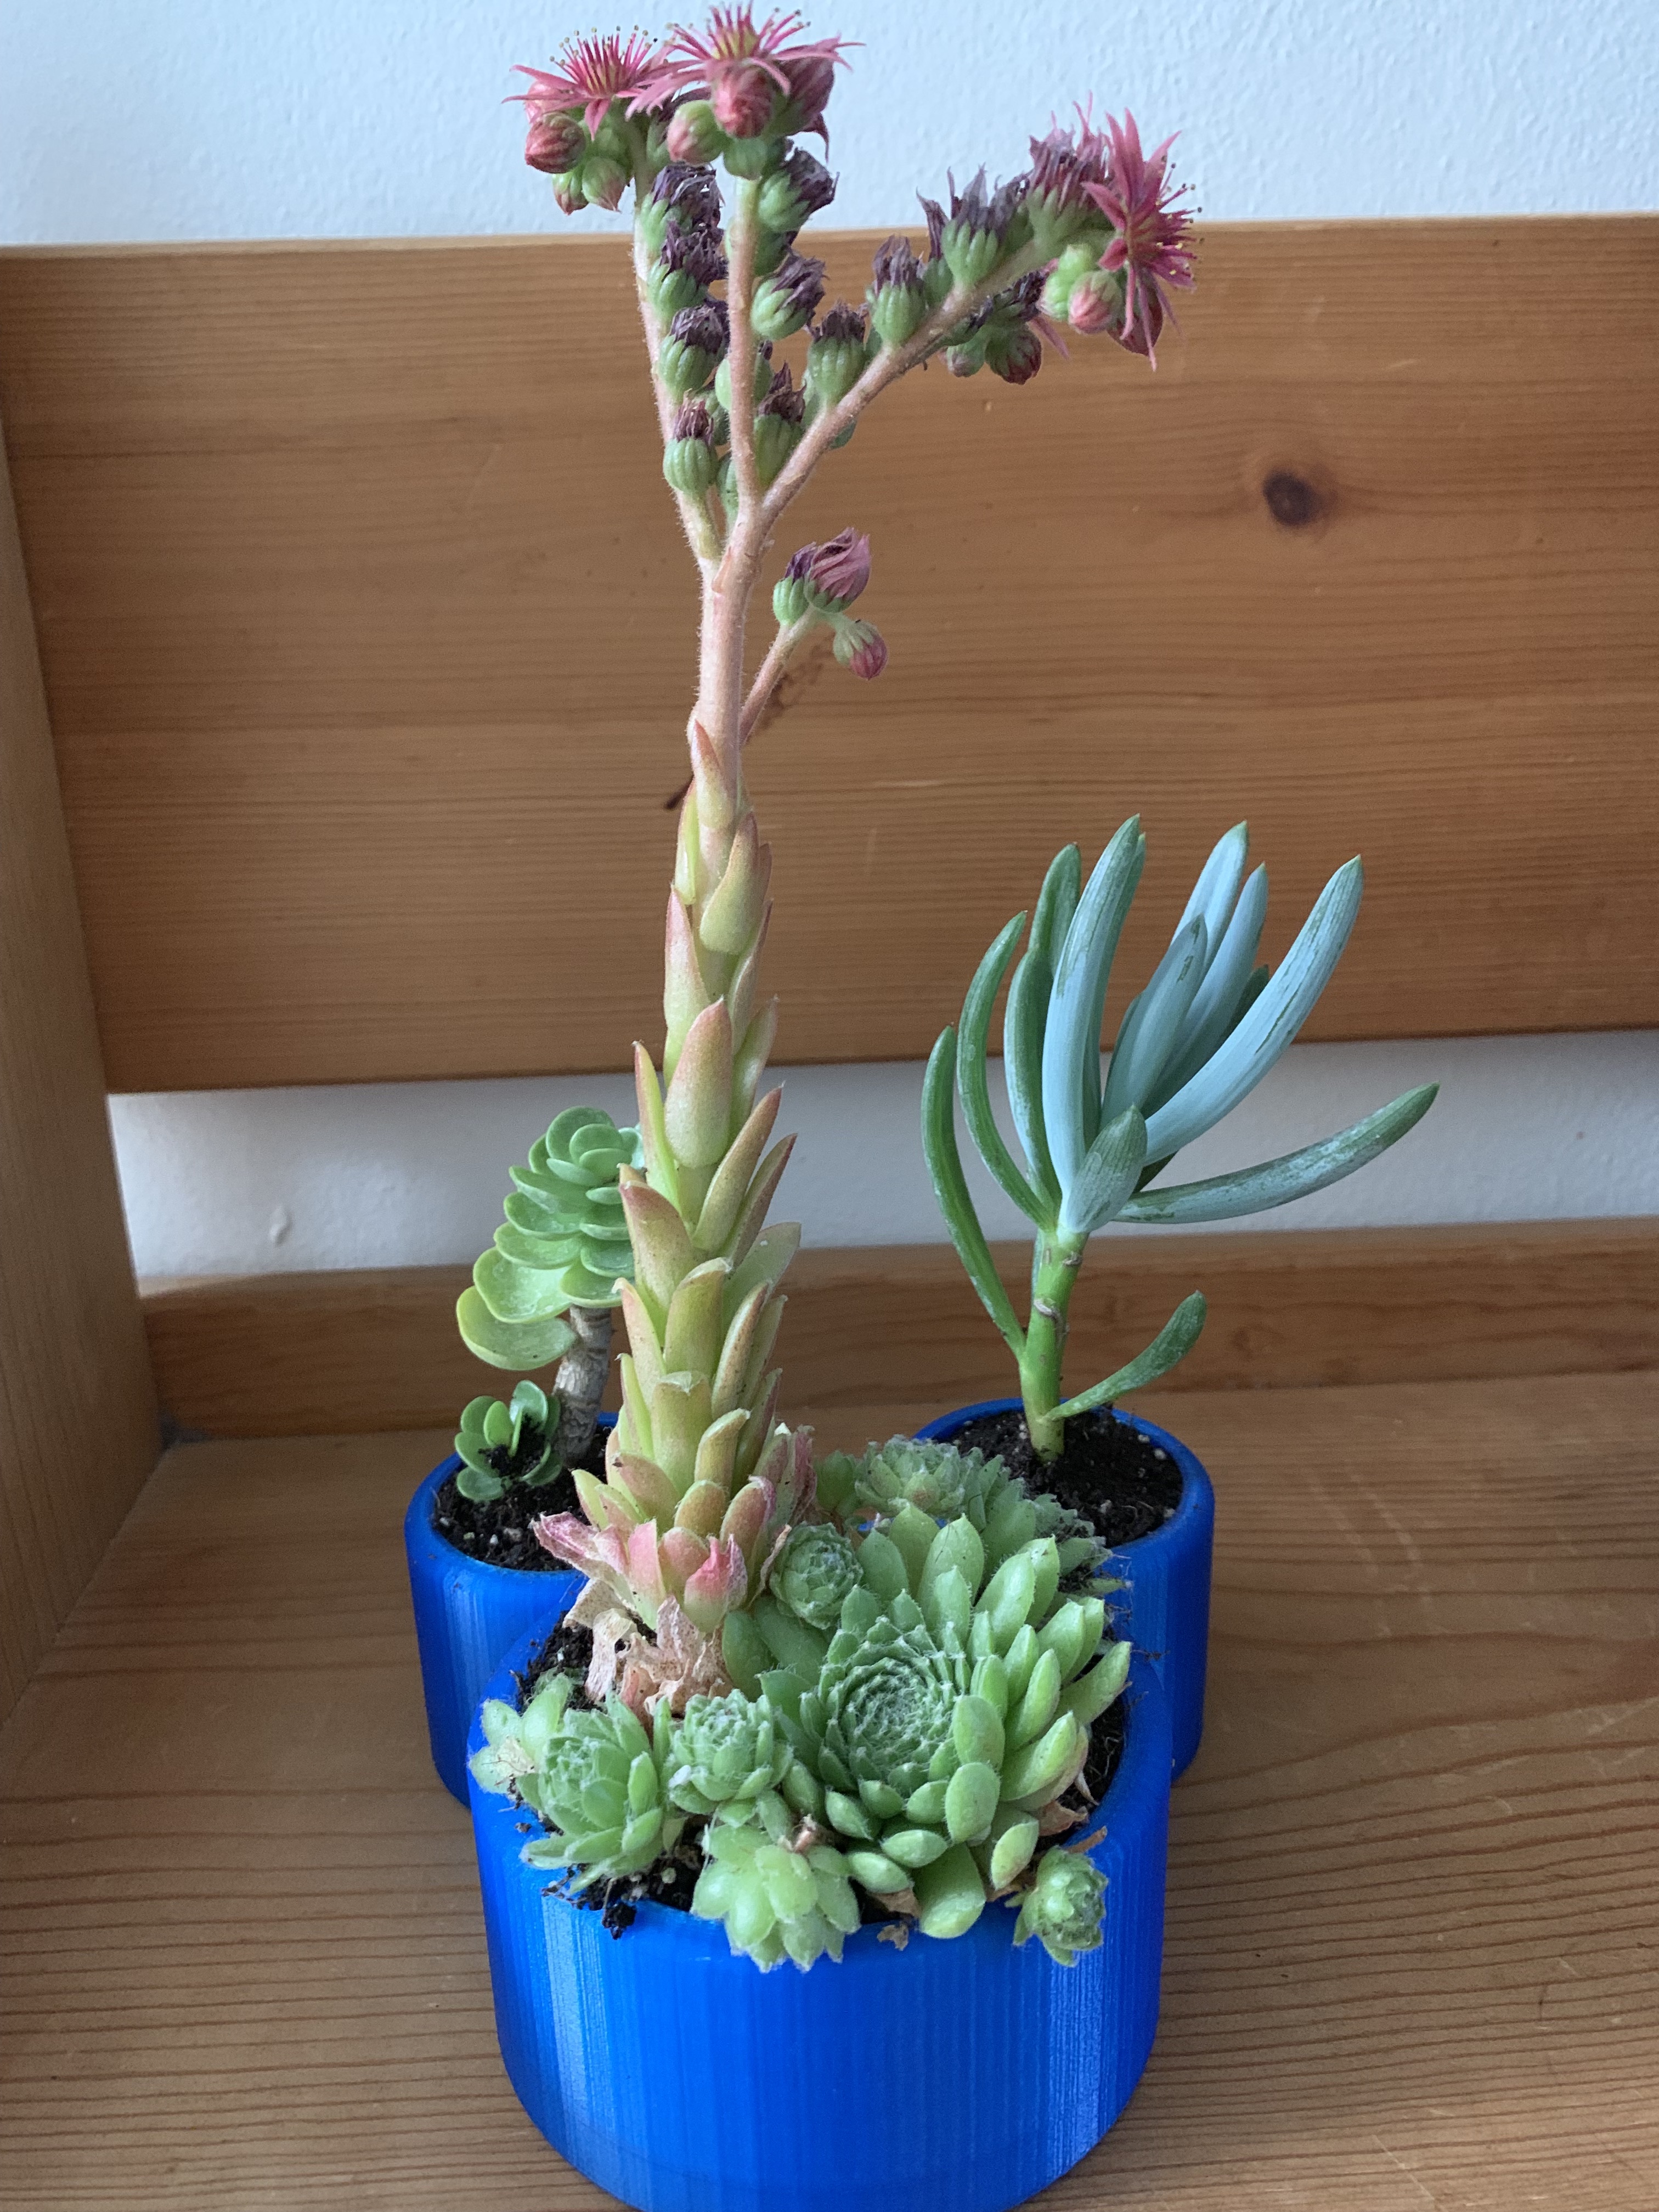
I planted succulents in the pot and they are very eye pleasing.