Messing With Editing Magic
by awildkaisters in Circuits > Software
229 Views, 2 Favorites, 0 Comments
Messing With Editing Magic
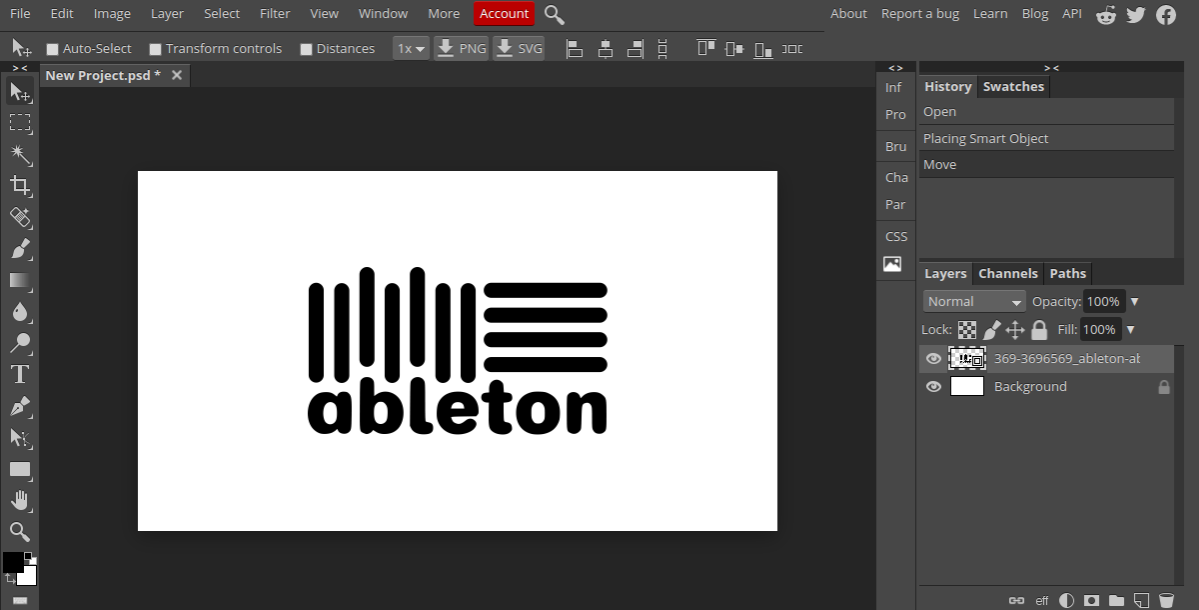
Choose an image you want to edit. I Chose the Ableton logo because it's simple and has a lot of editing potential.
If you want to use the Ableton Logo I chose too, use the link below and insert it into Photopea or Photoshop
https://images.app.goo.gl/FWbQUGGekhocUe1M8
Supplies
Photopea or Photoshop is reccomended for editing.
Rasterizing
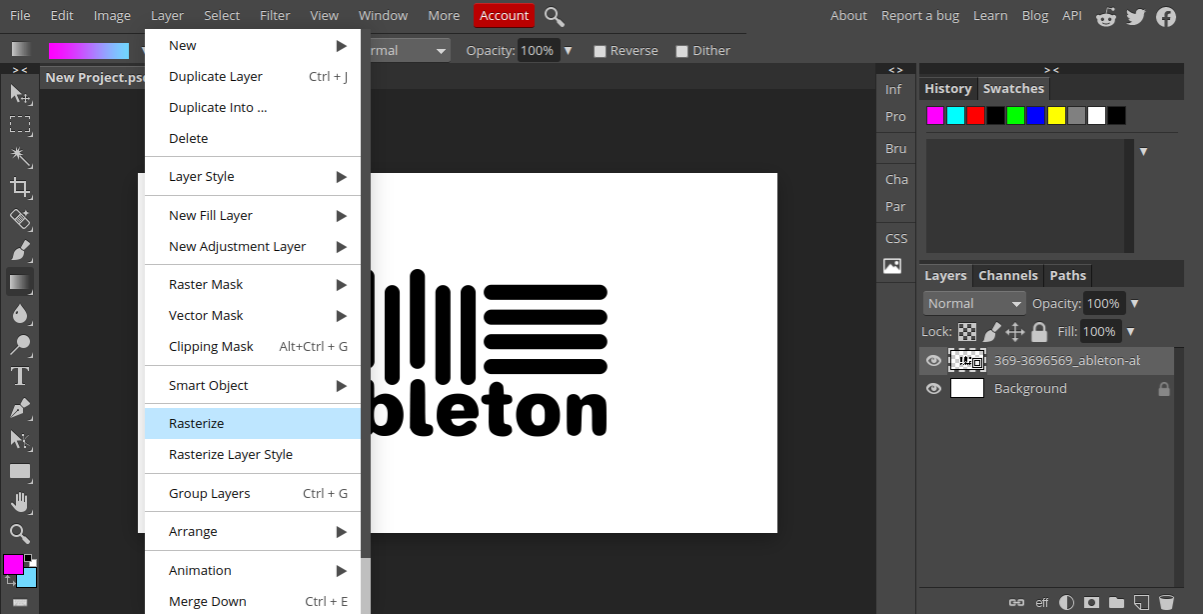
I ran into a bit of trouble trying to edit the Ableton logo after importing it into Photopea. Once your image is is in Photopea or Photoshop, it will likely render as a "Smart-Object." To fix this you'll need to select your image in the bottom right part of your screen, go to the "layers" tab in the top left part of your screen, scroll down until you see "Raterize" and click on it. By then your image should be editable.
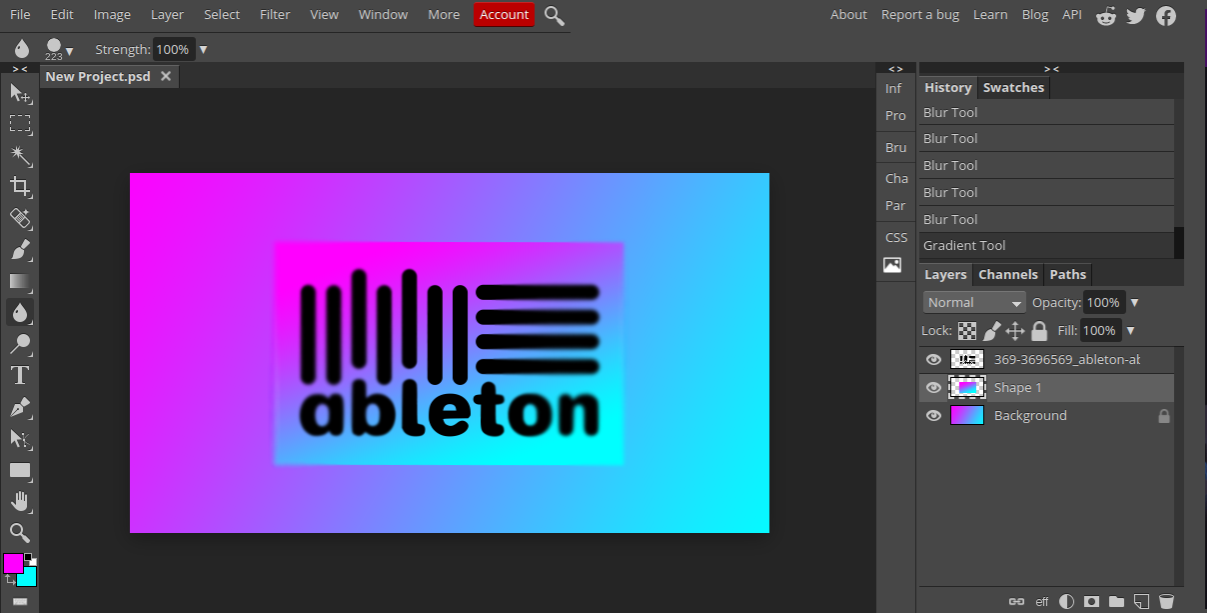
The Gradient Tool

The Gradient tool is a great way to add a nice feeling to your image. On the tool-bar to the middle left side of the screen you'll see a tool that looks like a faded rectangle. Click on it or press "G" on your keyboard. The pre-selected colors for the gradient are black and white, but i'll be using a light blue and purple. To change your color selection click on either square near the bottom of the screen and a a color-selection tab should pop up. Choose any color you feel would suit your image, click on the backround layer on the bottom right side of the screen, and use your mouse to click and drag anywhere on the screen.
The Blur Tool
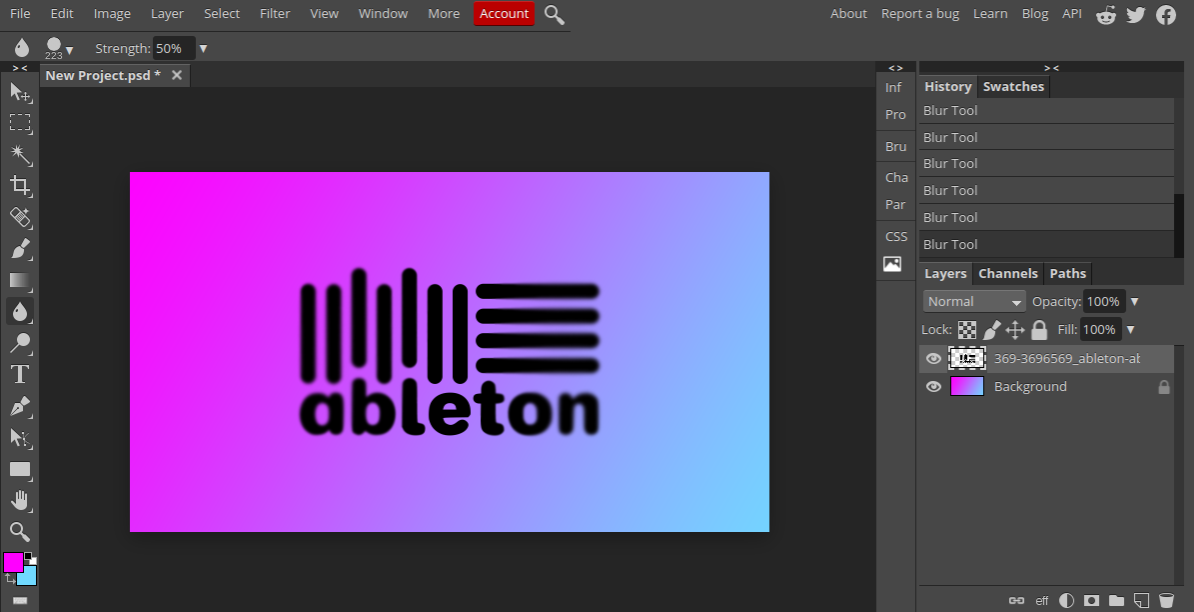
Once we have our backround we can move on to blurring the image to add some zest. To the far middle left on the tool-bar, select your image layer, and click on the water droplet to select the Blur Tool. I used the blur tool to bring attention toward the middle of the Ableton logo.
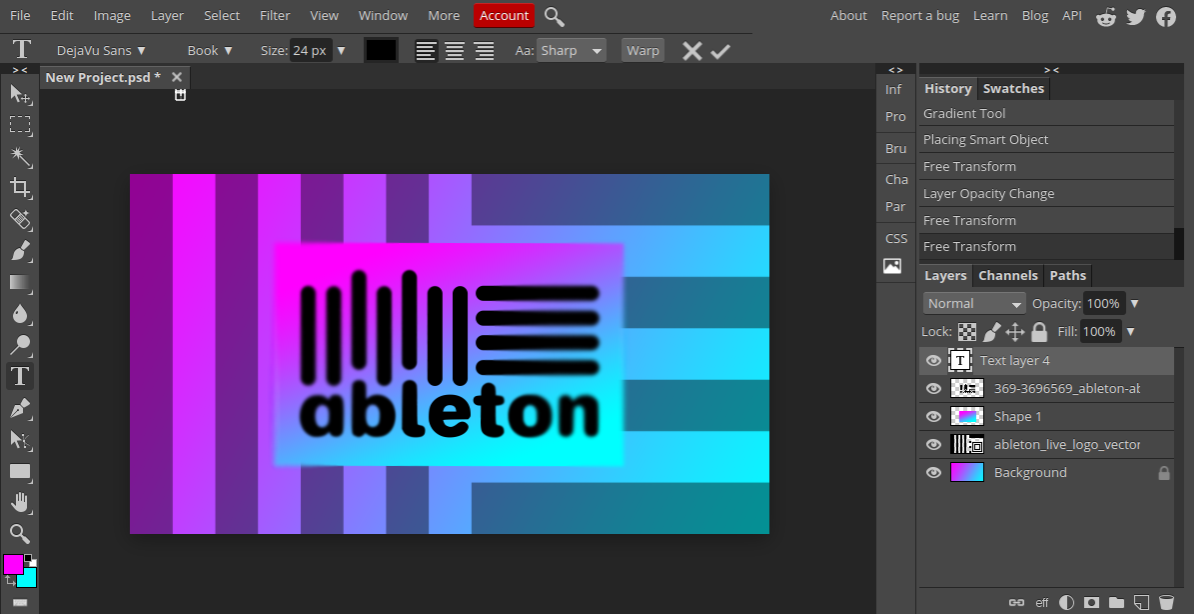
Adding a Mini Backround Rectangle Thing
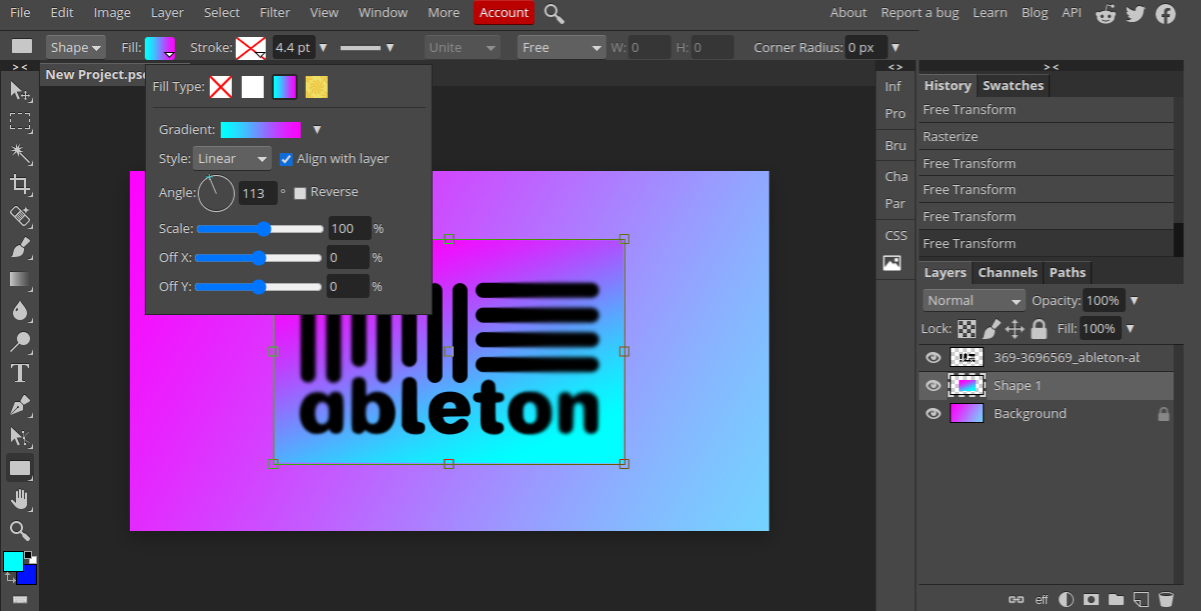
After blurring our image we can move on to adding this "mini backround rectangle thing." Near the bottom left of the toolbar there is the Rectangle tool. Select it and look to the top of the screen, click on "Fill" and a menu should pop up. Select the "Gradient" option and choose whichever colors you want for your rectangle. After messing around with the settings, click and drag on any part of your image and resize your rectangle to however big you want it.
*Initially the rectangle will overlap your layers. Just move the rectangle layer below your image layer.
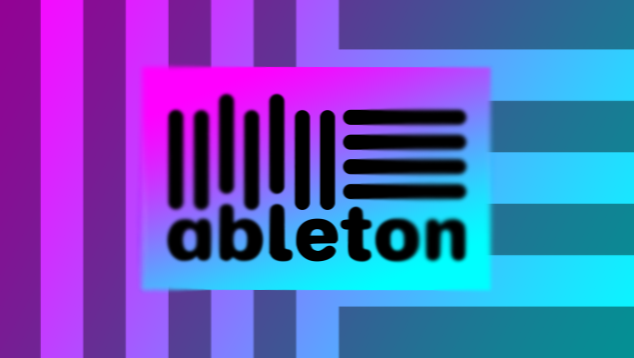
Back to Blurring
Select the Blur Tool and the rectangle layer, and blur the sides of your rectangle.
Adding More Cool Stuff
Since the image seemed like it was missing another element, I added the original Ableton logo as the backround.
Bask in the Coolness of Your Project
You did it! Now know how to mess around with editing magic!