Mesmerizing Video Feedback Mandala
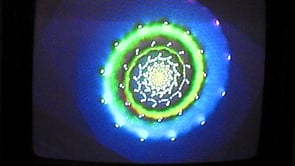
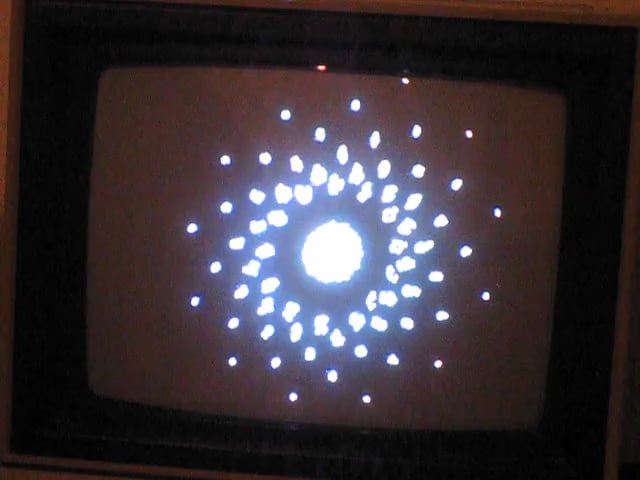
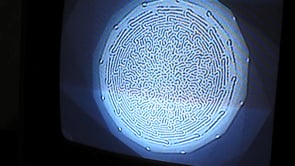
In this Instructable I'm going to show you how to create a mesmerizing, generative video mandala using only a camera and a monitor, which you can usually find at a thrift store for around $50. The image on the screen will be created with nothing more than the feedback loop between the camera and monitor. Depending on the setup, these mandalas can range from relatively static to constantly moving and morphing, which I personally cannot take my eyes away from.
Once you have this basic setup dialed in, you will be able to introduce other modifiers like lenses, masks, or video effects to make more interesting and varied mandalas.
*A note on the photos*
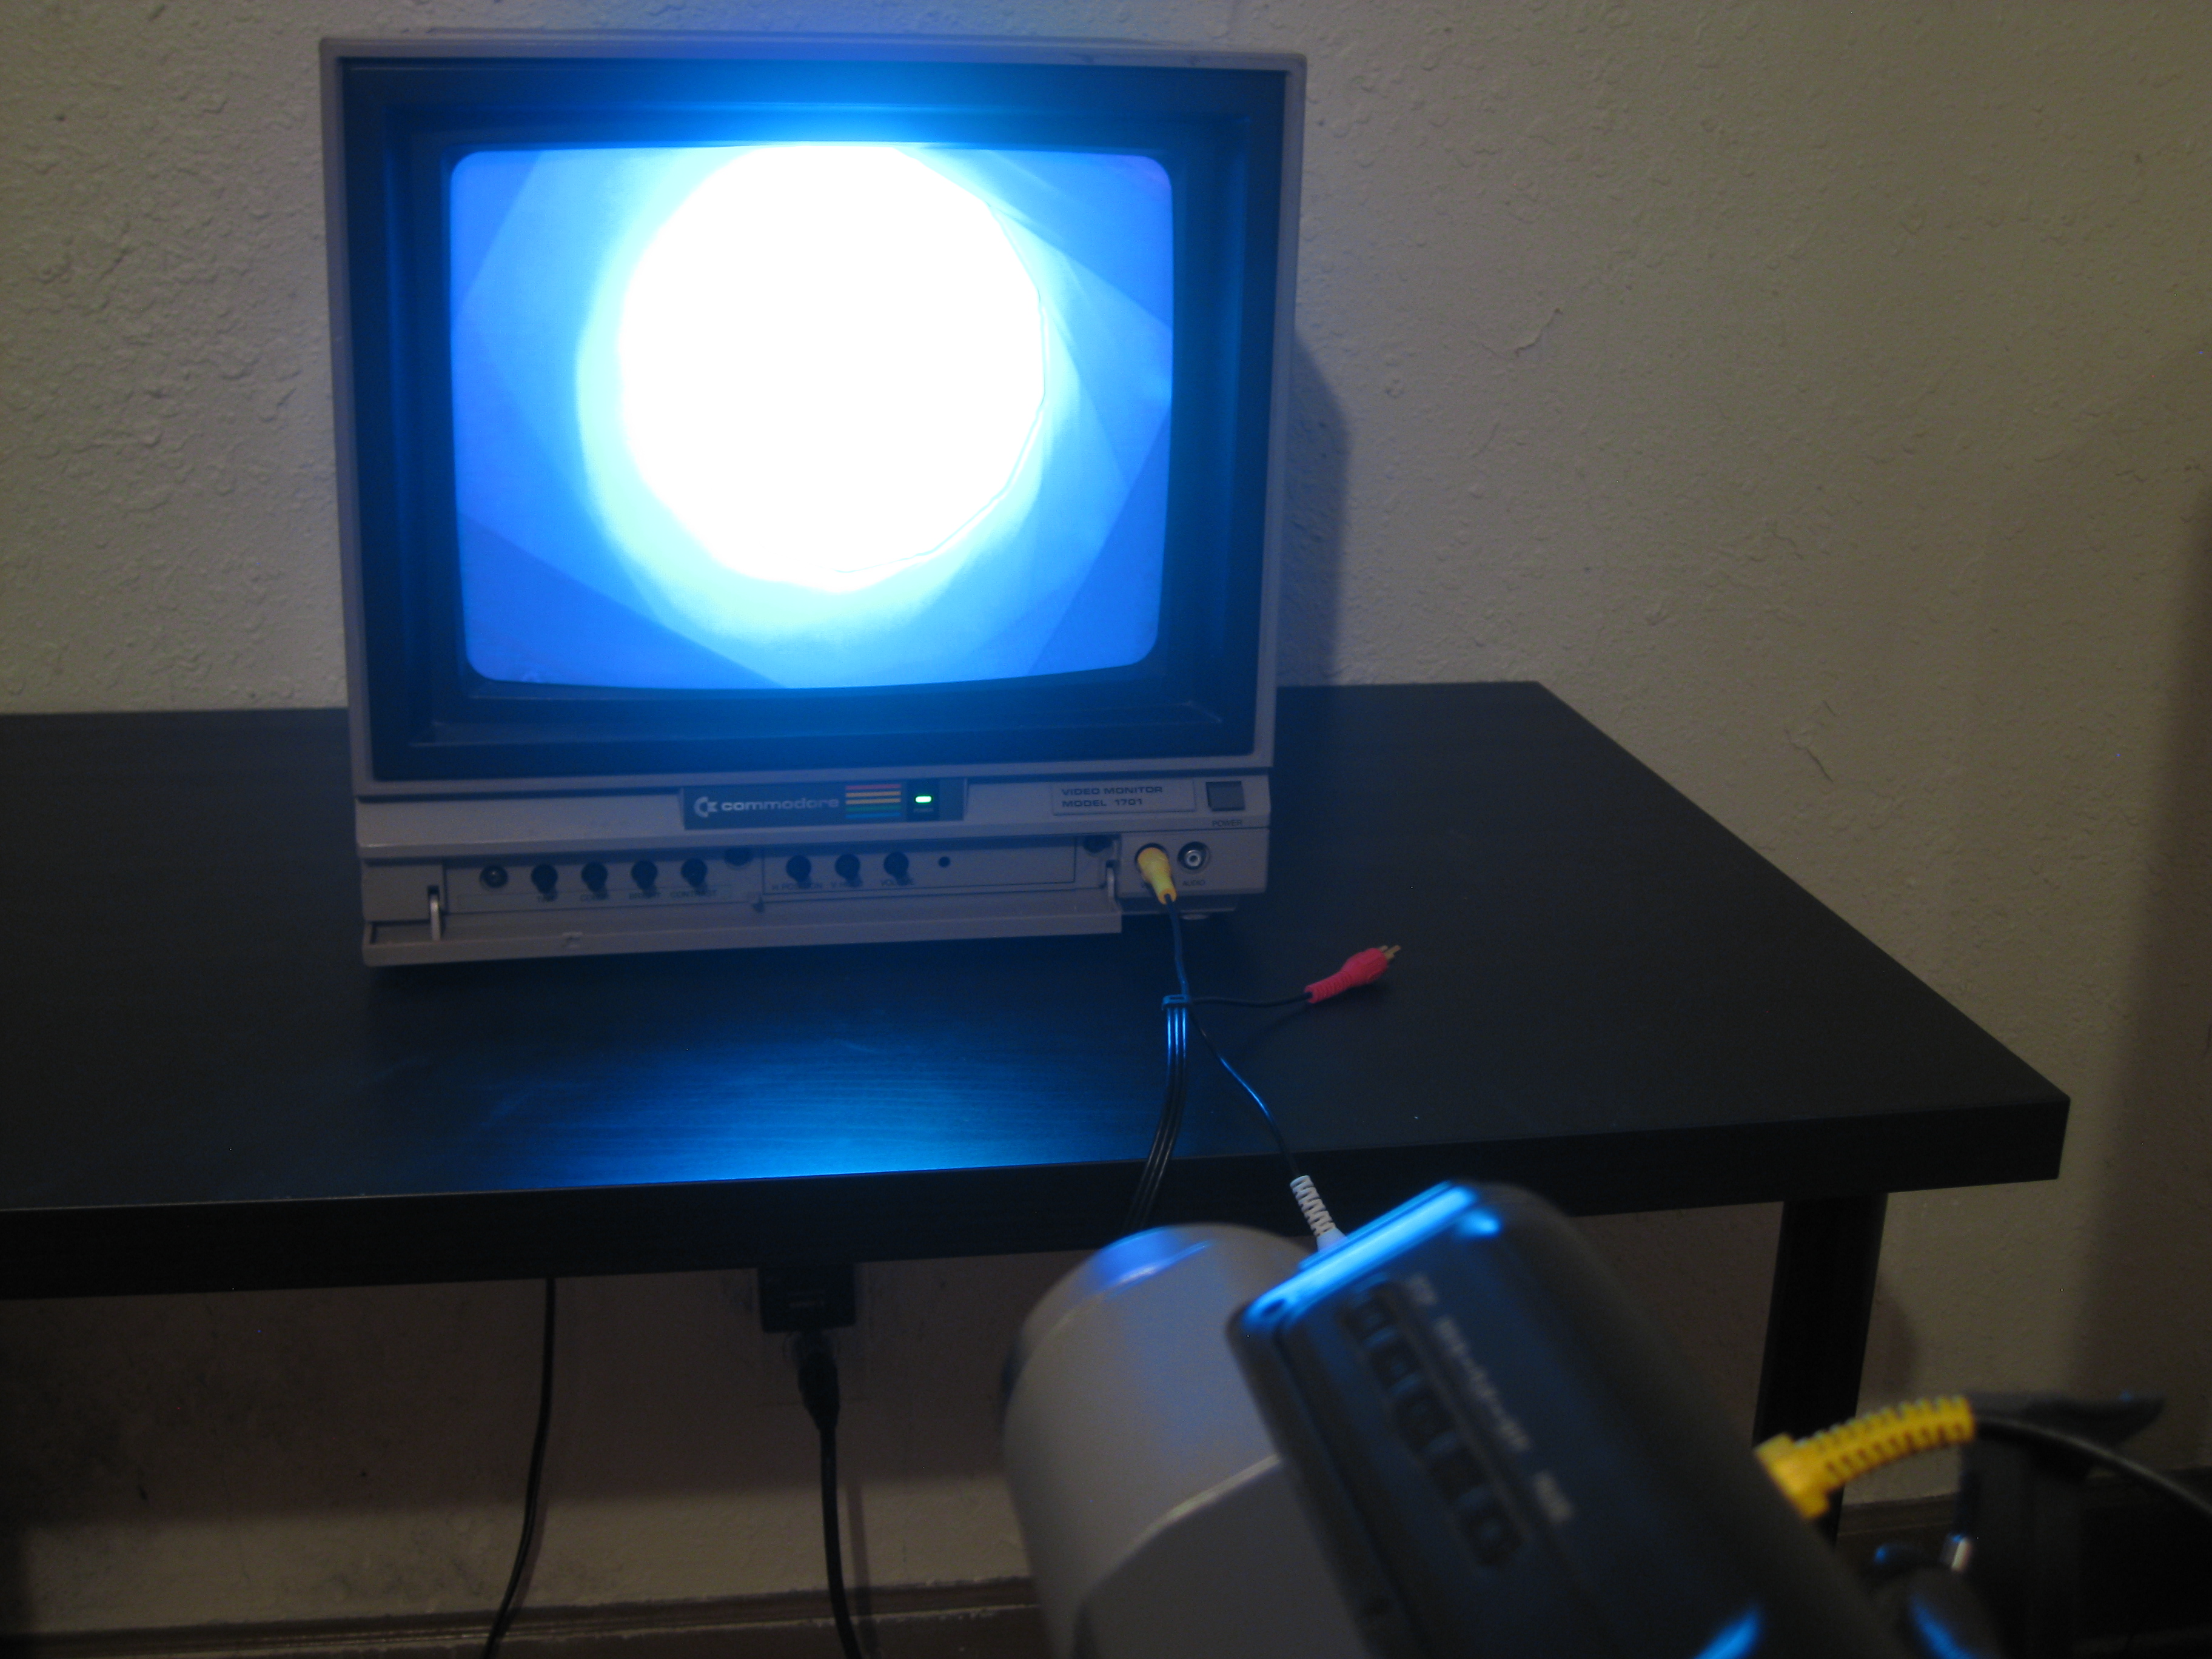
I discovered in creating this tutorial that it is very difficult to photograph this particular setup. Because the screen is emitting light, adjusting the exposure to clearly see the room and equipment generally results in a blown-out screen image. You can refer to the embedded videos for what to look for on the monitor.
Gather the Equipment
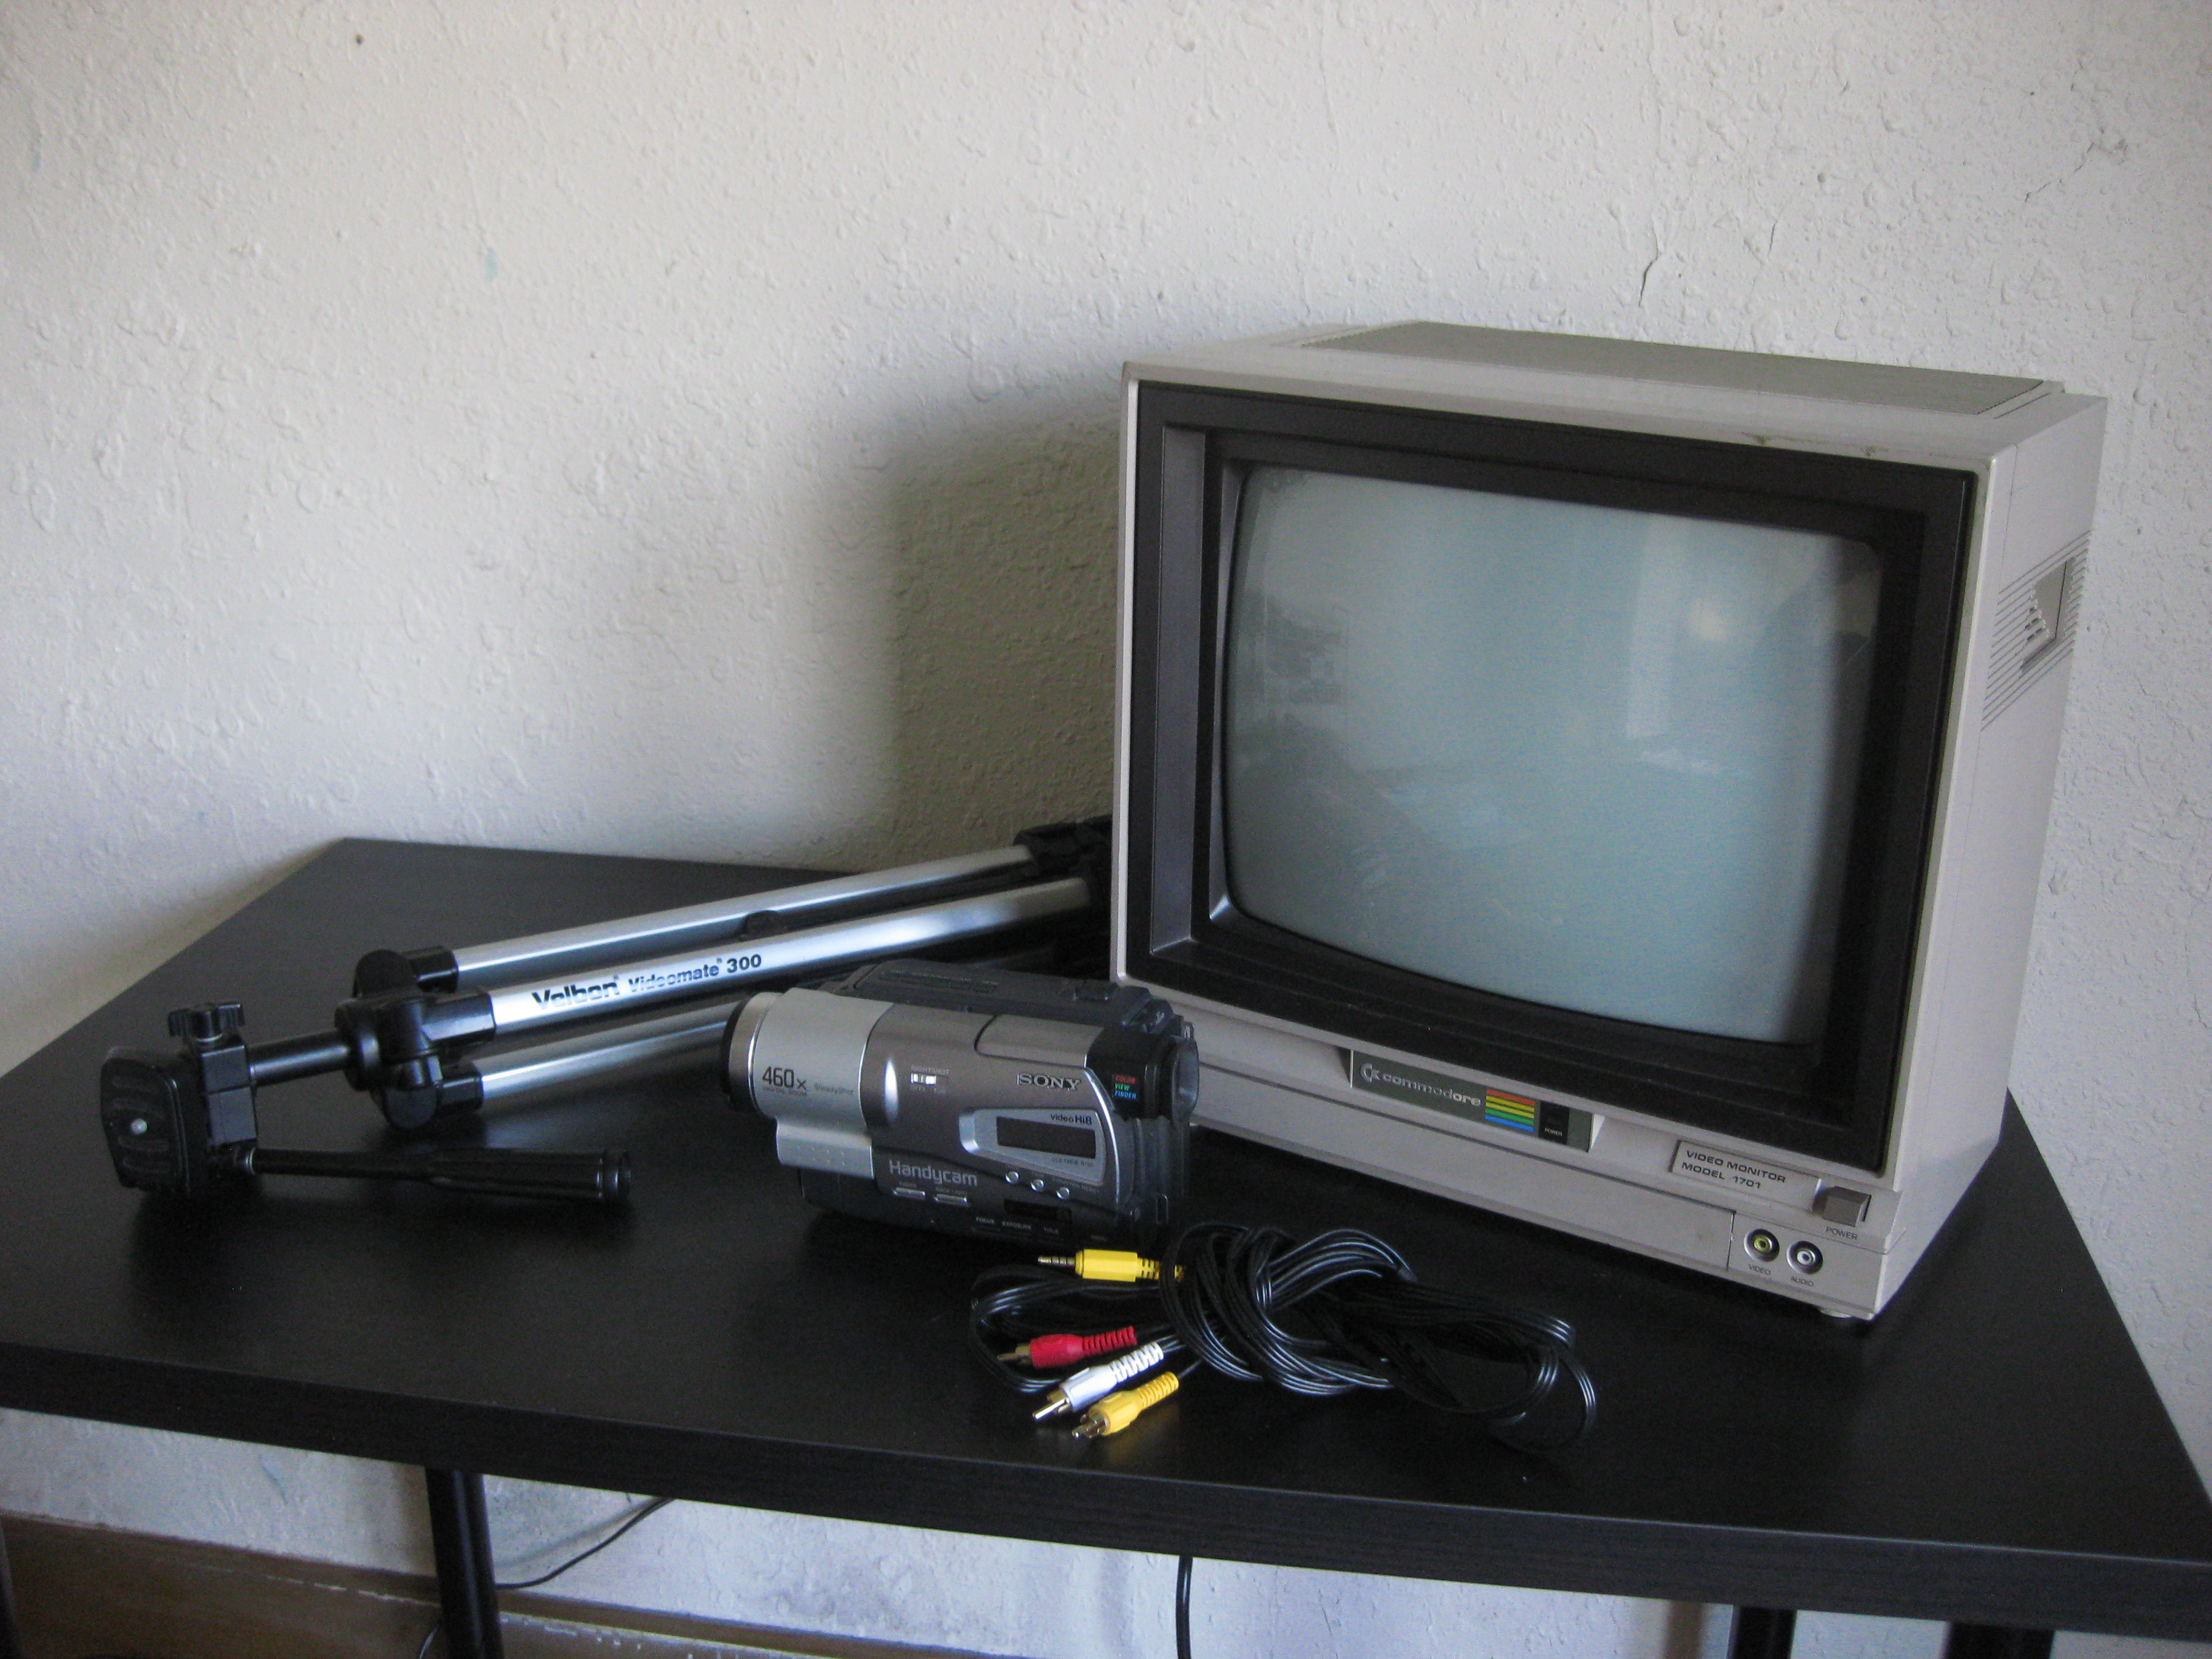
To create a video feedback mandala, you will need four things:
-Video Monitor with Brightness and Contrast controls
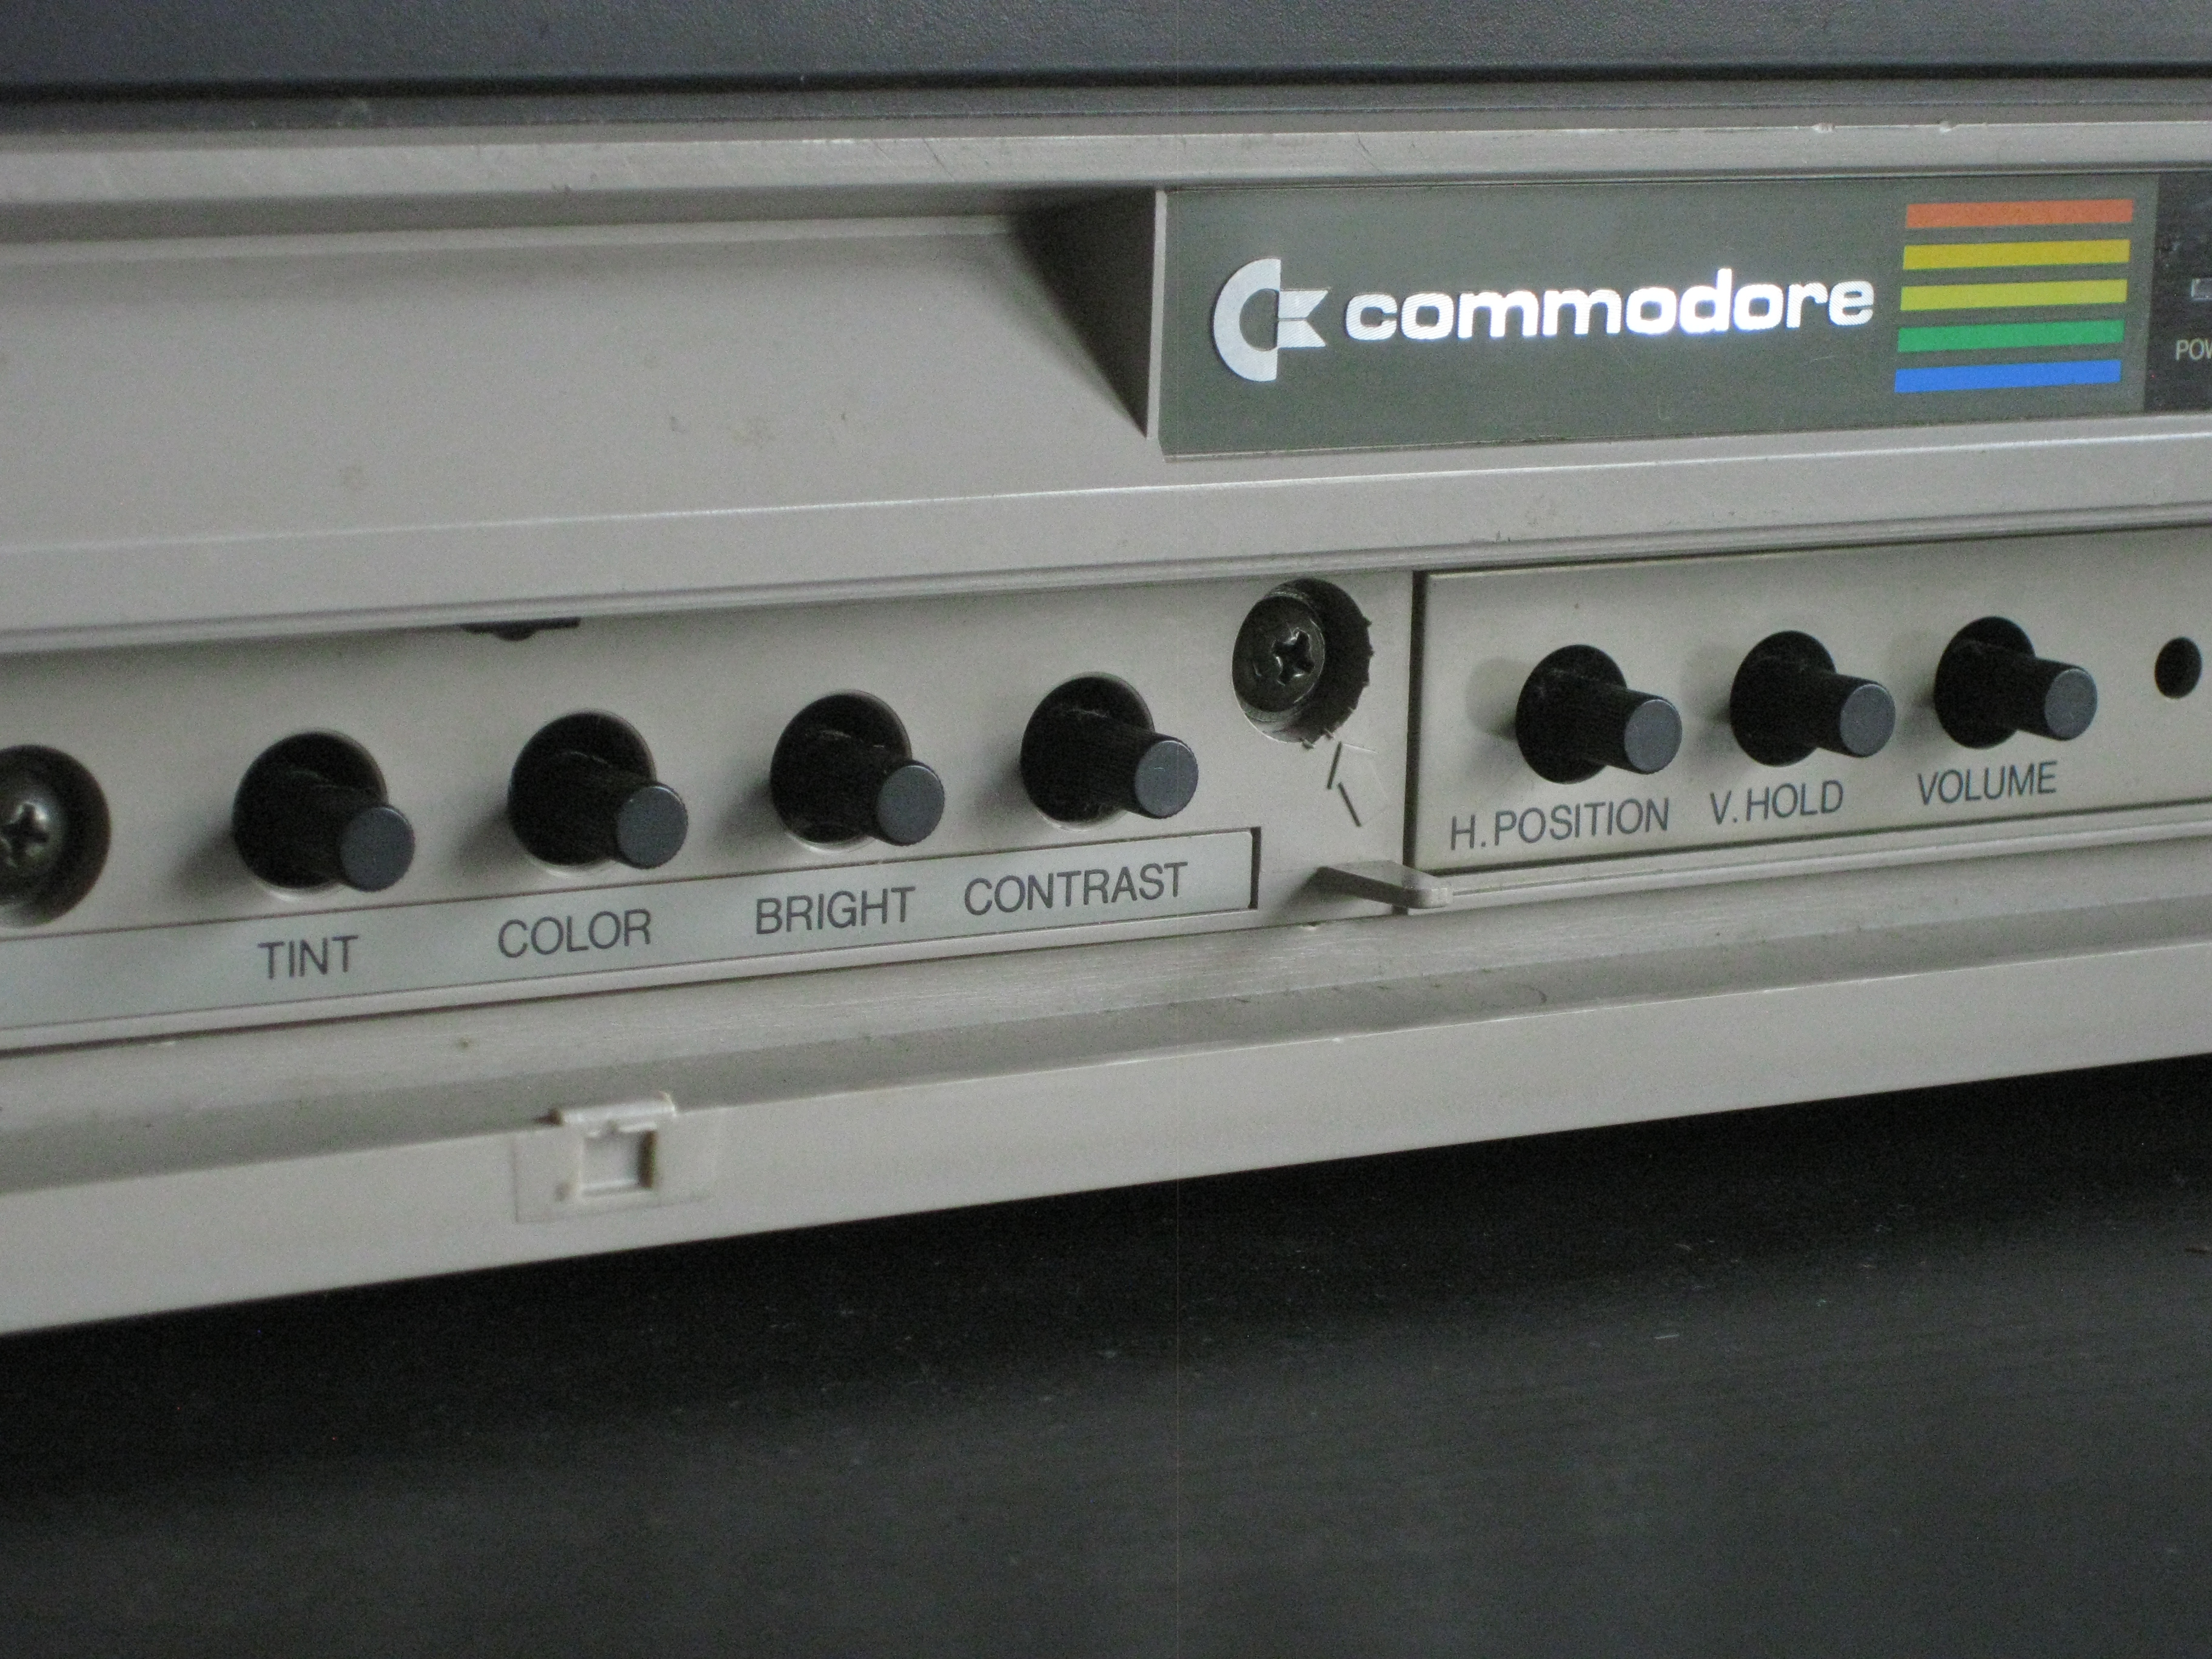
Any monitor or TV will work as long as you can plug your camera directly into it. I am using an old Commodore CRT computer monitor. I like to use this one because it has knobs to adjust the display properties (rather than on-screen menus), it's sturdy and won't wobble when adjusting the knobs, and it has a nice vibrant picture. You may want to experiment with different monitors to find the one that looks best.
-Video Camera
Again, any video camera will do as long as you can feed it directly into your monitor. I'm using an old Sony camcorder in this case, which I like because it has controls for focus, zoom, and exposure, plus some built-in video effects that can really spice up the feedback loop. Security cameras are a great low-cost option.
-Tripod
You'll need a sturdy tripod, preferably one that you can easily raise or lower and tilt side to side. If you don't have a tripod you can stack up some books (or whatever). It can be tricky to get the right height and angle, but this is how I started.
-Video Cable
You'll need a cable to connect the output of the camera to the input on the monitor. In this case I'm using the camera's proprietary 1/8" to RCA cable.
Set Up the Monitor, Tripod, and Camera
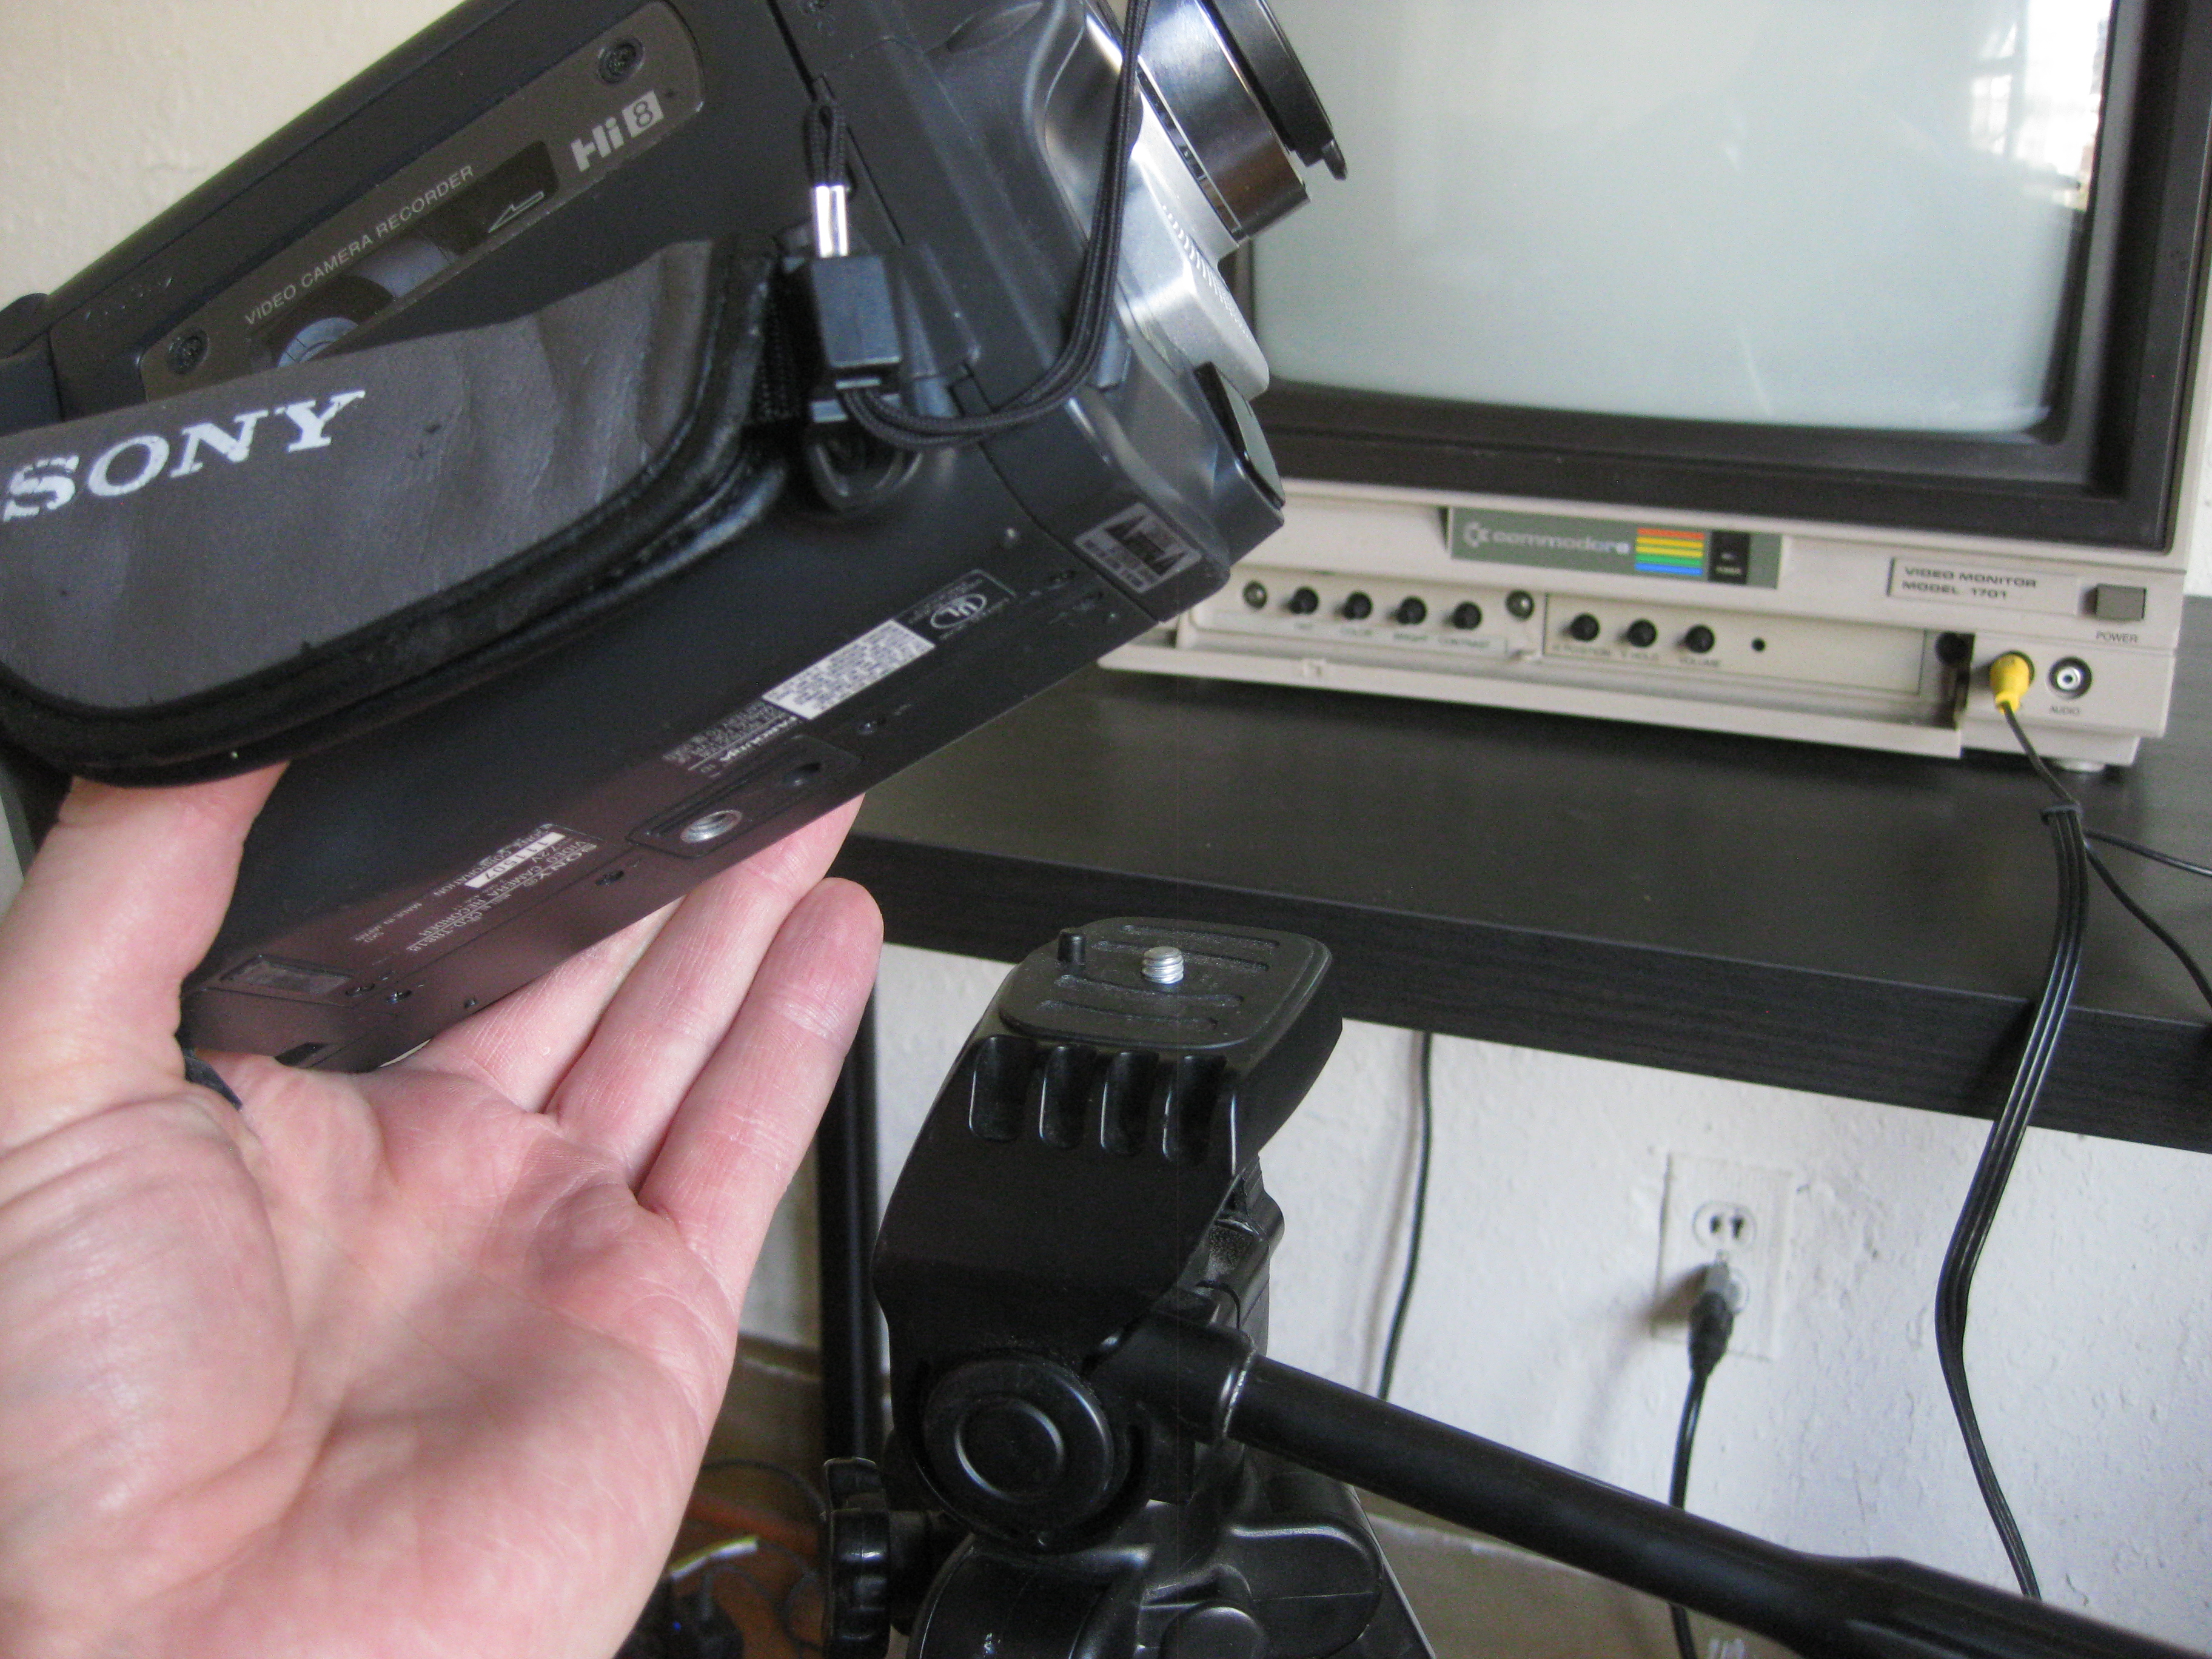
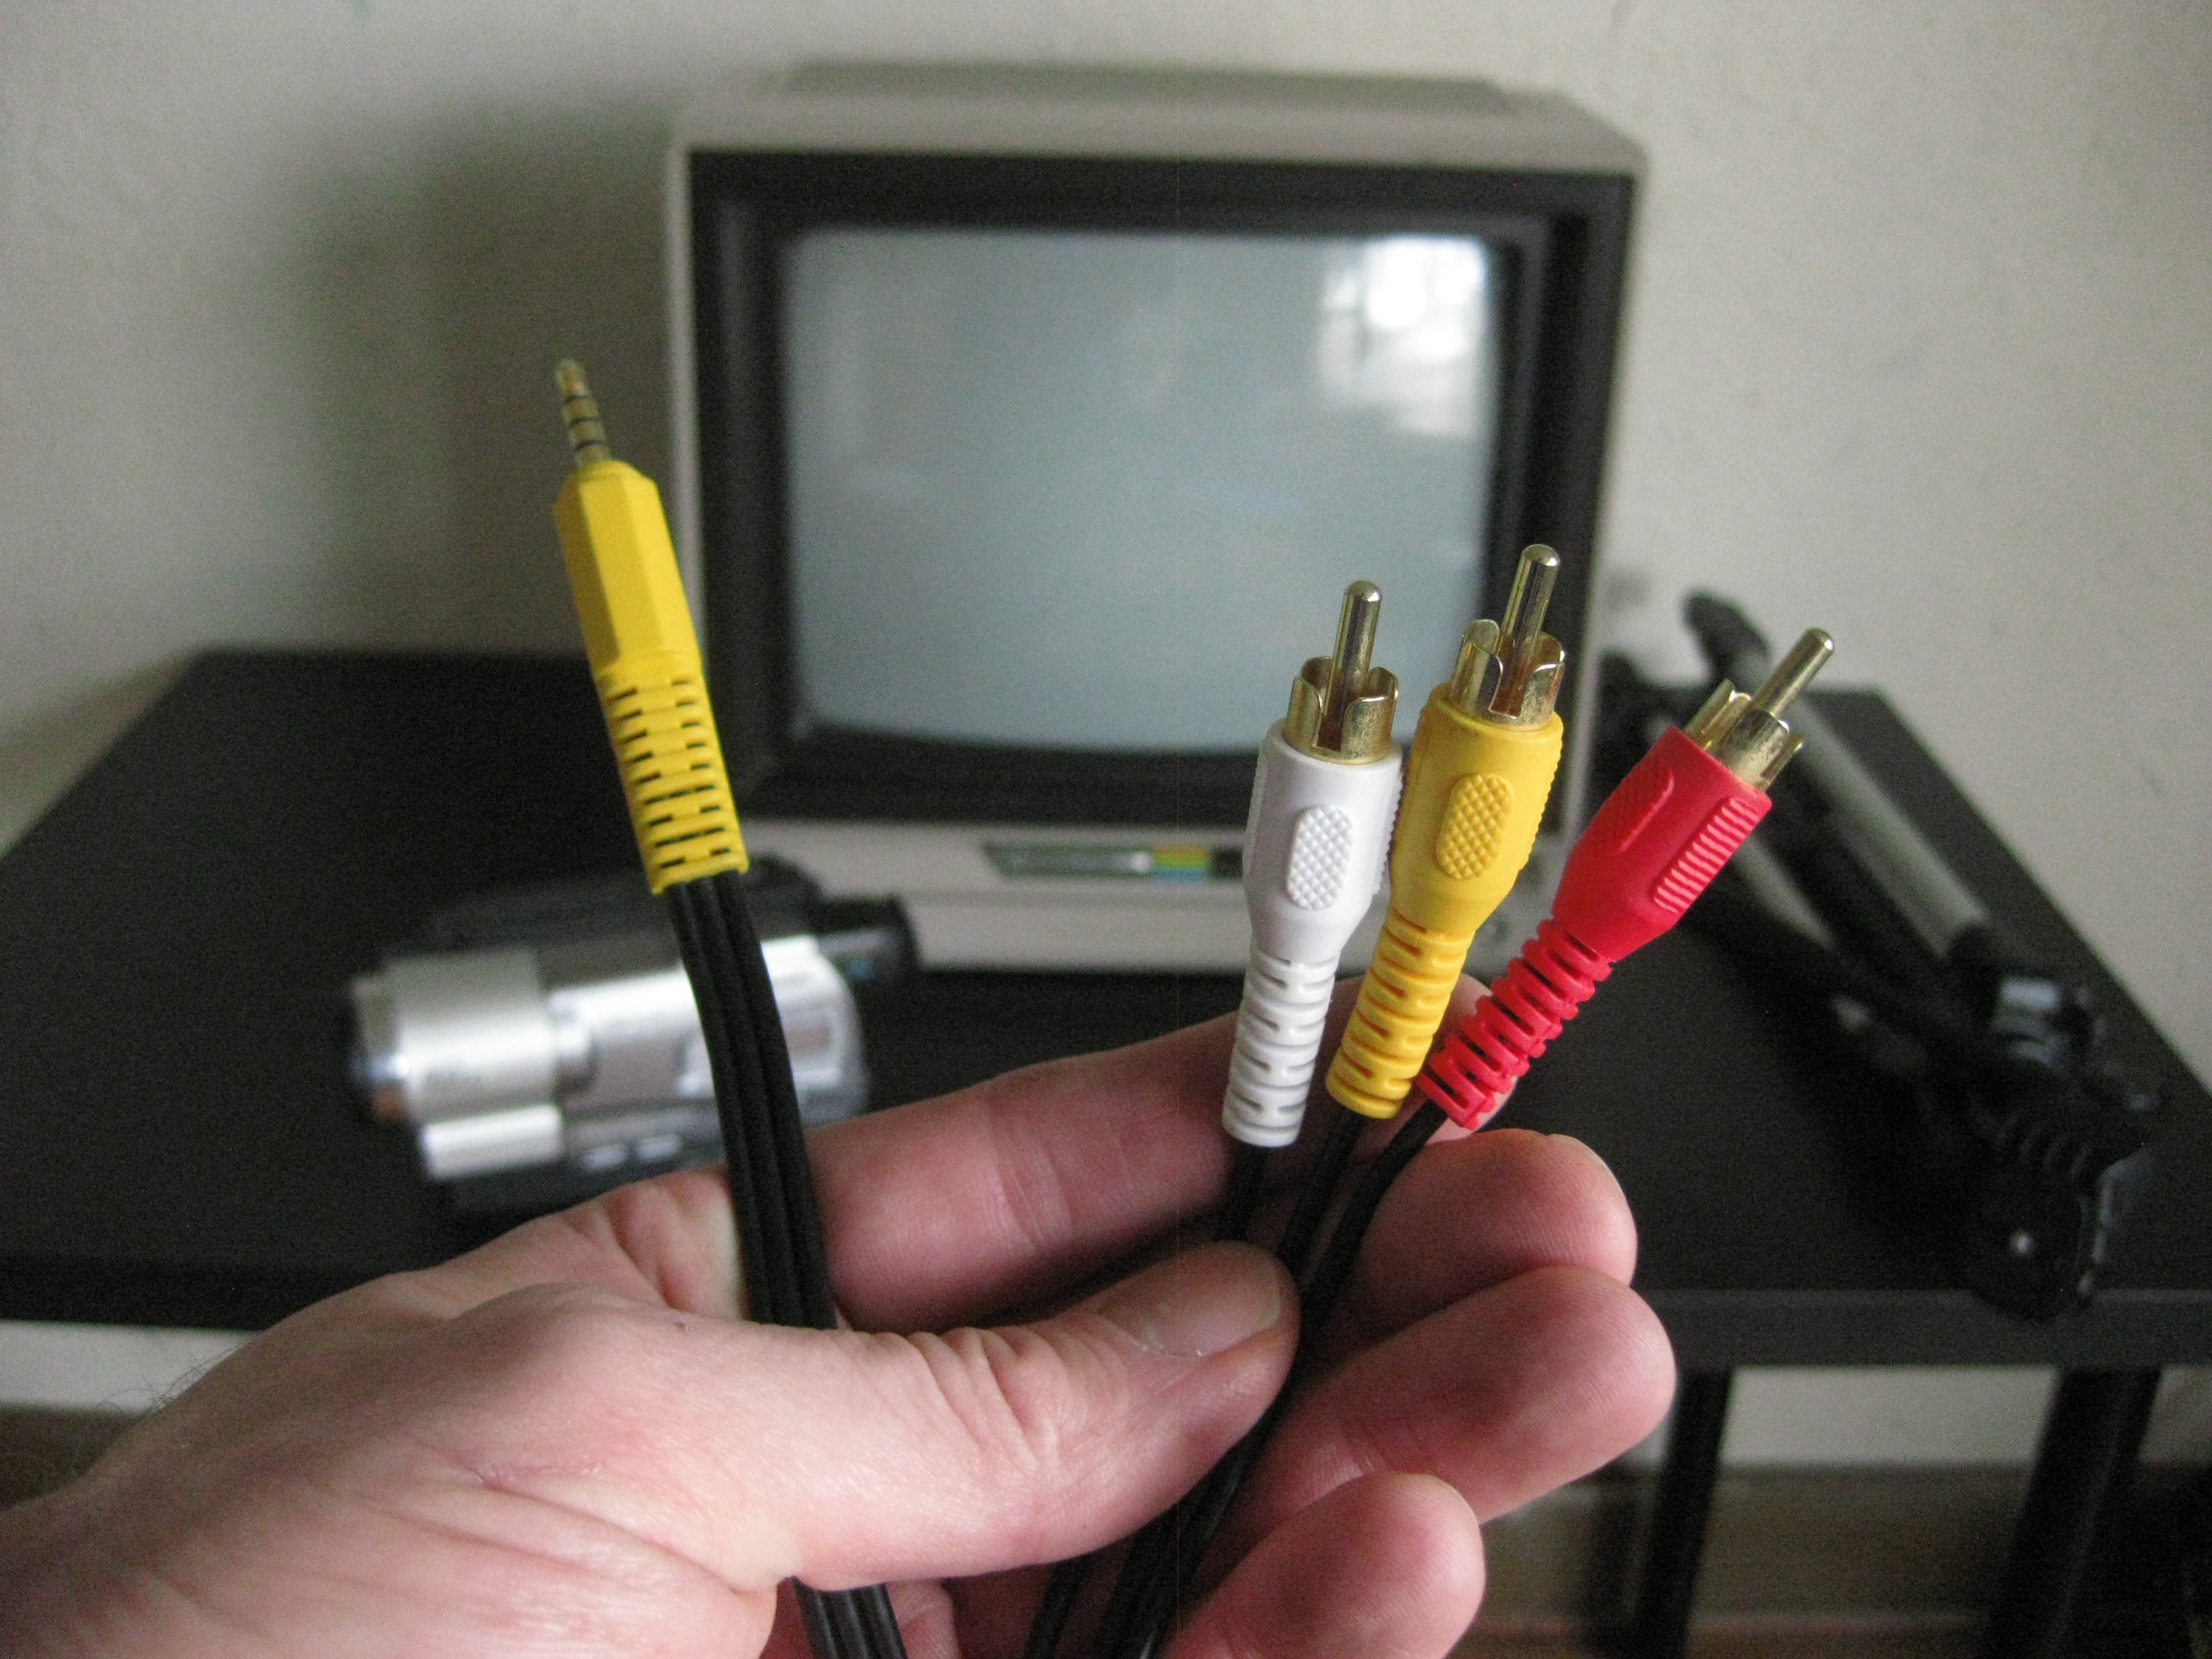
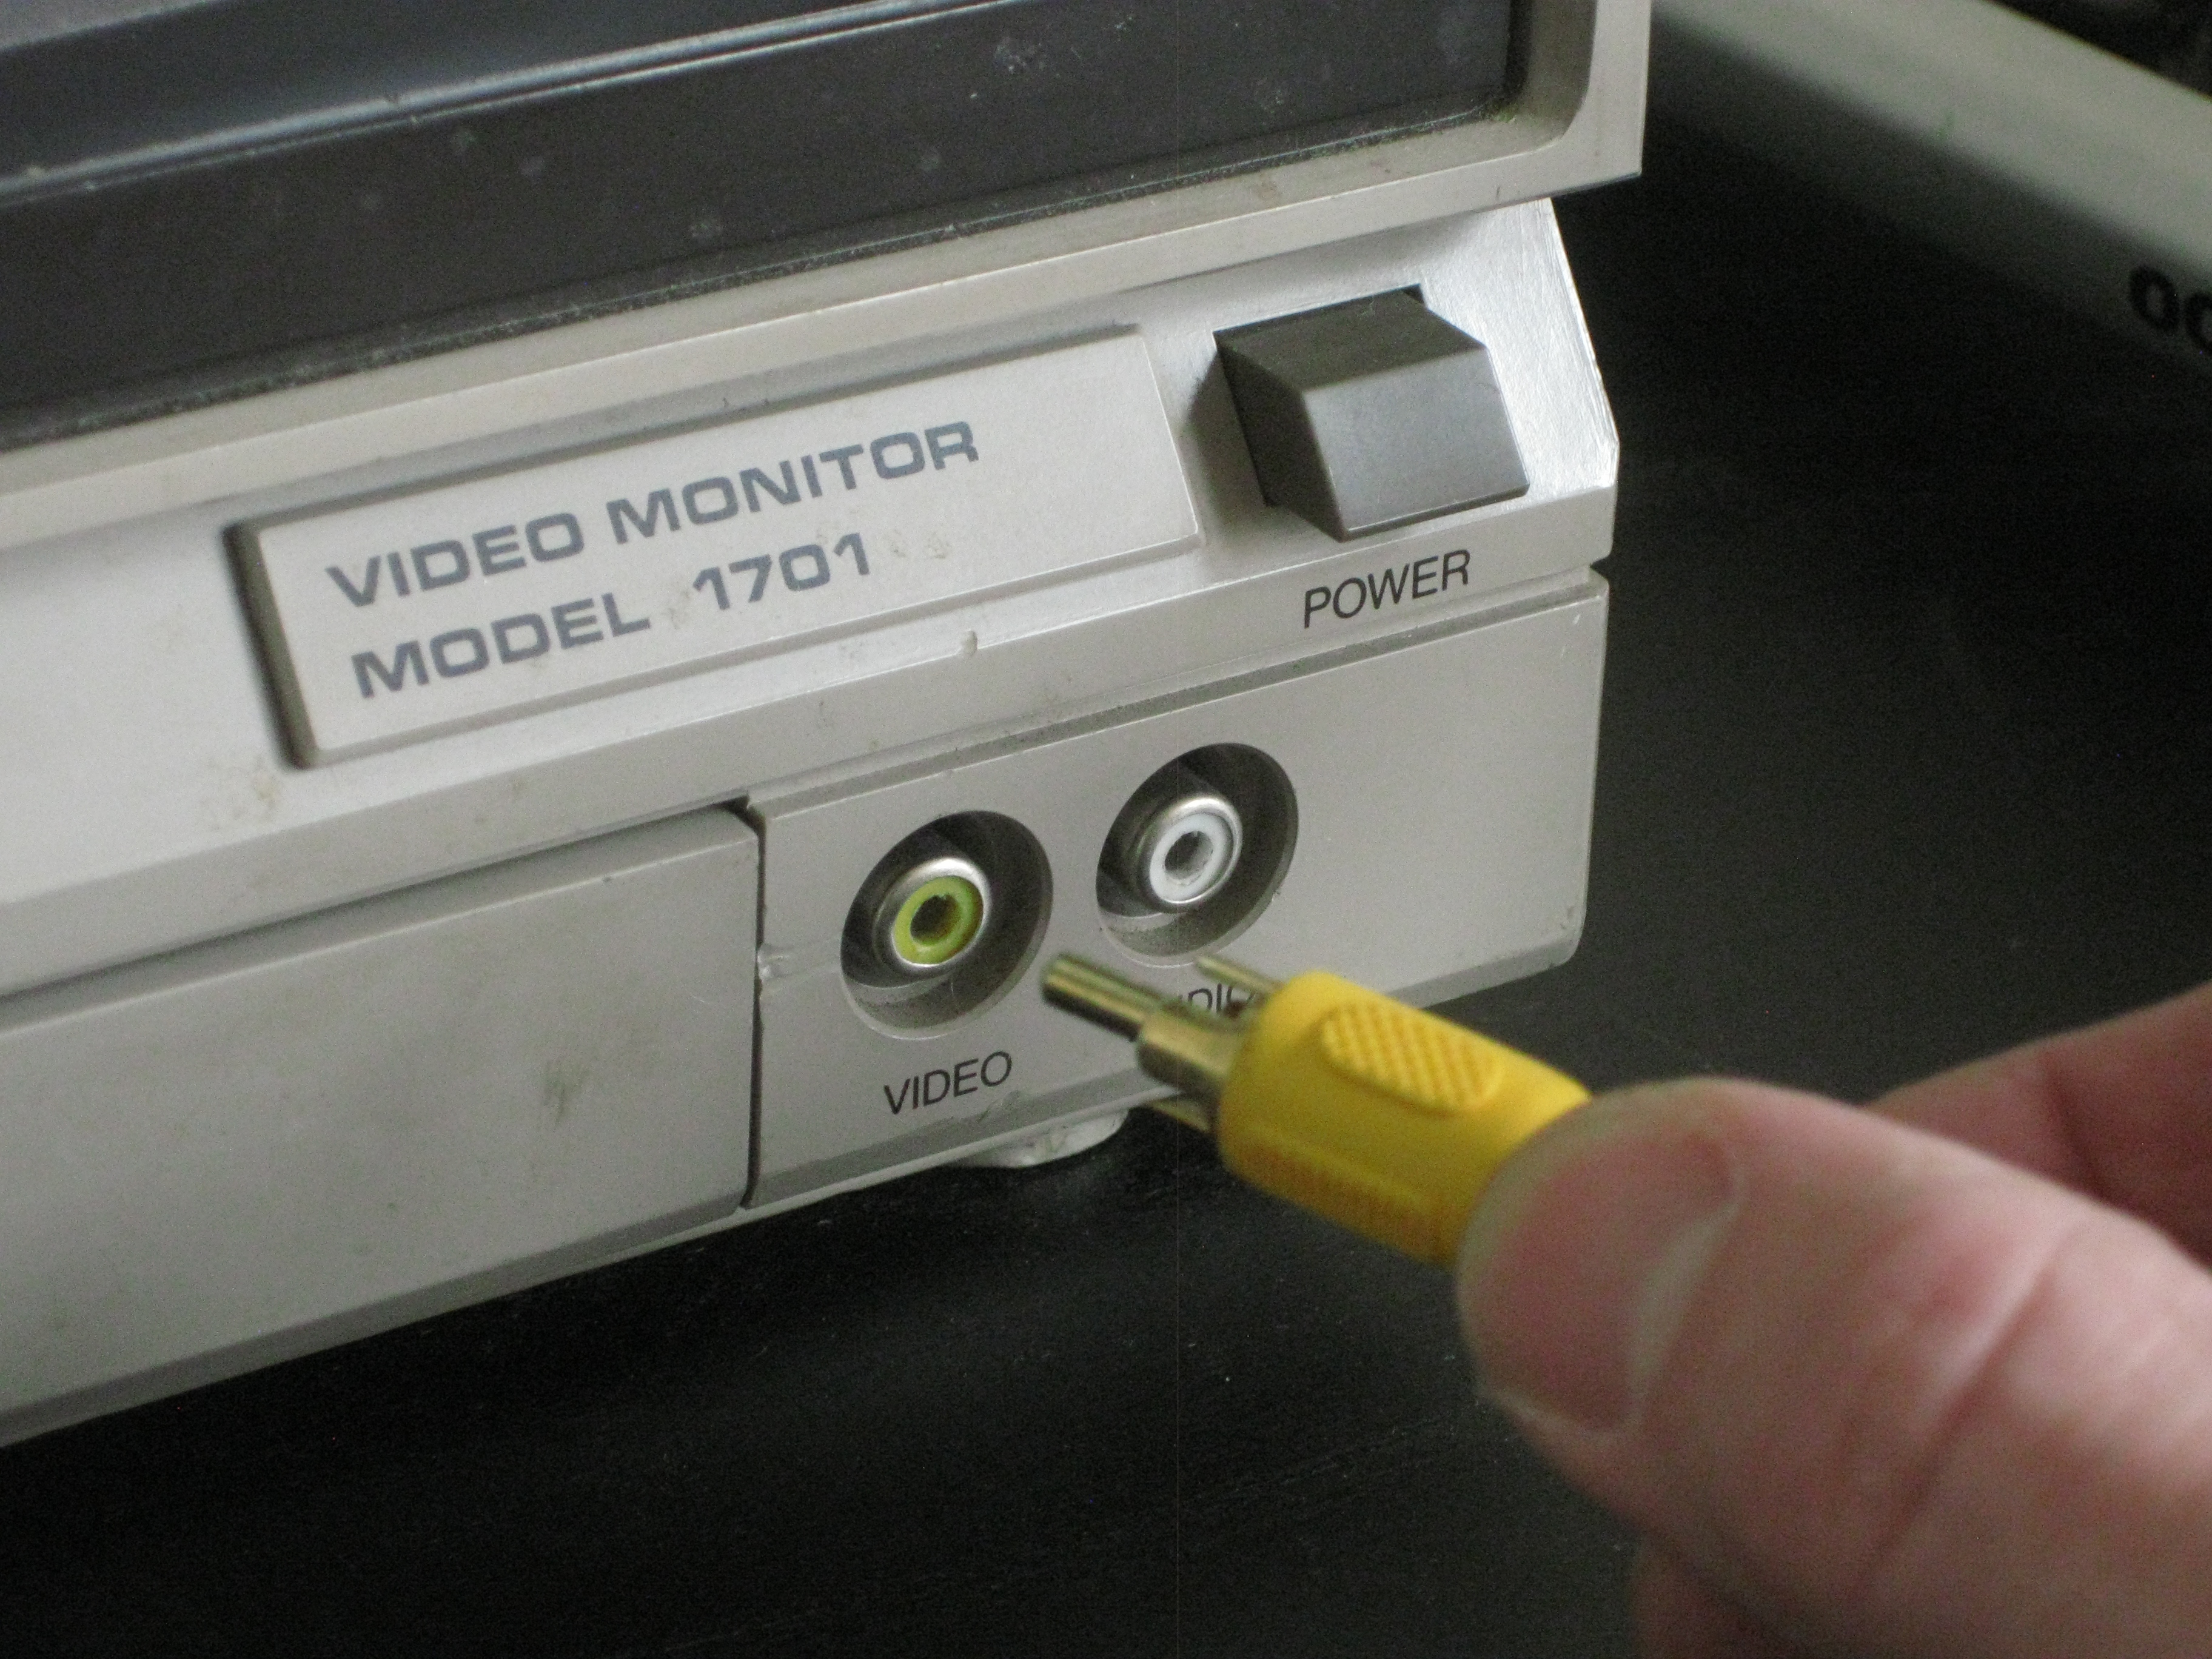
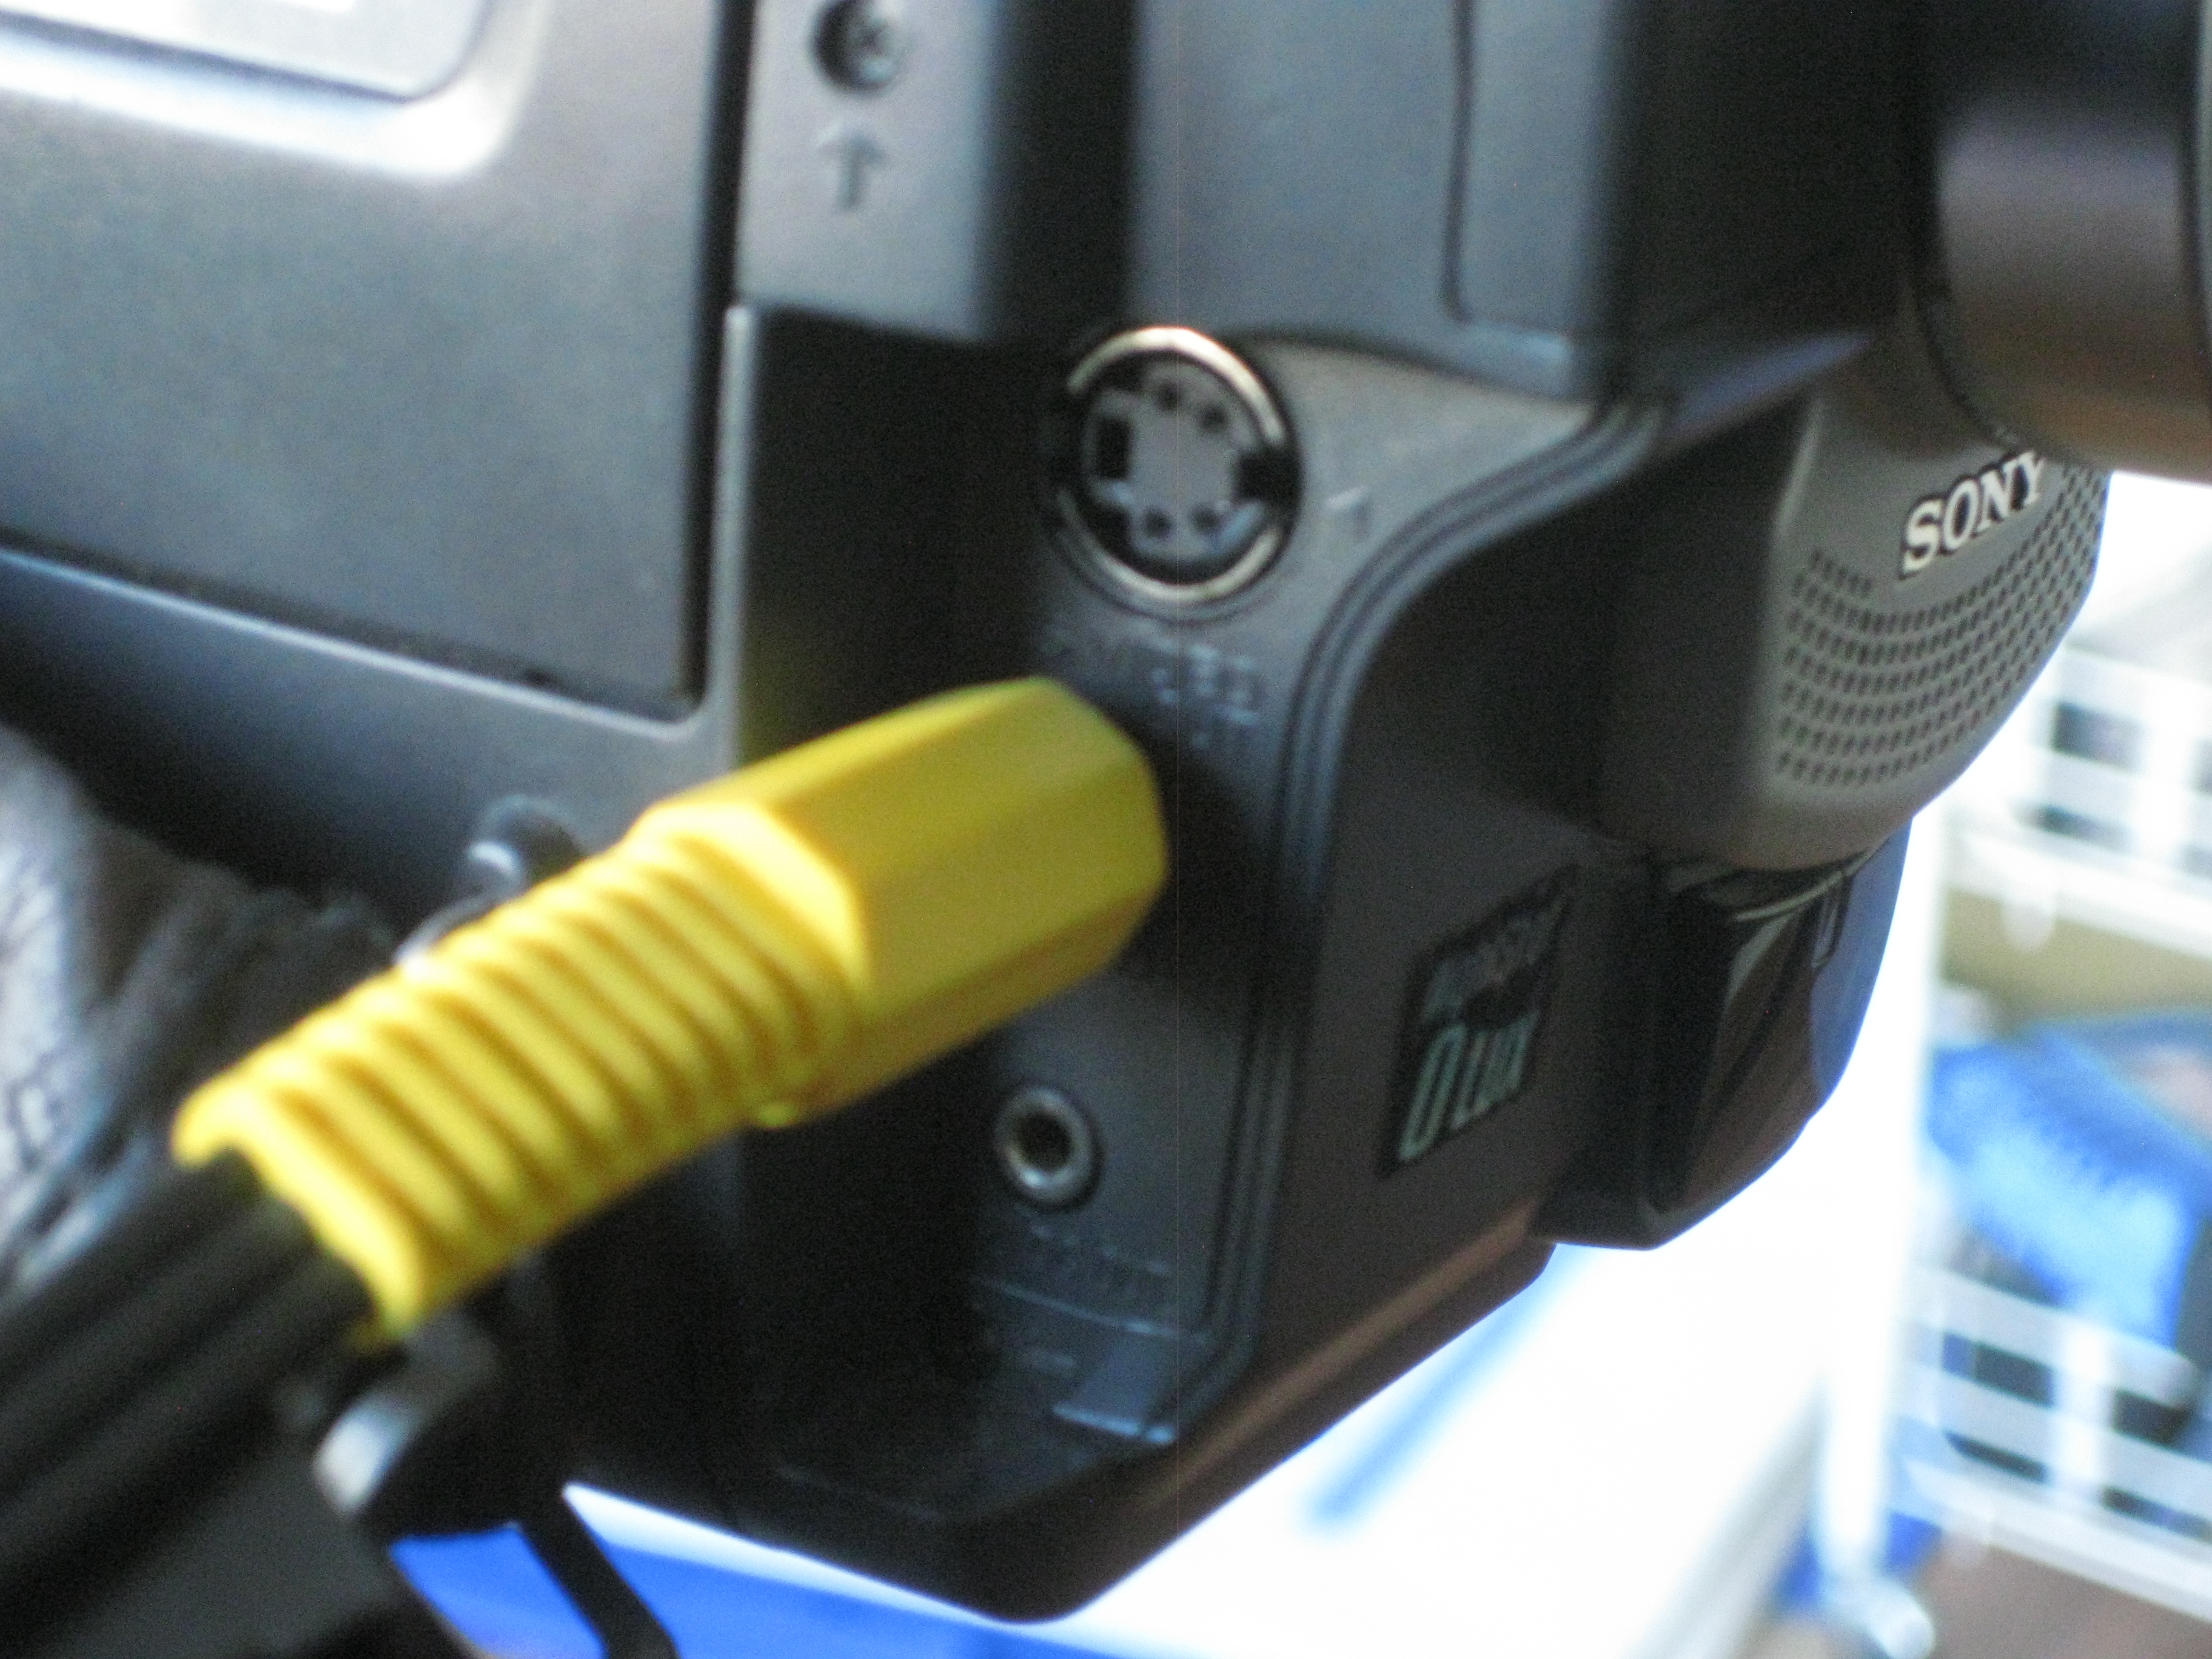
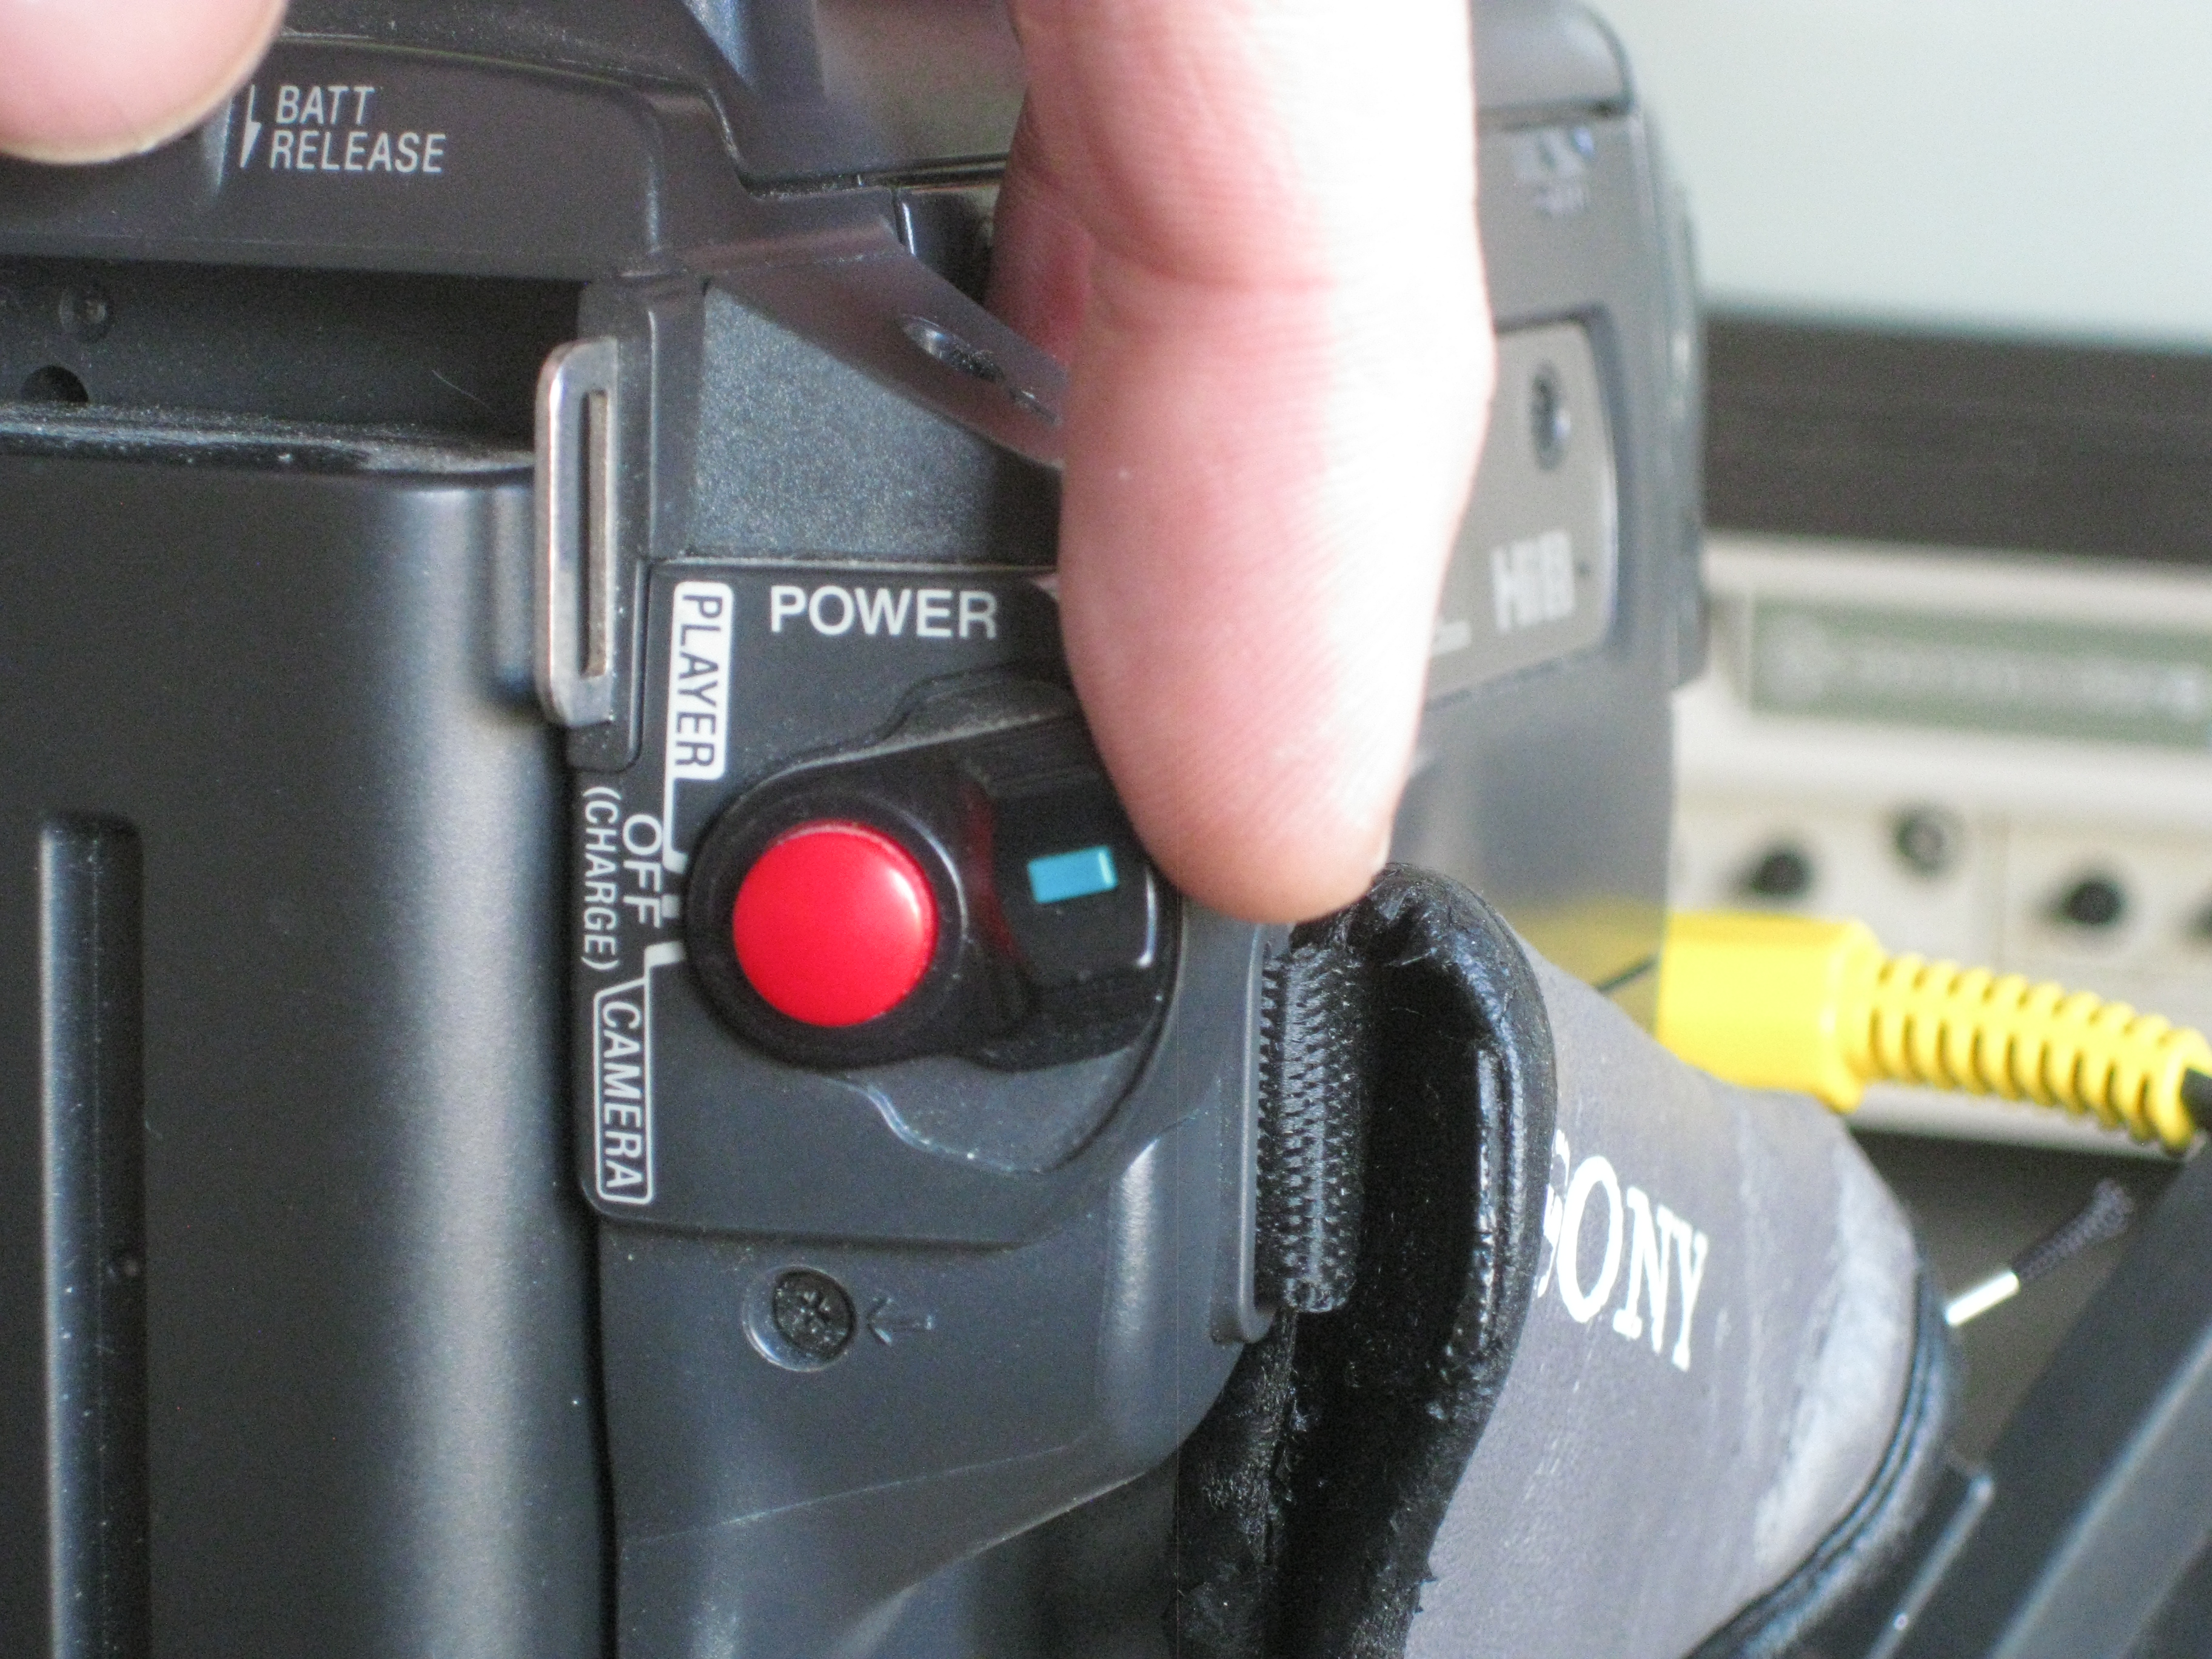
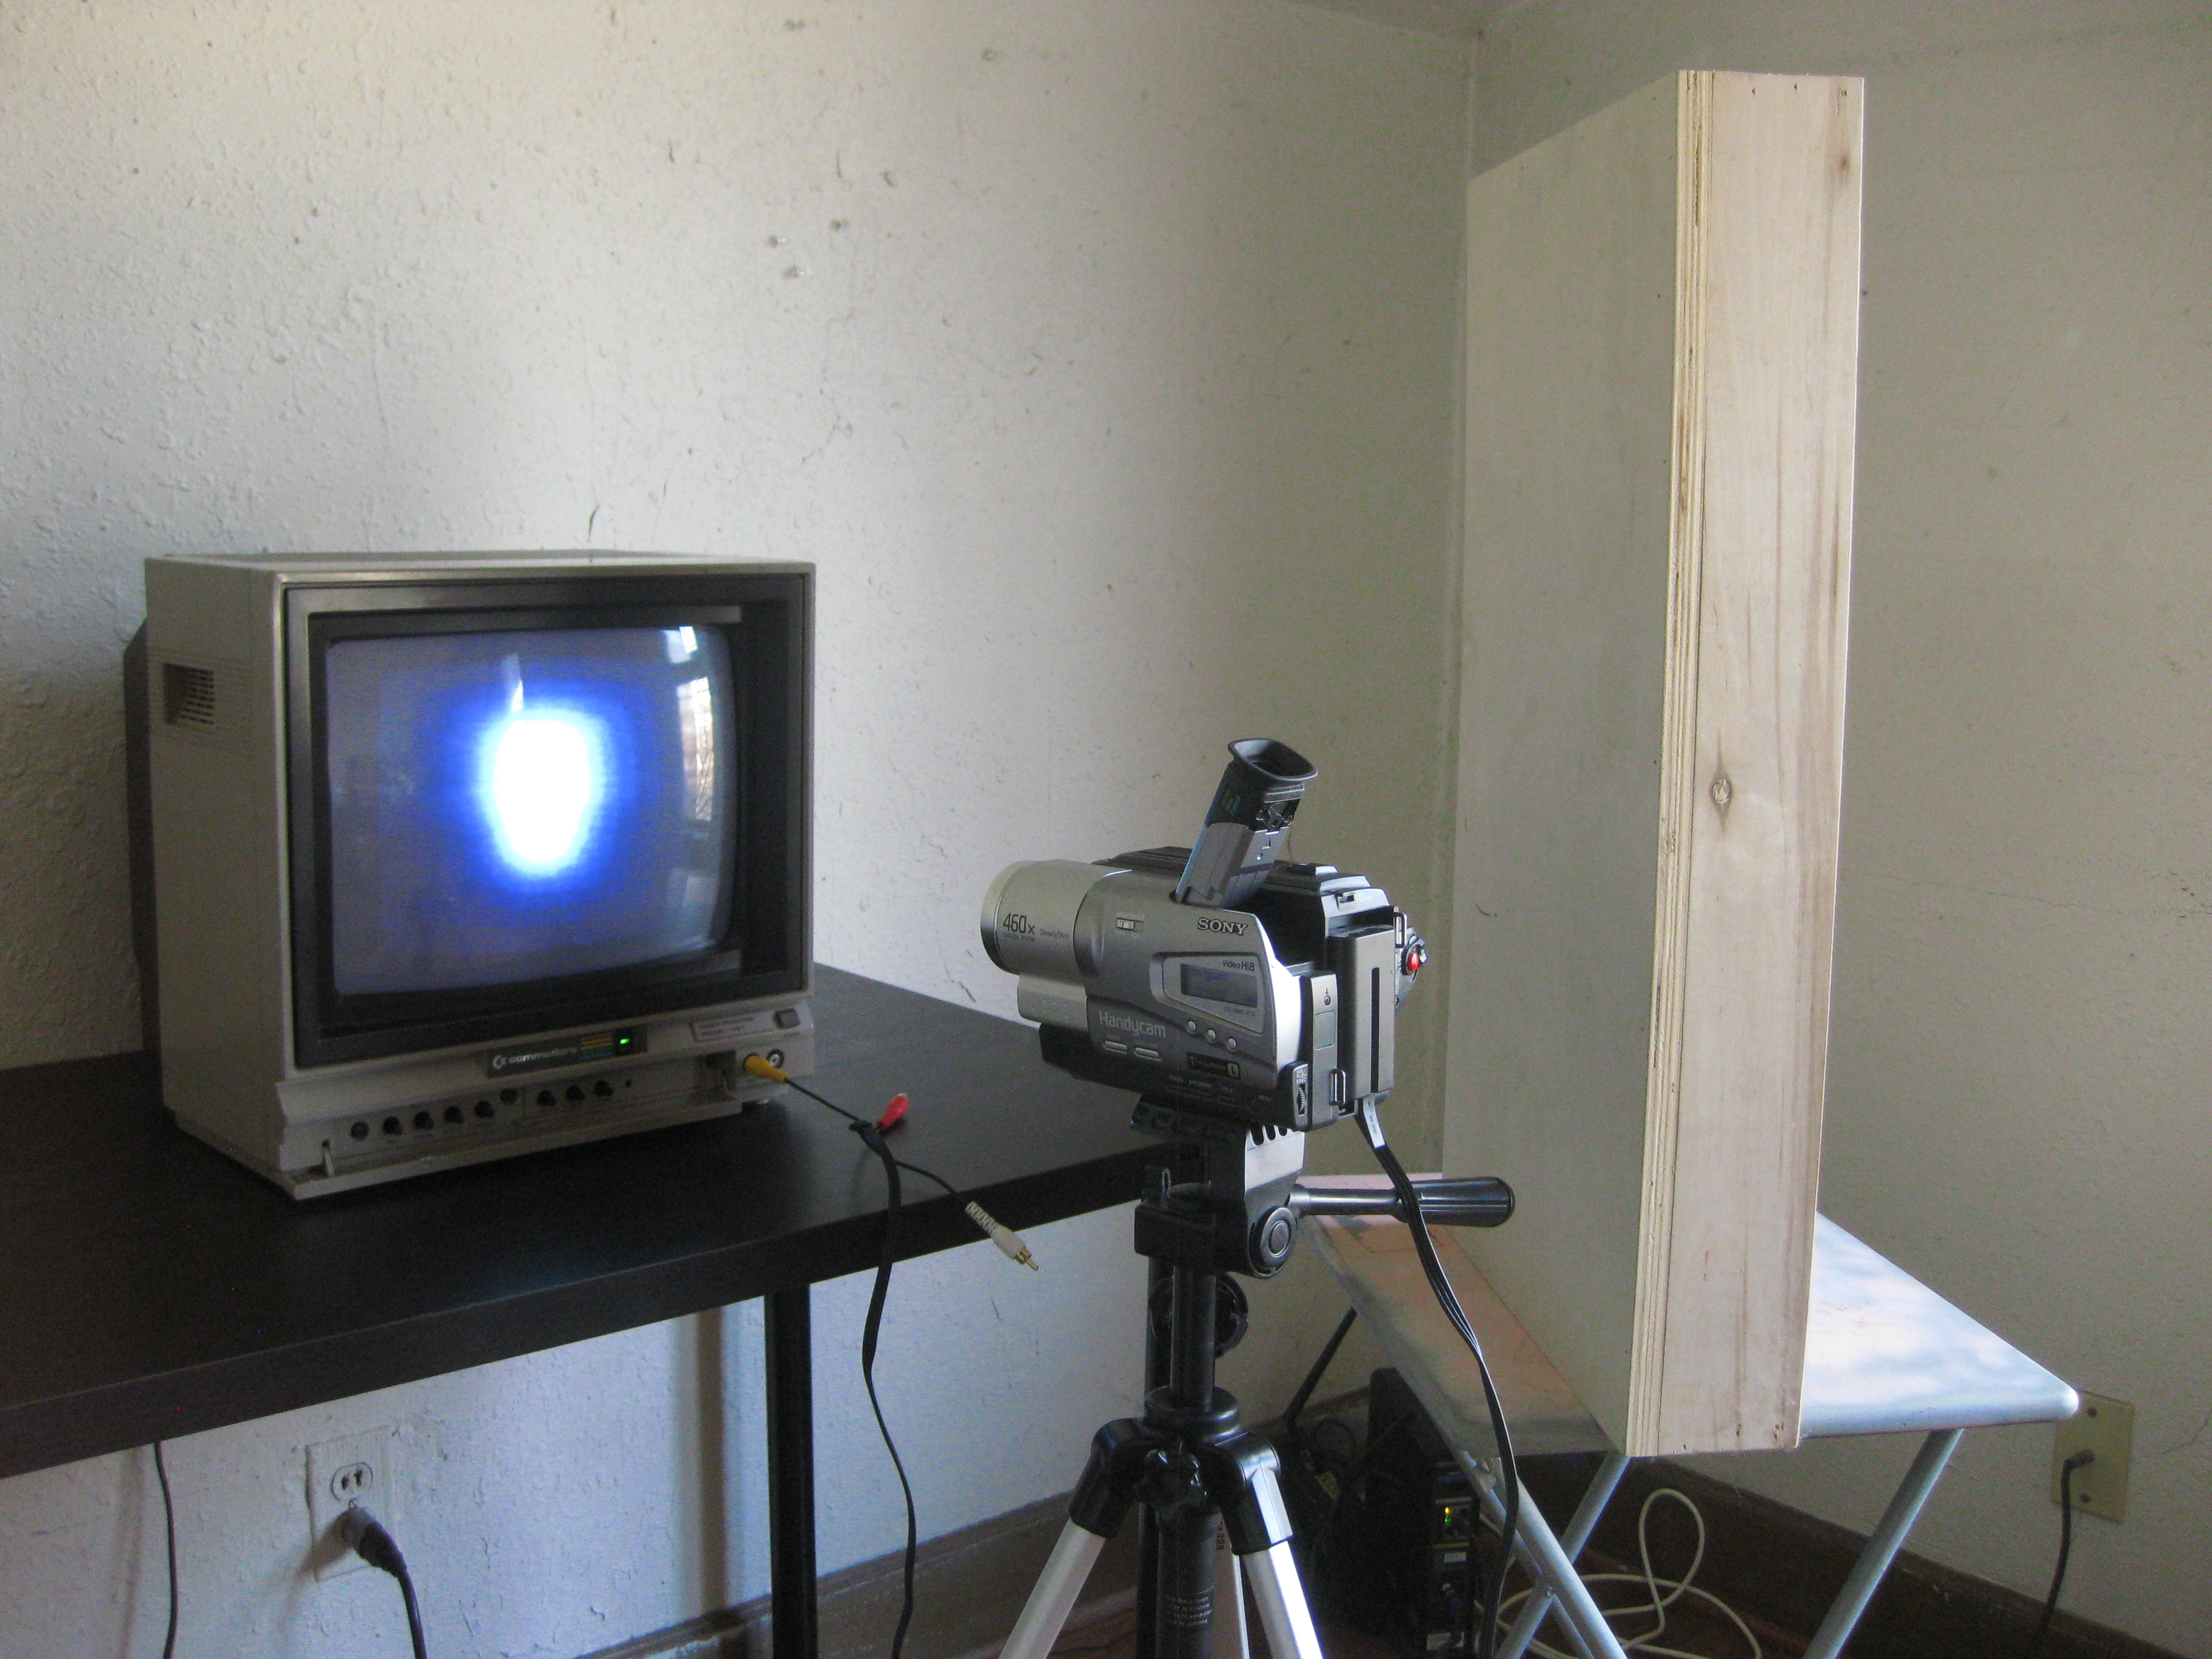
As you can see in the photos, I've set up in a bright room with lots of good natural light. This is great for documenting, but not so great for a video feedback loop. While you will be able to get results under almost any conditions, a dark room with little to no light pollution is ideal. As you can see in the last picture, i stood a plywood box on end to block screen glare from the adjacent window.
Set up your monitor on a sturdy table and plug in the power. The camera lens will want to be at the level of the center of the screen, so if your tripod is short enough, you could potentially set this up on the ground.
Next mount your camera to the tripod and place it in front of the monitor, probably about three feet away. This monitor is only about 14", so if you're using a larger screen, you may need to move the camera further back. You will want to orient the tripod so that you can tilt the camera to the left or right while remaining perpendicular to the screen. My camera is running on a battery- plug in your camera's power cord if applicable.
Finally, connect the video cable from the camera's output to the monitor's input. Now you are ready to turn on the camera and monitor.
Establish a Feedback Loop
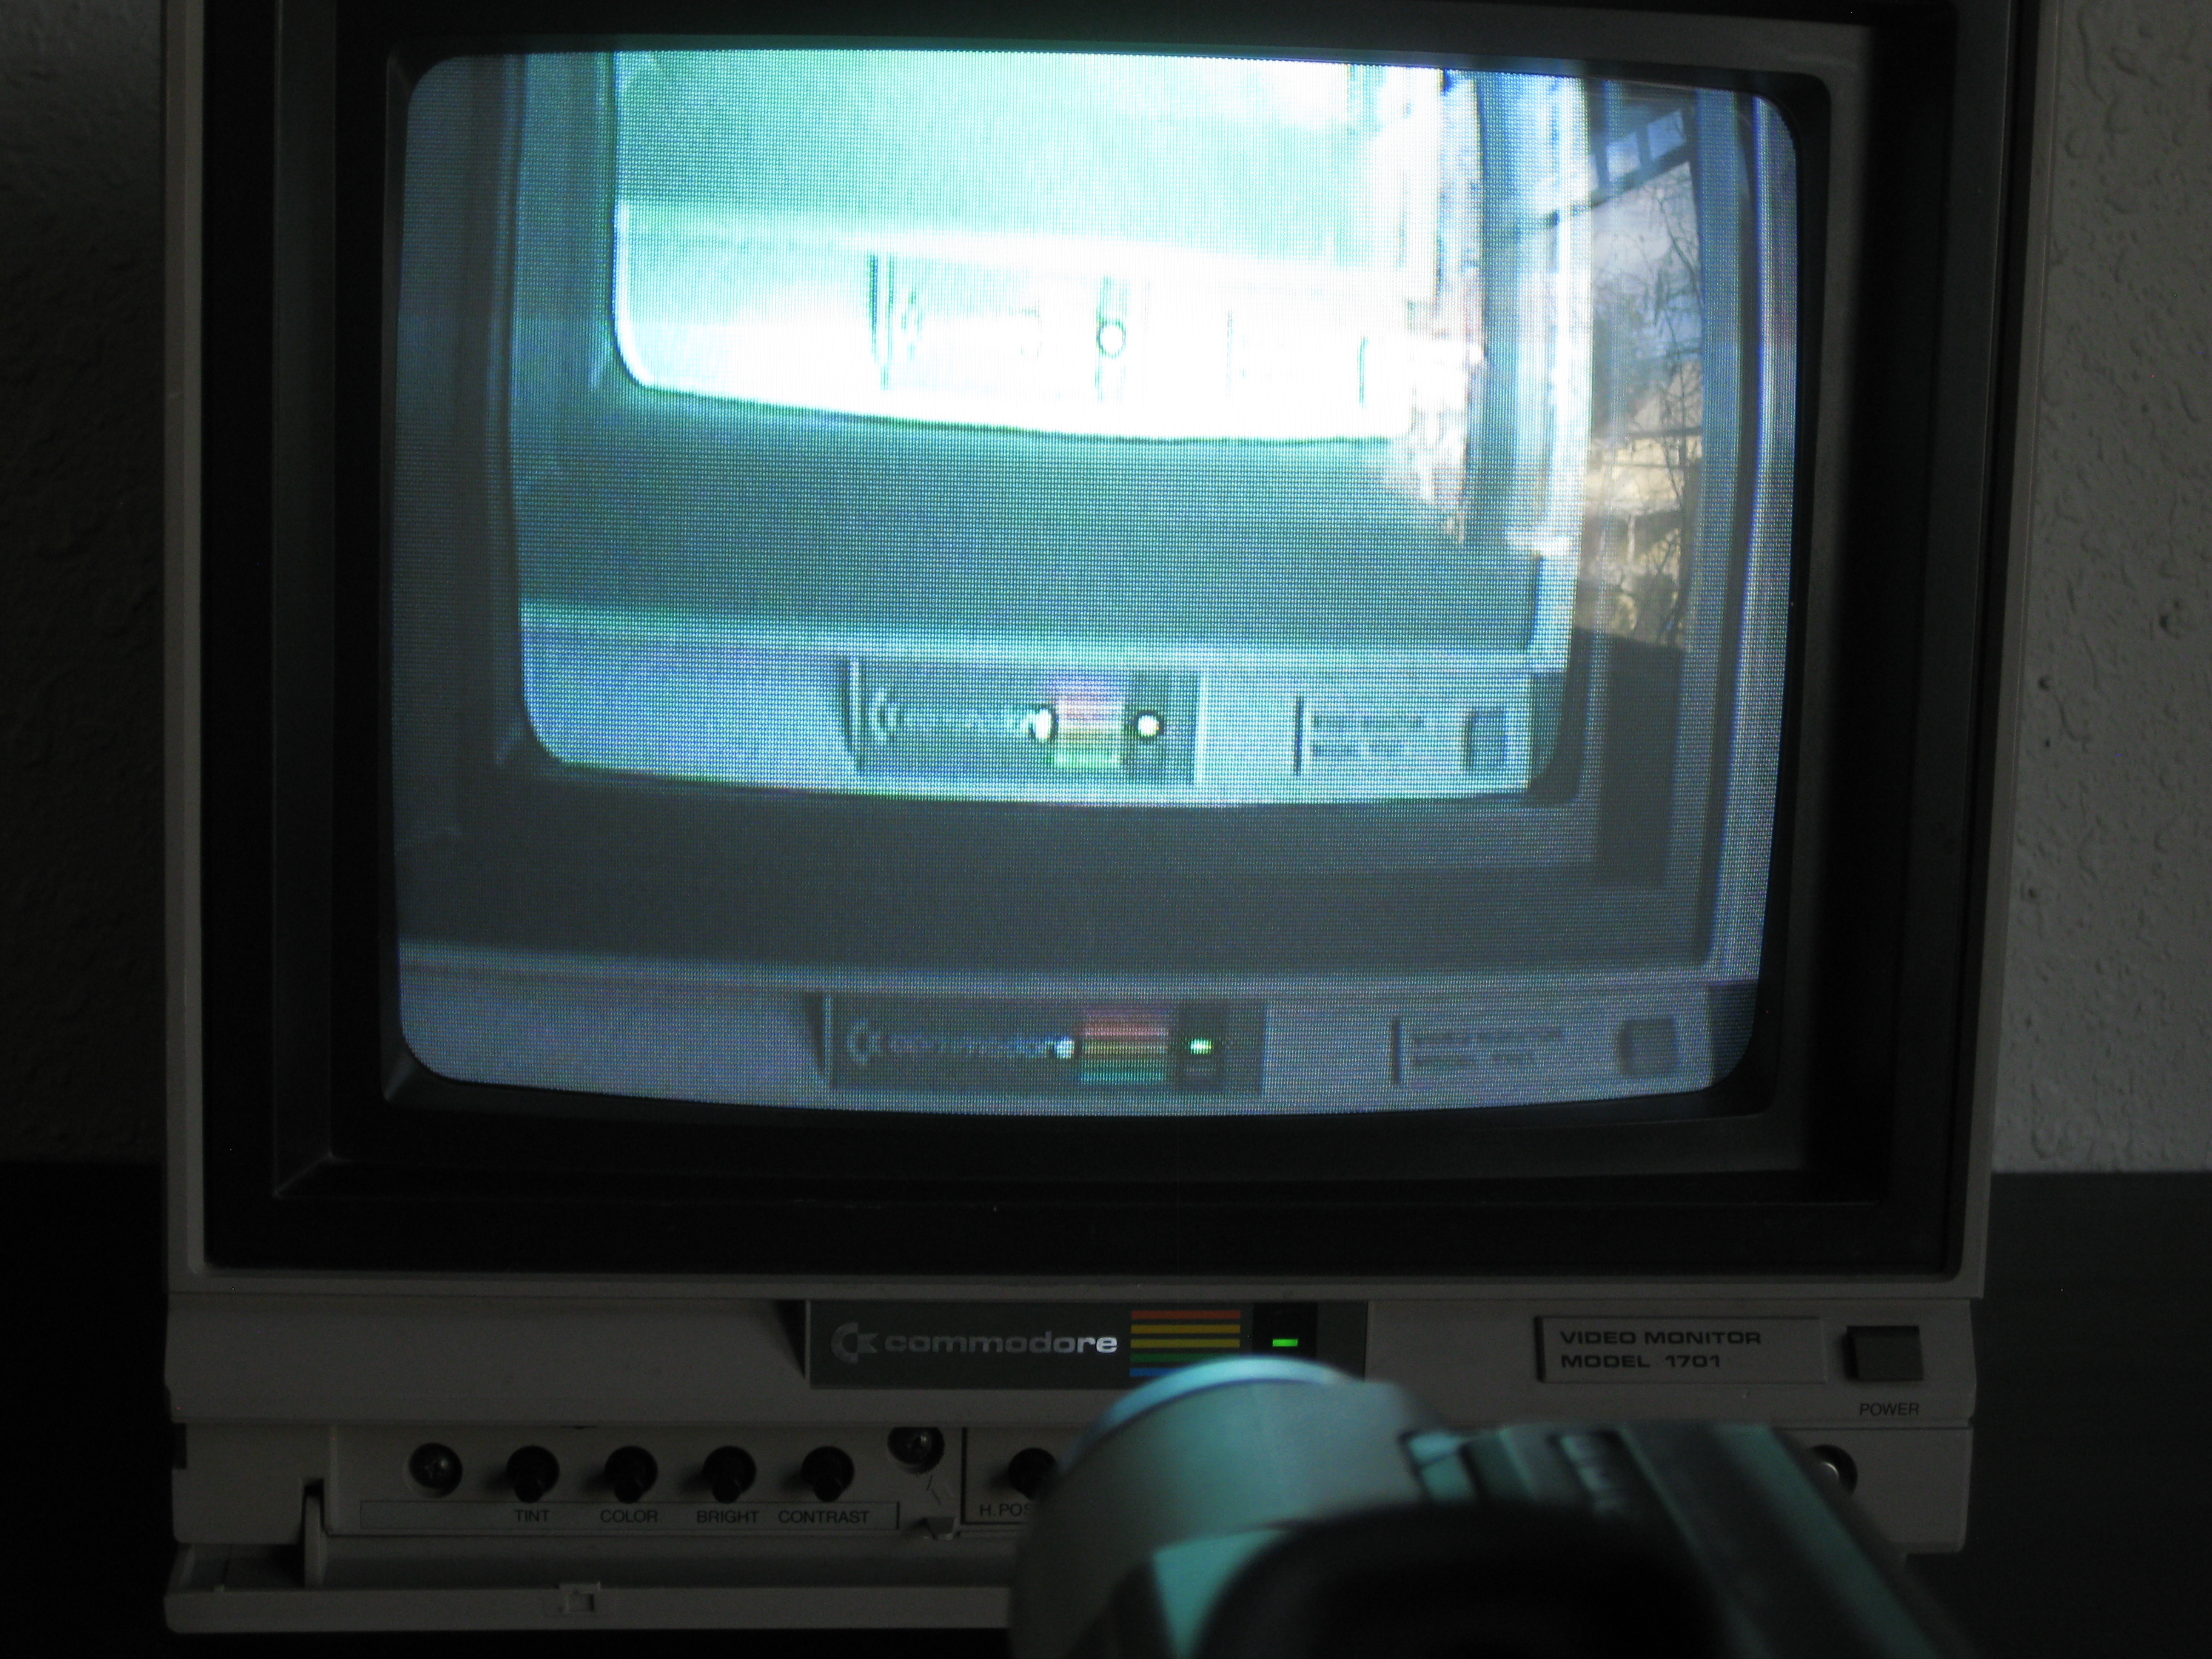
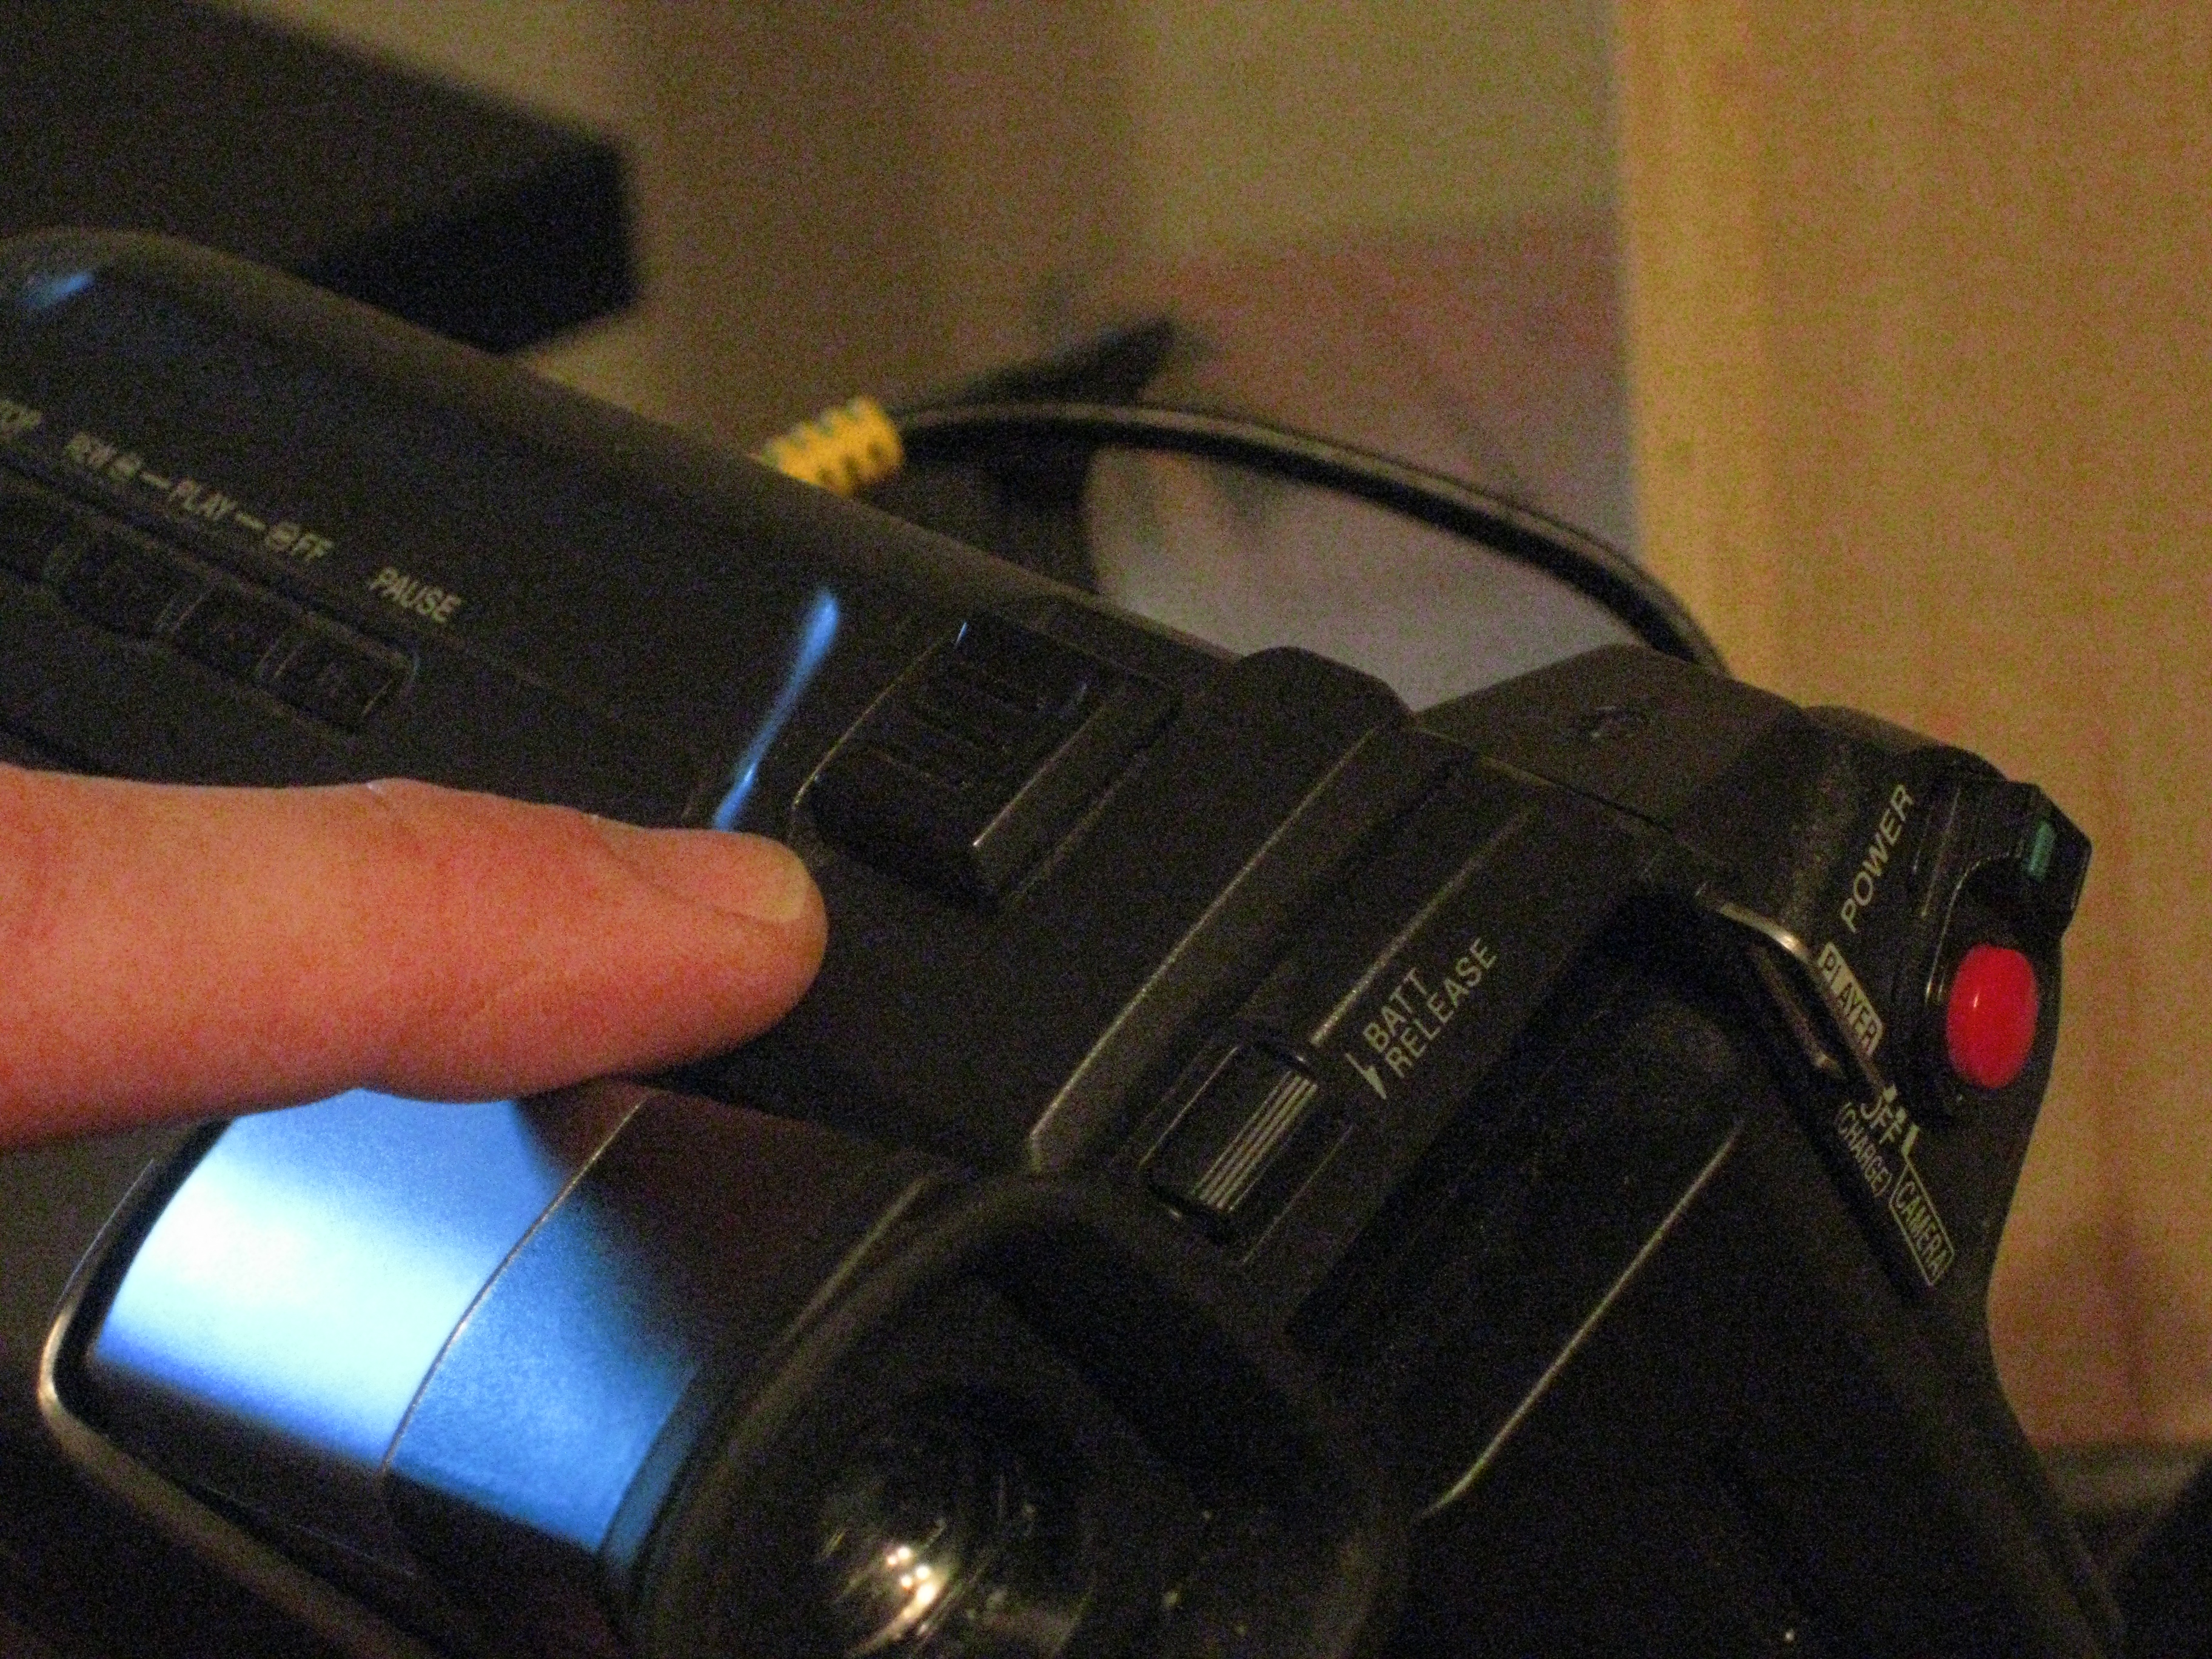
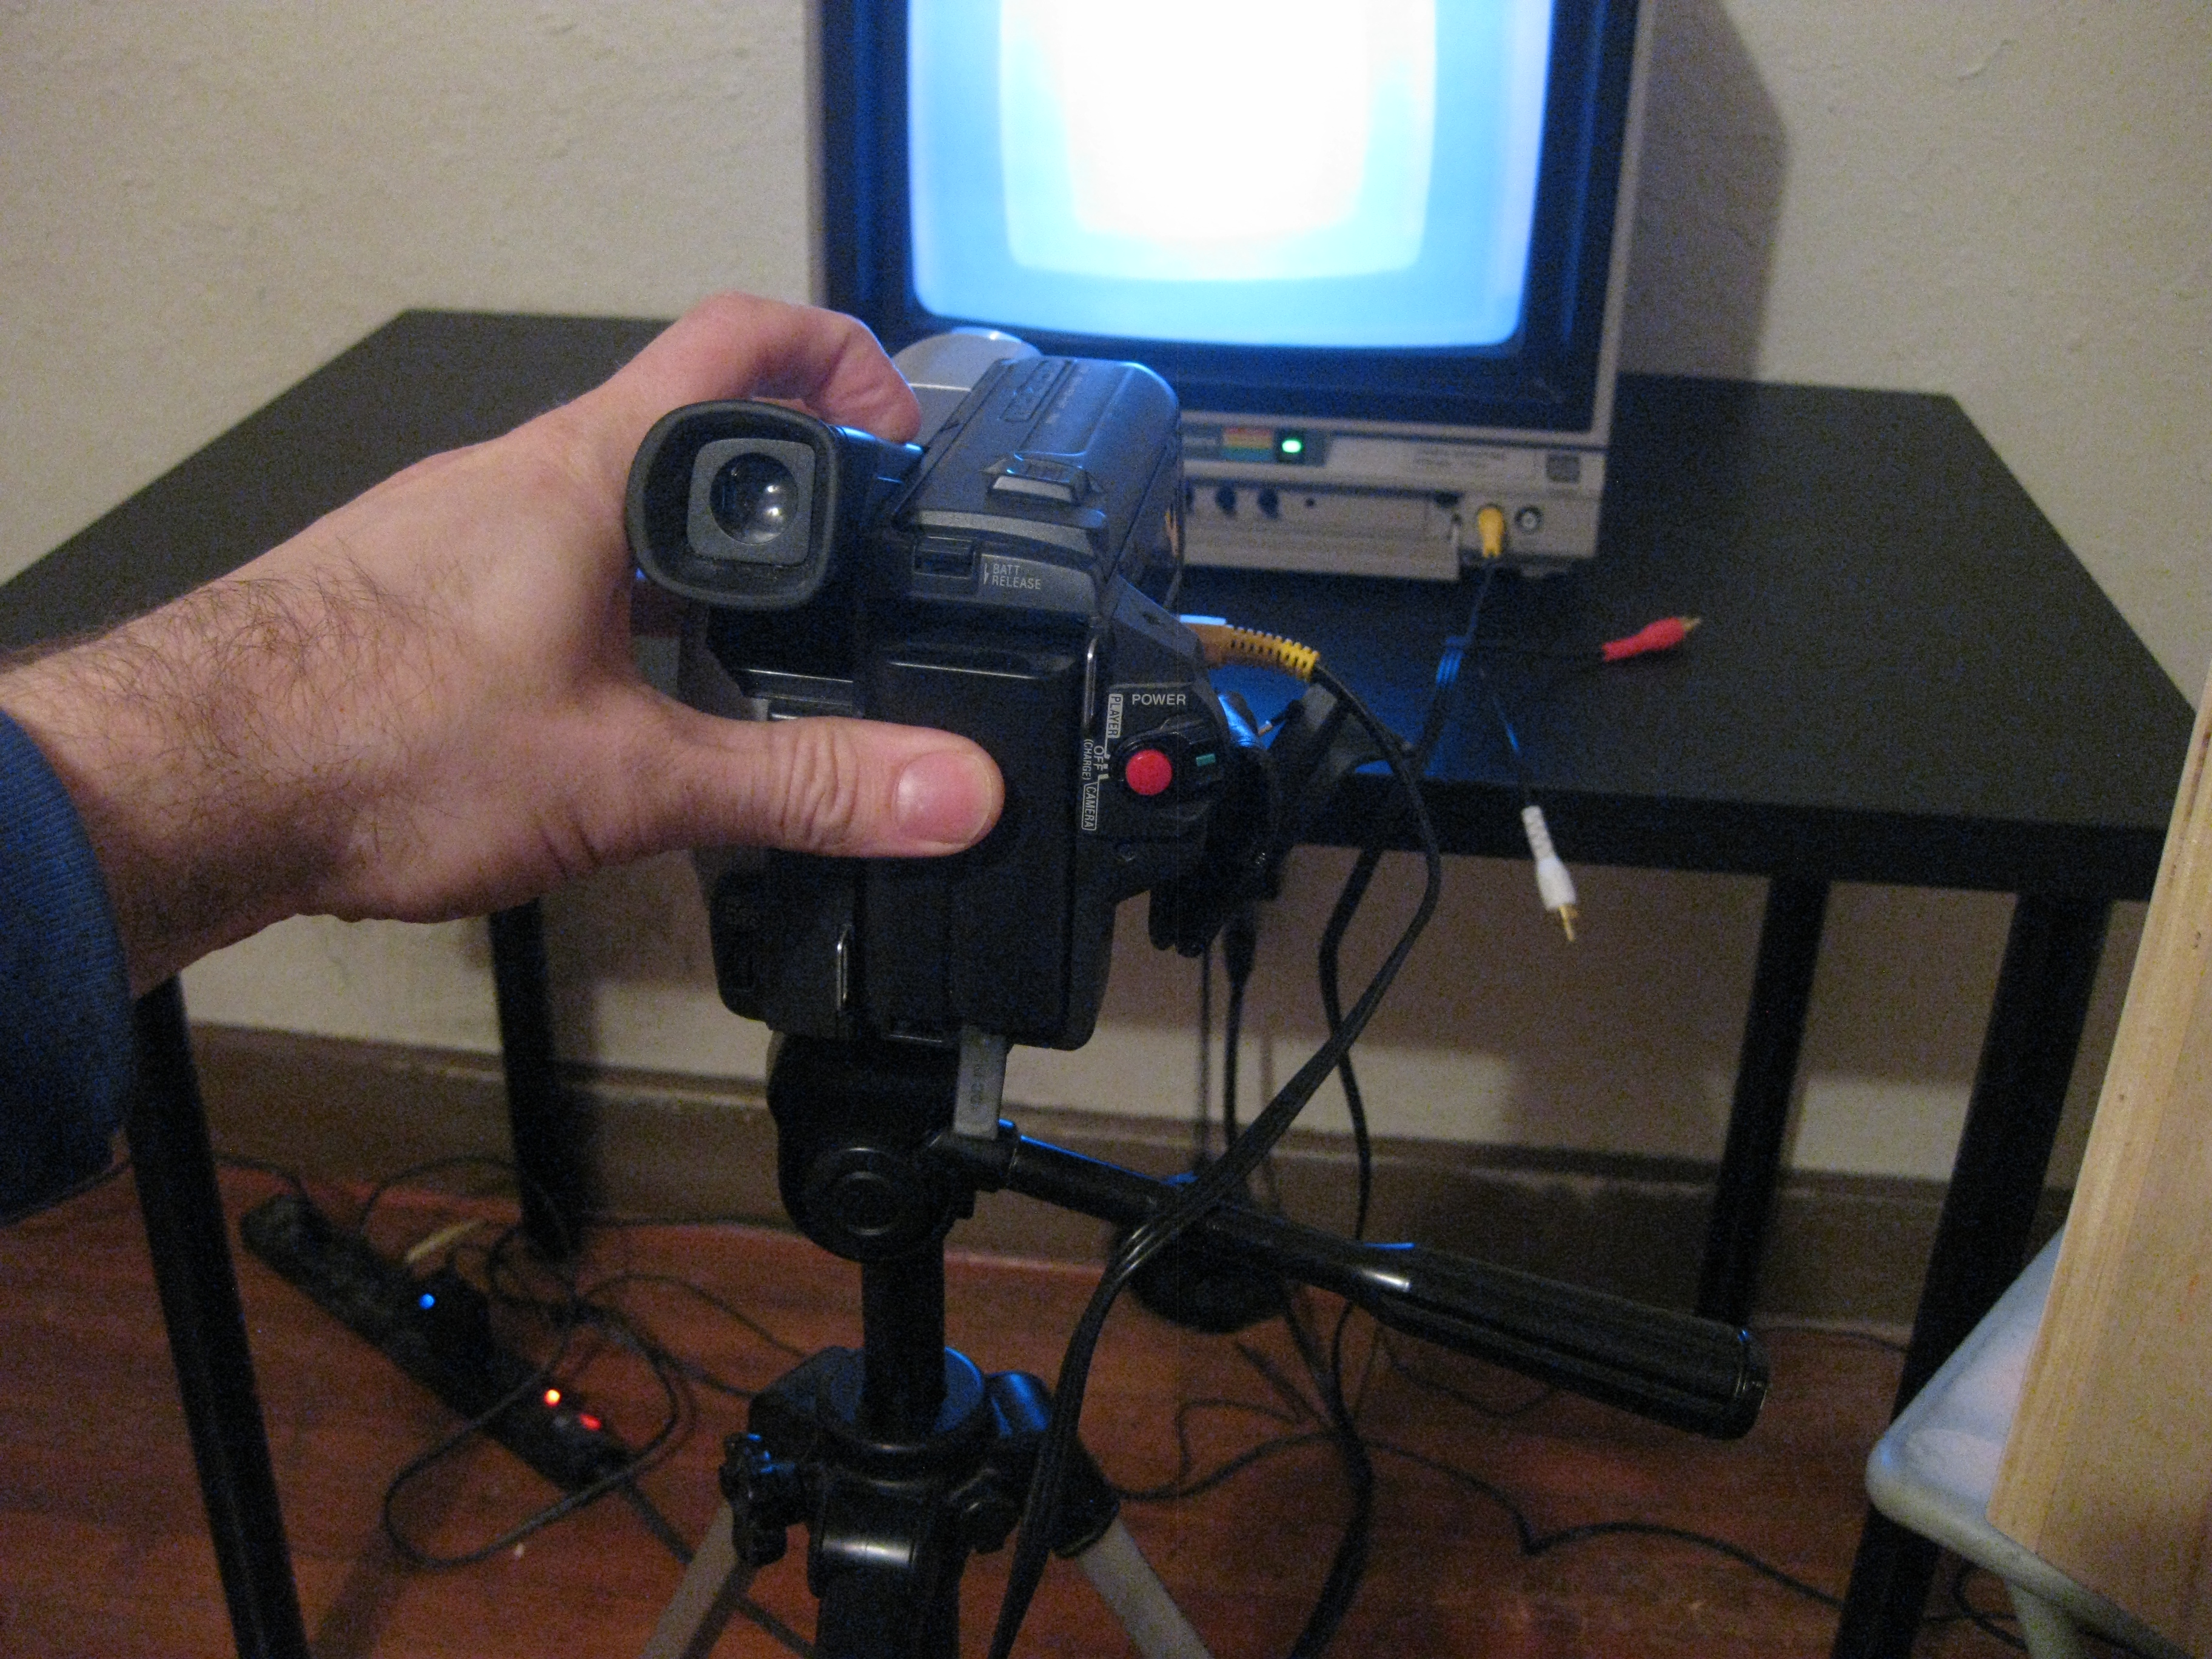
Now that everything is plugged in and turned on, you should be seeing some sort of image on the screen. In the first picture you can see that the monitor is displaying images of itself in increasingly smaller increments. This is video feedback. Experiment with the zoom controls on the camera (generally W T for "wide" and "tight" on camcorders) or move the tripod closer to or further from the monitor. In fact, this is a good time to play around with different distances and angles to see what happens. You can also adjust the brightness or contrast to get something close to what you see in the first image.
If you're not seeing an image, make sure that the lens cap is removed and that the brightness, contrast, etc. controls on the monitor and camera are all set to their default positions. If you still aren't seeing anything, double check that cable is plugged into the proper ins and outs, and that the appropriate input is selected on the monitor. If the image is dim, turn up the brightness or contrast on the monitor. If you are seeing scan lines (like in the embedded videos), try adjusting the exposure level on the camera.
Add a Twist and Find Your Center
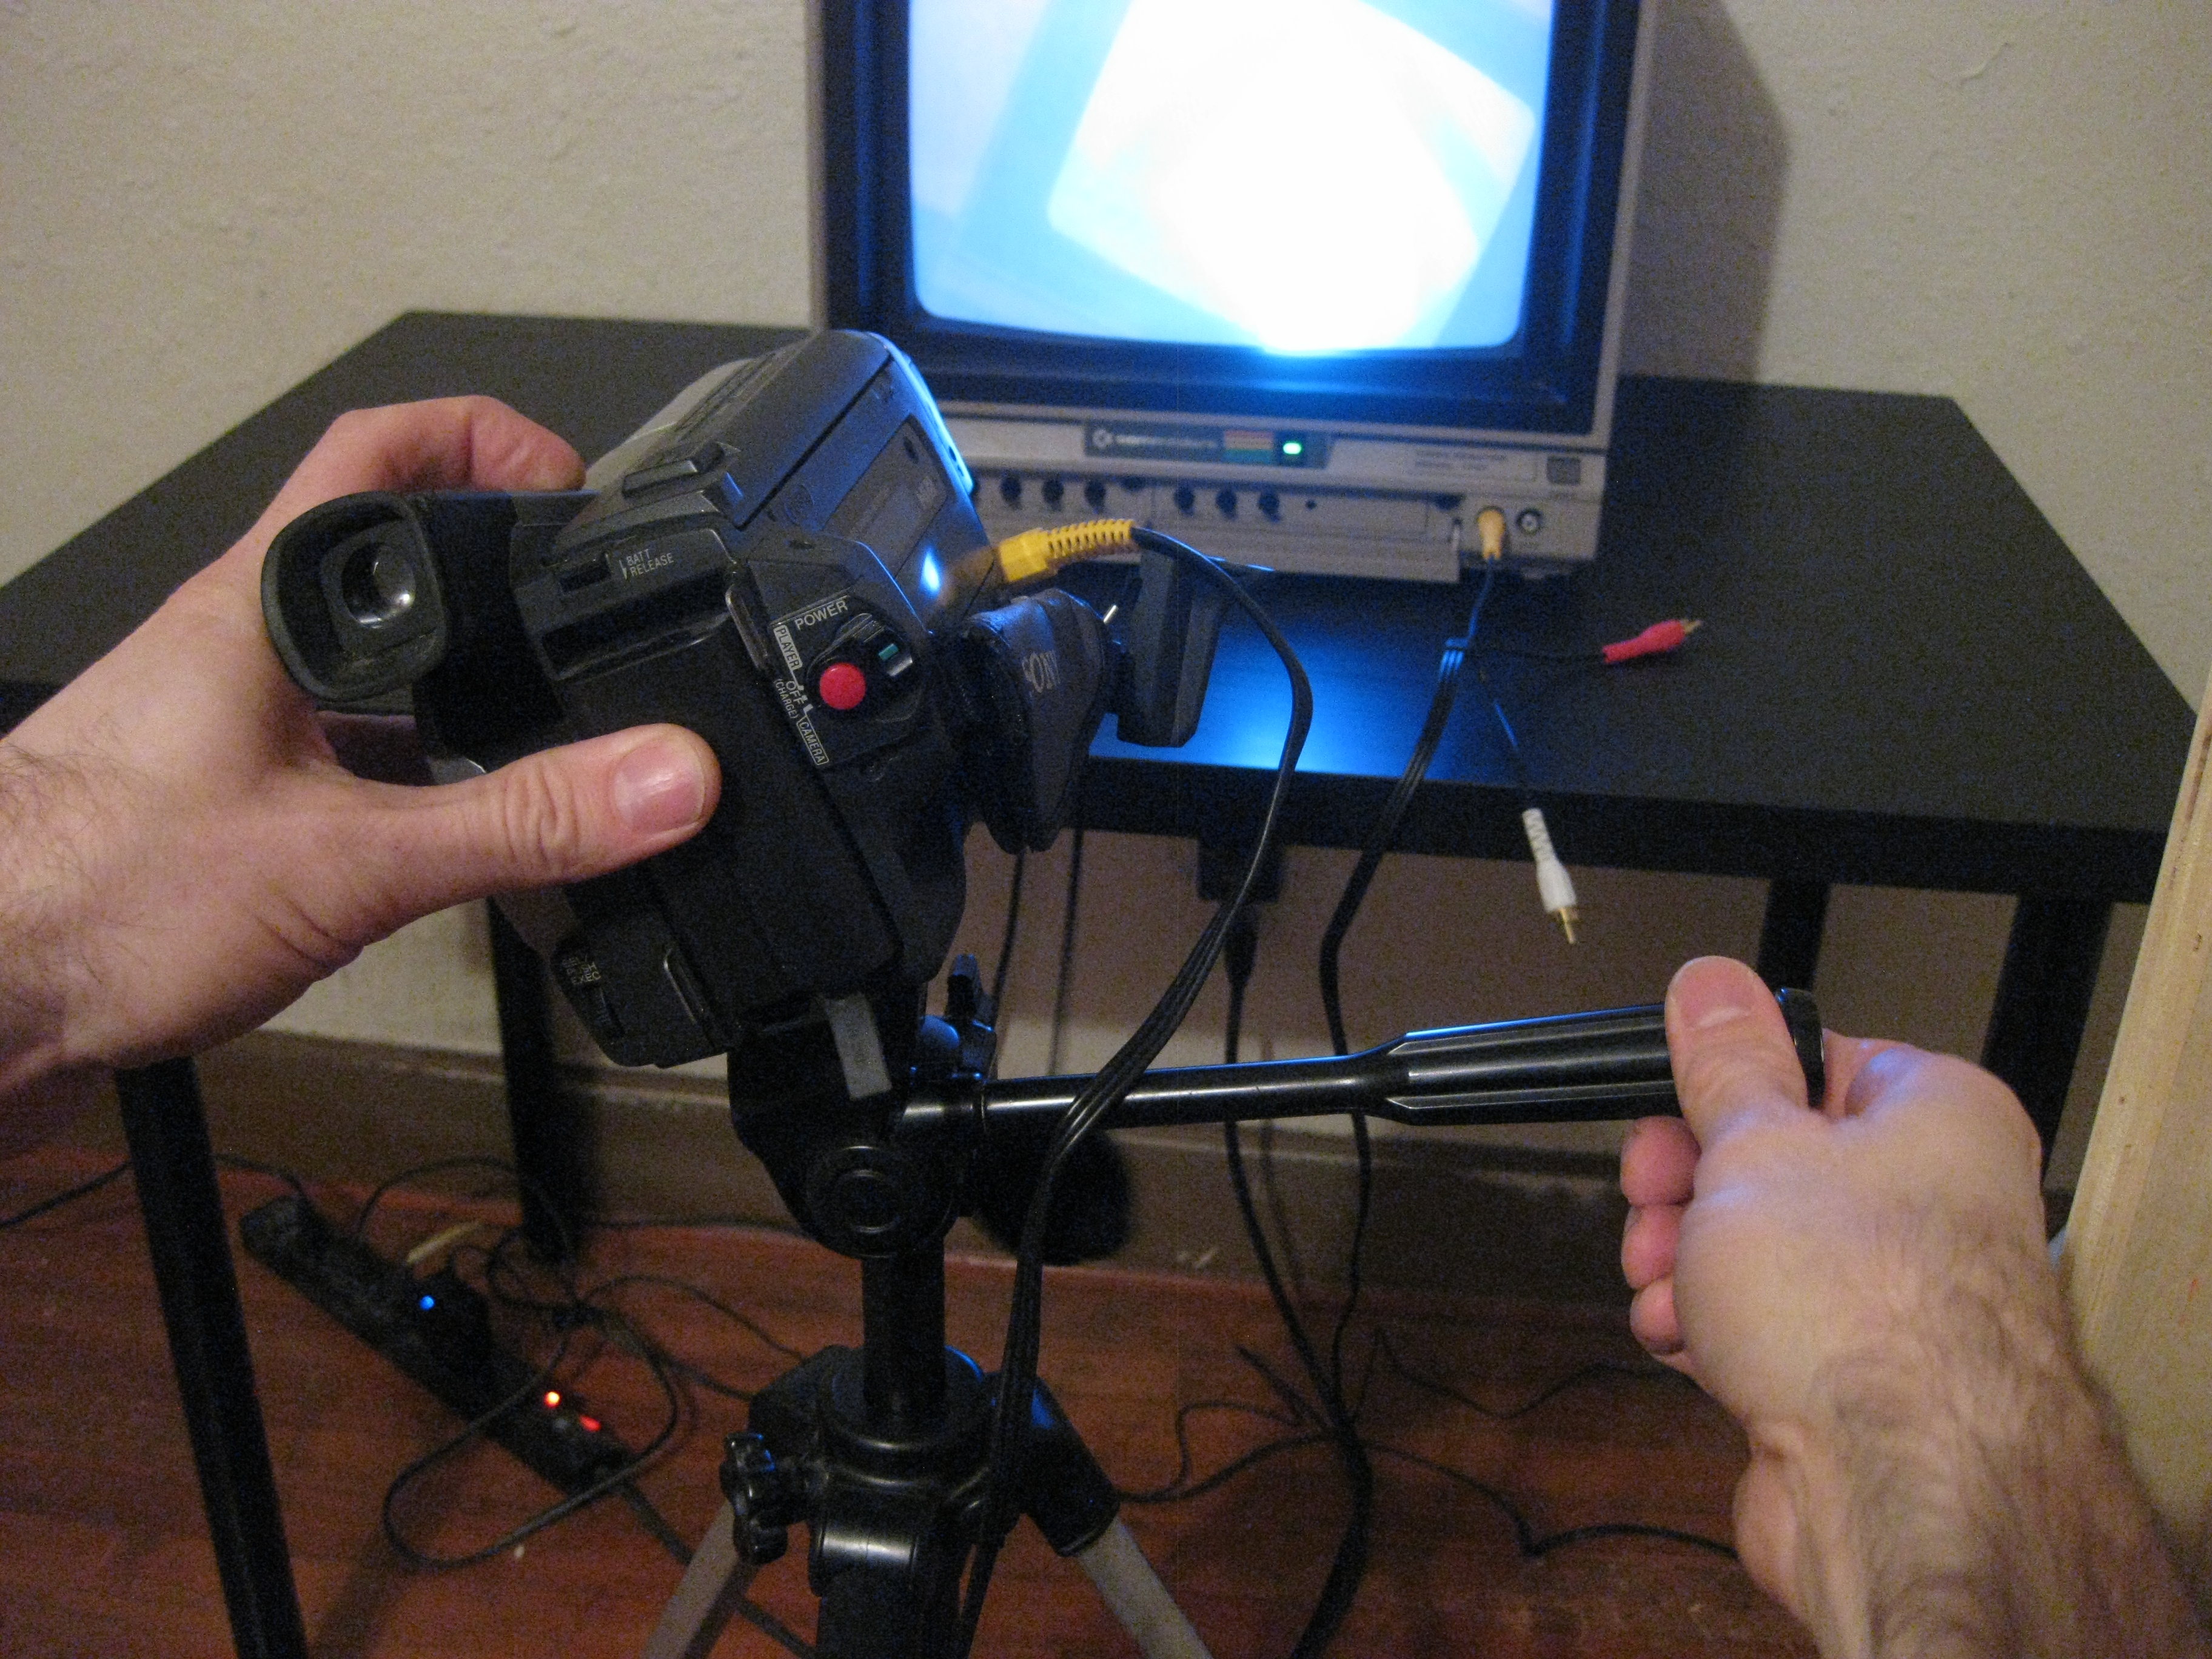
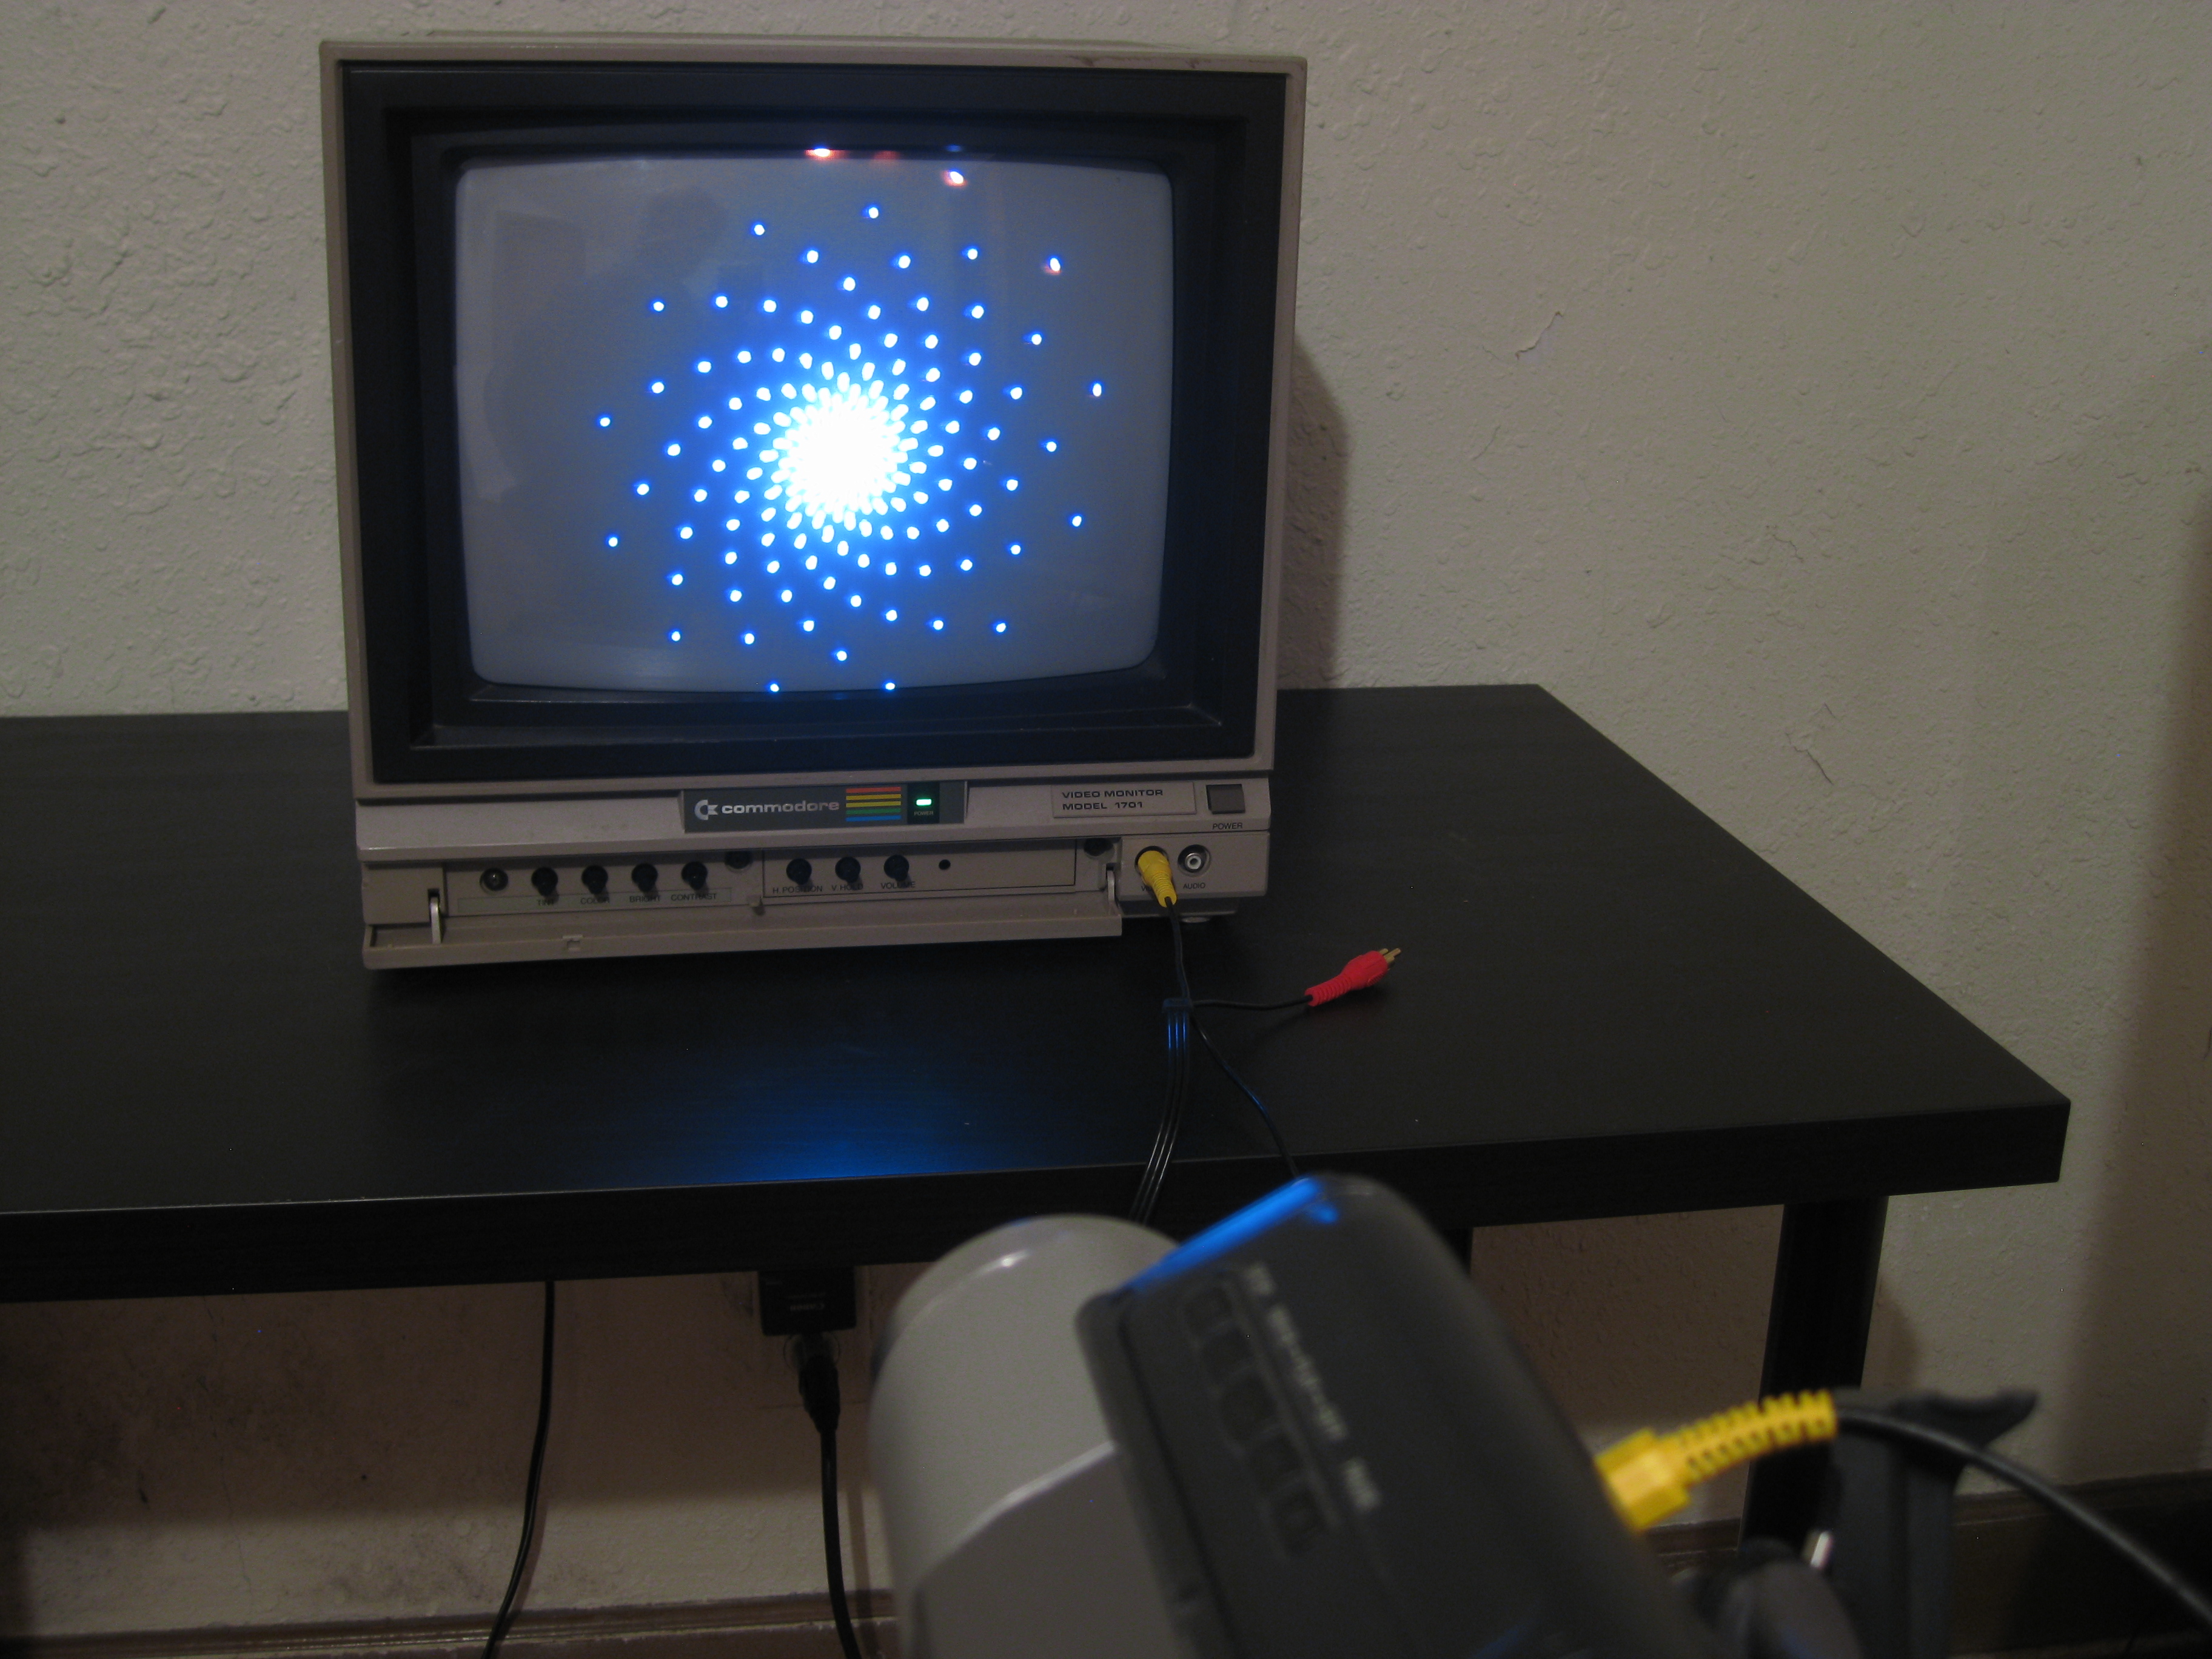
Now that you've established a feedback loop, tilt the camera about 20 degrees to the left. You will notice that the image on the screen is tilted at the same angle, but in the opposite direction, and that all of the subsequent images are rotated again by that same angle. At this point, play with the zoom/distance and the angle of the camera to see what happens.
Now it's time to center the image on the screen by adjusting the height and left/right position of the tripod. This is probably the trickiest part of the whole process, as everything you see on the screen is reversed. It's kind of like trying to play a video game with the controller held upside down. Be patient and move slowly in small increments. It will still work even if it is not perfectly centered in the middle of the screen.
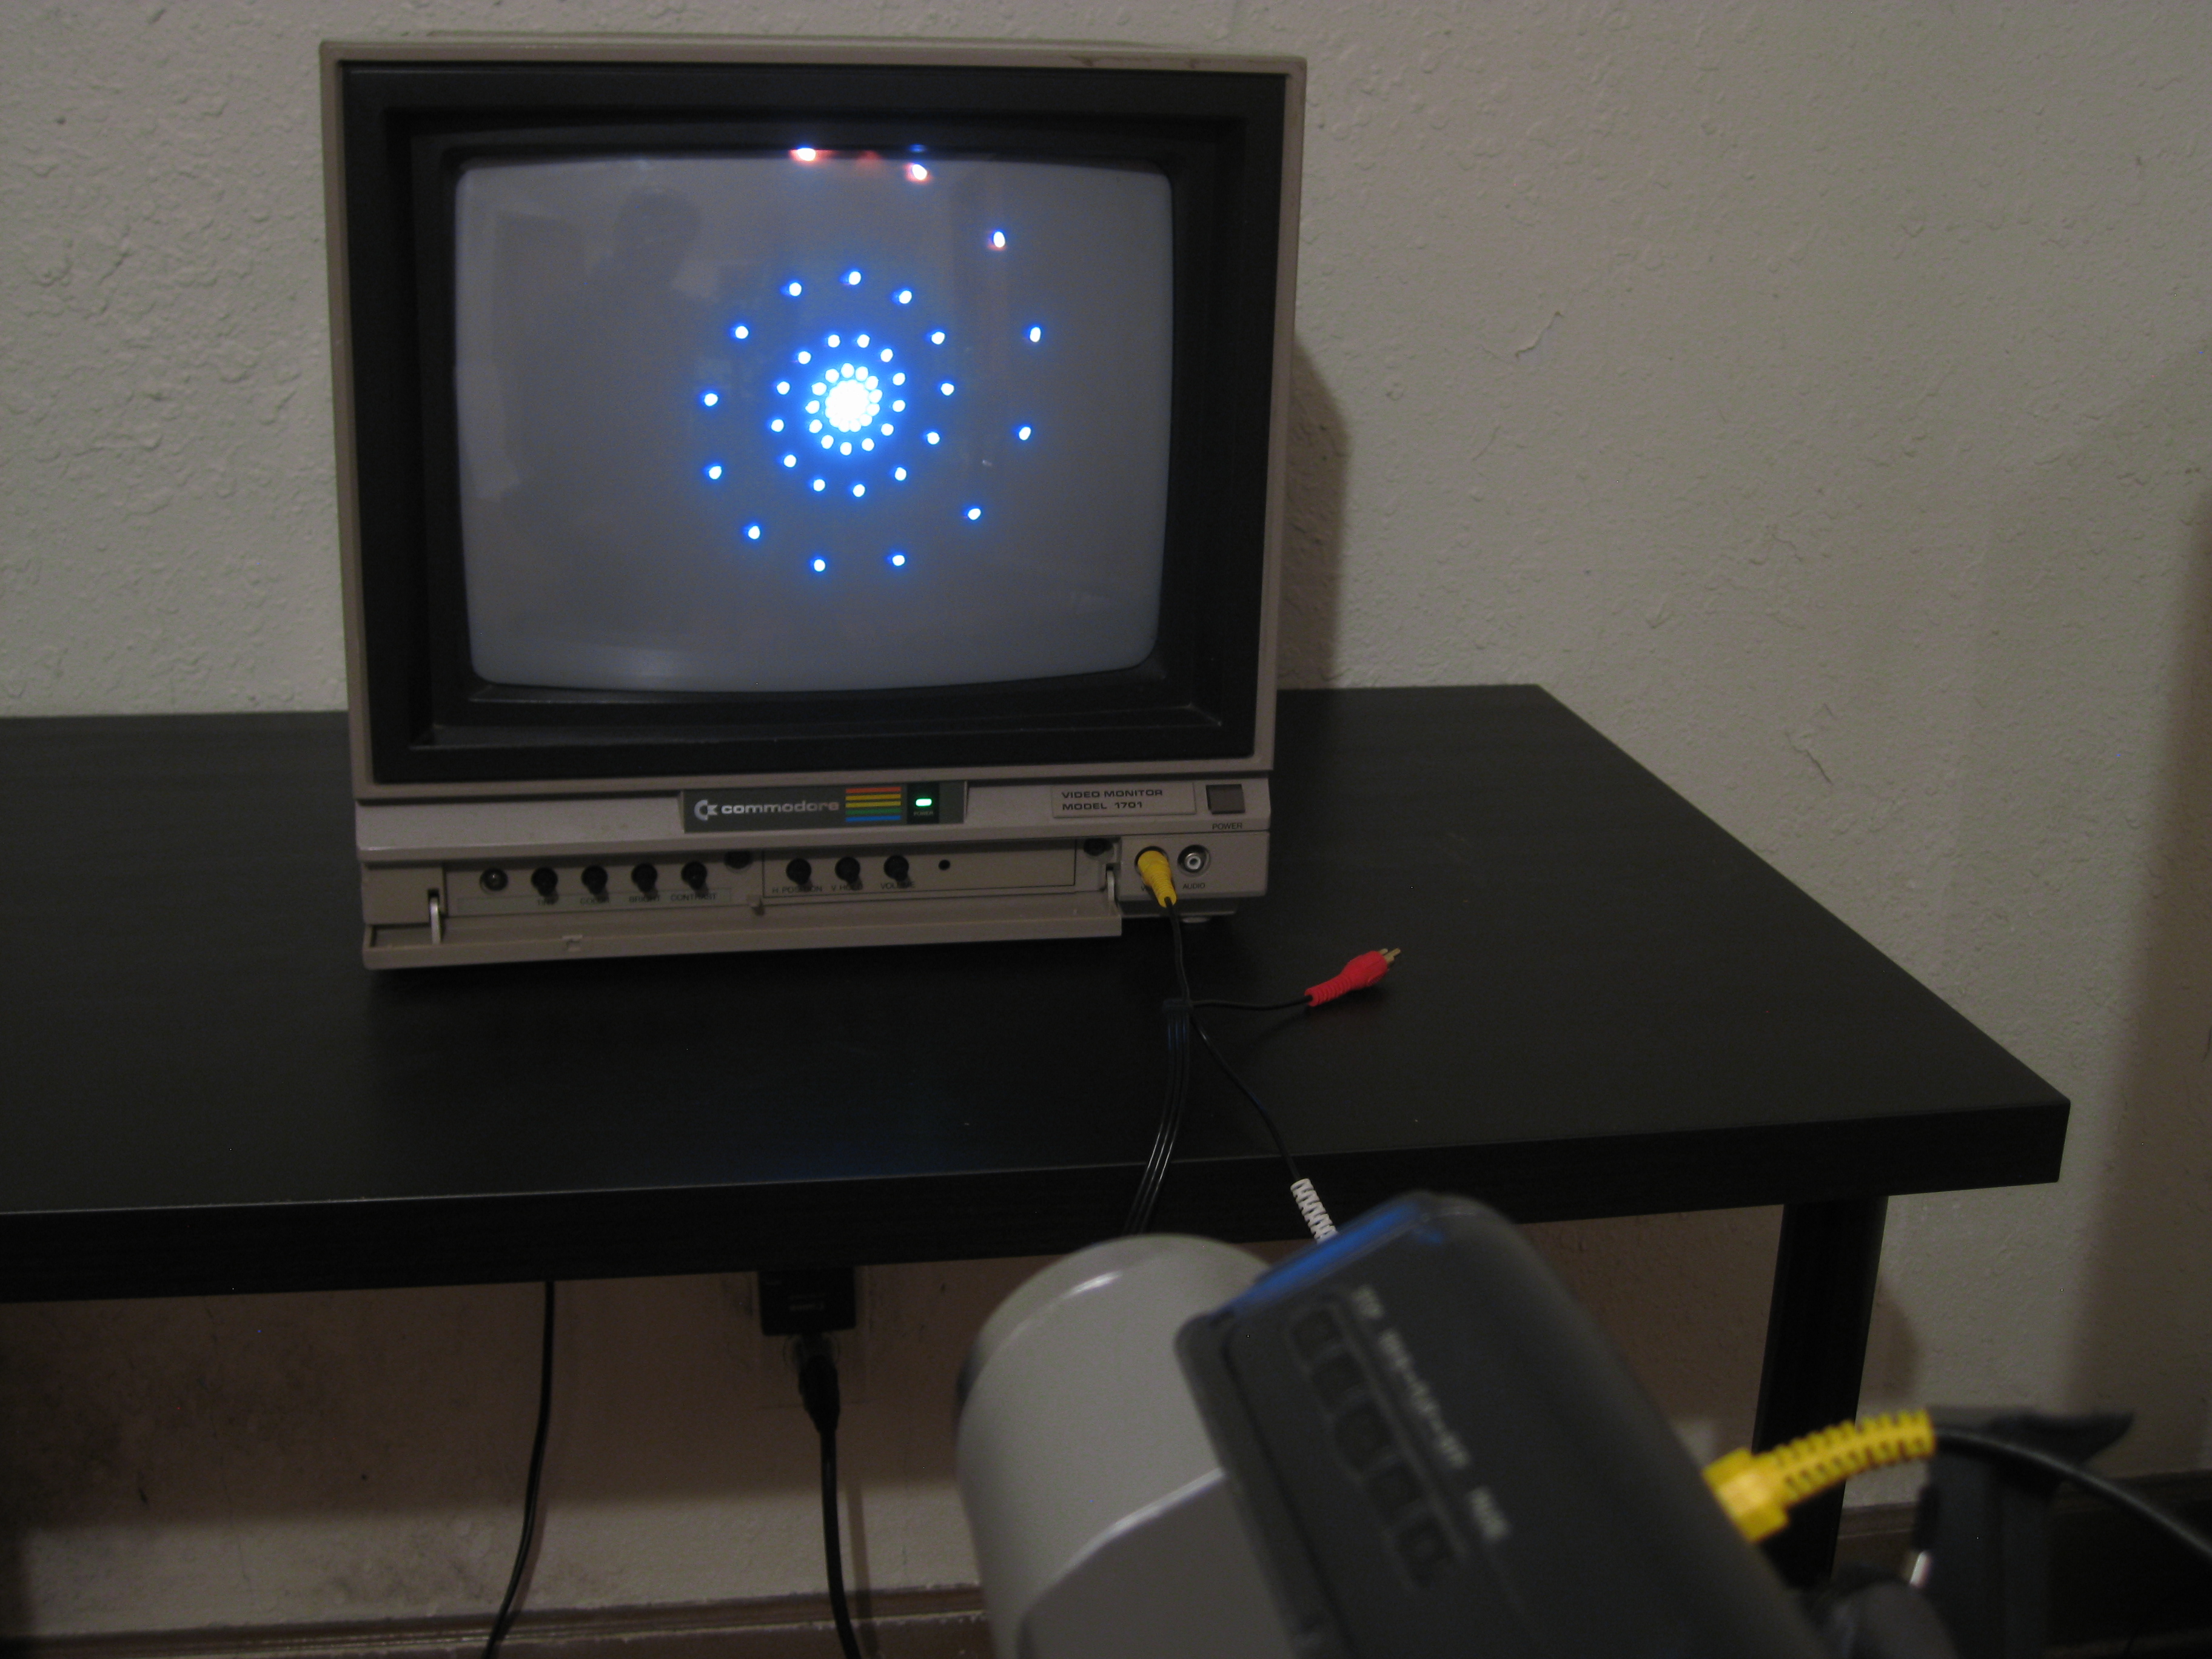
Once you're more or less centered, you should be able to get something like the third image here. The bright dot that is spiraling into the center is actually the reflection of a light bulb on the screen. Try zooming in and out to see what happens. I like to have something close to a 1:1 zoom ratio.
Dialing In
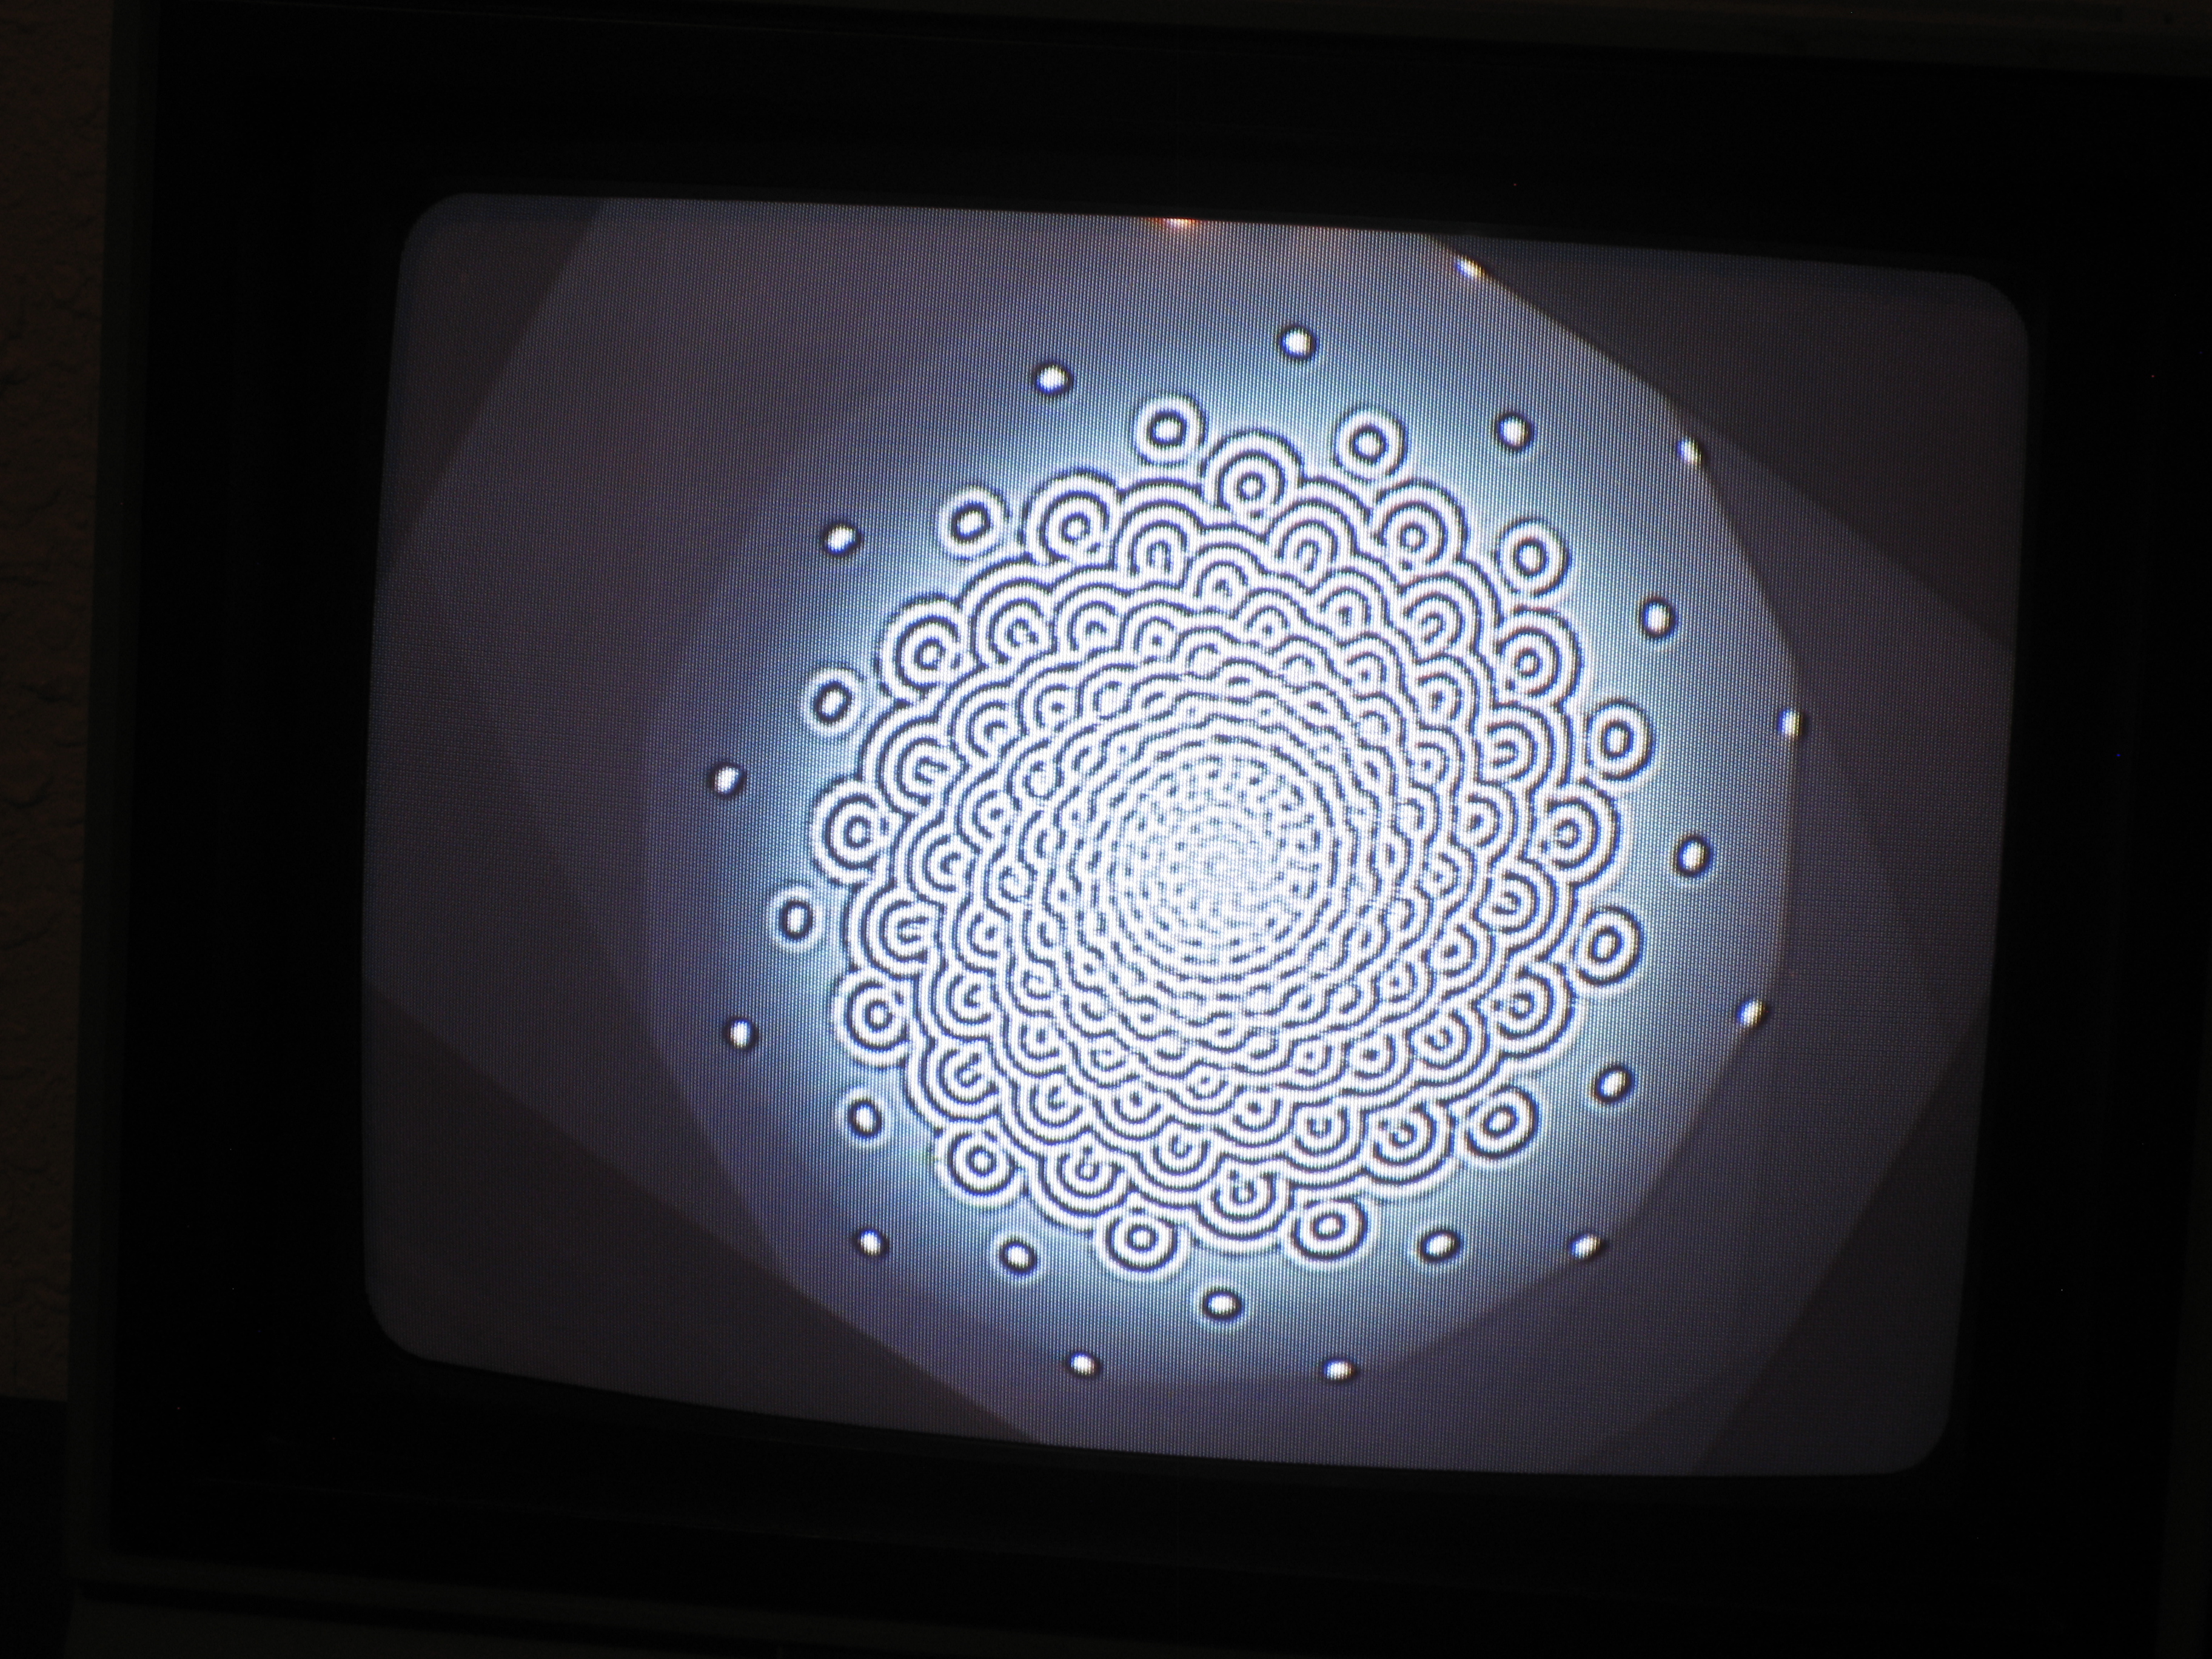
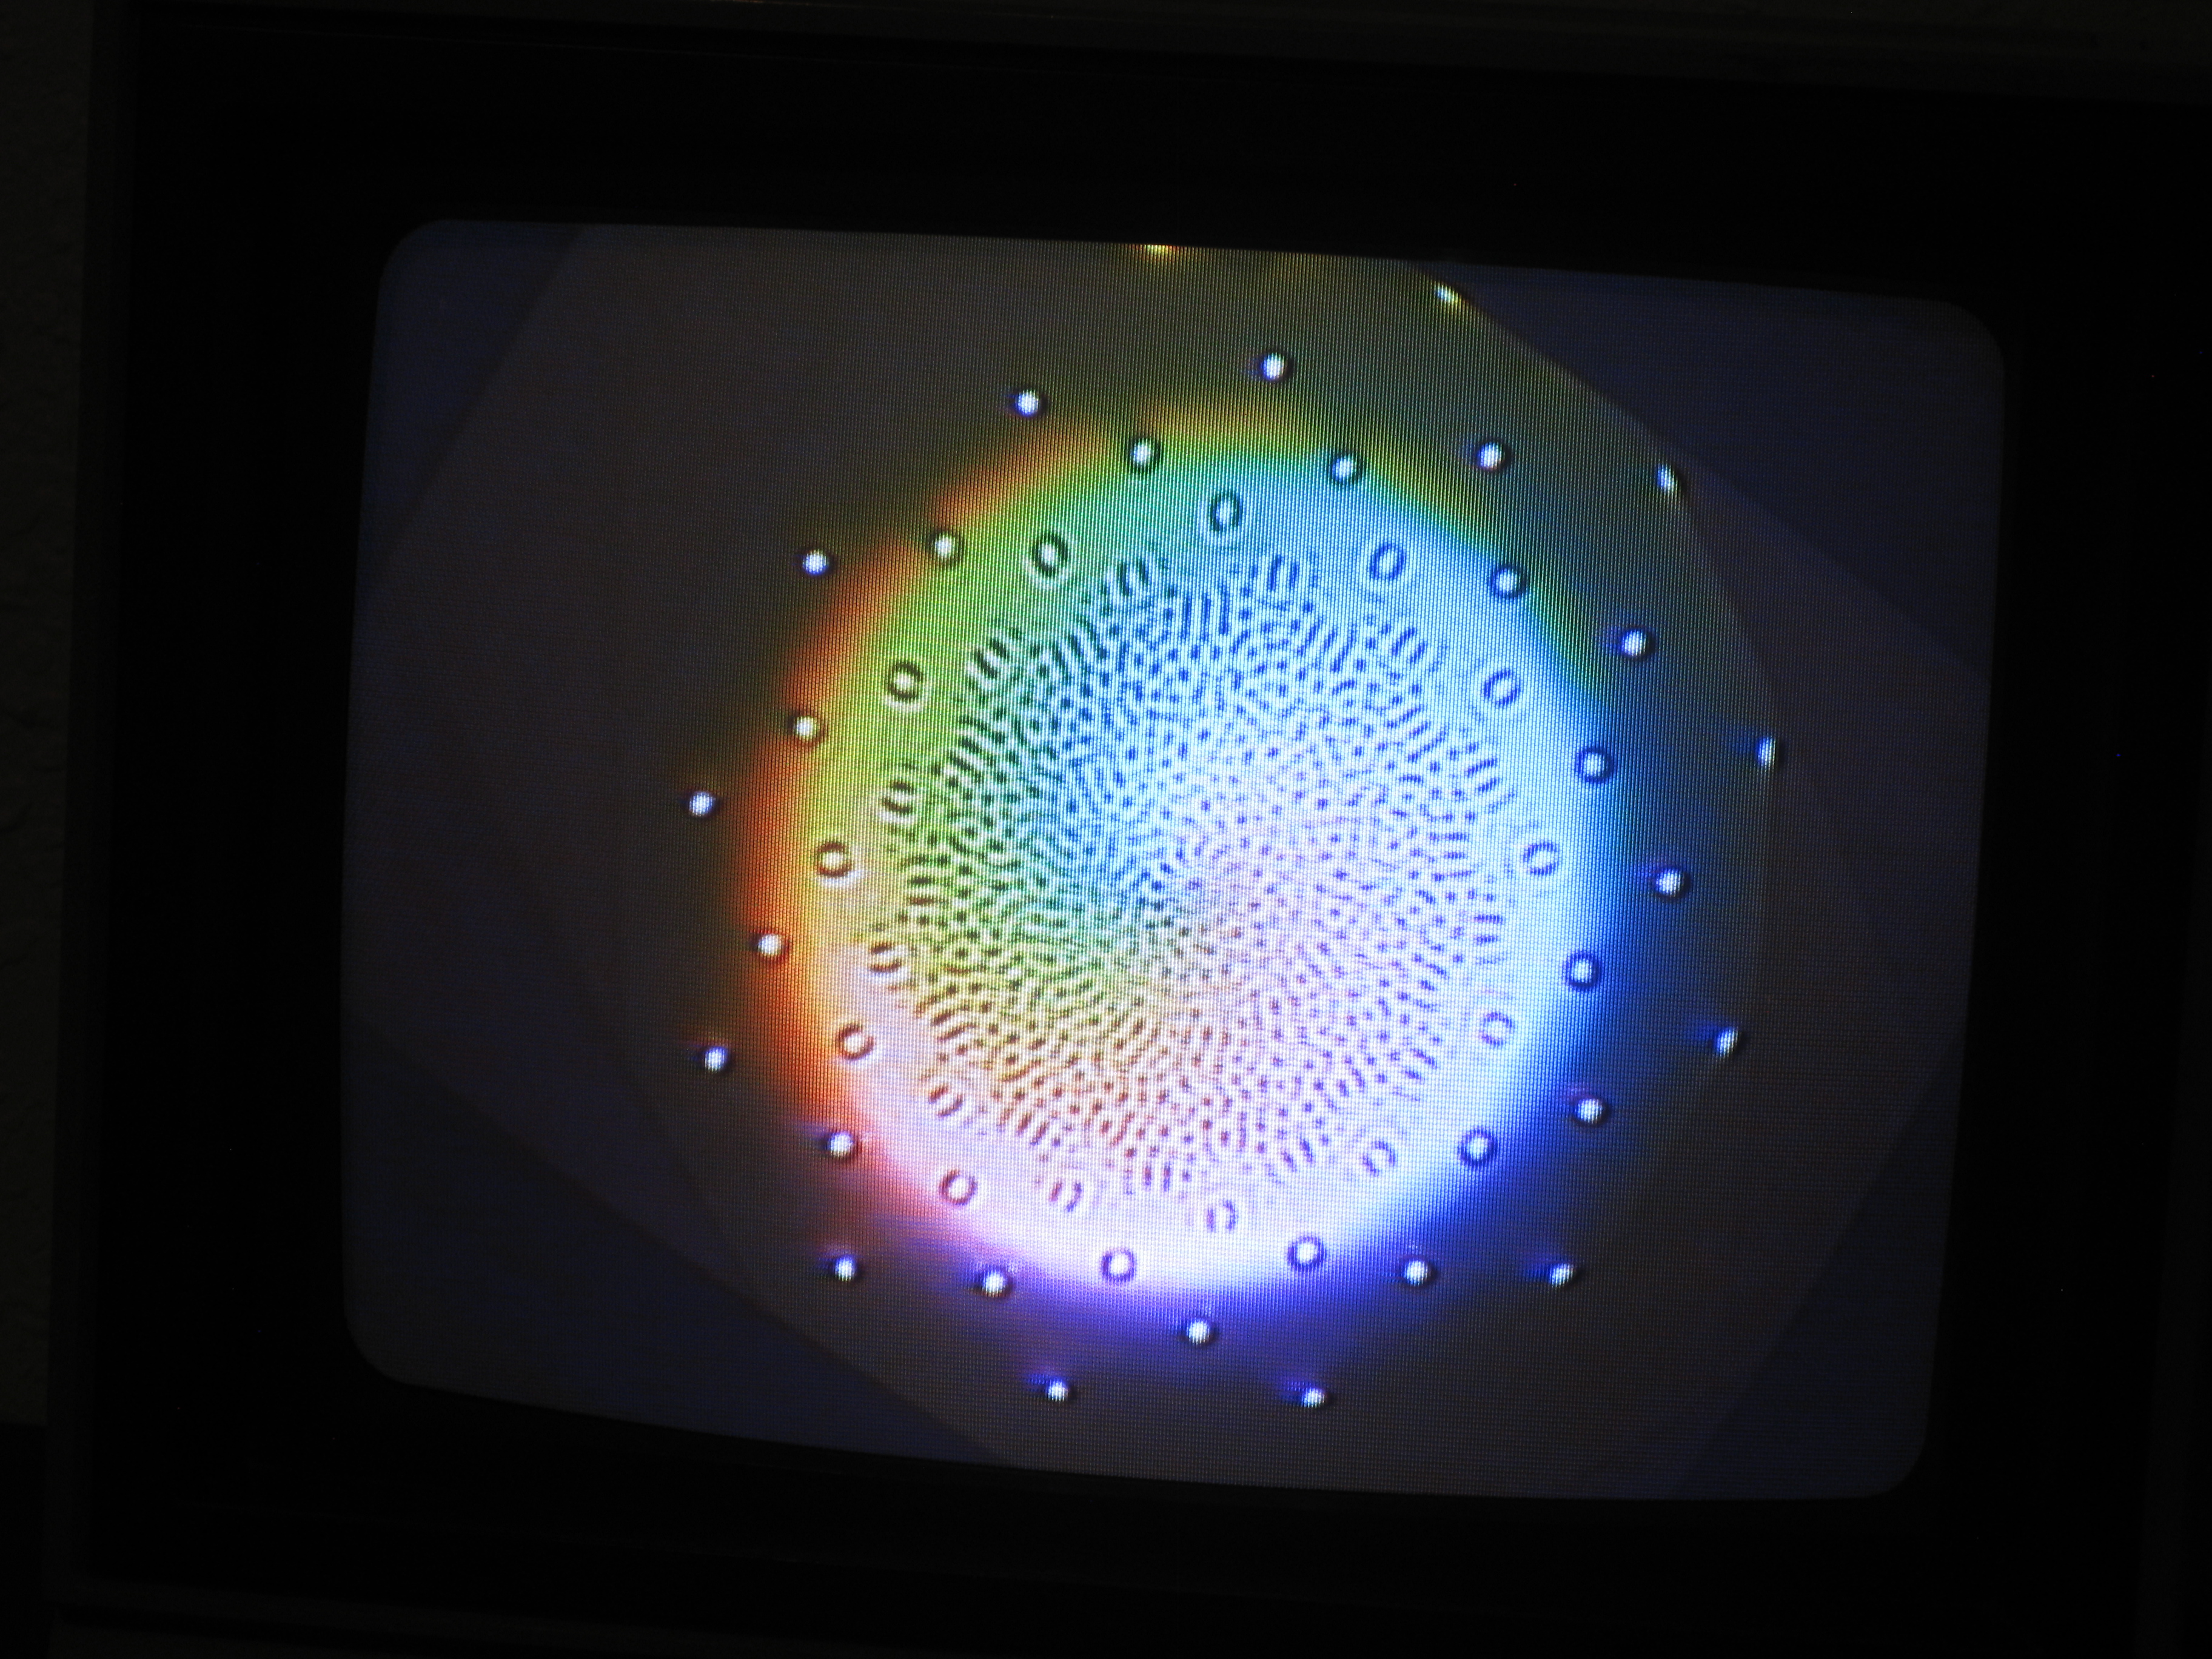
At this point the setup of the system is complete, and all that remains is the fine tuning.
As I said in the intro, you will ideally have a monitor with dedicated brightness and contrast control knobs. Experiment with these levels until you find a balanced, stable image. If you find that the image on screen is disappearing, try introducing a light source in the background to reflect off of the screen and continuously "seed" the feedback loop. My monitor also has Tint and Color knobs, which can have some pretty stunning effects. Play around with whatever controls you have available, but start out testing one at a time so that you don't get too far from your baseline image.
This is the part that is most difficult to explain; the results and methods will vary depending on your particular equipment and conditions. Take your time and enjoy figuring out what effect all of the different parameters have on the image. When you find a nice stable loop, sit back and enjoy it for a while.
Extras
Once you've gotten comfortable with this setup, see what else you can introduce to influence the image. You have probably already waved your hand between the camera and the screen- experiment with putting other things between the camera and screen. I've tried lenses, prisms, and cardboard with a hole cut out (think Photoshop mask) to name a few. You can also introduce video effects into the signal path to take it to another level. Over the years I've found lots of cheap, outboard, consumer-level video effects boxes from the 80s and 90s in thrift stores. These are a great start, and can also be circuit bent, if you are so inclined. Many camcorders also have built-in effects.
To record the results, simply add a recording device into the signal path. In my setup in have the camera going into a VCR, and then out to the monitor. You can also record directly onto a tape ( or SD card, or whatever) if you are using a camcorder.
If you're interested in learning more about video feedback, check out the Wikipedia page, particularly the links in the References section at the bottom.
You can see a couple more examples of video feedback on my Vimeo page.