Memory Lamp
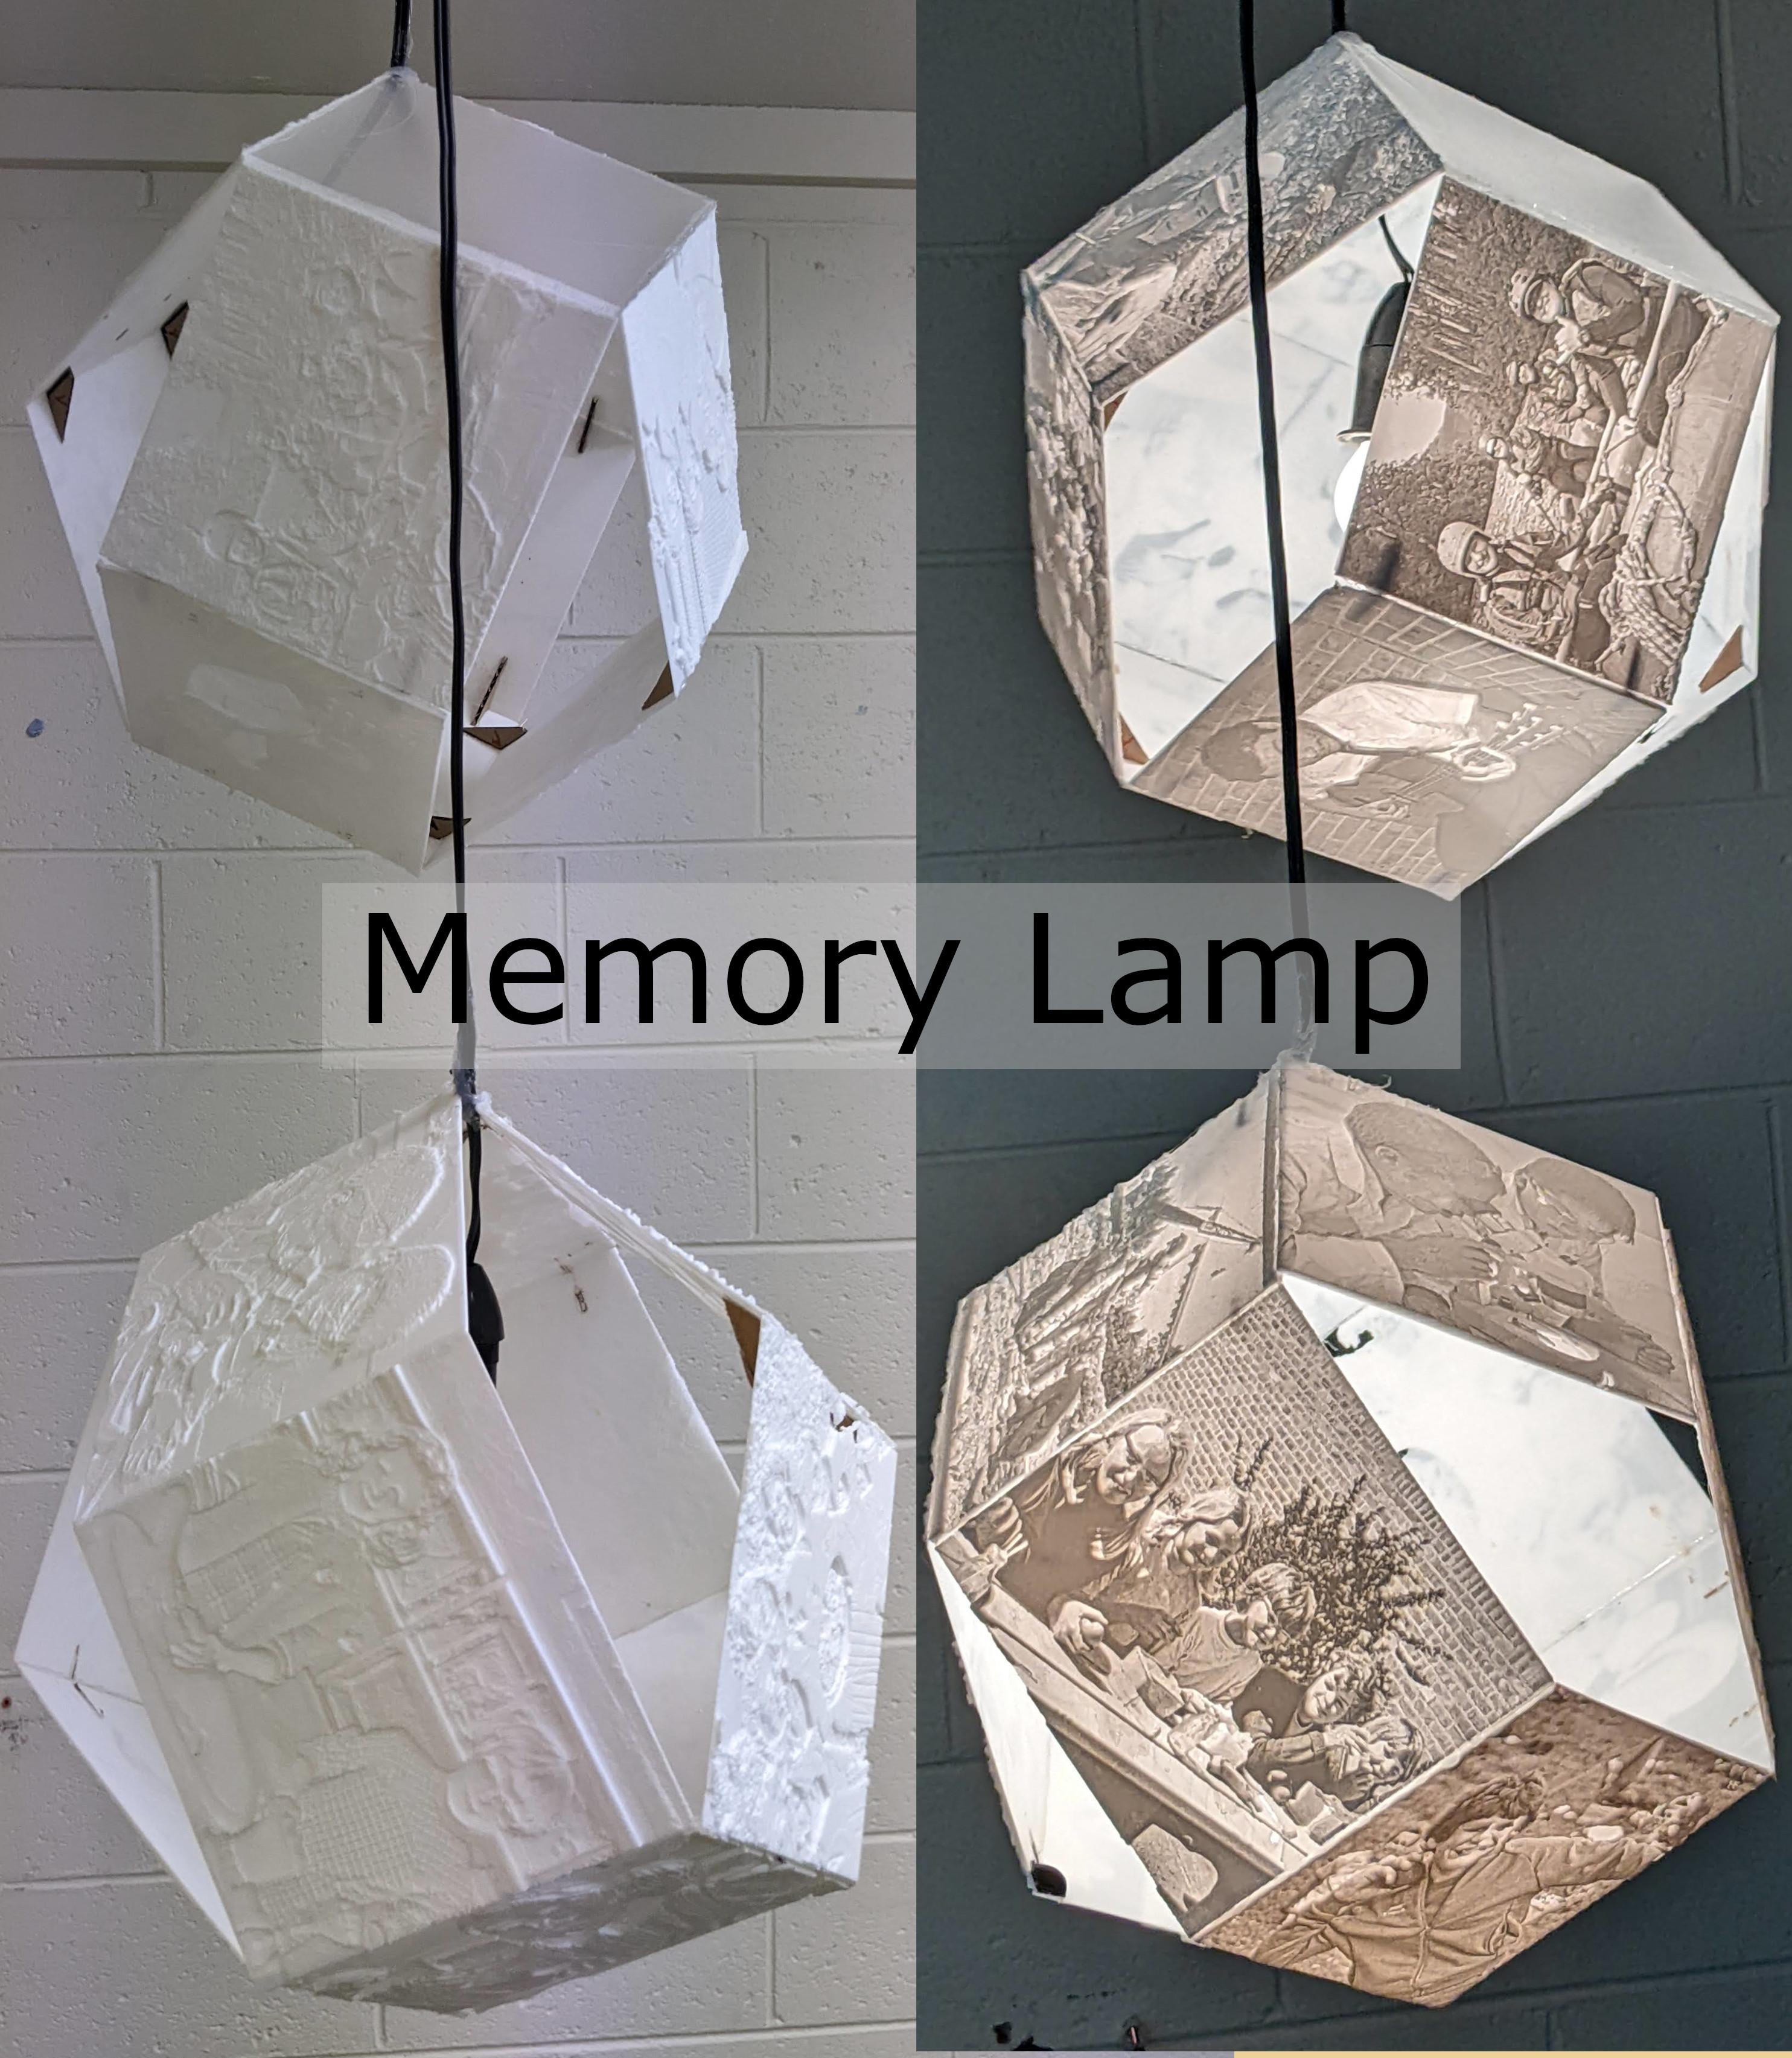
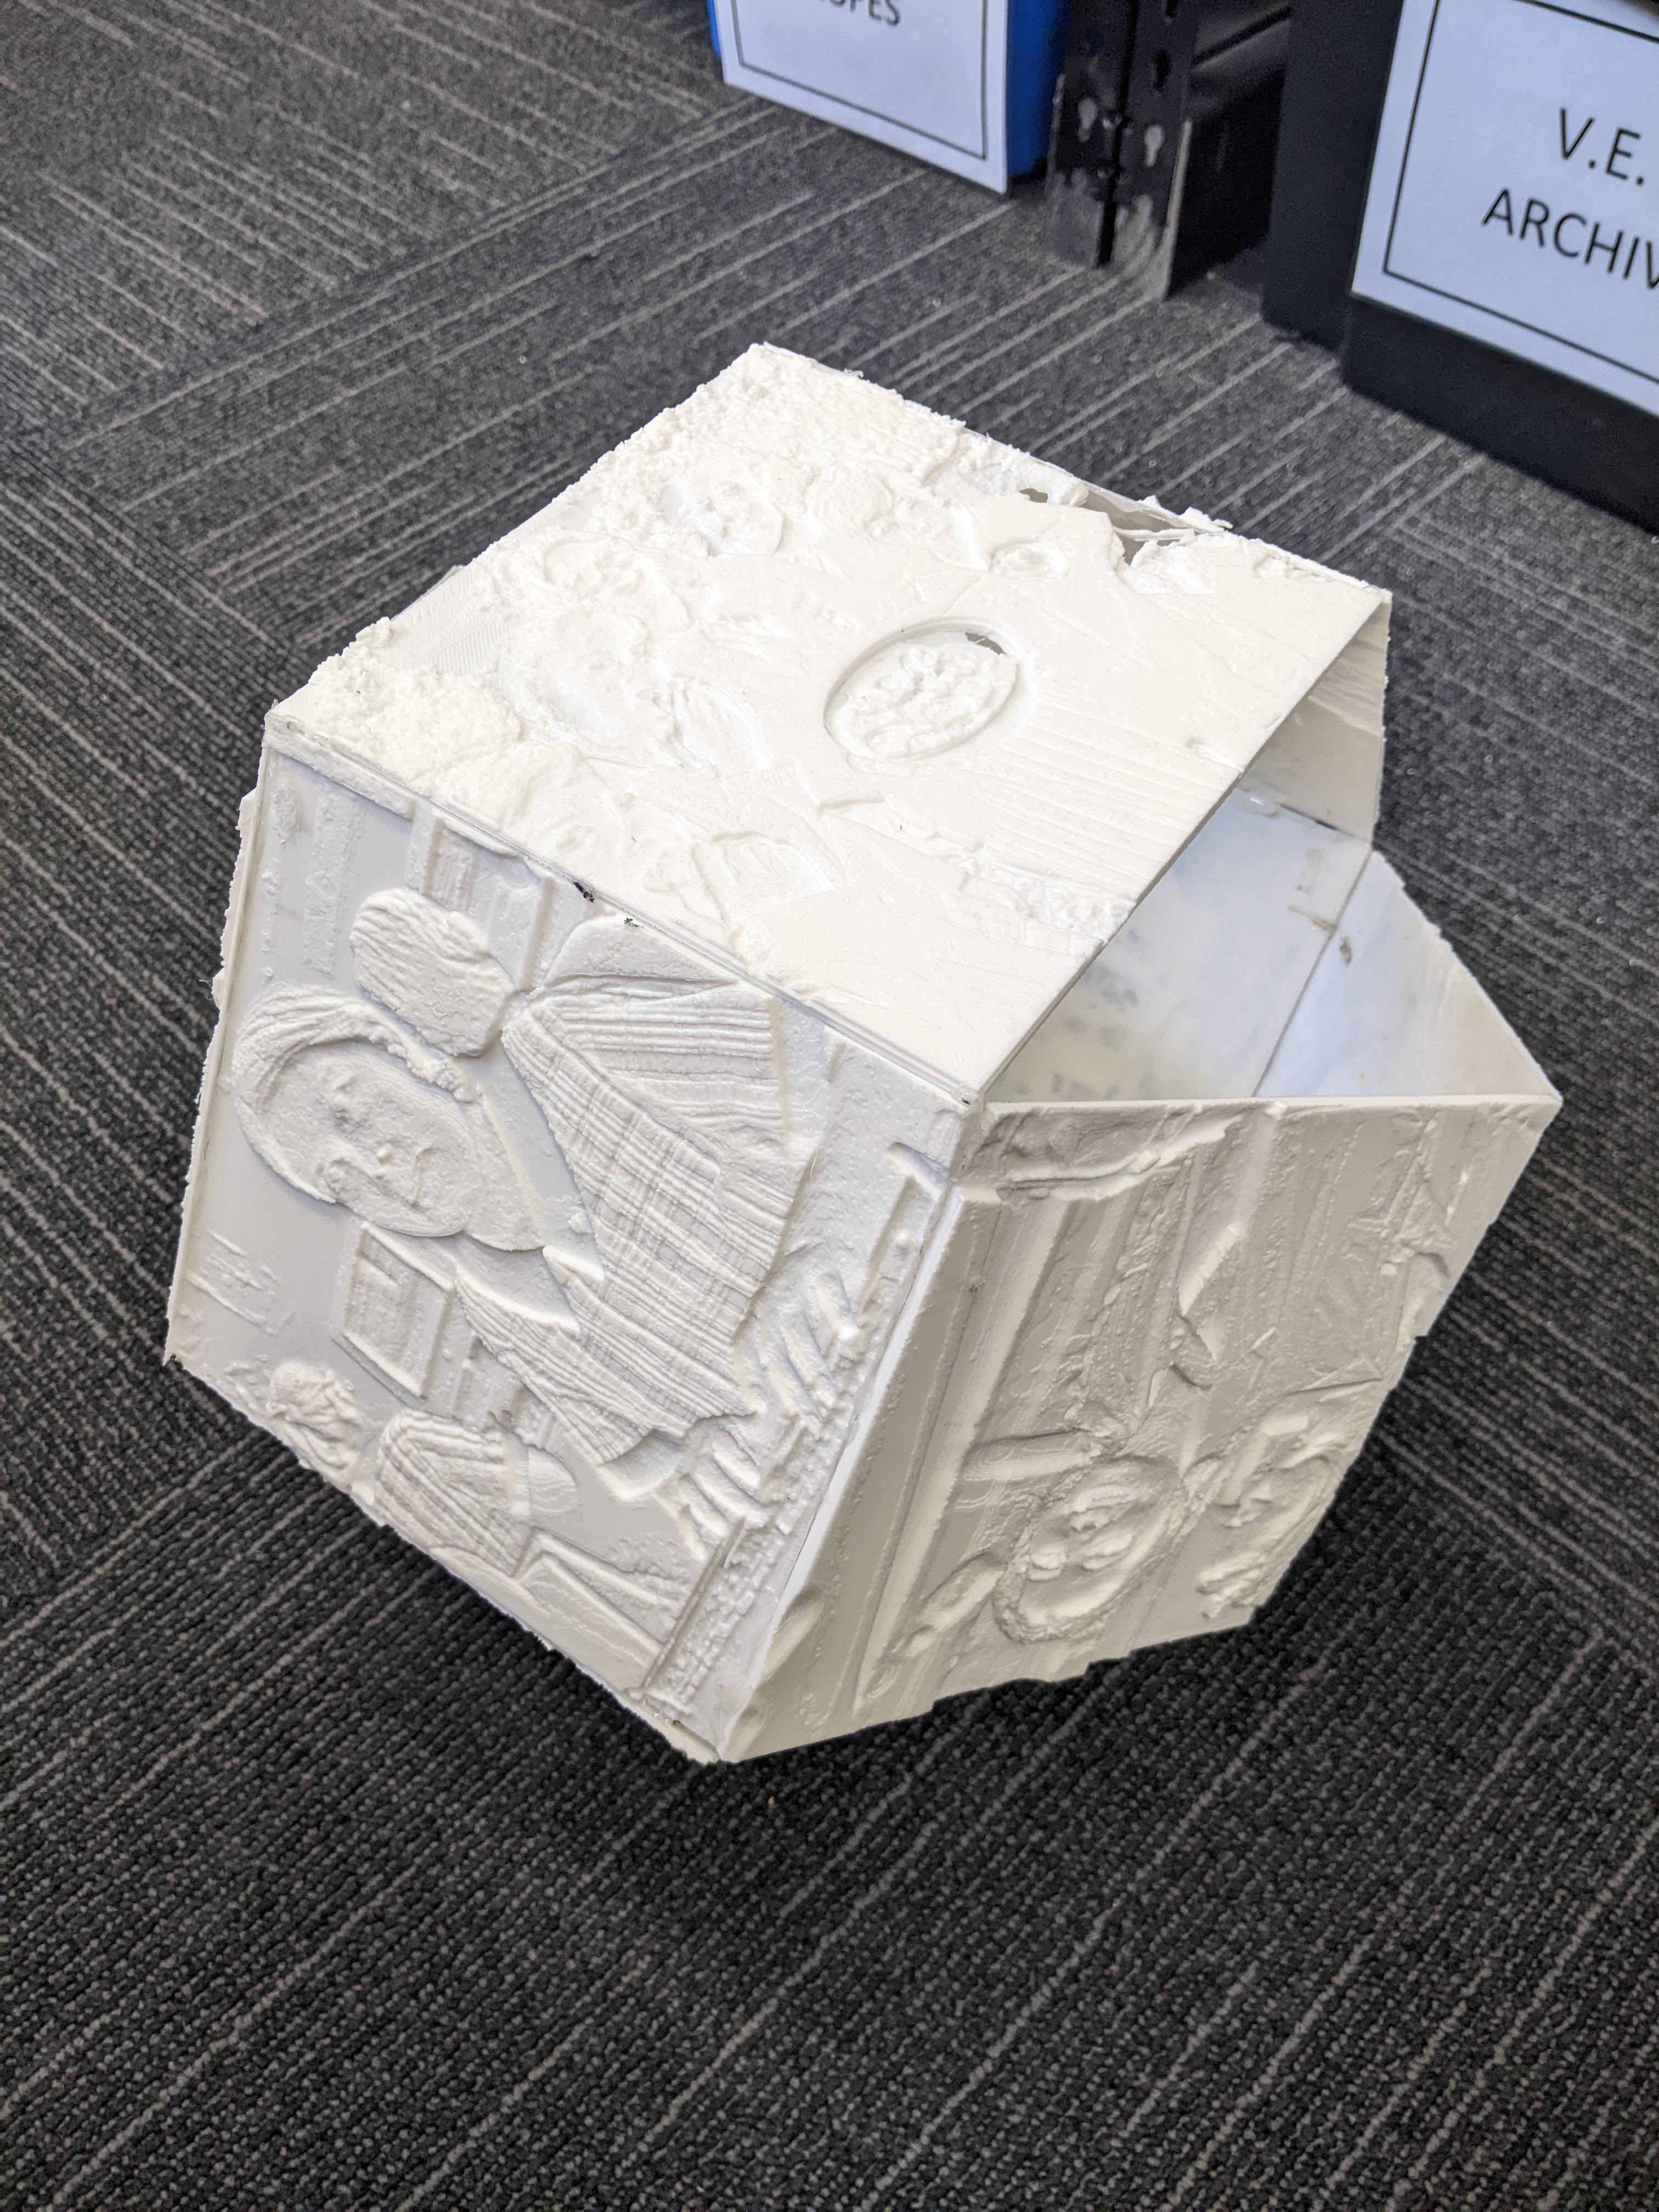
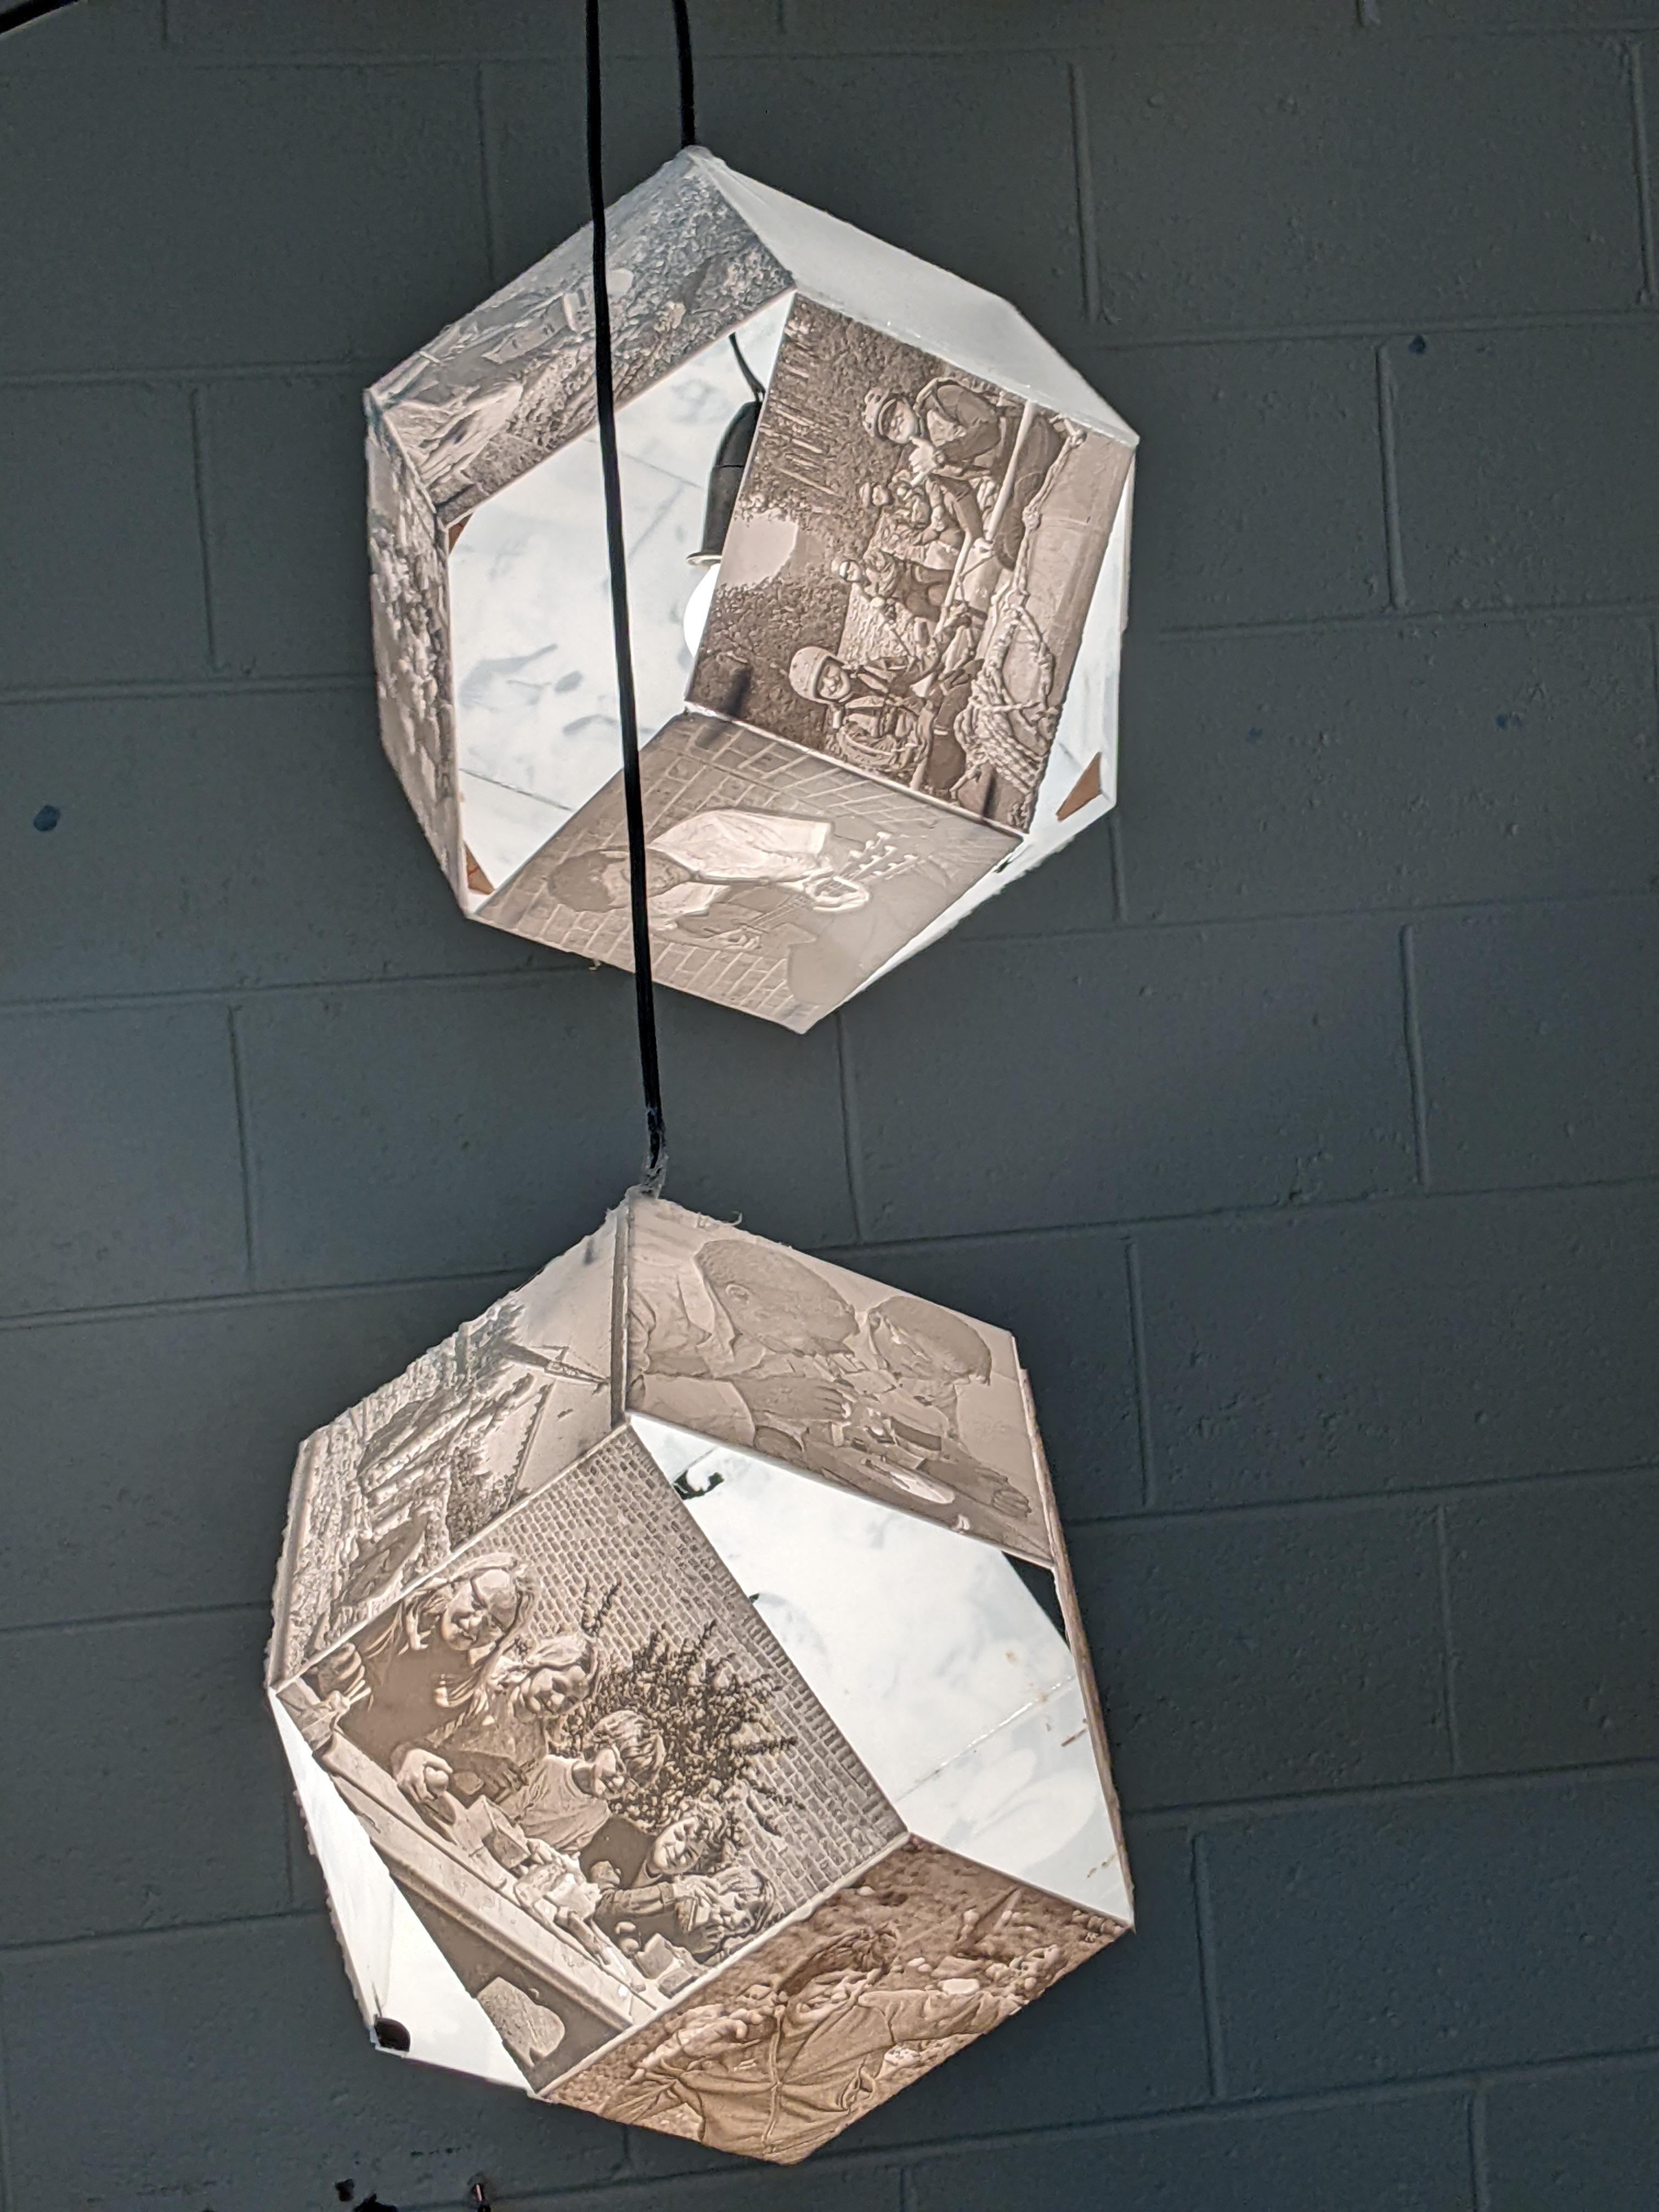
I created these lithophanes (an image made obvious by shining light behind it) for a school event. Once the event was finished, I decided to convert them into a pendant light. The images are hidden until the light is turned on, making for an interesting centrepiece.
Supplies
Creating the Lithophanes
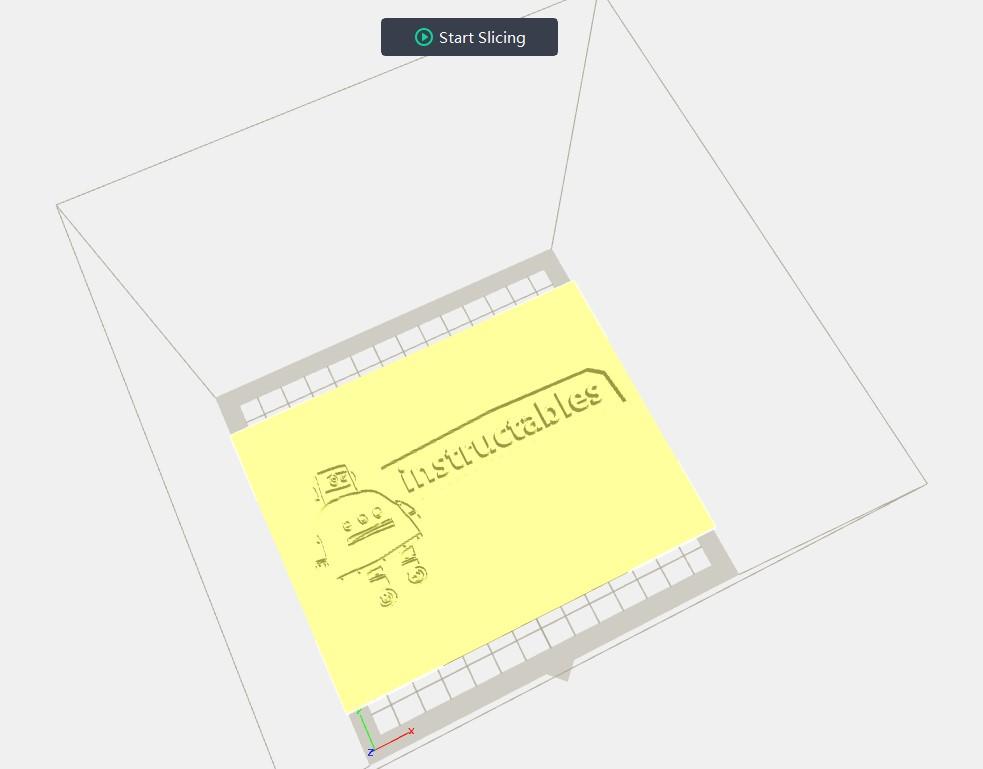
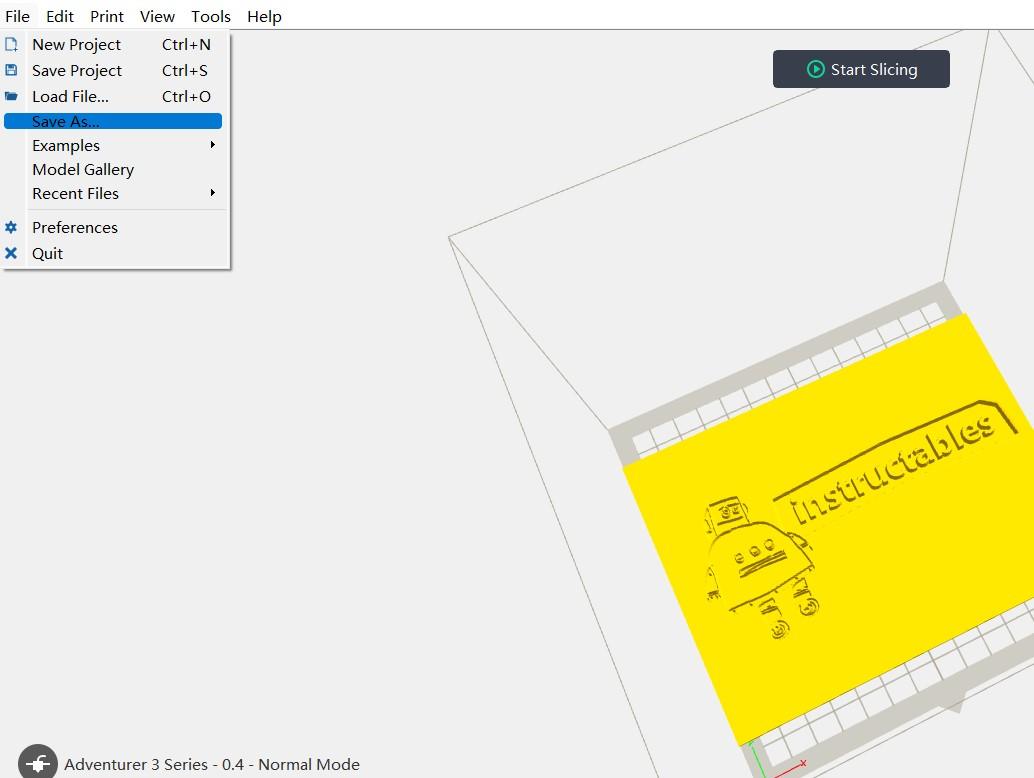
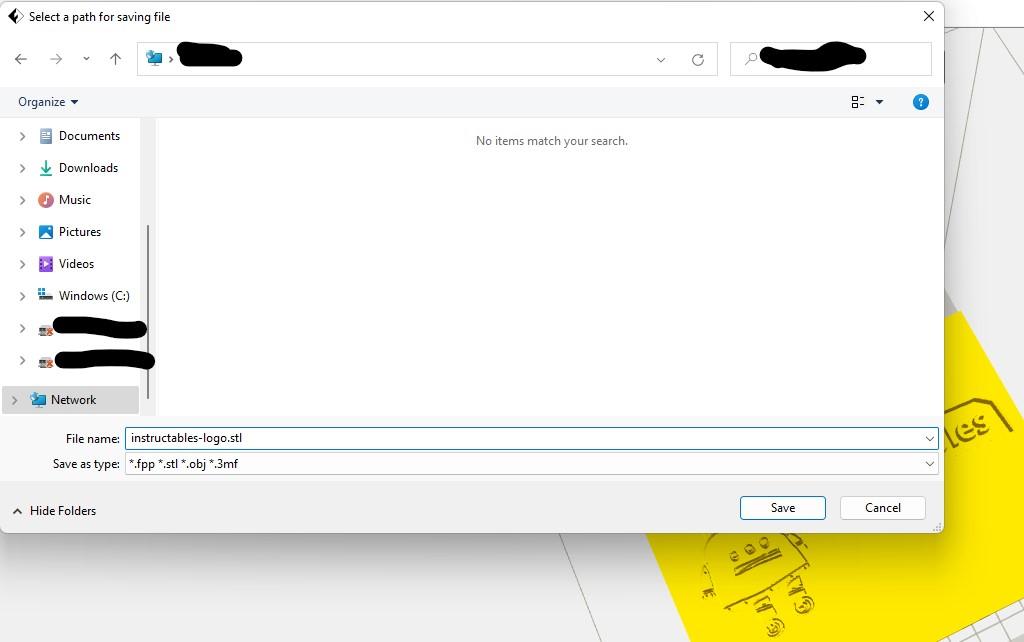
The first step is to convert your image into a 3D printable file. This is done in a couple of steps
- Select the images to be used. You will need 10 Lithophanes to complete this project.
- Select 10 images and crop them to be a square 1:1 ratio (so 10cm x 10cm), the size is your choice but it is easier if they are squares
- Open up your 3D printer slicer. I used Flash Print*, as this is what we use for our 3D printers
- Flash Print will allow you to drag and drop the picture in, convert it to an STL and then save as an STL, for use in your own 3D printer slicer software
- Select your STL's and print out on your printer, ensuring each image is the same size.
- Repeat this process for all 10 required lithophanes
Attached is the example of the Instructables Logo, this has been reduced in size to allow upload (as there is a maximum file size of 25MB)
*Edit: thanks to e_clark for making me aware that Ultimaker Cura also can convert images to lithophane files
Downloads
Creating the Brackets
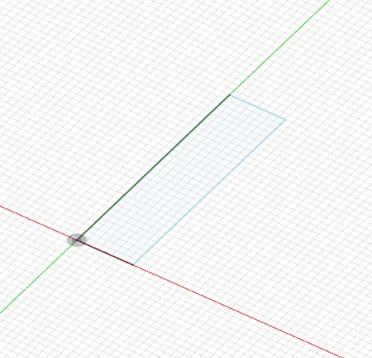
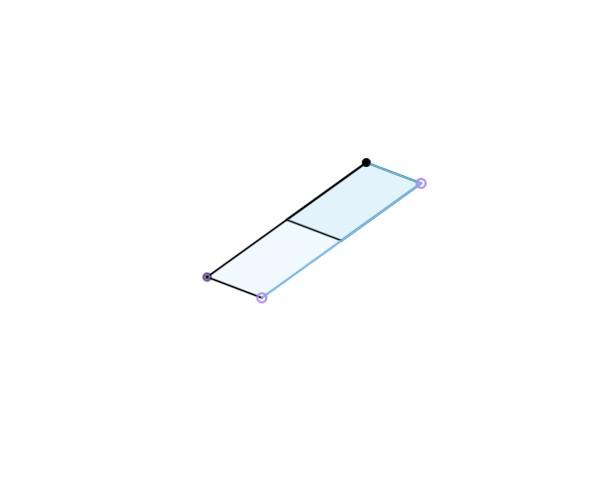
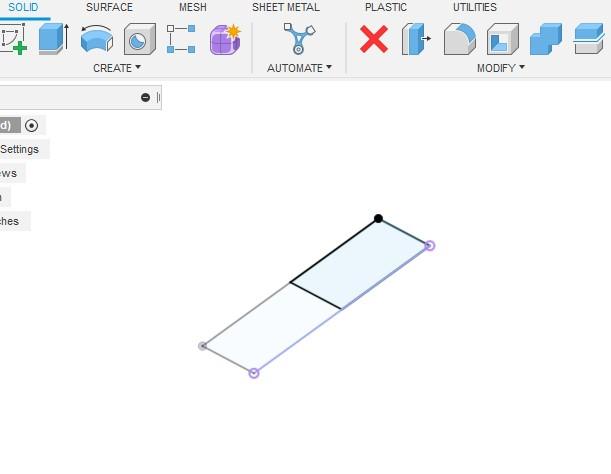
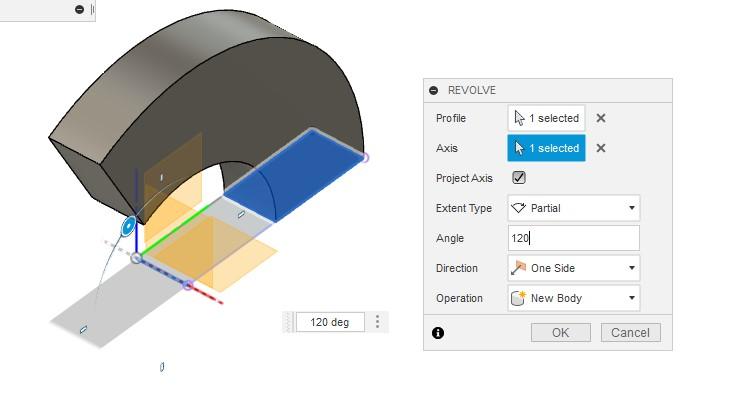
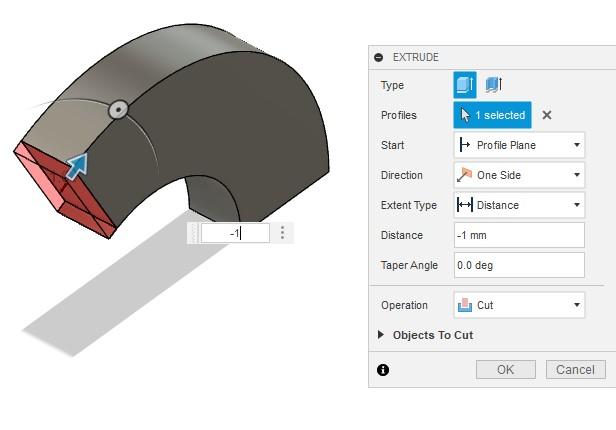
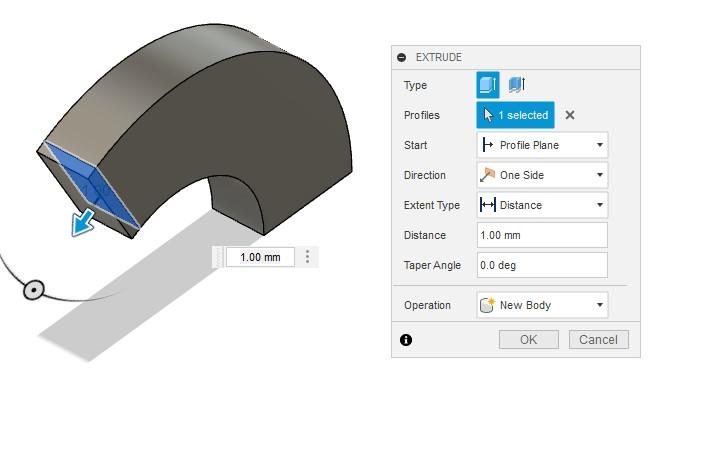
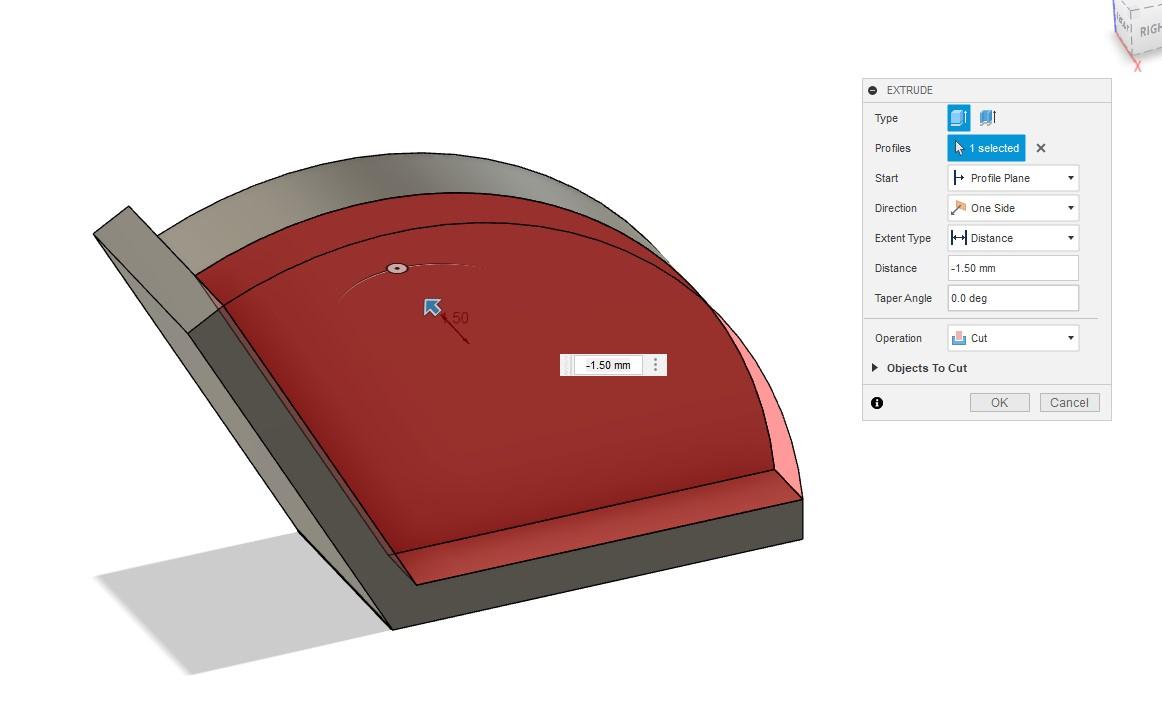
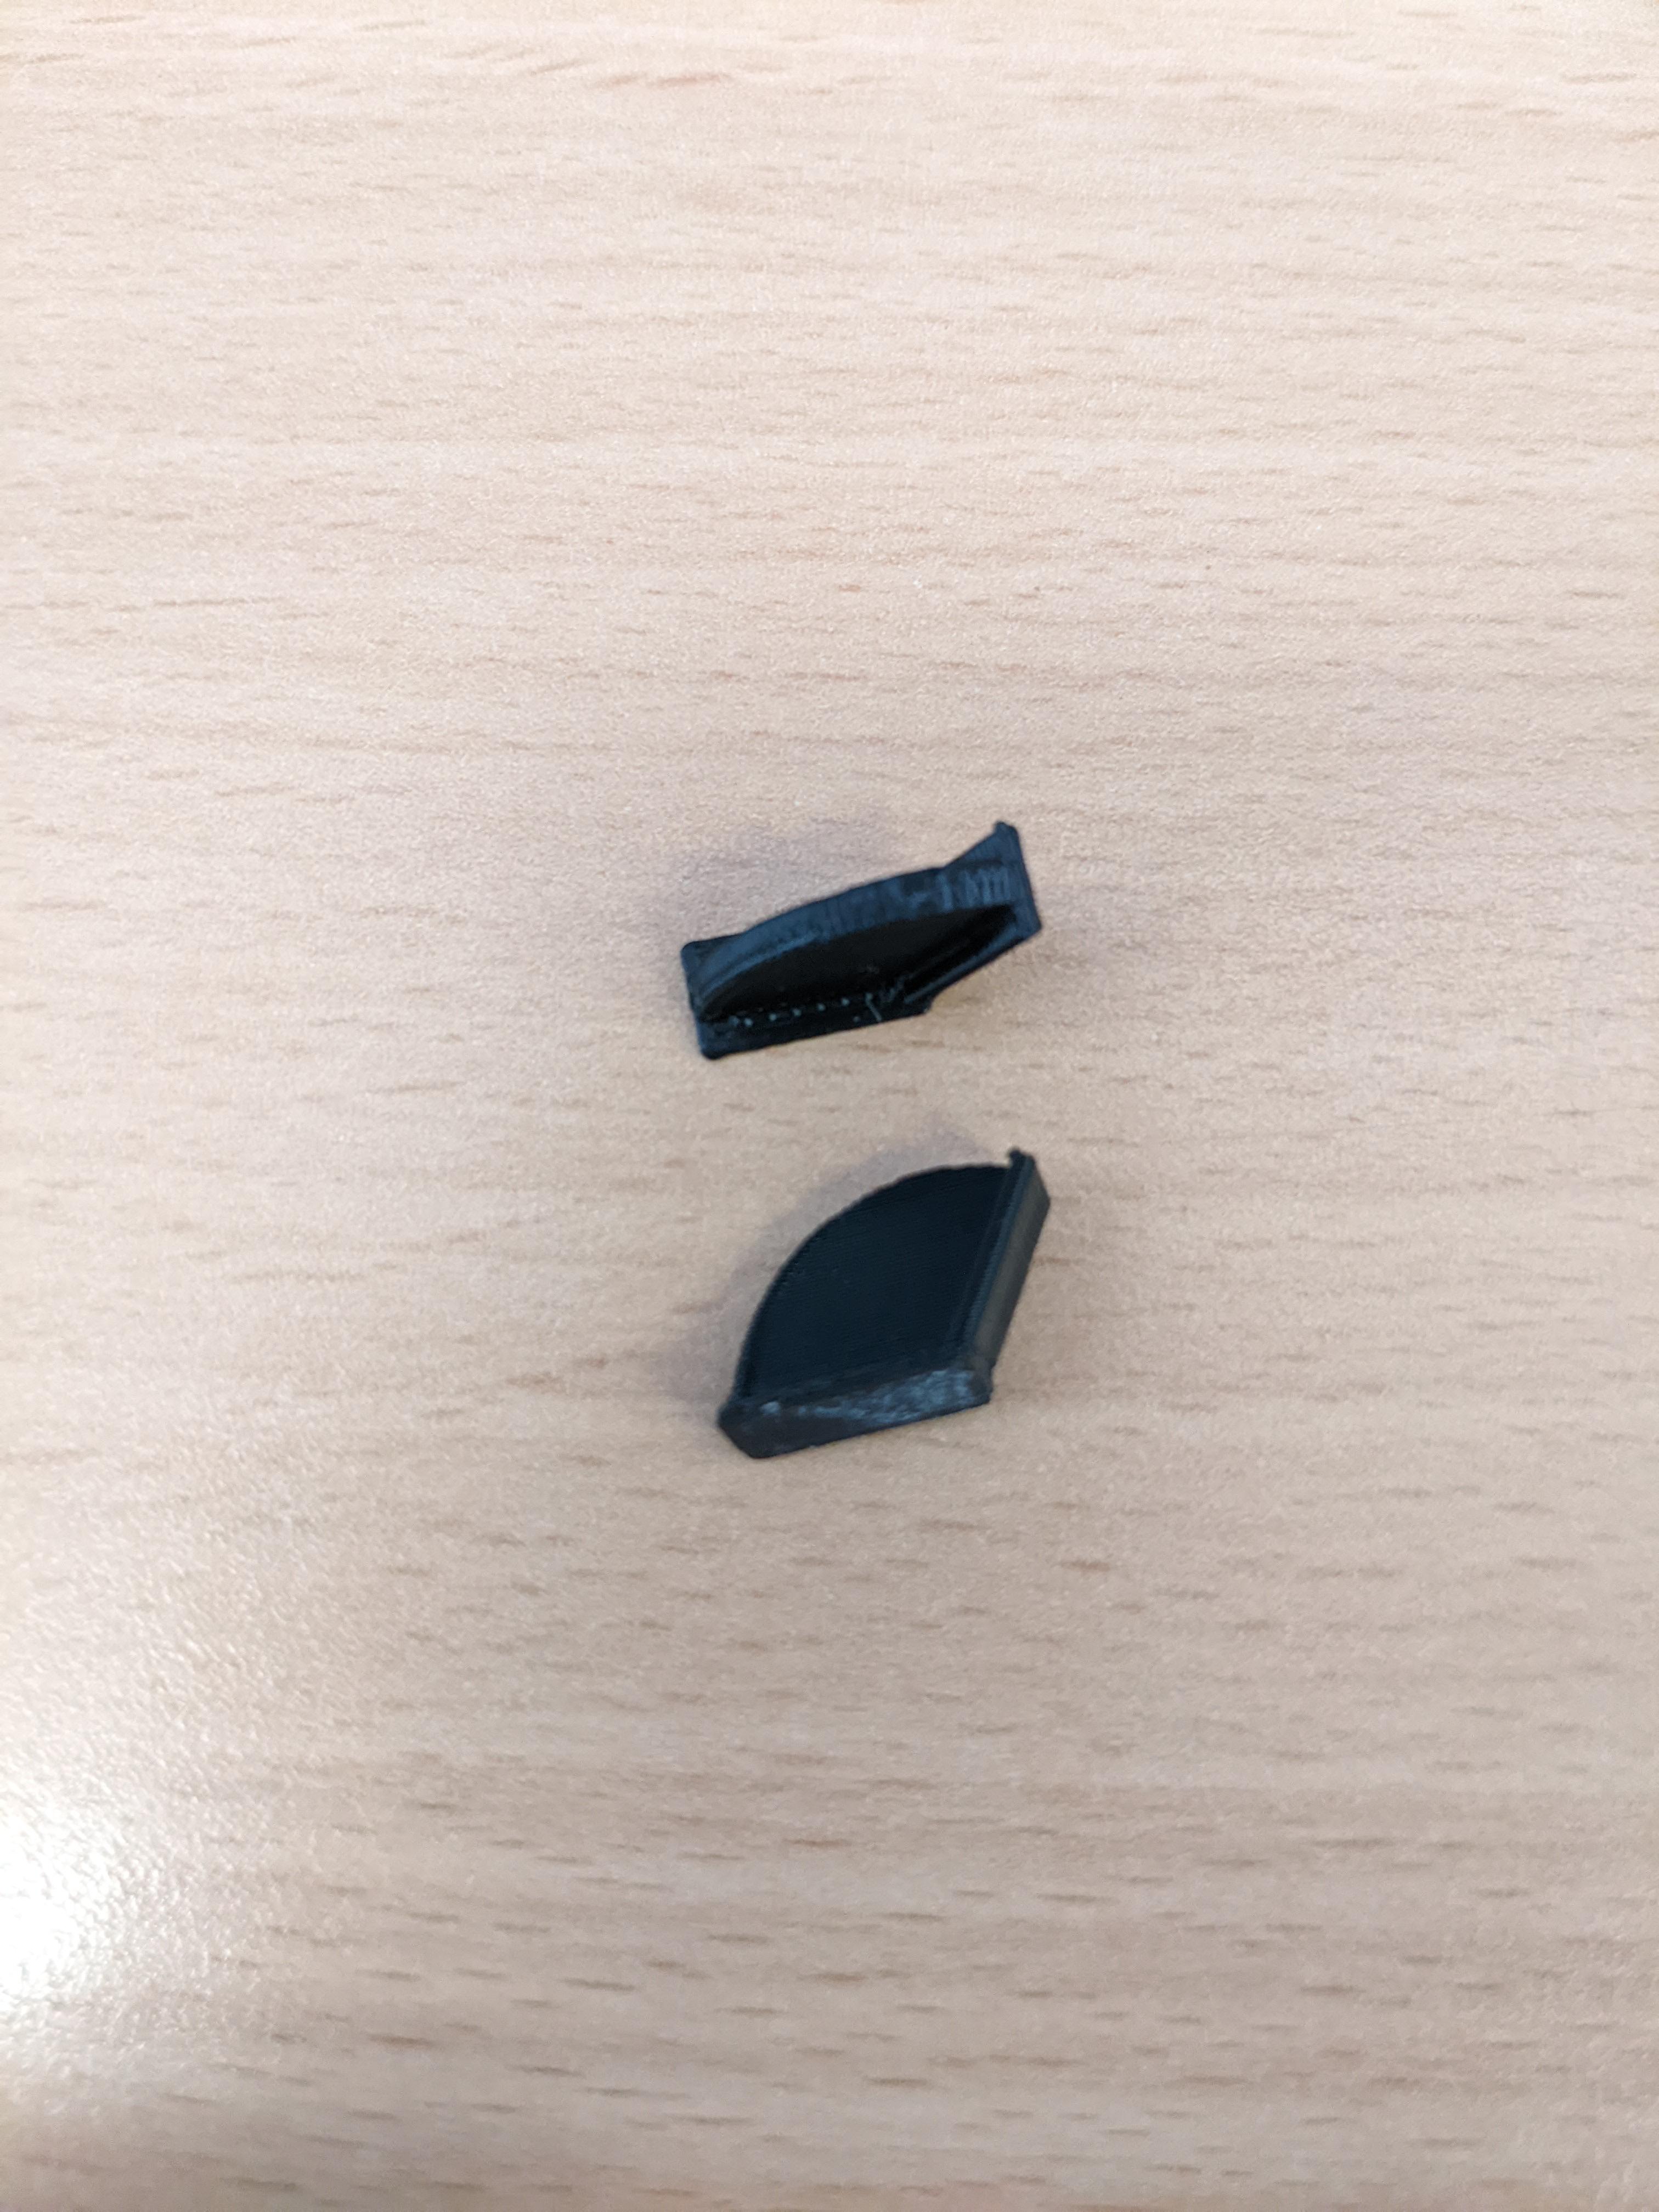
To hold the pieces together, you need a bracket that will hold the plates at 120 degrees. The below steps, guide you through using Fusion 360. Please refer to the images for greater clarity.
- Create a new SKETCH and make a rectangle on a flat plane
- For mine, I split the rectangle into two smaller ones
- Selecting the REVOLVE function and
- select the small rectangle as the profile
- the axis at the origin as axis
- Set the angle as 120 degrees
- Select the end point of the arch and extrude to cut away 1 mm
- Re-extrude the same face but ensure you make it as a new body
- Repeat this same process for the other end of the arch
- Select the long face (lets call it the rainbow edge) and cut it in a little bit to make the bracket slightly lighter and more interesting to see
- Repeat on the other side to ensure symmetry
- Save the file
- Export as an STL
- Print 24 brackets
Downloads
Constructing the Lamp
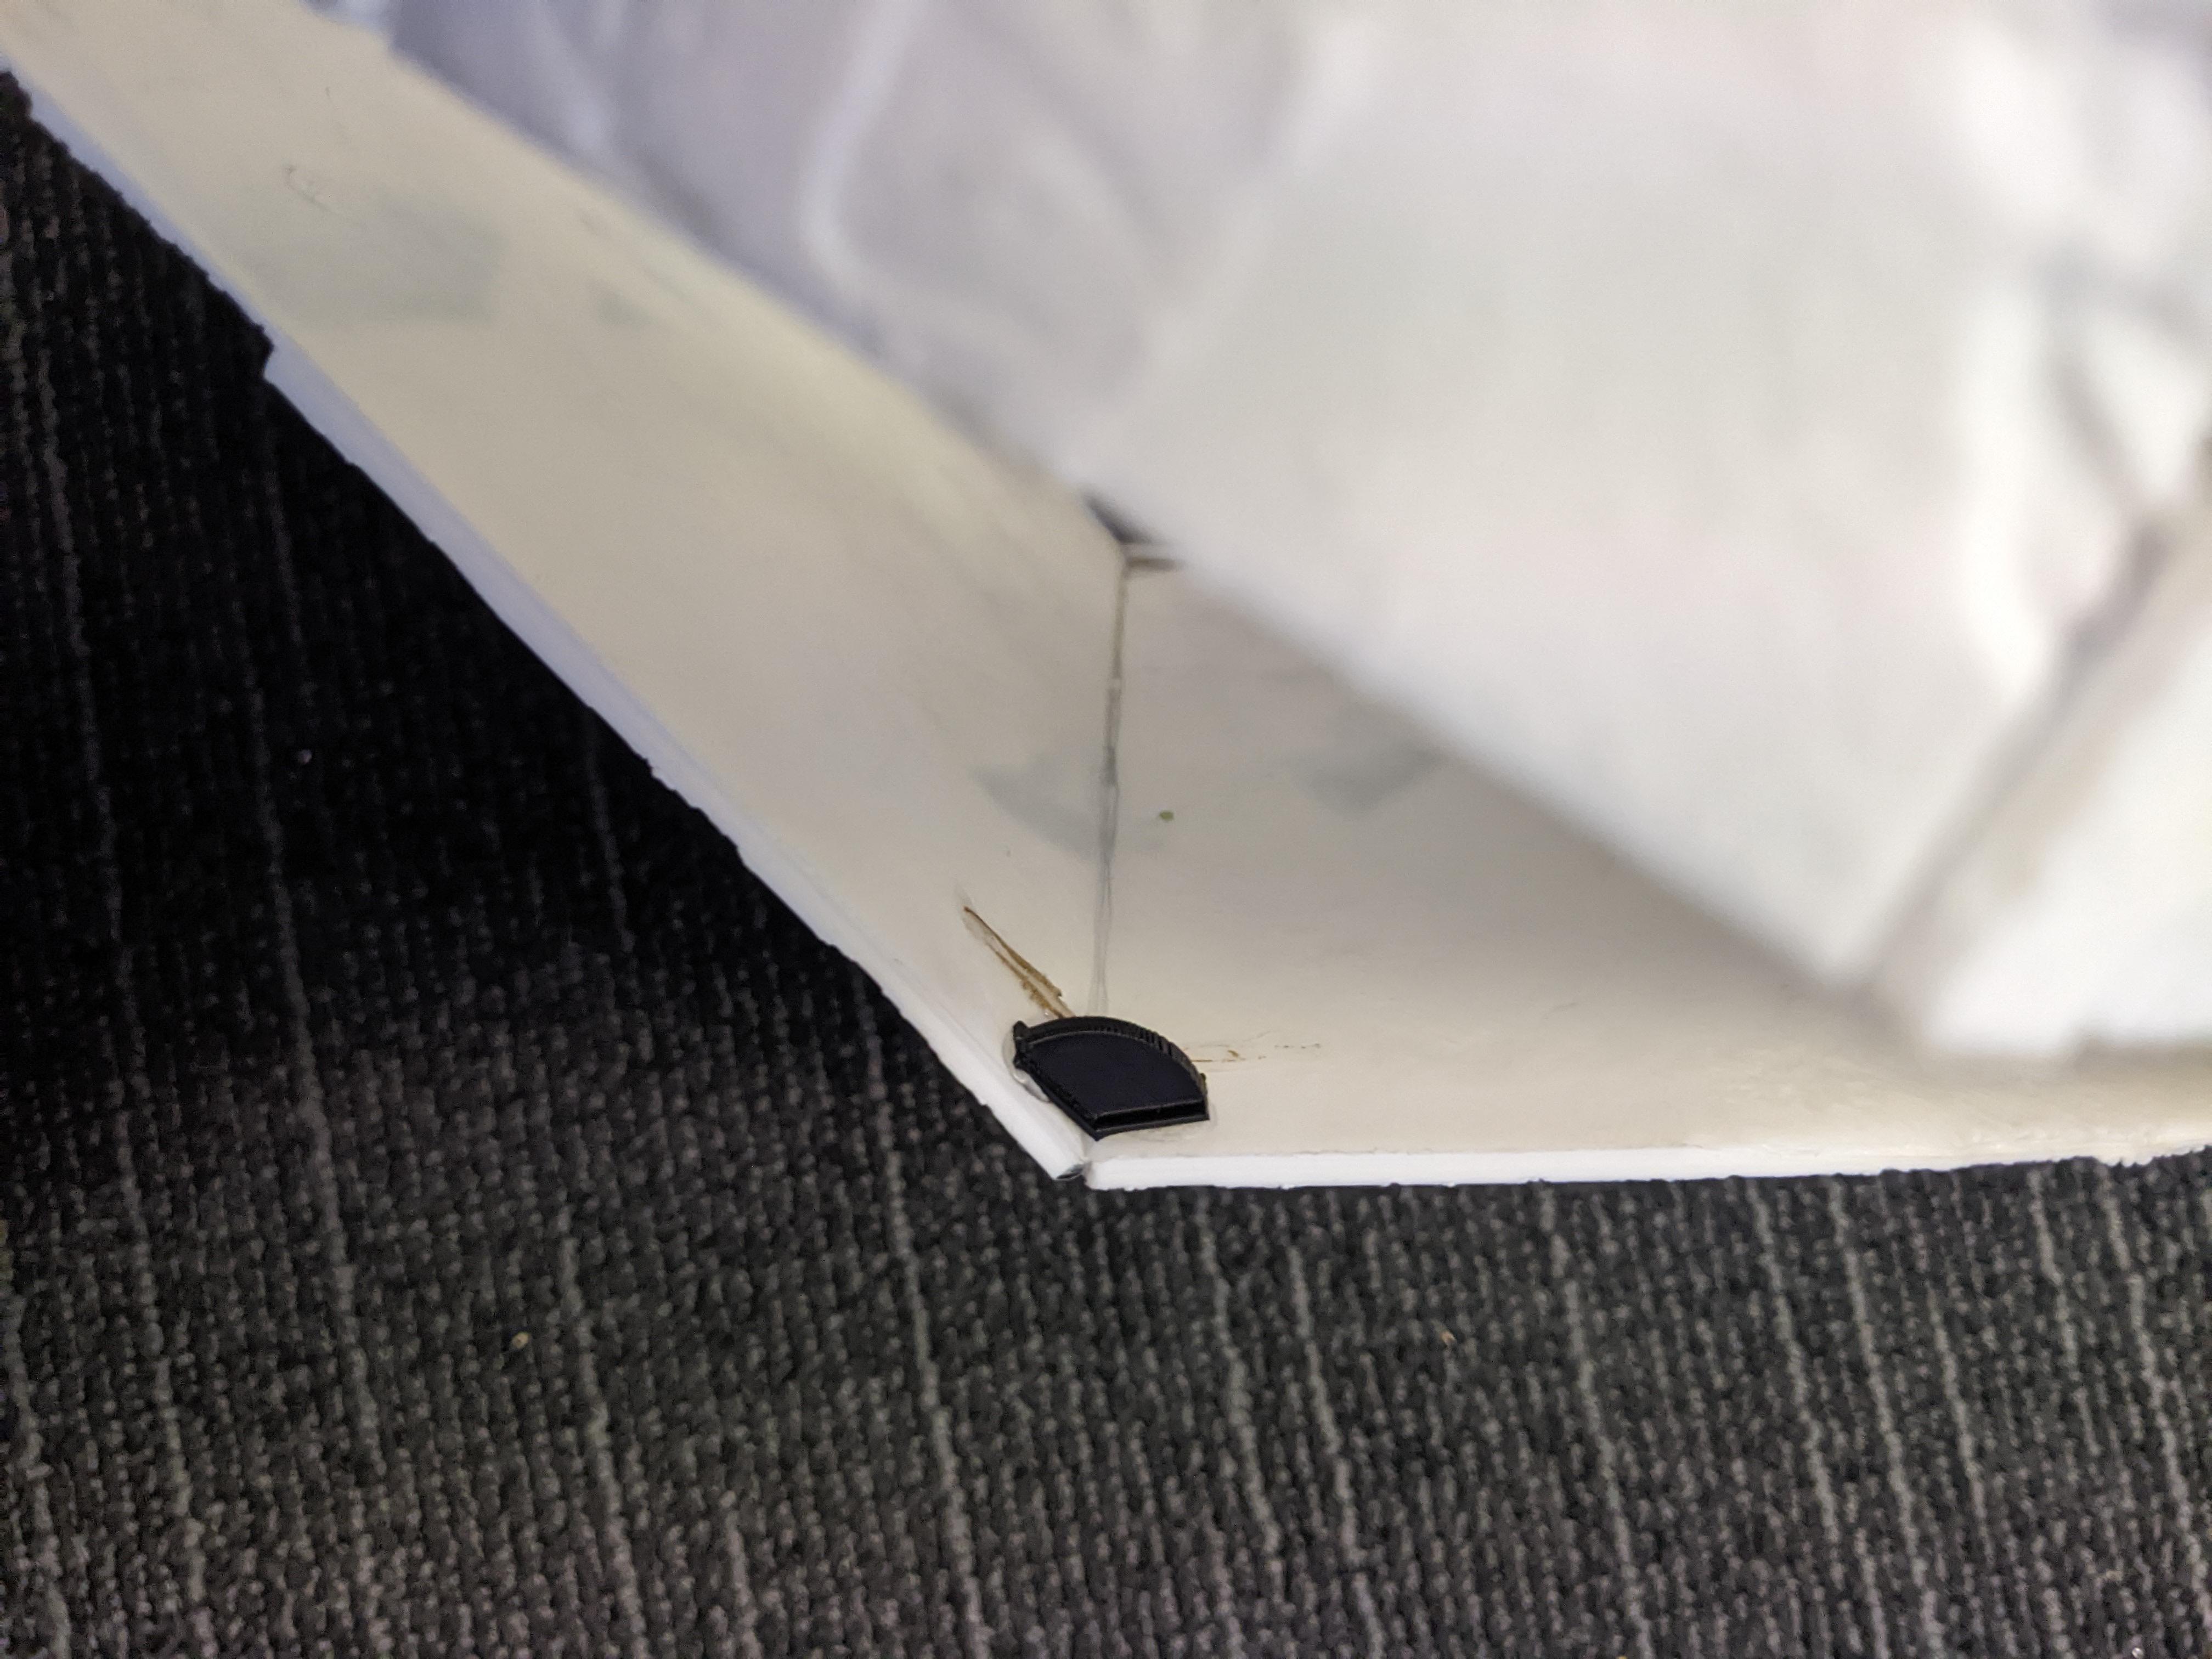
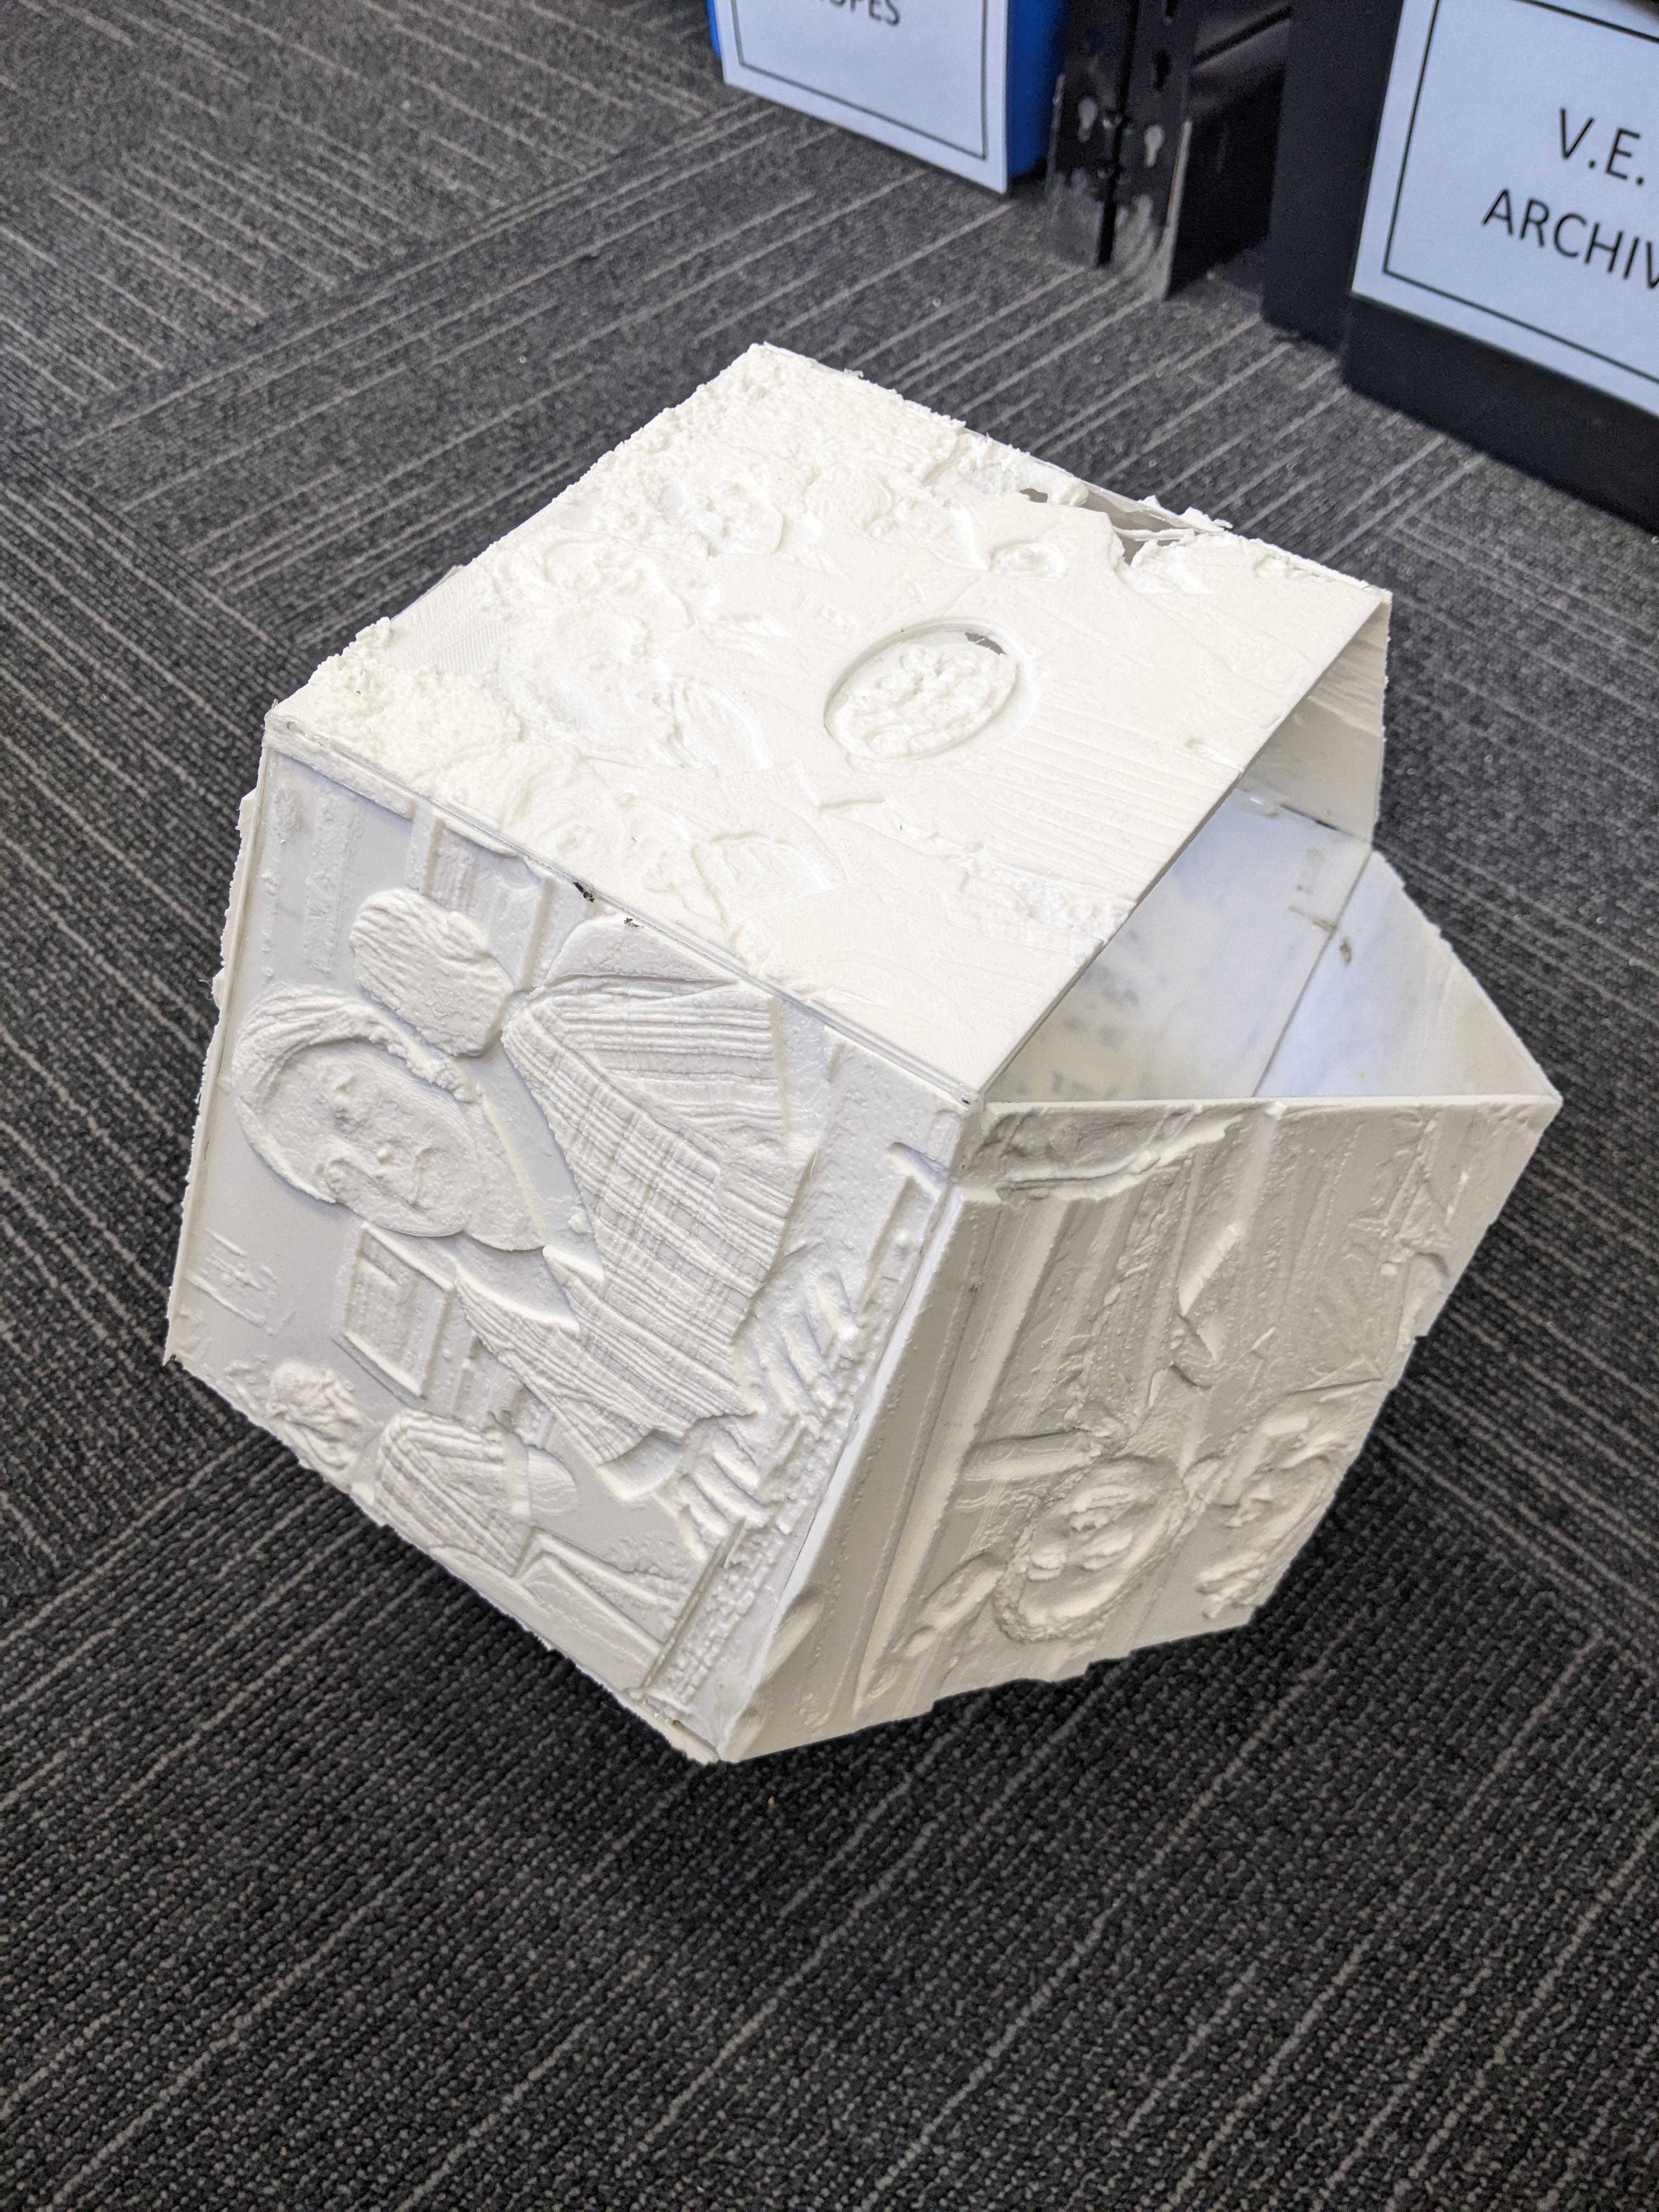
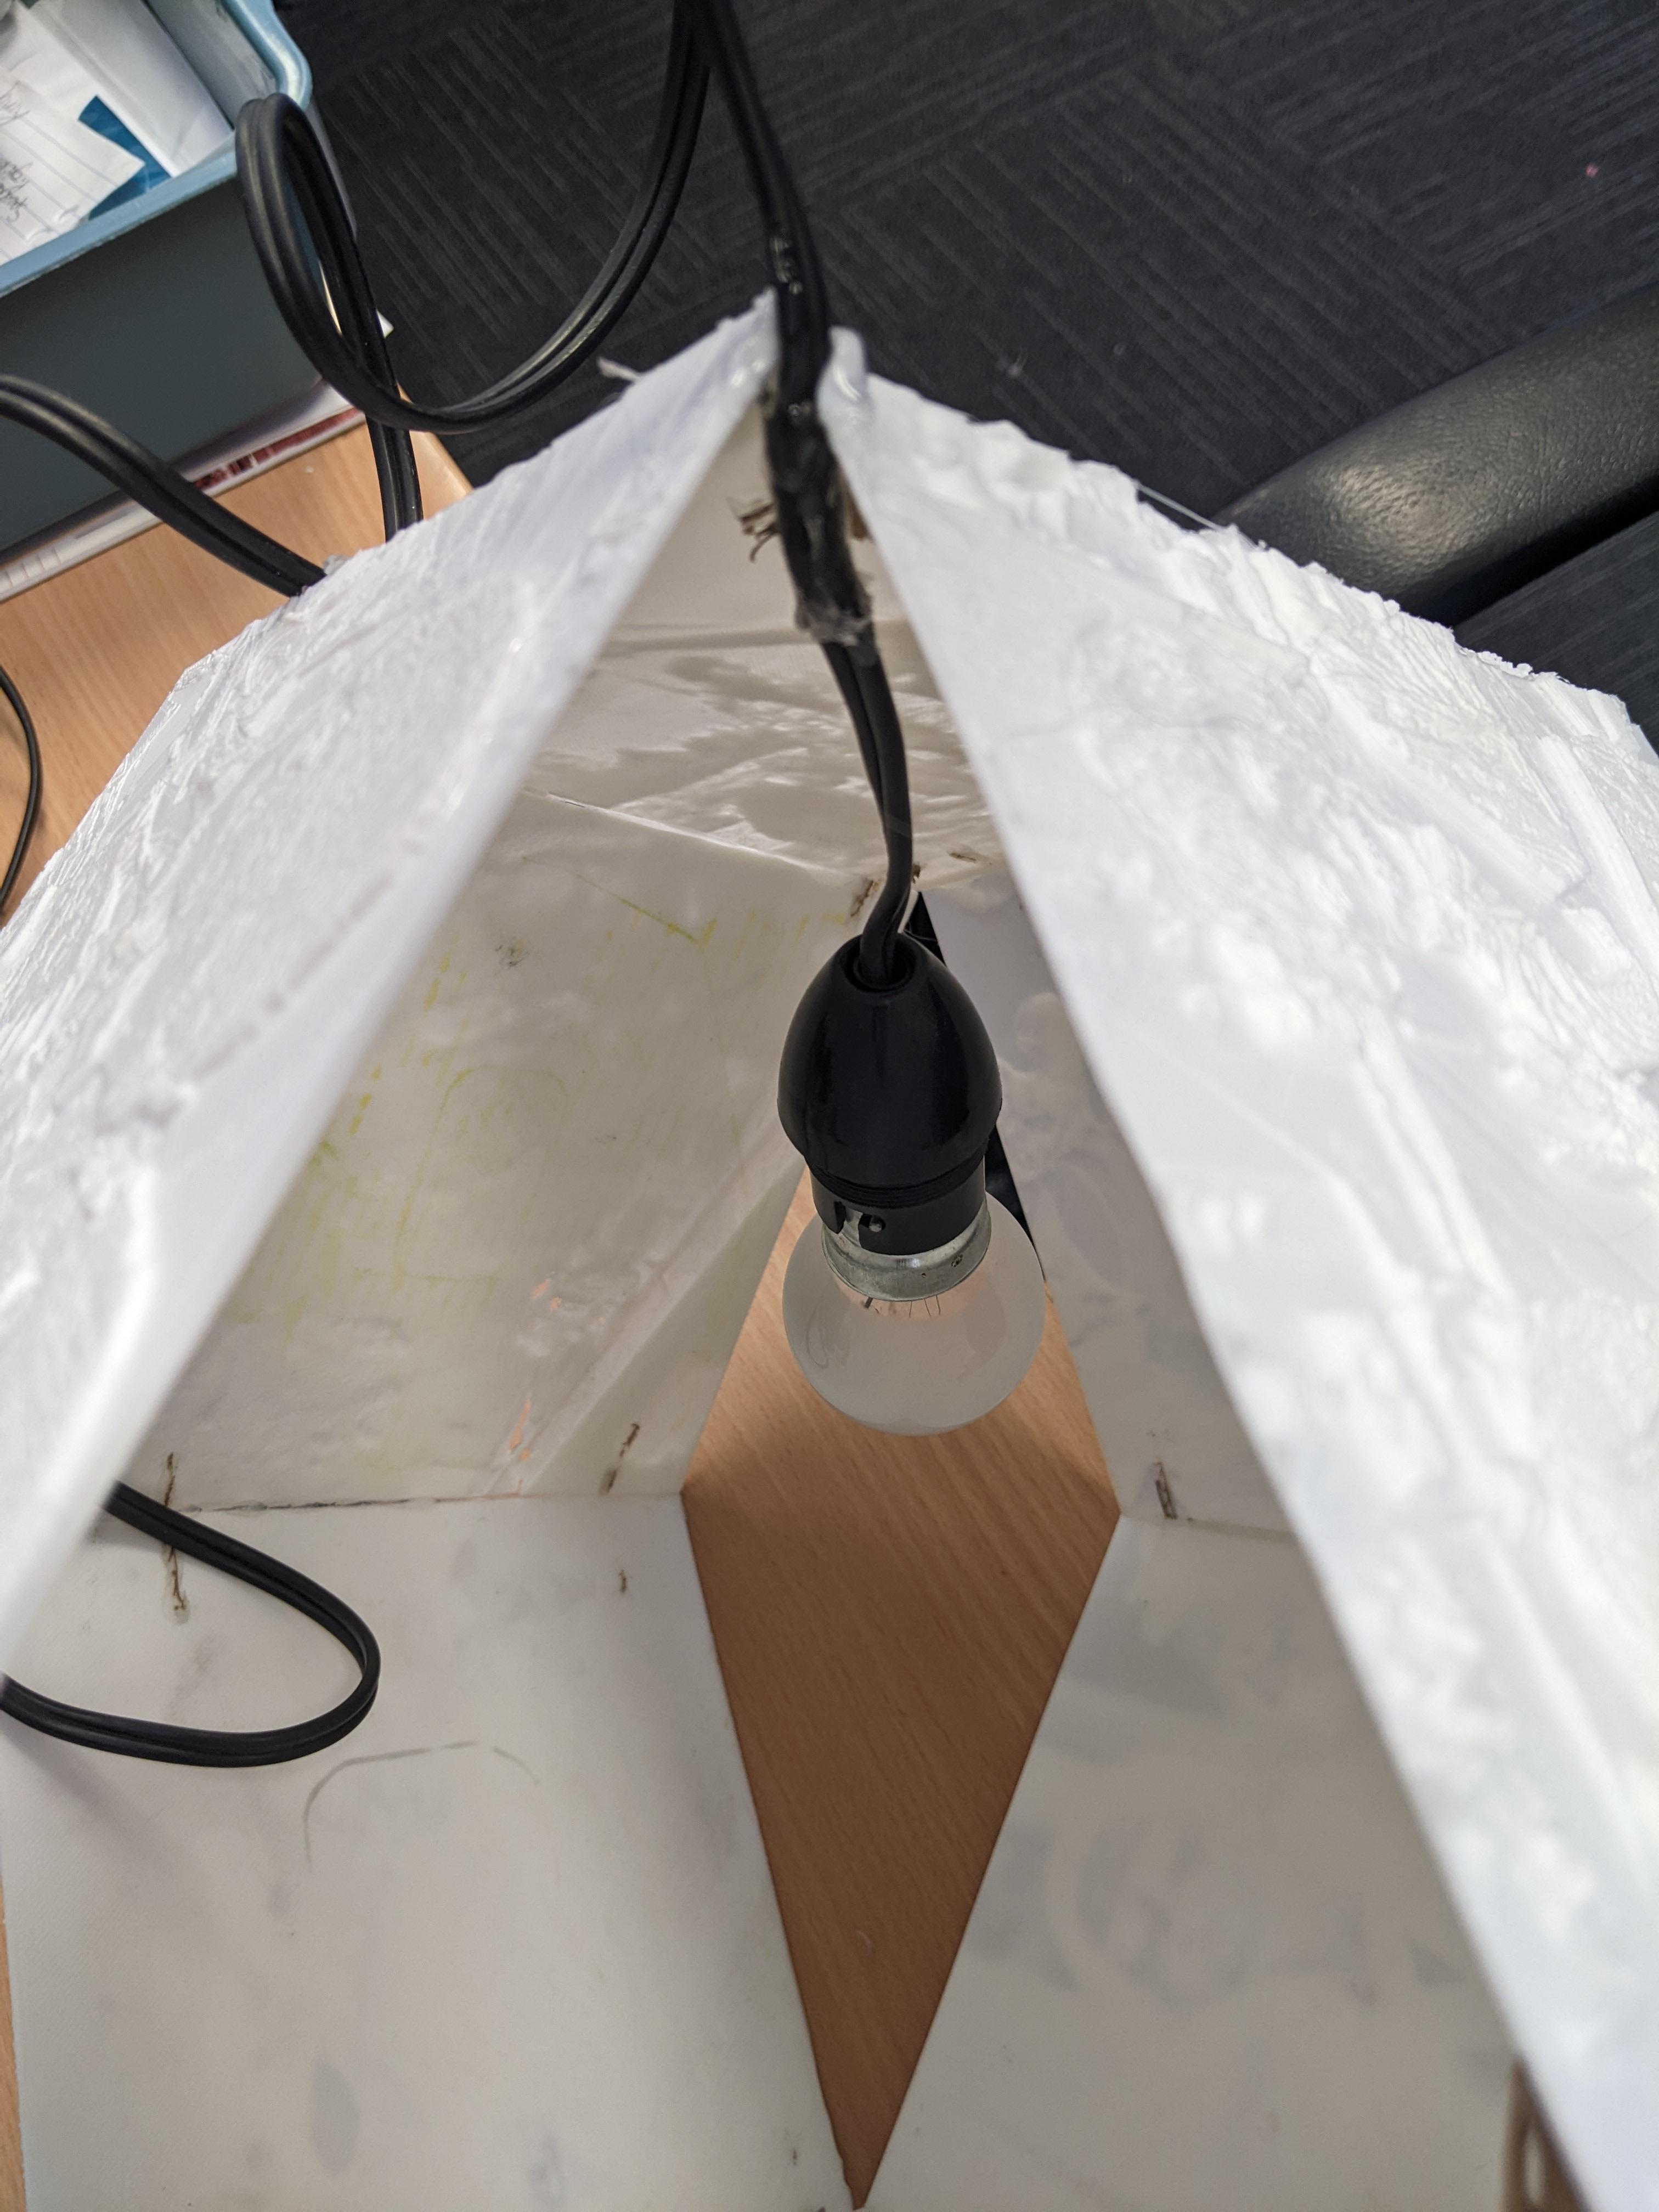
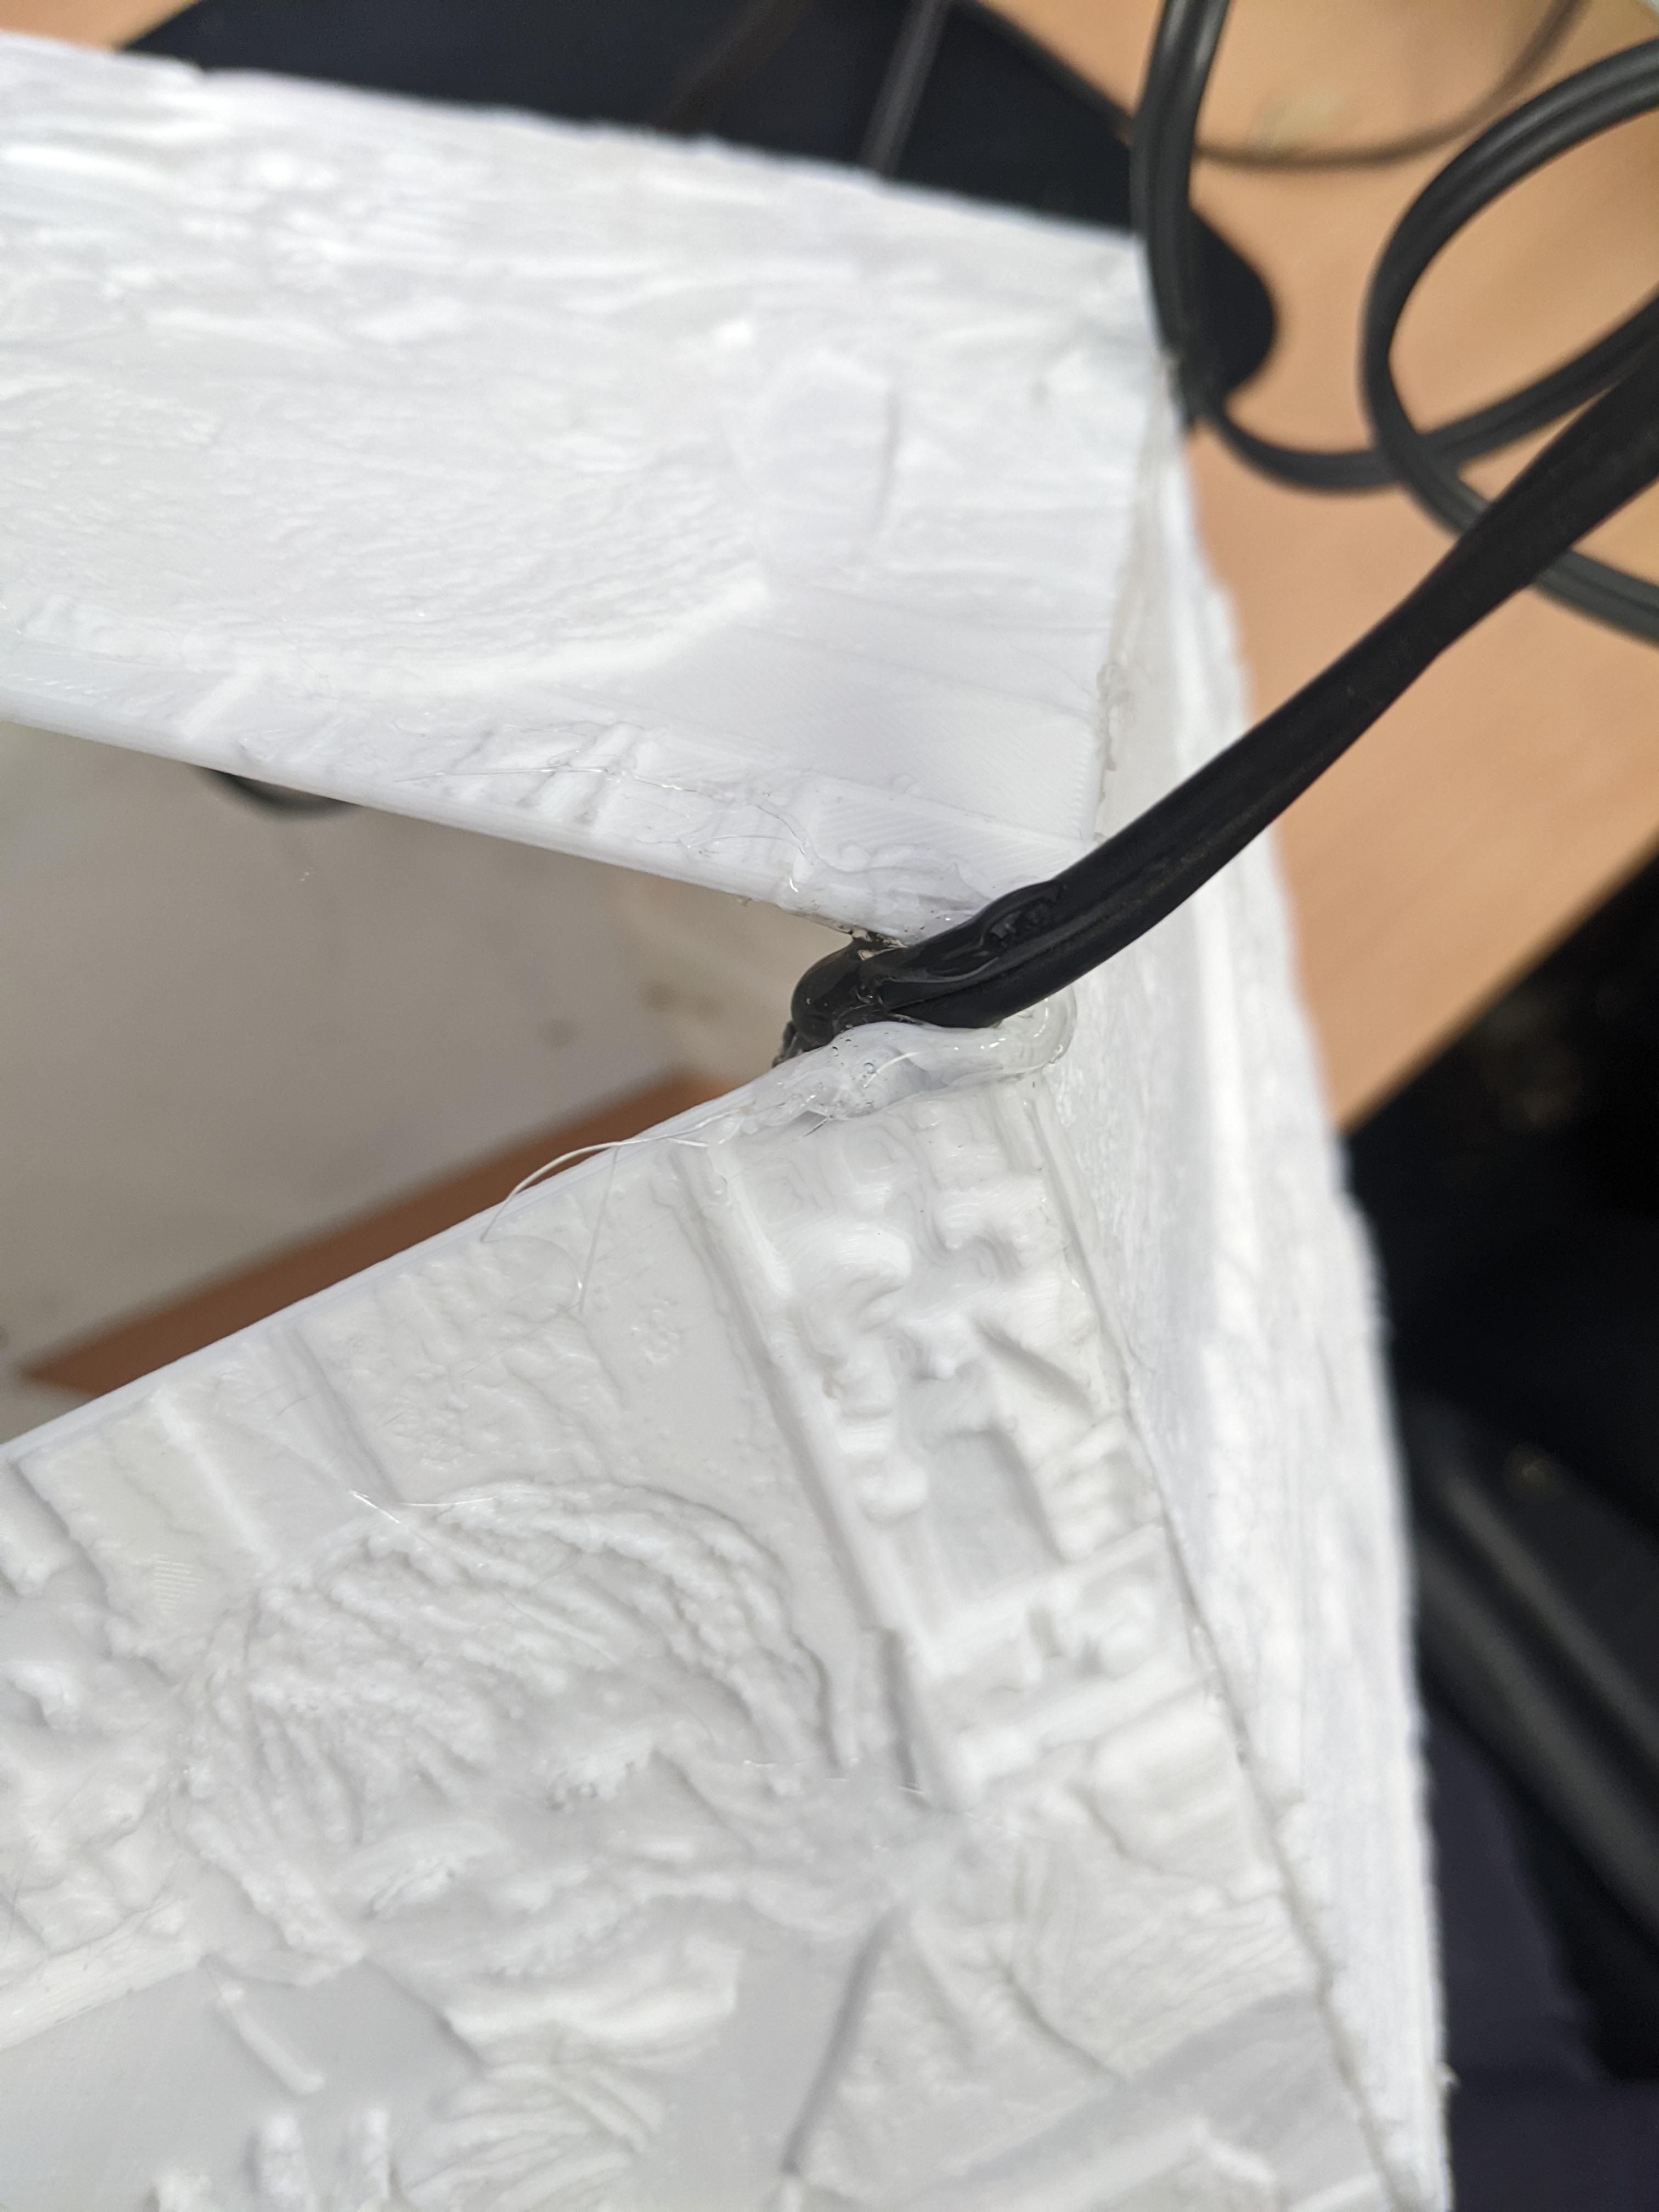
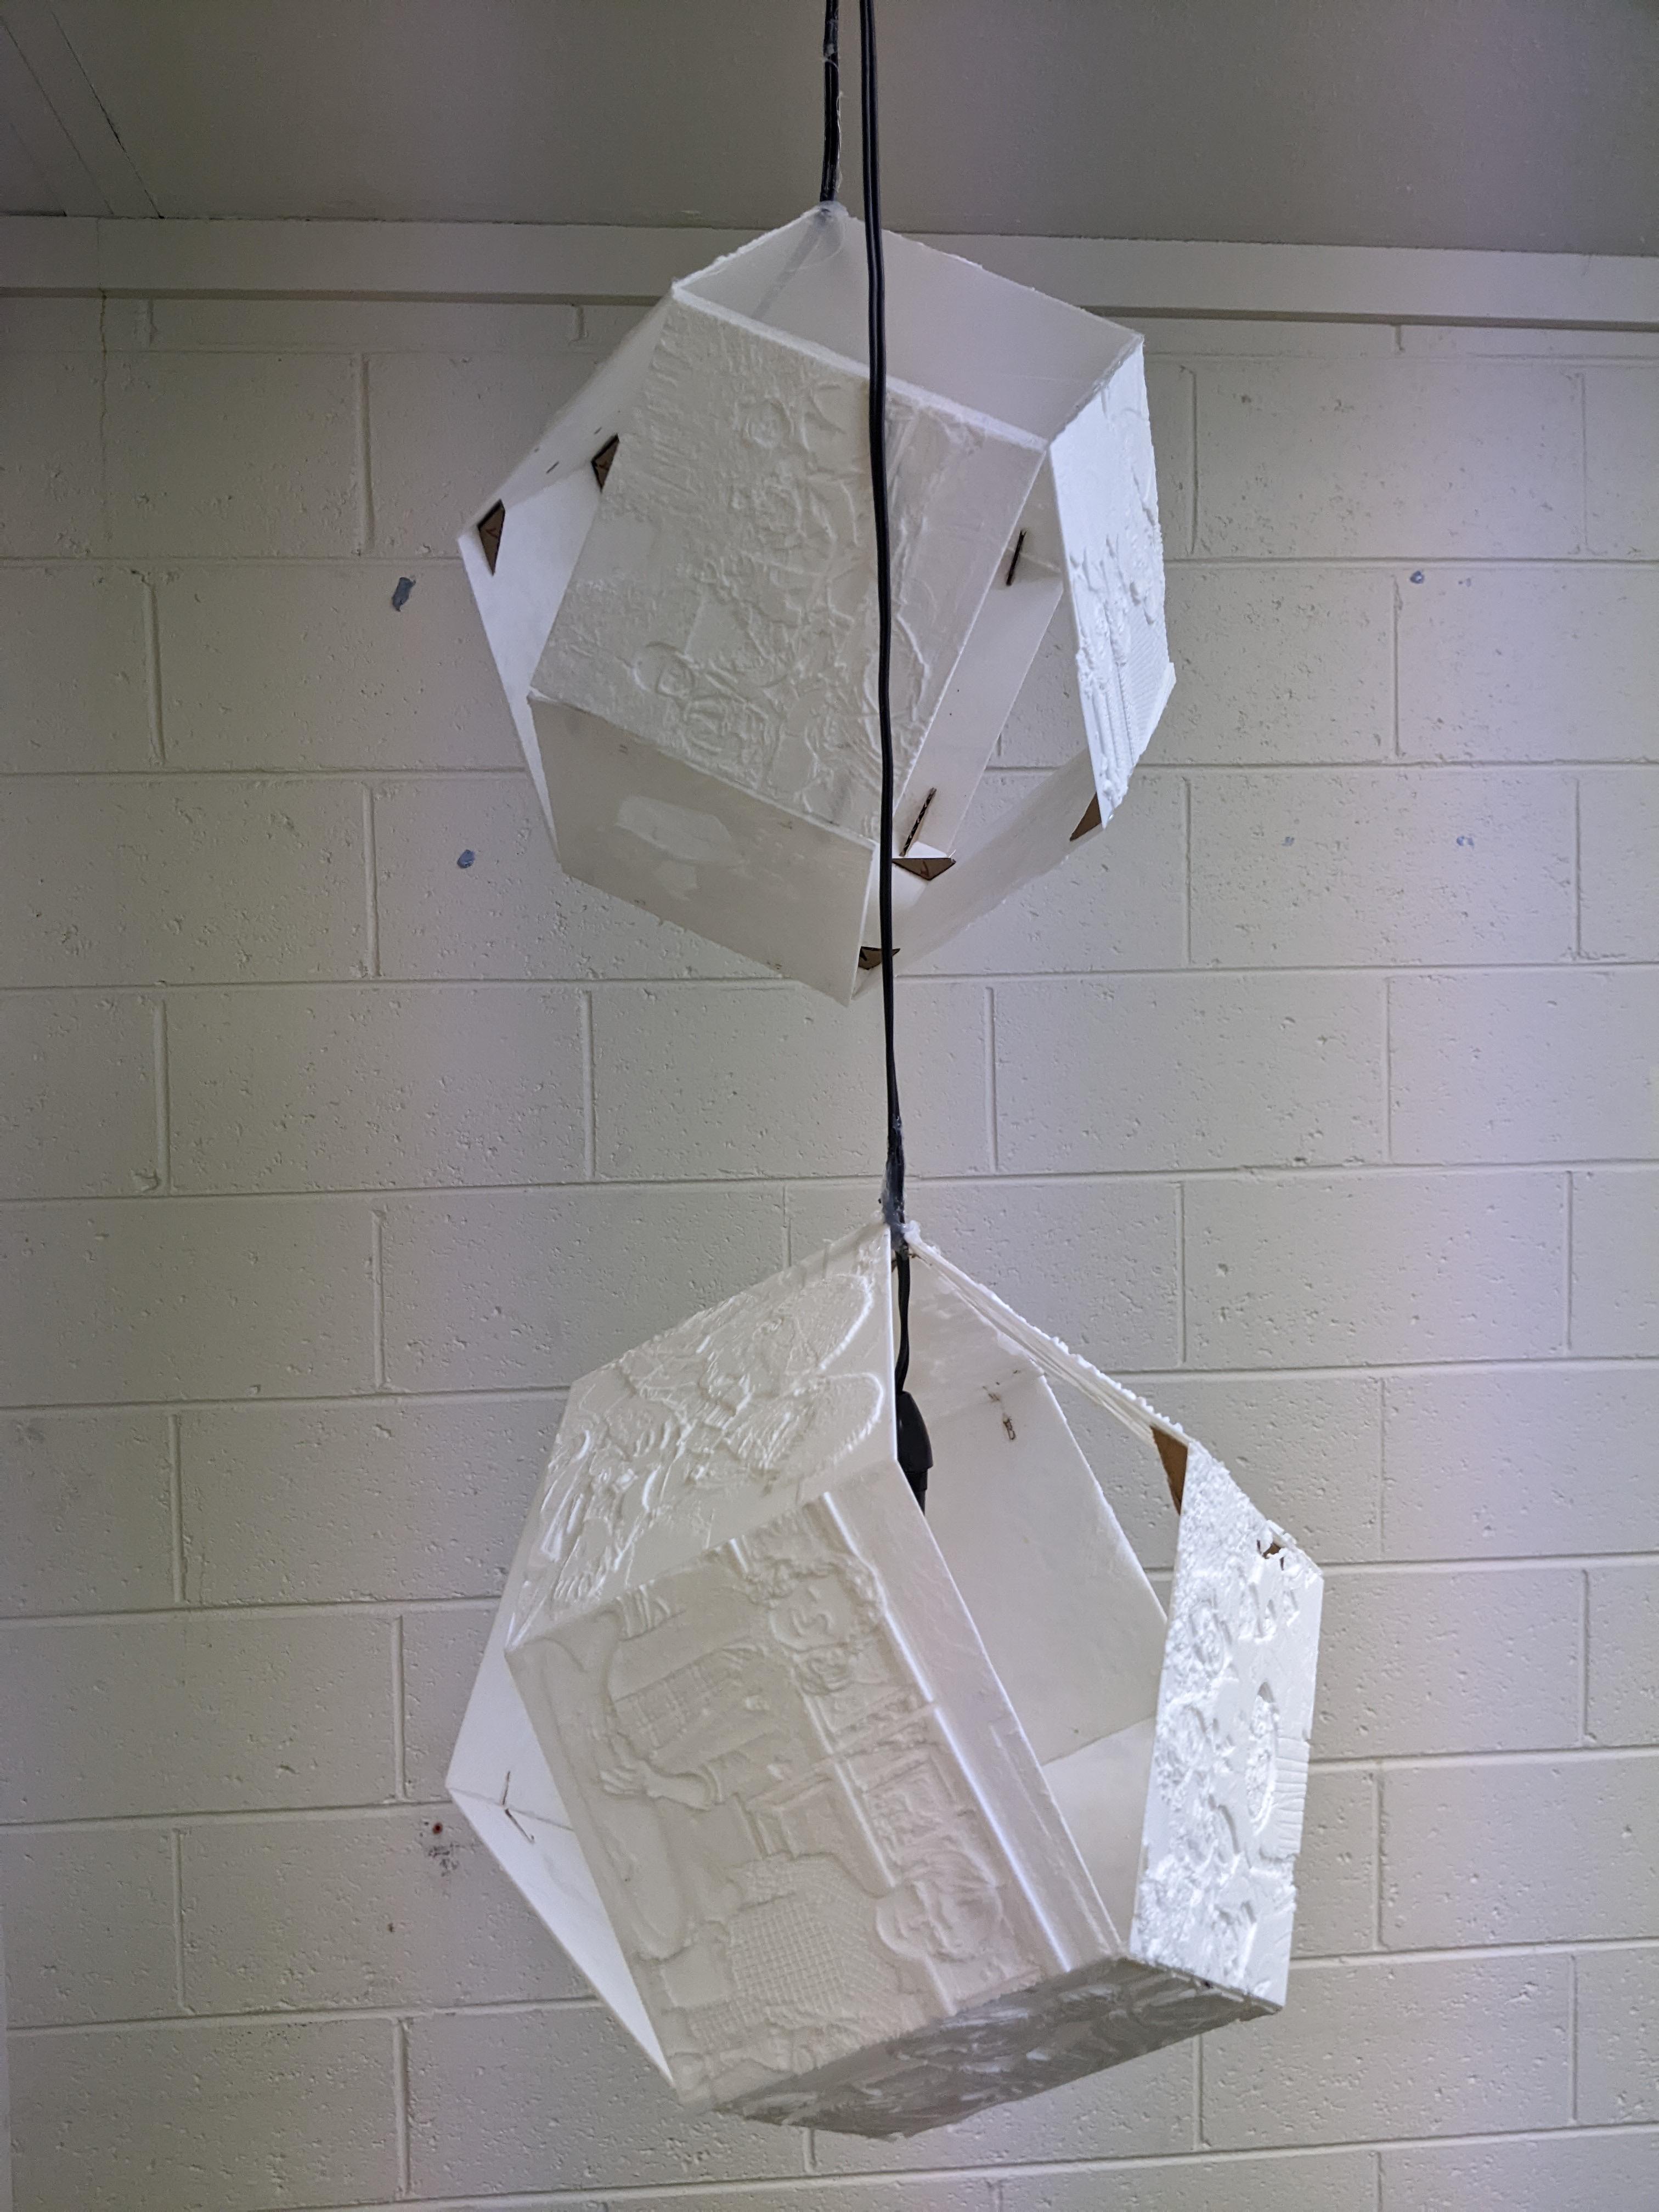
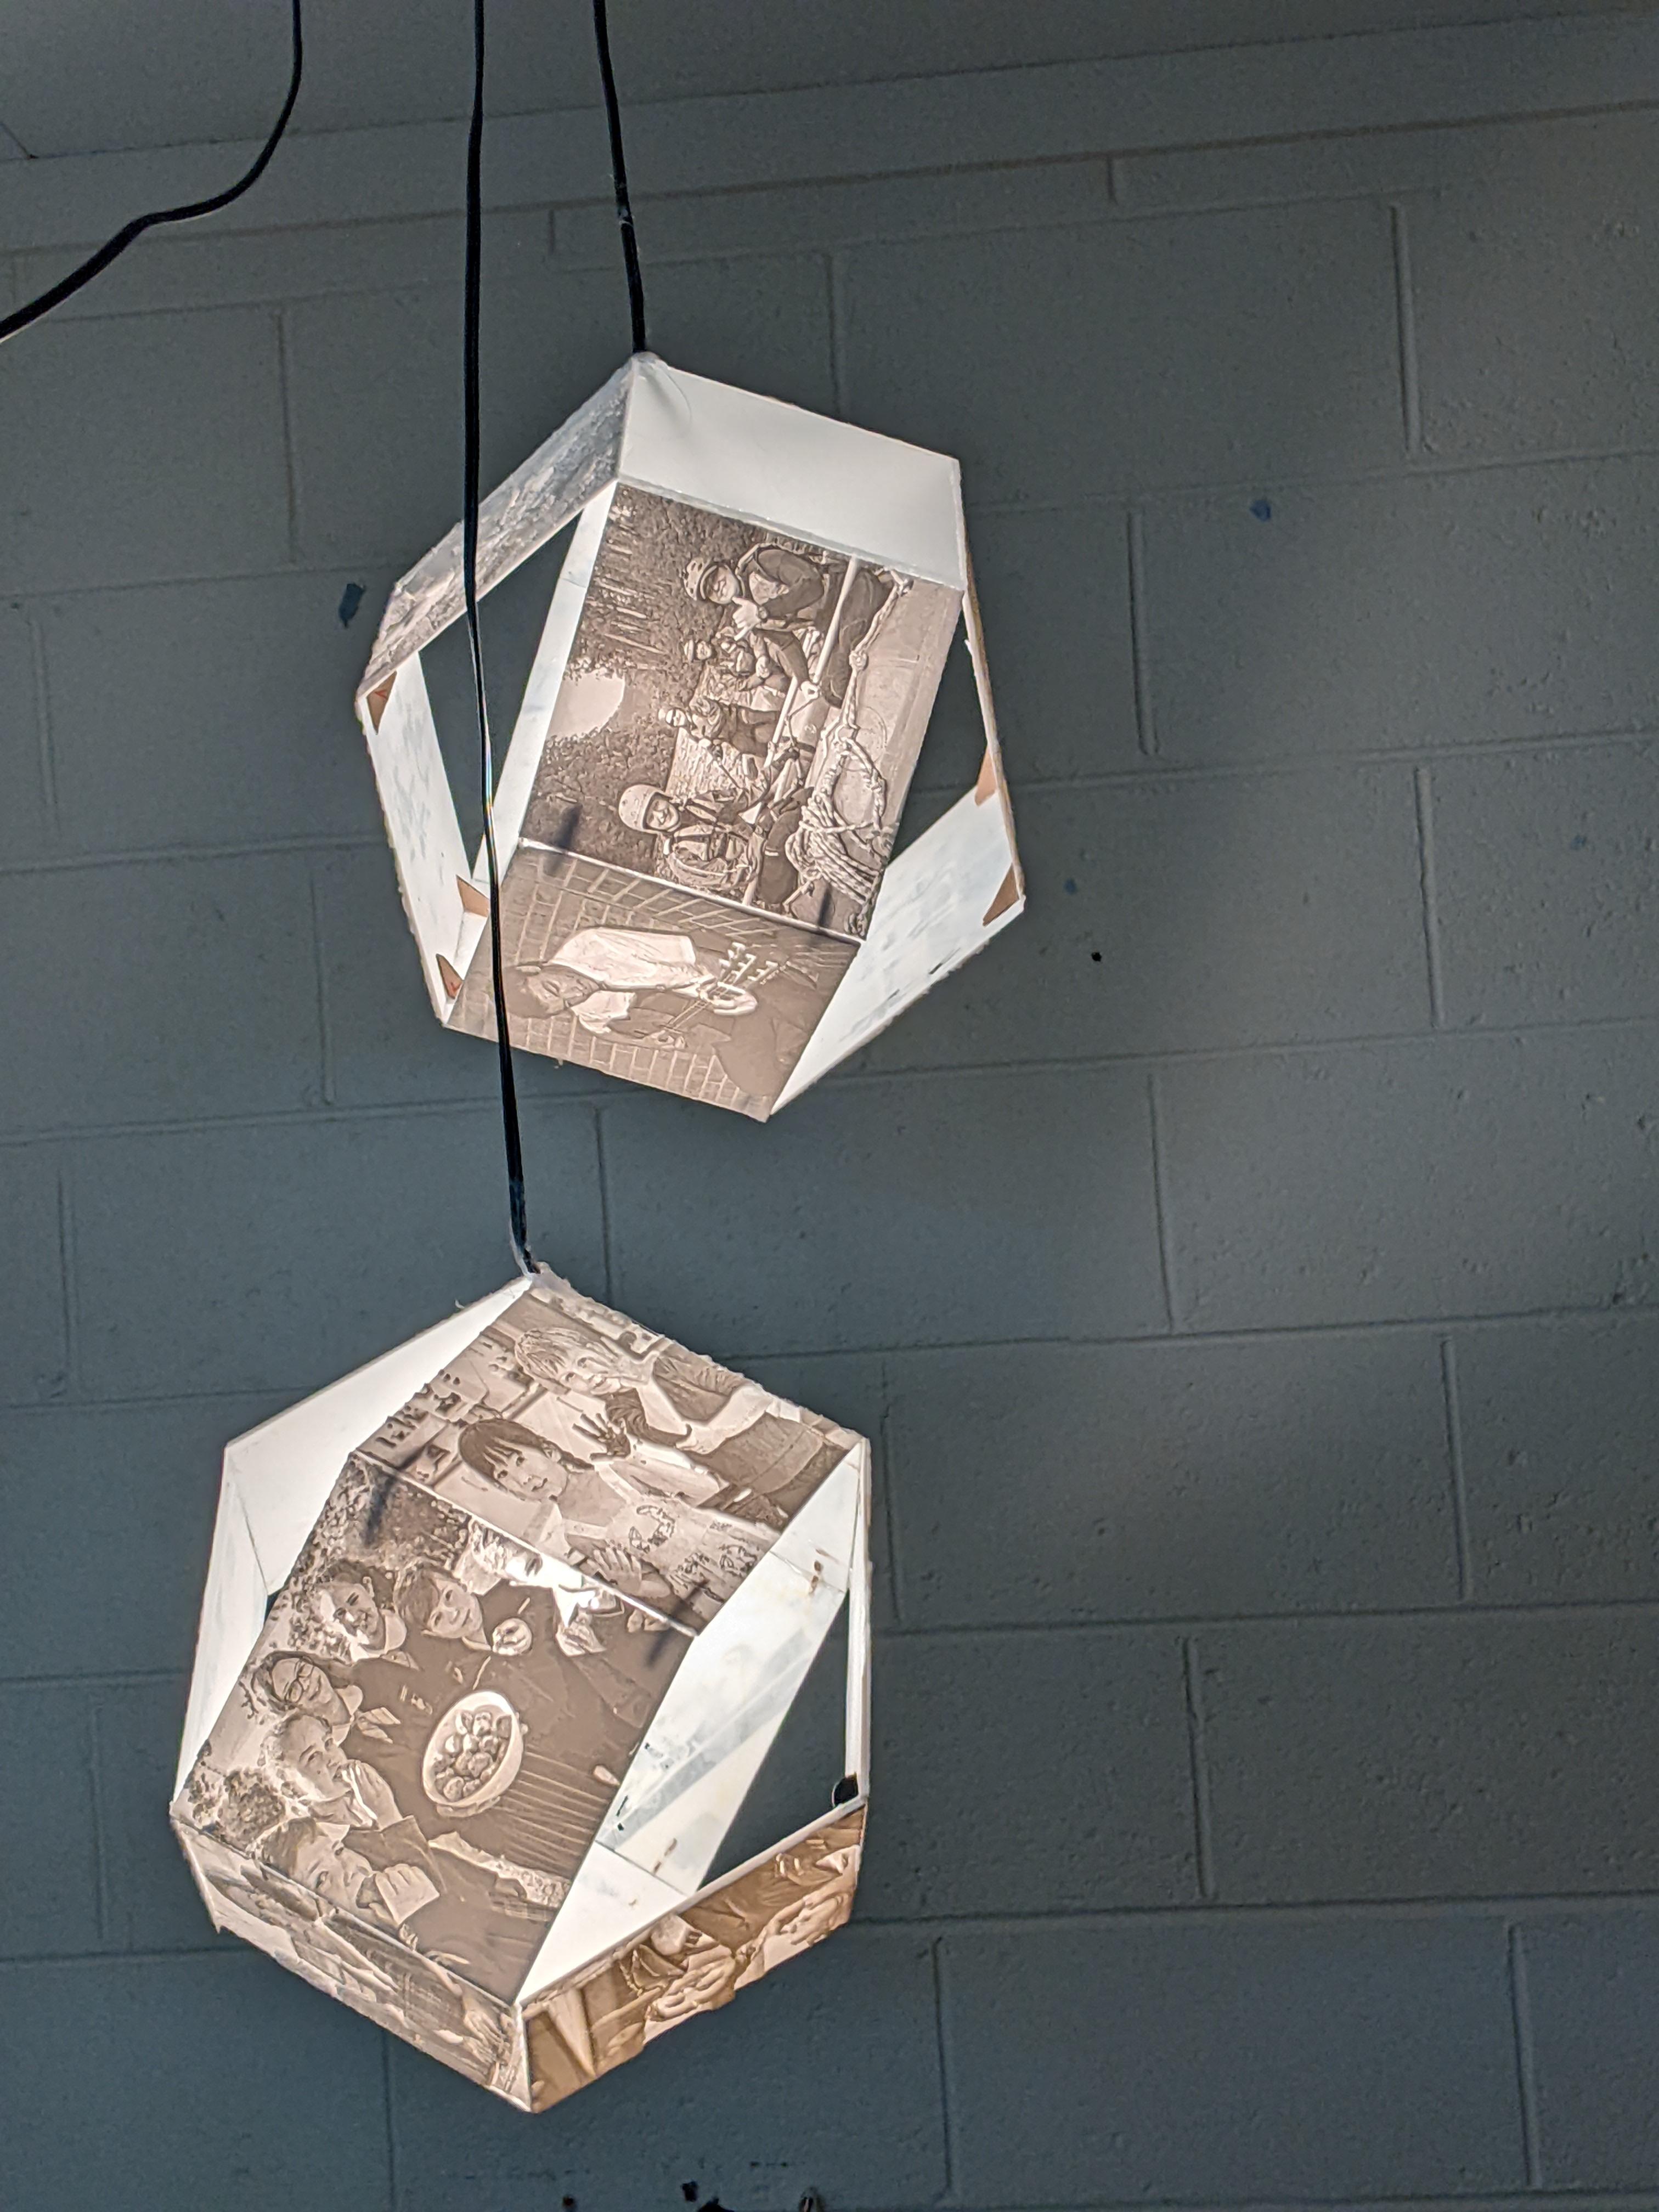
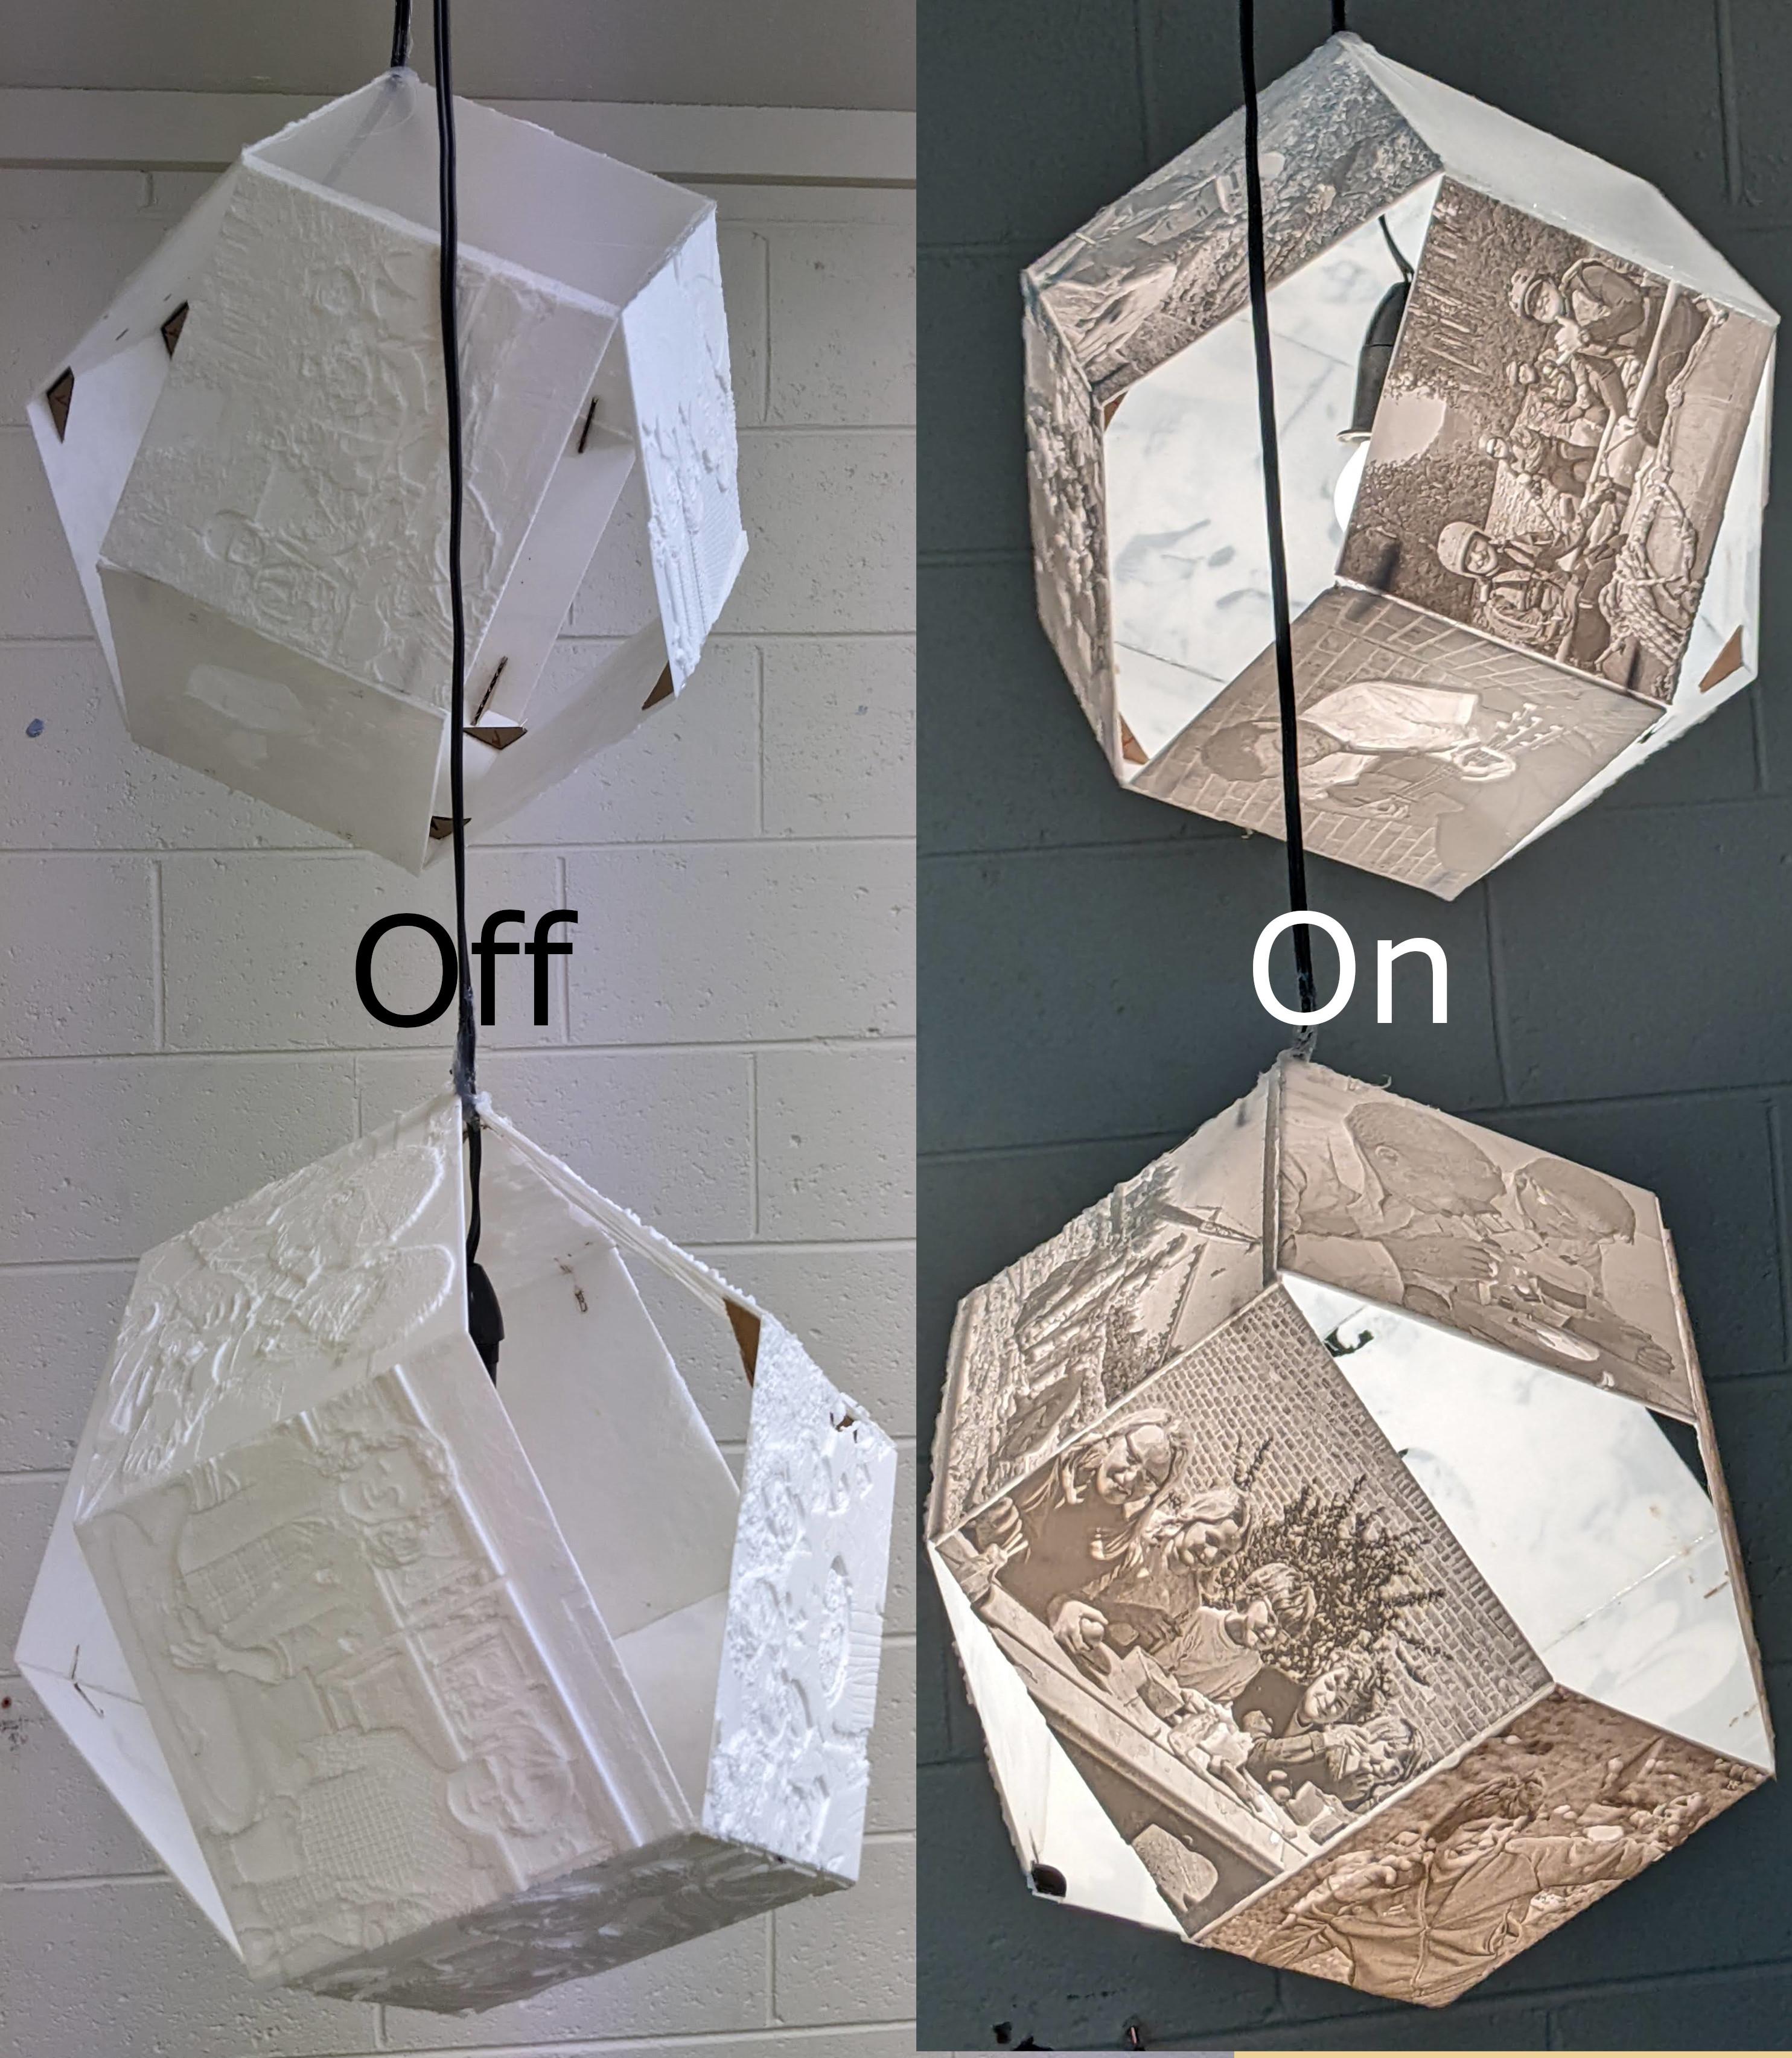
This will be where the lithophanes are glued together using the brackets as well as building it around the light cord.
- Carefully cut out a notch (half the diameter of the cable) of 2 lithophanes
- Using your glue and using 2 brackets on each edge, glue these onto the lithophane
- Continue until you have glue a full hexagon, ensuring the 2 modified plates are glued together and the cord is sandwiched between.
- Create the 'arches' to bridge over the hexagon, turning it into an orb shape
- Slide the cable so that the light will be positioned in the middle of the orb
- Using some glue, glue the cable into position, if your light socket has a piece that screws in and clamps this, that will help to secure it in place.
N.B. Depending on your glue and plastic, you may find the plastic melts when the glue is applied.