Masterdude Automatic MAC 10
by Masterdude in Living > LEGO & K'NEX
1811 Views, 6 Favorites, 0 Comments
Masterdude Automatic MAC 10


I've made the mechanism from my previous gun more compact so that it would look and work better. I've also tweaked some things, such as changed the mag since my previous Uzis/MACs so that they are locked stronger to the gun. I've made and destroyed the gun months ago, but I've been, and still am, so busy that I can't really spend much time on my I'bles, so for this gun anyone interested in building will have to work off the step-by-step images without written instructions.
Features:
-Full auto
-Removable mag
-Folding stock
-Trigger guard
-Safety
-Others
Features:
-Full auto
-Removable mag
-Folding stock
-Trigger guard
-Safety
-Others
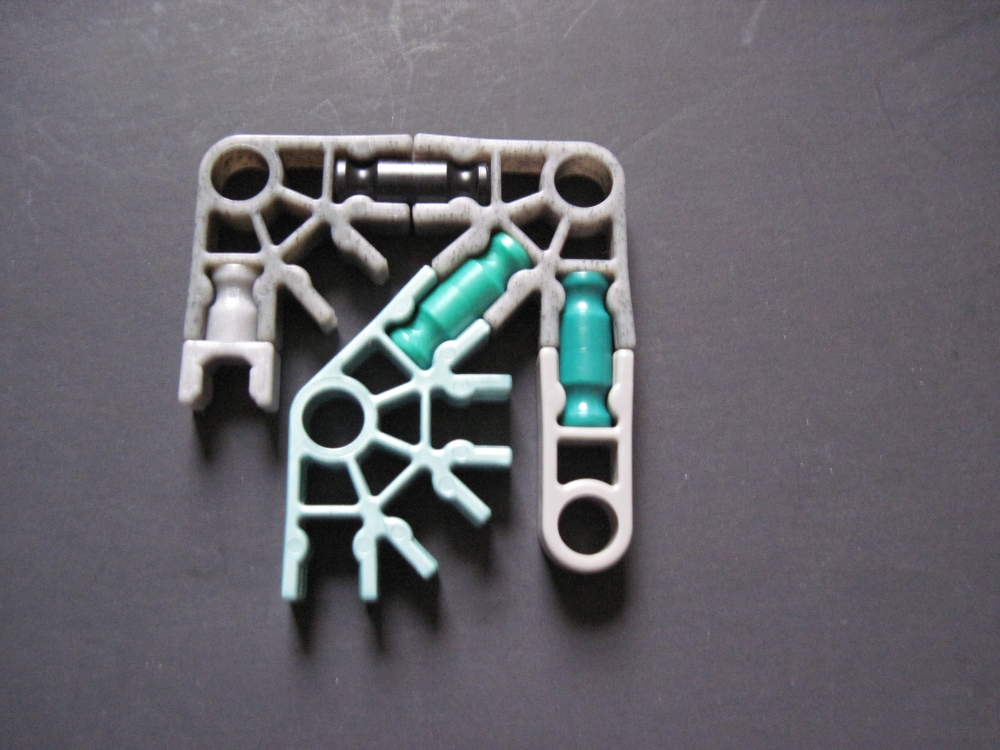
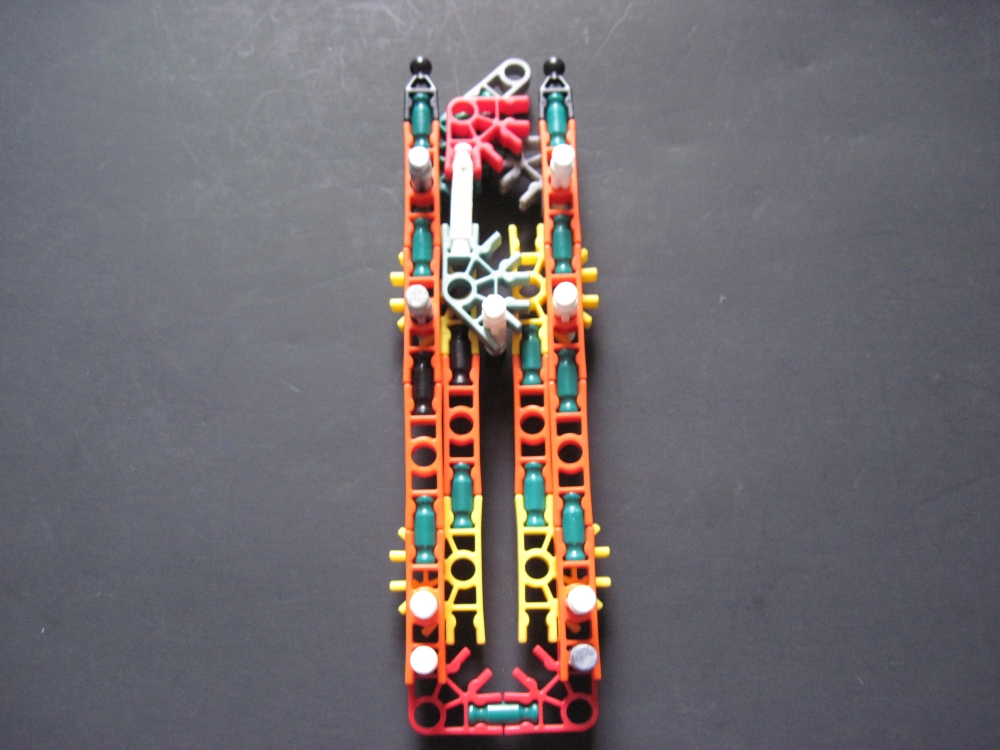
Components


Make the following.
Construction


Follow the images.
Mag


Follow the images.
Operation


Place rubberbands as in the first 2 images, then load a mag as in image 3. Load the bands one at a time, hooking them on the tip of the barrel and on the spoke, as with my previous guns. Then insert the mag, pull out the pin. The safety is activated in image 4 and dis-activated in image 5. Pull trigger to release a hail of K'nex pieces.
Warning: This gun can cause damage and/or injury. The safety and other mechanisms can fail so always treat it as armed. Do not point at people, things, or animals. I am not responsible in any way for any damage, injury, or death caused by my Instructables. You are totally responsible for any damage, injury, or death caused by my Instructables. Use common sense when making and/or using them.
Warning: This gun can cause damage and/or injury. The safety and other mechanisms can fail so always treat it as armed. Do not point at people, things, or animals. I am not responsible in any way for any damage, injury, or death caused by my Instructables. You are totally responsible for any damage, injury, or death caused by my Instructables. Use common sense when making and/or using them.