Masterdude Assault Rifle (MAR)
by Masterdude in Living > LEGO & K'NEX
1475 Views, 4 Favorites, 0 Comments
Masterdude Assault Rifle (MAR)

This is a rifle I made. It is a (very) upgrade version of one I had a long time ago in this slide show.
Pros:
-Actual Semi-Auto
-Has a magazine(holds 13 bullets)
-Good range, strength, and accuracy (depending on the rubber band used)
-Good looks
-Comfortable
-Easy to modify
-Carry handle
-Has a safety
-Can be disassembled for easy storage
-True trigger
Cons:
-Uses quite a lot of pieces
-Can take some time to reload
-Is rather large
More Instructables by me.
List of Parts
Here is a list of parts used in the MAR:
Rods:
-Grey-8
-Red-2
-Blue-20
-White-70
-Green-161
Connectors:
-Gray-76
-Light Gray-12
-Red-38
-Green-4
-Yellow-86
-Orange-43
-White-33
-"Y" Connector-4
-Tan-5
-Metallic Blue-3
-Blue-5
Panels:
-Small Square-2
Spacers:
-Blue-14
Note-This piece count does not include ammo and might have some mistakes.
Barrel: Making the Components


Make the following:
Picture 1: Make 2.
Picture 2: Make 2.
Picture 3: Make 14.
Picture 4: Make 14.
Picture 5: Make 14.
Picture 1: Make 2.
Picture 2: Make 2.
Picture 3: Make 14.
Picture 4: Make 14.
Picture 5: Make 14.
Barrel: Construction


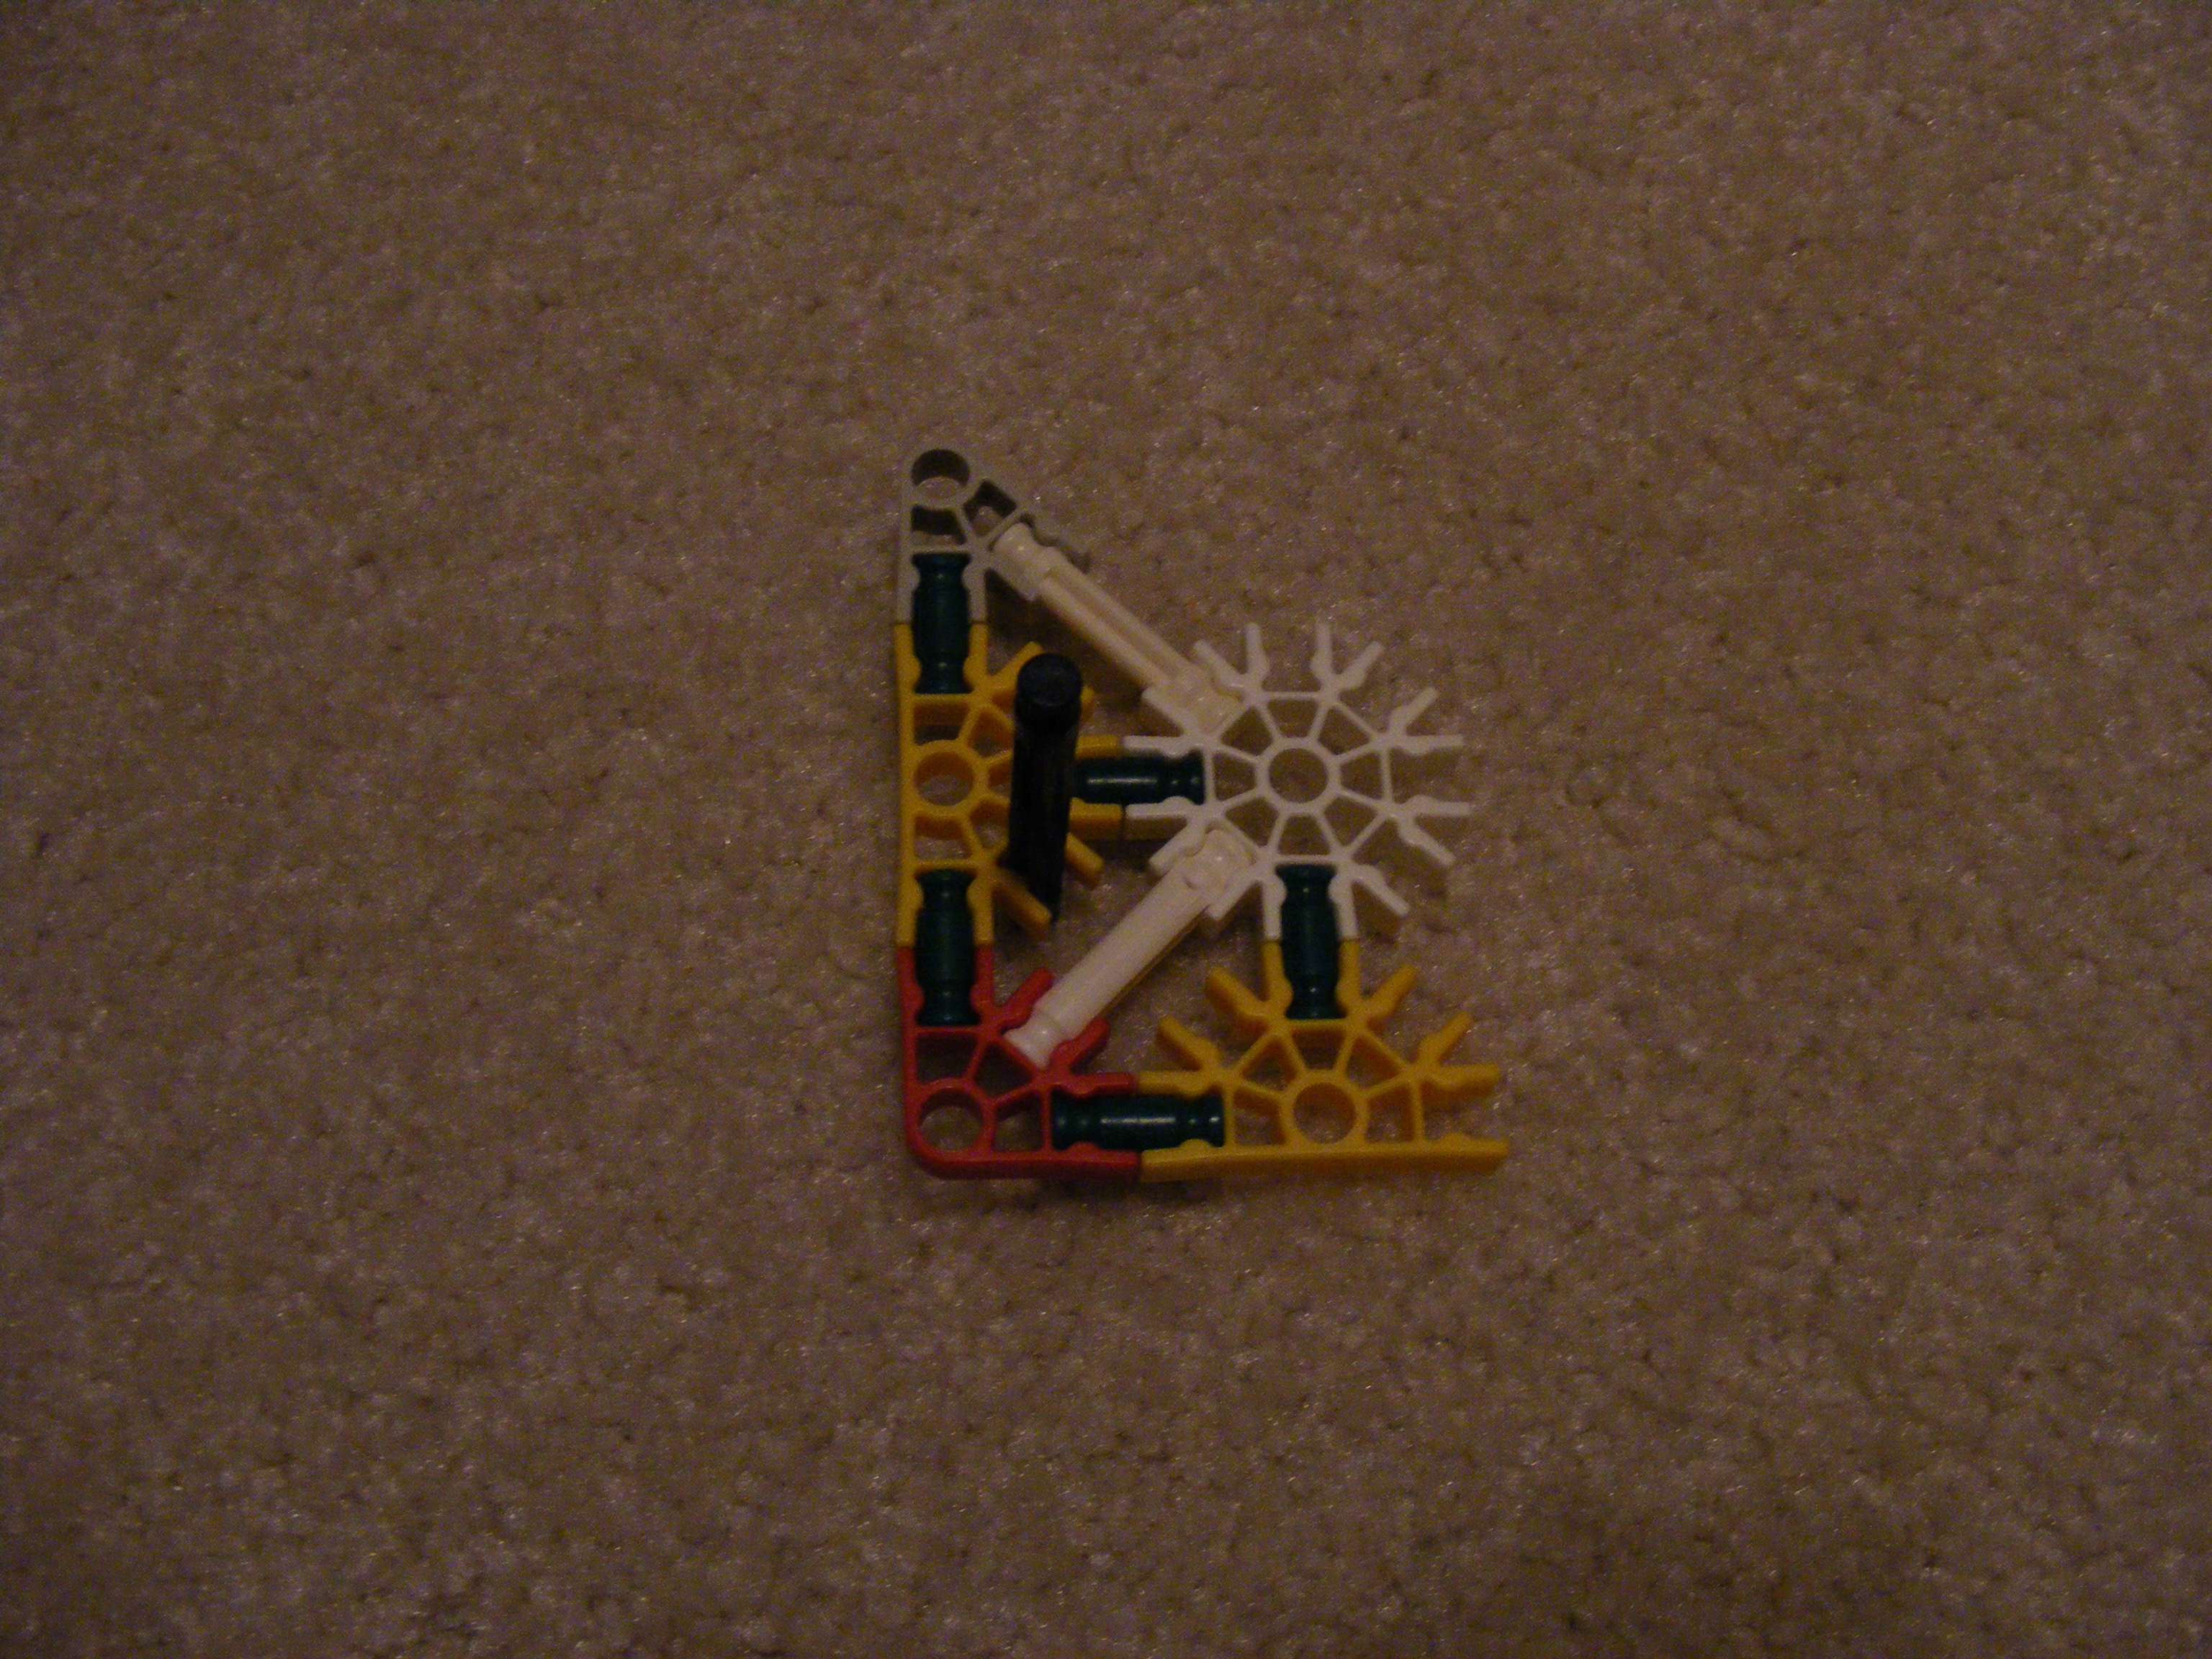


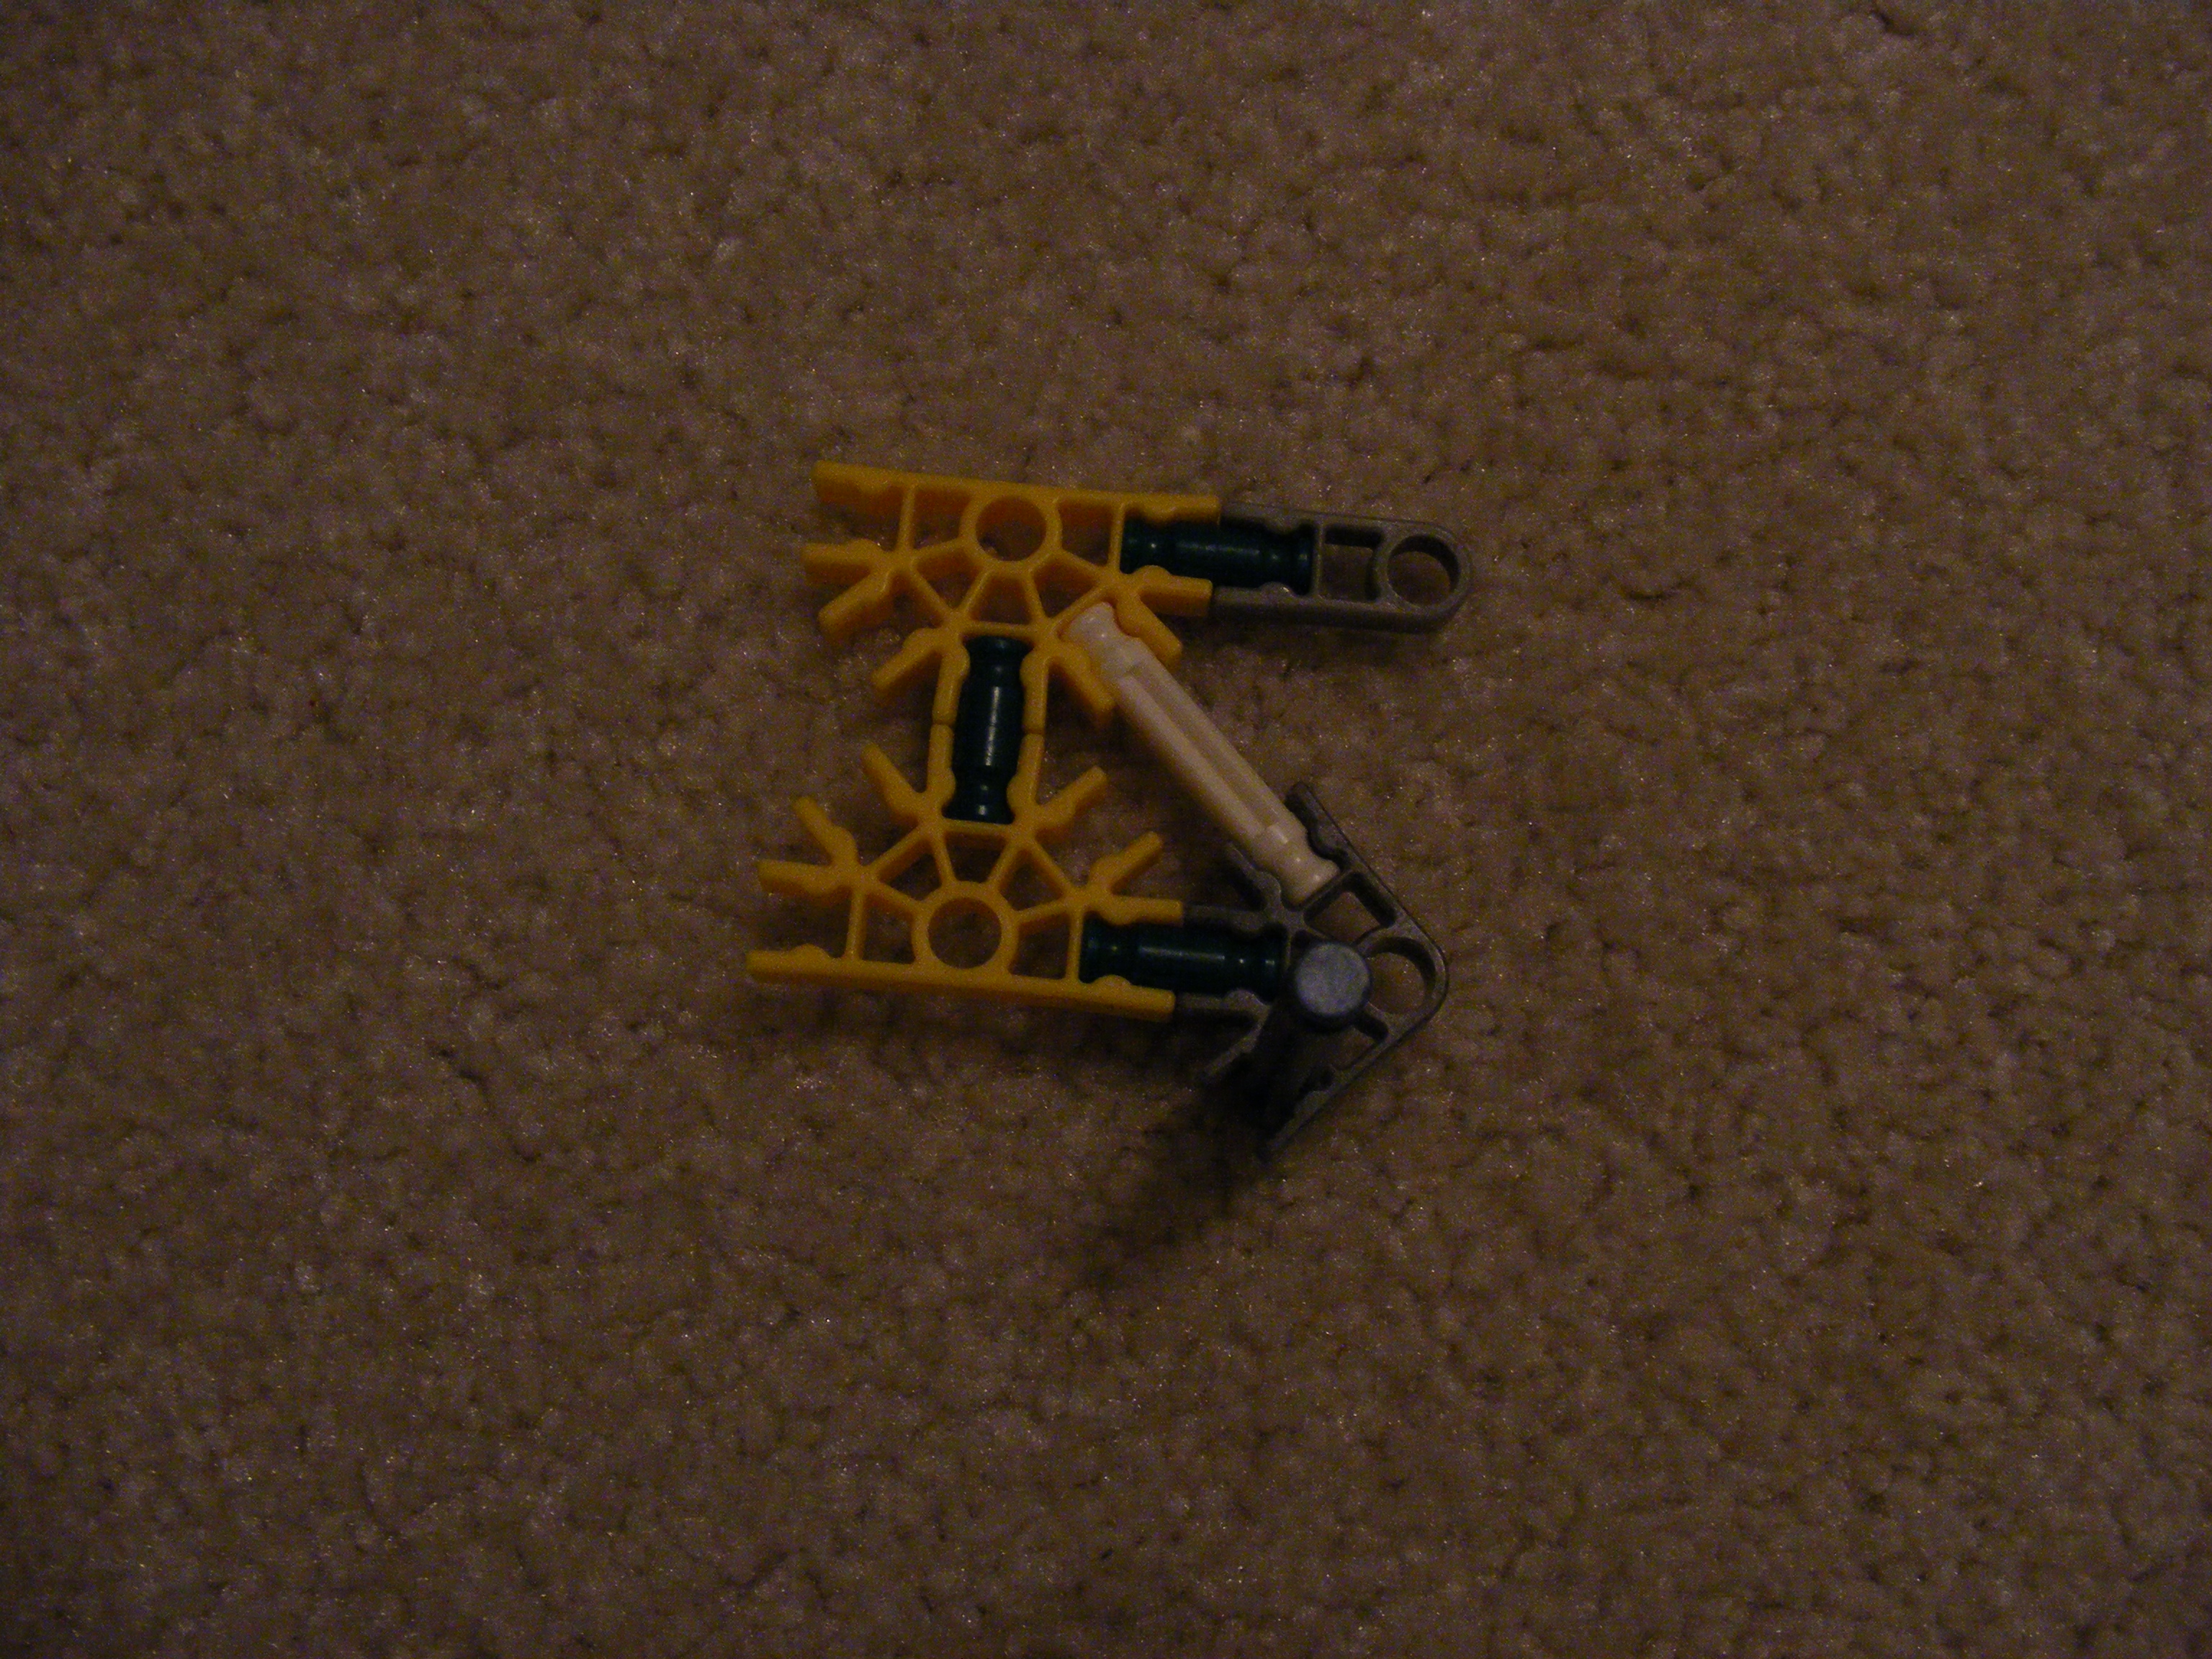


Follow the images:
Picture 1: Attach 4 gray rods as shown.
Picture 2: Add the earlier constructed pieces.
Picture 3: Add another piece like the first.
Picture 4: Again add the earlier constructed pieces but the places are switched.
Picture 5: Repeat the stacking until you end up with this.
Picture 6: Take the earlier constructed piece and add a blue rod.
Picture 7: Add 3 yellow connectors.
Picture 8: Attach the other identical piece.
Picture 9: Put a blue rod with a gray connector in the place shown.
Picture 10: On the other side place a light gray connector as shown.
Picture 11: Attach a blue rod to one of the left over pieces you've made.
Picture 12: Attach the other left over piece as shown.
Pictures 13 & 14: Finished barrel.
Magazine/ Ammo Feed: Making the Components
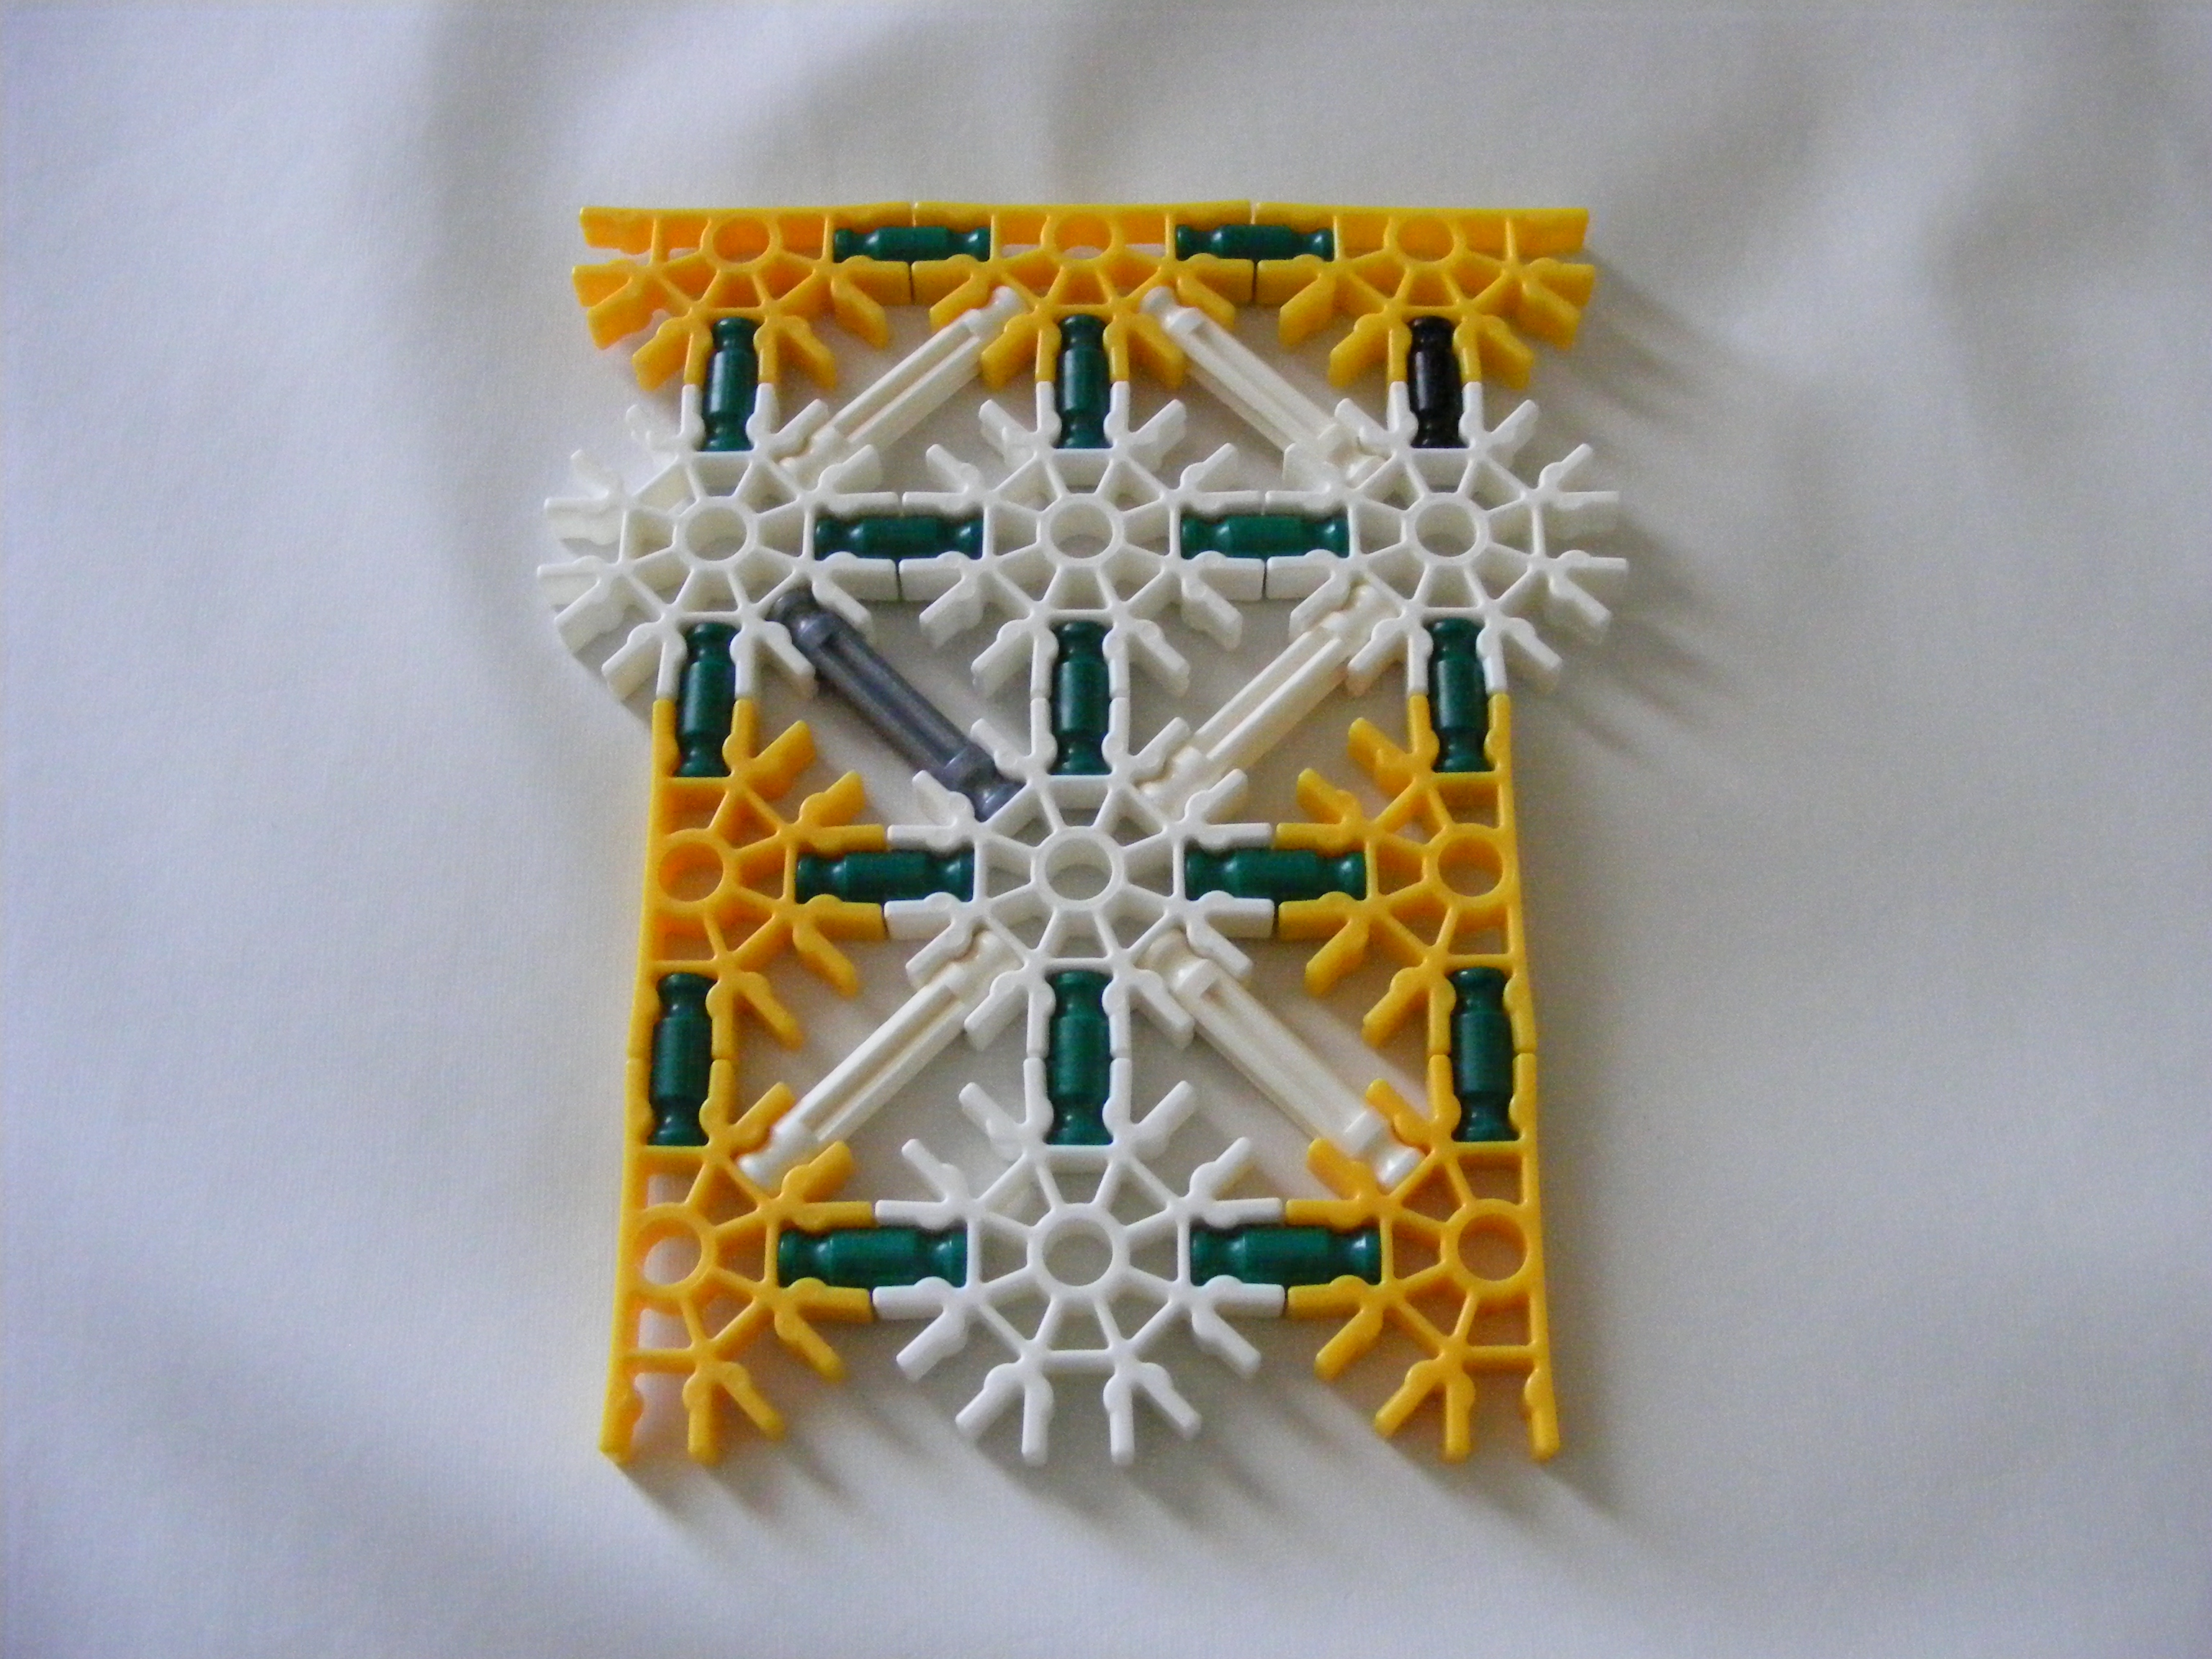

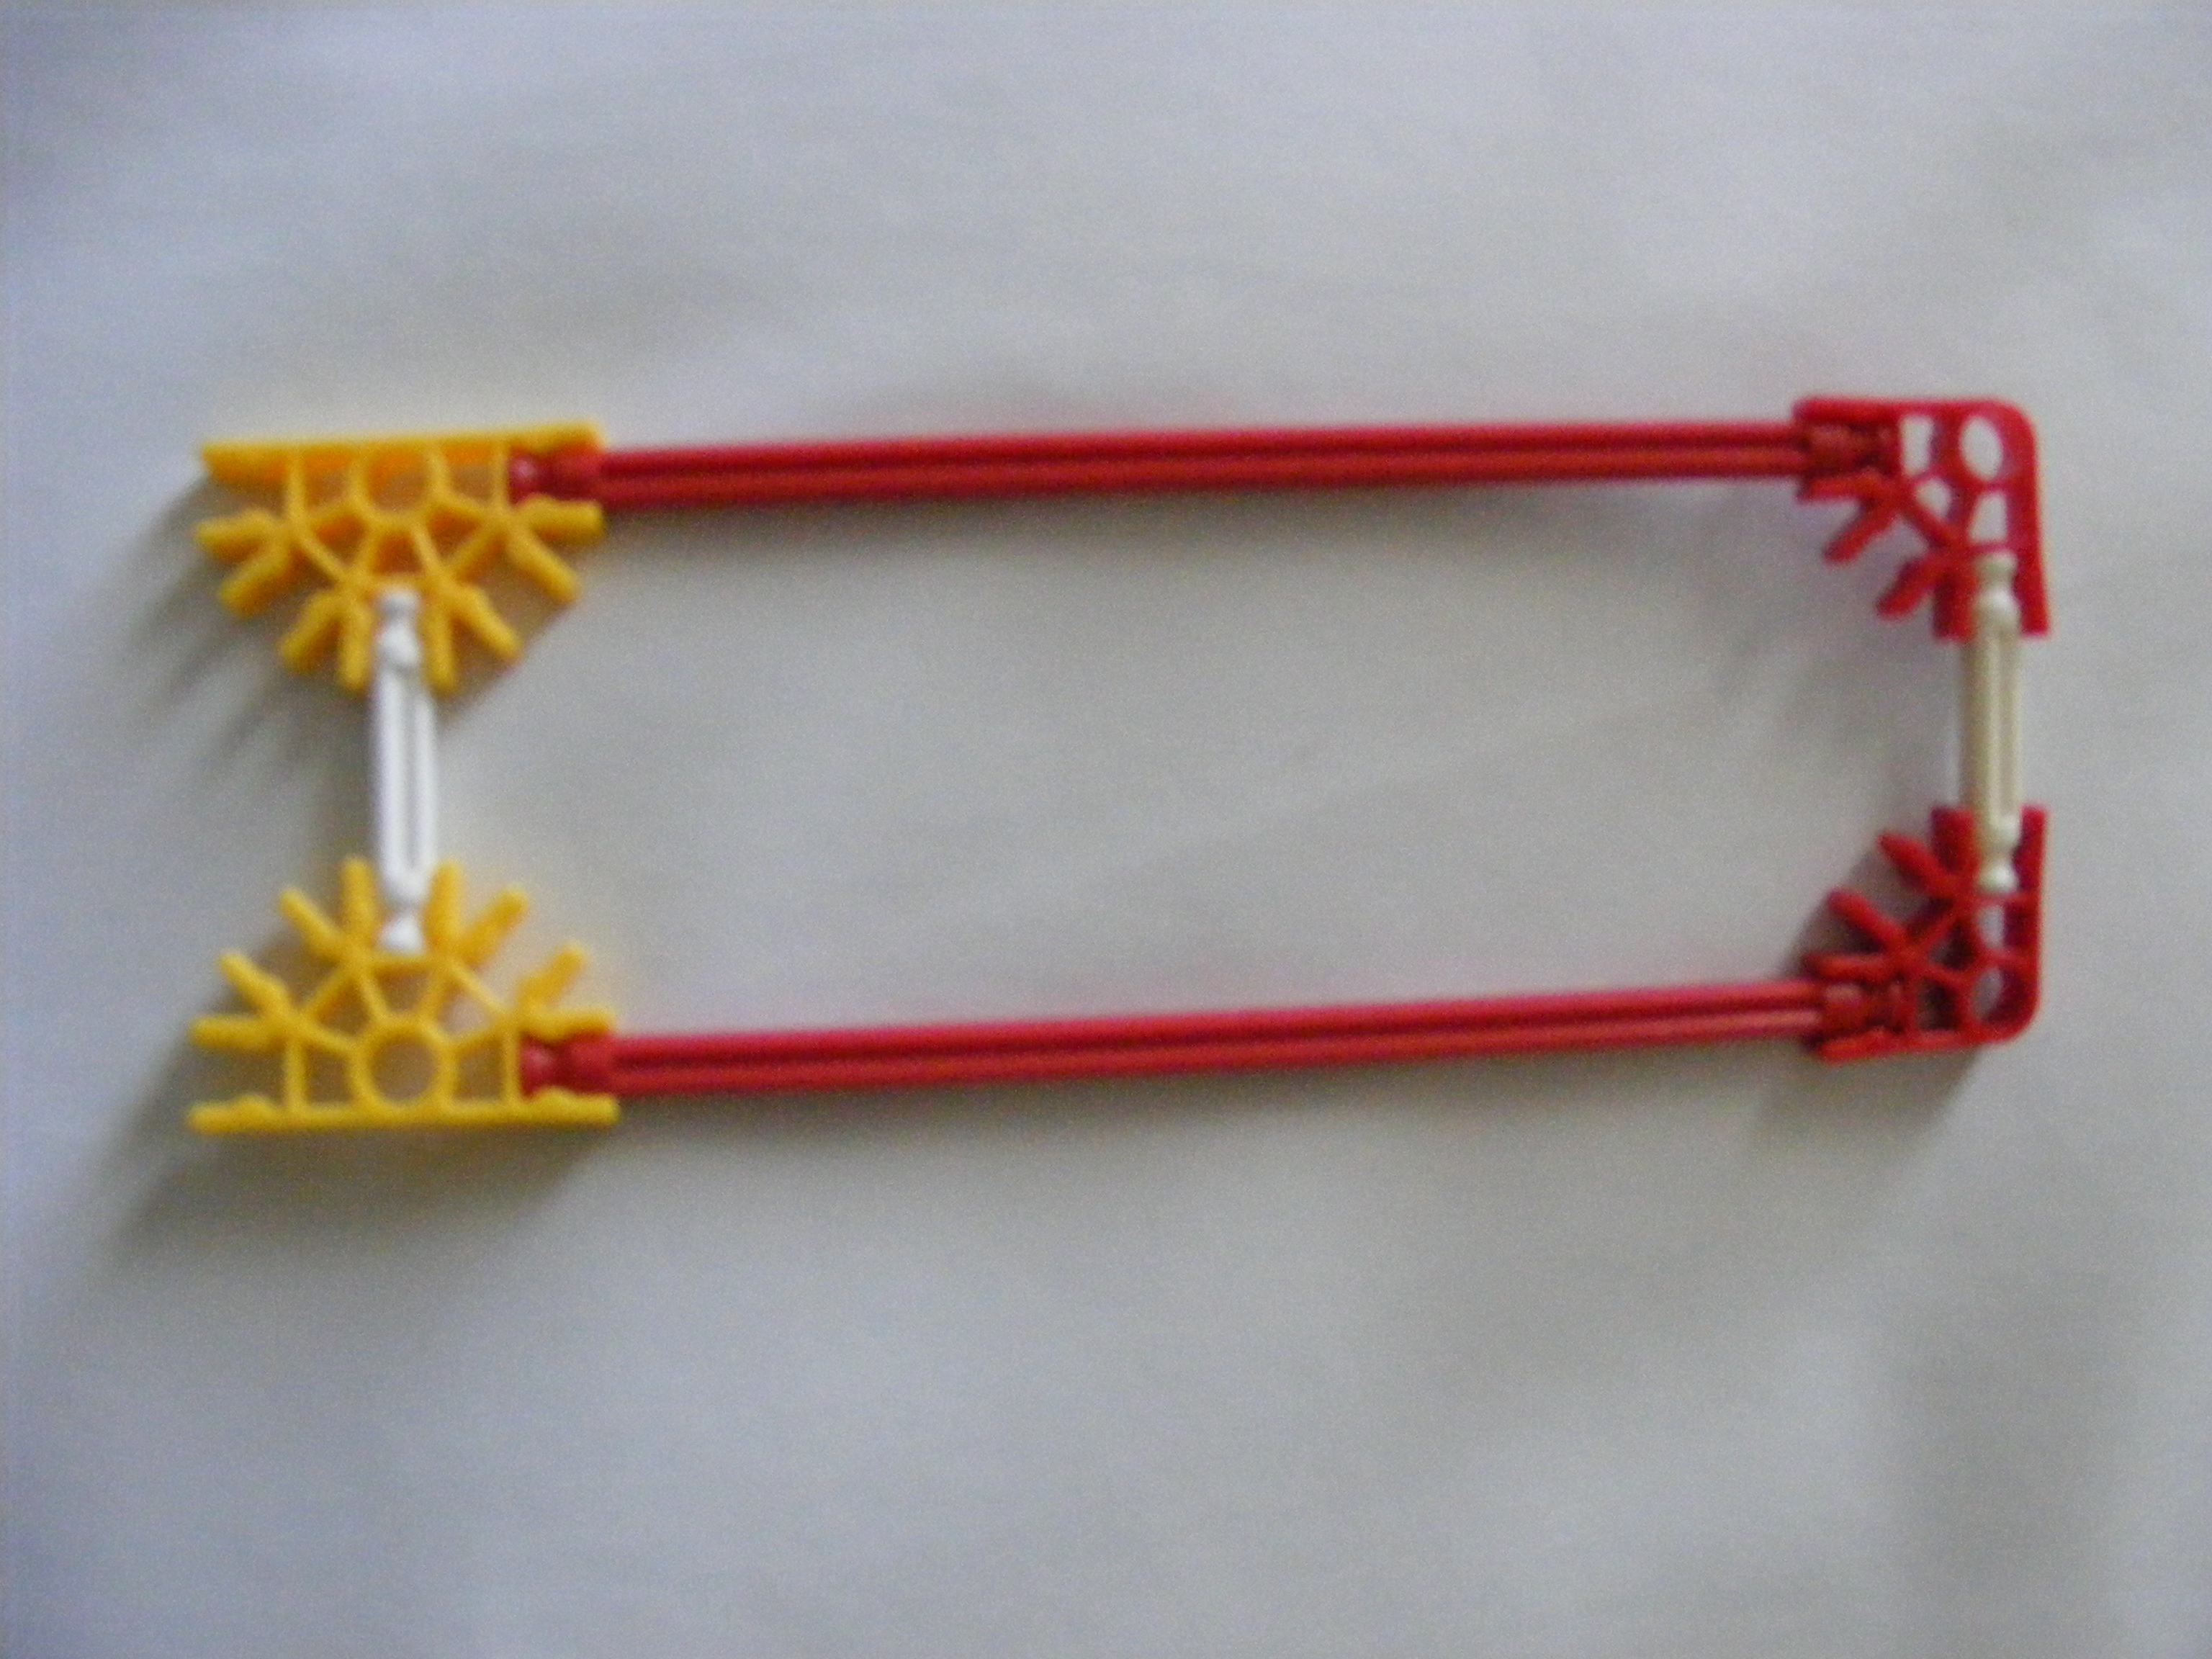



Make the following:
Picture 1: Make 2 of these.
Picture 2: Make 2 of these
Picture 3: Make 1.
Picture 4: Make 1.
Picture 5: Make 1.
Picture 6: Make 1.
Picture 7: Make 1.
Picture 1: Make 2 of these.
Picture 2: Make 2 of these
Picture 3: Make 1.
Picture 4: Make 1.
Picture 5: Make 1.
Picture 6: Make 1.
Picture 7: Make 1.
Magazine/ Ammo Feed: Construction


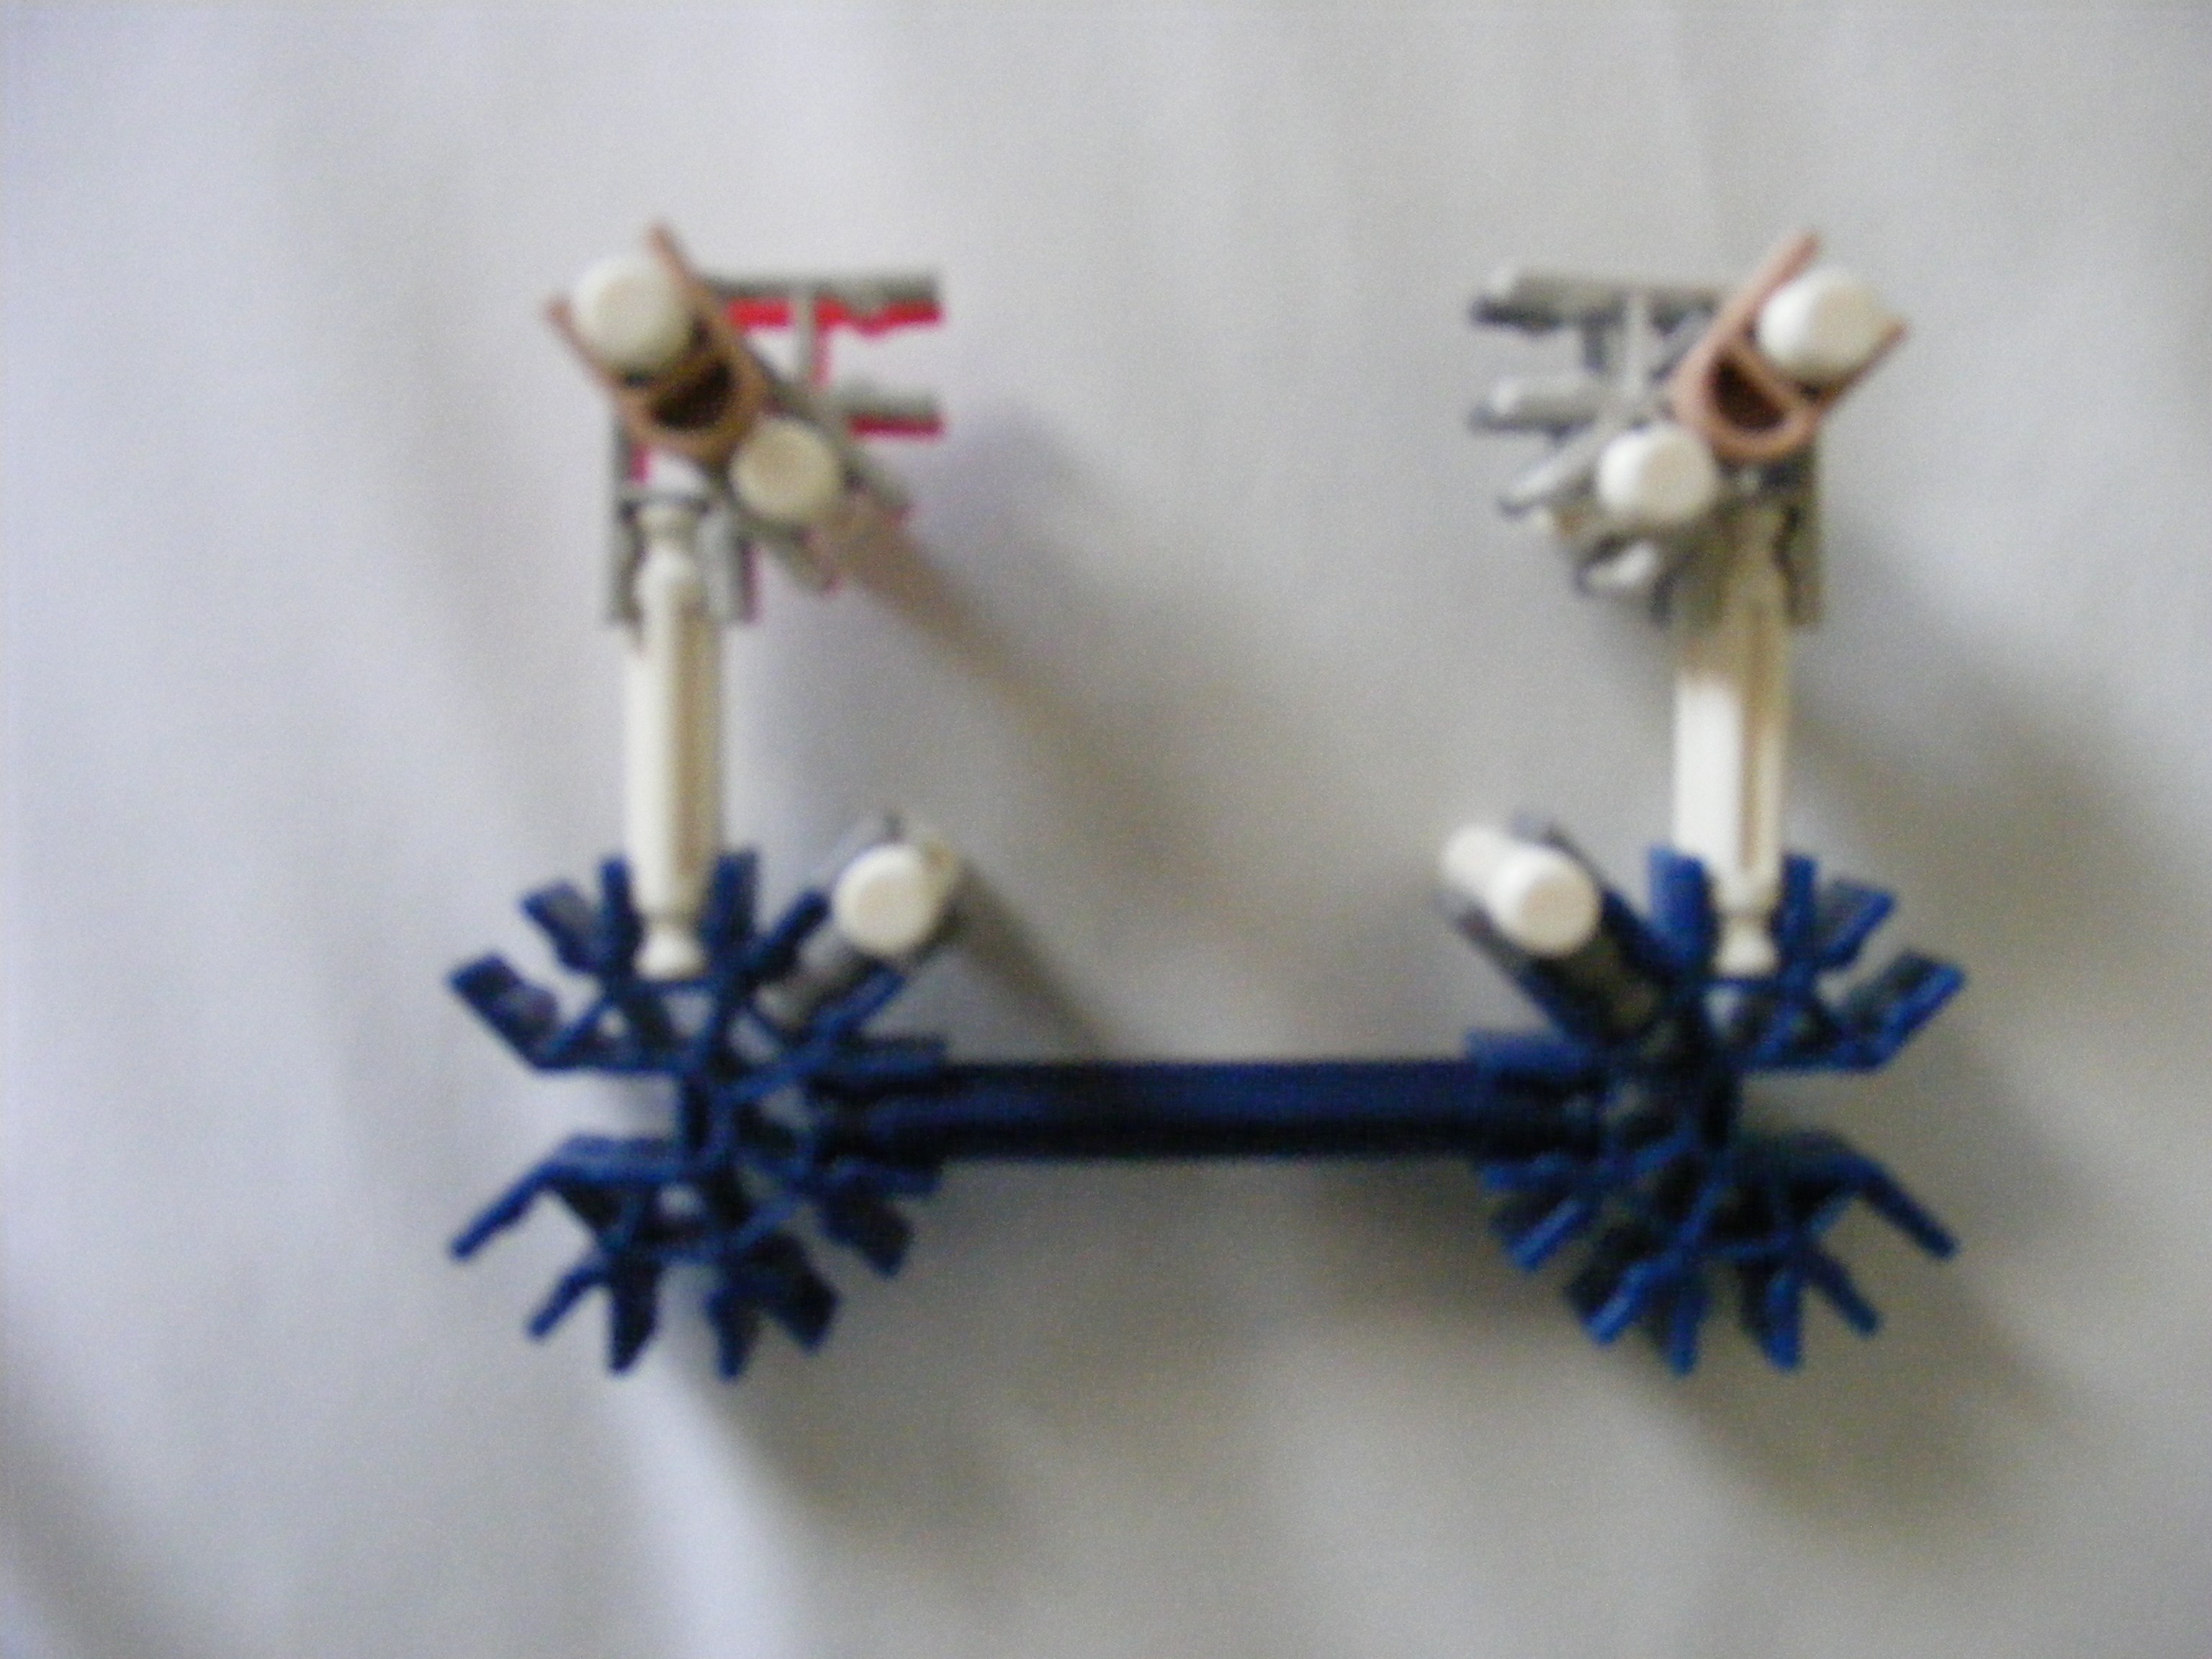


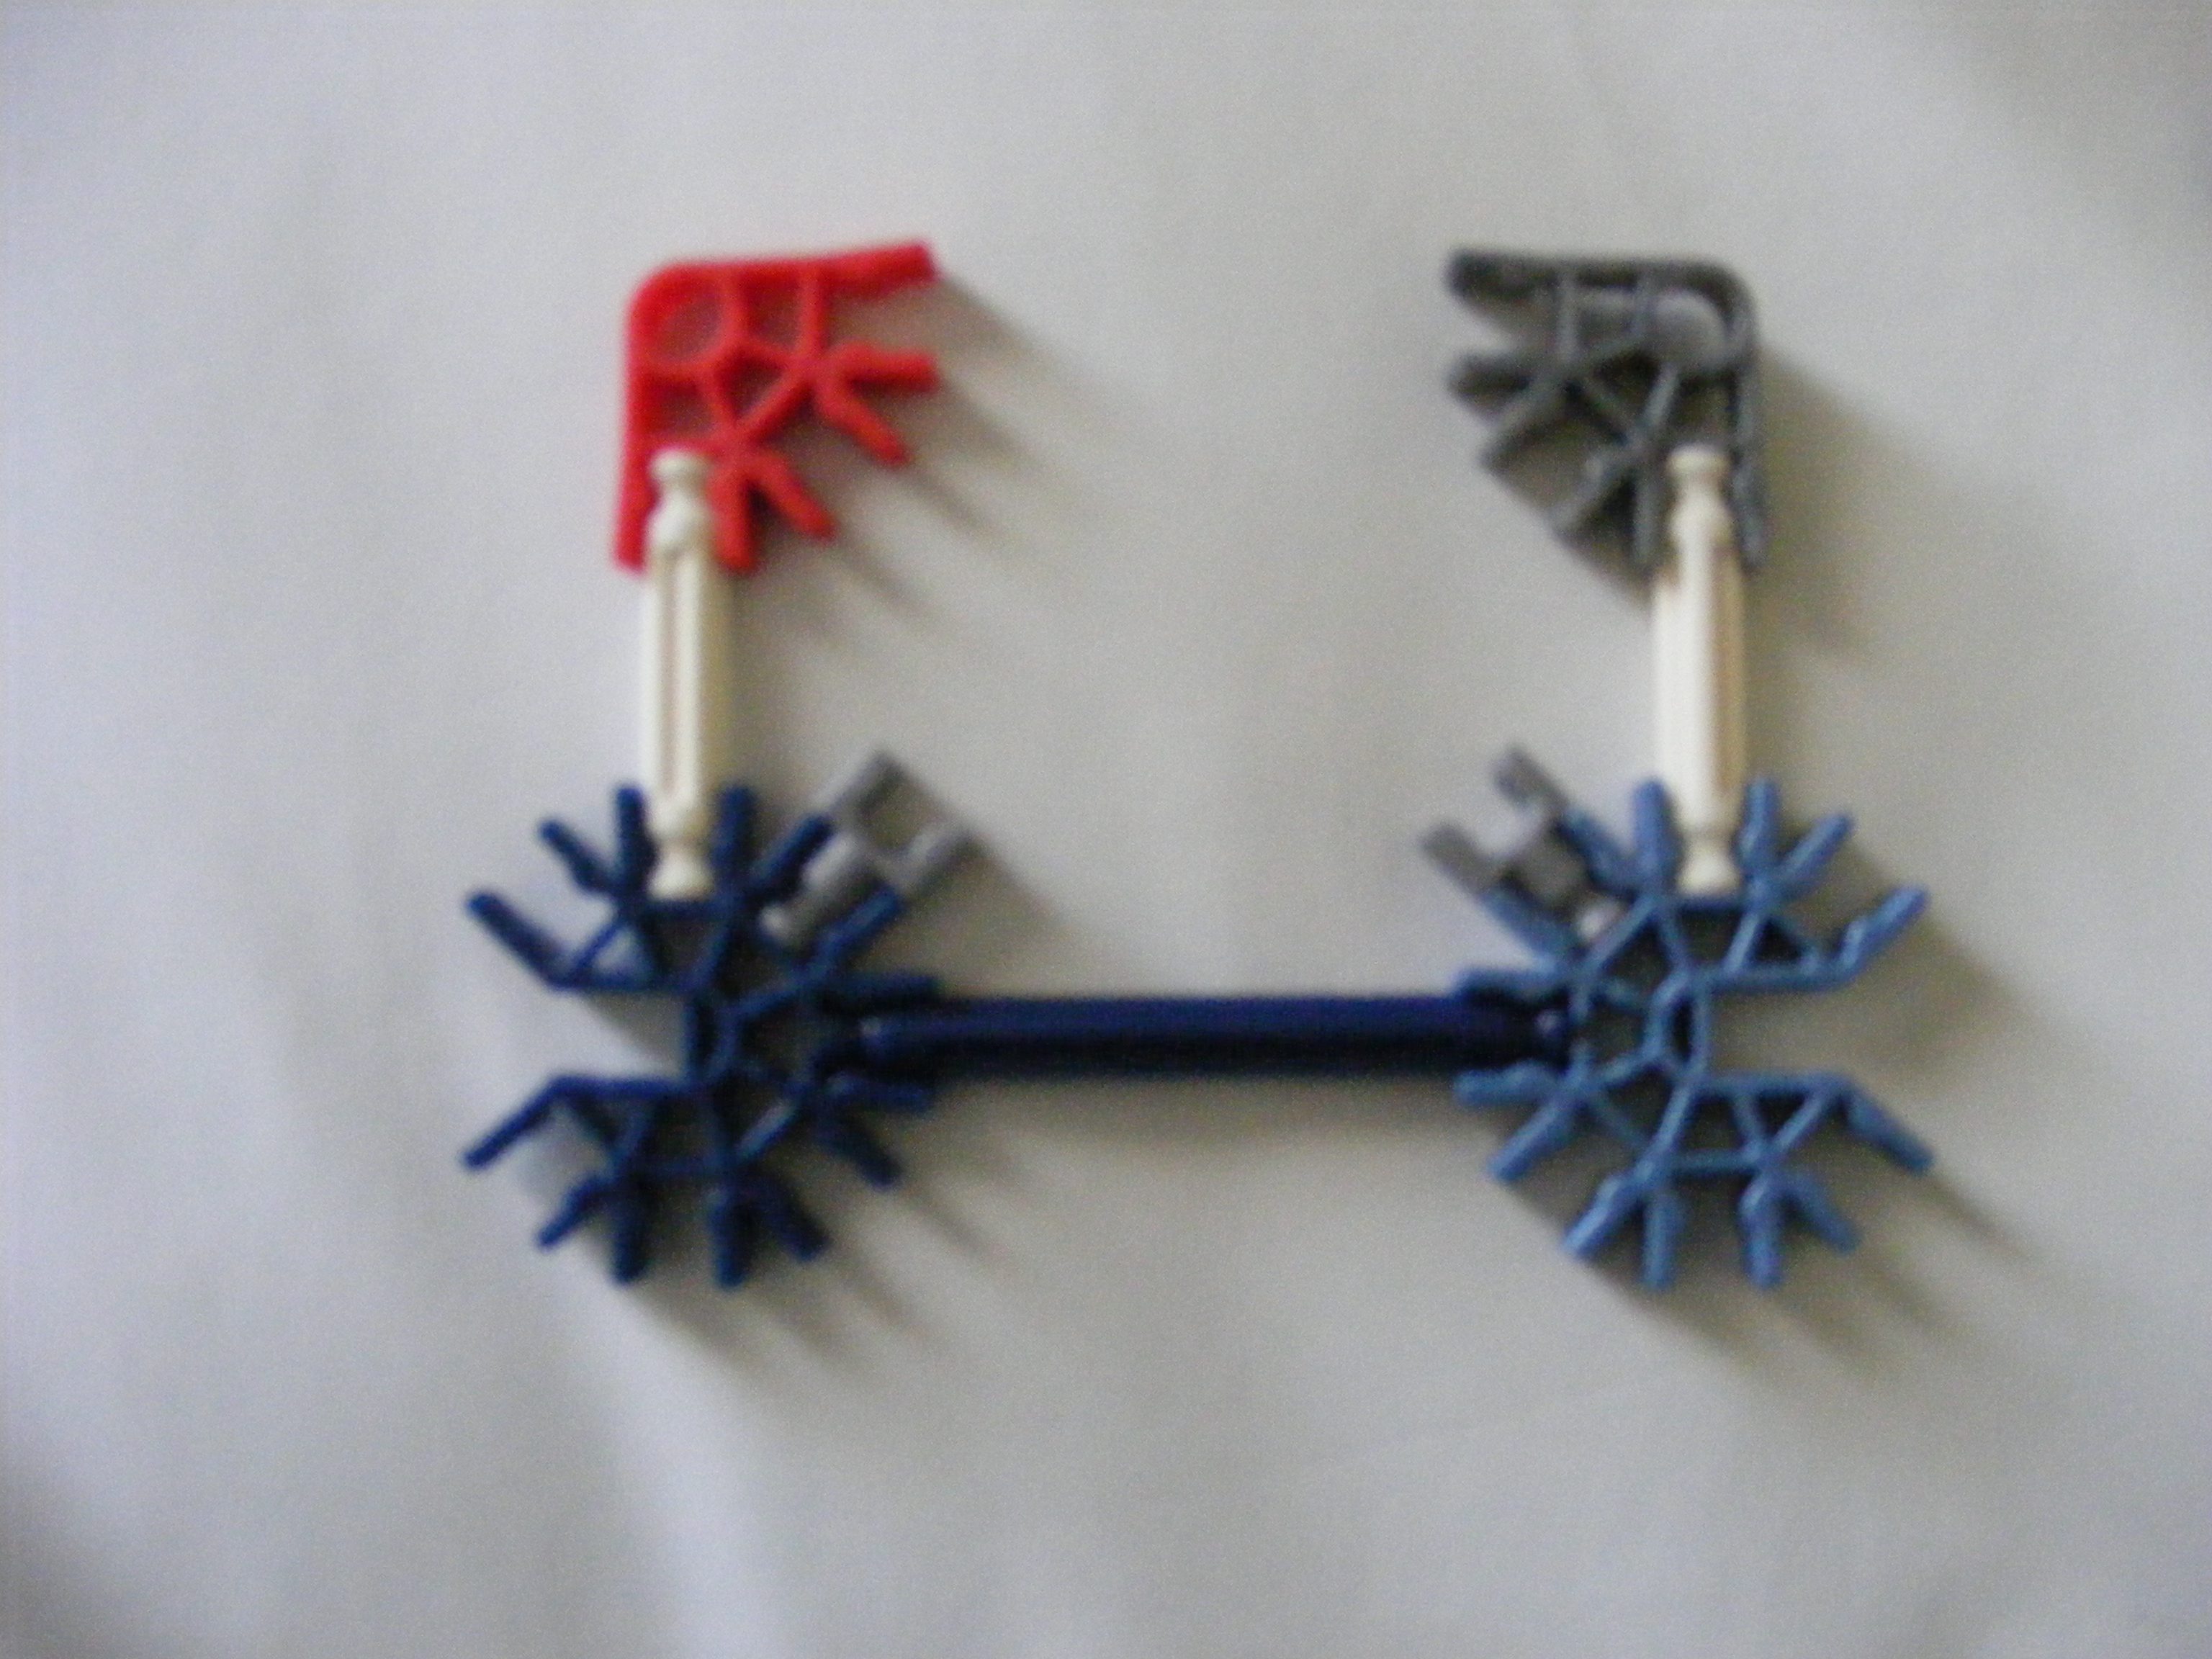
Follow the images:
Picture 1: Place the blue and white rods where shown in the picture.
Picture 2: Place the earlier made parts as shown.
Picture 3: Attach the other part over the rest as shown.
Picture 4: Place white rods as shown in the picture.
Picture 5: Place the earlier made part as shown.
Picture 6: Add 2 gray connectors as in the picture.
Picture 7: Place white rods with tan clips.
Picture 8: Place the earlier made part as shown.
Picture 9: View from other side.
Picture 10: Top view.
Picture 11: Place it as shown.
Picture 12: On the other side place the left over part as shown.
Picture 13: When finished it should look like this (Ammo pusher is in place).
Trigger System: Making the Components

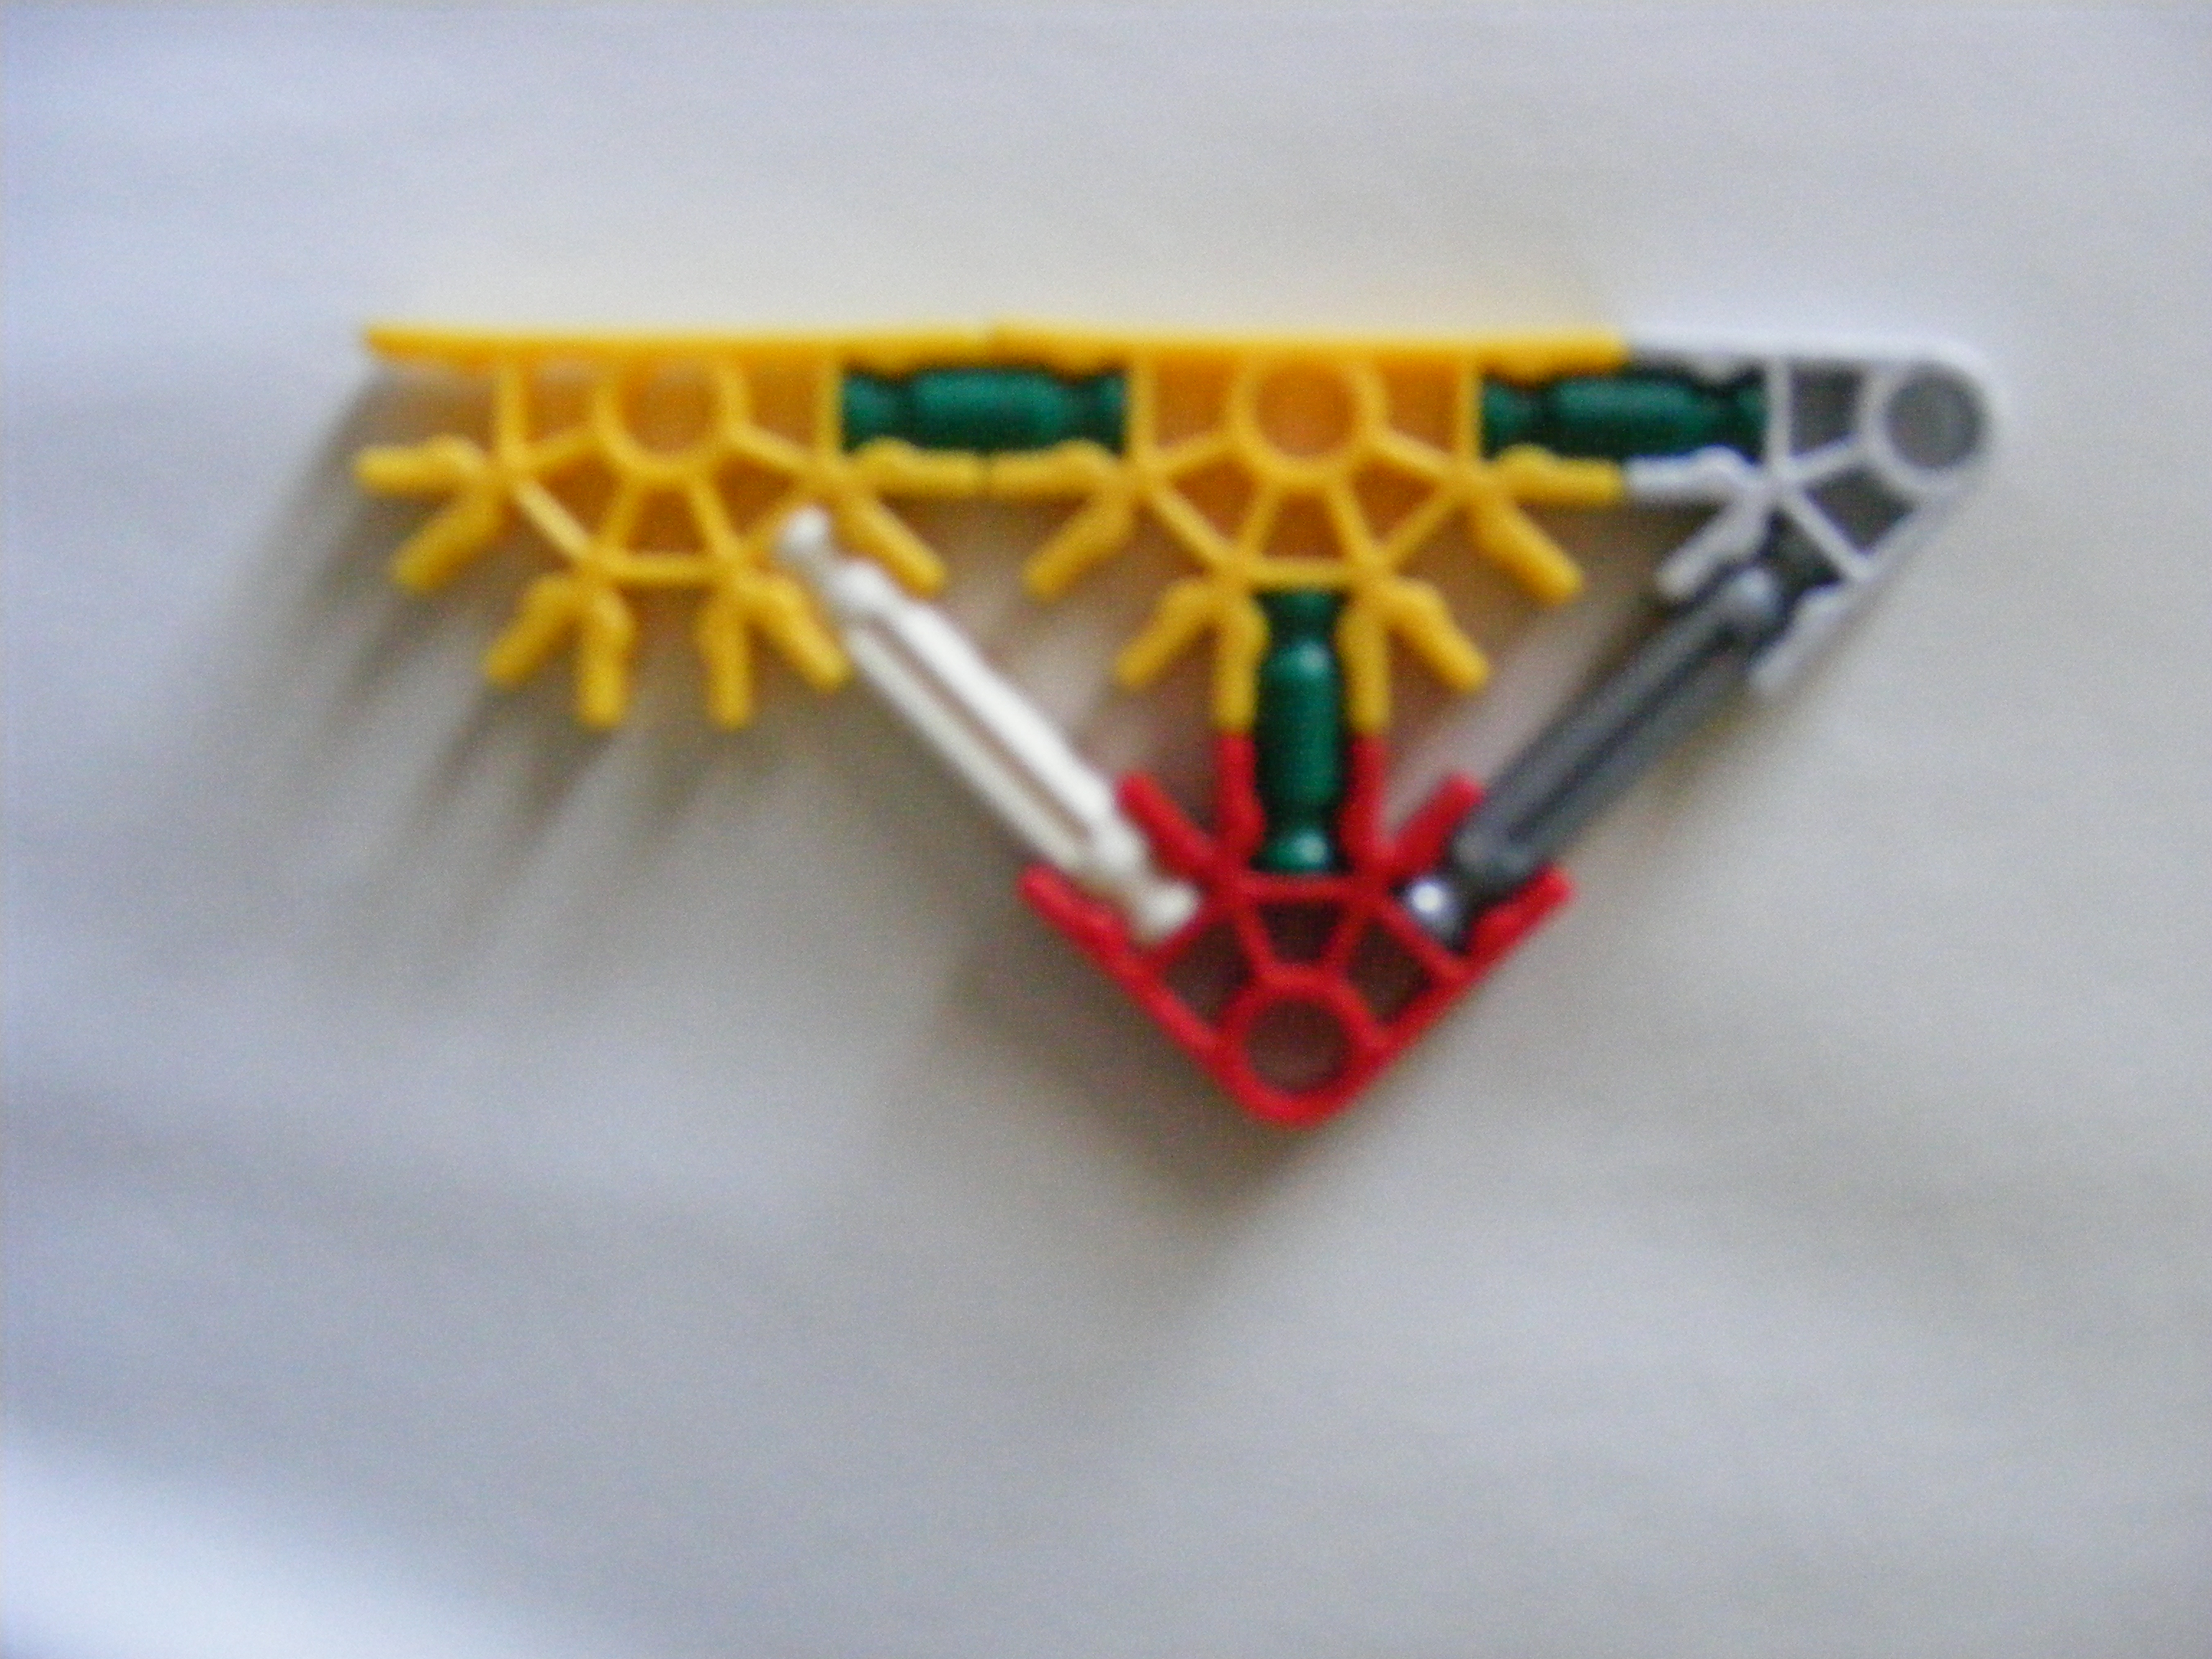



Make the following:
Picture 1: Make 2.
Picture 2: Make 2.
Picture 3: Make 1.
Picture 4: Make 1.
Picture 5: Make 1.
Picture 6: Make 2.
Picture 1: Make 2.
Picture 2: Make 2.
Picture 3: Make 1.
Picture 4: Make 1.
Picture 5: Make 1.
Picture 6: Make 2.
Trigger System: Construction

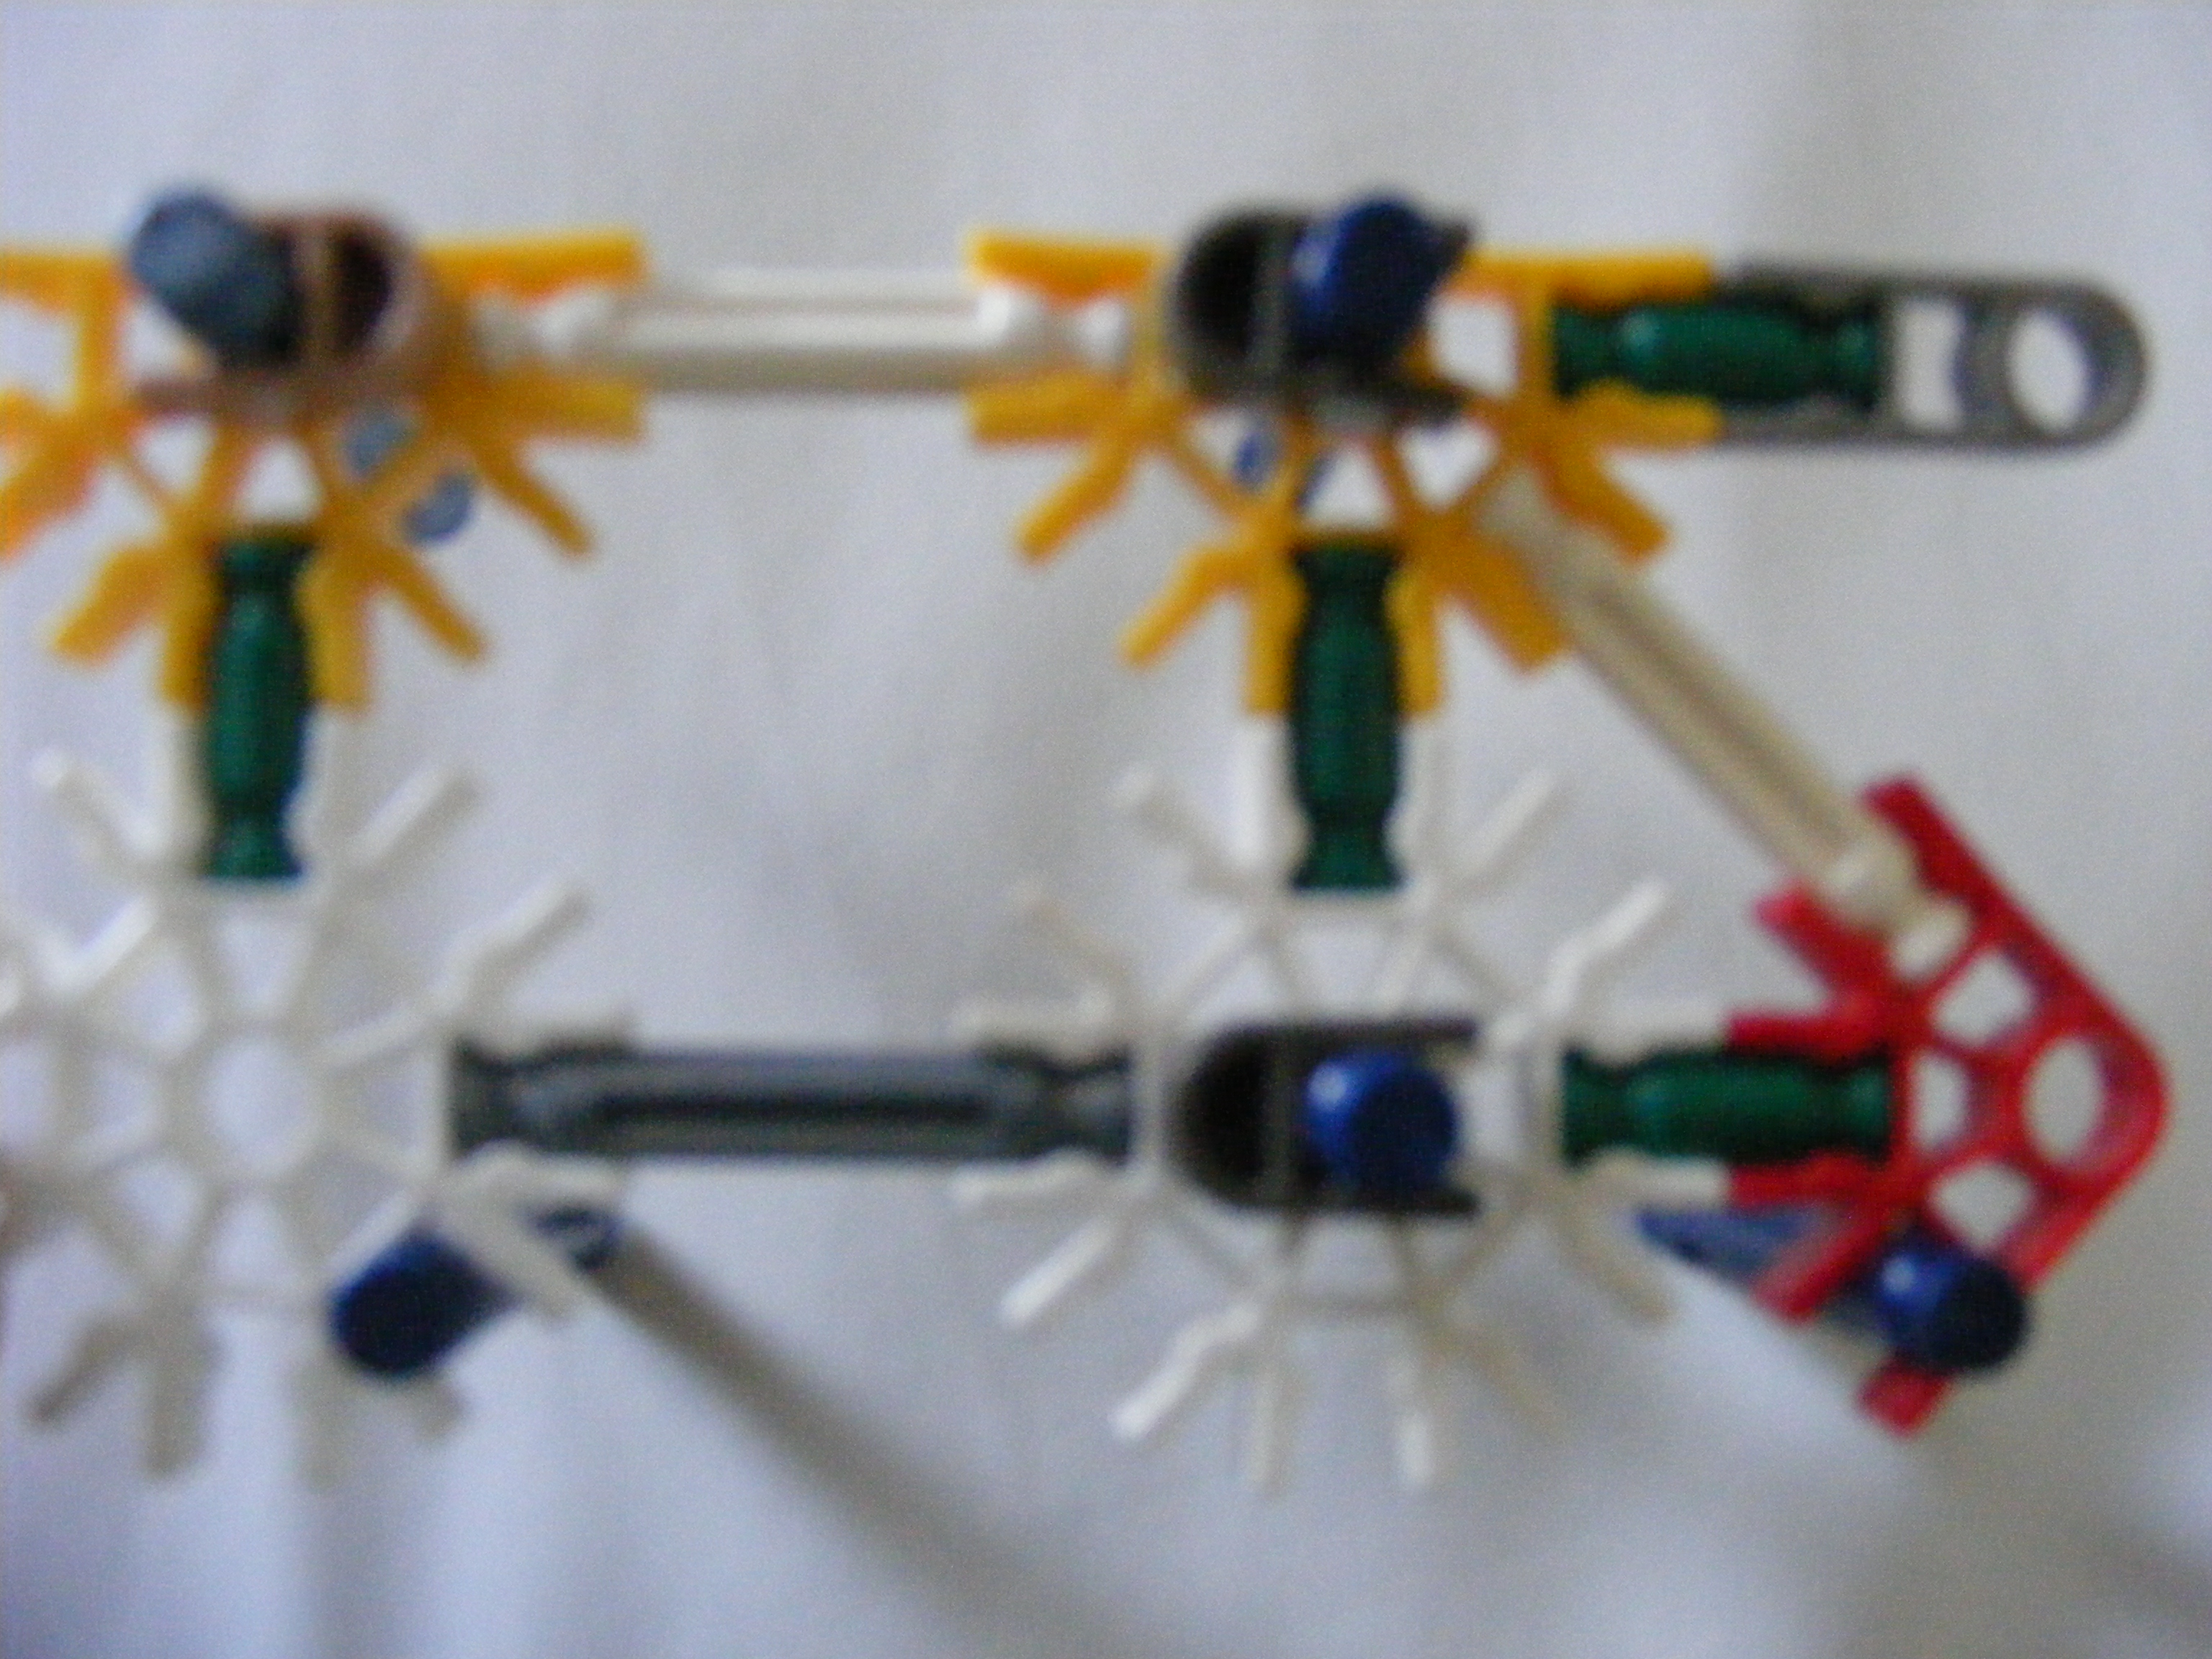
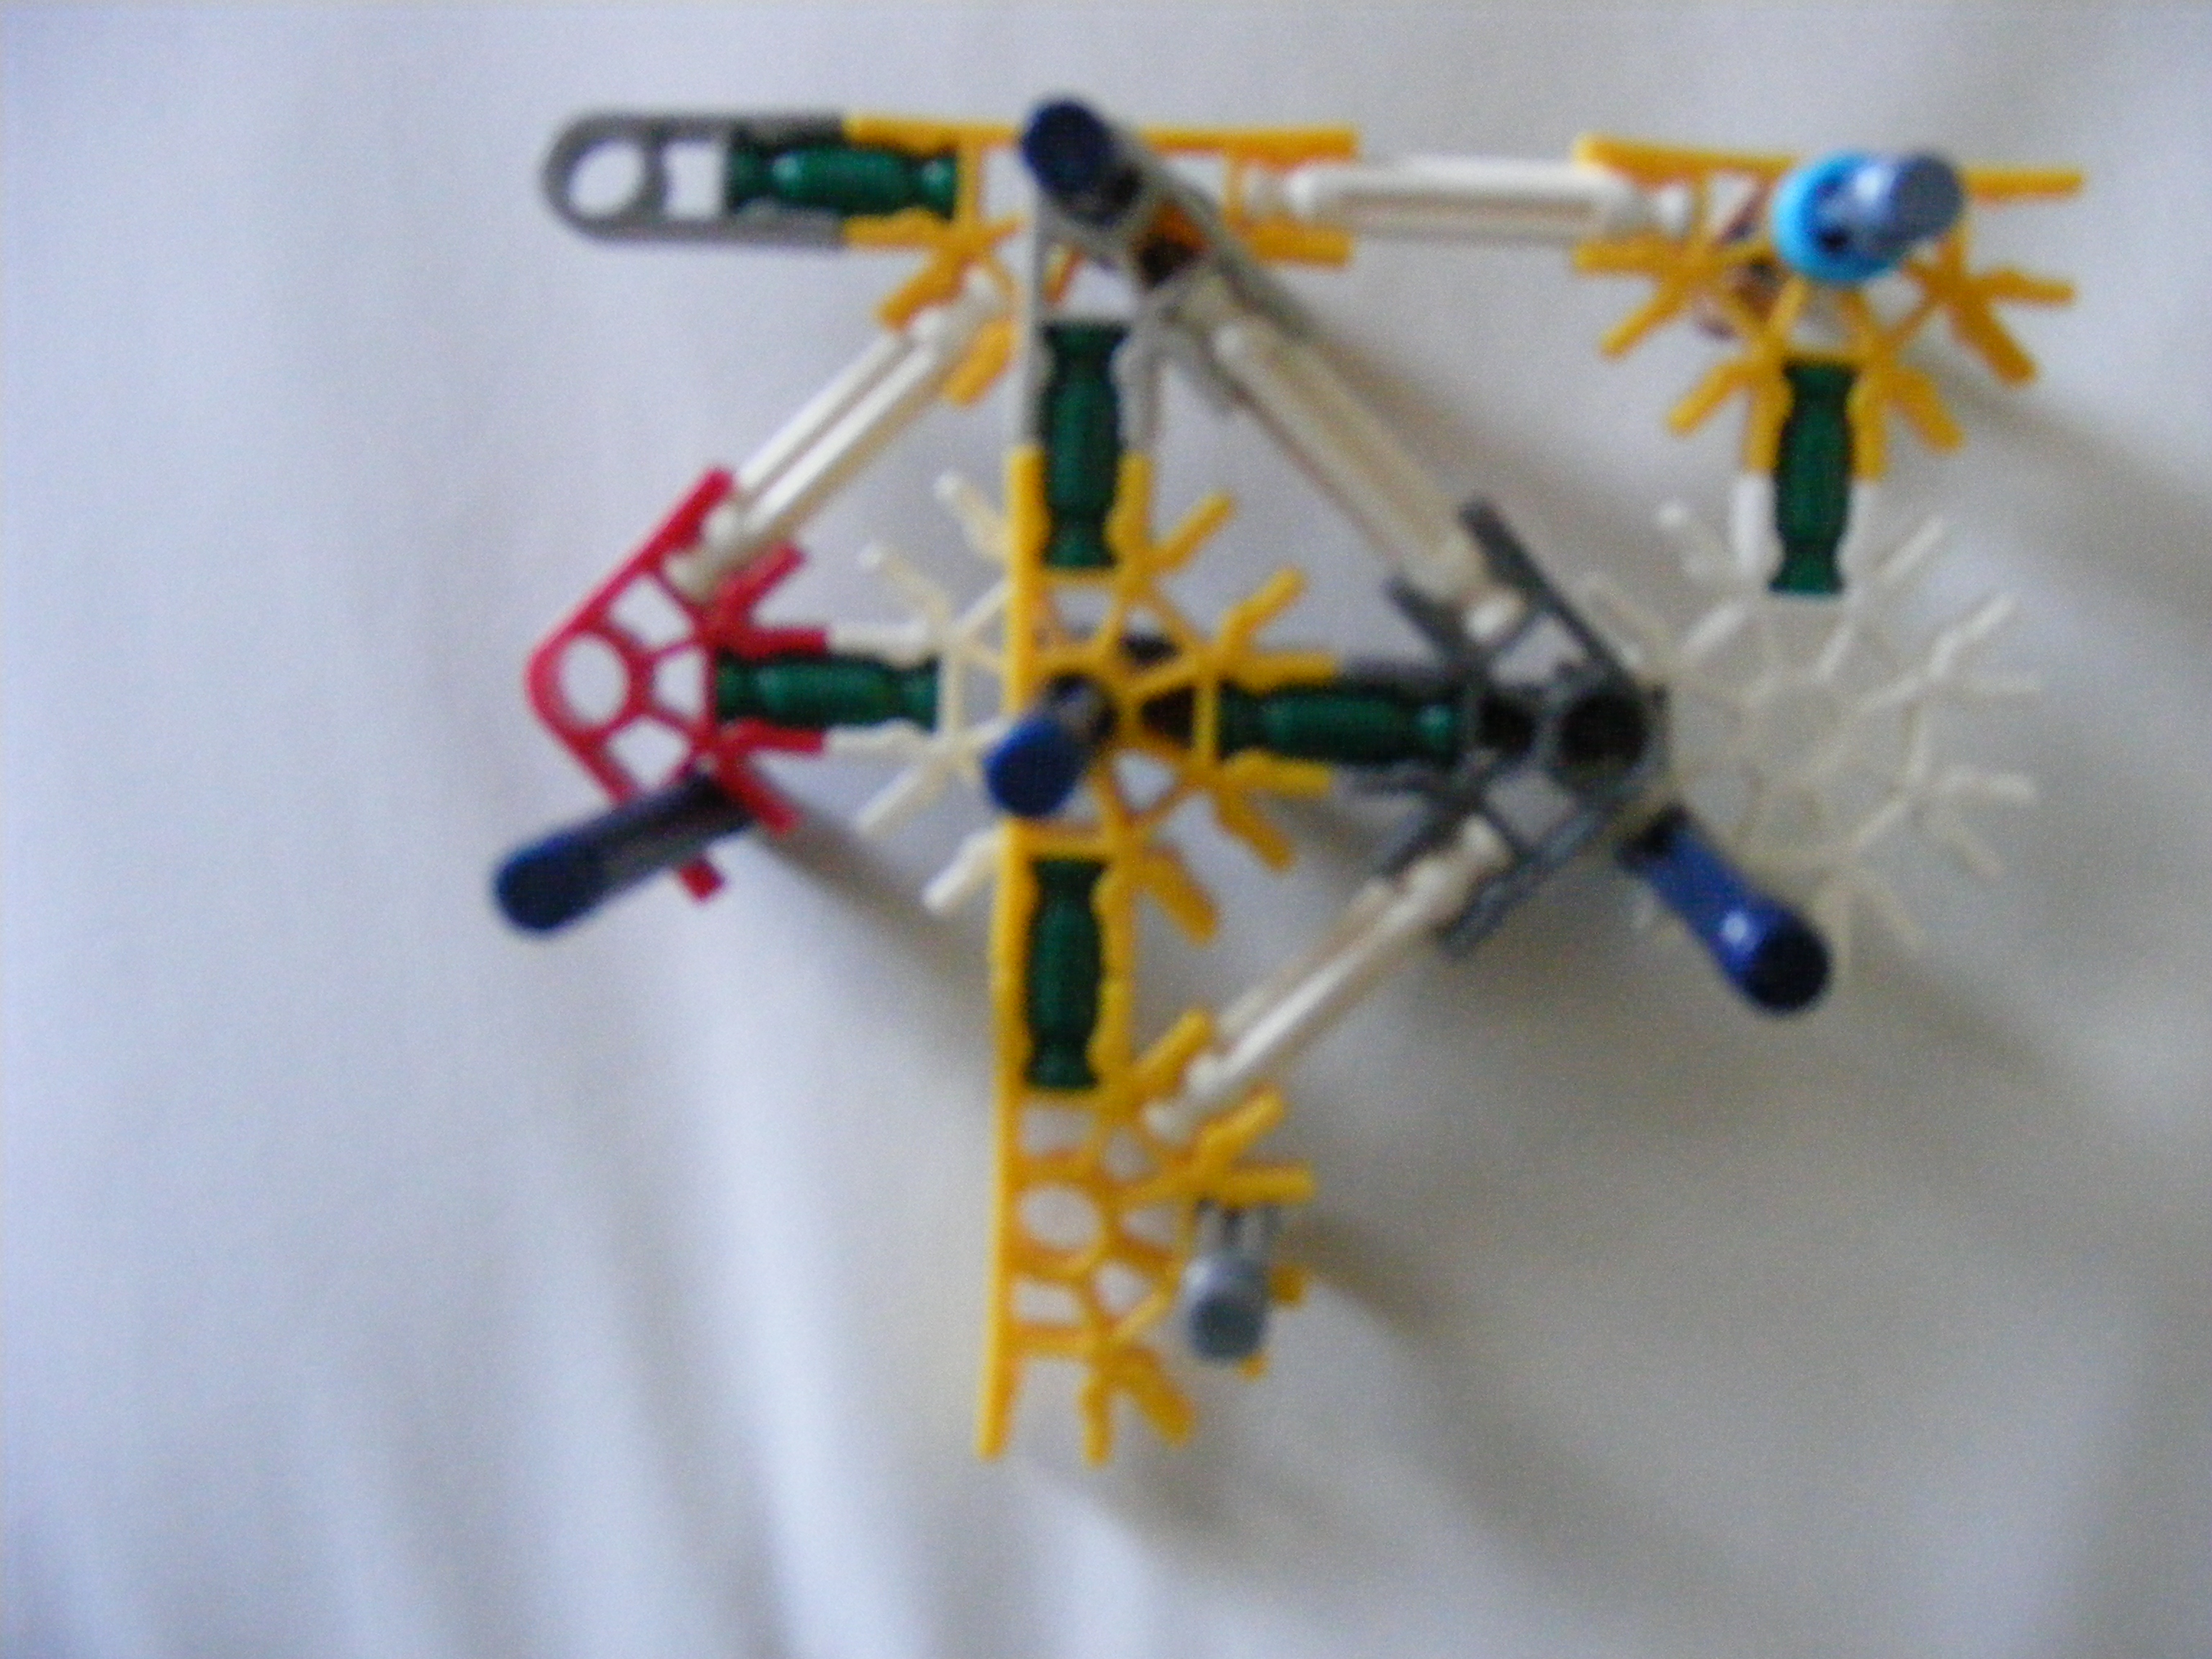


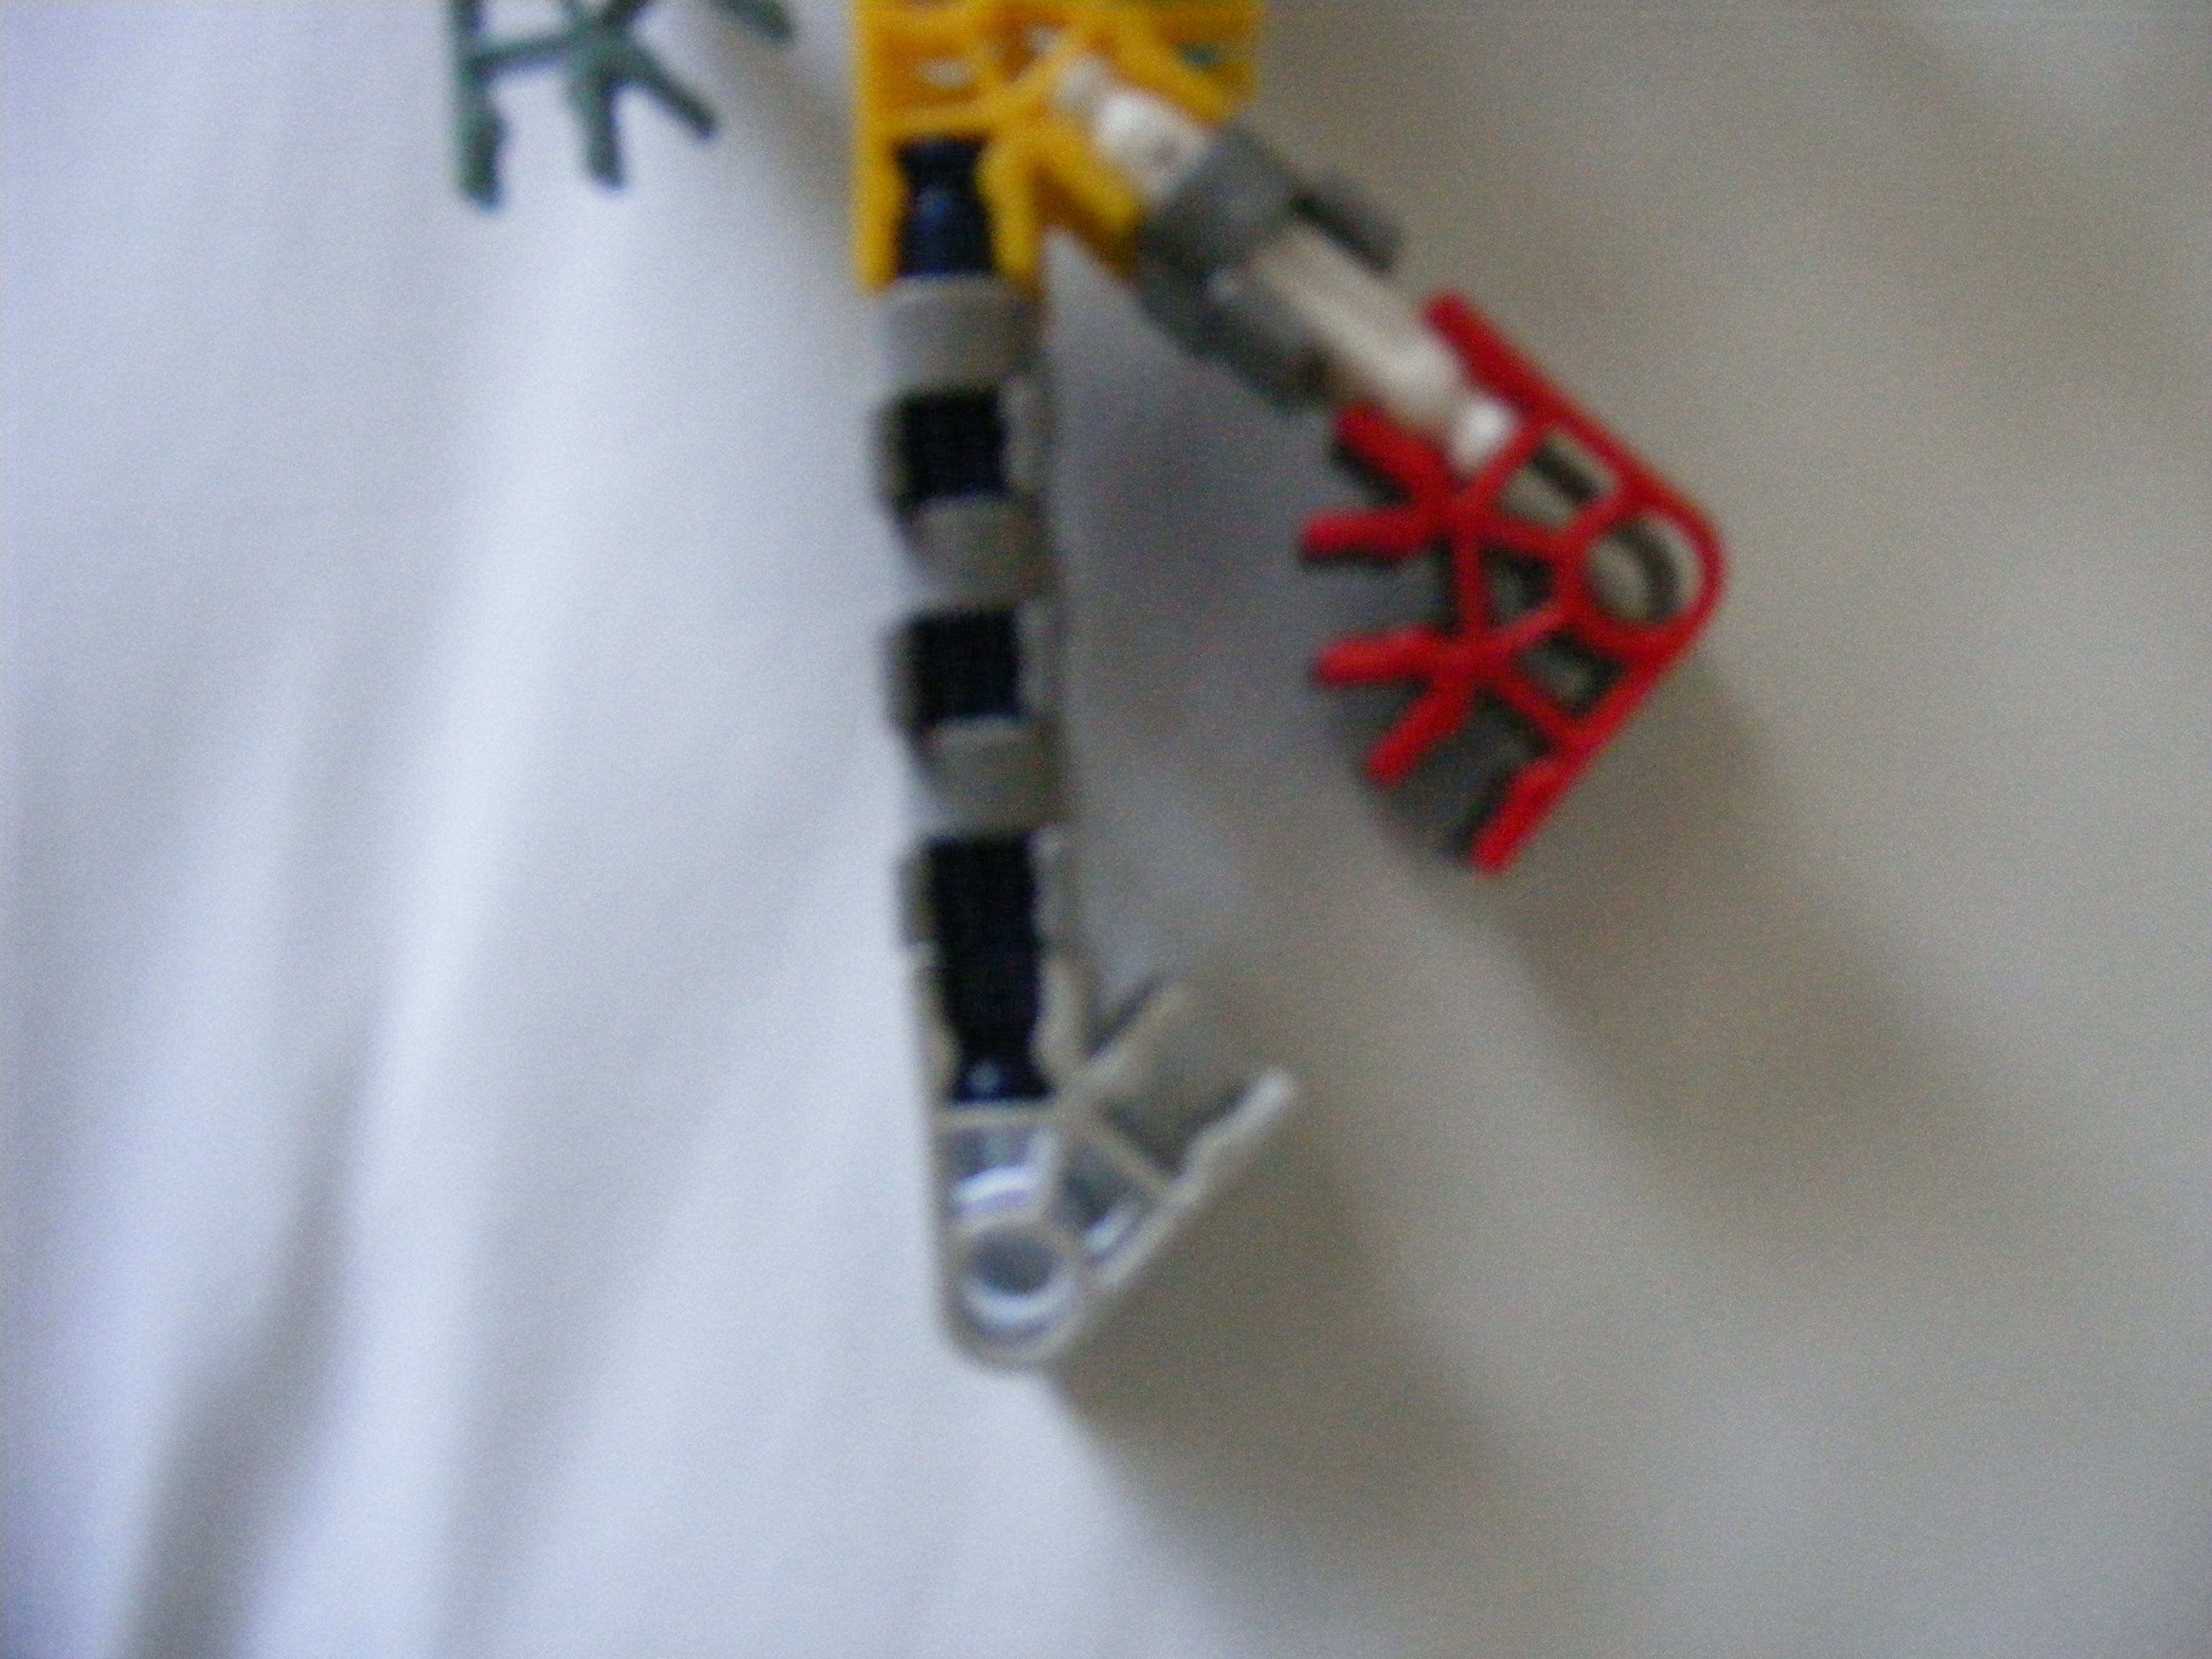

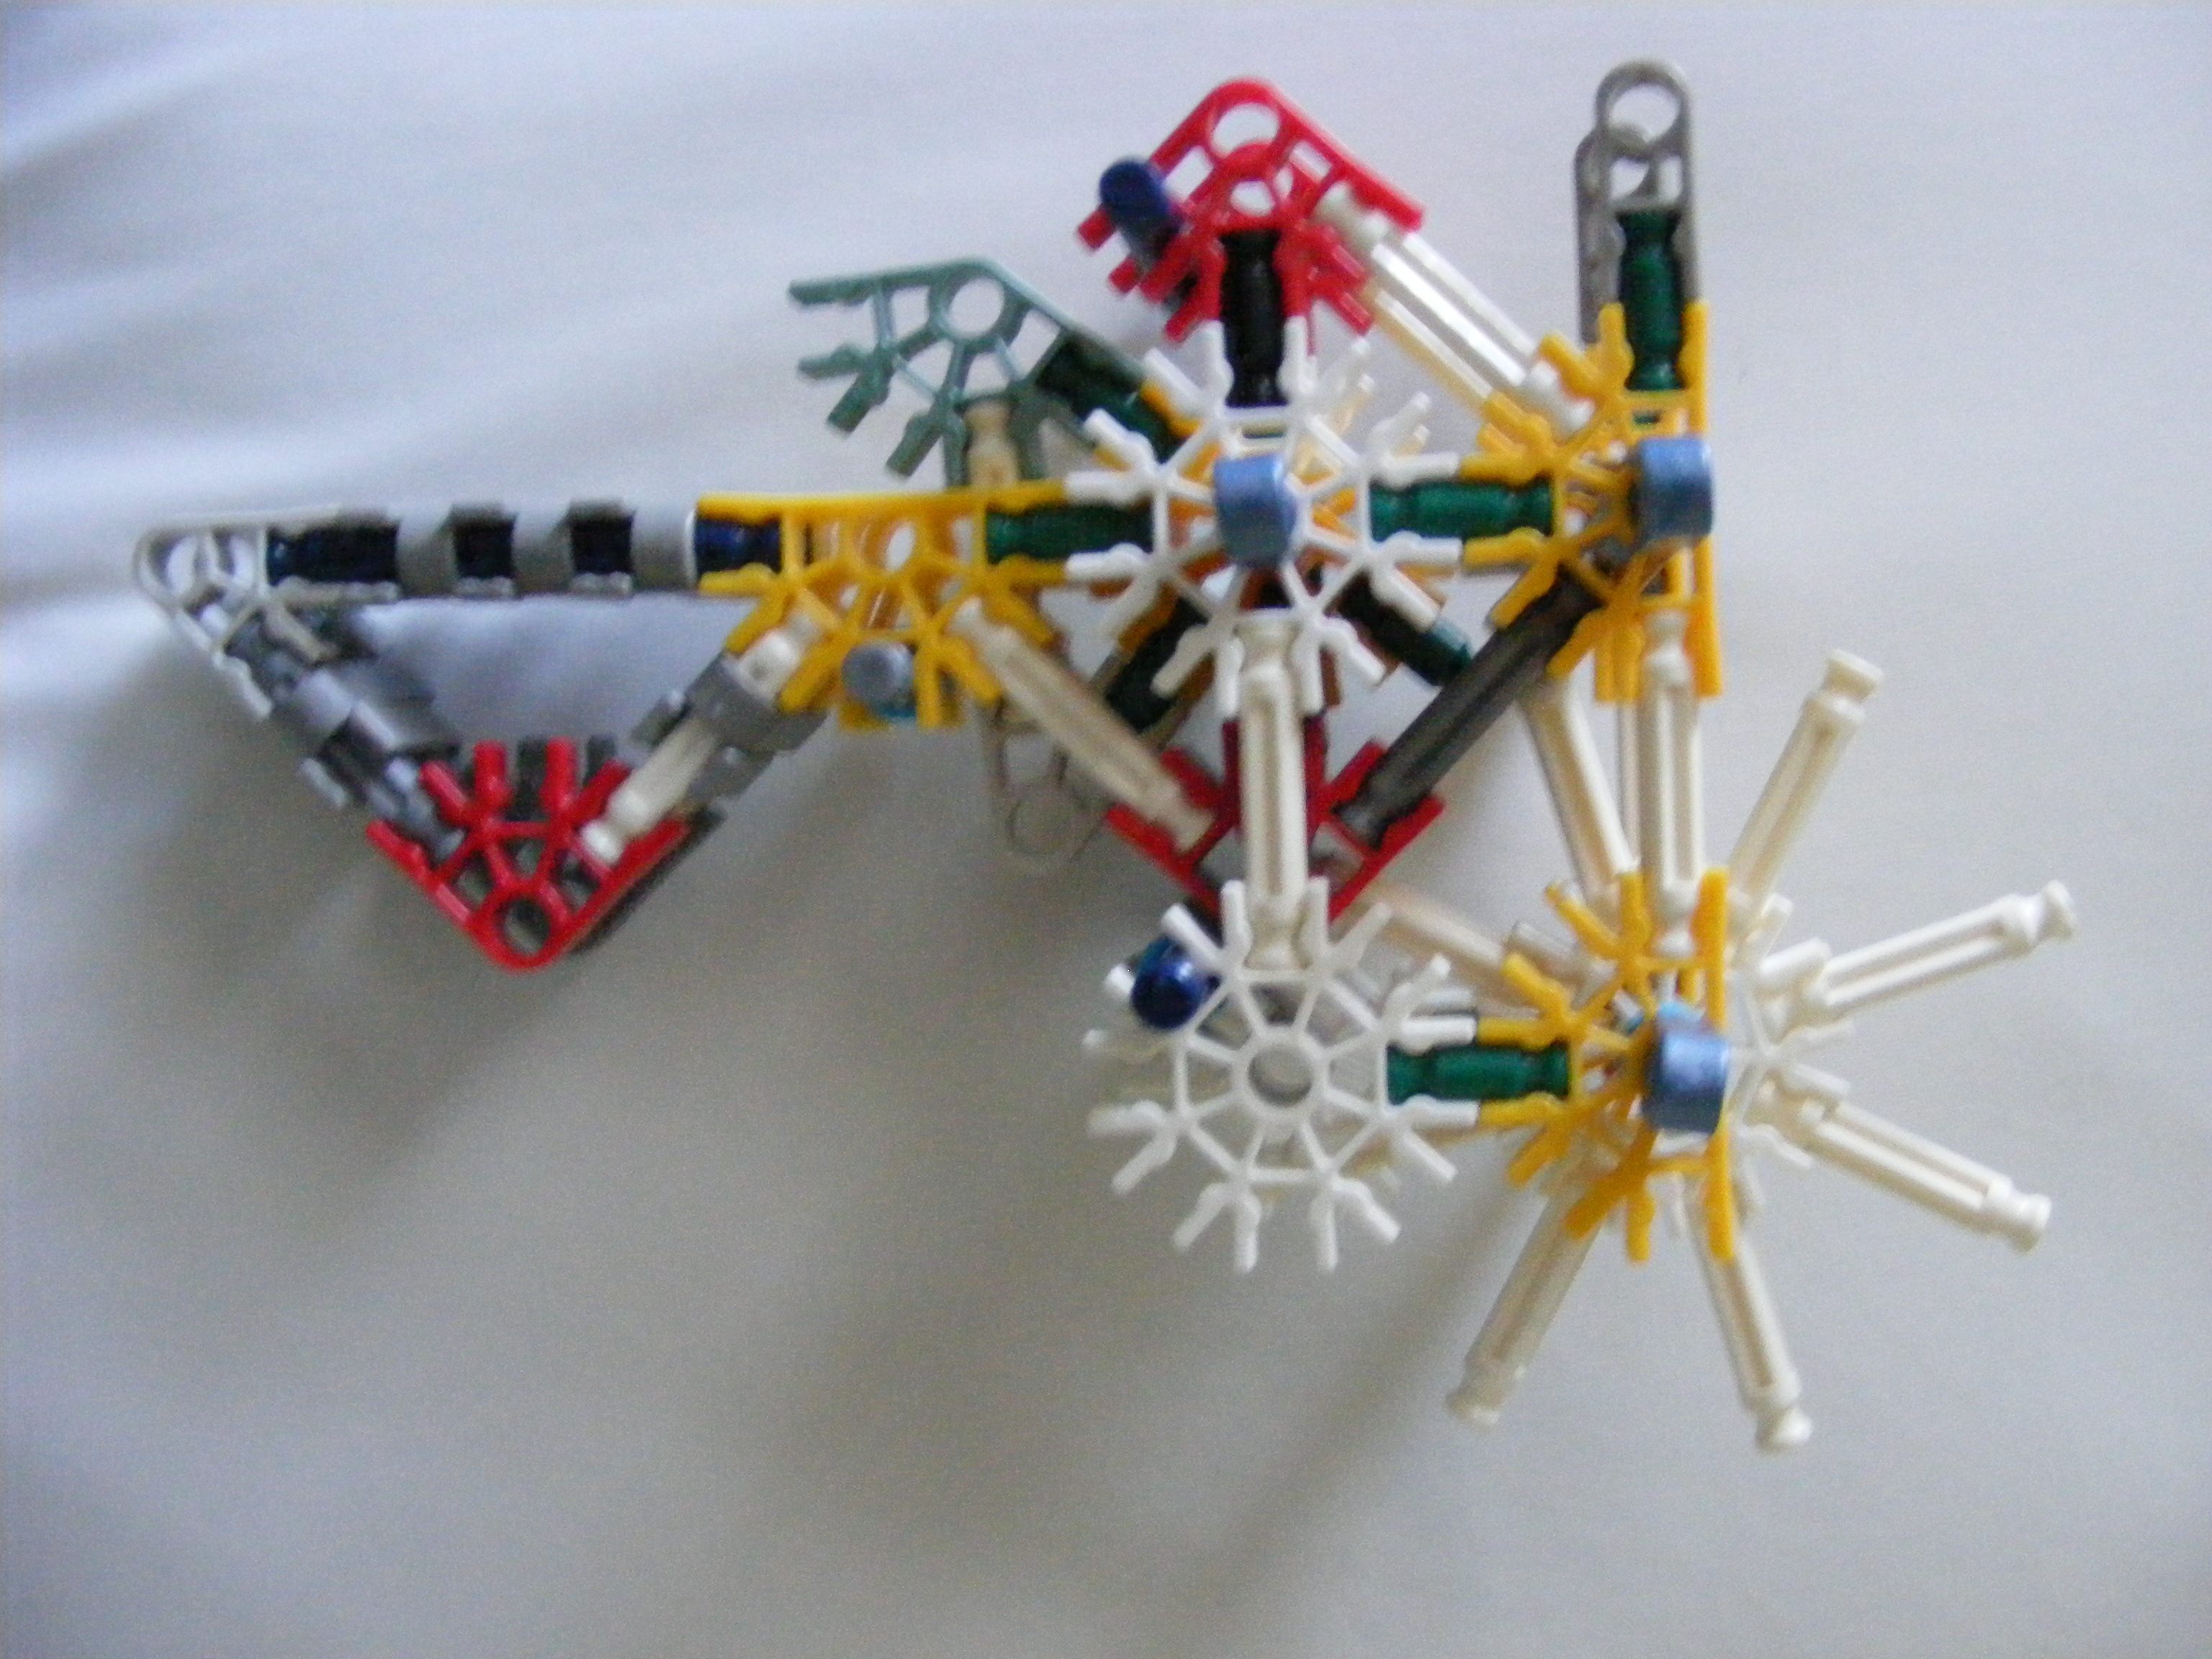
Follow the images:
Picture 1: Place blue rods where shown.
Picture 2: Other side: Place tan clips as shown.
Picture 3: Place the earlier made part(with white rod) and spacers as shown.
Picture 4: Add the other parts and spacers and connectors as shown.
Picture 5: Place earlier made parts and spacers as shown in the image.
Picture 6: Place the earlier made part over the rest.
Picture 7: Add blue clips where shown.
Picture 8: Place the earlier made parts as shown.
Picture 9: Add light gray and red connectors.
Picture 10: Add the remaining part.
Picture 11: Finished.
Stock: Making the Components

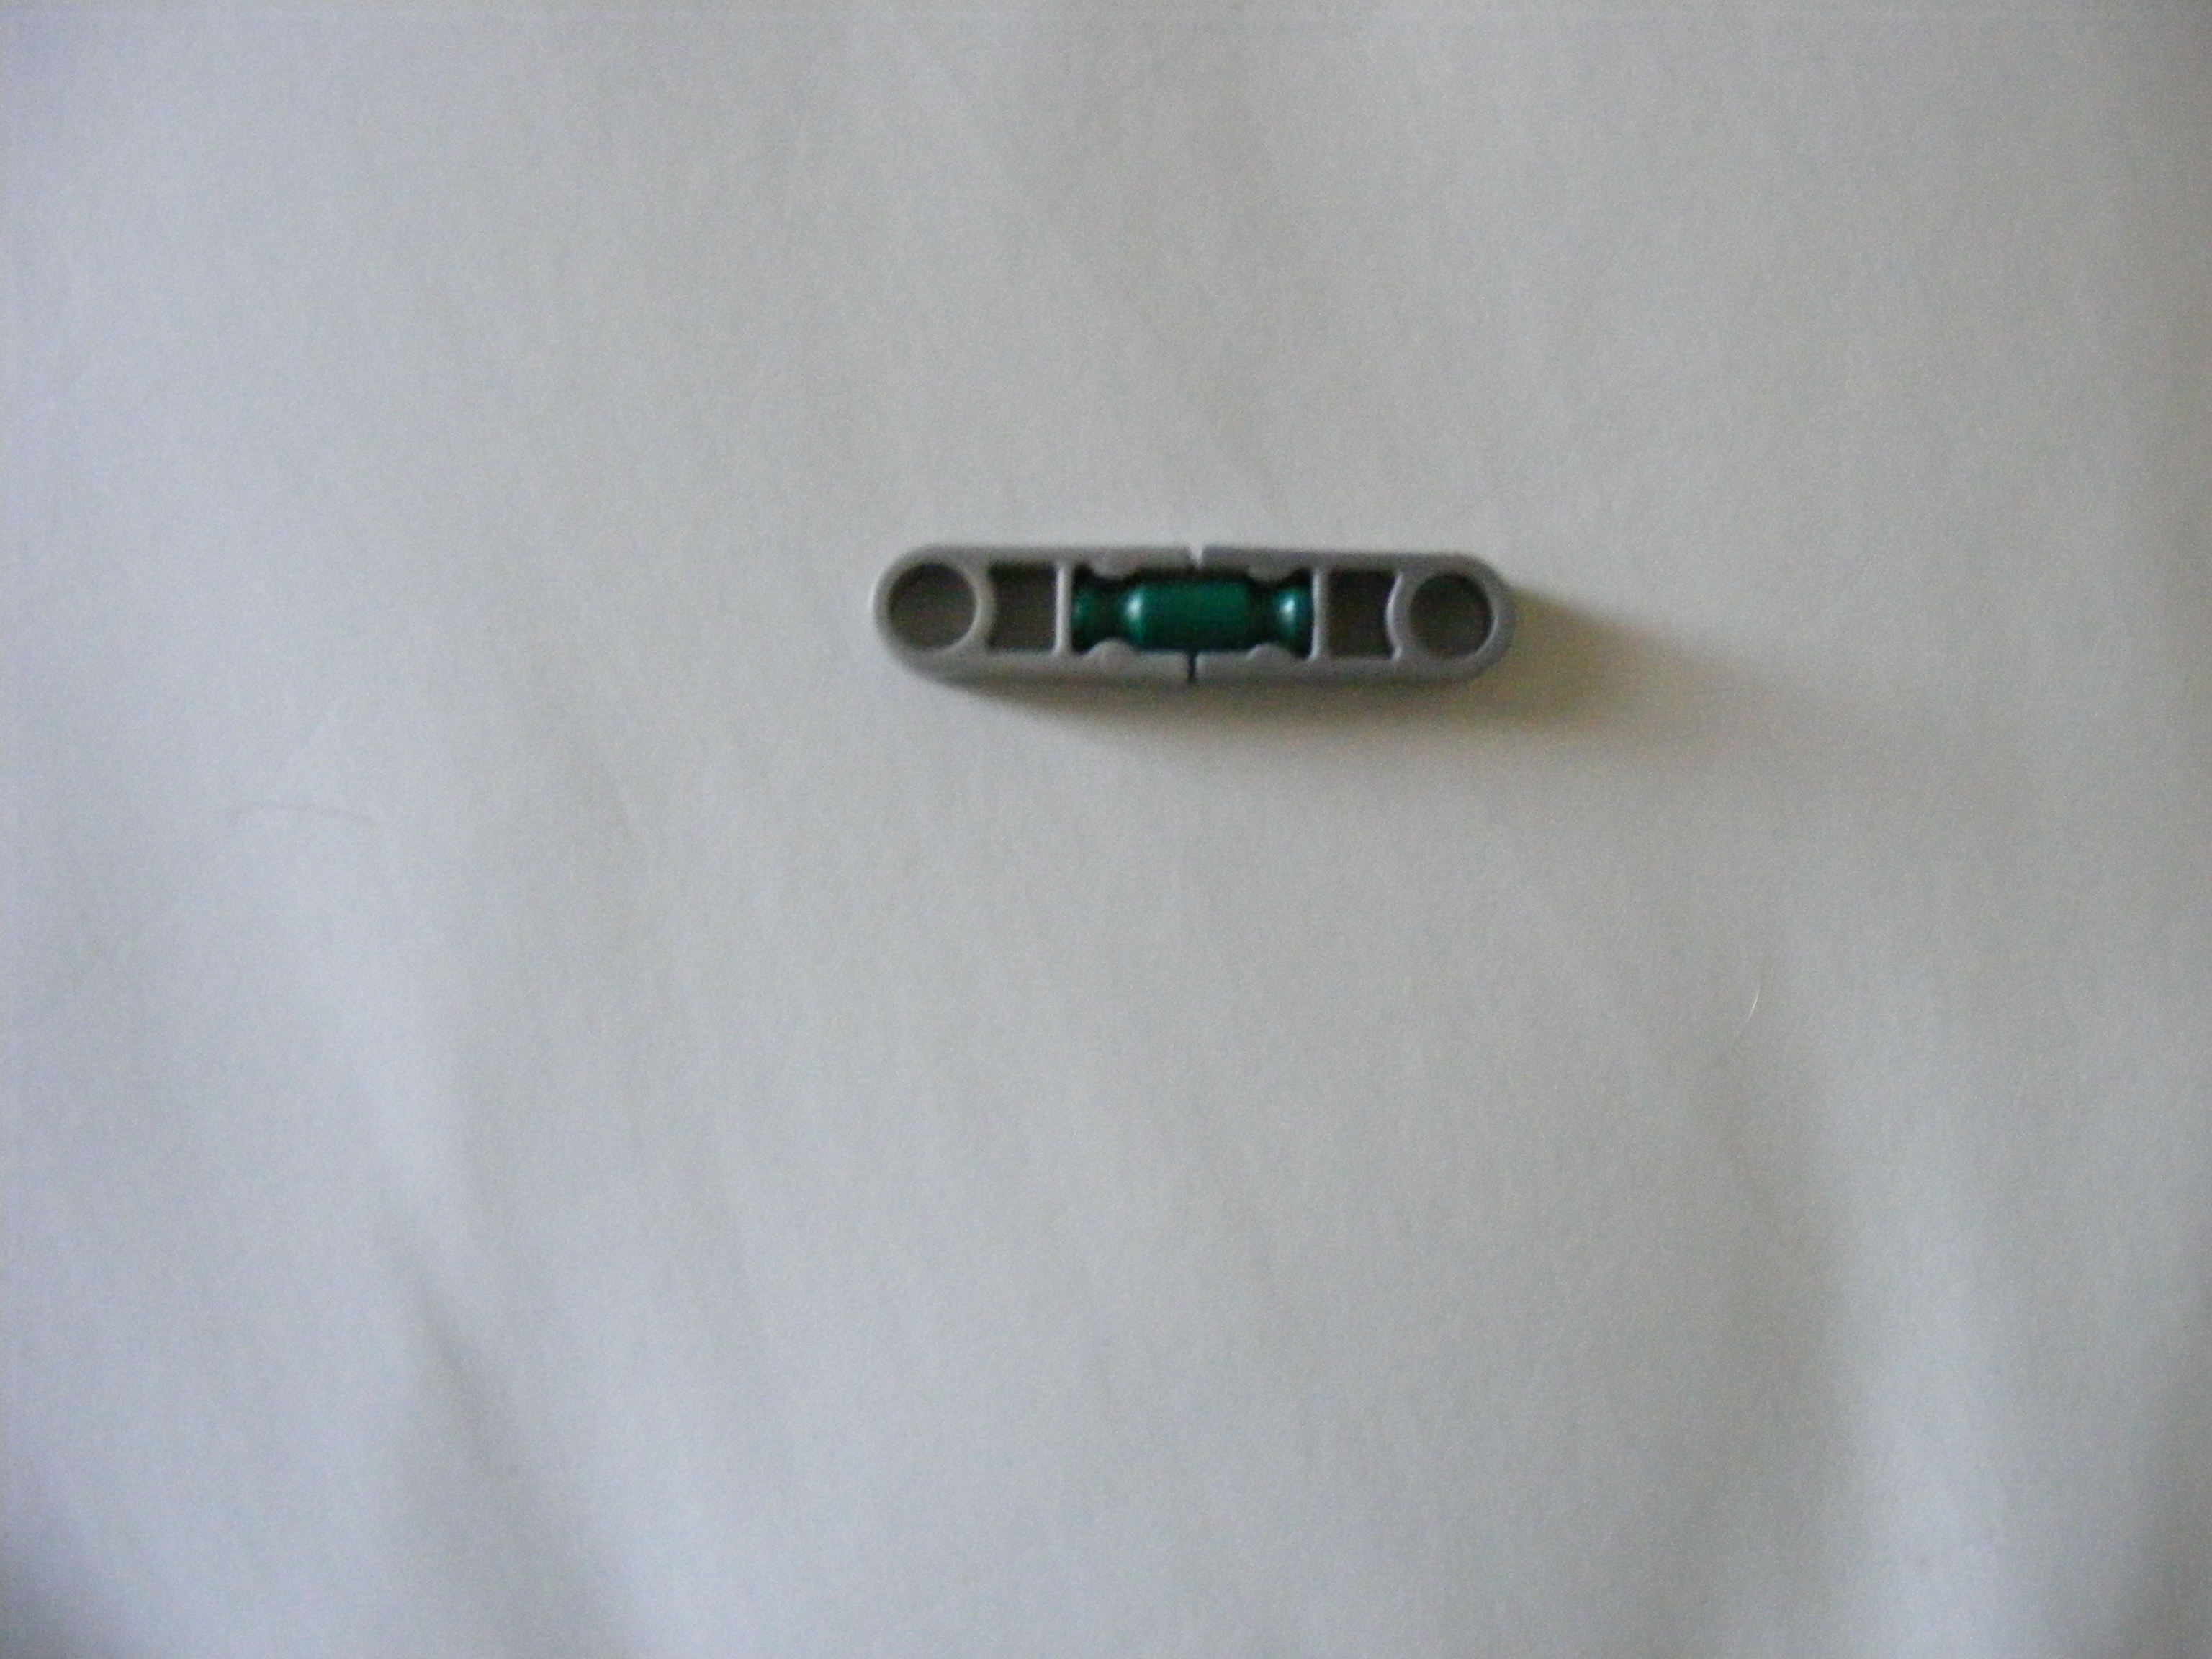


Make the following:
Picture 1: Make 2.
Picture 2: Make 8.
Picture 3: Make 12.
Picture 4: Make 4.
Picture 1: Make 2.
Picture 2: Make 8.
Picture 3: Make 12.
Picture 4: Make 4.
Stock: Construction




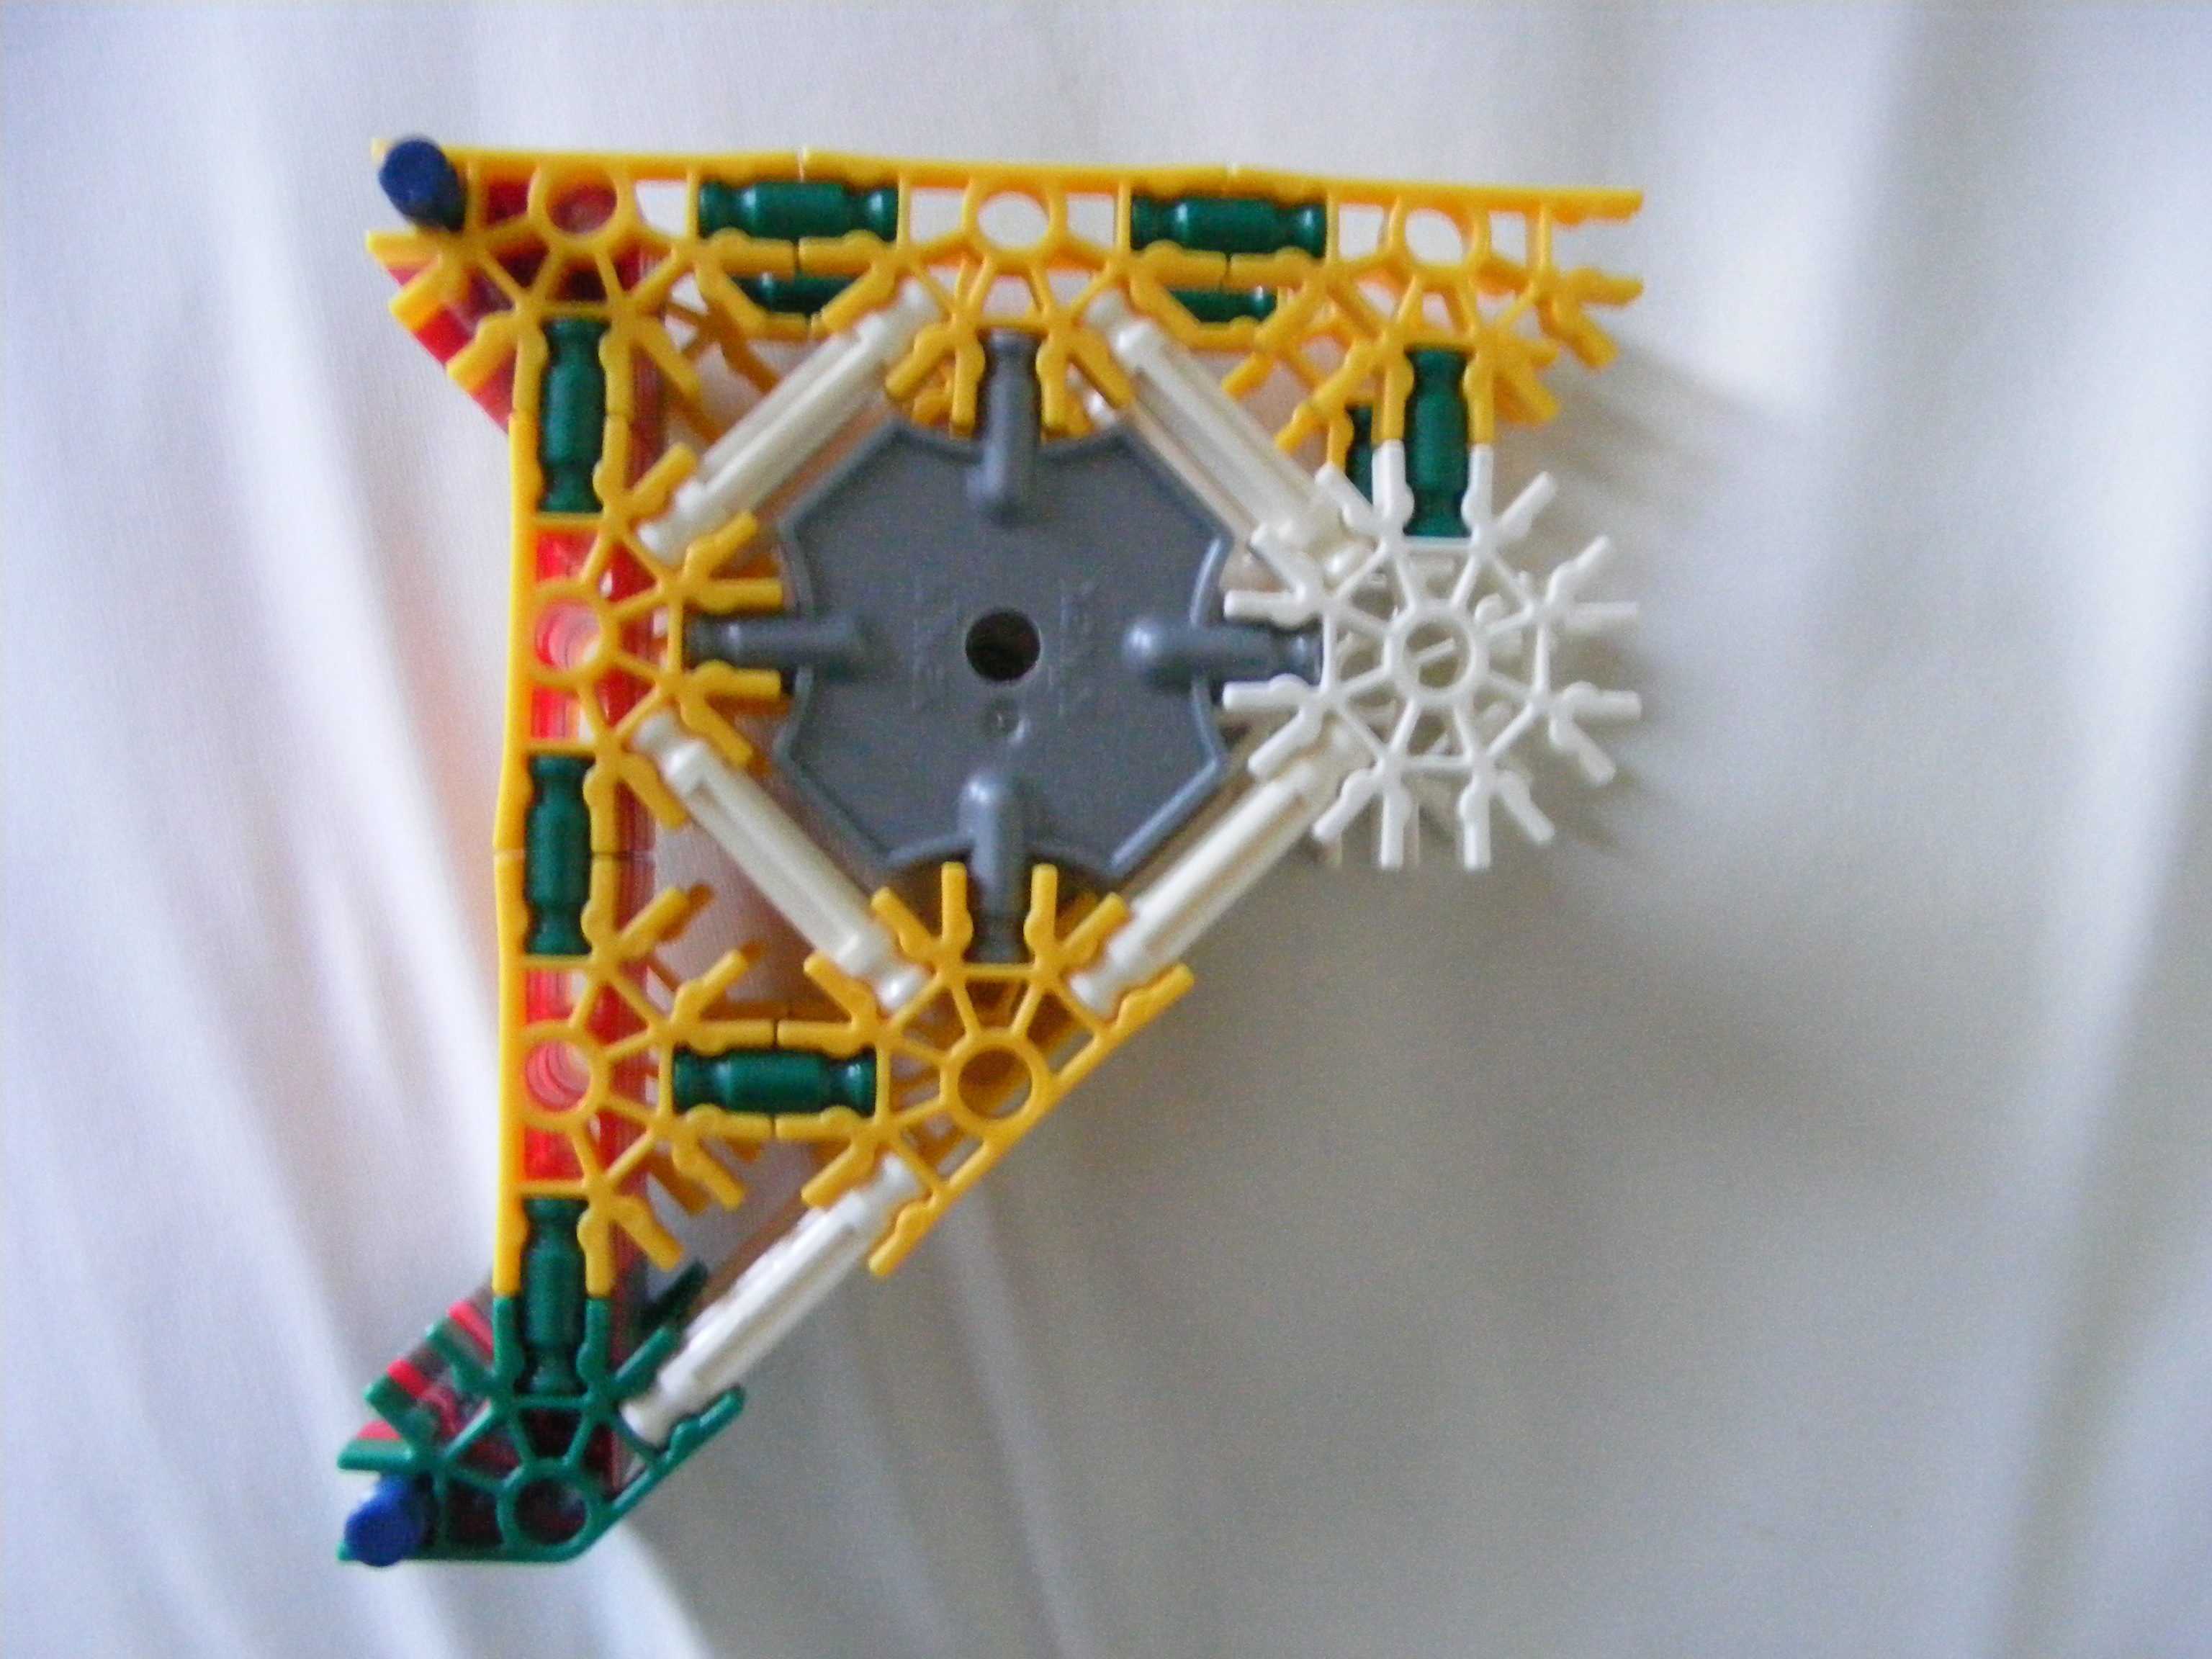

Follow the images:
Picture 1: Attach 4 gray rods to the part shown.
Picture 2: Place 2 orange connectors where shown.
Picture 3: Repeat it until you get this.
Picture 4: Place the earlier made part as shown.
Picture 5: Add orange connector and spacers.
Picture 6: Add the earlier made parts.
Picture 7: It should look like this.
Picture 8: Place blue rod where shown on the earlier made part.
Picture 9: Place the earlier made parts as shown.
Picture 10: Place the other earlier made part over the rest.
Picture 11: Put the 2 together so it looks like this.
Putting Everything Together


Follow the images:
Picture 1: Put the stock and trigger system together.
Picture 2: Put the barrel, magazine/ammo feed, and stock/trigger system together as shown in the
image
Picture 1: Put the stock and trigger system together.
Picture 2: Put the barrel, magazine/ammo feed, and stock/trigger system together as shown in the
image
Loading and Firing

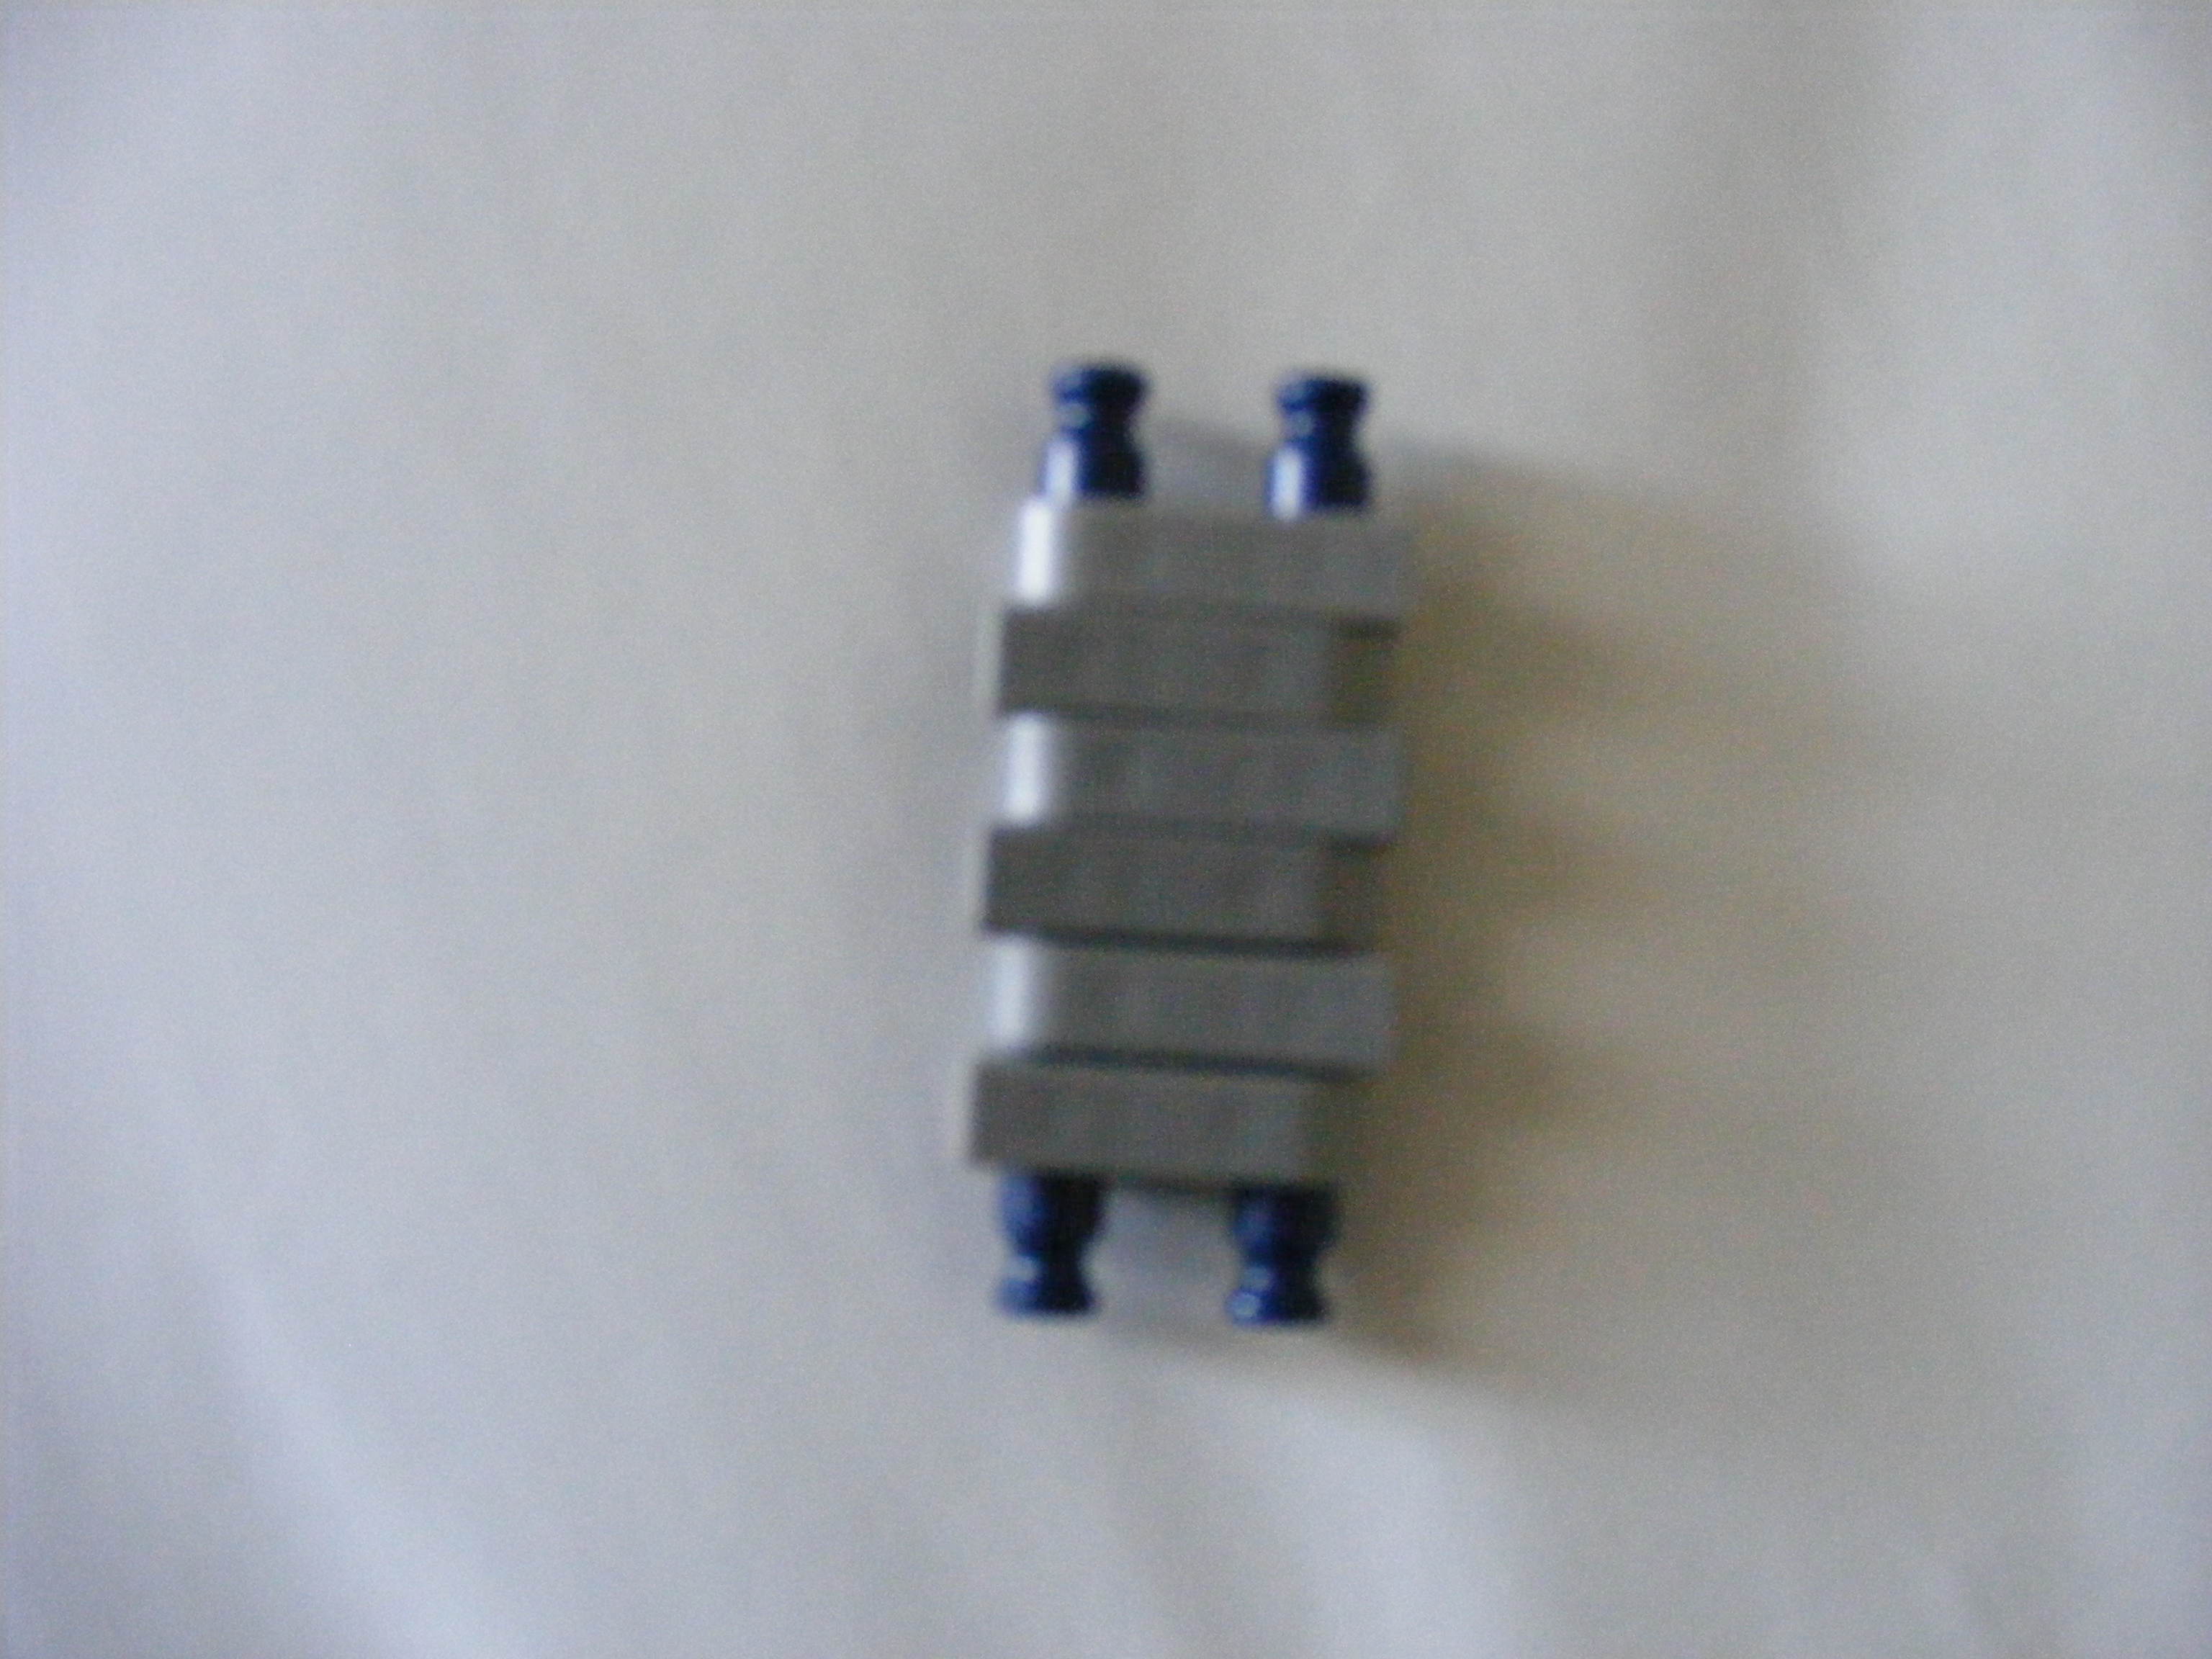
The rifle shoots the ammunition shown in the first picture. The next two pictures show the rubber band placement. The last image shows how the ammo feed should look when loaded.
Warning- This may cause harm or injury if misused. Do not point it at people. I am not responsible for damage, injury, or death caused by this instructable.
Warning- This may cause harm or injury if misused. Do not point it at people. I am not responsible for damage, injury, or death caused by this instructable.
Upcoming Upgrades
Here are some modifications, additions, and upgrades:
-Gray connector firing mod.
-Under-barrel grenade launcher.
And here are some which I might post:
-Removable mag version
-Other
-Gray connector firing mod.
-Under-barrel grenade launcher.
And here are some which I might post:
-Removable mag version
-Other